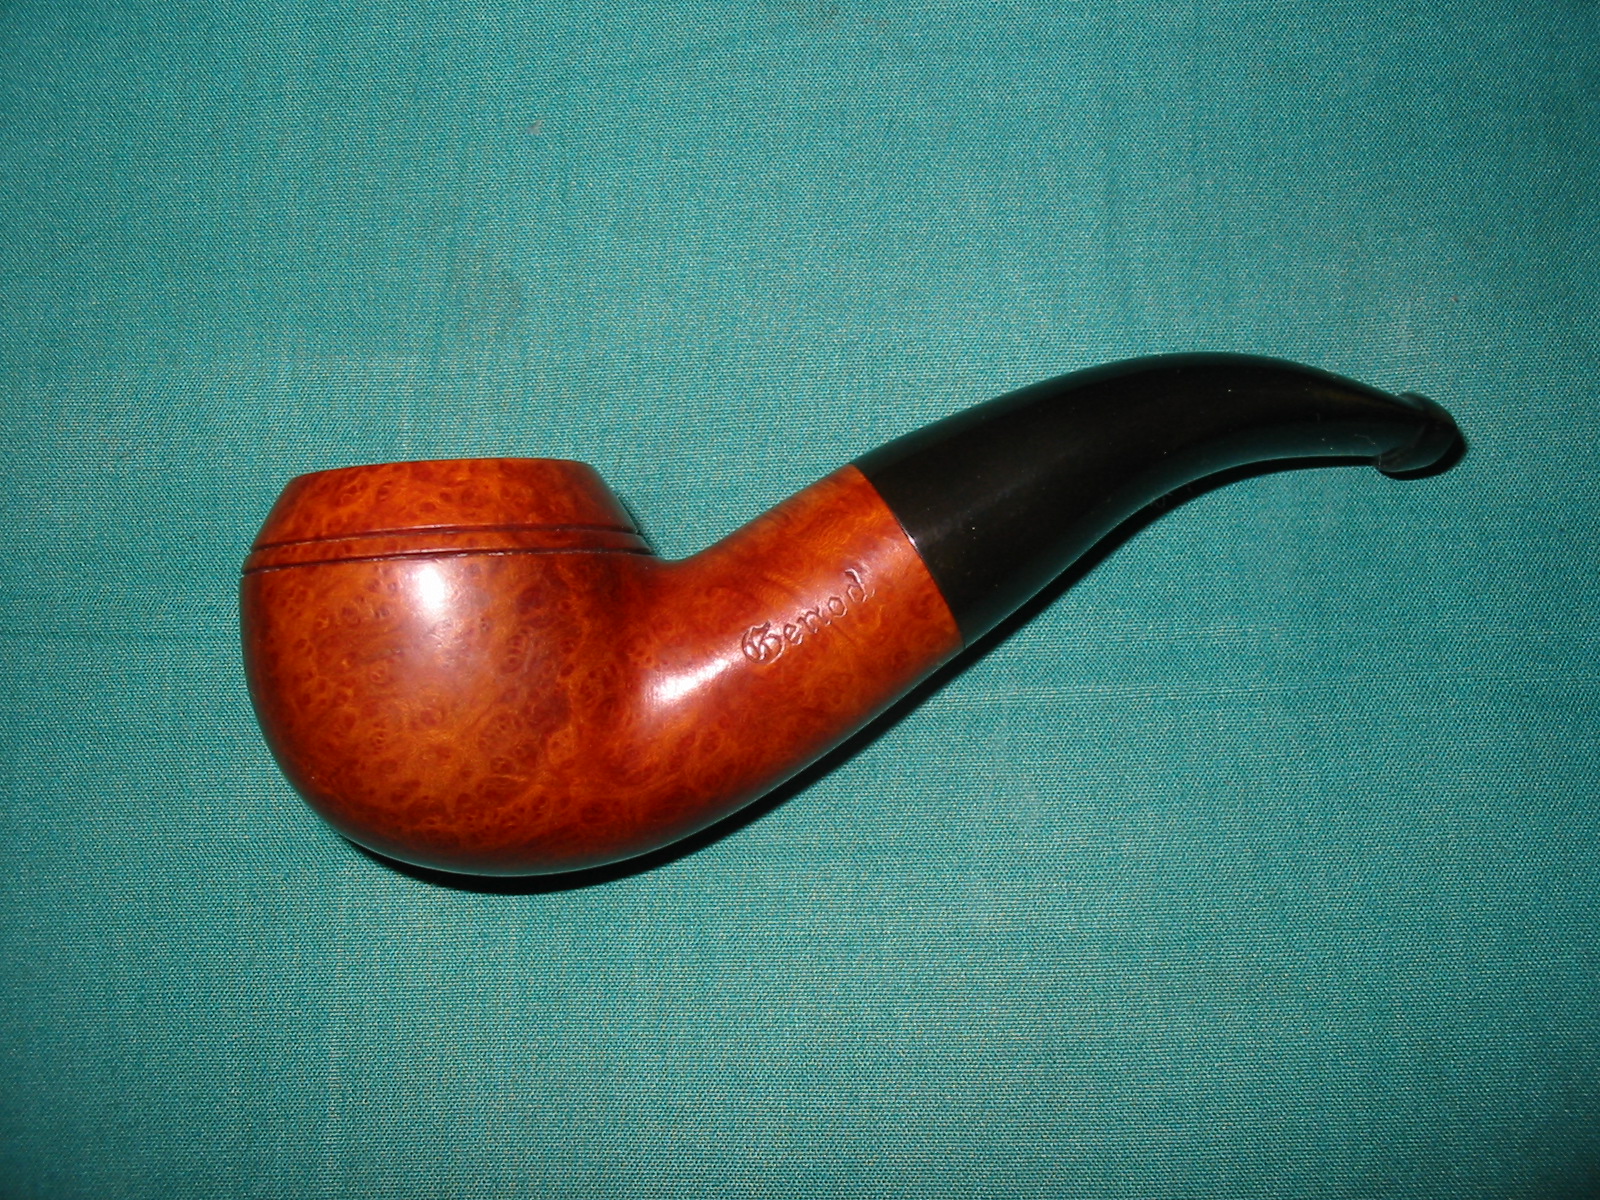
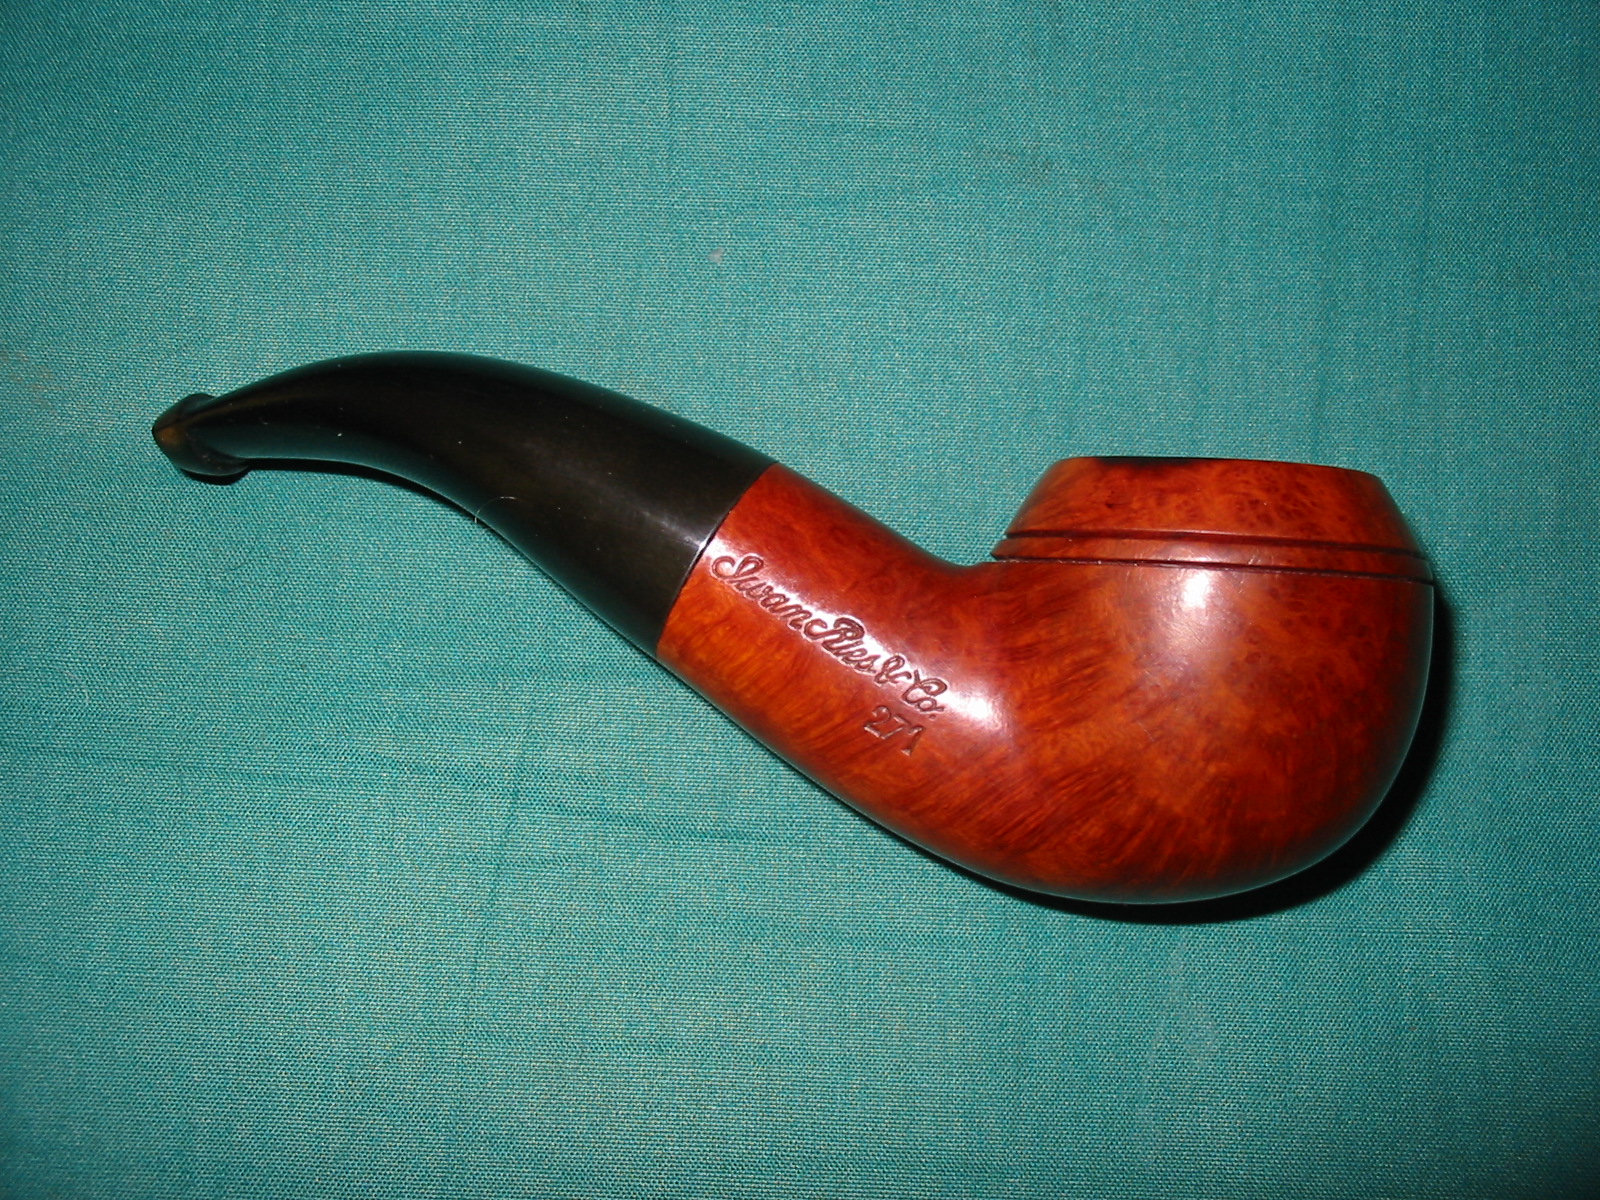
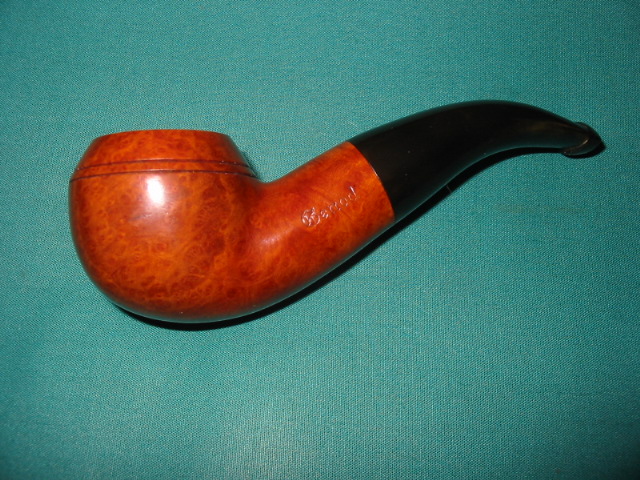
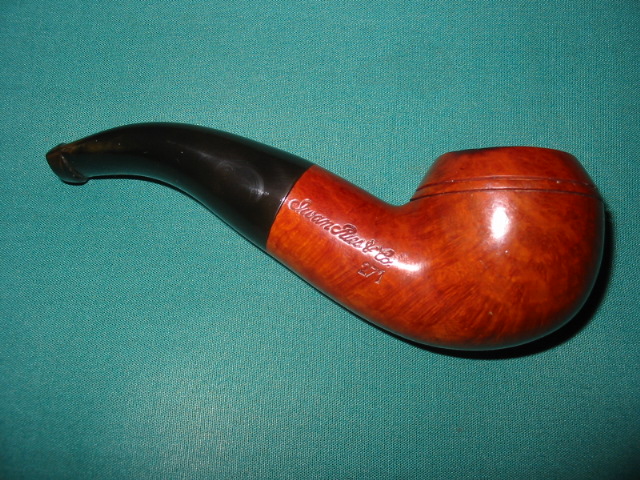
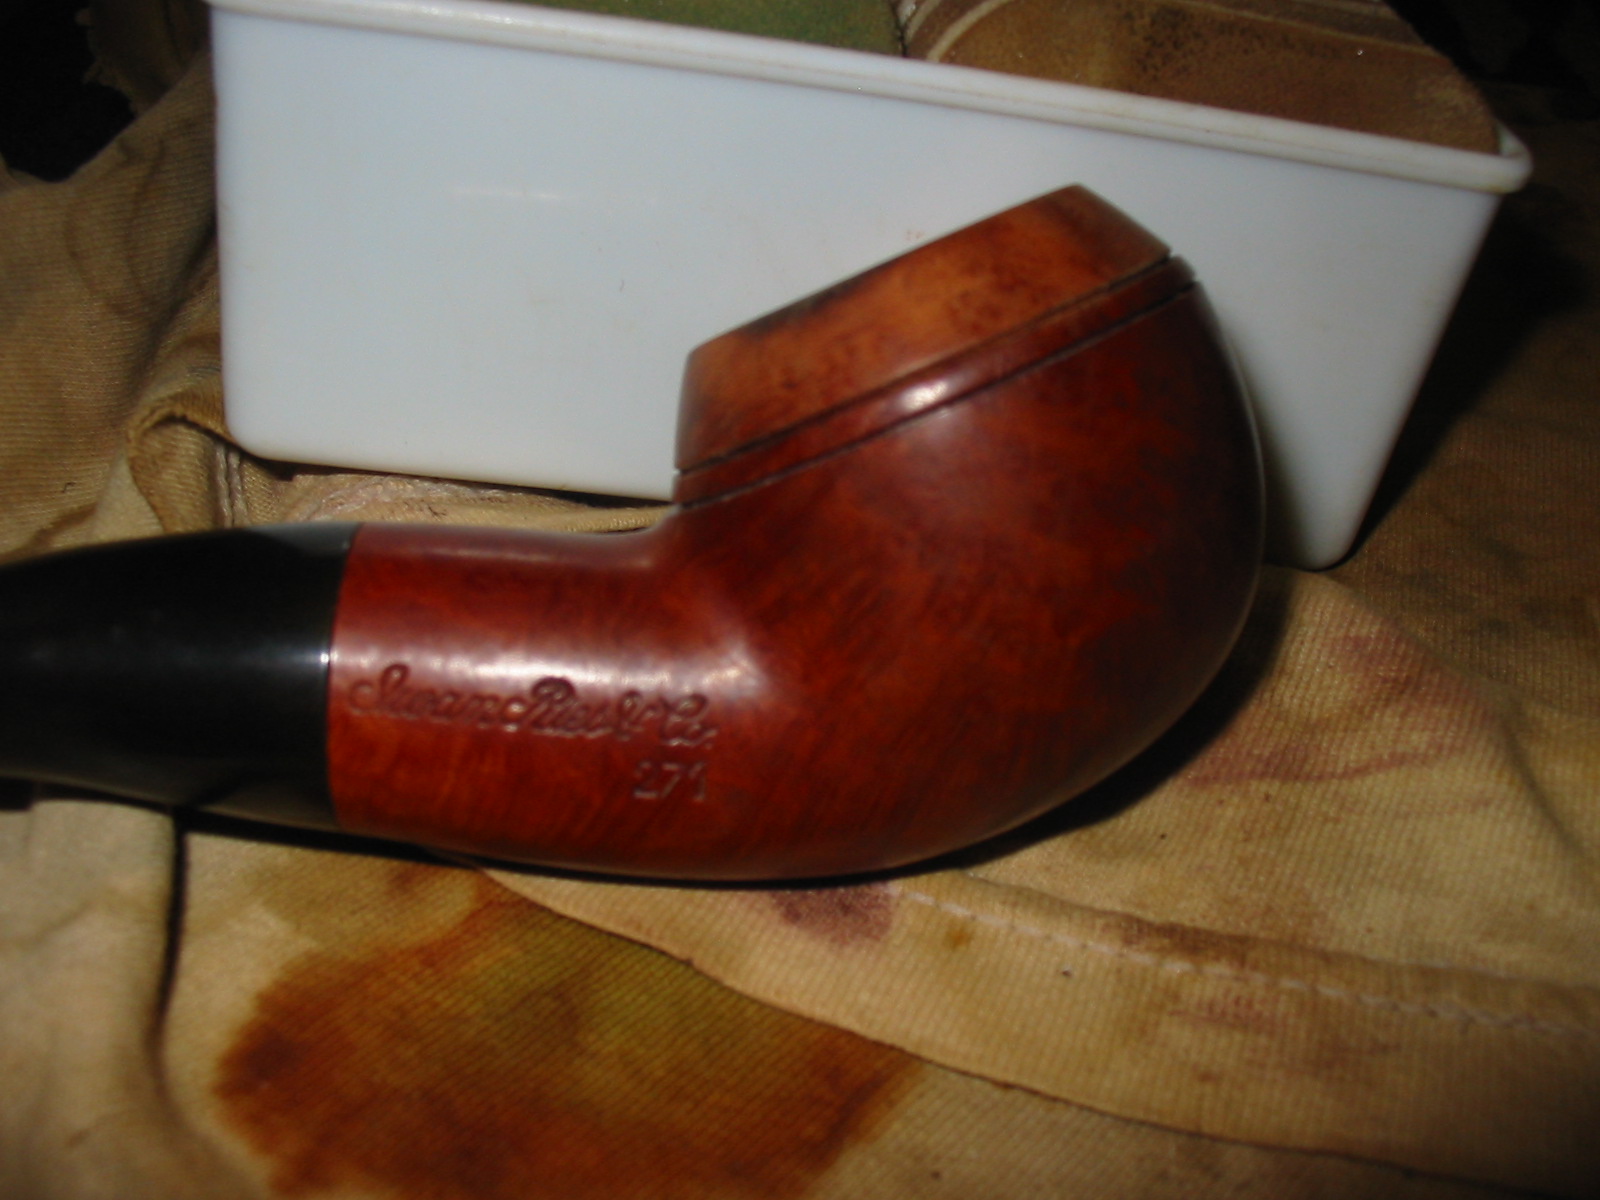
In photographing my Rhodesian pipes last evening I was examining this pipe and decided to work it over again. It is stamped Genod on the left side of the shank and Iwan Ries & Co. on the right side. I wrote about the work on it in this previous blog post: https://rebornpipes.wordpress.com/2012/09/04/reviving-a-genod-shaped-like-a-9242-gbd/ I think I worked on it the first time quite a few years ago and have learned a few more tricks since I did that old pipe.
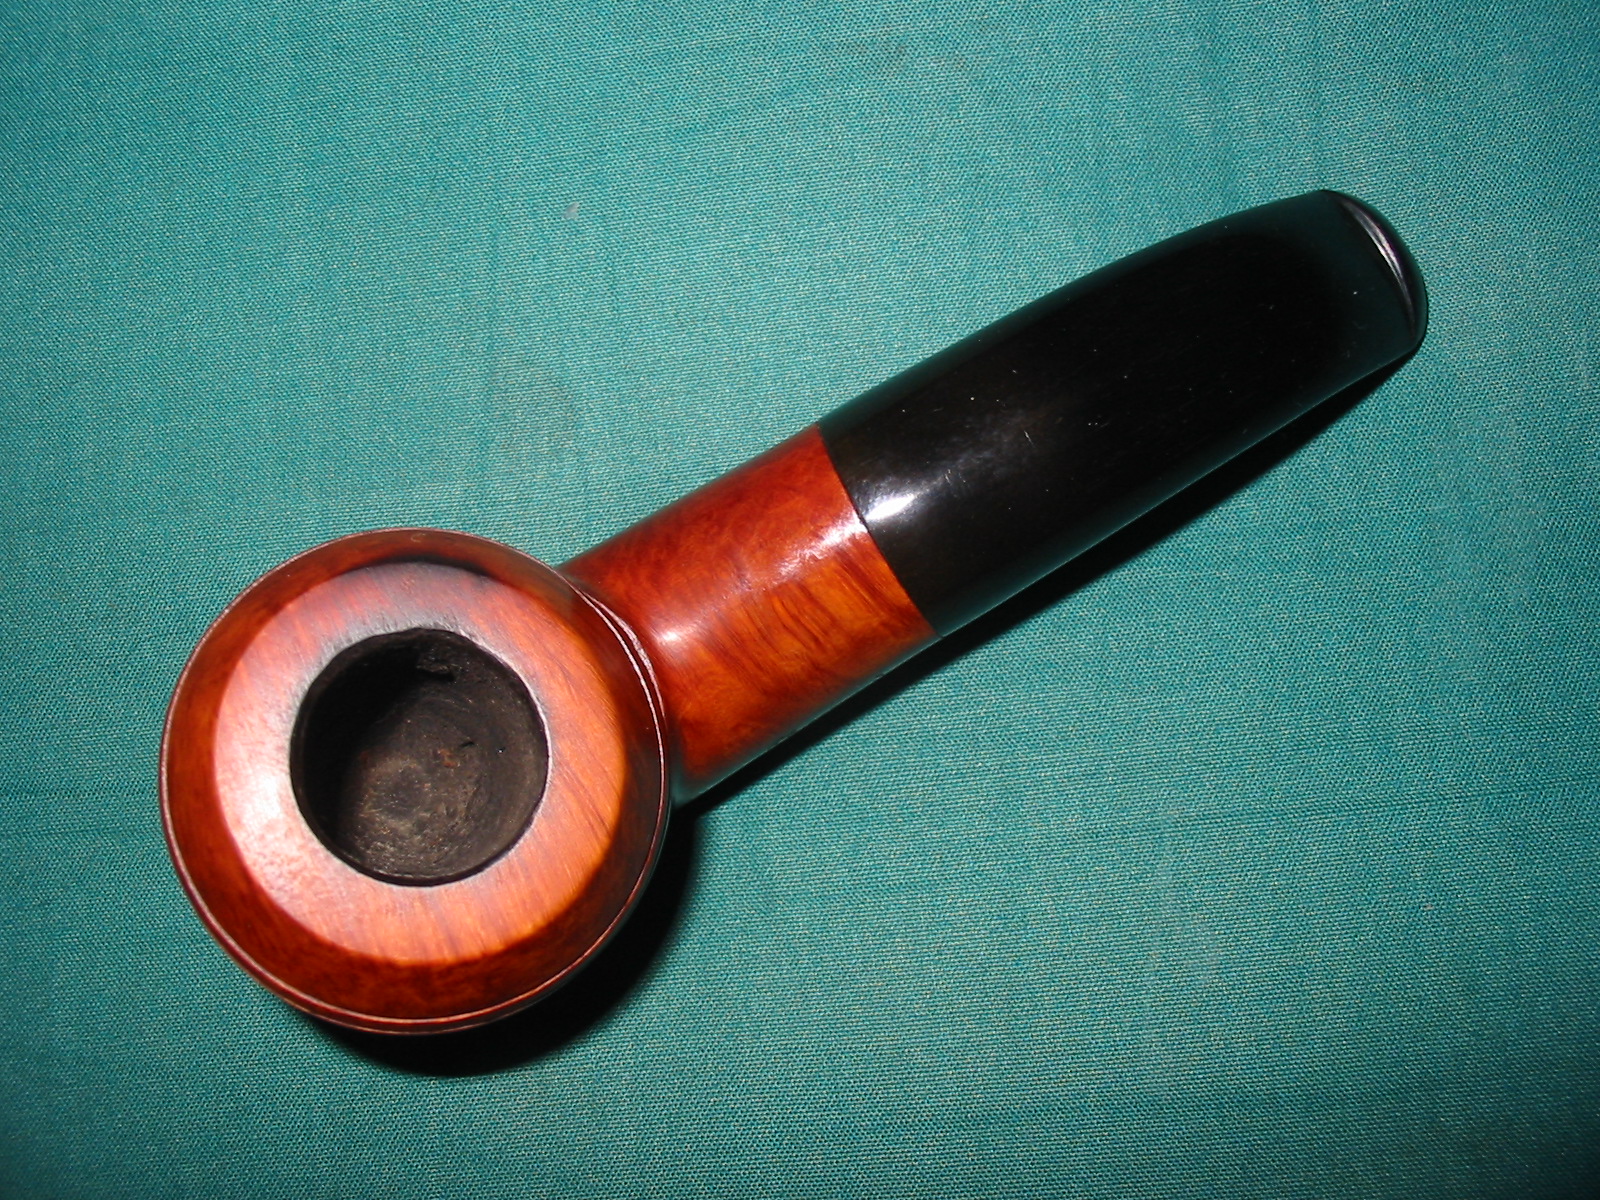
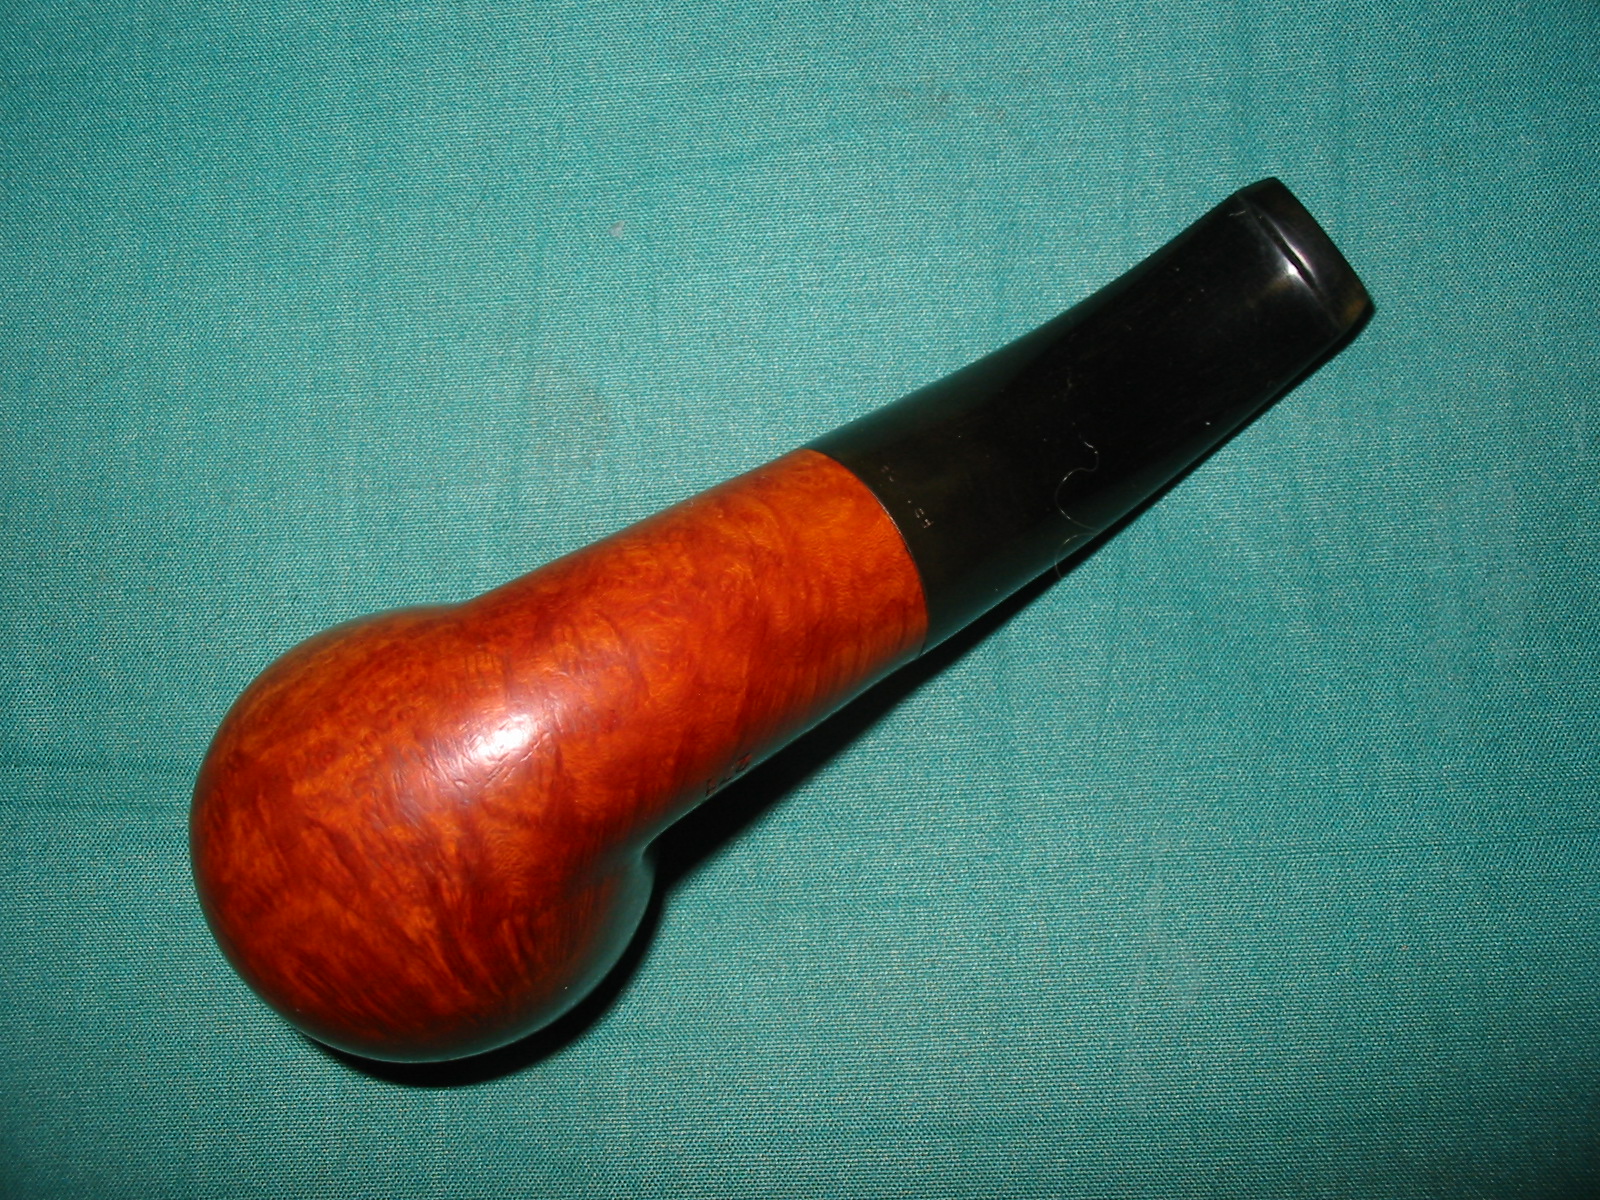
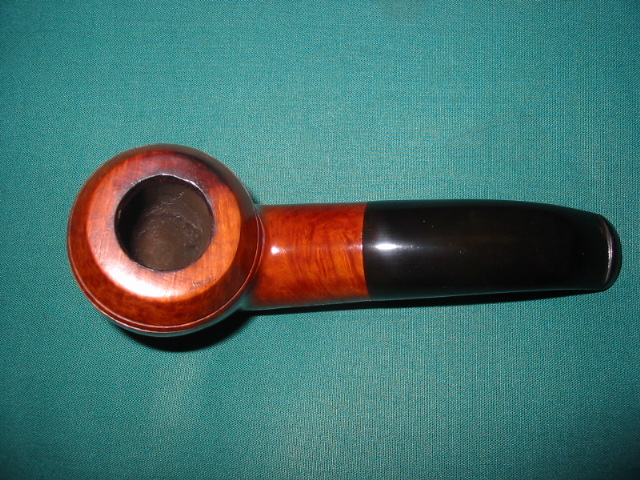
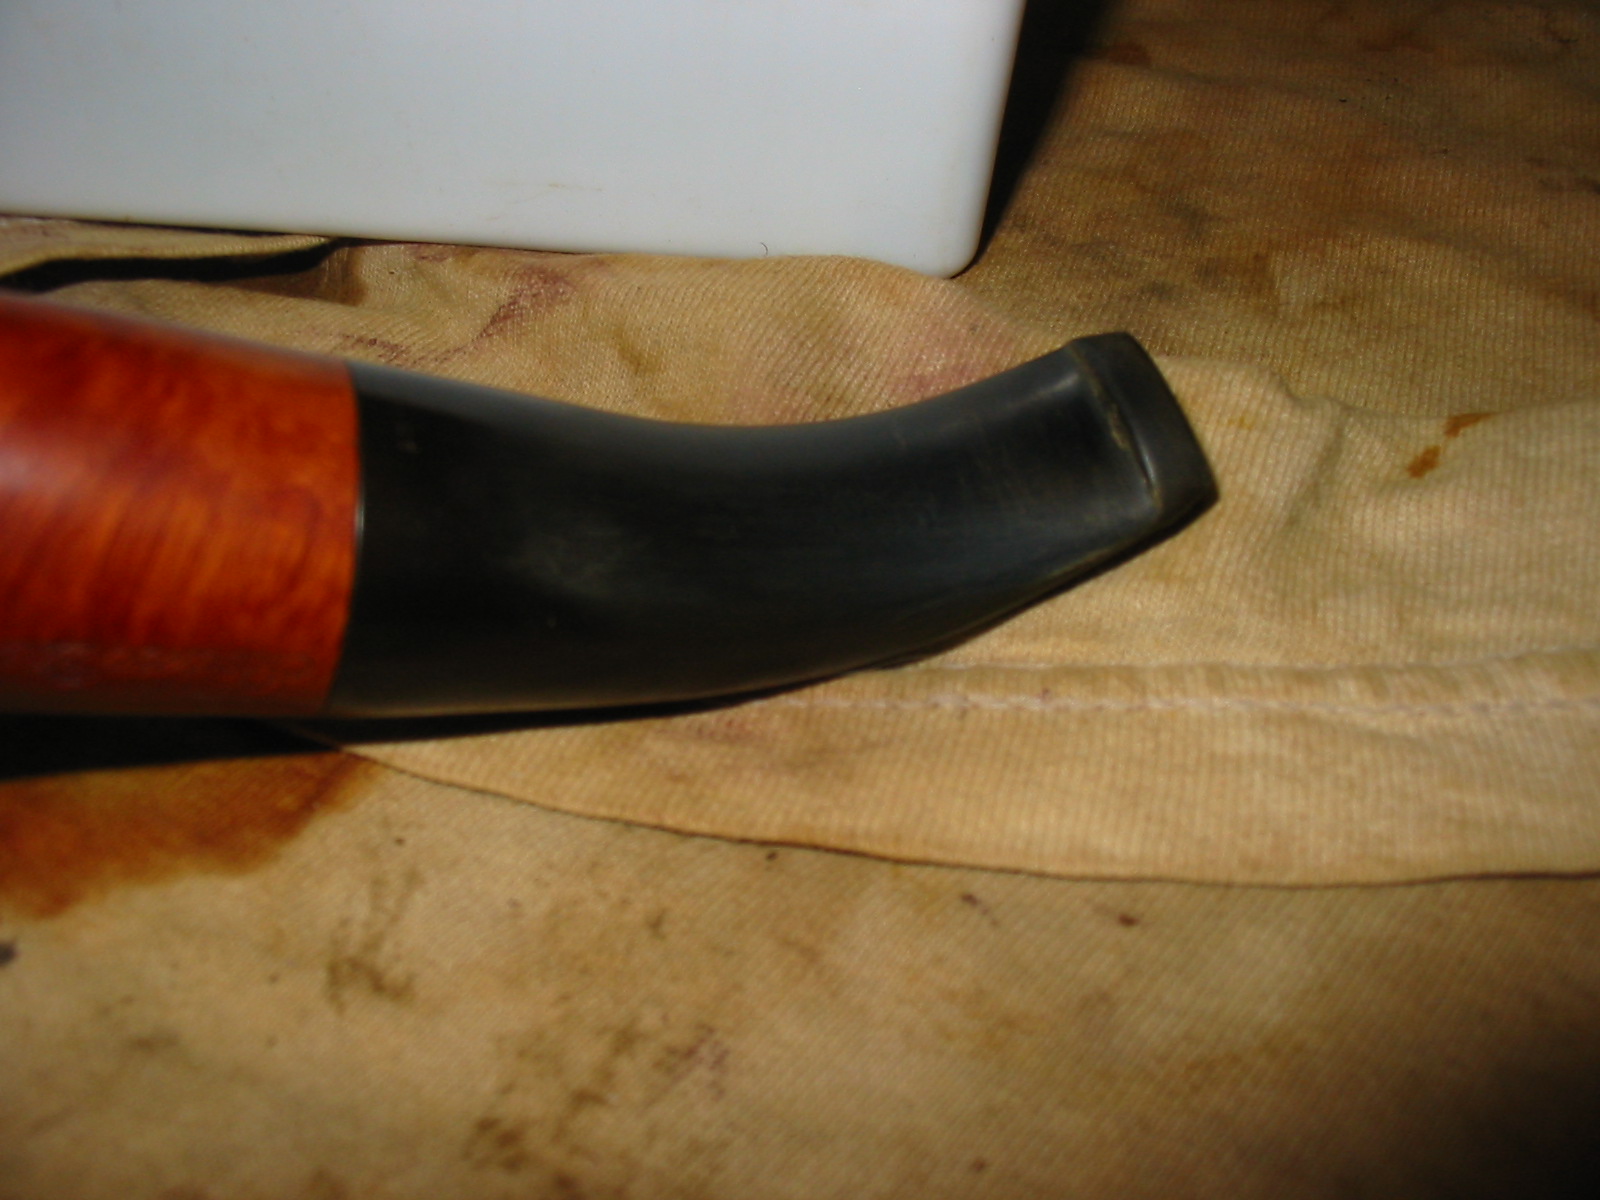
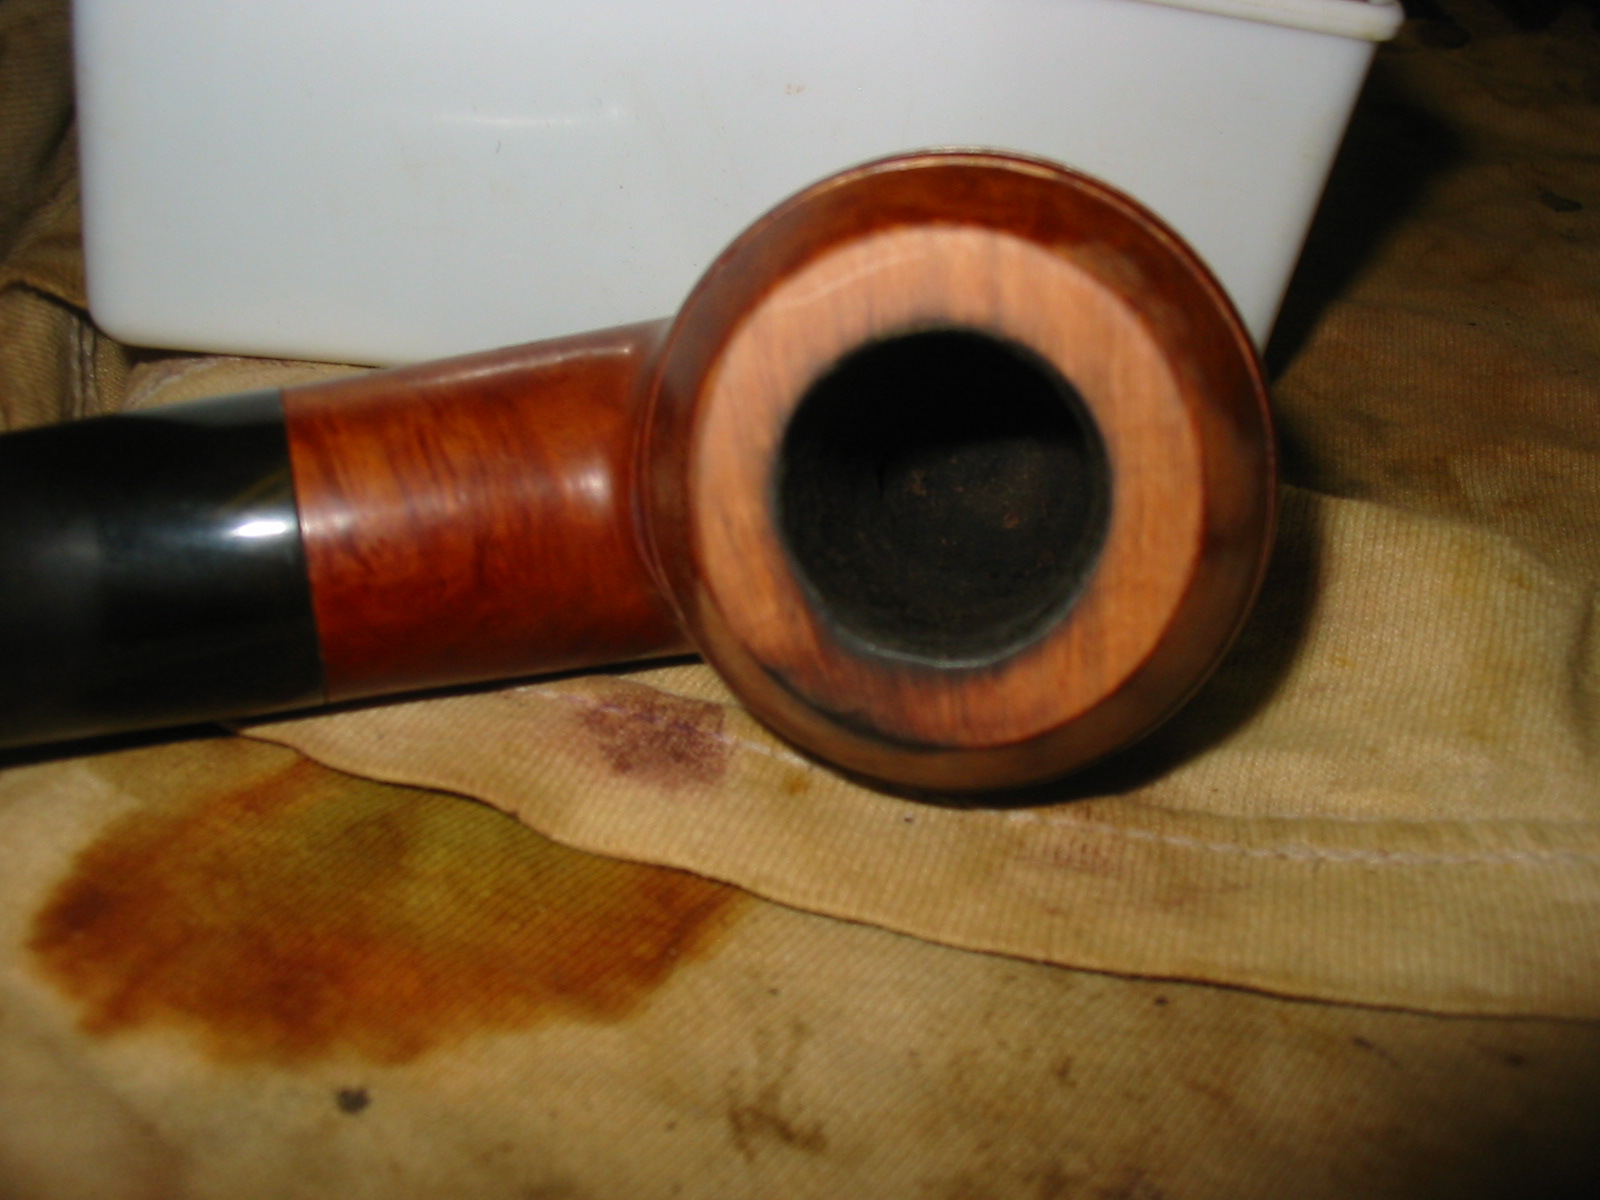
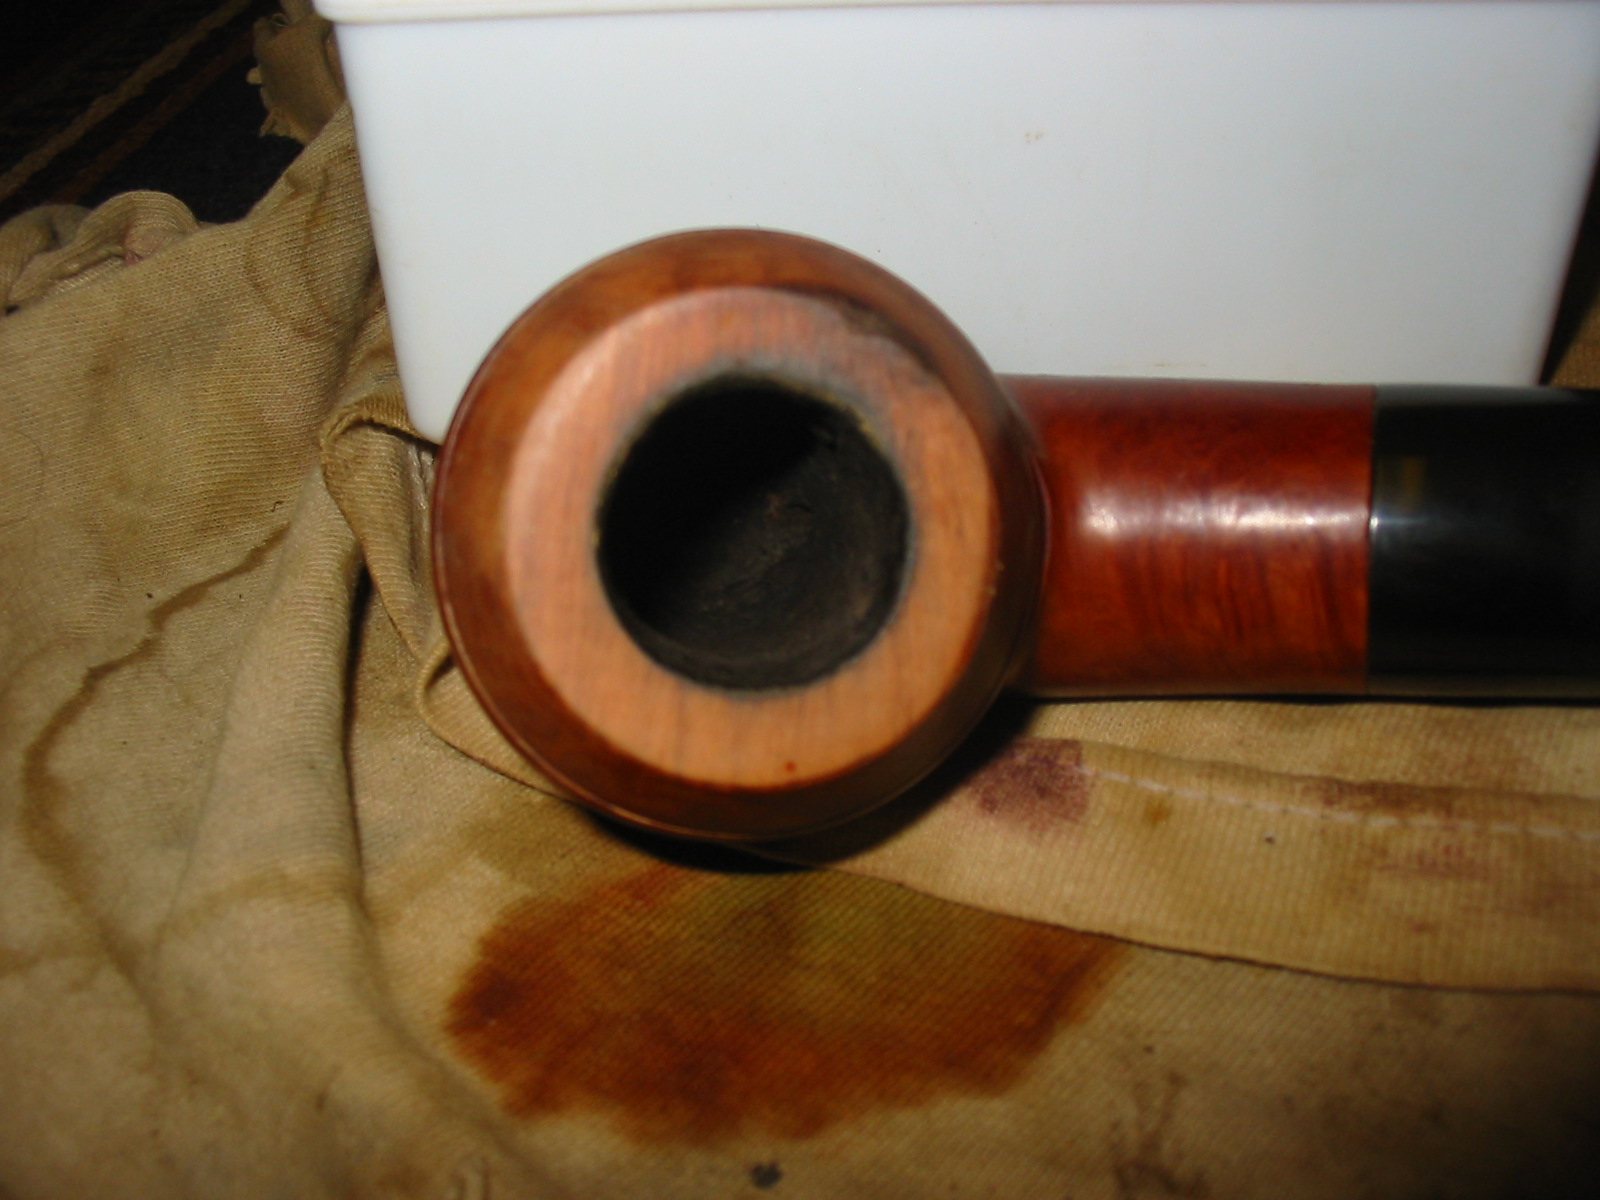
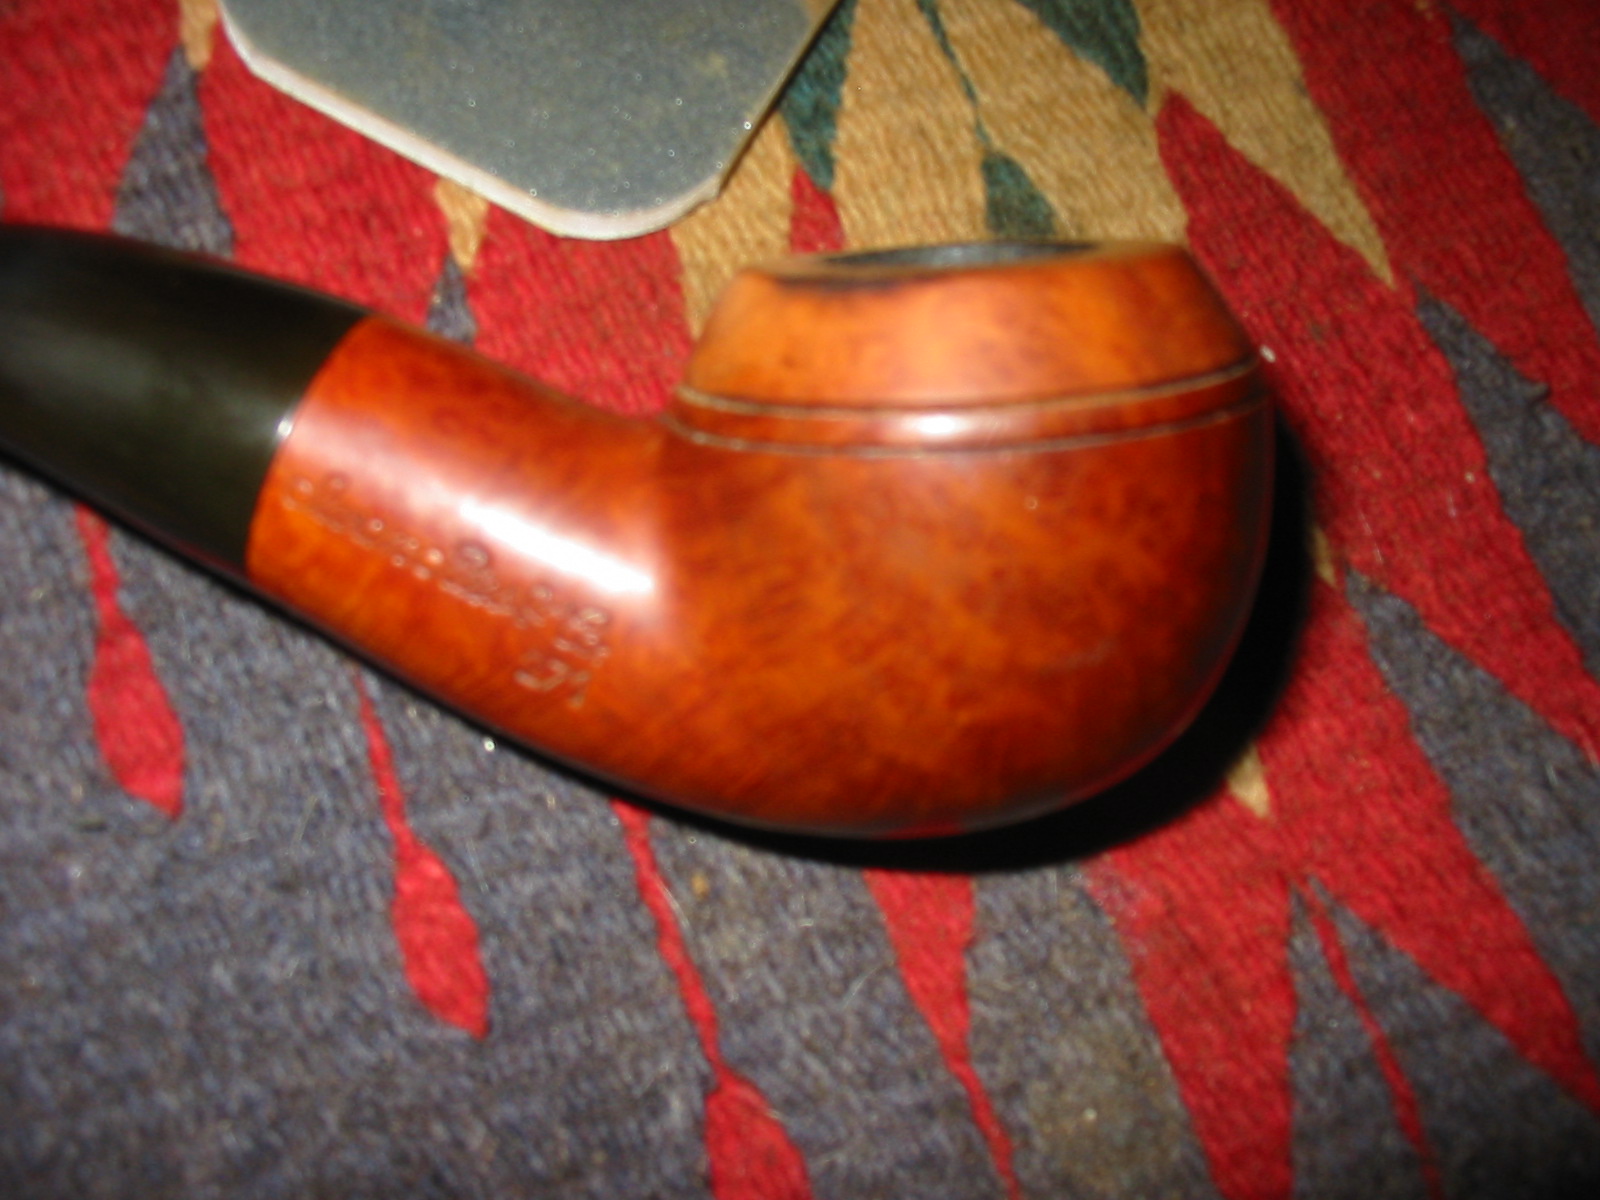
The four photos below show what it looked like when I started this time around. The burn mark on the top and side of rim was quite prominent. There was a slight dip in the outer rim edge of the burn. The stem had some tooth damage as can be seen in the last two photos.
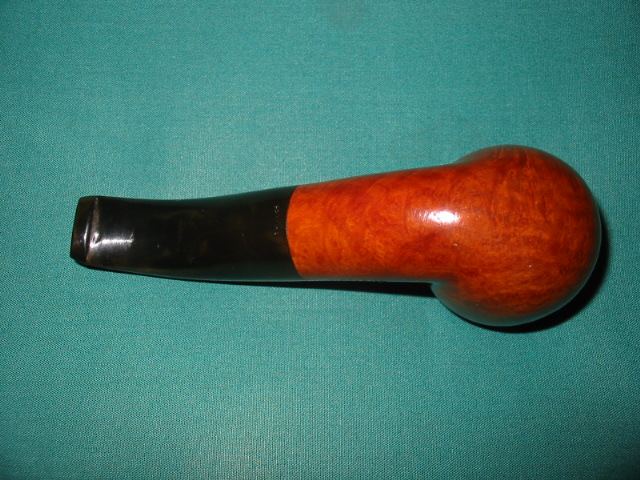
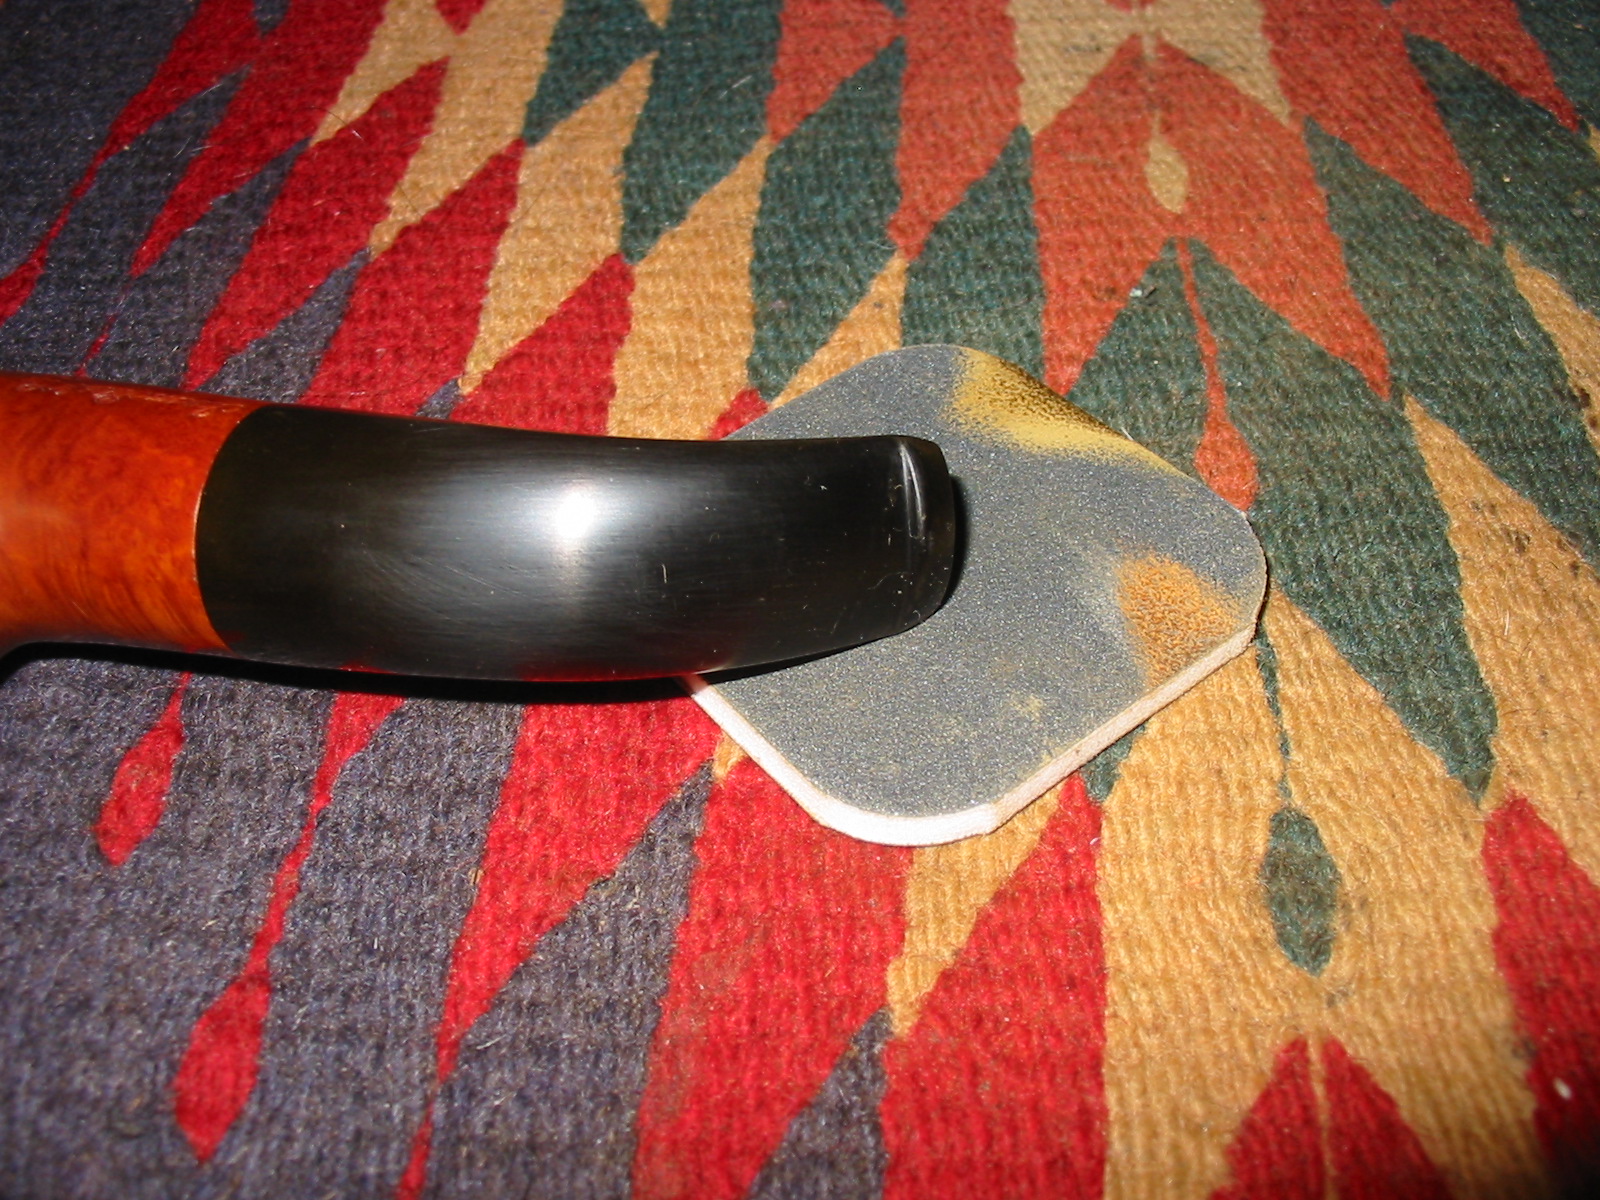
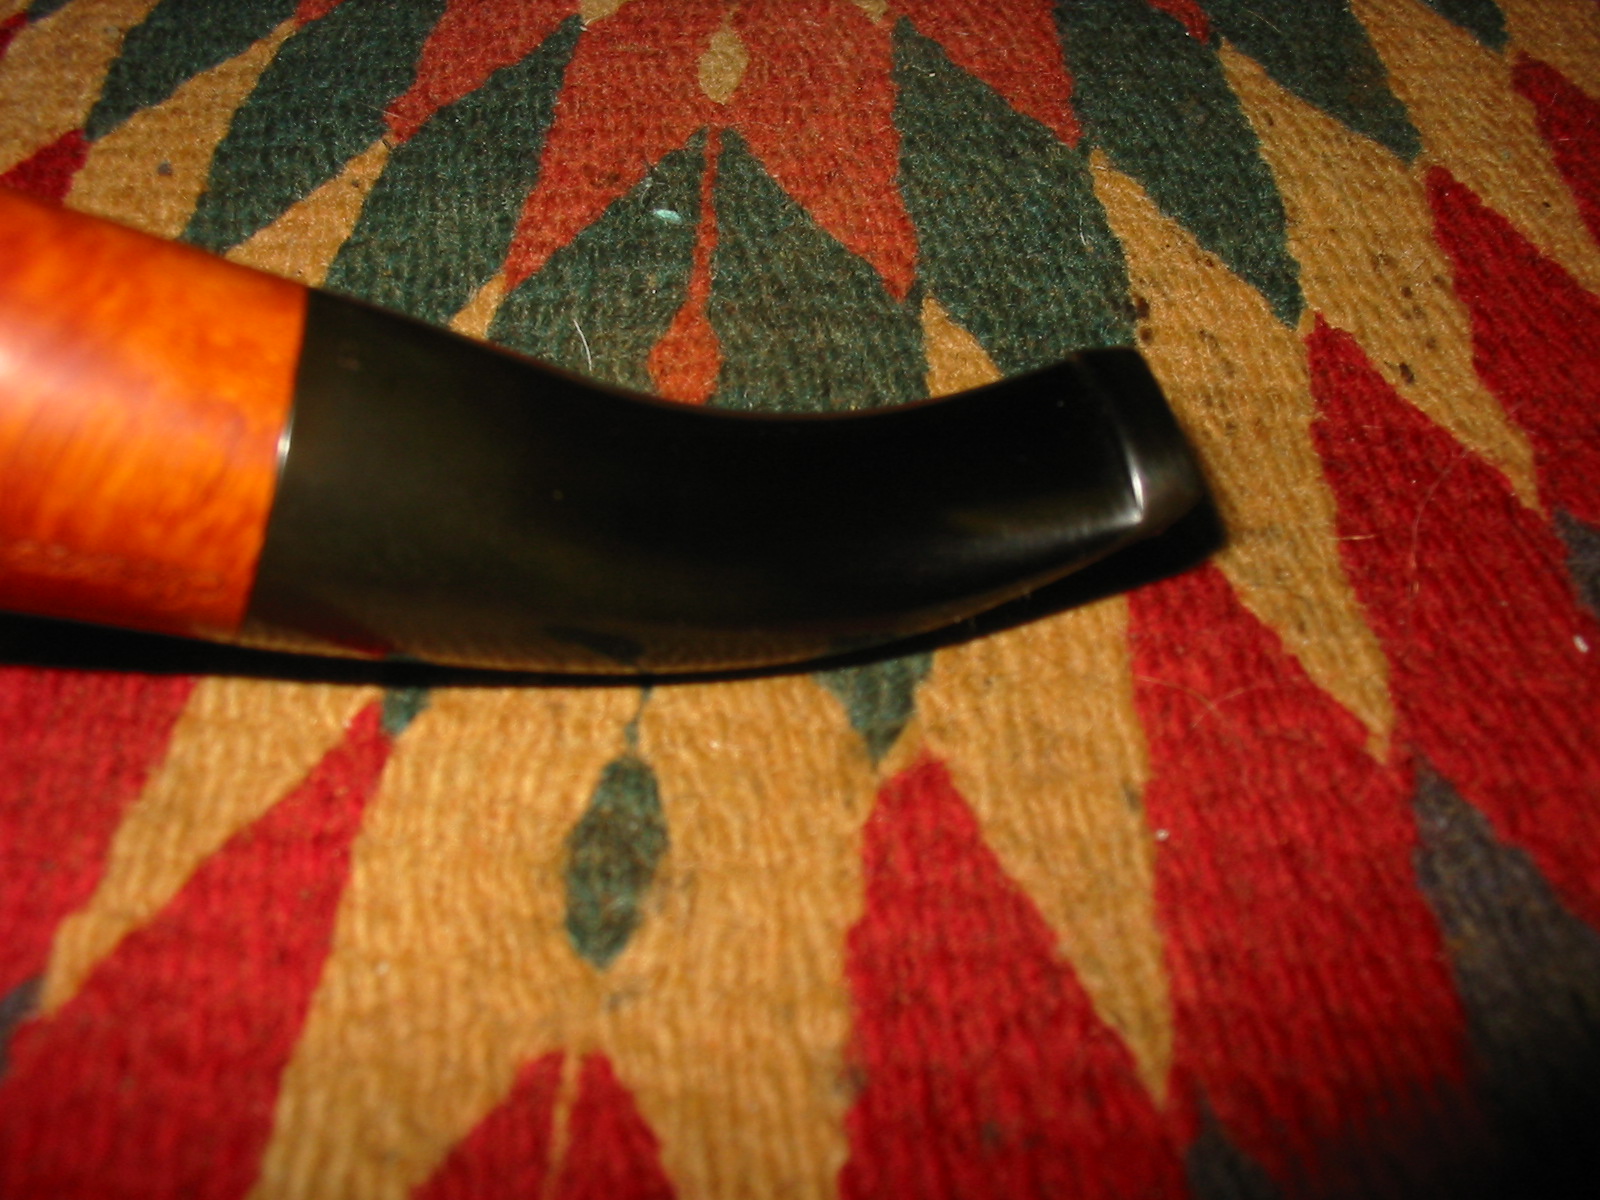
The stem had some bite marks next to the button on the top and the bottom and there was oxidation along the edges. The angle of the button was not clean and had scratches and marks as well. I sanded the stem with 220 grit sandpaper, medium grit sanding sponge and micromesh sanding pads from 1500-12,000 grit. I wet sanded with the 1500-2400 grit and dry sanded with the the remaining grits through 12,000 grit. I buffed the stem with White Diamond and then rubbed it down with Obsidian Oil.


The rim was damaged from a burn and I had not done much with it above so I decided to gently top the bowl and sand the burn mark to try and minimize its extent. I sanded entire crown around the bowl above the two lines. Once the burn mark was a minimize as I could make it I sanded it with a medium grit sanding sponge and then with micromesh sanding pads. I restained the pipe with an oxblood aniline stain thinned 2:1 with isopropyl to get the colour I wanted for the bowl. I buffed it and waxed it first with White Diamond and then carnauba.

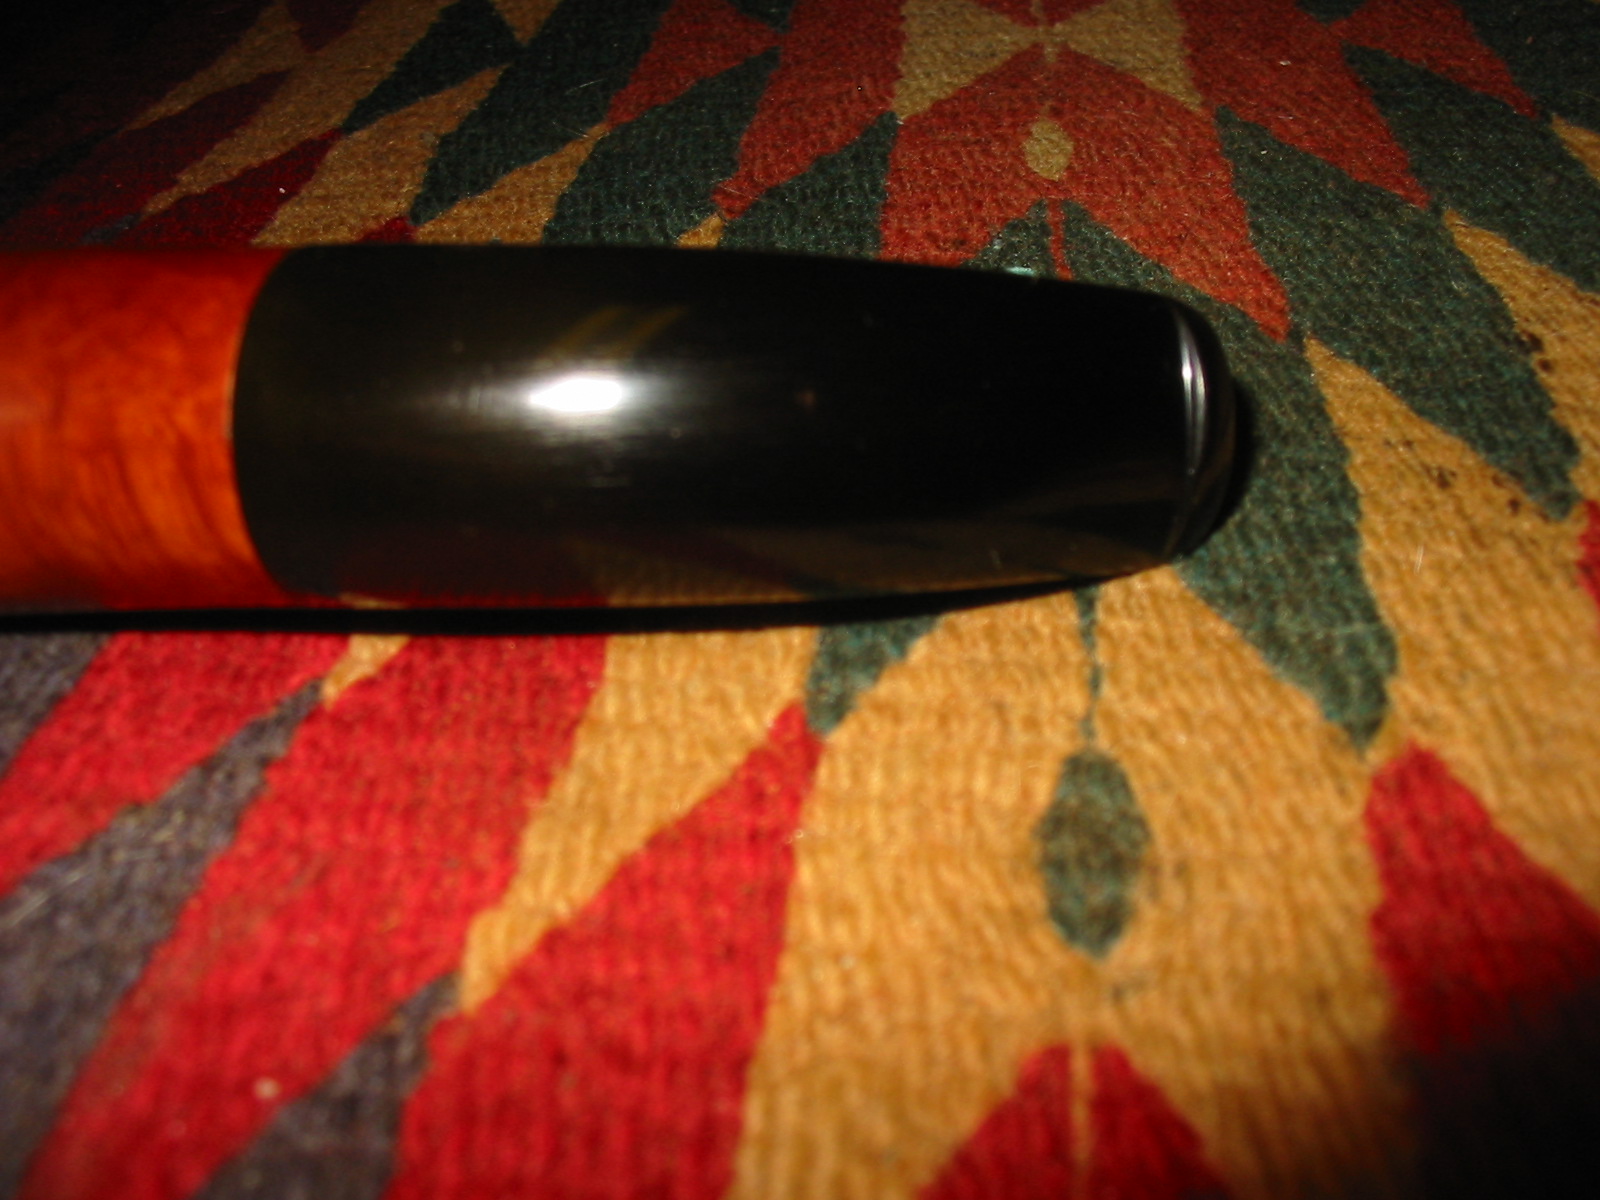
I reinserted the stem and buffed the whole pipe with White Diamond a final time and then gave the entirety several coats of carnauba wax. The photo below shows the finished pipe. It is far better looking now after the rework than when I took it from the cupboard.