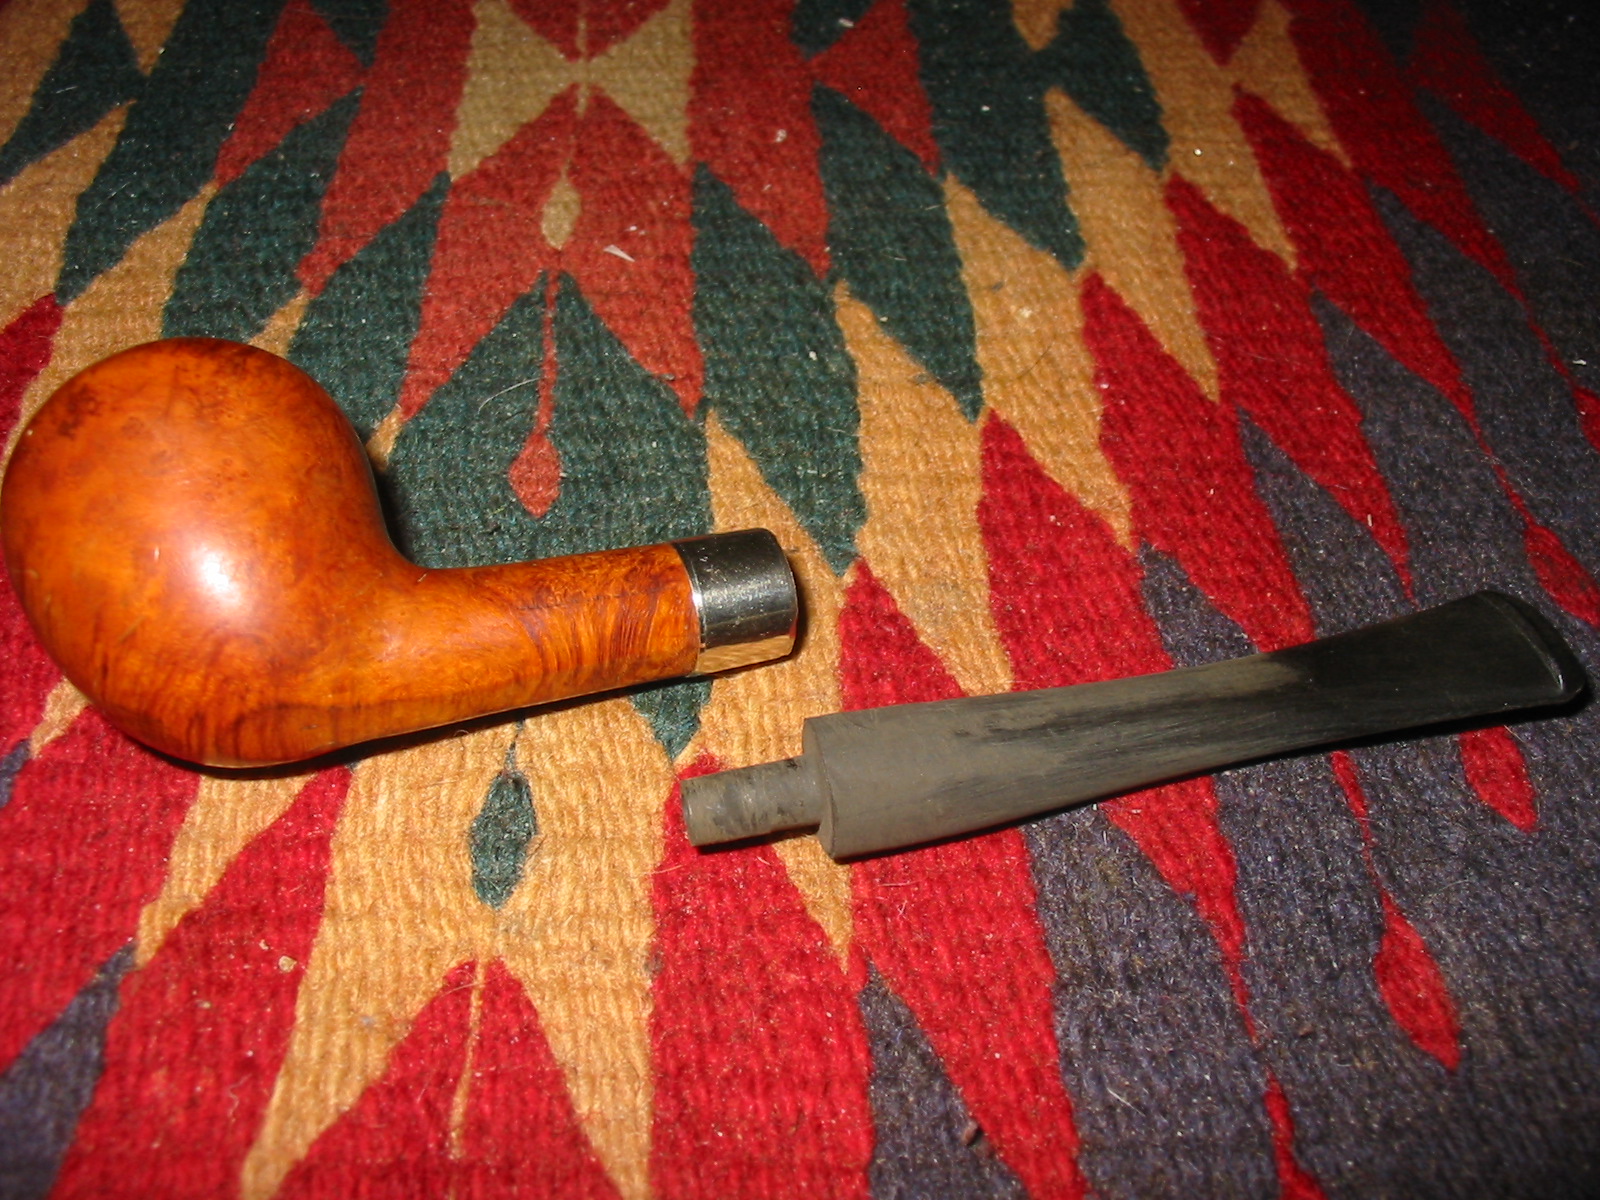
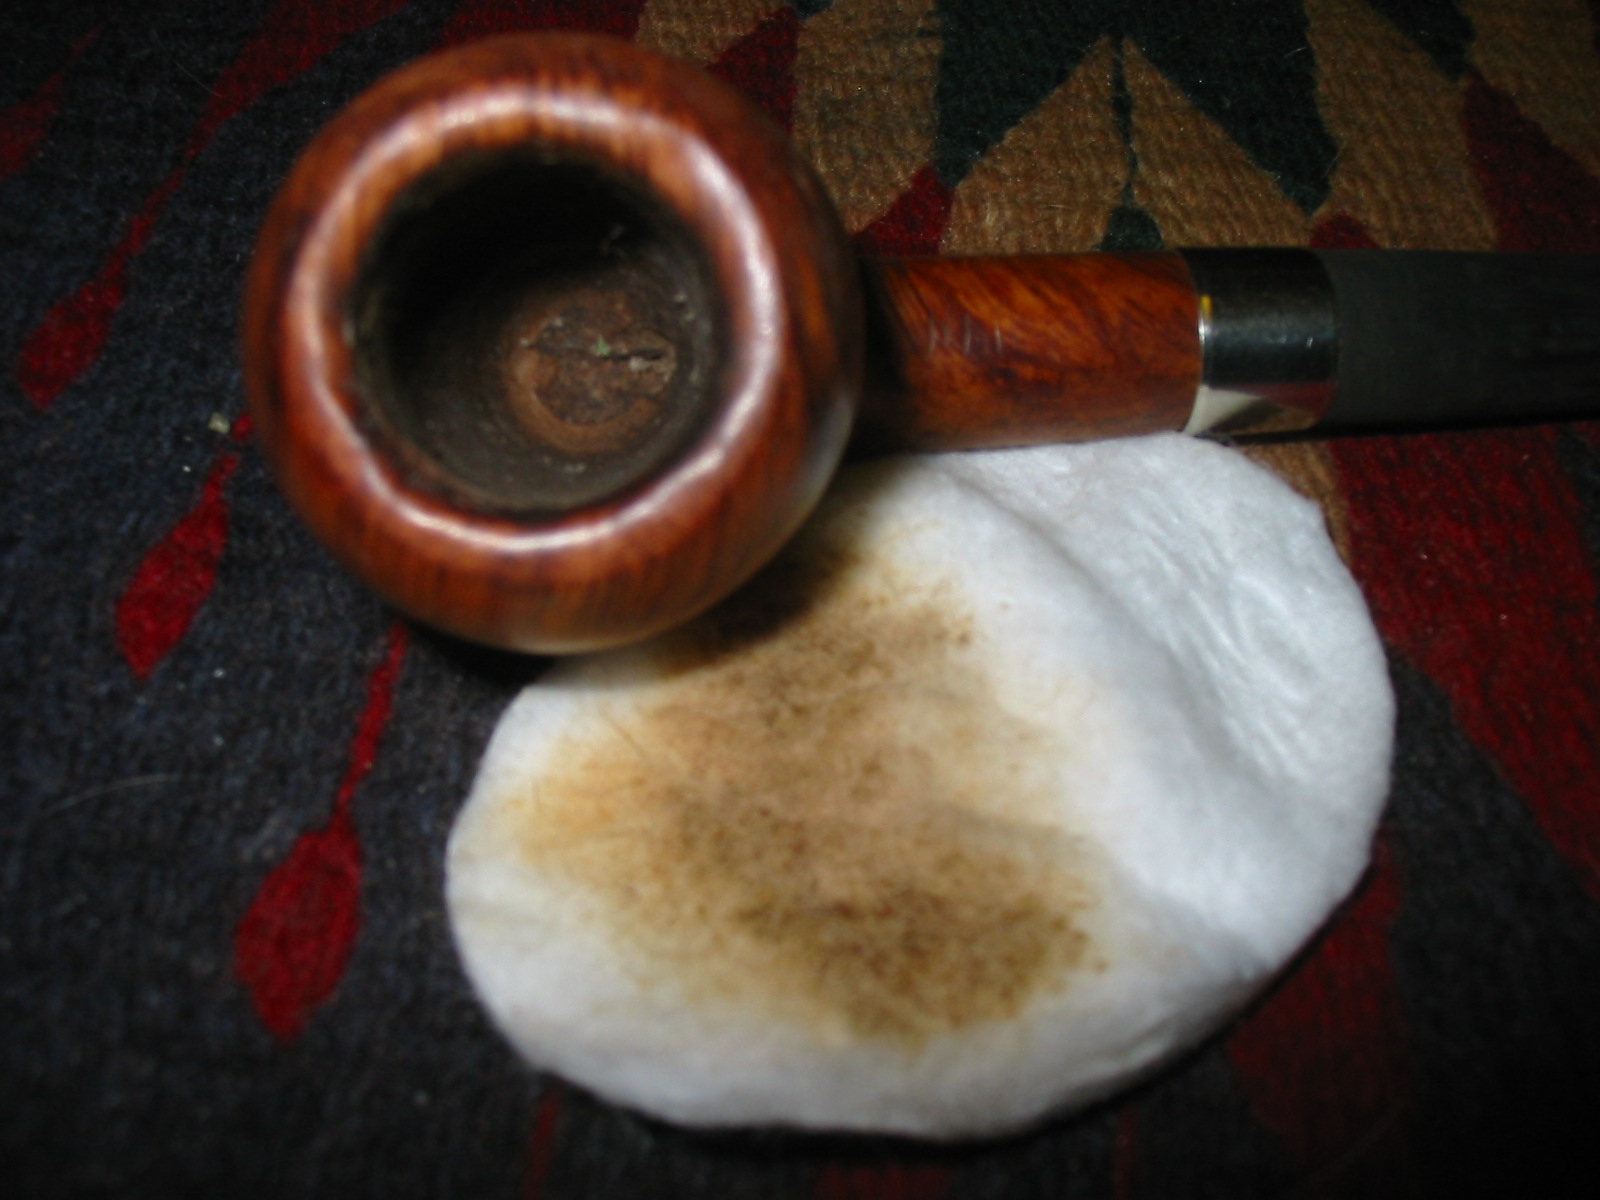
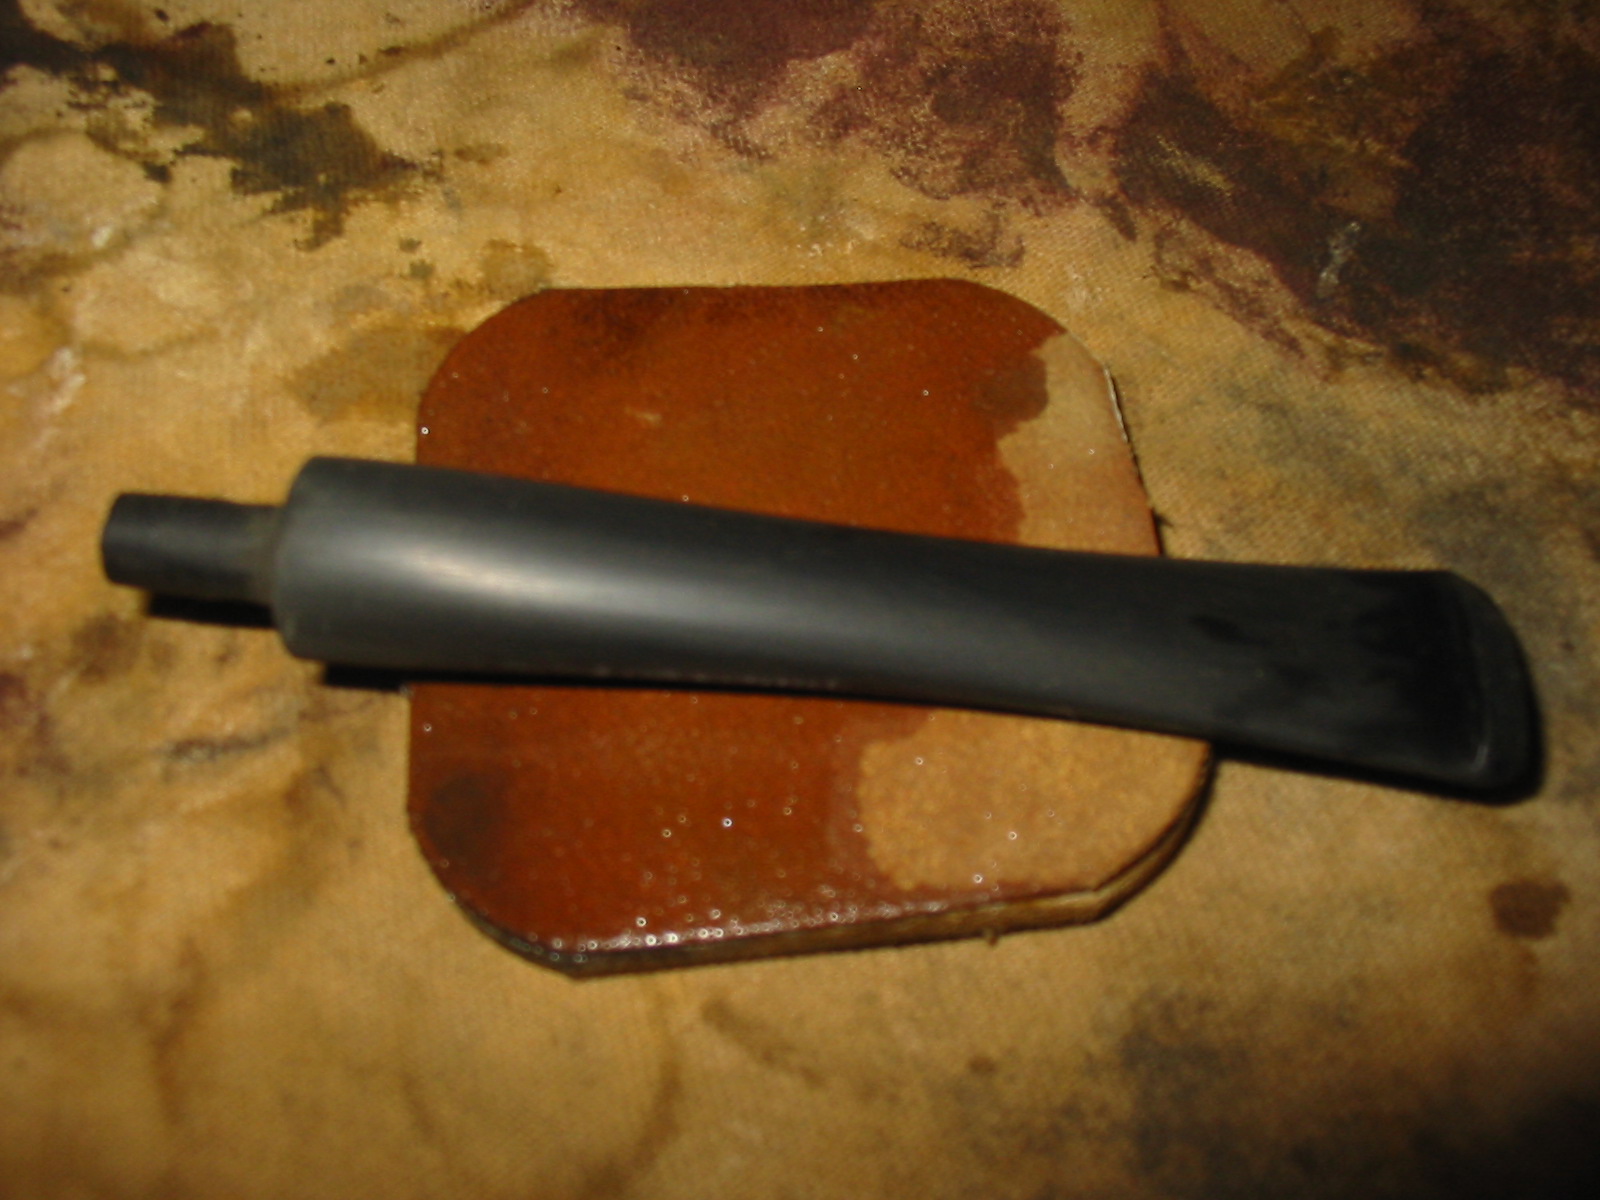
I have cleaned out my box of pipes for refurbishing and all I have left are bowls that need to have stems made and fit. This little Yello Bole Acorn pipe attracted my attention and I decided it would be the first one I worked on. The pipe is stamped on the left side of the shank: KBB in a cloverleaf and next to that it is stamped Yello Bole over REGDUSPATOFF over Imperial in script. Underneath that it is stamped “Cured with Real Honey”. On the right side is stamped 3296B. I reamed the bowl and cleaned the airway and mortise area so that I could get a good clean fit with the new stem. I picked a stem blank from my can of stems and used my Pimo Tenon turning tool to turn the tenon to fit the shank. The stem was too large so I removed the excess material with a sanding drum on my Dremel. In the photo below you can see the stem after I had sanded the excess away with the Dremel. The shank on the pipe also had a small crack in it so I glued it with superglue and pressure fit a nickel band on the shank.
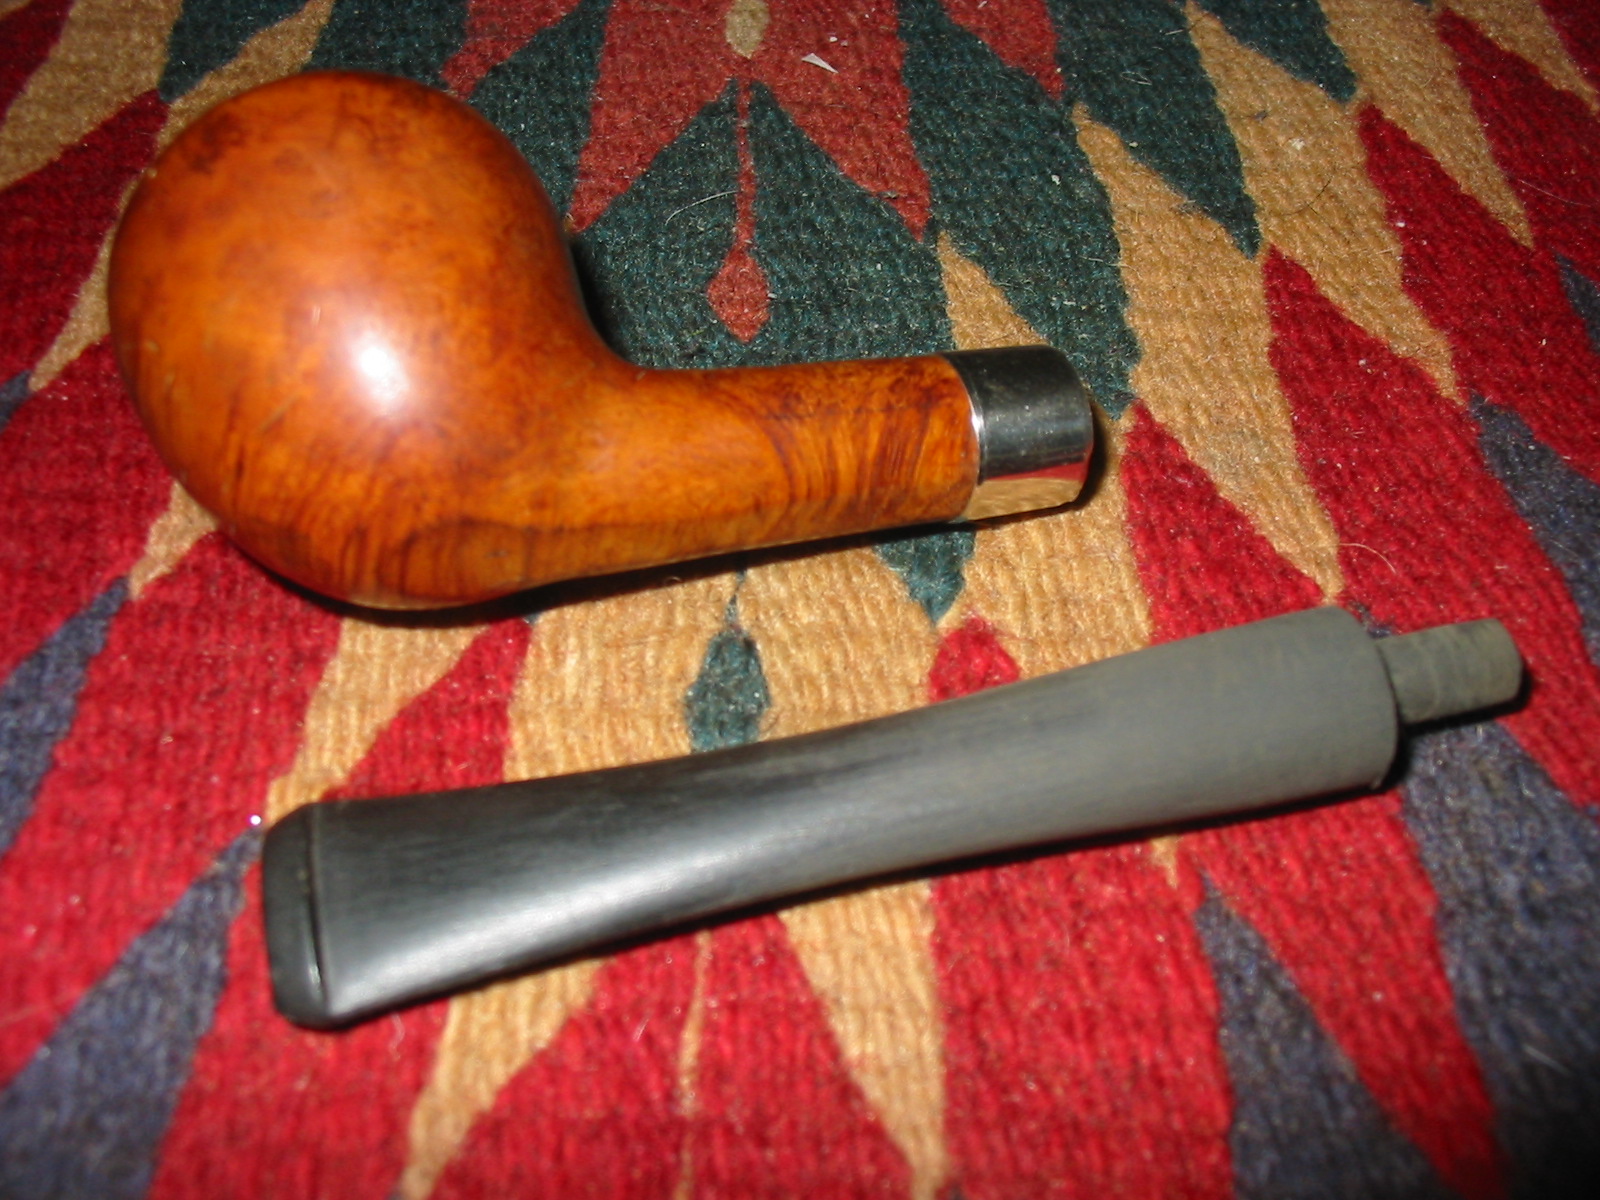
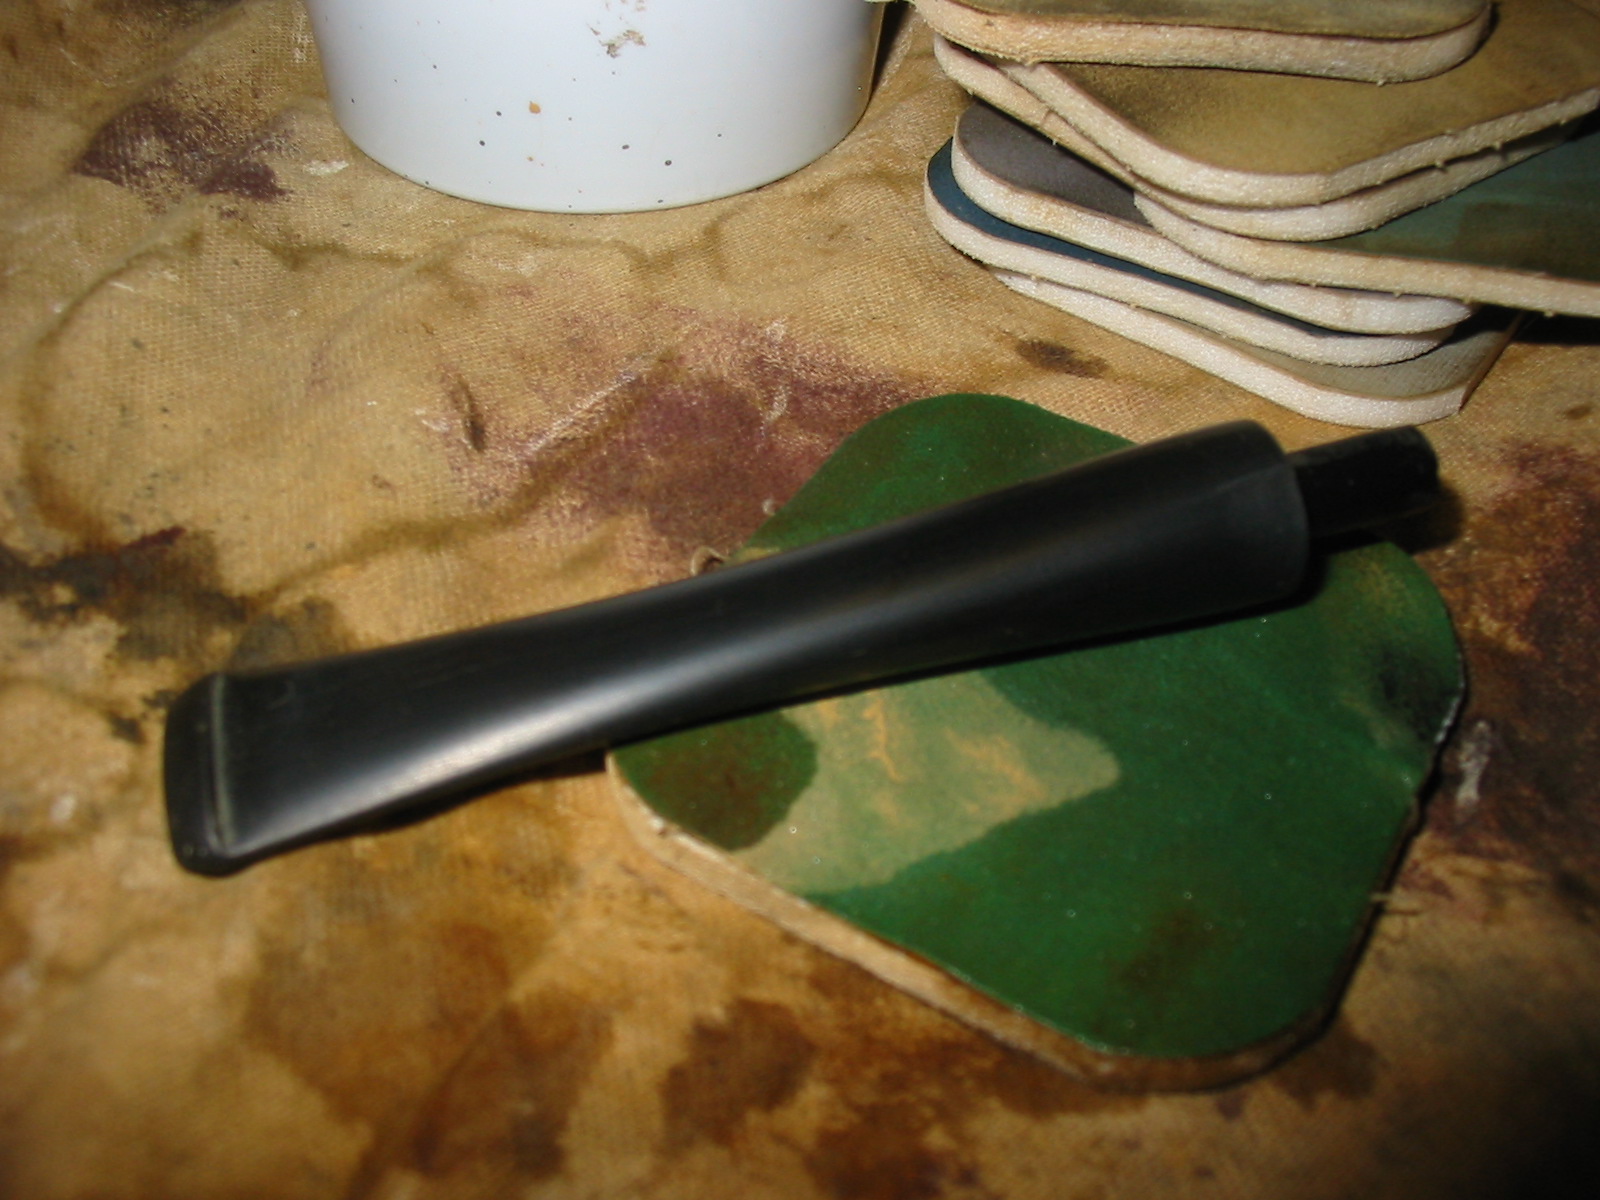
I sanded the stem with medium grit emery cloth to remove the scratches and marks left by the sanding drum. I find that the emery cloth does a great job removing the deep scratches and marks around the diameter of the stem as well as fine tune the fit to the shank. The band had some small dents that needed to be taken out so I used a small round headed pick to bring the shape back into round. The next three photos show the stem after sanding with the emery cloth.
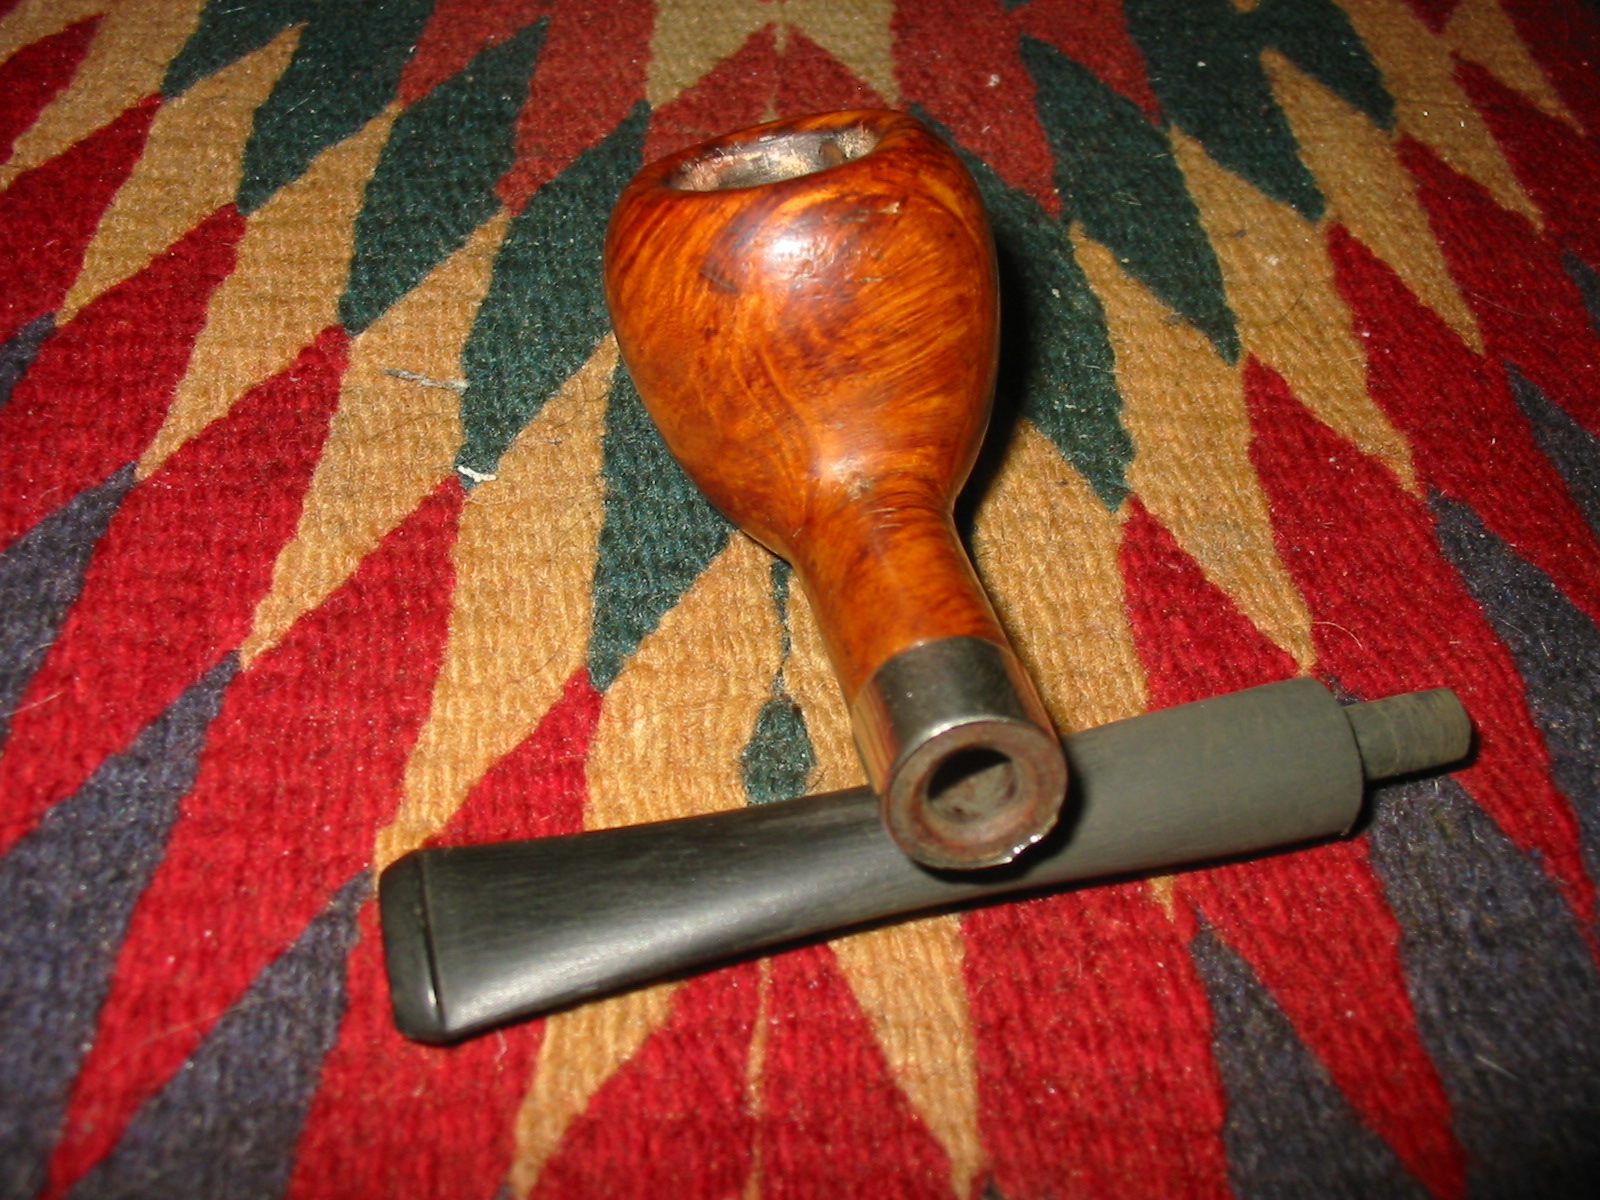

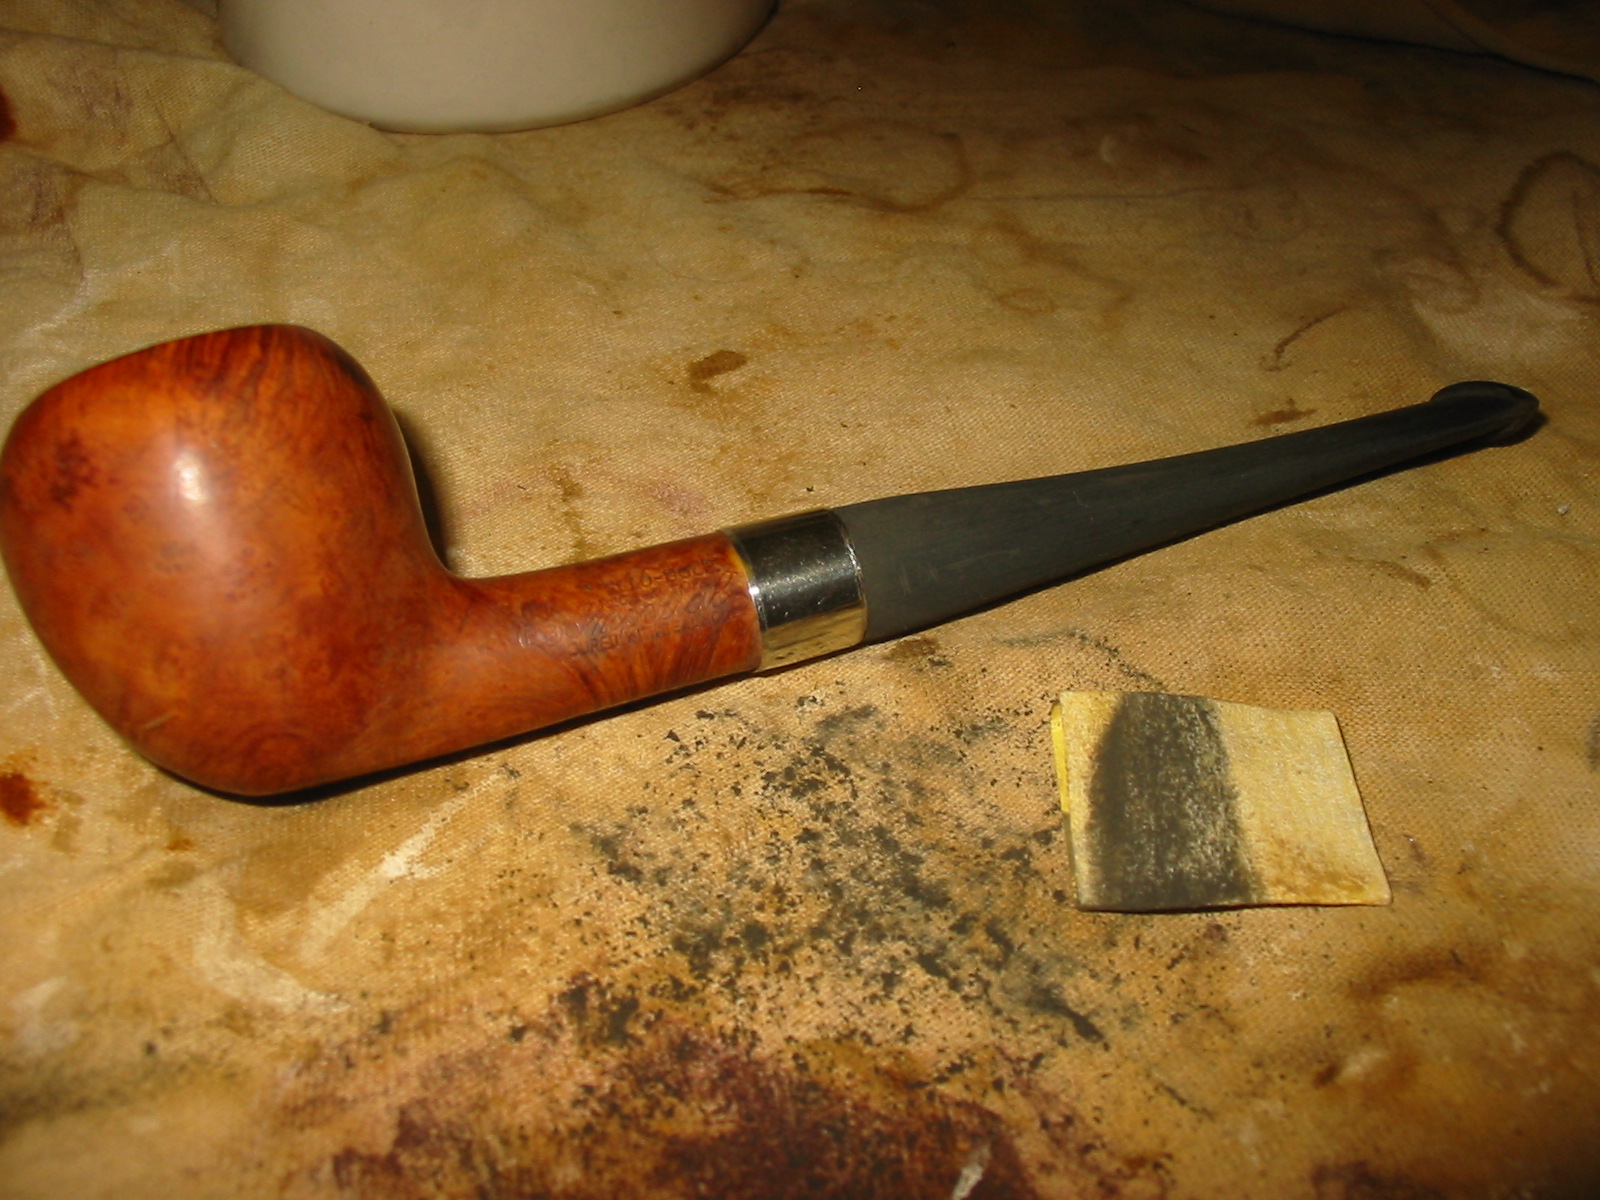
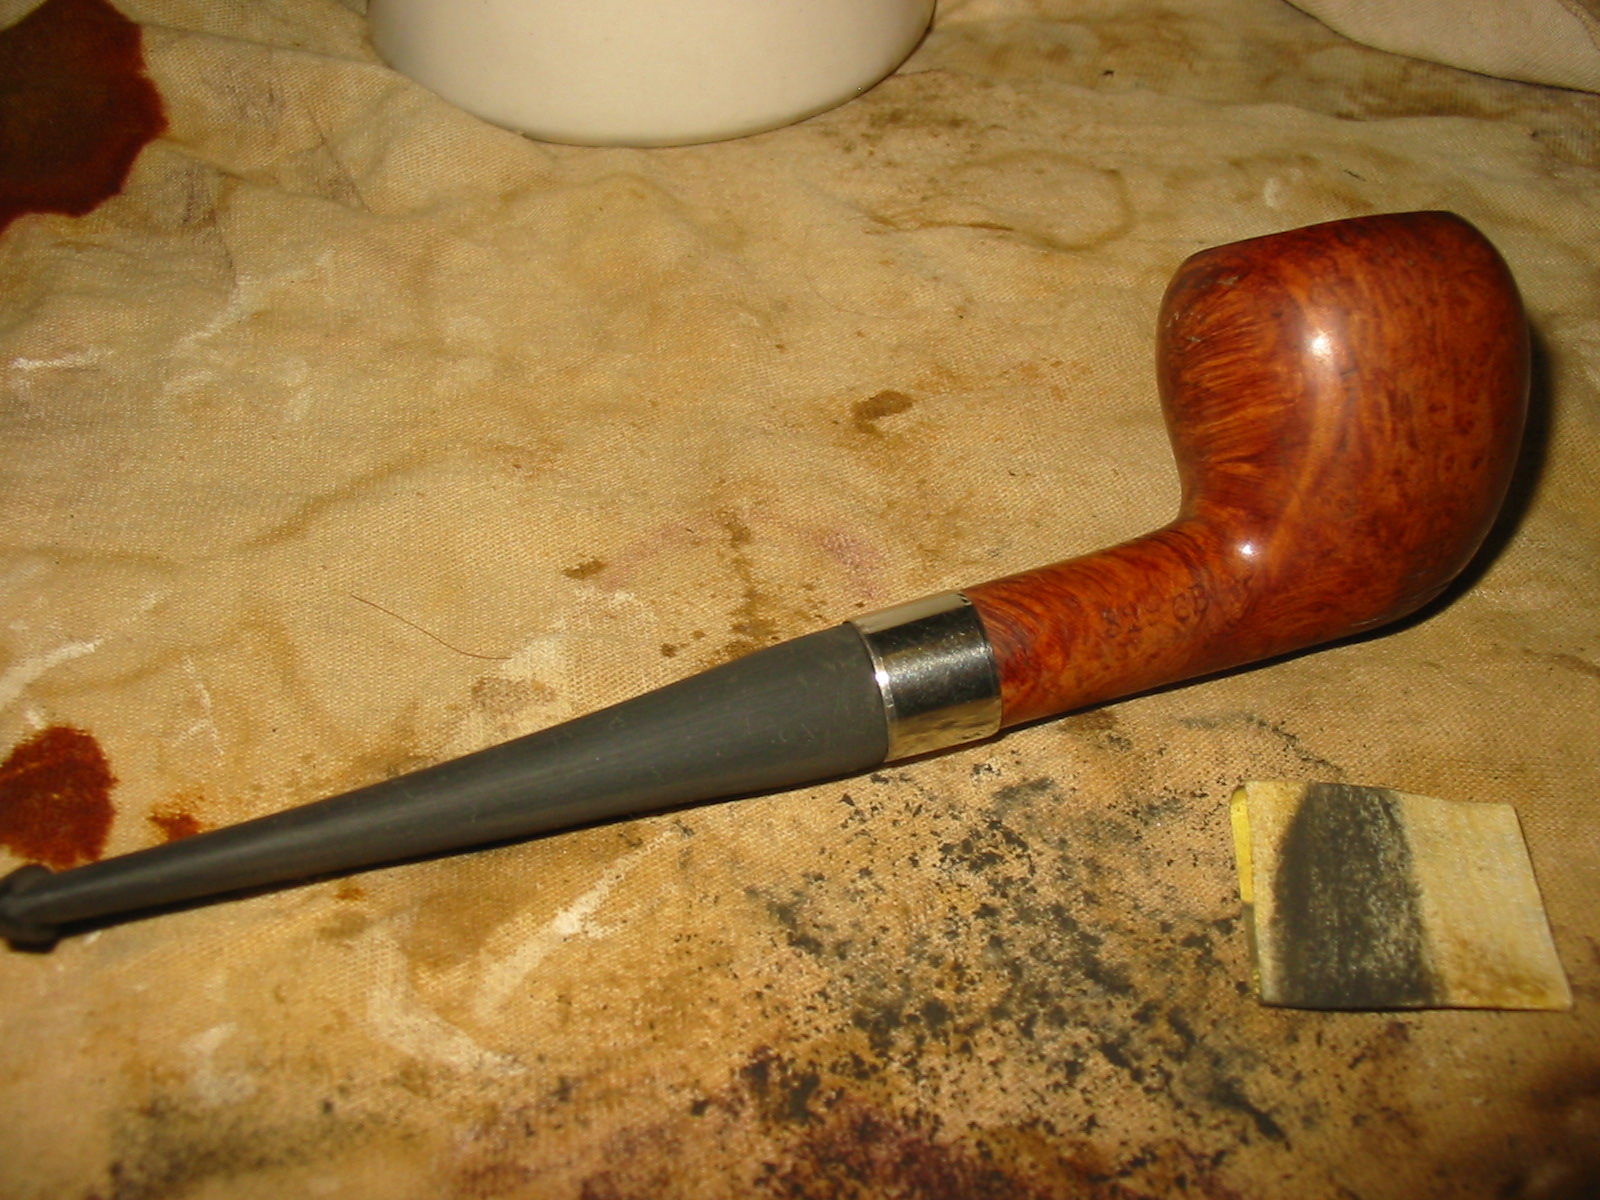
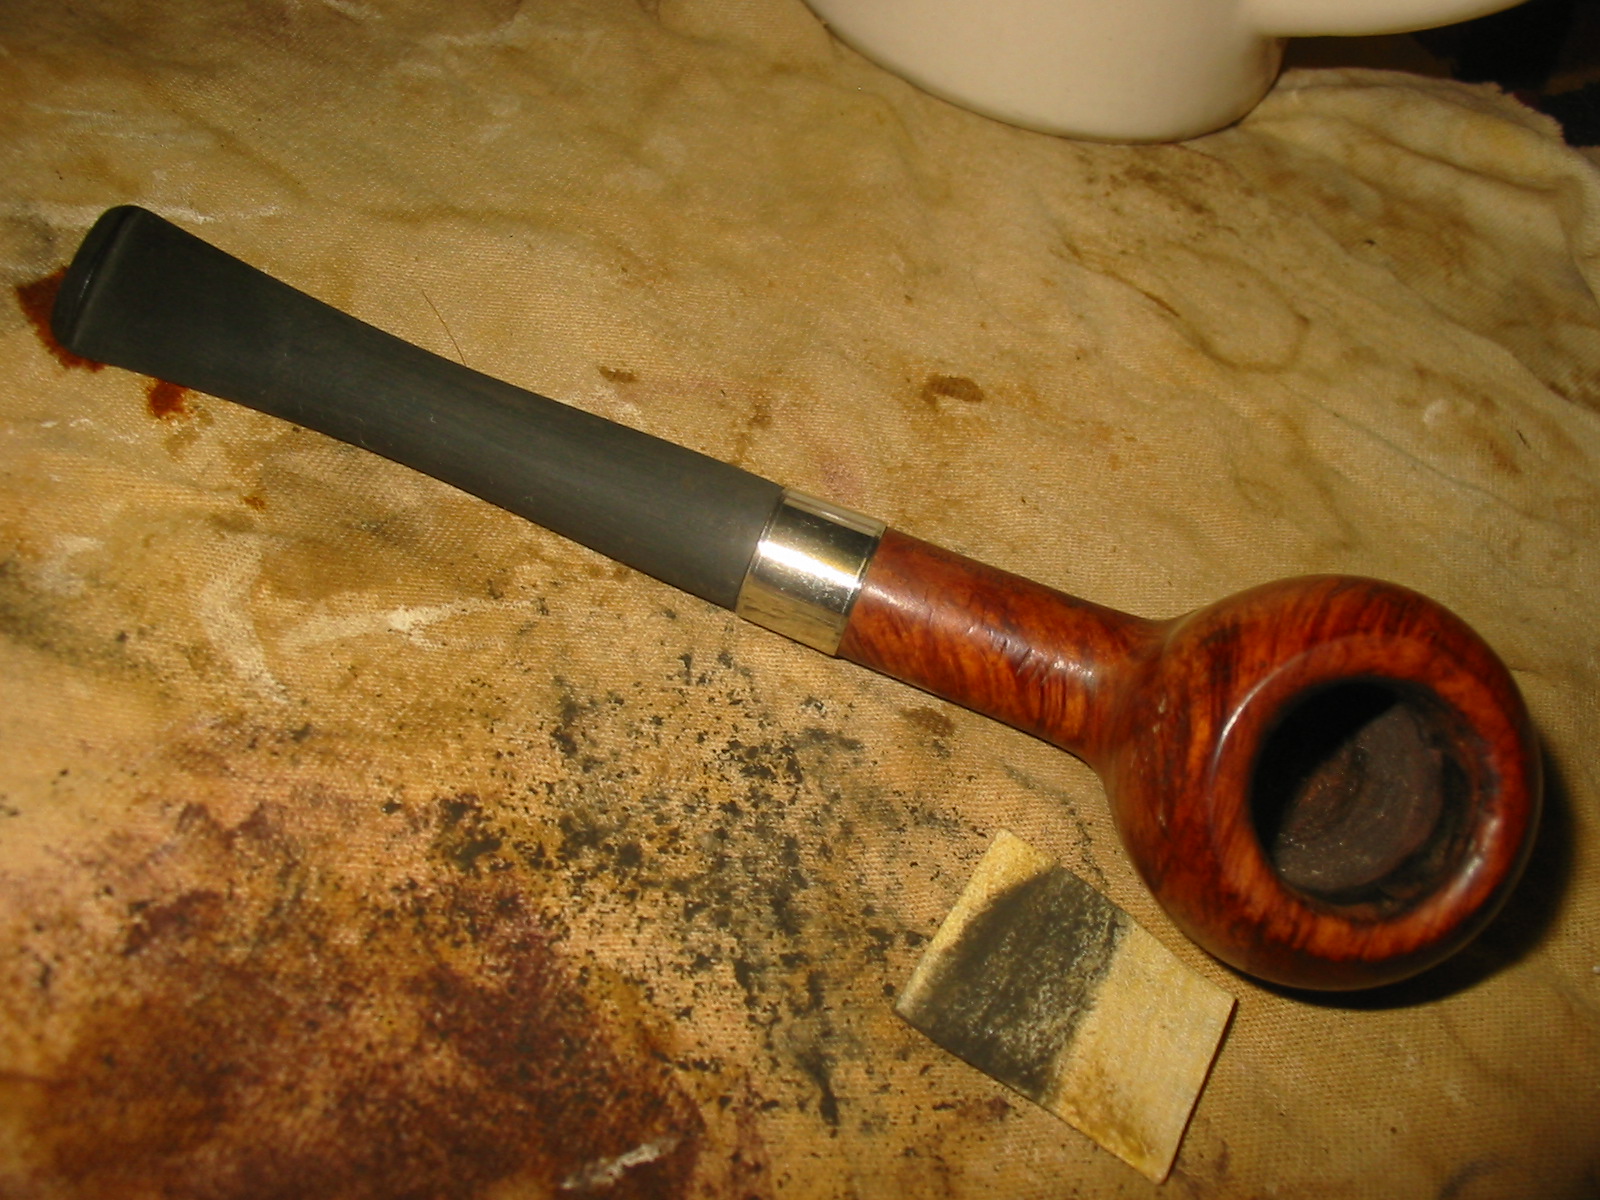
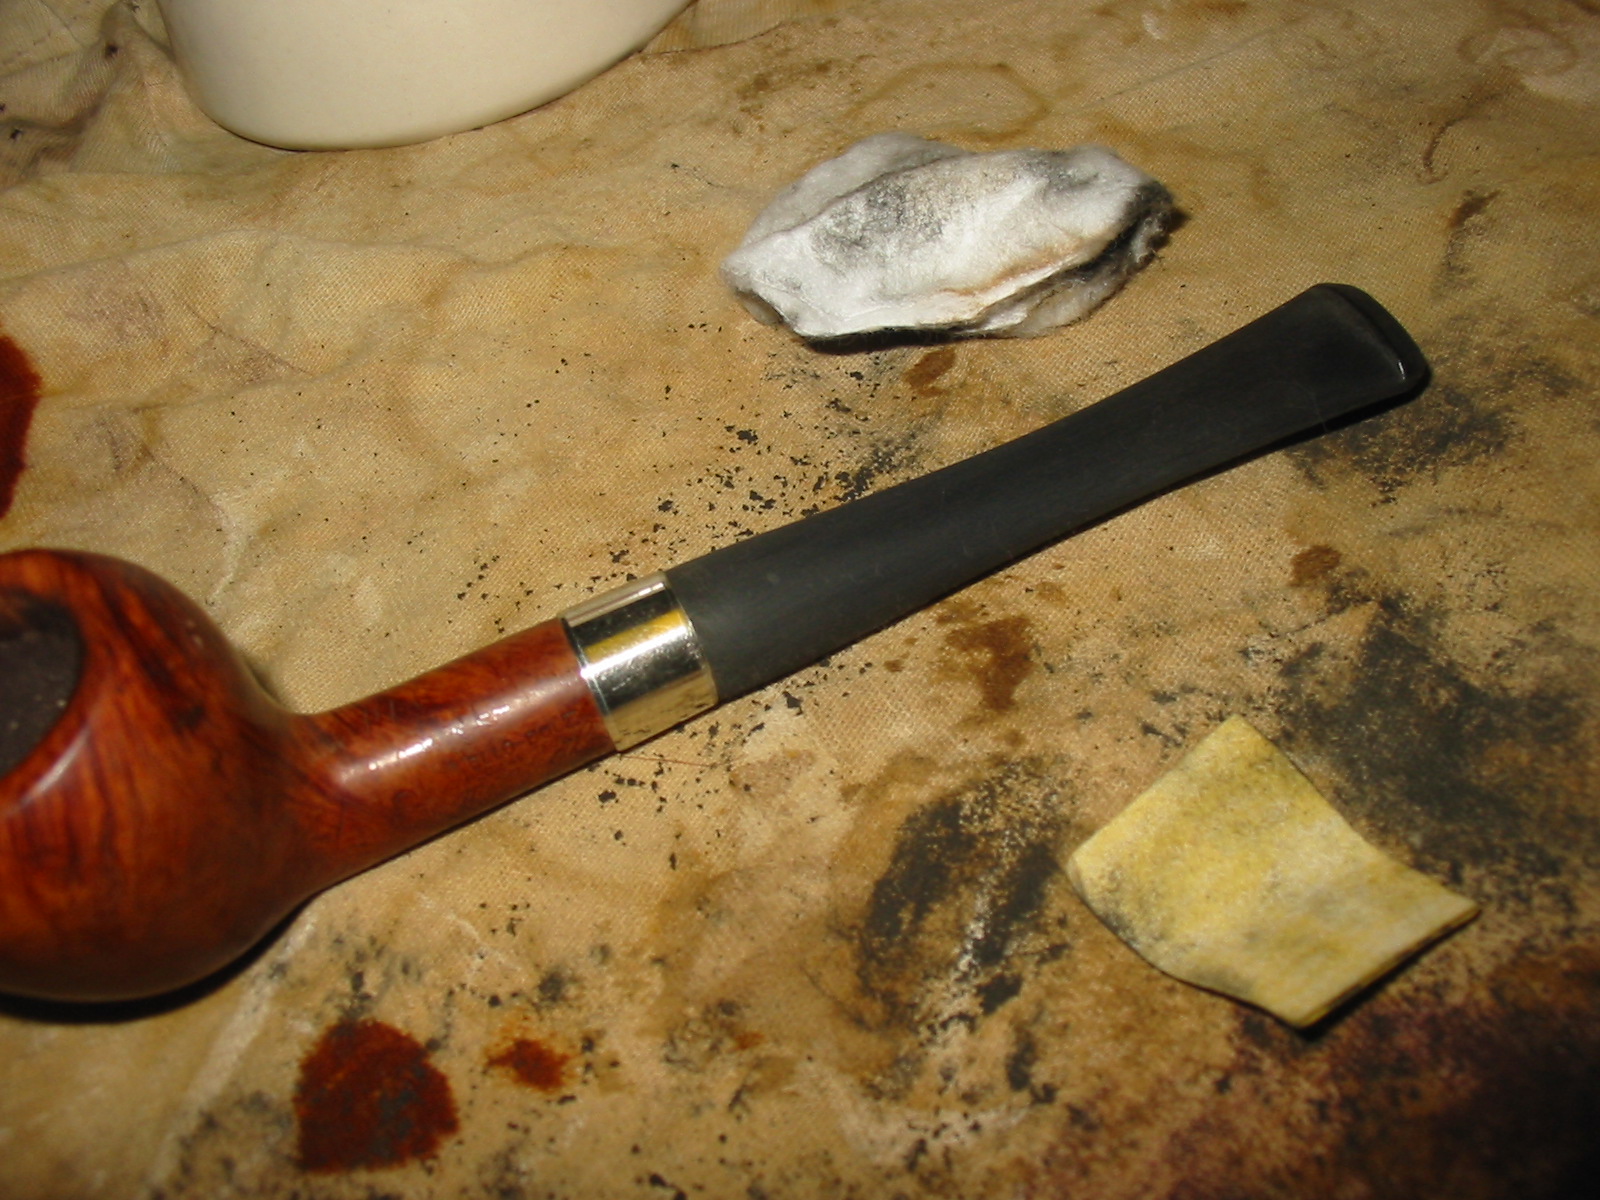
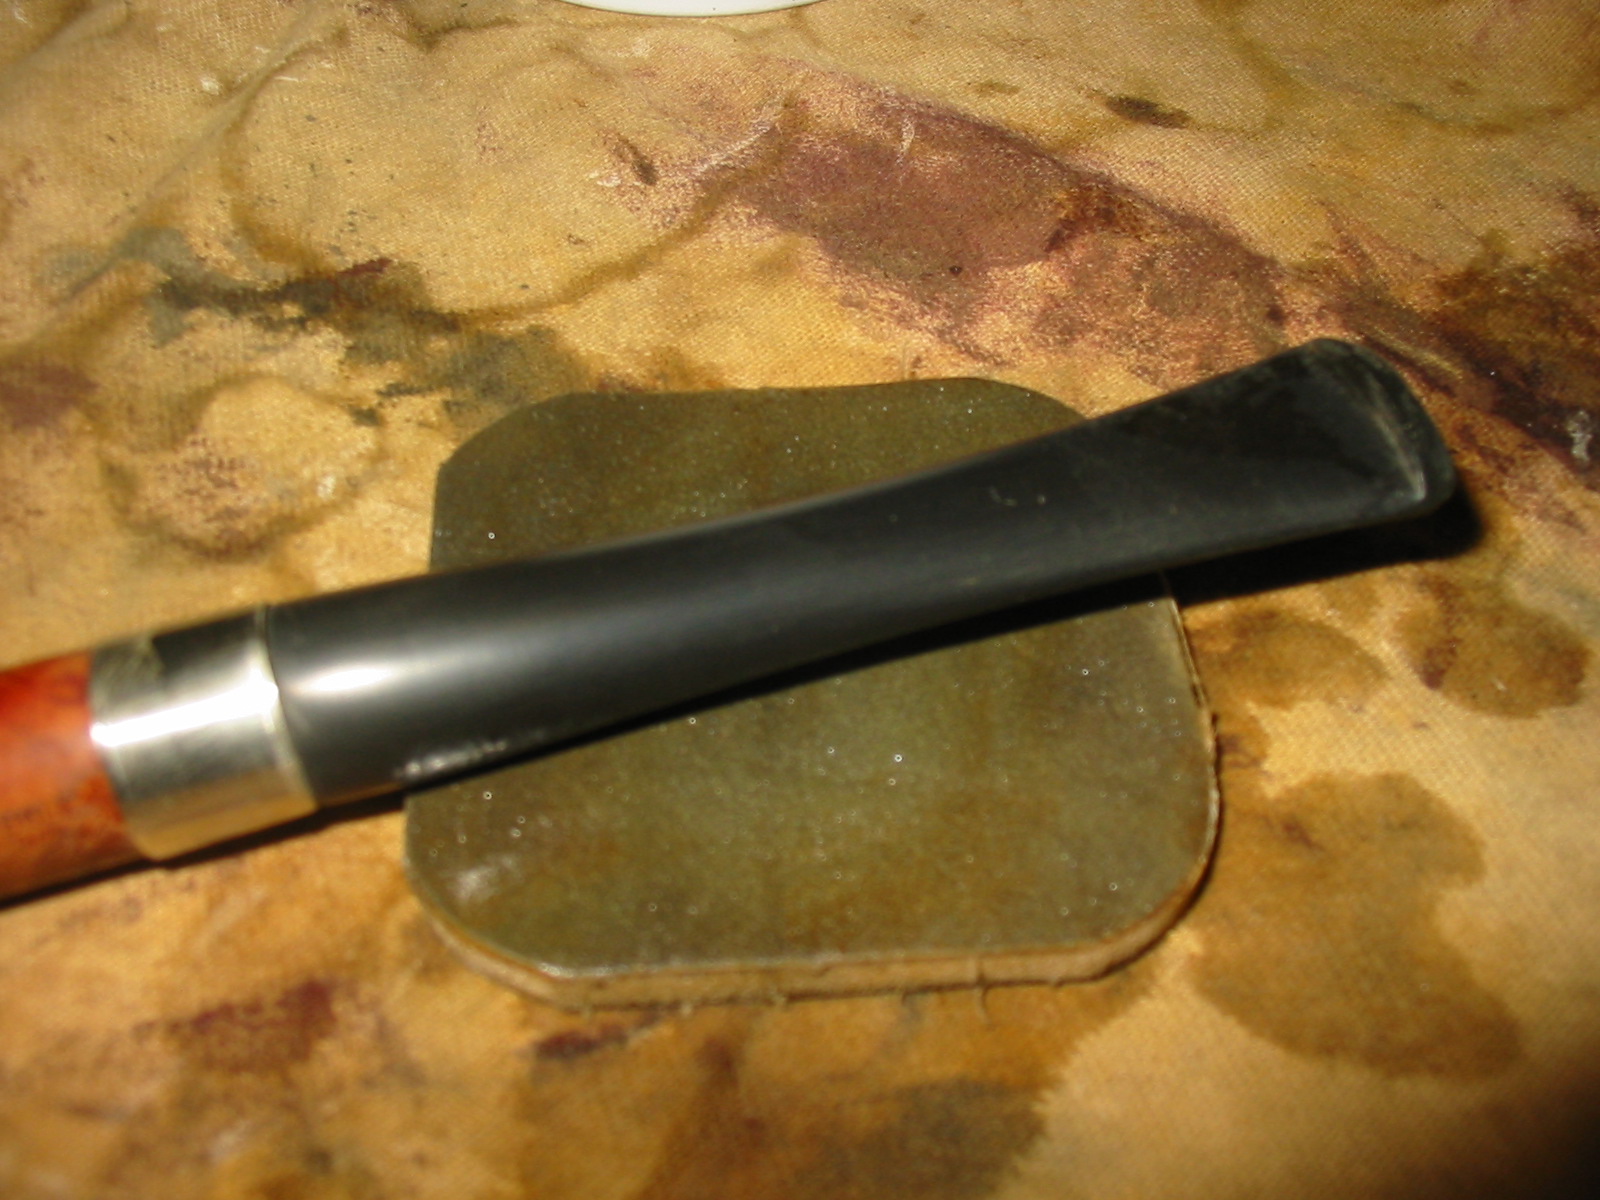
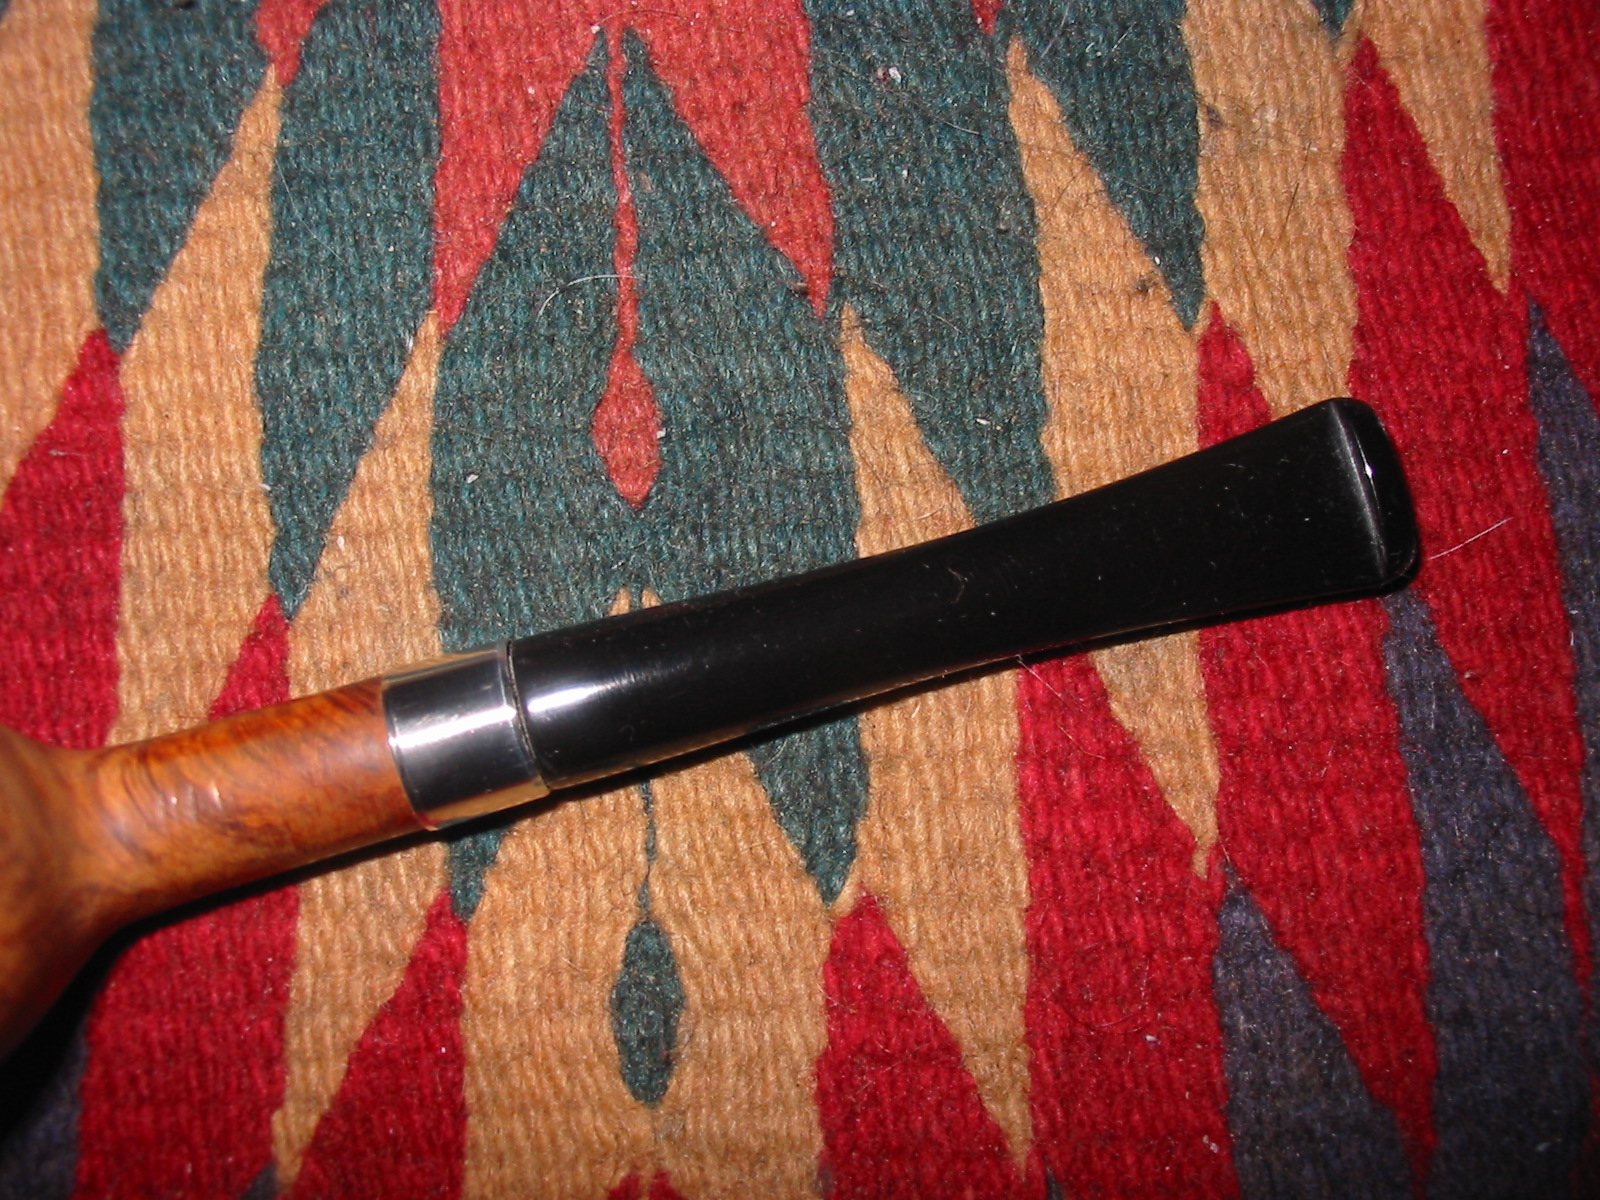
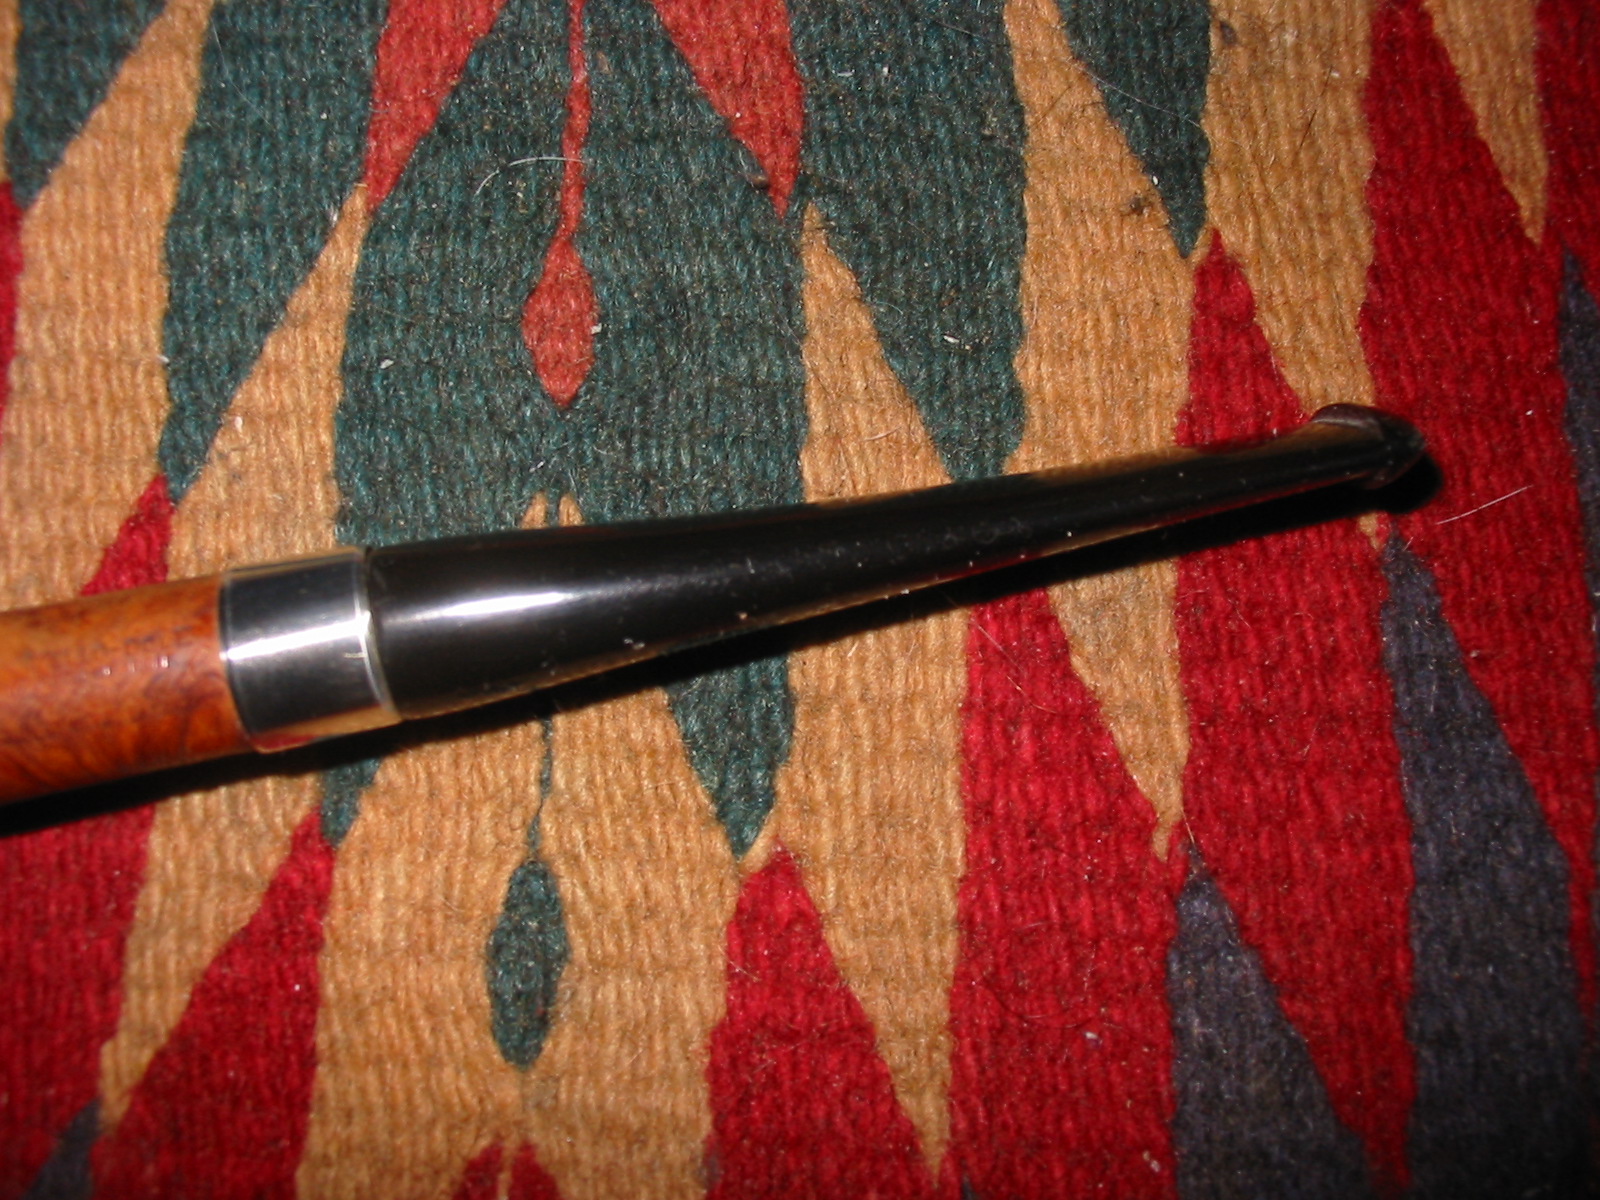
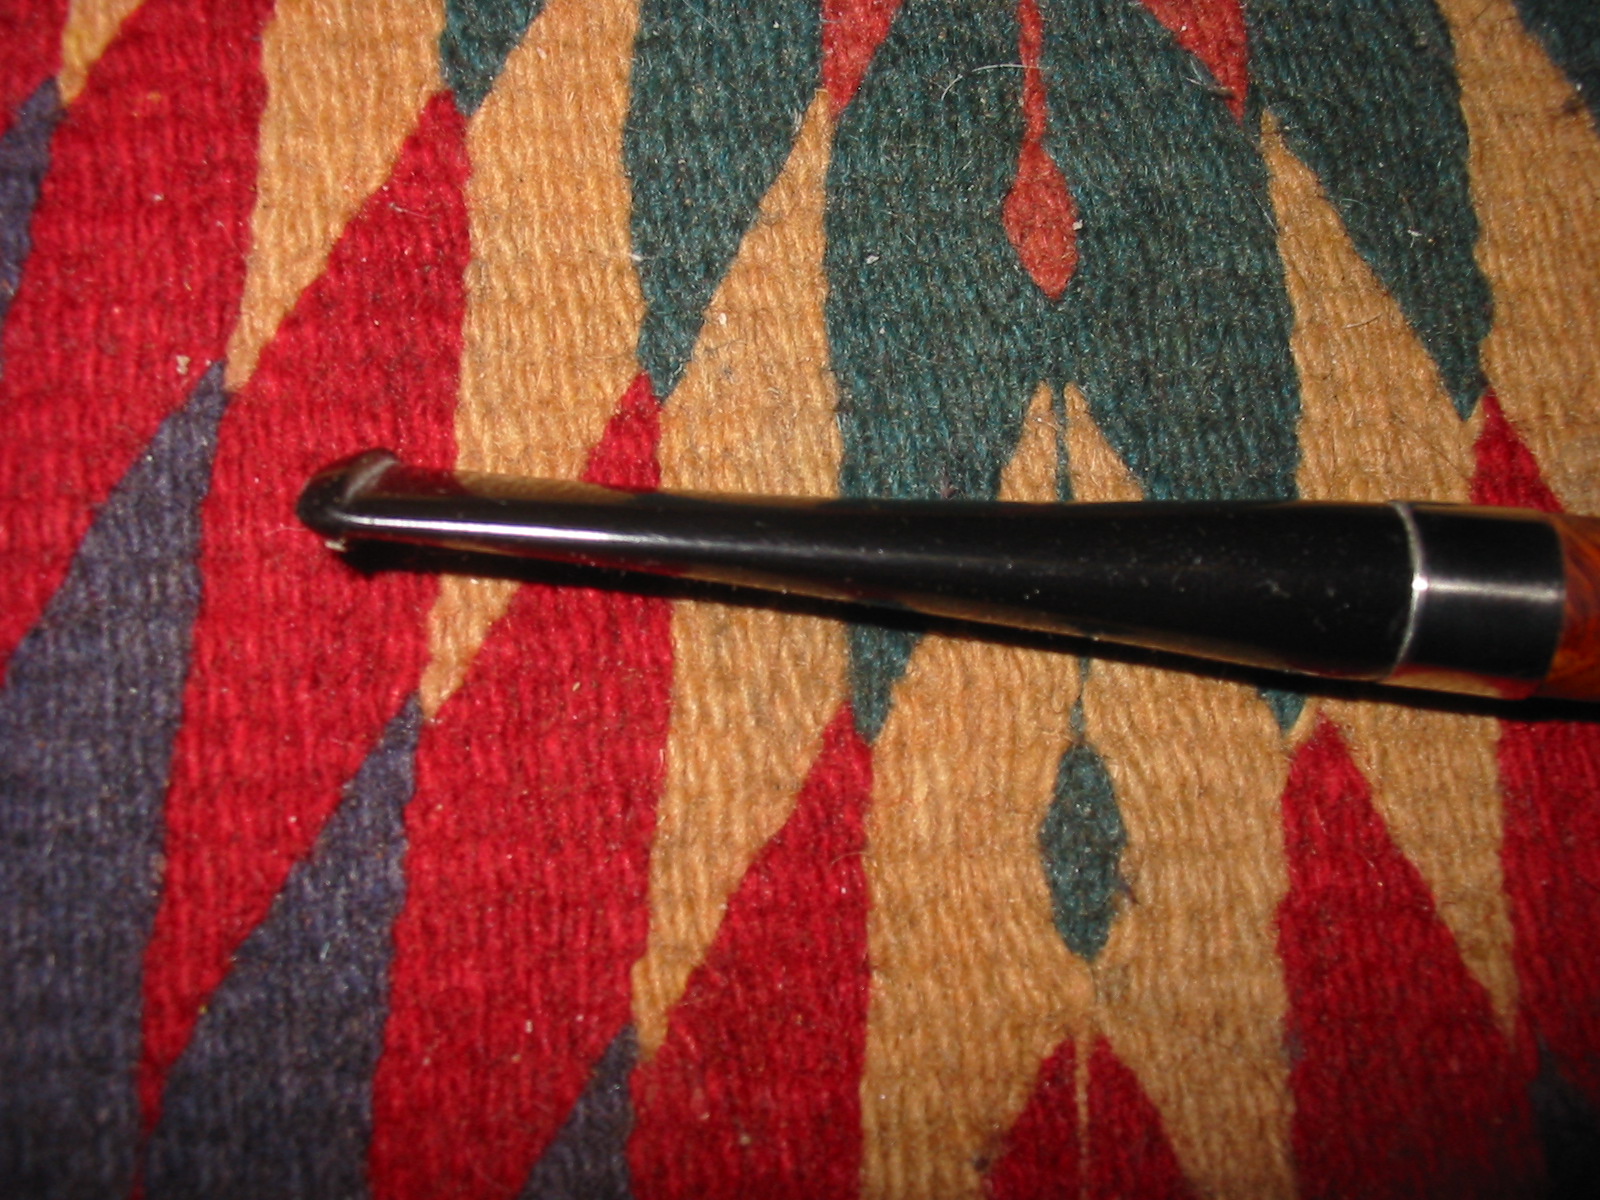
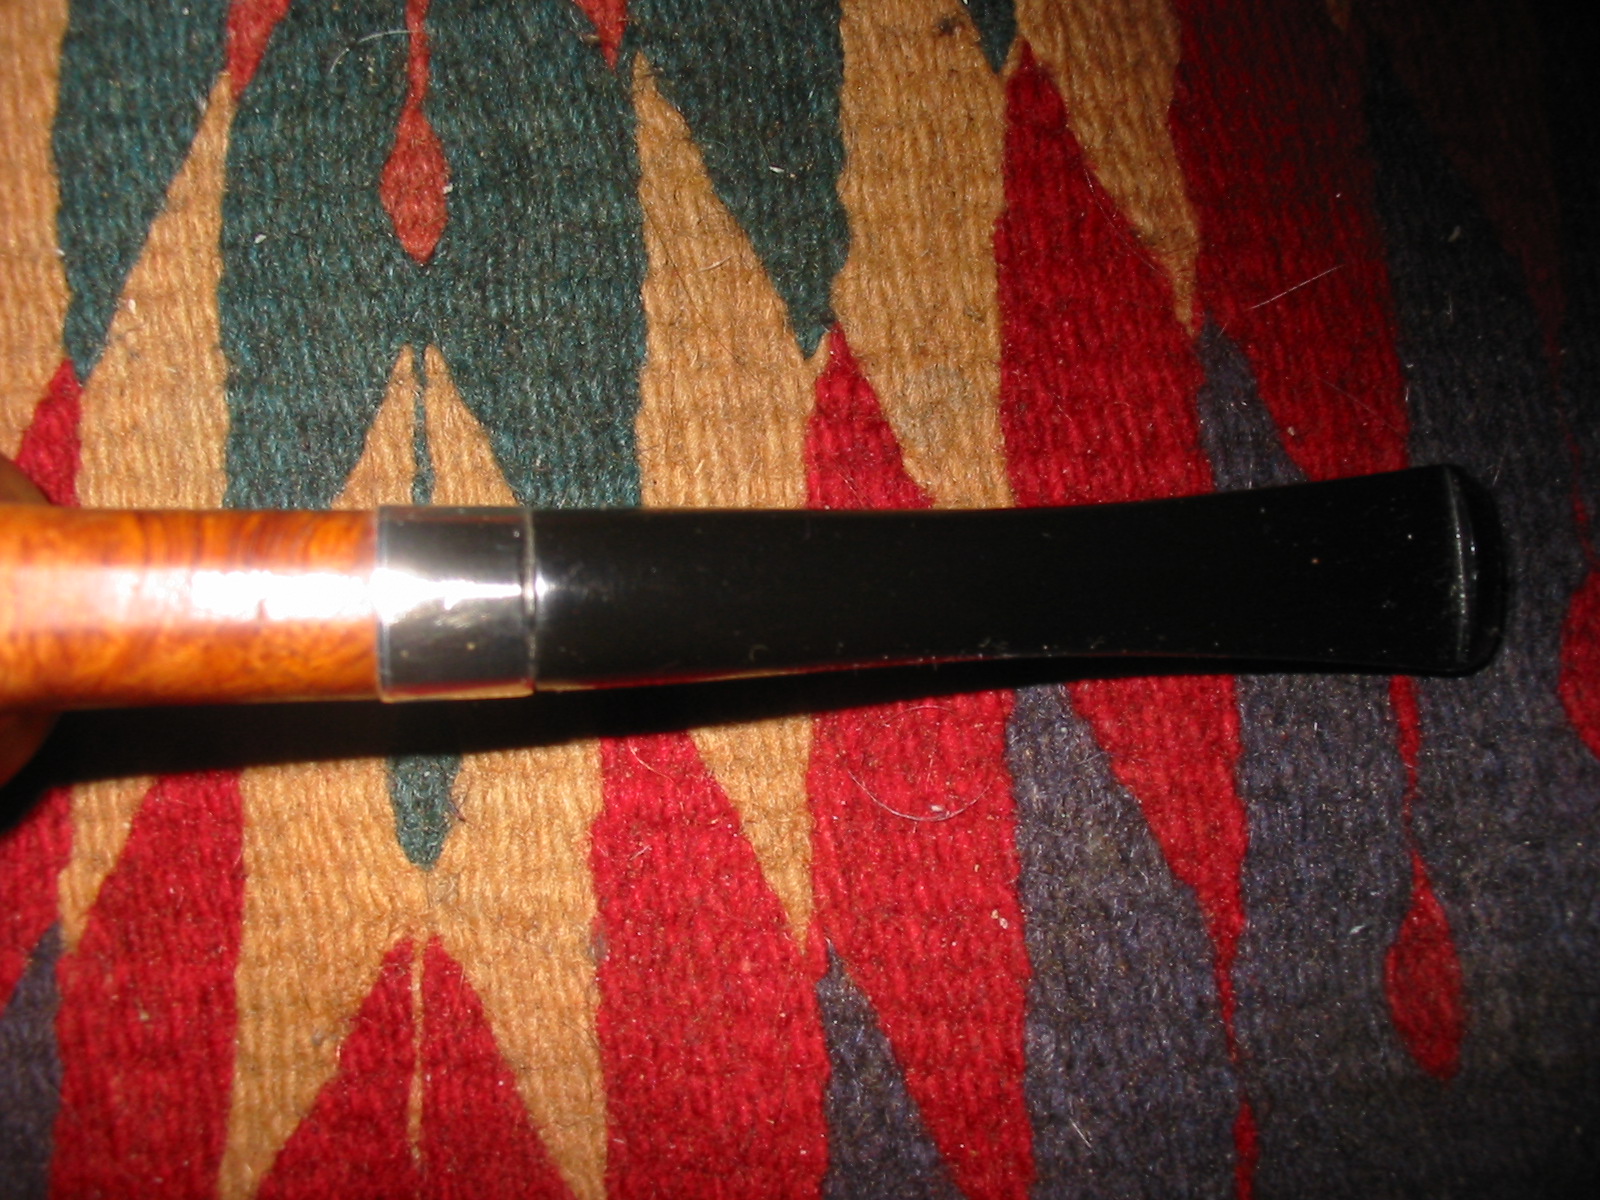
At this point in the process I used the tool to round out the band a bit more and then fit the stem on the pipe. The next series of four photos shows the stem on the pipe. I also noted at this point that the band needed to be flattened on the bottom to accommodate the flattened bottom of the shank on the pipe. I would also have to flatten the edge of the stem to also accommodate that flattening.
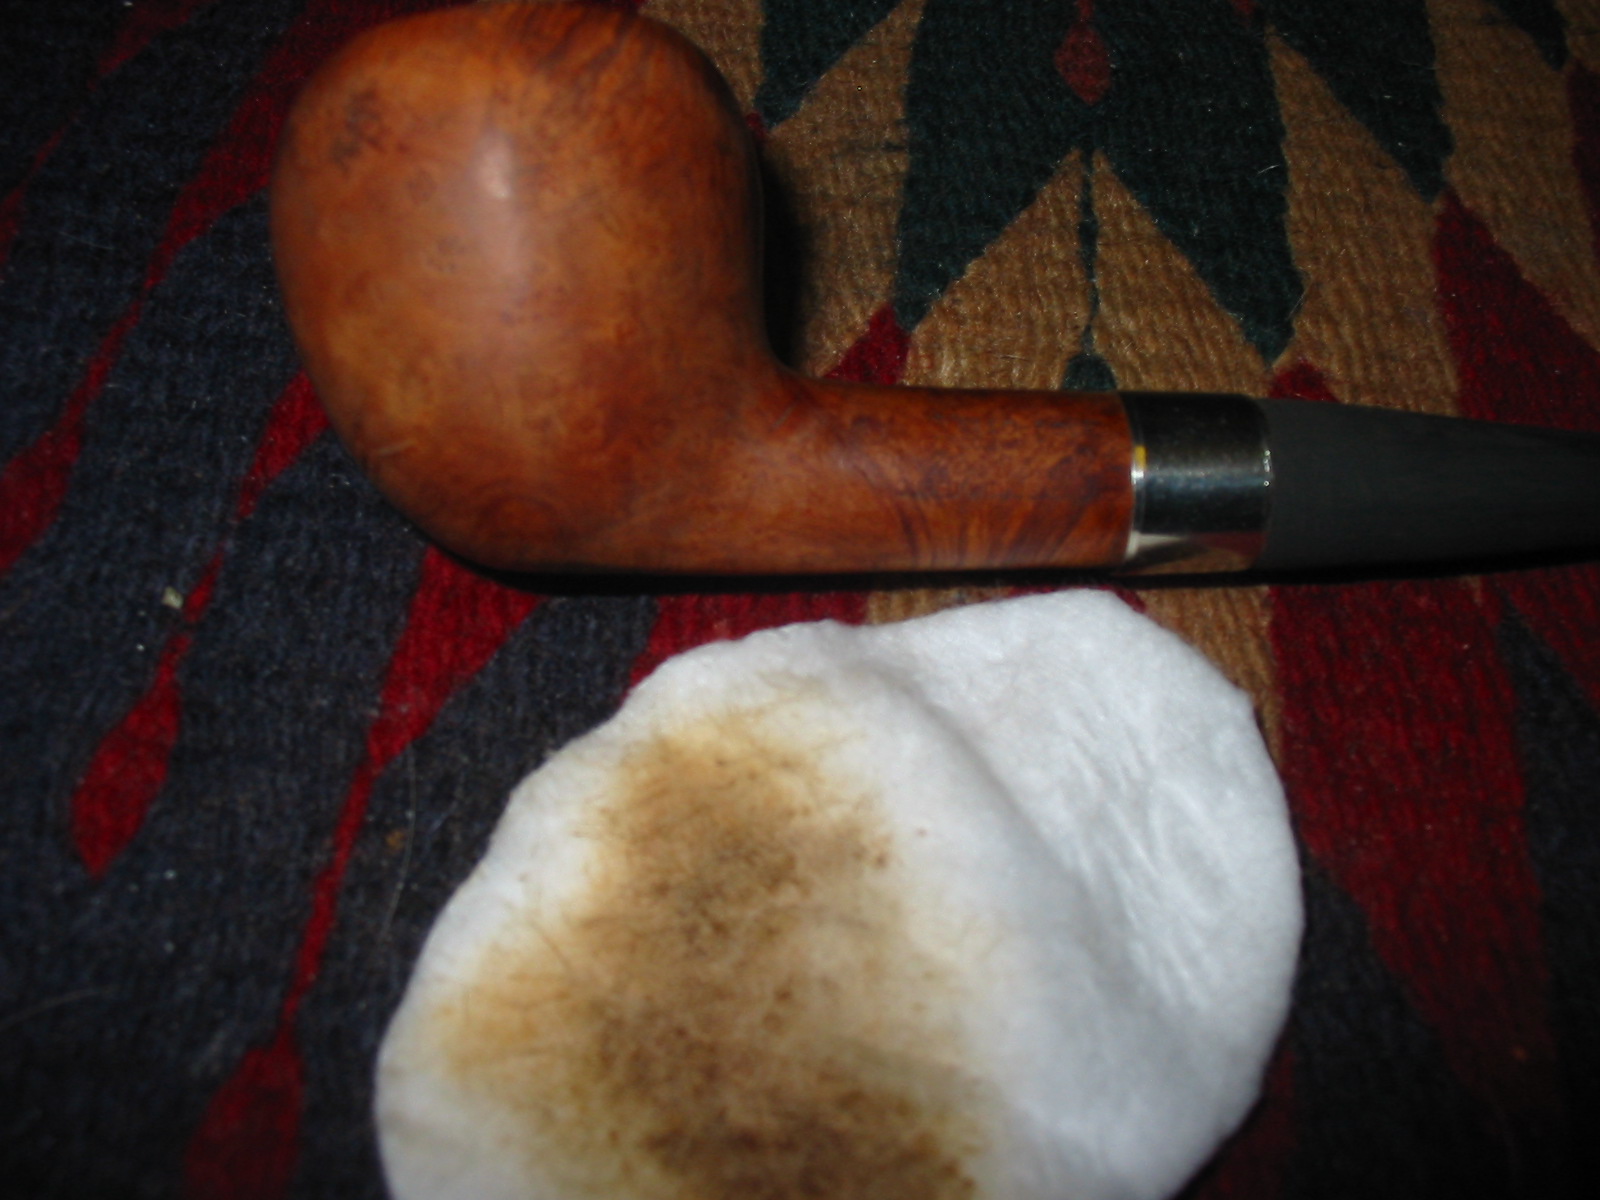
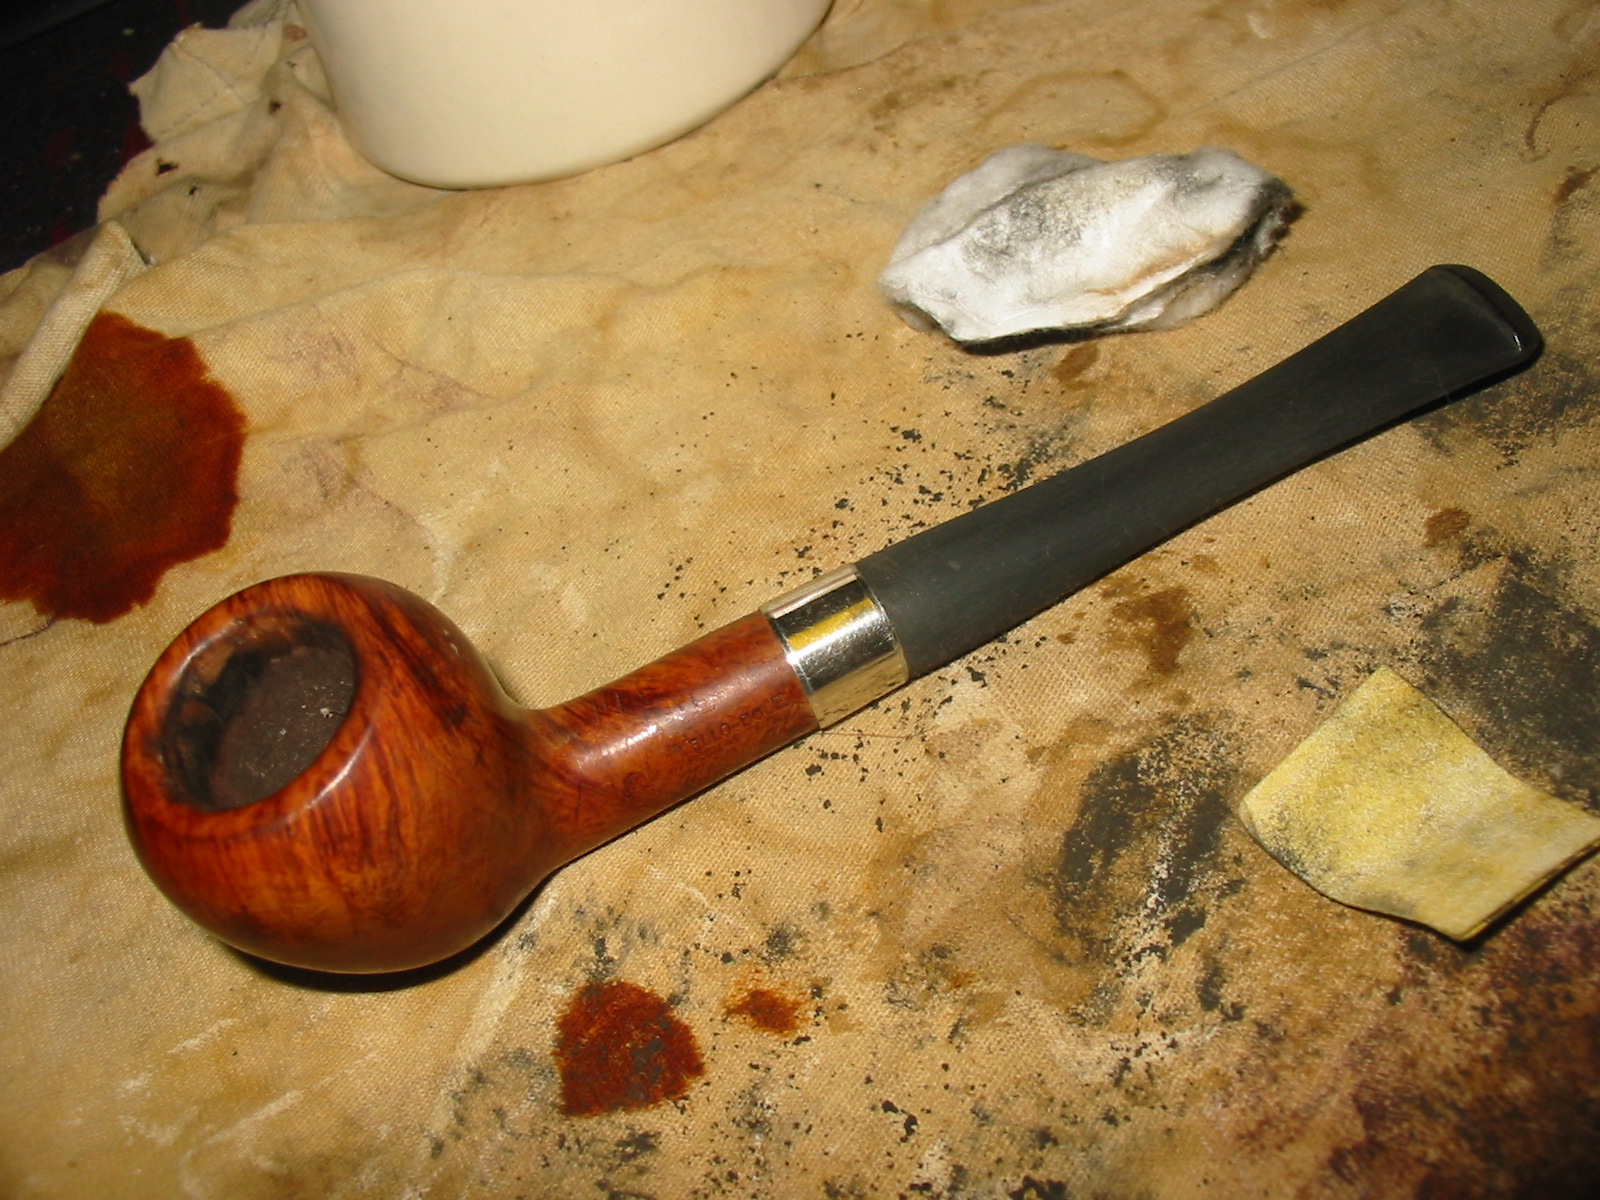
I took a break from the stem and worked a bit on the bowl of the pipe. I wiped it down with acetone on a cotton pad to remove the finish. I then sanded the bowl to remove some of the dents and marks in the finish. The deep gouges needed to be steamed and I was able to raise them slightly. They are still visible on the finished pipe but lend it some character. The next series of three photos show the bowl cleaned and ready for staining.

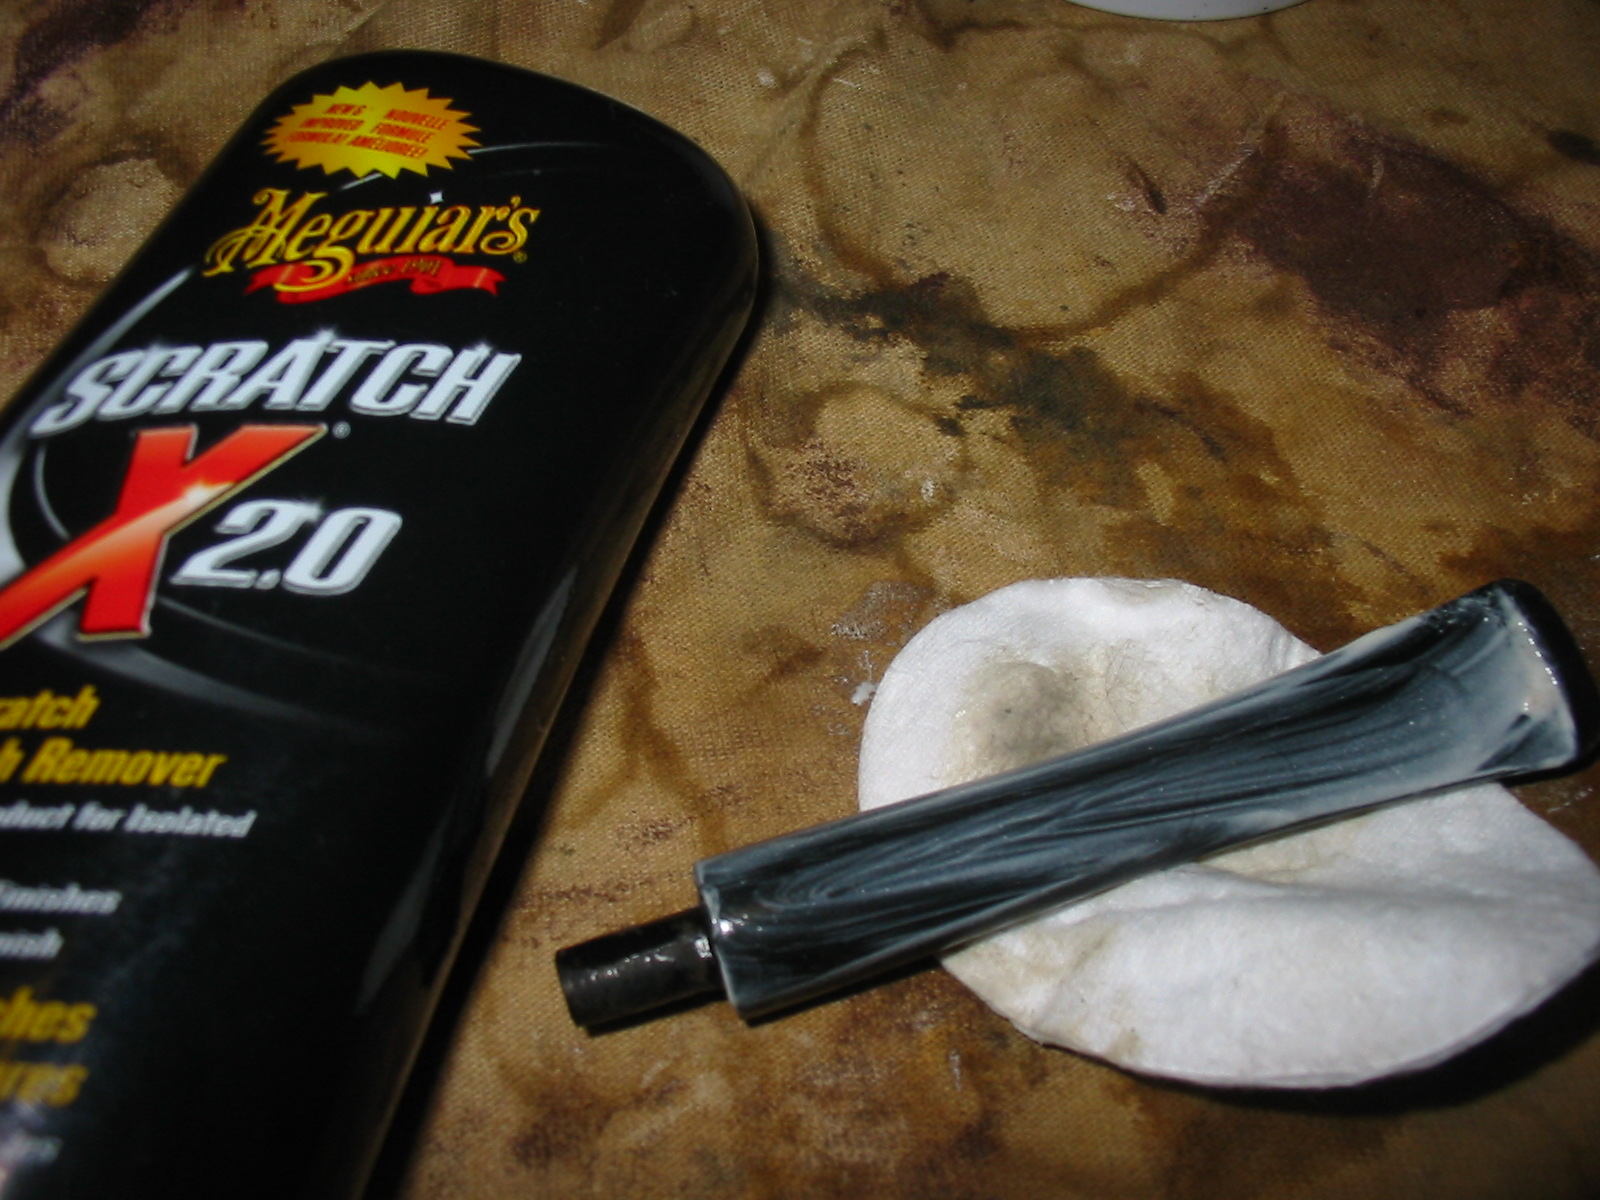
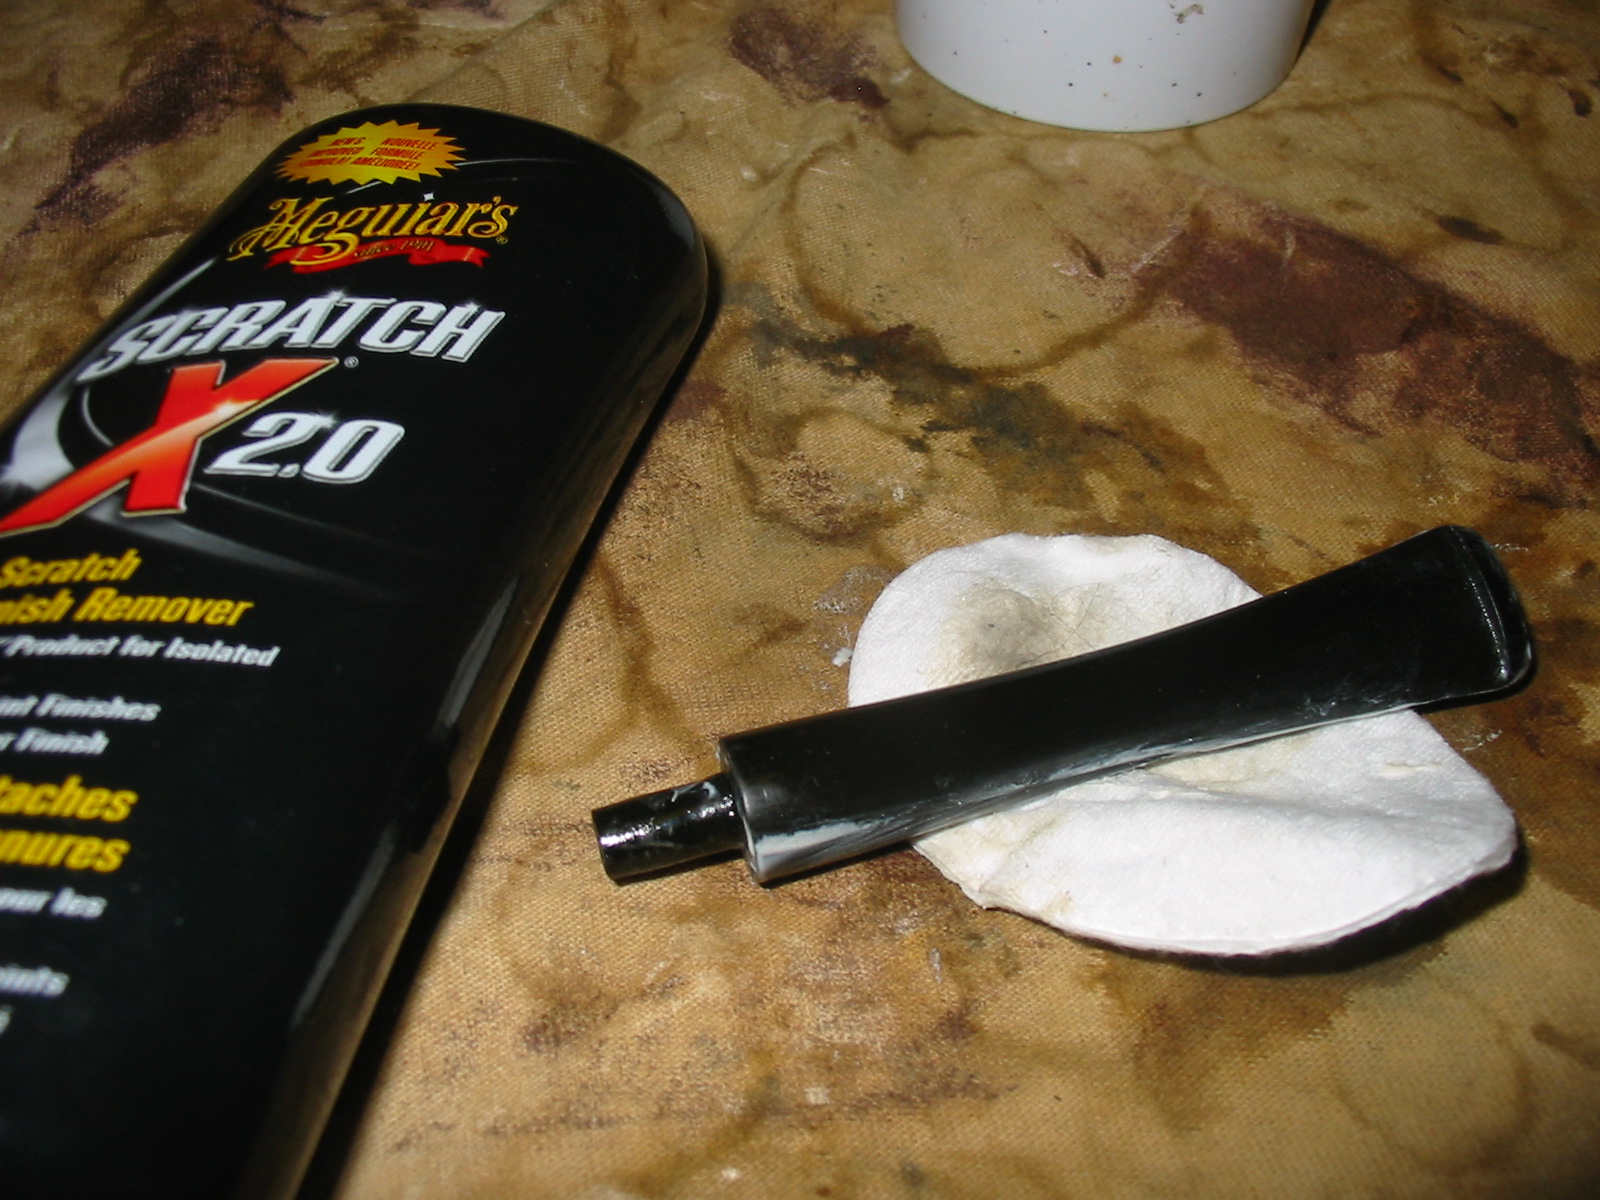
I then changed to sanding the stem with 240 and 320 grit sandpaper. The next series of six photos shows show the progression of the stem as I sanded it. The shape was pretty close to finished by the time I was done. The fit was excellent and the look of the new stem gave the pipe a great look in my opinion. All that remained was to do a lot more sanding! The fourth through the sixth photos below show the stem after I had wiped it down with some Maguiar’s Scratch X2.0 applied by hand and rubbed down with cotton pads. The finish of the stem is getting smoother.
I then filled a small cup with water and moved on to wet sand the stem with the micromesh sanding pads. I used 1500, 1800 and 2400 to wet sand the stem. I wet the pad and sanded the stem. Then rinsed the pad and kept sanding until that particular grit had down its work and the stem was ready for the next one. Between pads I wiped the stem down with a wet cotton pad to clean off the grit. The first photo below shows the setup of my sanding area. I use an old rag for the work space so that it can pick up the dust and water from the sanded stem. The next series of three photos shows each of the three micromesh sanding pads from 1500-2400 and the stem after sanding with that particular pad.
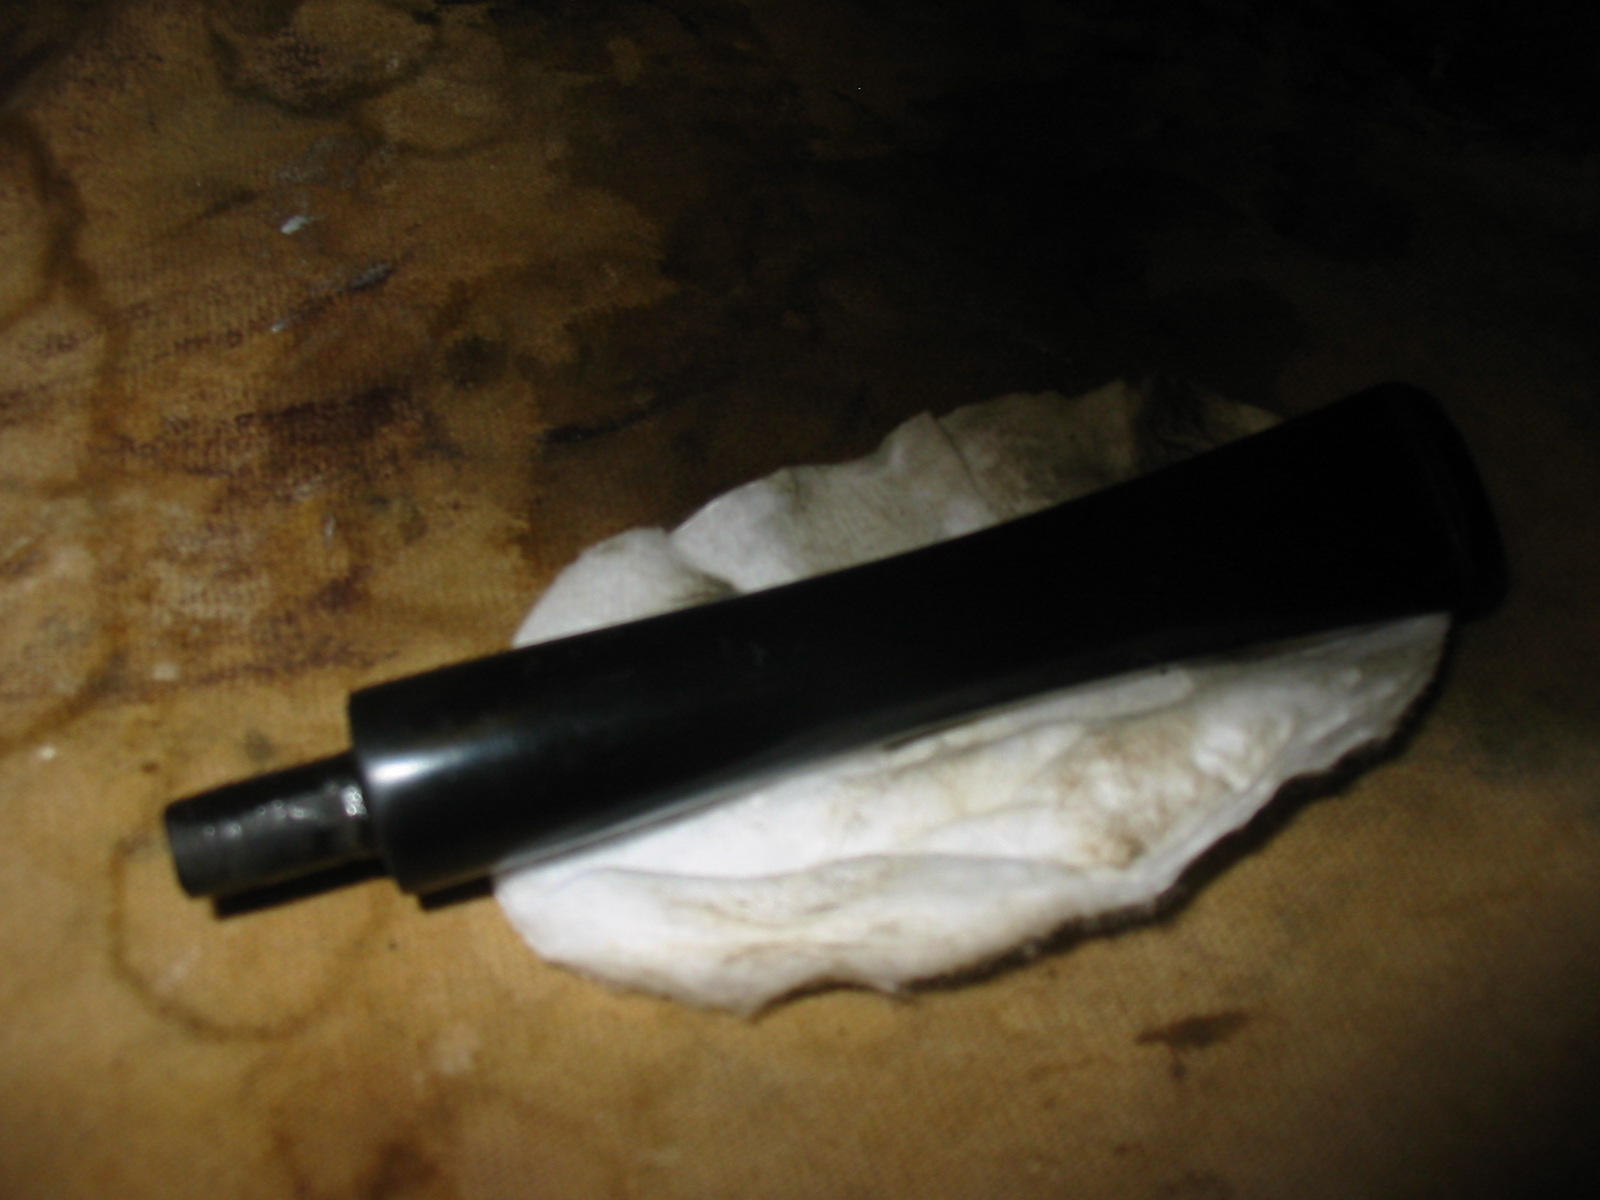
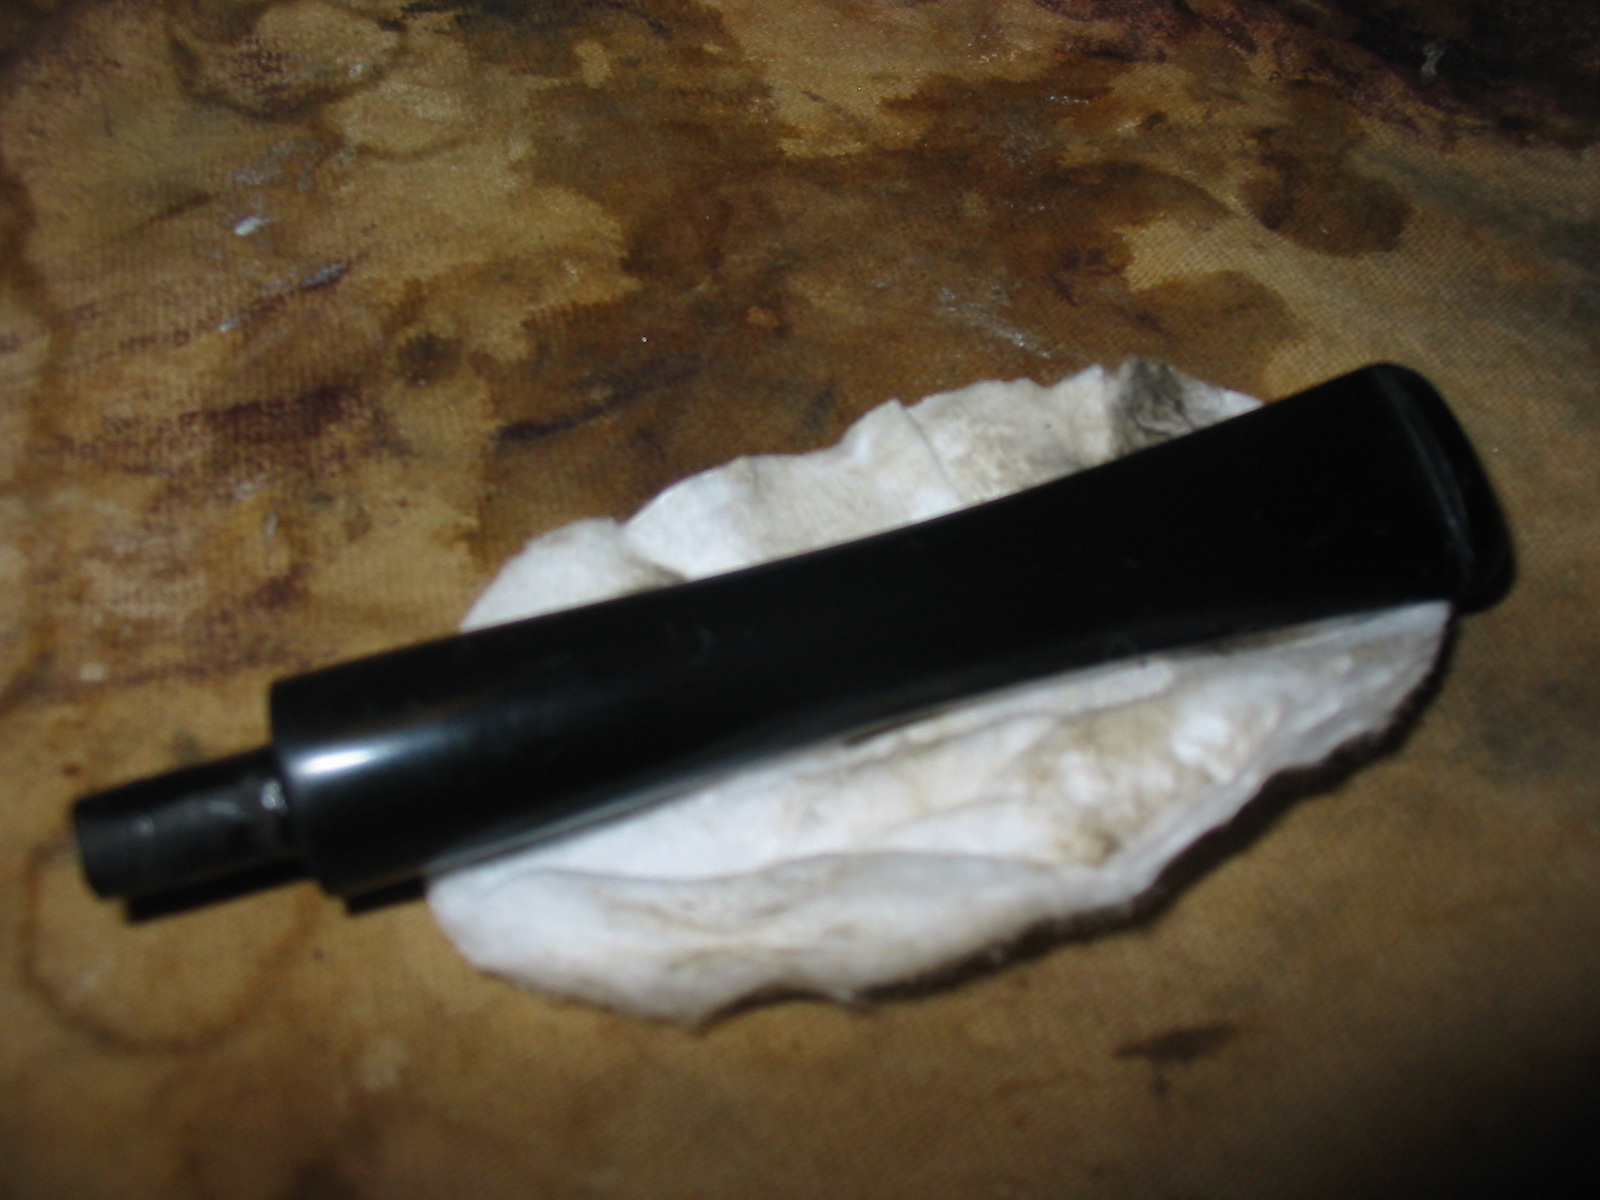
Once I finished wet sanding the stems up through the 2400 grit micromesh pads I then used the Maguiar’s again to polish the stem to see what remained of the deep scratches. I rubbed it into the stem with my finger and then polished it off with the cotton pads. The next series of five photos shows the application and the progressive polishing of the stem. The final pictures in the series show the stem polish to this point. I decided after this was done to move on to dry sanding with the remaining micromesh sanding pads.
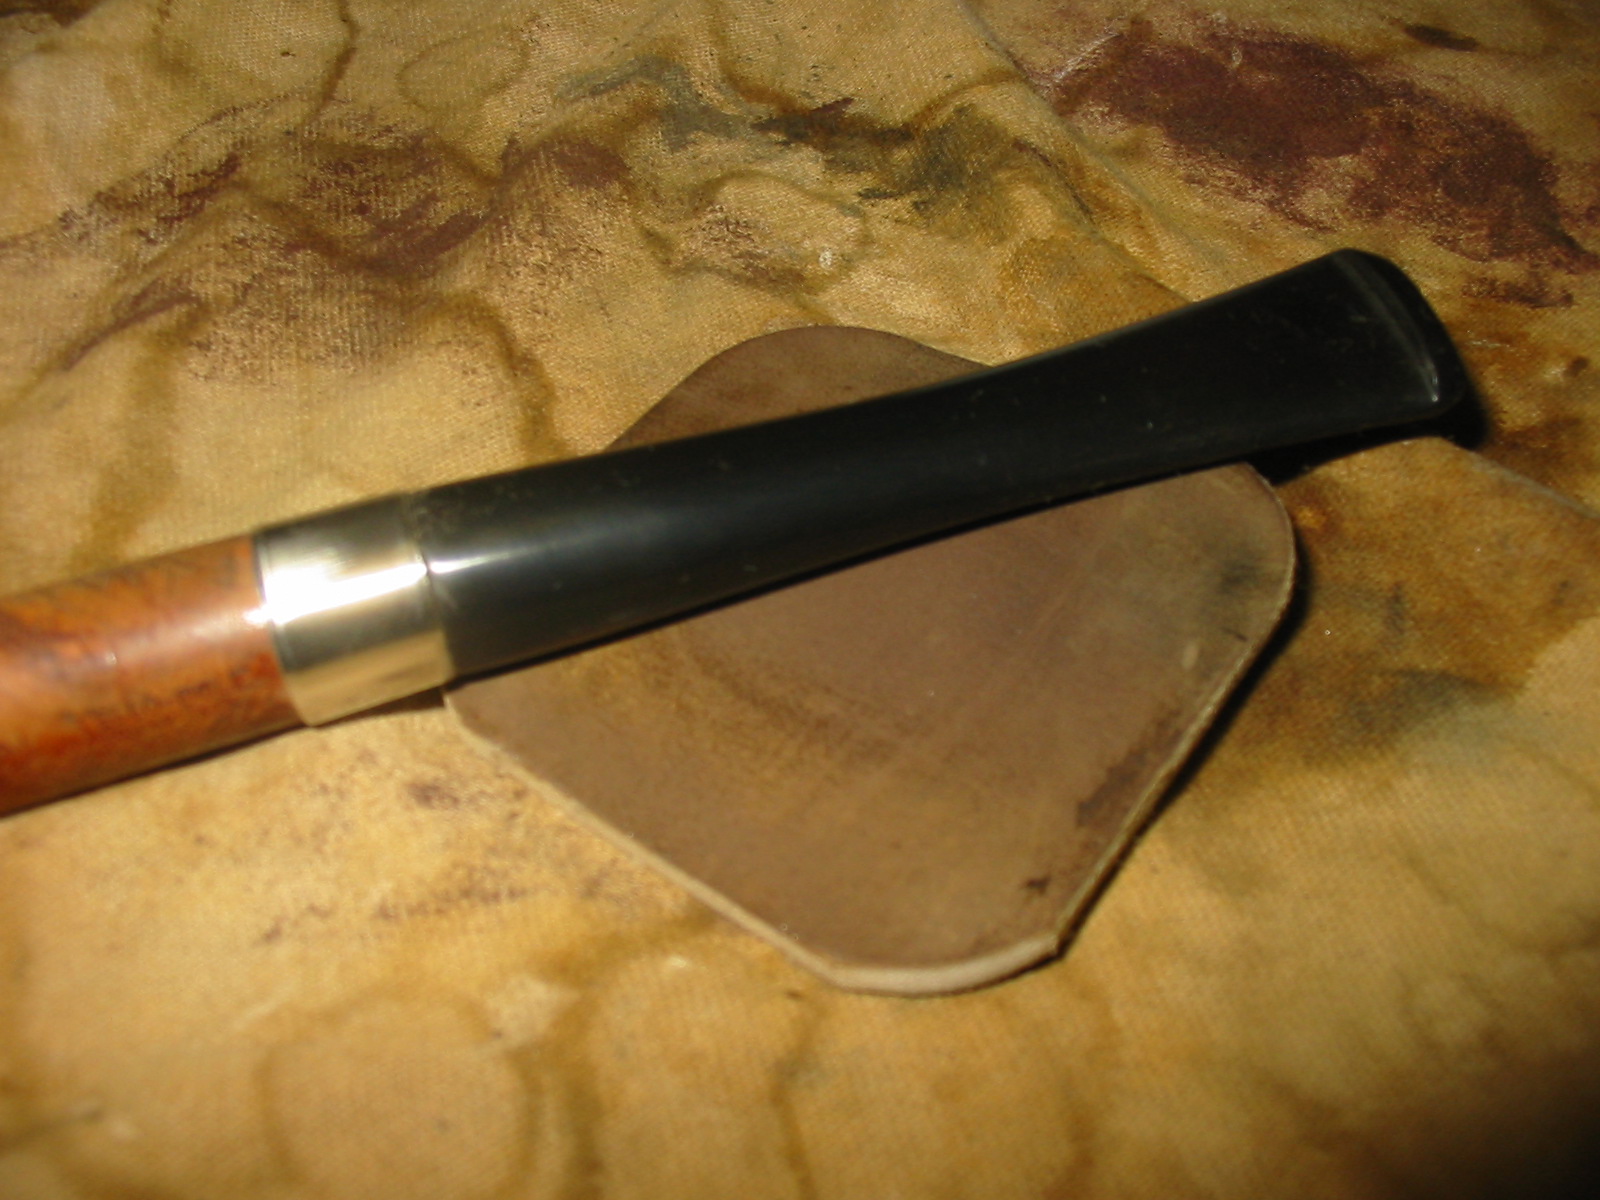
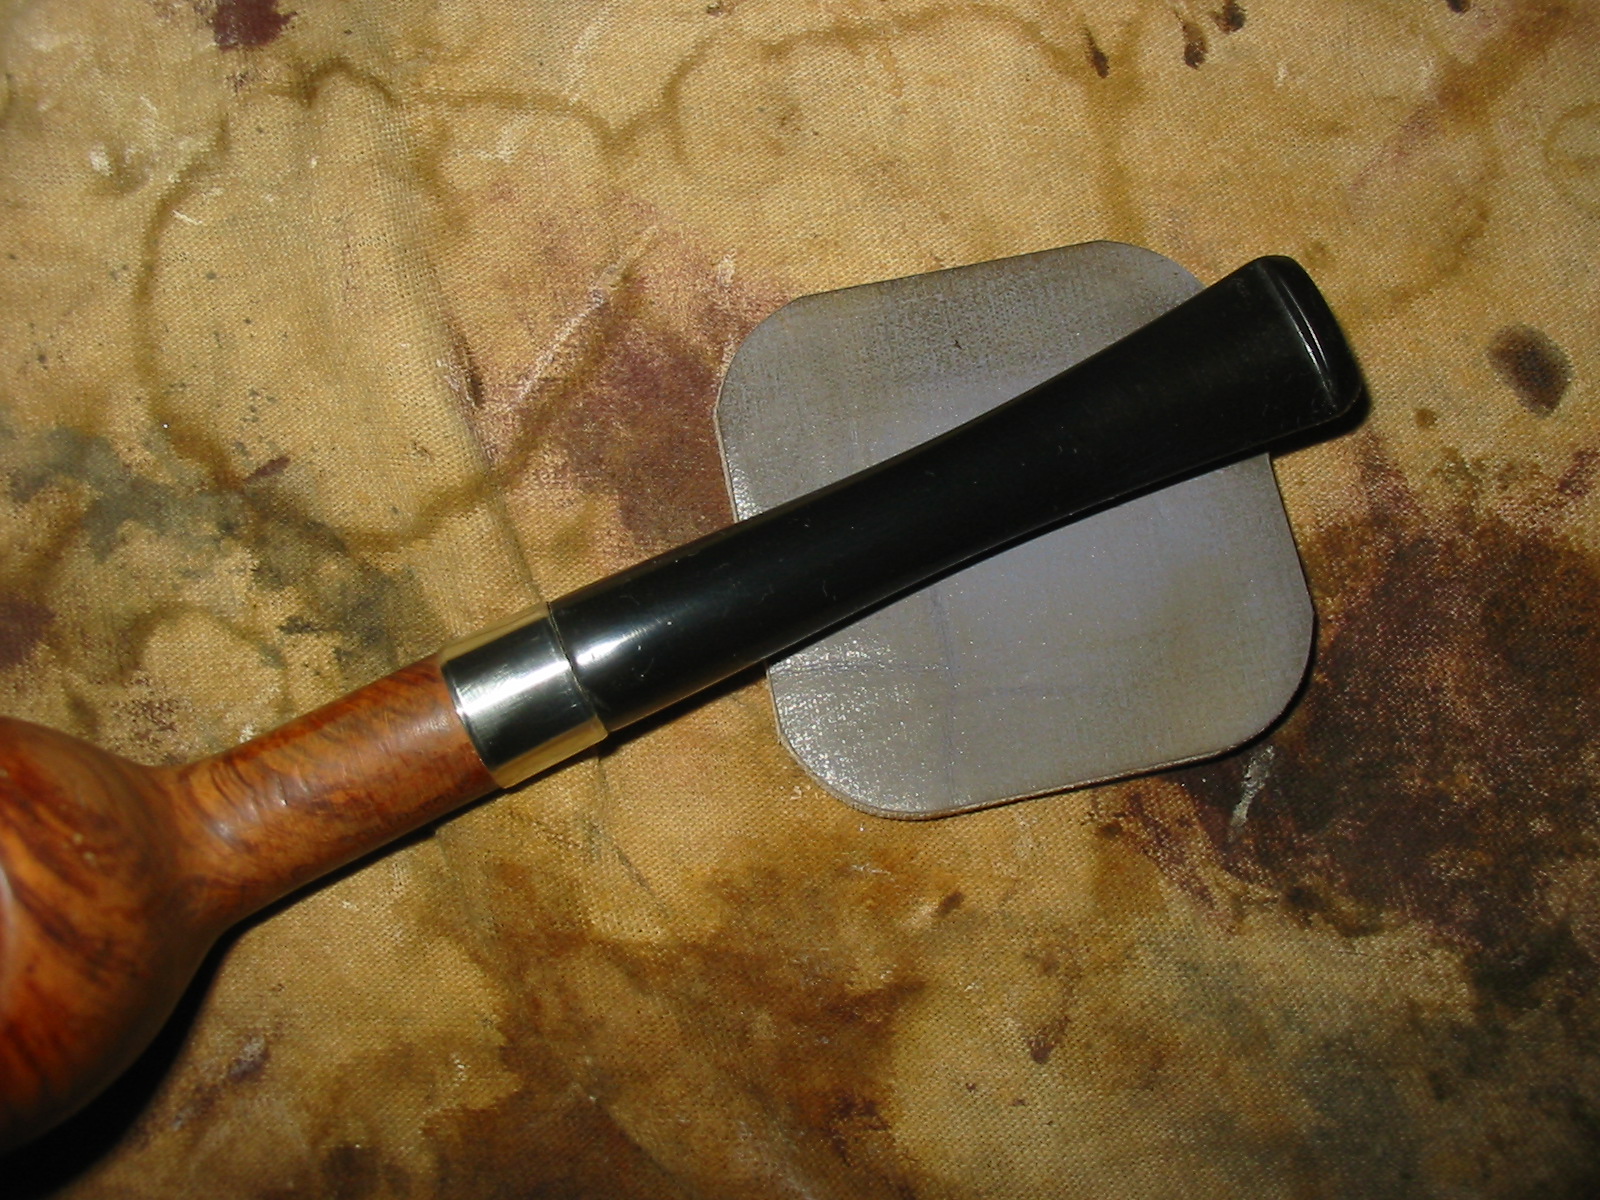
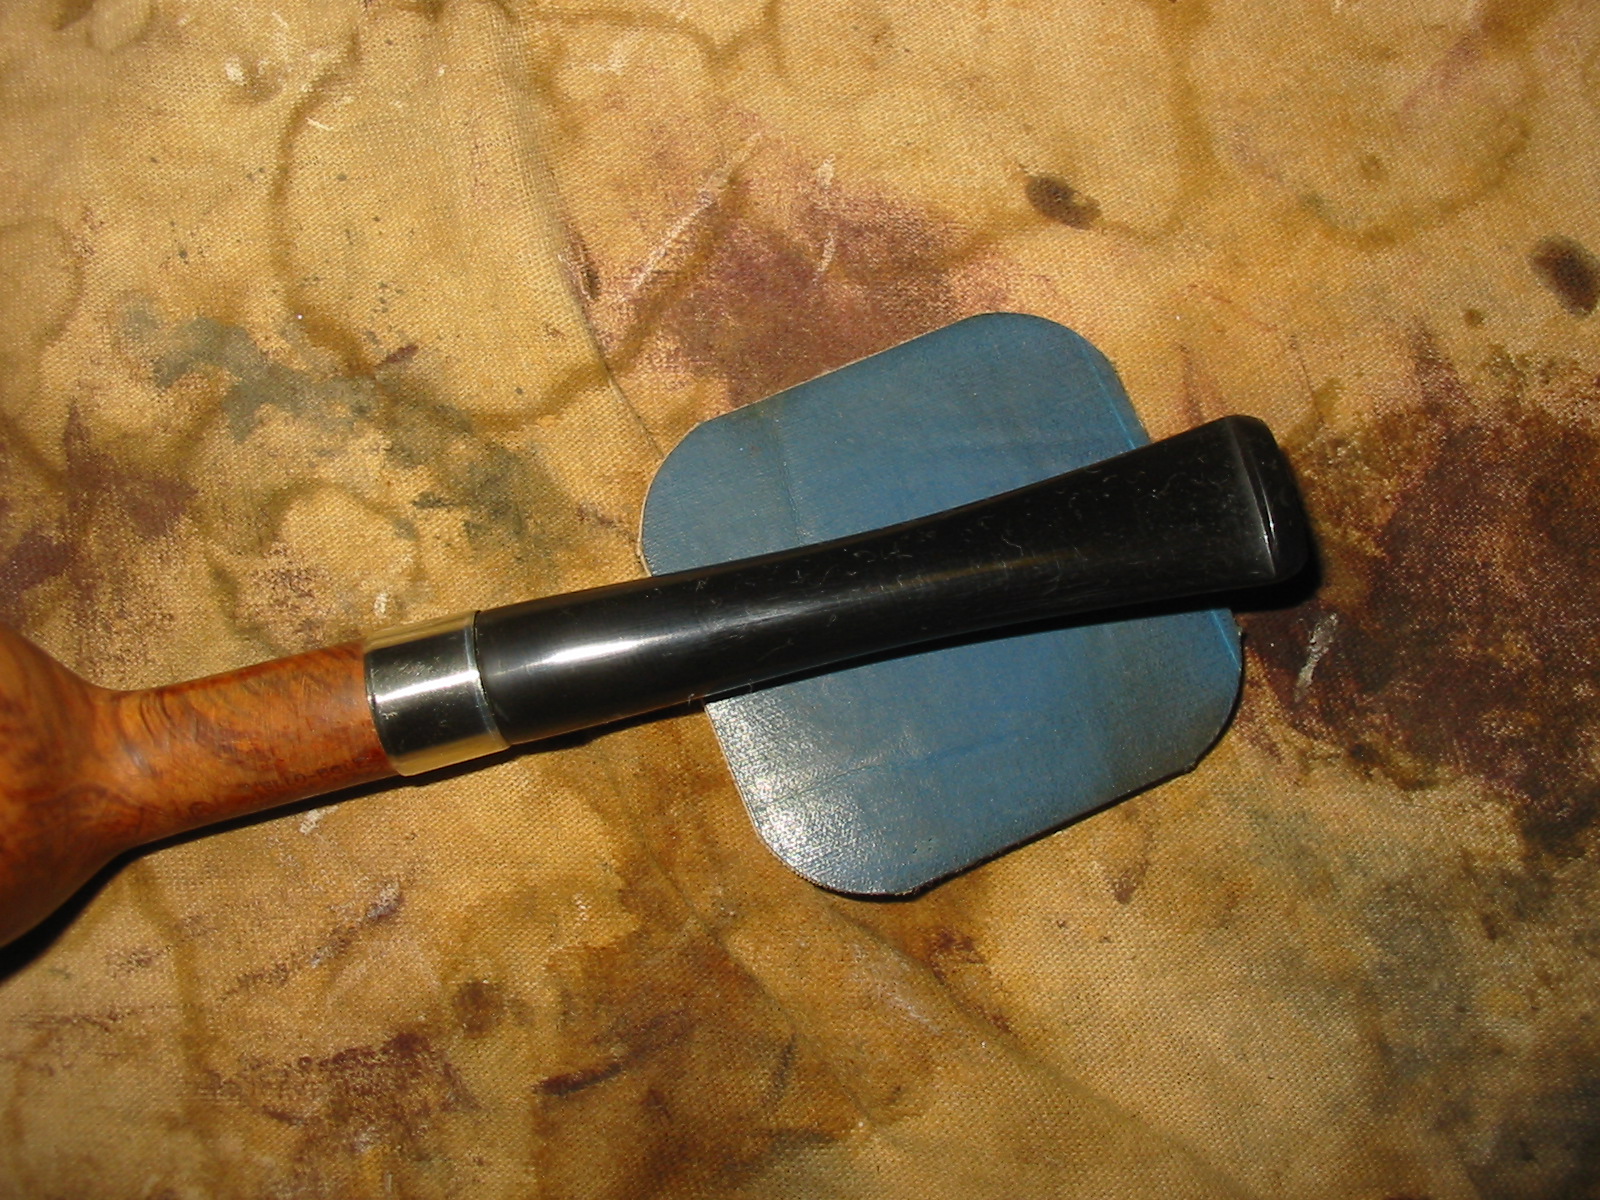
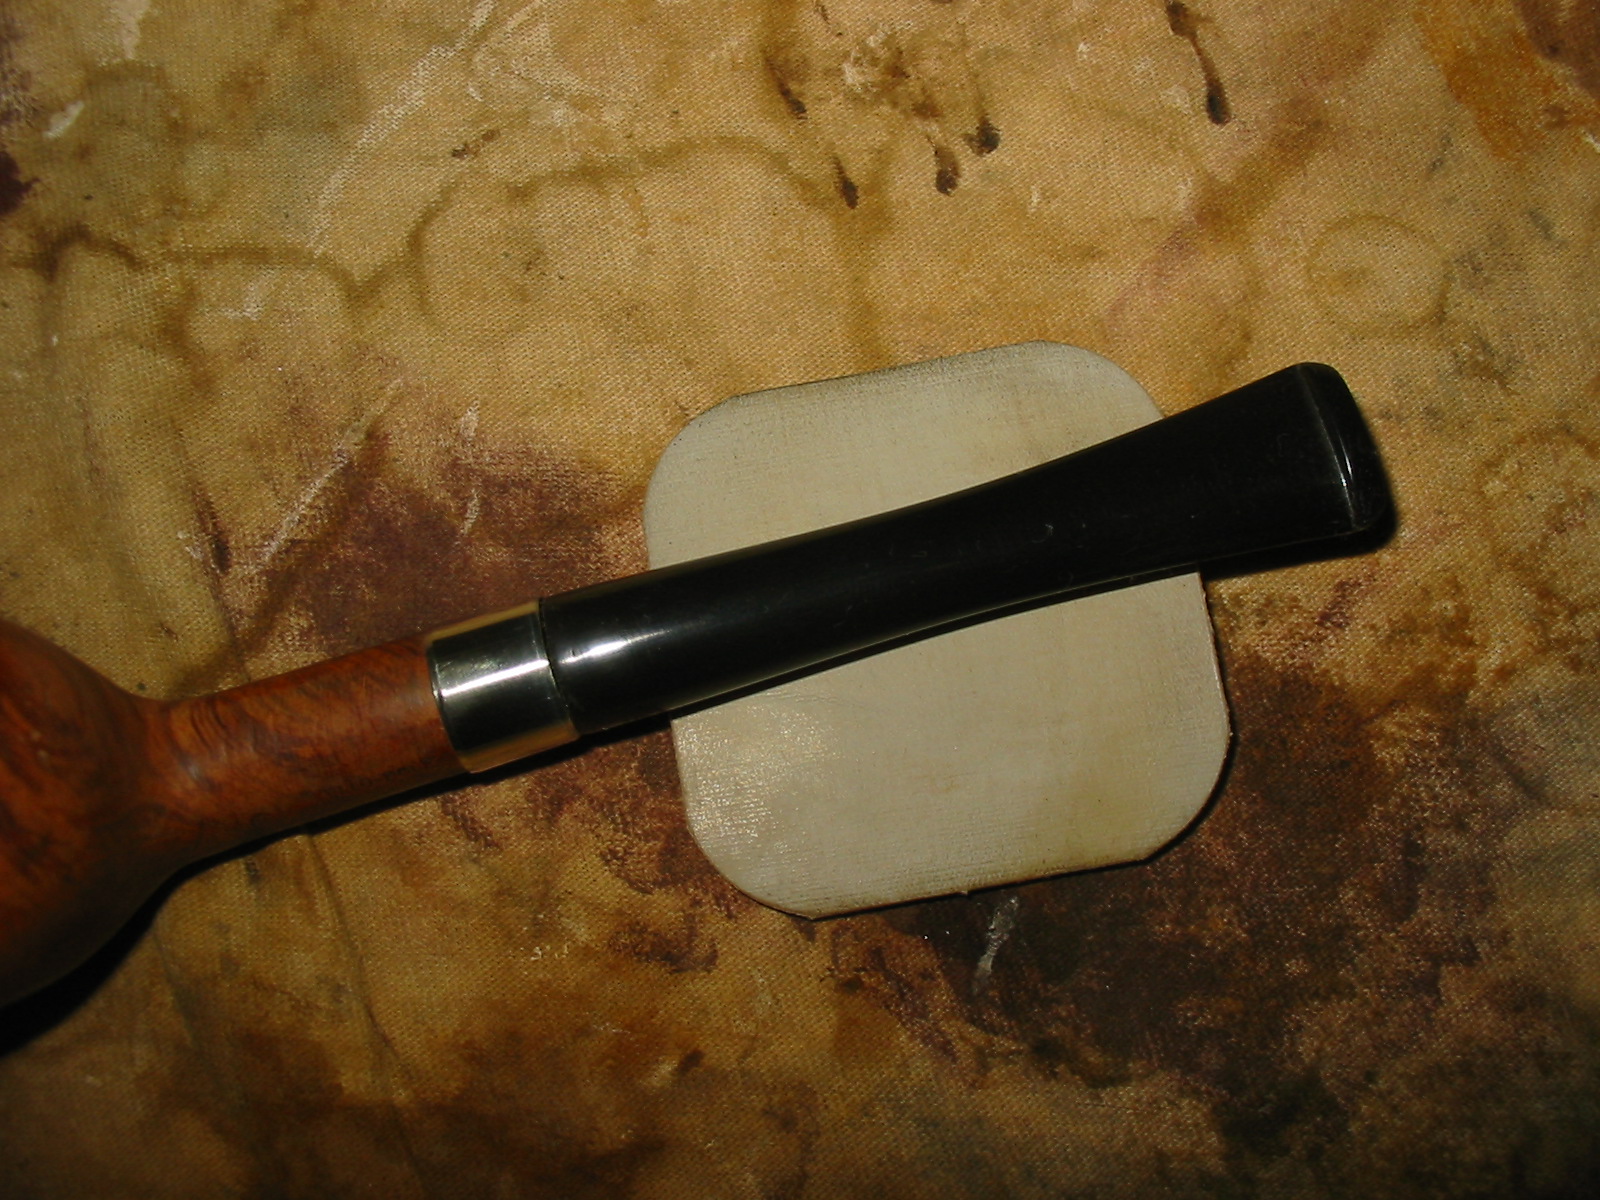
The next series of six photos show the sanding progress through the remaining grits of micromesh sanding pads – 3200, 3600, 4000, 6000, 8000 and 12,000 grits. Each picture shows the stem on top of the sanding pad that I used to sand it. I dry sand with these higher grit micromesh pads.

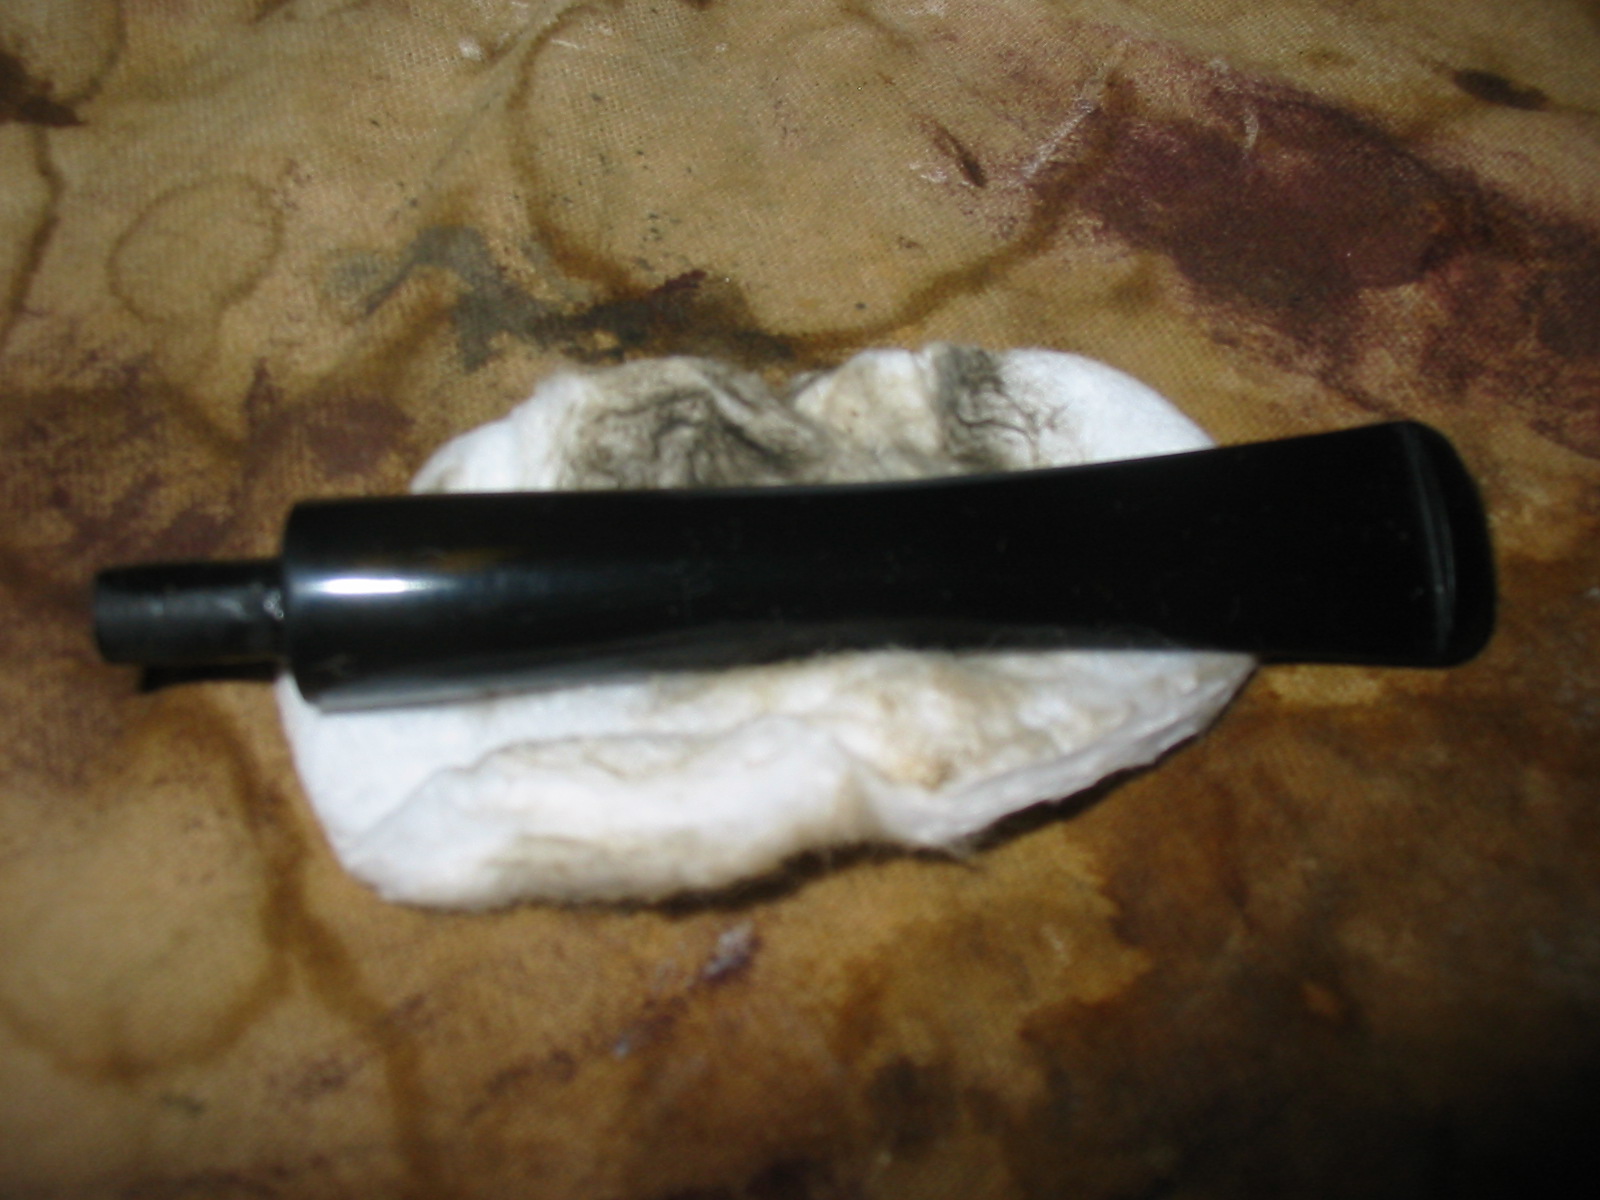
The next series of four photos show the stem after finishing the sanding and polishing it with Maguiar’s polish. There is a nice deep black shine to the stem at this point.
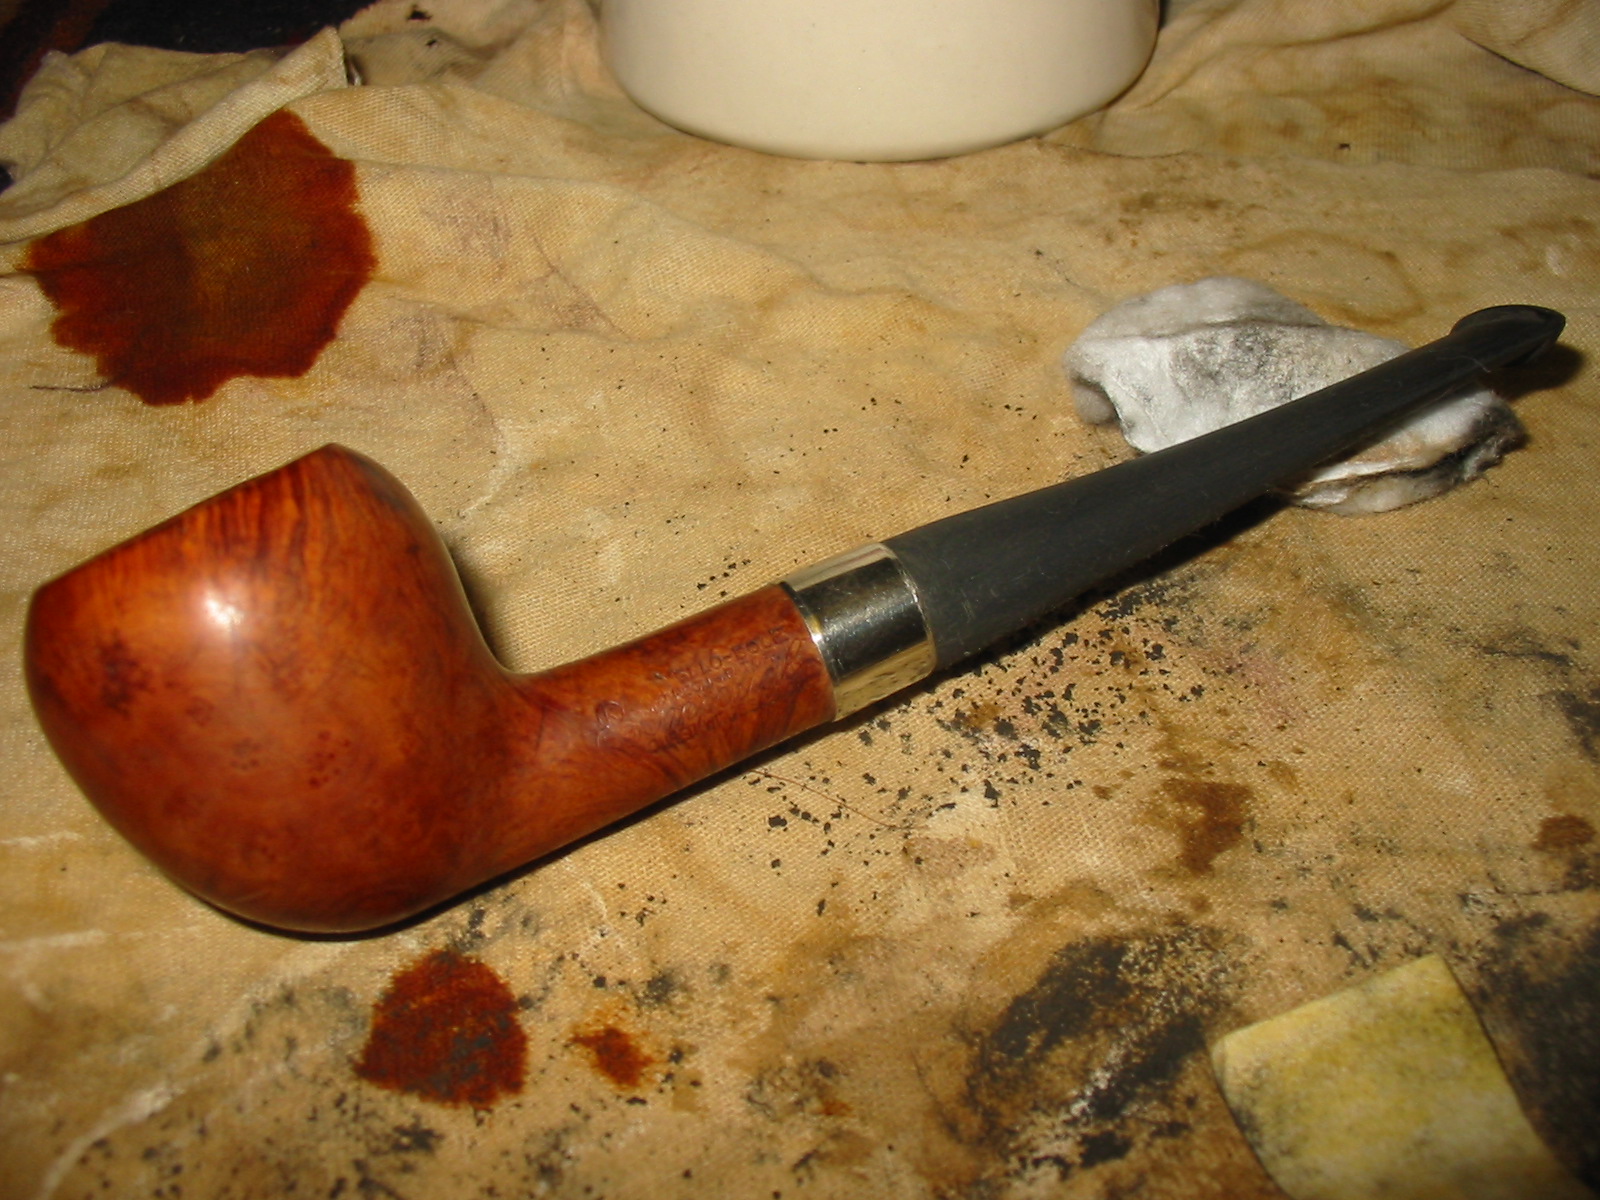
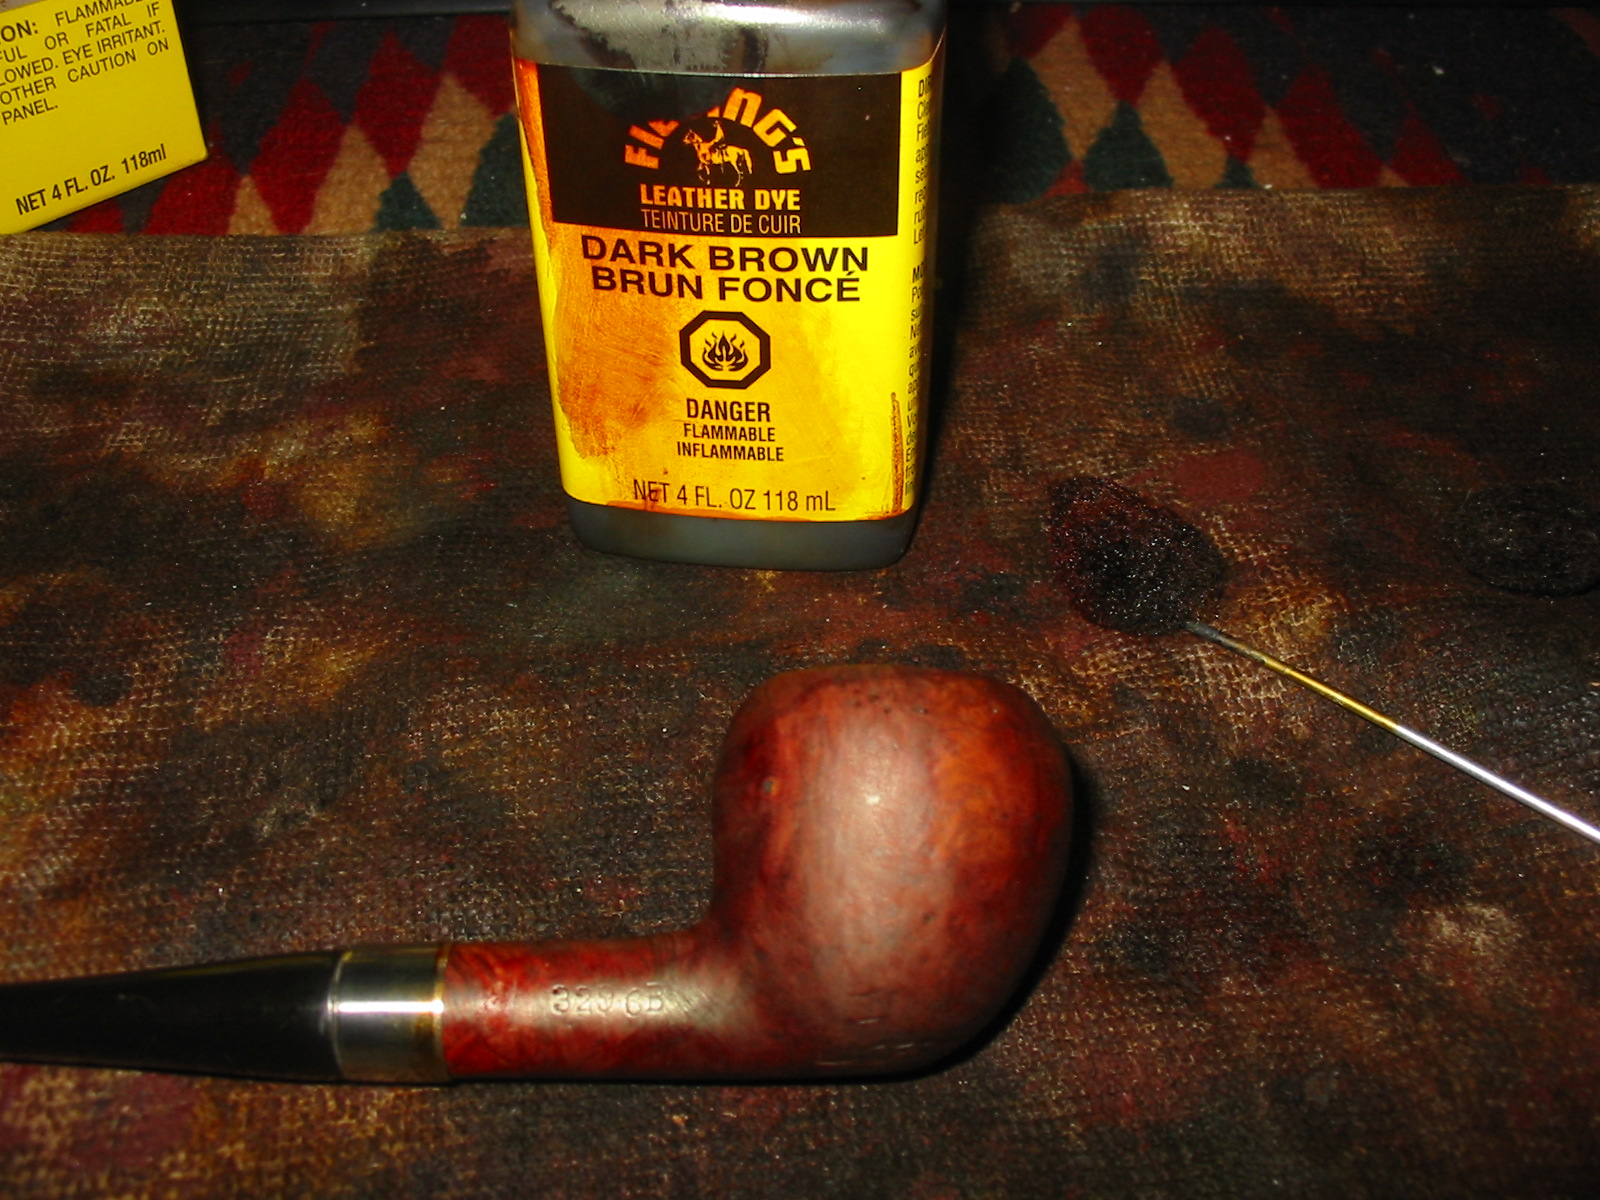
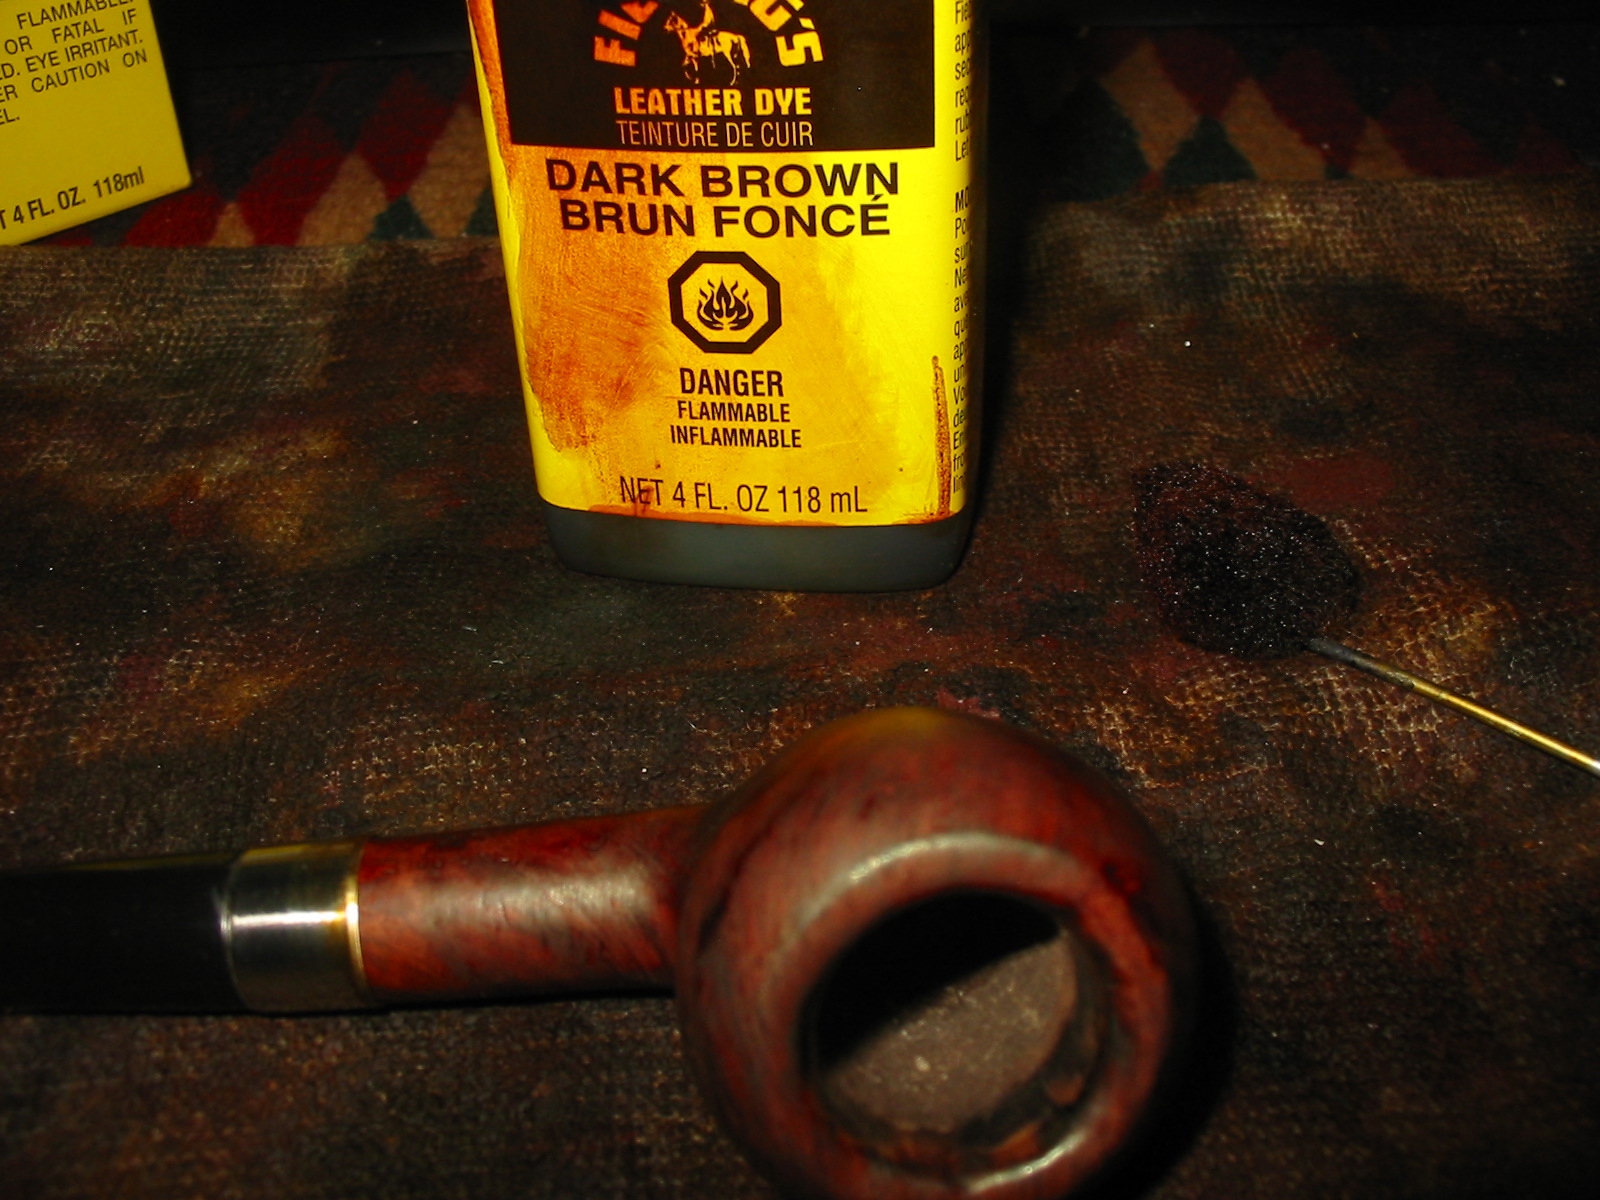
Now it was time to stain the bowl of the pipe. I used a Dark Brown aniline stain that I had thinned with isopropyl 2:1 to stain the bowl. I wanted a consistency in the colour and also have the grain on the bowl show through the stain. I applied the stain with the wool dauber that came with the stain and then flamed it with a match to set the stain. I restained it and reflamed it a second and third time. The next two photos show the stained bowl.
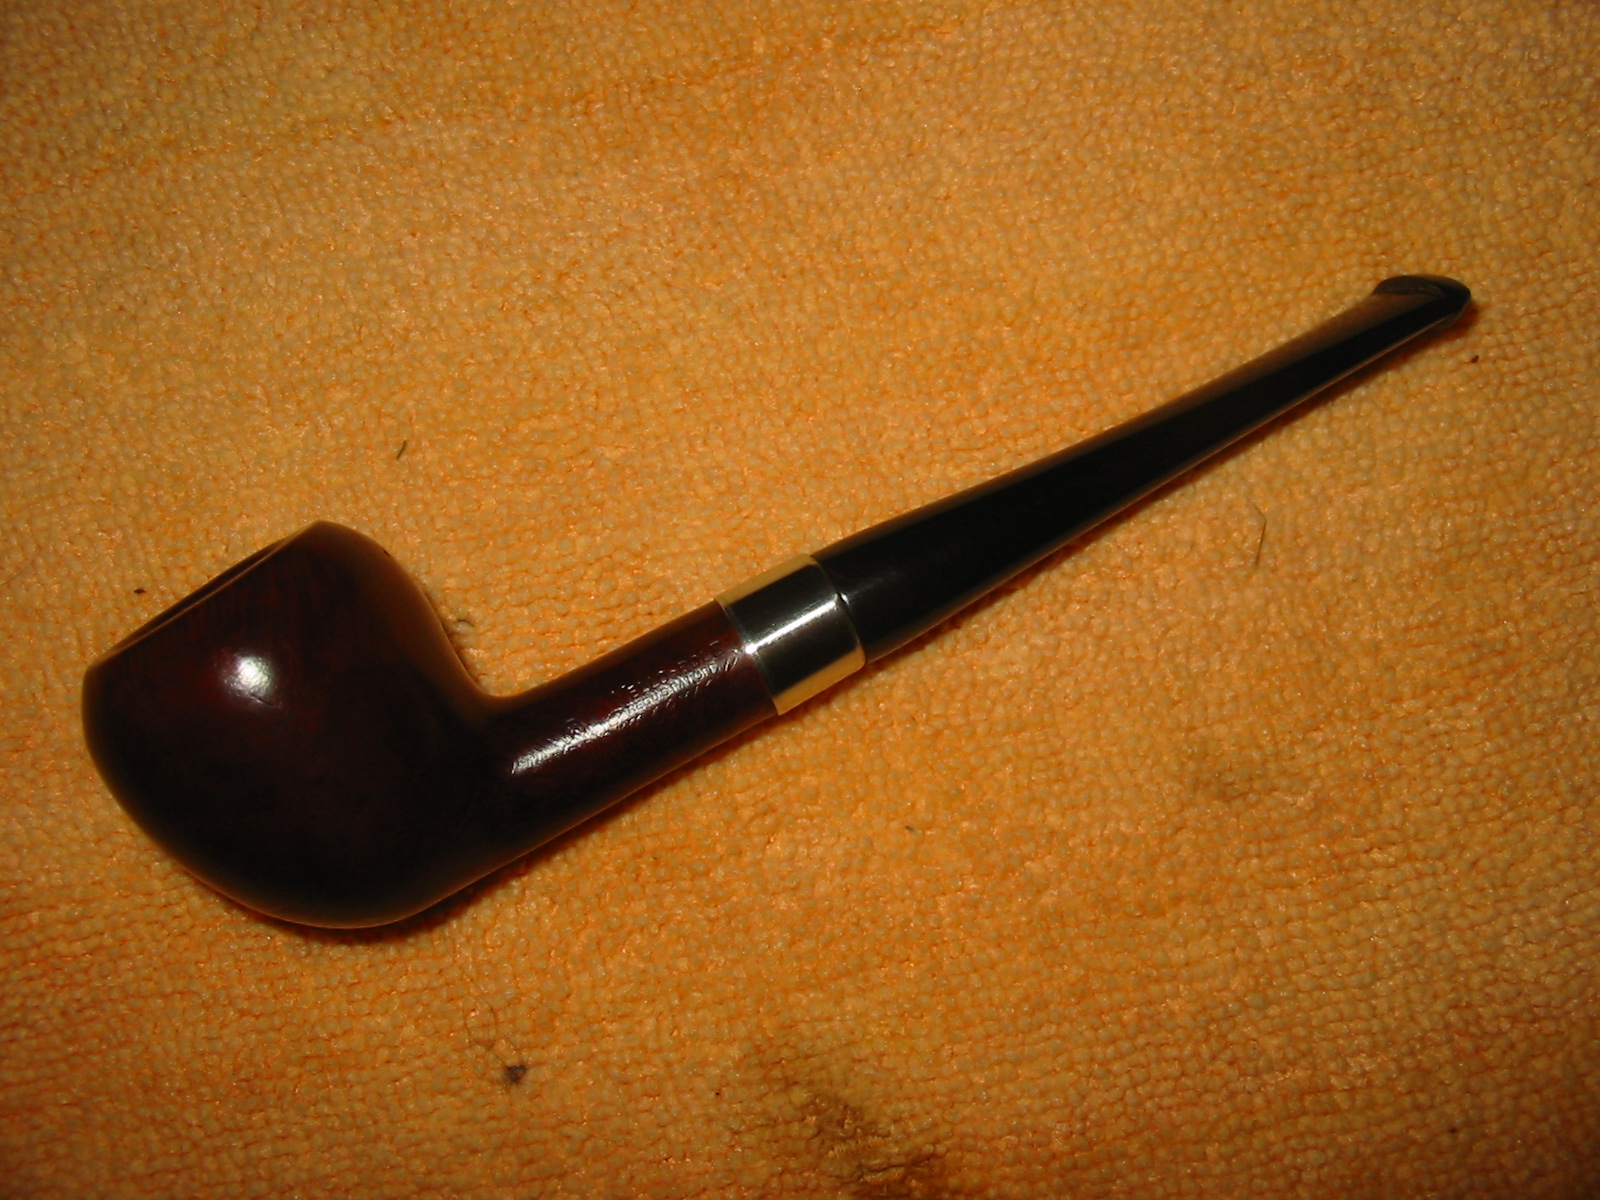
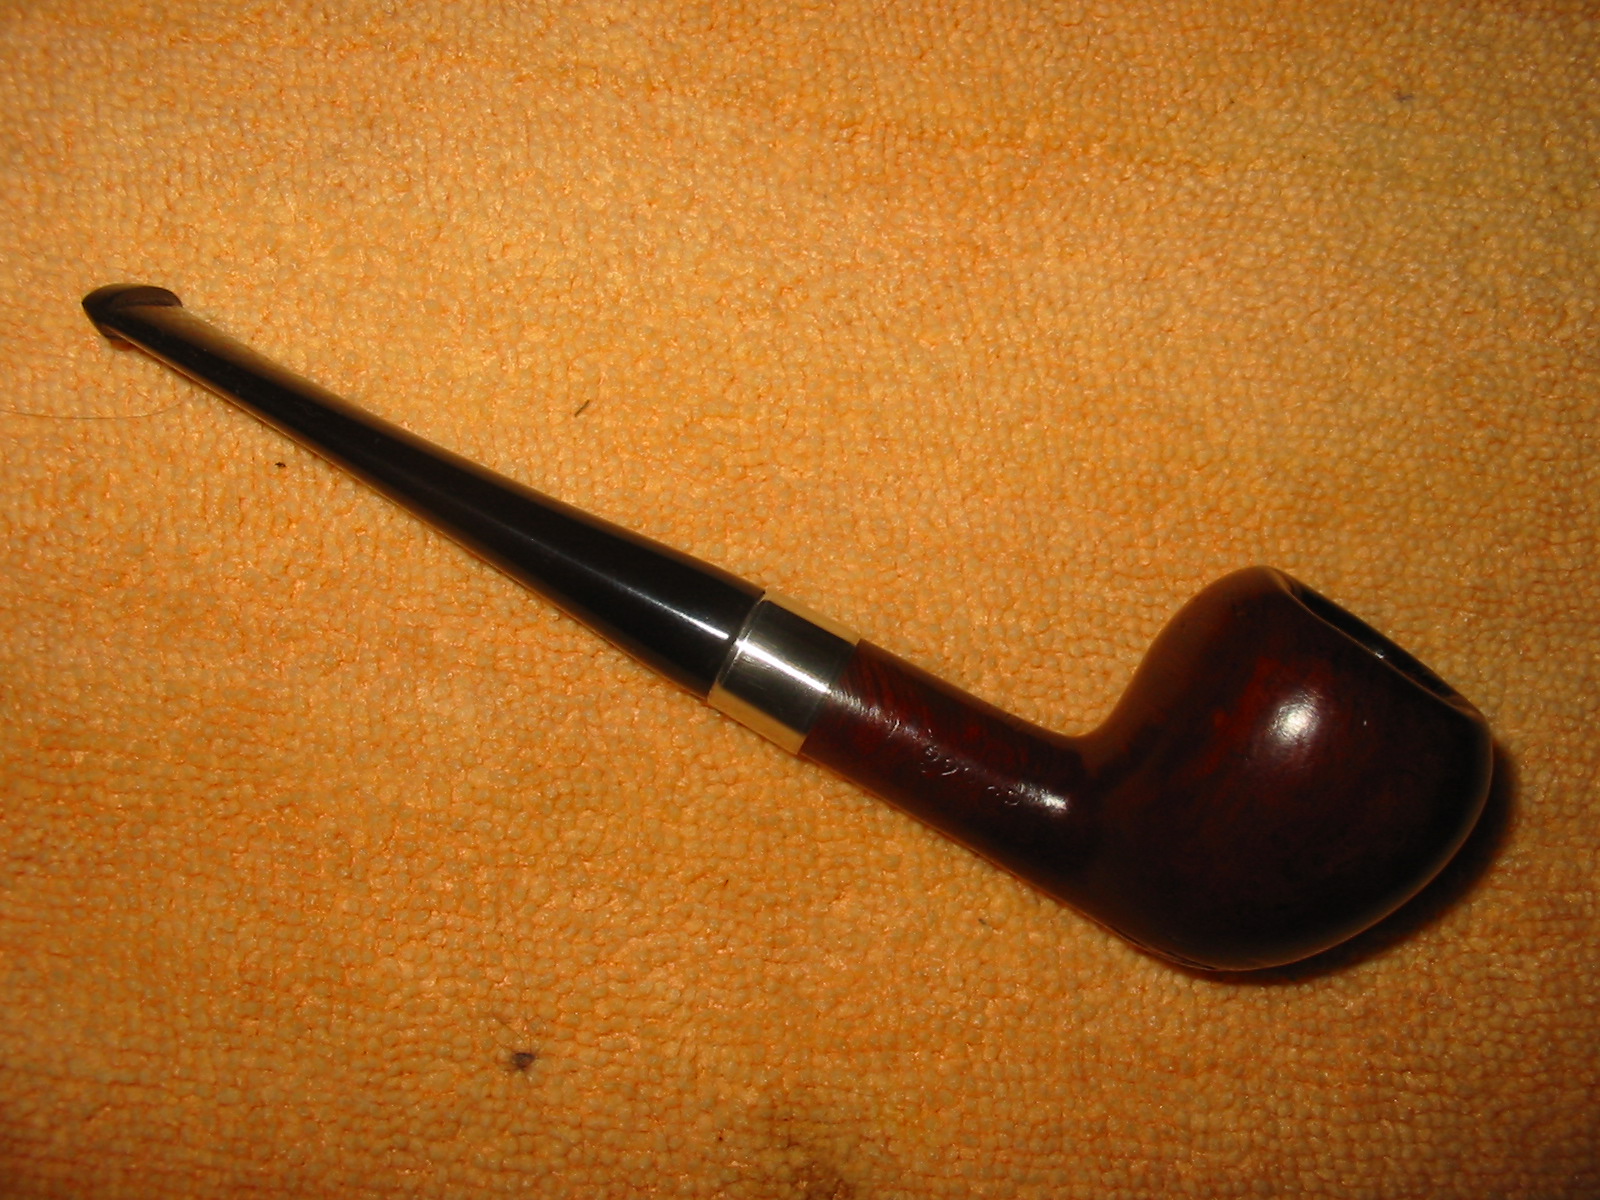
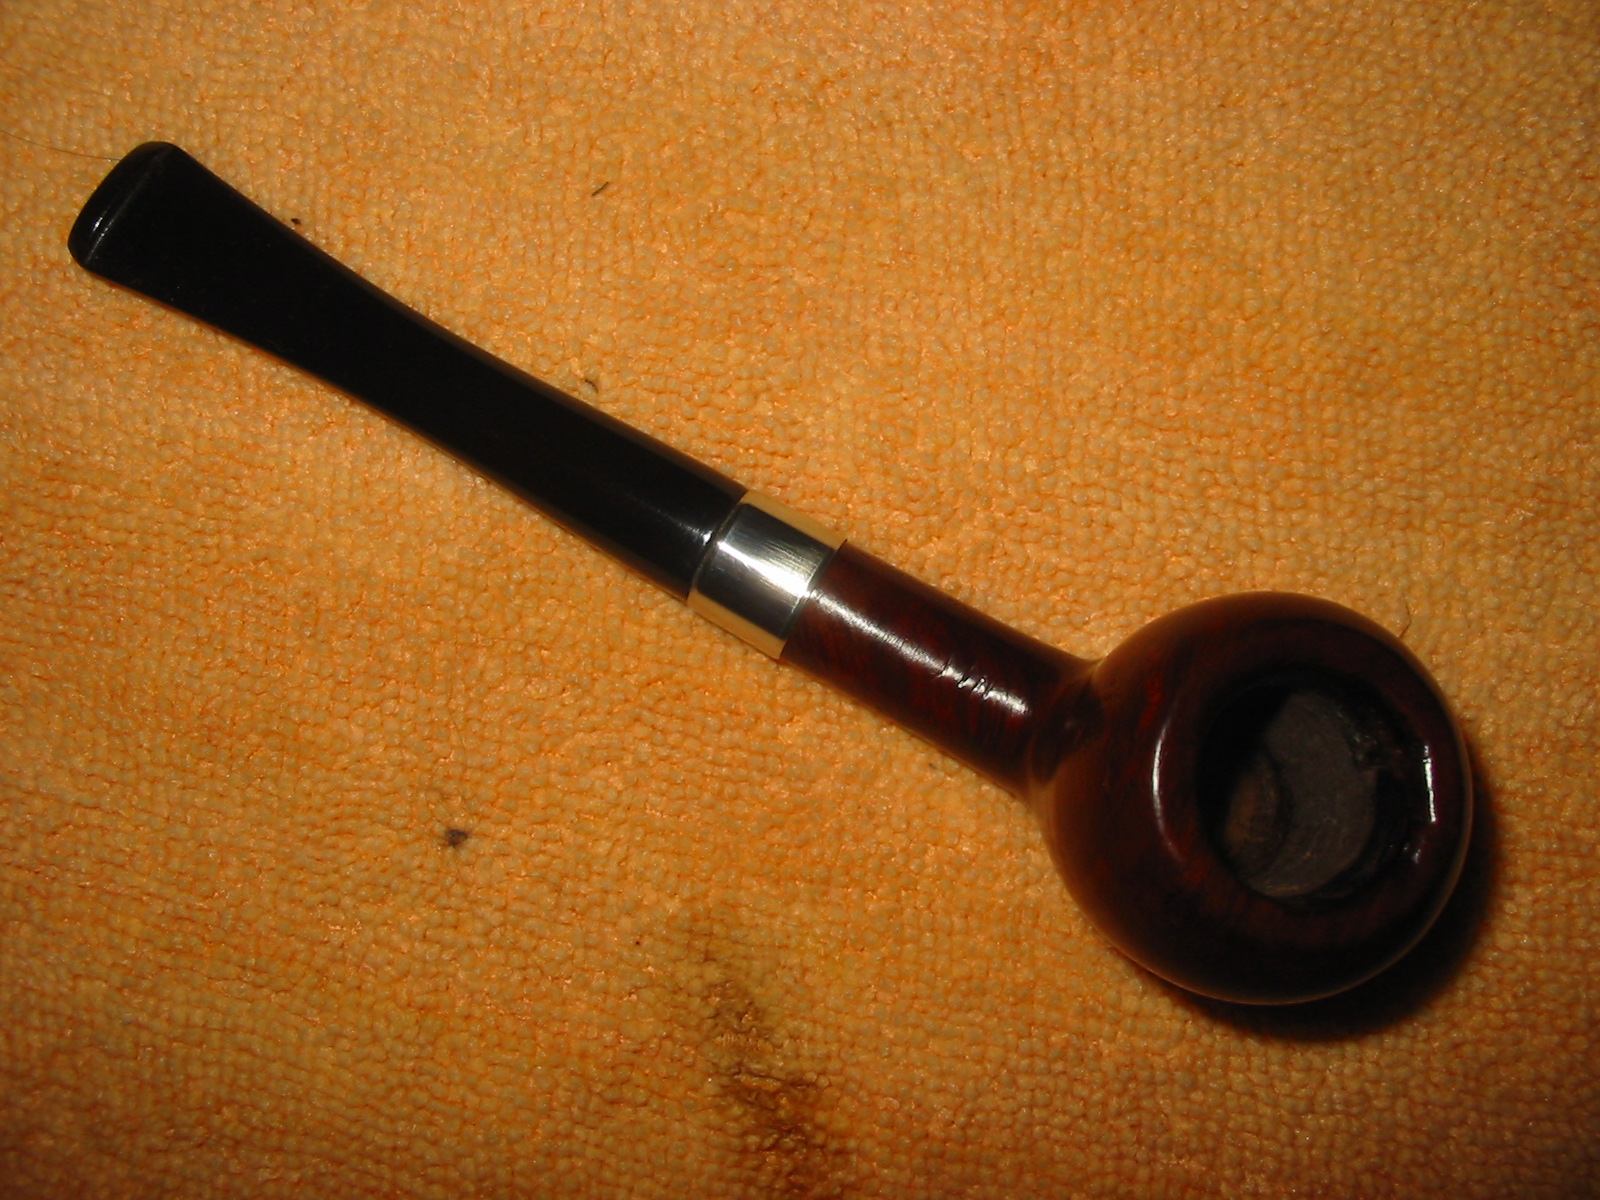
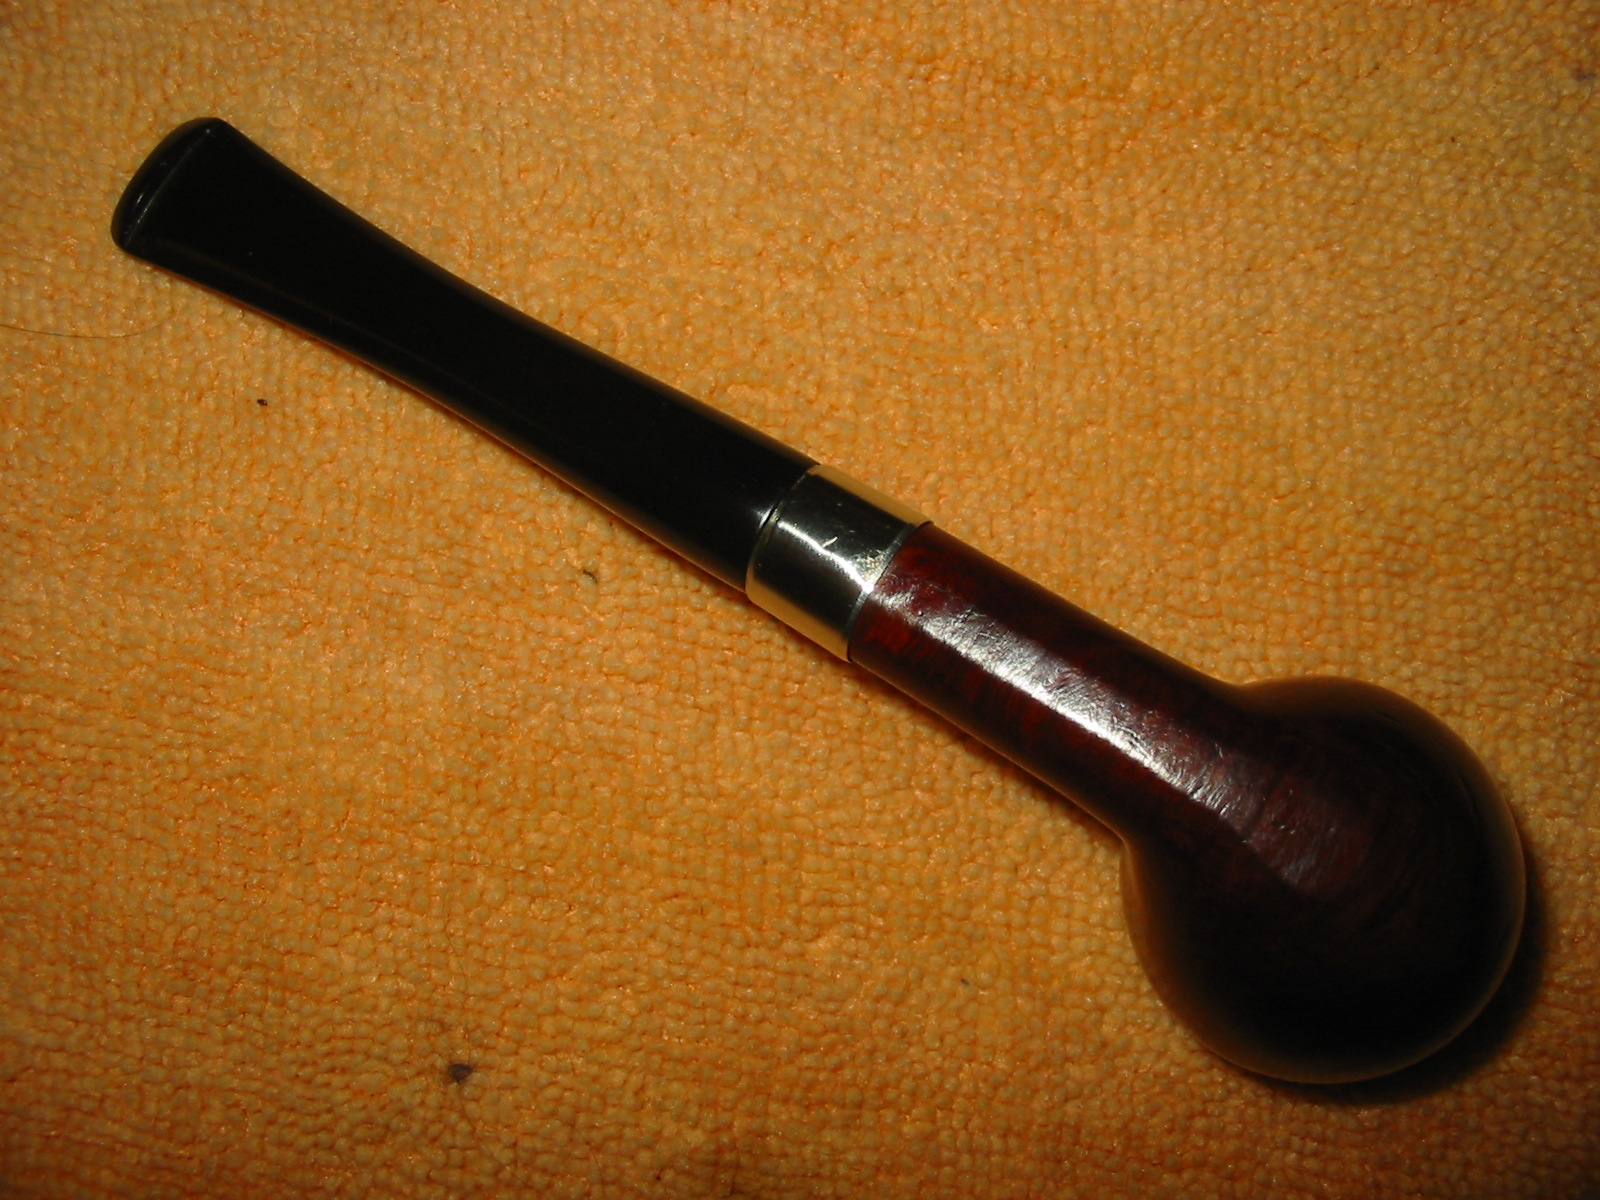
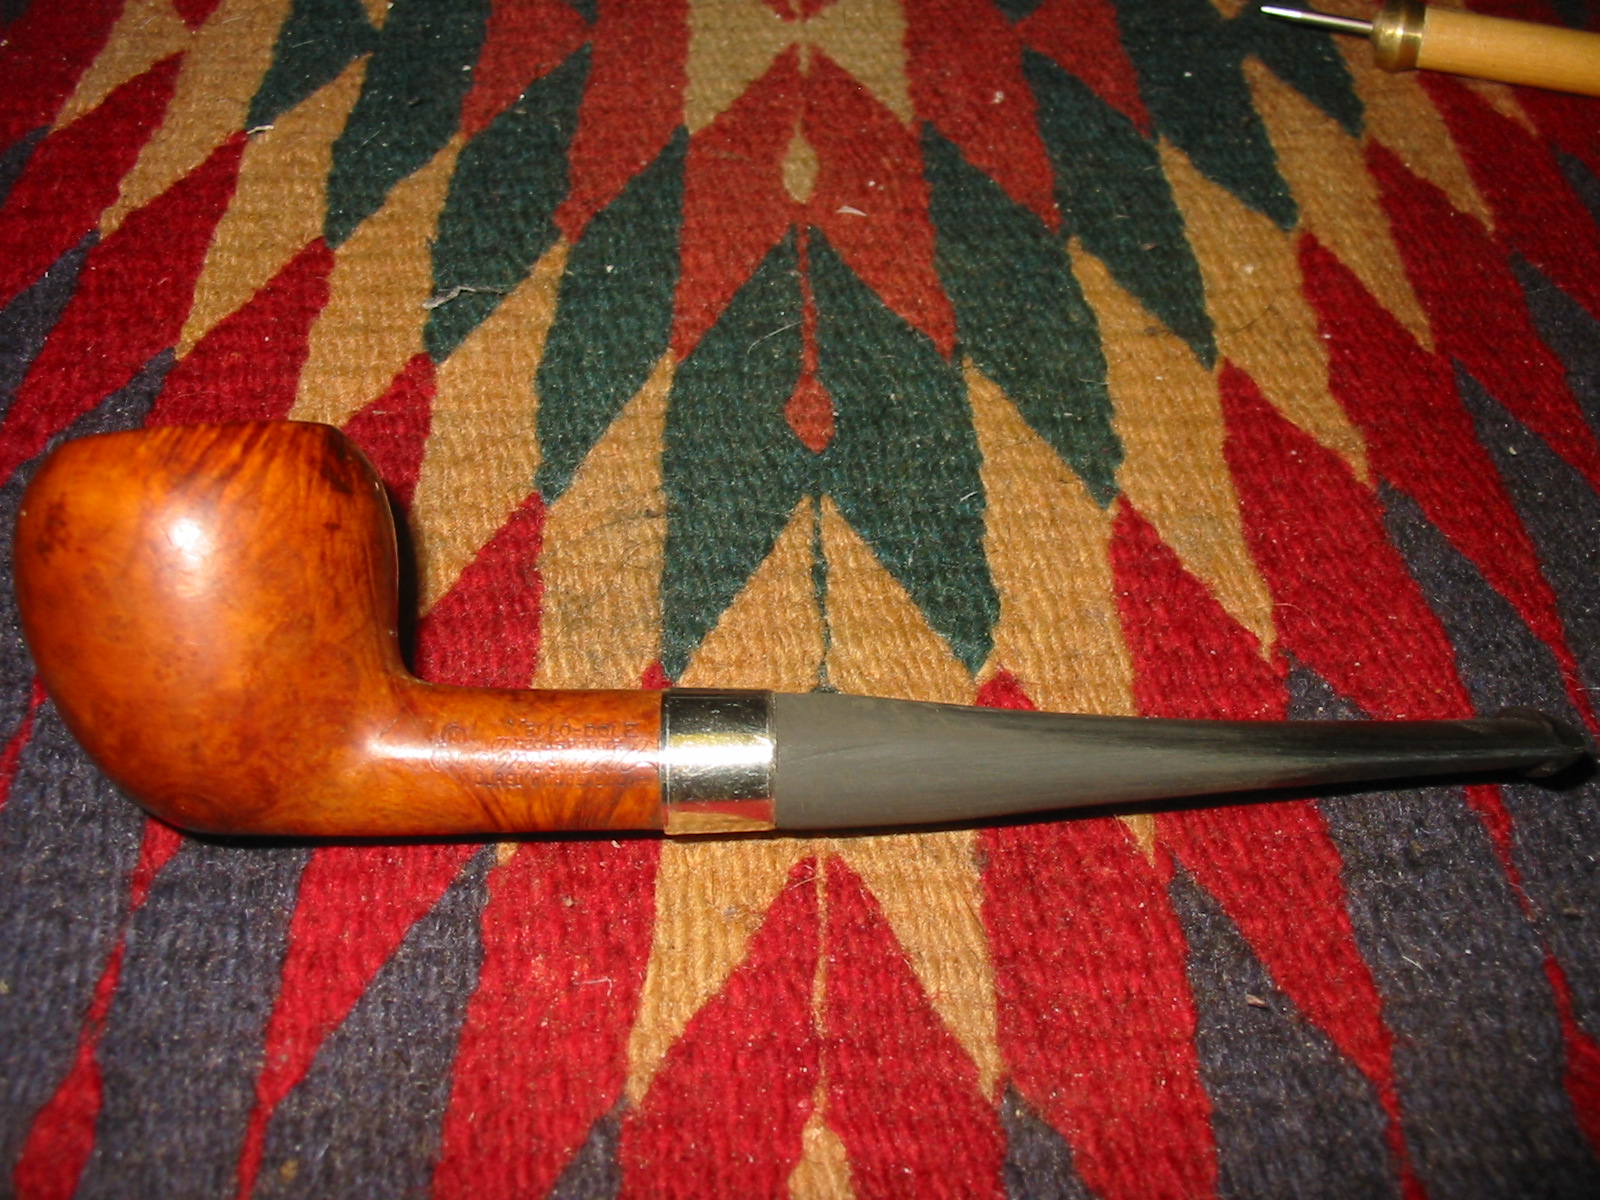
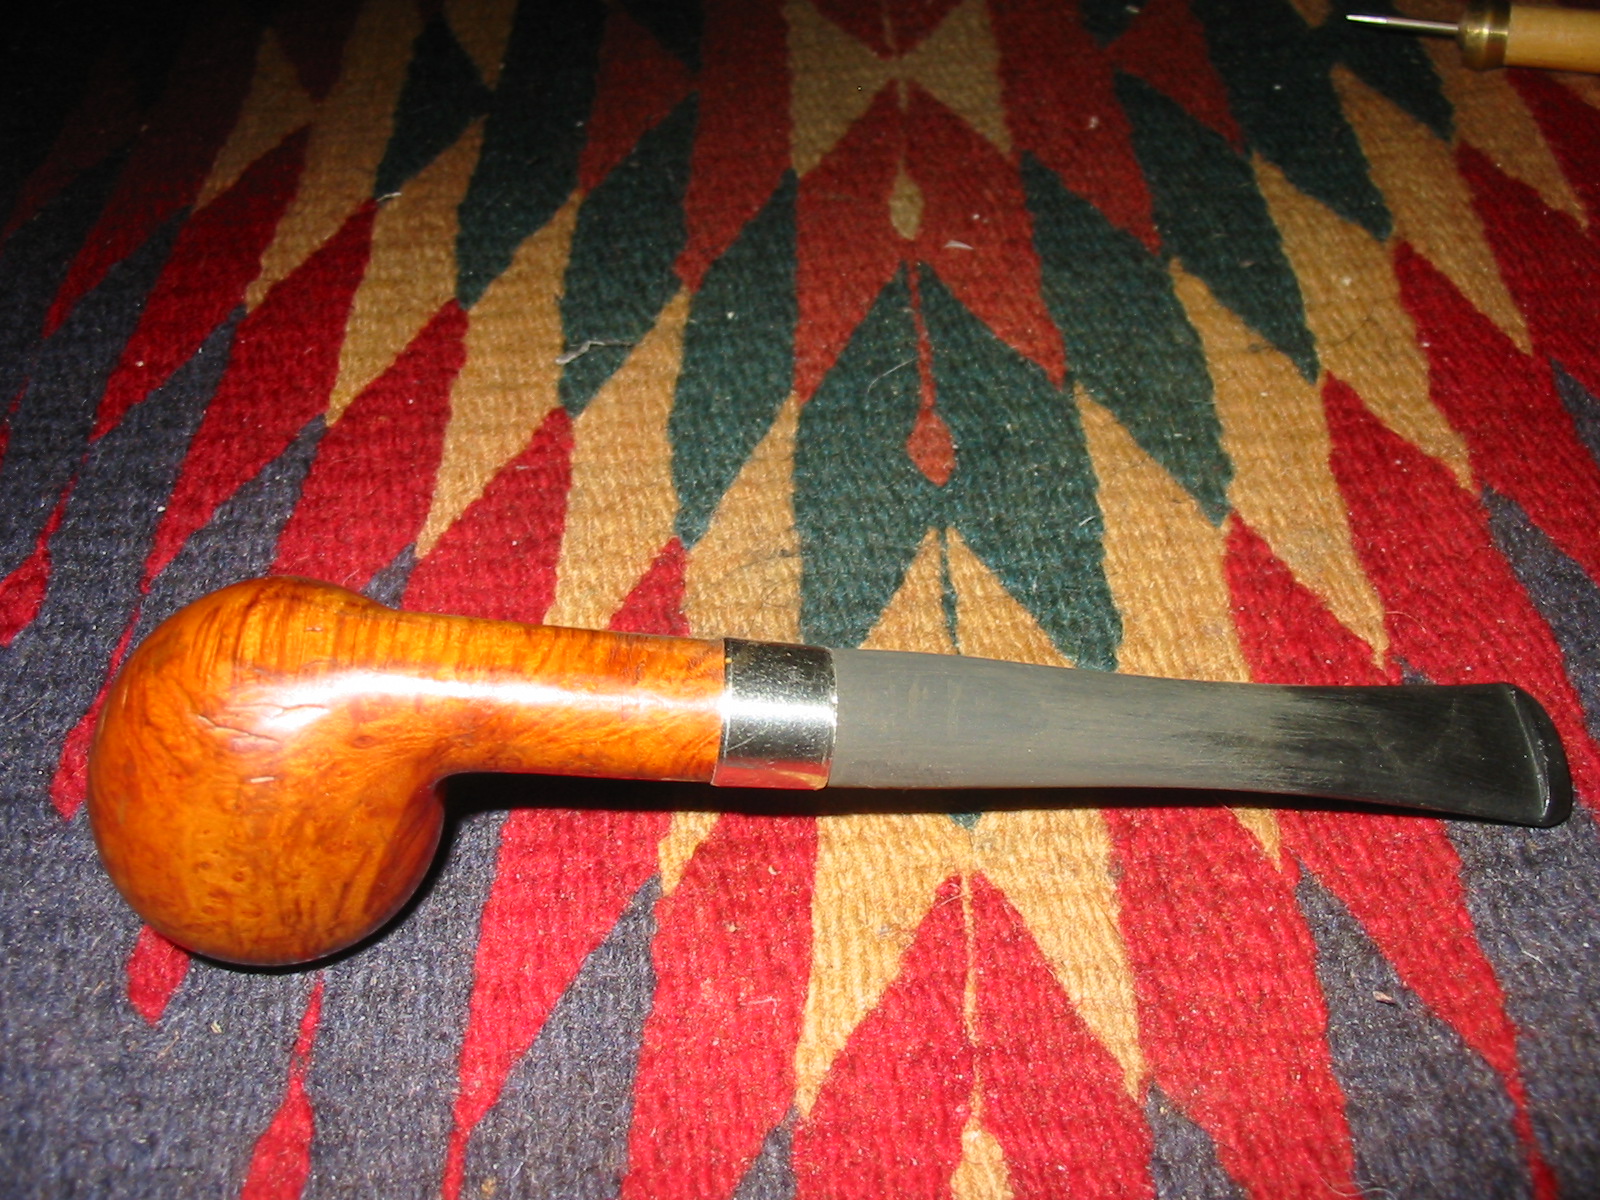
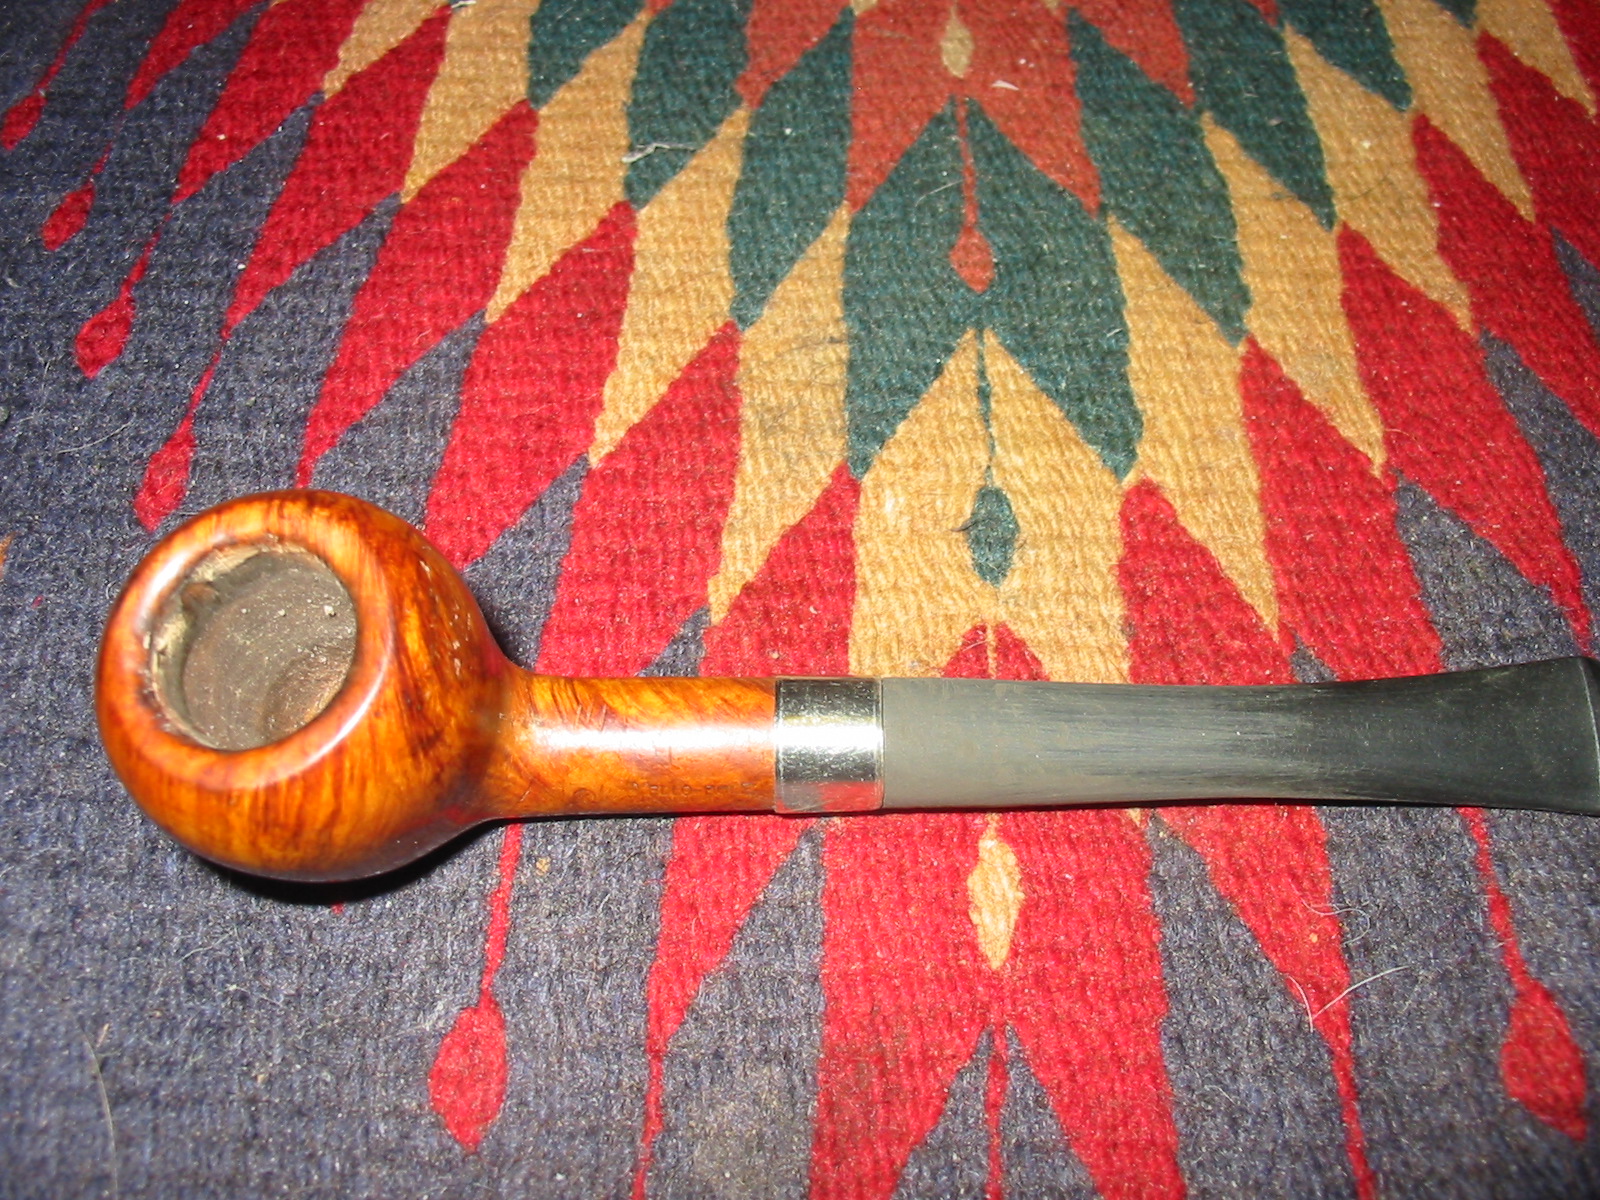
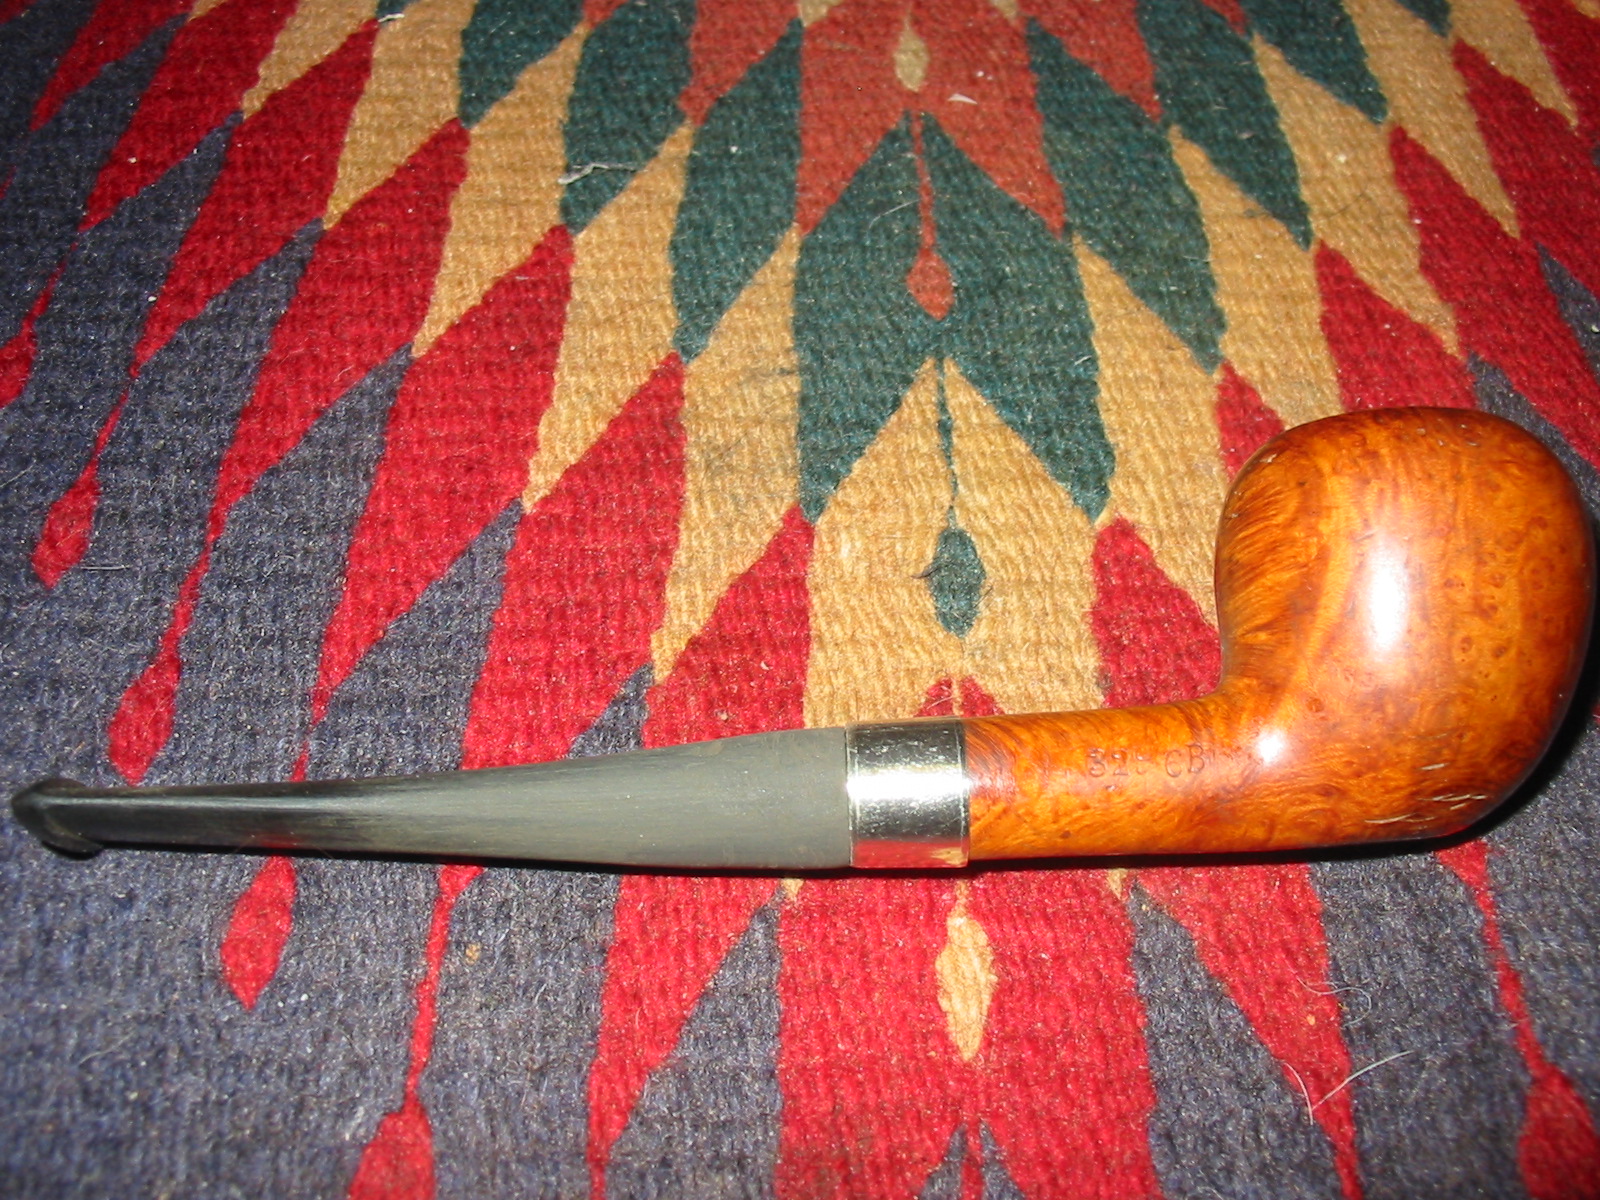
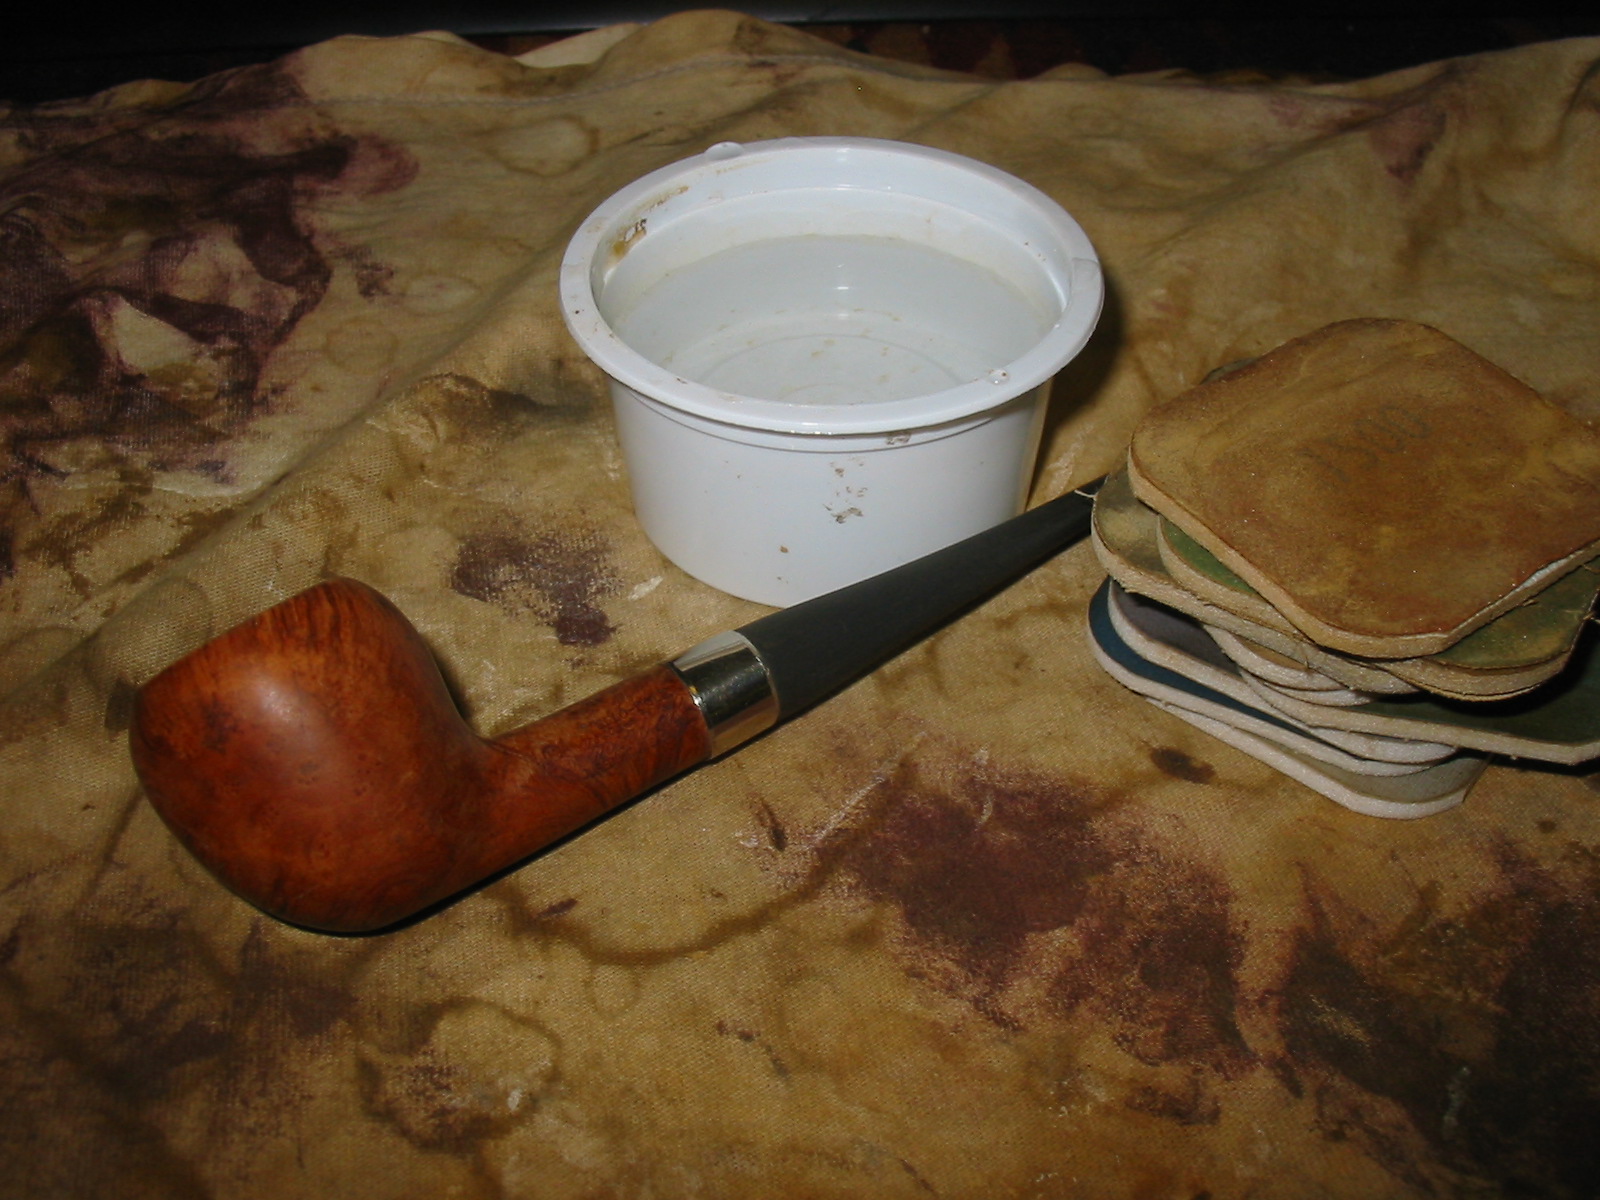
Once the stain was dry I used some silver polish on the nickel band to shine it up and remove the stain that had spilled on it. I also used some sandpaper in the bowl to remove stain that ran into the bowl edges from the beveled rim. I then took it to the buffer and buffed it with Tripoli and White Diamond before giving the whole pipe multiple coats of carnauba wax and a final buff with a clean flannel buffing wheel. The final four photos show the finished pipe.