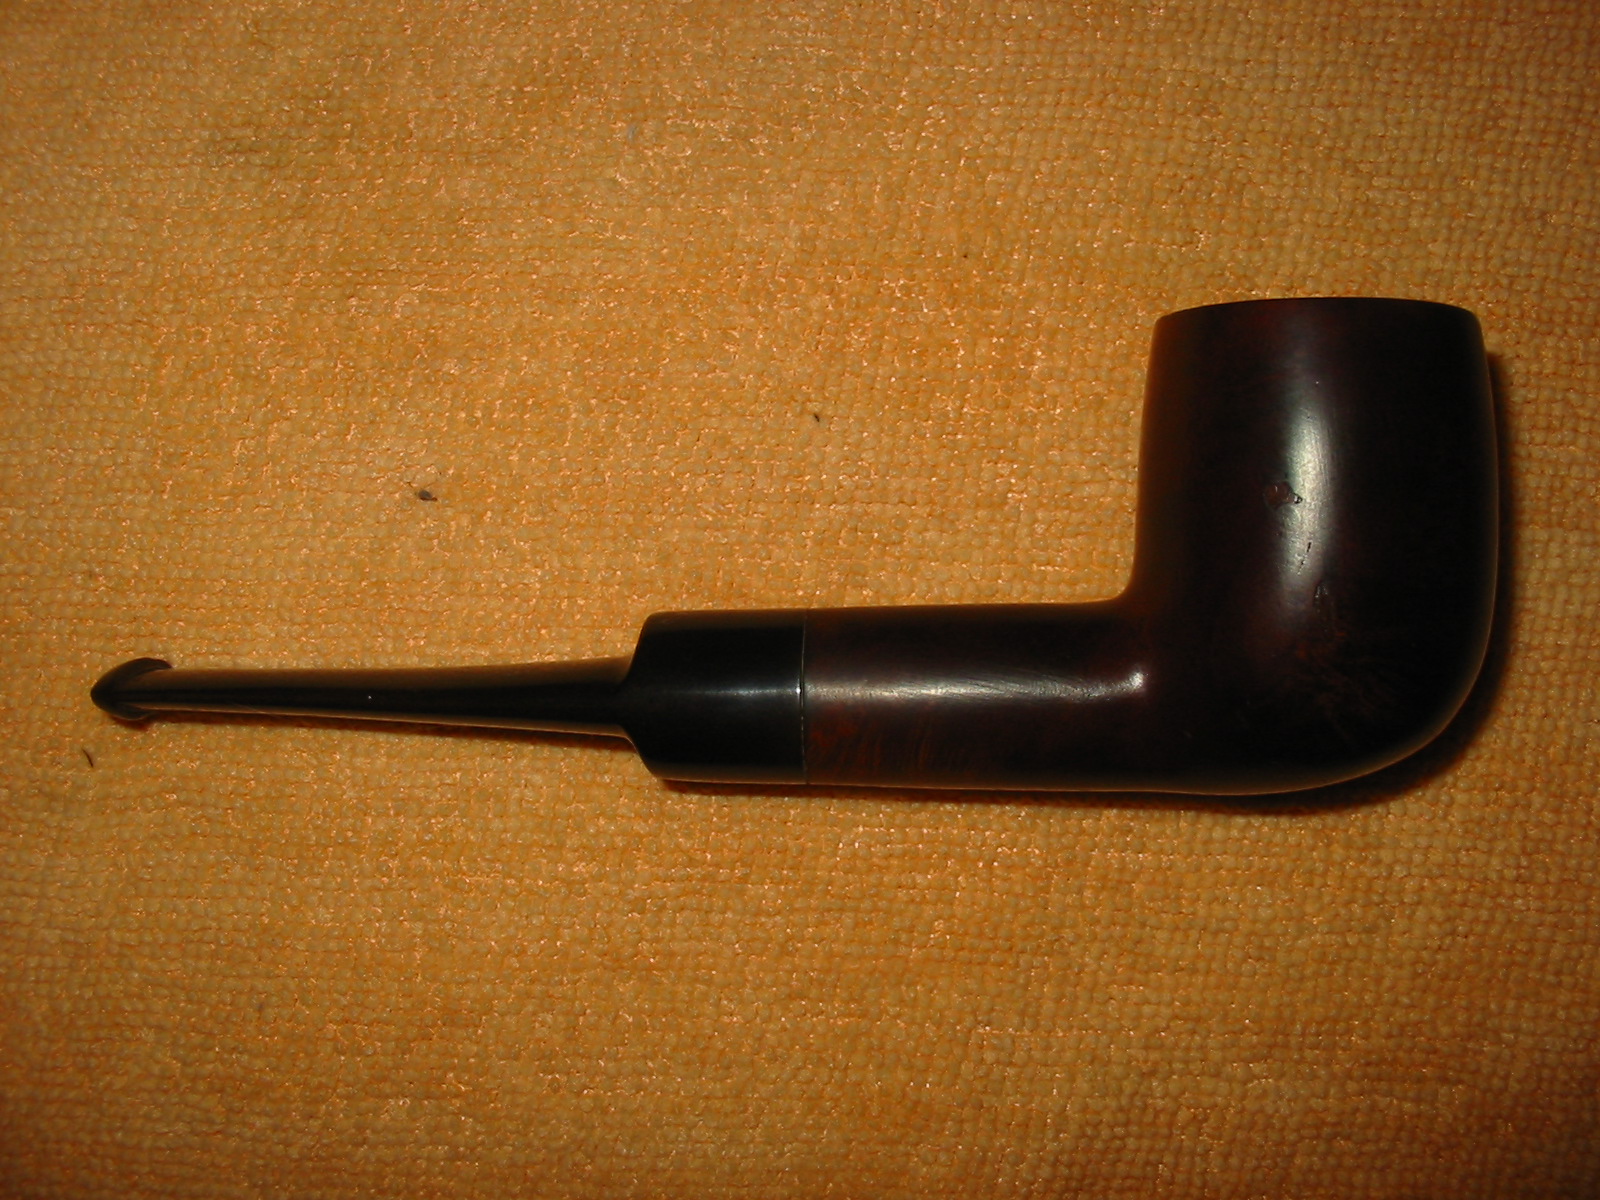
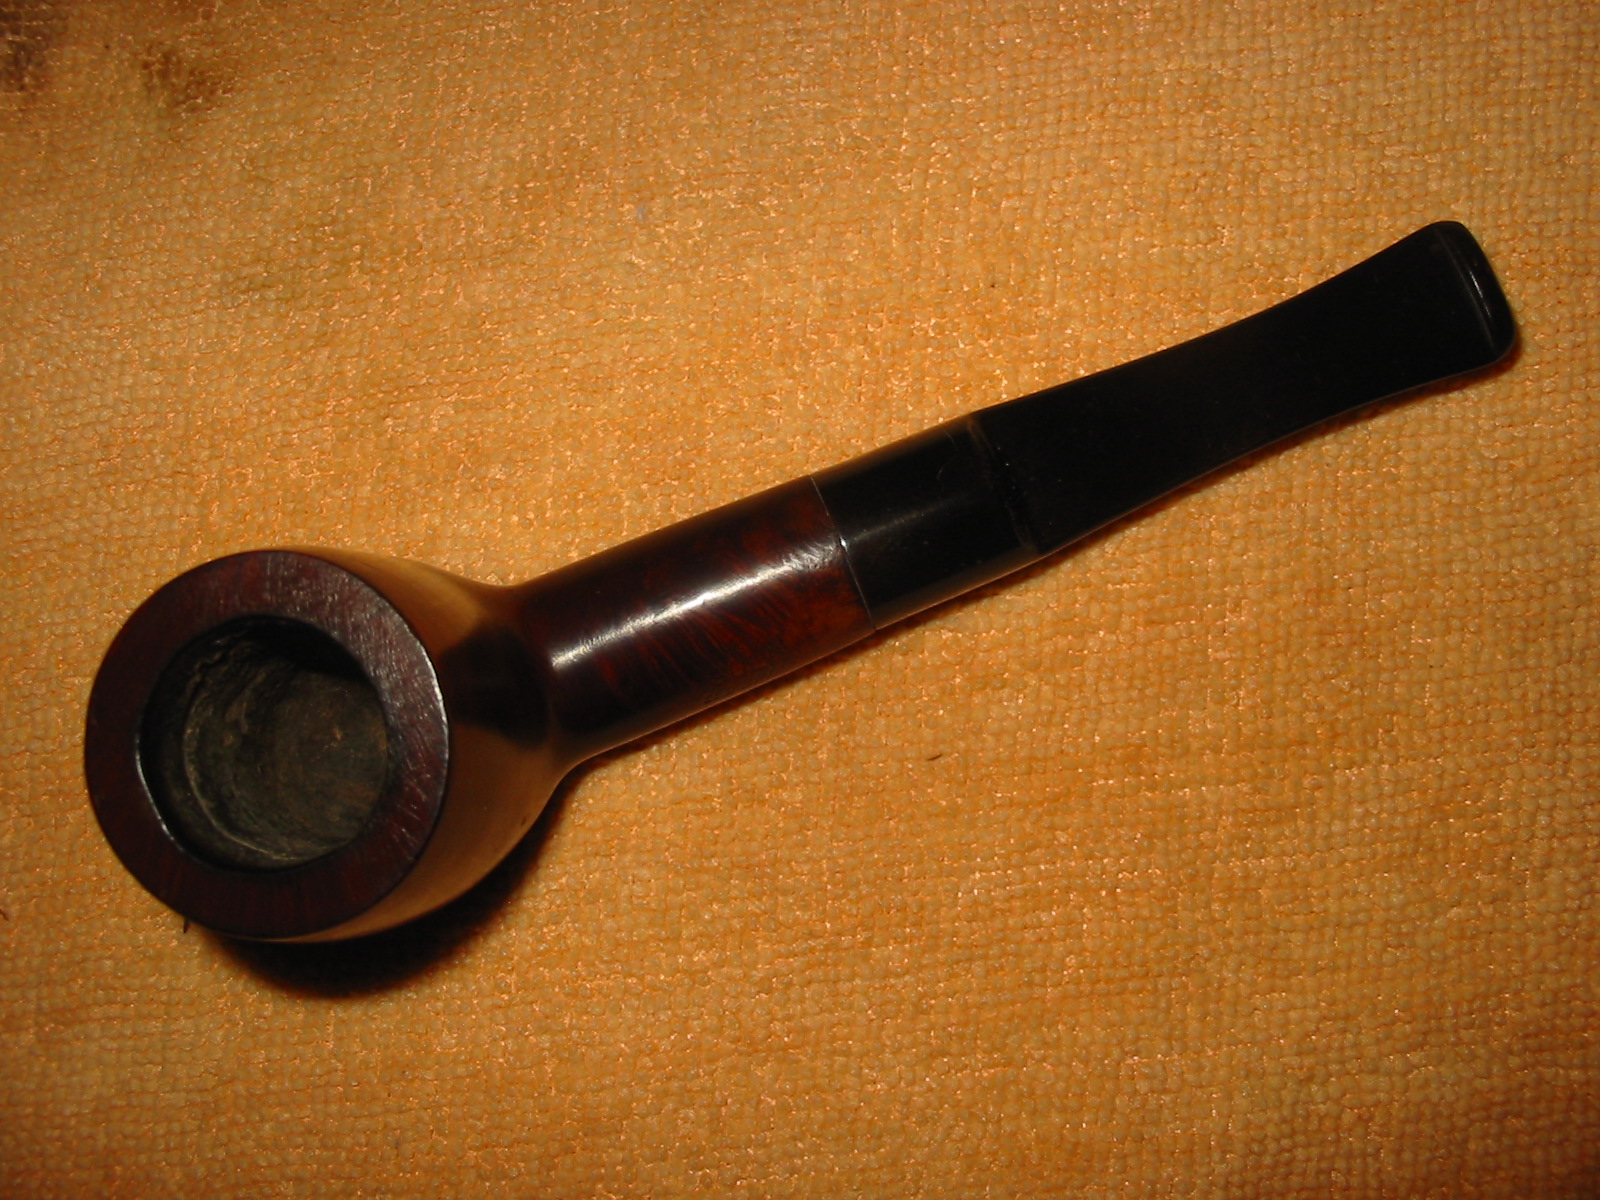
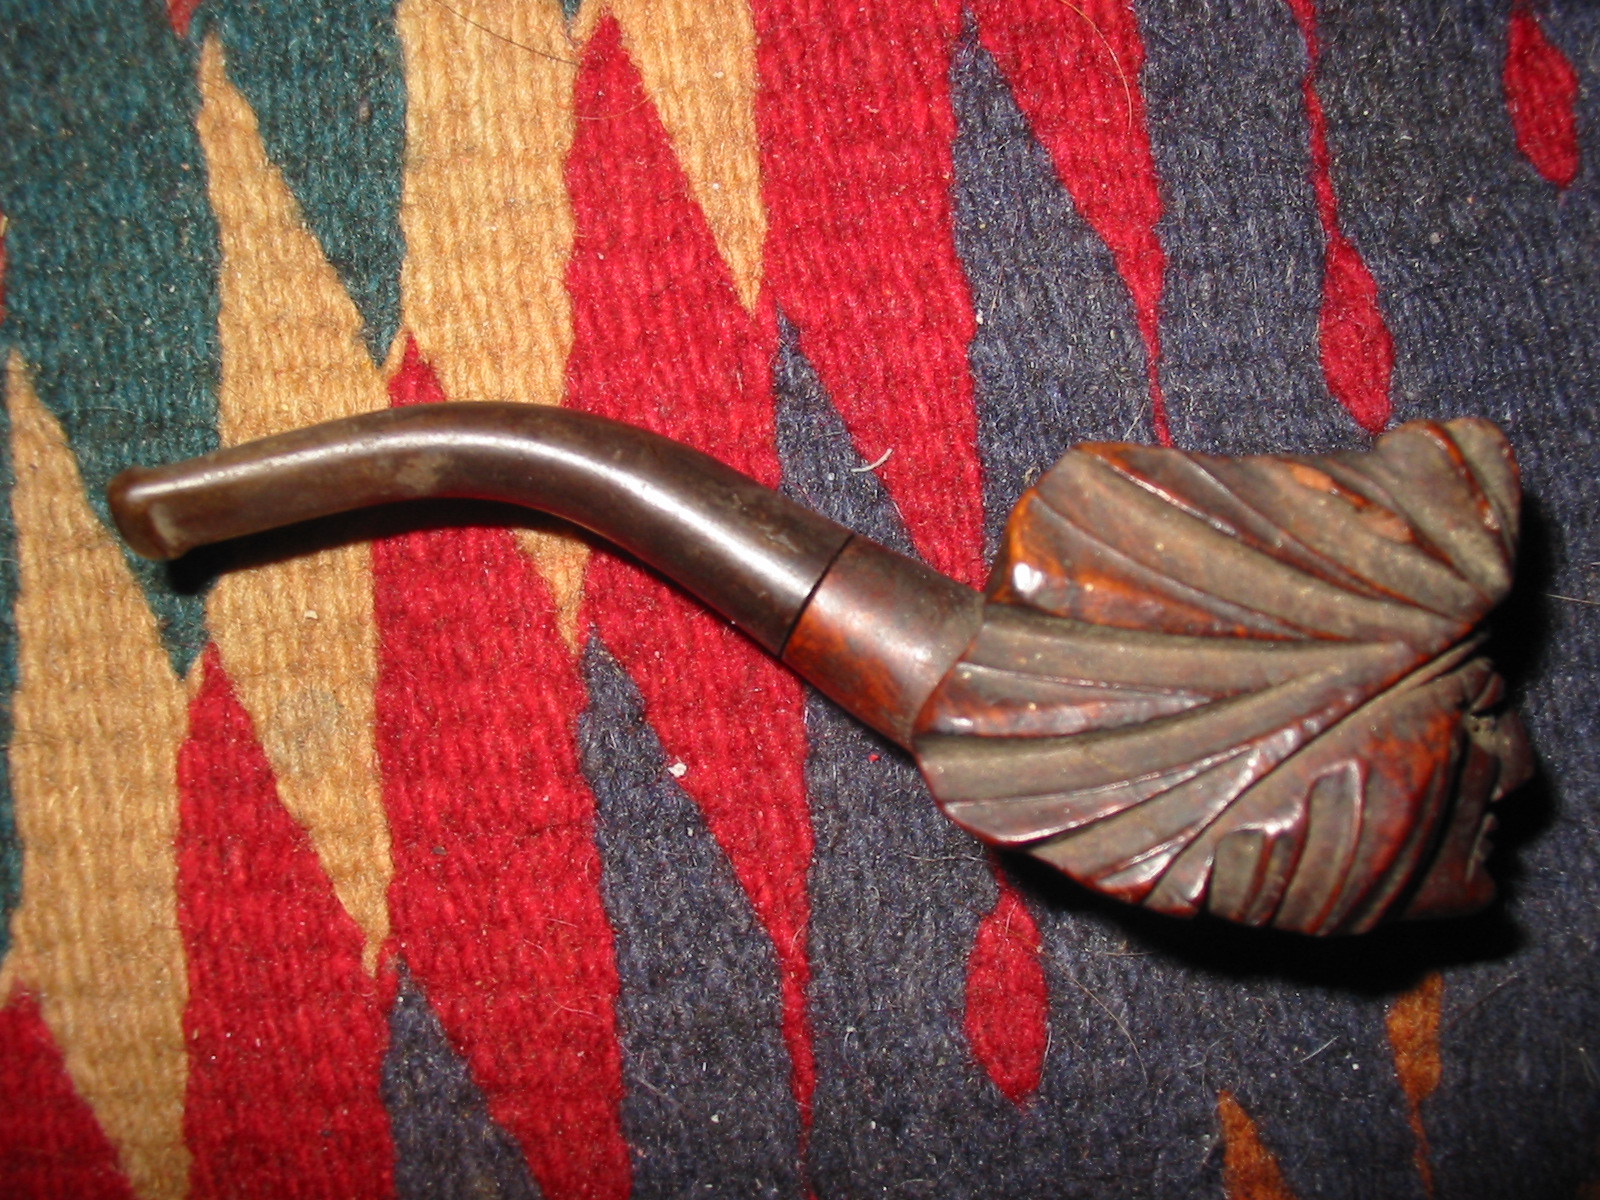
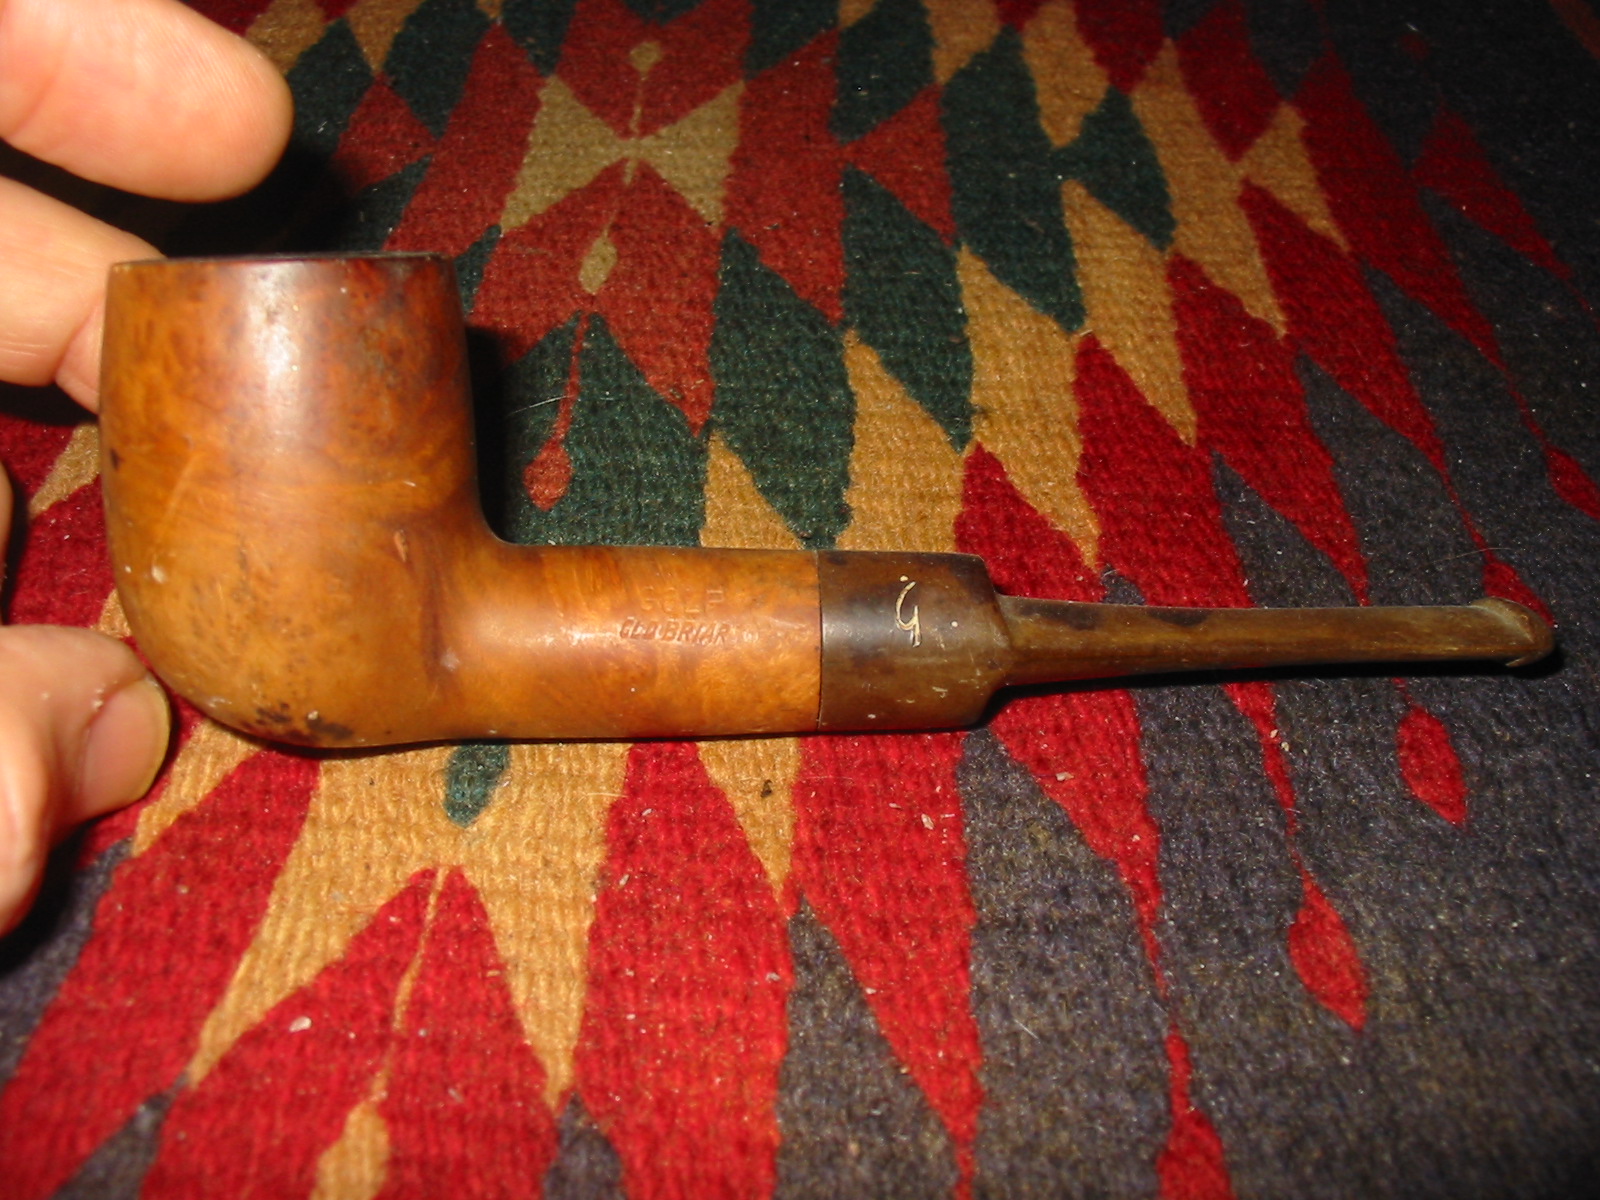
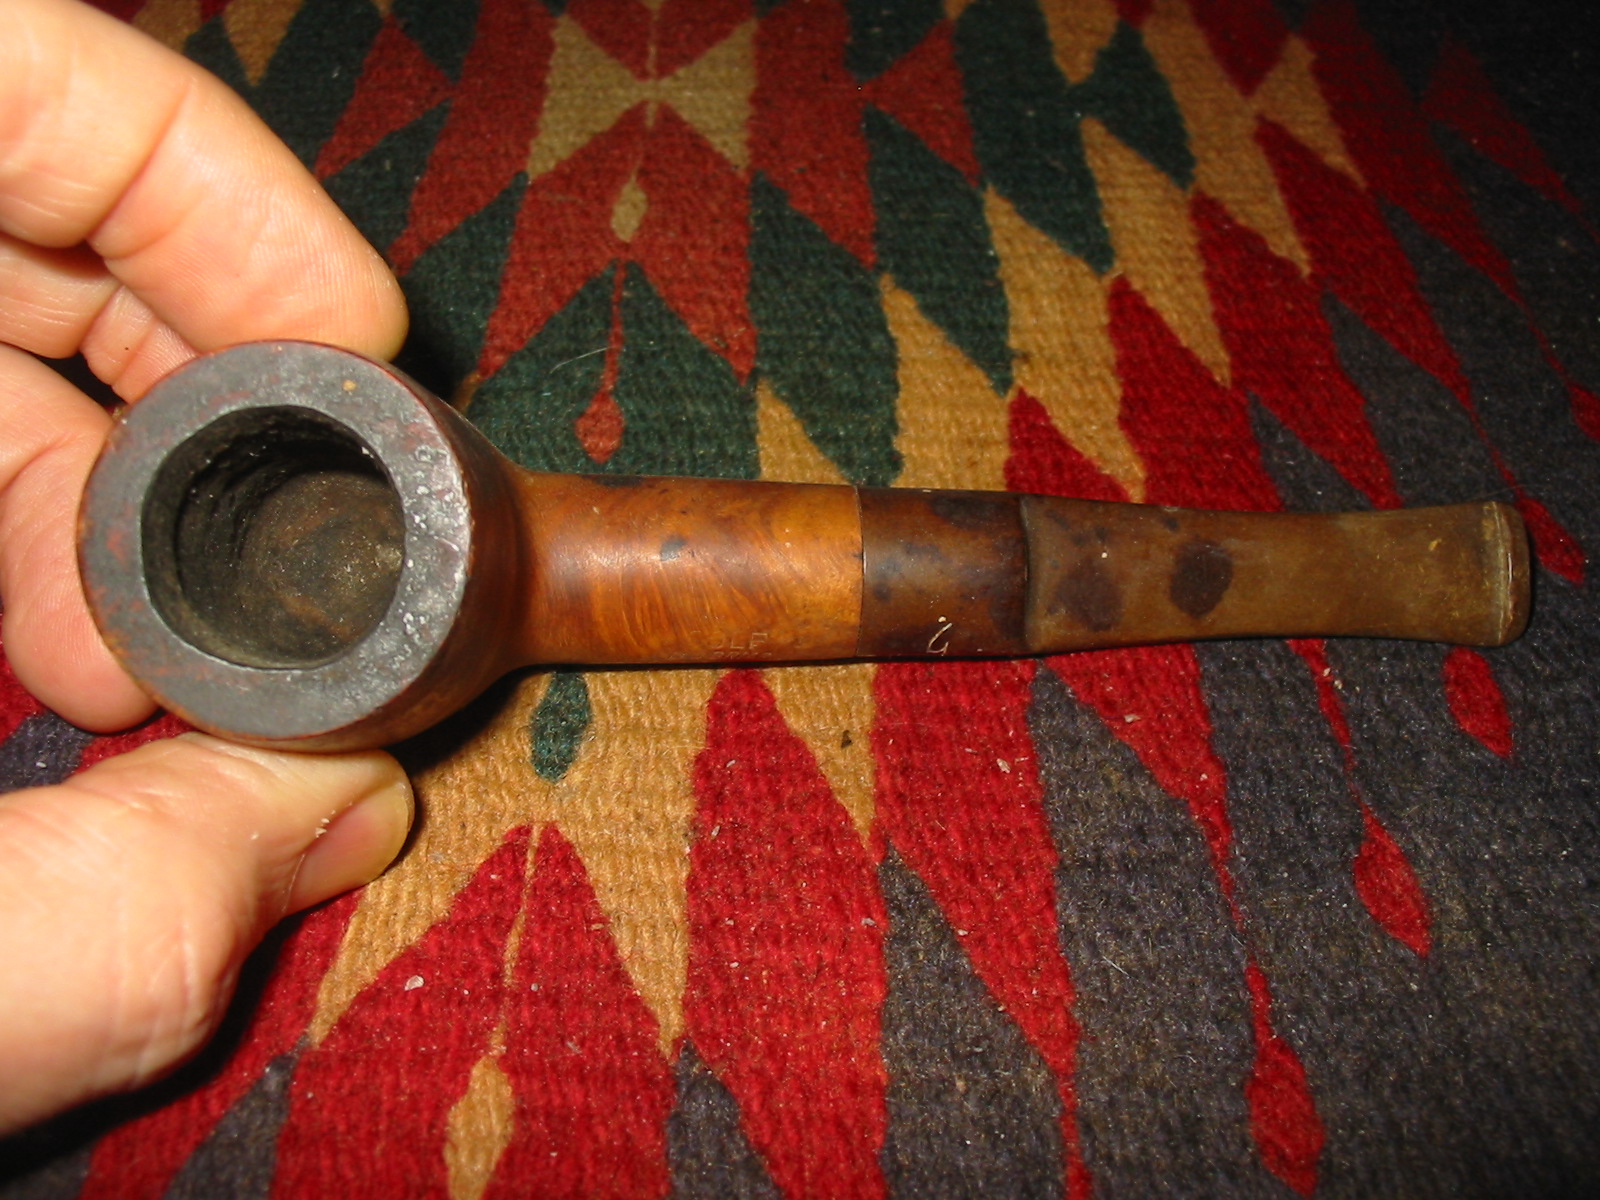
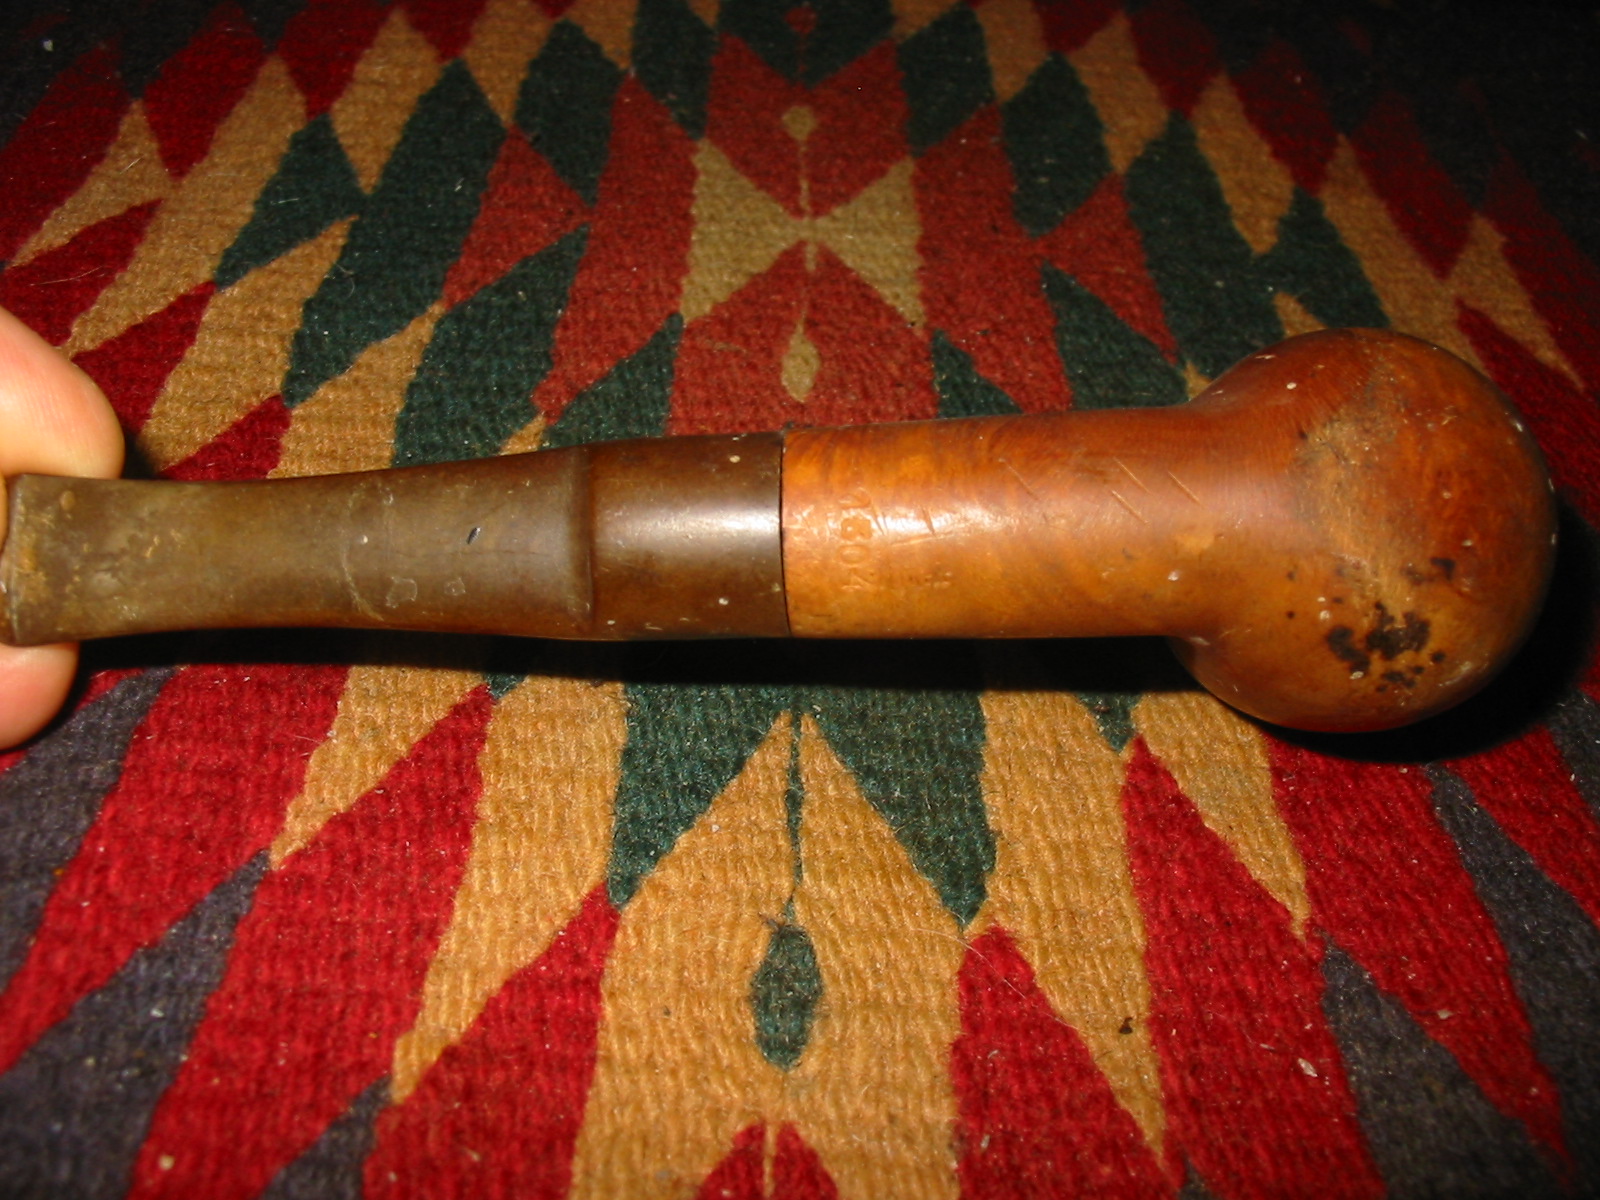
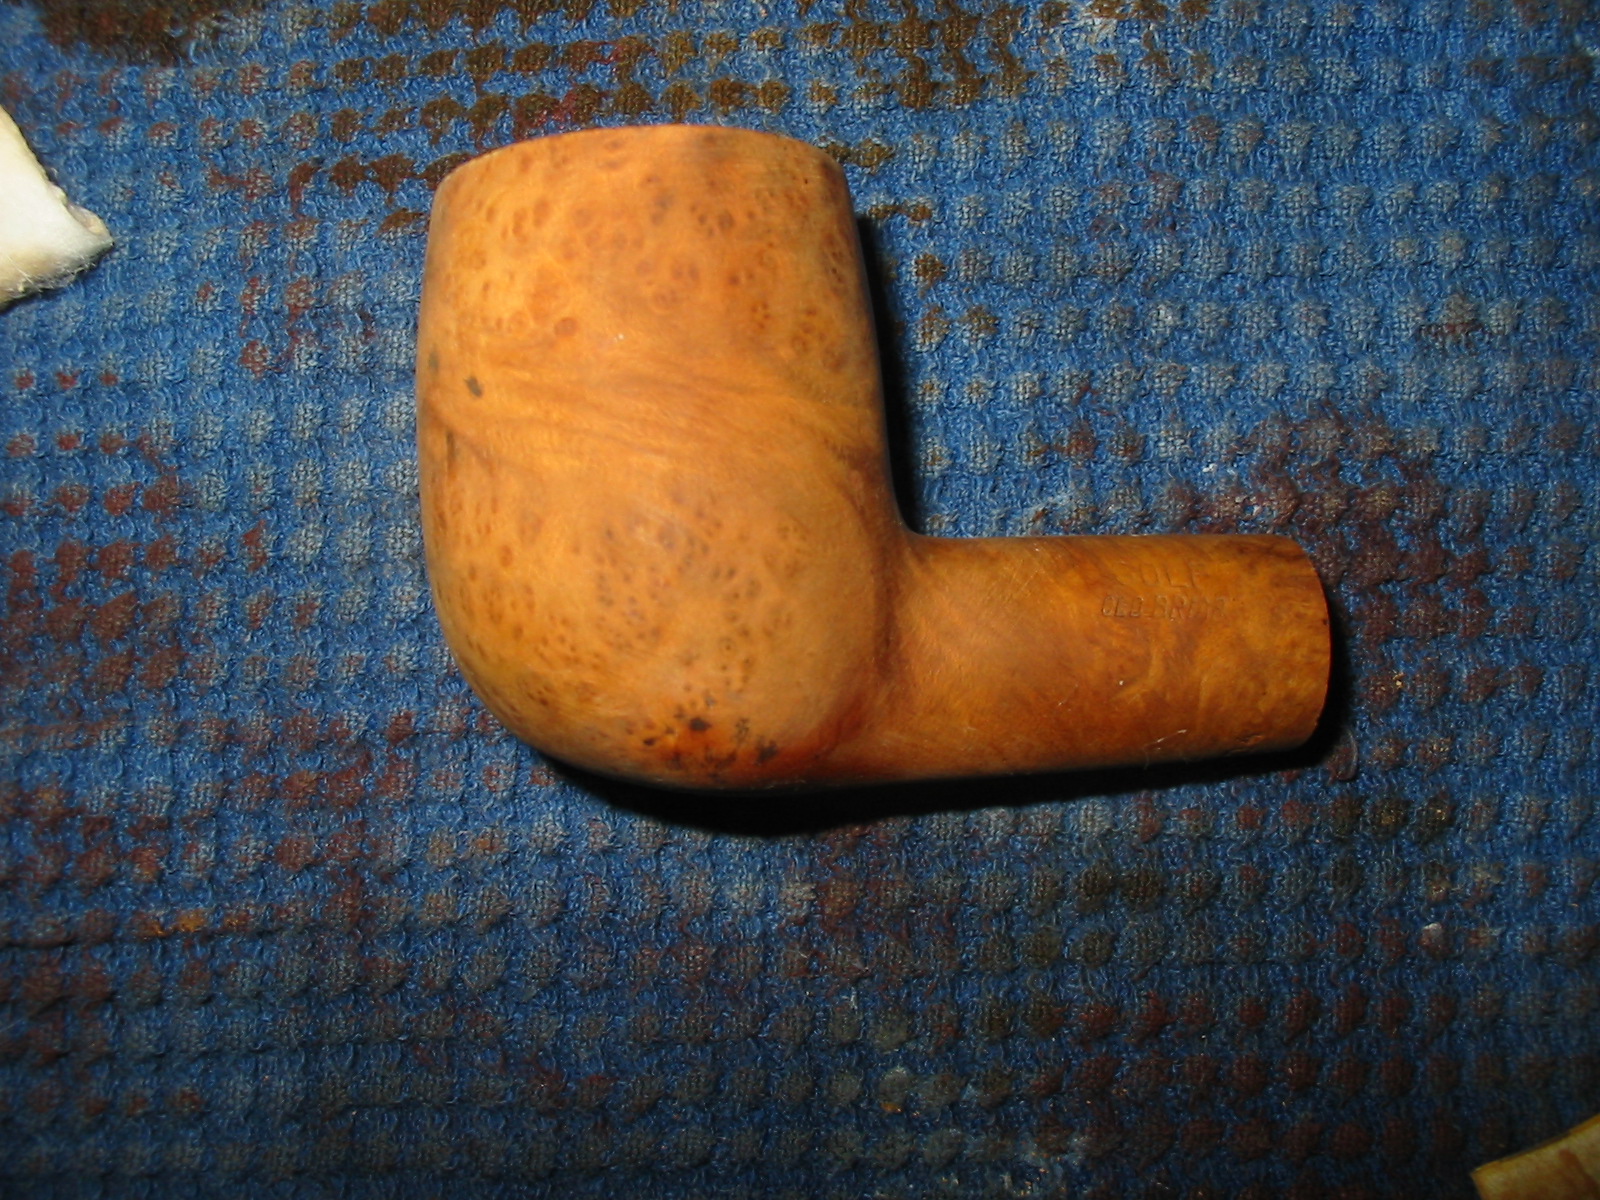
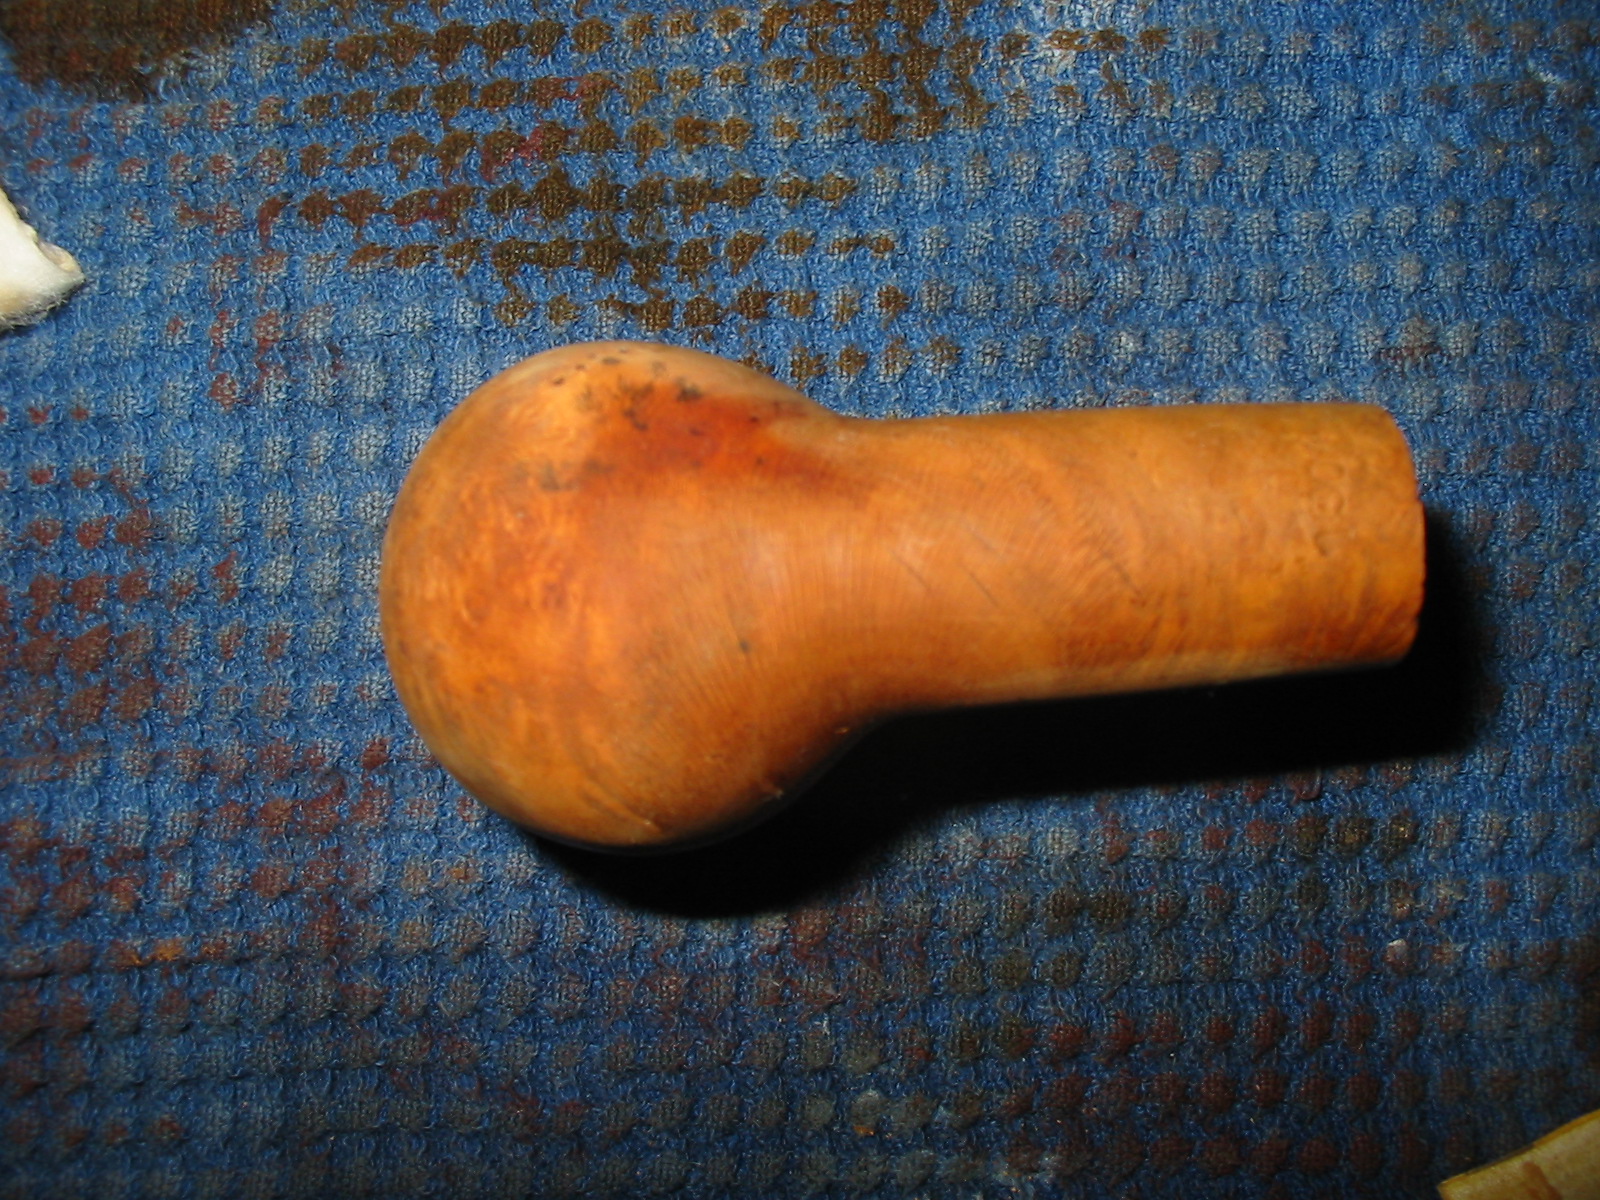
This Golf Old Briar Billiard is the fourth pipe of the six that a friend from Smokers Forums sent my way. This one was the kind of challenge I enjoy. The briar was in pretty good shape under all the dirt and paint and black tarry deposits on the rim and the sides of the bowl. The pipe is stamped Golf in script over Old Briar in block type. On the underside of the shank near the stem it is also stamped with the shape number 1304. I am not sure who made the Golf brand of pipes but I saw several on Pipephil’s site with the name and different logos. It is an interesting piece and quite hefty. It is not large in terms of length or height but in terms of bulk. The finish was shot as you can see and would take some work to remove all the stains and paint flecks on the bowl. There were also some very visible fills on the bowl sides. The stem was very oxidized and had some odd oil like patterns on it that remain a mystery to me as to the cause. There was also a script G on the stem but it was merely applied to the surface rather than stamped into the stem material.

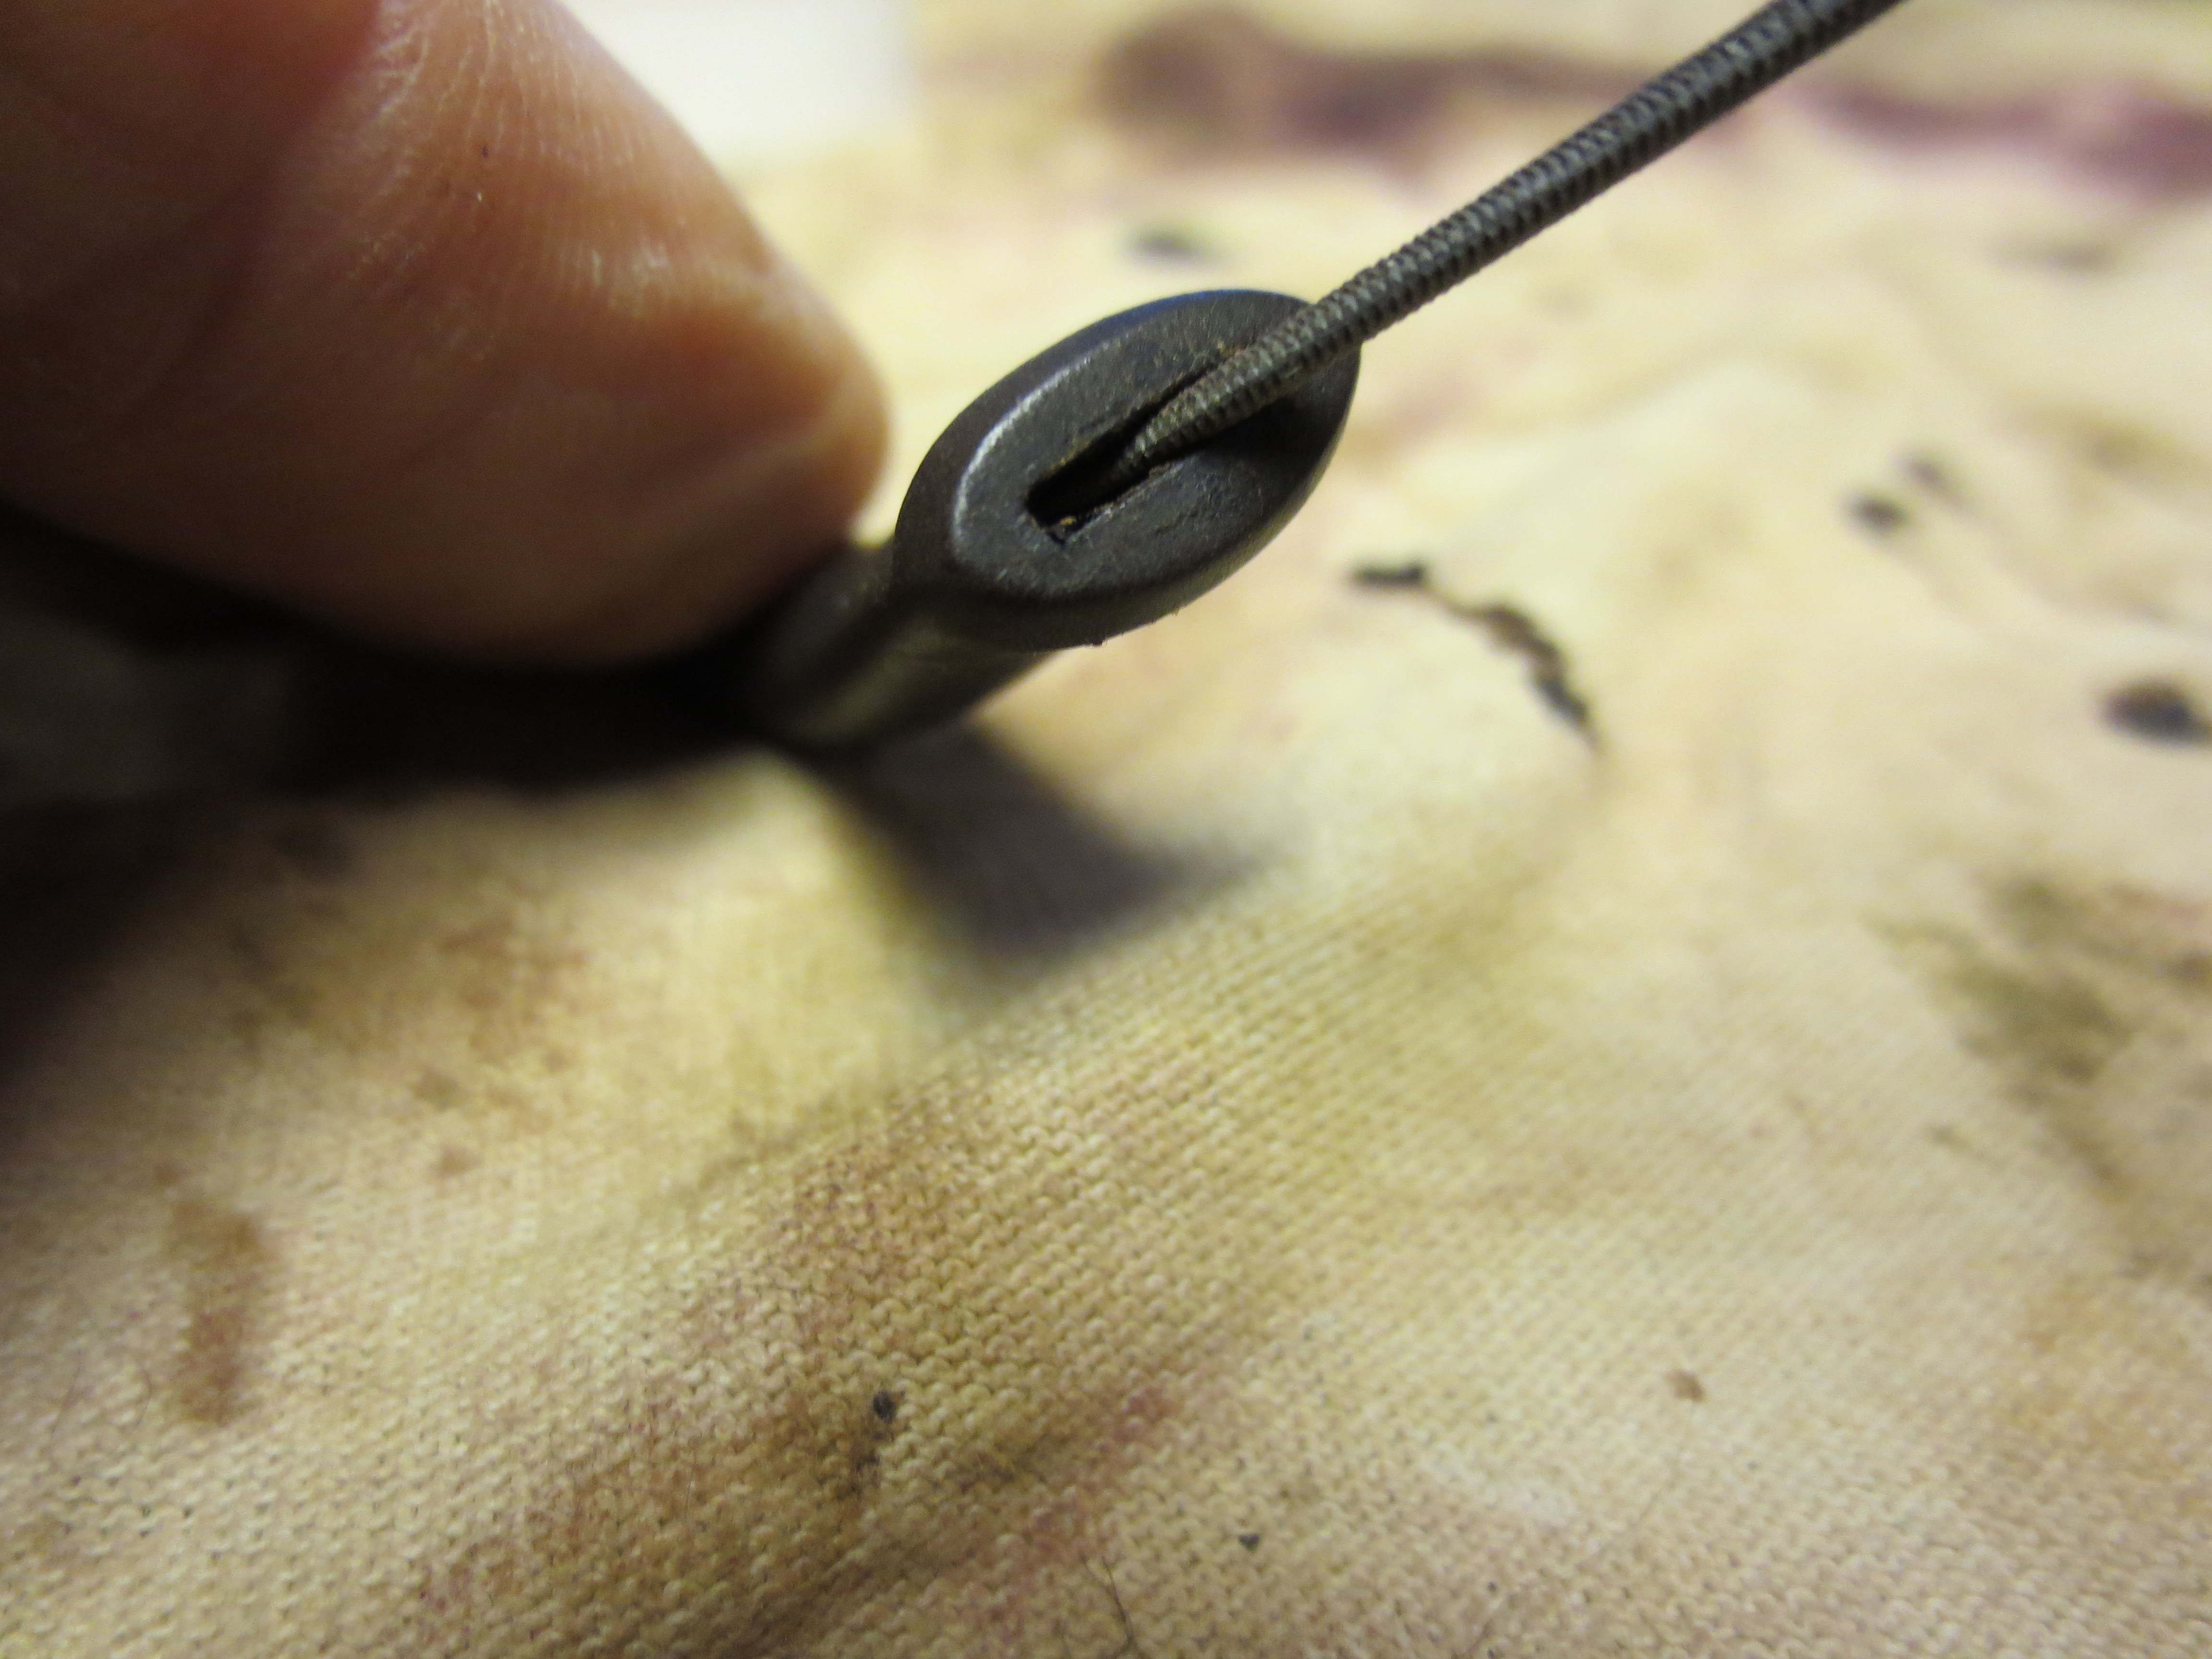
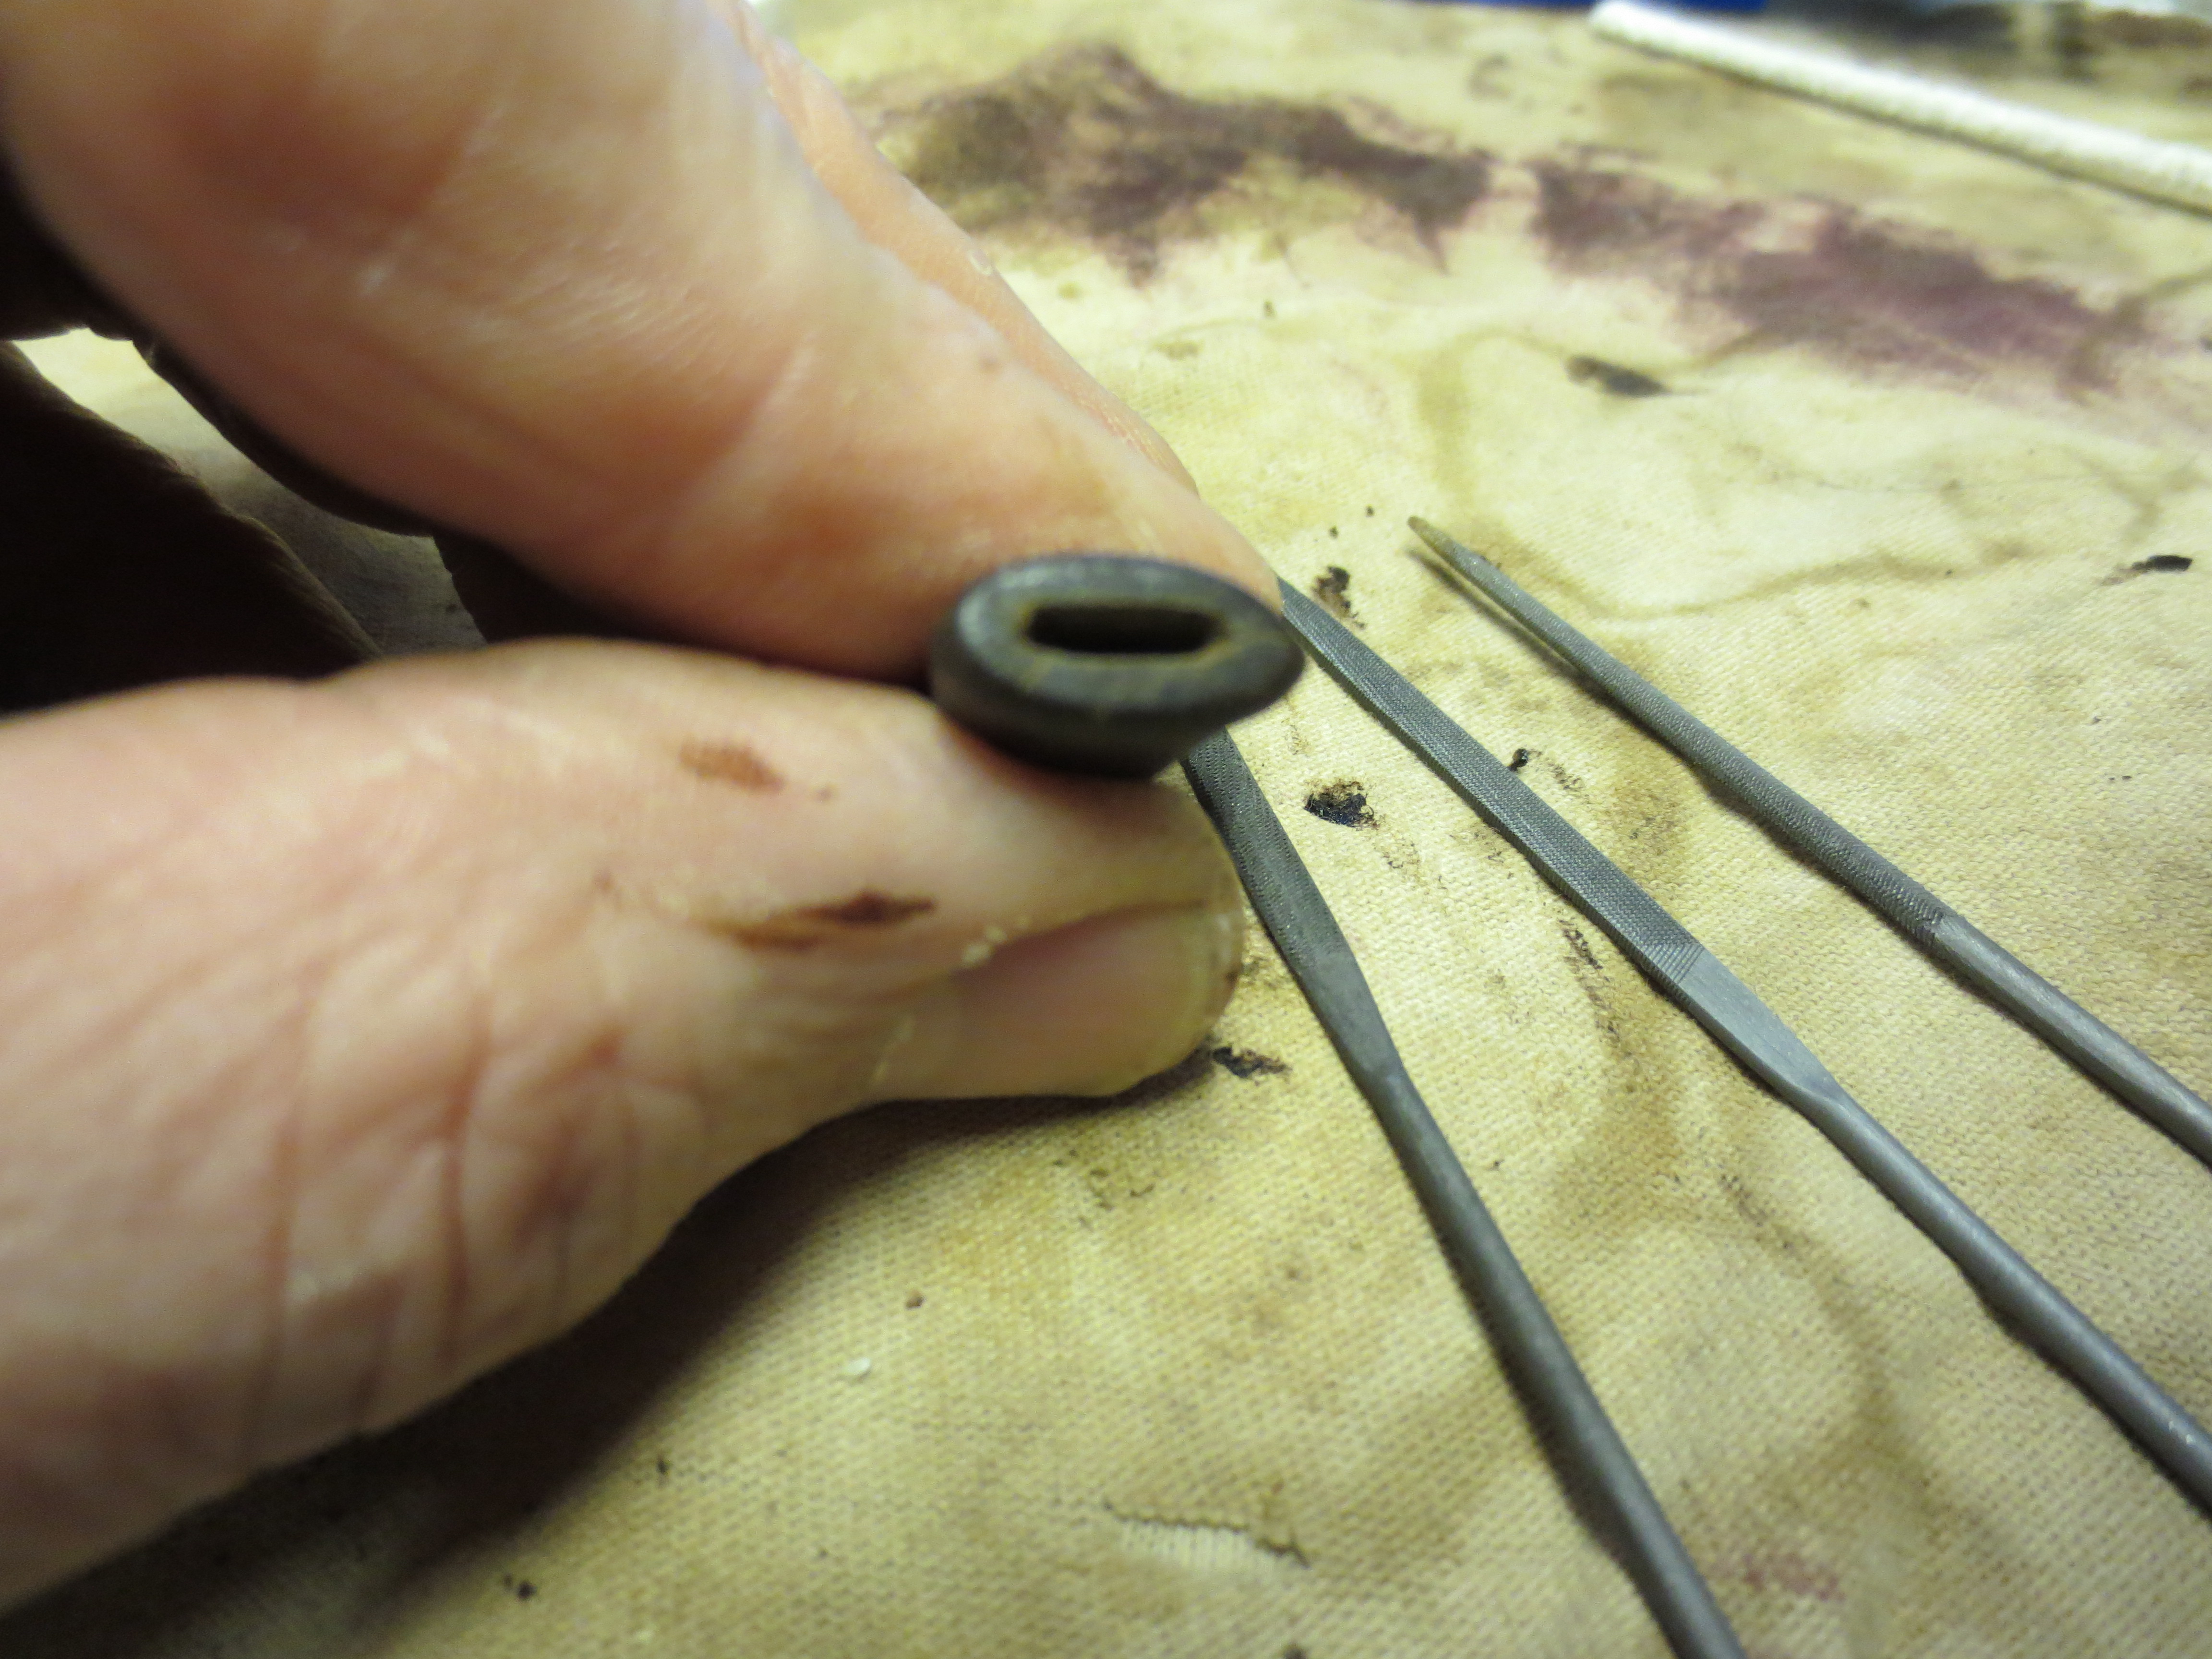
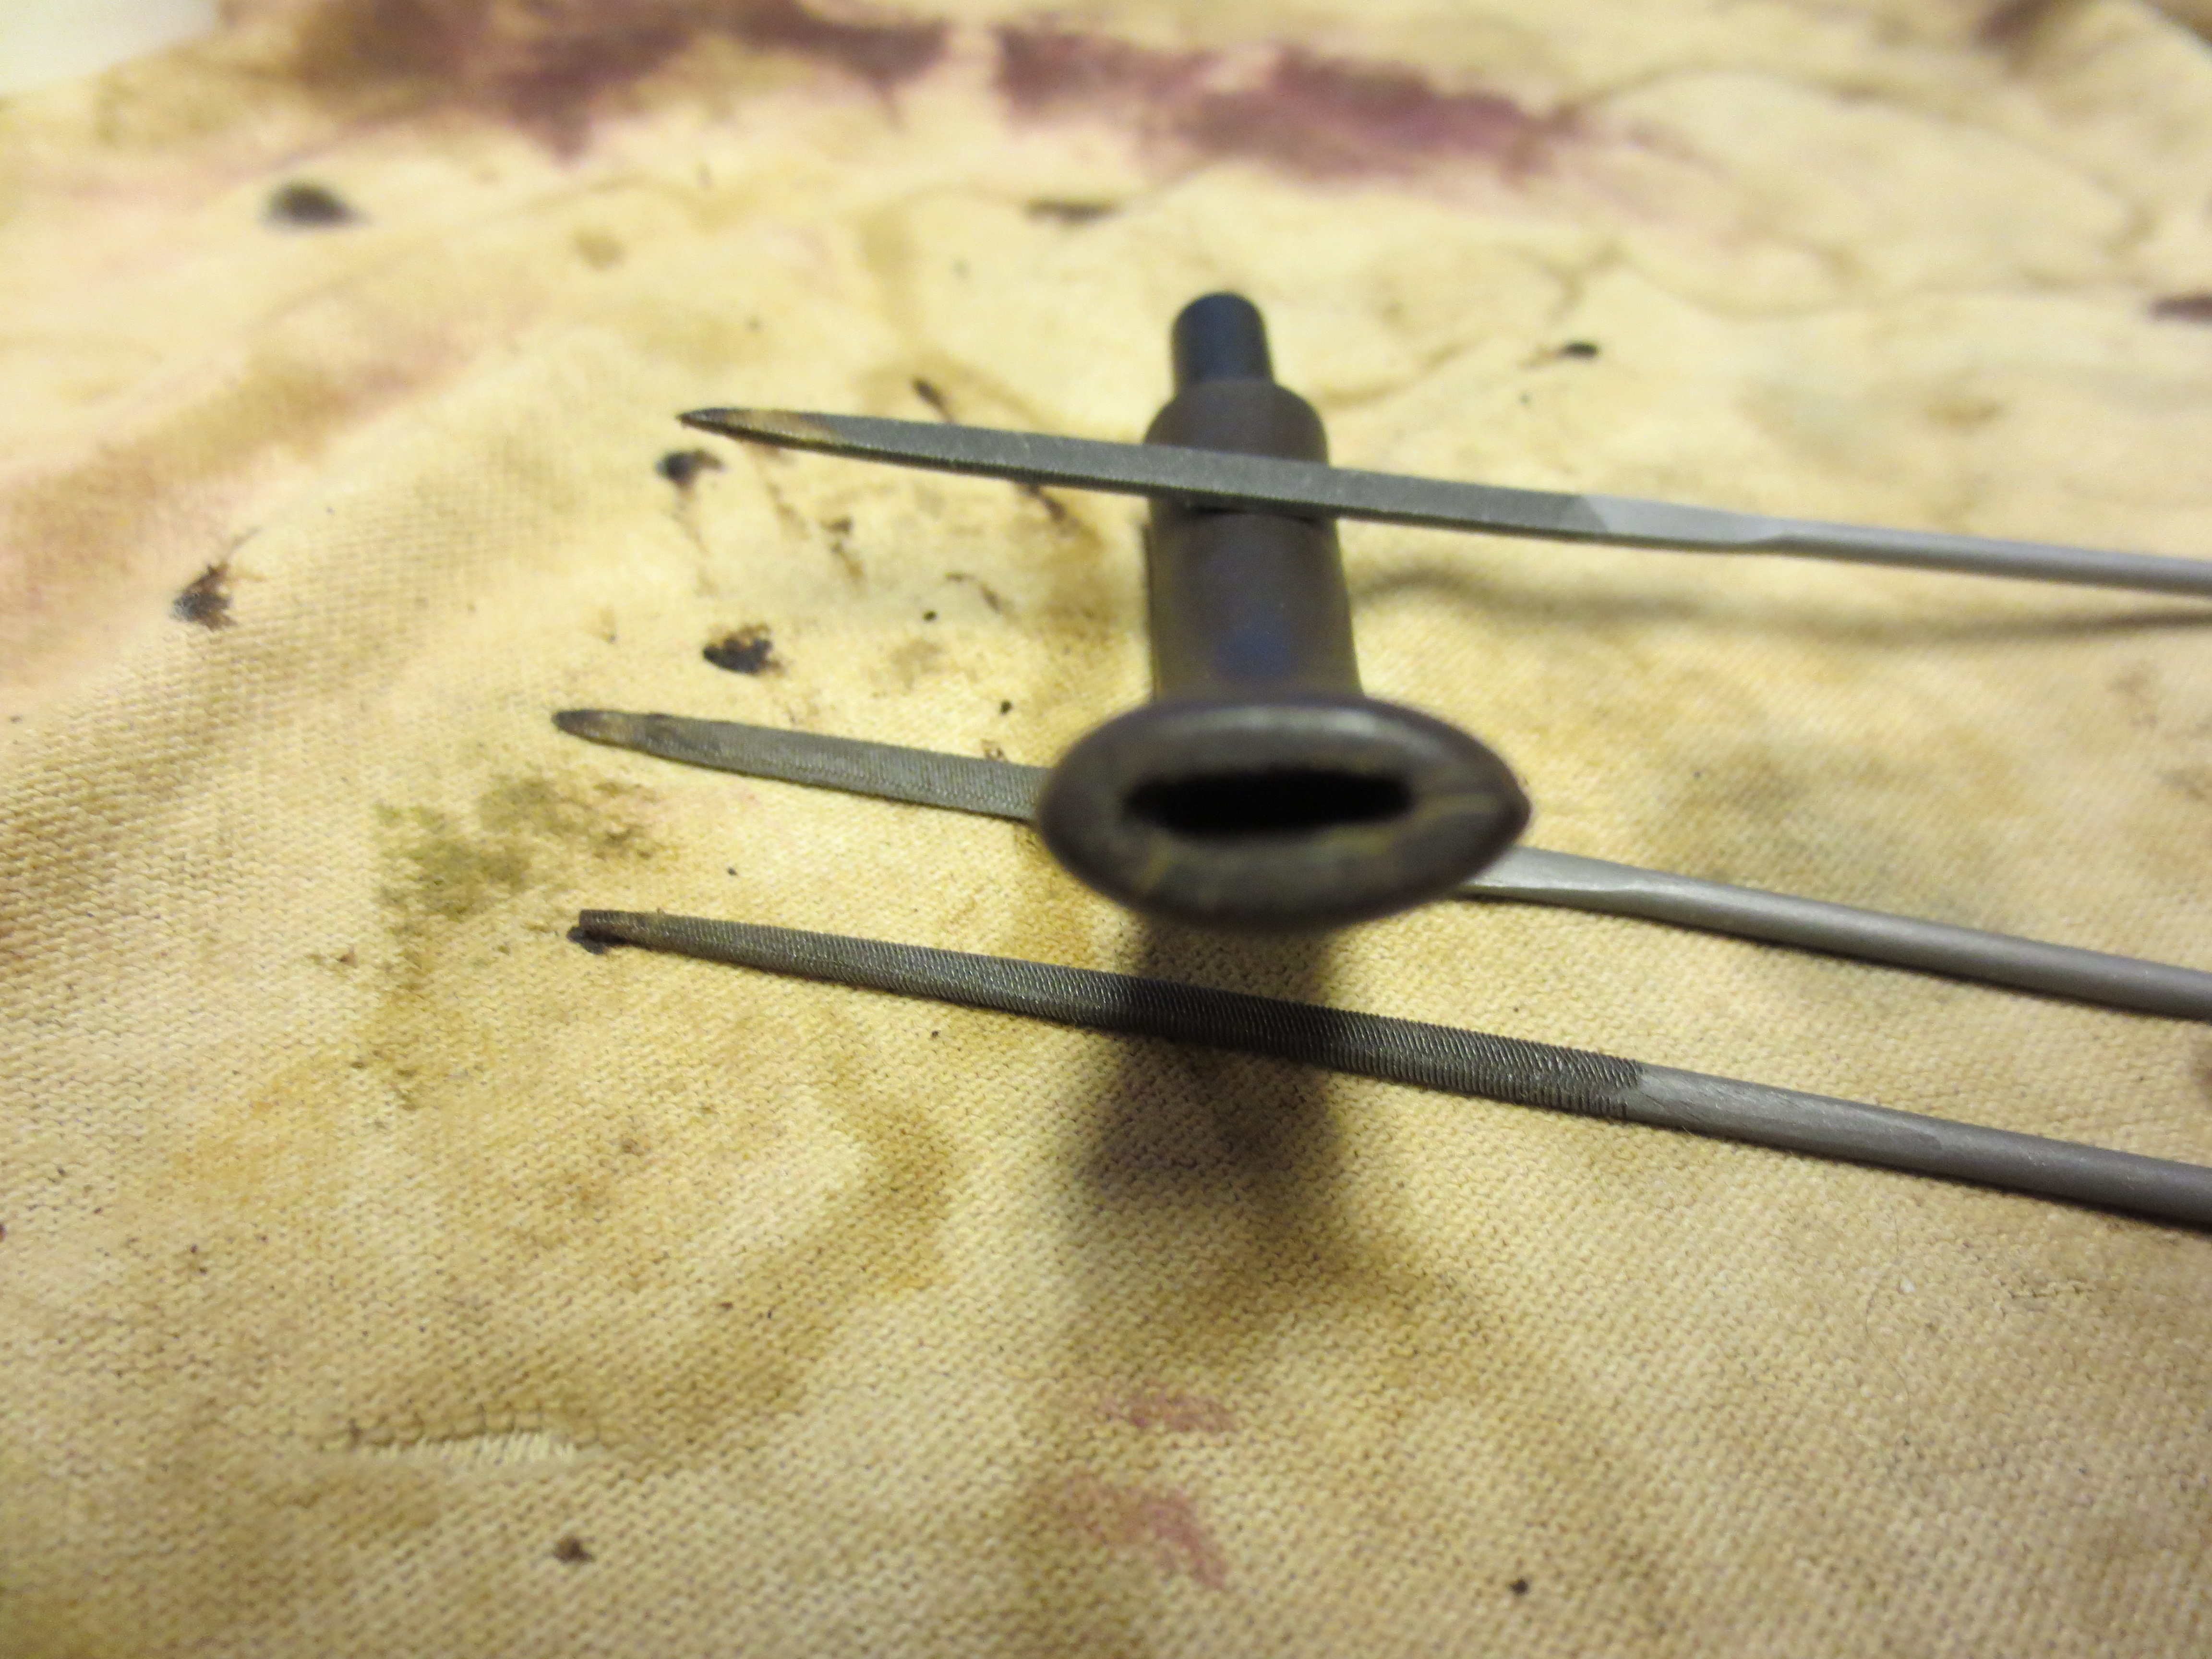
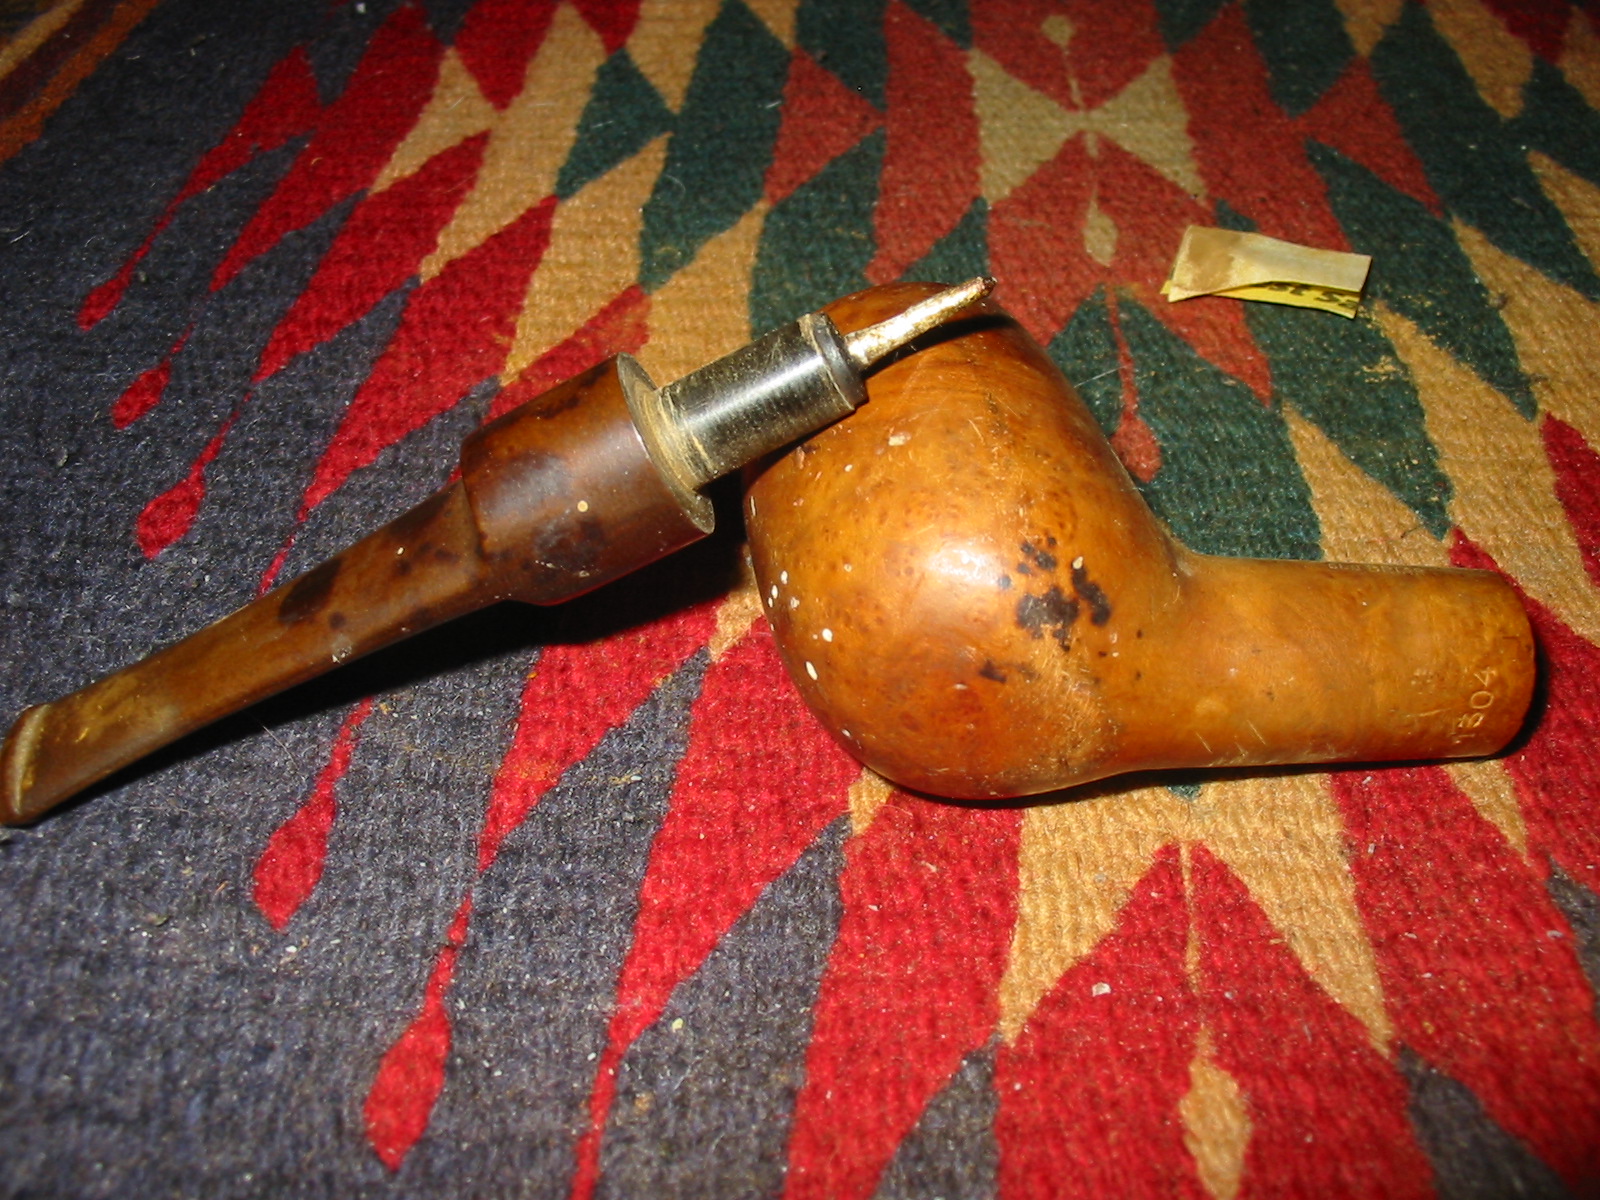
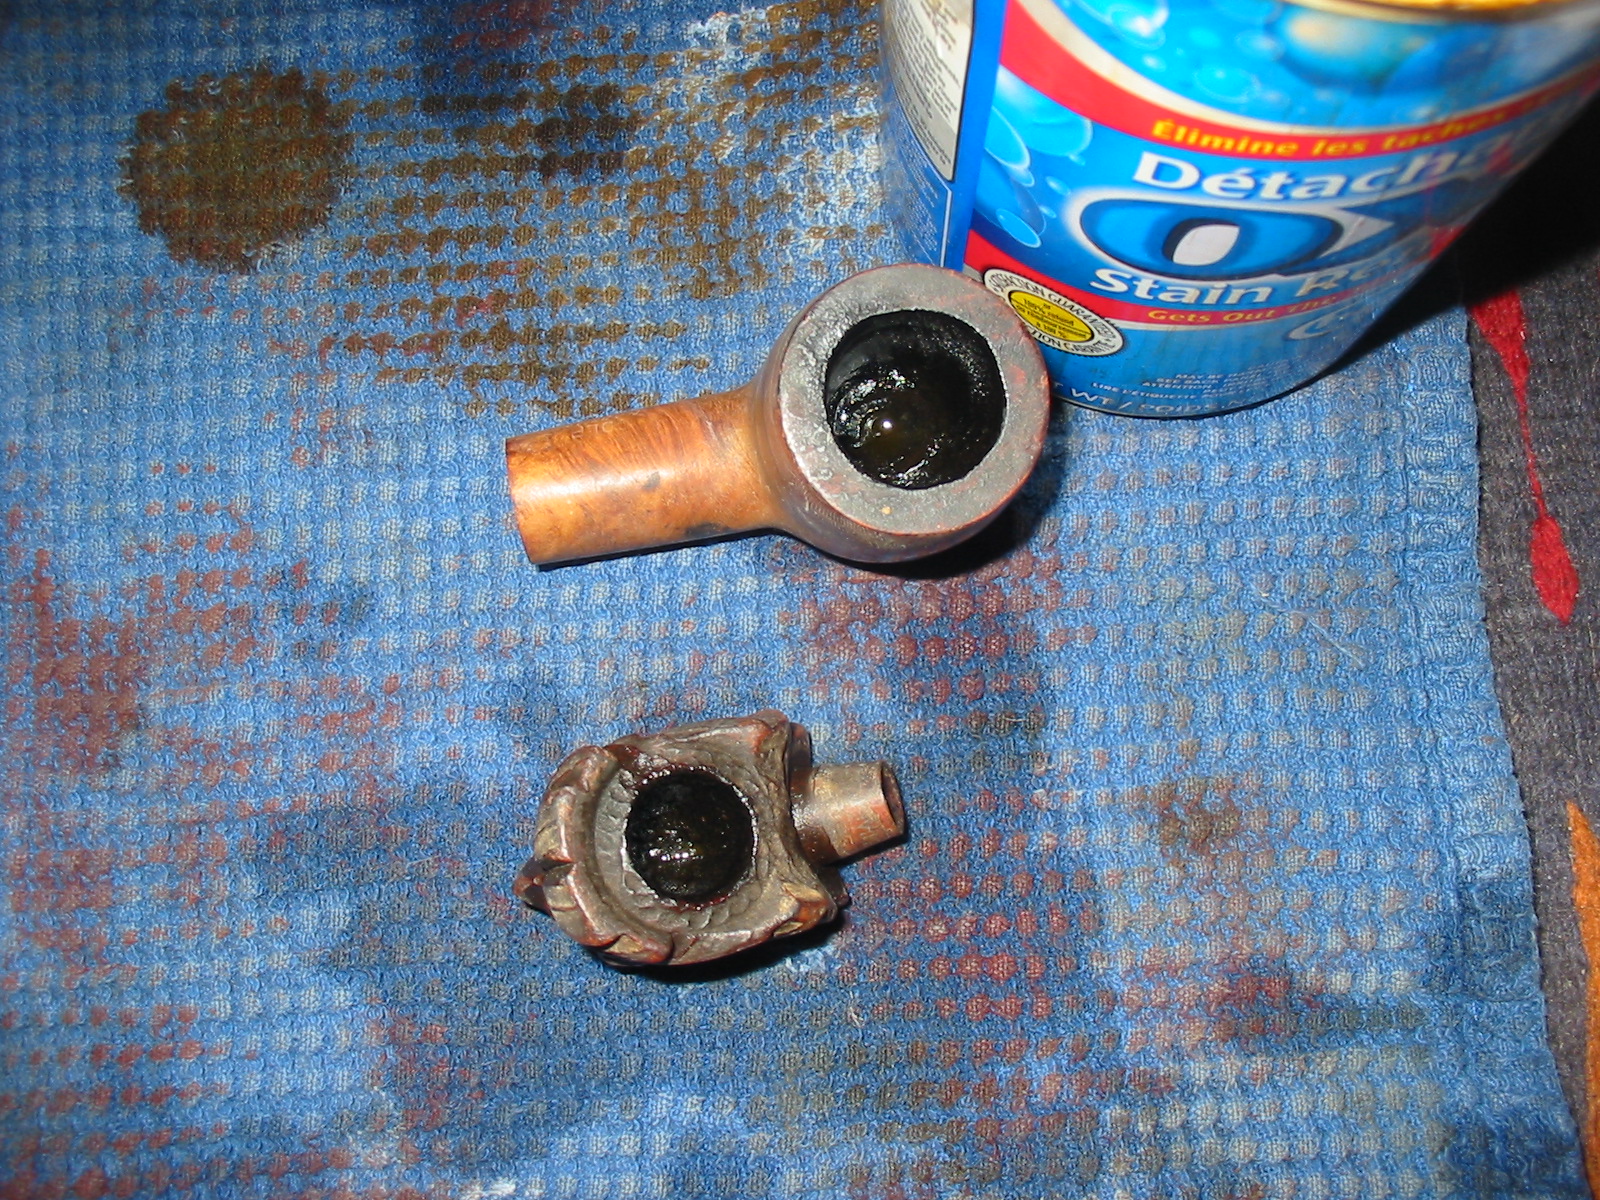
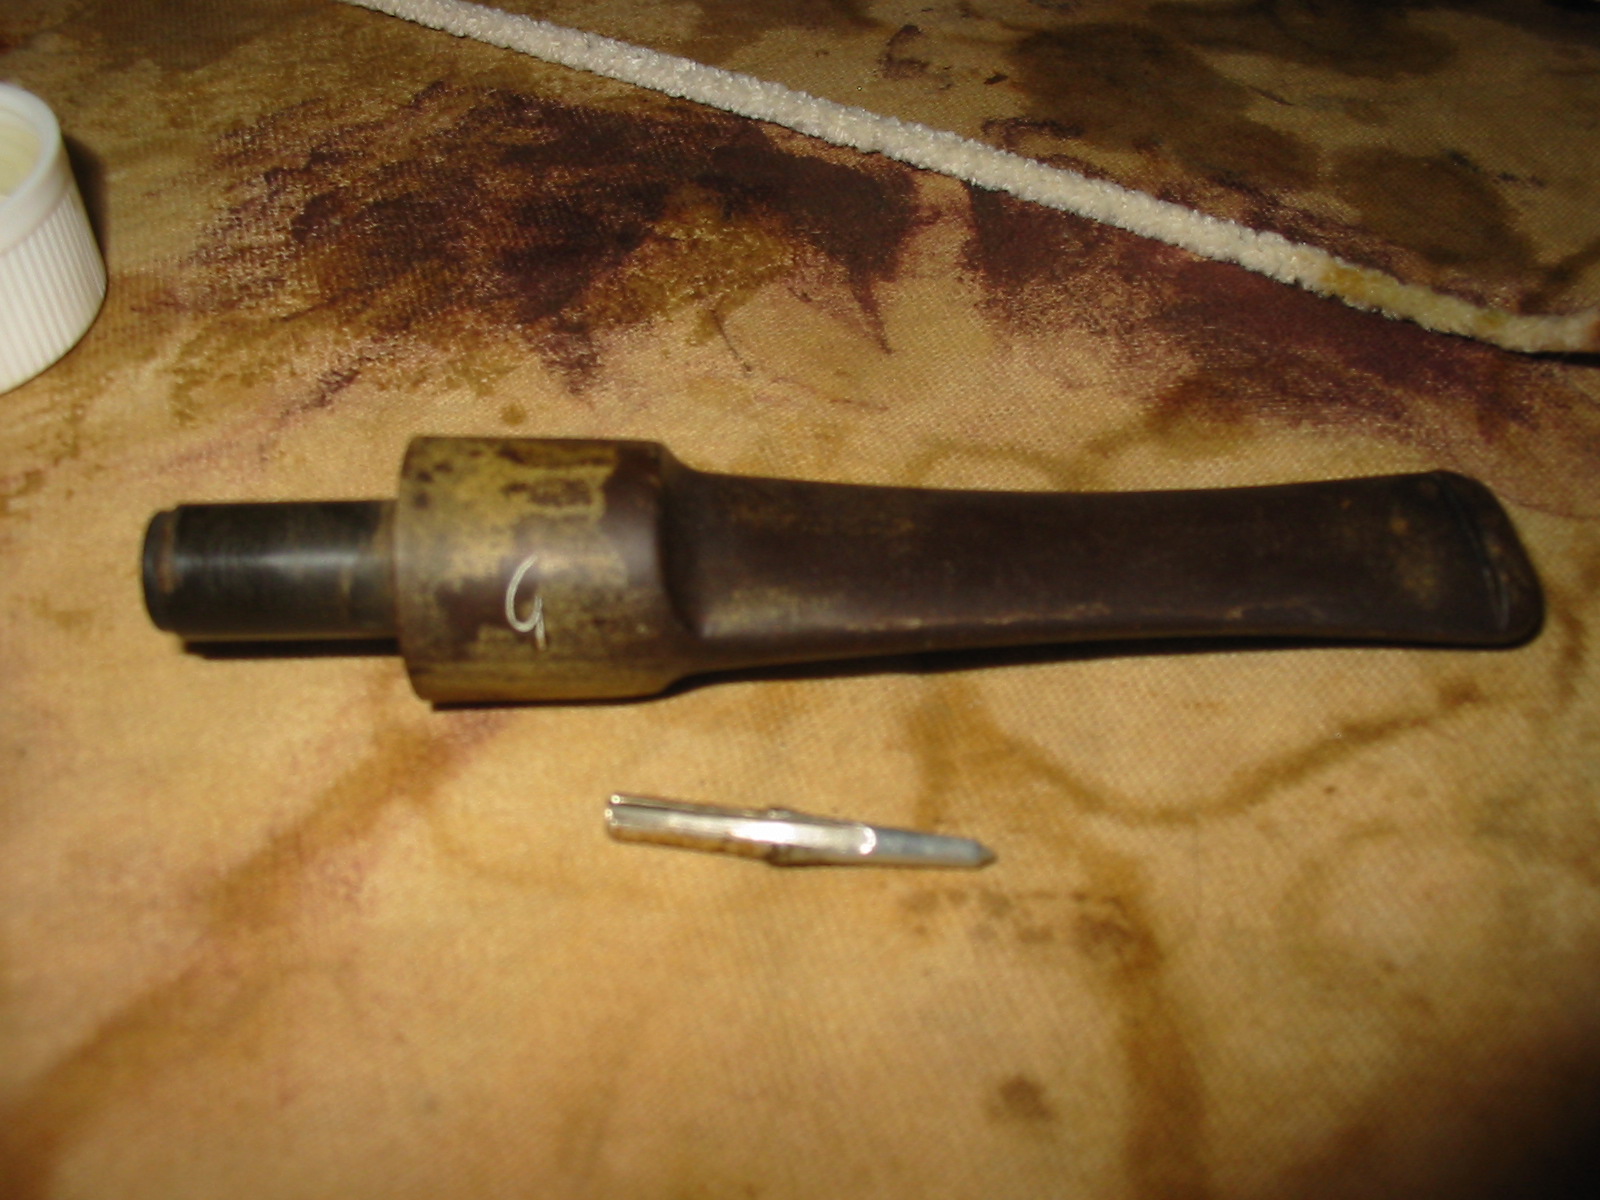
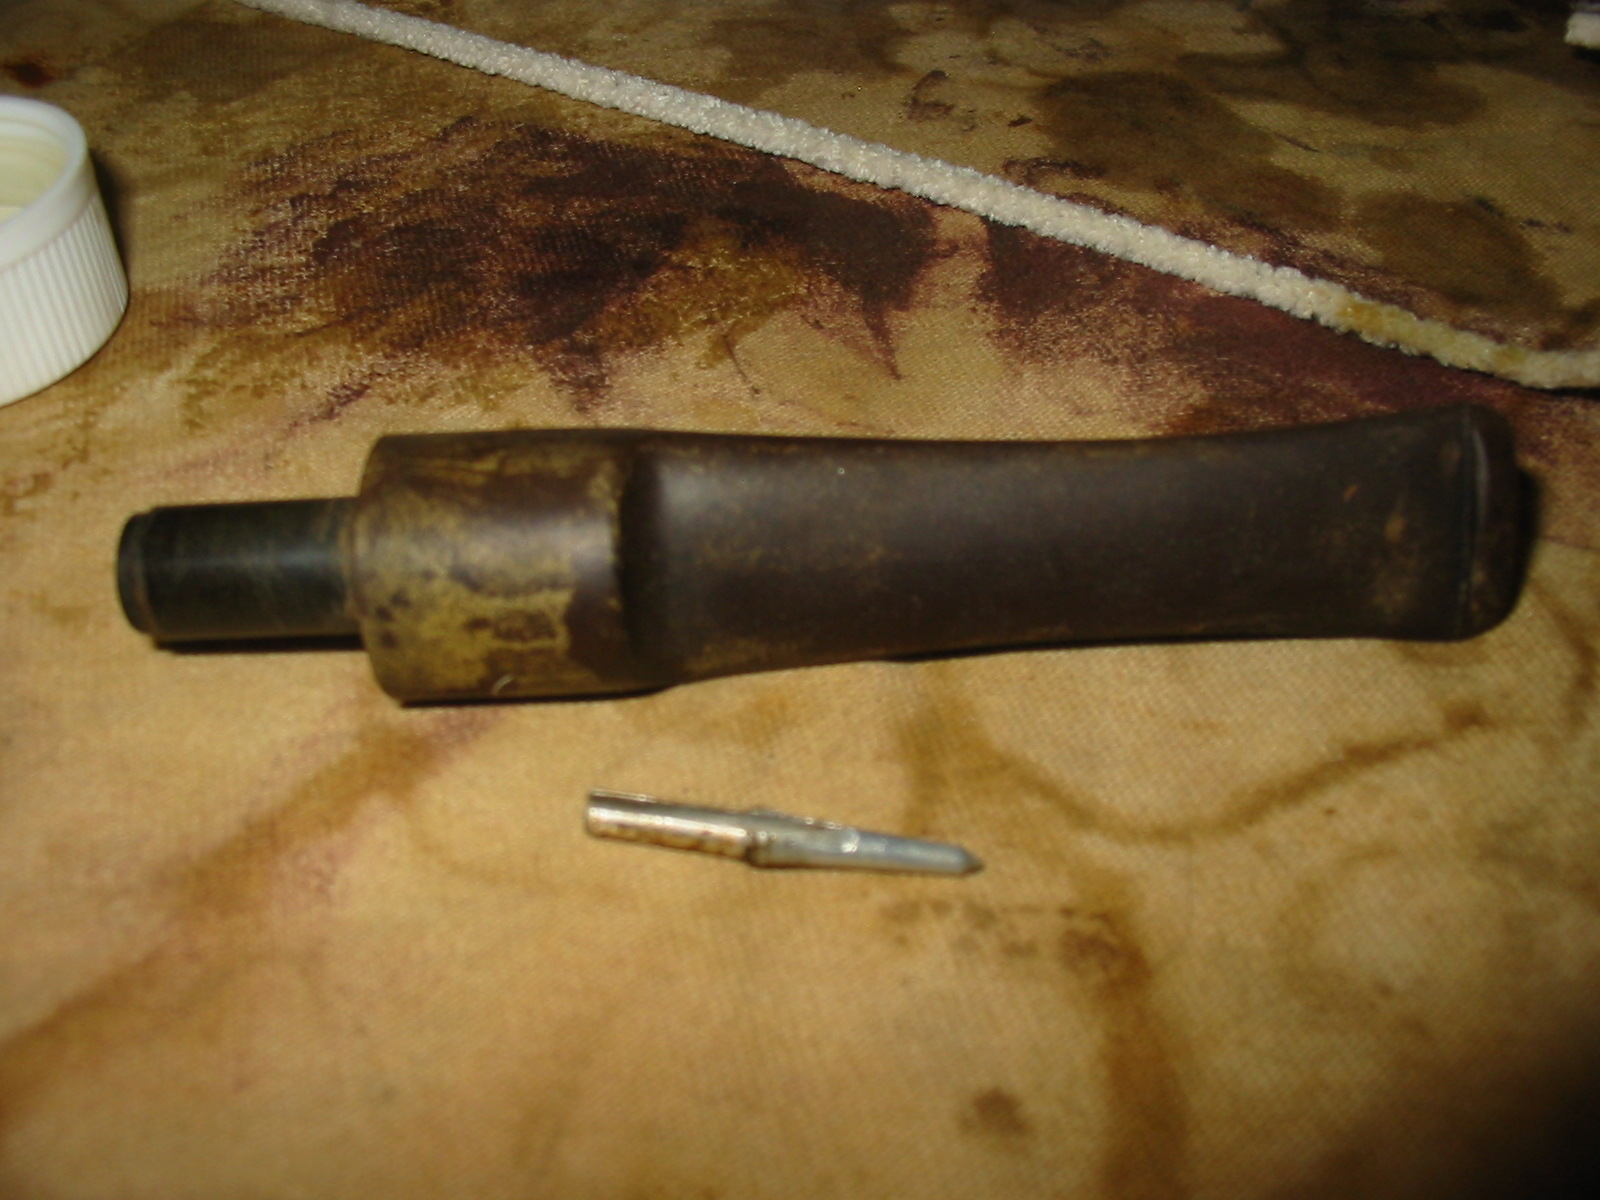
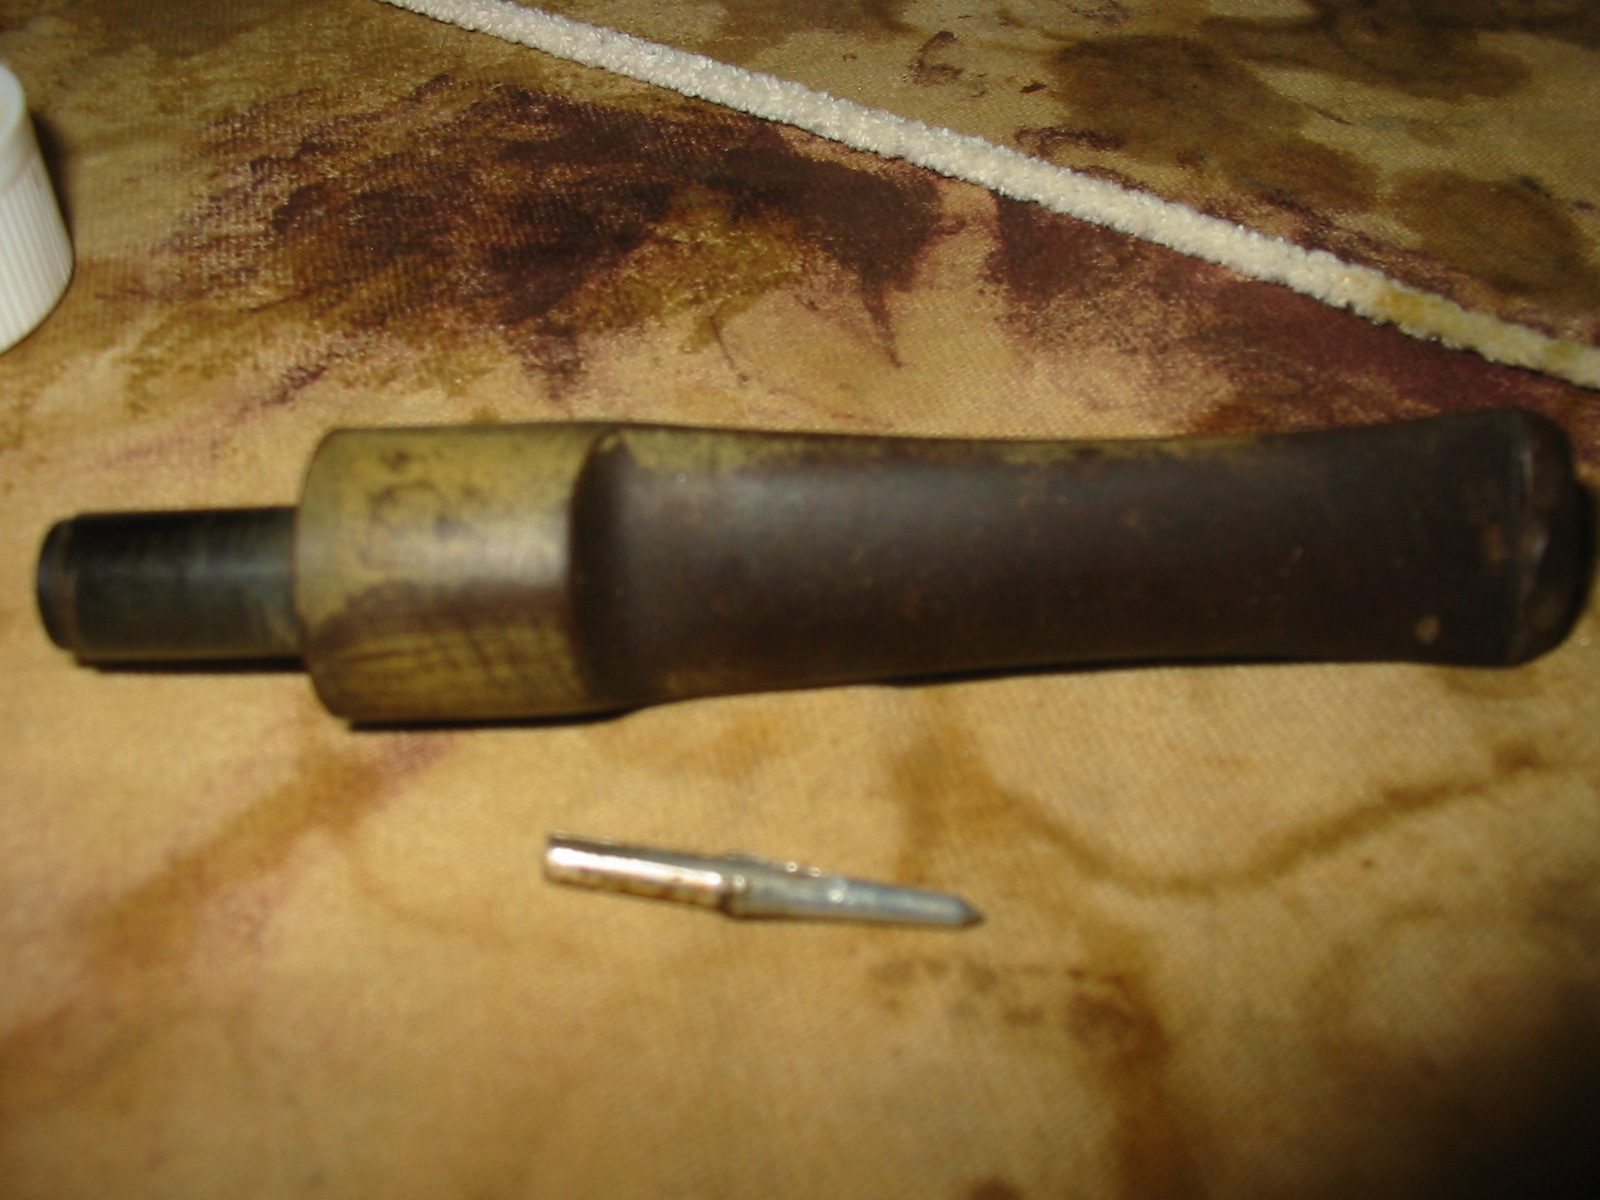
In the photo below I wanted to show the unique stinger apparatus in the stem. It was removable but seems very tiny in proportion to the size of the pipe. It is a needle point with a slot in the top surface that the smoke is drawn through. There is not much surface area to collect the moisture so I am not altogether sure of the effectiveness of the stinger. The stem was stuck so I had to put it in the freezer for several hours before I could remove it from the shank without breaking things. Once I took it out of the freezer it was fairly easy to remove.
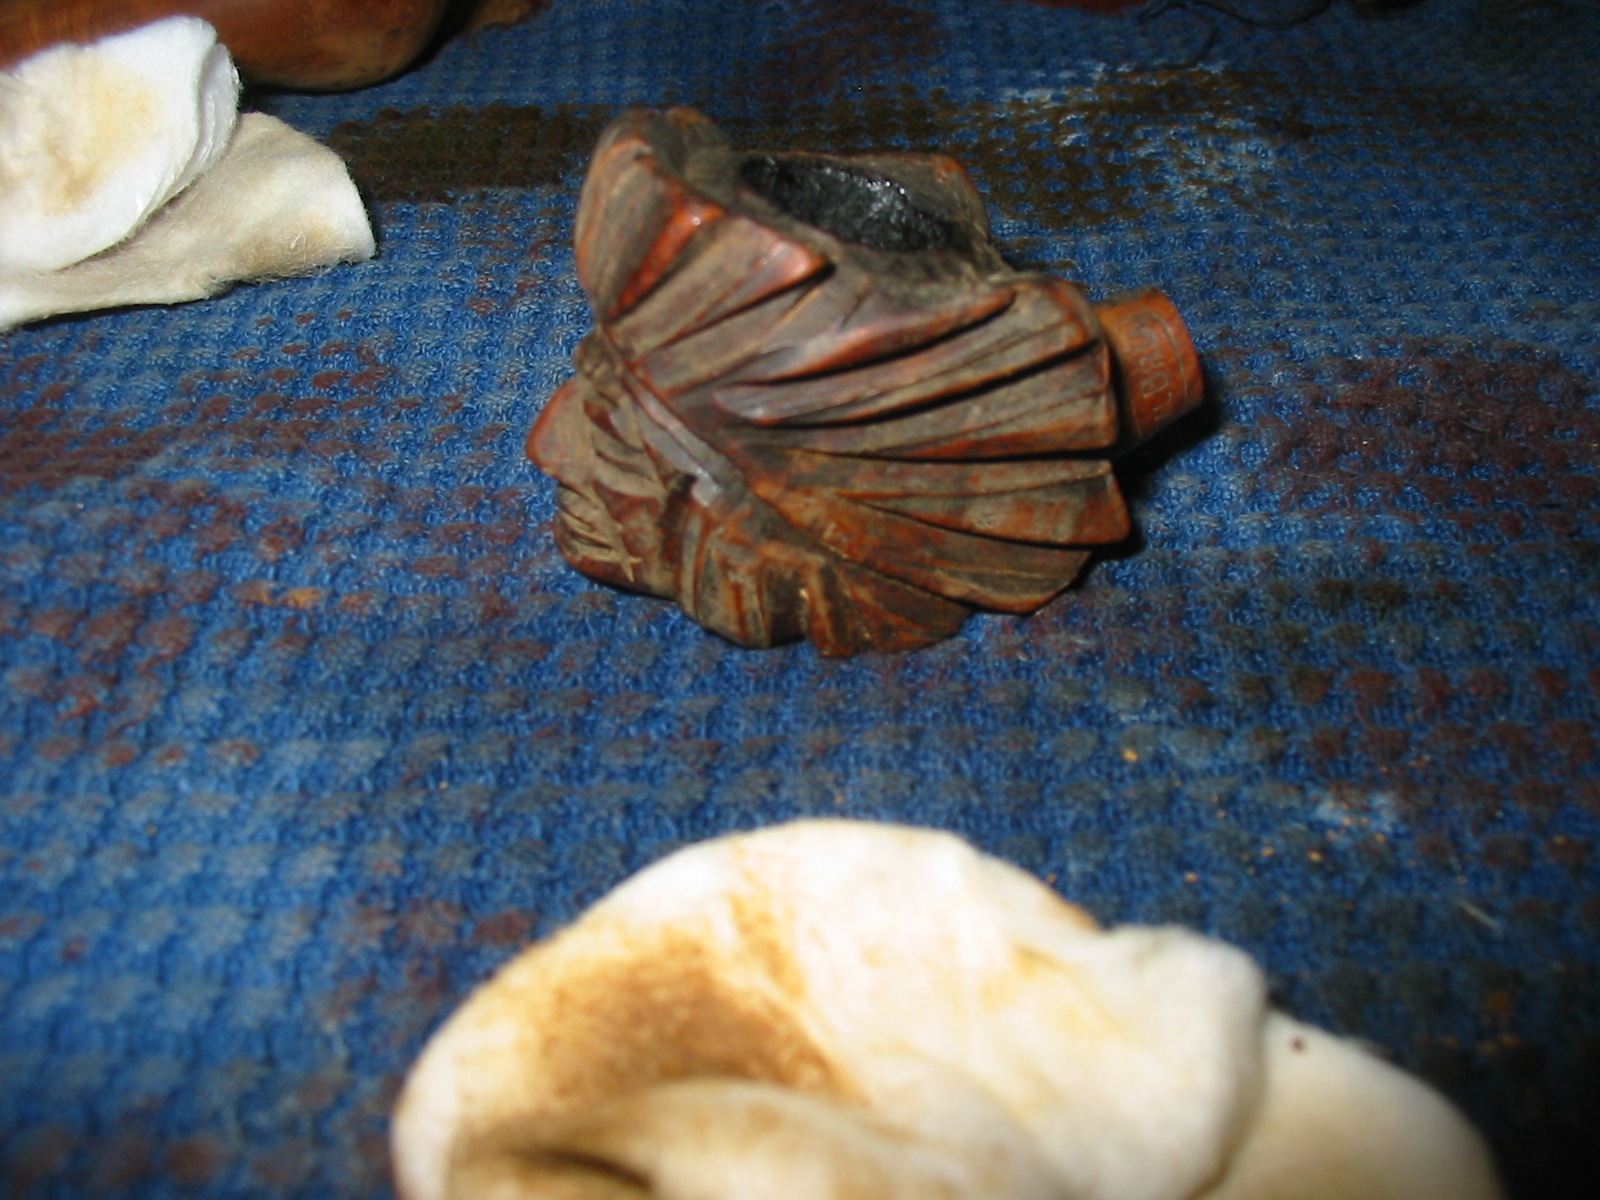
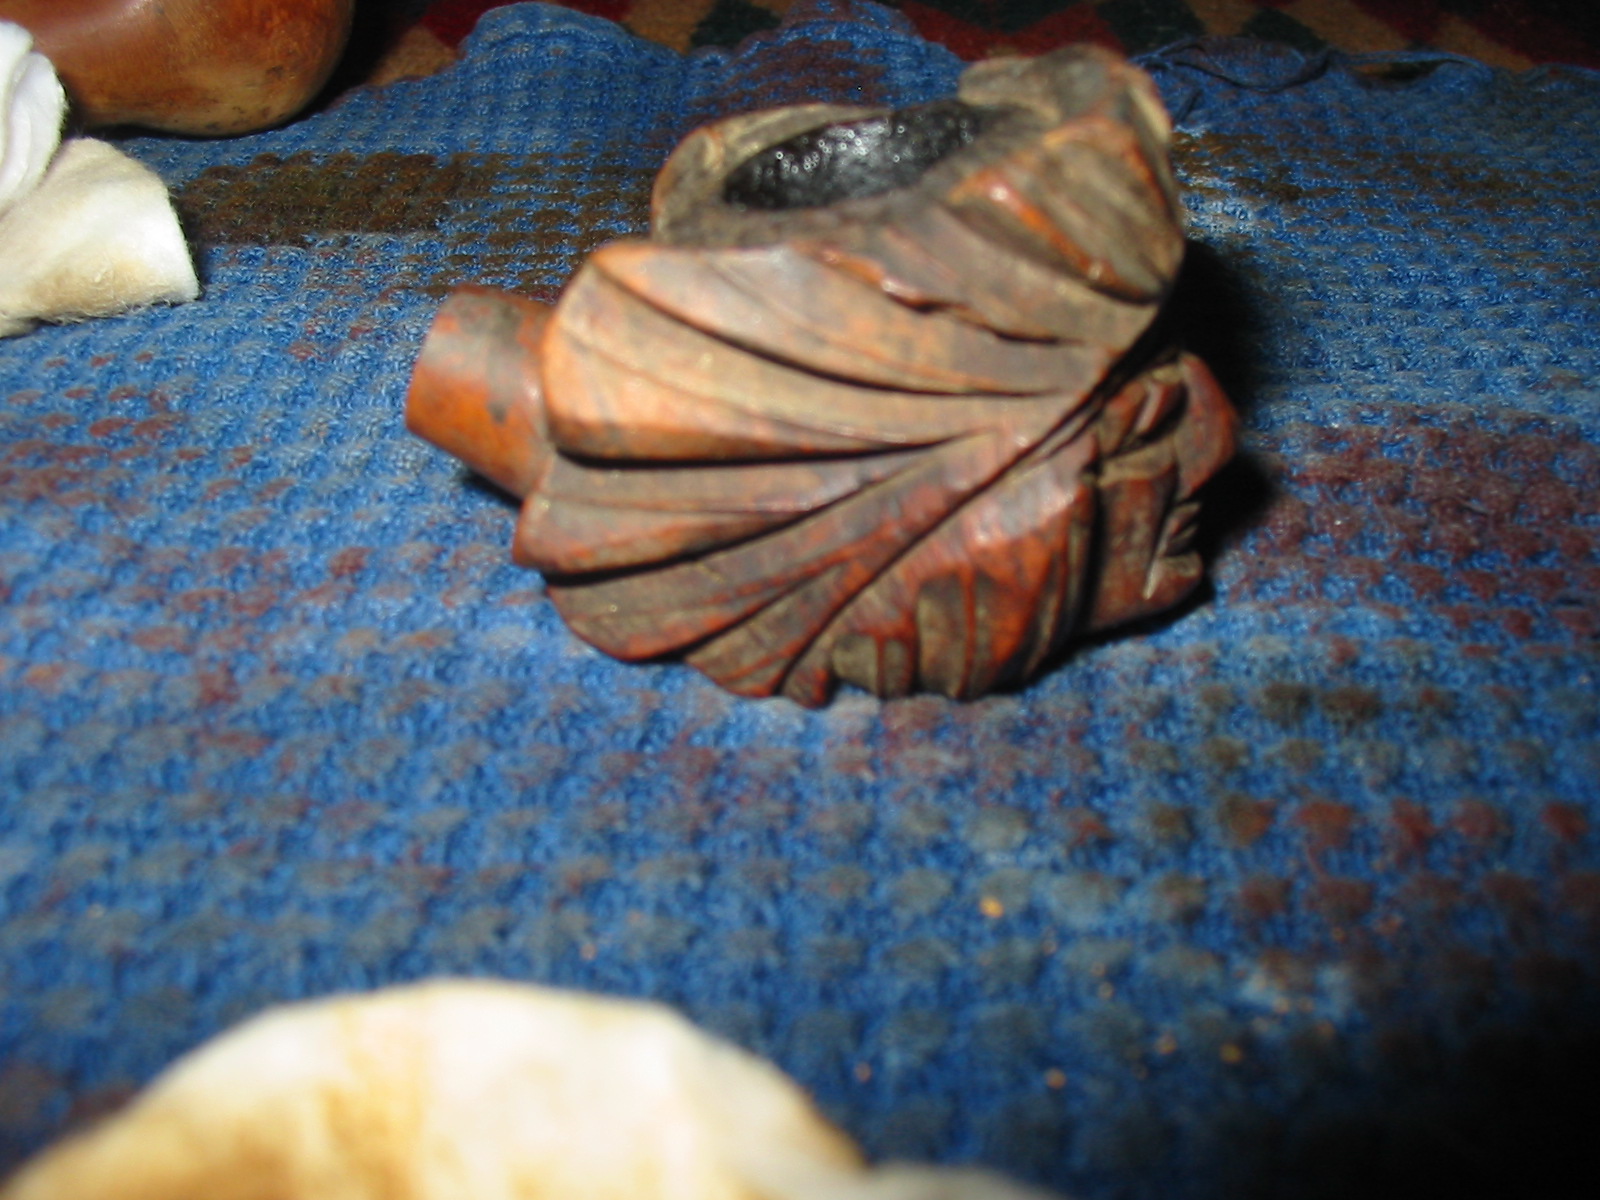
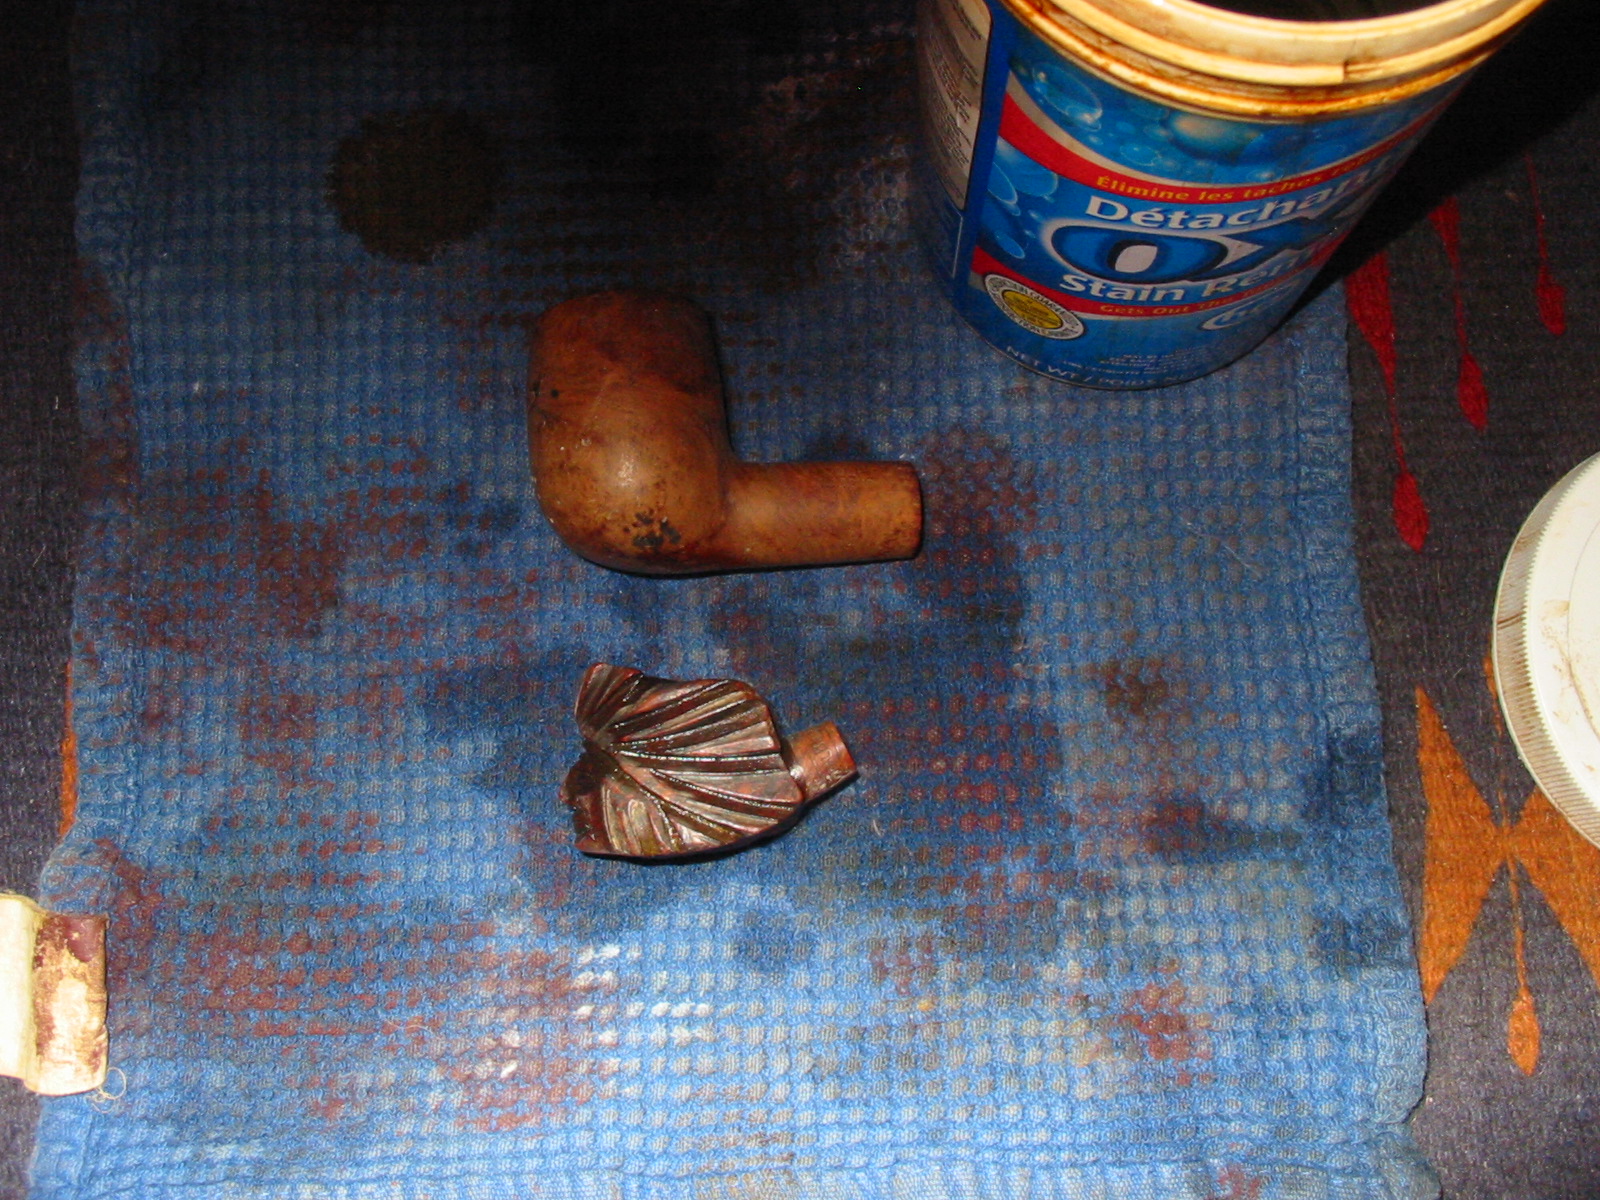
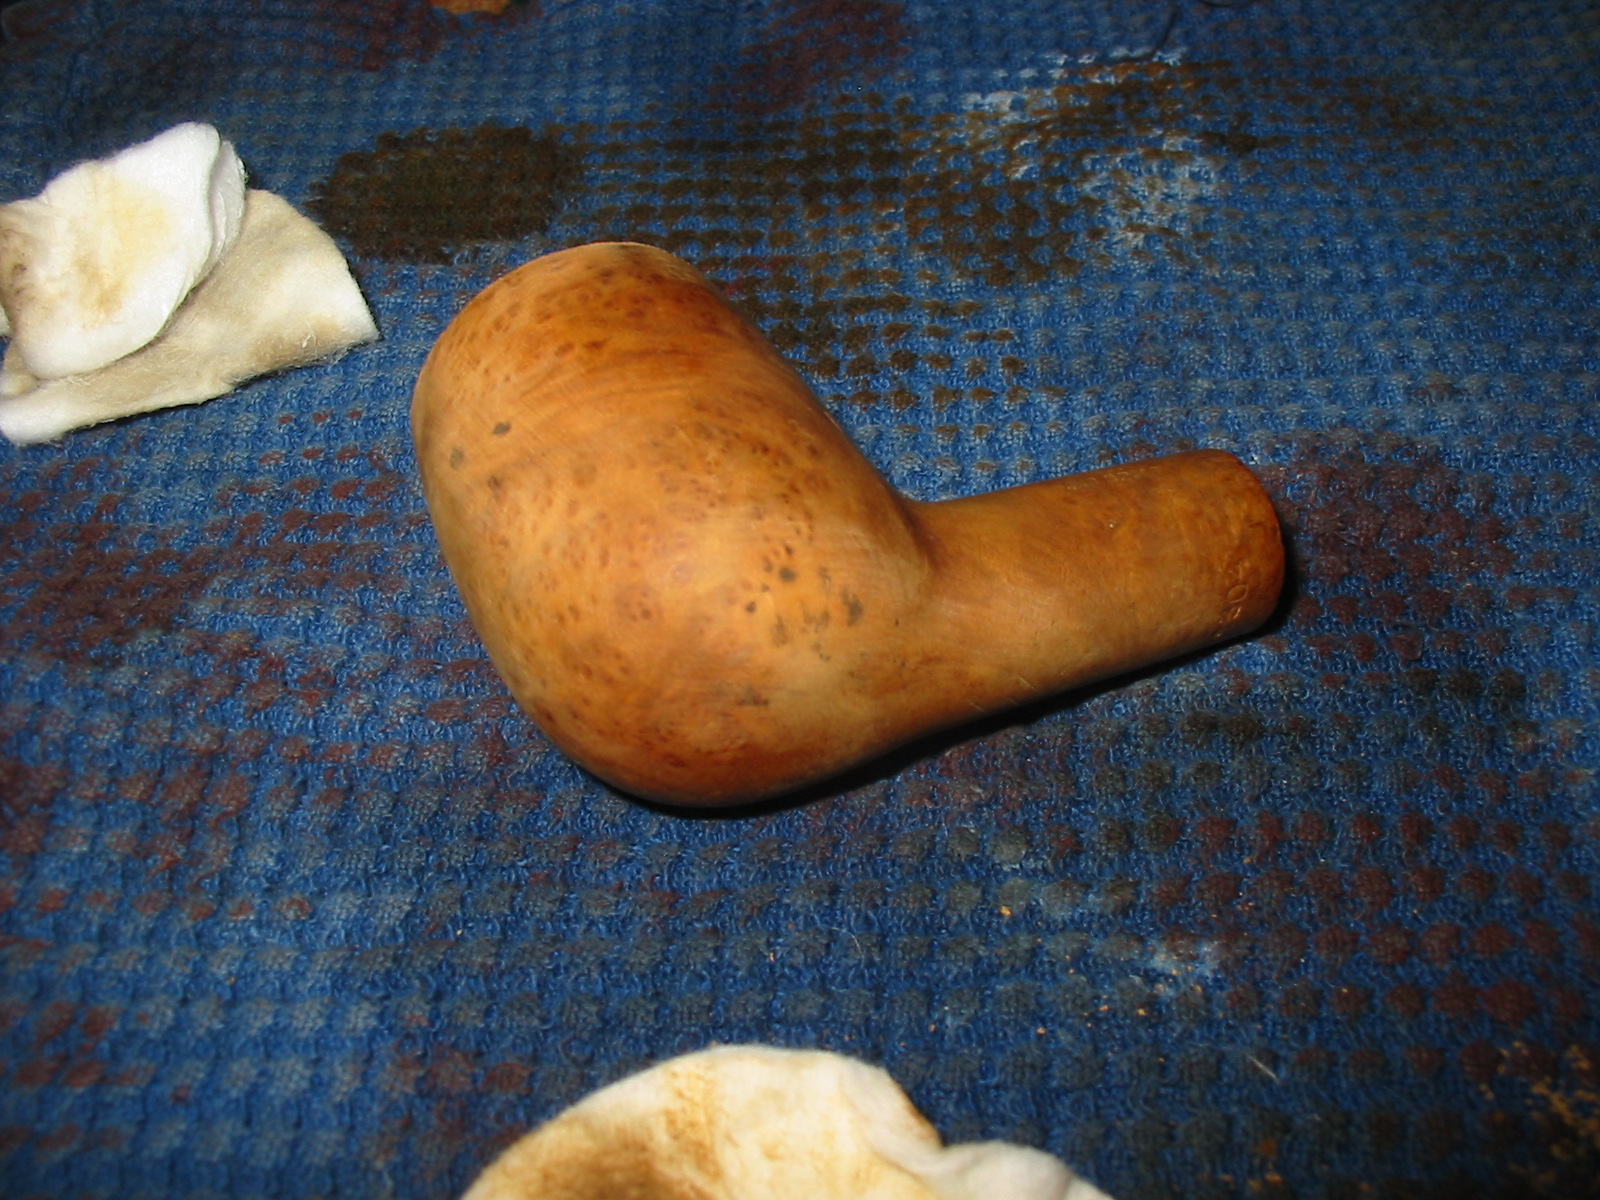
I put the stem in the Oxyclean bath with the one from the figural pipe. I also put the two bowls in the alcohol bath overnight before giving them a once over. The two photos below show the pipe after I took it out of the bath to begin working on it. You can see that some of the grime was removed but the paint flecks remained as did the black stains on the bowl. These would take more work.
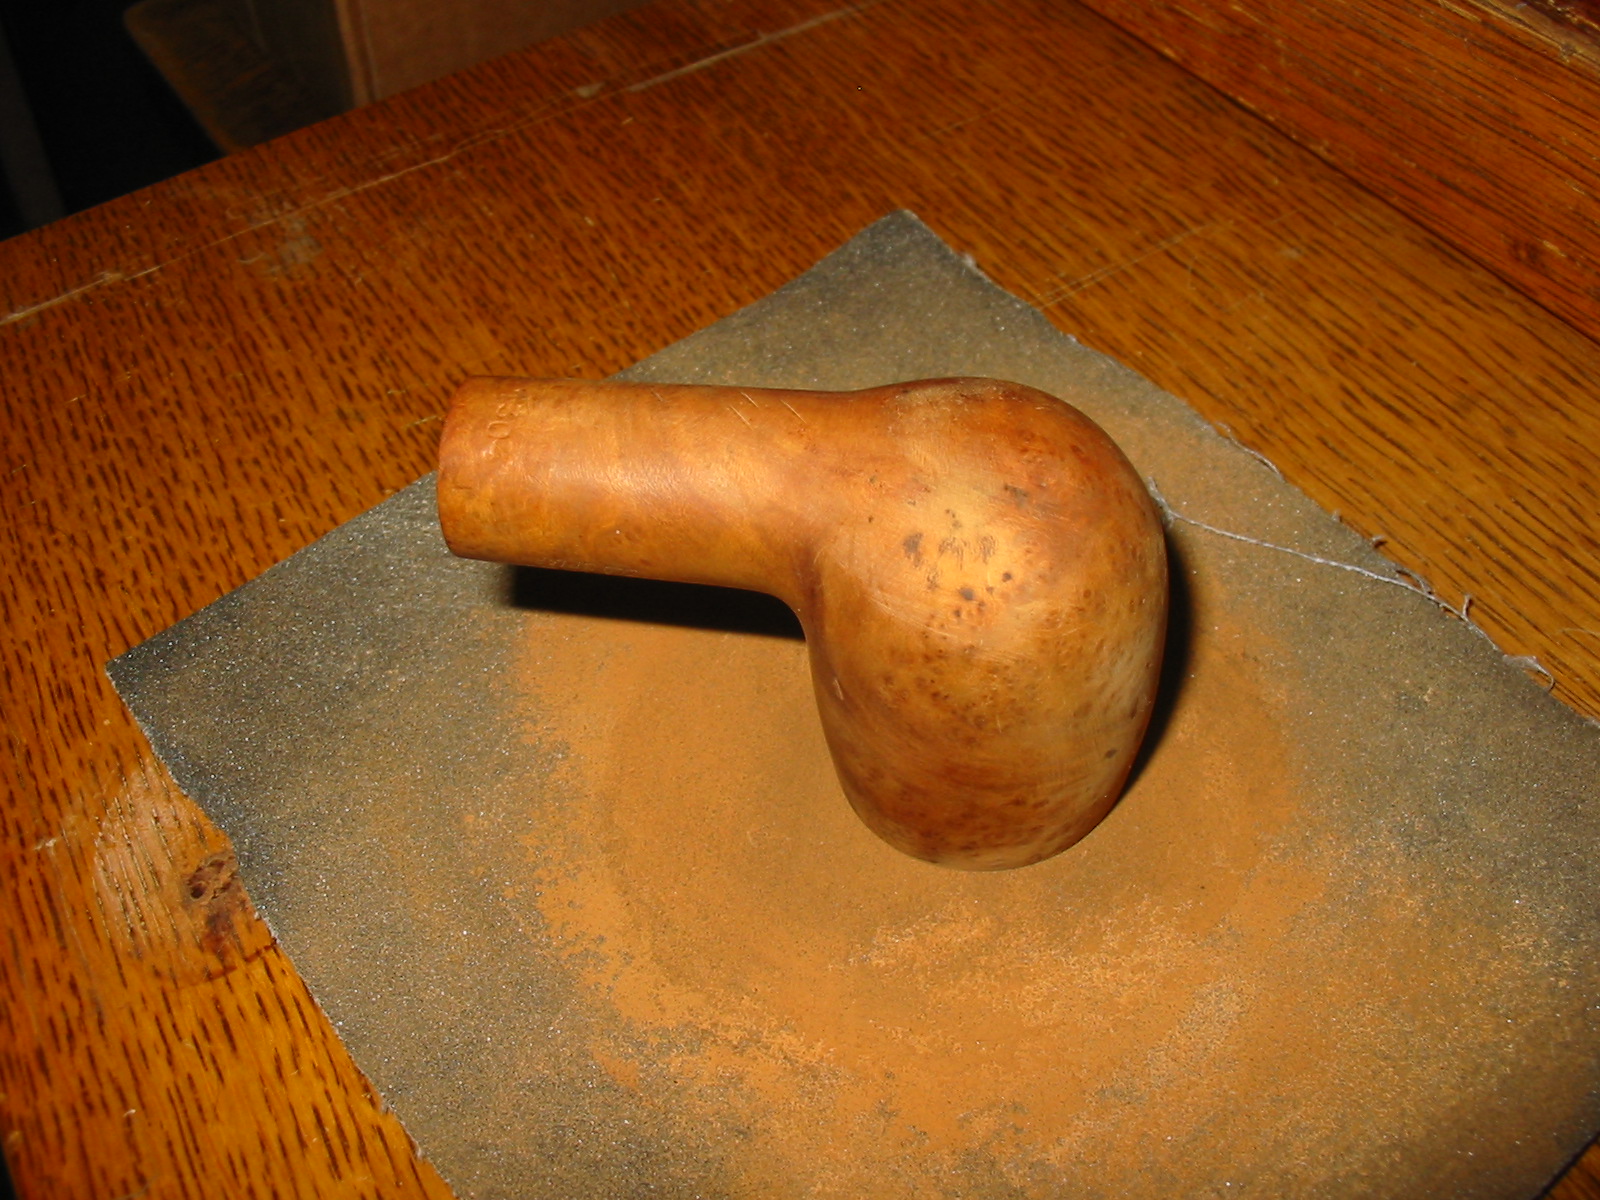
I used some acetone on a cotton pad to scrub down the bowl. The next series of two photos show how well the acetone removed the finish. It made short work of the paint and dark stains on the briar. I scrubbed it until the surface was clean. You can also see the presence of the fills that I spoke of earlier.

The rim of the bowl was rough so I decided to top it a slight amount to remove the damage and to clean up the surface. Since I was staining the pipe anyway there would be no problem in trying to match bowl and rim. I used my normal sandpaper on a board system and sanded the bowl in a clockwise motion to smooth out the surface. I first used a fine grit emery cloth and then followed that with 320 grit sandpaper. The first two photos below show that process and the effectiveness of it.
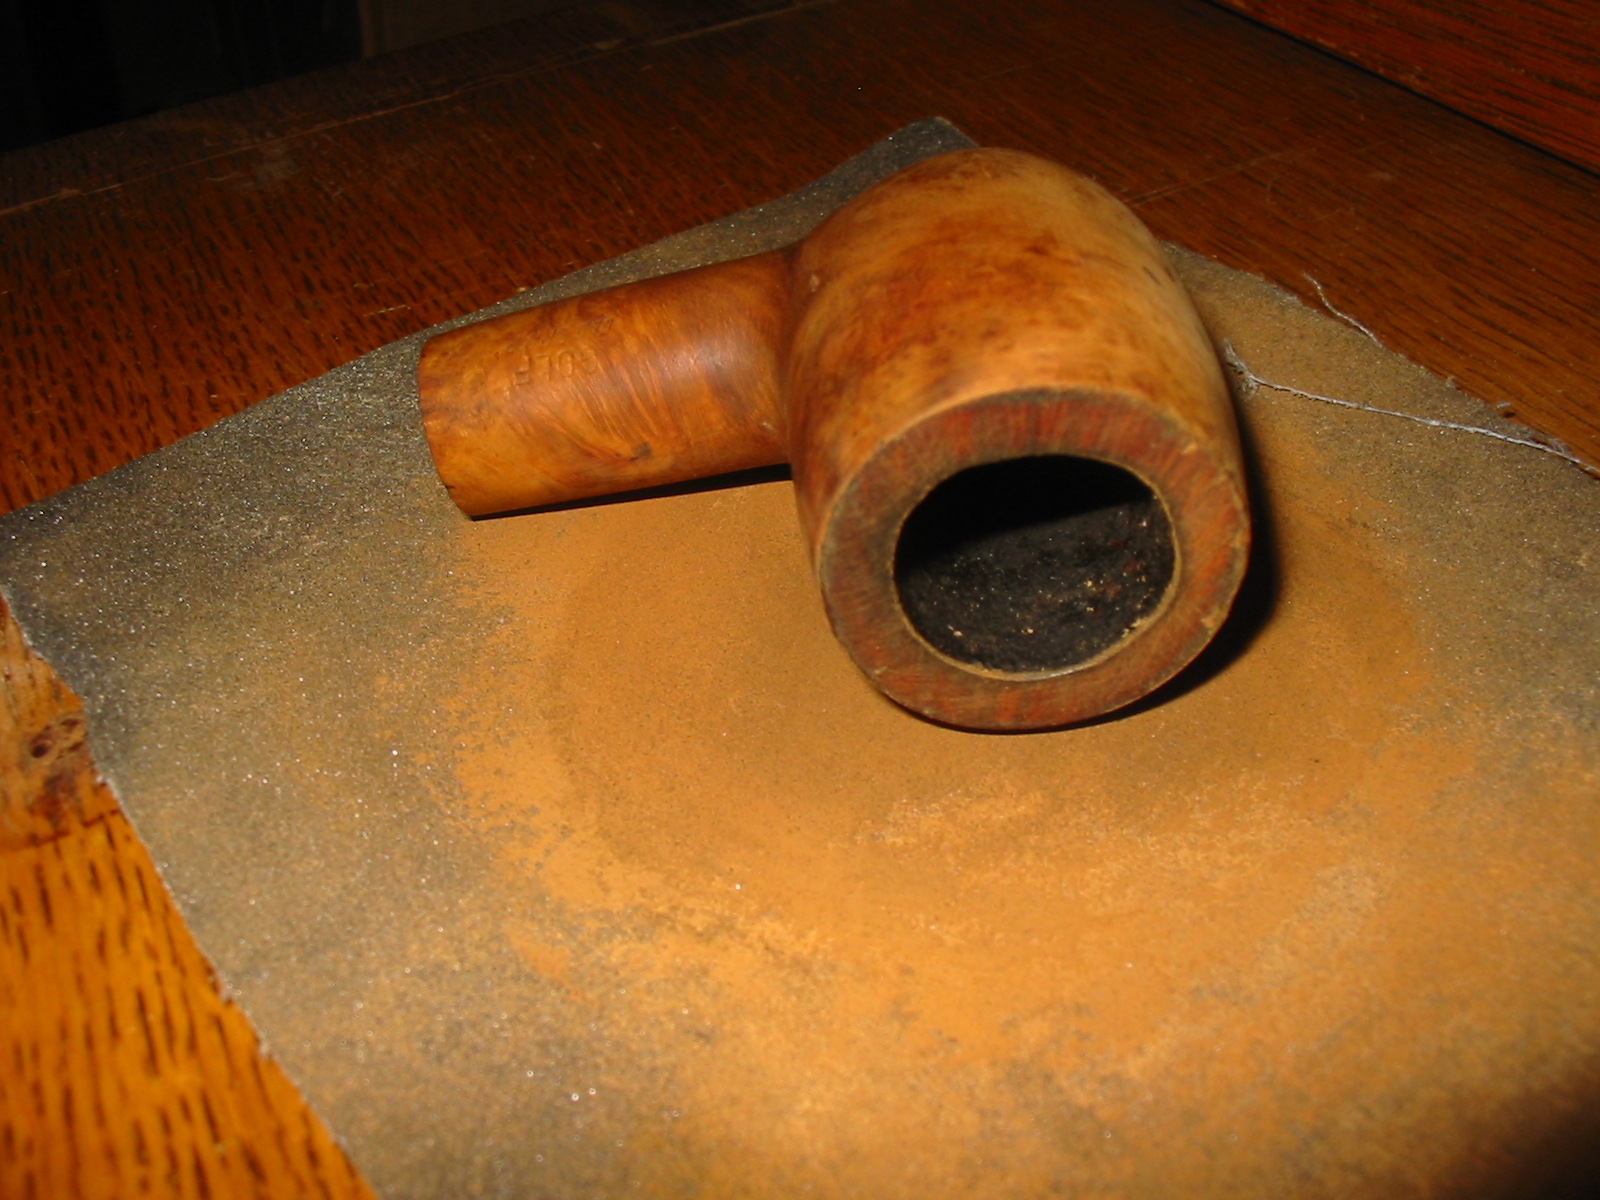
The next series of four photos show the bowl after I wiped it down with acetone again after the topping of the rim. The cotton pads show the sanding dust and surface grit that still remained on the surface of the bowl. I wanted to give it a final wash before staining it. I decided to not remove the fills on this bowl. I wanted to see if I could blend them in with the stain coat rather than replace them with the superglue briar dust patches that I generally use.


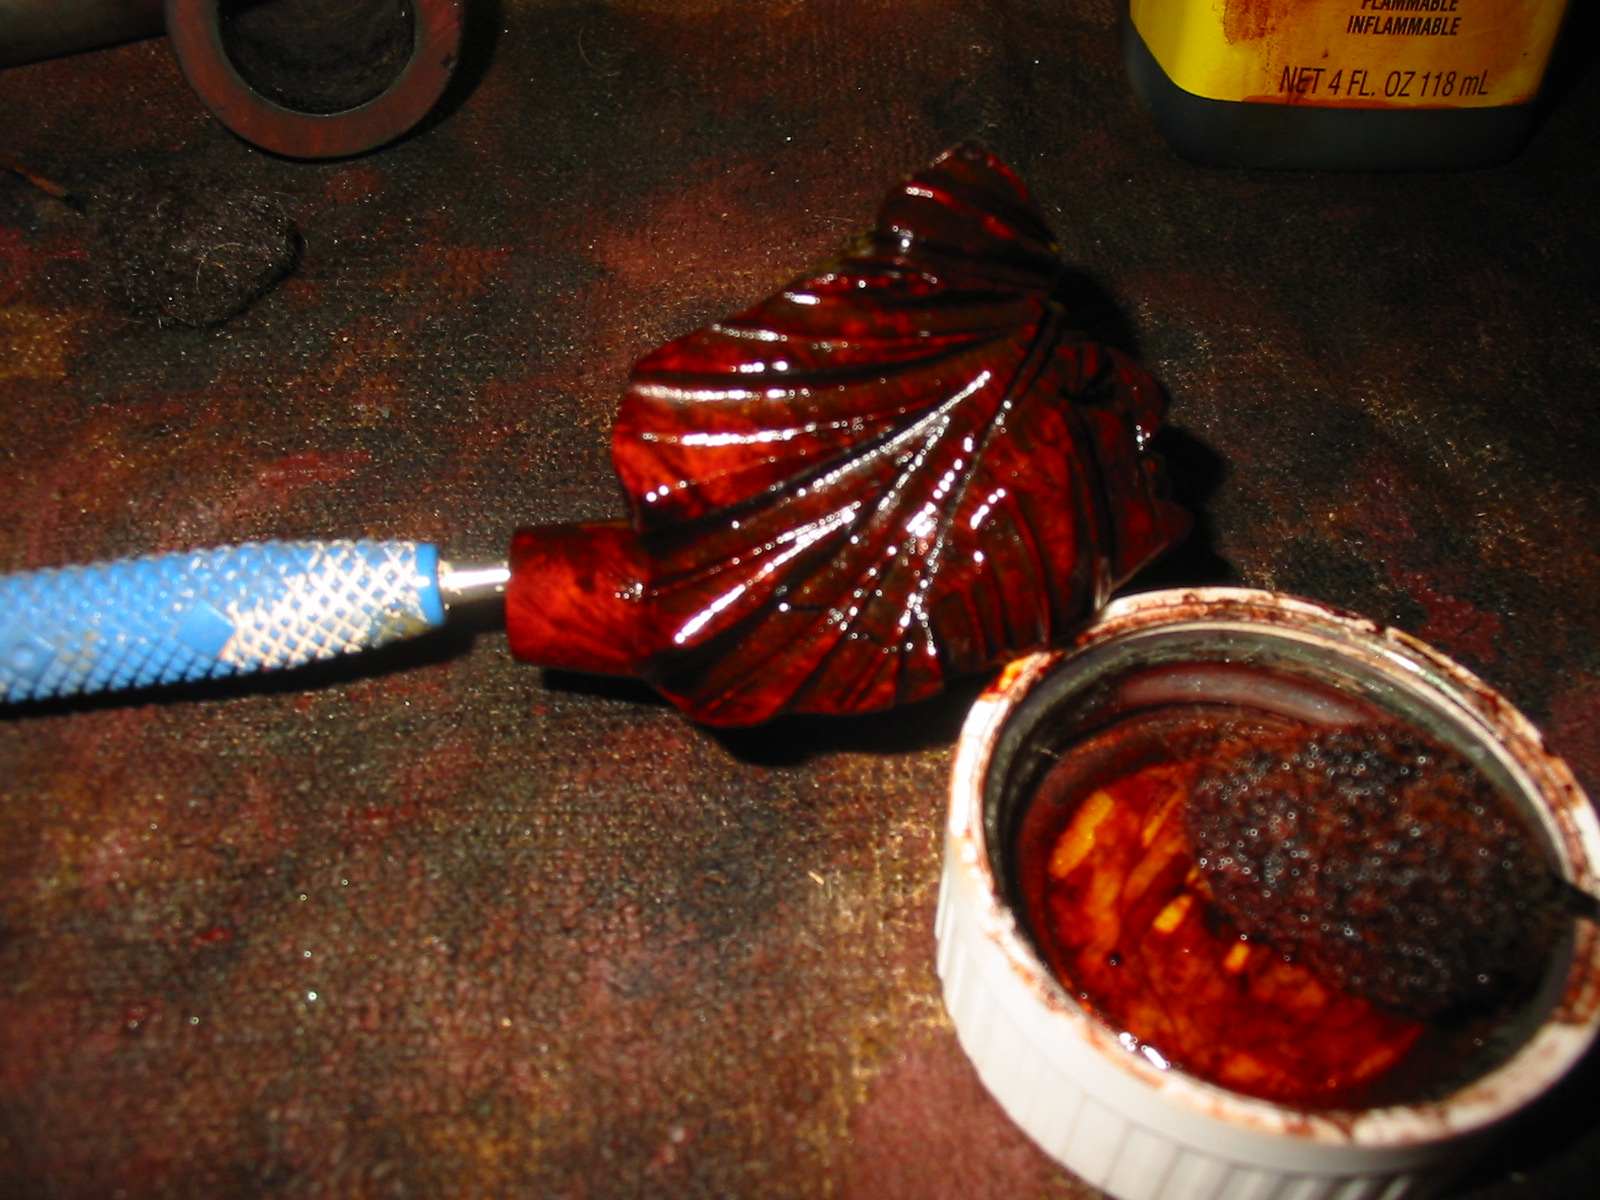
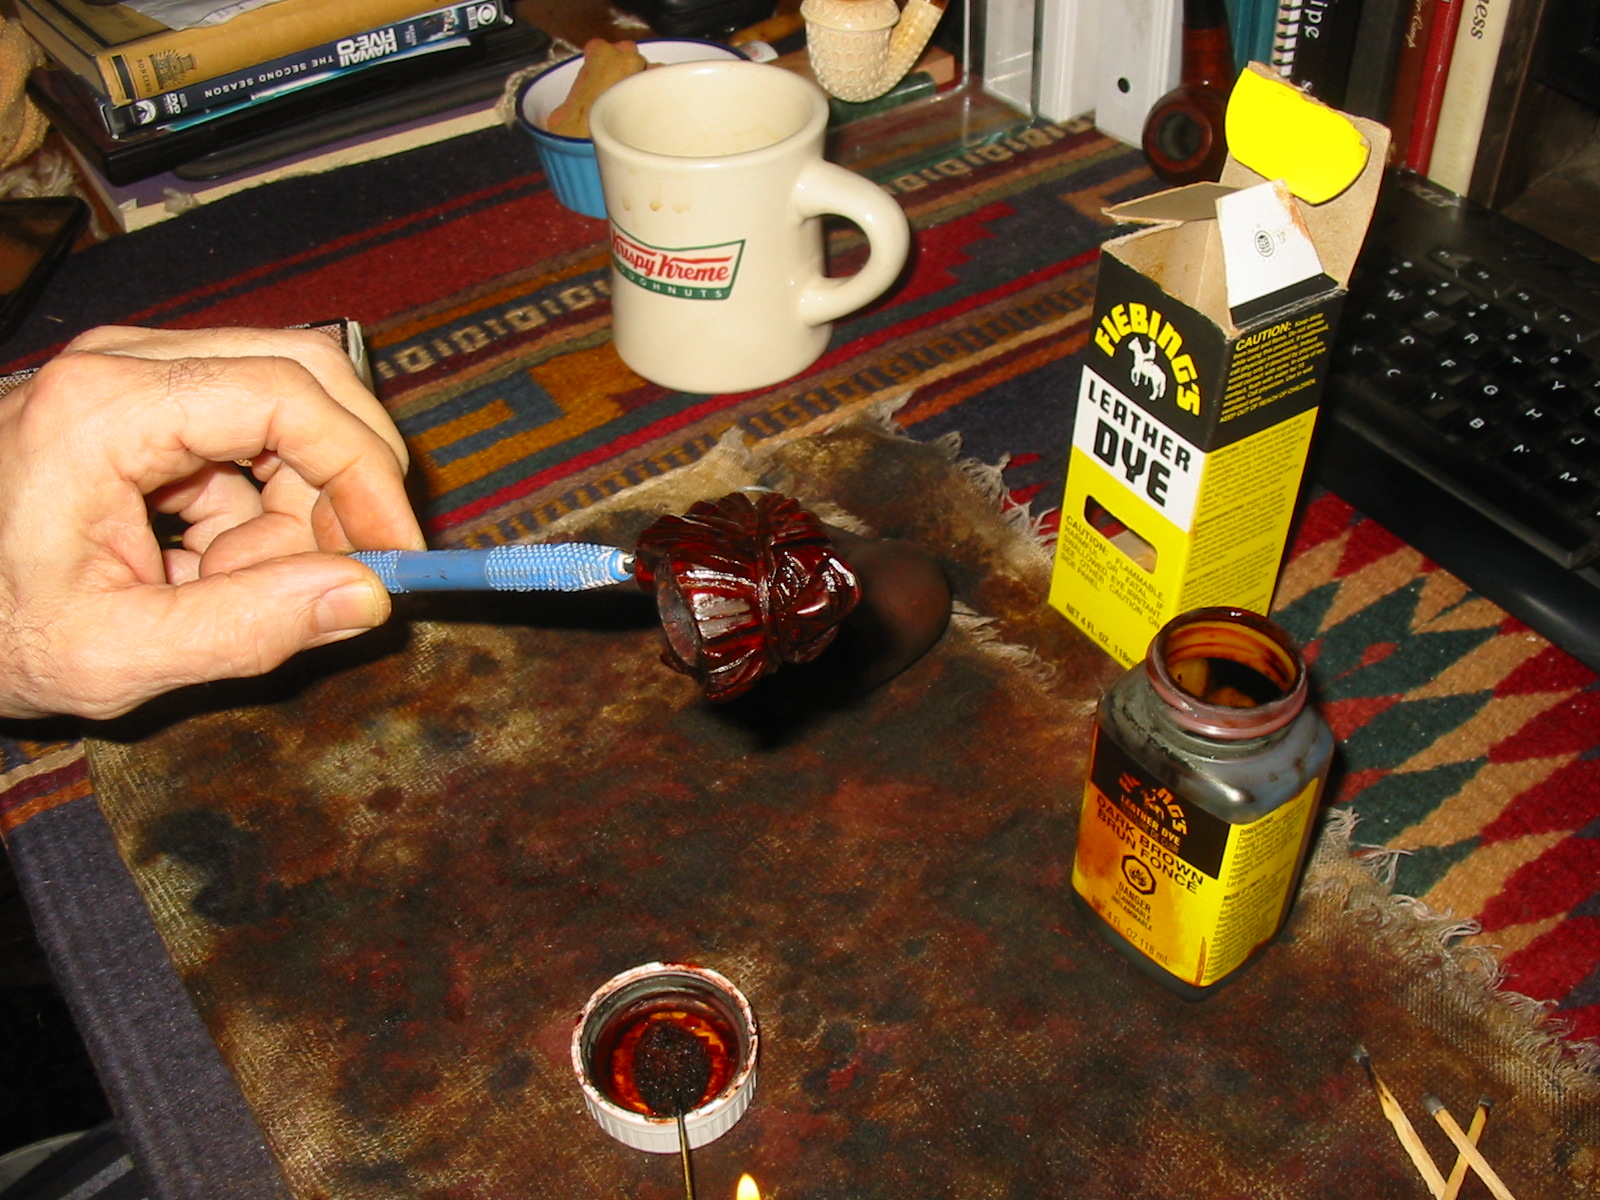
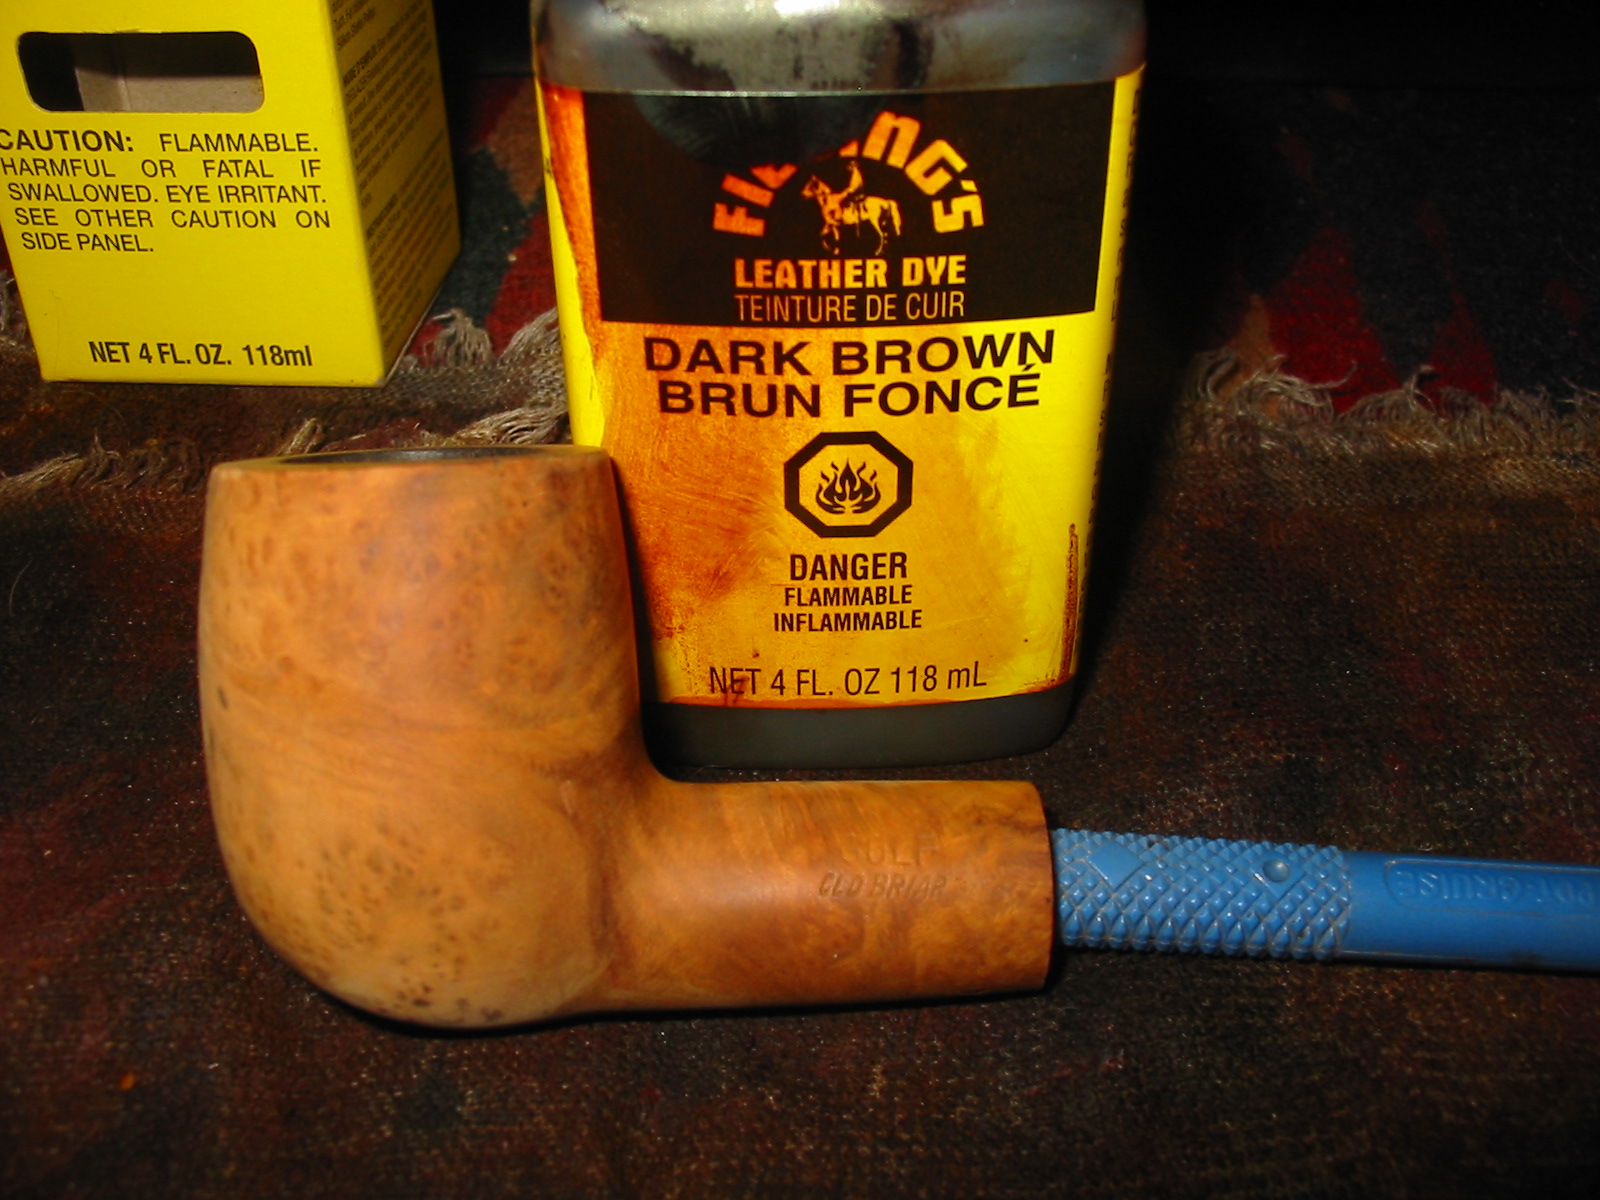
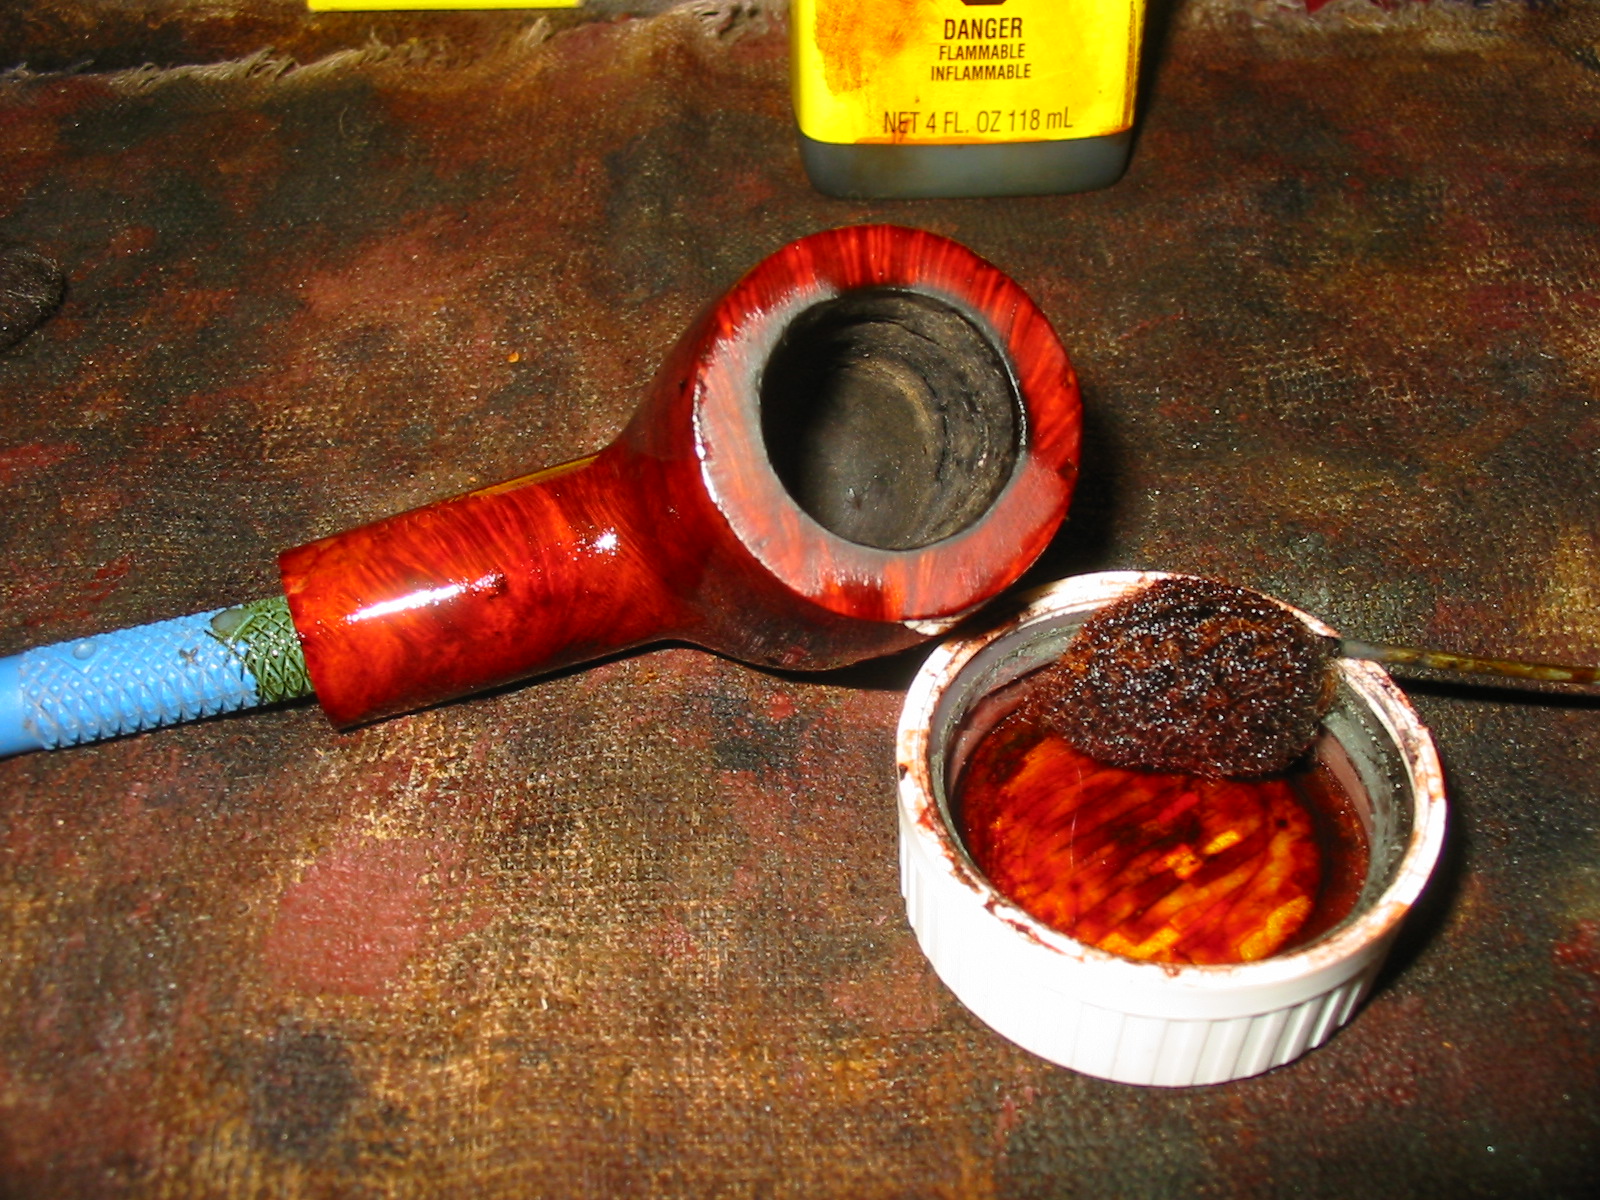
I chose to restain this pipe with a dark brown aniline stain thinned 2:1 with isopropyl alcohol. It is the same stain I used on the figural pipe that I posted about earlier. The next series of four photos show the process of the staining. I had my daughter help me with the photos and she was able to capture the flaming process in the last photo in this series. The flame burns quickly and blue. It burns off the alcohol and sets the stain in the grain of the briar. I love the way that flame dances on the surface of the pipe.


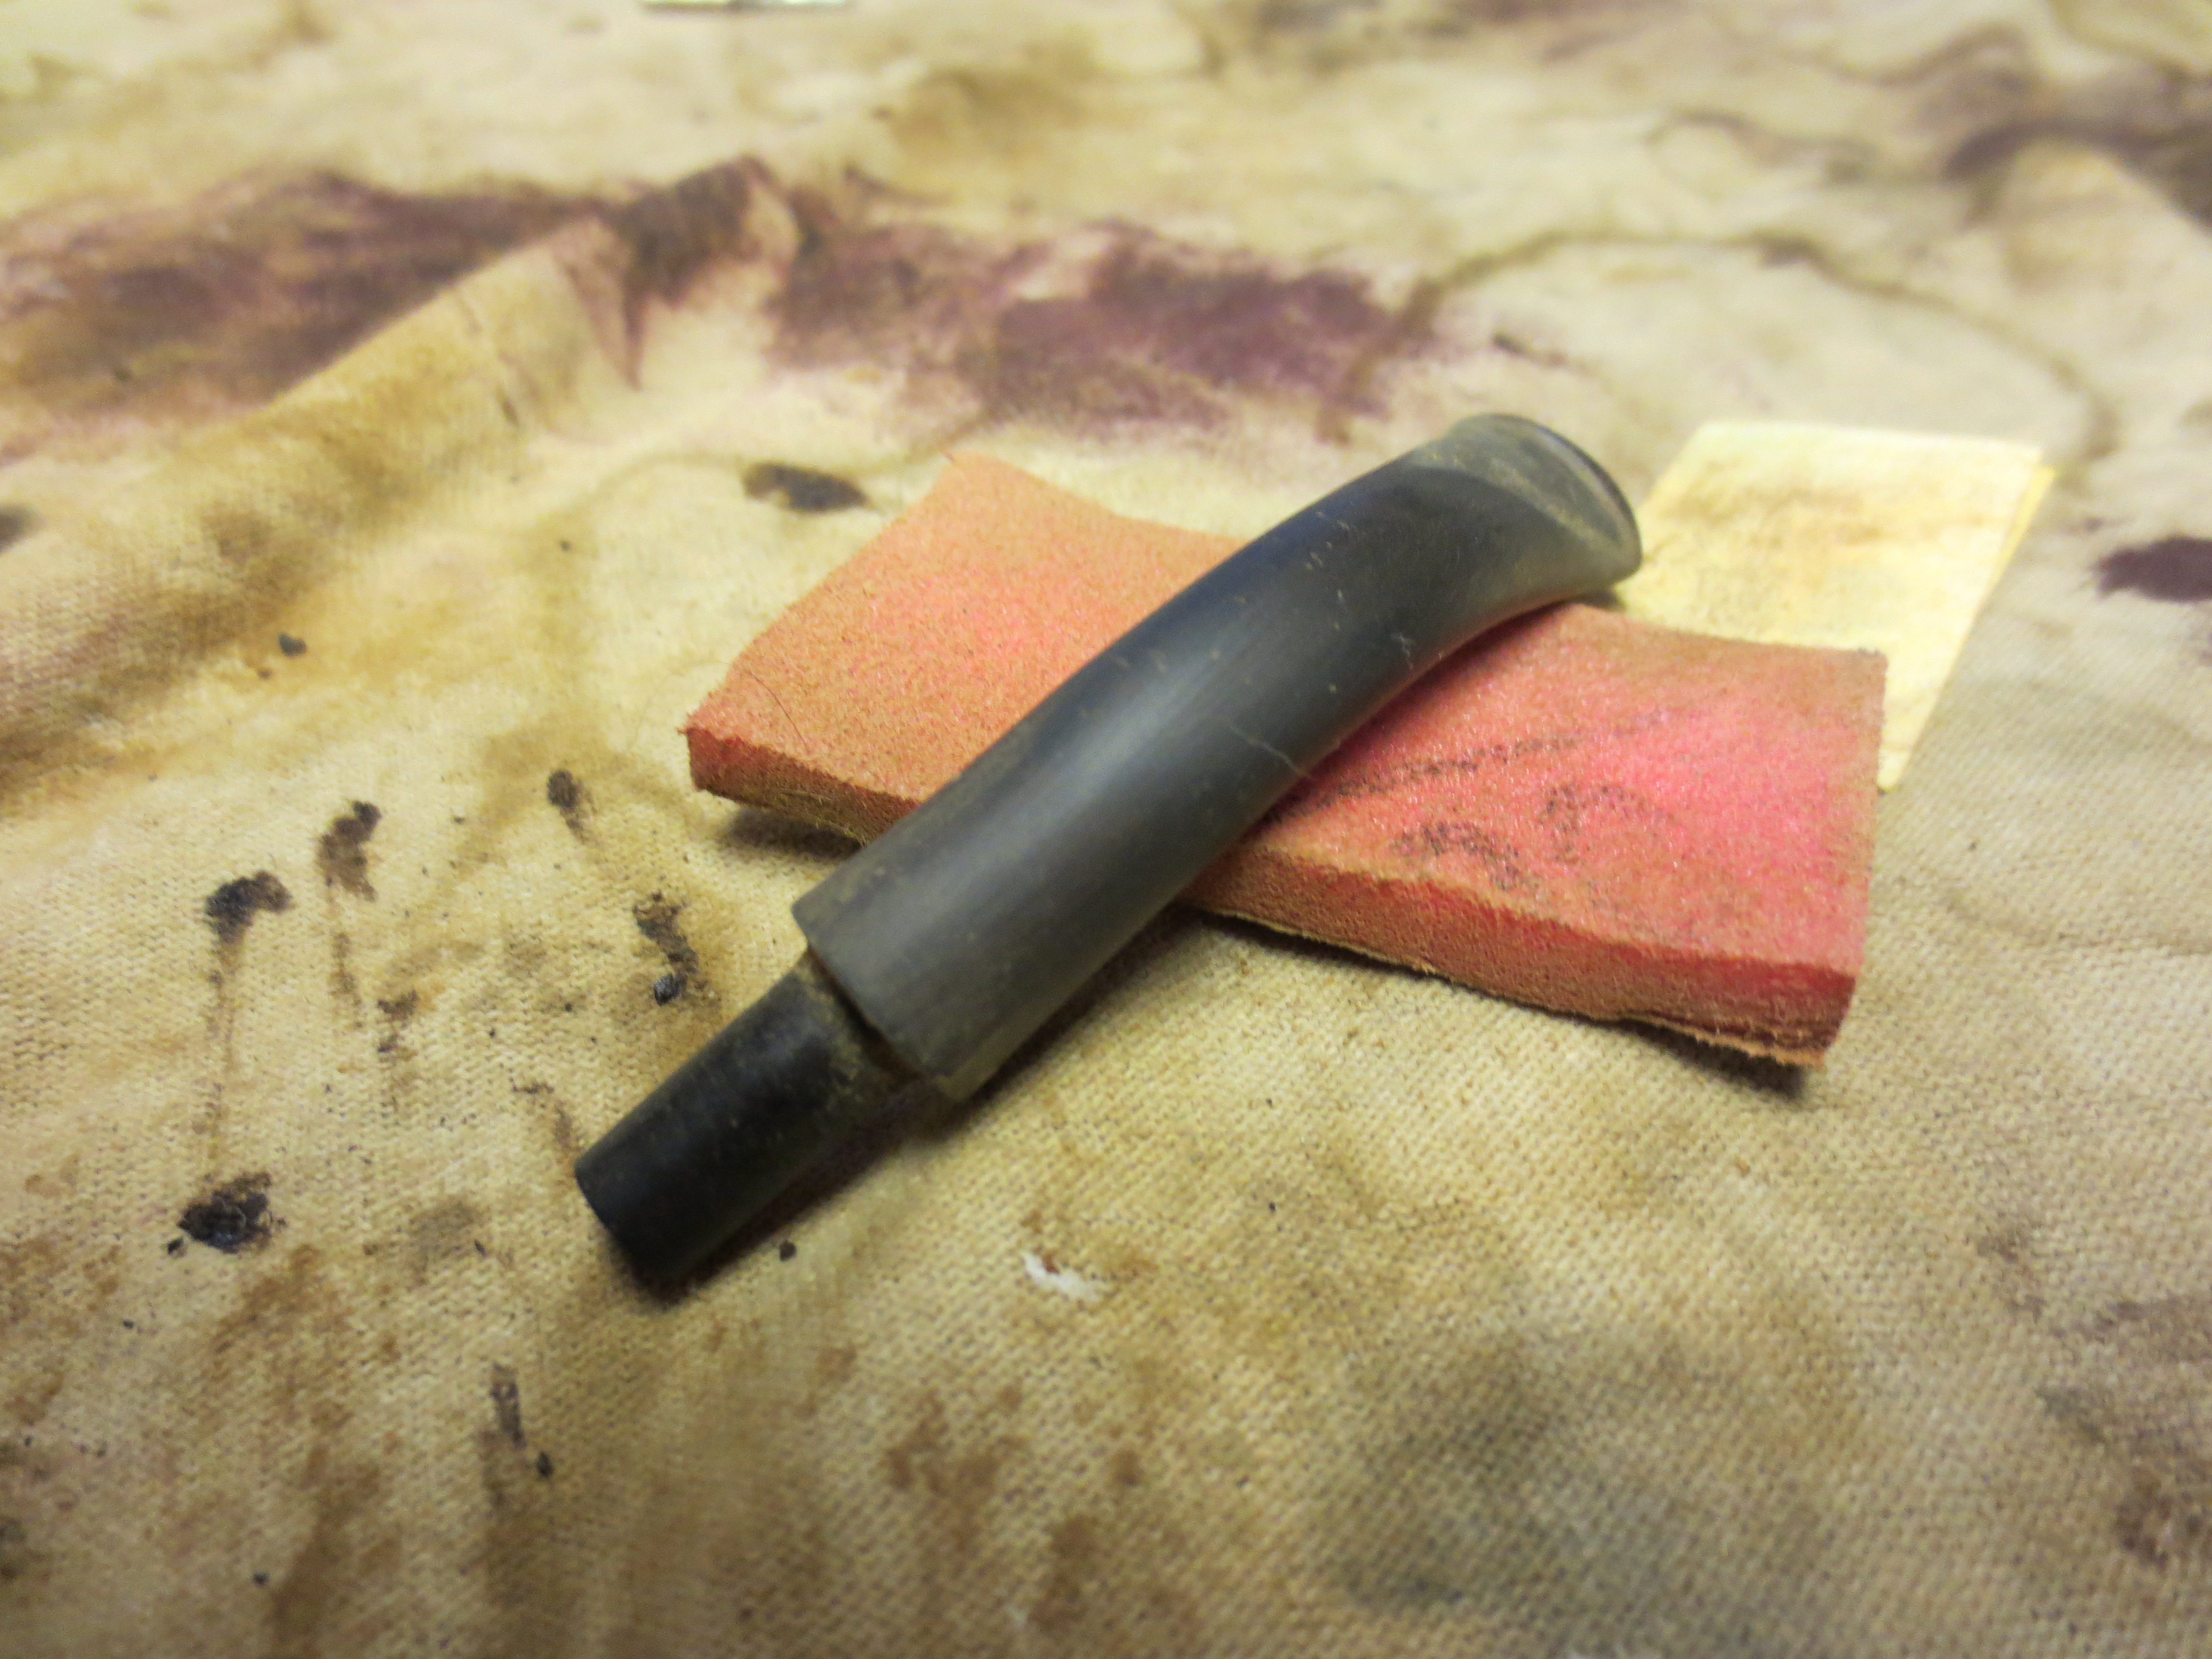
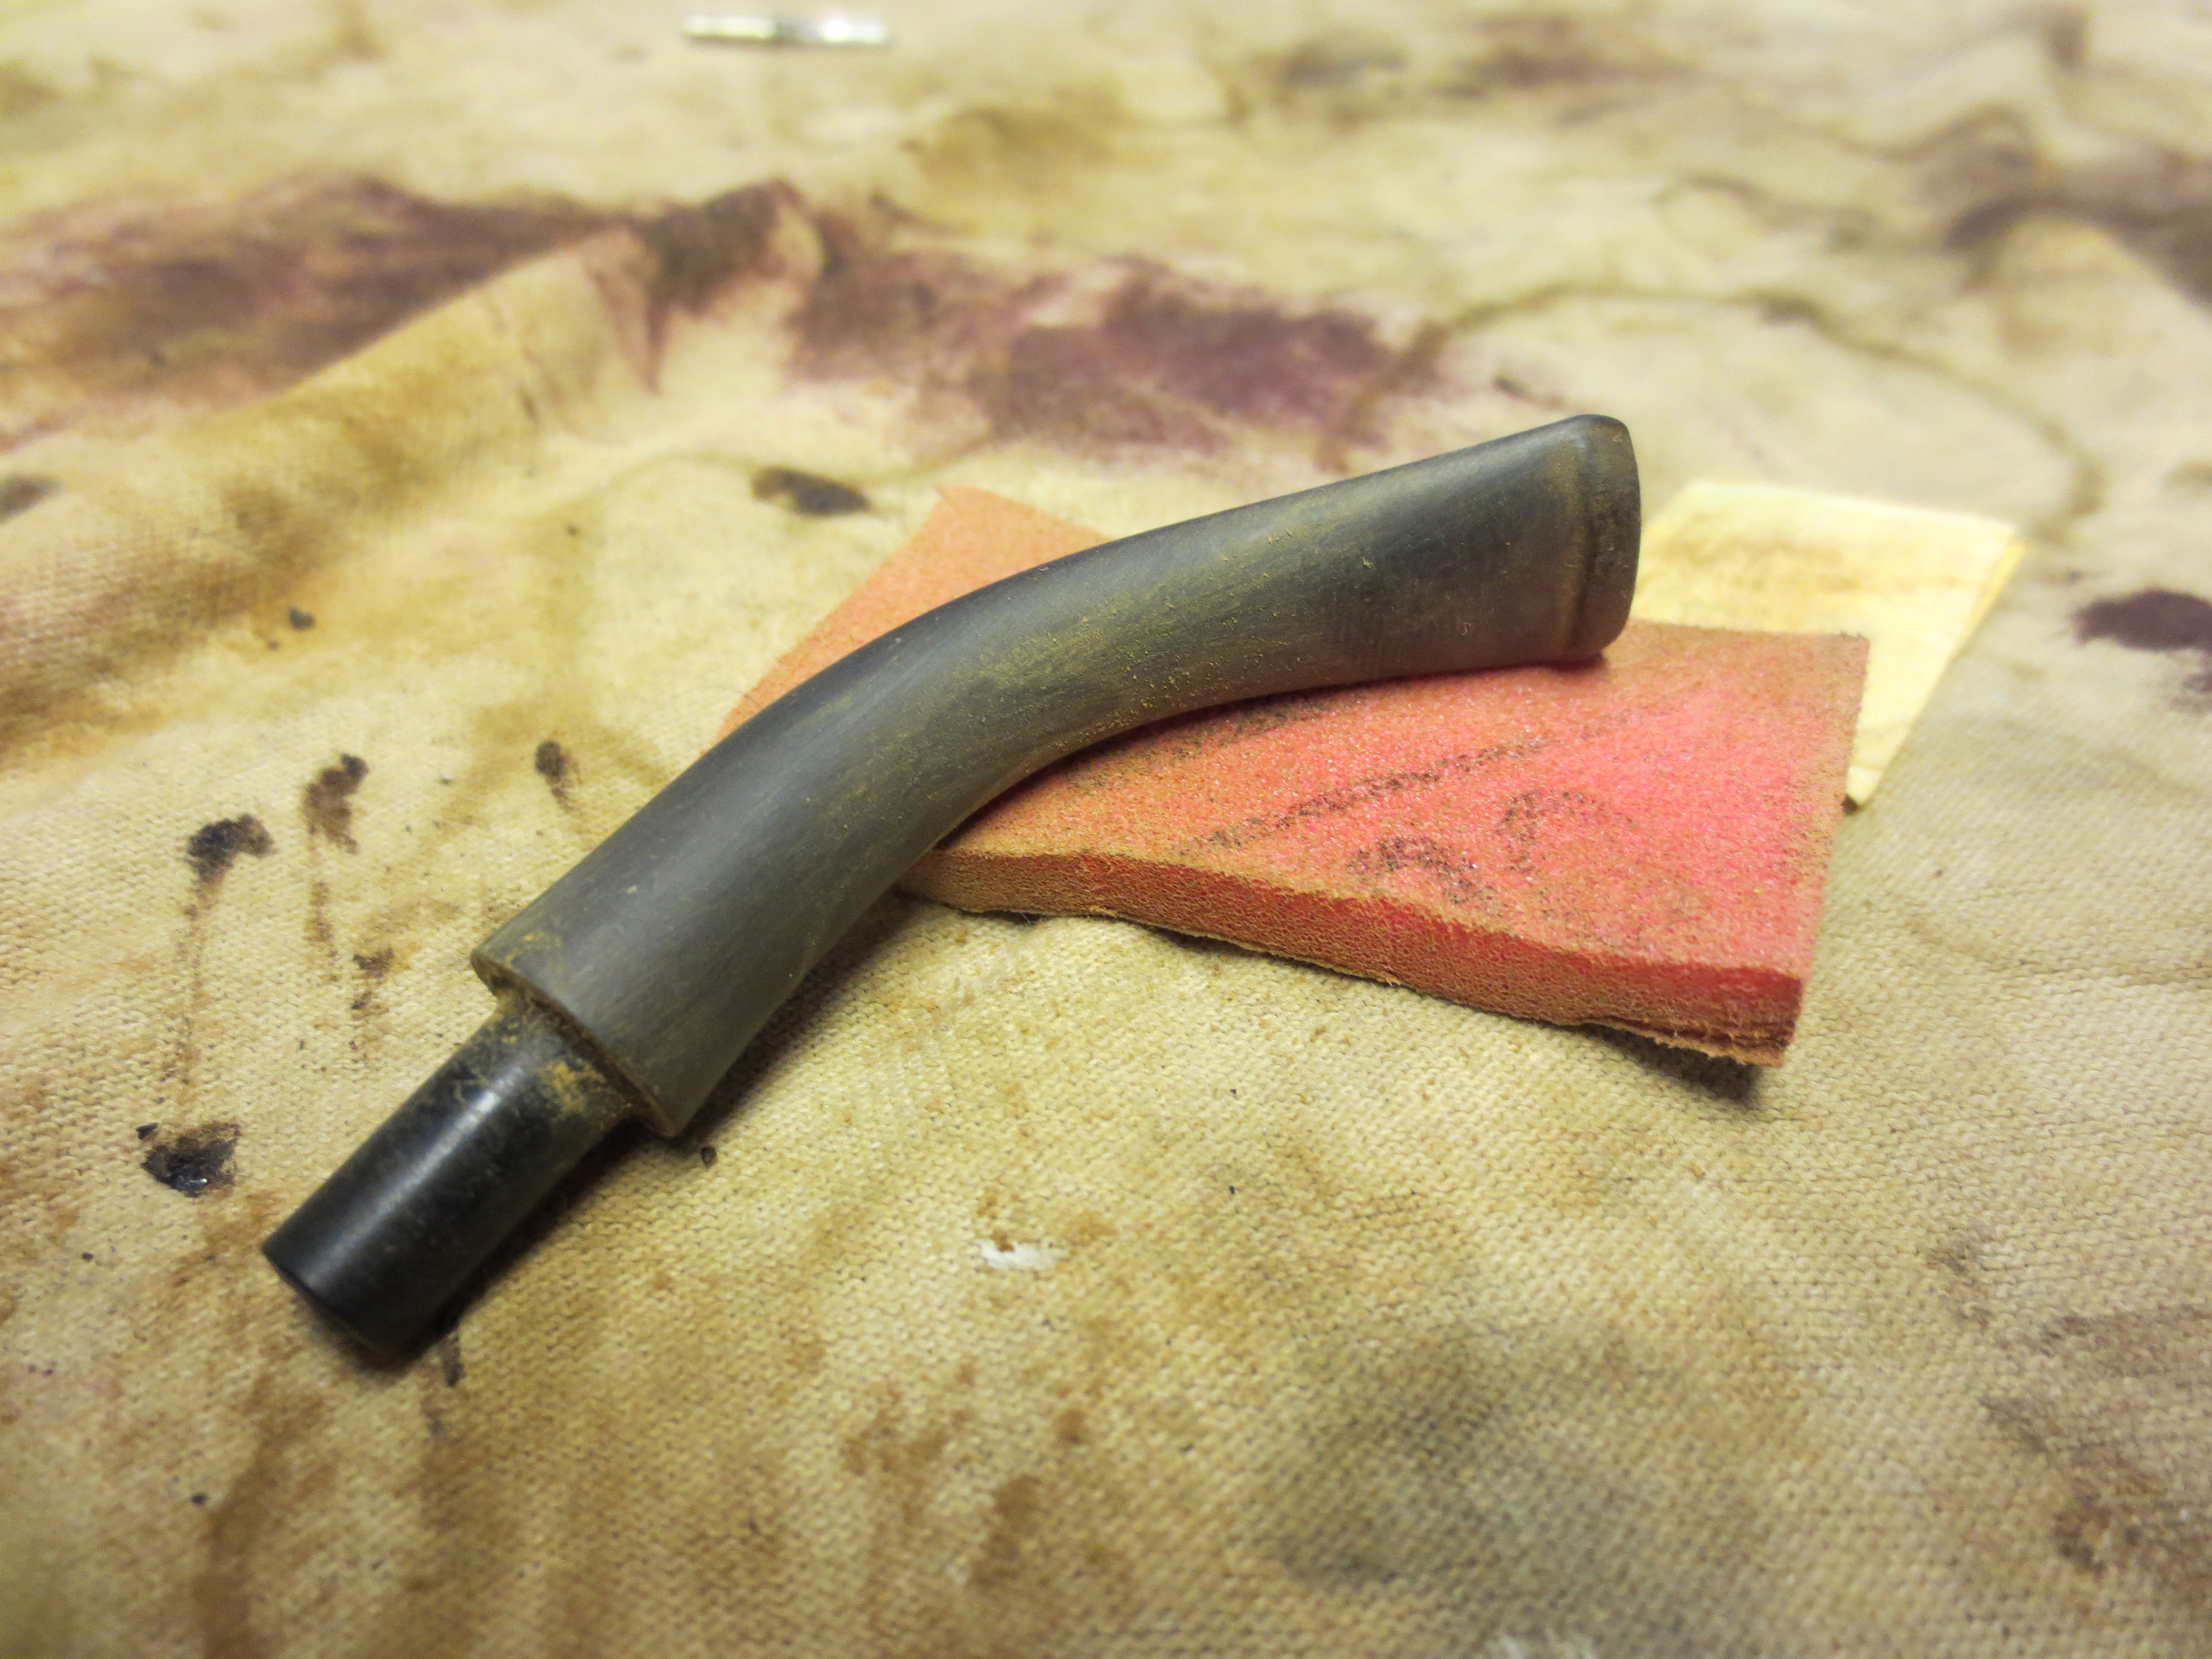
I set the bowl aside once the flame had died and worked on the stem. The next series of photos show the stem as it appeared after I removed it from the Oxyclean bath. It needed a lot of work. I had to sacrifice the painted G script as it would not survive the clean up. I used my Bic lighter technique to burn the oxidation. The process is very simple as I just move the flame over the surface of the stem never letting it stay in one place too long. I repeat the process until the surface is clean and black. I then polished the stem with the Maguiar’s Scratch X2.0 scrubbed on by hand then polished off with cotton pads. I repeated that process twice and then sanded the stem with the micromesh sanding pads 1500-12,000 grit. I finished by once again applying the Maguiar’s before putting the stem back on the pipe and taking it to my buffer to buff with White Diamond.
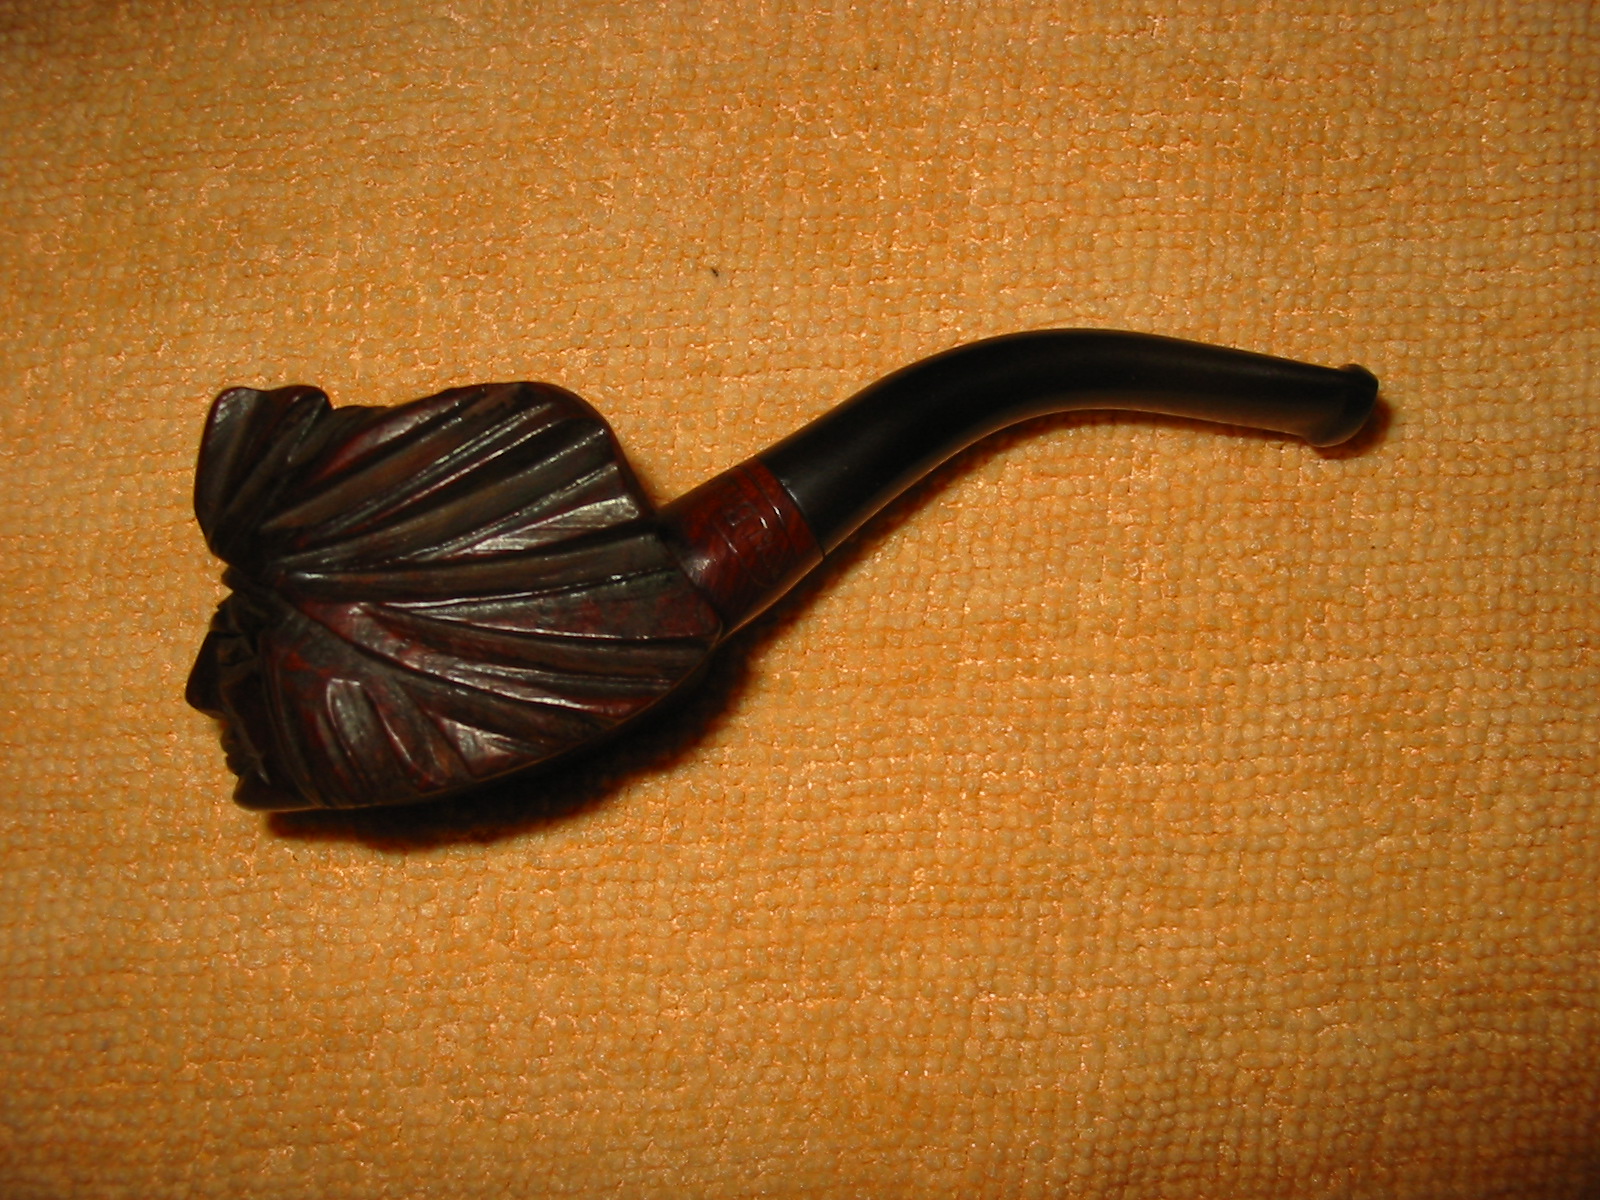
The next four photos show the finished pipe. It has several coats of carnauba wax applied by my buffer and buffed out to a shine with soft flannel buffing pads. The stain is a bit lighter than it appears in the photos and you can see the grain through the finish. The fills are all but invisible at a quick glance. Before I stained the fills I drew over them with a black permanent marker and then stained them. They covered very well with the marker and the dark stain.