Blog by Steve Laug
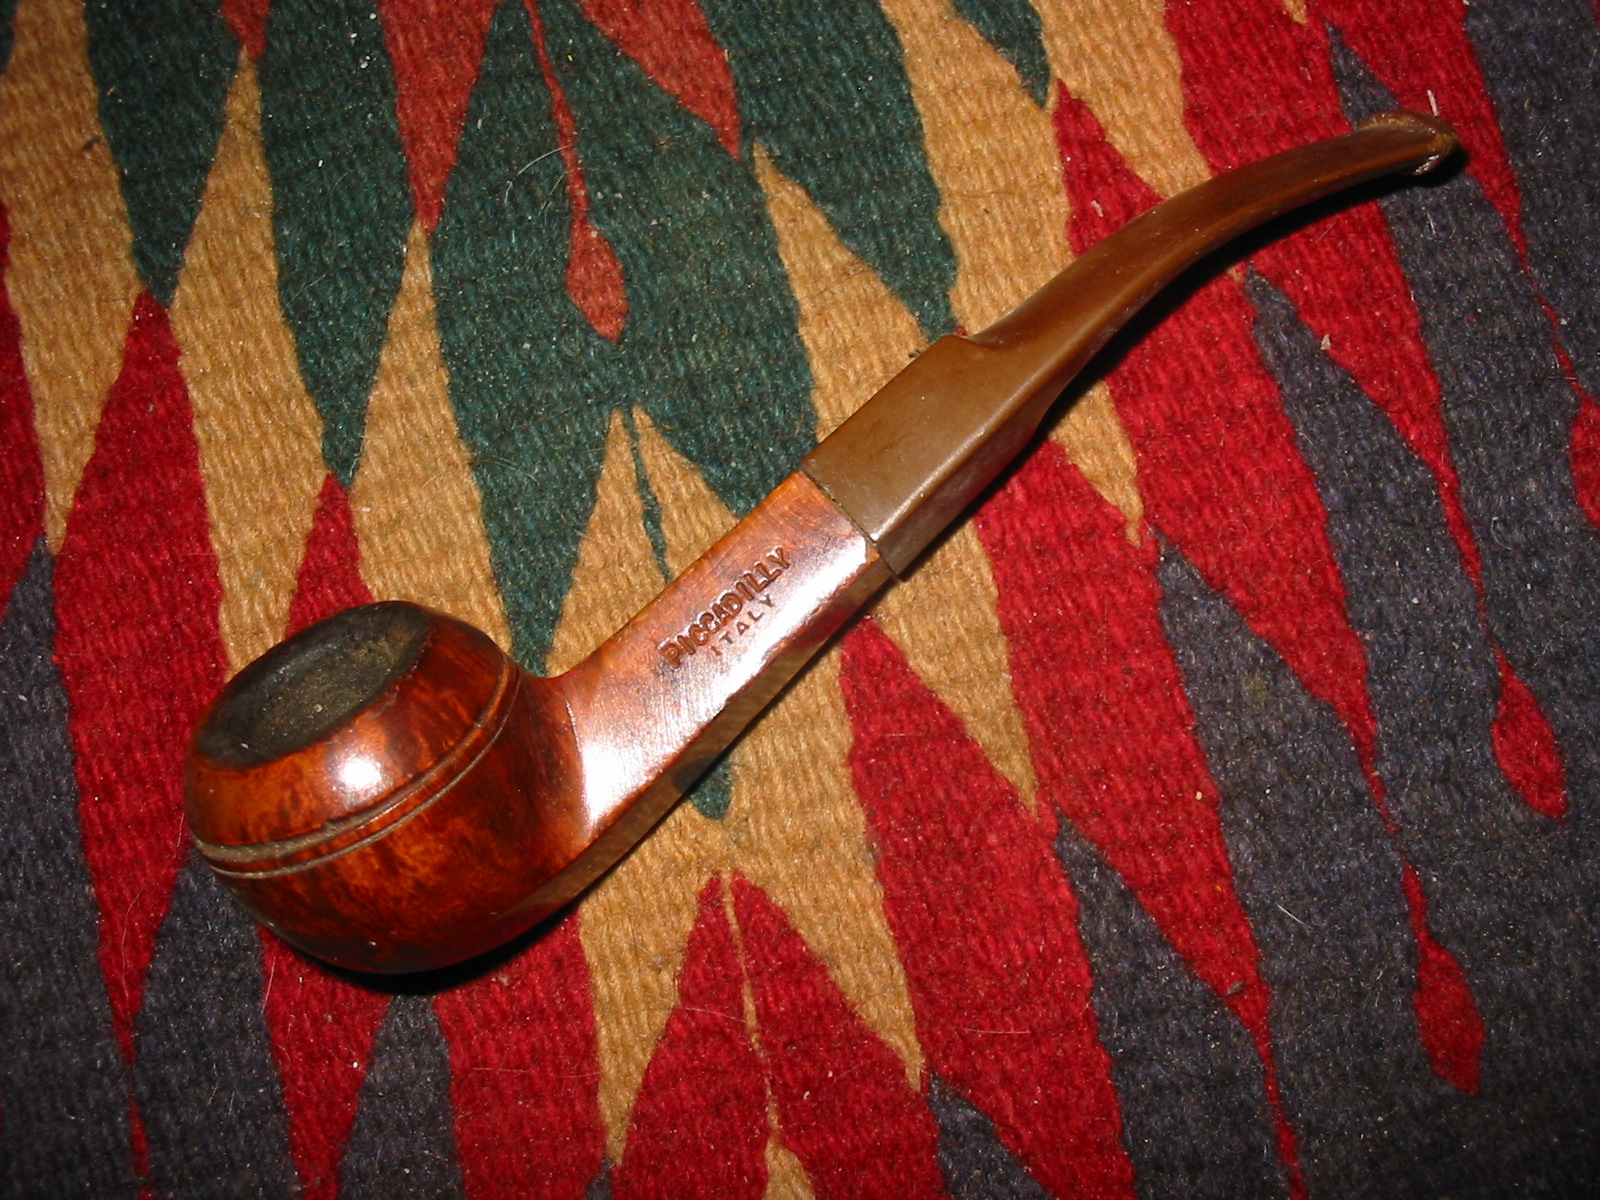
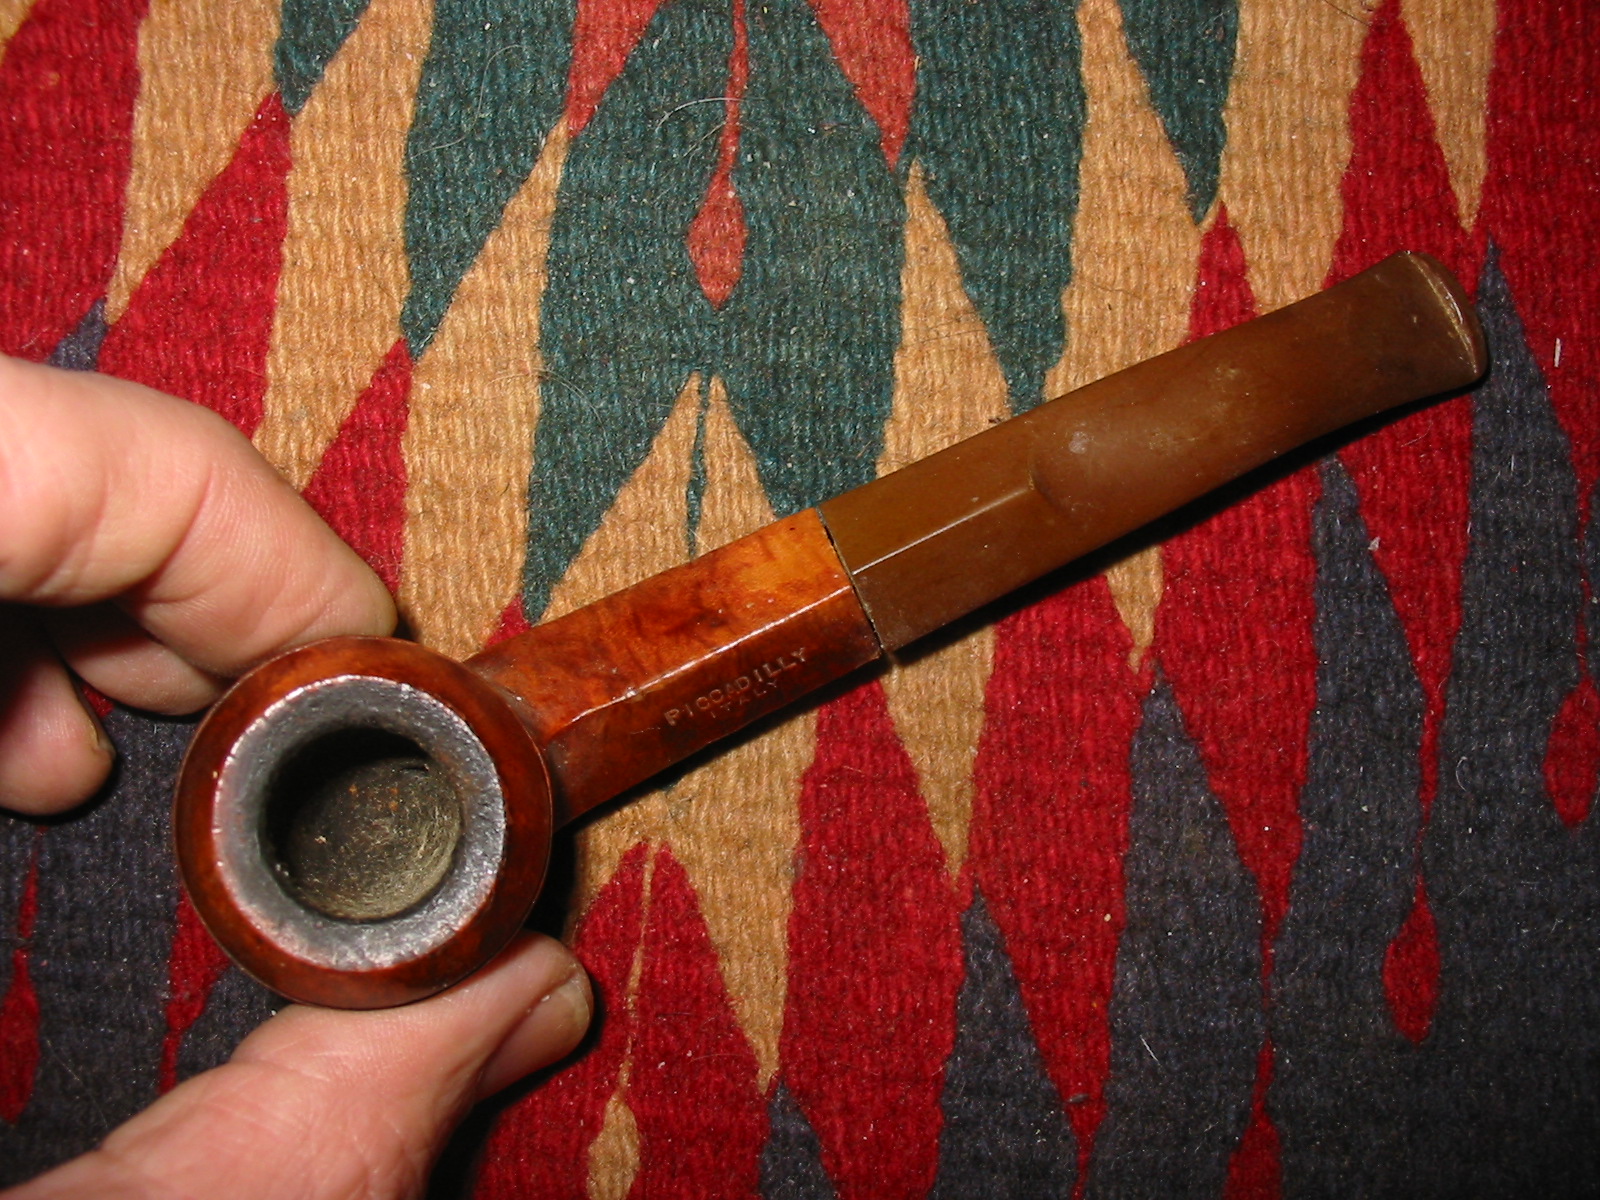
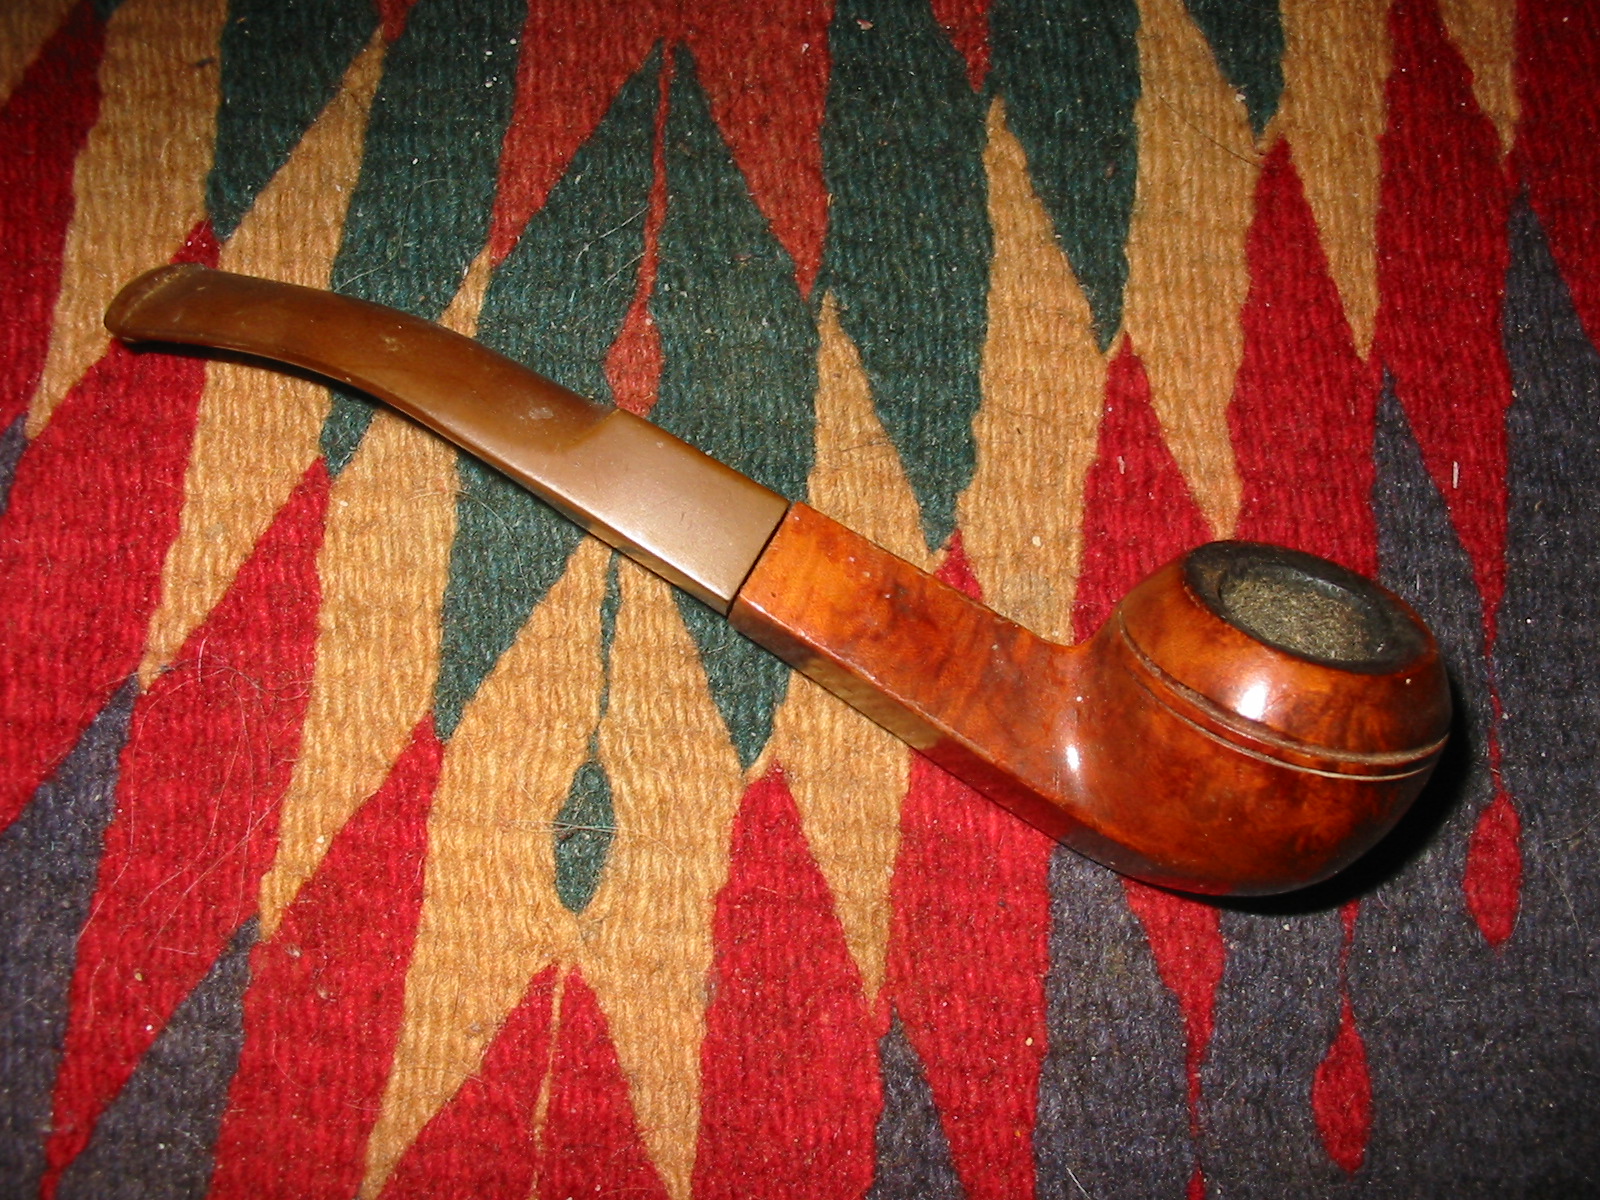
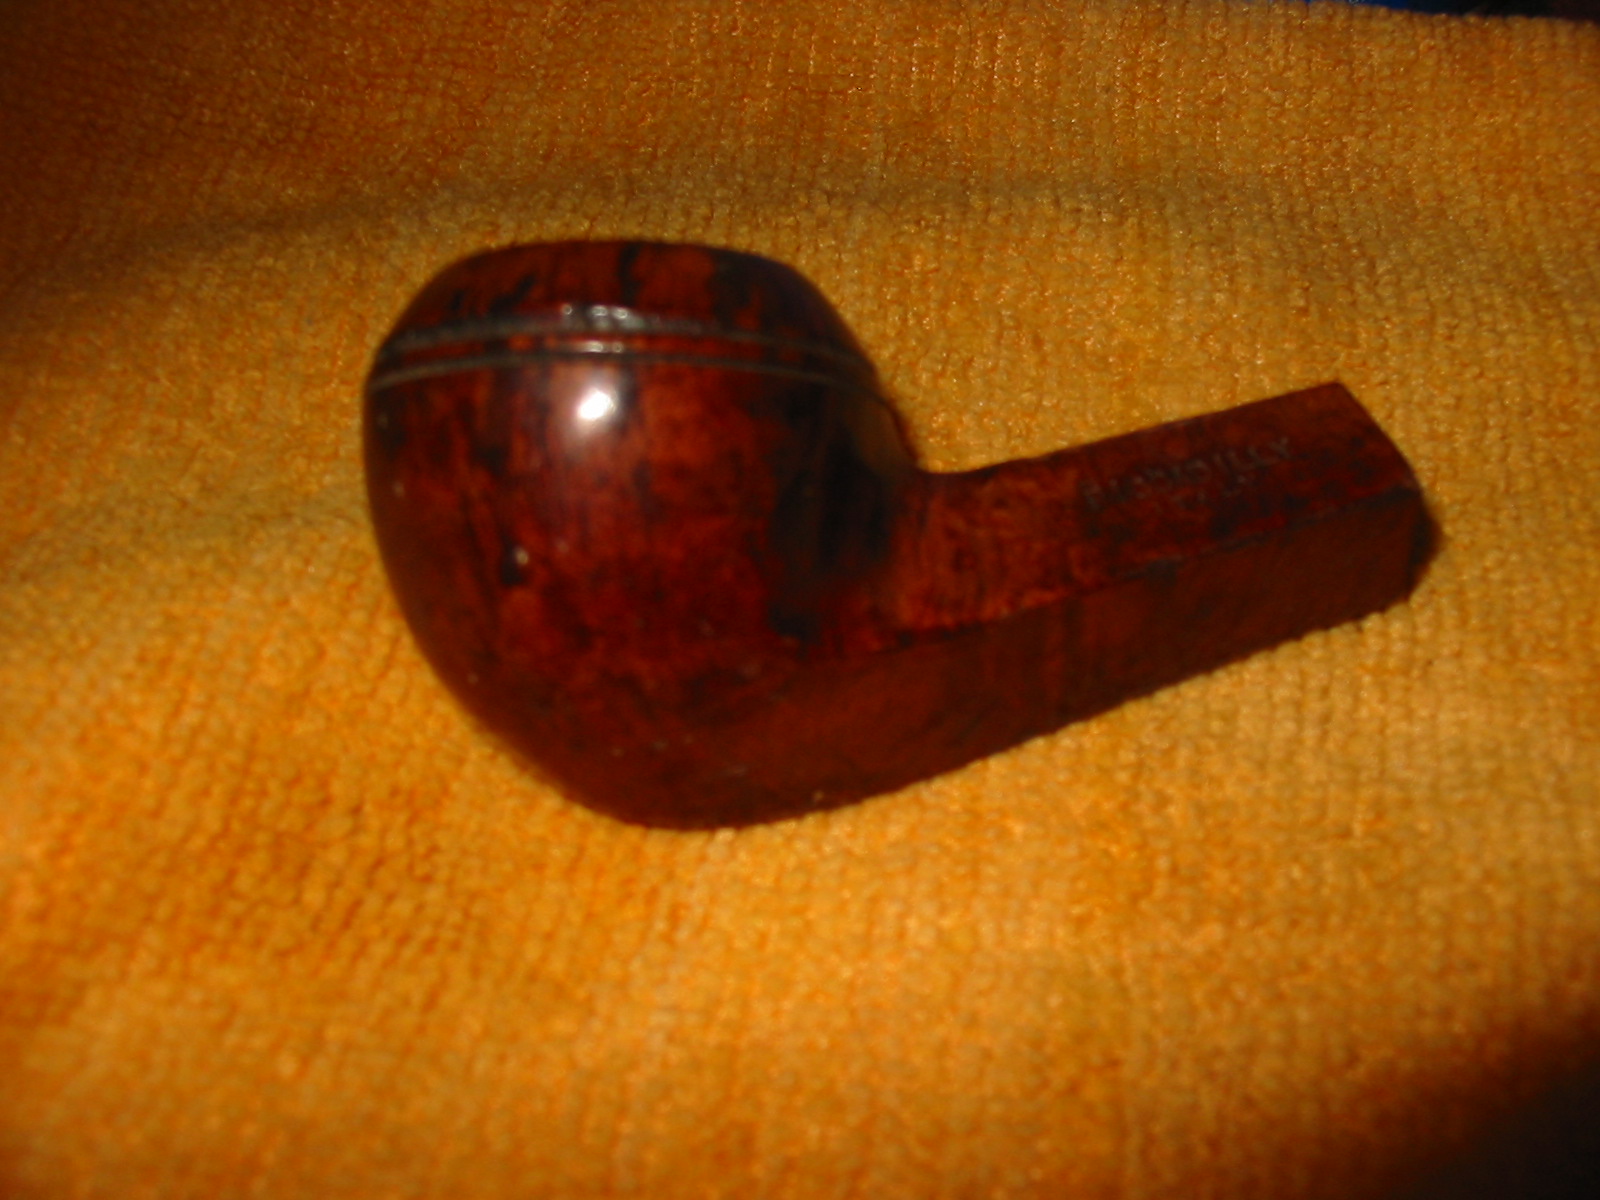
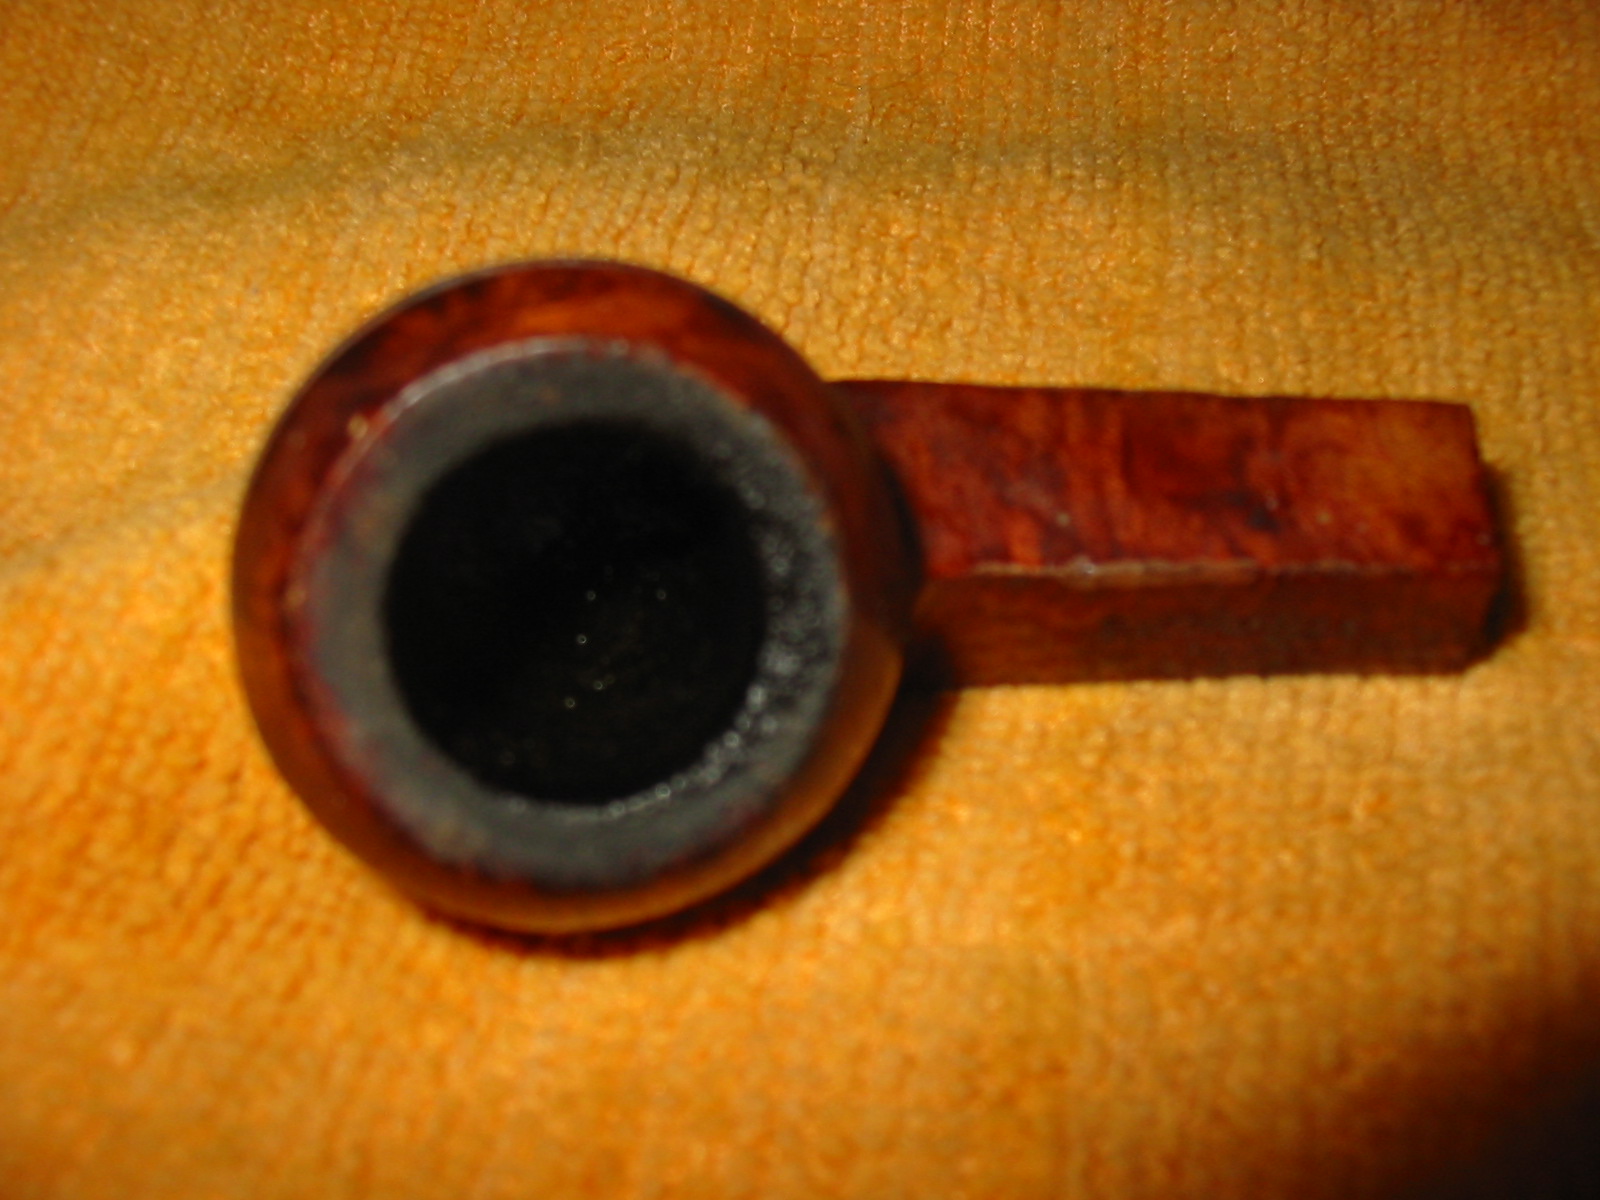
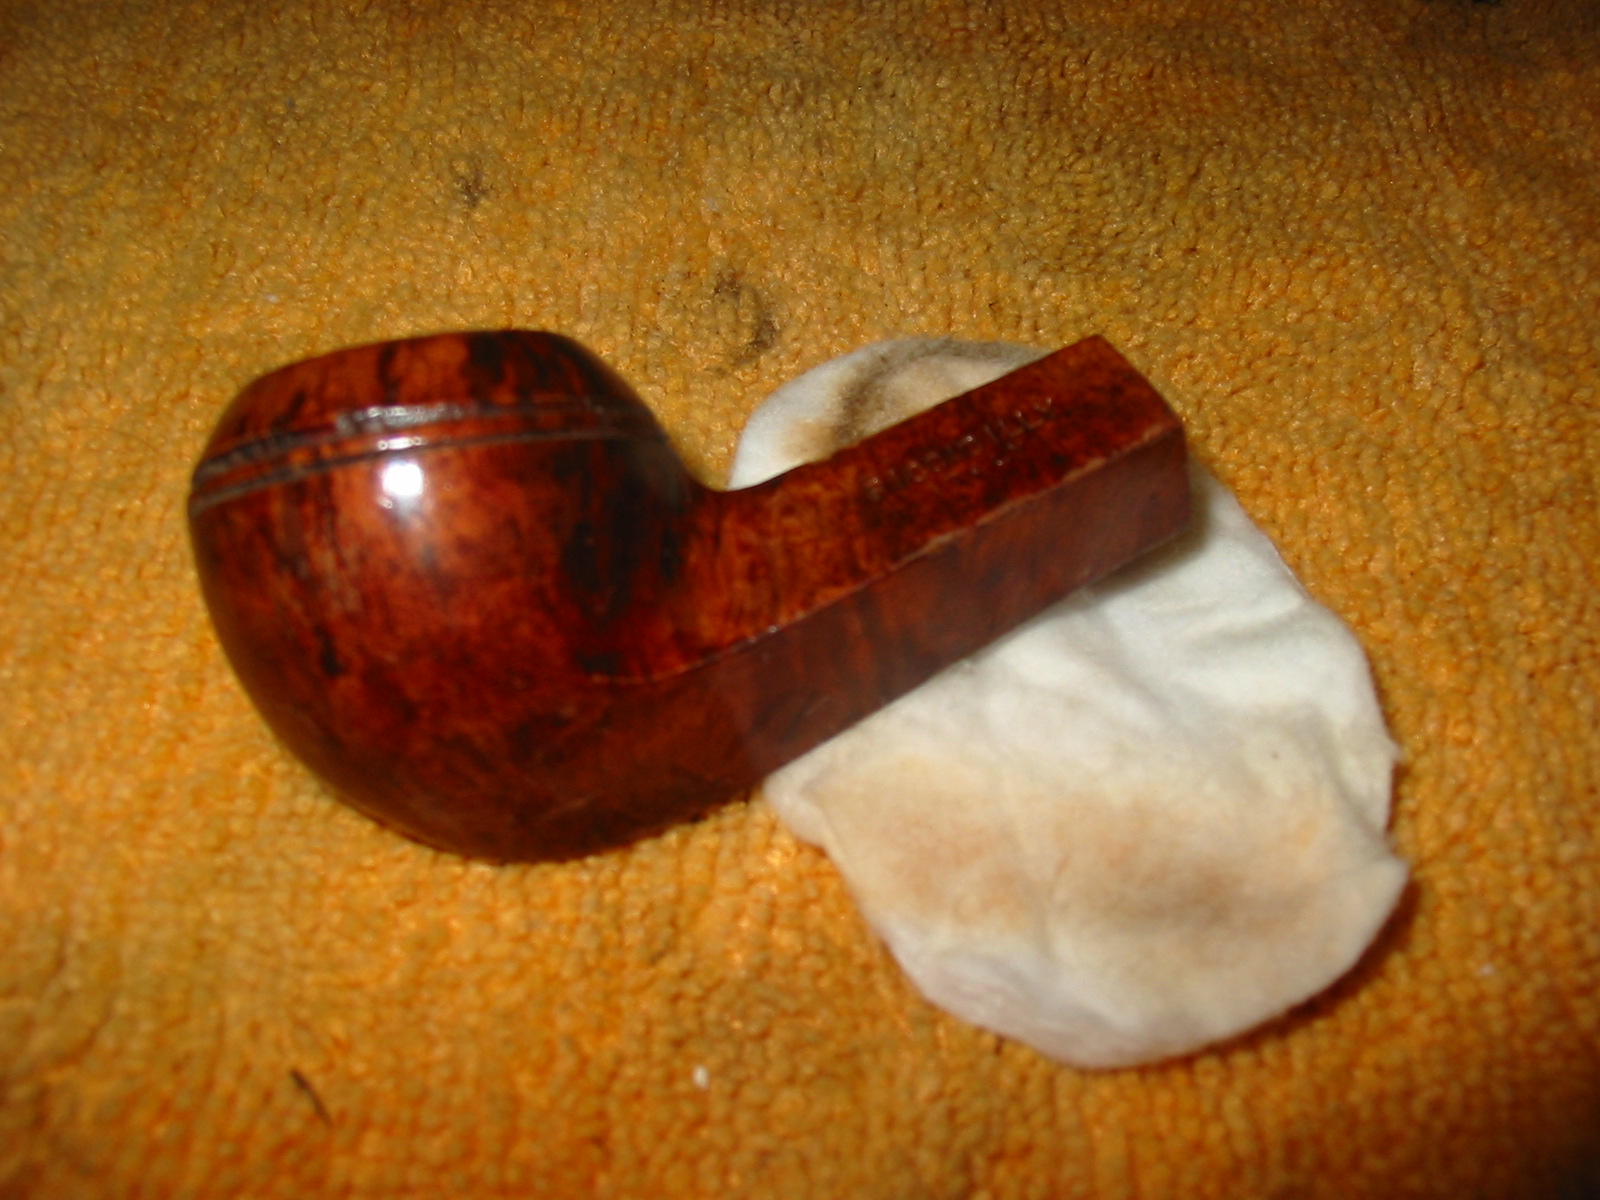
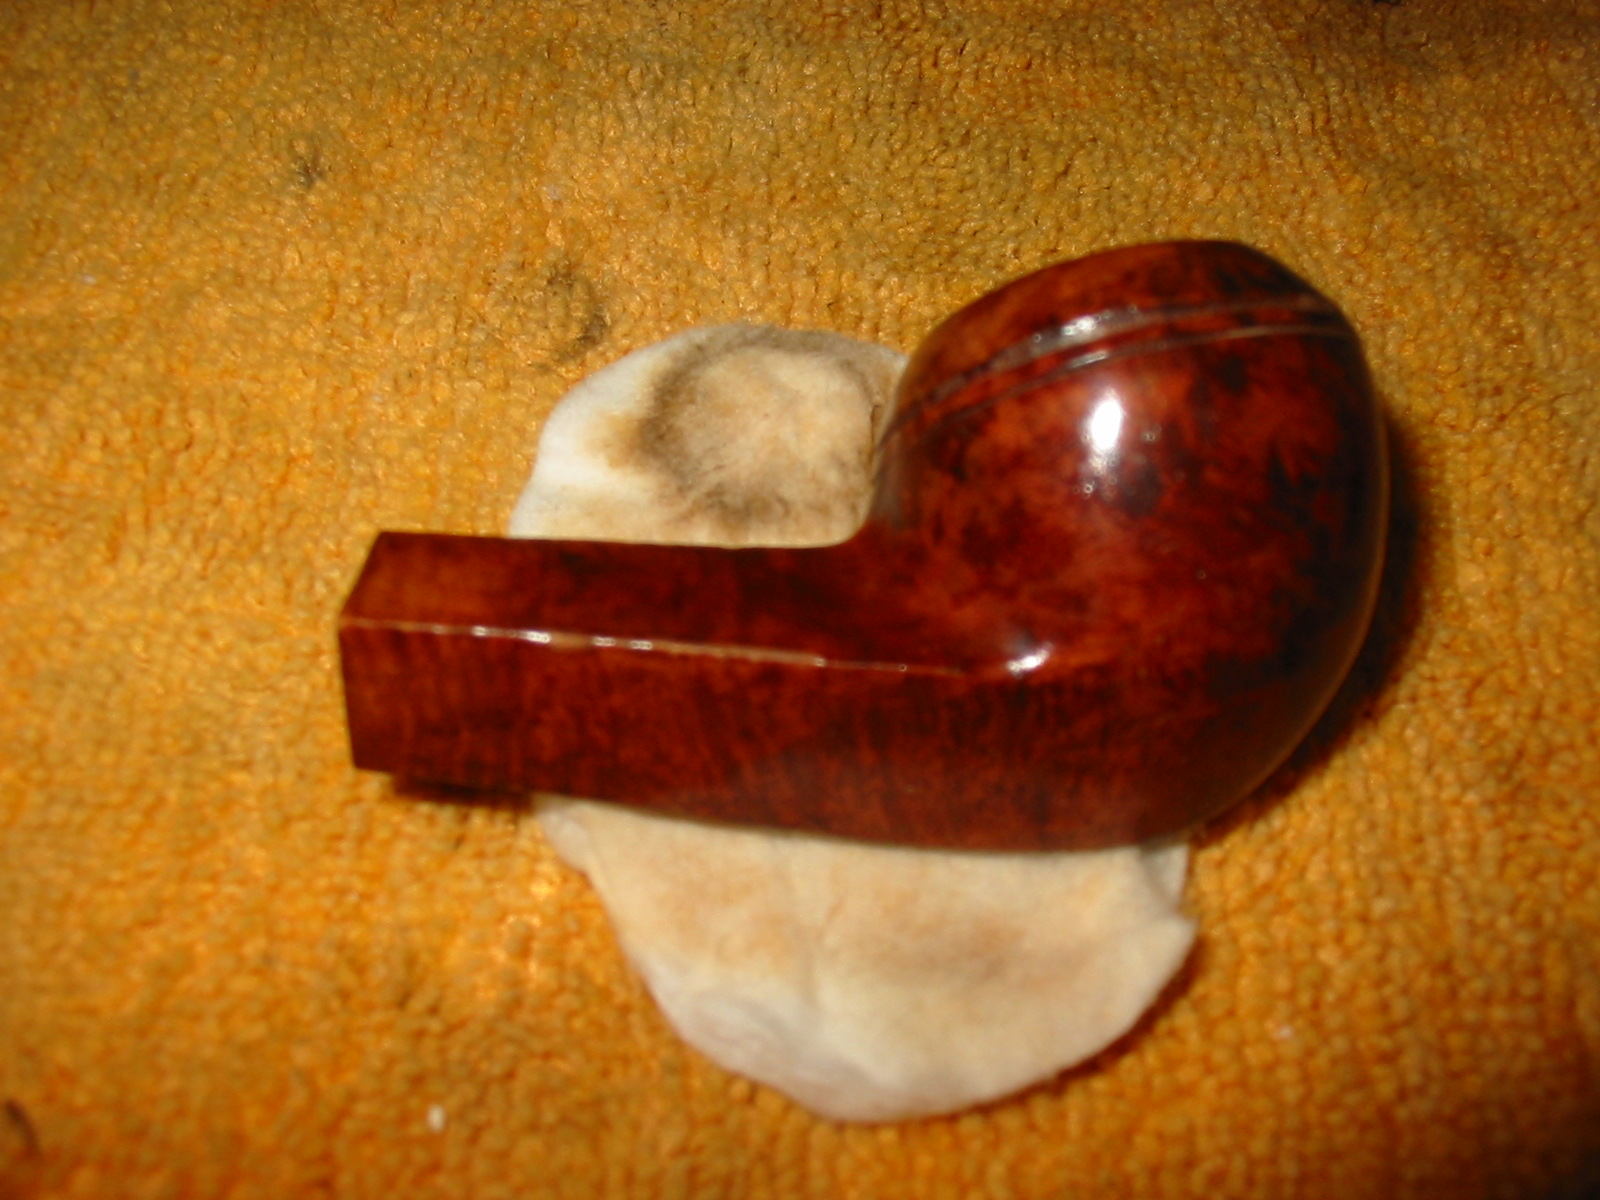
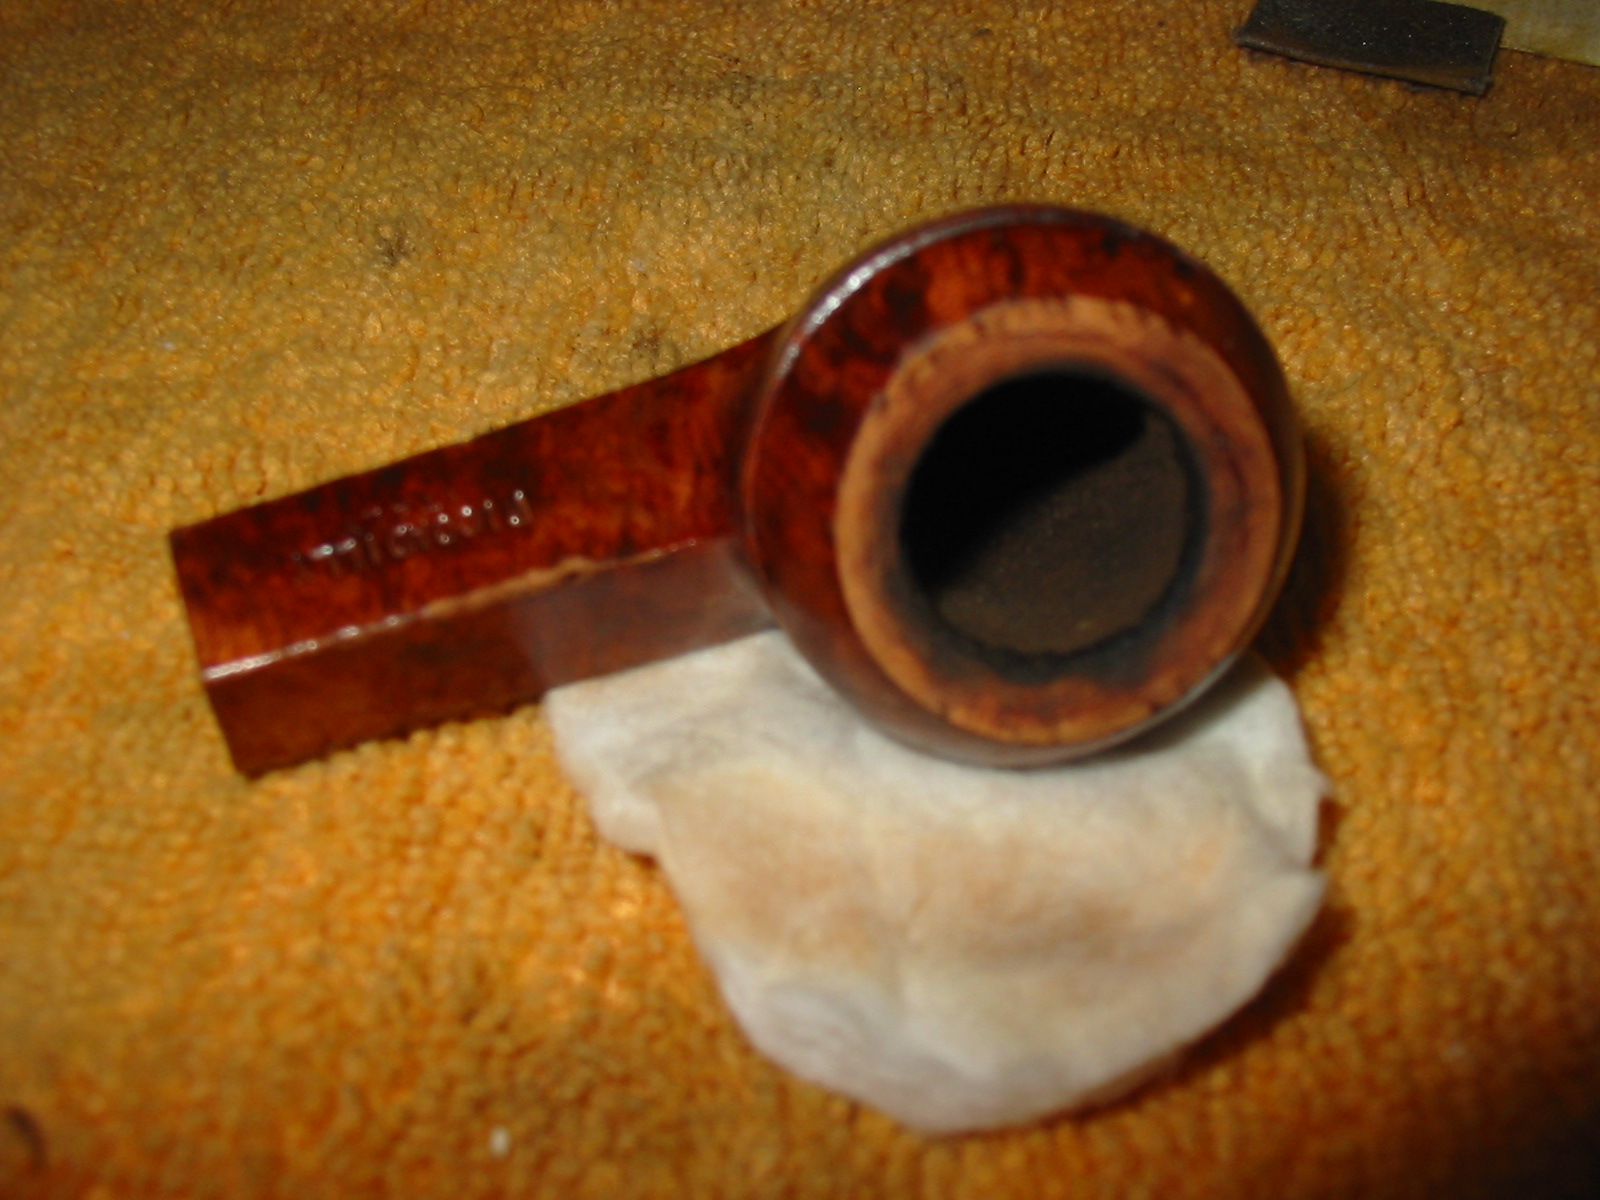
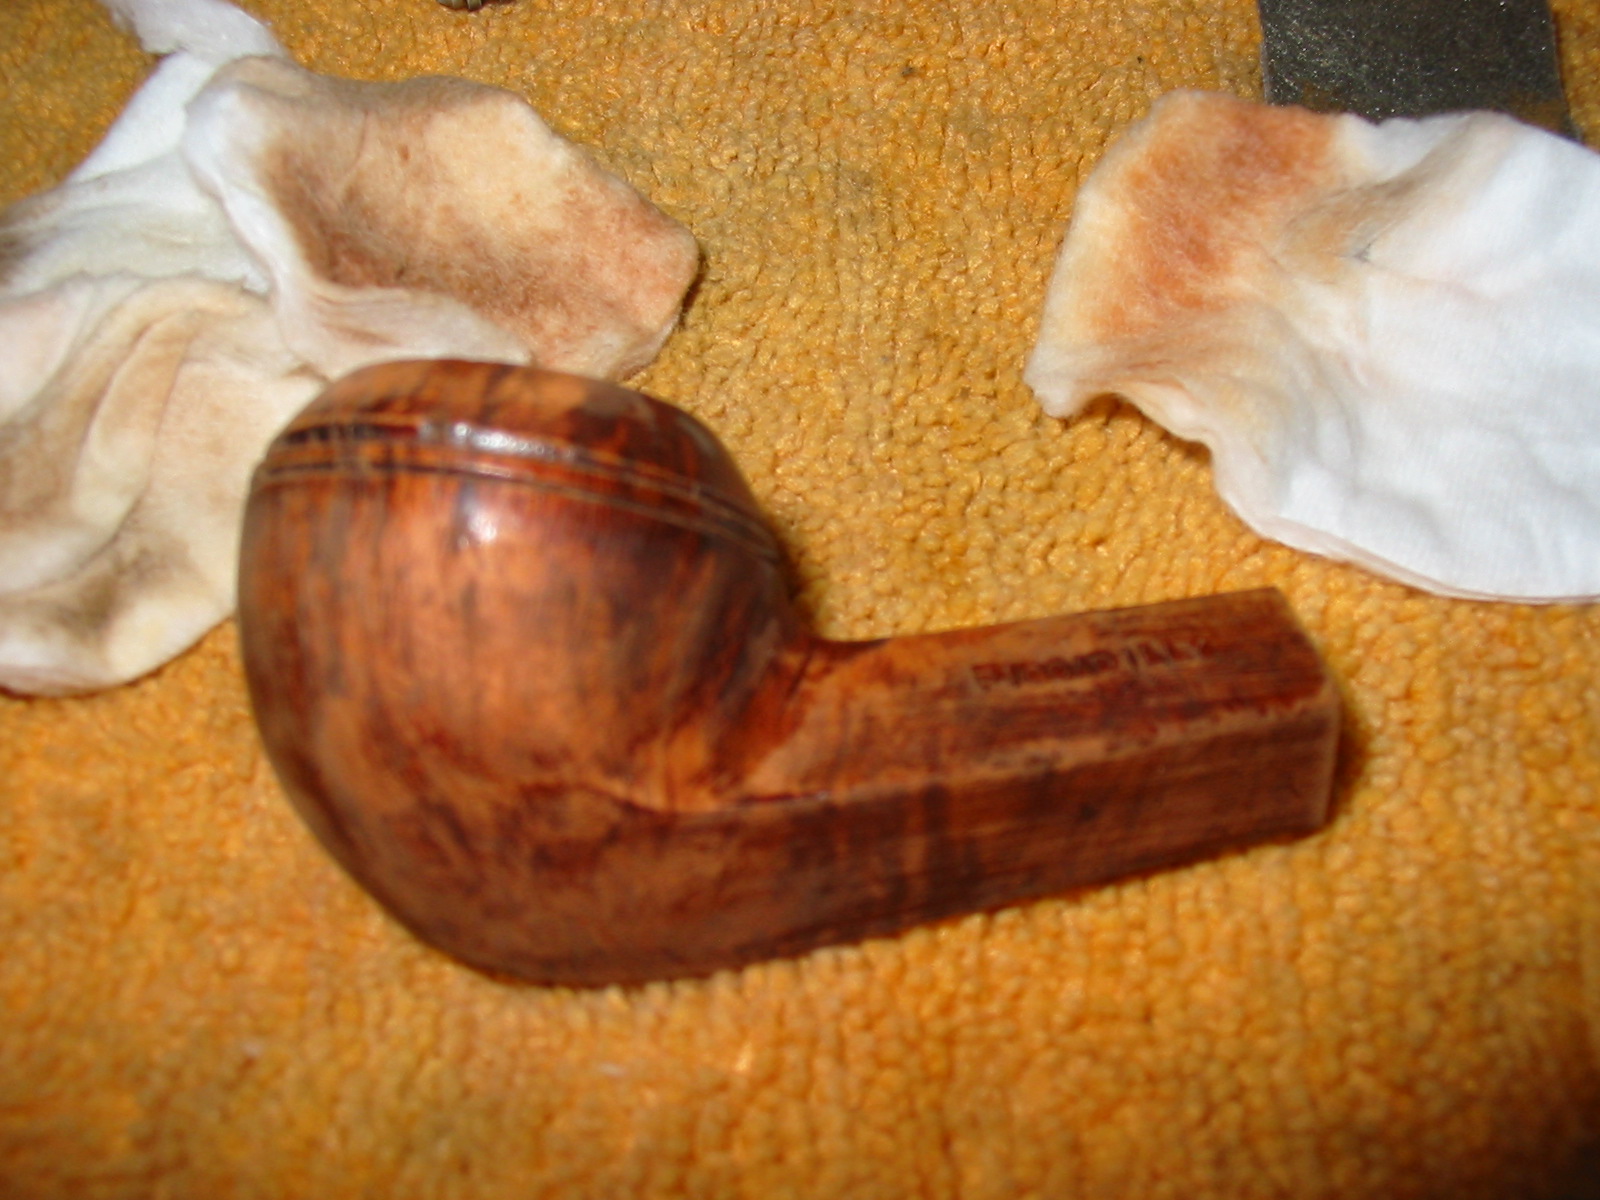
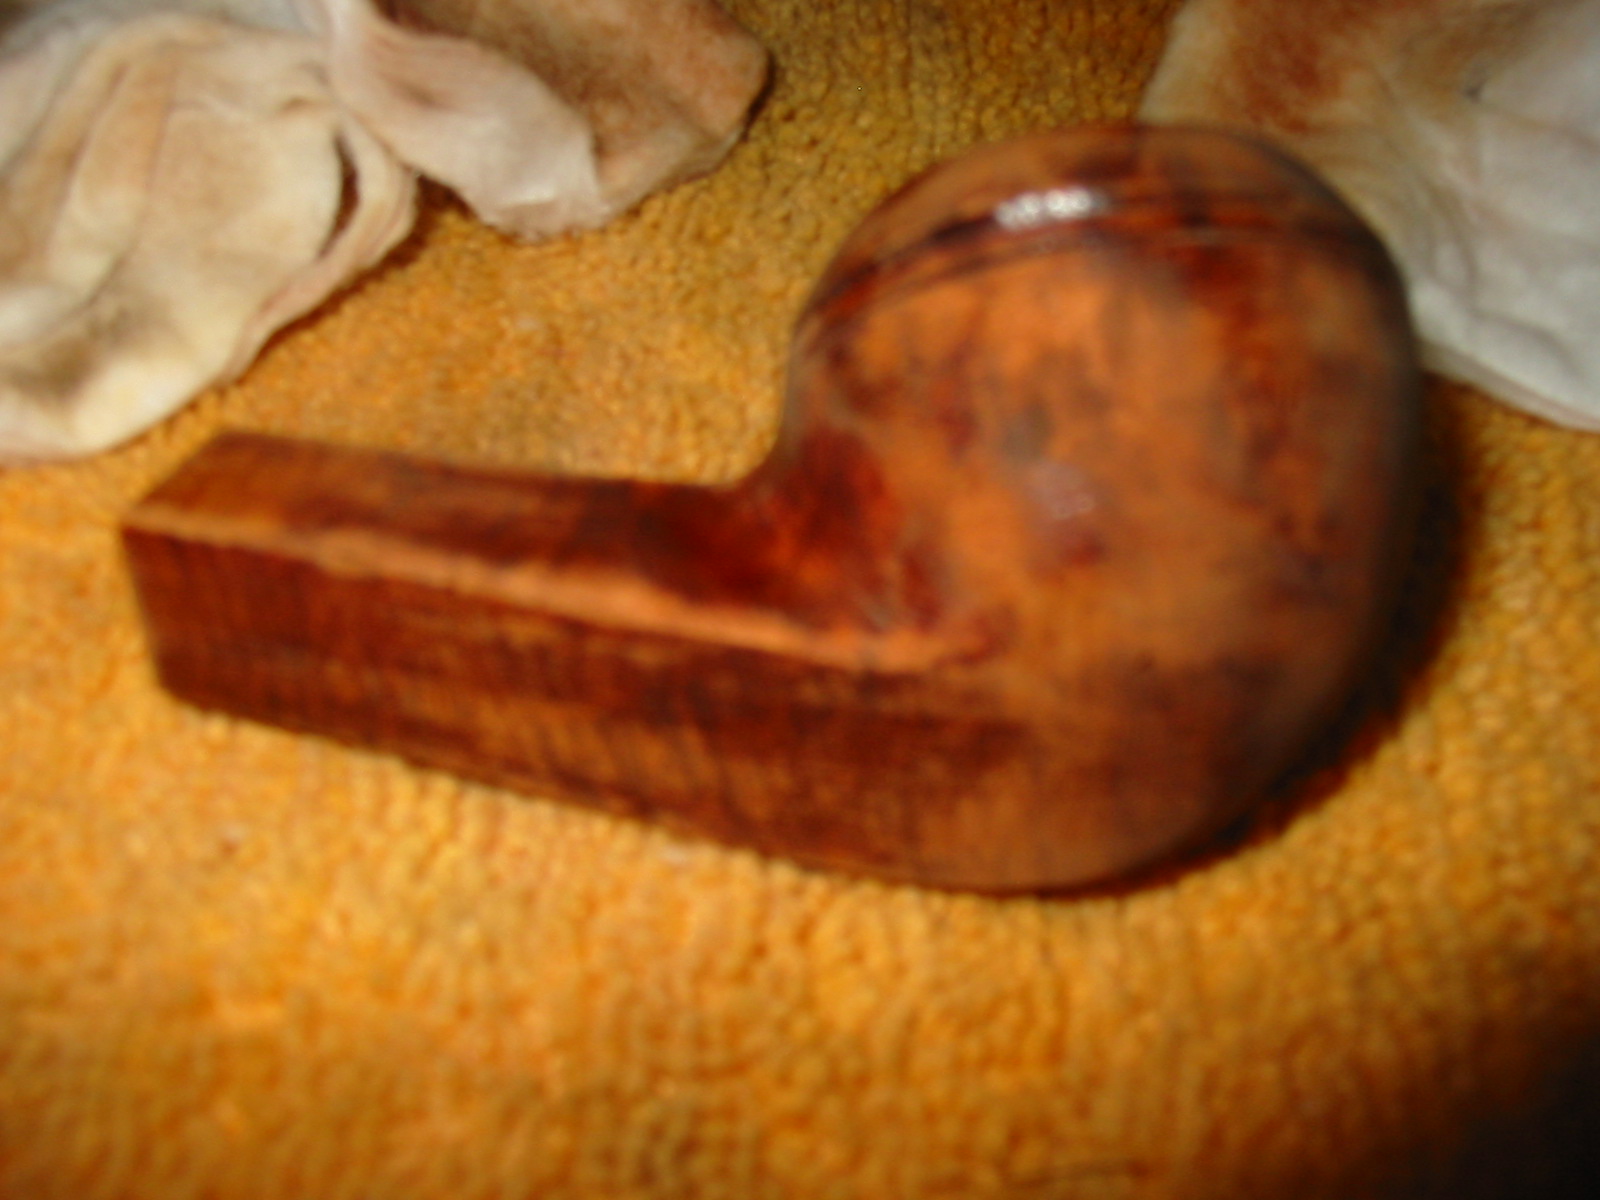
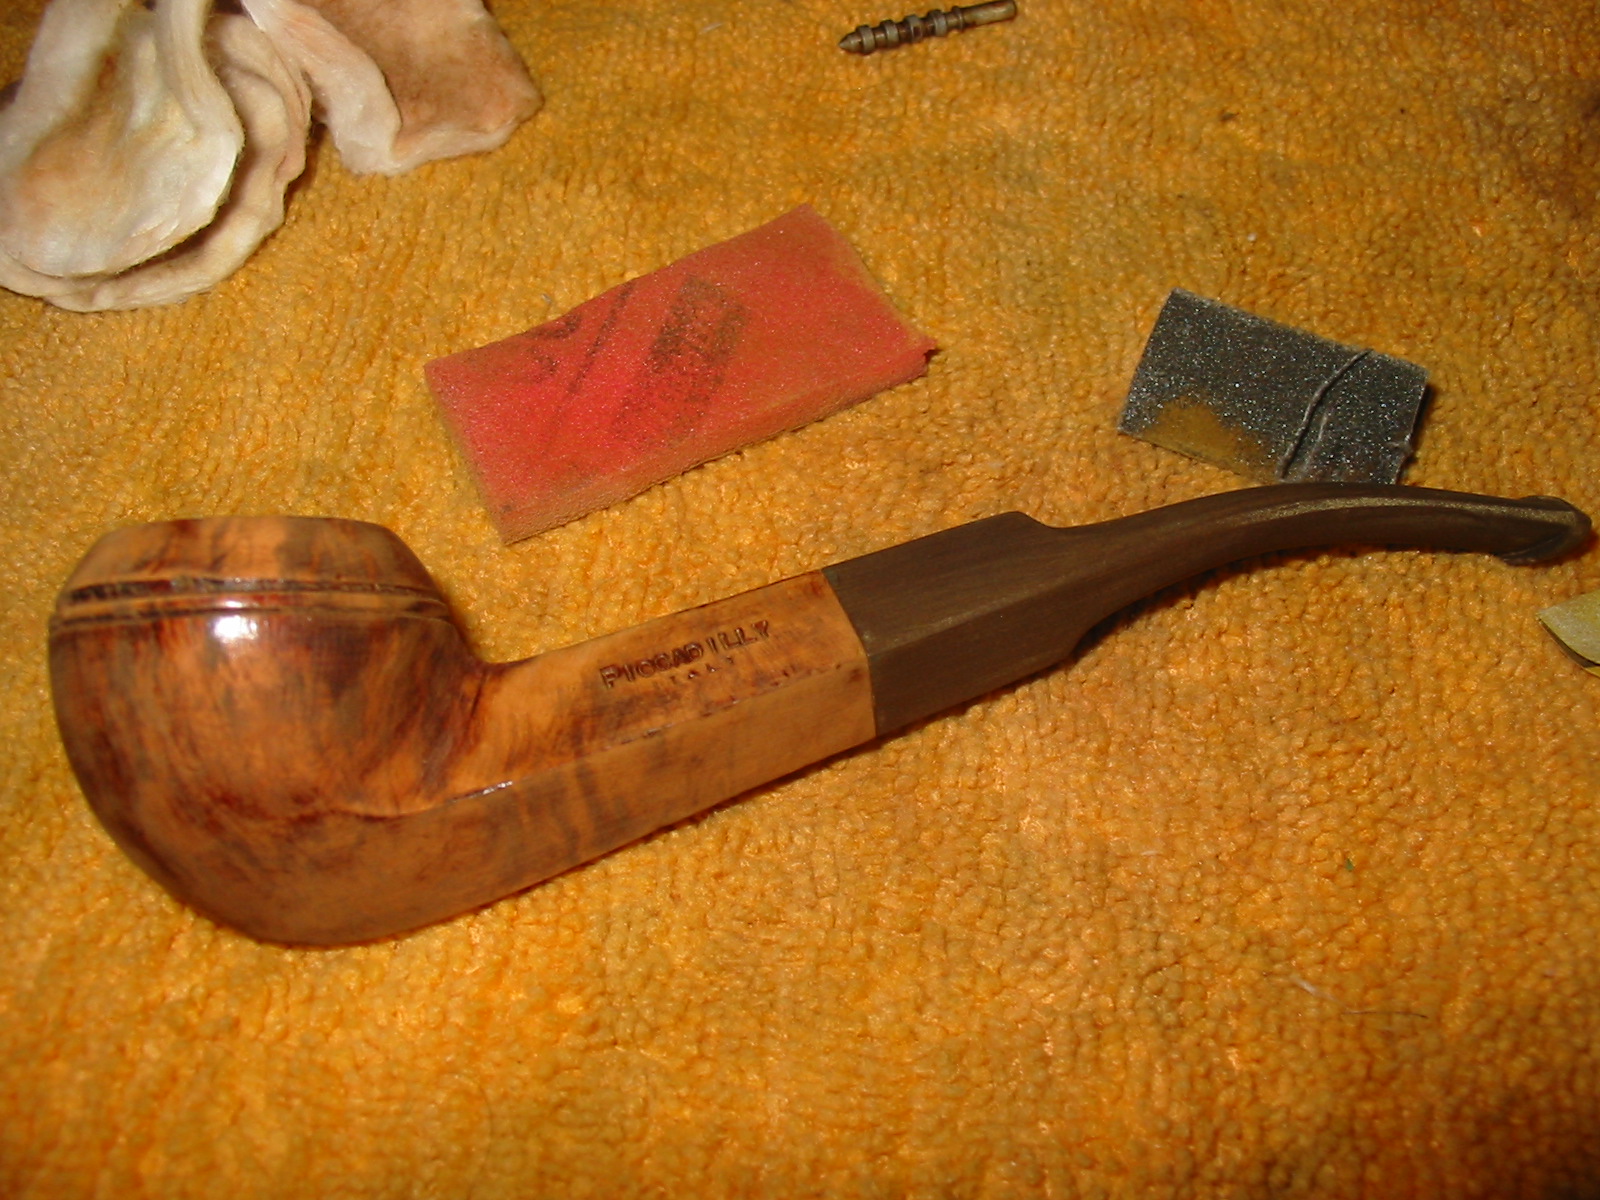
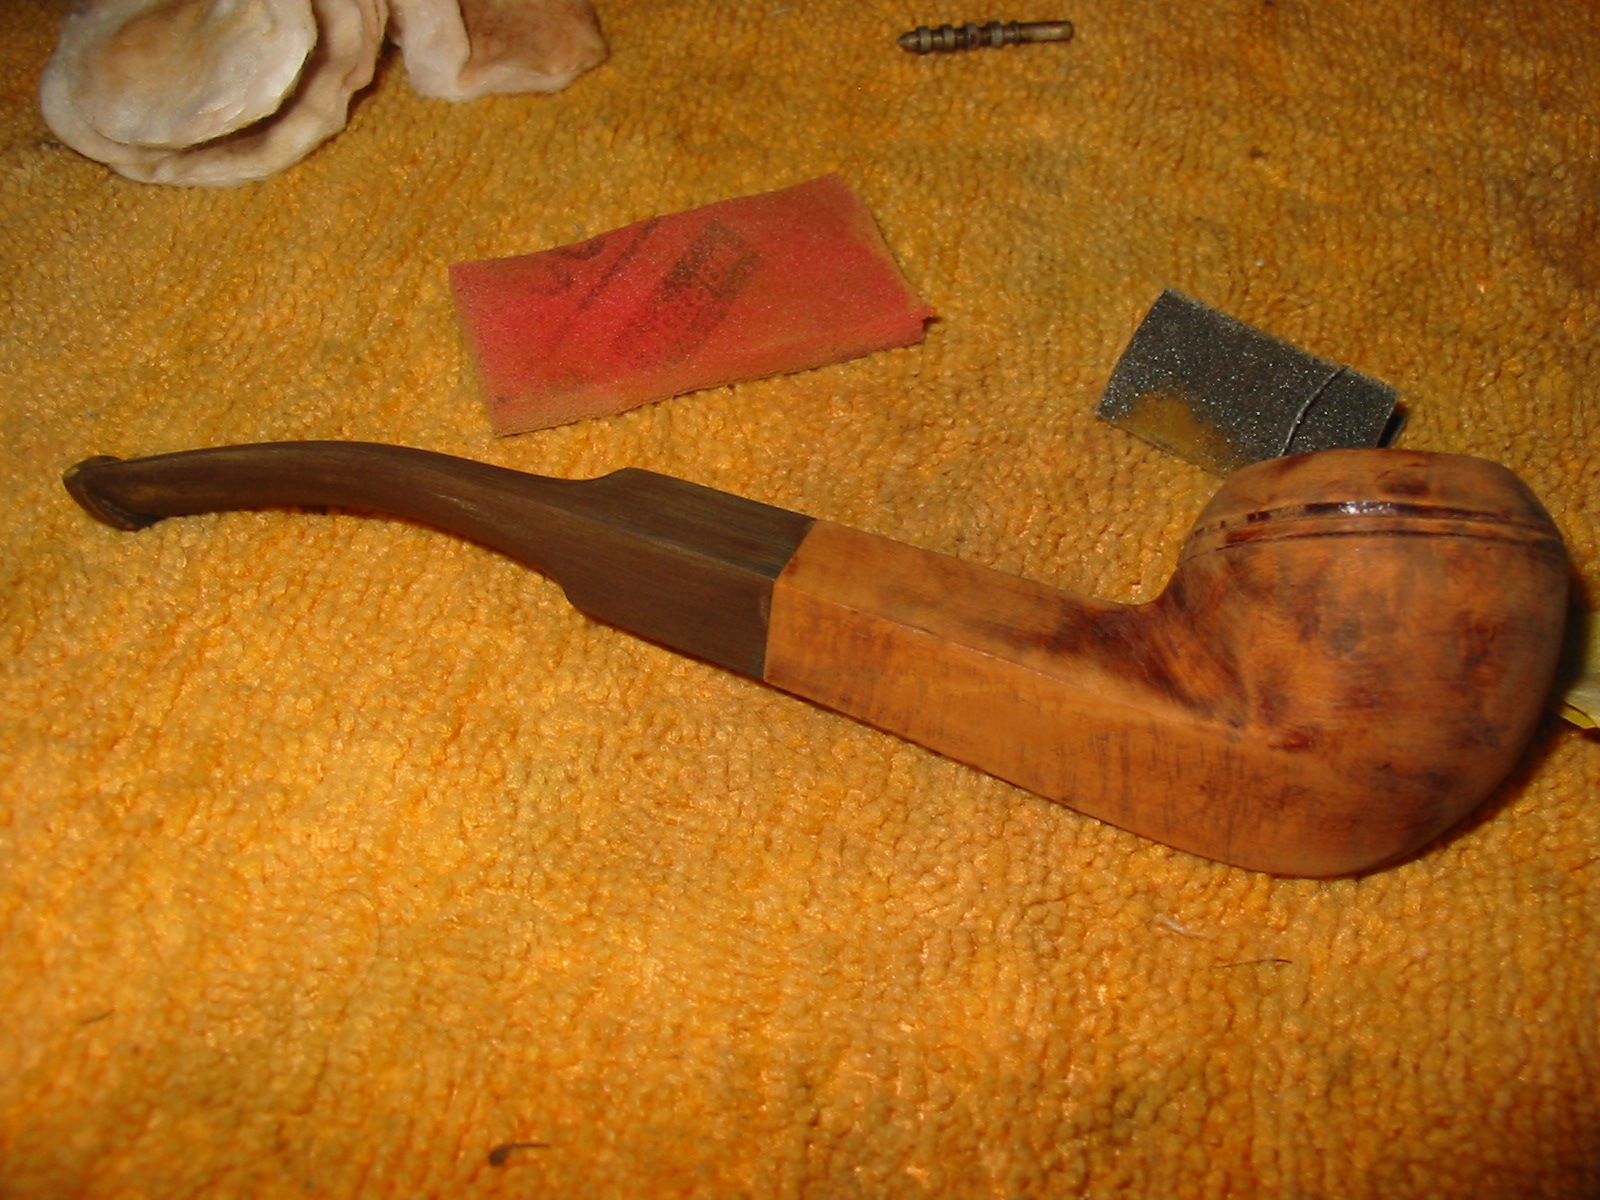
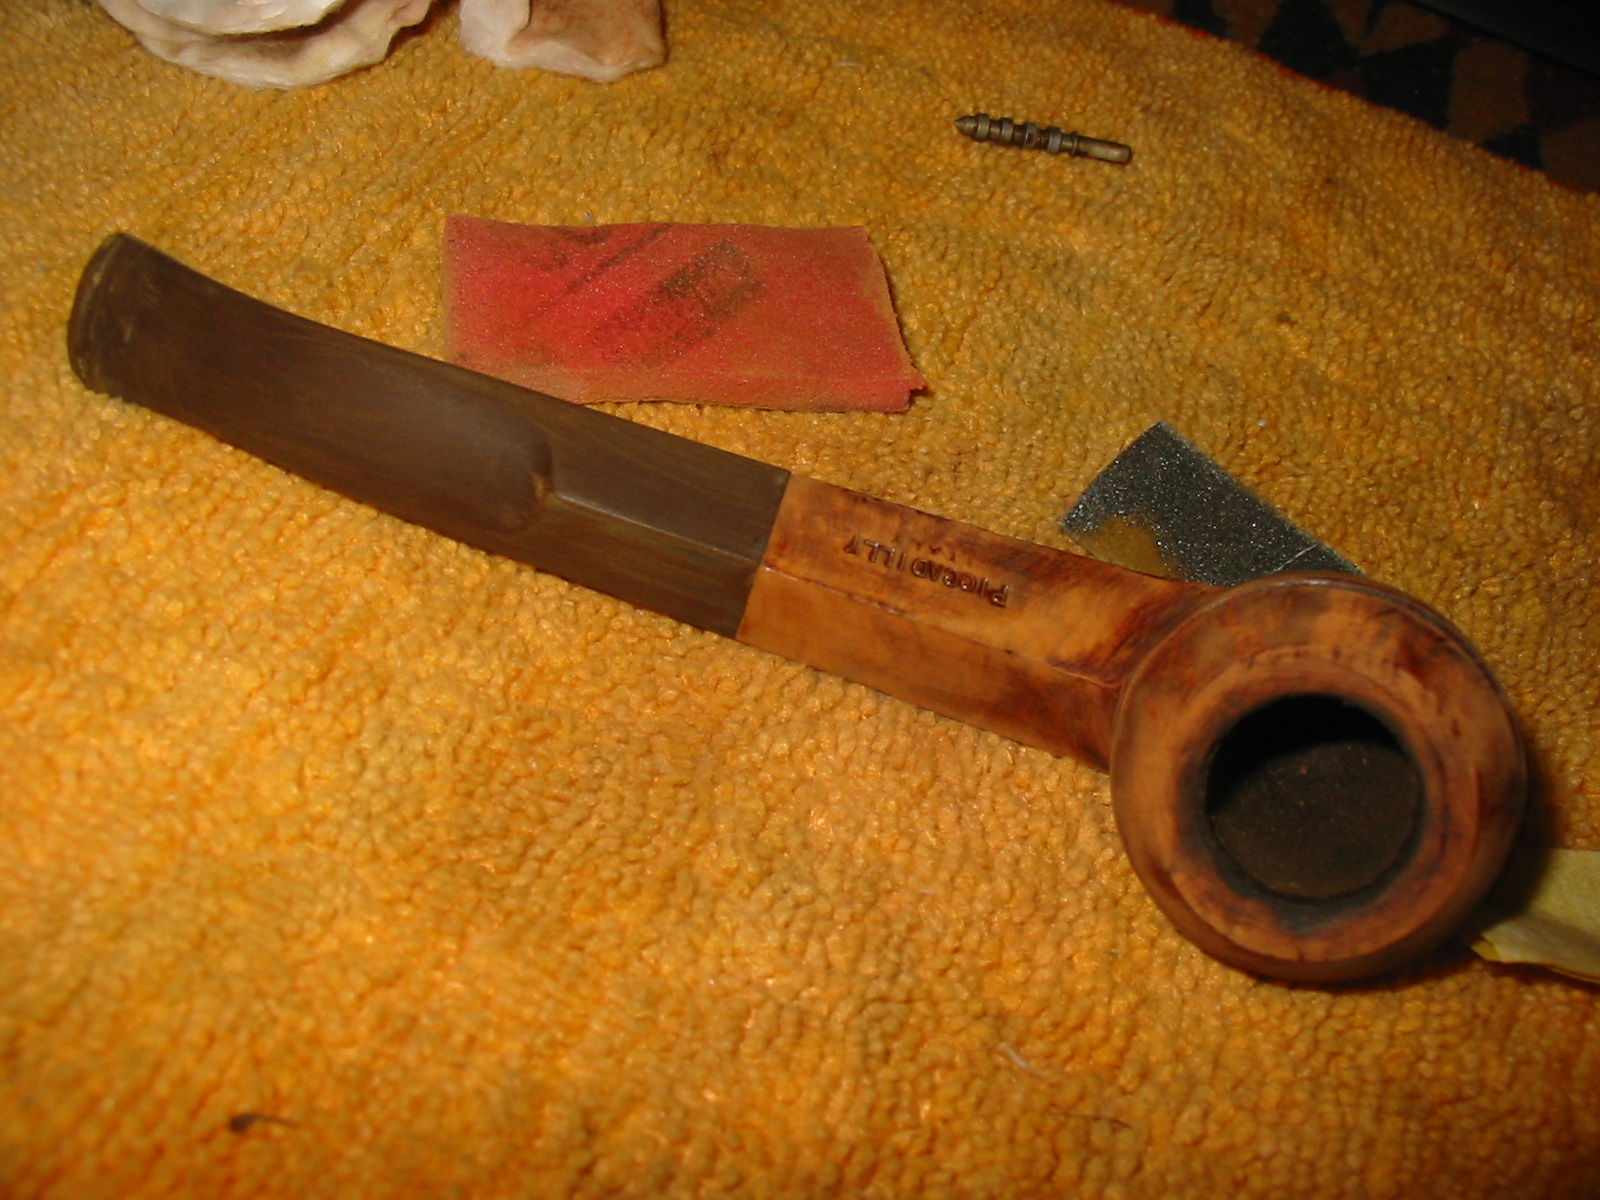
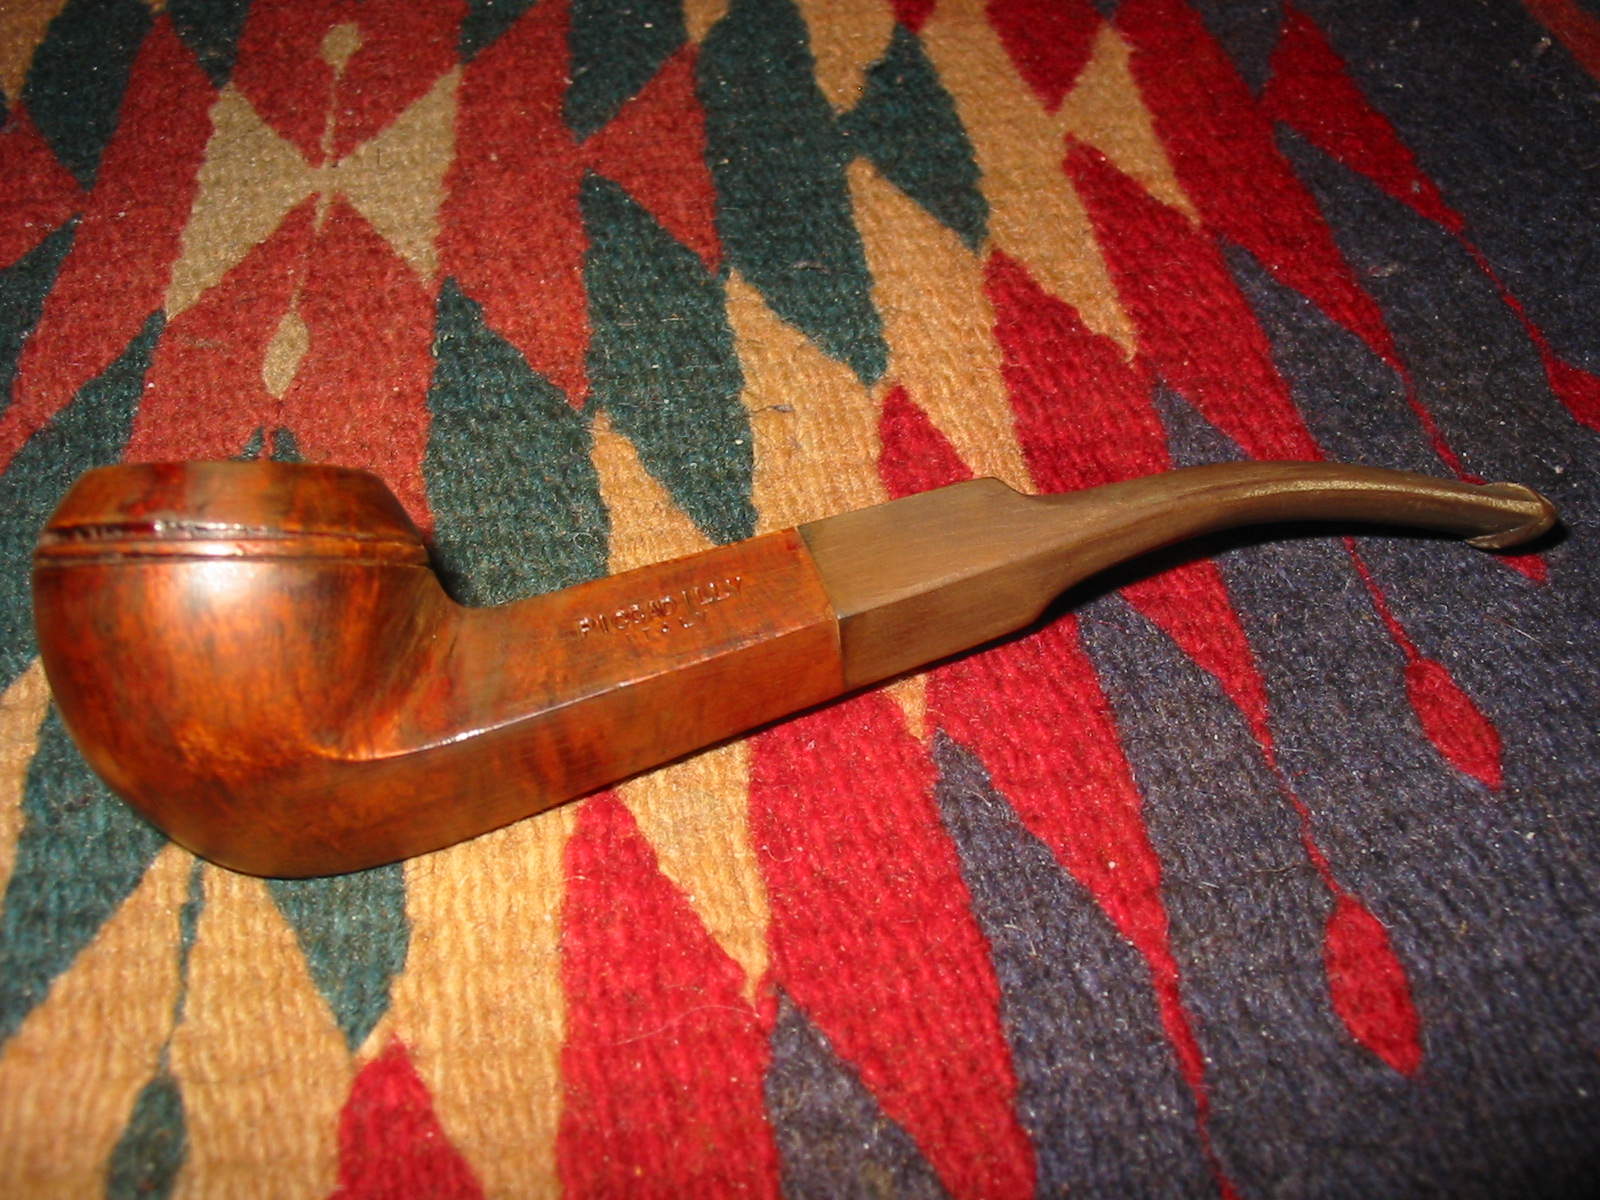
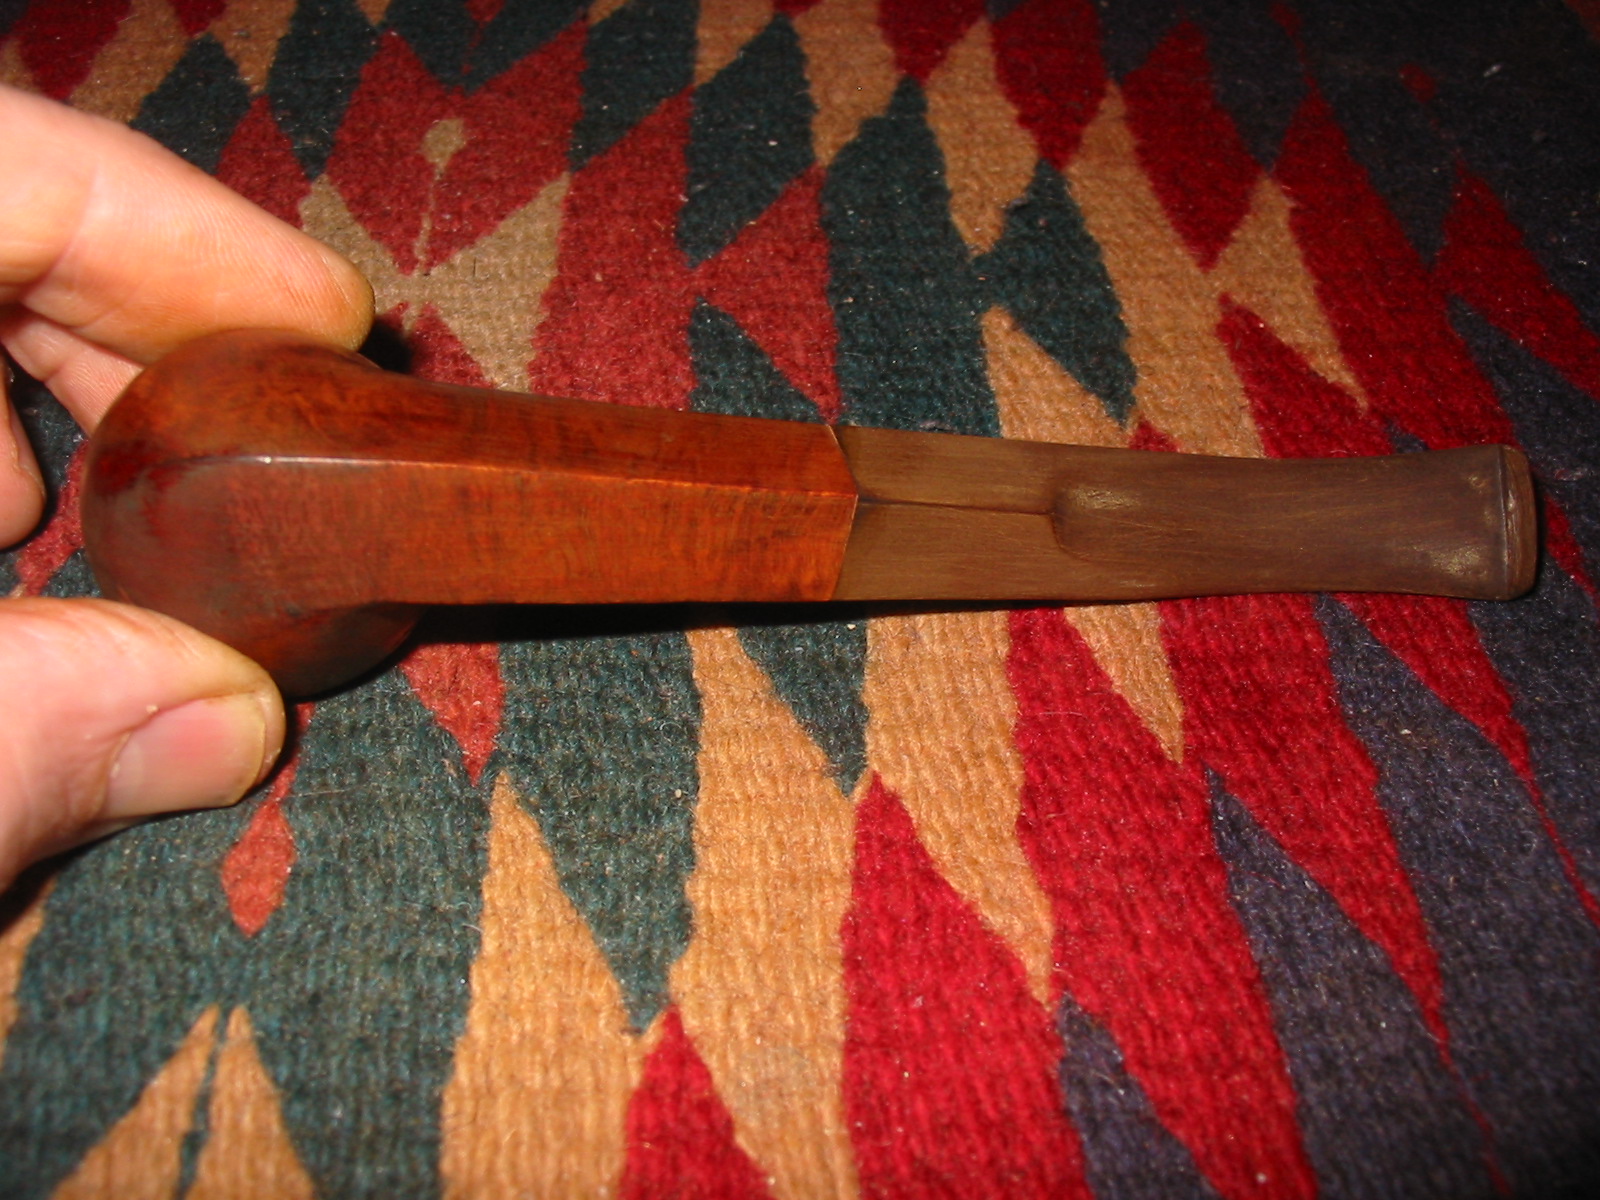
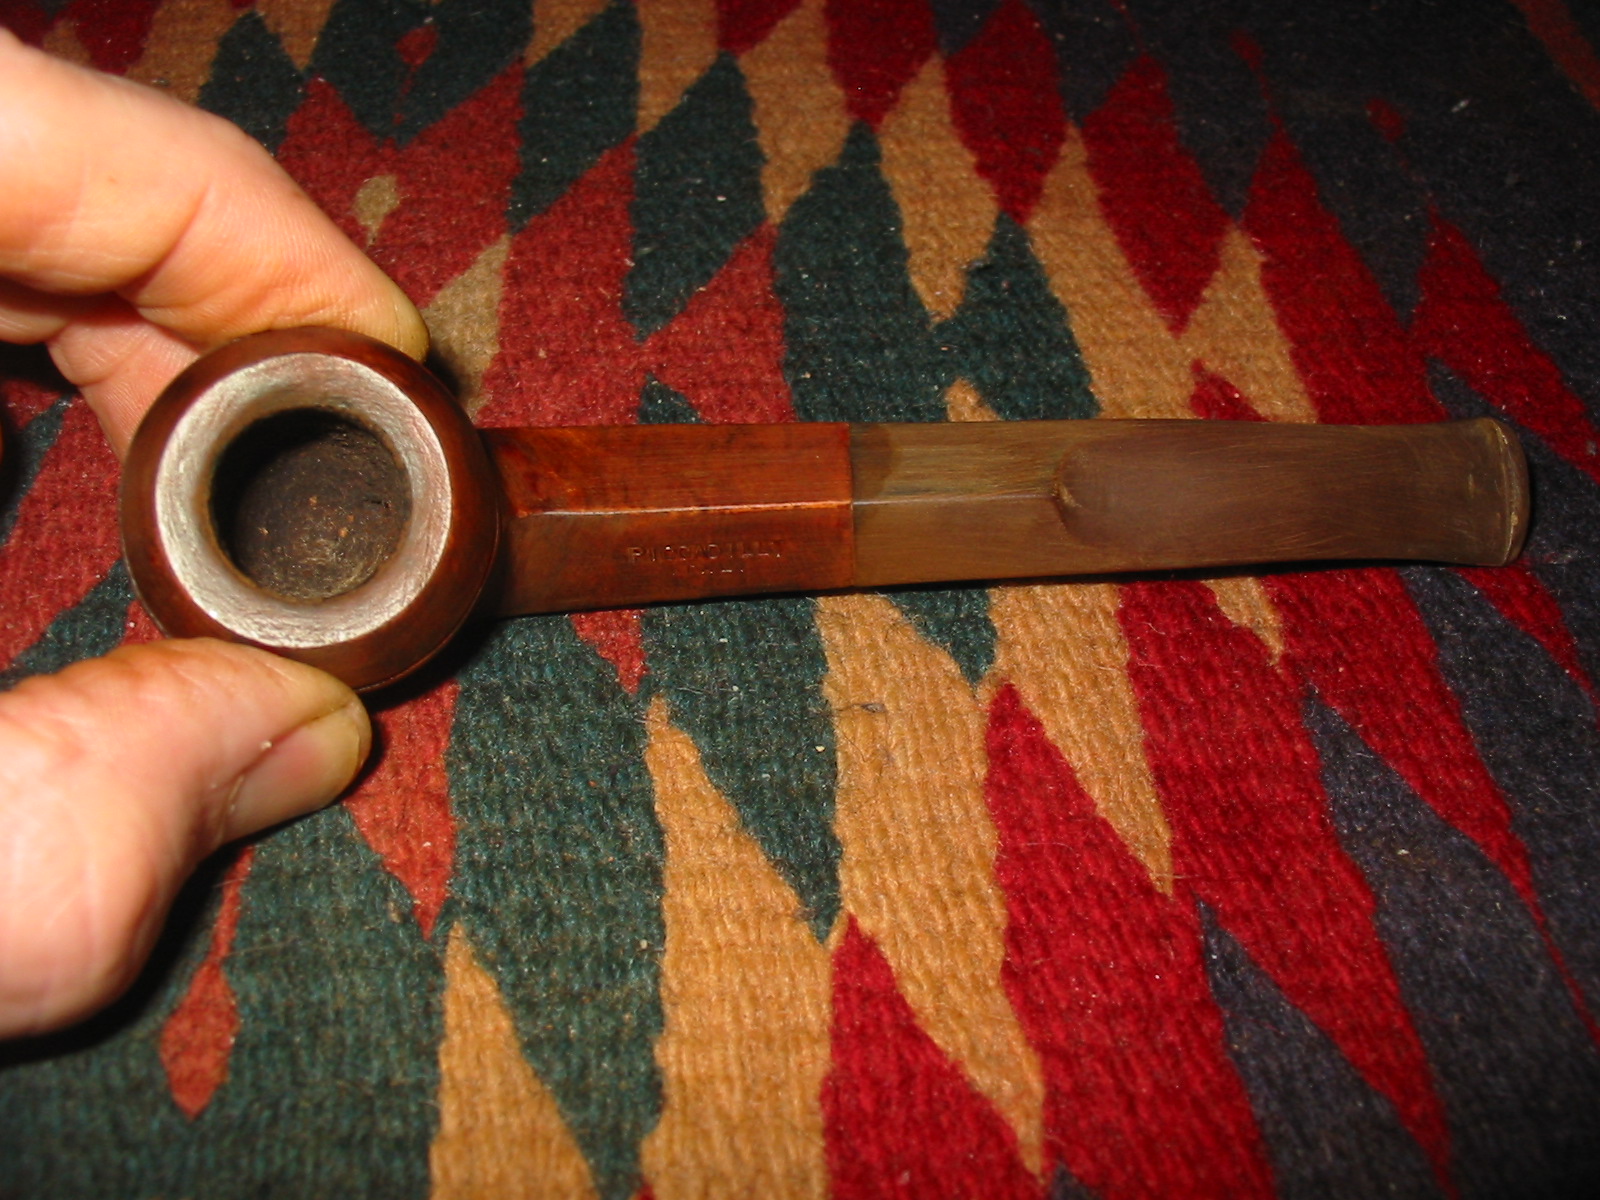
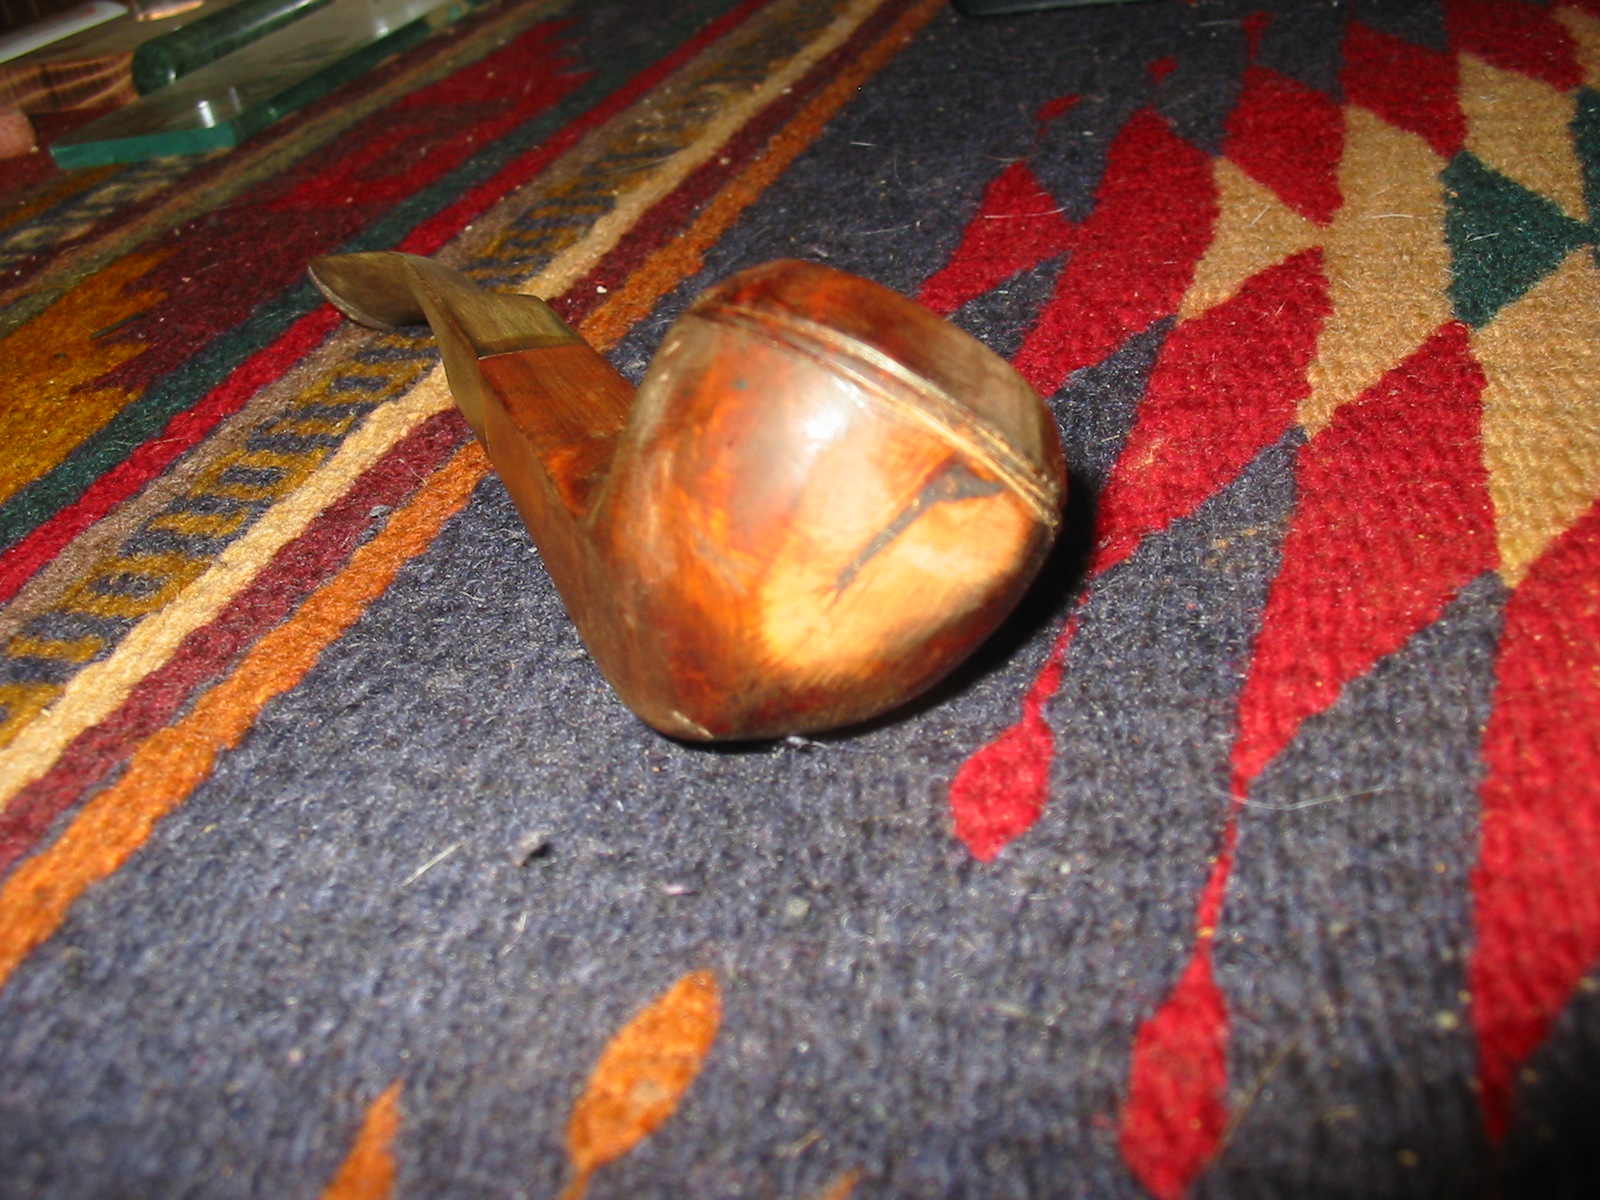
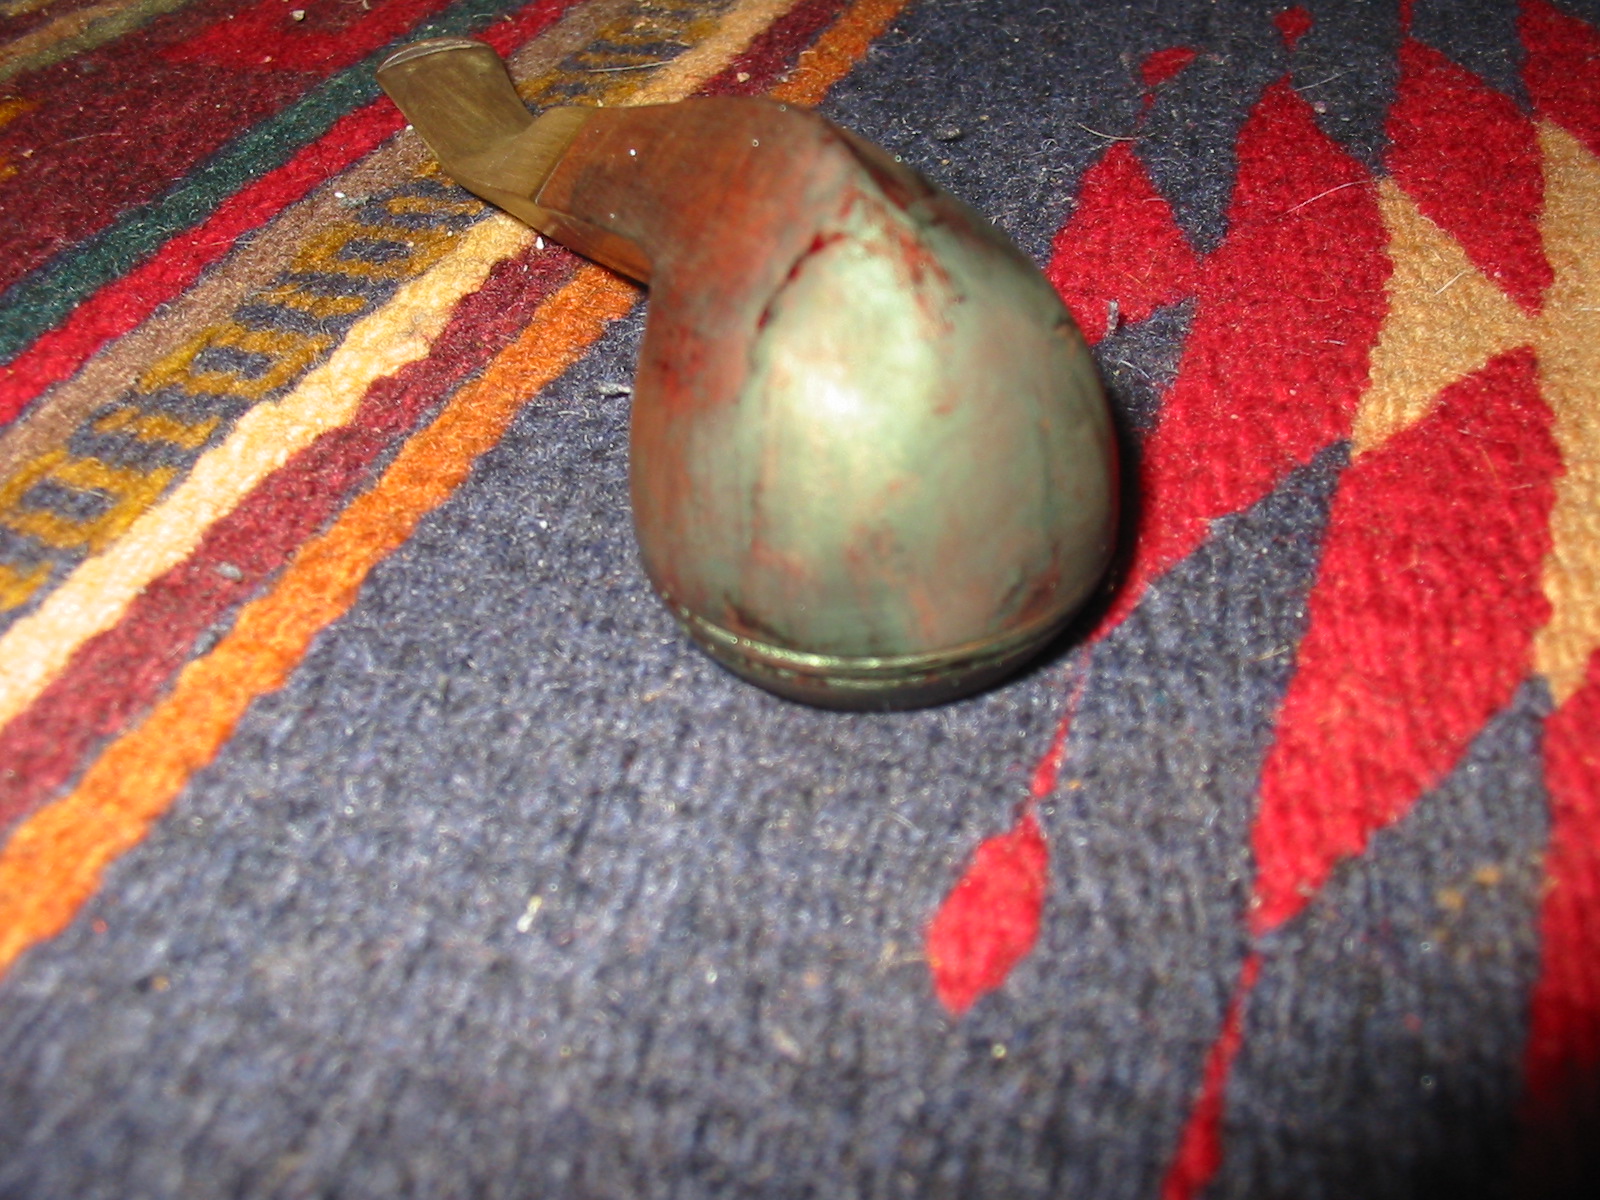
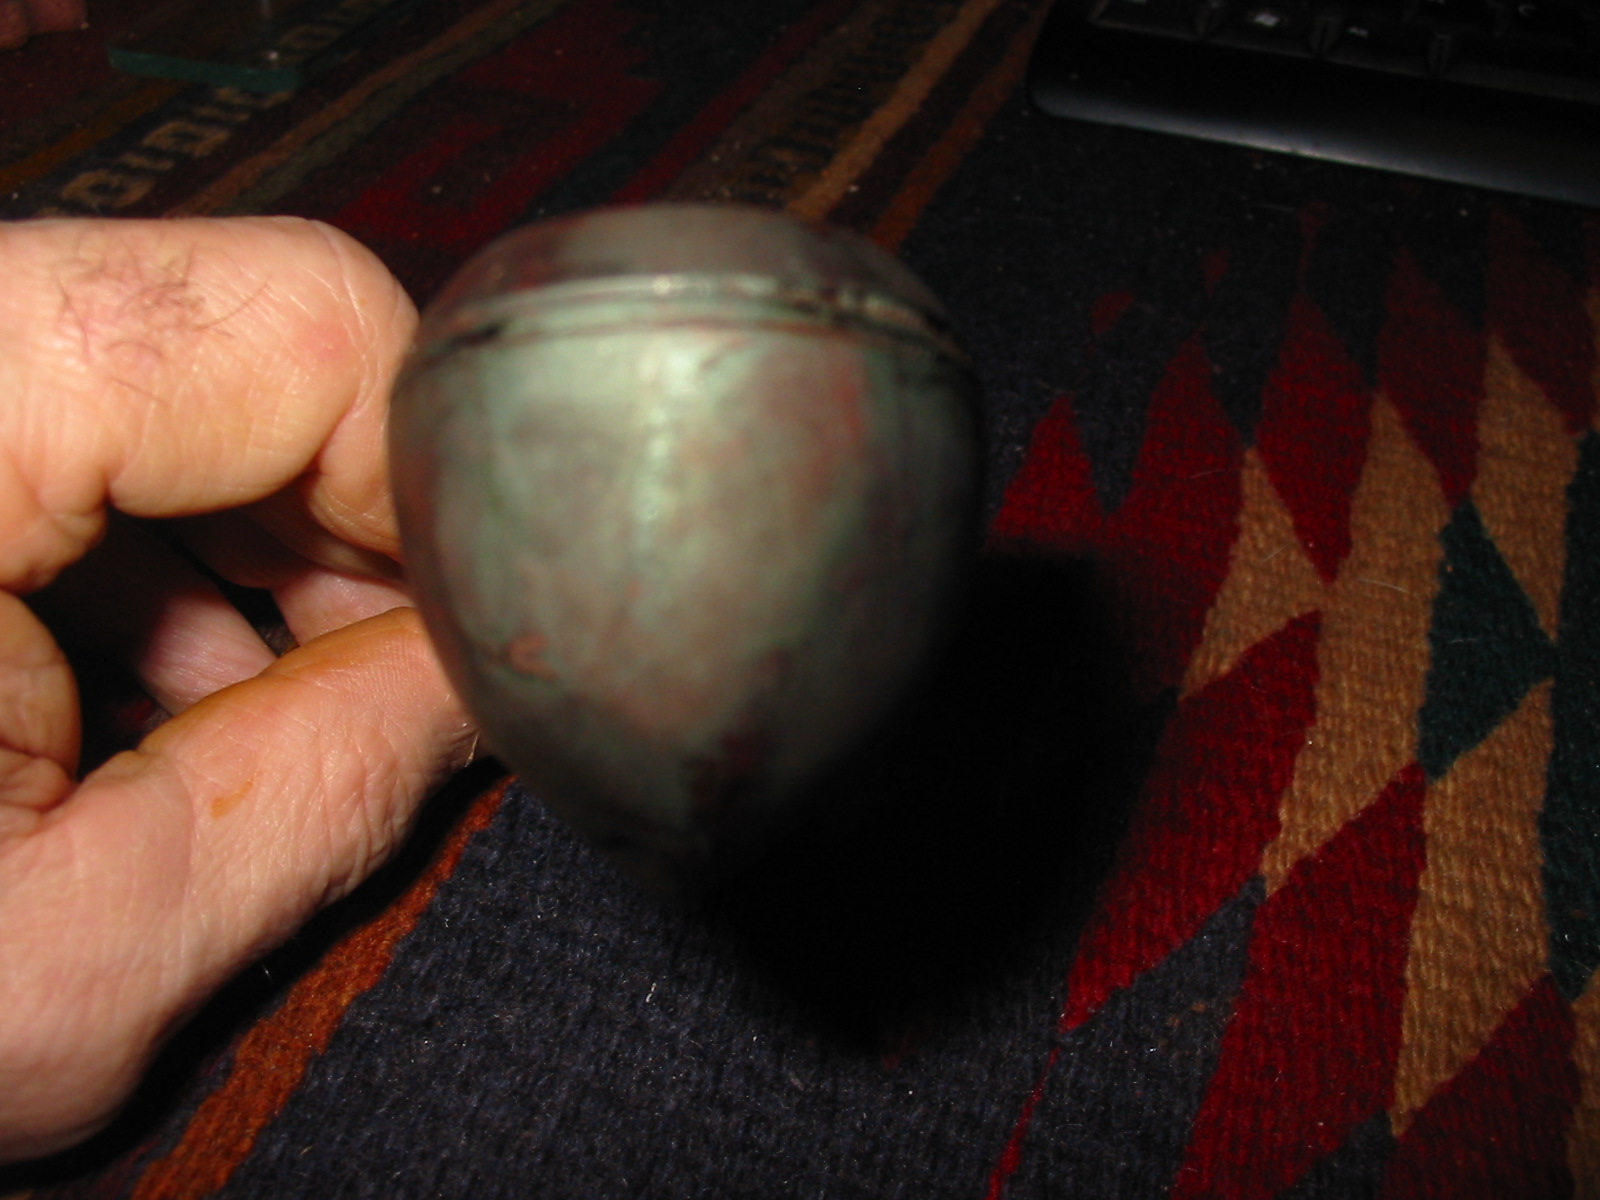
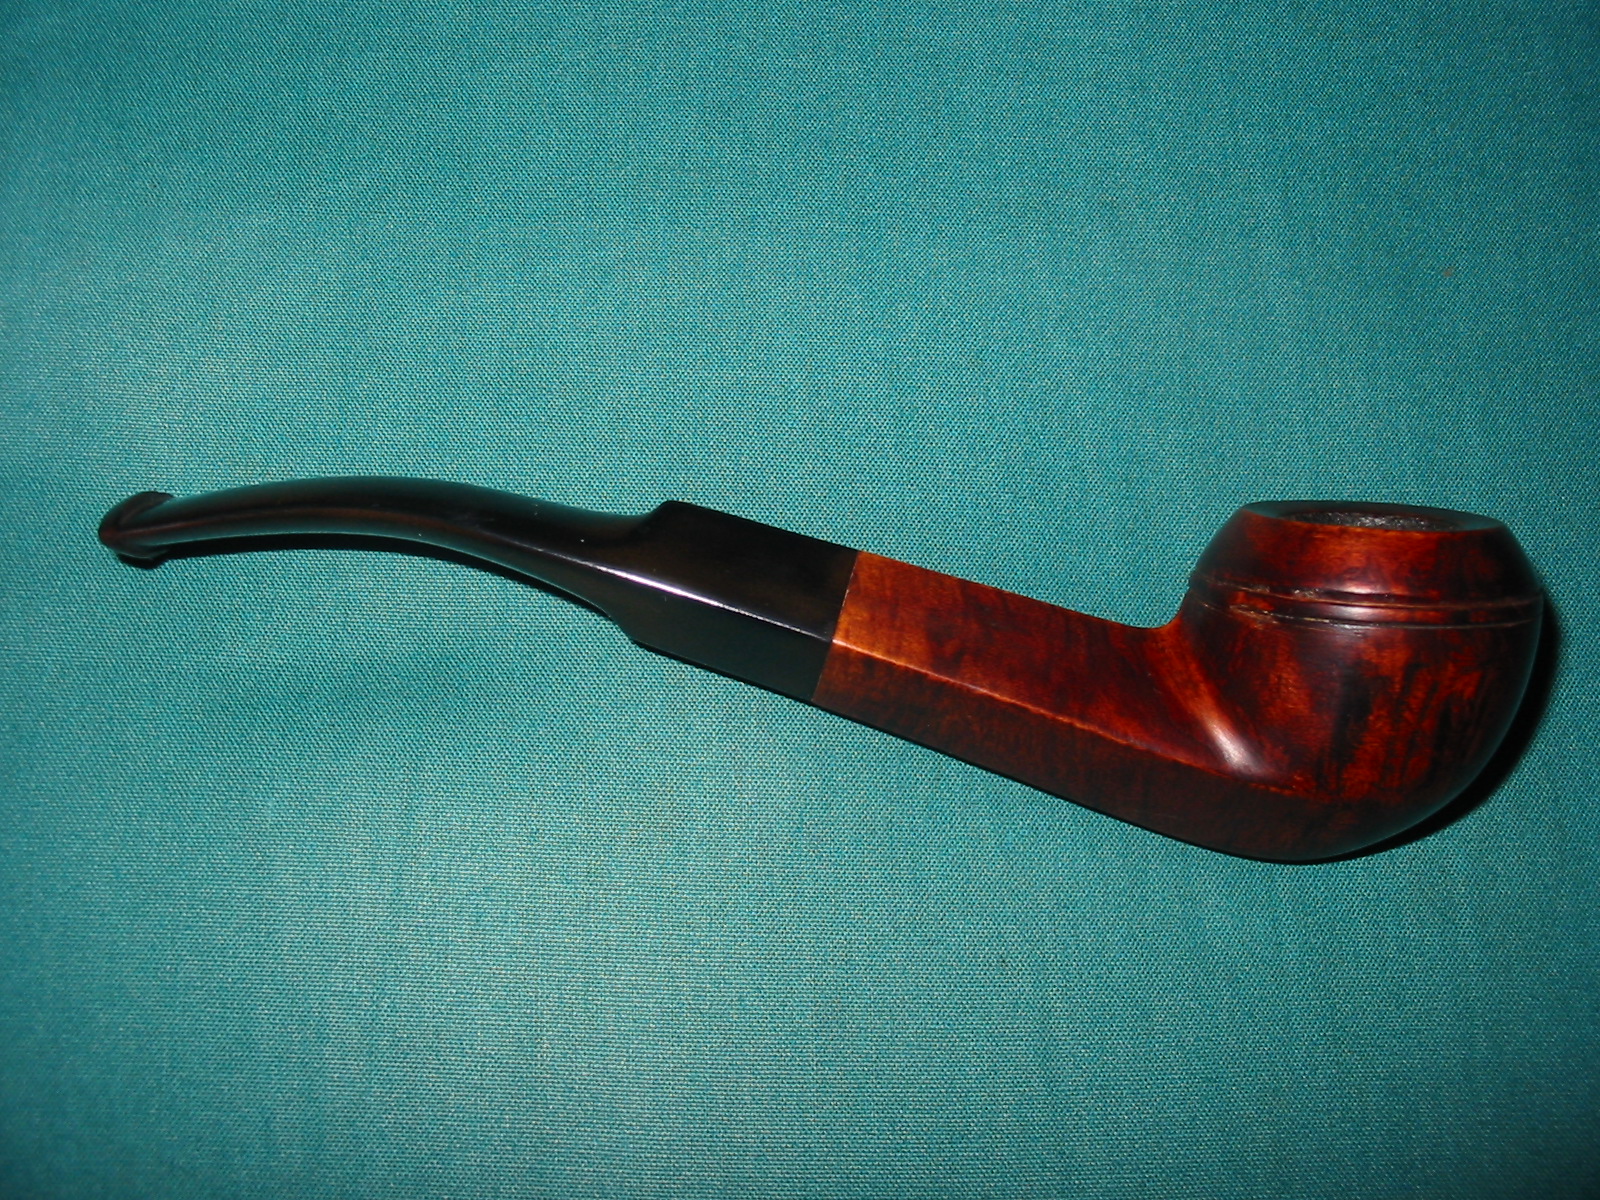
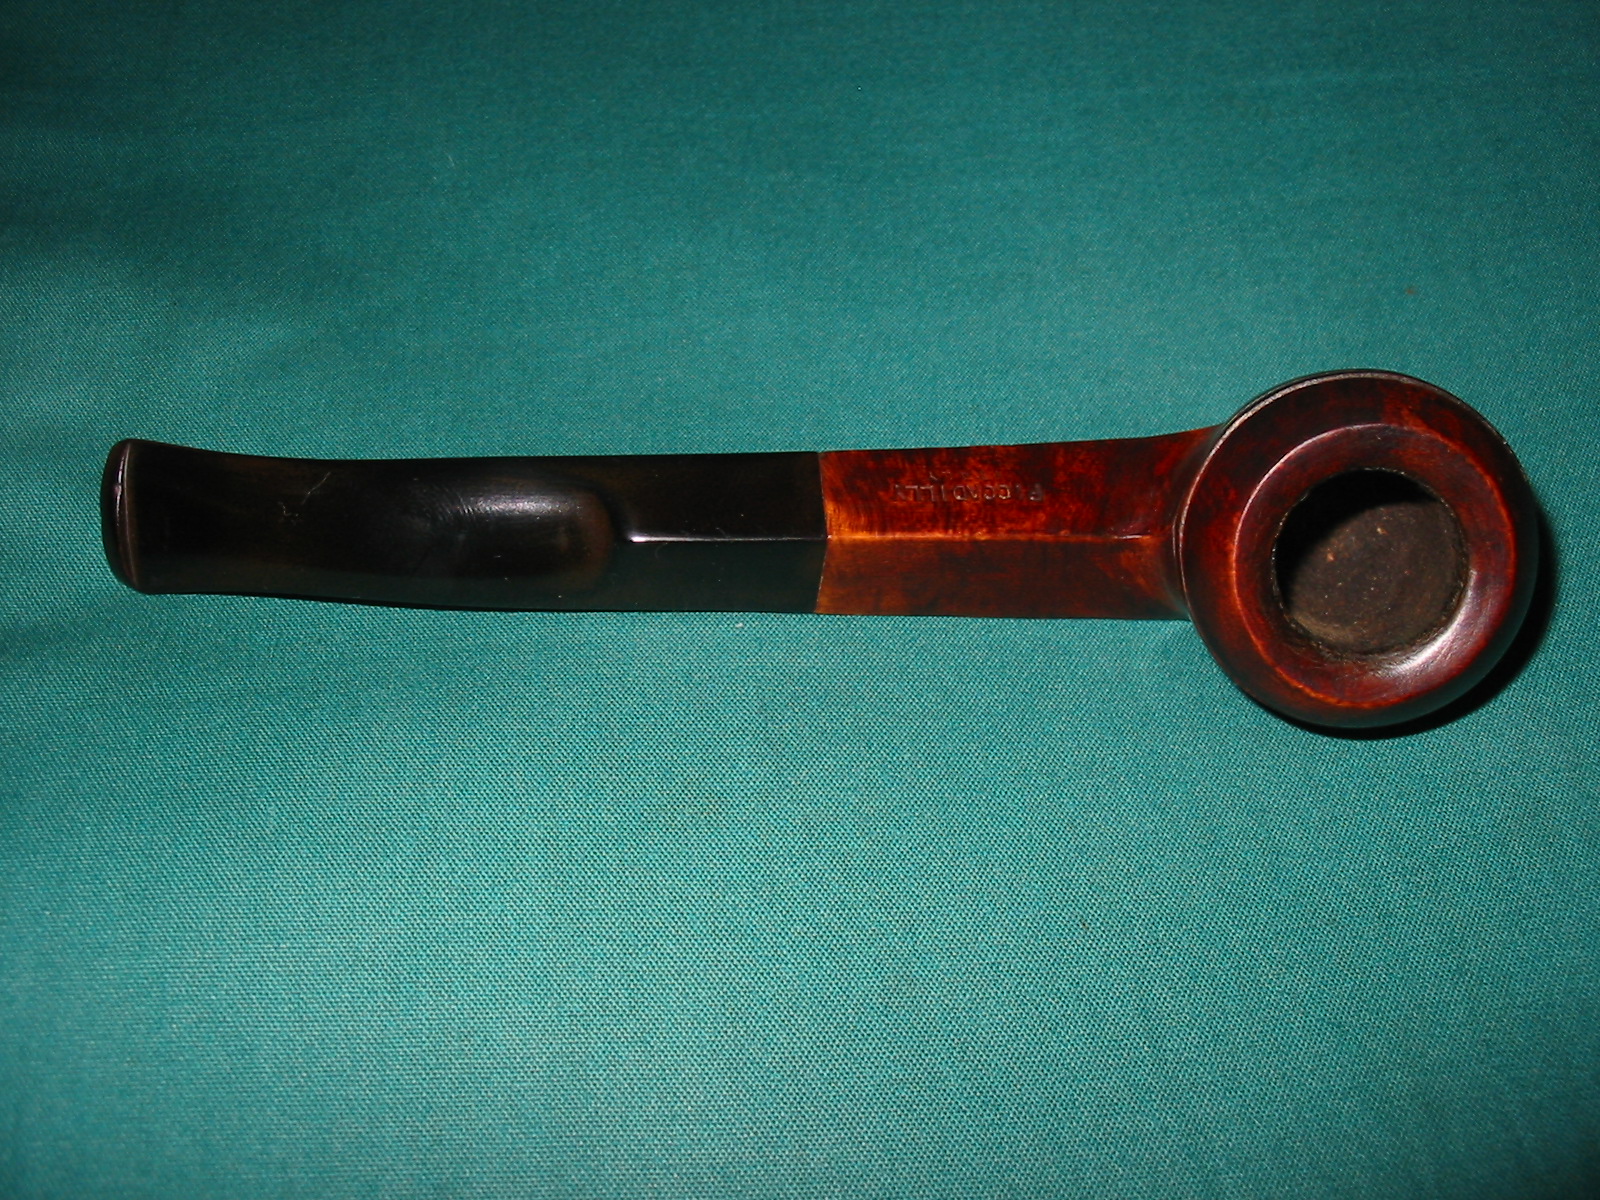
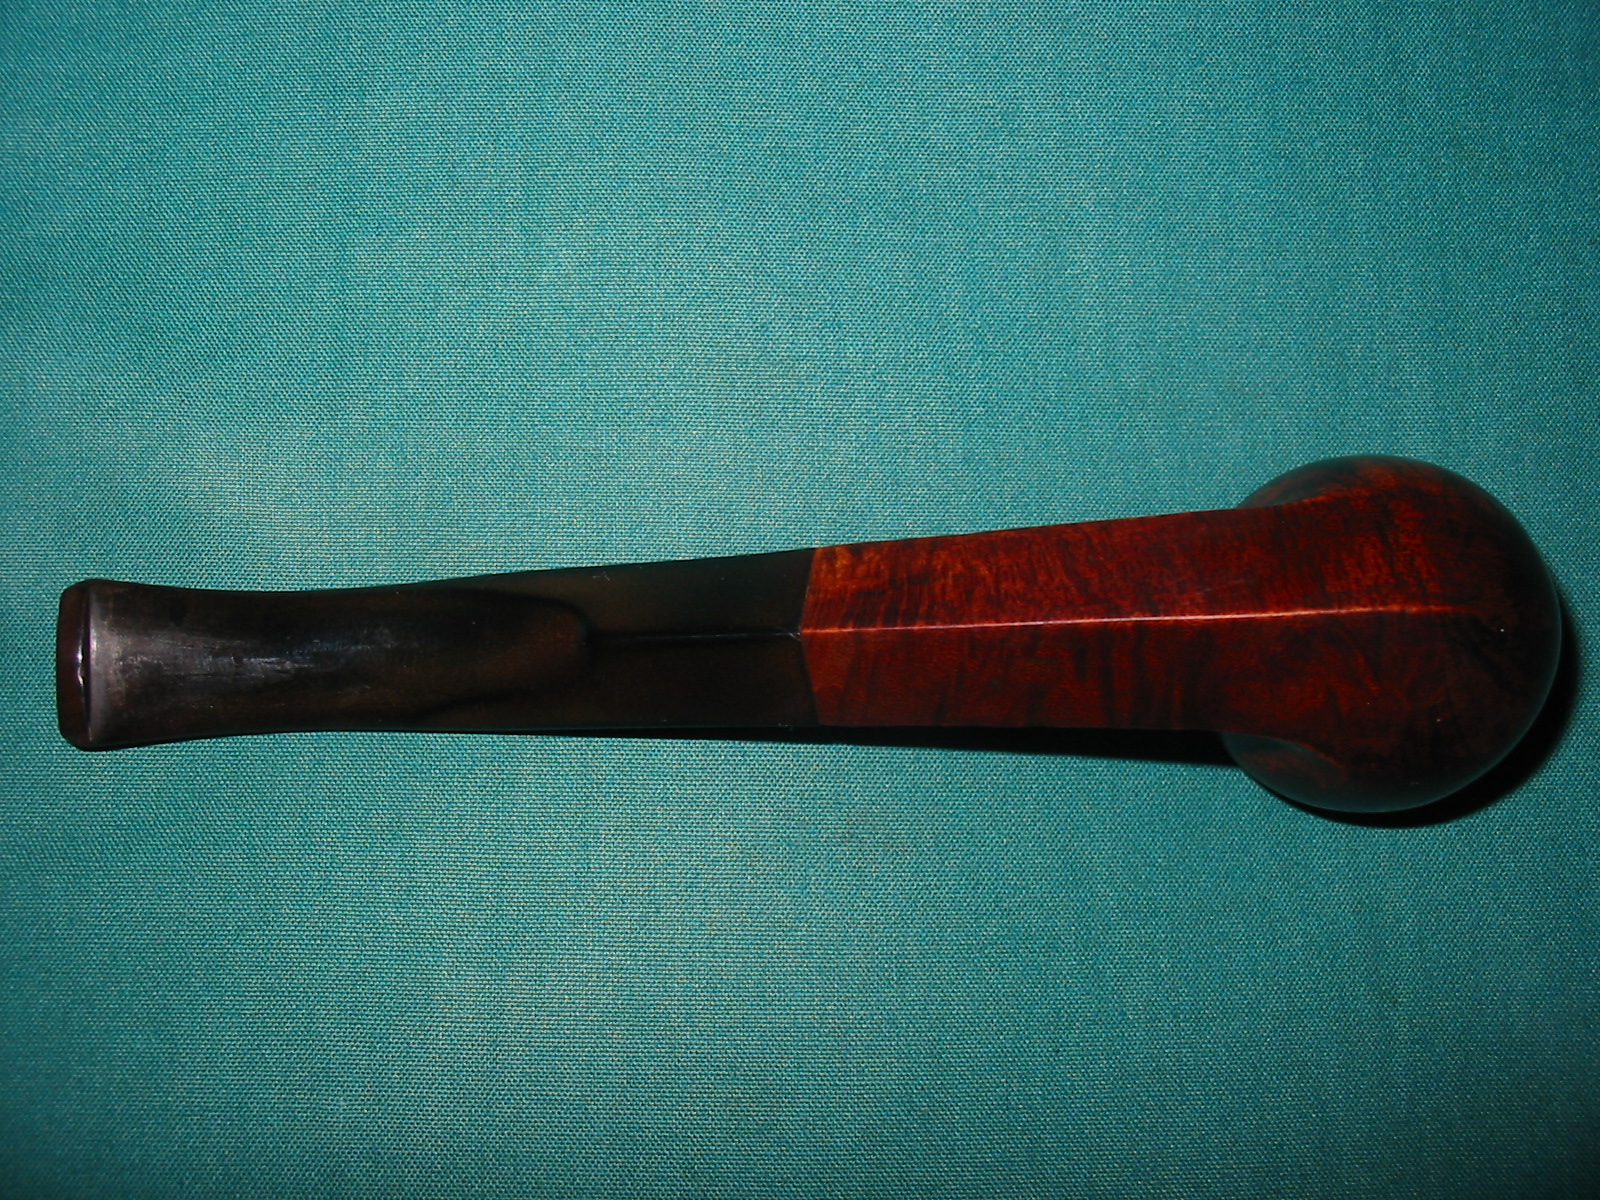
This little bulldog came to me in a lot of six pipes given to me by a friend. Something about it caught my attention as it seemed to have a classic bulldog shape. It was in pretty rough shape. It is stamped Piccadilly over Italy. It had a thick coat of varnish over the whole bowl and shank. There were also paint flecks on the surface of the bowl and shank. The rim was tarred and black with minor dings in the wood on the outer edge. The rim was chamfered in toward the bowl and also showed some wear and tear. The bowl was pretty clean; as I am pretty sure it had been recently reamed. The stem was badly oxidized and when the pipe came to me the stem would not come out of the shank or even turn. There were no bite or tooth marks on the surface of the stem. The inside of the stem was also tarry and dirty. The first series of three photos shows the state of the pipe when it arrived.
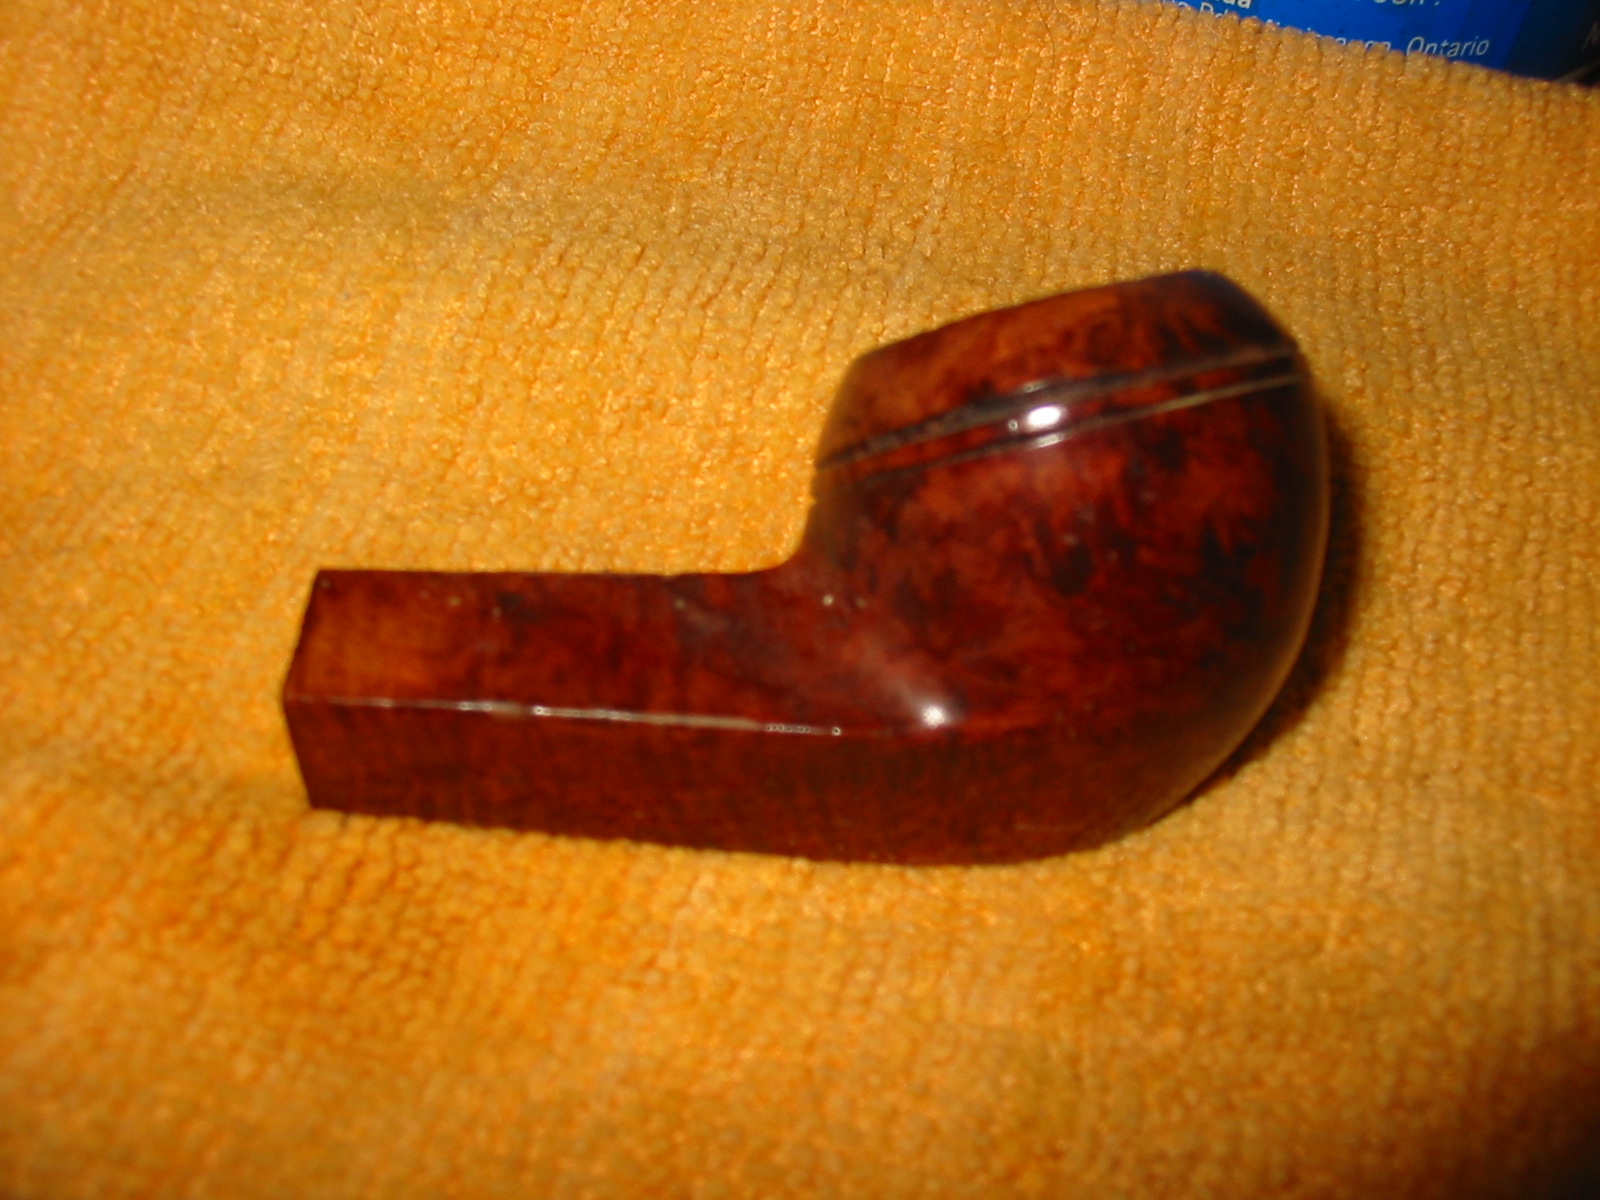
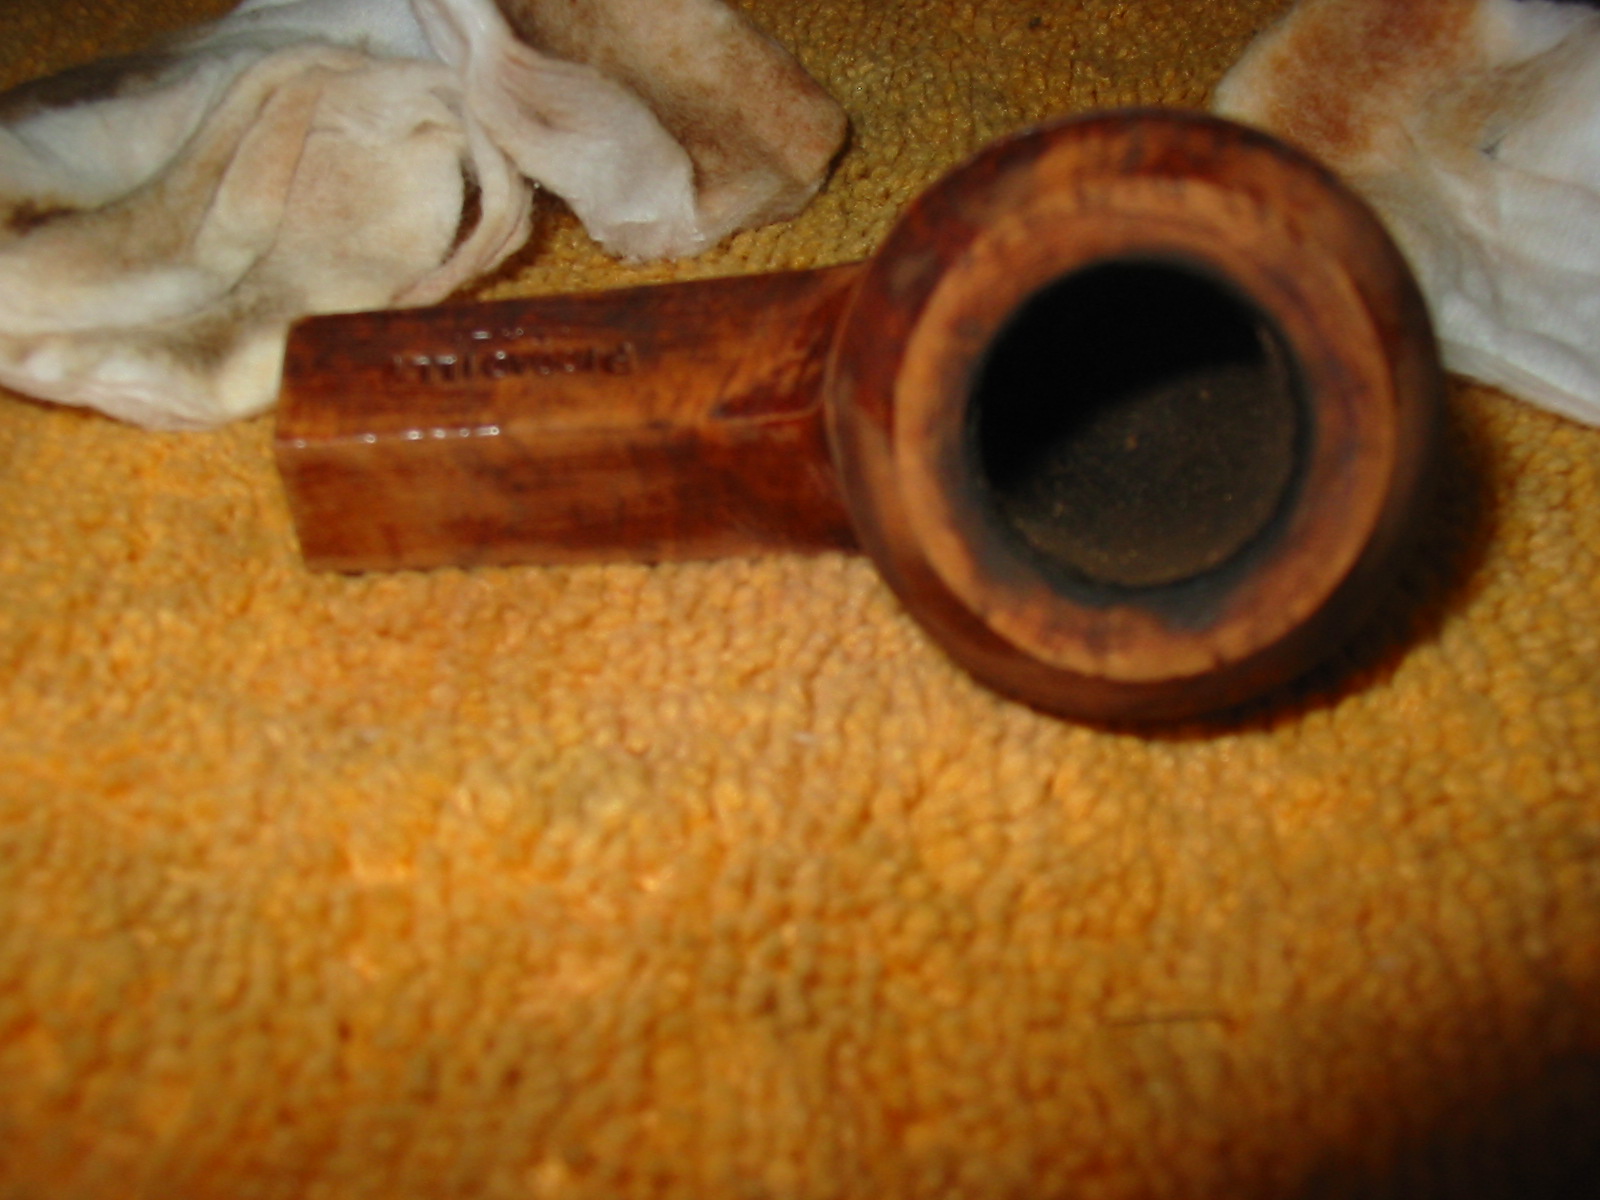
I put the pipe in the freezer for several hours and then I was able to remove the stuck stem. It was incredible tight and very dirty. The tars seemed to have acted like glue holding the stem in the shank. I cleaned out the stem with pipe cleaners and a shank brush and then put it in a bowl of Oxyclean to soak overnight. I dropped the bowl in an alcohol bath overnight as well. The next series of five photos show the bowl and the stem the next morning after an all-night soak in the baths. You can see that the bowl is clean and incredibly shiny. The alcohol bath removed the paint flecks and the surface grime. The rim tars had softened and were ready to be removed. The varnish coat however was not even touched by the soak in isopropyl. The stem was much better than when it went in to the bath. The oxidation had softened and much of it was removed when I dried off the stem. What remained would take more work.


I then wiped the bowl and shank down with cotton pads soaked with acetone to try to break up the varnish finish. It took many wipes to cut through the finish and also to cut through the tars on the rim. I also sanded the rim with 320 grit sandpaper to remove the remaining tars and the slight burning around the inner edge of the rim. The next three photos show the result of the sanding on the rim and the wiping down of the bowl. The varnish was untouched – maybe softened a little but it did not give way at all to the acetone.
More drastic measures were going to be required to remove this thick varnish coat. It was almost acting like a coat of polyurethane. I would have to sand the finish off the bowl if I was going to remove it at all. This required care as I wanted to remove the finish and not change the shape of the bowl and shank. I used a medium grit emery cloth to break through the finish coat. The next series of three photos shows the pipe after the sanding with emery cloth. I also wiped it down again with acetone at this point to clean the finish and see what remained. You can see the stubborn remainders of the topcoat.
At this point I switched to a medium grit sanding sponge to remove more of the remaining finish. I removed the inserted stinger apparatus and put the stem back in place so that I would not change the angles on the shank where it met the stem when I sanded. It also allowed me to sand the stem and shank simultaneously and to keep the angles sharp and intact. The next three photos show the pipe after sanding with the sponge. I continued to sand until the shiny finish was gone. I then wiped it down with acetone on a cotton pad to clean the surface.
I sanded the bowl and shank with 320 grit sandpaper and then 400 and 600 grit wet dry sandpaper followed by micromesh pads from 1500-6000 grit before staining the bowl with a dark brown aniline stain thinned 2:1 with isopropyl alcohol. I wanted to give the pipe a stain so I could see if the many fills that were revealed could be camouflaged with the stain coat. My guess was that they would stand out and I would need to pick them out and refill them with superglue and briar dust. I stained and flamed the pipe several times. The next series of six photos shows the results after staining. I would indeed have to rework the fills – at least the large ones.


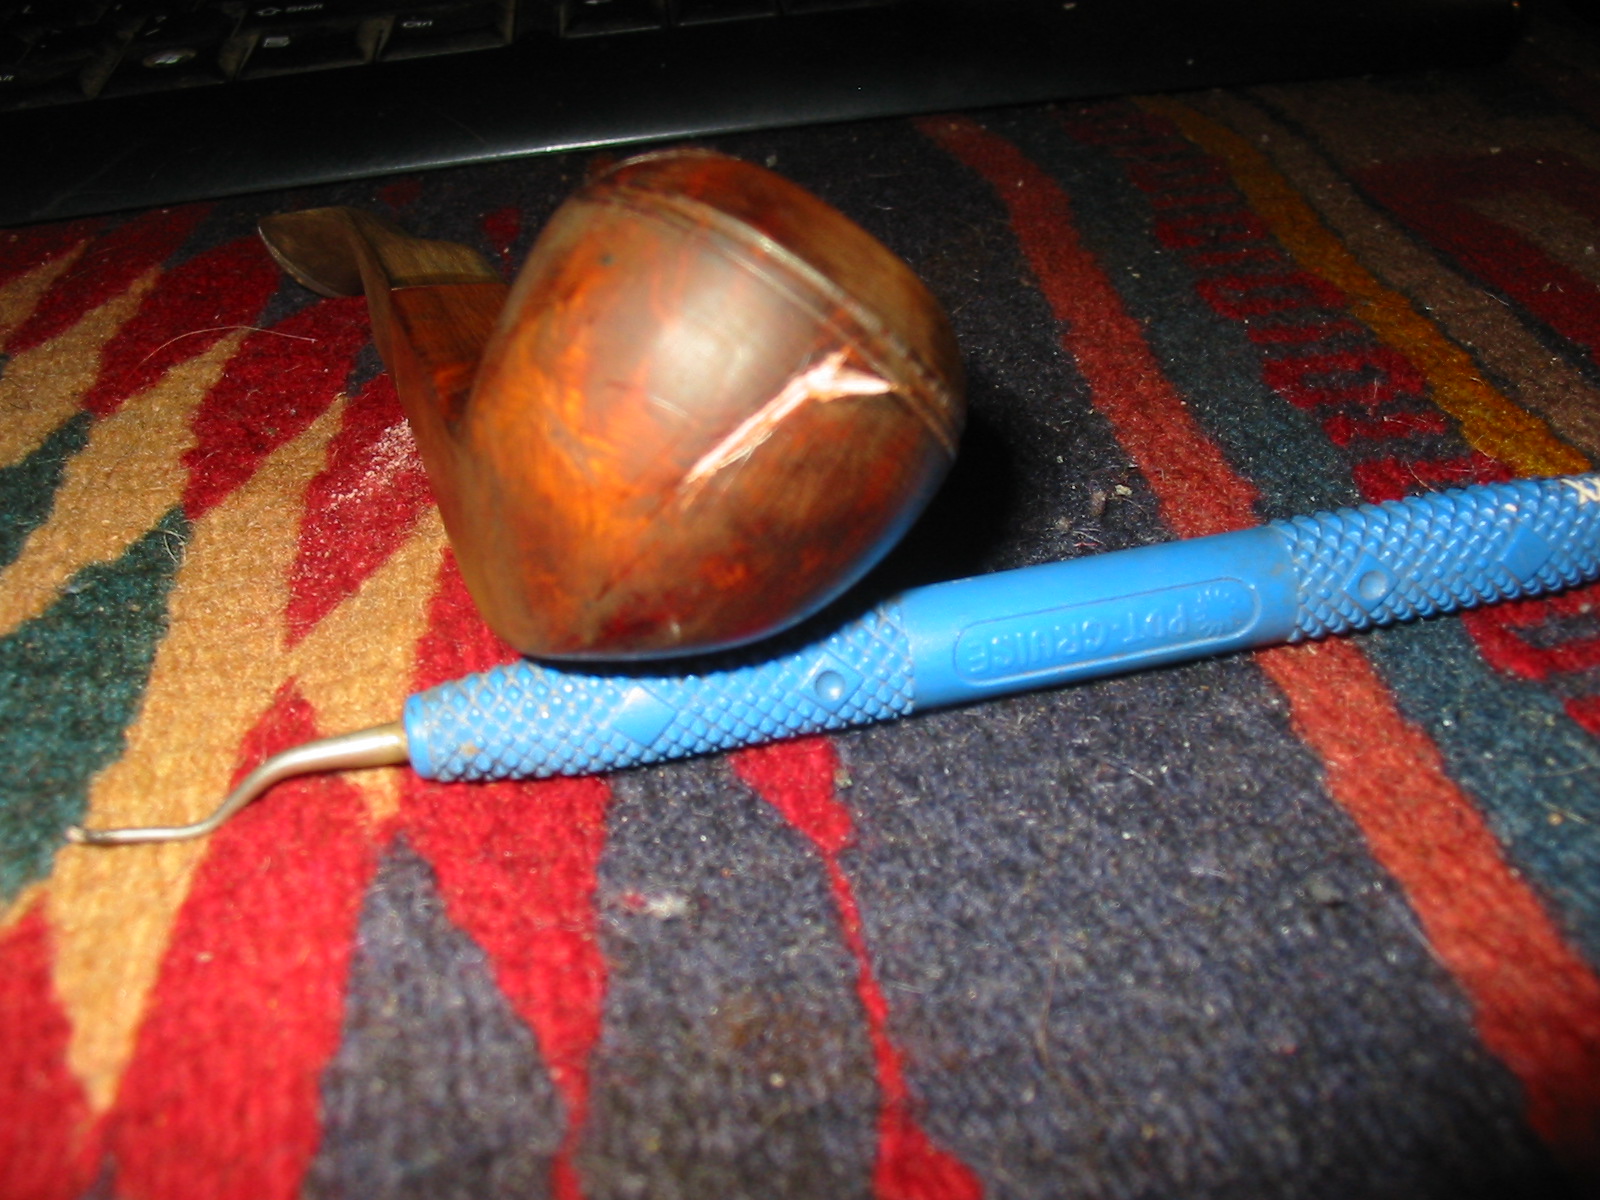
I used my dental pick to remove the old fill material – it seemed to be white putty that did not take the stain. The pick removed the white material easily and I wiped the bowl down with an alcohol wetted cotton pad to clean up the dust before refilling the flaw. I then took out my container of briar dust (I collect this from the bowls that I top) and used the dental pick to pack the flaw with briar dust. Once it was packed and overflowing I dribbled drops of superglue into the packed dust. It dries quickly so there is no time to work it or move it. Once I finished the first pack and drip I added more briar dust and redripped the glue. The three photos below show the new fill before I sanded it. The briar dust and glue are very hard and I always over fill the flaw and sand it back to smooth. I do not want any shrinkage in the fill so I work with the material as I spelled out above and over fill the flaw.


Since the glue and dust fill dries very quickly, it can be immediately sanded. I used some fine grit emery cloth to smooth out the glue and followed that with some 240 and 320 grit sandpaper. The next two photos show the fill after I had sanded it smooth. The fill is now dark and hard. I have found from past experience that the dark fill is much easier to blend in with the stain than the white or pink putty fills.

After the sanding and preparation of the other fills that I replaced I restained the bowl with the dark brown aniline stain. I flamed it and restained it several times. The bowl is seen both wet and after the flaming in the three photos below. The fill is well blended into the dark stain.

Once the stain was dry I took the pipe to my buffer and buffed the bowl with Tripoli and White Diamond. The fills were still to visible to my liking so I used a trick I learned somewhere – I used a black permanent marker (Sharpie) and highlighted the grain on the pipe and also stroked in grain through the fills. Once it was finished I stained it one last time with the dark brown stain and then buffed it to a polish. The bowl was finished and I set it aside to work on the stem.
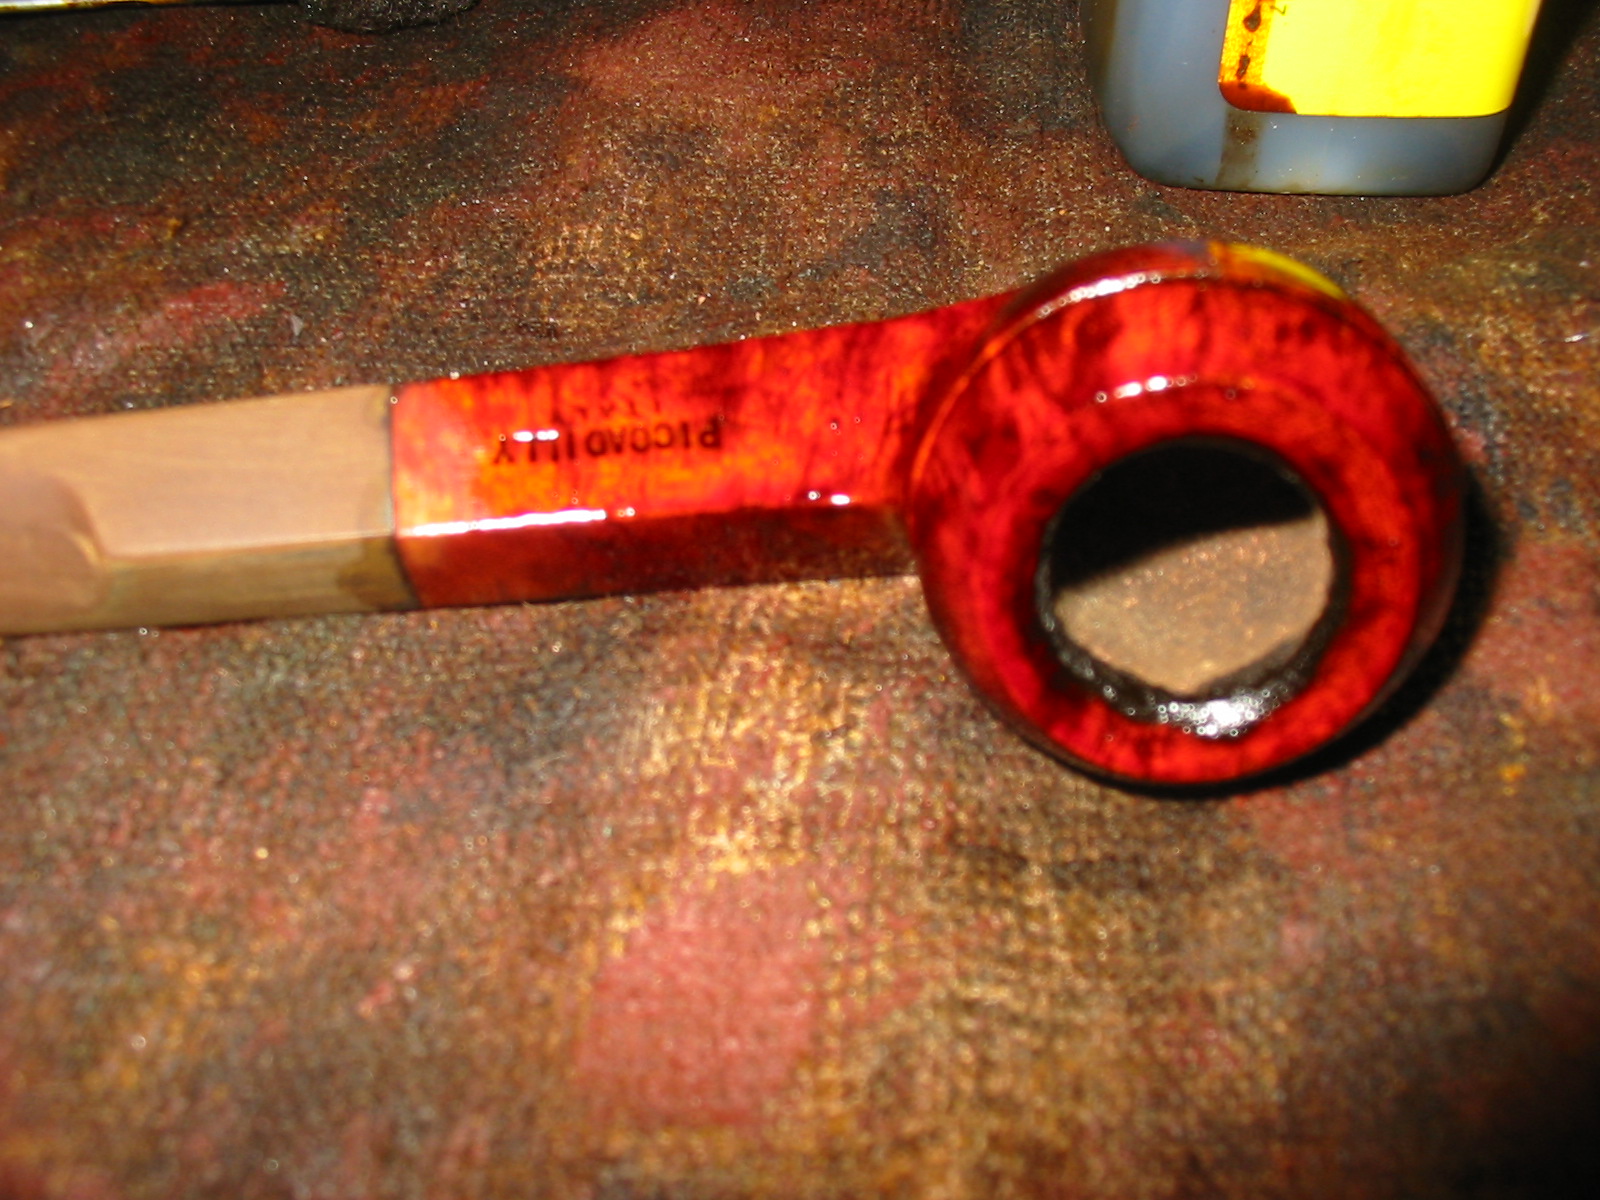
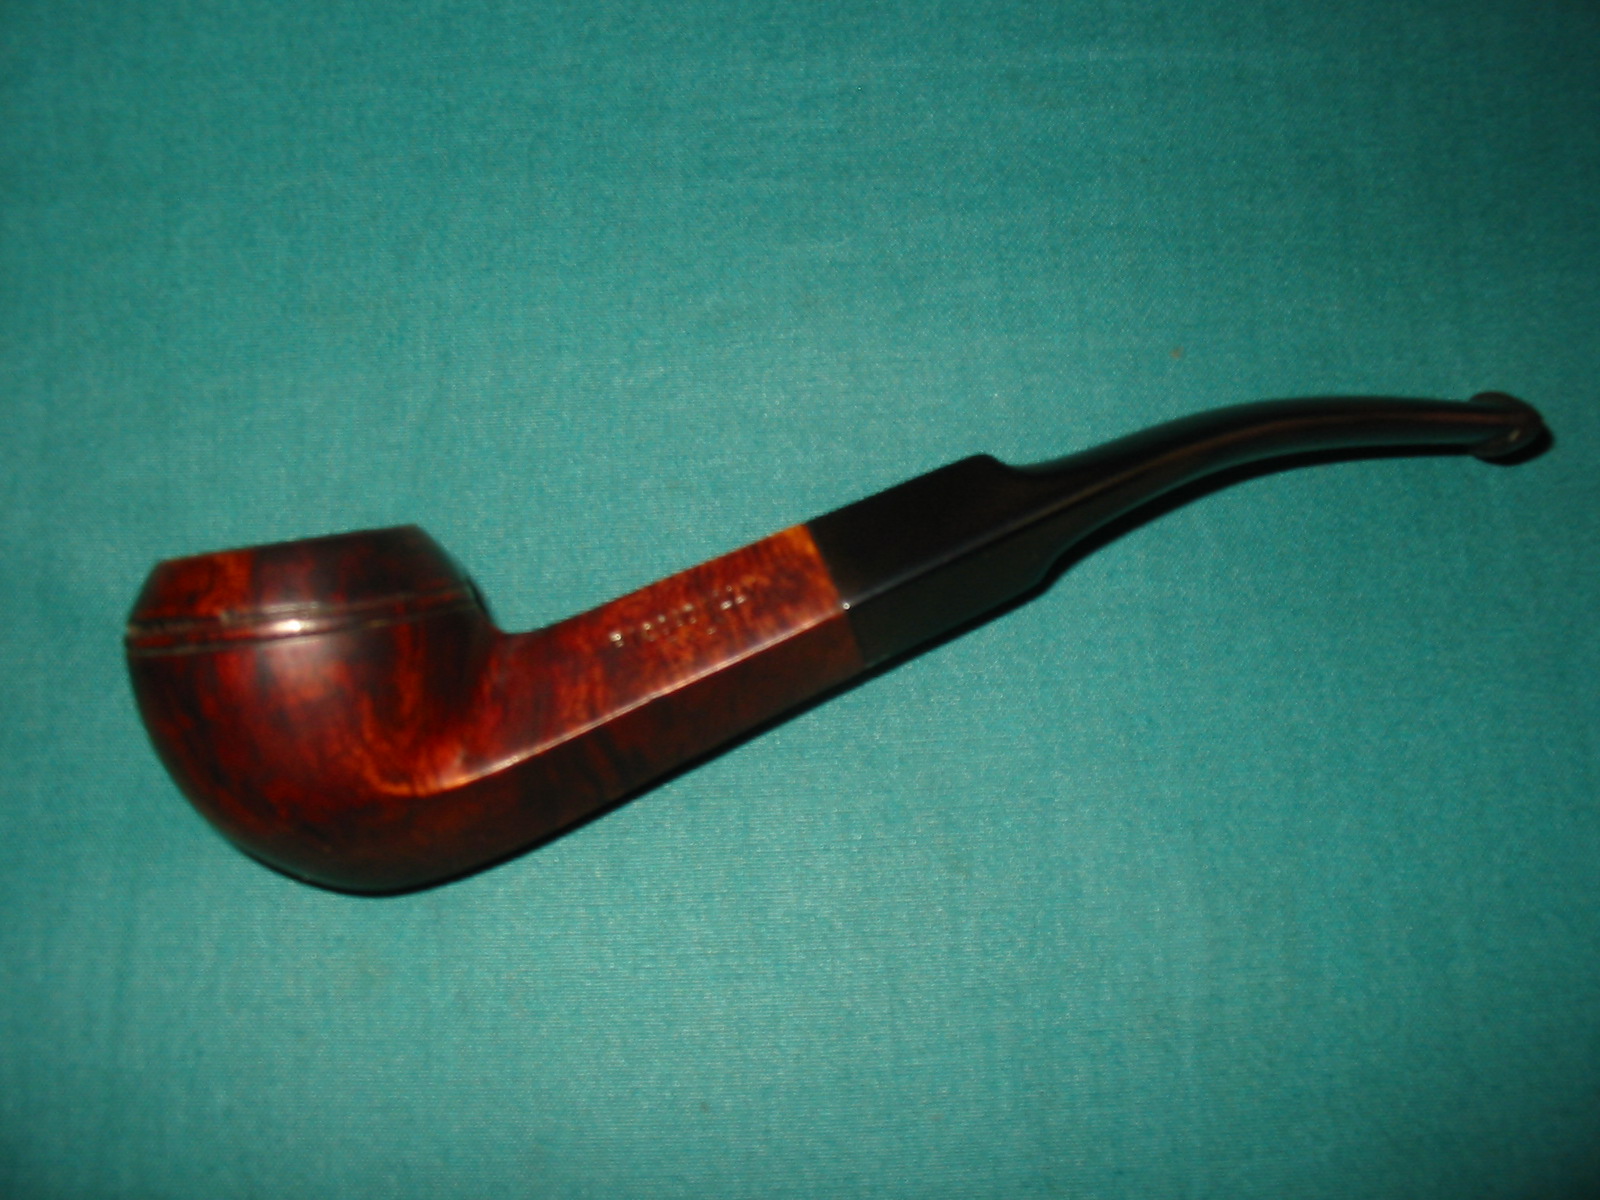
The stem needed quite a bit of work. I sanded it with the medium grit sanding sponge and then with 320 grit sandpaper and 400 and 600 grit wet dry sandpaper. The oxidation was still stubbornly remaining on the saddle and in the slope of the saddle to the flat bit. I used the Bic lighter and moved it over the surface of the stem to burn off the oxidation. I repeated this several times and then sanded the stem with 1500-4000 micromesh sanding pads. I also used the Maguiar’s Scratch X2.0 between grits of micromesh. I also used my Bic lighter to burn more of the oxidation between the grits. Once I was finished I polished the stem with Maguiar’s and then buffed with White Diamond to polish it. I gave it a coat of Obsidian Oil followed by multiple coats of carnauba wax to the stem and bowl. The final pictures show the pipe after this work. In the last photo the area that had the fill repaired is shown to detail how well the fill blends into the finished pipe.


Nice work. I just received a batch of Ehrlich estate pipes and 3 of them have caked and worn meershaum liners. Any thoughts on how to restore or remove the liners would be much appreciated.
LikeLike
Thanks Peter. I usually ream them carefully with a sharp knife. You want to get out the cake but not carve into the liners. You can also use a piece of dowel with some sandpaper glued to it and slowly twist it in the bowl. If the liners are cracked or broken they can be repaired quite nicely with natural tile grout and water. Mix into a mud and tamp into place with a pipe nail spoon or something like that. I have repaired several that way and they are still smoking strong after 7-8 years. Always put a pipe cleaner in the airway when you are cleaning or patching.
LikeLike
Thanks for the quick response. I assume the goal is to not get the bowl back to the original white color. Is an alcohol and salt treatment advisable or will that ruin the meershaum.
LikeLike
Peter I would not use alcohol and salt on the meer as it is very porous and will soak it up. The alcohol can also soften the meerlining and dissolve the glue holding the meer components making up the lining together. I generally wet a paper towel with some alcohol and wipe down the inside of the bowl after I have cleaned as mentioned before.
LikeLike
Amazing work, Steve!
LikeLike
Wow, that one took a lot more work than I would have guessed, but a fine result.
Steve: I also have a 357, it is a fine flake pipe. (my restoration essay is here)
LikeLike
Well done, Sir! I appreciate the tip on putting the pipe in a freezer to help remove a stuck stem. I just received a GBD #357 Prince that had a stem I didn’t think would come out. I was able to finally get it to break loose, but I’ll definitely try freezing the next one. Keep up the good work.
LikeLike
That’s wonderful, Steve – my kind of pipe!!
LikeLike