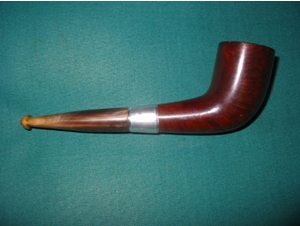
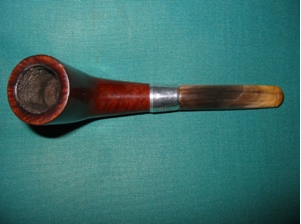
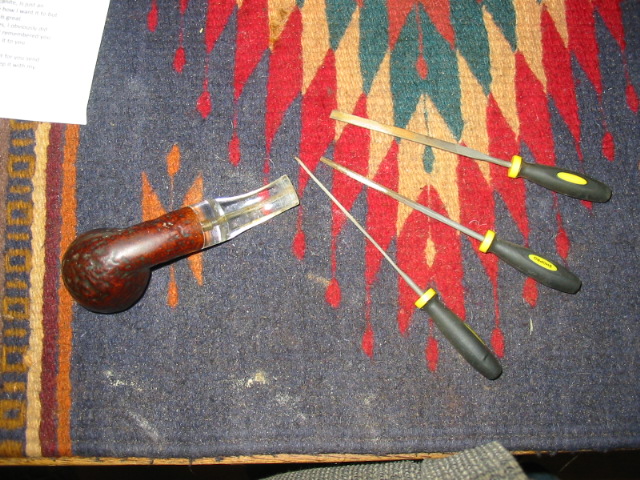
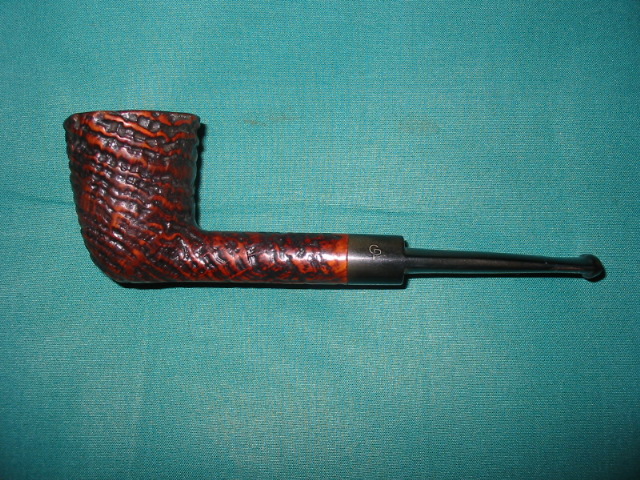
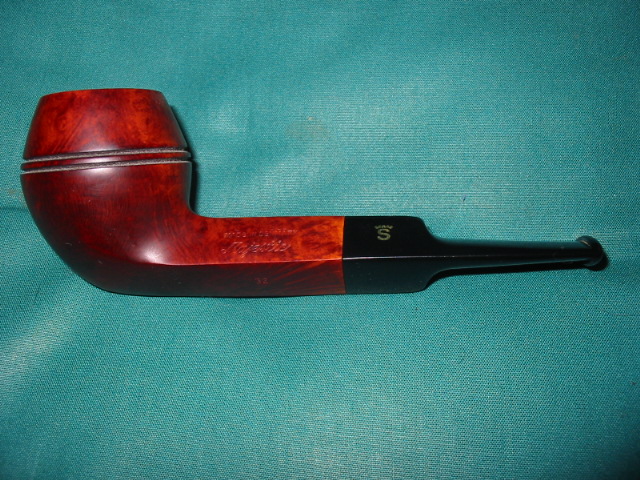
A normal pattern of behaviour for me in my refurbishing work is that once I figure something out that works on one kind of material I want to try it on a variety of similar items. In this case once I had used the heat gun to lift the tooth dents on a vulcanite stem I wanted to experiment with Lucite stems. I had no clue whether it would work or even if Lucite had some kind of memory that would bring the dents back to a smooth surface on the stem. There was only one way to find out since I could find no answers online and that was to give it a try. I figured the worst that could happen if I was careful was that the stem would remain the same – dented or a bit melted and I would have to do a different kind of repair. I had a nice little Stanwell bulldog that was given to that had a Lucite stem that had some tooth dents in the stem – just ahead of the button. There was one dent on top and one underneath.
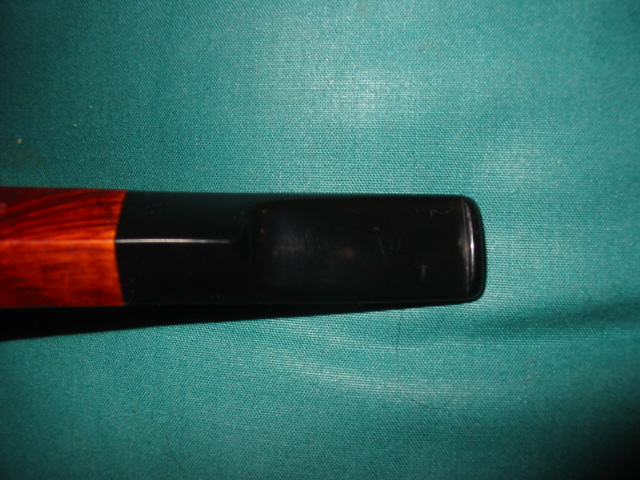
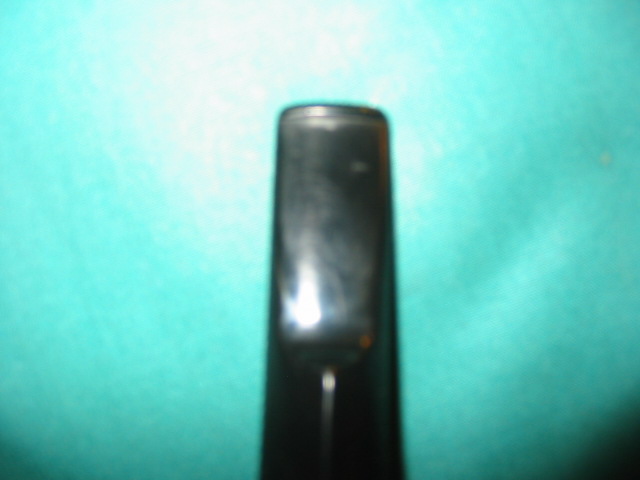
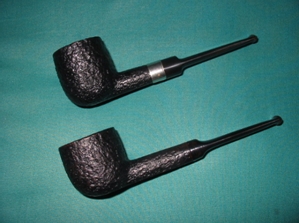
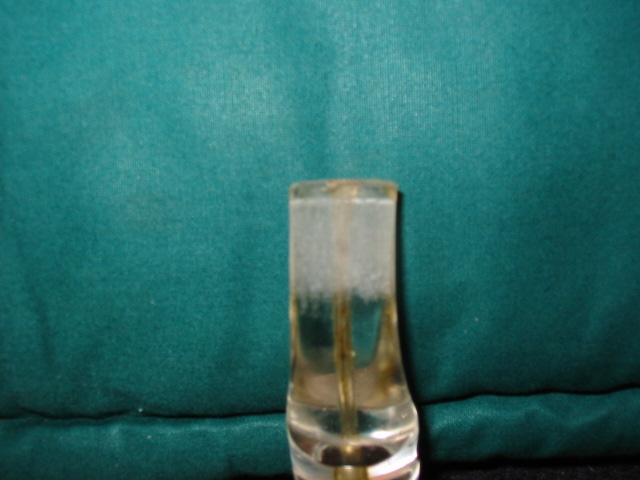
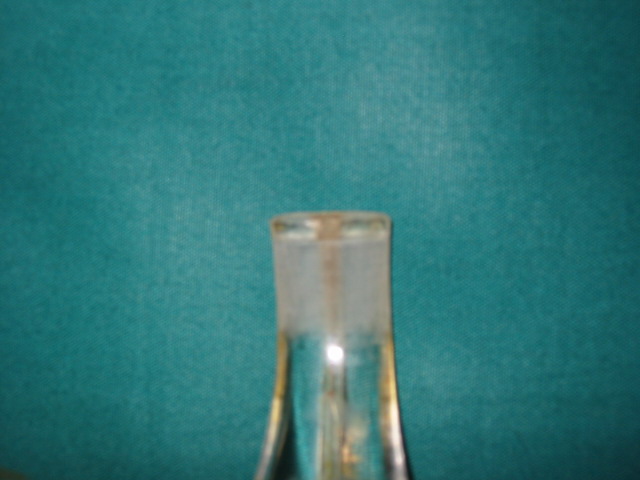
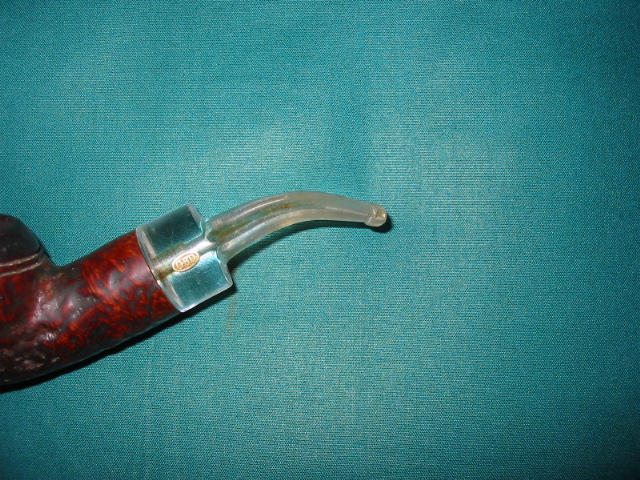
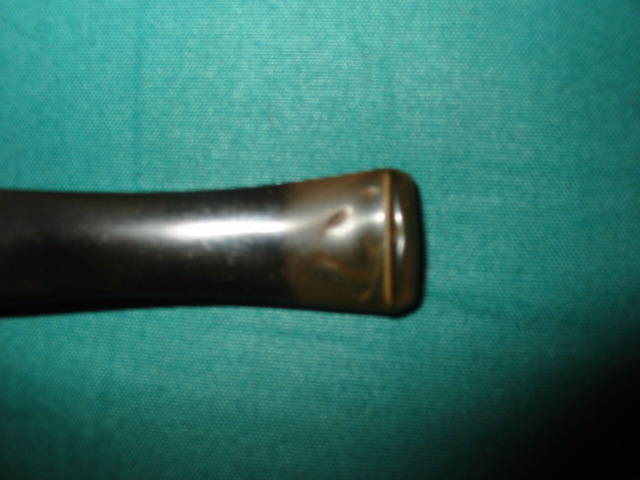
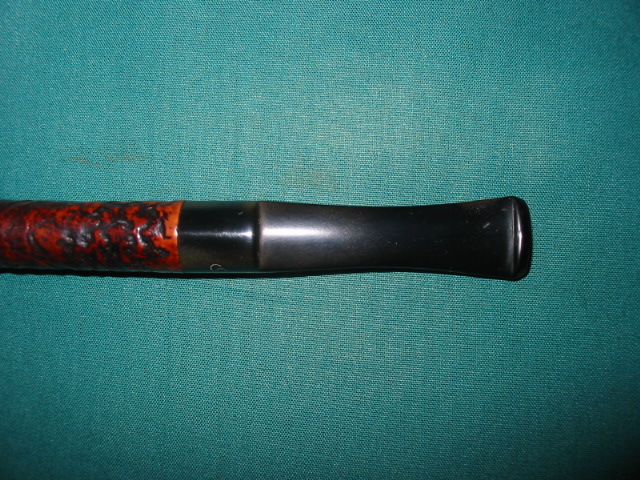
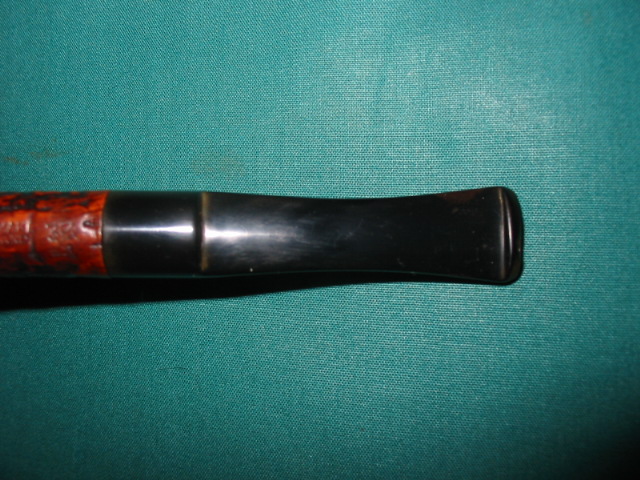
The two pictures below show the depth of the marks (Again I ask your forgiveness the poor quality of the photos, several of them are a bit blurry but I think that they give you a good idea of the nature of the problem. The dents look far worse in person than the pictures show). The top photo shows the top of the stem and the second photo the underside. I decided to continue my experiment with lifting the tooth dents with my heat gun on this Lucite stem as it seemed like a good candidate for the trial.
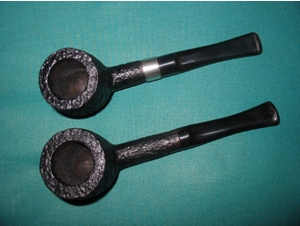
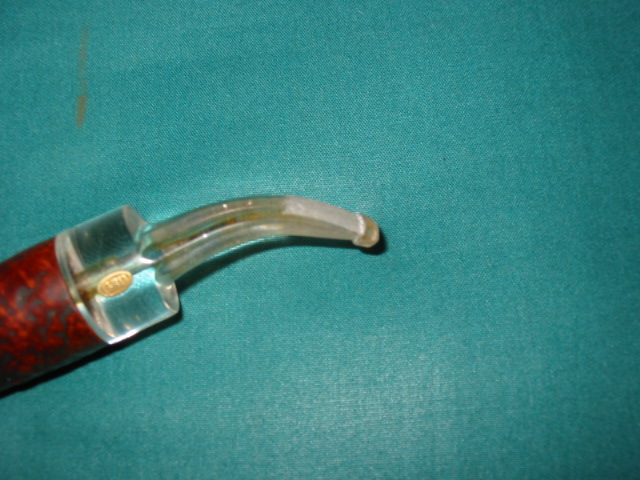
I personally like working with a clean surface when I am doing this kind of work so I scrubbed the tip to clean it of any grime or grit that might be in the dents. I used a soft cloth dampened with Isopropyl alcohol to clean the surface then I buffed it with a quick light touch on a White Diamond wheel. The pictures below show the stem just before I used the heat gun on it. You will see in the photos that there are small pits close to the button as well as the larger dents on both sides. The crevice between the button and stem body also has some scratches that would need to be sanded out once the tooth dents were dealt with.

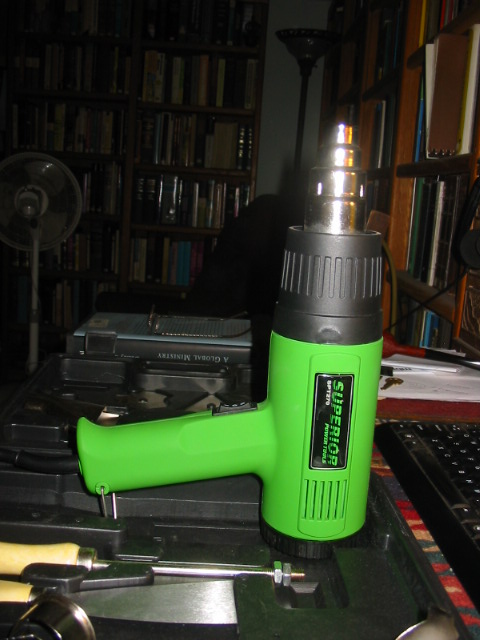
As I explained in the post on the vulcanite stem I once again stood the heat gun on its end pointing upward. I used the wire stand built into the handle to stabilize the gun in this position (see the picture previous post on lifting tooth marks from vulcanite). I wanted to be able to have both hands free to maneuver the stem over the heat so having the gun positioned in this manner allows me to do that. I set the heat gun on low heat as before because I did not know how the heat would affect the Lucite. I have found that high setting can too easily burn the vulcanite so I was assuming the same thing would be true of the Lucite.
I worked the stem over the heat keeping it about 4-6 inches above top of the gun tip as it allows it to thoroughly heat the Lucite. I move the stem constantly back and forth across the heat. I kept the stem on the pipe as before and used the bowl as a handle. In this instance I worked to just keep the first 3/4 inches of the stem from the button forward in the heat. I stopped frequently to check on the progress and see if there was any blistering on the stem. It took a bit longer for the heat to work on the Lucite. I think it must be the density and hardness of the Lucite that makes the difference. With the application of heat the Lucite began to return to its original smoothness. I kept the heat on the stem until all the dents were gone. The reason I believe the process worked was because the dents in the Lucite were not cuts in the surface but actual dents. The application of the heat did the trick.
Once the surface was smooth I took it off the heat and cooled it the same way I did the vulcanite. I did not want the stem to bend accidentally while it was soft so I dipped the tip in some running cool water to set the new surface. I dried off the tip and then sanded the area with 400 and 600 grit wet dry sandpaper (with water on the stem as I sanded) and then moved through the grades of micromesh pads – 1500, 1800, 2400, 3200, 4000 and 6000 grit. By the 3200 grit micromesh pad I found that the Lucite was beginning to have a smooth and glossy finish. The sanding with the final two grades of the pads really polished the stem and gave it the glassy finish that polished Lucite has. I finished by giving it a final polish on the buffer with White Diamond polishing compound and a coat of carnauba wax.
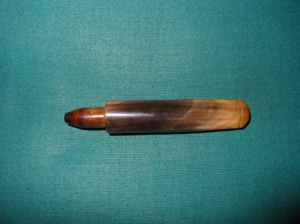
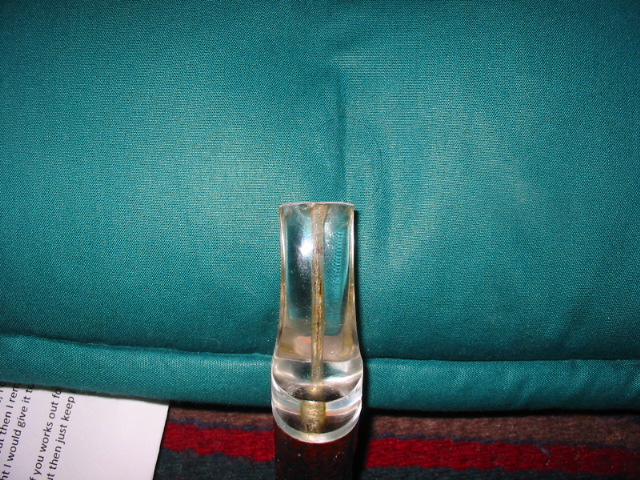
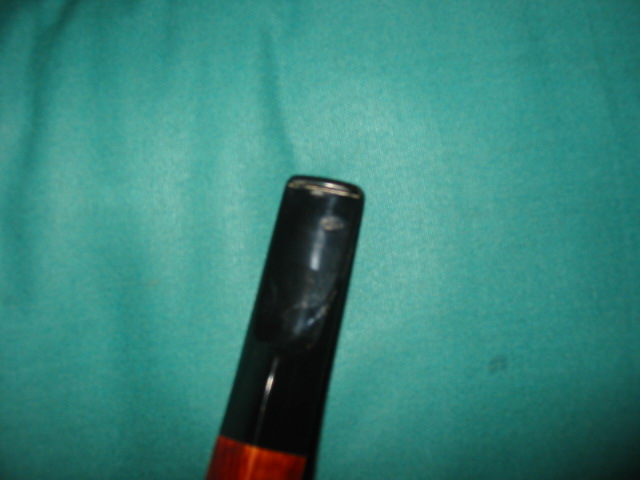
Here are some pictures of the top and the underside of the finished stem.