Blog by Steve Laug
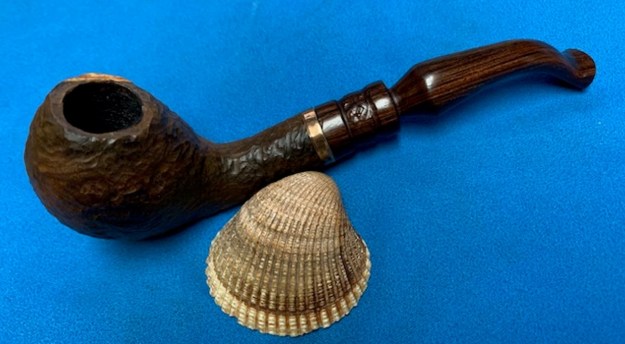
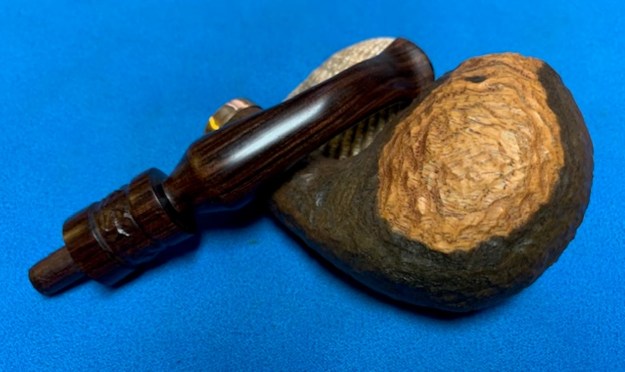
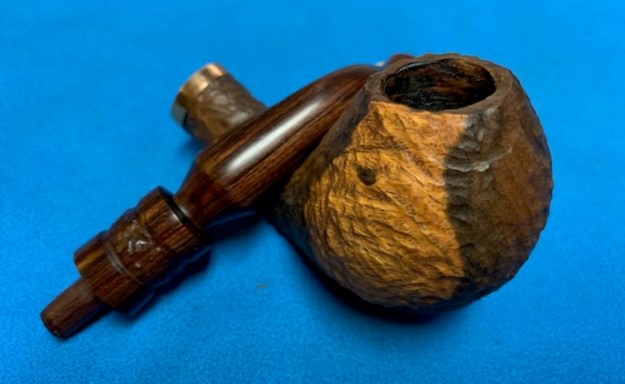
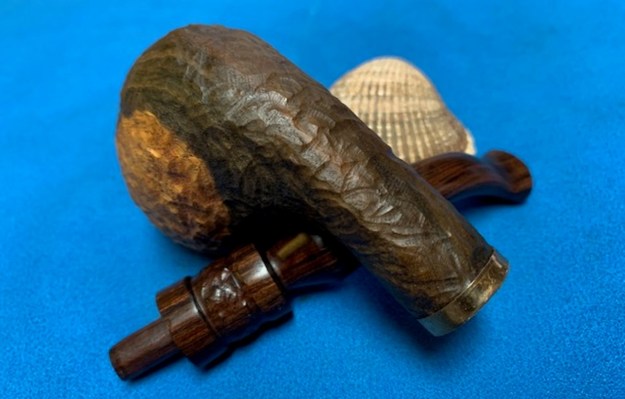
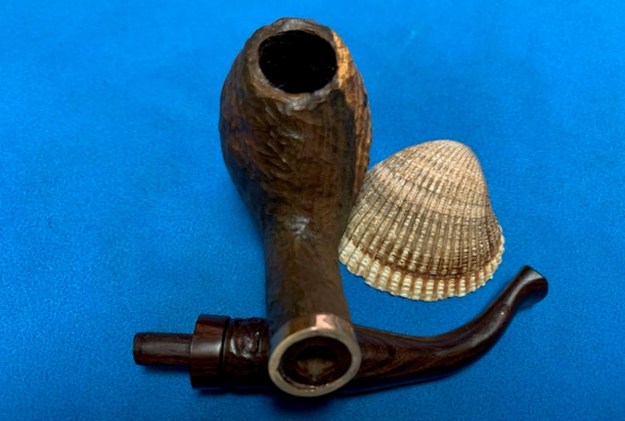
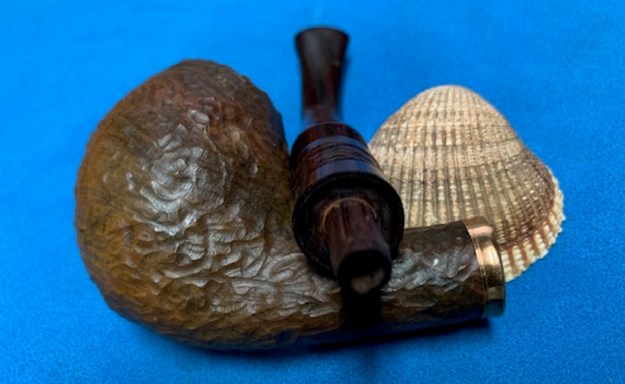
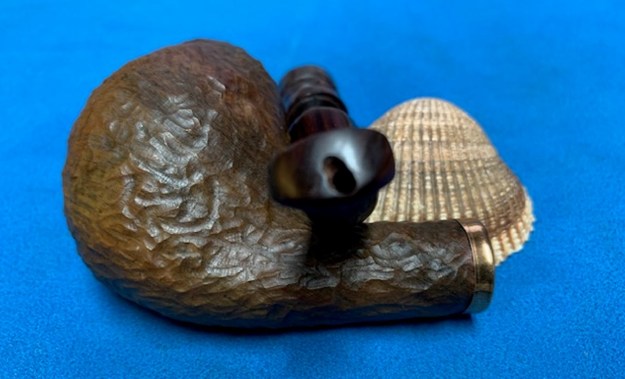
The next pipe on the table is a bit of an oddity. When Jeff picked it up it was heavy and cool and we thought it might be stone. When I was in Idaho visiting my dad for his 95th I spent some time with Jeff and had some time to examine the pipe. It was heavy and definitely seemed odd. In many ways it was not like stone but the weight and the coloration of the pipe made us question it. I removed the stem and there was grain in the shank end that confirmed it was wood. I am not sure what kind of wood it was but it was wood. It was hand made and there were no stamps or marks on the shank identifying who made it. The rusticated finish was dirty and there was grime ground into the sides and the rim top of the pipe. The right side of the bowl had a whitened spot on it that followed the flow of the egg shape on that side. It was not paint. There was a thick cake in the bowl and the airway in the shank and stem were dirty. The stem was also wood – probably ebony or other dark, hard wood. There were tooth marks on both sides ahead of the button. It obviously had been someone’s favourite pipe and was well used. Here are some photos of the pipe before I started to work on it.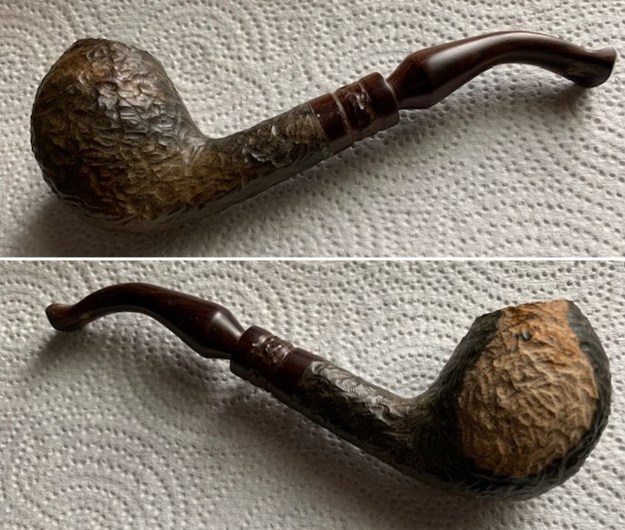
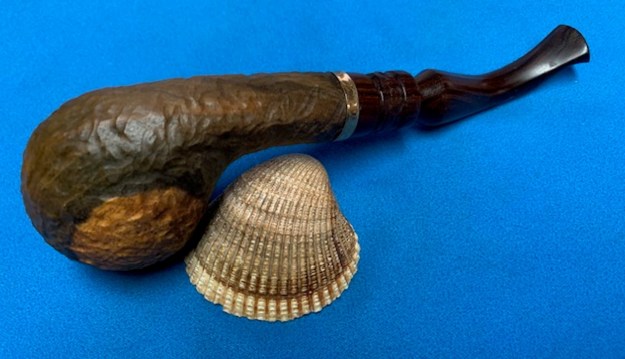
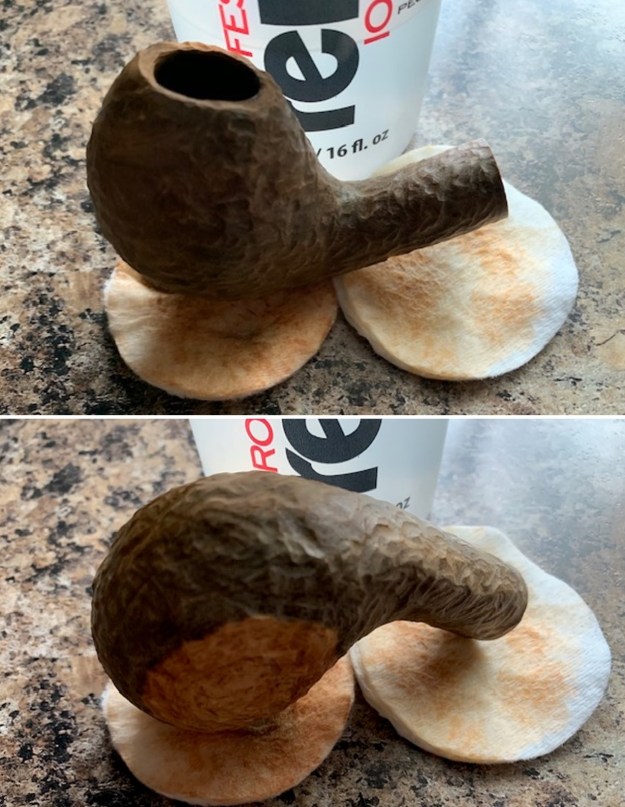
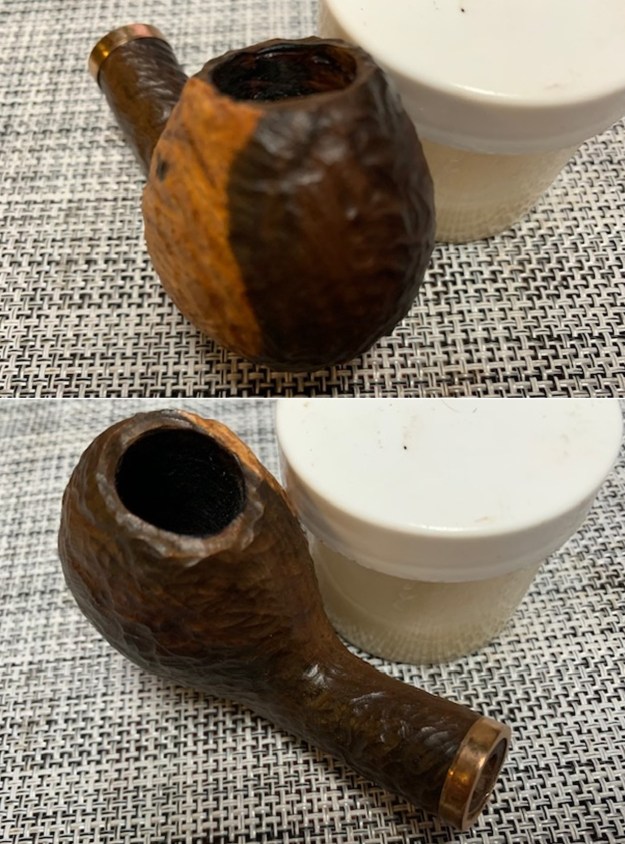
 I took close up photos of the bowl, rim top and stem. The photos give a clear photo of the condition of the pipe. The bowl is moderately caked and the rim top actually looks quite good. There is some debris in the rustication and some darkening to the top and edges. The stem is in good condition other than the tooth marks on both sides ahead of the button.
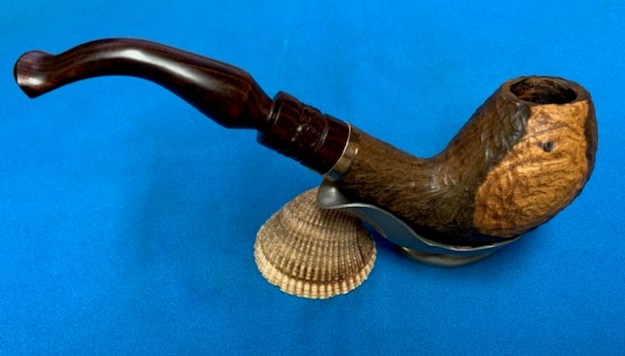
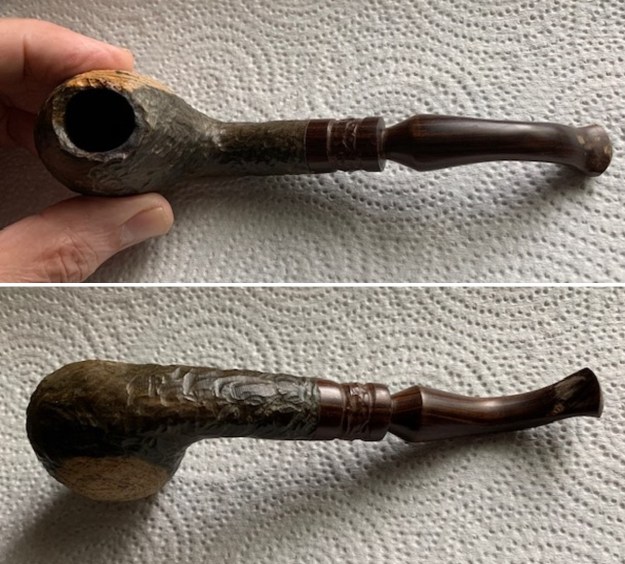
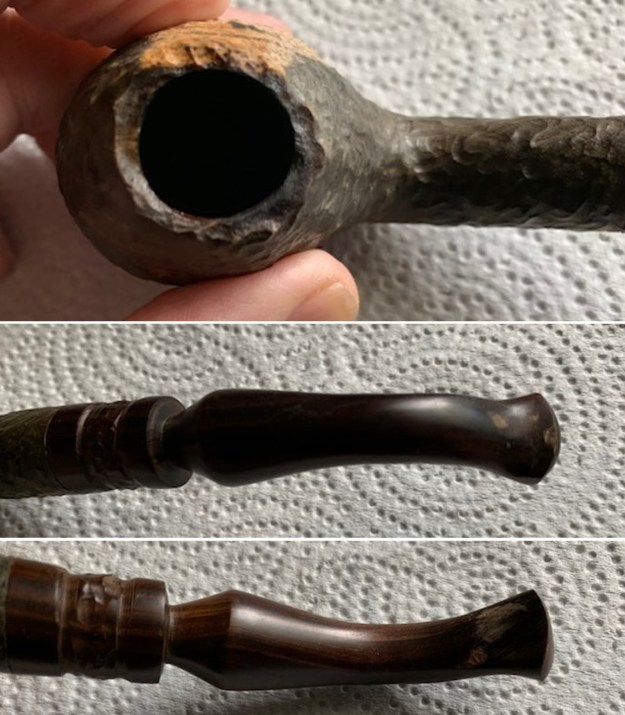 I removed the stem from the bowl and took photos of the well designed look it has. The proportions are very well done and the pipe is quite beautiful.
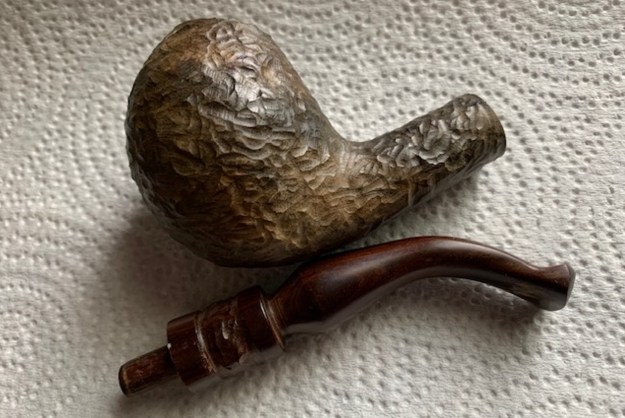 I started my work on this pipe by reaming the bowl. I started with a PipNet reamer to clean out the cake in the bowl. I cleaned up the remnants of the cake with a Savinelli Fitsall Pipe Knife. I removed all of the cake and checked the walls. They were solid and there was no checking or damage on the walls.
 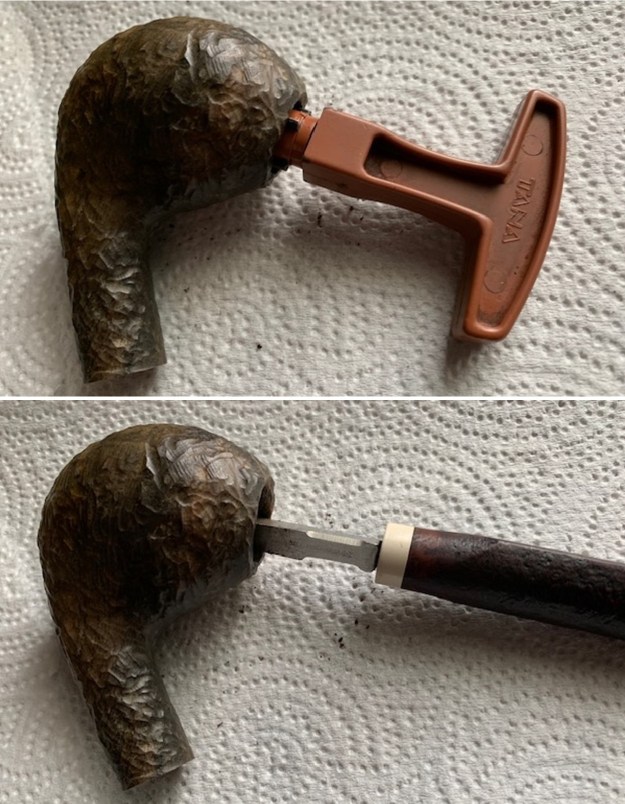 I wiped the bowl down with acetone to remove the spotty finish on the wood. It removed the shininess of the finish and some of the stain and the pipe looked better. It also showed some grain patterns in the wood similar to the stem wood.
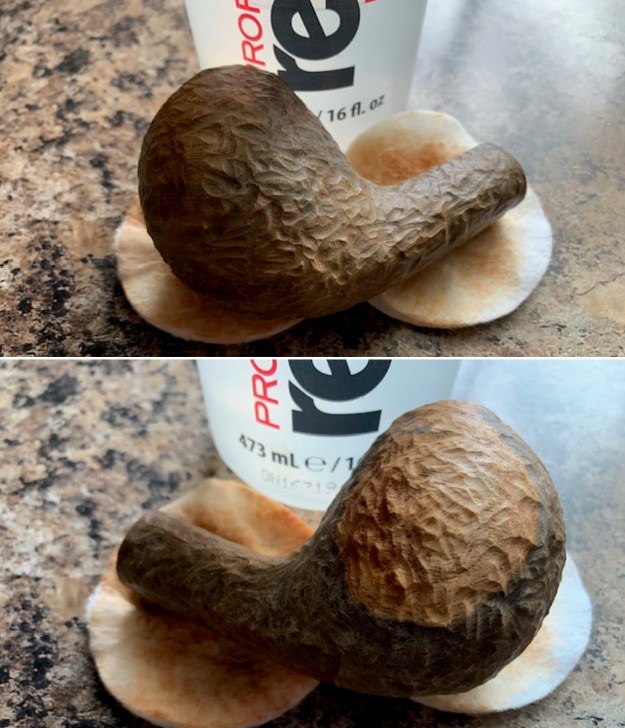
 I cleaned out the internals of the bowl, shank and the airway in the stem with alcohol, cotton swabs and pipe cleaners until they were clean. It smelled significantly better once finished.
 I wiped down the bowl and stem with some Extra Virgin Olive Oil to enliven the bowl and the stem. I rubbed it on and let it soak into the wood. I buffed it with a paper towel.
 When Jeff looked over the shank he noted a crack in the shank. I took a photo of the side of the and the shank end to show the crack. It is hard to see in the photos. It did not go too deep in the shank end and extended about ½ inch along the top left side.
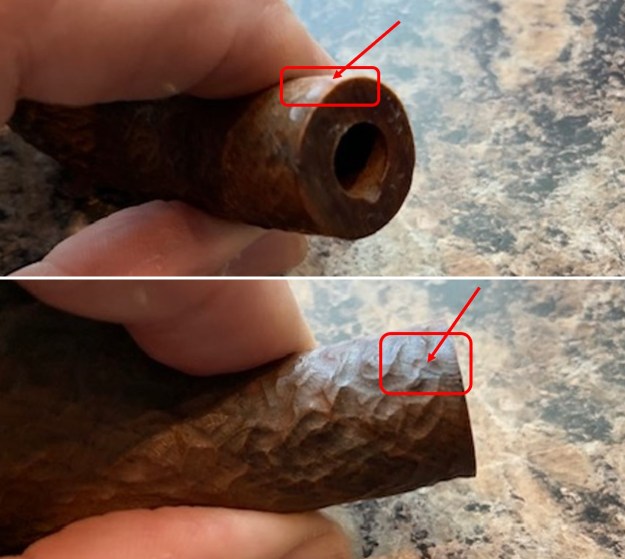 I waited until I returned to Vancouver and then banded the shank with a thin brass band. I heated the ring with a lighter flame and pressed it onto the shank end against my hard desk top. I tapped the flat surface of the shank end with a small tap hammer to make sure the fit was flat against the shank. I took photos of the shank with the band in place. It looks very good with the new bling.
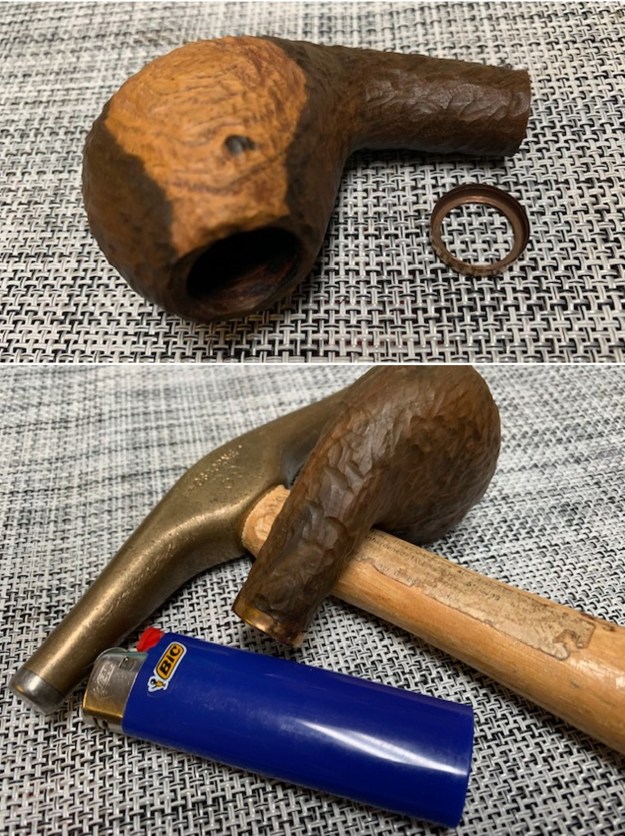
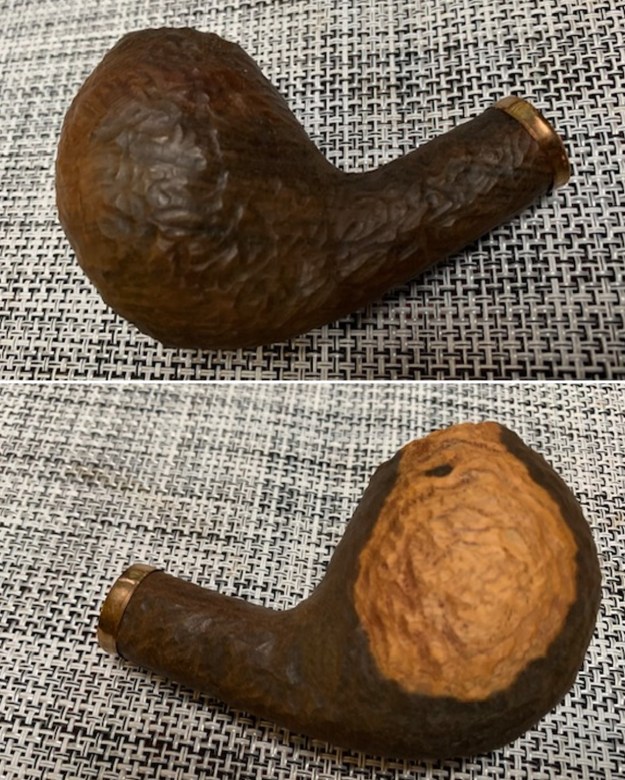
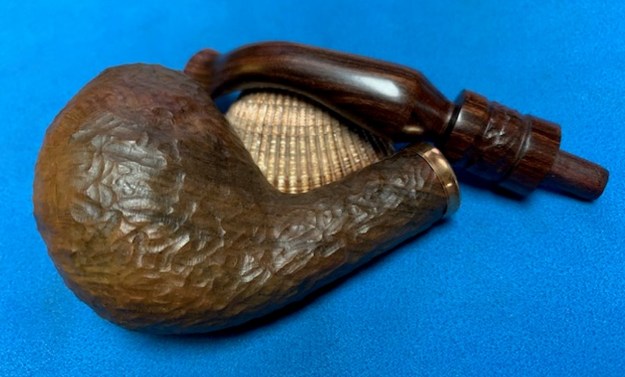
 I rubbed down the bowl and shank with Before & After Restoration Balm. It is a paste/balm that is rubbed into the surface of the briar or other woods. The product works to deep clean the finish, enliven and protect it. I worked it into the wood with my finger tips and a horsehair shoe brush. I let it sit for 10 minutes then wiped it off with a soft cloth then buffed it with a cotton cloth. The pipe really began to have a deep shine in the rustication and the grain shines through. The photos I took of the bowl at this point mark the progress in the restoration. It is an unusual looking and pretty handmade pipe.
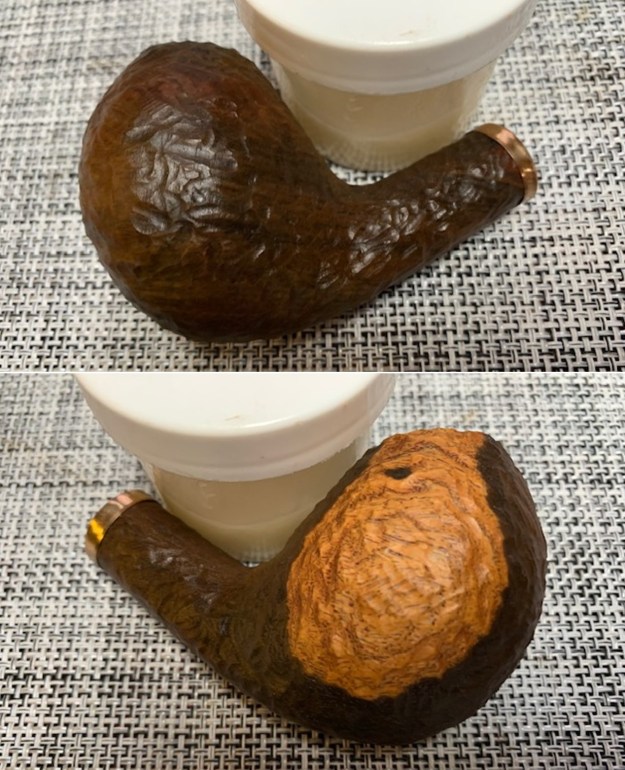

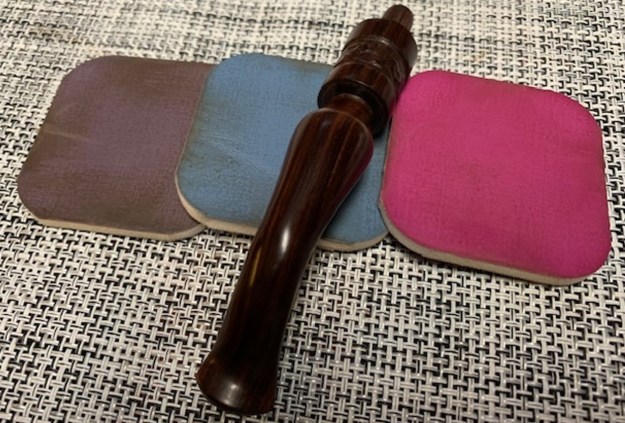
 I set the bowl aside and turned to the stem. I sanded the tooth chatter and marks on the surface of the stem with a piece of 220 grit sandpaper and started the polishing with 600 grit wet dry sandpaper. It looked much better.
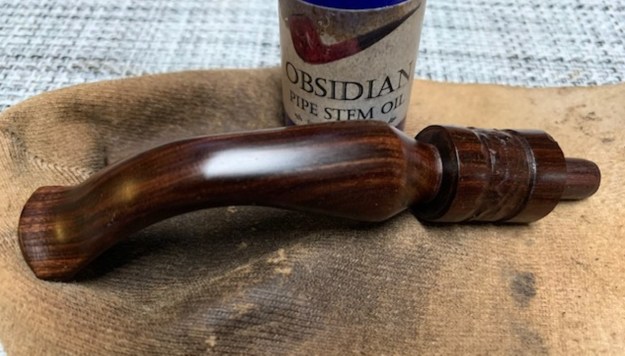
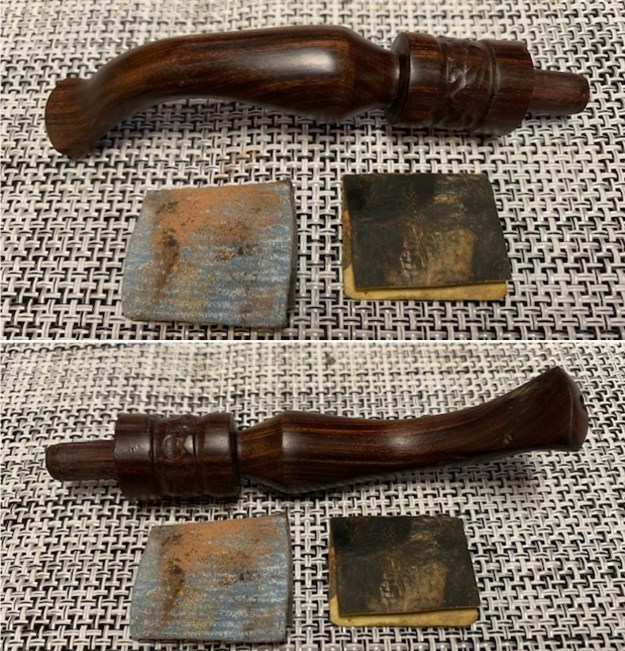 I polished the stem with micromesh sanding pads – 1500-12000 grit sanding pads and water to wet sand the stem. I wiped it down after each sanding pad with Obsidian Oil on a cotton rag after each sanding pad. Obsidian Oil does two things when sanding with micromesh – first it gives some protection to the stem from buildup and second to give the sanding pads bite in the polishing process.
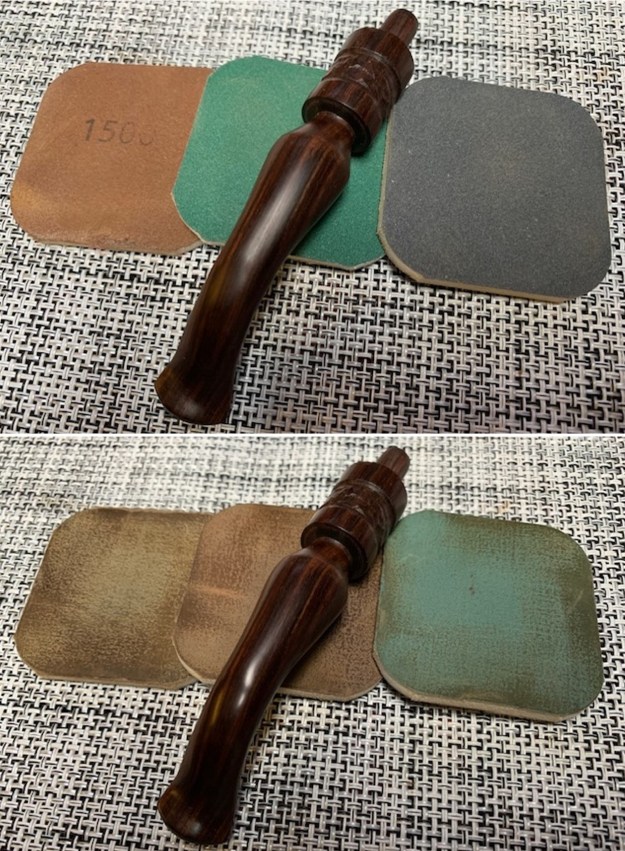
 I use Before & After Fine and Extra Fine Stem Polish as it seems to remove the fine scratches in the wooden stem. I rub the Fine Polish on the stem and wipe it off with a paper towel and then repeat the process with the Extra Fine polish. I finish the polishing of the stem down with a final coat of Obsidian Oil and set the stem aside to let the oil absorb. This process gives the stem a shine and also a bit of protection.
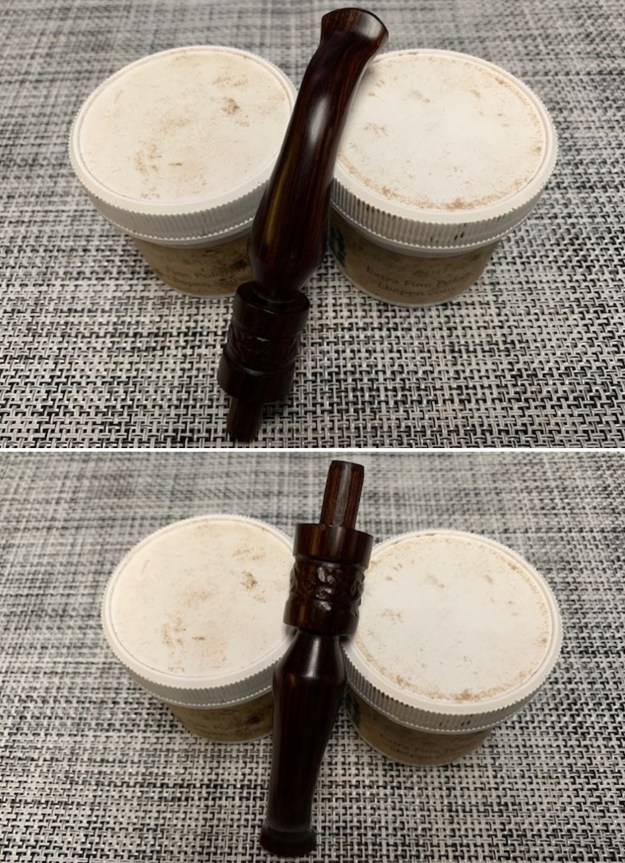
 The final steps in my process involve using the buffer. I buffed the bowl and stem with Blue Diamond to polish out the light scratches in the wood of the bowl and the stem. I gave the bowl and the stem multiple coats of carnauba wax. I have found that I can get a deeper shine if I follow up the wax buff with a buff with a clean buffing pad. It works to raise the shine and then I hand buff with a microfiber cloth to deepen the shine. It is always fun for me to see what the polished bowl looks like with the polished stem. It really is a nice pipe. The light rusticated finish around the bowl sides and shank looks great. The wooden carved, fancy, saddle stem works well with the pipe. The No Name Handcarved Hardwood (Ebony??) Egg with a carved wooden stem feels great in my hand. It is a well-balanced pipe. Have a look at it with the photos below. The dimensions are Length: 6 ¾ inches, Height: 2 inches, Outside diameter of the bowl: 1 inch, Chamber diameter: 5/8 of an inch. The weight of the pipe is 3.07 ounces/87 grams. It is a beautiful pipe that I will soon be putting on the rebornpipes store in the American Pipe Makers Section. It is available if you want to add it to your collection. It was a great smoker and it will give many more years of service.
As always, I encourage your questions and comments as you read the blog. Thanks to each of you who are reading this blog. Remember we are not pipe owners; we are pipe men and women who hold our pipes in trust until they pass on into the trust of those who follow us.