Blog by Steve Laug
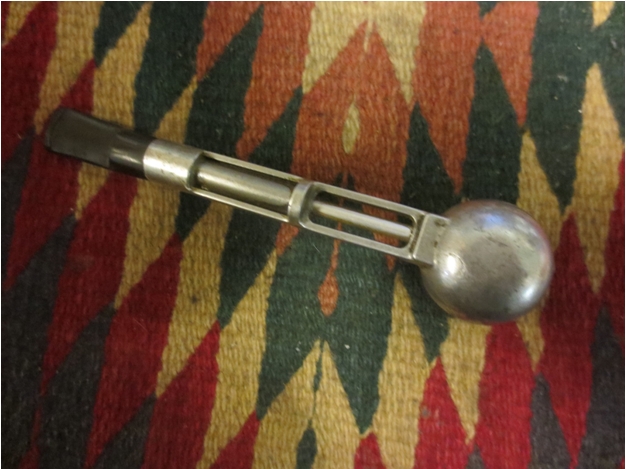
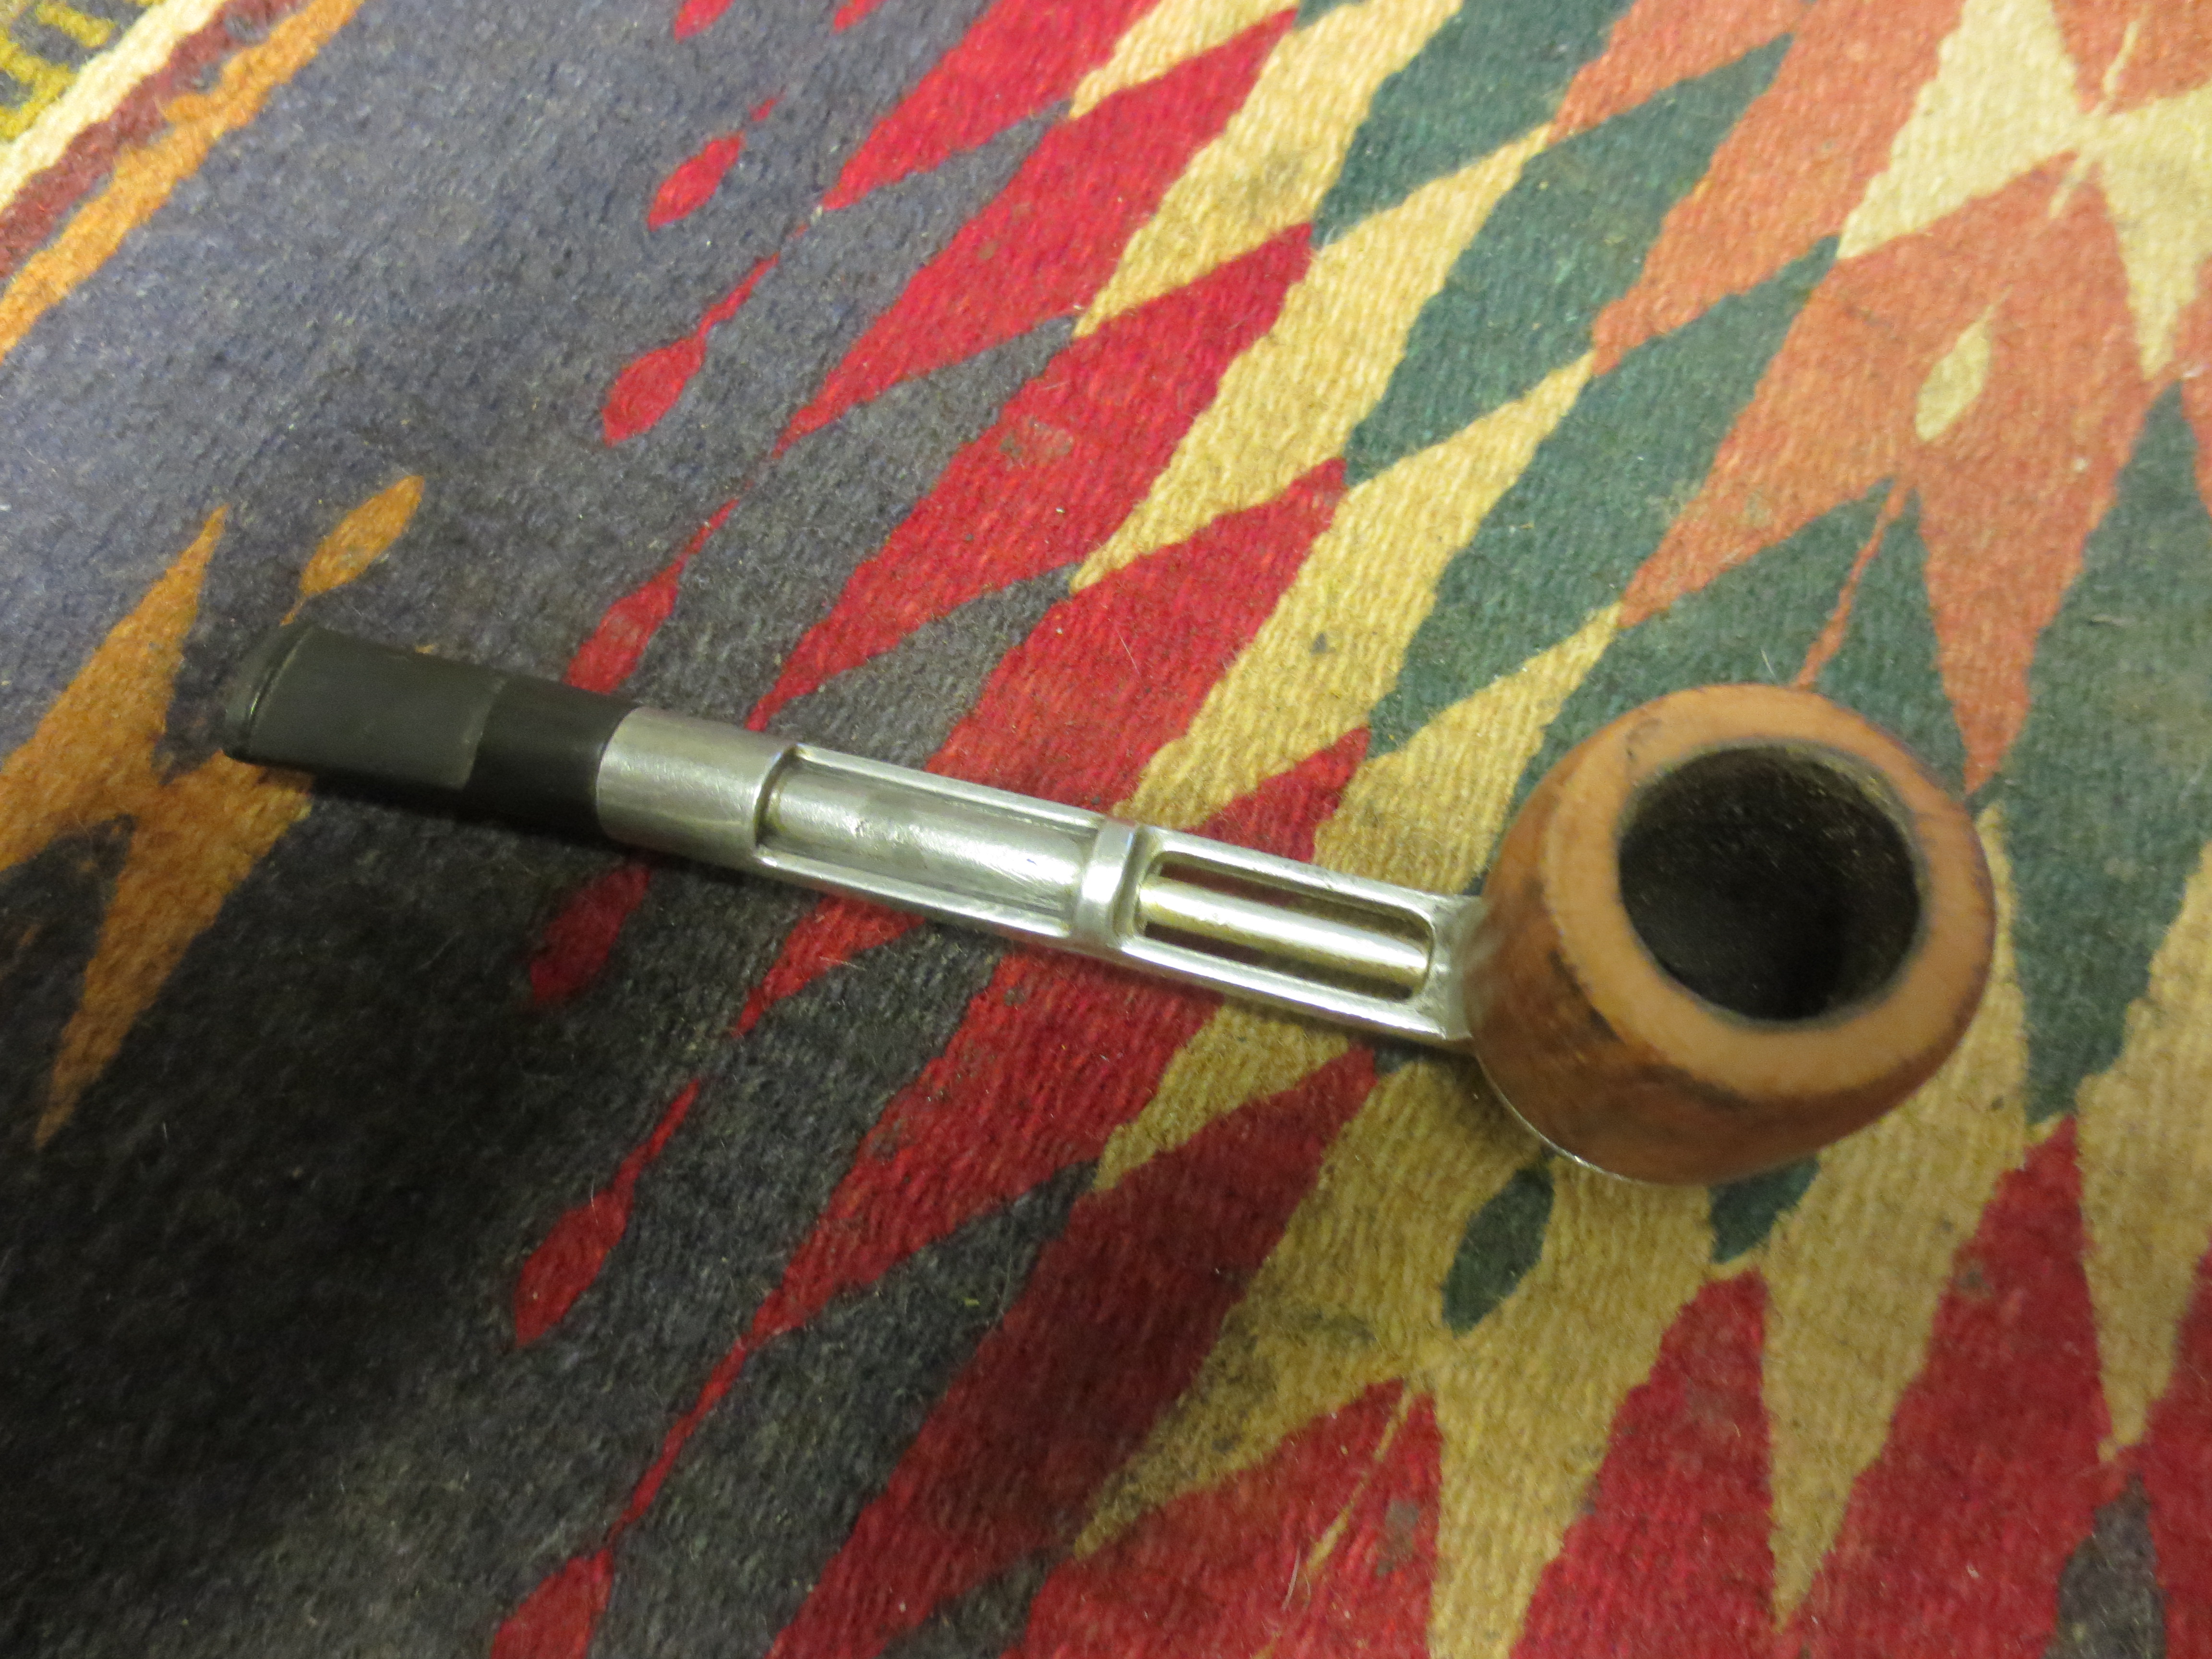
When I found this old metal pipe on a recent trip to Alberta it had no markings and at first glance appeared to be similar to both Falcons and Vikings. There was a difference though from those other metal pipes that I have in my collection. The tube in the base was thicker in the section next to the stem. The tube actually was normal sized from the bowl to the first joint and thicker from the joint back to the end of the shank. The shank itself was also round instead of the oval ones found in the previously mentioned pipes.It was the shape that caught my eye and I had to take it apart to see what made it different. I was surprised that the stem was actually removable and came out very easily when turned. The stem was also vulcanite rather than nylon and seemed to be of a good quality as it did not have signs of oxidation on it. When I removed the stem I was surprised to see that it had a metal tenon like those found in Medico pipes – slotted on each side so that it can be adjusted for a tight fit in the shank. Obviously this tenon was made to accommodate a filter by all appearances. I was hooked so I paid for it and added to my pipe hunt “treasures” that I would restore when I got home from the road trip.
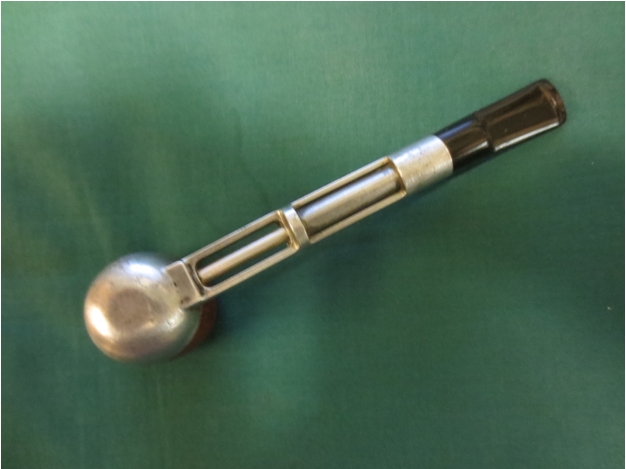
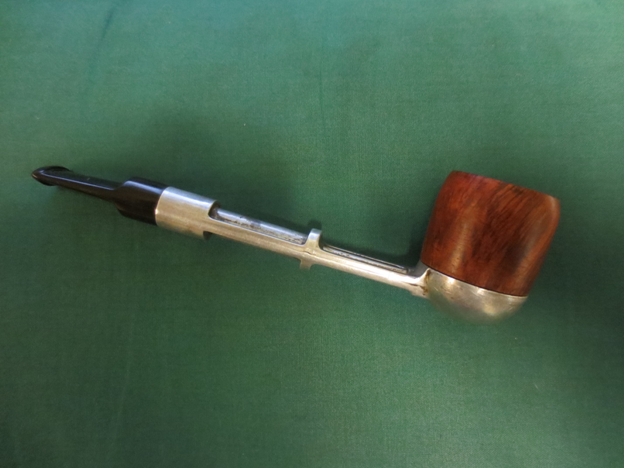
 While I was travelling I posted pictures of the pipe on the PSU Pipe Smoker Unlimited Forum and got a response that what I had was probably a Stirling pipe. The response included a link to the Smoking Metal website http://www.smokingmetal.co.uk/pipe.php?page=285. The site had pictures of the pipe and it matched mine precisely. It stated the following: “STIRLING, no markings on pipe or bowls, only the box is marked as Stirling, as Foreign Made, but no idea by whom. There are several similar pipes, none of which have a name on them. Arcadia (on this website) is one, differing only in the fact that whereas this Stirling has an all vulcanite push fit stem, the Arcadia has a vulcanite stem with a metal threaded insert. The “Park Lane” has no facility for a filter like the Stirling. This one accepts some Dr. Grabow Viking Bowls as well. Its overall length is 5 7/8 inches or 149mm. I have included the photos from the Smoking Metal site for comparison sake.
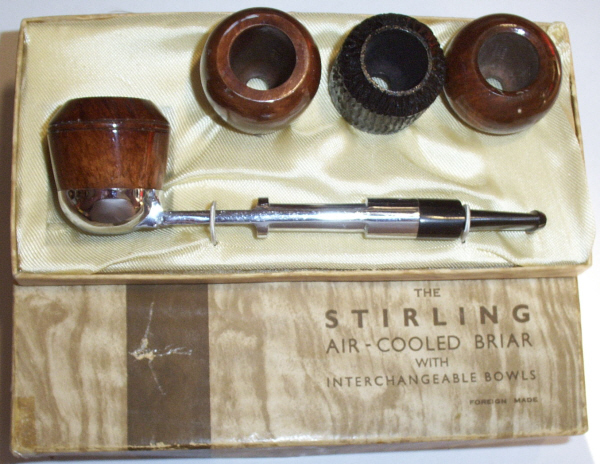 From the above photos I conclude that the pipe I found is indeed a Stirling Air-Cooled Briar. It evidently had originally come with interchangeable bowls. From the information found on the site I was able to ascertain that Grabow Viking Bowls would fit the base. I had several of those at home so I when I got home earlier this week I checked it out and found that they did fit well. While this information is helpful it still leaves a lot shrouded in mystery for me. I would love to figure out who made the pipe. I have written to Ed on the Dr. Grabow forum and Bill Feuerbach from KW to see if they have any information on the pipe. If any of you readers have any information please let me know.
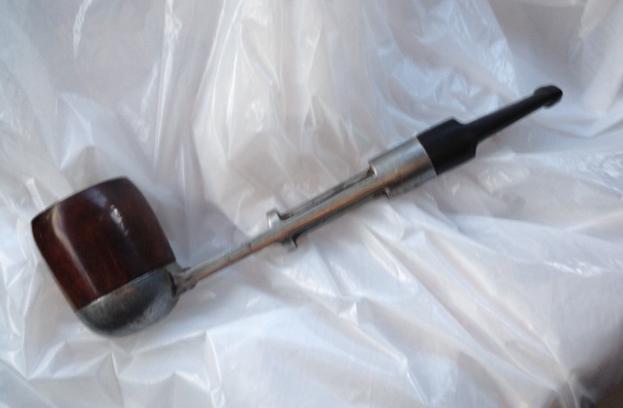
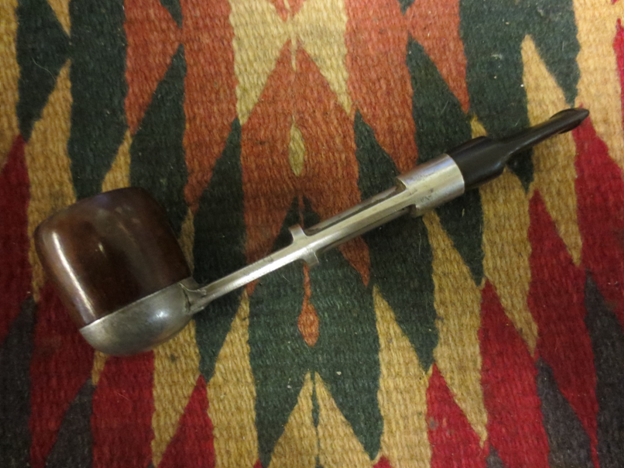
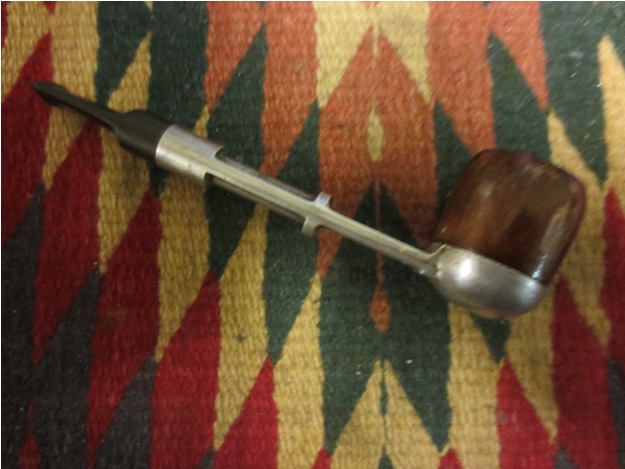
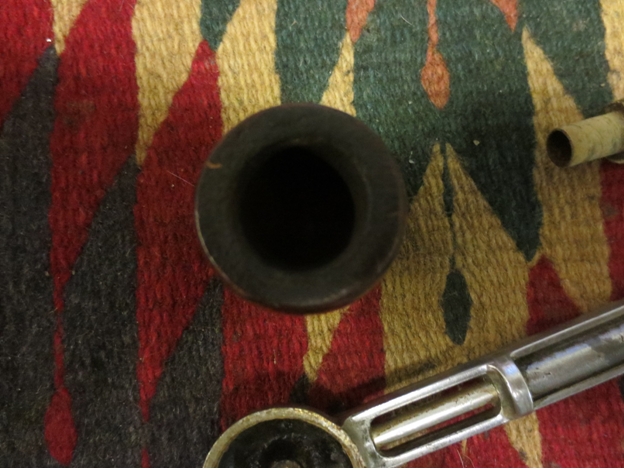
Now it was time to clean up the pipe. The bowl was thickly caked and the insides of the base were black with tars and oils that had hardened. The stem had some tooth chatter on both the top and bottom near the button. The finish on the bowl was flaking and the varnish coat was peeling off the briar. The rim was black with tars and also had some damage from the bowl being tapped out to empty it. The aluminum was oxidized and dirty as well. The next four photos show what the pipe looked like when I started to work on it.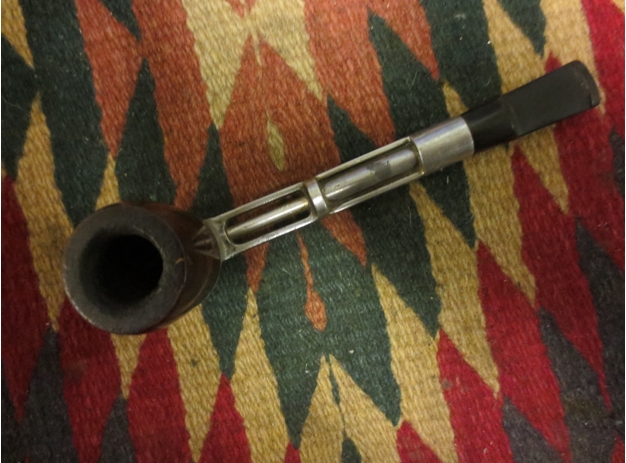
 I took the pipe apart to clean the interior of the base. I used pipe cleaners, cotton swabs, cotton pads and alcohol to break through the hardened oils and tars in both the shank and the base. The tenon was metal (brass?) and was thickly caked as well. The two slots on the side of the tenon were covered so it was not clear that they even existed.
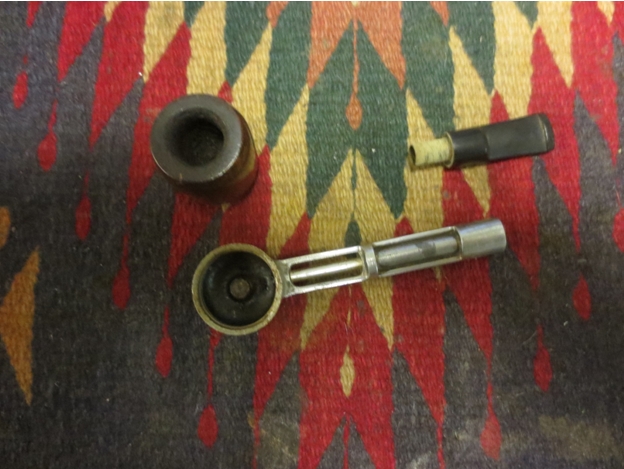 I reamed the bowl with a PipNet reamer and took it back to the briar. I started with the smallest cutting head and worked my way up to the size that fit the bowl.
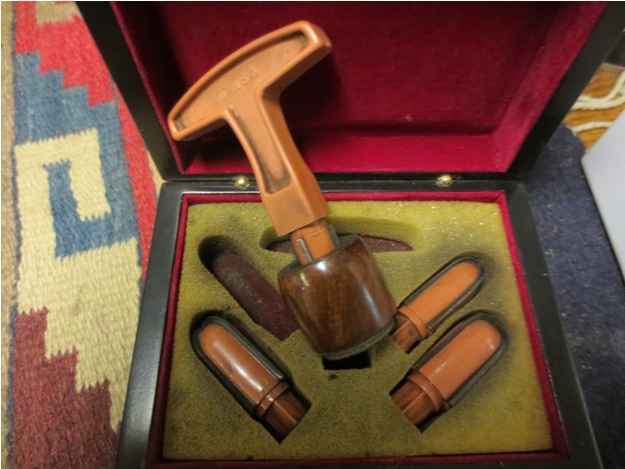
 I set up a topping board with 220 grit sandpaper and sanded the top of the rim to remove the damage.
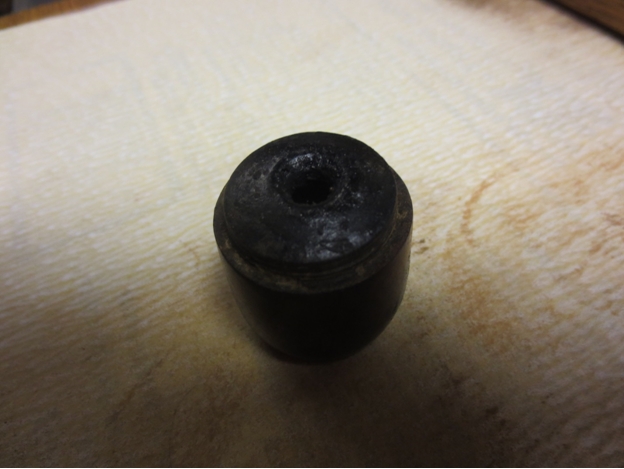
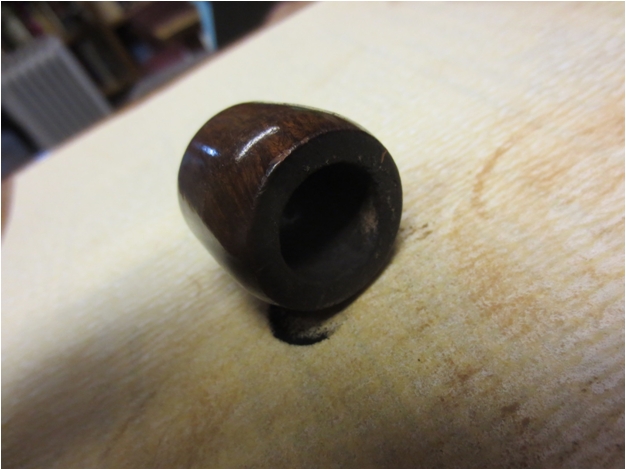 I scrubbed the finish off of the bowl with alcohol and also cleaned the bottom of the bowl. I sanded it with 220 grit sandpaper to break the finish and then used medium and fine grit sanding sponges to remove the scratches left behind by the sandpaper. I finished sanding it with micromesh sanding pads – wet sanding with 1500-2400 grit pads. The next series of three photos show the bowl at this point in the process. I was not sure whether I would stain the bowl or leave it natural and just polish it.
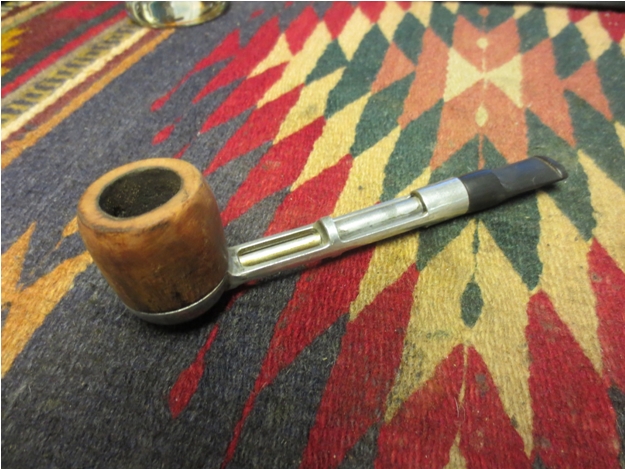

 I sanded the tooth chatter on the stem with 220 grit sandpaper to remove the damage and then followed that with medium and fine grit sanding sponges. I finished the stem by sanding it with micromesh sanding pads. I wet sanded with 1500-2400 grit pads and dry sanded with 3200-12,000 grit pads. I rubbed the stem down with Obsidian Oil between each set of three pads.
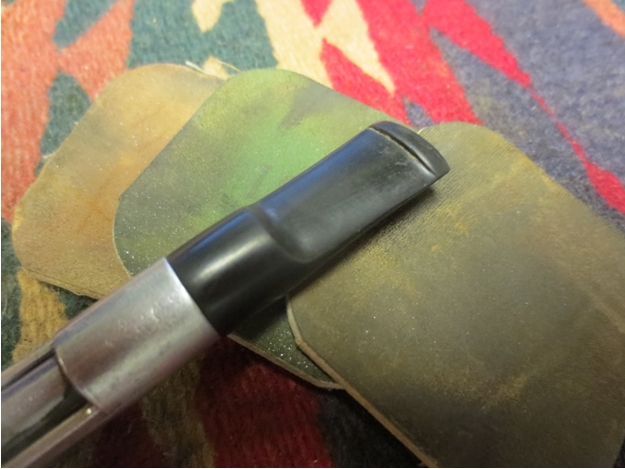
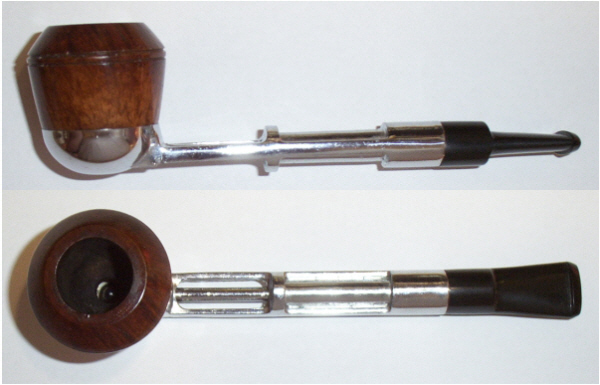
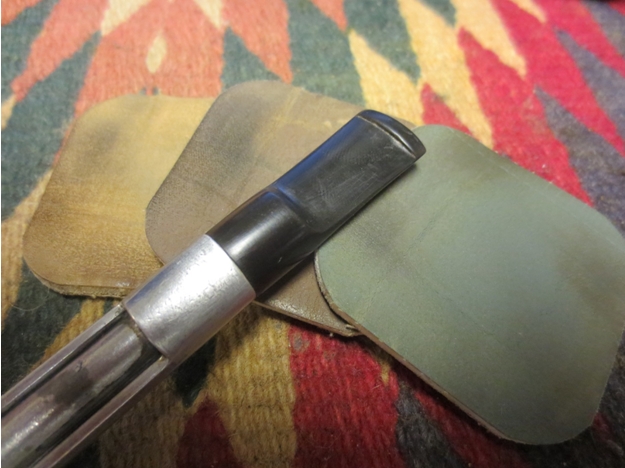 Once the stem was done I buffed it with White Diamond and gave it several coats of carnauba wax. I cleaned the aluminum and polished it with a silver polish and polishing cloth then set it aside to figure out what I was going to do with the bowl. I finally decided to leave it natural but to also wipe it down with a light coat of olive oil to darken the finish slightly. I buffed it with White Diamond and then gave it several coats of carnauba wax and buffed it with a soft flannel buff to bring out the shine. The pipe was finished in terms of the cleanup. I put a Medico filter in the shank for the inaugural smoke though I will probably not keep it there for future smokes. The finished pipe is shown below.