Over the past few years I have been experimenting with many different materials to use for fill replacement. I started with various wood putties that were supposed to be stainable and found that all did not take stain well enough to blend well with briar. I tried super glue and briar dust and found that the repair was more acceptable – instead of the pink, tan or white of putty I was left with a very dark repair. The super glue and briar dust dried almost black. I tried wood glue and briar dust with much the same result. I fiddled with the proportions of the mixture and with the kind of glues. I tried Gorilla Glue, Krazy Glue and Super Glue from Stewmac. All of them ended up with a dark patch. I got used to working with that and using stains and contrast to blend the fill into the finish – generally it was still present but less intrusive to the eye.
I was gifted two old pipe bowls that would be great pieces to continue the experiment on. They both had large fills on the bowl. The first was a pot shaped piece with relatively good grain all the way around the bowl. On the right side of the bowl was a large fill. I took several photos of it to try to capture it. It was a tan coloured material and stuck out like a sore spot to my eye. The bowl was dirty and covered with a thick coat of varnish. 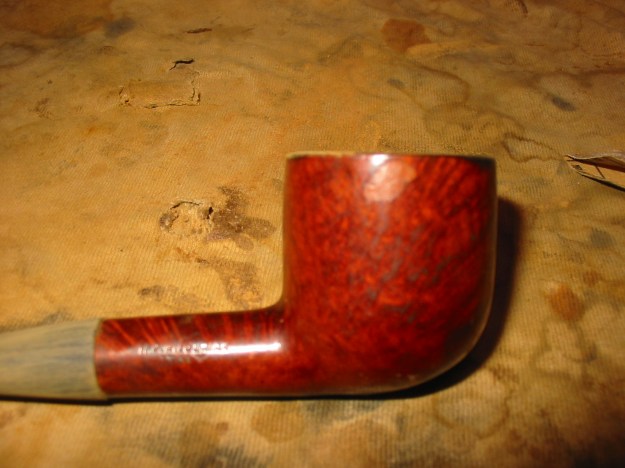 I reamed the bowl and worked at picking out the fill with a dental pick. Once I had removed the top coat of the fill it was white hard putty that was impermeable. There was no way that the stain would penetrate that putty. I picked the fill until I got down to the bottom of the fill. I cleaned up the area with acetone on a cotton pad. Once I had the hole completely cleaned of the white putty the briar underneath was raw and unstained.
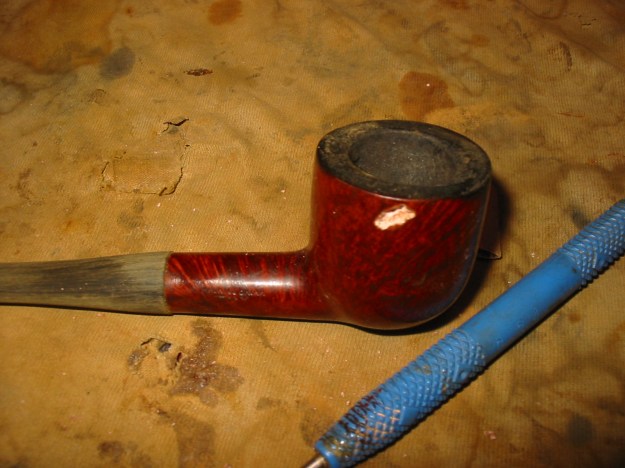 For this experiment I decided to try something I had not used before. I used a small mixing cup I have in the work cupboard and put in a small mound of briar dust. I collect the briar dust when I top a bowl or from when I am carving a pipe.
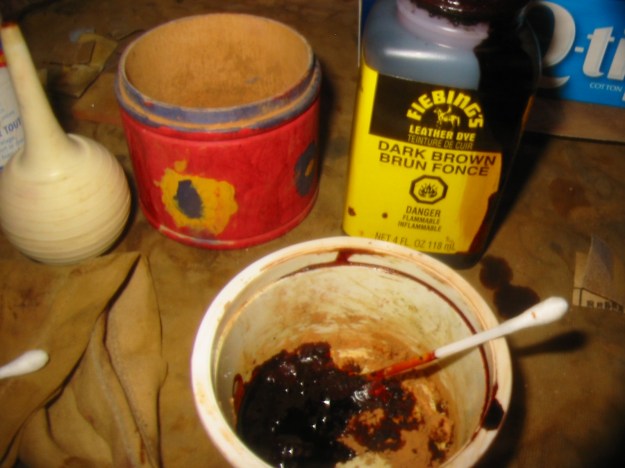
  I have used briar dust for the repairs for a long time but never tried staining the dust before using it in the patch. This time I used an ear syringe to drop some aniline stain into briar dust. I used Fiebings Dark Brown stain this time. I mixed it with the saw dust to get a dark dust. I mixed it in with a cotton swab and the end of a dental pick to get the stain and saw dust all mixed. The result was the colour of coffee grounds. I will have to try the same mixing with various stains to see if the result will vary at a later date.
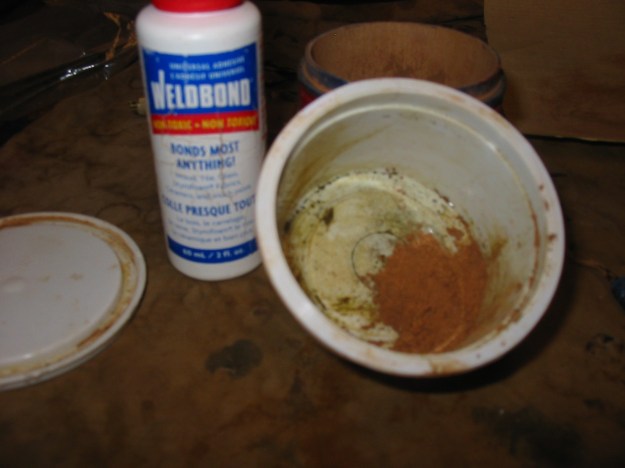
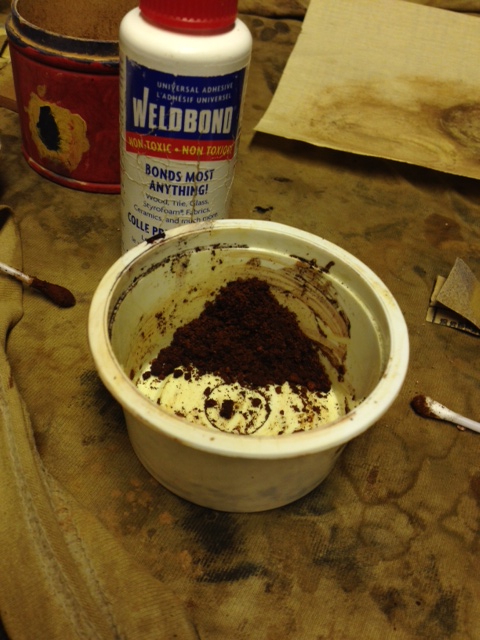 I have wood glue that I regularly use here that is labeled Weldbond. It is the same make up as Elmers Glueall – a white glue that dries clear. It is not a liquid but the same consistency as Elmers. I added the glue to the stained briar dust and stirred it in with the dental pick. The result was a clumping of the briar dust around the glue. I kneaded the briar dust and glue until the clumps were well mixed. When I was finished I had a small soft ball of briar dust and glue that had a paste like consistency. It was not dry but quite tacky or sticky.
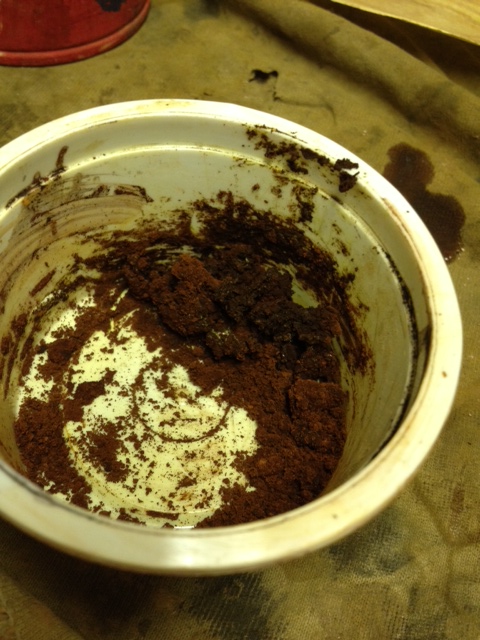
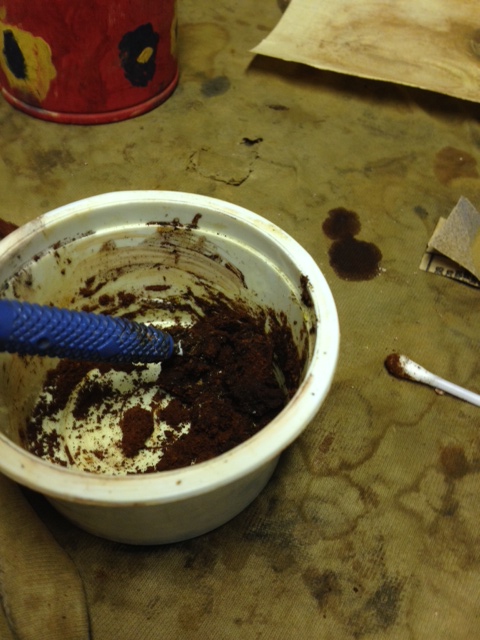 I took a small piece of the doughy ball and pressed it into the hole in the side of the bowl. I pushed it into the crevices of the hole with the dental pick until the hole was solidly filled with the mixture. At this point it was slightly darker than the stain on the bowl.
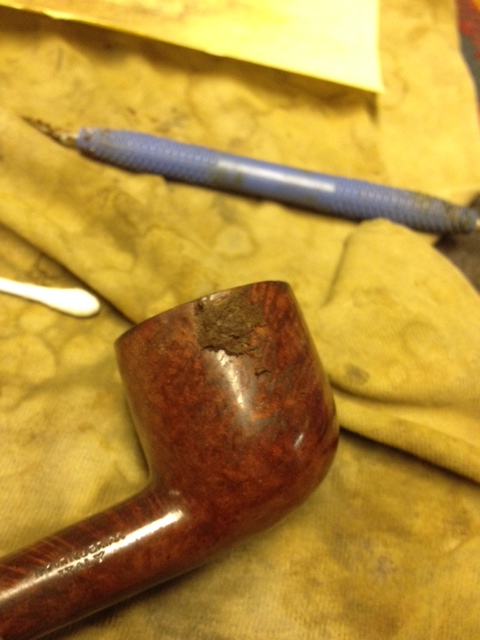 I cleaned up the new fill with the end of the dental pick and feathered it out to make the surface smooth. I overfilled the repair to allow for shrinkage as the glue mixture dried.
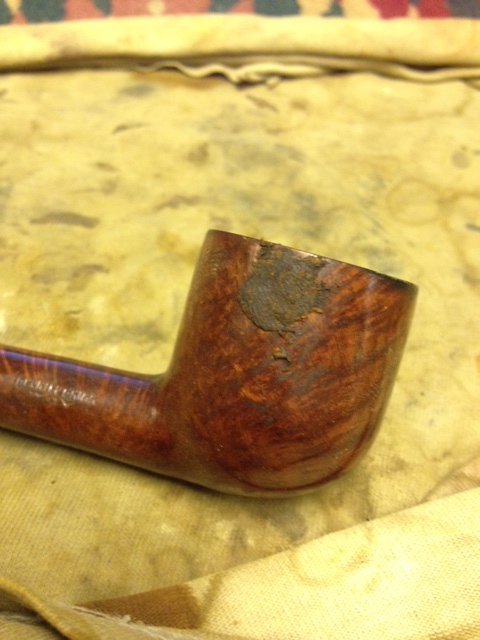
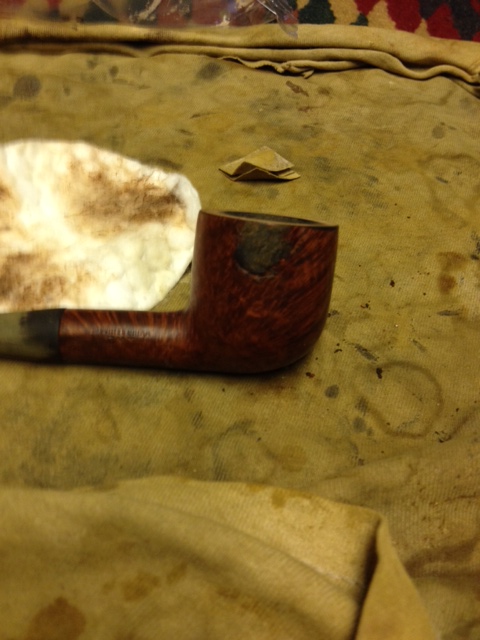 I let the patch dry overnight. In the morning it was solid and hard to the touch. I tested it with the end of the dental pick to make sure that it was dry all the way through and not just on the surface of the repair. I wiped down the bowl with acetone on a cotton pad avoiding contact with the patch but removing the varnish coat. I also topped the bowl. I wanted to check the rim to see if the hole had any “tentacles” reaching the rim. There was a small pit the size of a pen tip but it was solid so I left it alone.
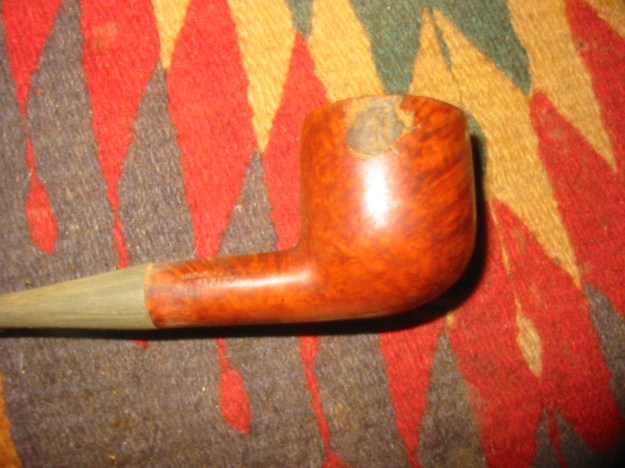
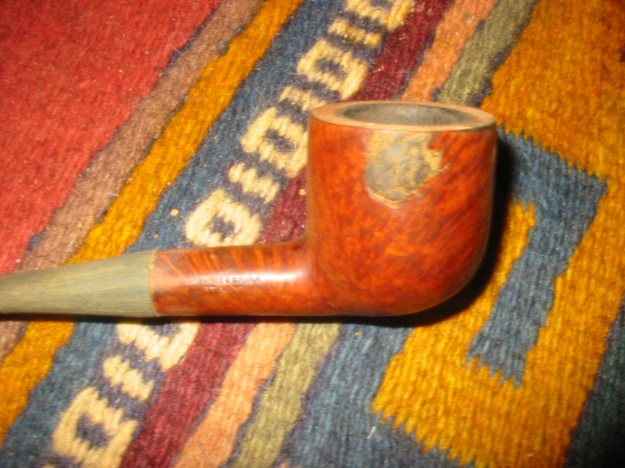 I sanded the bowl patch with 220 grit sandpaper to remove the excess and blend it into the bowl surface. The patch was very hard so it took quite a bit of sanding to smooth it out.
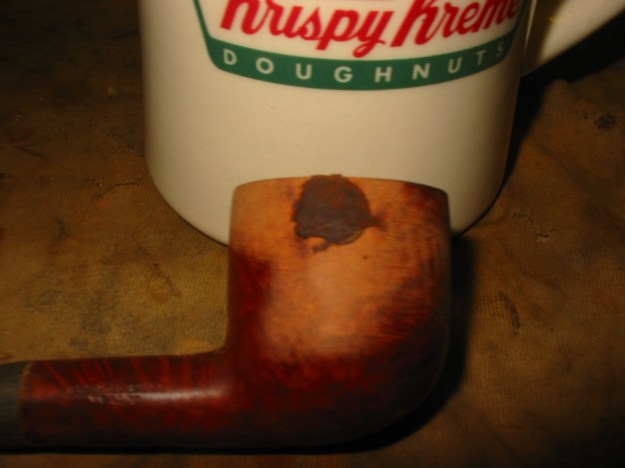
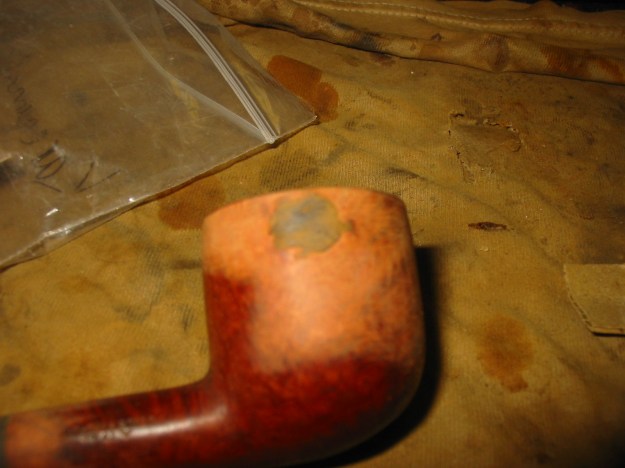 I used 150 grit sandpaper and was finally able to remove the majority of the excess. It left the surface scratched but sanding it with higher grit sandpaper would take care of that. In the photo below the size of the patch is clearly shown. It is still dark brown in colour.
 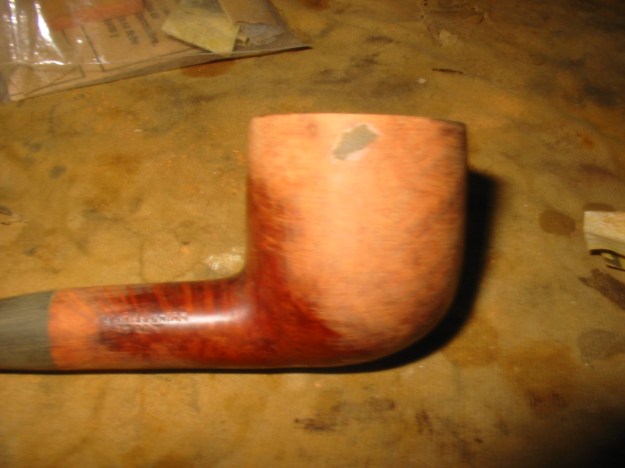 I sanded the bowl with 220 grit sandpaper and then a medium and fine grit sanding sponge. That further cleaned up the repair.
 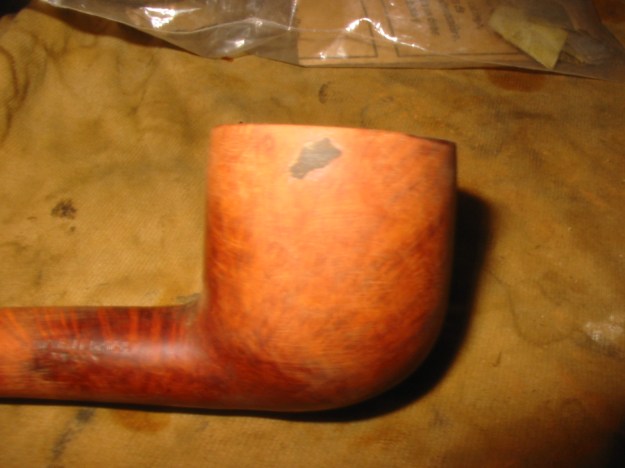 I needed to address the scratches in the briar so I sanded it with 400 grit wet dry sandpaper and then wet sanded with 1500-2400 grit micromesh sanding pads. Once the surface was smooth and polished I used the same dark brown aniline stain on the bowl. I applied the stain and flamed it, repeating the process until I had an even coat on the entire bowl. The stain at that point was too opaque to my liking so I wiped it down with isopropyl alcohol on cotton pads to lighten the finish coat. The patch remained darker than the bowl at this point in the process but it was still dark brown and not black.
 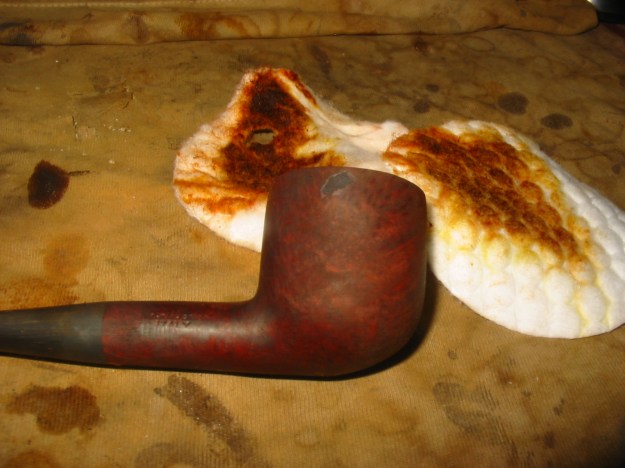 I buffed the bowl with red Tripoli and then White Diamond to polish it. The patch still stood out but was dark brown rather than the light tan it had been to begin with. The photo below shows the patch after buffing and polishing. The surface looks to be pitted but is smooth to the touch and is flush with the surface of the briar.
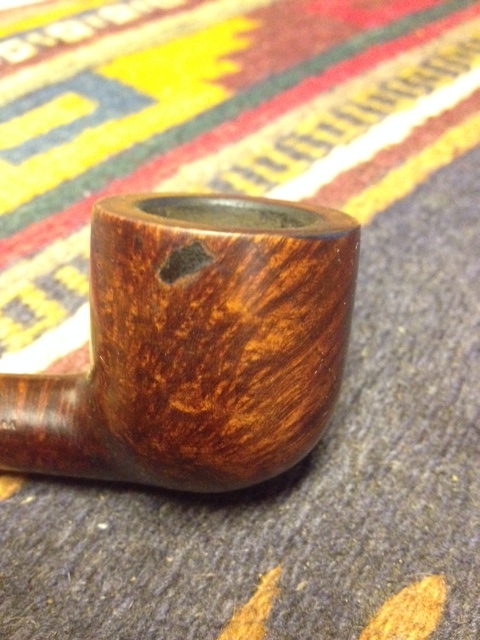
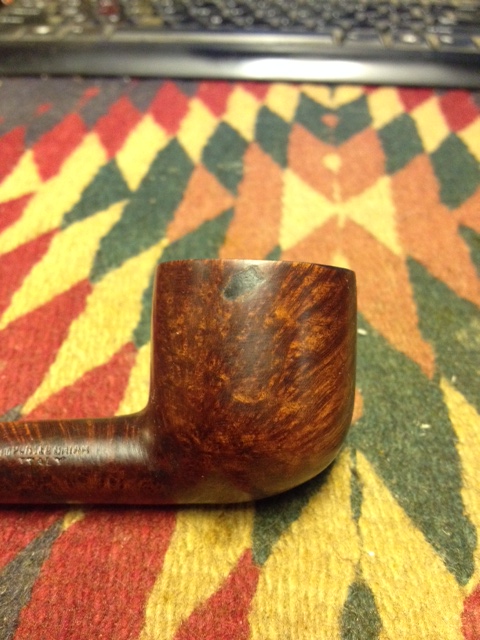 I sanded the bowl further with 4000-12,000 grit micromesh sanding pads. I gave the bowl a finish coat of walnut stain Danish Oil. The photo below shows the patch before buffing and polishing. It is by no means hidden or blended into the finish.
 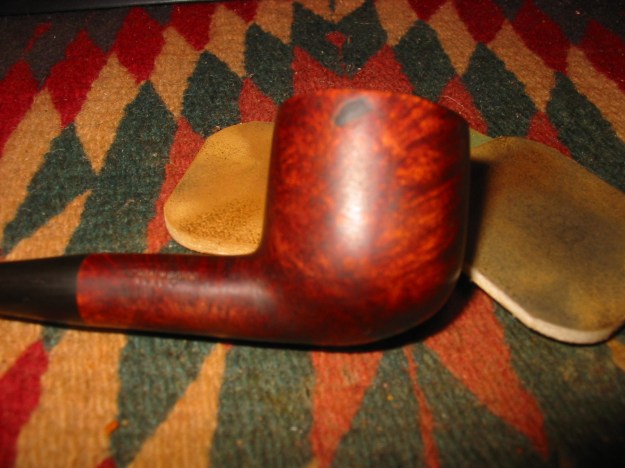 In viewing the end result of the patch using the wood glue, stain and briar dust I have to say that overall experiment failed in terms of making a matching patch. The dark brown stain created a dark brown patch that is hard to blend into the stain. It is more visible than the black patch left behind by the mix of superglue and briar dust. I want to further experiment with lighter stains and wood glue and see if I can make the patch lighter in colour. That might facilitate blending it into the finish better.
