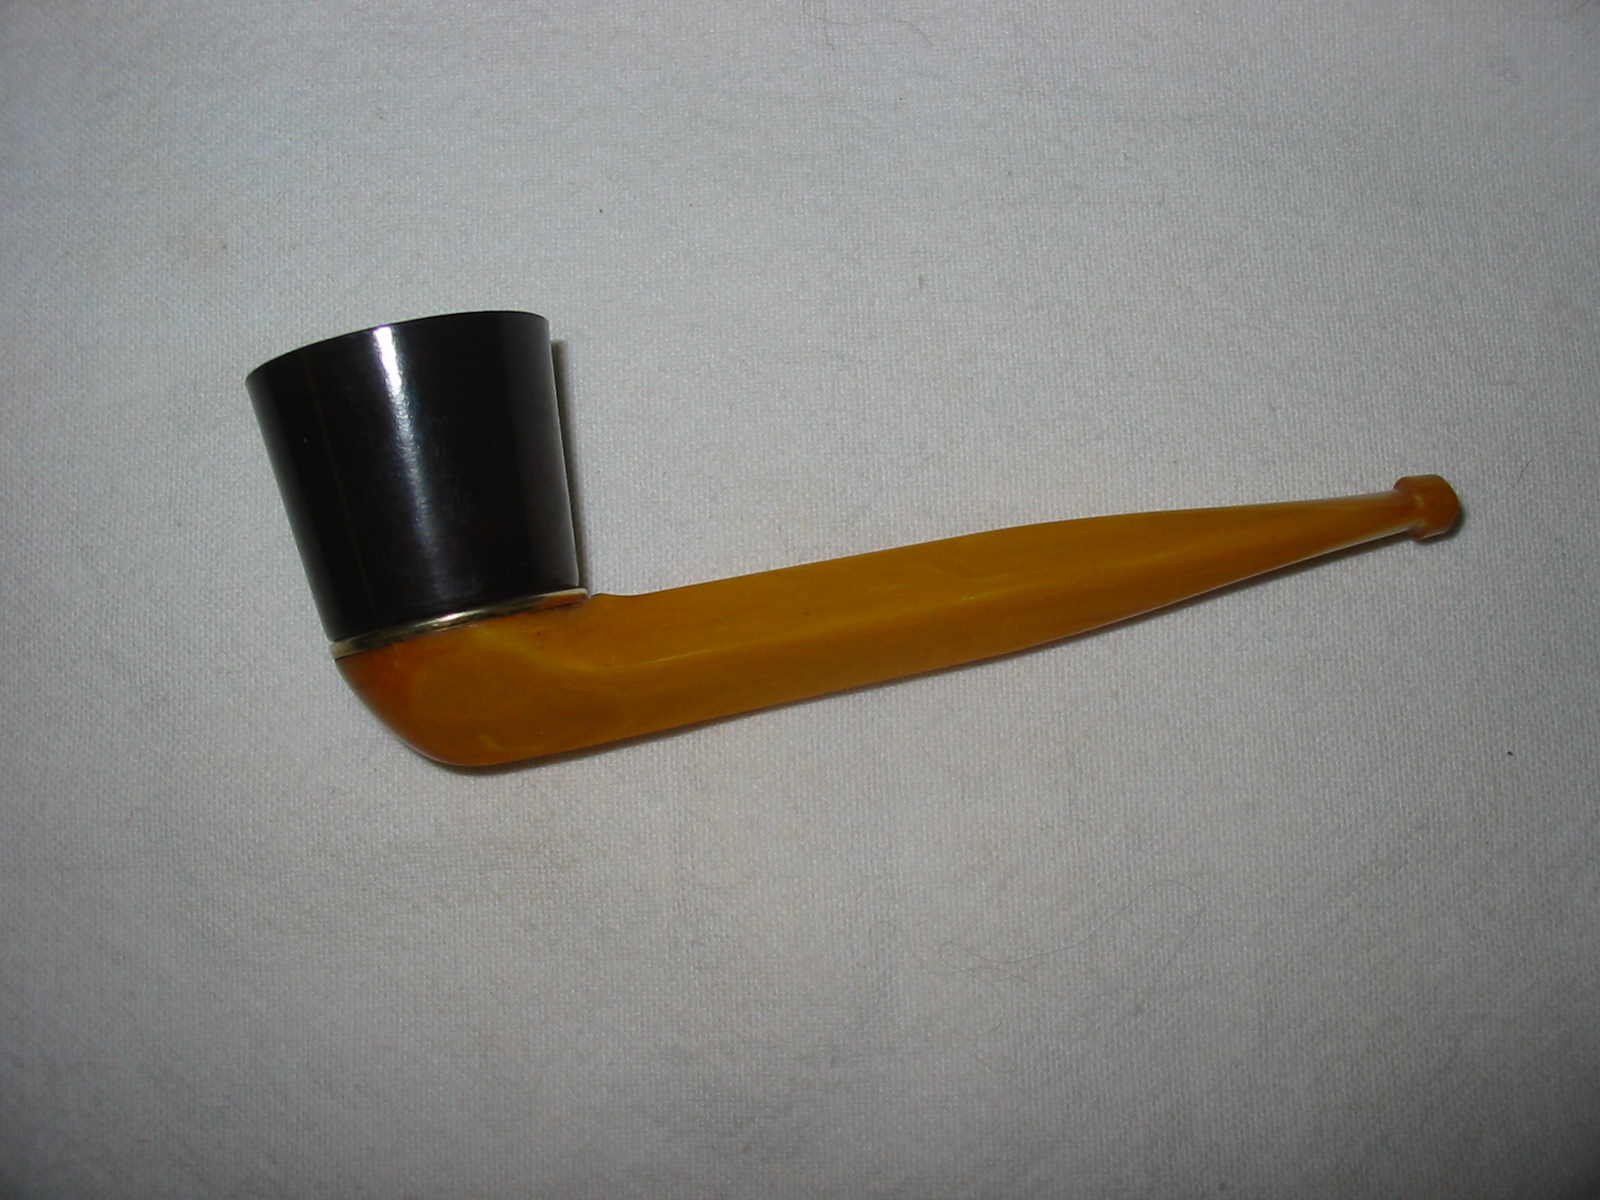
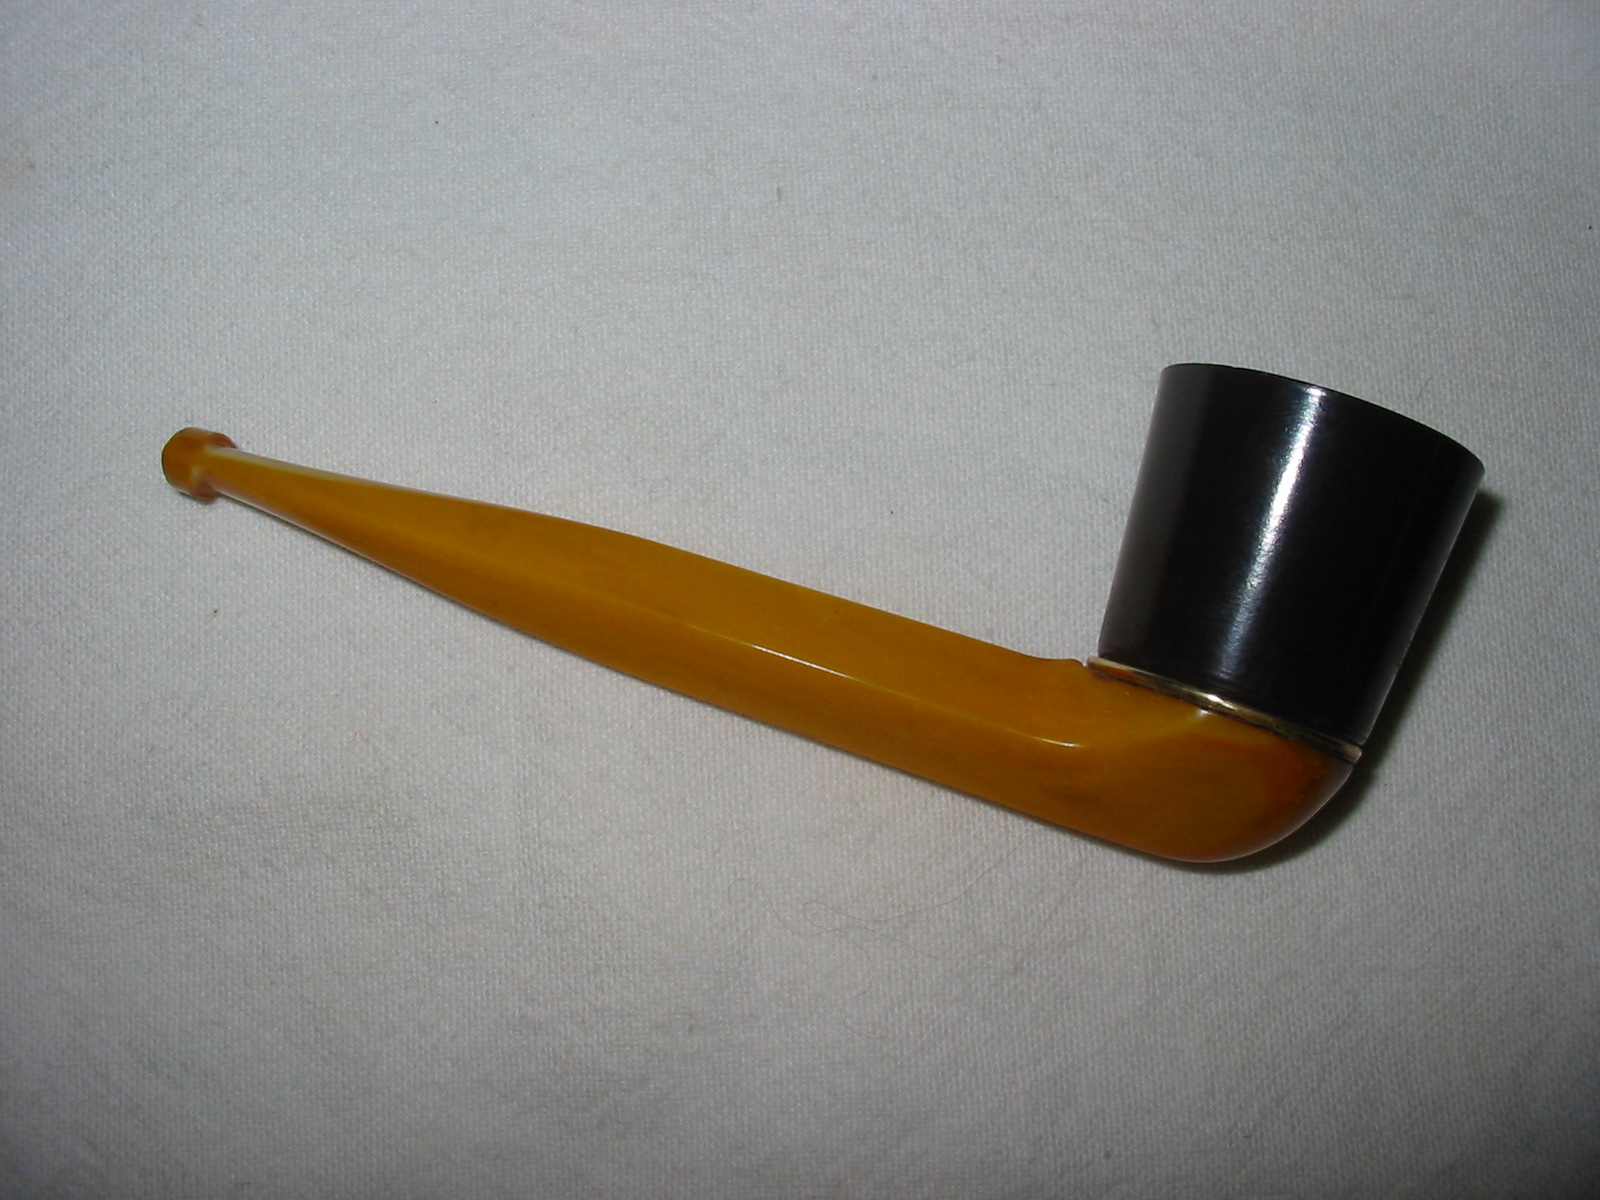
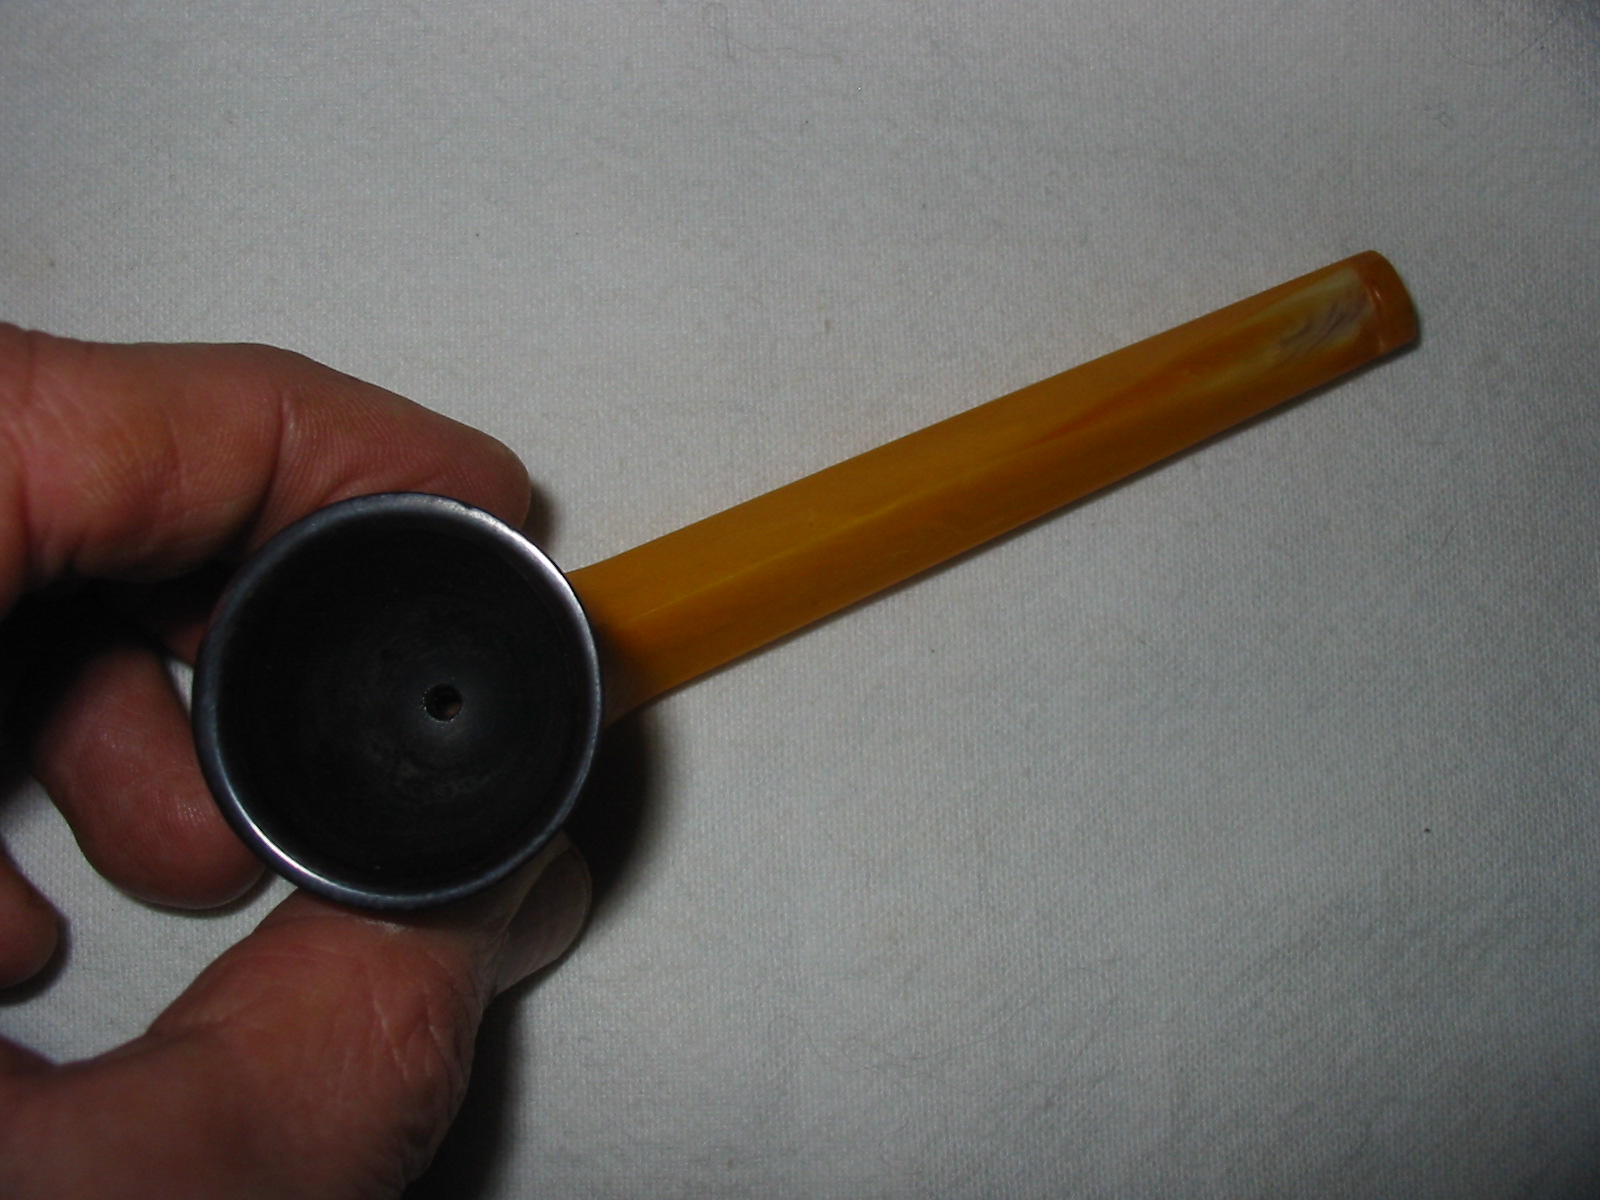
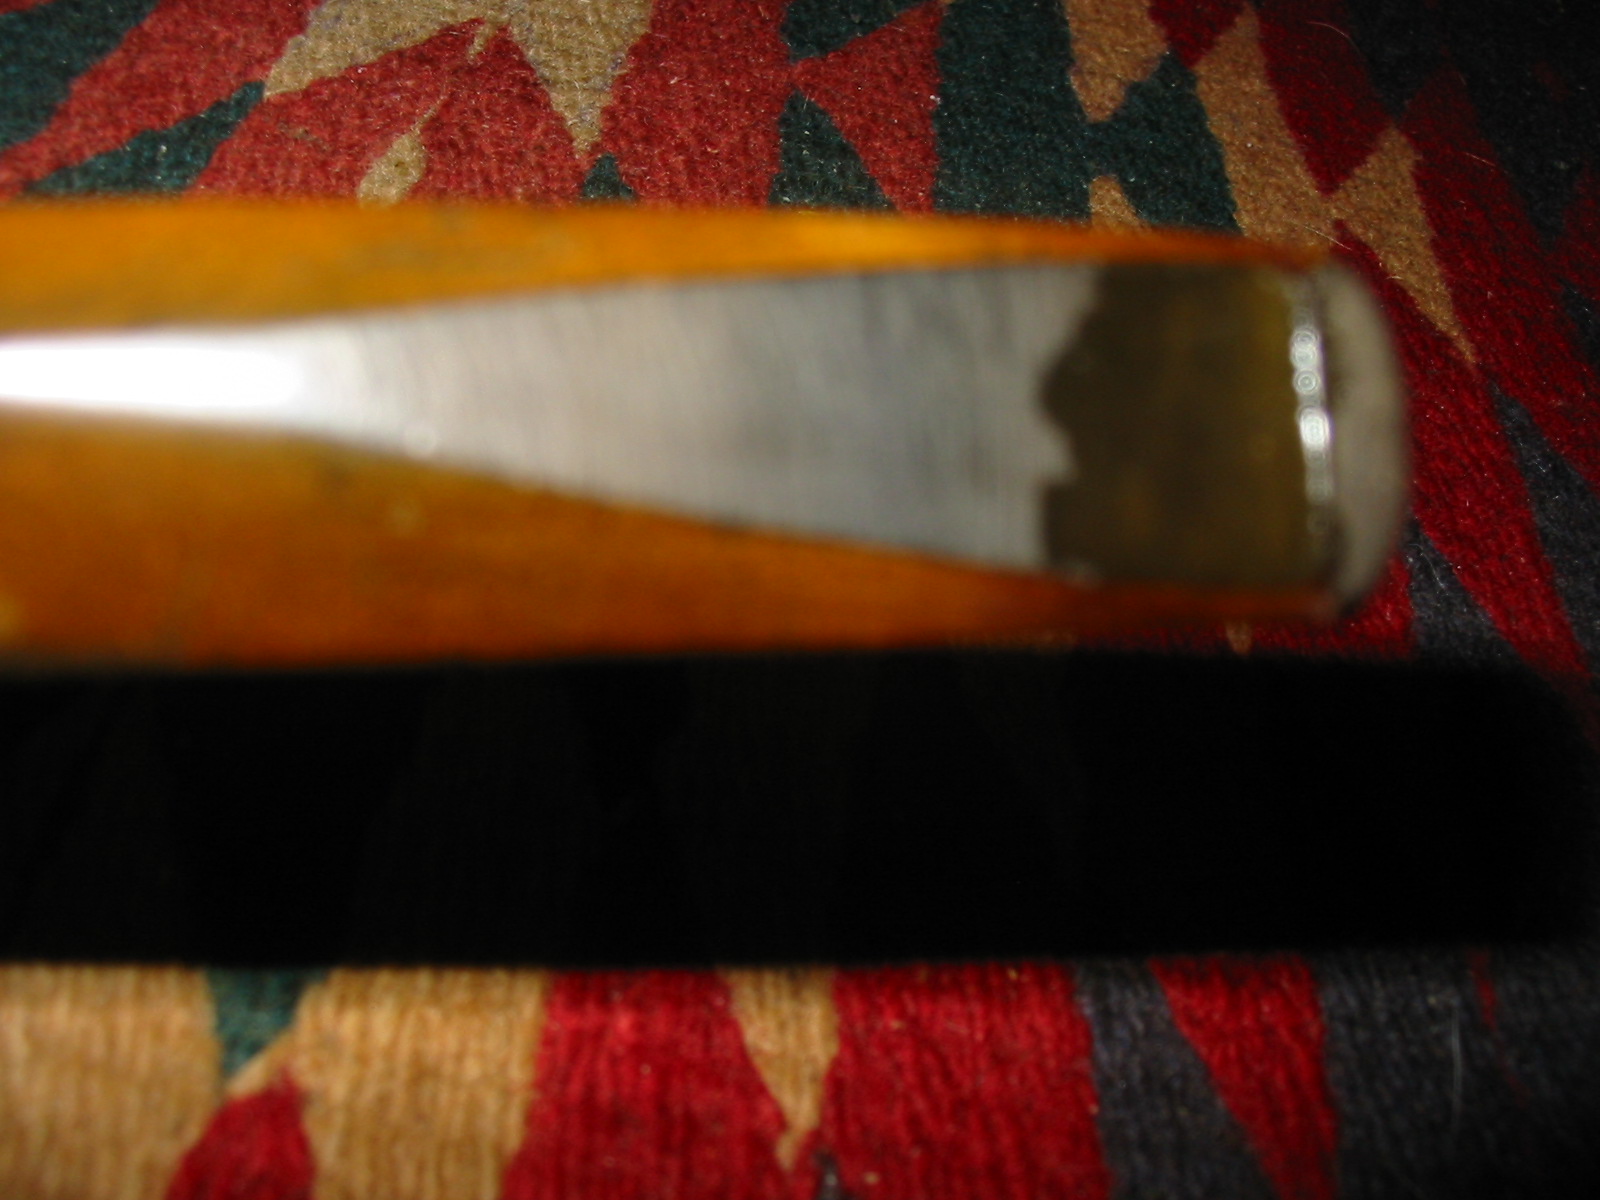
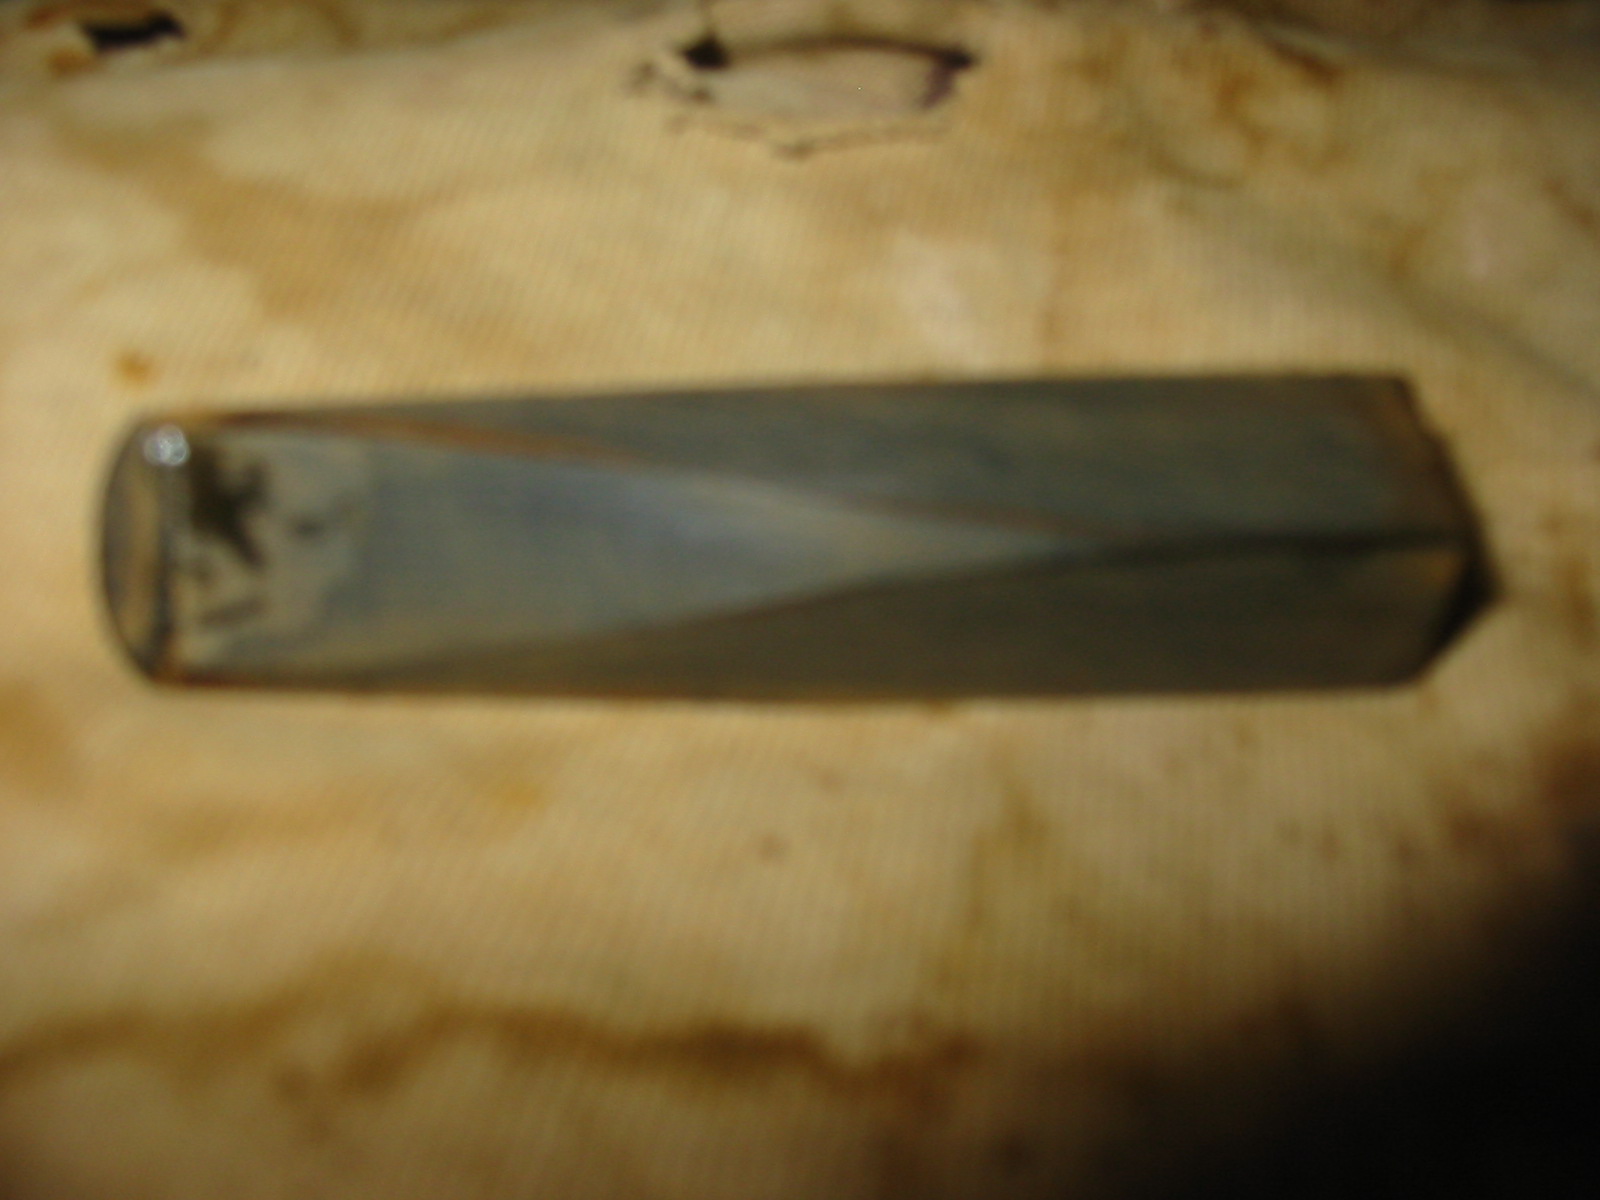
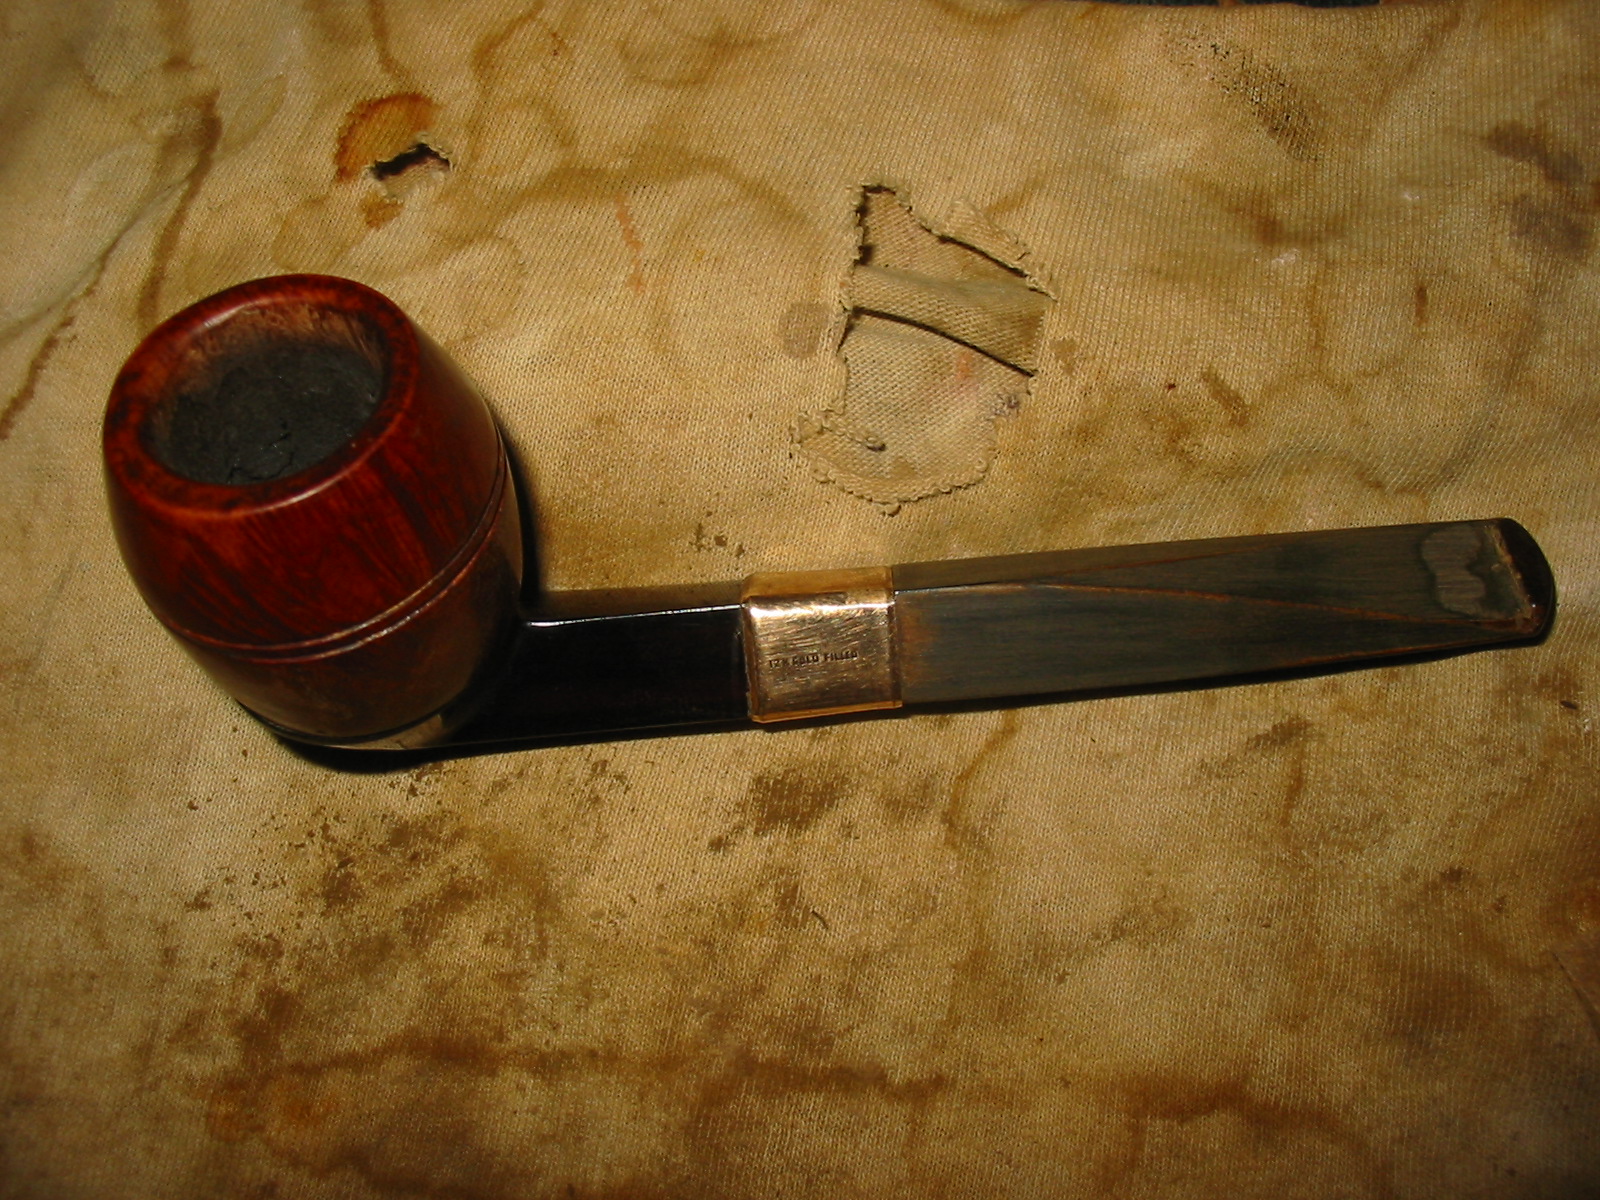
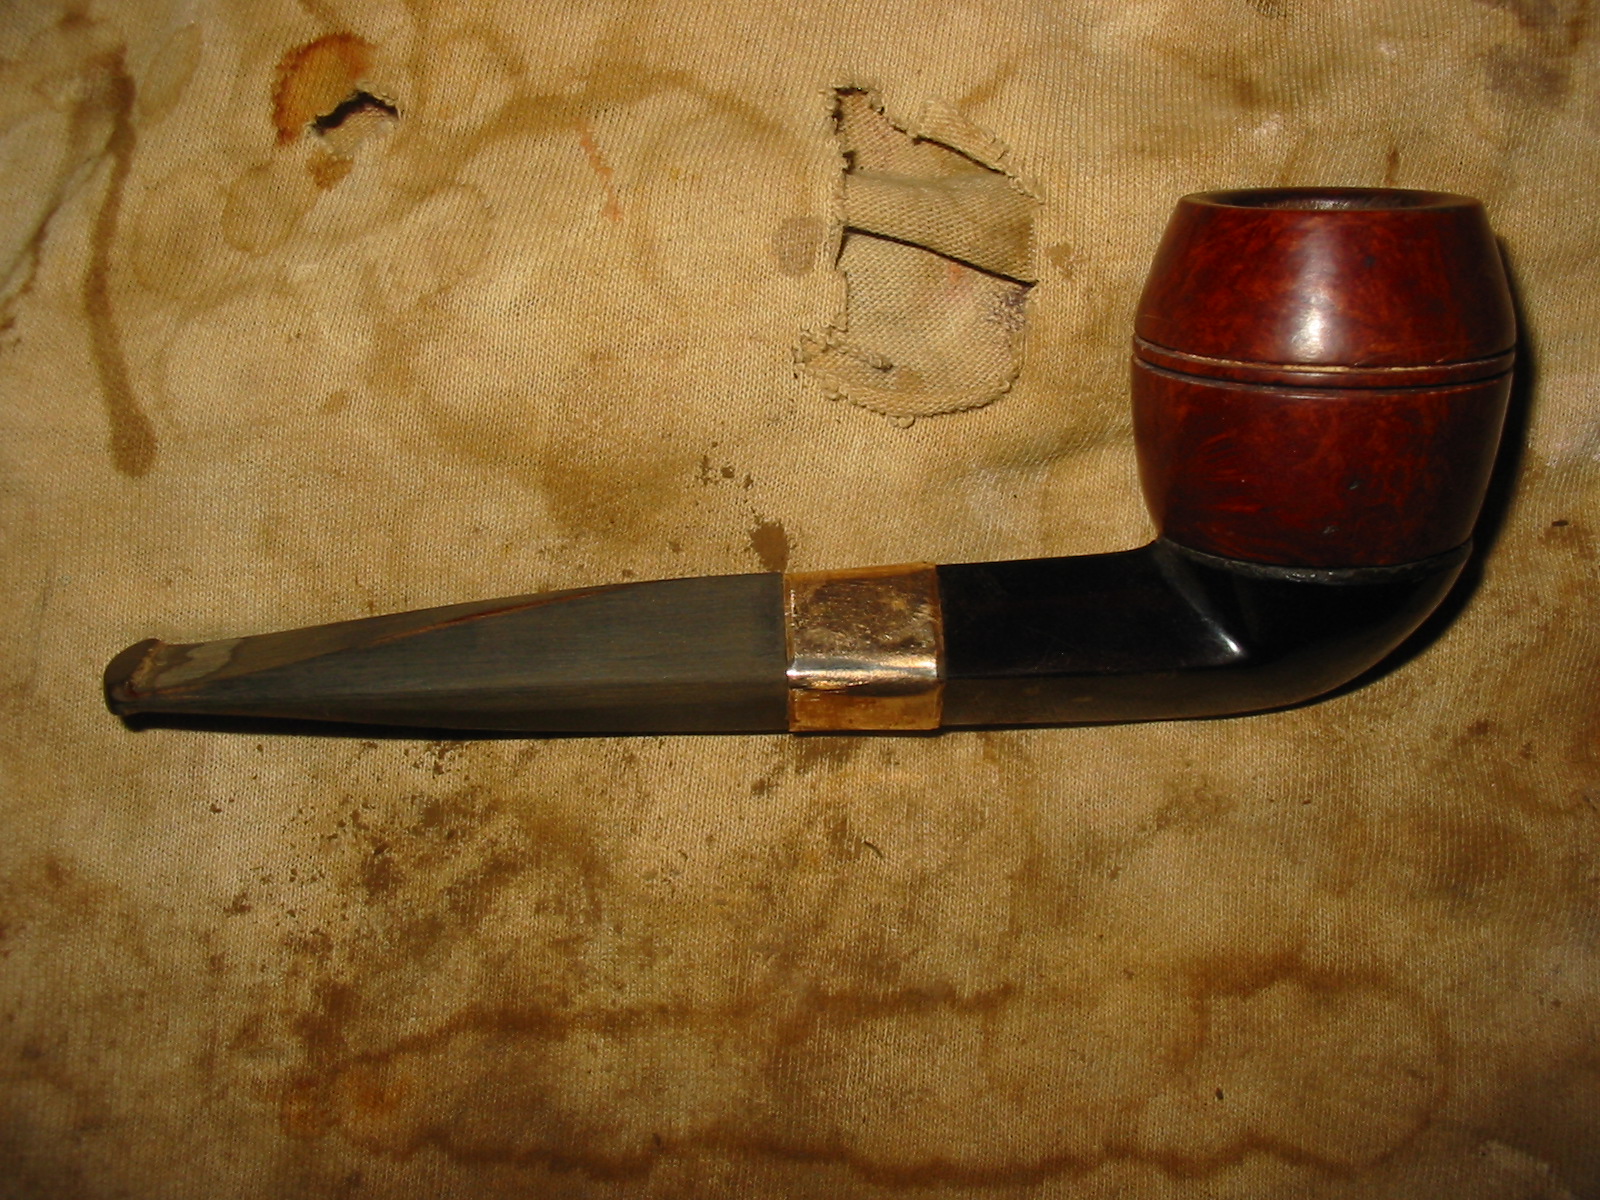
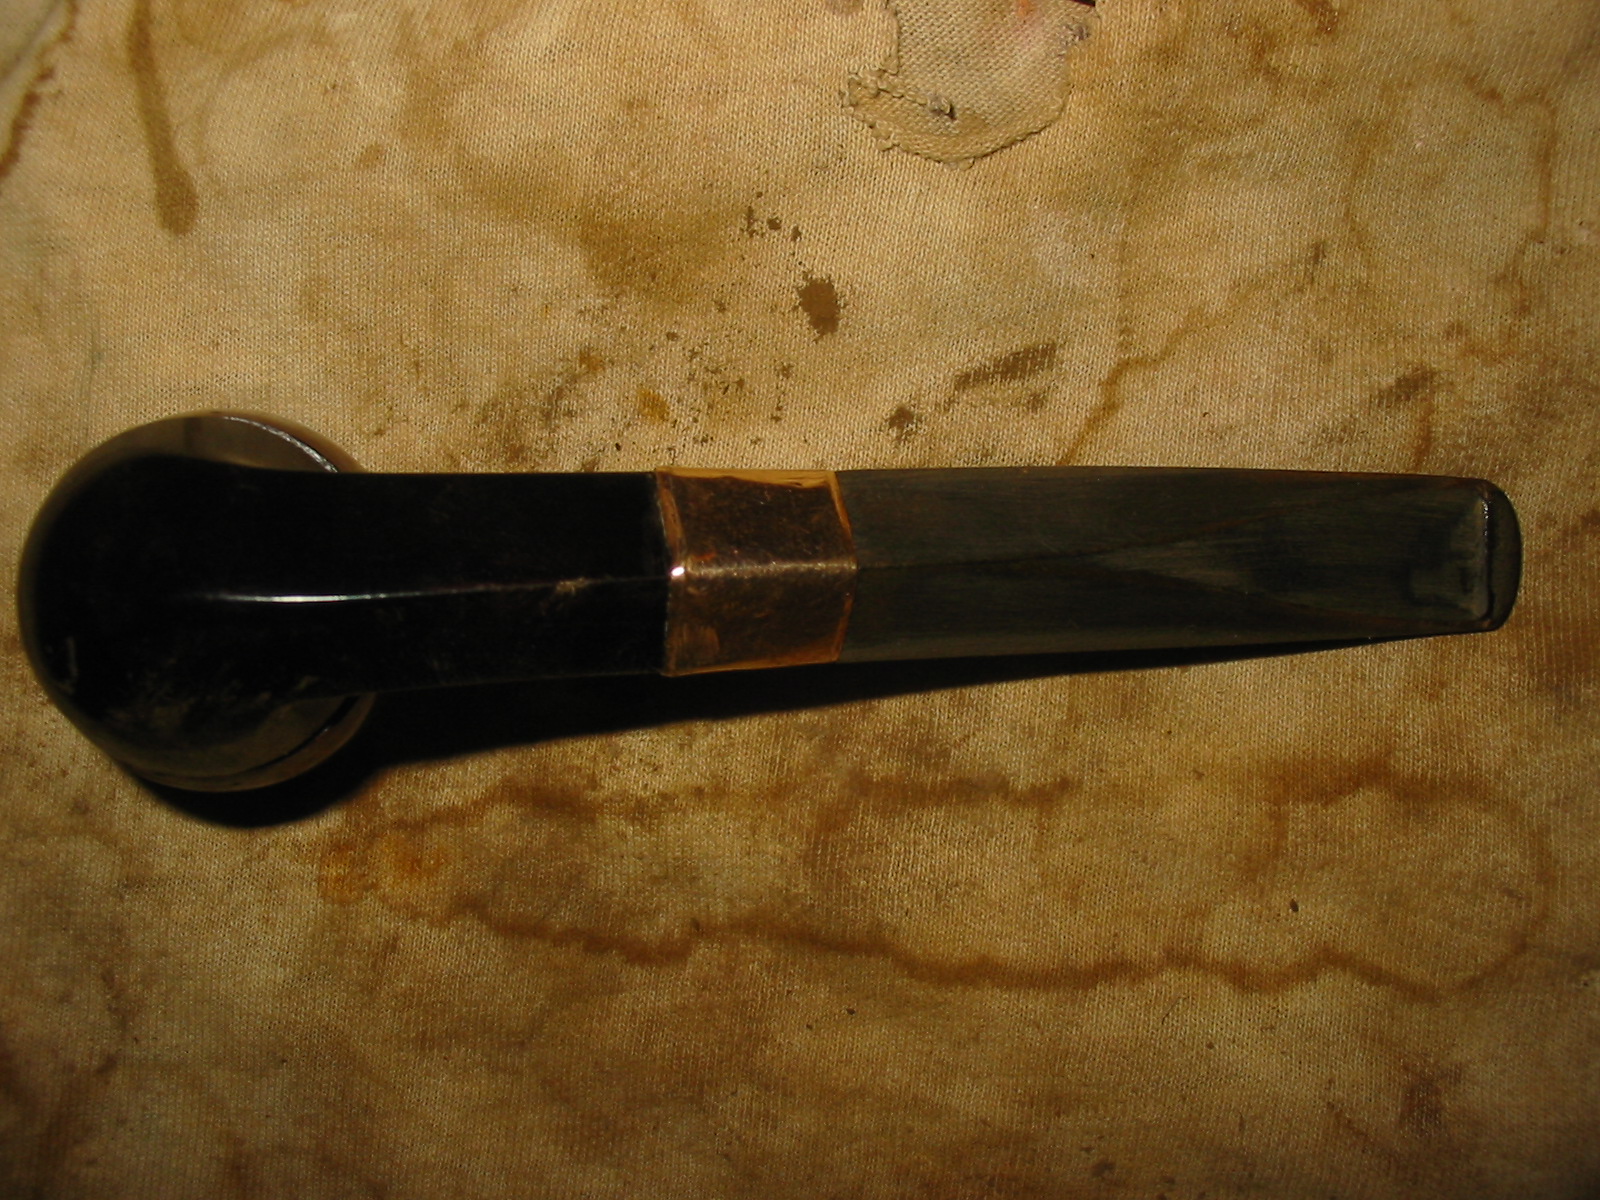
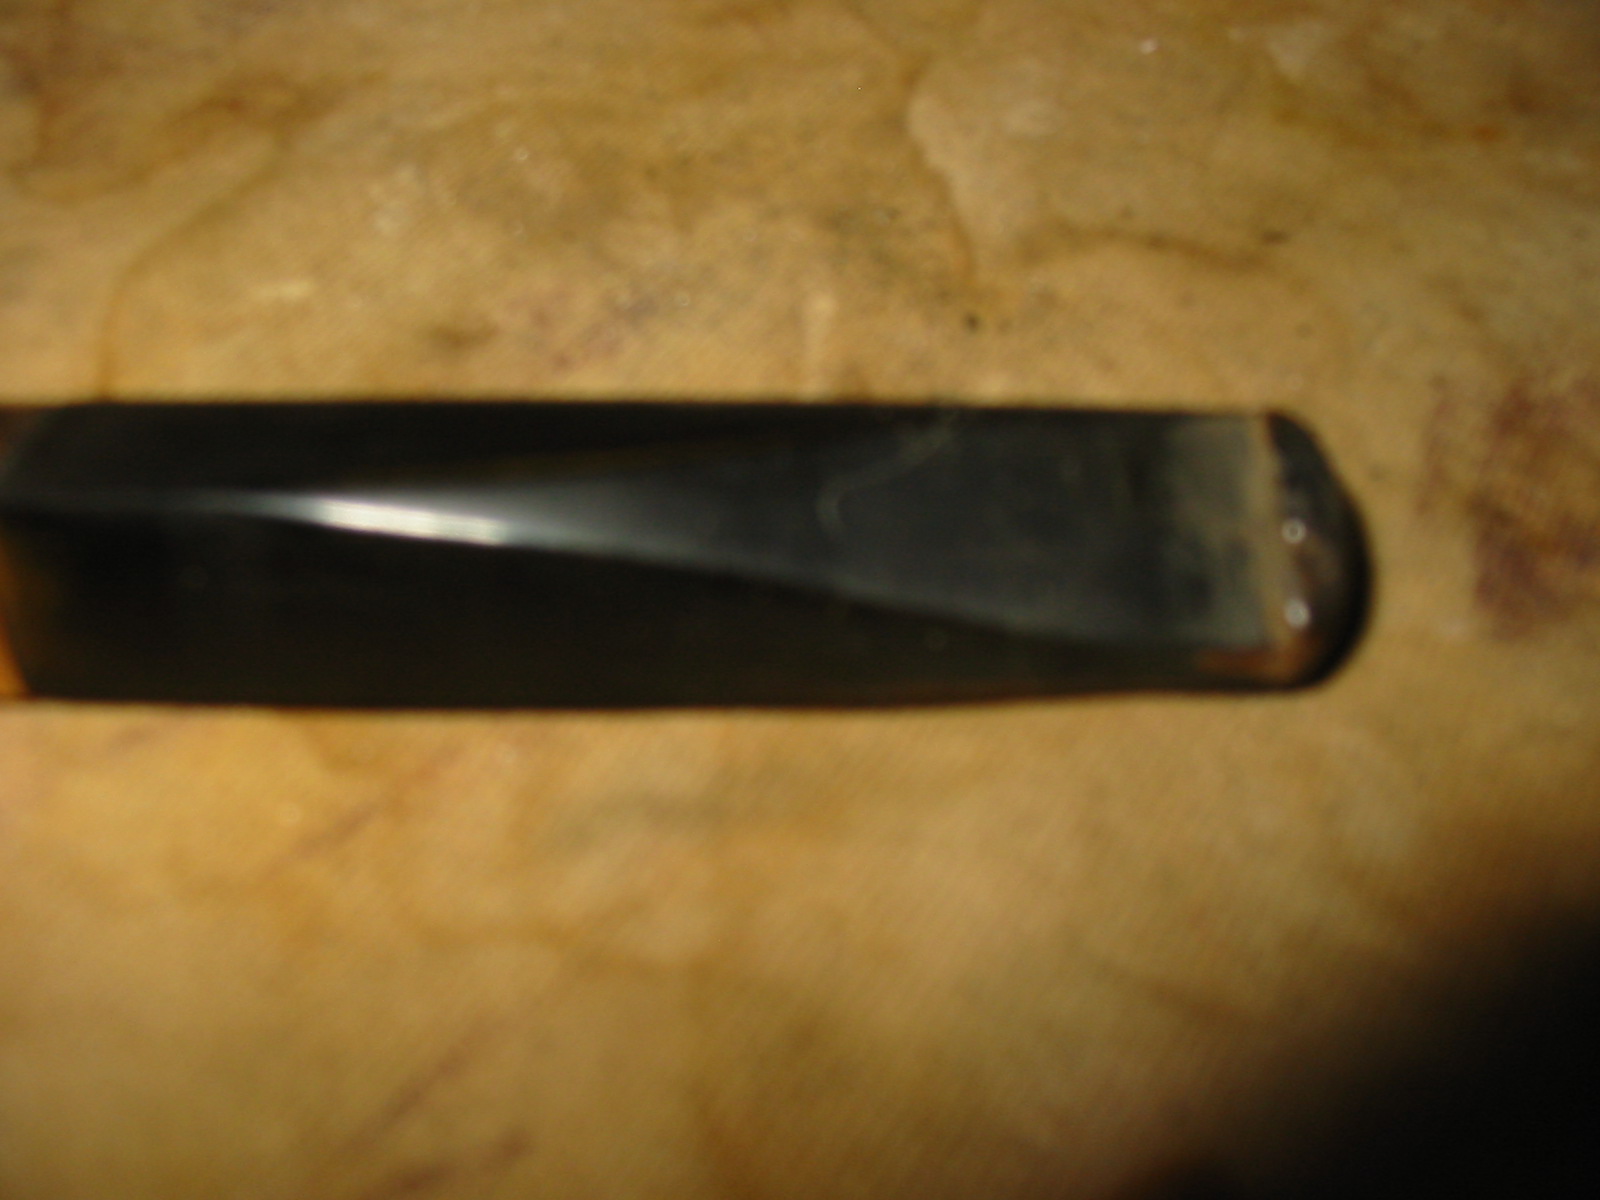
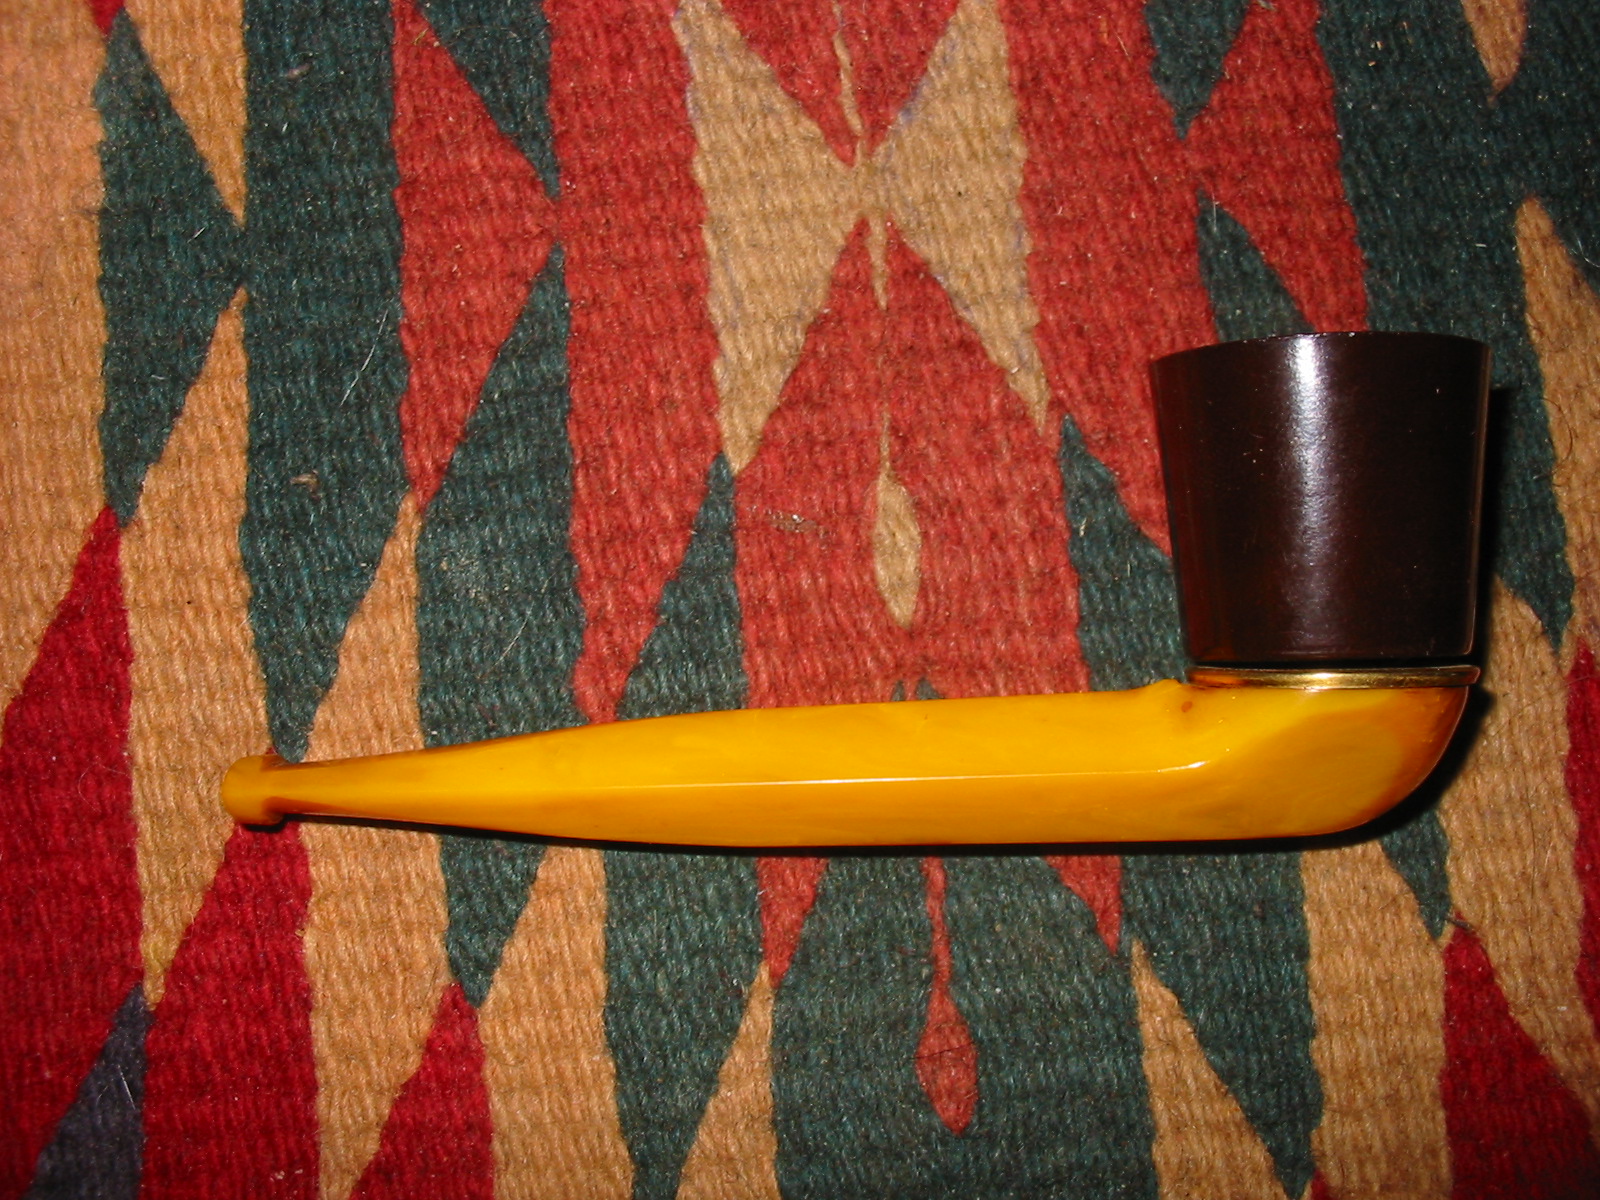
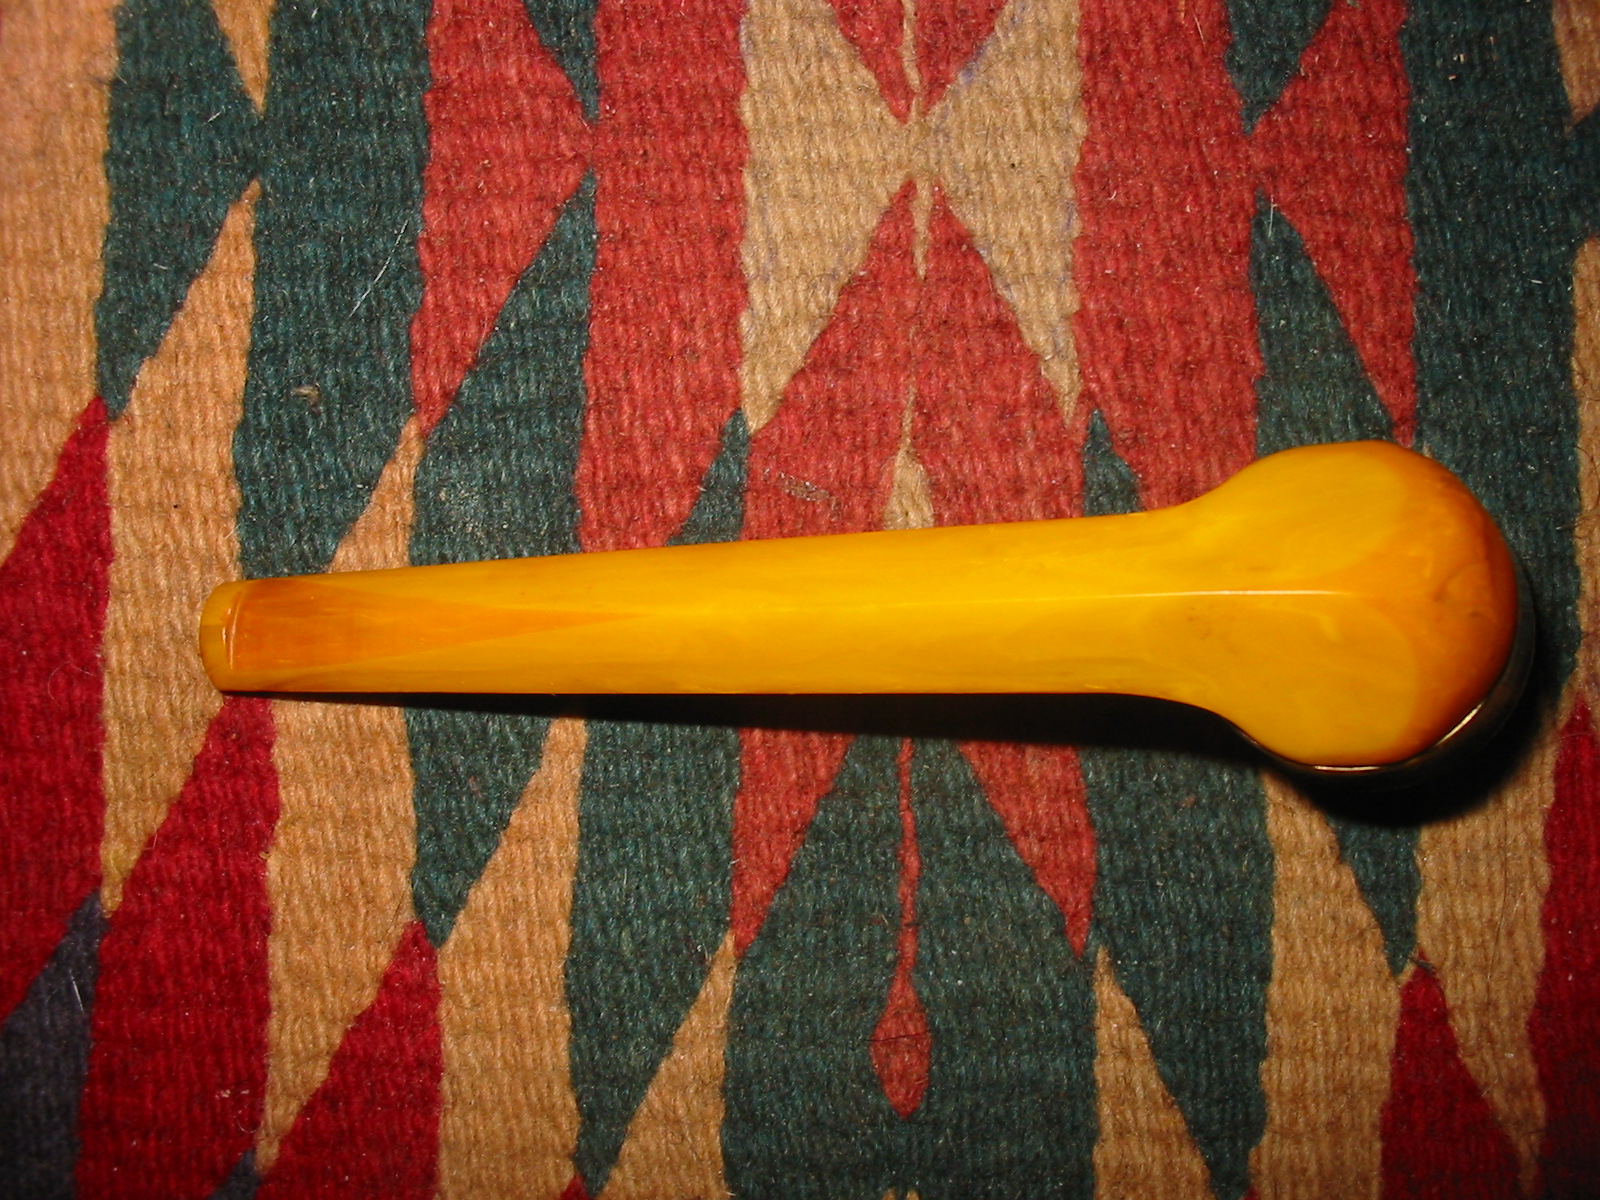
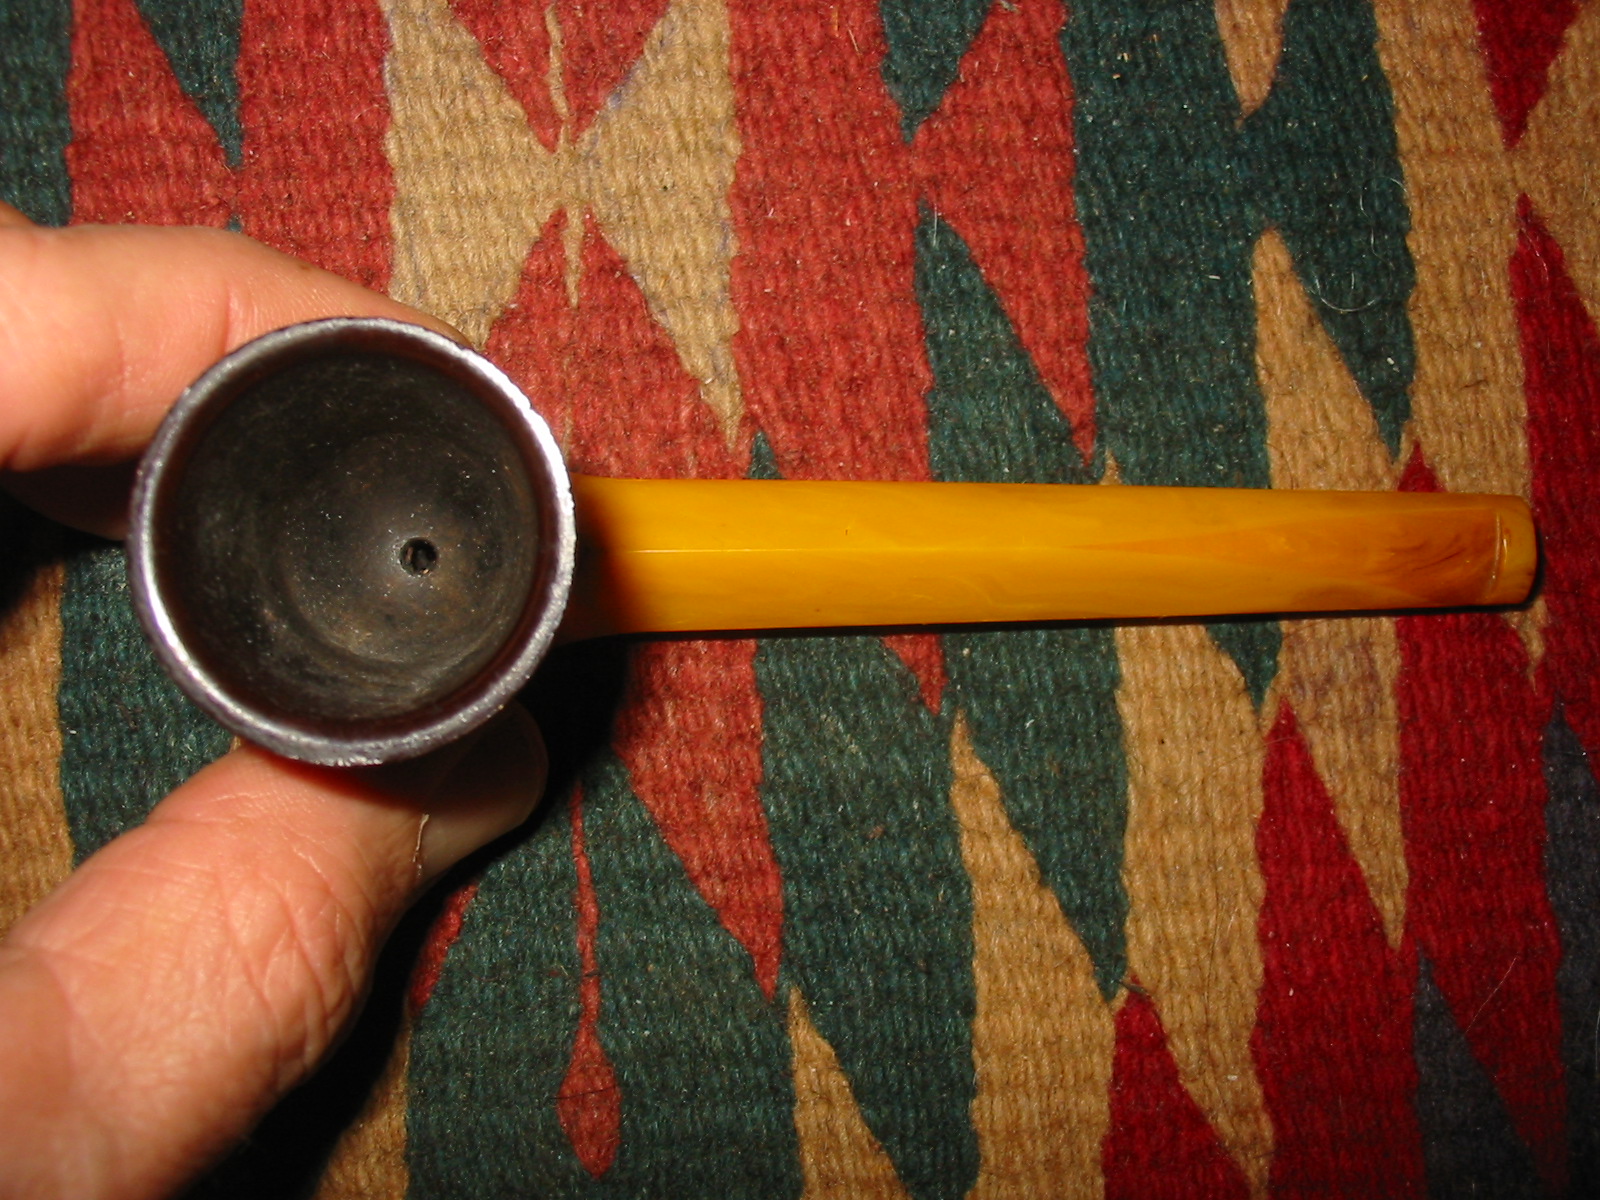
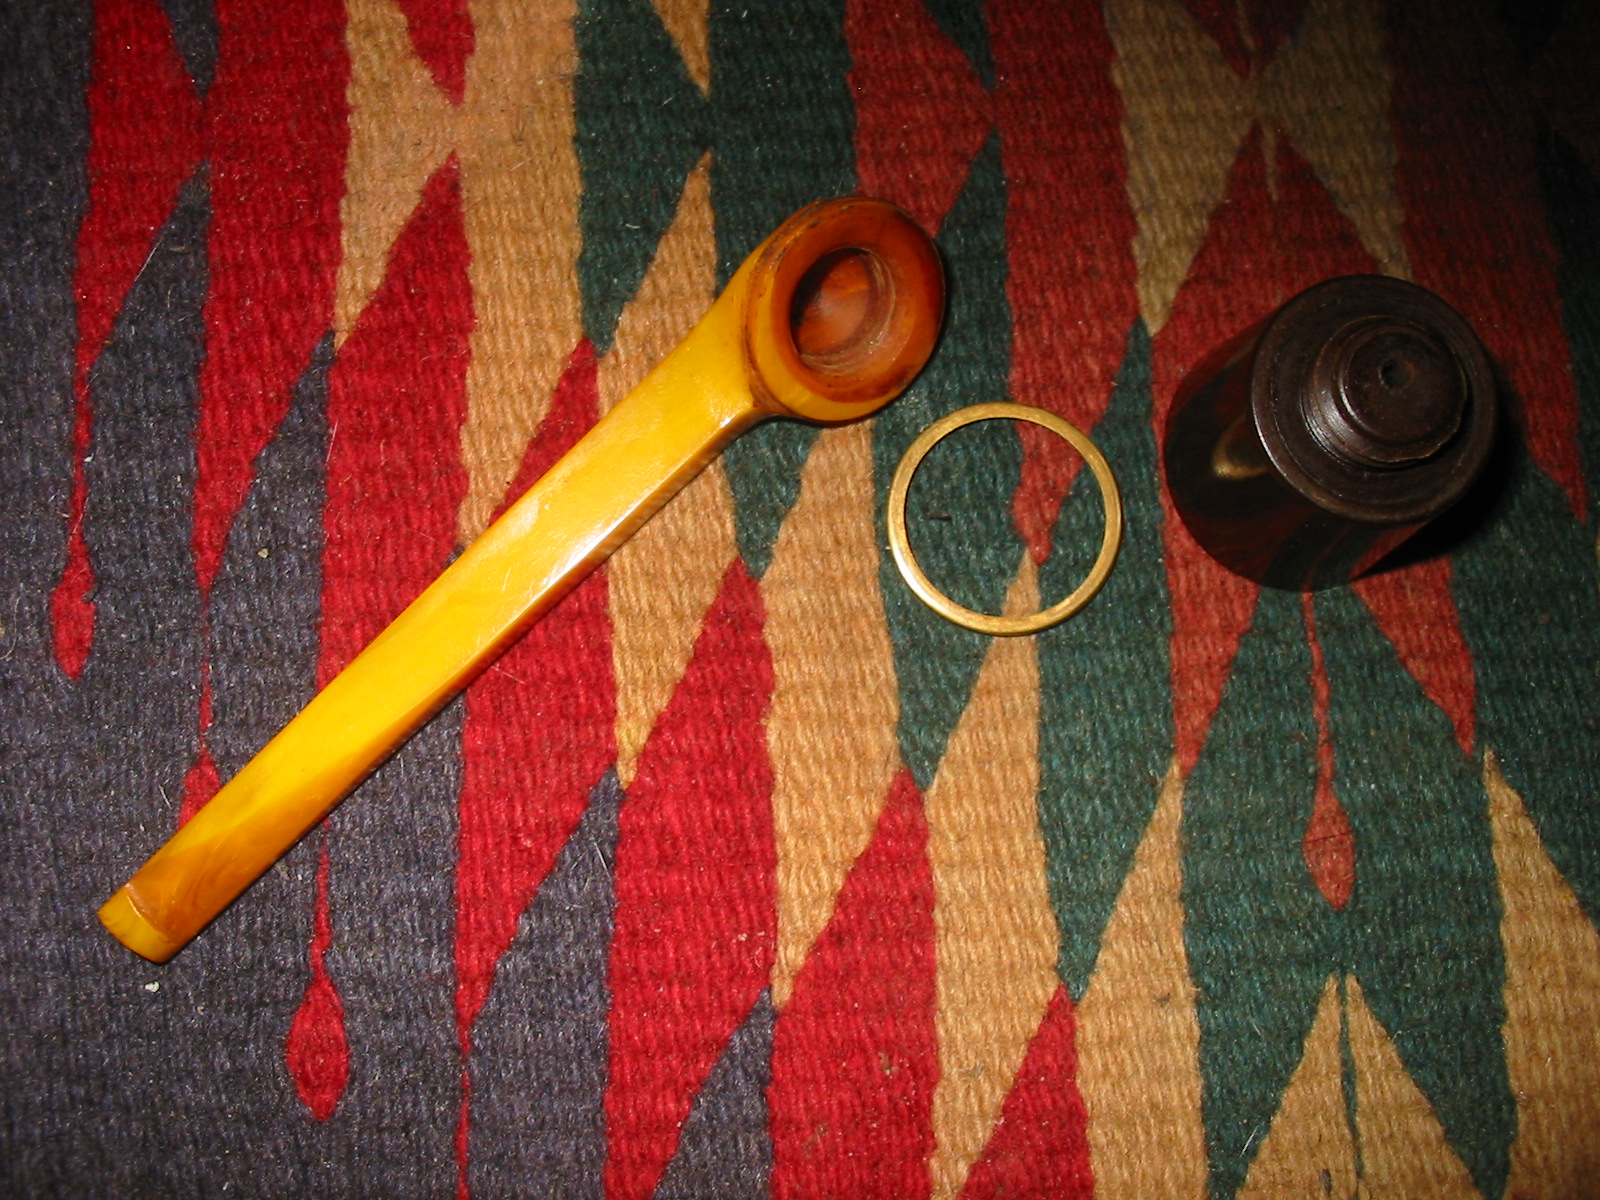
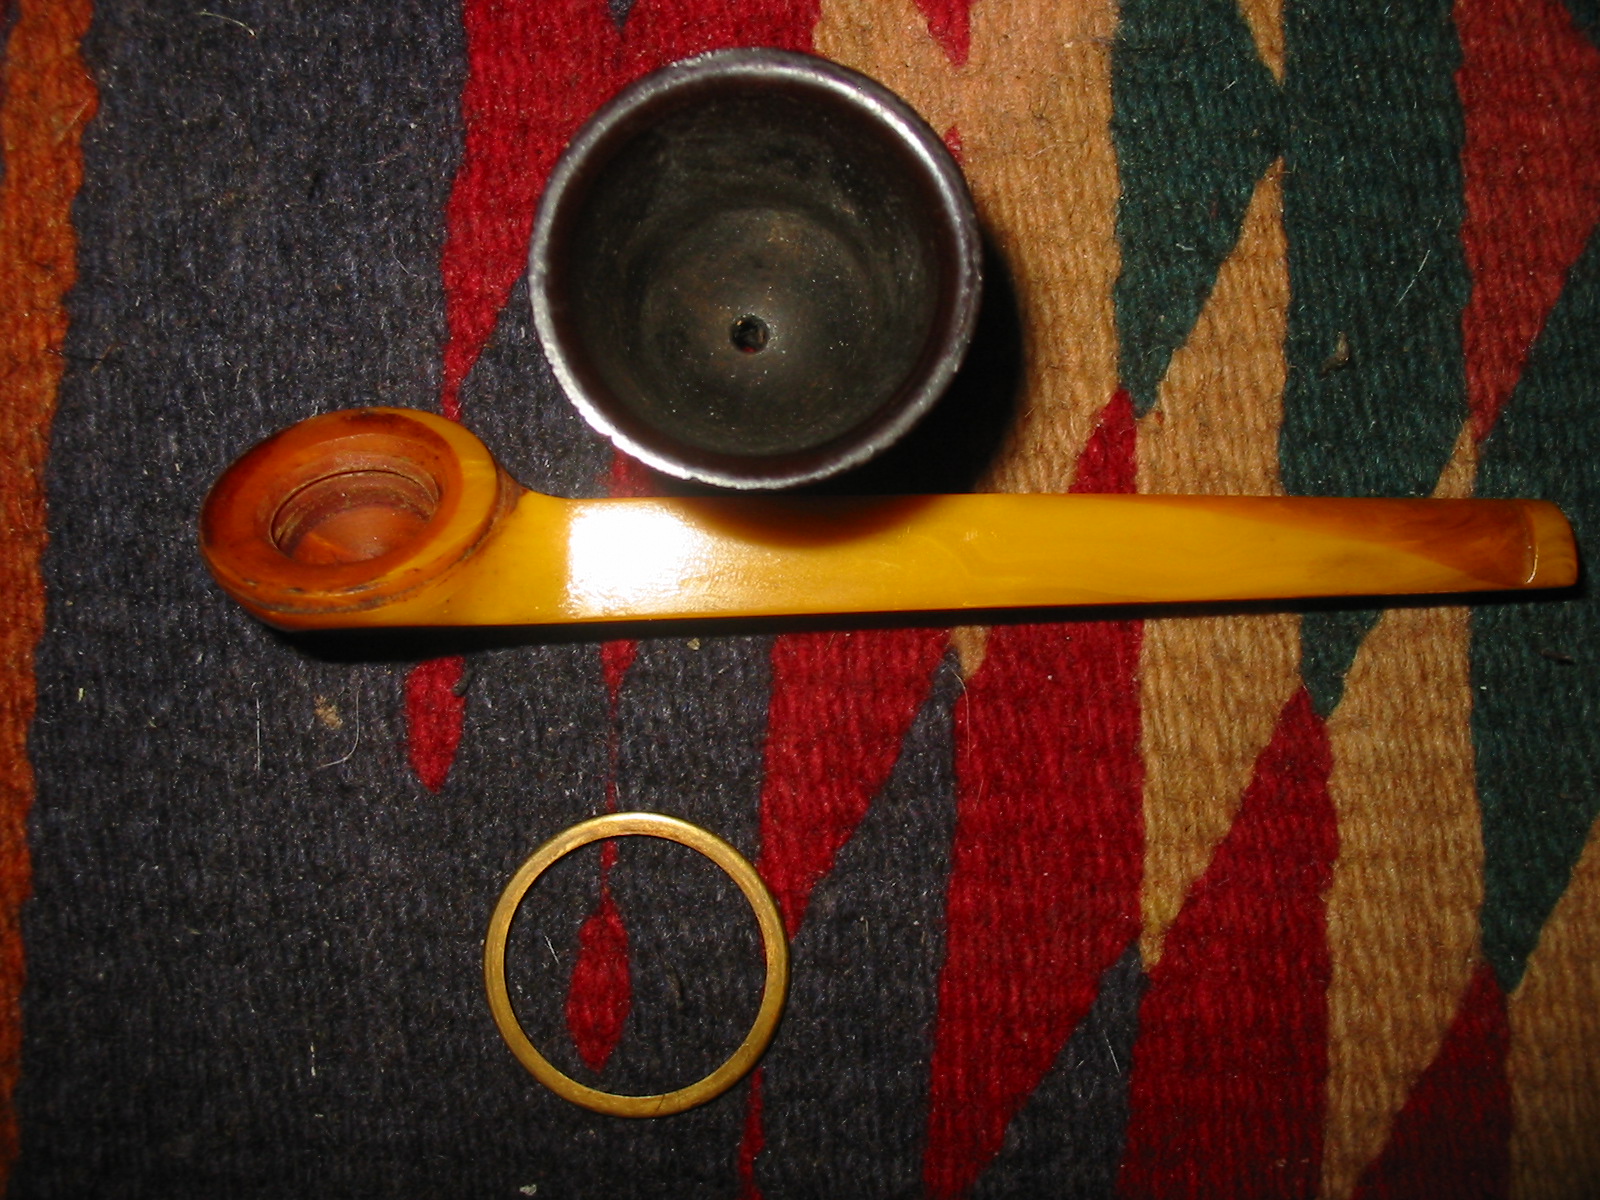
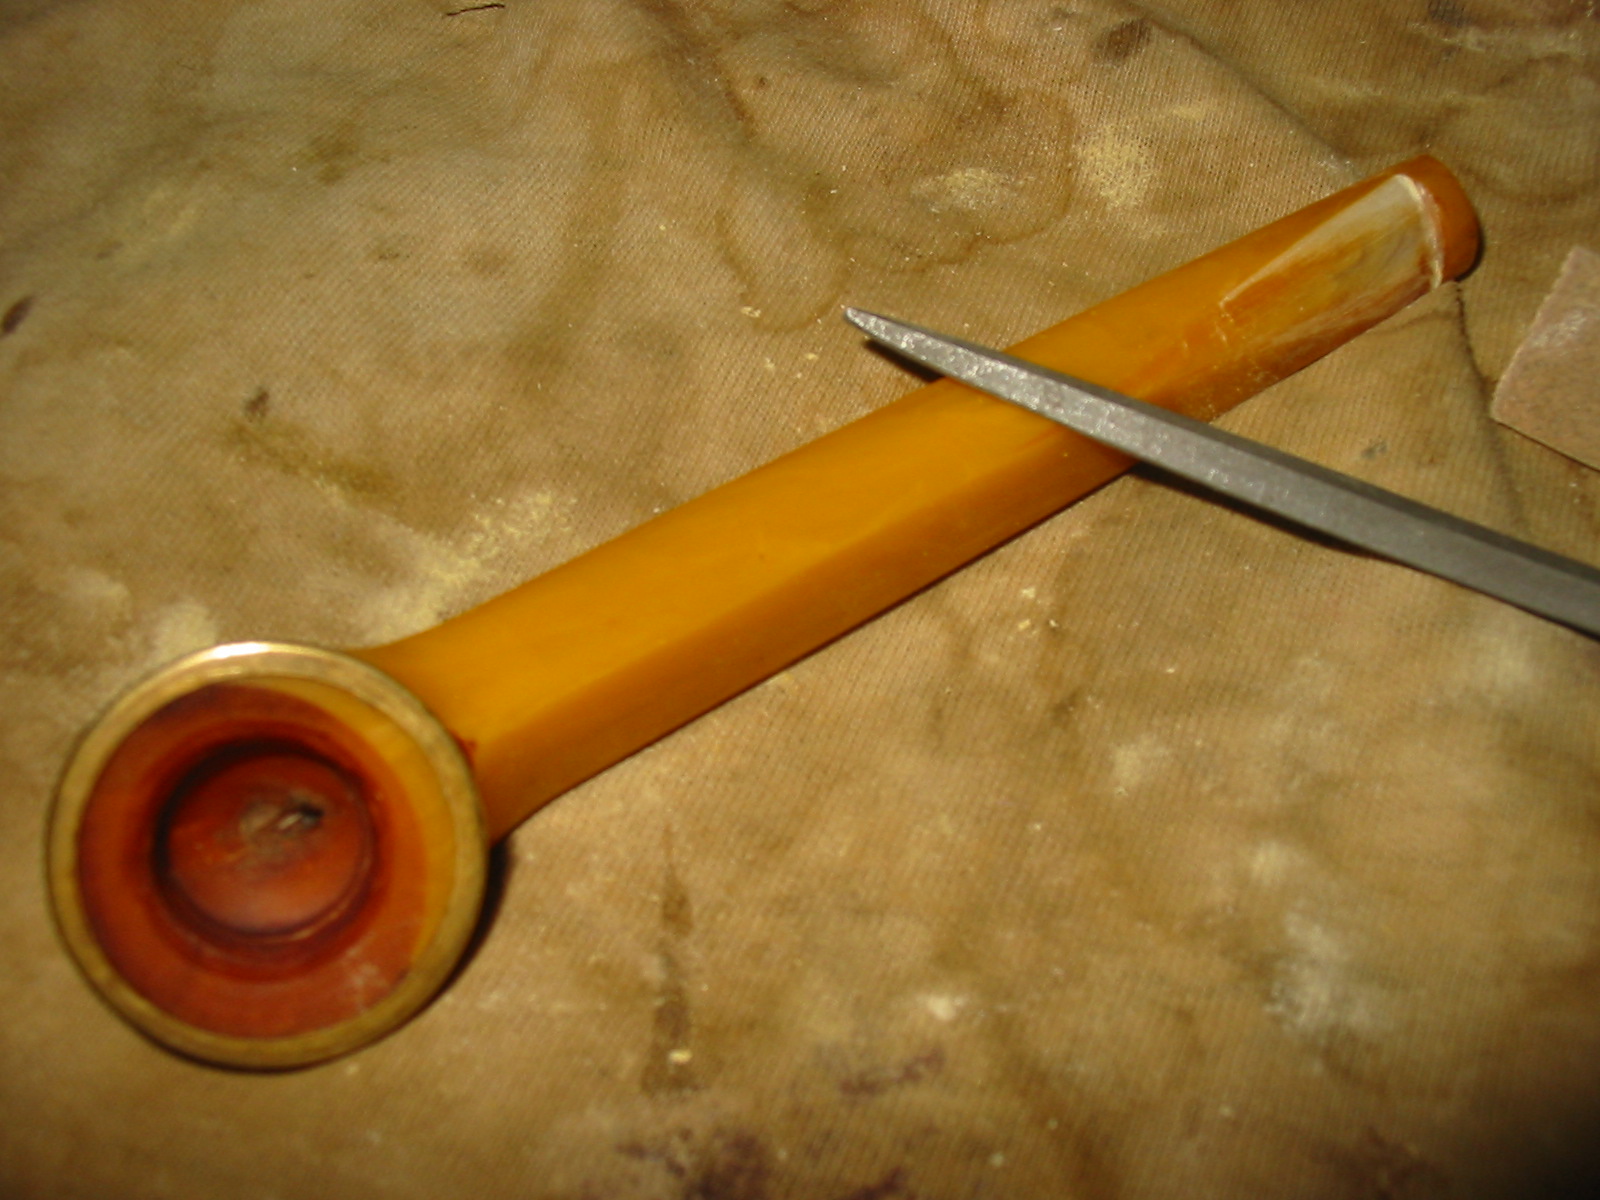
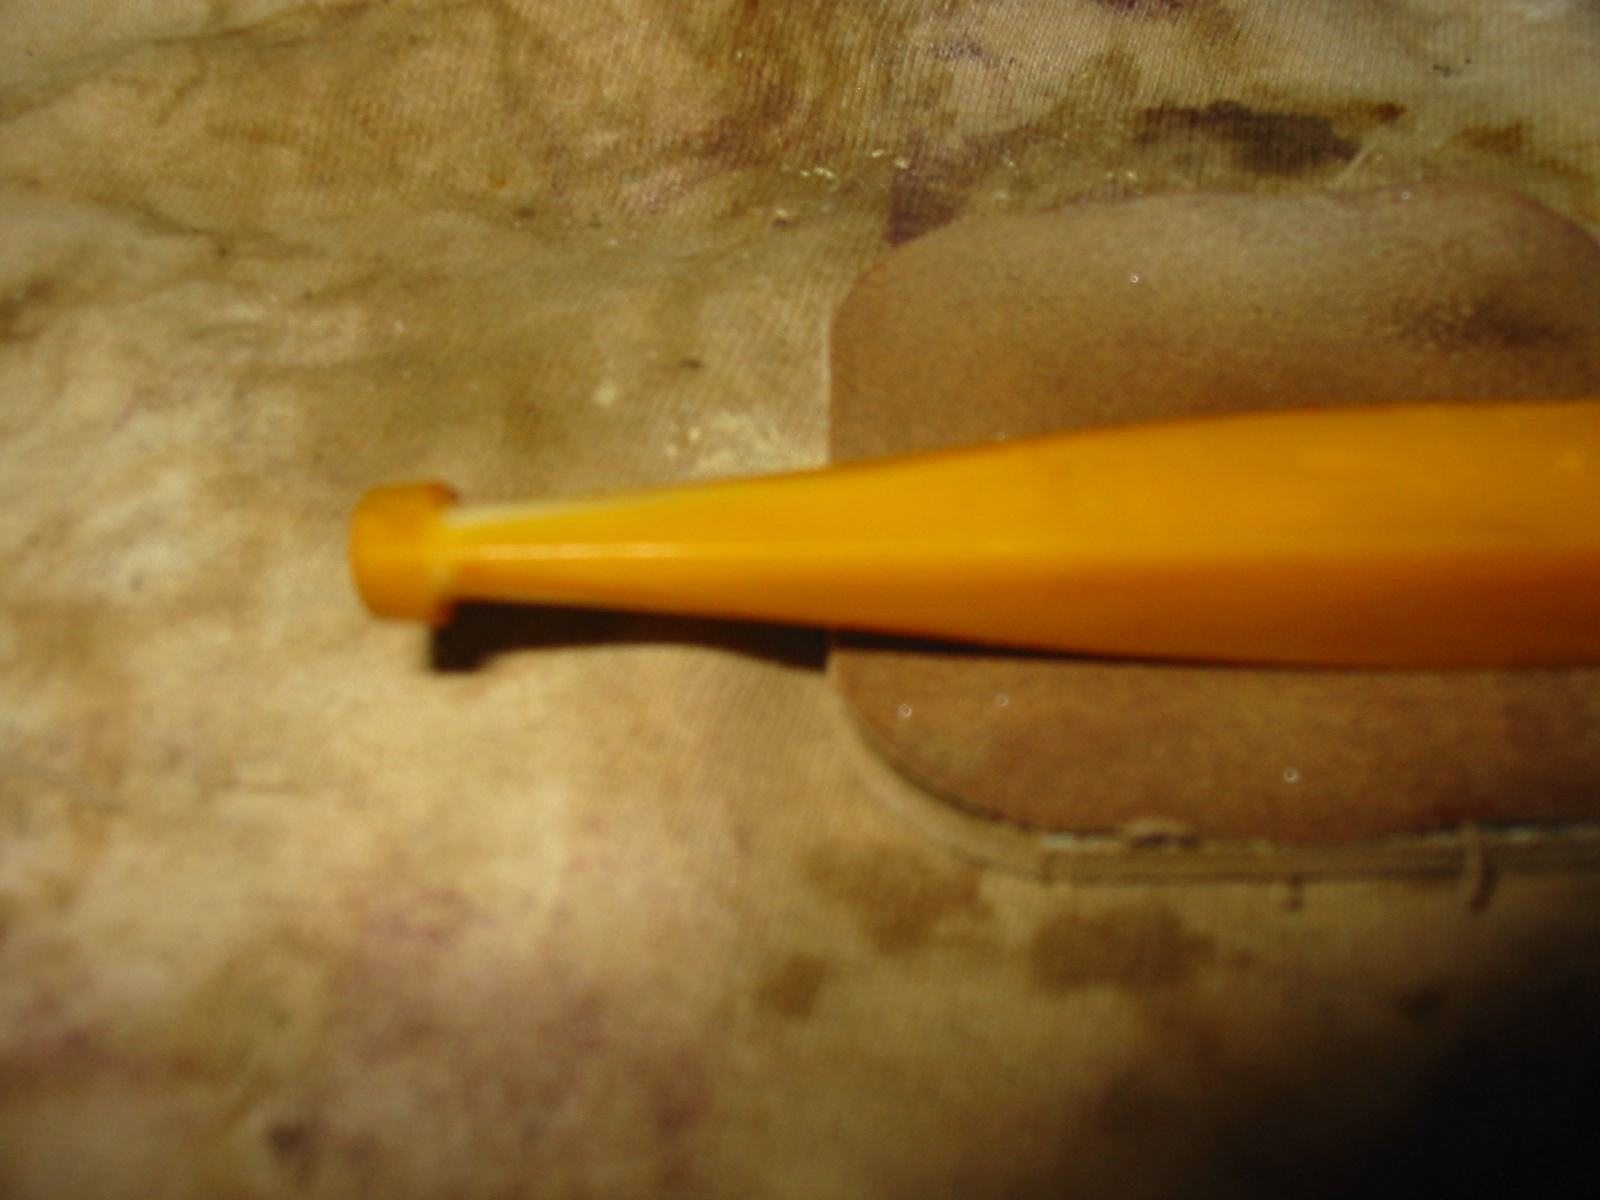
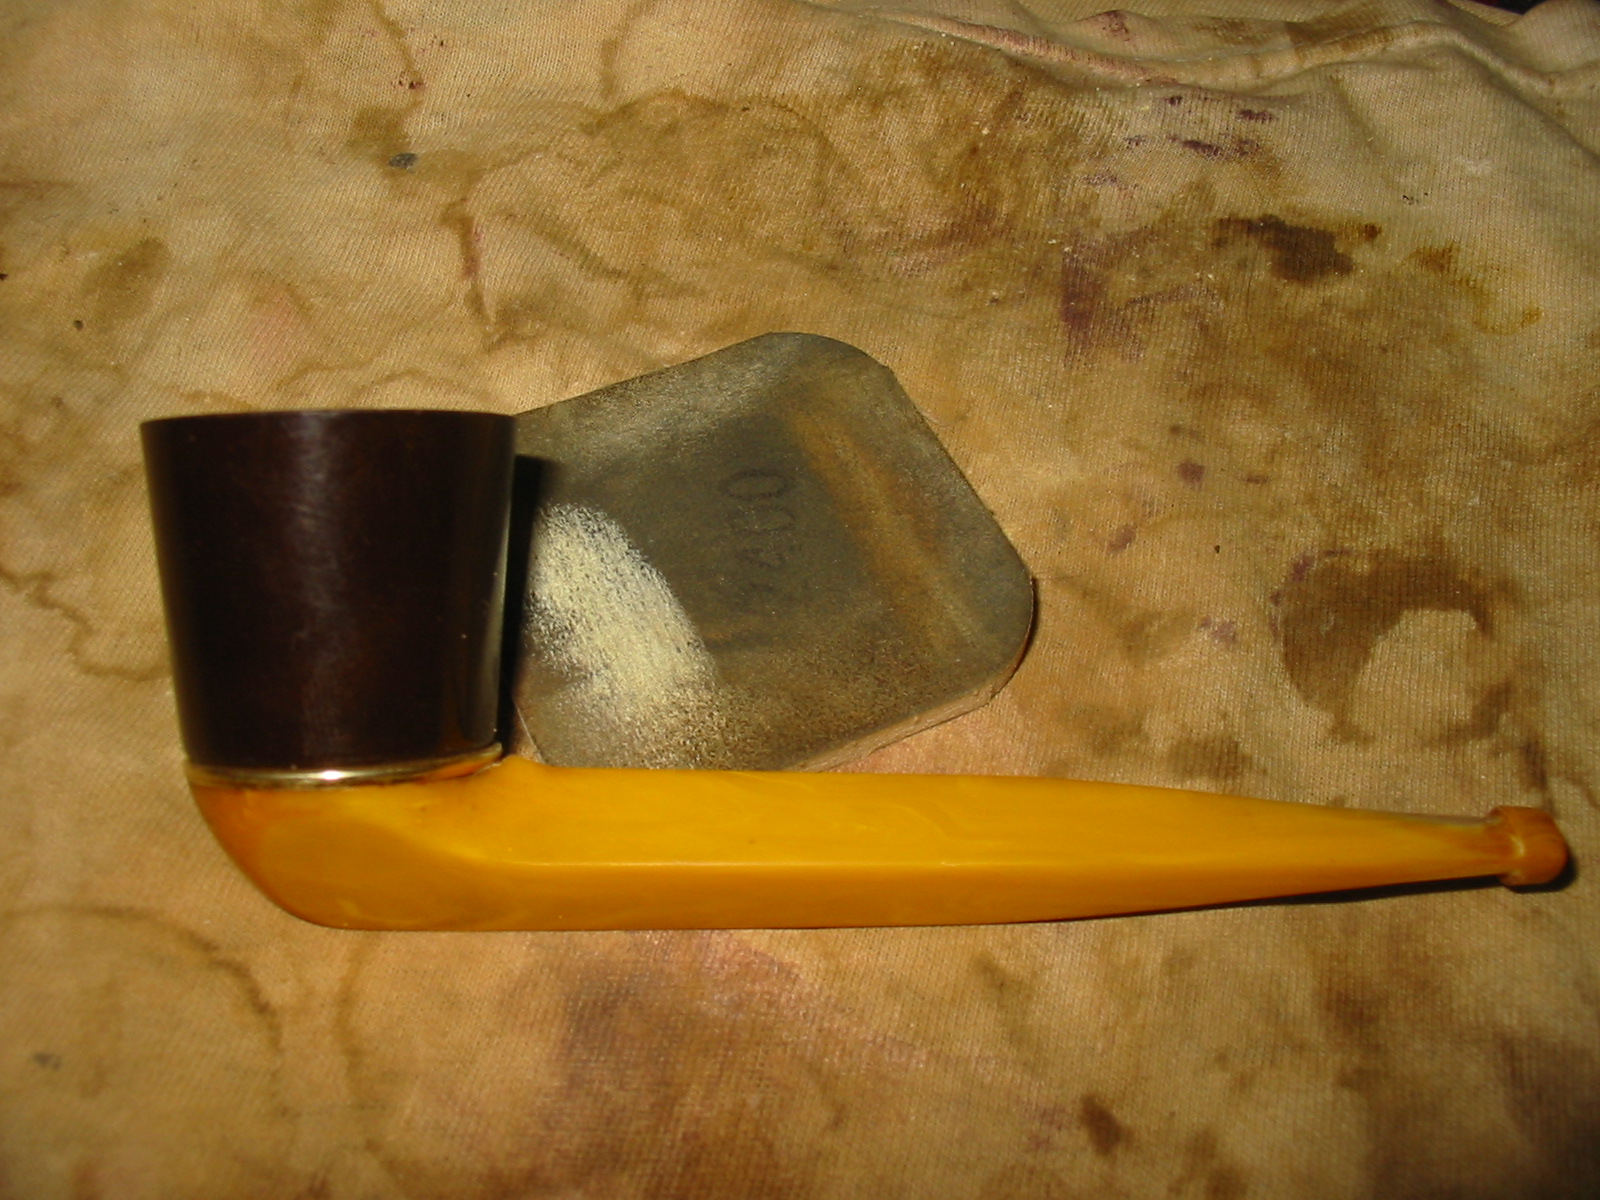
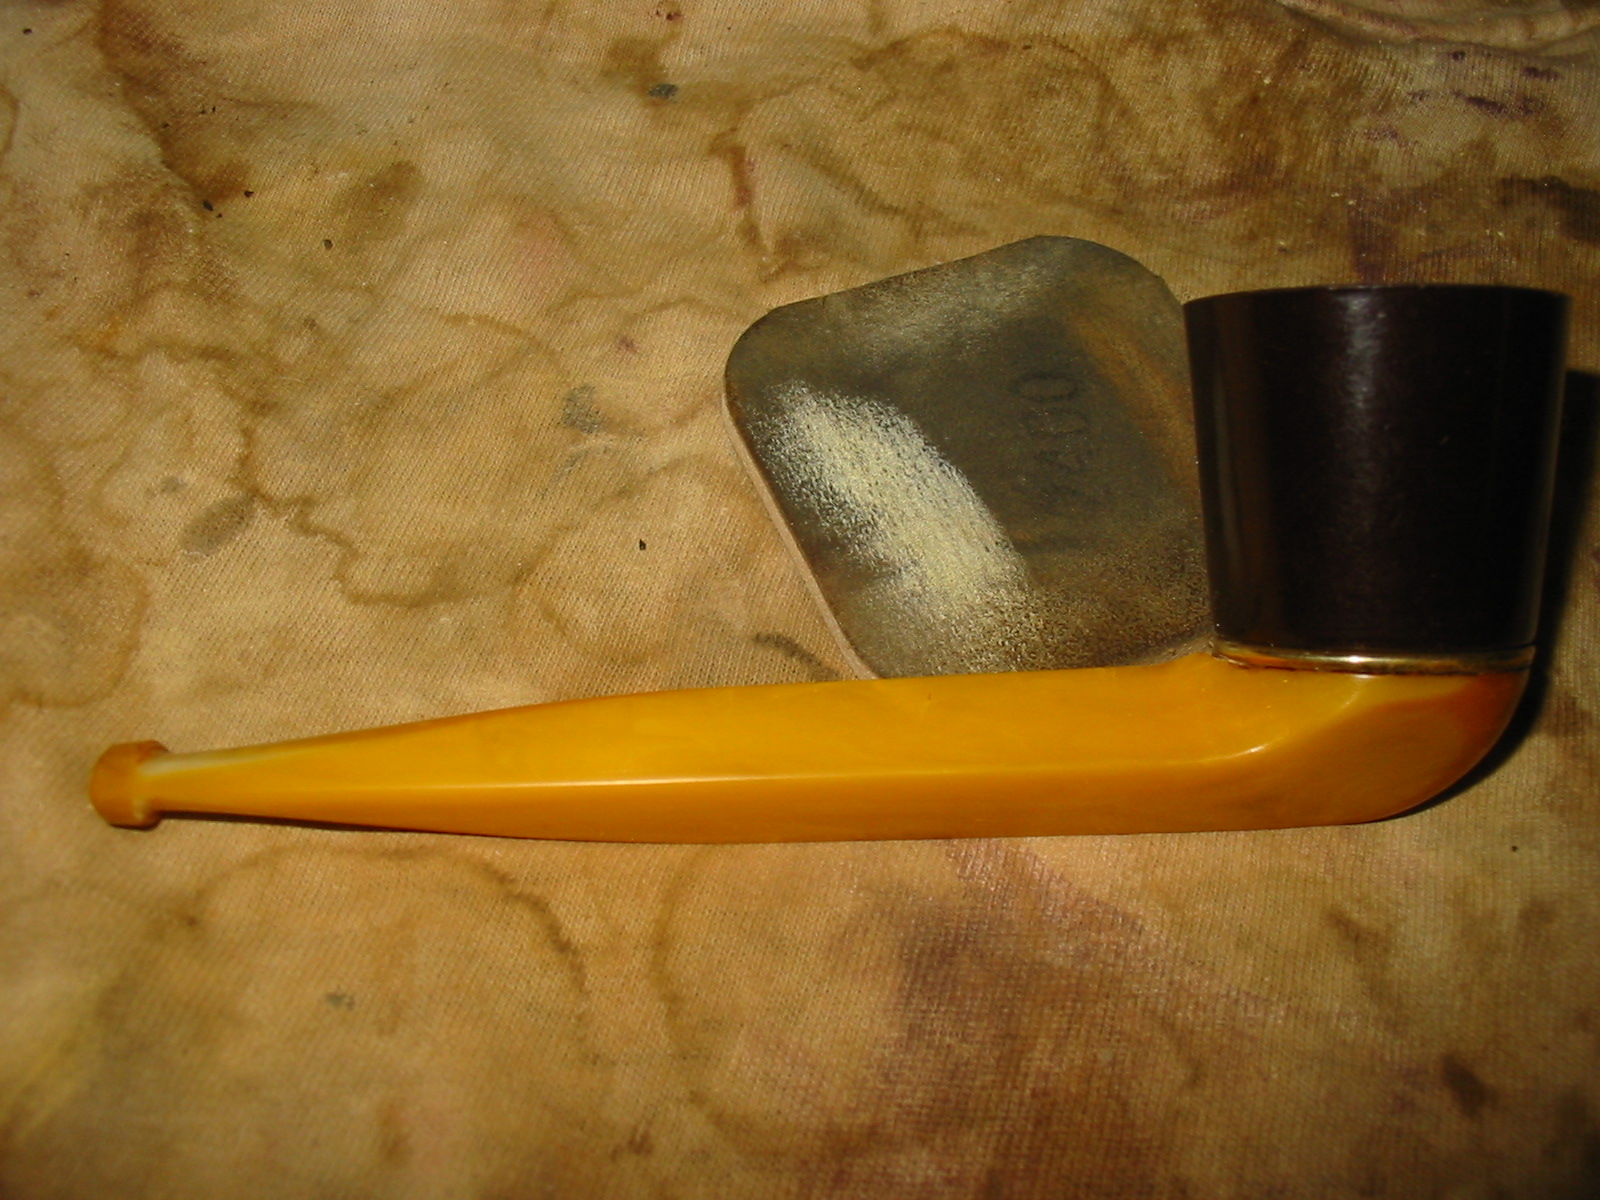
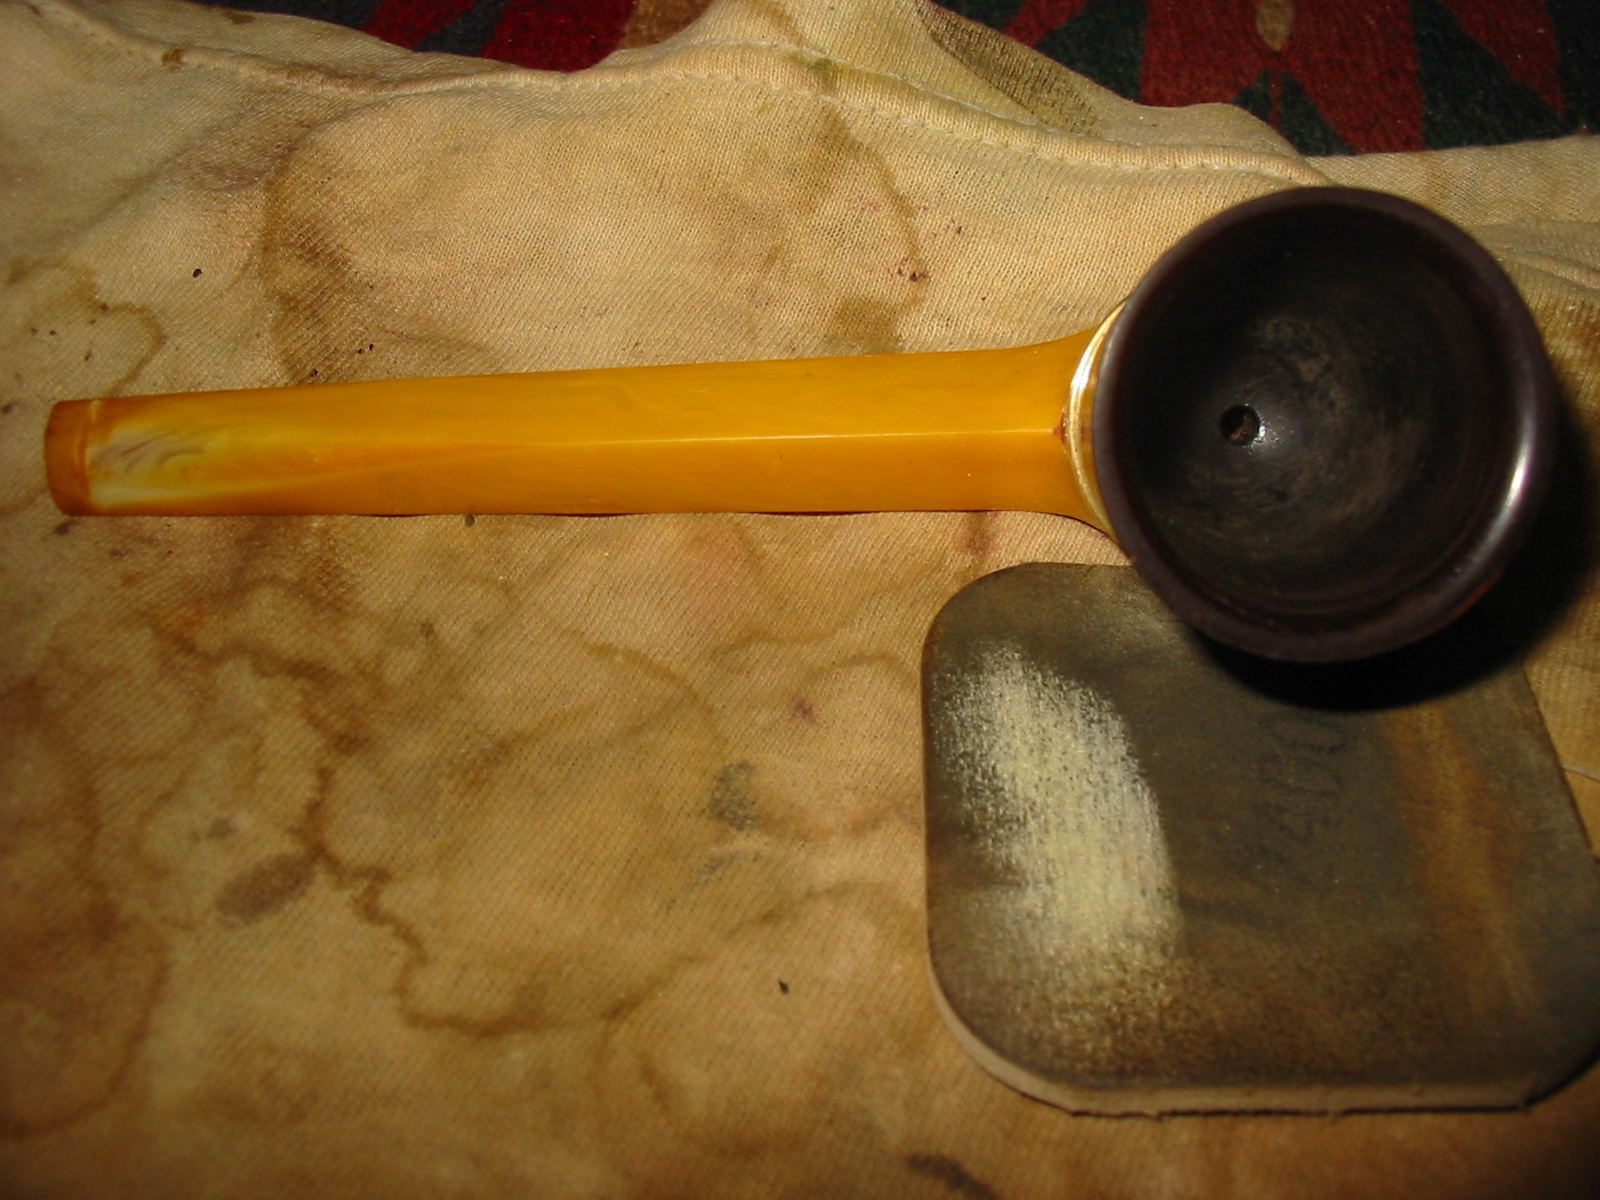
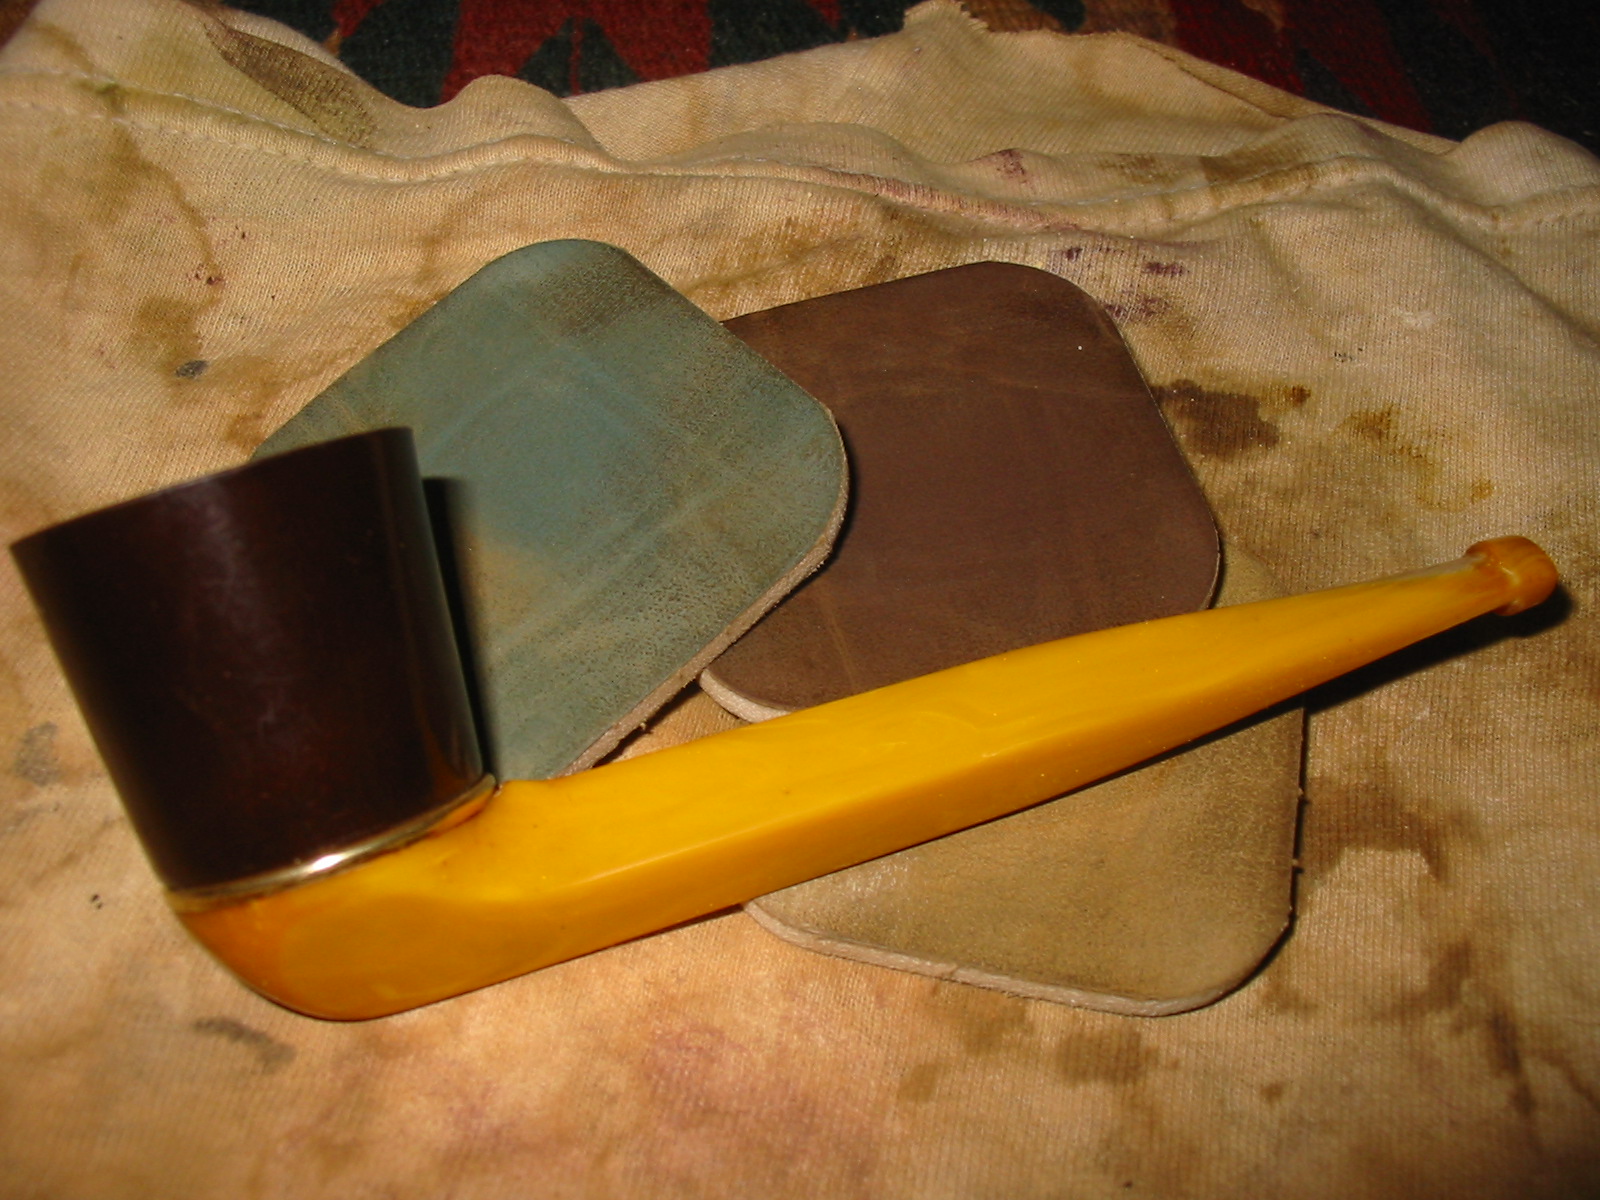
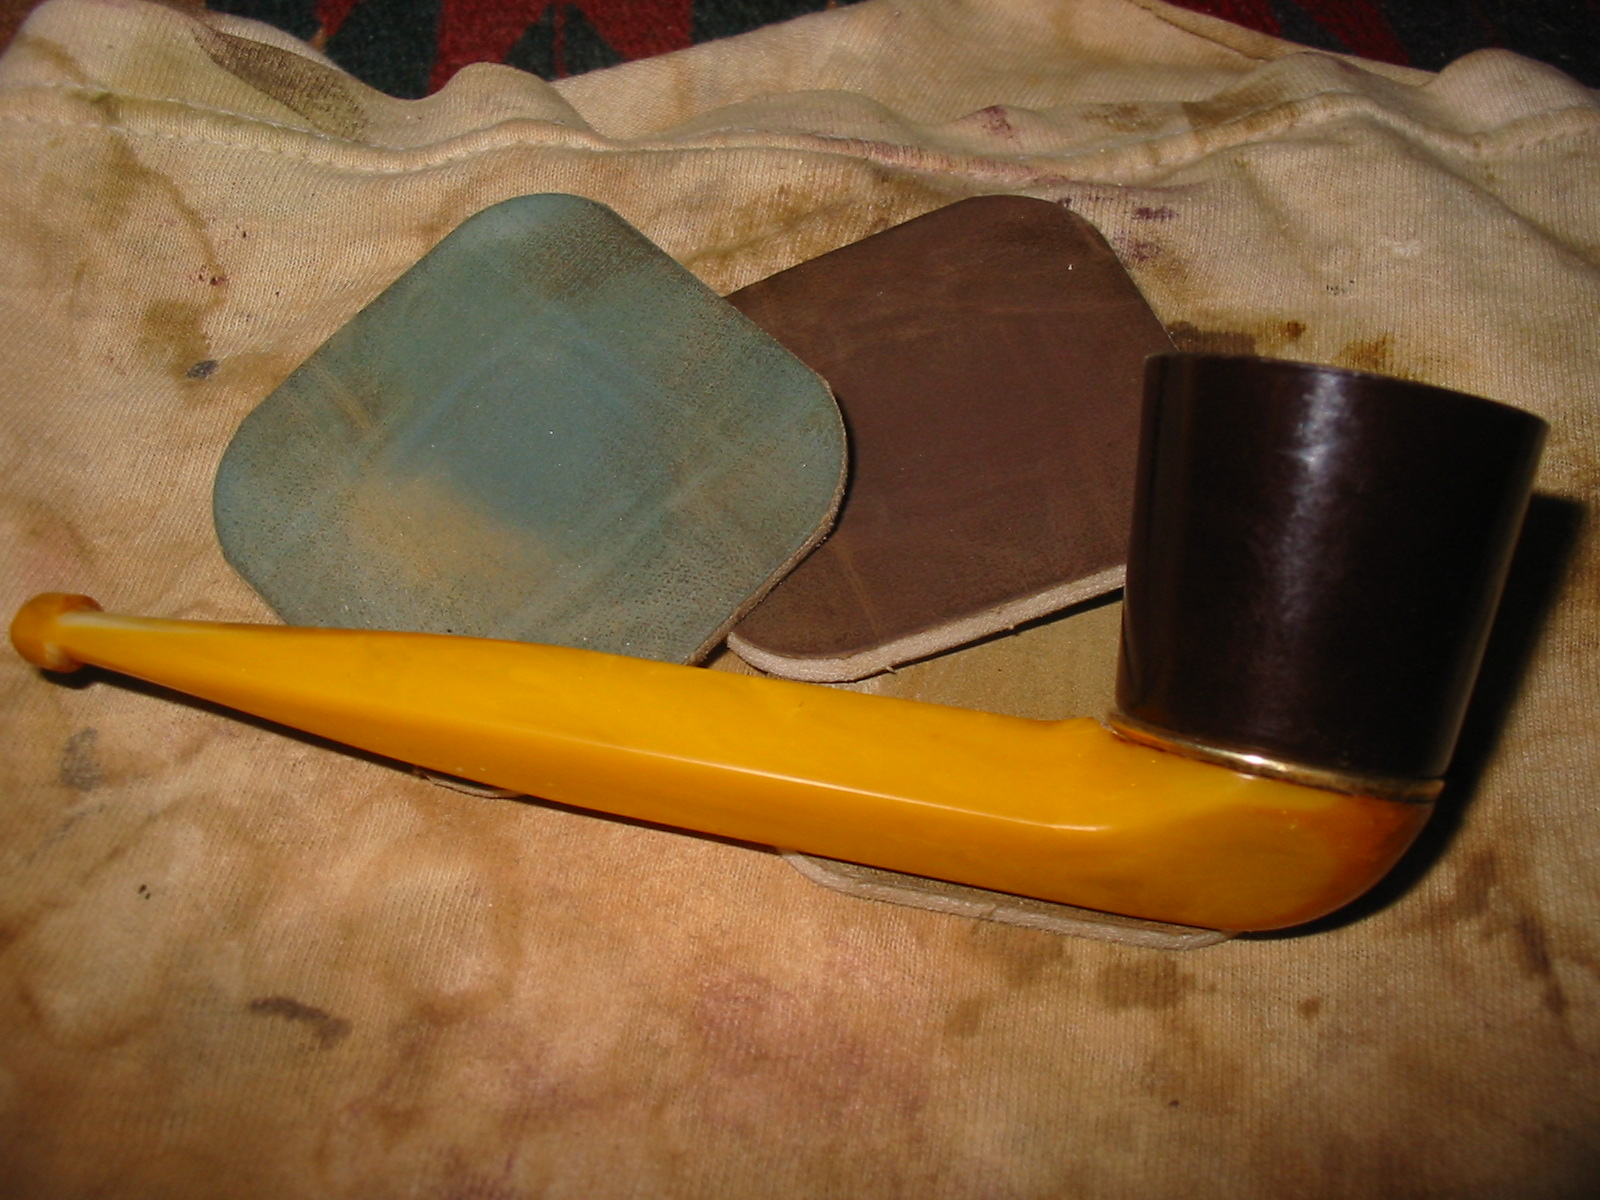
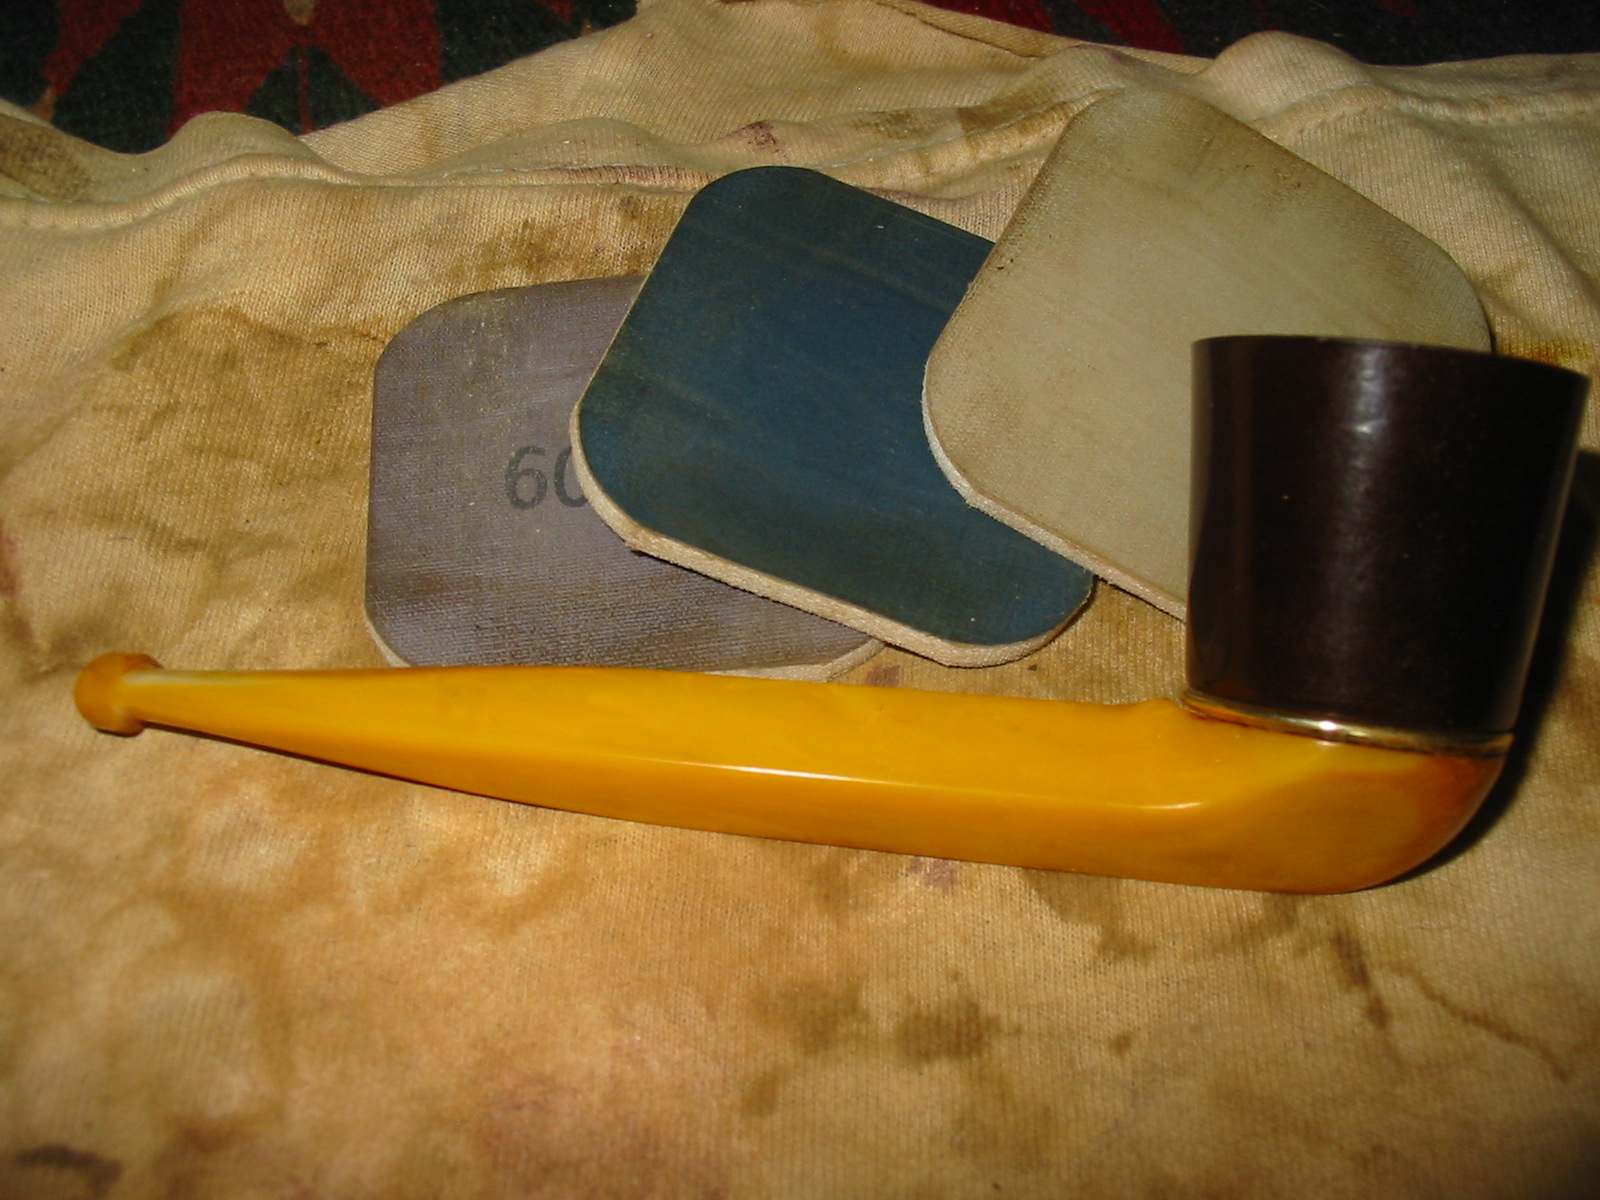
This is a new one to me. I have never seen this combination of parts. I have refurbished quite a few of the screw on bowls on Bakelite bases with either metal or vulcanite stems. I even recently completed a Bakelite base with a Bakelite stem on it. But never have I seen a Bakelite bowl. This one is solid Bakelite with no lining whatsoever. The bowl is like a cup. This one was another Chuck Richards gift. I think he takes delight in these surprises. And a surprise it truly is. There is not a single identifying stamp on the pipe so it is a mystery as to its manufacture. It is very unique. The brass ring between the bowl and base was loose and slide around as the pipe was moved. The bowl was lightly coated with tar. The rim had some dings in it and the base/stem unit was not even at the button. Each side of the angle coming down to the button was off and there were tooth marks in the stem. The inside cup of the base was dirty and the inside of the shank and stem unit was also dirty with tars. The end of the button and orific “o” opening was very clean and unstained which is a bonus. Once I get it cleaned up I intend to load a bowl and see what it is like to smoke. The first series of four photos show the pipe as it was when it arrived to my worktable.
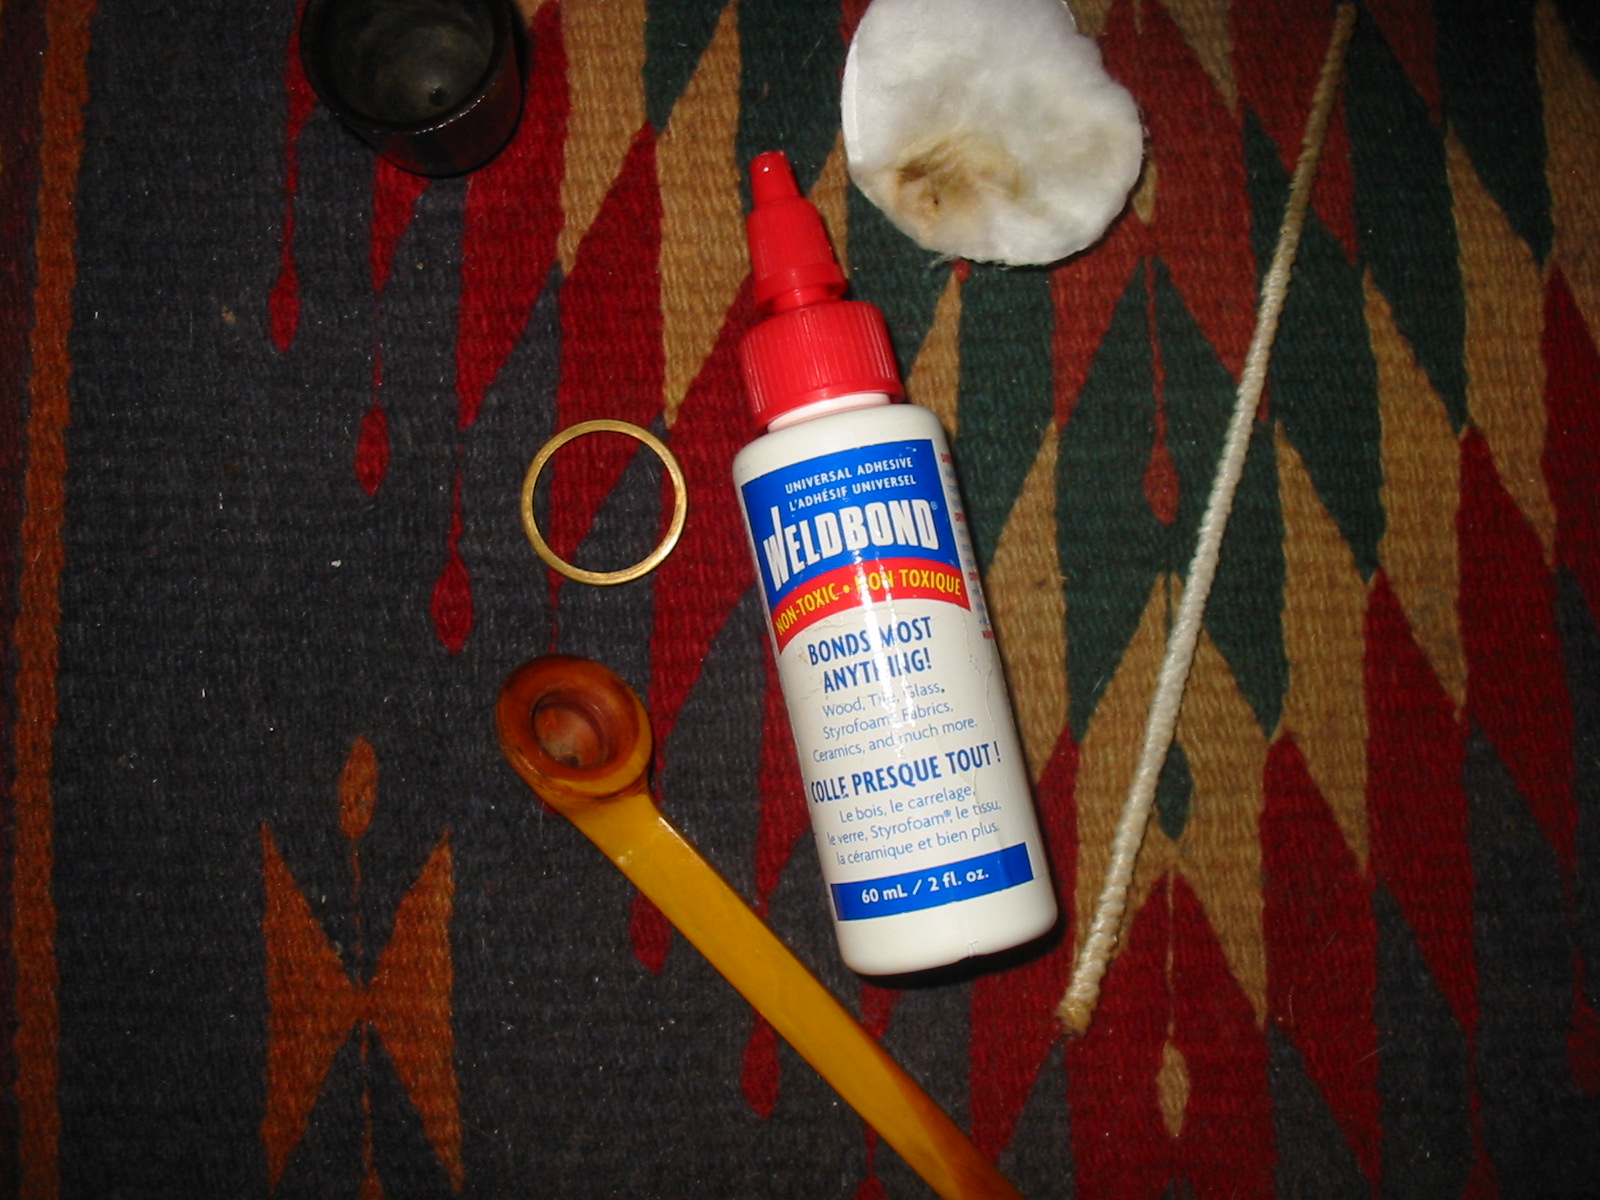
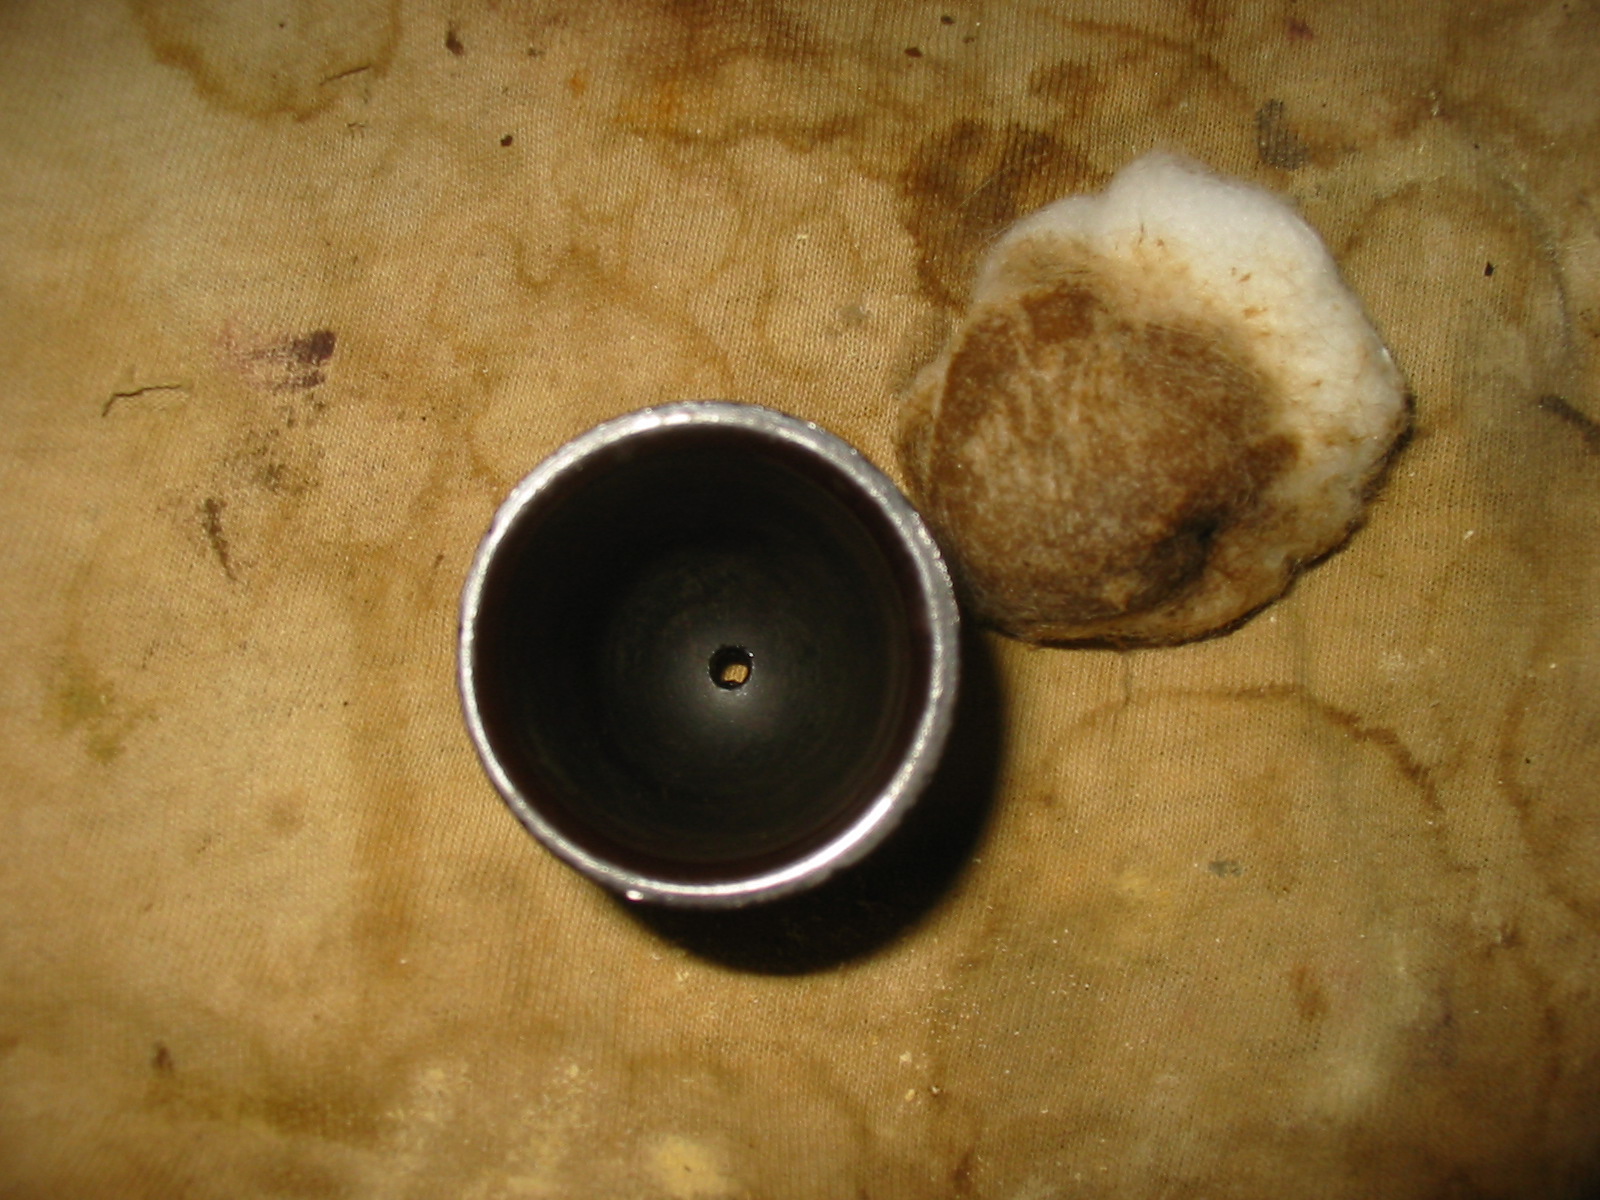
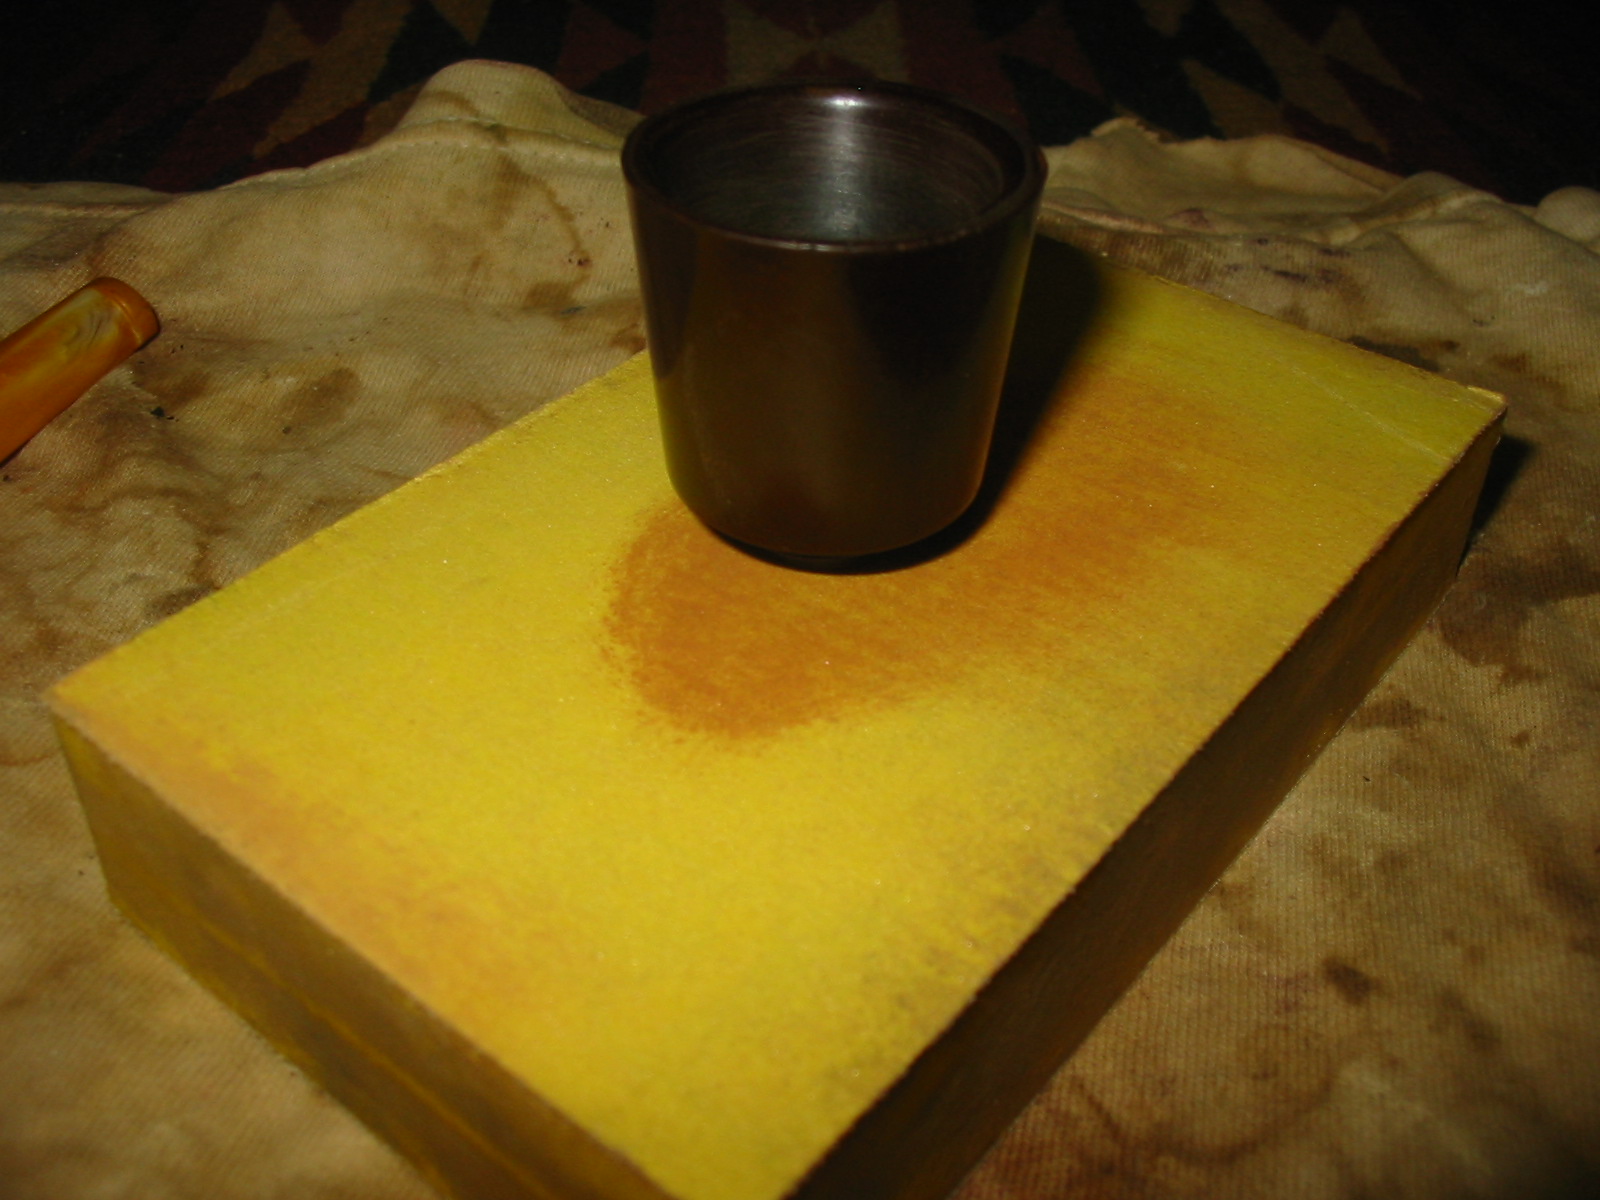
I took it to the work table this morning and took it apart. I cleaned all the parts of the pipe with Everclear and a soft pipe cleaner. I scrubbed out the cup in the Bakelite base with Everclear on a cotton pad. There was darkening to the Bakelite that I could not remove but the slight build up disappeared. I cleaned up the brass ring and then reglued it to the base. I used a white glue to anchor this to the base. The next series of three photos shows that process.
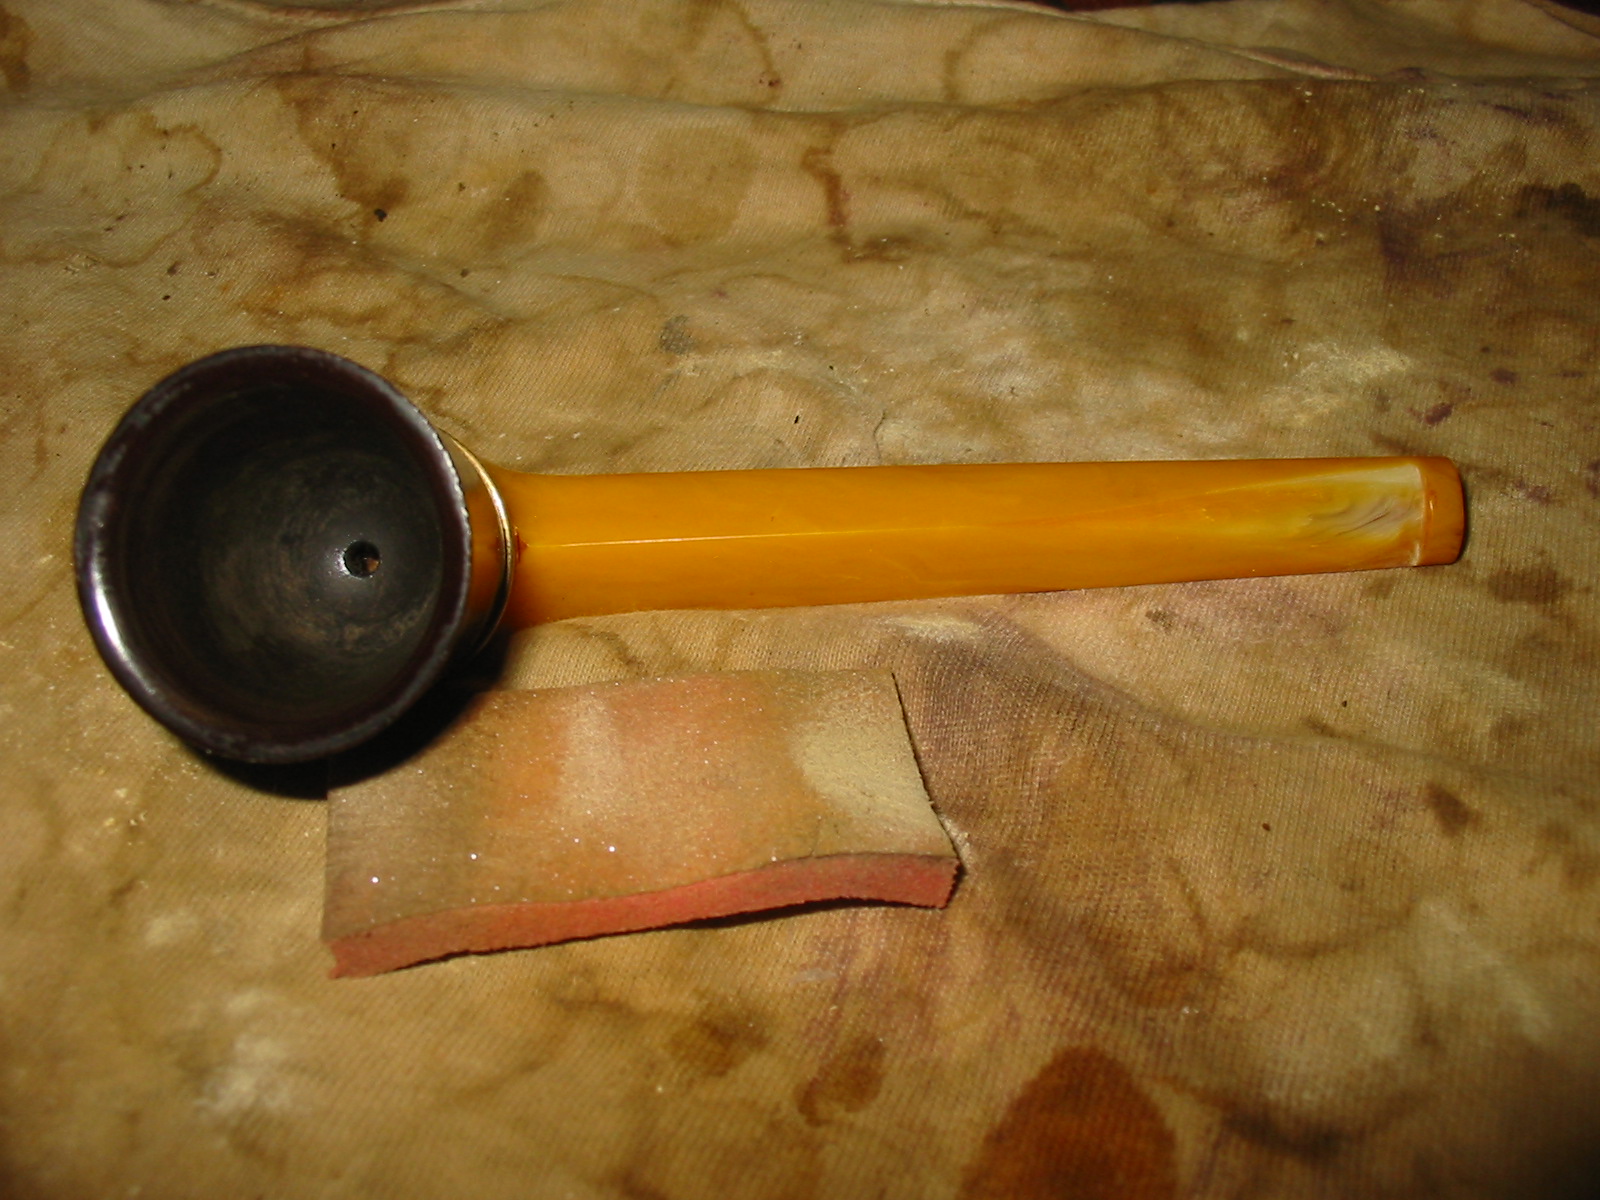
I sanded out the interior of the bowl with 320 grit sandpaper, wiped it down with Everclear on a cotton pad and then sanded it again with a fine grit sanding sponge. I sanded down the rim of the bowl with the sanding sponge to remove the slight nicks in the edge of the bowl and clean up the rough edges. I followed up with a 1500 grit micromesh sanding pad. The picture below shows the cleaned bowl.
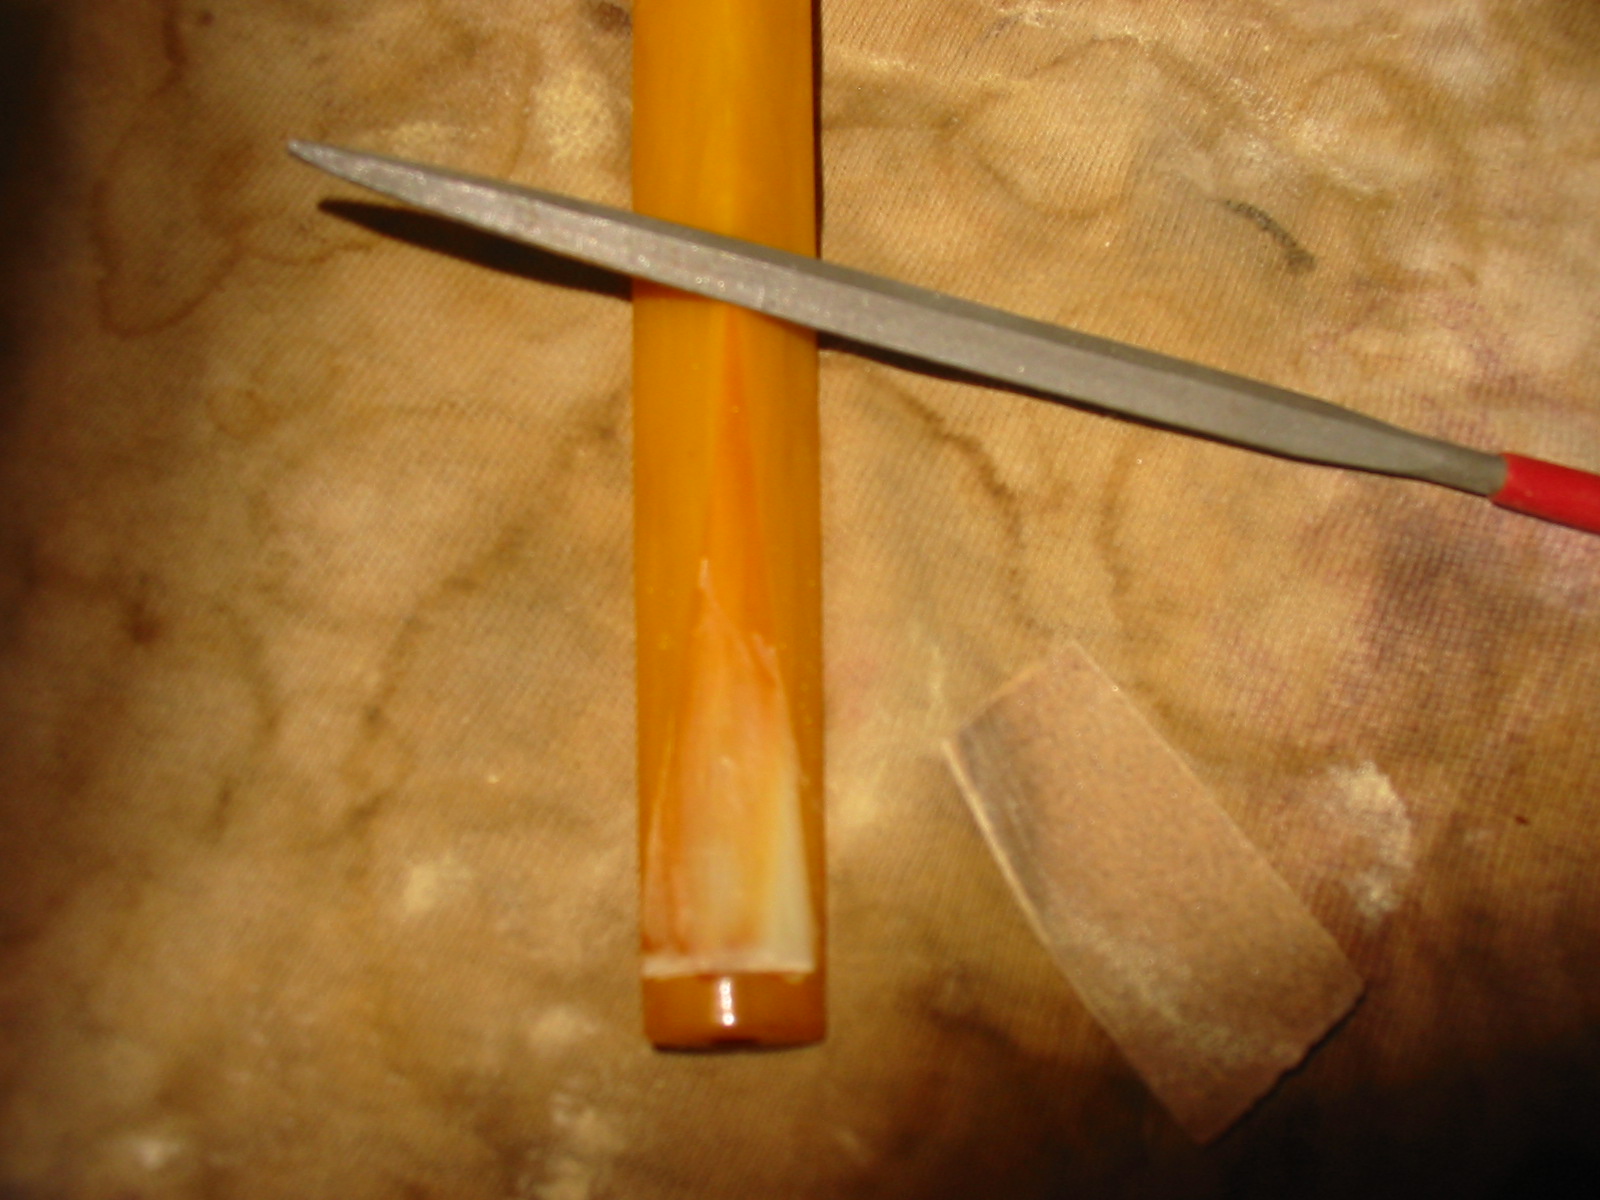
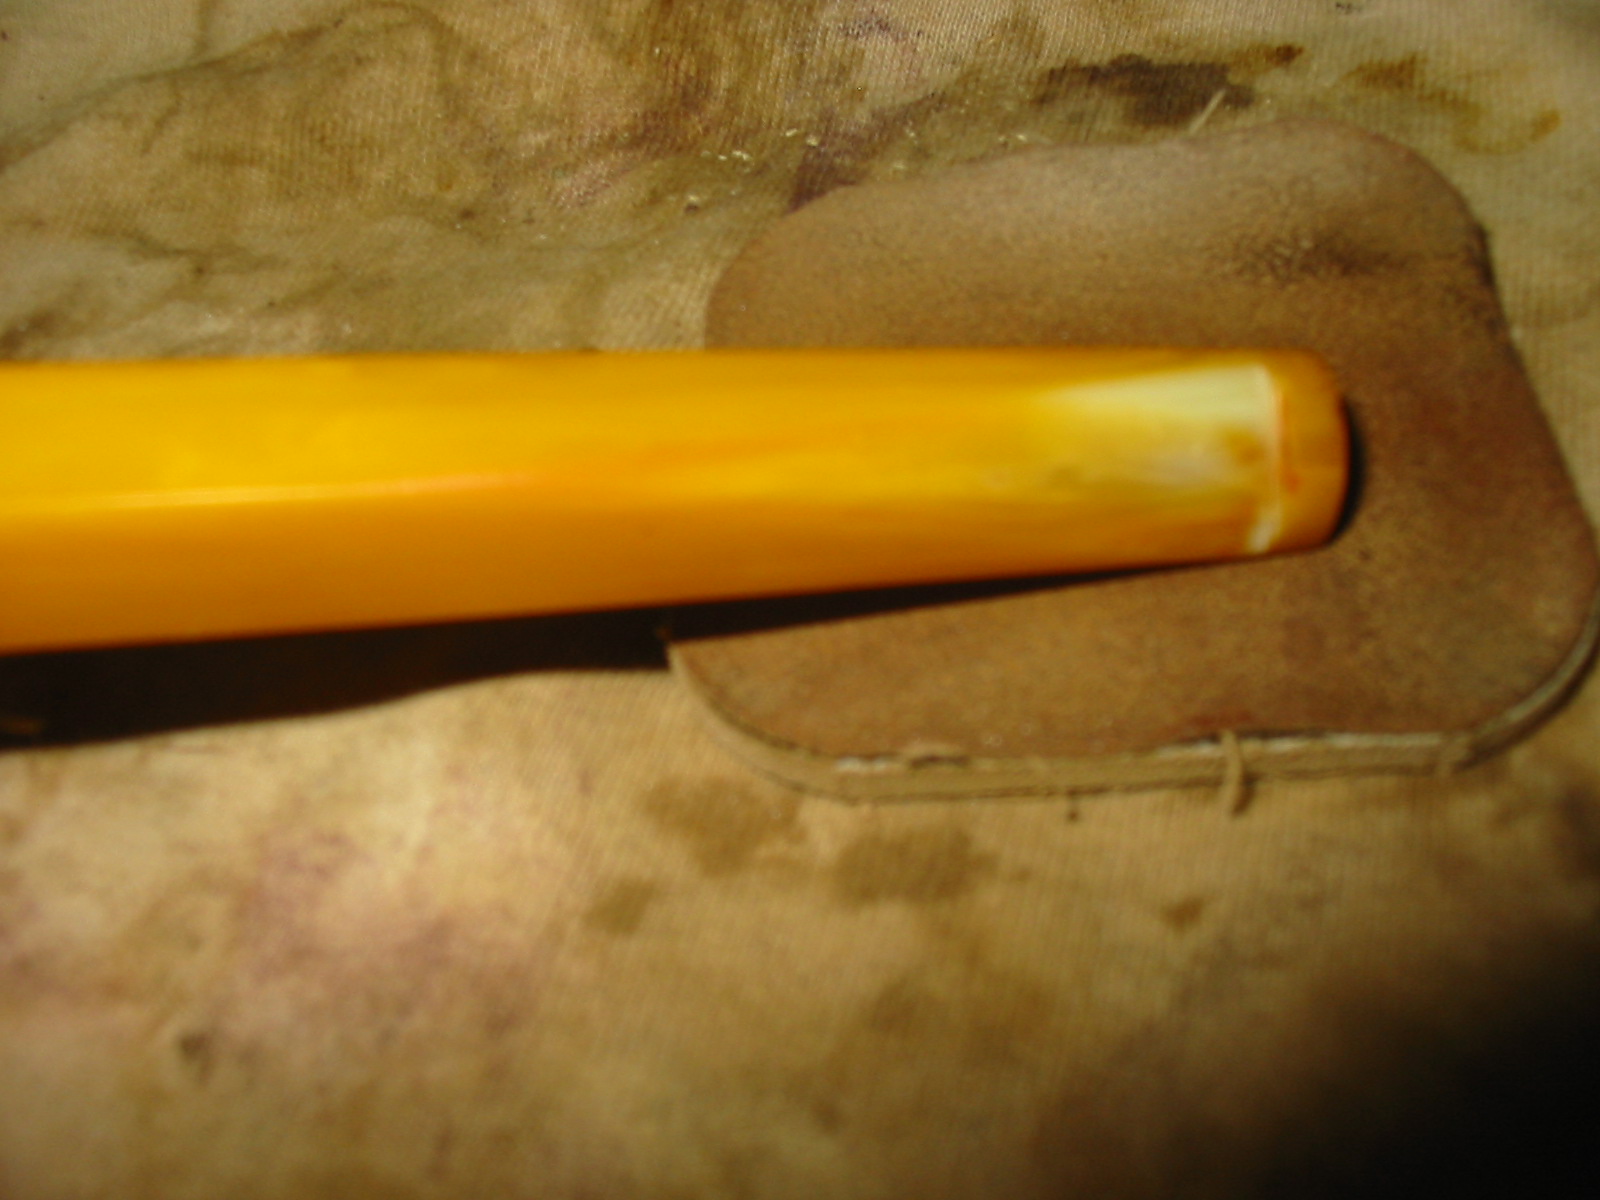
I reshaped the stem and button area with needle files to repair the angles and remove the tooth marks. I sanded the newly shaped area with 240 and 320 grit sandpaper to remove the file scratches. I followed up with micromesh sanding pads 1500-12,000 grit to progressively polish and shine the stem and base. I sanded the entire base with the micromesh sanding pads. There were many small surface scratches in the surface that the micromesh took care of. The next series of eight photos show the reshaping of the button area from the use of the files through the sanding with 1500 grit micromesh sanding pads.


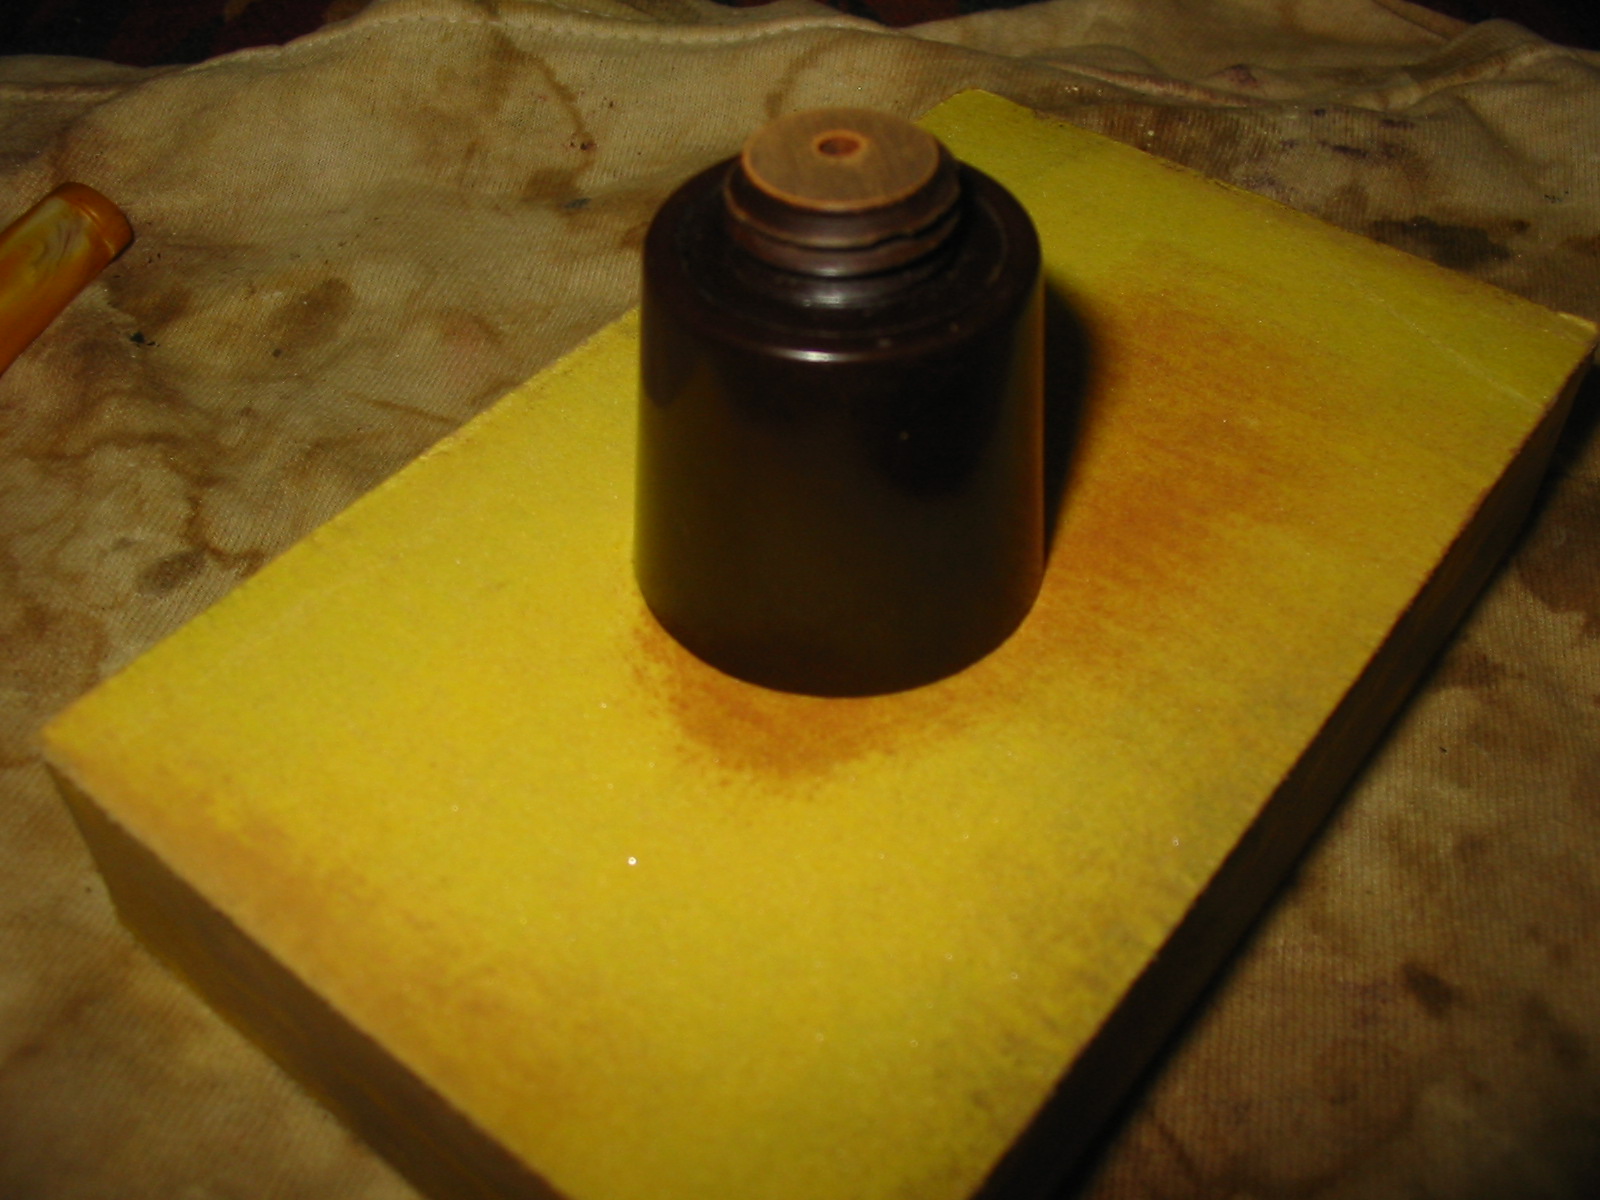
The bowl did not seat well on the base. It seemed to sit at a bit of an angle and did not fit into the bottom of the cup. I sanded down the bottom of the bowl insert to remove a small portion of the material to reduce the depth of the threaded portion of the bowl. I also sanded the thread carefully to remove the nicks and chips to the surface. I used micromesh to sand the threads as I wanted to merely clean them up not damage or reduce them. Once this was completed the bowl threaded on more easily and also was seated well on the base. The next series of three photos show the reseating of the bowl.
At this point in the process I sanded the entire pipe with micromesh sanding pads. I used all the grits from 1500-12,000 to polish the Bakelite and give it back its luster. This took quite a bit of time as I was trying to remove all of the minute scratches in the base and on roughness on the outer edges of the bowl. The seven photos below show the progress shine developing through the sanding with the micromesh sanding pads.

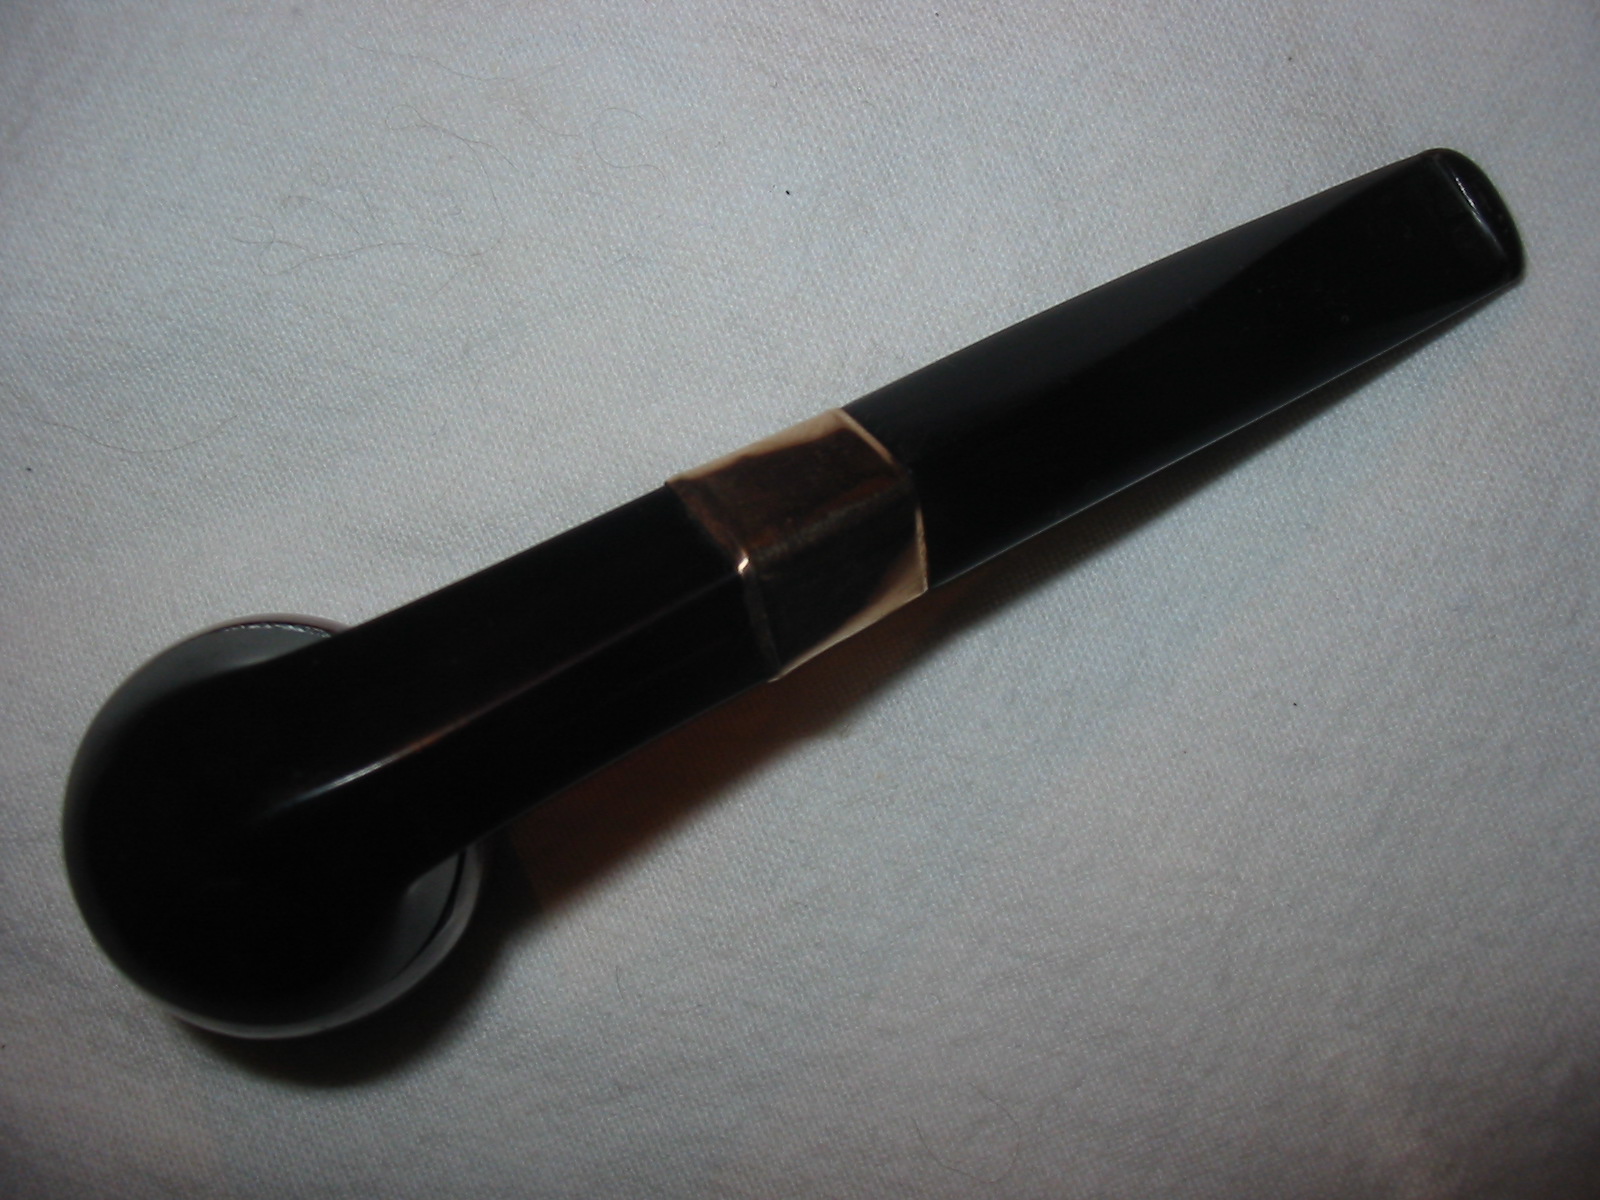
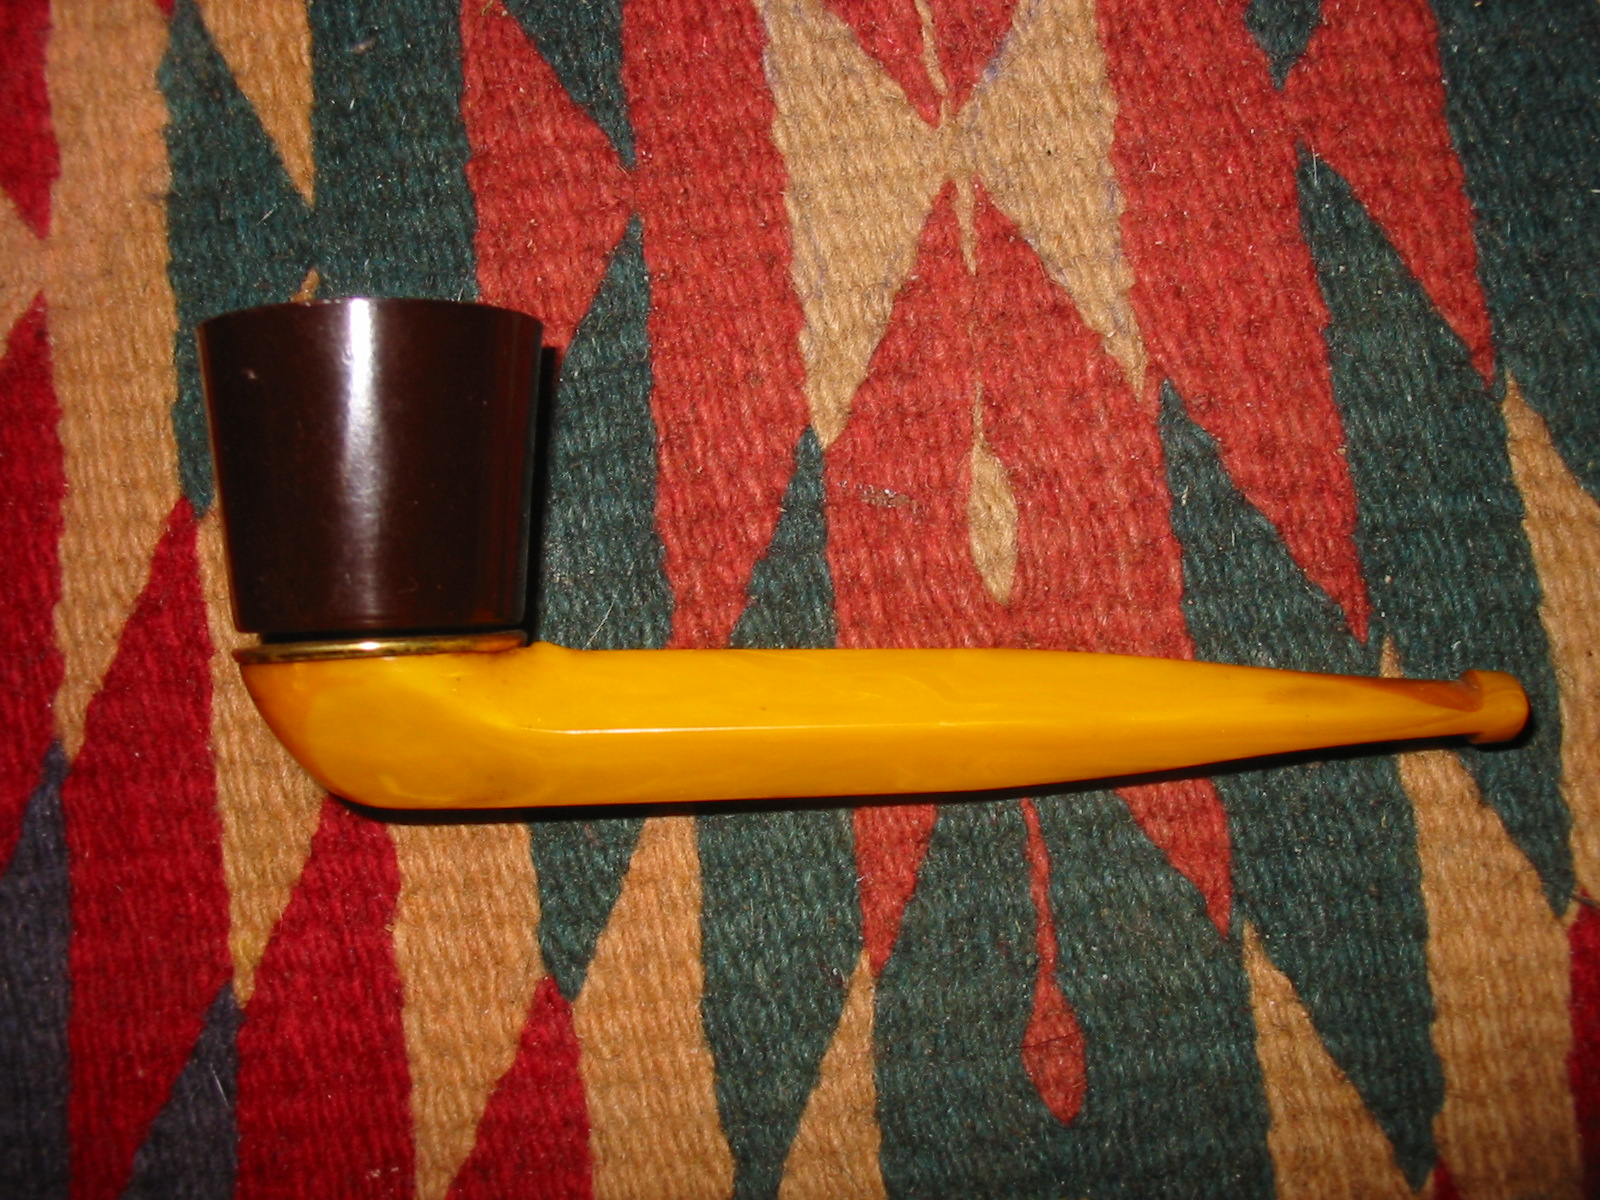
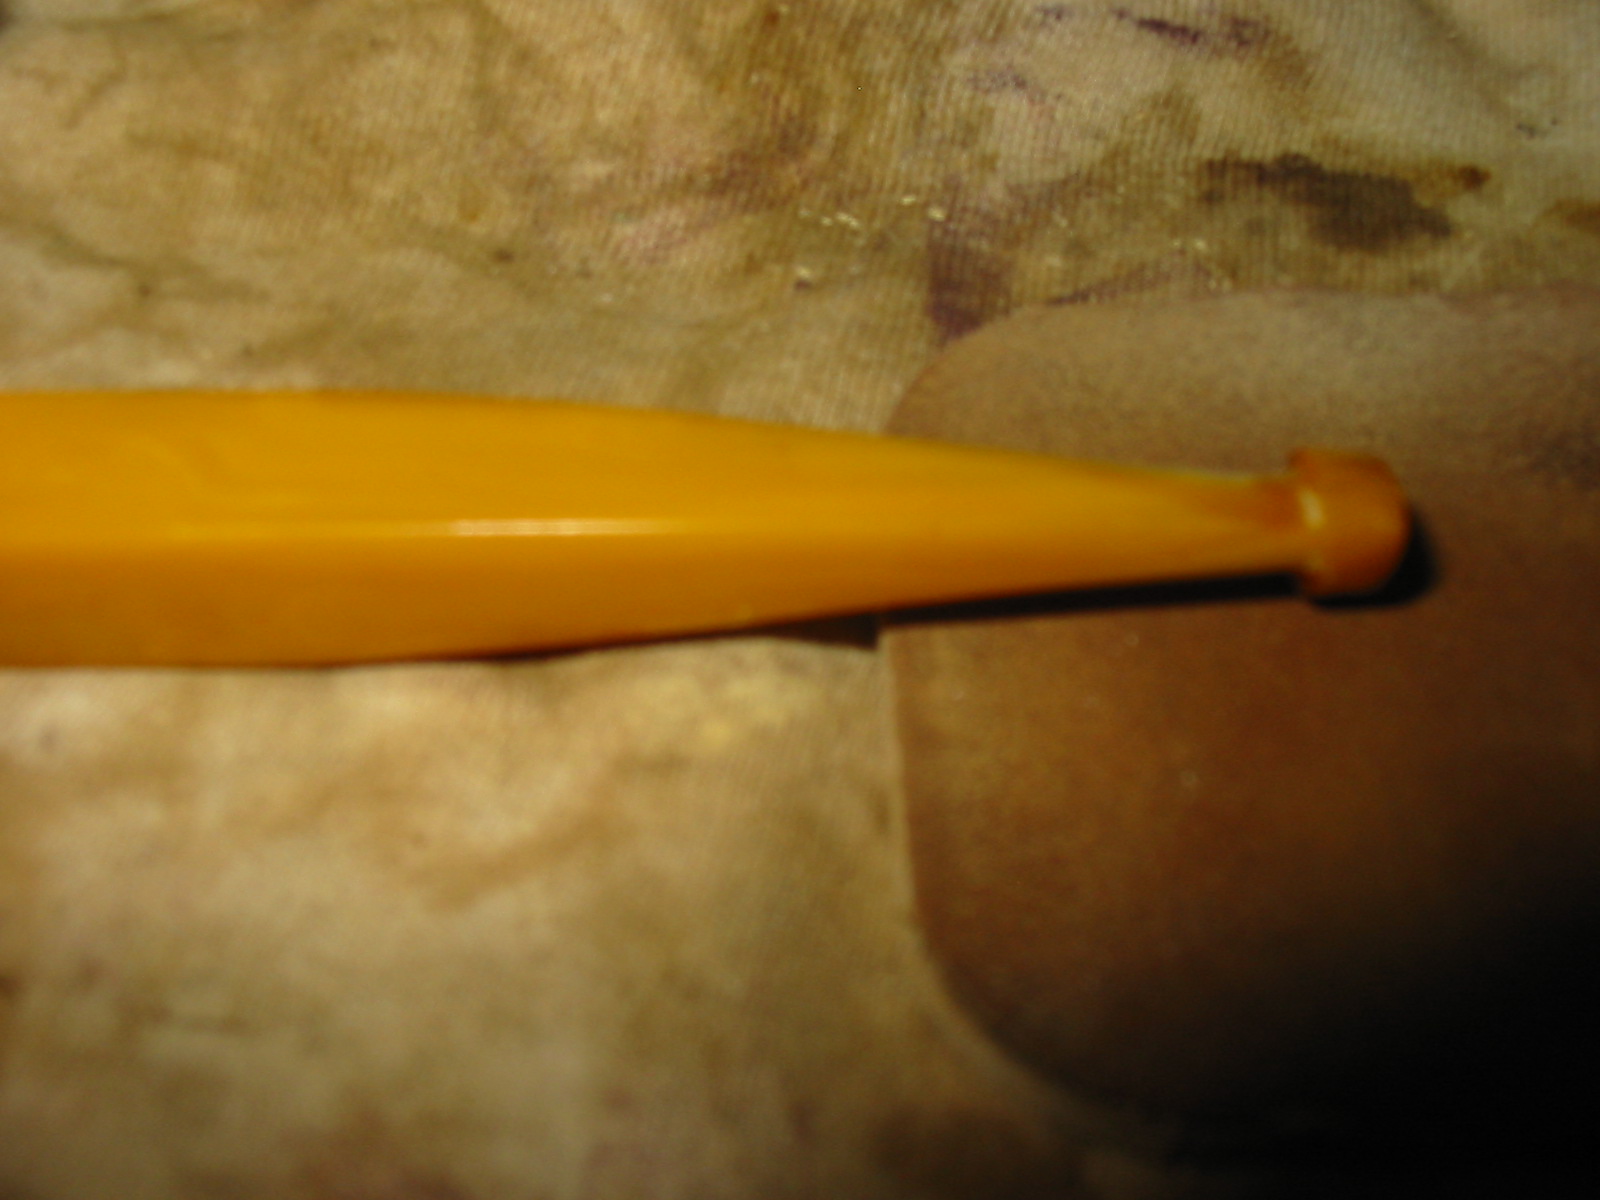
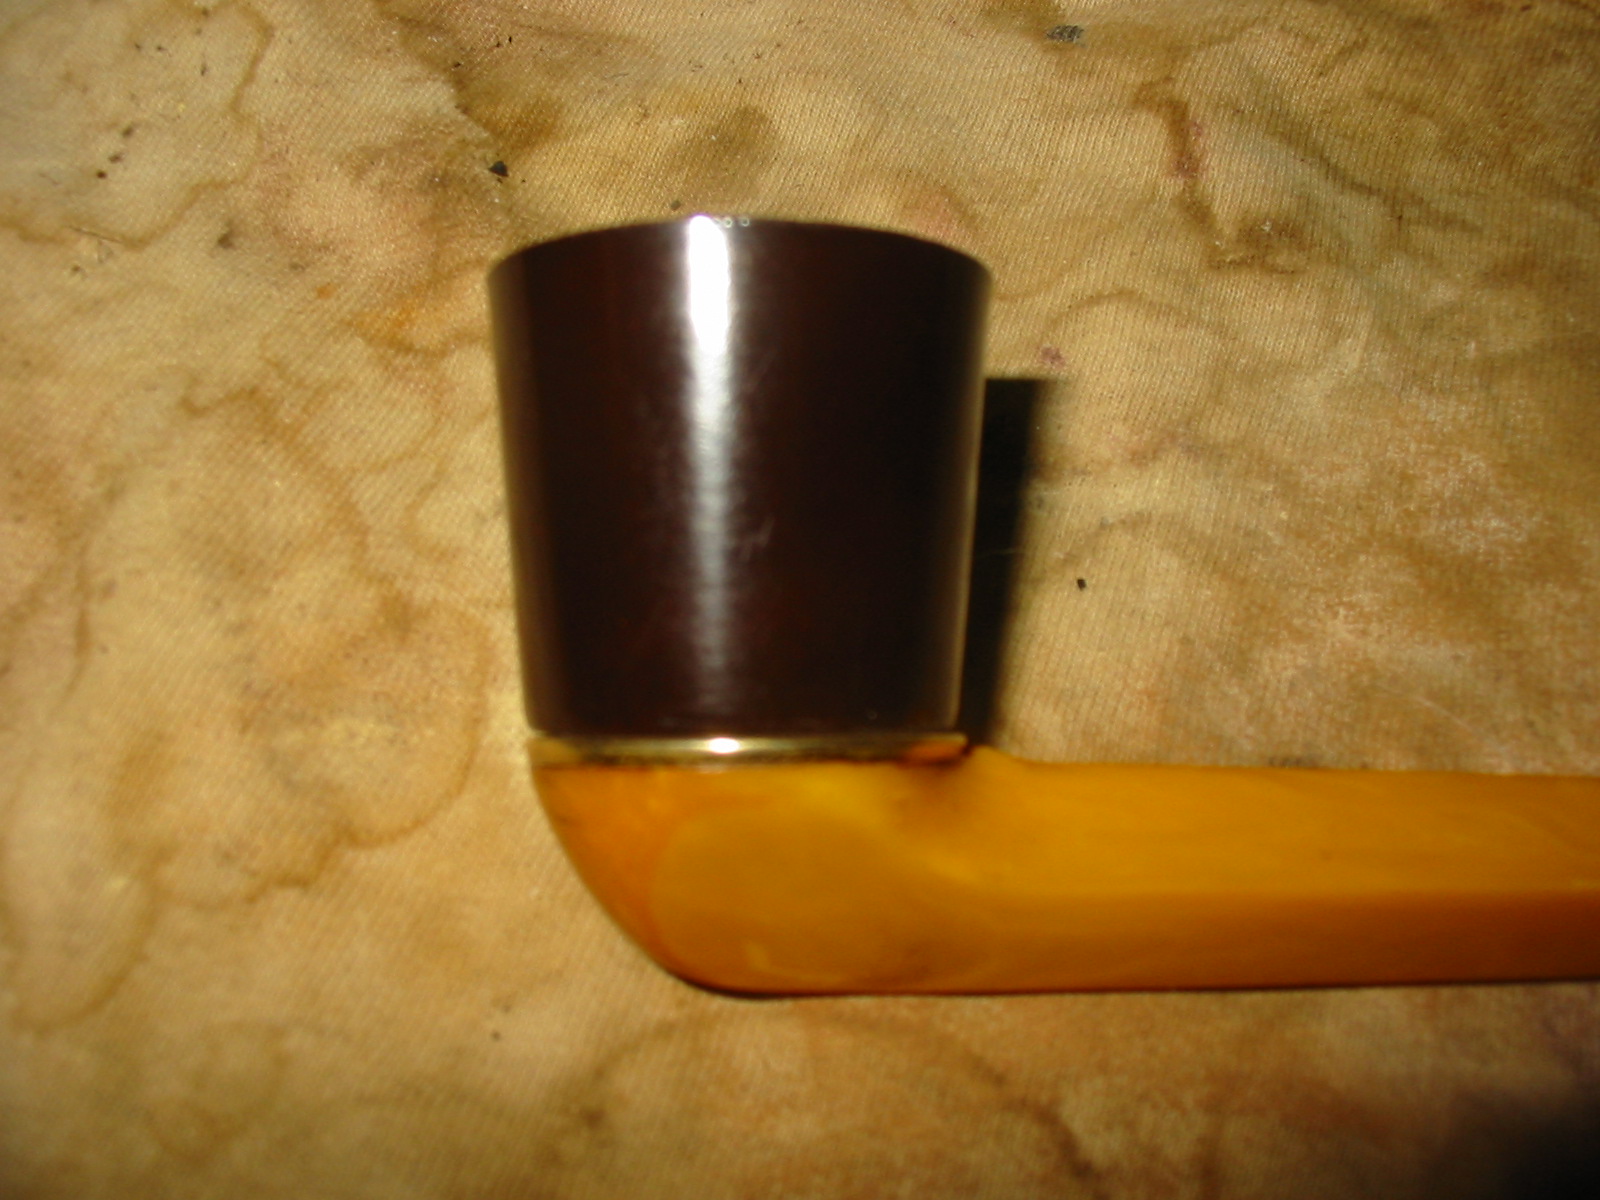
When I had finished with the sanding and the bowl and base had a shine to them I hand buffed it with carnauba wax, applying several coats and buffing it with a soft cotton cloth. My only frustration with the finished pipe is that the area around the button that I changed and sanded is a bit lighter than the yellow/amberlike colour of the rest of the base. It shined up nicely but is lighter. Ah well, it is better than it was and it is certainly more comfortable than when I began. The final series of four photos show the finished pipe. Now it is time to load it and fire it up. The experience is about to begin.