by Steve Laug
Last week I received a phone call from Brian in Victoria about a few more clogged pipes. He sent them by courier and I received them on Wednesday this week. The first pipe I worked on was a Lorenzo that I restemmed and blogged on (https://rebornpipes.com/2025/10/24/restoring-and-restemming-a-clogged-and-filthy-italian-lorenzetti-billiard/). The second one was a Savinelli Tundra 802 Canadian that was clogged and had no airflow once again. I had restored and cleaned it for him and written a blog on July 29, 2025 (https://rebornpipes.com/2025/07/29/restoring-and-cleaning-a-clogged-savinelli-tundra-802-canadian/). The third one is a Savinelli Tortuga that I had also restored at the same time and written a blog on (https://rebornpipes.com/2025/07/30/restoring-and-cleaning-a-clogged-savinelli-tortuga-128-billiard/). He asked if I would clean and open them up for him once again.
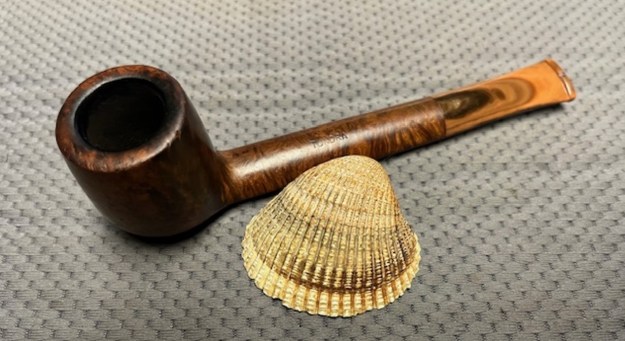
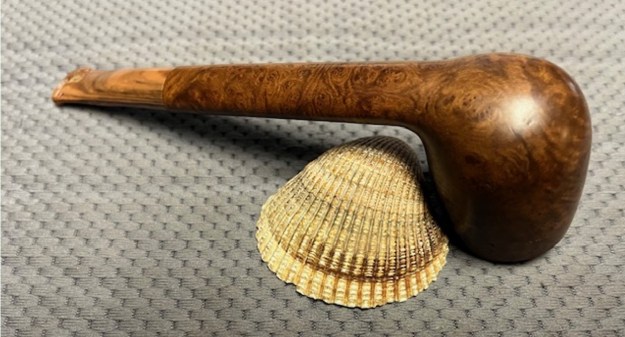
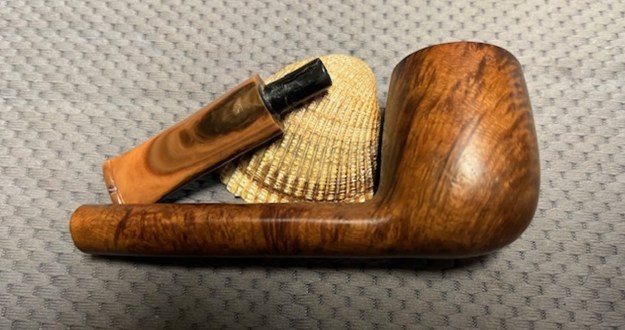
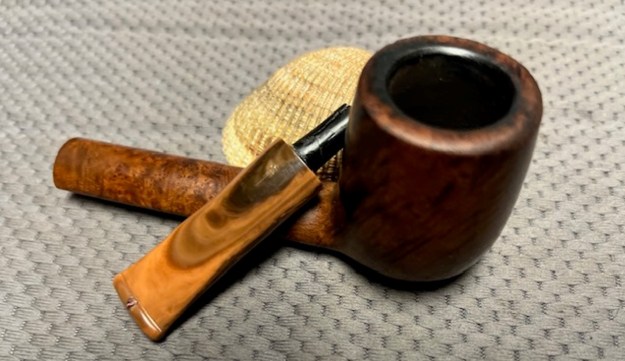
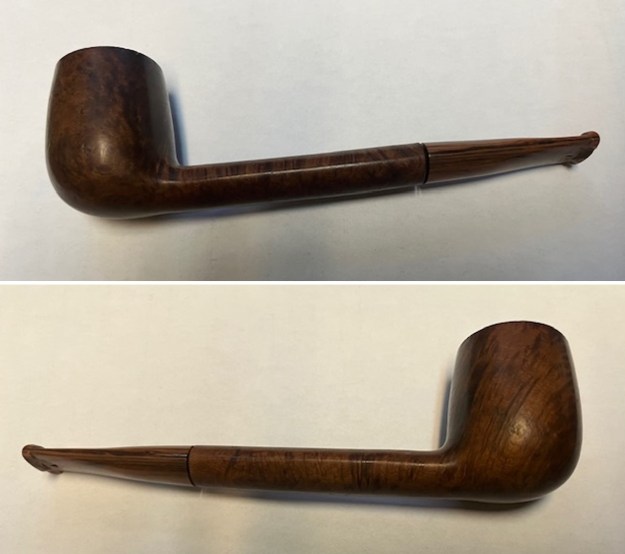
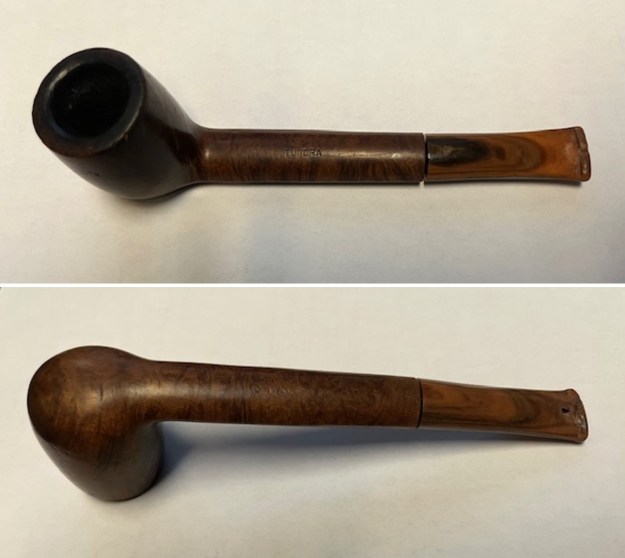
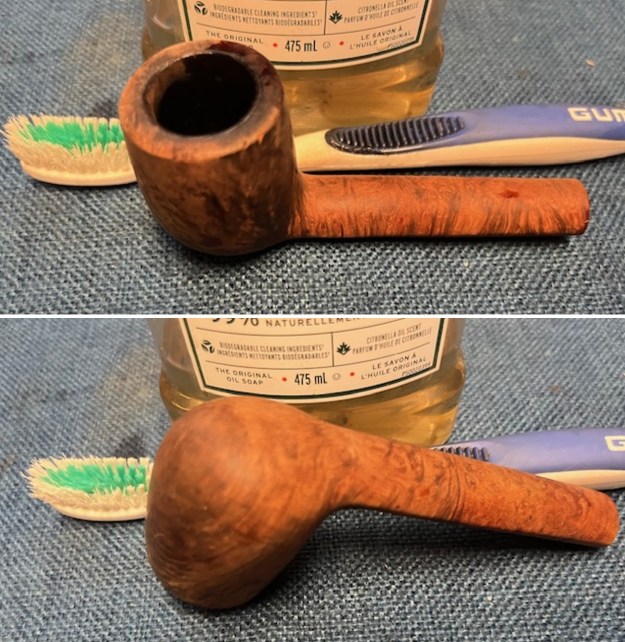
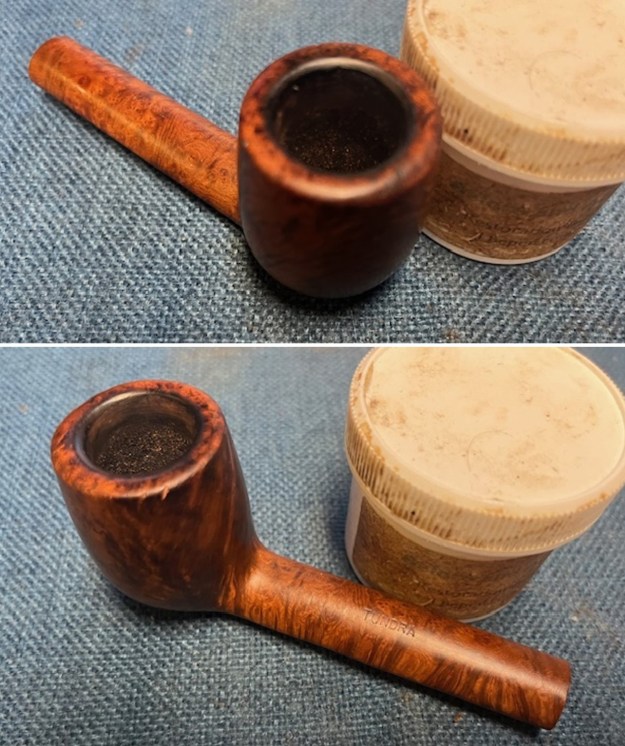
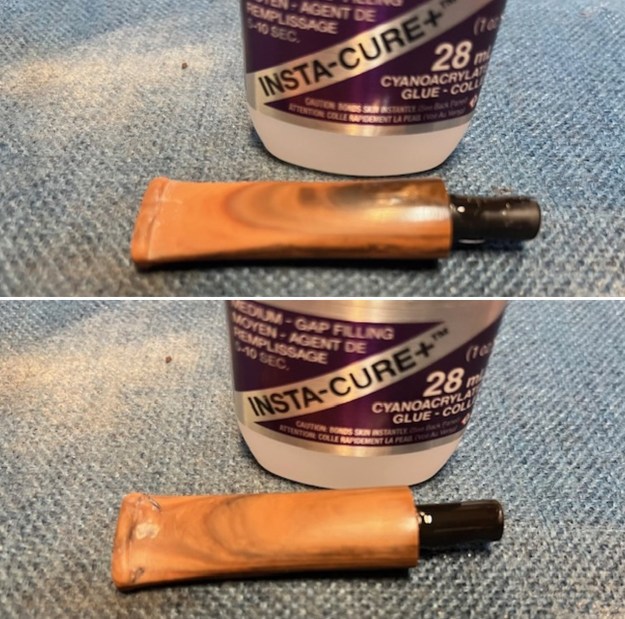
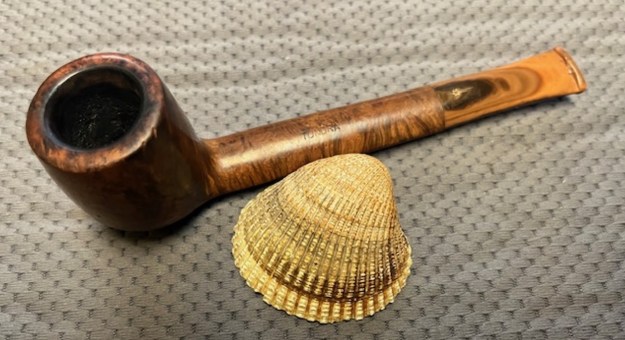
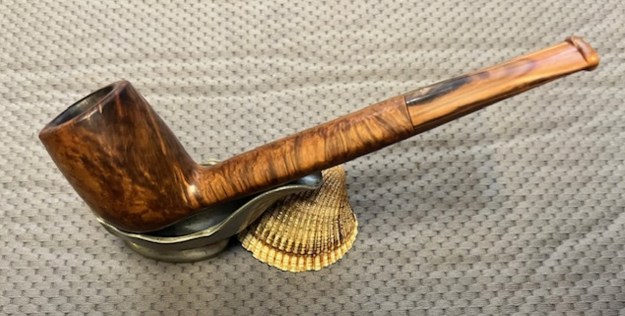
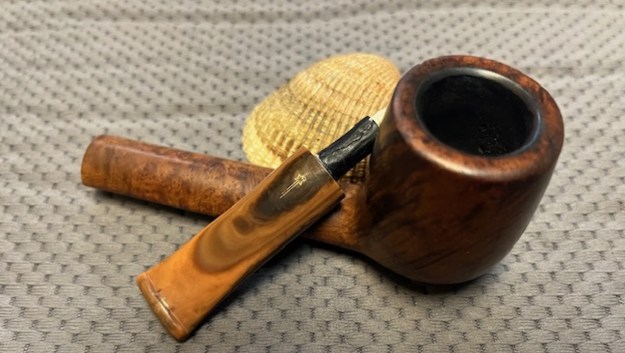
I chose to work on was Savinelli Tundra. It looked very familiar to I checked out the blog and sure enough as noted above I had restored it once already. It was stamped on the topside of the shank and read Tundra. On the underside it has a Savinelli S shield on the underside followed by the shape number 802. The finish was still pretty clean. The bowl already had a thick cake and some wet sticky dottle that completely covered the airway at the bottom of the bowl as it had before. The rim top had was covered by light coat of lava that was sticky. The taper stem was multi-coloured acrylic. The bite through I had repaired had held up quite well. The shank and airways in both the mortise and stem were very dirty. I blew through the stem and it was clear and unclogged. I tried to blow through the shank and it was constricted with tars. I took photos of the pipe before I started my work. It amazed me how quickly the pipe had clogged again.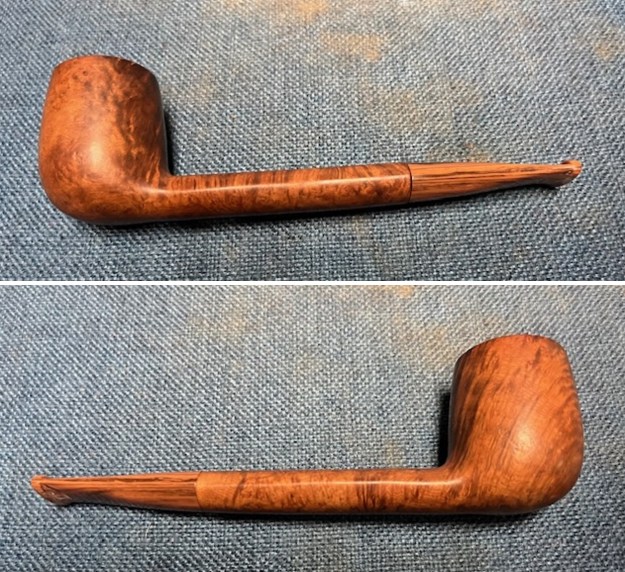
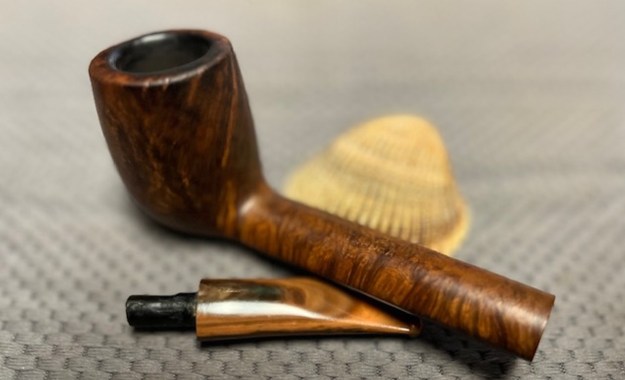
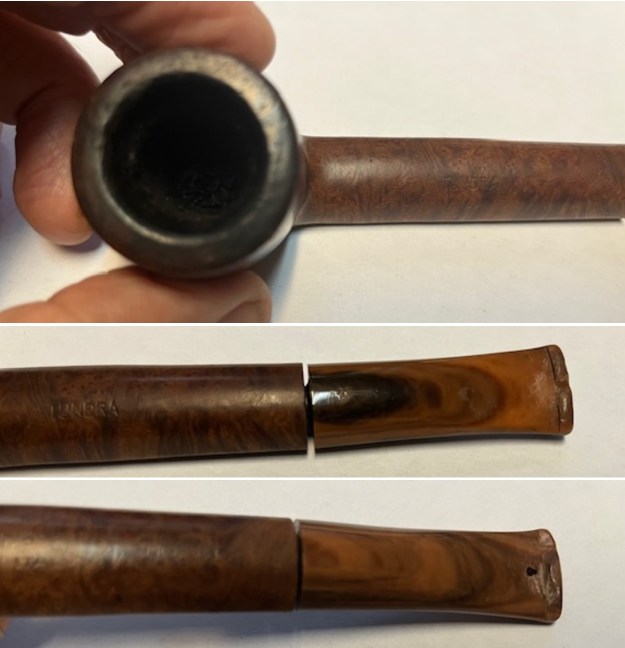
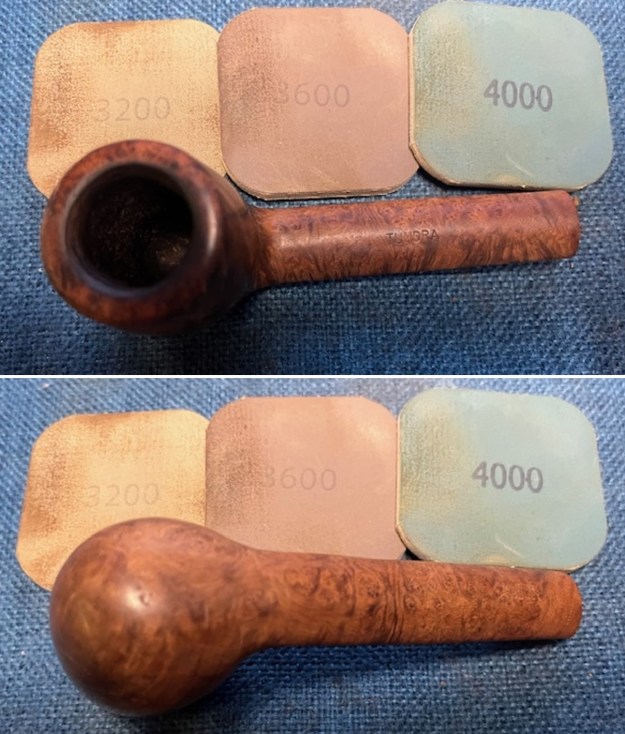
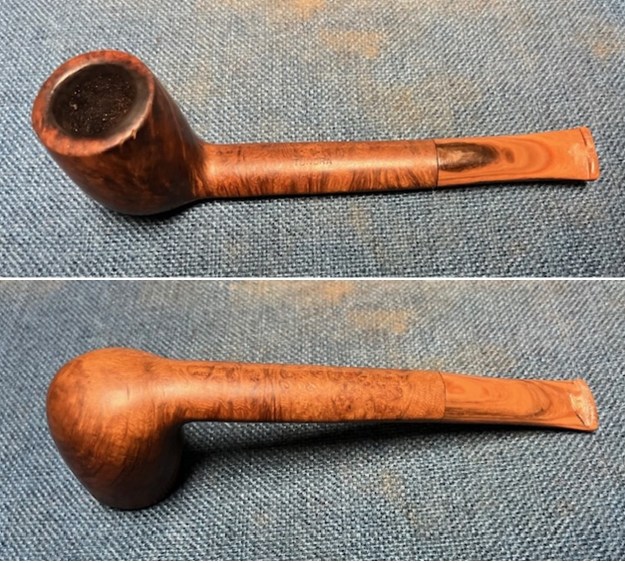 I took photos of the rim top and the stem to show the condition. You can see the cake and dottle in the bowl and the clean rim top. The photos of the stem show that the repairs on the tooth marks and chatter on the top looks to be in great condition.
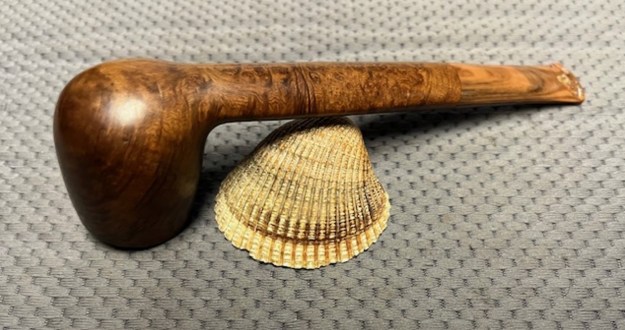
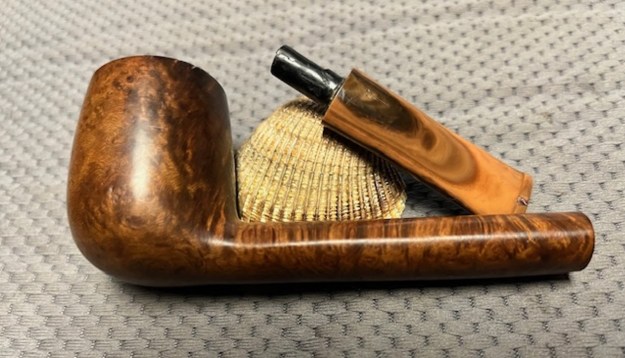
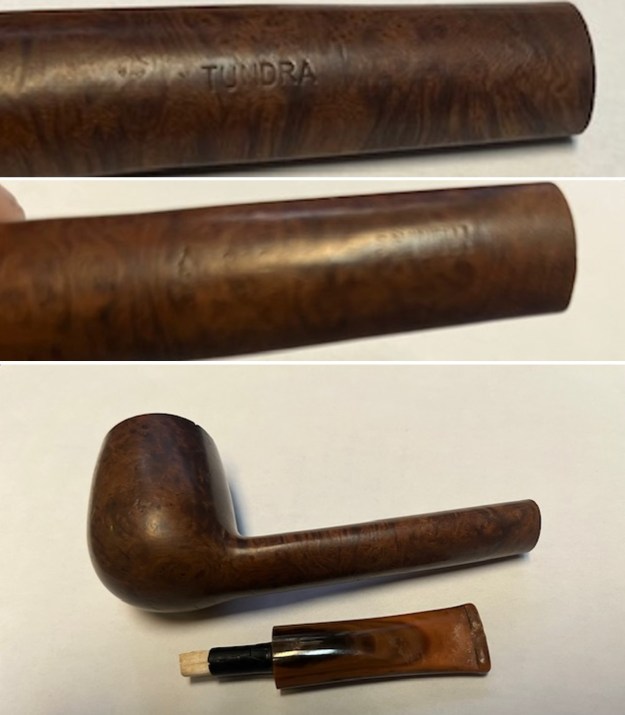
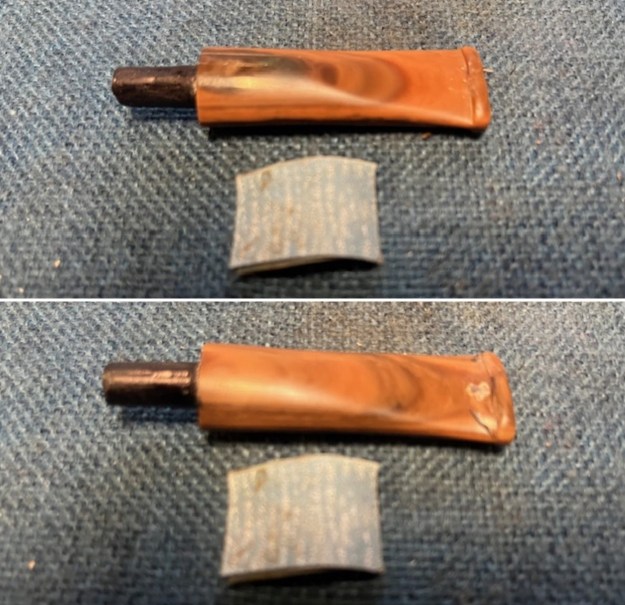
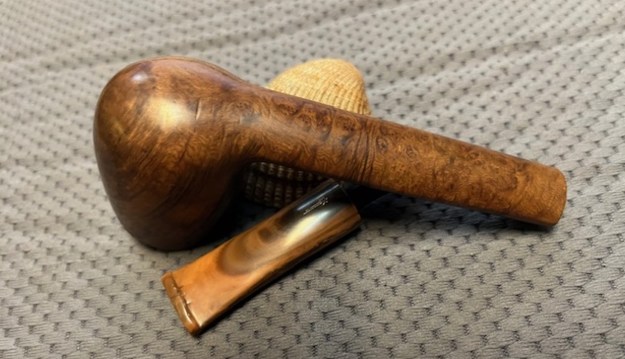
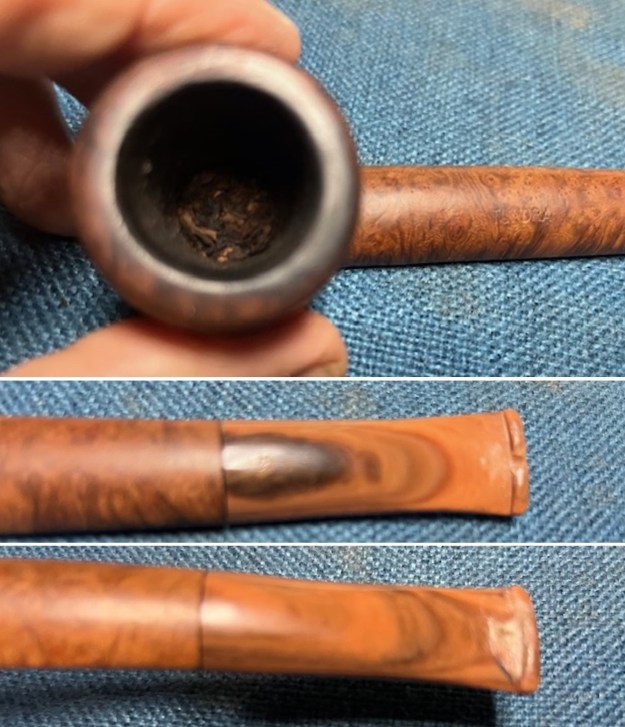 I took photos of the stamping on the top and underside of the shank to capture it. The Tundra stamp and the stamping on the underside was faint but readable as noted above. I removed the stem and took a photo of the parts to give a sense of the look of the pipe.
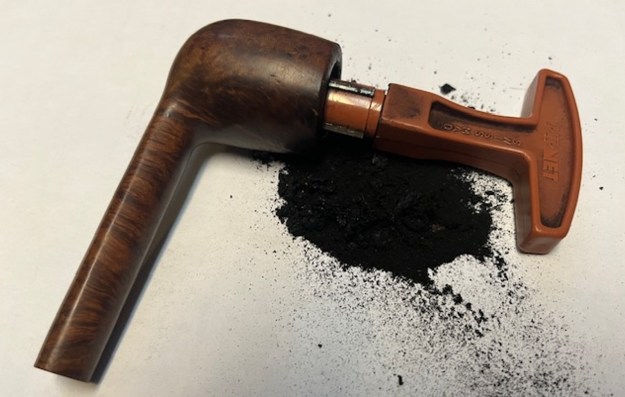
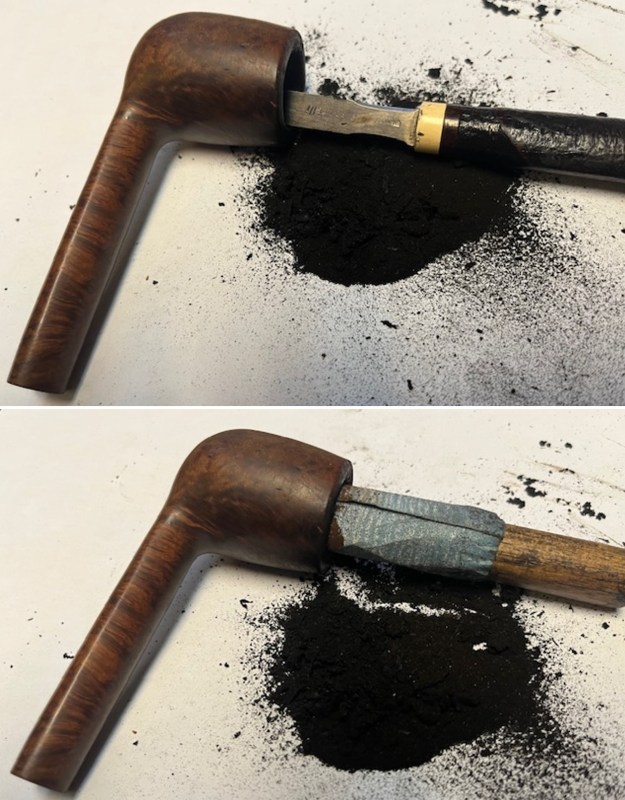
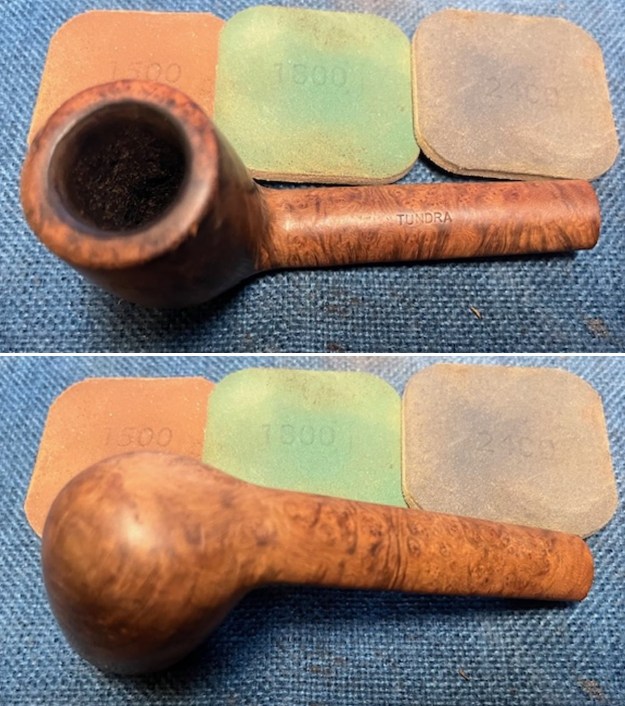
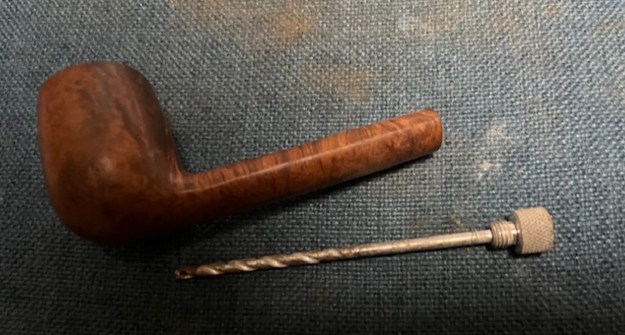
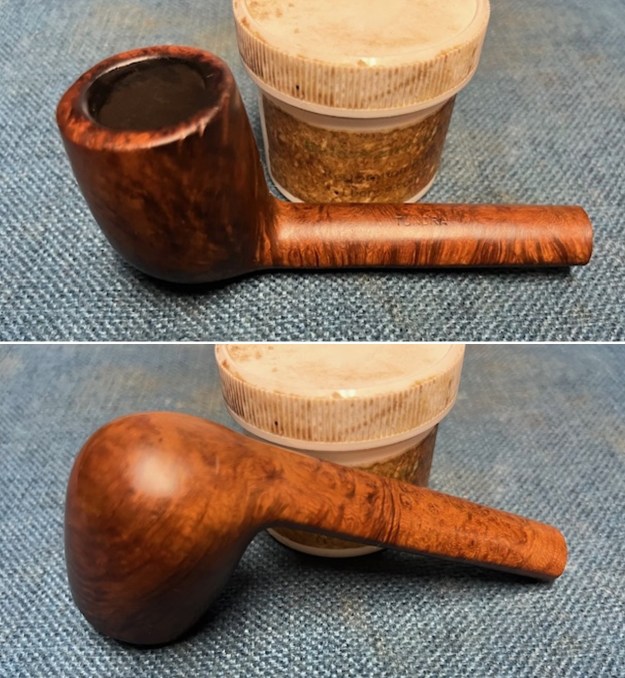
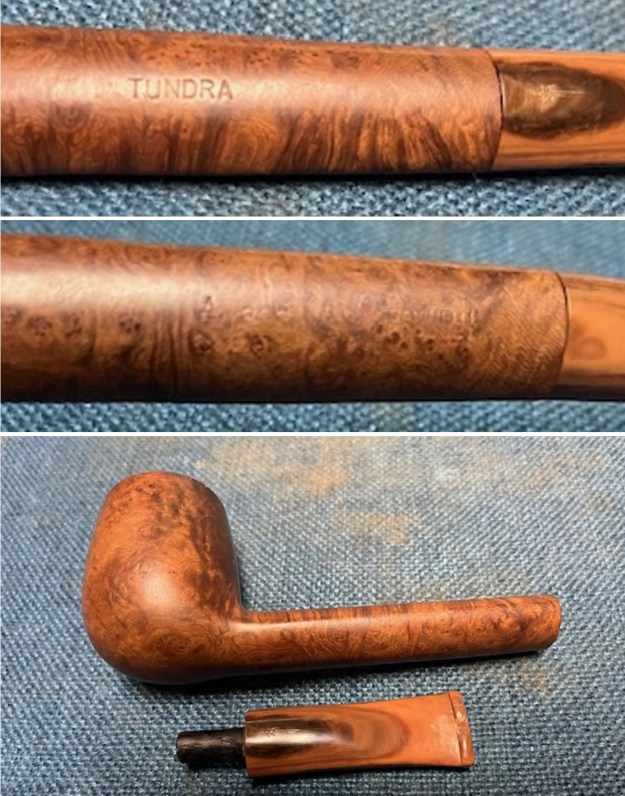 I started my work on the pipe by cleaning out the dottle in the bottom of the bowl. It was thick and wet. I reamed the bowl with a PipNet reamer. I used the first cutting head and took the cake back to bare briar. I cleaned up the reaming with a Savinelli Fitsall Pipe Knife and removed all the remnants of the cake. I sanded the walls of the bowl with a piece of dowel wrapped in 220 grit sandpaper. The walls look very good at his point in the process. I used the drill bit in a Kleen Reem pipe reamer and twisted it into the shank in the shank until it went to the bowl. It cleaned out more of the debris and opened the airway.
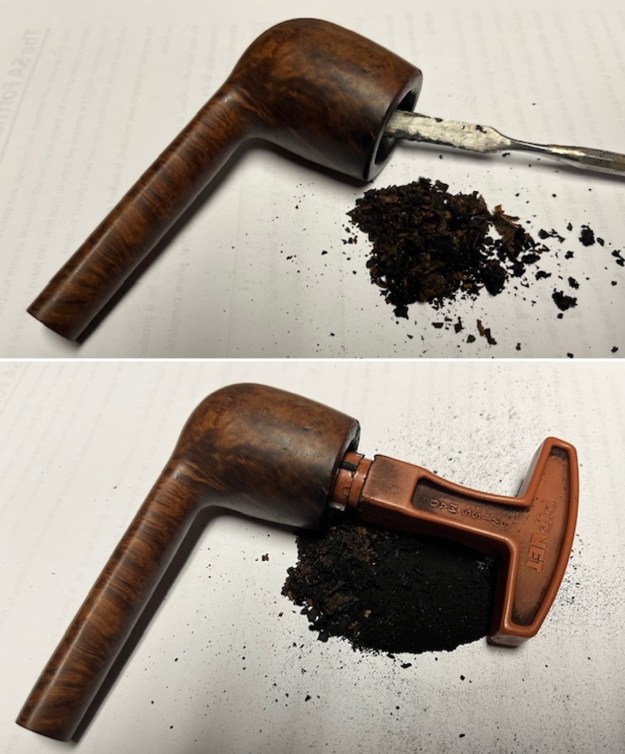
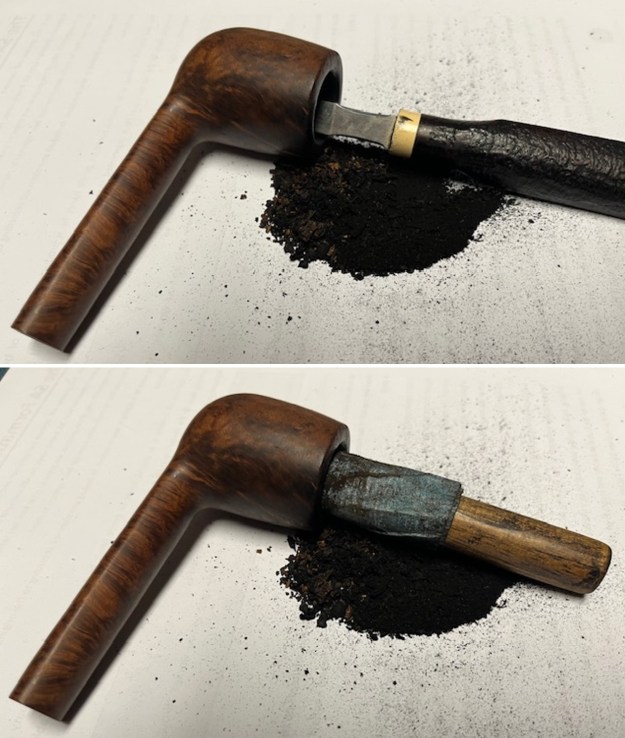
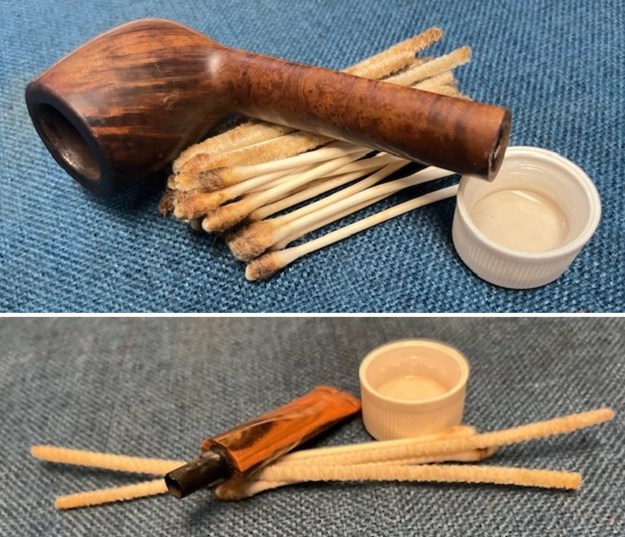
 I cleaned out the shank, the airway and the mortise as well as the airway in the stem with alcohol, cotton swabs, hard bristle and soft bristle pipe cleaners. It was a very dirty pipe which just meant that Brian really enjoyed it.
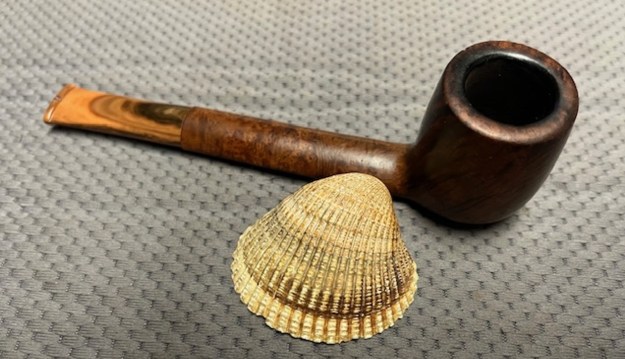
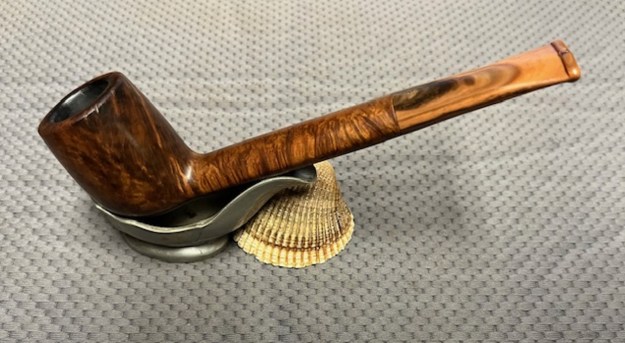
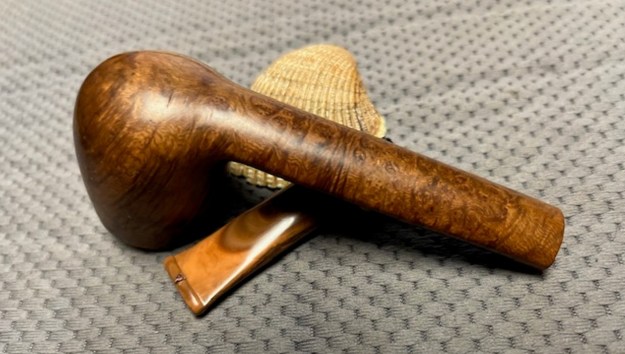
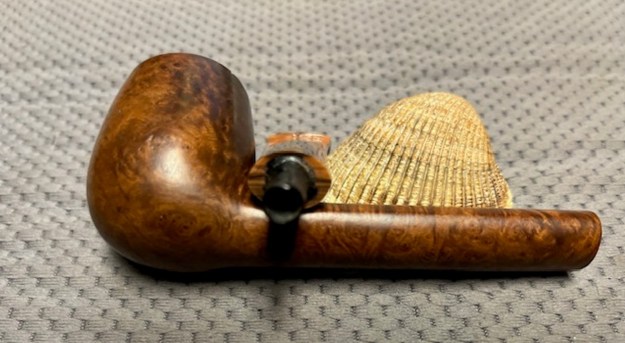
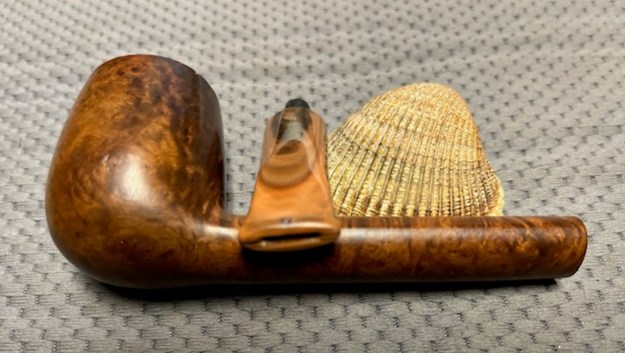
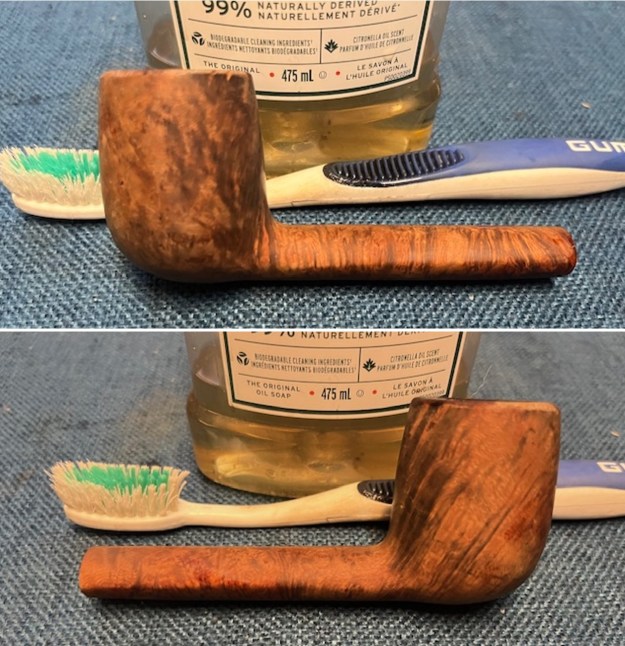
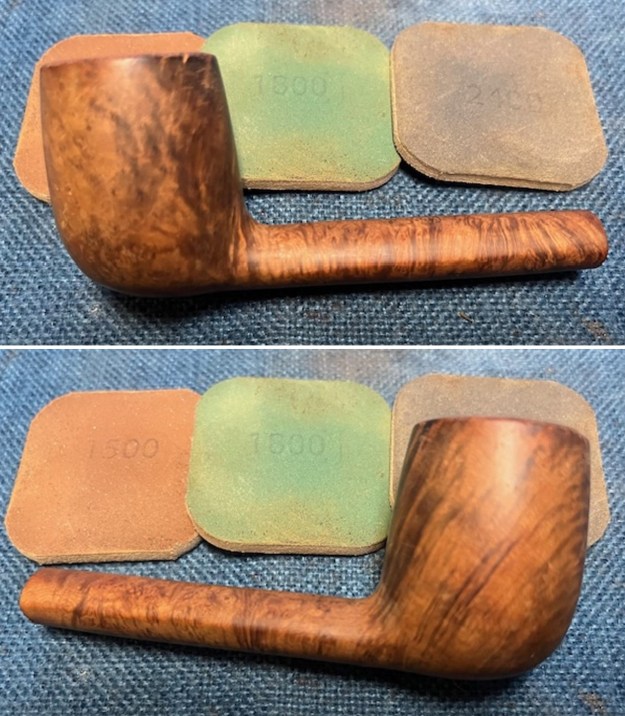
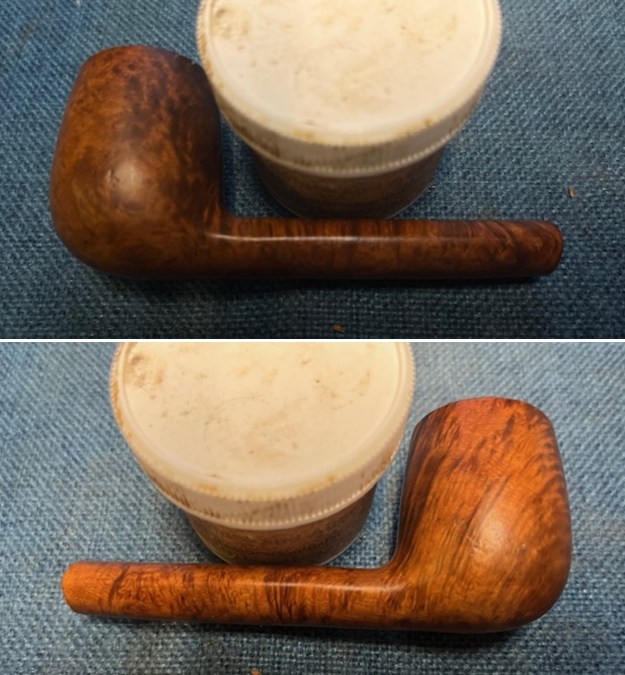
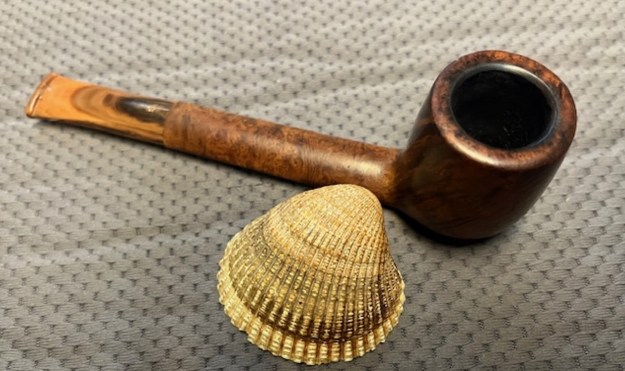
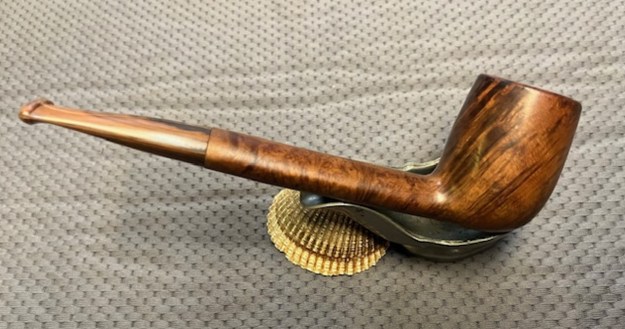
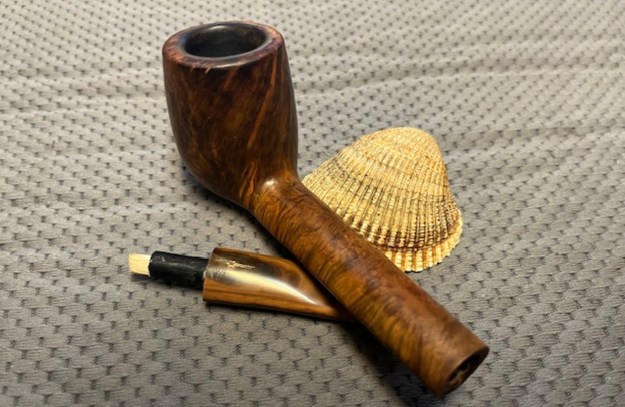
 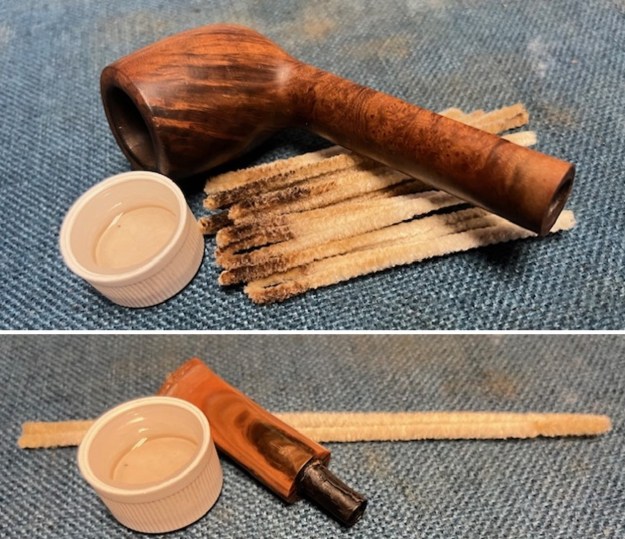 I rubbed the bowl and shank down with Before & After Restoration Balm to deep clean the finish on the bowl and shank. The product works to clean, enliven and protect the briar. I worked it in with my fingers to get it into the briar. I let it sit for 10 minutes then I wiped it off and buffed it with a soft cloth. The briar really began to have a rich shine. I took some photos of the bowl at this point to mark the progress in the restoration. It is a beautiful bowl.
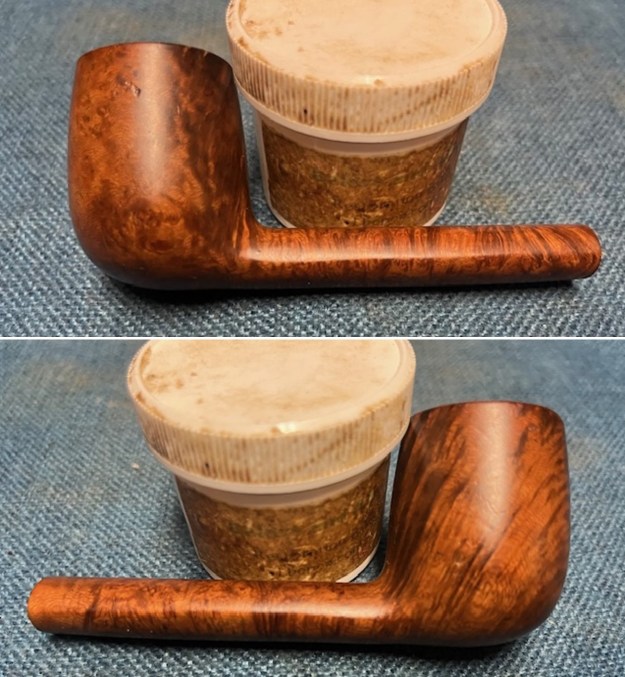
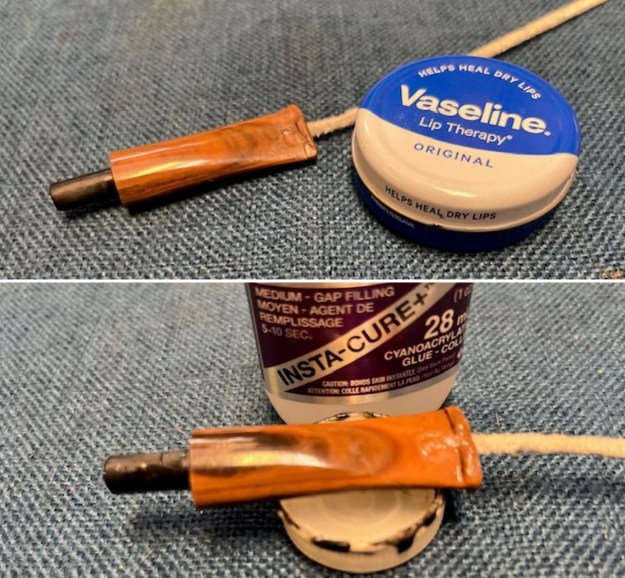
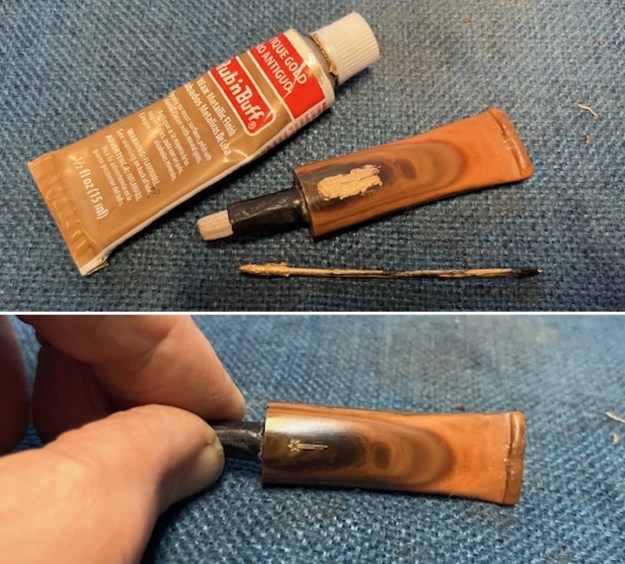
 With the shank clear and the airway open it was time to work on the stem. It was clear once again just dirty and I needed to clean up my repairs on the stem. Though I did not take photos of the process as this point I used my normal process. I used small files to recut the button edge, reshape the surface and flatten the repair on the stem surface on both sides. The filled in bite through on the underside was visible but the beauty was it was underneath! I would continue to sand and work it to minimize the visibility but the repair was solid.
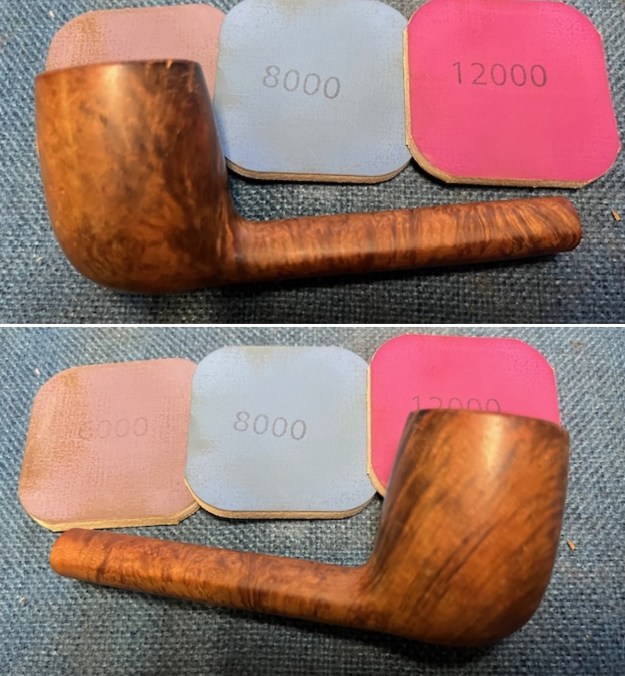
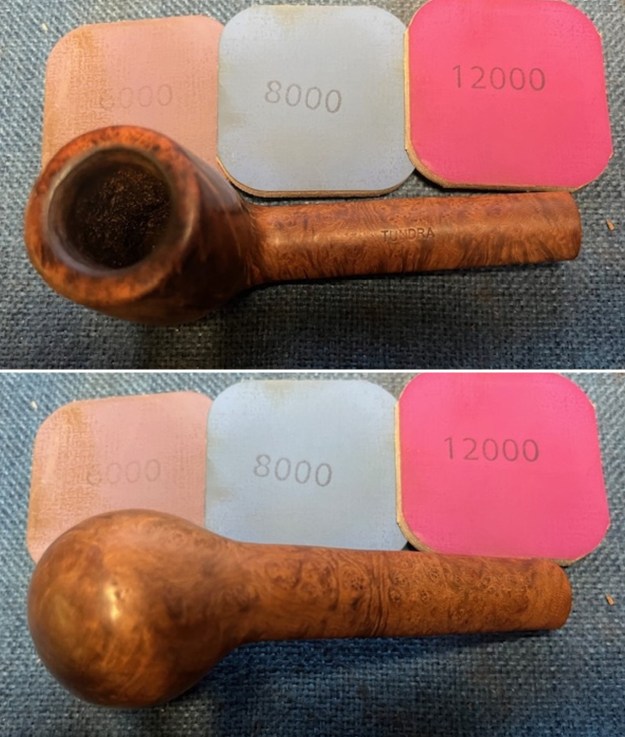
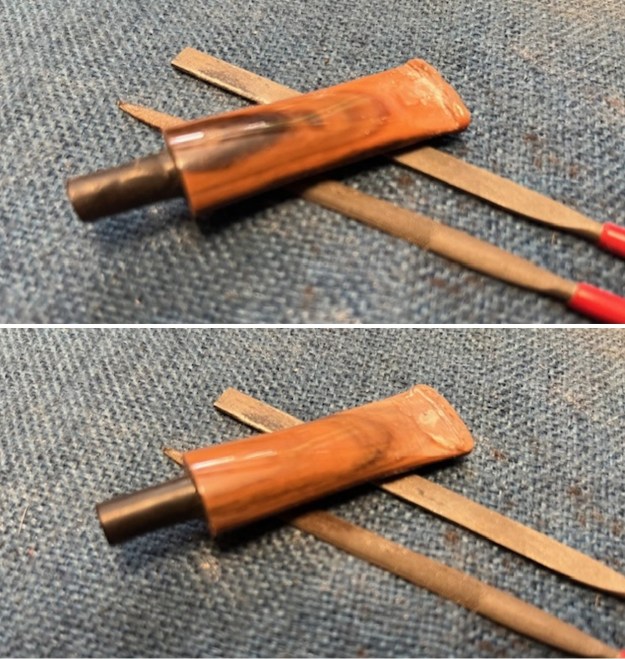
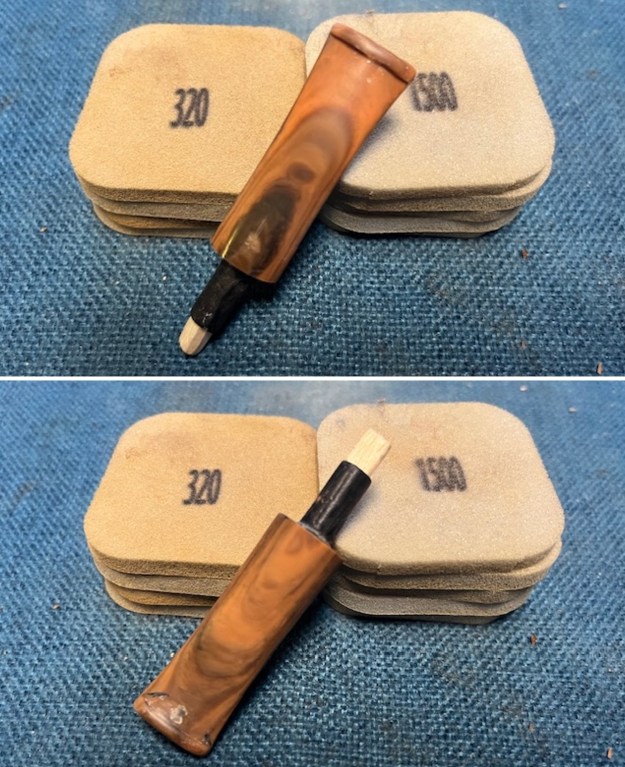
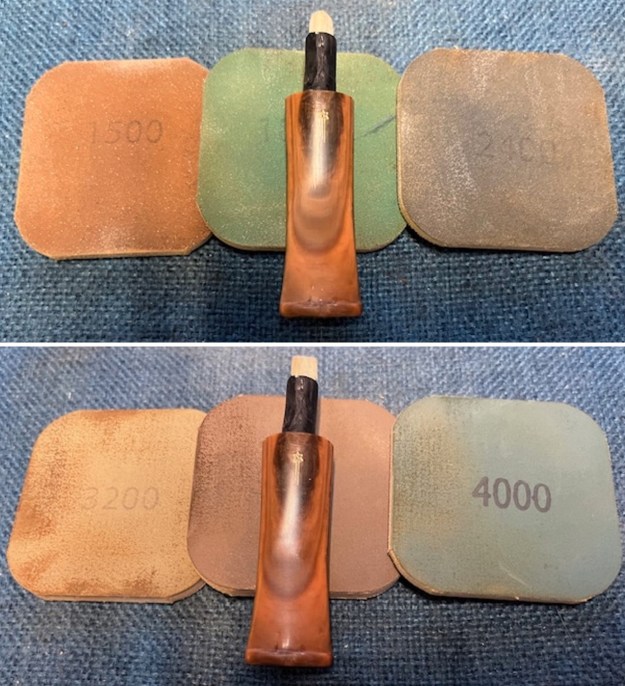
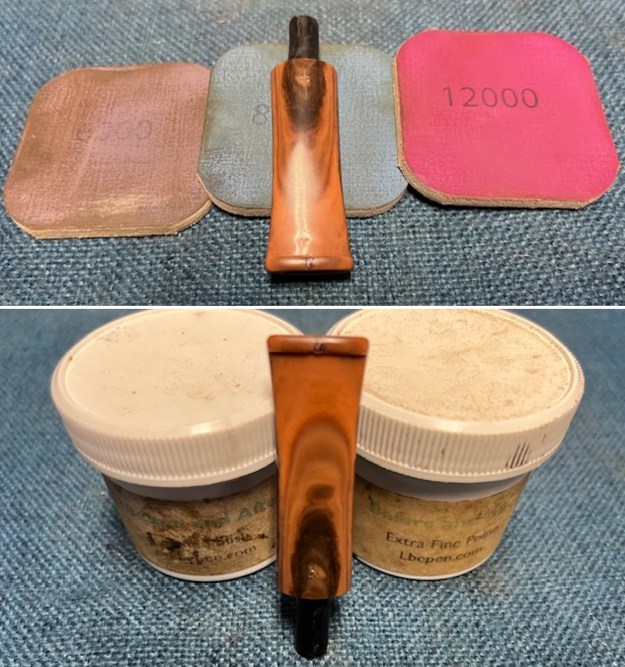
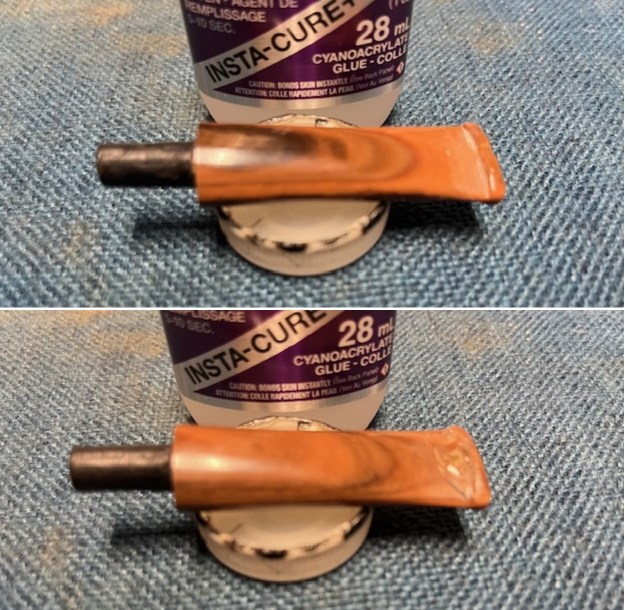 I sanded the surface of the acrylic taper stem with the 2 x 2-inch sanding pads – 320-3500 grit pads to clean up the sanding marks on the stem surface. By the final 3500 grit pad the stem started to really shine. The repairs are visible but they are smooth. It is hard to patch Cumberland style stems.
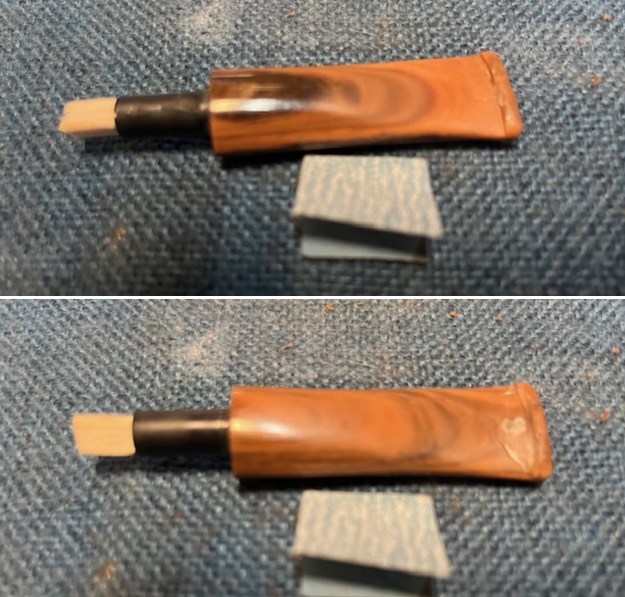
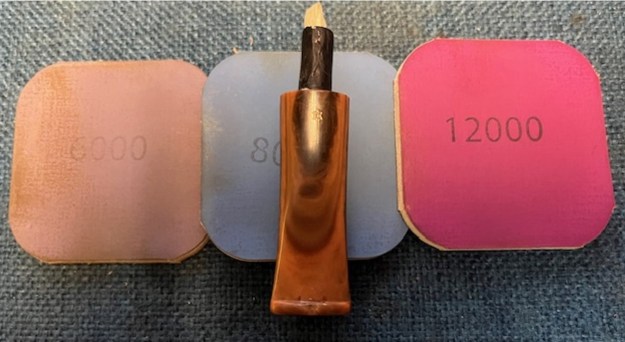
 I polished the stem with micromesh sanding pads – dry sanding with 1500-12000 grit pads. I wiped the stem down after each sanding pad with Obsidian Oil. I set it aside to dry.
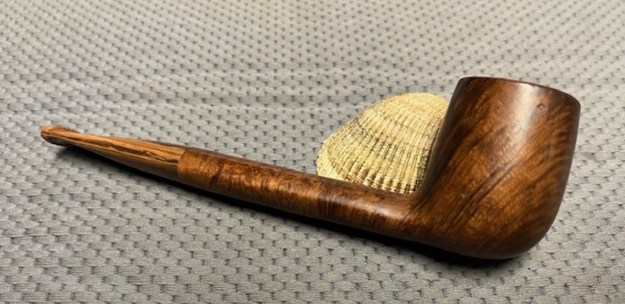
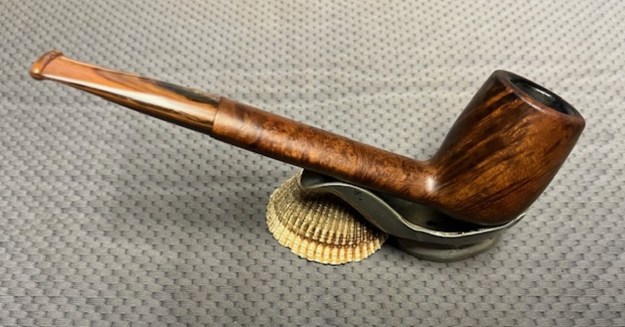
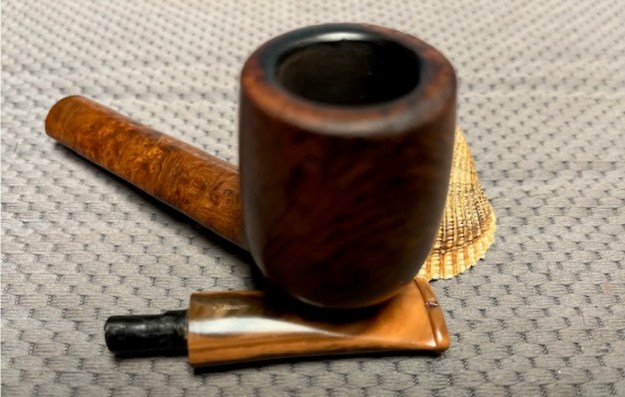
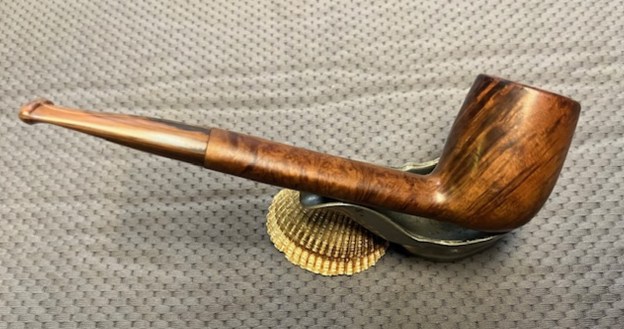
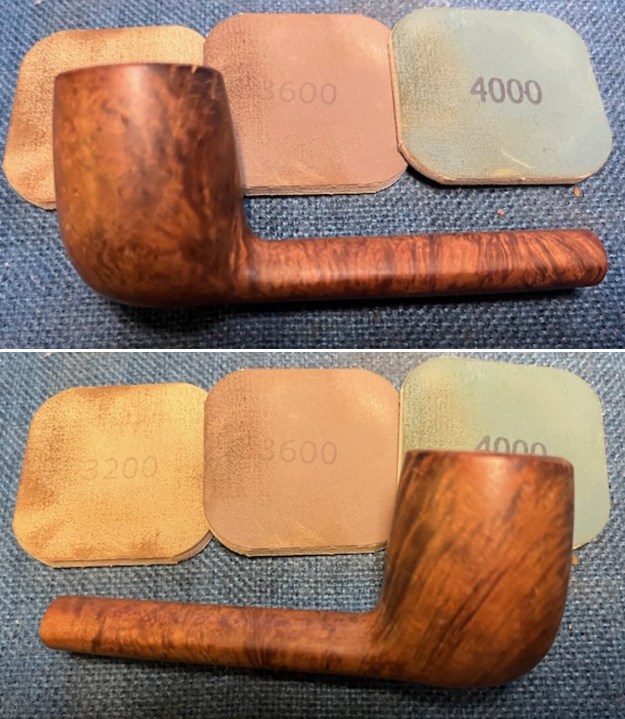
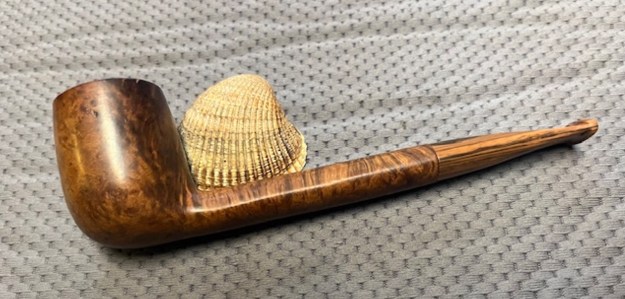
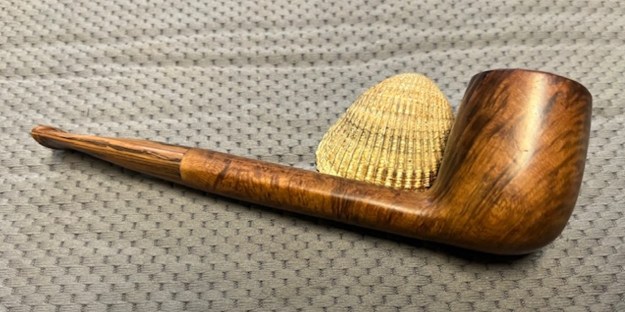
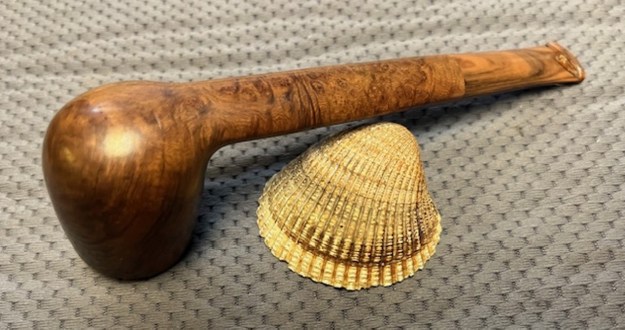
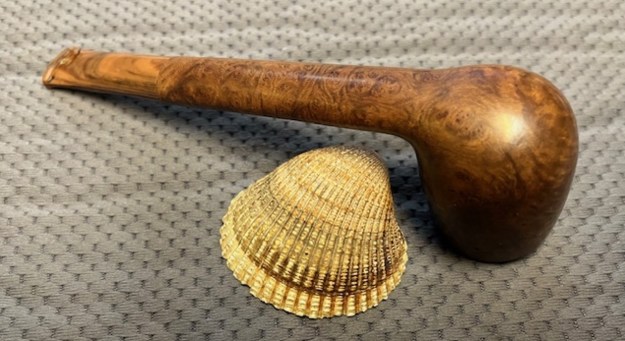
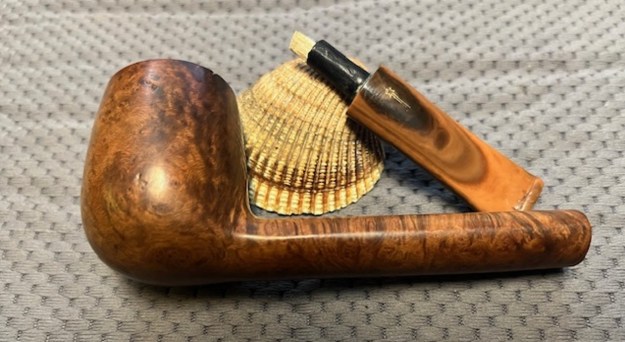
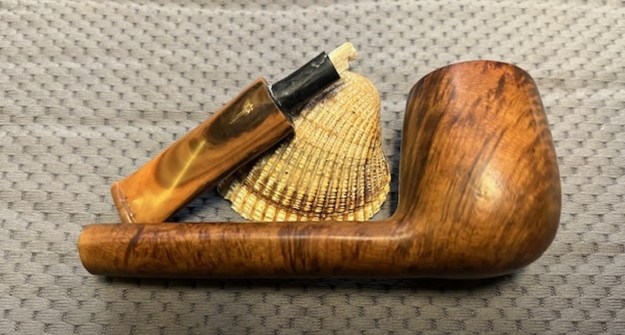
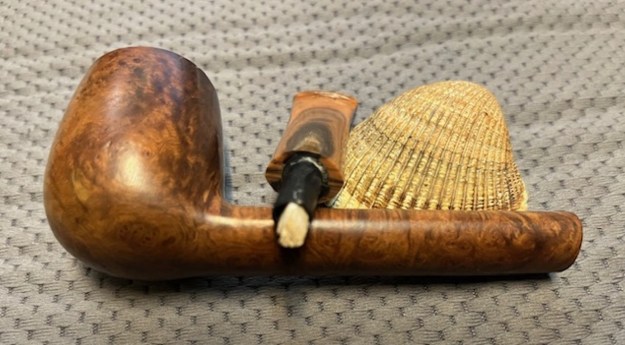
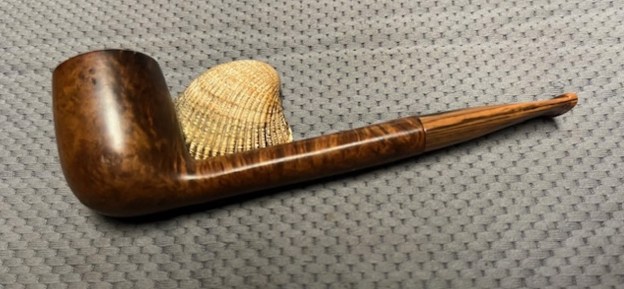
 I finished cleaning and opening up the airway once again on this Savinelli Tundra 802 Canadian with an acrylic taper stem. I put the pipe back together and buffed it with Blue Diamond on the buffing wheel. I gave the bowl multiple coats of carnauba wax. I buffed the pipe with a clean buffing pad to raise the shine and then by hand with a microfibre cloth to deepen it. It is fun to see what the polished bowl looks like with beautiful grain on the smooth bowl and shank. The polished grain on the pipe looks great with the repaired acrylic stem. This Savinelli Tundra Canadian looks better and the pipe feels great in my hand. It is light and well balanced. Have a look at it with the photos below. The dimensions are Length: 6 inches, Height: 1 ¾ inches, Outside diameter of the bowl: 1 ¼ inches, Chamber diameter: ¾ of an inch. The weight of the pipe is 41 grams/1.45 ounces. This second of three pipes that Brian me to open up again. I will send the pipes back to him once I have cleaned up the final pipe he sent. I look forward to hearing what he thinks of this resurrected beauty. It should be a great smoking pipe.
As always, I encourage your questions and comments as you read the blog. Thanks to each of you who are reading this blog. Remember we are not pipe owners; we are pipe men and women who hold our pipes in trust until they pass on into the trust of those who follow us.