Blog by Steve Laug
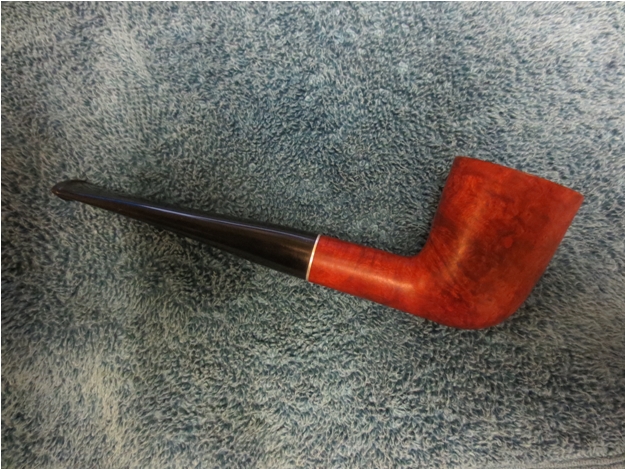
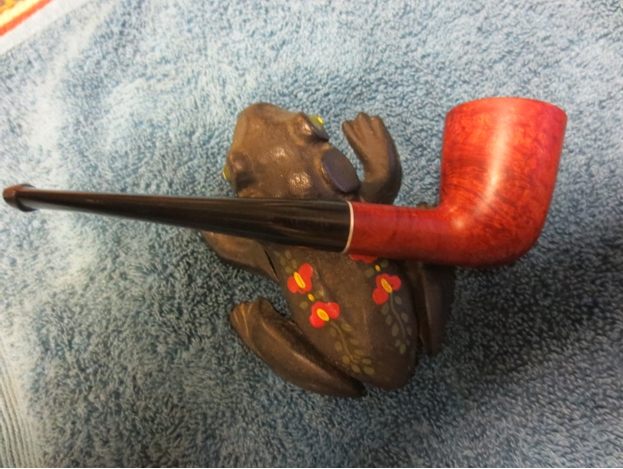
This is another pipe from the box of pipes that I was gifted. It is stamped Willard over Imported Briar. I have cleaned up quite a few old Willard pipes over the years but never took the time to figure out the manufacturer or other information regarding them. I turned to Pipedia and did not find the listing so I checked on PipePhil’s site and found what I was looking for. I have included the photo below for comparison sake. The Willard I have is stamped the same as the top photo. The stem logo is also the same. On the side bar the site included the following information: “The Willard pipes were made by Sparta Industries in Sparta, N.C from 1963 to 1975 (about 60,000 pipes per week). Some were distributed by the Post and Base Exchanges that serviced the military during the Vietnam War. Others were produced for R. J. Reynolds Tobacco.” So I had time frame for this pipe – made in Sparta, North Carolina sometime between 1963-1975. That was way more than I had when I started.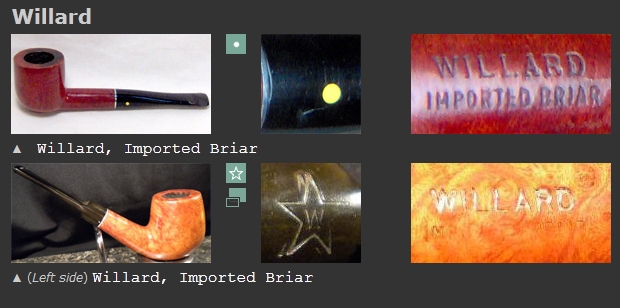 The pipe on my work table had the same overall look as the one in the top photo above. Even the darkening of the rim was similar and the wear on the stem. The finish was the same indestructible varnish coat over a red stain. When I started the cleanup I thought the bit was nylon but as I worked on it I am sure it is not. The sanding dust is dark black and is like rubber of some sort. I am still not sure of the material but it is soft to the teeth.
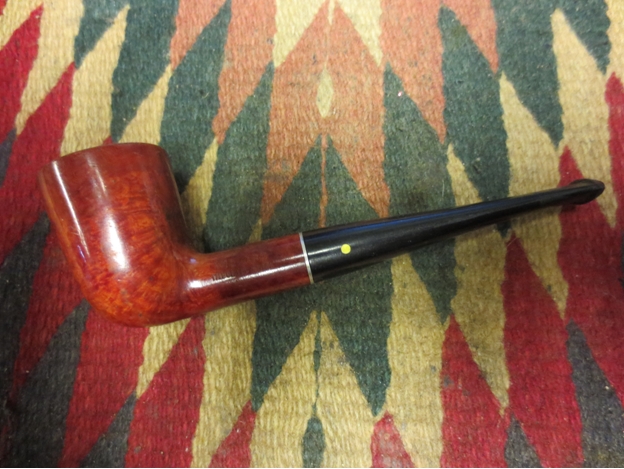
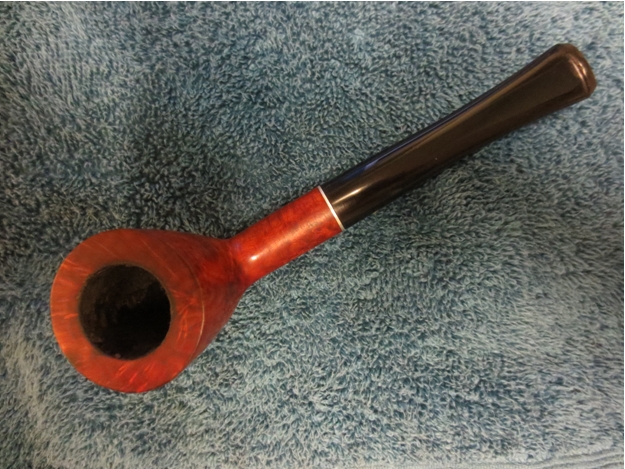
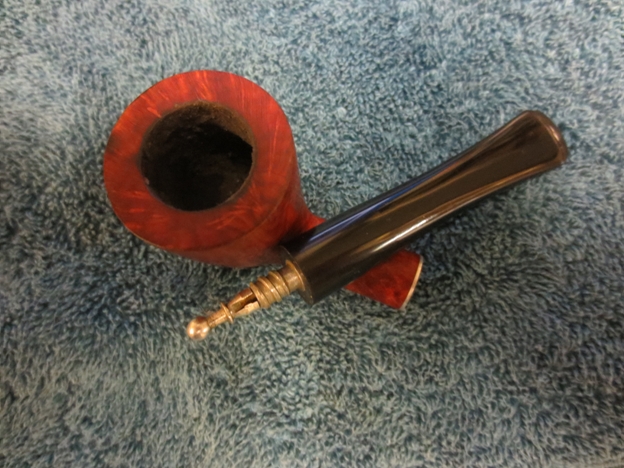
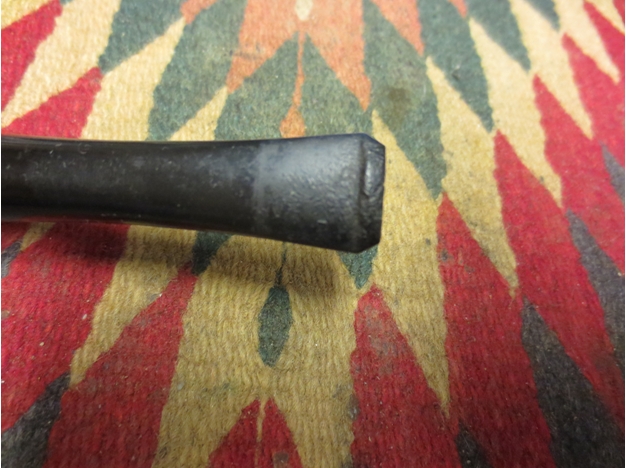
 The stem material did not seem to oxidize. There was some definite tooth chatter on the stem near the button but it also looked like someone had put a softie bit on it to protect it after the initial chatter. The metal tenon had a removable stinger in place that was covered with “gunk” (technical pipe refurbisher terminology). The varnish coat was in rough shape and peeling. There was underlying dirt that had gotten in under the edges of the peeling varnish. The briar itself was in decent shape under the finish and did not have much damage other than scratching on the sides of the bowl. The rim was blackened but not charred. The varnish had disappeared on the rim almost as if the heat had peeled it back from the inner edge outward. There was also some surface scratching on the rim.
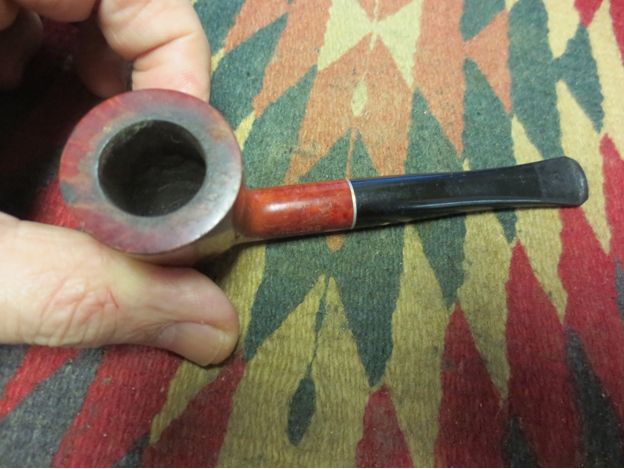
 I have included the next close-up photos of the rim and the stem to show the extent of the damage to both. The bowl had been reamed but there was some damage on the side of the bowl that I will talk about shortly.
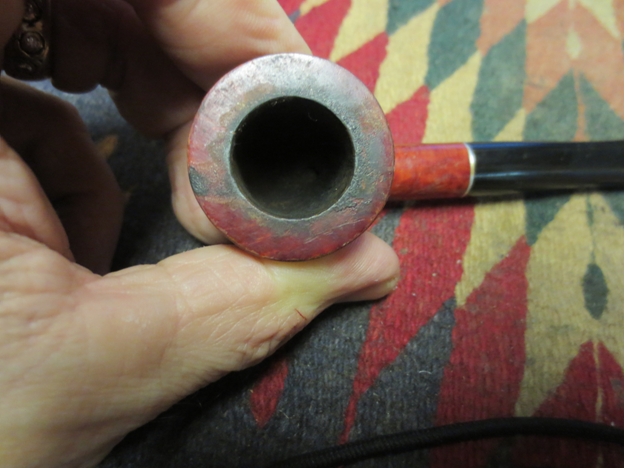
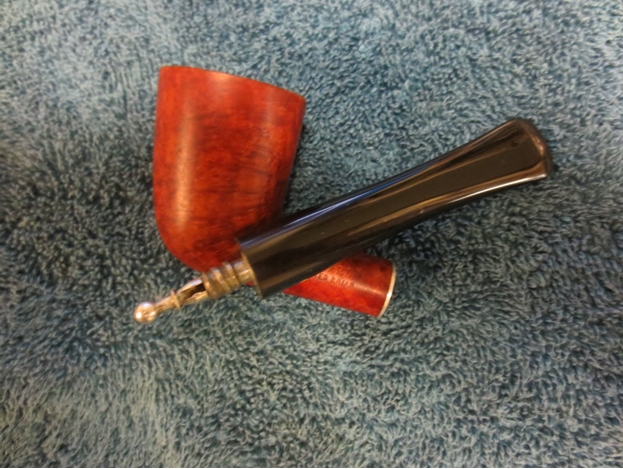
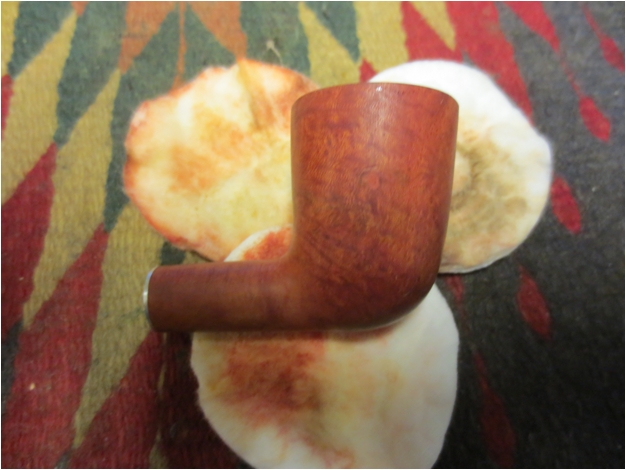
 I used acetone on cotton pads to scrub the finish off the bowl. It took some elbow grease and repeated applications of the acetone to the surface of the bowl to remove the varnish but I was able to remove it totally from all the stamping and the entire finish of the bowl. Underneath was some decent grain and very few fills.

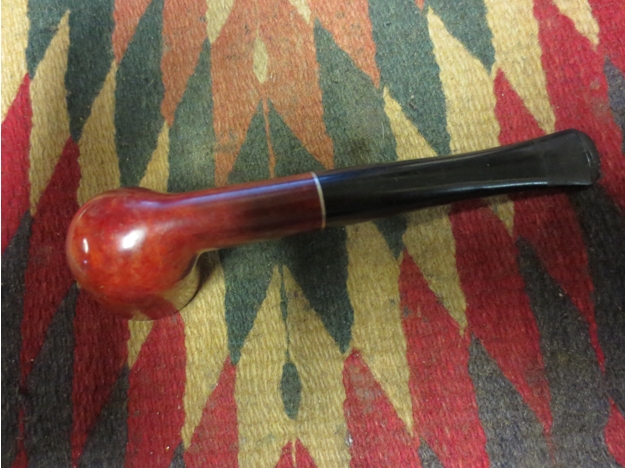
 I scrubbed out the mortise and shank with isopropyl alcohol on cotton swabs and pipe cleaners. It was actually one of the cleanest pipes that I have worked on lately. It took very little effort to clean the stem and shank. The pipe shows some promise in the photo below.
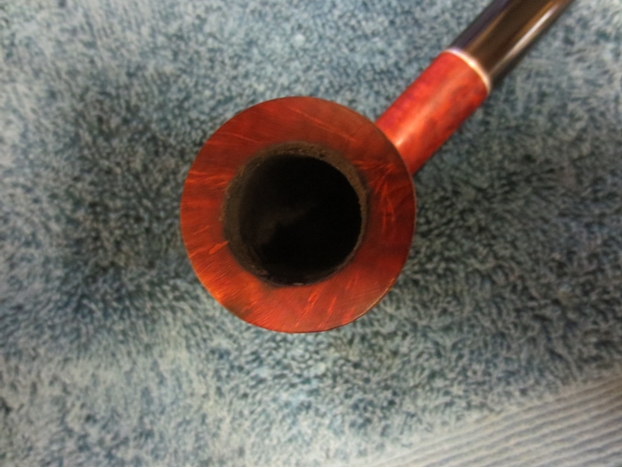
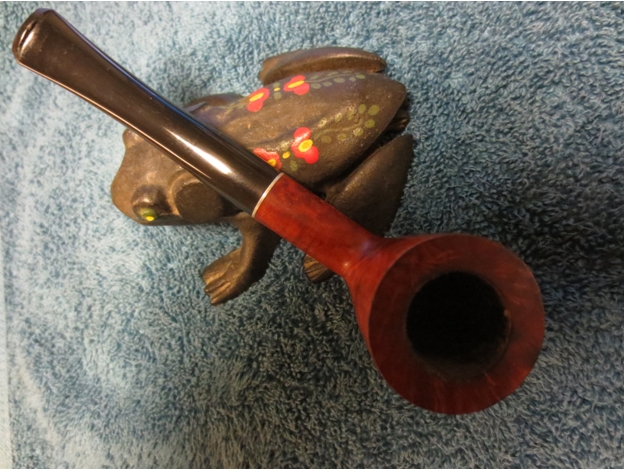
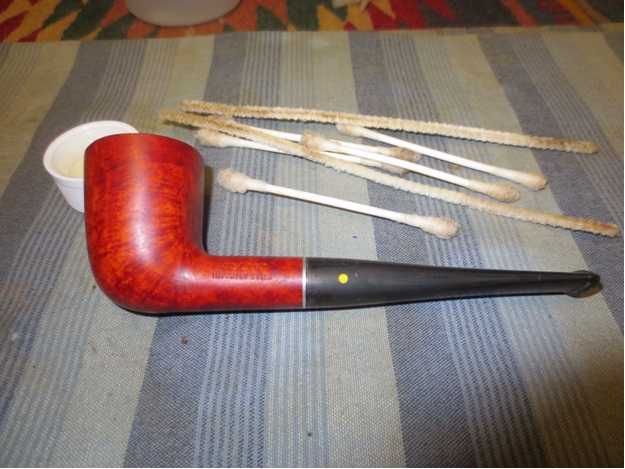 With the exterior of the bowl clean and the shank clean it was now time to address the issue that I had found in the bowl. The photo below shows the divot out of the side of the bowl. I don’t think it was a burn out happening though it certainly could go that way. I picked at the briar in that area with a dental pick and nothing was soft or crumbly. Even the edges of the area were solid and hard. I wonder if it was a soft spot in the briar, a flaw that showed up when the pipe was smoked and then when it was reamed fell out of the side of the bowl. There was no darkening on the exterior of the bowl relative to the flaw on the inside so I figure I was safe to repair it.
 I fired up a cigar and retired to the porch to smoke it and collect the ash to make up a batch of pipe mud. I collect the cigar ash in a shot glass as I can easily mix it with water when I work the ash into mud.
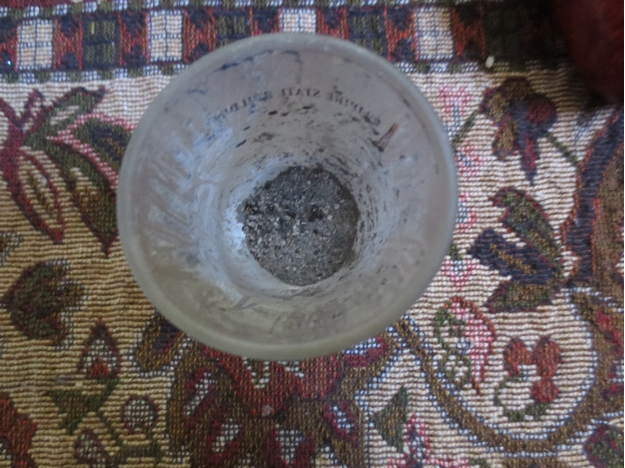 The next photo shows the tools (the micromesh pads just happened to be there. I don’t use them in the process, in case you were wondering.). I have the shot glass of ash, a shot glass of water, a pipe nail and a folded pipe cleaner. These are all the tools necessary to make and apply the mud.
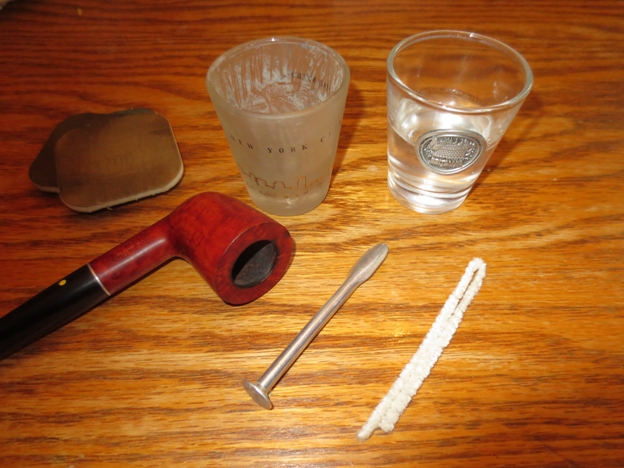 I put a few drops of water into the ash glass and slowly mix it into the ash. It is easy to put too much water and then you either have to fire up another cigar or pour off some of the excess to get the consistency needed in the mud to stick to the wall of the pipe. To wet and it puddles in the bottom of the bowl and too thick it just sticks to the applicator.
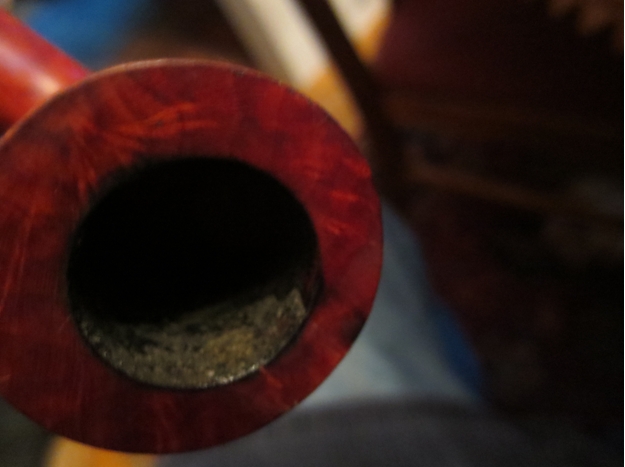
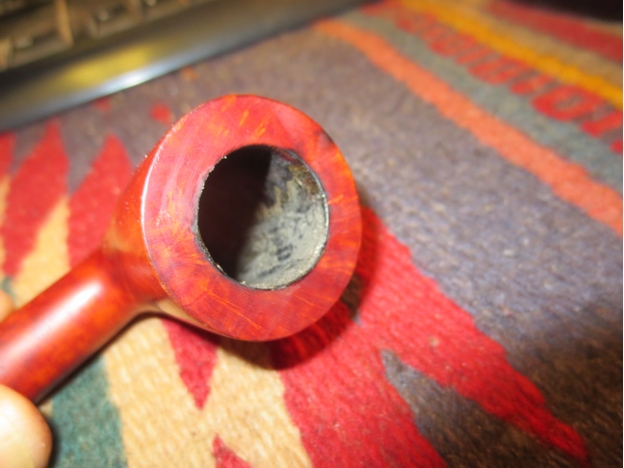
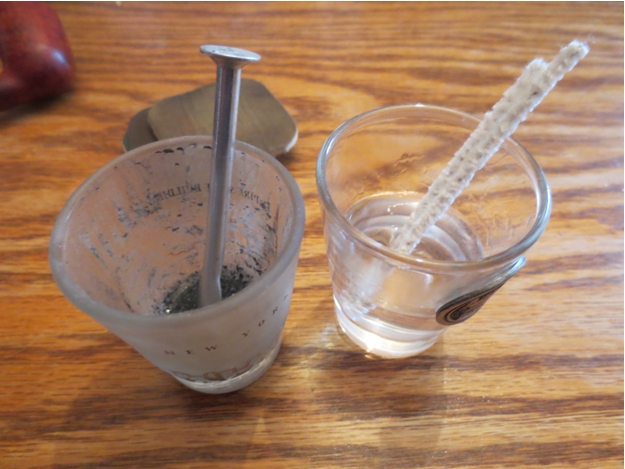 Once I have the mix the right consistency I apply it to the side of the bowl with the “applicator” – a folded pipe cleaner and then tamp it into place with the spoon end of the pipe nail. I put it in place, tamp it down and then let it sit. As it dries I added further applications to the surface until it is level with the rest of the bowl. The next photos show the bowl side and give an idea about the consistency of the mud.
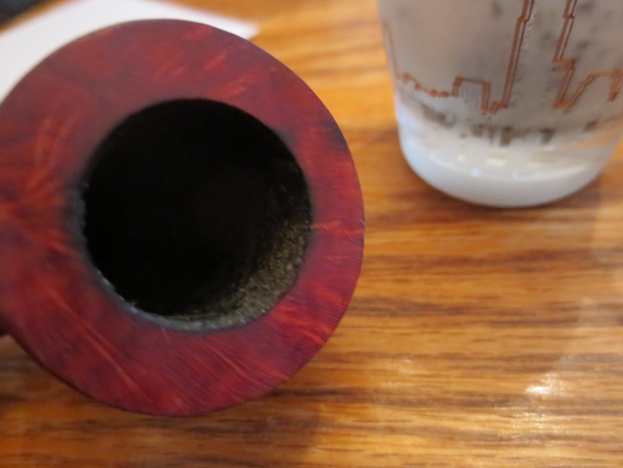
 I set the bowl aside to let the pipe mud cure and worked on the stem. I sanded it with 220 grit sandpaper to remove the tooth chatter and reshape the button. I sanded until the surface was smooth and then sanded it with a medium and a fine grit sanding sponge. I wiped it down with a soft cloth and then sanded it with micromesh sanding pads. I wet sanded with the 1500-2400 grit pads and dry sanded with 3200-12,000 grit pads. I rubbed the stem down with Obsidian Oil between each set of three pads and then rubbed it down a final time once I finished sanding with the 12,000 grit pad. I buffed the stem with White Diamond using a light touch as I was still uncertain of the stem material. I have learned the hard way that soft nylon stems are quickly melted by the heat generated by a buffing pad.
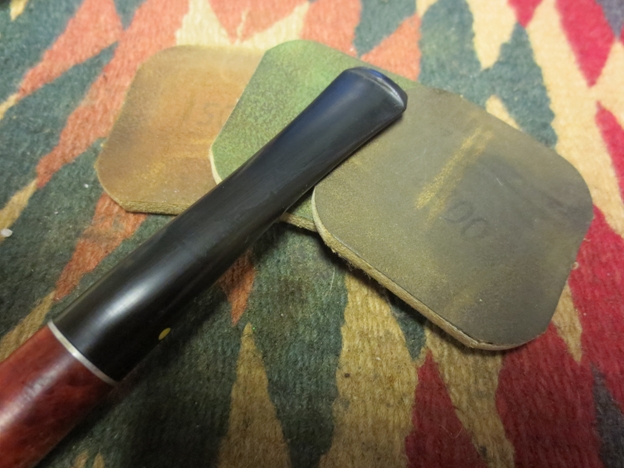
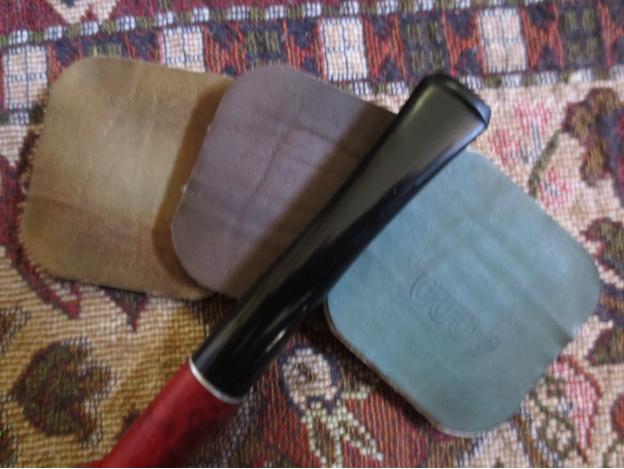
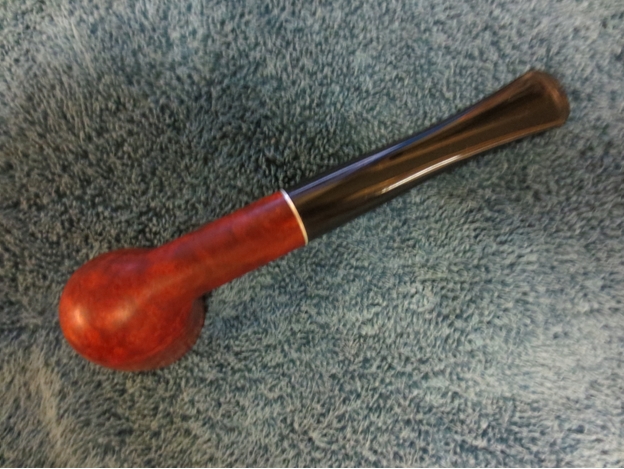
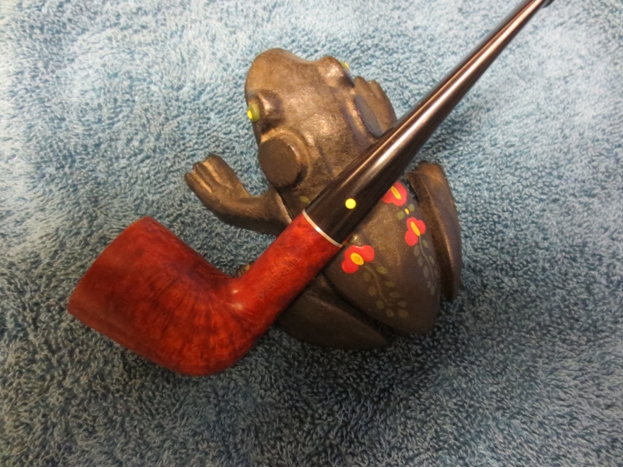
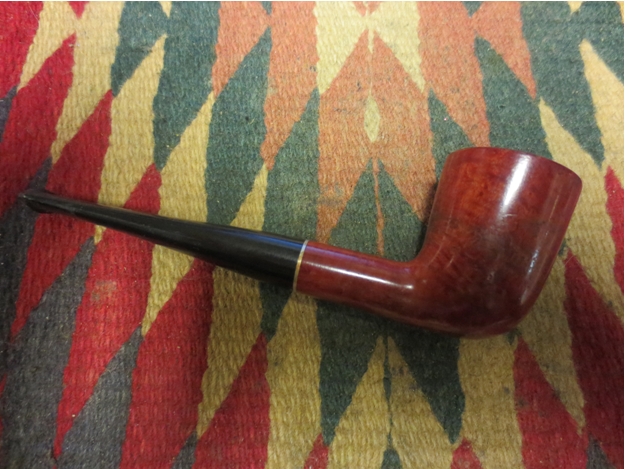
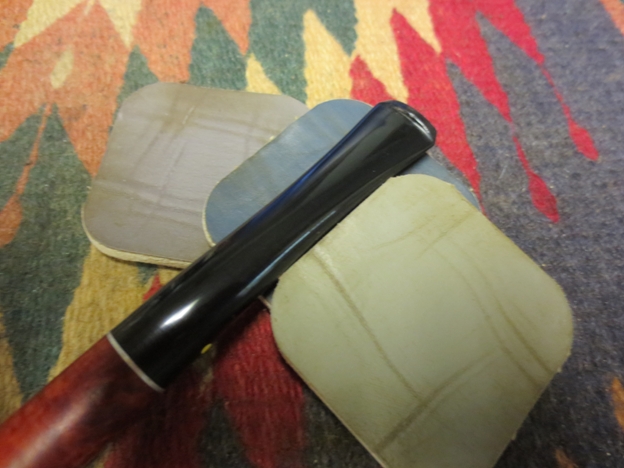 I rubbed the bowl down with a light coat of olive oil to highlight the grain and the red stain left in the briar. I buffed the bowl and stem with Blue Diamond plastic polish to raise the shine. I then gave the pipe multiple coats of carnauba wax and finished by buffing it with a soft flannel buff to finish. The completed pipe is shown below. The pipe mud is cured and will only harden with time. Once it is good and hard it will provide a base for a cake to build up and the gouge will be invisible. It should provide a good smoking pipe for the next pipeman who takes it to his rack.