by Kenneth Lieblich
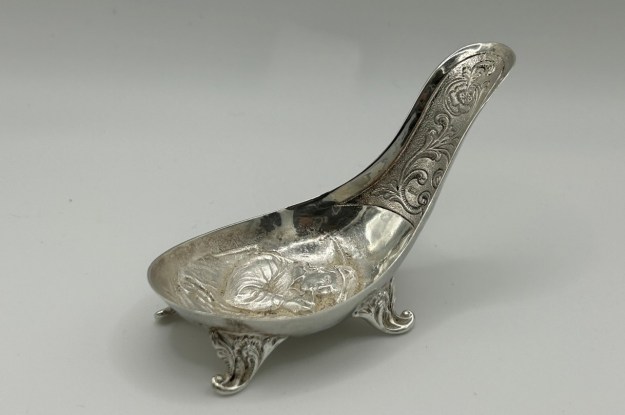
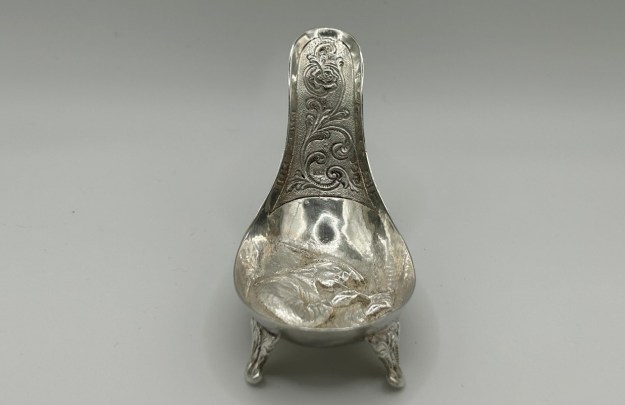
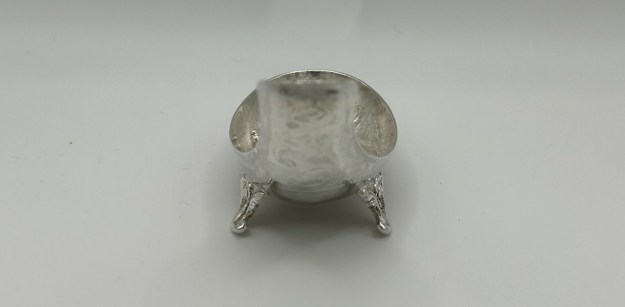
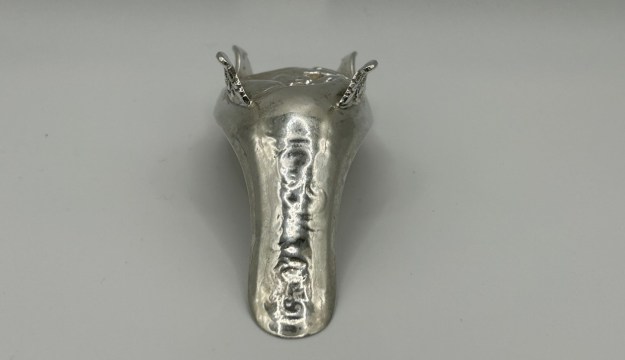
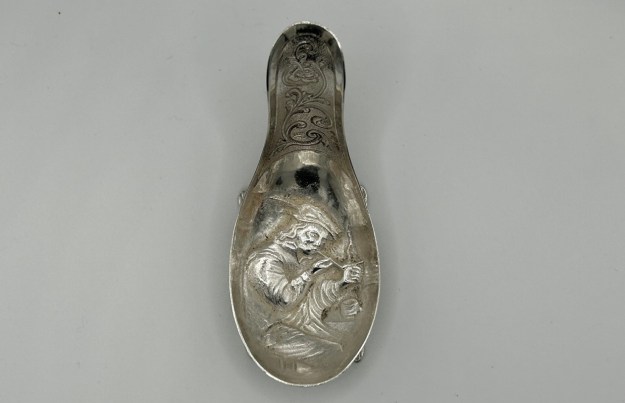
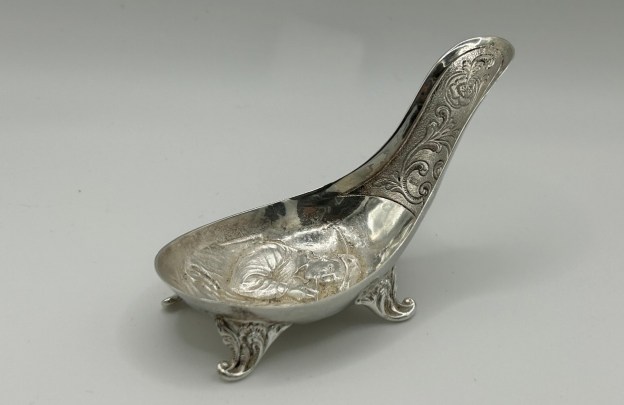
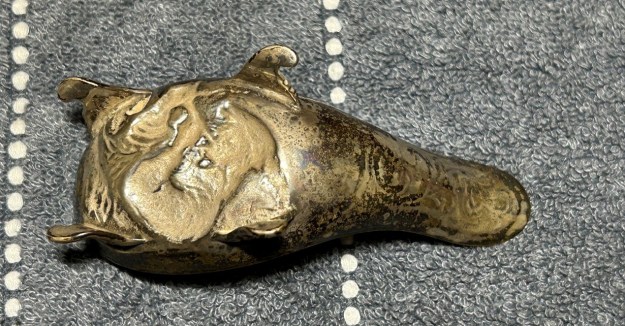
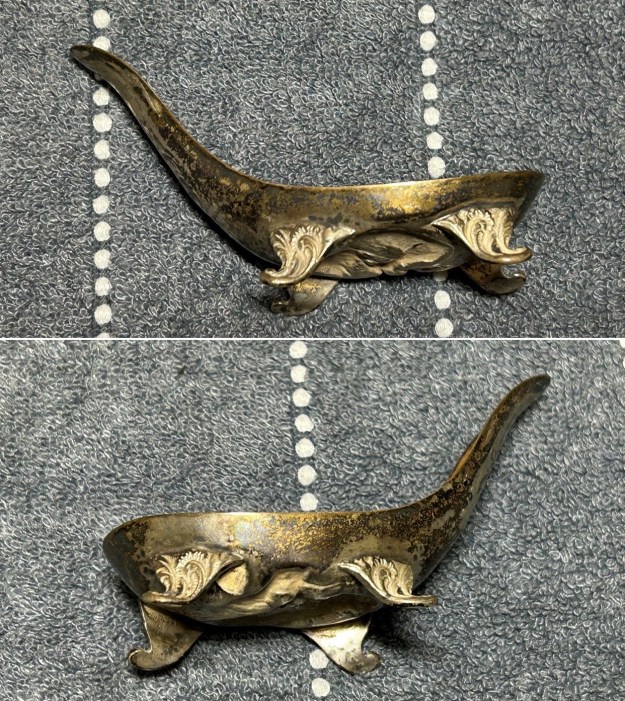
This silver pipe rest is another treasure I have inherited from my late grandfather. He was a great pipe smoker and I now own many of his old pipes – several of which I have restored here on Steve’s blog. I always thought that this piece was very attractive – so it is time to clean it up a bit. My father couldn’t remember where his father acquired it, other than to say that he must have bought it while he and my grandmother lived in Brussels, Belgium. As the photos show, there are some lovely, engraved designs on the piece and – most notably – the image of a man from times past, lighting his pipe. How fitting!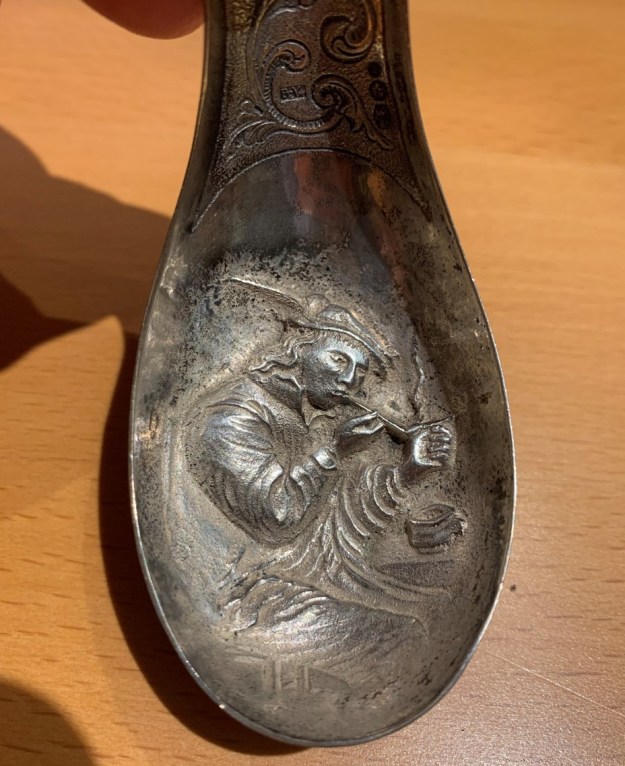 This short blog post is less to do with its clean-up and more to do with its identification. However, I will give you a brief rundown of my procedure. The silver was heavily tarnished (as you can plainly see). I gave the piece a gentle cleaning in soap and warm water. Next, I placed a piece of aluminum foil in the bottom of a bowl, added some baking soda, and dissolved it in hot water. I submerged the pipe rest in the solution and let it sit for 15 minutes. After that, I hand-rubbed the remaining tarnish with a simple paste of baking soda and water. Finally, I rinsed it off and dried it with a microfibre cloth. I could not get every bit of wear/tarnish off this piece – I’m sure it hasn’t been cleaned in several decades! However, I did not want to do any damage by using aggressive cleaning techniques. The photos here below show the pipe before cleaning. The cleaned pipe can be seen at the end of the blog.
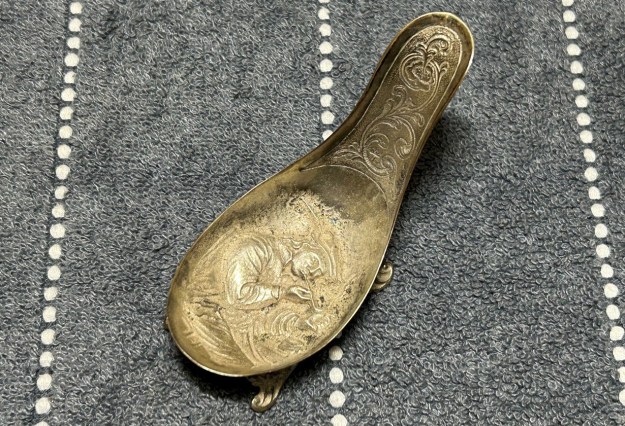
 Let’s look at the various silver marks on this piece and see what we can learn. In the photo below, we can see the maker’s mark: B2V*. This refers to the silversmith J.M. Visser of Bijkamp & Co., in the city of Steenwijk, in the Netherlands. This maker’s mark was used between 1946 and 1975.
 Now let’s look at the photo below. In the hexagon on the left, we can see the purity mark. The lion passant with a number ‘2’ beneath its chest indicates that this is .833 purity – in other words, 83.3% pure silver. The circle in the middle is the duty mark: the head of Minerva, with the letter ‘F’ in her helmet. This corresponds to the assay office in the city of Leeuwarden, in the Netherlands. Finally, the third circle displays the date letter: ‘Q’. This letter corresponds to the year 1951. Therefore, this piece is, at the time of writing, 74 years old.
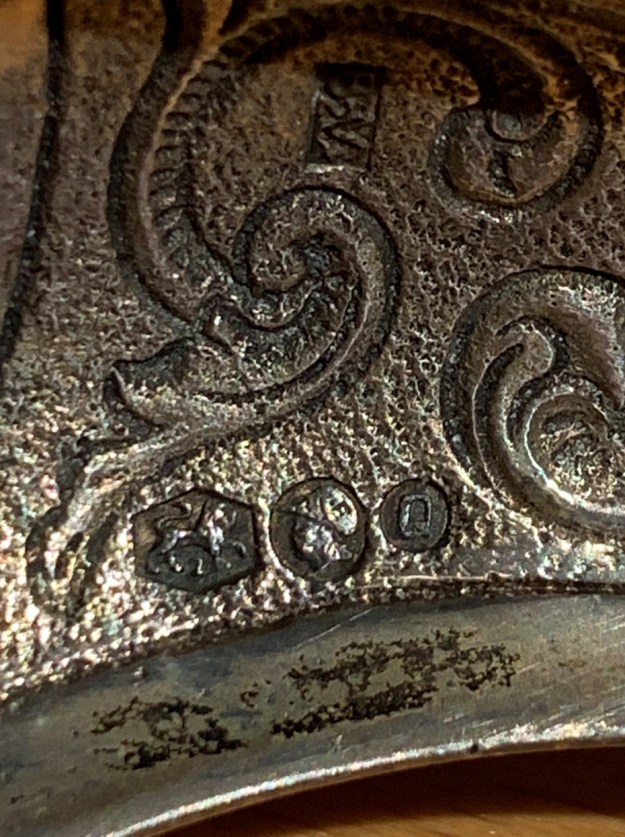 All of this makes sense and corresponds with what my father said. I know that my grandparents acquired many beautiful items when they lived in Brussels – including many pieces of Dutch silver. My grandfather must have bought it then and there. This is a treasured item for me and I will happily use it for many years to come – Deo volente.
Thank you for joining me on this little look at a bit of pipe paraphernalia. If you are interested in more of my work, please follow me here on Steve’s website or send me an email at kenneth@knightsofthepipe.com. Thank you very much for reading and, as always, I welcome and encourage your comments.