Blog by Steve Laug
I recently worked on repairing a horn stem and thought I would document the process. I have found that when working with horn a conservative approach is the best. I do not change the profile of the stem or thin the button. I do not change the taper or thin the bit at all. I only want to bring it back to its original shine and gloss and make it look as close as possible to what it was like when the original owner purchased the pipe that carried it. I also want to make the surface smooth and unbroken again so that it does not soften with further use.
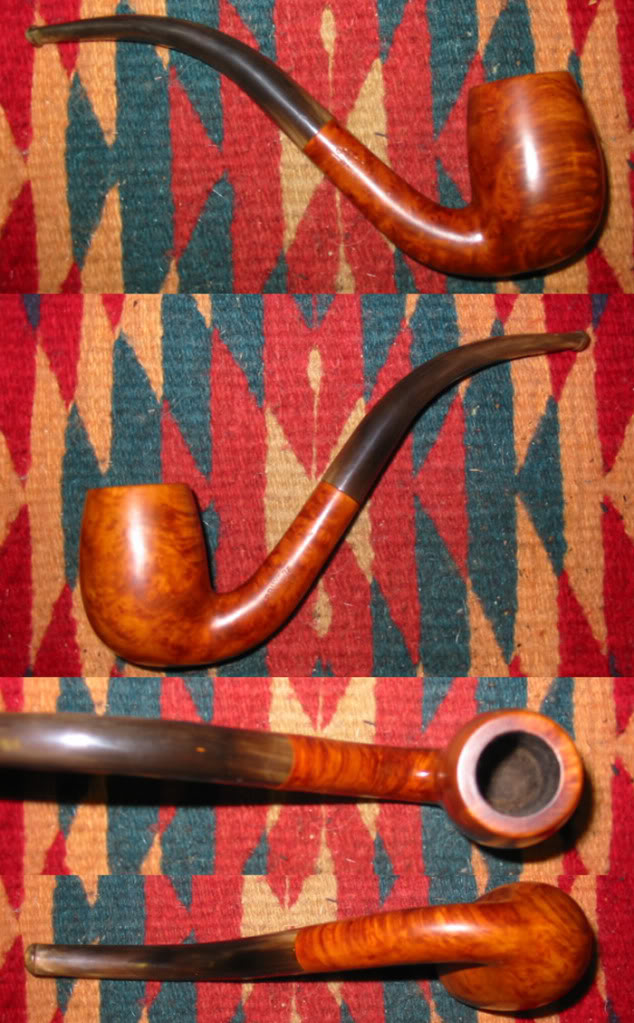
The horn stems I have worked on have all had tooth chatter and bite marks for up to an inch from the button. Unlike tooth chatter on vulcanite or Lucite the chatter on a horn tends to splinter or break through the soft surface of the material. It leaves a rough feeling behind and if not taken care of will splinter away from the marks. It will also soften as the shine and polished surface has been broken and it can become spongy. The trouble with a stem that has worn that far is it is very difficult to bring back. In the case of this stem the surface was broken and in the centre of each rough area there was a deep tooth mark – only one that was almost round in shape.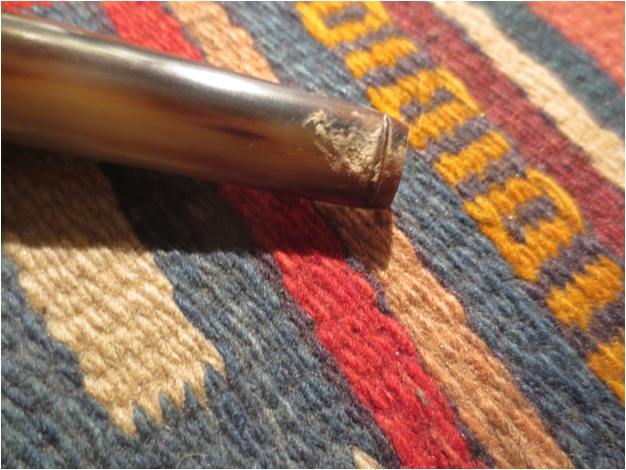
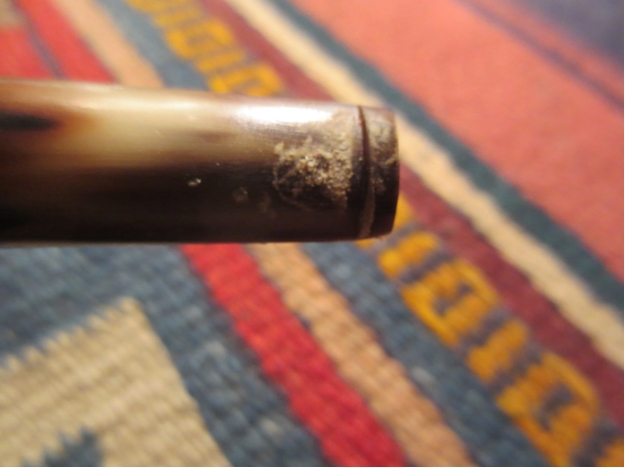 My first step in the repair process and the eventual polishing is to sand the rough area smooth and clean up the area around the tooth marks. I sand with 220 grit sandpaper folded and minimally work over the area to its furthest reaches. In this case I worked the area into a rectangular shaped pattern. I feathered the rough surface into the surrounding stem. Then I wiped off the surface with tepid water on a soft cotton pad.
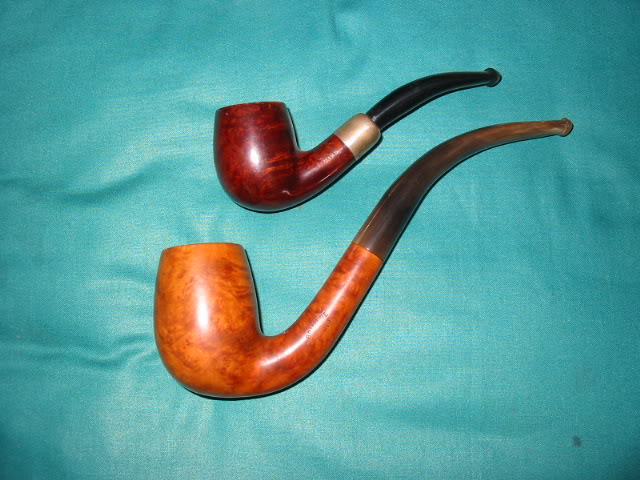
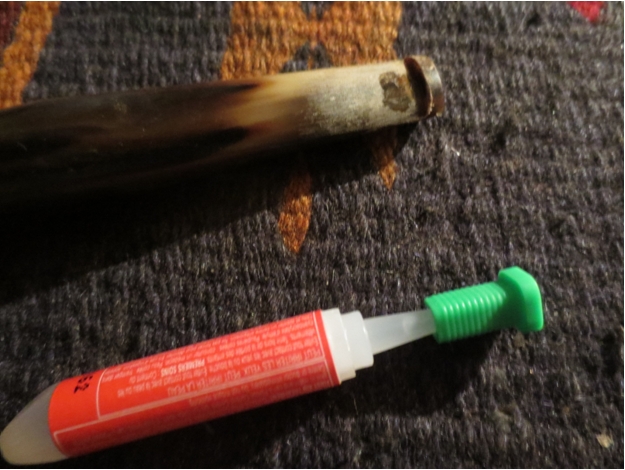
With the stem surface smoothed and the roughness removed and blended into the surface it was time to repair the two tooth marks – one on each side of the stem. Over the years I have used clear super glue to make these repairs in horn stems. I find that the translucency works well with the warmth of a polished stem and though the repair is visible it is smooth and seals the surface around the roughened tooth marks. The fact that it is sealed keeps the horn from further splintering and softening. The high ridge on the button allowed me to patch both sides simultaneously without the glue sticking to the worktable while it dried.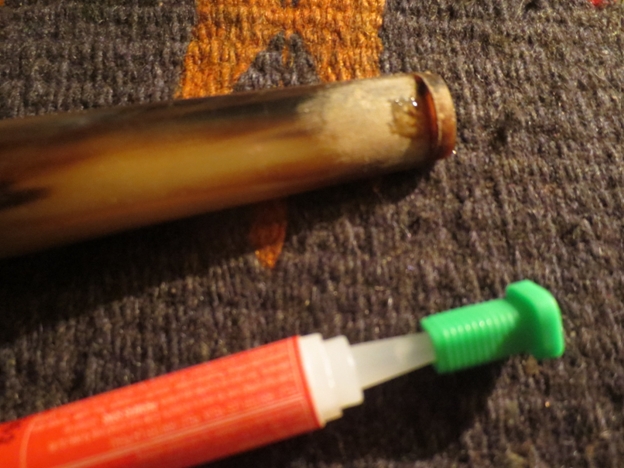
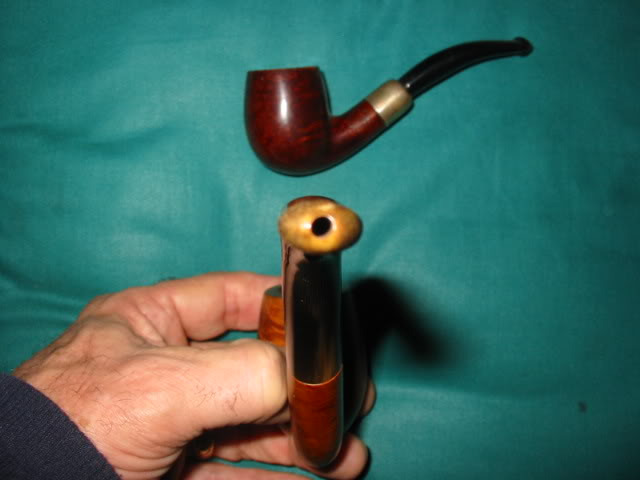
 When the super glue has hardened/cured I sand the patches with 220 grit sandpaper to smooth out the small bump that is made by the patch. I work the sandpaper to smooth out the patch with the surface of the stem. In this case I sanded both sides. In the photo below you can see the two rectangular spots on the stem surface. These are the spots where the patches were placed. The tooth marks are gone. All that remains is to do some more sanding to blend the rectangle into the stem.
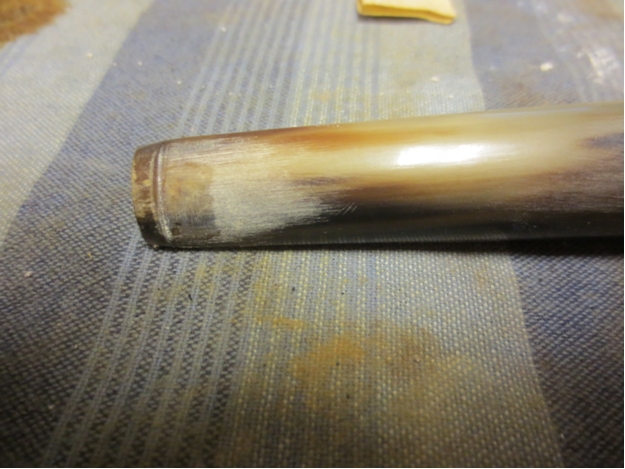
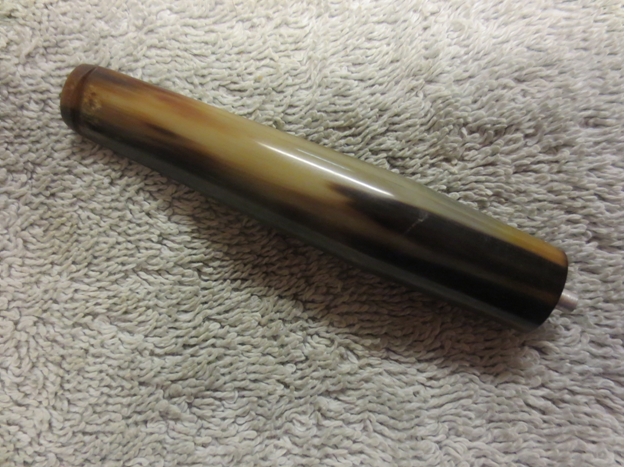
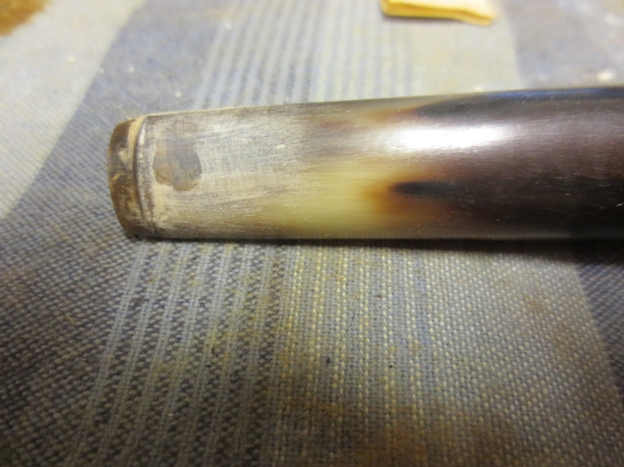 The next step involved sanding the stem with a medium and fine grit sanding sponge to further feather in the patch to the stem surface. I wanted the patch to be seamless with the horn so that when I ran my tongue or finger across the repair it would be unnoticeable to touch. Once I had finished with the sanding sponges the surface was smooth. The scratches left behind by the 220 grit sandpaper were gone. The rectangular patches were disappearing.
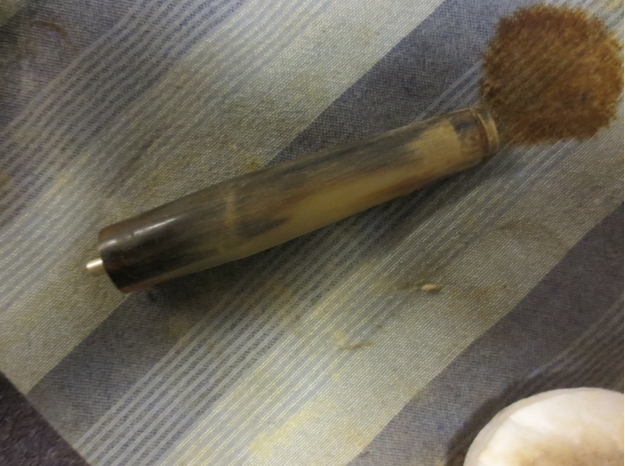
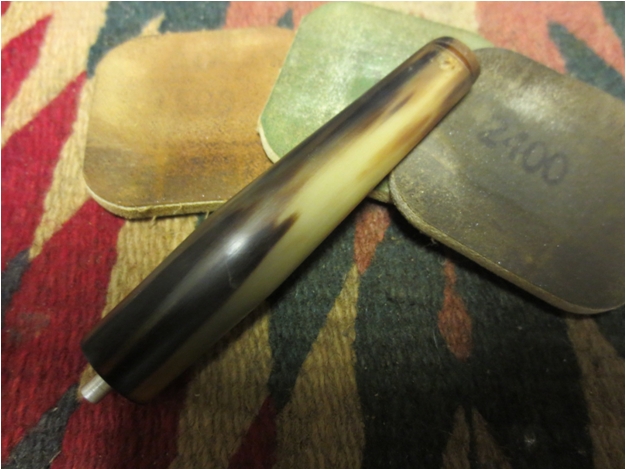
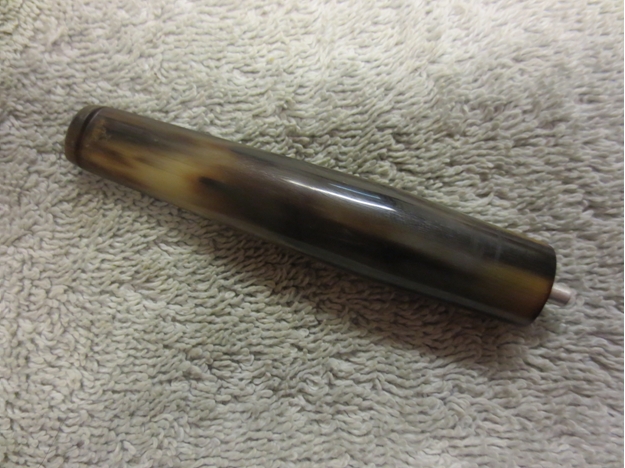
 The next step involved sanding the stem and polishing it with micromesh sanding pads. I wet sanded the stem with 1500-2400 grit micromesh pads and dry sanded with 3200-12,000 grit pads. In between each set of three pads I rubbed the stem down with Obsidian Oil. The oil was absorbed into the surface of the horn stem and lubricated the surface and provided a bite for the sanding pads. The repairs have ceased to be rectangles and now were small patches over the tooth marks in the stem. The surface was smooth even though the damage could be seen through the clear patch at this stage in the process.
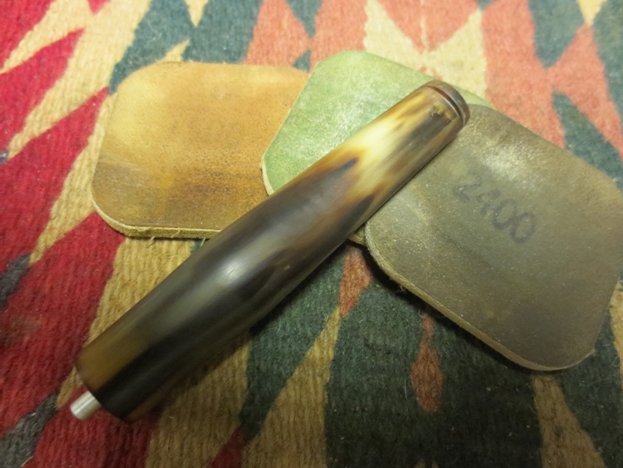
 Each successive grit of micromesh smooth out the surface, deepened the shine and feathered the patch into the finish.
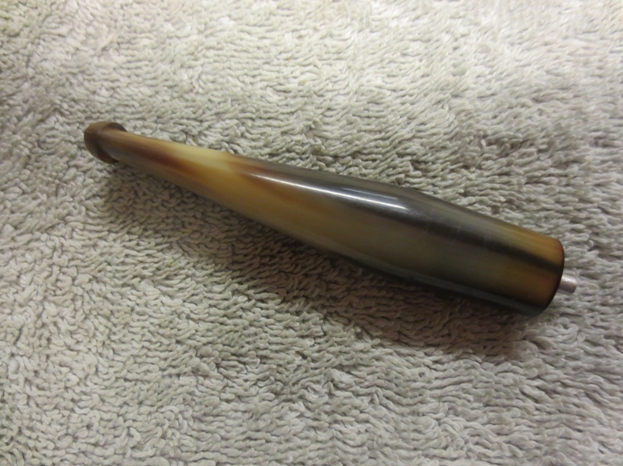
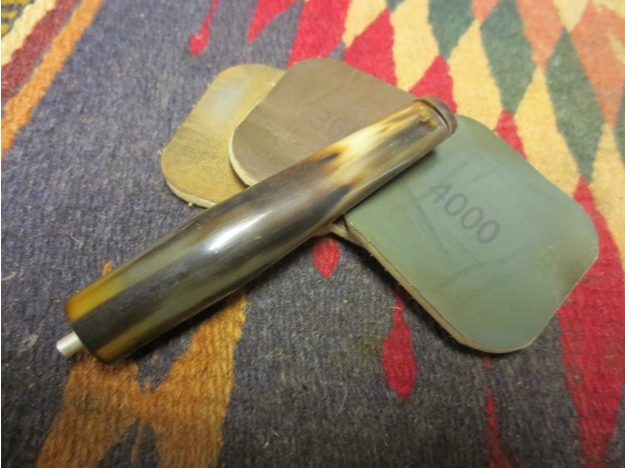 The final set of three pads really brought a deep shine to the stem. The patch though visible is smaller than any of the previous pictures.
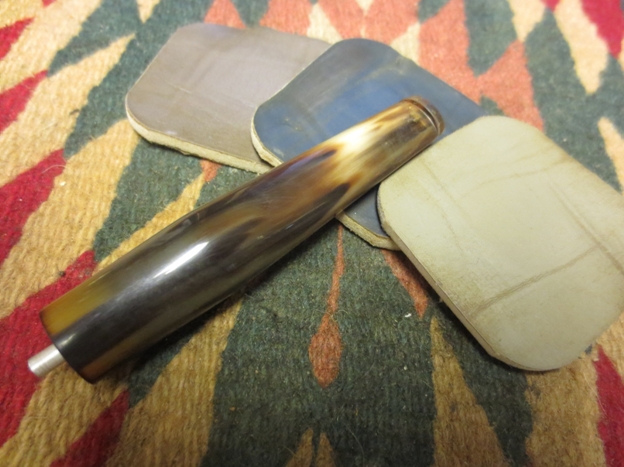
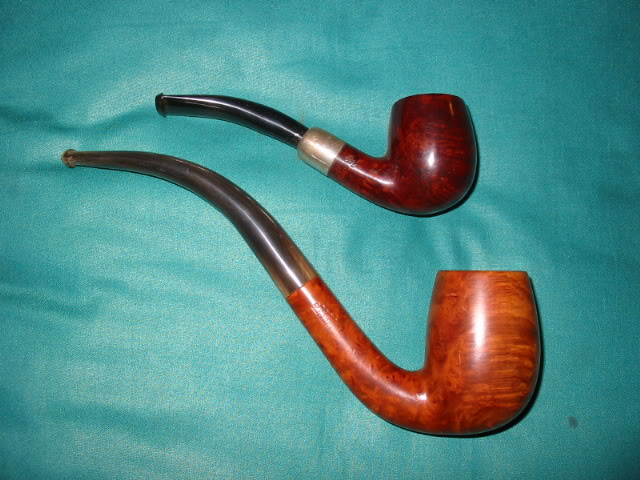
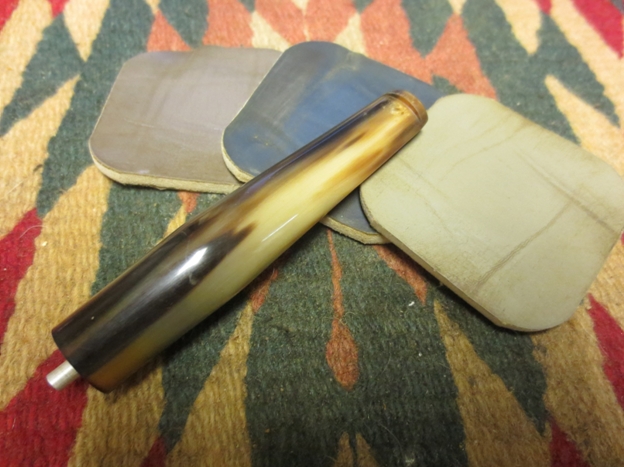 When I had finished with the 12,000 grit pad I gave the stem a light buff with White Diamond on the buffing wheel and then gave it multiple coats of carnauba wax. Buffing a horn stem takes a light touch. You do not want to press the stem into the wheel too hard as the heat generated will cause the horn to separate. (I speak this from experience after having done it and having to start over with my sanding process.) The finished stem is shown below. It is smooth and the variations in colour of the stem make it really look living. The colours and stripes almost undulated as it is turned over under a bright light or outside in the sunshine (uncommon in Vancouver in January).
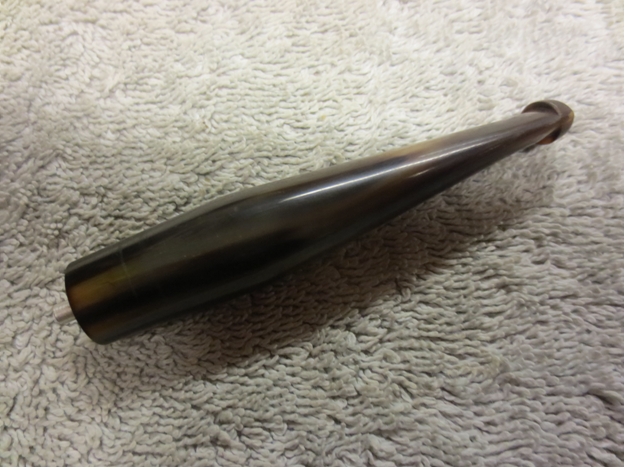
 I really enjoy working on horn stems and also smoking them. They have a feeling in the mouth that no other stem material even approximates. They are not for a clencher or a biter that is for certain. They need to be cared for – wiped down after each smoke and given new coats of wax regularly. But this one and others in my collection have survived far more years and in better shape that I have. I am always on the lookout for another horn stem to work on. If you have not restored one or smoked one – you really need to give it a try.