Blog by Steve Laug
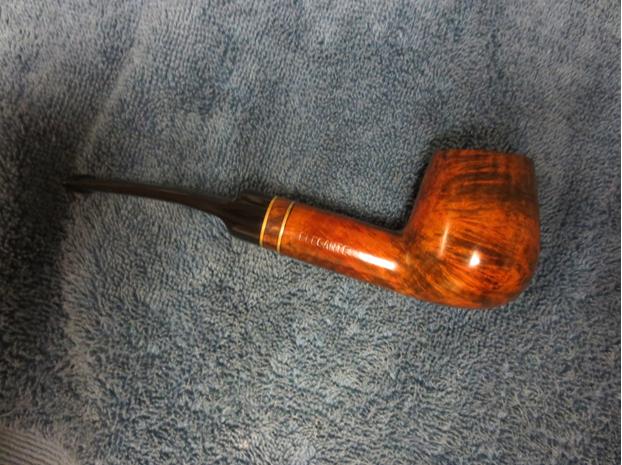
A few evenings ago my friend John stopped by to drop off some pipes for repair and to visit. We loaded up our pipes and sat on my porch while we chatted. He pulled a pipe out of his pocket and said it was a gift to me. It was a nice Brandy shaped pipe that was stamped Gasparini MGM on the left side of the shank and Elegante on the right side. On the underside it is stamped Briar 1912 and Italy. John had purchased the pipe and smoked it for awhile. He wanted to pass it on to me. I am honoured to have received his gift. Being an obsessive refurbisher I decided to clean it up and make a few modifications that I thought would make it look even better. I don’t know why I think like that but it is what goes through my eye every time I look at a pipe. It is like a small voice says, “hmmmm I could change that and tweak that and…. When I am done it will be better. Sometimes that voice gets me into trouble and sometimes it works.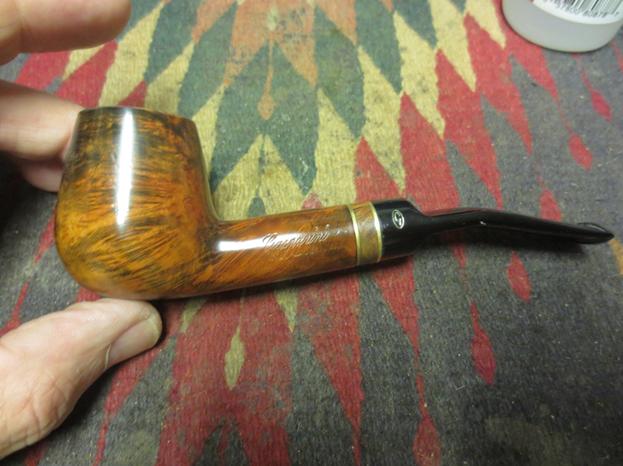 When John gave me the pipe these are some of the things that I saw. The bend in the stem was too sharp of an angle. It needed to be gentler in its curve. The rim was slightly out of round and the inner edge was damaged on the back right side and the right front it had some nicks in the edge. The stain on the rim had worn off and it no long had a shine. It did not match the rest of the bowl. There was a thick urethane finish on the bowl. Other than those few small things it was a nice looking pipe. It had a lot of promise. I really liked the contrast stain on it and the mix of birdseye grain and cross grain.
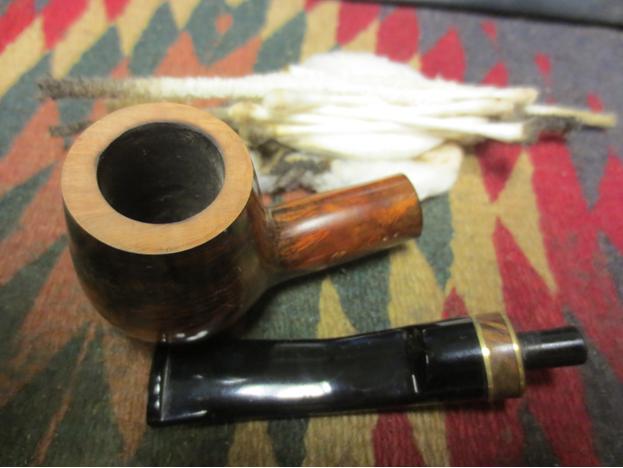
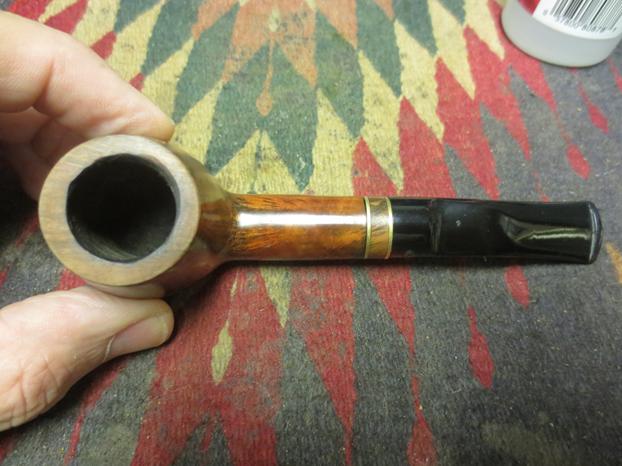


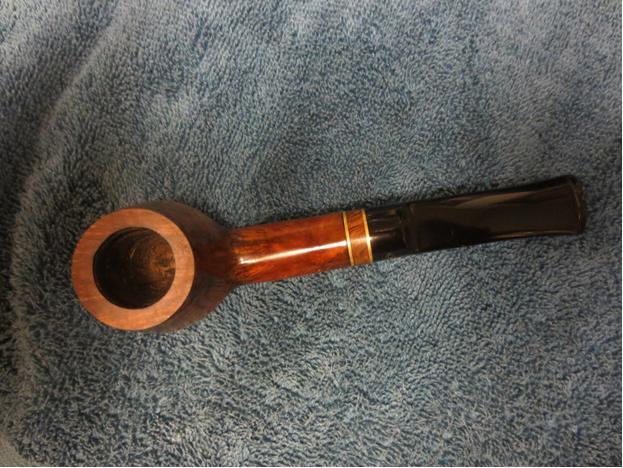
 I decided to address the rim damage first. It would not take long and a light topping of the bowl would take care of the damage. I set up the topping board and some 220 grit sandpaper to do the job. I twisted the bowl against the sandpaper and removed the damaged part of the rim. It did not take long and the rim was flat and looked clean.
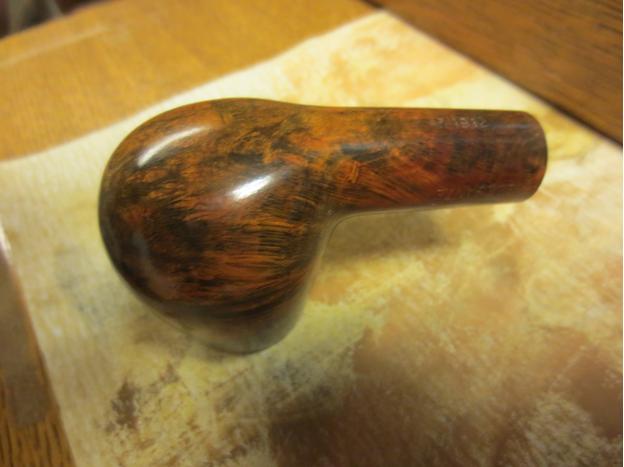
 I sanded the newly topped bowl with a medium and a fine grit sanding sponge and then with 1500-2400 micromesh sanding pads to remove the scratches from the briar. I coloured the top with a black permanent marker to get the black undertones, wiped it down with acetone and then used two different stain pens – a medium and a dark brown – to match the bowl colour.
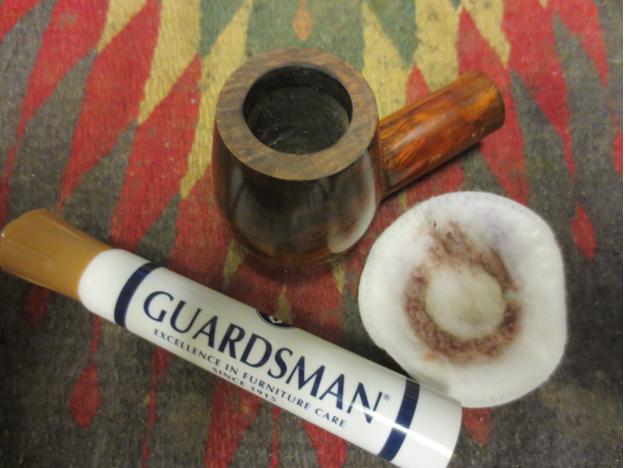 With the bowl cleaned, repaired and restained I set it aside to work on the stem. I would buff the whole pipe once I finished the stem work. I set up the heat gun and straightened the bend in the stem first. Once it was straight I would then heat it a bit more and bend it over a rolling pin to get a gentle curve.
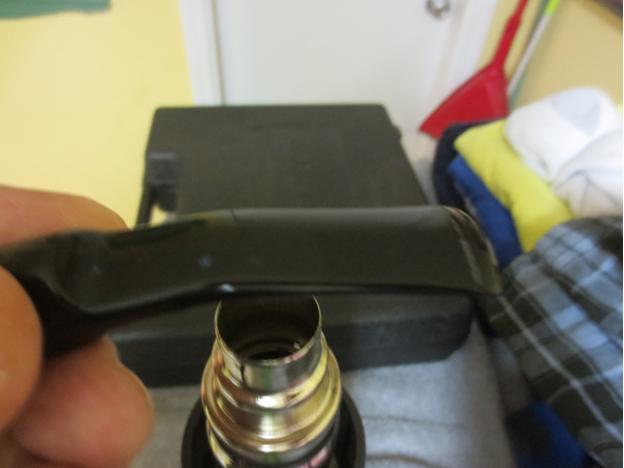
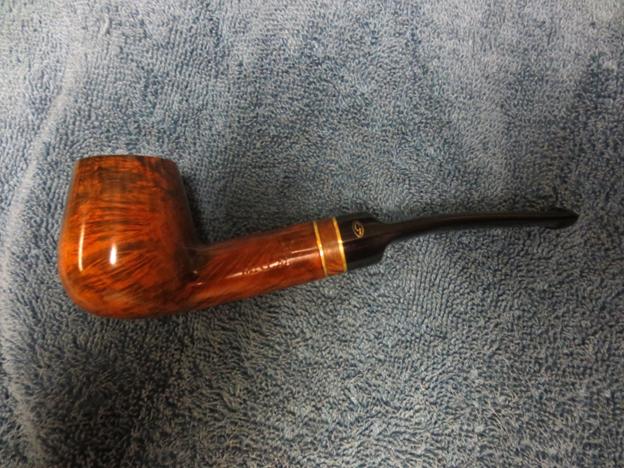
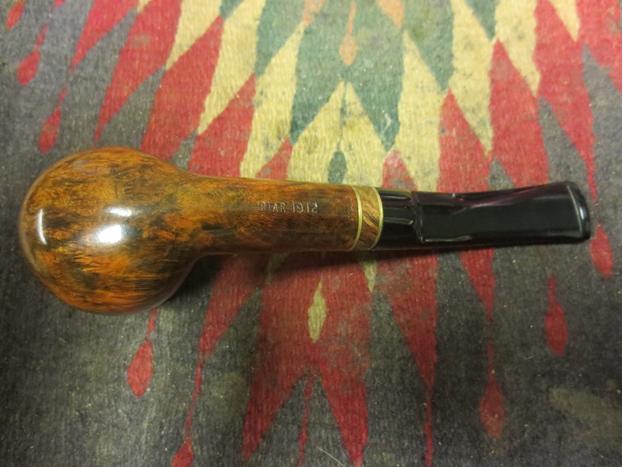
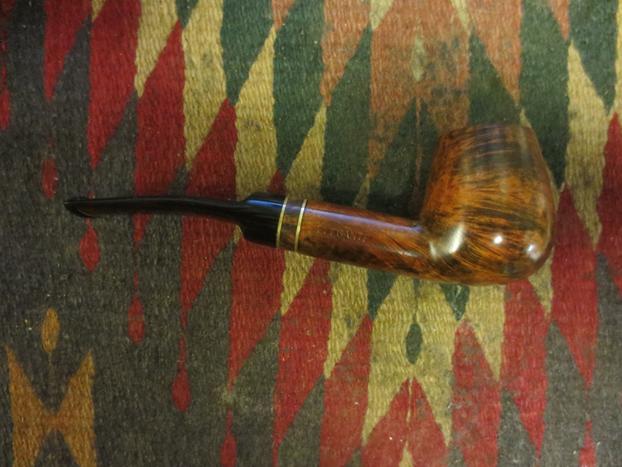
 I put the newly bent stem into the shank and took a few photos to see the new look of the pipe.
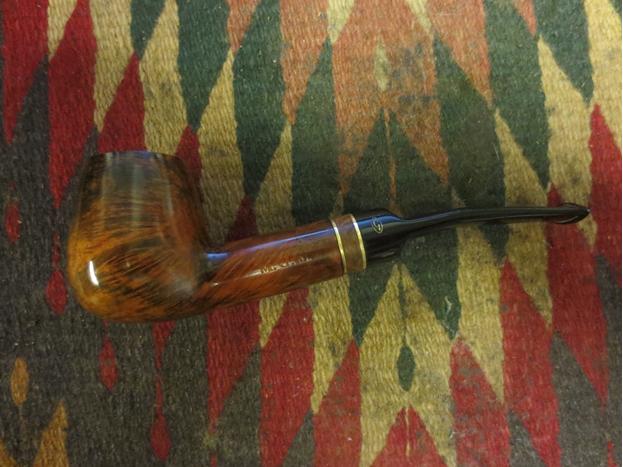
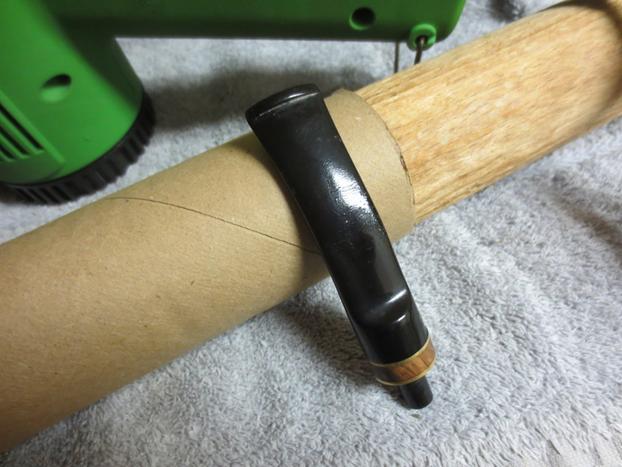
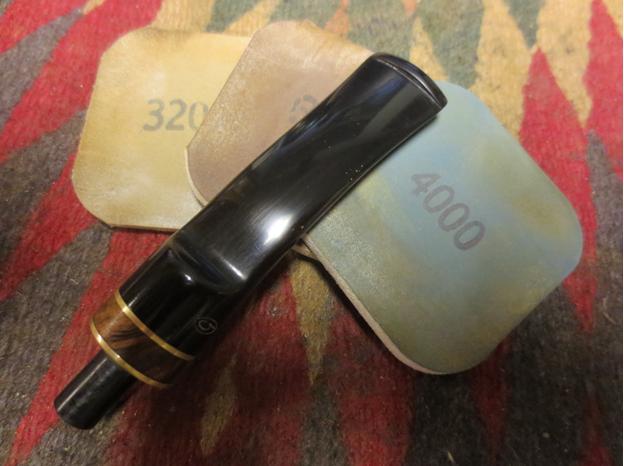
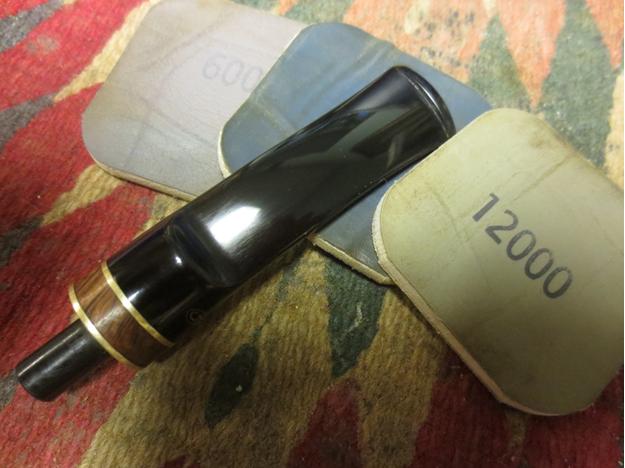
 With the bend done it was time to polish the stem. Even with the stem held 6 inches above the heat gun there was some slight bubbling in the surface of the Lucite. I sanded it with 220 grit sandpaper and then with a medium and a fine grit sanding sponge to remove the bubbling and smooth out the surface of the stem. Once the bubbling and rippling were removed I went on to polish the stem with micromesh sanding pads. I wet sanded with 1500-2400 grit pads and then dry sanded with 3200-12,000 grit pads to return it to its original shine.
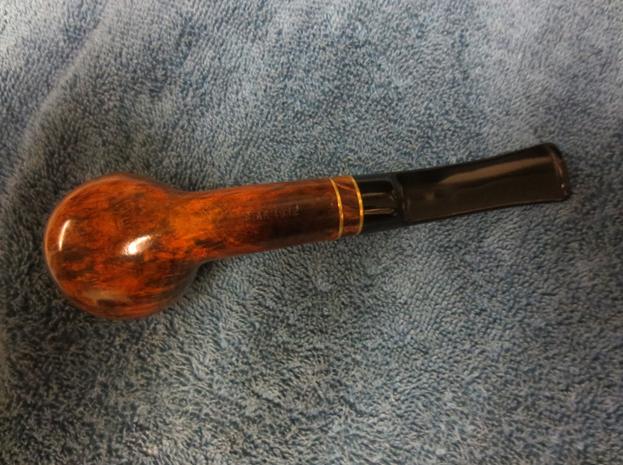
 I buffed the bowl and stem with Blue Diamond Plastic Polish on the buffer and then gave them both a few coats of wax. I buffed it with a clean flannel buff and then with a microfibre cloth to raise a good shine. I was unable to permeate the urethane finish and since it was in decent shape I left it alone. The finished pipe is shown in the photos below. It is cleaned and ready to be loaded and smoked. I hope to do that later today. Thanks for the “new pipe” John. I know I am going to really like this one.