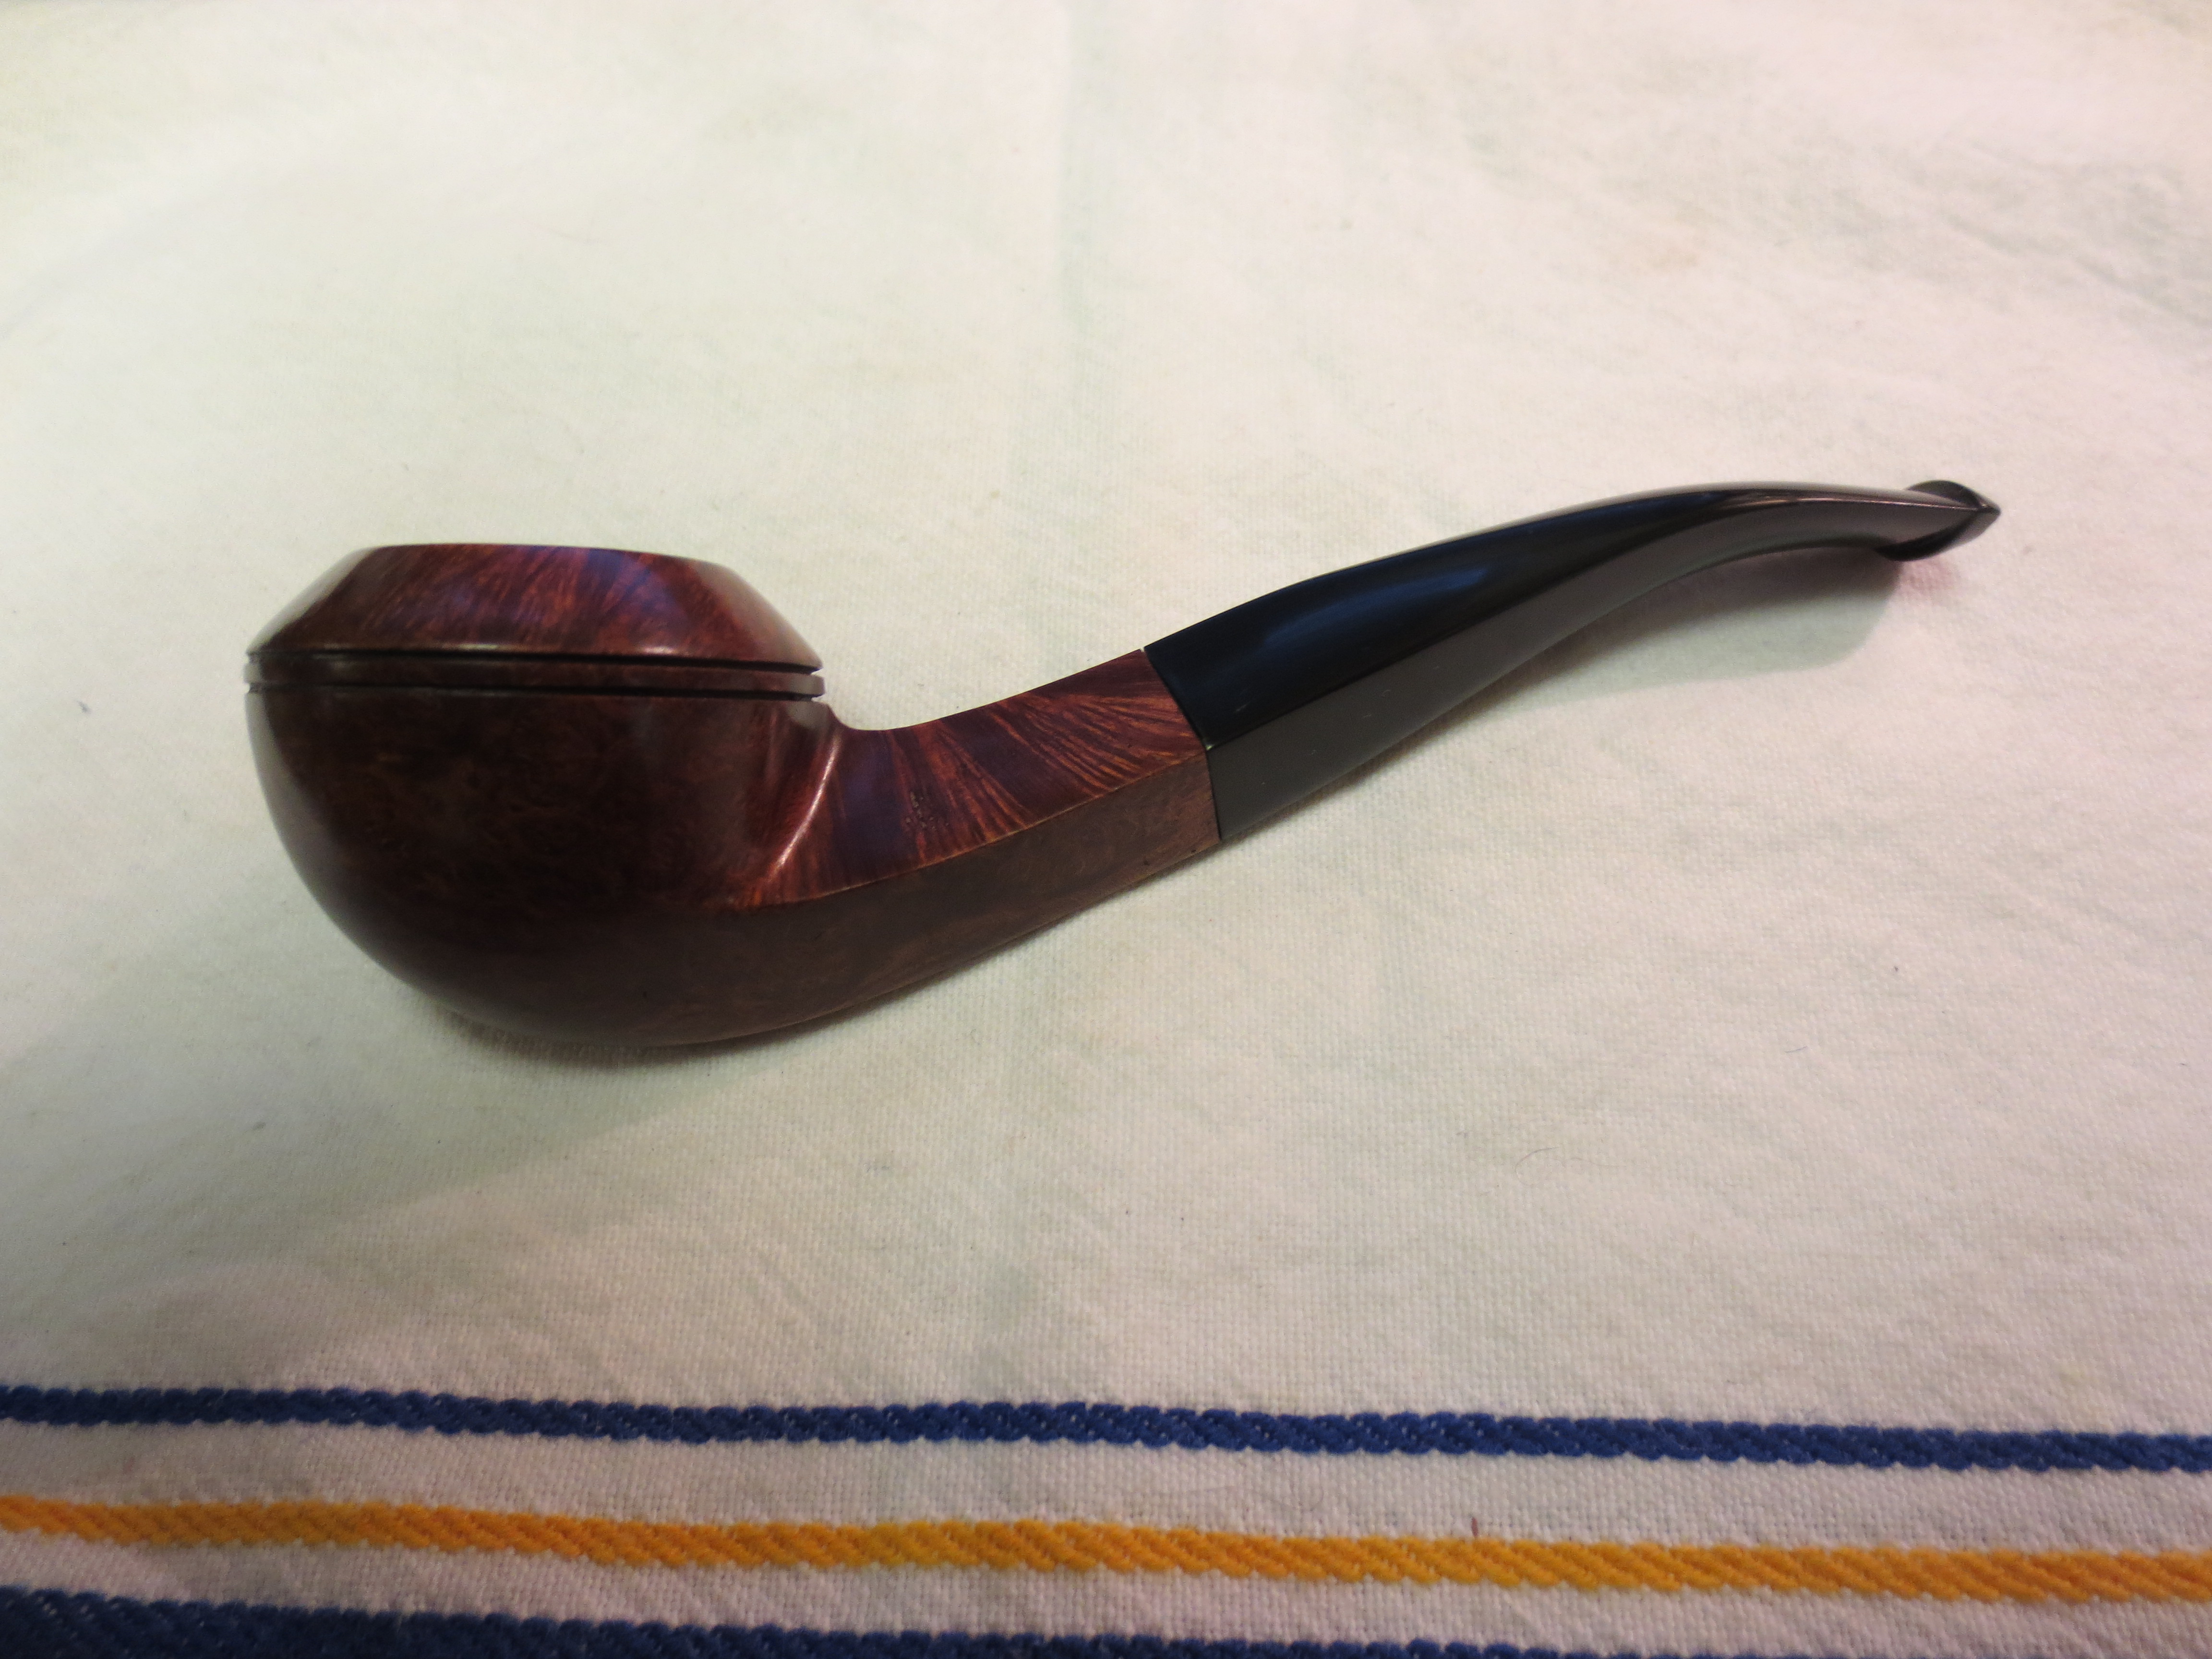
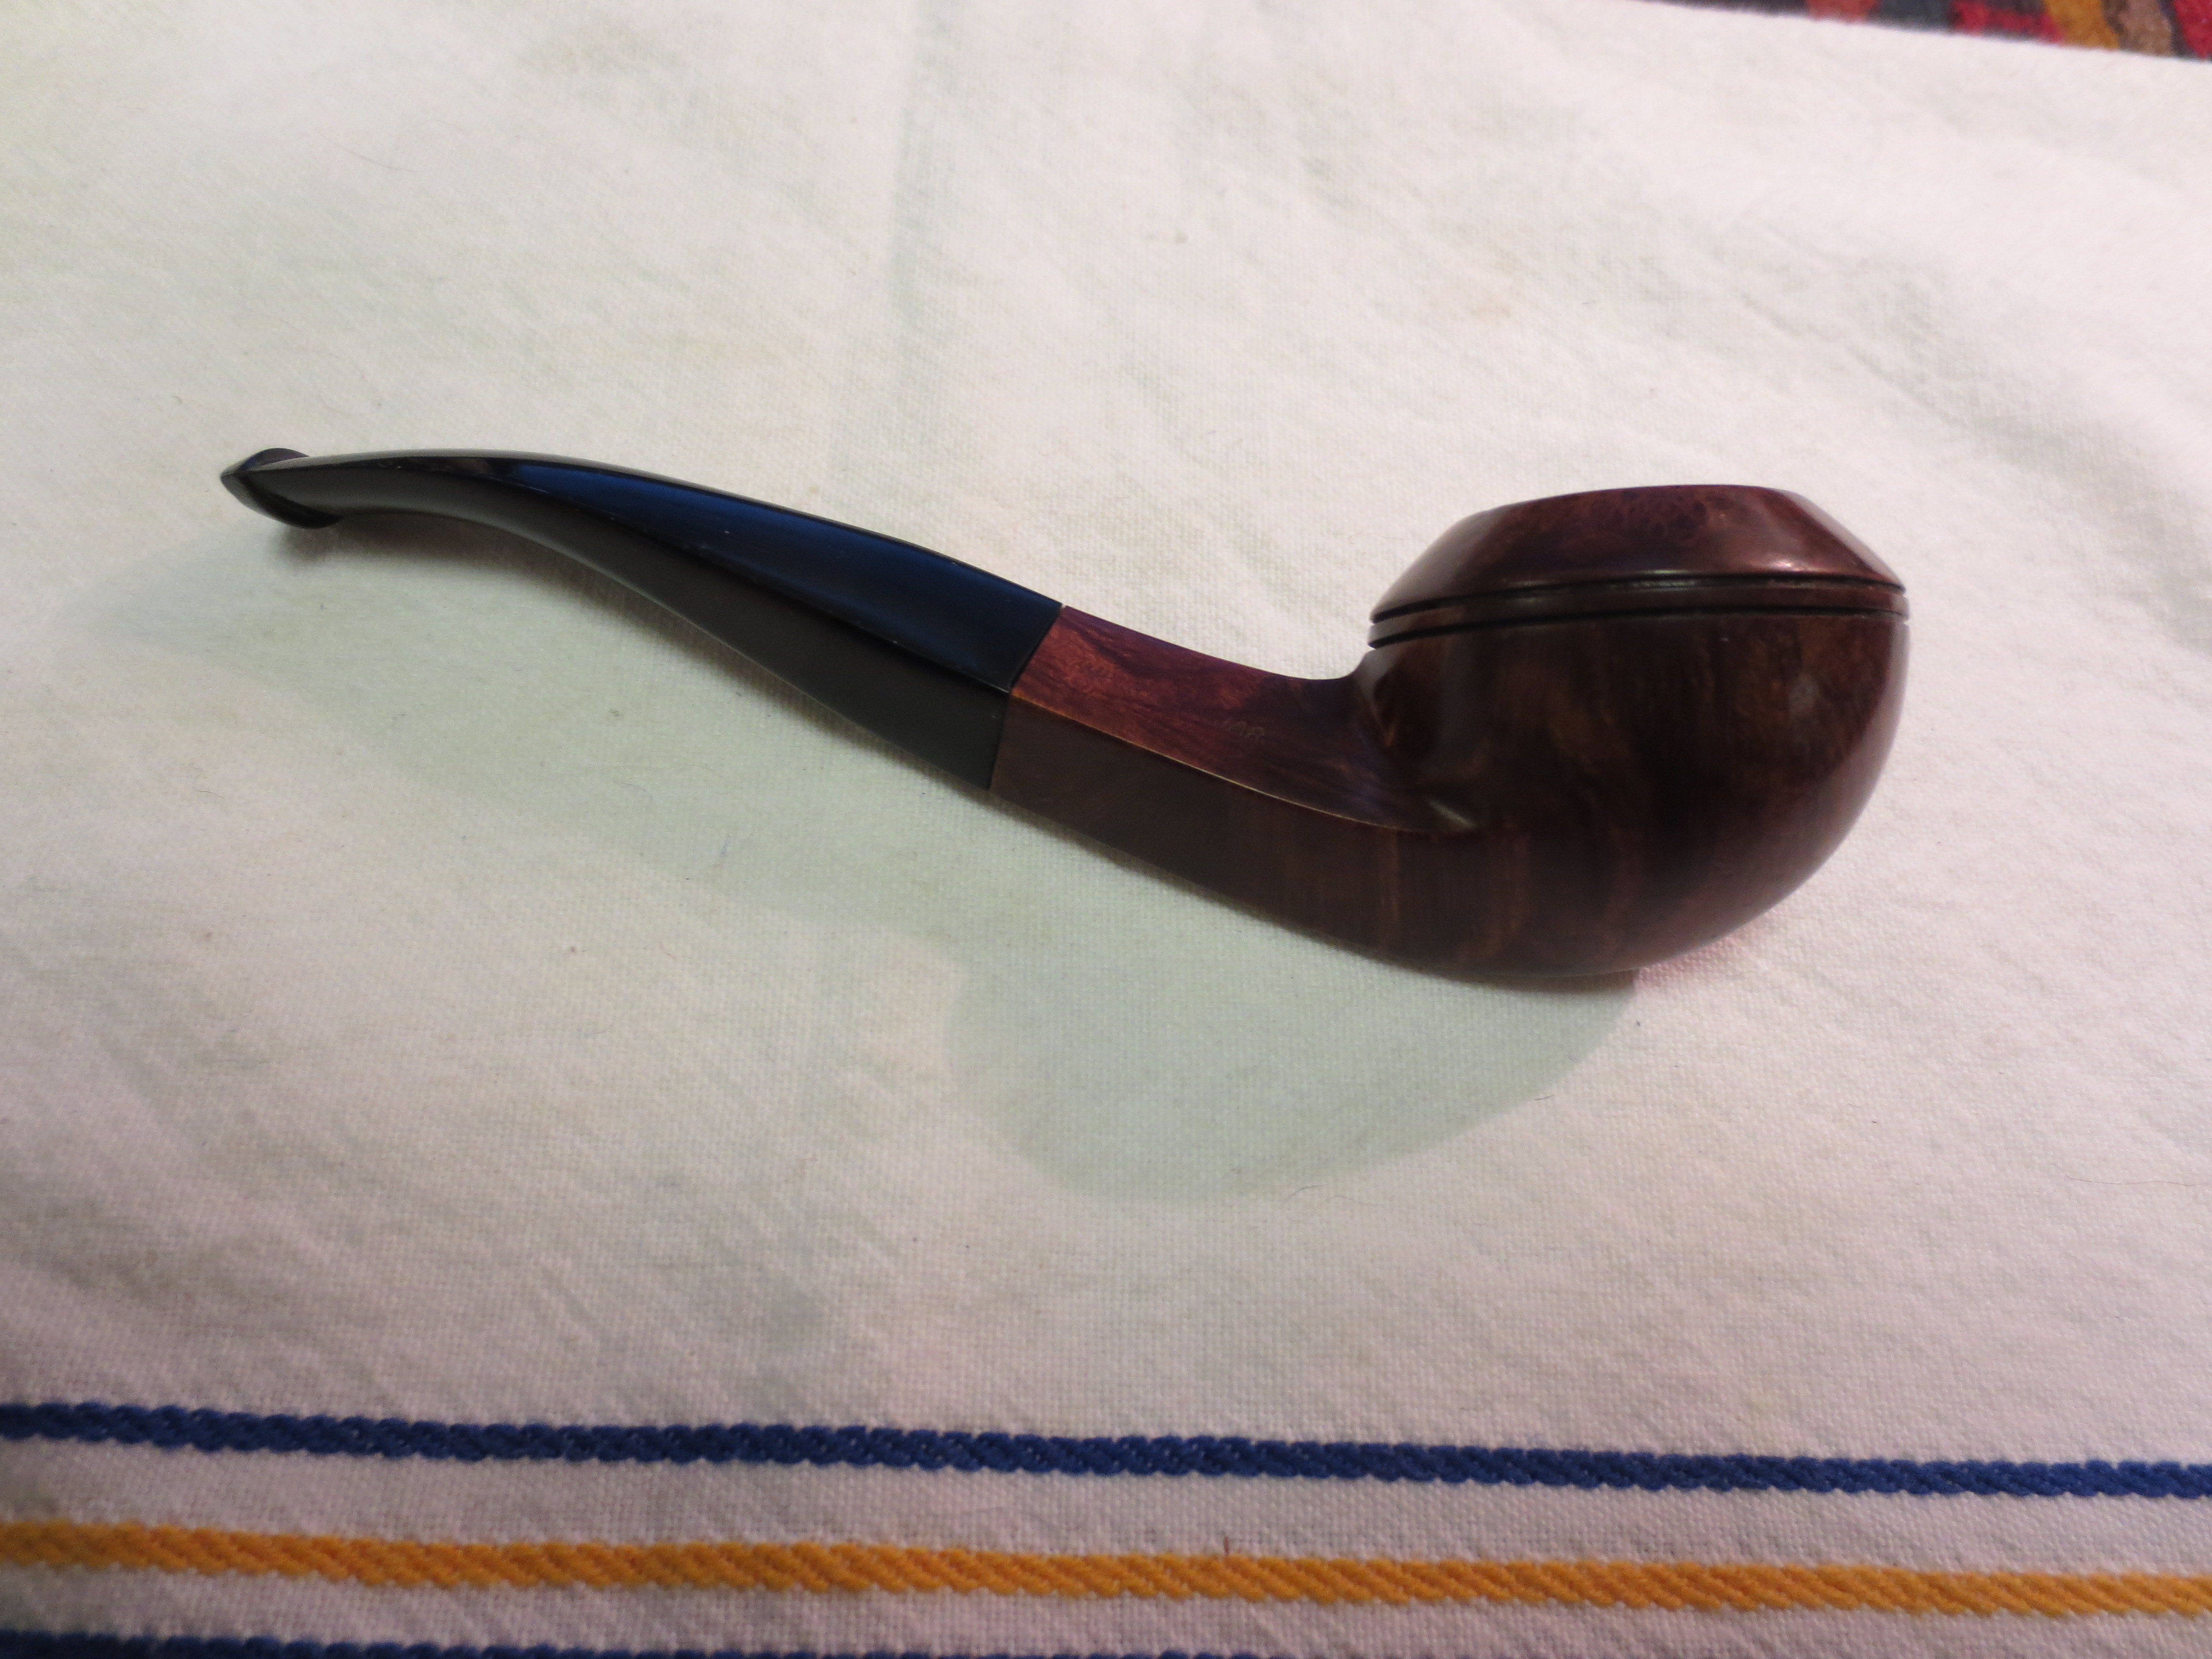
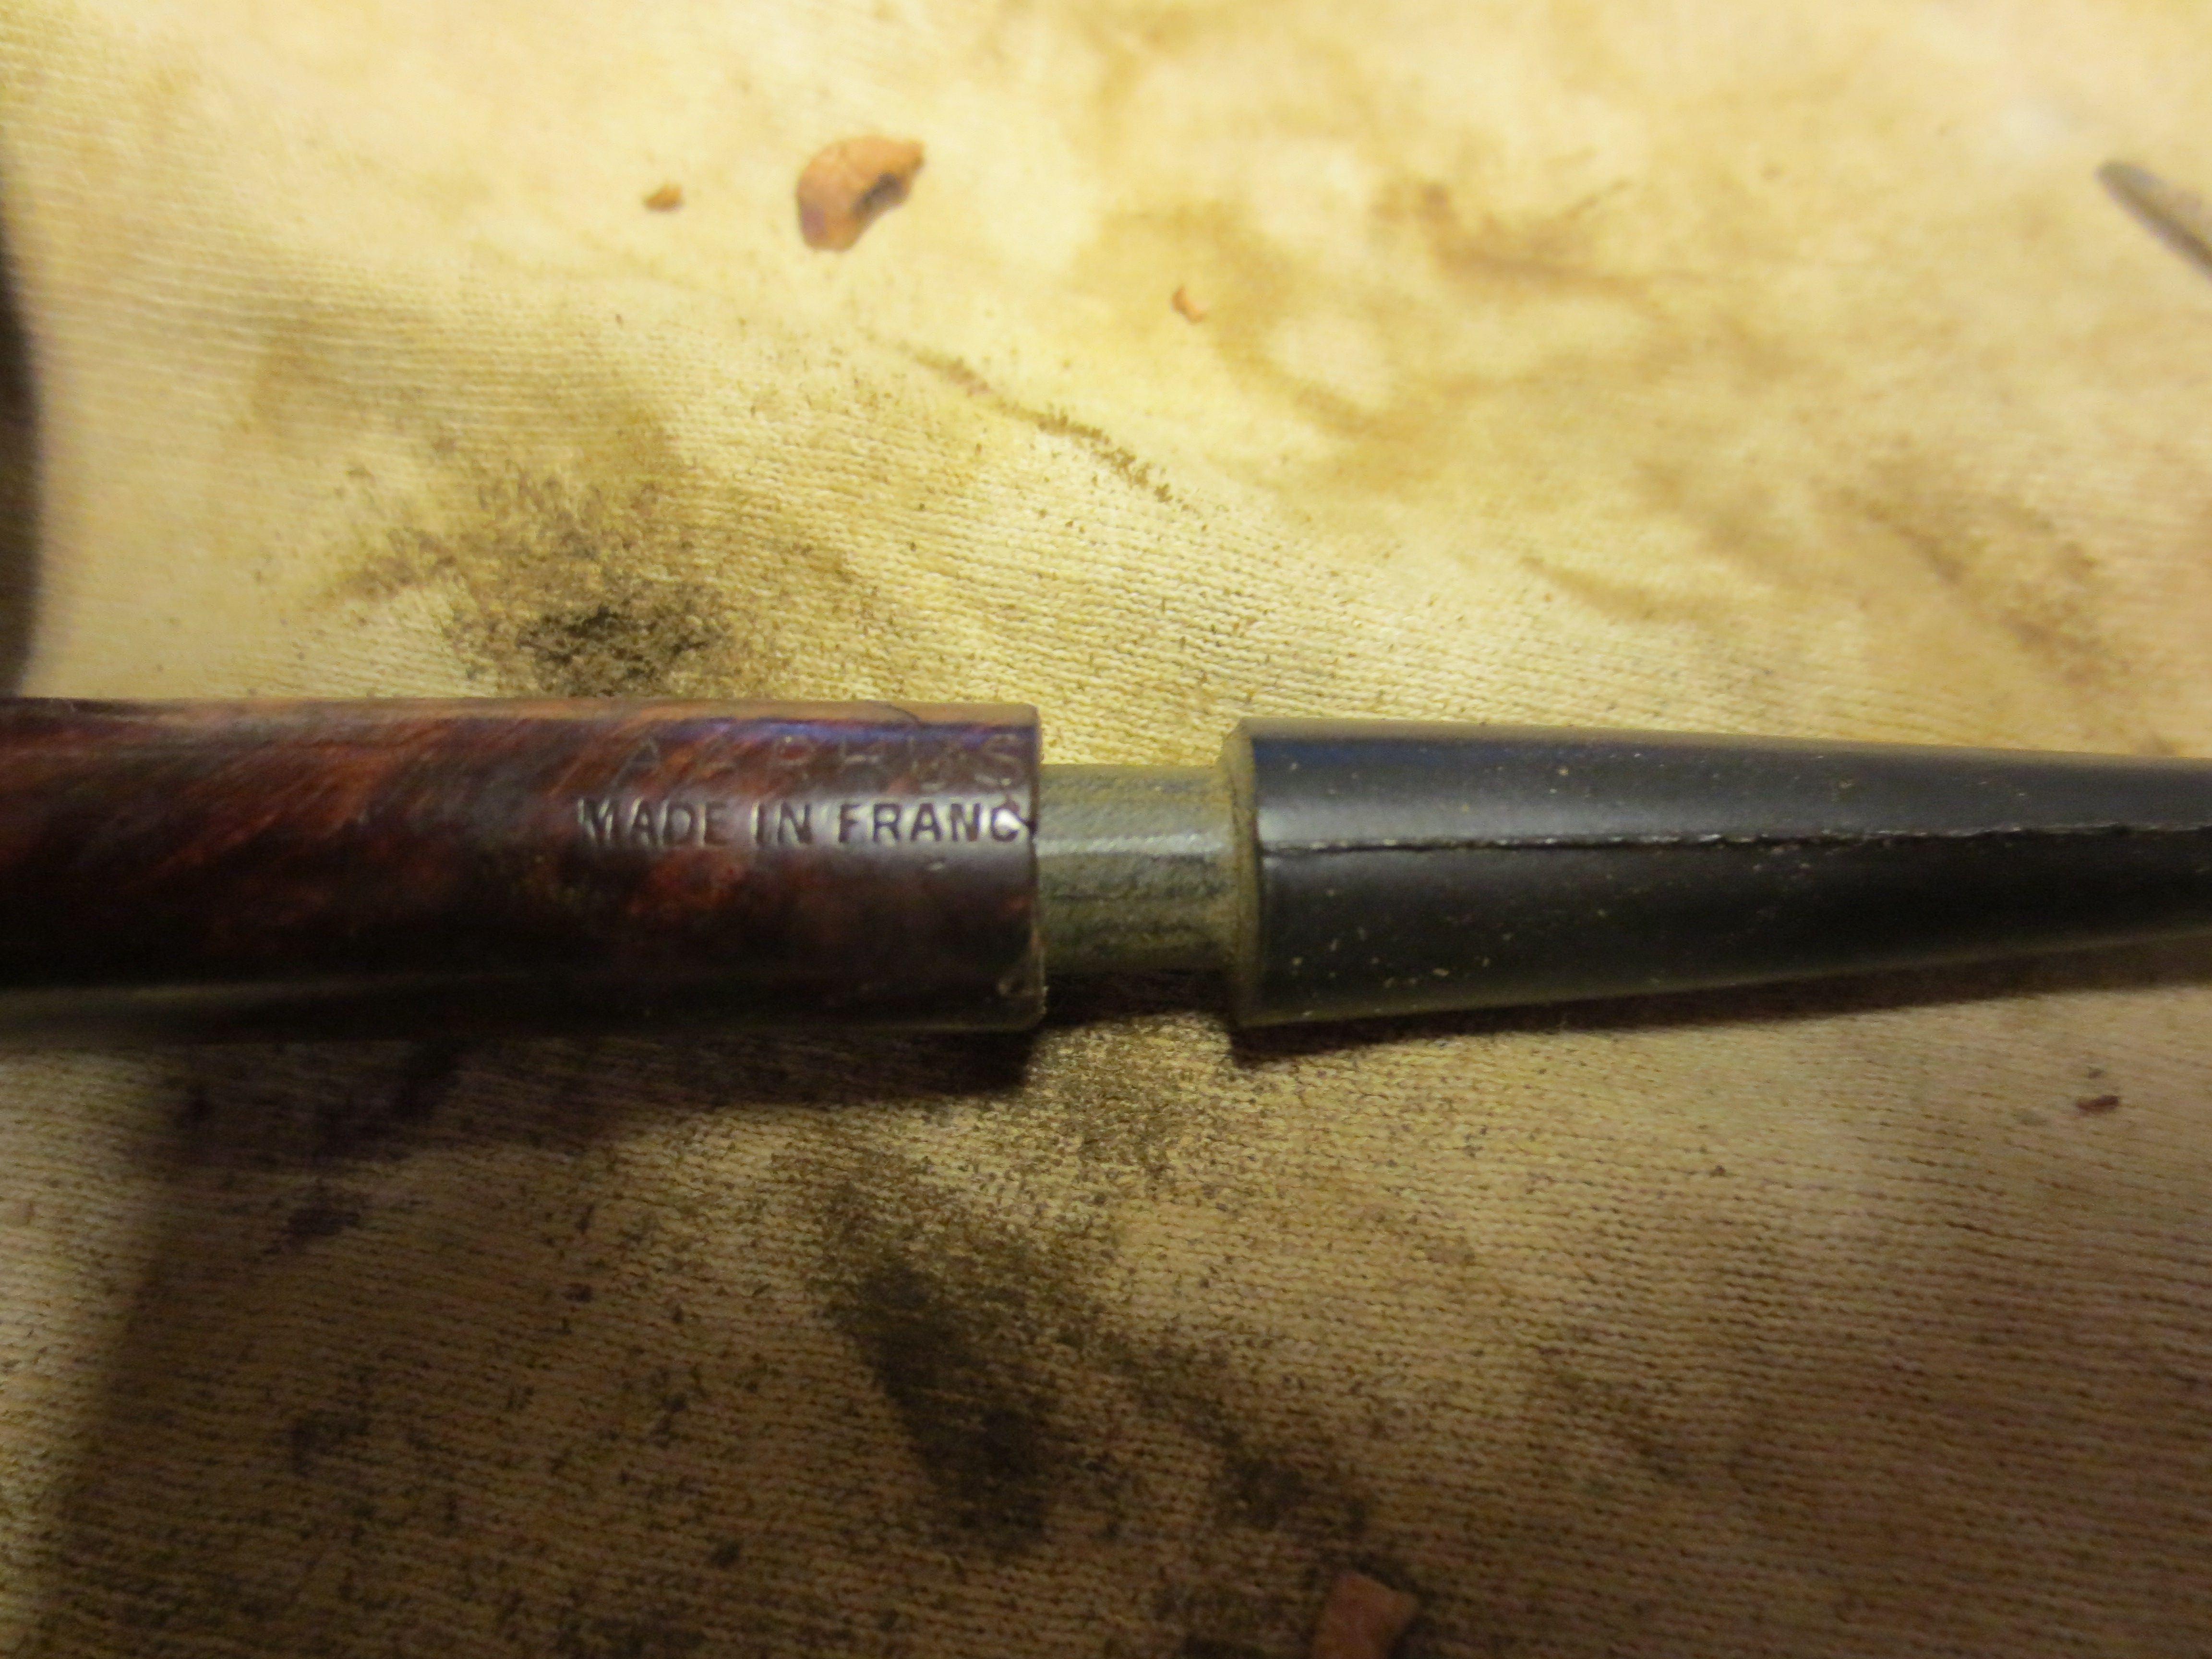
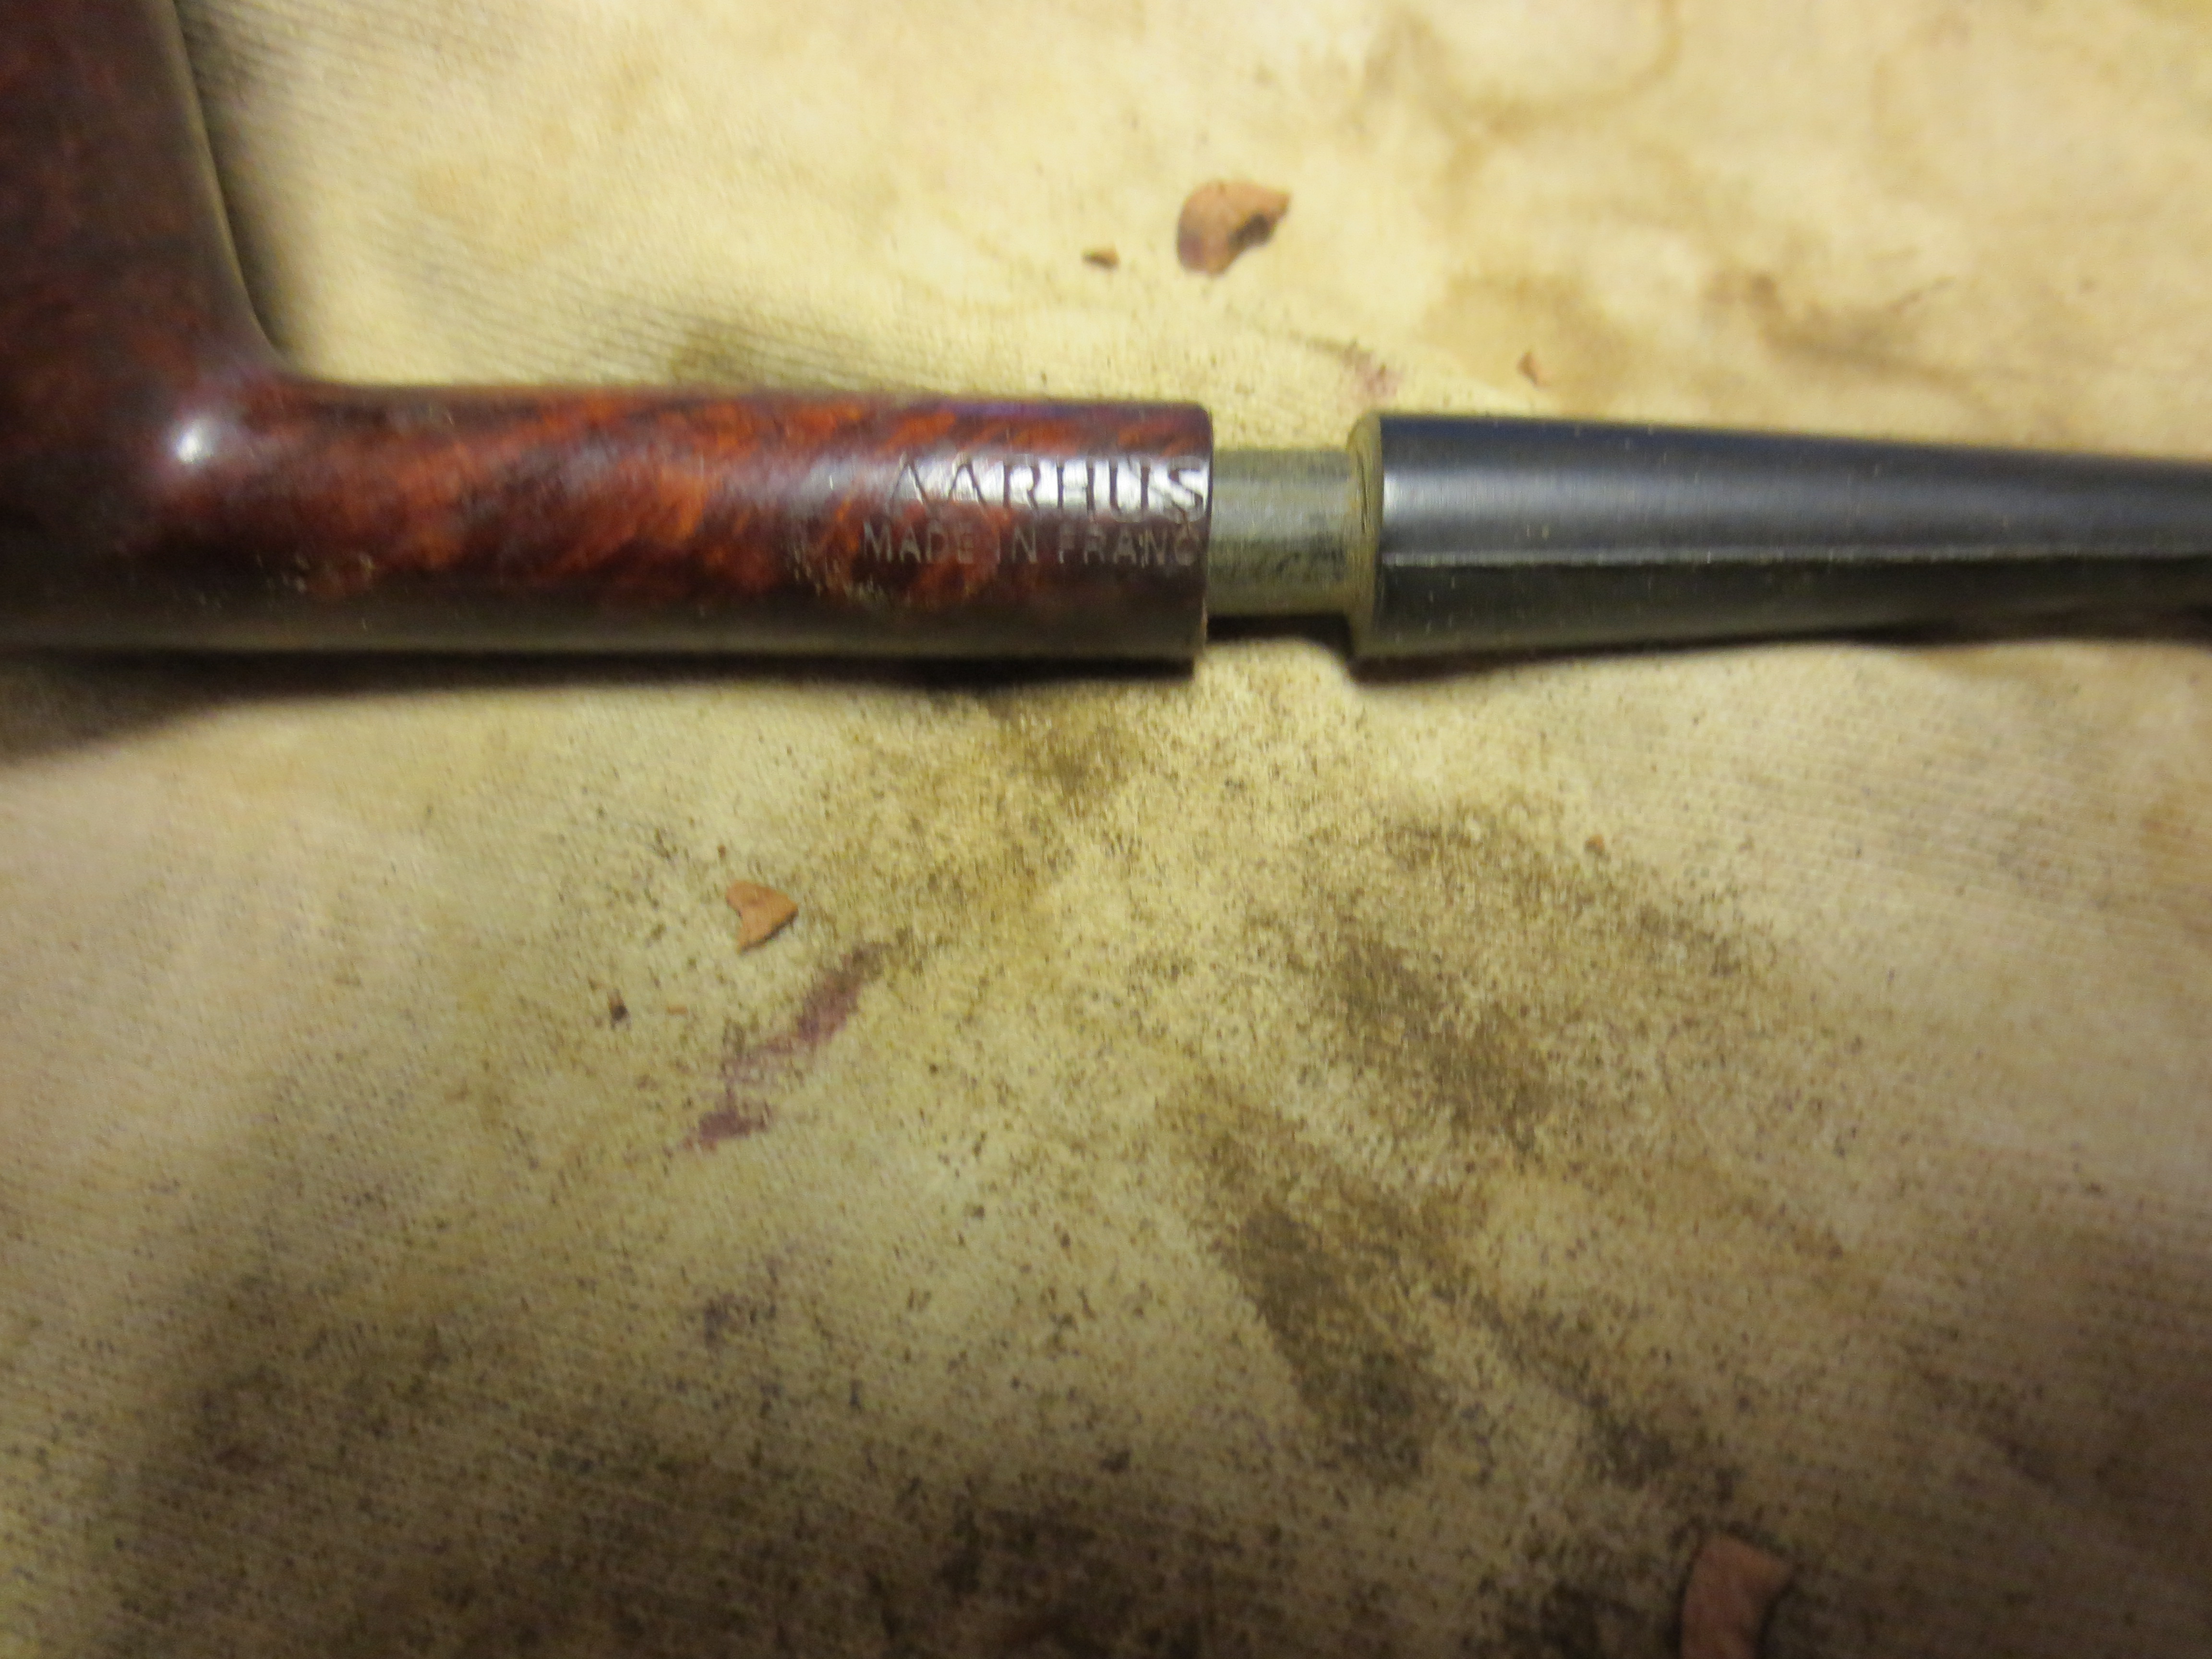
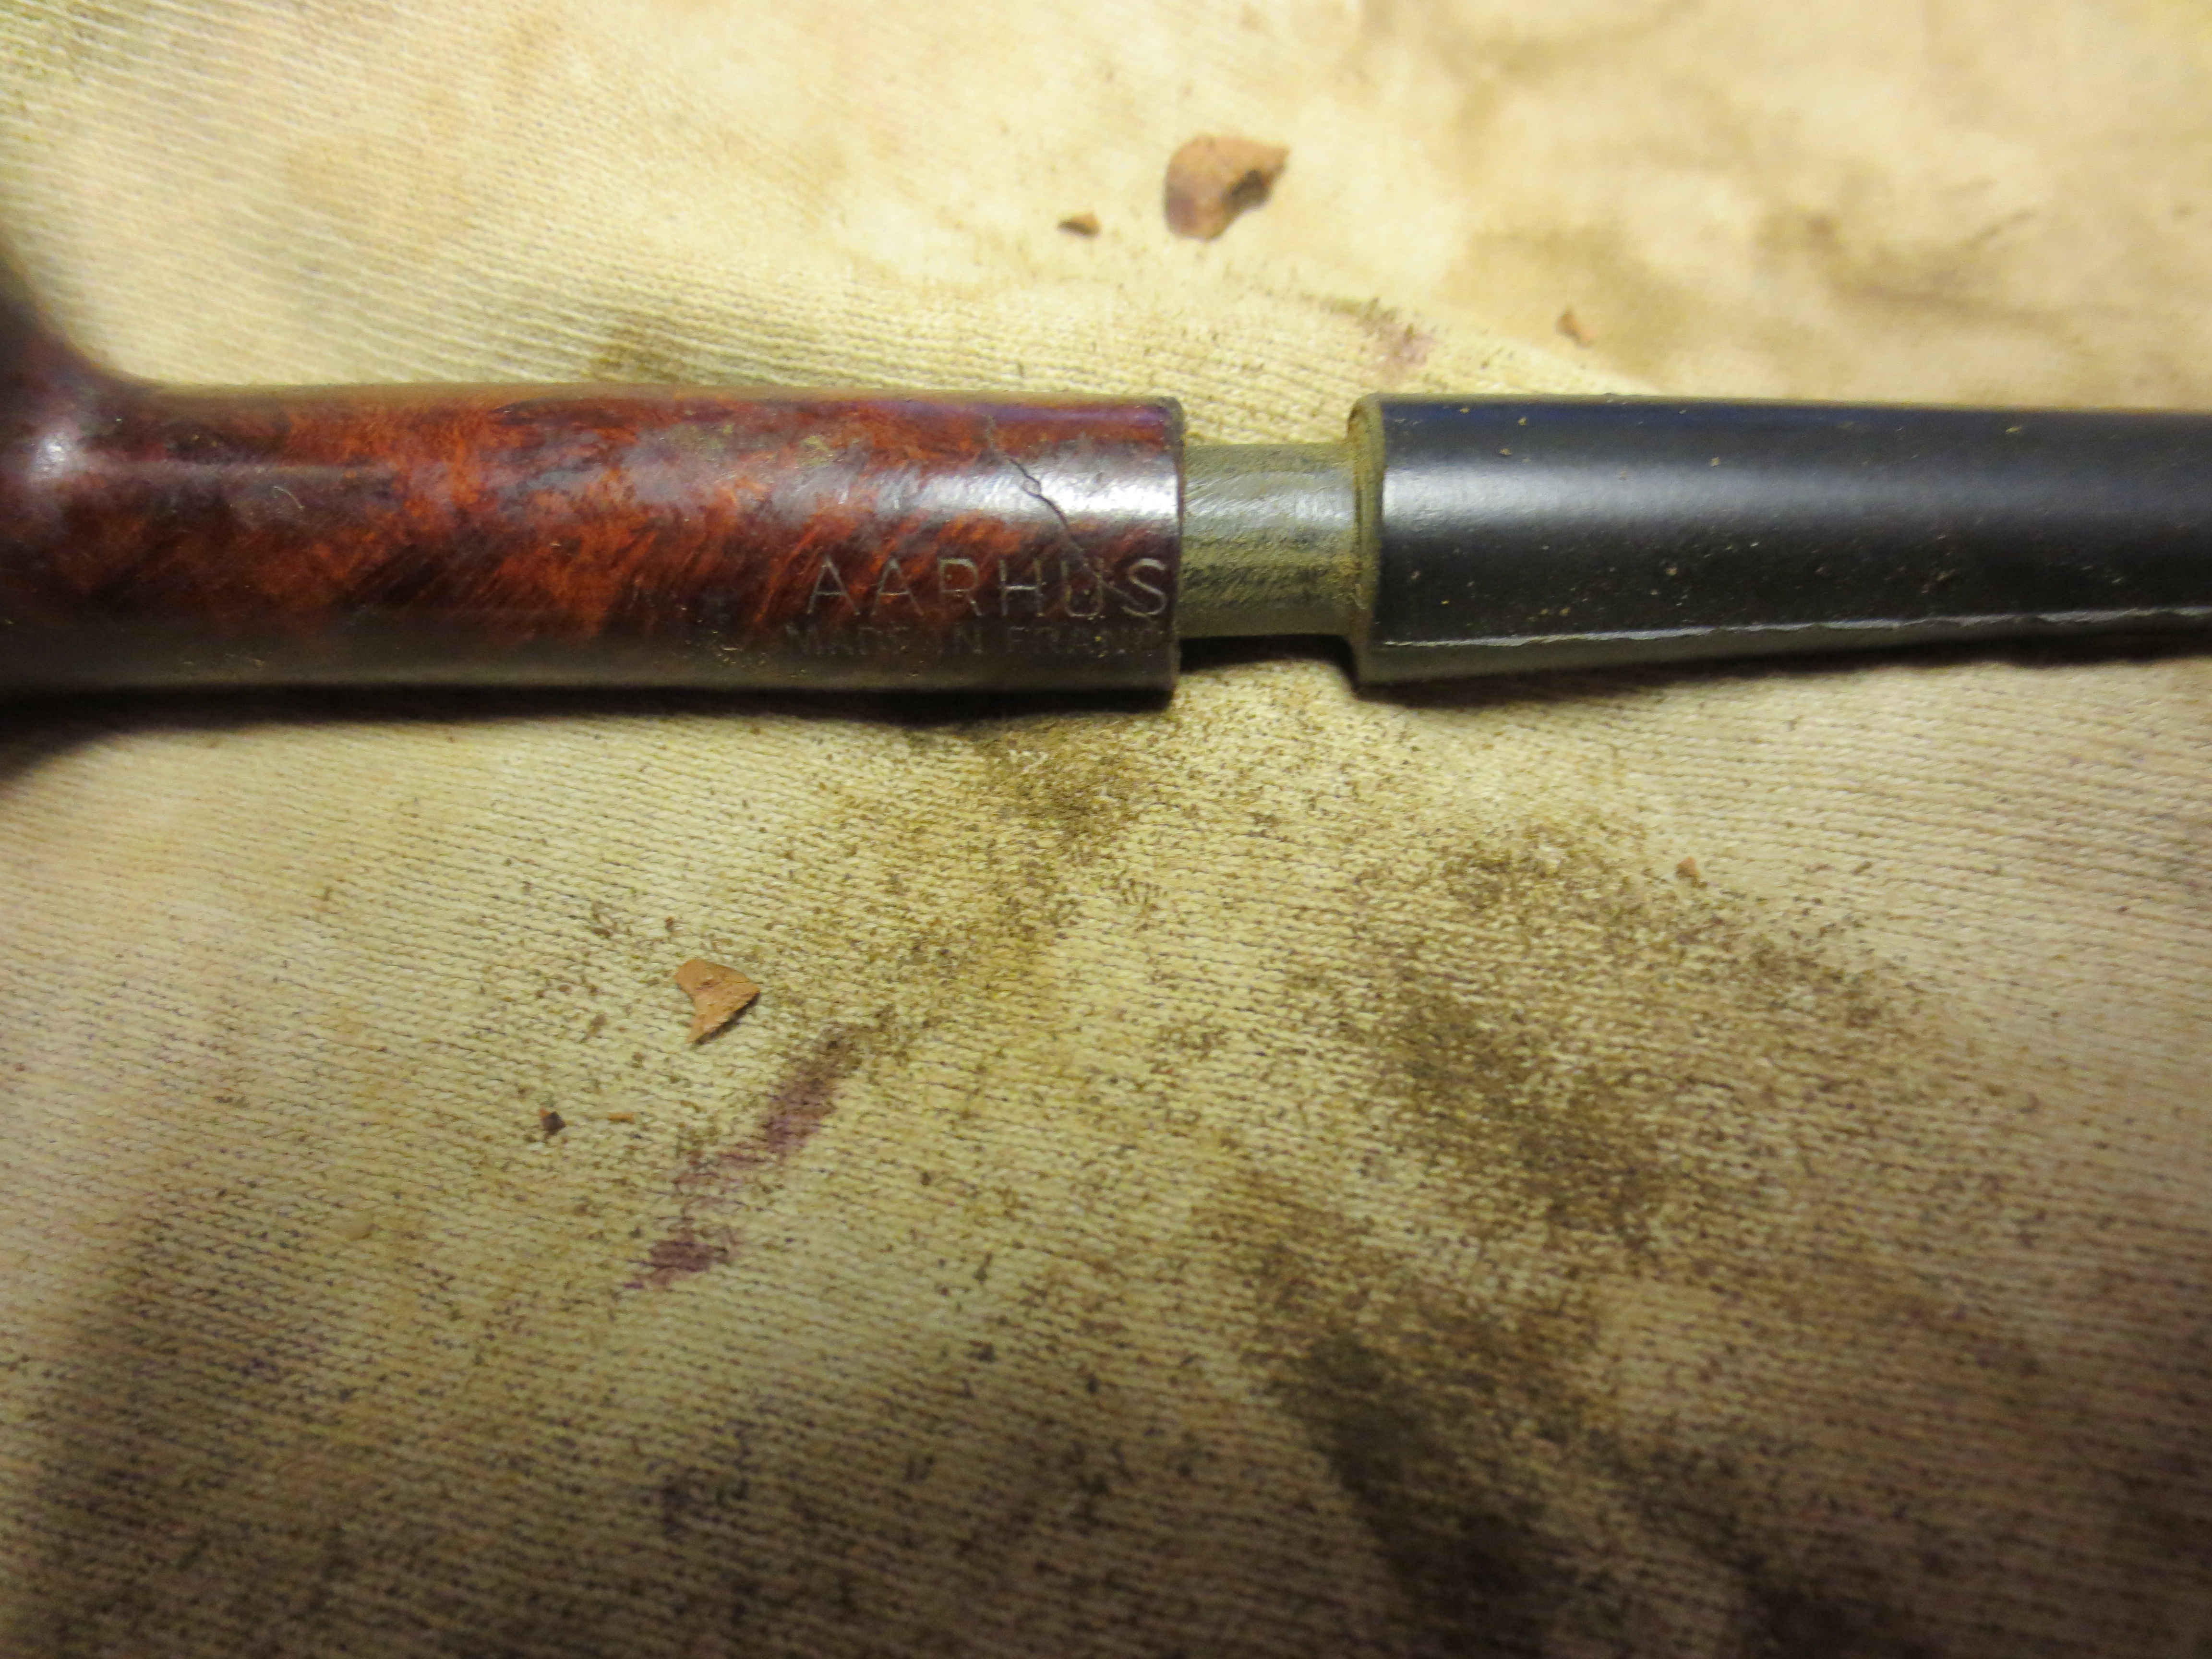
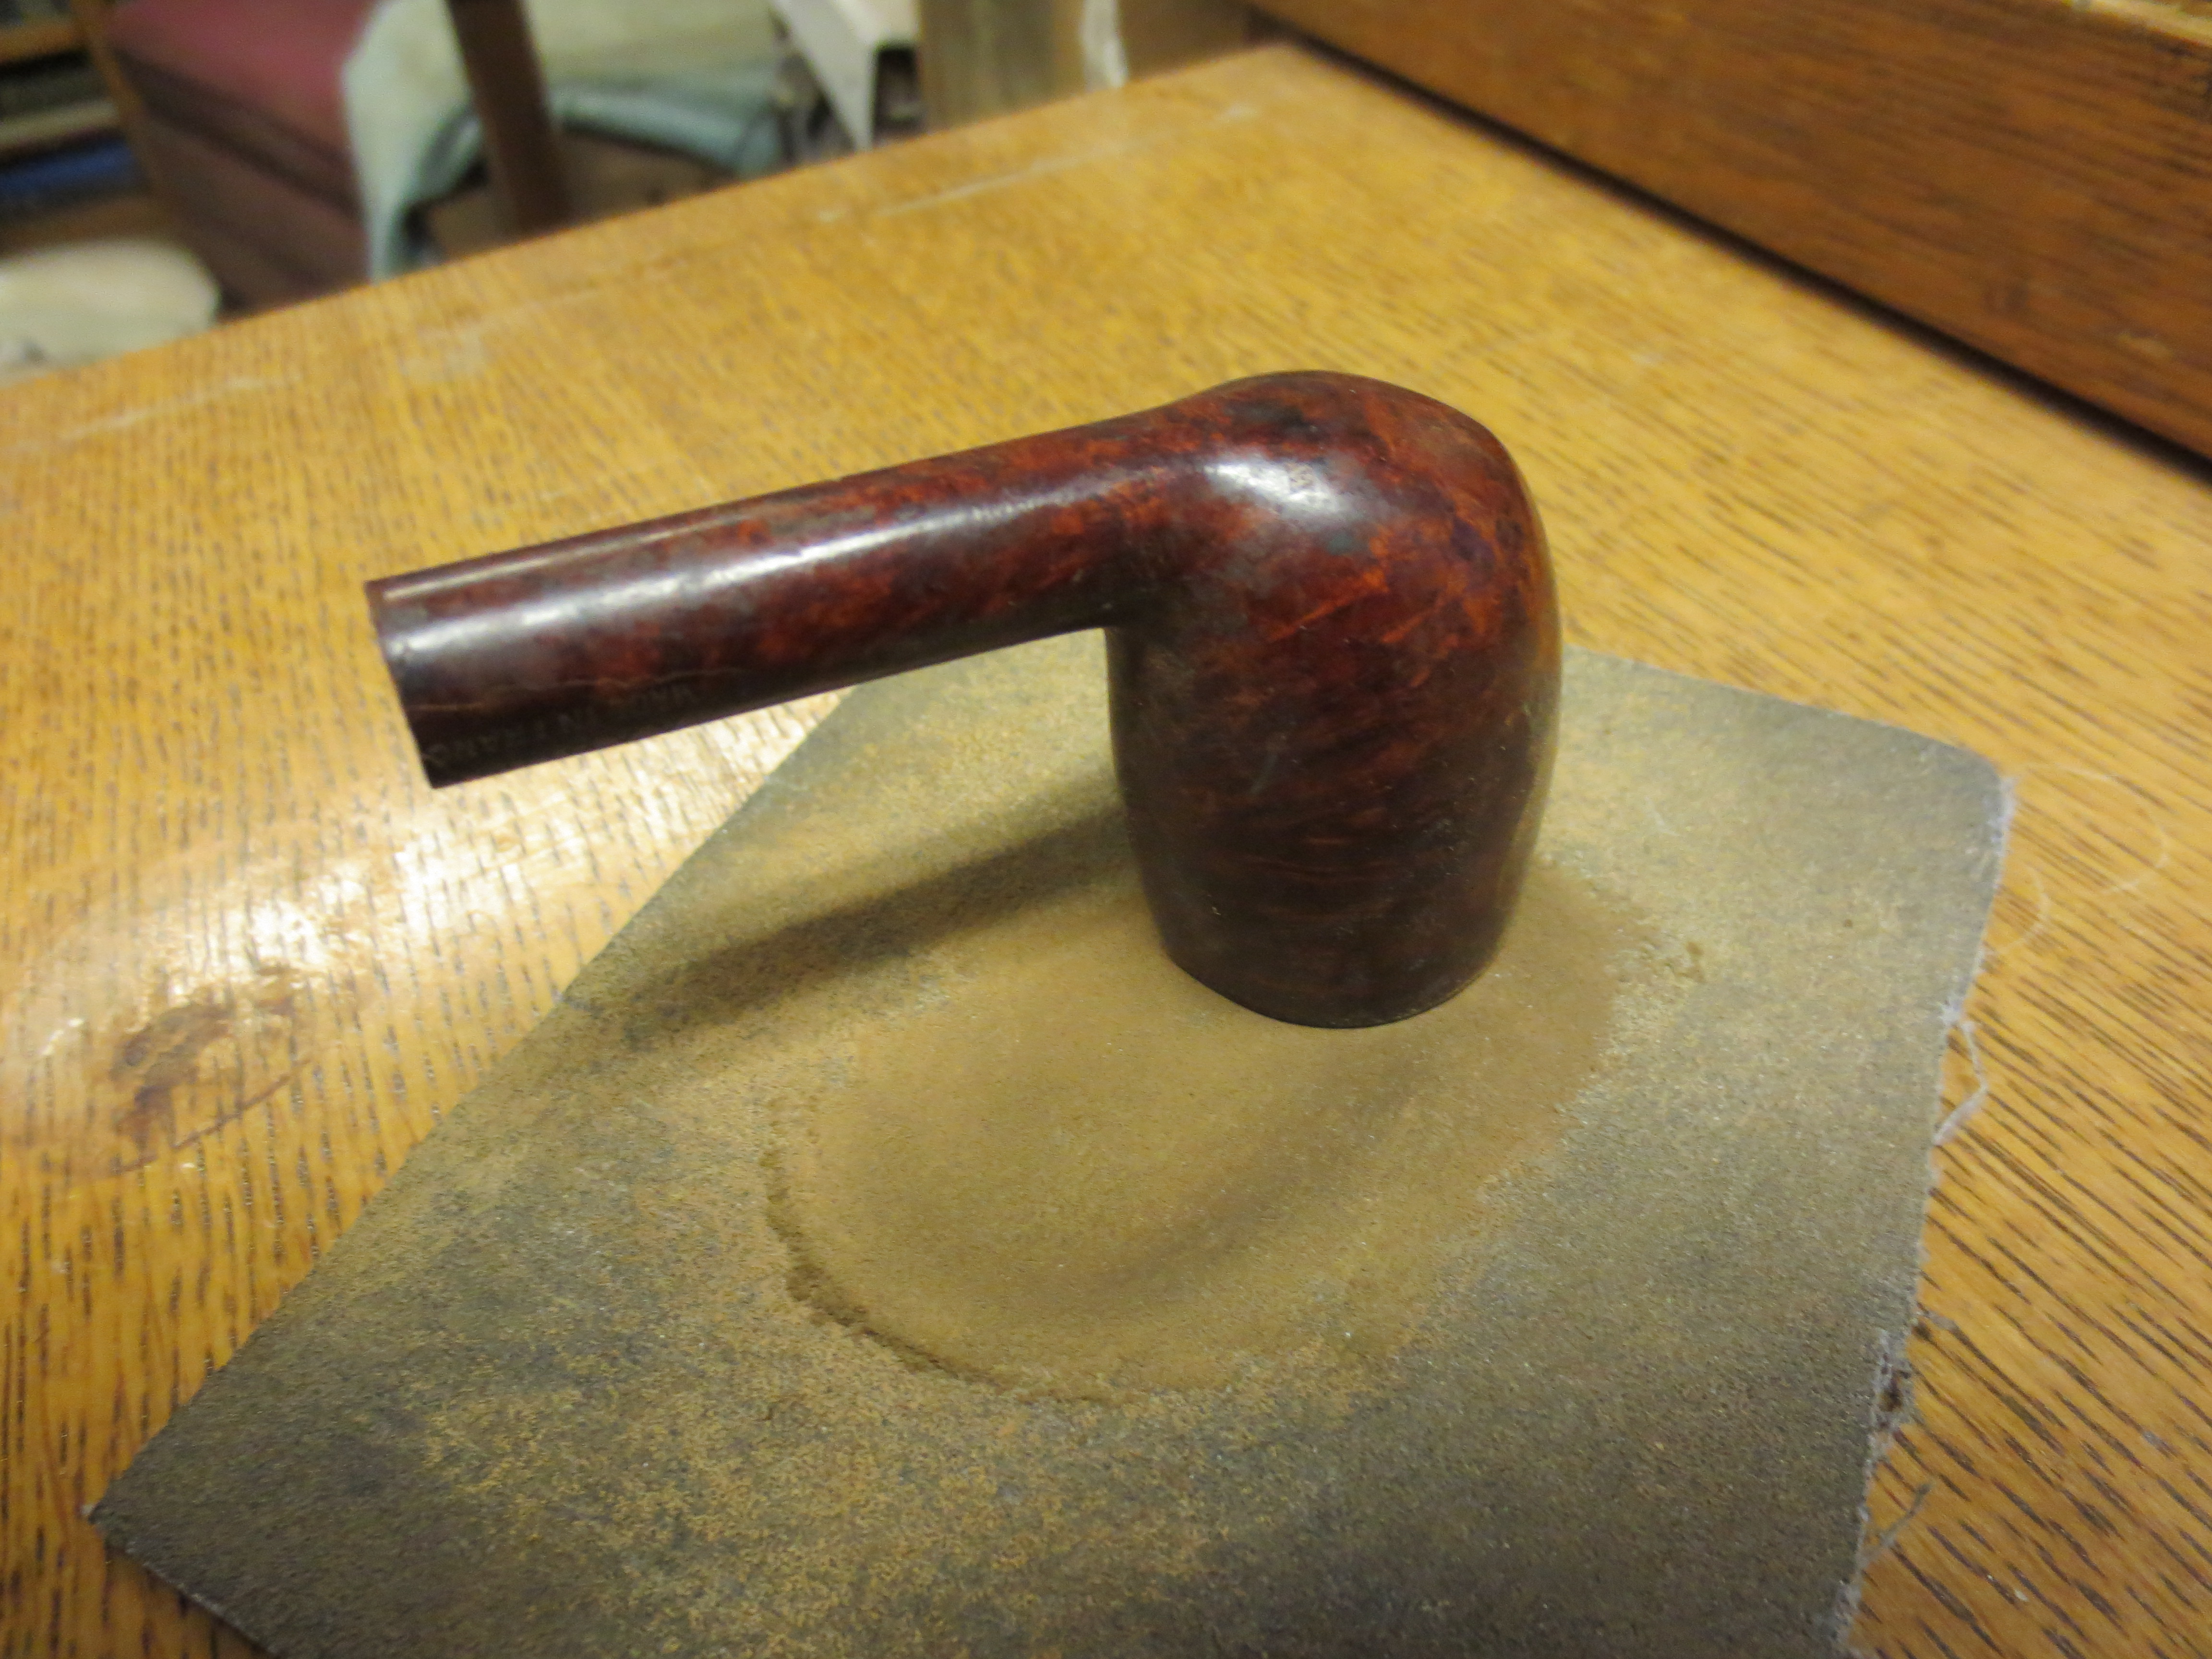
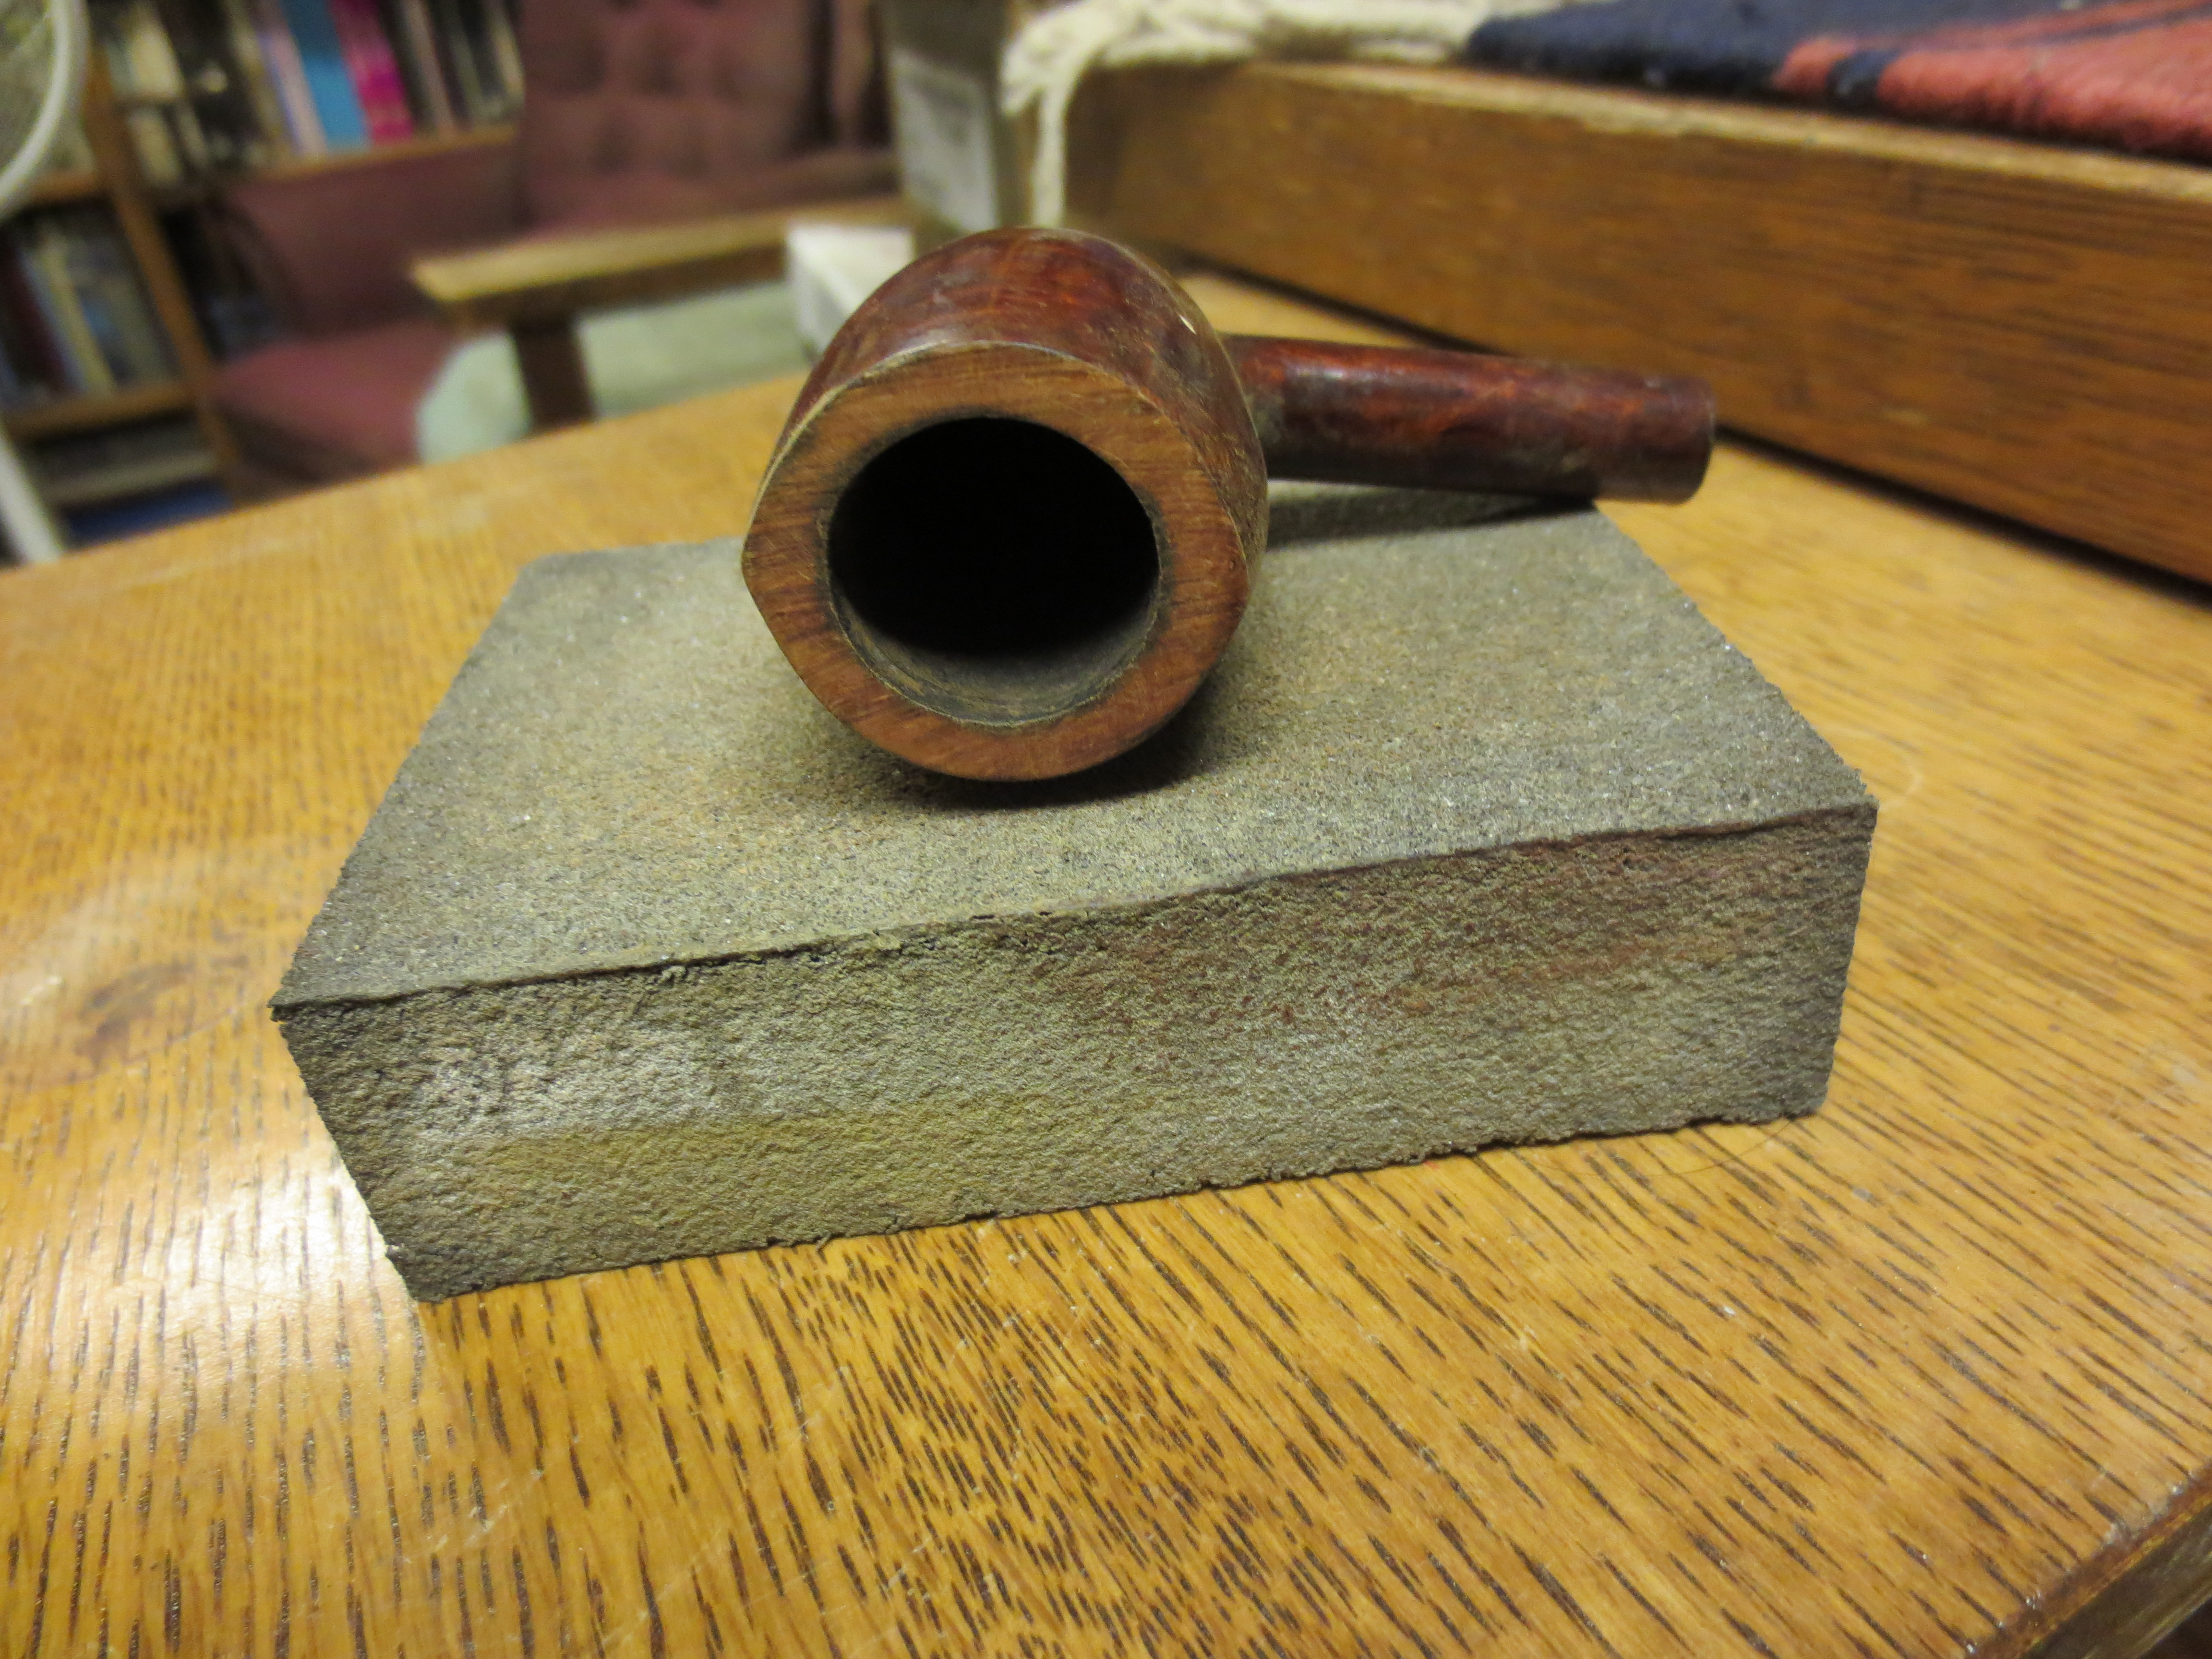
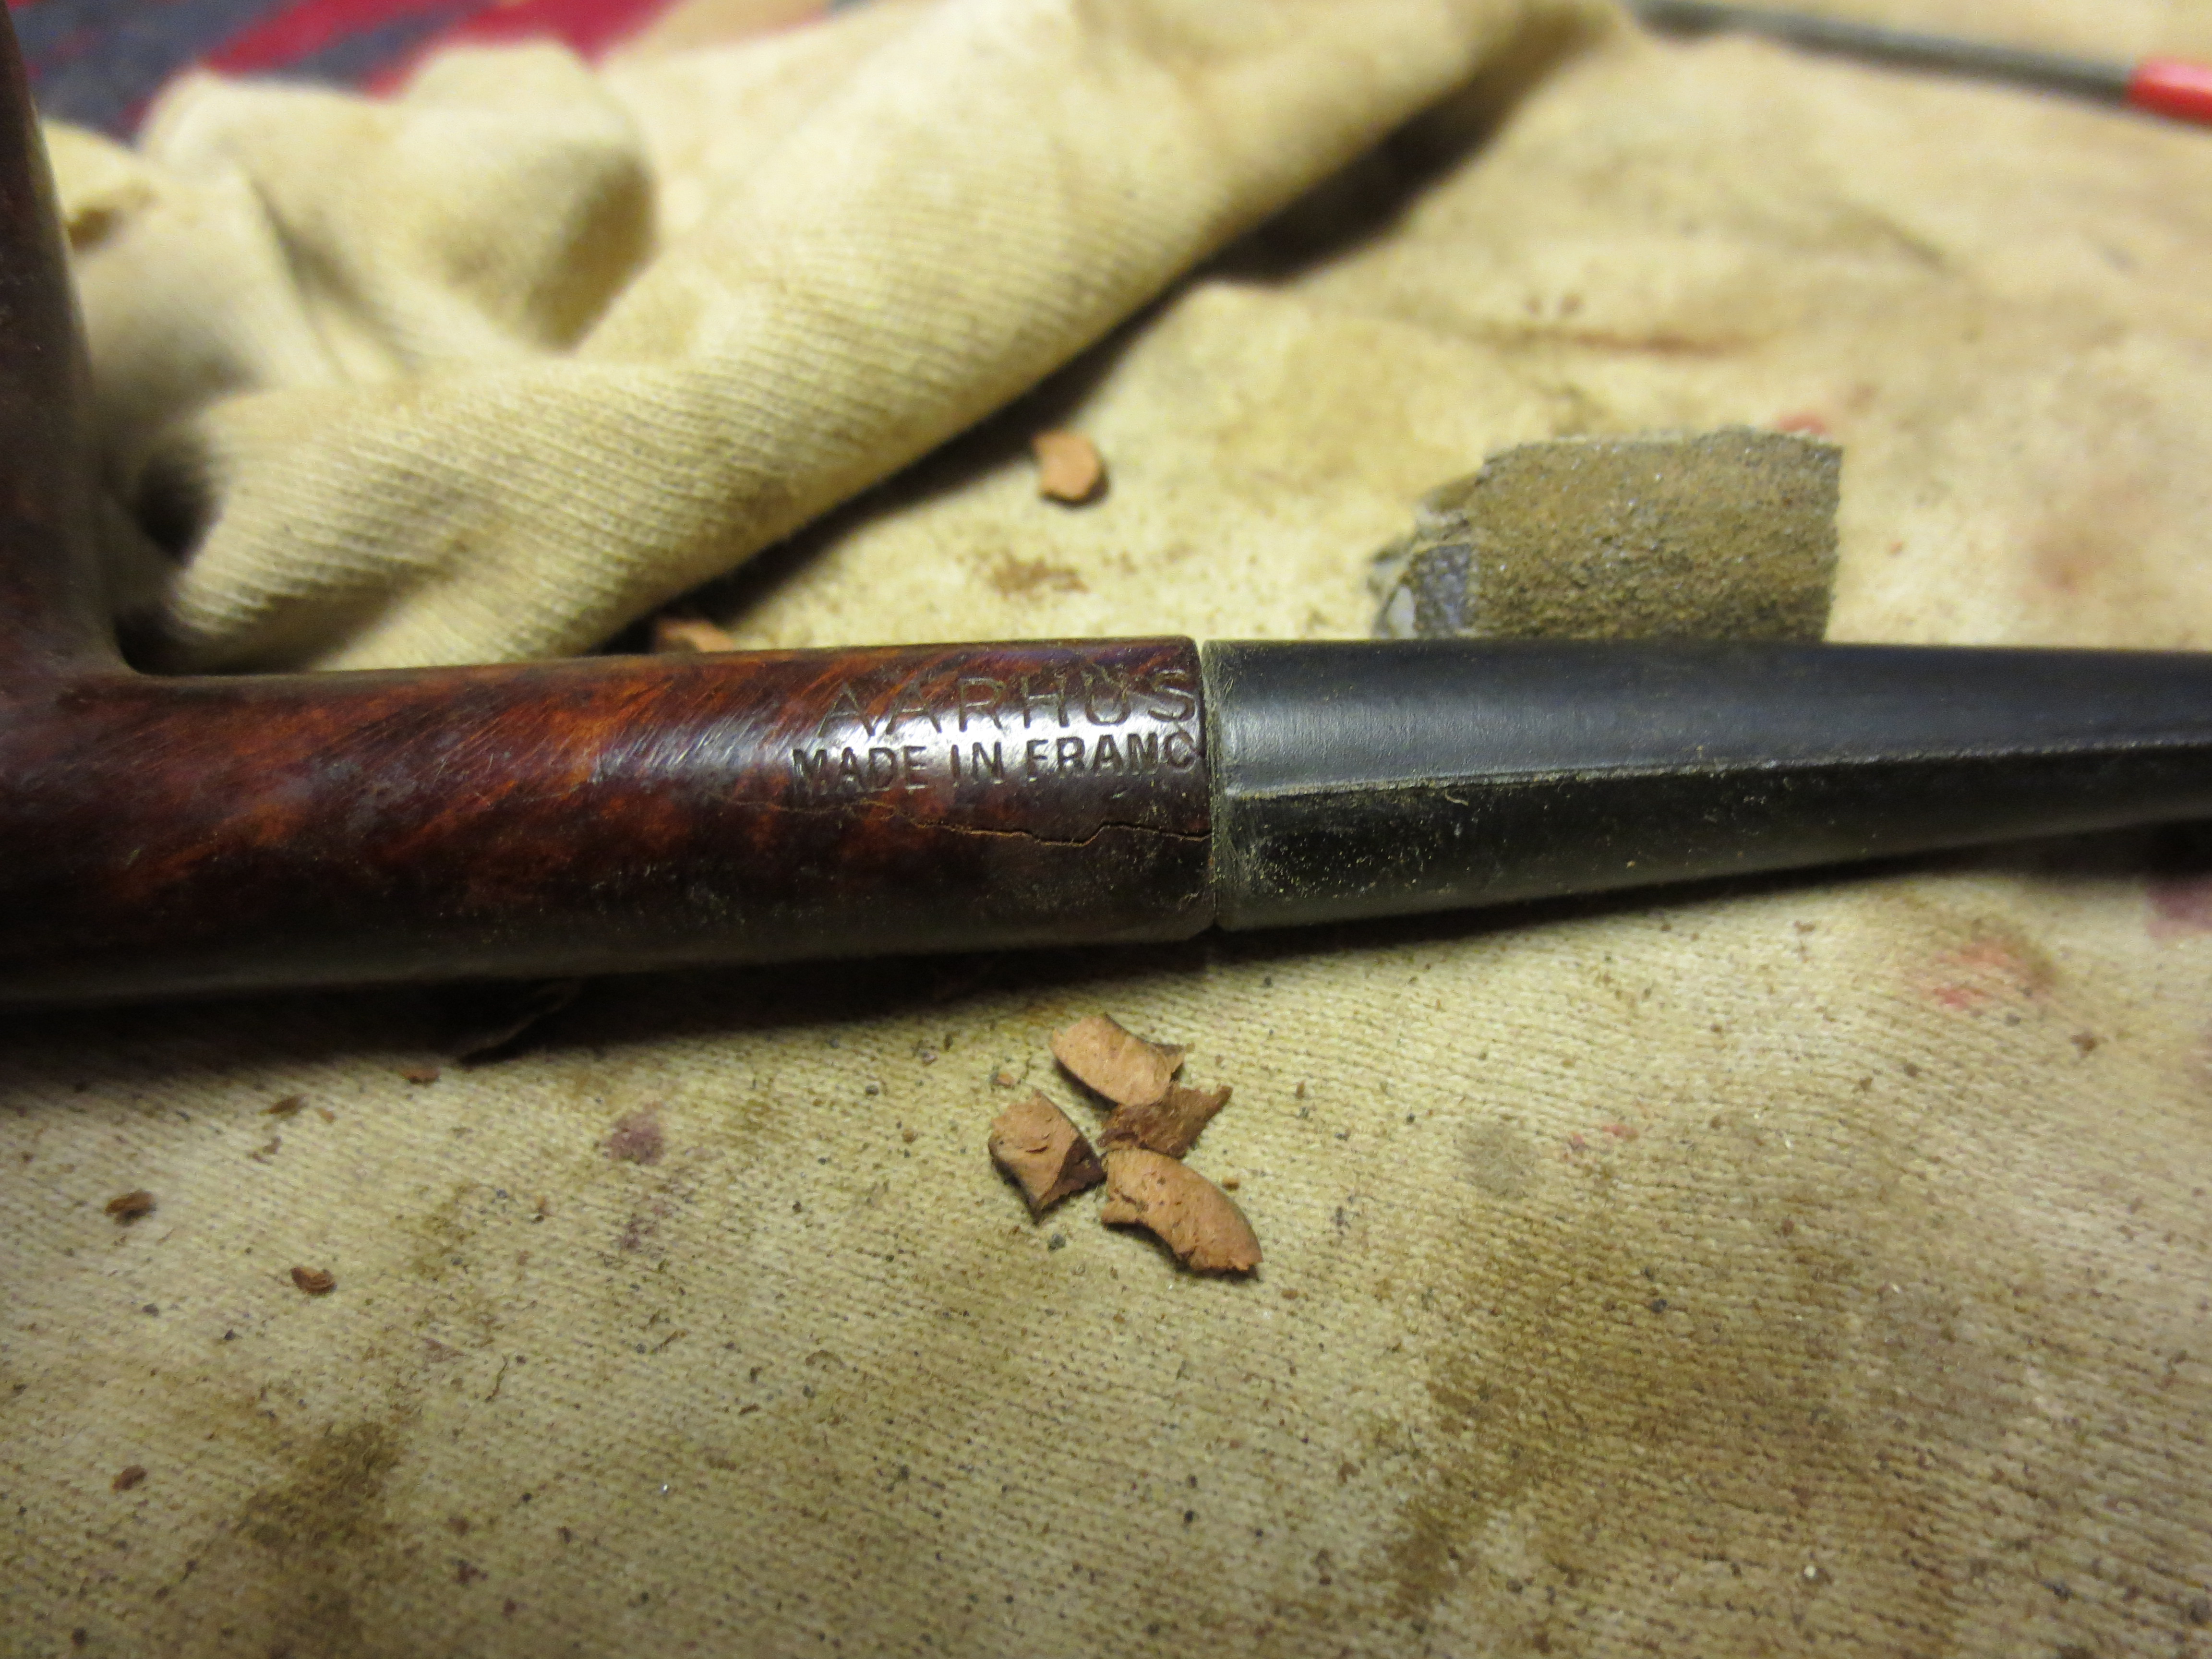
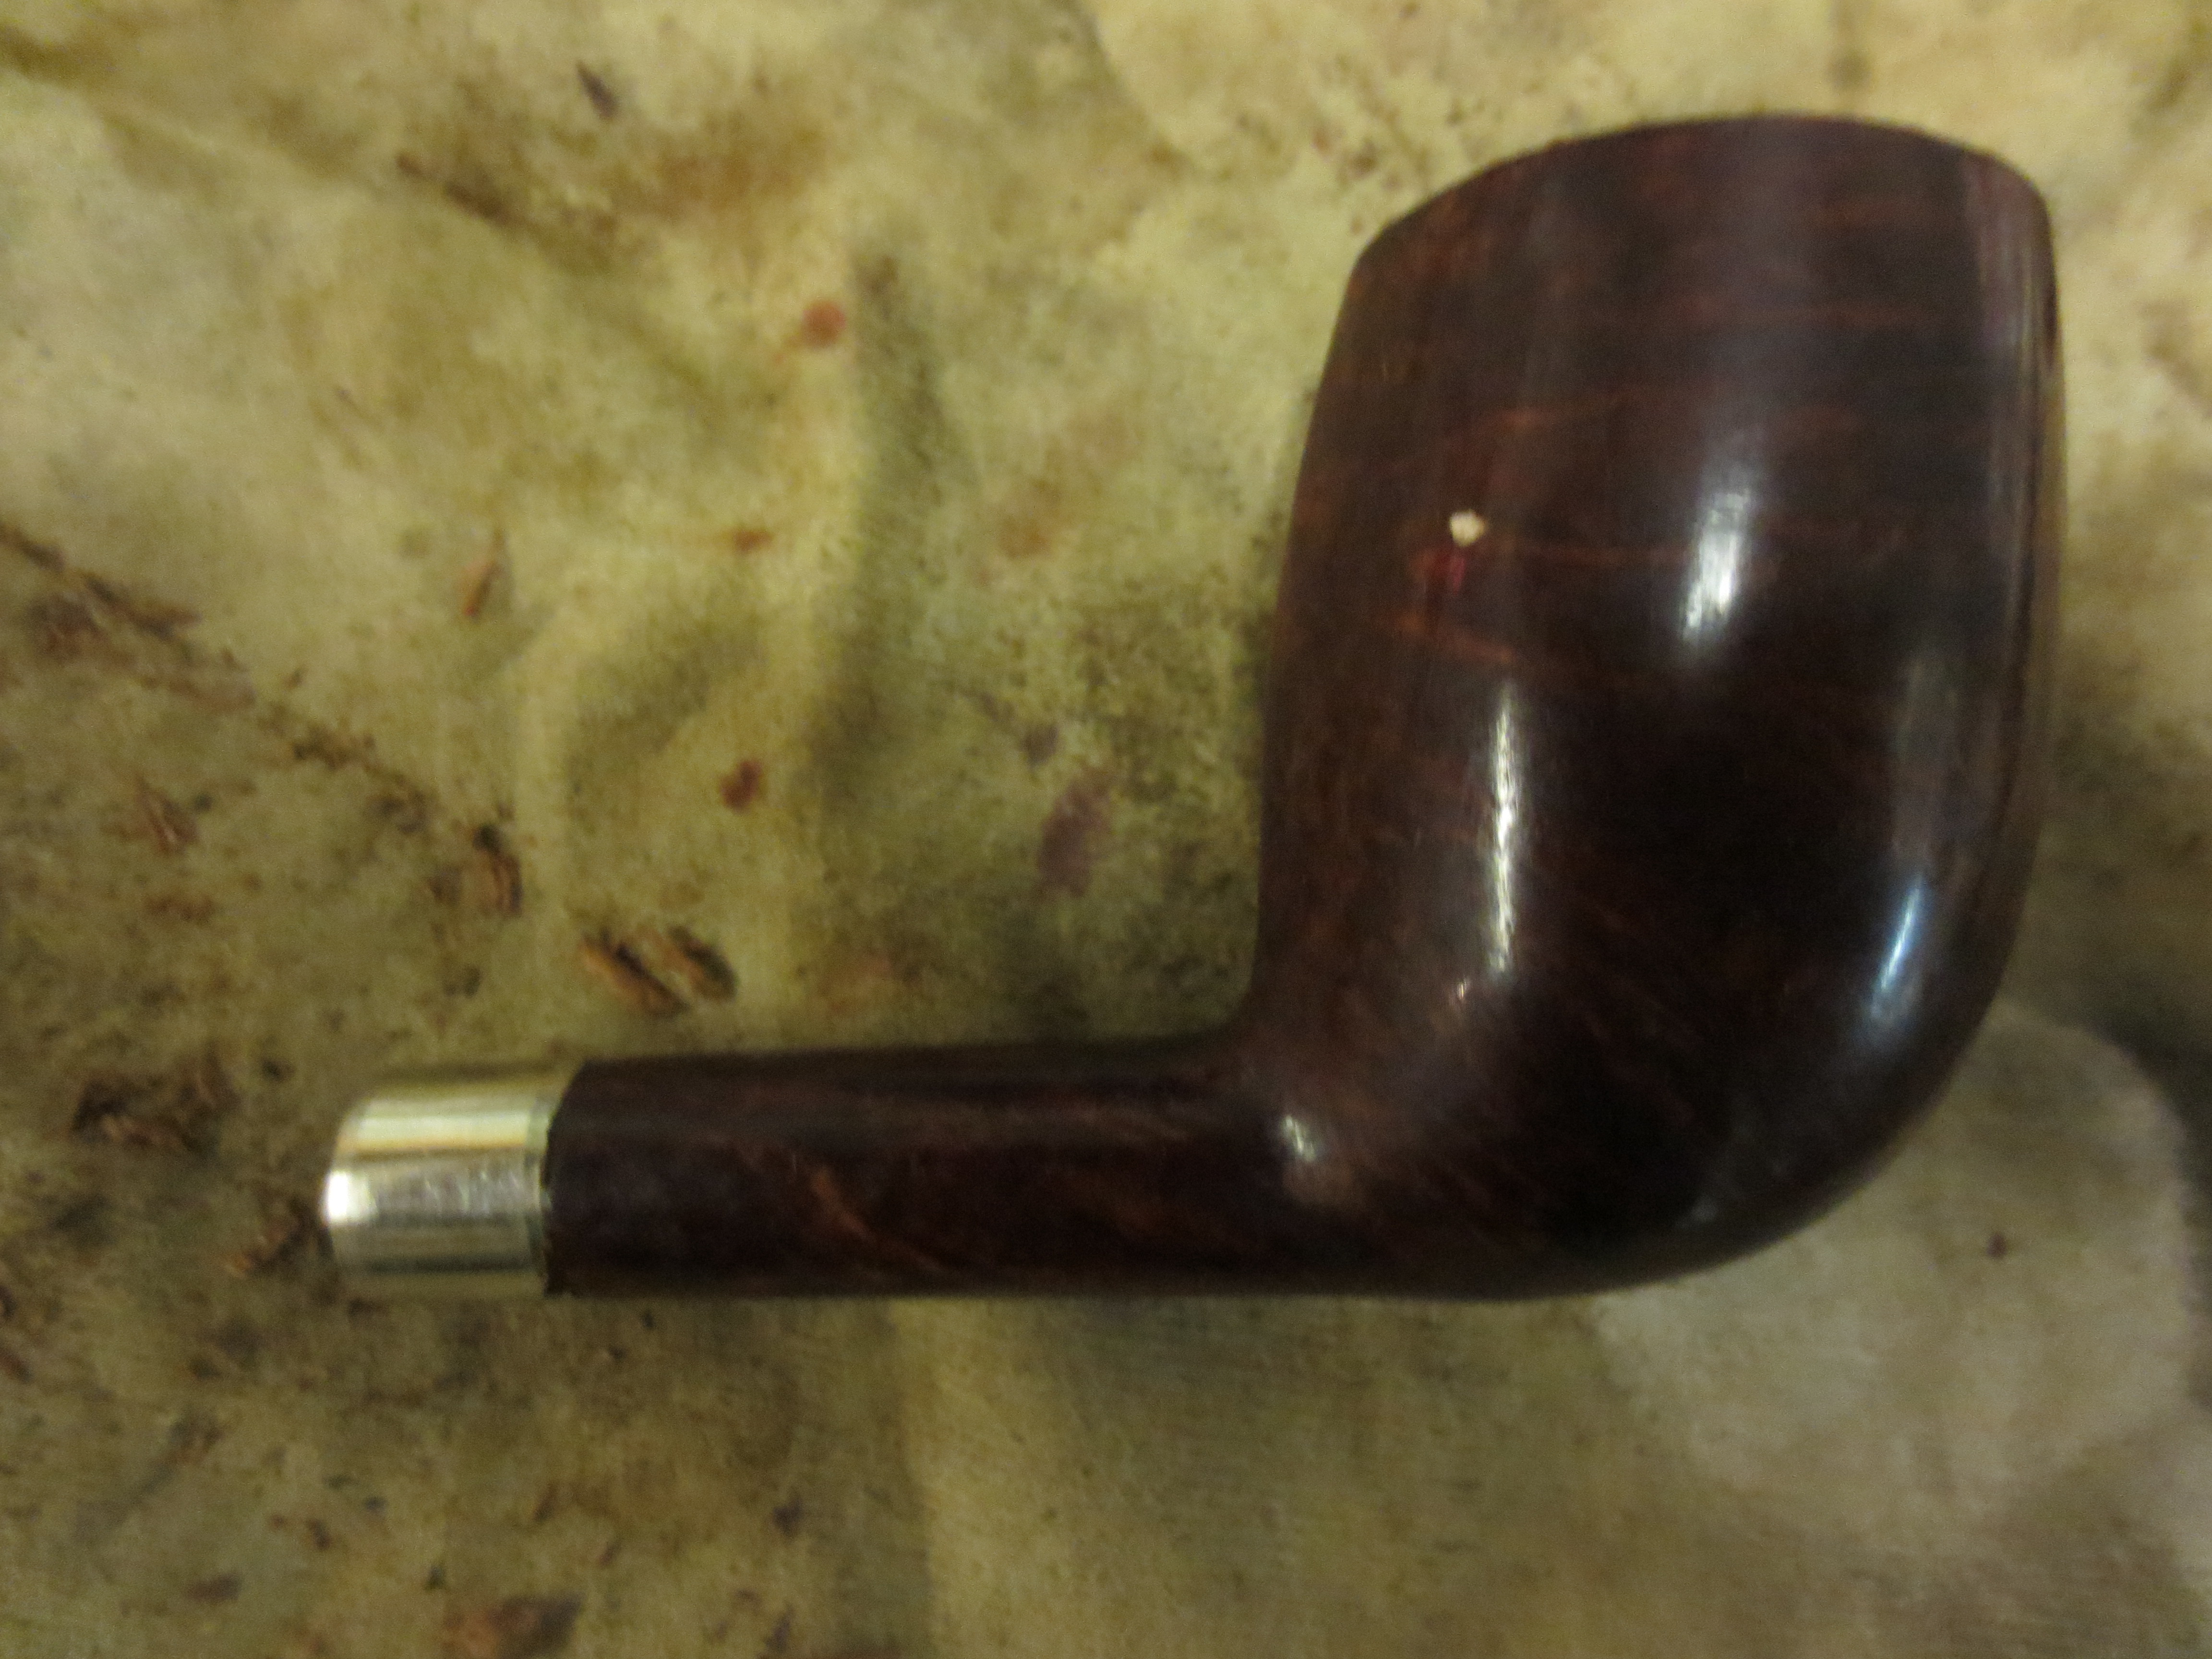
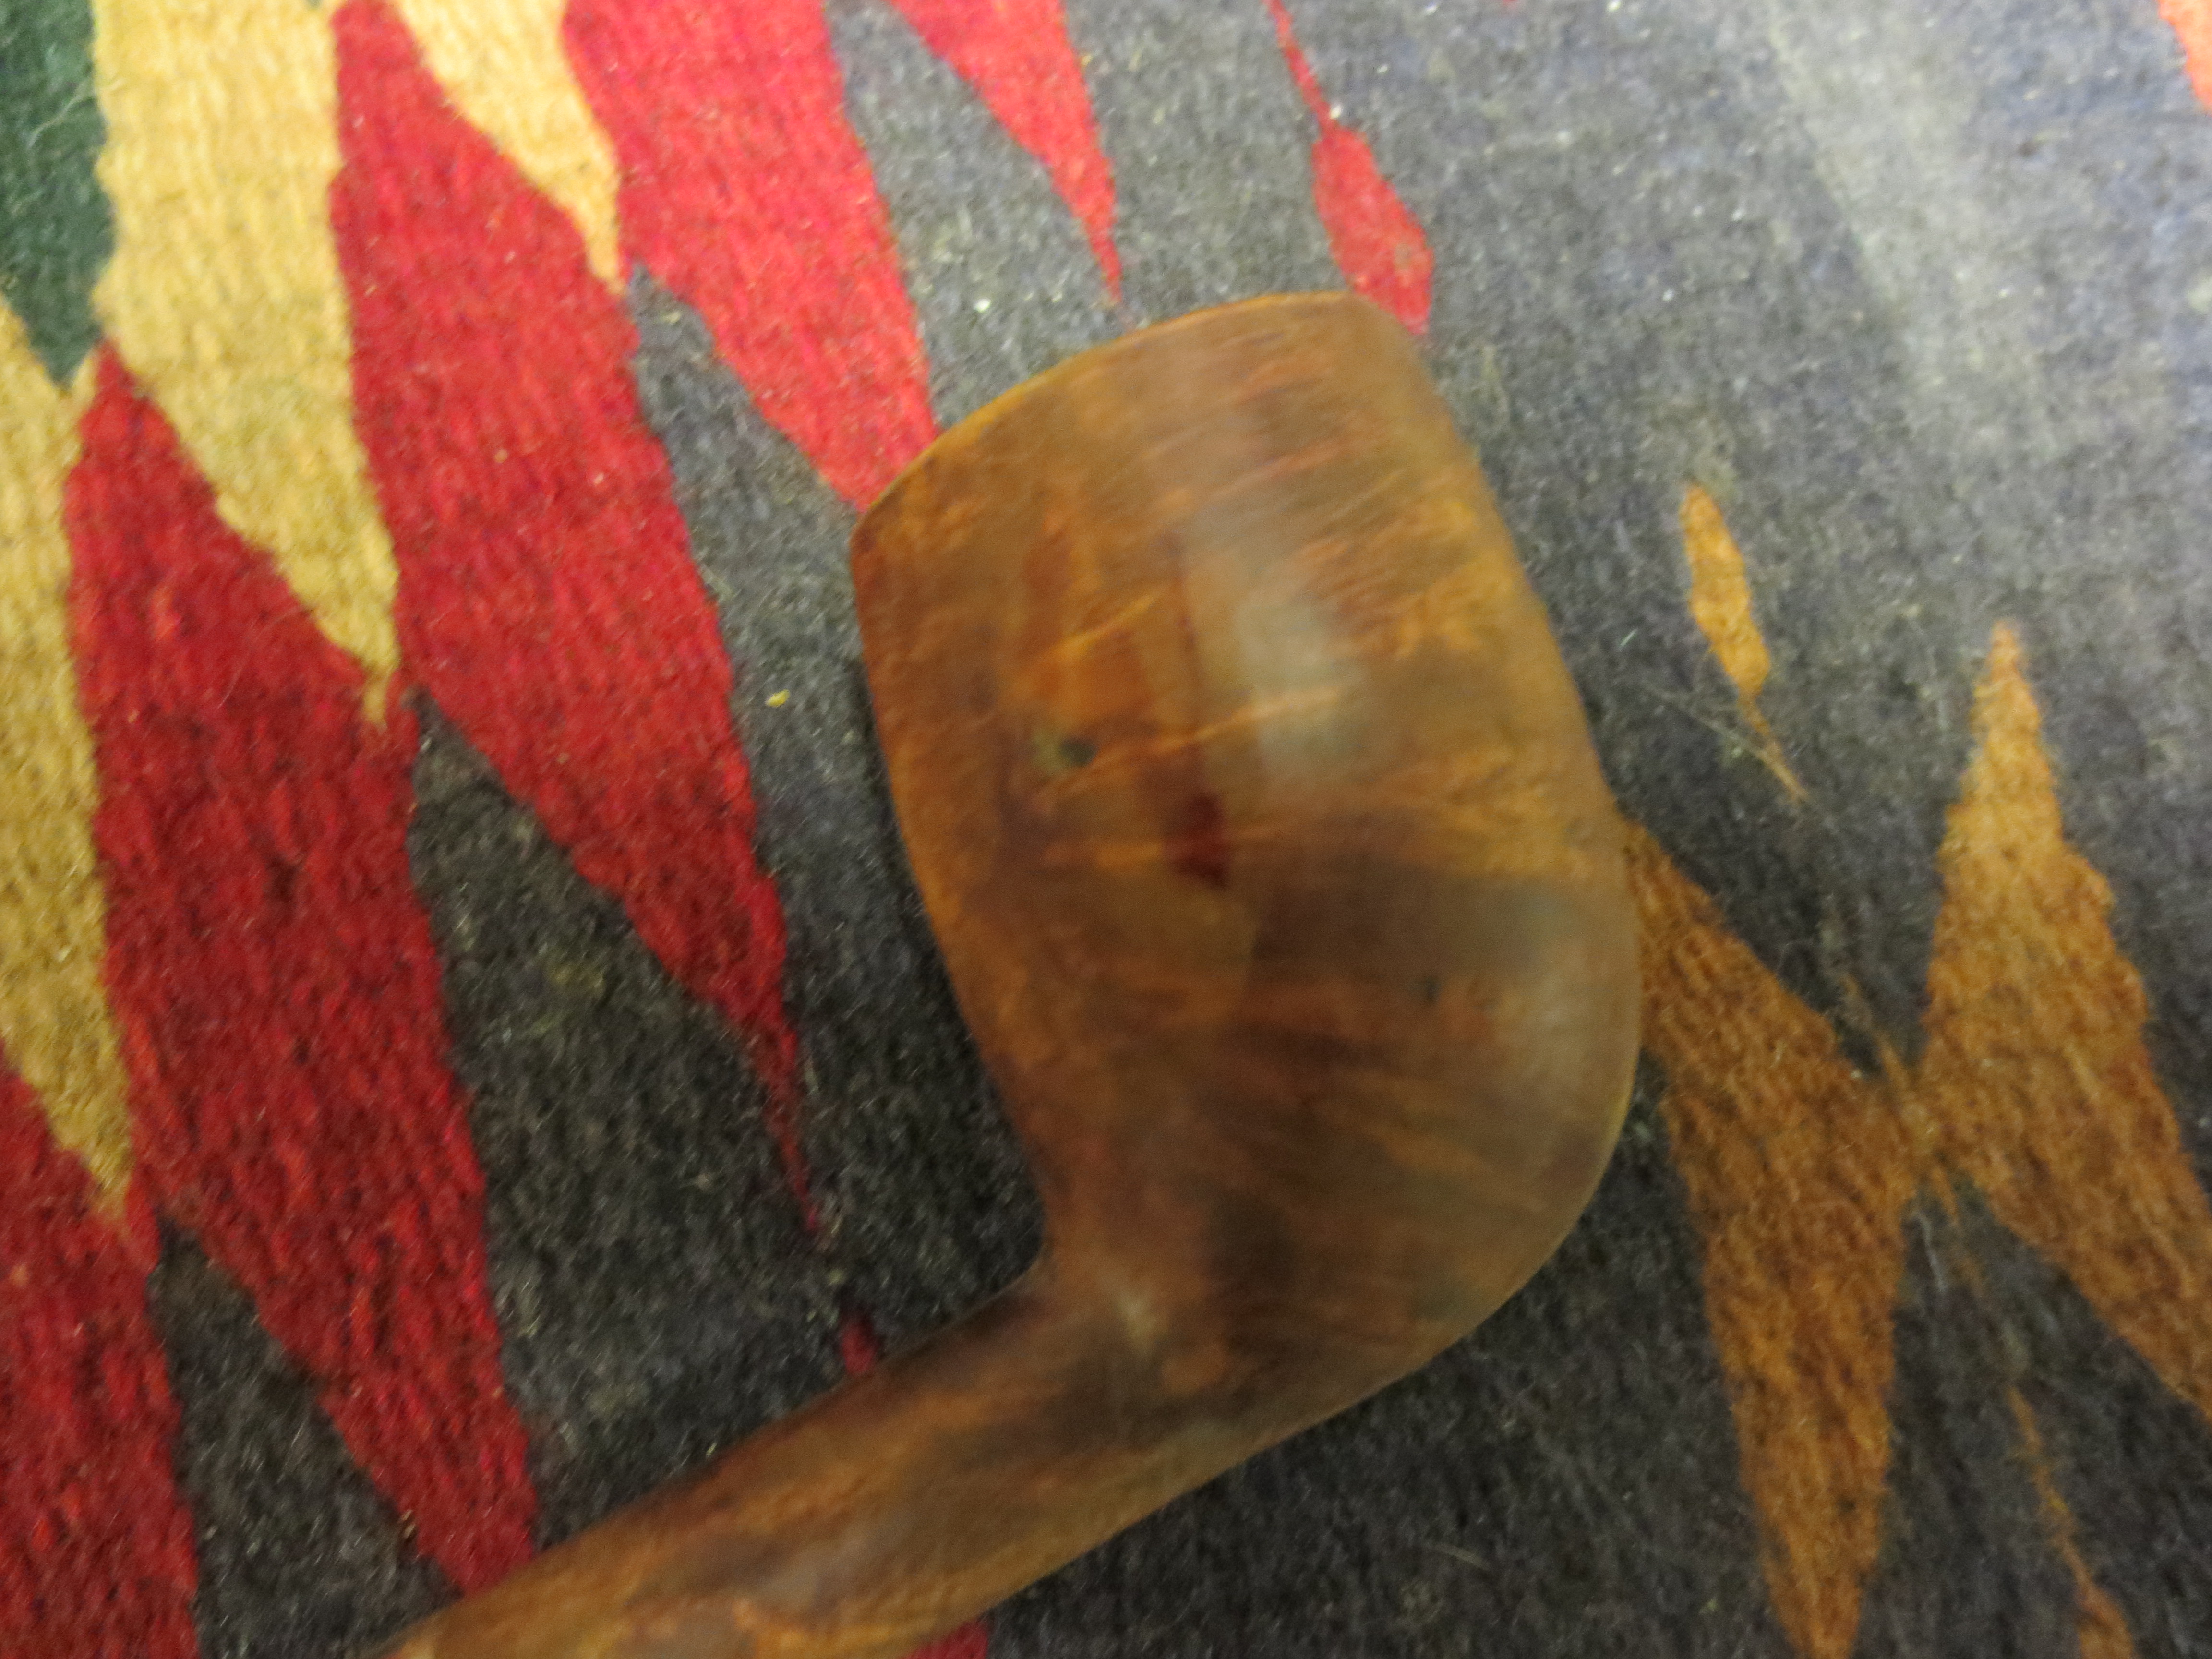
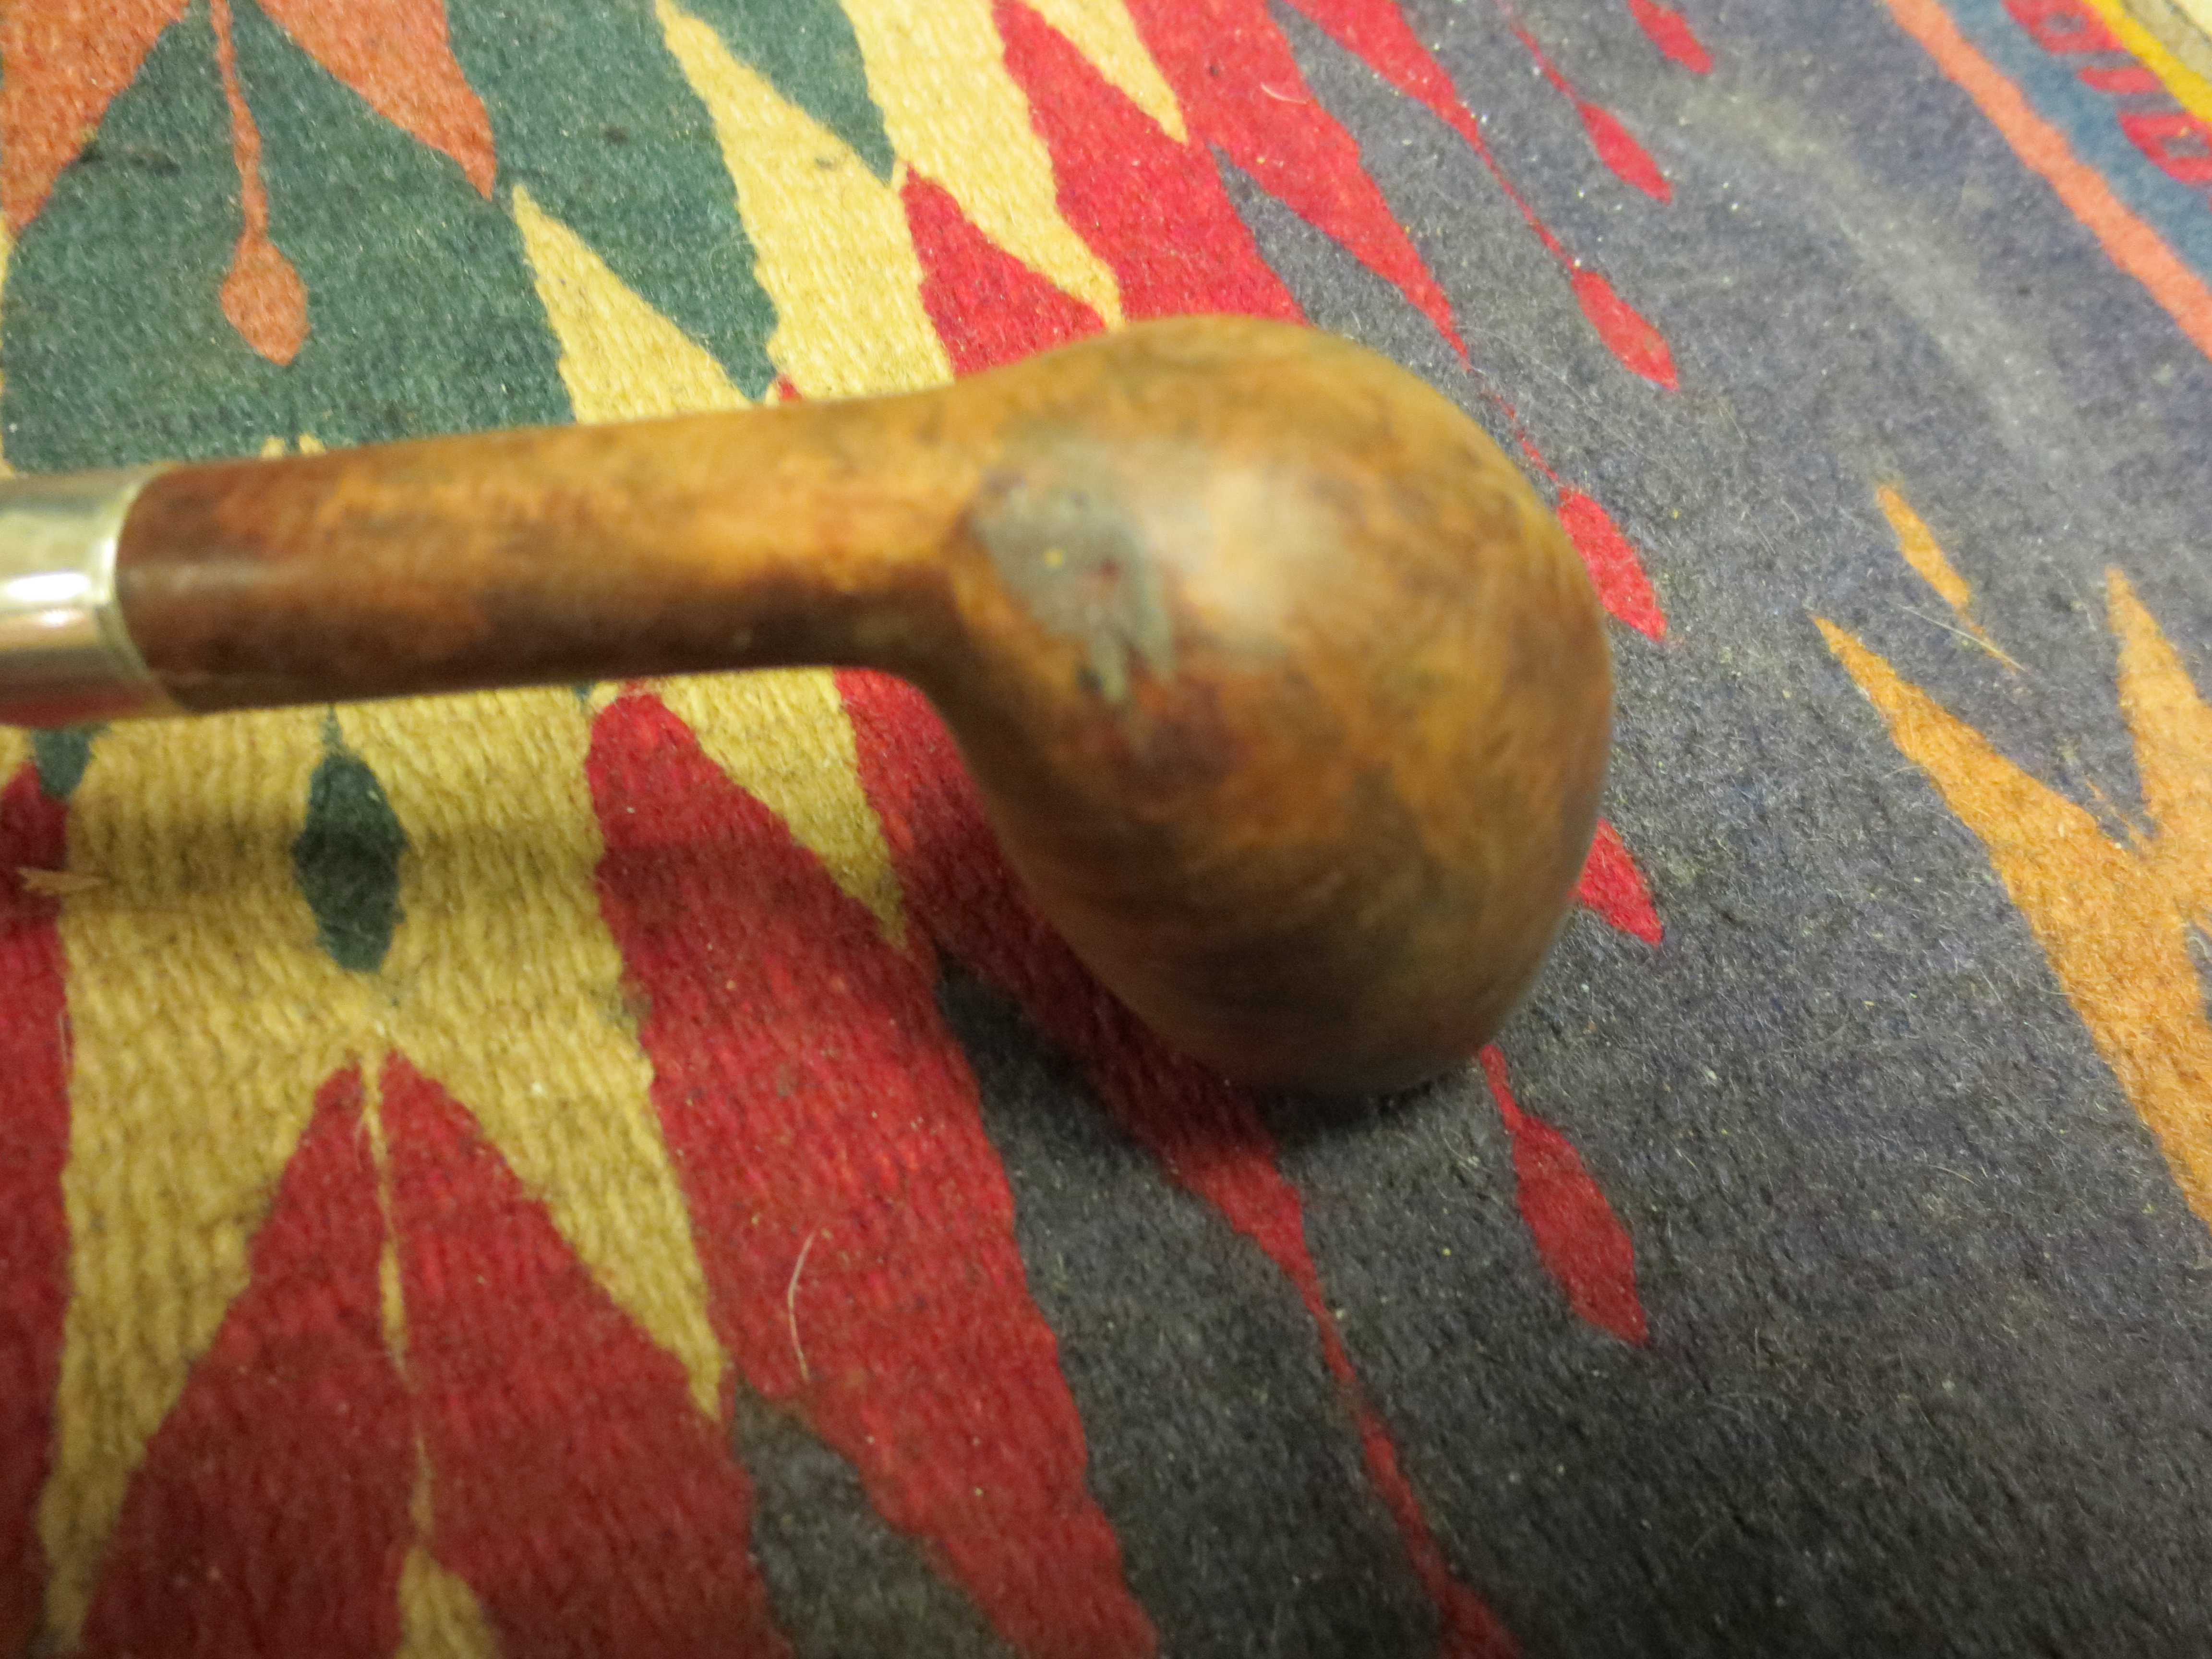
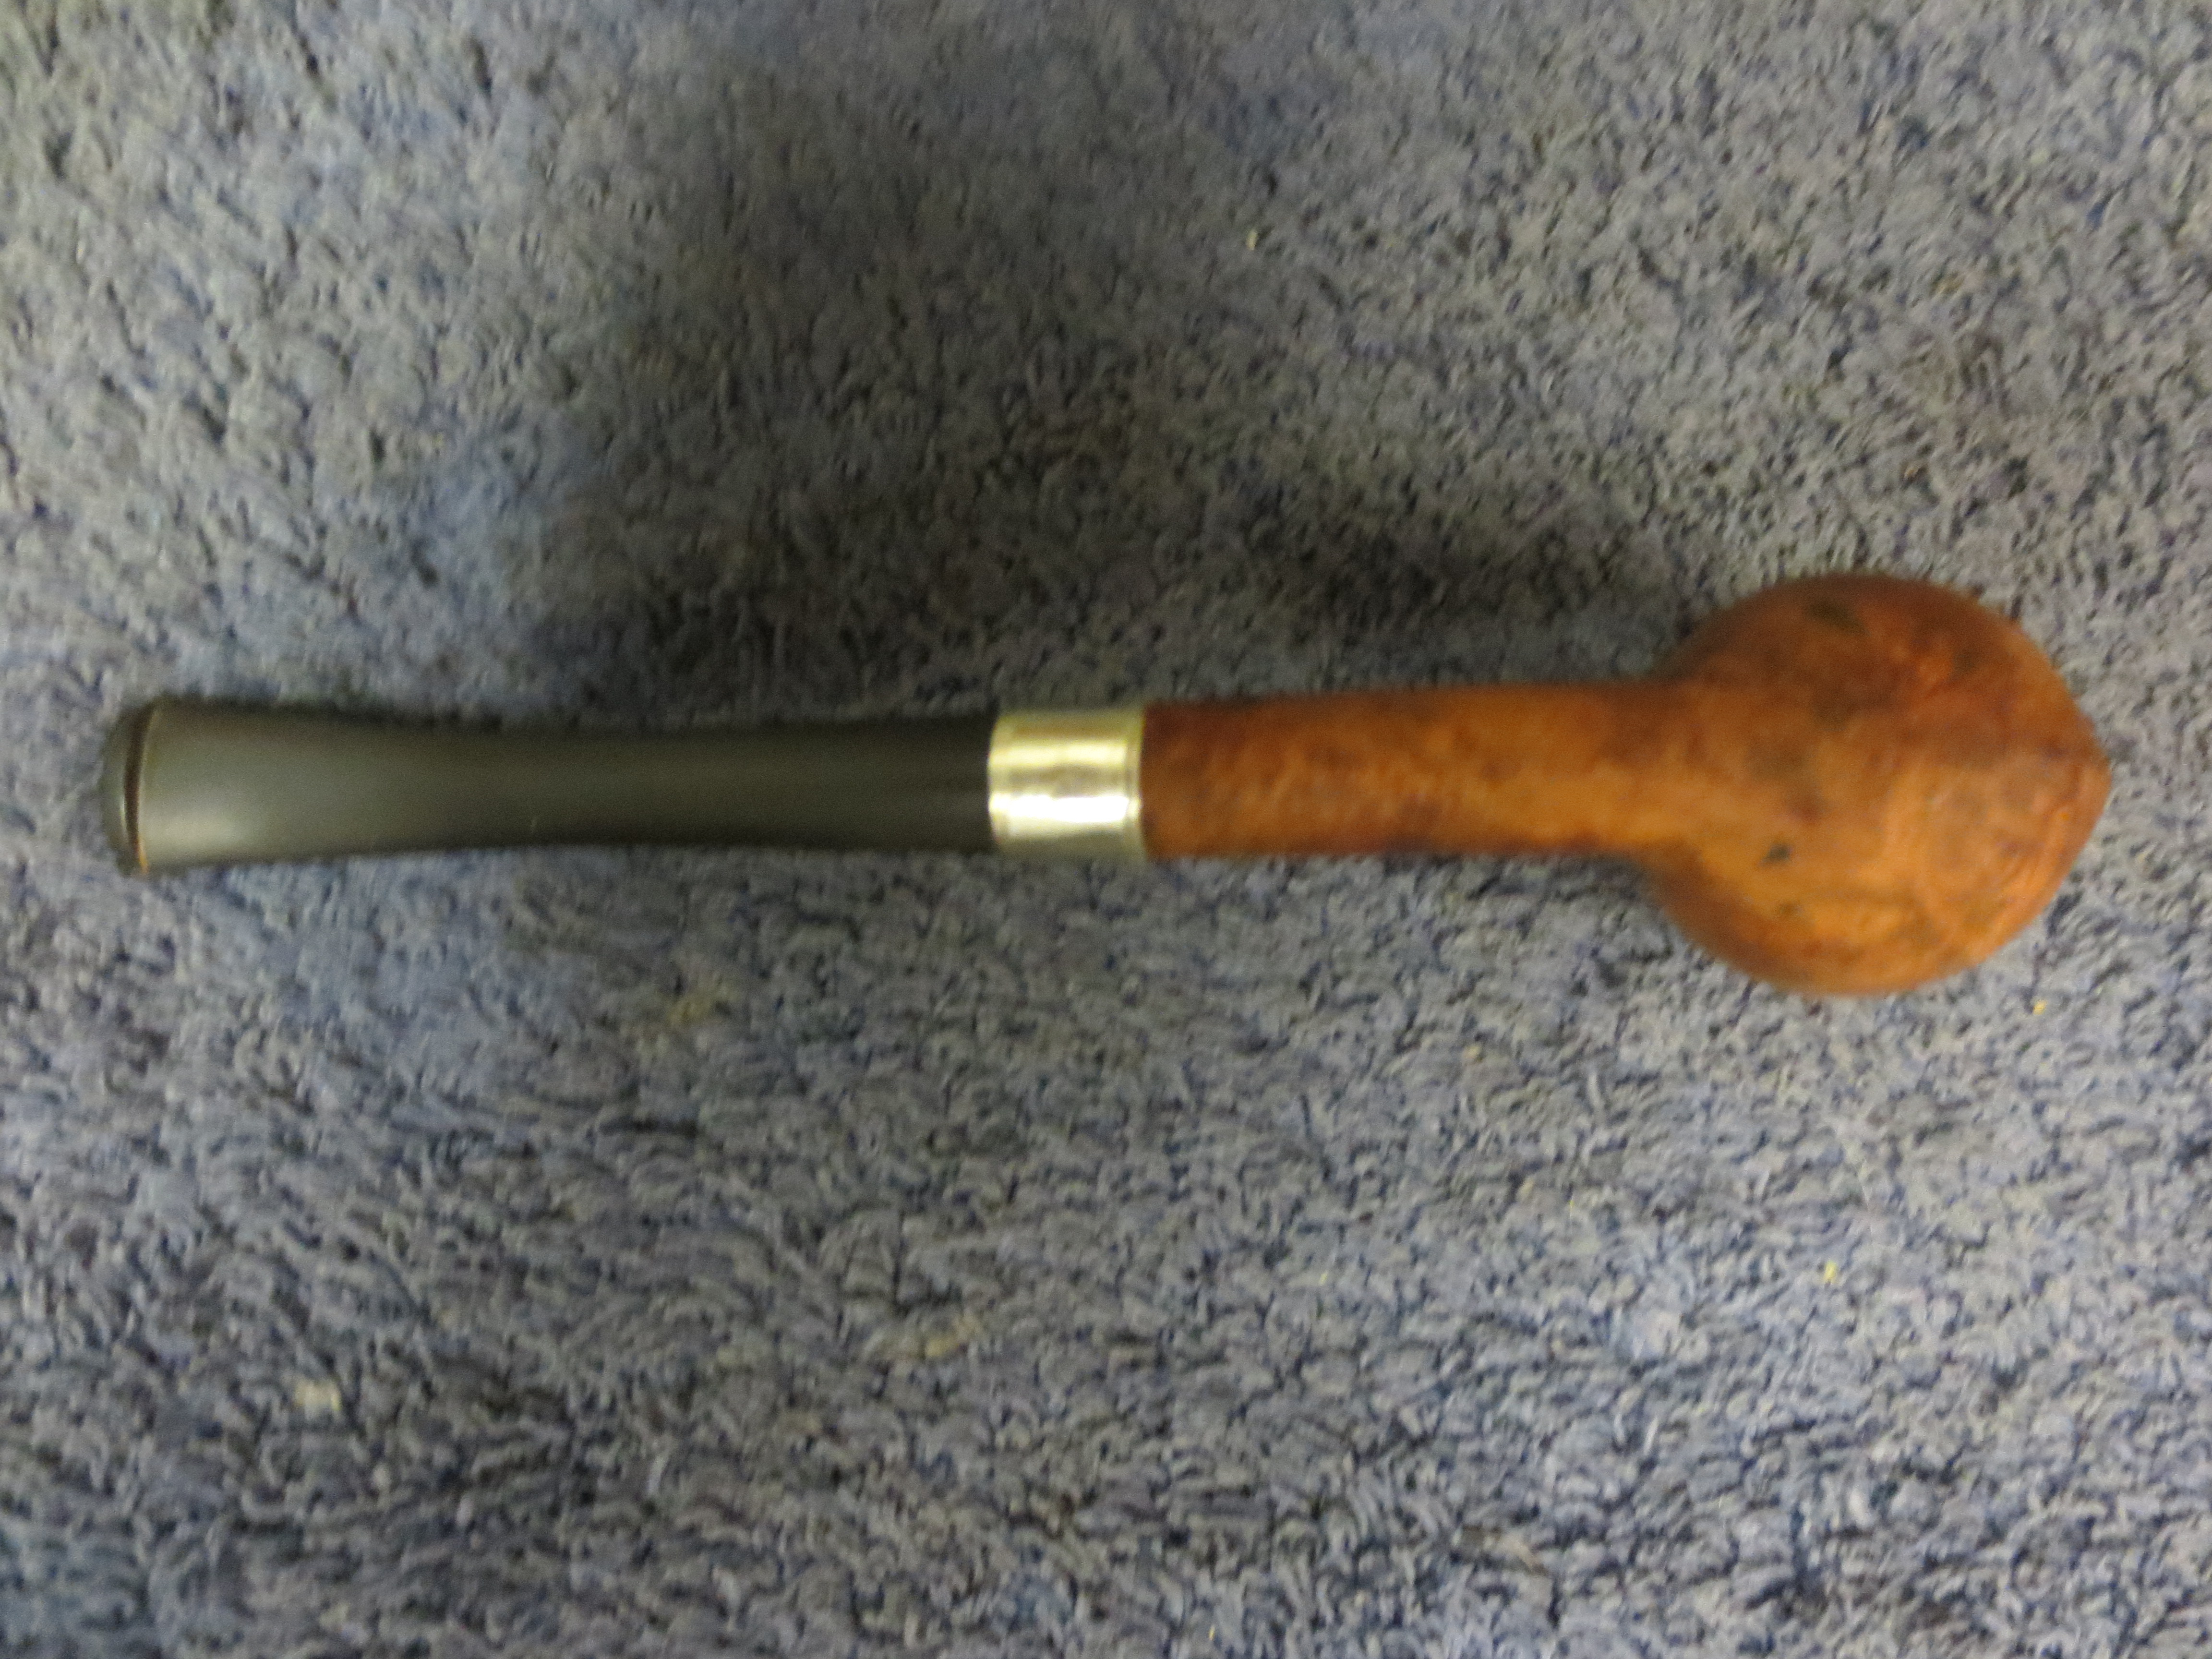
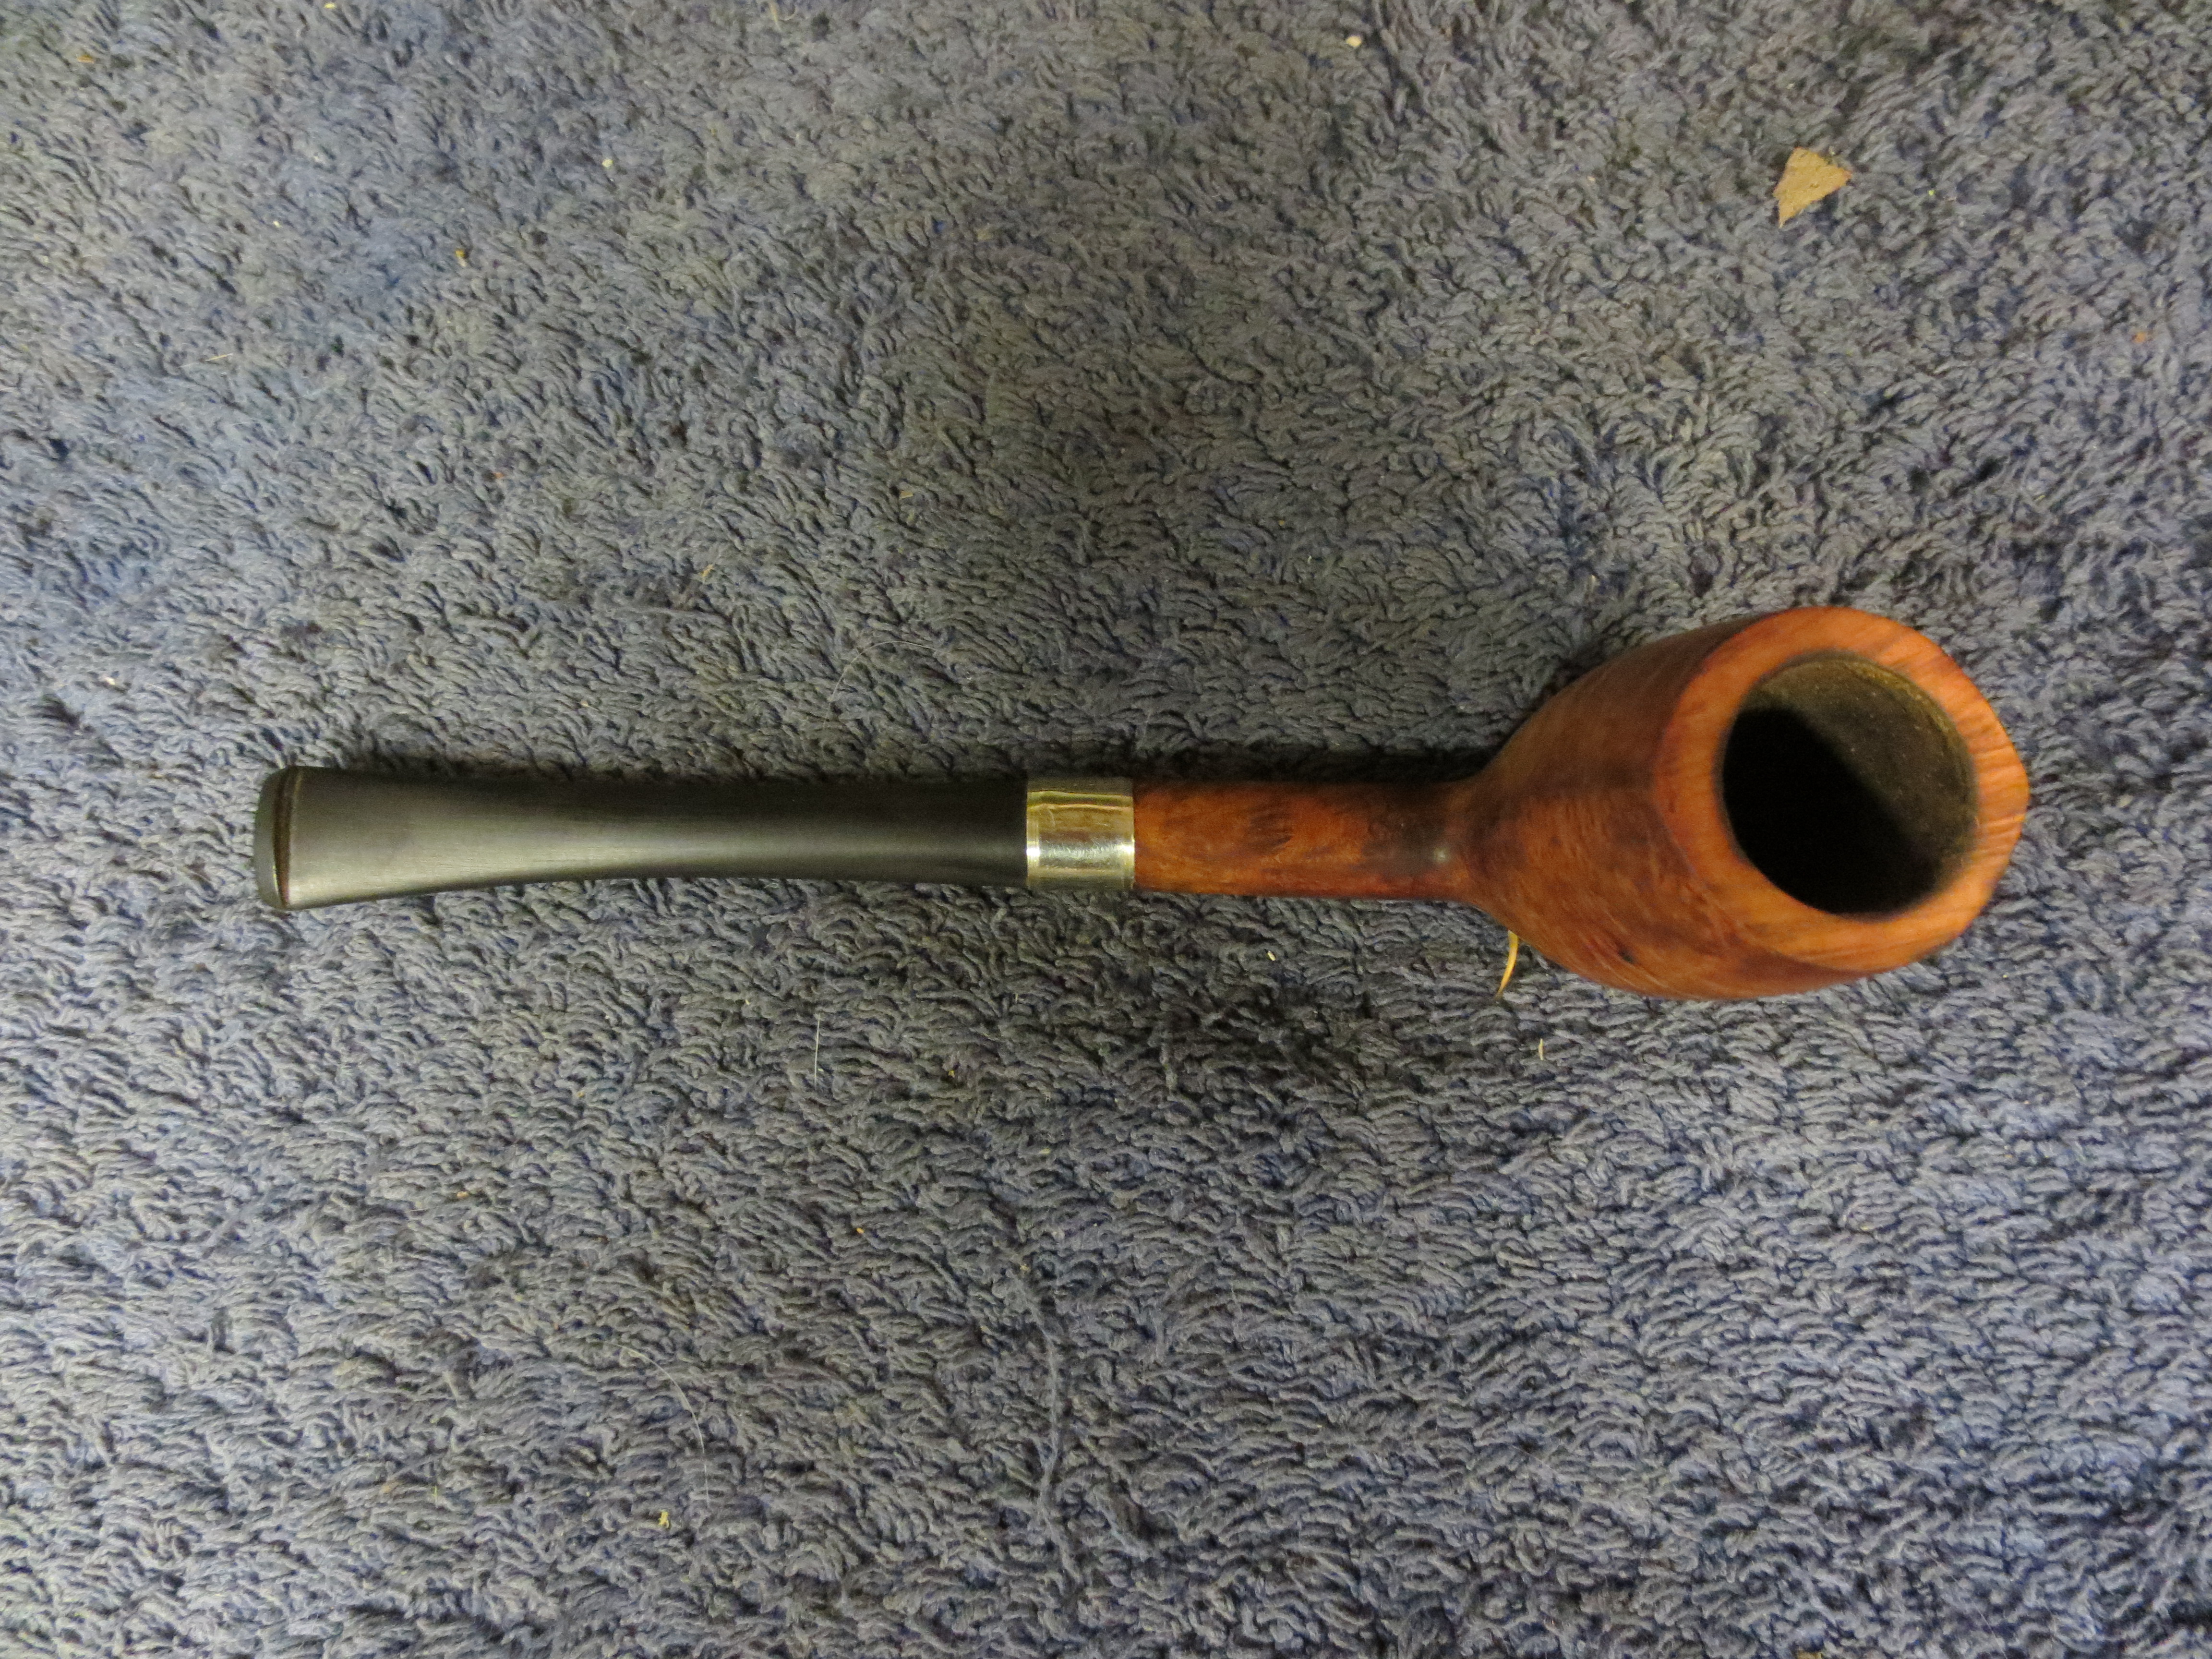
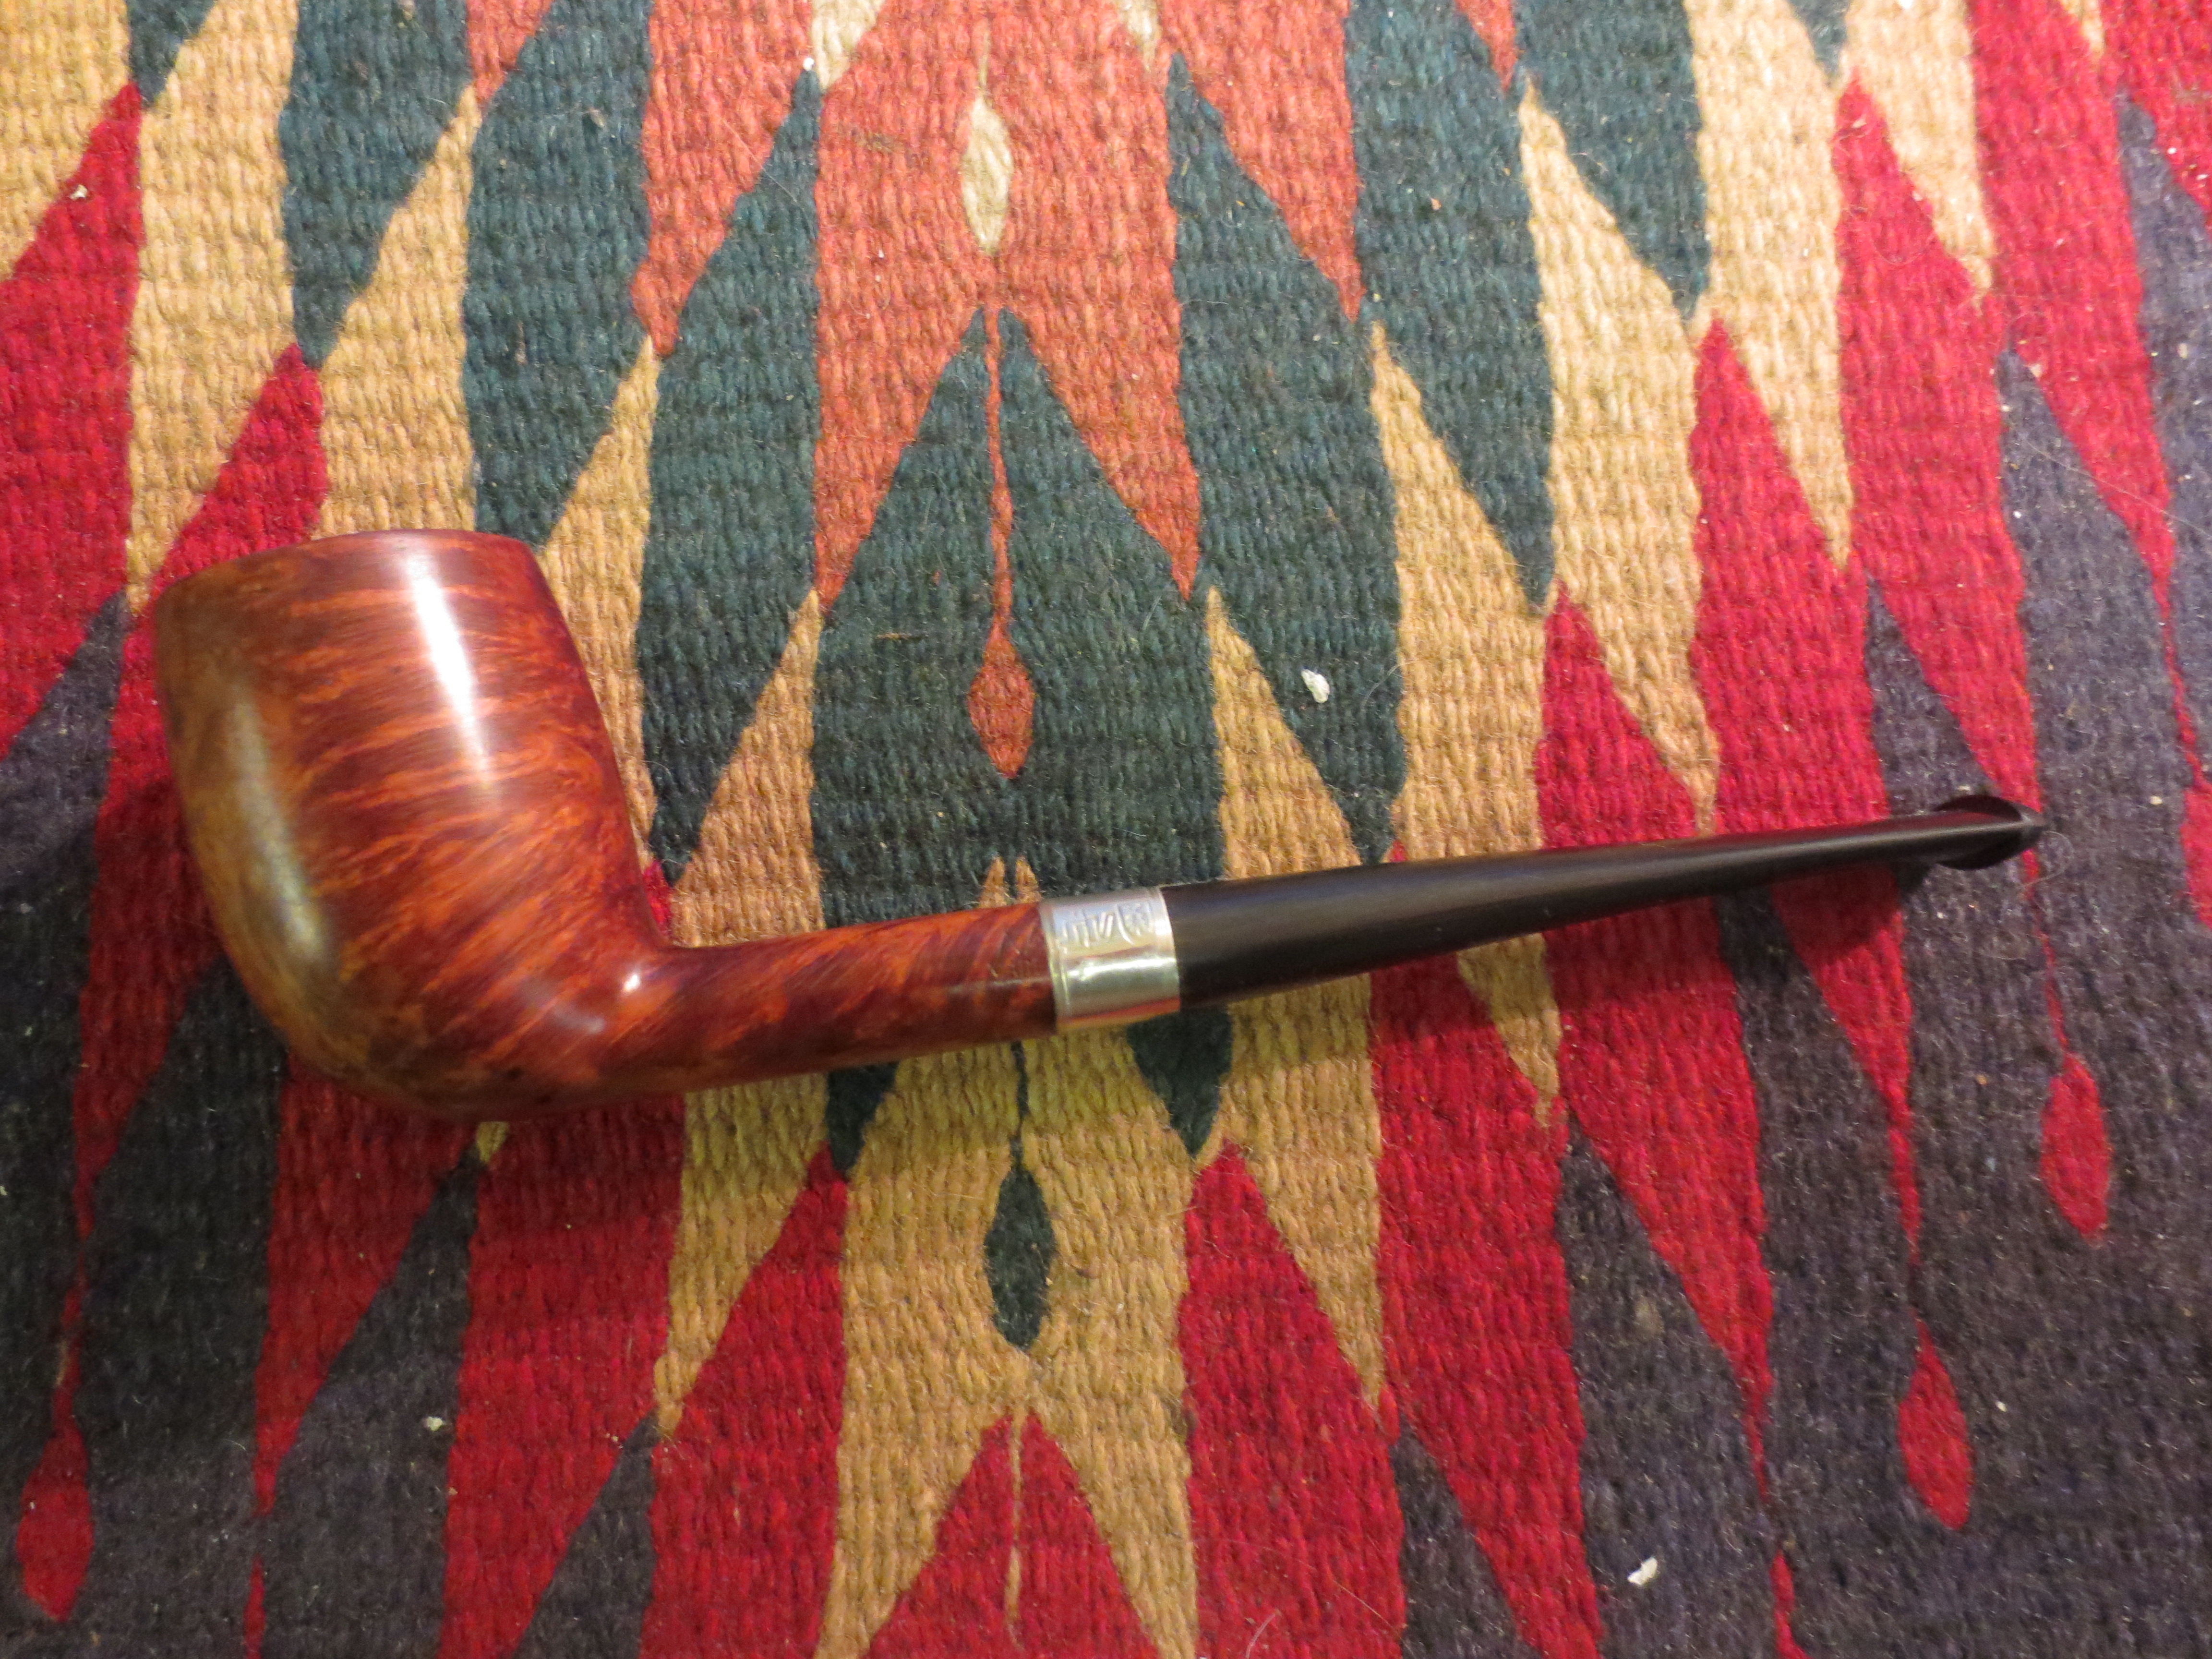
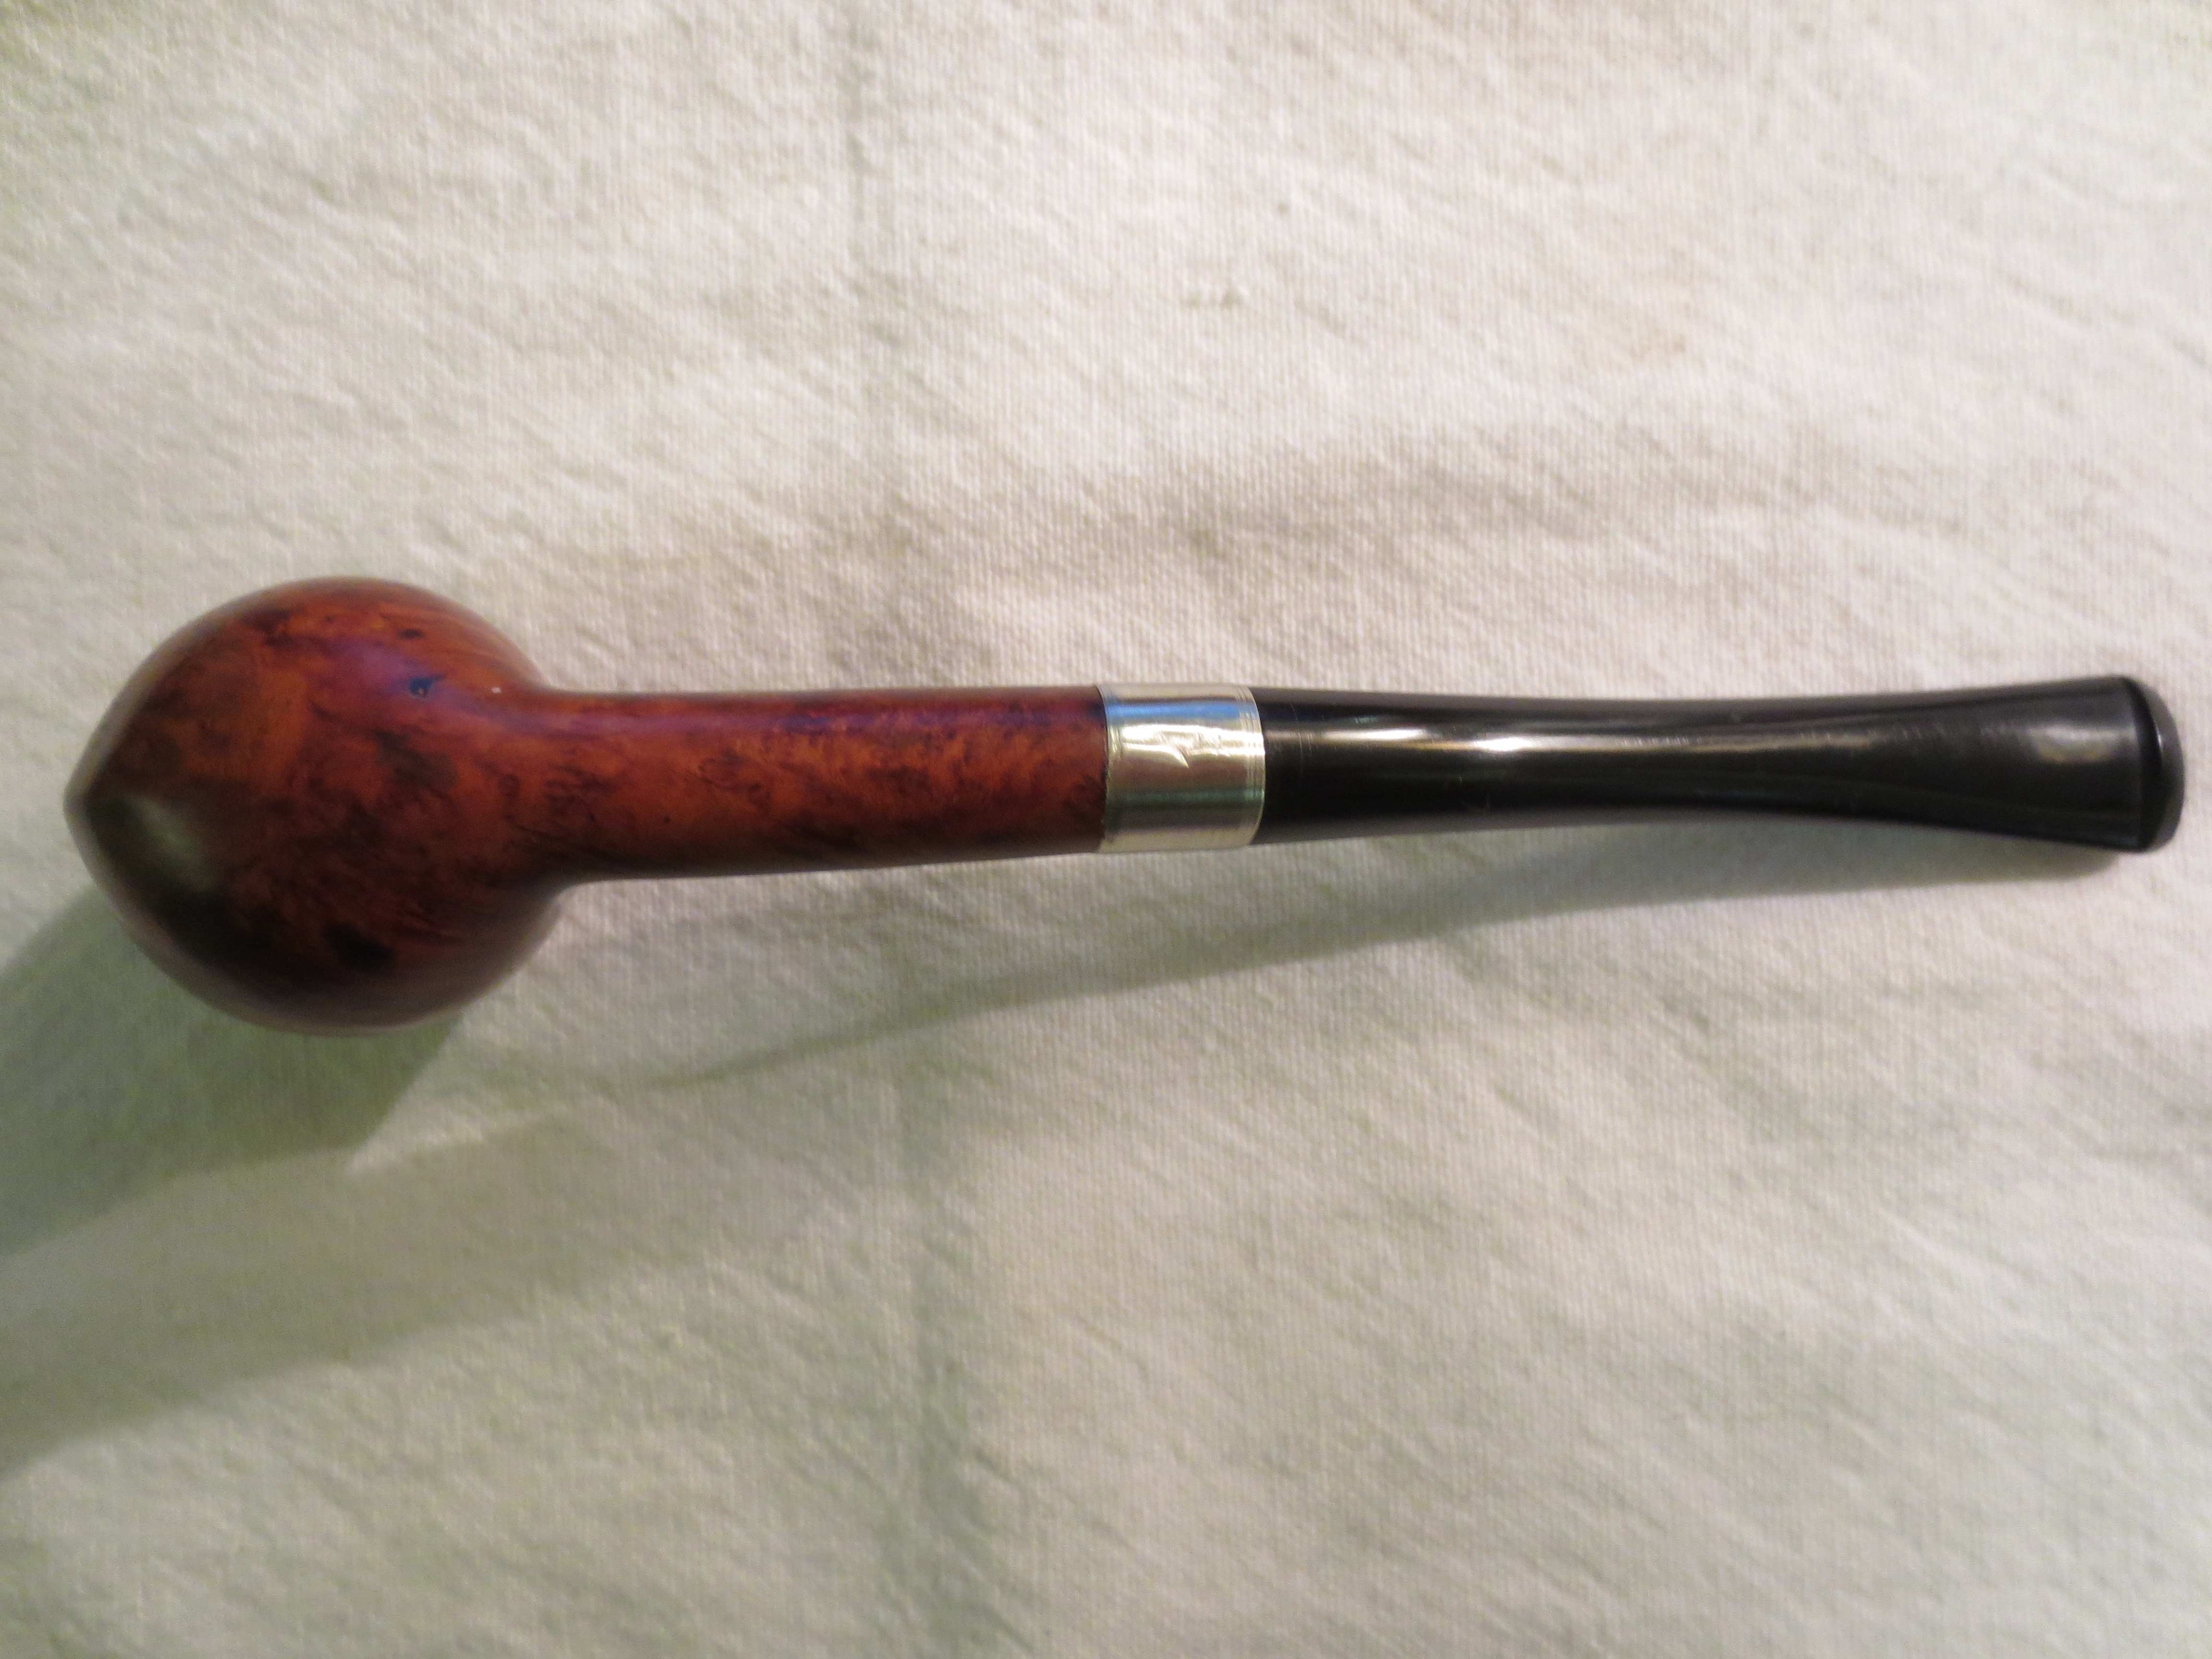
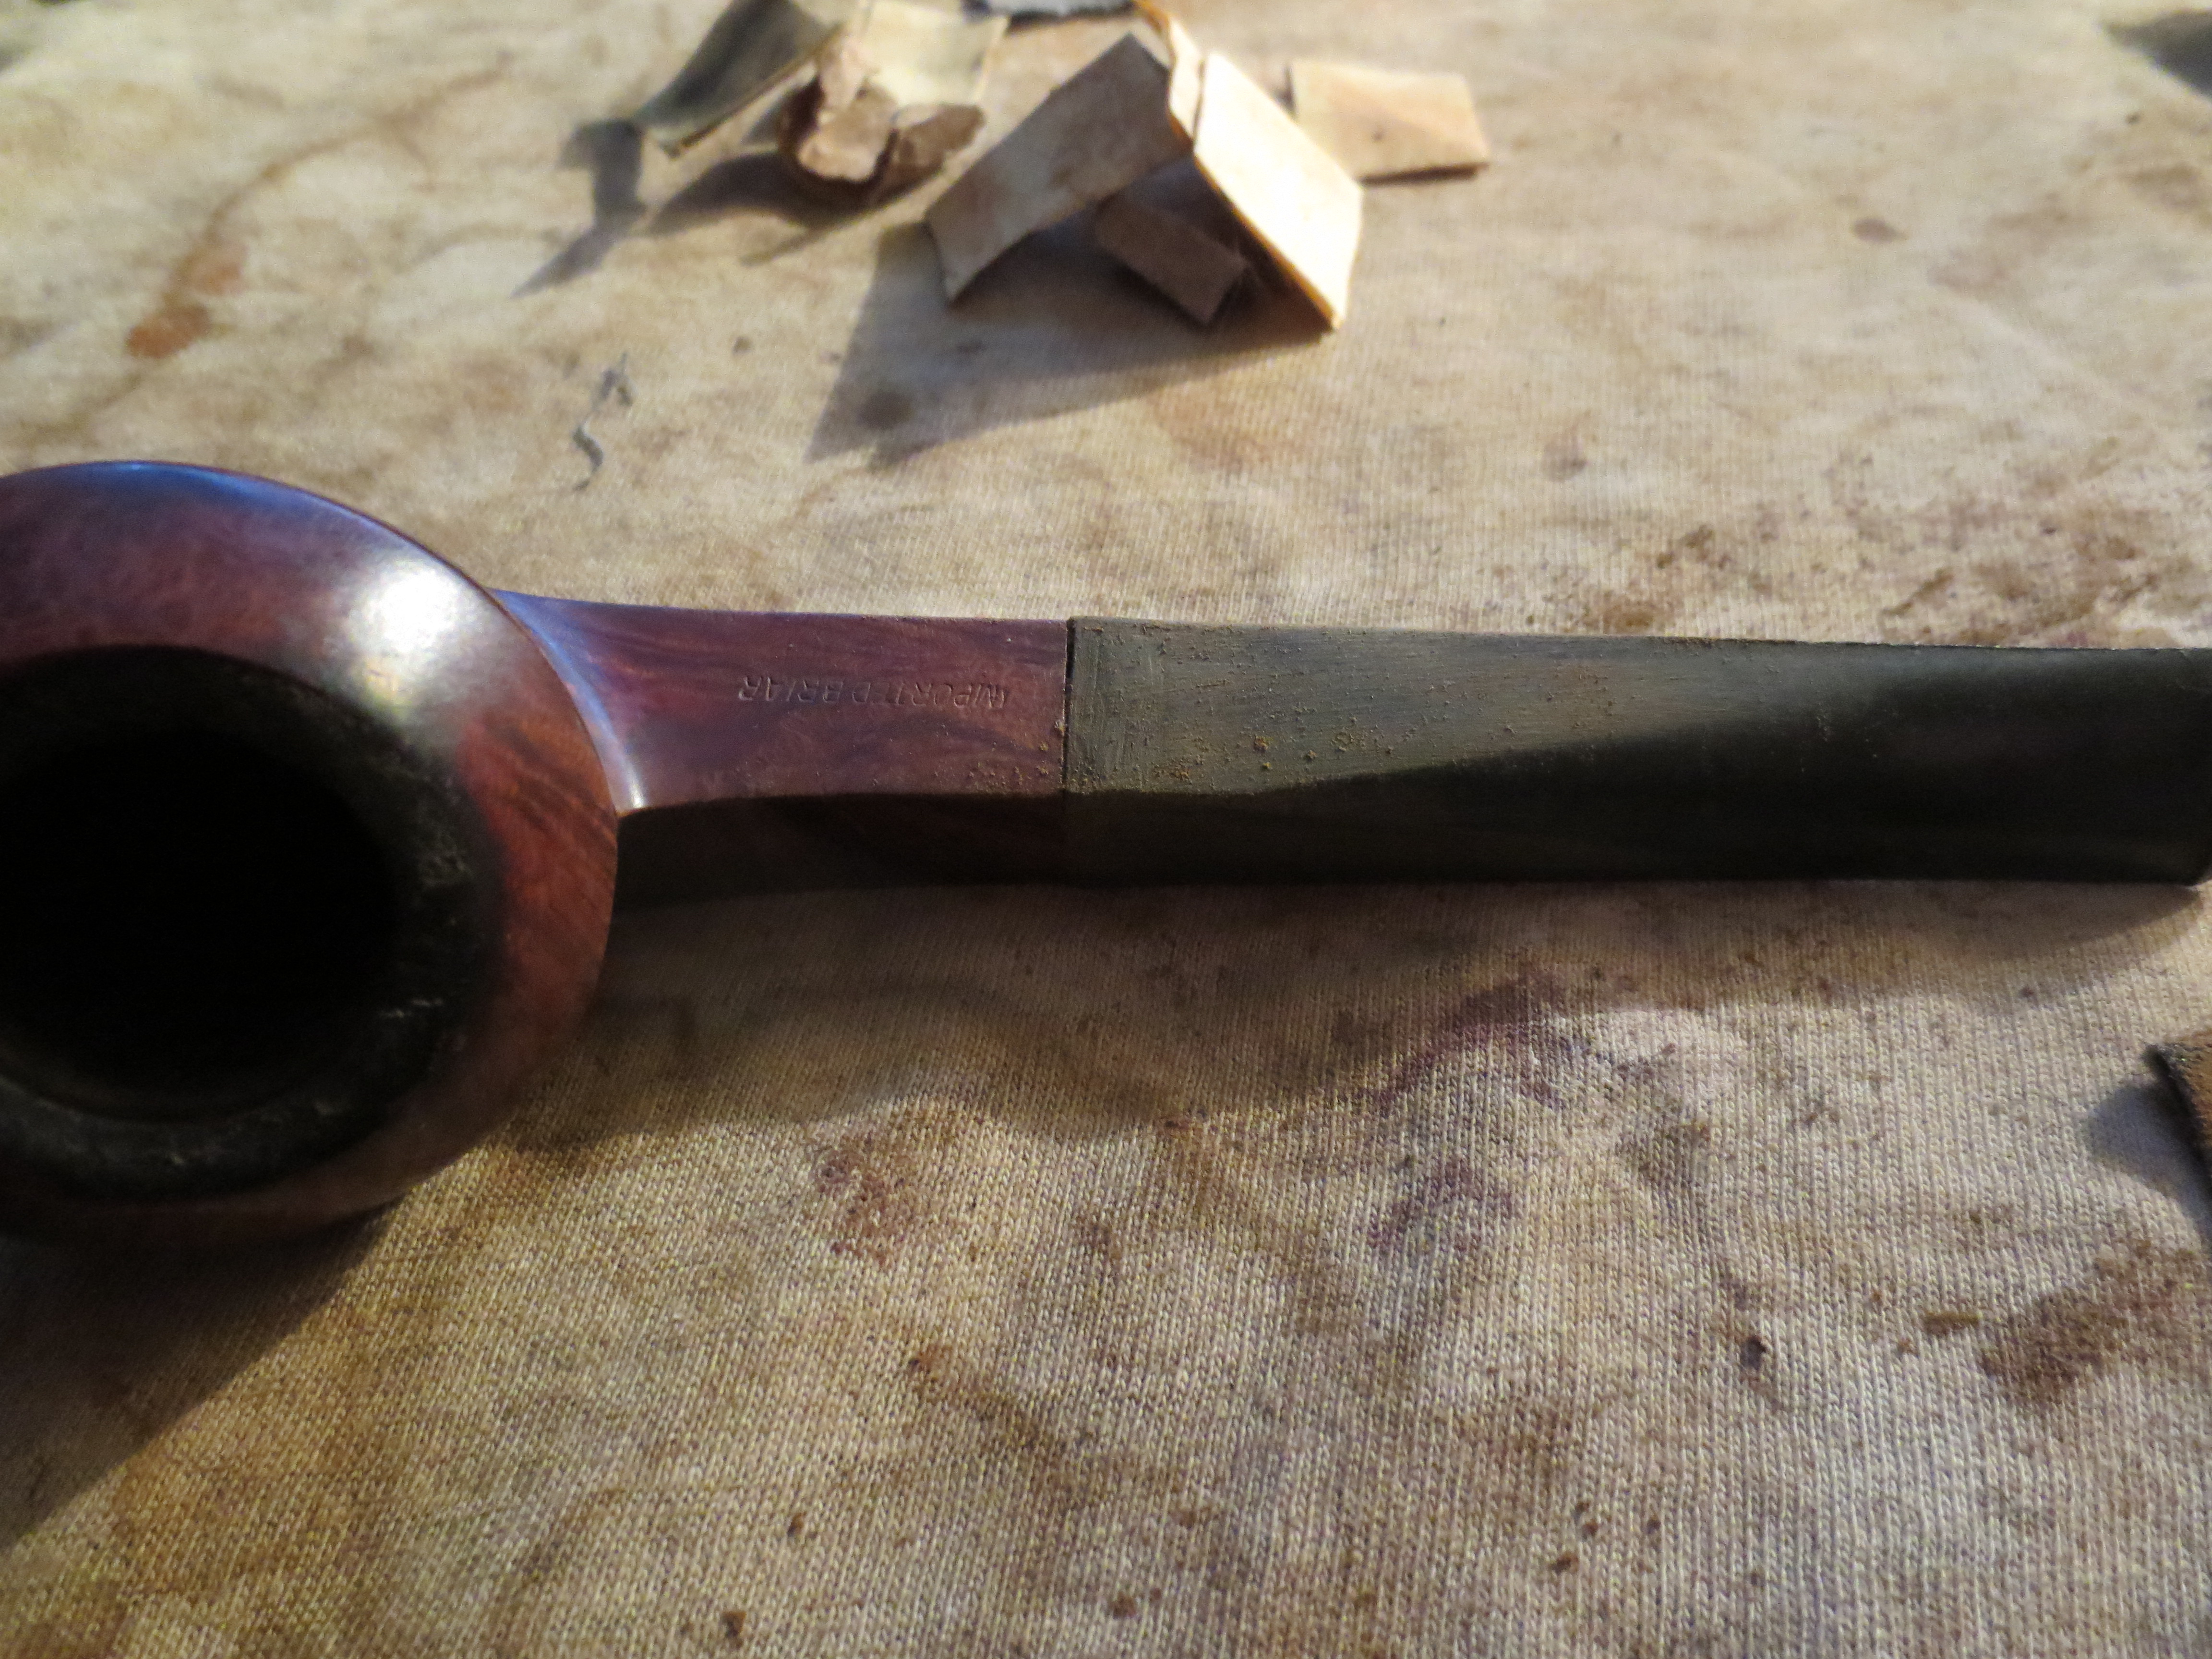
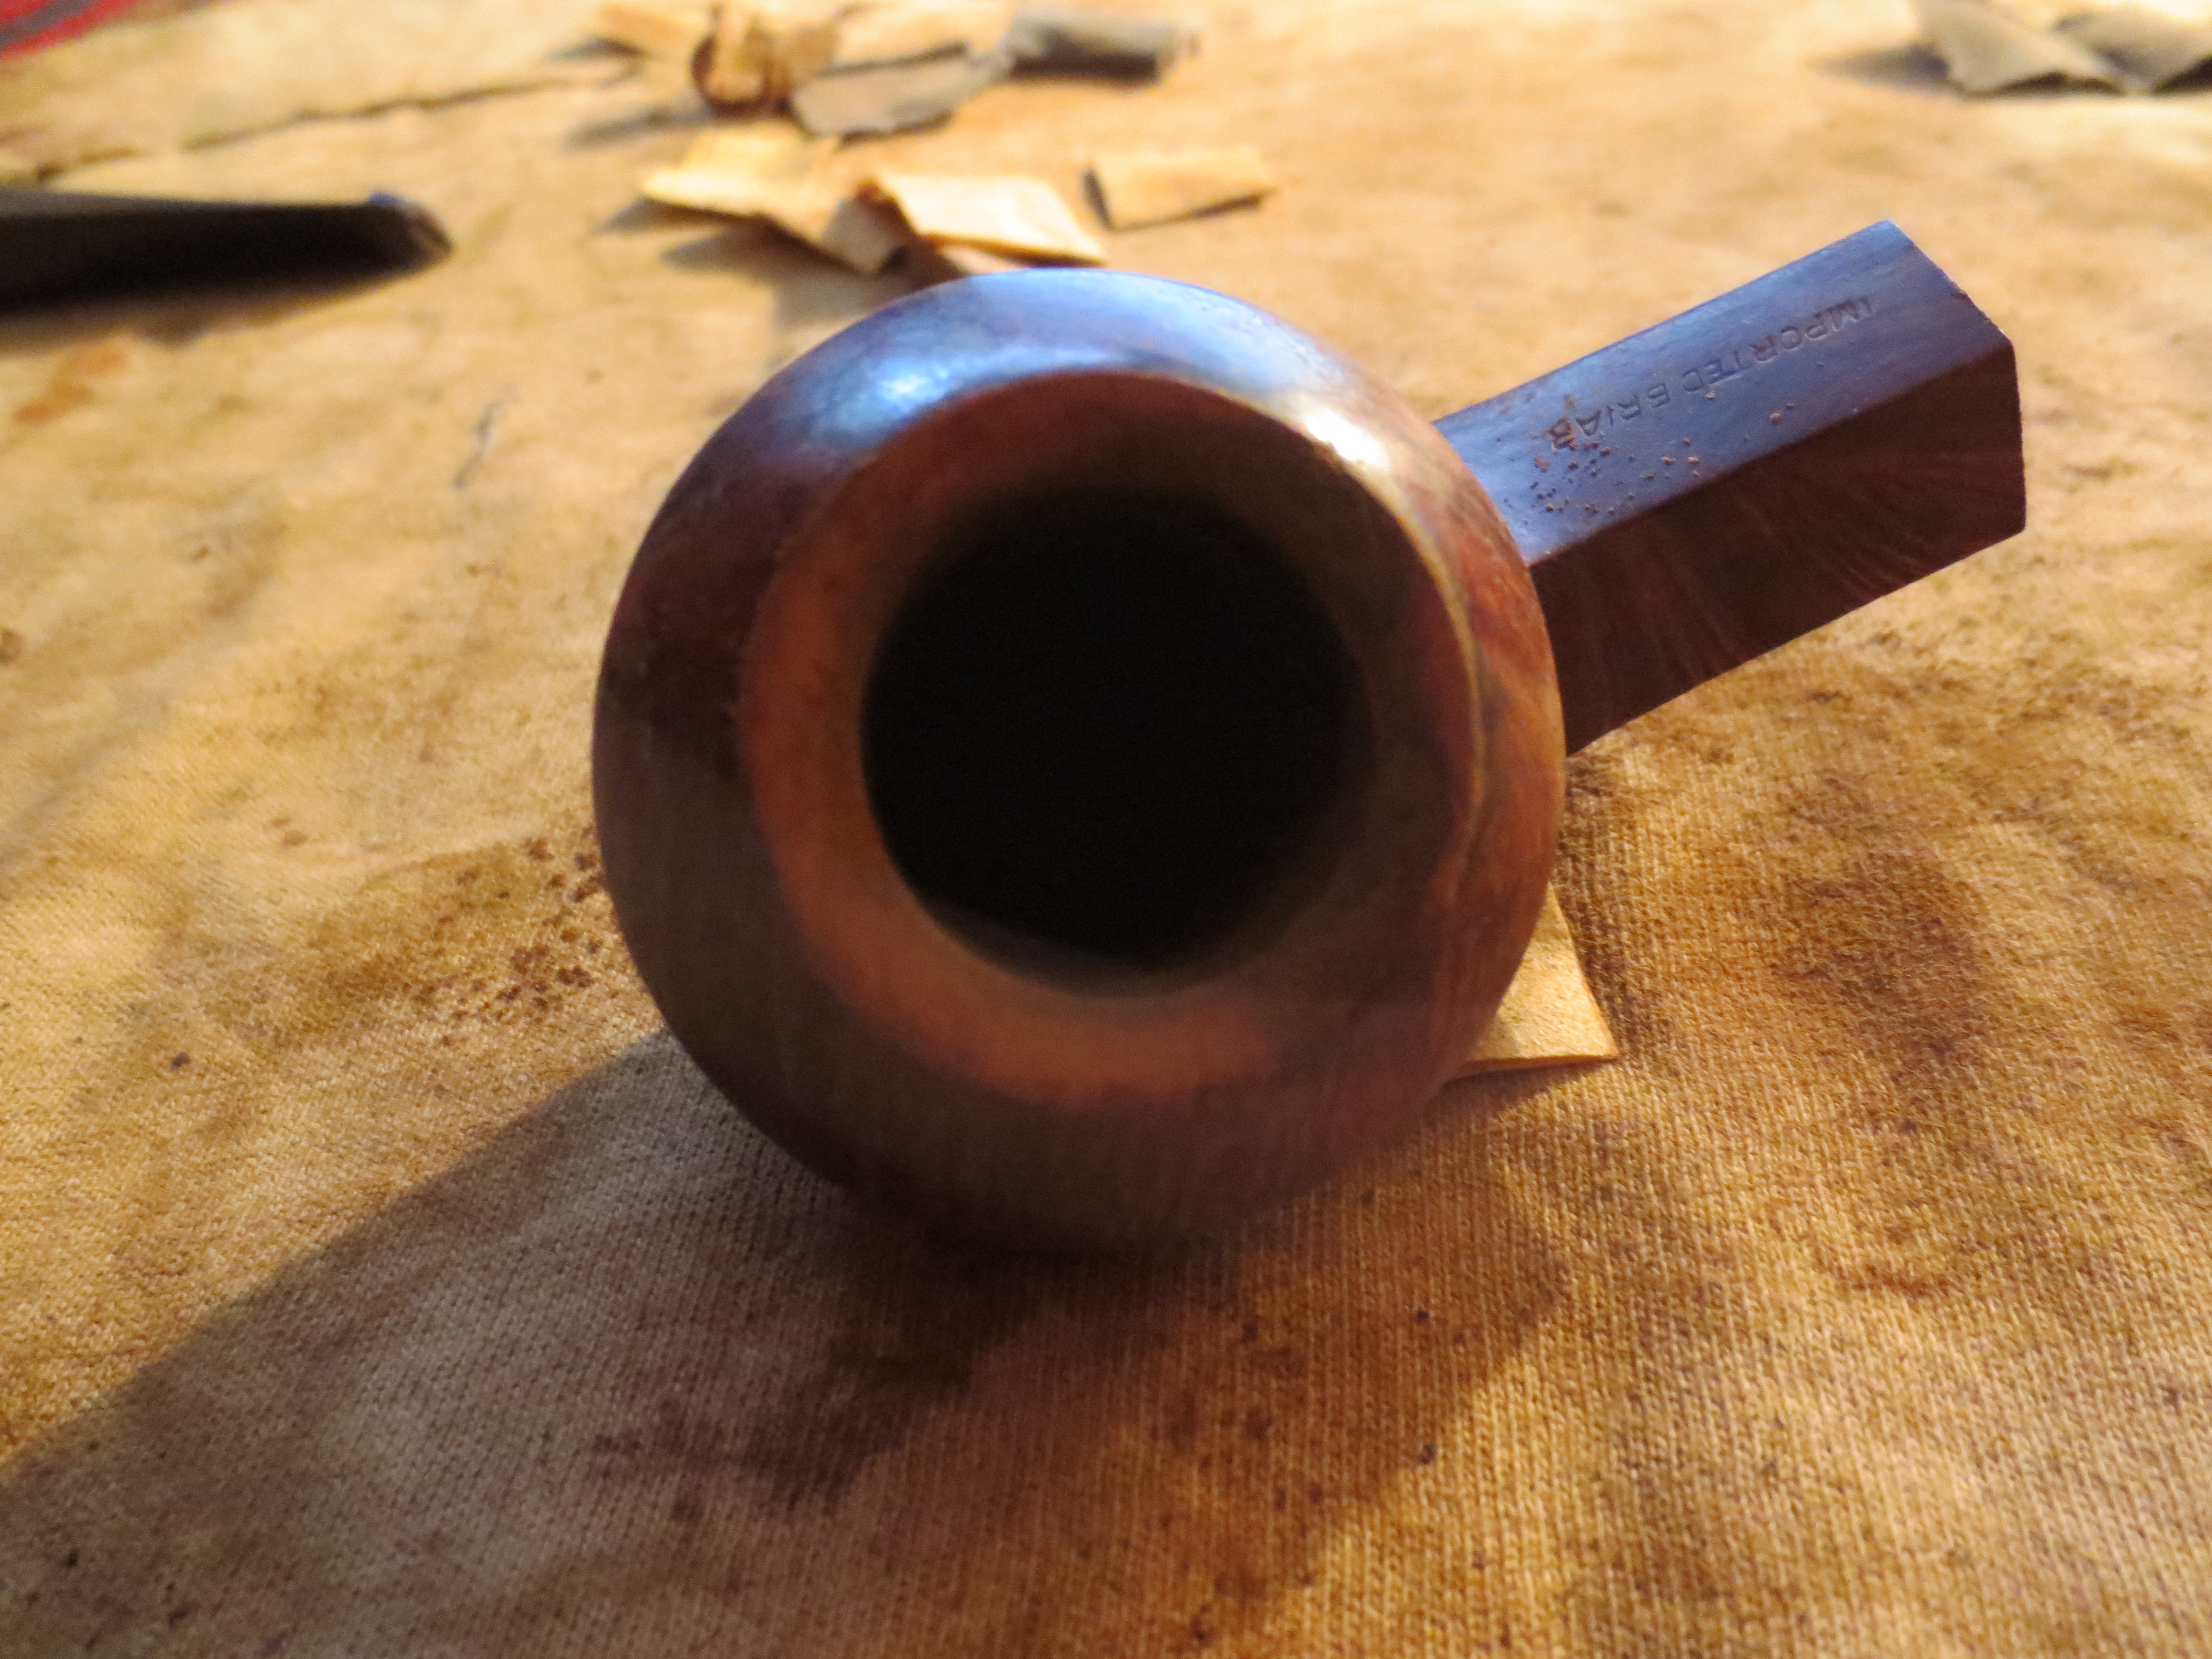
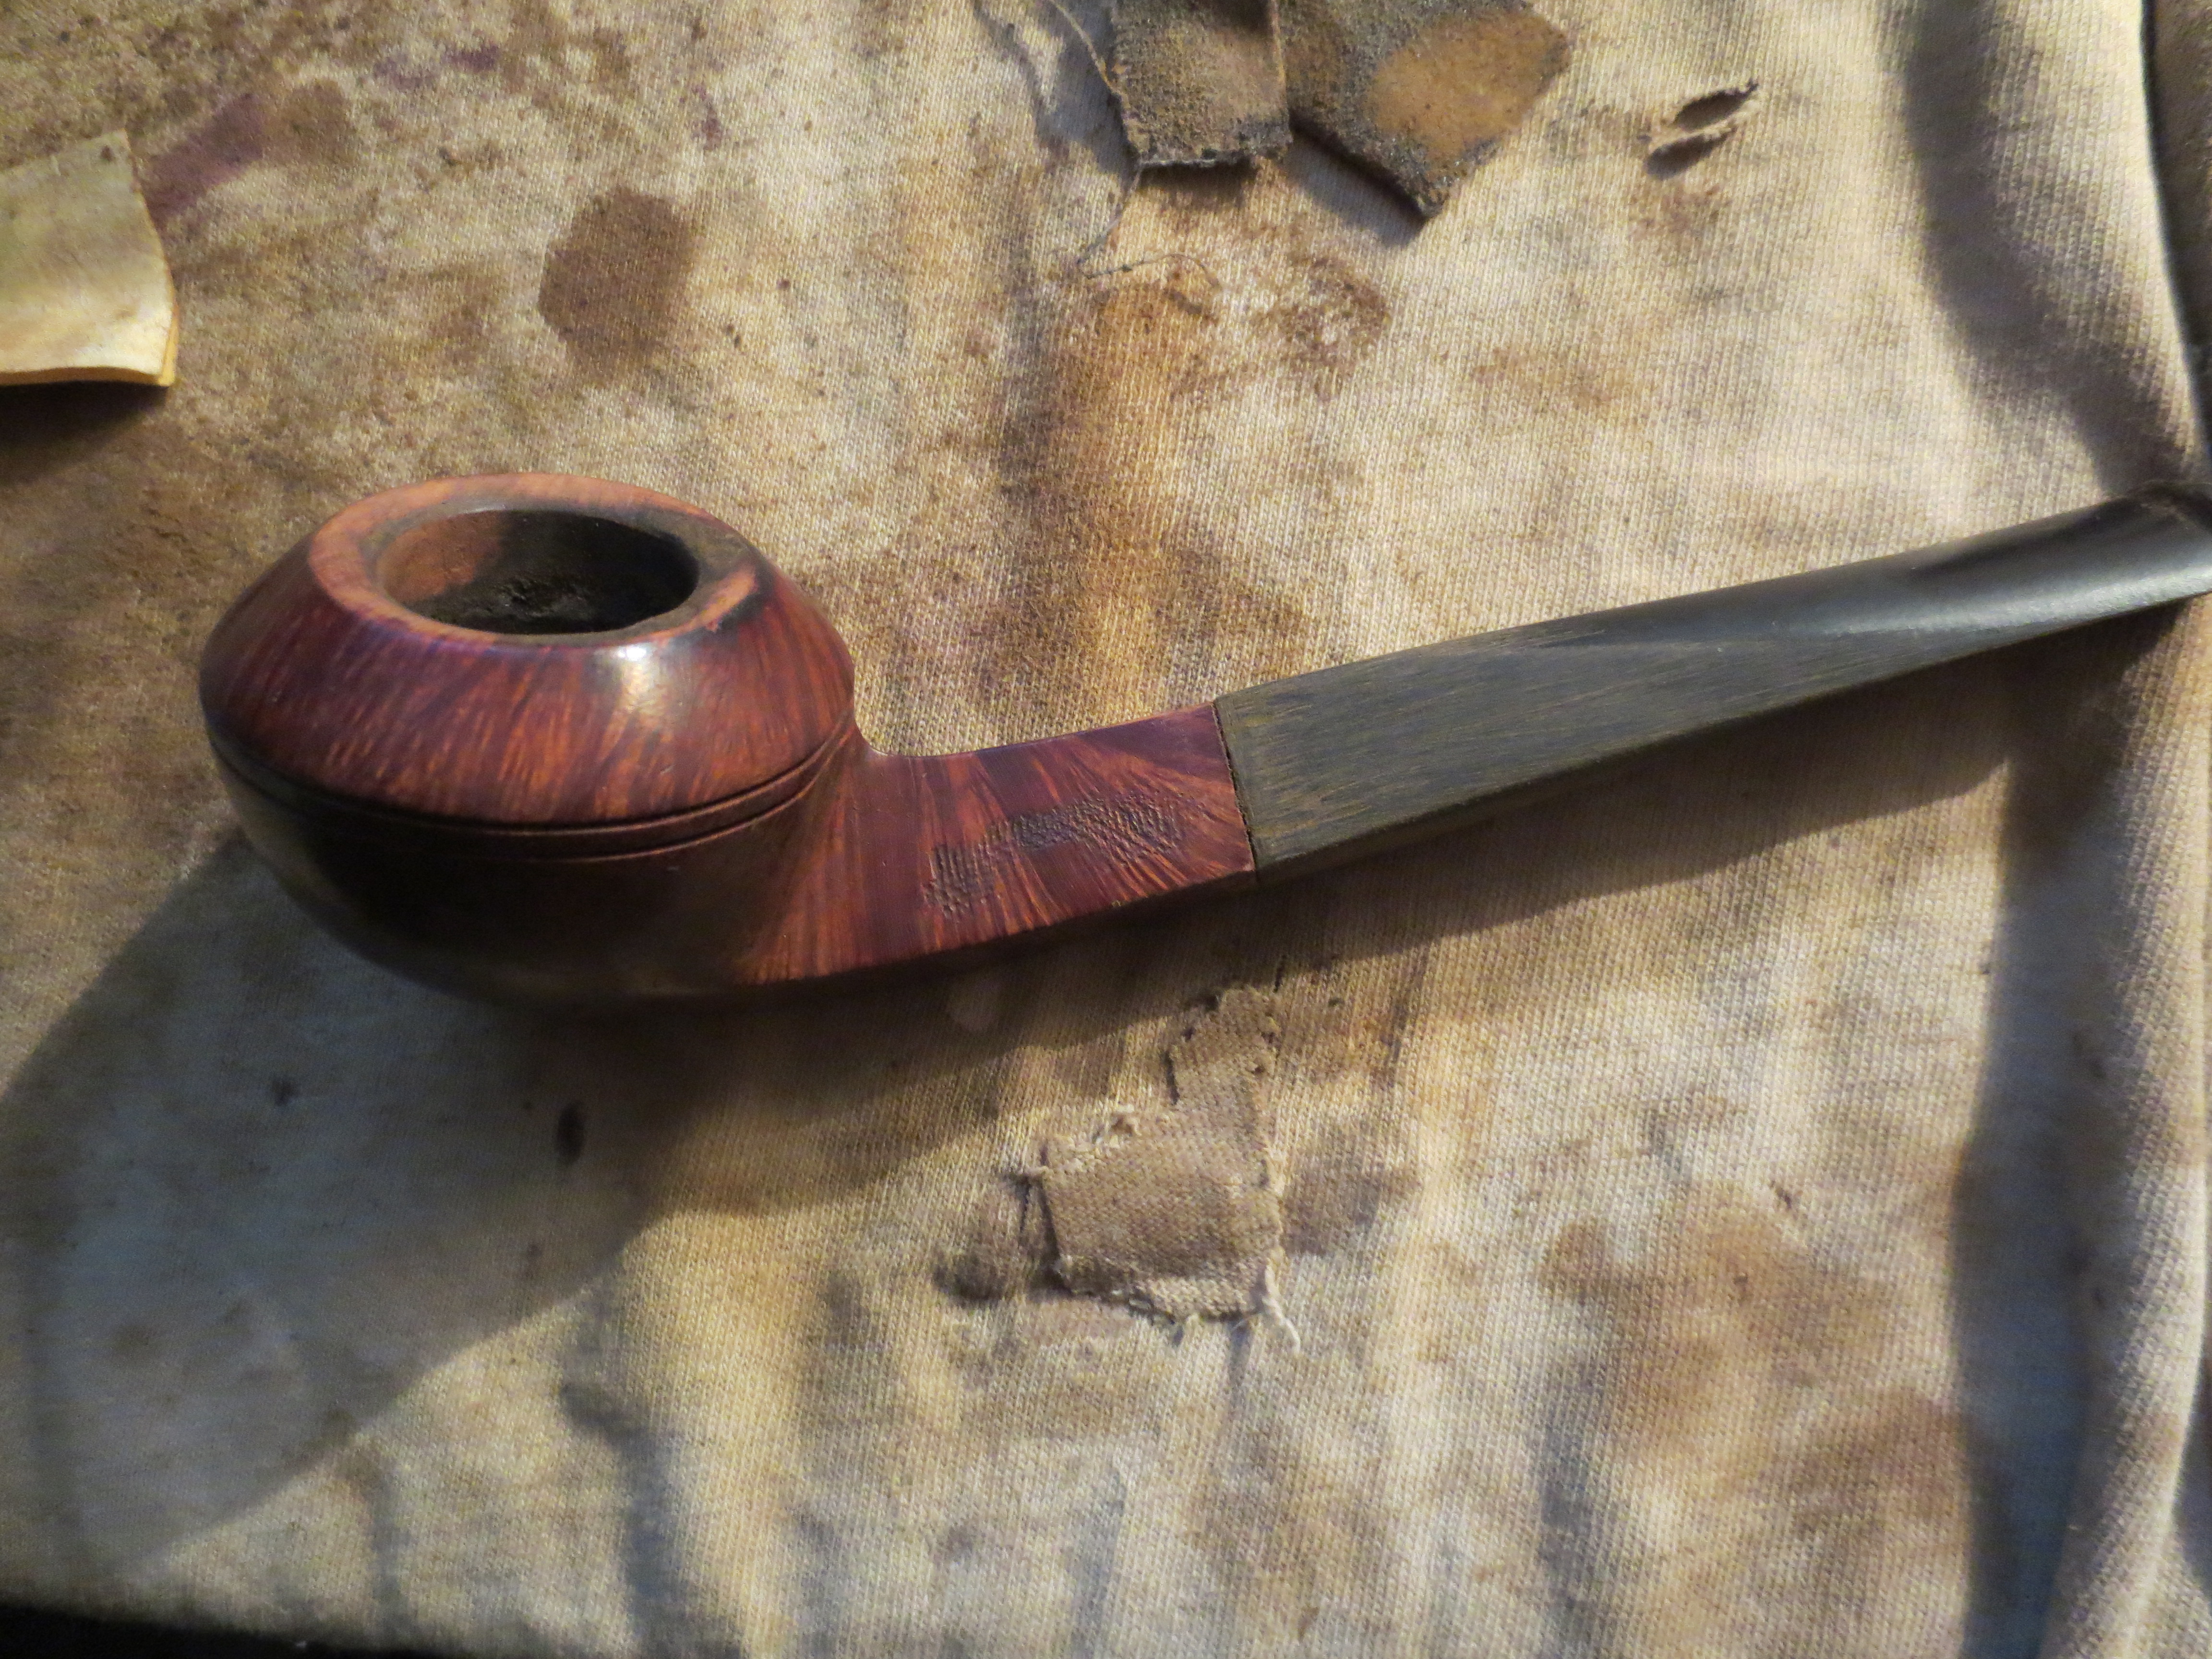
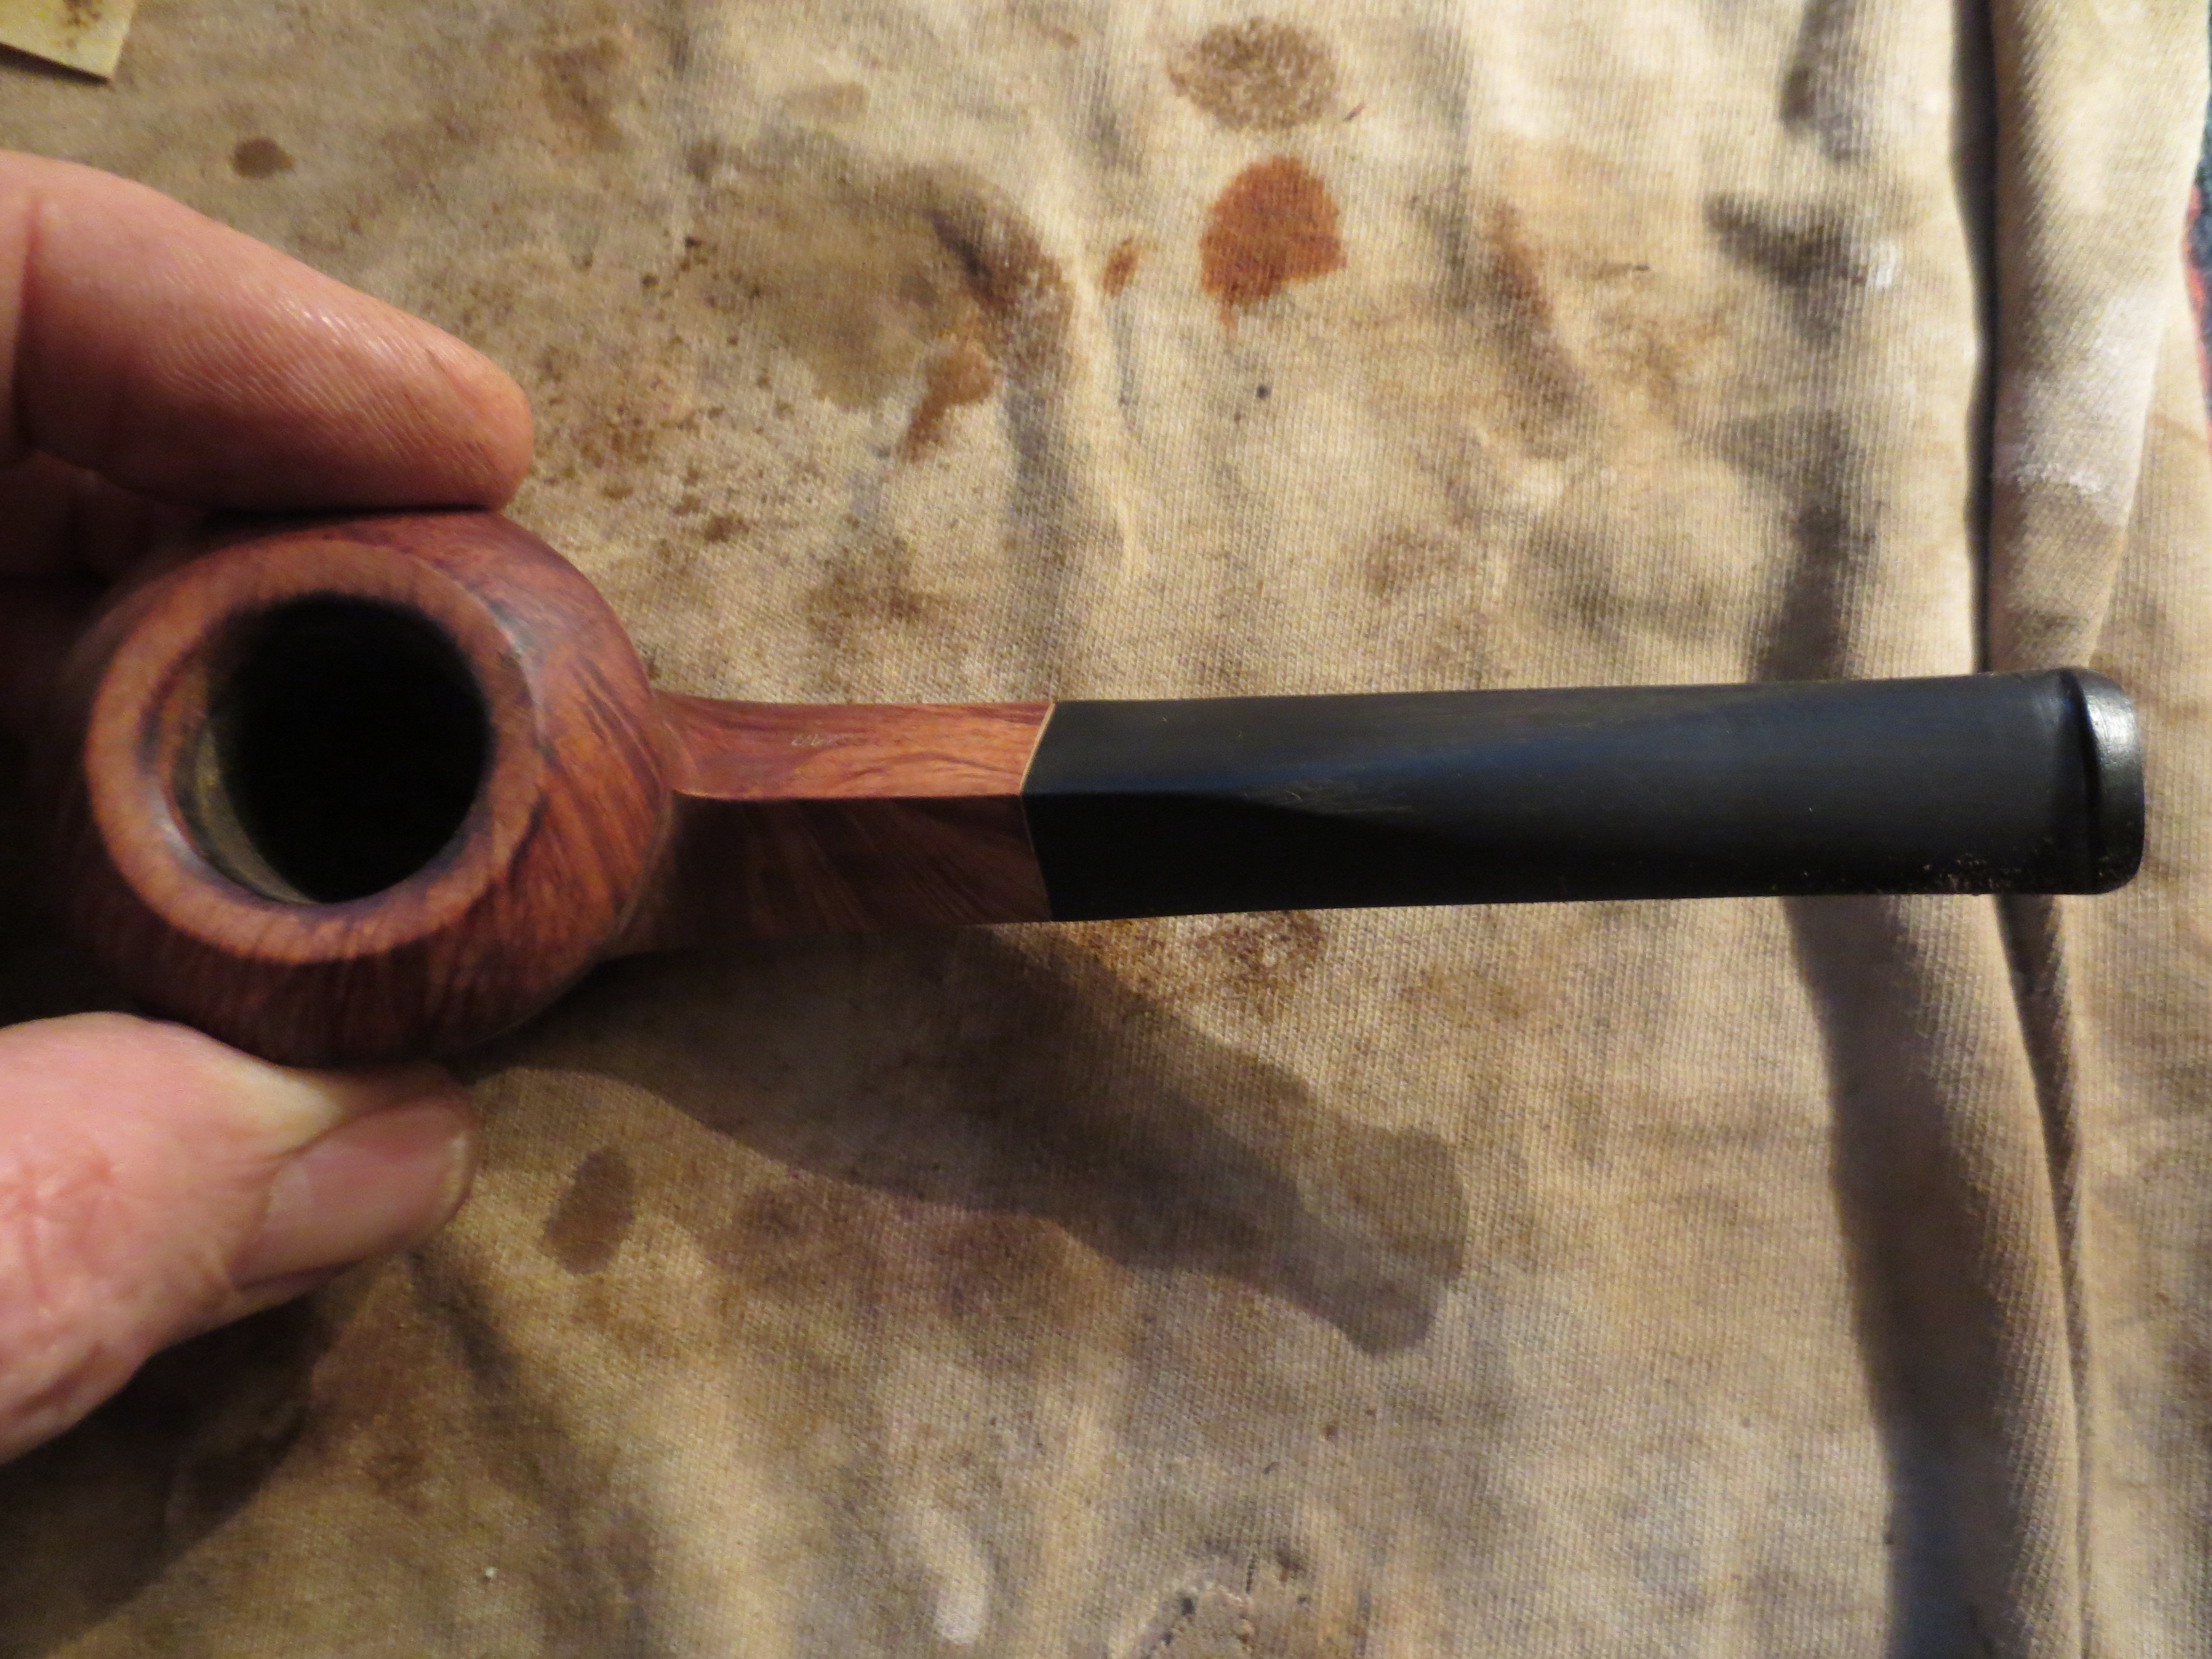
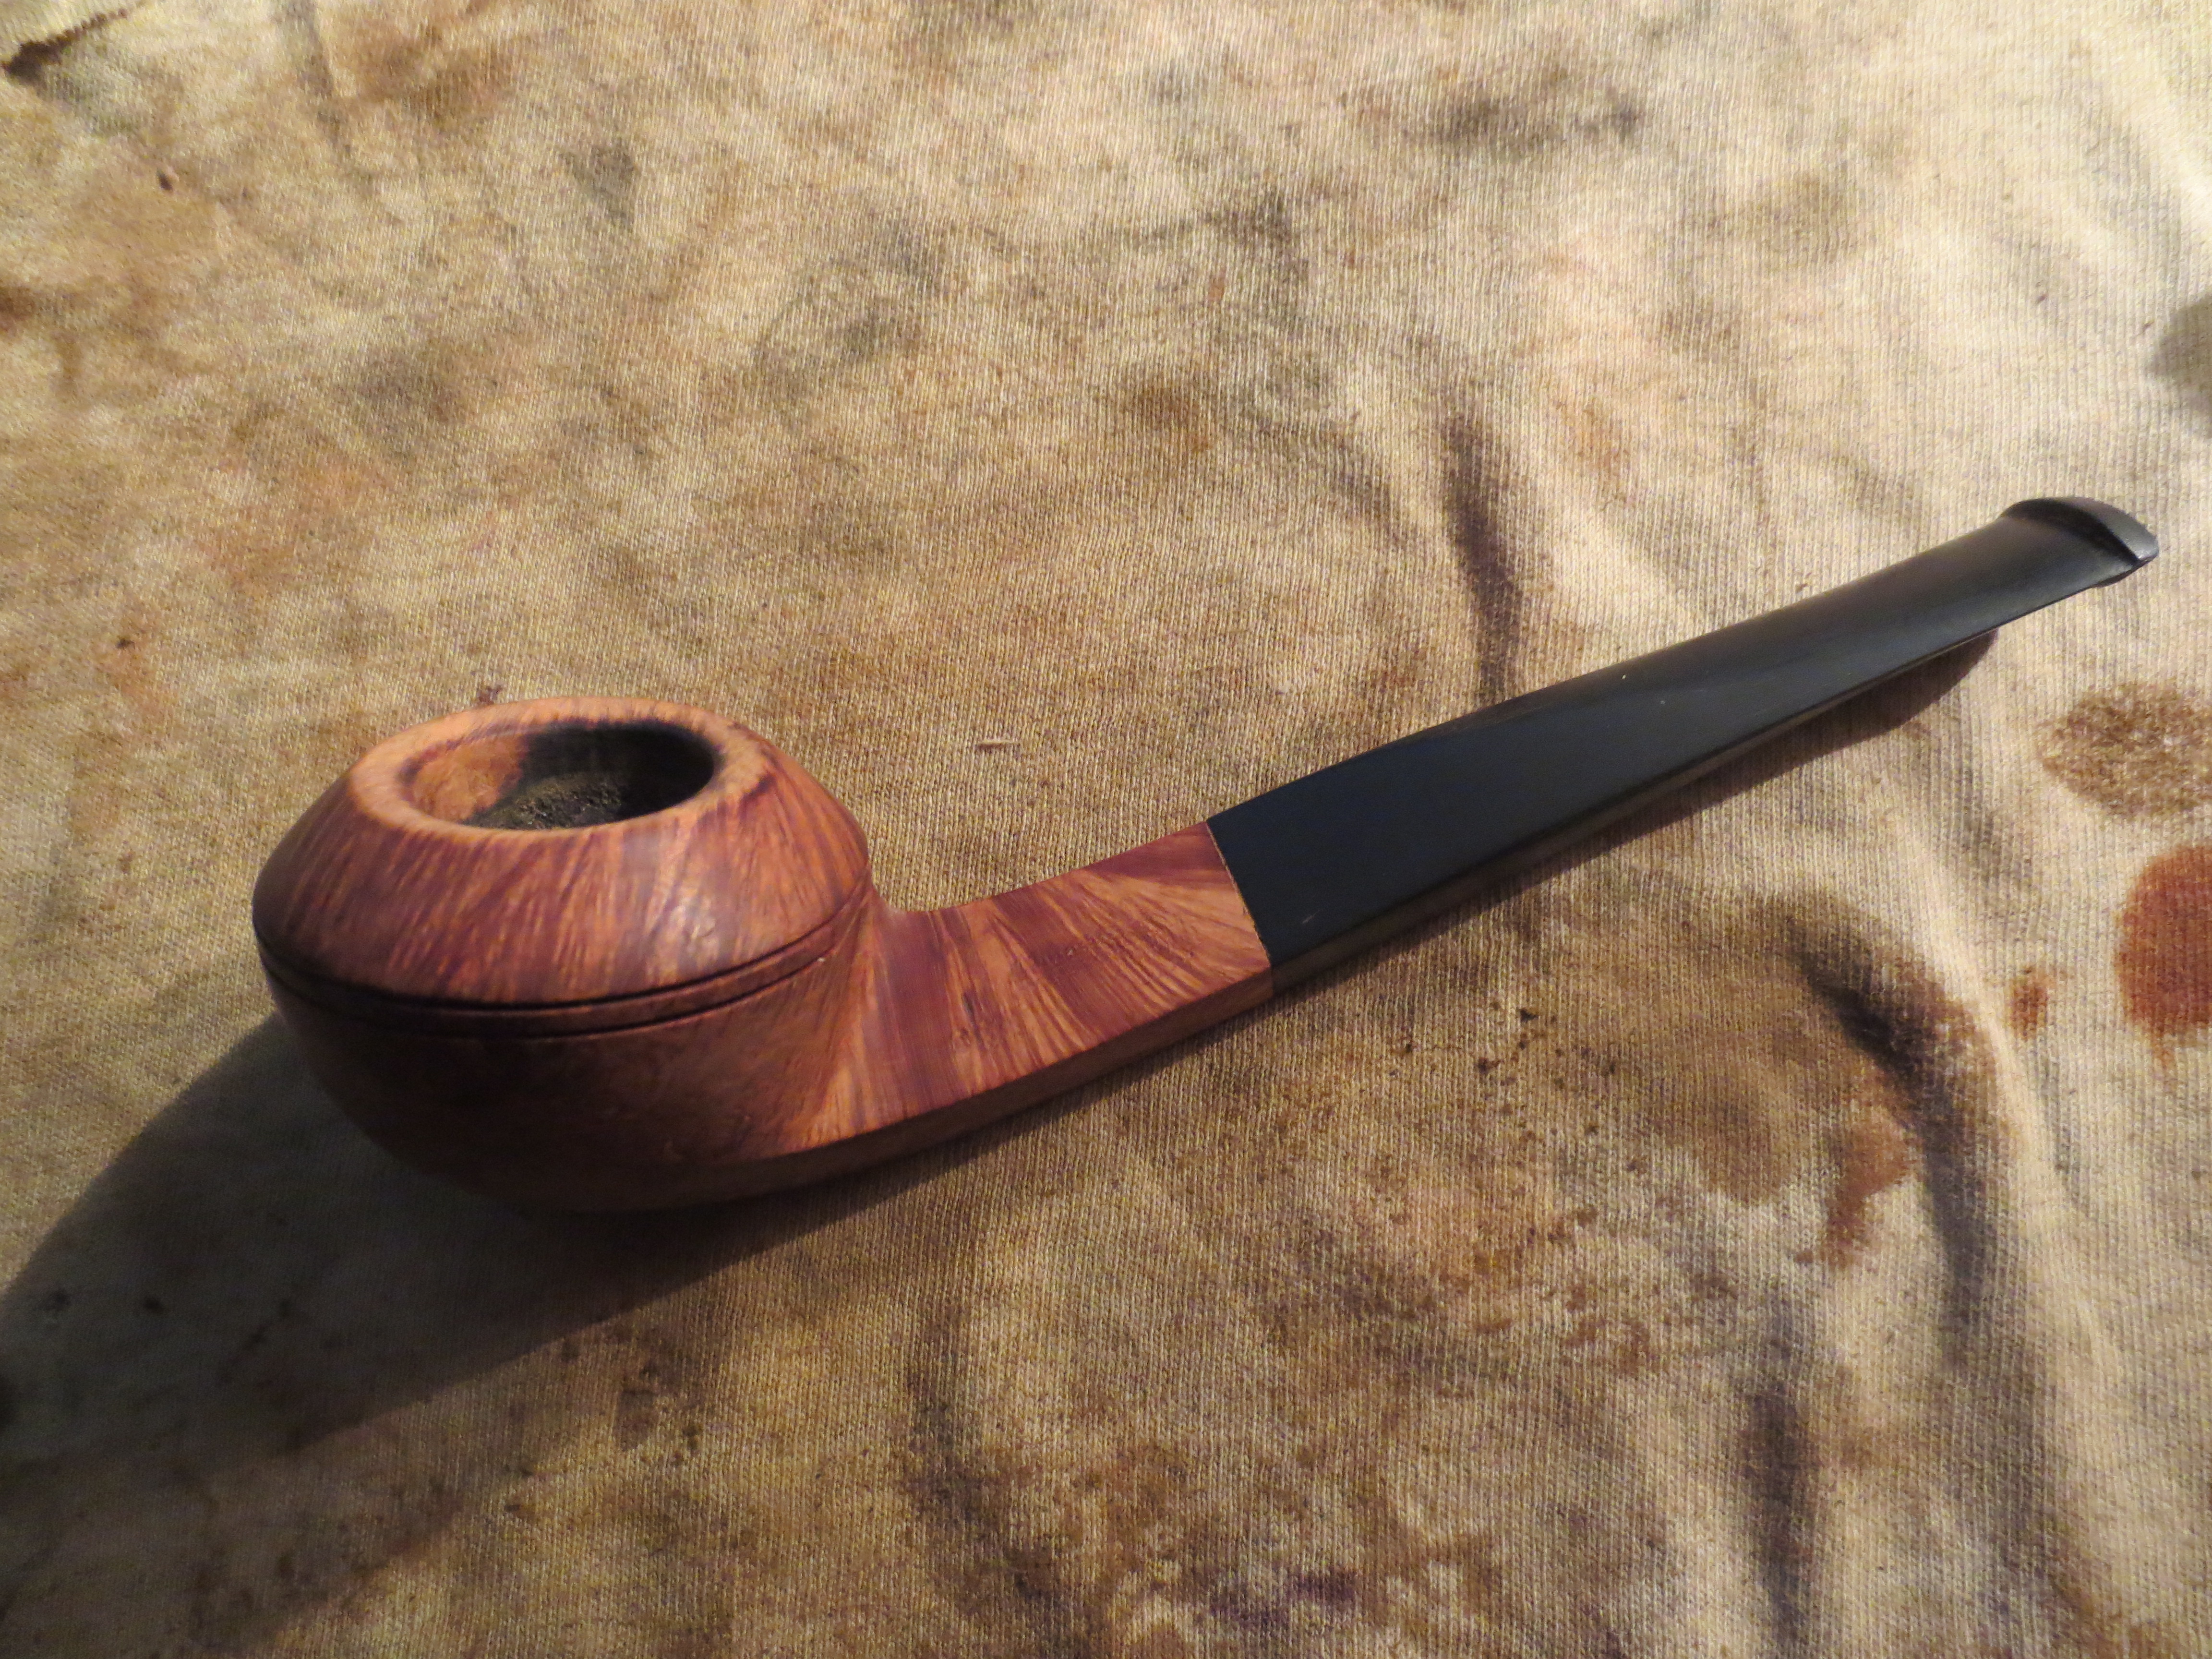
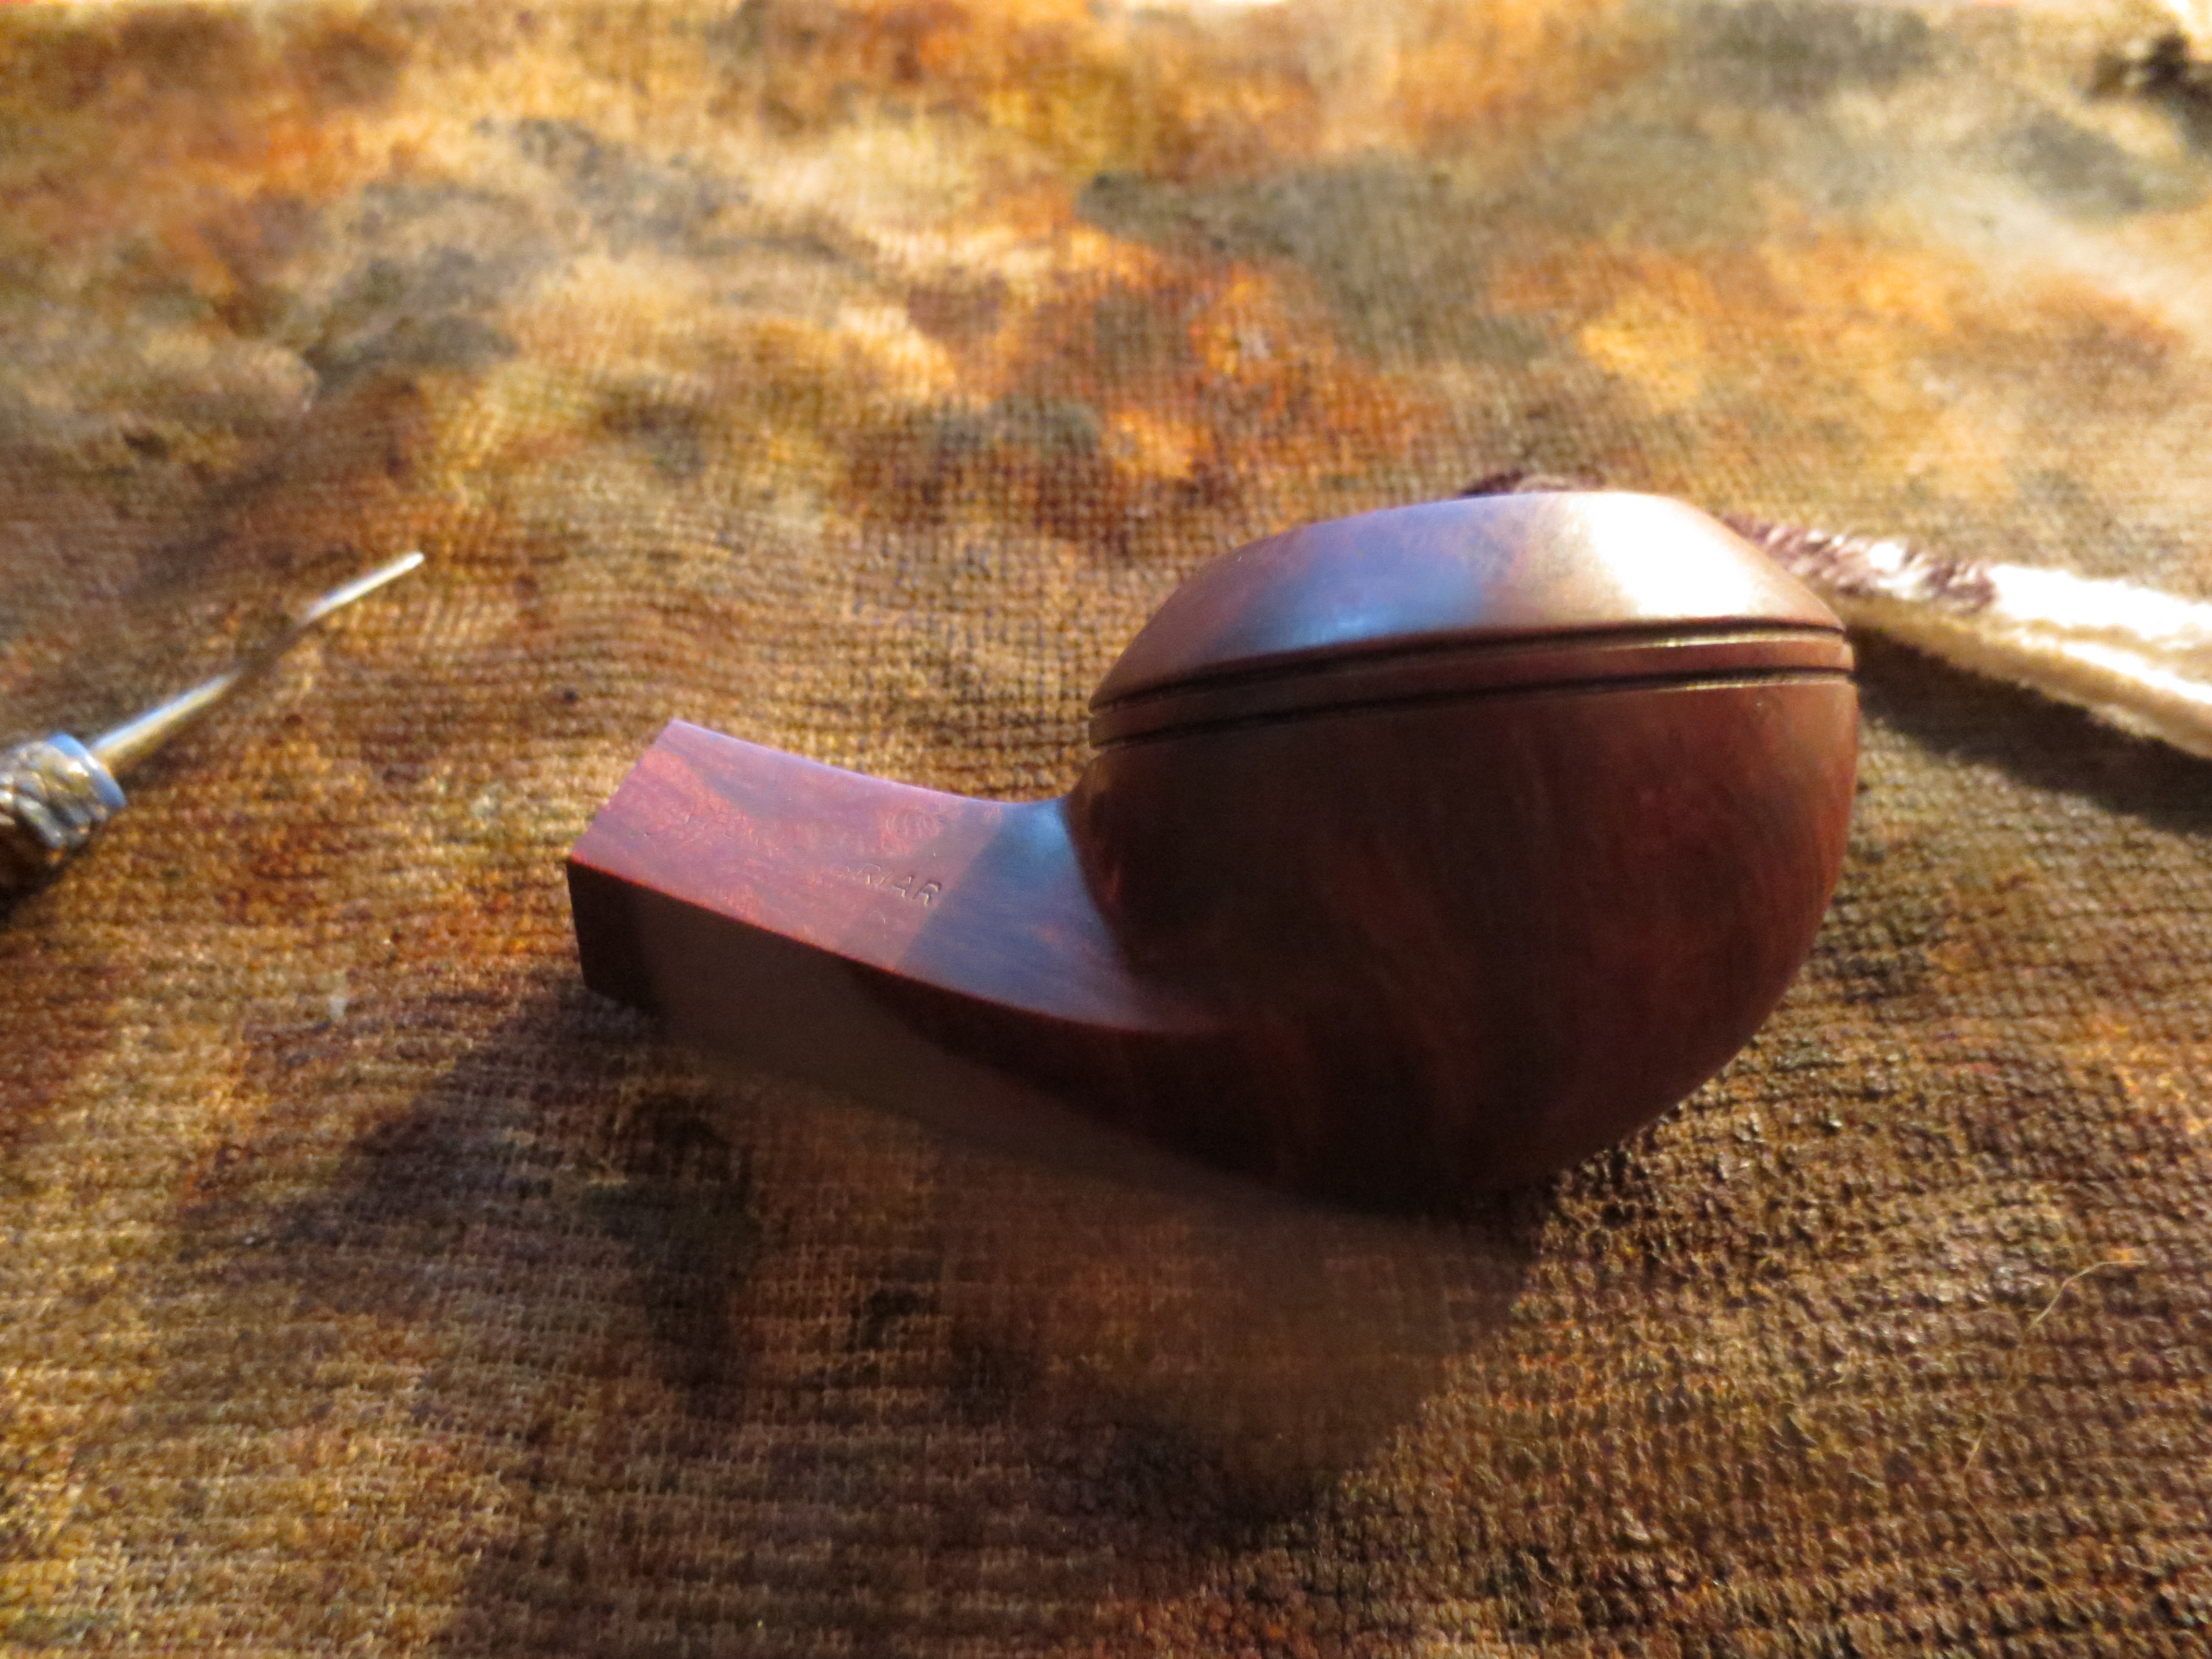
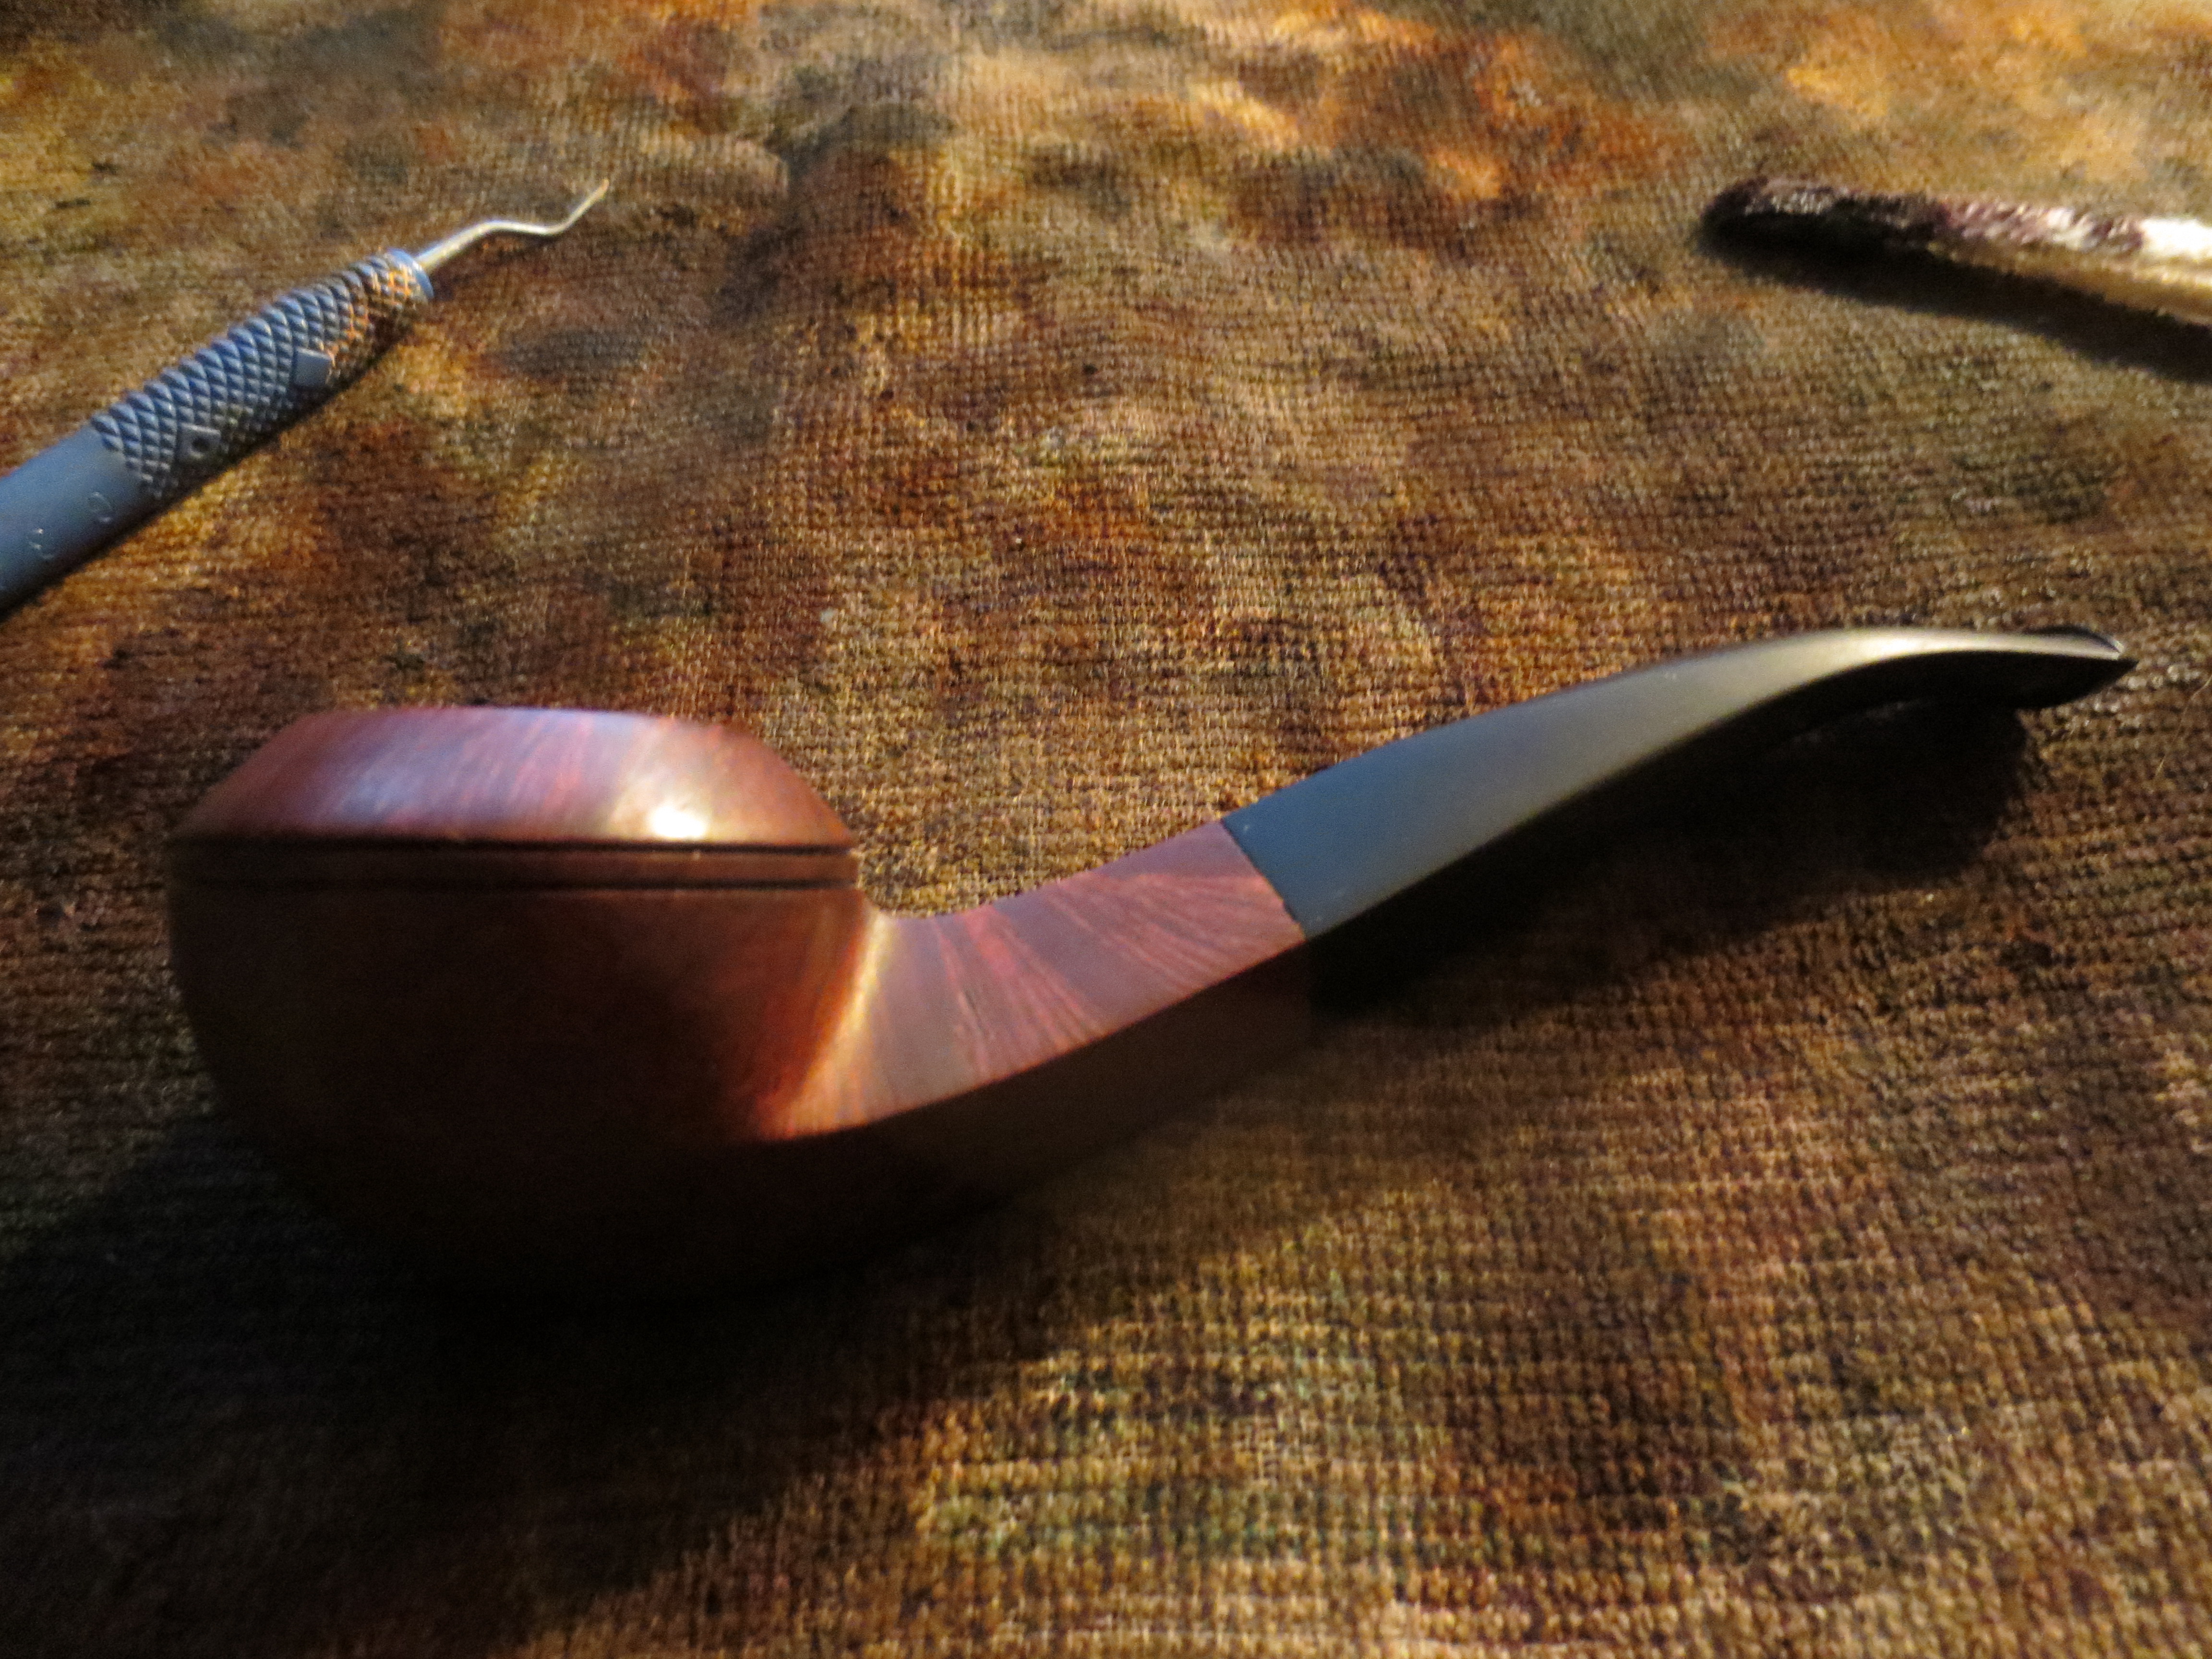
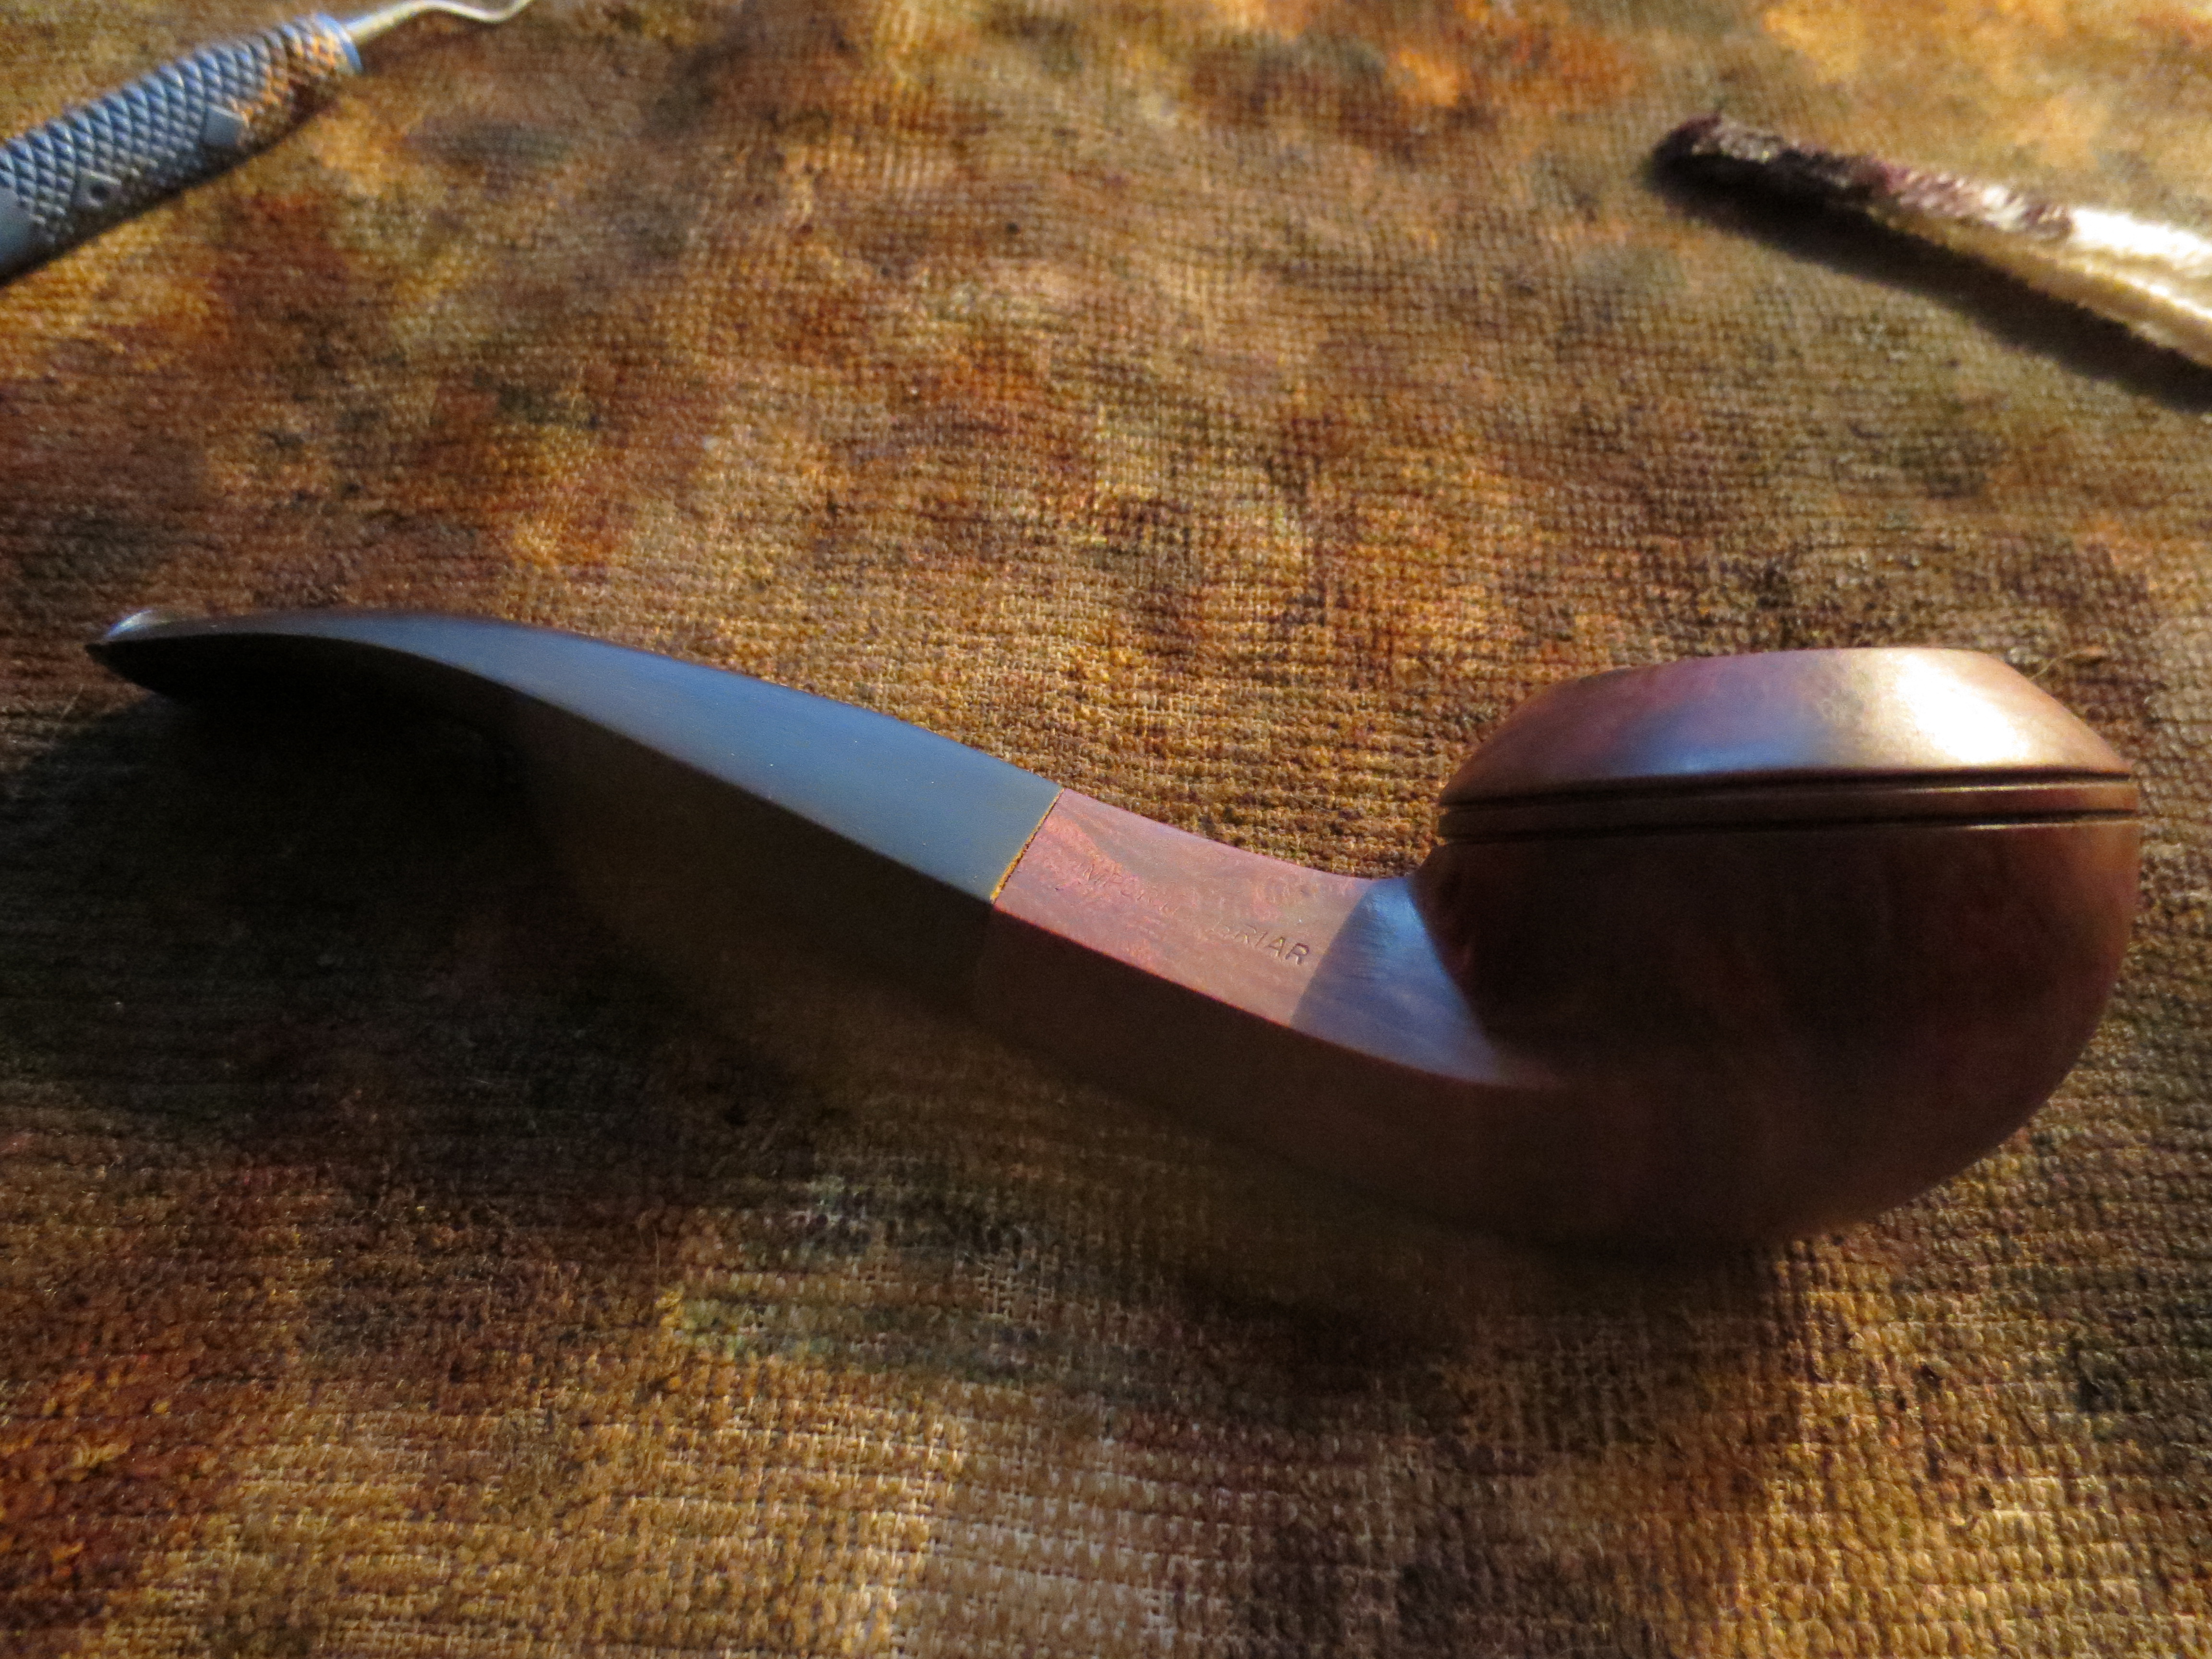
This little bent bulldog is the last of the briar stummels in the EBay lot I picked up. It is a nice little dog and I saved it for last as I find that the diamond shank stems are a bear to fit correctly. Bent diamond shanks are even harder in my opinion. I had quite a few stems to choose from in my can of stems so a new stem was not a problem. The issue really was getting all the sides and angles to line up and look right. Restemming these is a tricky proposition. This one had crosshatched stamping on the left side of the shank that obliterated the stamping of the name on it. On the right side it is stamped Imported Briar which I am assuming makes it an American made pipe. It had some nice grain under the dark stain and varnish coat. The bowl had a very poorly formed cake with many chunks missing. The rim was thick with a tar and oil build up but surprisingly was not dented or damaged by burns or over reaming. The end of the shank which would butt up against the stem was pristine with no damage or cracks. I love it when I can work on a pipe that does not need banding. It is a challenge to get a good clean fit on the stem. This would thus be a double challenge.
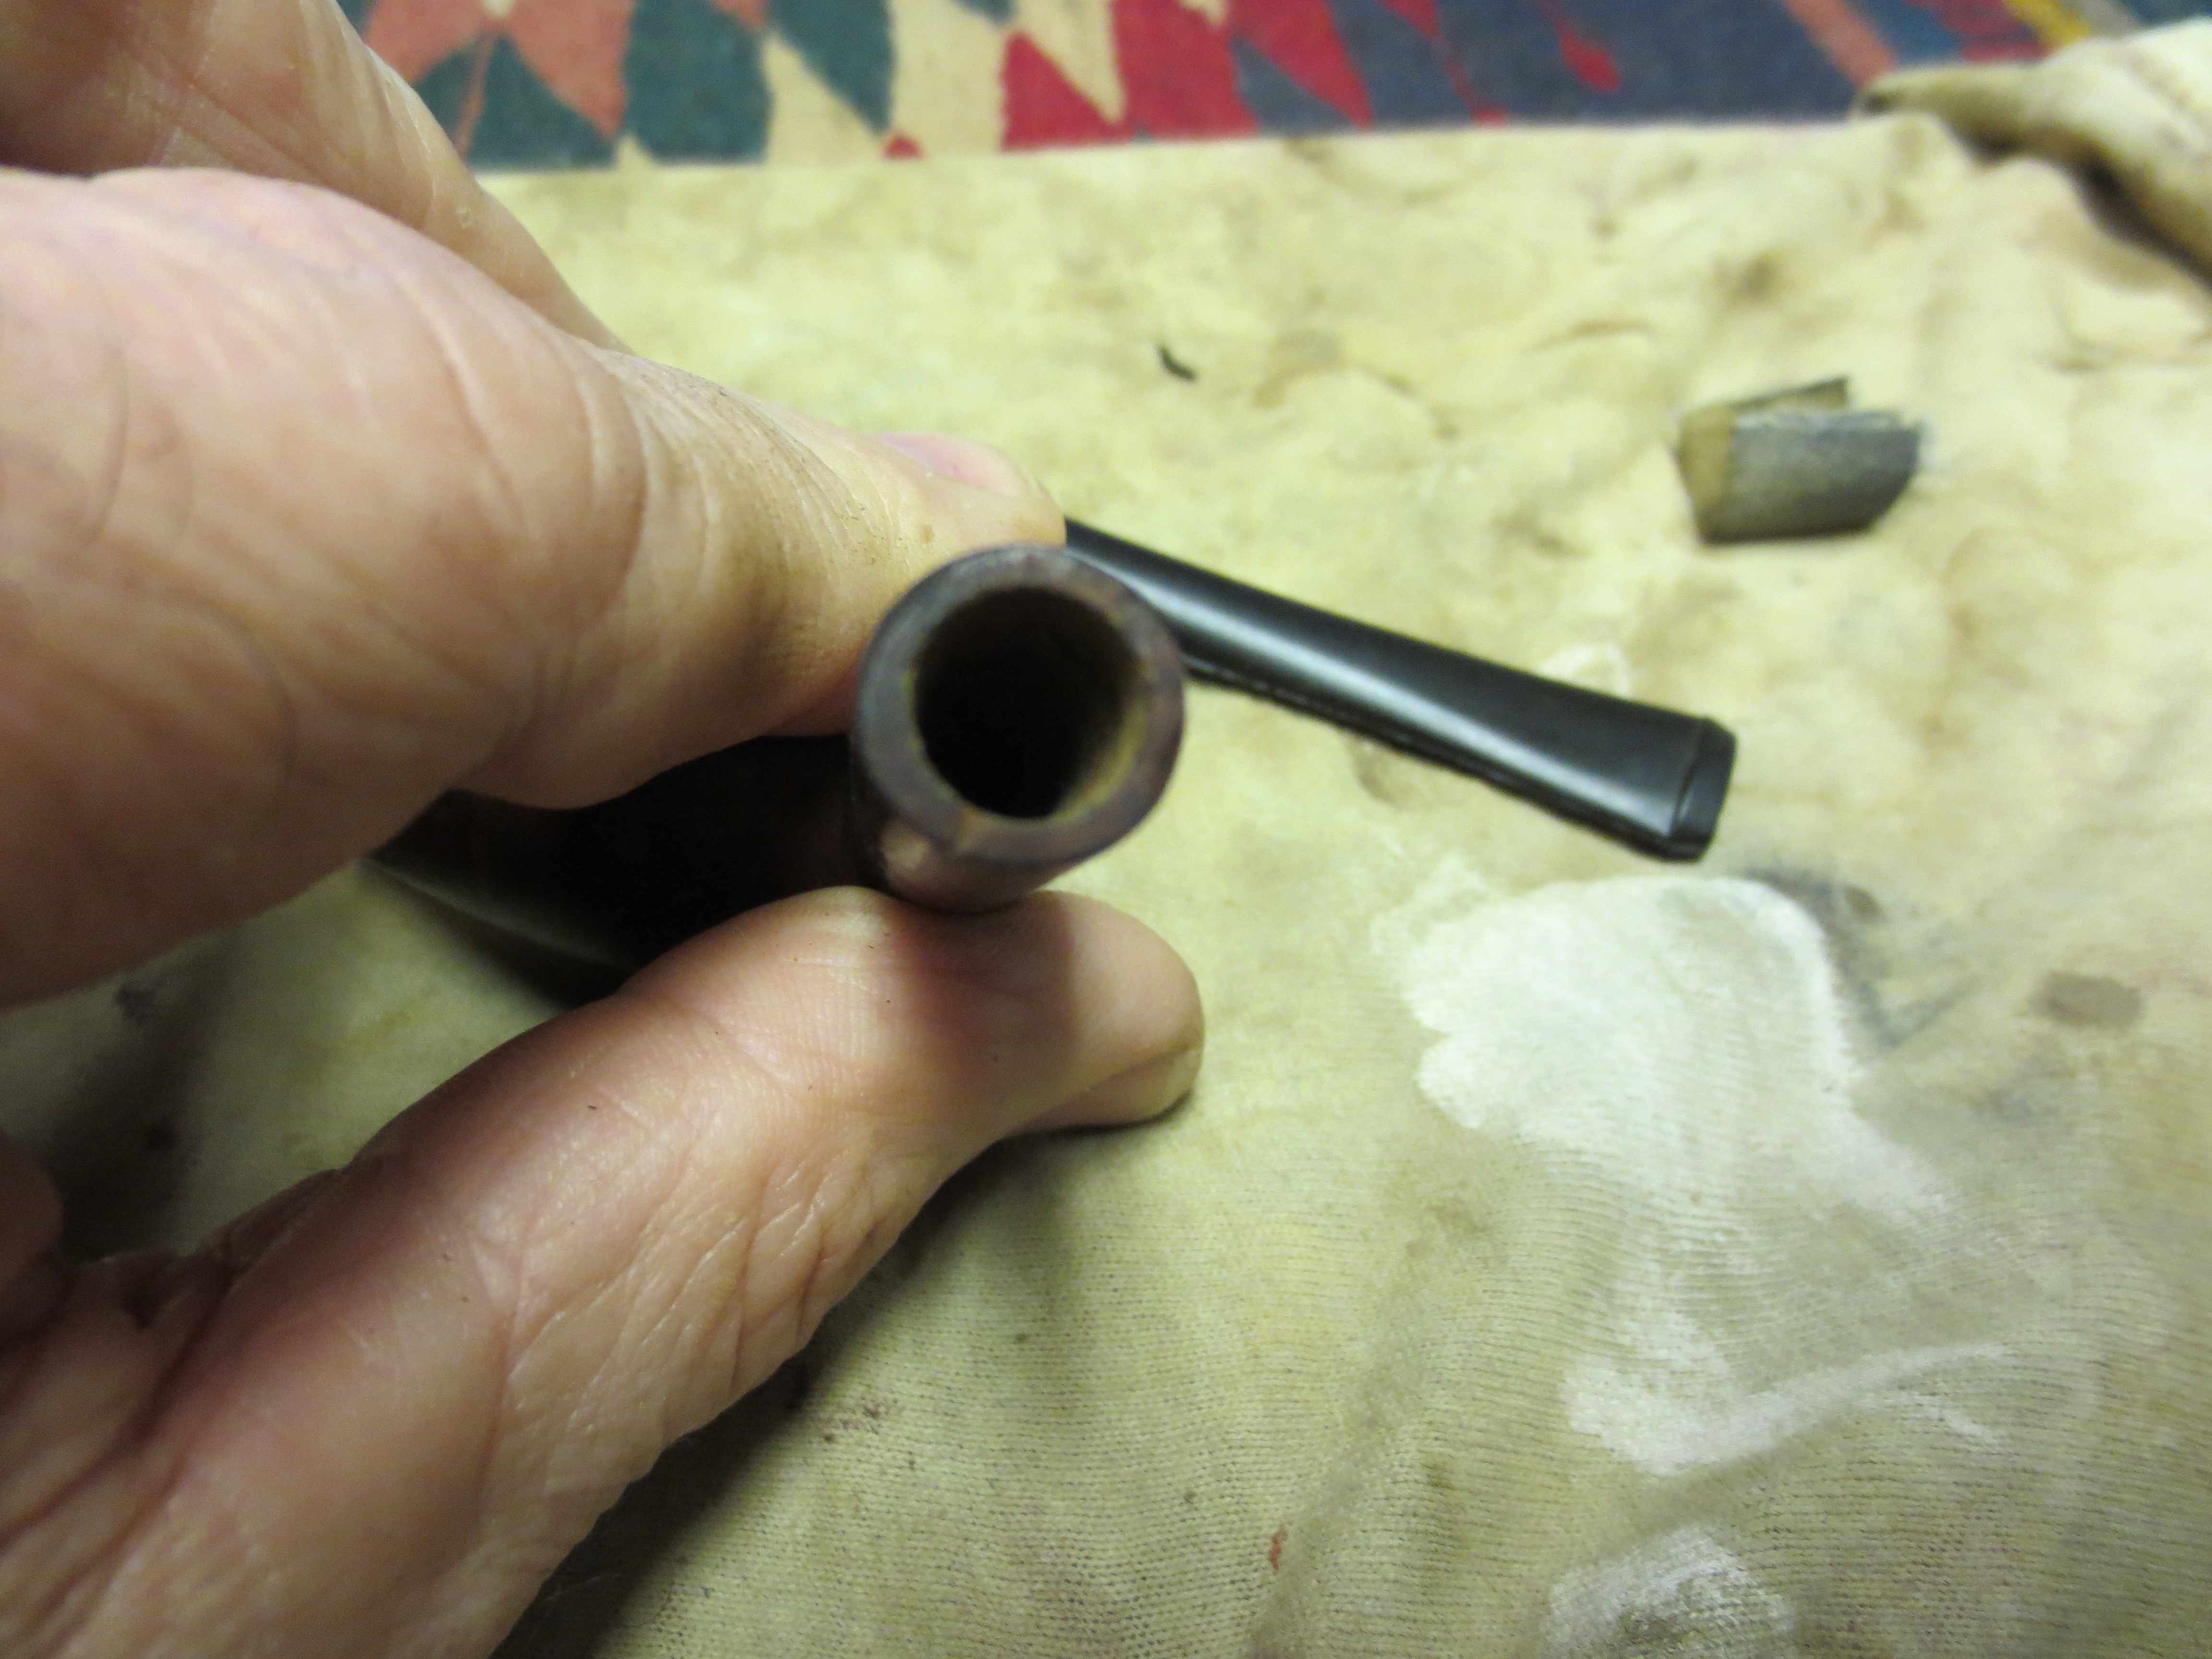
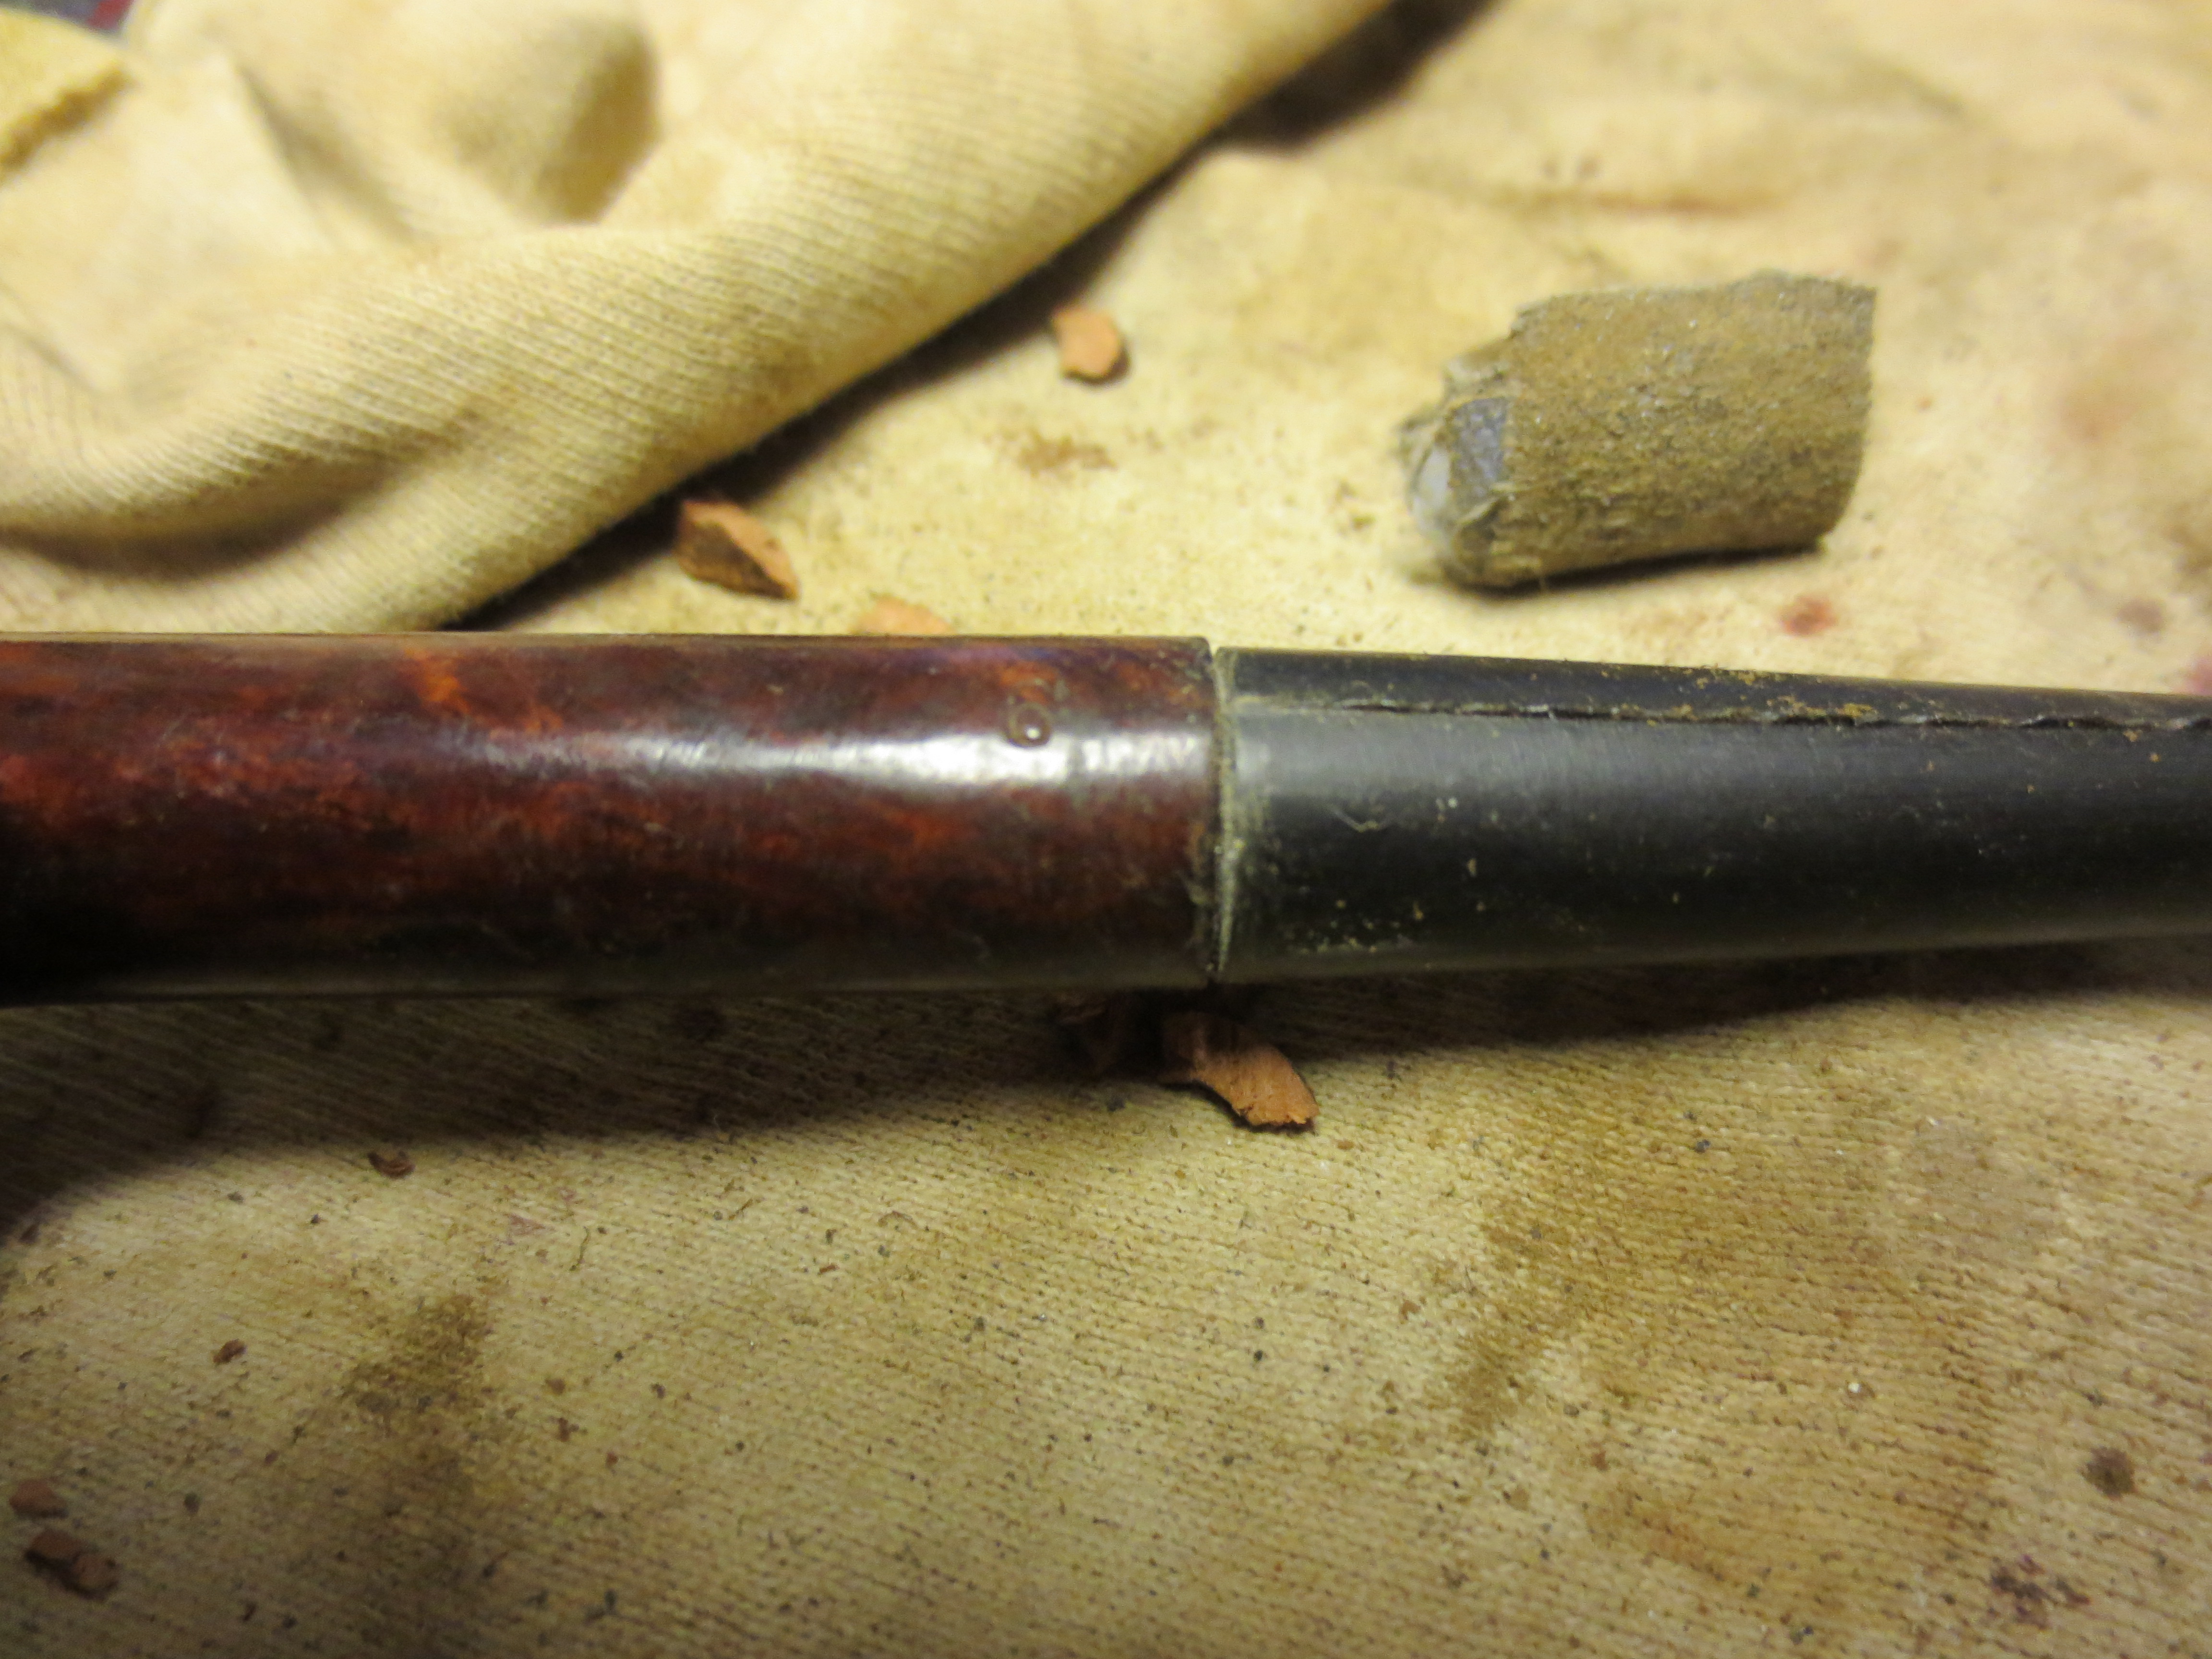
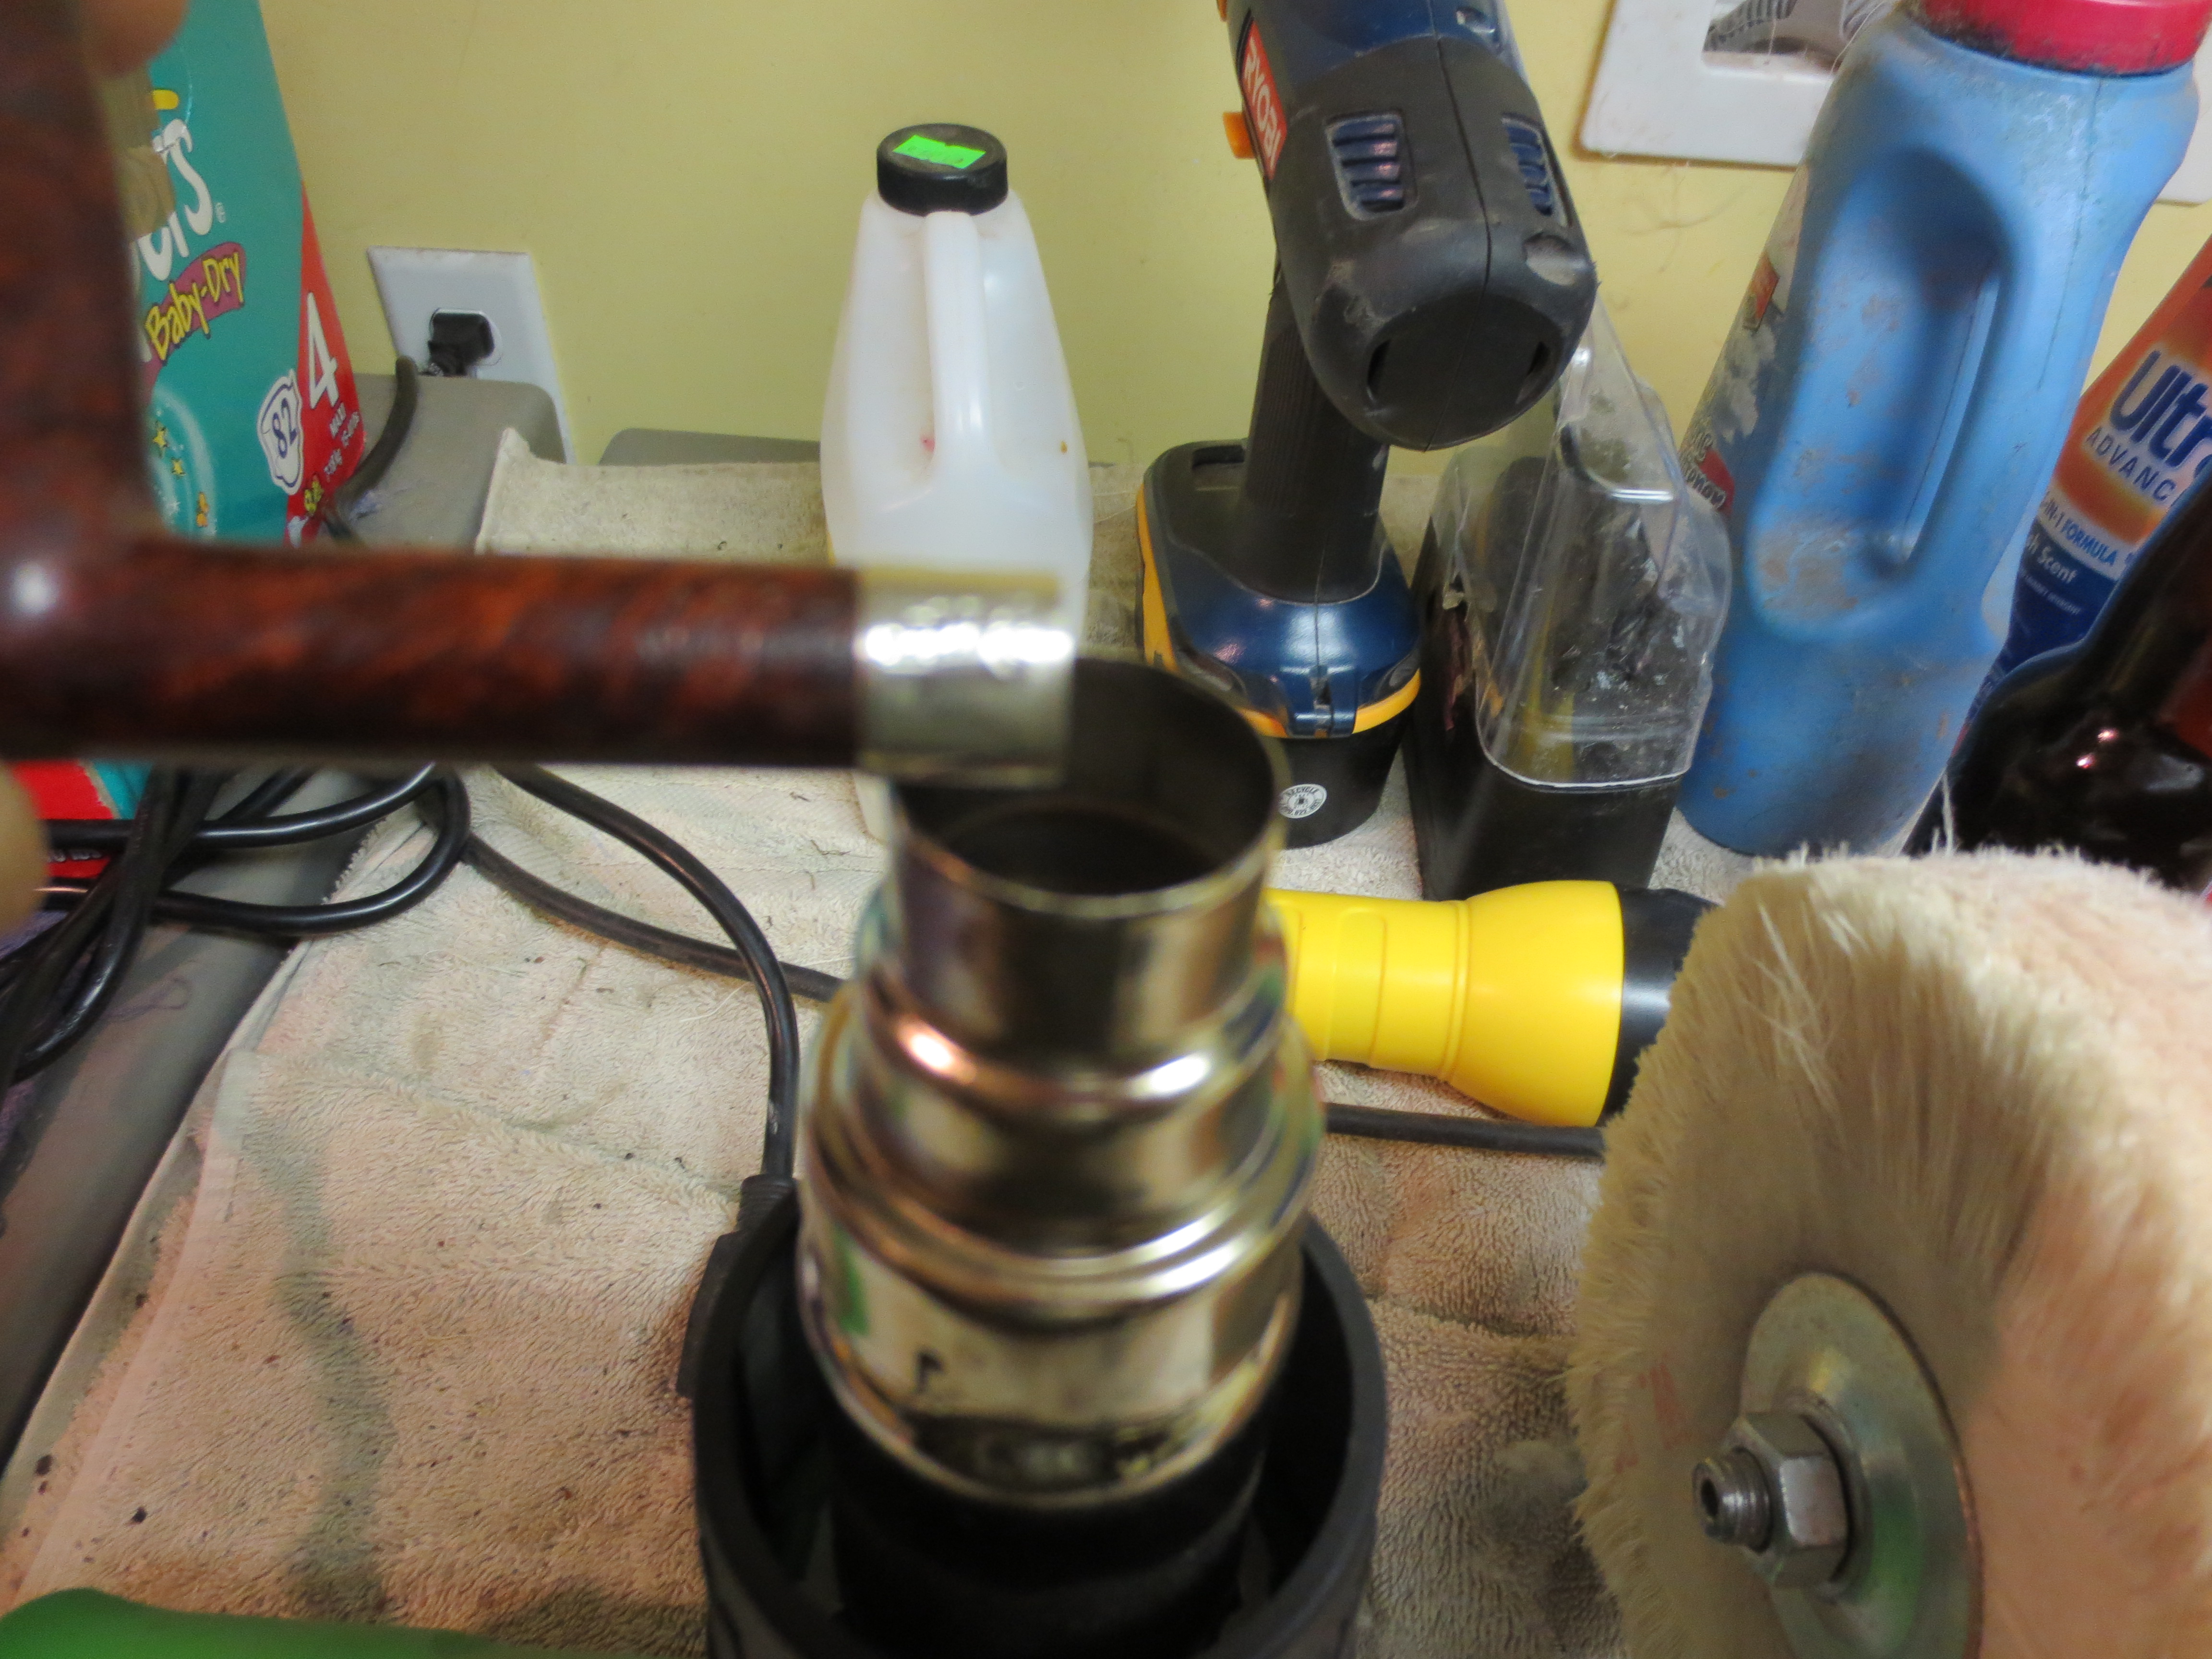
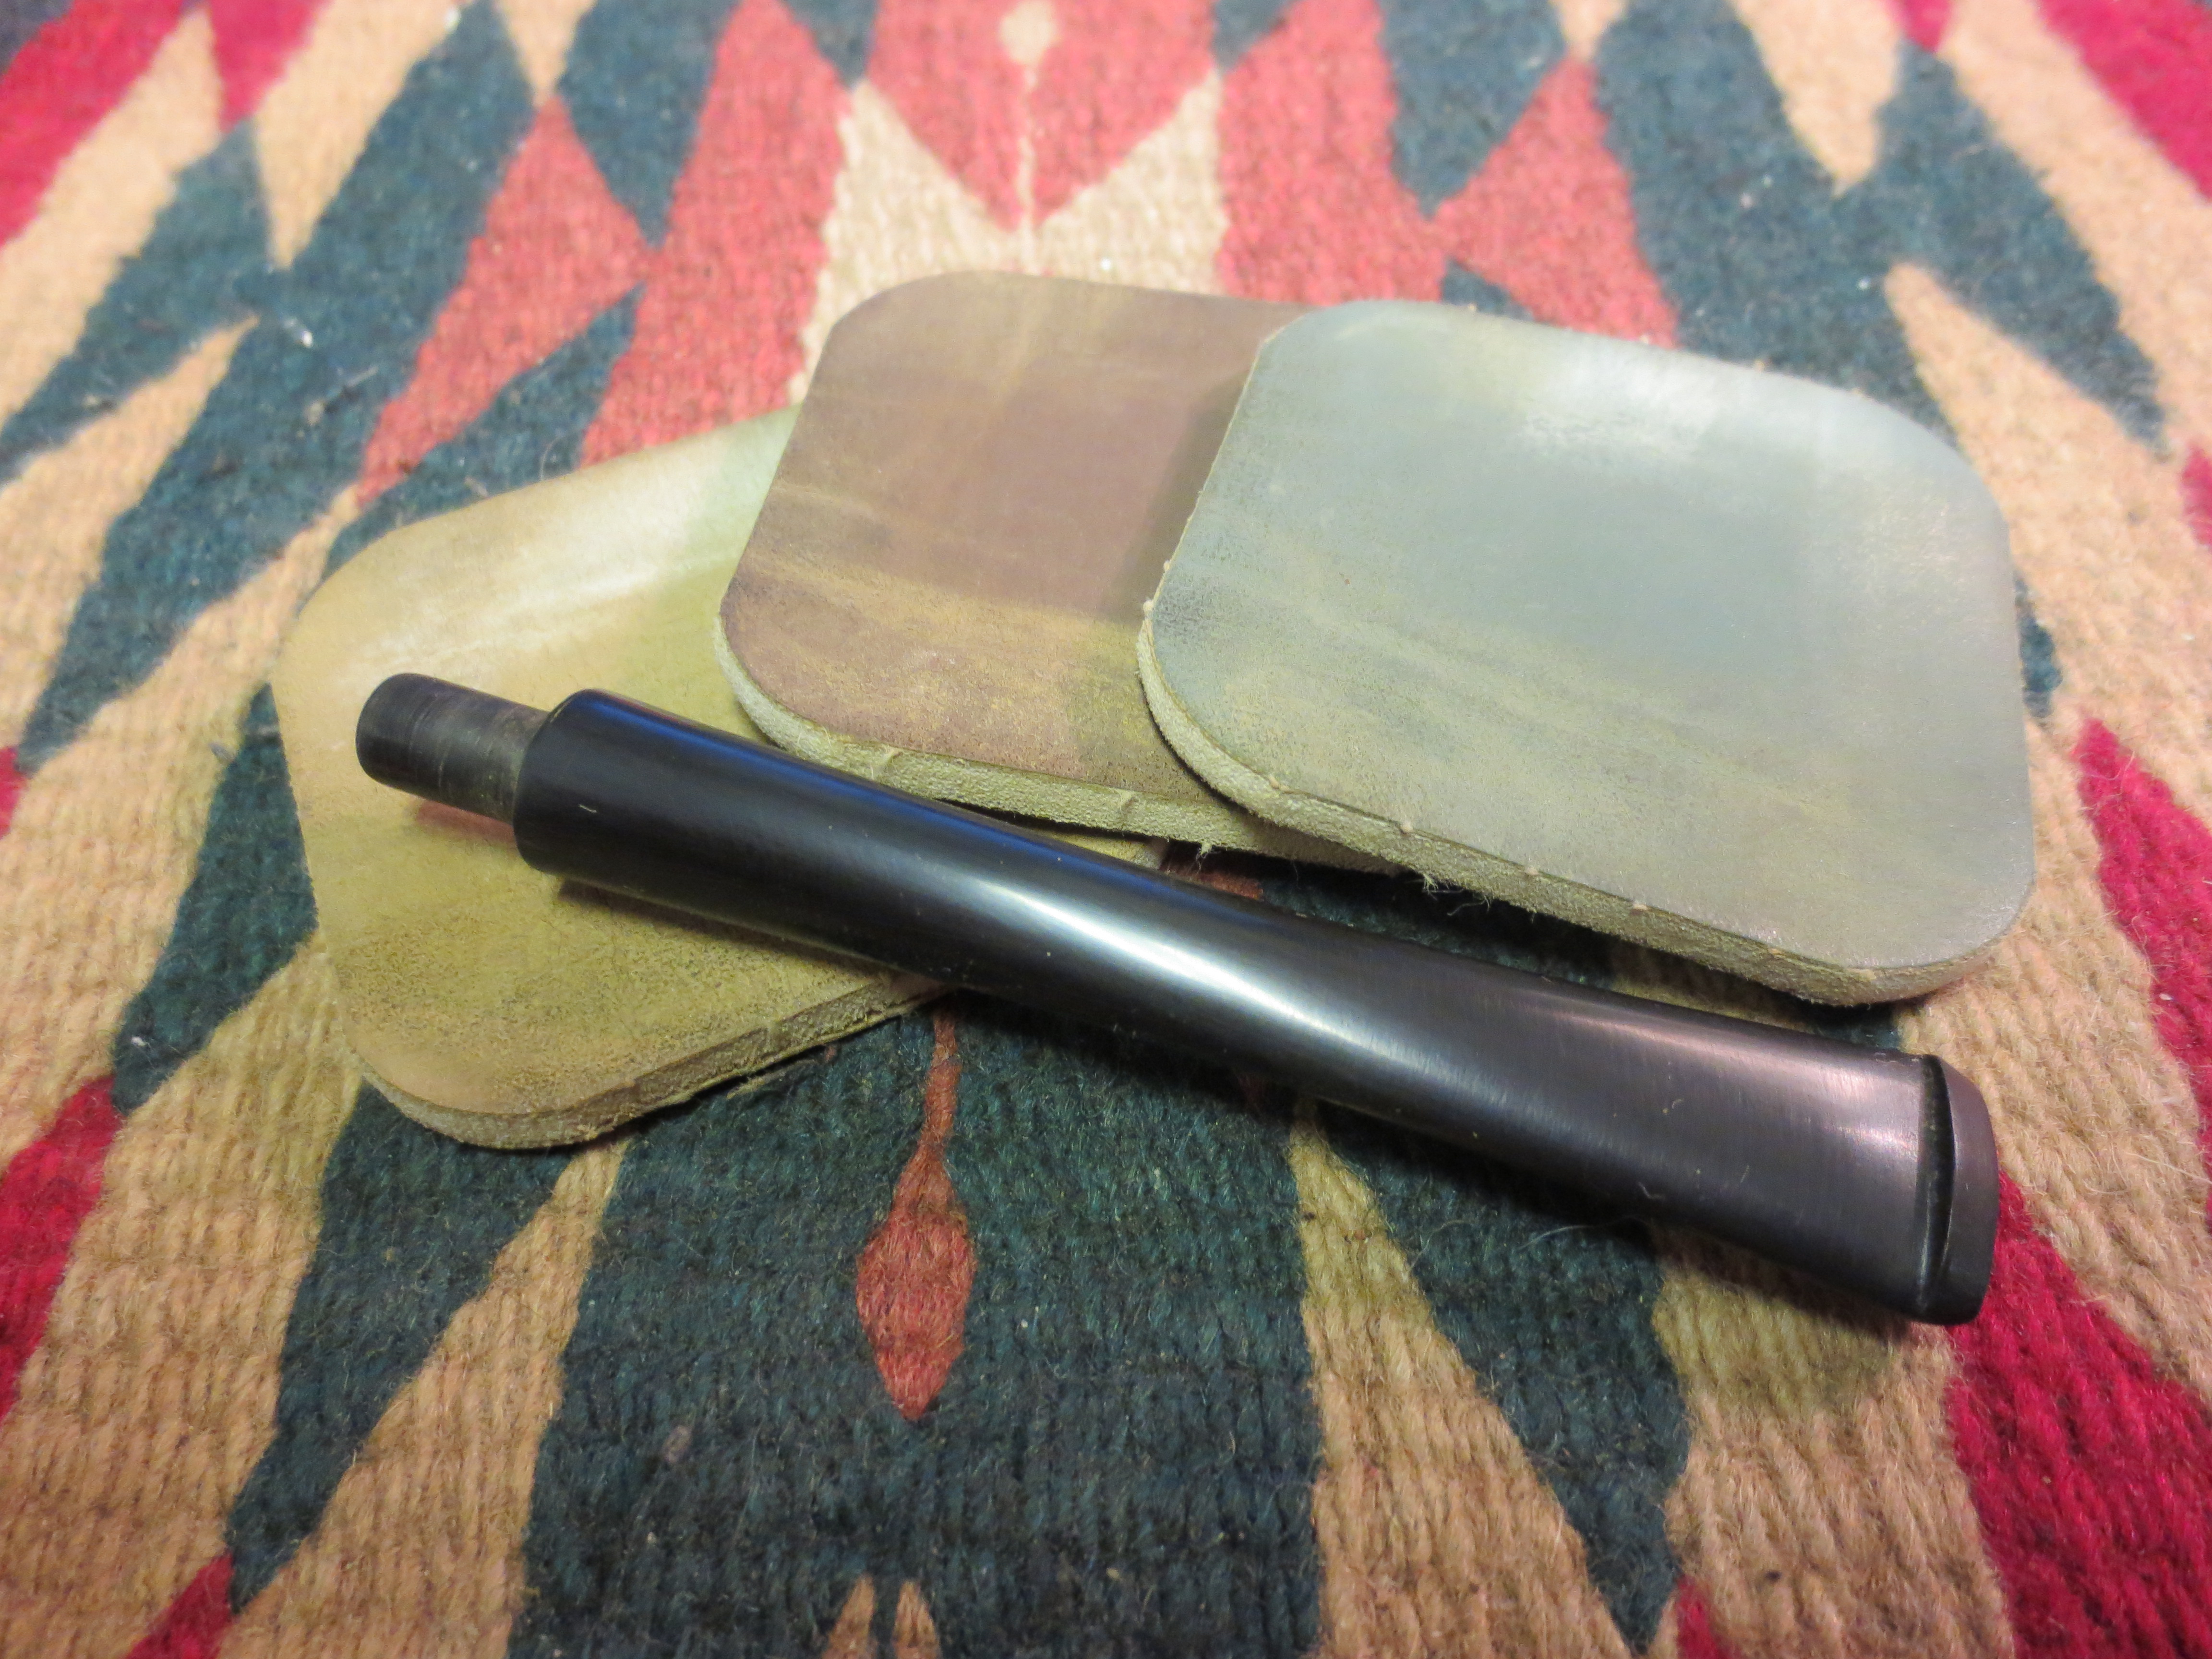
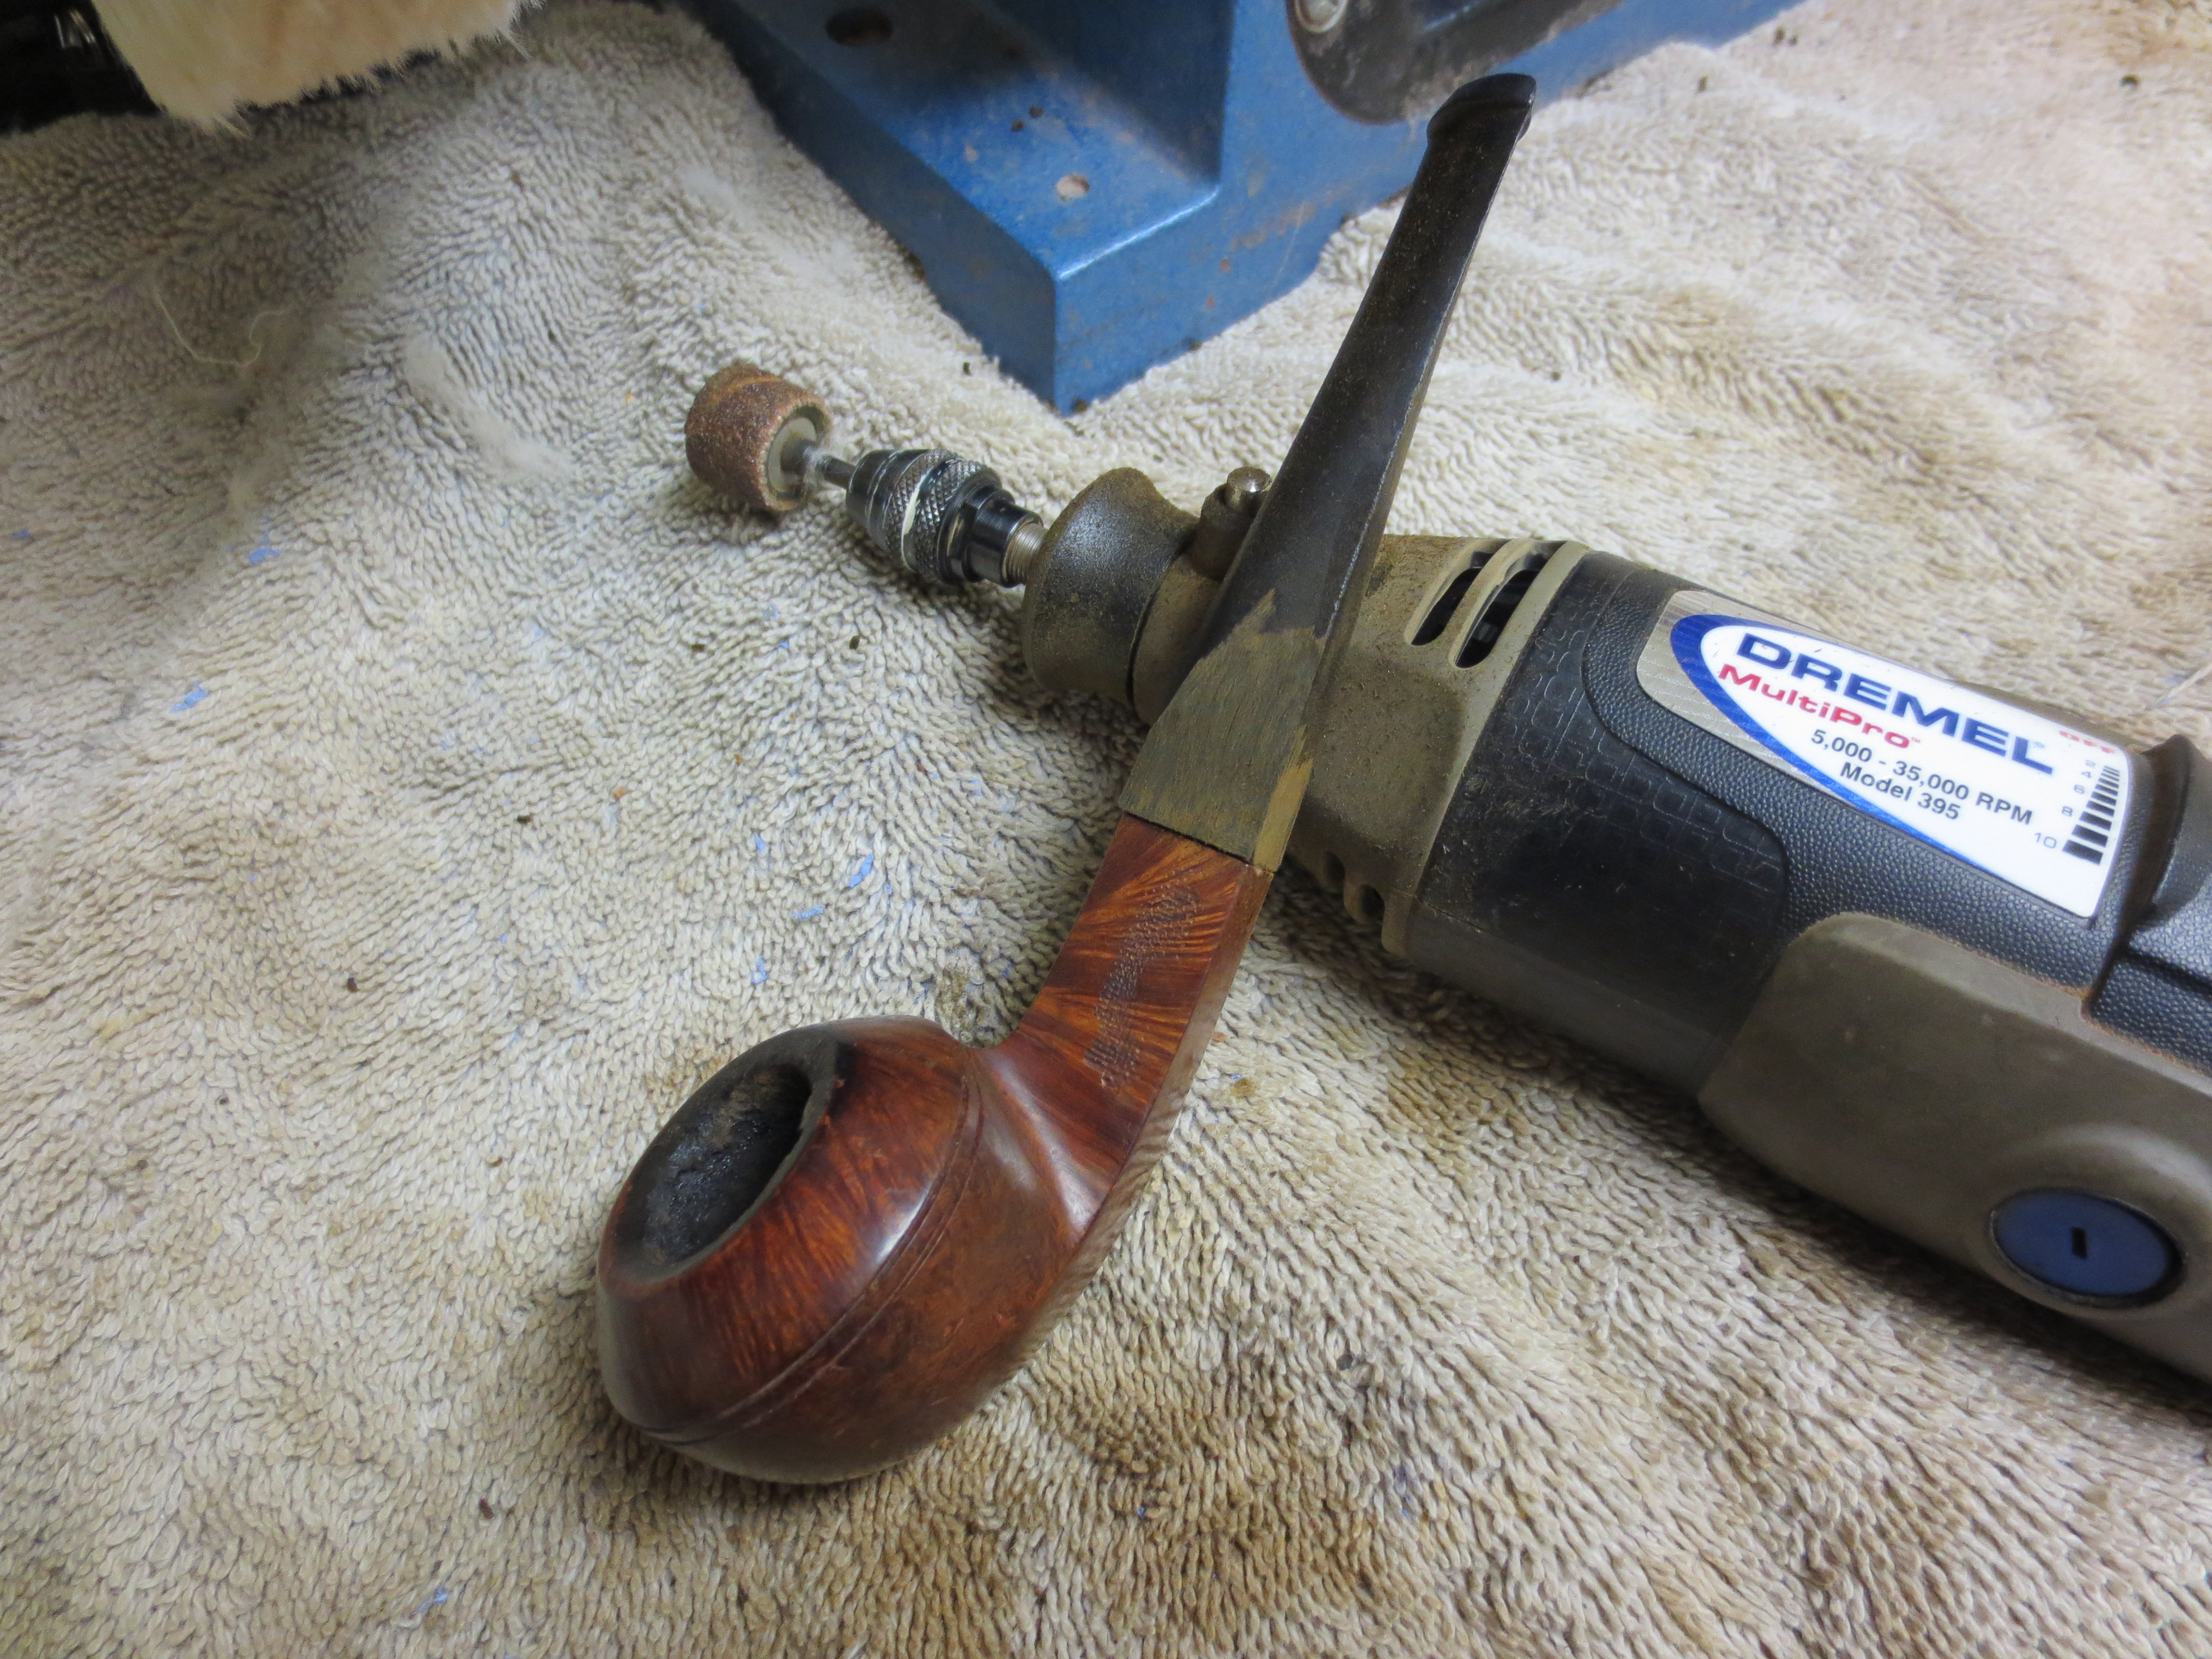
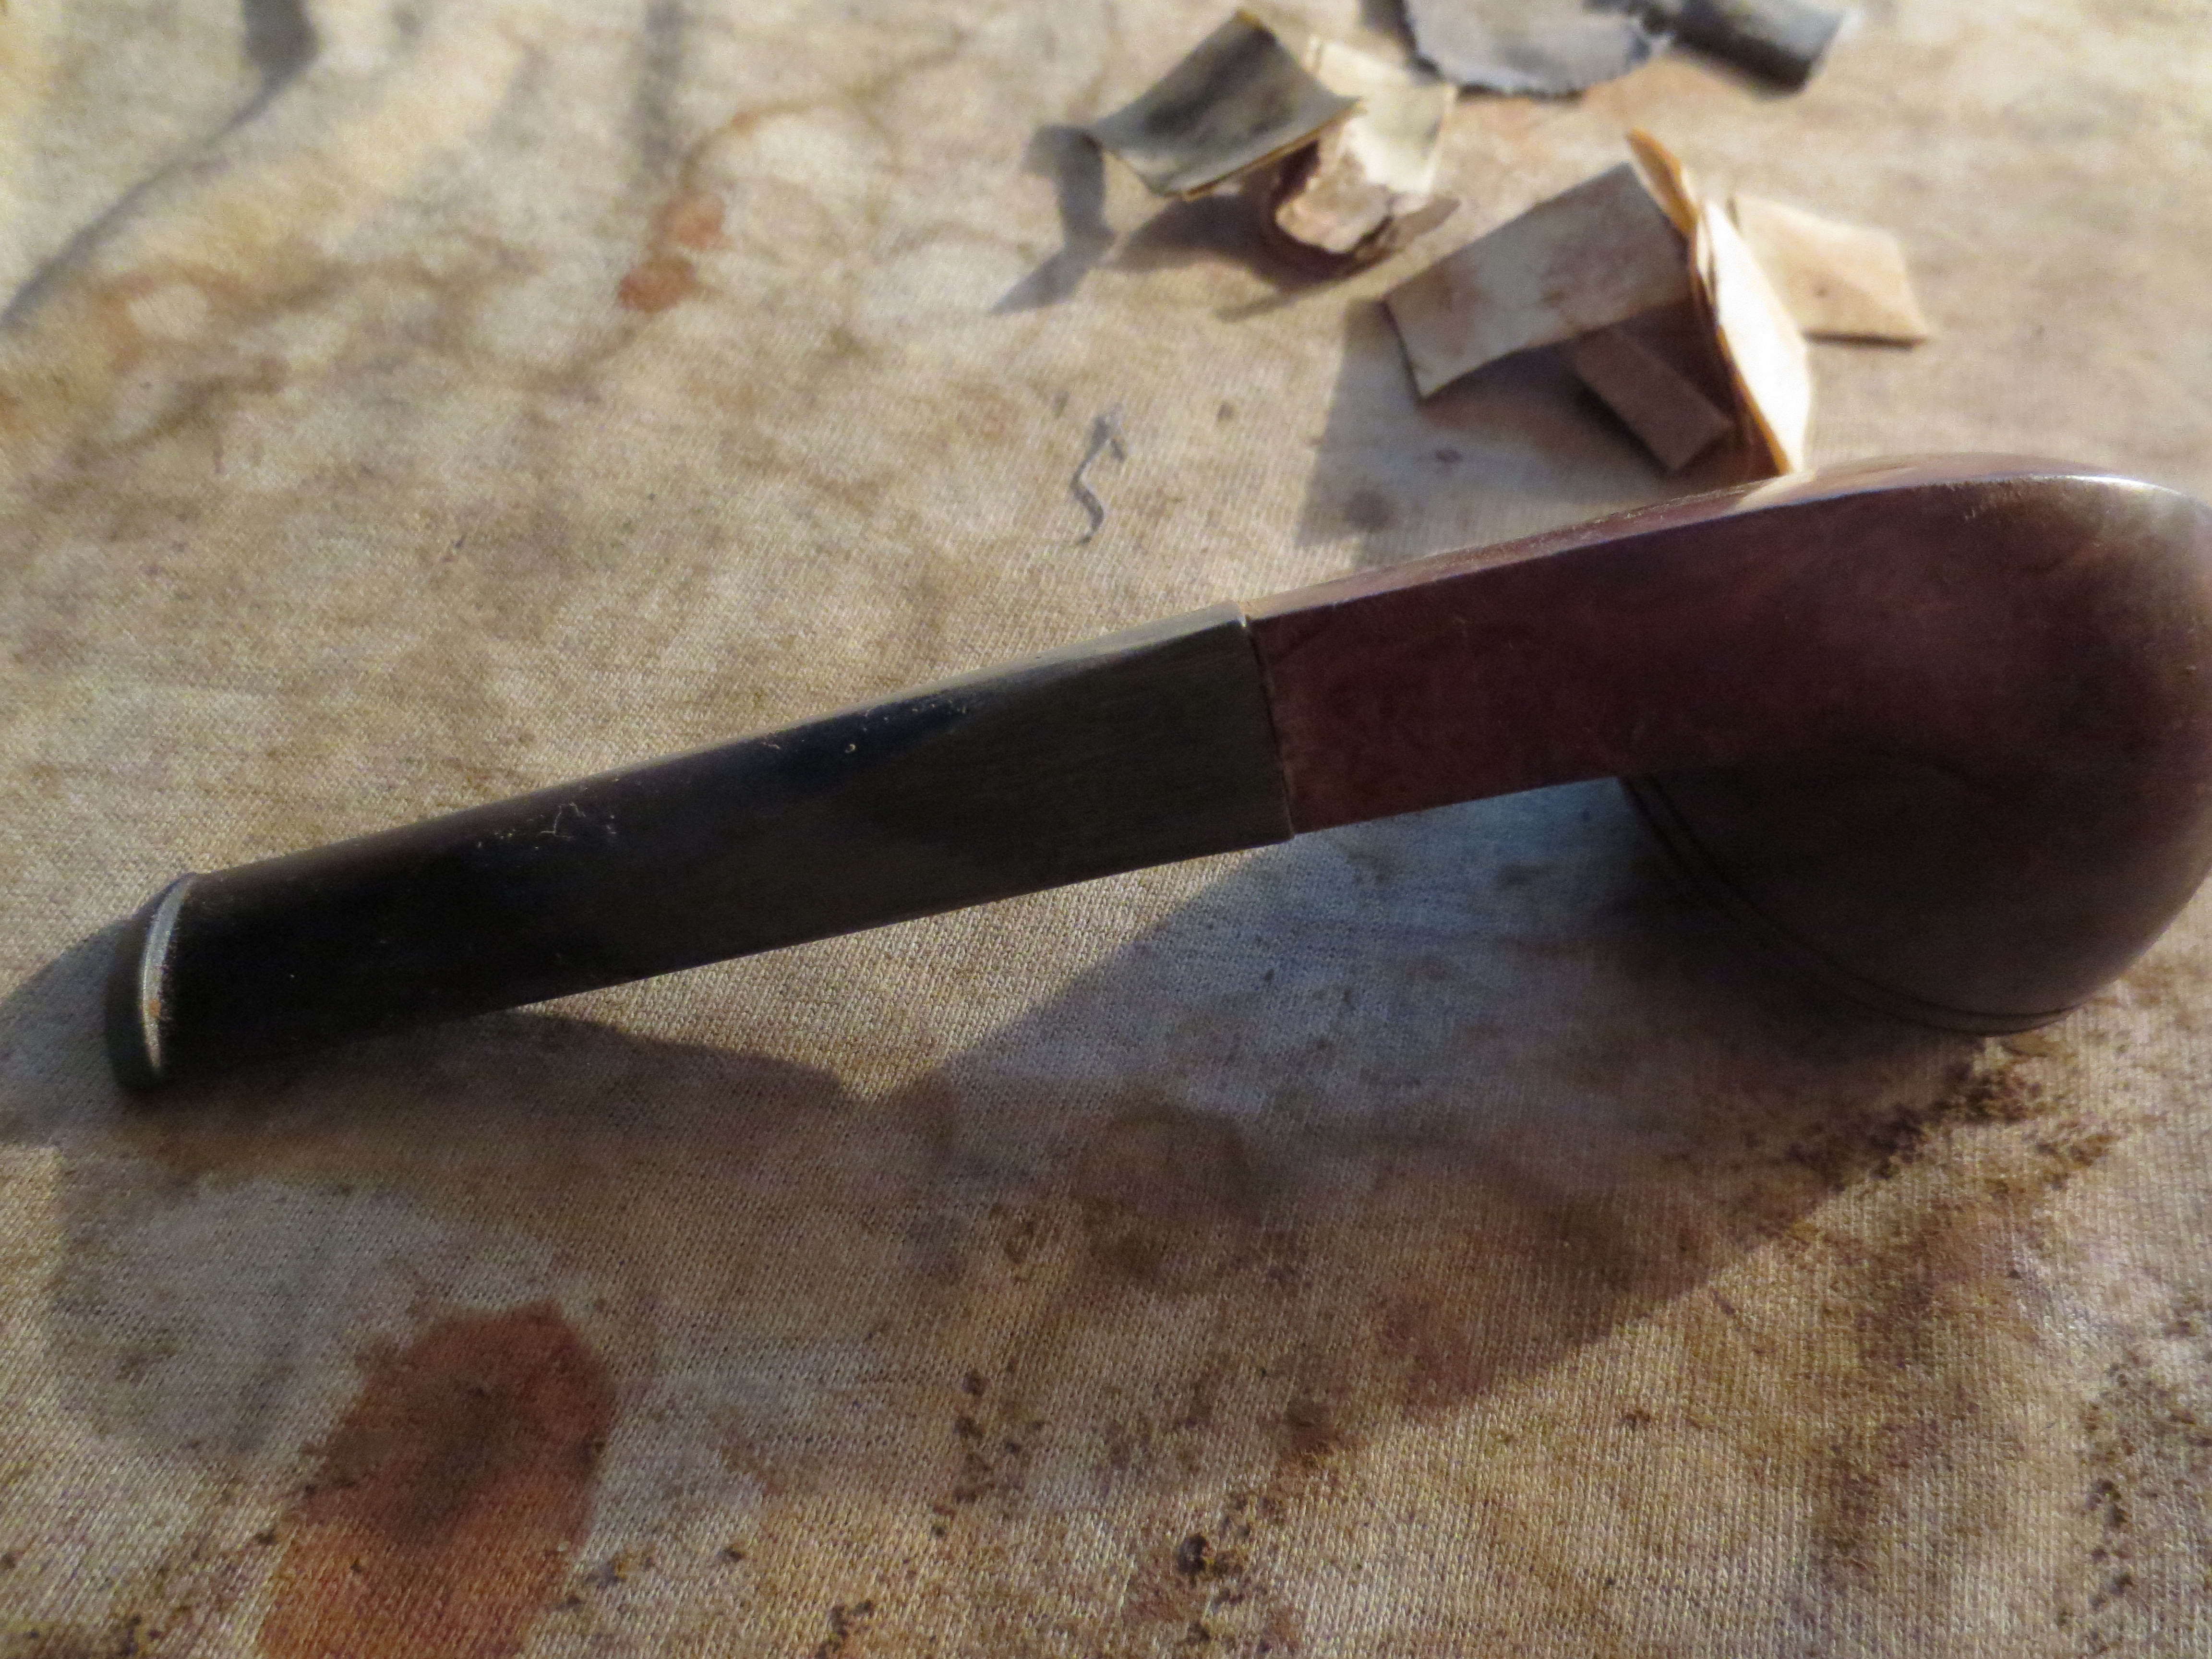
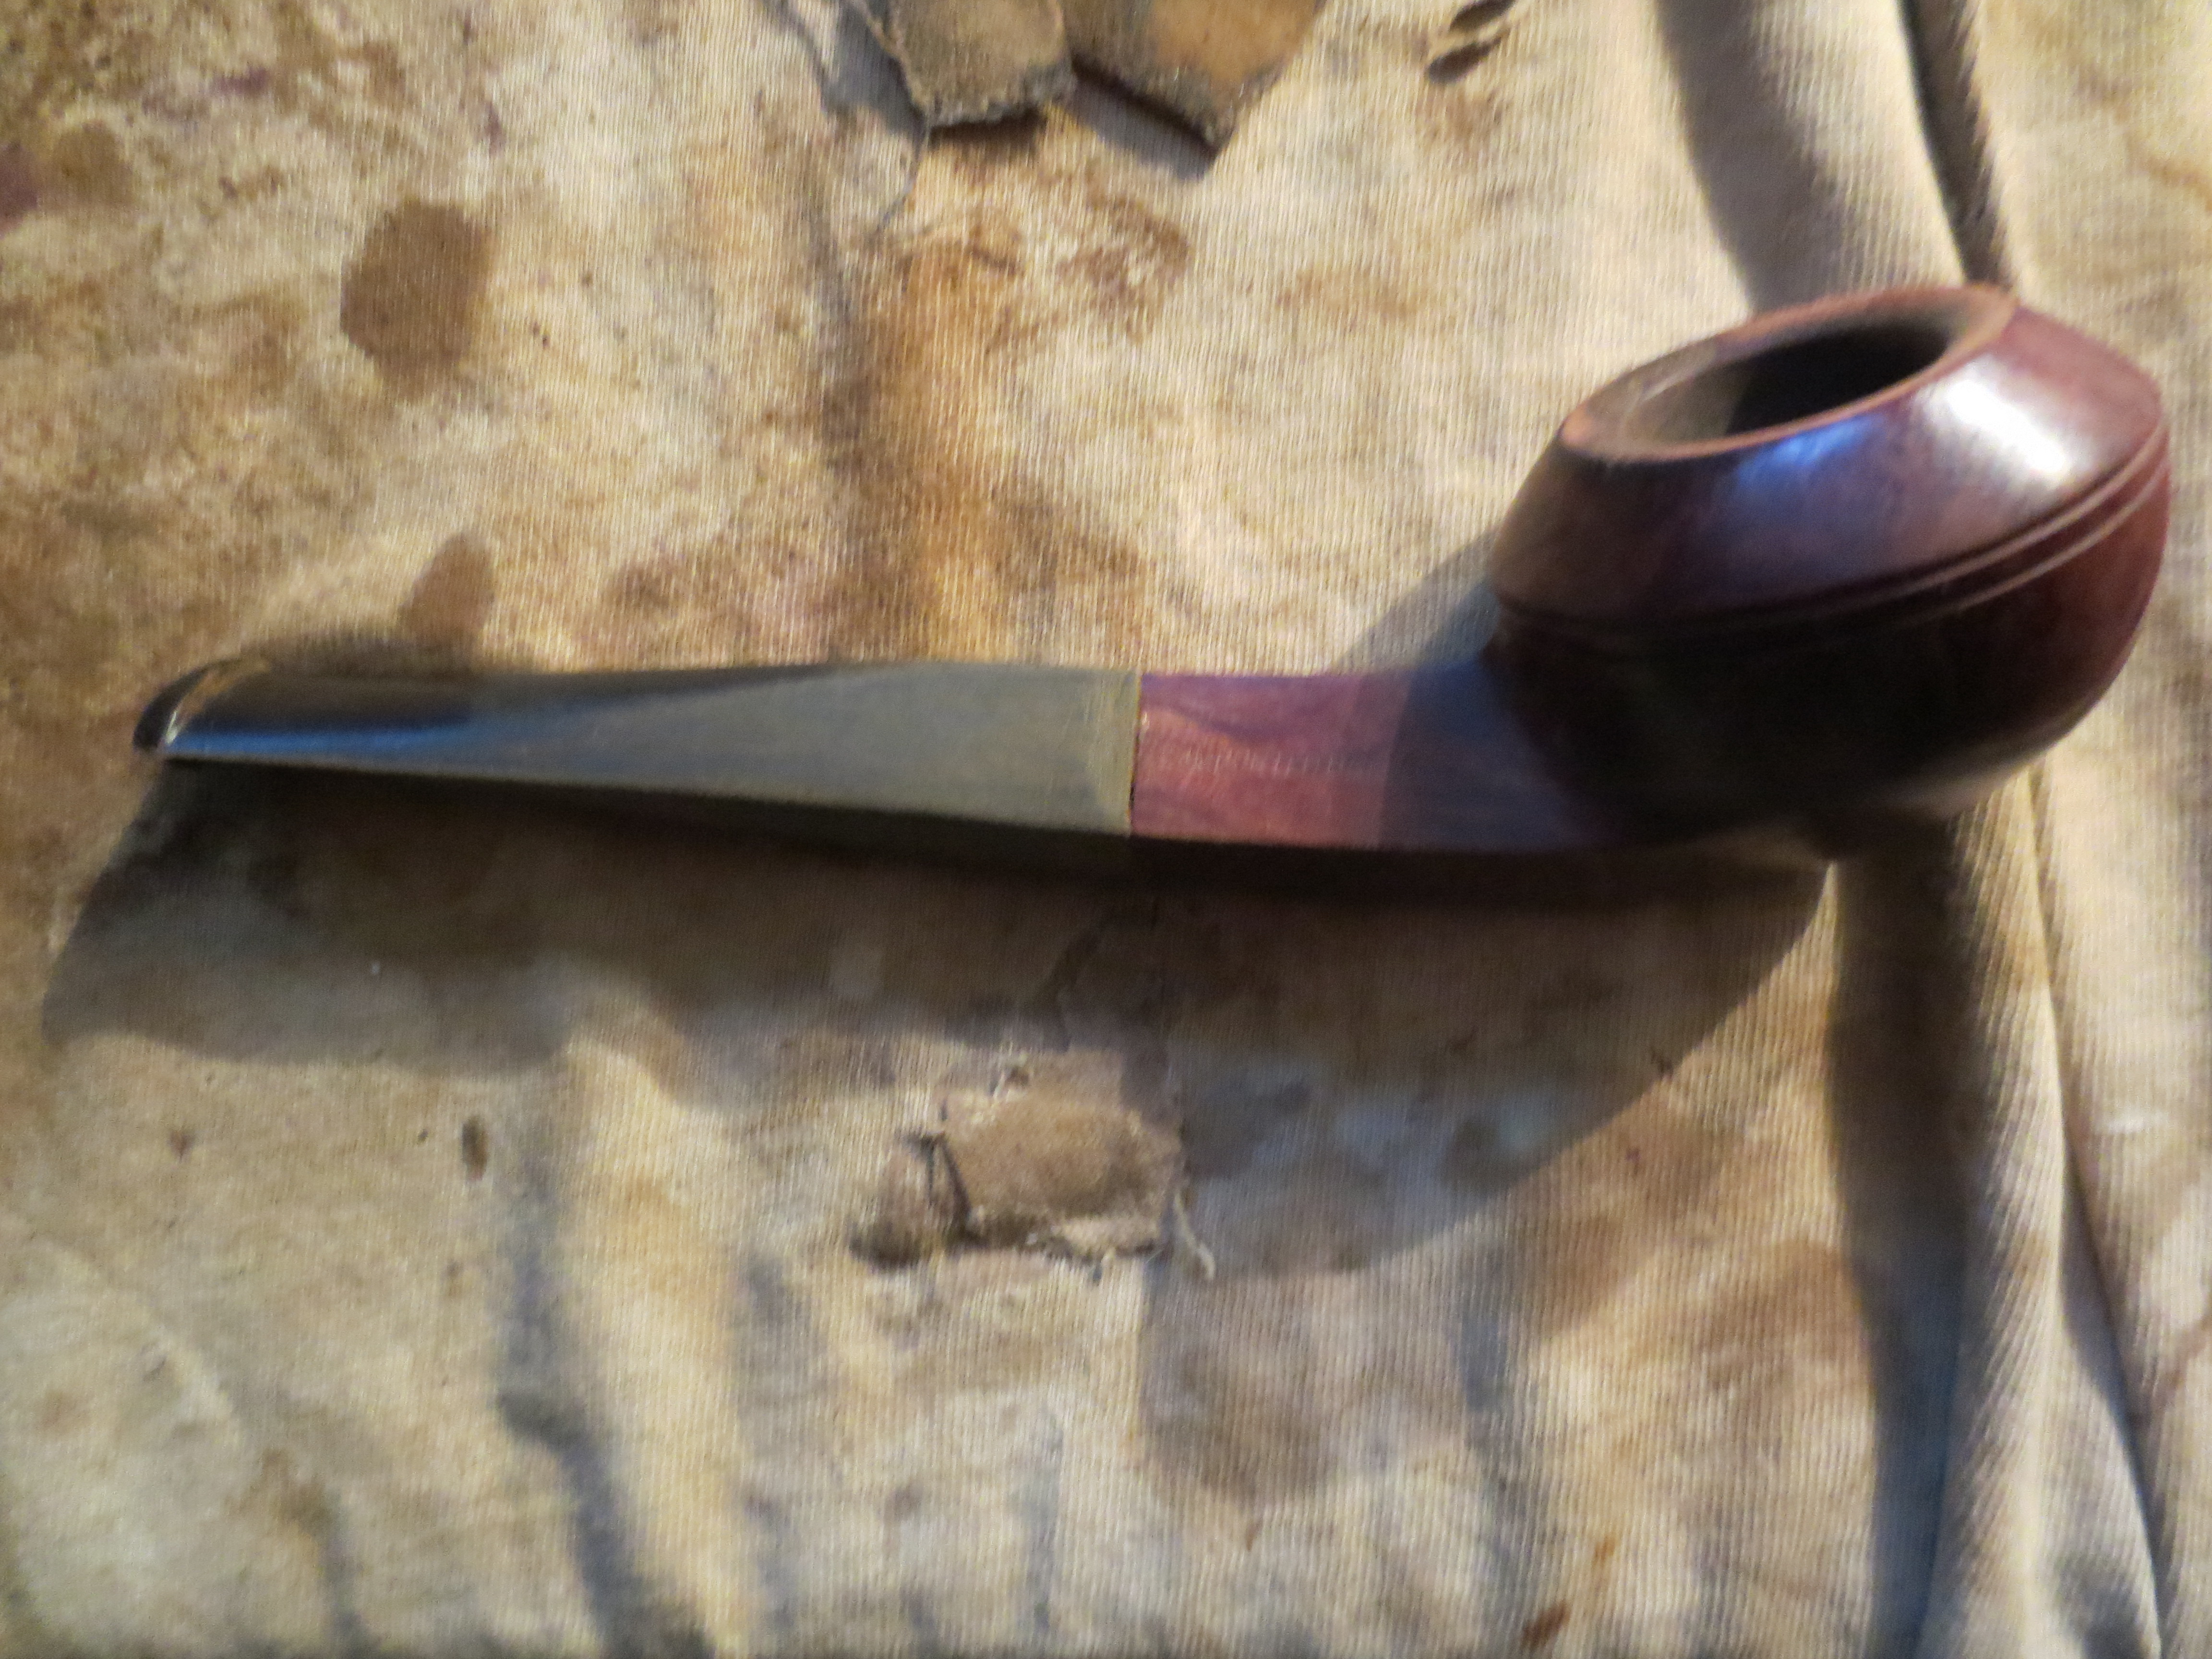
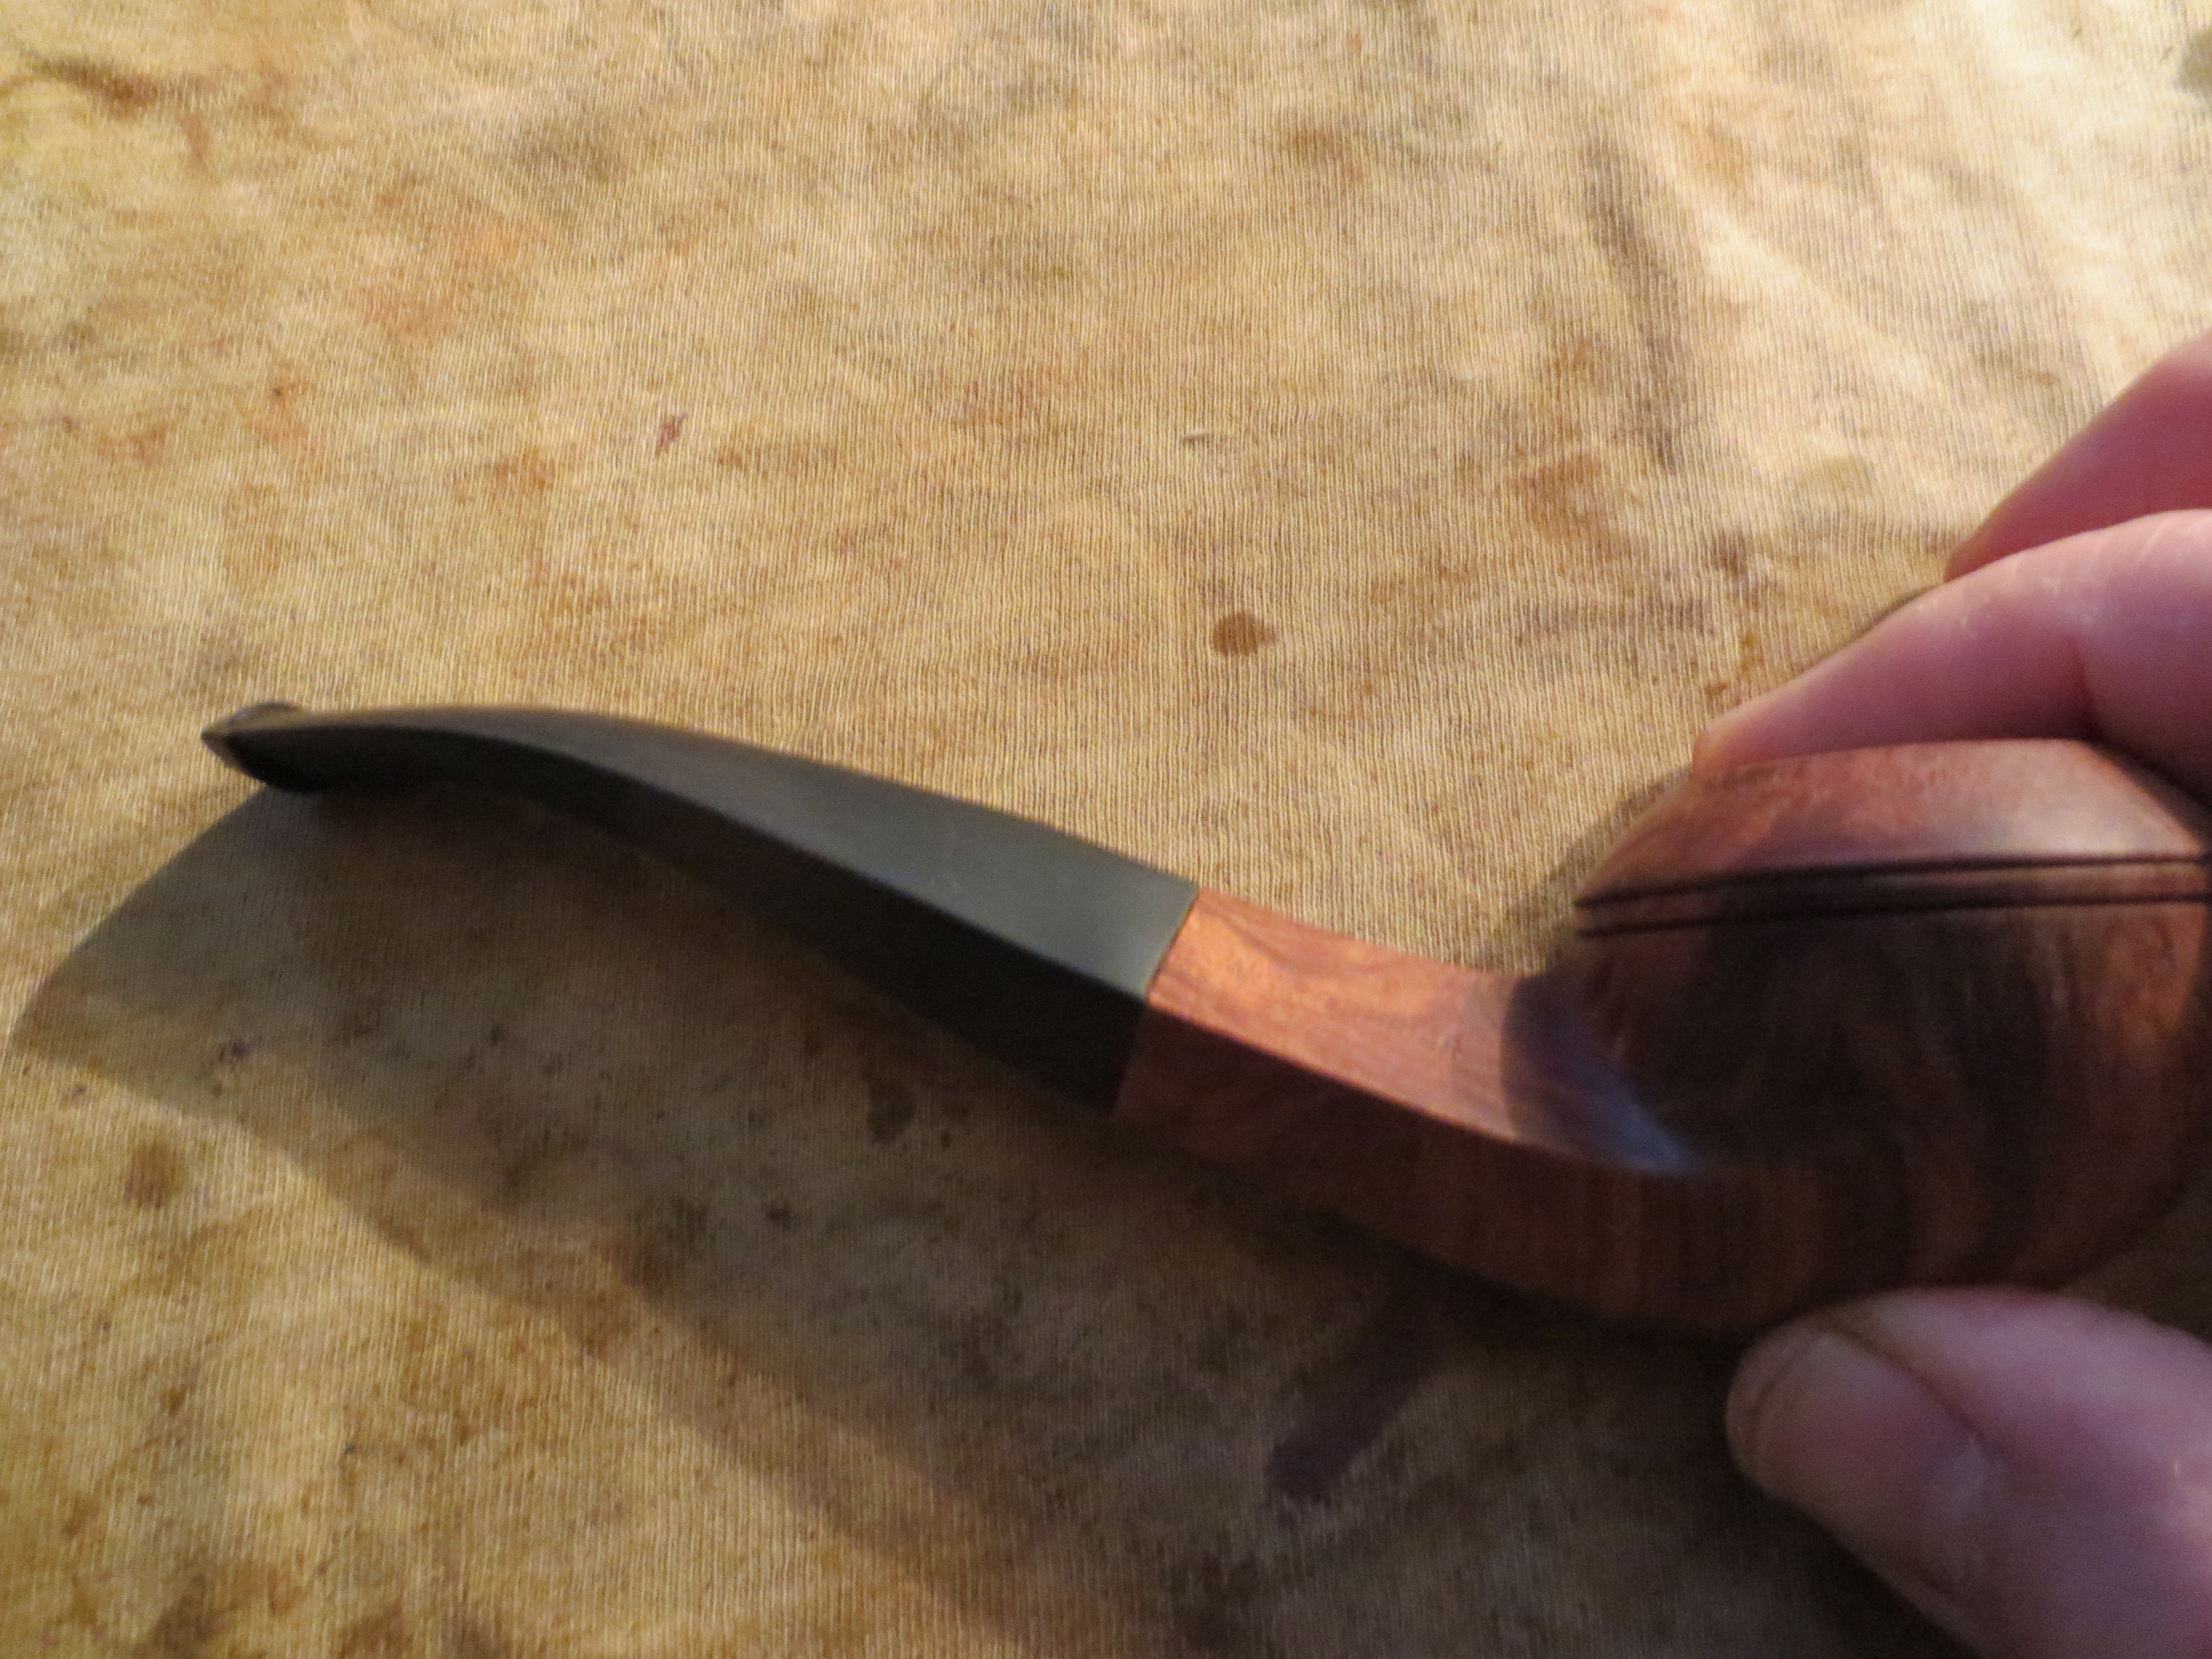
I chose a diamond shank tapered stem for the pipe. I had saddle stem galore and only two of these tapered stems. I love the look of a tapered stem on a bulldog so I decided to go with that one. It would not require too much of a bend in it so it would work well and look classy. I drilled out the airway to fit the pin on the Pimo Tenon Turning Tool and then turned the tenon to a close fit on the stem. I had to reduce the length of the new tenon as it was longer than the mortise on the pipe. I hand sanded the tenon to get a good clean fit on the shank and inserted it in place. Externally, it would need to be reduced on all sides to match the flow of the shank so there was work to do in fitting the stem.
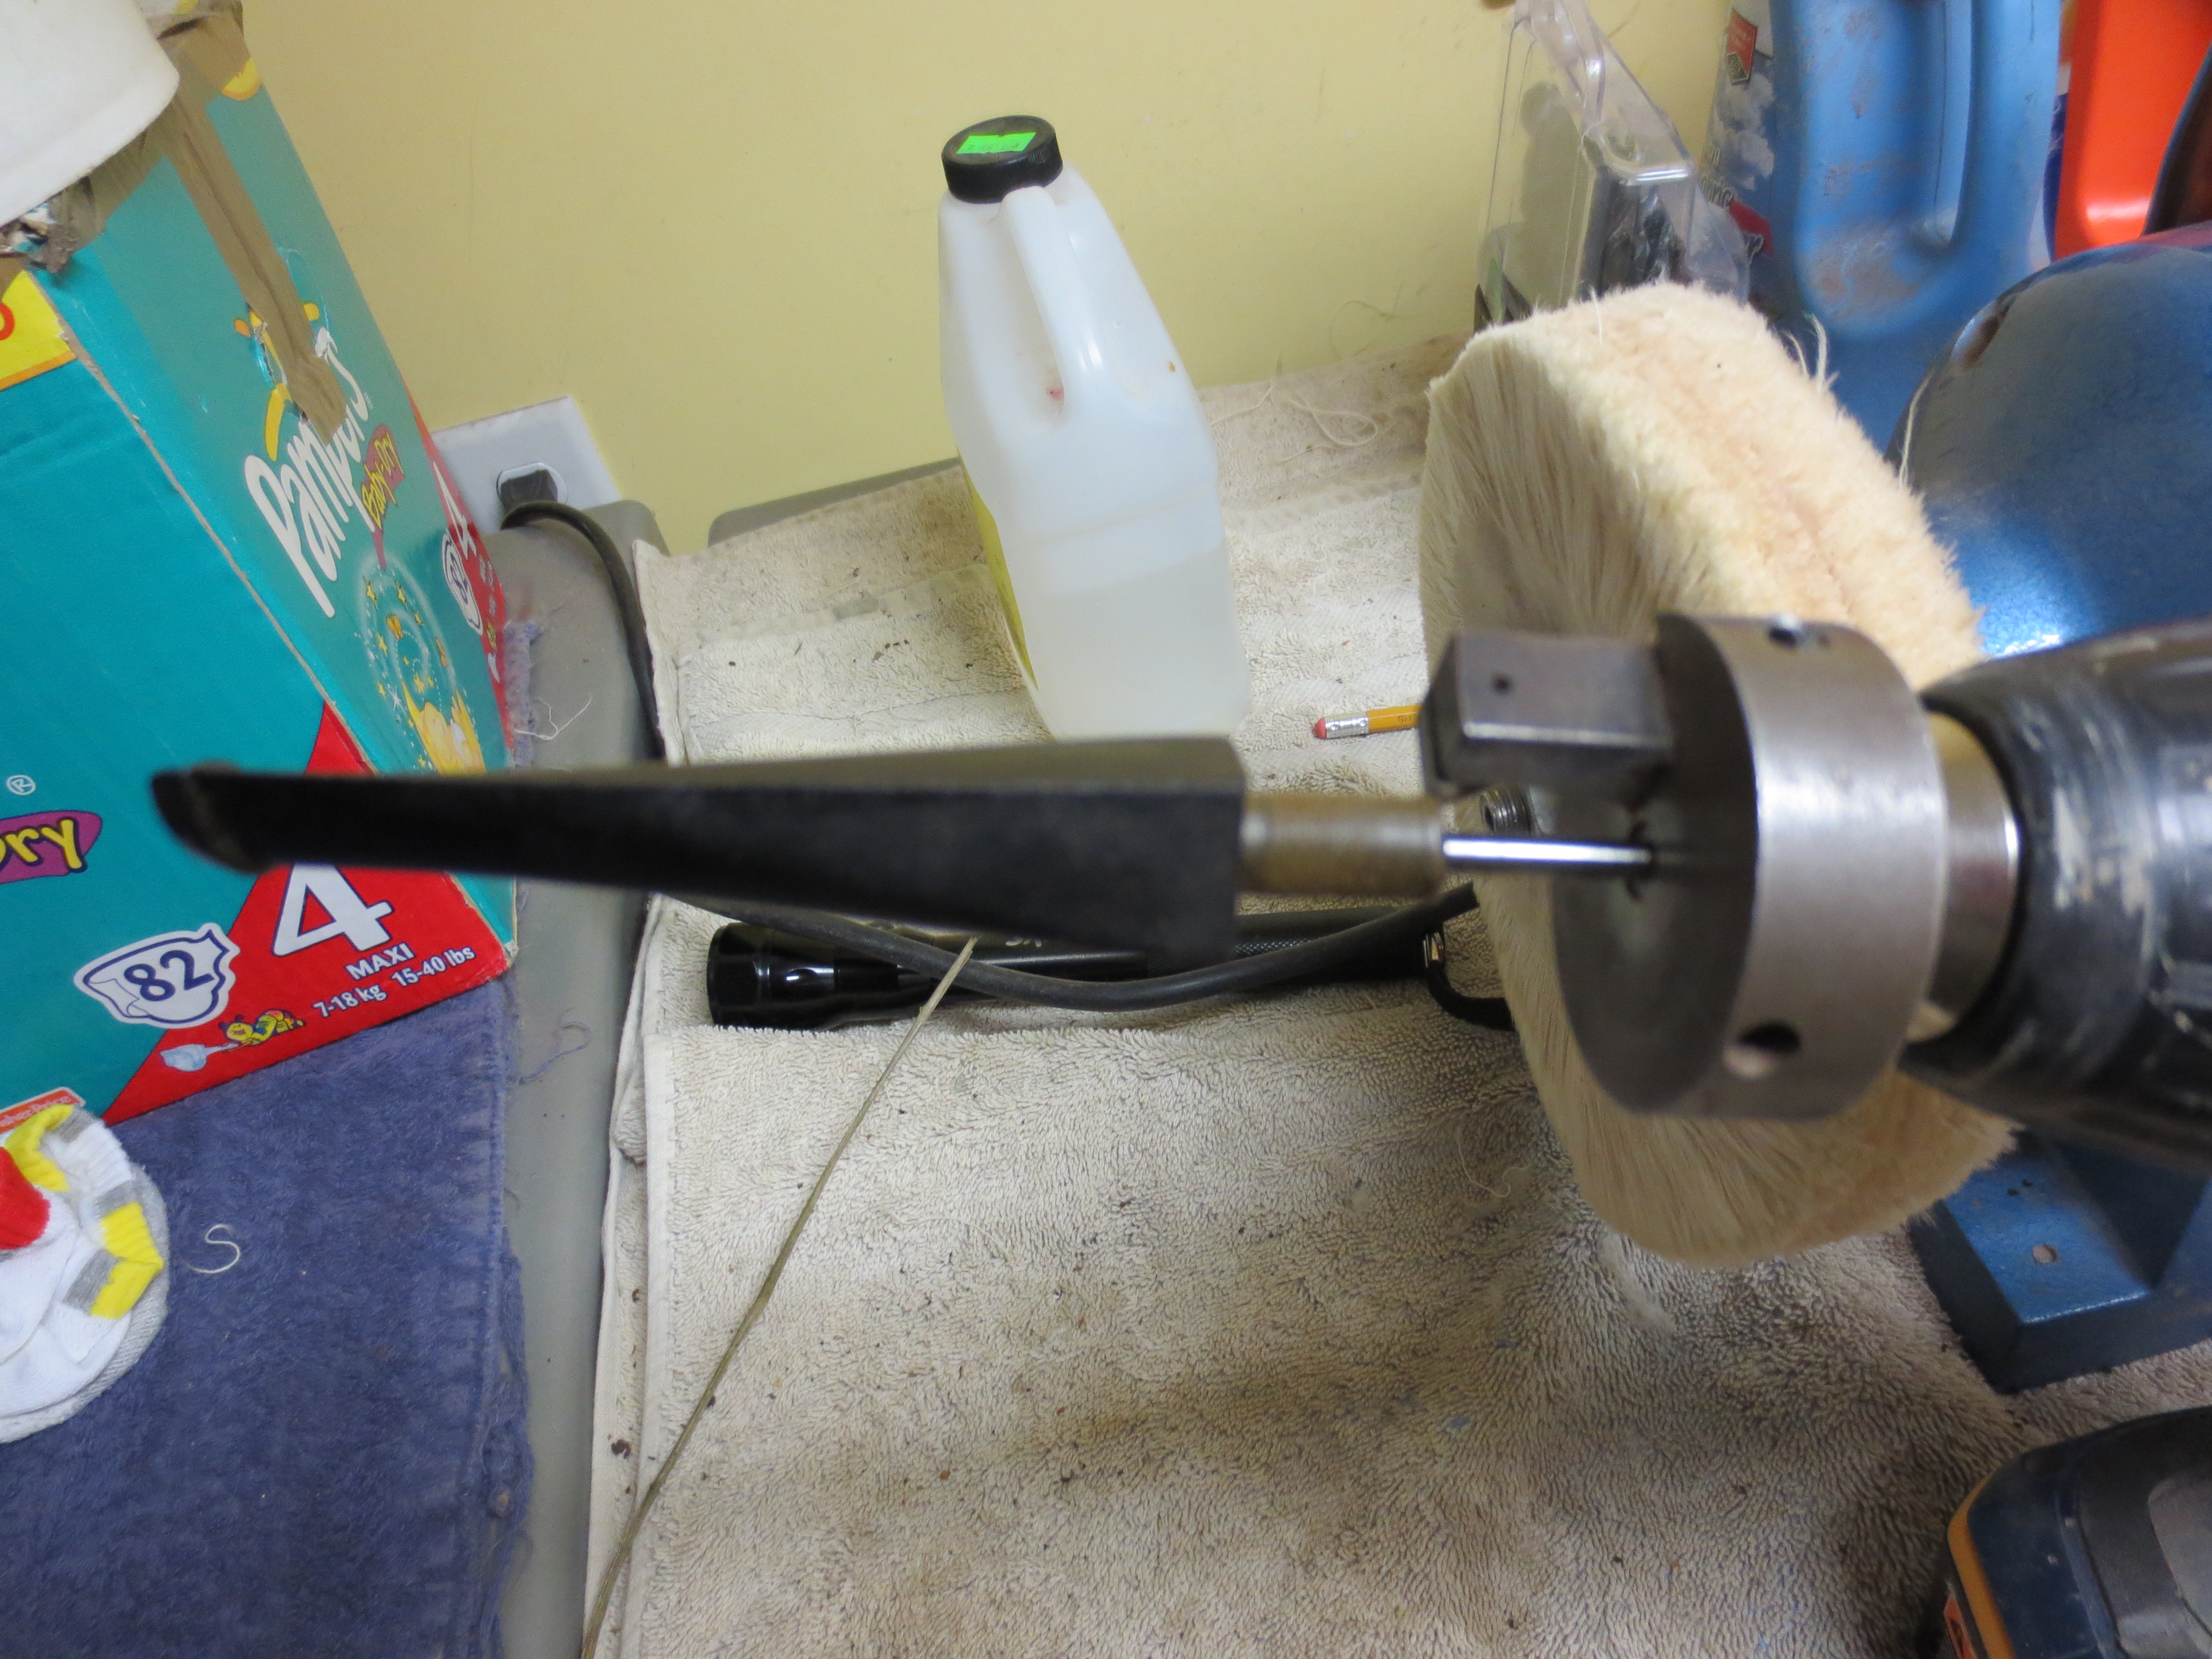
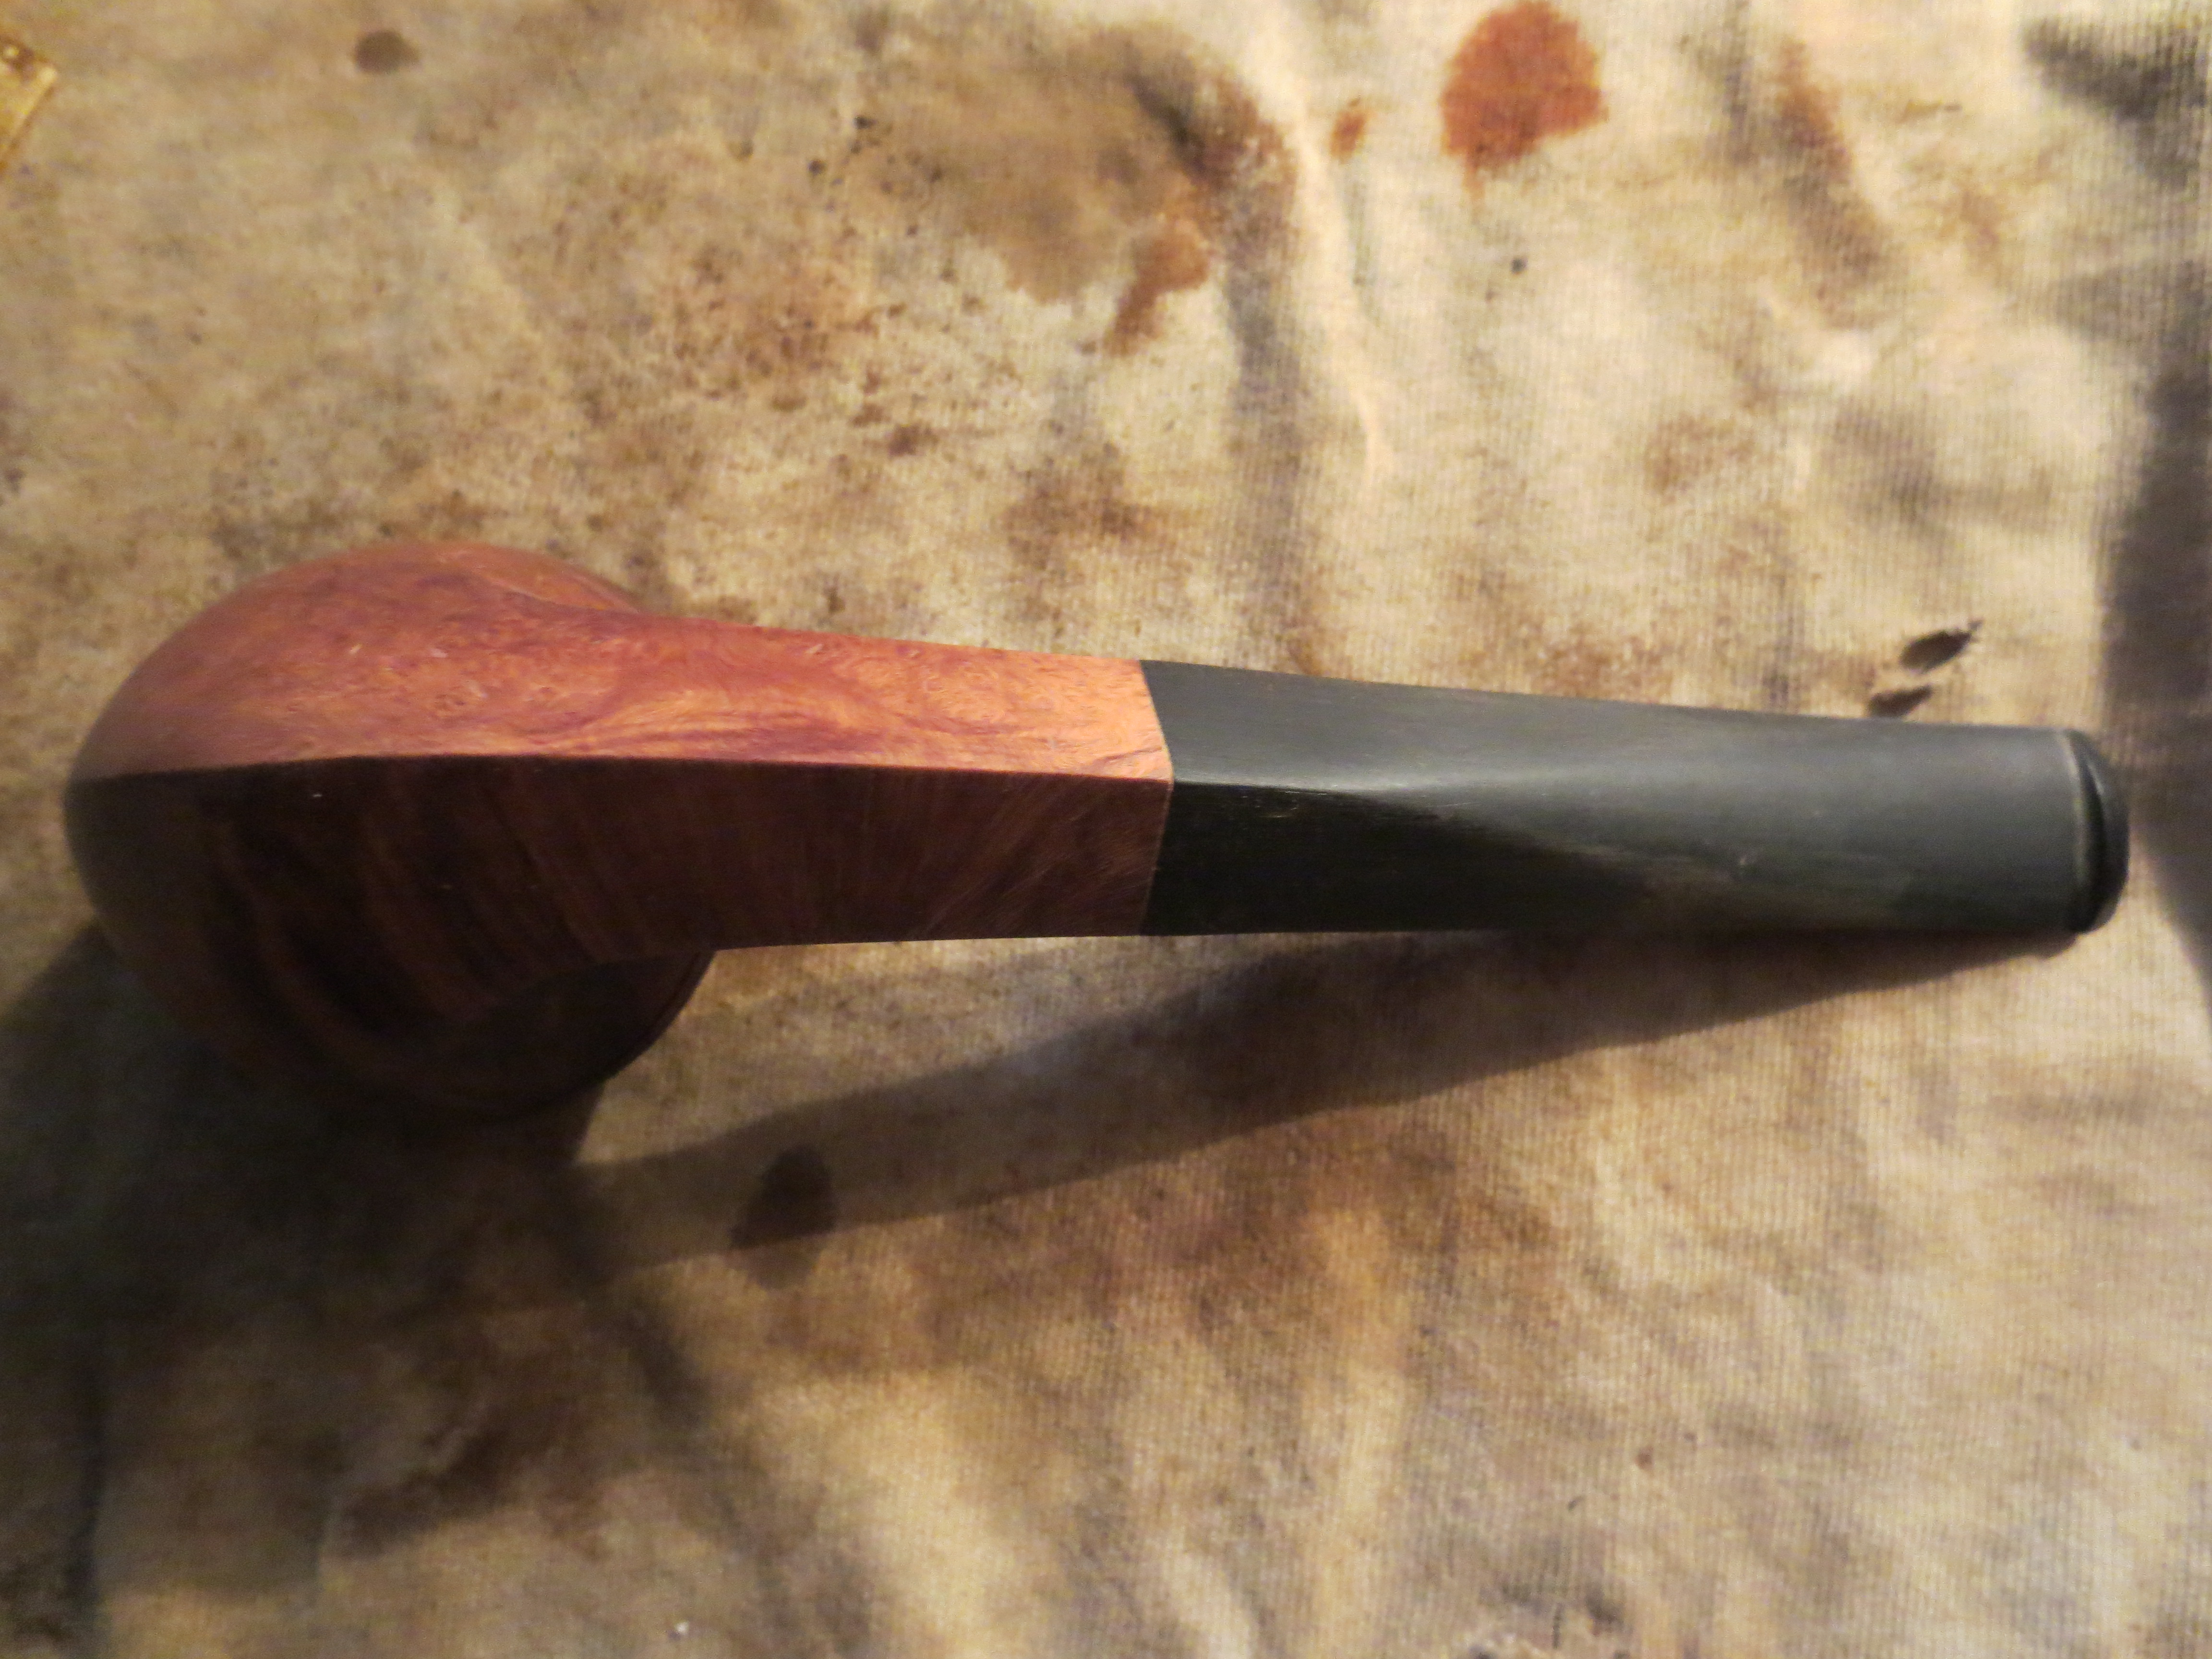
I used my Dremel with a sanding drum to bring the sides of the stem down to almost match the shank. This was a bit tricky in that I did not want to cause dips in the surface of the stem but reduce each side until it was a close fit to the shank. It takes a light touch on the sanding drum to keep it horizontal to the stem and also keep it from hitting the shank and doing damage to the briar. I held the bowl in hand and worked the sanding drum both vertically and horizontally to the stem to remove the excess vulcanite. I worked on one side at a time until the fit was close then turned the stem and did the next side. I began on the top side of the stem and worked both top sides before turning the stem over and doing the underside. The next three photos show the shaping done by the Dremel. After doing this initial work on the stem it was time to take to the table and do the rest by hand.
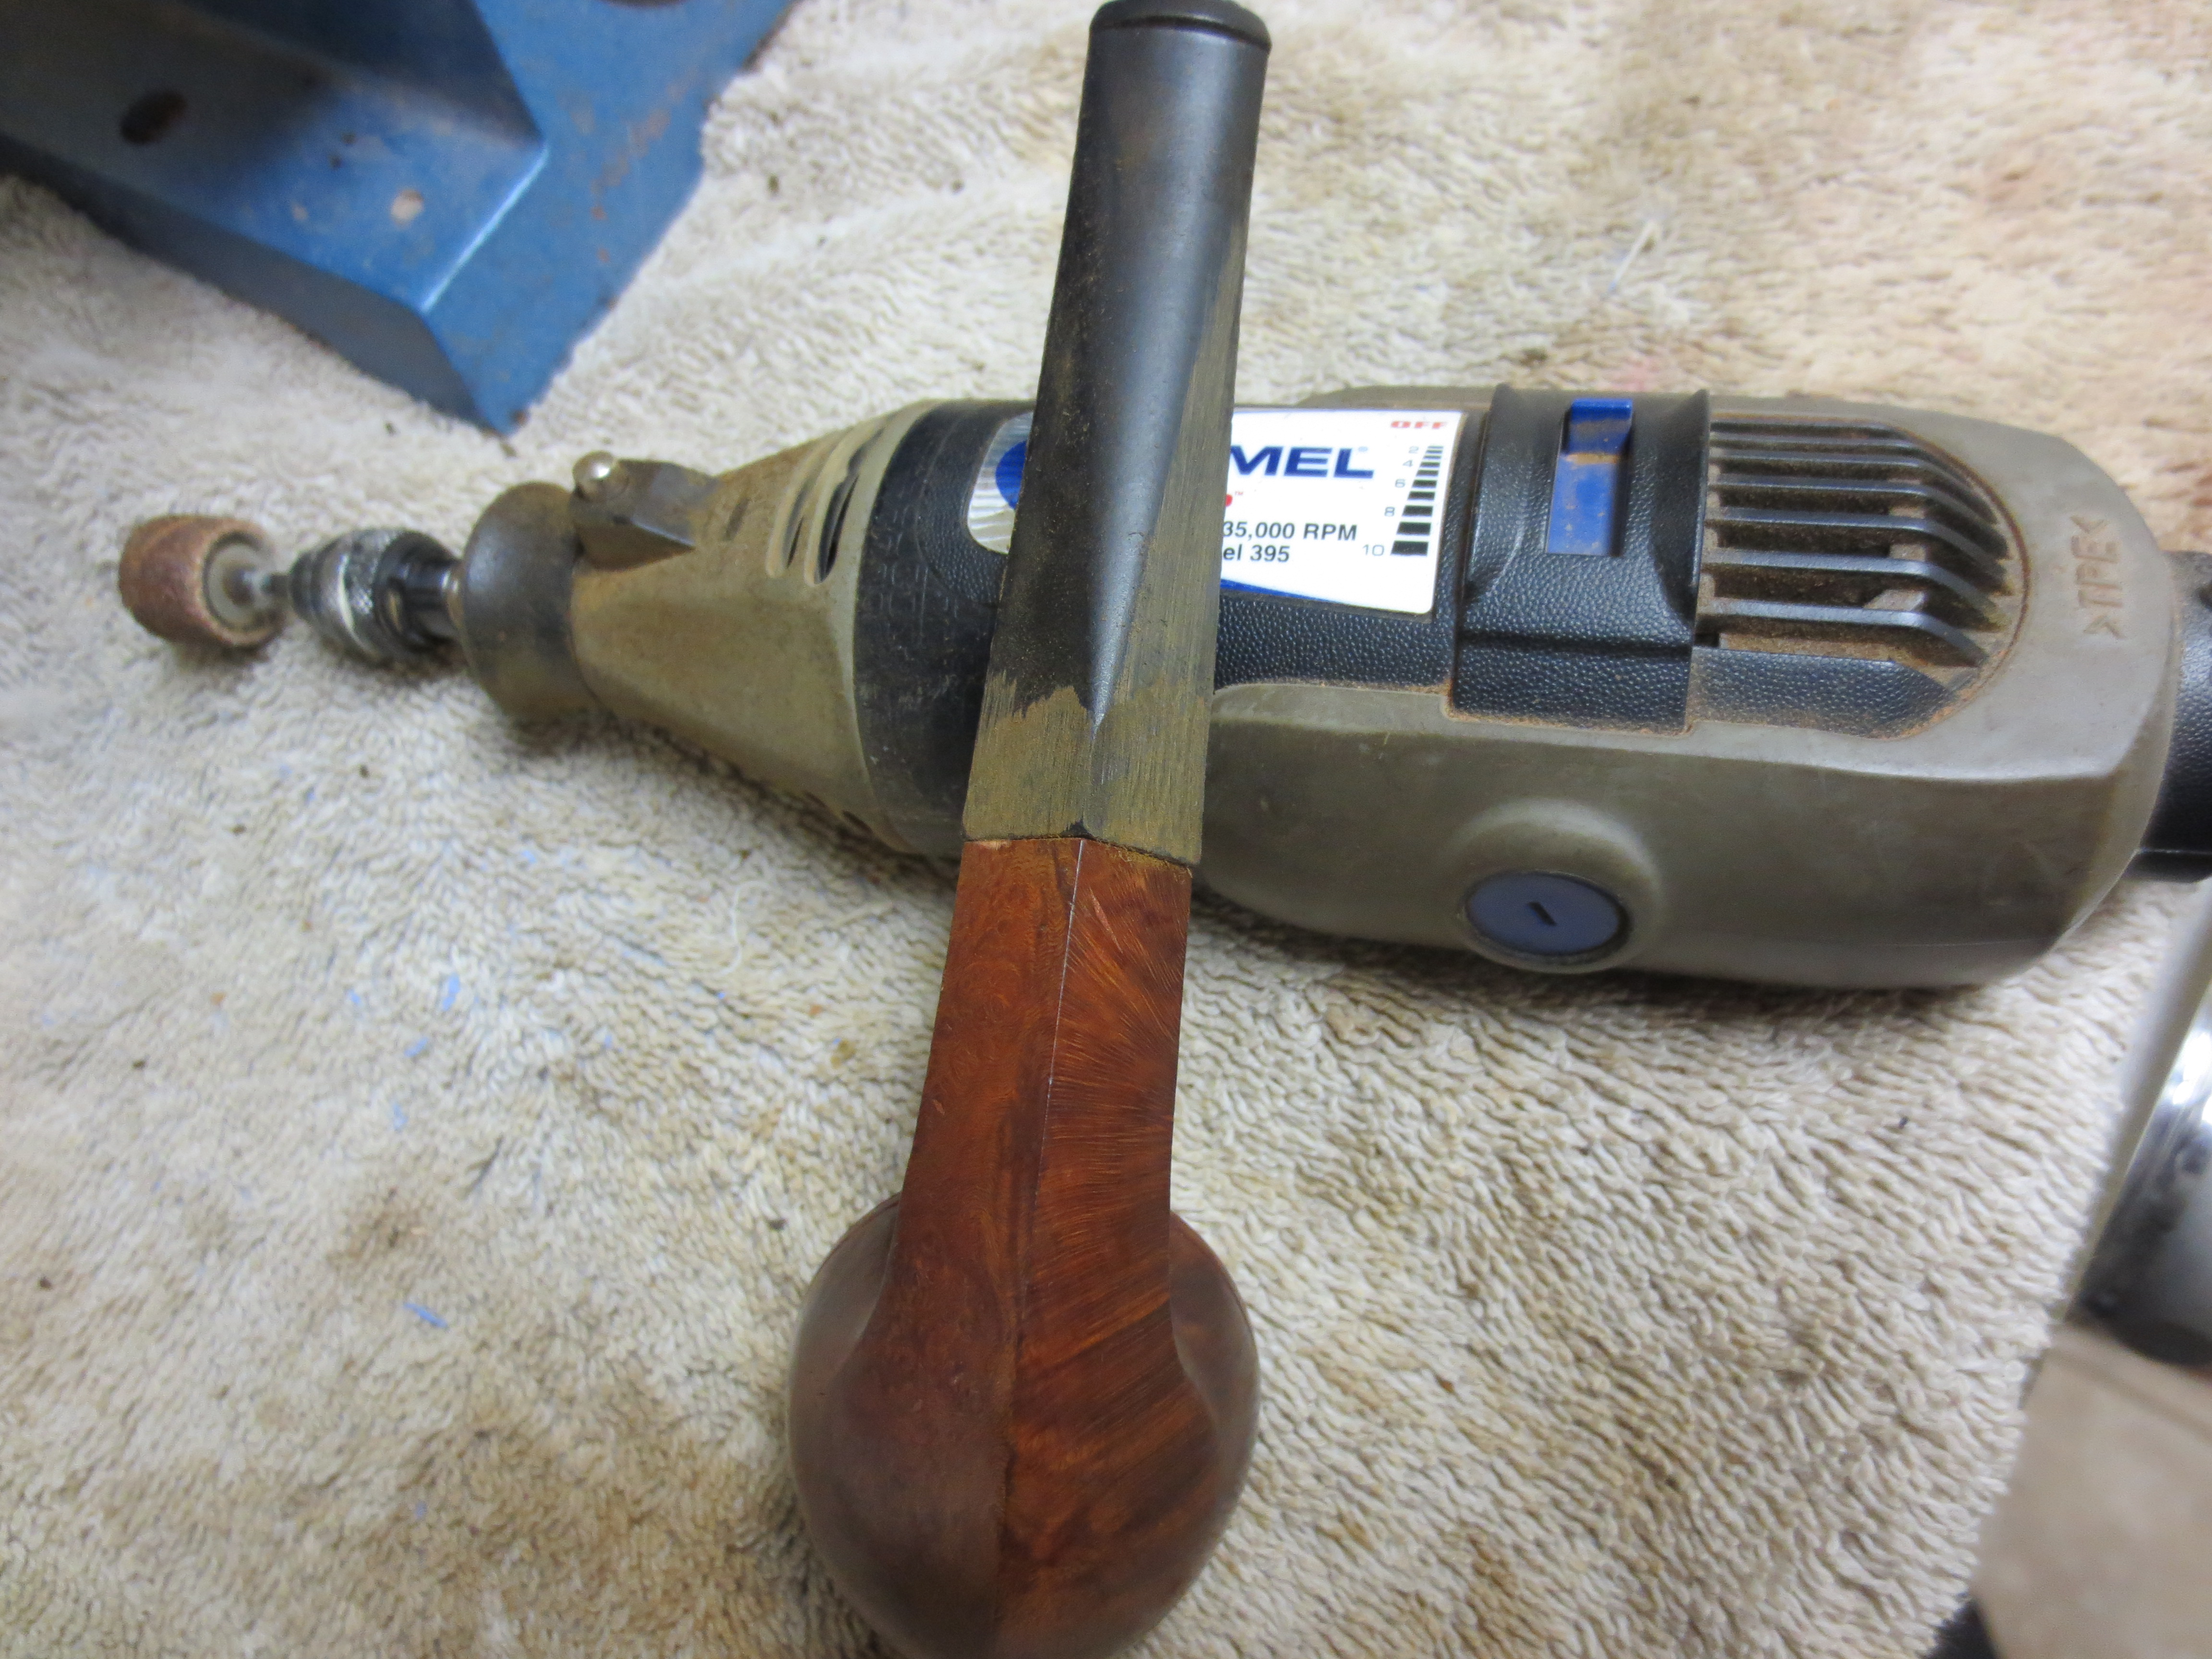
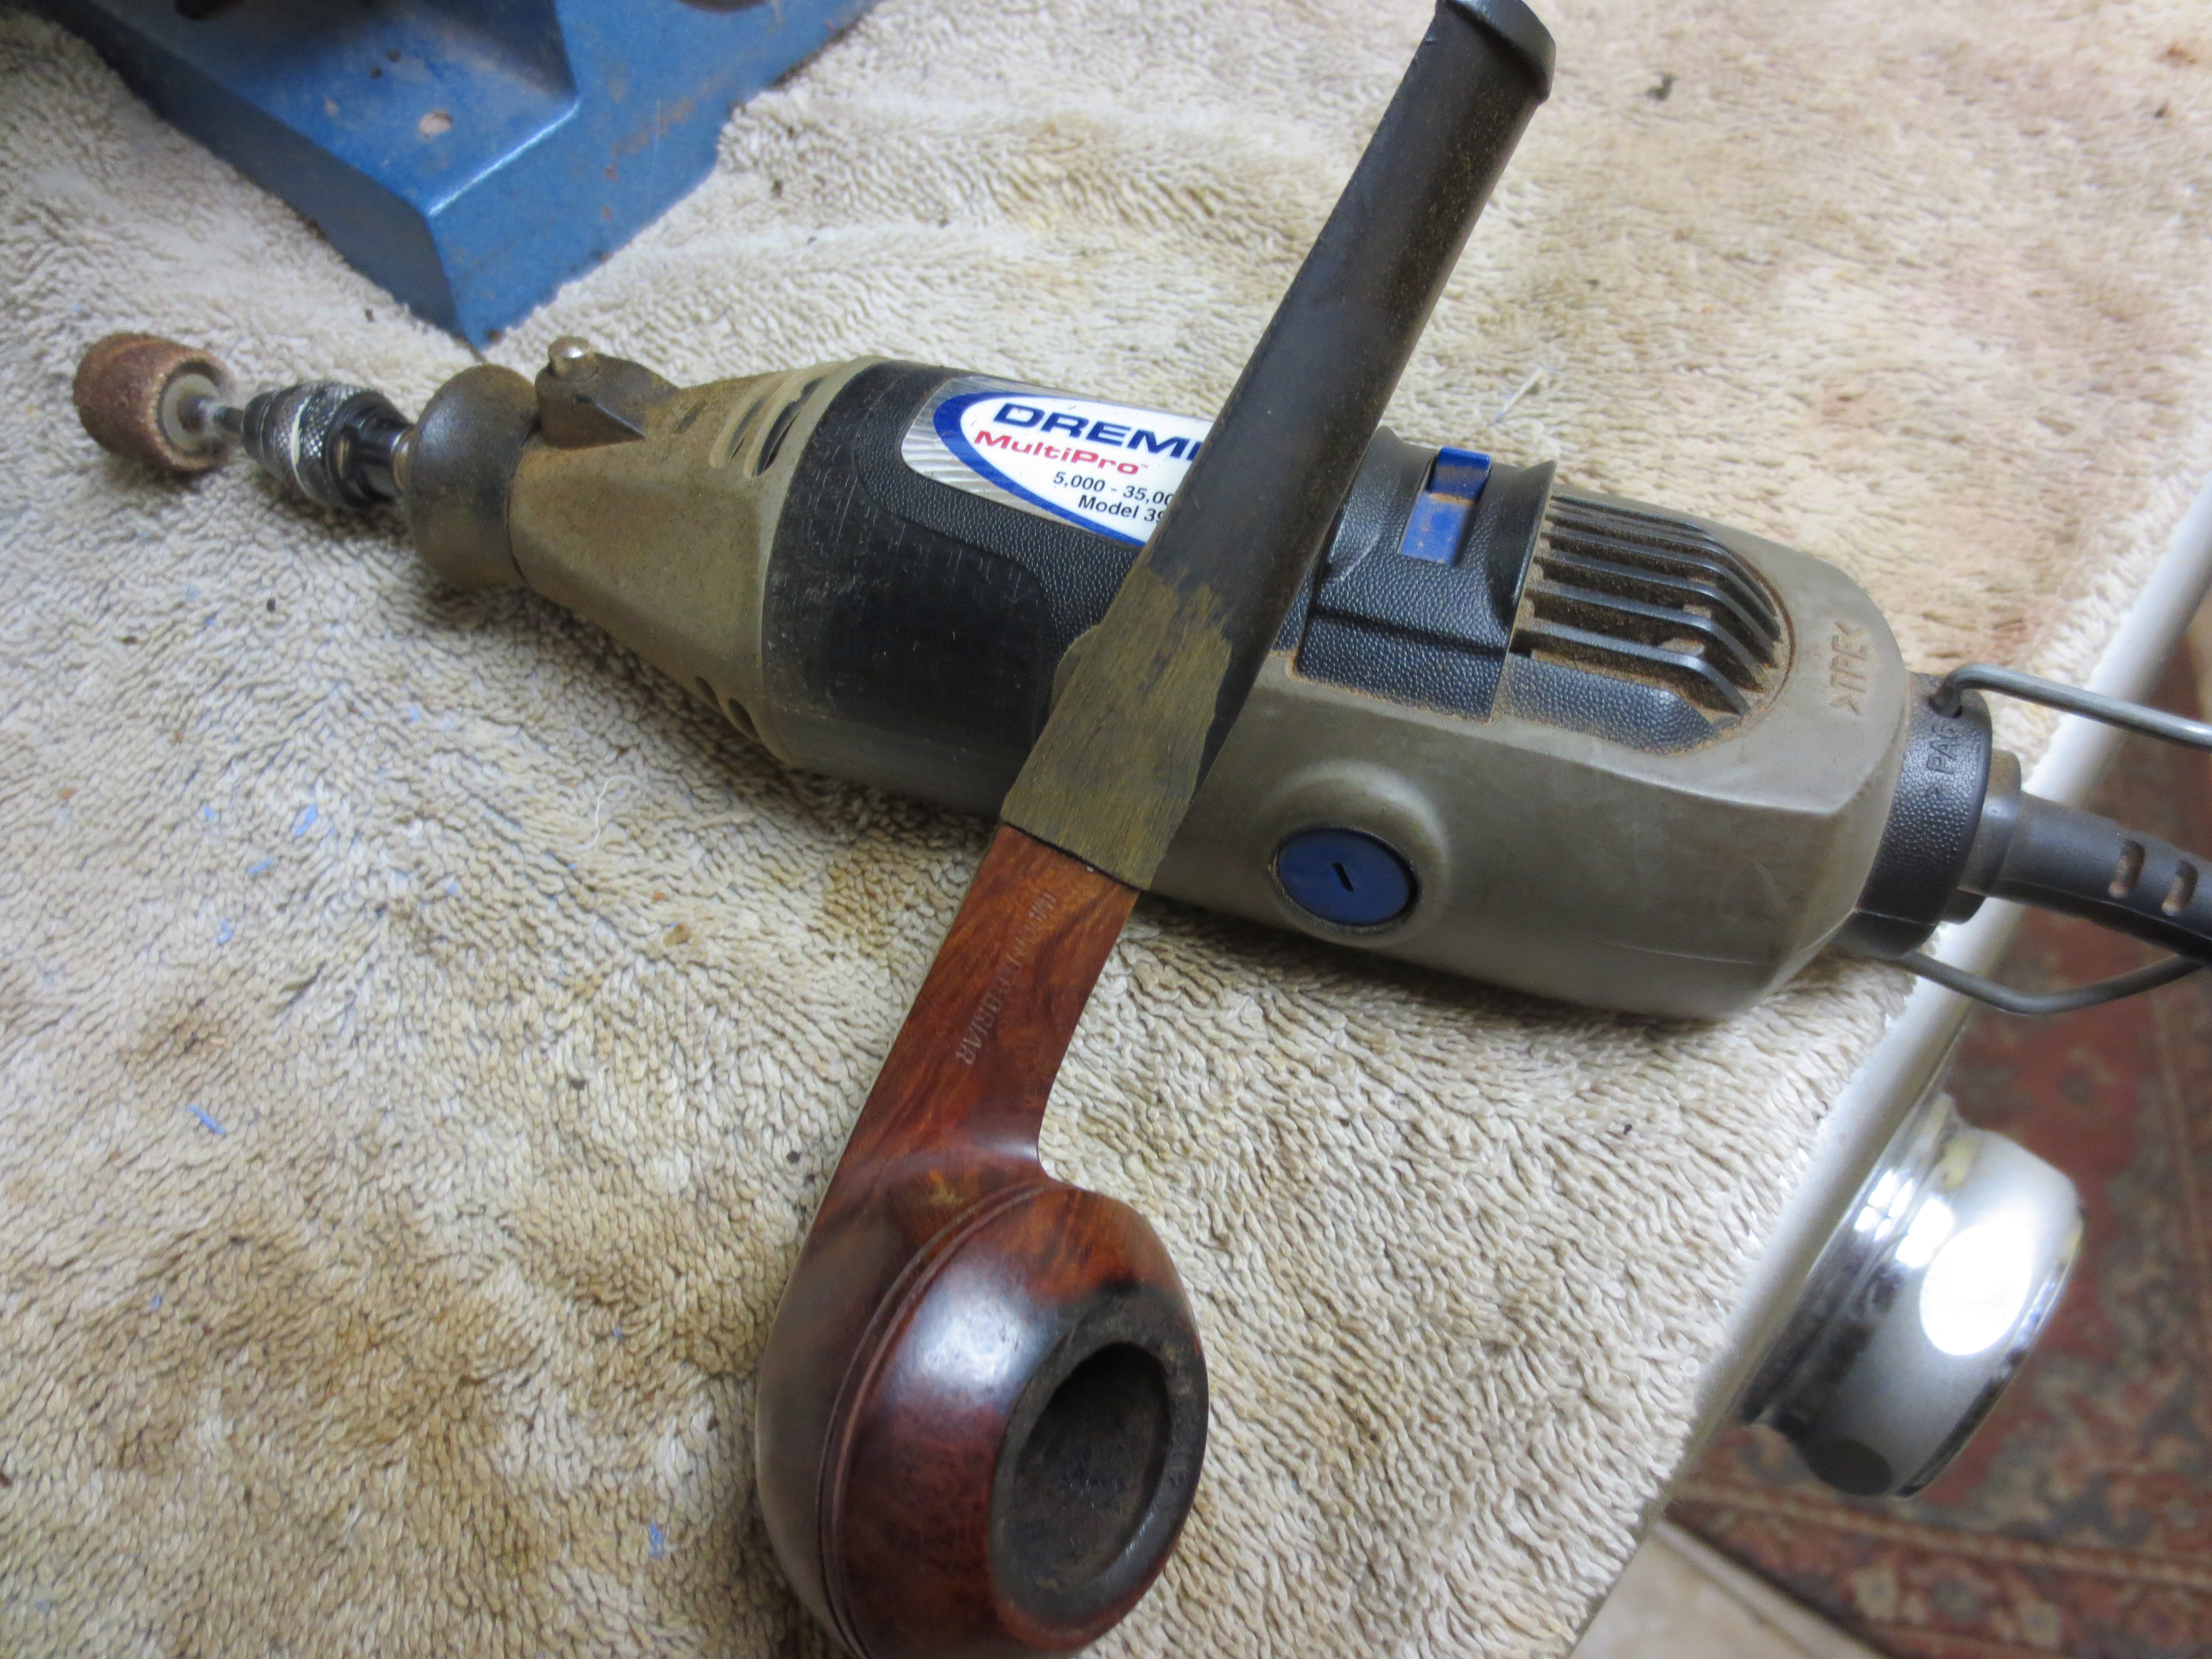
I began sanding with medium grit emery paper to remove the deep scratches left by the Dremel and to even out the surfaces of the stem. I sanded each side until they were smooth. I also sanded the peak of the stem on each side to make sure the peak matched the one on the shank of the pipe. The next seven photos show the progress of evening out the stem sides. When I finished with the emery paper I would go on to use various other grades of sandpaper and continue the process.
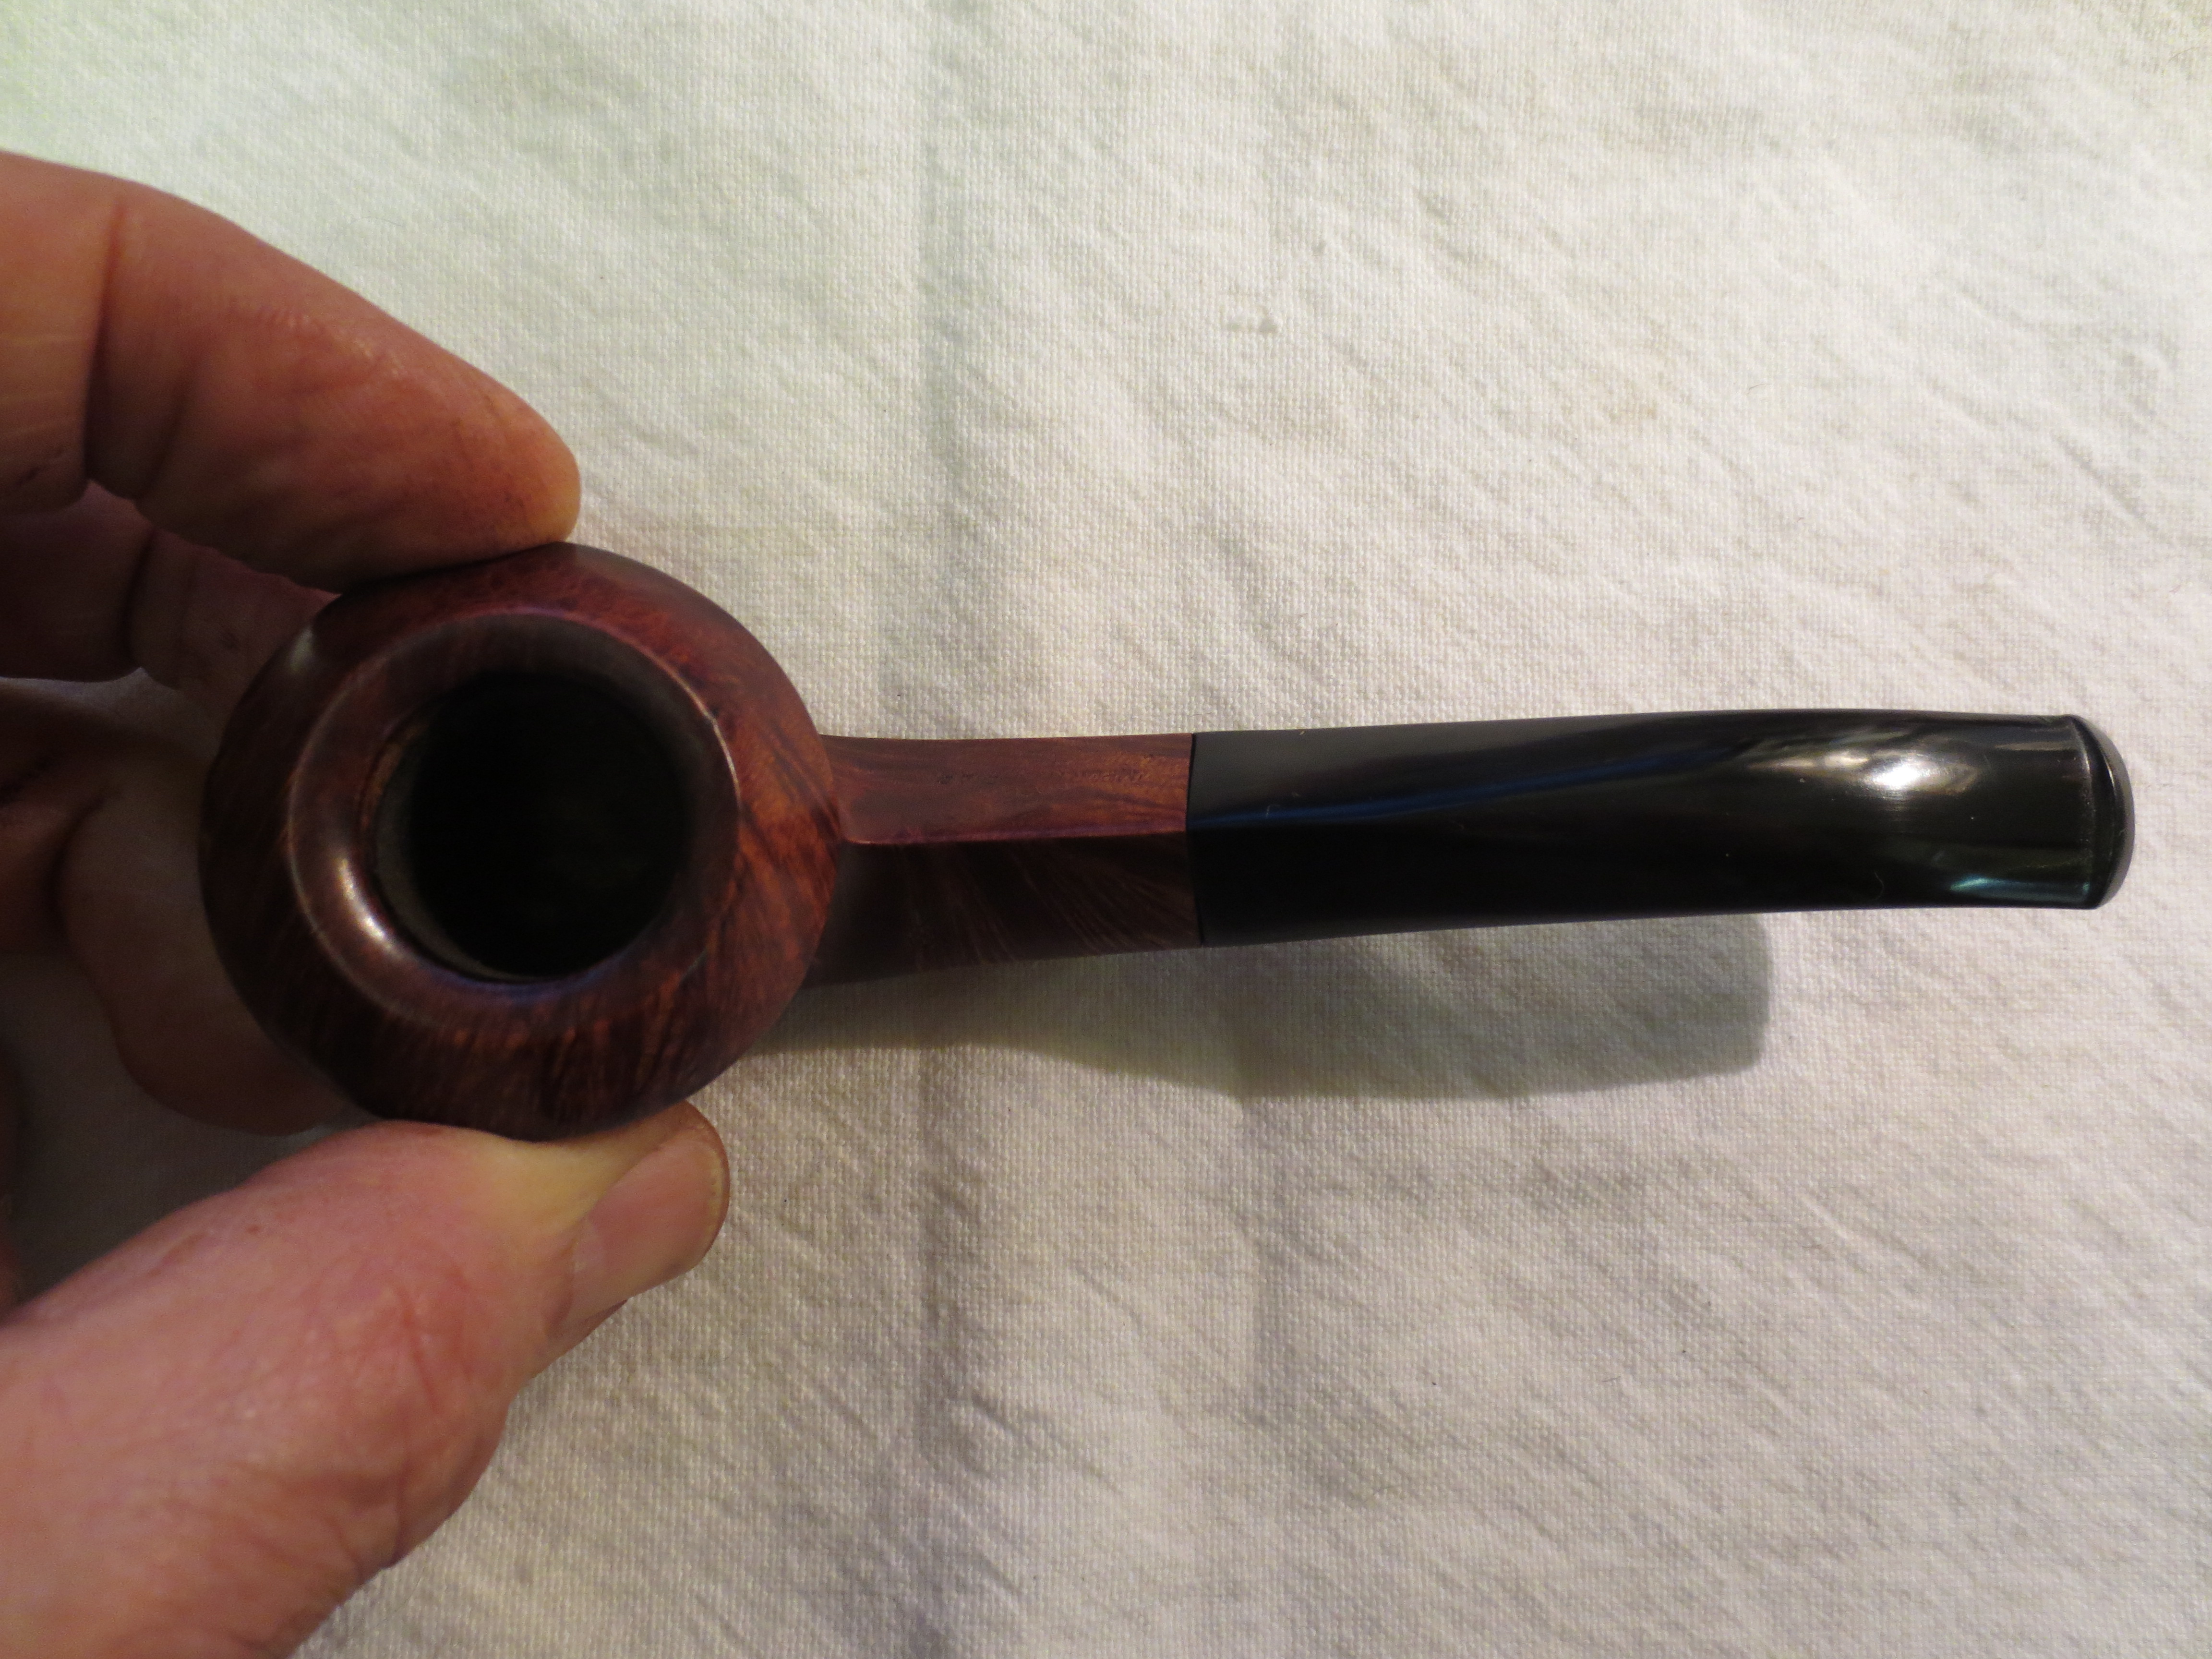
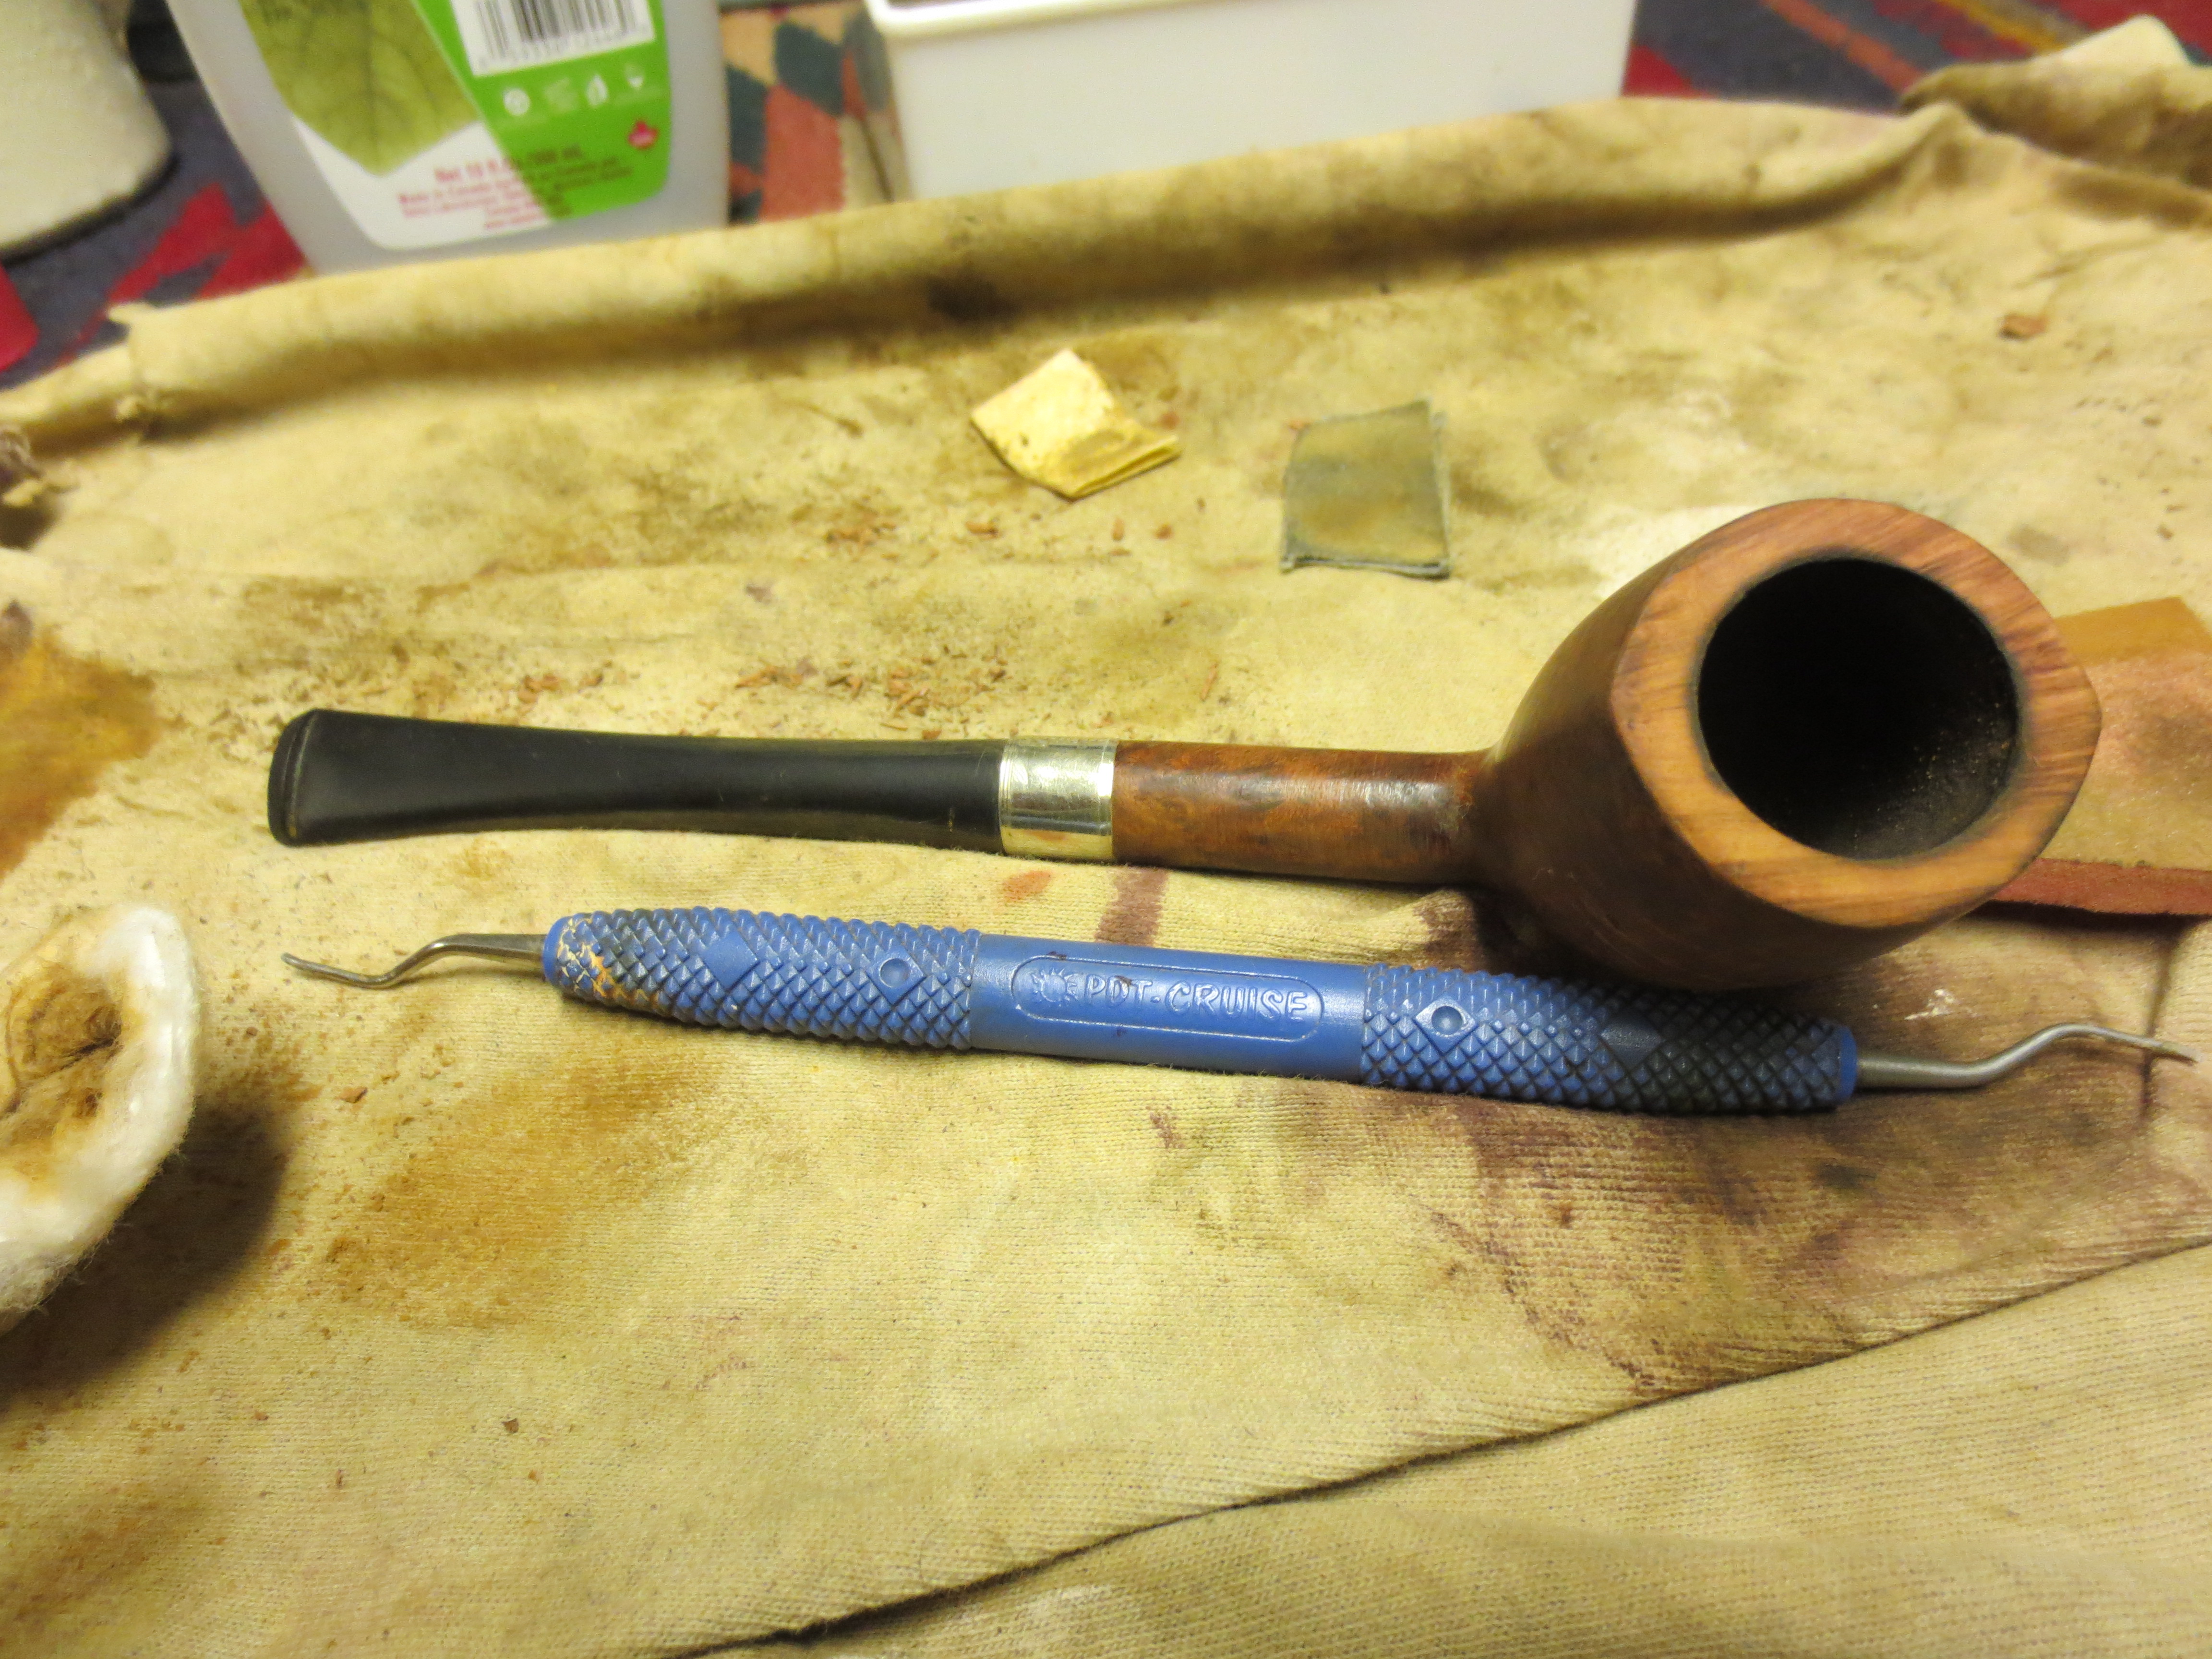
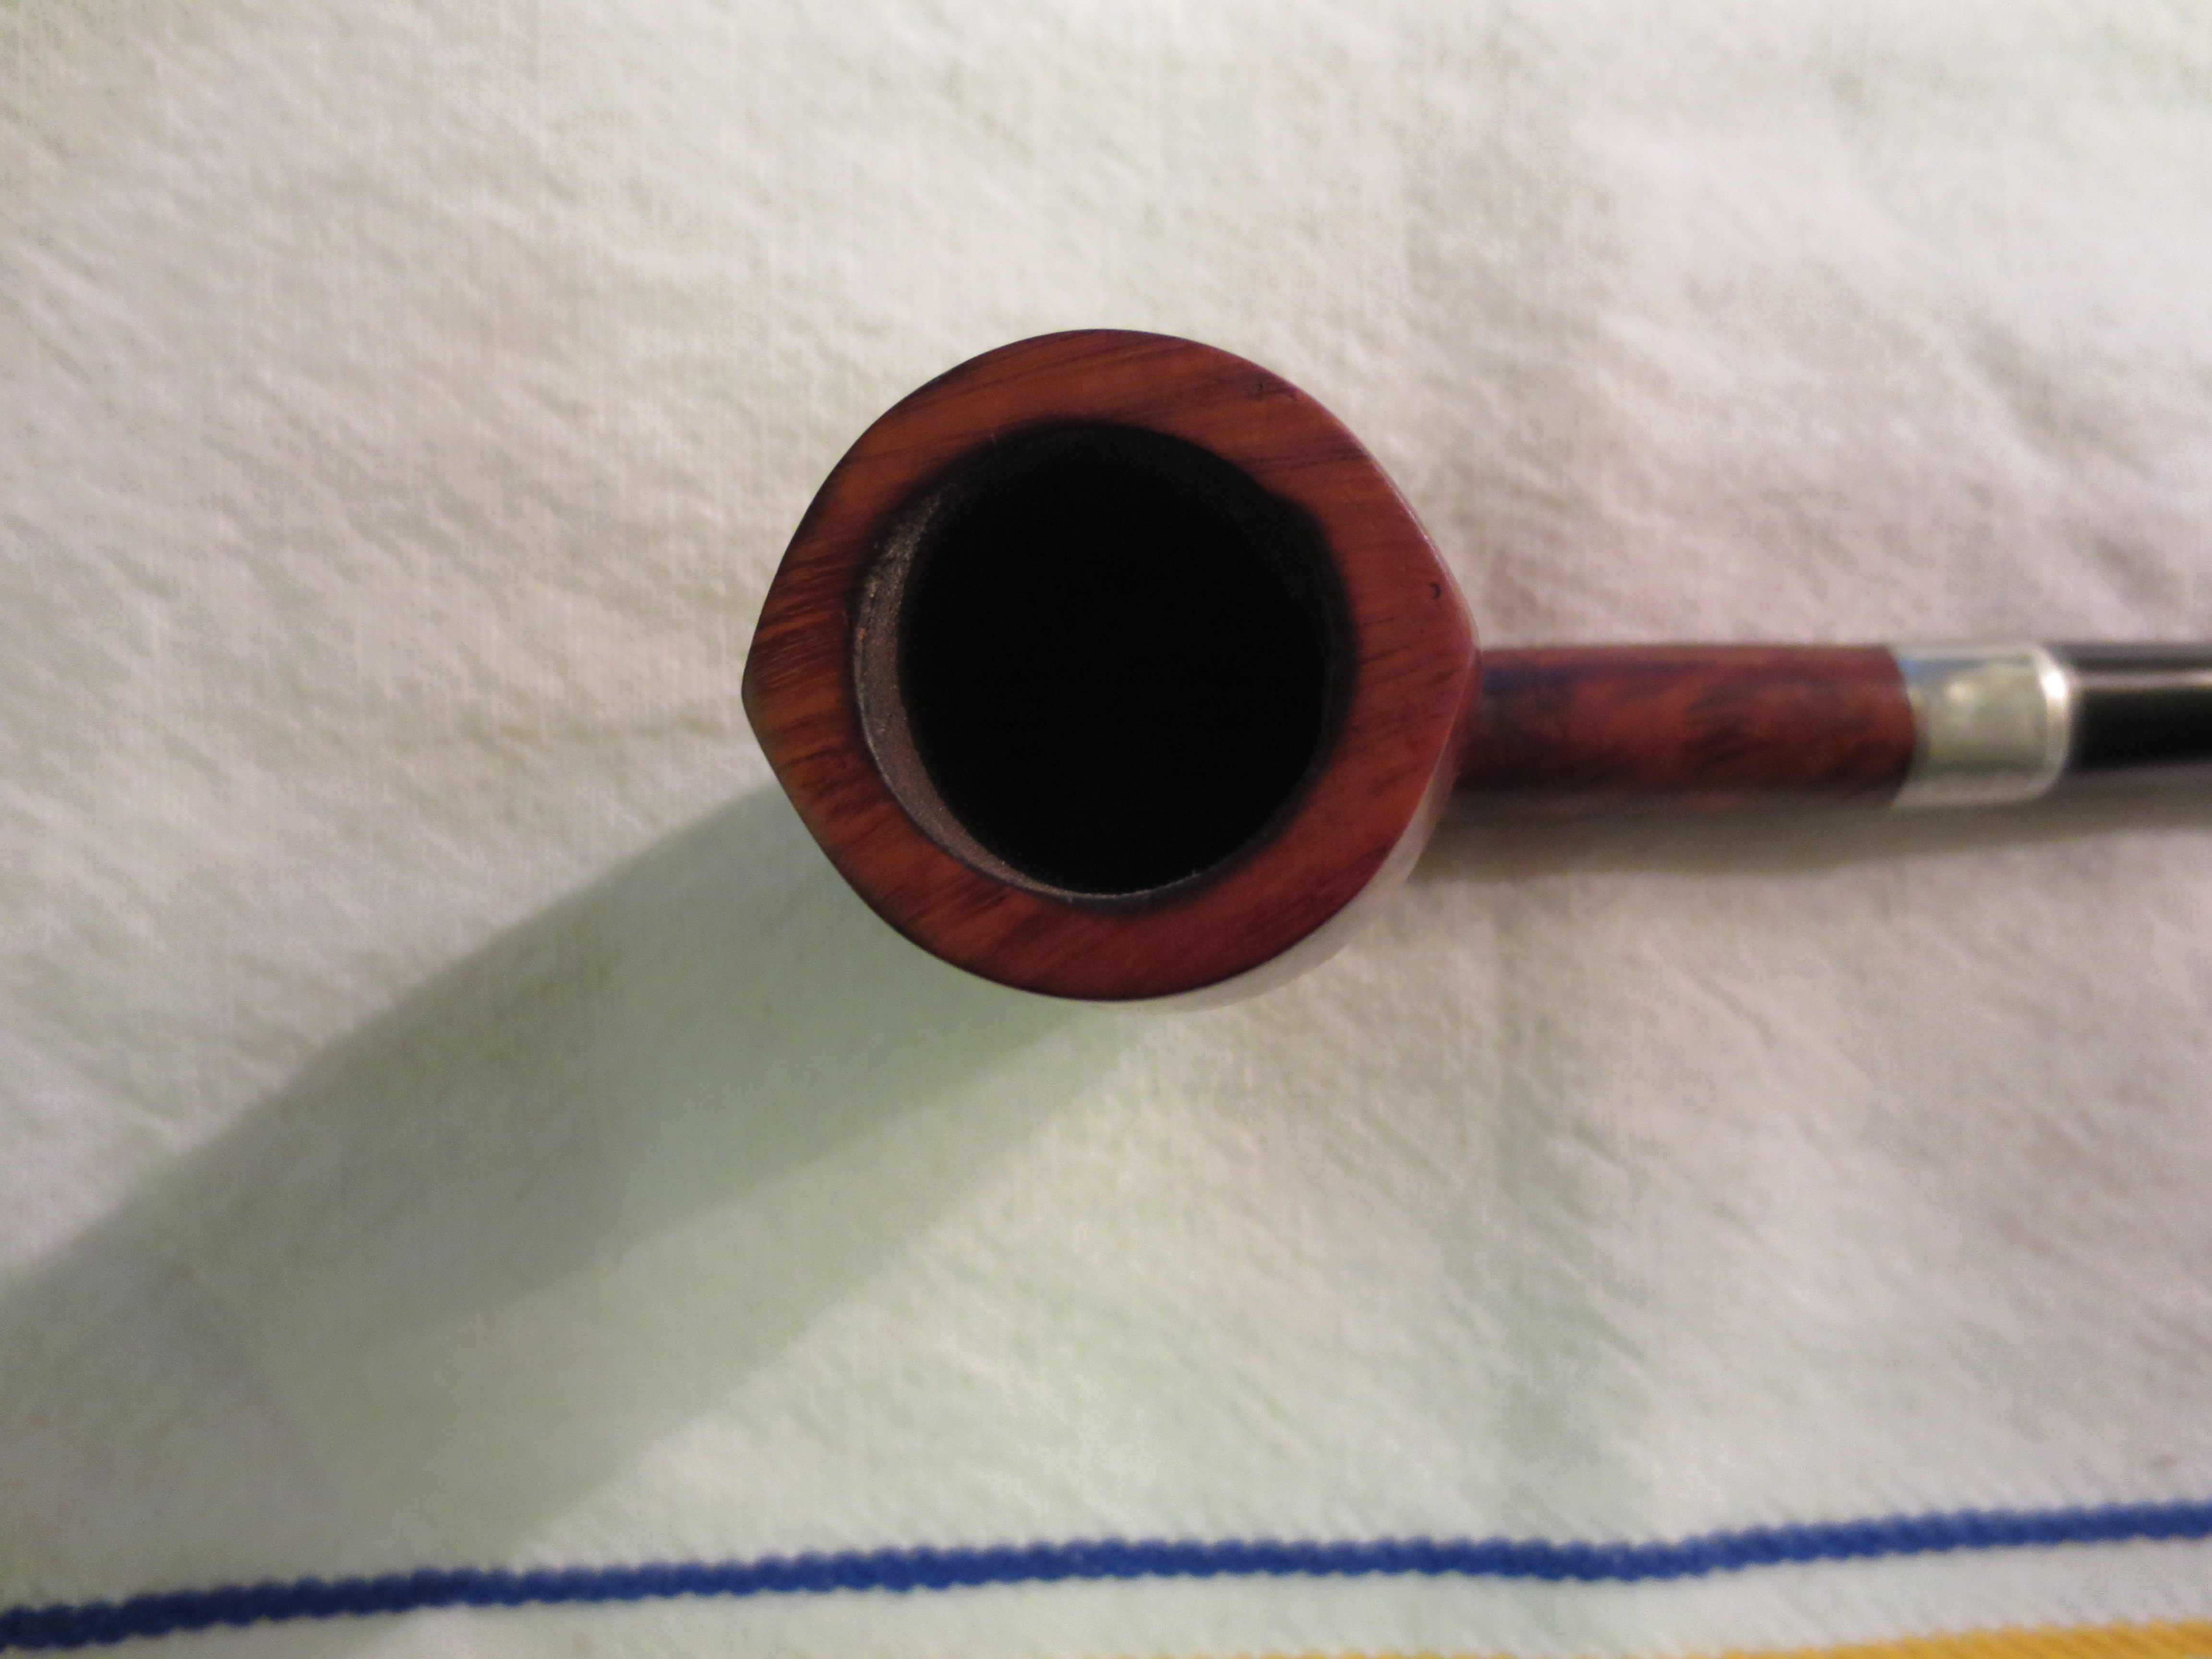
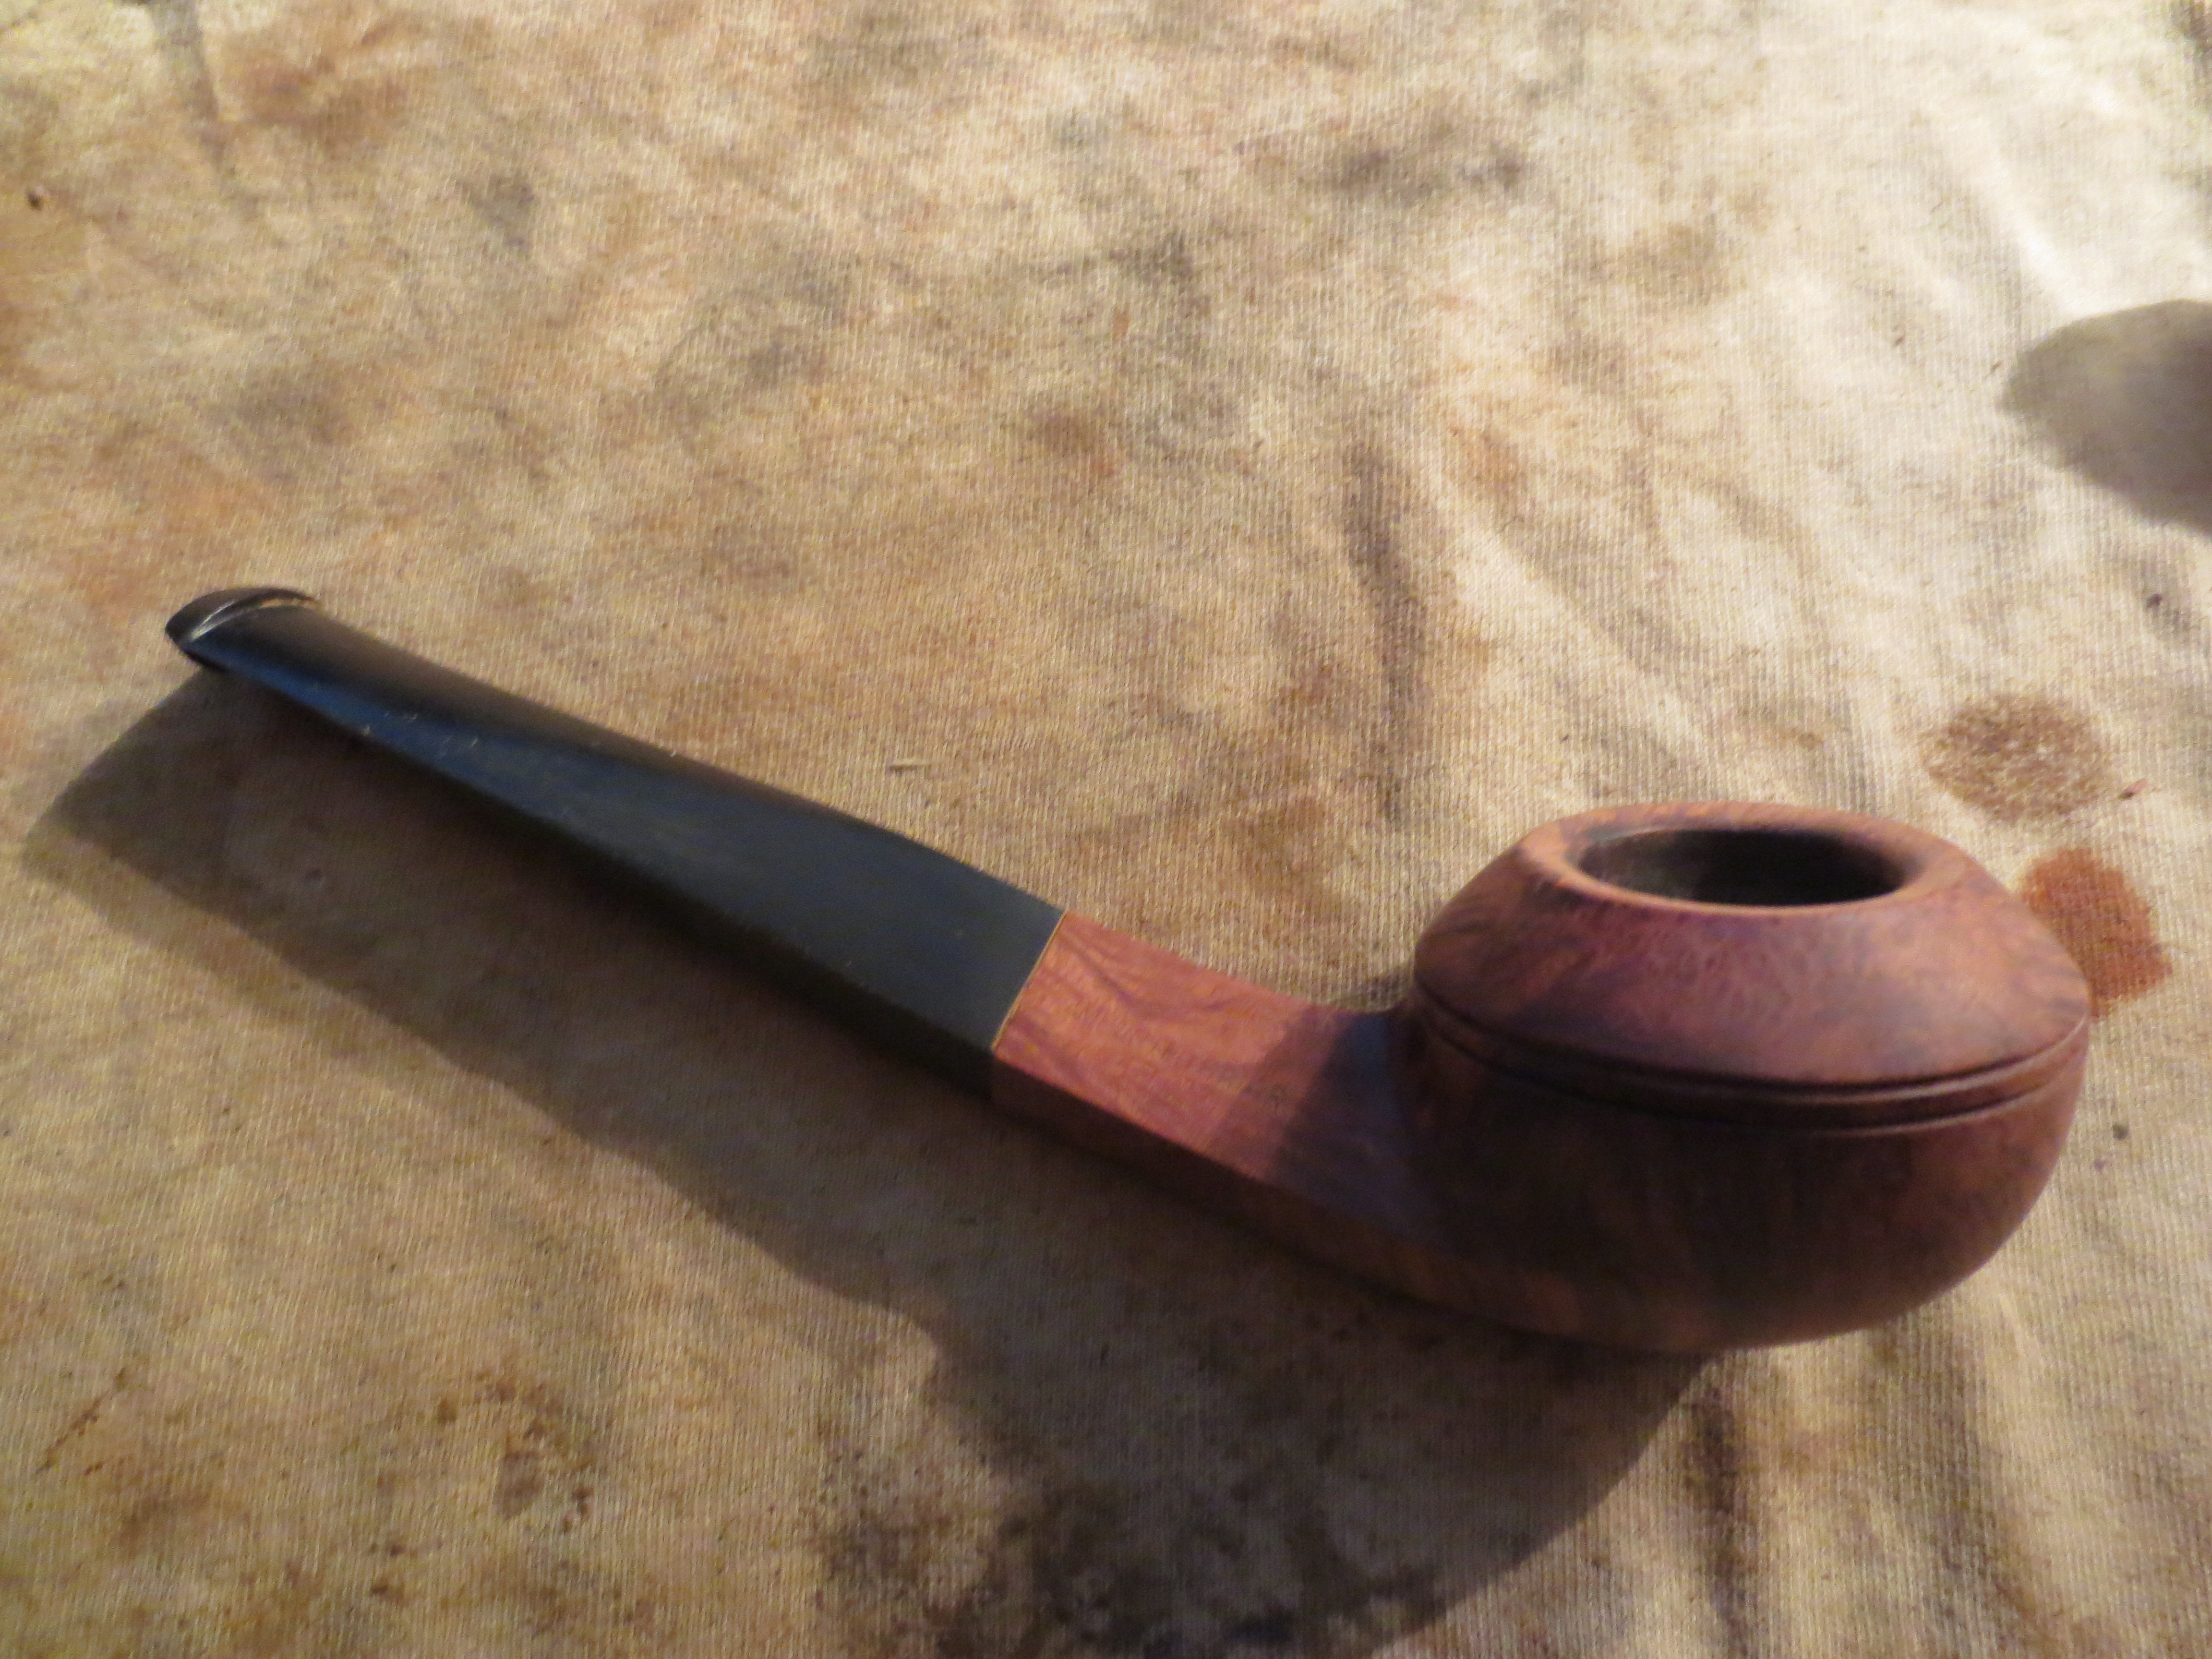
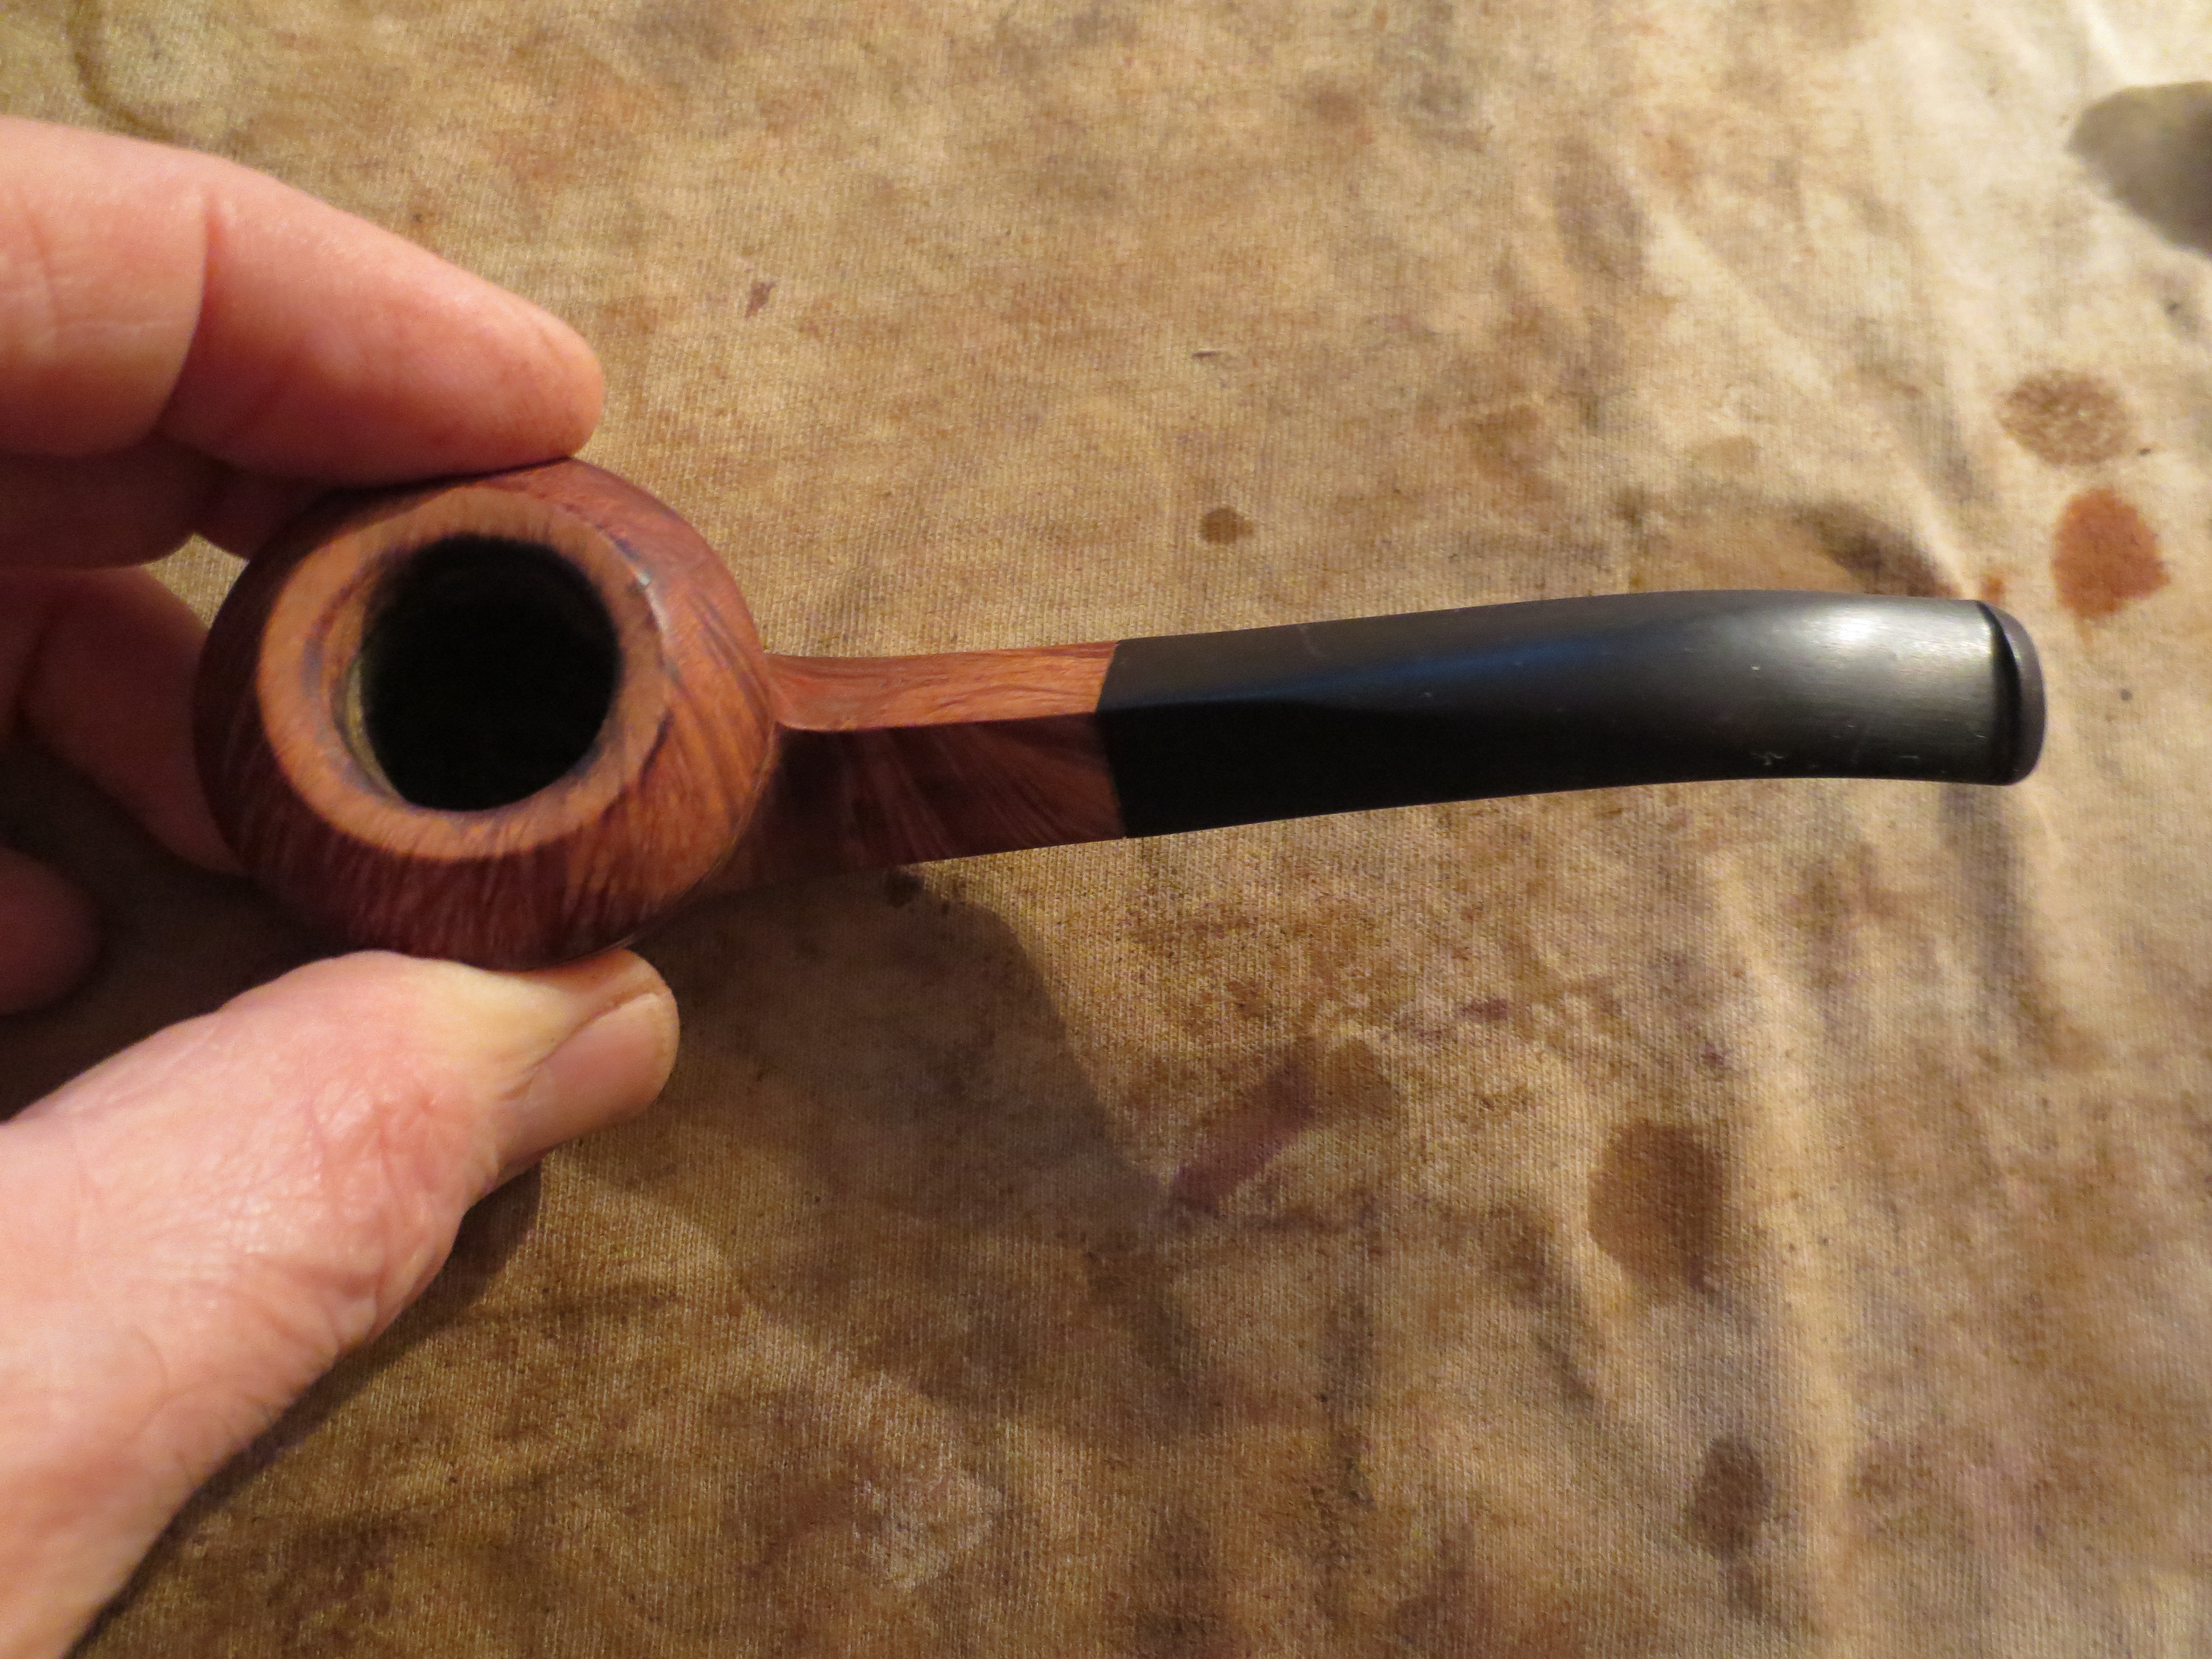
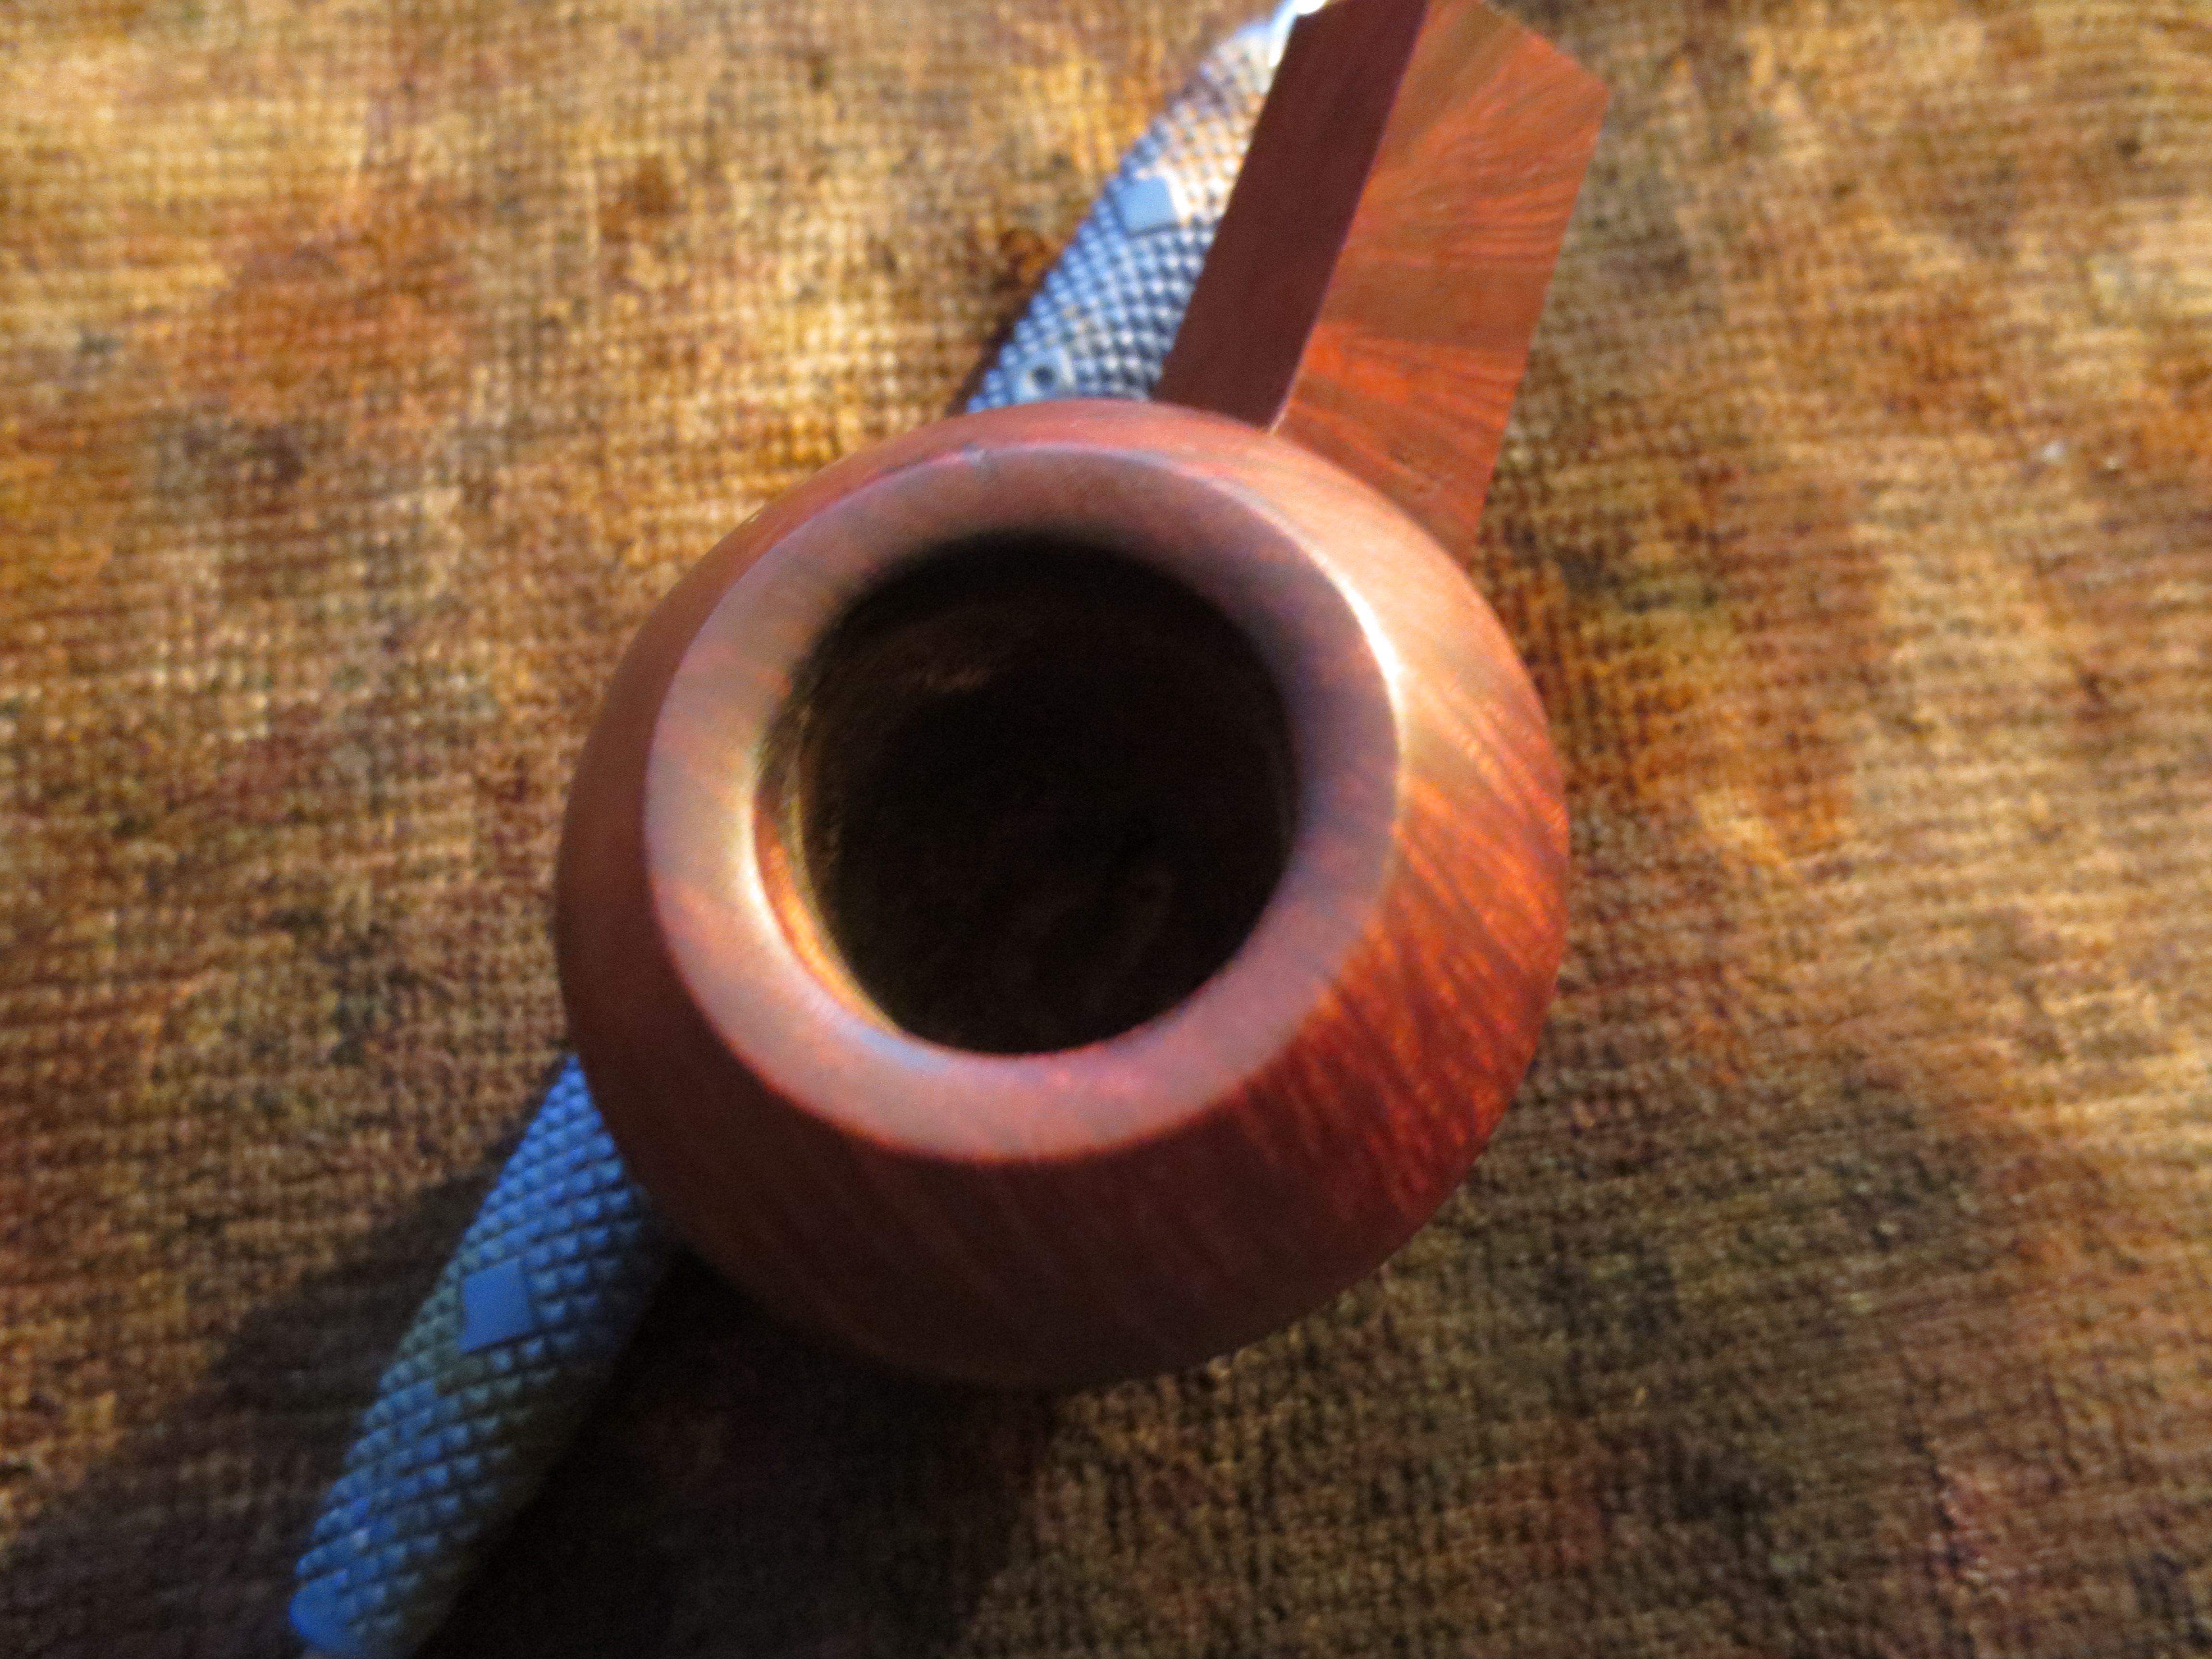
As the rim of the bowl was chamfered into the bowl I worked on it with a folded piece of medium grit emery paper first followed by 320 grit sandpaper. I wanted to keep the chamfer clean and even so I held the paper to the angle of the chamfer on the cleanest part of the rim toward to the front of the bowl. The next two photos show the cleaned rim.
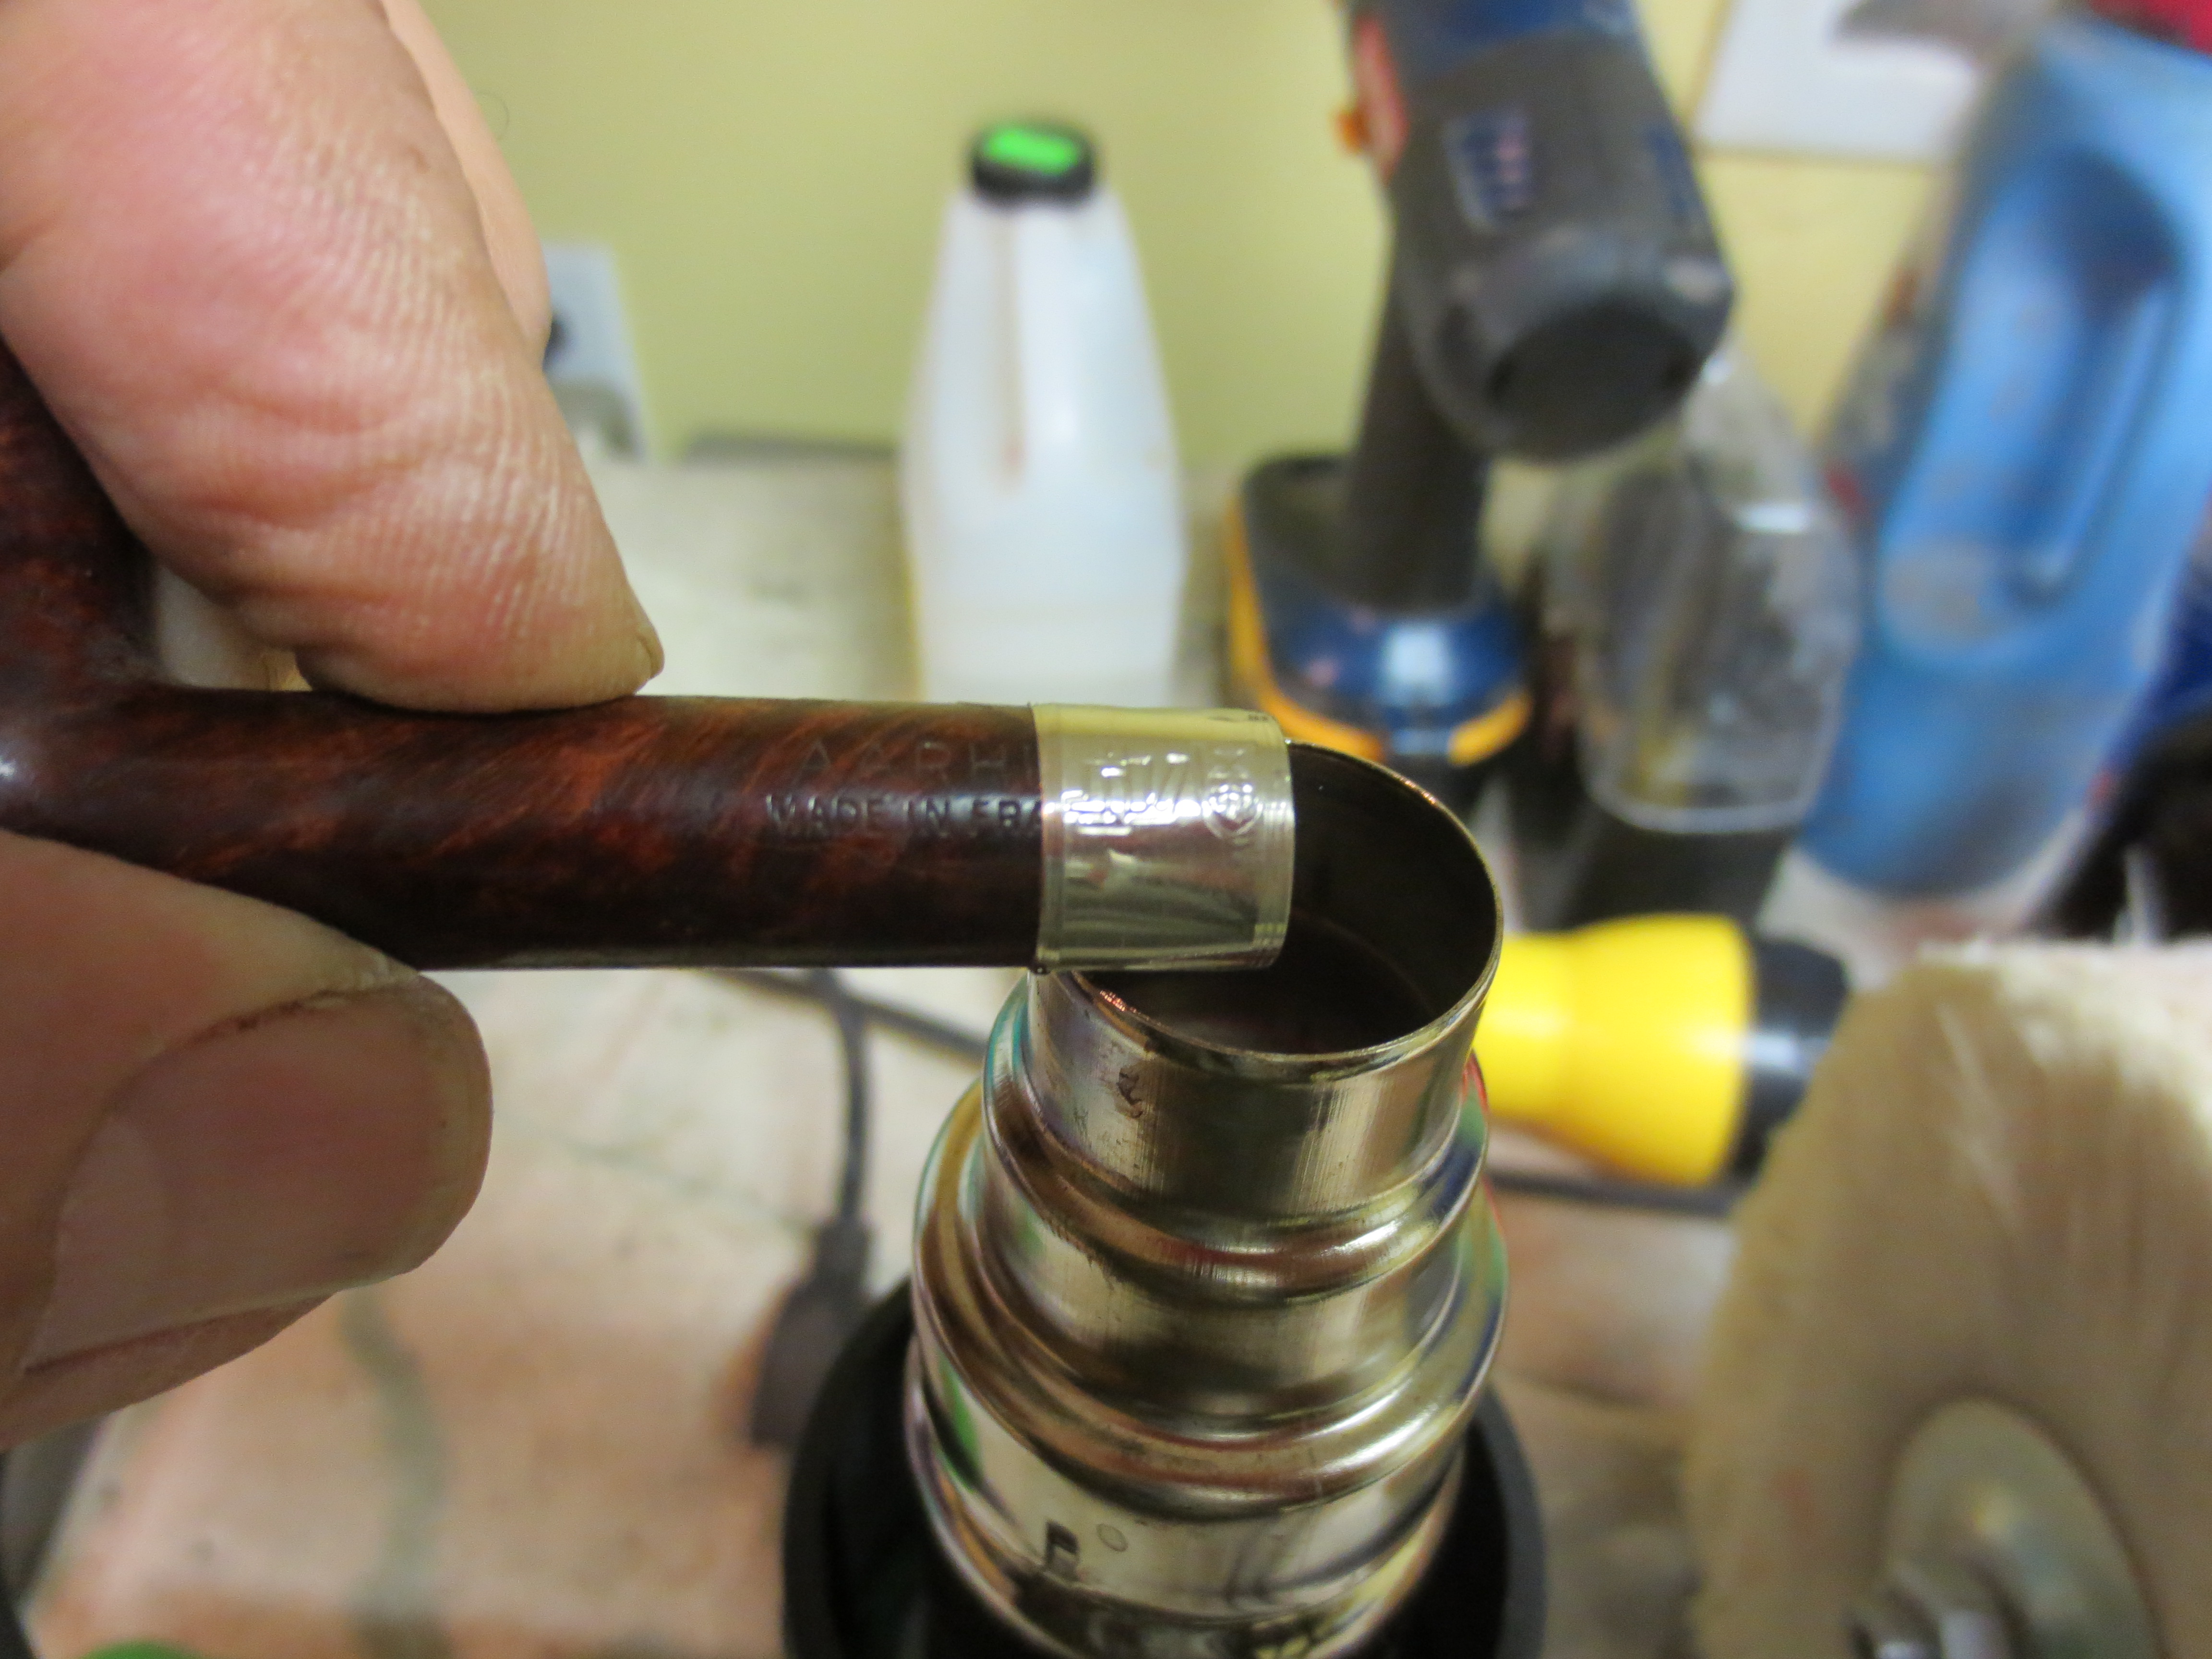
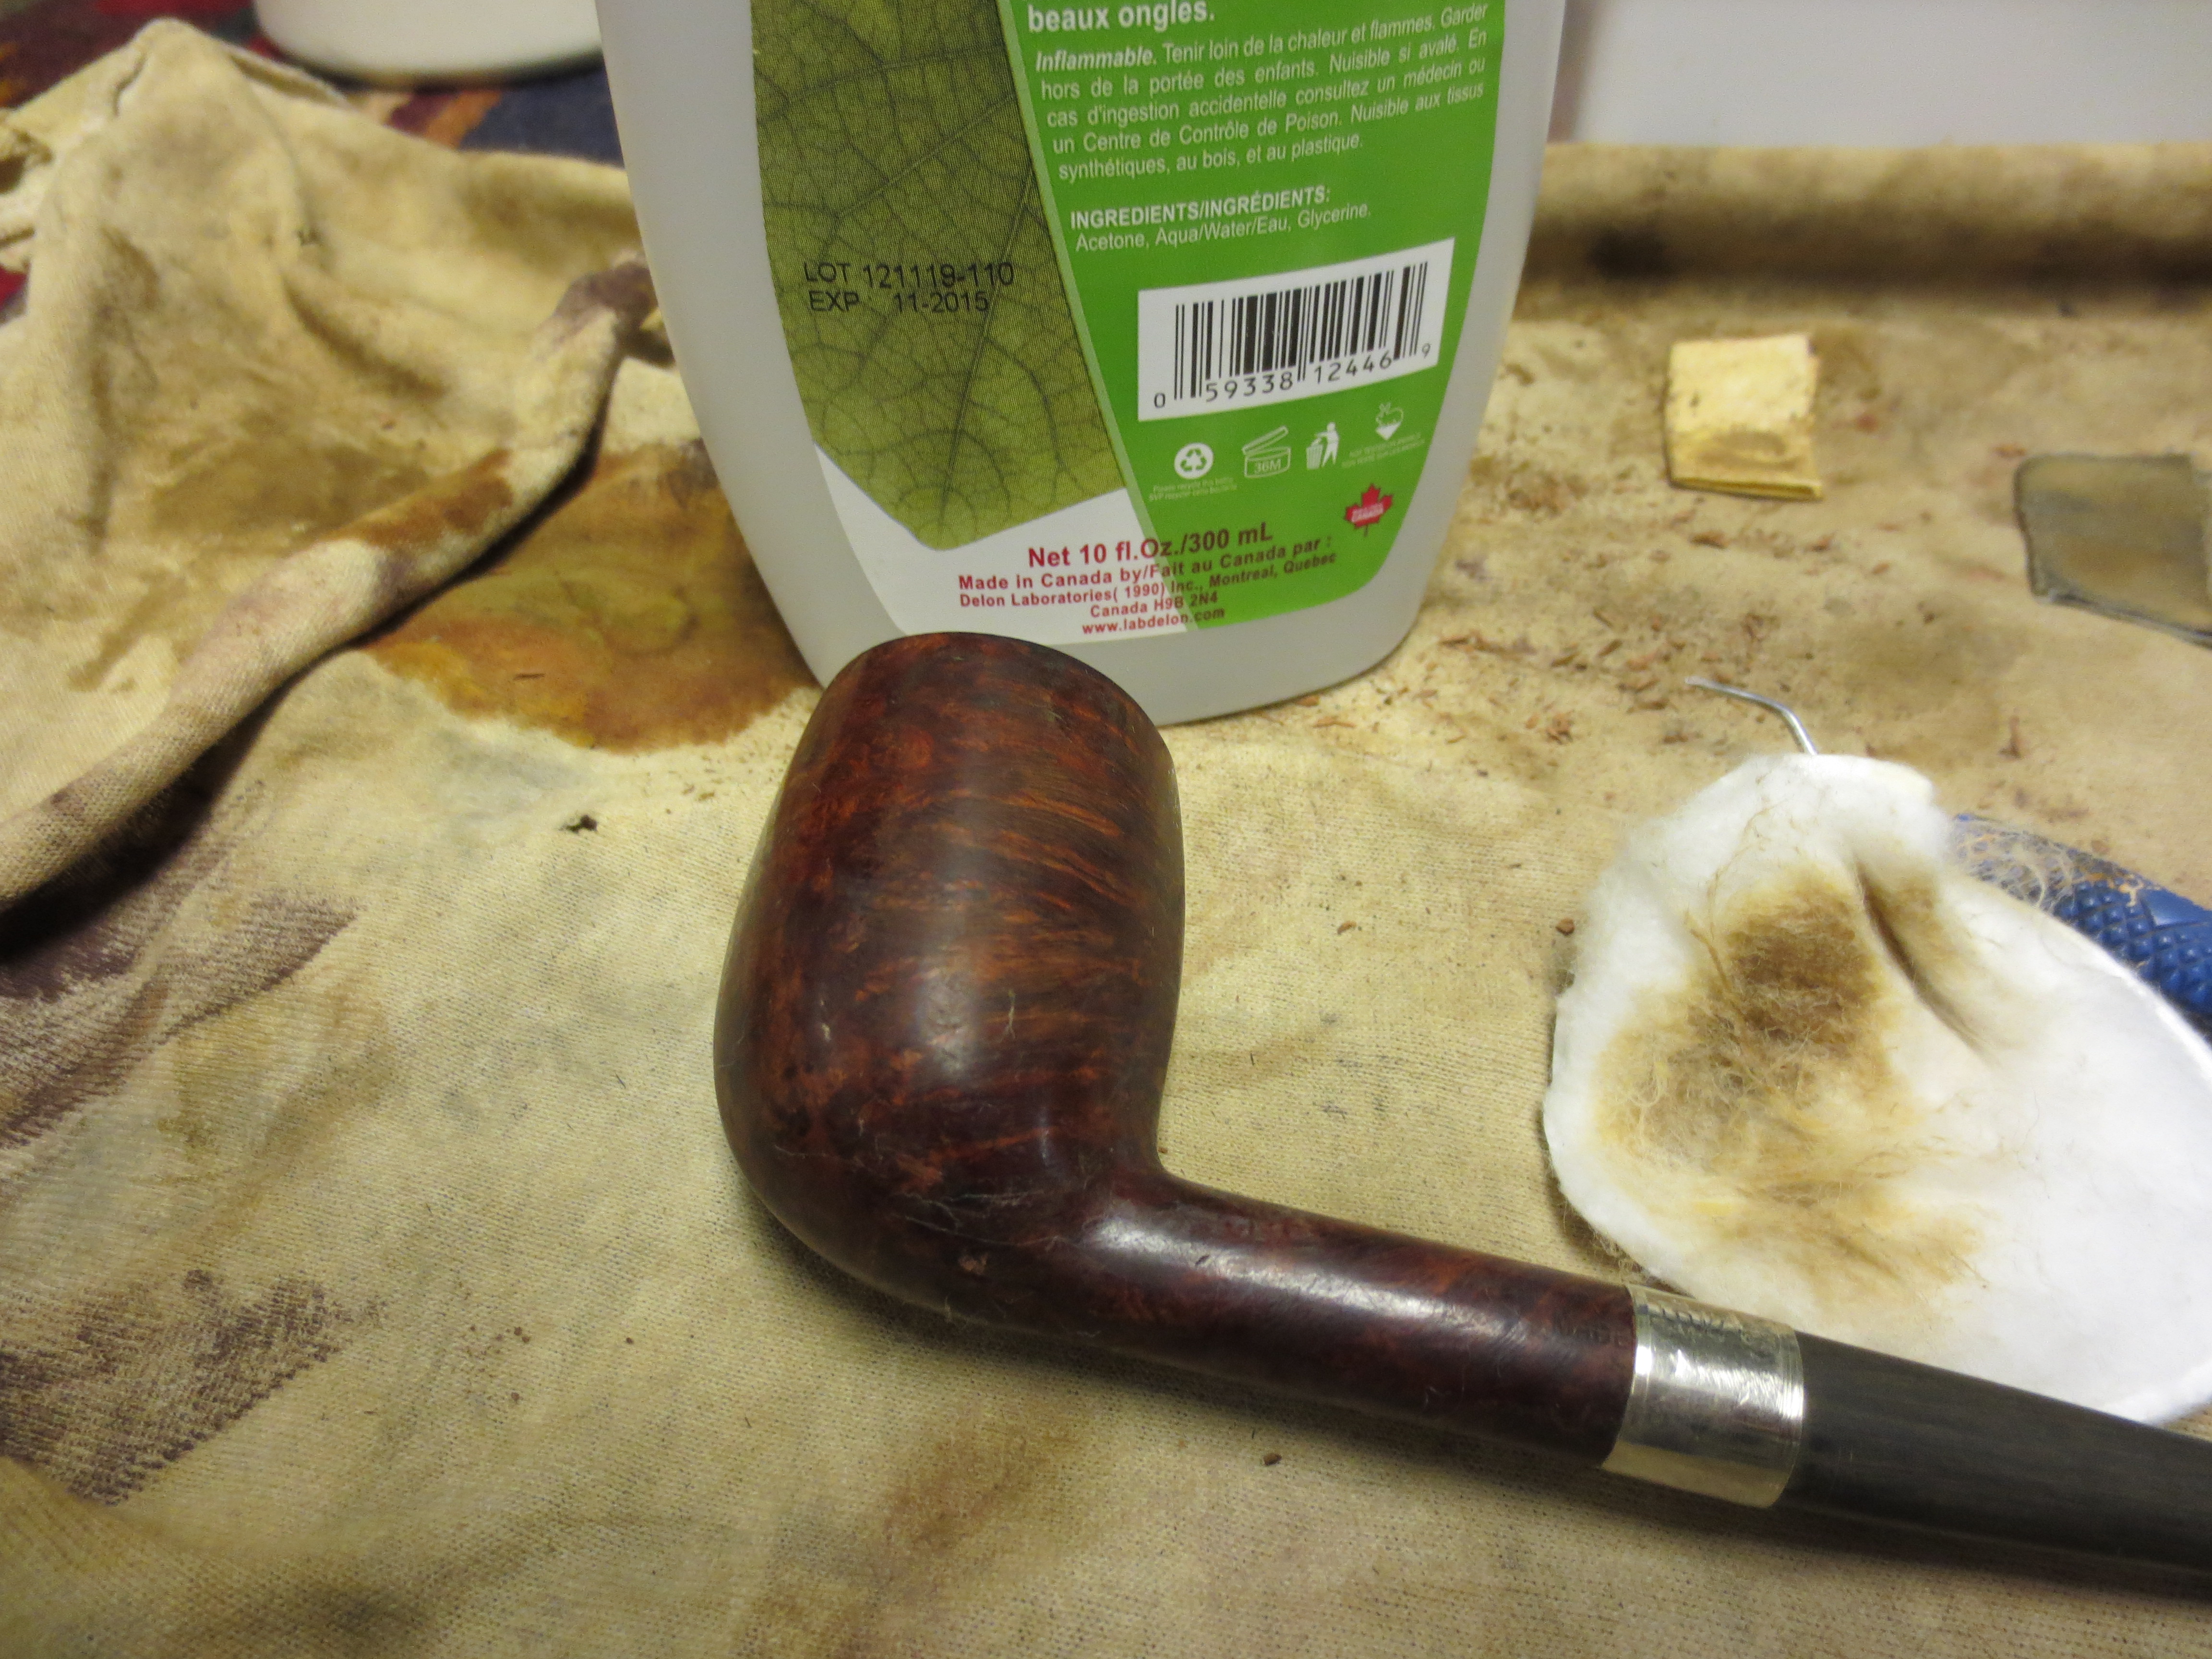
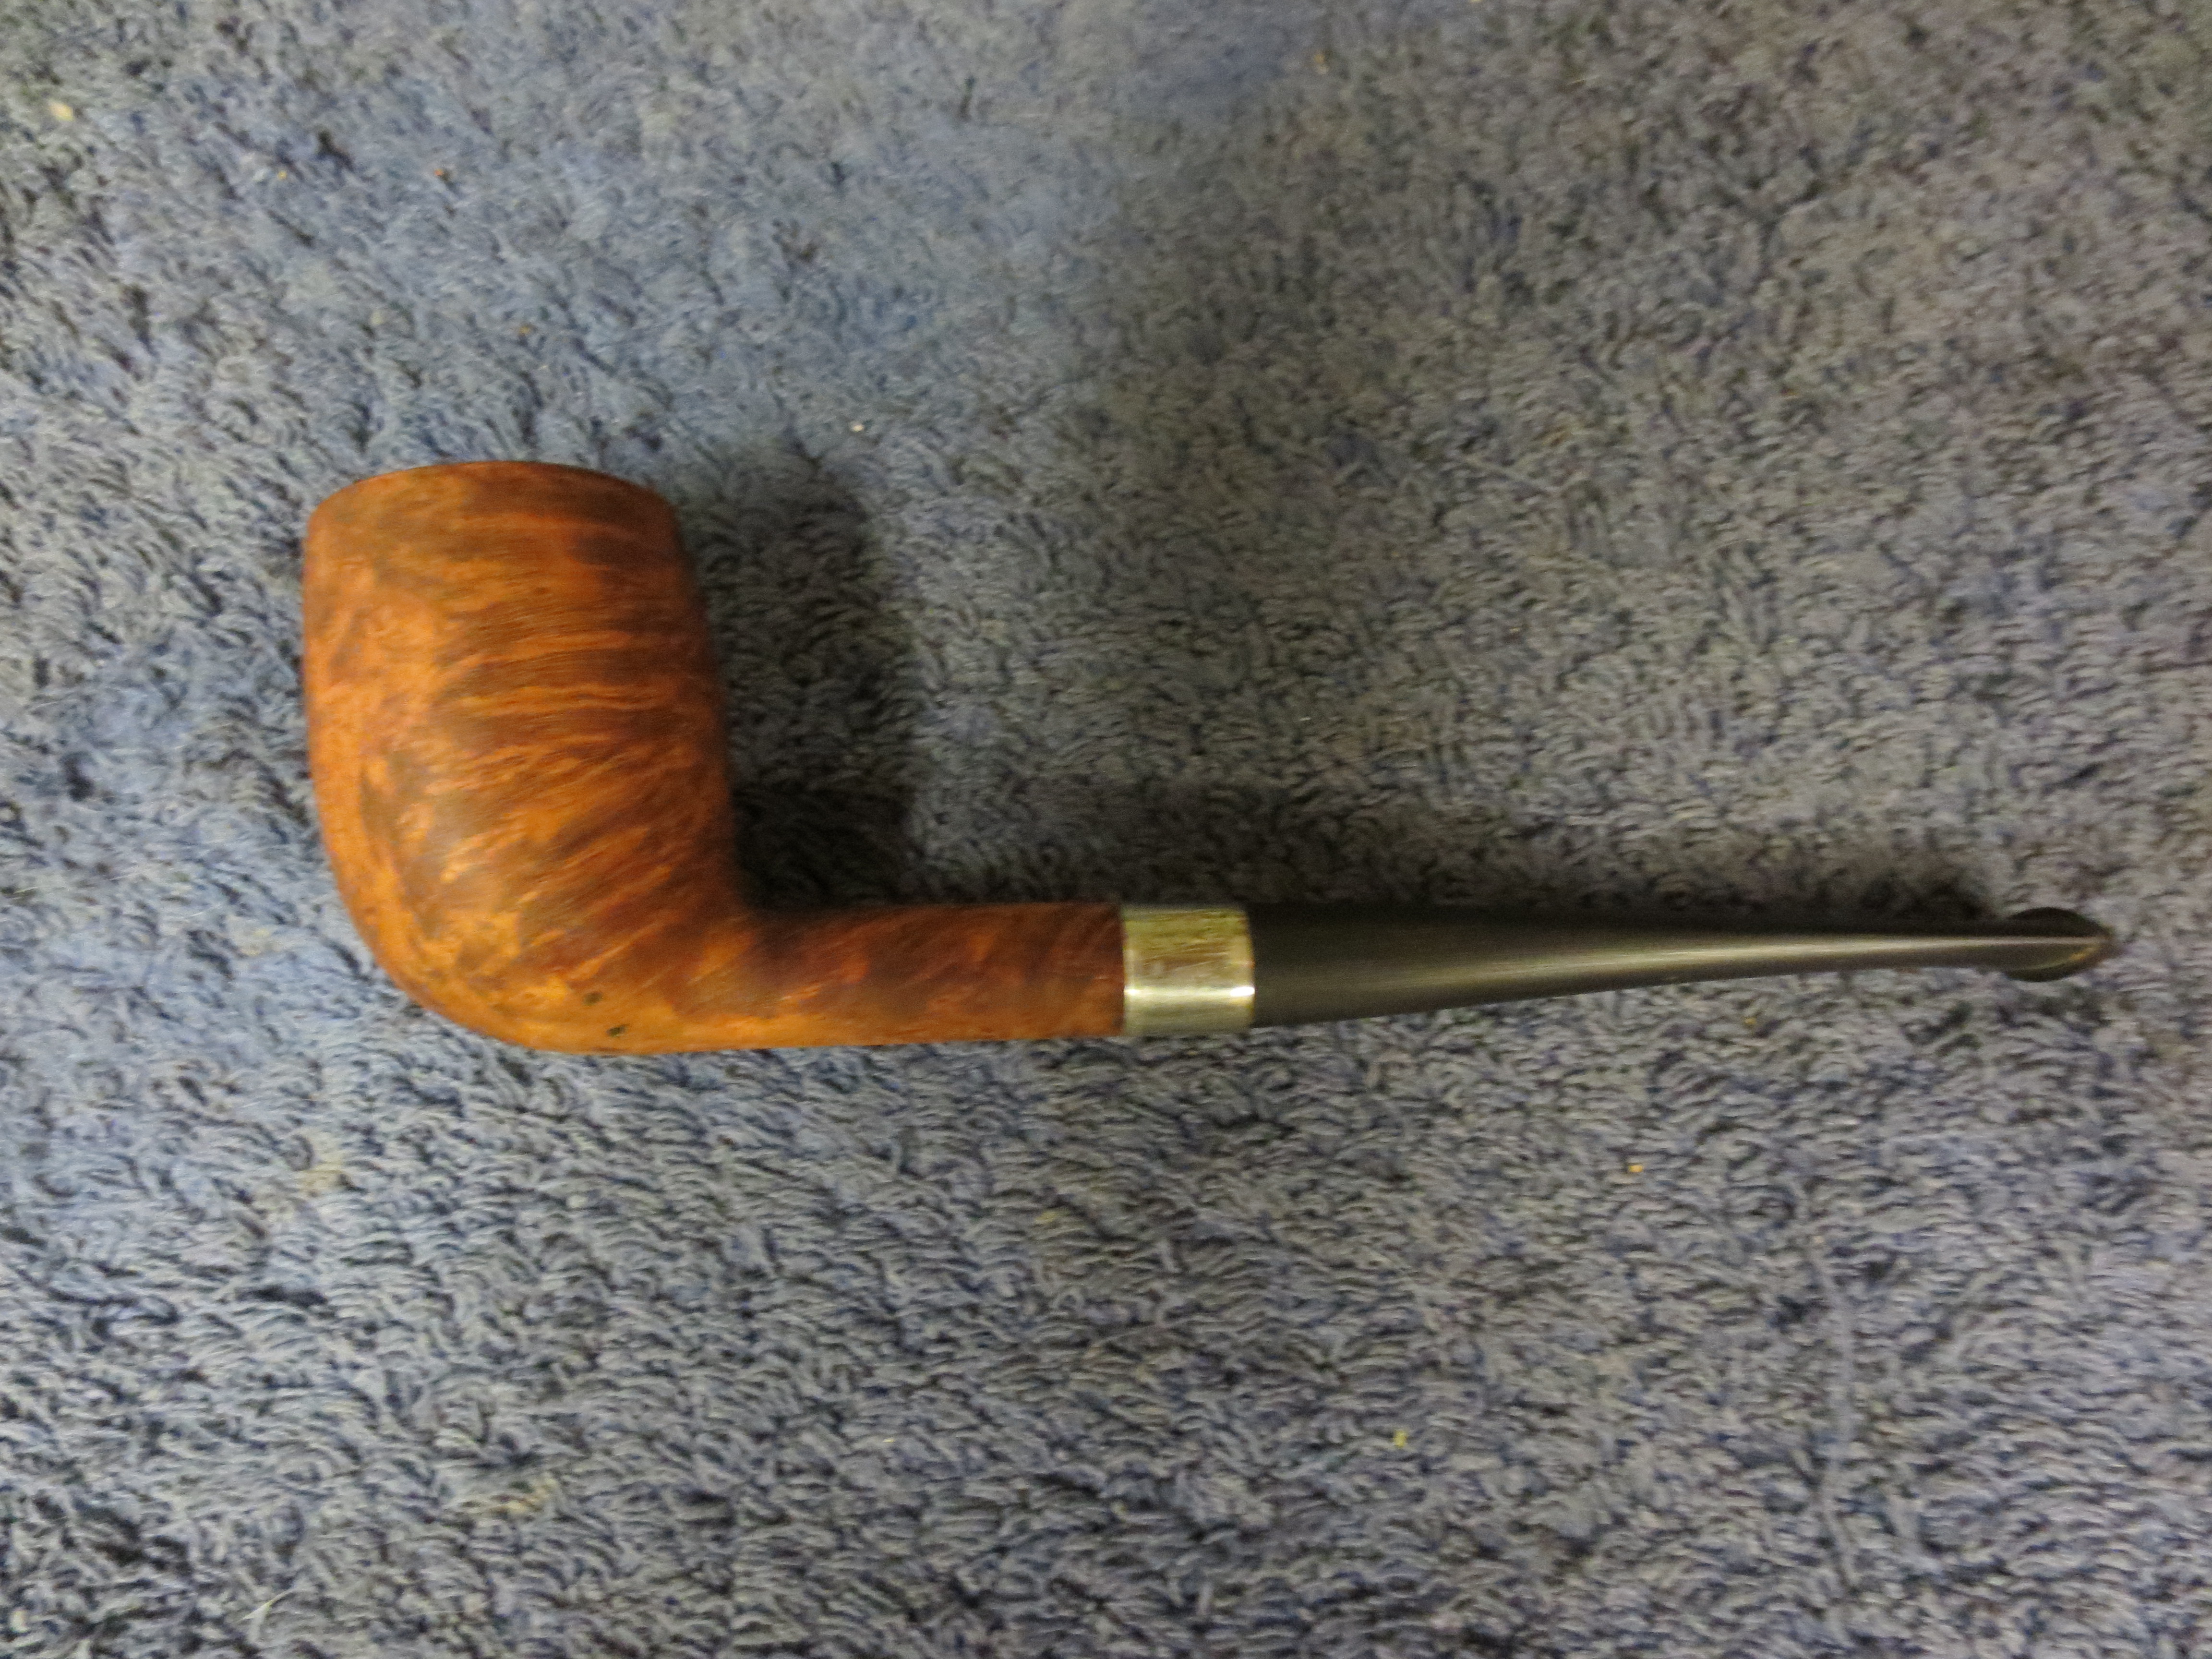
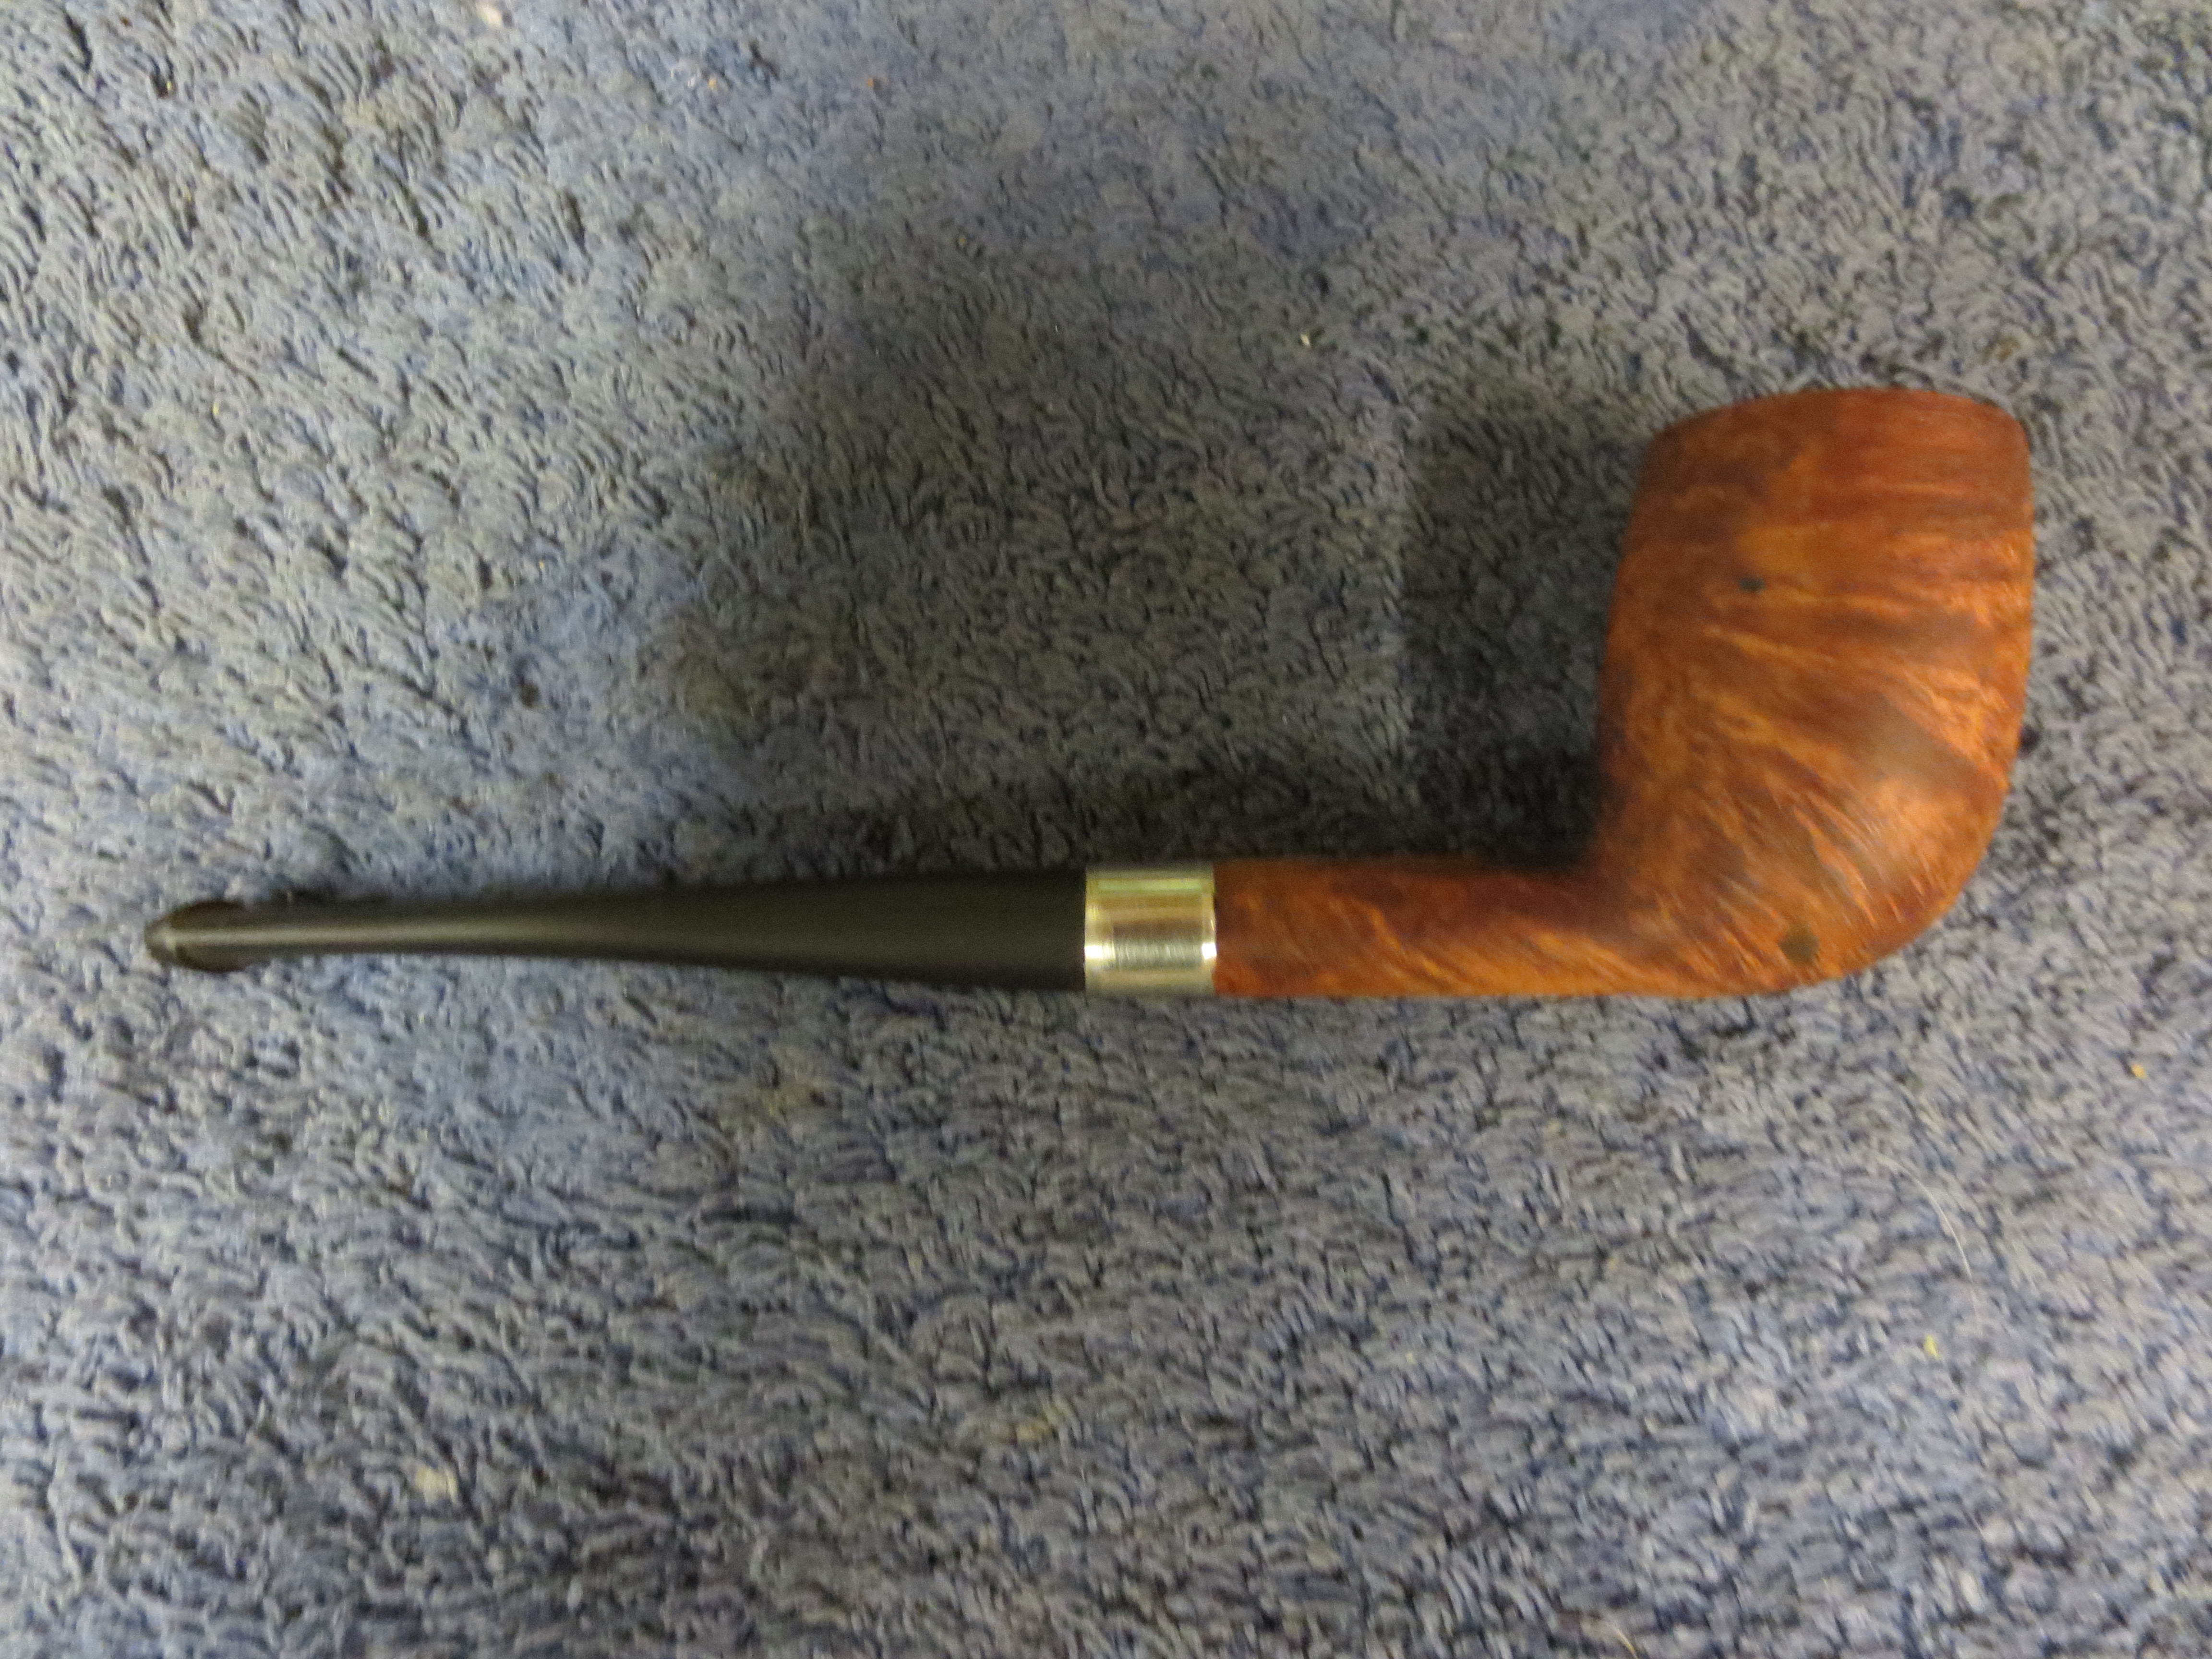
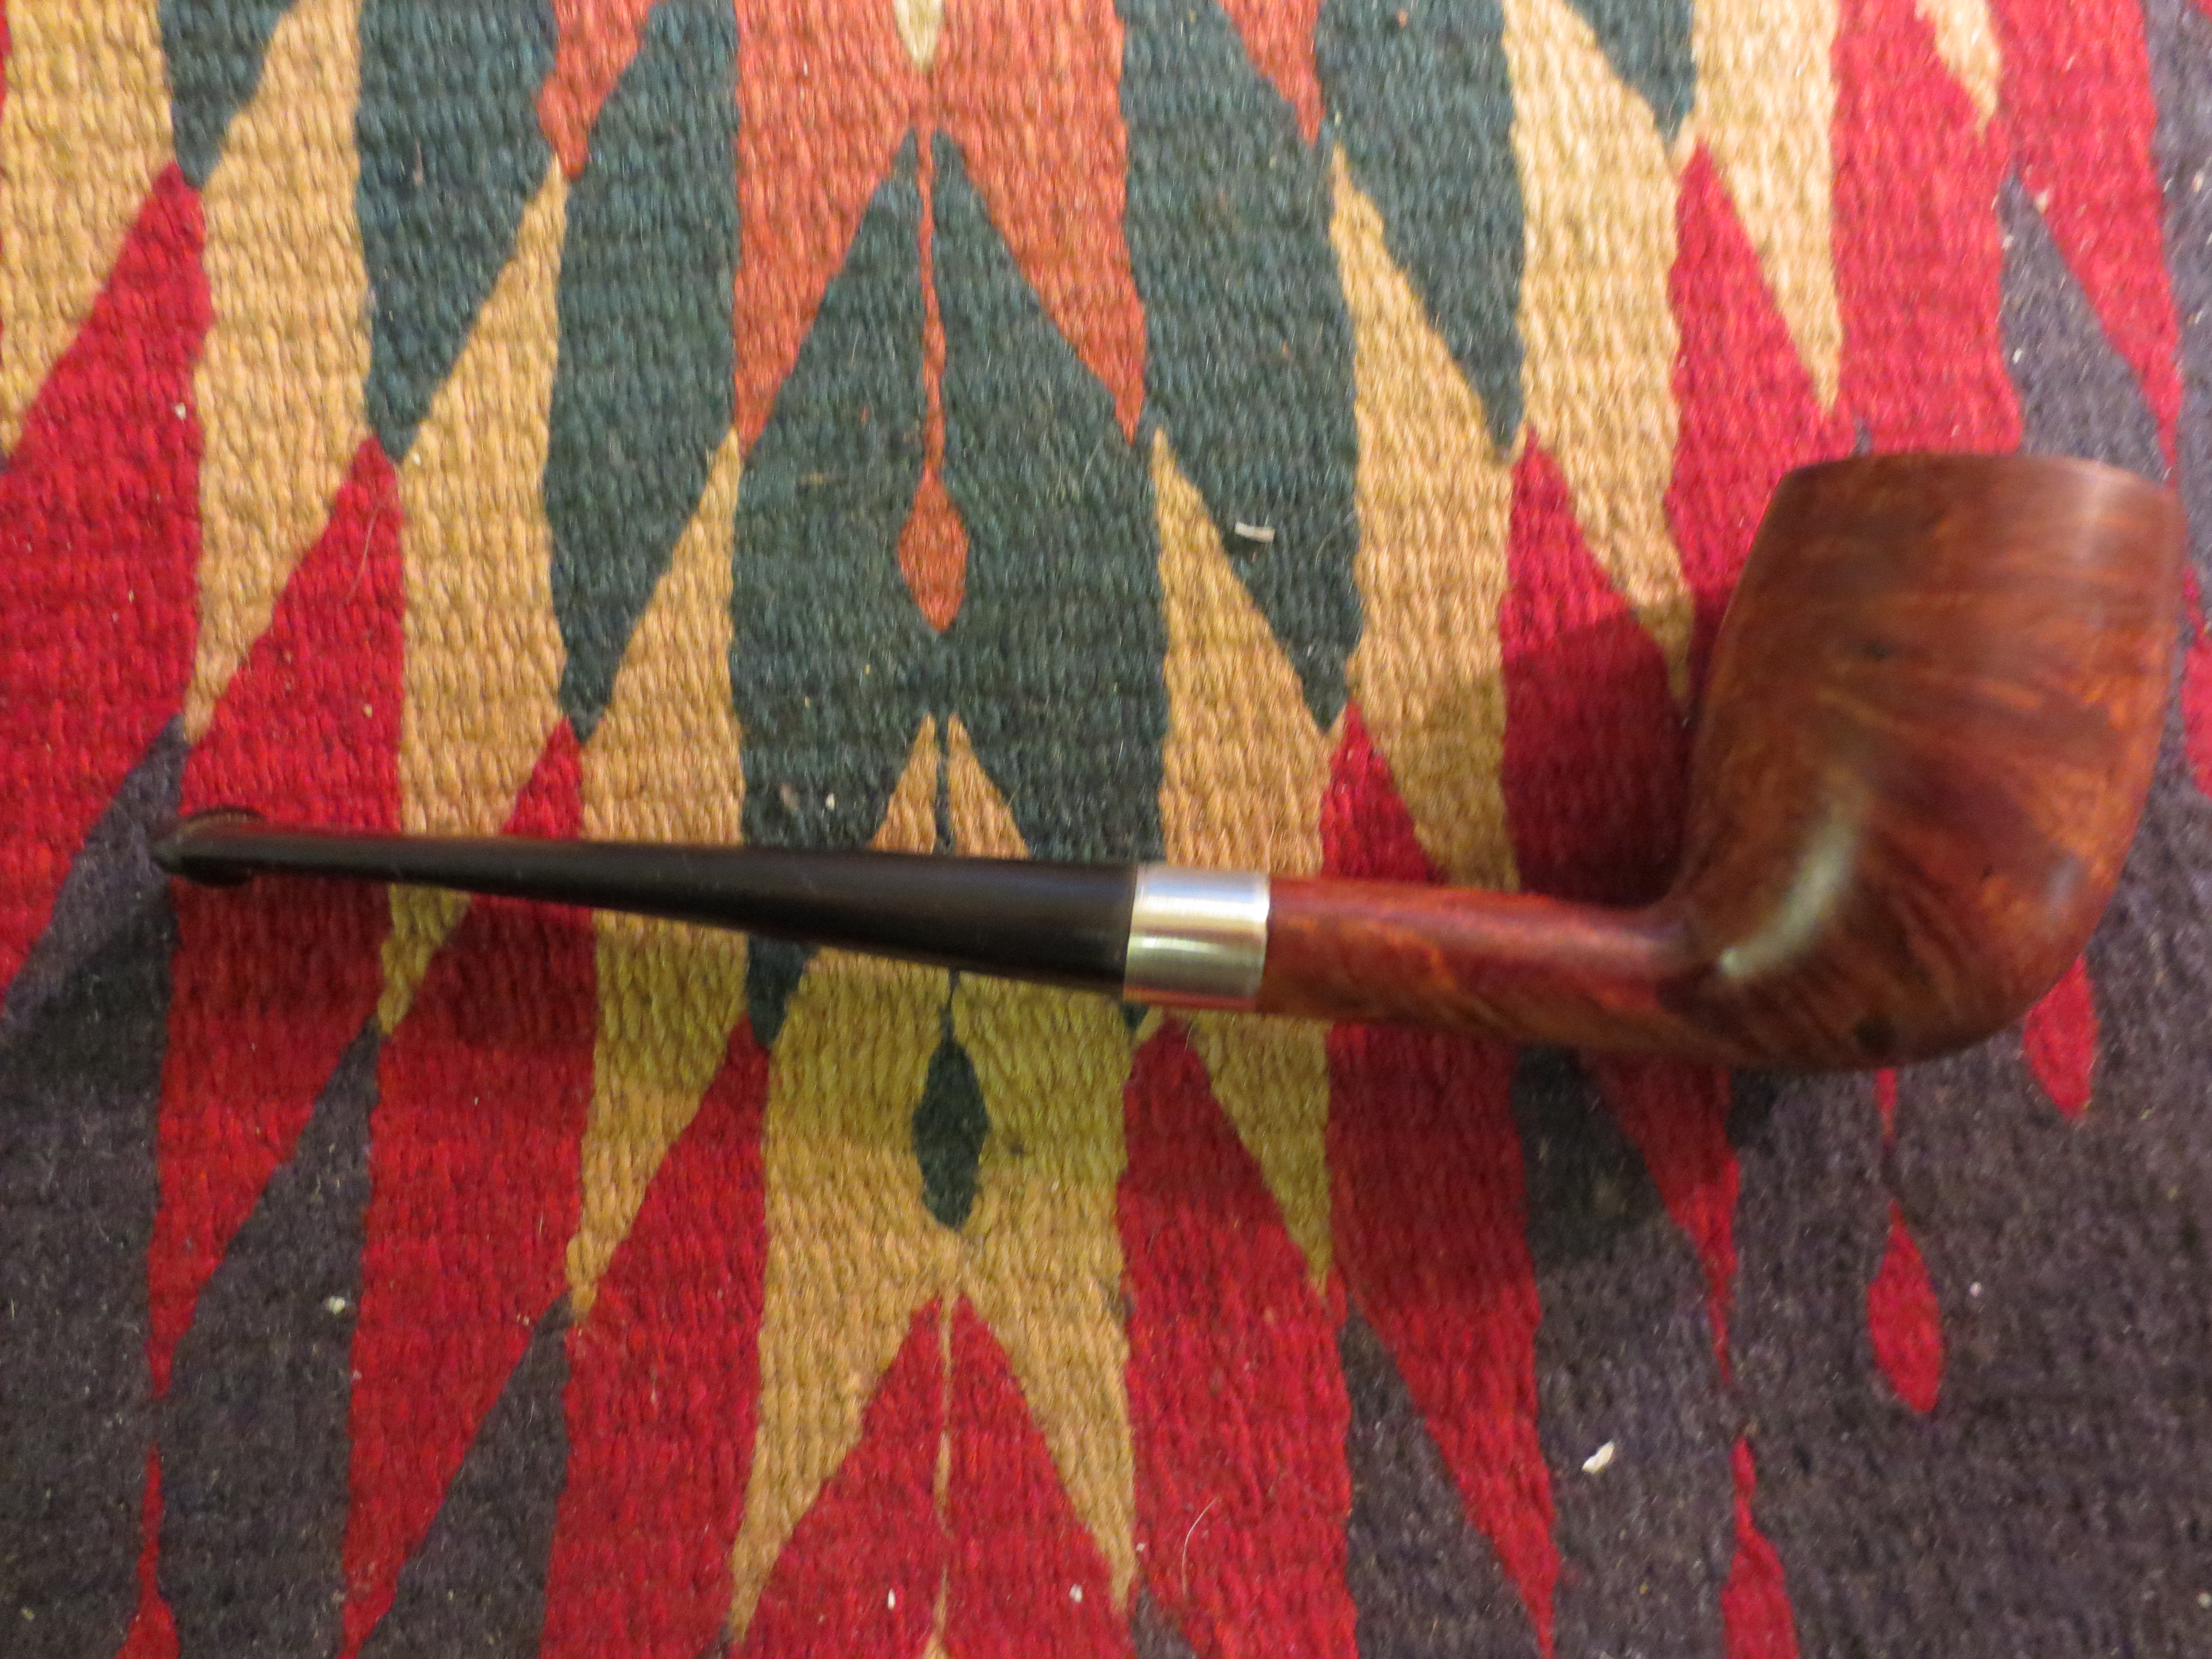
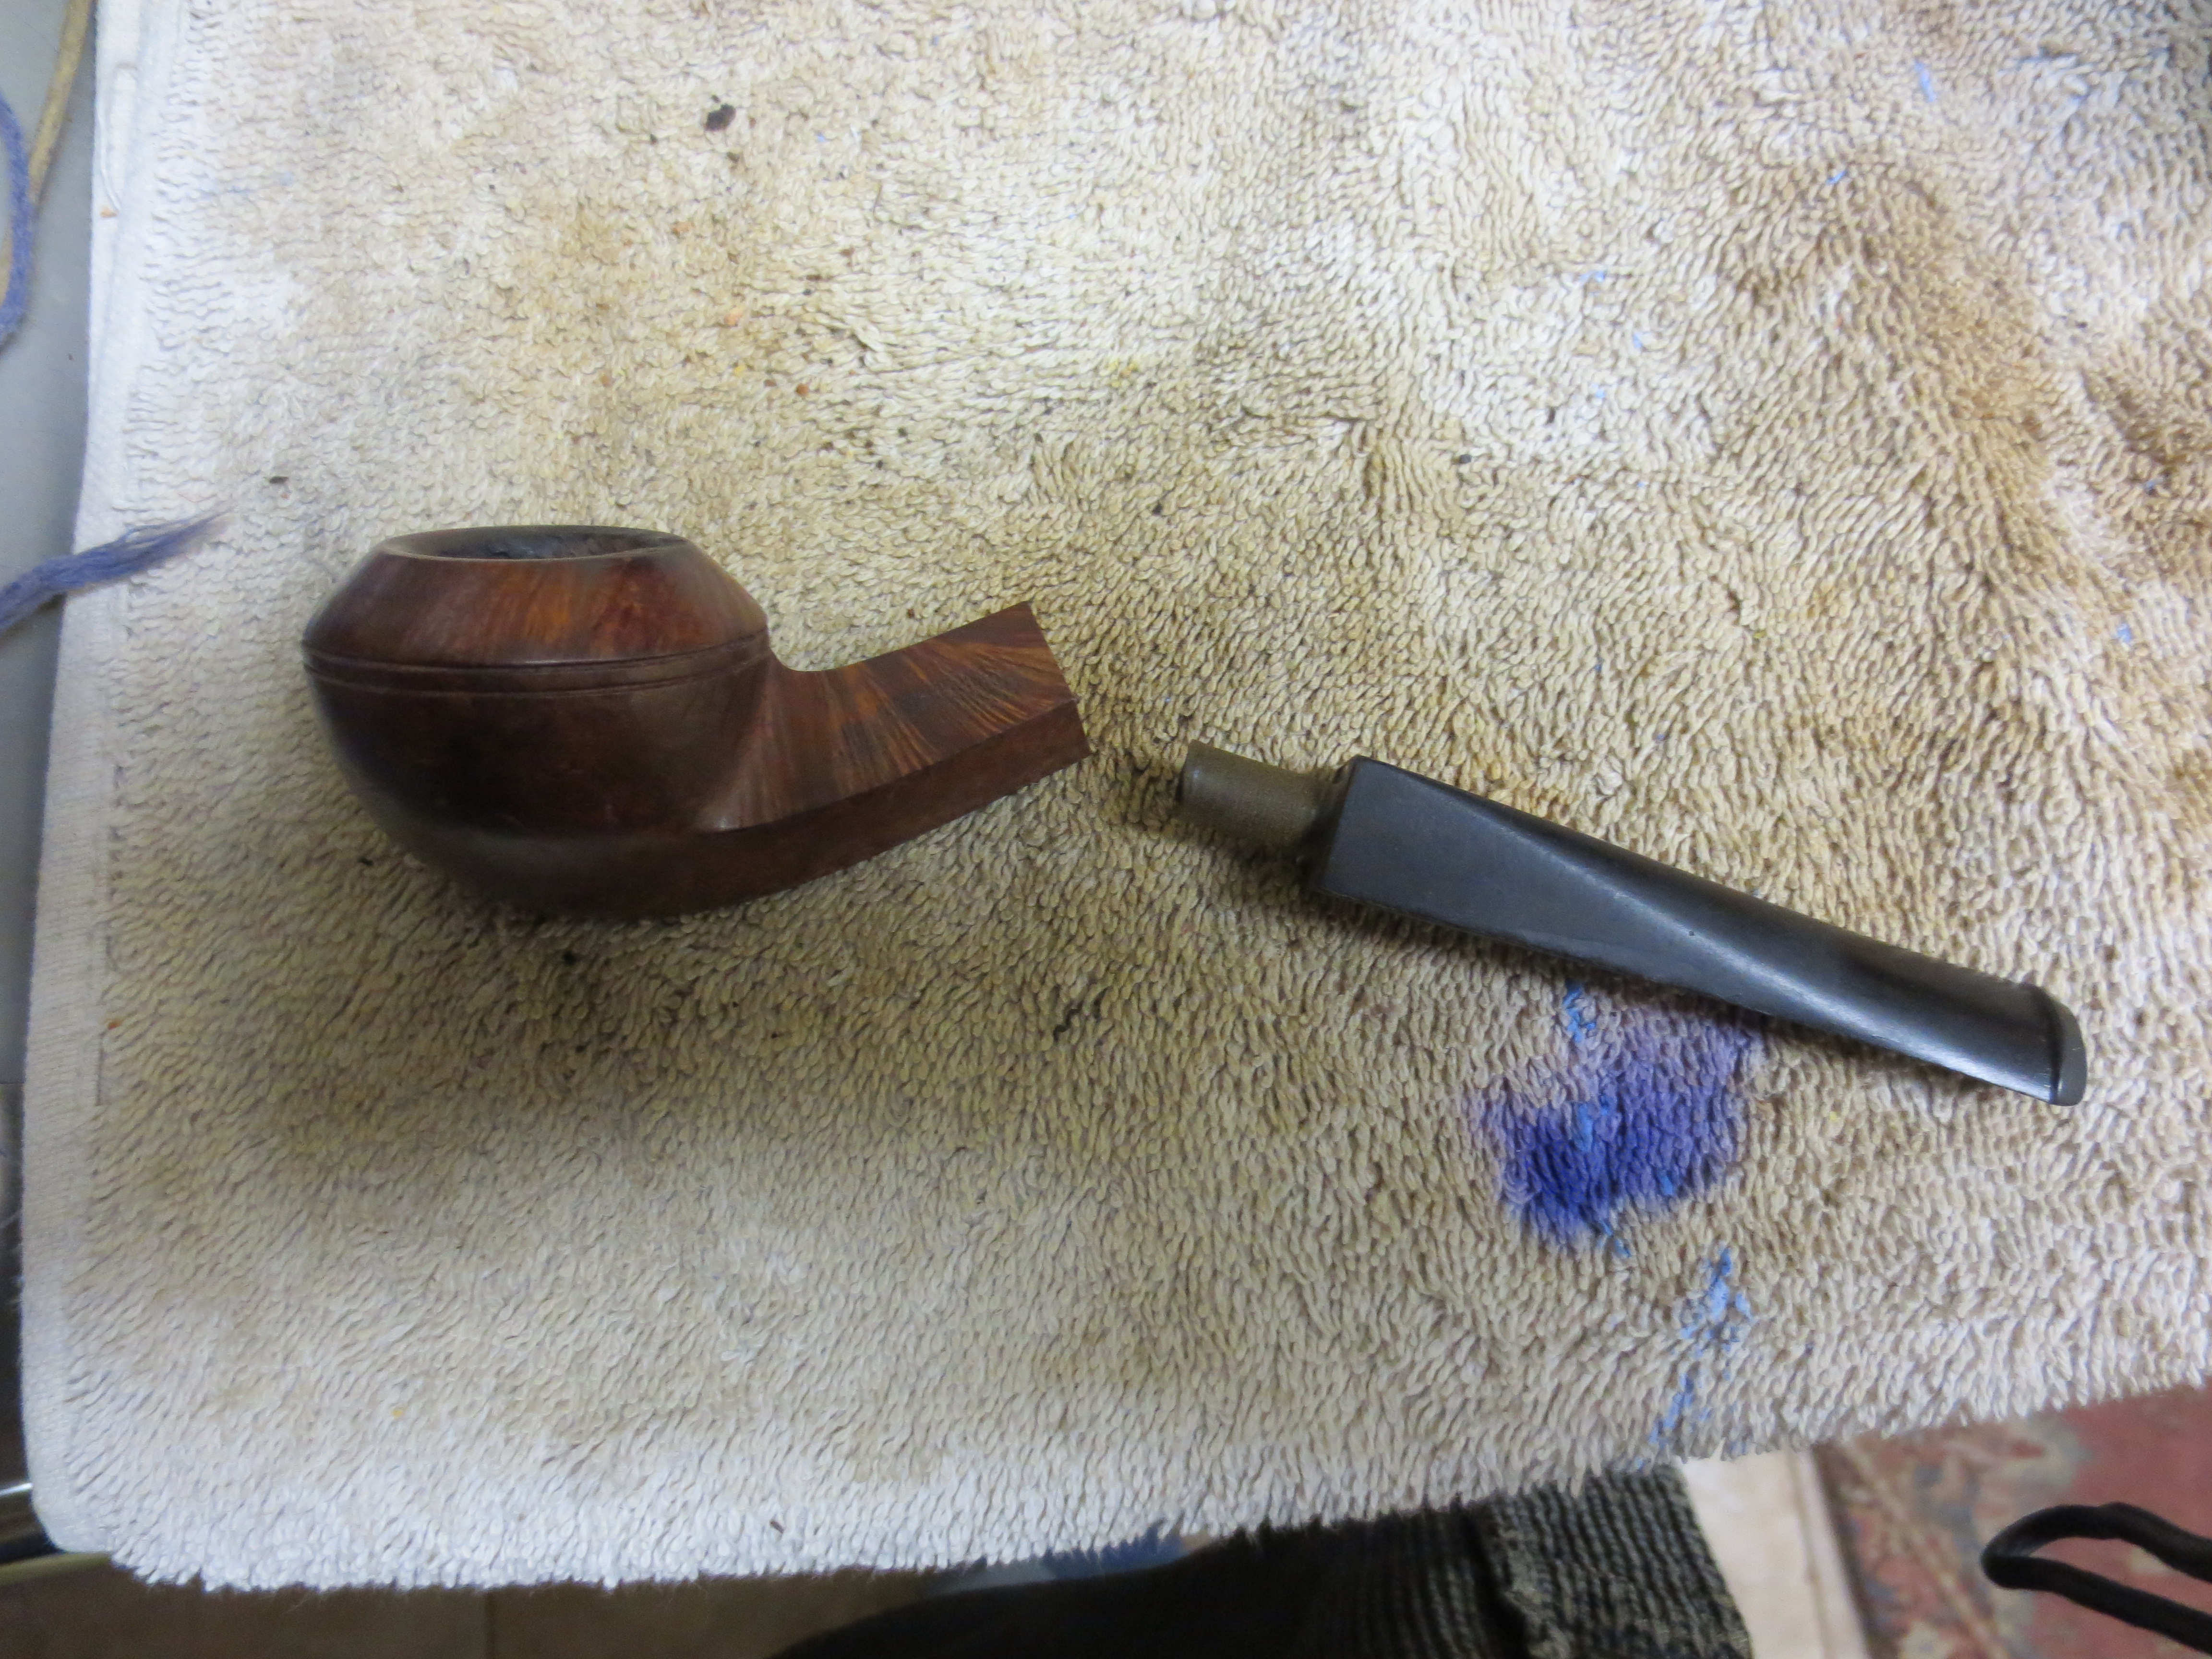
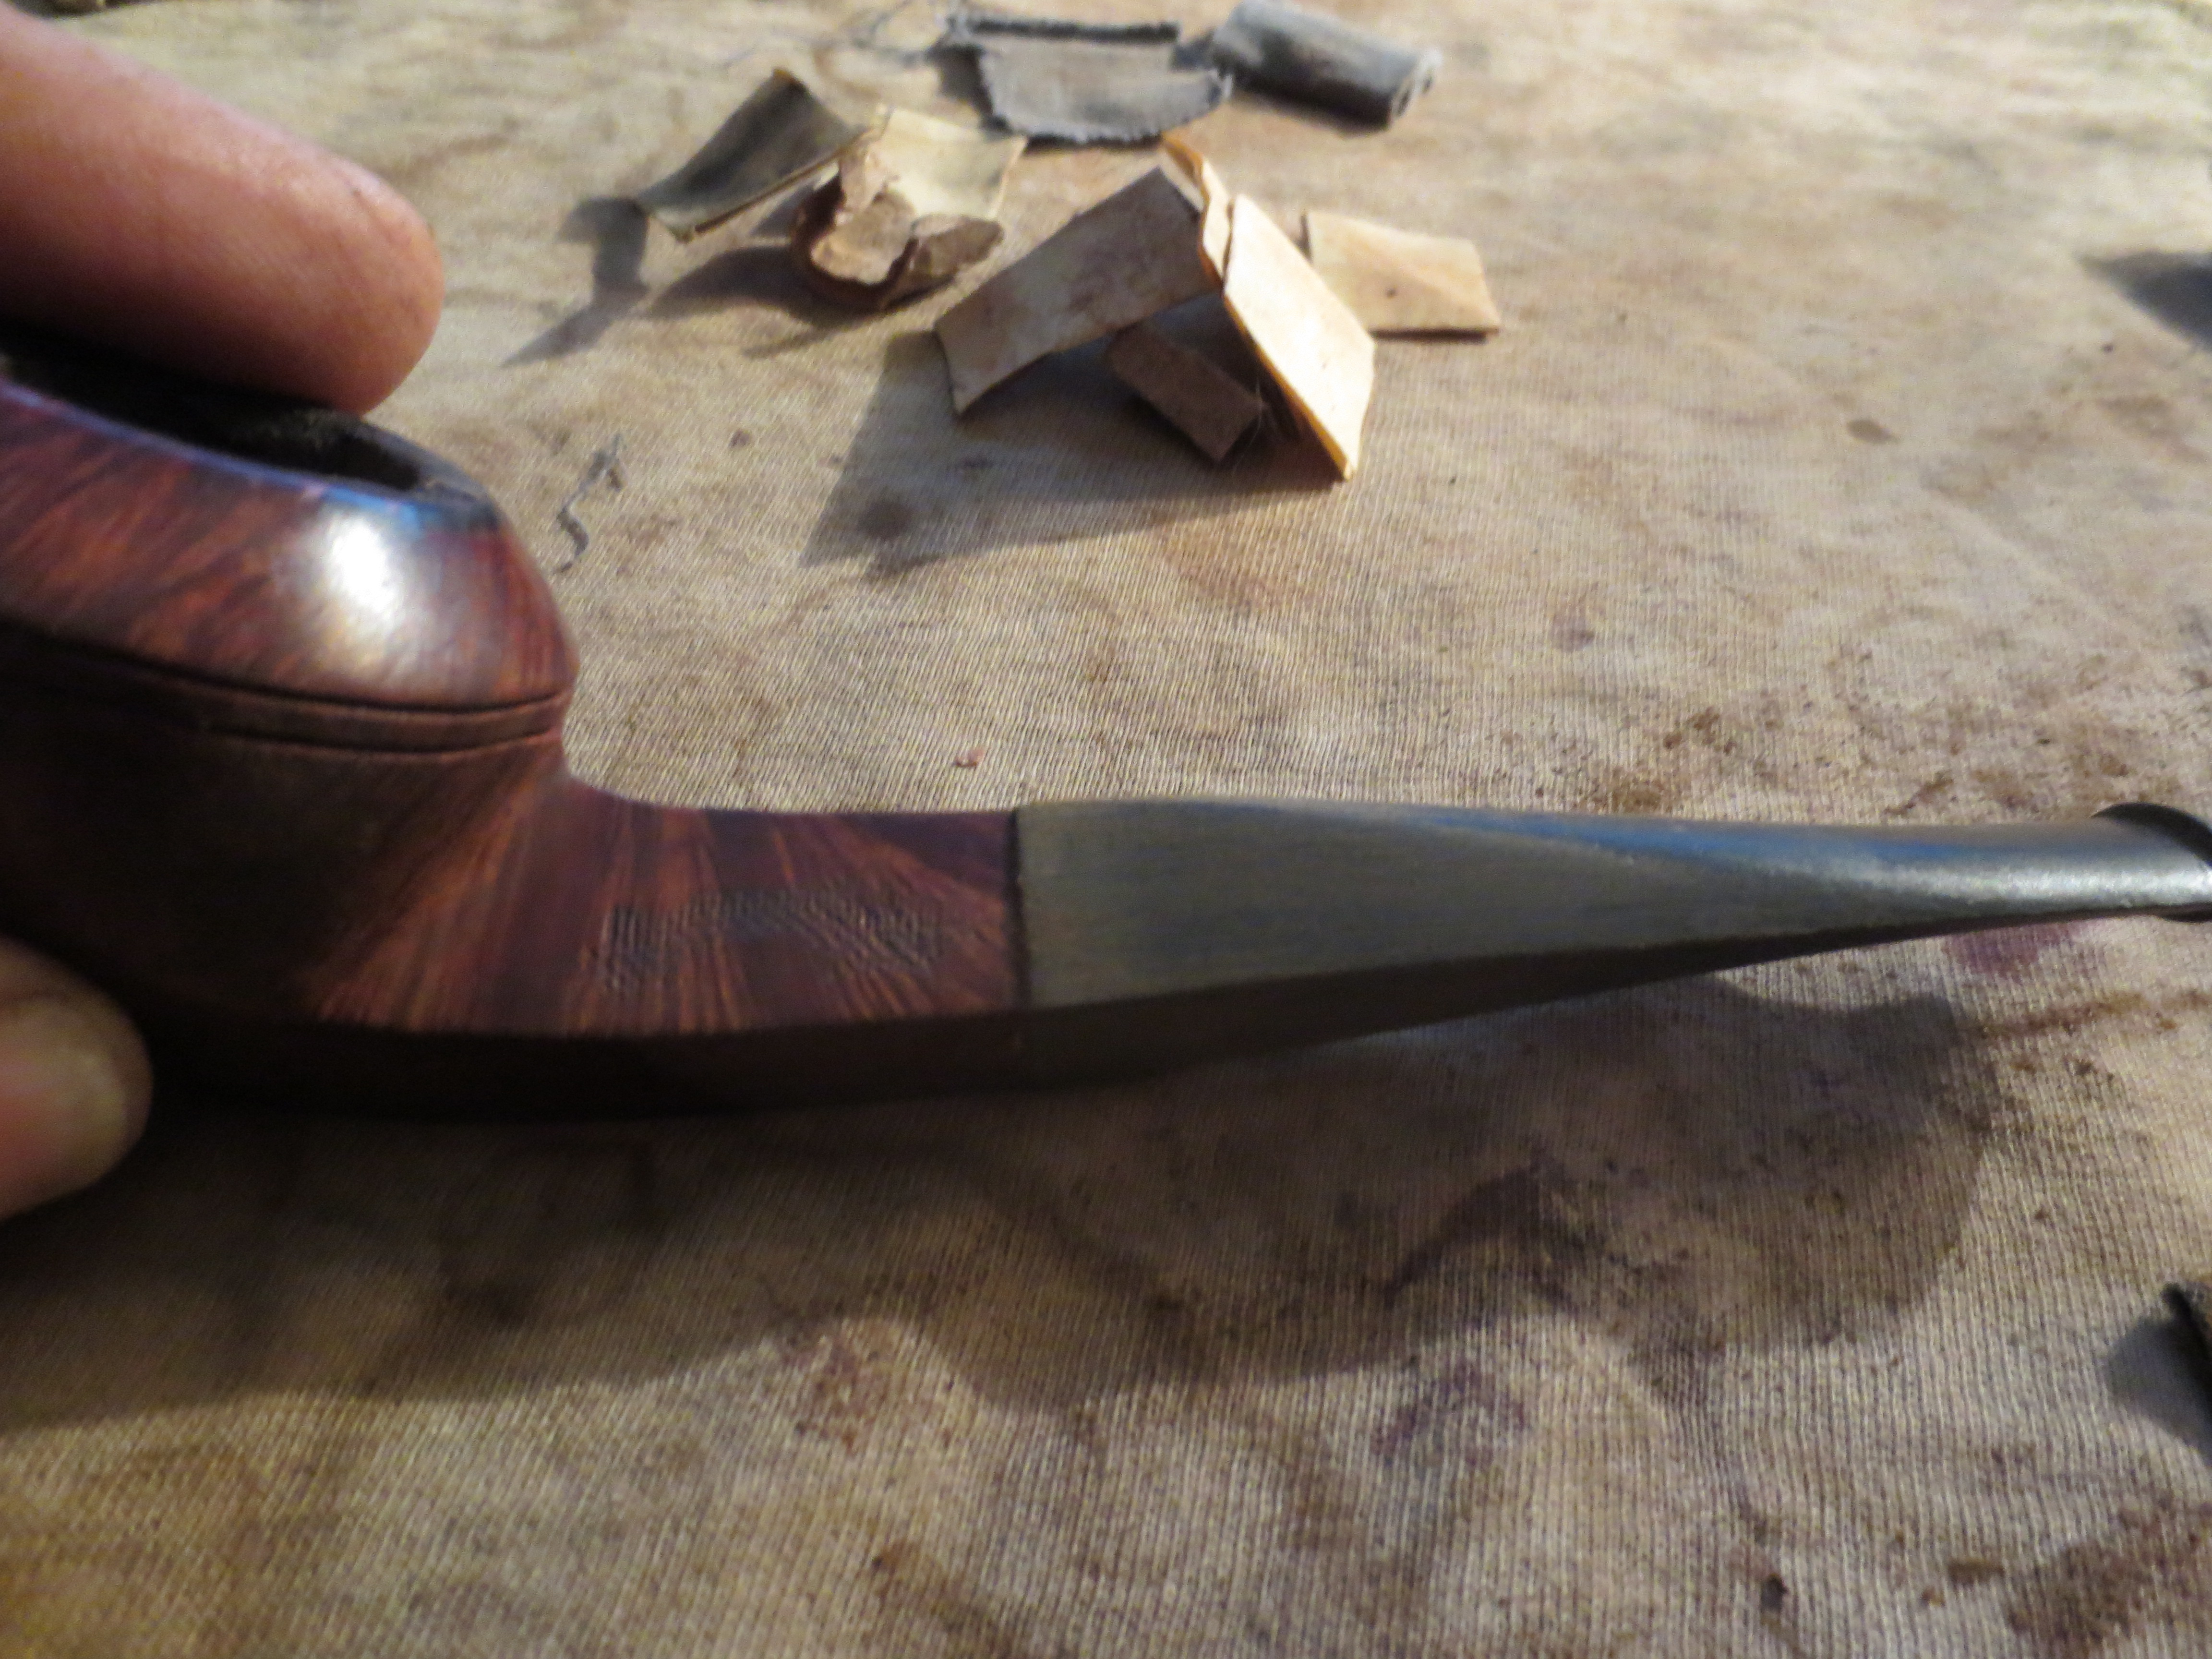
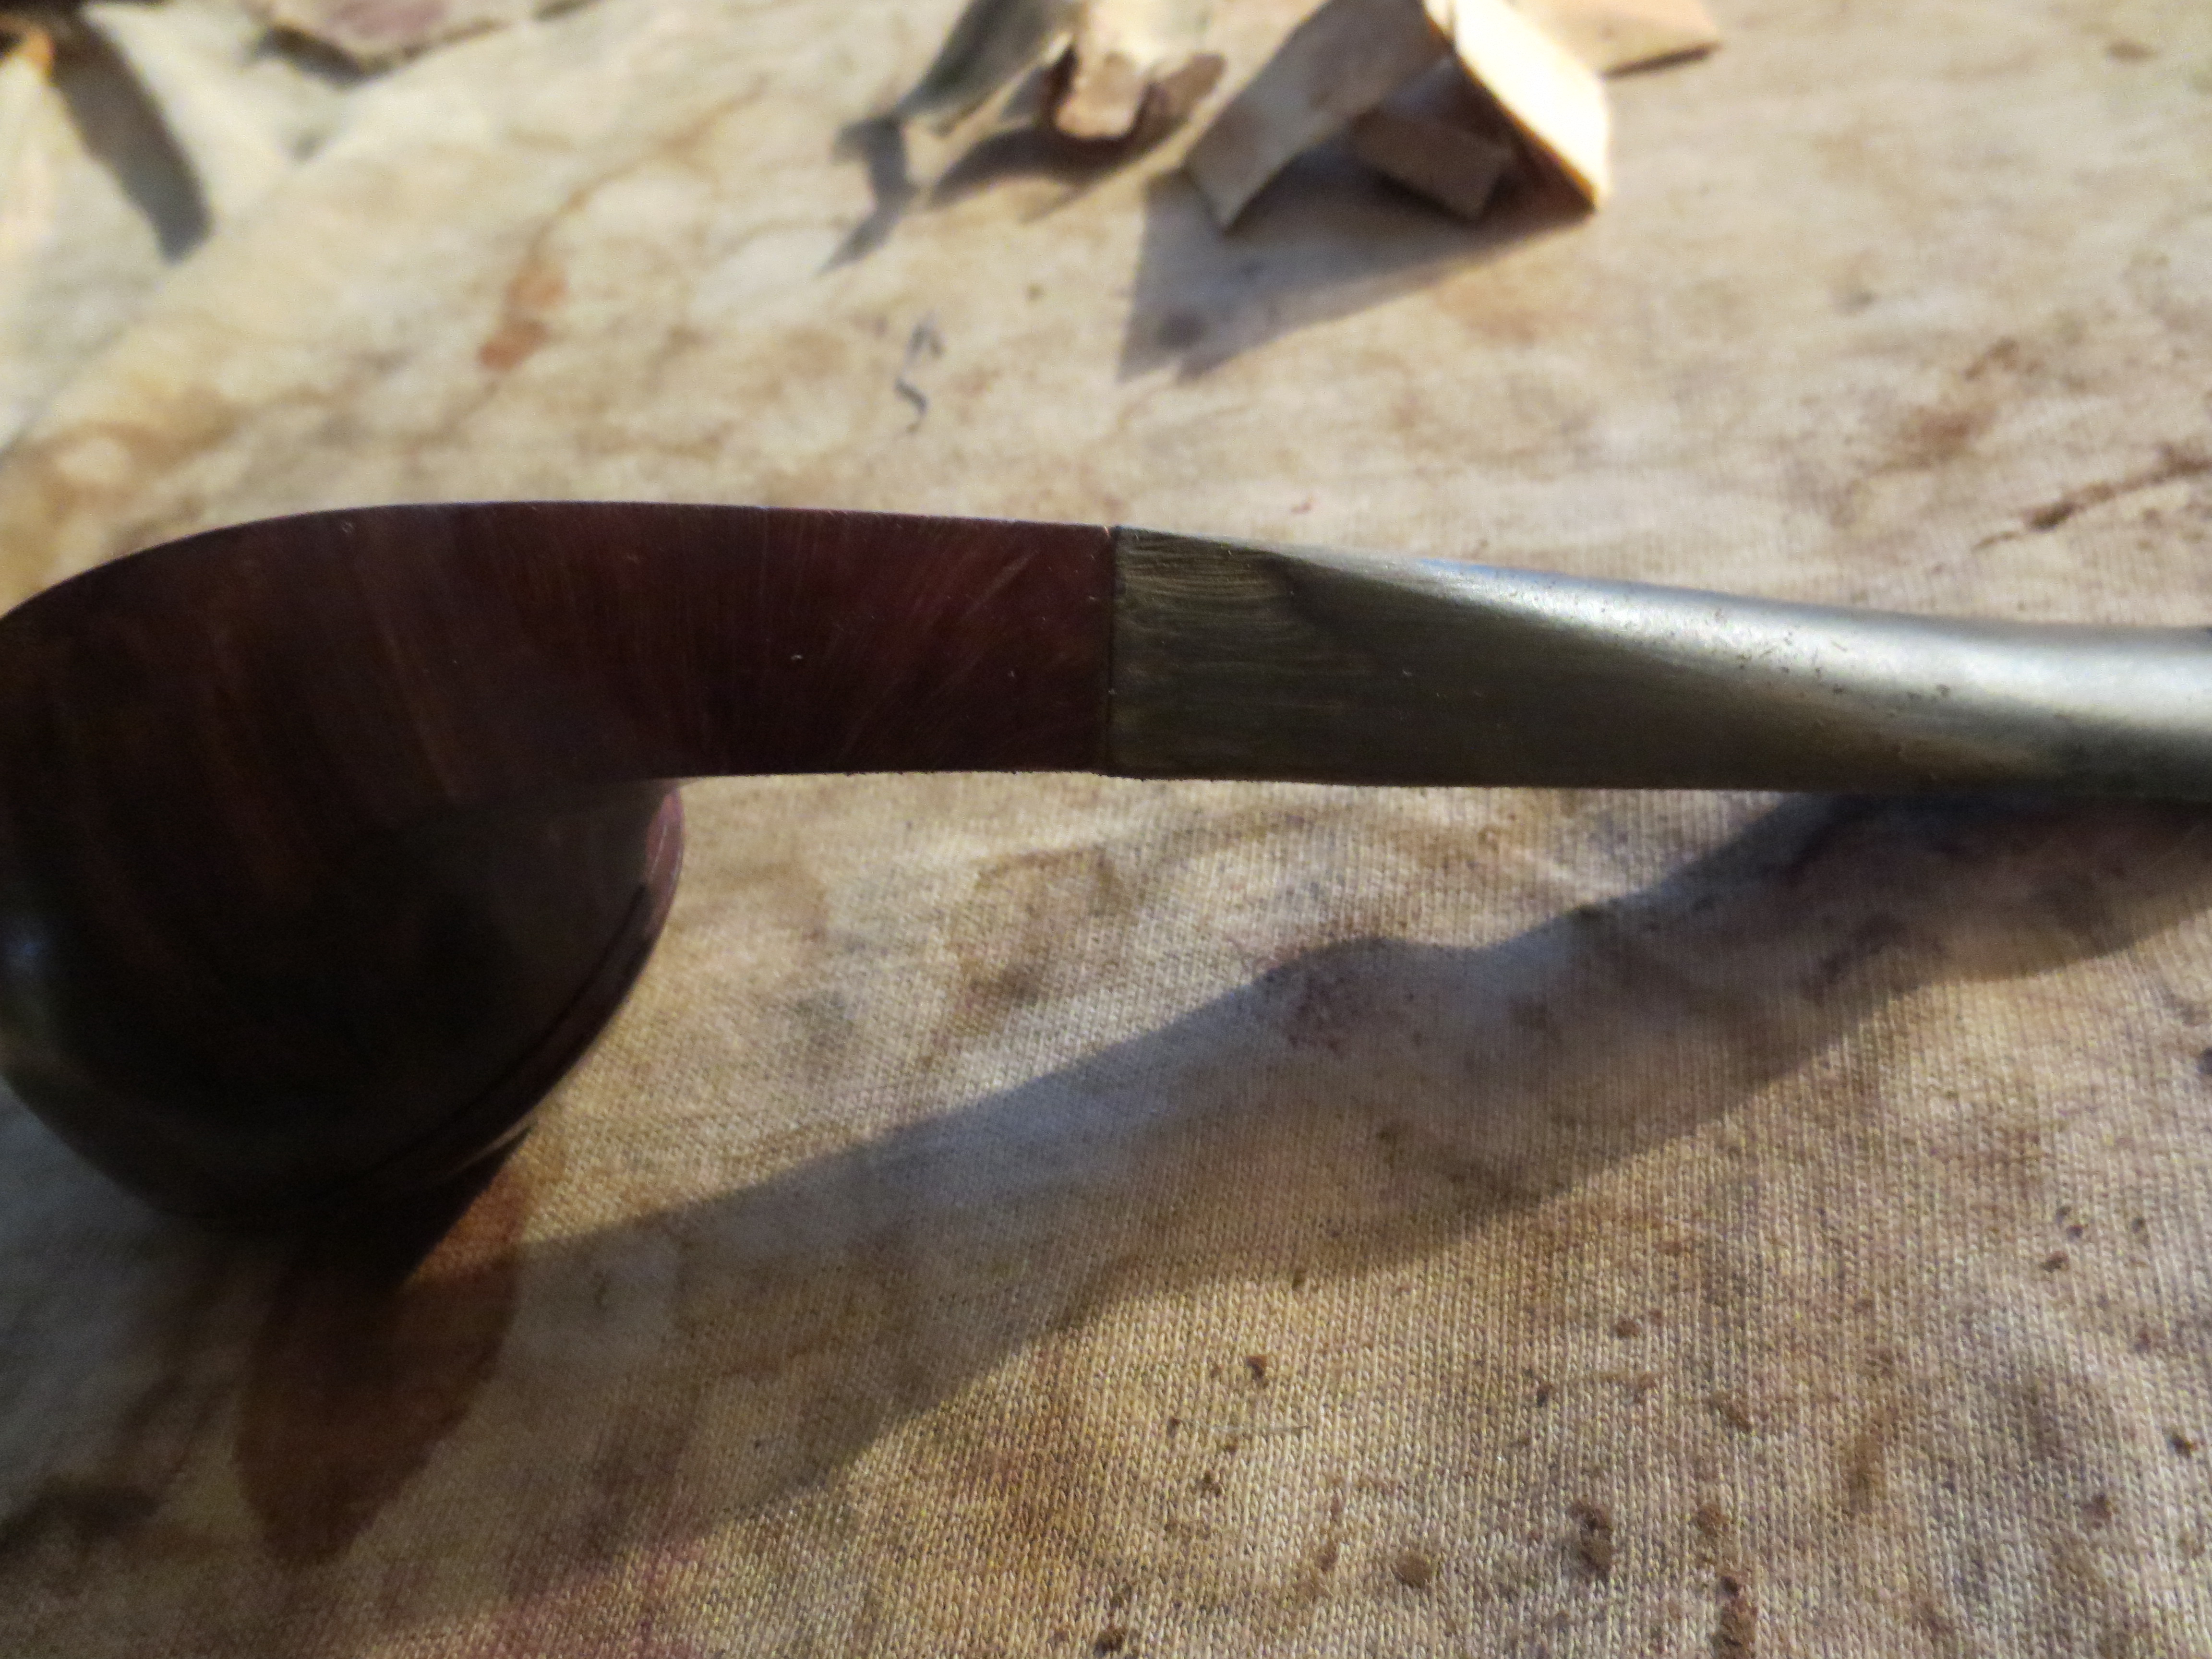
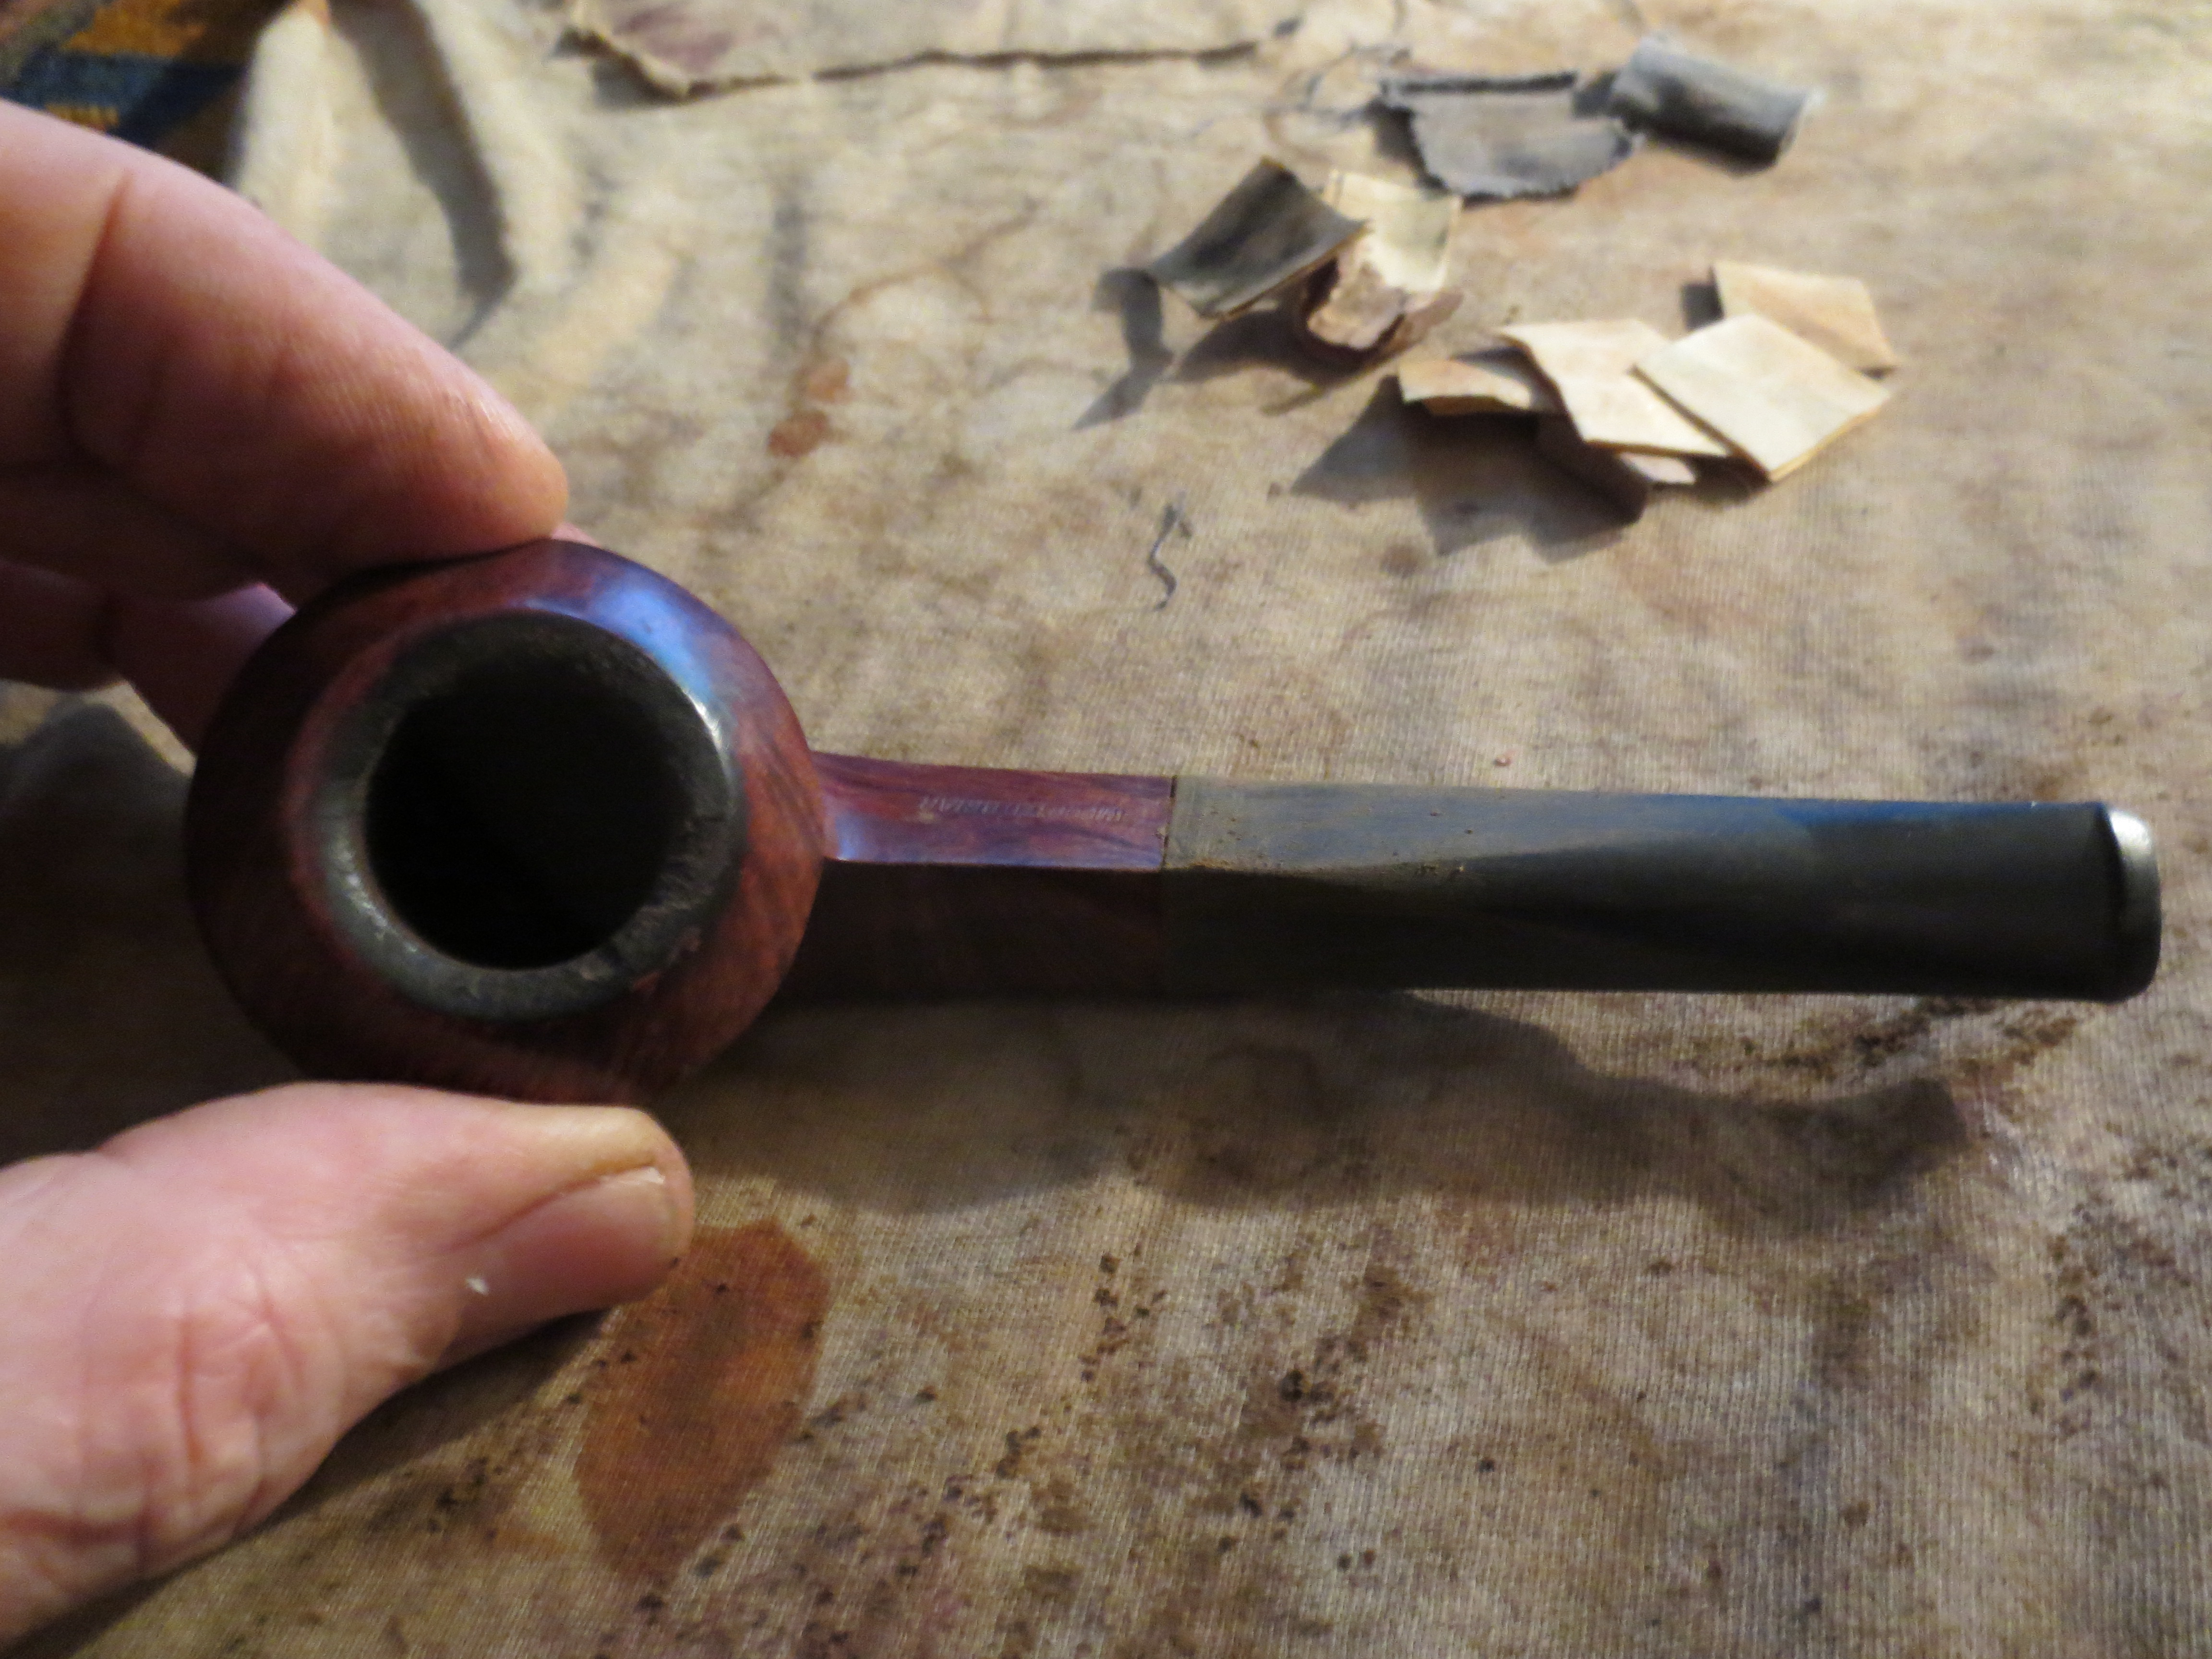
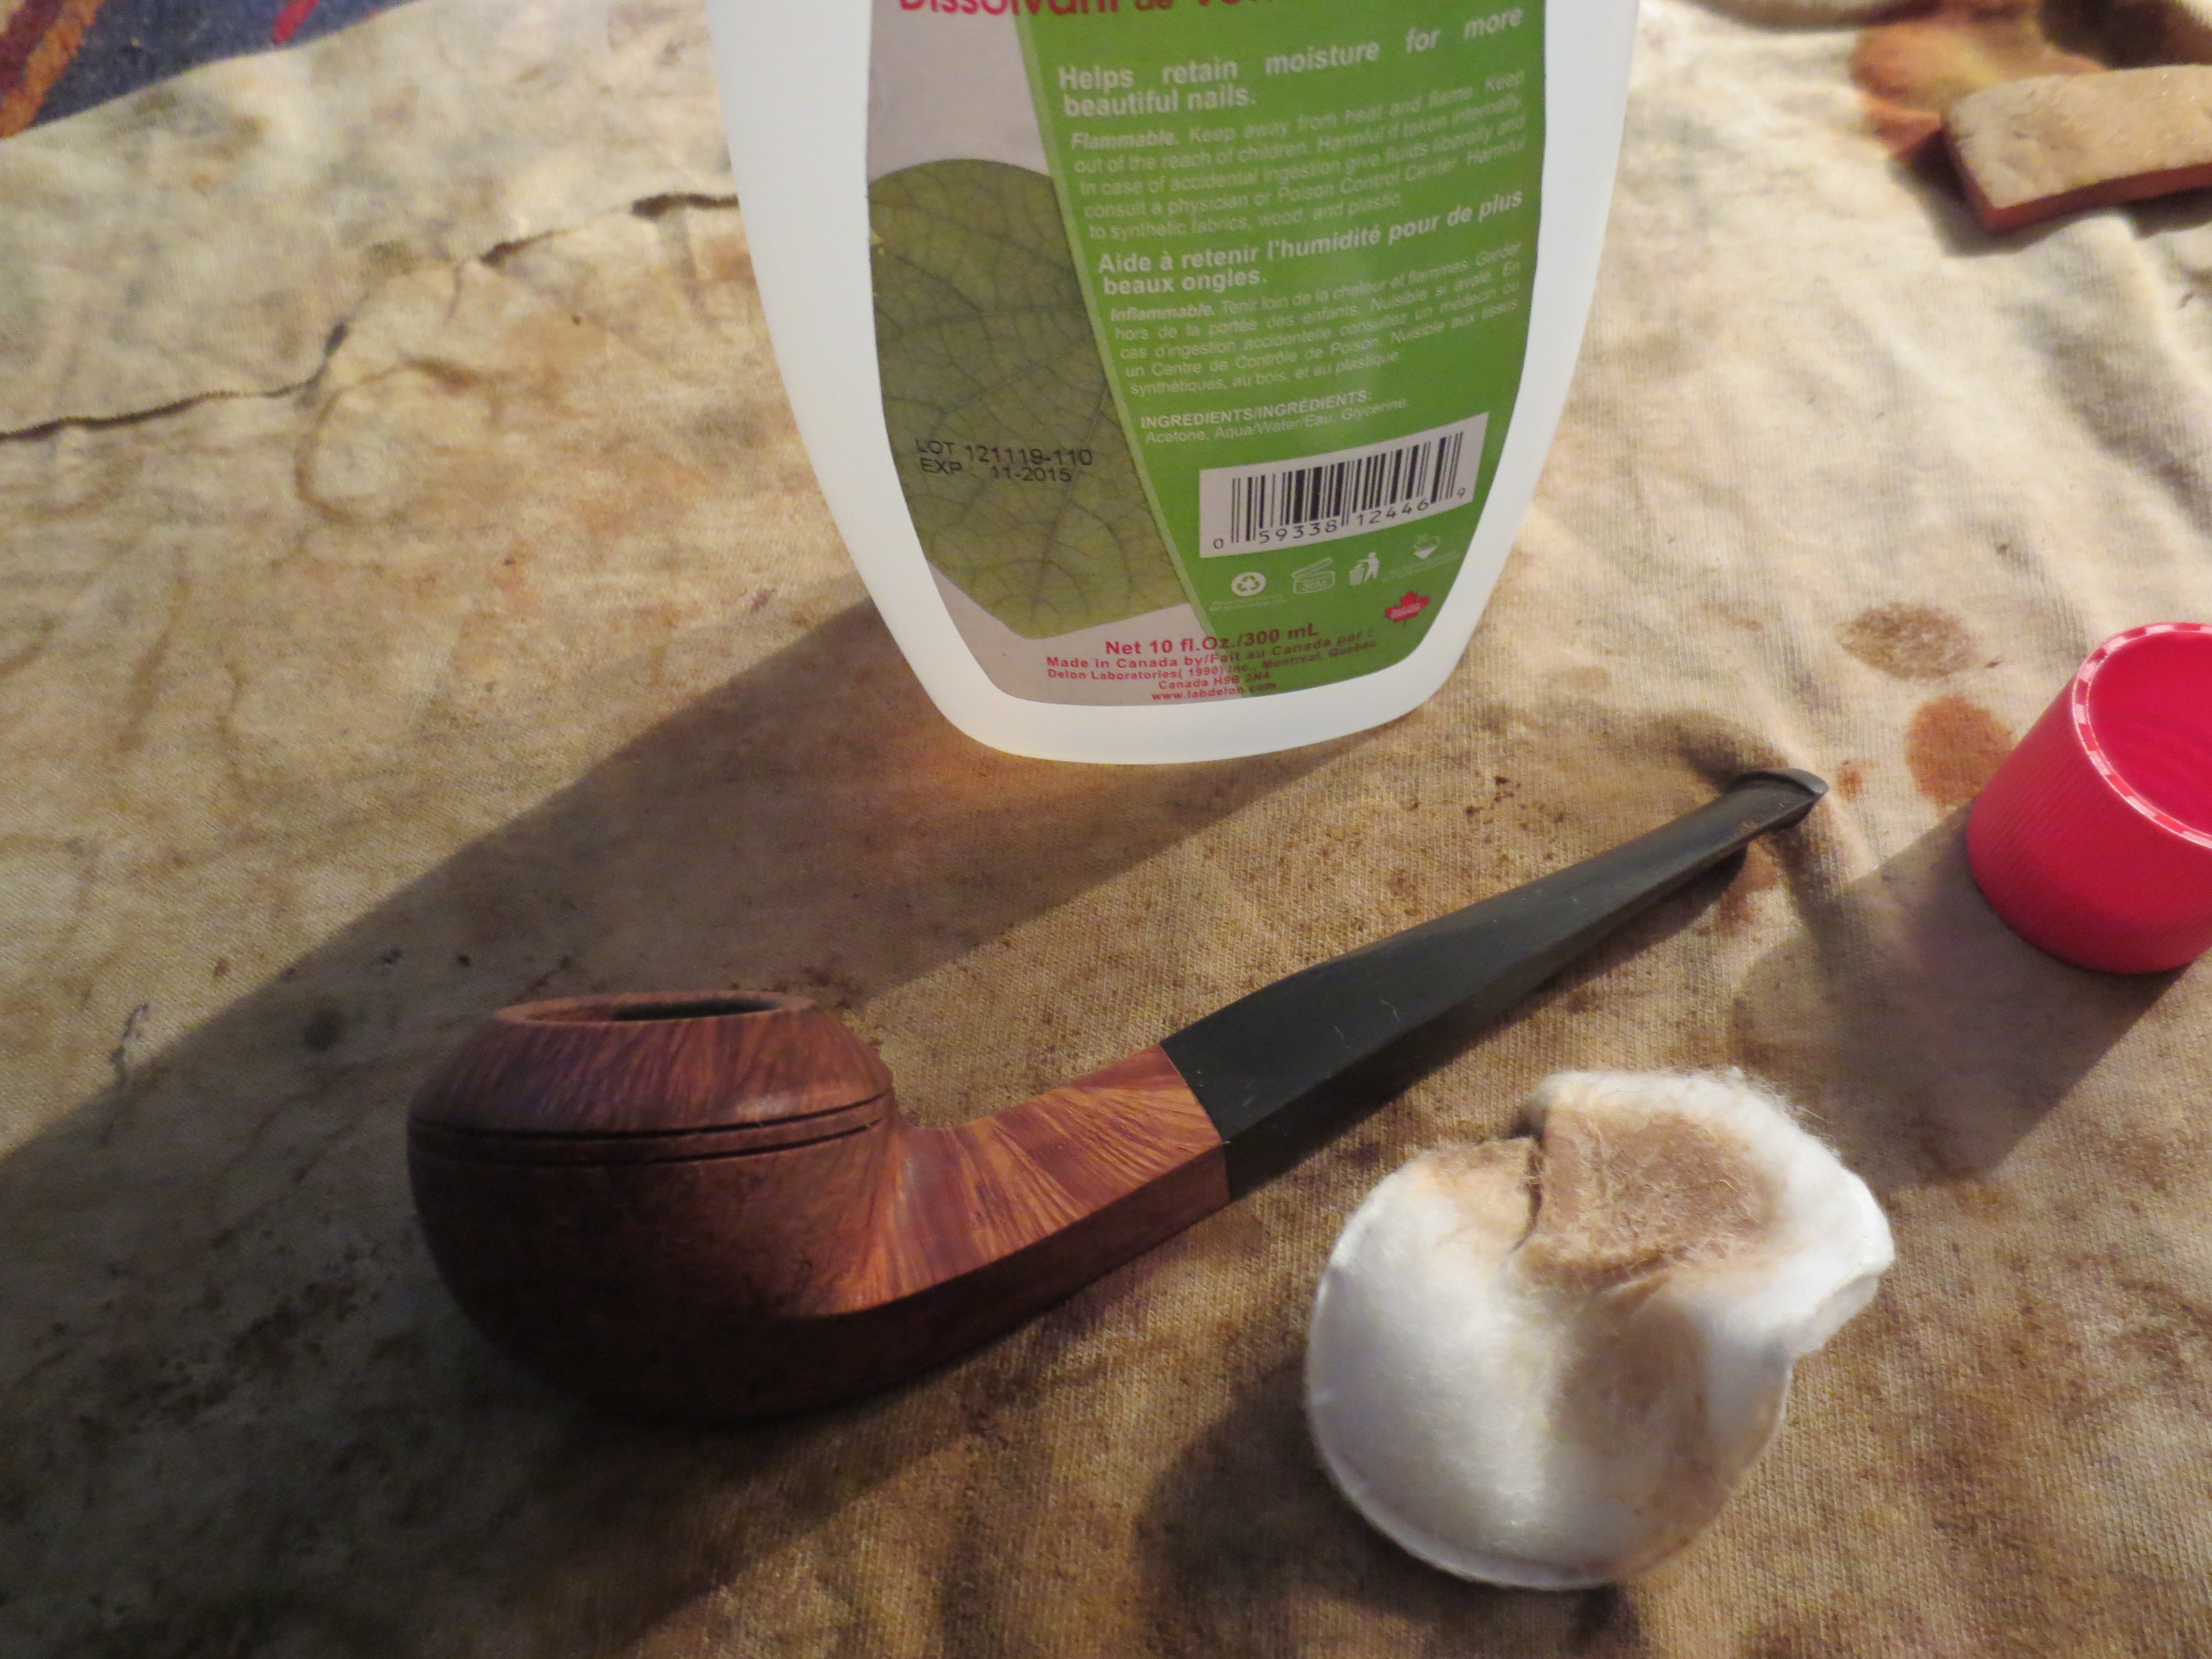
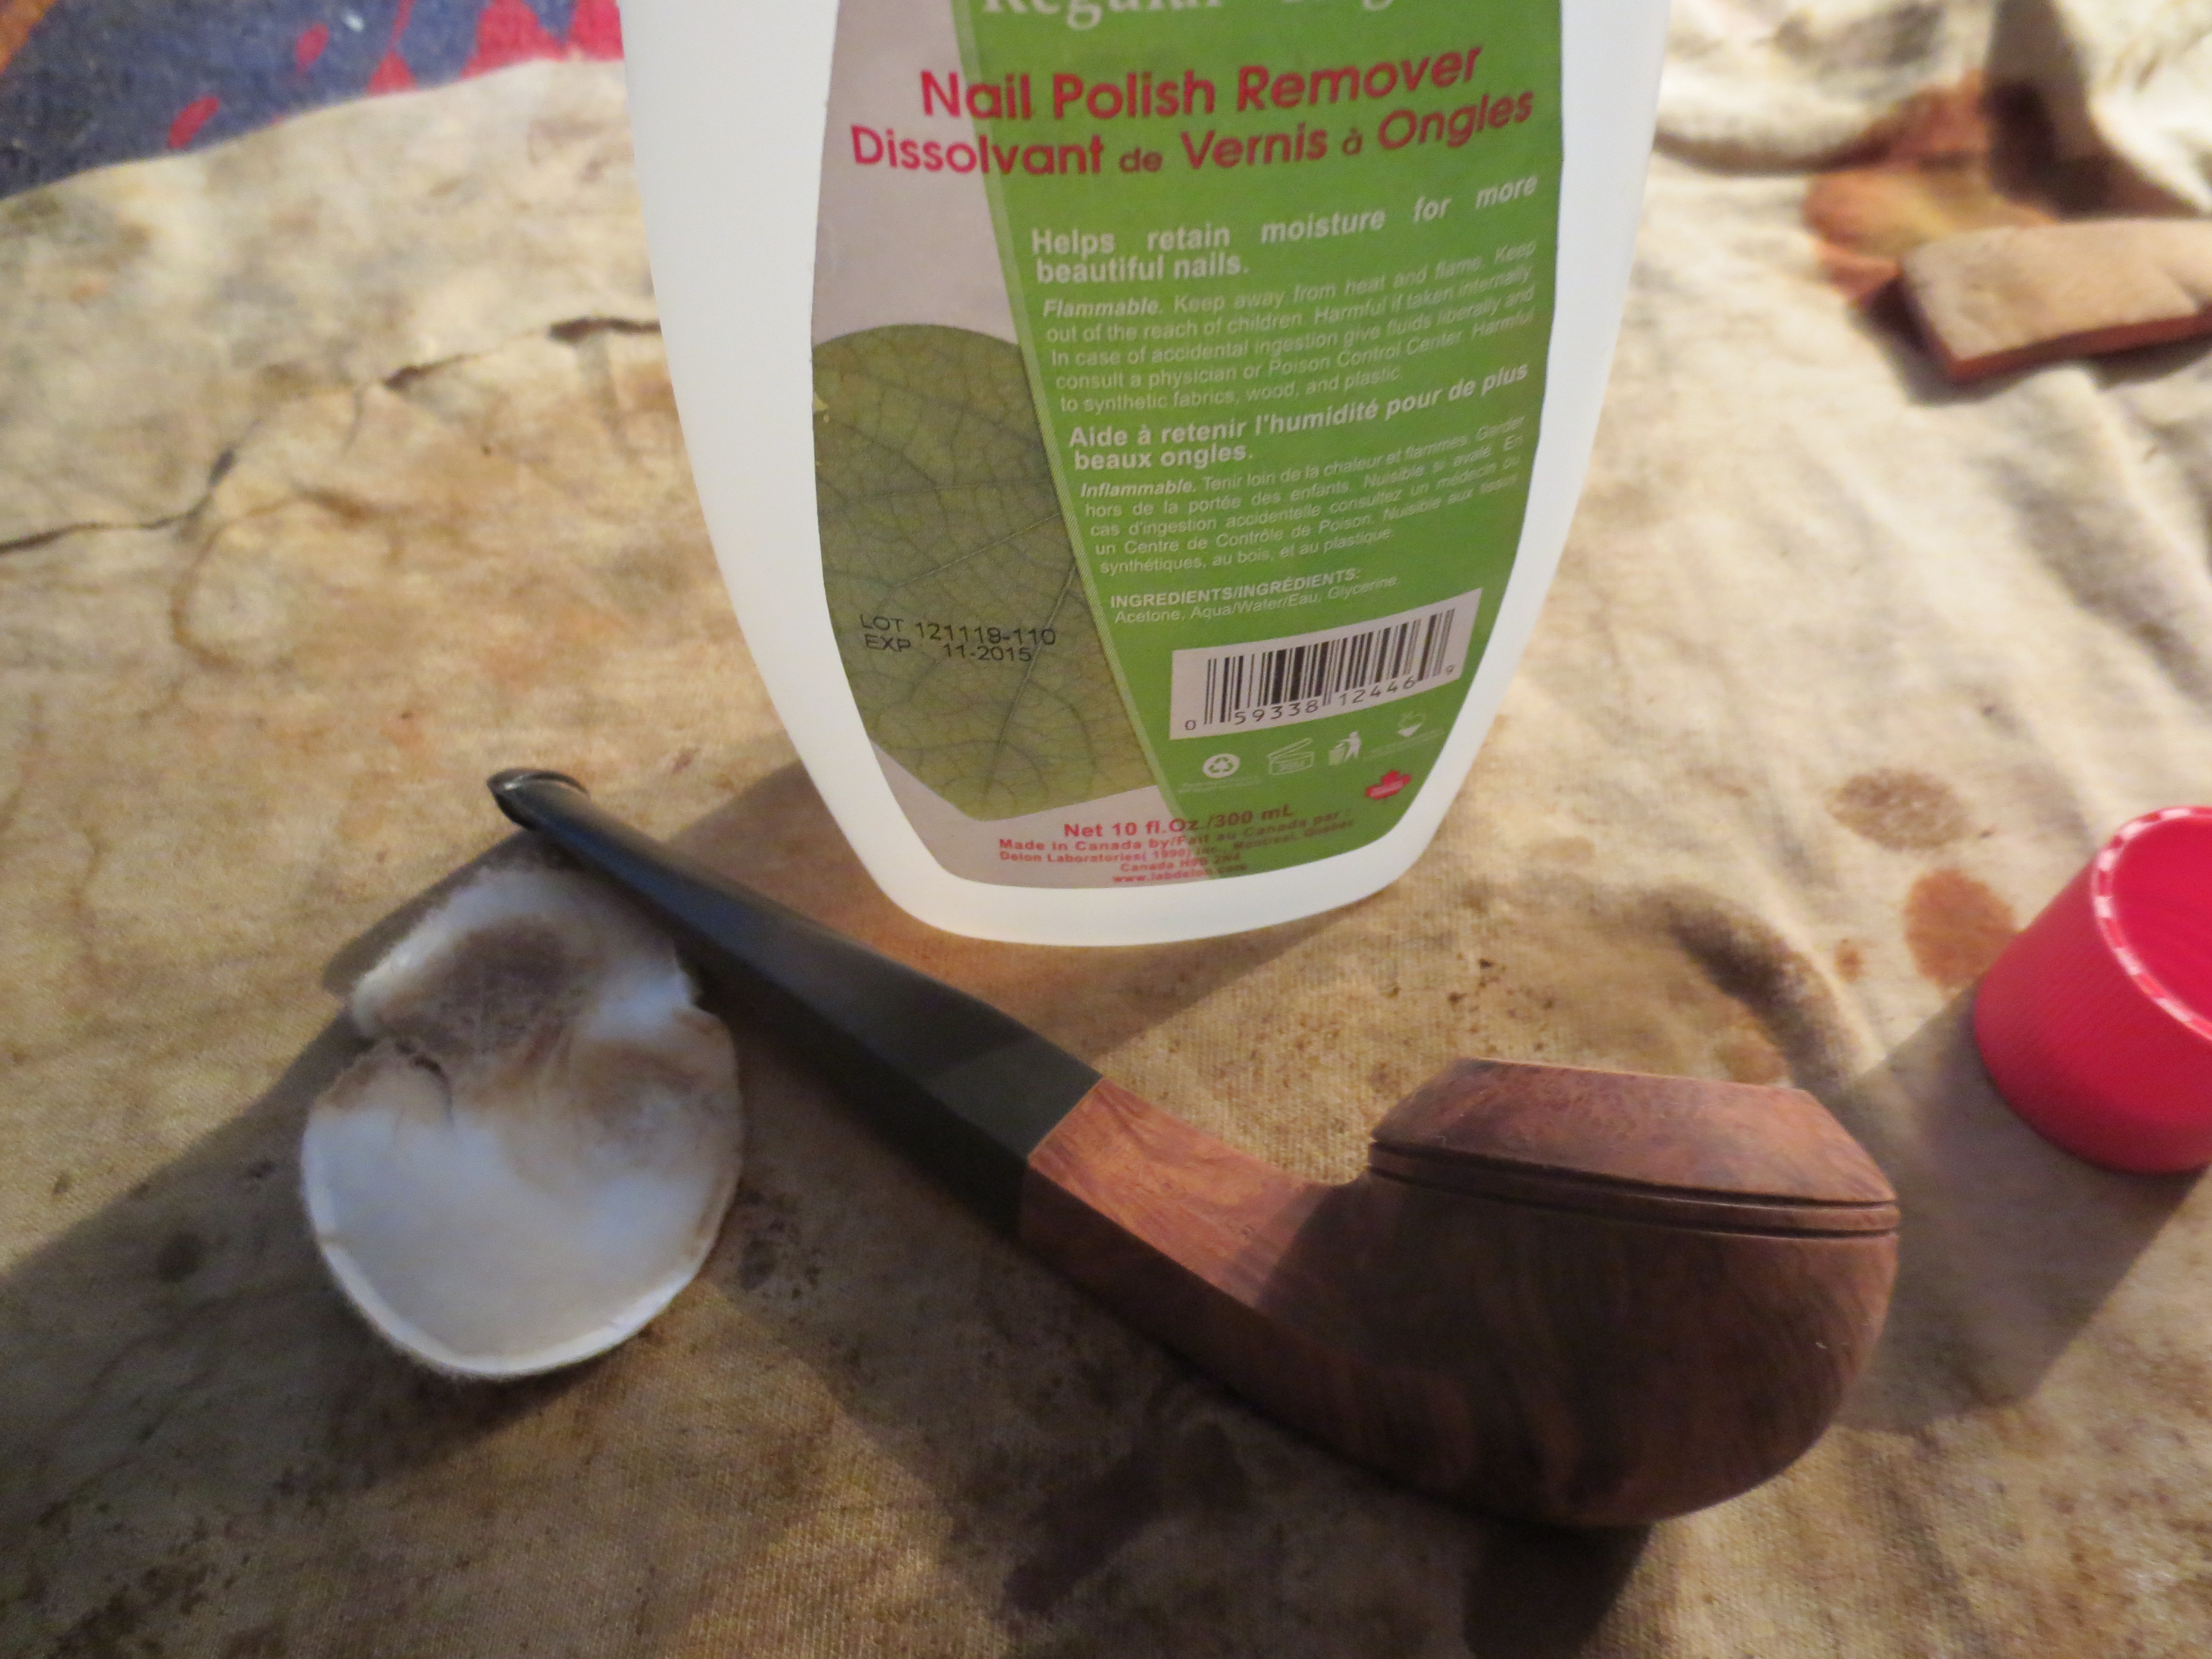
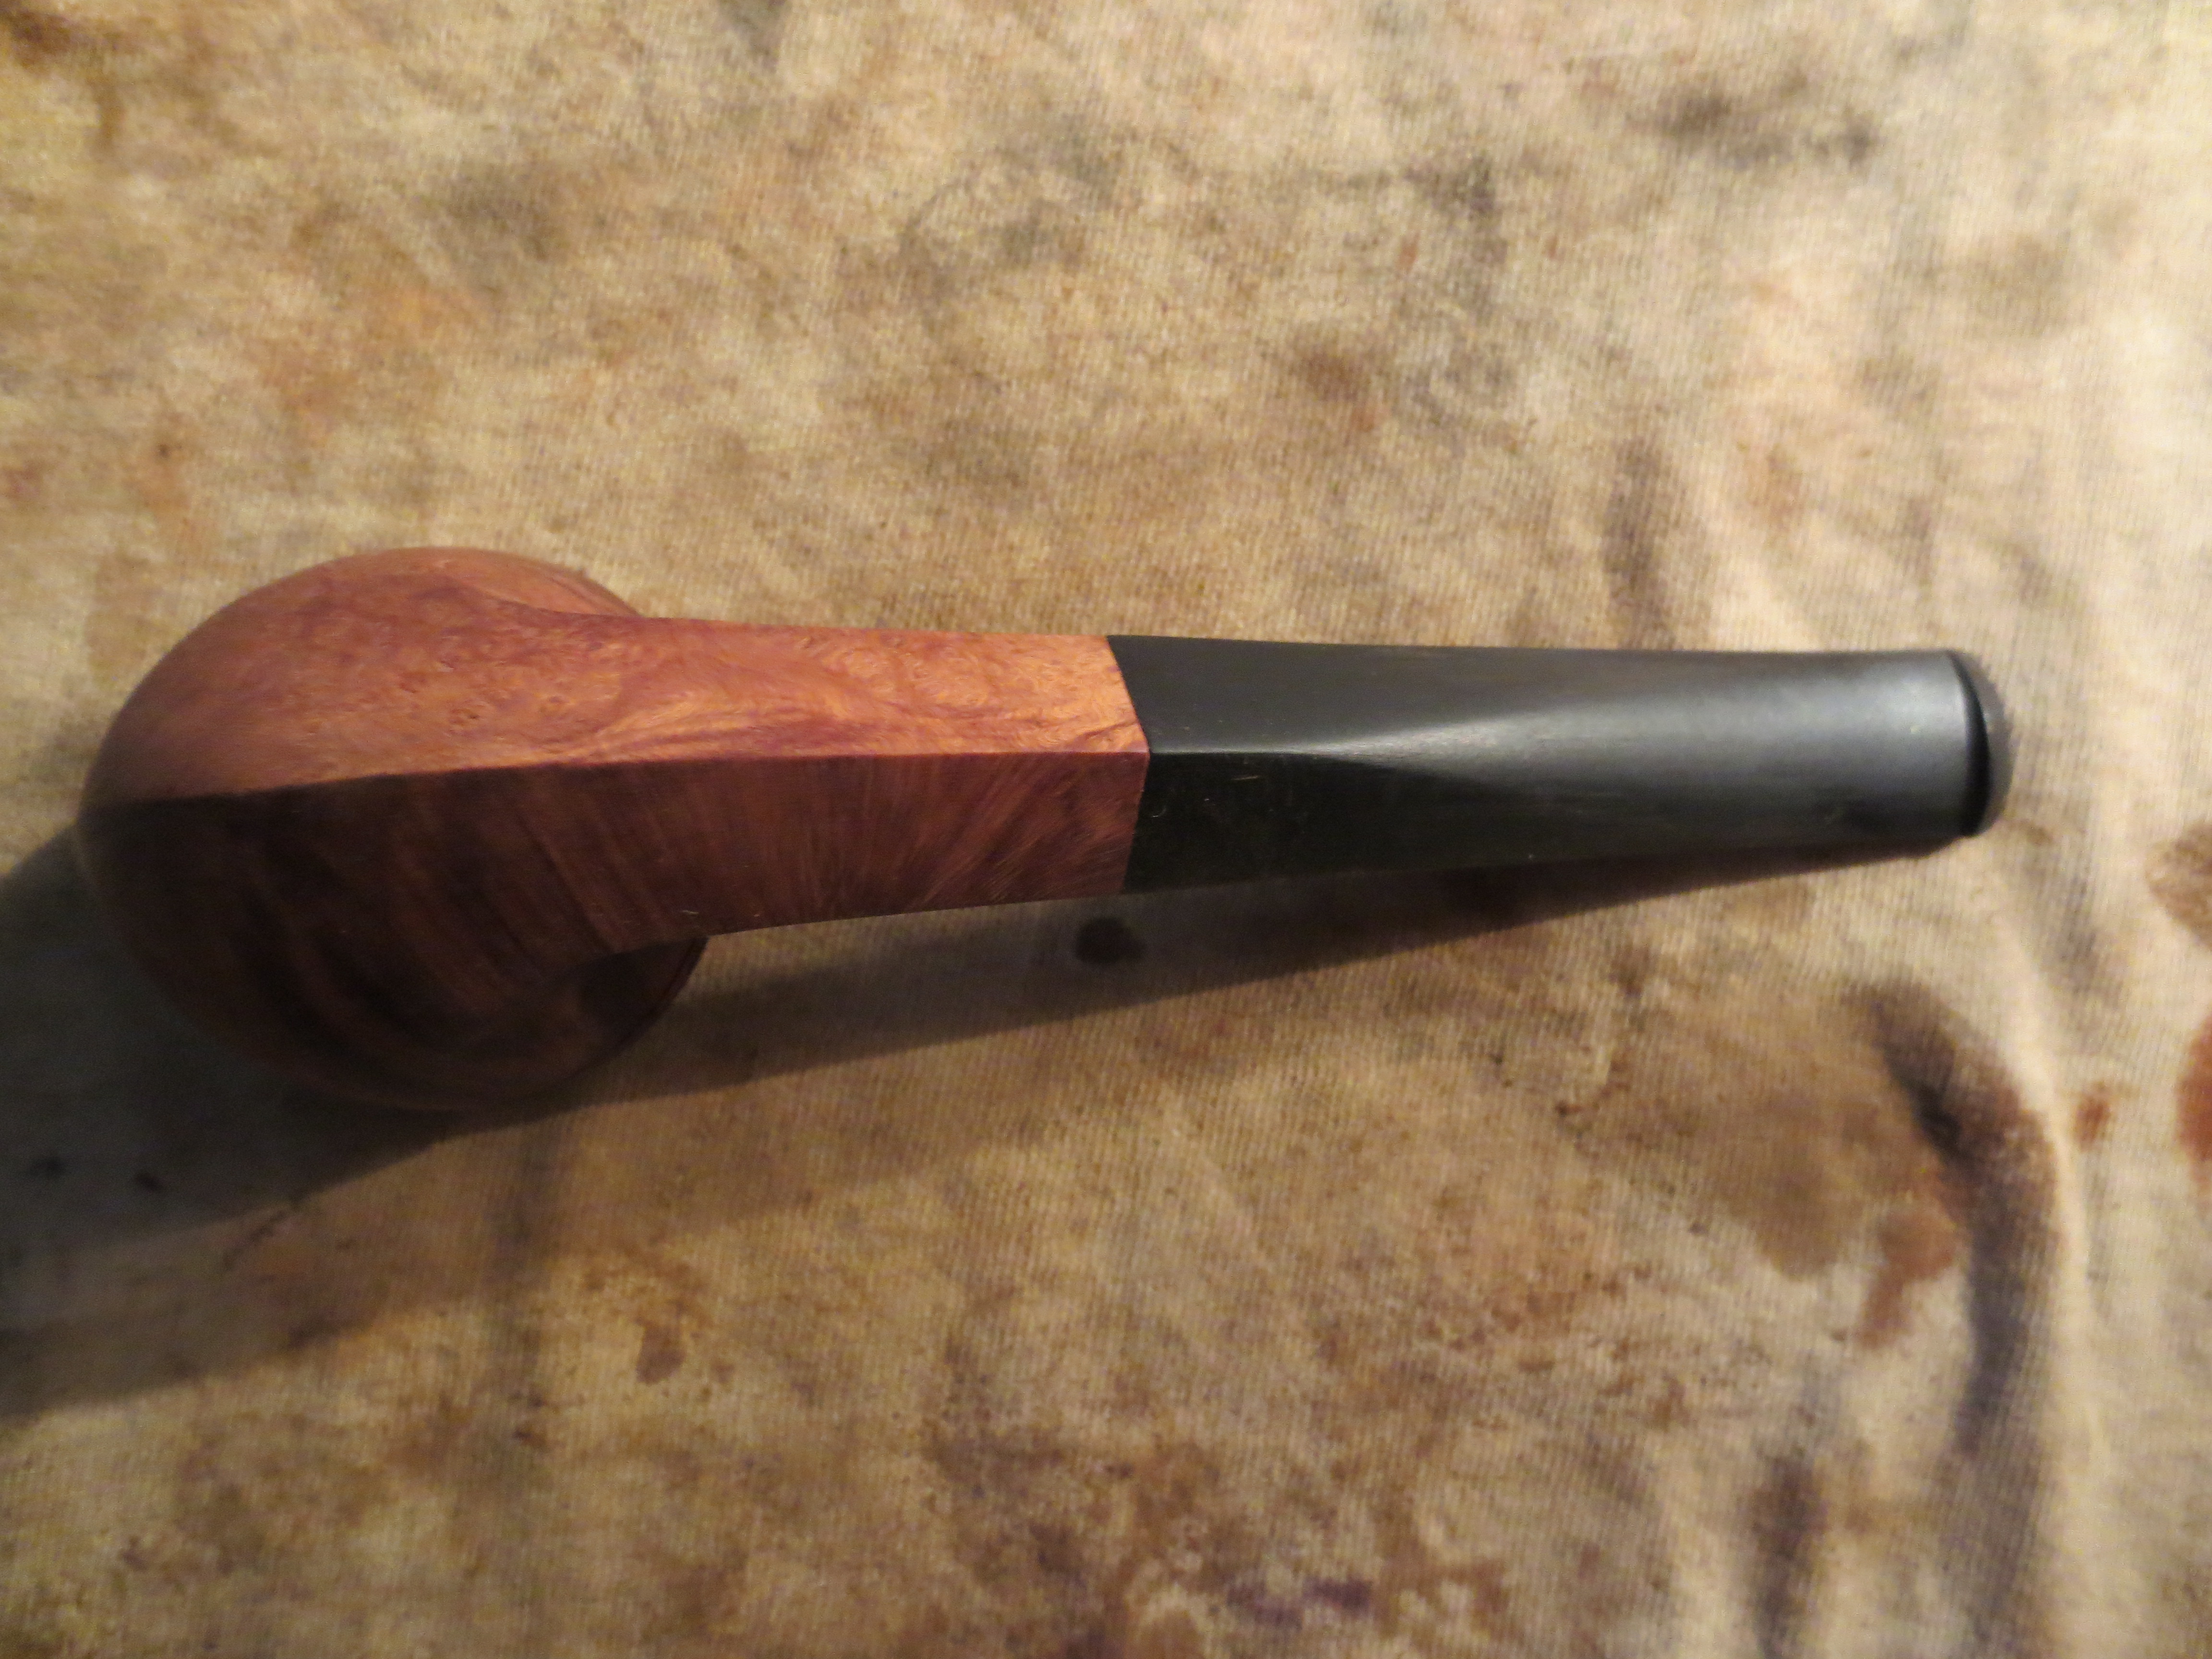
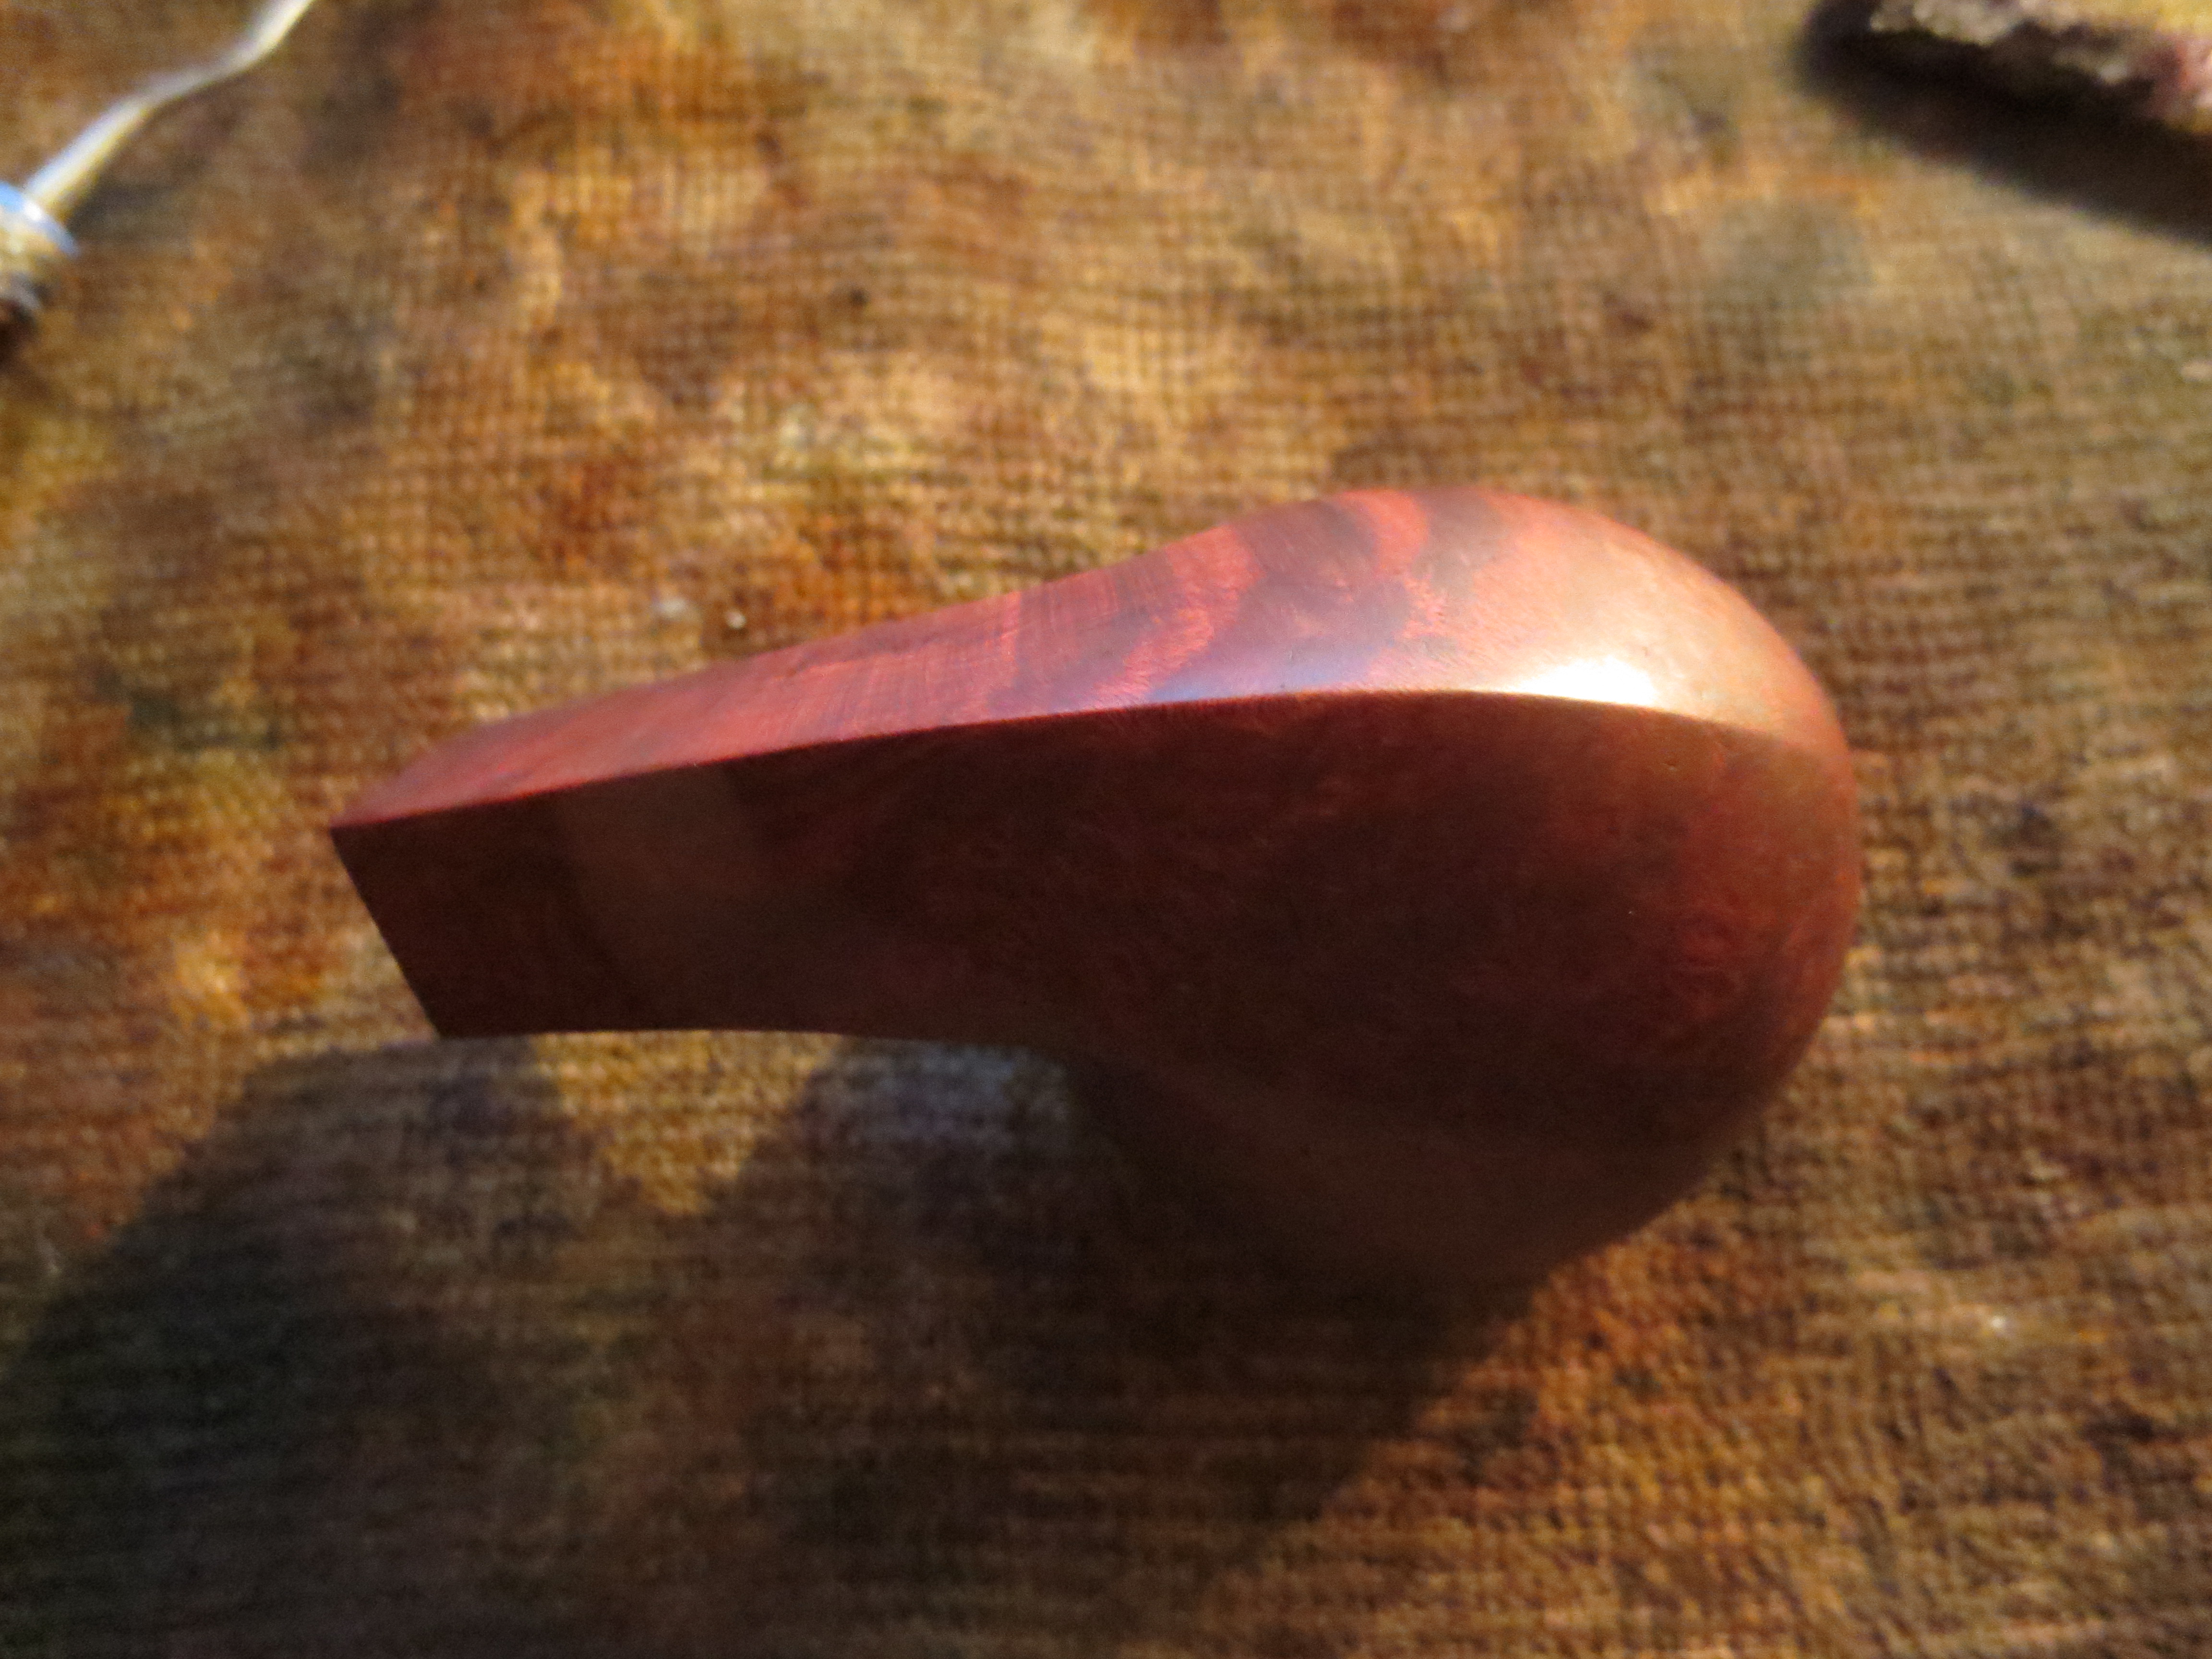
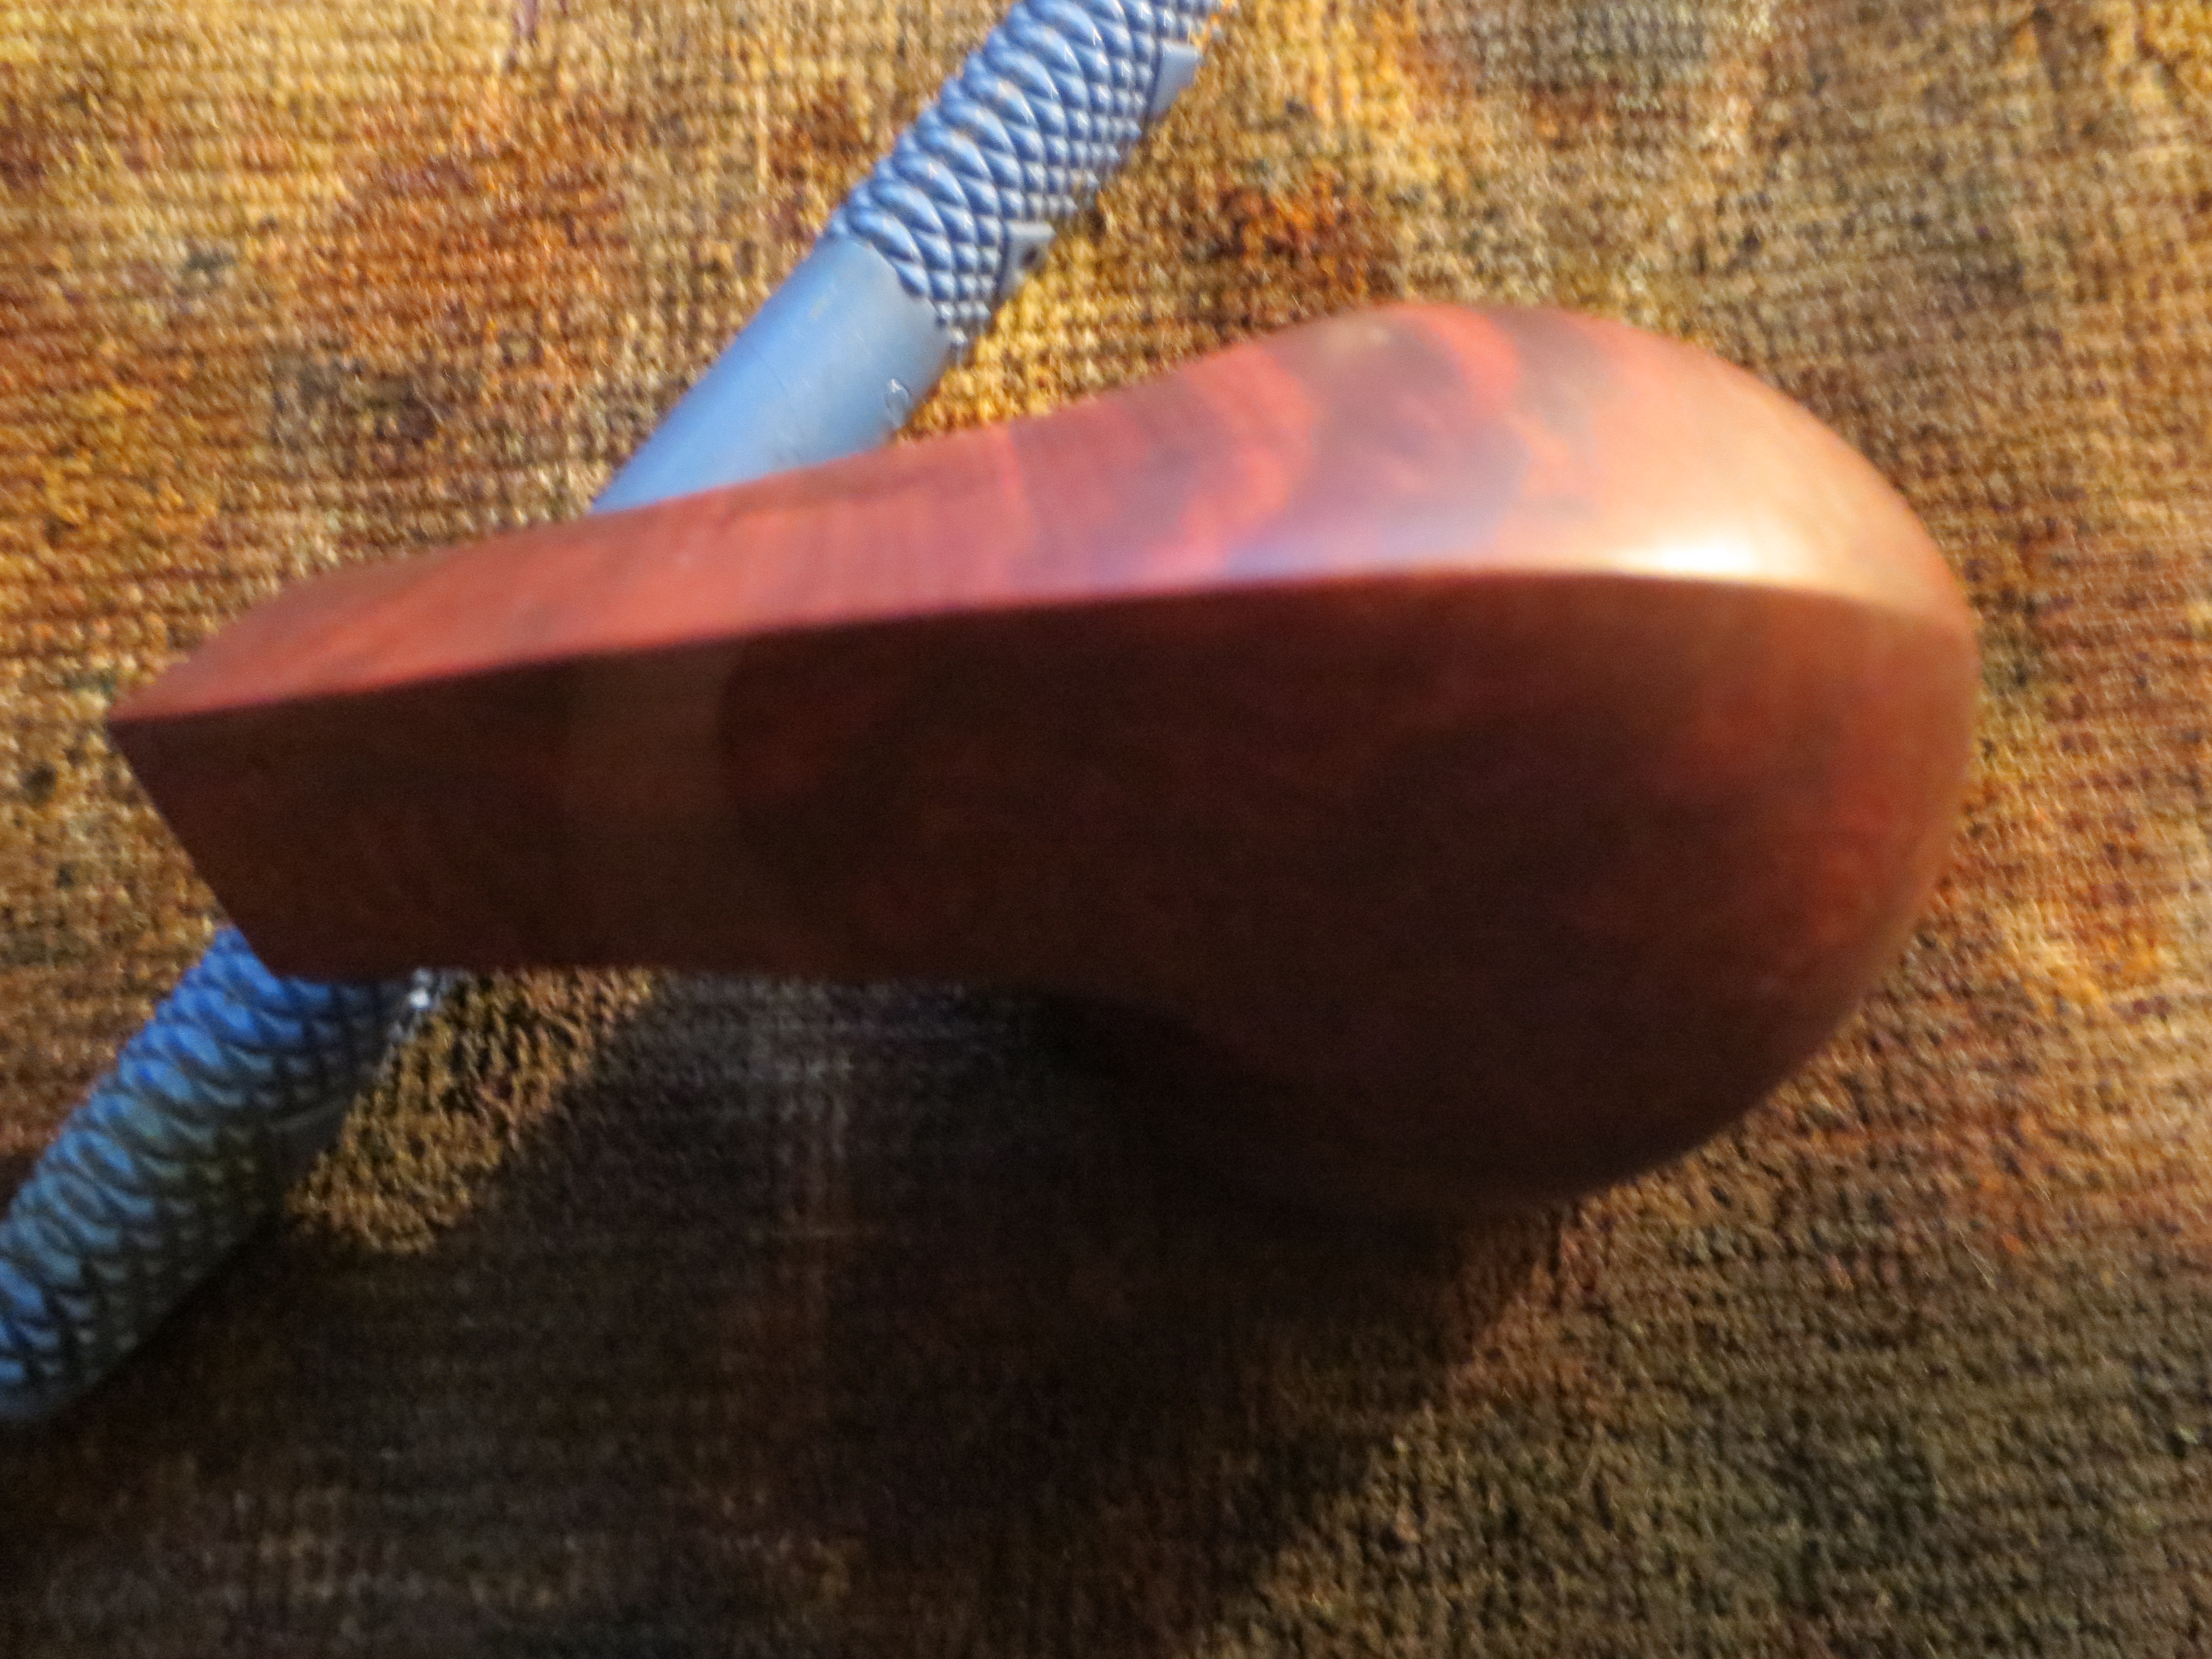
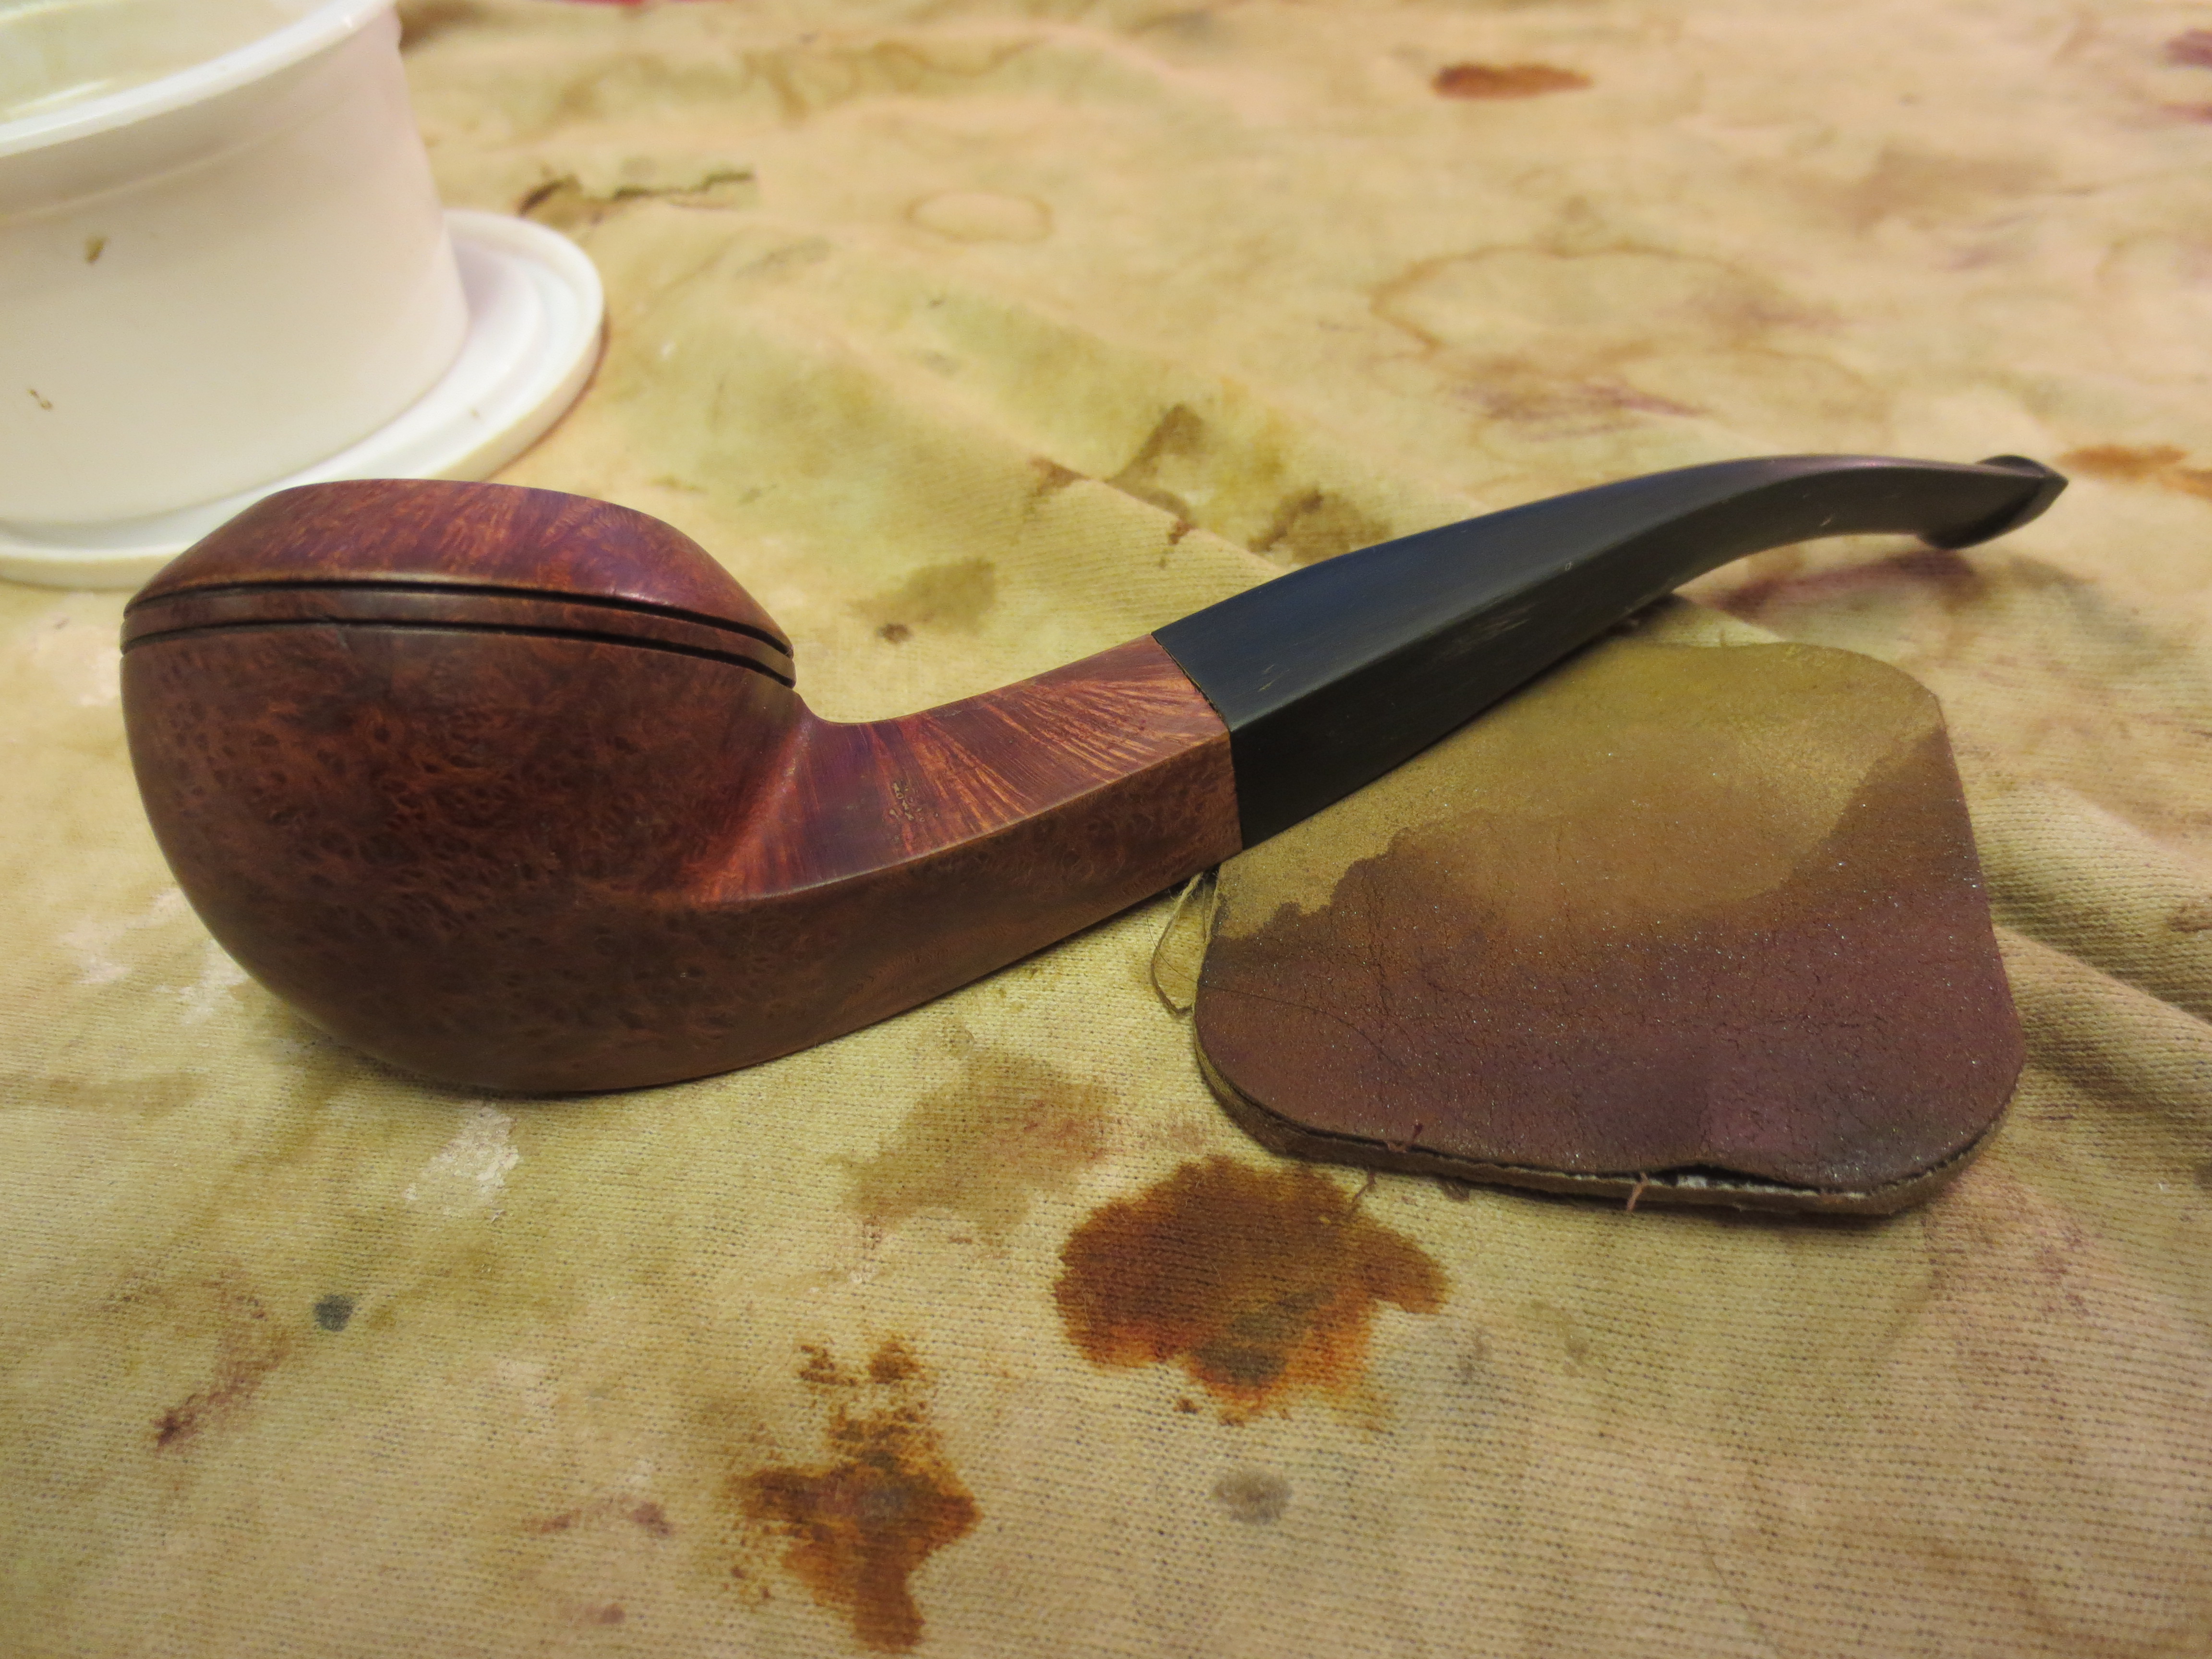
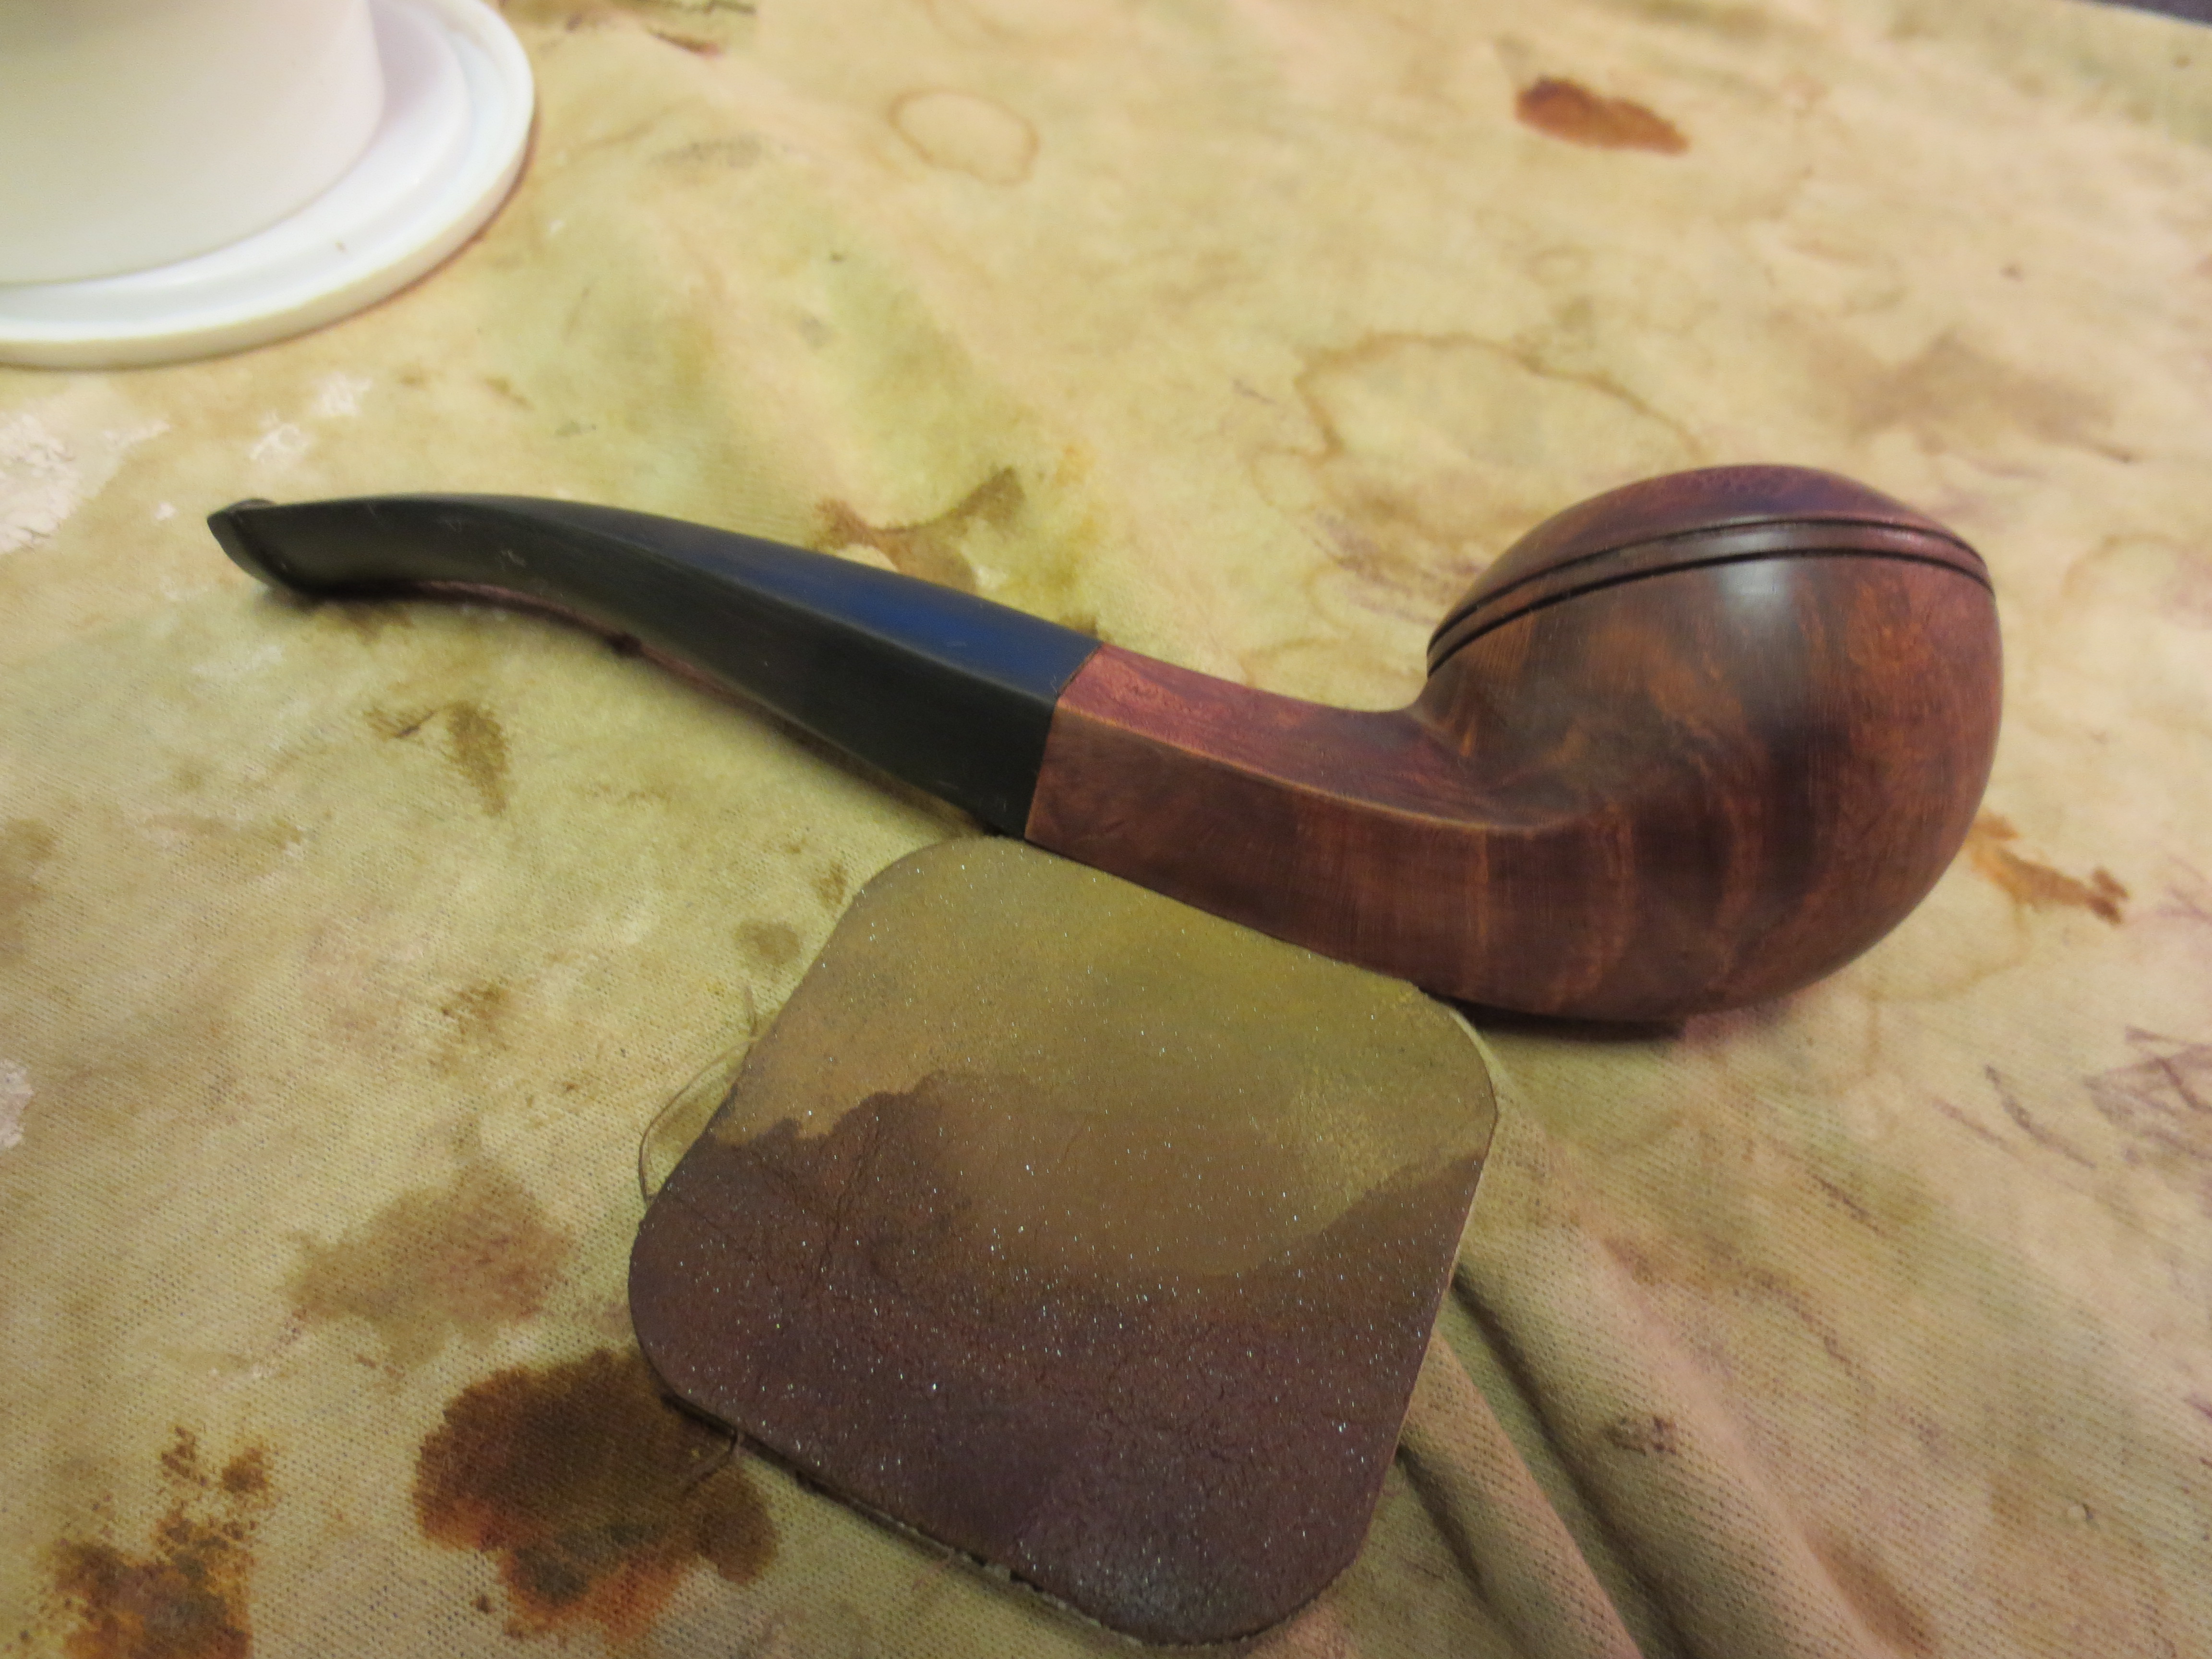
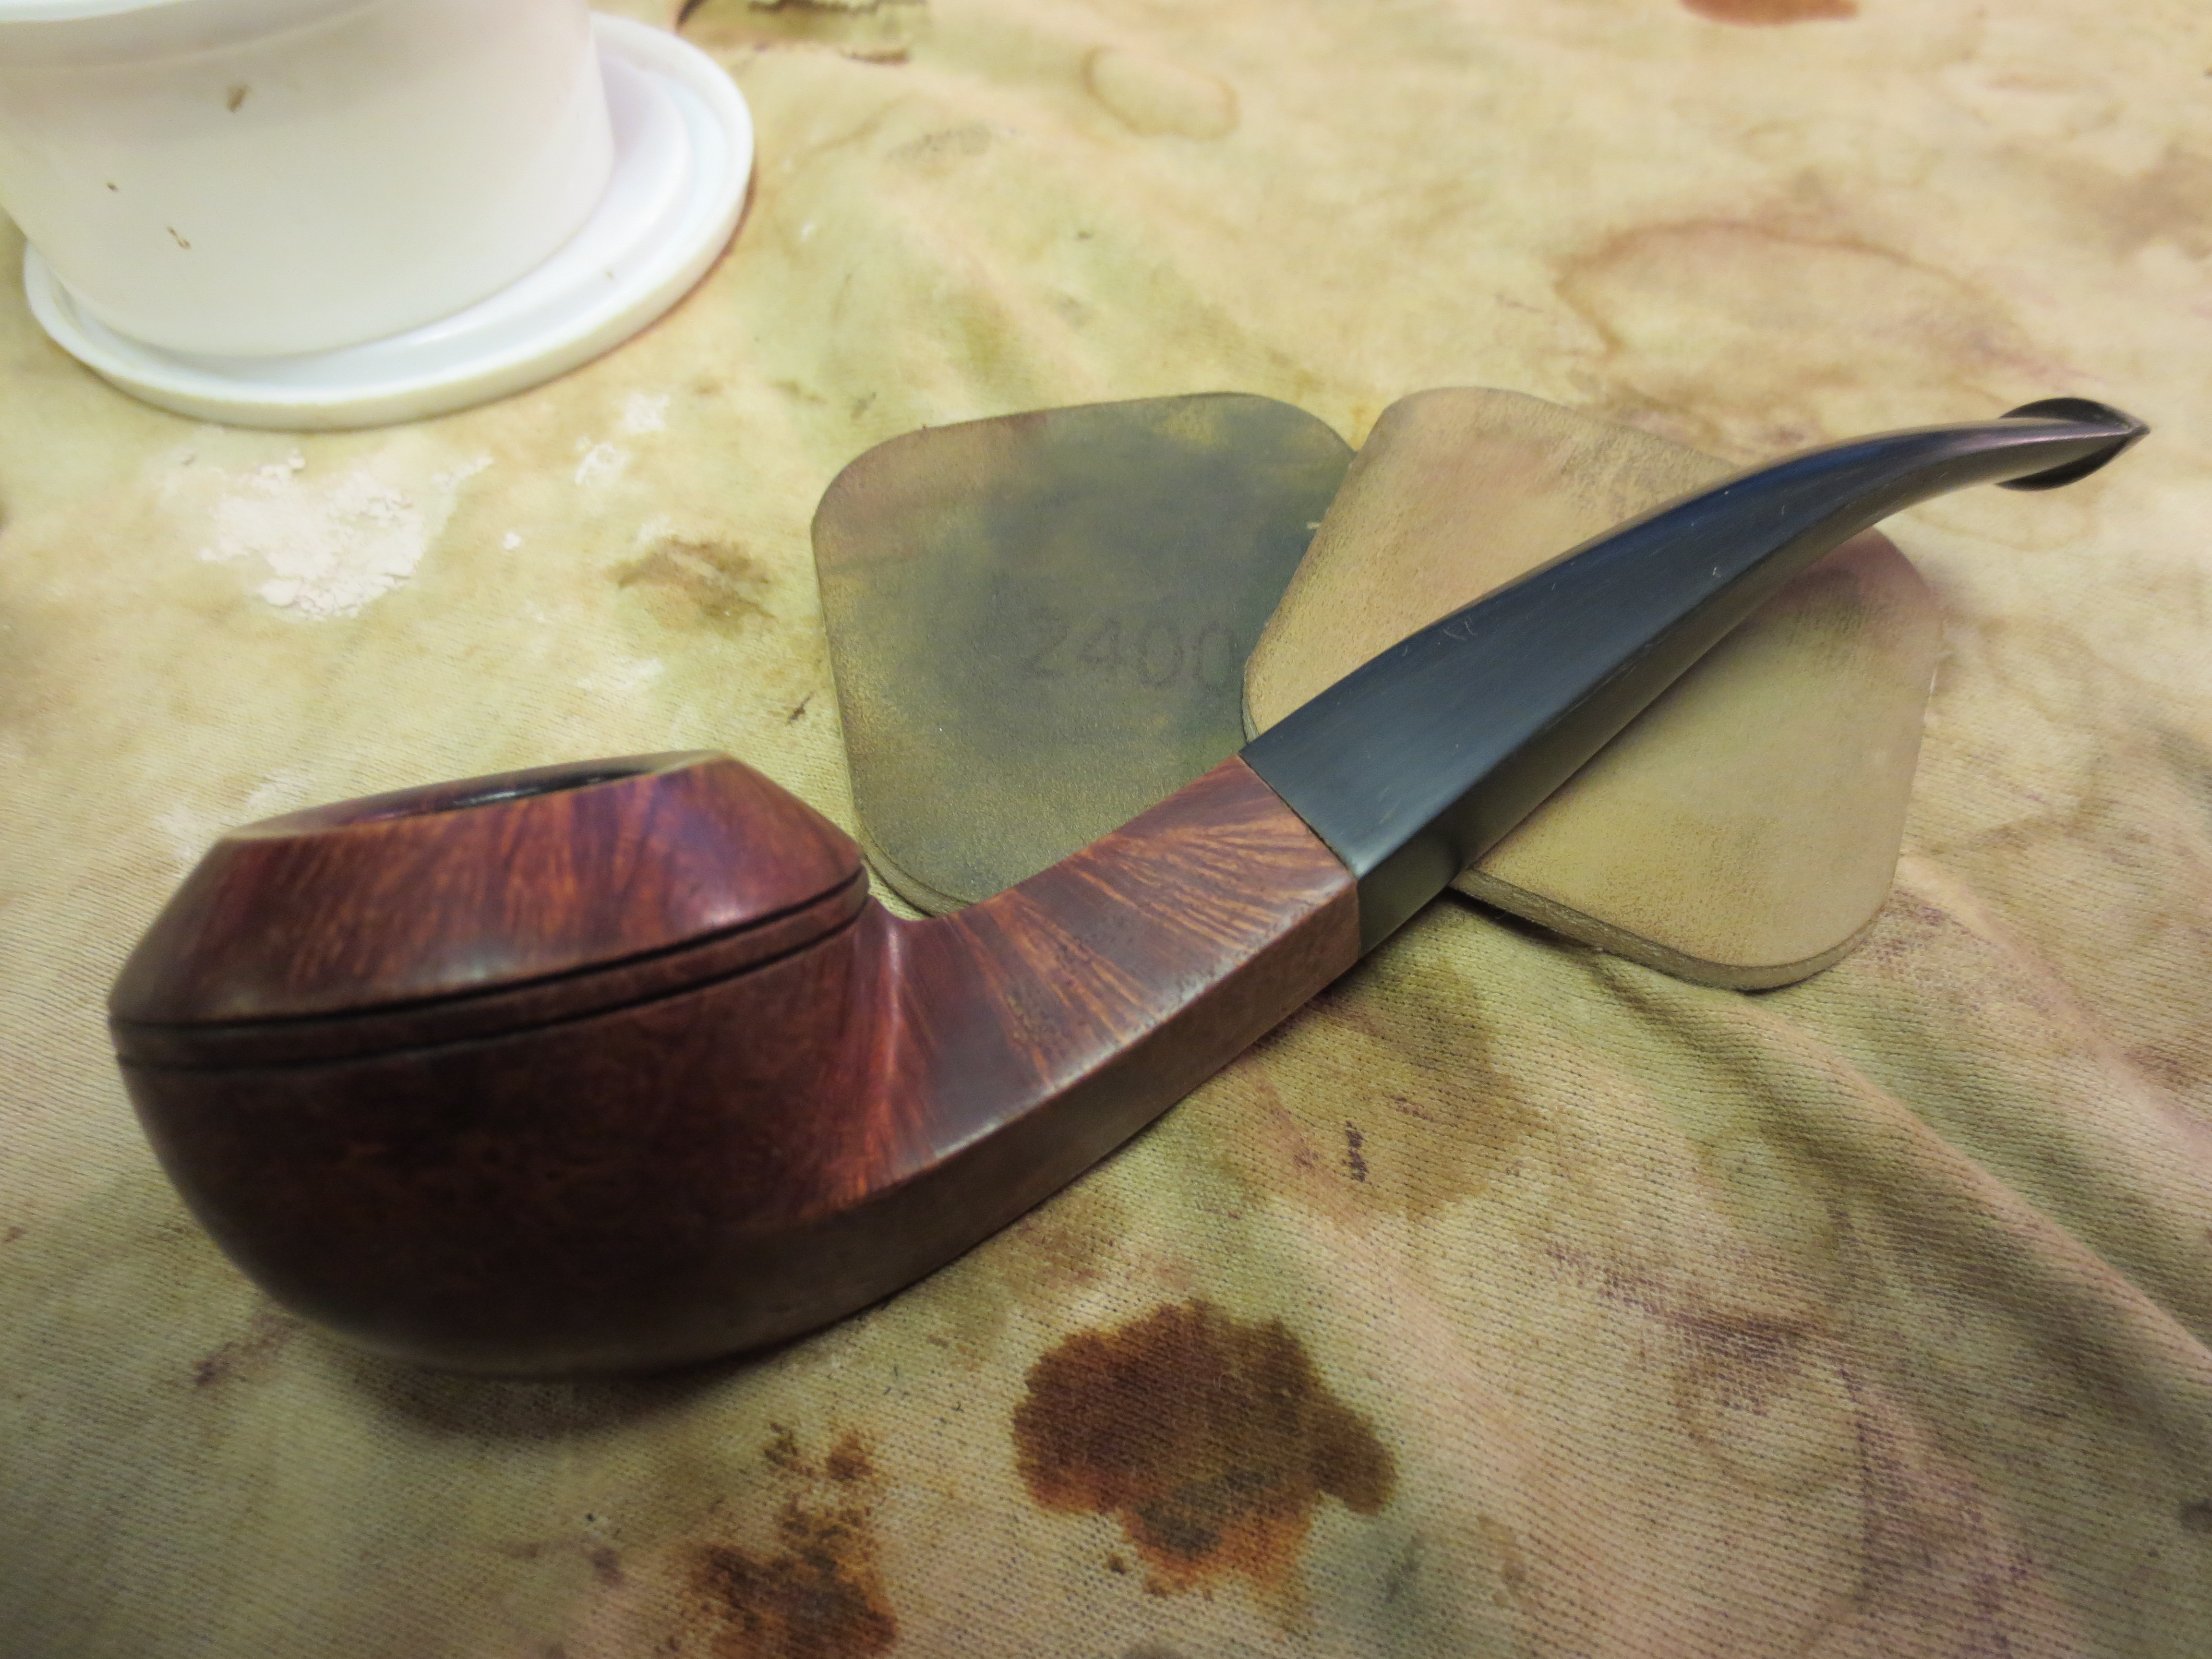
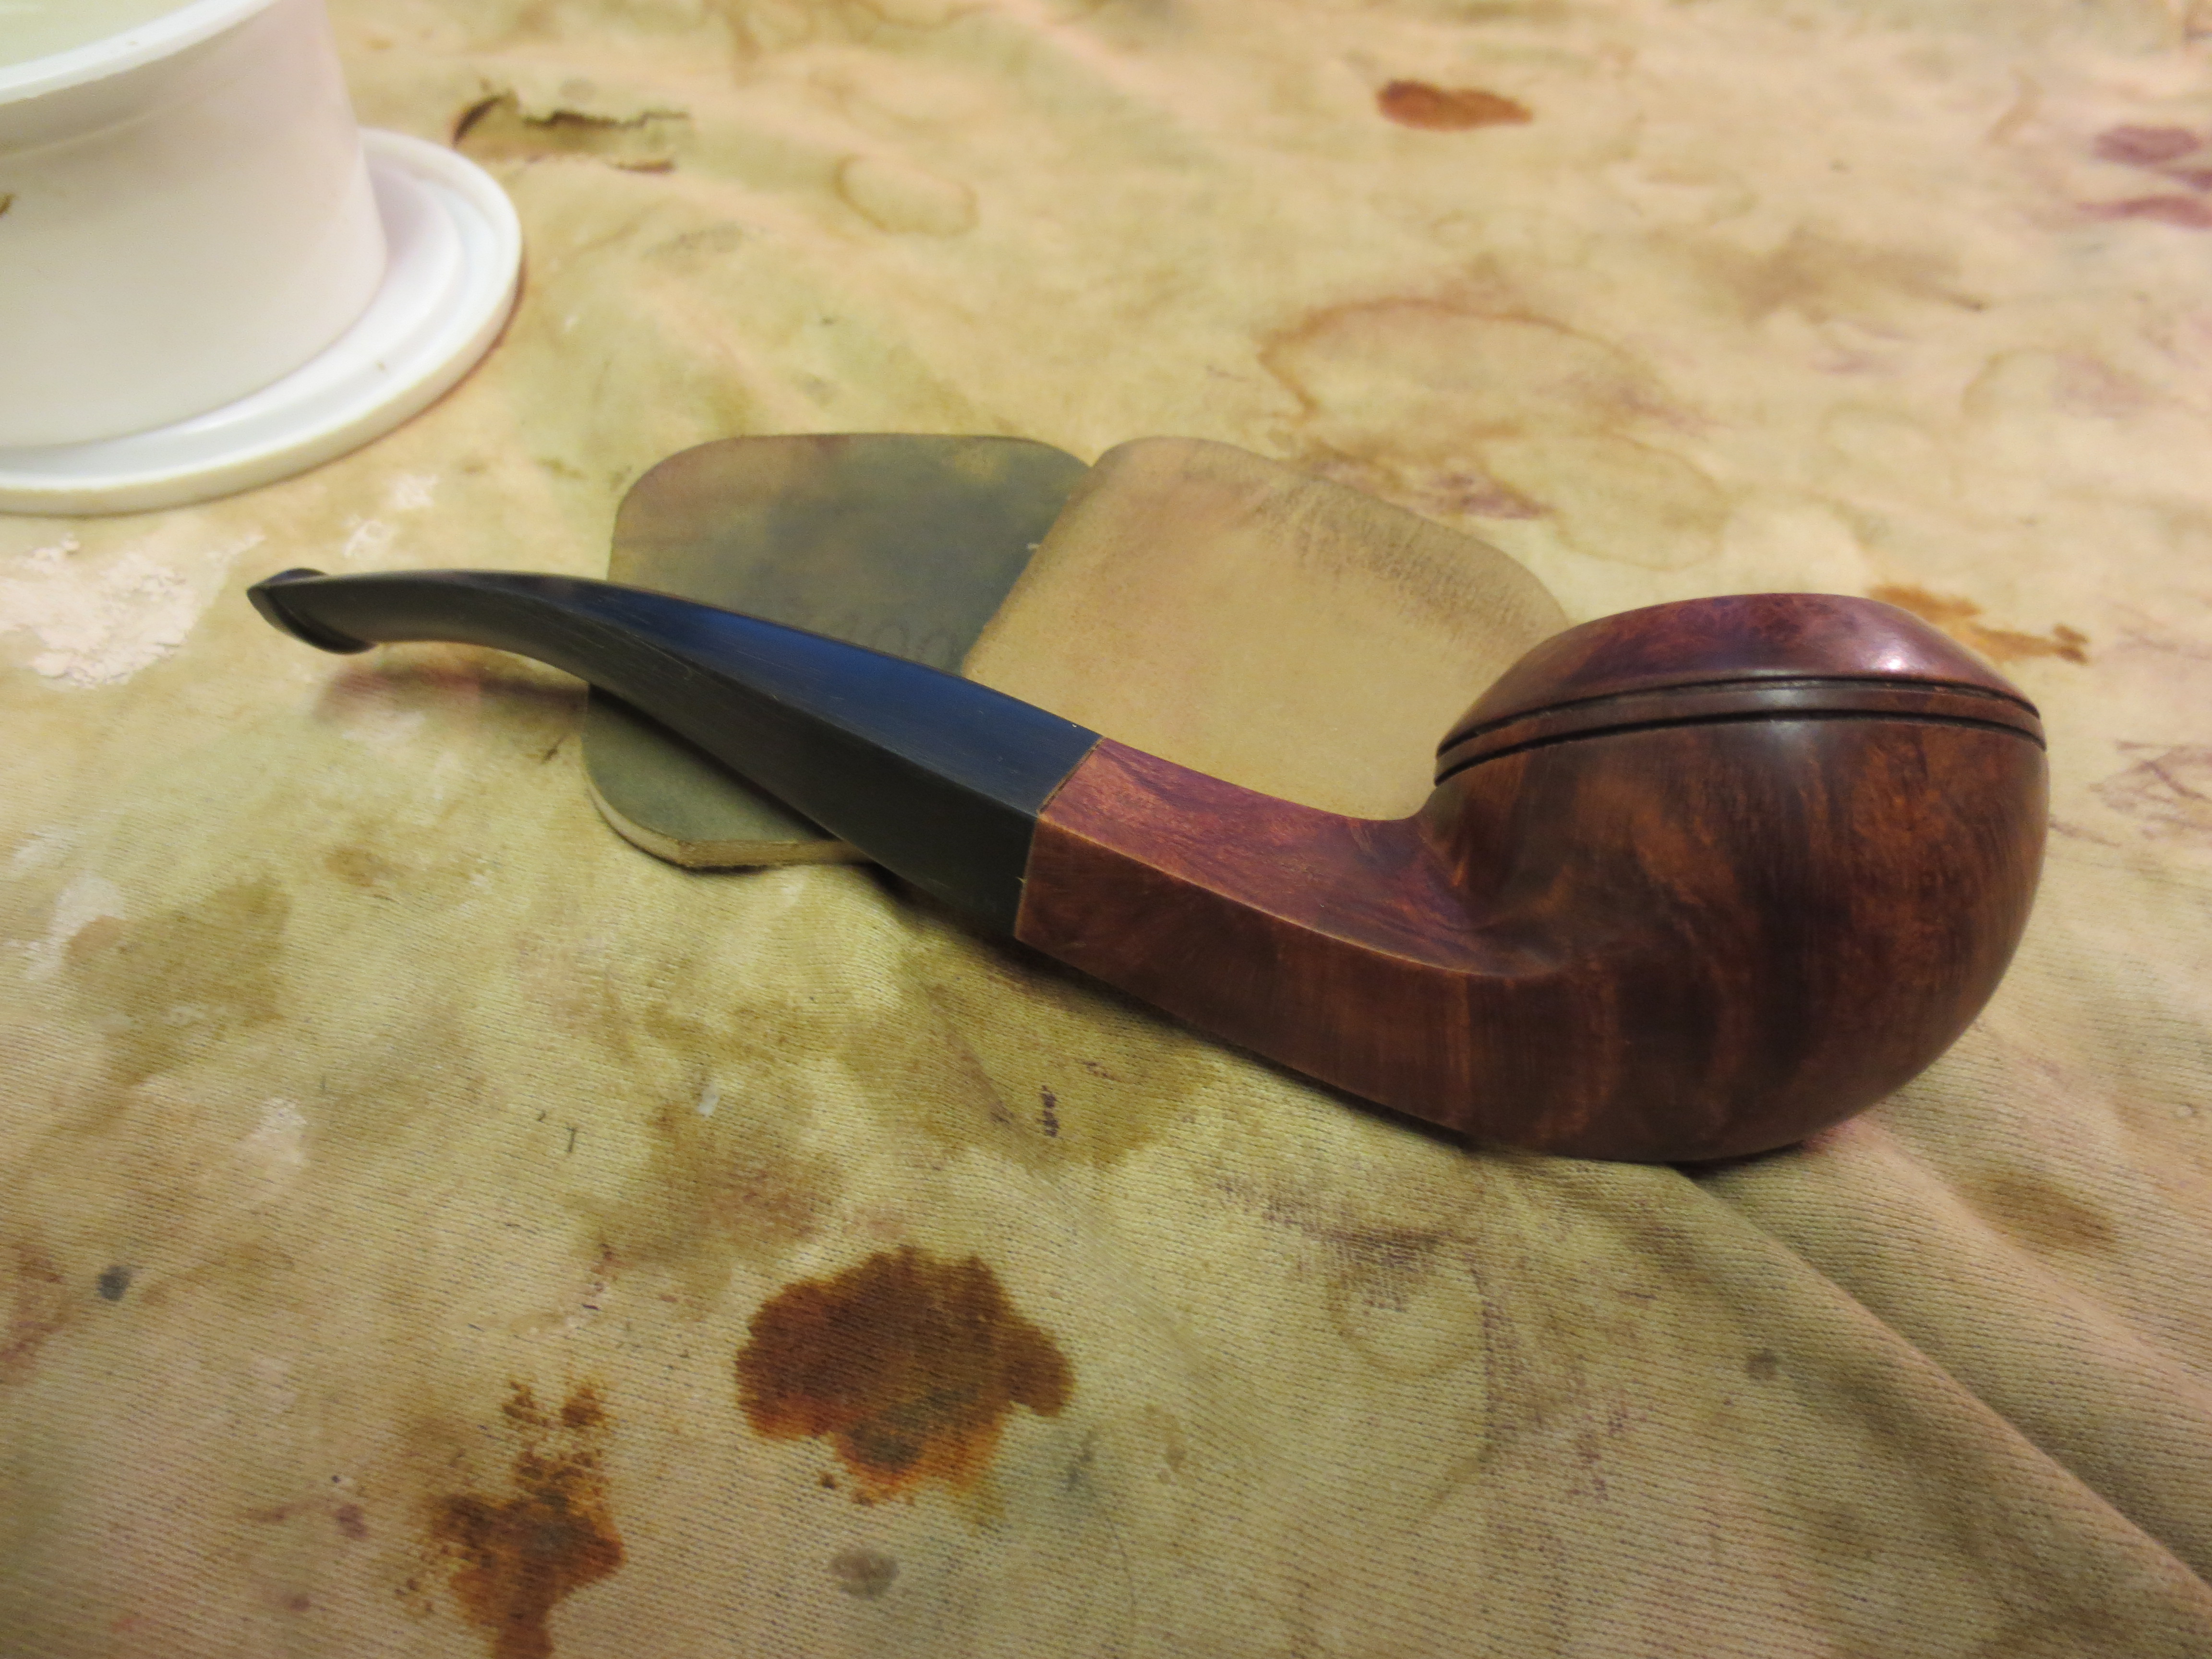
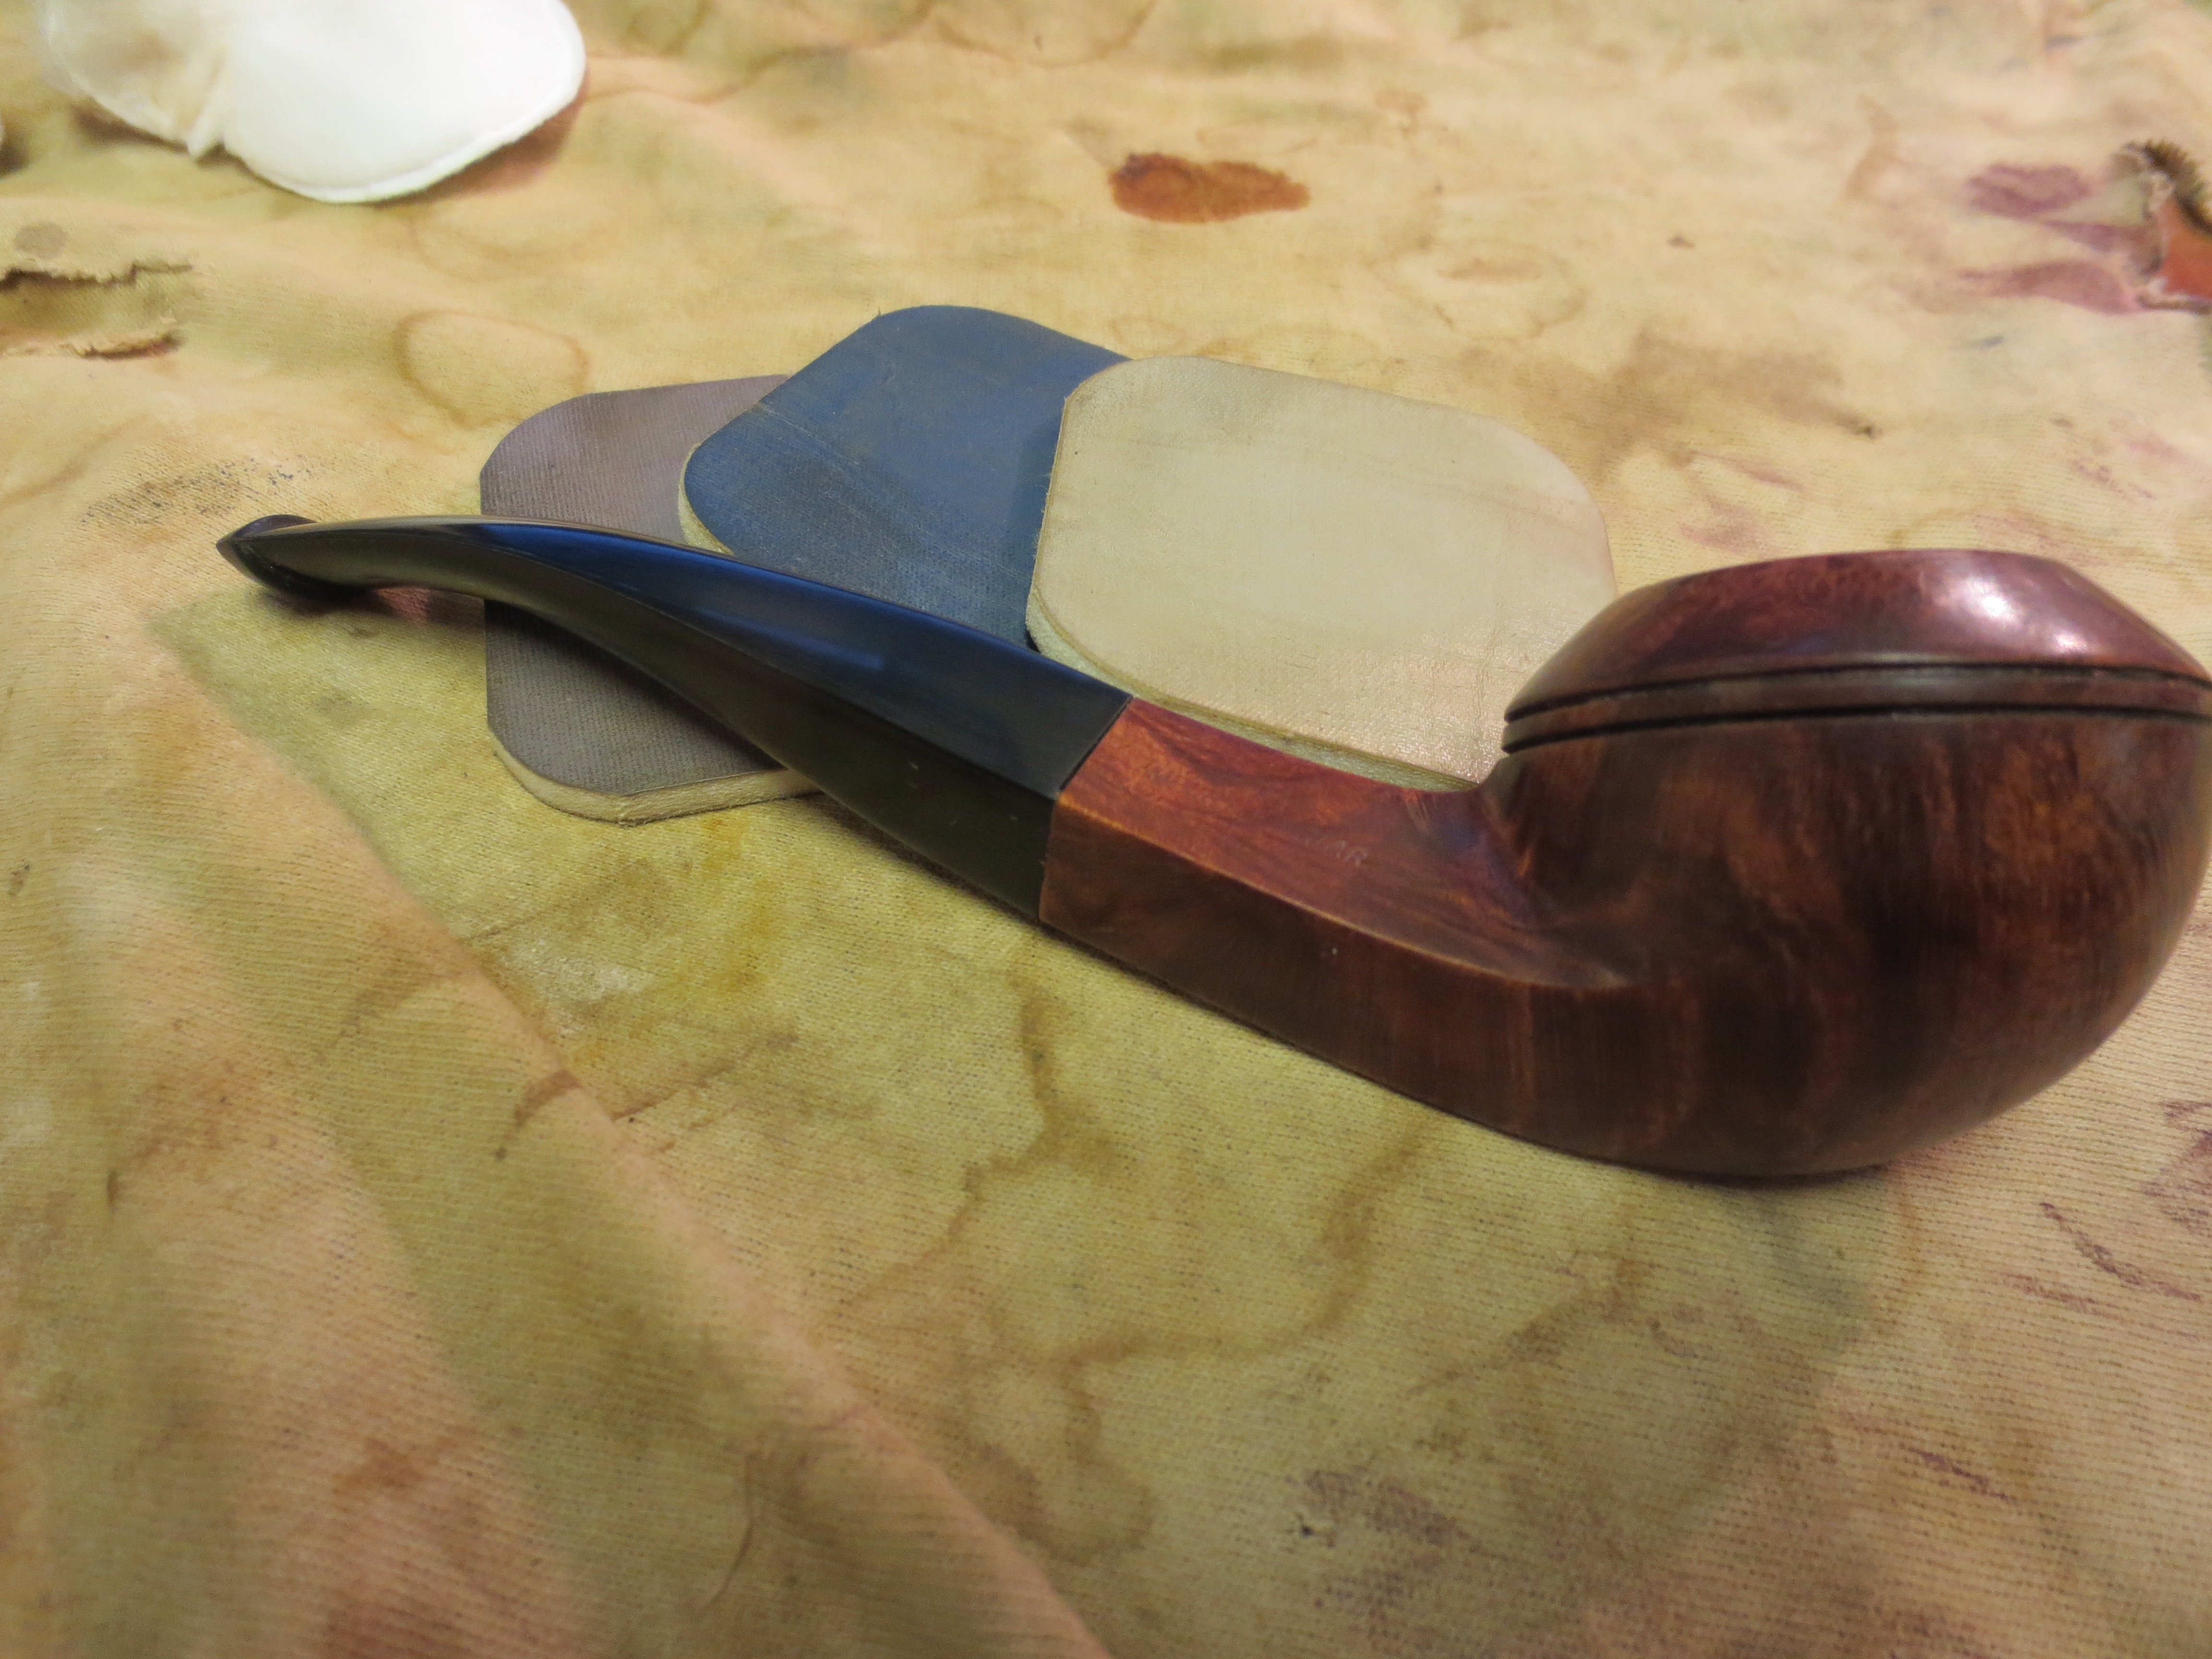
I went on to sand the stem with a fine grit emery paper to continue to bring the size down to meet the shank on the pipe (Photos 1 & 2). After I had the stem fairly close I switched to 320 grit sandpaper and sanded down the stem, the shank and the bowl. I decided to remove the cross hatching on the shank and clean up the finish. I wiped it down with acetone on a cotton pad to remove the finish and sanded until the finish was stripped and the shank and stem was smooth. The flow between the stem and the shank was a good match when I finished with this part of the work (Photos 3, 4, 5, & 6). An amazing grain was beginning to break out on the bowl and shank.
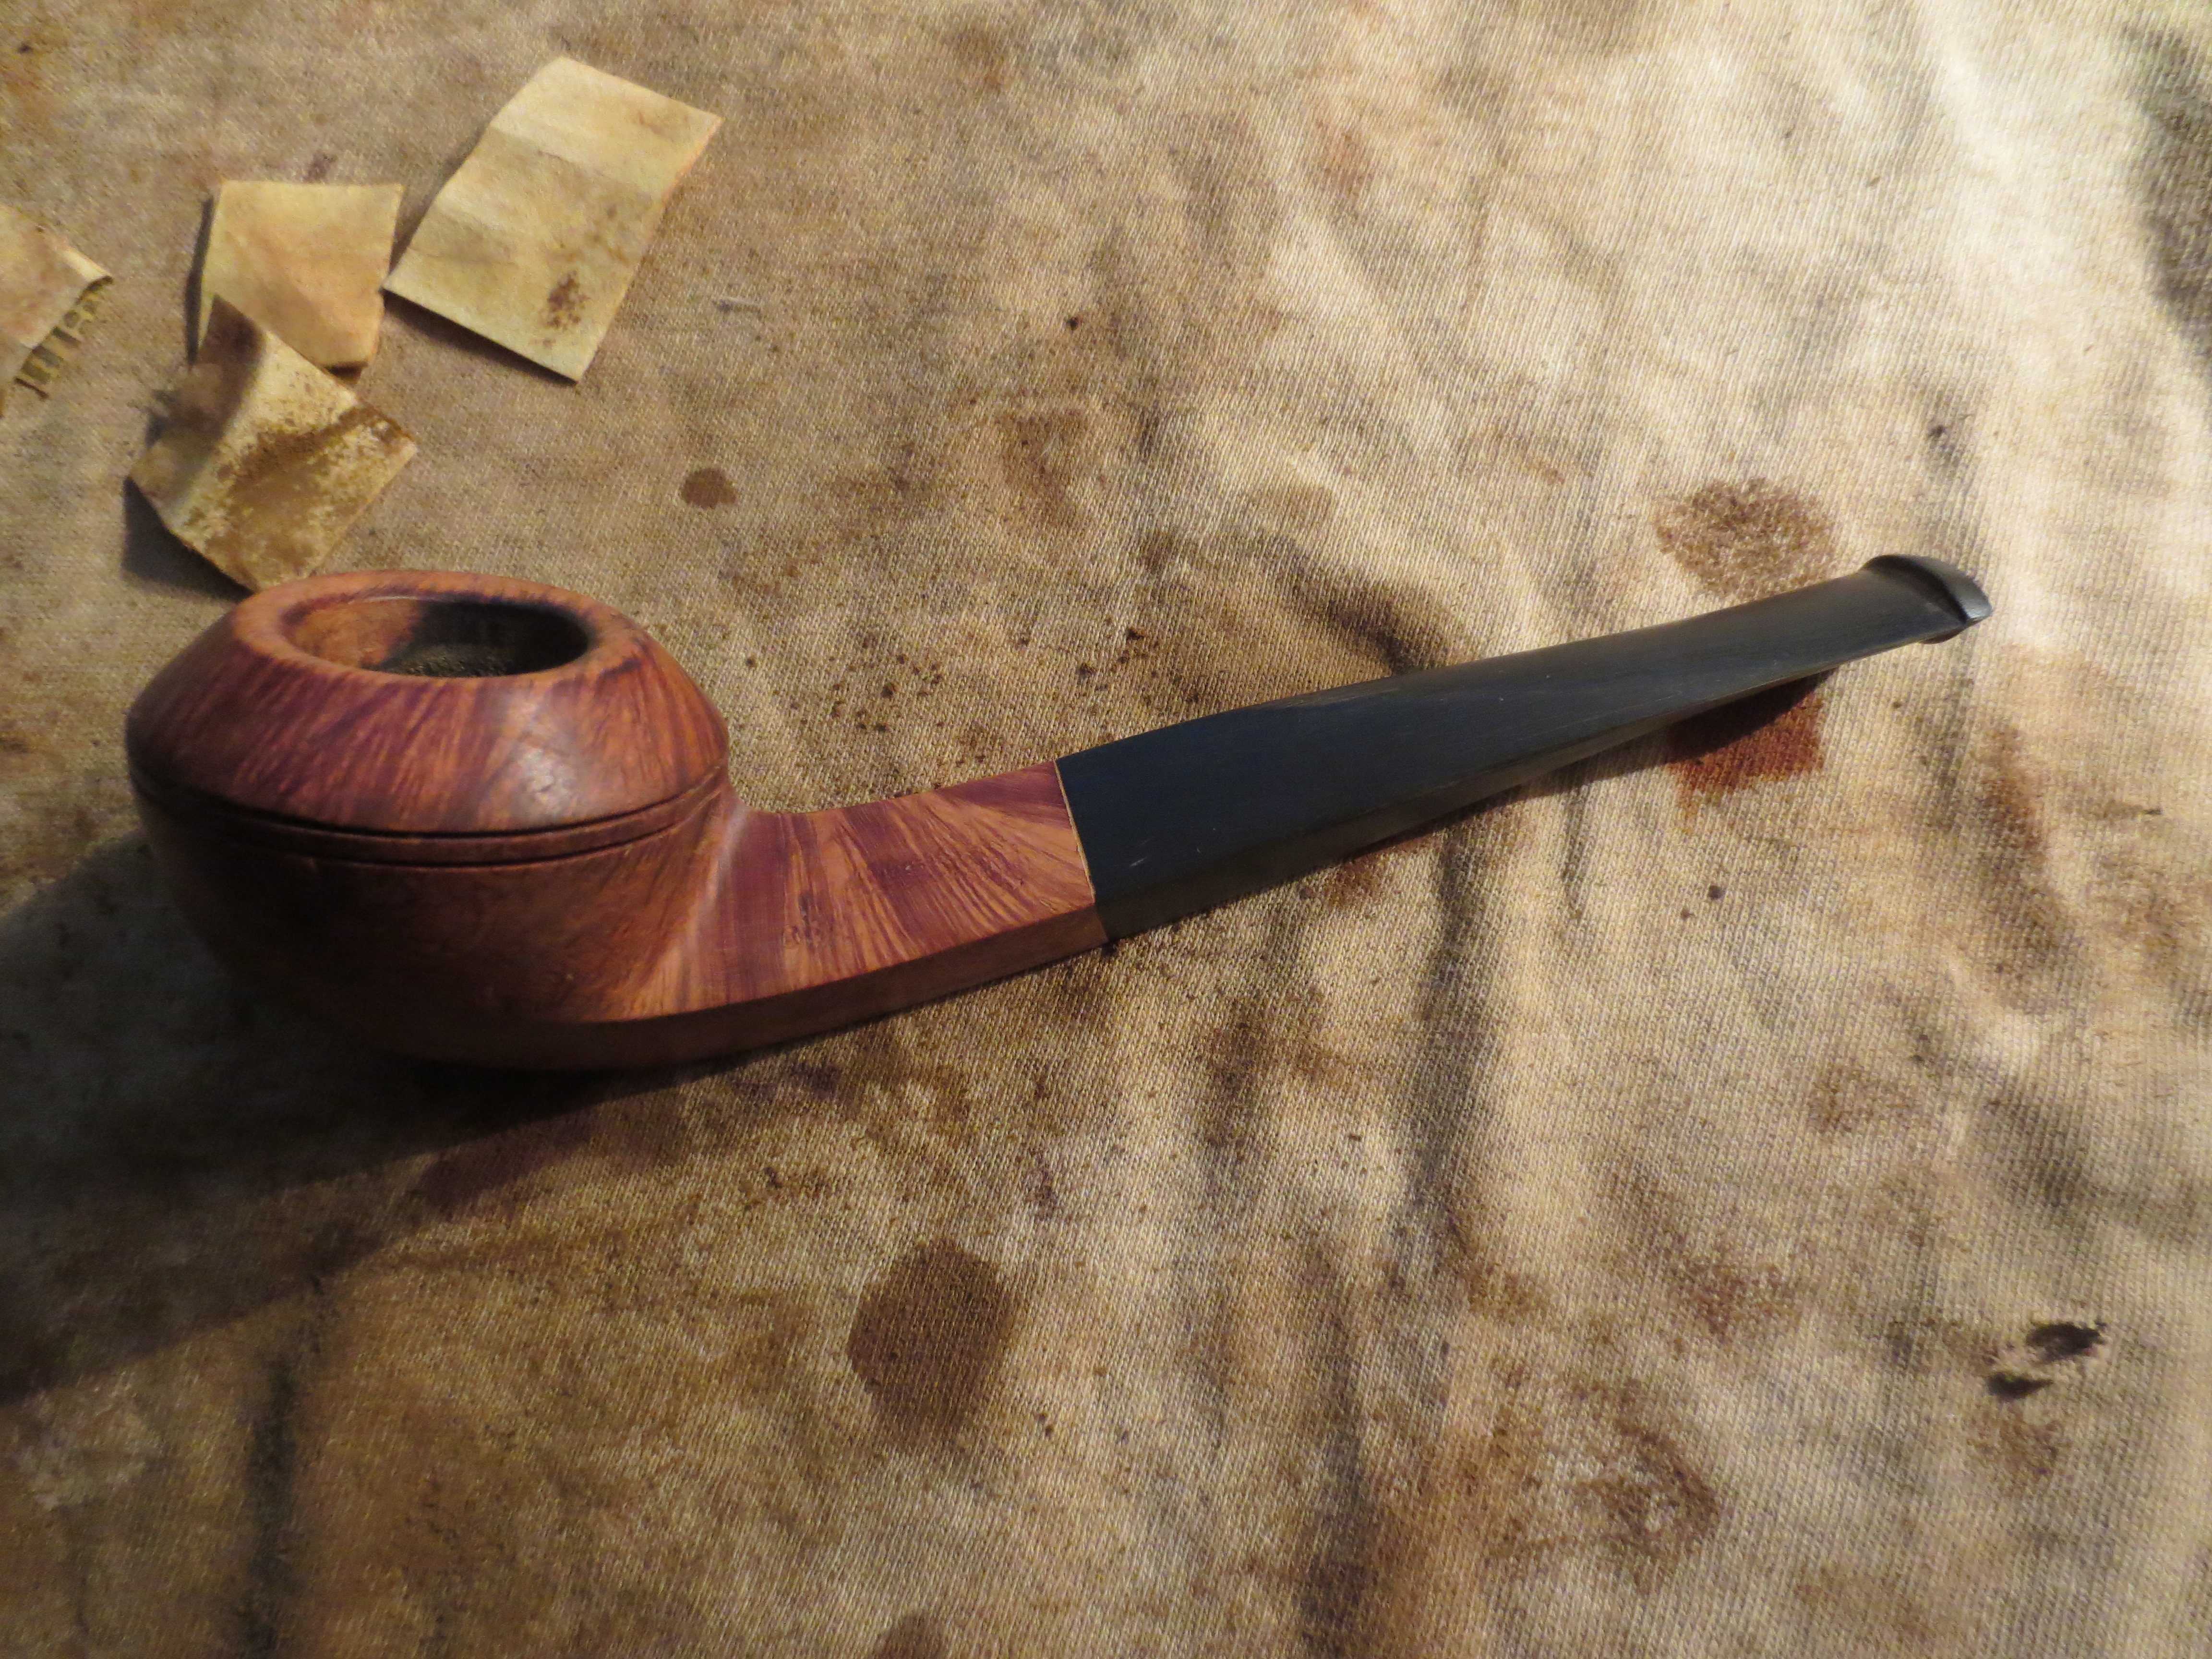
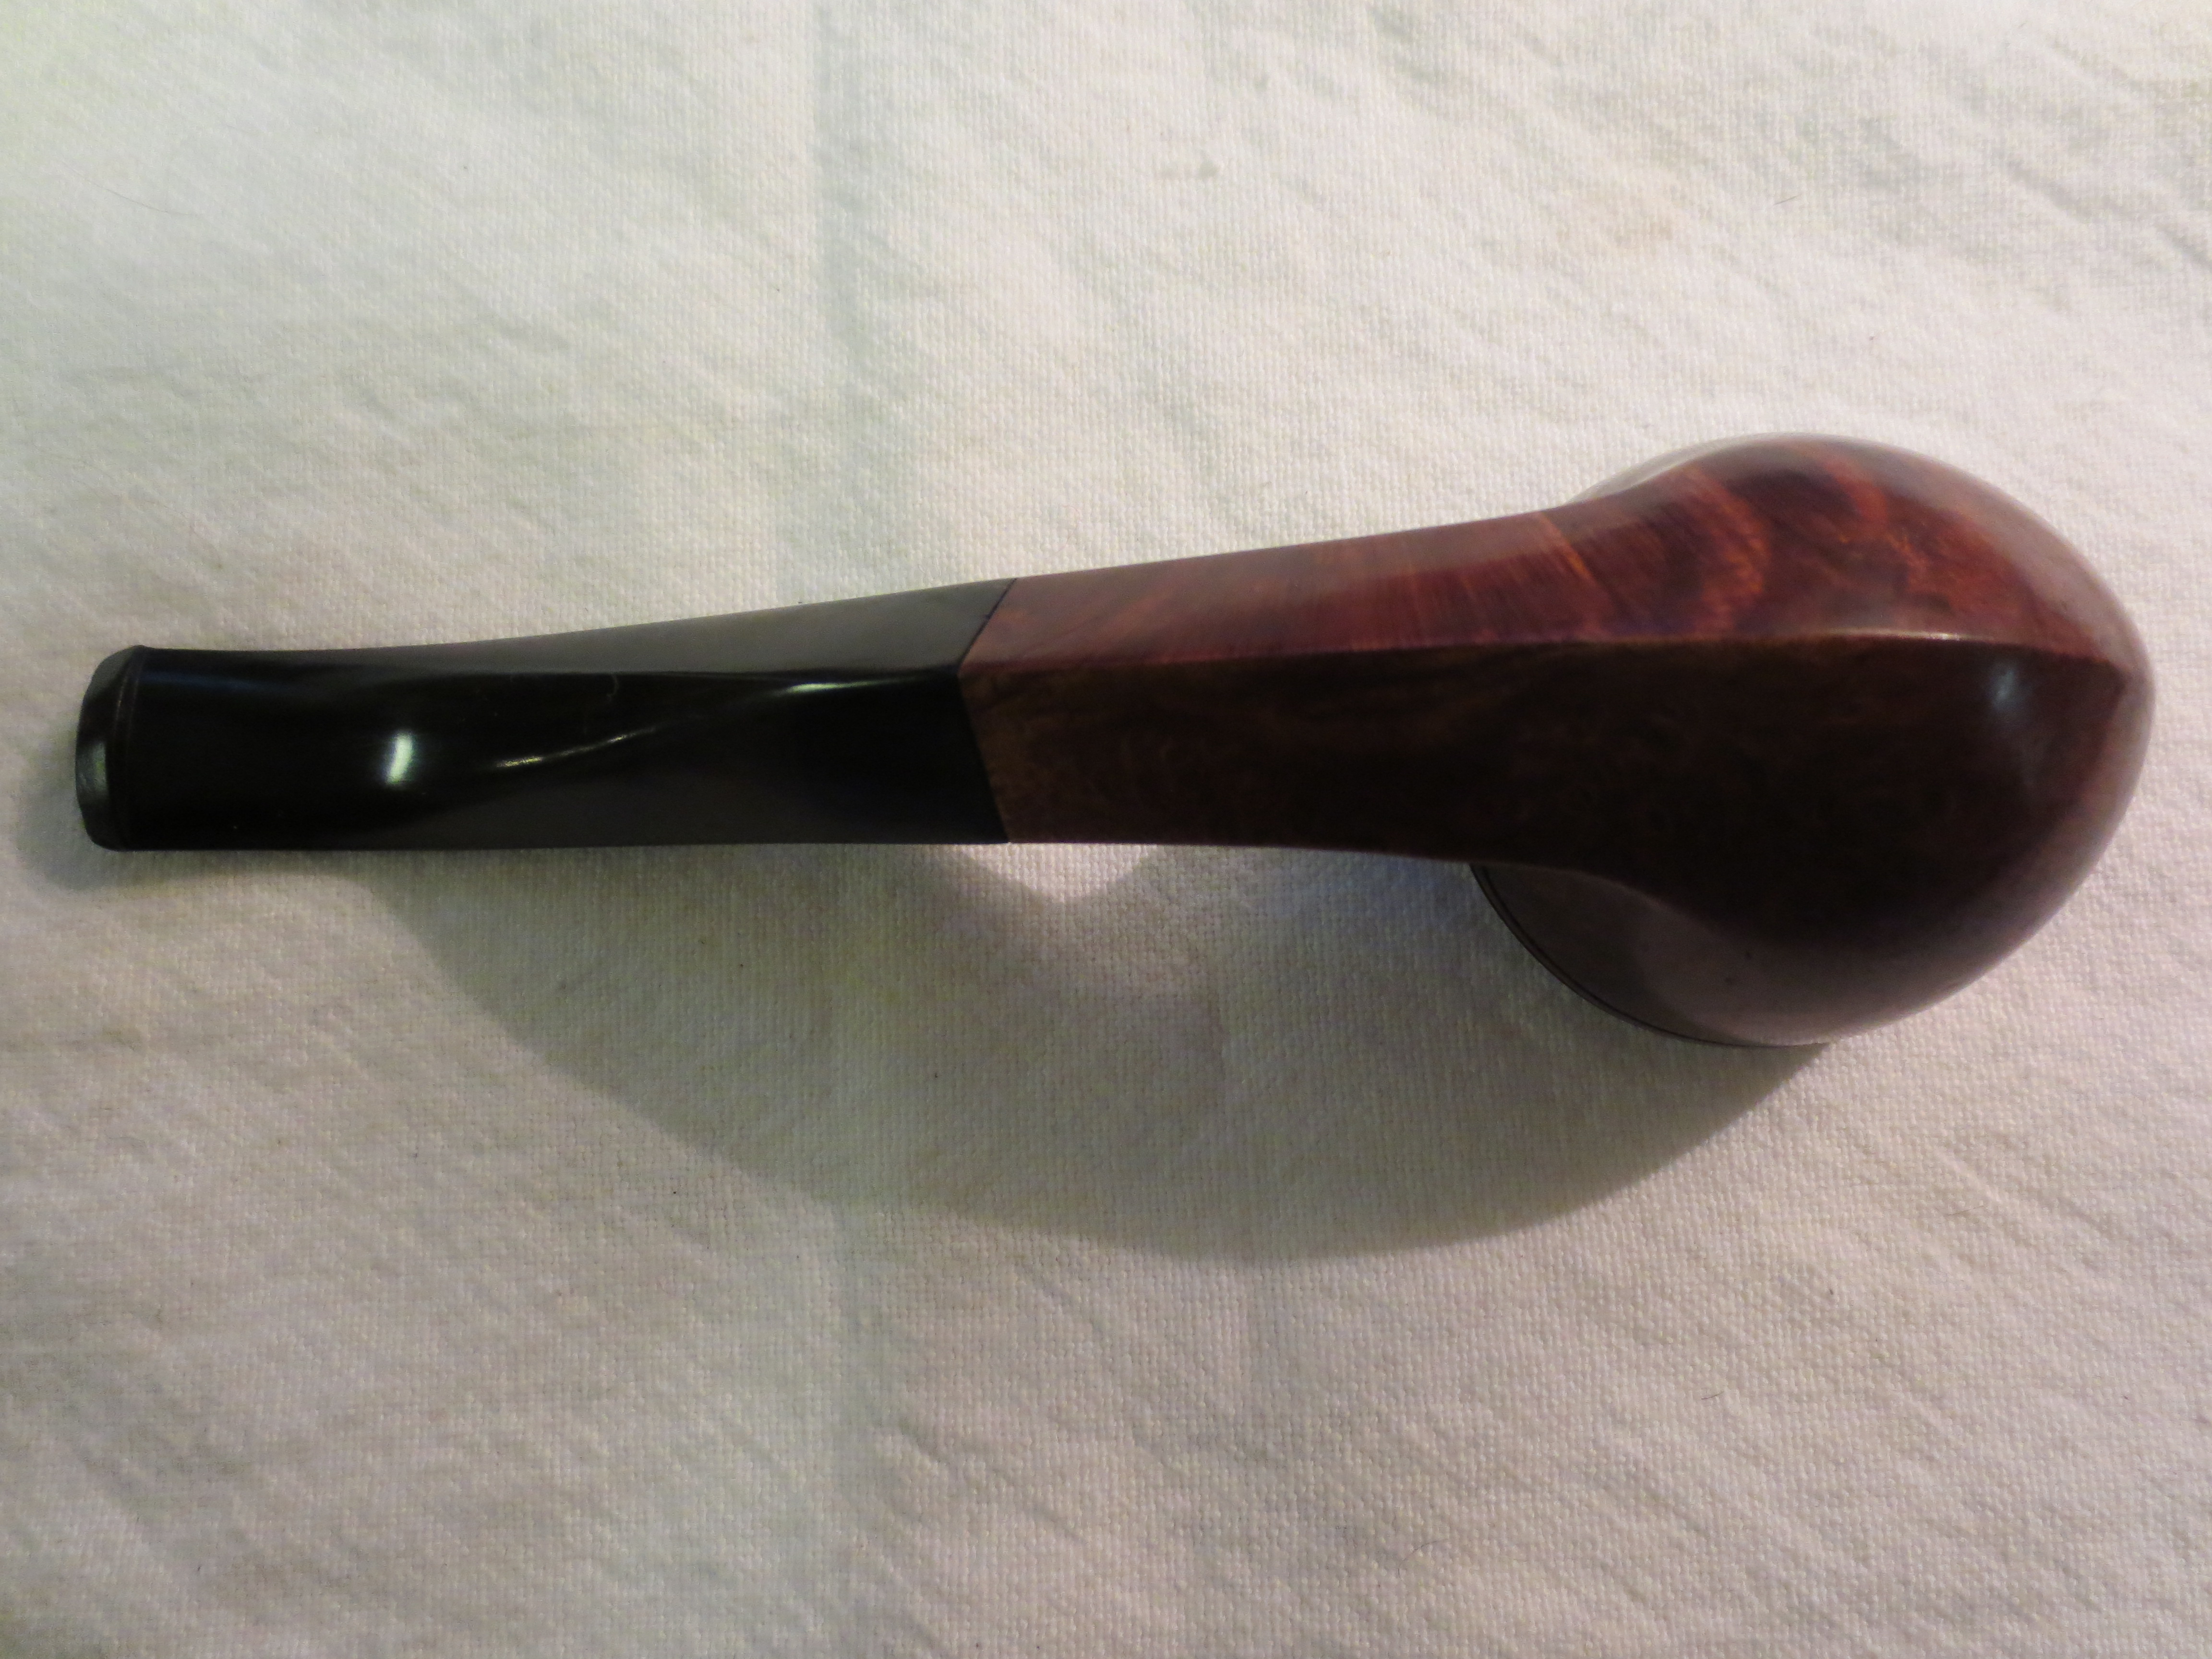
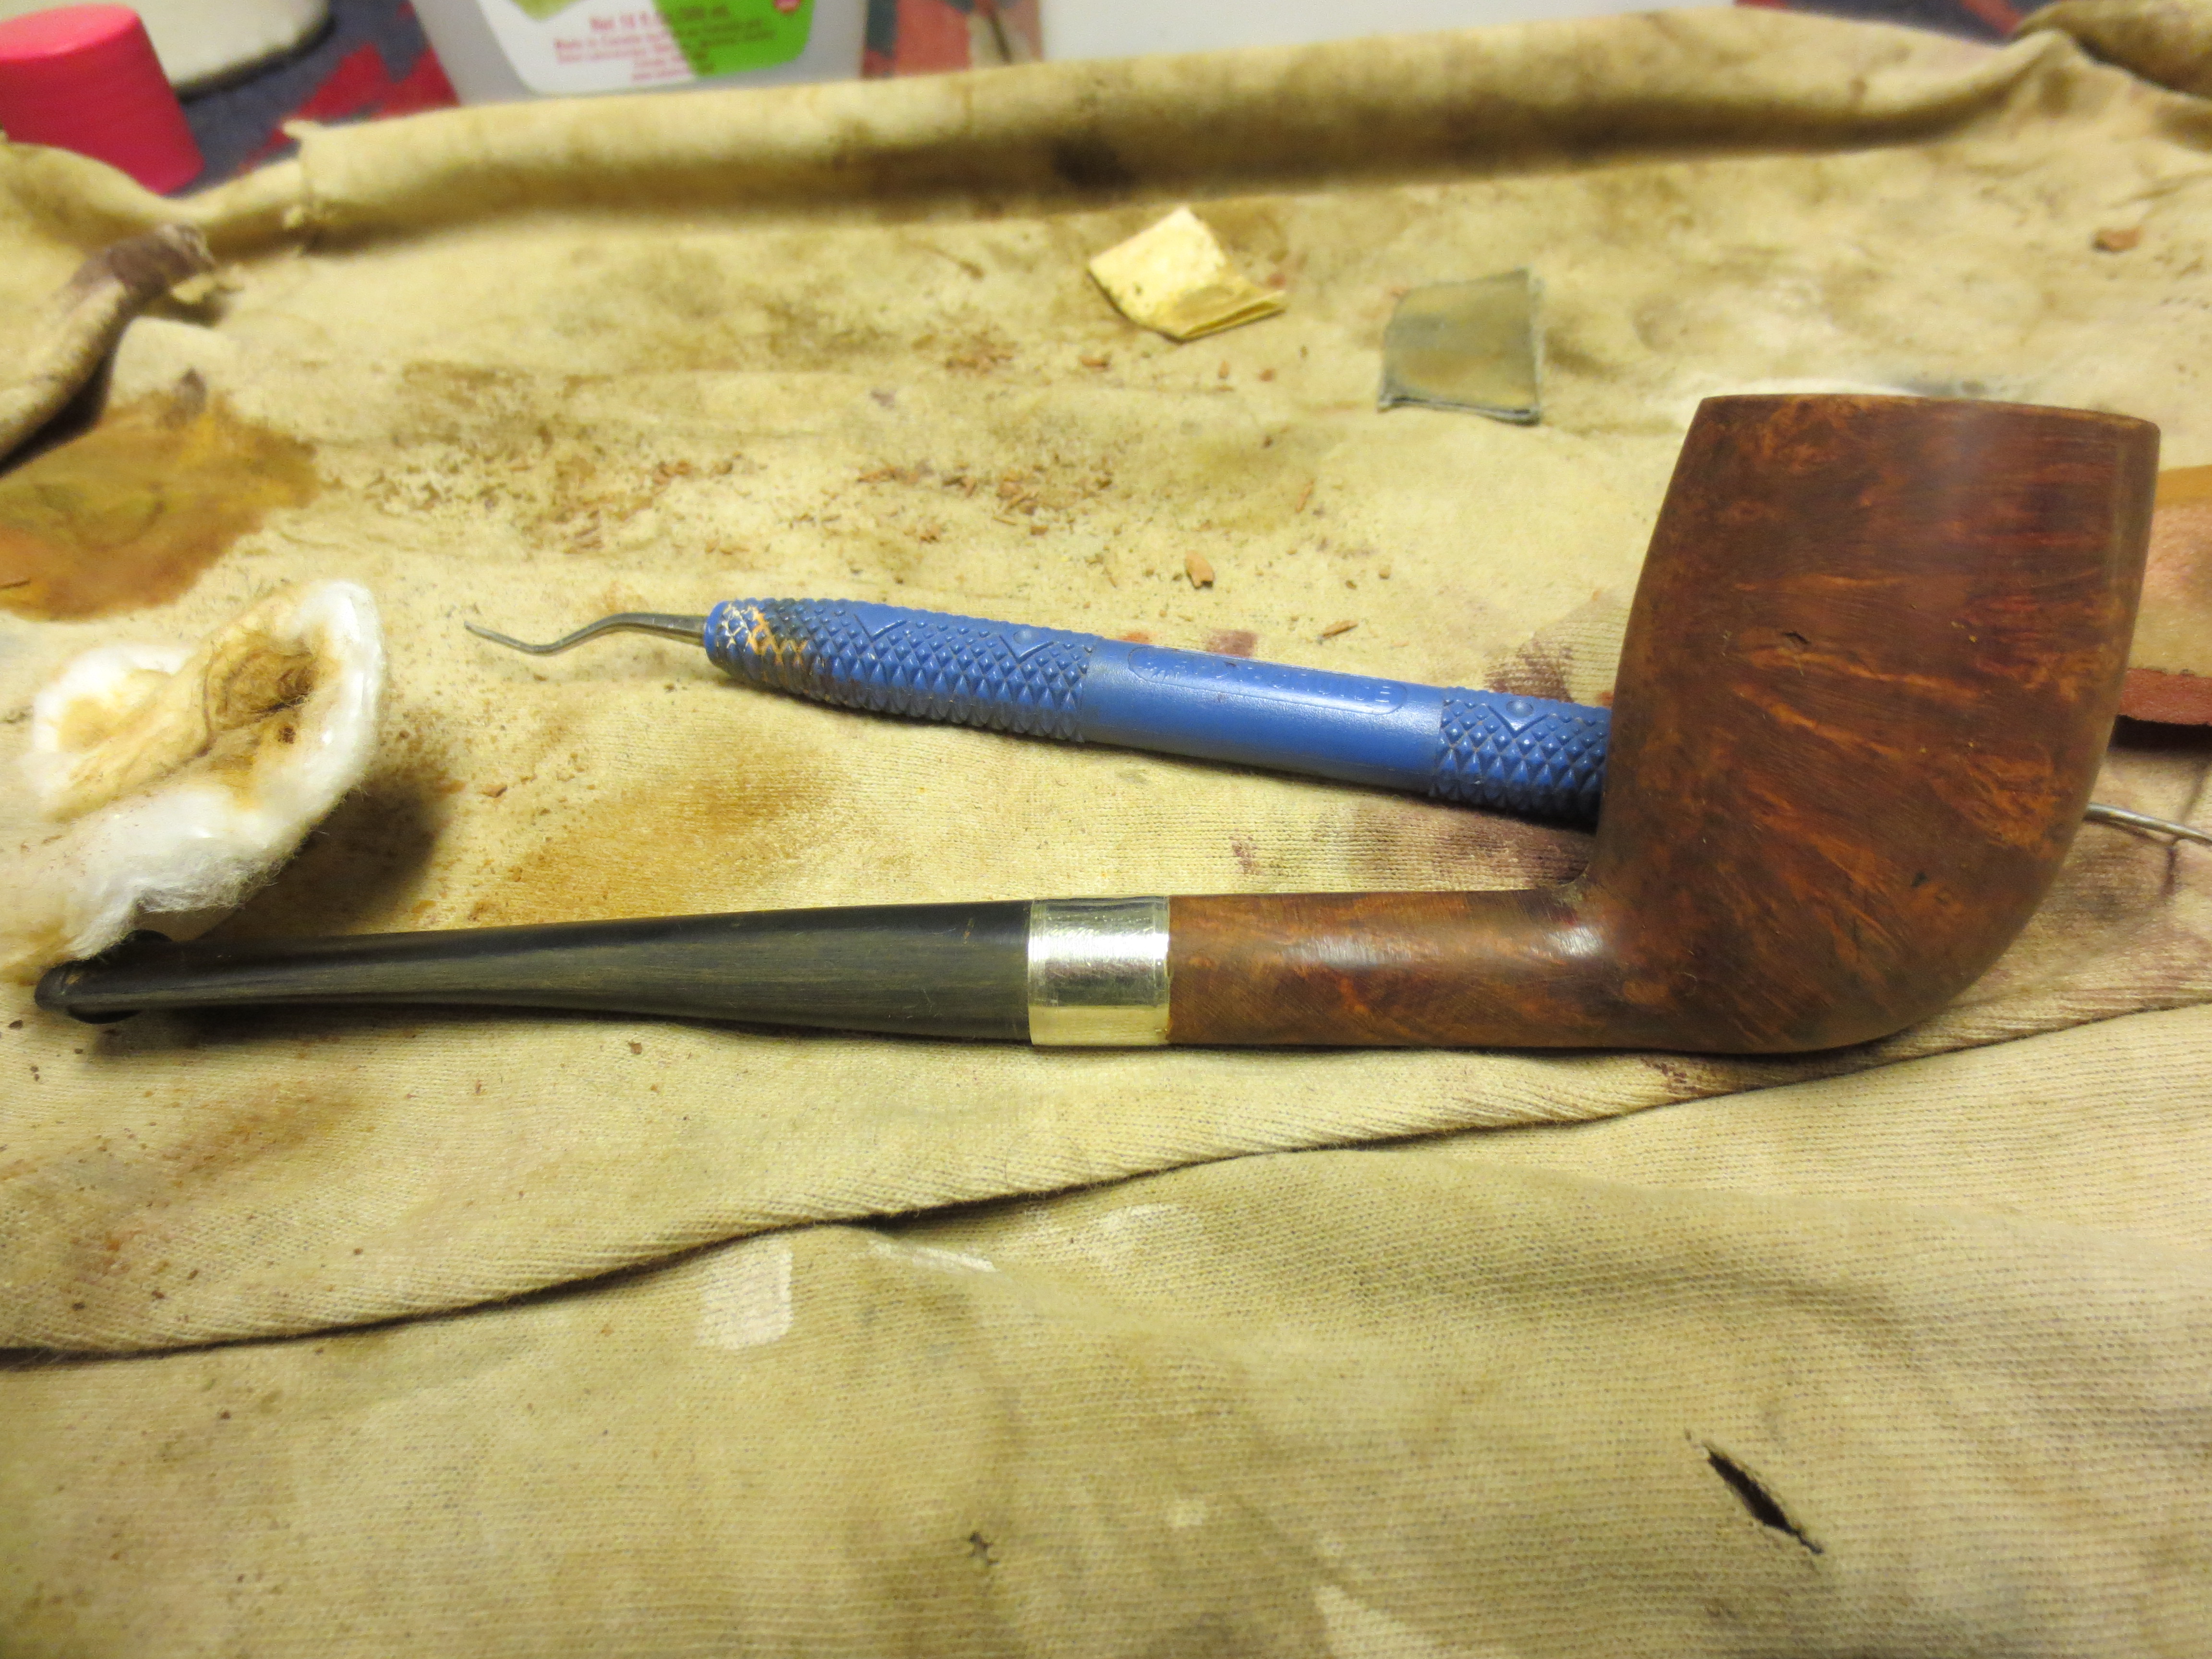
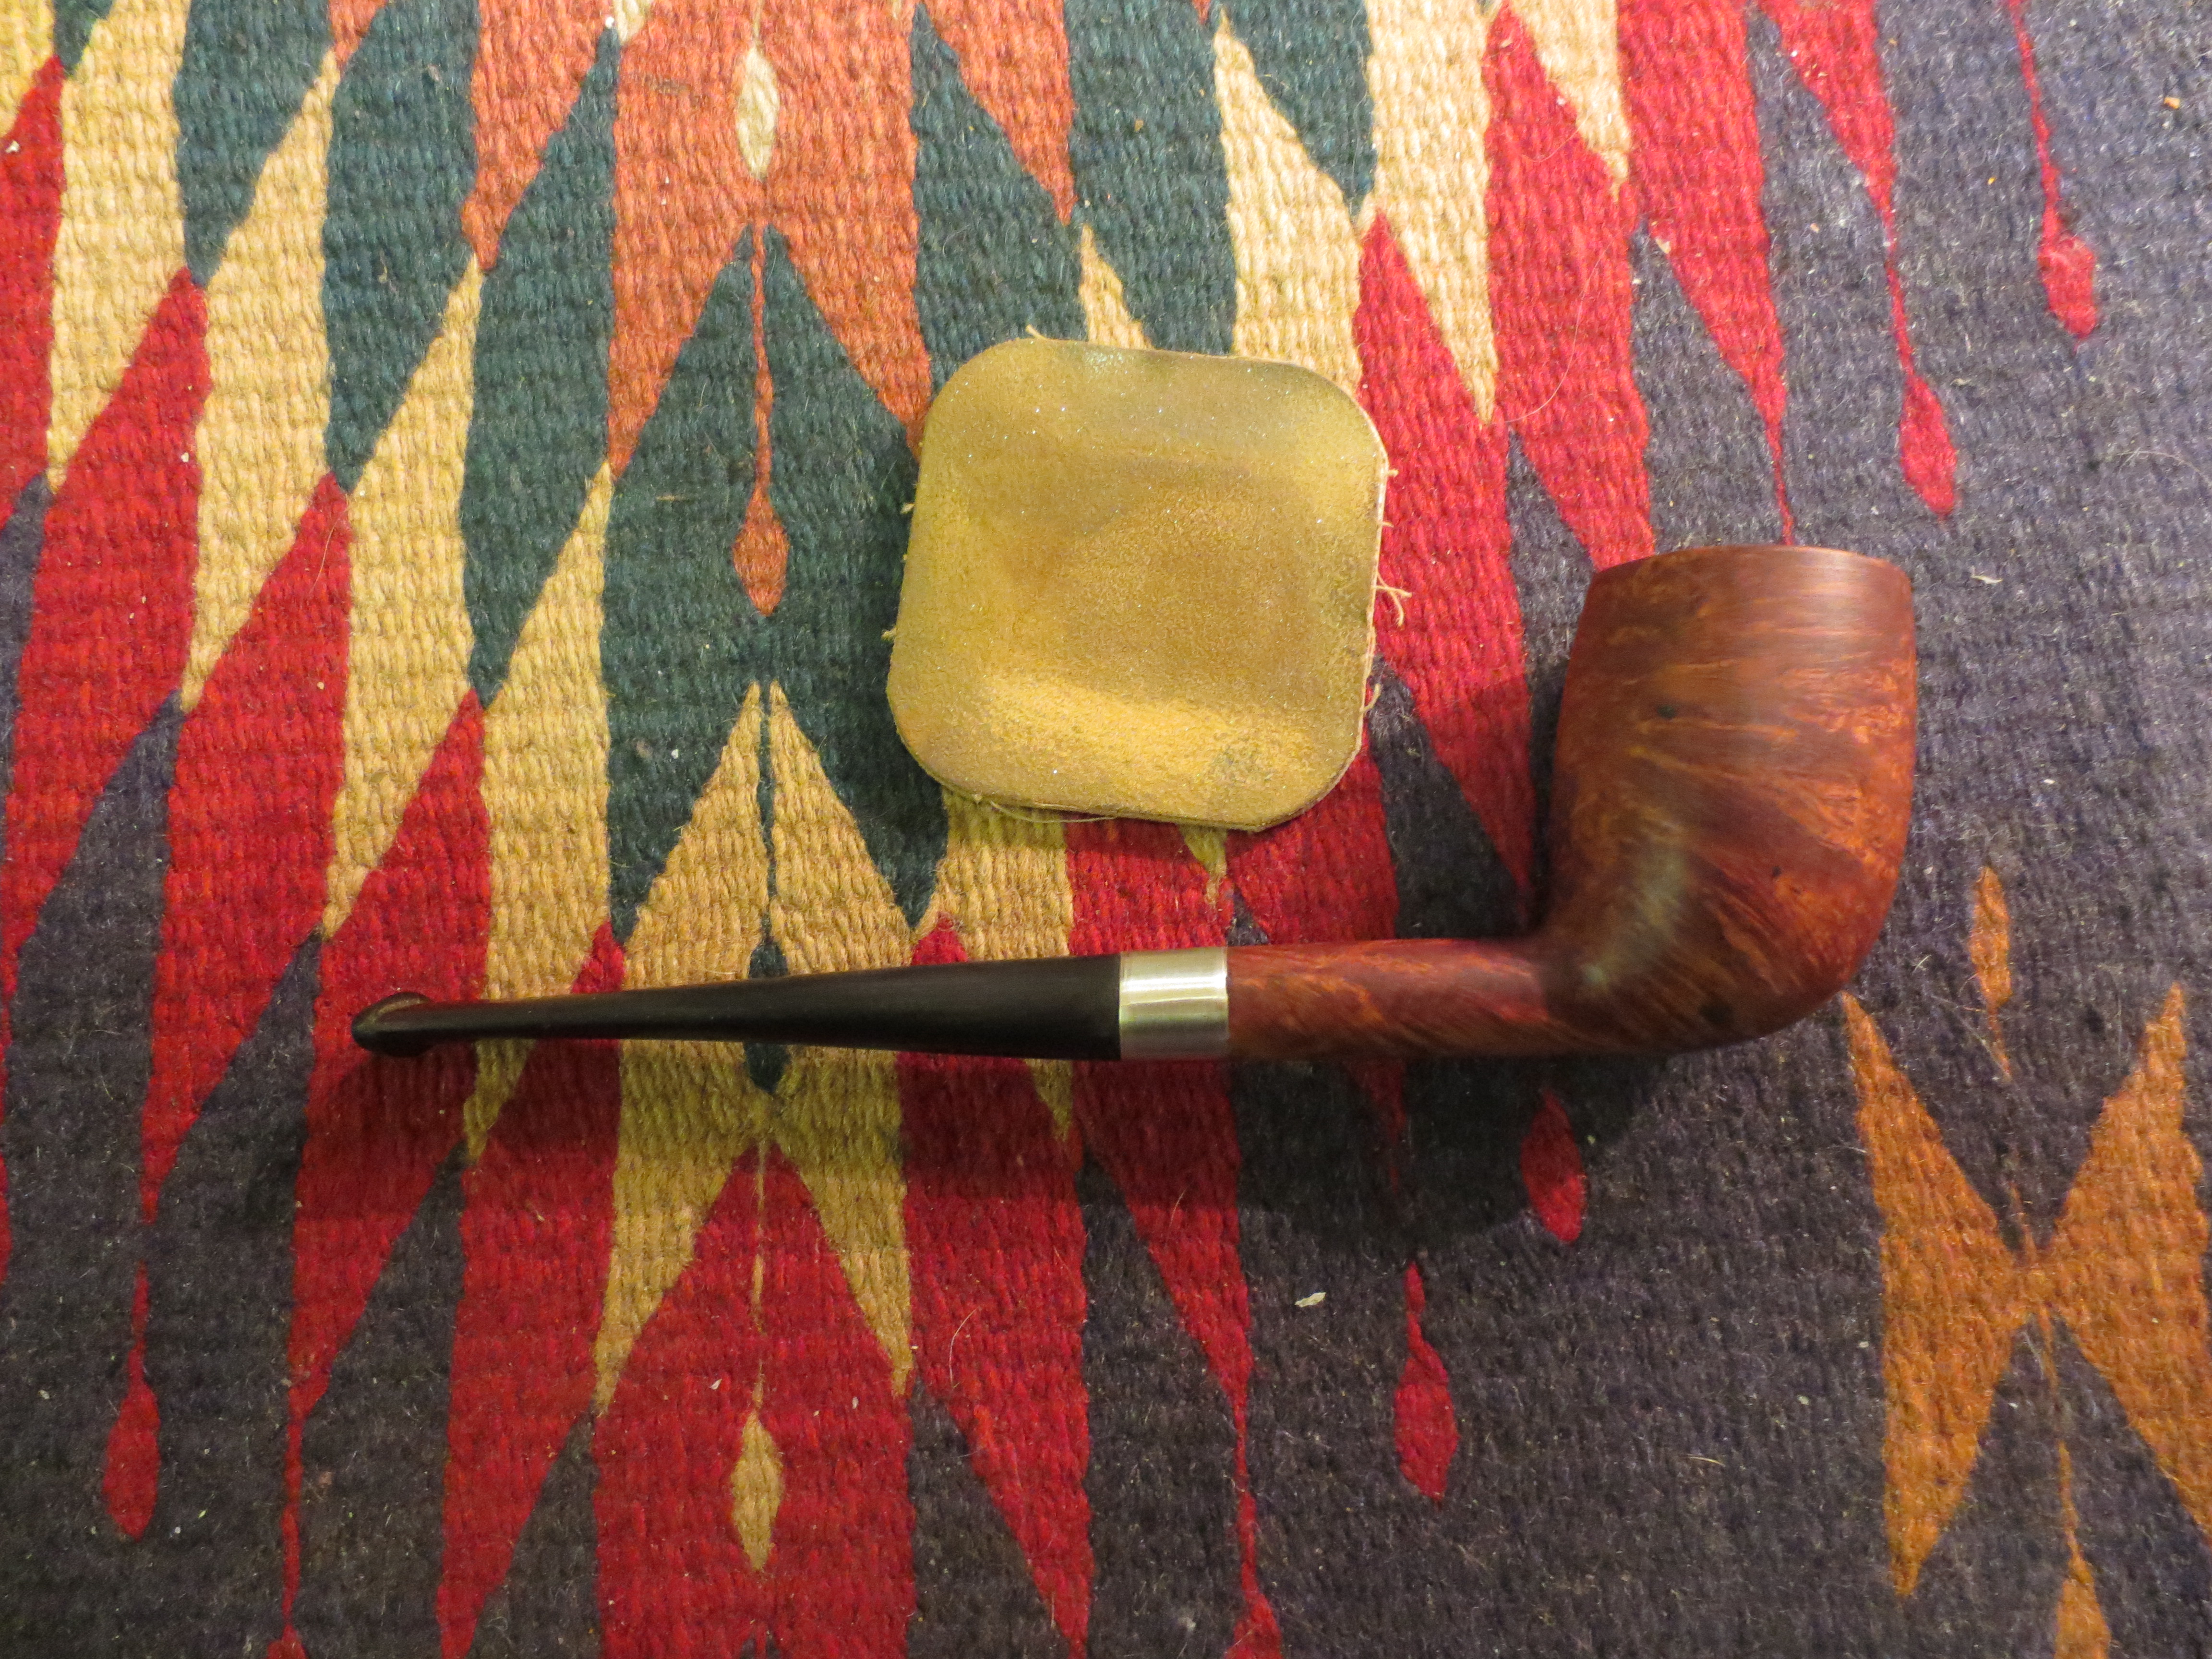
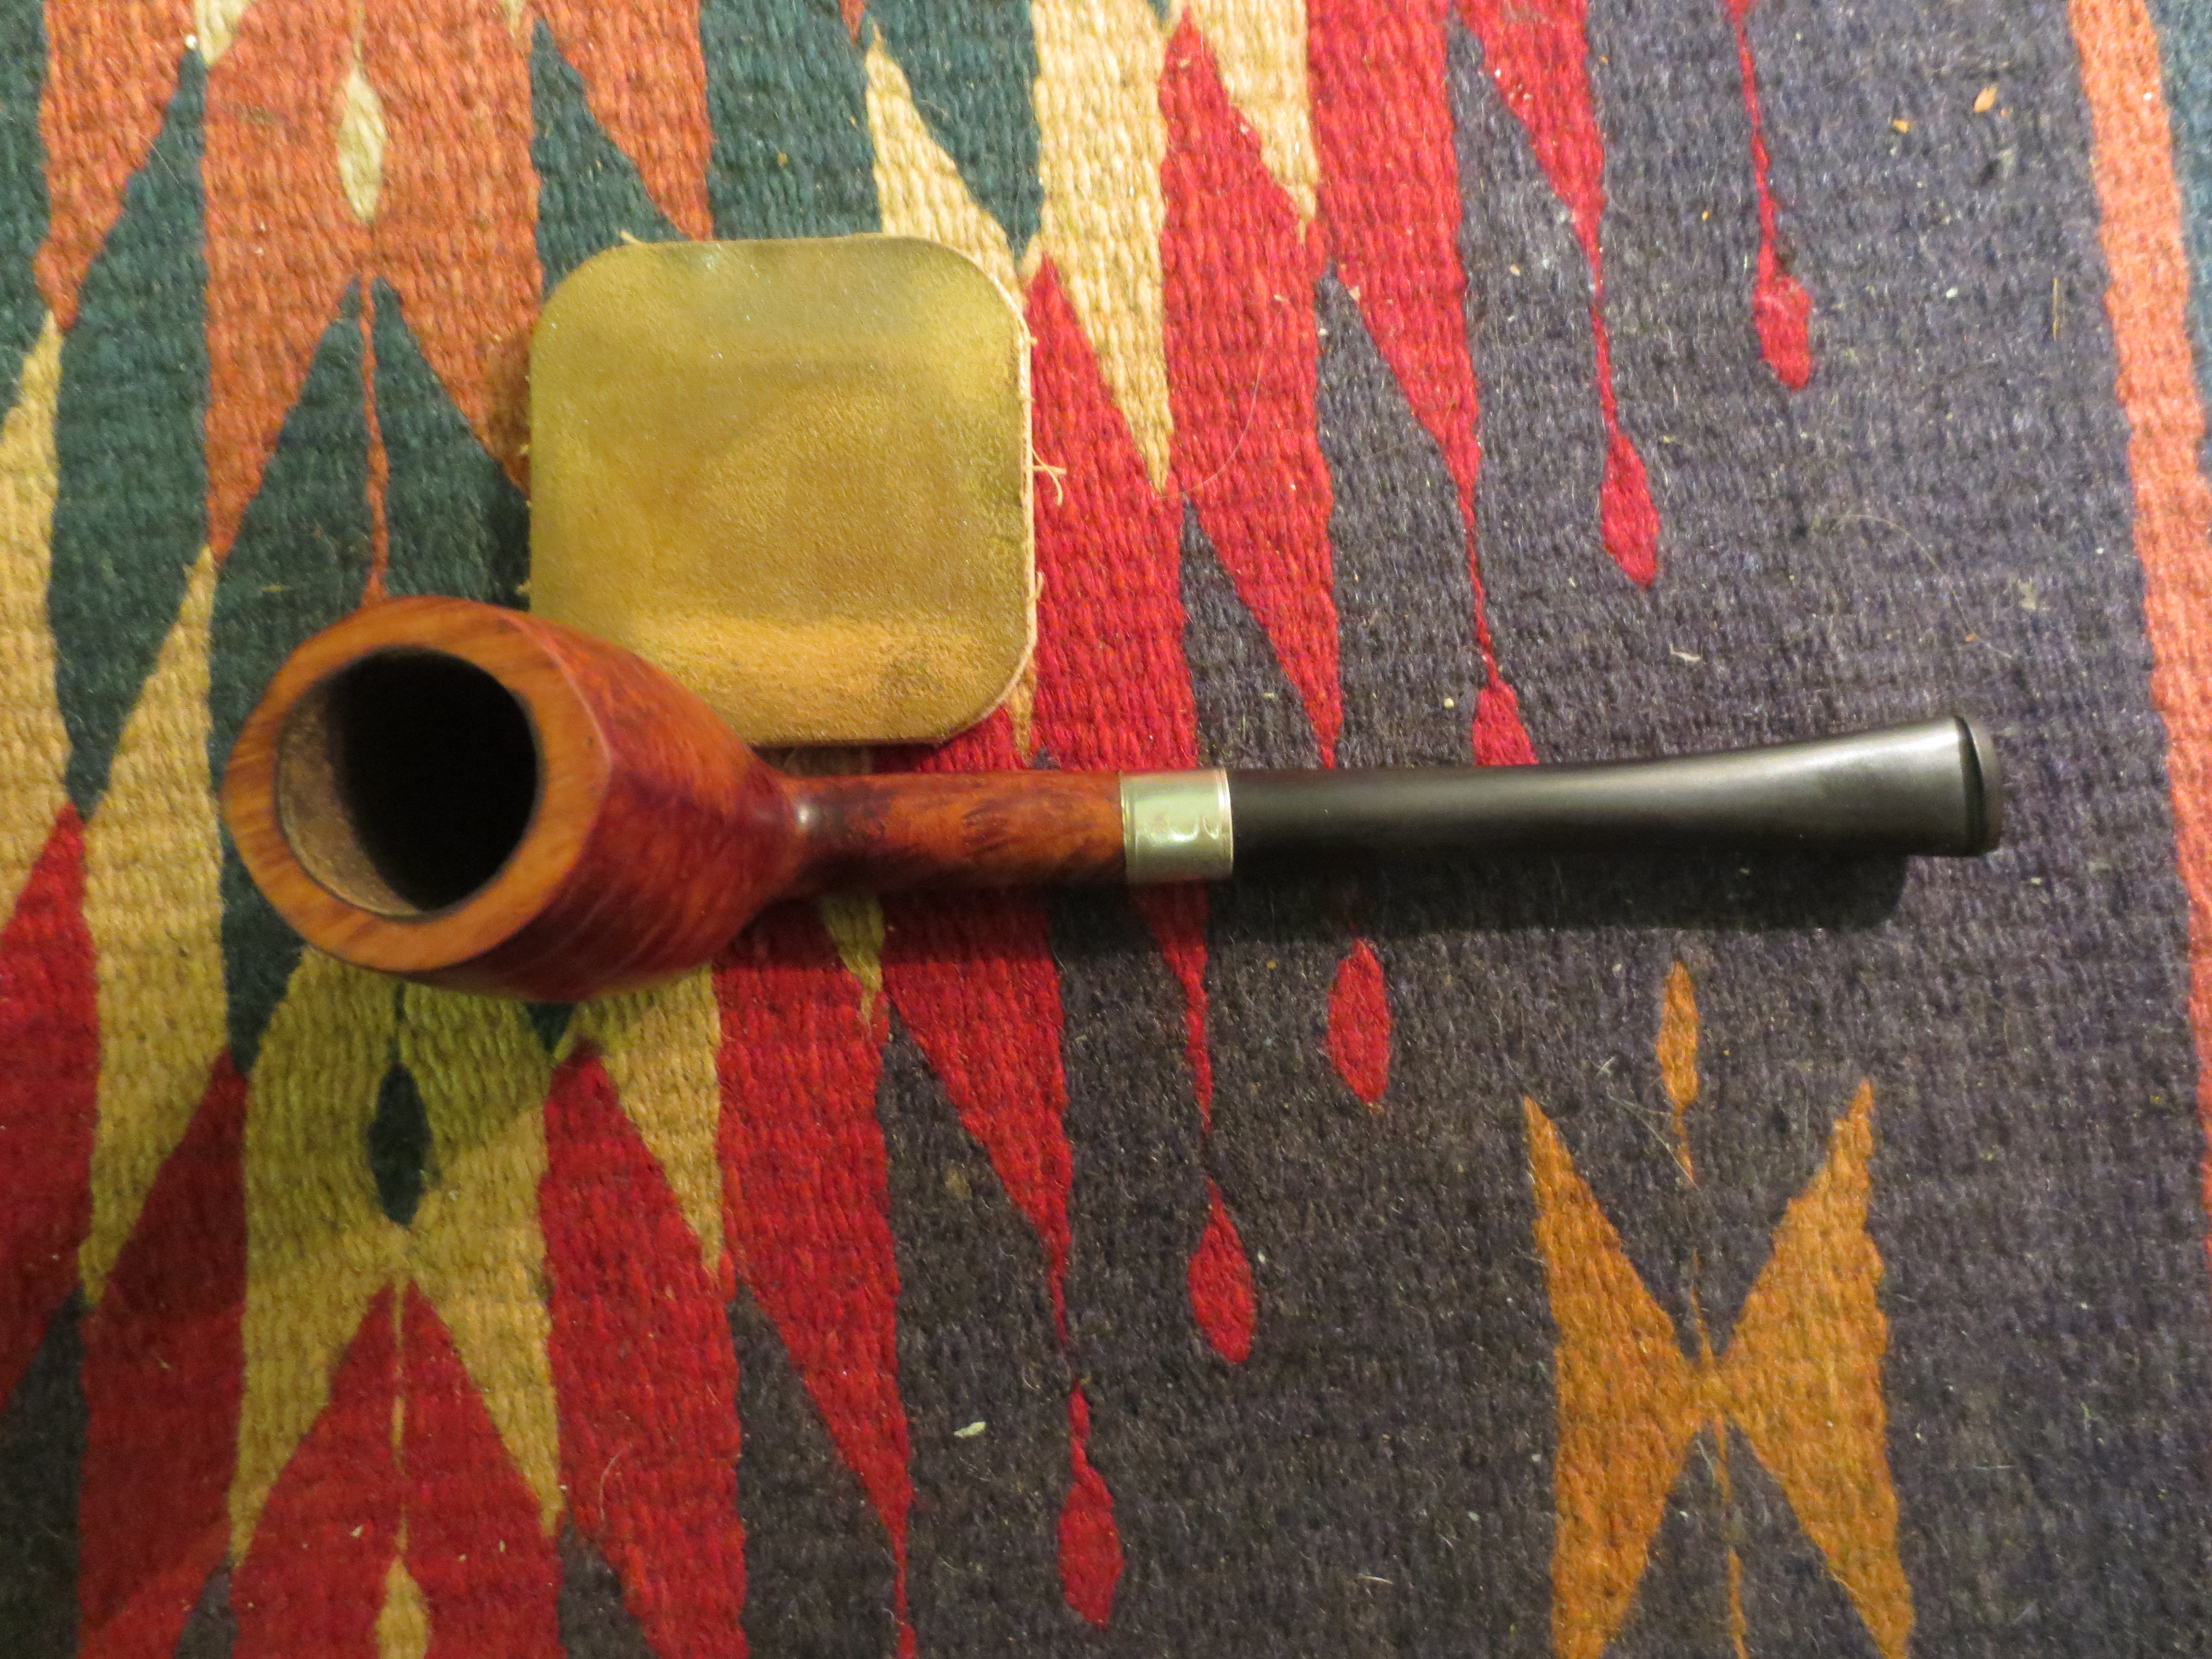
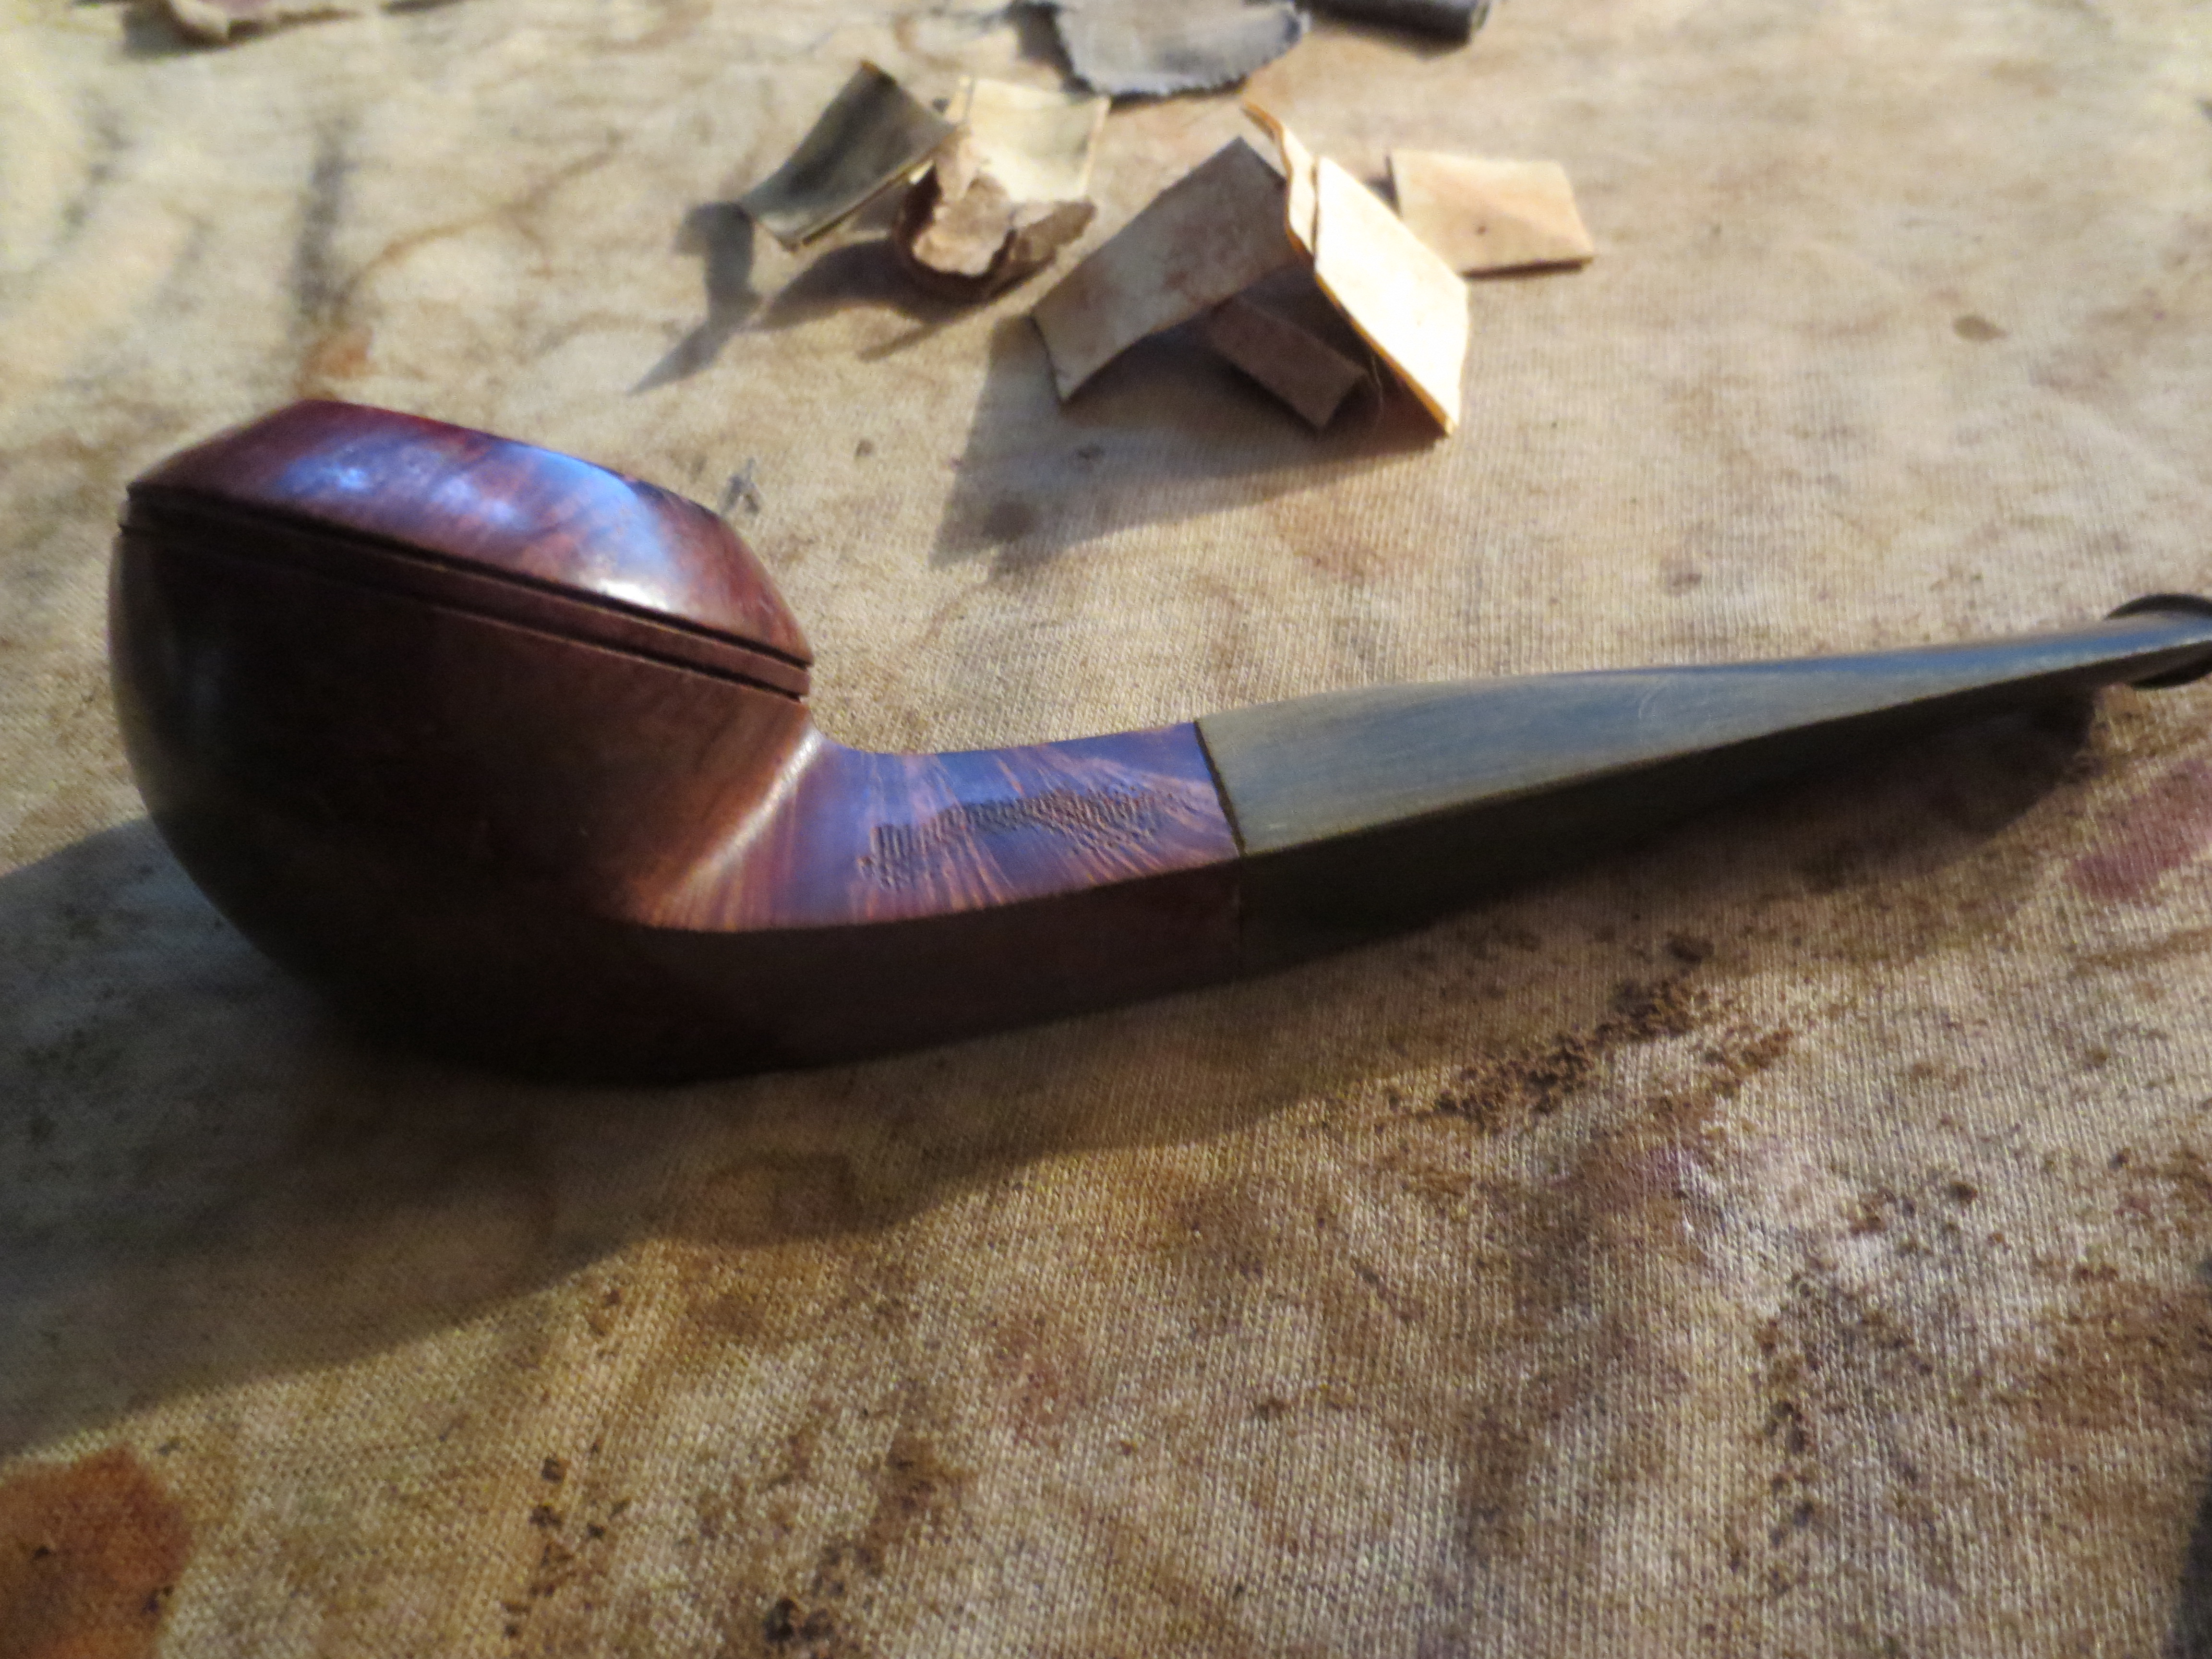
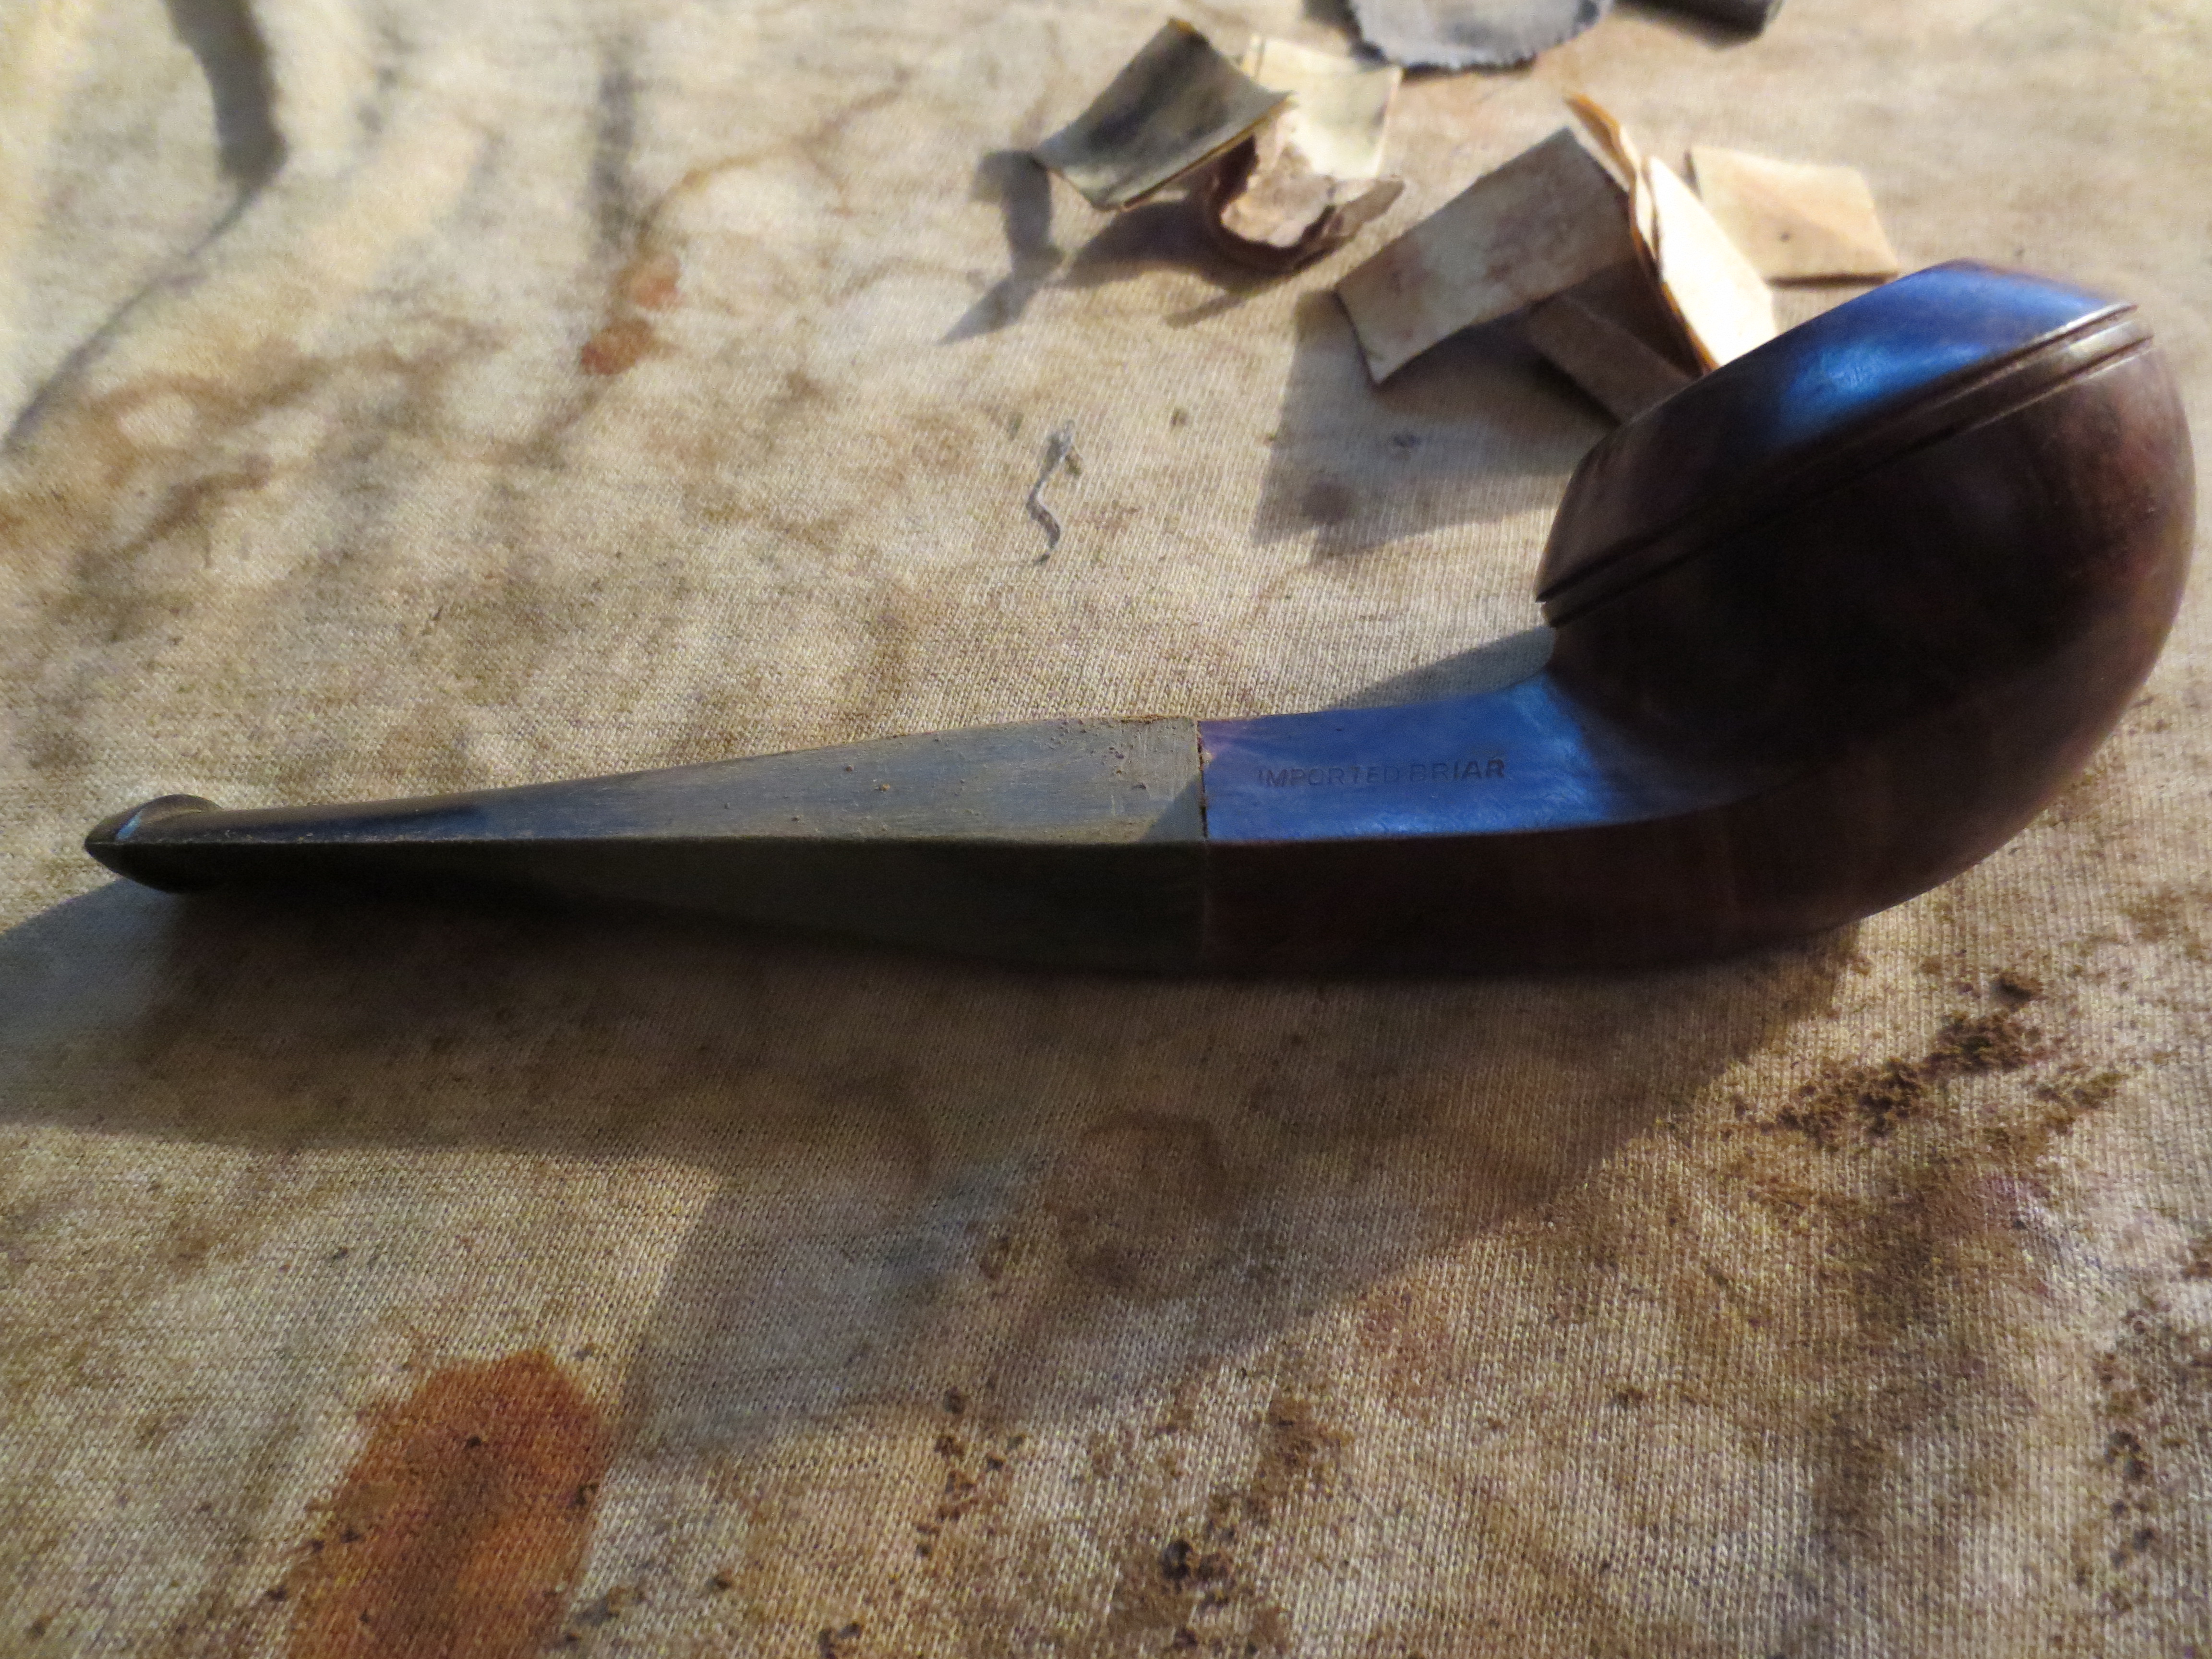
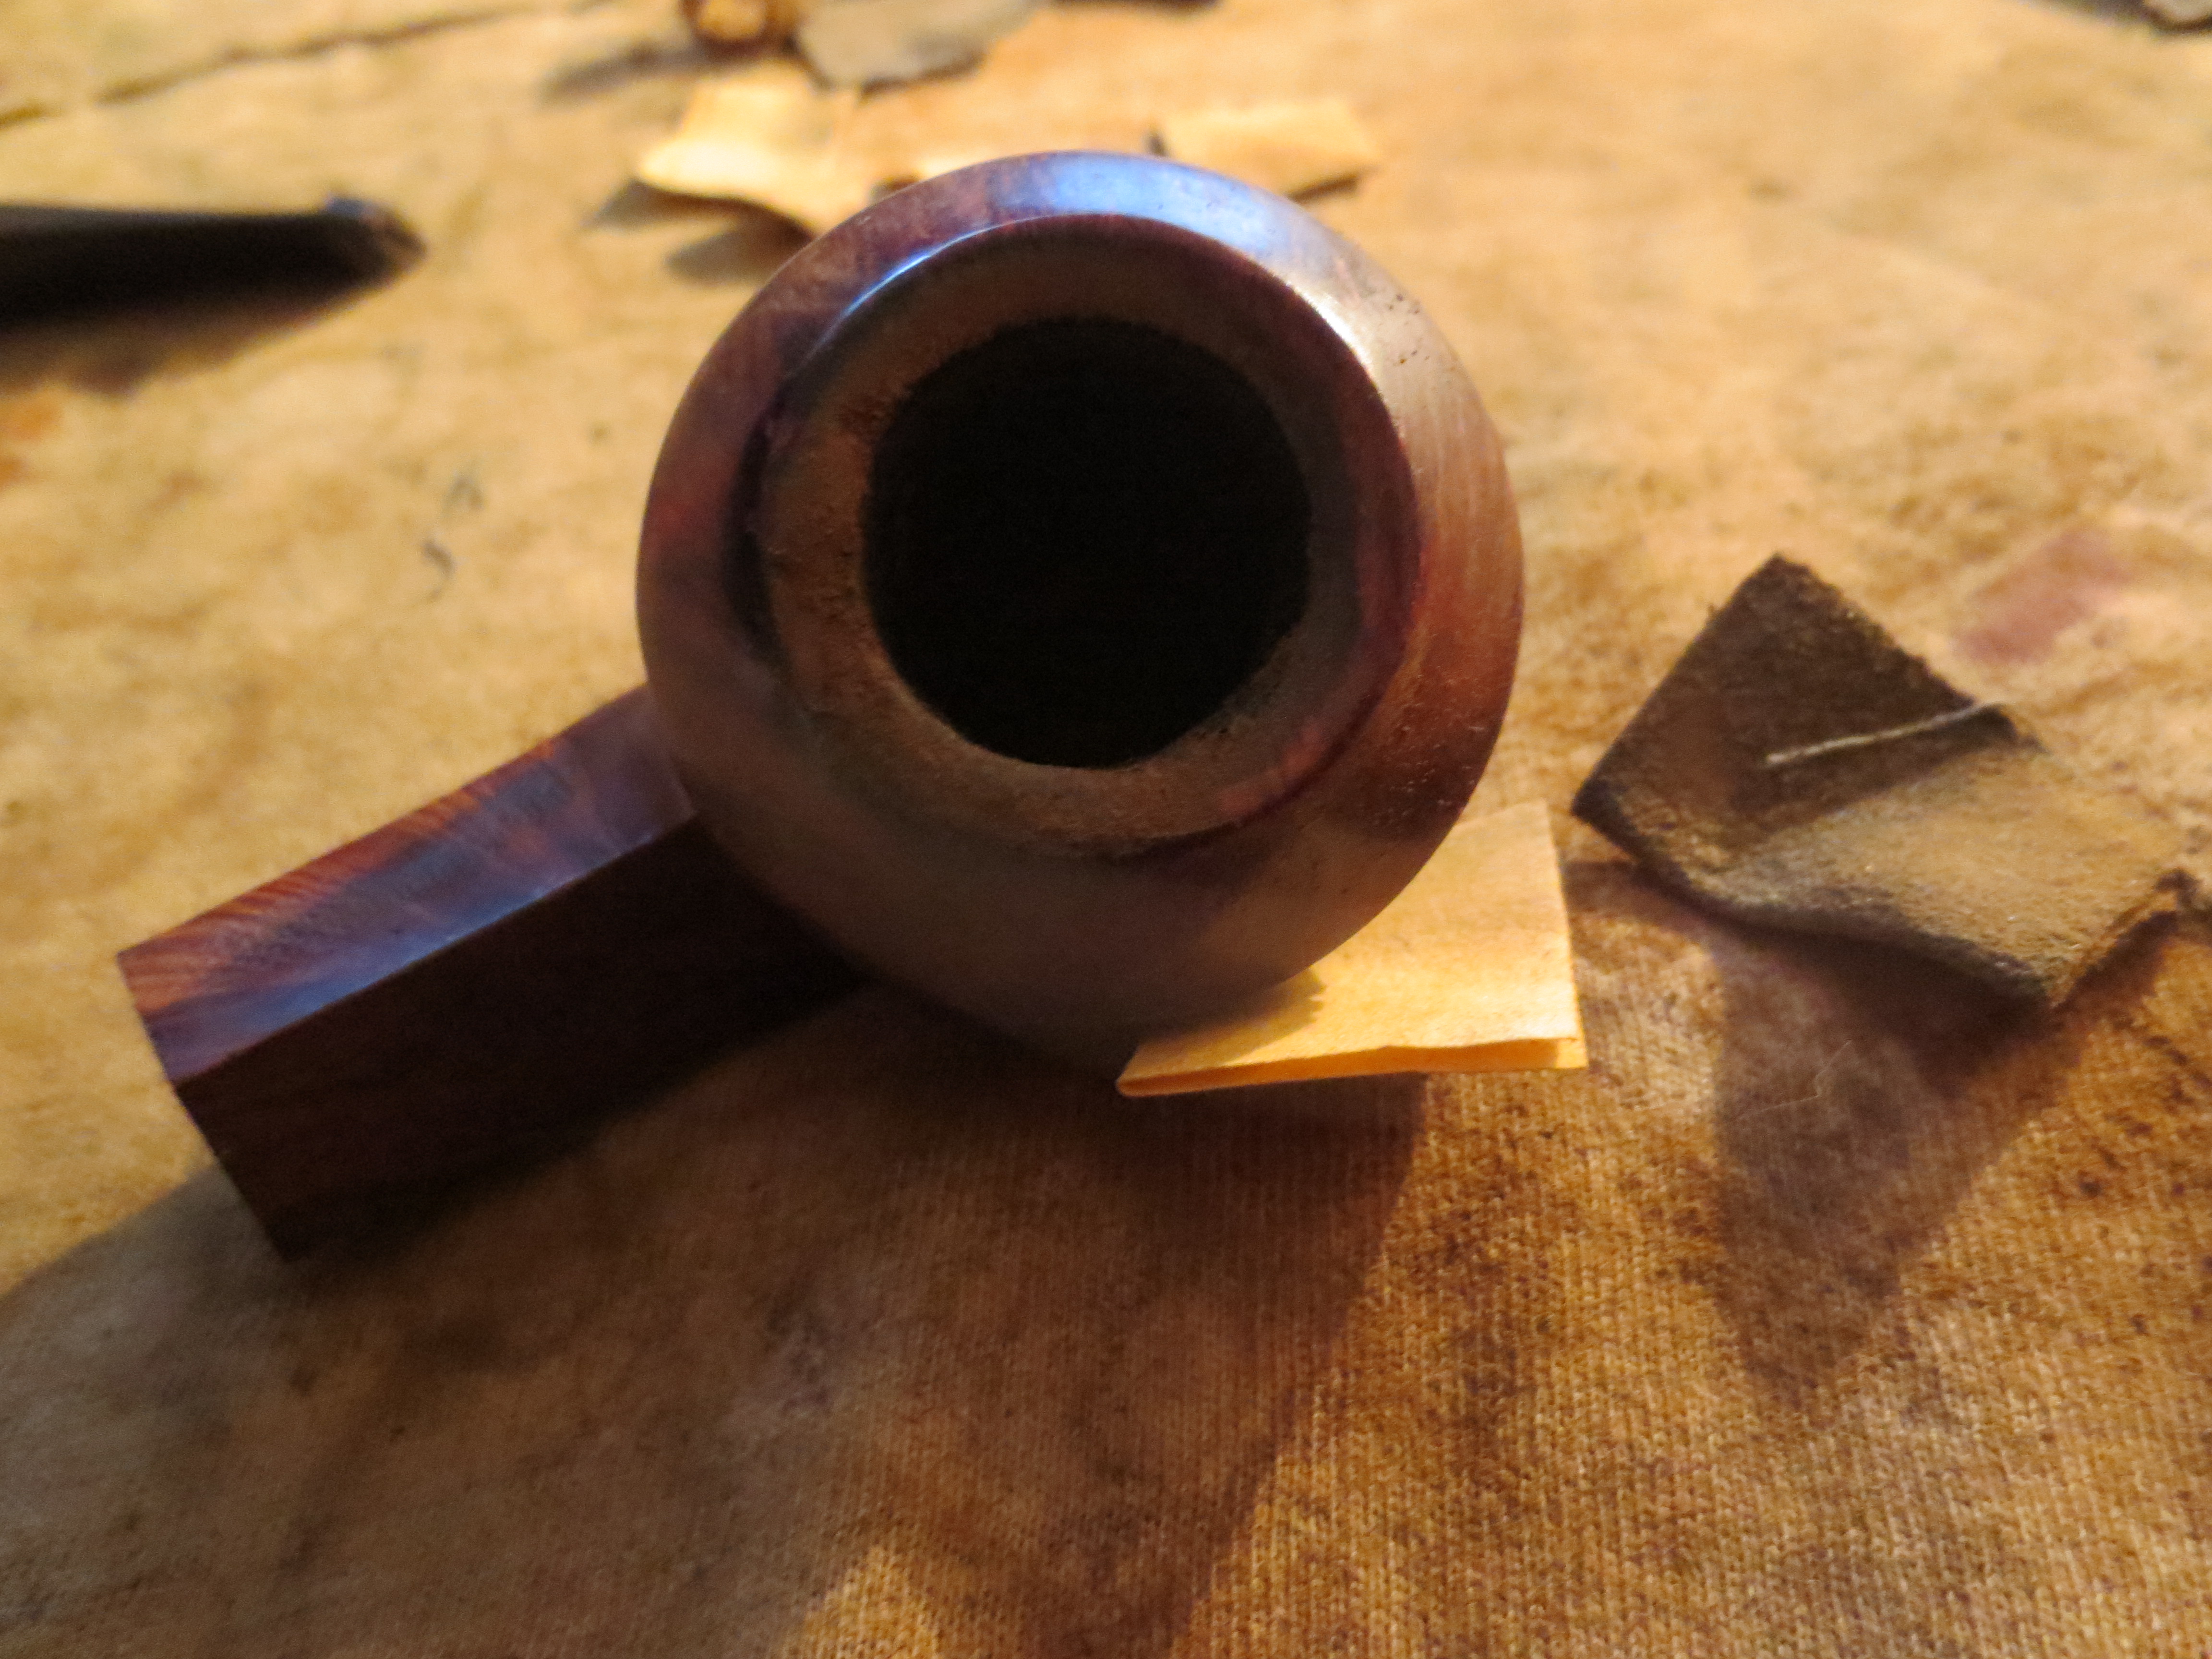
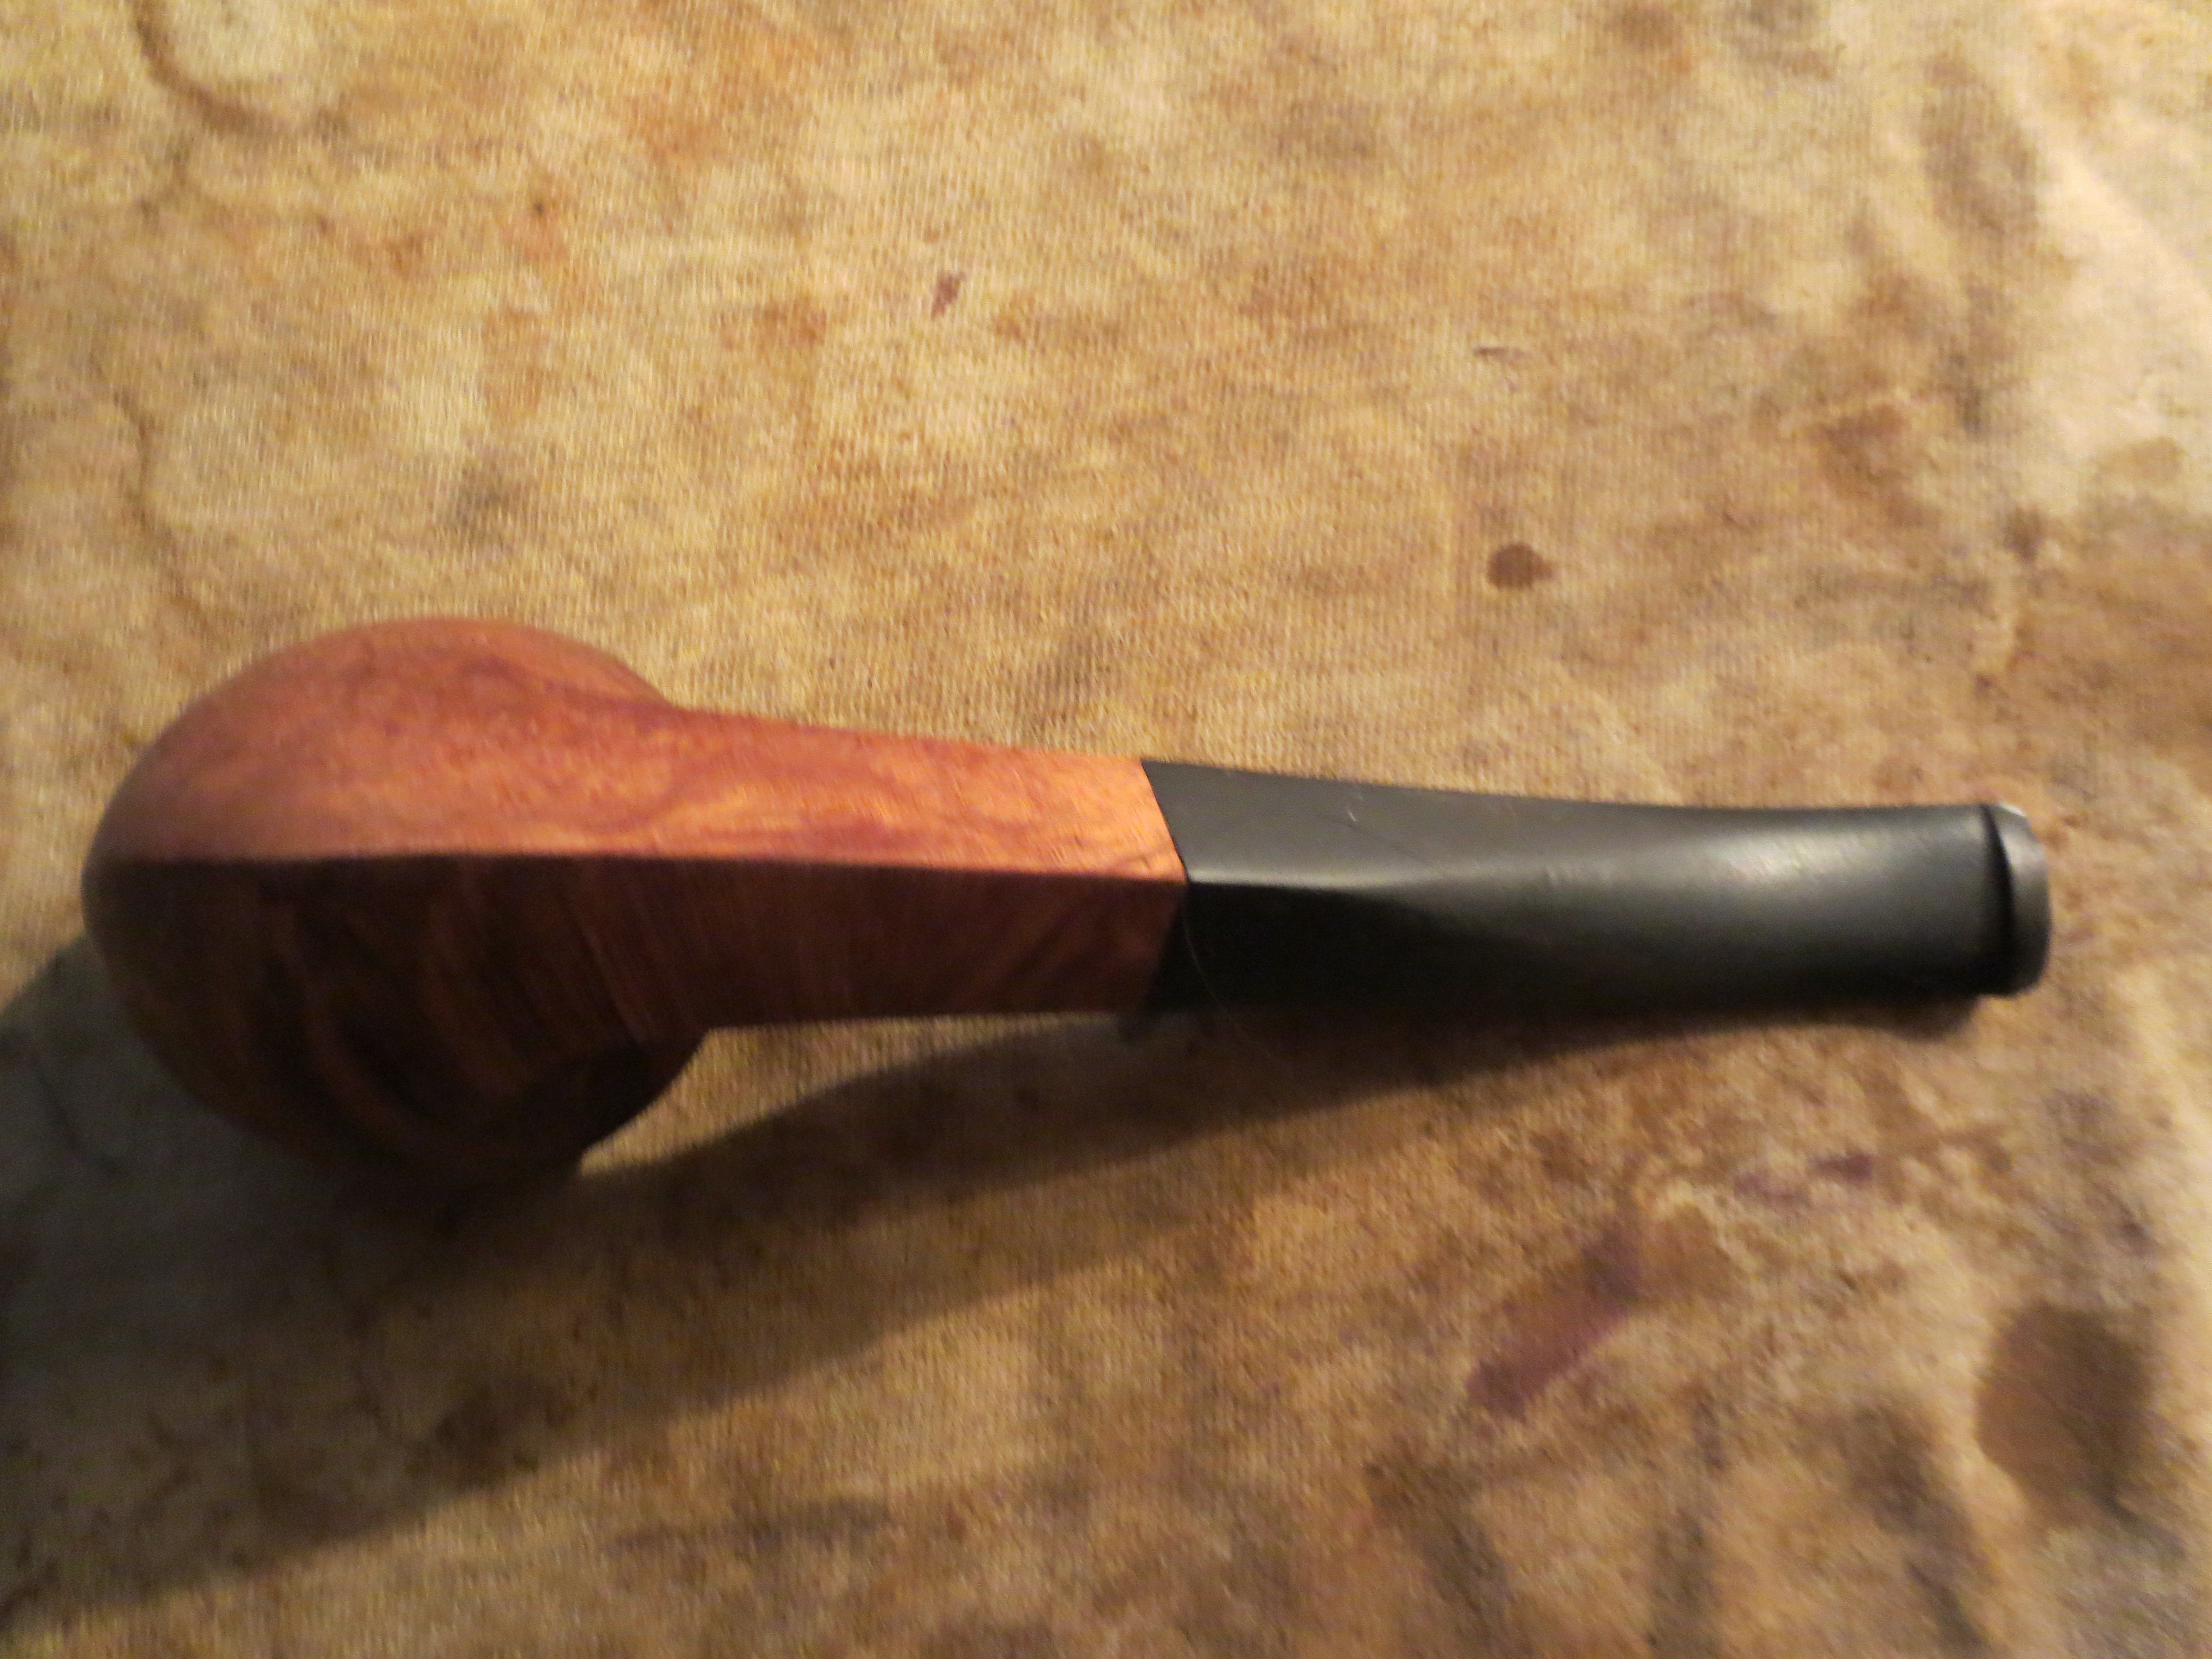
Once I had finished the fit of the stem to the shank and cleaned off the bowl with the sandpaper I wiped it down a second time with acetone to remove the remaining remnants of stain and to clean off the dust of the sanding (Photos 1 & 2). The remaining photos show the pipe after it was cleaned and ready to stain (Photos 3, 4, 5 & 6).

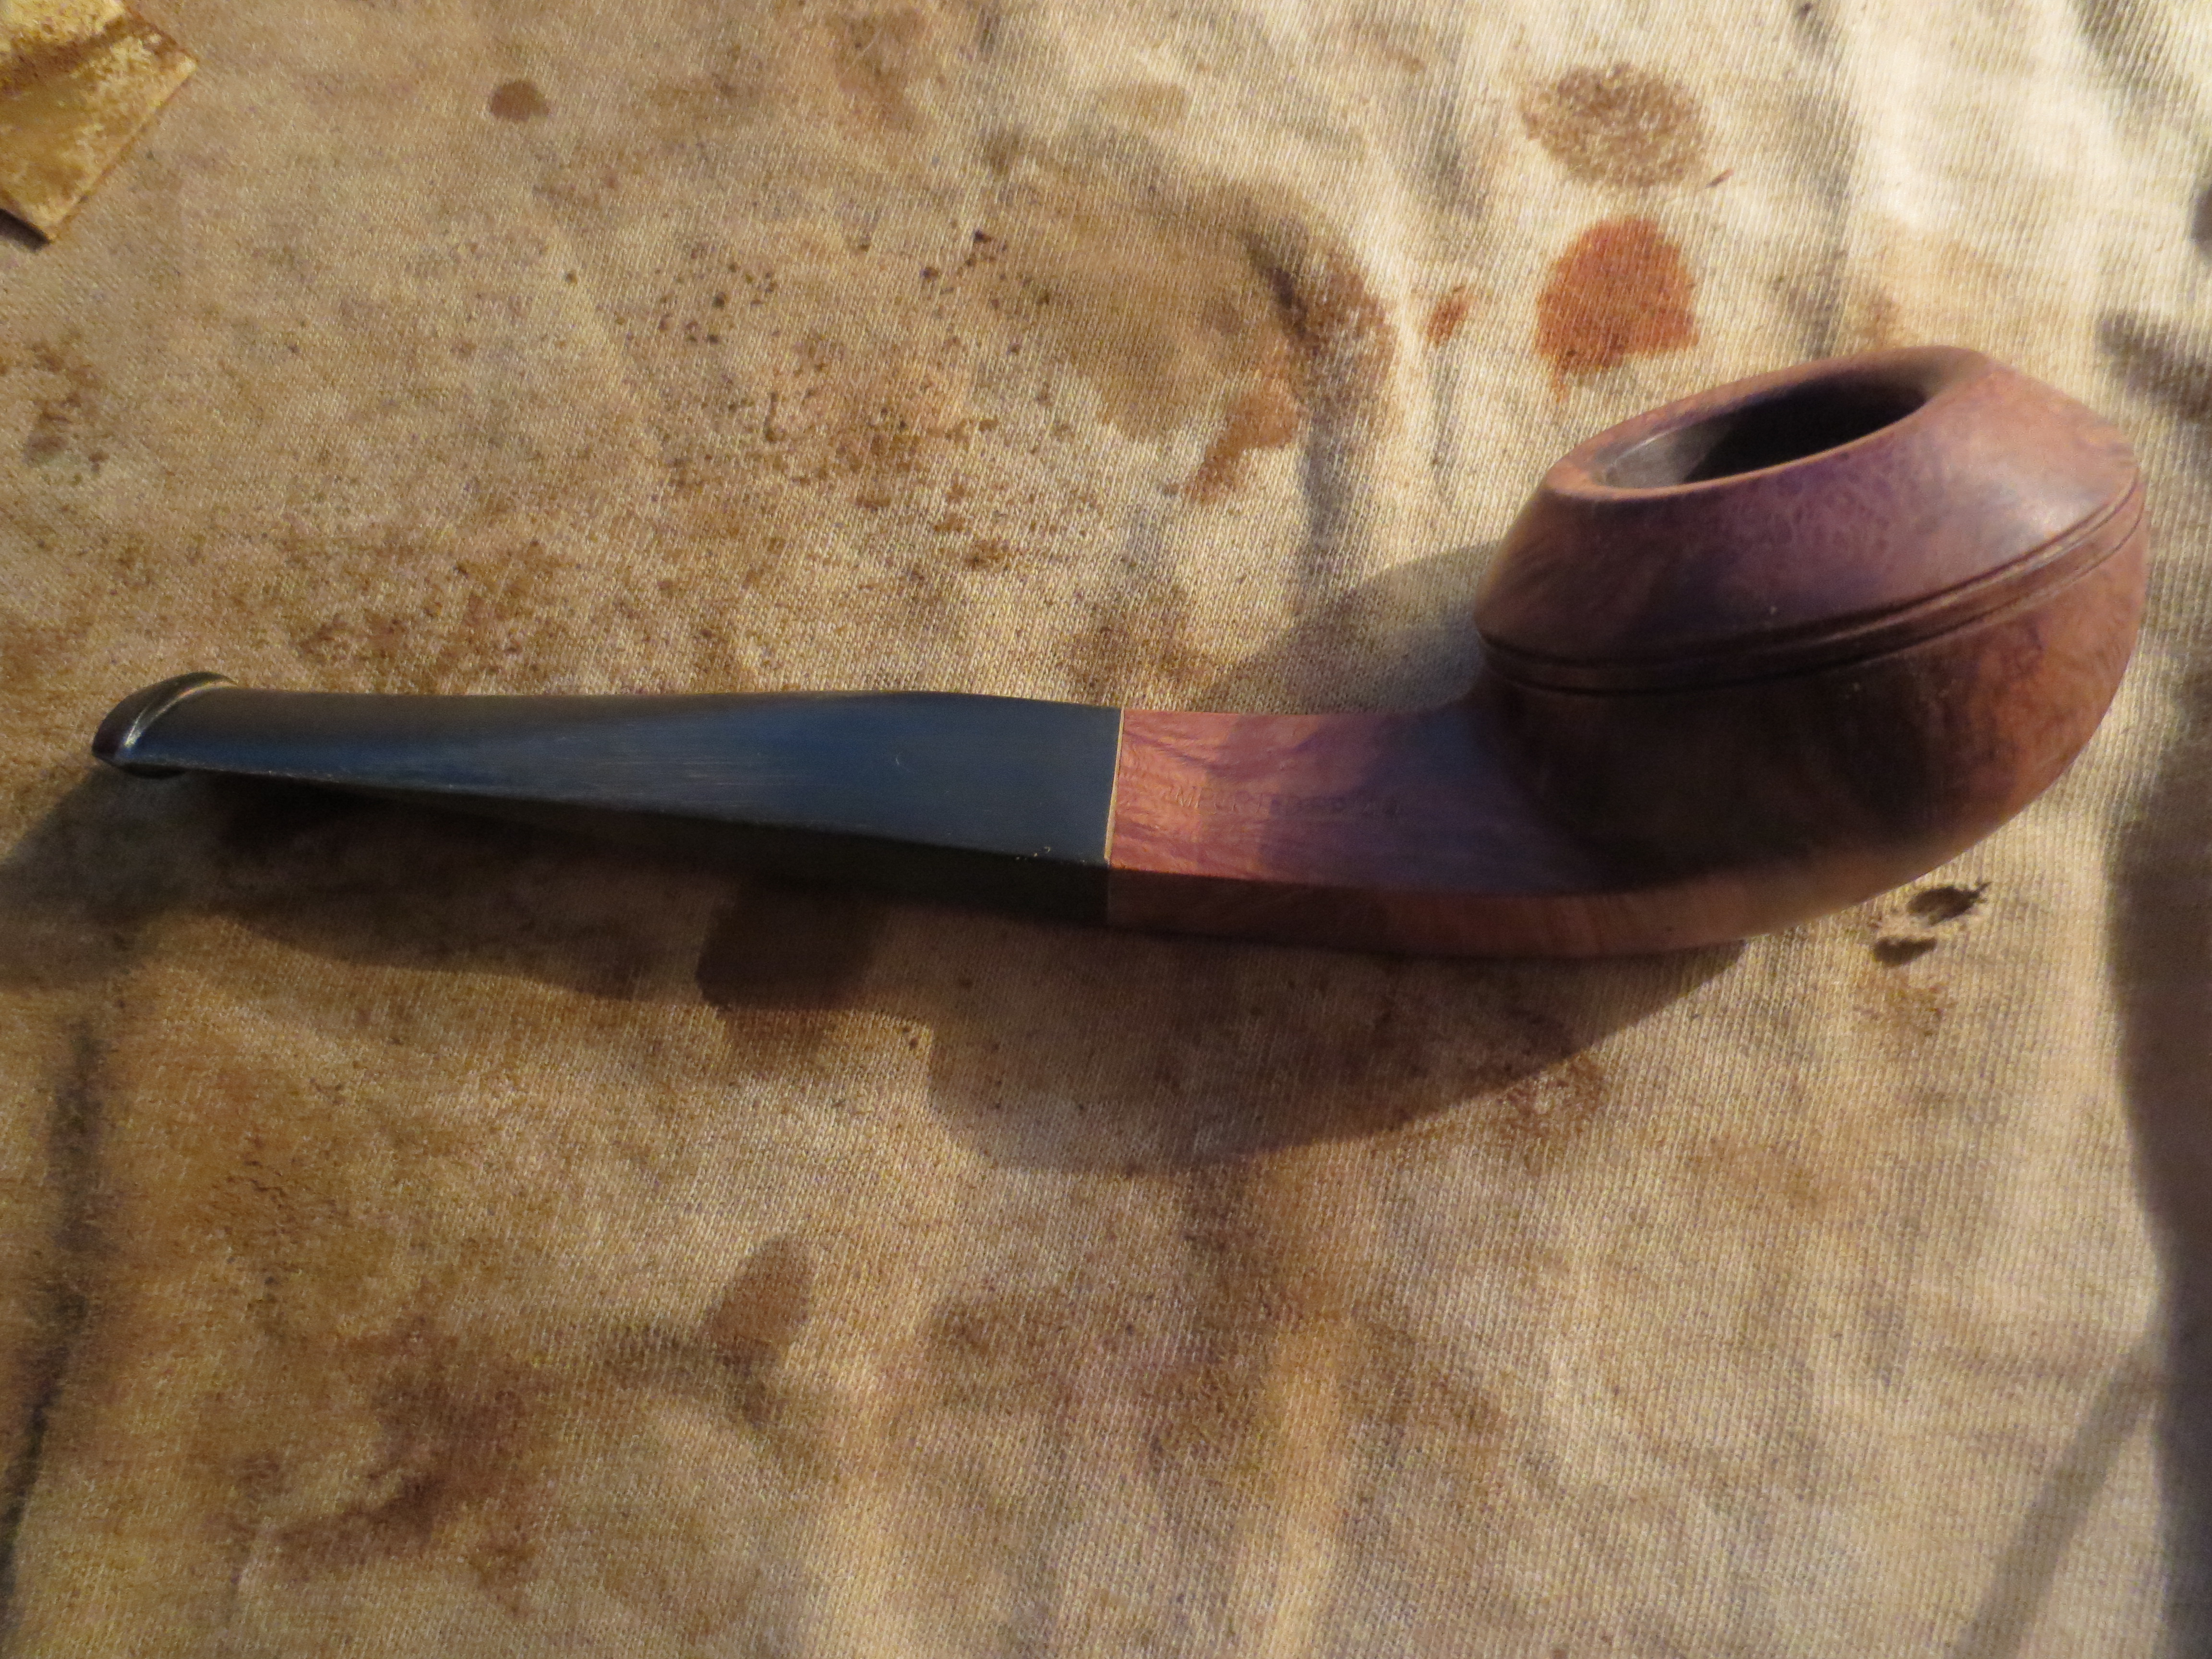
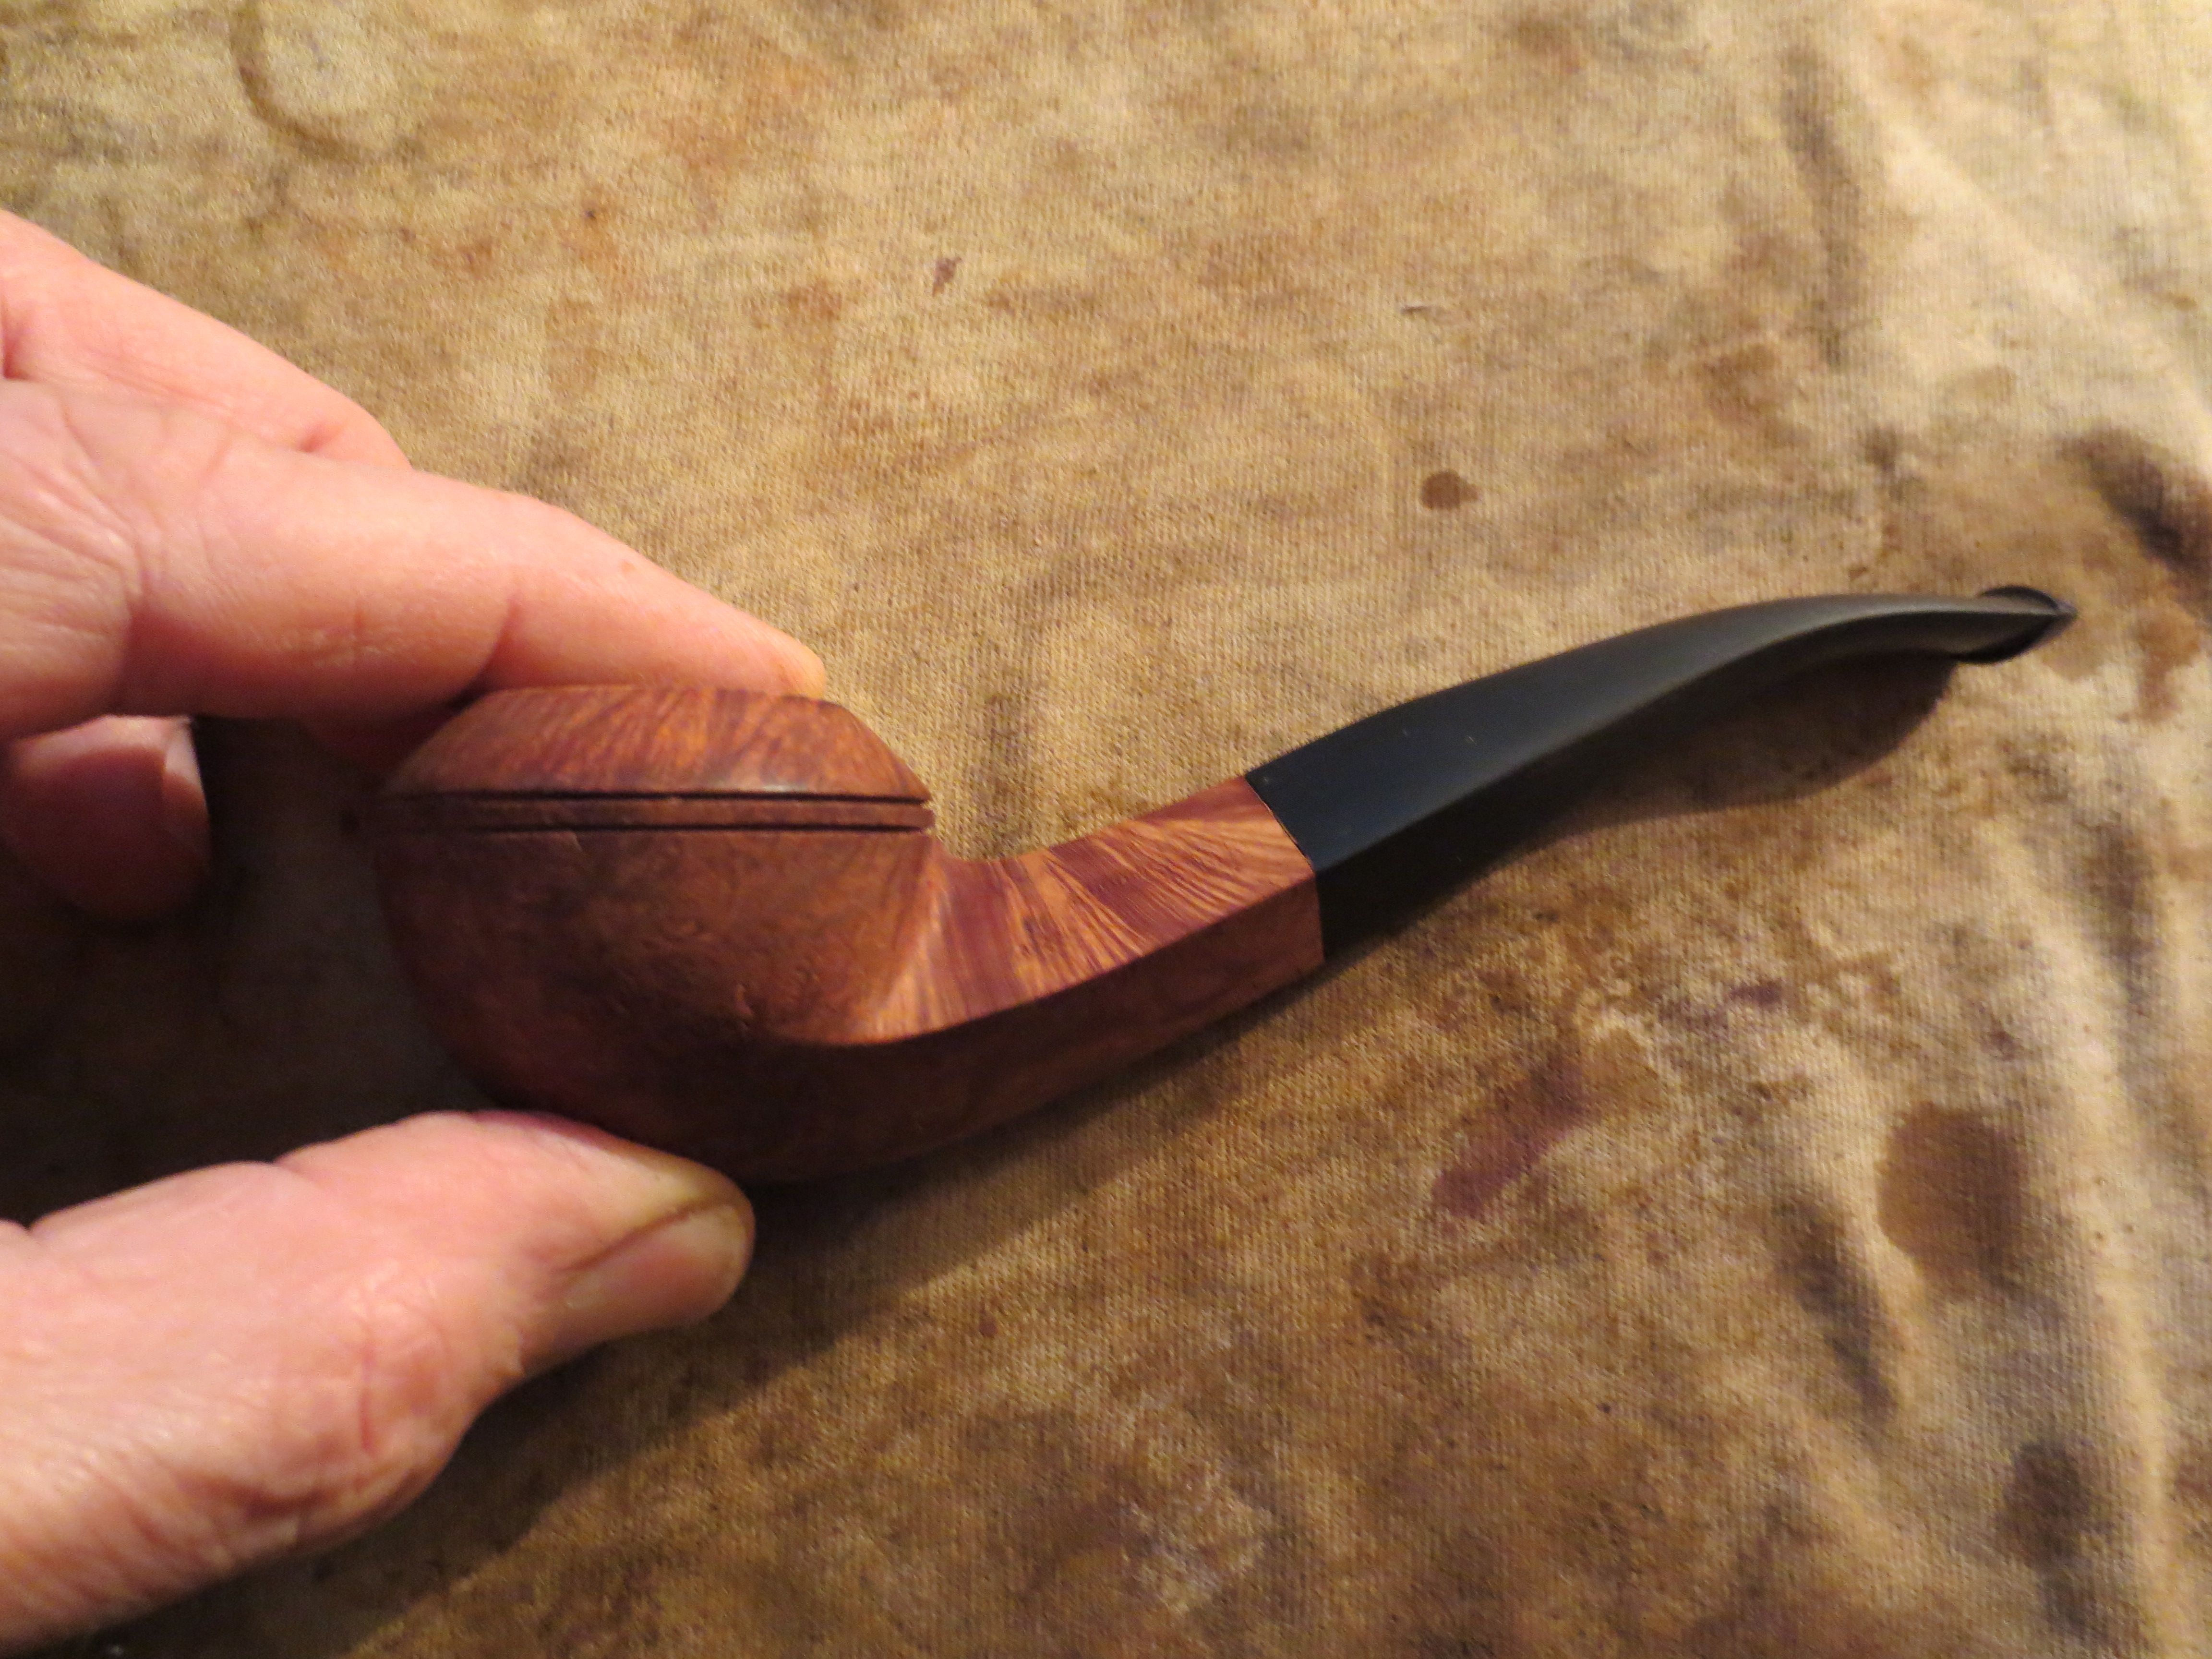
At this point I decided to bend the stem to the angle I wanted on the finished pipe. I set up my heat gun and turned it on to the lowest setting and held the stem above the heat until it was pliable. I have a wooden rolling pin that I use as a guide to bend the stem evenly so once it was soft I bent it over the rolling pin until the angle of the stem bend aligned with the curve of the bowl. I wanted the bowl to be level when held in the hand. Once the angle was right I cooled the pipe stem in cool water to set the bend. The next four photos show the stem after it was bent according to the angles I was aiming for. The grain on this pipe was calling out to me to come up with a stain colour and process that highlighted the grain.
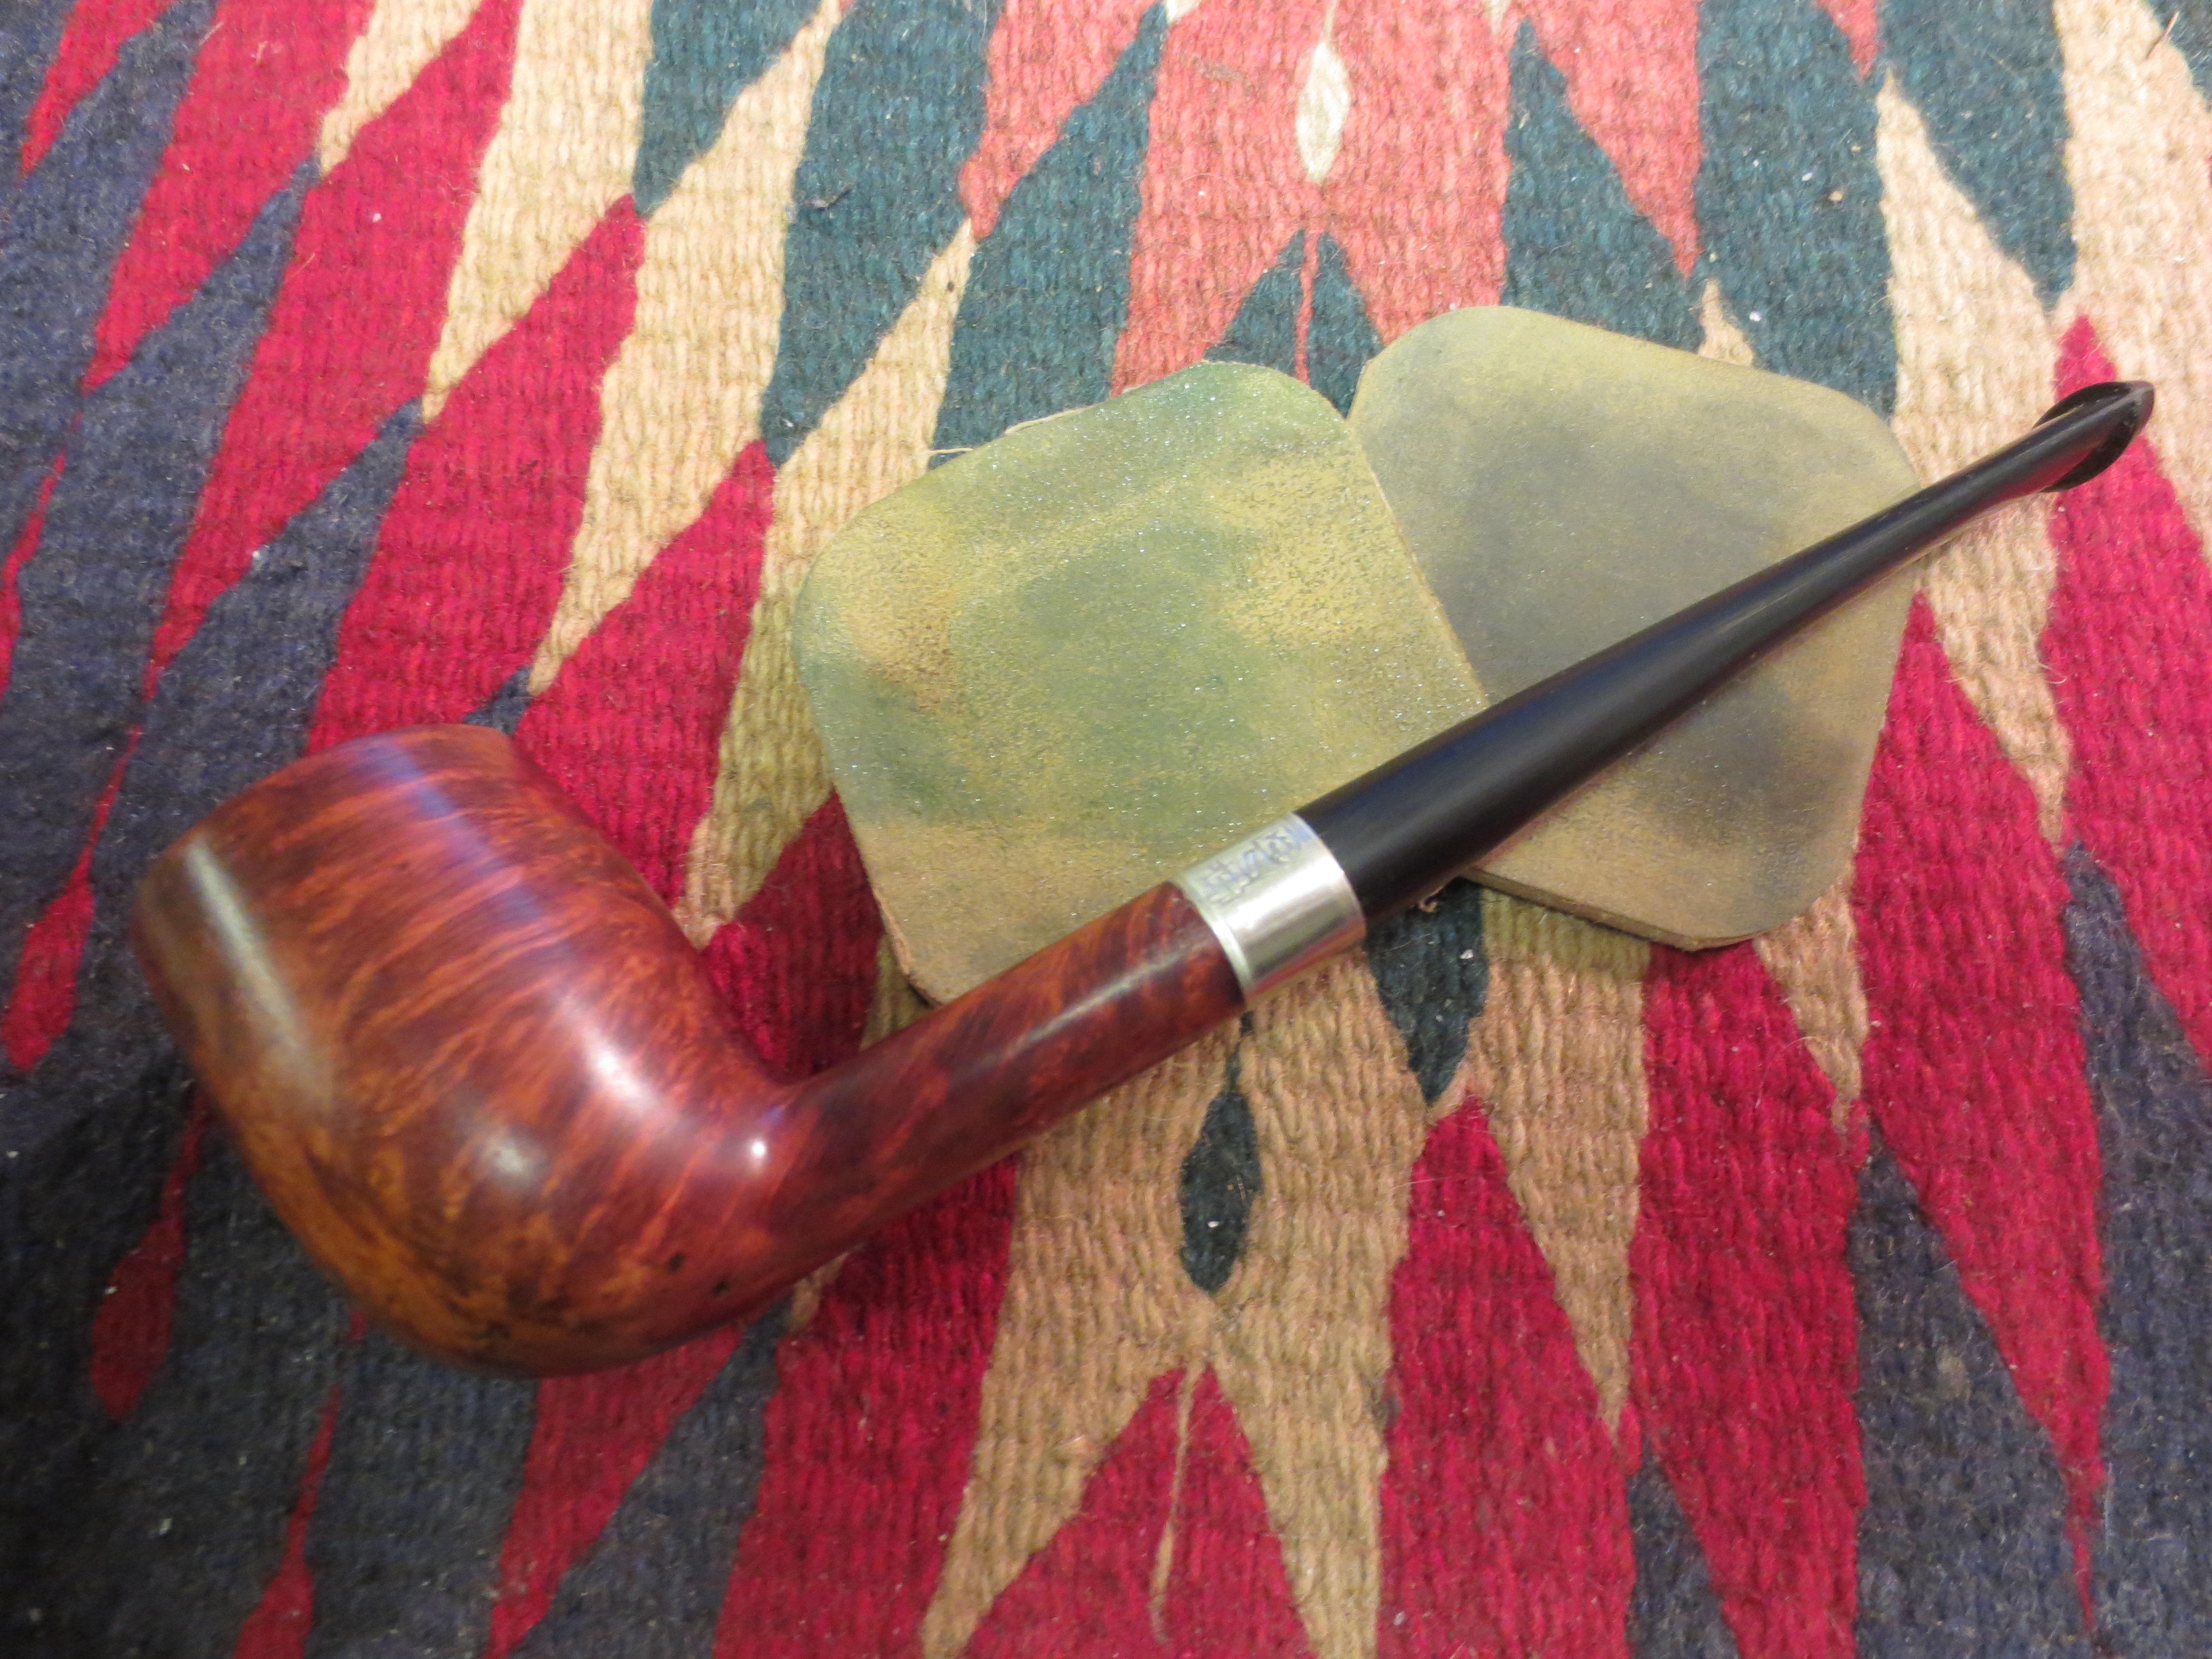
I decided to stain the pipe with an oxblood aniline stain. I like it because it sets deeply in the grain of the pipe and when it is buffed off it still allows the grain to be seen. I also planned on sanding the finish with micromesh sanding pads to further highlight the grain patterns on the bowl. The next five photos show the stained bowl. I still needed to buff the pipe and lift the stain a bit from the briar.
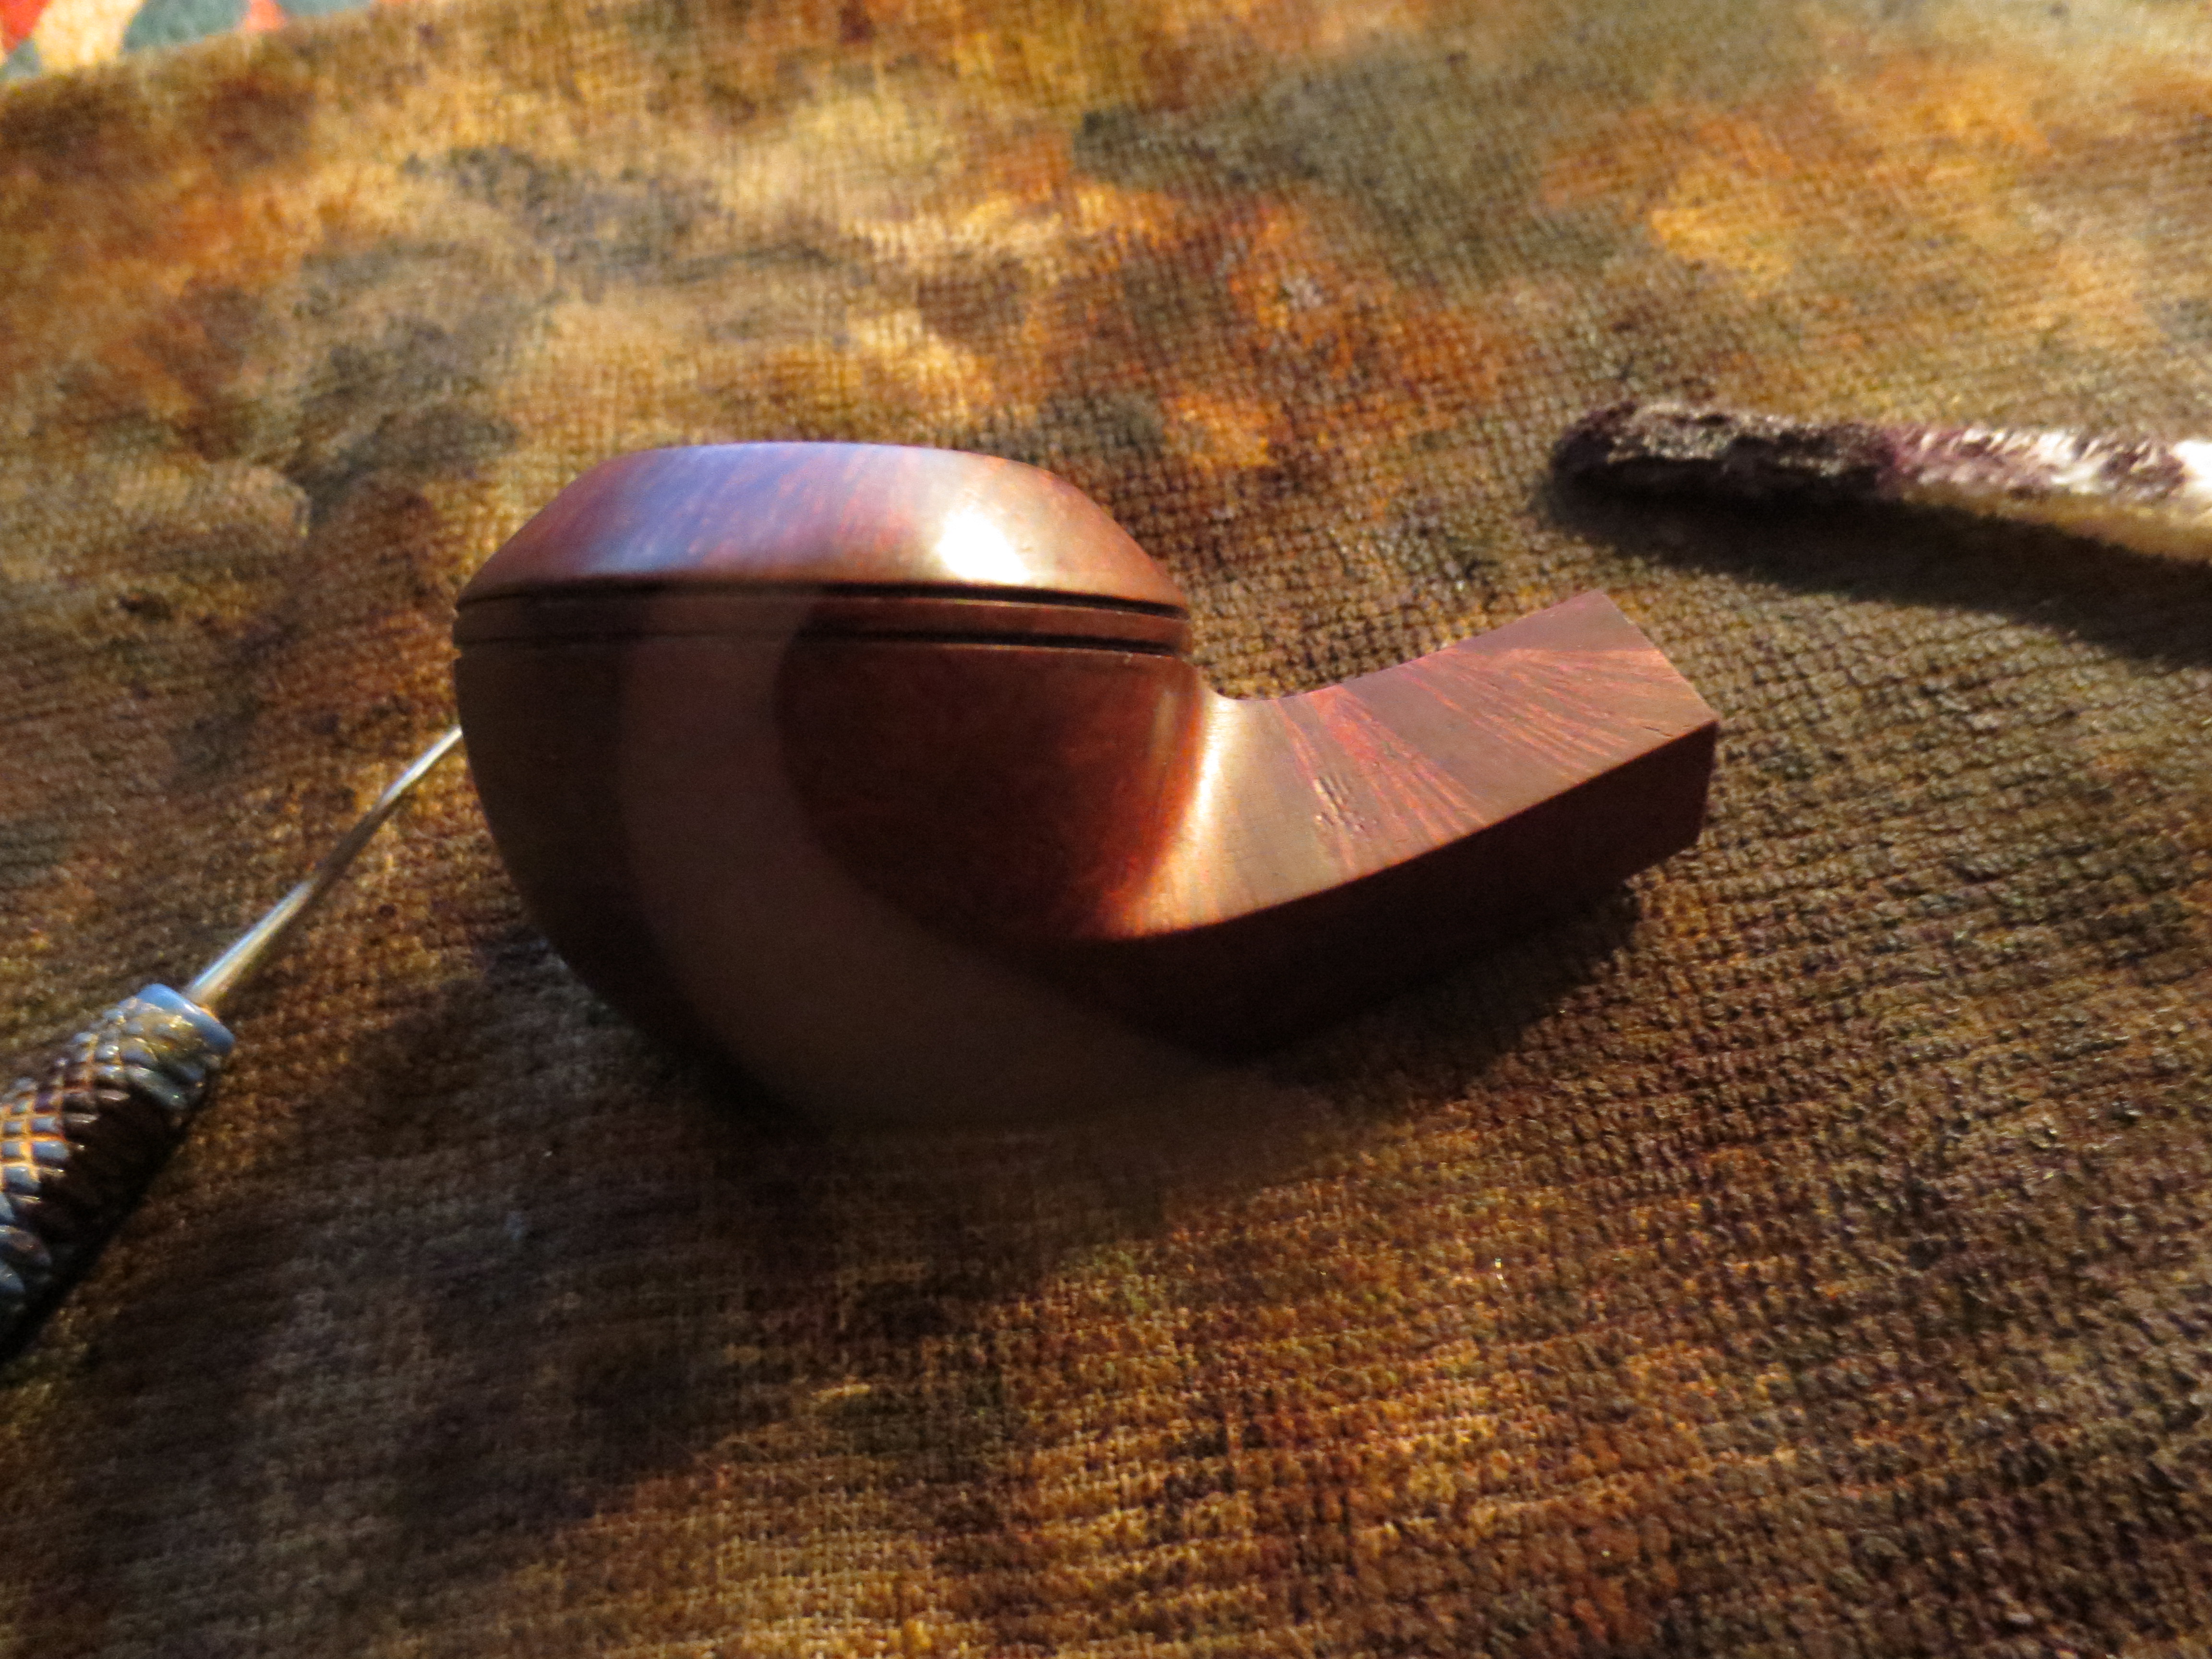
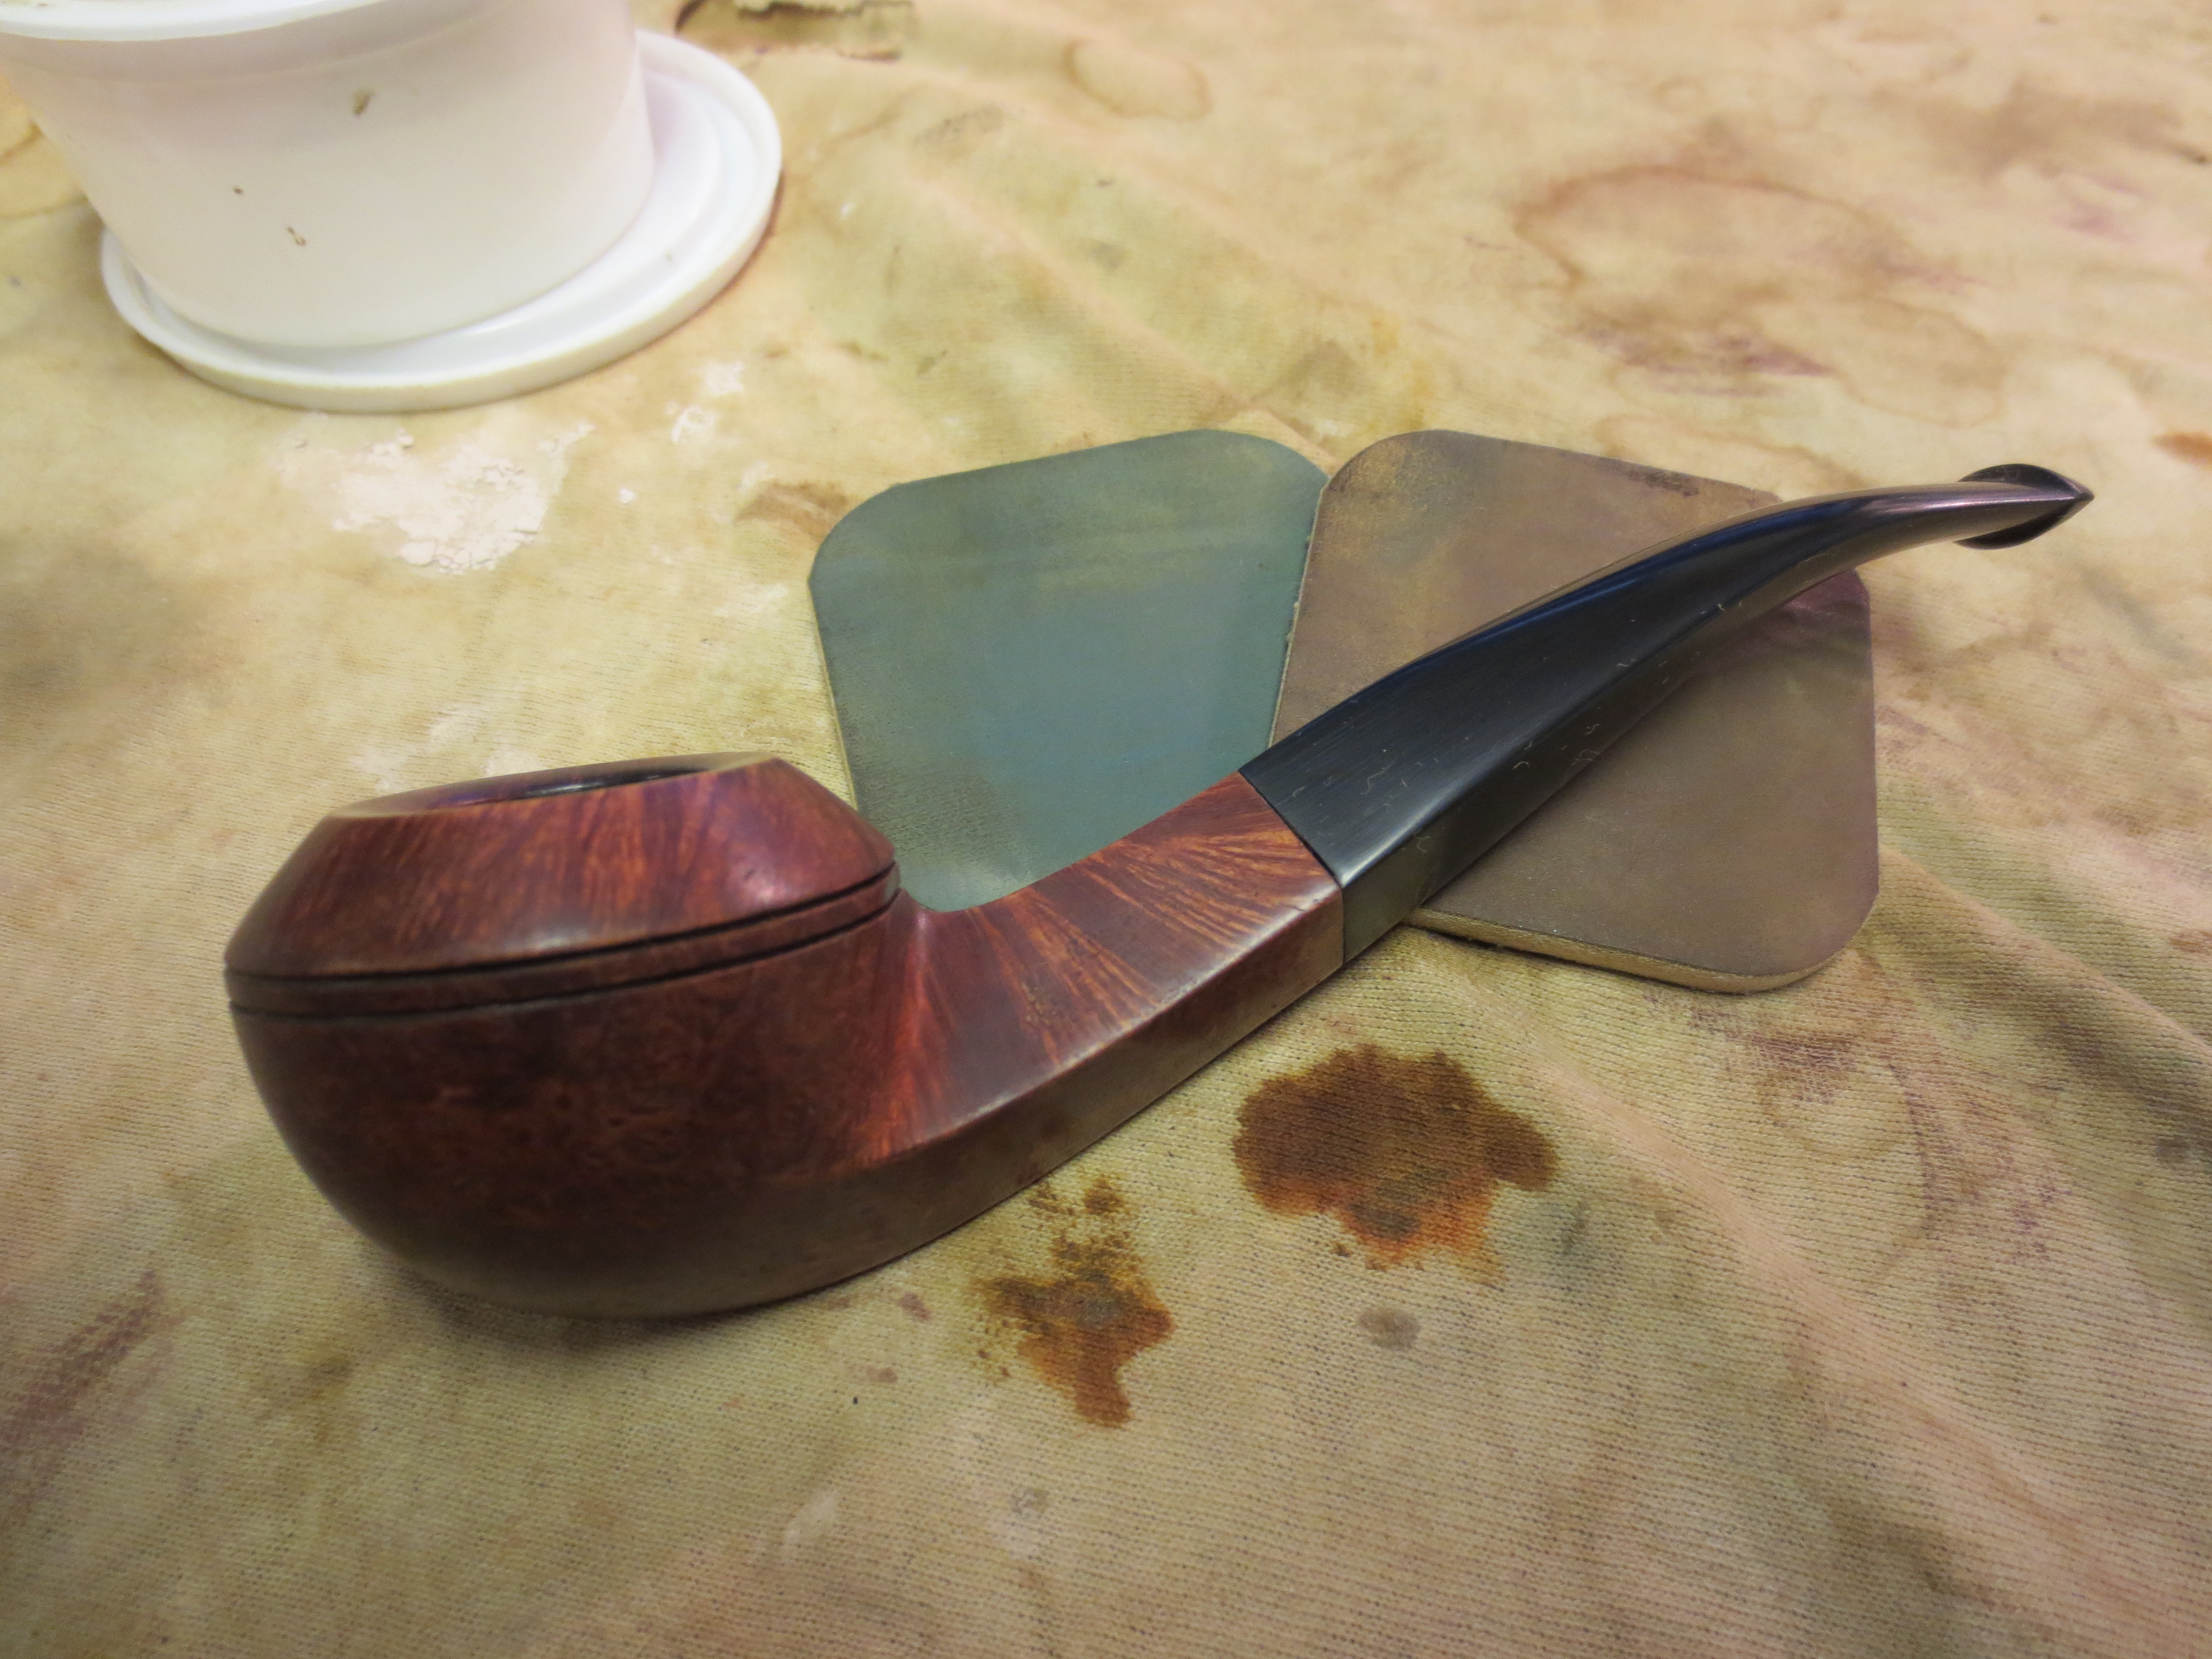
I reinserted the stem at this point in the process and hand buffed the bowl to get a good feel for the opacity of the stain (Photos 1 & 2). I then began to sand the stem and the bowl with the micromesh sanding pads. I began with 1500 and 1800 grit micromesh first. I wet sanded with these grits of micromesh (Photos 3, 4, & 5). The finish on the stem is smoothing out and the bowl finish is really beginning to show the grain and highlight the beauty of the piece of briar.

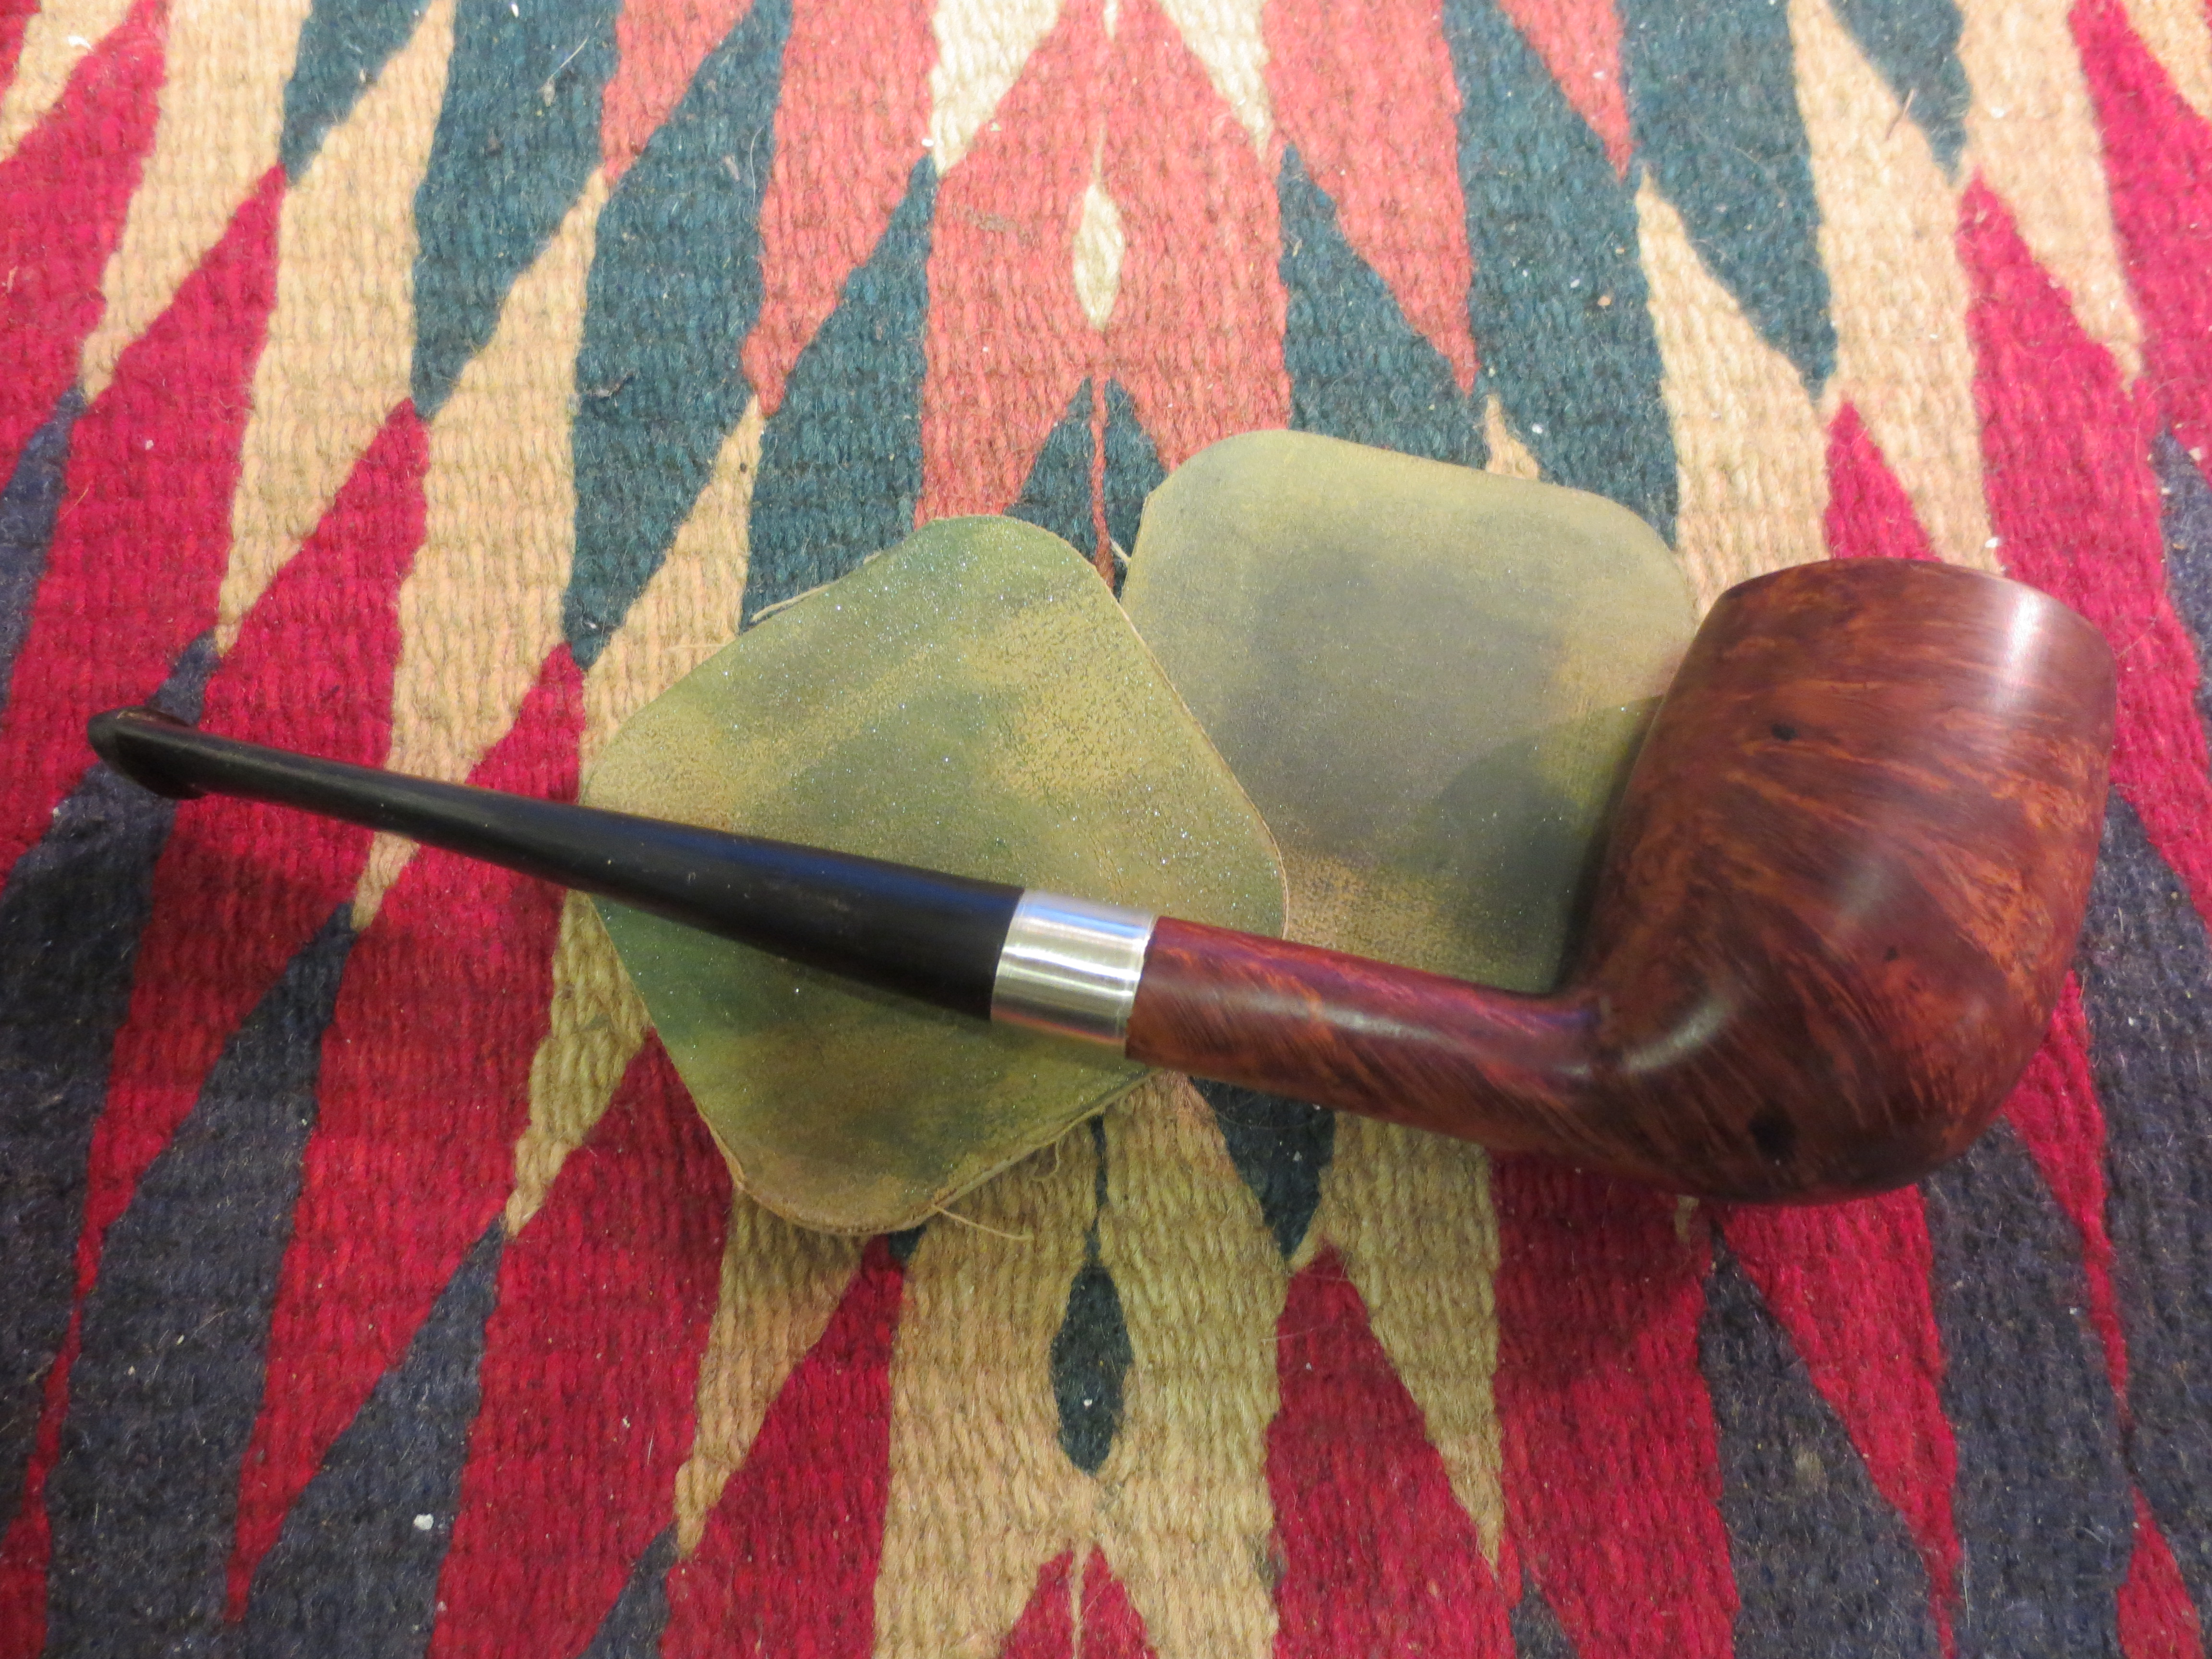
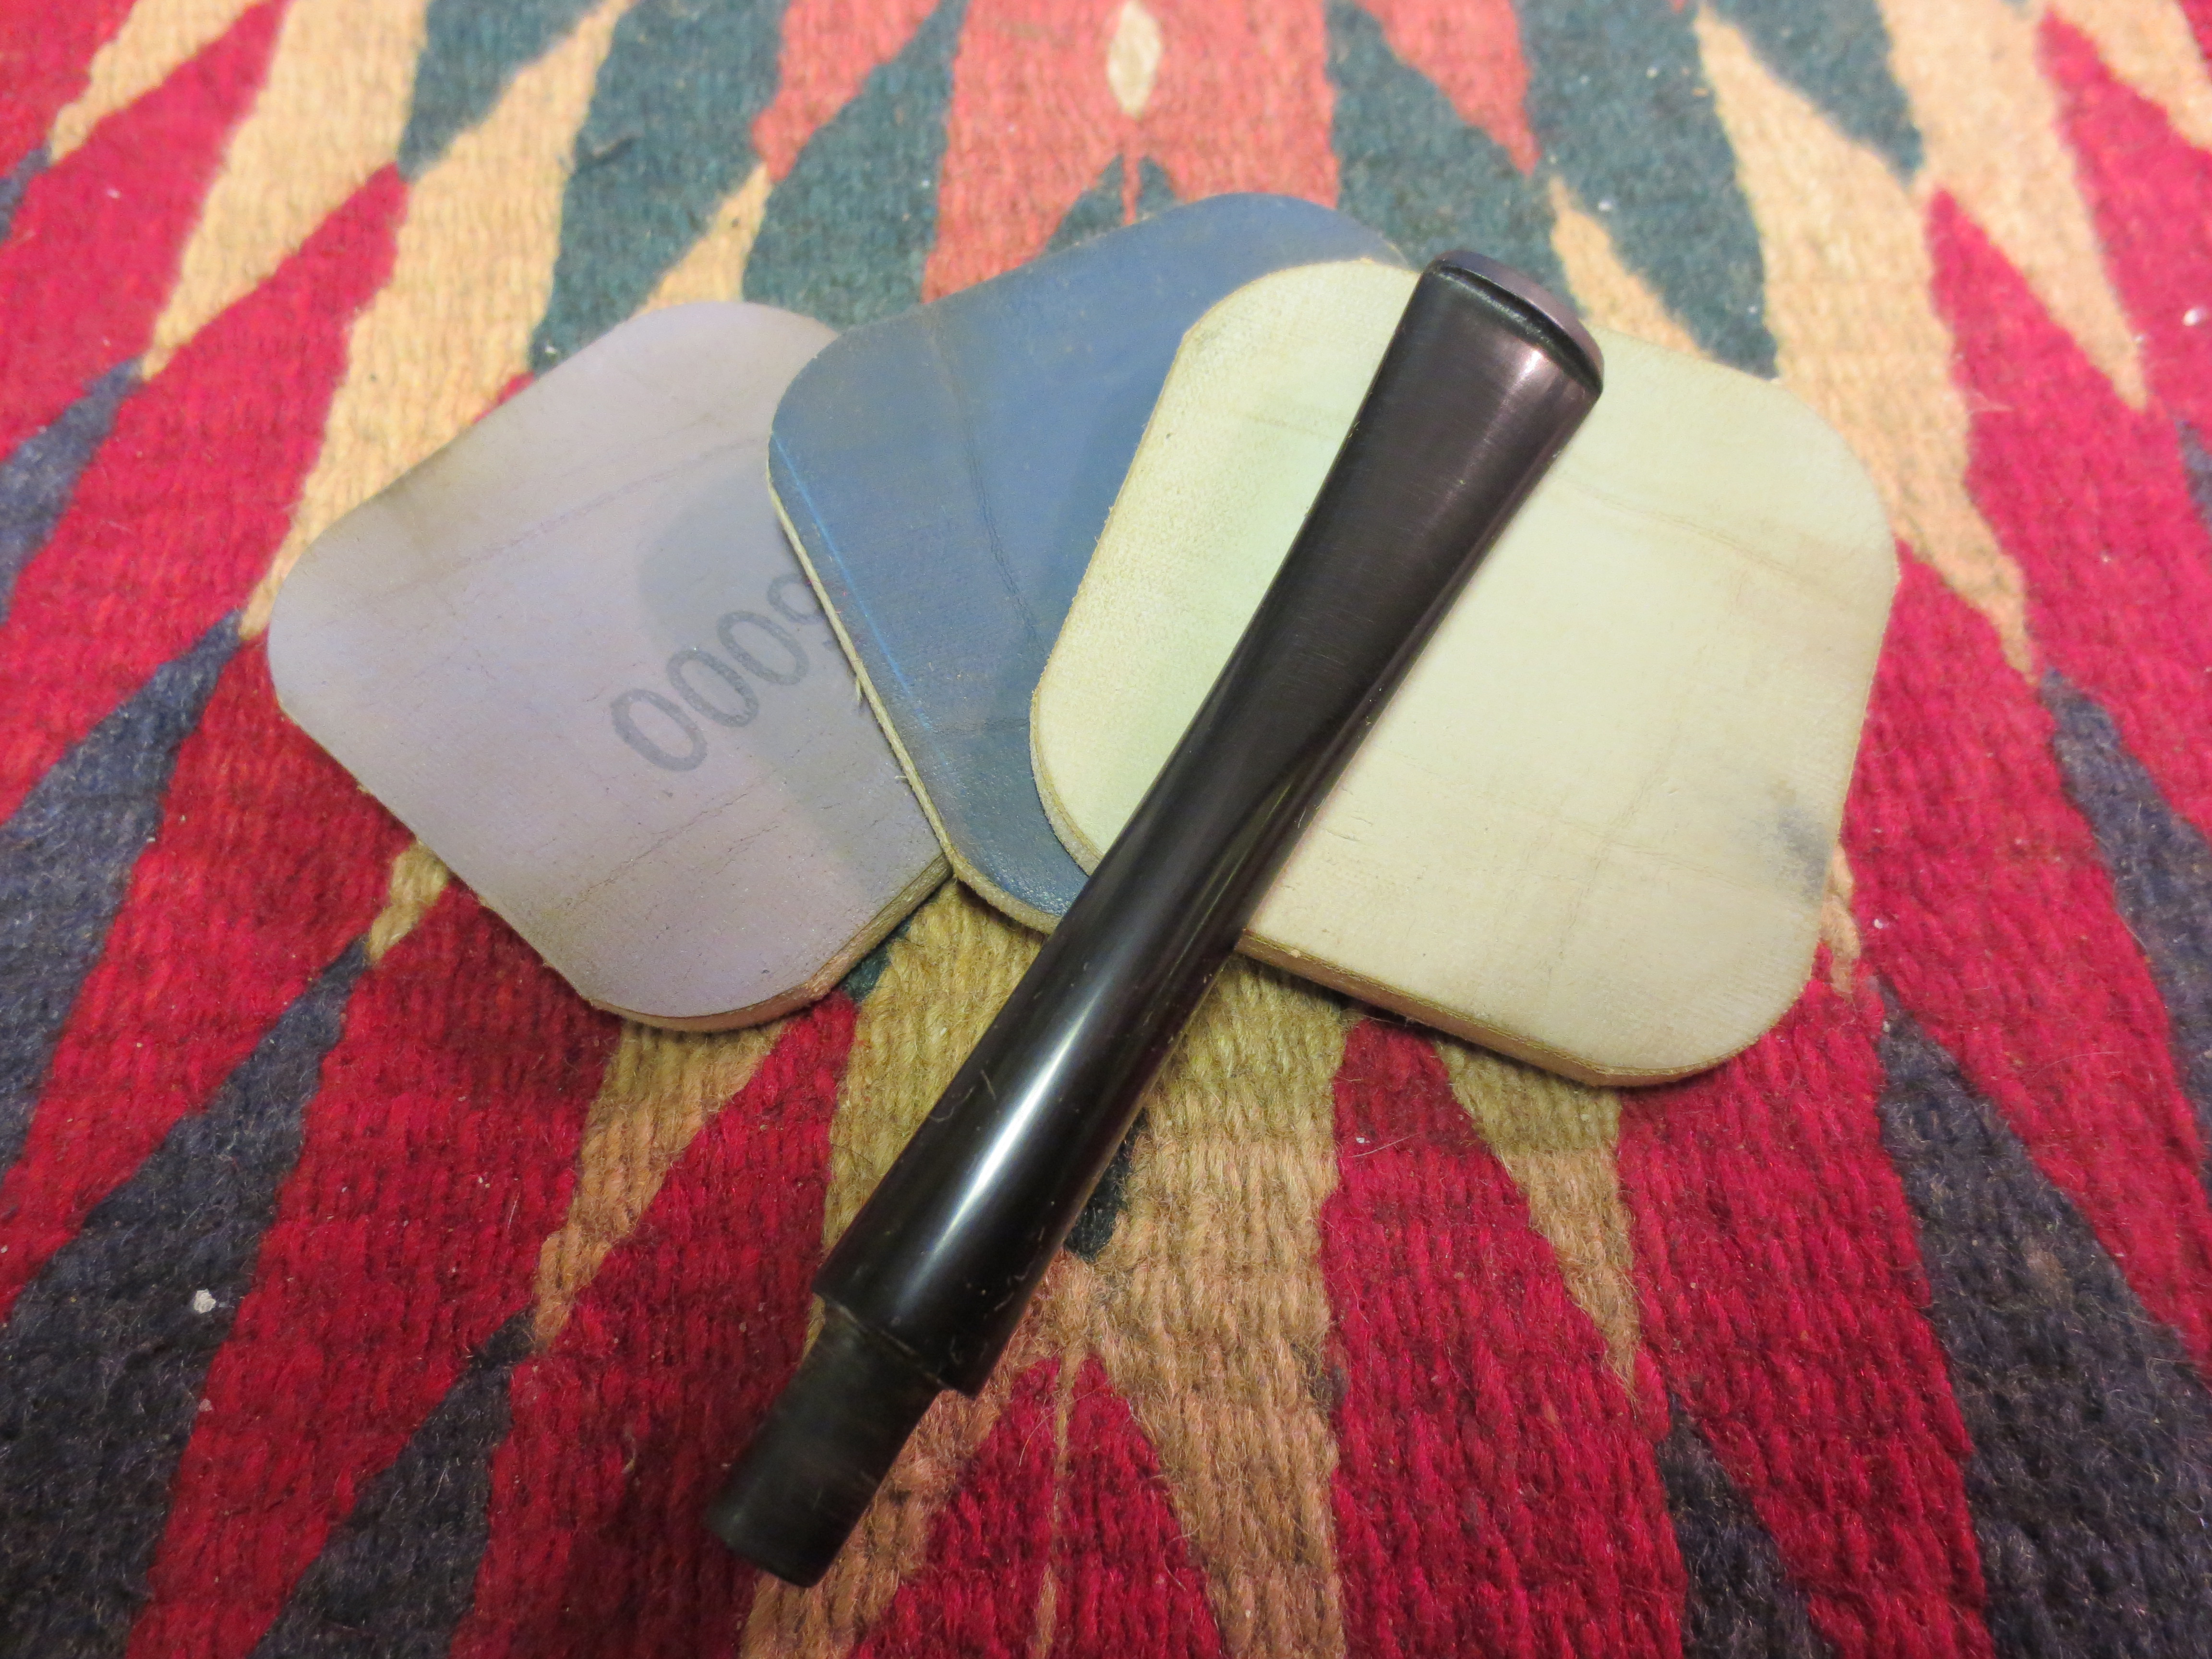
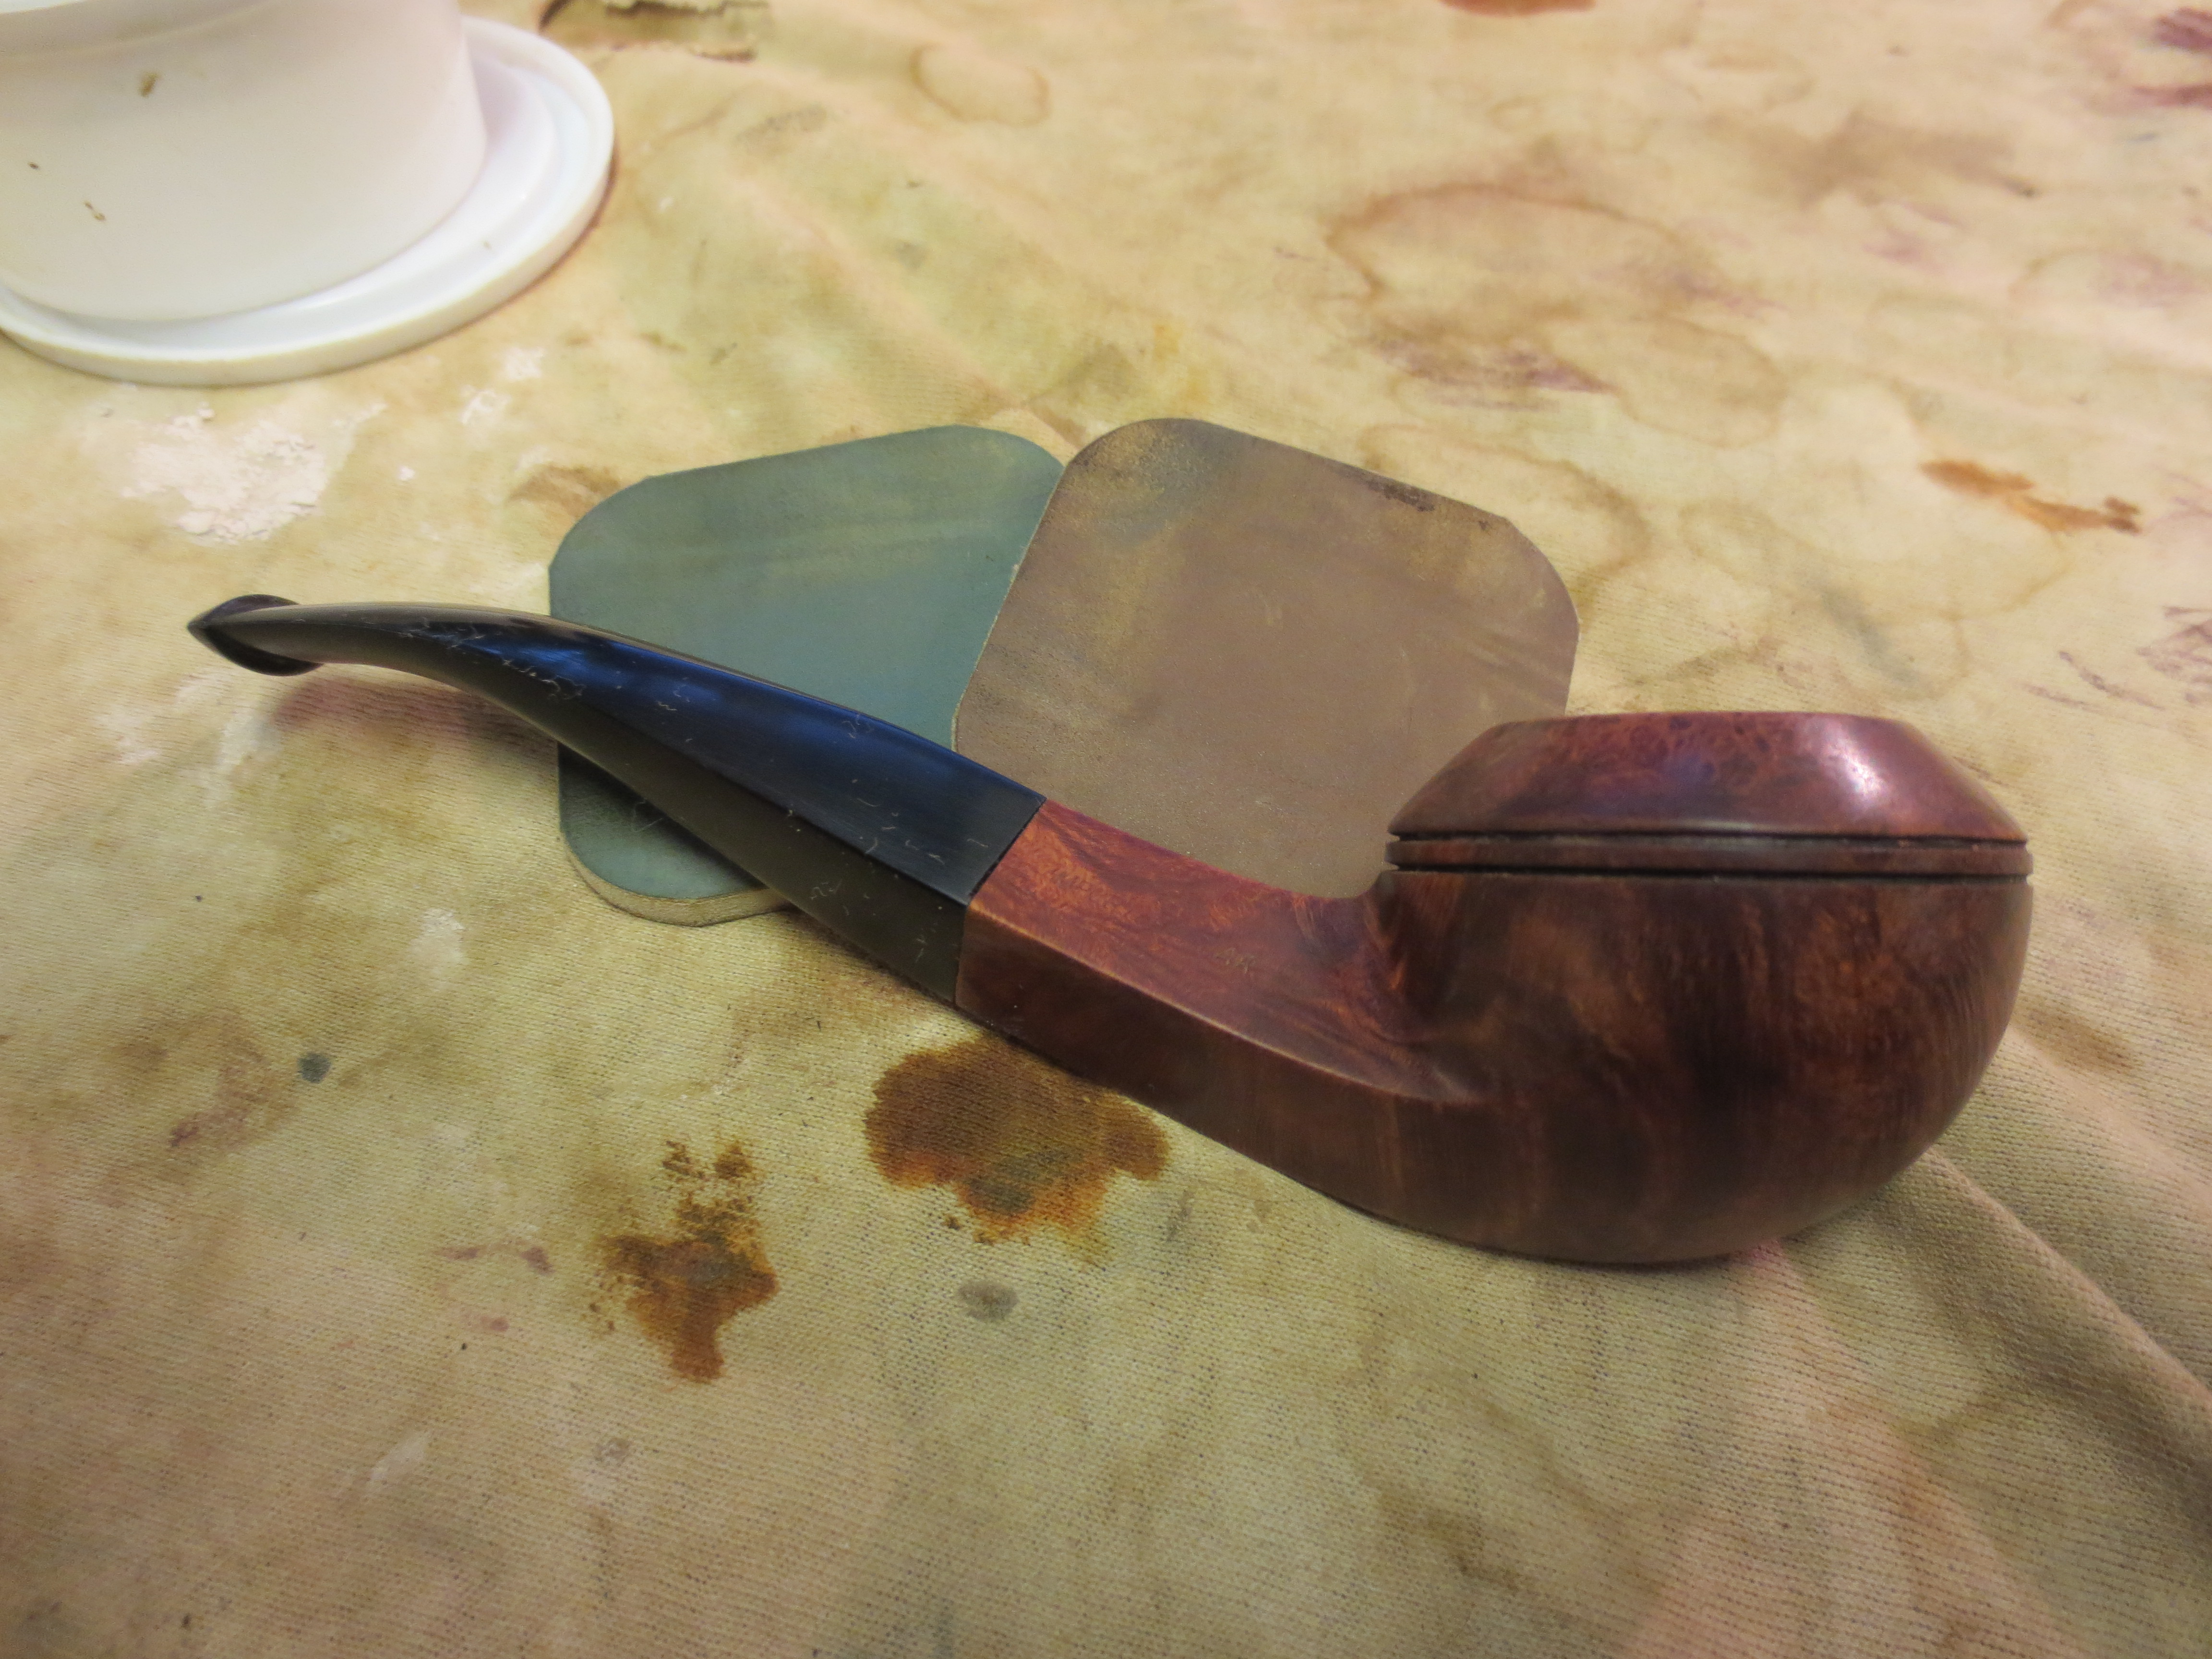
I continued wet sanding with 2400 and 3200 grit micromesh sanding pads (Photos 1 & 2) and the grain began to pop and the stem began to shine nicely. I dry sanded with 3600 and 4000 grit micromesh sanding pads as I sought to polish the finish and the stem more fully. Photos 3 & 4 give an idea of the polish work that had been done by this point in the process. I finished sanding the bowl and stem with the remaining micromesh dry sanding pads 6000, 8000 and 12,000 grits. The resultant effect on the stain of the bowl was exactly what I had hoped for. The grain stood out clearly on the sides and shanks. On the left side of the bowl there is a nice birdseye pattern that is not as visible in the photos as it is in person. The pipe came out very nicely. Photos 5 & 6 show where things stood after the final polishing with the micromesh pads.

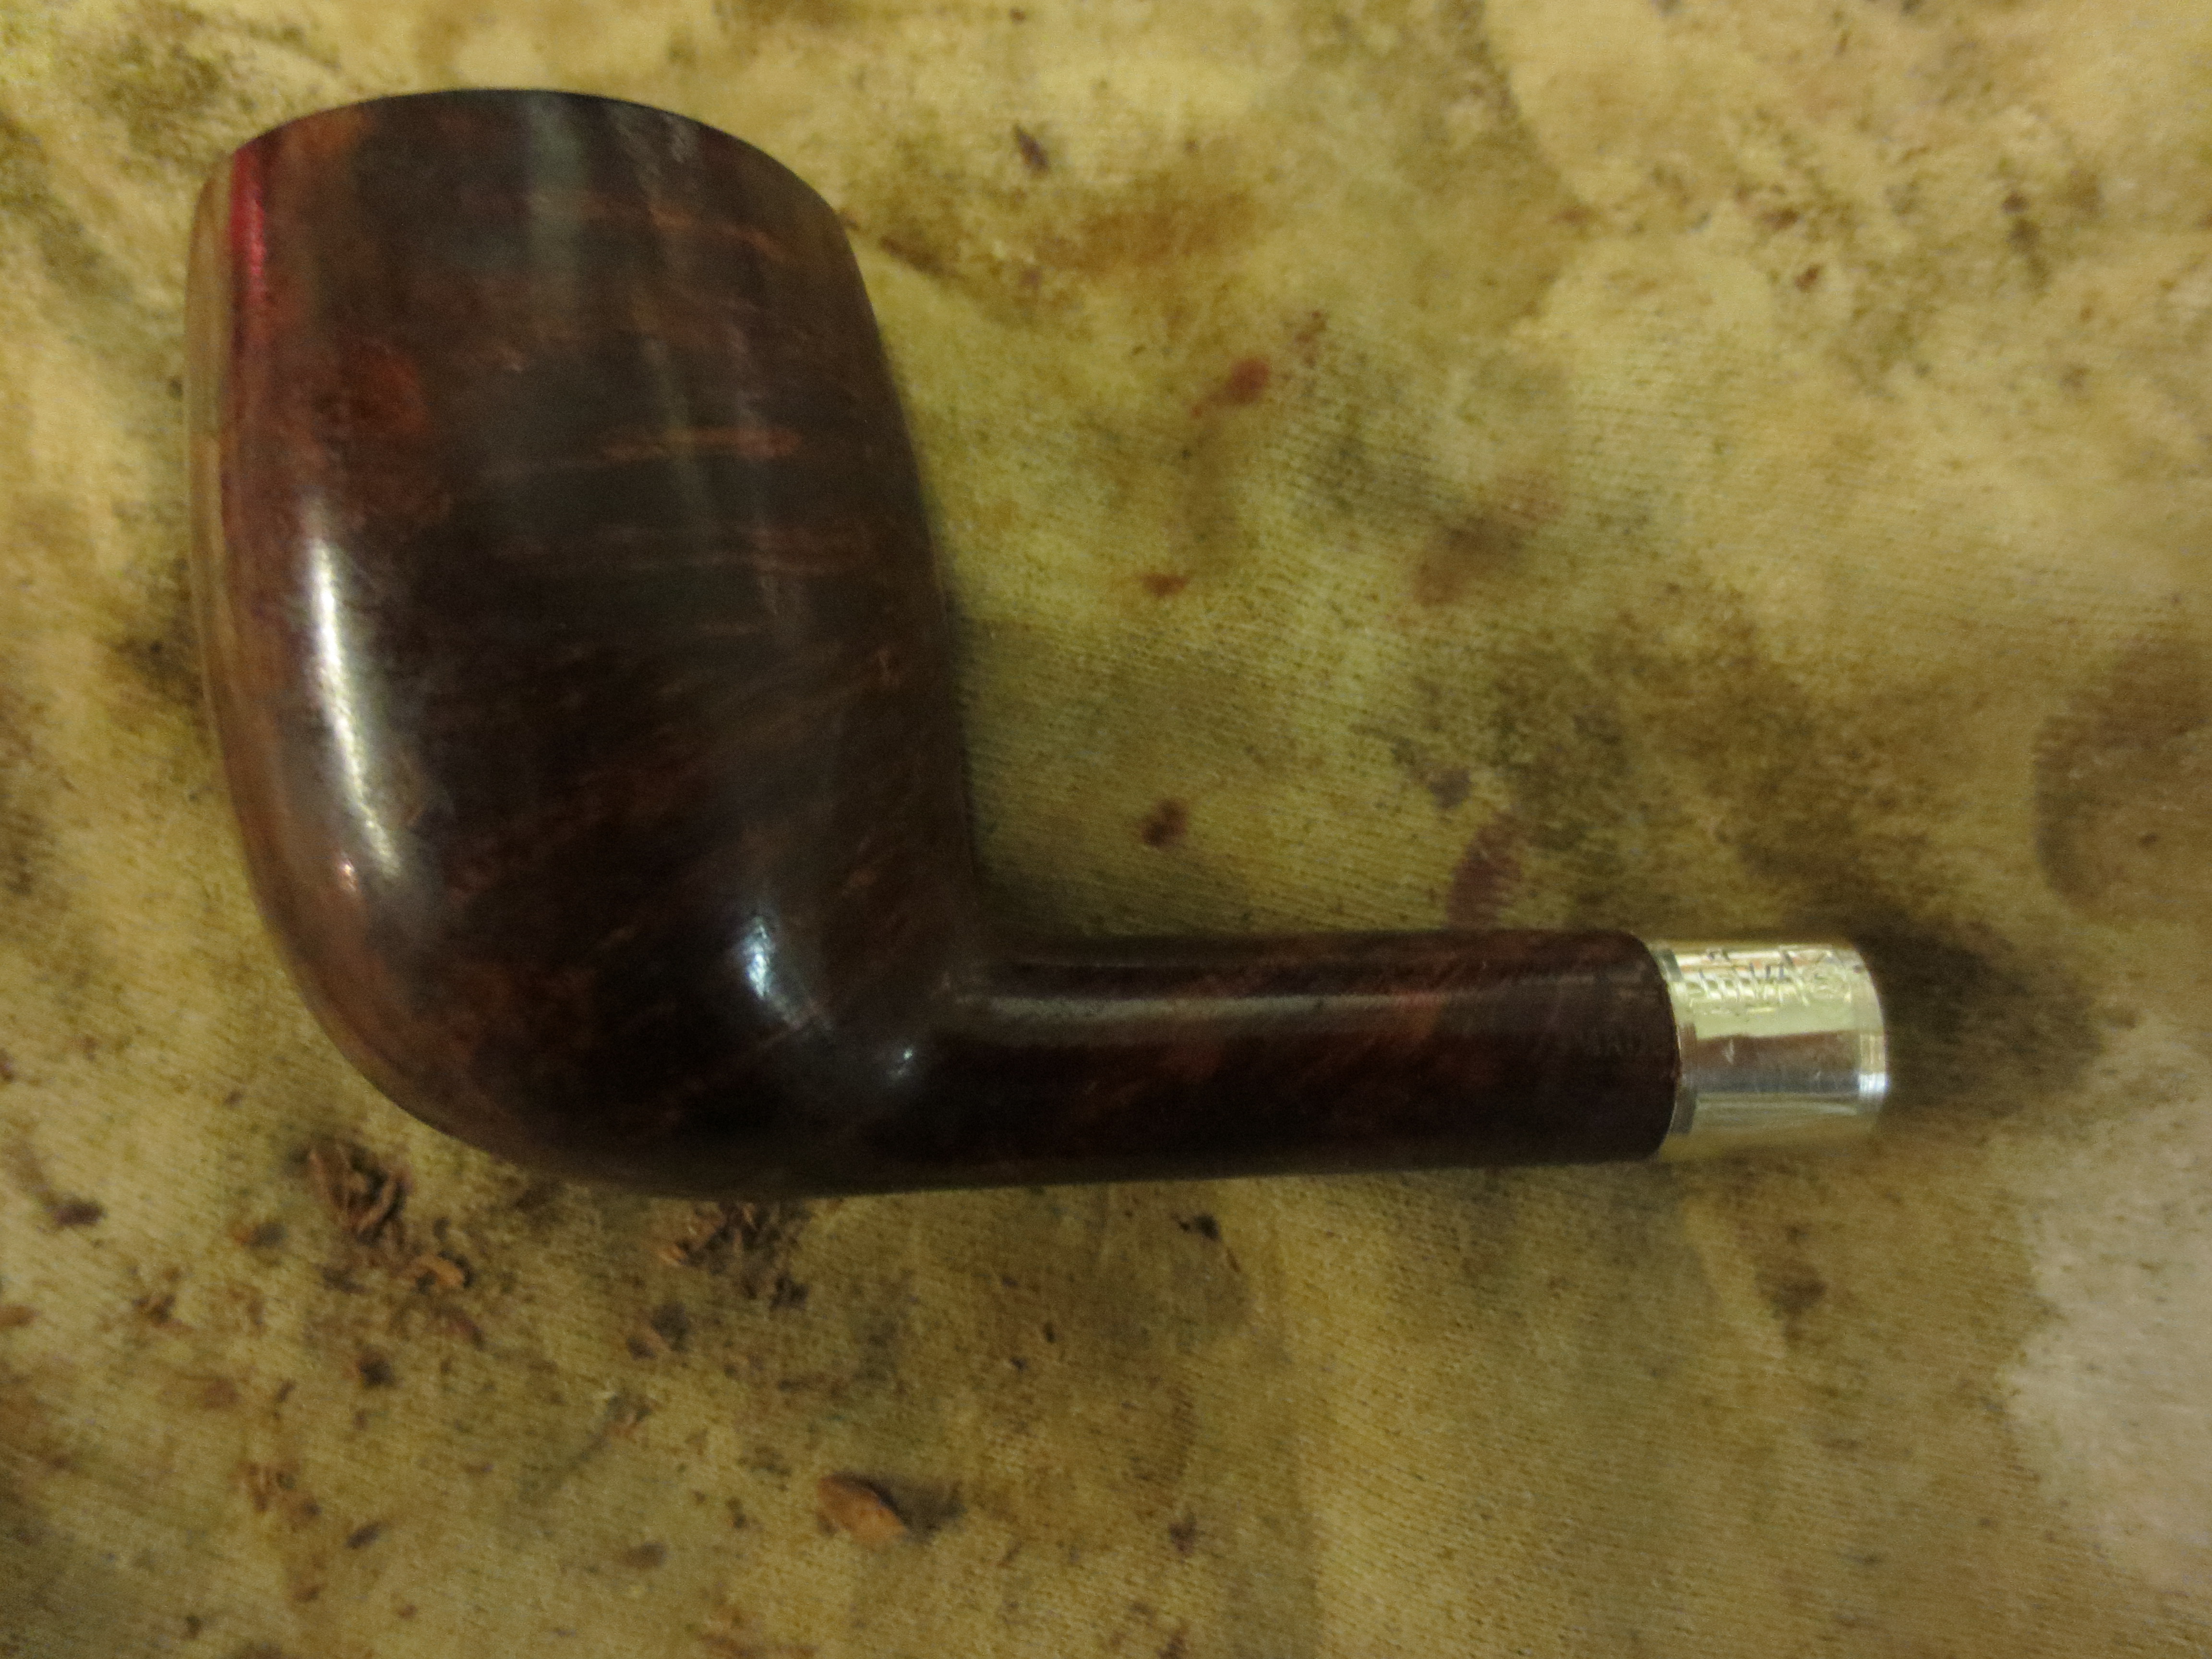
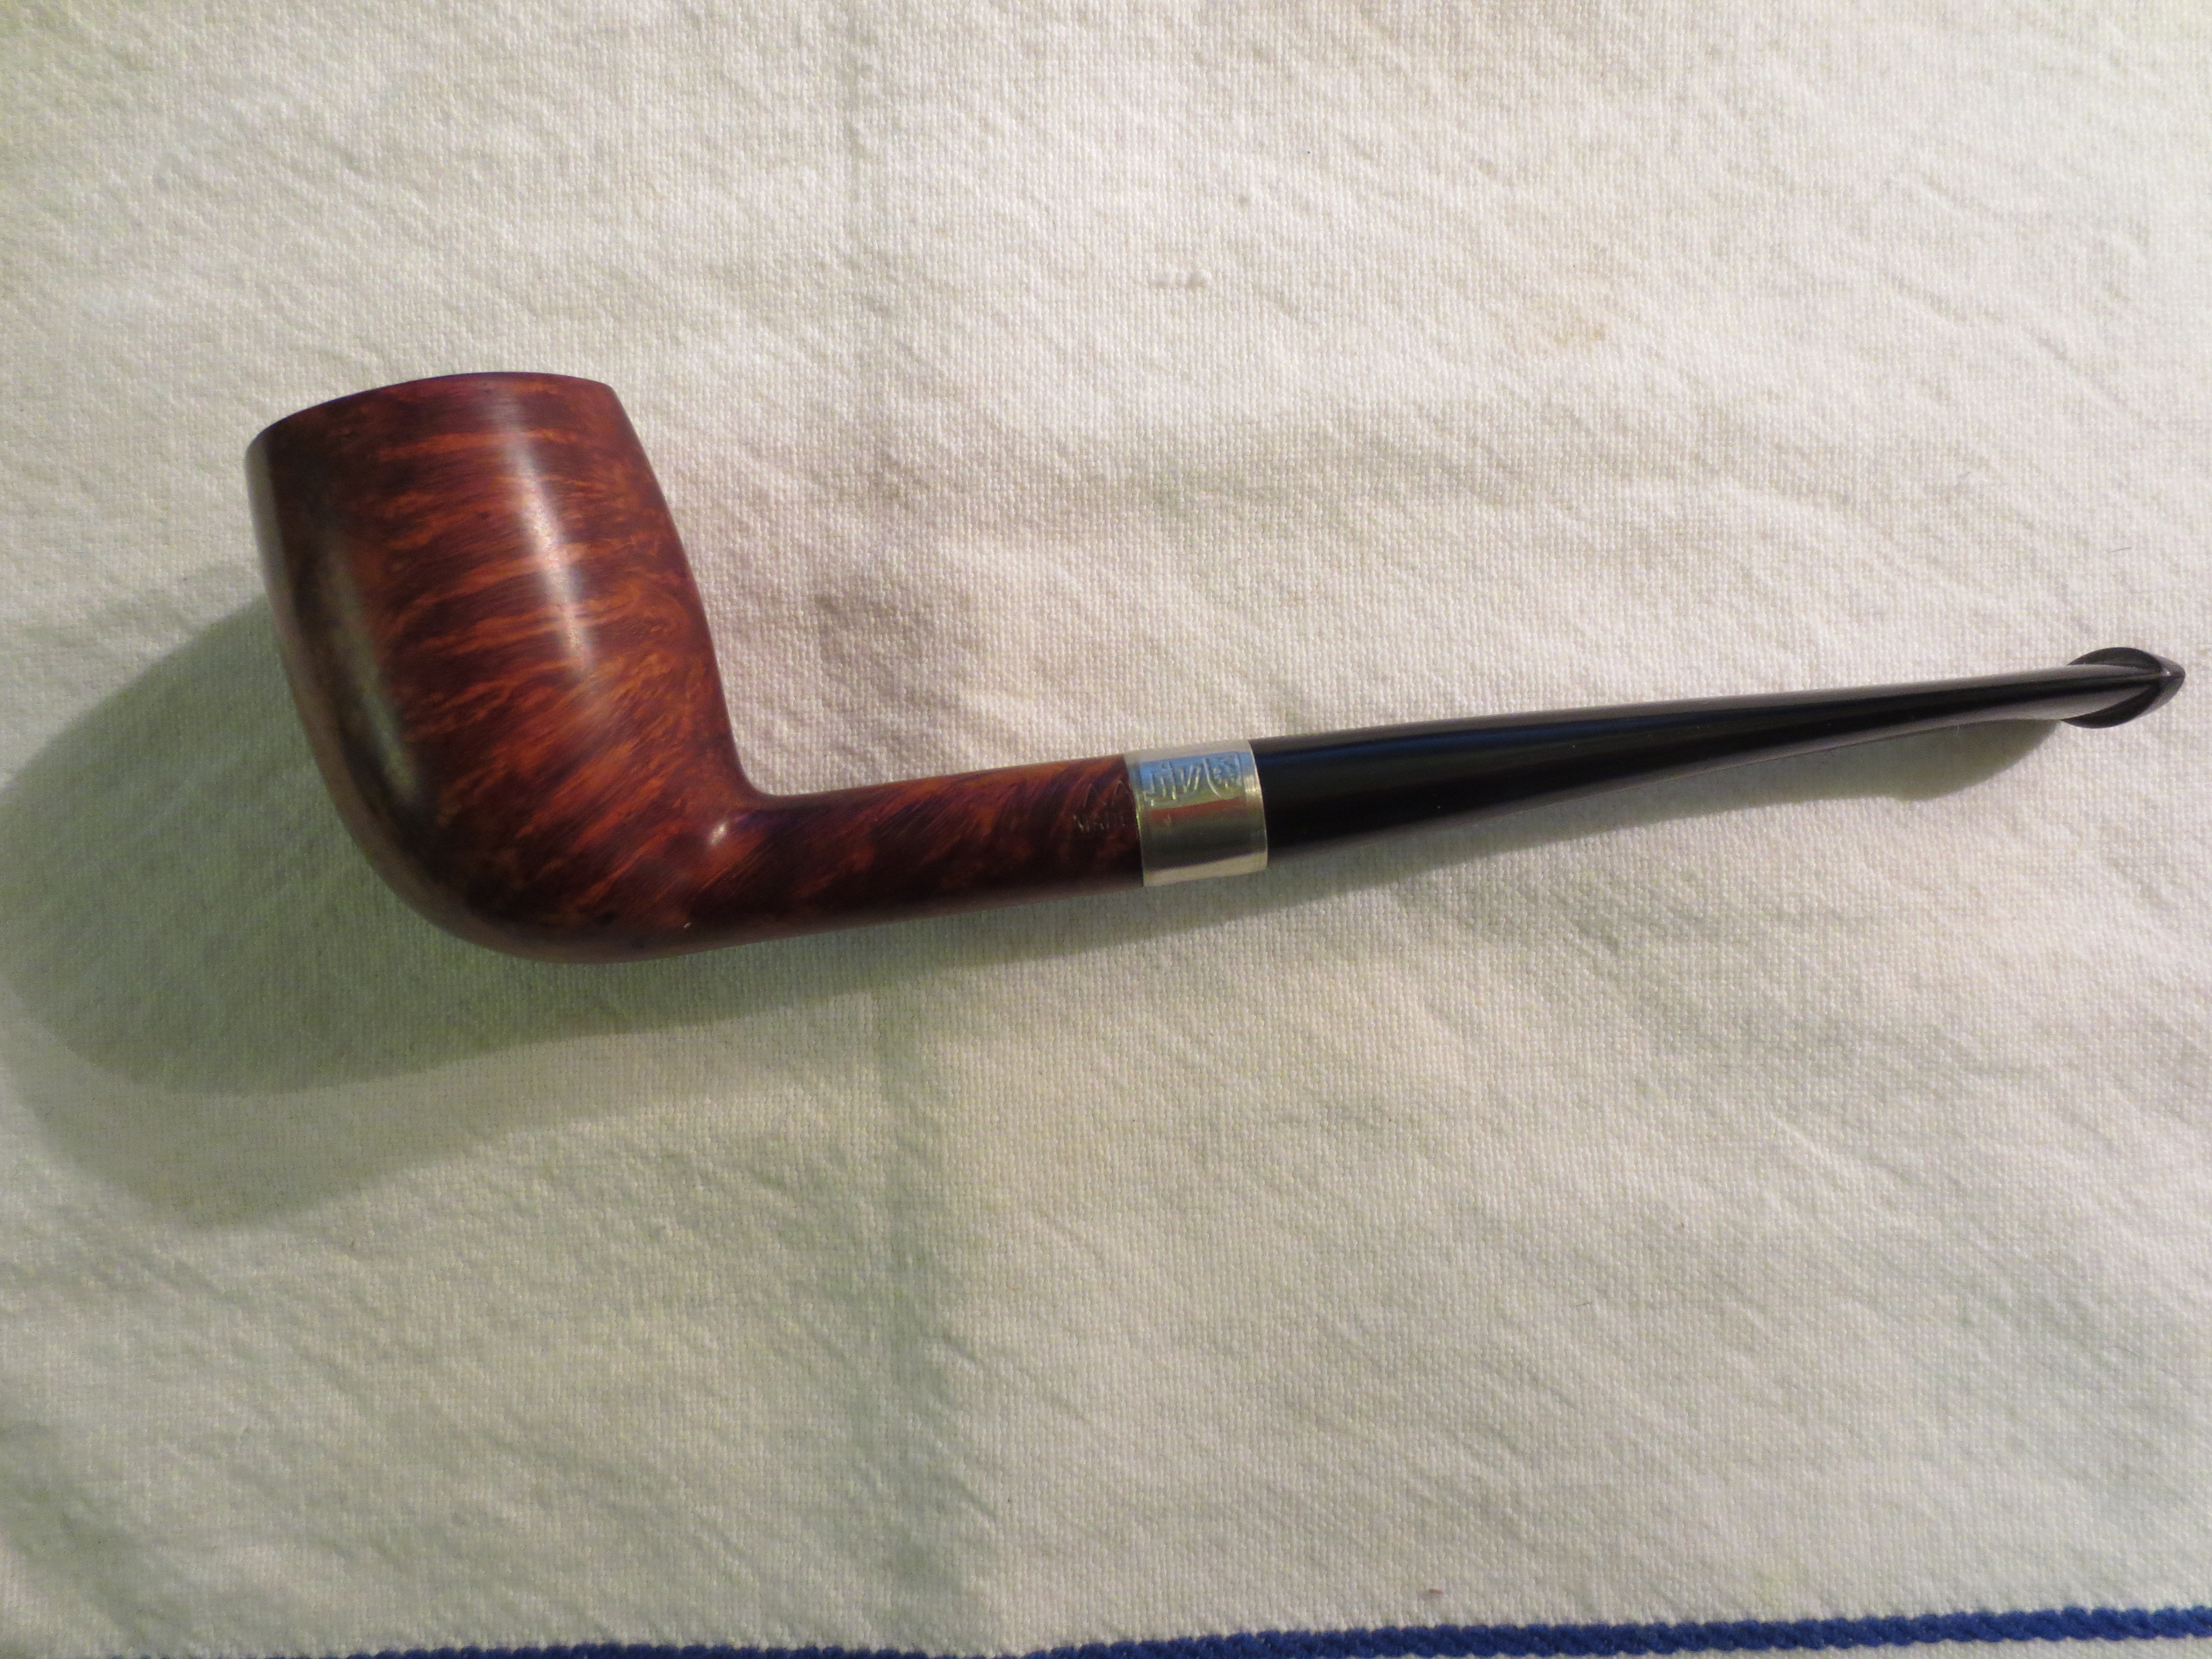
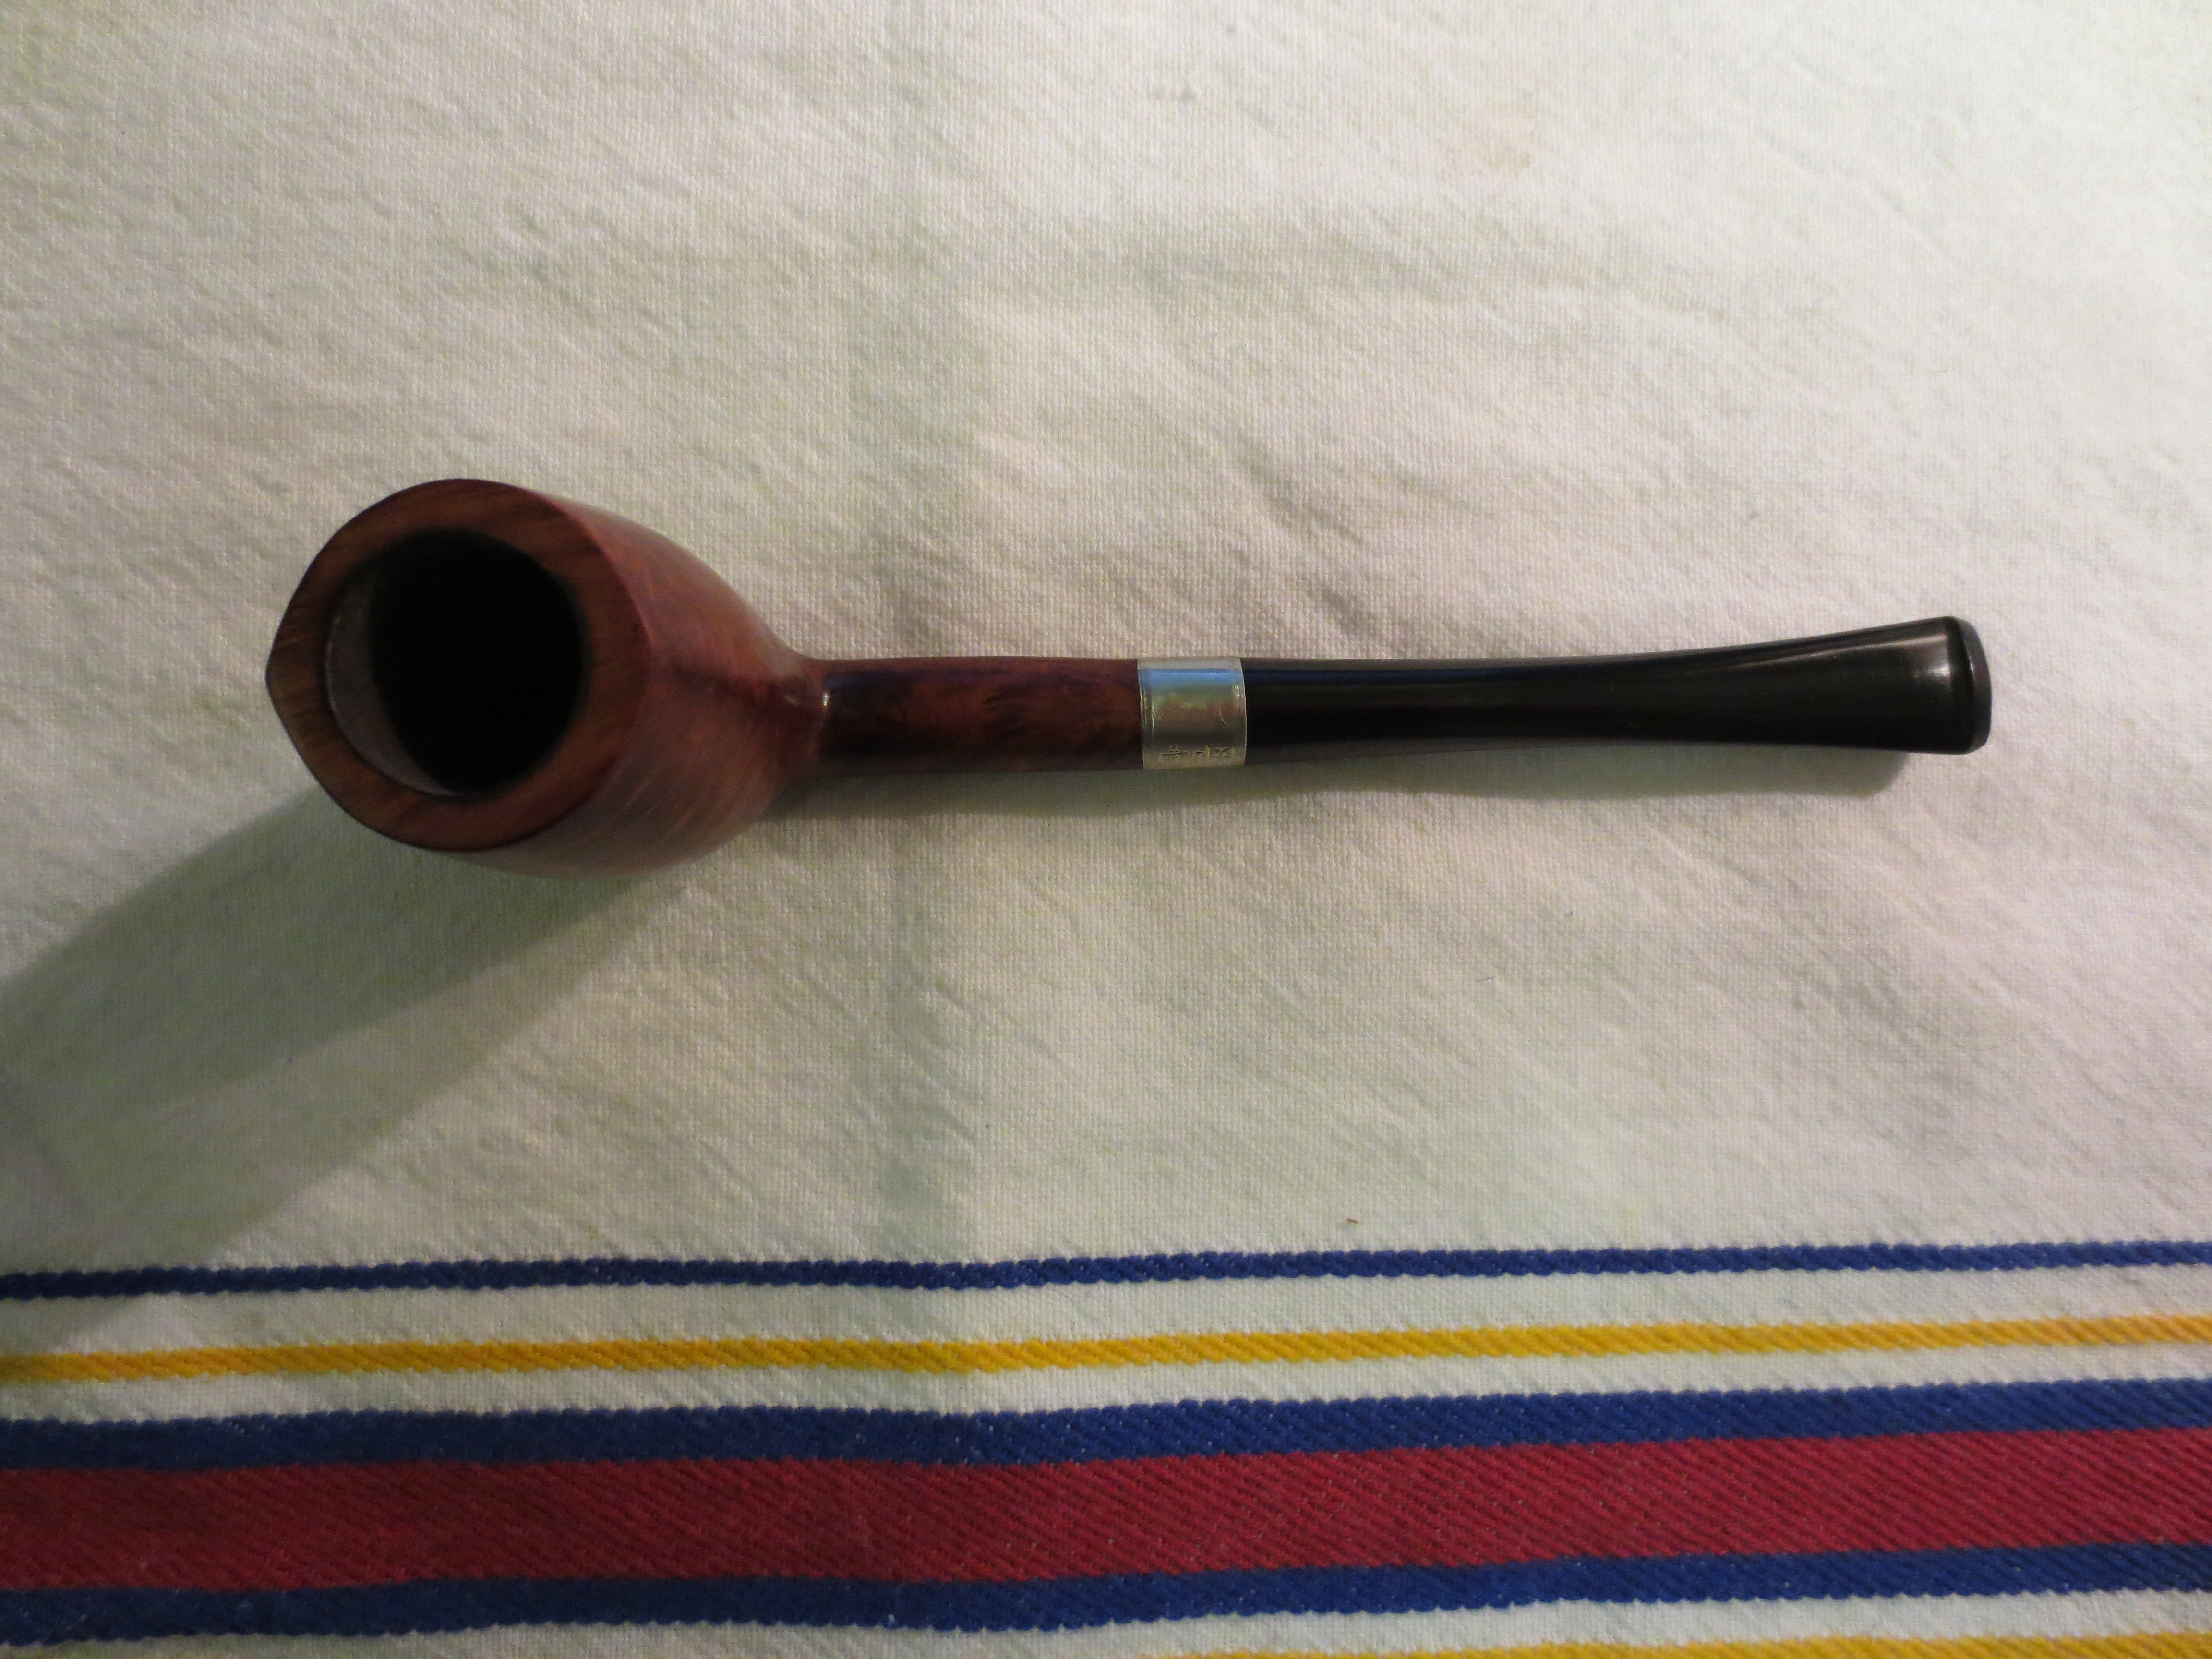
I buffed the pipe with White Diamond and then gave it multiple coats of carnauba wax to finish it. The finish came out nicely in my opinion and the feel of the pipe in the hand was perfect. I had to load a bowl of tobacco and give it a new inaugural smoke. I chose to load it with some 2009 Barclay-Rex Barclay Slice. I packed the bowl, picked up a tamper and lighter and headed outside into the yard with my spaniel. While he ran around and chased sticks and chewed them I relaxed and had a bowl. It is a great smoking little pipe. It is comfortable in the mouth and has an open draught. I like it. Now I need to decide whether to keep it or pass it on.