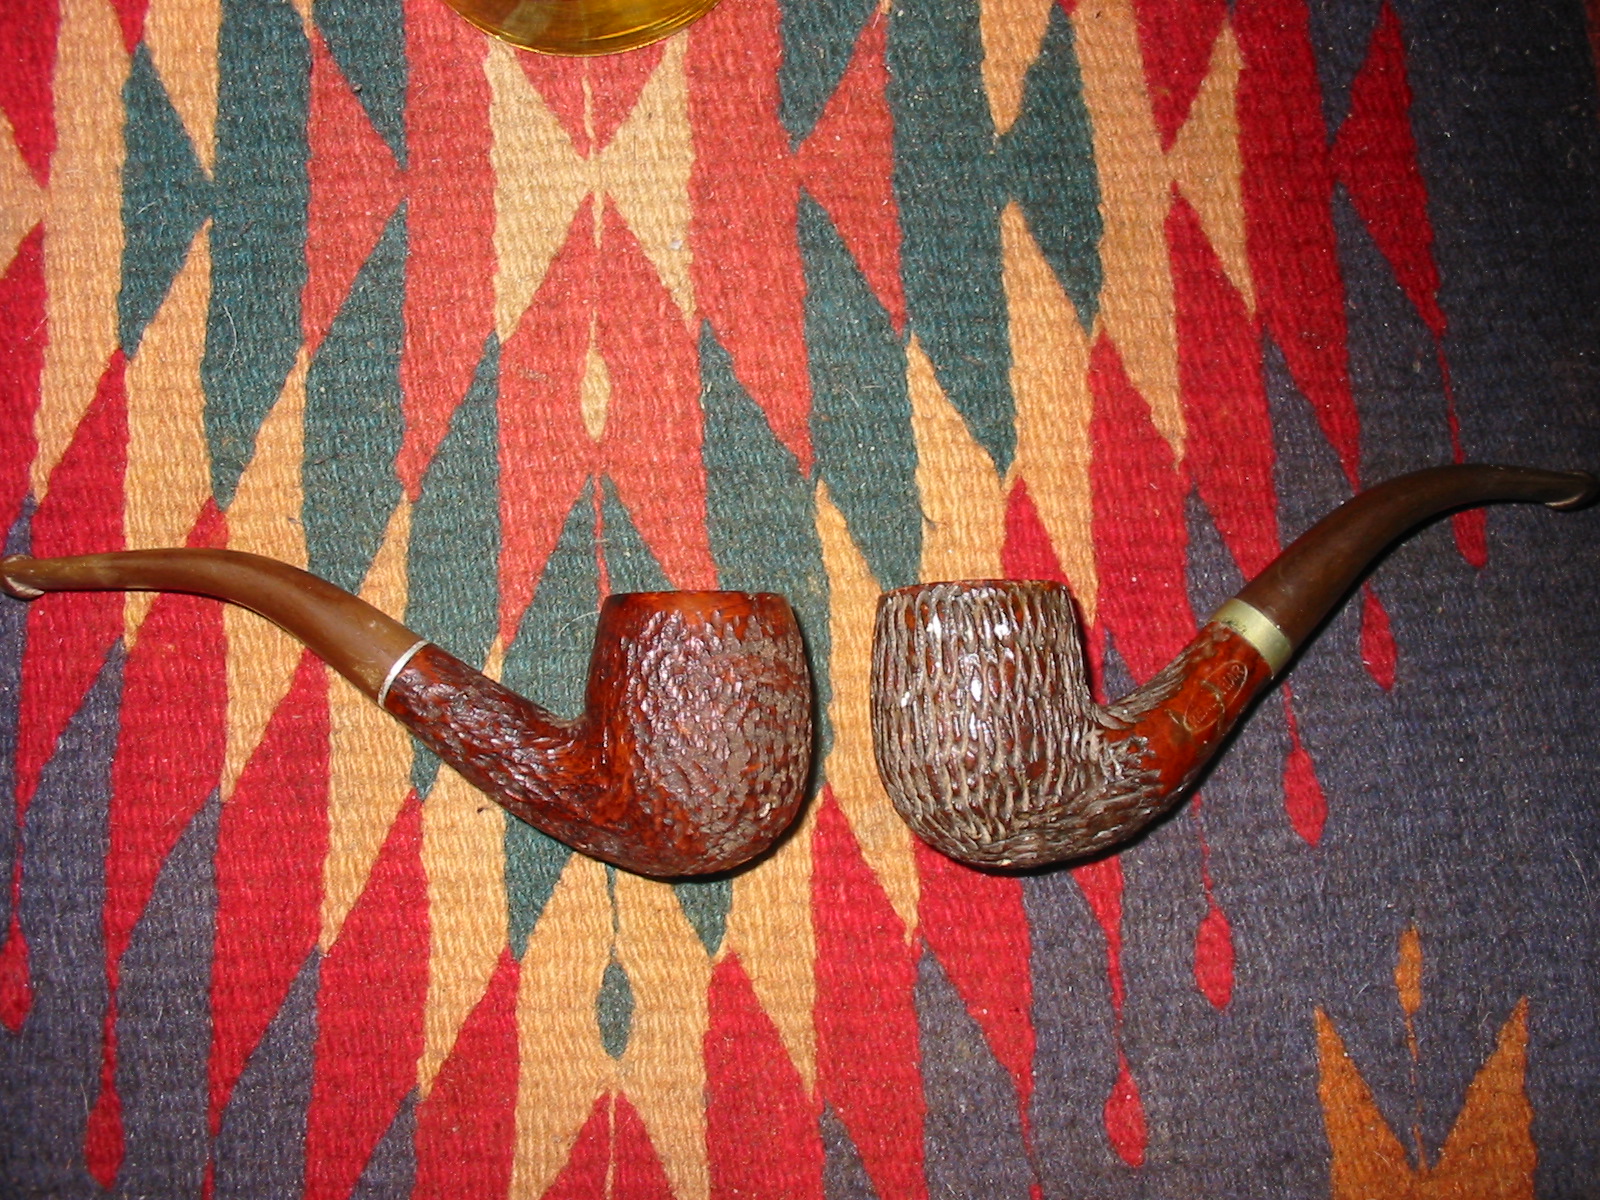
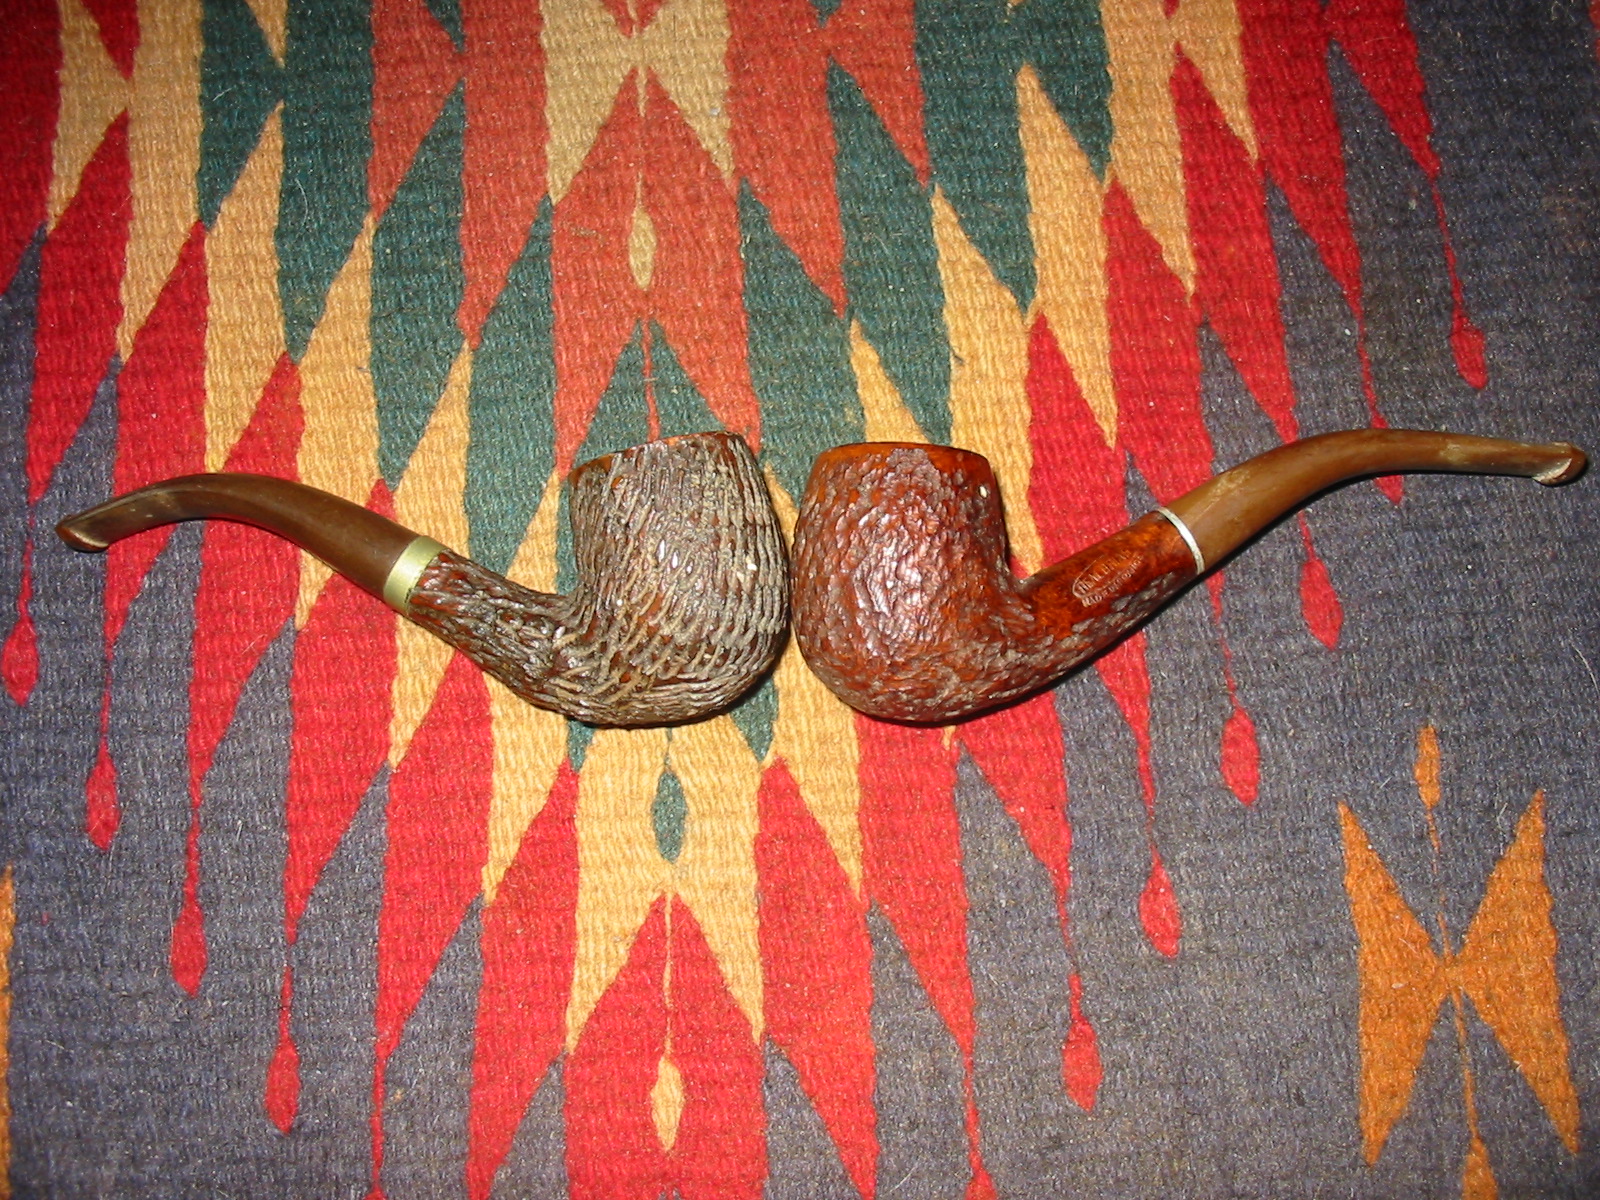
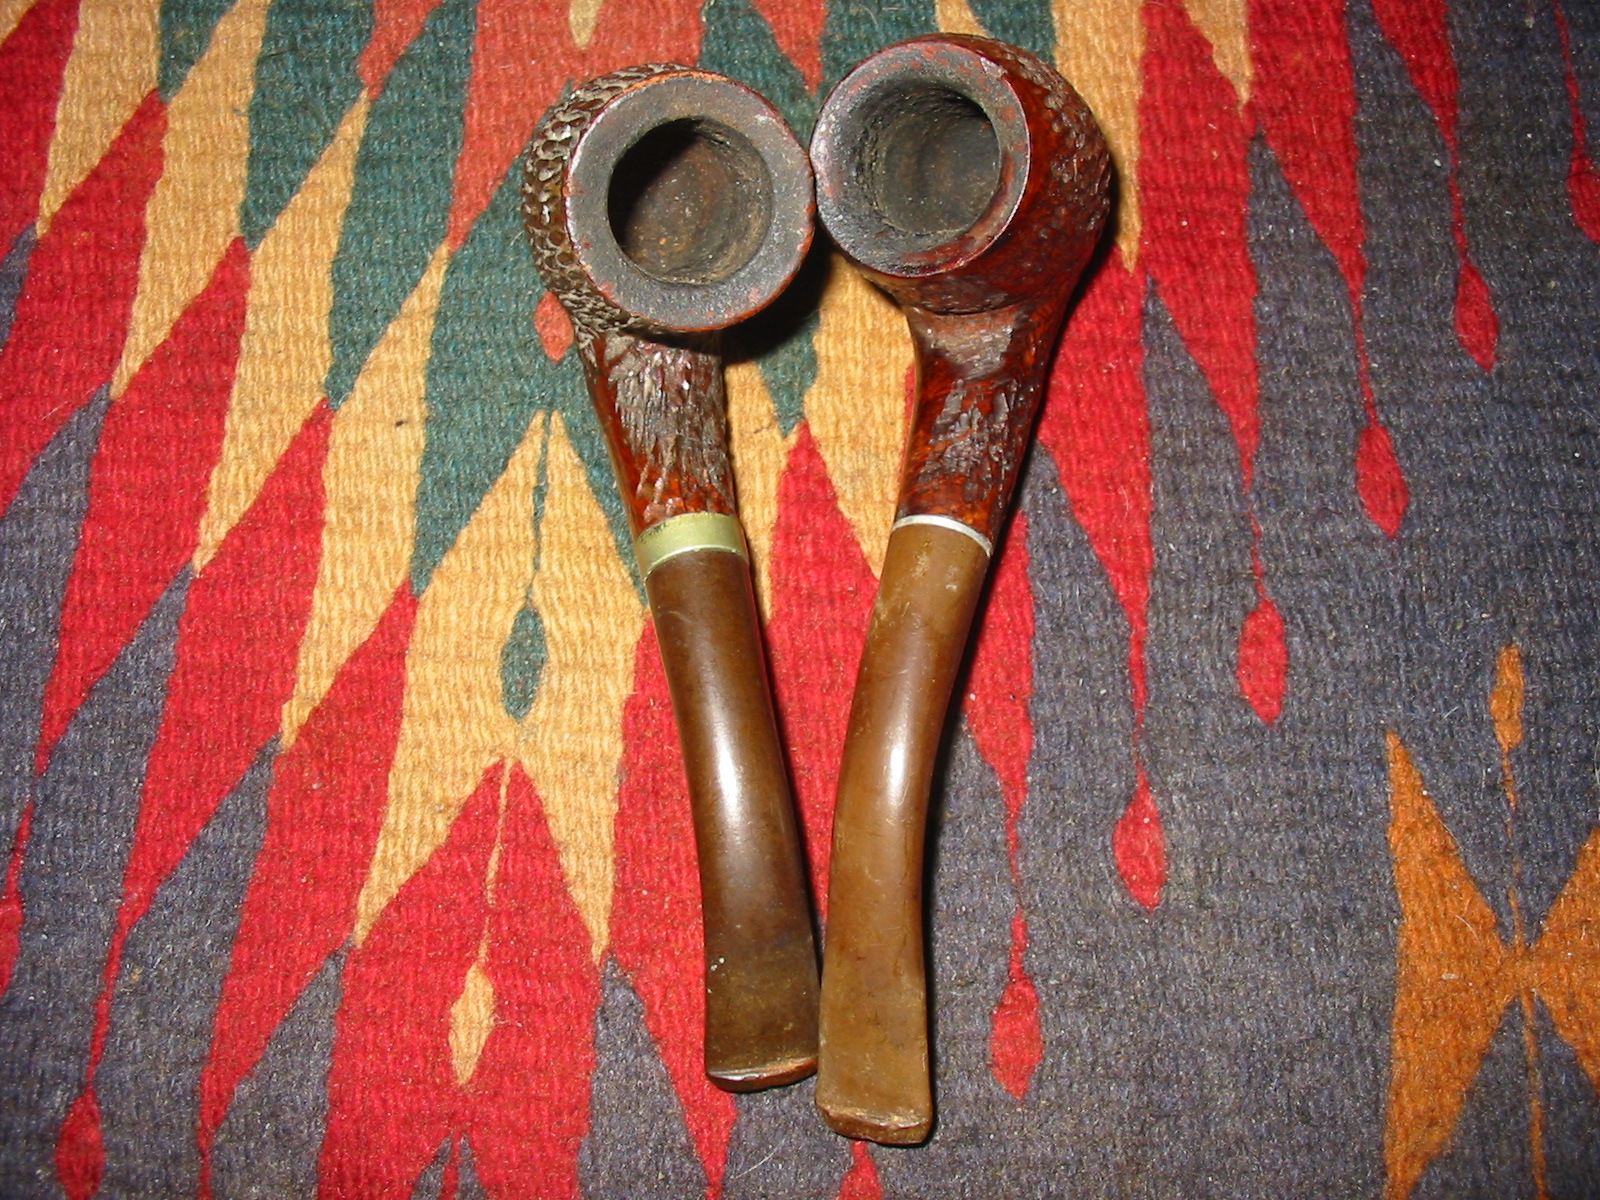
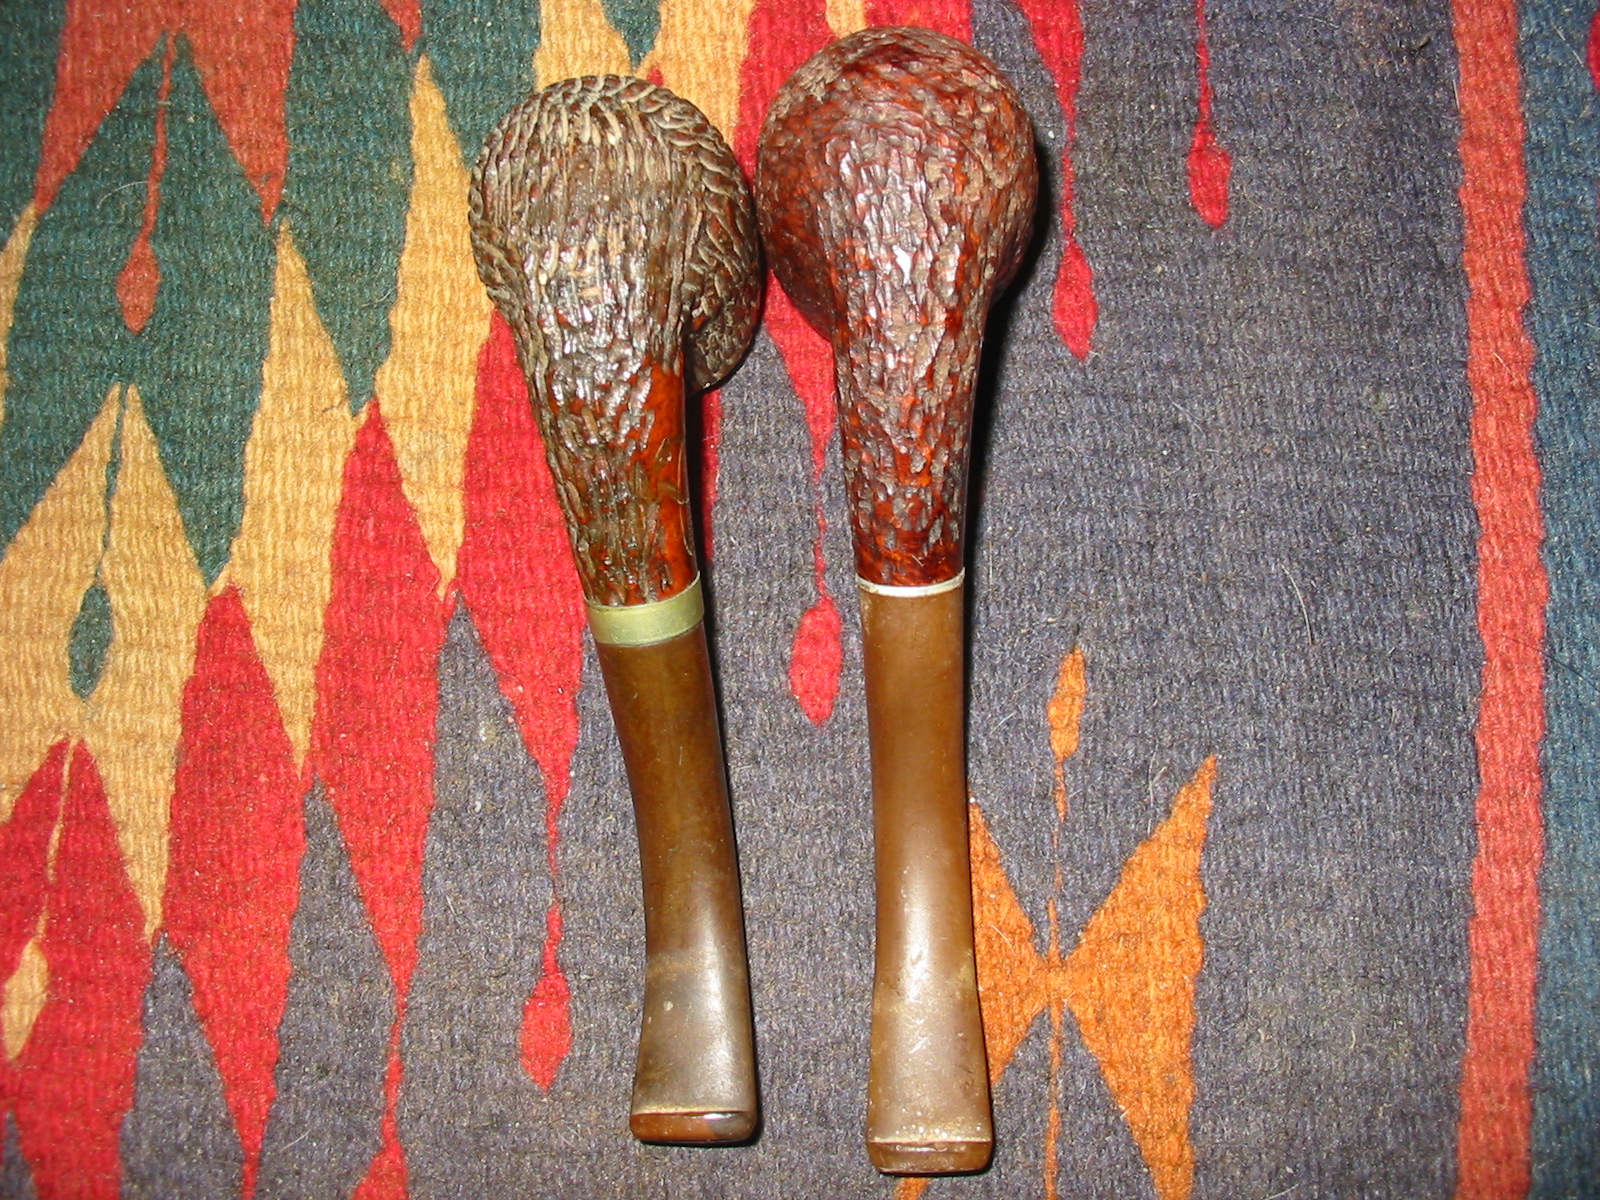
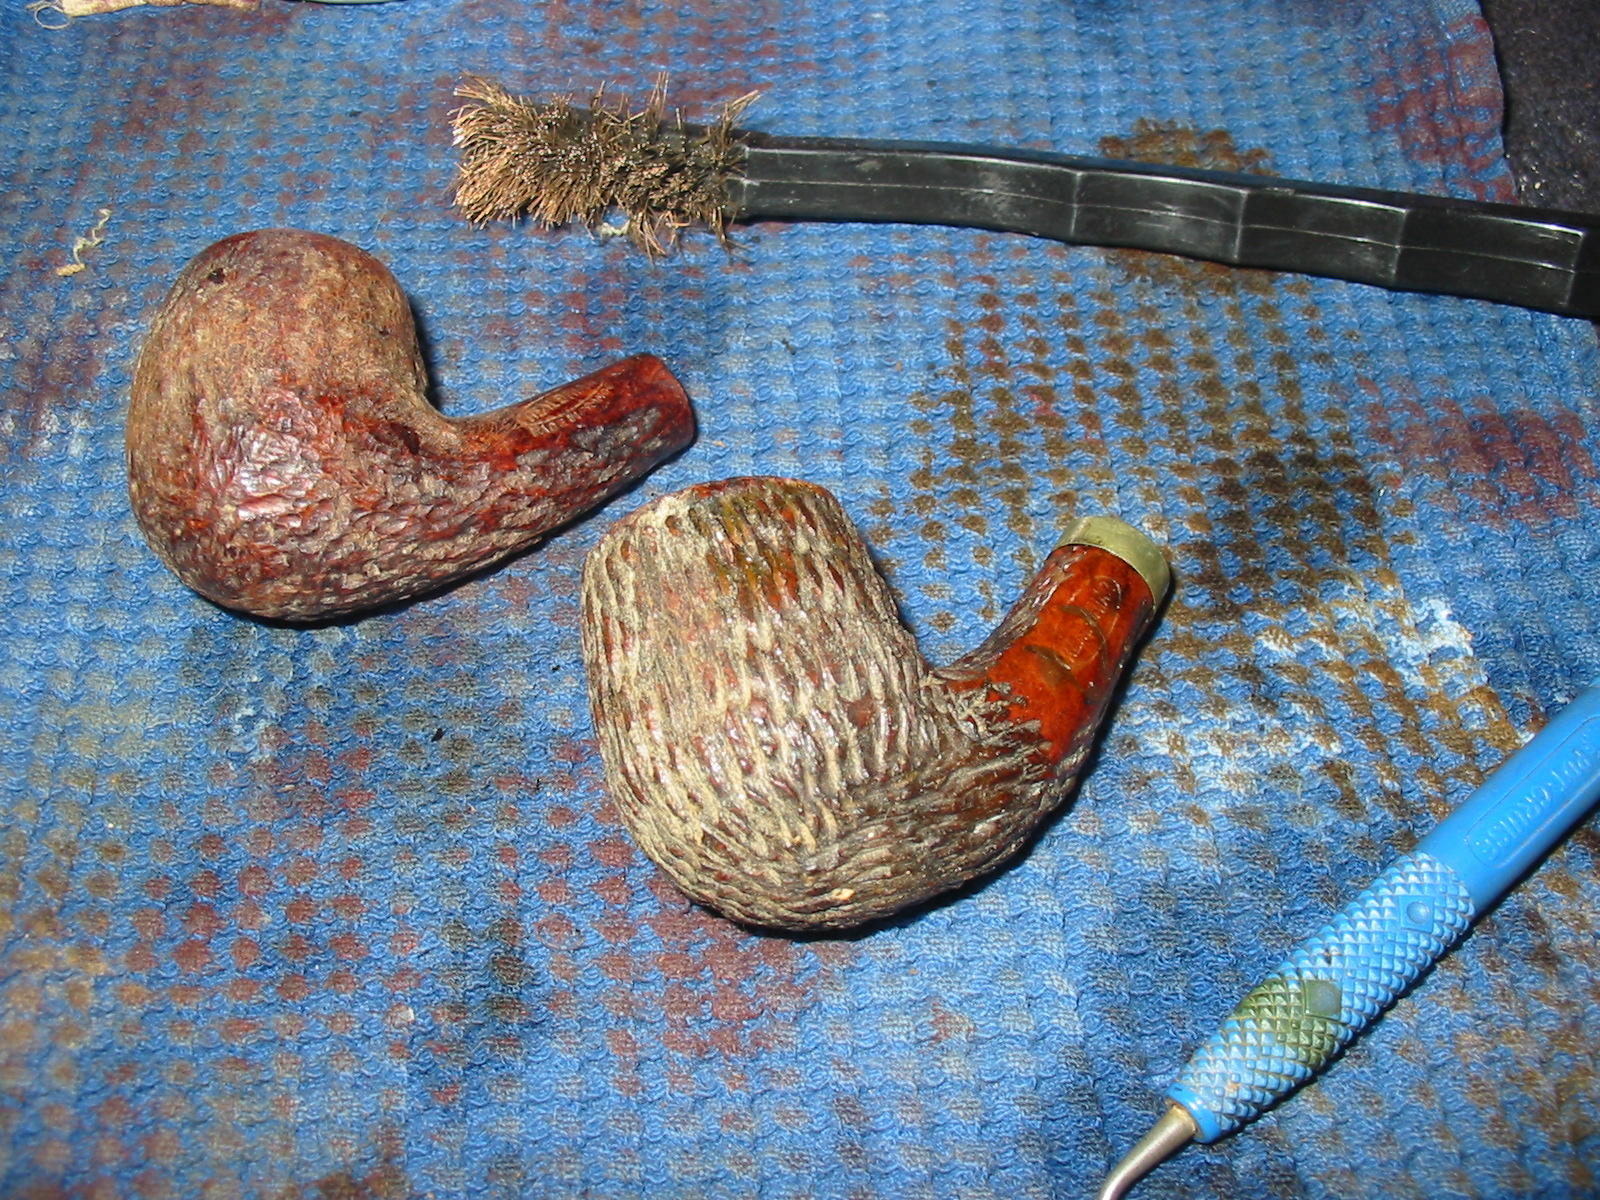
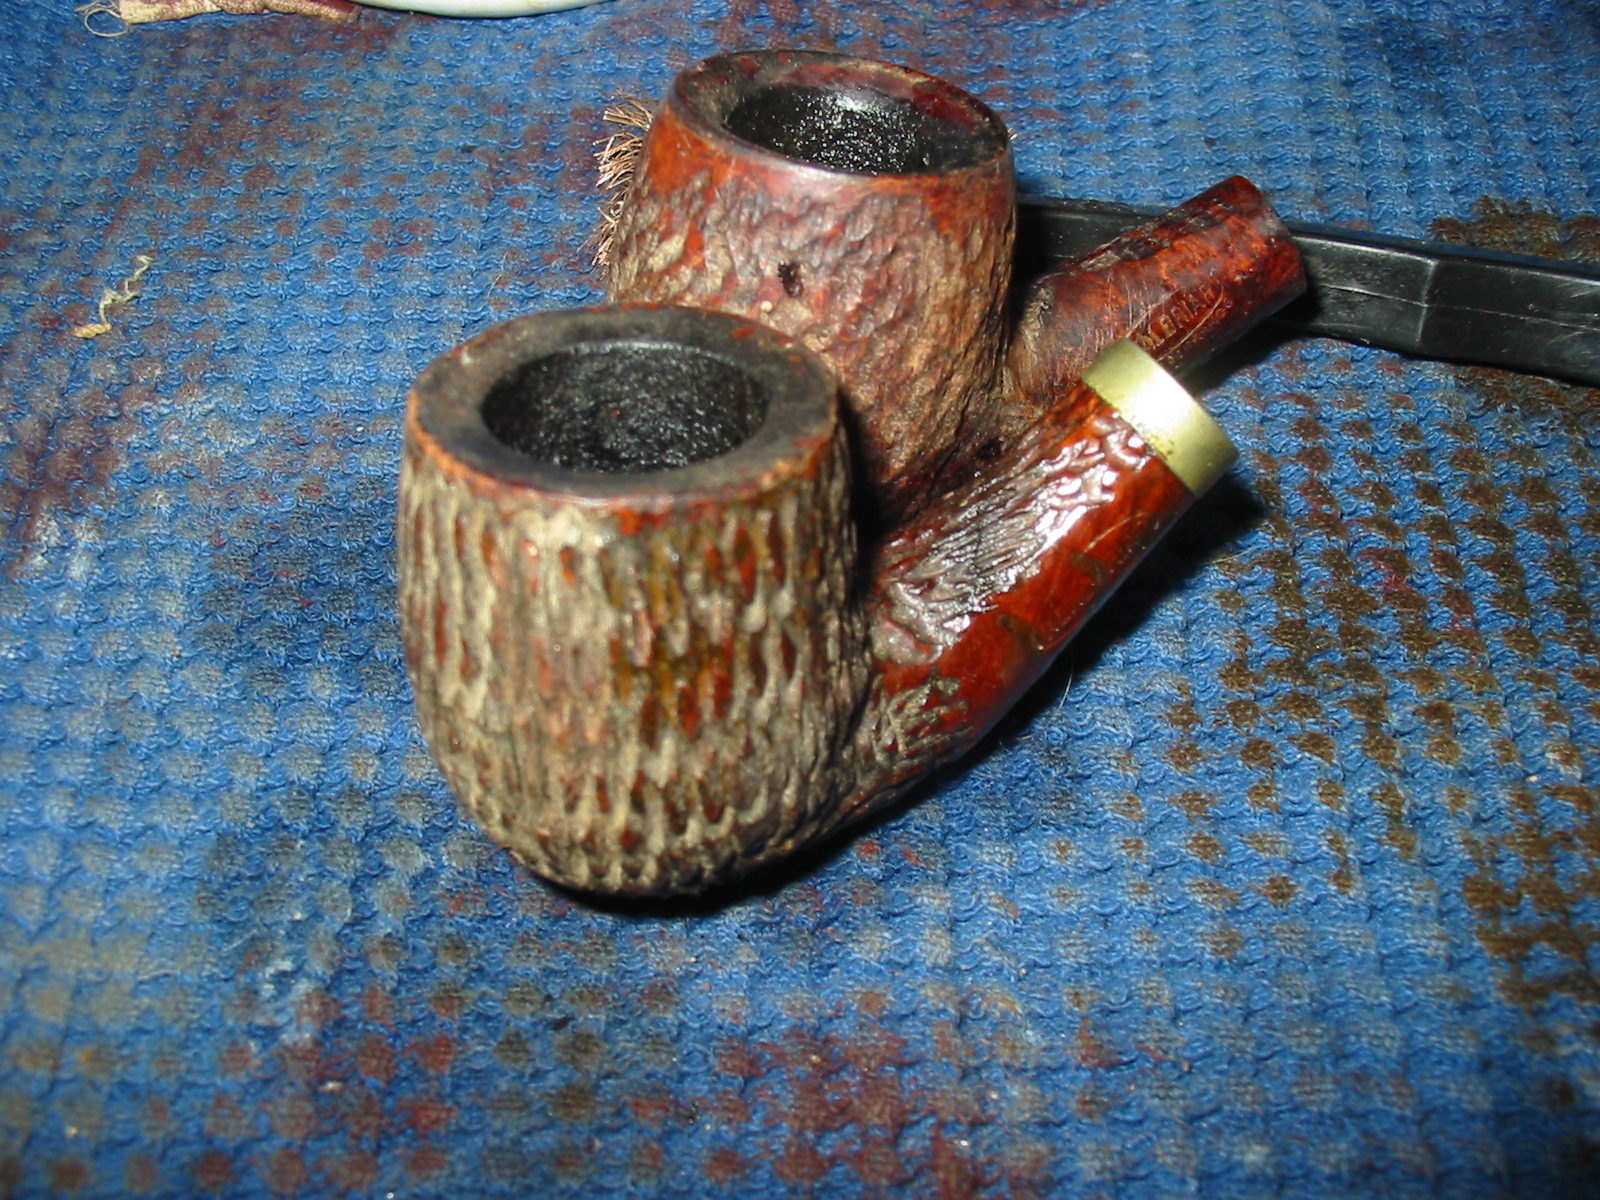
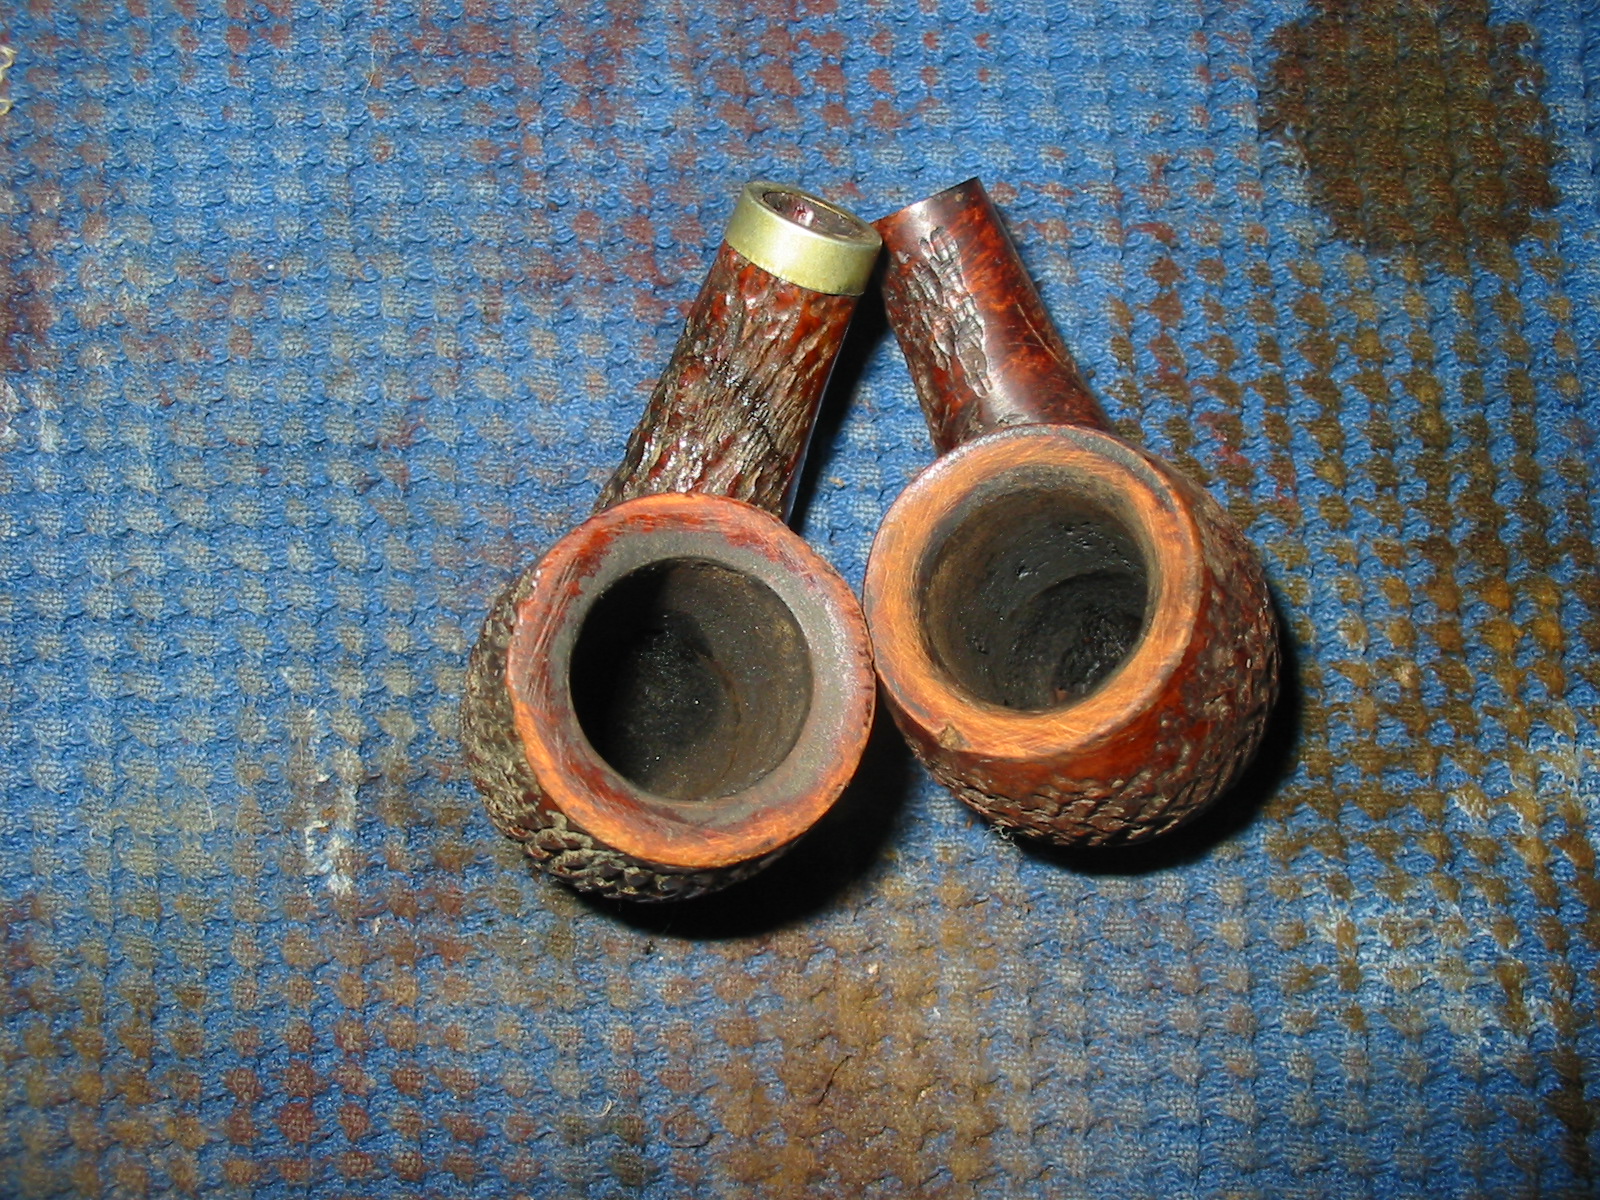
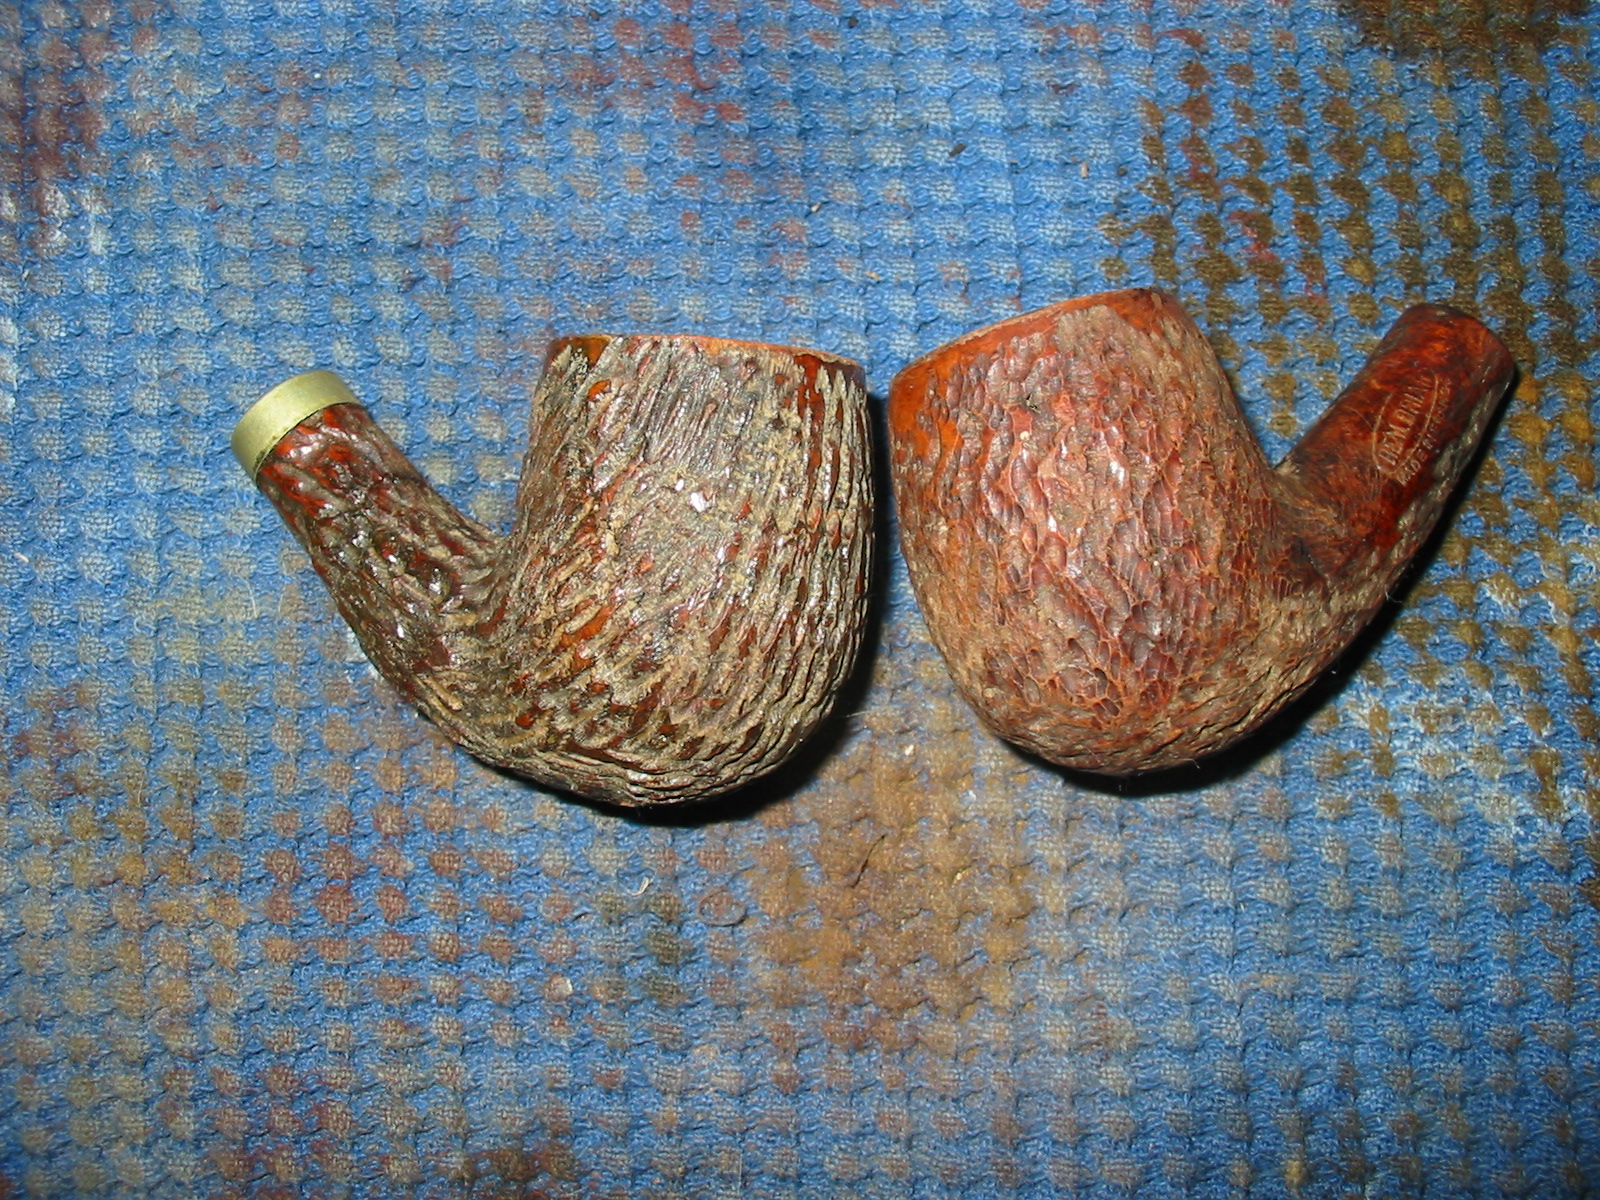
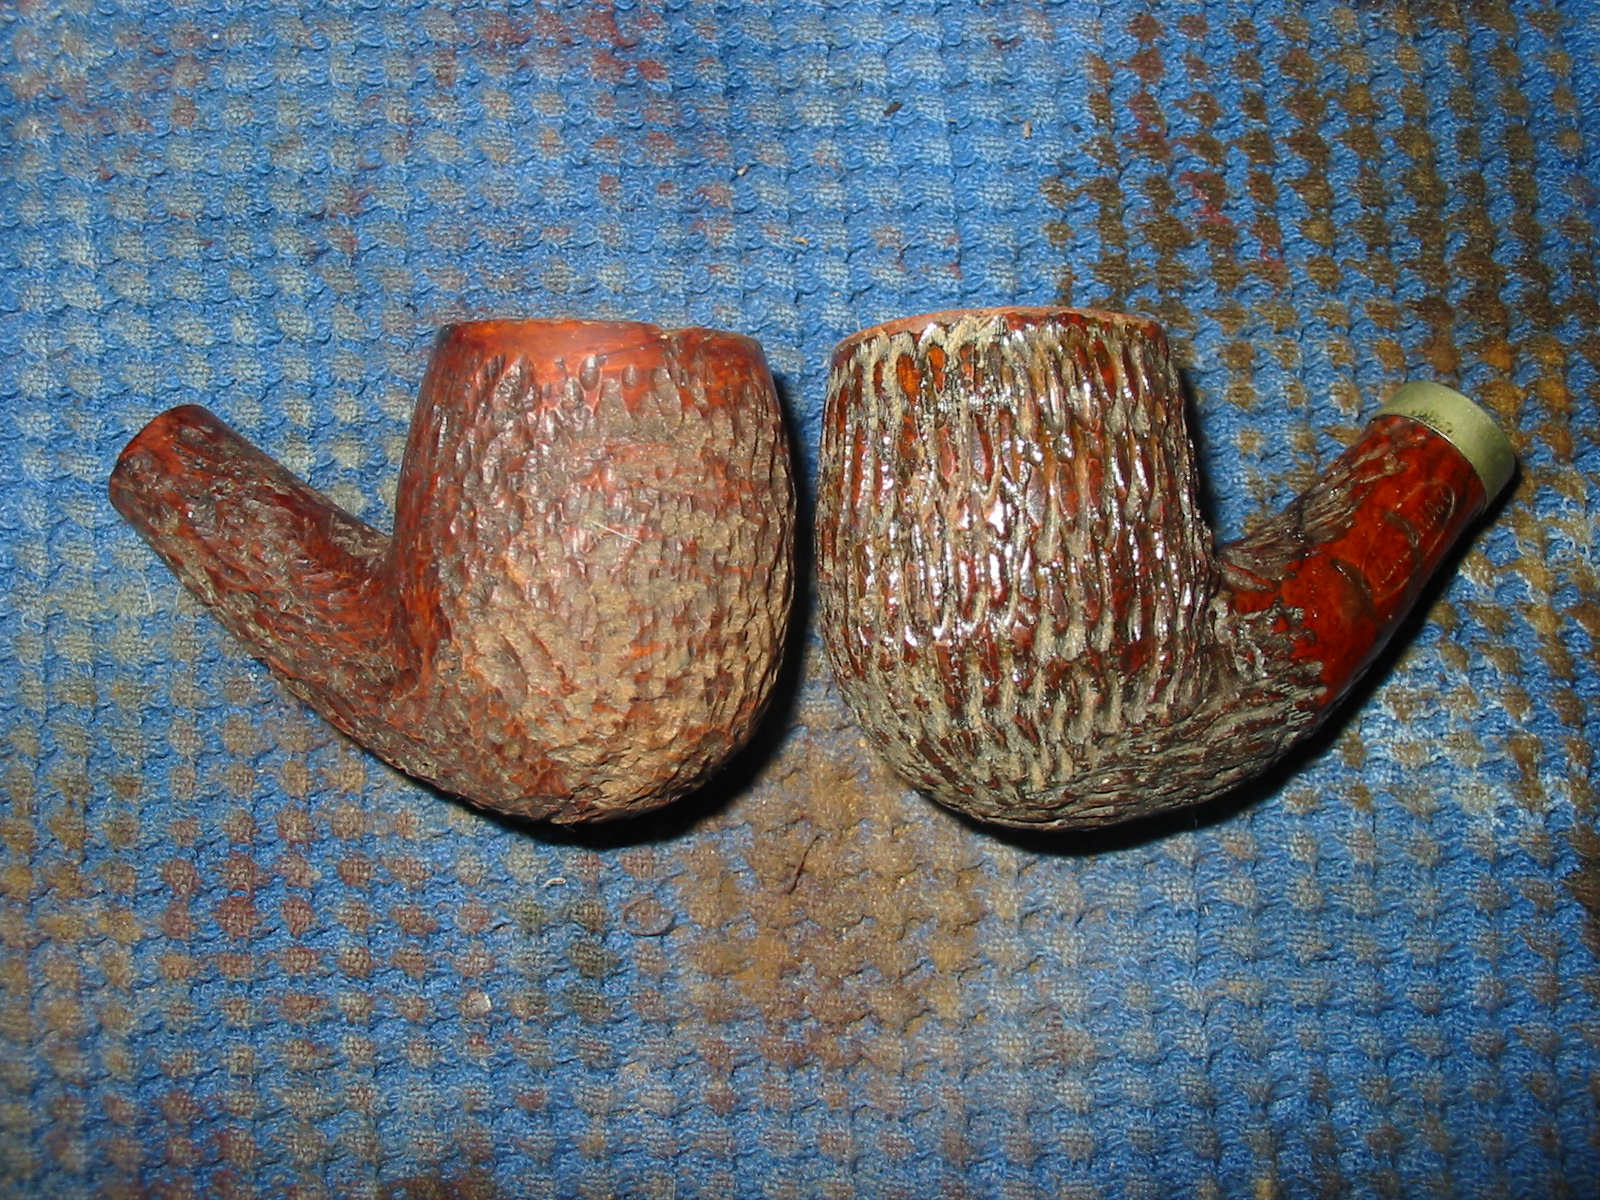
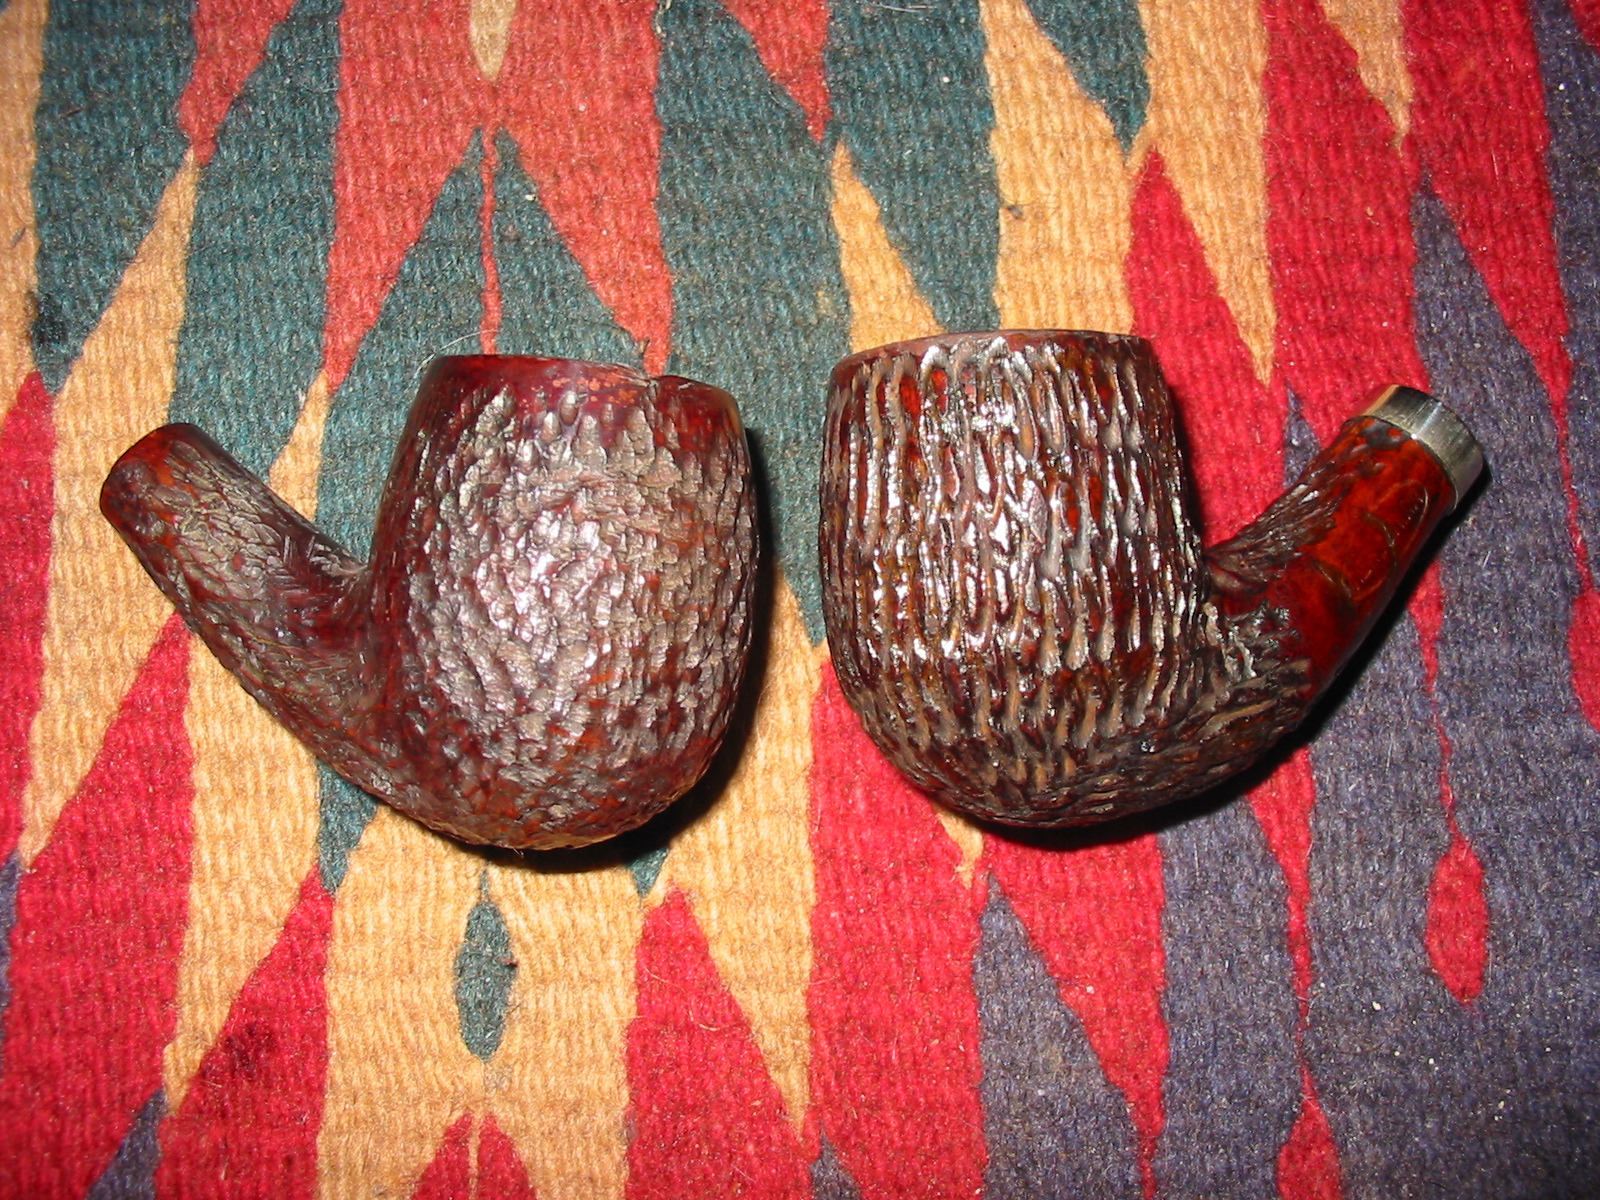
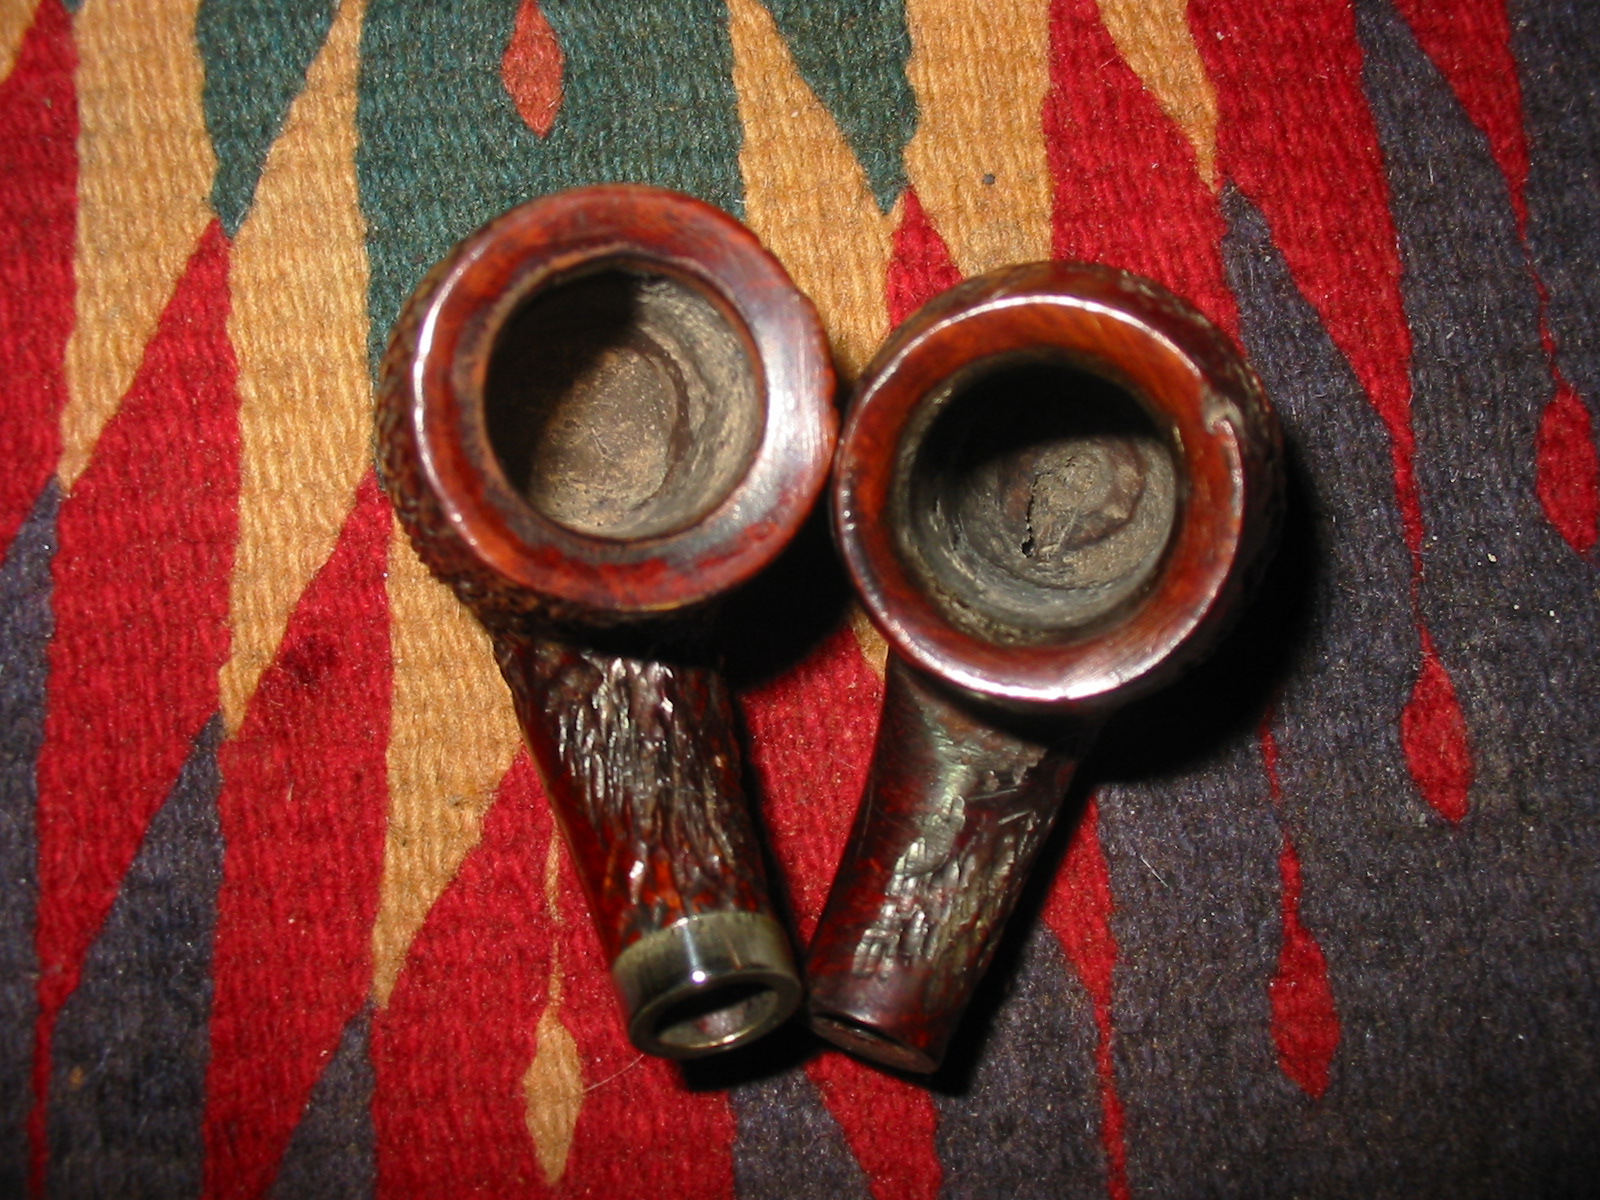
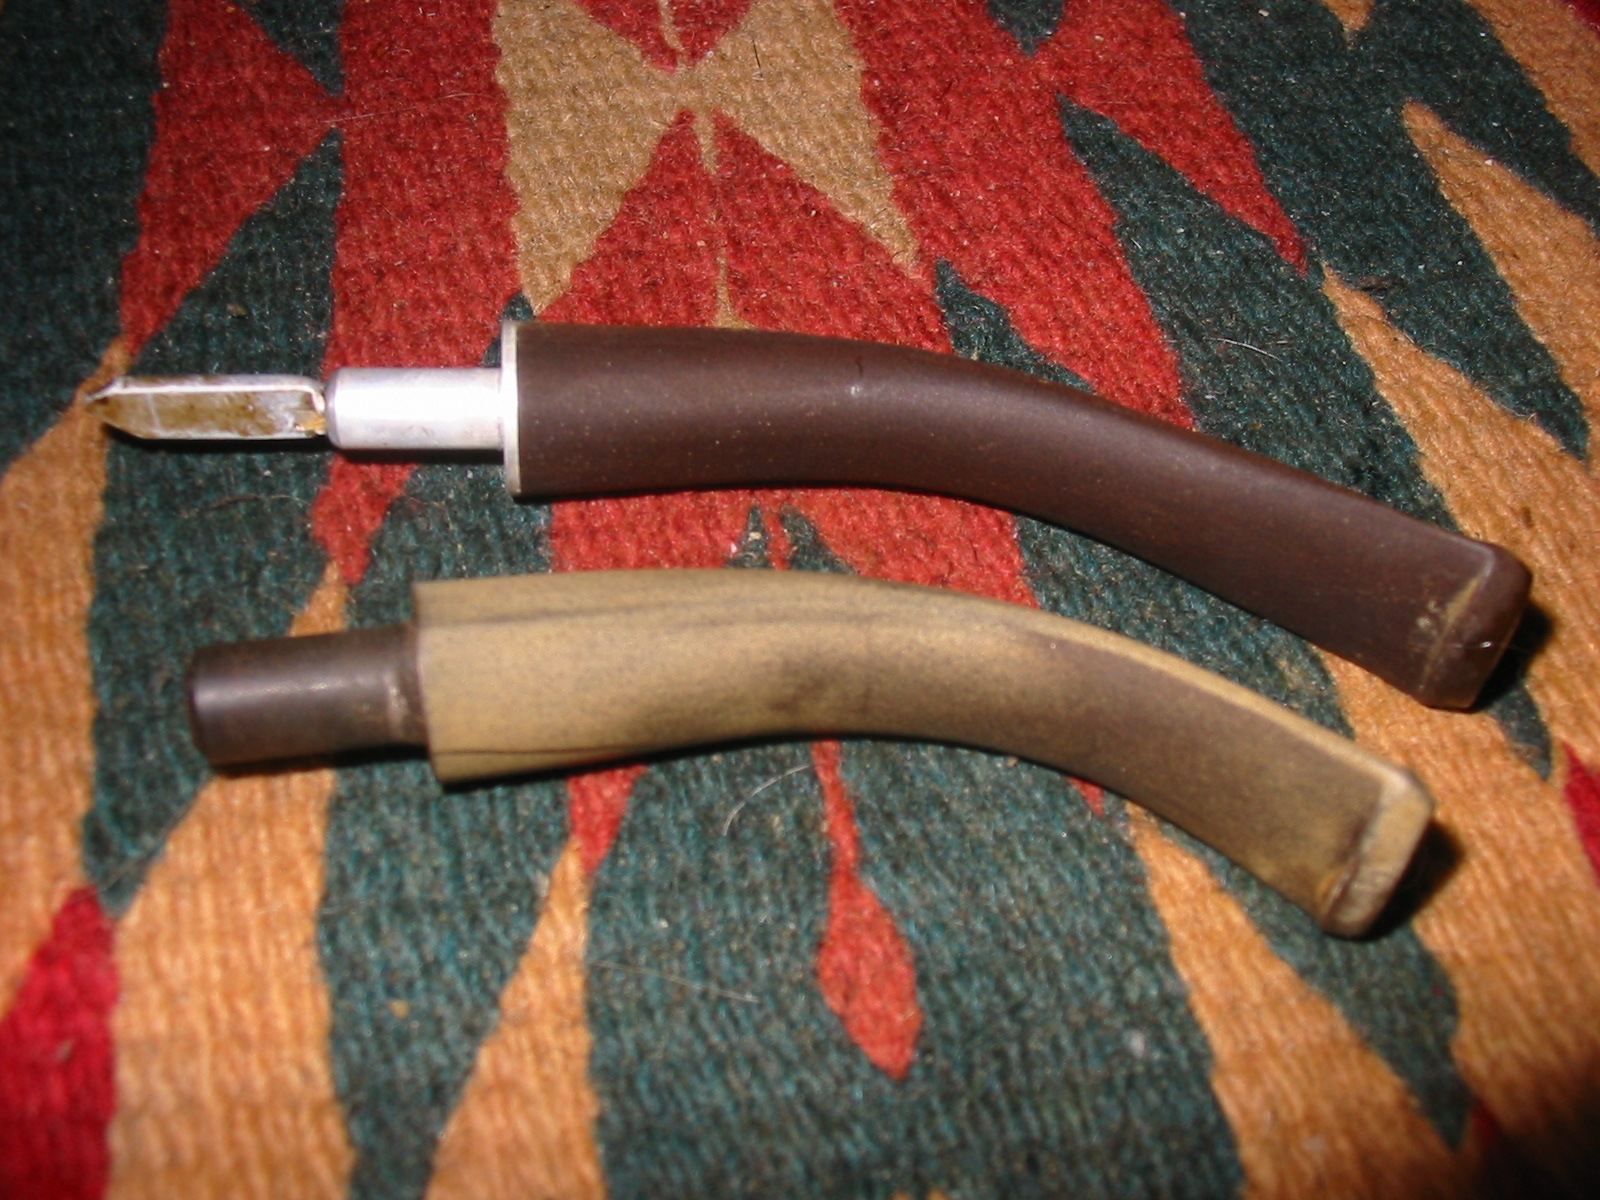
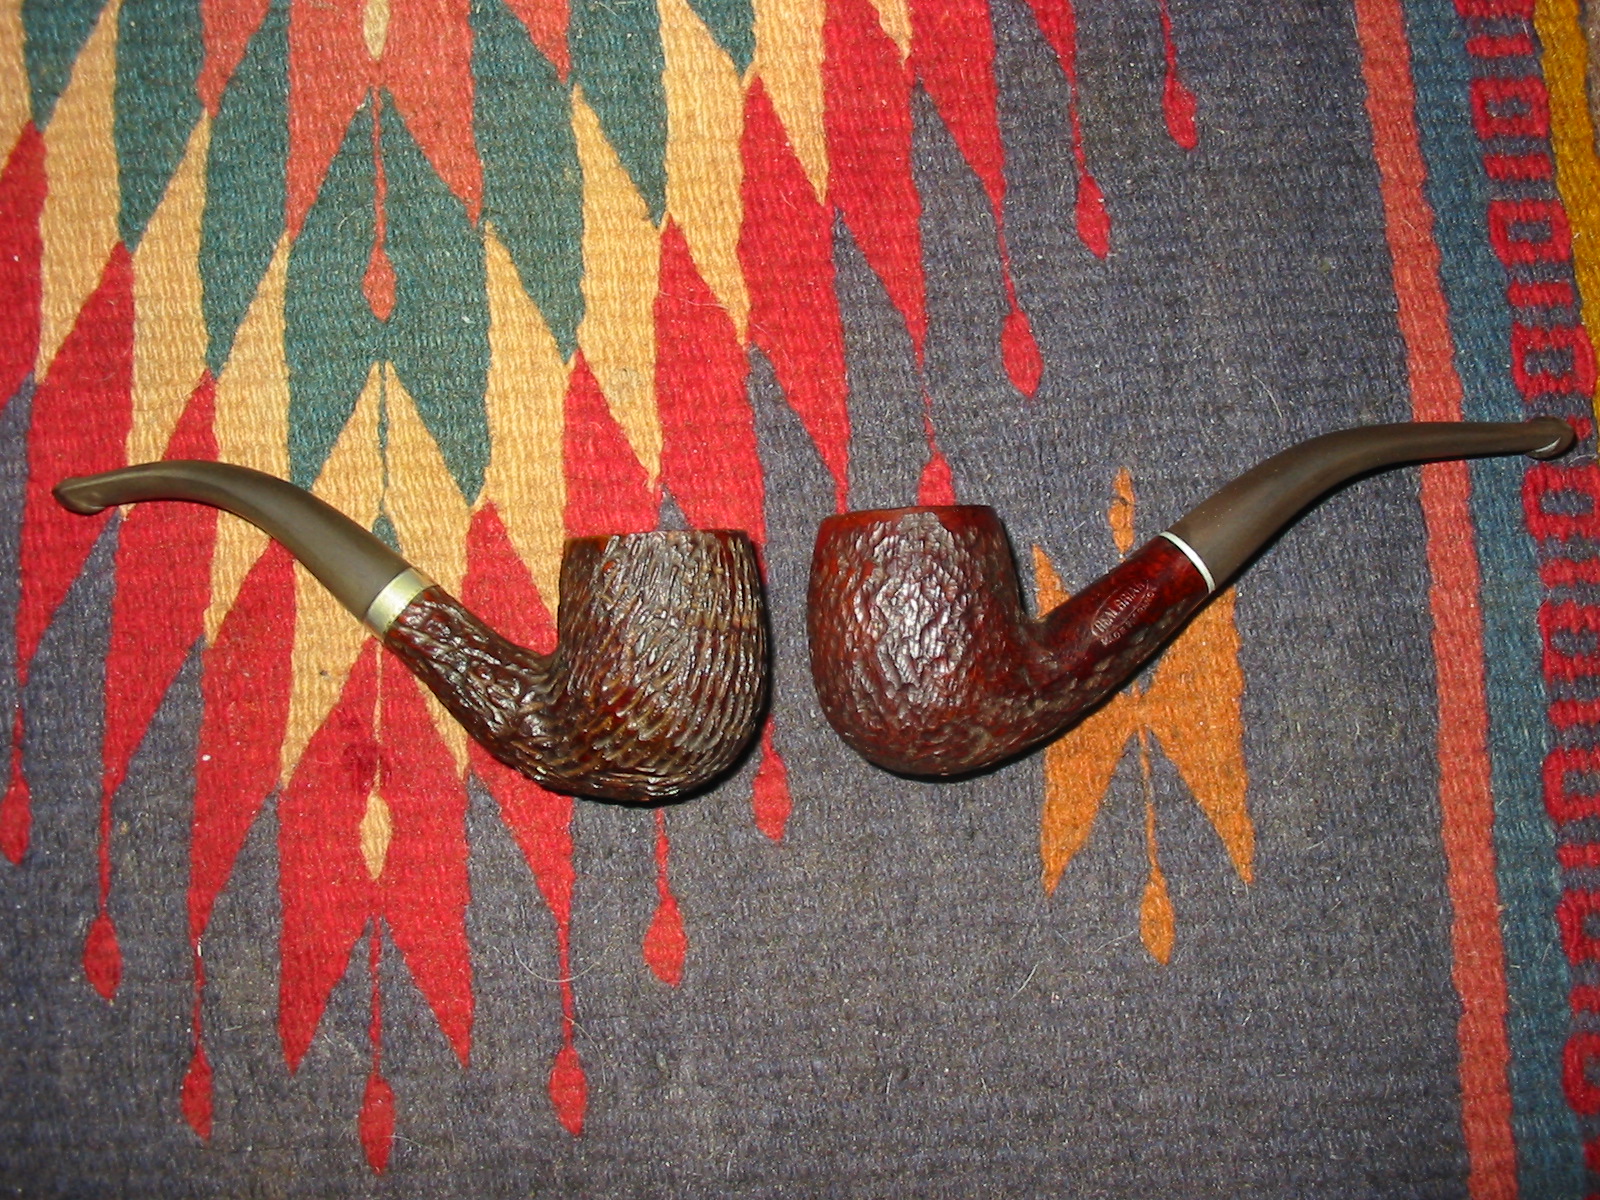
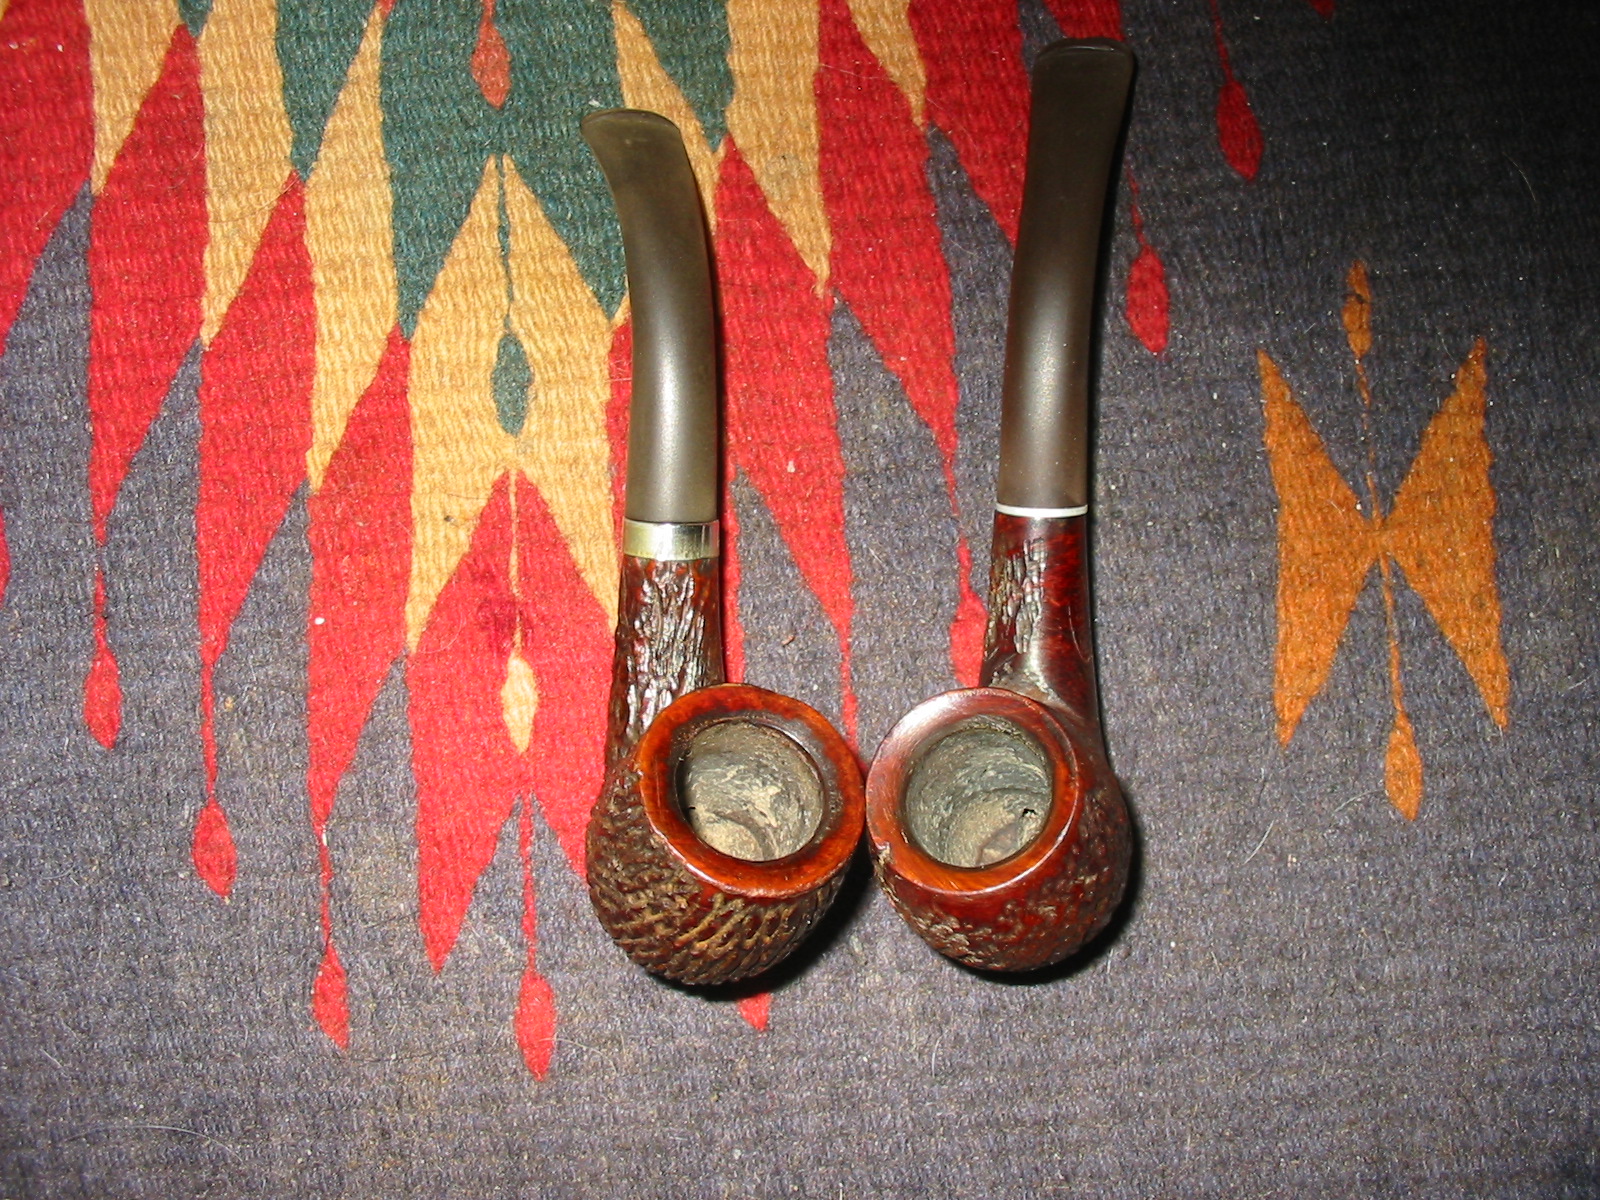
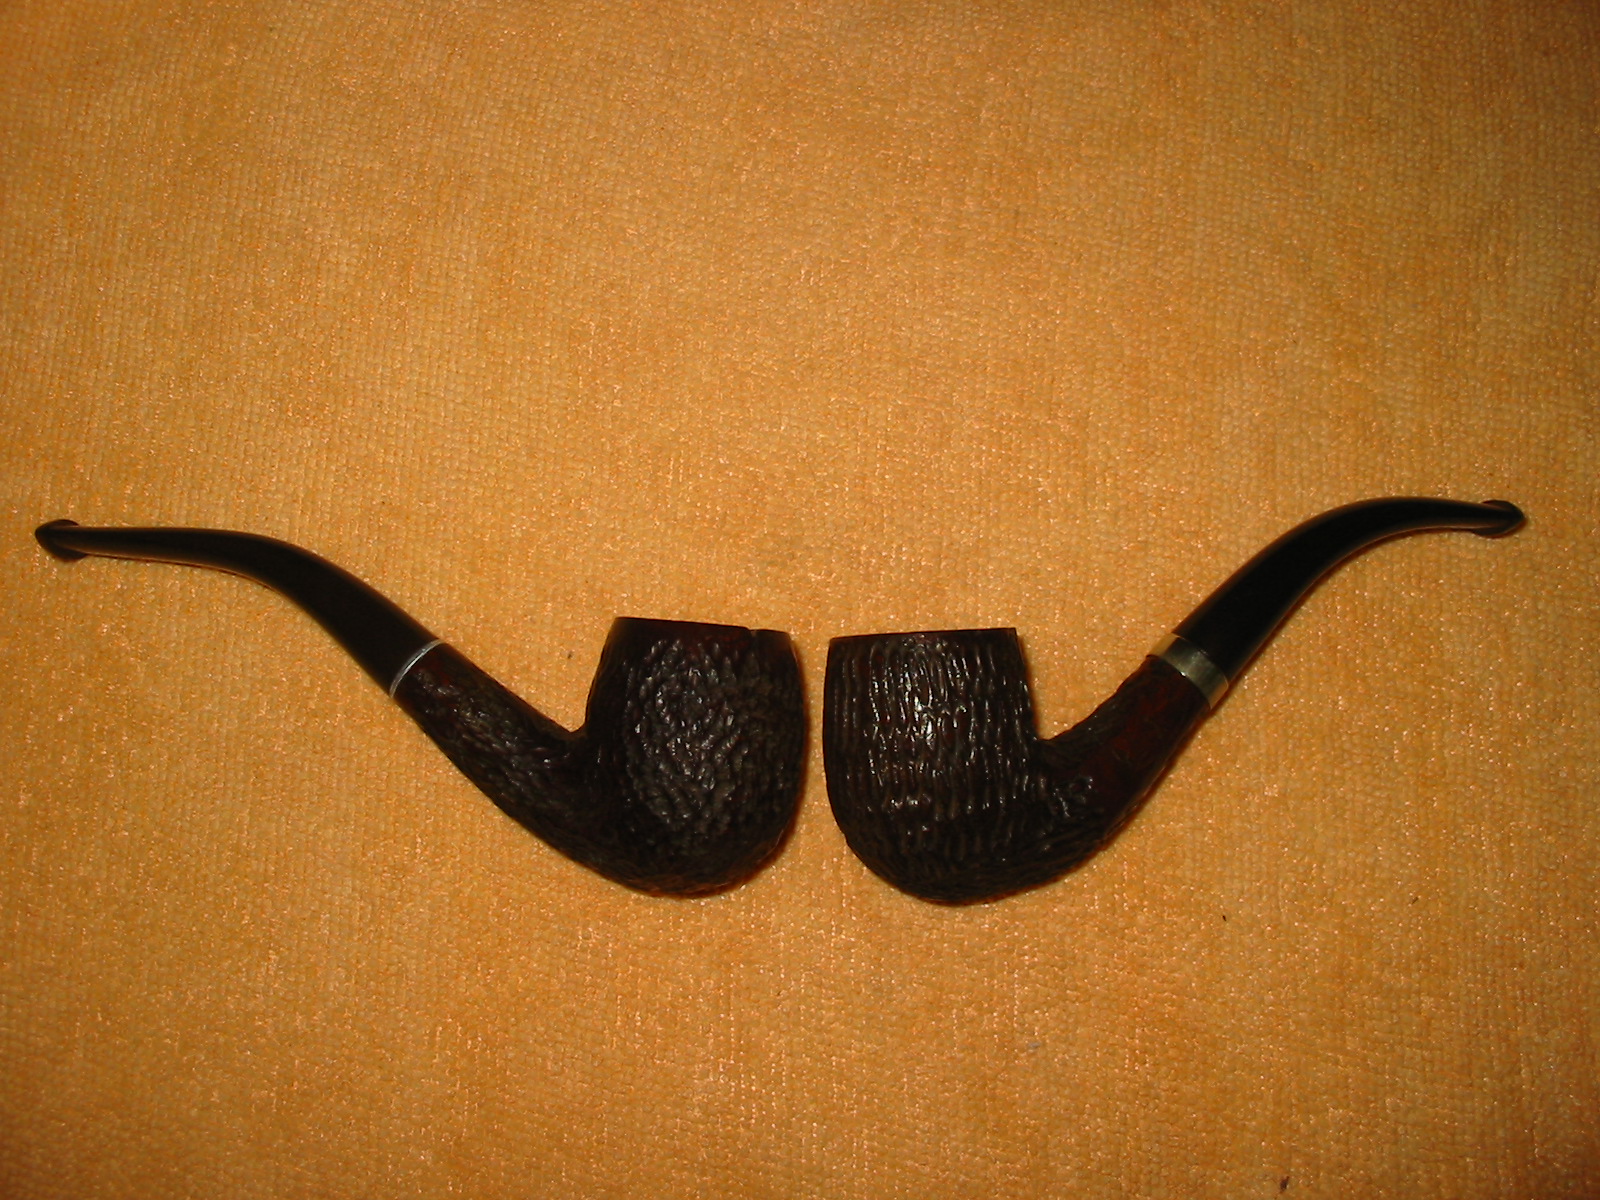
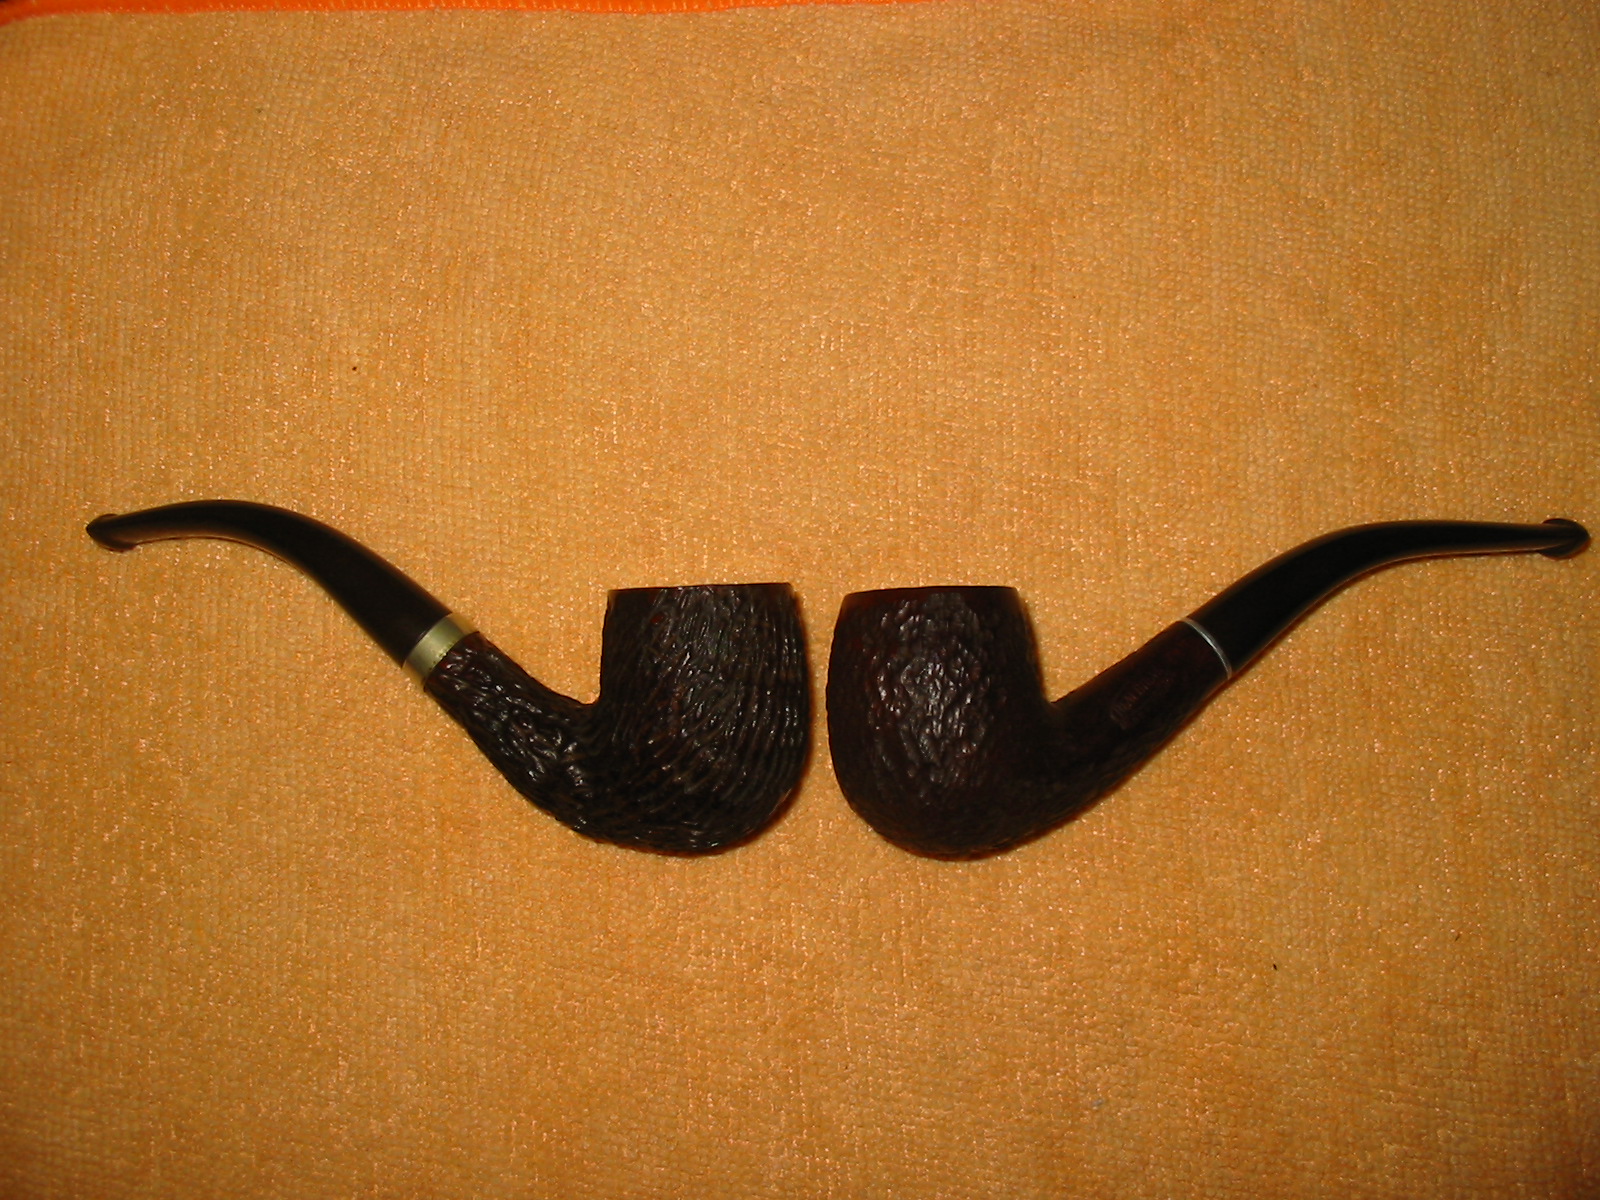
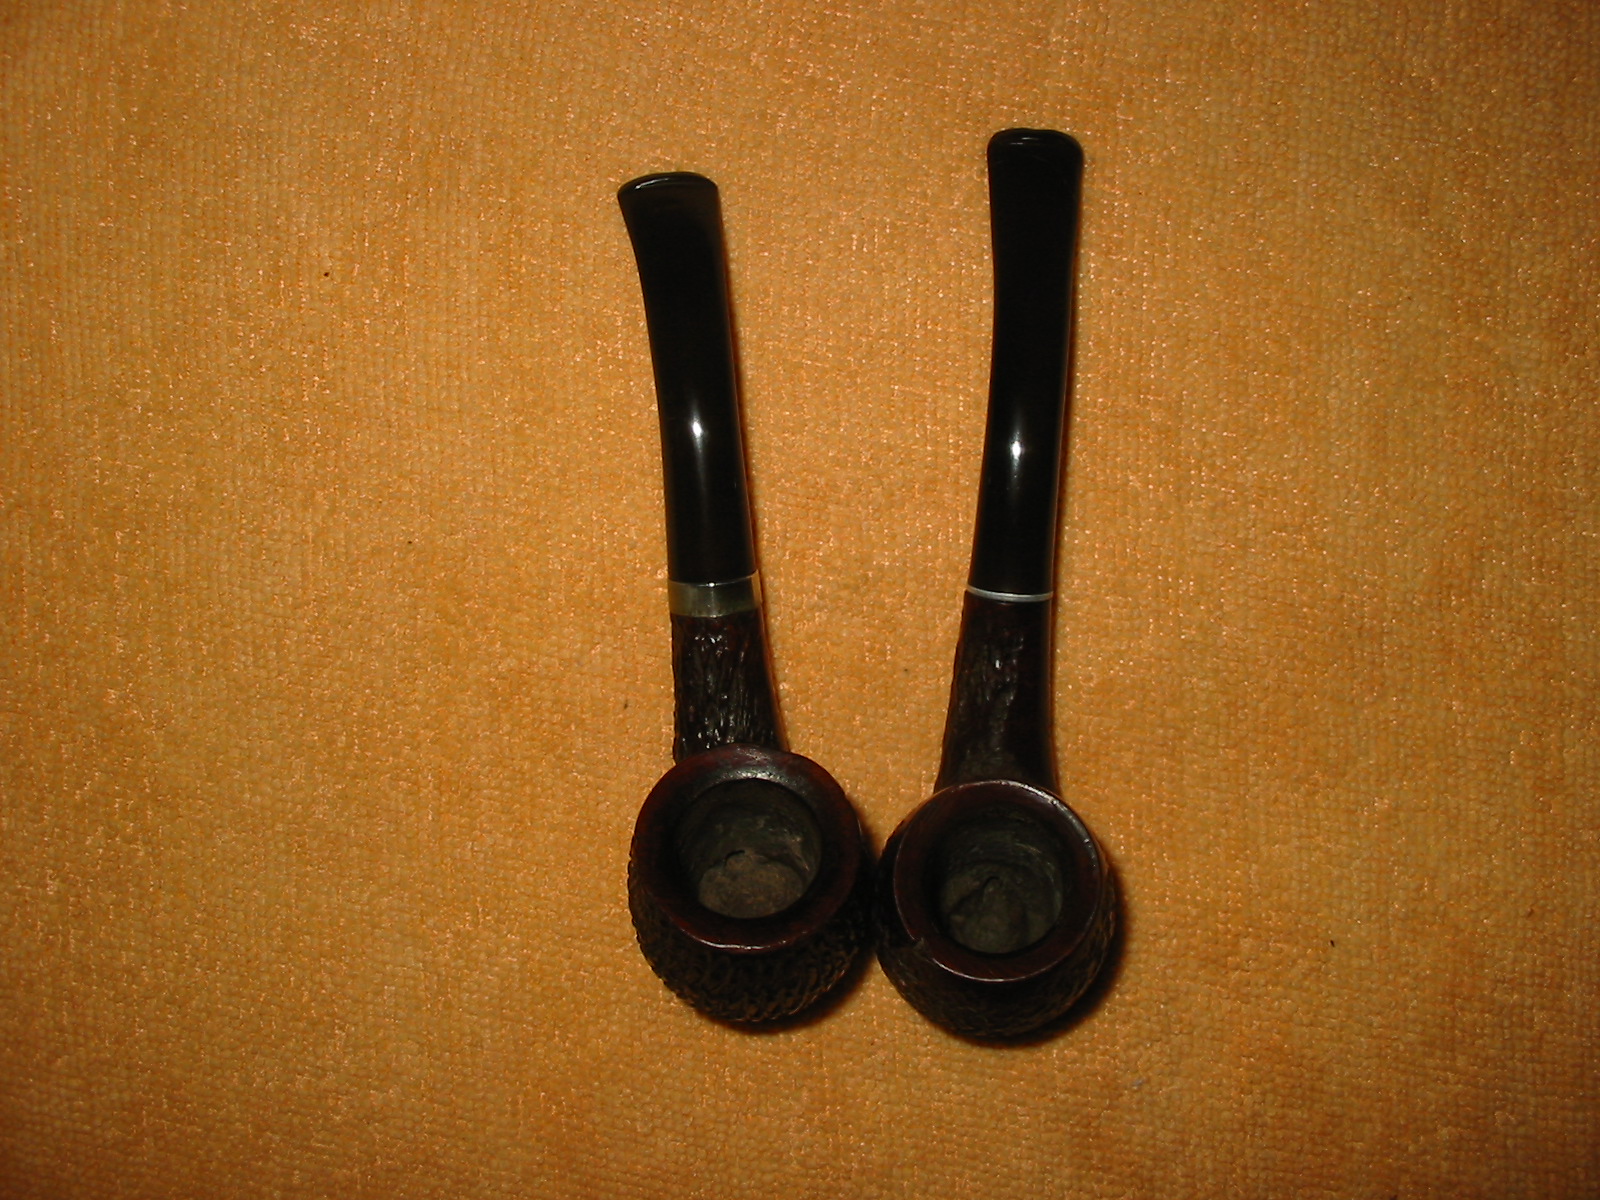
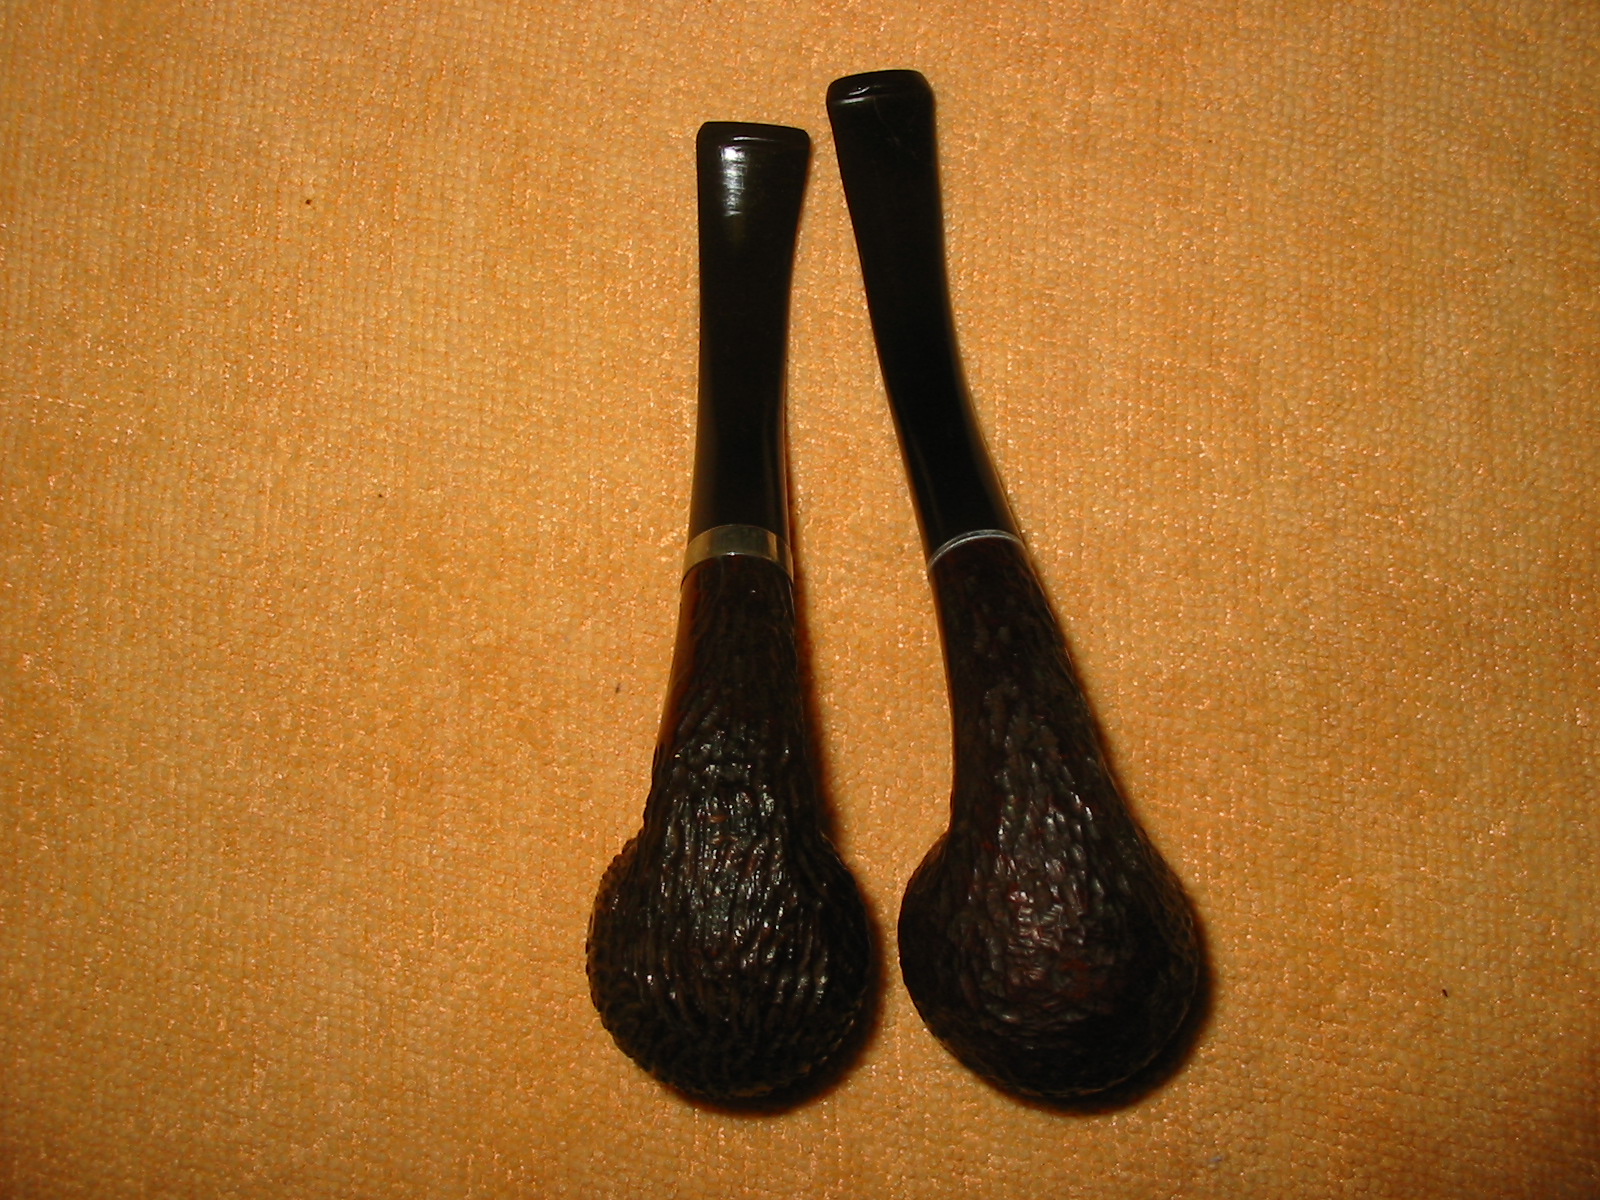
The last two pipes I received in the gift package from a friend on Smokers Forums were these two older rusticated bent billiards. The pipes are both stamped Real Briar in an Oval on the shank. There is no other stamping to help identify country of origin or maker. The rustication on the pipe on the left is more refined and almost like a sandblasted look and feel. The rustication on the other one is rustic and less refined. The pipe on the left has an aluminum tenon with a thin aluminum wafer built into the stem itself and has a blade like stinger attachment. The pipe on the right has a push stem with a sterling silver band. The rims on both were chamfered into the bowl and both were heavily caked with tars and resins. The bowls were in need of a ream. The shanks were dirty and tarry. The finish on both was dirty with dust and grime set into the rustication on the bowl. The aluminum and the silver band were tarnished. The stems were both oxidized and both had matching tooth dents on the top and bottom of the stem about a quarter inch from the button. The first series of four photos shows the state of the pipes when they arrived to my work table.
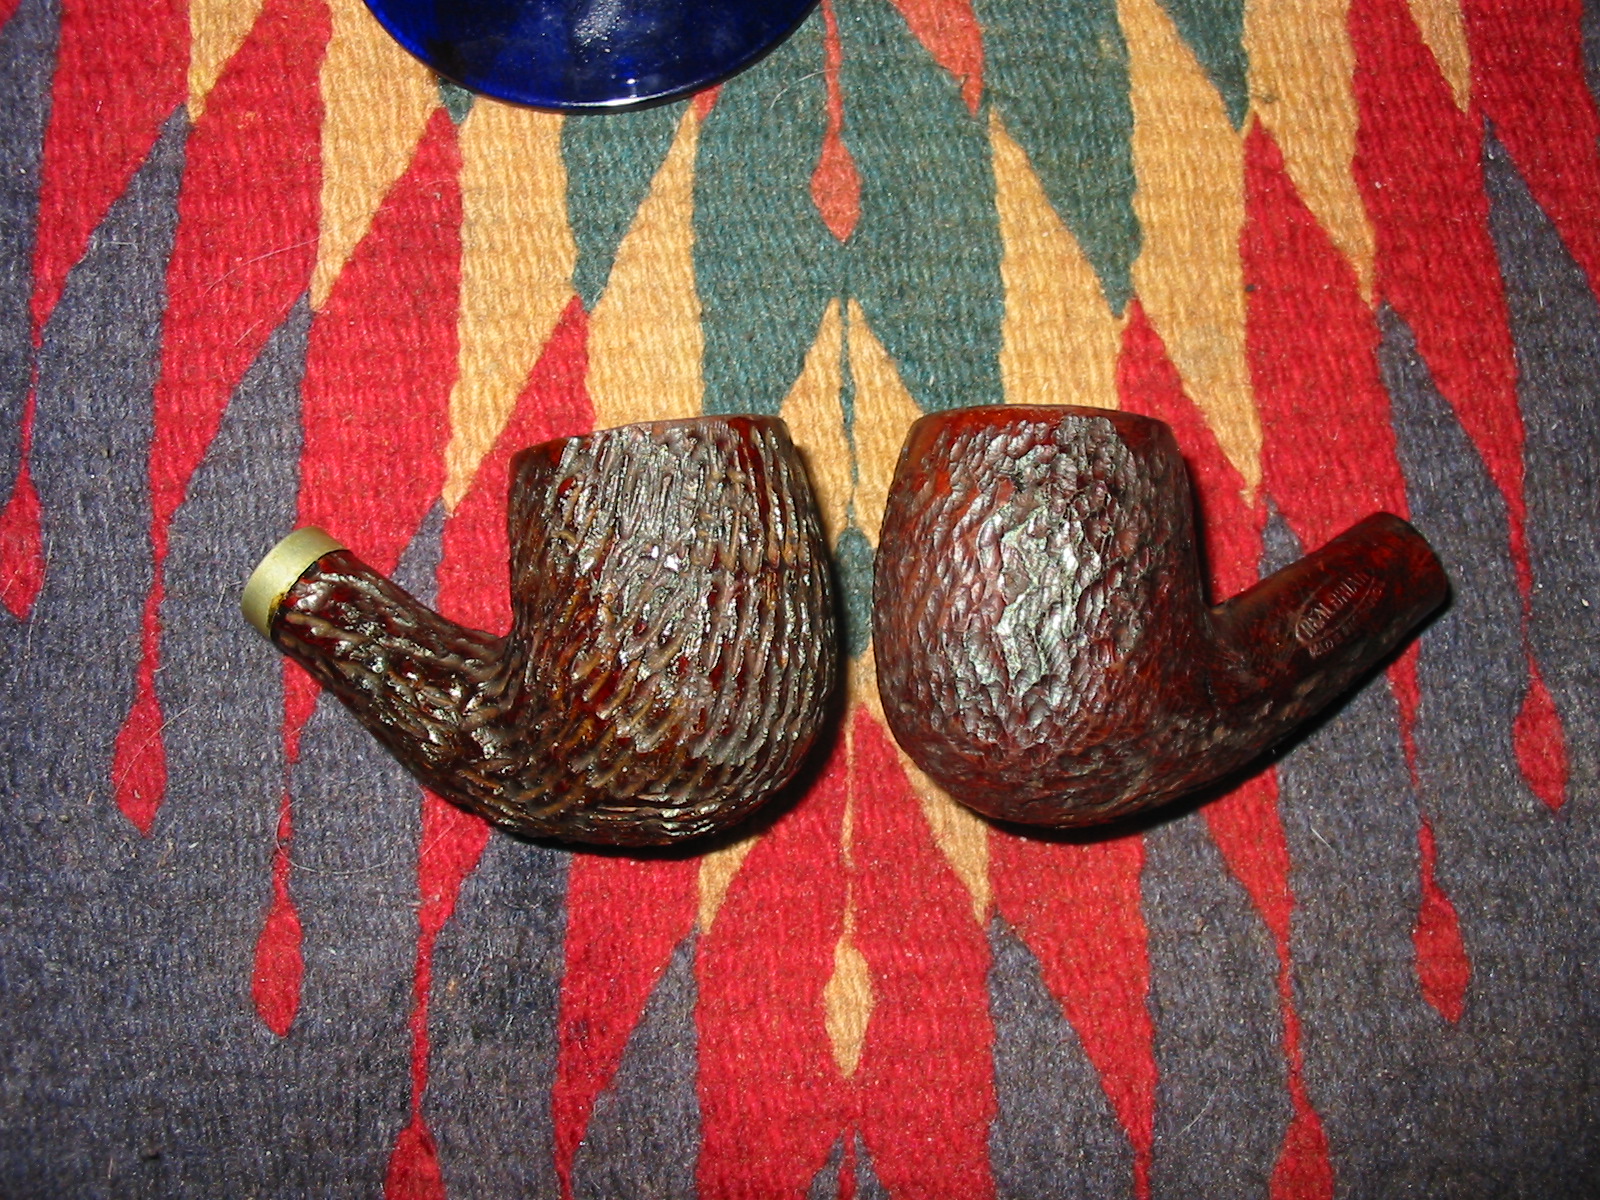
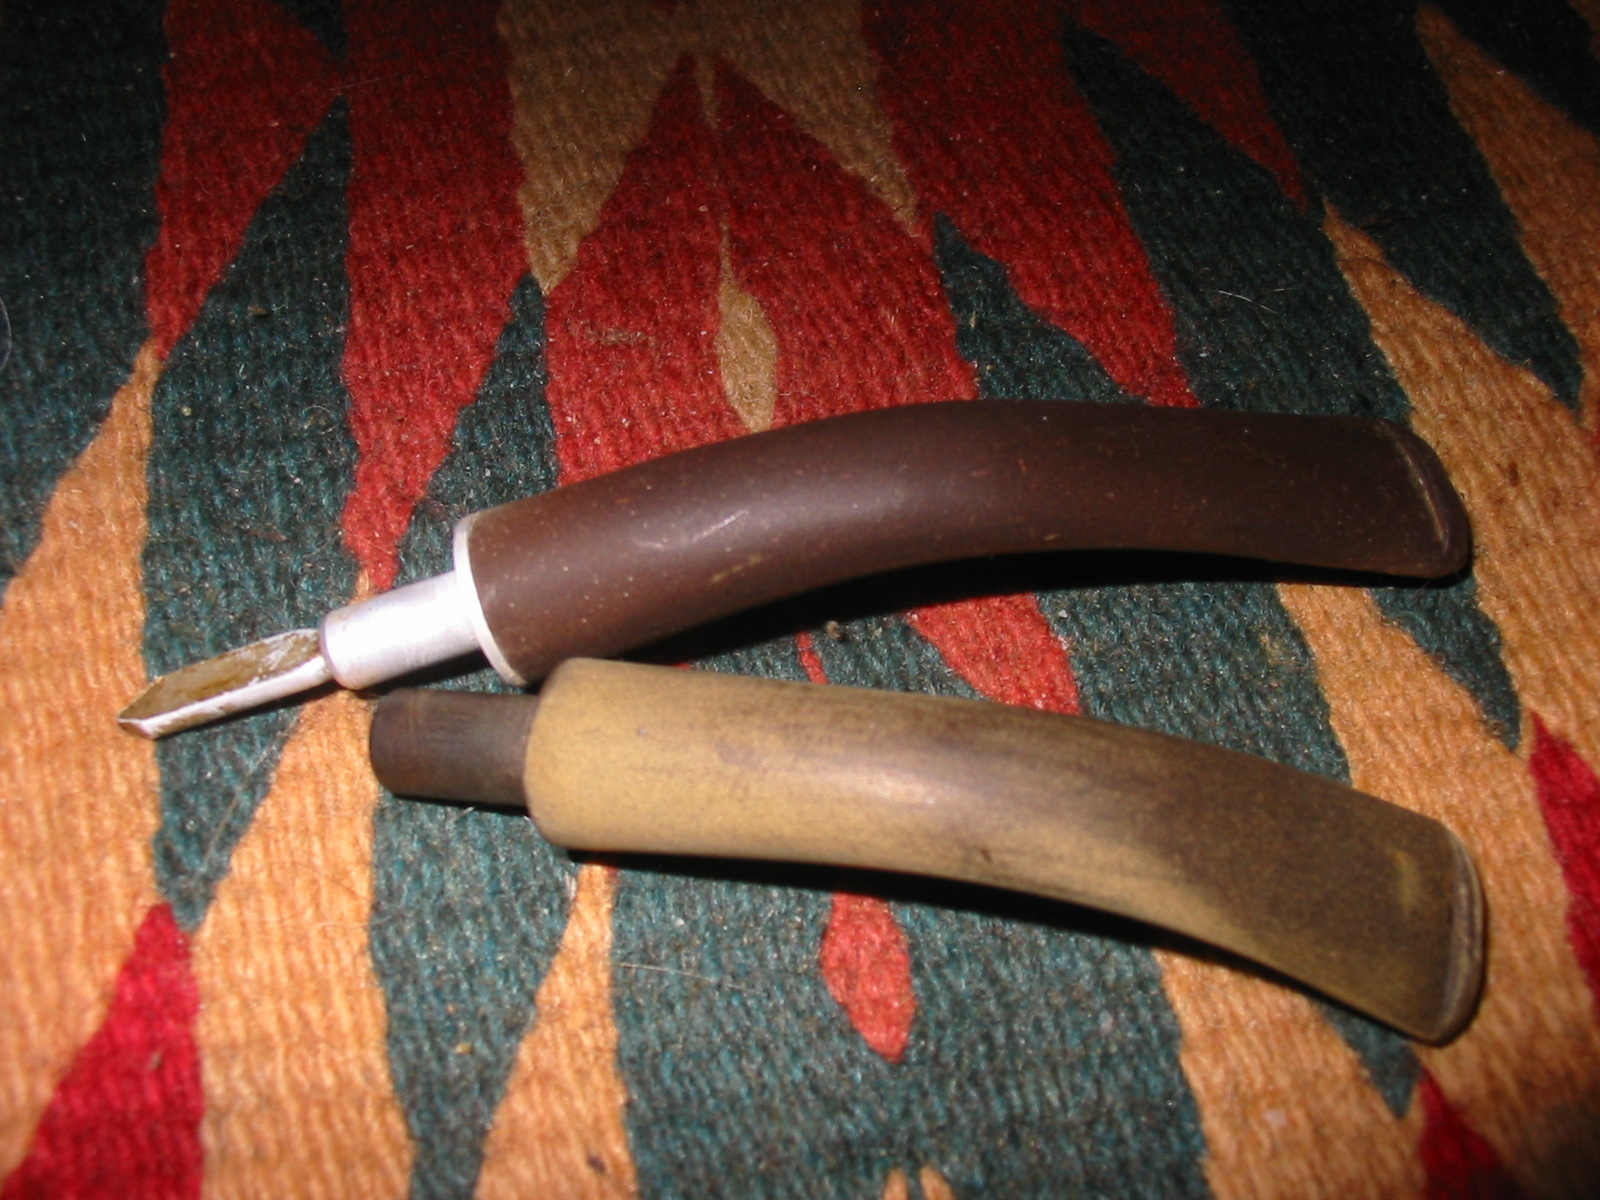
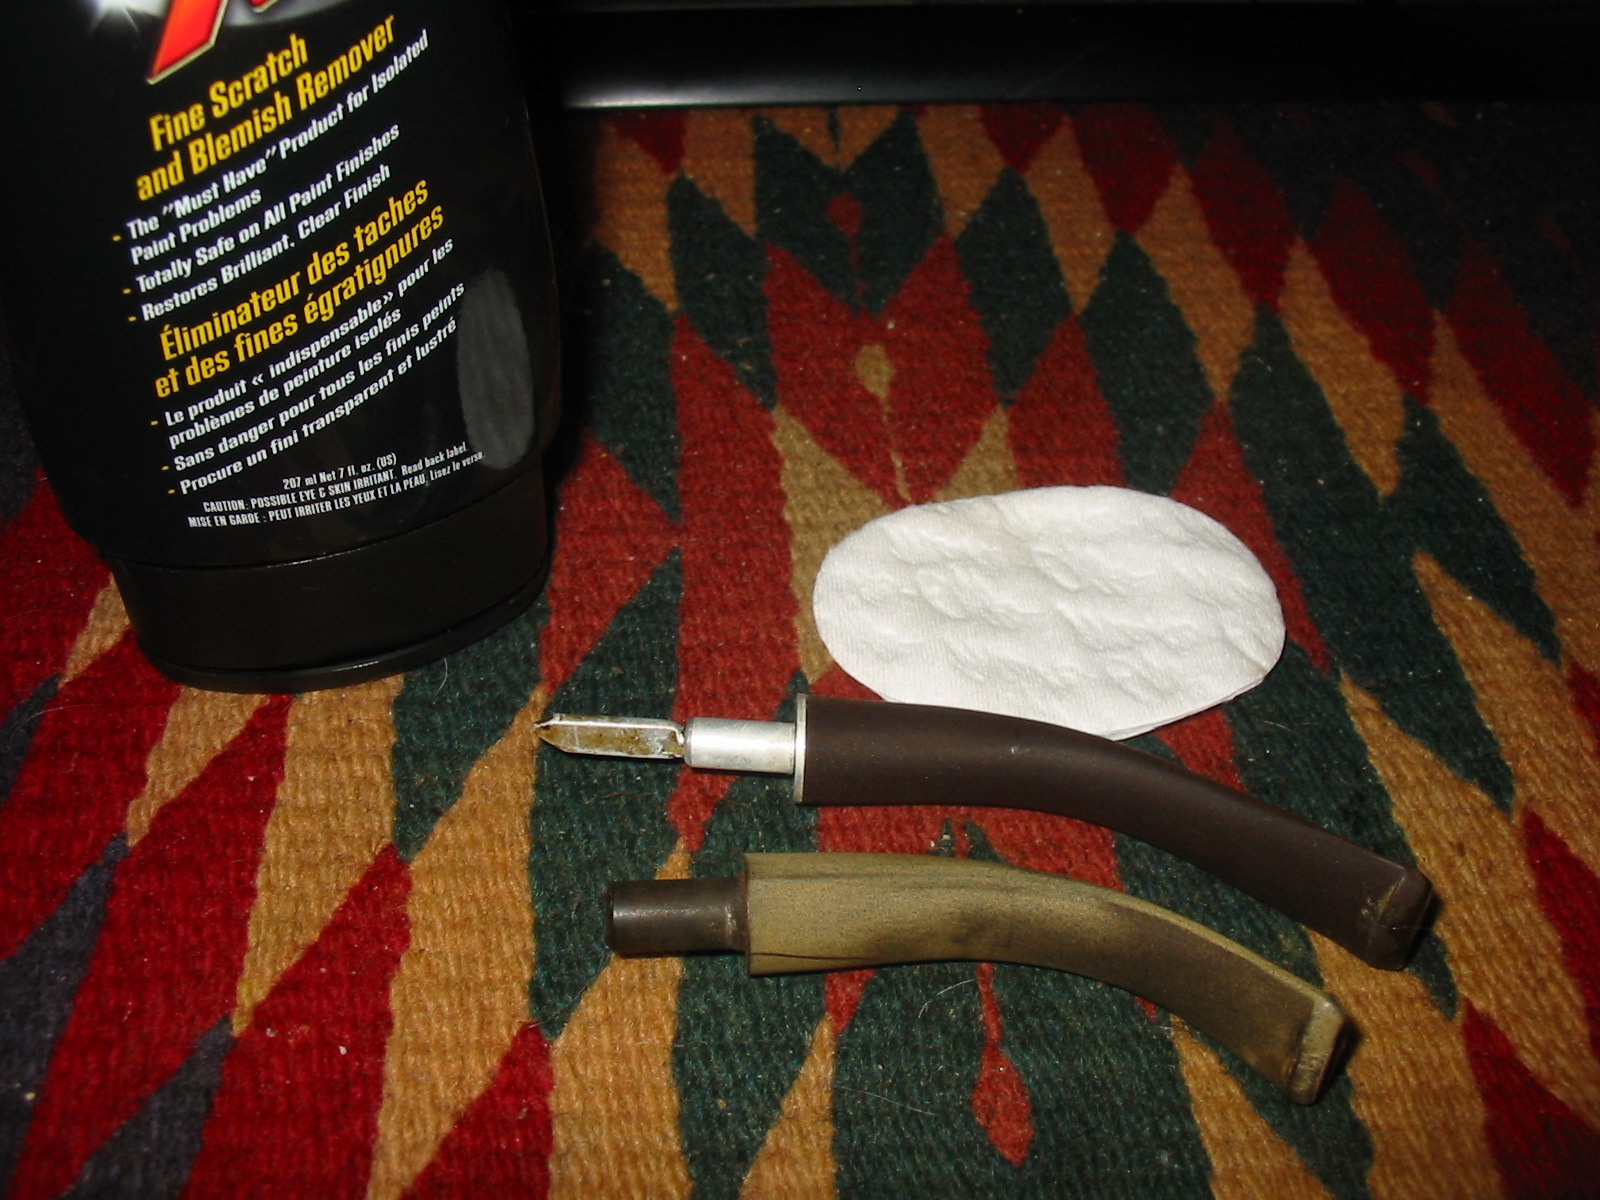
I removed the stems and placed them in an Oxyclean bath and placed the bowls in an alcohol bath (99% isopropyl alcohol). I scrubbed the bowls in the bath with a soft bristle brass tire brush as seen in the pictures below. The bowls and stem soaked overnight to let the bath do its work. When I took them out the next morning I scrubbed the bowls some more with the brass brush and dried the bowls off. I also sanded the rims with 320 grit sandpaper to remove the tars and the damage to the surface of the rim. The rims were chamfered so this was done by hand with a small folded piece of sandpaper held at the angle of the chamfer. The next series of five photos show the bowls after the scrubbing and rim work.
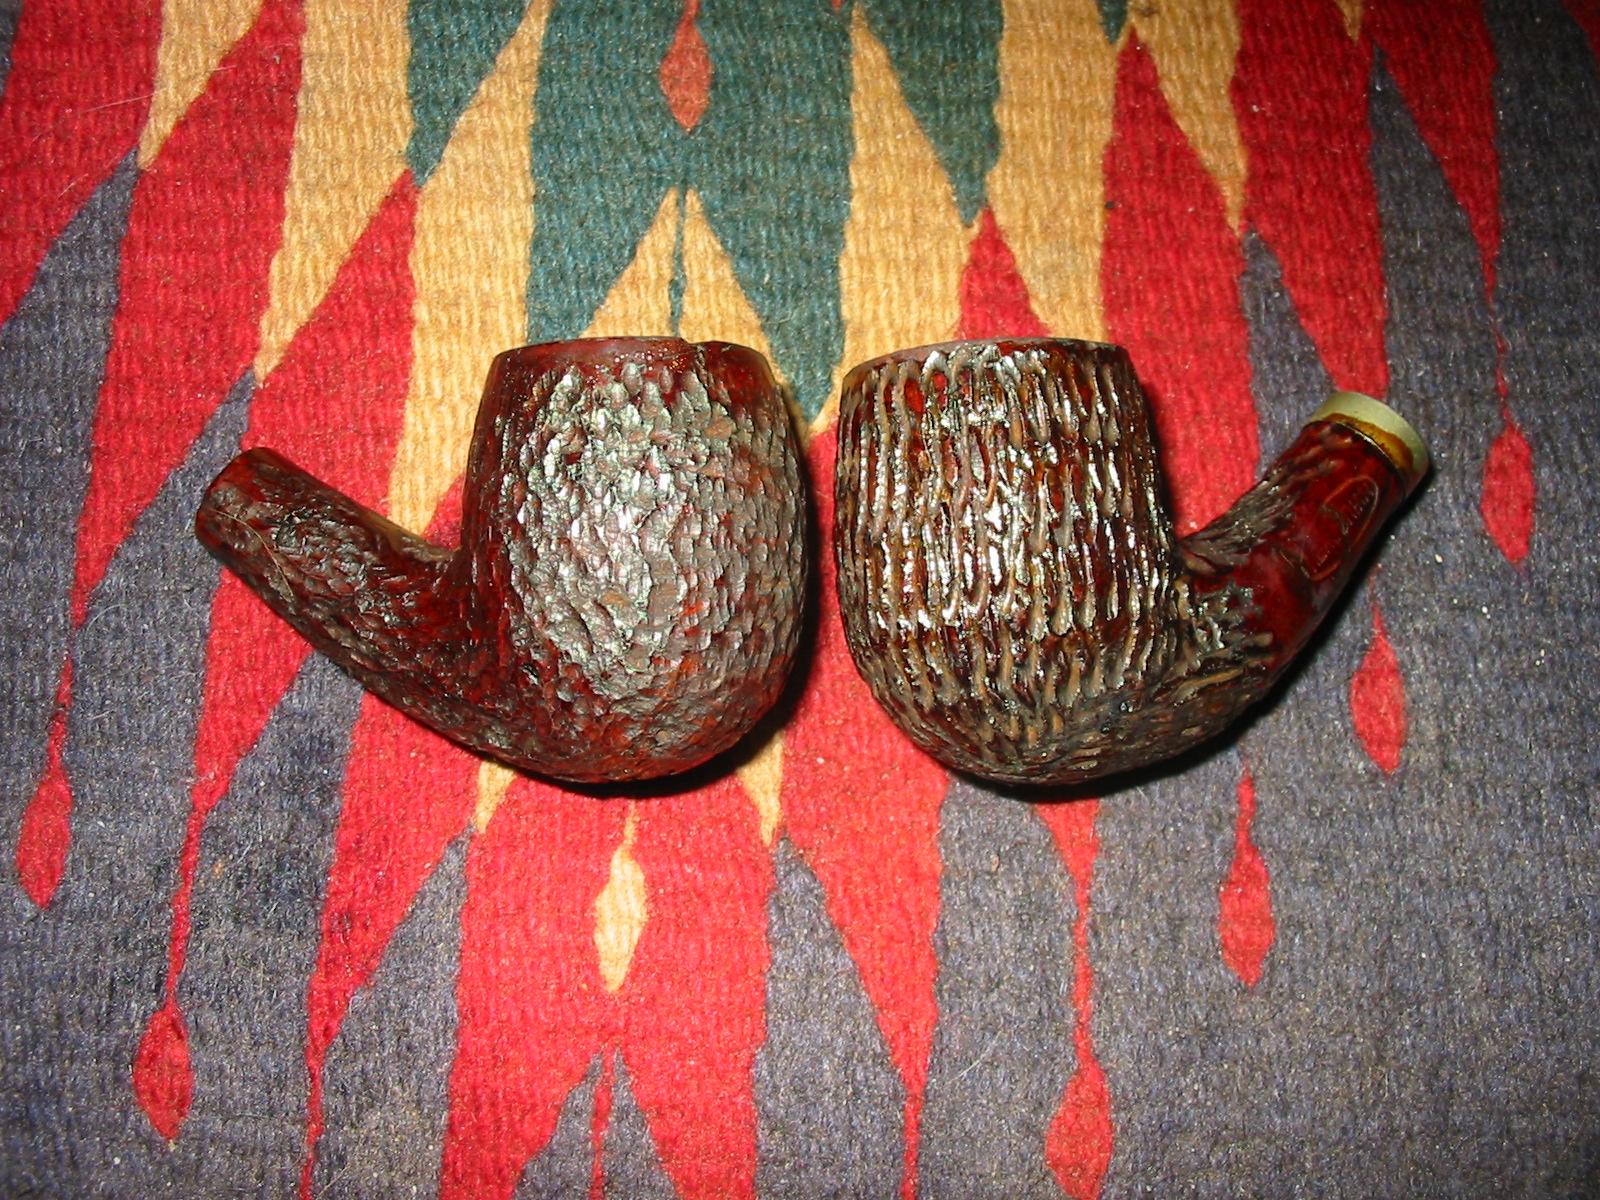
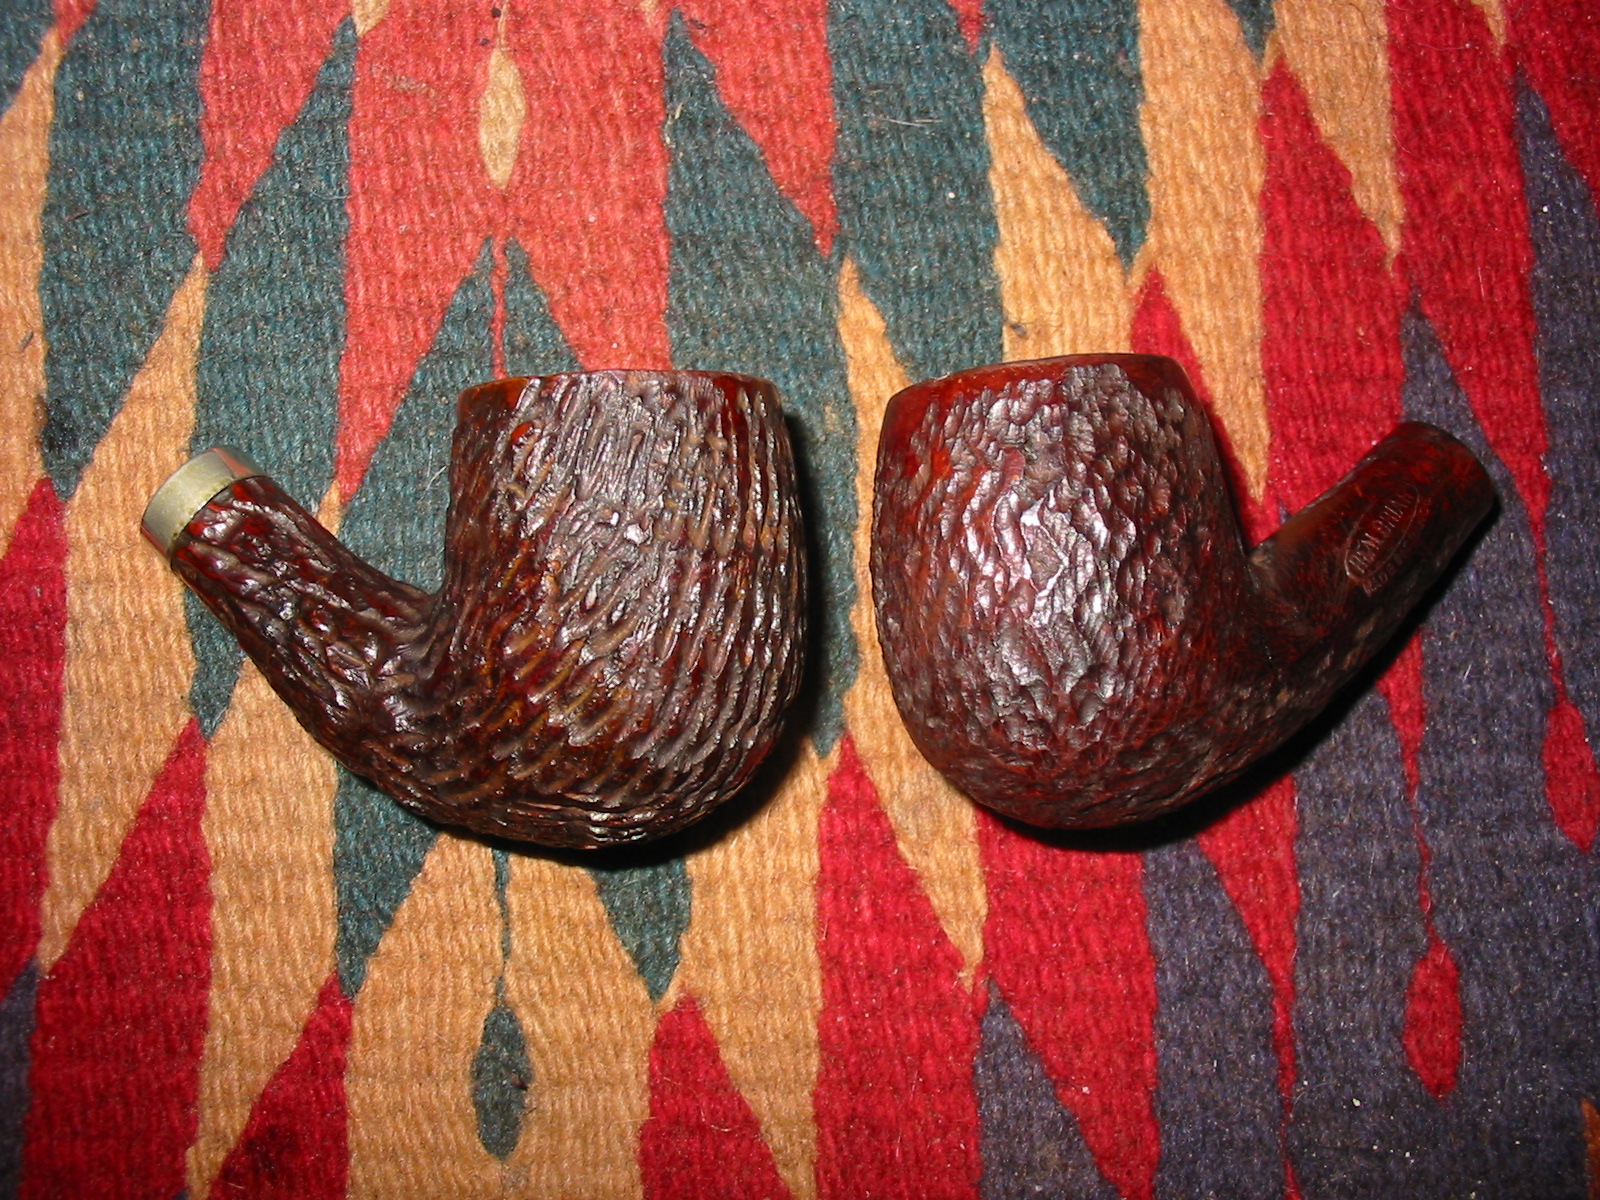
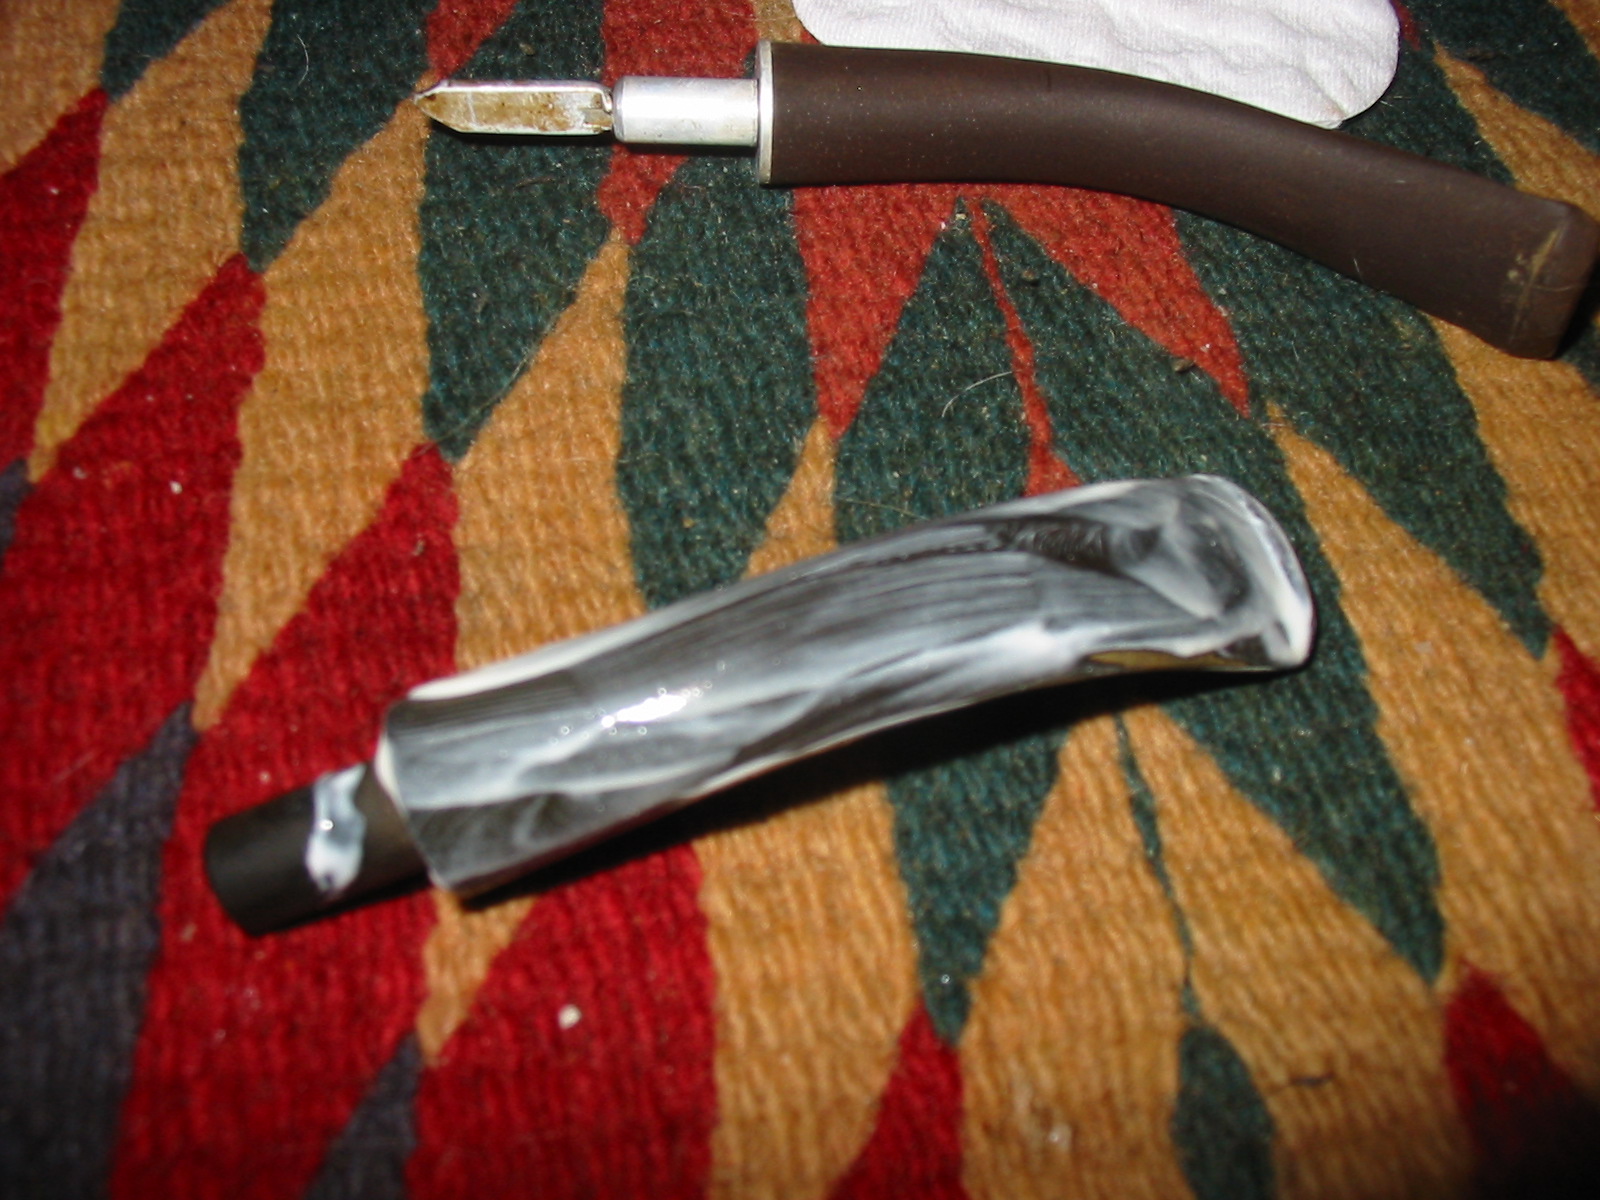
I finished my work in cleaning the bowls by wiping down the bowl surfaces with acetone on a soft cotton pad. With that work they were ready to be stained. I chose a dark brown aniline stain thinned with alcohol 2:1. I applied it with the dauber and then flamed it to set the stain. Stained it a second time and flamed it. Then I took it to my buffer to buff with a light touch on a White Diamond wheel. The next six photos show the developing shine that the bowls and the rims took on with the buffing. I still needed to clean the sterling silver band on the one bowl.
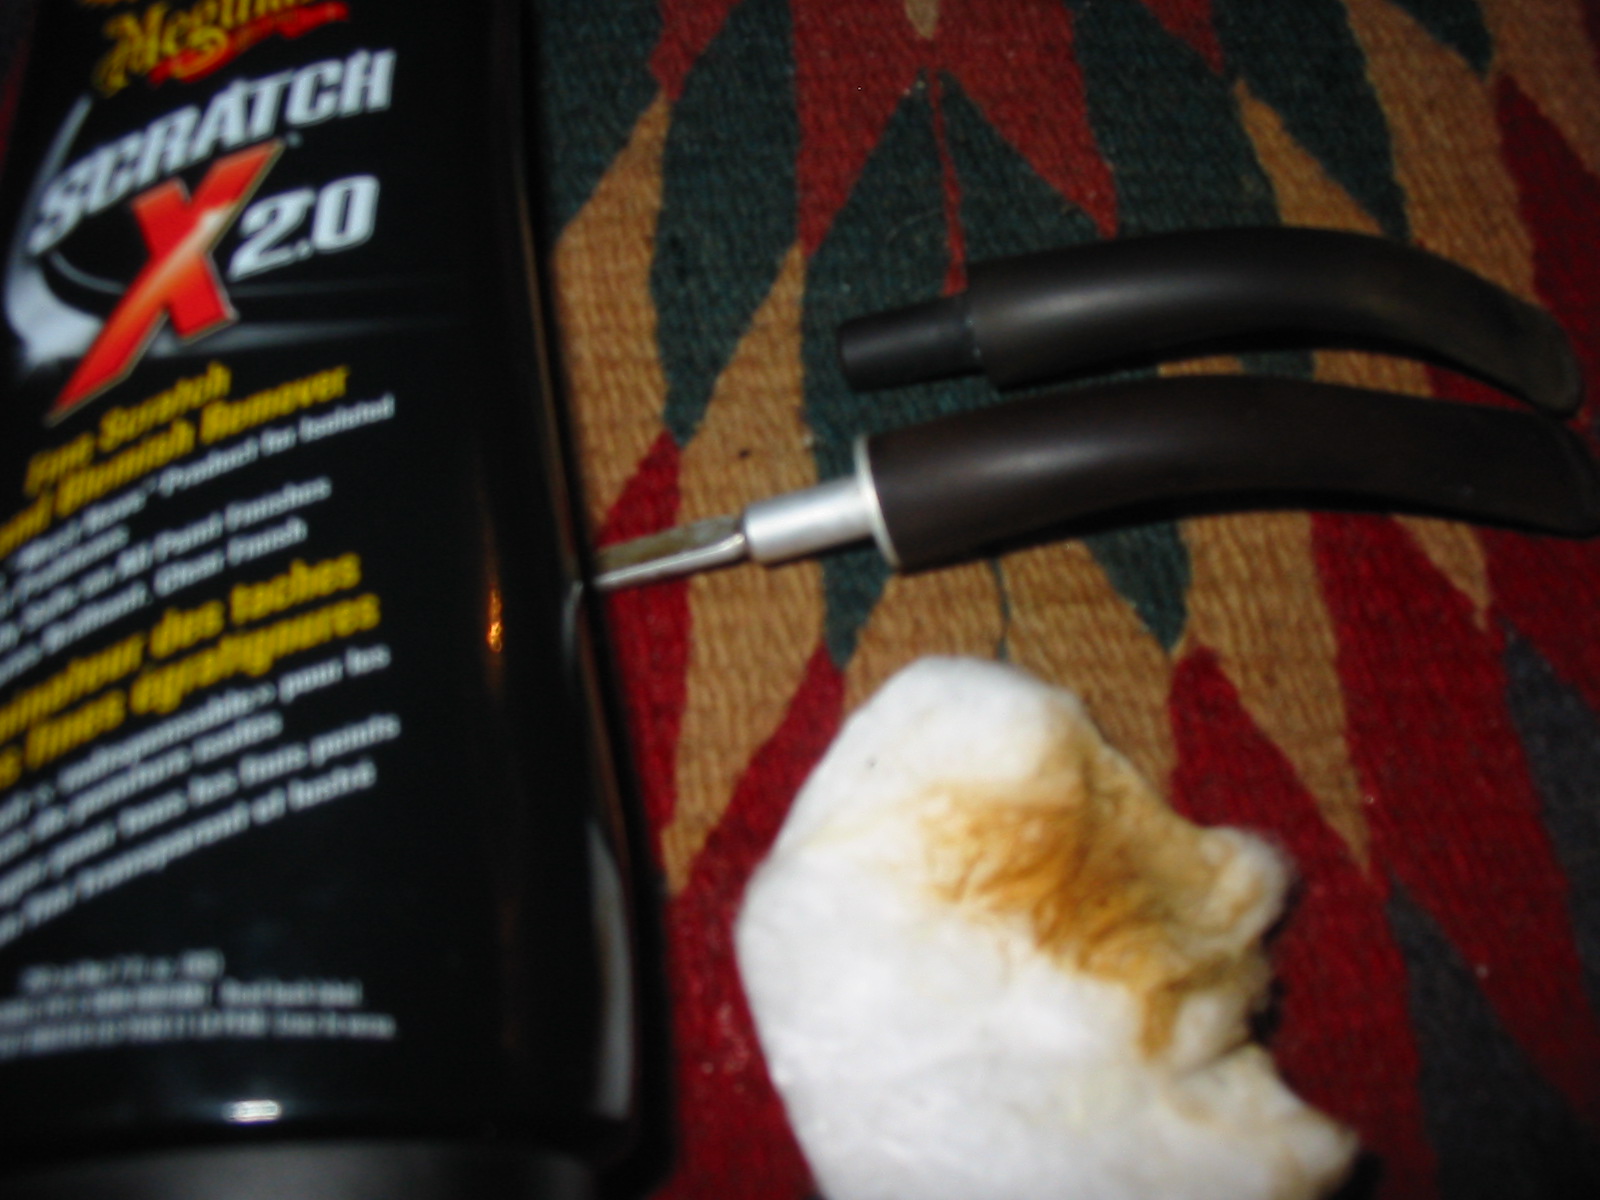
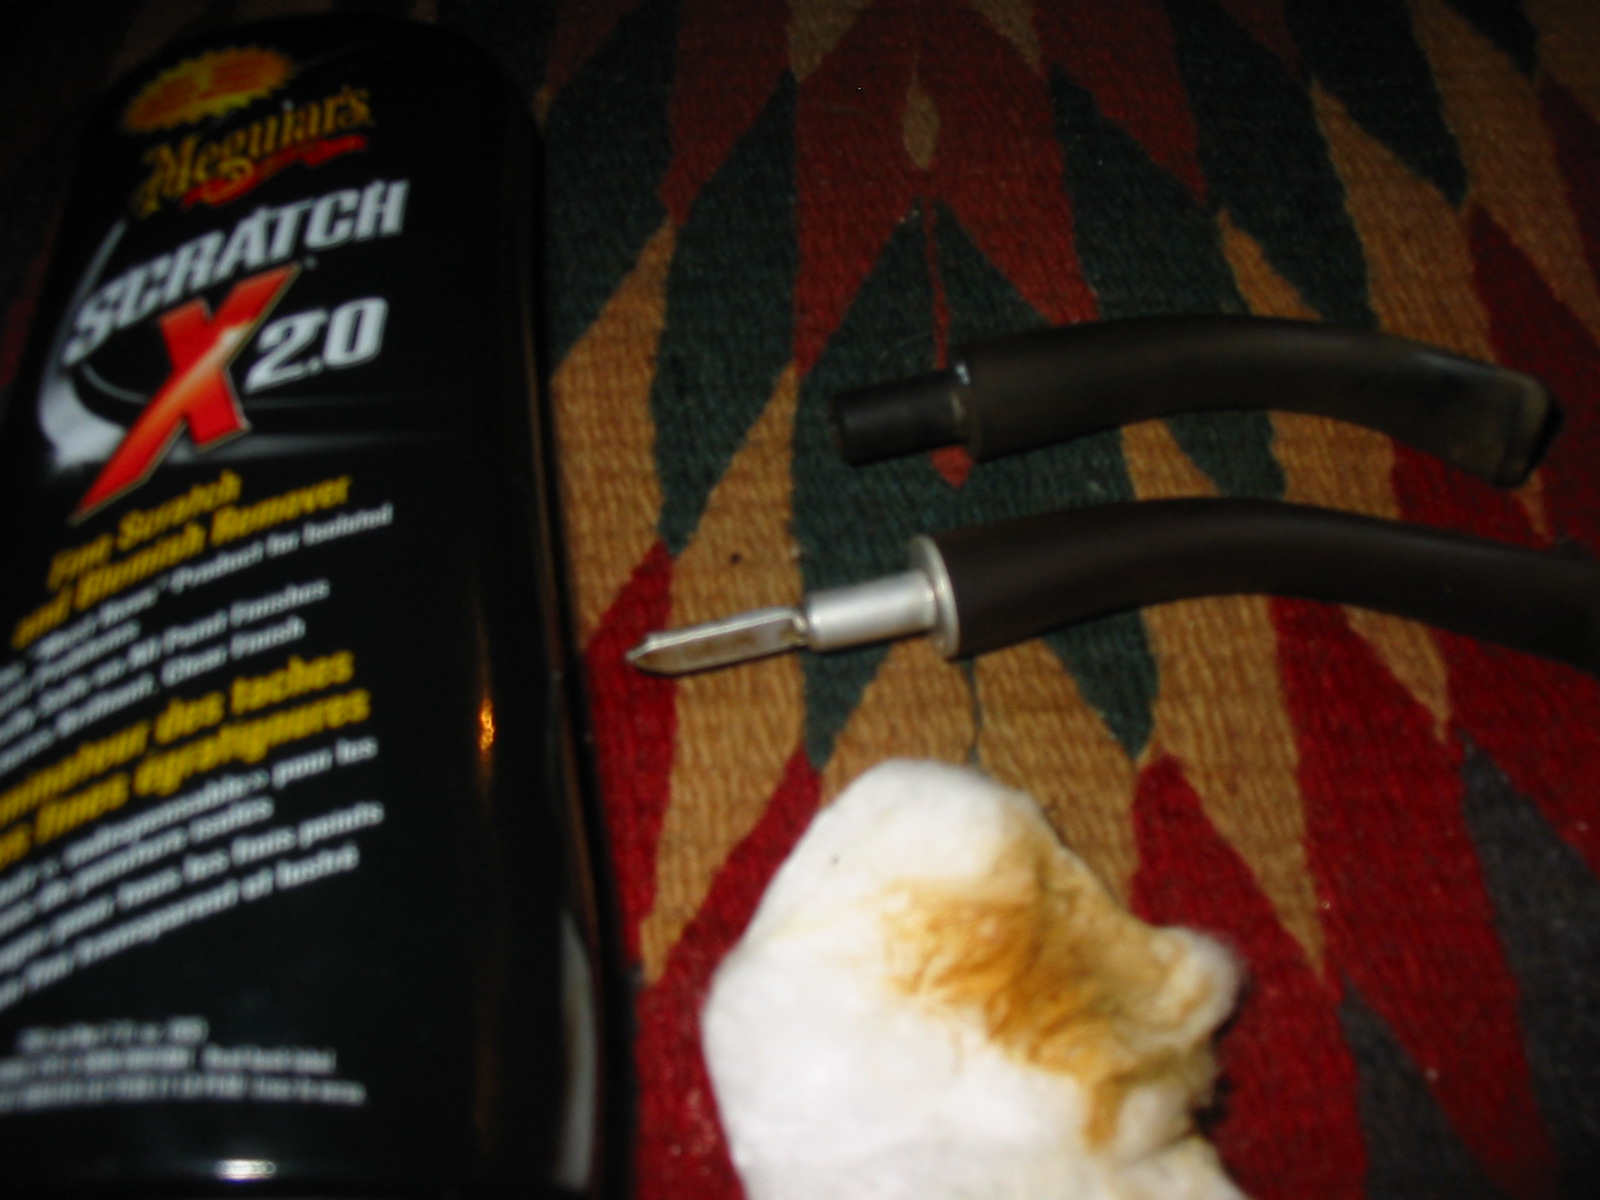
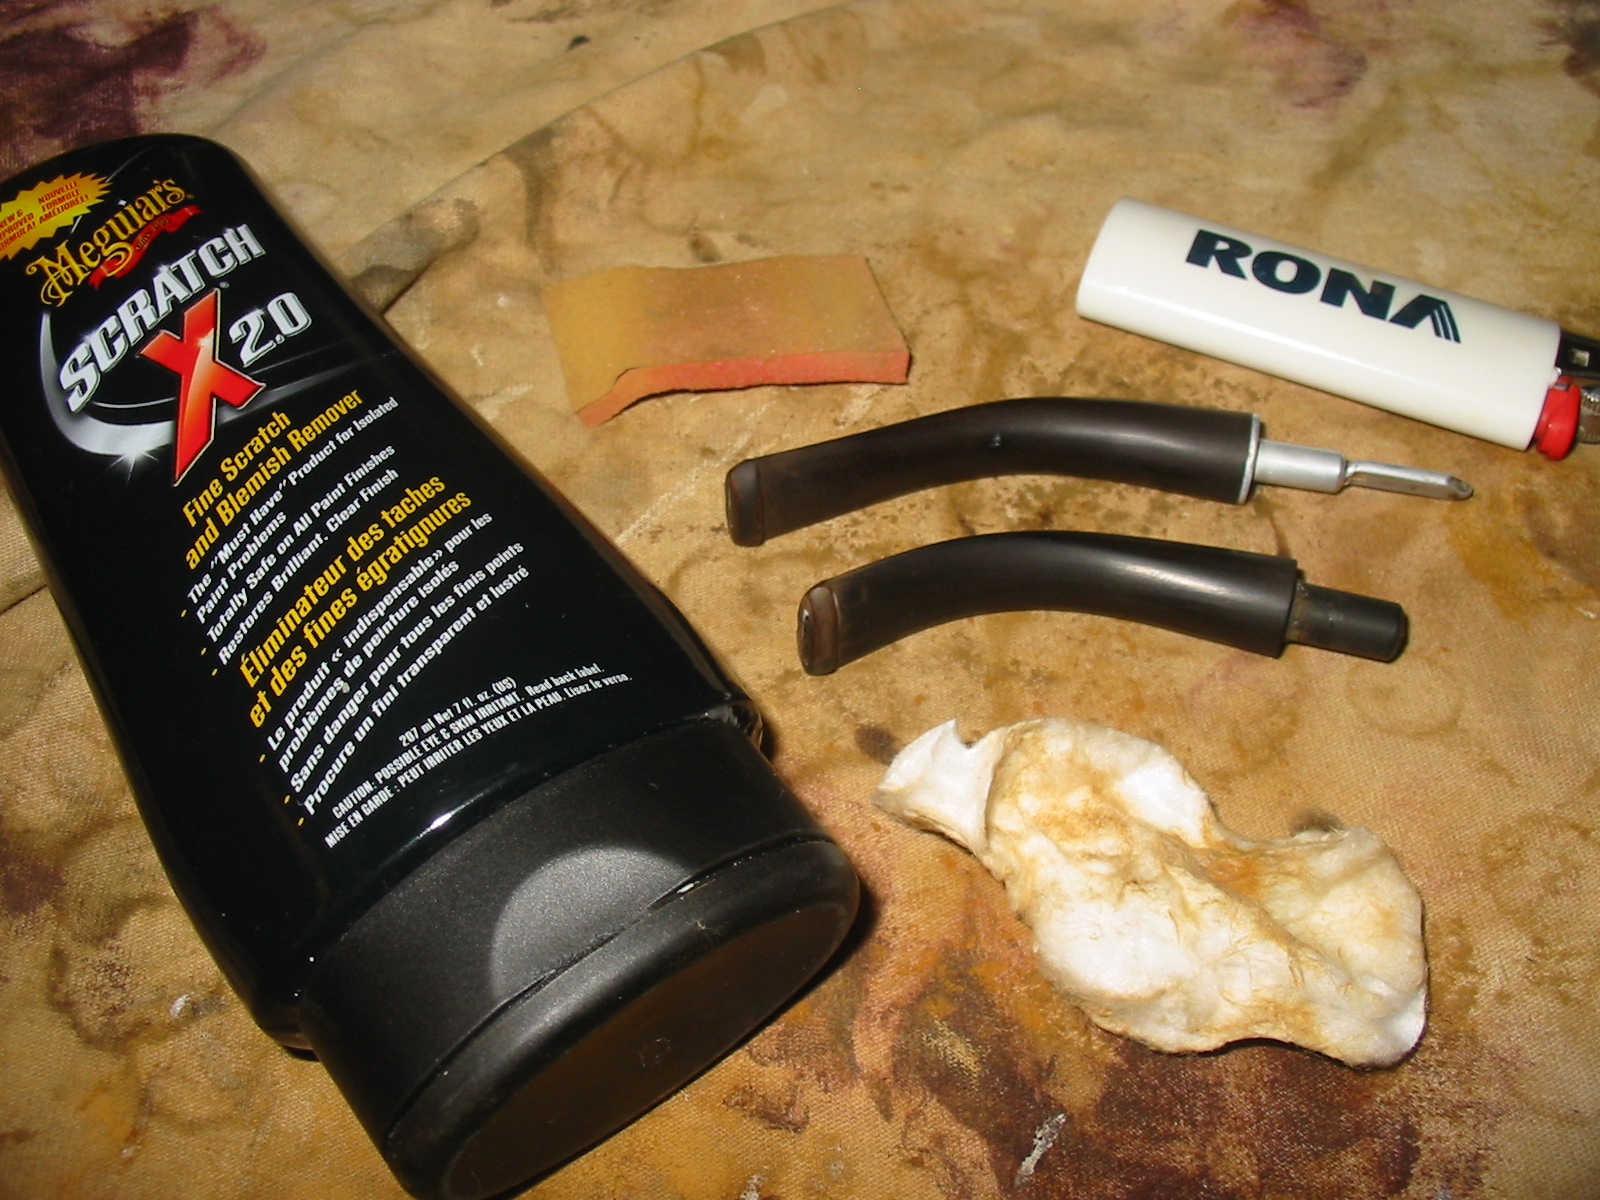
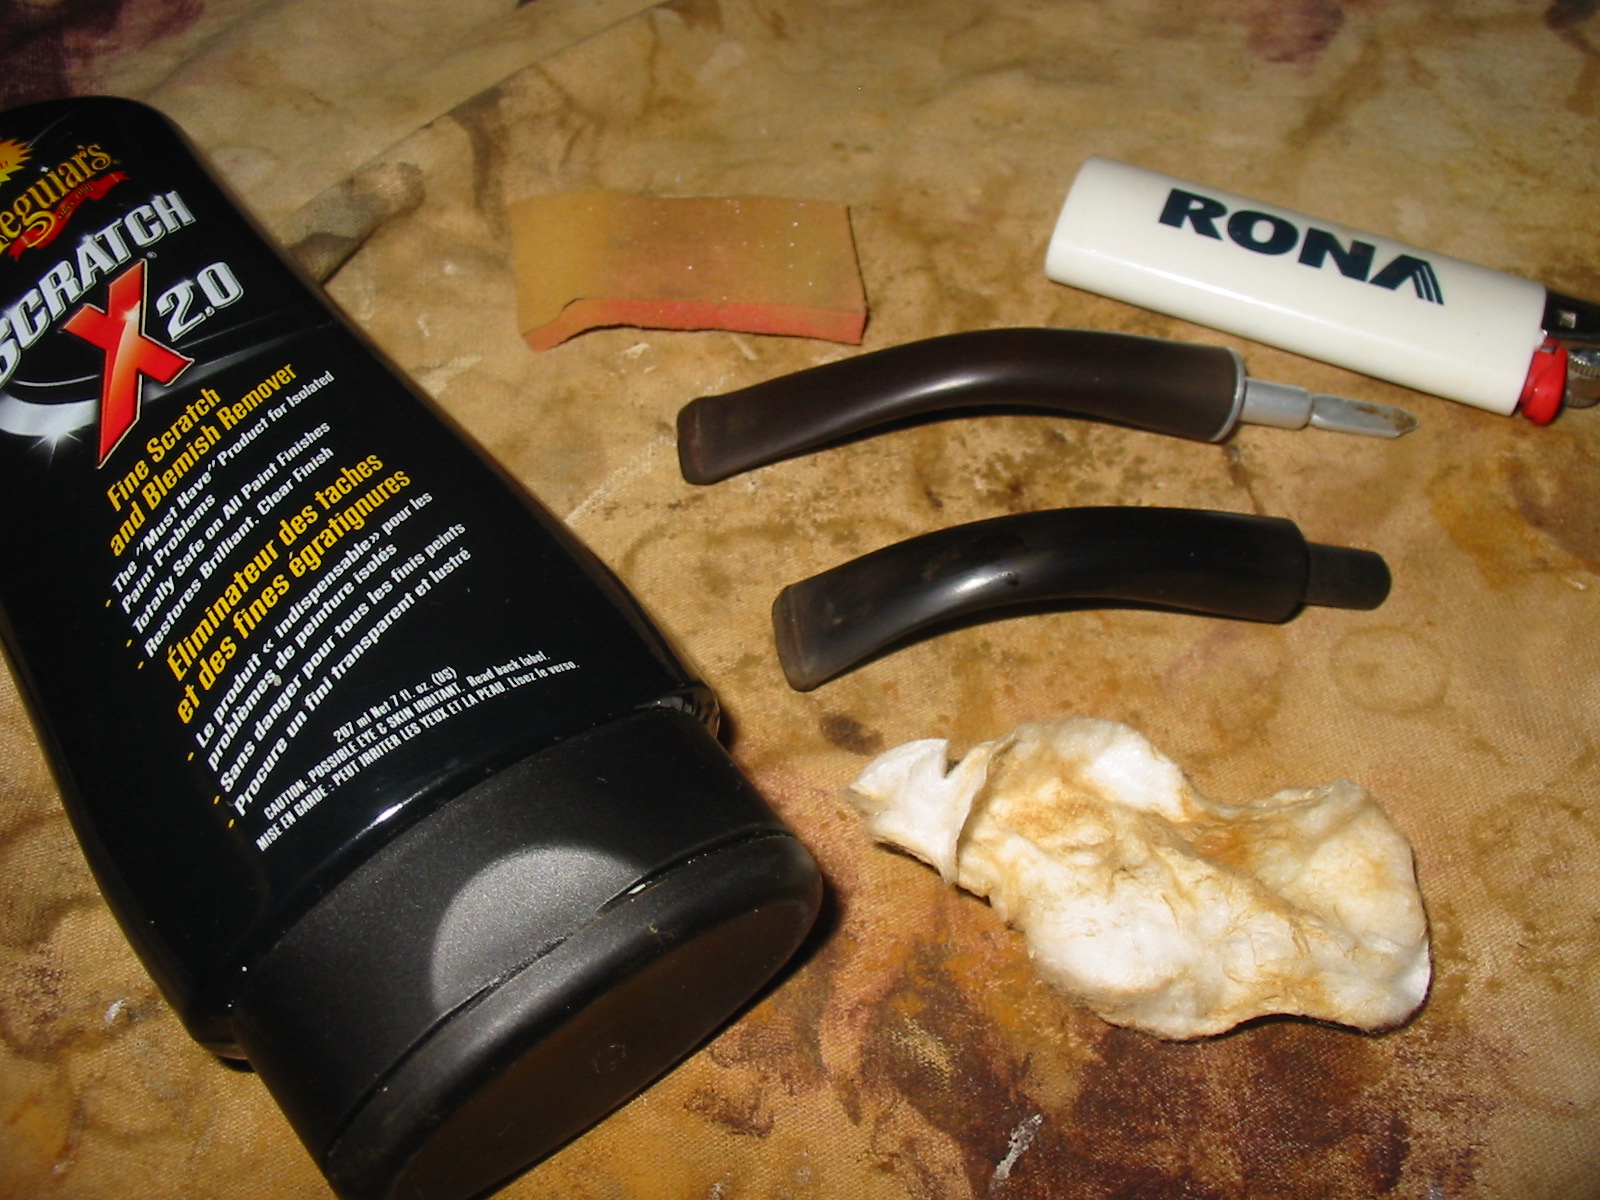
At this point in my process I set the bowls aside and worked on the stems. The first two photos below show what they looked like when I took them out of the Oxyclean bath and dried them off. The oxidation was by no means gone but it had softened considerably and was easier to remove. The four photos that follow show the stem in the process of polishing it with Maguiar’s Scratch X2.0. I applied the scrub by hand and rub it into the stem surface and then wipe it and polish it with a cotton pad. I find on this kind of oxidation it works to remove the surface material that the Oxyclean raised and gives me a clean surface to work on with the micromesh sanding pads. The last two of the four photos show the stems after the polish with the cotton pads.
At this point I reinserted the stems in the bowls and worked on the stems in the bowl with fine grit sanding sponges to remove the remaining oxidation. I then removed them from the bowl and continued sanding them.
The next two photos show the stem after sanding with the sanding sponge and then reapplying the Maguiar’s polish. The remaining oxidation is very clear around the button and at the end of the stem near the tenon. I used the Bic lighter method and ran flame along the surface of the stem from front to back while really working over the button area and the tenon end of the stem with the flame. The idea is to move the flame fairly quickly along the surface of the stem while be careful not to burn or heat the stem too much. It burns off the oxidation and is easier to work with using the micromesh sanding pads afterwards.
After all the preliminary cleaning of the stems and removing the oxidation I worked on the stems with micromesh sanding pads. I wet sanded with 1500-3200 grit micromesh pads. I found that the water gives the pads a bit of bite in the sanding process. I have a small cup of water that I dip the edge of the pad in when sanding. I then finished by dry sanding with 4000-12,000 grit micromesh pads. I then polished it a last time with Maguiar’s Scratch X2.0 and then coated the stem with Obsidian Oil and finally multiple coats of carnauba wax.


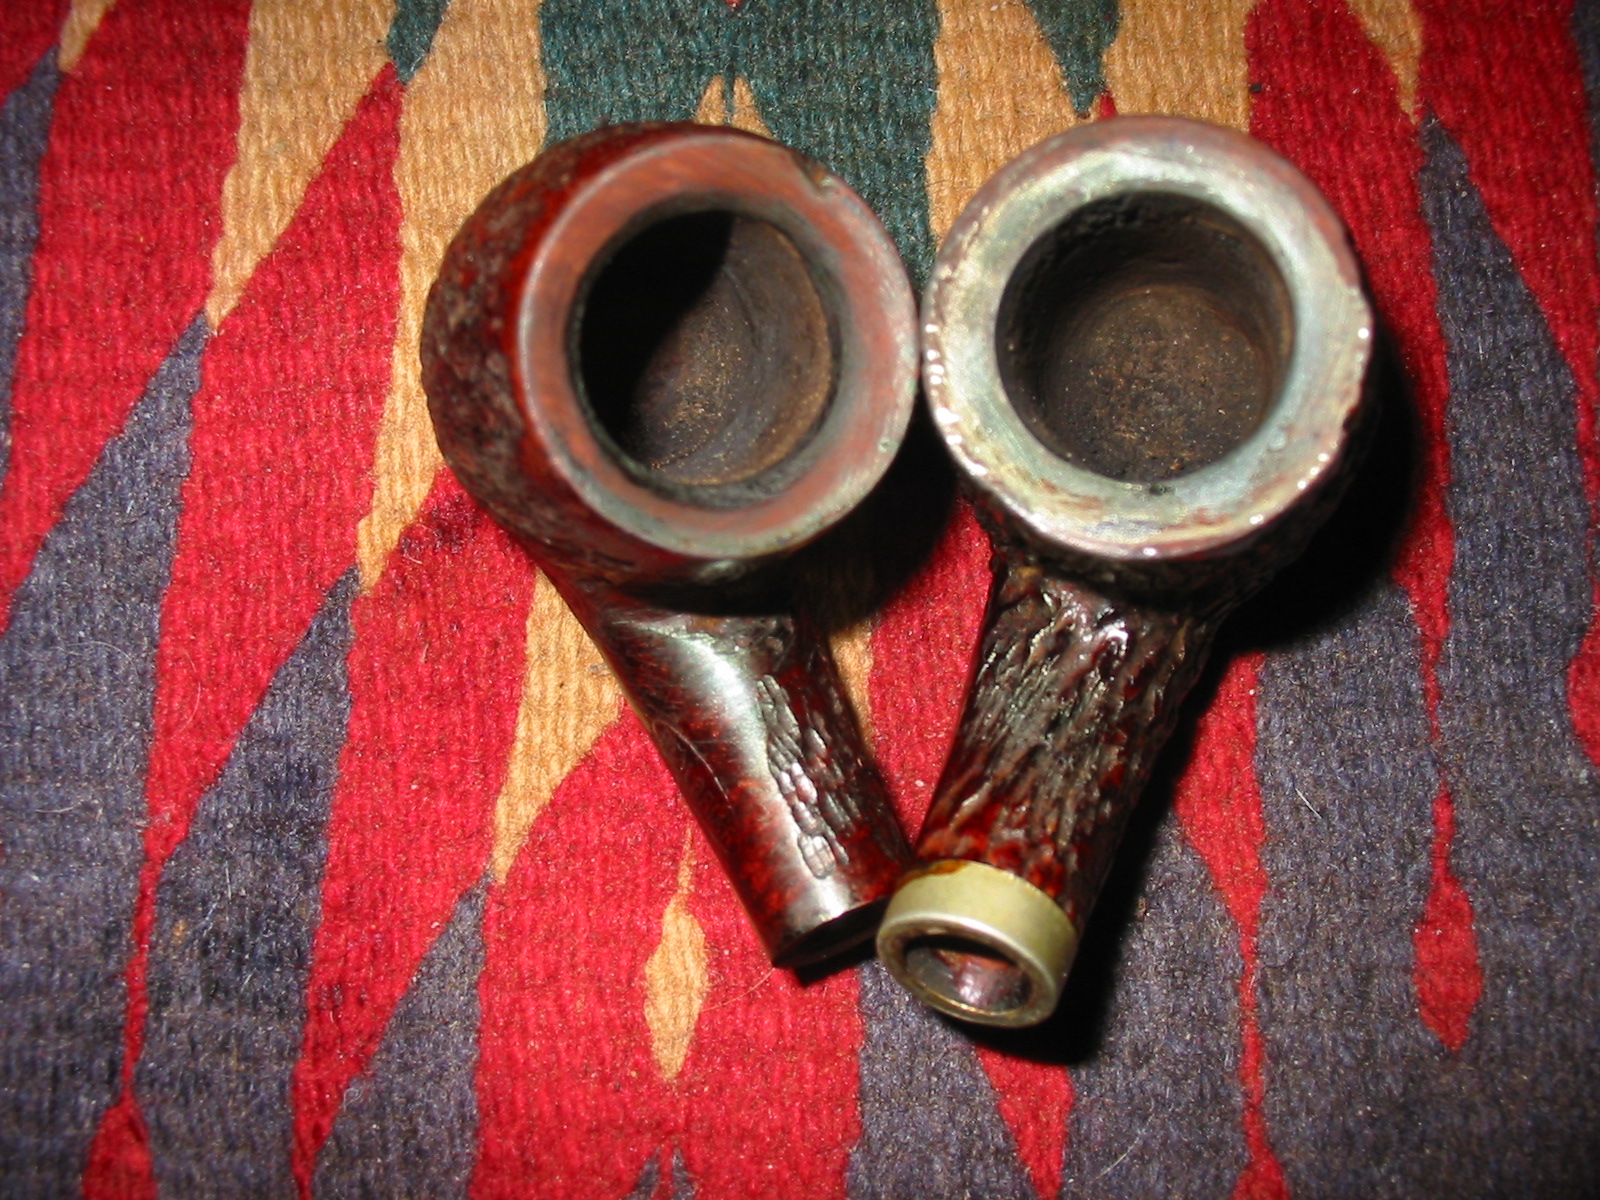
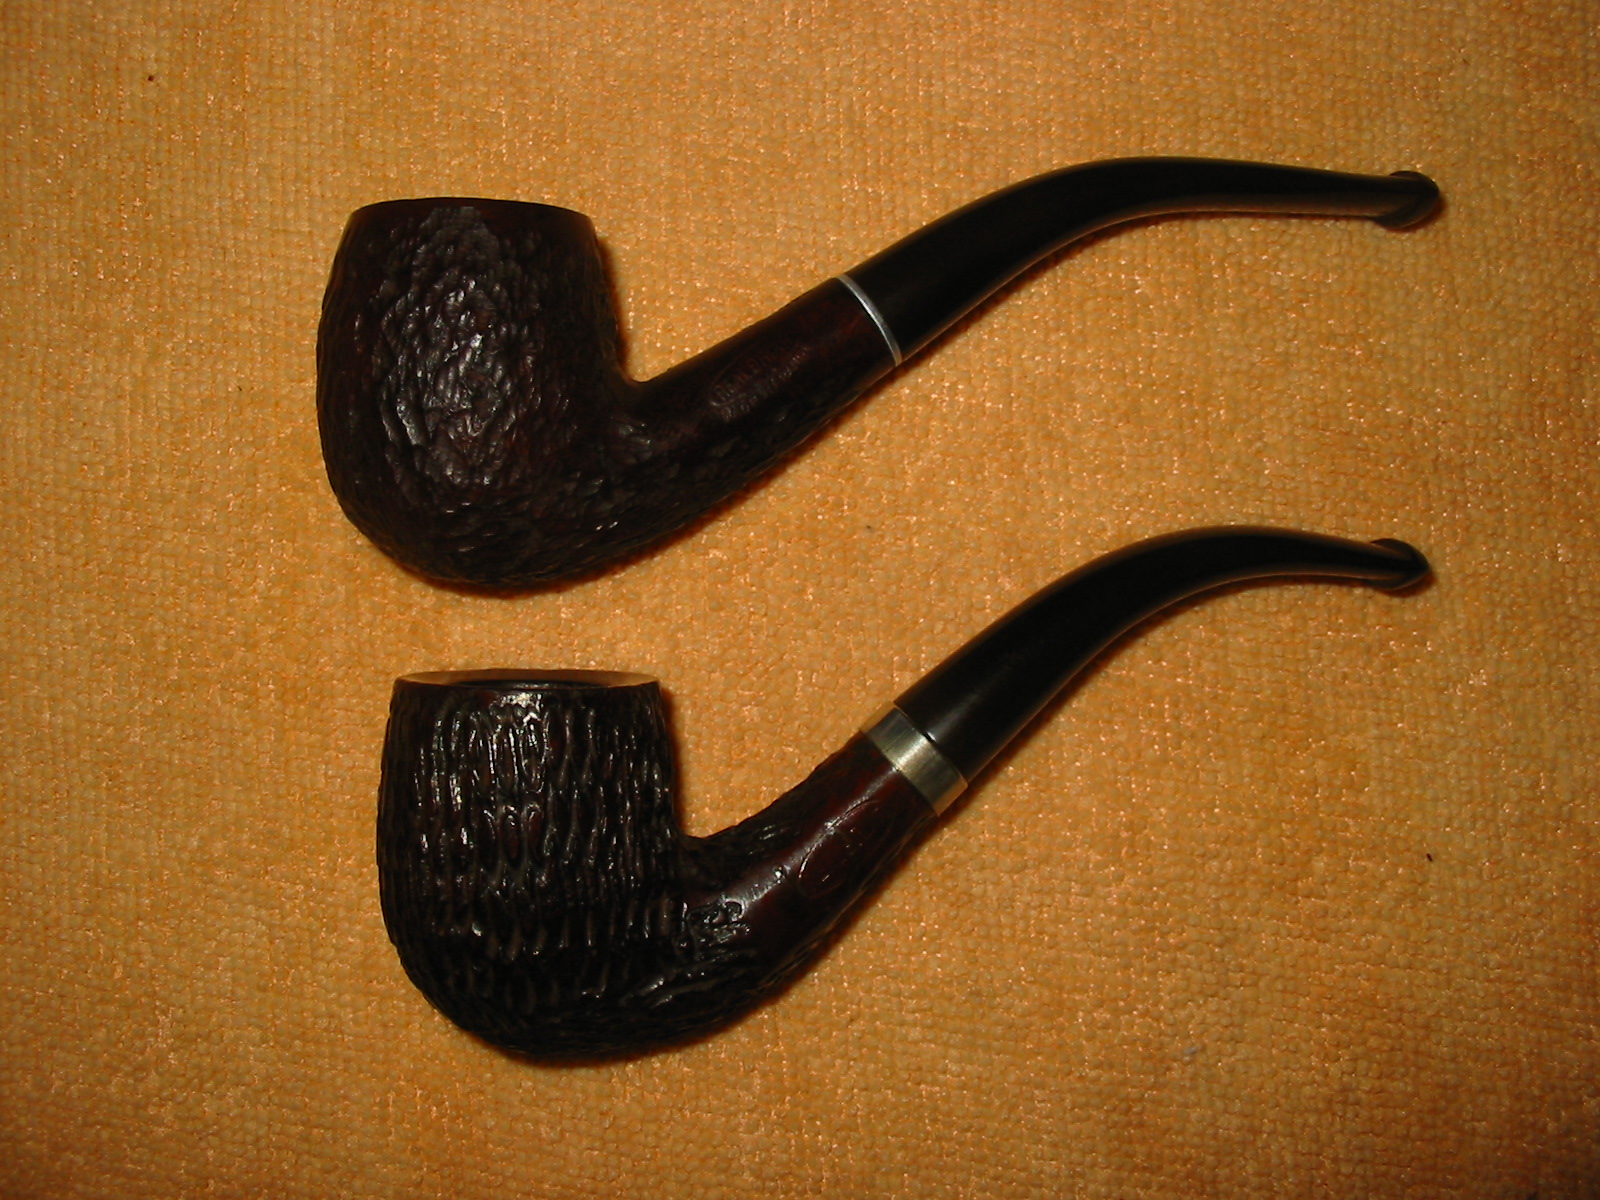
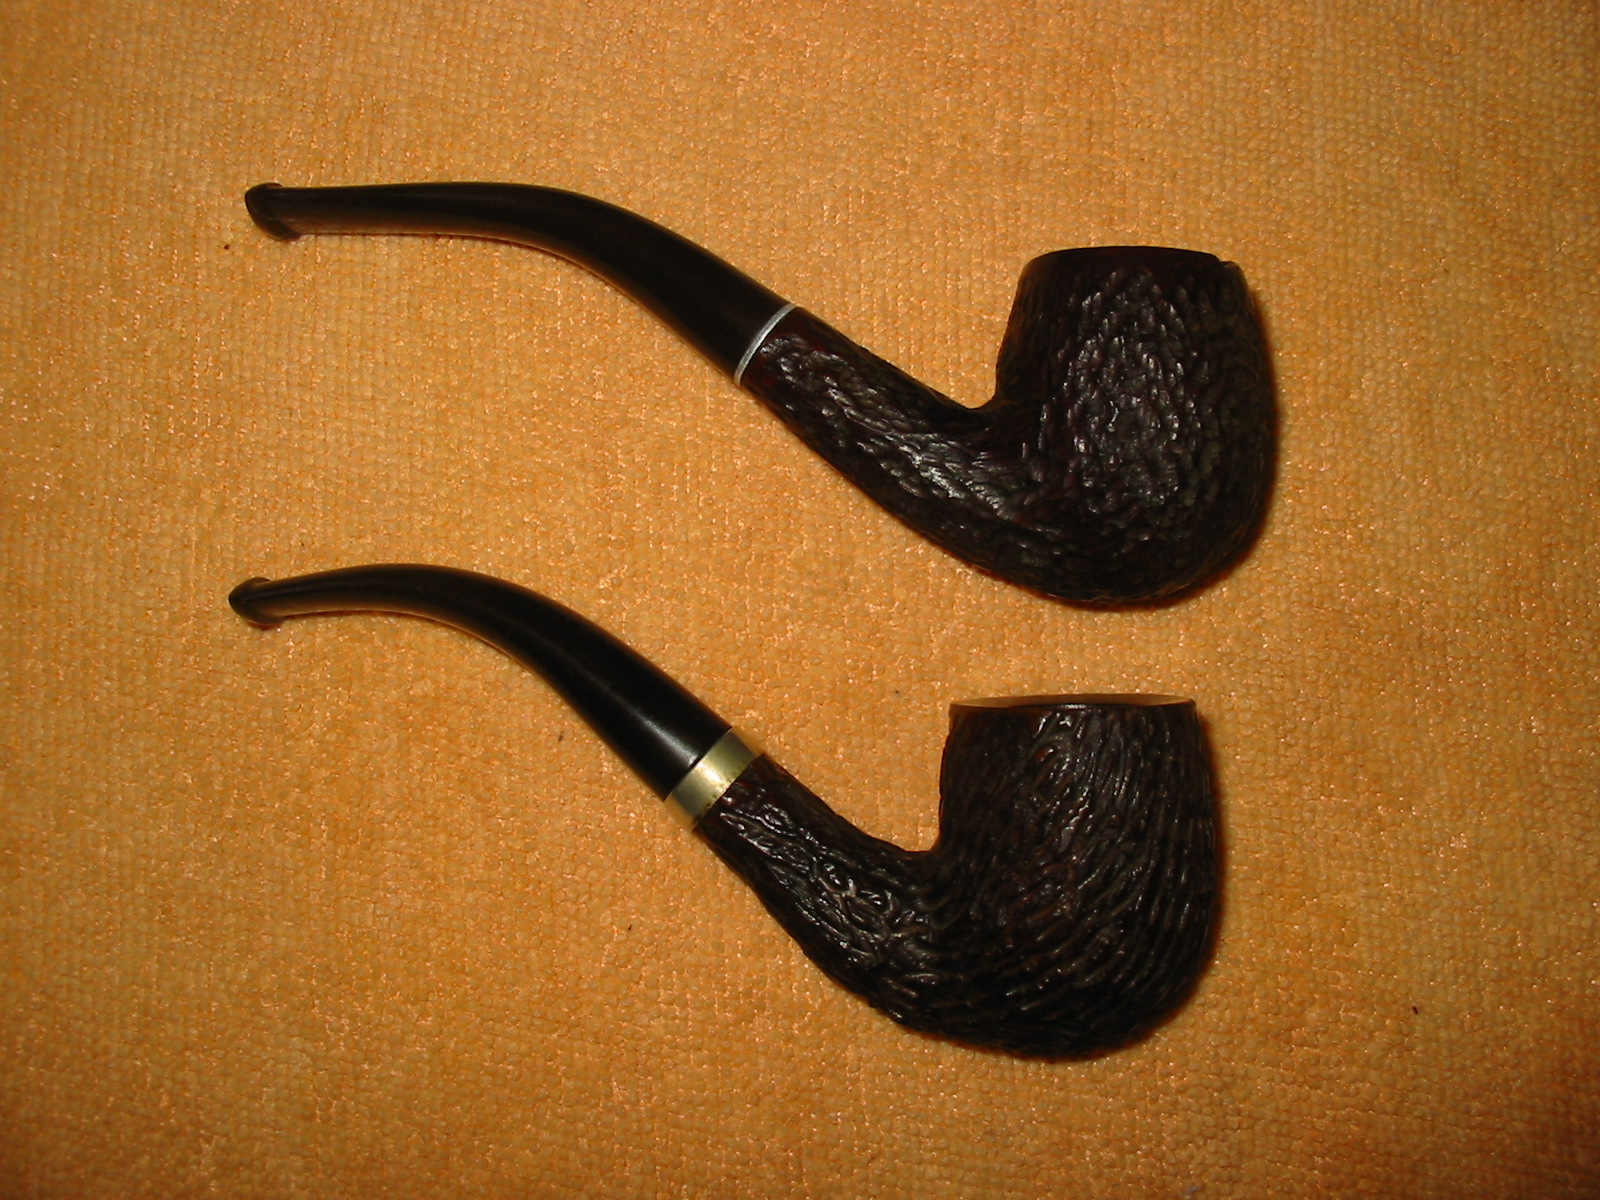
The final series of six photos shows the finished pair of Real Briar Pipes. I polished the silver band with some silver polish before giving them all a quick buff with carnauba wax and a soft flannel buff for polishing. Both pipes are cleaned, polished and ready to smoke.


")
")
")

")
")
