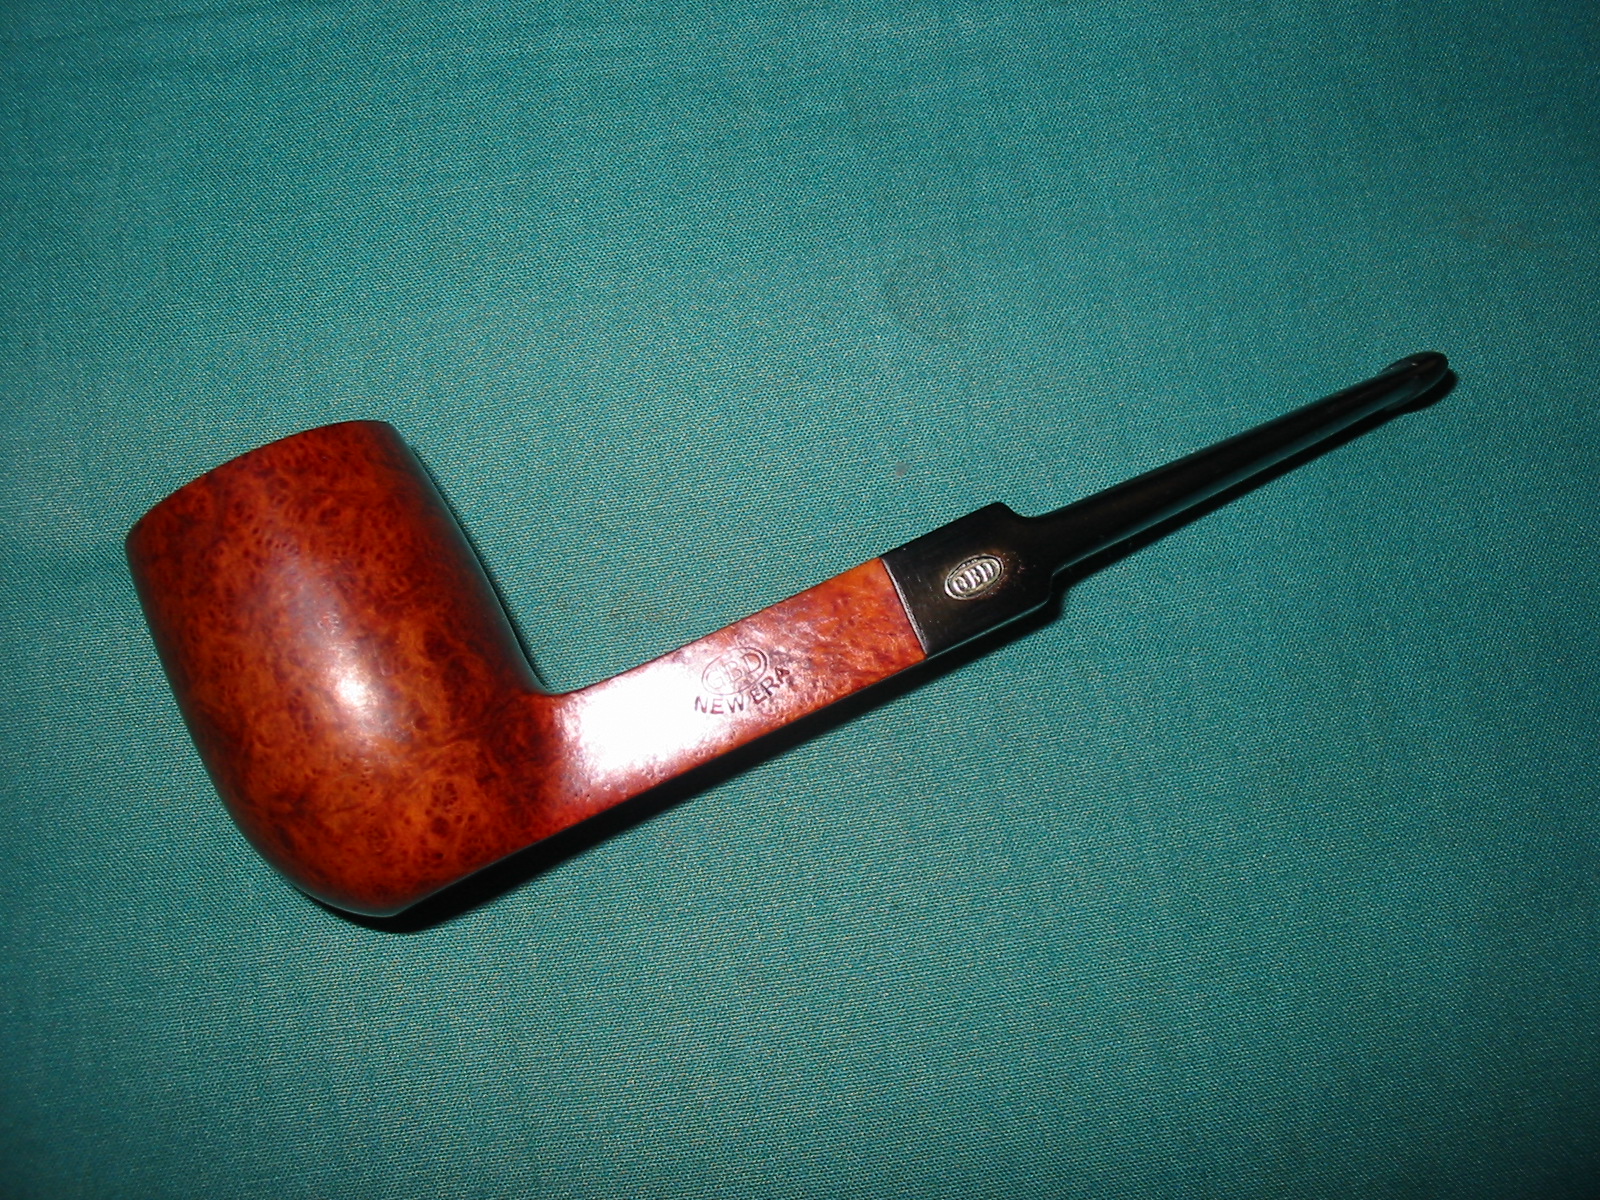
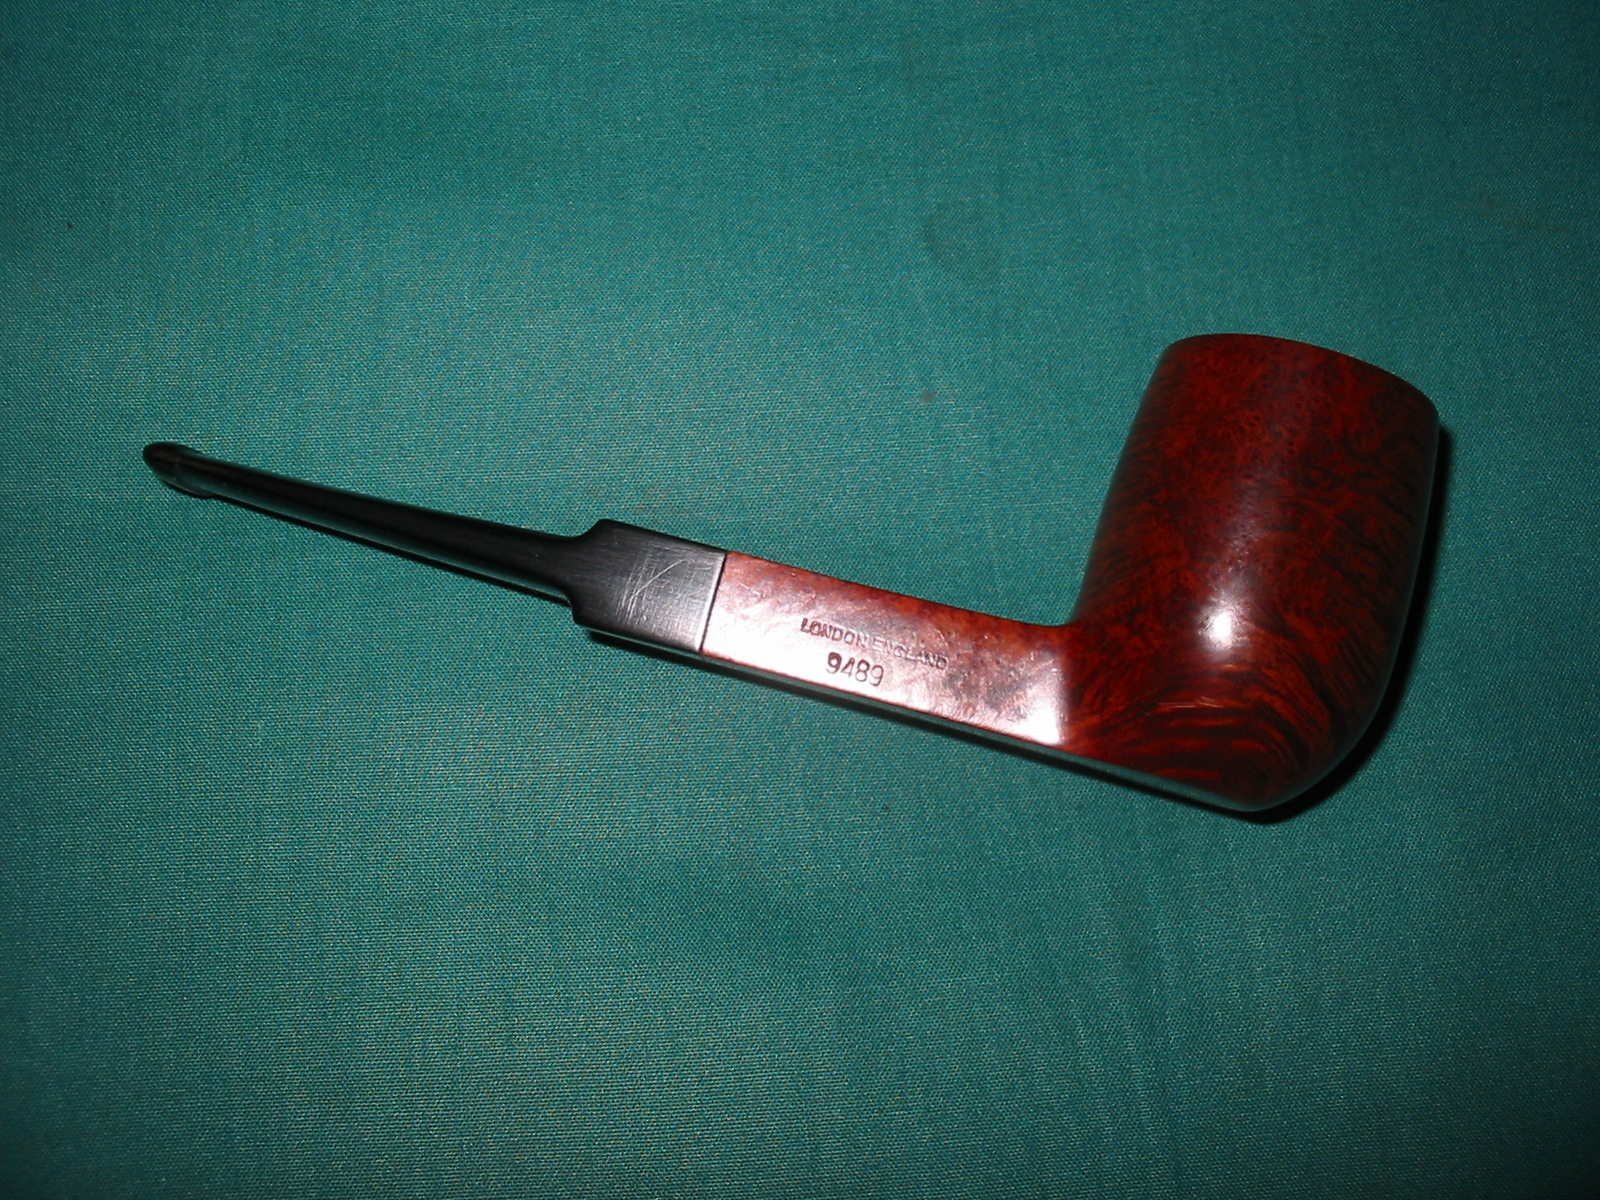
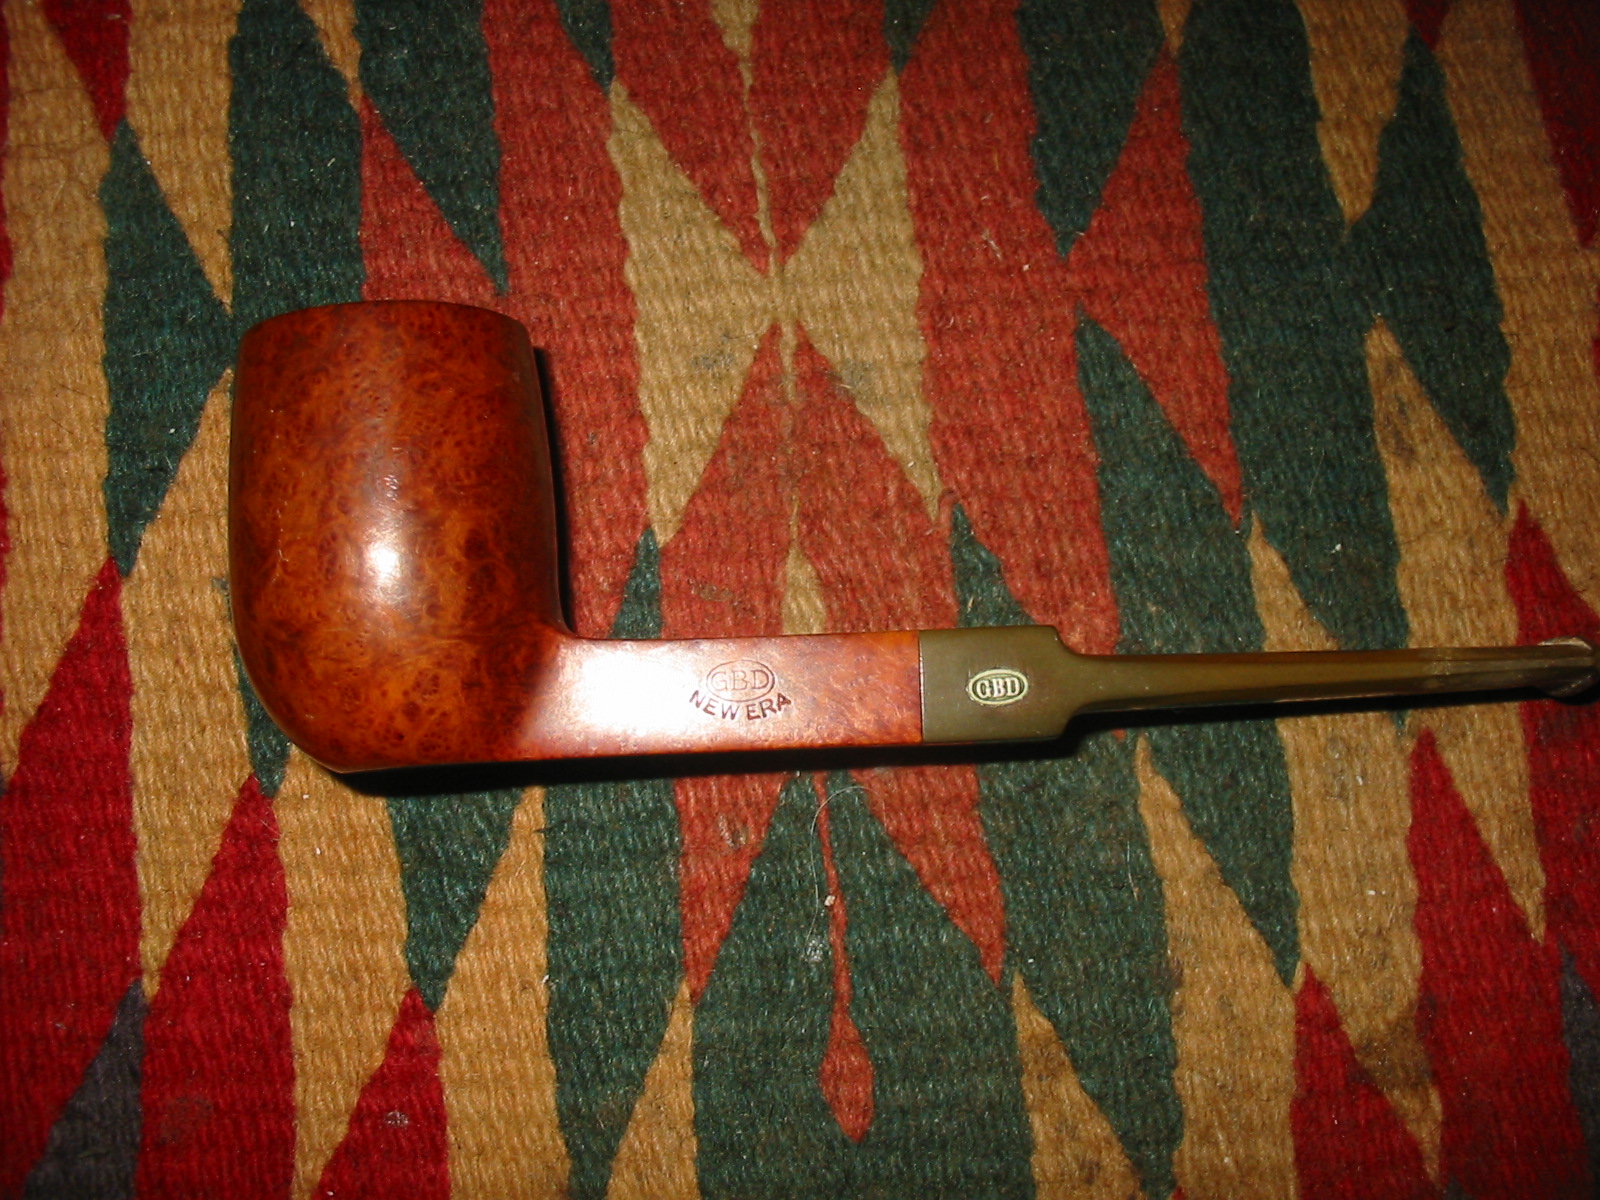
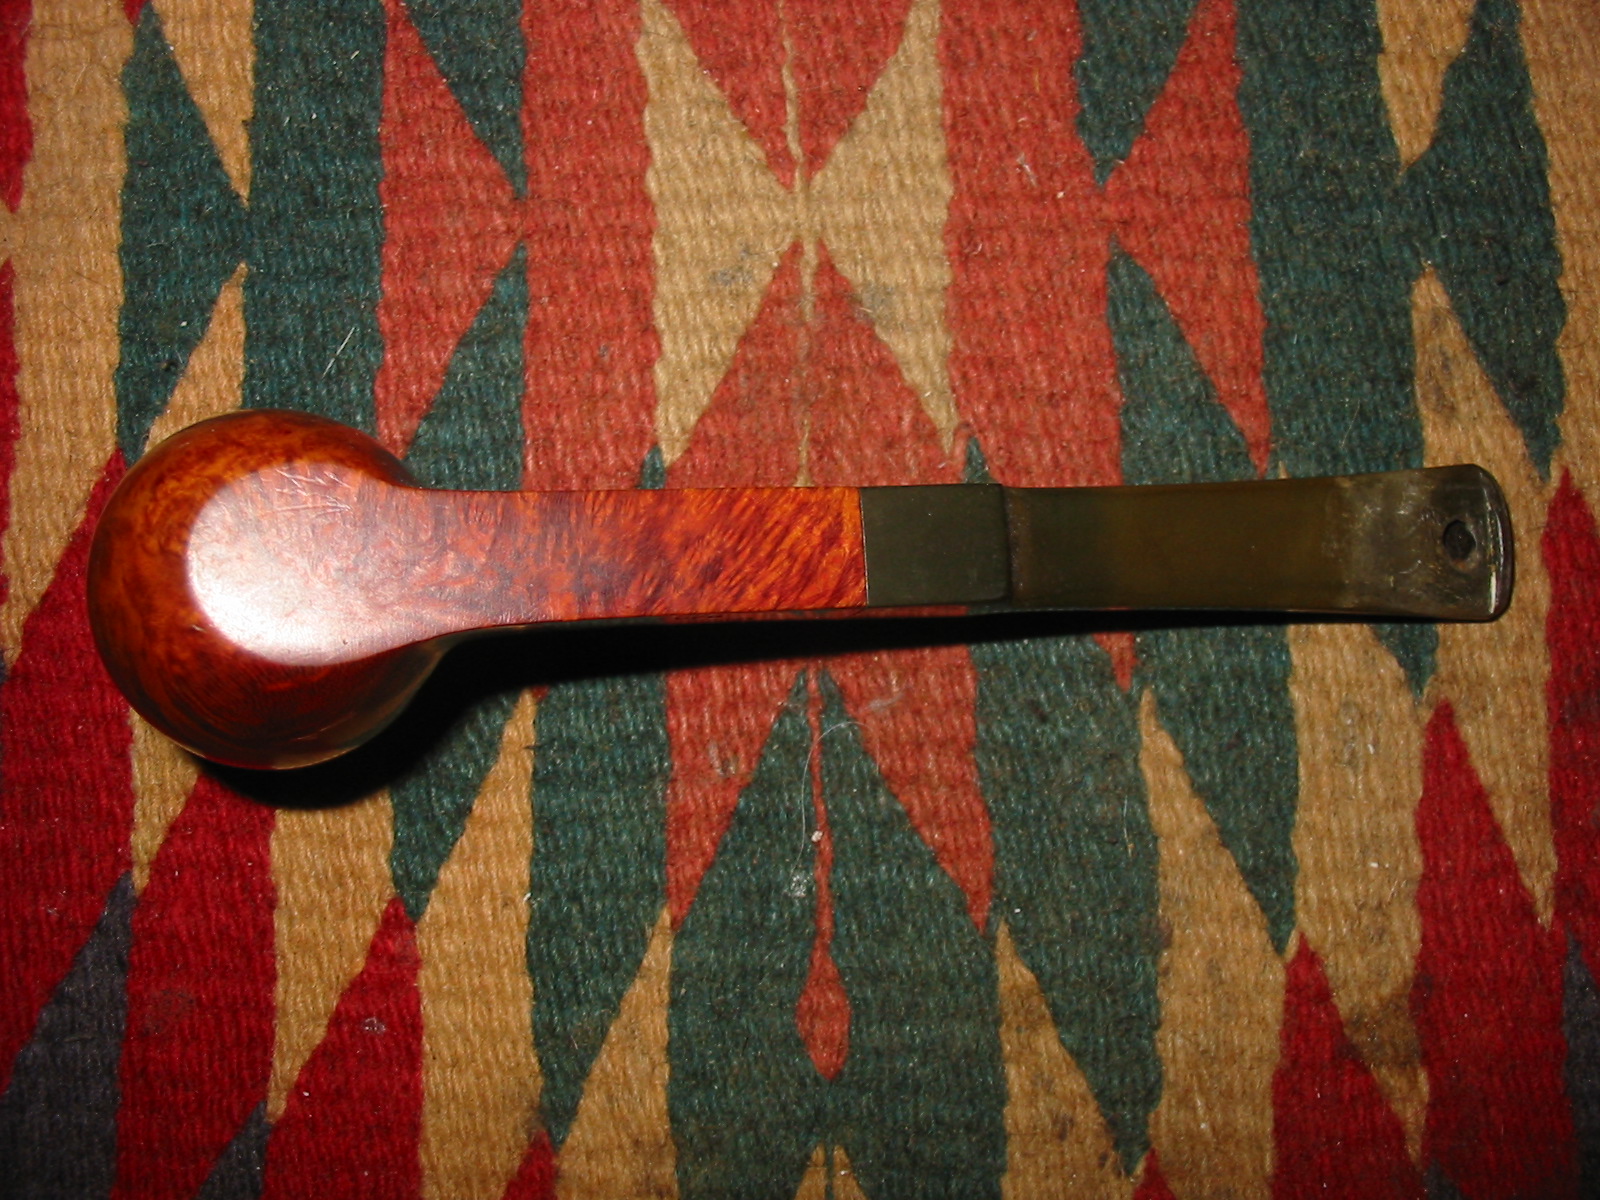
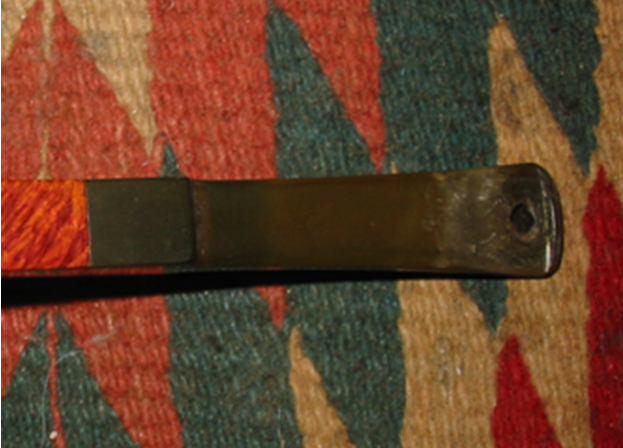
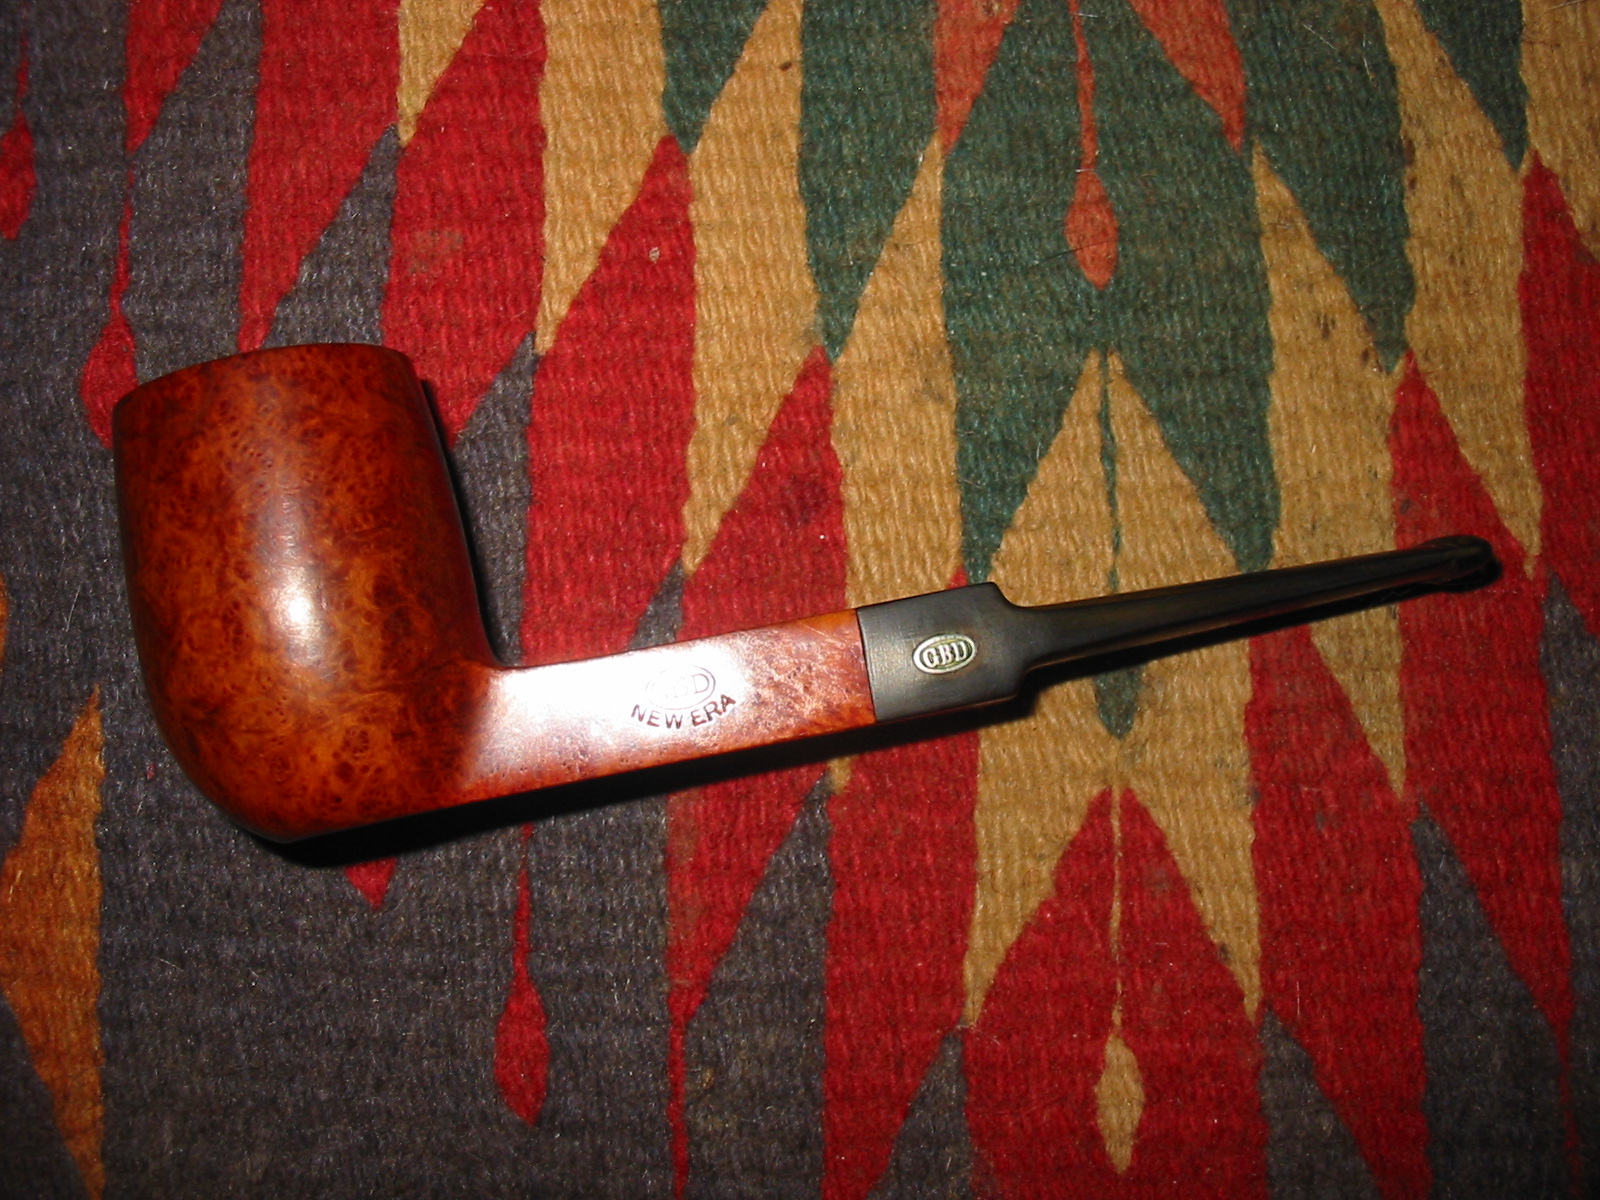
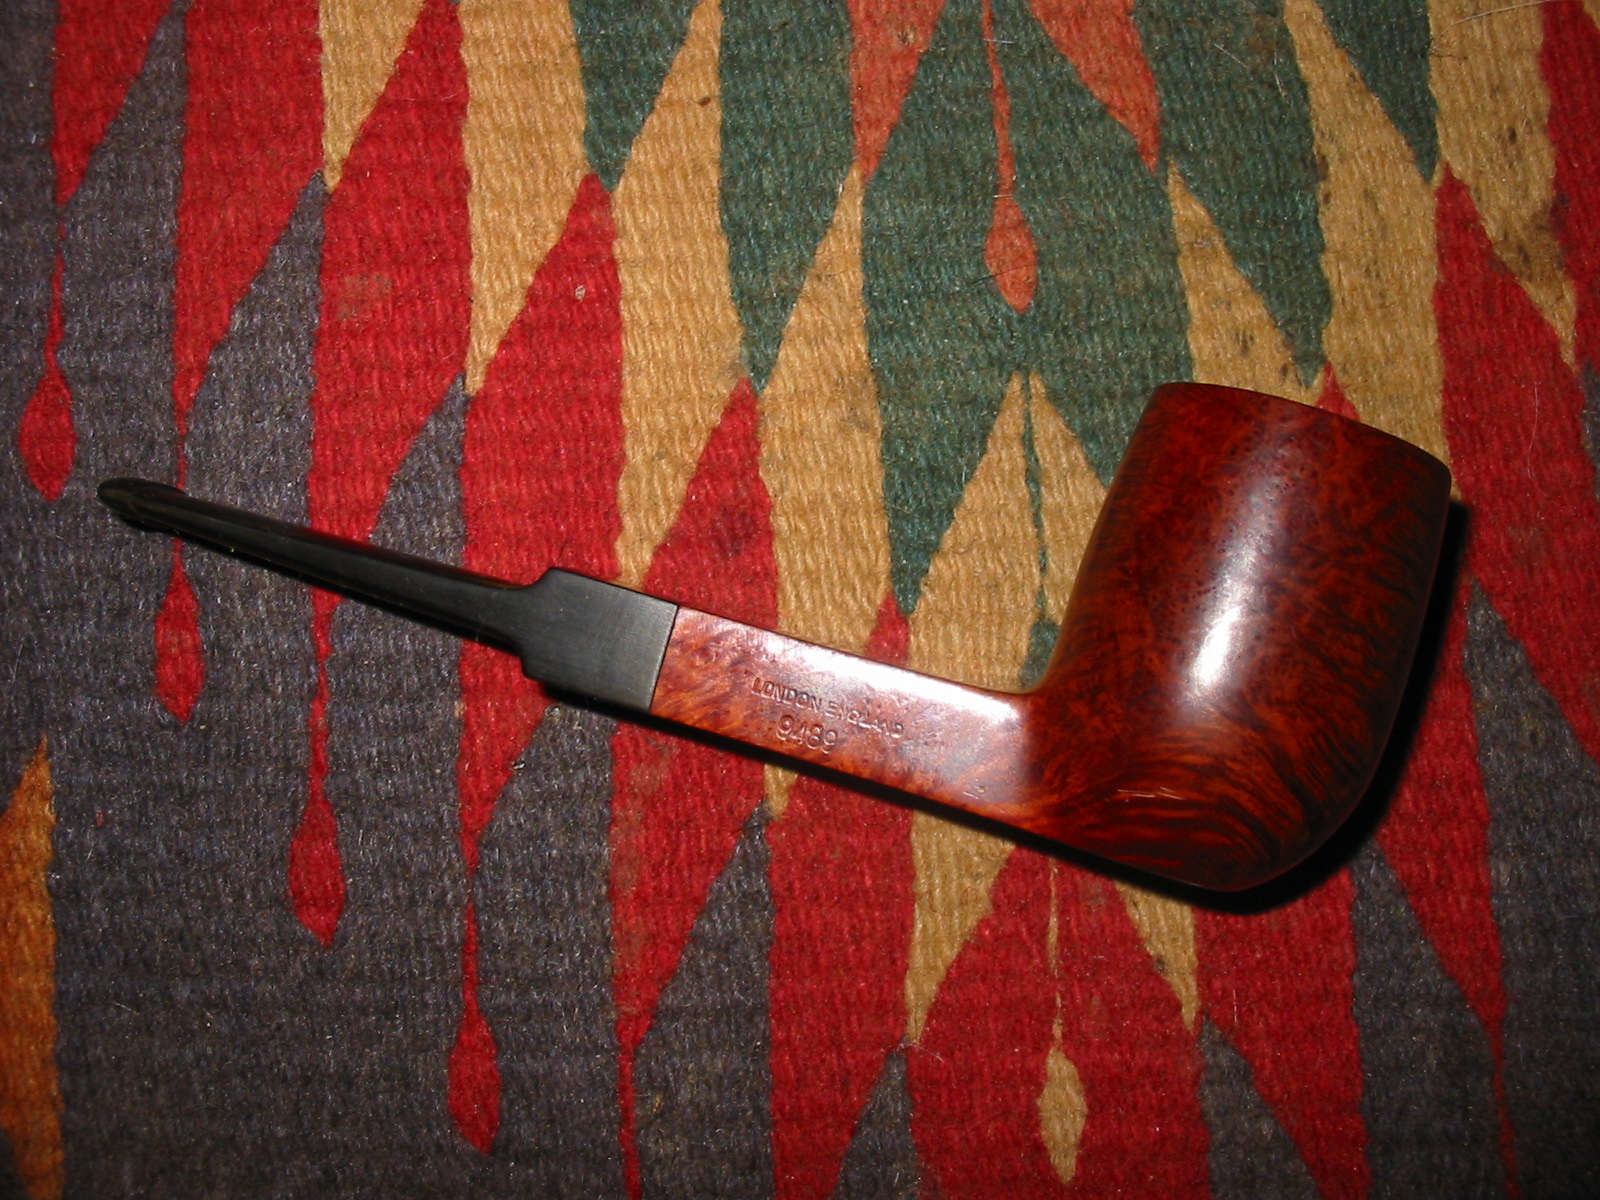
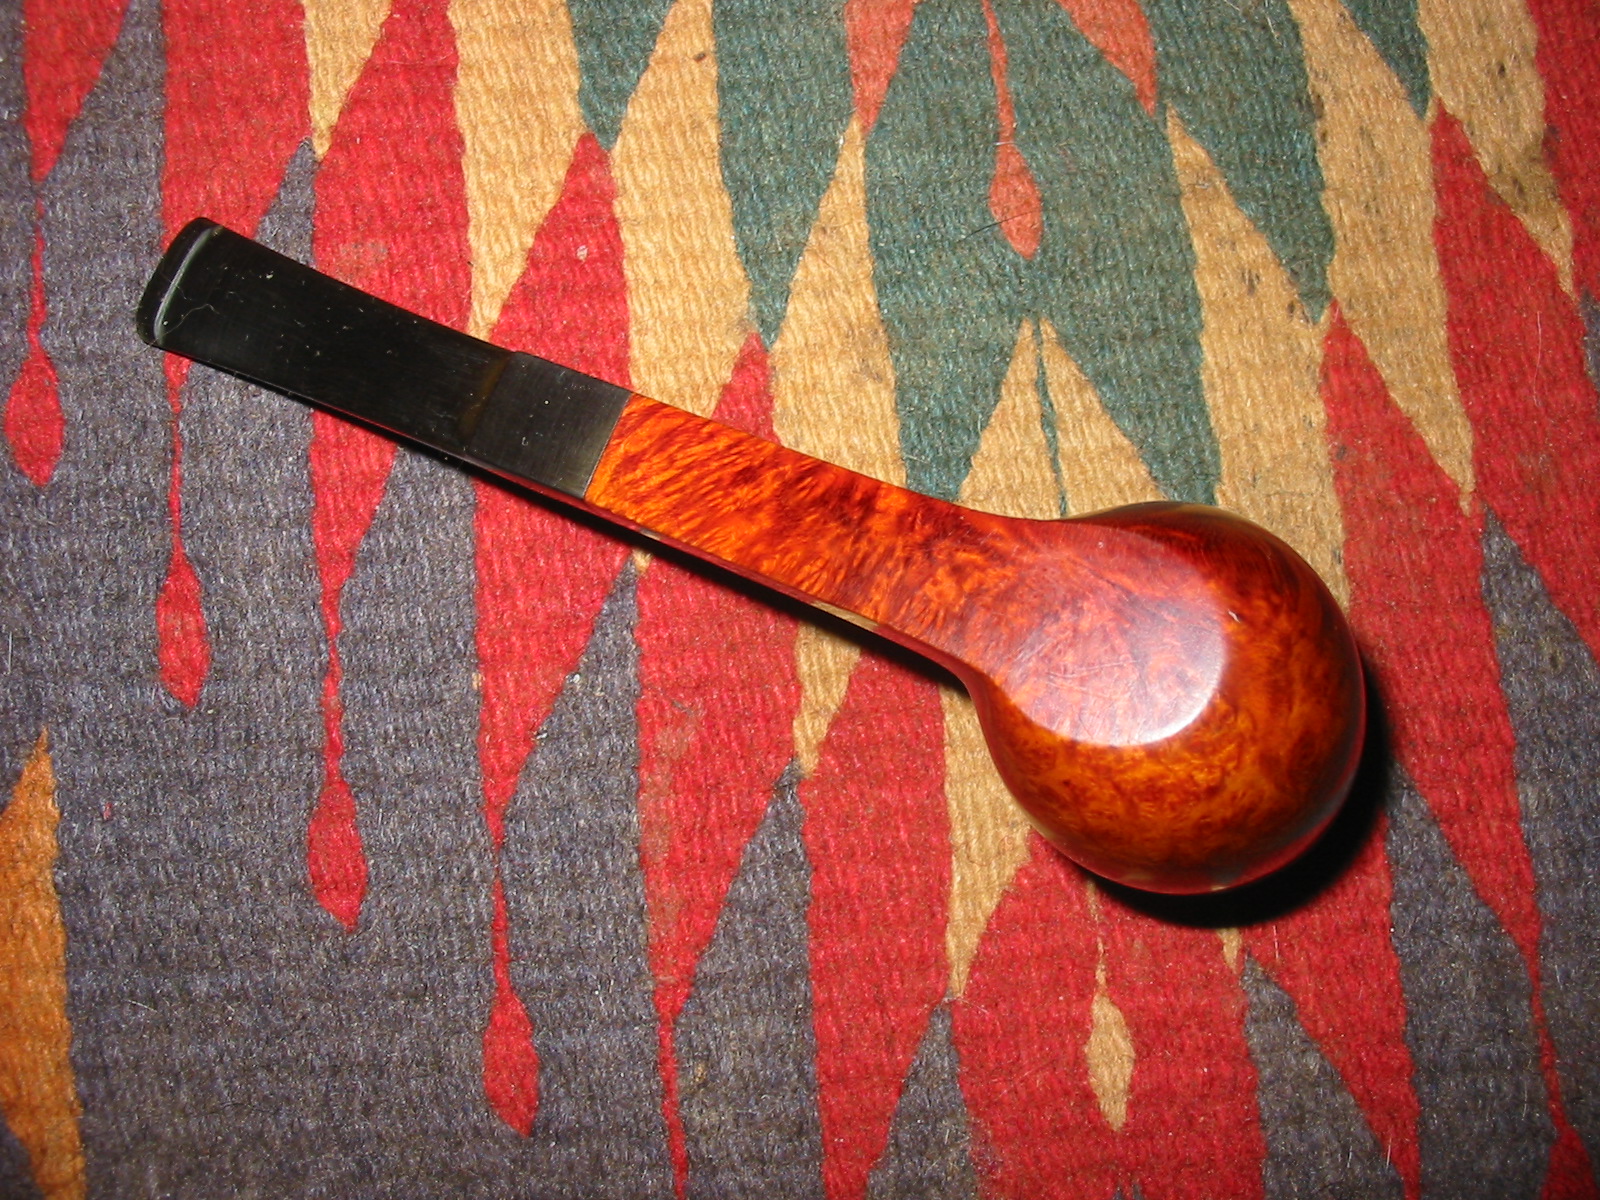
I am generally not a fan of square shanked pipes. I am not sure why but there is just something about them that has never caught my eye… that is until I saw this GBD New Era Billiard. It has stunning grain – cross grain on the back of the bowl and the top and bottom of the shank and the bowl. There is also some cross grain off centre on the front of the bowl. The left side has stunning birdseye and the same is also true on the right side of the bowl. The rim of the bowl is beveled inward and is also cross grain. The finish on the bowl was in excellent shape other than a heavy build up on the rim of tars and carbon. The stem was long, oxidized and had a huge bite through on the underside of the stem. It is stamped GBD in an oval over an arced New Era on the left side of the shank and London England over 9489 on the right side.
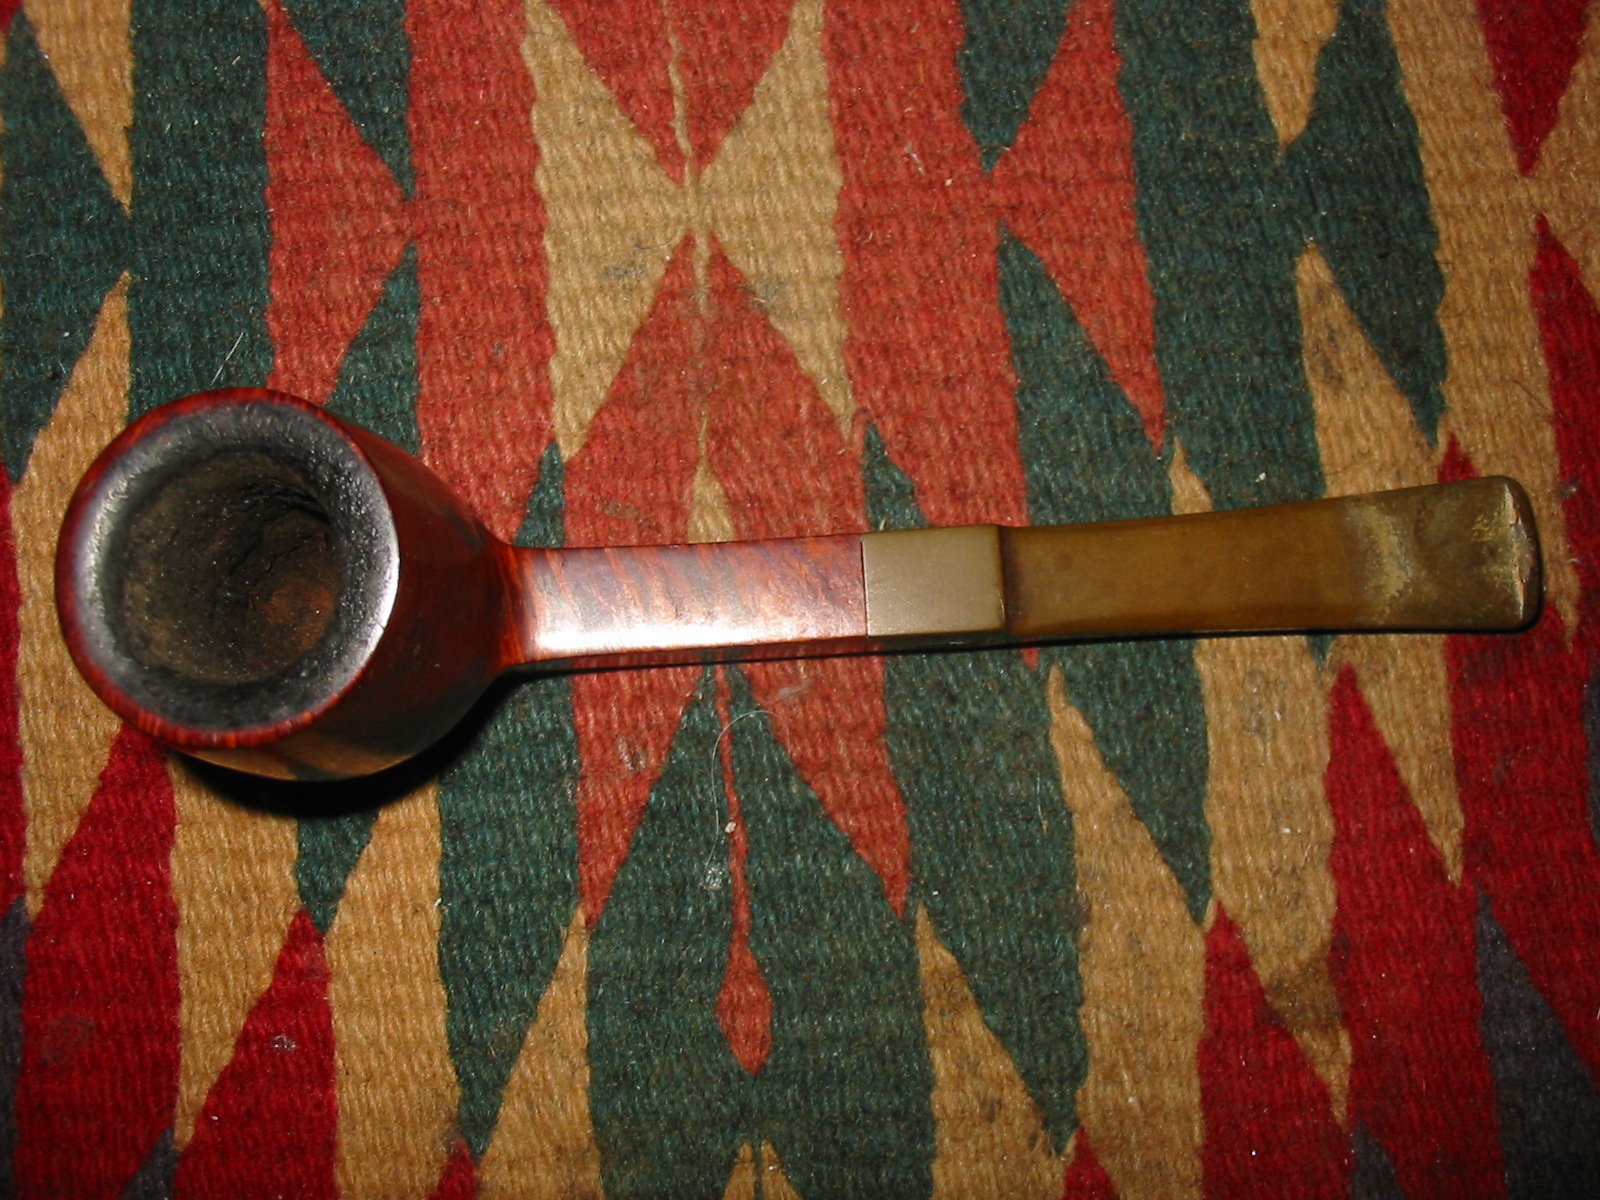
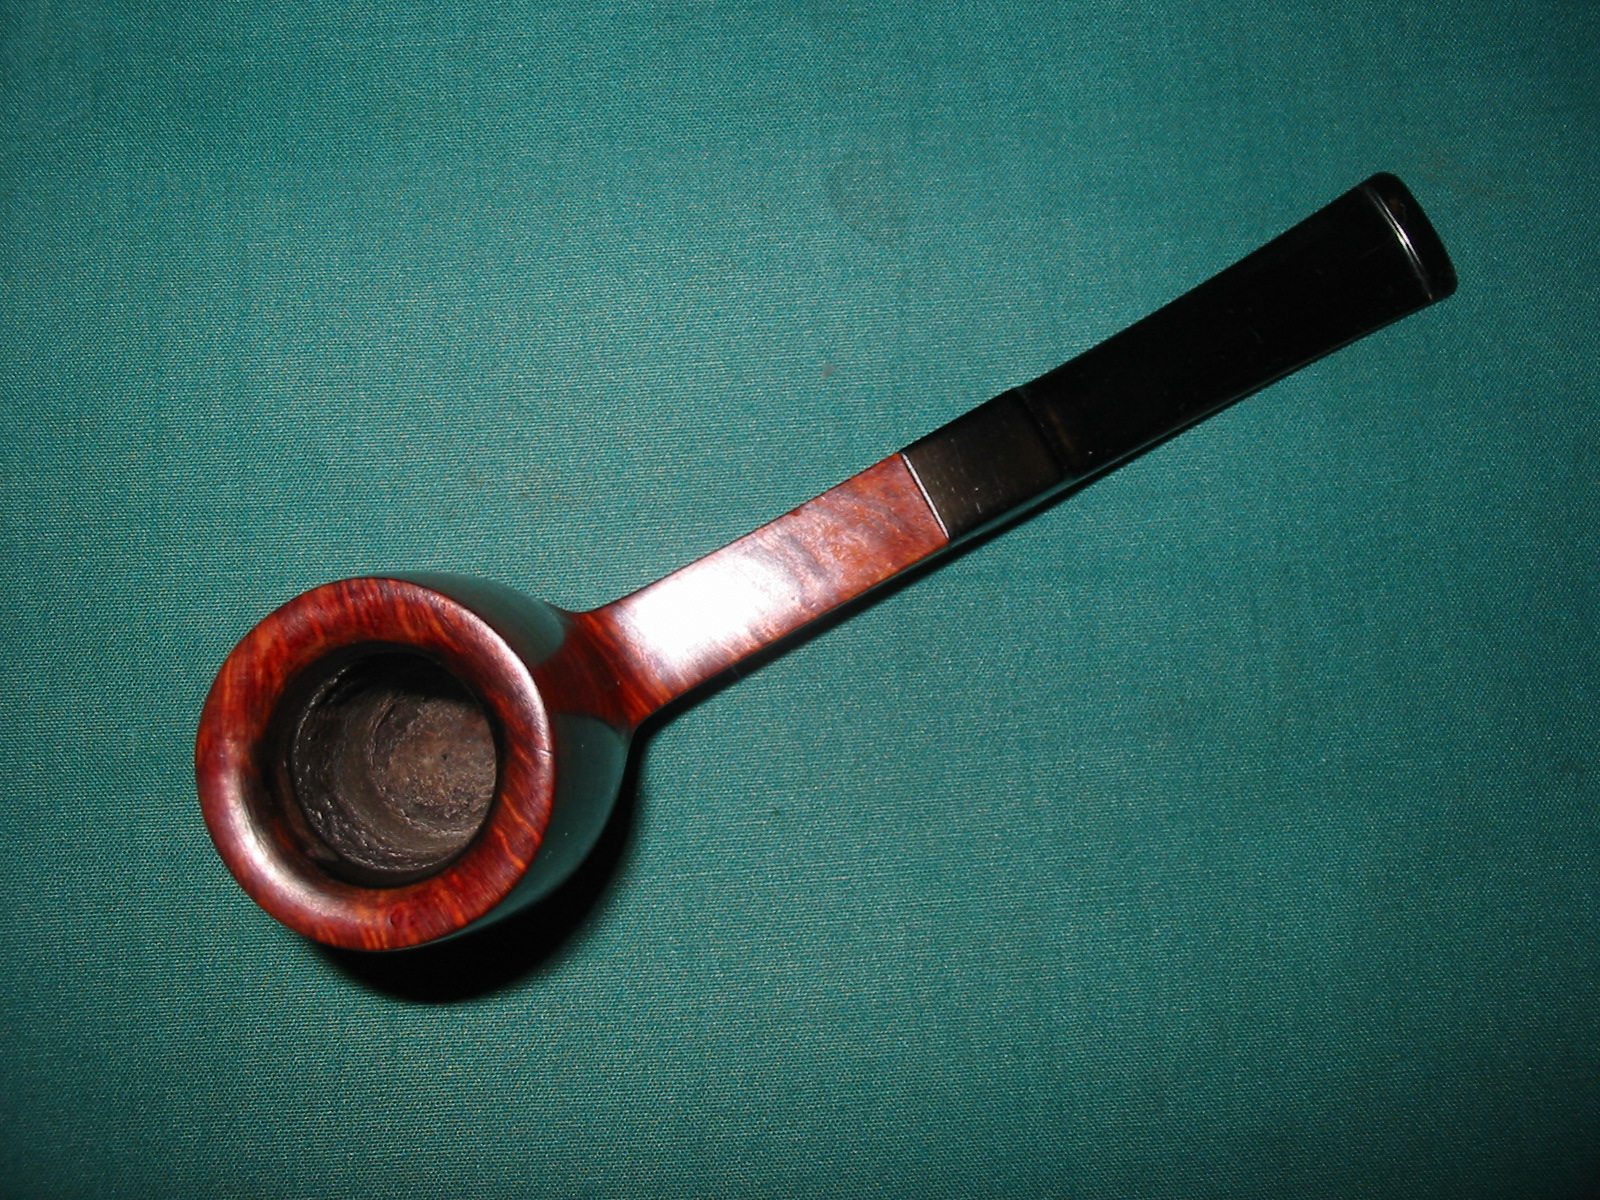
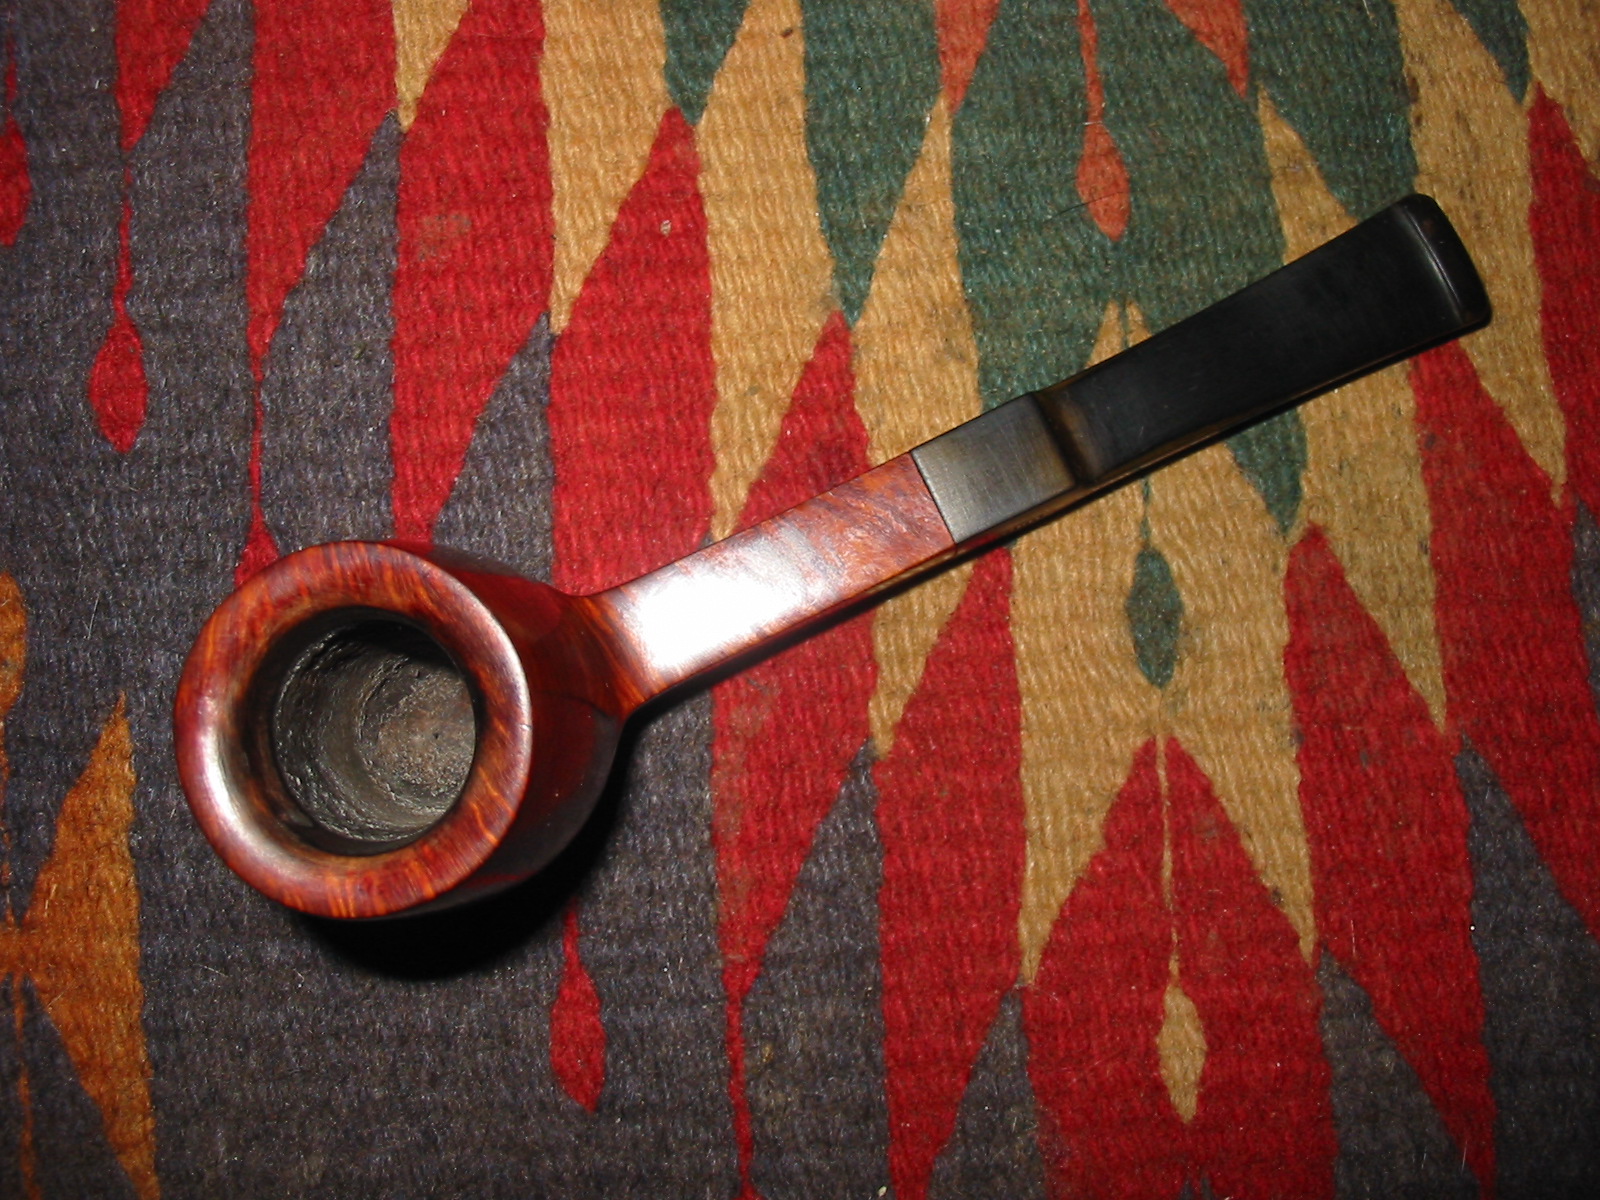
I have included the photo below of the underside of the stem. The size of the hole made it unpatchable with my usual methods.
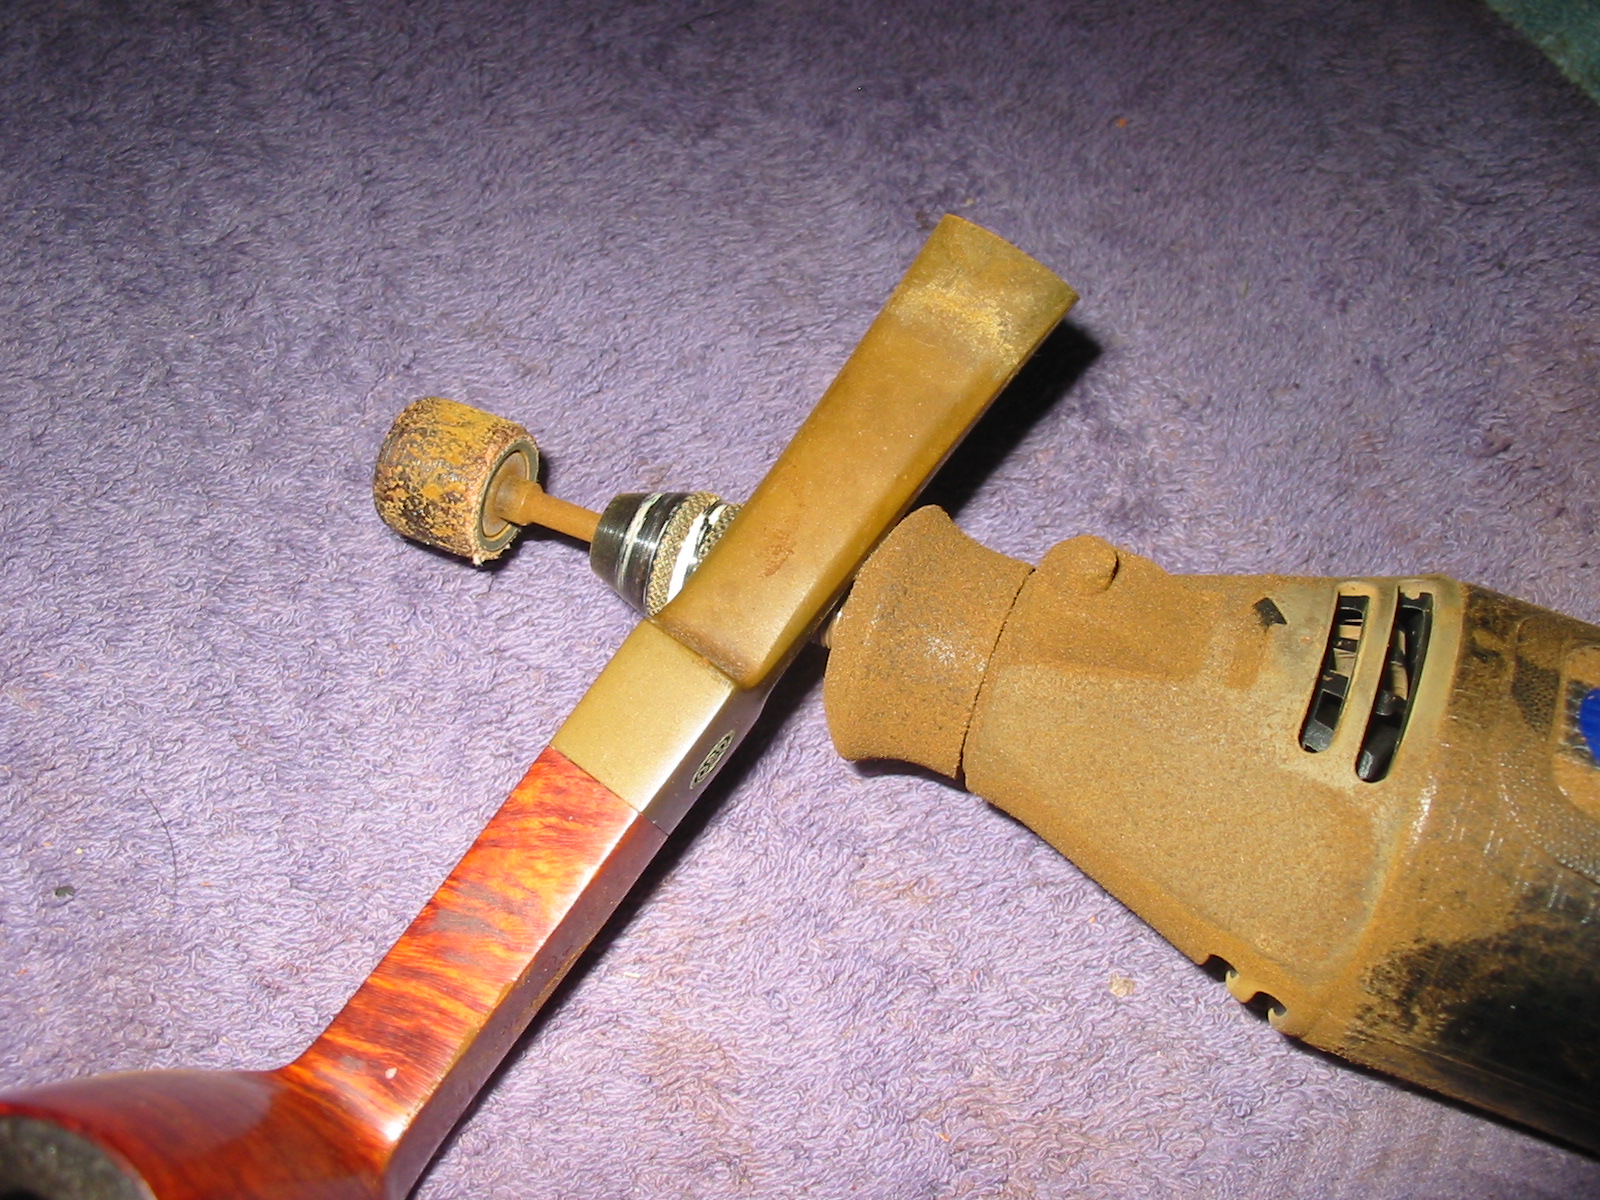
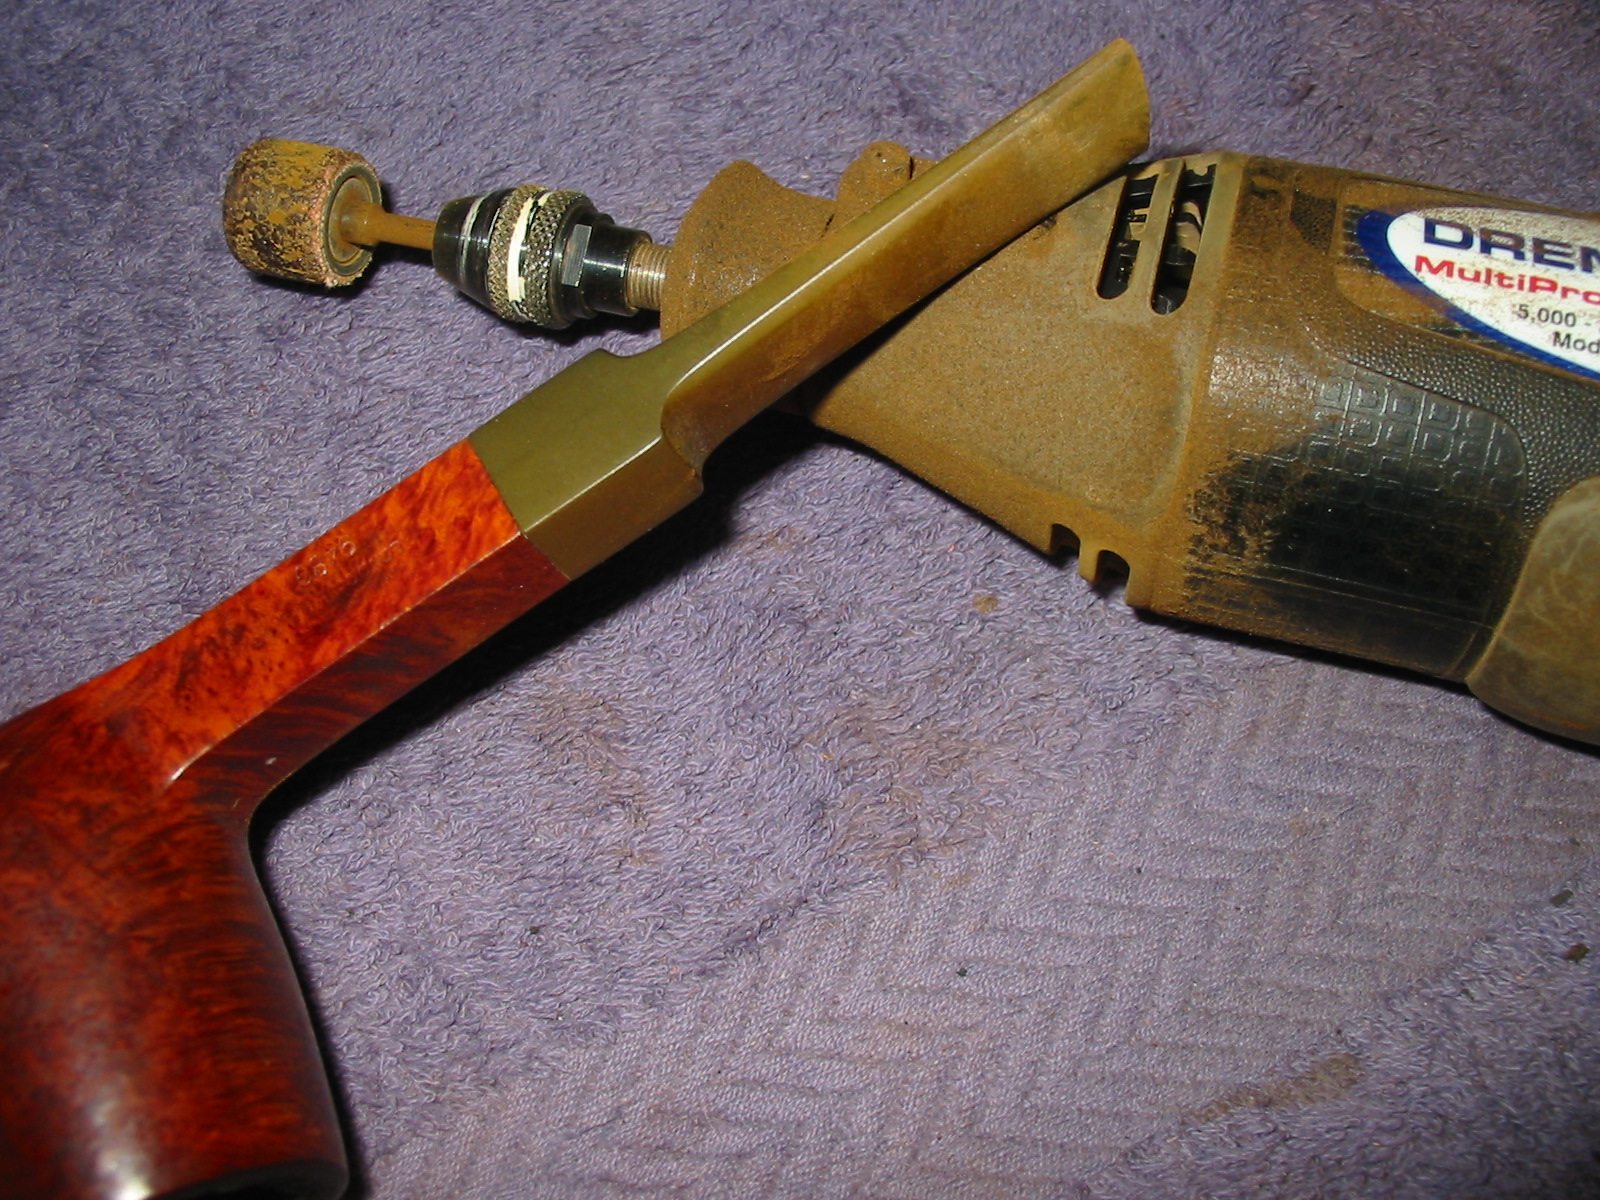
I used the Dremel and sanding drum to cut off the end of the stem and remove the damaged portion of the stem. I would then recut a button on the end of the stem and rework the airway opening in the slot.


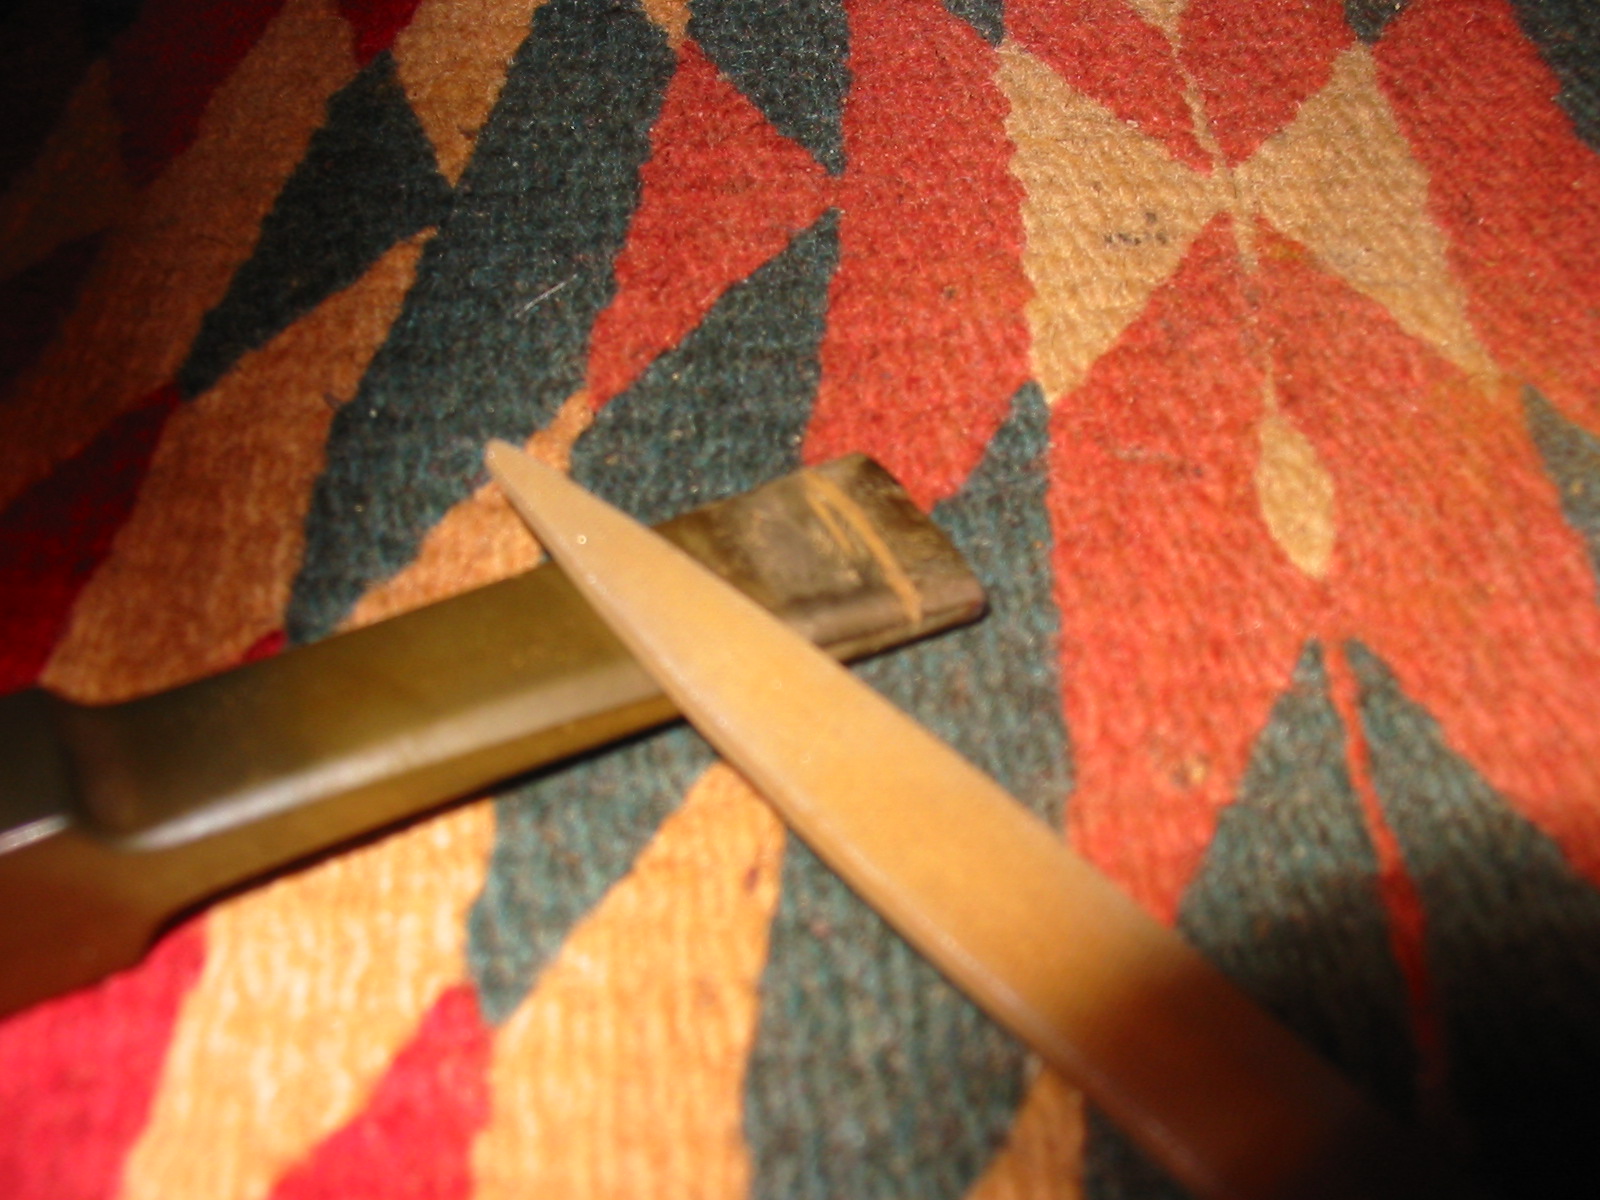
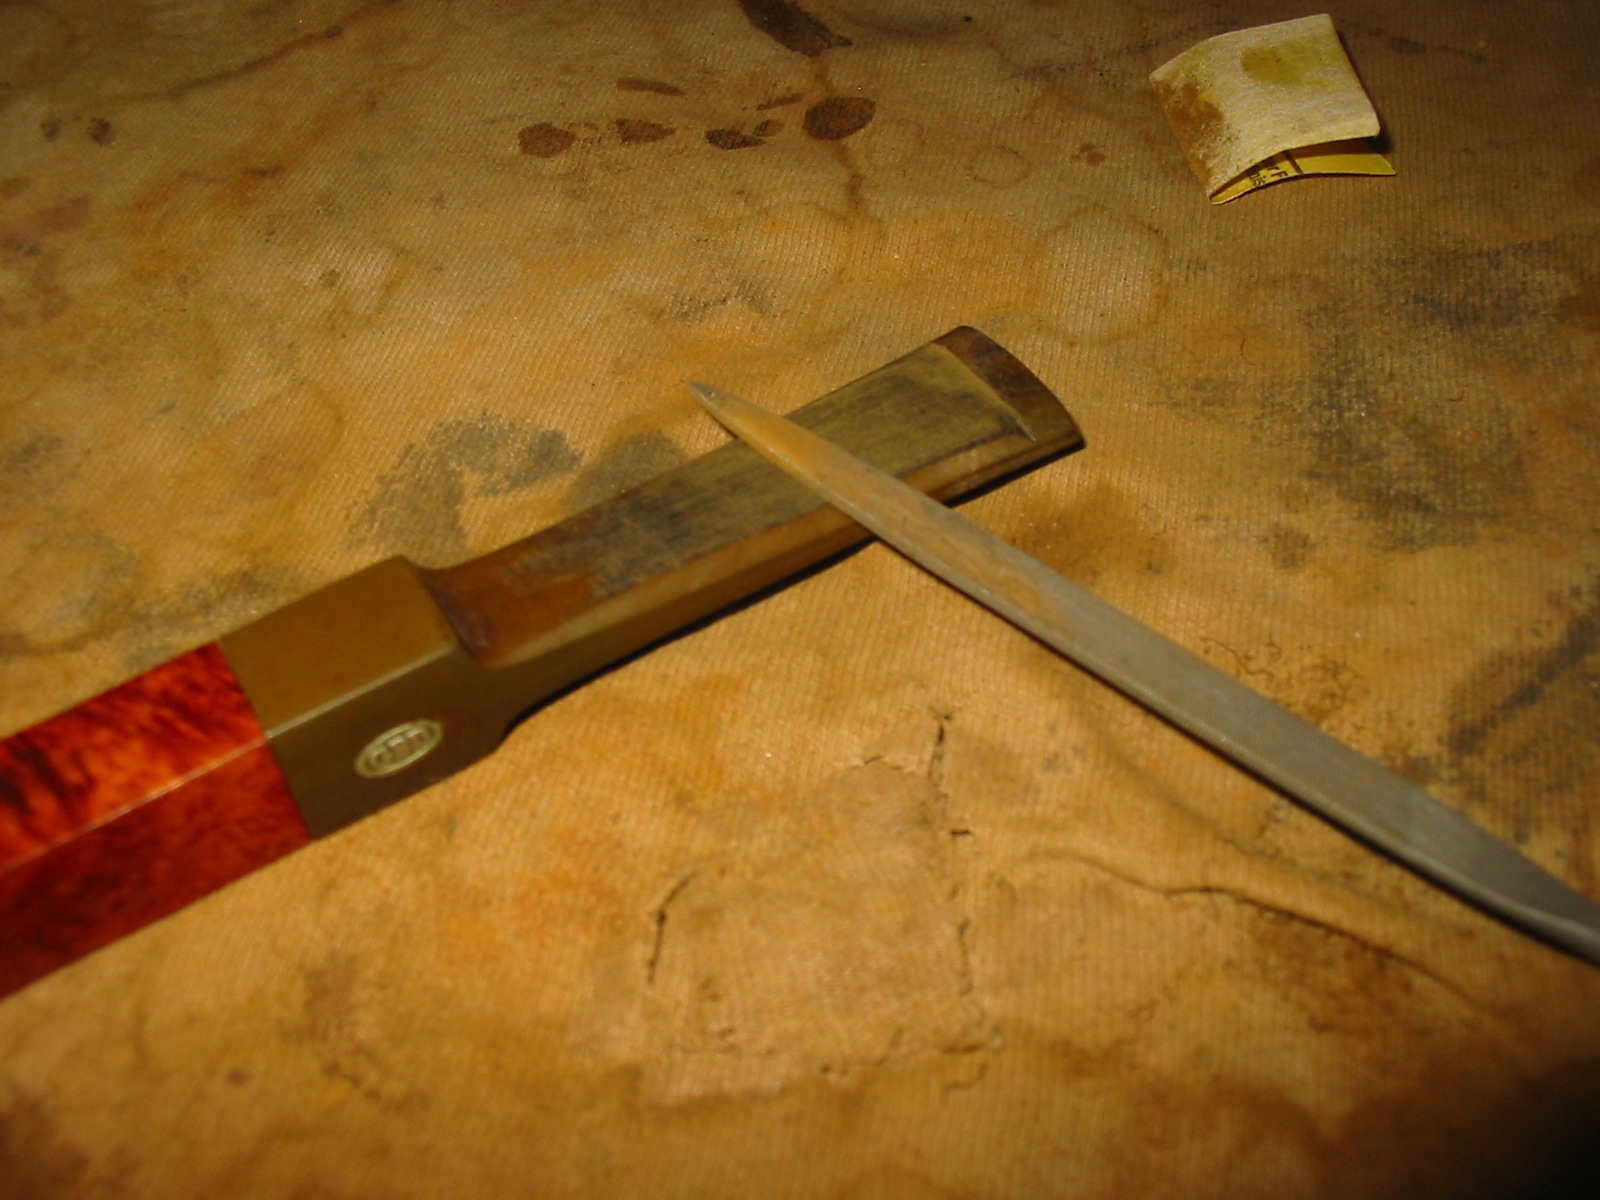
I took the pipe back to my work table and used a file to cut the line for the button. For this initial part of shaping the new button I leave the stem on the shank as the bowl provides a good “handle” to hold on to when reworking the stem.
I used a flat needle file to carve down the slope of the stem toward the button. I find that reworking the slope of the stem gives a smoother transition between the new button and the blade of the stem. I think we have all seen poorly cut buttons where the button looks pinched on the end – almost like someone squeezed the button out of the stem. I want the transition to move gently toward the new button and then have clean angles on the button.
At this point I usually remove it from the shank as I have much more carving to do on the stem with needle files and I want to be able to turn it at various angles to get things the way I want them. I continued to work on the stem with various needle files and 220 grit sandpaper to shape and contour the stem. I sanded the rest of the stem as well carefully working around the GBD roundel to make sure not to damage it. When I had finished the shaping of the button I sanded the entirety with a medium grit sanding sponge to smooth out the scratches and further remove the oxidation. I probably could have soaked it in Oxyclean but since I was working the button over with sandpaper and files anyway I just sanded the stem.
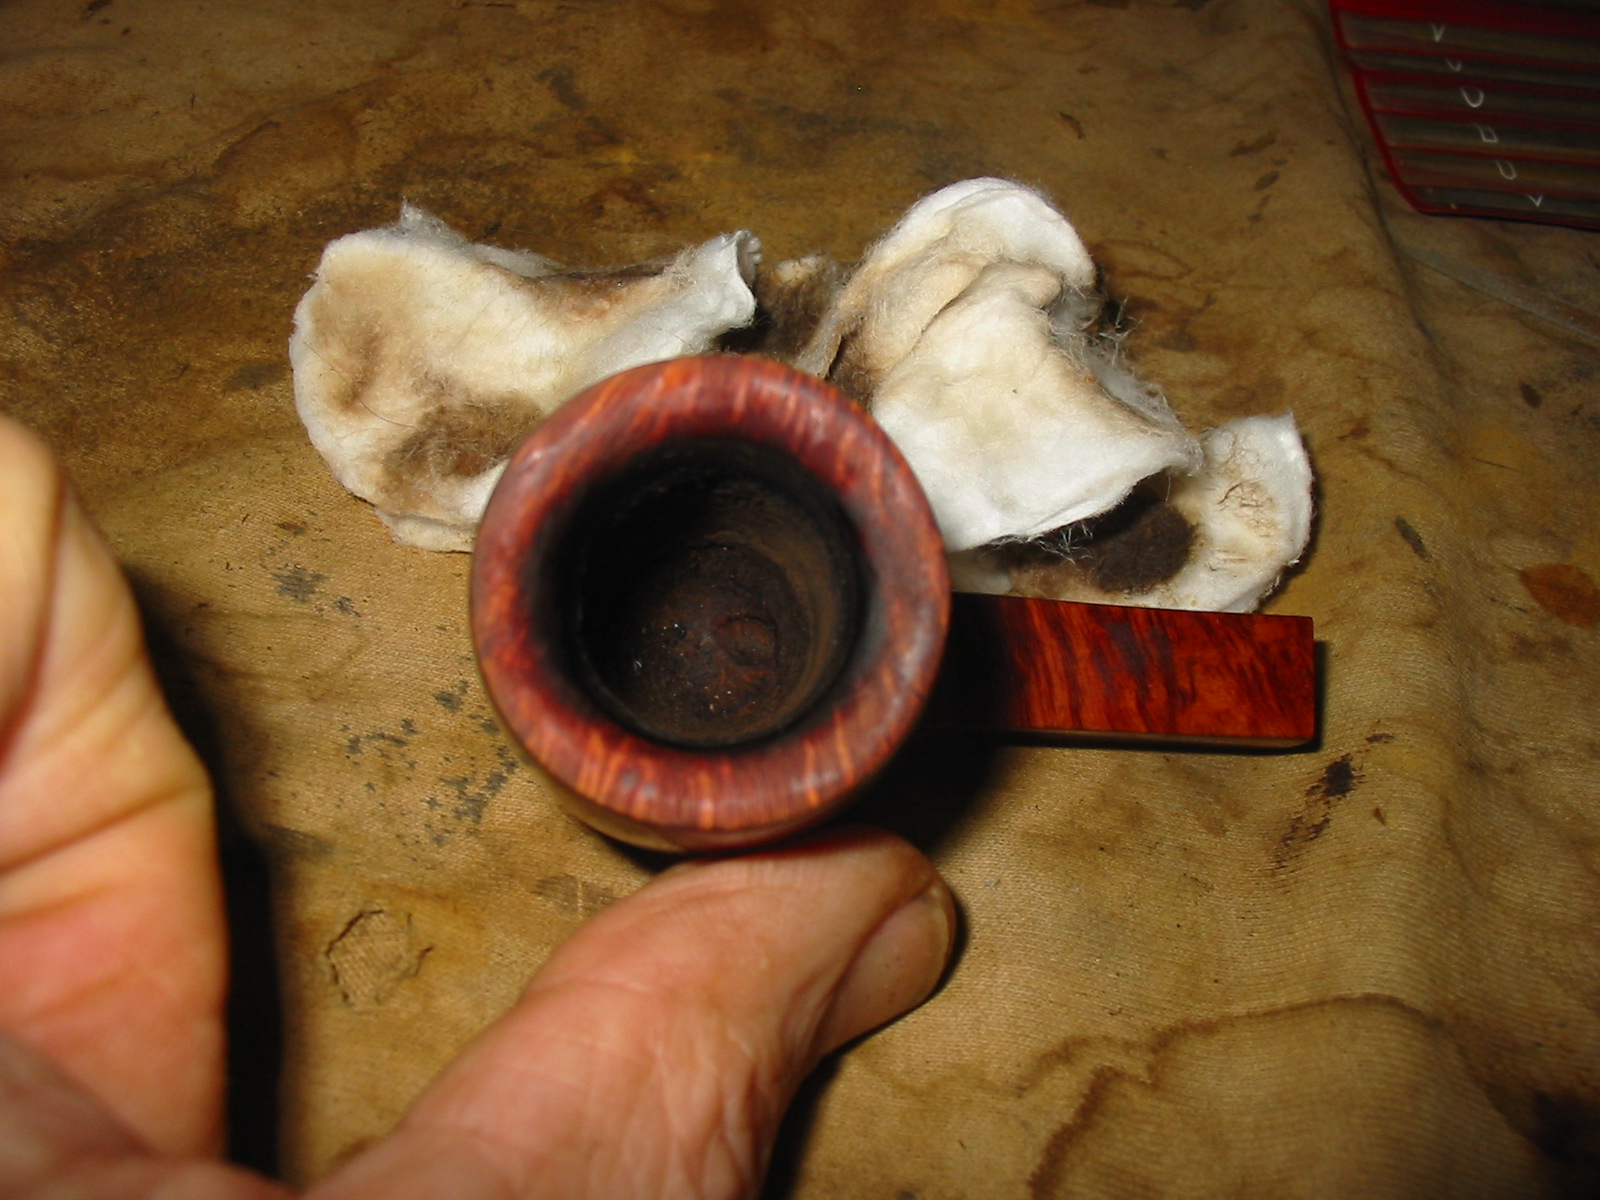
I set the stem aside for a bit and scrubbed the bowl rim down with saliva on cotton pads scraping and rubbing until I got to the clean surface of the rim. I did not intend to restain this pipe so I was careful not to remove the finish in the process.
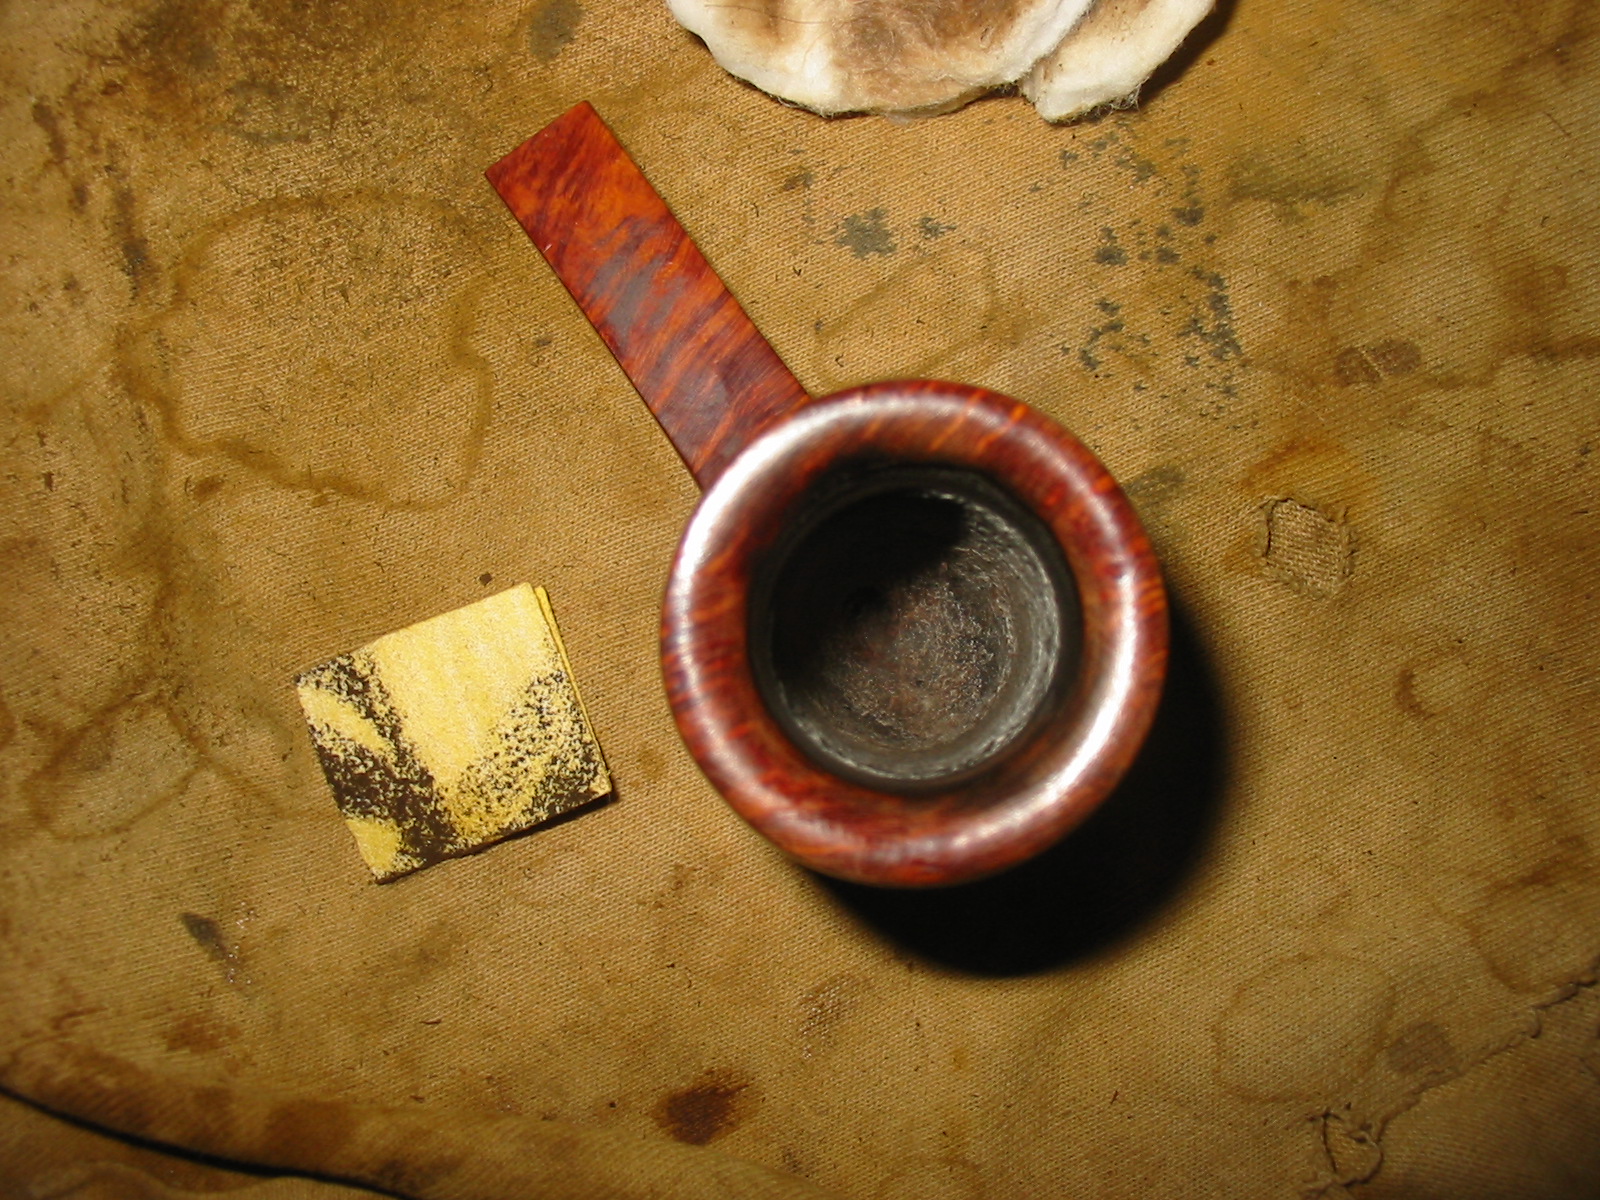
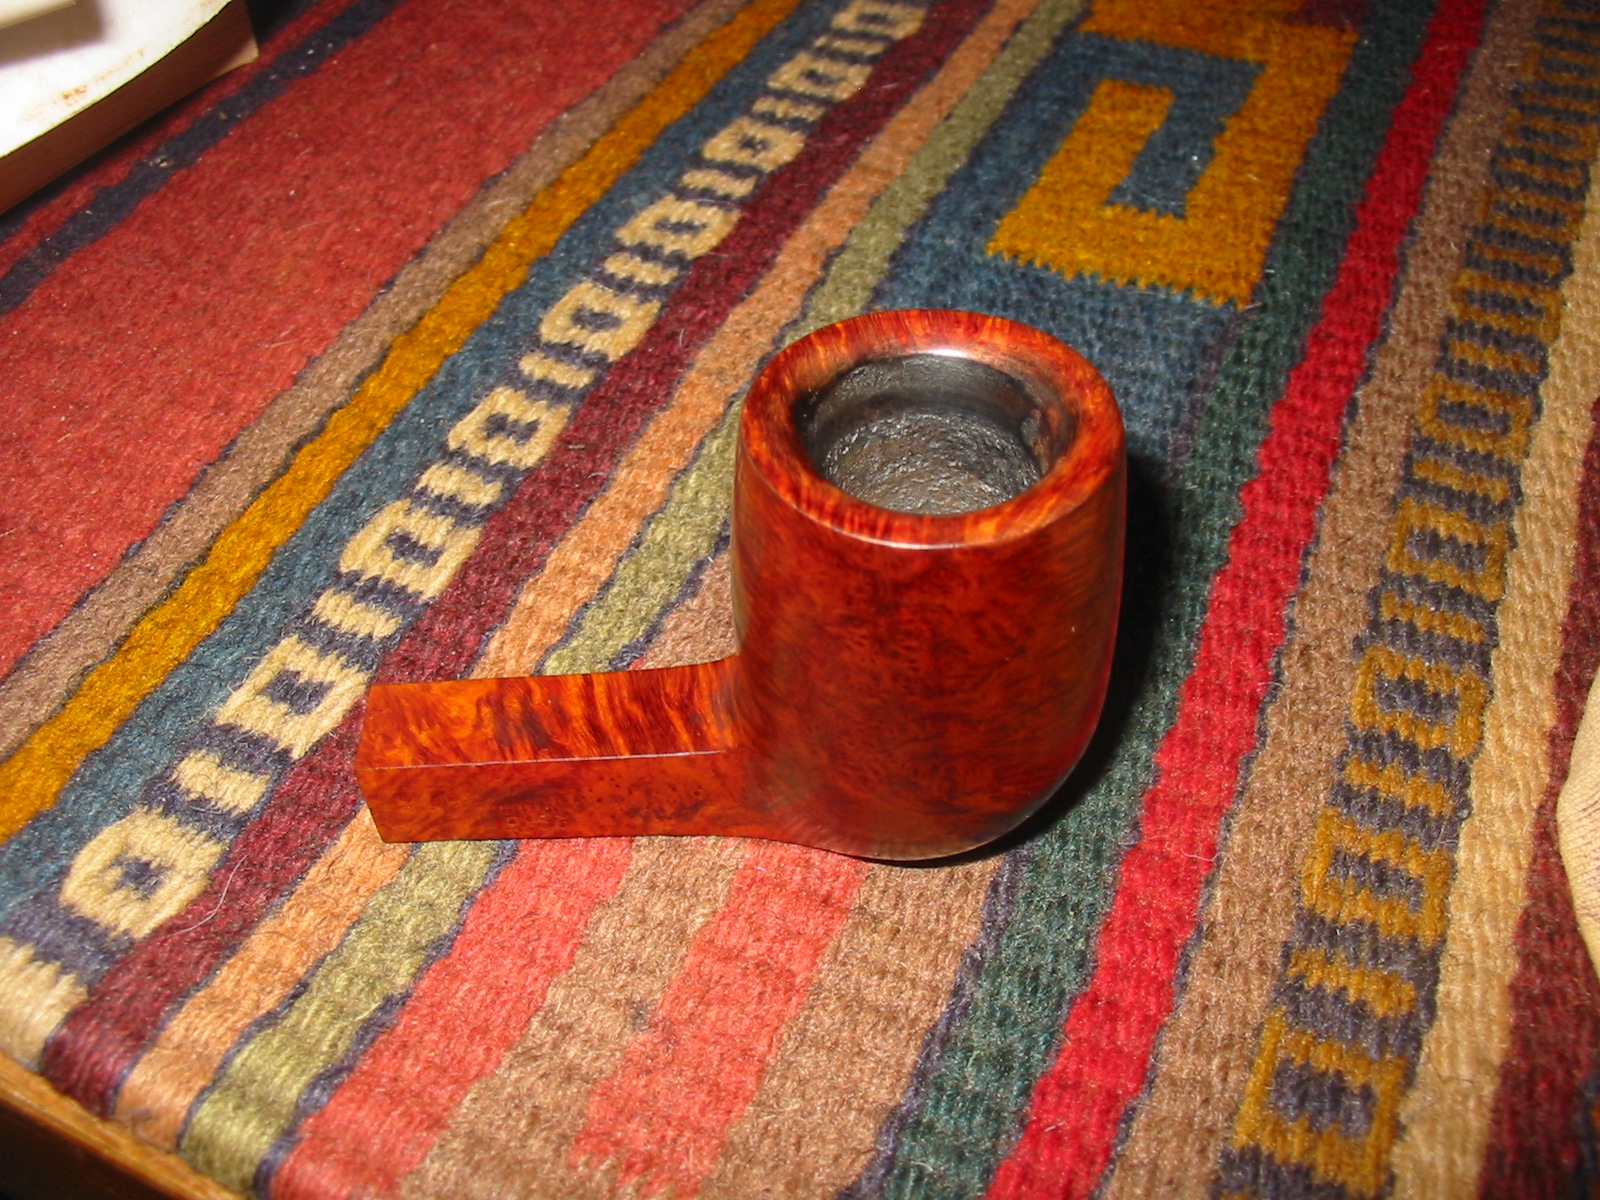
I took it to the buffer after I had it cleaned up as shown above. I buffed the edge with White Diamond to remove the last of the detritus of the carbon on the rim. The first photo below shows the clean bowl rim. The three photos following that one show the bowl after it had been buffed with carnauba wax to polish it and protect it.

I put the stem back on just to have a look at the work so far. Sometimes I need to get a bit of perspective on the stem work so I will stop and put things back together, take a few photos and study them to see what I need to do. Somehow the photos show things that my eye does not pick up as I work on the pipe.
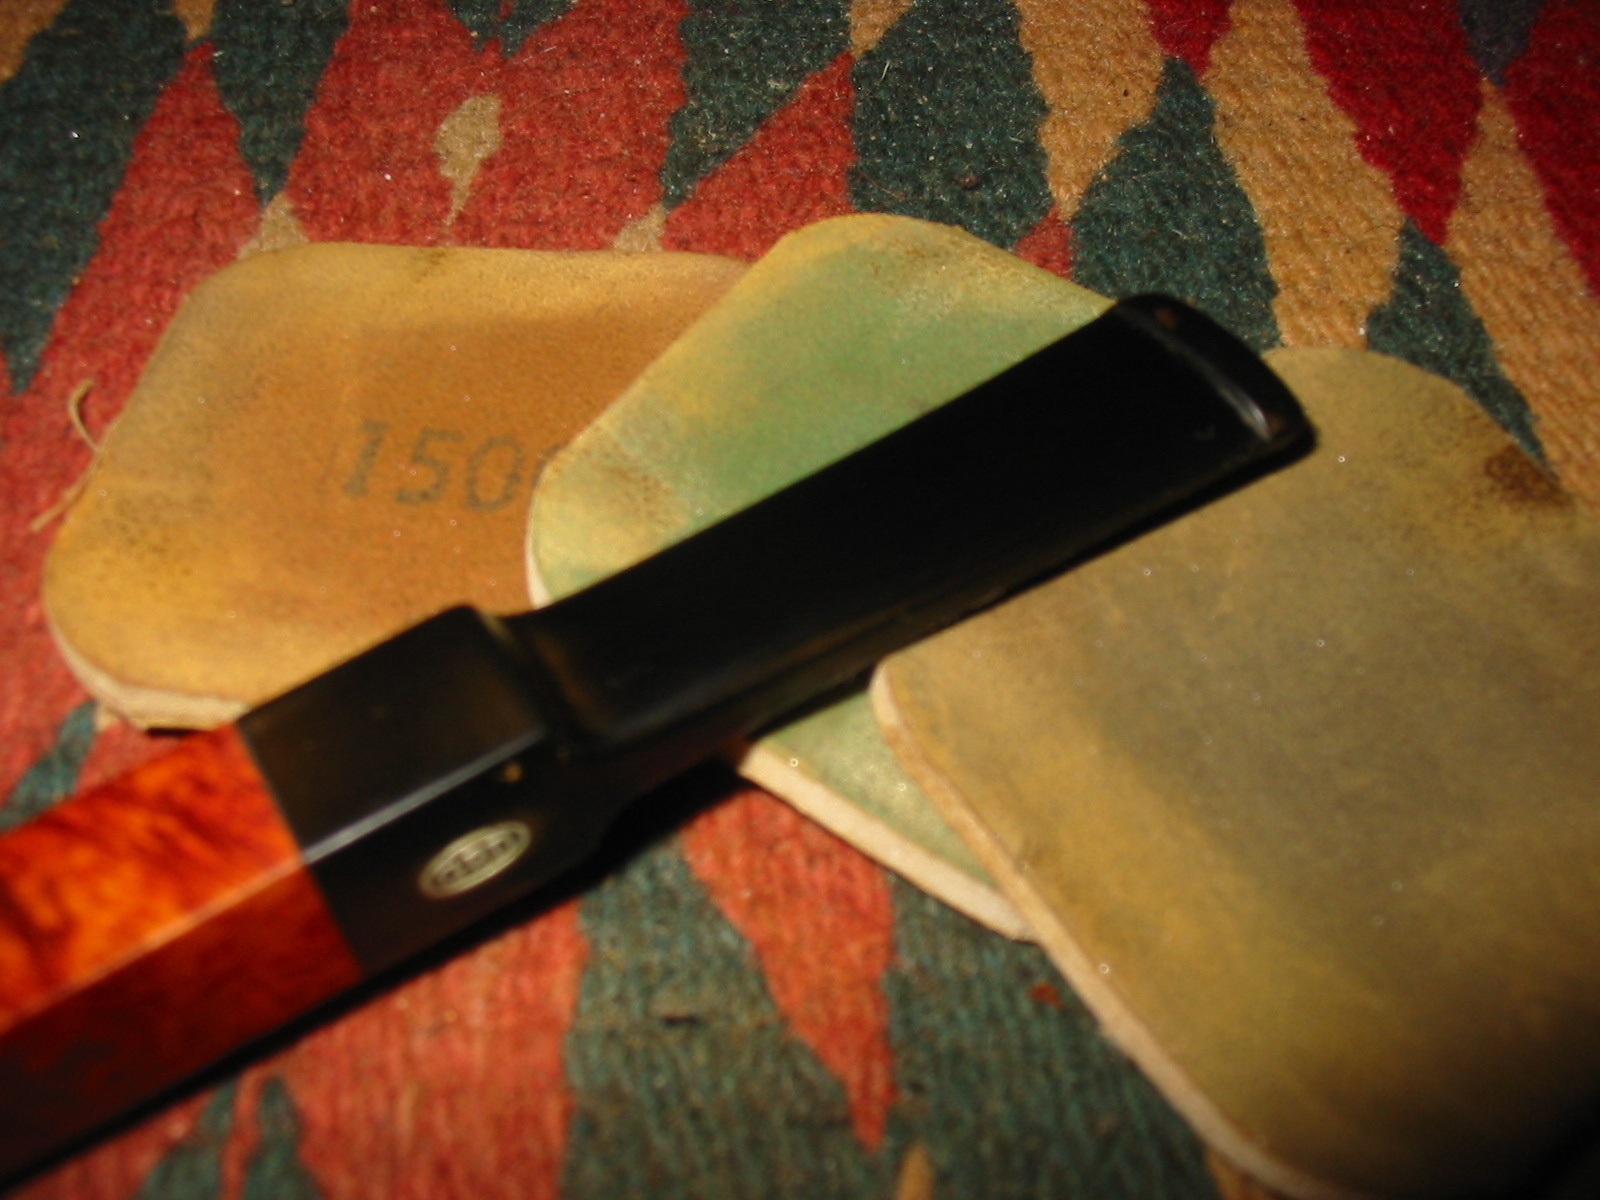
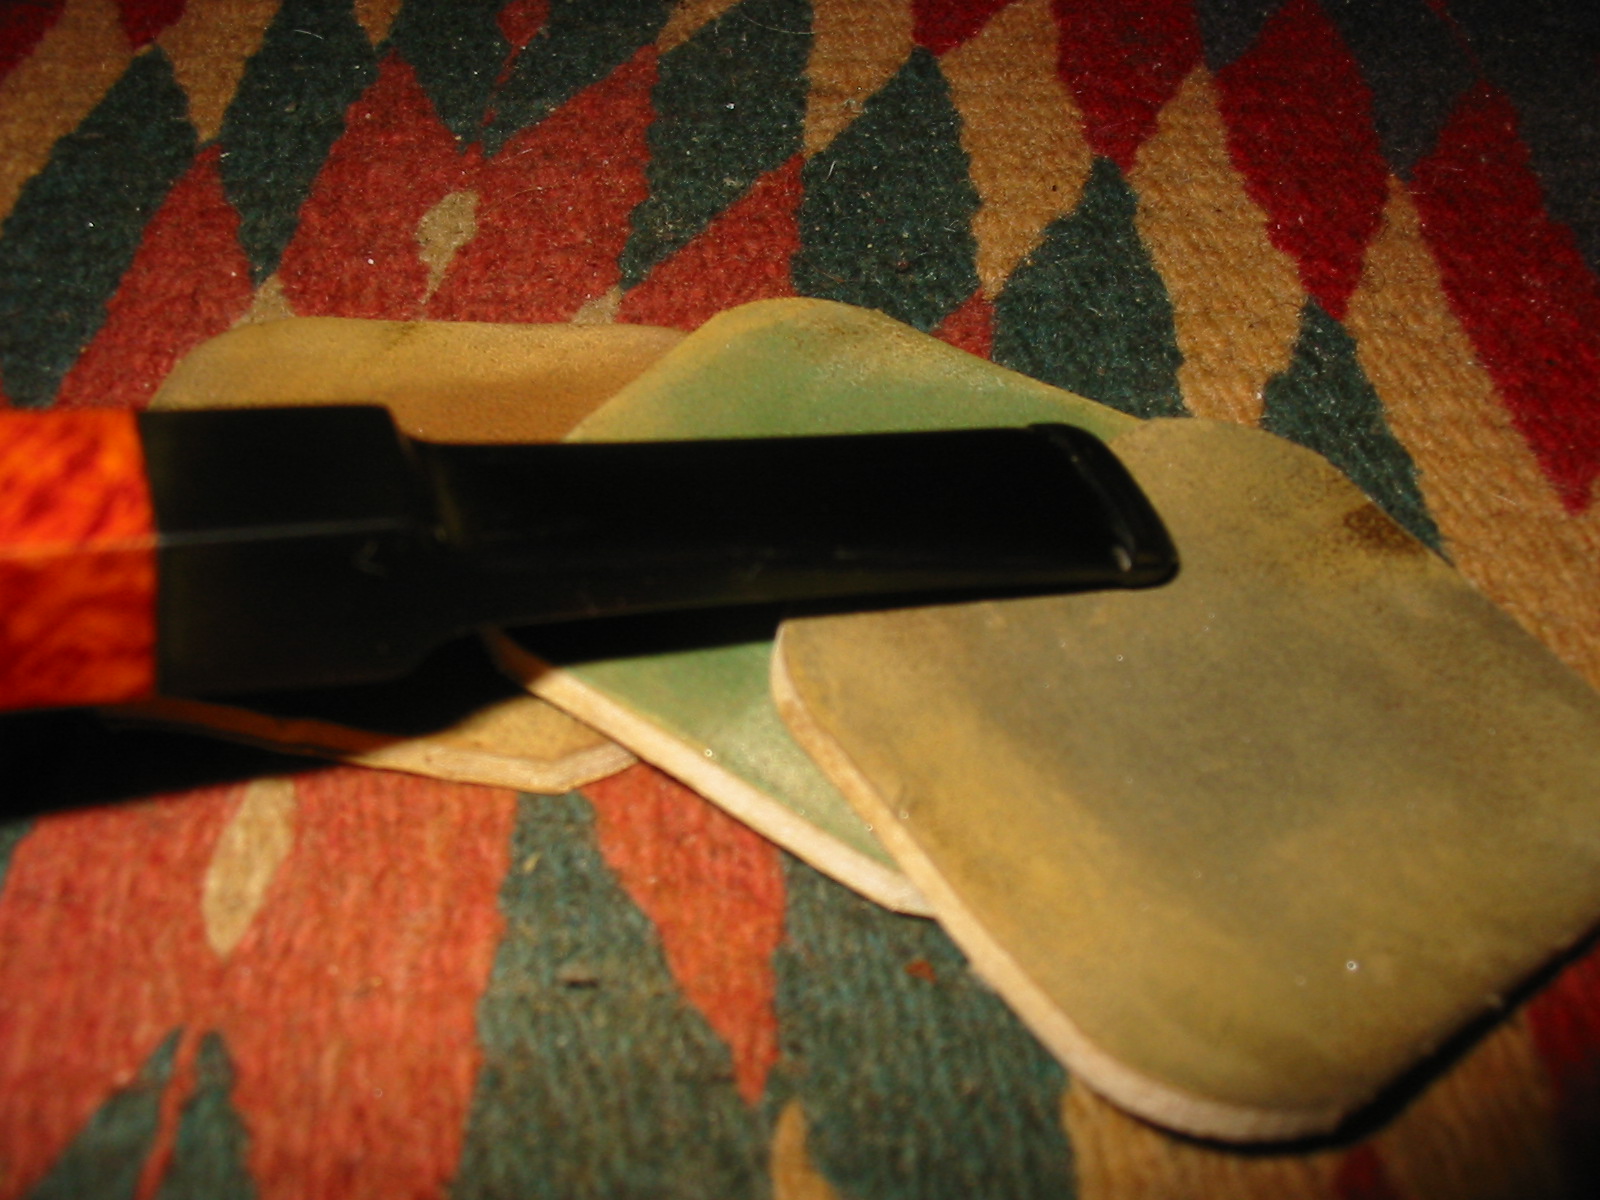
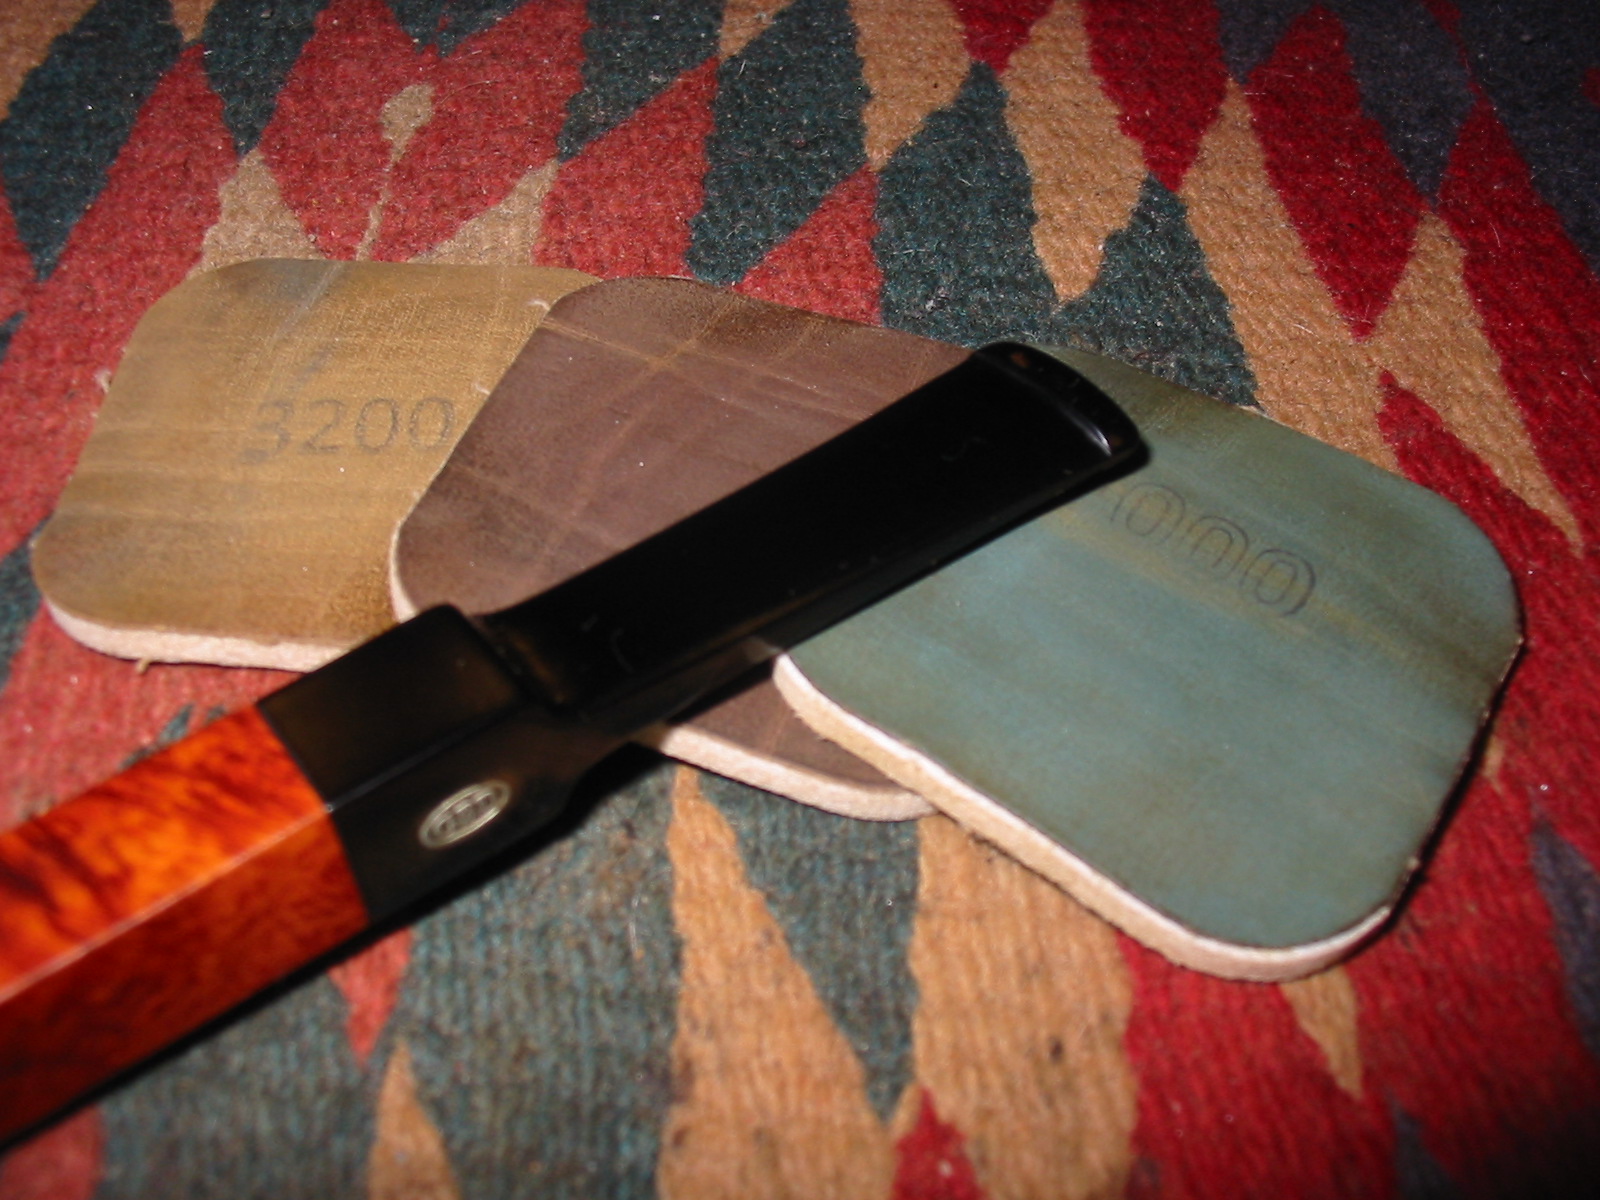
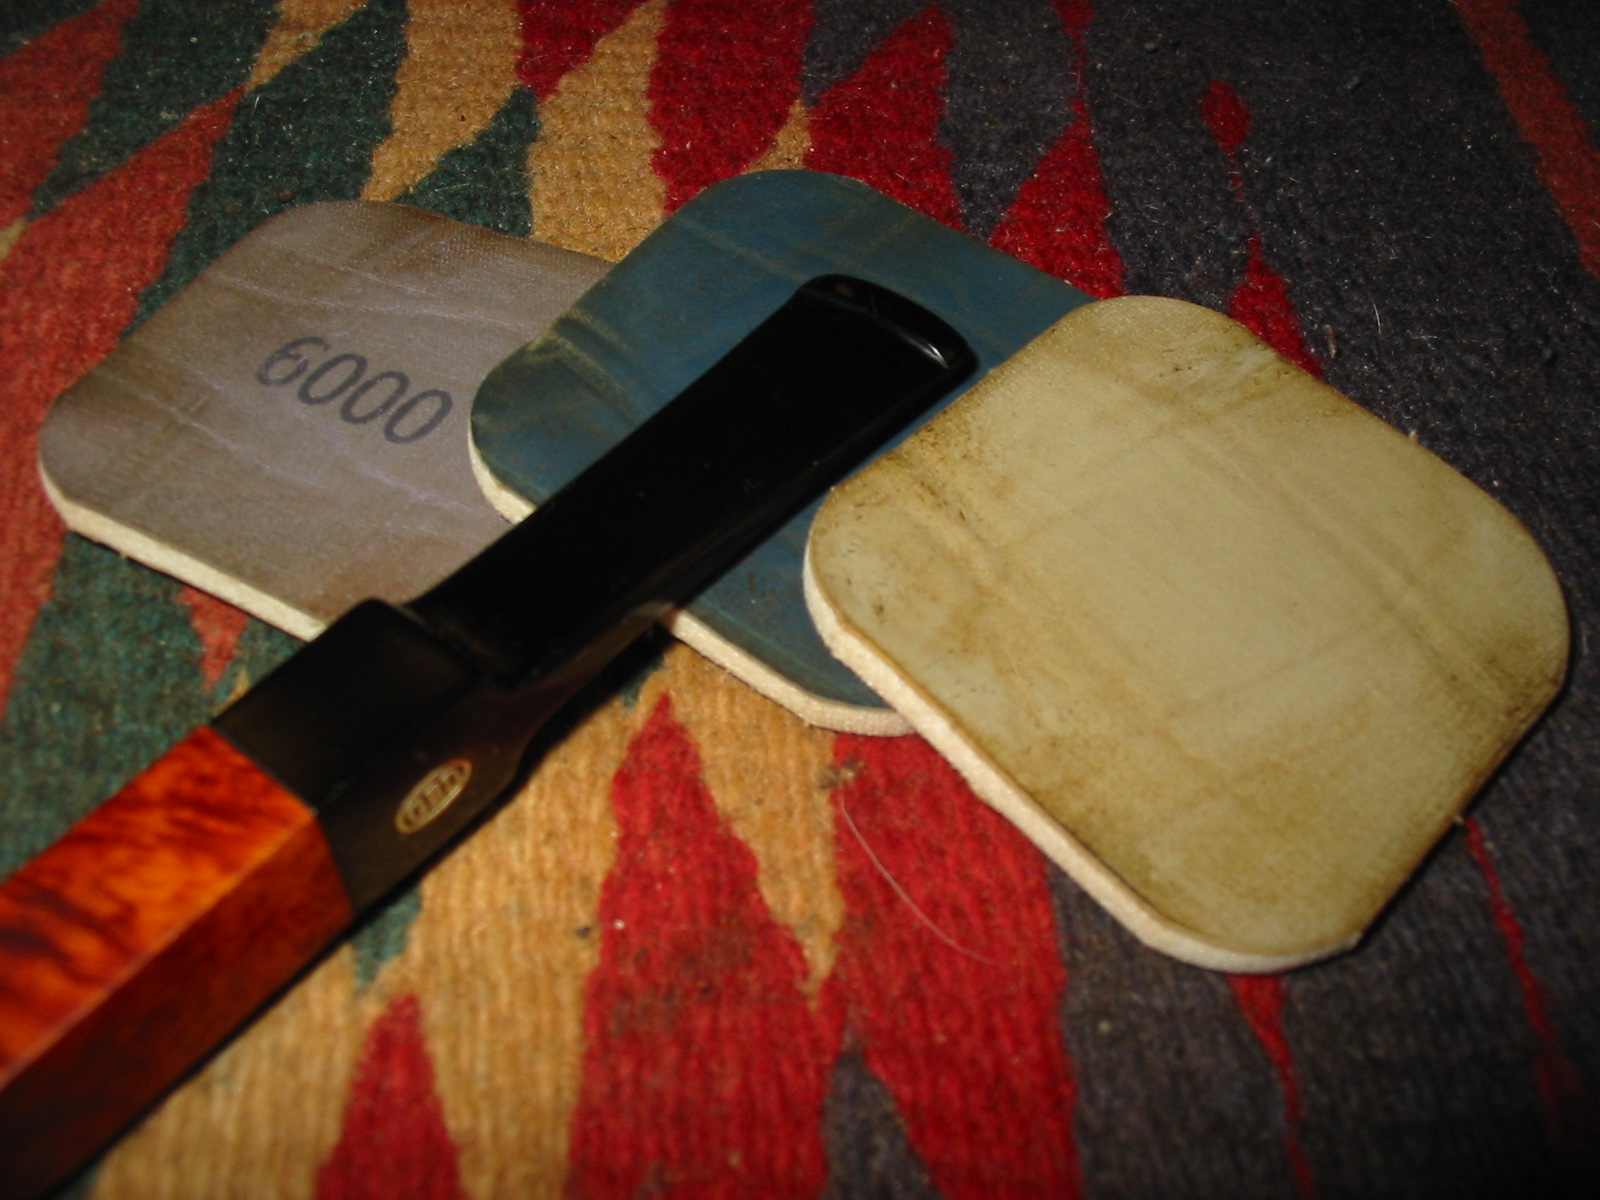
The pipe was looking good and the areas that needed work on the oxidation and scratches showed up clearly in the flash. I used micromesh sanding pads to work on the finish. I wet sanded with 1500-2400 grit pads and dry sanded with 3200-12,000 grit pads.
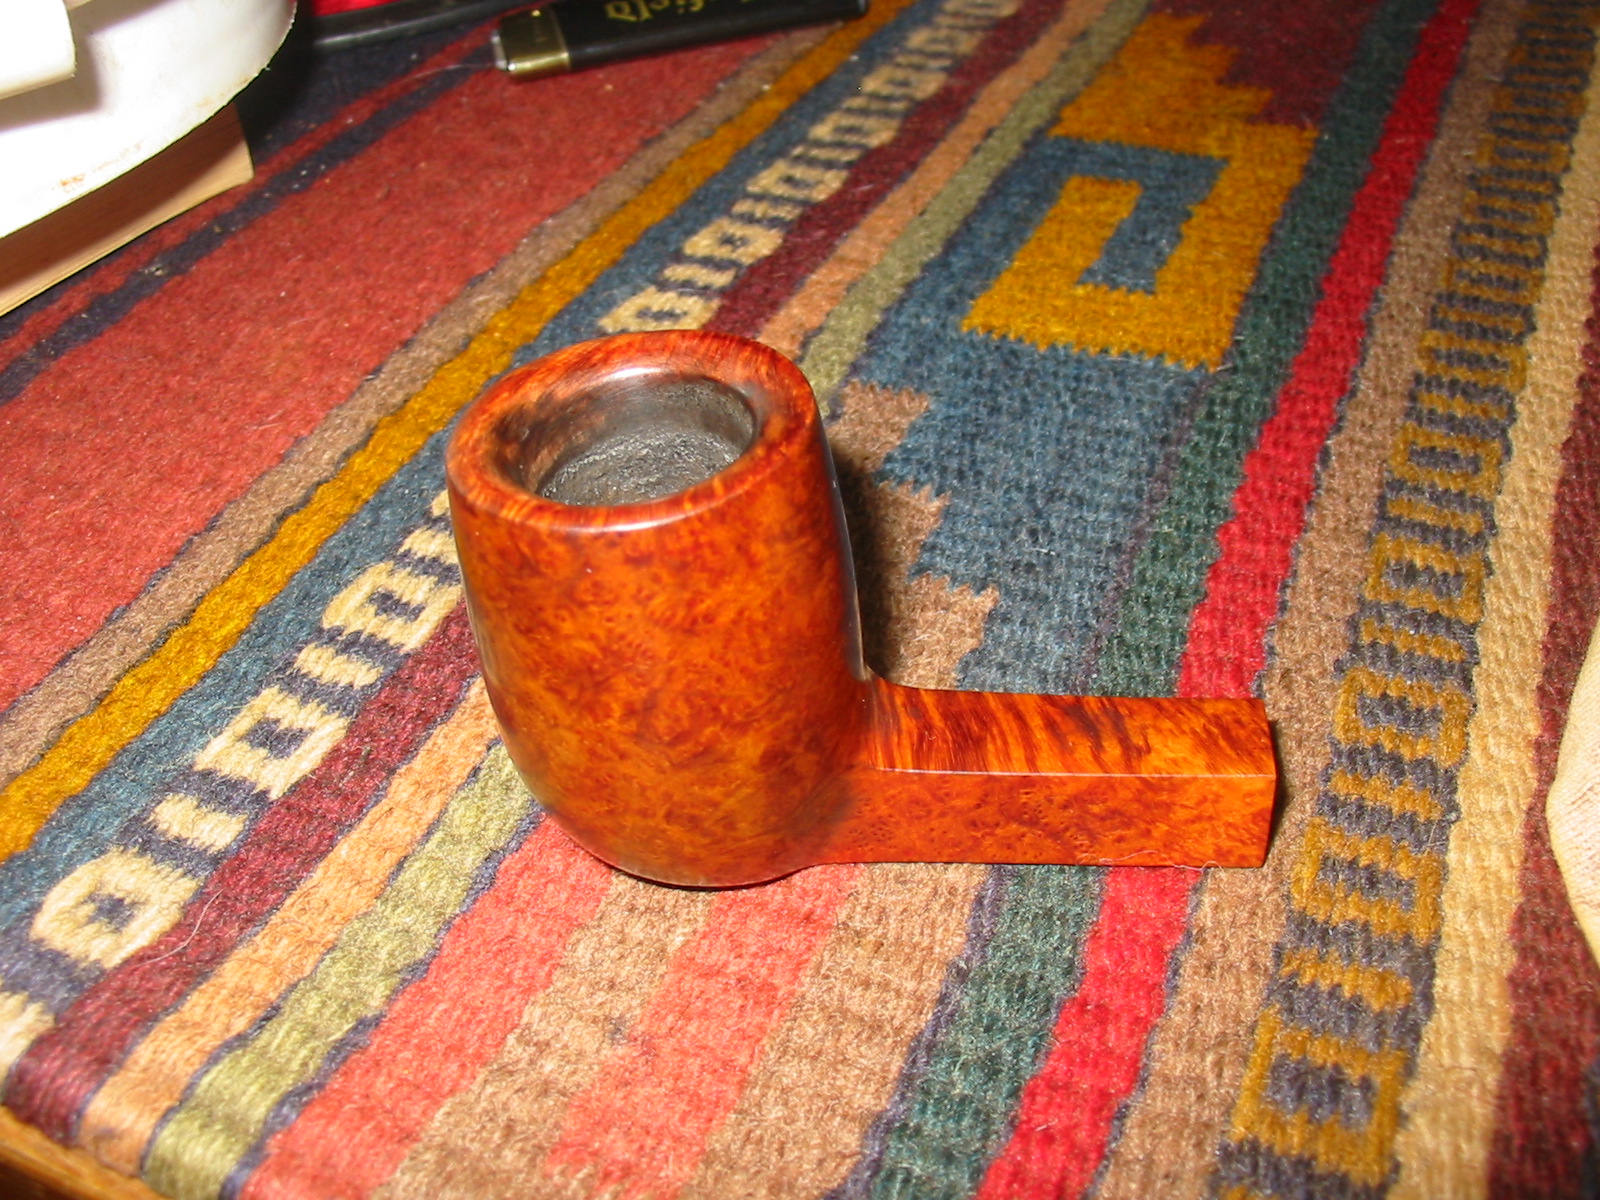
When I finished sanding I rubbed the stem down with Obsidian Oil and when it as dry buffed it with White Diamond once again. I gave the bowl and stem multiple coats of carnauba wax and buffed it with a clean flannel buffing pad to give it a shine. It is important when buffing to not press to hard around the nomenclature. I generally use a very light touch in those areas and then hand polish them with a soft cotton cloth. The finished pipe is pictured below. The stem came out quite nicely There is a bit of oxidation around the roundel that still remains. I will continue to work on that with the micromesh pads and see what I can do but it is ready to load a bowl and smoke.