Tag Archives: Dremel and sanding drum

Space Age Technology for a Better Smoke?


Blog by Aaron Henson

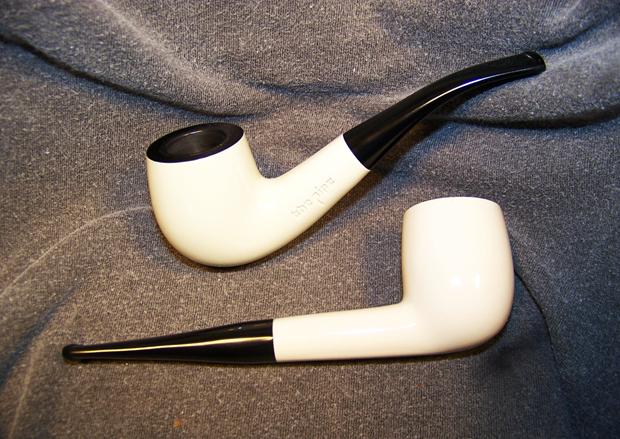
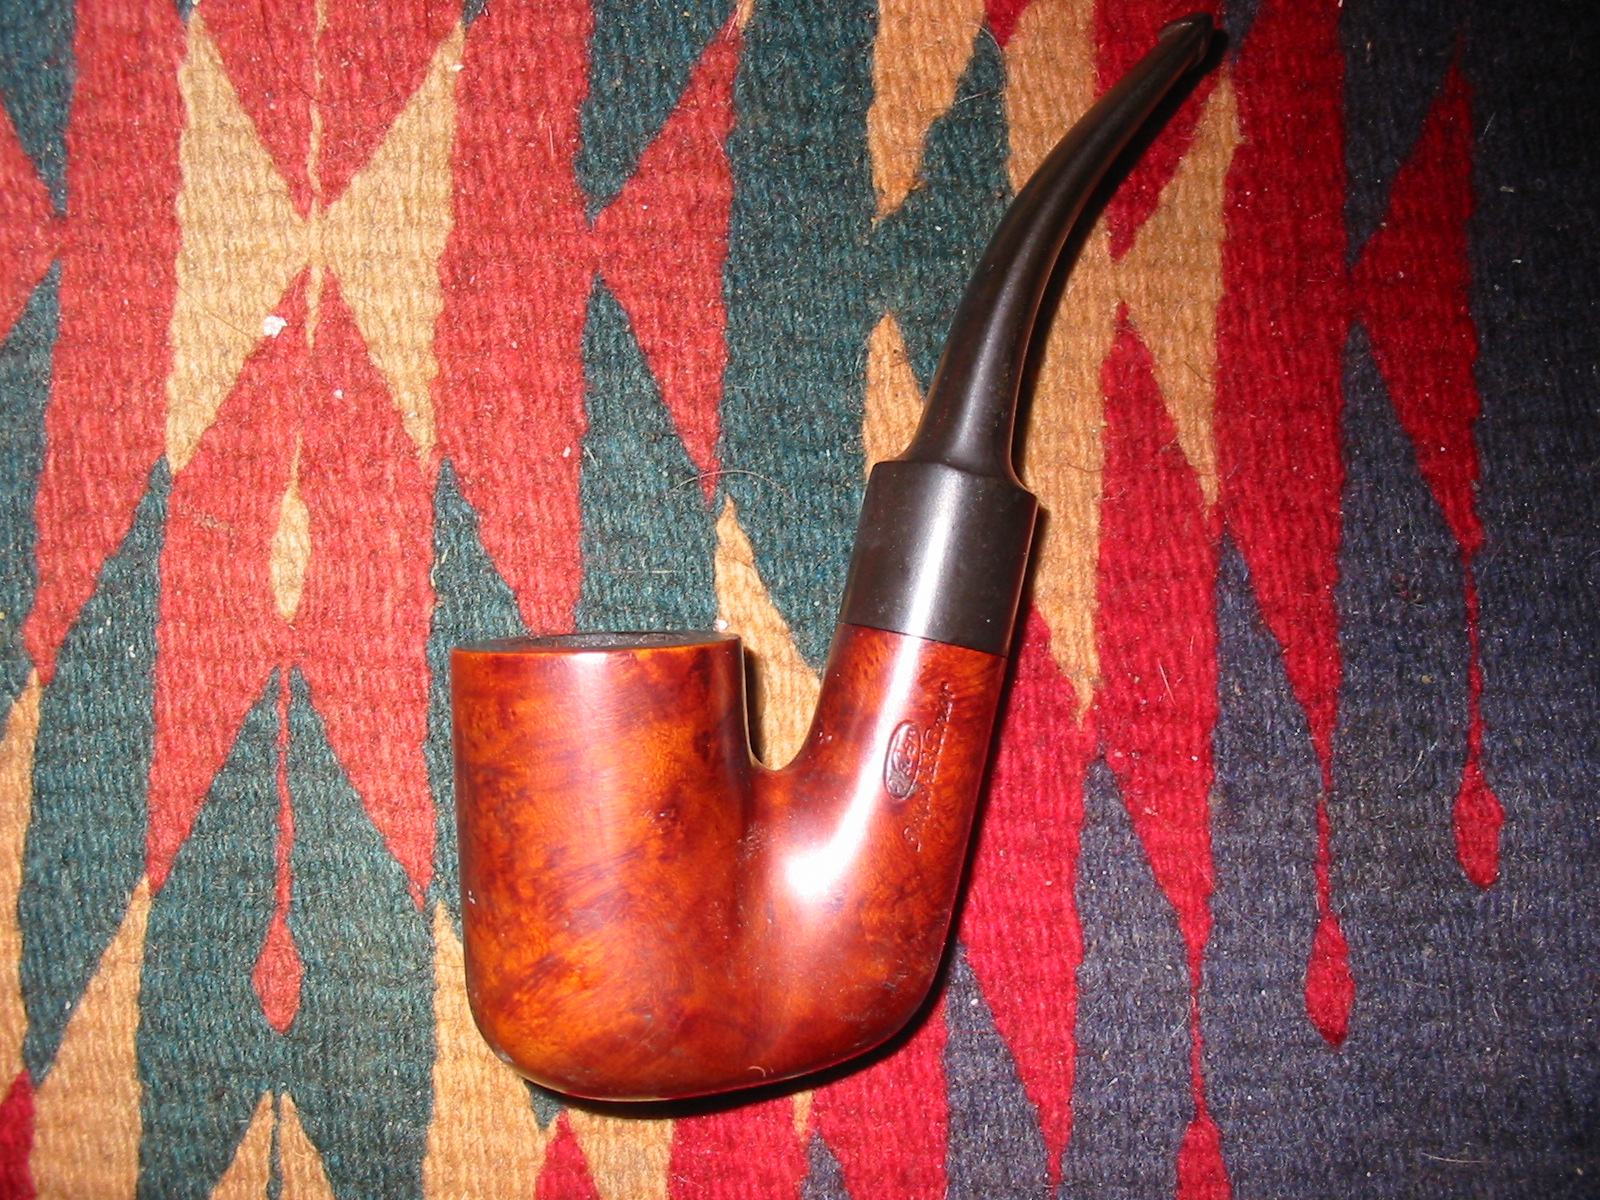
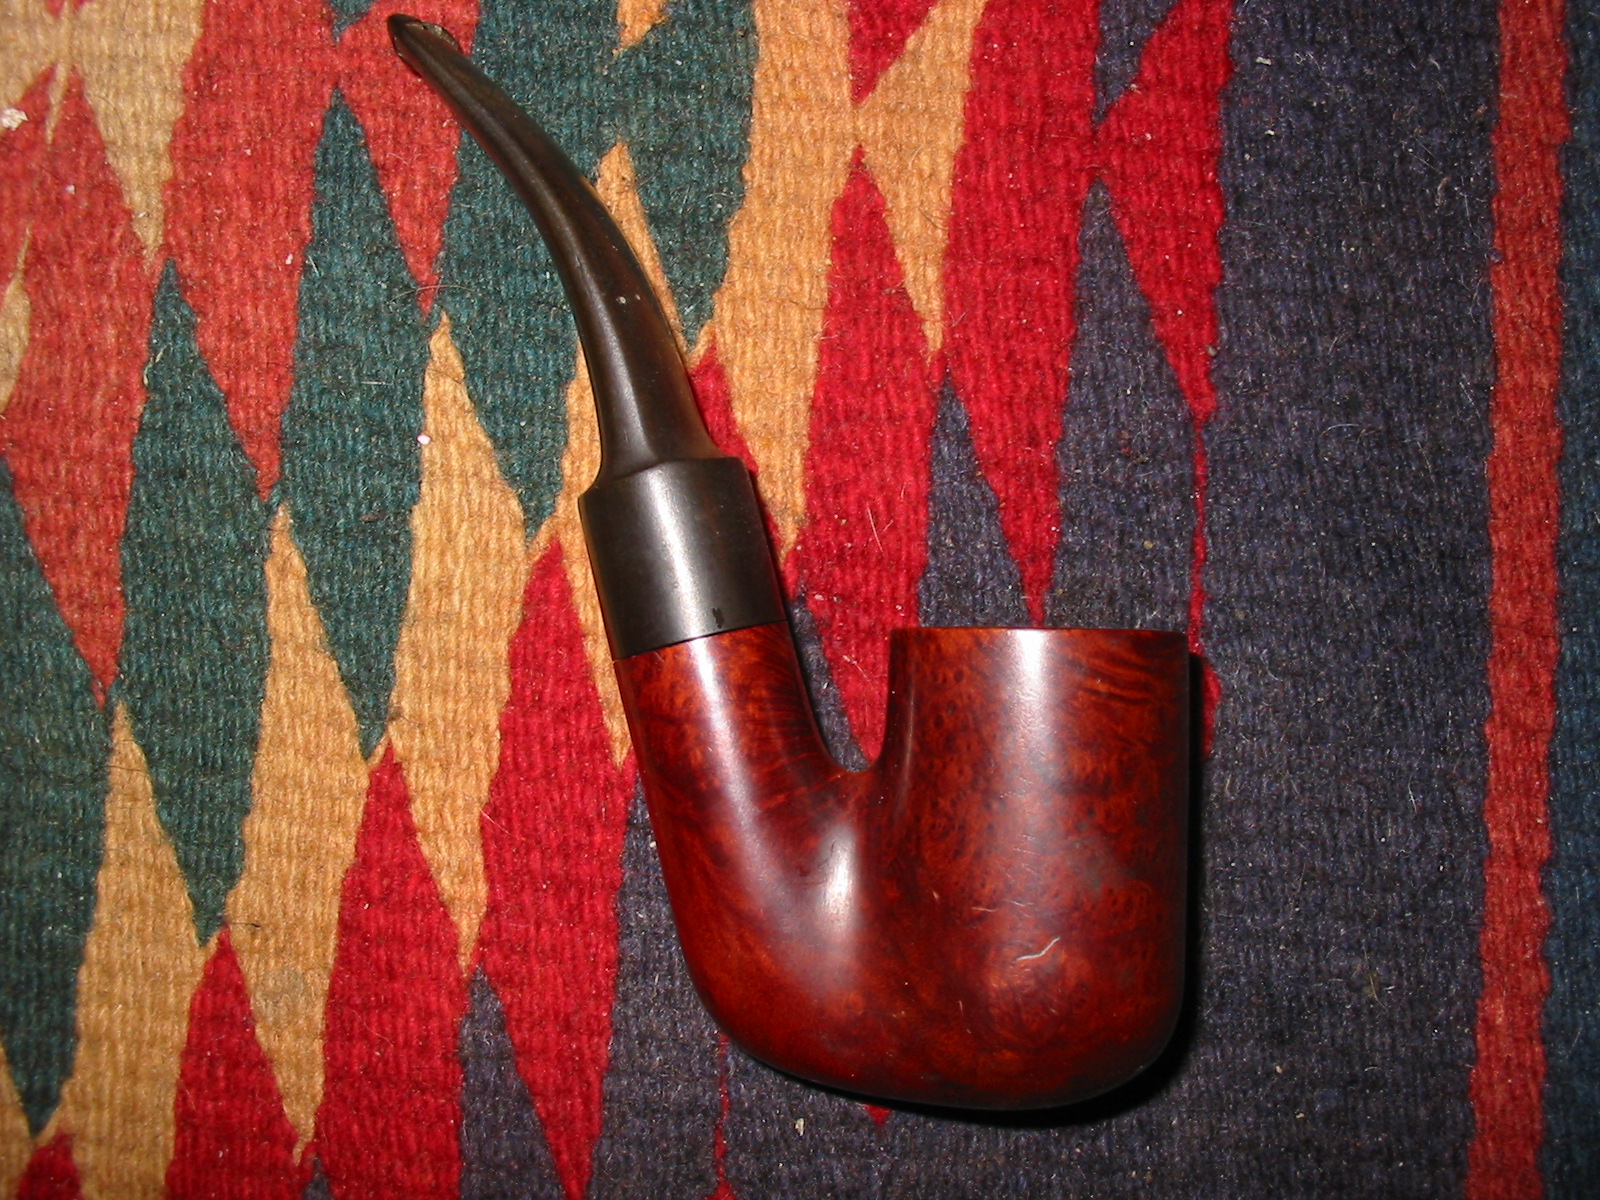
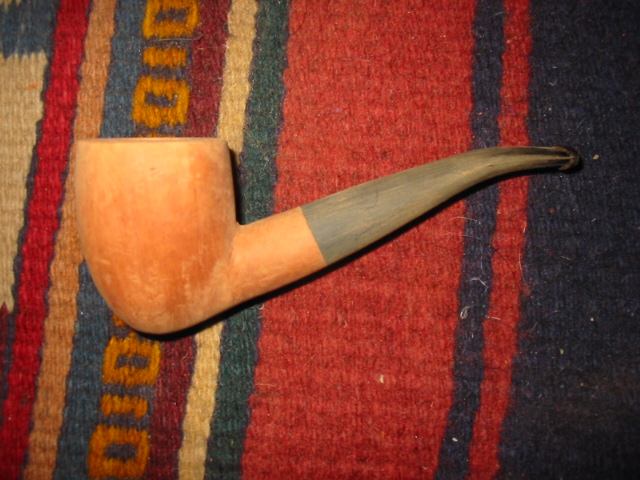
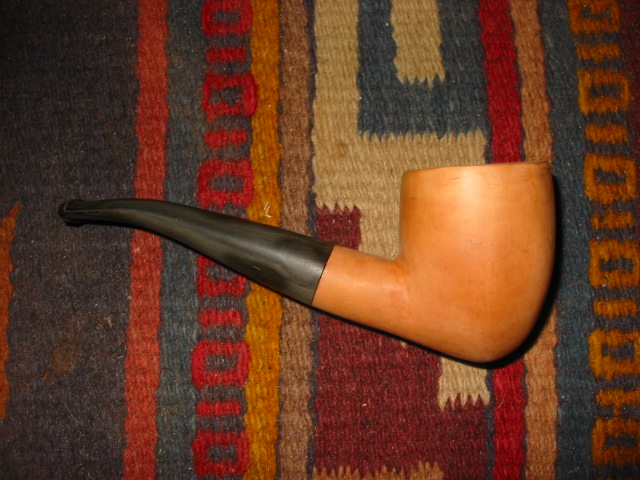
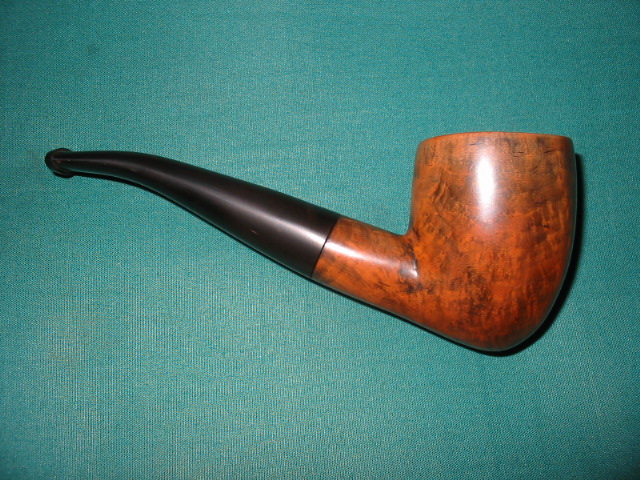
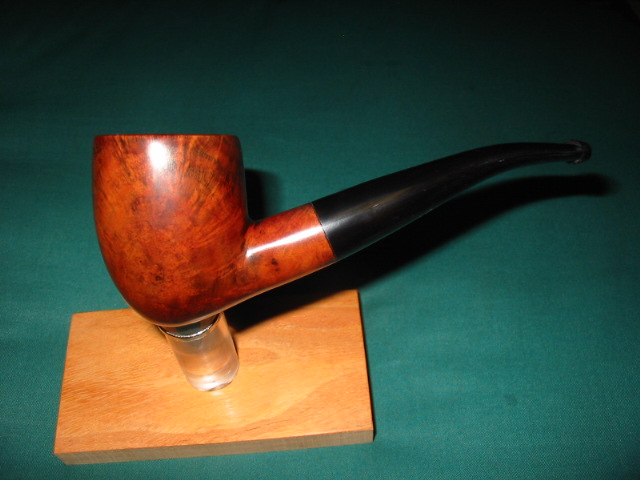
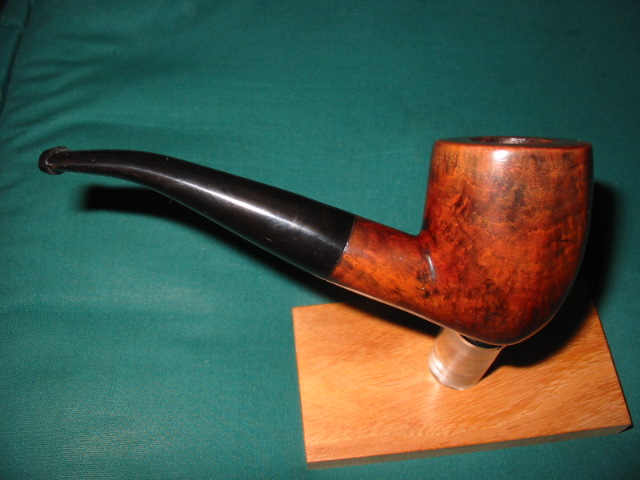
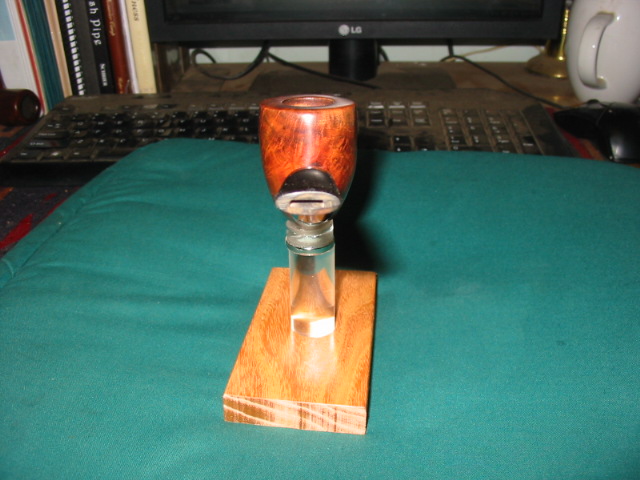
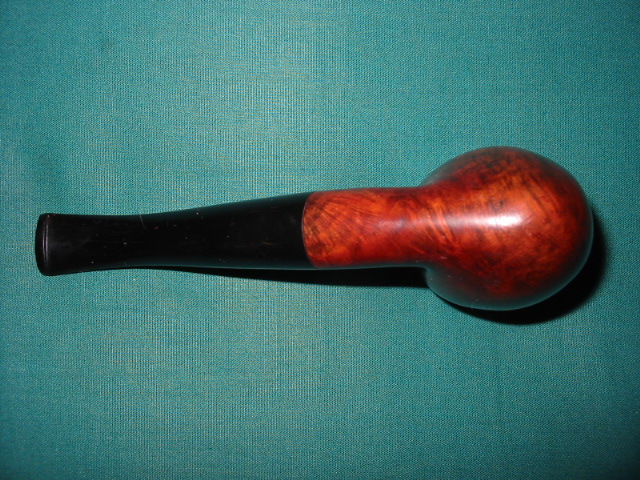
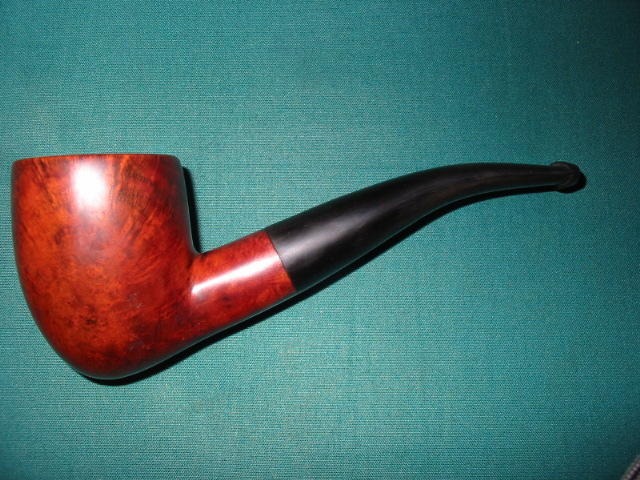
There is a small antique store located along highway 195 in Eastern Washington that I have driven past many times on my way to job sites or family functions but never had the opportunity to stop. This past week I had little spare time on my way home and took the opportunity to stop in.  Sitting on a table by the door were the only two pipes in the shop: a matching pair of white billiards – one bent and one straight – both in good exterior condition.  Both pipes, and the stand they were on, came as a set and the price was such that I could not pass them up – I would have paid list price for just the stand.  I knew nothing about the name stamped on the shank– the pipe – but I thought I would take the chance…. What could go wrong?

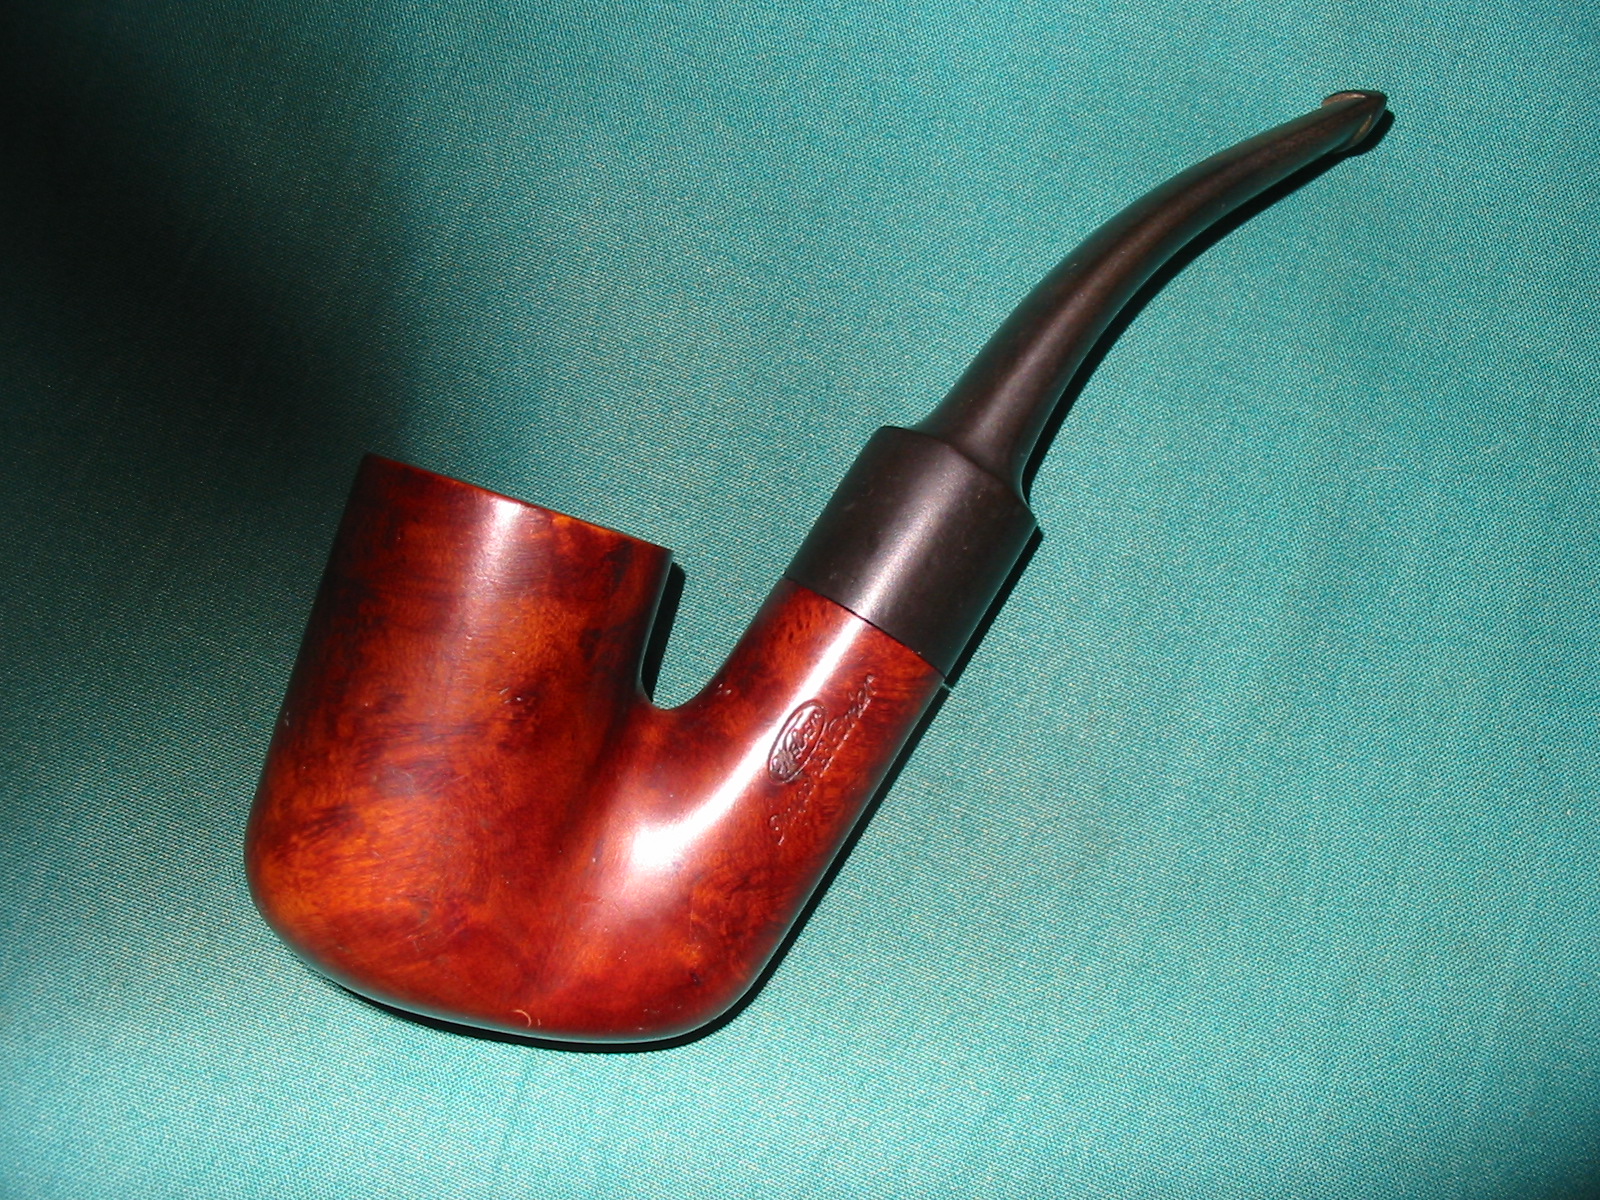
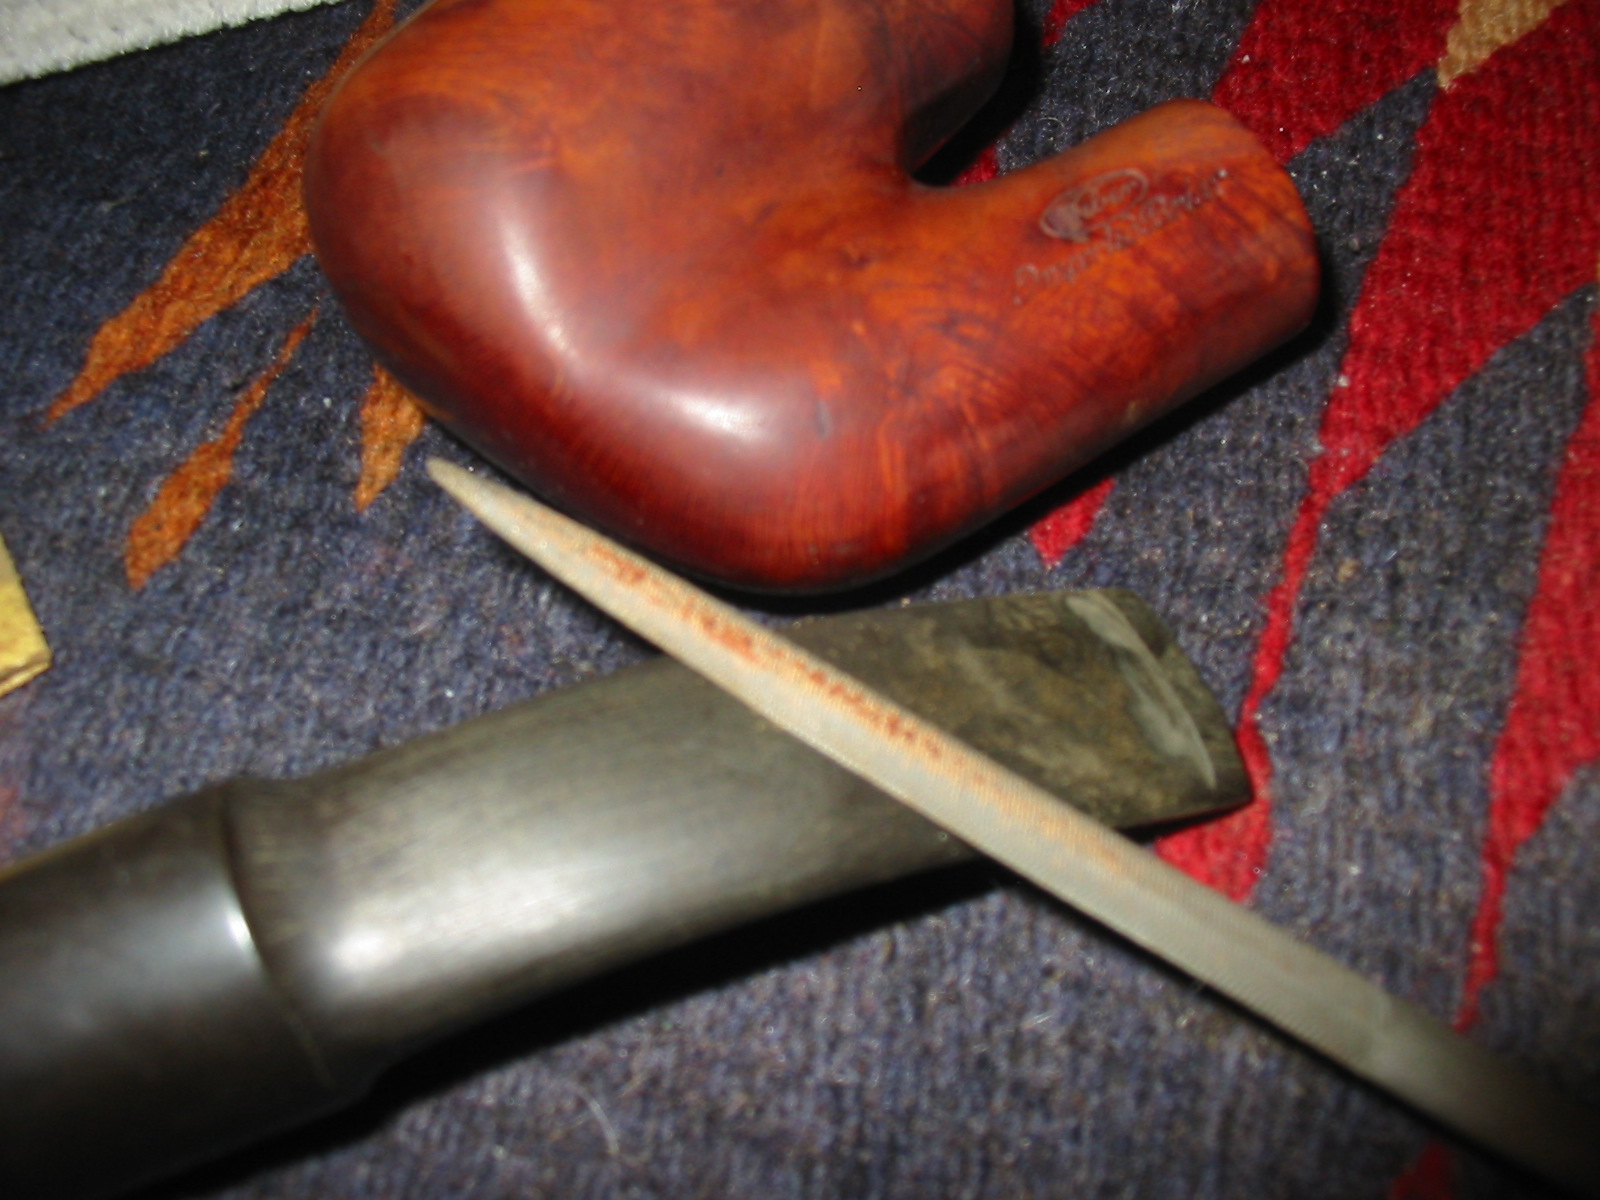
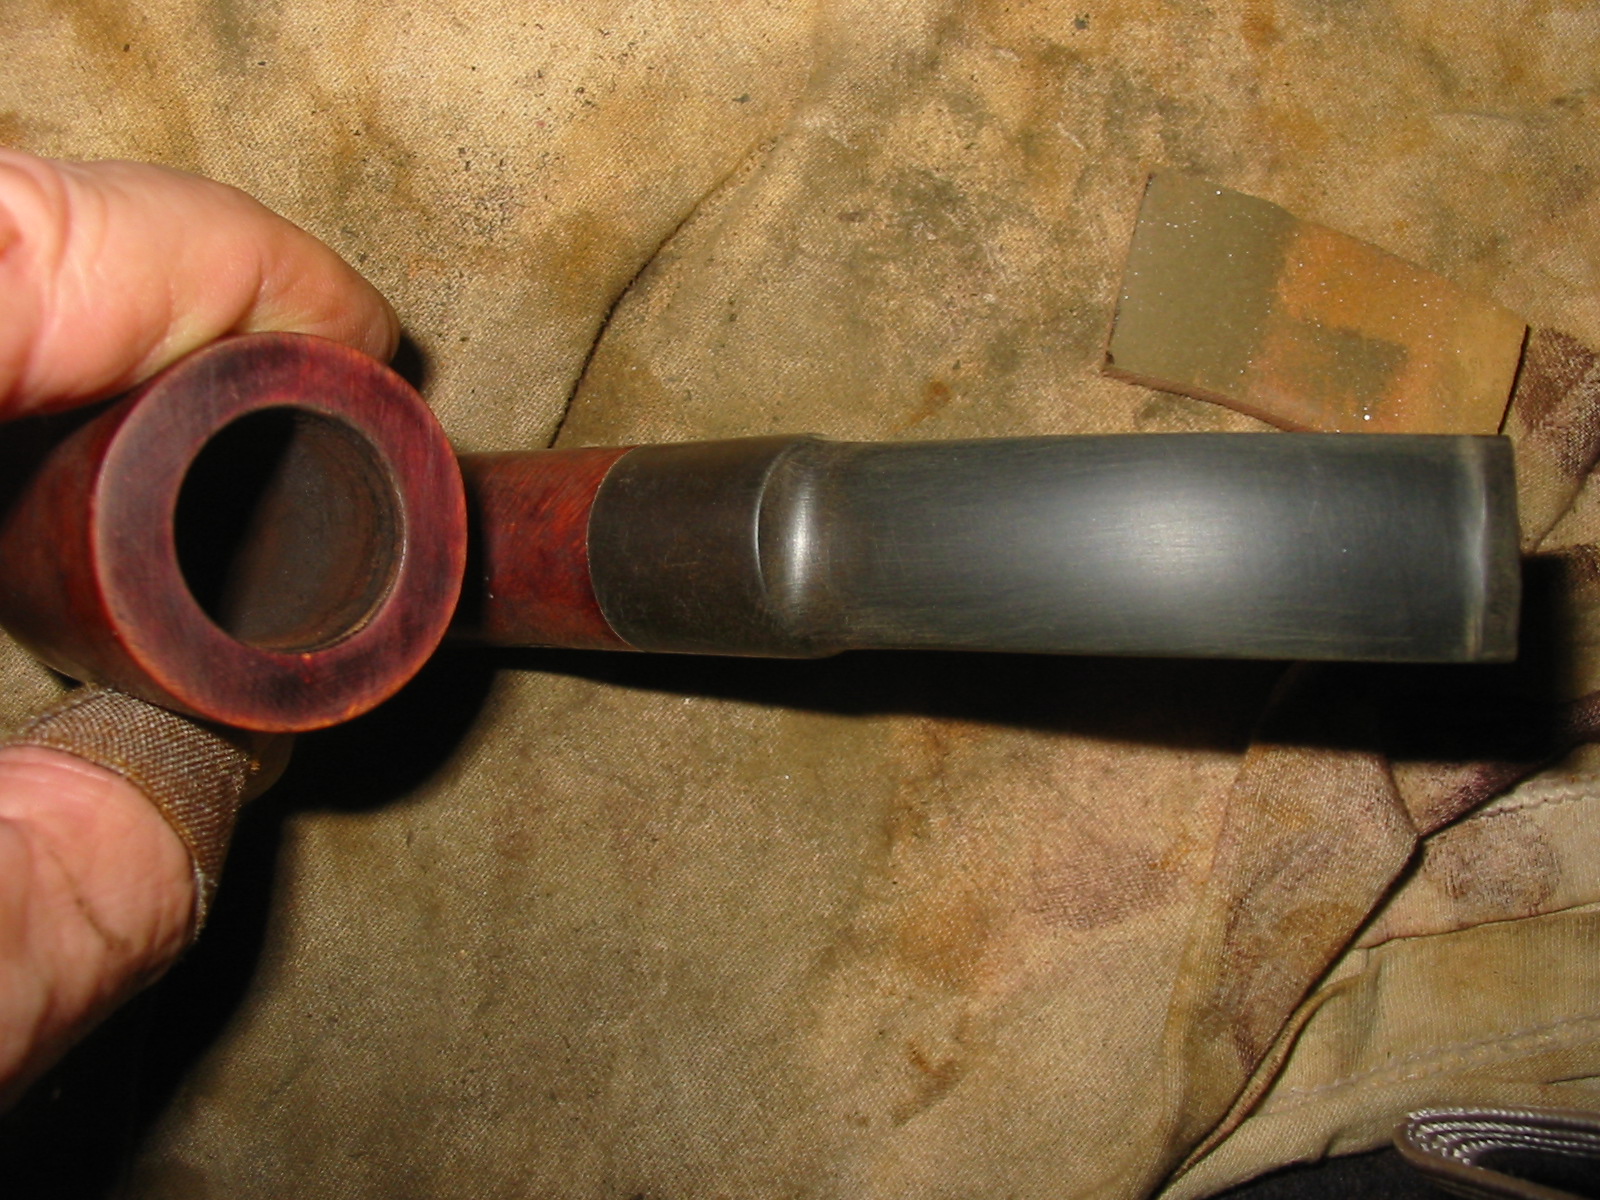
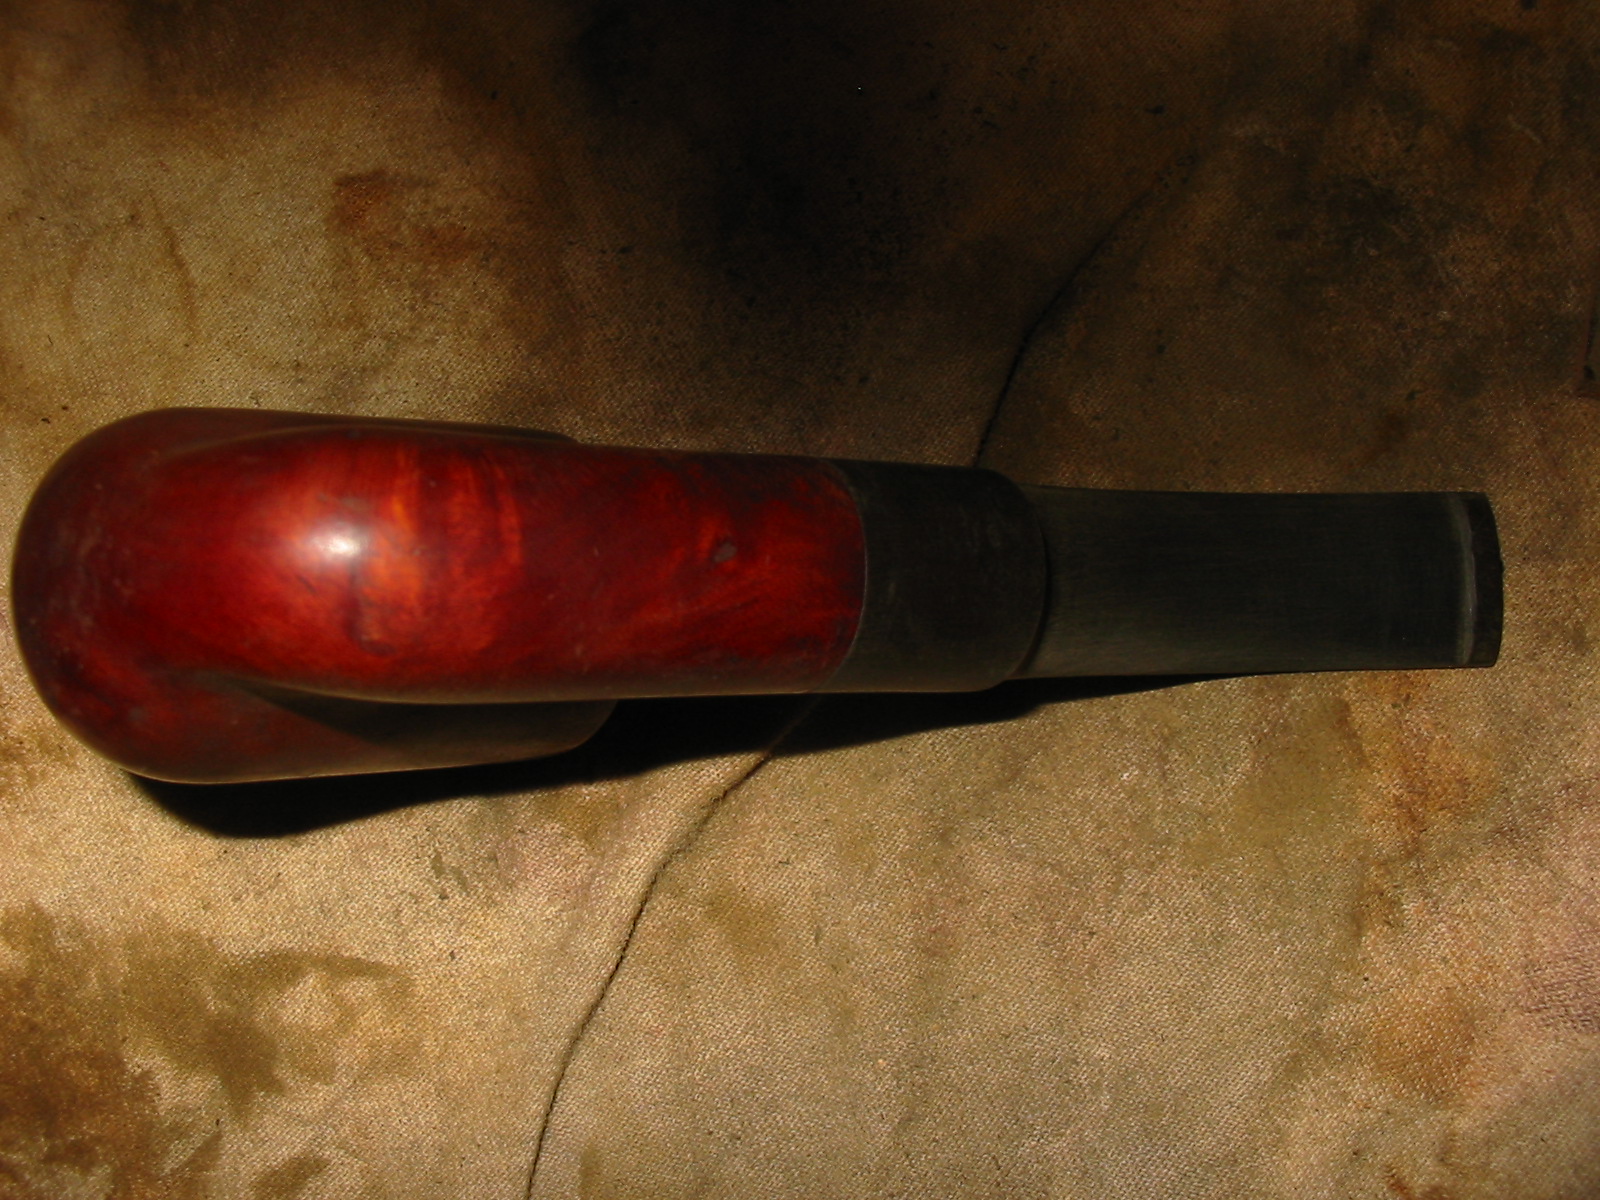
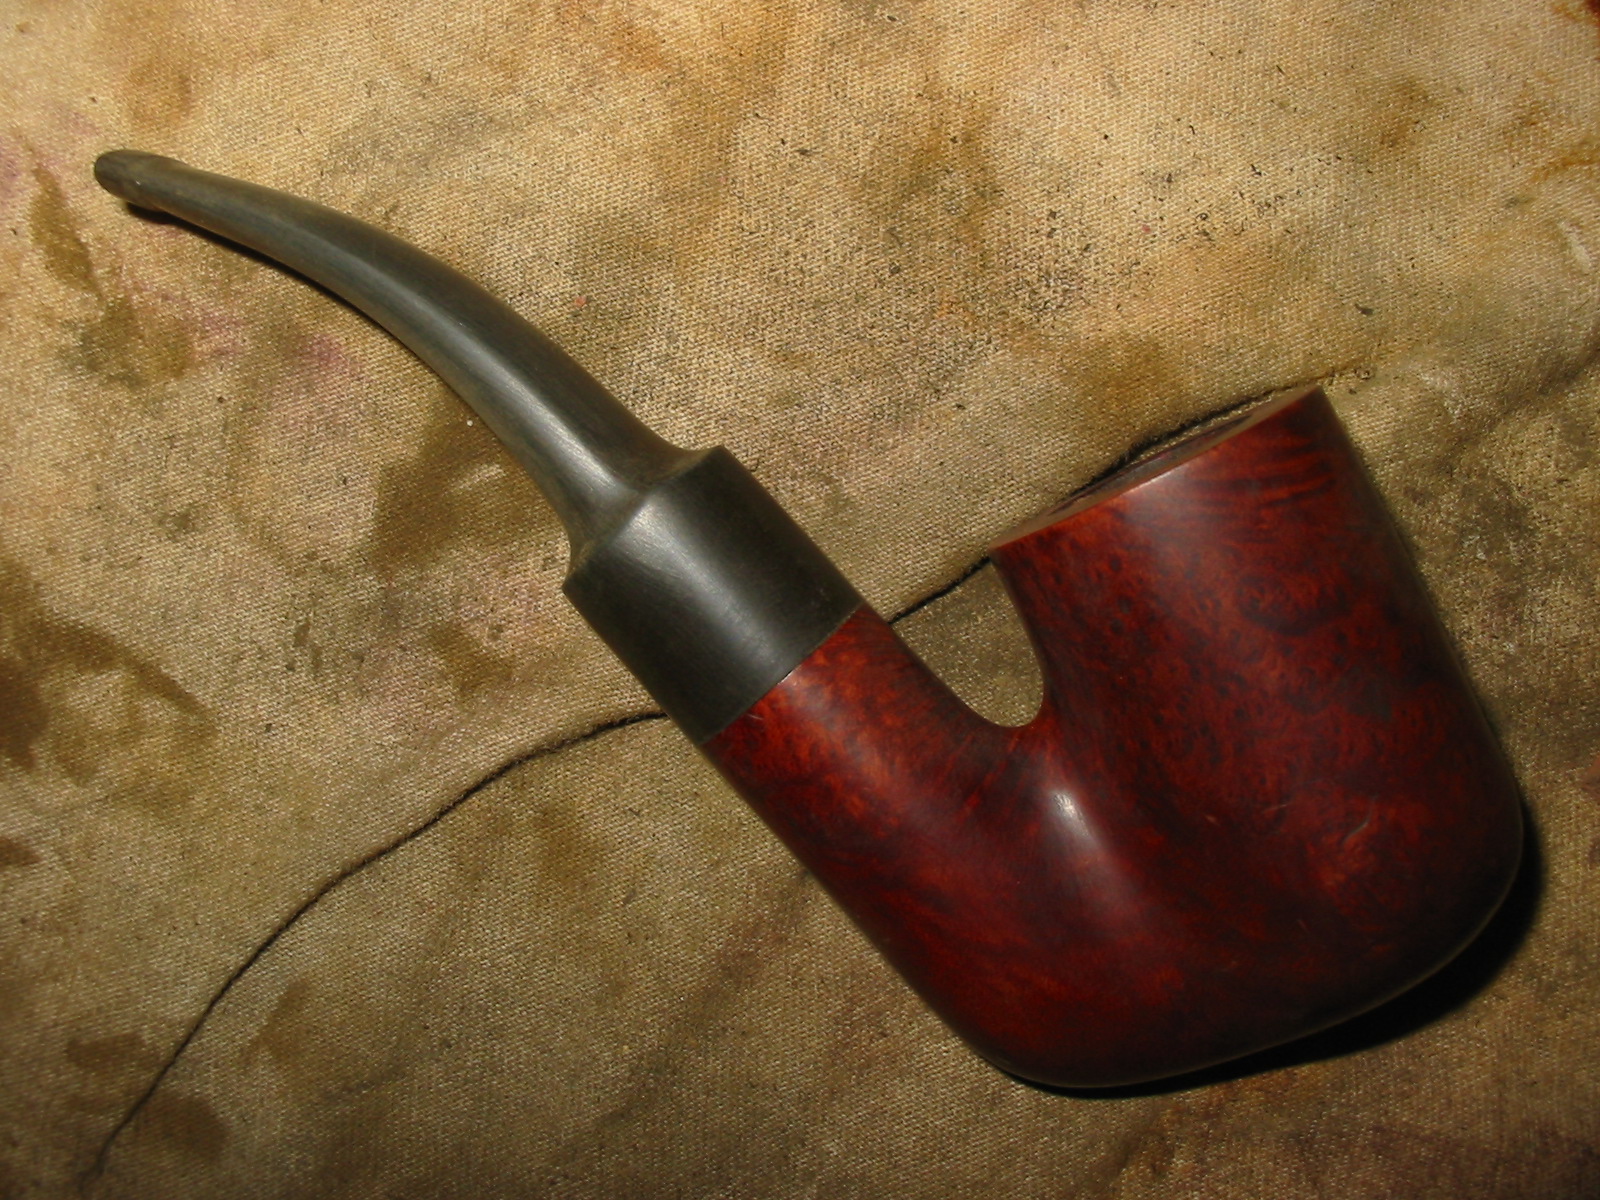
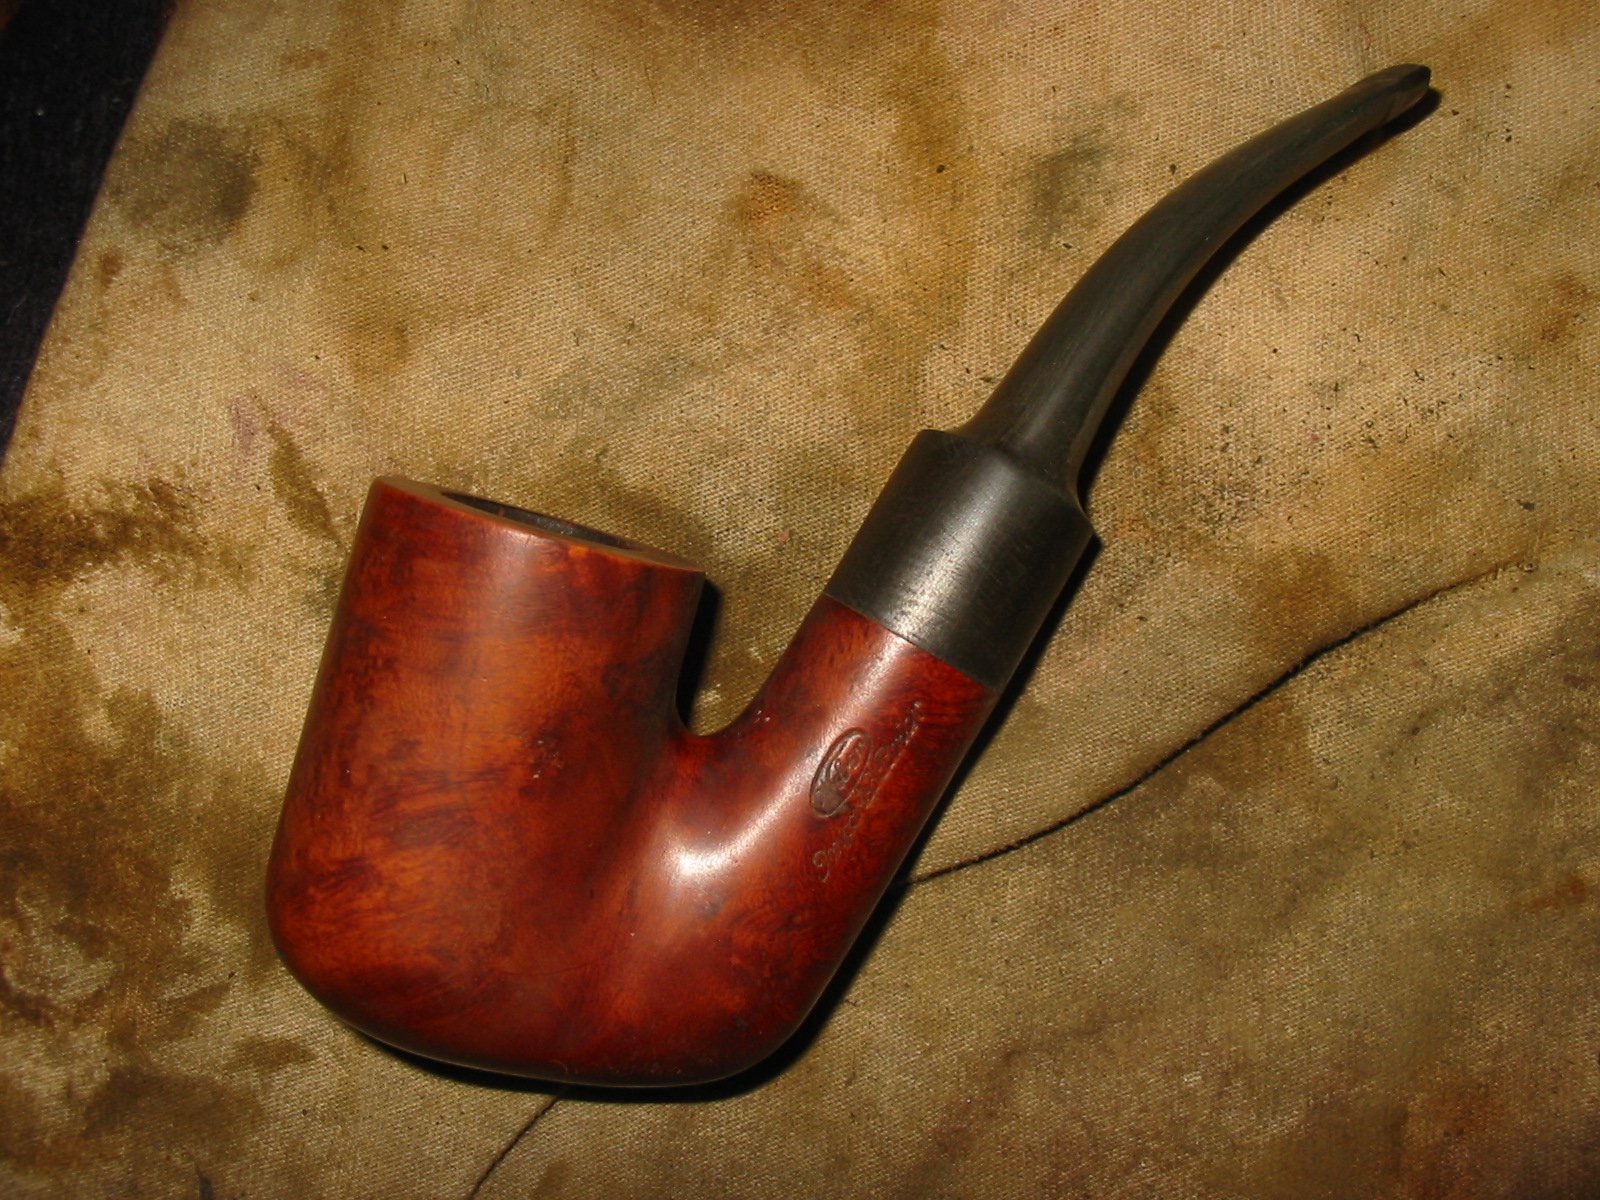
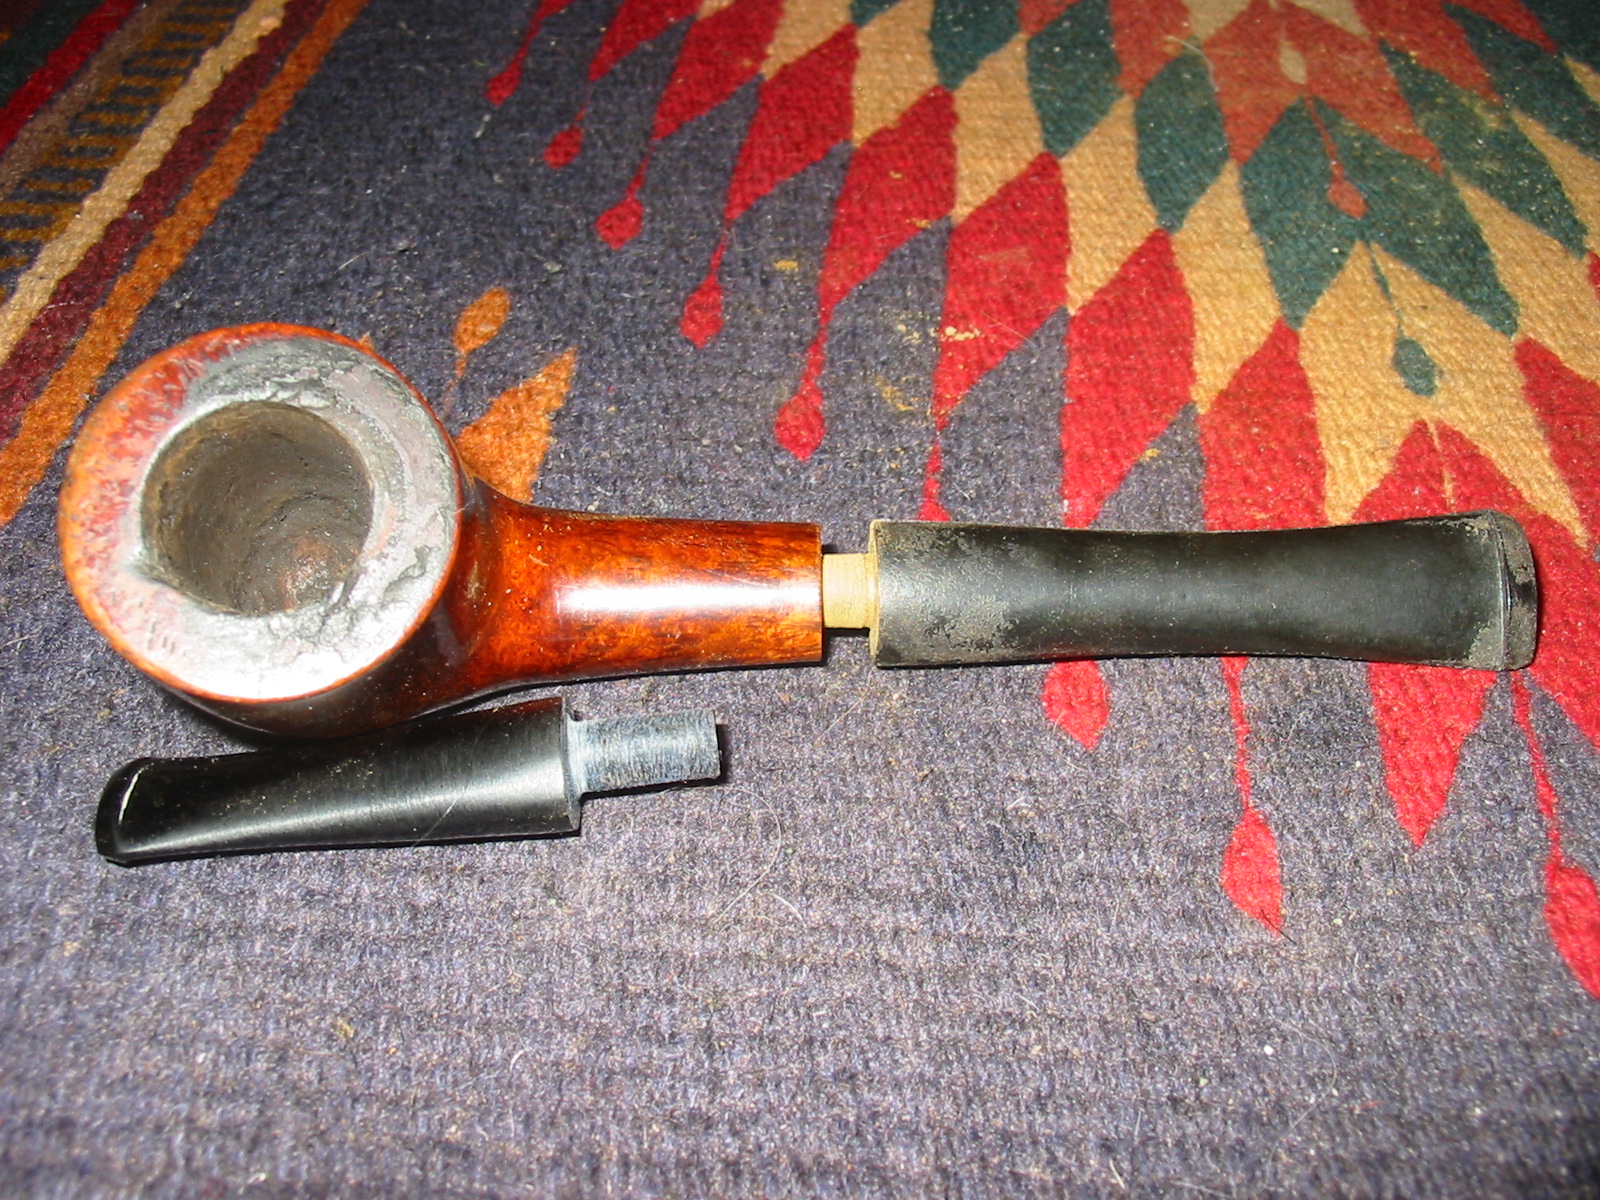
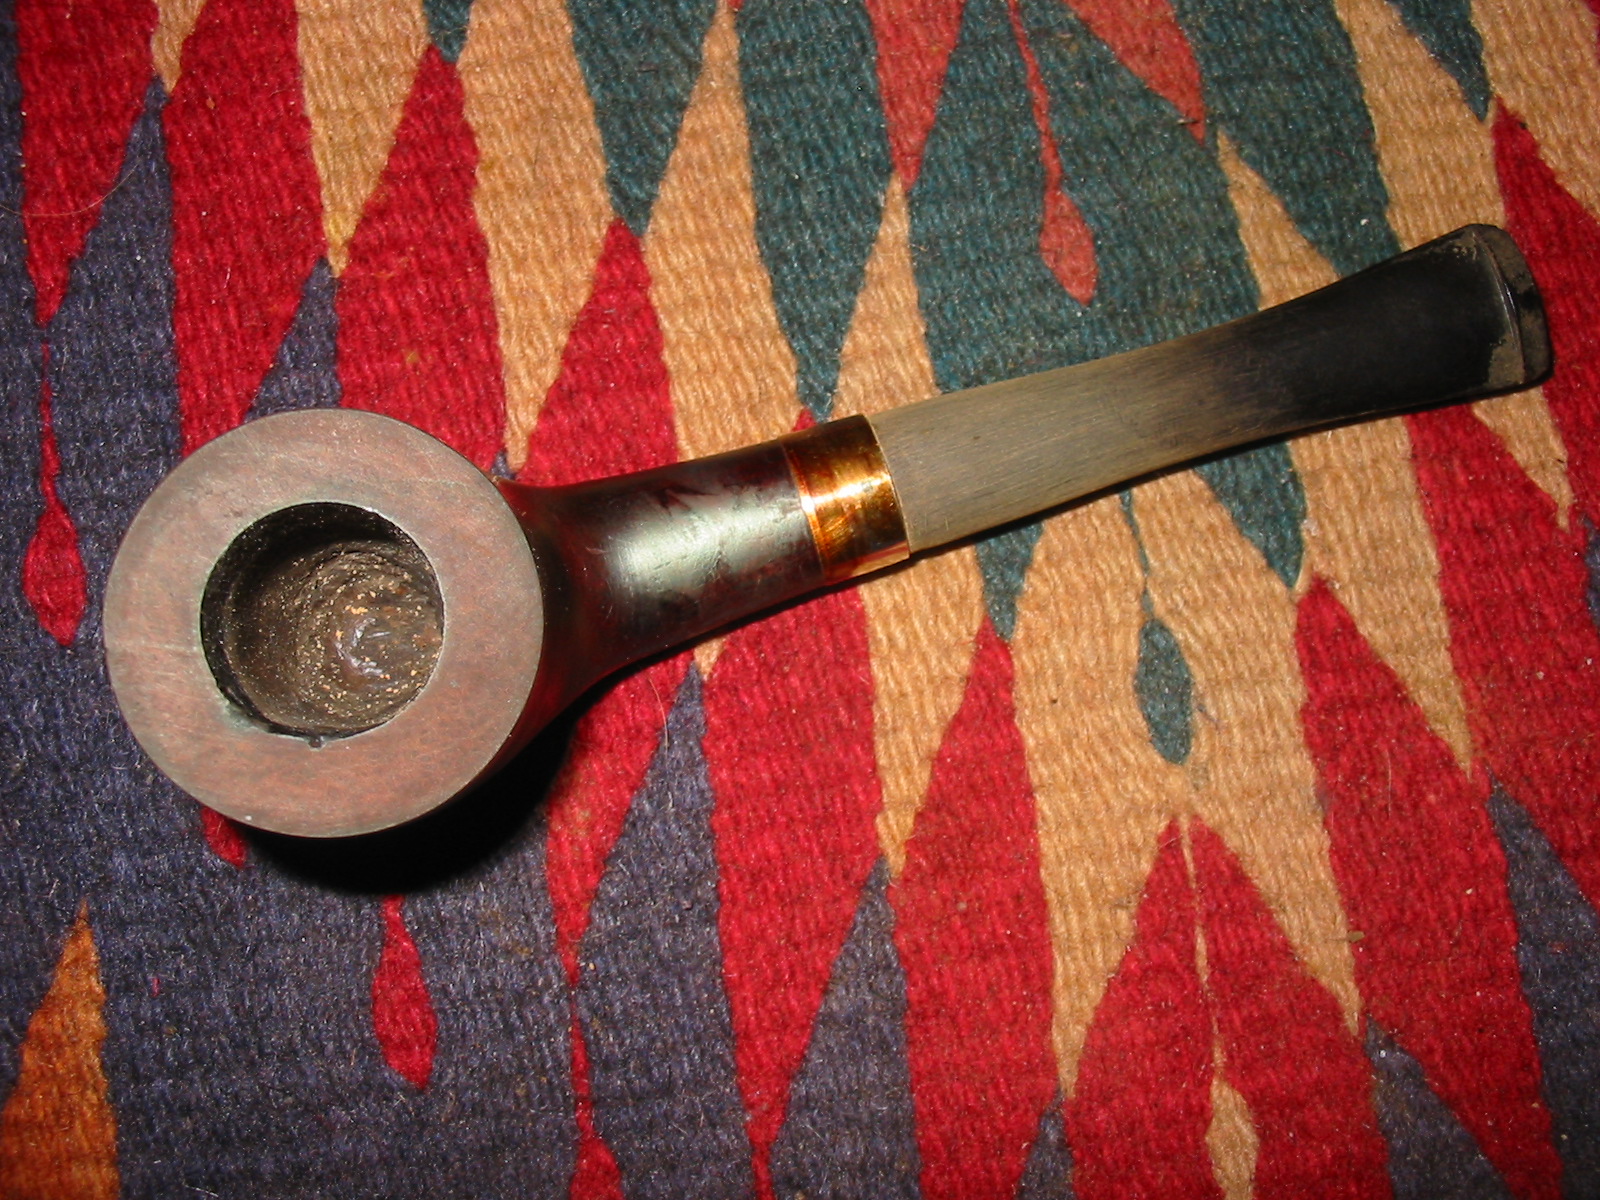
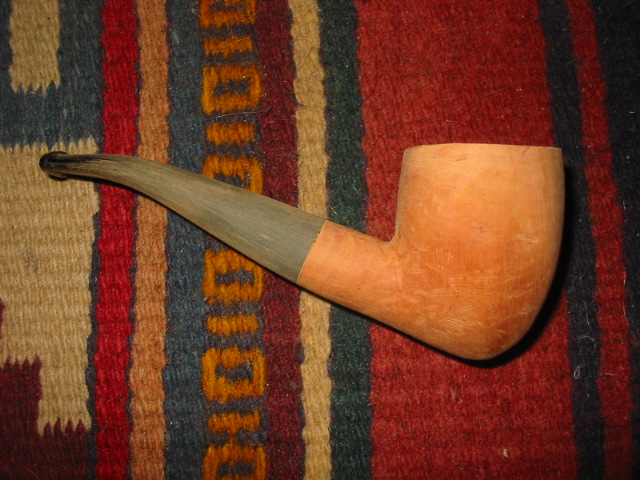
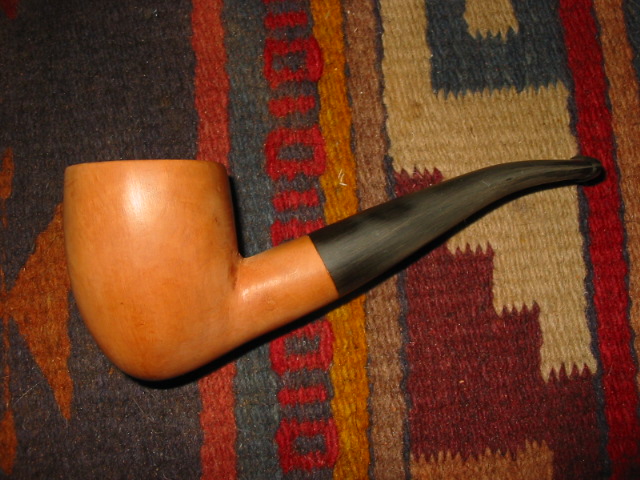
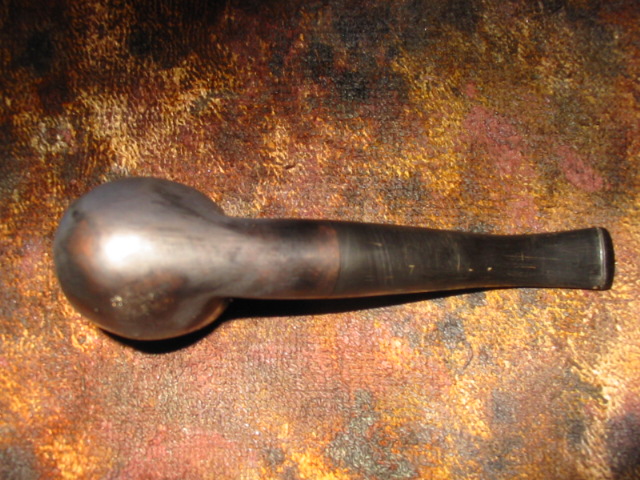
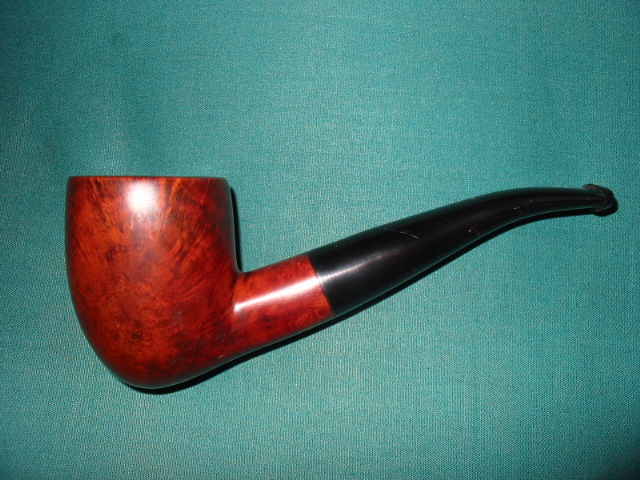
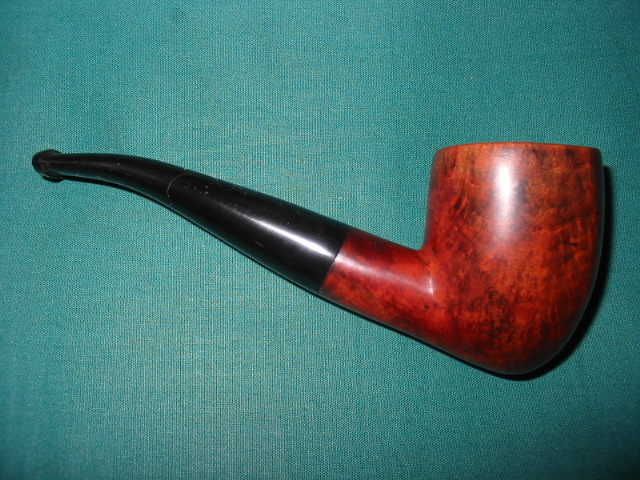
Once home, I was able to do a more thorough review of their condition.  Both pipes were in about the same condition, the rims were covered with a heavy crust of lava and the bowls had a nice thick cake built up on the sides.  And they both had a strong smell of aromatic tobacco.  The outside of the both bowls were in very good condition considering the painted finish; no worn spots, dents or discolorations.  The straight billiard has a very small chip in the rim and had two pin-point sized flaws in the paint but the paint on the bent was flawless.aaron1 aaron2 aaron3
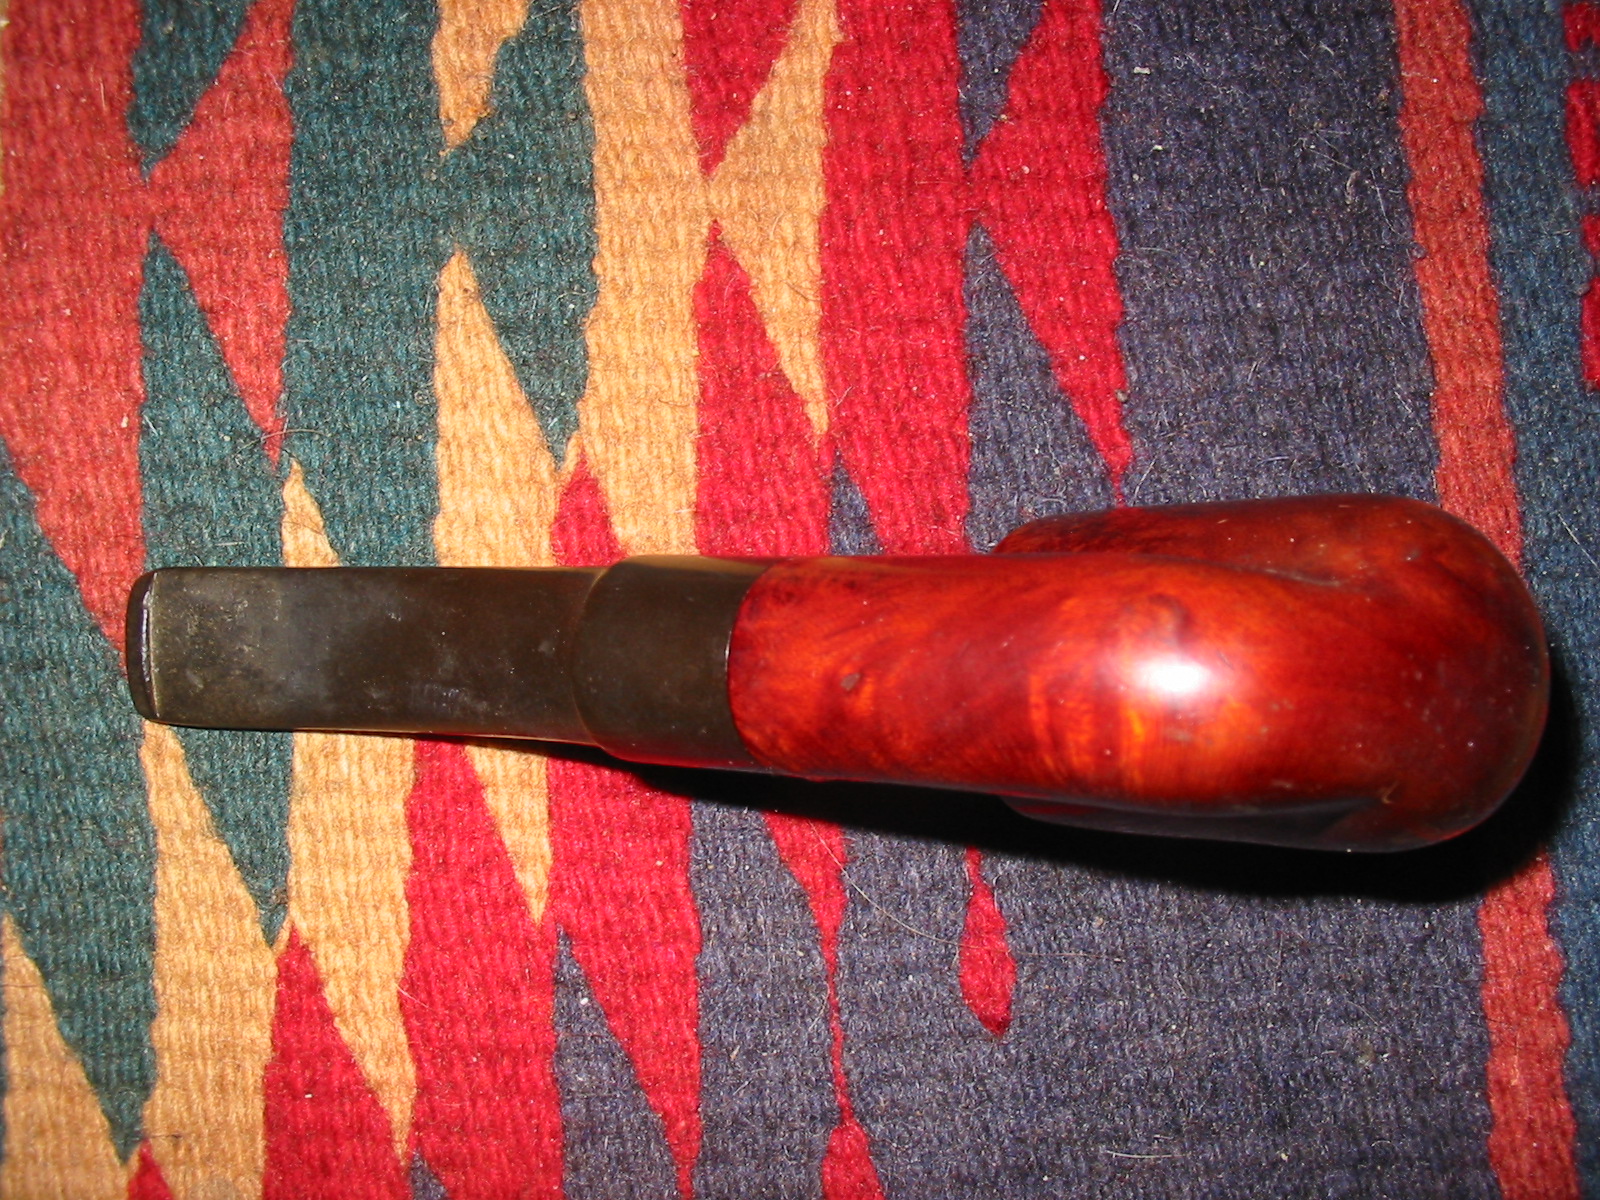
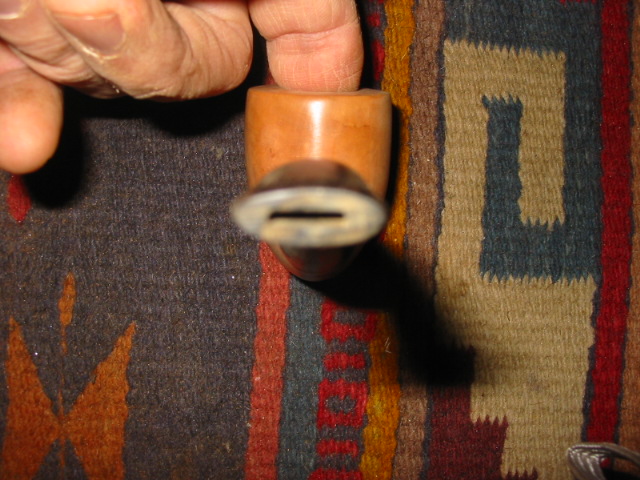
The stems are nylon and had some tooth dents around the button.  The dents were deep but not to the point of needing filled.  Both airways were clear, but were restricted with a thick layer of tar.  Removing the stem revealed an o-ring set in a groove in the tenon.  Looking into the shank I saw no briar only plastic. aaron4Even more intrigued now, I searched for the pipe on-line and I found the following on Pipedia:

In 1963, Super-Temp Corporation began making plastic pipes with pyrolytic graphite bowl liners. They were called the pipe. In 1965, Super-Temp contracted to market their unique pipes through Venturi, Inc., the company which sold Tar Gard cigarette filters. Colors and stripes began to be offered circa 1967. About 1970, THE SMOKE pipes were added to the line – they were non-traditional shapes with a less expensive bowl liner. Venturi pipes were added around 1972 – they had no liner in the bowls at all. The pipes were out of production by 1975.

Plastic pipes?  Pyrolytic graphite bowl liners?  Granted, I missed out on the 1960’s, but I did get to live through the aftermath and I remember the cultural fascination with space-age materials as they tried to find a place in our daily lives… but I had no idea they made space-age pipes.  An ad in the December 1967 issue of Esquire, captures this fascination. aaron5I felt that I needed to do a little more research and found that the pipe has a small following of dedicated fans.  I eventually came across a web site authored by Billie W. Taylor II, PhD that is dedicated to the history and novelty of these pipes.  He has amassed what could easily be called the definitive work on the pipe: http://www.thepipe.info/sitemap.html

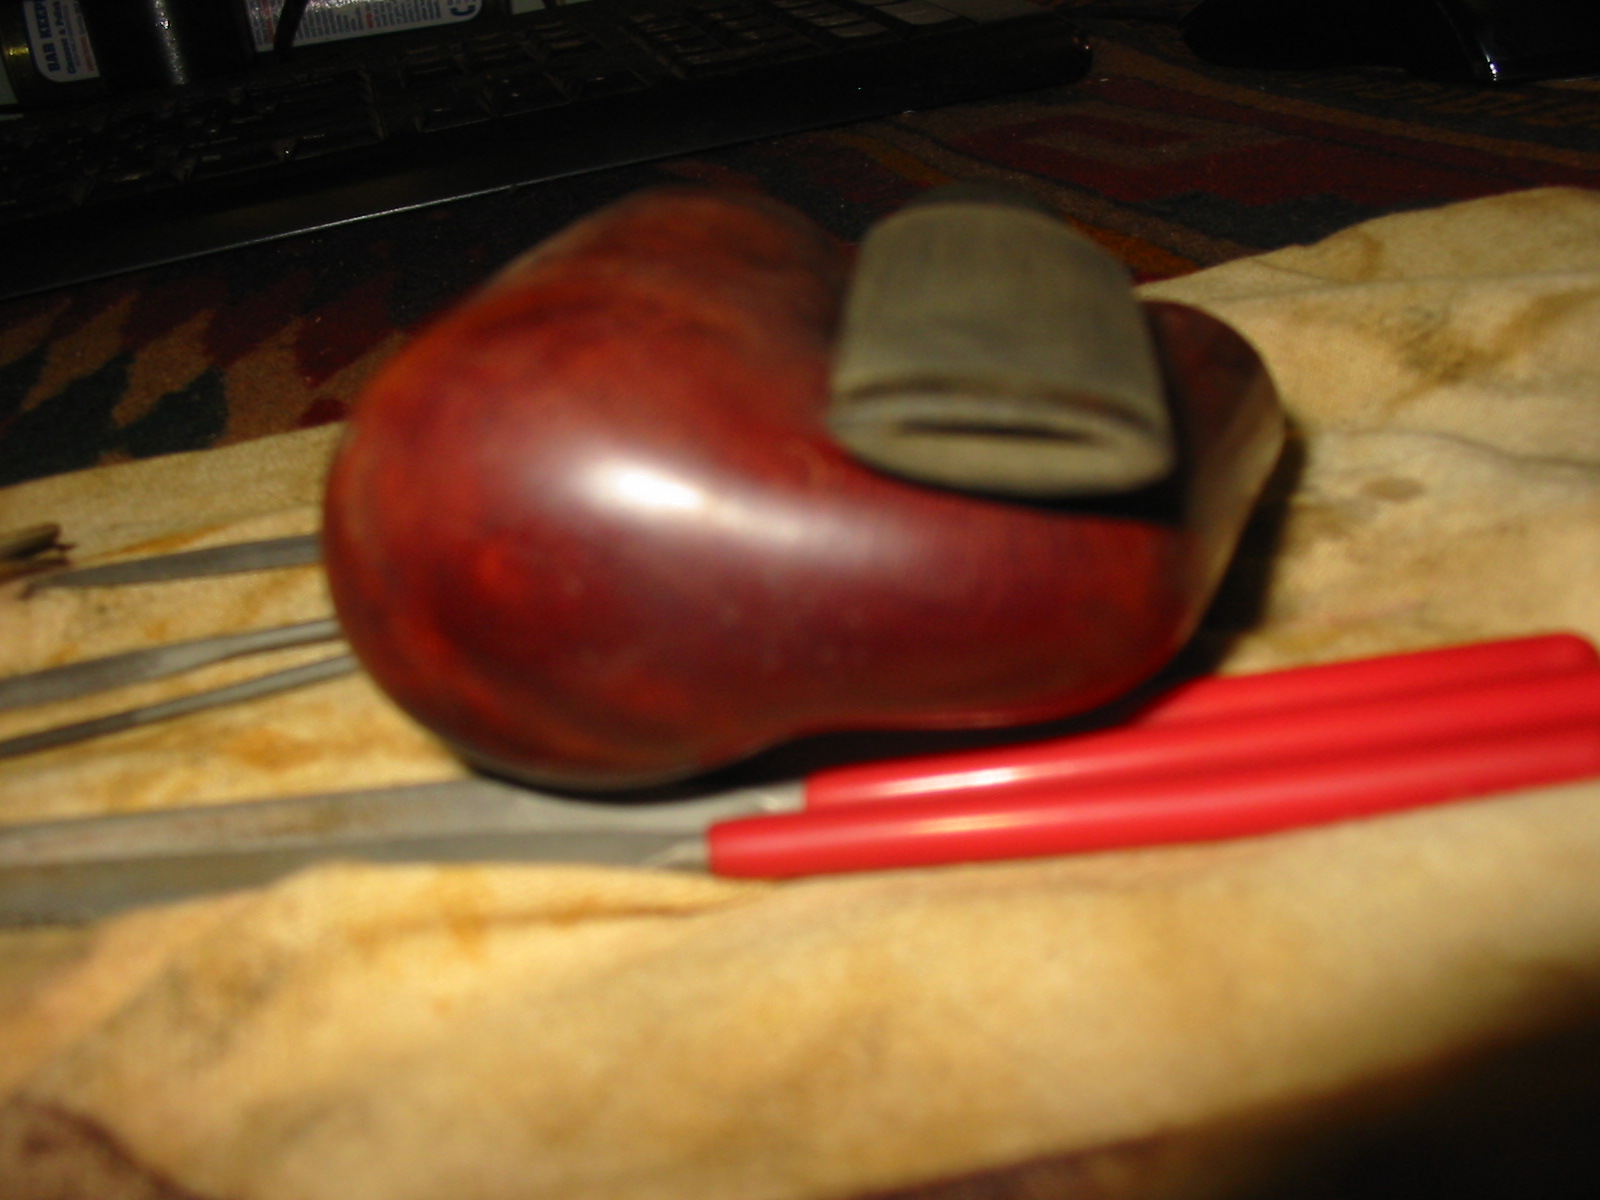
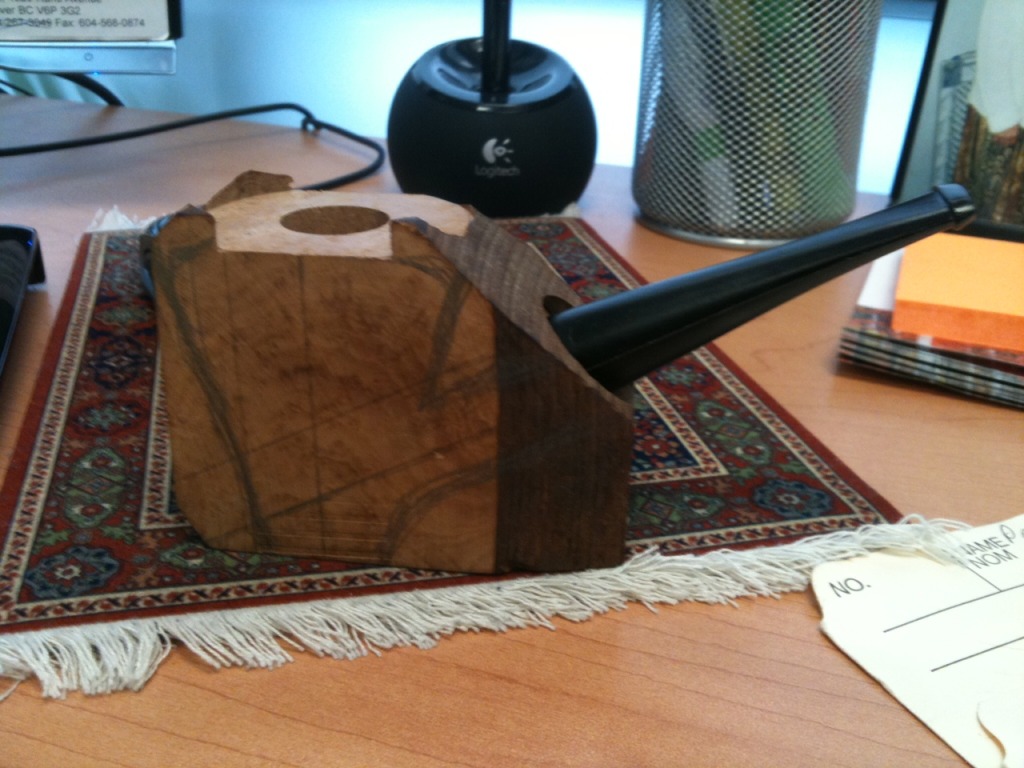
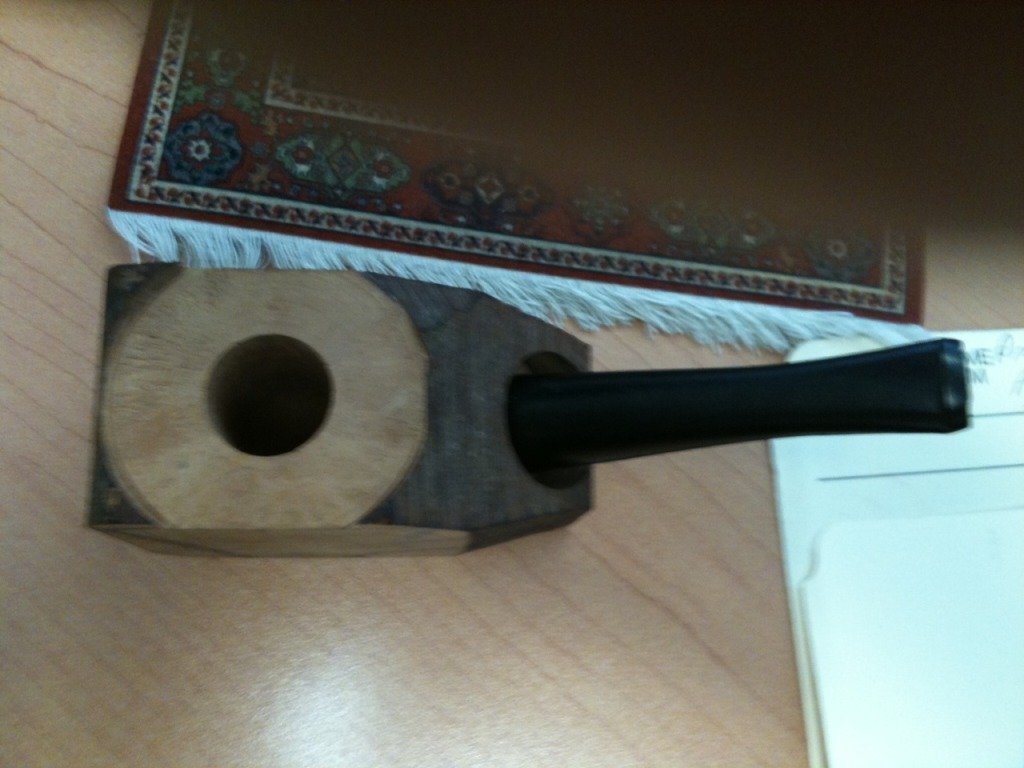
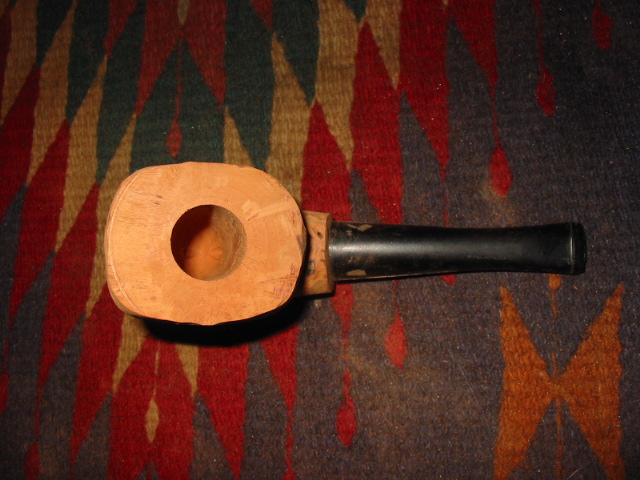
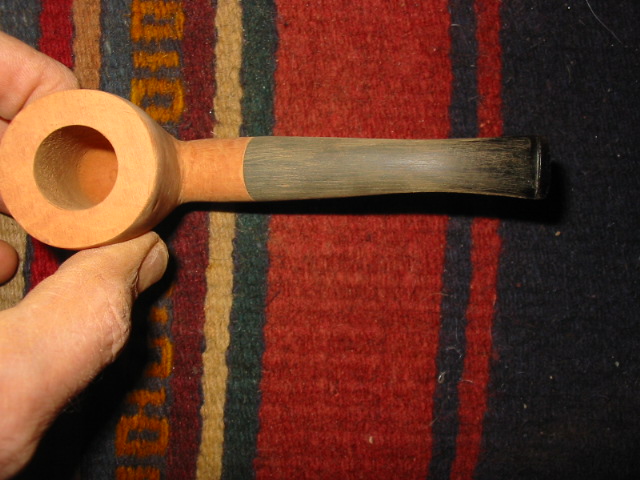
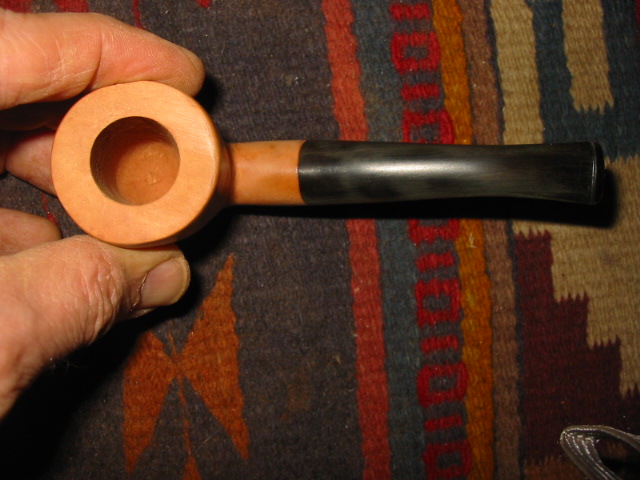
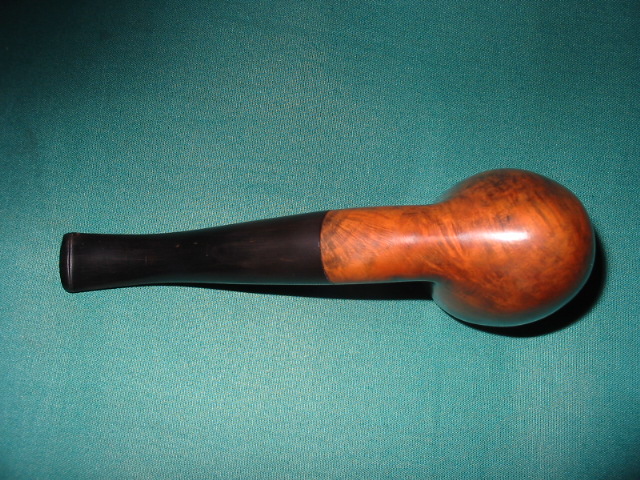
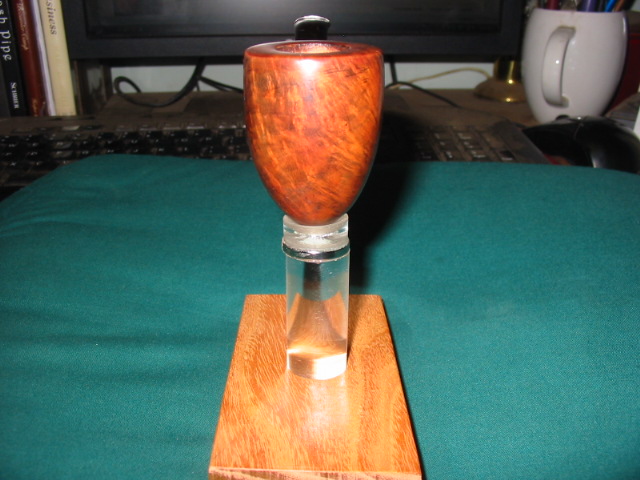
While there is no way I could (or would) share all the information in Dr. Taylor’s website, there are a couple of things I think worth sharing.  The first is the pipe’s unique anatomy.  The body is made of compression molded Bakelite stummel with a graphite bowl insert.  There is an insulating air gap between the bowl insert and the bowl body.aaron6Pyrolytic graphite has been manufactured since the 1950s and is used as heat shields in rockets and reactors, it being an excellent conductor of heat.  As the story goes, in 1963, a machinist at Super-Temp was machining graphite rods into cups to be used in the nuclear power industry.  Being an avid pipe smoker and seeing the cups were about the size of his pipe, he made one that fit into the bowl of his pipe.  Finding that is smoked well, he took the idea to his management and the pipe was born.

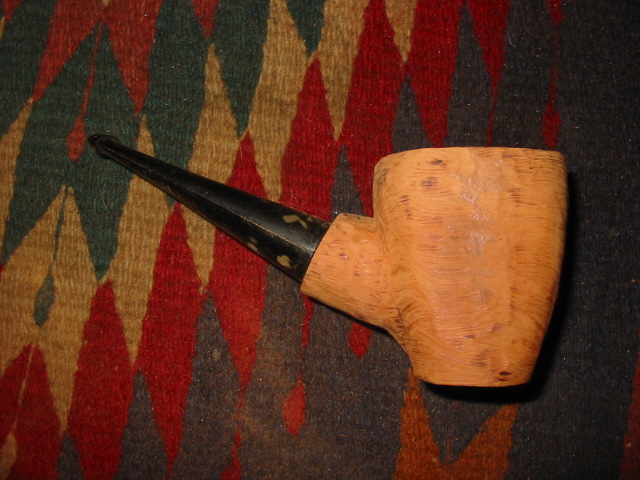
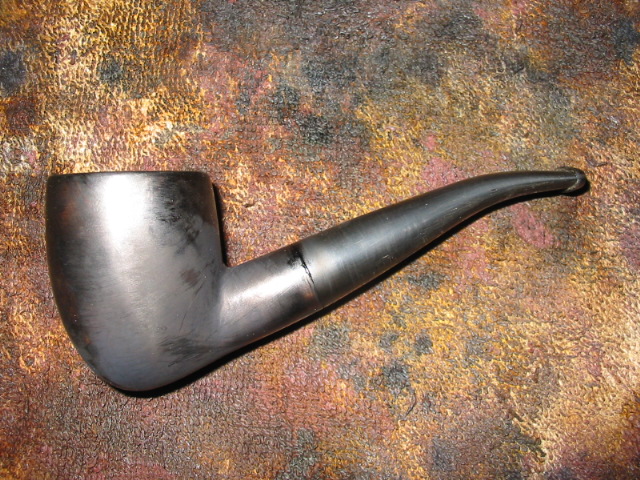
Early stems for the pipe were made of nylon while many stems made after the first year were made of Bakelite – addressing complaints that the nylon was too soft.  The tenon has an o-ring set in a groove to ensure a seal between stem and stummel.aaron7Although it was originally offered only in black, in 1967 the pipe came in nine different shapes and offered in standard red, green, blue and white.  The pre 1970’s pipes were coated with a two-part epoxy paint while those after 1970 used an acrylic paint. Additional colors and color schemes were offered throughout the life of the brand but some of the ‘unique’ colors were the result of fading of the acrylic paint.

Other than stem material, I did not have much to go on to date these two pipes.  But because both stems are nylon I will estimate that they were early runs and date to the mid-1960’s.

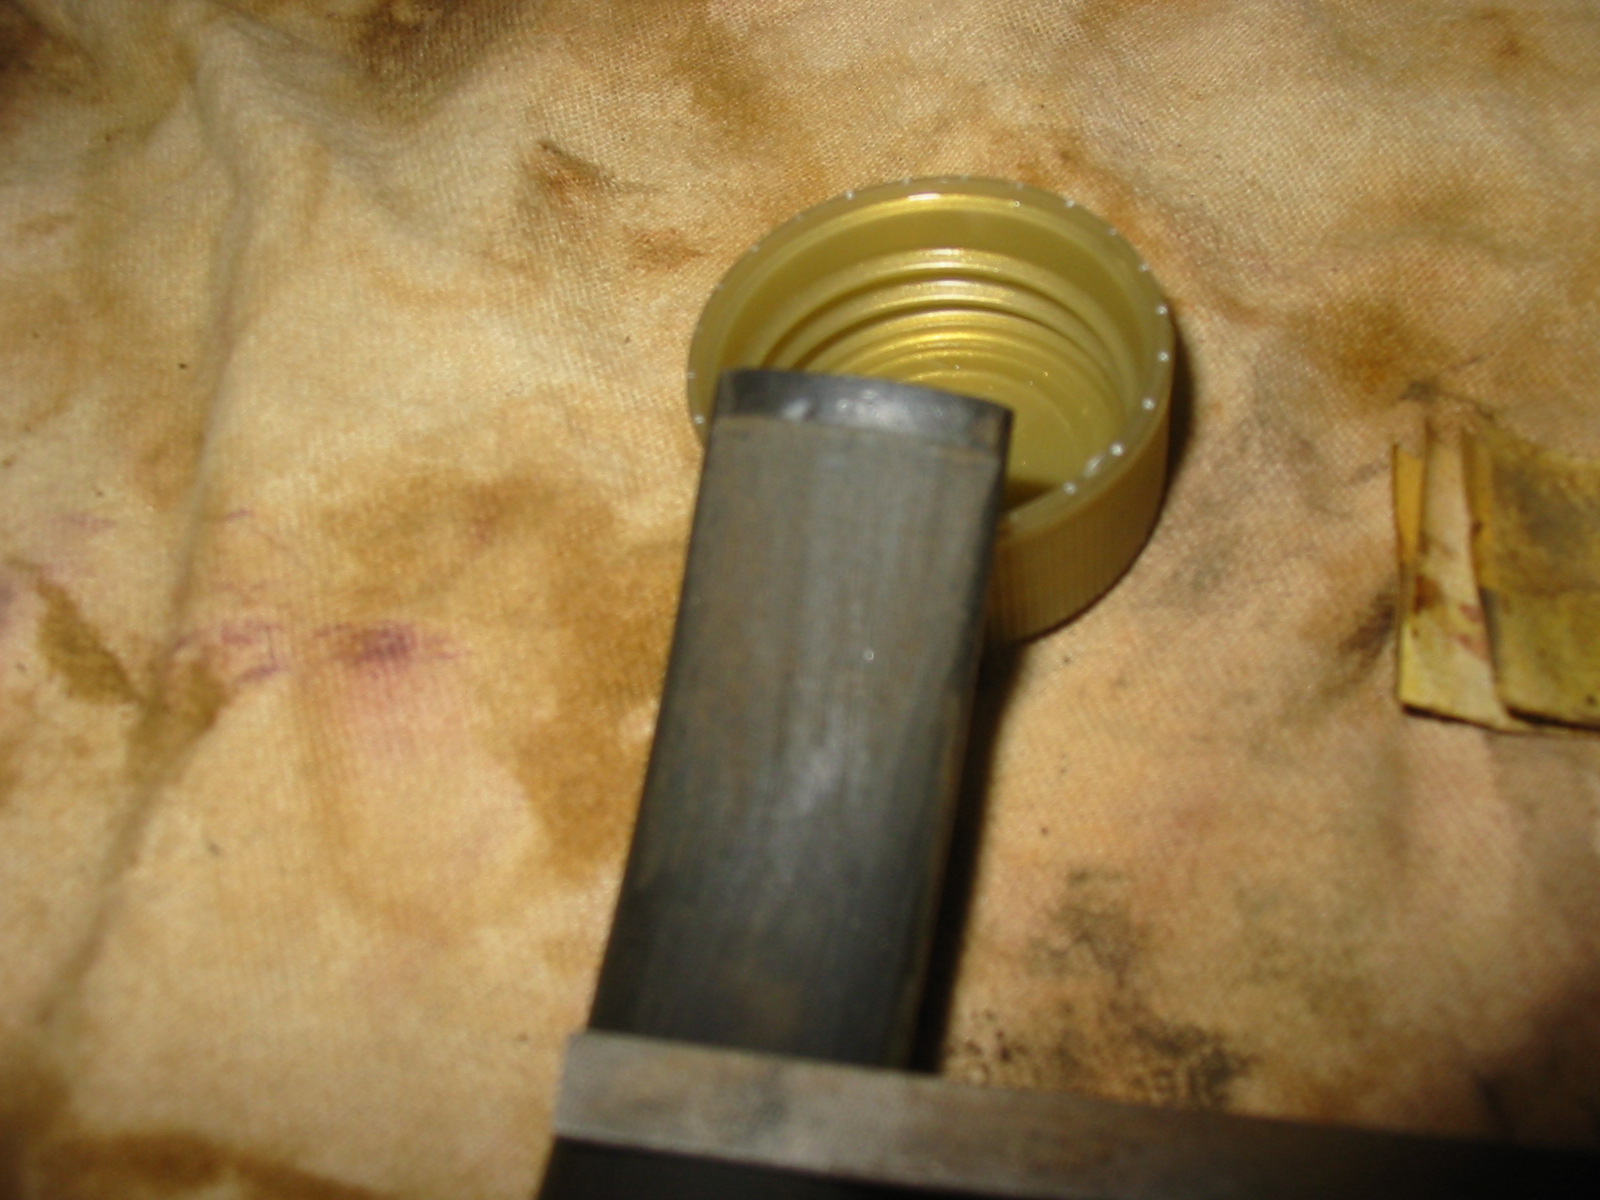
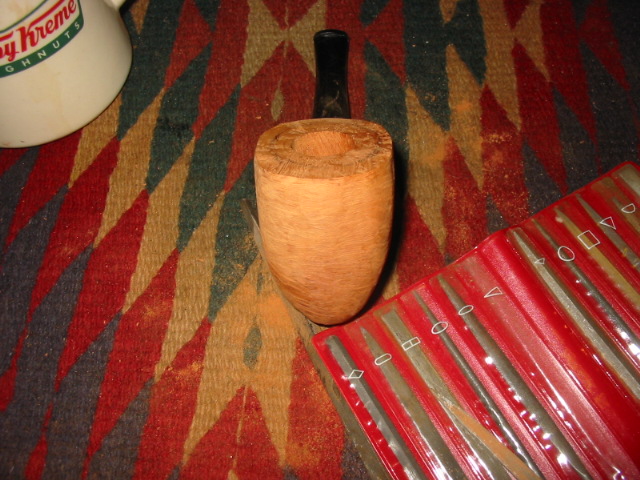
After what I read, I assumed that the typical briar pipe restoration techniques would apply.  I was worried about damaging the graphite liner and not sure what chemicals might do to it.  I also assumed that the bowls should not be scraped or sanded.  Since both of the pipes I had bought had nylon stems, using alcohol on them was out.  I kept researching and found a 1969 magazine ad that gave me an idea:aaron8Putting the pipes in my wife’s dishwasher was out of the question… I didn’t even ask!  Additional reading through thepipe.info website I found a cleaning guide that began with a soak in warm water with a small amount of mild dish soap.  This began to loosen the hardened tars and lava.aaron9

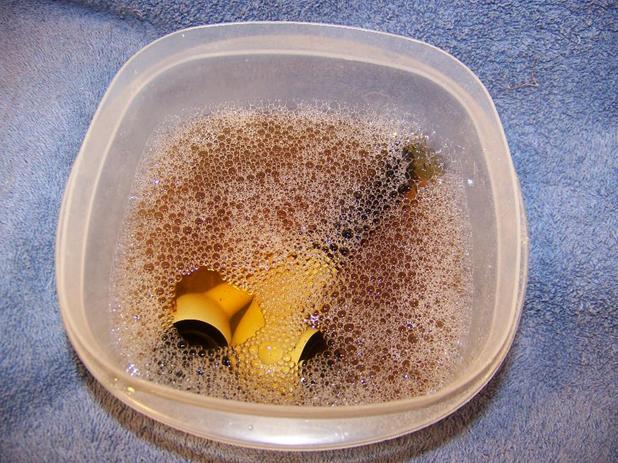
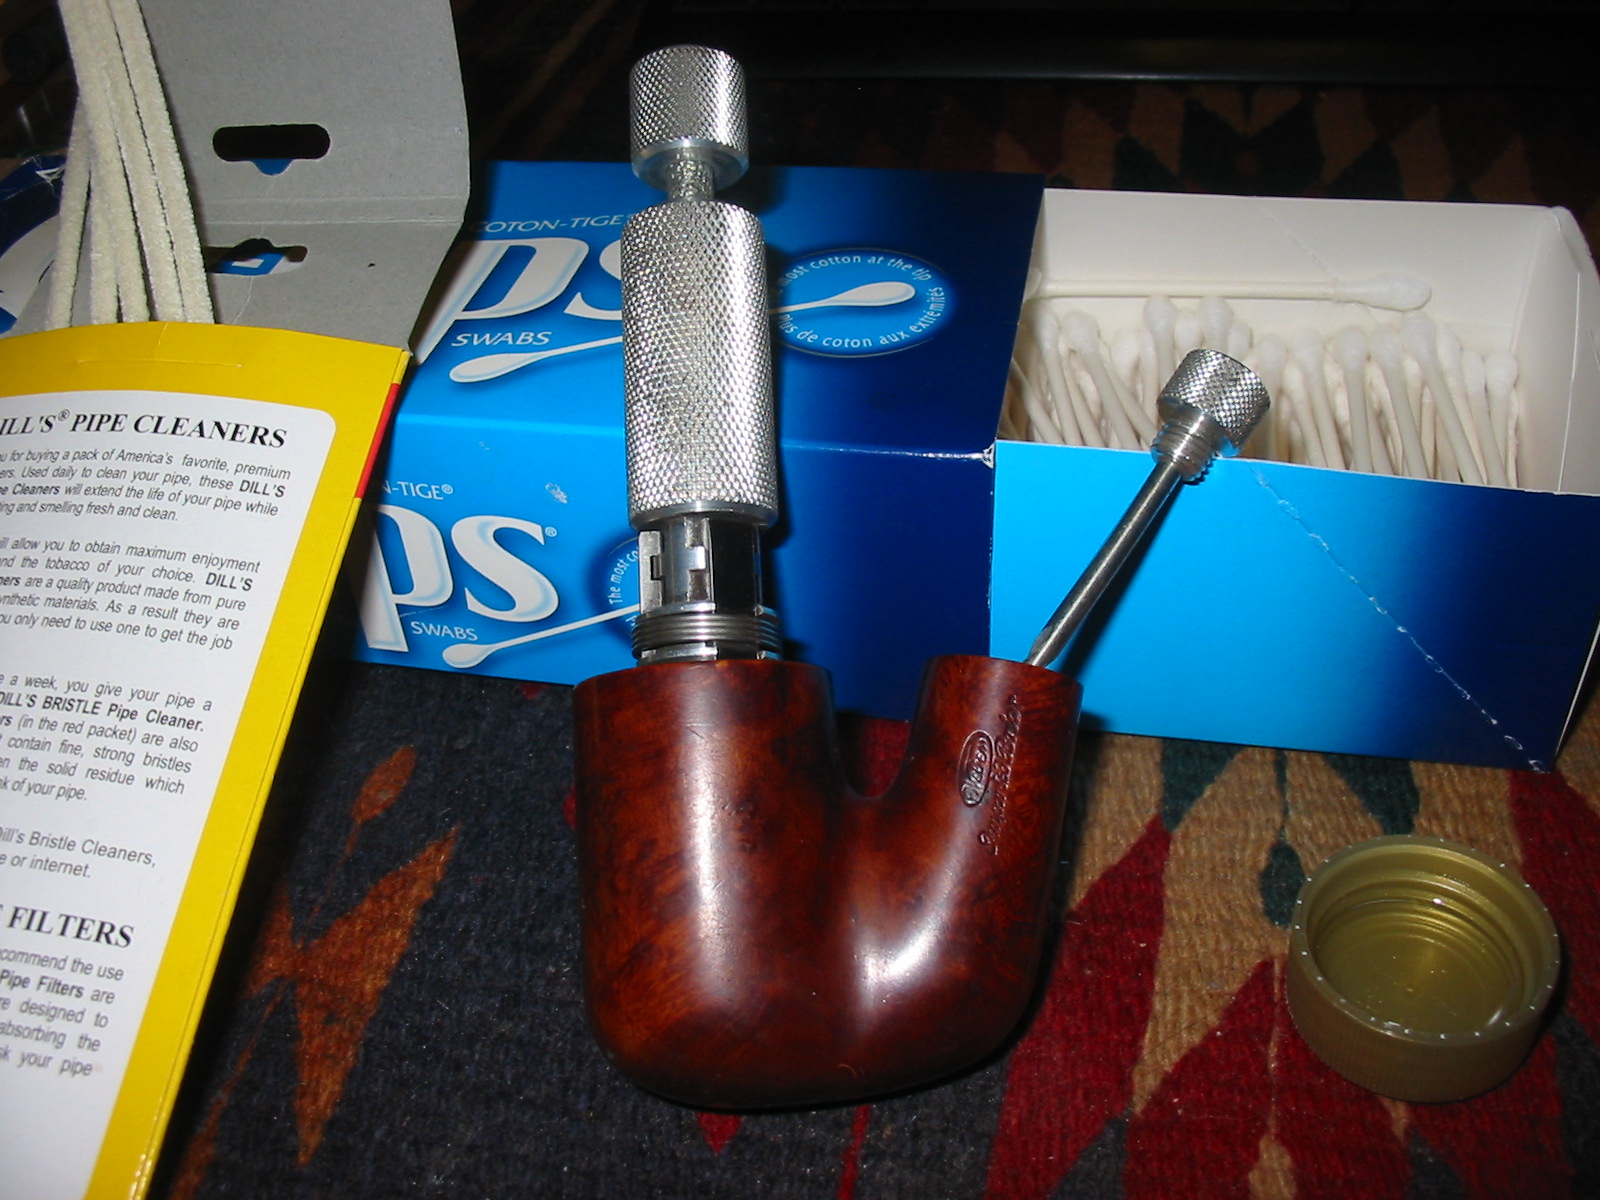
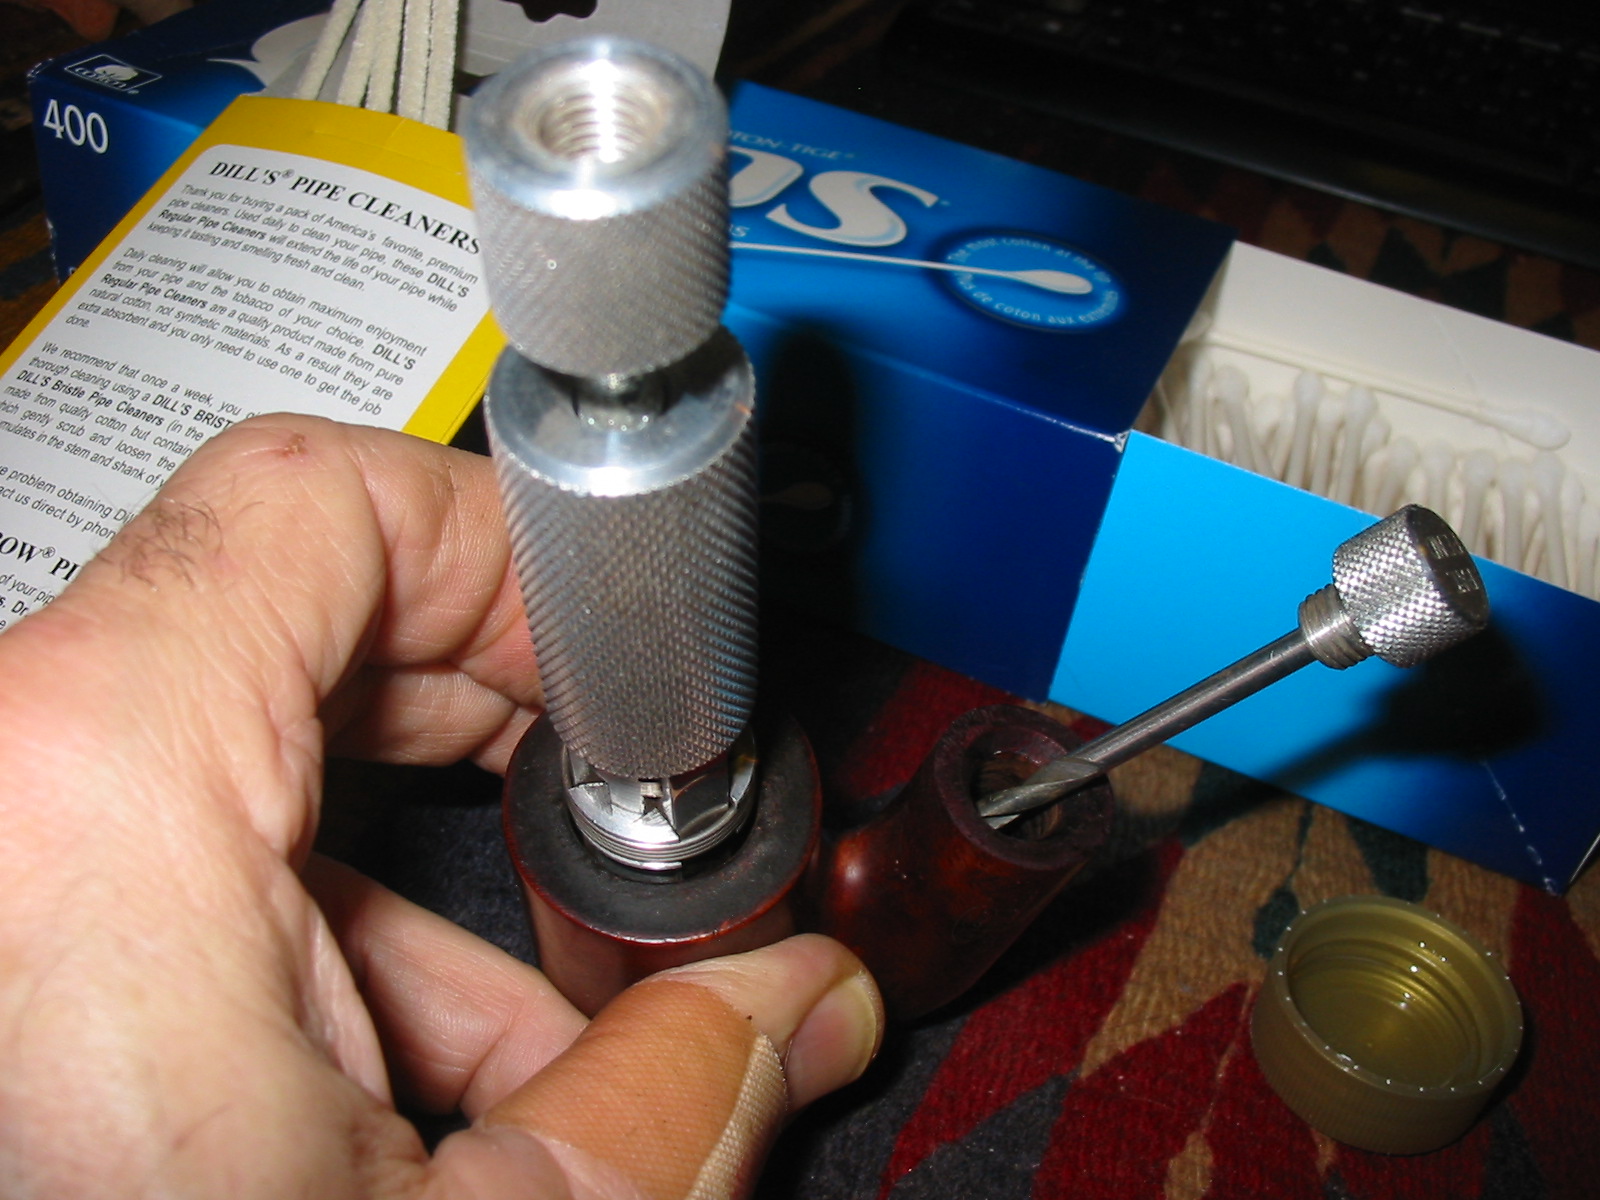
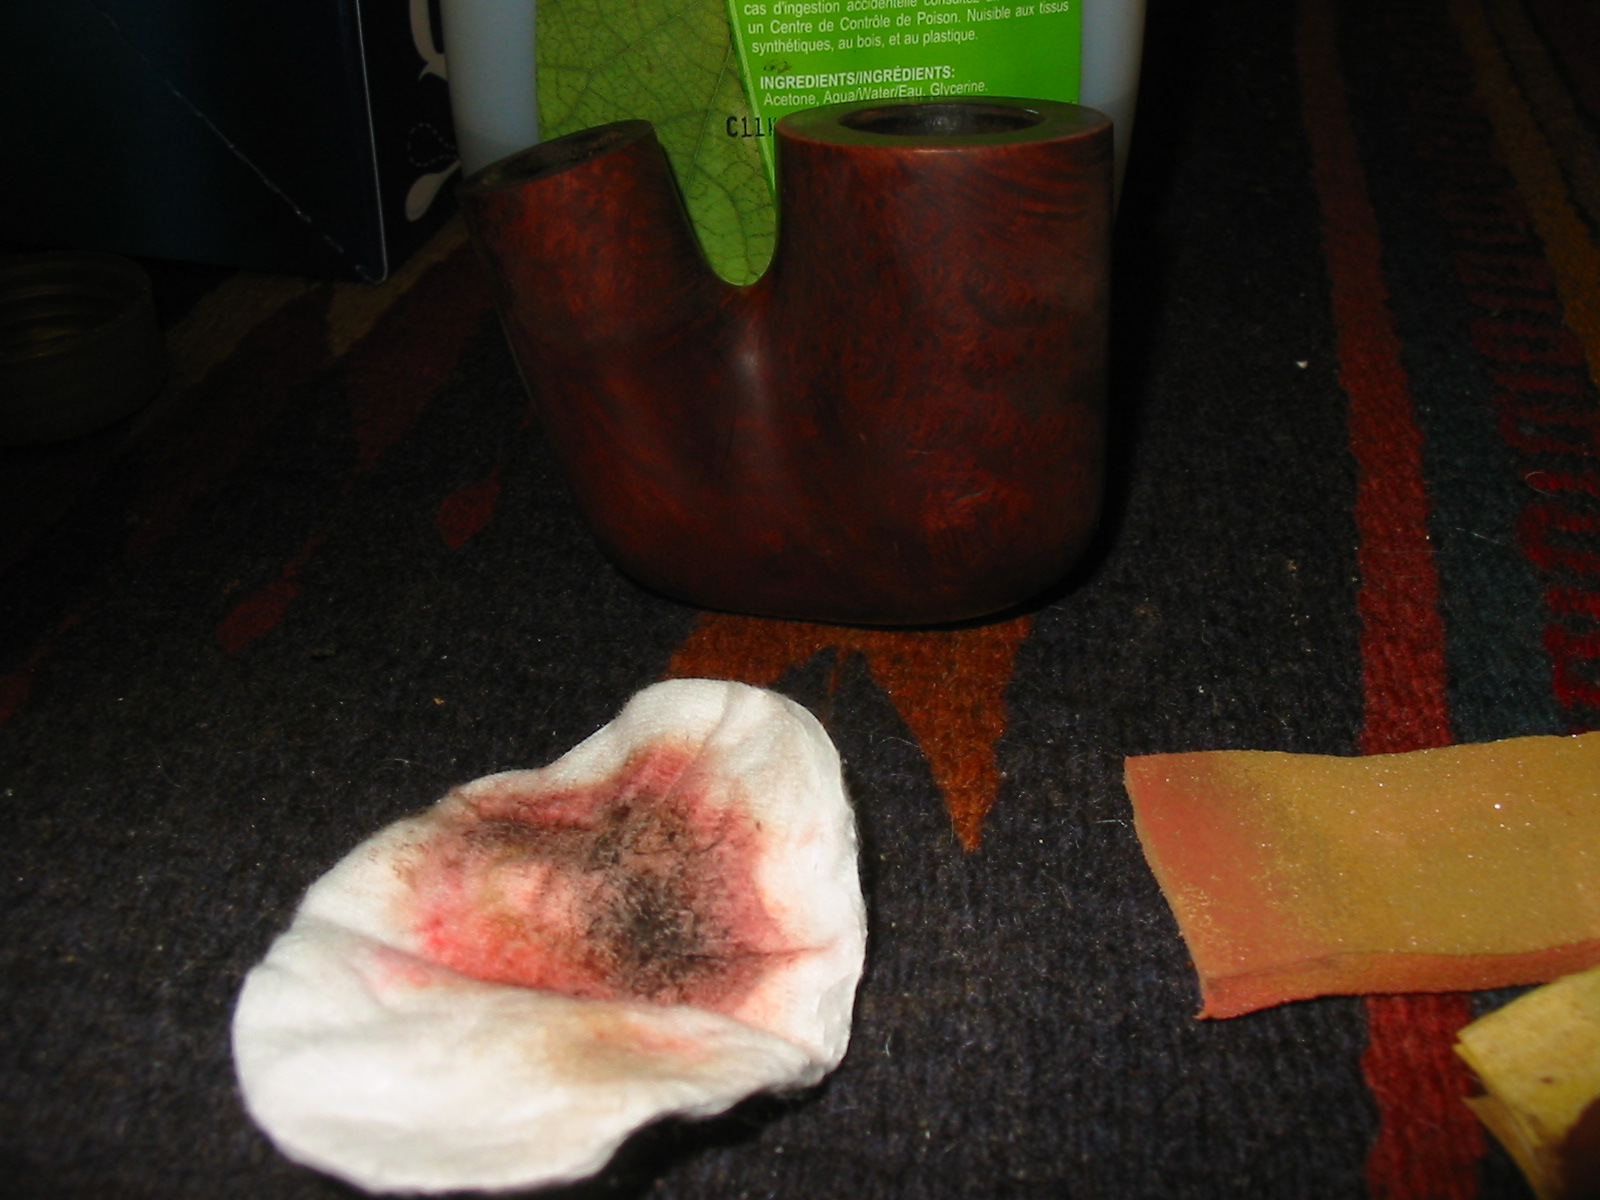
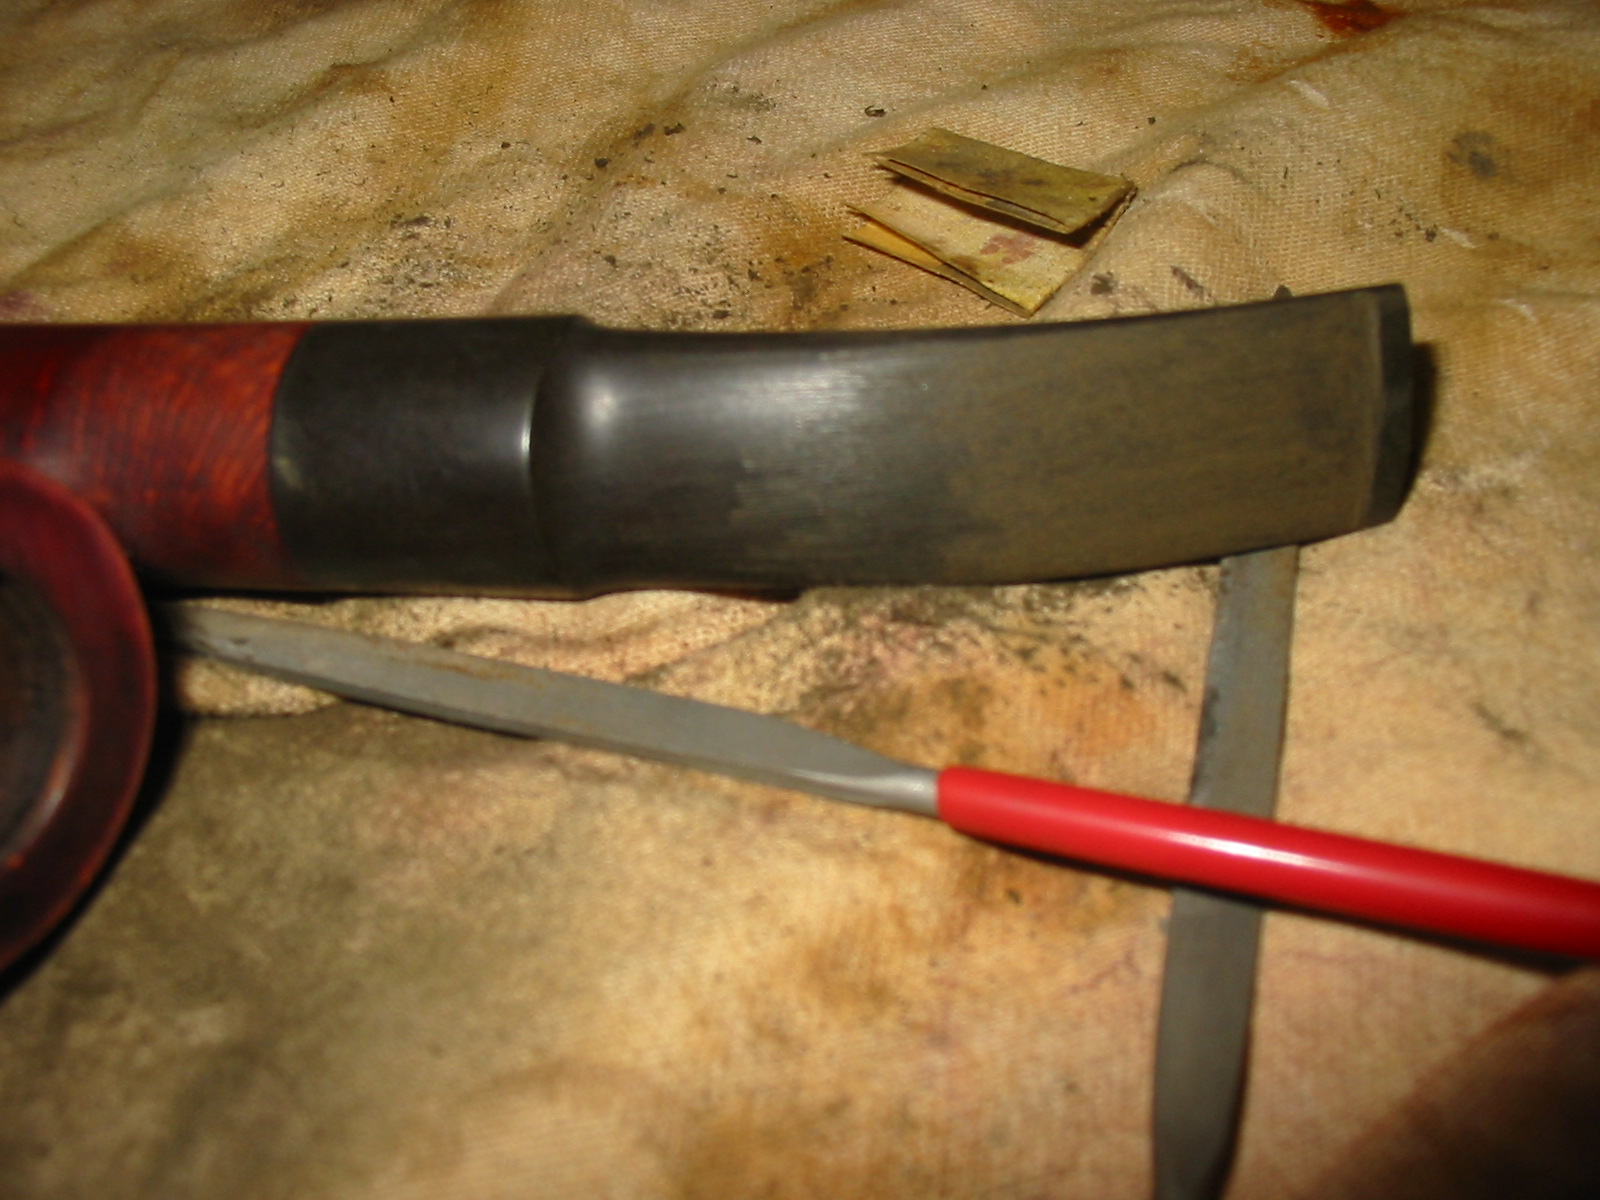
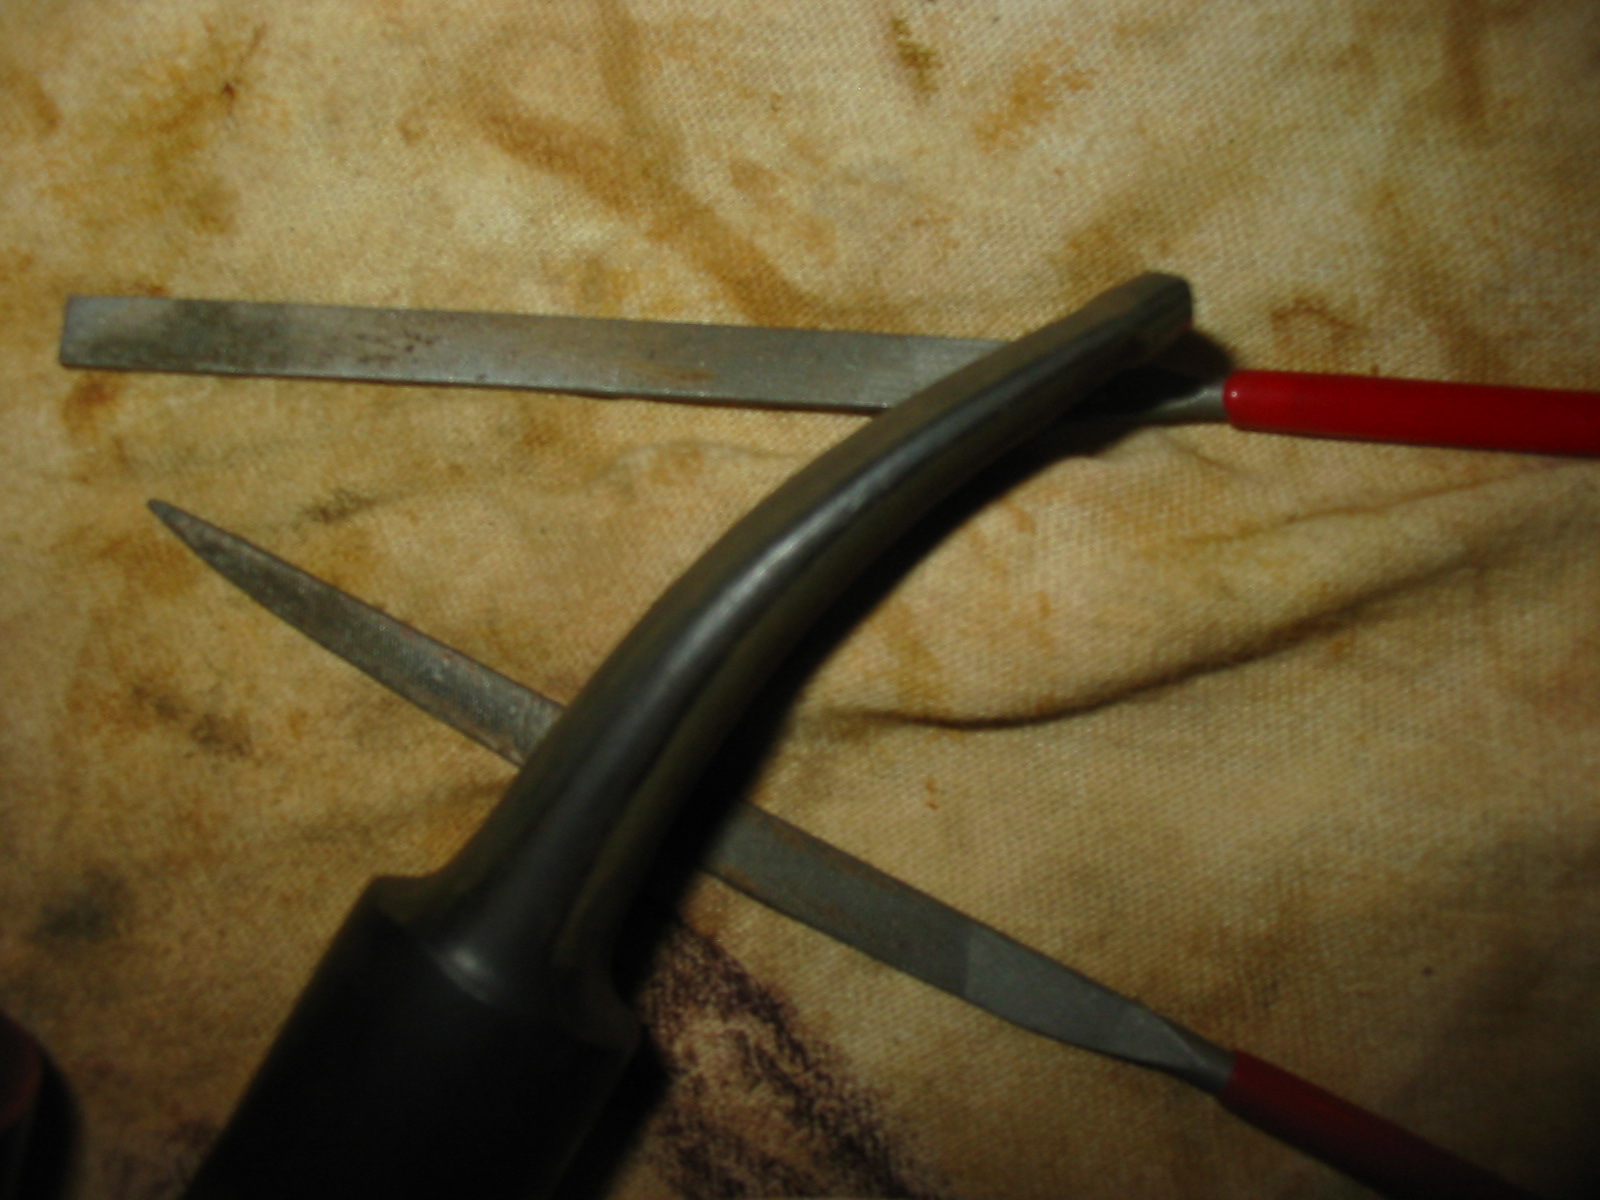
I used the paper stick of a cotton swab, cut at an angle, to remove much of the buildup in the corners of the mortise and the airway. The remainder of the buildup required half a dozen soaks in soapy water and a lot of cotton swabs and pipe cleaners.  I finally got the internals cleaned and in the end I didn’t use anything more abrasive than a paper towel.aaron10The shank still had the ghosts of the old tobacco.  So I went back with an alcohol soaked cotton swab and wiped down the inside of the shank again.  Surprise, surprise, it came out dirty.  Nothing seems to cut though the old tobacco oils and residue like alcohol.

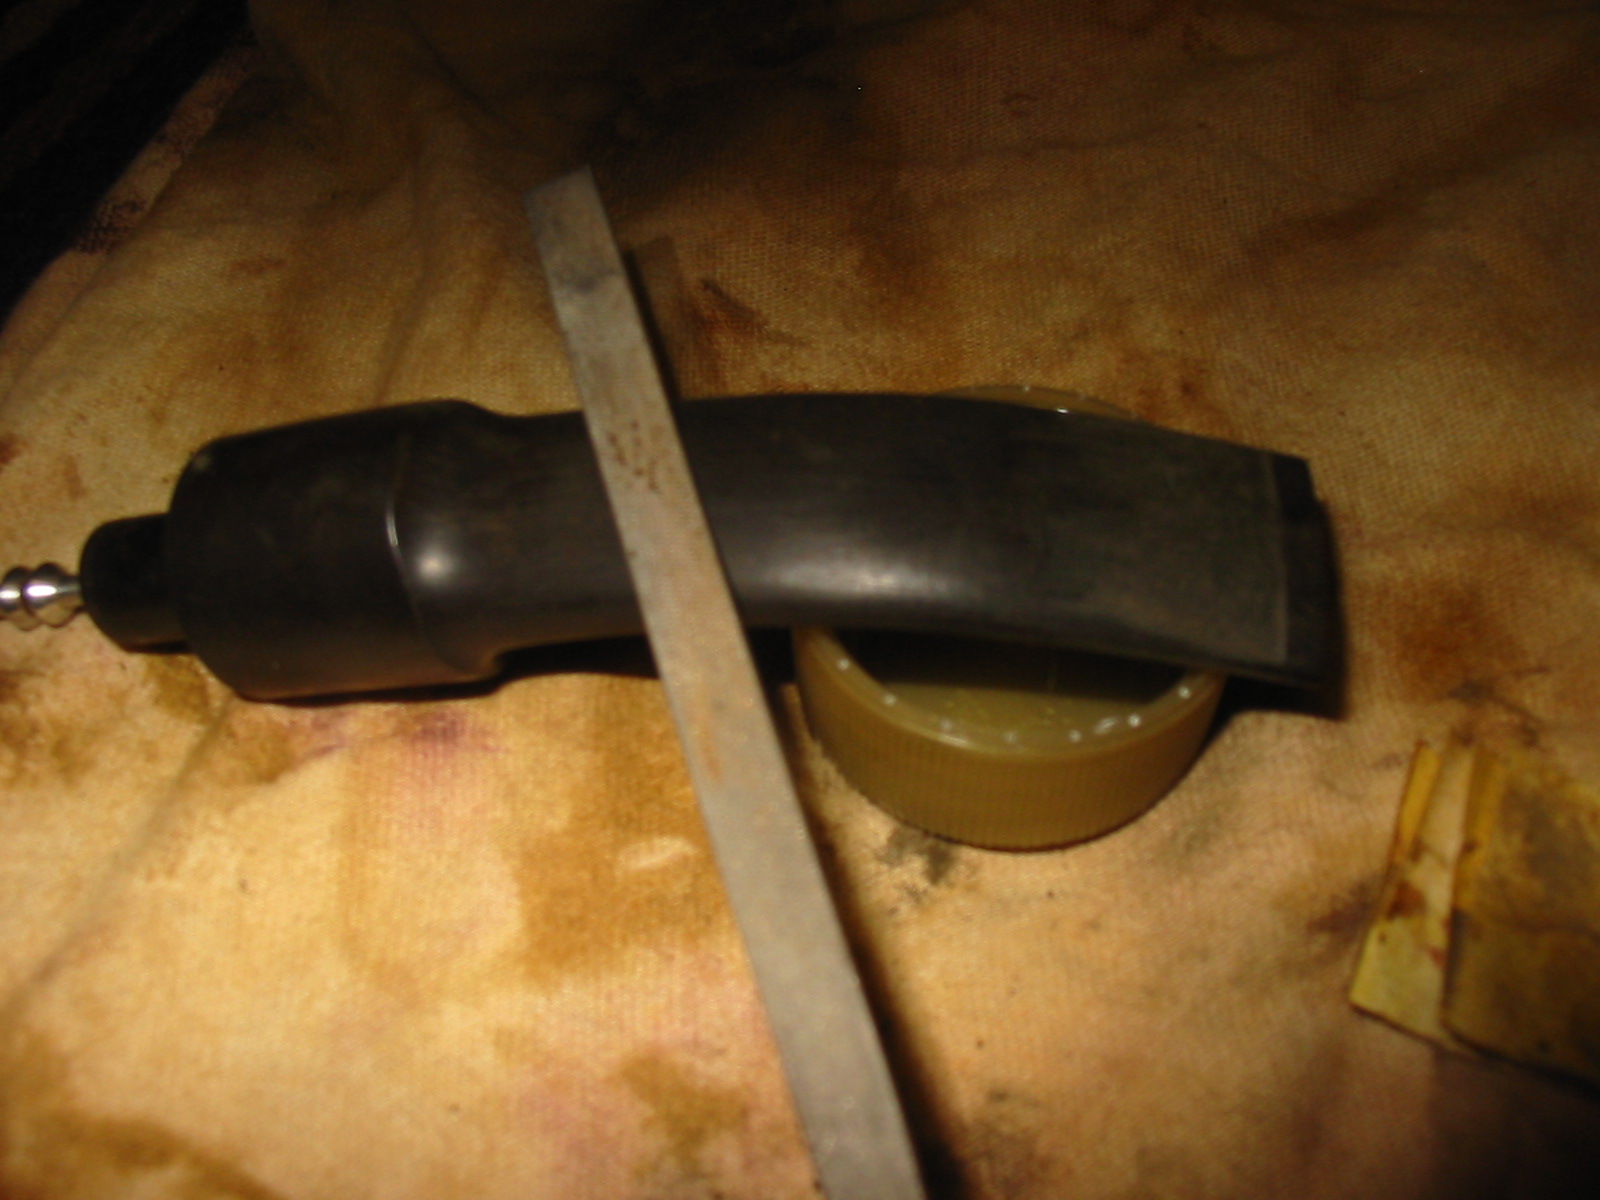
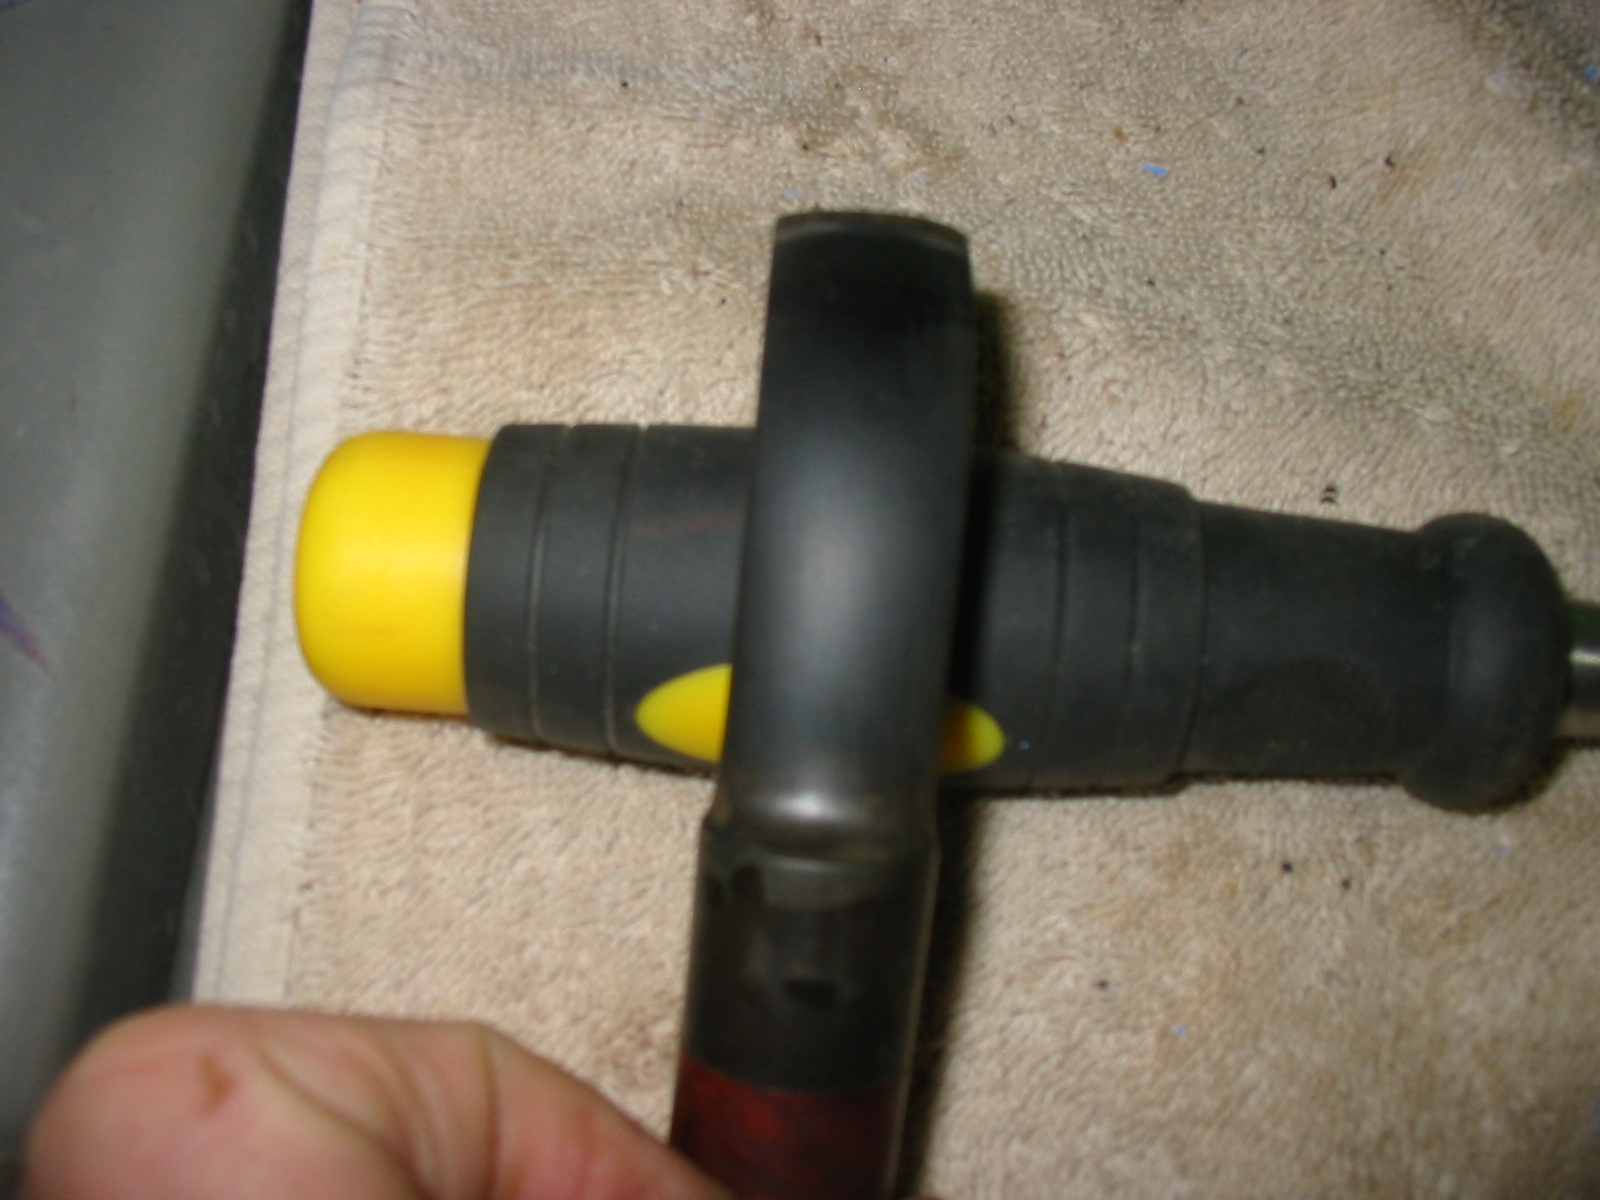
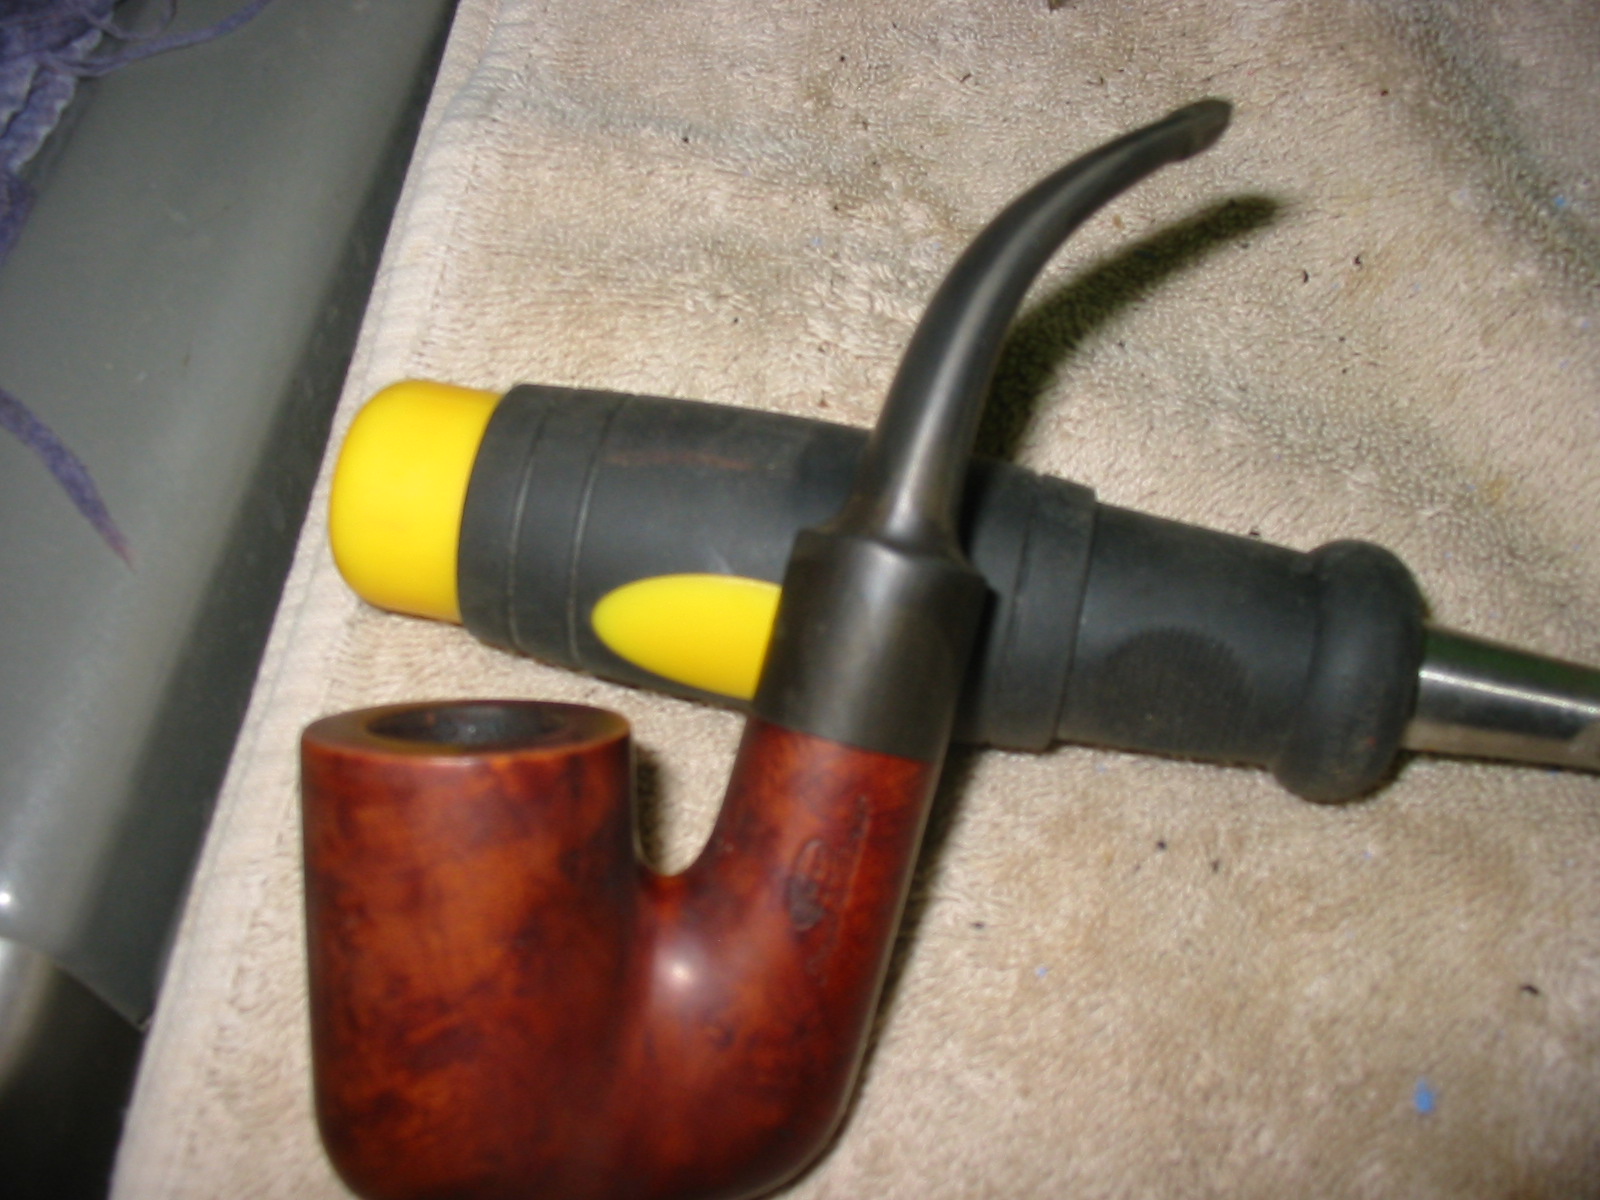
I also soaked the stems in warm soapy water.  Using a small nylon bottle brush I was able to soak and scrub repeatedly until the bulk of the crud was removed.  I continued on with bristled pipe cleaners but even after the pipe cleaners came out clean I could still smell the old tobacco smell.  I could not figure out where it was coming from until I removed the o-rings.  I didn’t think about this at right away, but of course there was a lot of build-up in the grooves.aaron11
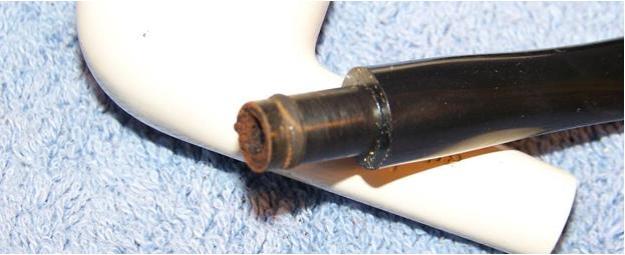
To raise the tooth dents, I placed the stems in some near boiling water.  I have tried to use direct flame or a heat gun in the past but have found them to be too hot and they melt the nylon.  The hot water did raise the dents some but it also straightened the stem of the bent pipe.  Another dip in hot water and molding the stem over a large diameter dowel restored the stem’s shape.  No pictures of this…. I am afraid that both hands were busy.

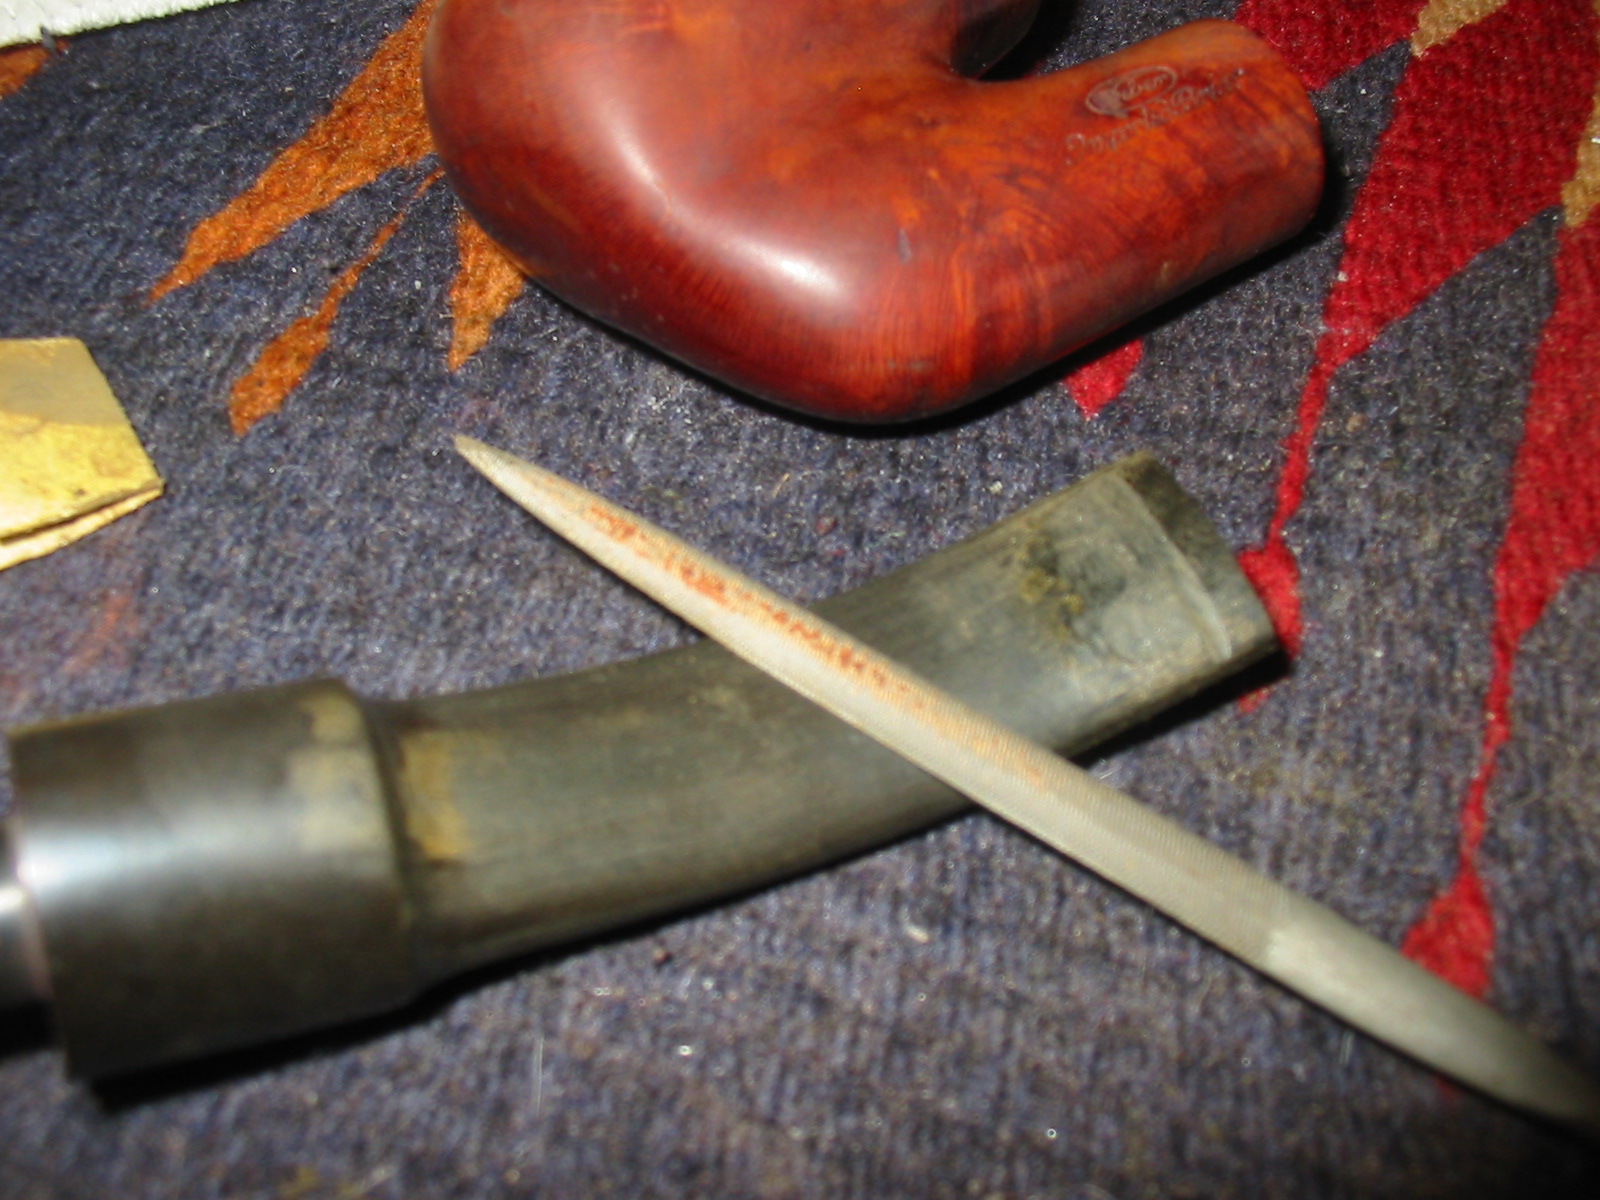
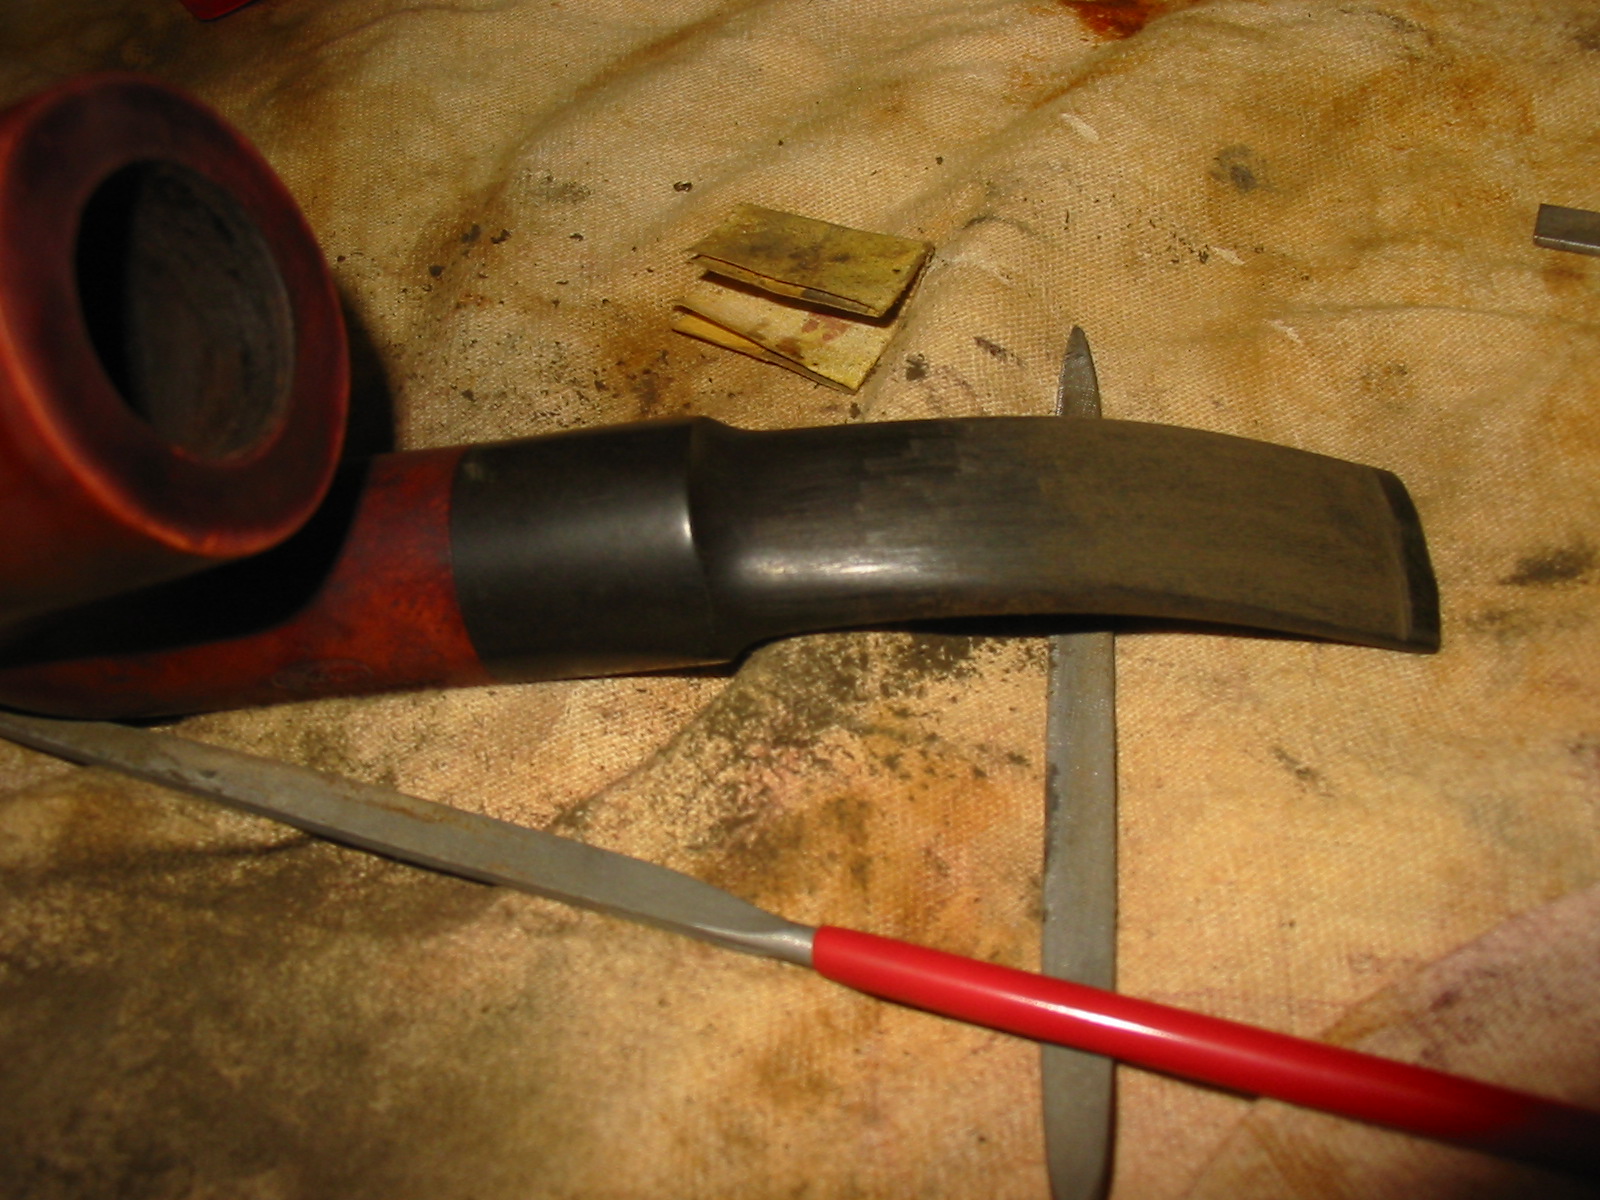
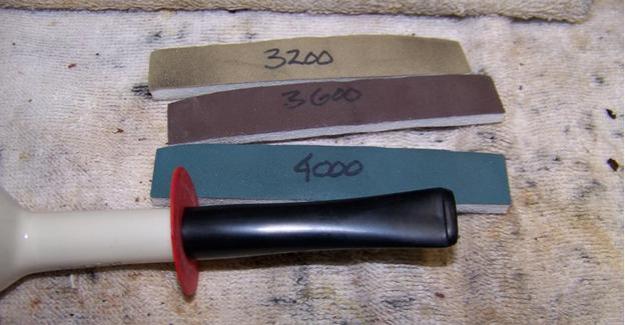
To completely remove the tooth marks I needed to sand them with 220 grit paper.  I removed the deeper scratches of the 220 grit with 500 grit and 1000 grit paper.  I finished up the stems by wet sanding with 1500 – 2400 micro mesh pads.   The nylon is soft and the scratches hard to remove.  Several times I had to drop back to a courser pad to remove a stubborn scratch.  I finished polishing with the 3200 – 12000 pads and a light amount of mineral oil. aaron12 aaron13 aaron14 aaron15
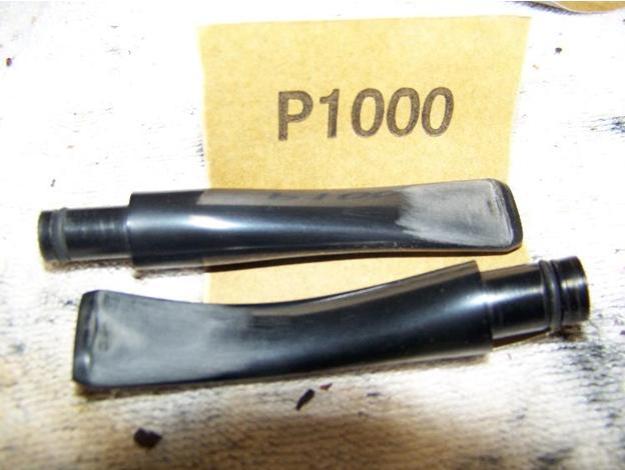
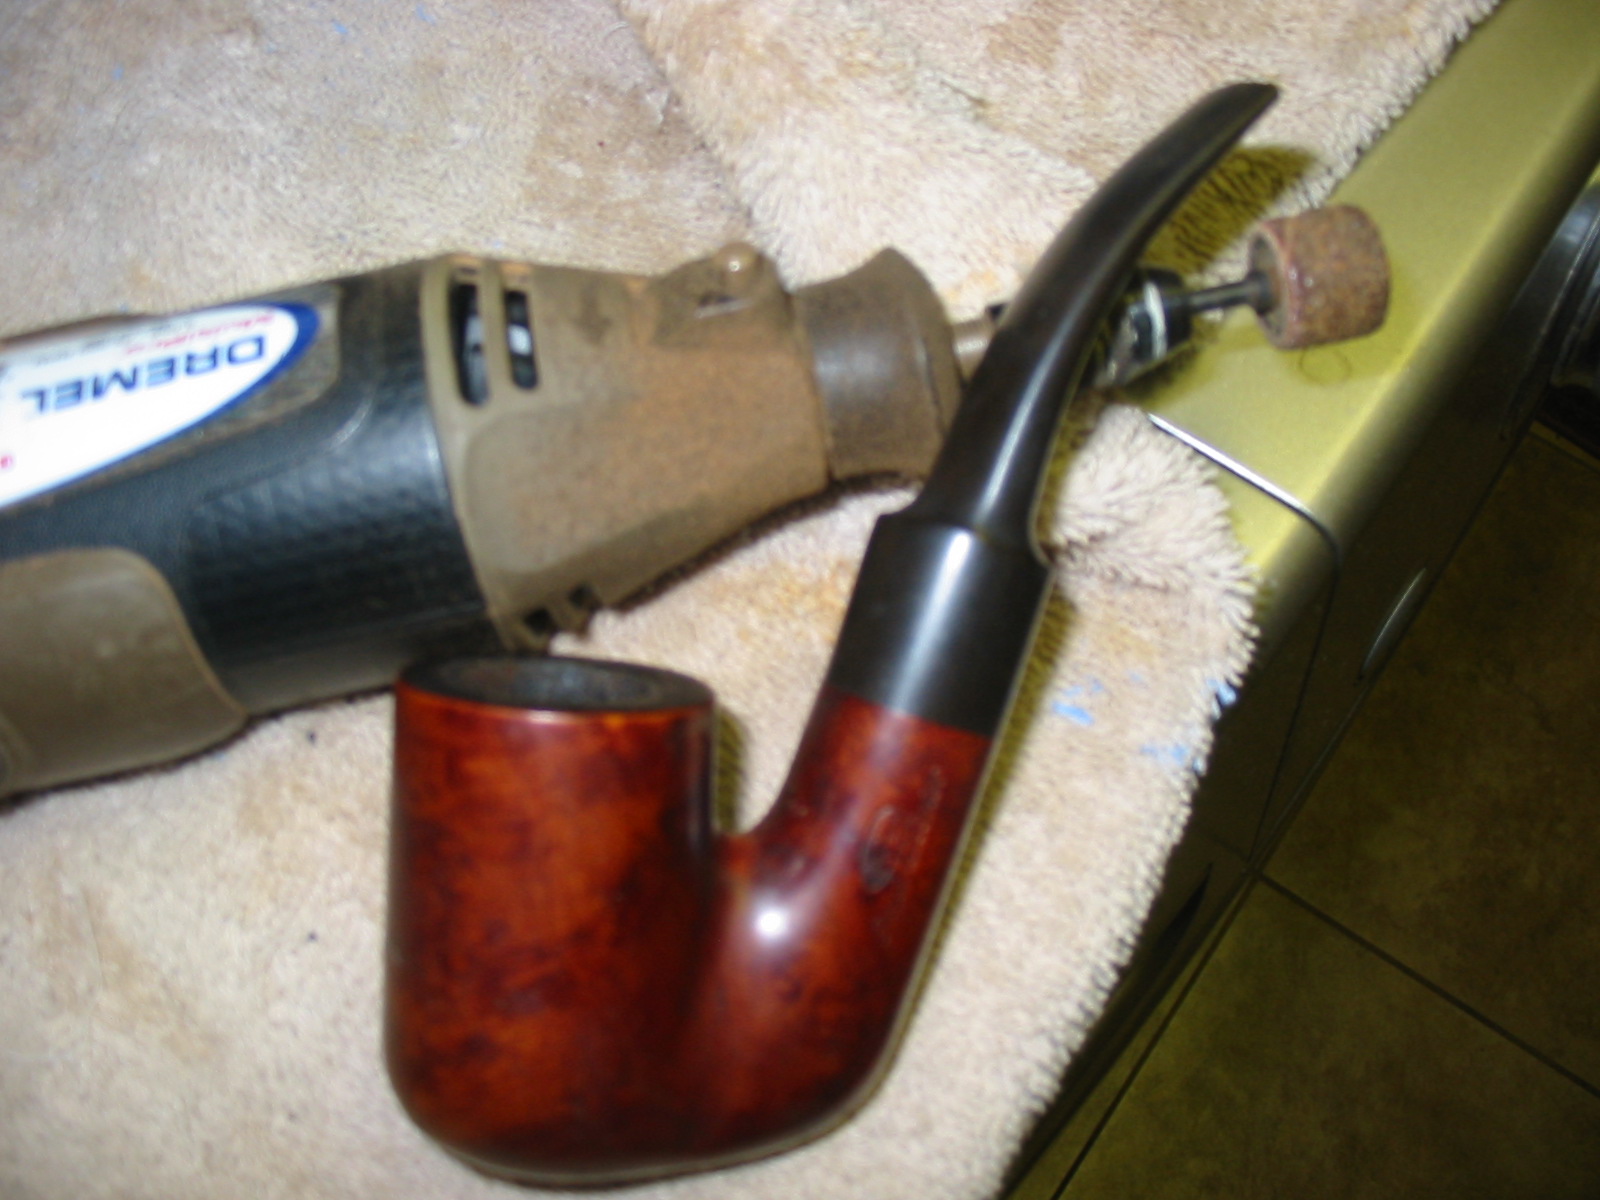
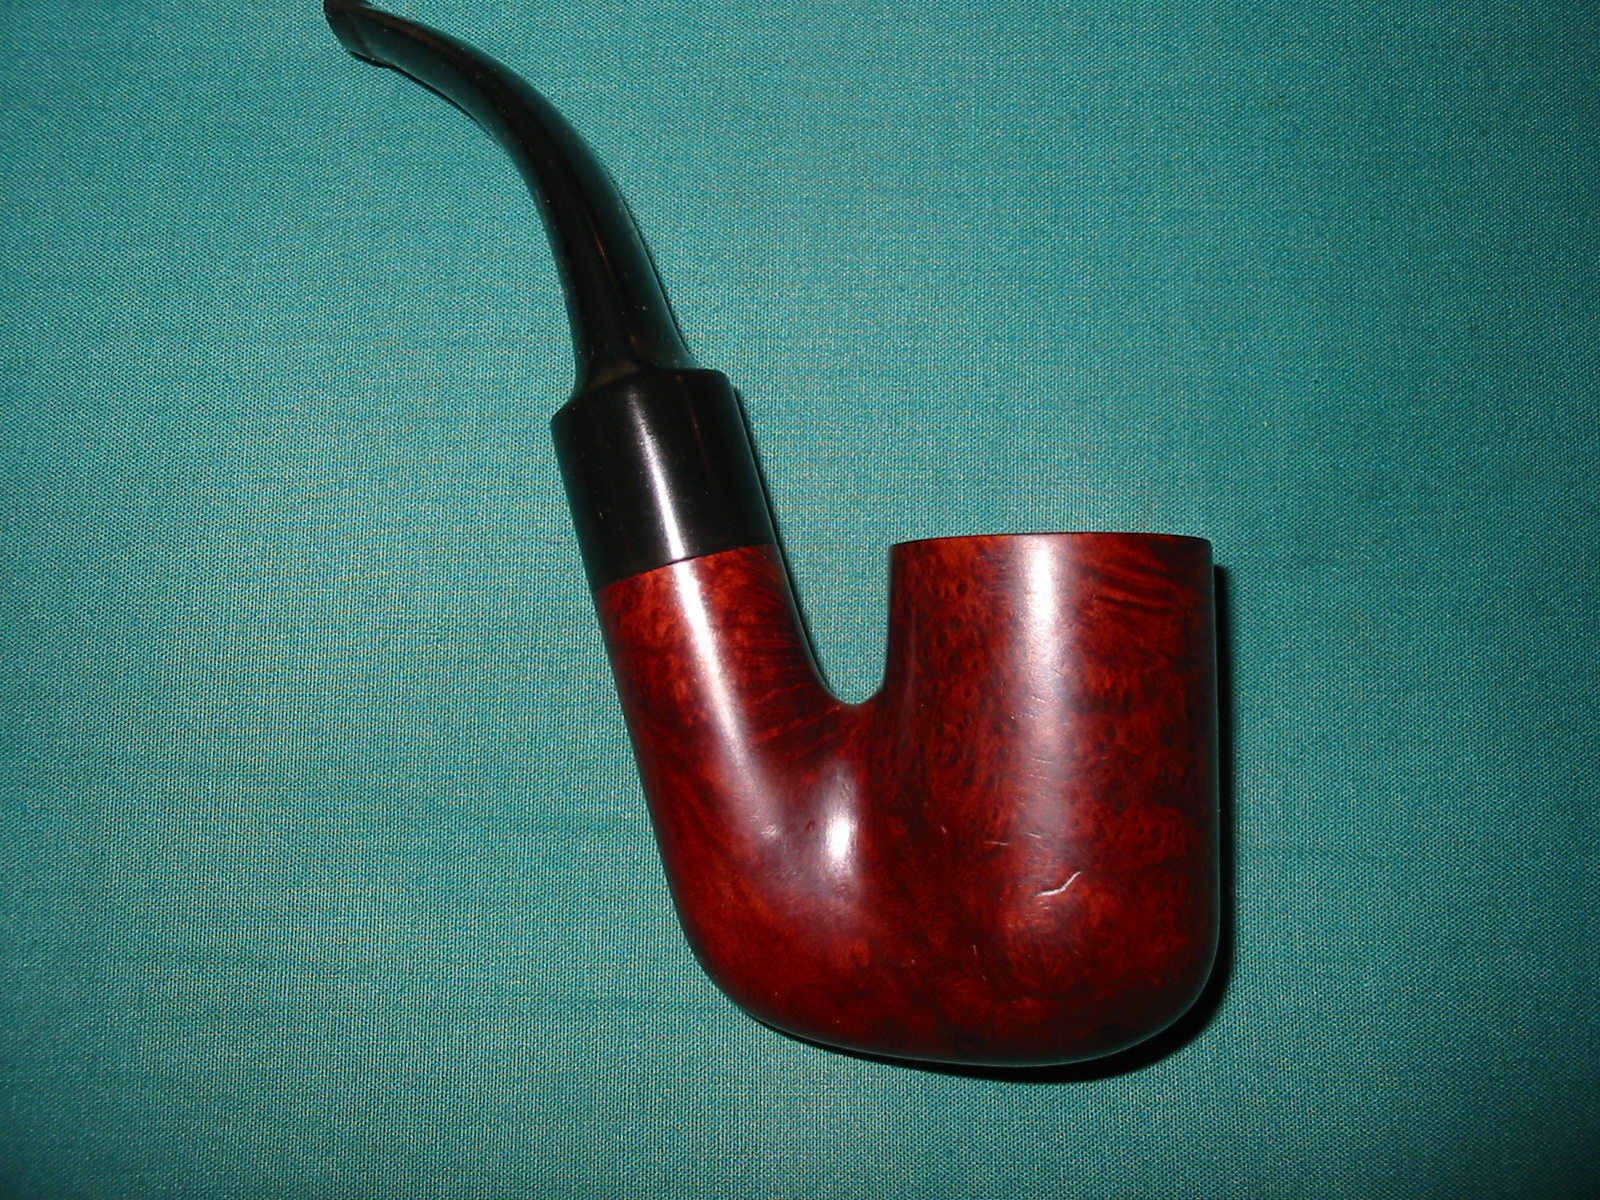
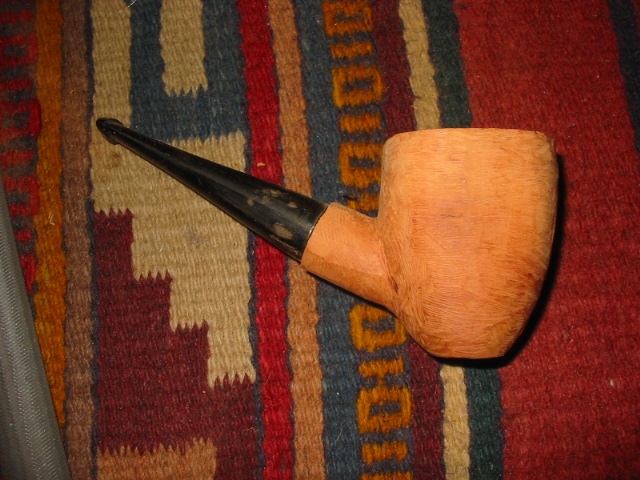
I took the pipes to the buffing station and used red diamond on the stems only, – I didn’t want to risk damaging the paint with even a light abrasive.  Dr. Taylor’s website suggested auto wax as a finish but I opted for the more traditional three coats of carnauba wax over all.

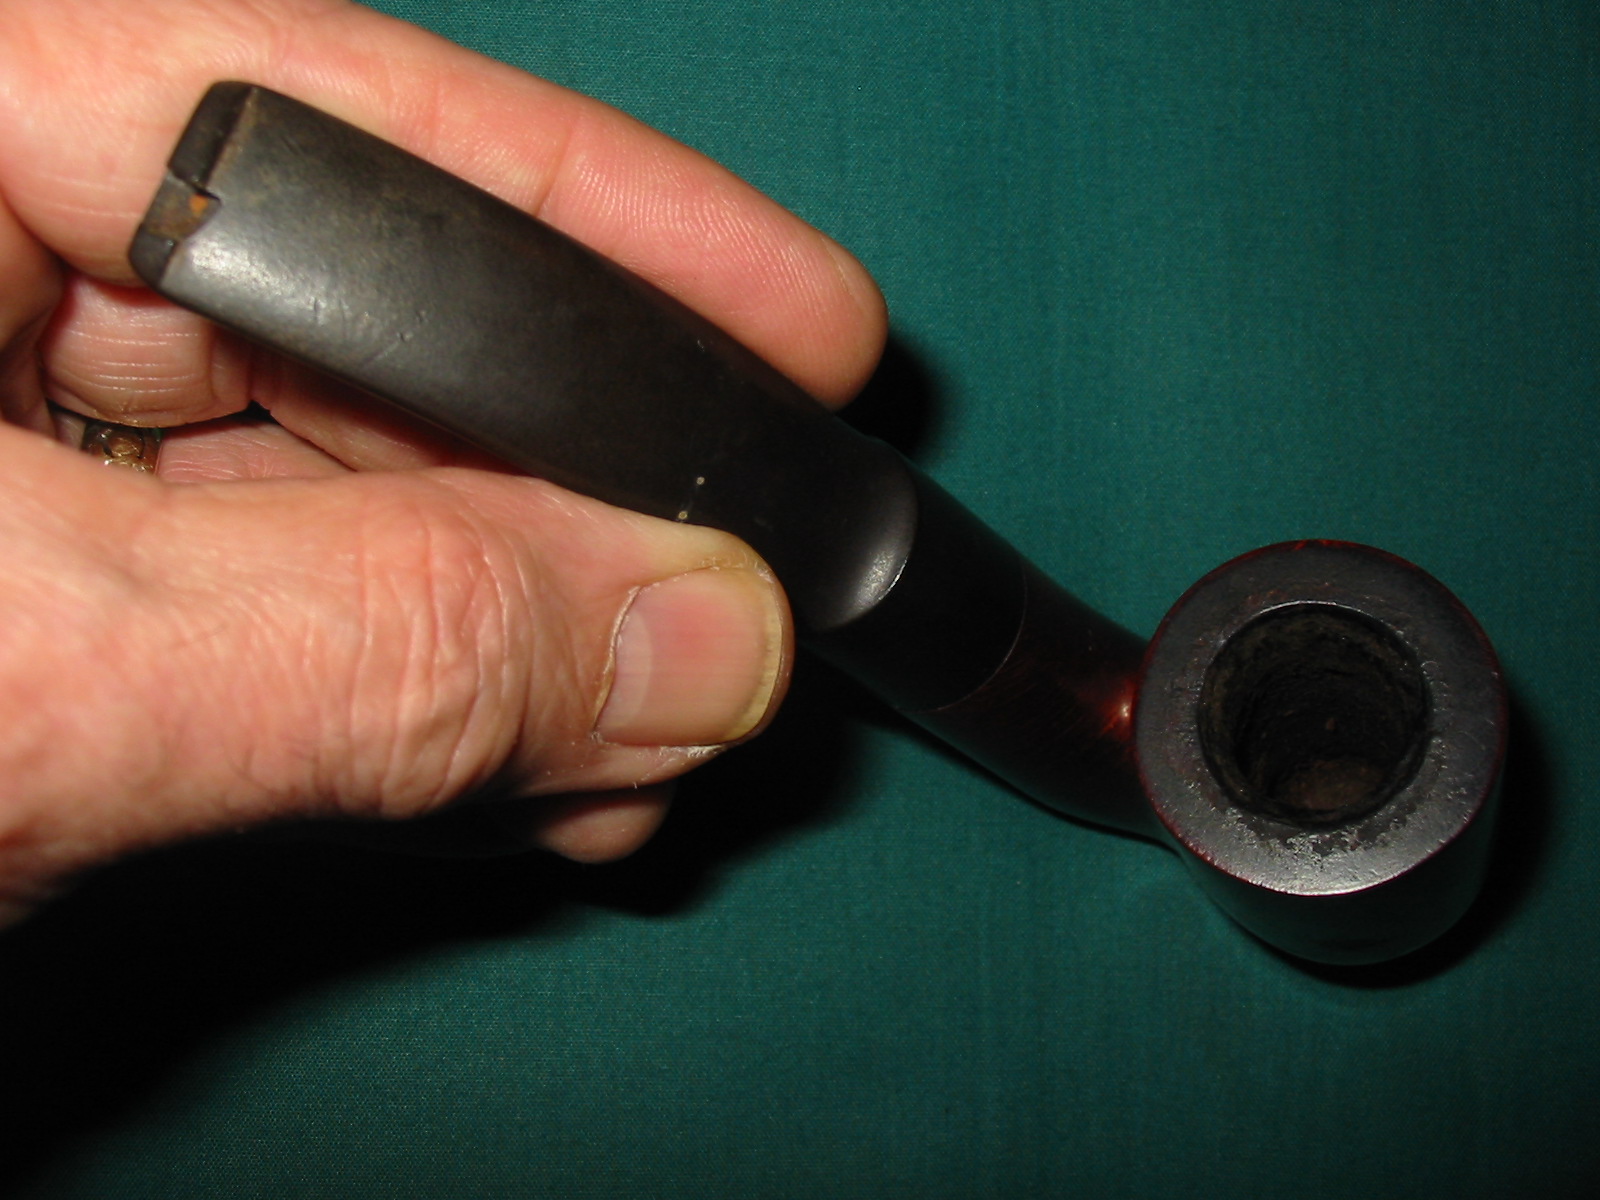
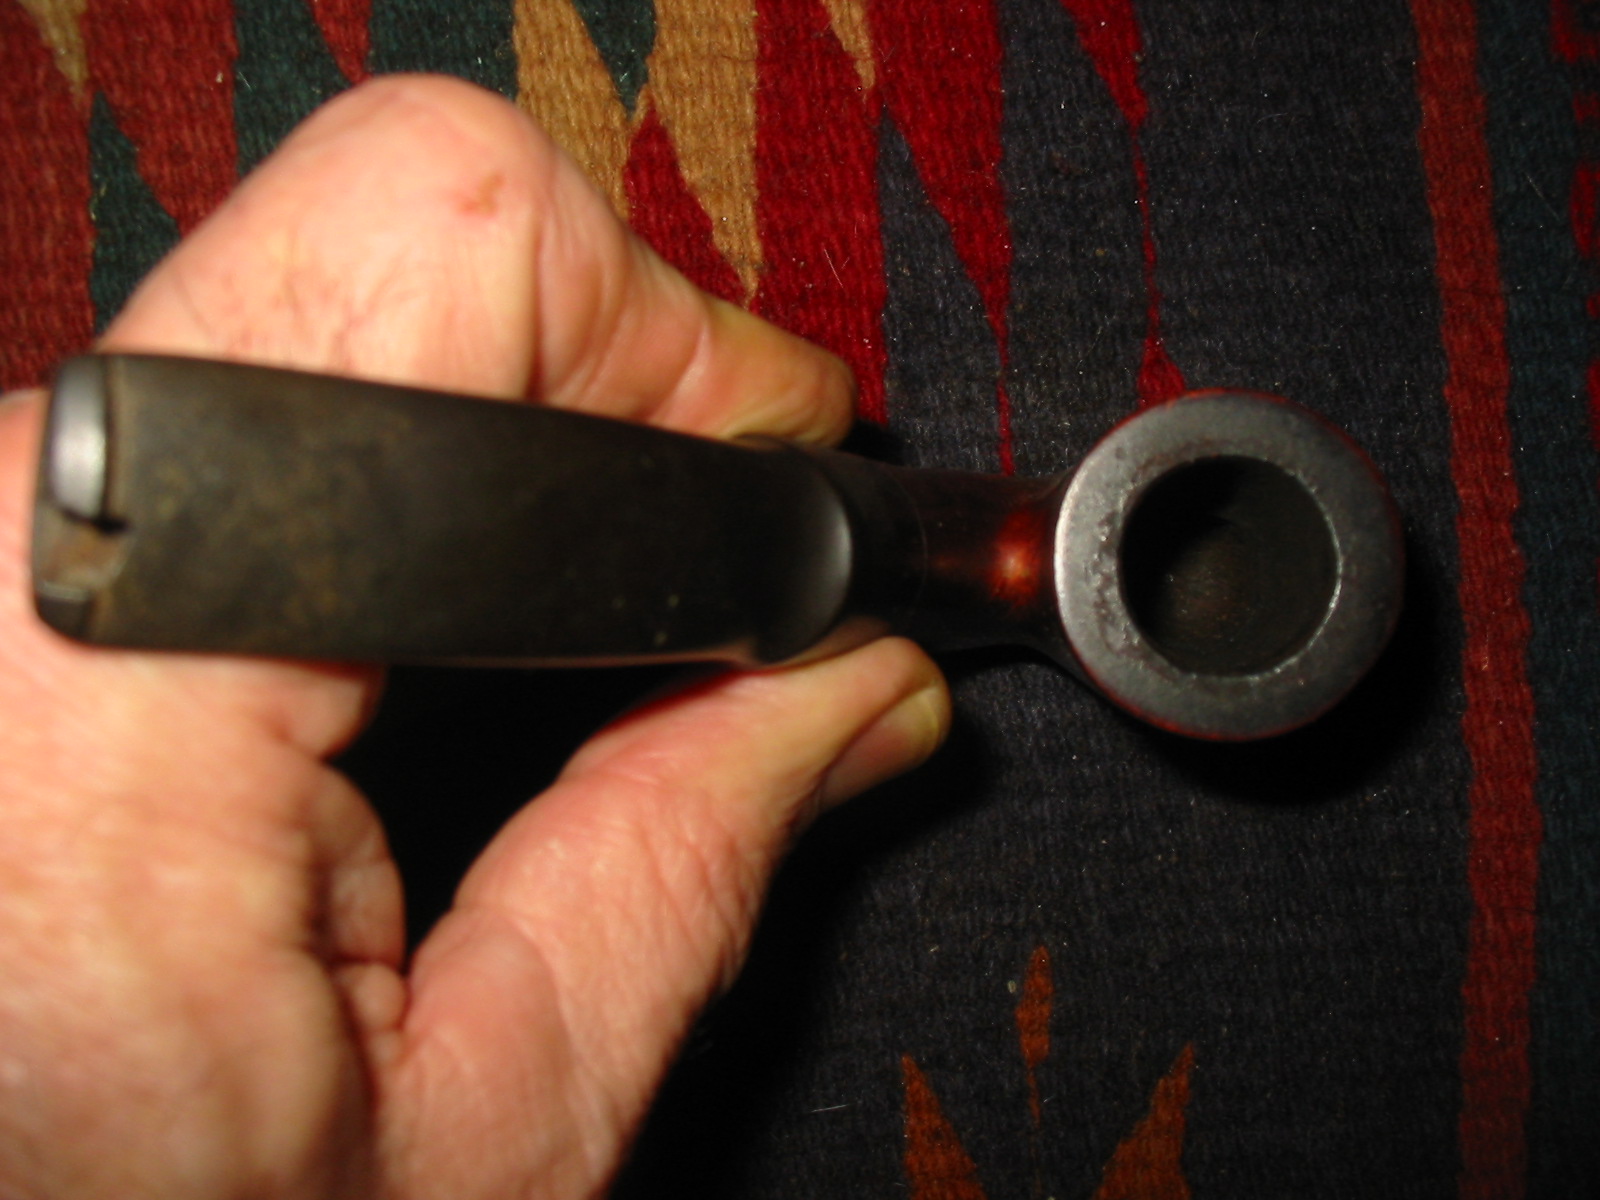
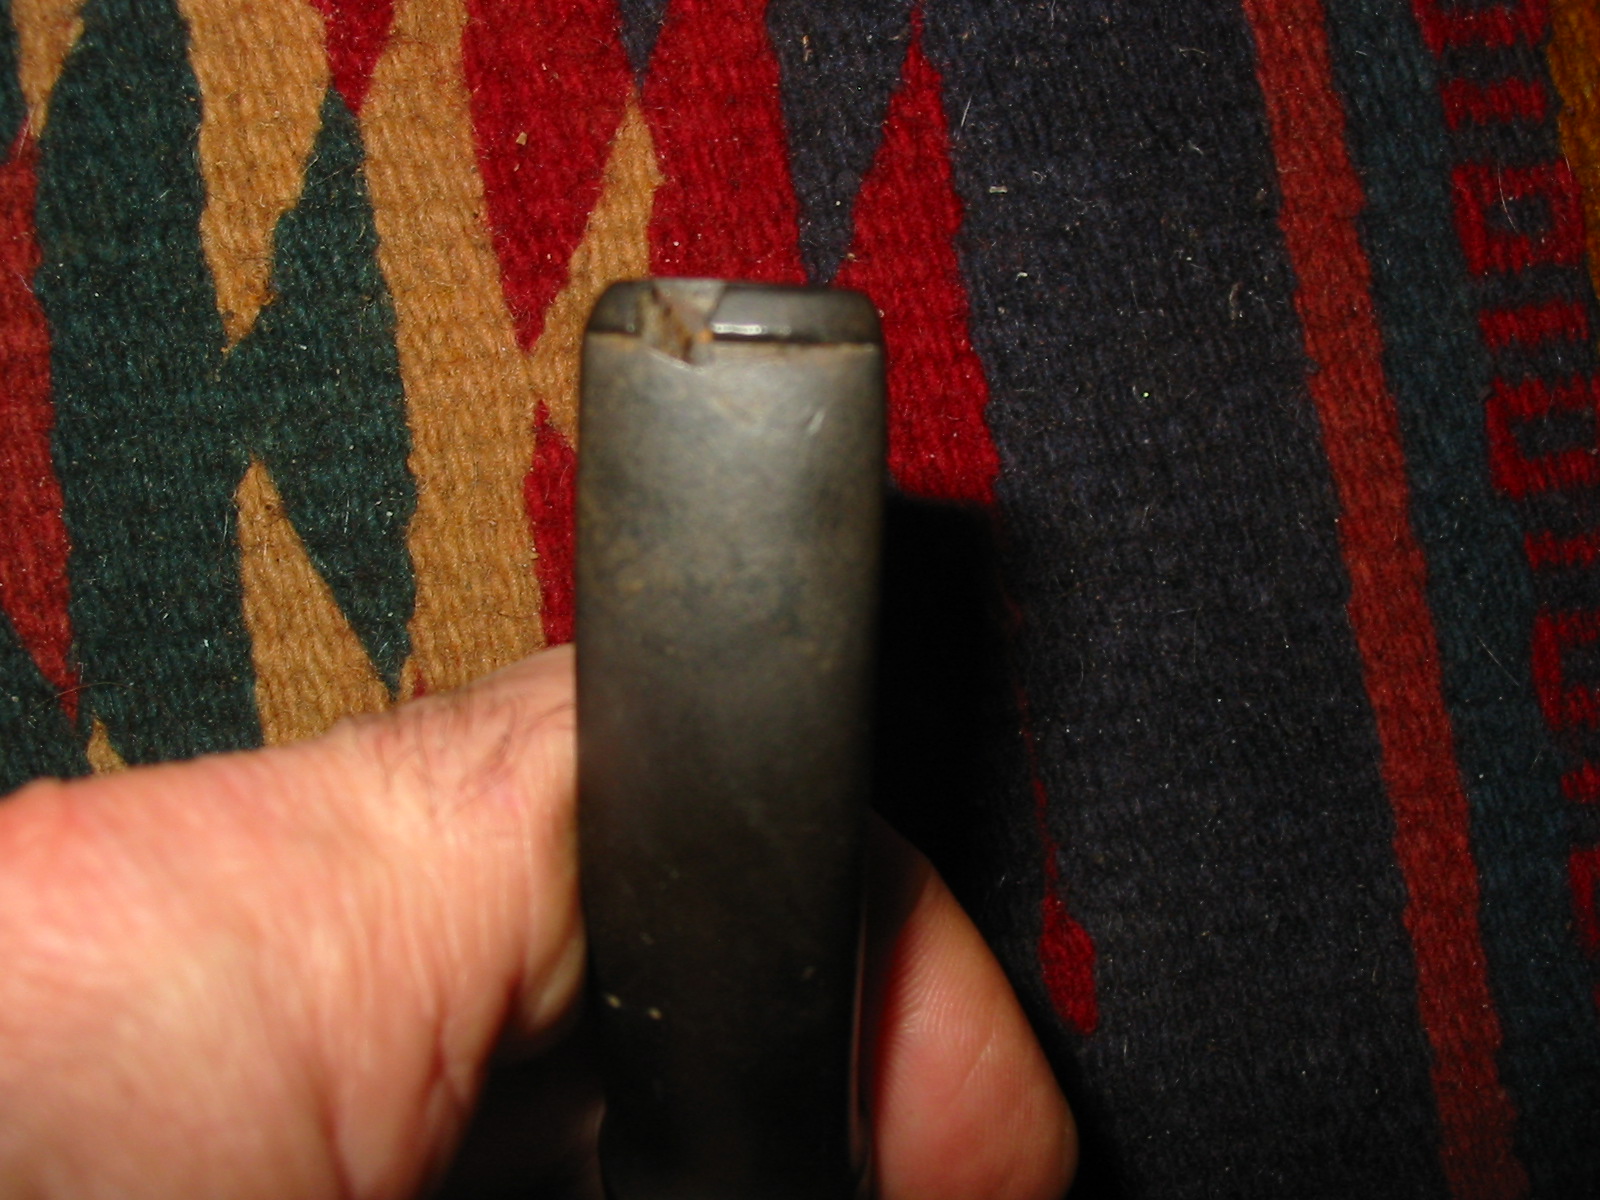
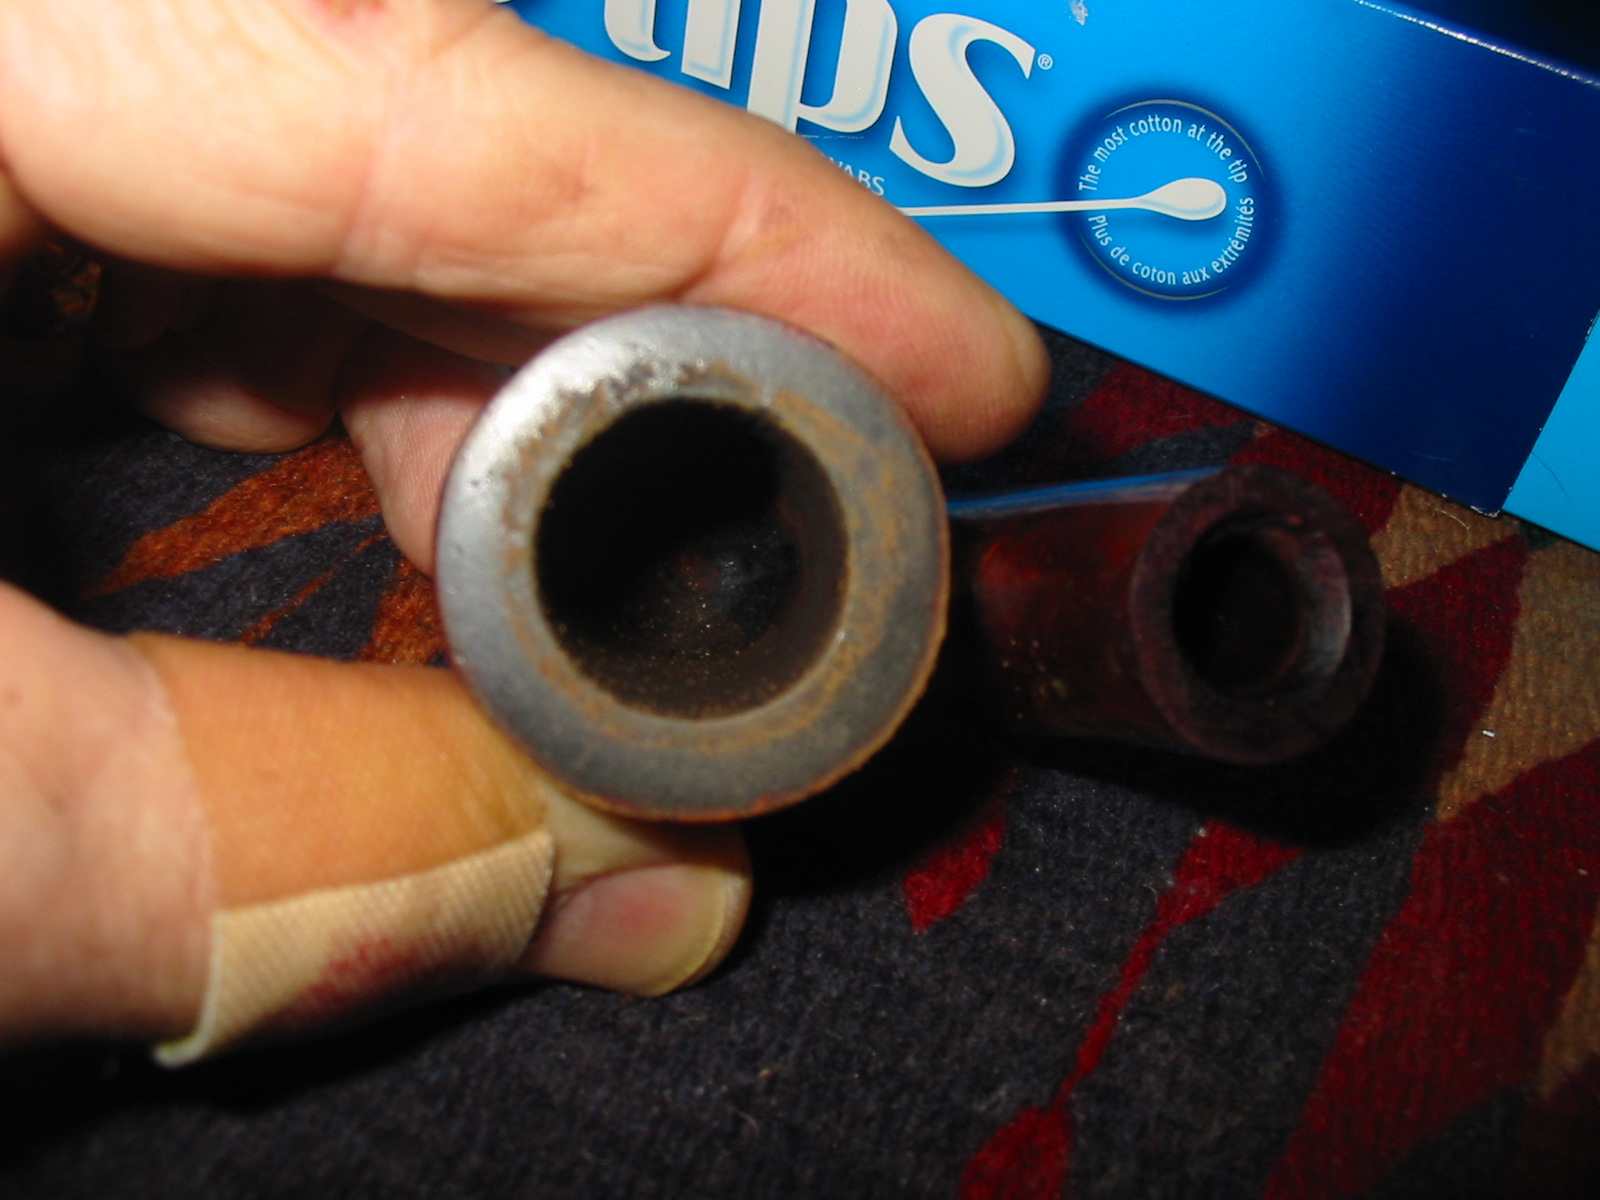
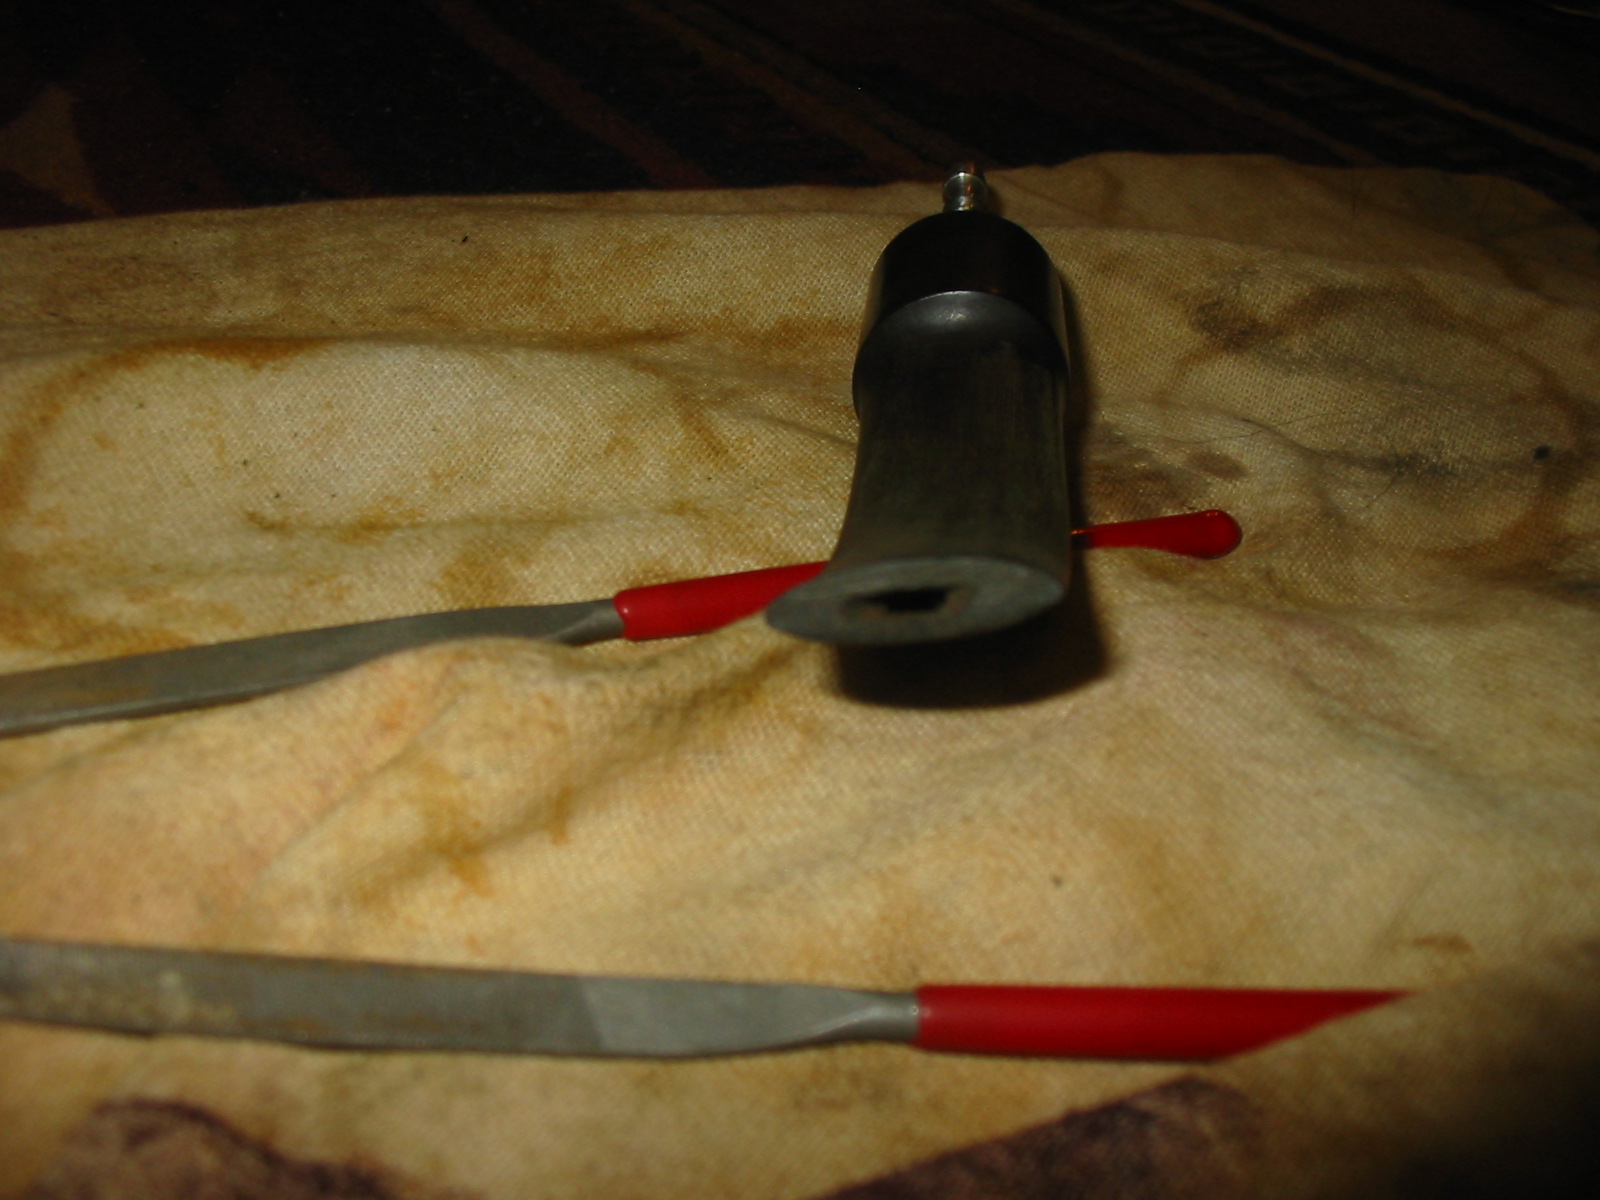
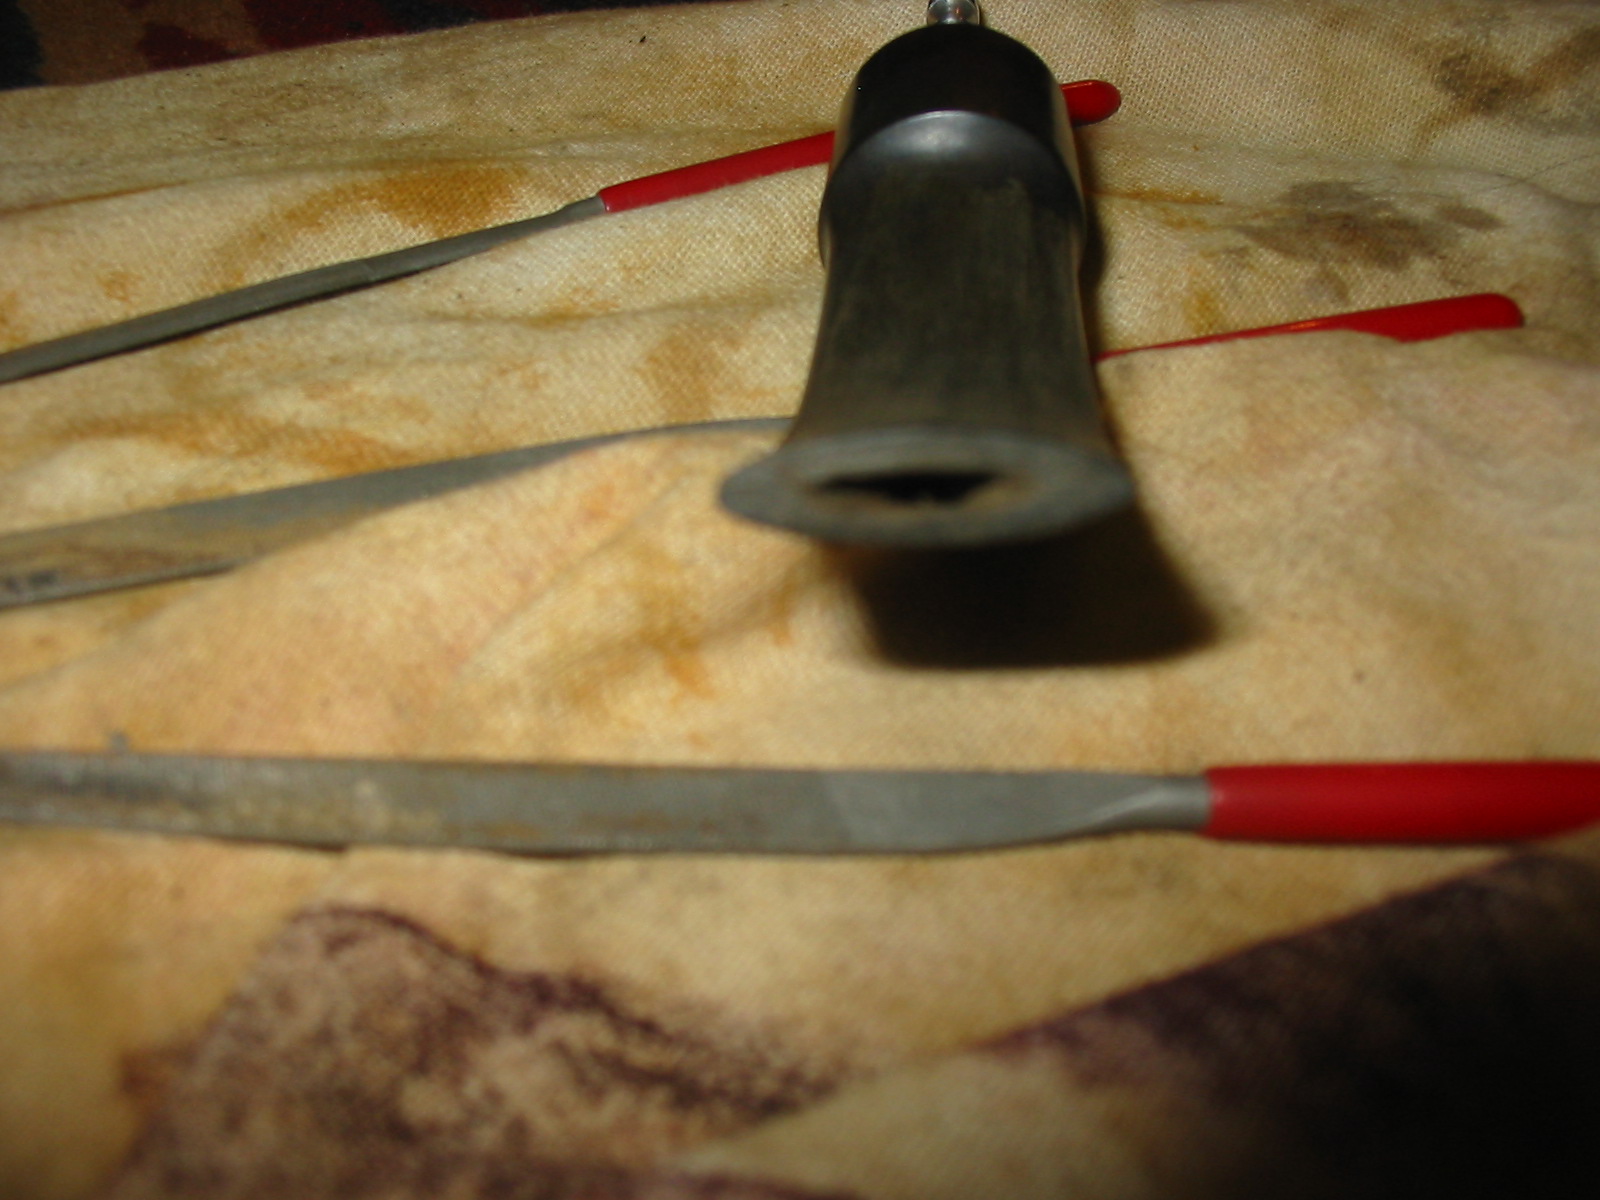
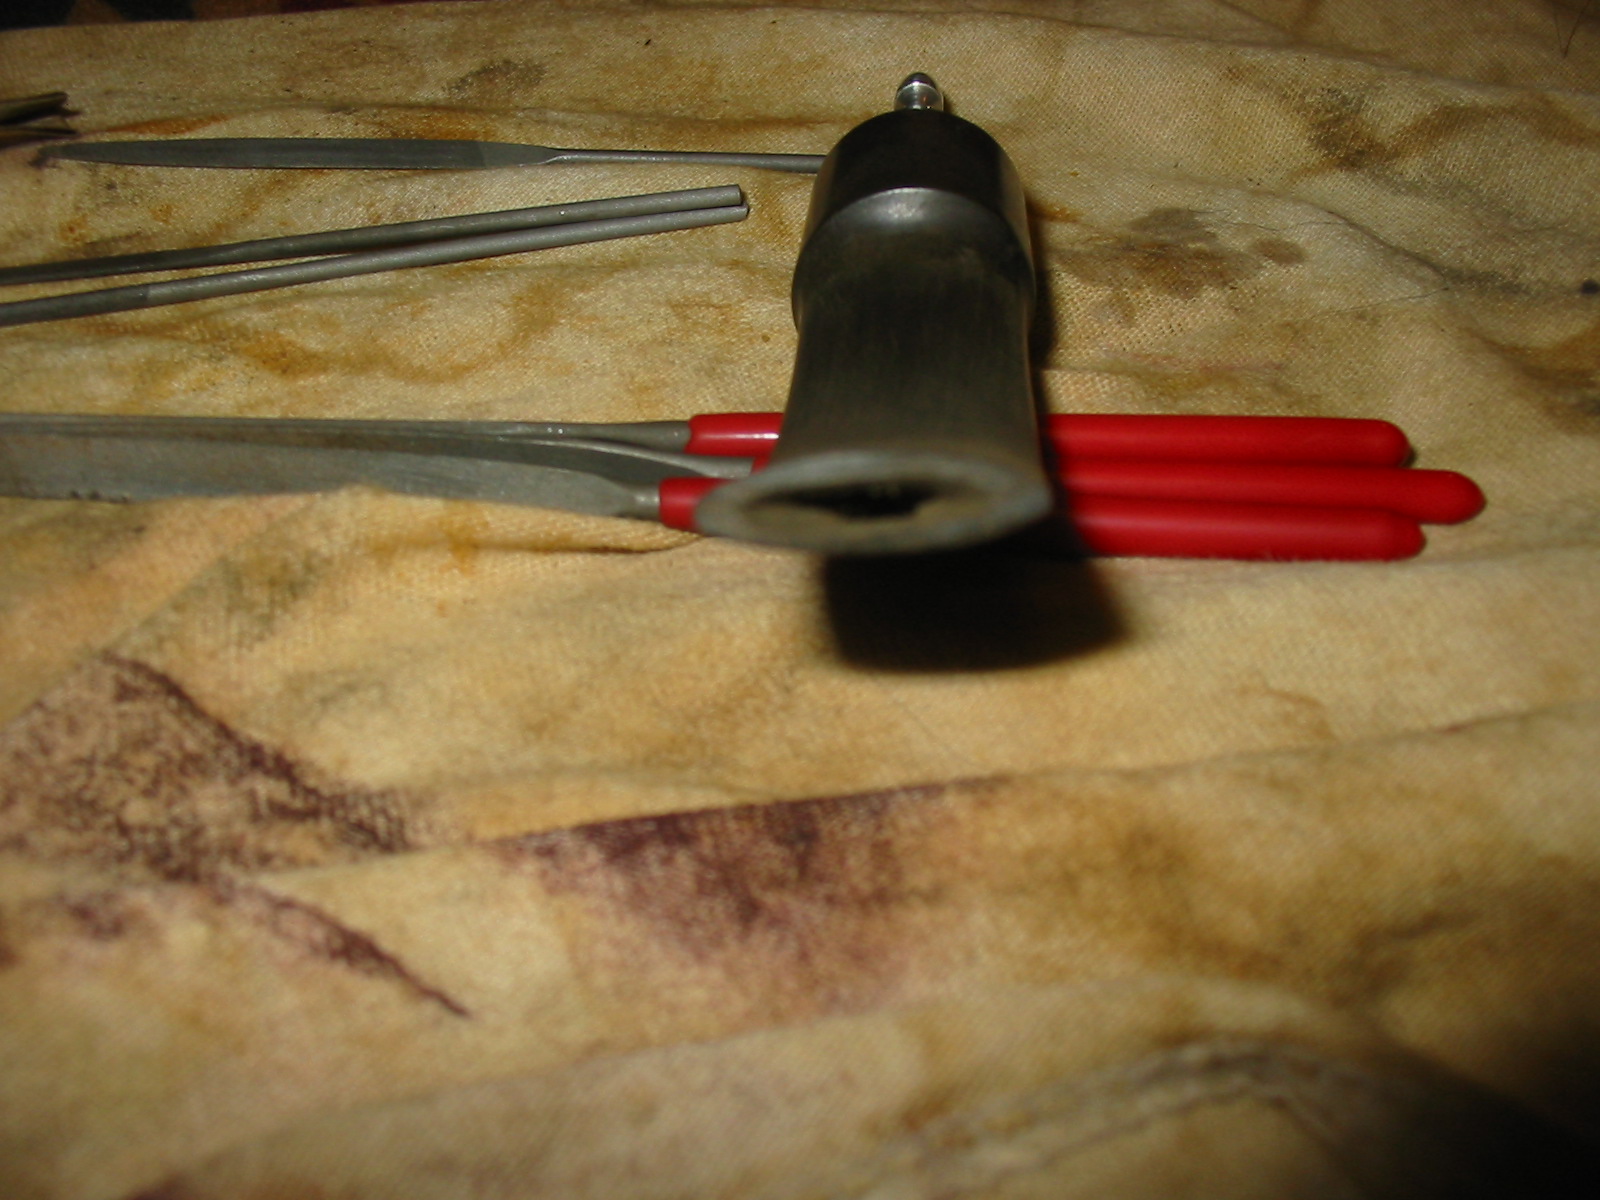
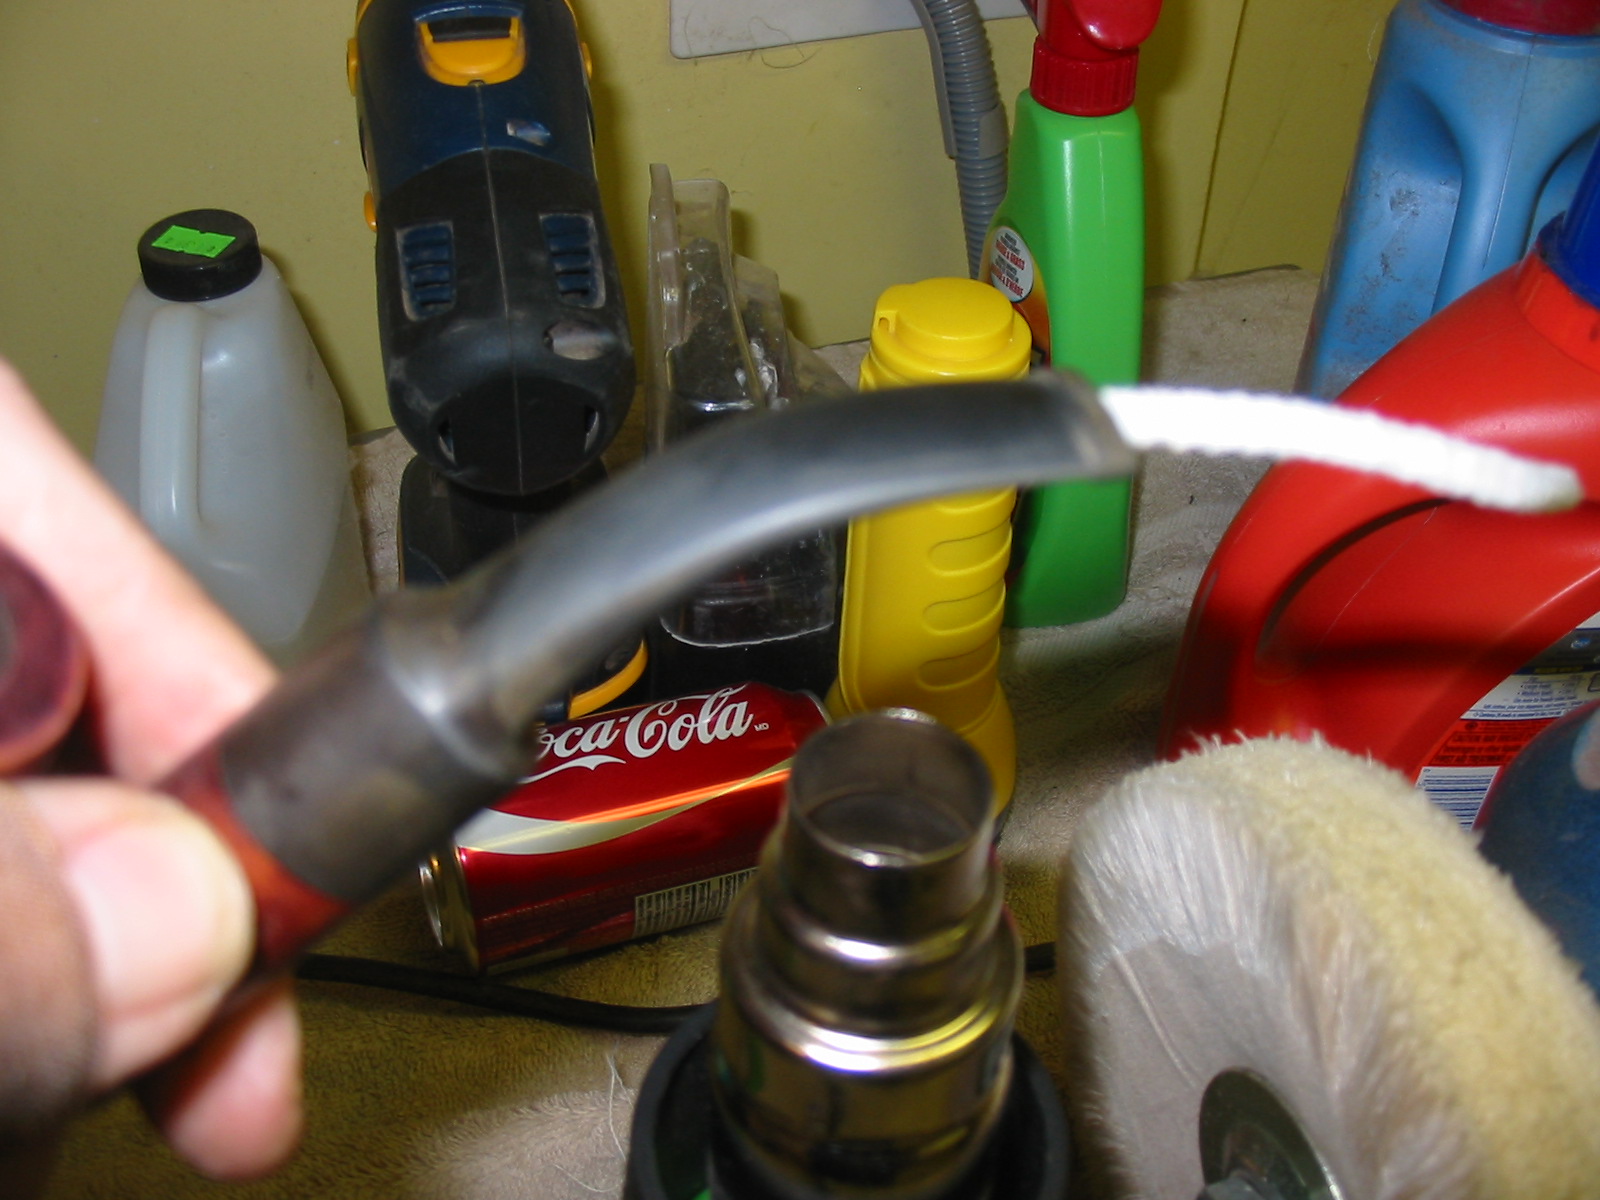
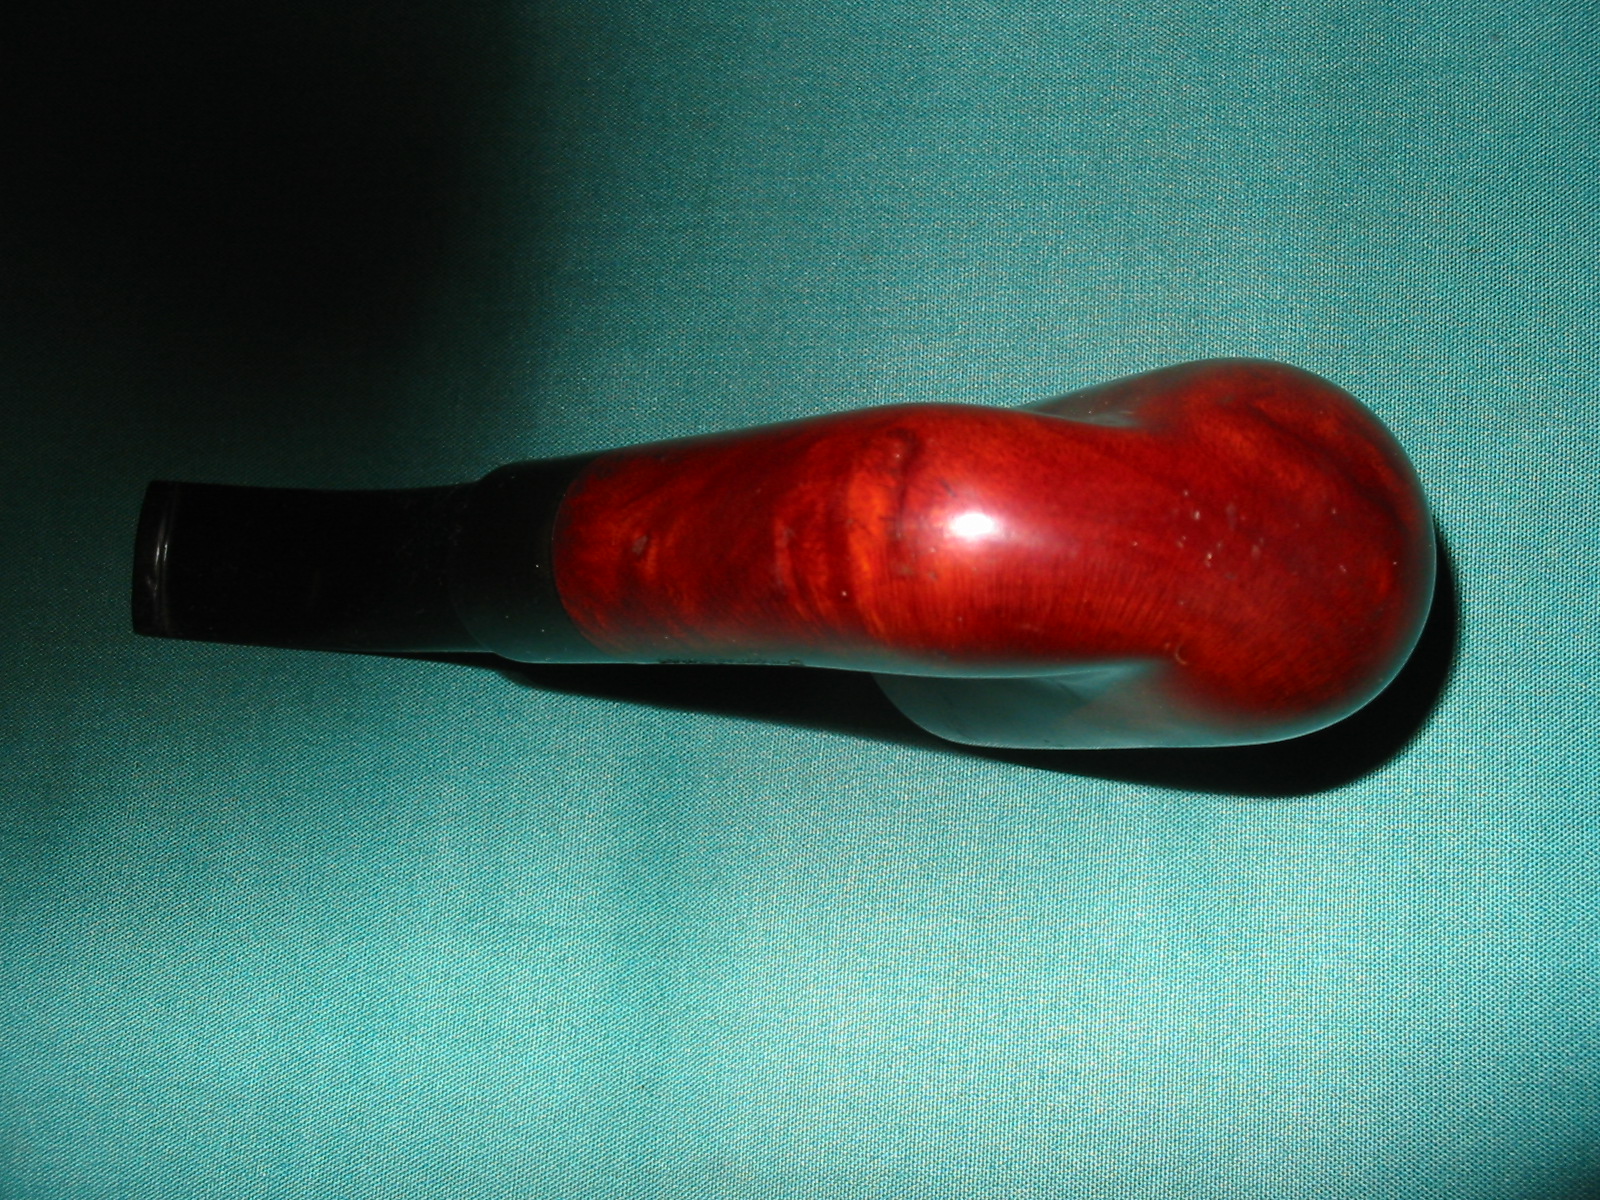
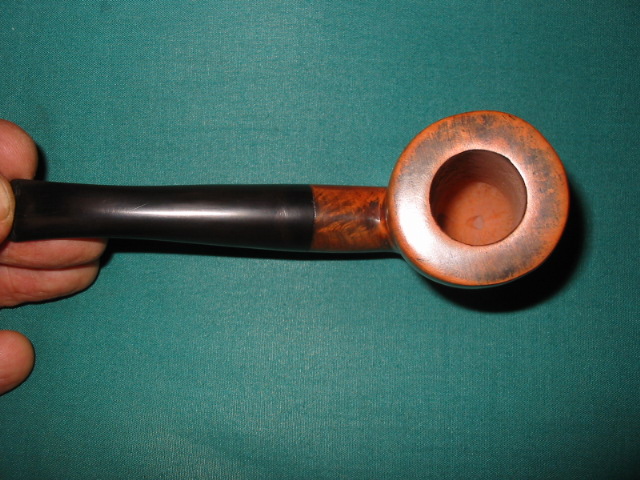
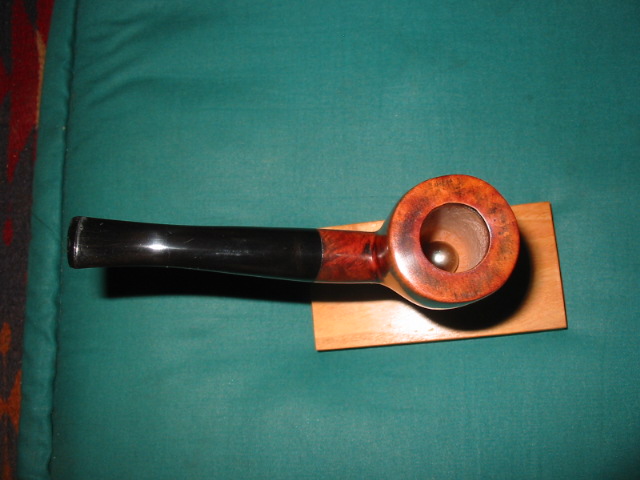
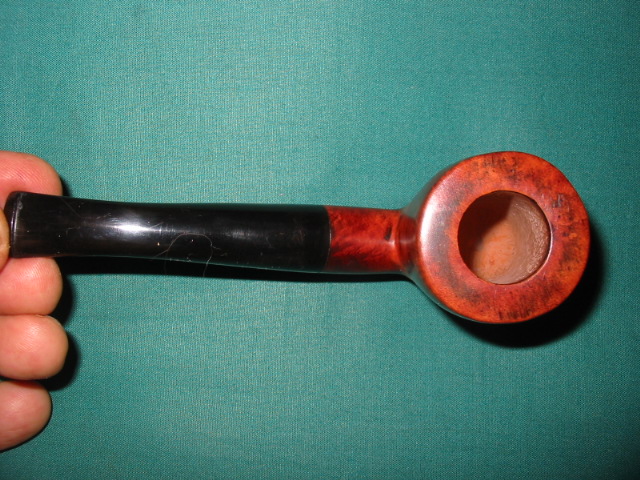
The end of the pipe of occurred in about 1975 with complications of corporate business plans and a lack of following.  Estimates say that approximately three million units were sold during the ten year life of the pipe. My own inexpert opinion, nothing will ever truly compete with briar for a good smoke.aaron16 This is the best pictures I got of the graphite bowl liners.aaron17 aaron18 aaron19


Reworking the Stem on a Weber Oom Paul


I decided to save the final pipe of the six I picked up in the states a few weekends ago for last. I knew it would take a bit more work to redo and wanted to take time focusing on it at the end of the cleanup work on the six. It was a Weber Imported Briar smooth finish in an Oom Paul shape. It is stamped on the left side of the shank with Weber in the oval and underneath it in script is stamped Imported Briar. The briar on this was in fairly decent shape and the stem was good other than a chunk that had been bitten or broken out of the button on the top edge. It was solid and the oxidation was actually quite light. The shape of the stem and the thickness of the vulcanite material left me lots of room to work with in reshaping the button. The next series of photos show the pipe as it was when I picked it up.

ImageImageImage

The bowl needed to be reamed and the rim needed to be cleaned of the tars and build up. The finish was a dirty but looked like it would clean up easily. The stem was oxidized a slight bit and the bend in the stem had straightened and would need to be rebent after the new button was cut. The shank had a sump like the Peterson system pipes that was full of tars and grime. That would need to be cleaned out. The stinger apparatus that was a working part of the Weber pipes was tarred and black.

The next series of photos show the pipe after I wiped it down with some acetone to clean the finish and worked on the tars on the rim of the bowl. I also sanded the rim with some 320 grit sandpaper to remove the tars and smooth out the rim.

ImageImageImageImage

I decided to tackle the stem first and rework the button. The first photo below shows the chunk that is missing from the stem. It was quite deep and was not repairable with my usual fixes. So in order to use the same stem I would need to cut back the stem to remove the break and then to reshape the button and the slot. The Weber slot is quite open and oval shaped so I would need to reshape the opening in the slot once I had reshaped the button. I used my Dremel with a sanding drum to cut away the broken part of the stem and to even it out until I had some good thickness in the stem material above and below the airway to work with in cutting the new button. The second, third and fourth photos show the stem after I removed the broken part with the Dremel. You can also see the work that would have to be done in reshaping the button and opening up the new slot.

ImageImageImageImage

After I cut the stem I set it aside and reamed the bowl to remove the cake and even up the walls of the bowl. The existing cake was heavy in the top of the bowl and light in the lower portion. I wanted to ream it back to bare wood so I could build up a new even hard cake. I used a KleenReem pipe reamer at first to ream the bowl back (photos 1 and 2 below). The problem is that the KleenReem does not clean out the bottom of the bowl very well so I finished reaming it with my PipNet reamer and the T handle (photo 3 below). I also used the drill bit that comes with the KleenReem to clear out the airway to the bowl. It was pretty gummed up so that cleared out the airway. I also cleaned out the shank and mortise with cotton swabs and pipe cleaners and Everclear. Once the pipe cleaners and cotton swabs came out clean I was ready to work on the outside of the bowl. I have included a fourth photo in the series to show you the bowl after reaming.

ImageImageImageImage

I wiped the bowl down with acetone again to remove the lasts of the grime and the buildup on the rim of the bowl. Once that was done I set it aside and began to work on the stem. The wiped down bowl is visible in the photo below.

Image

The next series of twelve photos shows the cutting of the new button on the stem. I used three different needle files to cut the button into the existing stem. You can trace the progress of the new button by the series of photos. I begin by cutting a straight line across the top of the stem and the bottom of the stem. I work to make both sides of the stem match one another so that the edge of the button is consistent on the top and the bottom. I do this initial cut with a flat rectangular blade needle file. I hold it firmly on the work table with one hand and work the file into the surface of the stem. Once I have the line defined on top and bottom I work the file like a carving knife against the new edge. I repeat the cut on the edge several times as the stem begins to taper into the button. I work the flat rectangular file first and then move through different flat edged files that have slightly different tooth patterns to keep carving away the vulcanite. By the last few photos you can see the shape of the button and the taper that works down the stem toward the new button.

ImageImageImageImageImageImageImageImageImageImageImageImage

Once the button is at the place pictured above I move to work on the slot in the button. I wanted to open up the airway to match the other Weber stems that I have in my collection. If you can picture an American football, that is about the normal shape of the Weber slot. The next series of four photos shows the progress of the slot. I used a variety of smaller needle files – round, oval, flat and rectangular – to open the airway. Once I had it opened and shaped I used a folded piece of sandpaper (320 grit) to sand the opening and smooth it out. The last two photos show the shape of the slot when I had finished this part of the process.

ImageImageImageImage

Once the slot was cut I needed to sand the stem to remove all the cut marks from the files and smooth out the surface and flow of the stem. The next four photos show the work with sandpapers and emery cloth. I began with folded medium grit emery cloth and worked through the medium grit sanding sponge and then 220 and 240 grit sandpaper. When I finished sanding with these sandpapers the oxidation was gone and the file marks were removed. The new button is very visible and the edge is well defined. It feels great in the mouth and catches nicely behind the teeth. The slot is smooth and the draw is open.

ImageImageImageImage

In the last two photos above you can see that the stem needs to be bent to make it look right and hang correctly in the mouth. I set up my heat gun on the table and inserted a pipe cleaner in the stem. When I am bending a stem I do not want to put a kink in the airway or somehow collapse the airway in the process. Once I have this ready I turn the heat gun on the lowest setting and hold the stem about 2-3 inches above the tip of the gun. If you hold it to close the stem bubbles and the vulcanite can burn. I heat it until it straightens further and that gives me a good sign that the stem is pliable enough to bend. I either use a piece of dowel or some other round tool handle that has the proper bend that I am going for with the stem. I lay the heated stem over the handle or dowel and press the stem downward to comply with the bend. Once I have it where I want it I let it sit for a few moments and then submerge the end of the stem under cool water. The first two photos below show the process of heating the stem and bending it over the tool handle. I repeated this bending process several times to get the bend that I wanted in the stem. The third photo shows the stem after it has been cooled off. This was the angle that I wanted on the stem. All that remained was to do some more sanding to the surface to smooth it out.

ImageImageImage

The next series of four photos show the pipe after the sanding has been finished. I wet sanded the stem with 400 and 600 grit wet dry sandpaper to further remove the scratches left by the previous sandpapers. I then used micromesh sanding pads 1500, 1800 and 2400 grit with water and wet sanded the stem further. I sanded the stem on the pipe be careful around the shank. I removed it from the shank to really smooth out the scratches around the saddle area of the stem. I sanded the button and the slot edges with the same grit micromesh until they were smooth and matte finished. I then polished the stem with Maguiar’s Scratch X2.0 rubbed on by hand and then scrubbed with a cotton pad. I sanded further with micromesh sanding pads 3200, 3600 and 4000 grit this time using water on the first two grits and then finishing that trio up by dry sanding with the 4000 grit pad. I coated the stem with Obsidian Oil and let it soak in before taking it to the buffer and buffing with White Diamond both the pipe and the stem. I took it back to the table and finished dry sanding with 6000, 8000, 12,000 grit micromesh sanding pads. I buffed the stem and pipe with several coats of carnauba wax to bring it to a shine.

ImageImageImageImage

One of the perks of working on this pipe was that I did not need to restain it or remove the finish on the bowl and start over. The finish was salvageable and the darkening on the rim is smooth but in hand it is much lighter than it appears in the photo above.


Restemming and Refurbishing an Italian No Name Dublin


This is the fourth pipe of the six I picked up recently on a visit to some antique malls in the US. The stamping was not present on the top or bottom of the shank. The bowl had an interesting shape to me when I saw it on the shelf of pipes in the shop. It did not have a stem. The grain on it was very nice looking. The stain was spotty and the finish damaged – it had a coat of varnish or something over the finish that was broken and spotty. Where the varnish remained the colour was rich and where the varnish was gone the finish was lighter and soiled. The rim had been damaged on the outer edge of the bowl to the point that it was round on the front. There was a lighter burn on the inside edge of the bowl toward the front of the bowl. Once I got it home and cleaned it up a bit I found that the shank had a long ½ inch crack that followed the grain on the bottom of the shank. The first two photos below show the bowl before I worked on it. I used my PIMO tenon turner to fit a stem to the pipe before I did any work on the bowl. The new stem is visible in the first two pictures as well. The stem needed to be worked on for a good fit but I did not want to push it into the mortise as I had to deal with the crack before working on the tenon for a snug fit.

ImageImage

The next photo shows the crack in the shank. I used a dental pick to open it up so that I could drip super glue into the crack. I dripped the glue in and then clamped it until it was set and dry. There was some minimal excess of the glue that I removed by sanding the shank with 320 grit sandpaper to remove the drops. Once that was done I fit the stem to the shank by hand sanding the tenon until it was a snug fit. I knew from previous experience that once I banded the shank I would need to remove a bit more material from the tenon in order to make it fit snugly. The second photo below shows the fit of the stem. I used my Dremel with a sanding drum to remove the excess vulcanite from the stem so that the flow would be smooth between the shank and the stem. I also sanded the seams on the stem and the button and faced the surface of the button to remove the excess vulcanite.

ImageImage

I heated a nickel band with my heat gun and then pressure fitted it on the shank at this point. I wanted the fit to be tight and to draw in the crack further. Once the pipe was banded I needed to remove more vulcanite from the stem to make it fit against the band. The photos below show the band after it has been pressure fitted and the stem after I used the Dremel to remove more of the excess vulcanite to make it fit. The main feature of the photos though is the process I used in topping the bowl. The first photo shows the bowl with the rim flat against some 220 grit sandpaper on a flat board that I use as a sanding surface for topping bowls. The second photo shows the bowl after I have been topping it in a circular motion on the sandpaper for quite a while. You can clearly see the burn mark and the damage to the back and the front of the bowl. The third photo shows the bowl when I am finished topping it. I finished the sanding with a fine grit sanding block (the yellow sanding sponge in the final photo). The damage to the back and front edges of the rim is gone. The burn has been minimized and the briar under the darkened spot is solid and smooth. The staining will minimize the damage even more once it is done.

ImageImageImage

The next two photos show the bowl after I wiped it down with acetone to break up the remaining varnish on the outside of the bowl. It took quite a bit of scrubbing with acetone on cotton pads to remove the remnants of that coating. I also sanded the bowl with 340 grit sandpaper to further remove the coating and wiped it down a final time with acetone. I also sanded the stem with medium grit Emery paper to remove the deep scratches from the sanding drum and followed that up with 240 and 320 grit sandpaper. The fit of the stem can be seen in the two photos as well.

ImageImage

At this point in the process I stained the bowl with a dark brown aniline stain that I had diluted with isopropyl alcohol in a 3:1 ratio. I wanted the stain to be slightly opaque to hide the remaining darkening of the burn but I still wanted to highlight the grain in the briar. The four photos below show the stain after it has been applied, flamed, reapplied and stained a second time. I applied it with the dauber that comes with the stains and as soon as the bowl was covered I lit it on fire to set the stain and burn off the alcohol.

ImageImageImageImage

The next three photos, though out of focus, give an idea of what the pipe looked like after I buffed it with Tripoli and White Diamond. The colour is strong throughout, the rim has an opacity that is what I was aiming for and the bowl still shows the grain patterns very clearly. I am pleased with the overall look of the pipe at this point. I also buffed the stem with Tripoli and White Diamond as well as I wanted to get a clear idea of the status of the scratching. After buffing the stem I set up my heat gun and heated the stem in order to give it a quarter bend. Once it was heated I used a round dowel to bend it evenly and then held it in place until it was cool. I ran cool water over the stem to set the bend and then took it back to my desk work on it further.

ImageImageImage

I took the pipe back to the work table and worked on the stem. I used micromesh sanding disks and wet sanded the stem with 1500, 1800 and 2400 grits. When that was finished I polished the stem with Maguiar’s Scratch X 2.0 rubbed on by hand and polished off with a cotton pad.  I then dry sanded with micromesh sanding pads using 3200, 3600, 4000 grit. I gave the stem a coat of Obsidian Oil and rubbed it into the stem. Once dry I finished sanding with 6000, 8000 and 12,000 grit micromesh pads. I took the pipe to the buffer for a final buff with White Diamond and then gave the entirety several coats of carnauba wax and buffed it with a soft, clean flannel buffing pad. The next series of photos show the finished pipe.

ImageImageImageImage

Carved from a kit – a predrilled block and stem


I took this photo essay of a pipe I carved from a pipe kit I purchased from smokindawg (Steve) on Smokers Forums and Pipe Smokers Unleashed. It was a predrilled block of briar and a straight vulcanite stem fit with a Delrin tenon. I actually only had to shape and finish this one. Steve did the hard work in drilling and prestemming it for me. Here is a photo journal of the progress in making the pipe. I used a hand held Dremel with the larger sanding drum to bring the pipe out of the block. At the junction of the bowl and shank I used a wood rasp and a long file to get the angle cut the way I wanted it to be.

Photos 1-3 the block when it arrived (I sketched a potential shape with pencil on both side of the block to give me an idea of where I was going to go)ImageImageImage

Photos 4-5 show the initial sanding to remove material.ImageImage

Photos 6-9 Making more briar dustImageImageImageImage

Photos 10-13 – Making more dust – Shape emergingImageImageImageImage

Photos 14-17 Making more dust – shape is coming. I bent the stem with heat to get an idea of the curve of the stem. Also removed some of the vulcanite on the stem.ImageImageImageImage

Photos 18-23 – The shaping is done. The pipe has been sanded with 240 grit sand paper and then buffed with Tripoli and White Diamond. I then sanded it with 400 and 600 grit wet dry sandpaper.ImageImageImageImageImageImage

Photos 24-27 – Black Stain. After some more sanding I stained the entire bowl with black aniline stain as an undercoat.

ImageImageImageImage

Photos 28-31 – Excess black stain removed. With the buffer and Tripoli I removed the excess of the black undercoat of stain. My goal was to leave it in the grain patterns to highlight them.

ImageImageImageImage

Photos 32-36 – More buffing and sanding. ImageImageImageImageImage

Photos 37-40 – Top stain of Oxblood Aniline for contrast. ImageImageImageImage

Photo 41 – An adjustment to the bend. I reheated the stem and curved the bend a bit more to match the curve of the underside of the bowl.

Image