Blog by Steve Laug
I recently wrote a blog on how I put a rusticated finish on a rim of a Savinelli Capri 121 pot. I thought it might be helpful to pull out the process of that rustication because the process is the same I used on this one as well as others that I have done. It is the simplest way I know to approximate the look/feel of a previously rusticated rim. It works on rims that have been topped as well as on damage or worn rims. The process is identical and you as the refurbisher make the decision how deep and how rustic you want the finish to look.
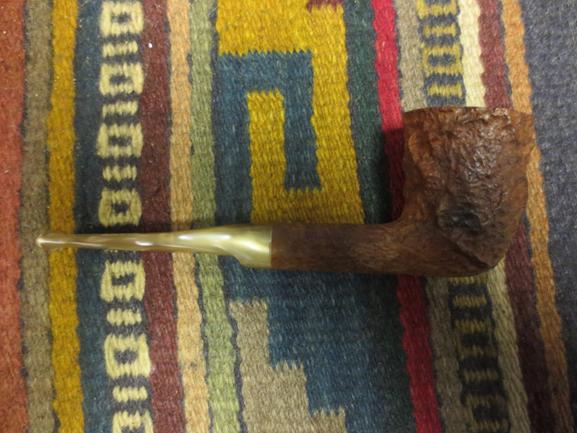
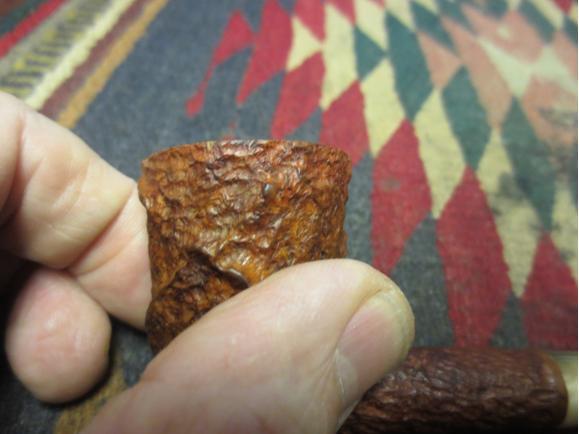
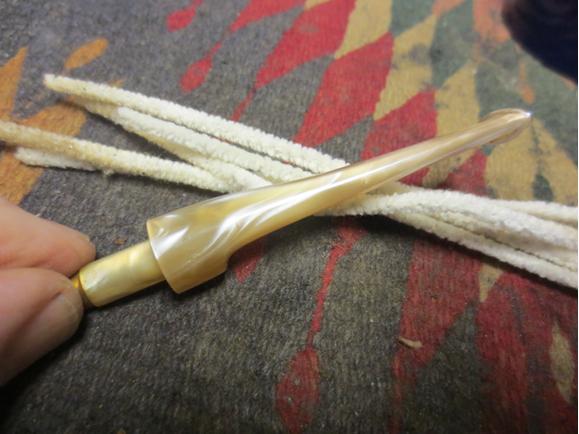
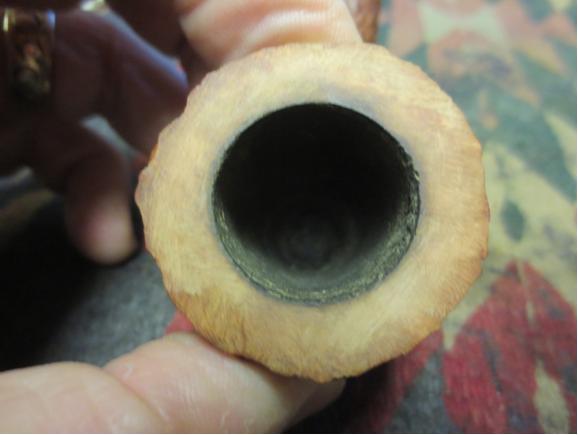
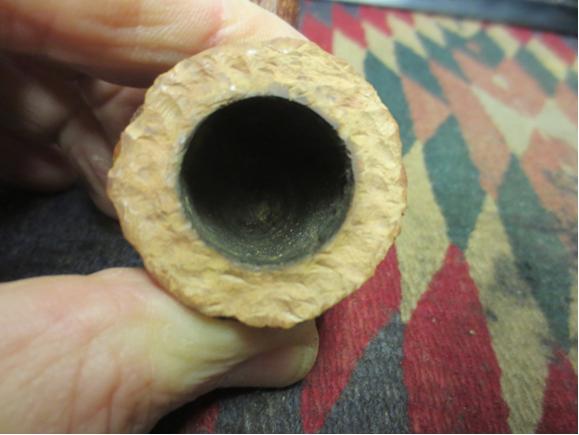
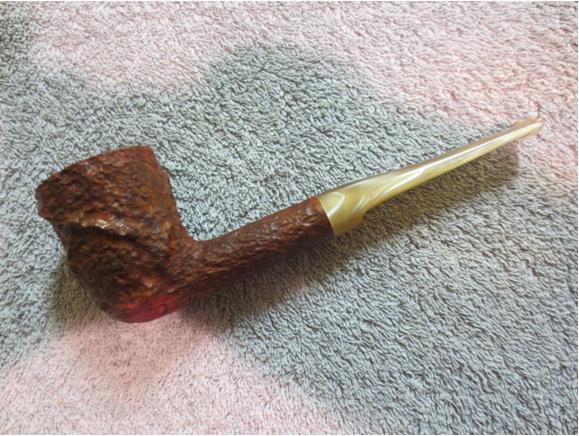
Process: For this example I will begin with a bowl rim that had been topped. The bowl happened to have been a rusticated Capri. Somewhere in its life someone had topped it. The job was well done but I wanted to bring it back to the original state.
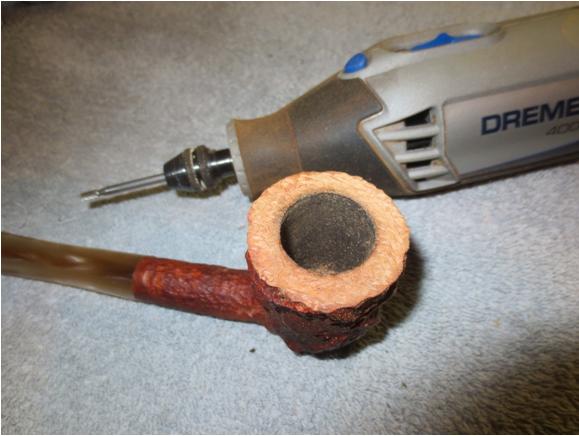
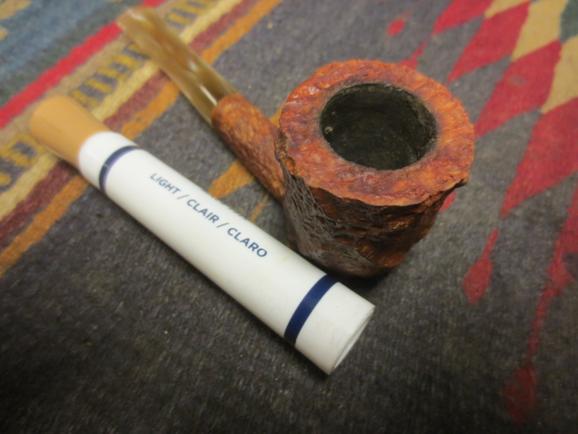
1. I set out the Dremel and the various burrs that I use for the rustication. Two of them are standard Dremel burrs. Three of them are dental burrs that I got from a friend of mine.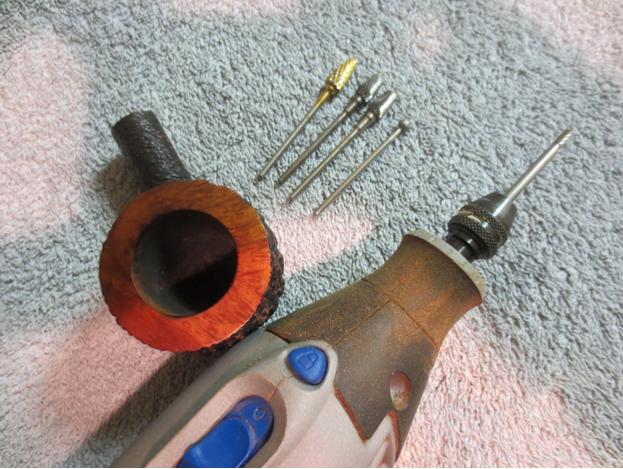
2. I always start with a cylindrical burr. It is a cylinder with diagonal lines cut into the tip. The burr can be used straight on, on the side or diagonally. I used it on the diagonal to begin the process. I used it to scroll on the surface. I made swirls across surface of the topped rim. I always avoid the edges of the bowl – both inner and outer edge – with this first burr. The photo below shows the rim after these first cuts.
3. I changed burrs for the ball shaped burr. I used it deepen the grooves and trails and to move to the inner and outer edges of the rim. I roughened the surface and tried to randomize the rustication look. There are still smooth spots at this point but the finish is beginning to look as rough as the bowl sides.
4. I changed the burr again for a cone burr with a “pineapple like” cross hatch pattern. I worked over the surface of the rim randomizing the divots that I did with the ball burr and also cutting grooves and cross hatch patterns in the briar.
5. I changed the burr again for another cone burr – this one with a spiral pattern. I used it diagonally across the surface of the rim cutting grooves, connecting patterns. All of the switching and changing of burrs was to rusticate and randomize the pattern on the surface of the briar. I was working to get a pattern similar (yet different – almost a reverse of the bowl rustication) to the bowl.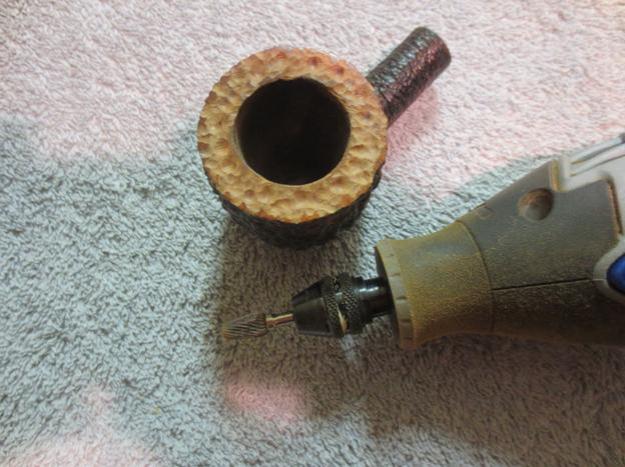
6. I changed the burr again this time for a spiral that spun the opposite direction from the previous one. I worked over the rim using the burr straight on, diagonally and in places almost horizontally. At this point the rustication pattern shown below is getting close to the point where I will finish.
7. I put the cylindrical burr back in the Dremel and worked it diagonally between the low spots on the rim to connect the dots so to speak. I also roughened the inner and outer edge of the rim. 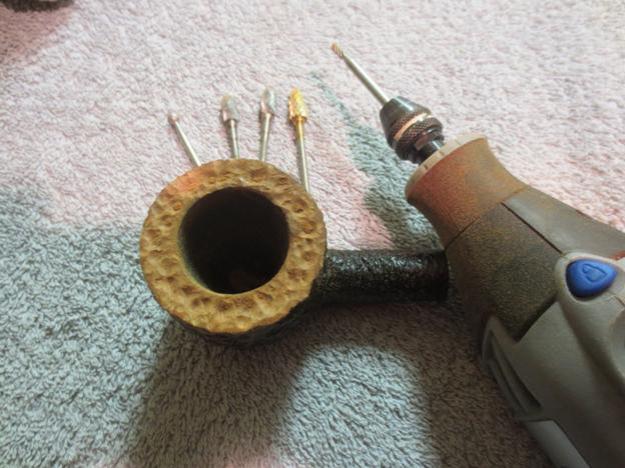
8. I used a medium brown stain pen to stain the high spots on the rustication.
9. I used a Sharpie Black permanent marker to stain the low spots on the rim surface and provide some contrast to the rim. The variation in colour would eventually match the stain on the bowl and give depth to the rustication.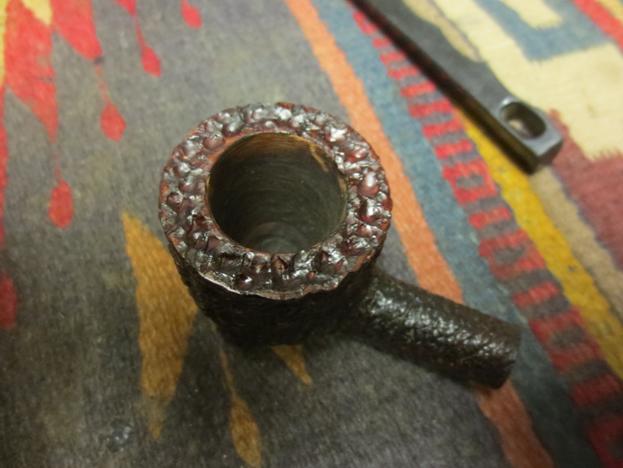
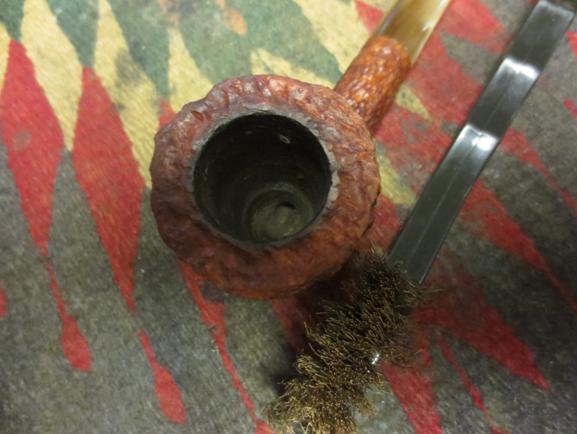
10. I used a brass bristle tire brush to brush the surface of the rustication and knock off high points and loose briar. It also gives the surface a feathering look that smooths the rustication to match more closely that on the bowl sides.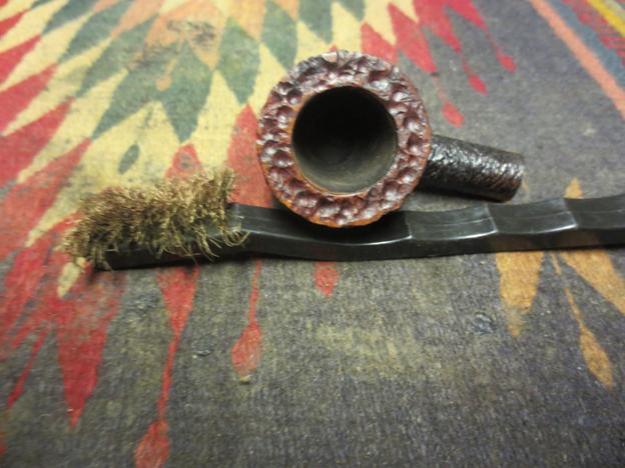
11. I used the black Sharpie again to touch up the scratches left behind to add more depth.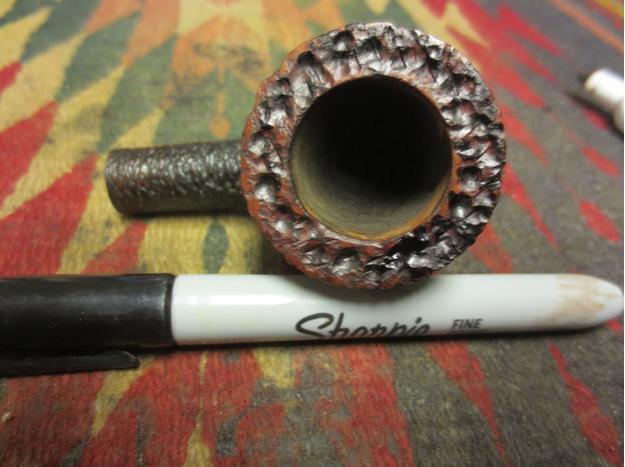
12. I stained the rim with a dark brown stain pen thus adding the third stain colour to the rim surface. At this point I still was not quite happy with the look of the rim. The colour was right and the rustication was fine but there was something missing. On the bowl sides it was almost as if the maker had used a wire brush on a drill or wheel to cut fine lines in the surface of the briar over the rustication.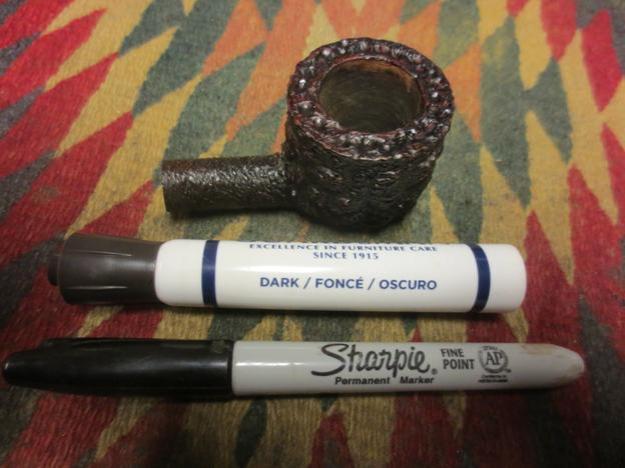
13. I would need to improvise as I did not have a stiff wire wheel or brush to use. I did have a serrated edge letter opener that would cut patterns across the surface easily enough and if I went at it from a variety of directions I could possibly achieve the look I was going for. So I used the letter opener and went to town to cut a stressed look to the briar on the rim. I followed that by lightly brushing it with the tire brush. 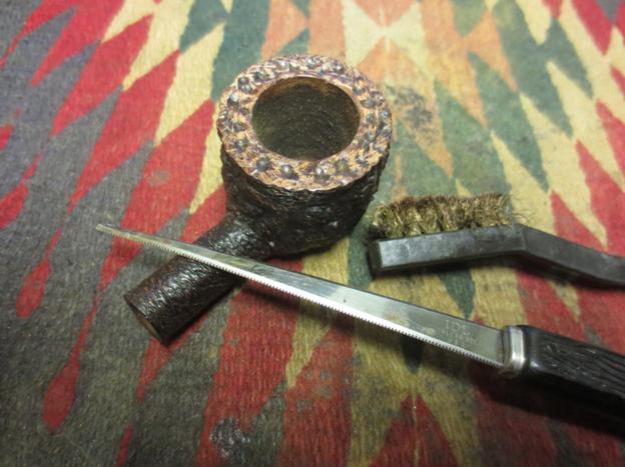
14. I repeated the stain process noted above using the three colours of stain in the same pattern to get the desired effect.
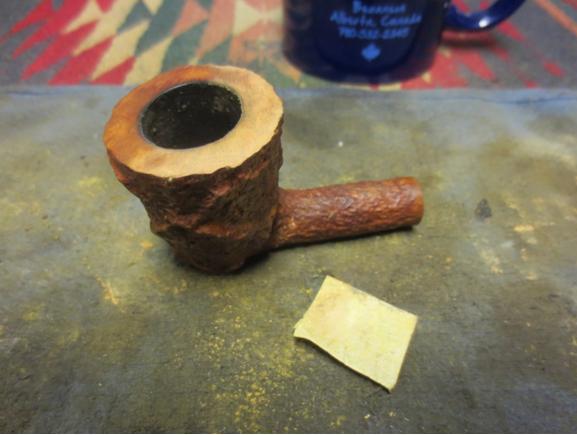
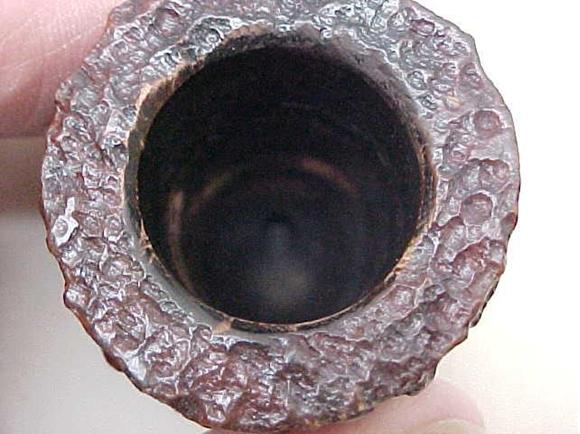
15. I gave the rim several coats of Conservator’s Wax and hand buffed it with a shoe brush. The finished rim is shown below. It has the look that I was aiming for when I started the process noted above. I have used this process on many pipes and it generally follows the same pattern. The difference lies in the depth and tightness of the pattern and the burrs that I choose to use to approximate the bowl rustication.
Conclusion: If you vary the burrs or introduce other burrs you can get a completely different pattern in the briar. I have used just the ball burr in the past to create a different look. The cylindrical burr creates a very tight pattern. The cross-hatched or pineapple burr can be used to create a light a deep cross hatched pattern. All of the burrs cut different patterns according the angle against the wood. You can use the burr vertically, horizontally or diagonally and create a wide variety patterns. Give it a try and see what you can create. Really the options and looks are as varied as you want to make them.