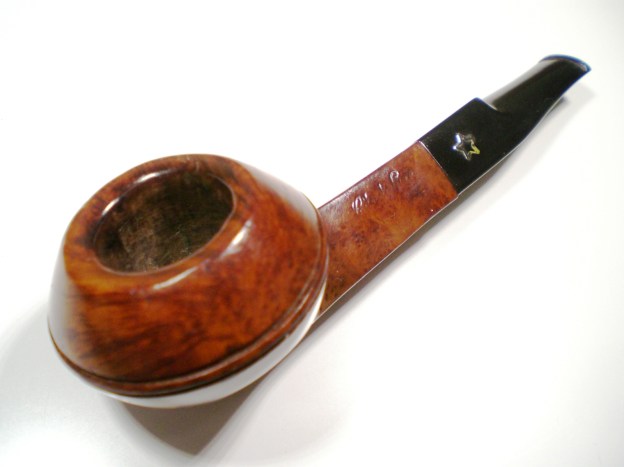
Blog entry by Al Jones
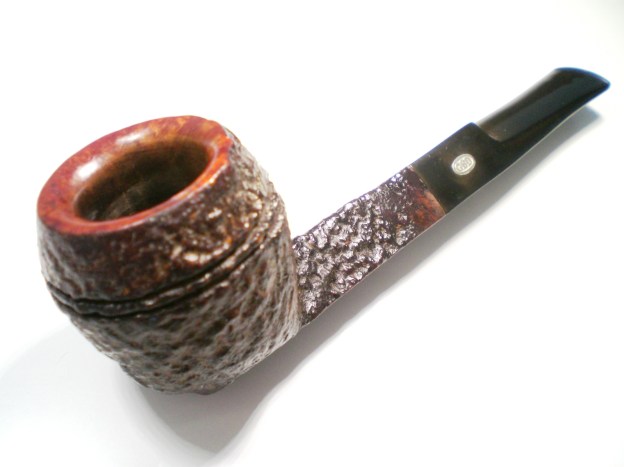
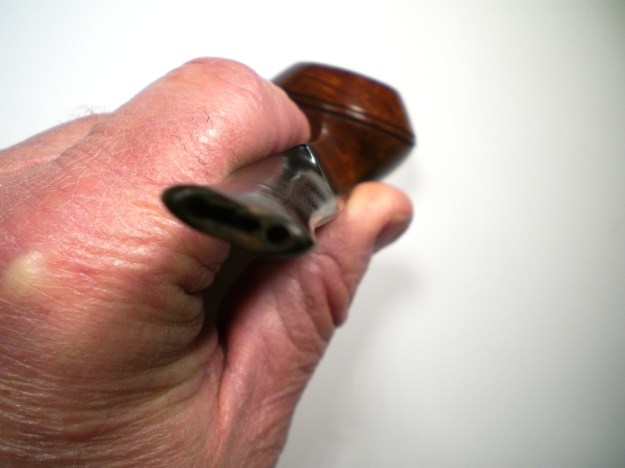
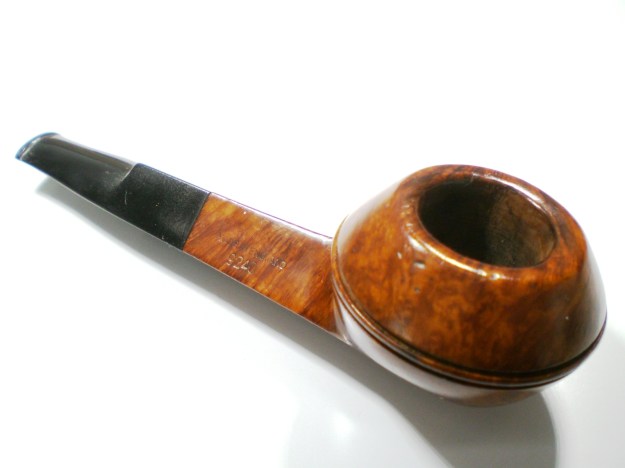
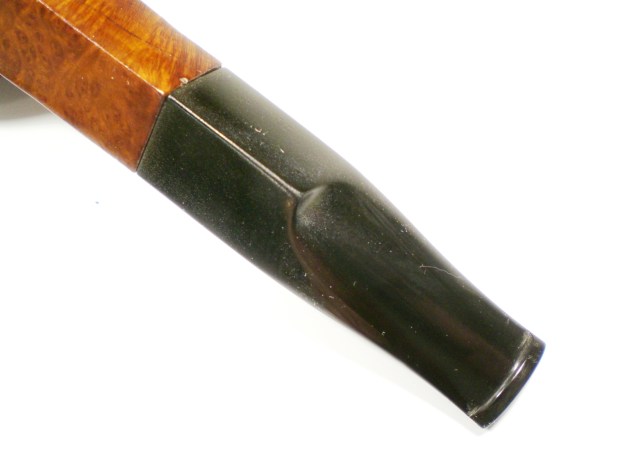
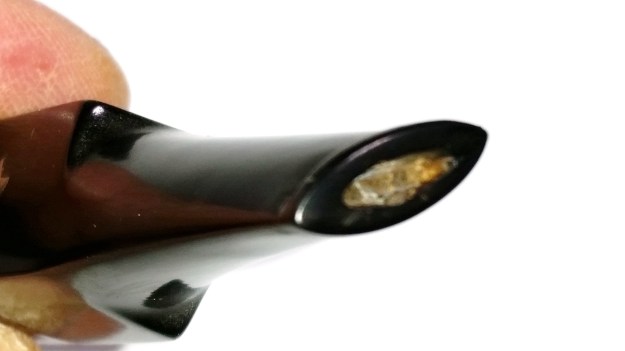
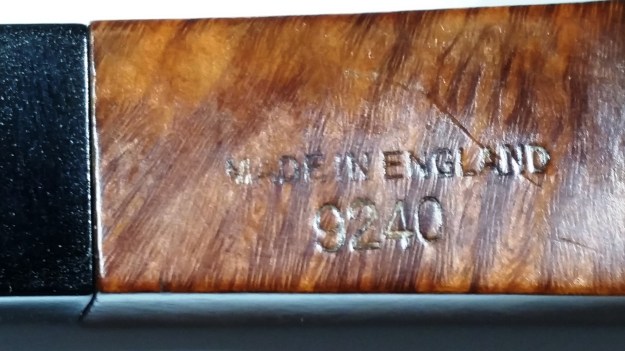
This City deLuxe short, shape 9240, squat bulldog came in a group of pipes I found on Ebay. I thought it had the most promise of the trio. As with most City deLuxe pipes, this one came with a twin-bore stem, they called the “Tuscan Lip”. Unfortunately the pictures didn’t disclose the damage to the button end. The white plastic fill bit was missing and one of the bore holes was cracked thru to the fill inset.


My first attempt to the repair the button was to completely fill in the button holes. My plan was to re-drill the draft hole. After numerous attempts with the black superglue, I was unsuccessful. When I attempted to re-drill the draft hole, using a 1/16″ drill but, the repair portions kept flaking off.
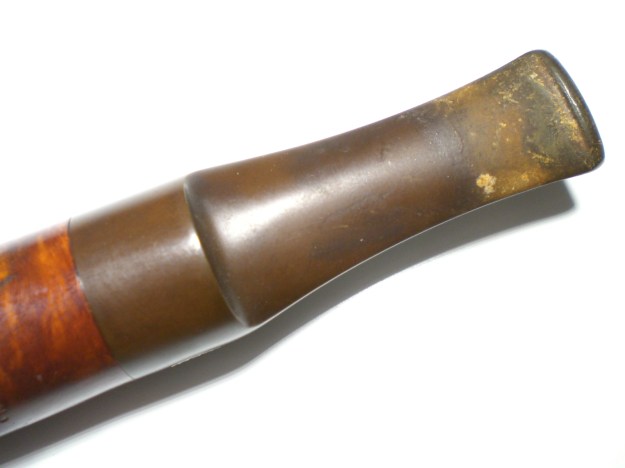
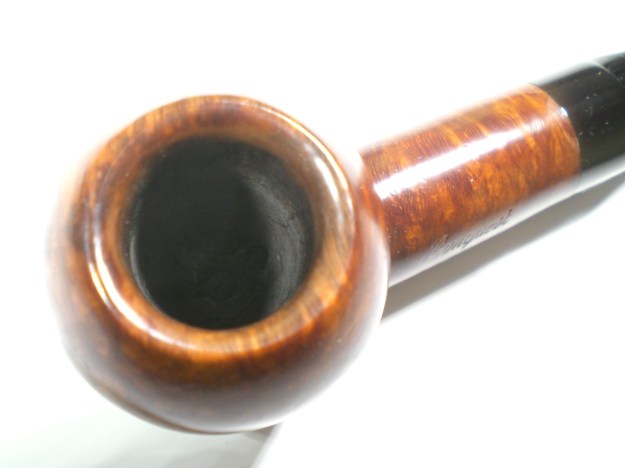
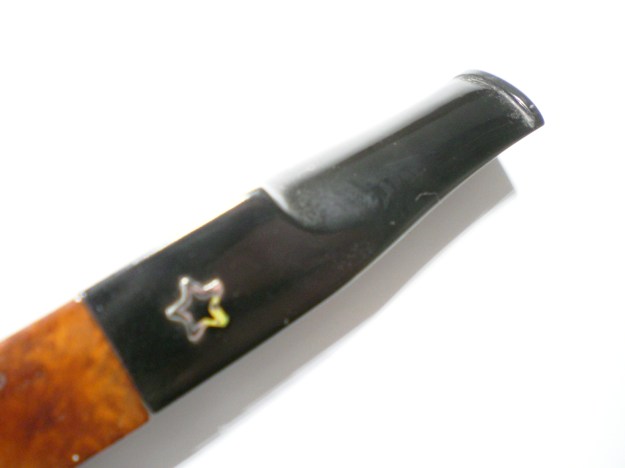
I finally gave up and decided to cut off the broken button and shape a new button. I used a fine-tooth hobby saw to make a clean cut. I cut in a new button using a flat needle file. With 400 grit paper wrapped around the needle file, I tapered the stem up to the new button. That was finished with 800, 1500 and 2000 grit paper. At this time, I removed the oxidation from the rest of the stem. The brass star logo was in great shape. I used another needle file to funnel the draft hole. The stem was mounted and buffed with White diamond rouge and Meguiars Plastic Polish. Below are two shot taken as the new button was shaped.

?

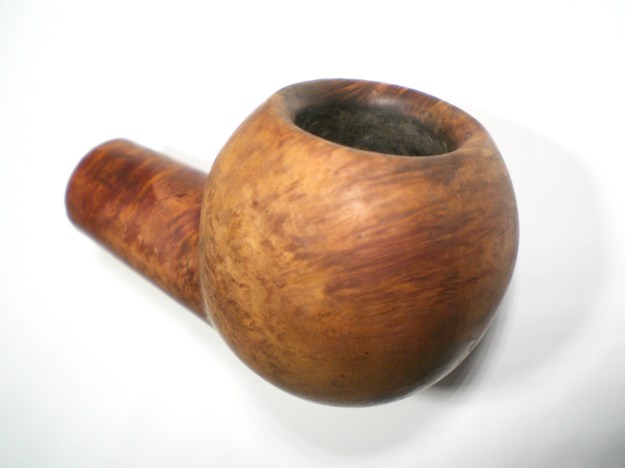
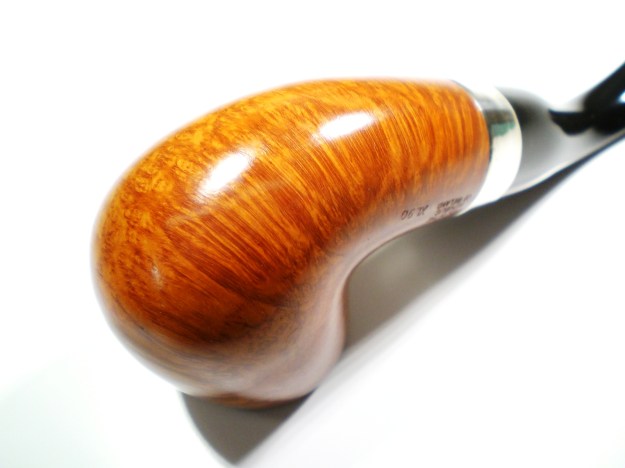
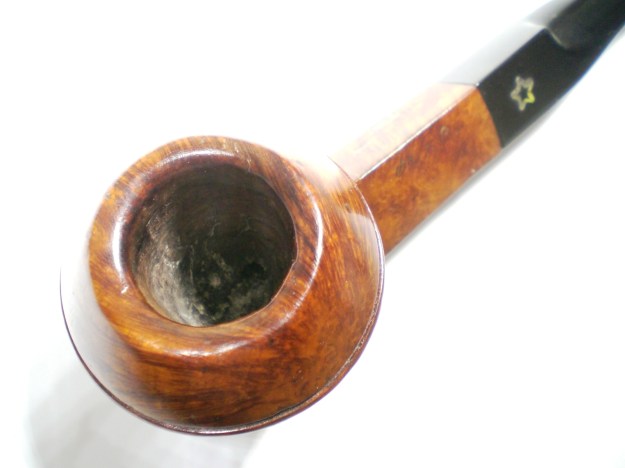
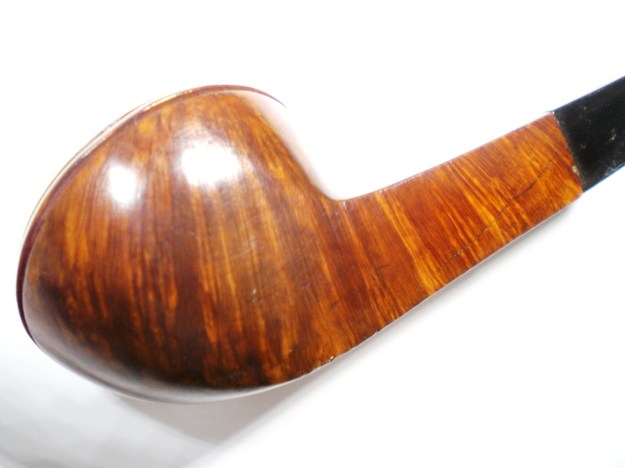
The bowl was reamed and then soaked with alcohol and sea salt. I scrubbed the shank with a bristle brush dipped in alcohol. There were some dents on the briar. I used an electric iron set on high and a wet cloth to stem them out. Not all of them were removed, but I don’t mind a little patina on my pipes, those marks were all earned. The bowl was then buffed with White Diamond and several coats of Carnuba wax.
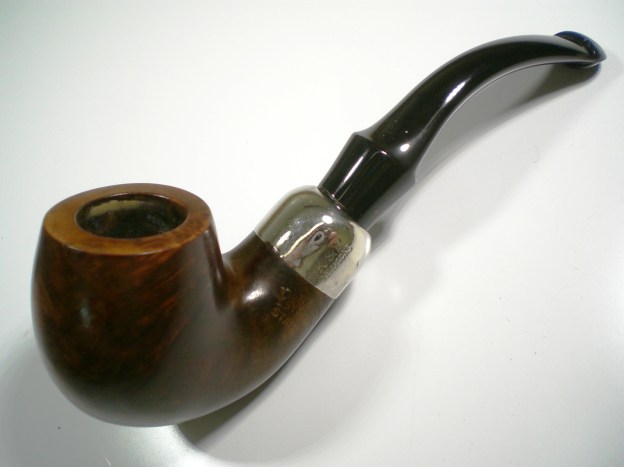
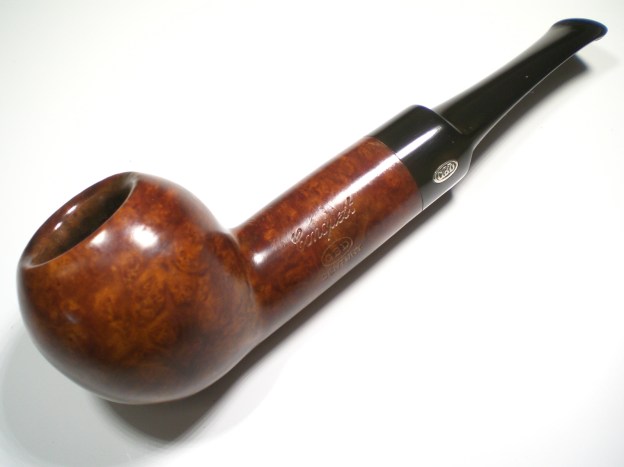
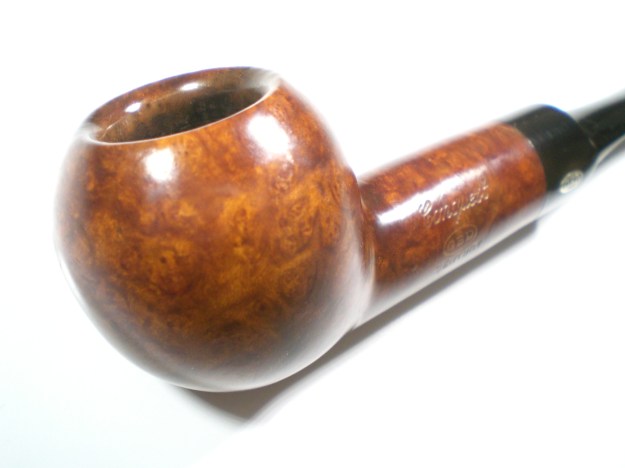
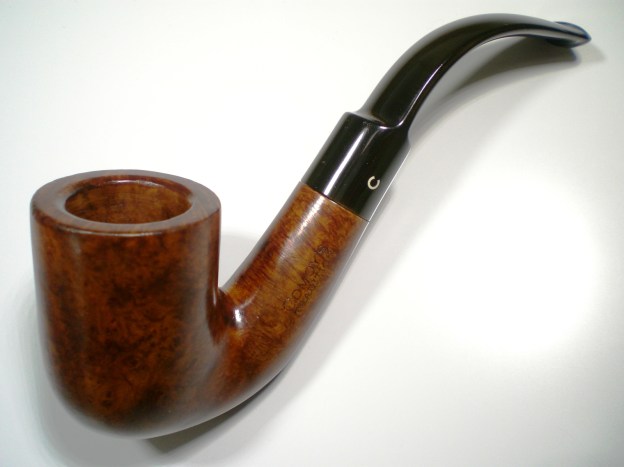
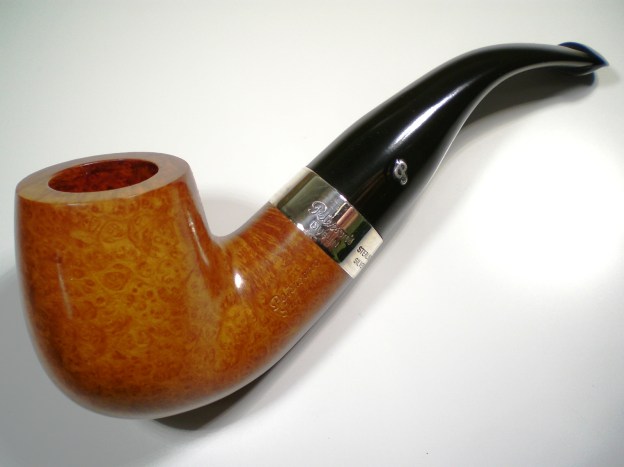
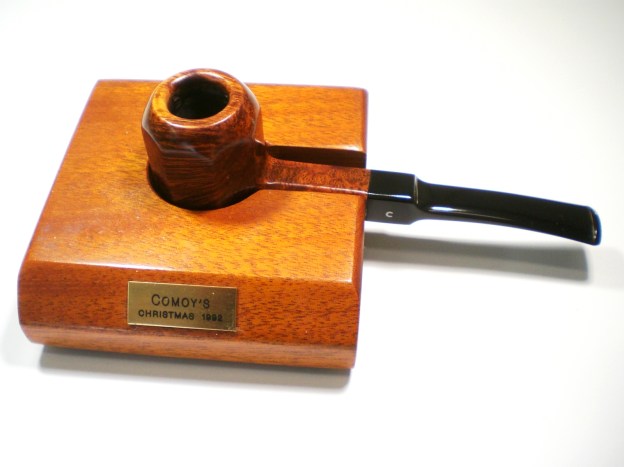
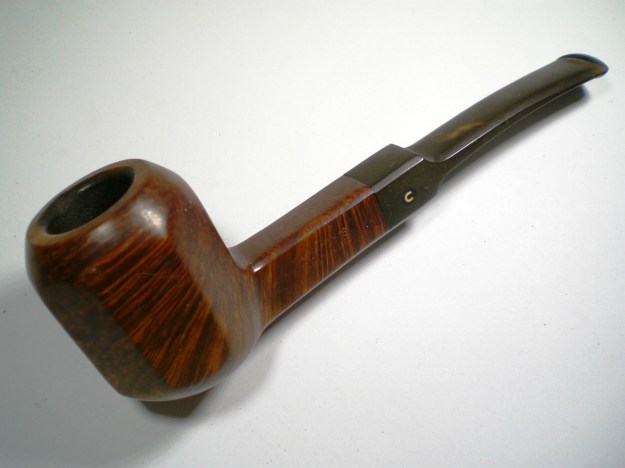
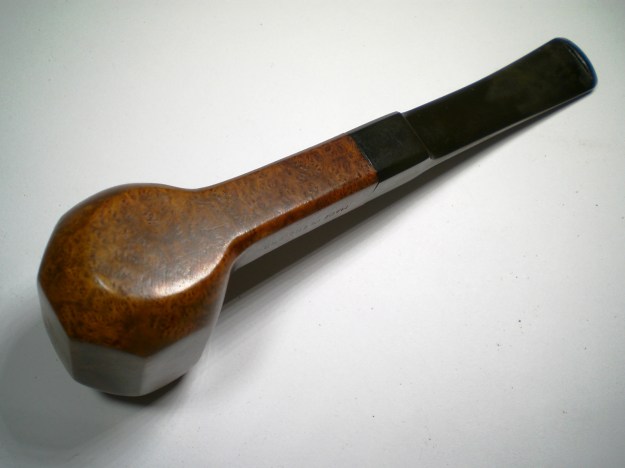
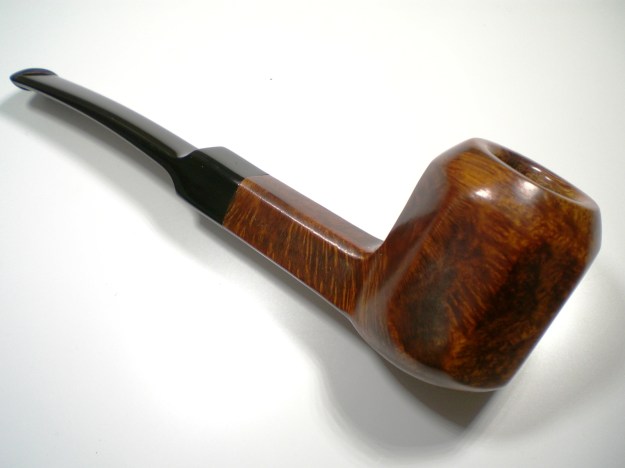
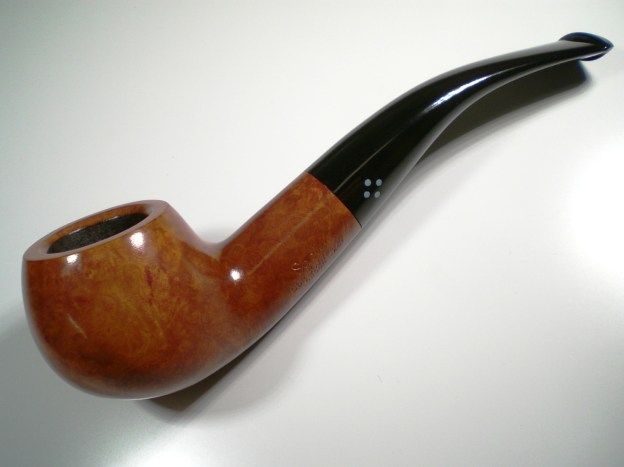
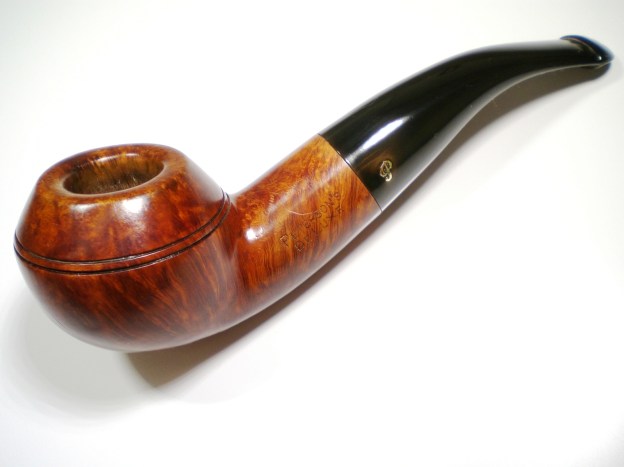
Below is the finished pipe.


?

?
?