Blog by Steve Laug
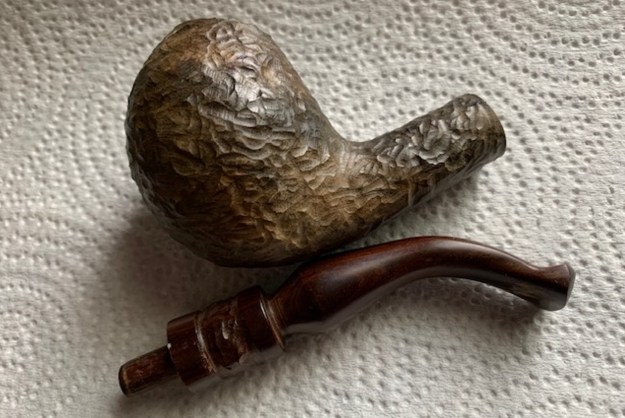
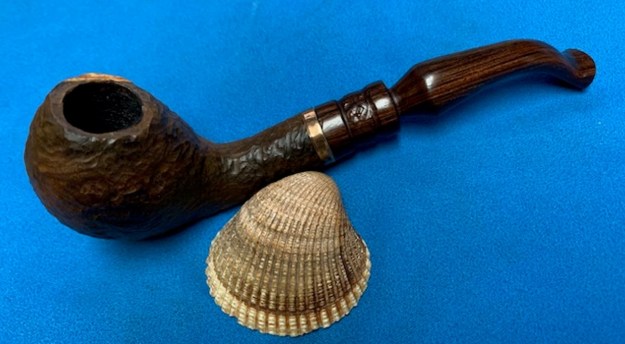
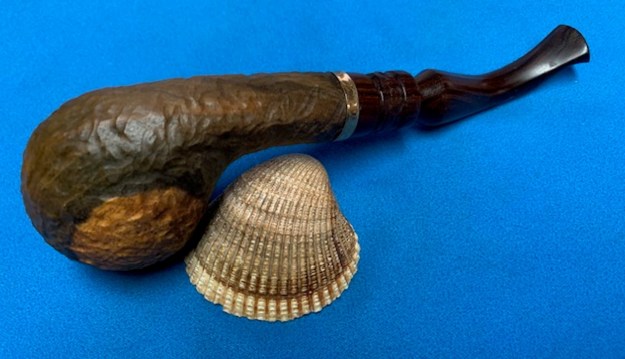
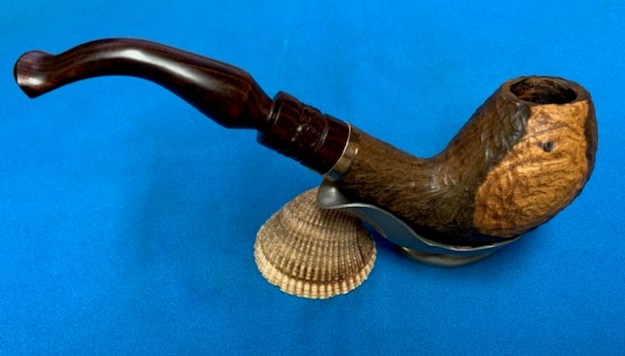
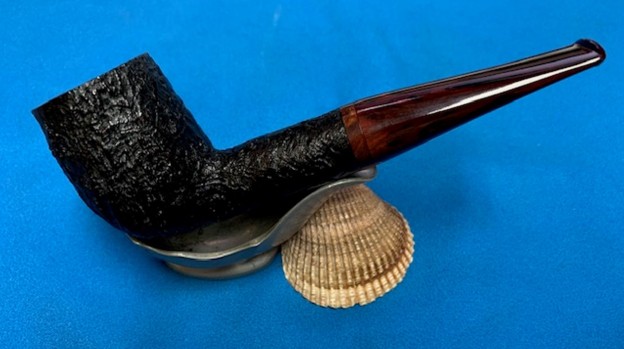
Several months ago now I was reading a post that Robert Lawing of Lawdog’s Pipes posted on Facebook regarding some pipes he worked on that were for sale. One of them was a beautiful Rad Davis 2013 Sandblast Billiard with a shape much like a Dunhill LB. It had a smooth ring around the shank end. The stem was a beautiful Cumberland style taper that looked to be very comfortable in the mouth.I have collected pipes from Rad for quite a few years now and this one caught my eye. I was very interested in adding it to my collection. I copied the photos that Robert had posted so I could enjoy them. I wrote to Robert and we chatted and I soon was able to purchase it. I had him send it to my brother Jeff and I was able to pick it up on my recent trip to Idaho for my Father’s 95th Birthday.  The shape is uniquely Rad Davis! I have had an eye on pipes from that brand for several years now and this shape is one that I wanted to have. The angles of the pipe shape where the bowl and shank join are a classic shape like a Dunhill LB. The comfortably shaped, Cumberland stem was a great contrast with the dark black/red stain of the sandblast briar. I am including the photos that Robert had in sale listing.
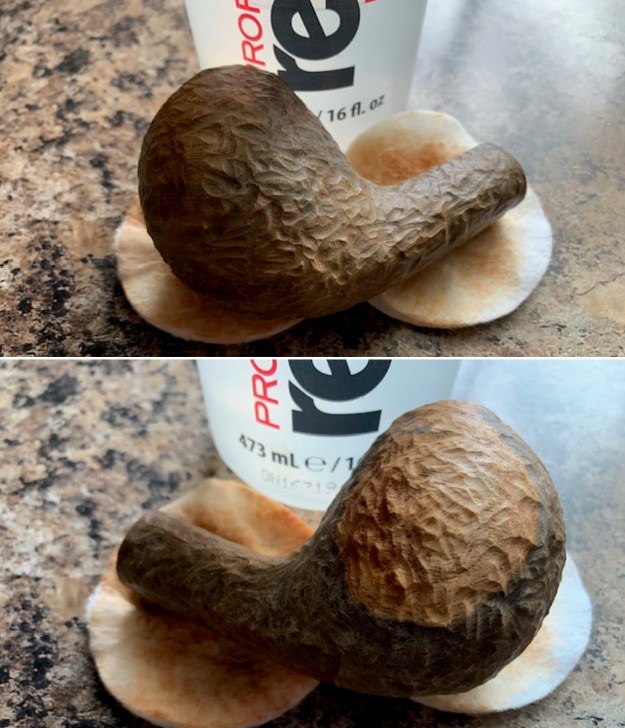
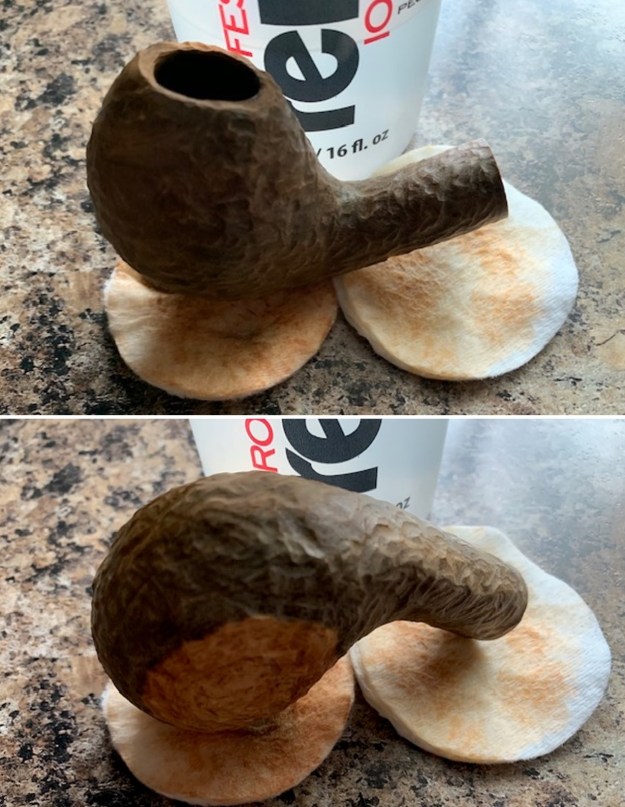
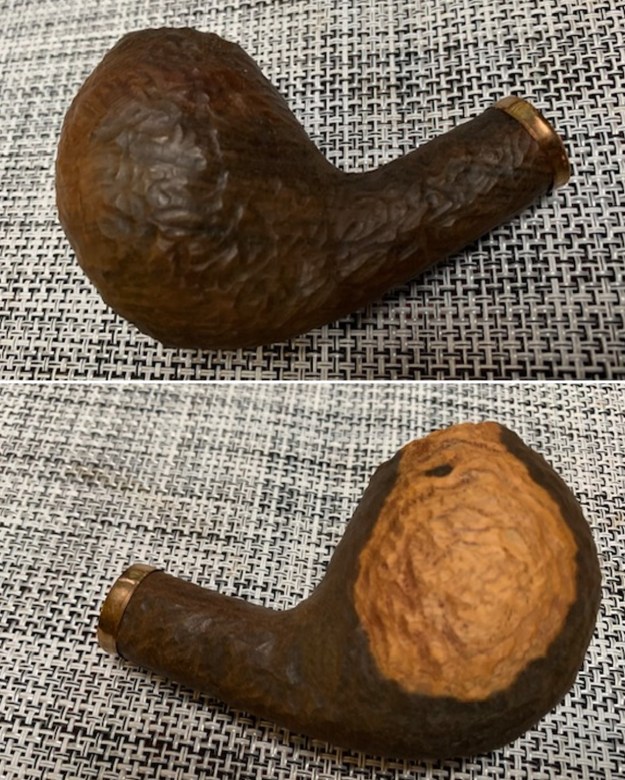
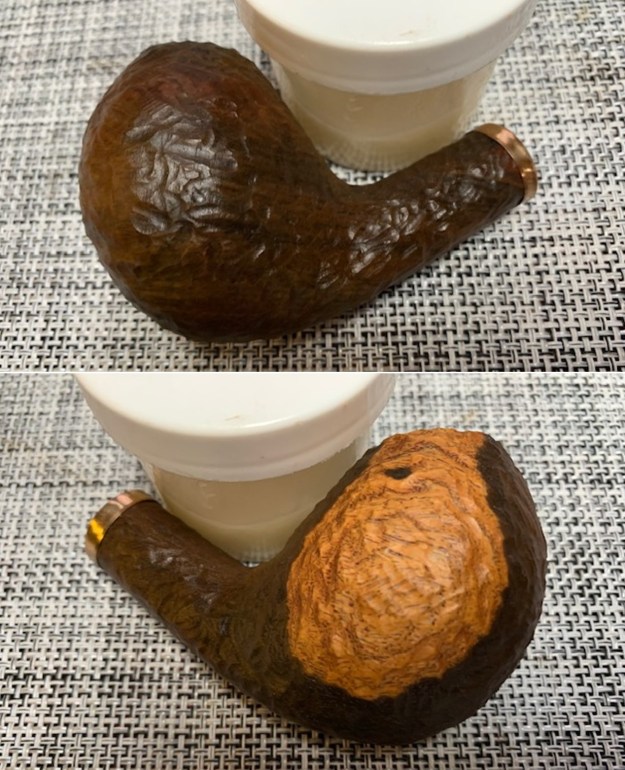


 The next photo that Robert showed was of the stamping on the underside of the shank. It is a smooth oval with stamping that reads RAD [over] USA [over] 2013. The stamping was clear and readable.
 Robert had taken photos of the bowl sides to show the shape and the style of the blast. It was a real beauty.

 To help me understand the stamping a bit more I turned to Pipephil’s site and read what it said about Rad Davis pipes (http://pipephil.eu/logos/en/logo-r1.html). I have included a screen capture of the section below as well as the side bar information below the capture.
 Artisan: Robert (Rad) Davis began making and selling freehand pipes in 2003.
To close my understanding of the pipe I turned to Pipedia (https://pipedia.org/wiki/Davis,_Rad). I quote the article which came from Rad Davis himself. It is a great read so I have included it below.
I have been smoking (off and on) and collecting (continuously) pipes since the early 1970’s. They have always fascinated me. My very first pipe was a Pioneer Calabash that I bought in a department store in the early 70’s while I was in college in Sacramento, California. My second pipe during that same period was a Nording free hand that I got for $20.00 plus a coupon from the back of an Amphora Pipe Tobacco package. The coupon was introducing this new young Danish pipe maker to the U.S. market. I still have both pipes.
I met Mark Tinsky several years ago in the internet when I was in need of a pipe repair, and from his site I found that he was a fly fisherman. I am a fly fishing guide in Montana and a commercial fly tier, and we ended up trading some flies for pipe repair. Last spring, I was in need of a pipe repair again, and when I found Mark’s site, I saw that he had a new address in Helena, Montana, where I live and guide during the summer! We got together after I arrived for the season and did some fishing together, and he showed me his shop, and even made me a nice bent Rhodesian pipe while I watched. It’s become one of my favorite pipes, dedicated to Mac Baren Navy Flake.
When I expressed an interest in trying to make a pipe, Mark was much more than helpful. He gave me a couple of pipe kits that he couldn’t sell for one reason or another, cut the basic shape out on the band saw, and let me go to work making free hand pipes. My first few pipes left a lot to be desired, but I was starting to see what I was doing wrong and concentrated more on getting the proportions and flow of the shape right until I was turning out some decent work. I also learned to cut and drill pipes and turn tenons on stems during this time. I discussed with Mark the possibility of my actually selling my pipes, and he said that he thought there was a definite need for quality hand made pipes at reasonable prices.
And here is the result. All my pipes are free hands, made from the same high quality Grecian Briar used by Mark. There are no fills in my pipes. Some may have small flaws, but they are not hidden, and they are priced accordingly.[1]
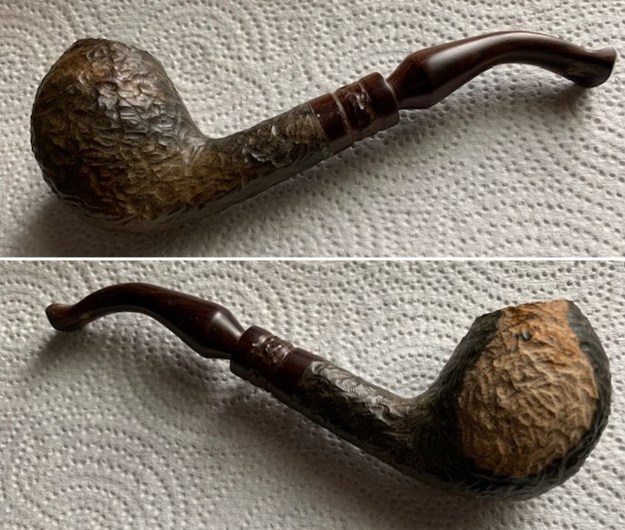
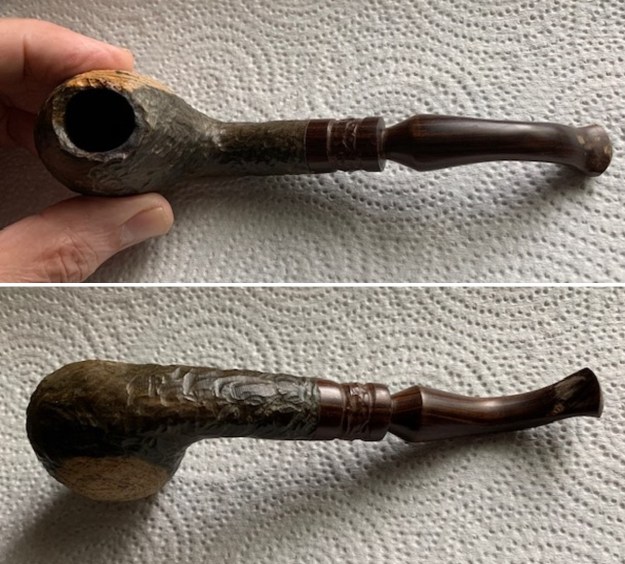
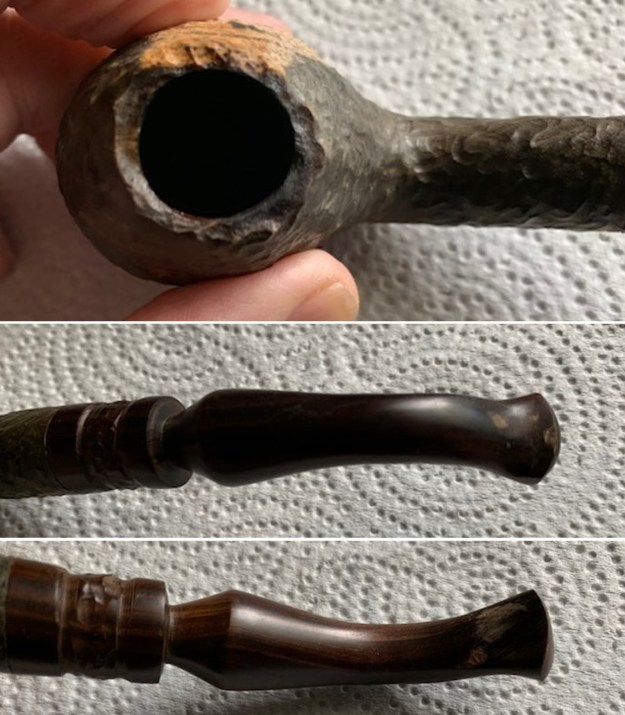
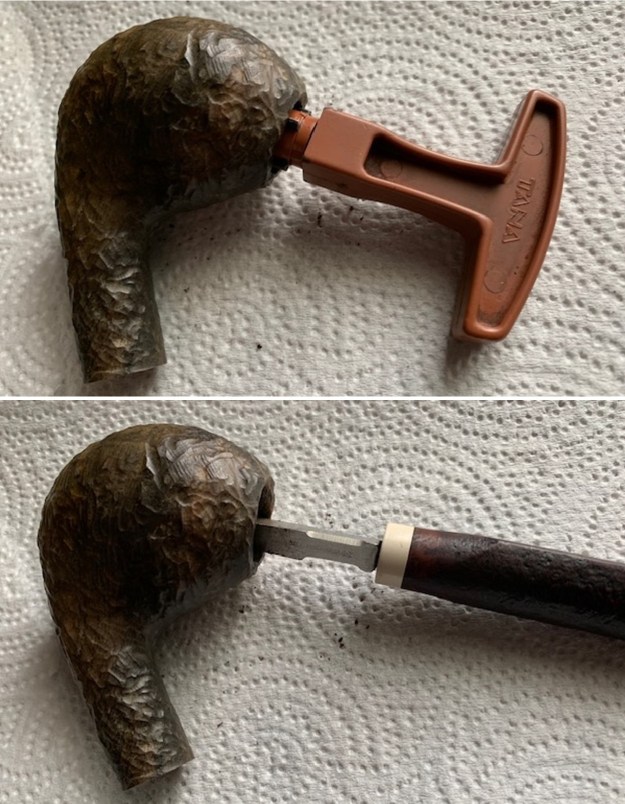
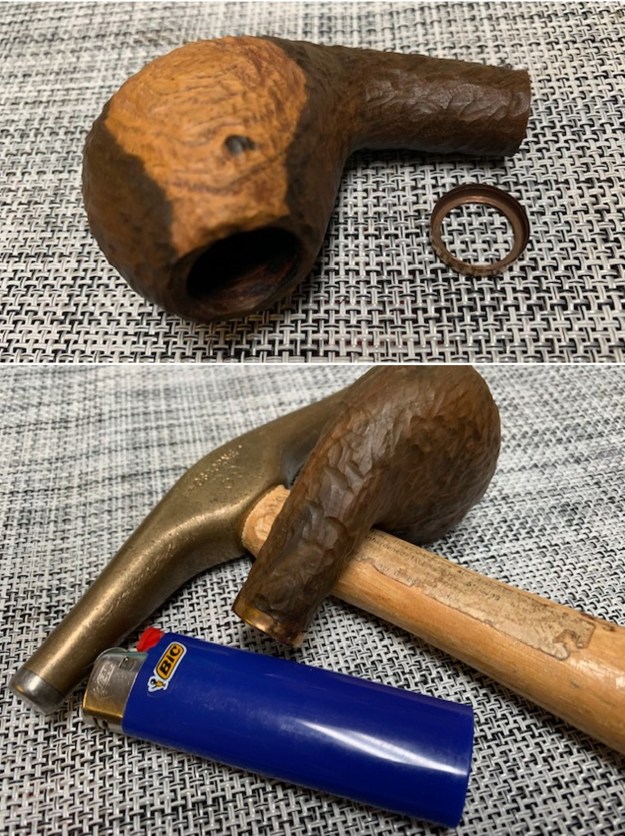
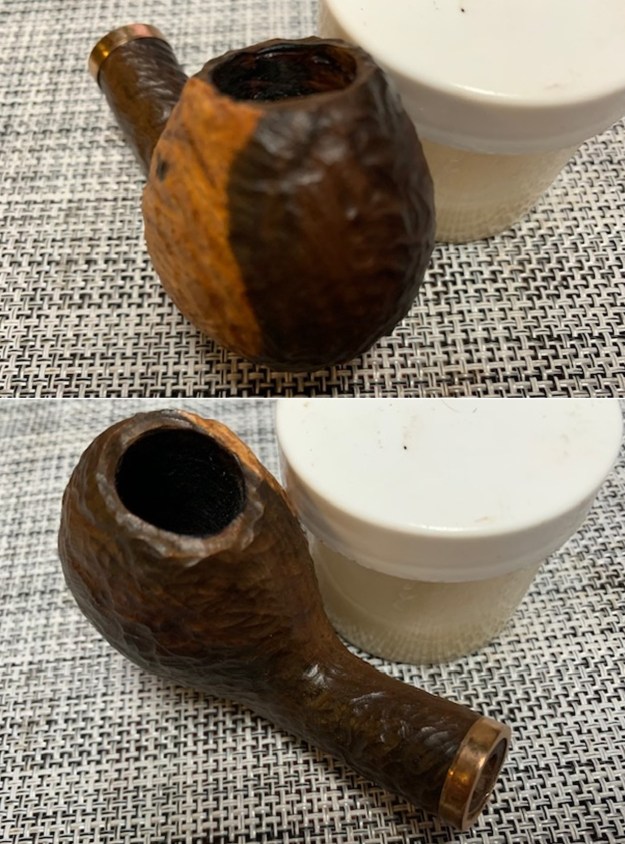
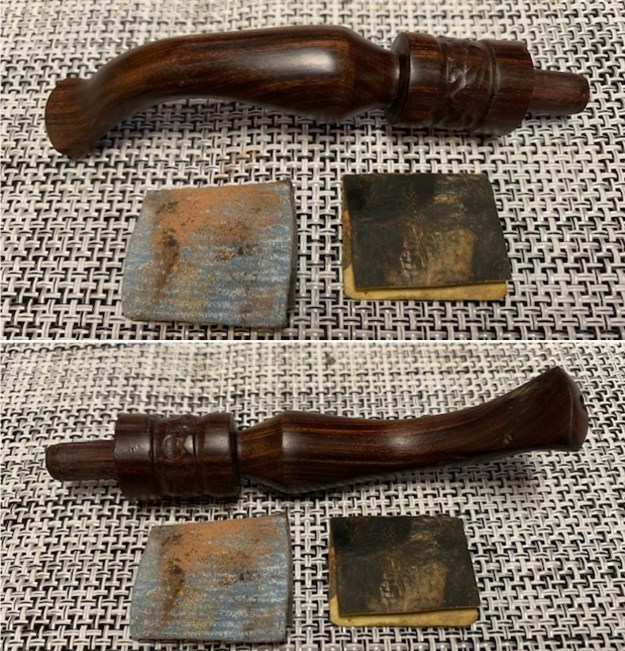
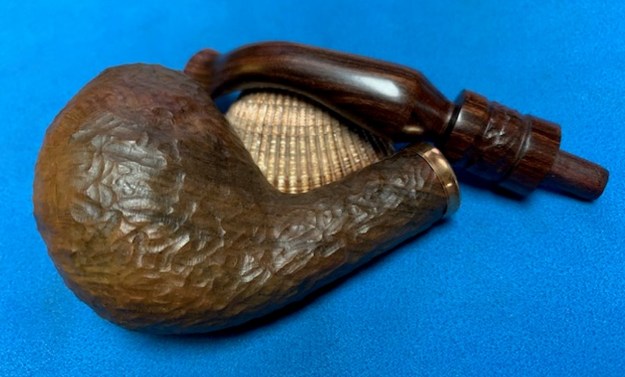
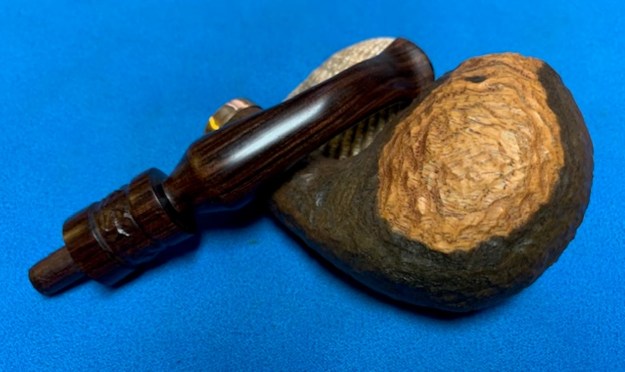
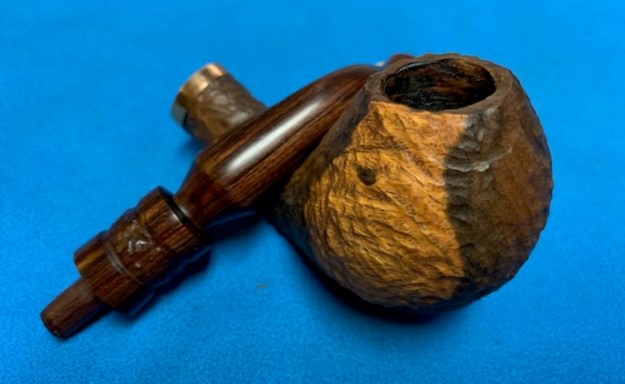
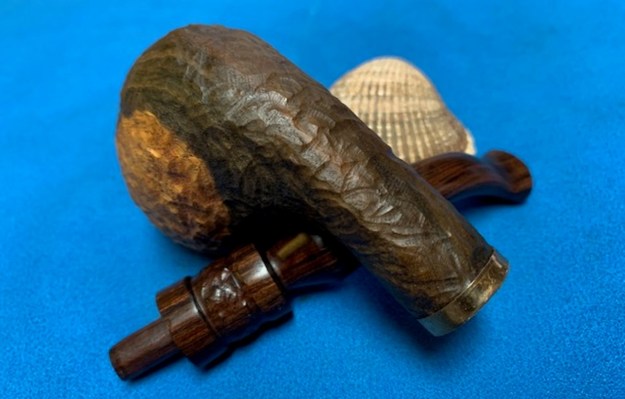
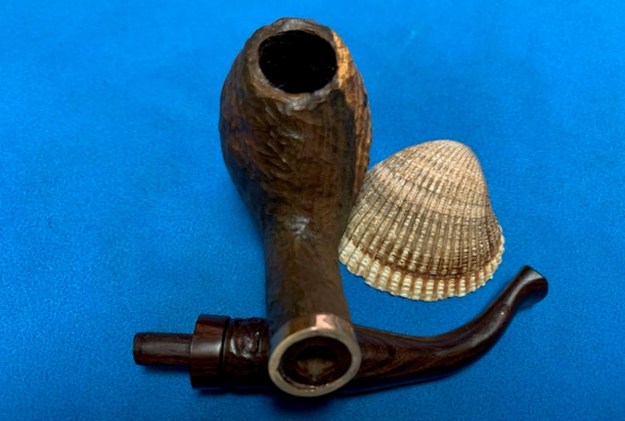
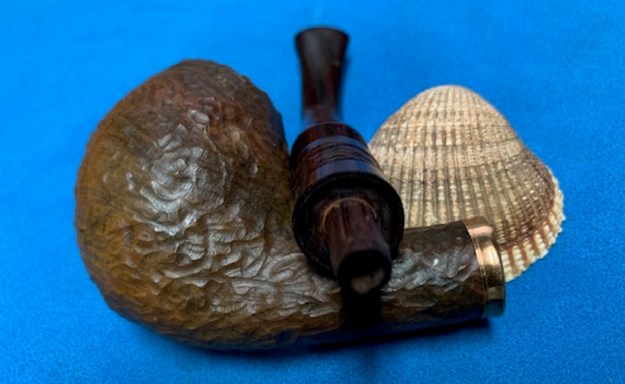
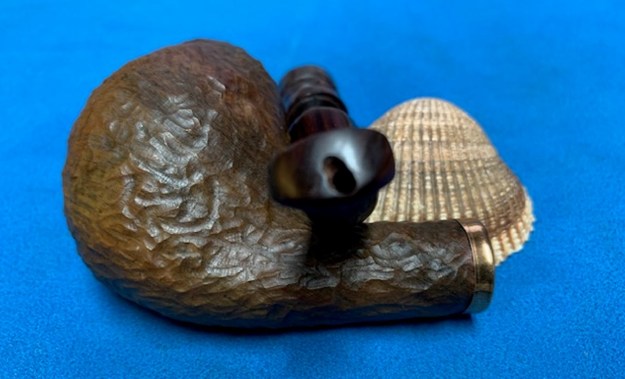
When Jeff received the pipe from Robert he took a photo of it and sent me the photo. He said the pipe appeared to be unsmoked and very clean. I brought it home with me on Wednesday when I came back to Vancouver. It truly is a beautiful pipe with stunning grain showing through the blast. The smooth band of briar on the shank end and the Cumberland taper stem work well with the dark blast of the bowl and the shank. The pipe is very clean and I can see why Jeff thought it was unsmoked. There is no smell or residual tobacco on the walls. They are dark and smooth. I took photos of the pipe when I brought it to my work table. Look at them and enjoy this stunning pipe.