Blog by Andrew Selking
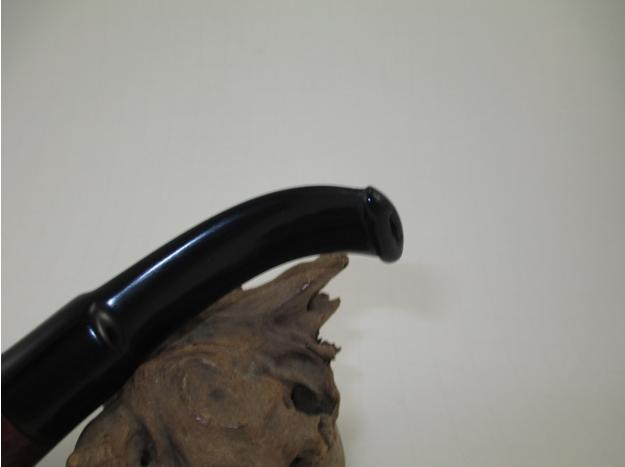
Have you ever found that Holy Grail pipe only to realize that it has a major flaw? For me, this pipe ticked all the boxes, a KB&B pipe made between 1933 and 1936, it was a less common shape and looked to be in decent condition. The only problem I could see was that a previous owner had filed off the button.


 I’ve been experimenting with super glue and ground charcoal for stem repair and I had an idea how I might use that to re-create the button. Now just a quick disclaimer. I am not a medical professional and I do not pretend to know any potential health hazards to the use of super glue on something you put in your mouth. On the other hand, I am aware that the state of California has found that pipe smoking is not healthy for pregnant women or their unborn children. As an adult, I accept these risks as the relaxation benefit outweighs the health risks.
Before tackling the button I needed to clean up the pipe. I started the process by giving the bowl an alcohol bath. While the bowl marinated, I dropped the stem into a solution of Oxyclean. After a good long soak, I reamed the bowl.
 After reaming the bowl, I retorted the stem and bowl. I forgot to take pictures of the bowl during this process.
 The stem was pretty clean, which I expected based on the minimal amount of chatter and the lack of cake build up in the bowl. A couple of fuzzy sticks dipped in alcohol did the trick.
 The alcohol bath serves two purposes, it loosens up the internal gunk and it helps remove the old finish. On this particular pipe, I noticed that the bowl was stained a purplish read and had a heavy varnish on it. That’s usually a sign of inferior briar and lots of fills. With great trepidation, I used acetone and 0000 steel wool to see what was under the old finish.
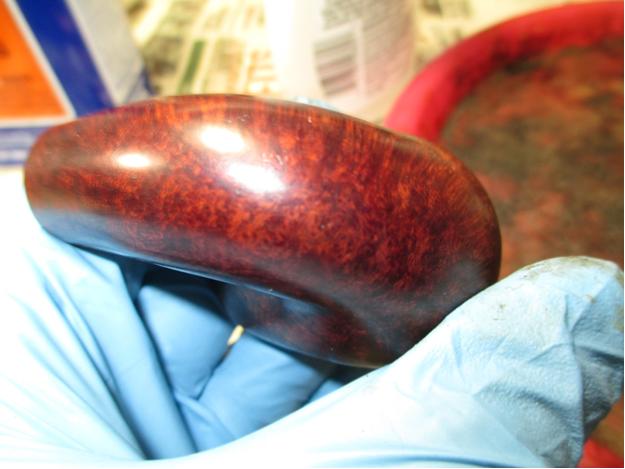
 I was pleasantly surprised to find beautiful grain and not a single fill.

 I was not happy with the purple tint of the wood though, I mean who does that? My guess is, this pipe could have made the cut as a Kaywoodie, maybe they were short on the Yello Bole line so they put a Yello Bole stem on it and that hideous varnish. Interestingly enough, this pipe has the identical shape number as the Kaywoodie medium billiard Oom Paul. Just to give you an idea how many pipes Kaywoodie used to make, they had three models of the Oom Paul shape.
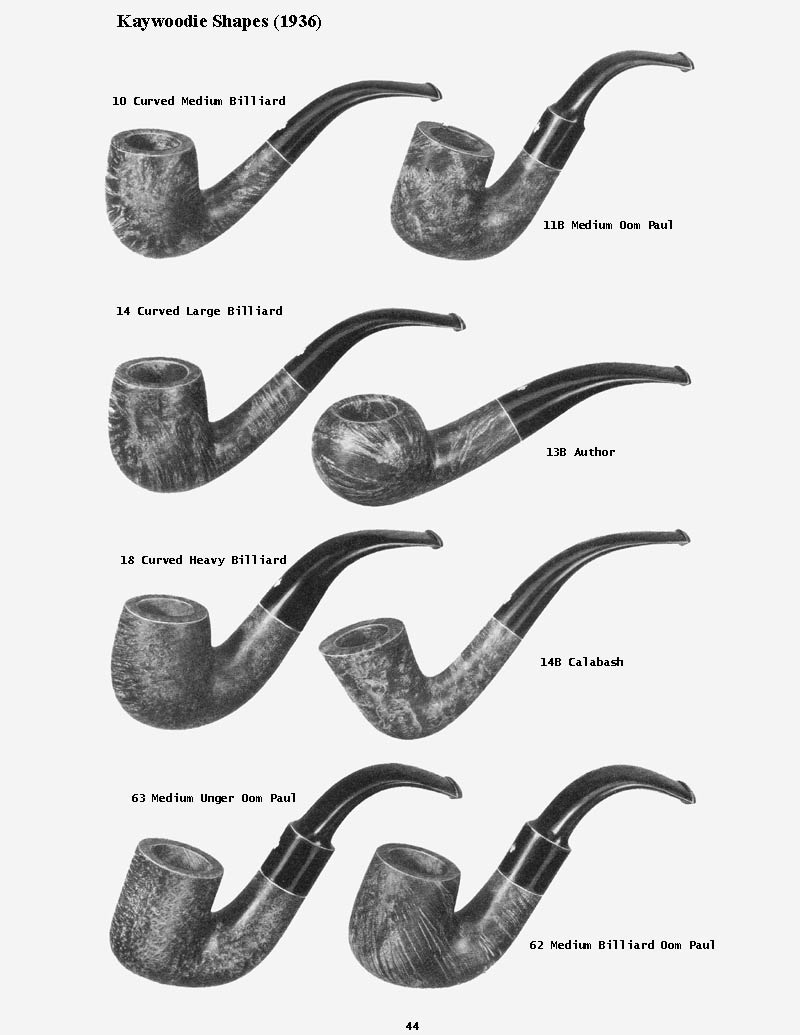 I decided the best way to take care of the purple stain was with some judicious sanding. Since the bowl didn’t have any scratches or dents, I didn’t have to go too heavy. I started out with 1500 grit micro mesh and worked my way up to 12,000 grit. You will notice the washer between the stem and shank. I’ve learned that the best way to get a sharp shoulder on the shank and the stem is by using the washer to prevent the sanding medium from rounding it off.
 This is what the bowl looked like after the micro mesh pads.
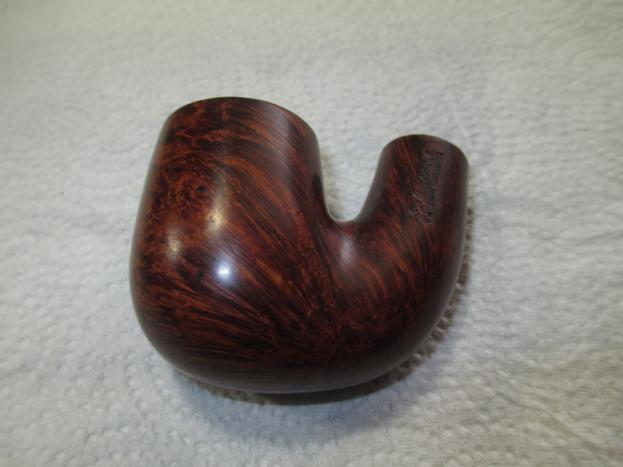
 I decided to keep the stain light, so I diluted some Pimo Pipe Supply mahogany and used a single coat. Unfortunately I didn’t take a picture of that process, I was kind of excited about fixing the stem.
I removed the oxidation on the stem with a progression of 1500-2400 grit micro mesh pads with water. I didn’t have the bowl attached, so I just held the washer over the tenon to prevent rounding.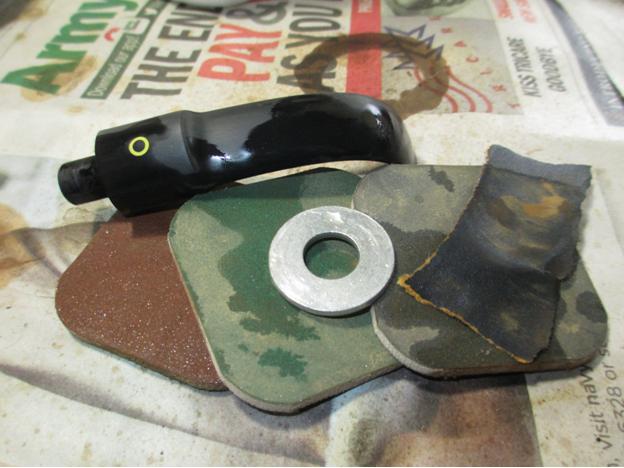 With the oxidation addressed, it was time to start building the new button. I’m not the best when it comes to carving the bottom side of the button so I decided to use clear tape to create definition.
 I built up layers of tape until it was the thickness that I wanted for the underside of the button. Next, I mixed some ground charcoal and super glue and started applying it. After each application I put a drop of accelerator on the end and applied another layer. It was not looking the way I wanted it to look.
 I remember Steve said that when he used activated charcoal it was very fine. So I sanded off the mess and started over. To get a finer charcoal I used our coffee grinder, which did a pretty good job, but still left some larger chunks.
 To solve that problem, I used a tea strainer. The result was very finely ground charcoal.
 I mixed the super glue and charcoal and applied it as before.
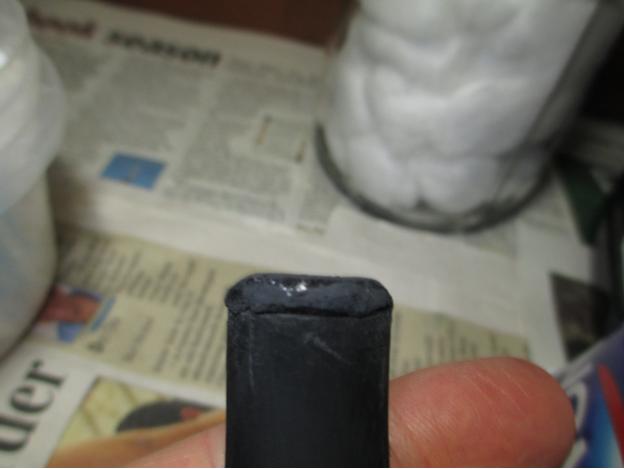 I sanded between applications and filled in any remaining divots.
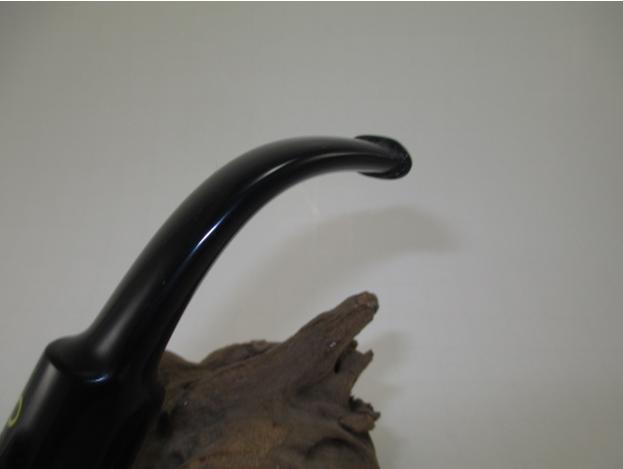
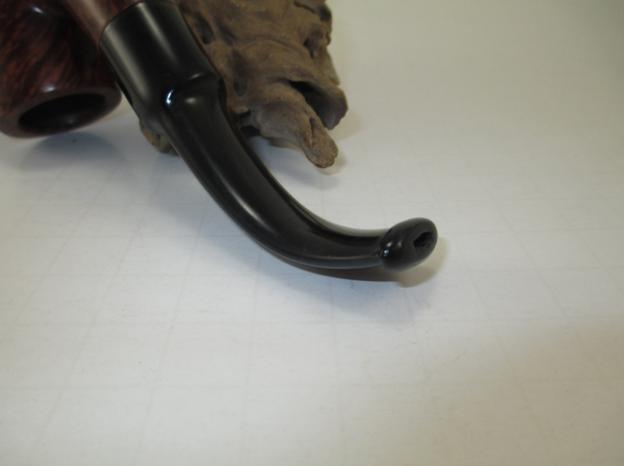
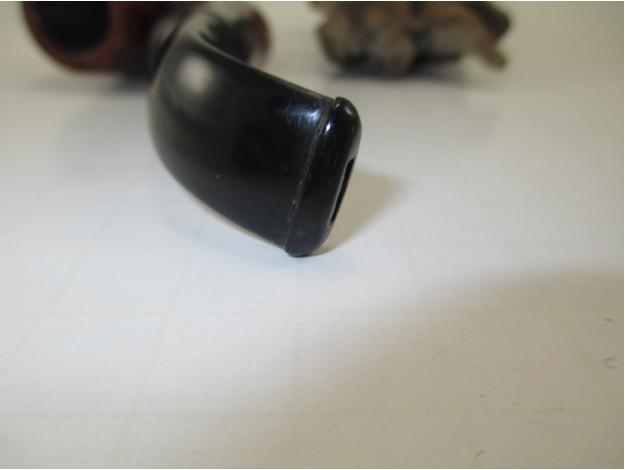
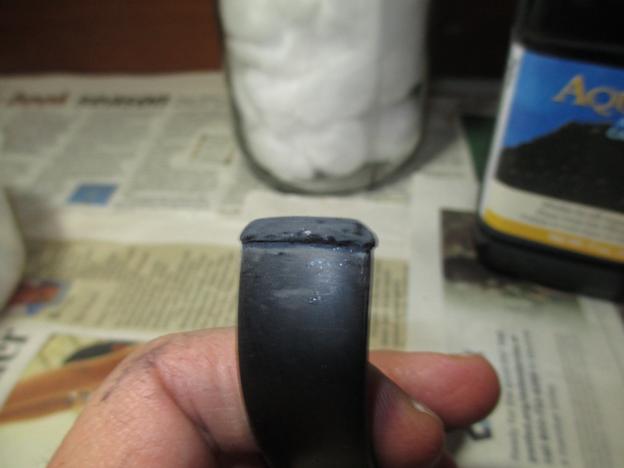 Once I had the button shaped to my liking, I used a progression of micro mesh pads from 3200-12,000. Then I used my rotary tool with white diamond and carnauba wax to bring out the shine.
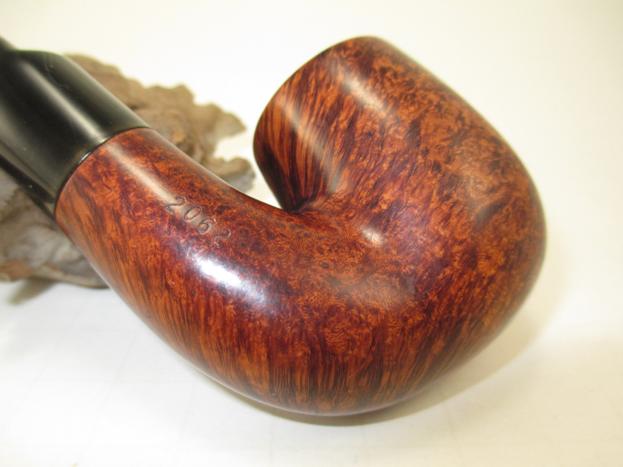
 I gave the bowl a quick spin on the buffing wheel with white diamond and carnauba wax. Here is the result.
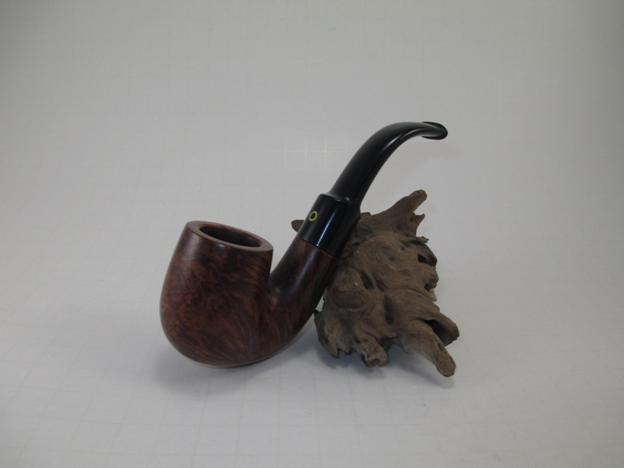


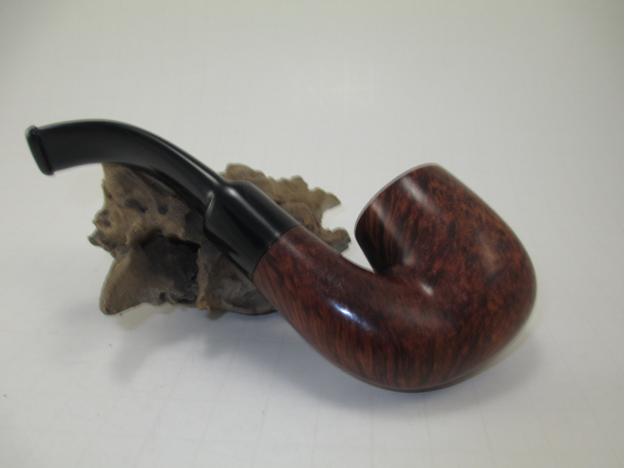

 I am happy to say that this pipe smokes as well as it looks. It is a system pipe. I couldn’t be happier with the button. The thing I like about using the charcoal and super glue is, it polishes and shines just like the vulcanite. This pipe is a keeper. Thanks for looking.
