Blog by Steve Laug
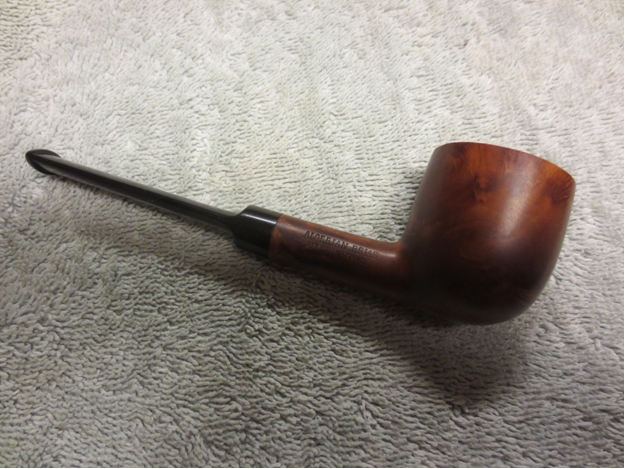
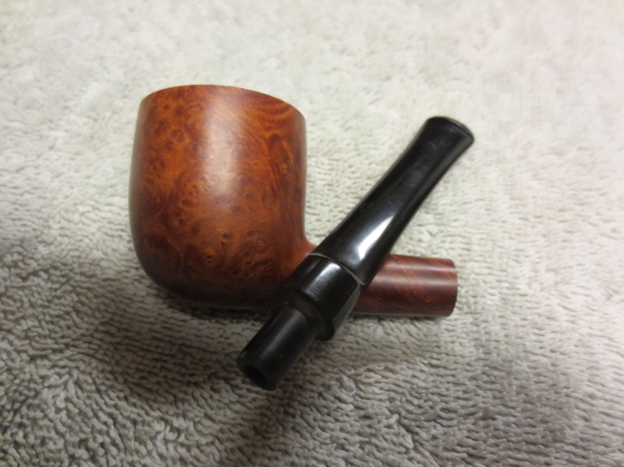
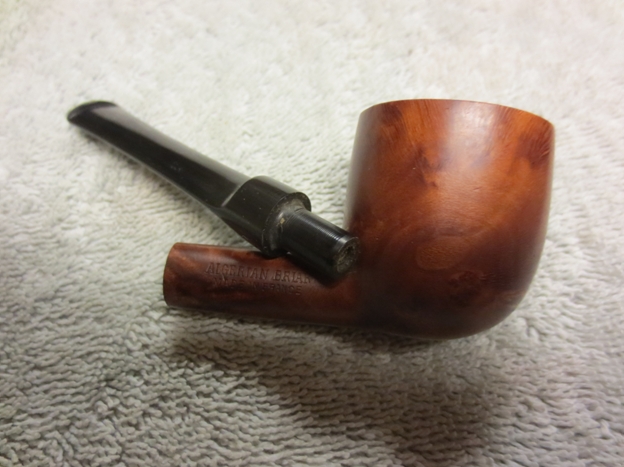
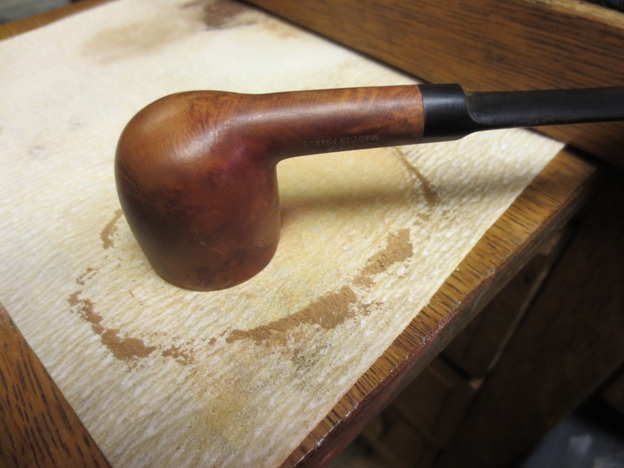
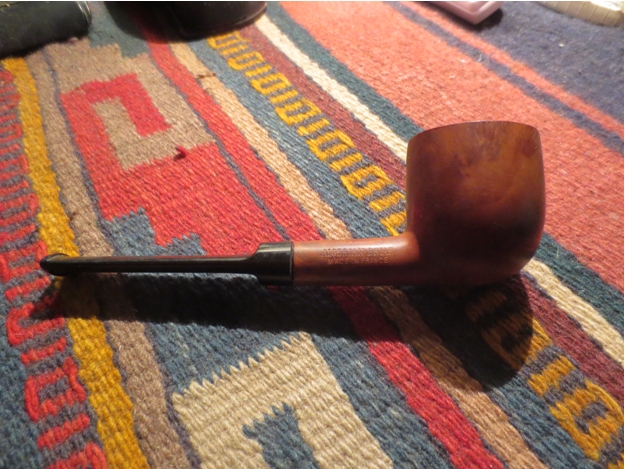
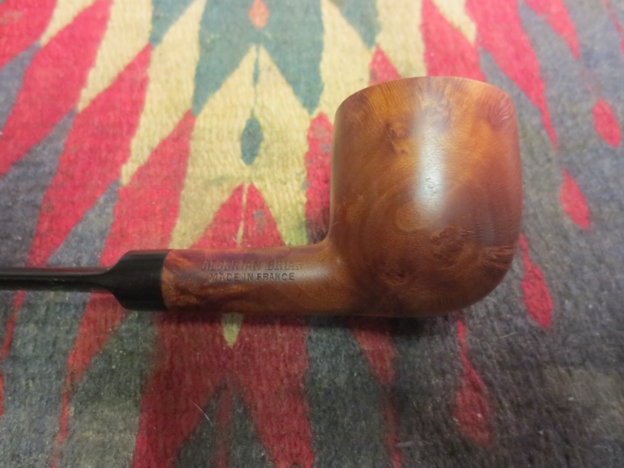
This morning I finished working on the second pipe from my recent pipe hunt – the small pot shaped pipe on the right in the two photos below. It is a natural finish, virgin pot shaped pipe. The left side of the shank has no stamping and the right side is stamped Algerian Briar over Made in France. It is a pretty decent piece of briar and had a beveled/chamferred rim that caught my eye. Not a bad pickup for $10USD.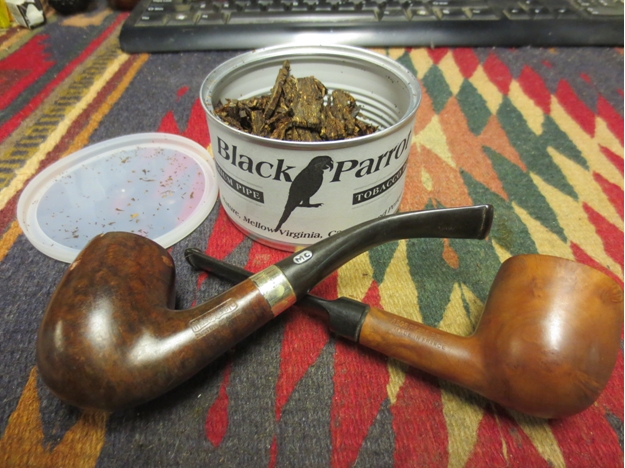
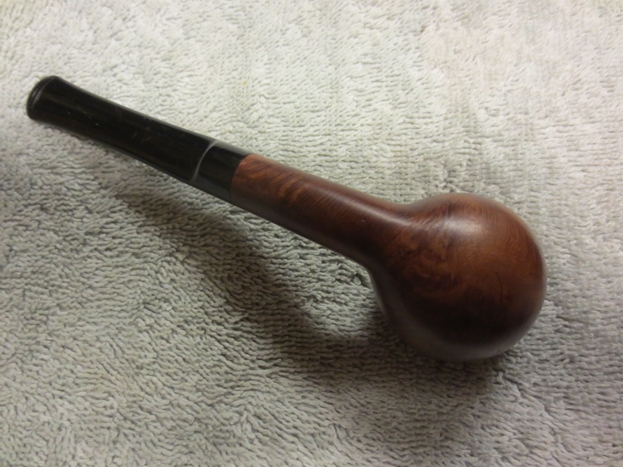
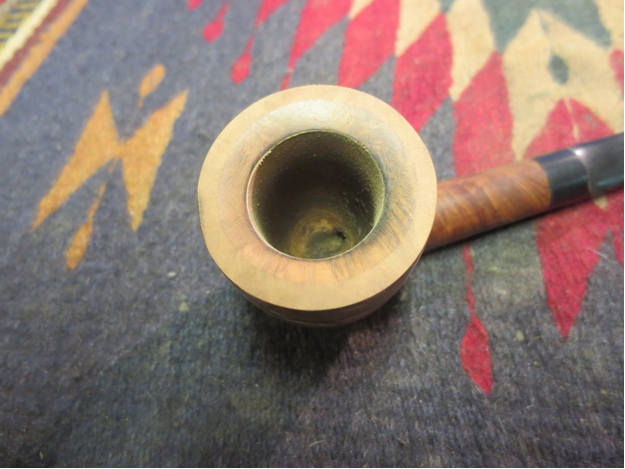
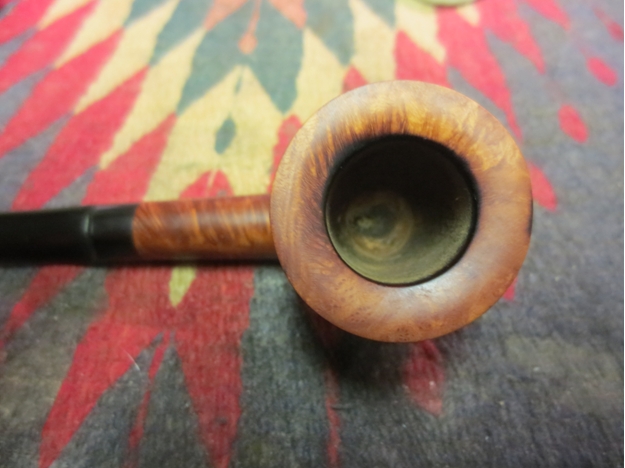
 When I took it to the work table to examine it I found that the stem was very tight and would not go all the way into the shank. There was no oxidation on it and not a bite mark on the stem. The finish was clean and there were no fills or dents in the bowl. The left side had some great birdseye grain and the right side had a mix of grains. The rim was dirty and had a buildup of tars and oils that would need to be removed. There was also a burn mark on the outer edge at the front of the bowl and potential inner edge burn damage at the back side of the bowl.

 I removed the stem carefully as it was very tight in the shank. It is a delicate stem so I did not want to snap the blade. I reamed the bowl with a PipNet reamer to remove the light cake that was buildup in the bowl. I was surprised to see that the bowl was almost unsmoked from midway down to the bottom of the bowl. The briar did not show any burn or darkening in the bottom of the bowl.
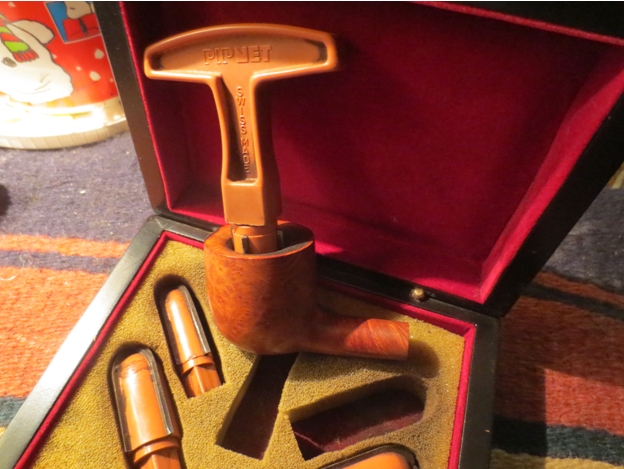 The shank was very clean. I scrubbed it down with isopropyl alcohol, pipe cleaners and cotton swabs to remove the little debris that was in the shank and made the tenon fit so tight.
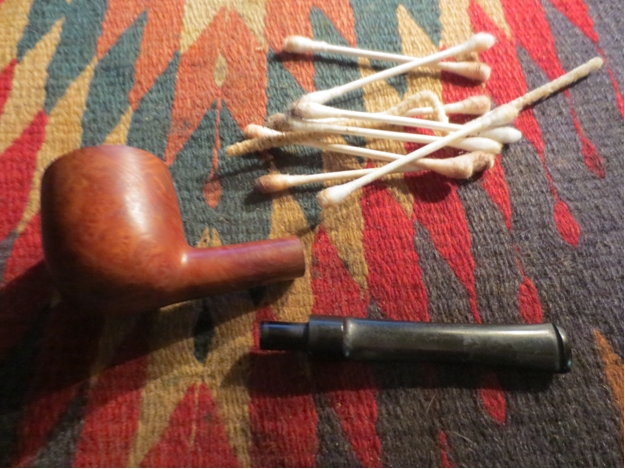 Once the shank was clean, I waxed the tenon with beeswax and it fit the shank with no problems. That was a very simple fix.
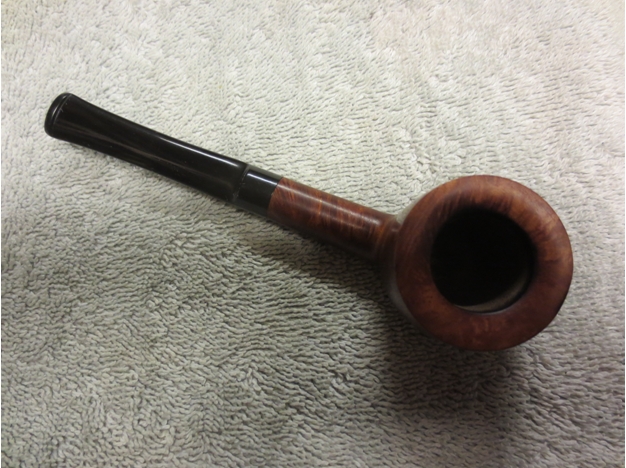
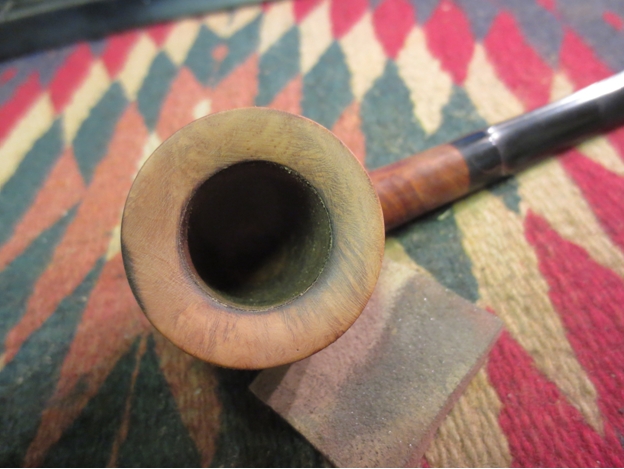
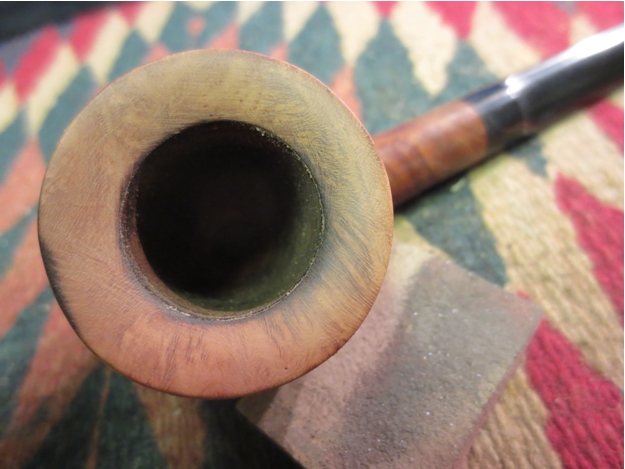
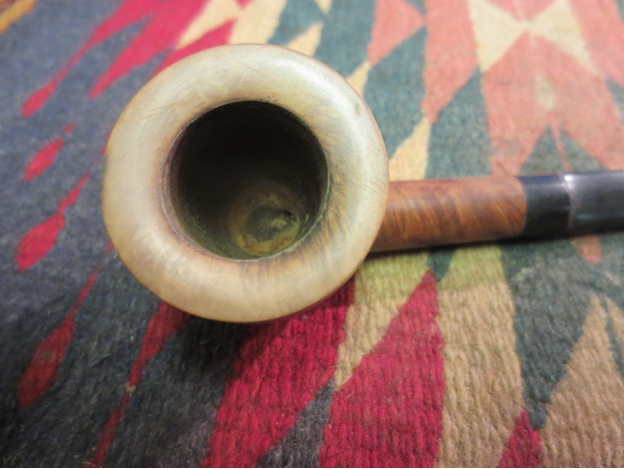
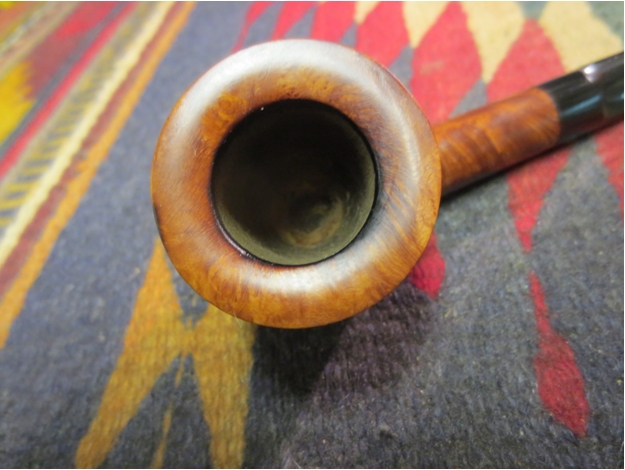
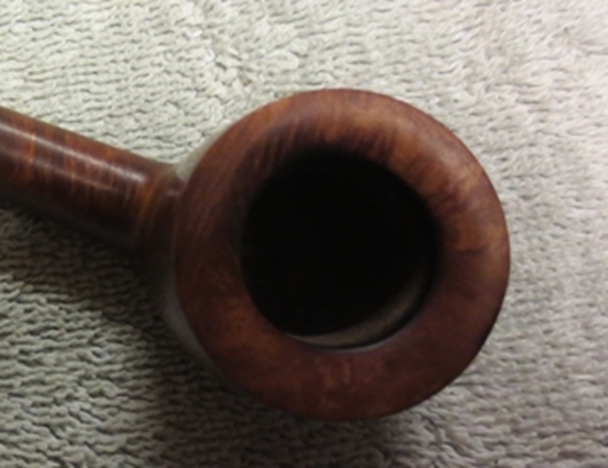
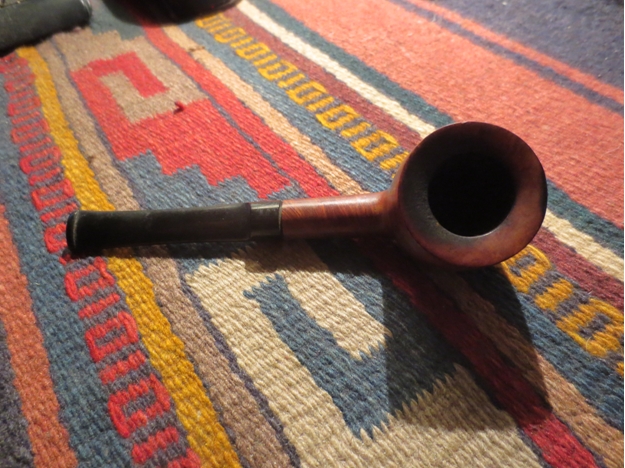
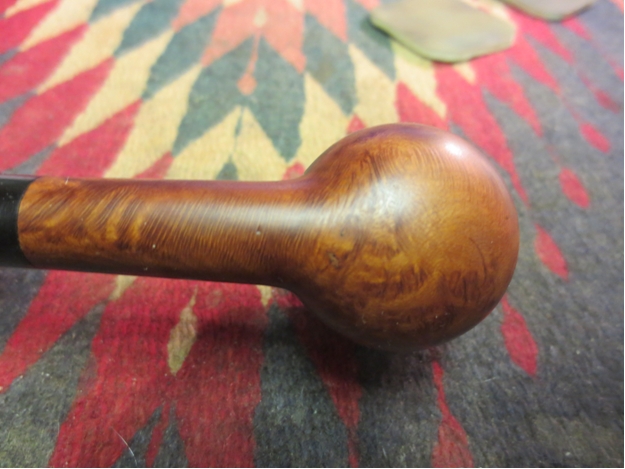
The burned area on the front of the rim was another story. I have detailed the repairs on the rim in a separate blog. If you want to read the details have a look at this link https://rebornpipes.com/2015/01/04/repairing-and-minimizing-a-burn-mark-on-a-bowl-rim/ After sanding, reshaping and polishing the rim I rubbed the natural finish down with a light coat of olive oil to blend it with the bowl. I buffed it by hand and then gave the bowl several coats of carnauba wax to seal and protect the briar. The finished rim is shown in the photo below. At this point I still needed to buff the pipe on the buffer and give it a final polish but the reworked rim is visible.

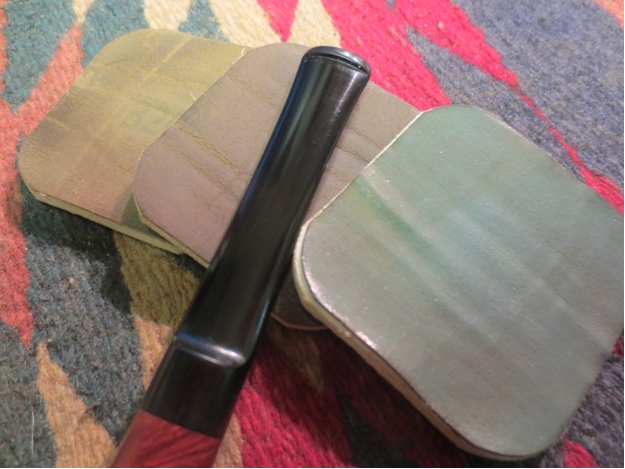
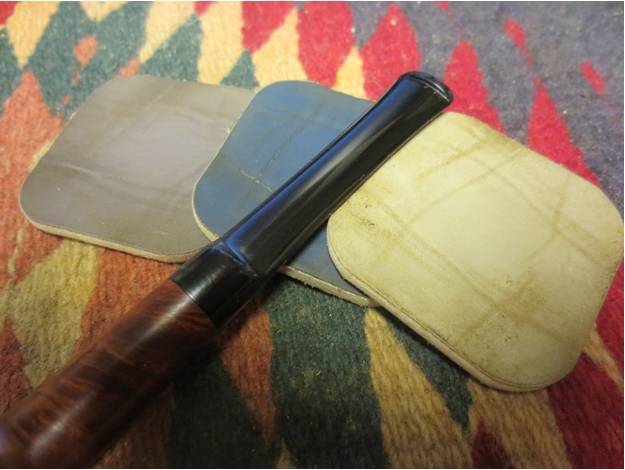
 The stem was one of the simplest I have worked on in a long time. There were no bite marks, tooth chatter or even oxidation. I lightly sanded it with a fine grit sanding sponge and wiped it down with a soft cloth to remove the debris that was stuck on the surface of the stem. I then sanded it with my usual array of micromesh sanding pads – wet sanding with 1500-2400 grit pads and dry sanding with 3200-12,000 grit pads. I rubbed the stem down with Obsidian Oil between each set of three pads and then gave the stem a final coat of oil and let it dry before buffing and applying the wax.
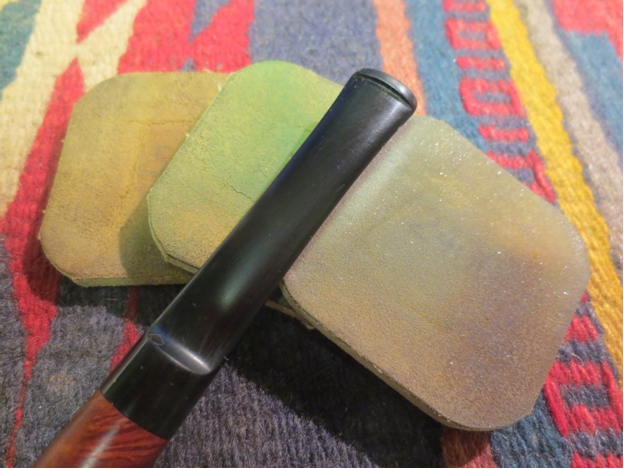
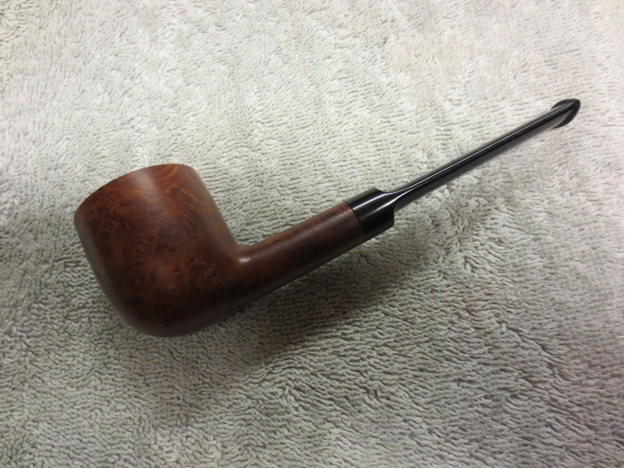
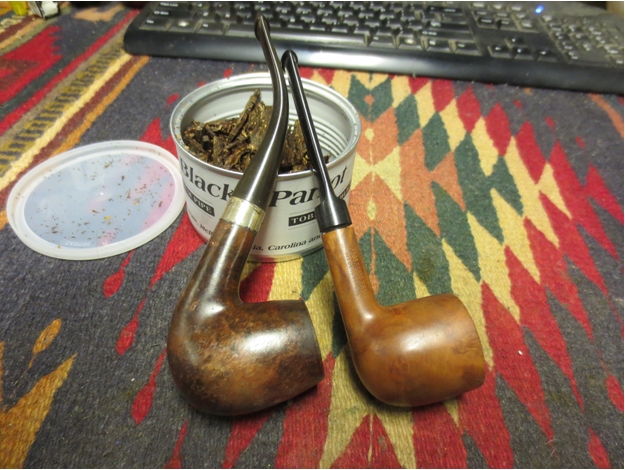
 I buffed the bowl and stem with White Diamond and gave them multiple coats of carnauba wax. I gave it a final buff with a soft flannel buff to raise the shine and polish the pipe. The finished pipe is shown in the photos below.