Blog by Steve Laug
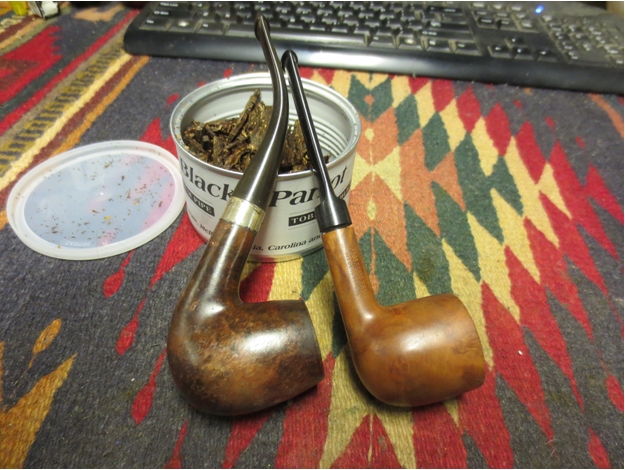
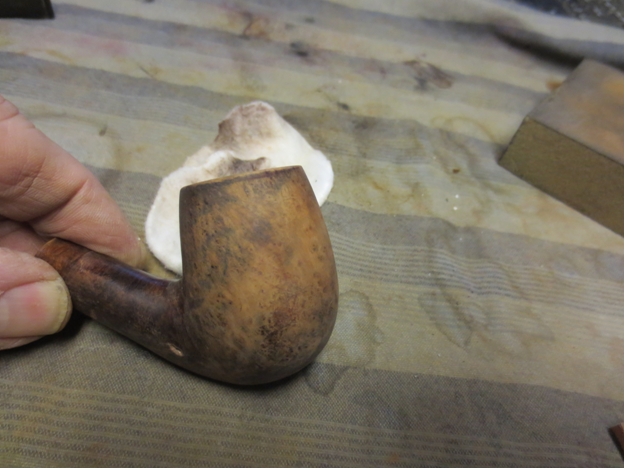
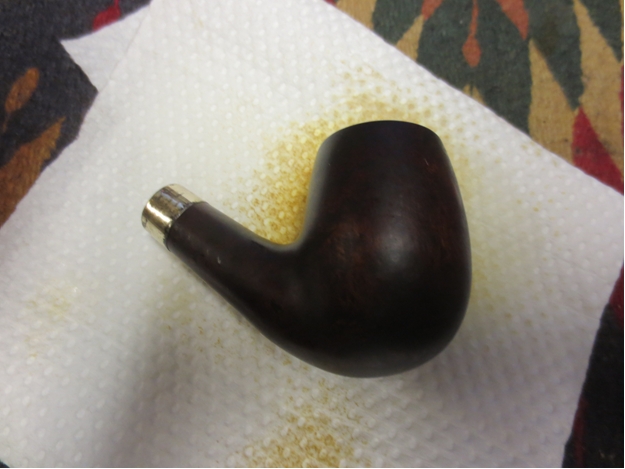
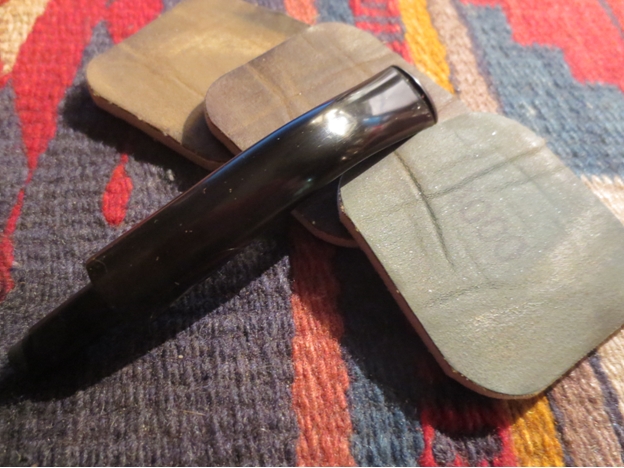
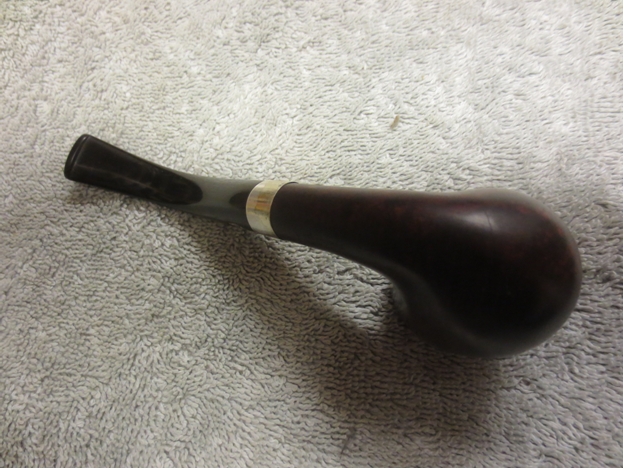
Yesterday morning my wife, three of our daughters and I made our after Christmas trek to the US, crossing the border at Blaine, Washington. After a great breakfast I dropped them off at the shopping mall and I made my way down to my favourite hunting grounds for pipes. I made a quick stop at Senate Tobacco Shop and sorted through some of the tins of tobacco he had in stock, though Washington prices are high they are still lower than Canada. I picked up a nice tin of McClellands Black Parrot, a Virginia, Carolina and Perique flake tobacco dated from May of 2010. I went from there to look for pipes. I went through three of my normal stops and found nothing of interested. I stopped at the last spot, figuring I would go home empty handed but the shopkeep had just picked up a few pipes. I was able to get the MasterCraft pipe on the left below and an Algerian Briar pot that had been made in France.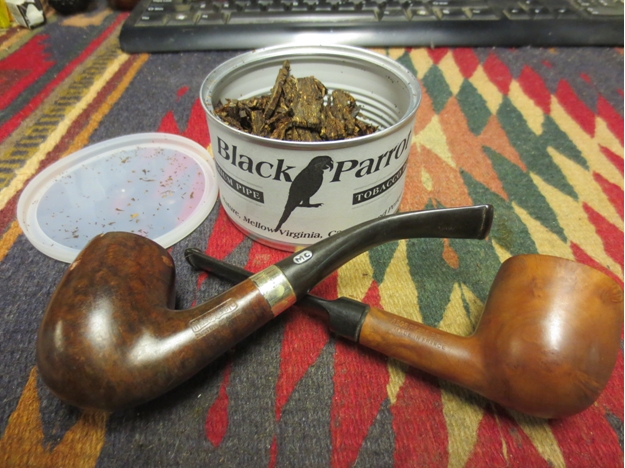
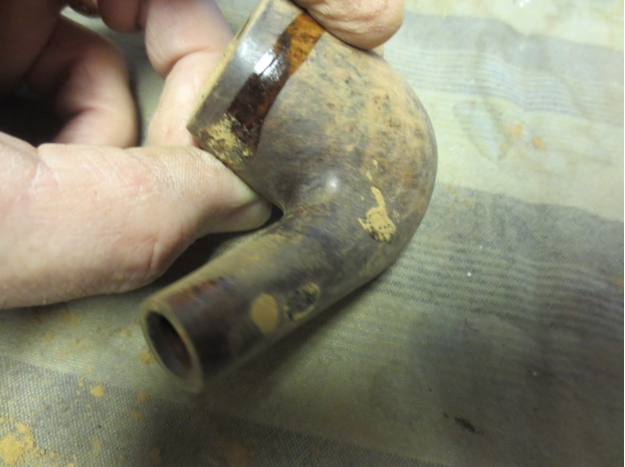
 I really liked the shape of the old MasterCraft. The original stem was in excellent shape with no tooth marks or damage and the MC stem logo was intact. The briar had some nice spots but the pipe had a lot of fills on the bowl and shank that had fallen out and left pits in the briar. The finish was shot with peeling varnish on the sides, back and front. The stamping was sharp and read MasterCraft in the usual shield and underneath that it read Custom De Luxe. There was no other stamping on the bowl.
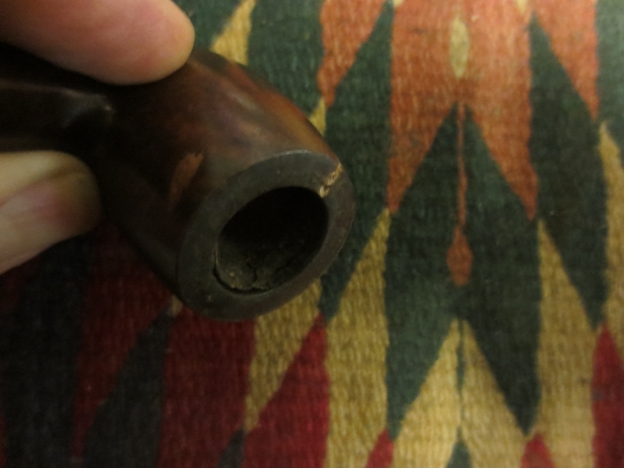
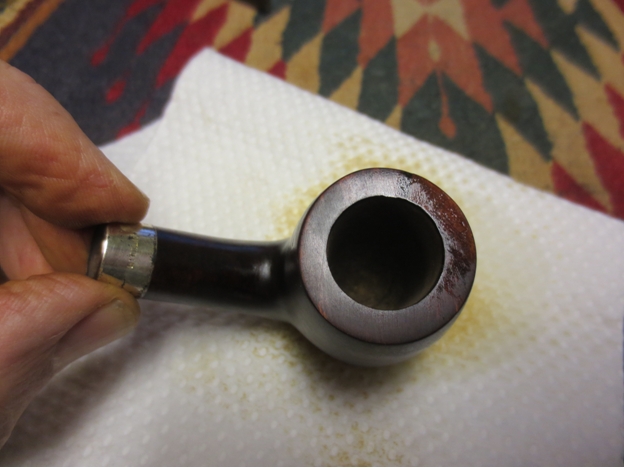
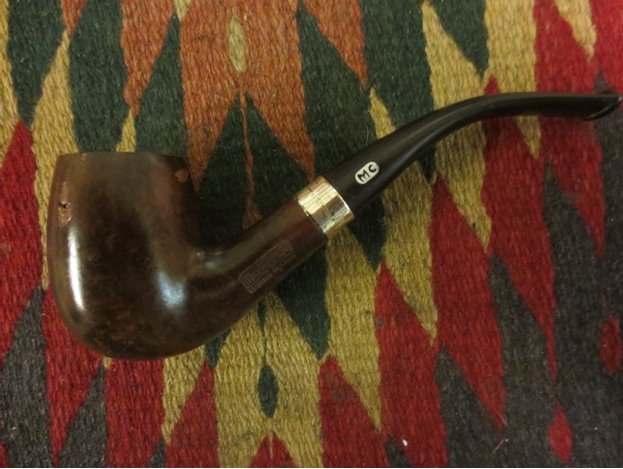 There was one large fill on the rim that went ¾ of the way from the outside of the bowl inward but did not enter the bowl. The putty fill on that one had shrunken and portions of it had fallen out. The bowl had a thick hard cake that was like rock. The band was stamped STERLING and was oxidized and worn. It was also loose on the shank so it was amazing that it still was with the pipe when I found it.
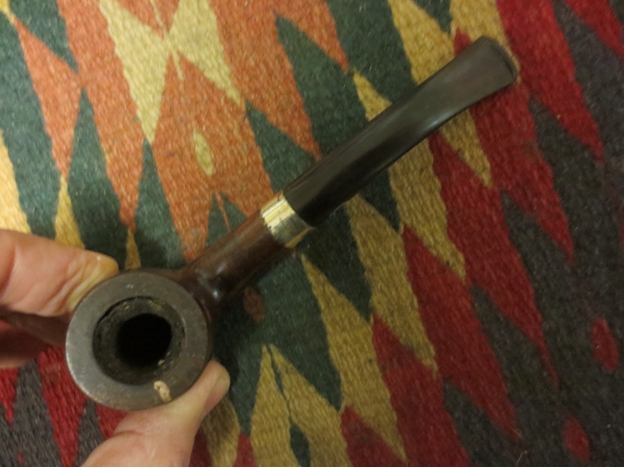
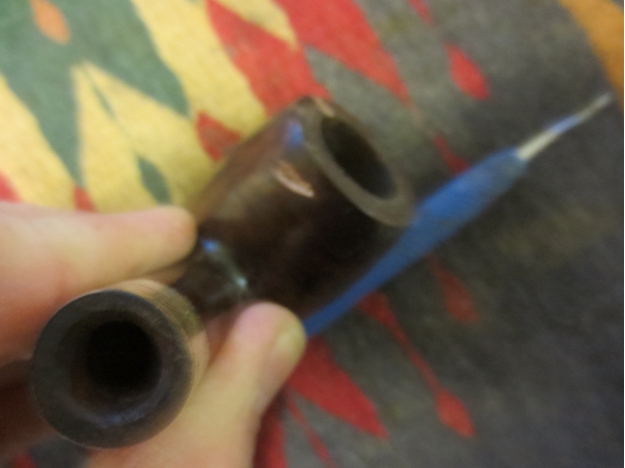
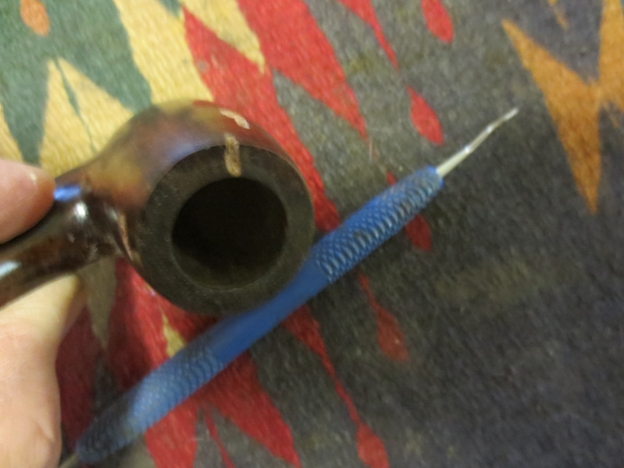
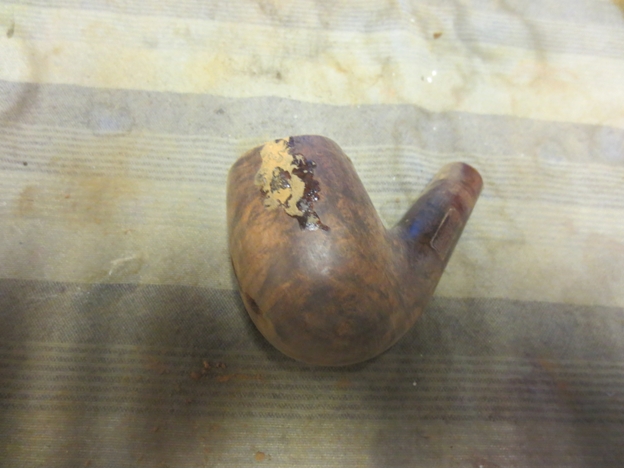
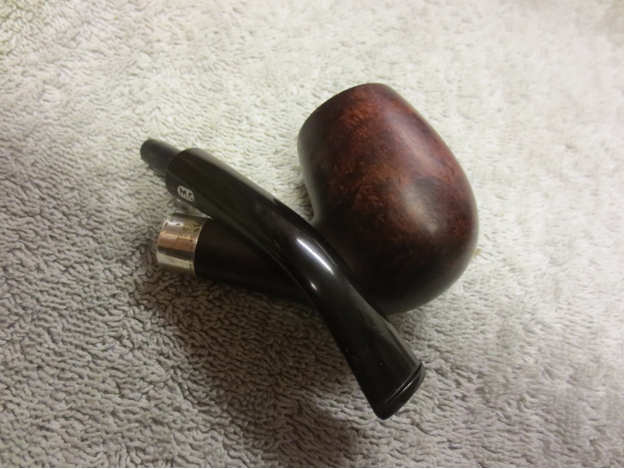
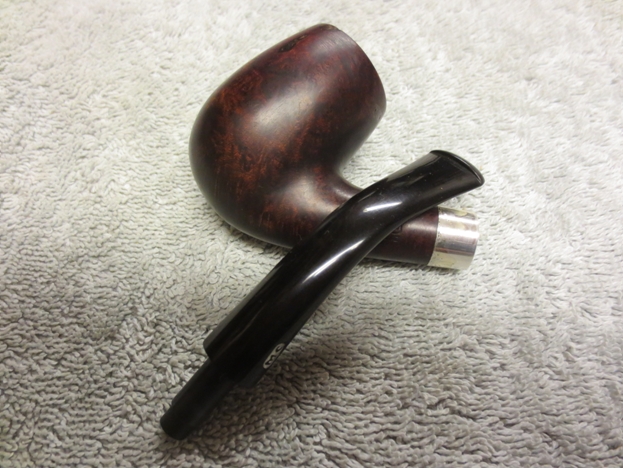
 I took the next three photos to show the status of the fills on the bowl and shank. They were broken and loose and would take very little to remove them.
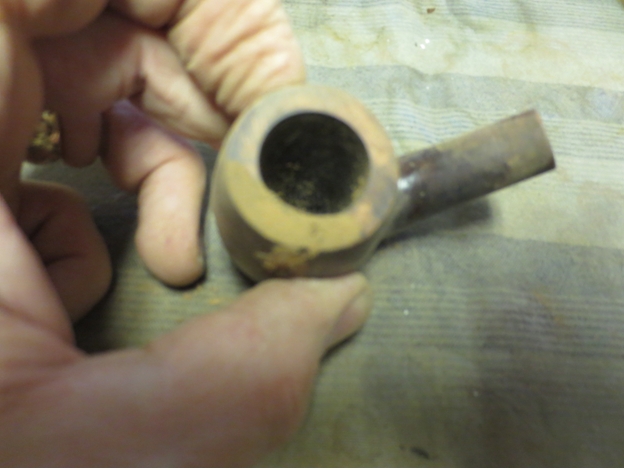
 To soften the fills and the cake I took the stem off the bowl and dropped the bowl in an alcohol bath to soak while I cleaned up the stem. It was not in bad shape so I did not need to soak it in oxyclean. There was no oxidation on the stem only dirt and grime build up that would scrub off quite easily.
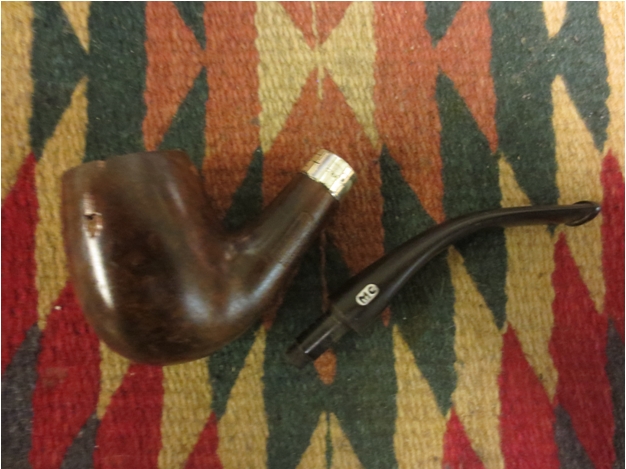
 I removed the bowl after soaking for 30 minutes and used my PipNet reamer with the number 2 cutting head to ream the cake back to the briar.
 I used a dental pick to pick out the remaining putty fills from the bowl and shank. The alcohol bath had sufficiently softened them so that removing them was quite simple.
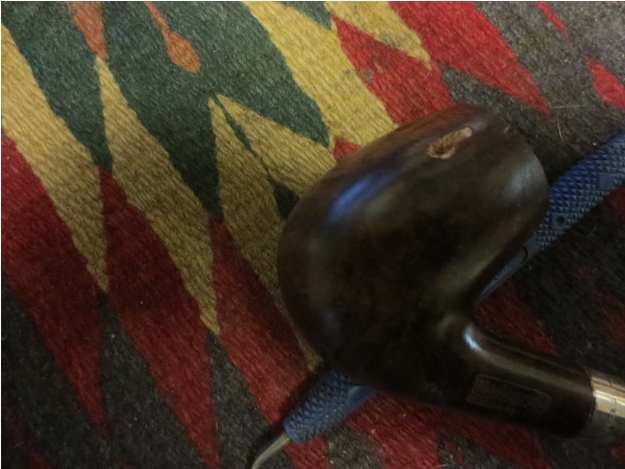
 I took the band off the shank and wiped the bowl and shank down with acetone on cotton pads to remove the remaining varnish.
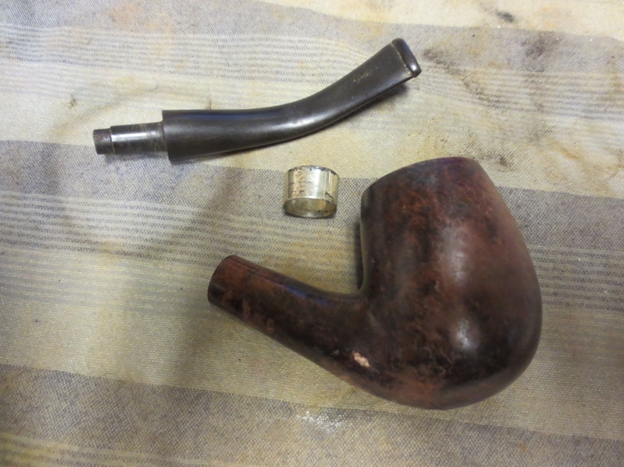

 With the finish removed I took out my canister of briar dust and used the dental pick to fill each of the pits in the bowl. I put the dust in them one at a time, tamped it down so that the dust was well compacted and then dripped super glue into the repair. I packed in more briar dust and then more glue. Even though the glue hardens and dries dark I find it far better than the white and pink putty fills that had been there before. I always overfill the holes as I have found in the past that to skimp on the process inevitably means that I repeat it.
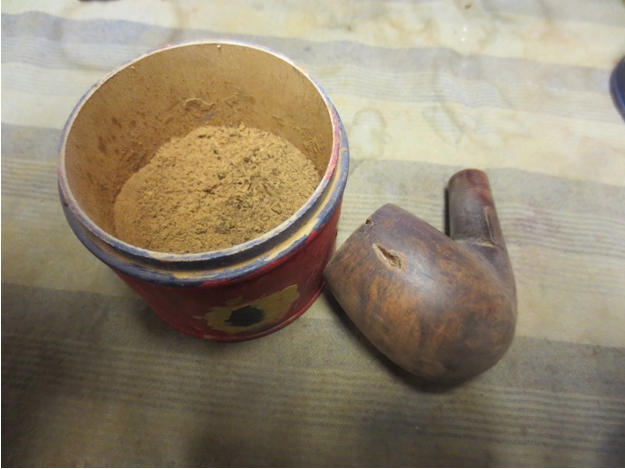
 I sanded the bowl and repaired fills with 220 grit sandpaper, medium and fine grit sanding sponges and then wet sanded the bowl and shank with 1500-2400 grit micromesh sanding pads. Once I had the surface of the fills blended into the surface of the briar I stained the bowl with a dark brown aniline stain. I decided to use the stain straight without cutting it to lighten it. I wanted to have the rim and top edges near the fills dark so that they would blend in with the fills well and hide them. I then stained the rest of the bowl and shank, flamed the stain and restained it until I had a good even coverage.
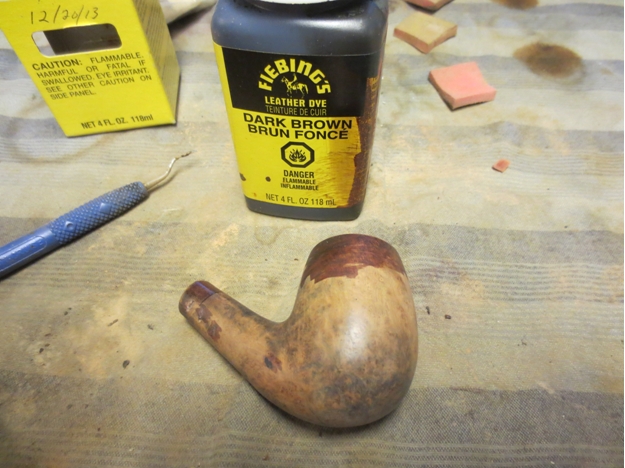
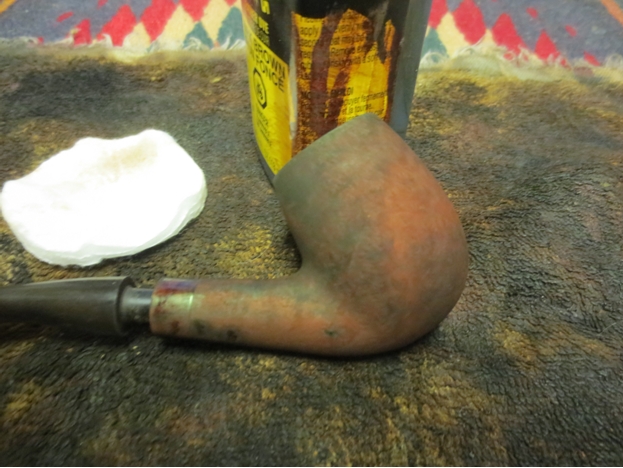
 I buffed the bowl and shank with red Tripoli and White Diamond and brought it back to the work table. I glued the silver band on the shank and polished it with a silver polishing cloth and 4000-6000 grit micromesh sanding pads. I rubbed the bowl and shank down with a light coat of olive oil to prepare it for sanding with micromesh sanding pads.
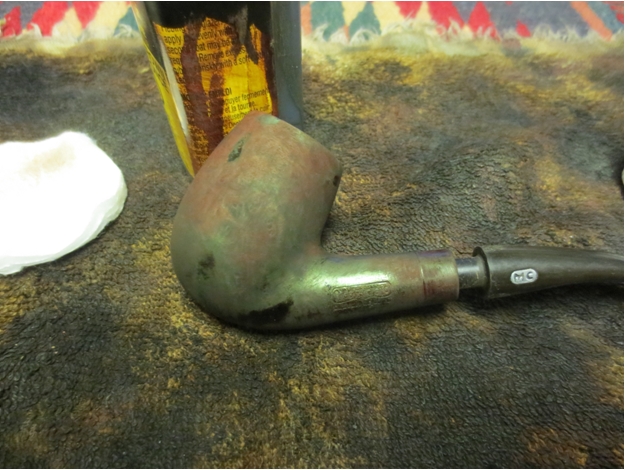
 The coverage on the fills was quite good. They were still there but the darker stain coat hid them and made them blend into the briar. I sanded the bowl and shank with micromesh sanding pads to lighten the stain slightly and to bring up the shine. I wanted a bit more of the grain to show through the stain so the sanding would allow that to happen. The oil on the surface helped the micromesh to cut into the briar and really smooth things. Once I had finished sanding the bowl, I set up my retort to clean out the shank and stem. I had to run three tubes of alcohol through the stem and shank before it came out clean. It was one dirty pipe.
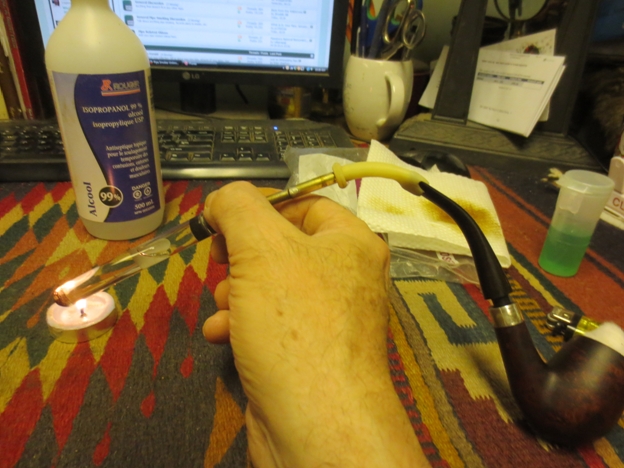
 When I removed the retort I cleaned out the shank and stem with a minimum of pipe cleaners and cotton swabs and with very little effort they were spotless. I sanded the stem with micromesh sanding pads – wet sanding with 1500-2400 grit pads and dry sanding with 3200-12,000 grit pads. I rubbed the stem down between each set of three pads with Obsidian Oil. I gave the stem a final coat of oil and once it dried buffed the stem with White Diamond and gave it several coats of carnauba wax to protect.
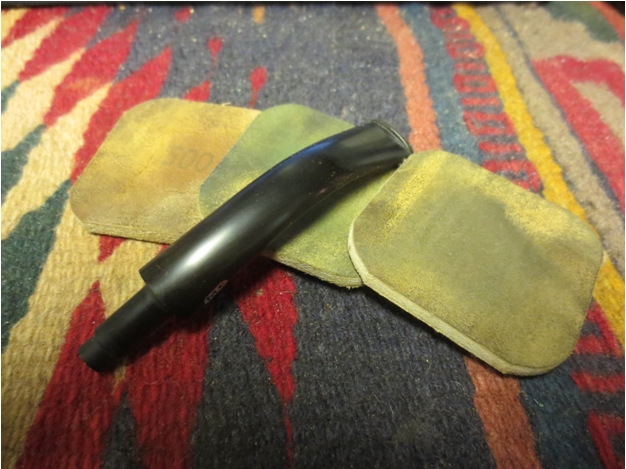
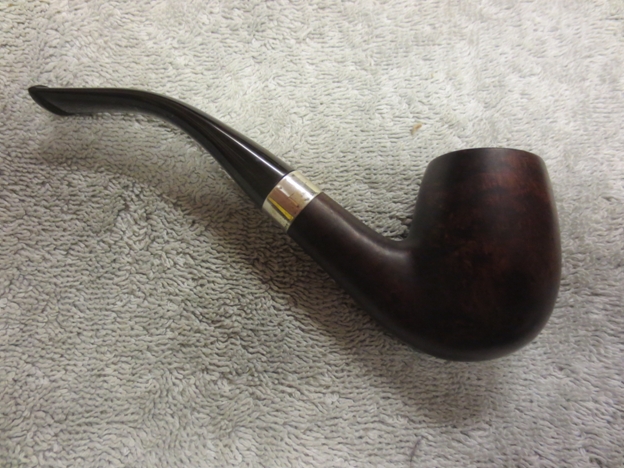
 I put the stem back on the shank and then buffed the entire pipe with White Diamond and gave it multiple coats of carnauba wax. I buffed it with a soft flannel buff to raise the shine. The finished pipe is shown below.
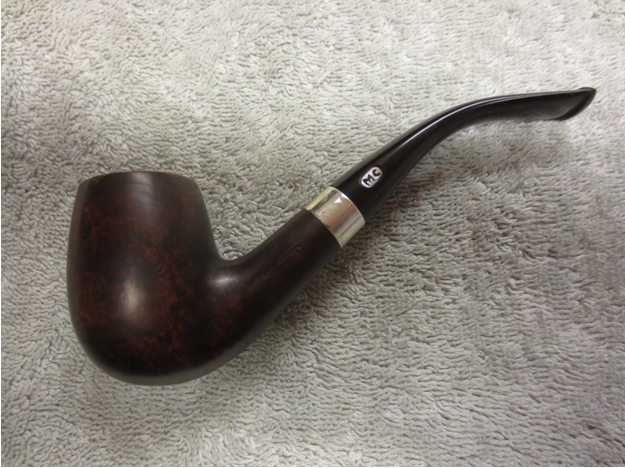


Ah, I see it was the band that was loose.
LikeLike
That’s a classic bent billiard. The can of briar dust is a good idea, I need to start saving a stash. How did you deal with the loose stem? Did the stem tighten up with use or need some work?
LikeLike
Thanks Al. That can of briar dust is a lifesaver for me. The stem fit well on this one. It was not loose when I got it and once it was cleaned up the fit was still good and snug.
LikeLike
Another great refurbish, Steve. The fills blended like “magic”. Well done.
LikeLike
Steve,
How many pipes has that Indian blanket seen? It’s become your trademark.
I like your idea of the tea candle for doing the retort. That’s part of the reason why I don’t take a picture of the actual process, I use a candle in an old beer bottle. Definitely a two-hand procedure.
LikeLike
LOL! Andrew, I used to do the same. The tea candle gives more control for me. I like it better.
The old blanket has seen a lot of work….
LikeLike
Great restore Steve! I’ve done a couple of Mastercraft pipes. If I remember correctly, they are another company that never actually made their own pipes, they were sourced mainly from Europe. I think the newer ones are made in Italy. In spite of the occasional fill, they are serviceable pipes.
I also notice that you don’t worry what your alcohol bath looks like. I dump the left over alcohol from the retort into mine. I figure since the bath is only one part of the cleaning process that it doesn’t matter.
LikeLike
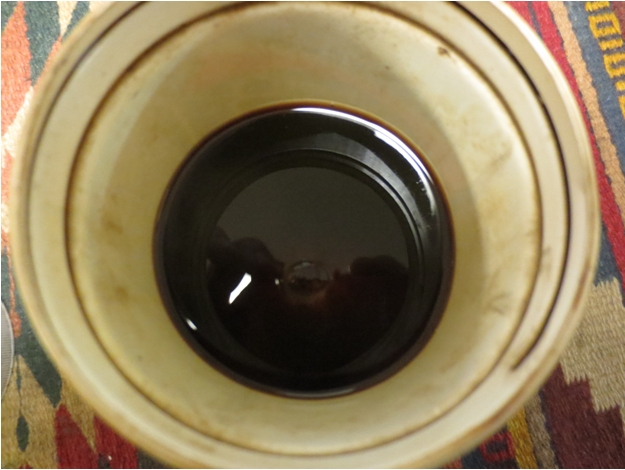
I did a couple of historic pieces on Mastercraft and spelling out the hierarchy earlier on the blog. Thanks Andrew. This one was a challenge. My alcohol bath is primarily stains. I periodically pour the alcohol from the bath into a pan and wipe out the sediment in the bottom of the can as over time the crud settles to the bottom of the bath. Once it is clean I put the alcohol back in the bath. I have found that the alcohol bath can really add a bit of patina to older briar if left sitting in the bath for a while. Makes the browns very rich.
LikeLike