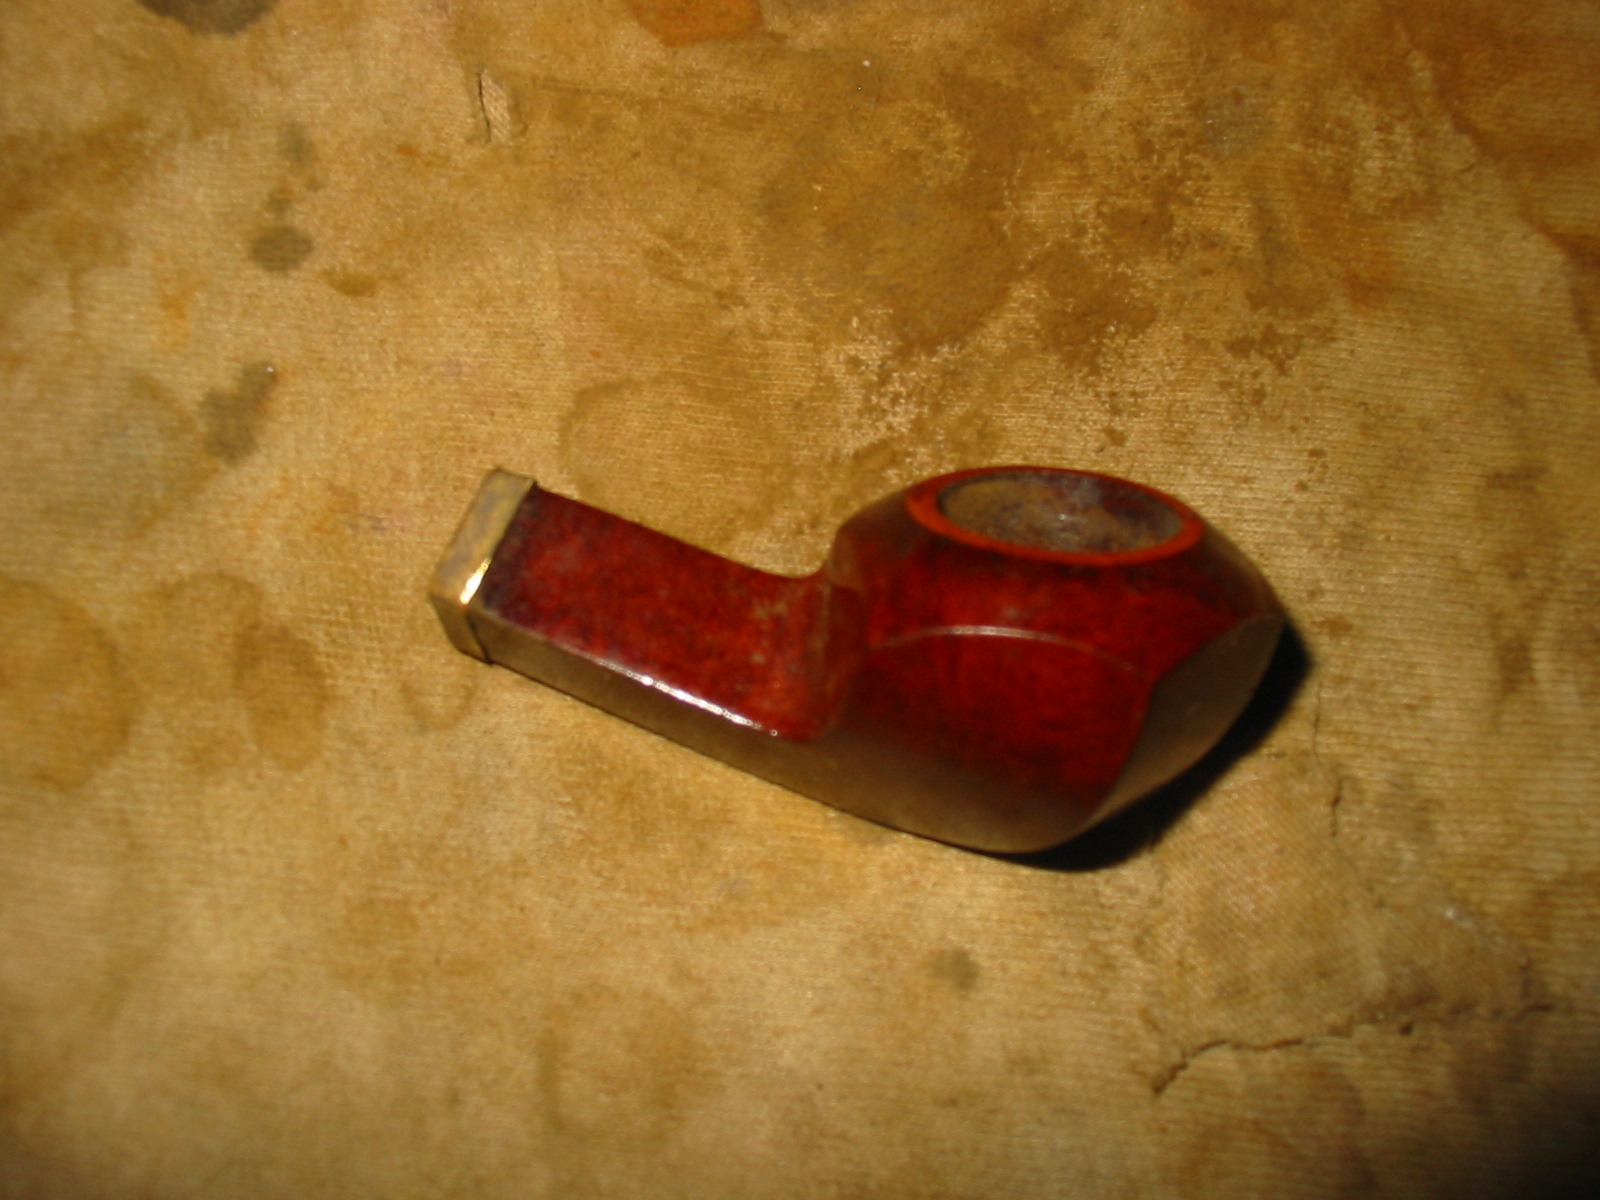
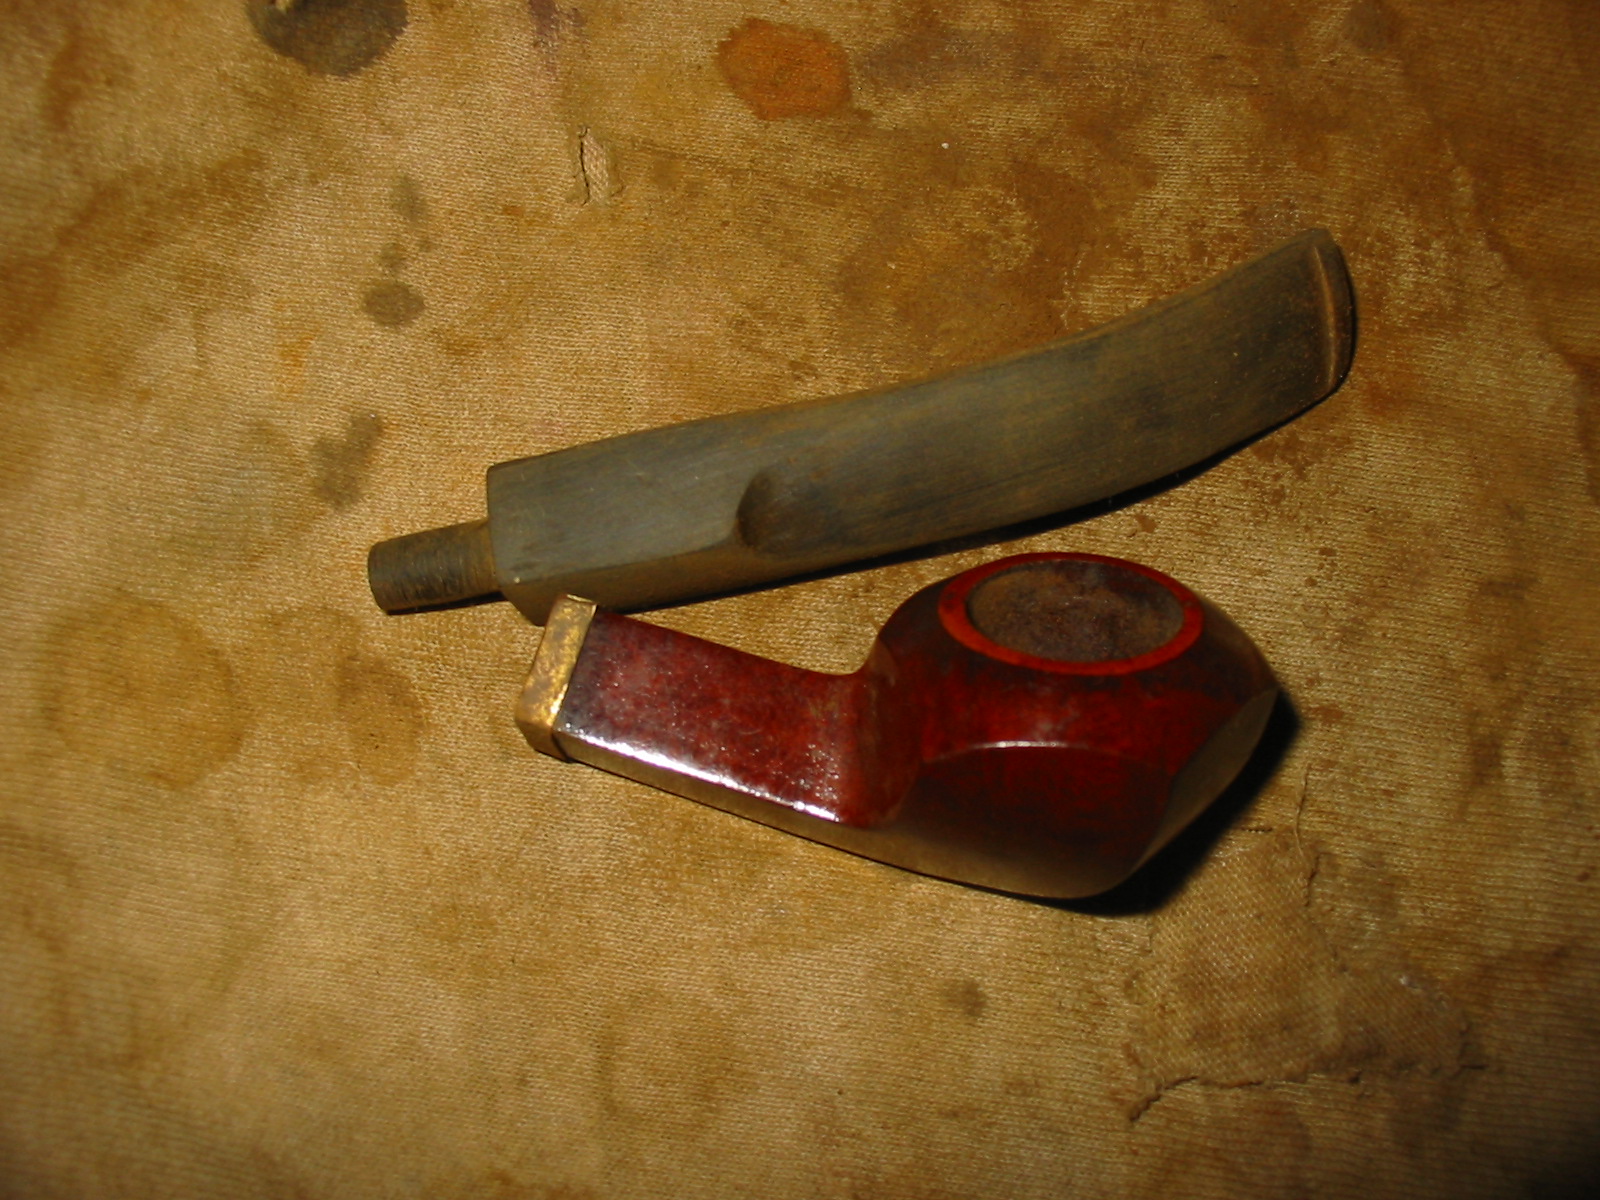
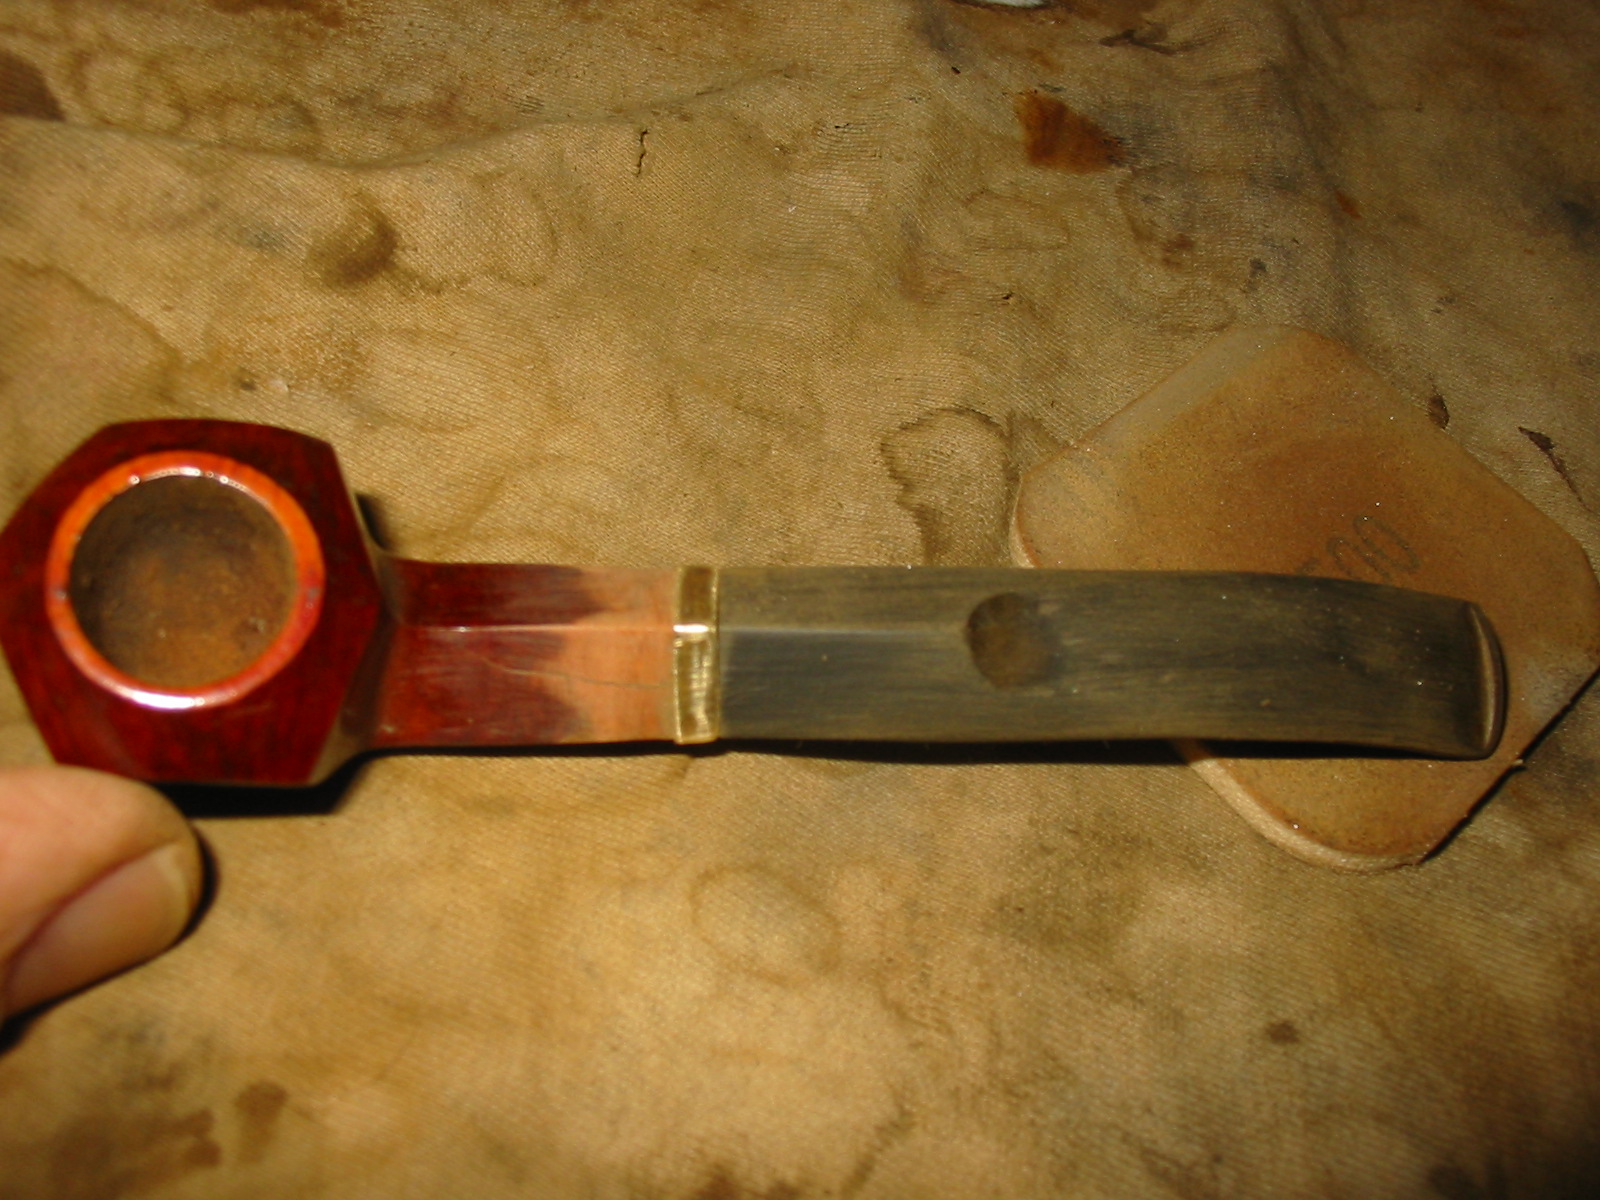
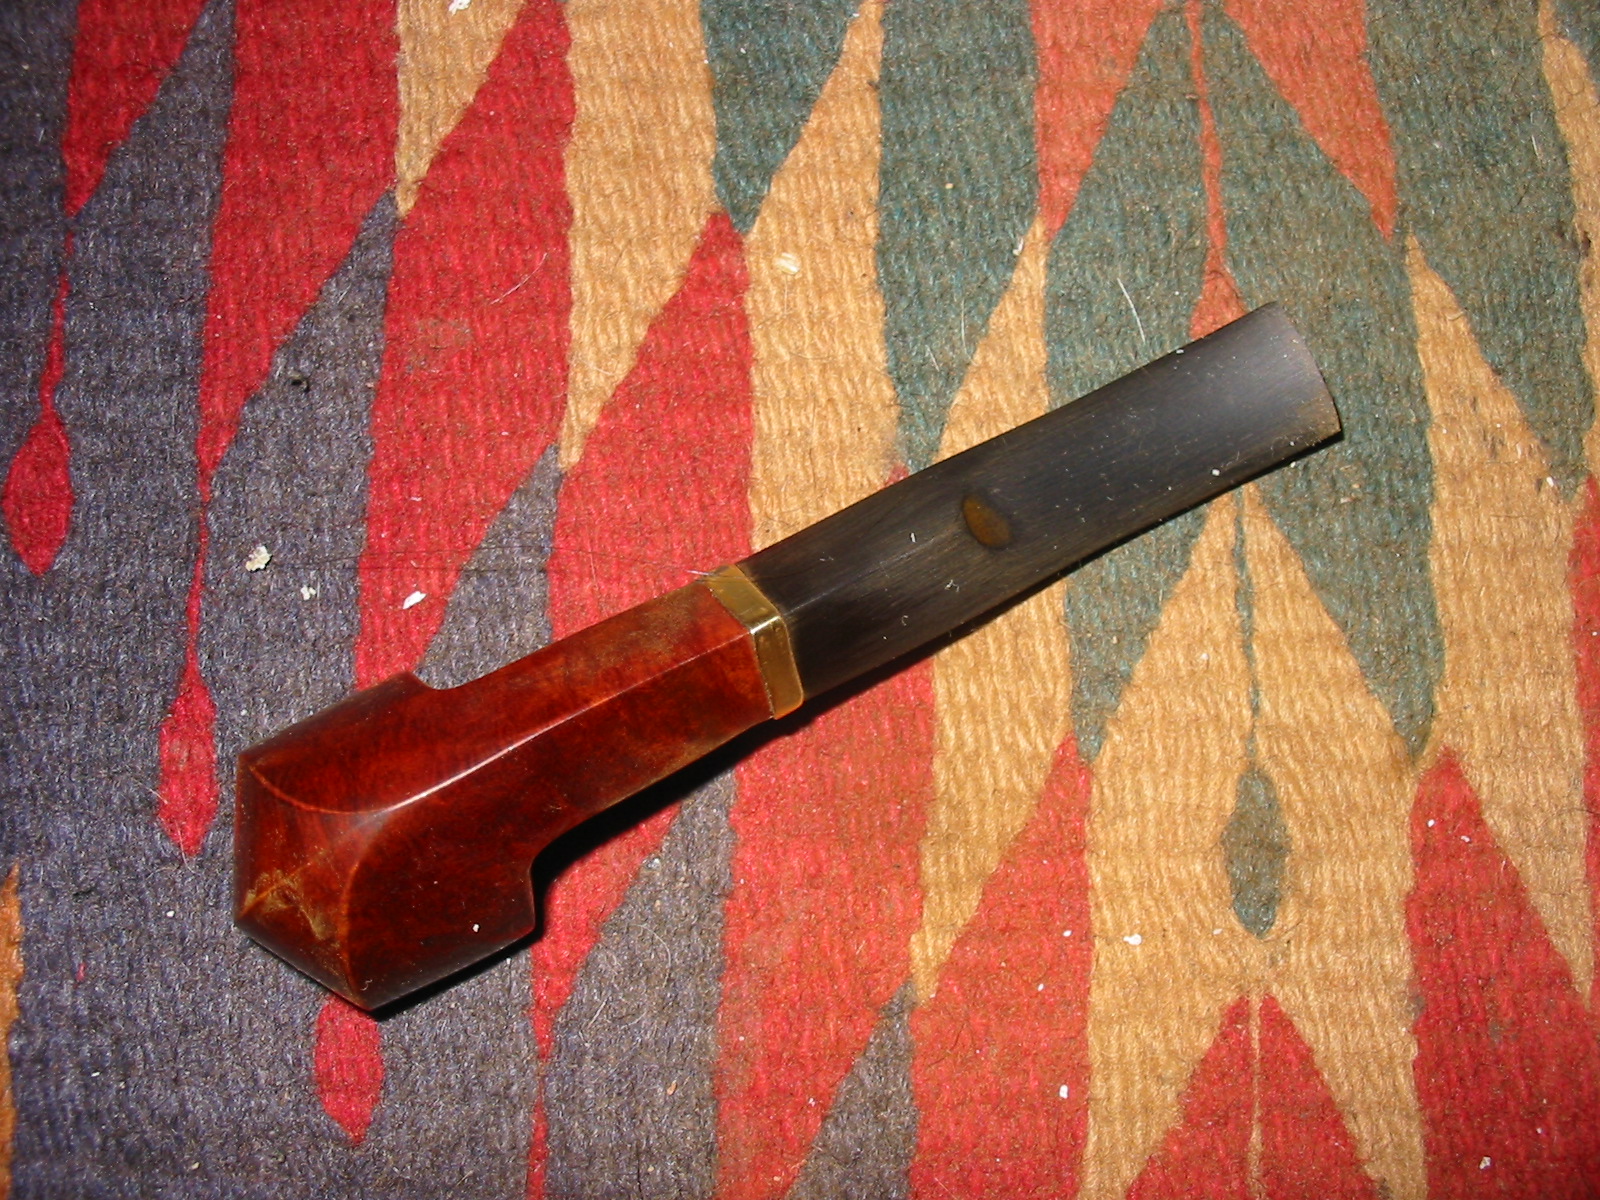
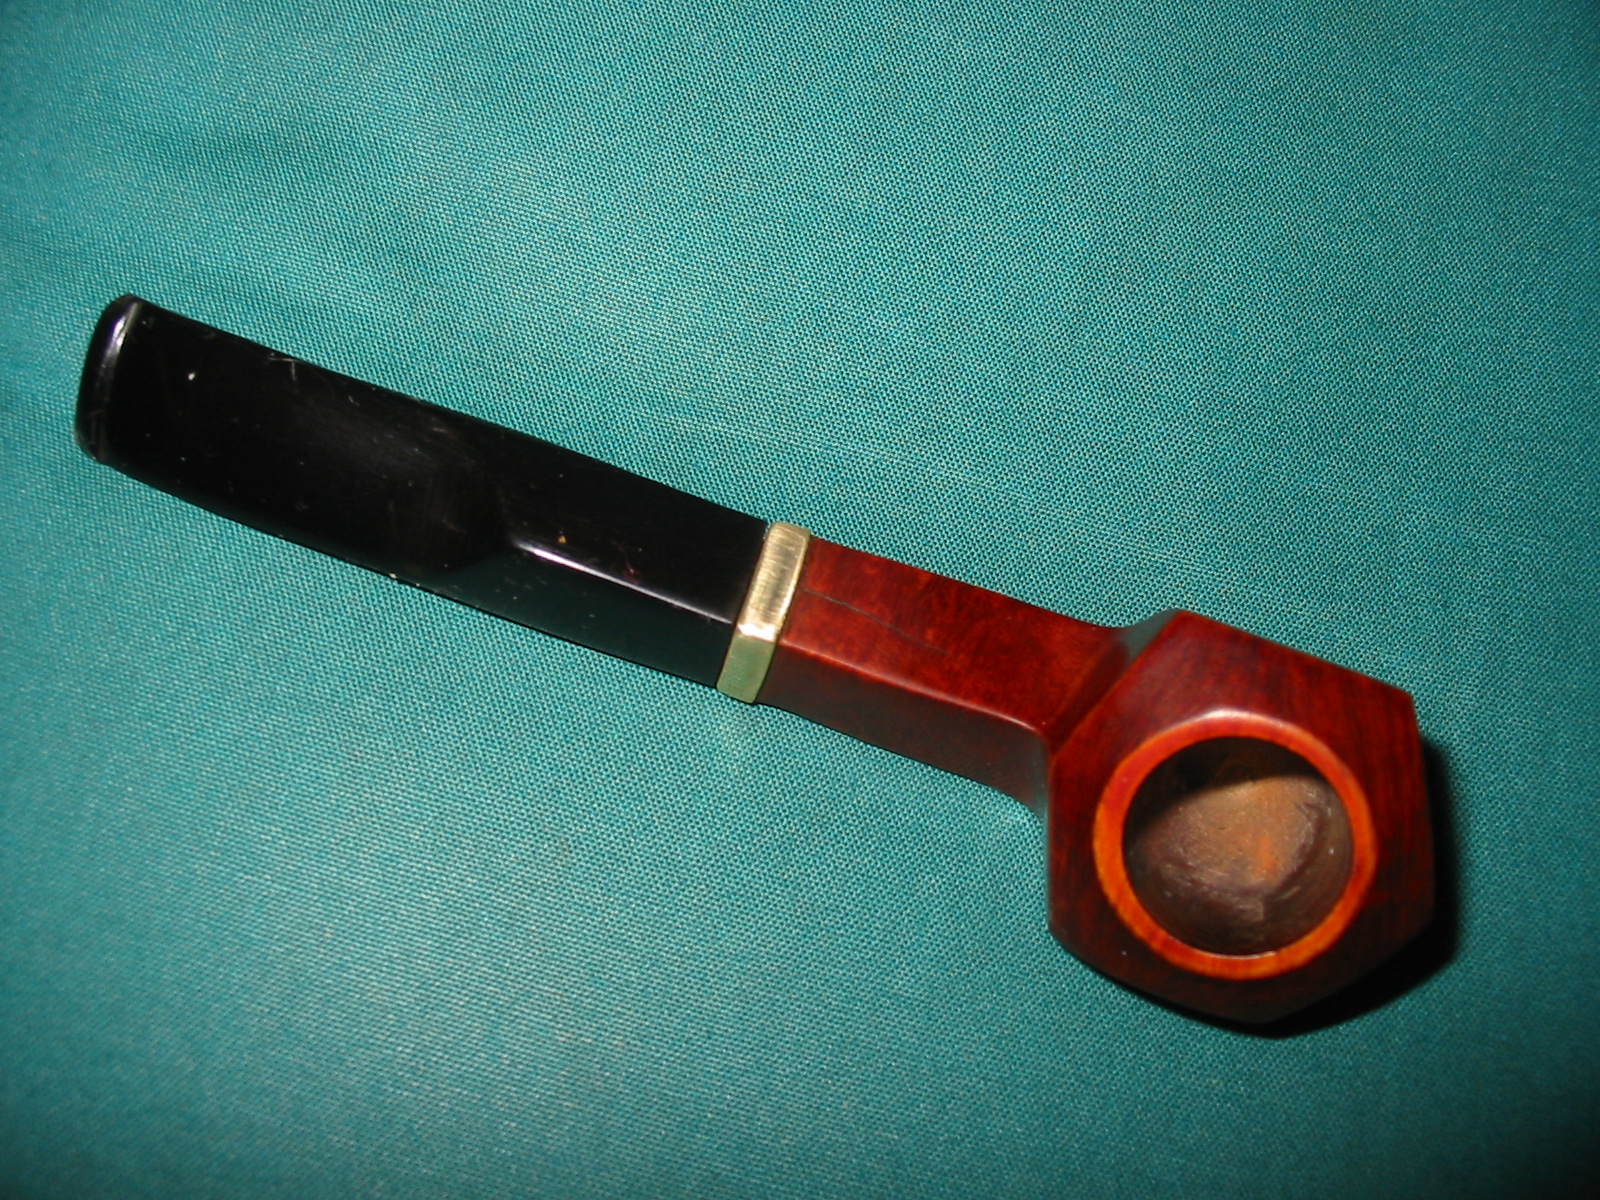
I had one more miniature pipe bowl in my box of pipes for refurbishing and I thought I would finish up the third of the lot. It needed a diamond shaped saddle stem to match the shank on this little bulldog. The bowl was coated with a thick coat of varathane or some kind of plastic coat. It had a small crack in the shank under the brass band. I also was without a stem. The trouble with these little pipes is being able to turn a tenon down far enough to fit the shank.
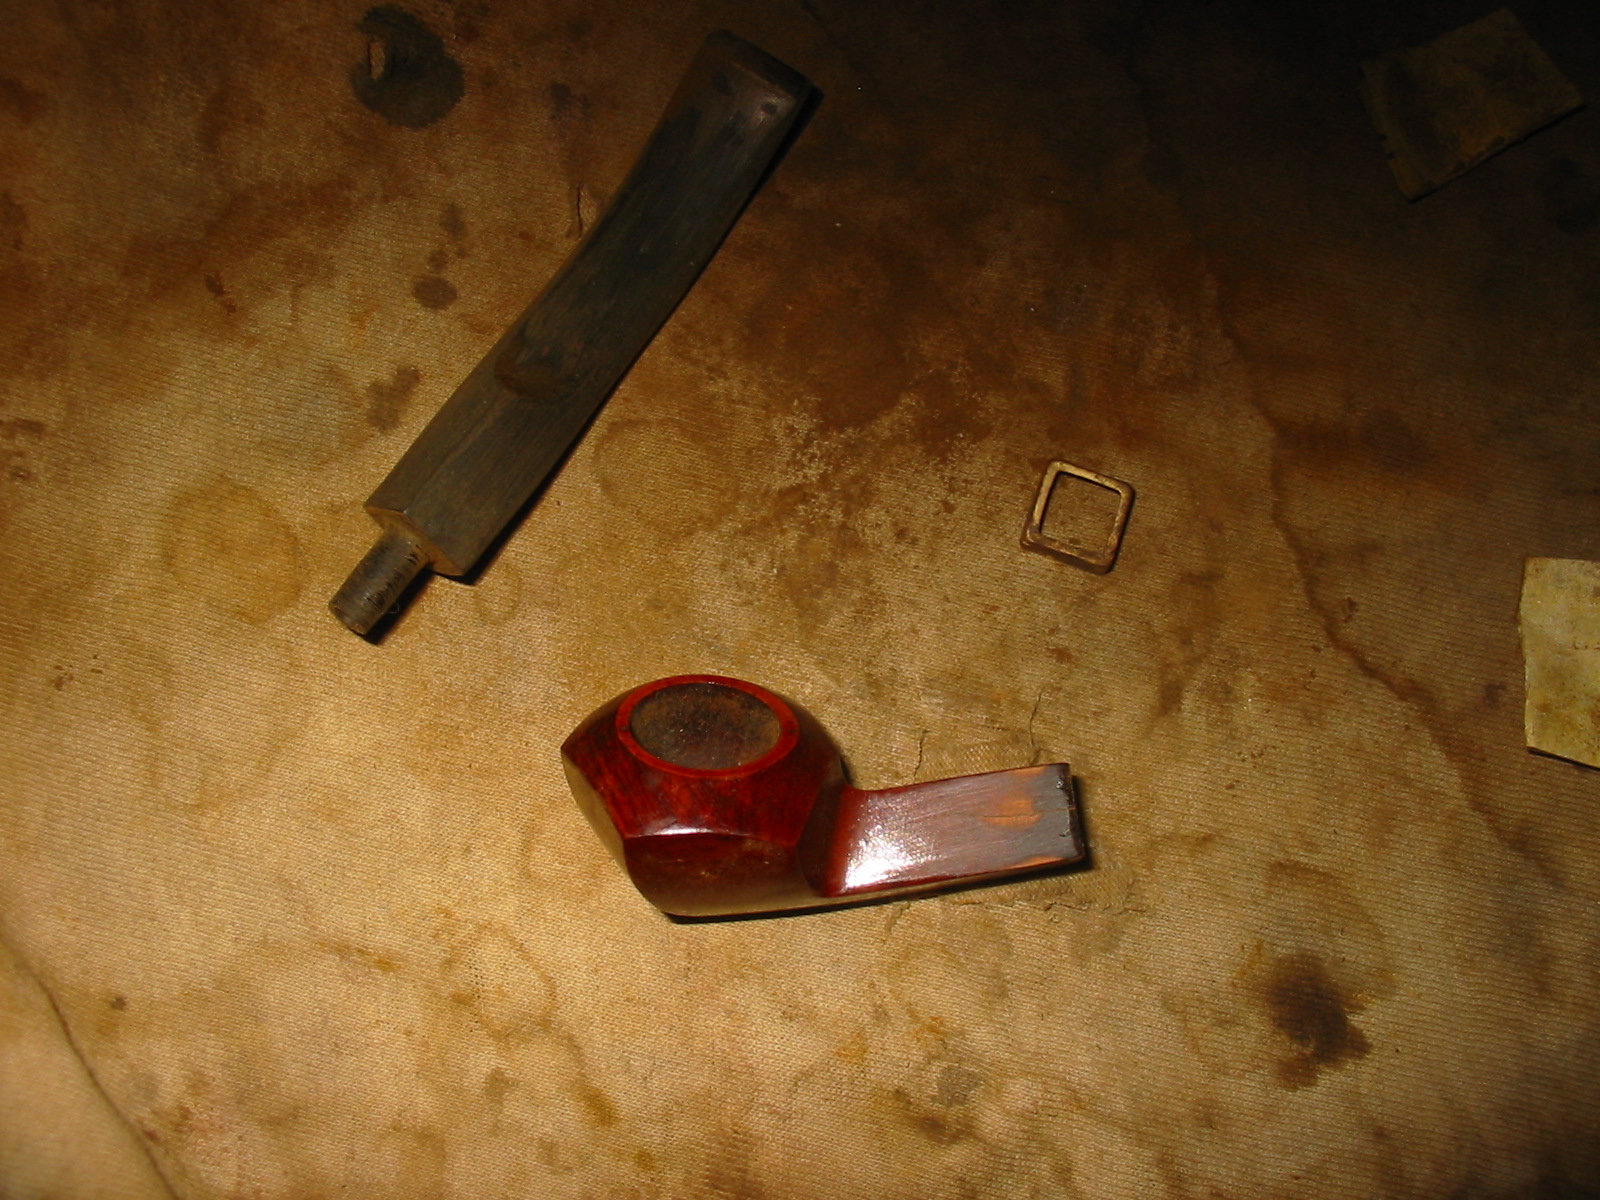
I went through my box of stems and found a diamond shank saddle stem that would do the trick. I turned the tenon down as far as possible with the PIMO tenon turning tool and then used the sanding drum on the Dremel to get the tenon size close. I hand finished the fit with 220 grit sandpaper until I had a snug fit on the stem. The stem was a regular sized stem to fit a group 4 bulldog so it was about ¾ inch per side. I reduced the diameter a side at a time with the Dremel until the stem sides were roughly 3/8 inch per side. The Dremel and sanding drum took off the majority of the excess material and then I hand sanded it to fine tune and adjust the angles of the stem and sides.
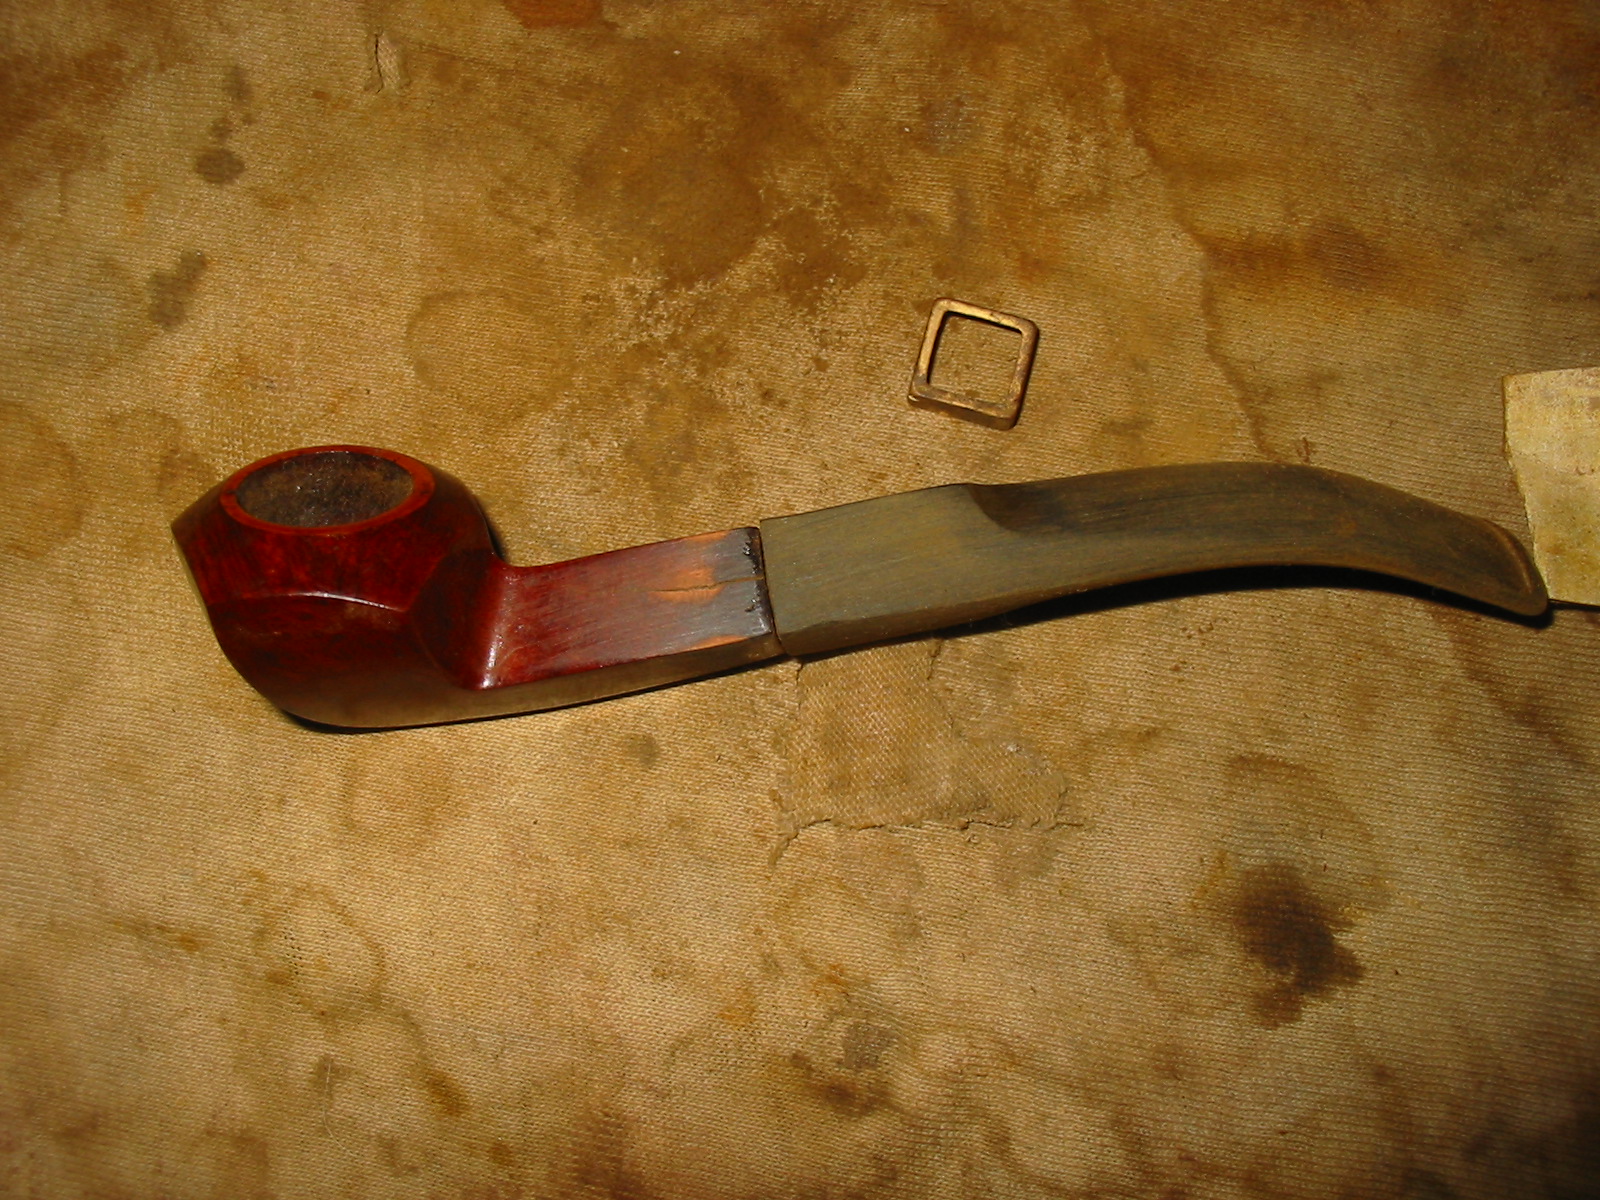
The band was loose so I removed it while I sanded the stem to match the shank. Since I planned on stripping the finish off the pipe and refinishing it I sanded both the shank and the stem in the process. Once I had a clean smooth fit I reglued the band in place on the shank with wood glue and pressed it into place.


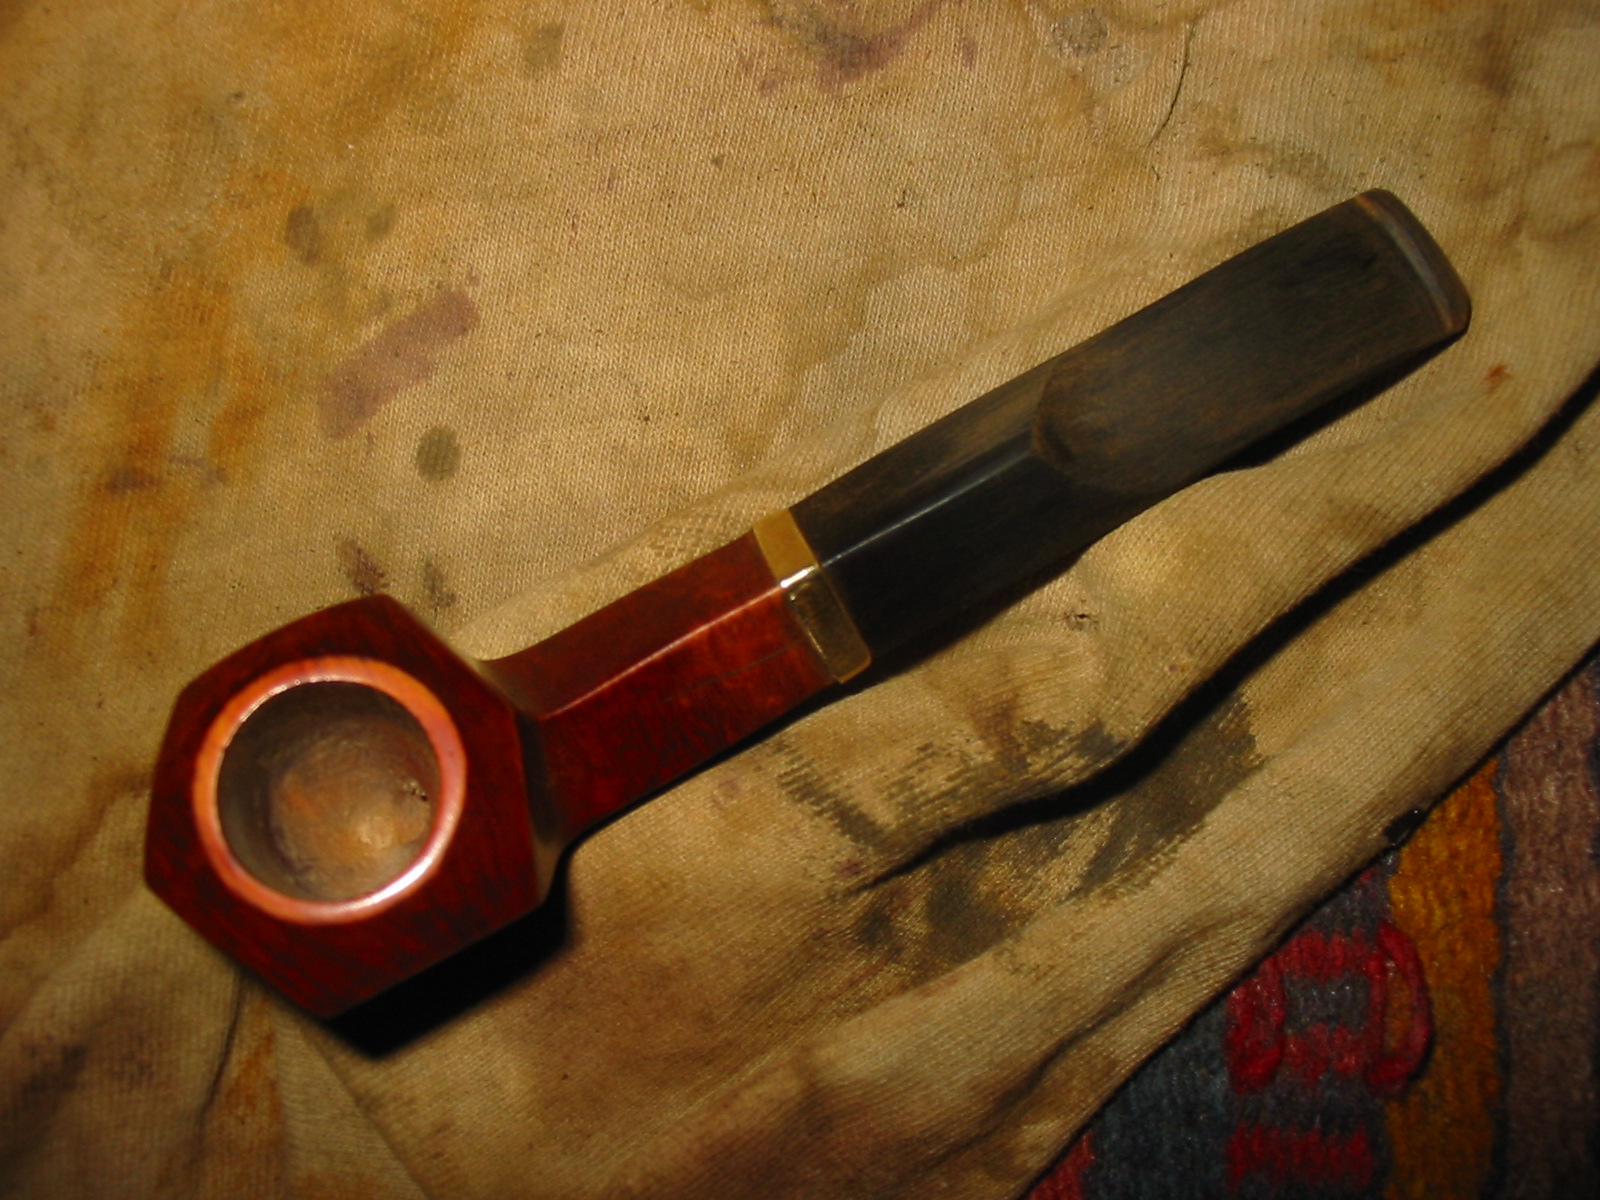
I wiped down the bowl with acetone on a cotton pad to try and break through plastic finish on the pipe. It did very little to break down the finish. I sanded the bowl and rim with 220 grit sandpaper and then with 1500 grit micromesh to remove the finish. I repeated the acetone wash after sanding and found that it was more effective once the plastic coat was broken down.

I restained the bowl with a dark brown aniline stain and flamed it to set the stain. I repeated the process until the coverage was what I was aiming for with the undercoat of dark brown stain. I then gave it a top coat of oxblood aniline stain to get better coverage for the sanded bowl. There were still problems with the stain coat but I set it aside for the time being and turned my attention to the stem.
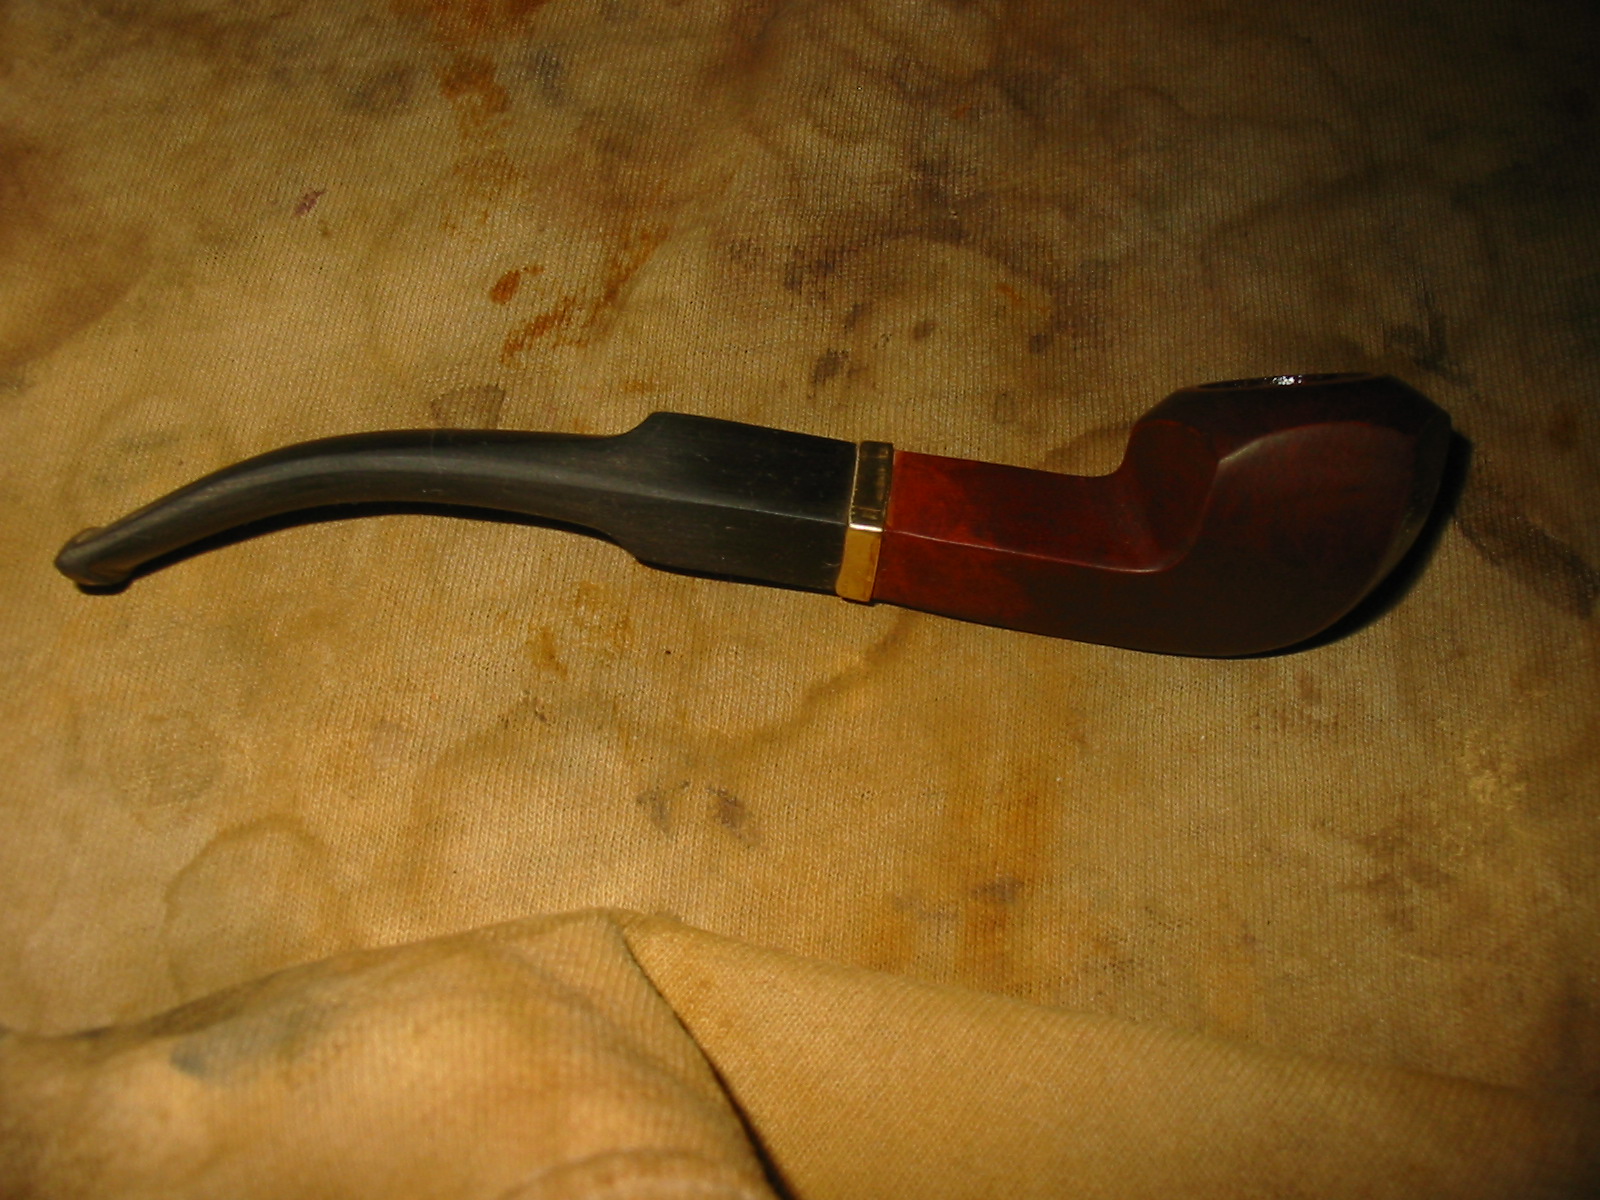
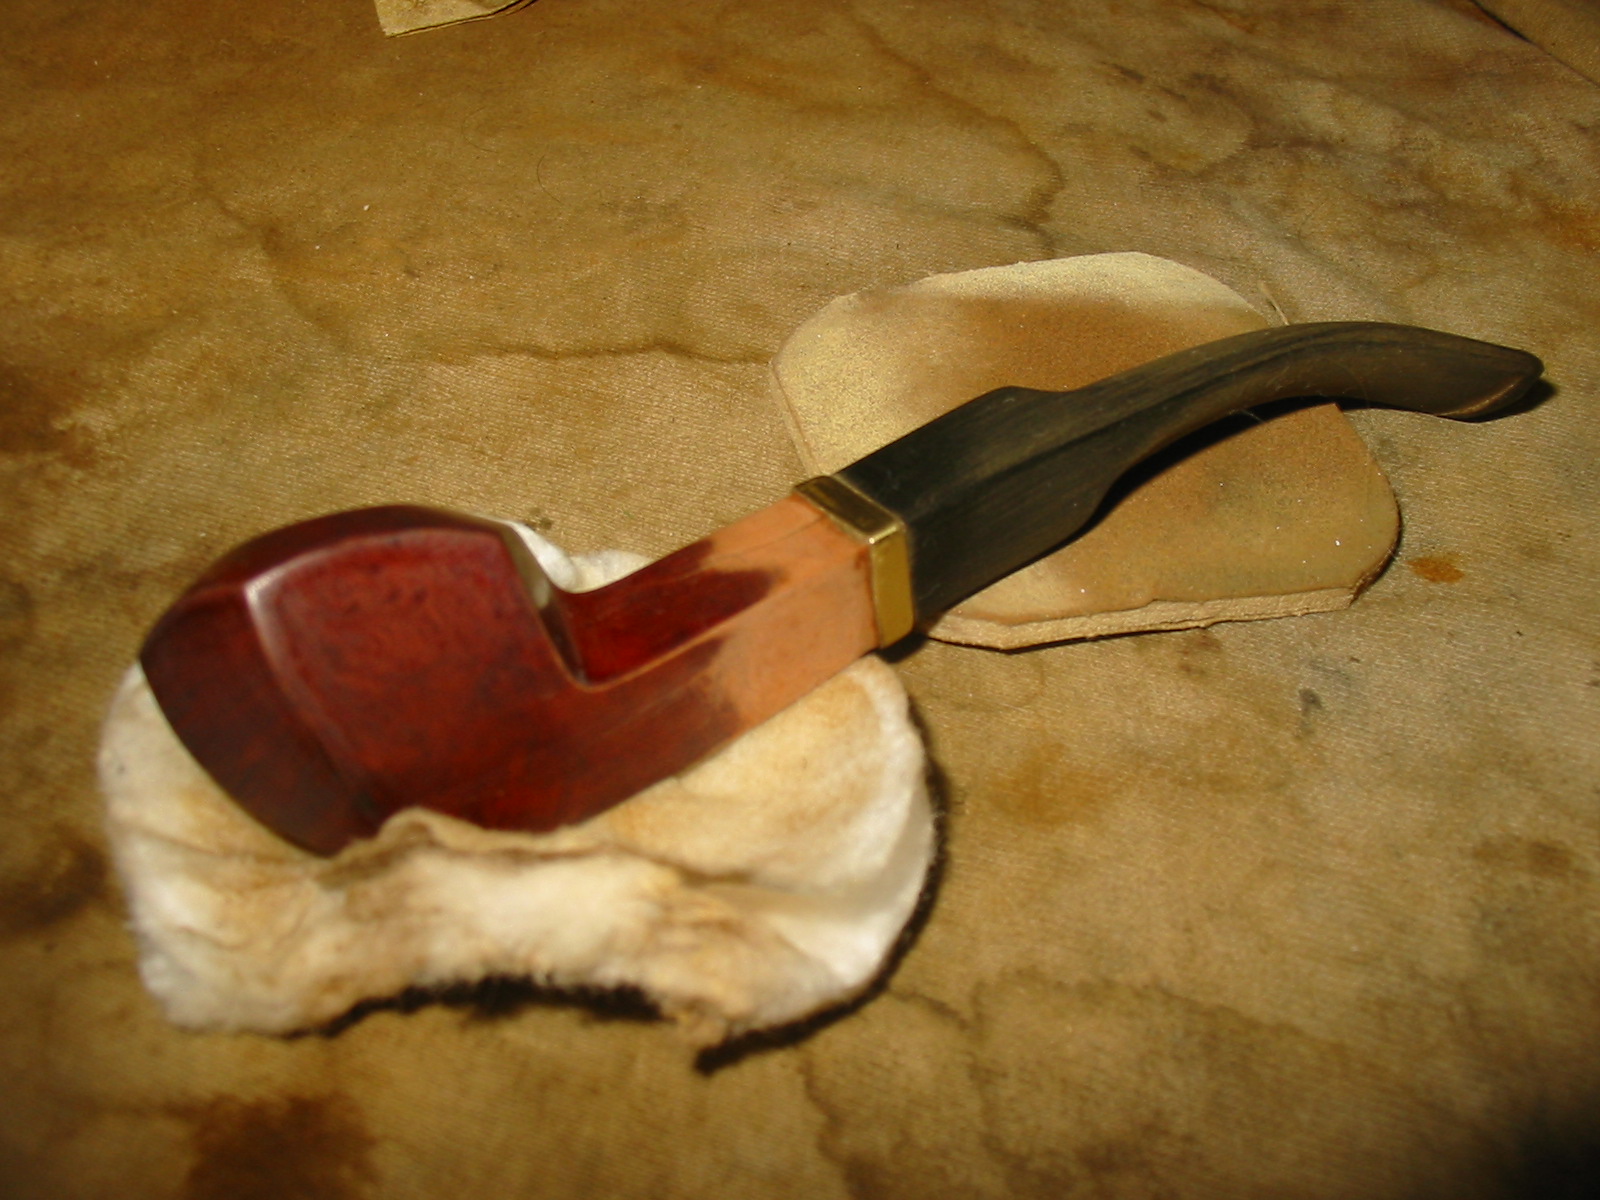
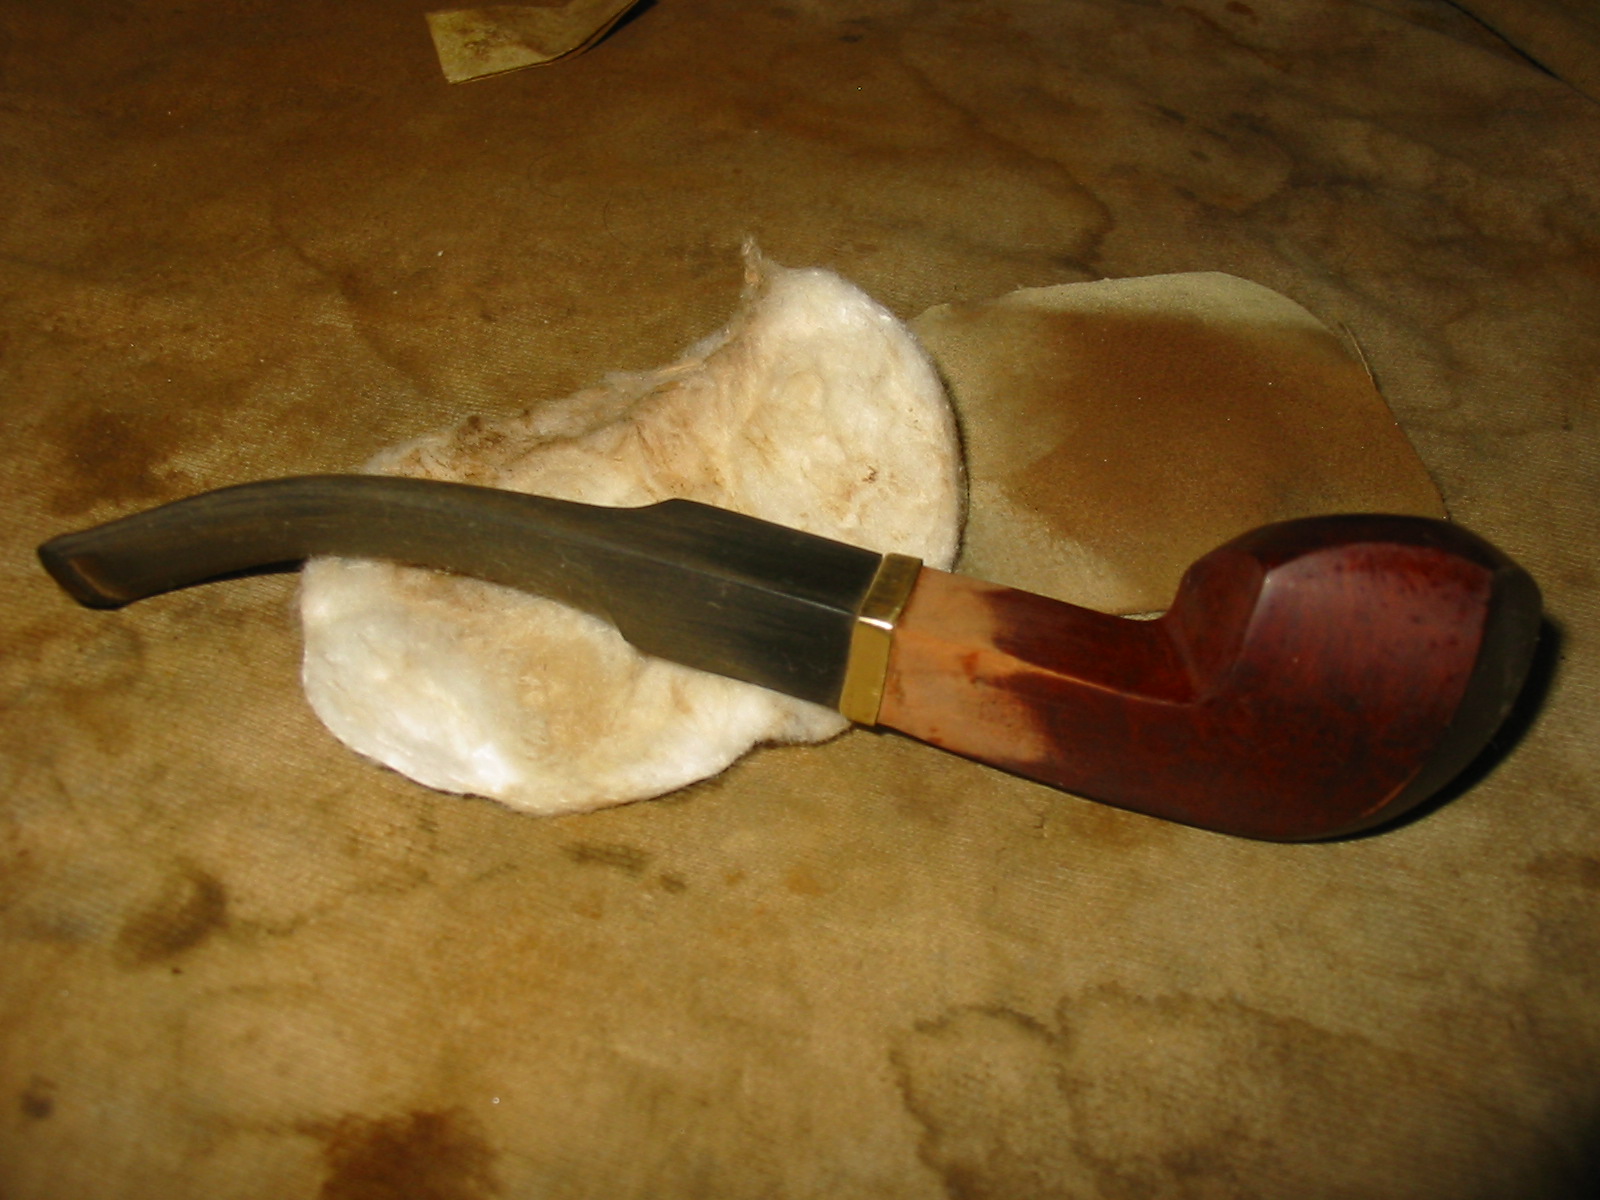
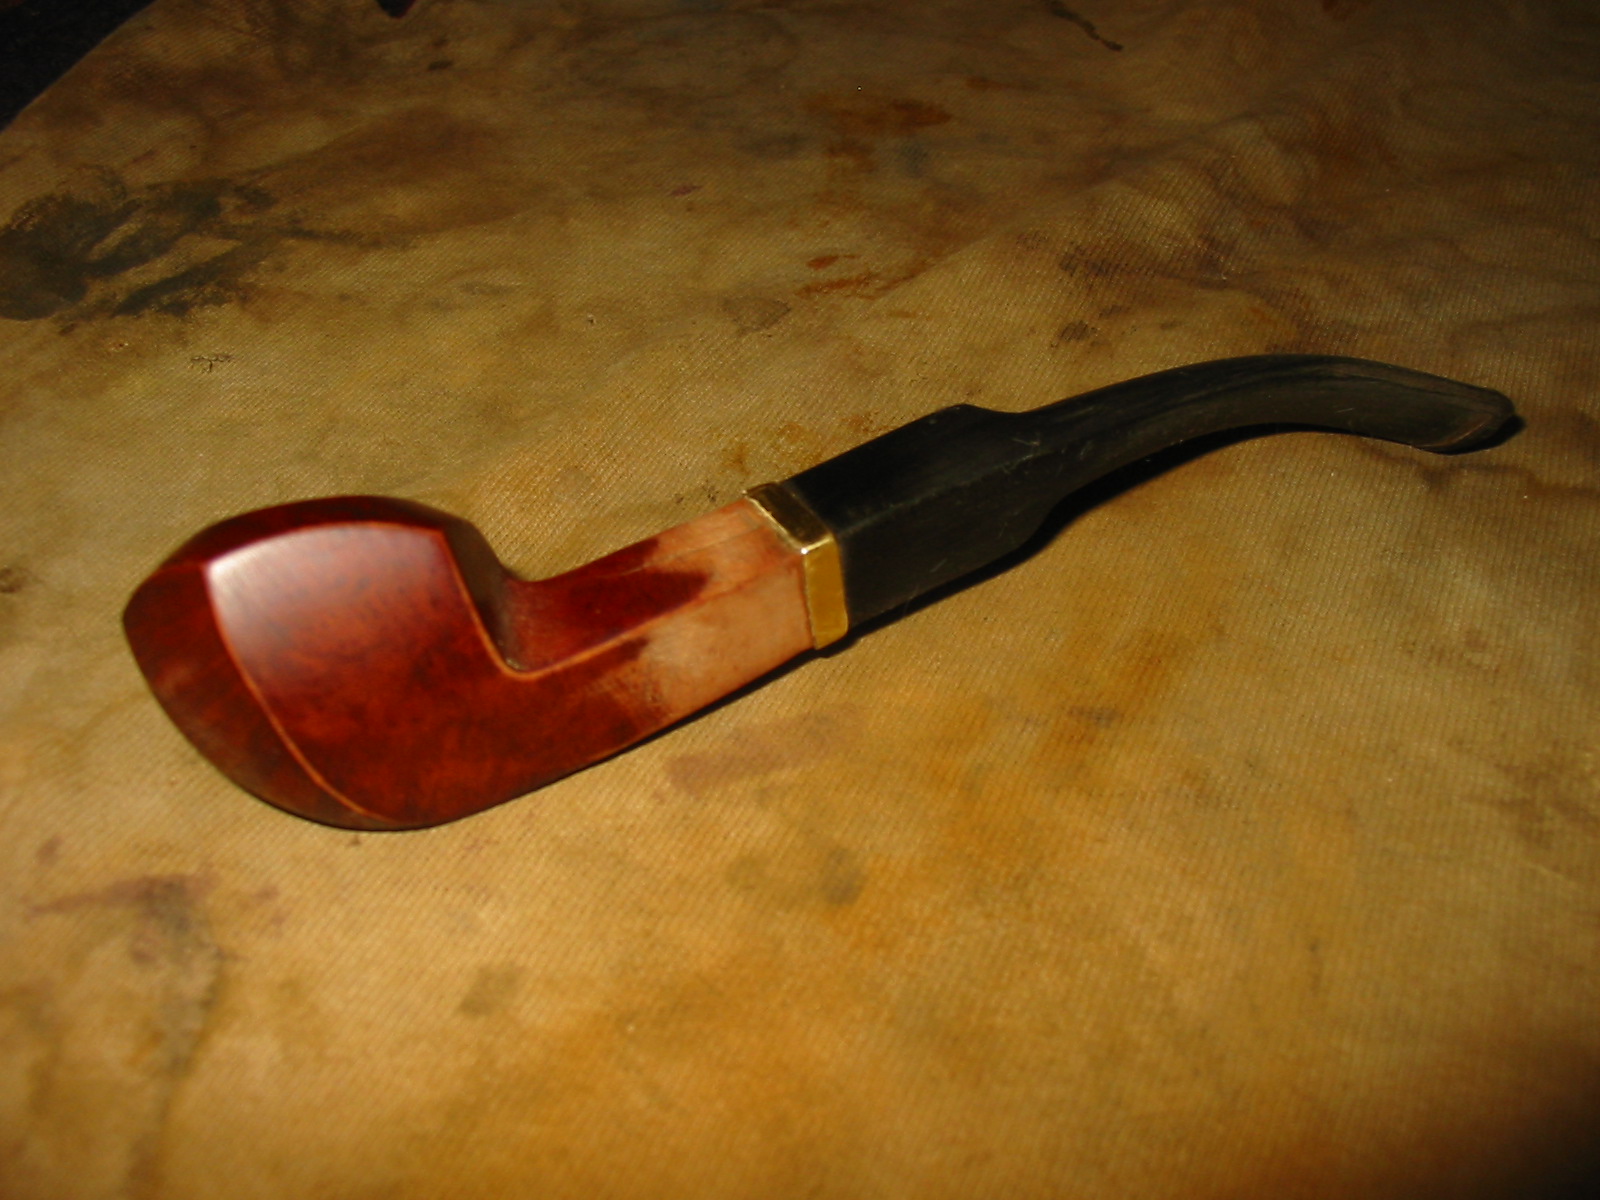
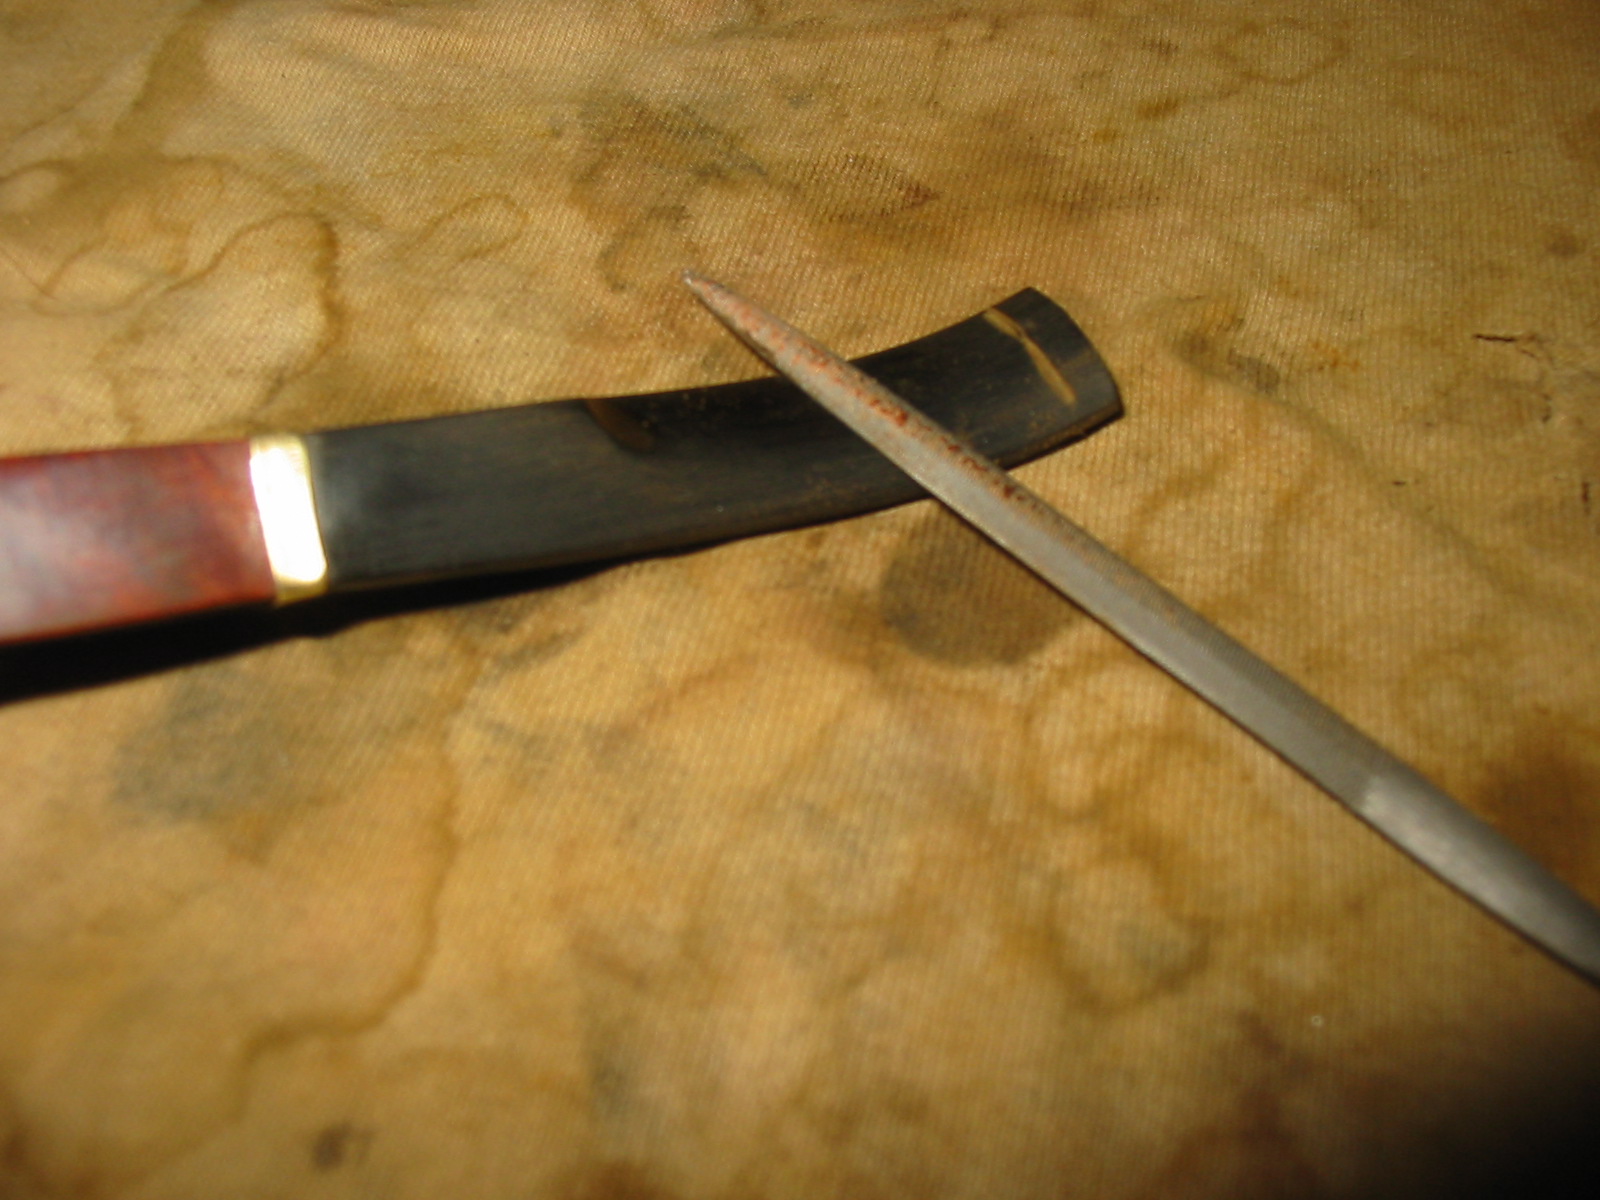
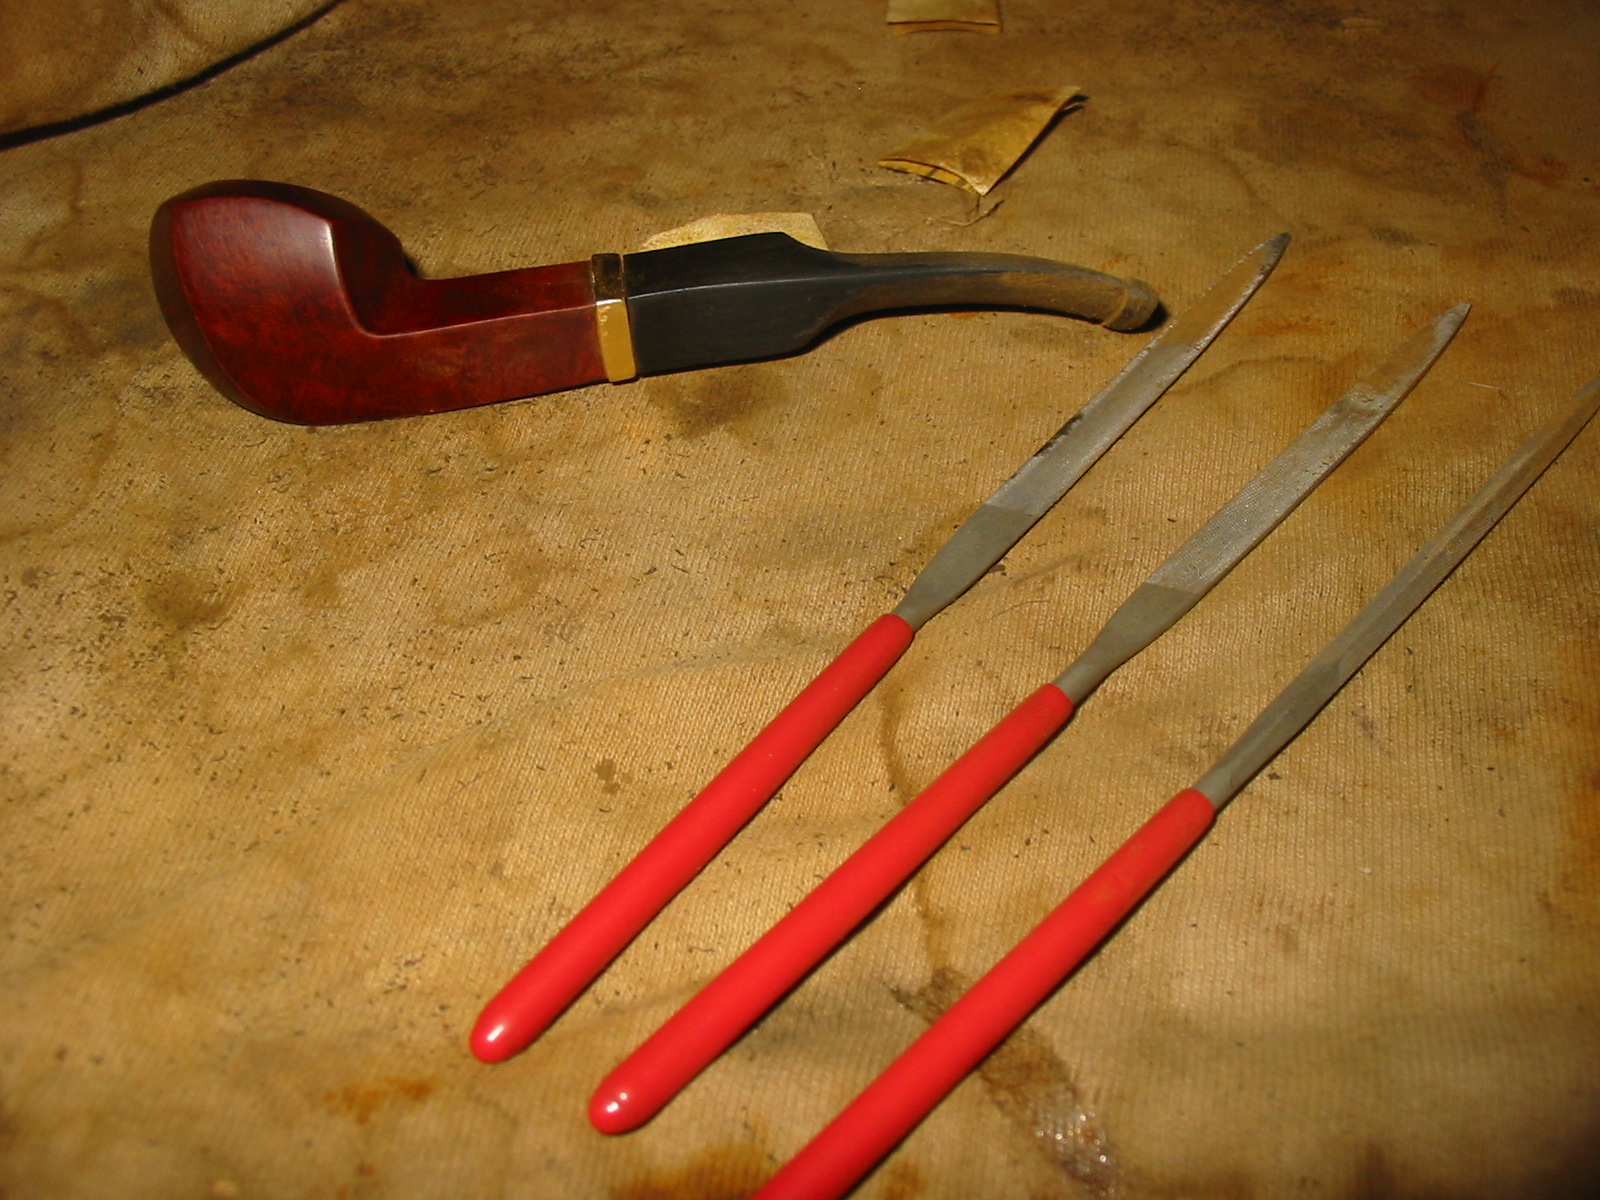
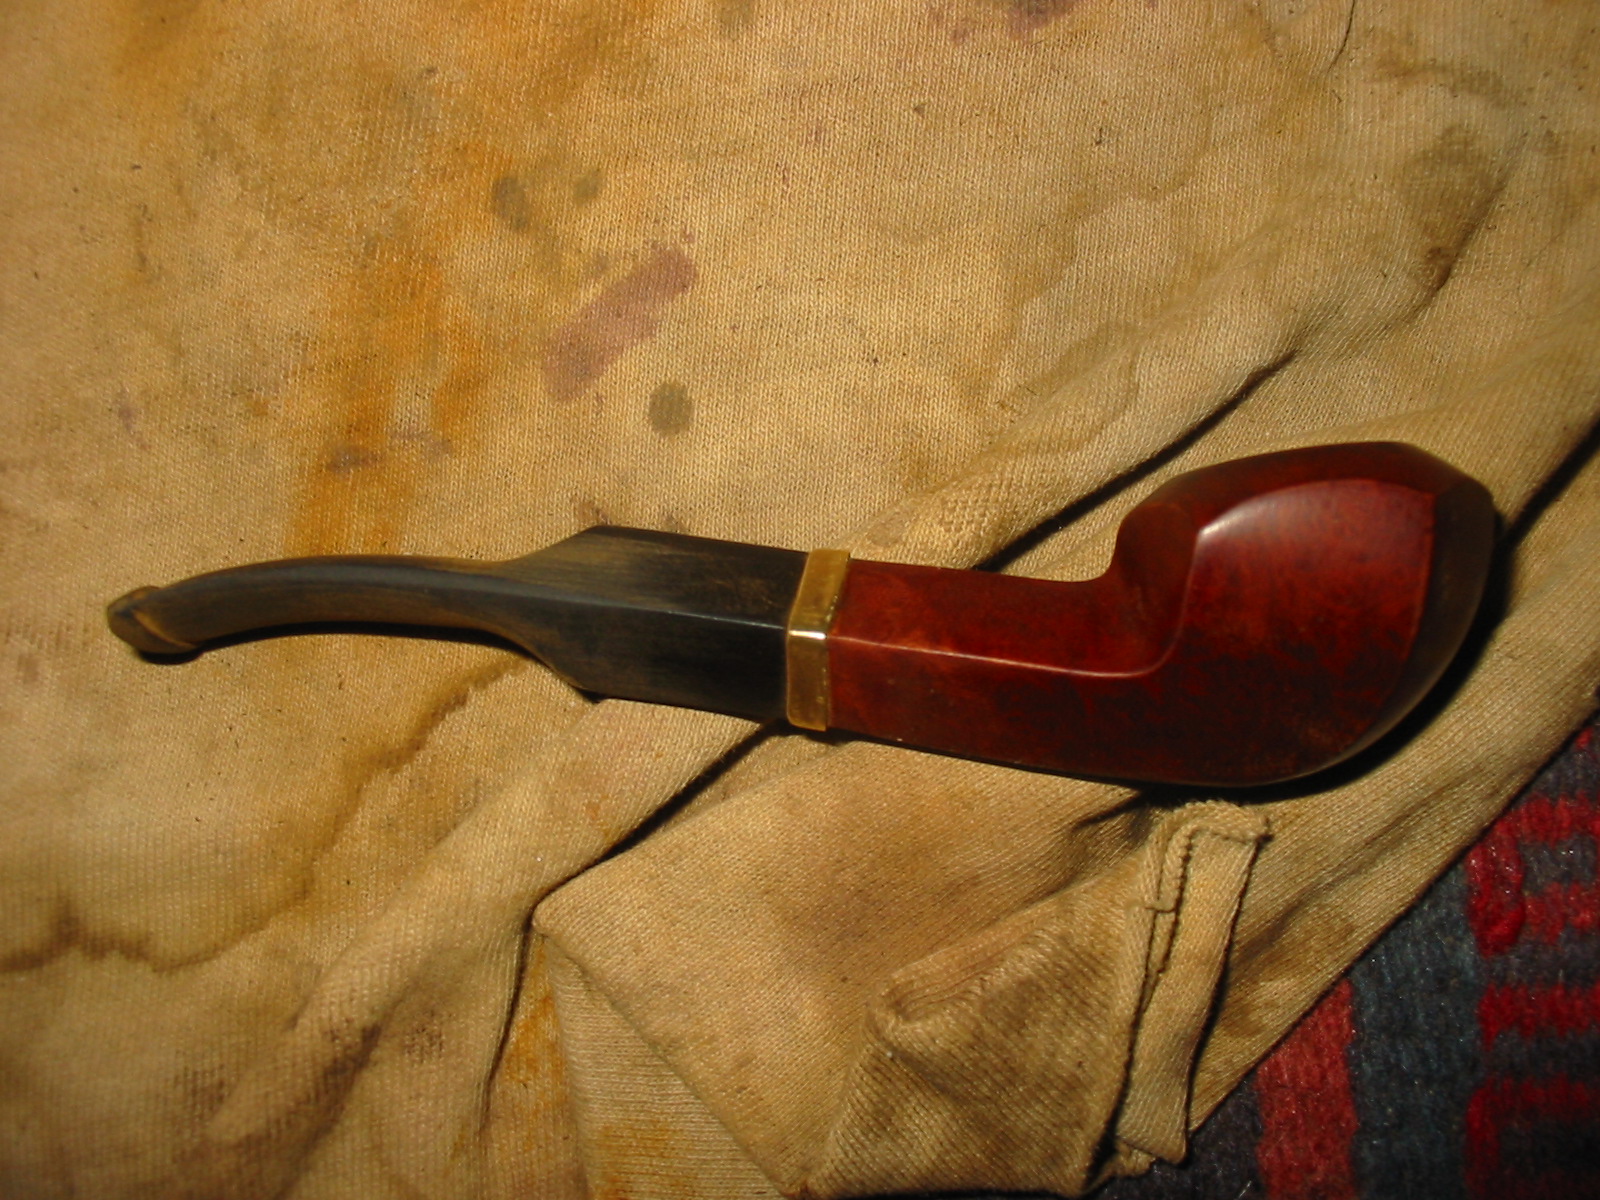
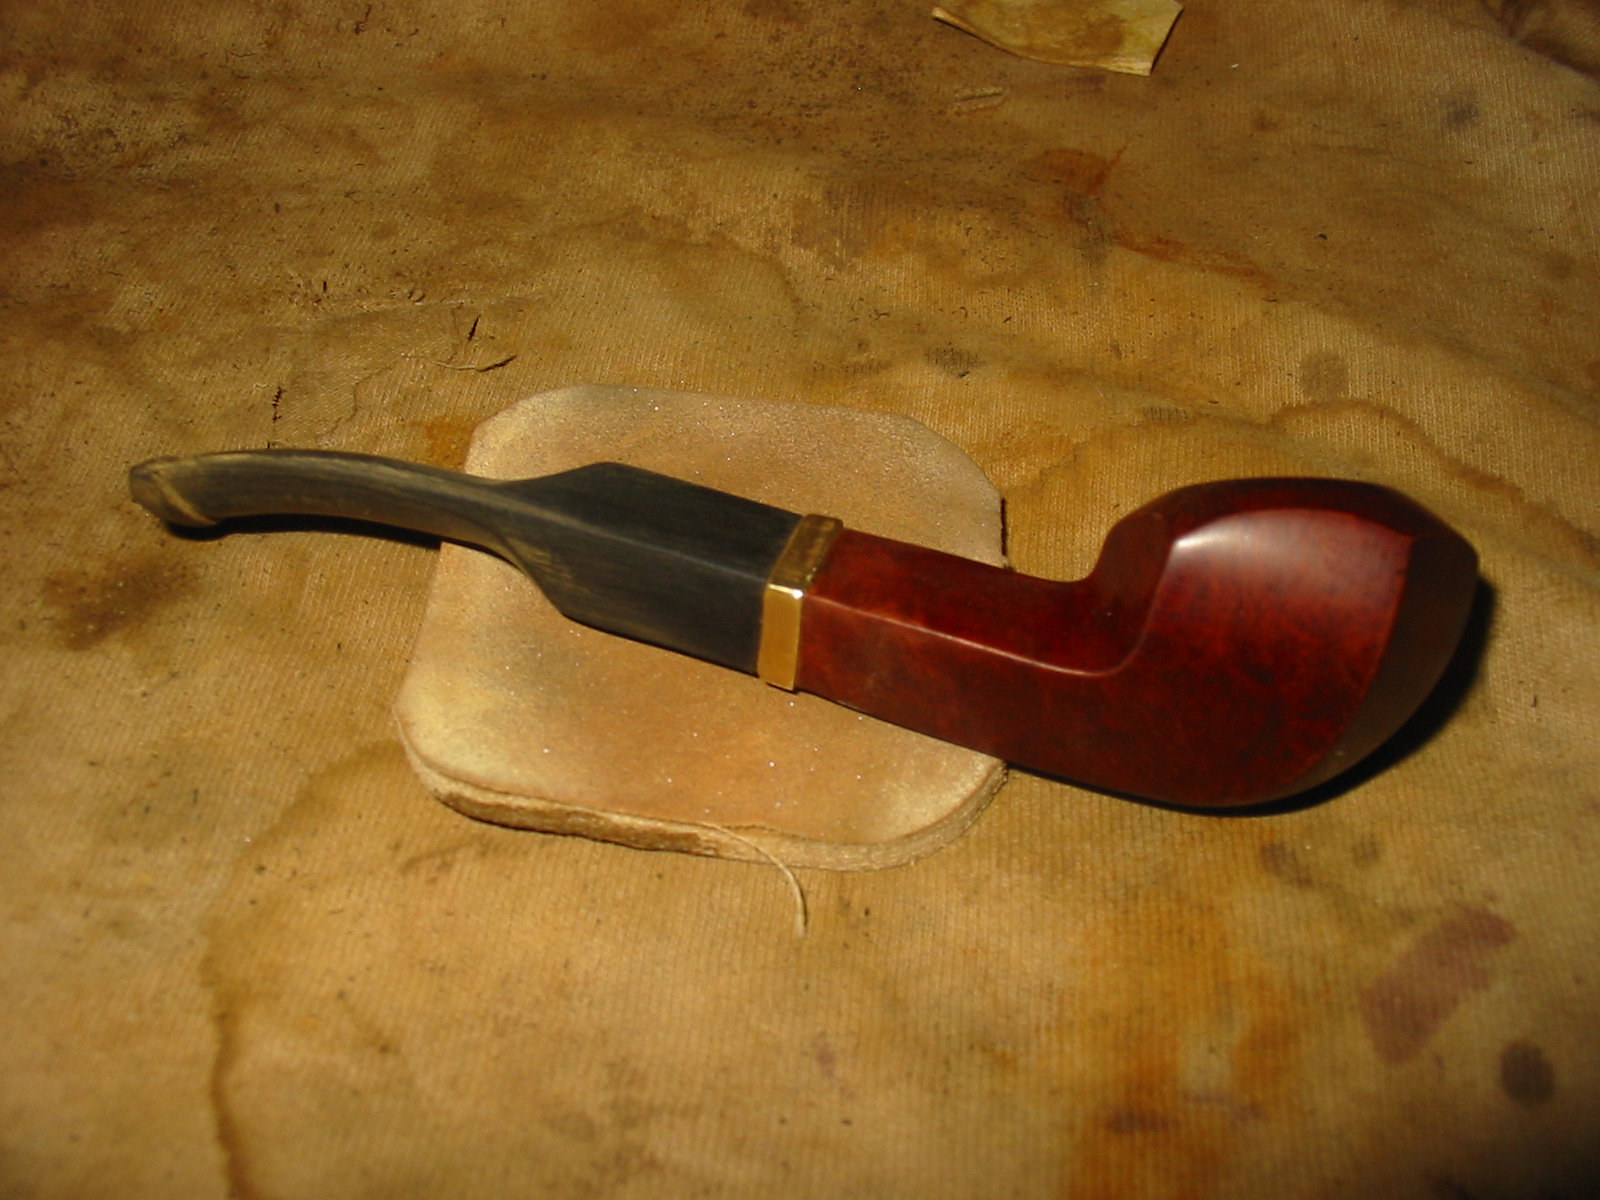
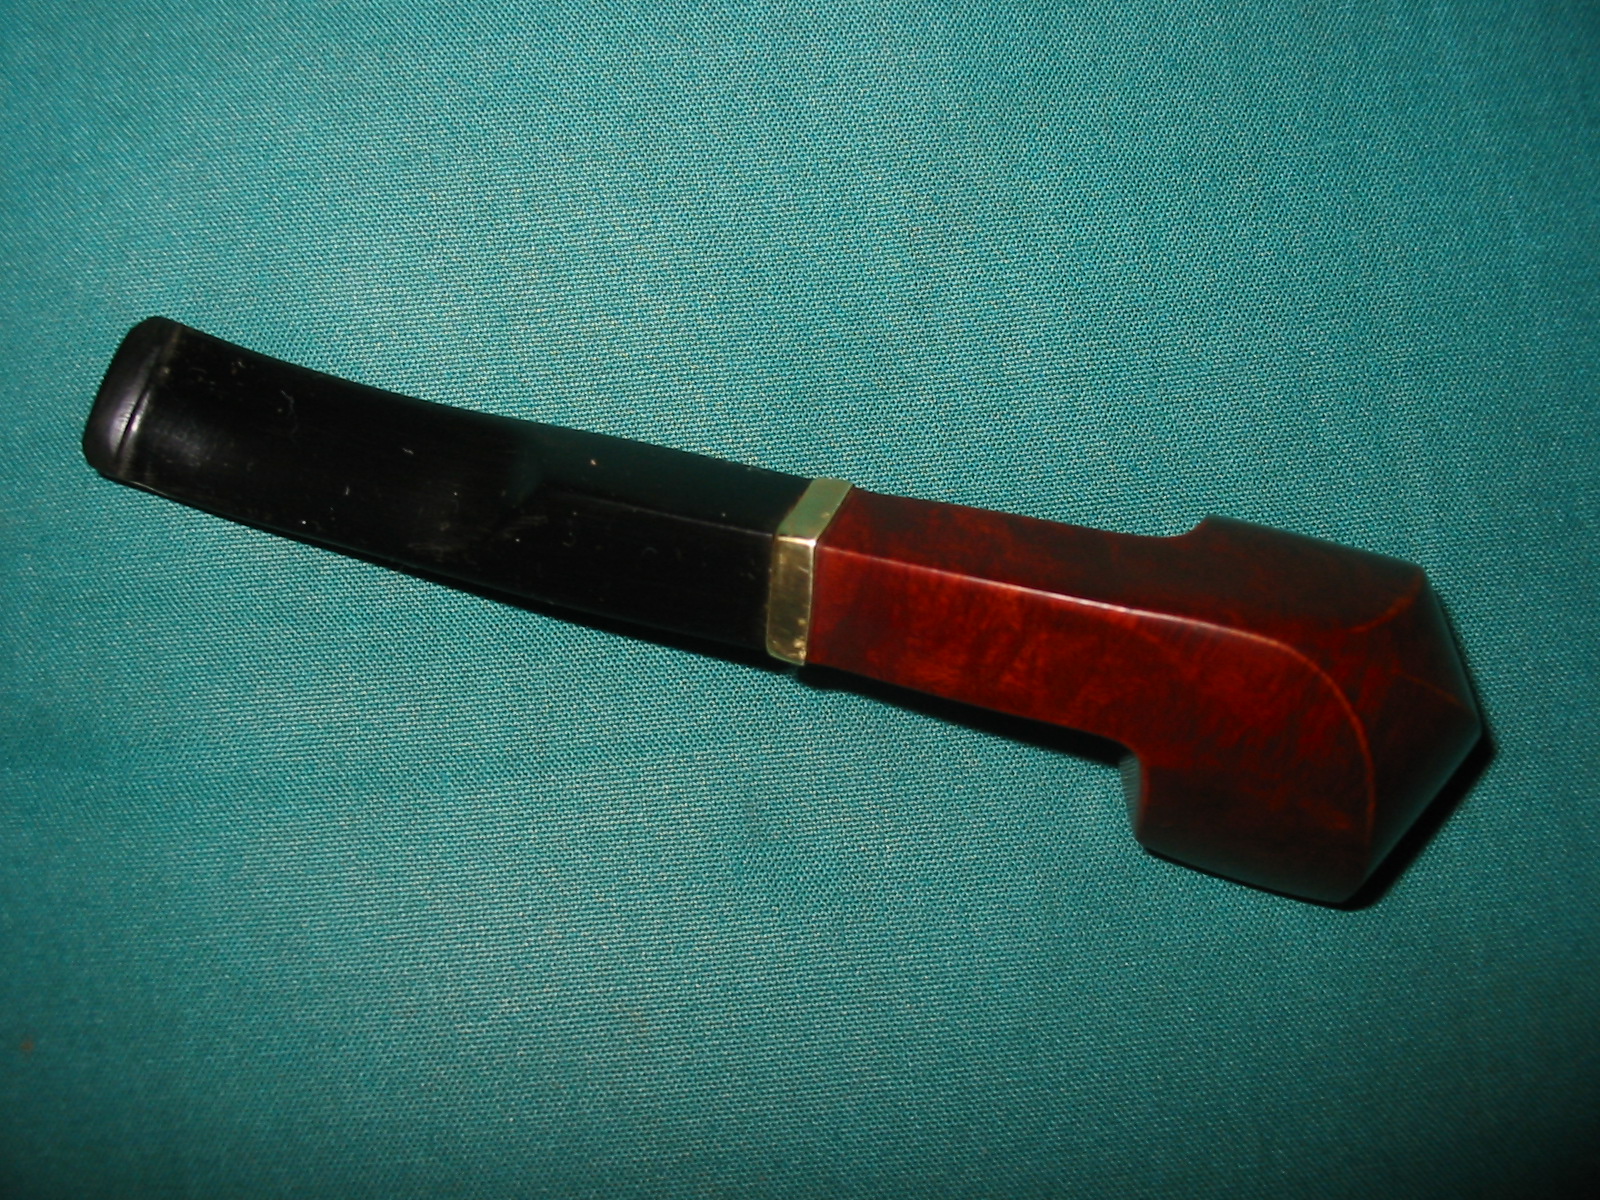
The stem was too long in the photos above and gave the pipe an awkward disproportionate look rather than refined look of a miniature bulldog so I cut it down with a sanding drum on the Dremel. I removed slightly over one inch of the length – cutting the stem back to the end of the bend. I cut it straight and made sure that the line of the end of the stem was squared both vertically and horizontally.


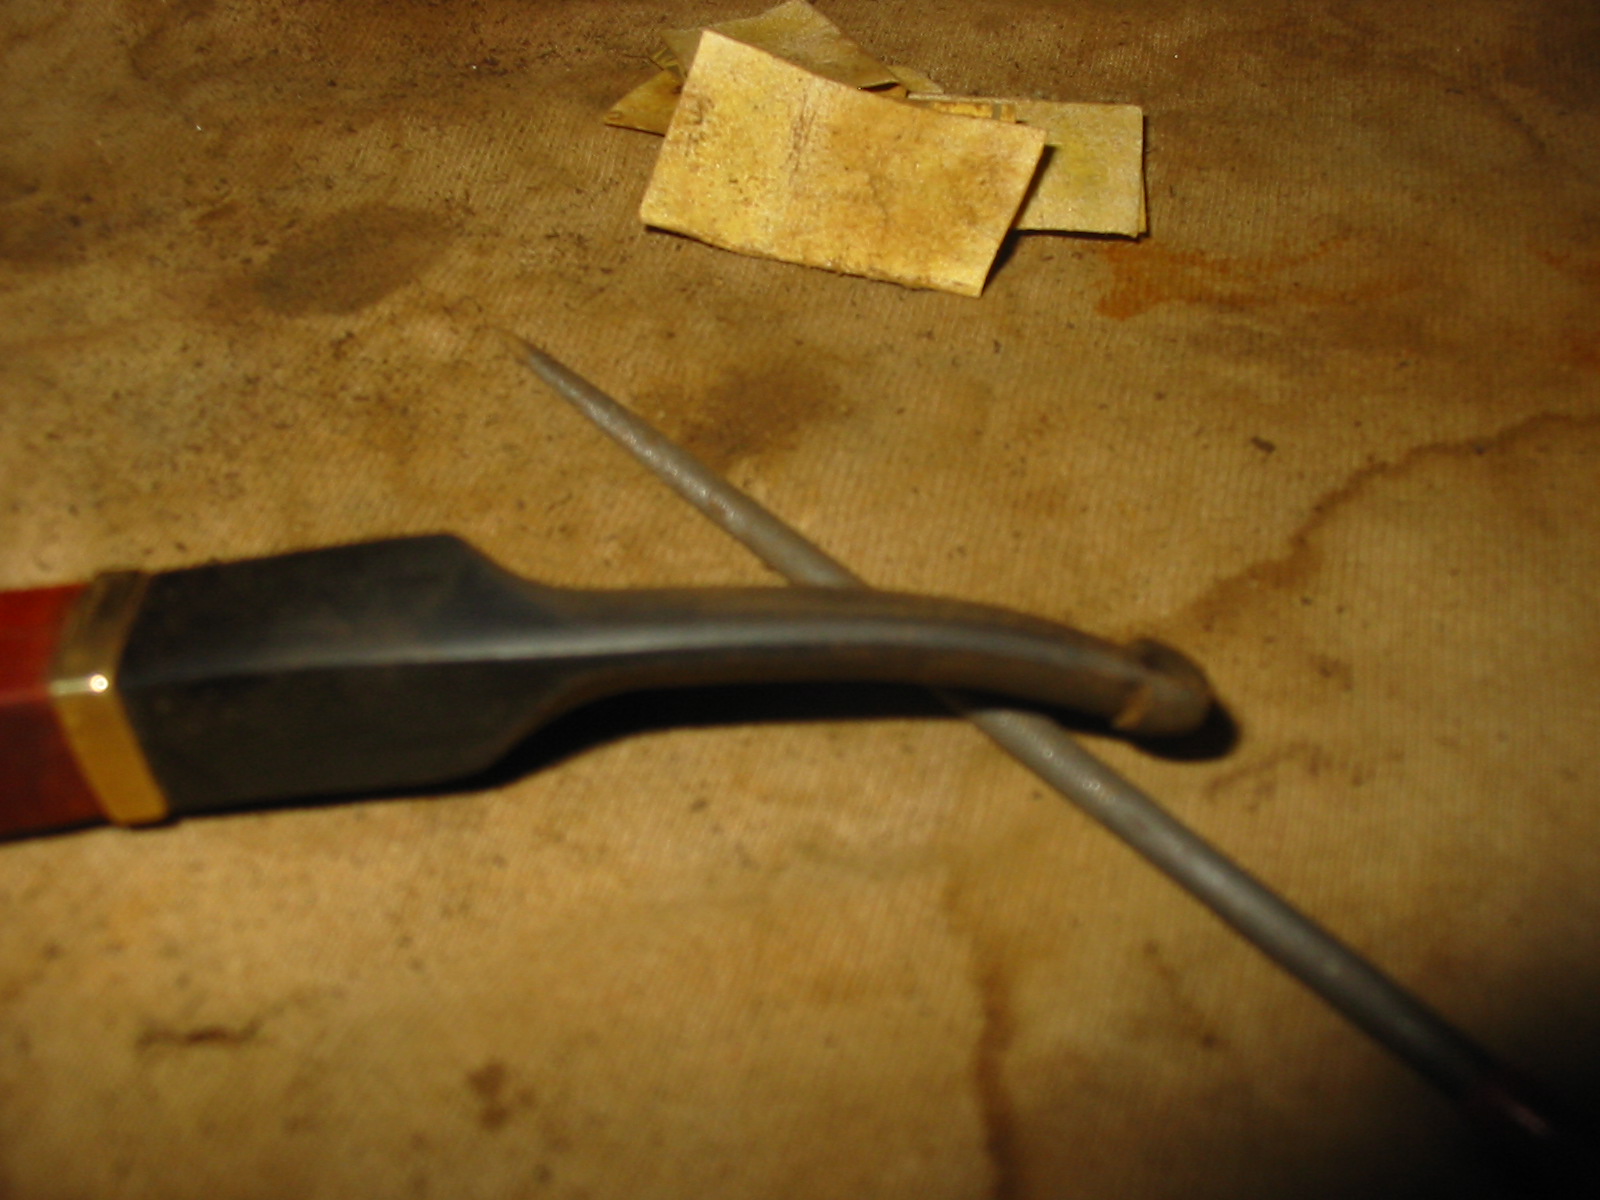
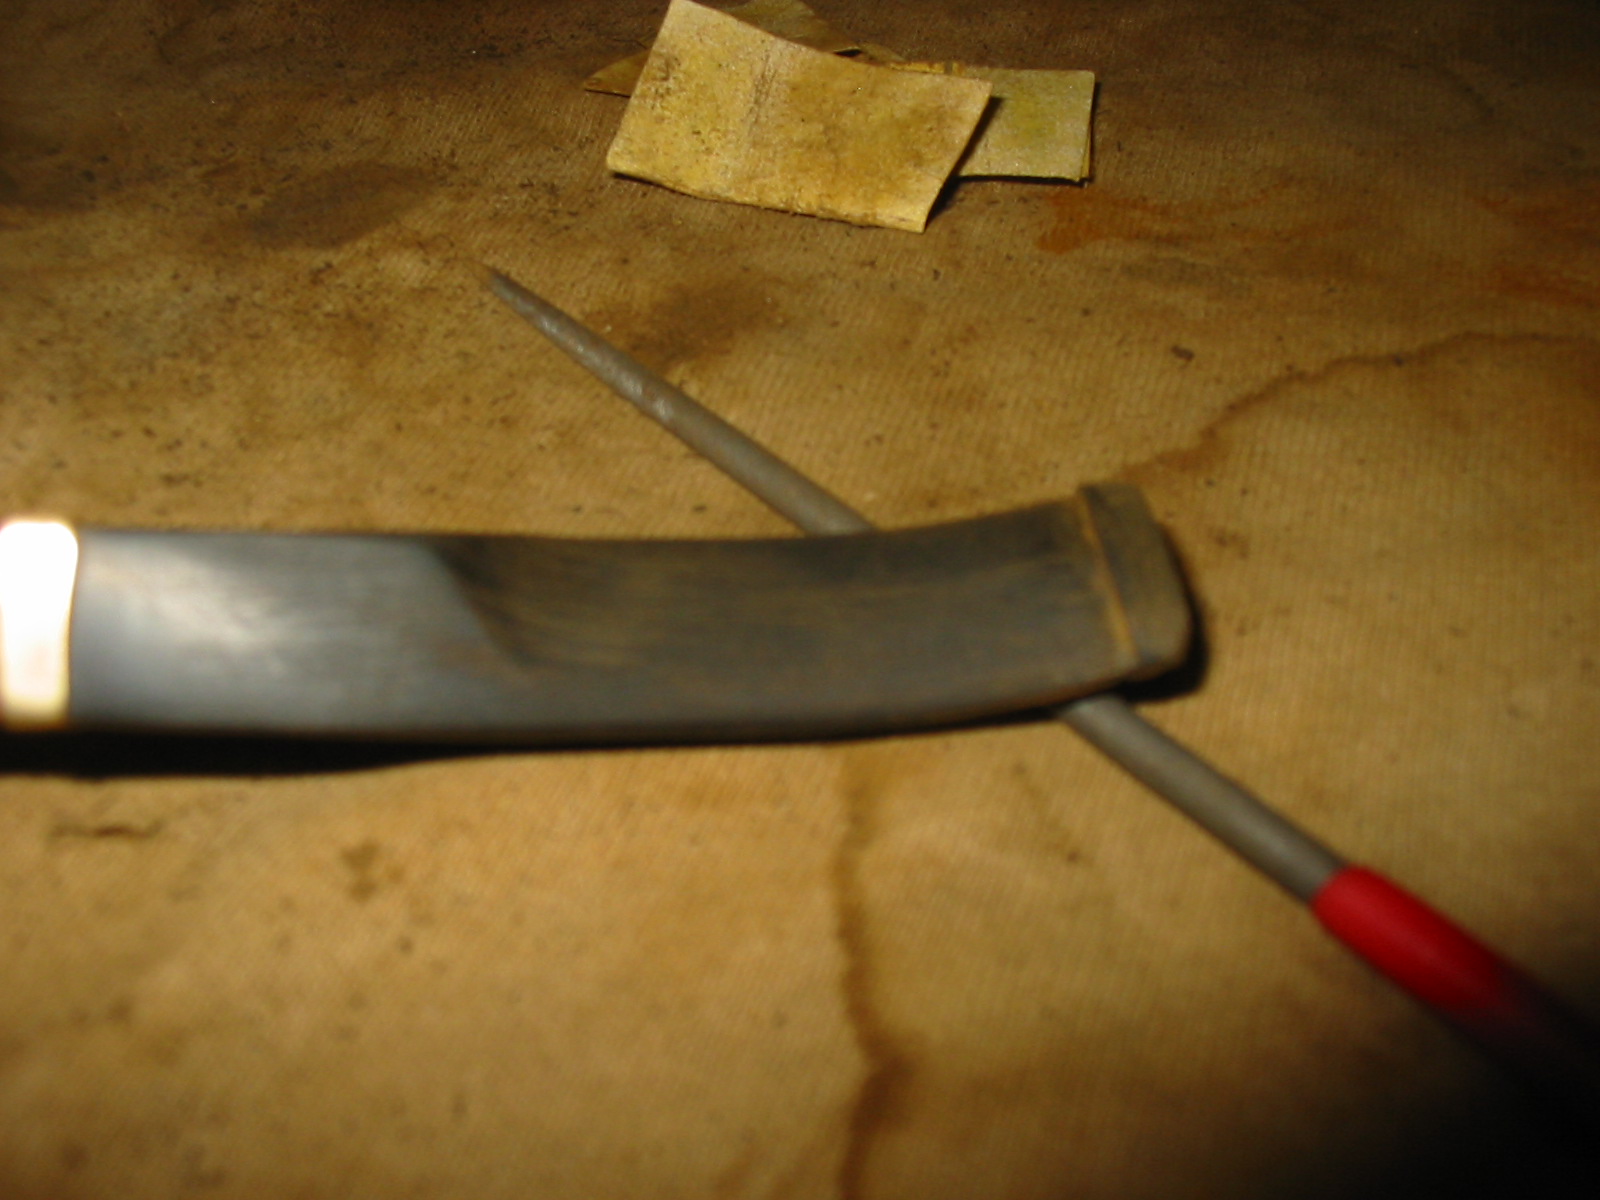
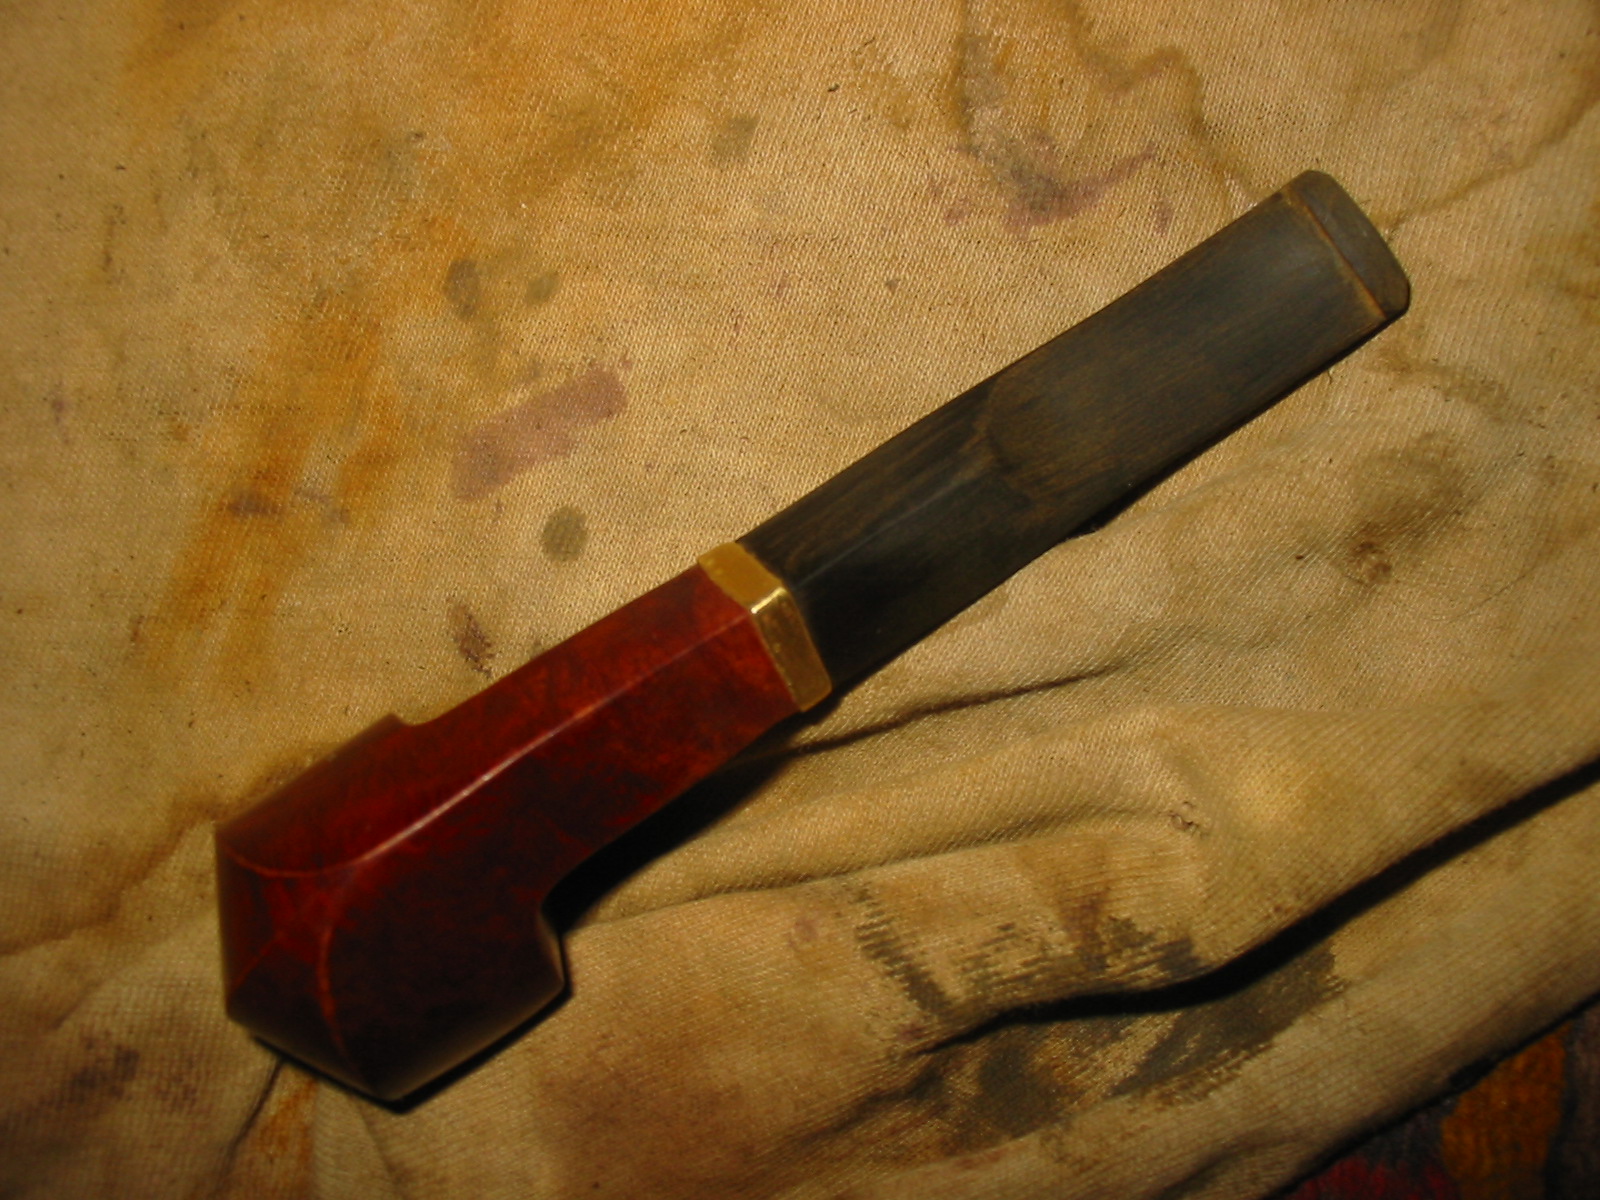
With the length cut back I then recut the button on the end of the stem with needle files. I began by cutting in the line of the button on the underside and the topside of the stem and then used the files to trim back the thickness of the stem from the saddle to the new line of the button. I used a rasp to thin down the thickness of the stem as well. I wanted a graceful flow to the taper of the blade of the stem so I worked it until it was thinner on both the top and bottom sides of the stem from the saddle to the button.
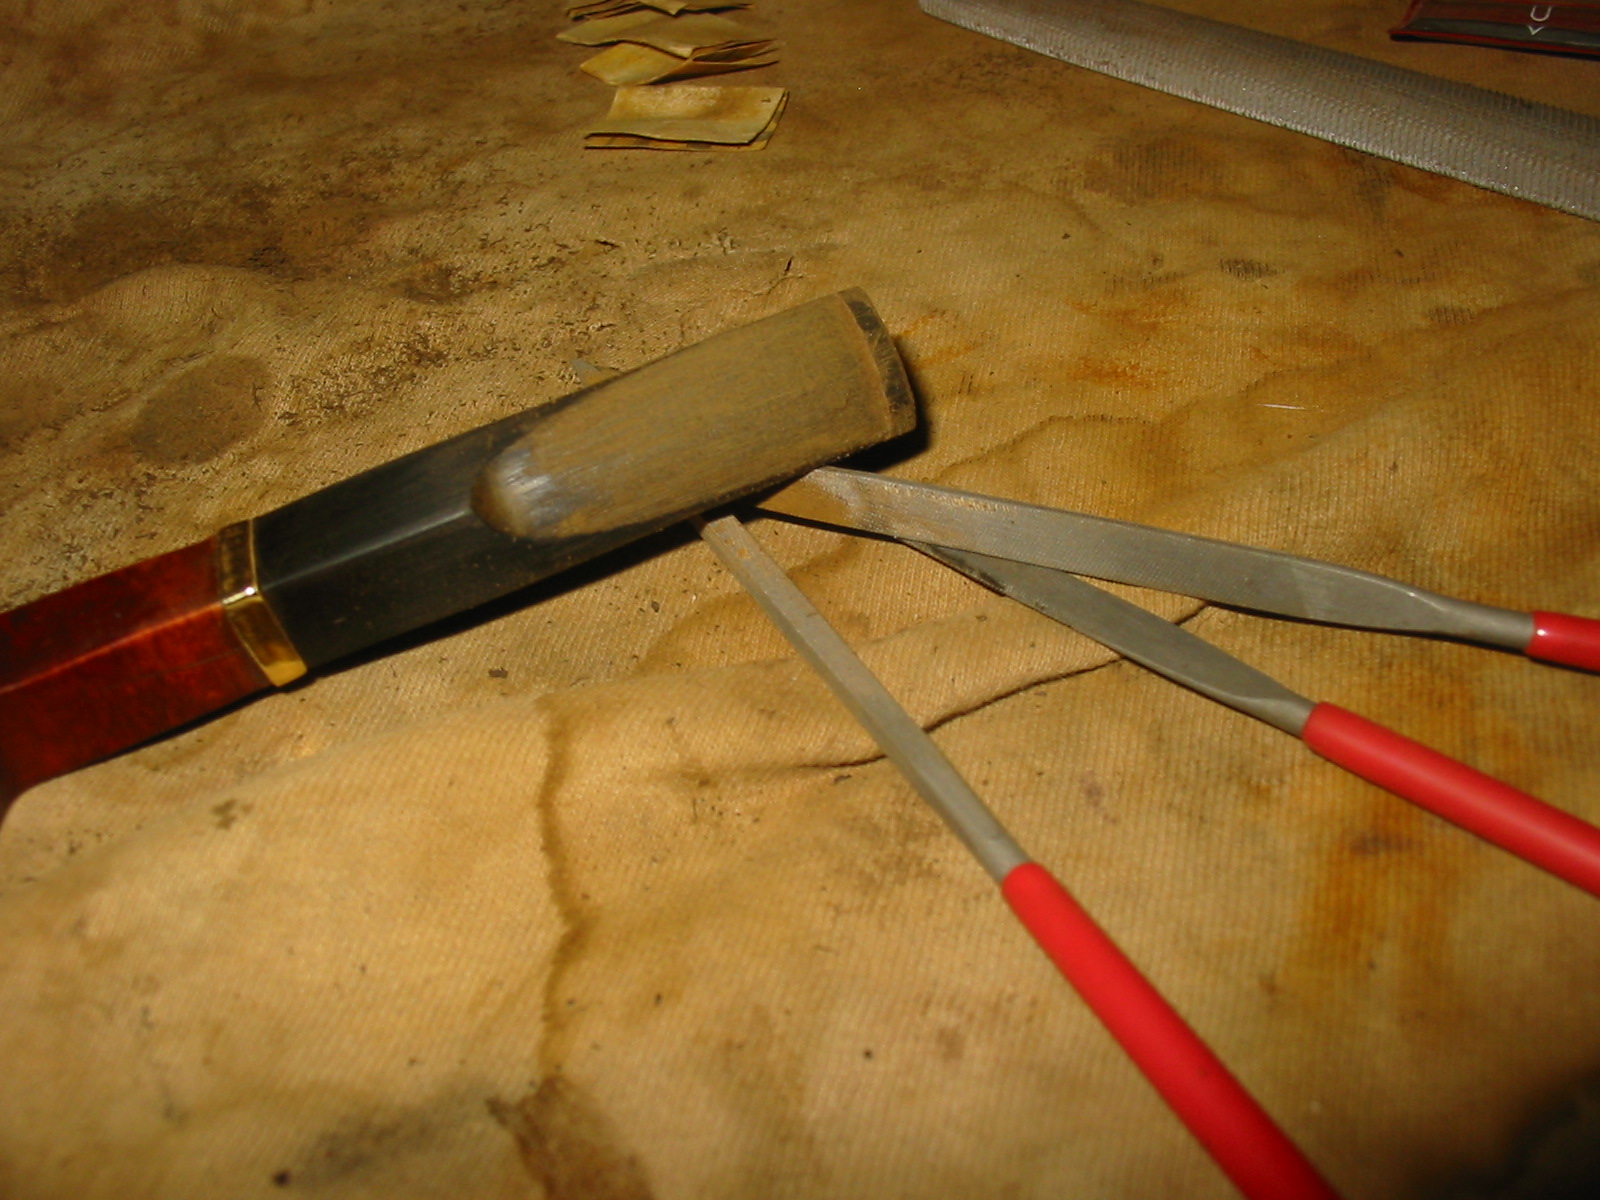
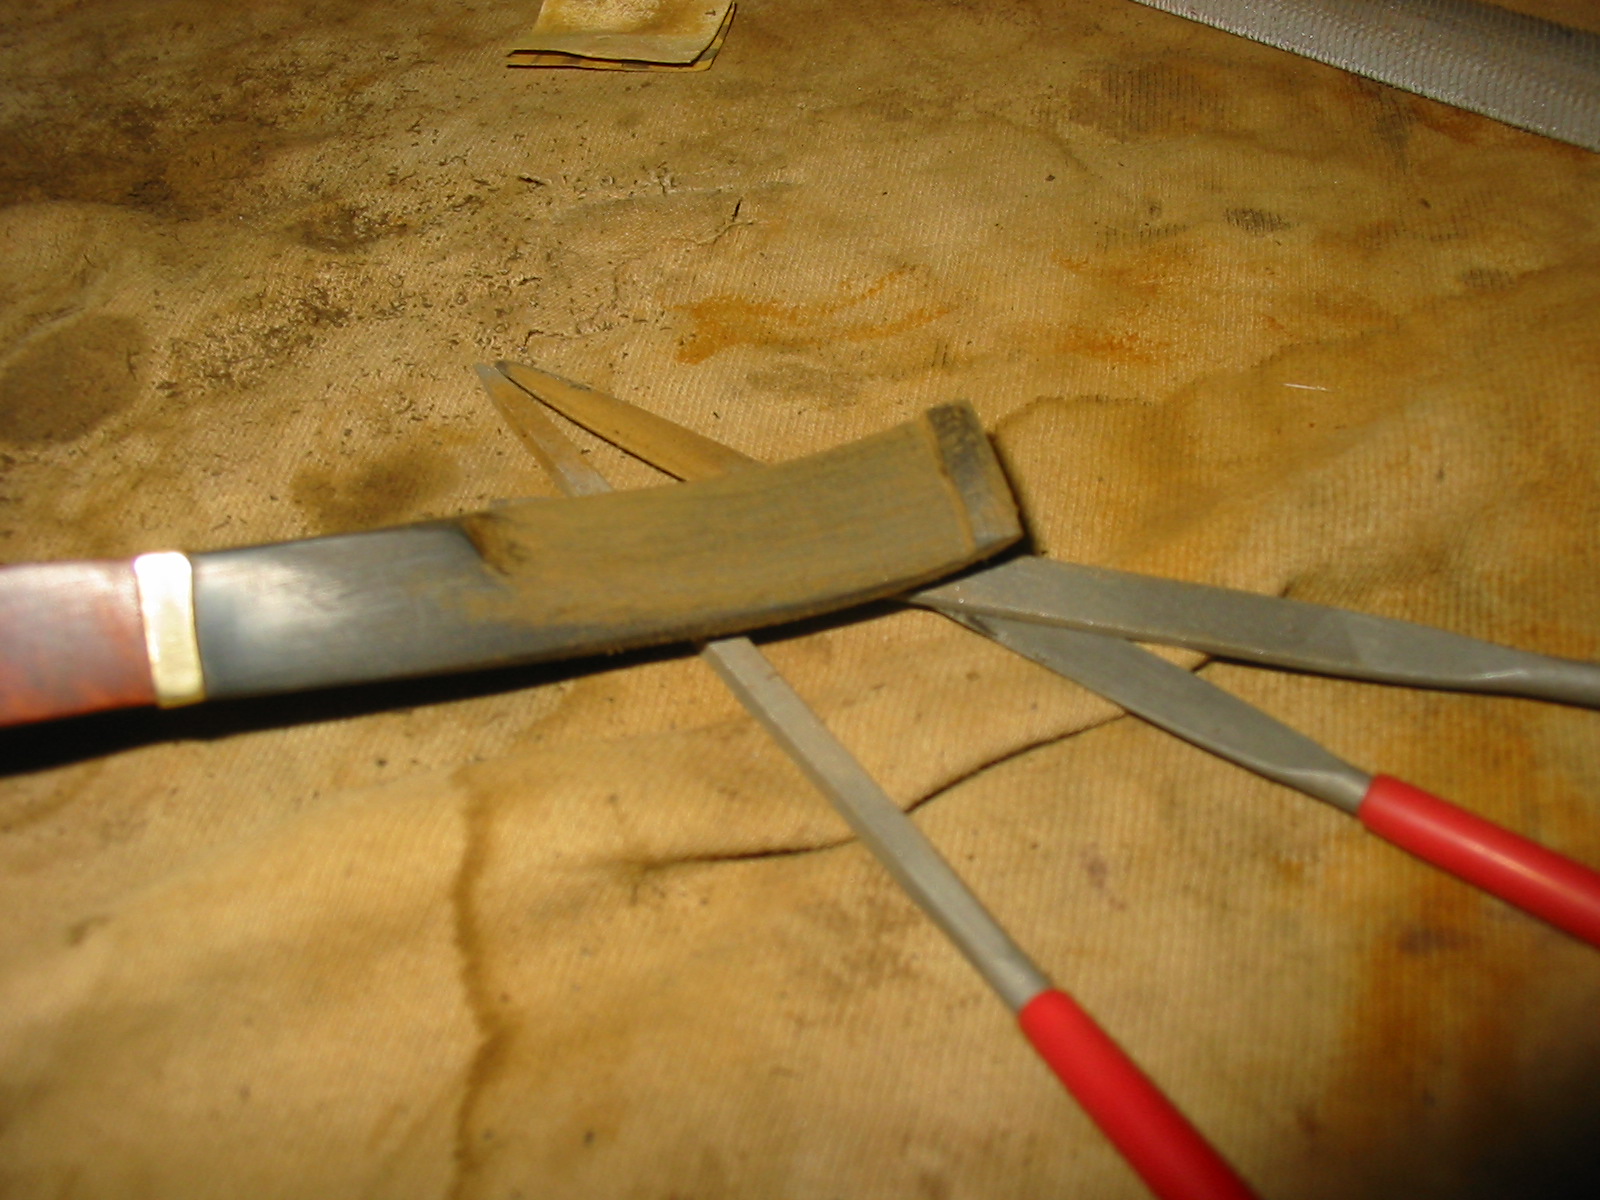
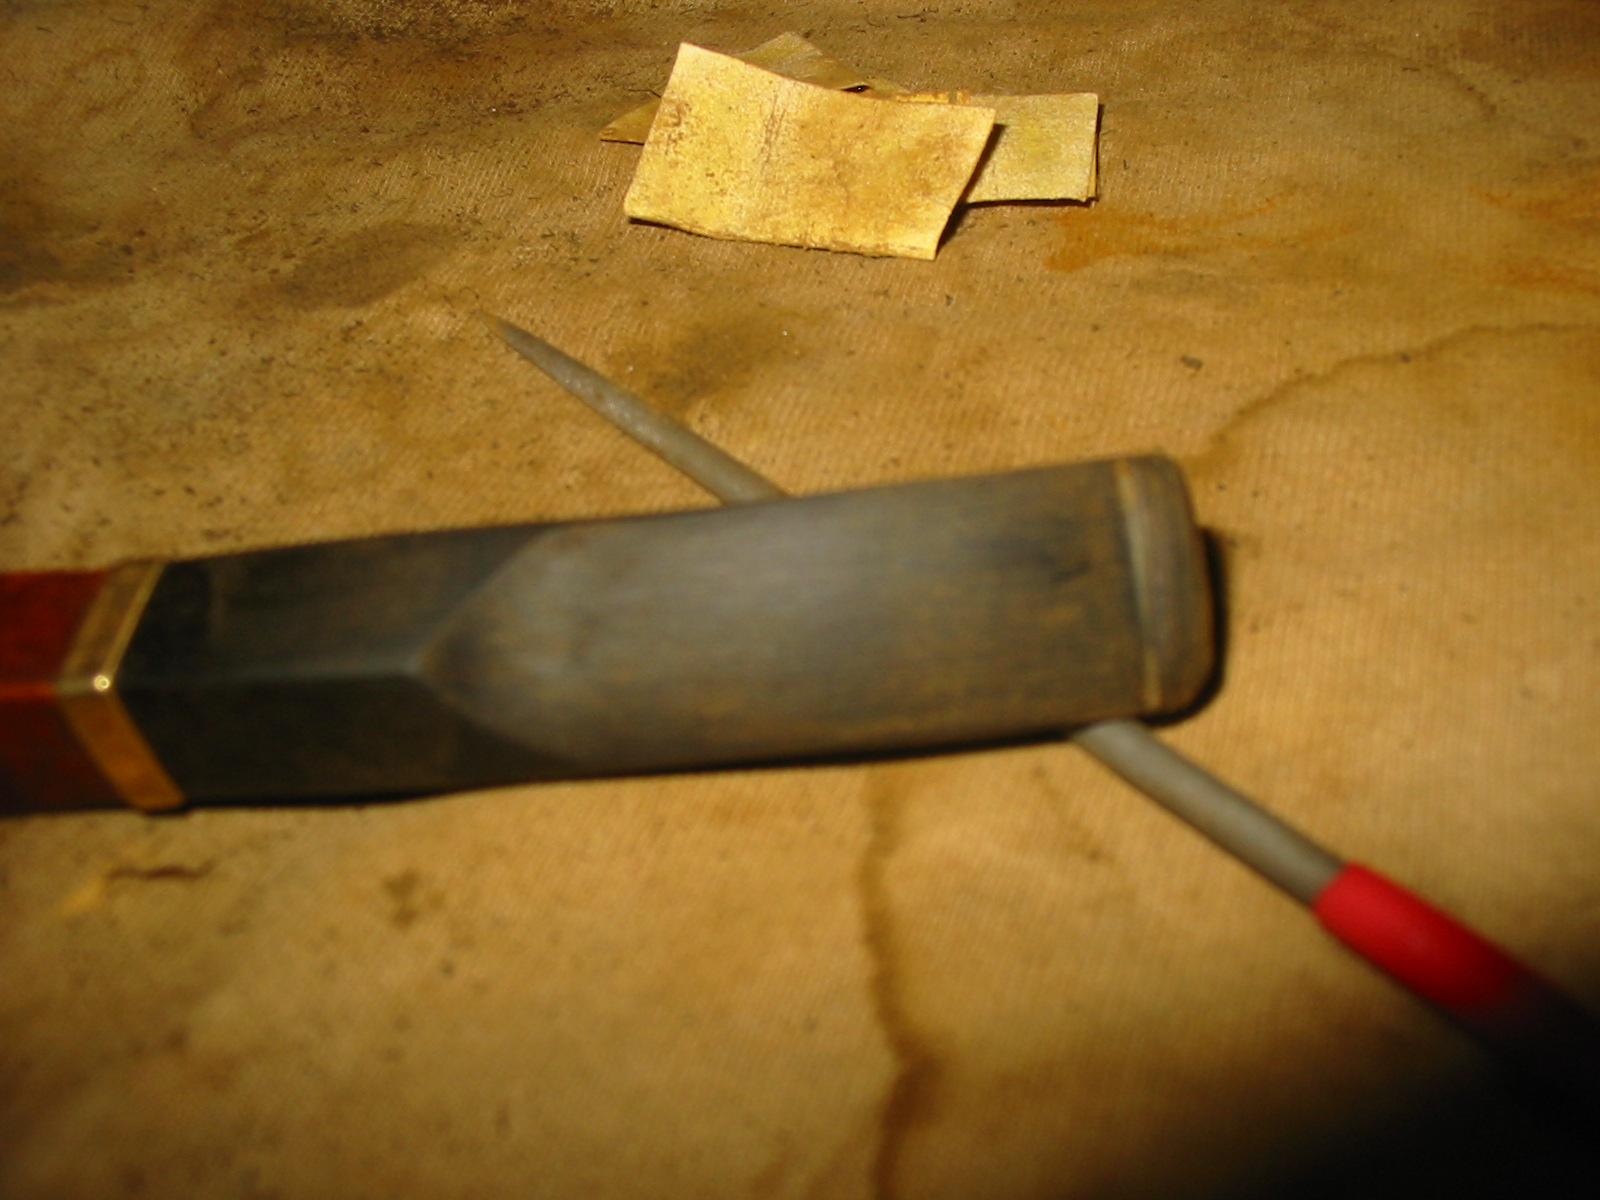
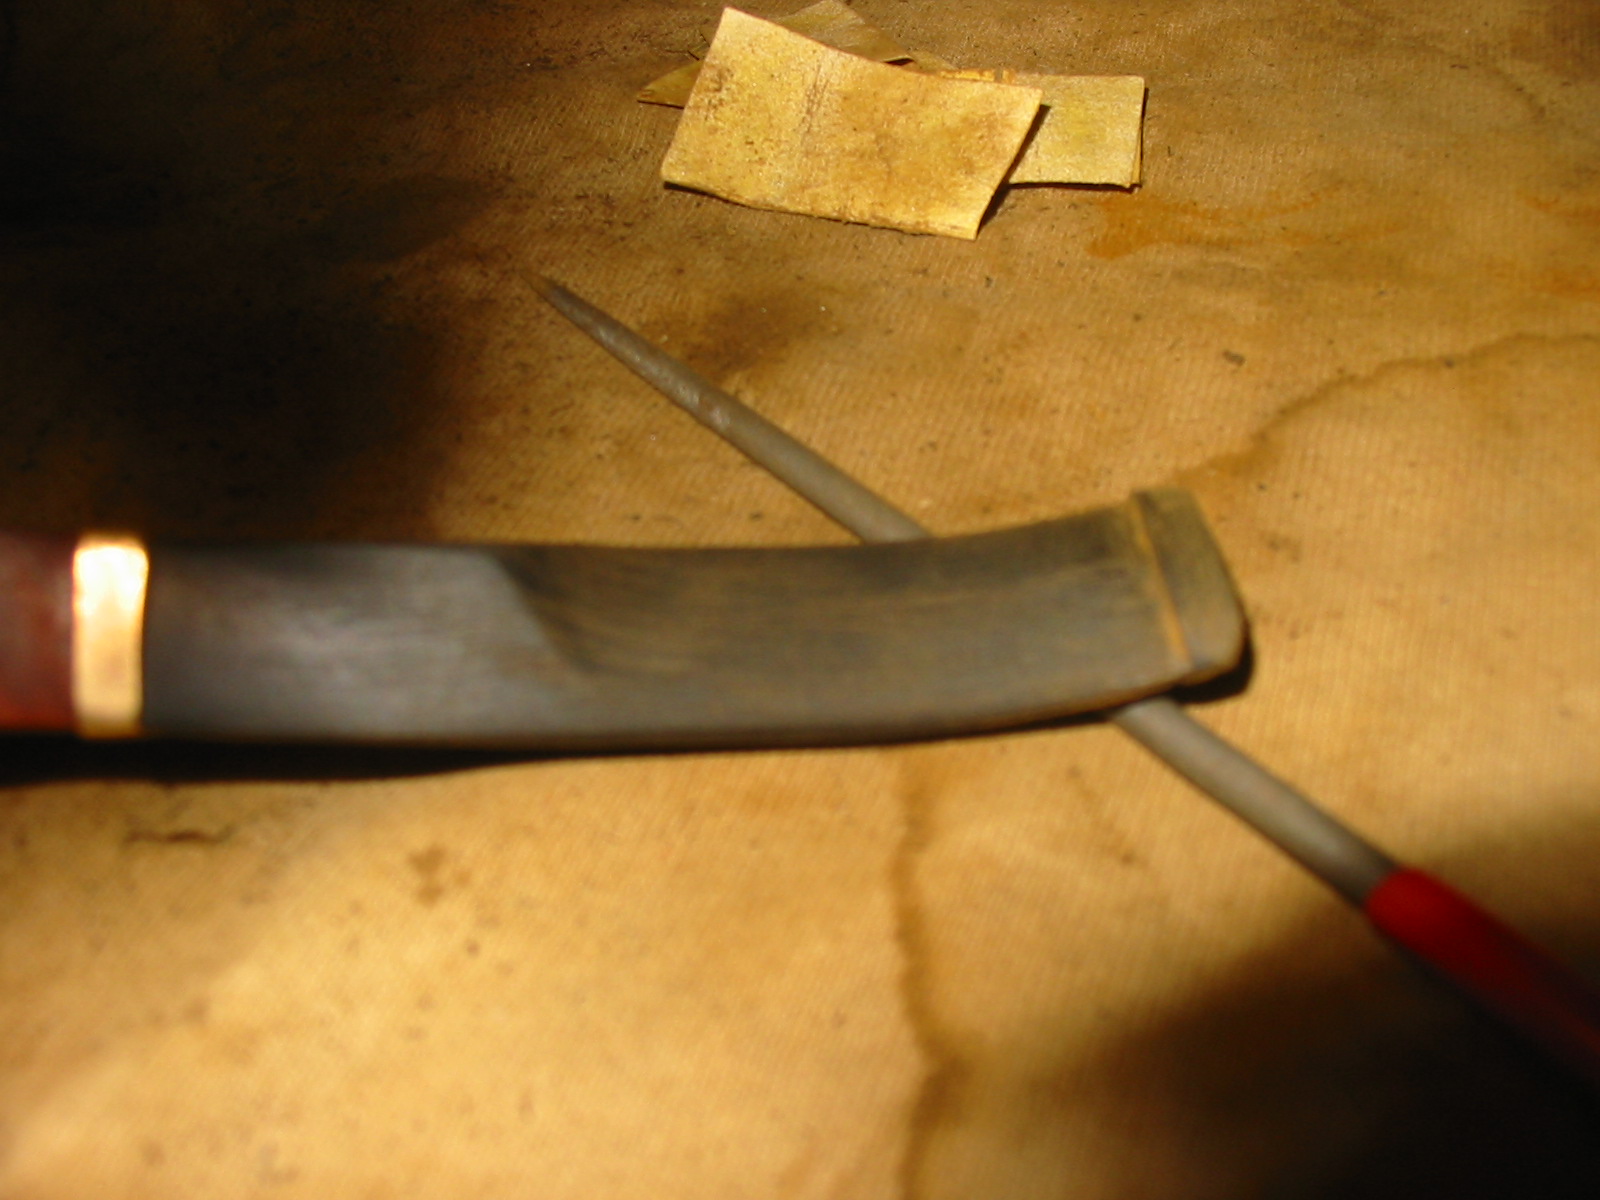
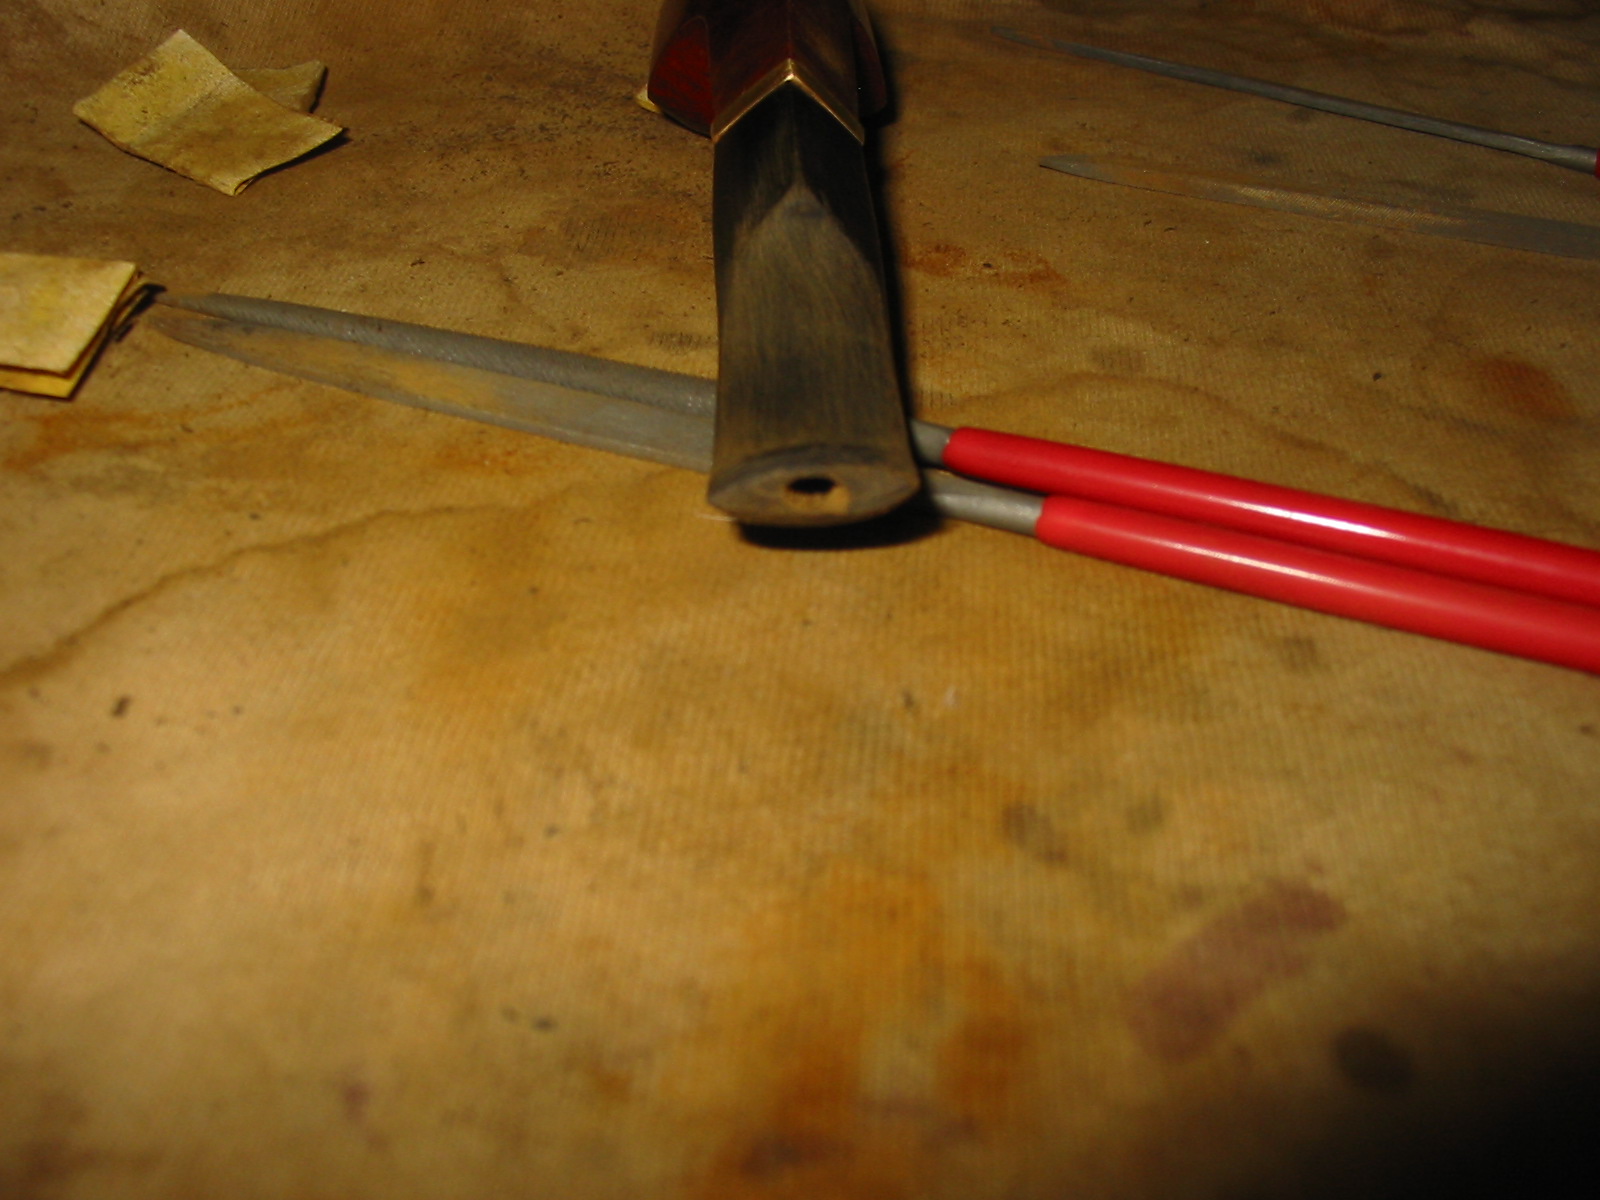
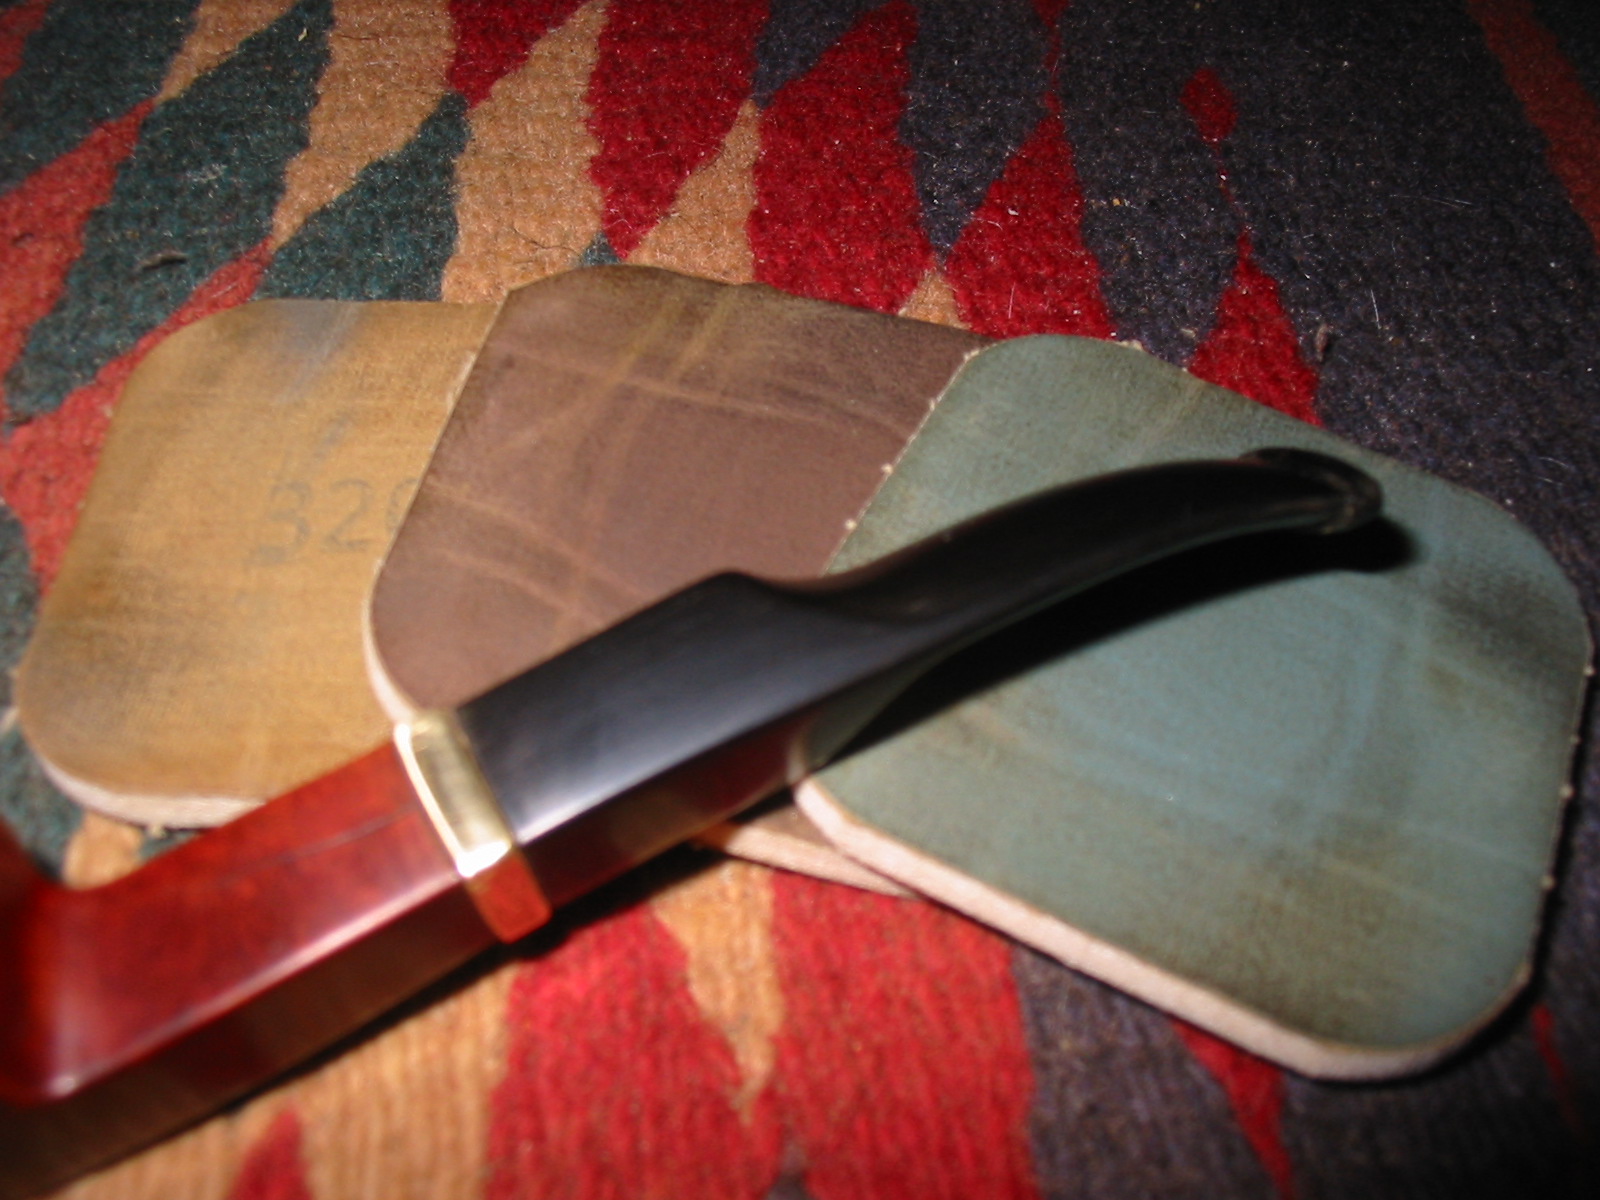
The next series of seven photos show the gradual transformation of the thick and chunky stem after I had first cut the button to the sleeker look of the stem after the file work. I continue to shape the blade with the needle files until the flow looked right and the edges of the stem were tapered with the line of the diamond saddle.


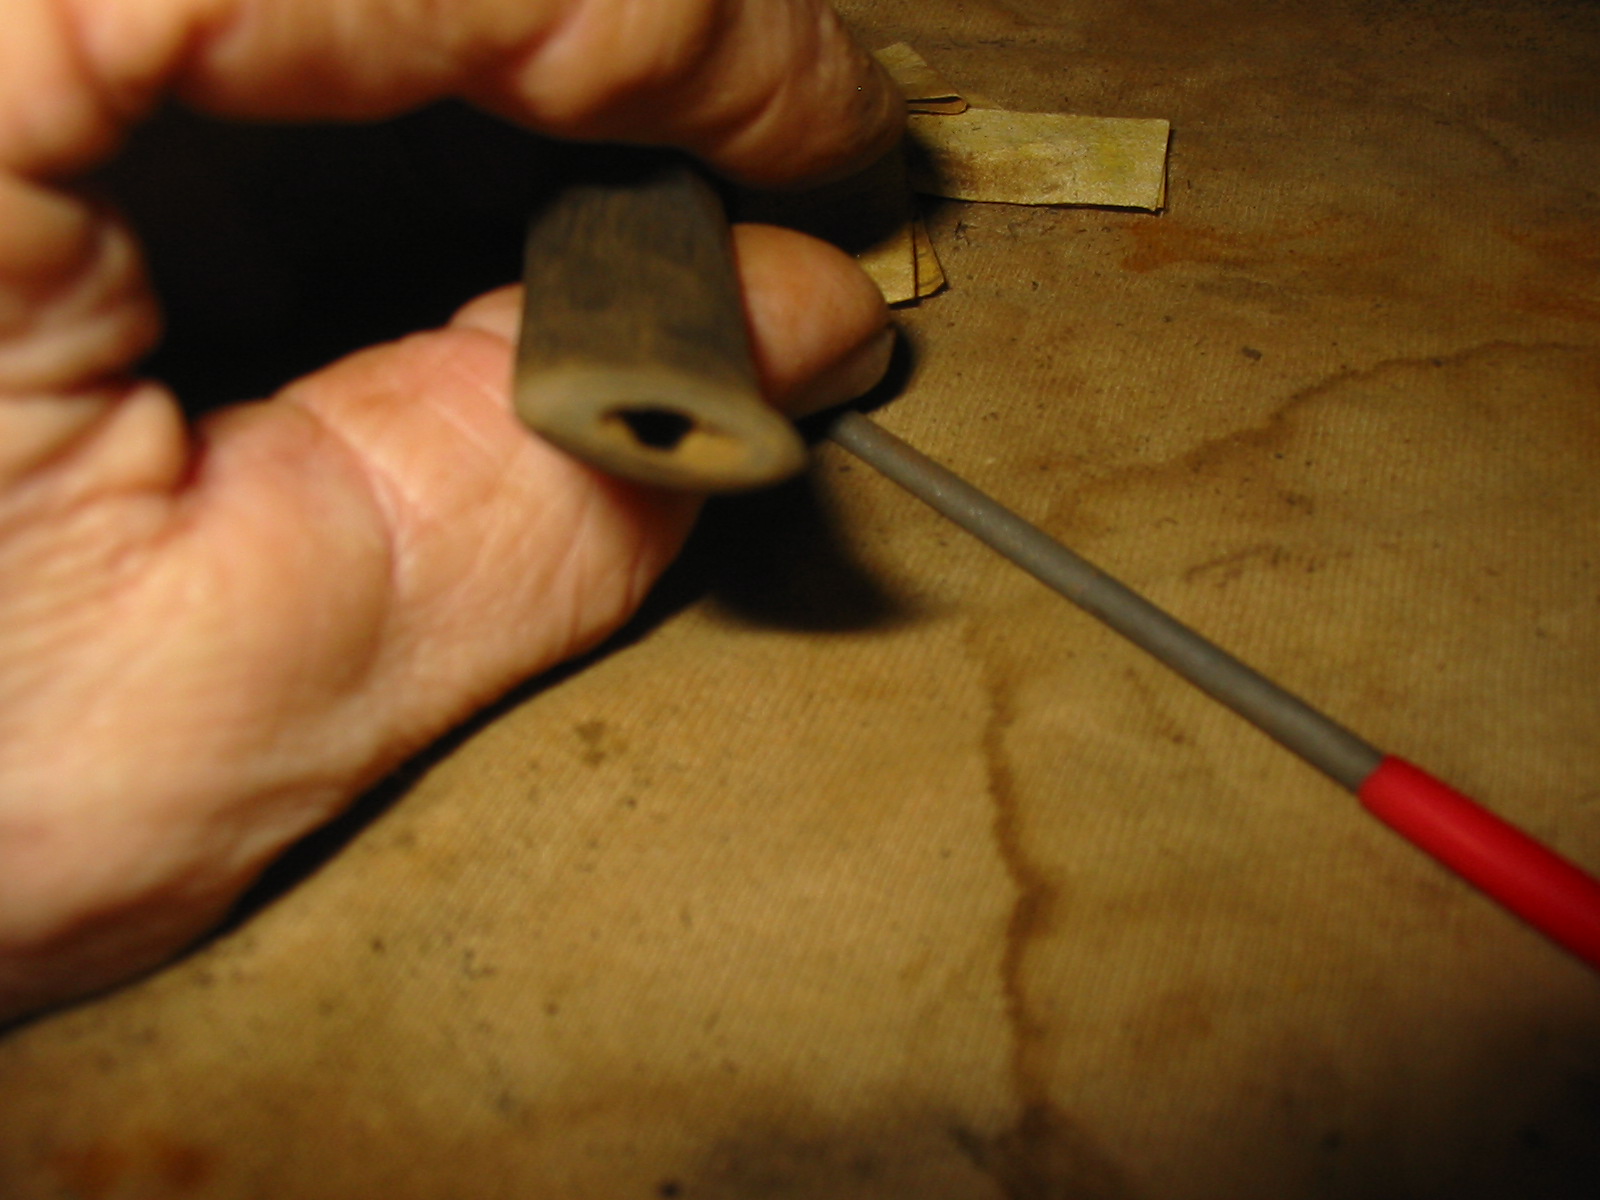
I reshaped the slot in the button with the needle files into an oval and opened up the airway into a funnel into the blade of the stem. I sanded the end of the button and the opened slot with a folded piece of sandpaper to smooth out the airway.
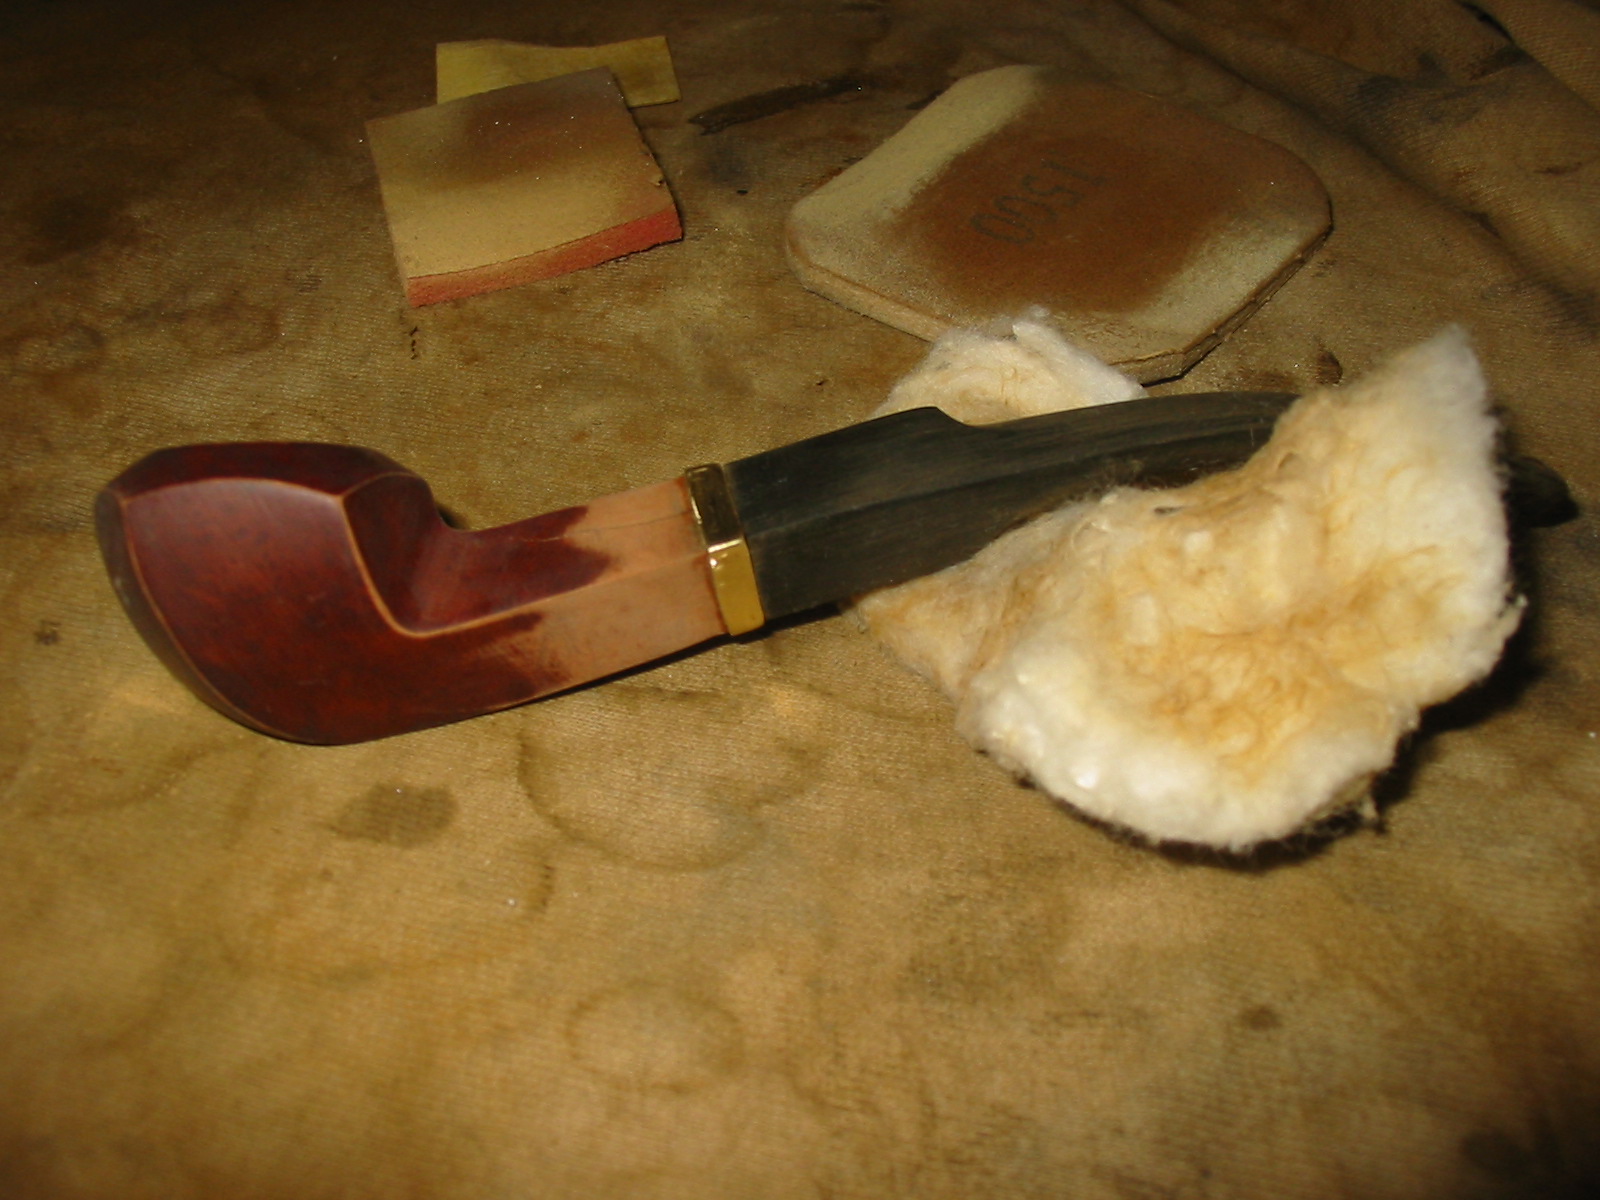
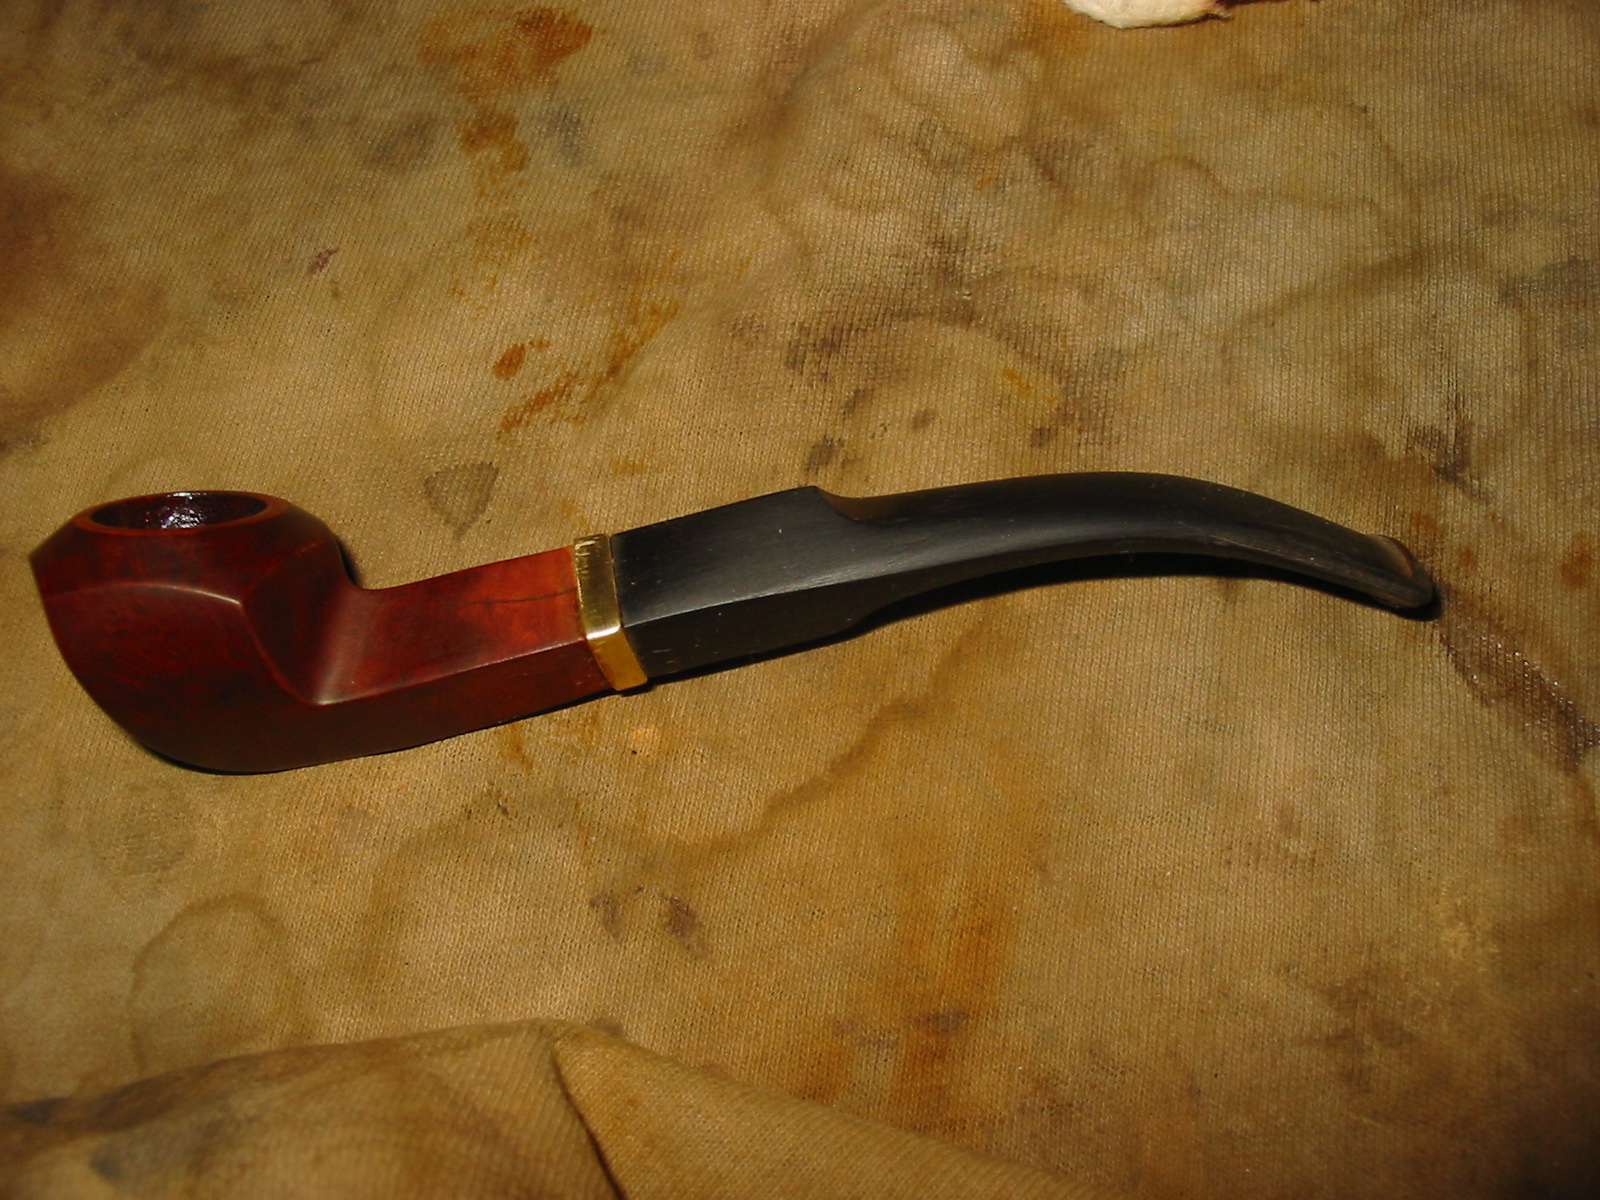
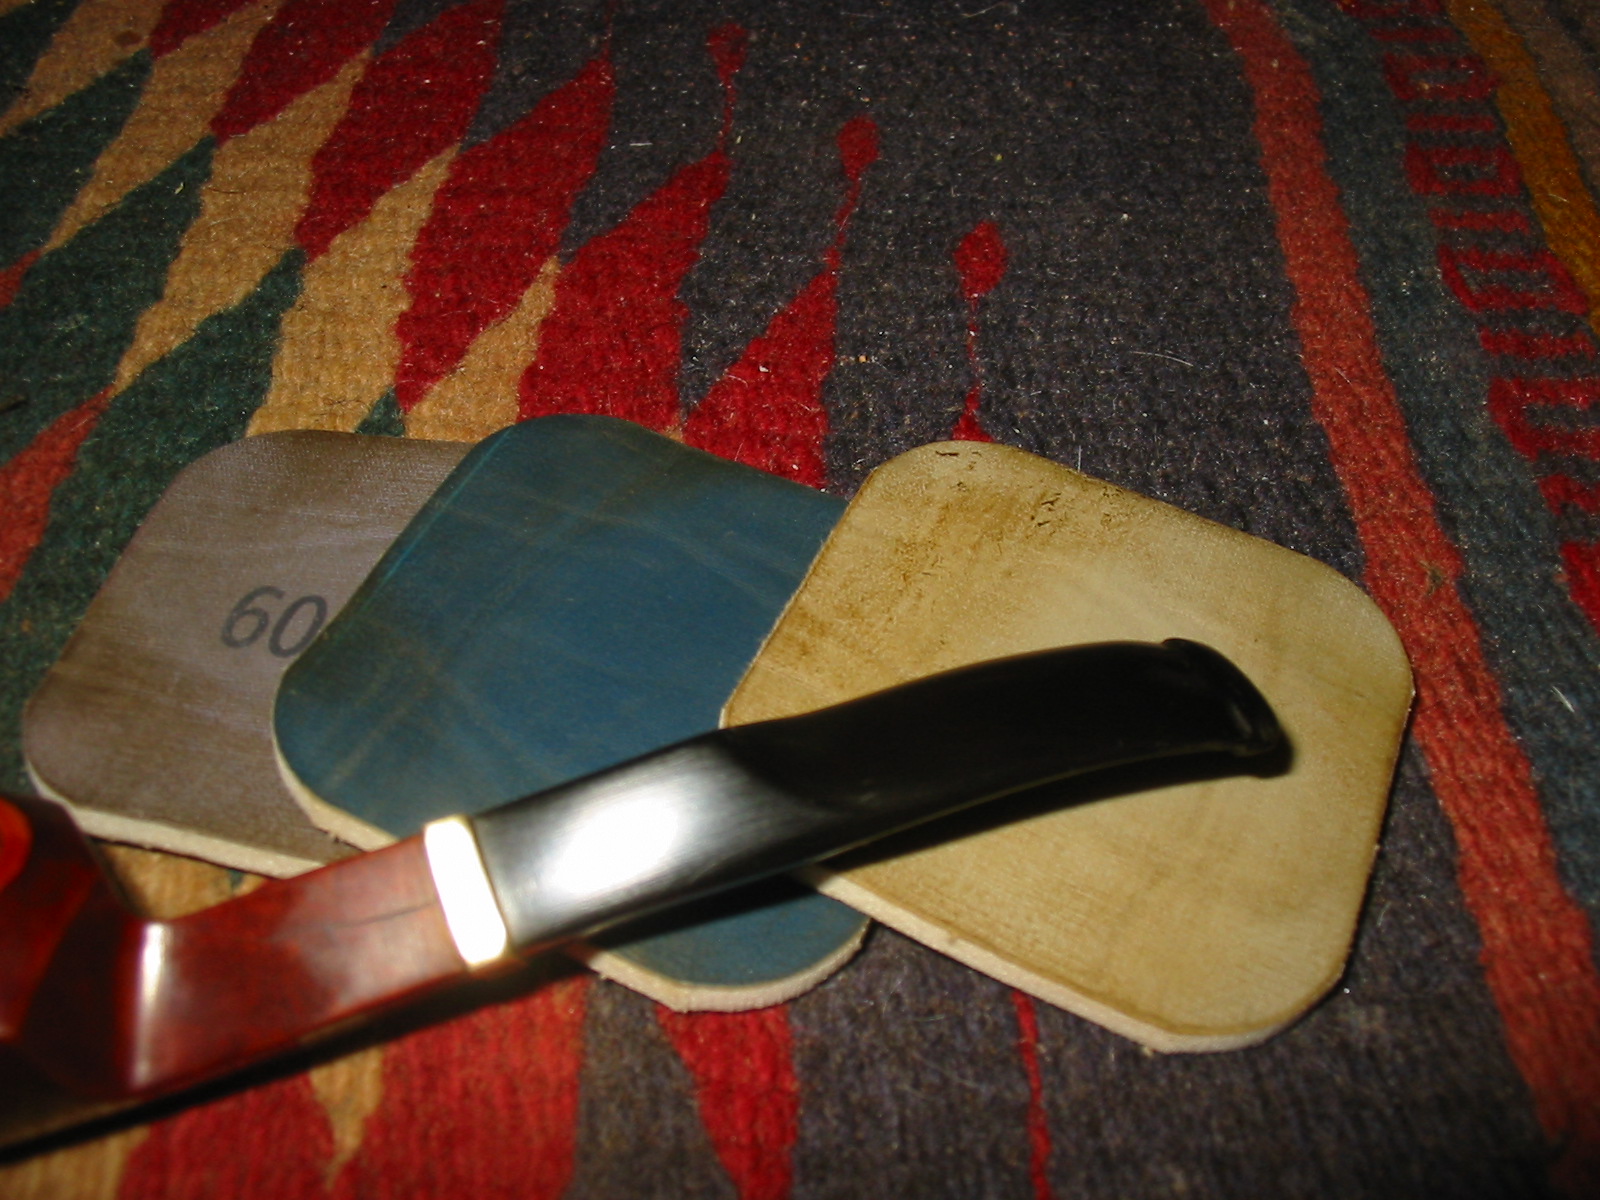
I sanded the stem with a fine grit sanding sponge to minimize the scratches left behind by the 220 grit sandpaper and to give shape and form to the button. The next series of four photos show the shortened and reshaped stem. The length now matches the proportion of the pipe and the angle of the bend and the shape of the button are finished. All that remains is to continue to sand and polish the stem.
I sanded the stem with micromesh sanding pads from 1500-12,000 grit to remove the scratches and fine tune the shape of the stem. Each grit of pad gave a more refined look to the newly formed stem and button.
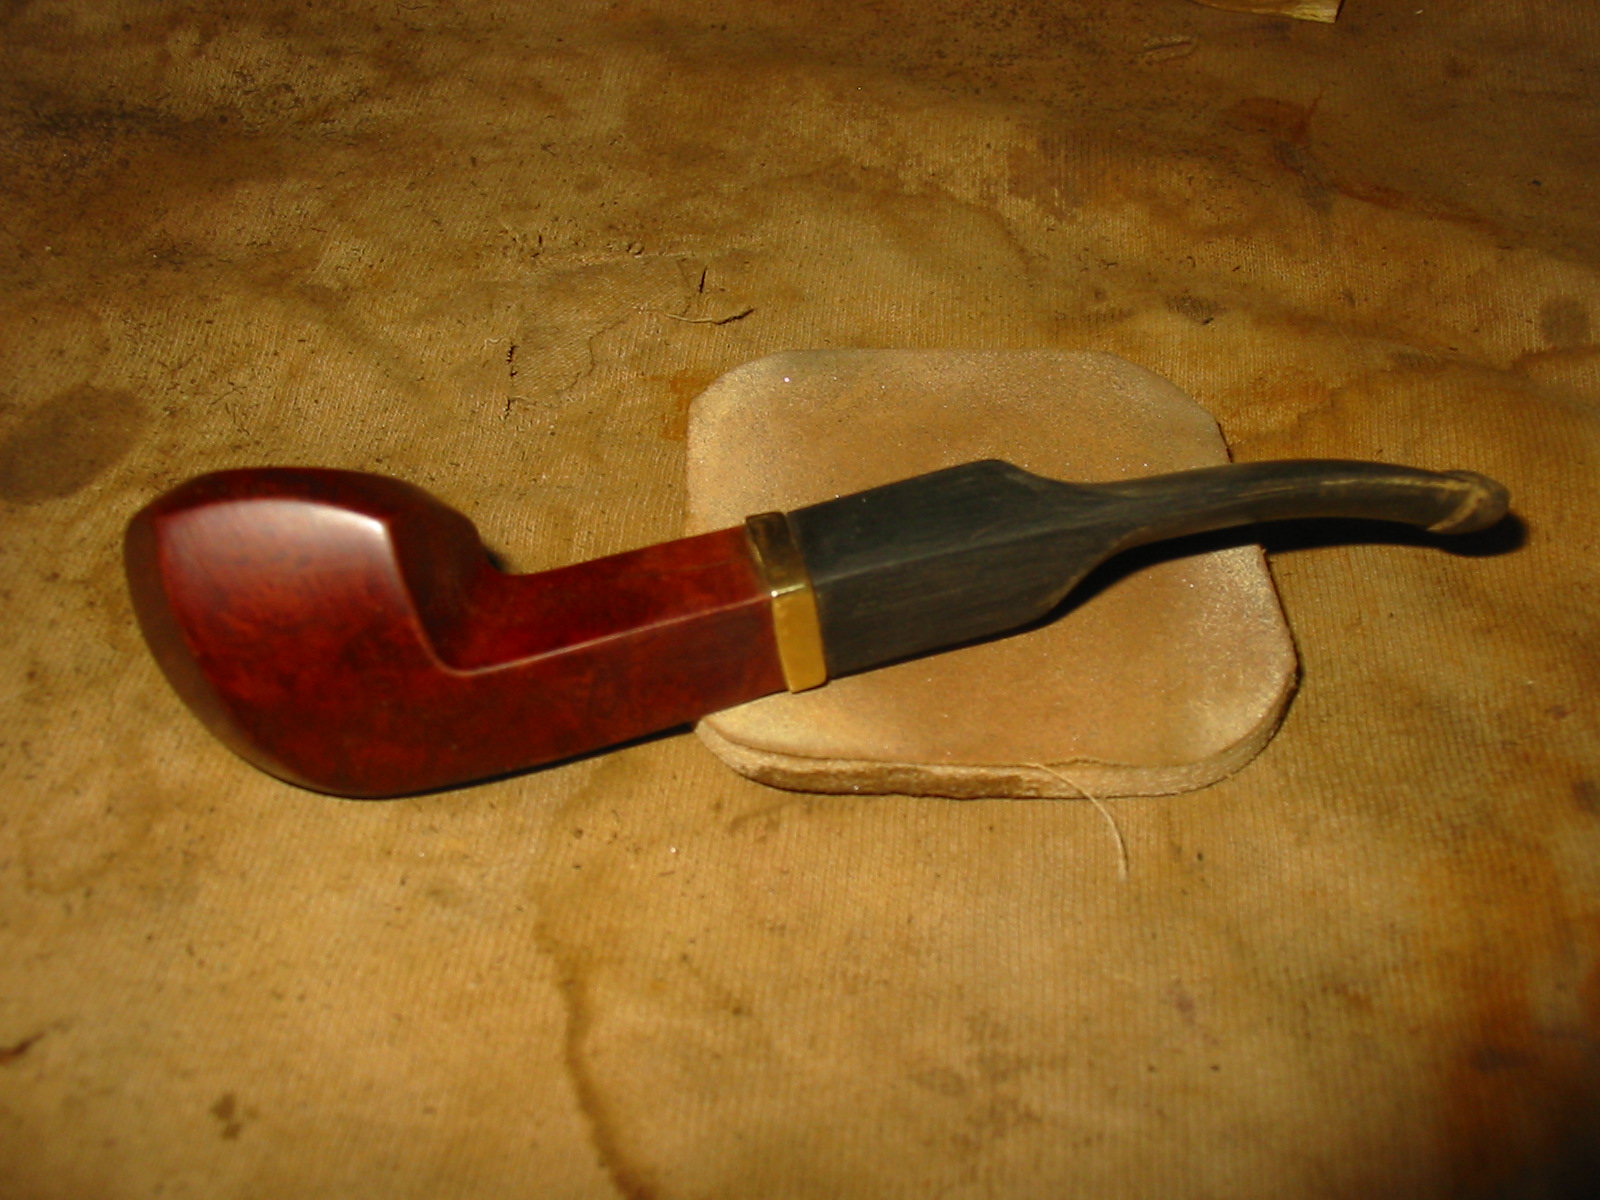

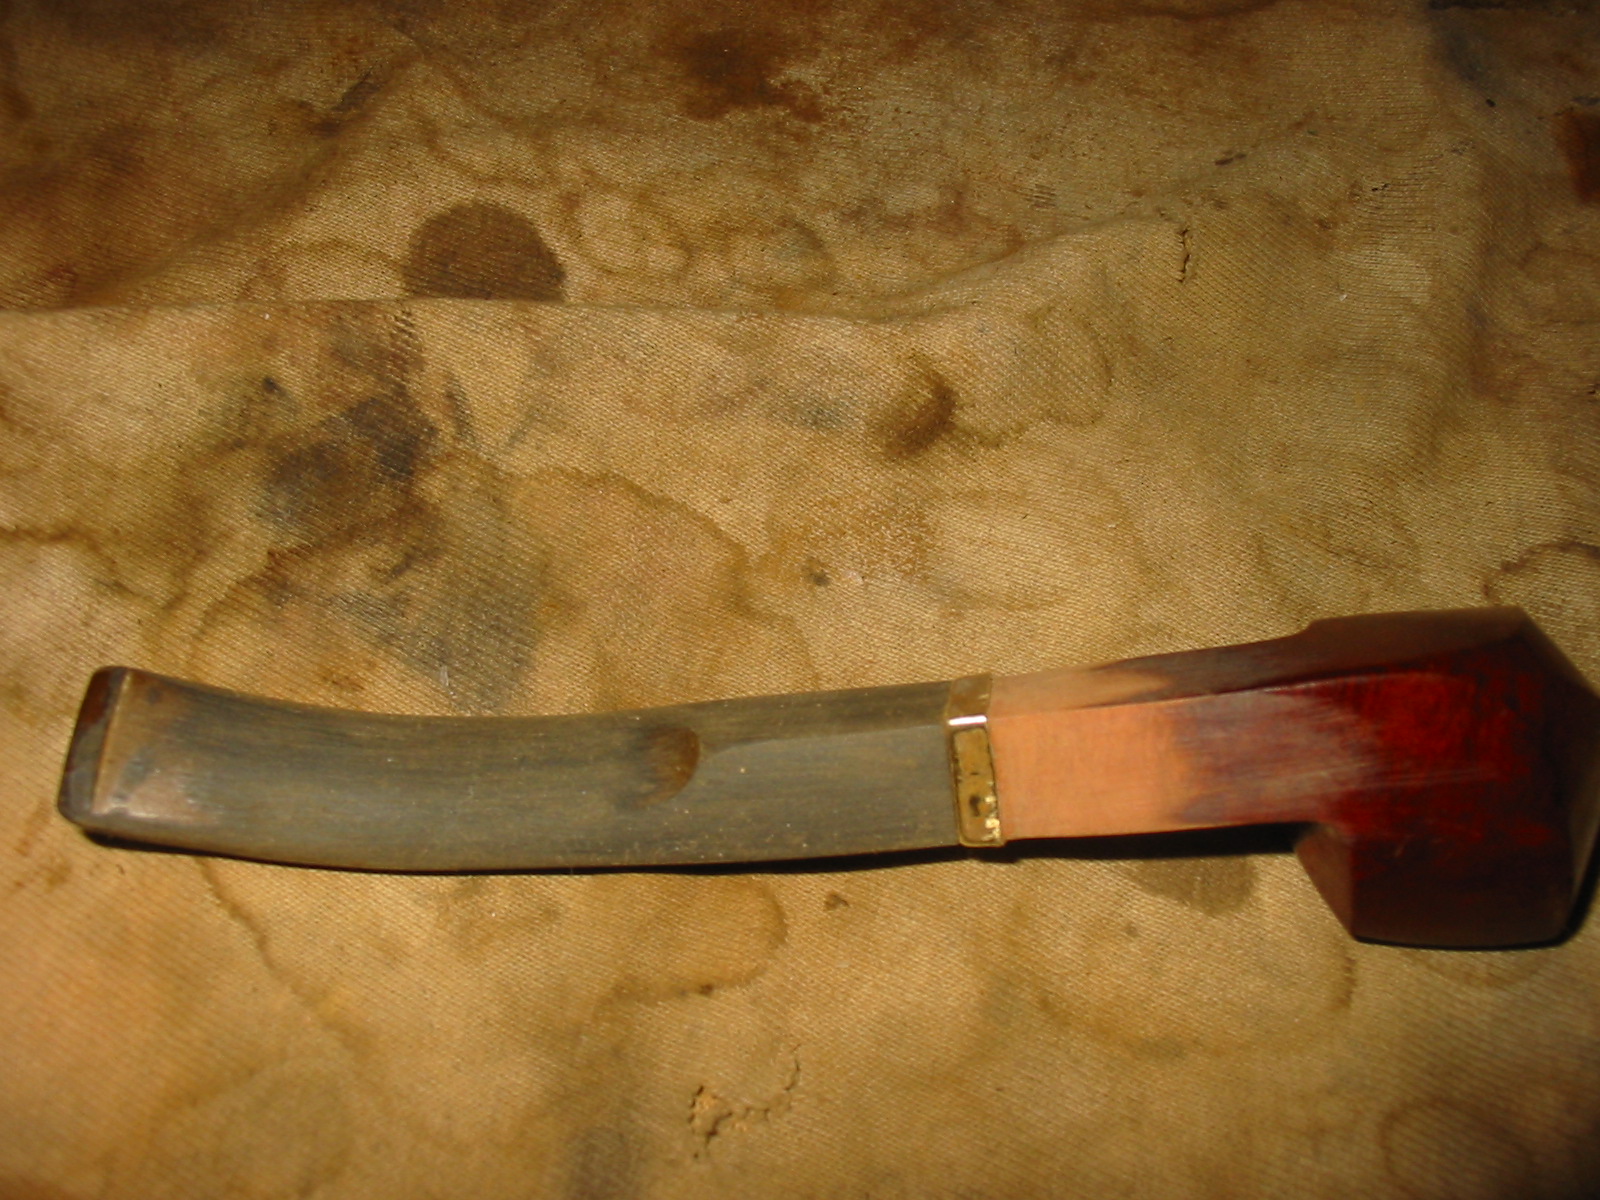
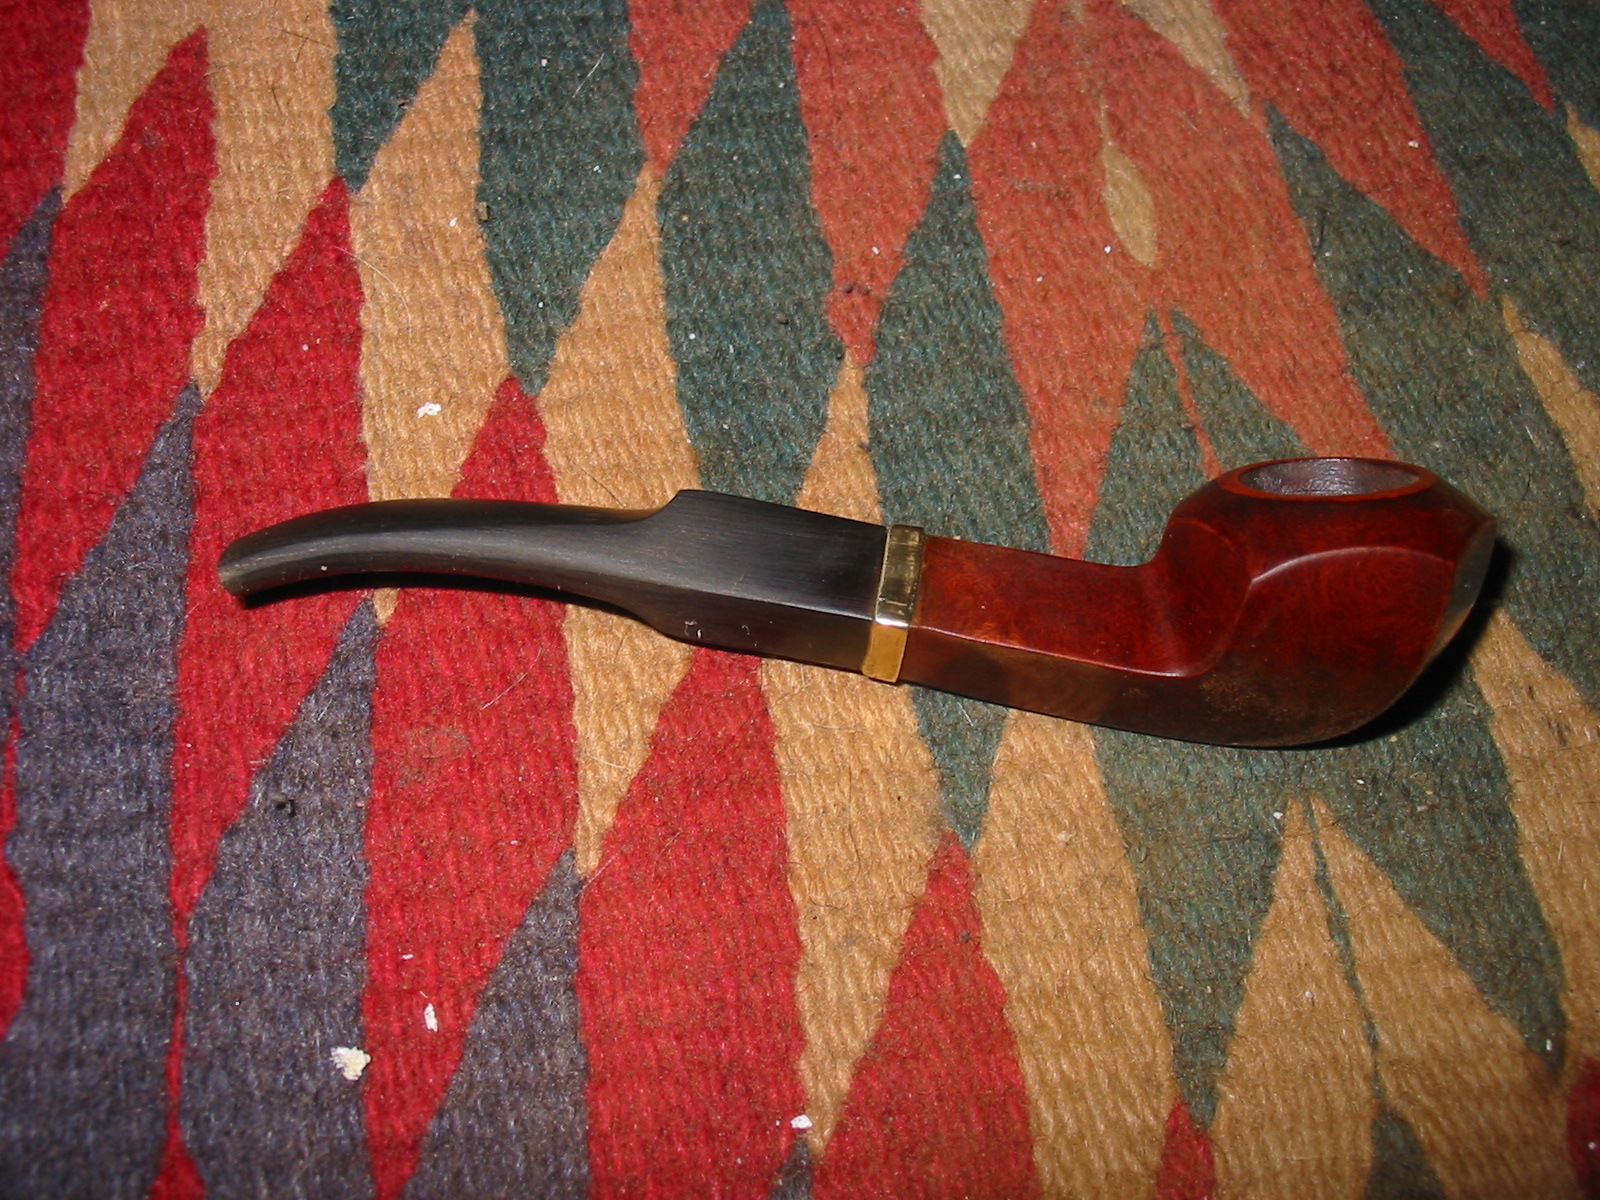
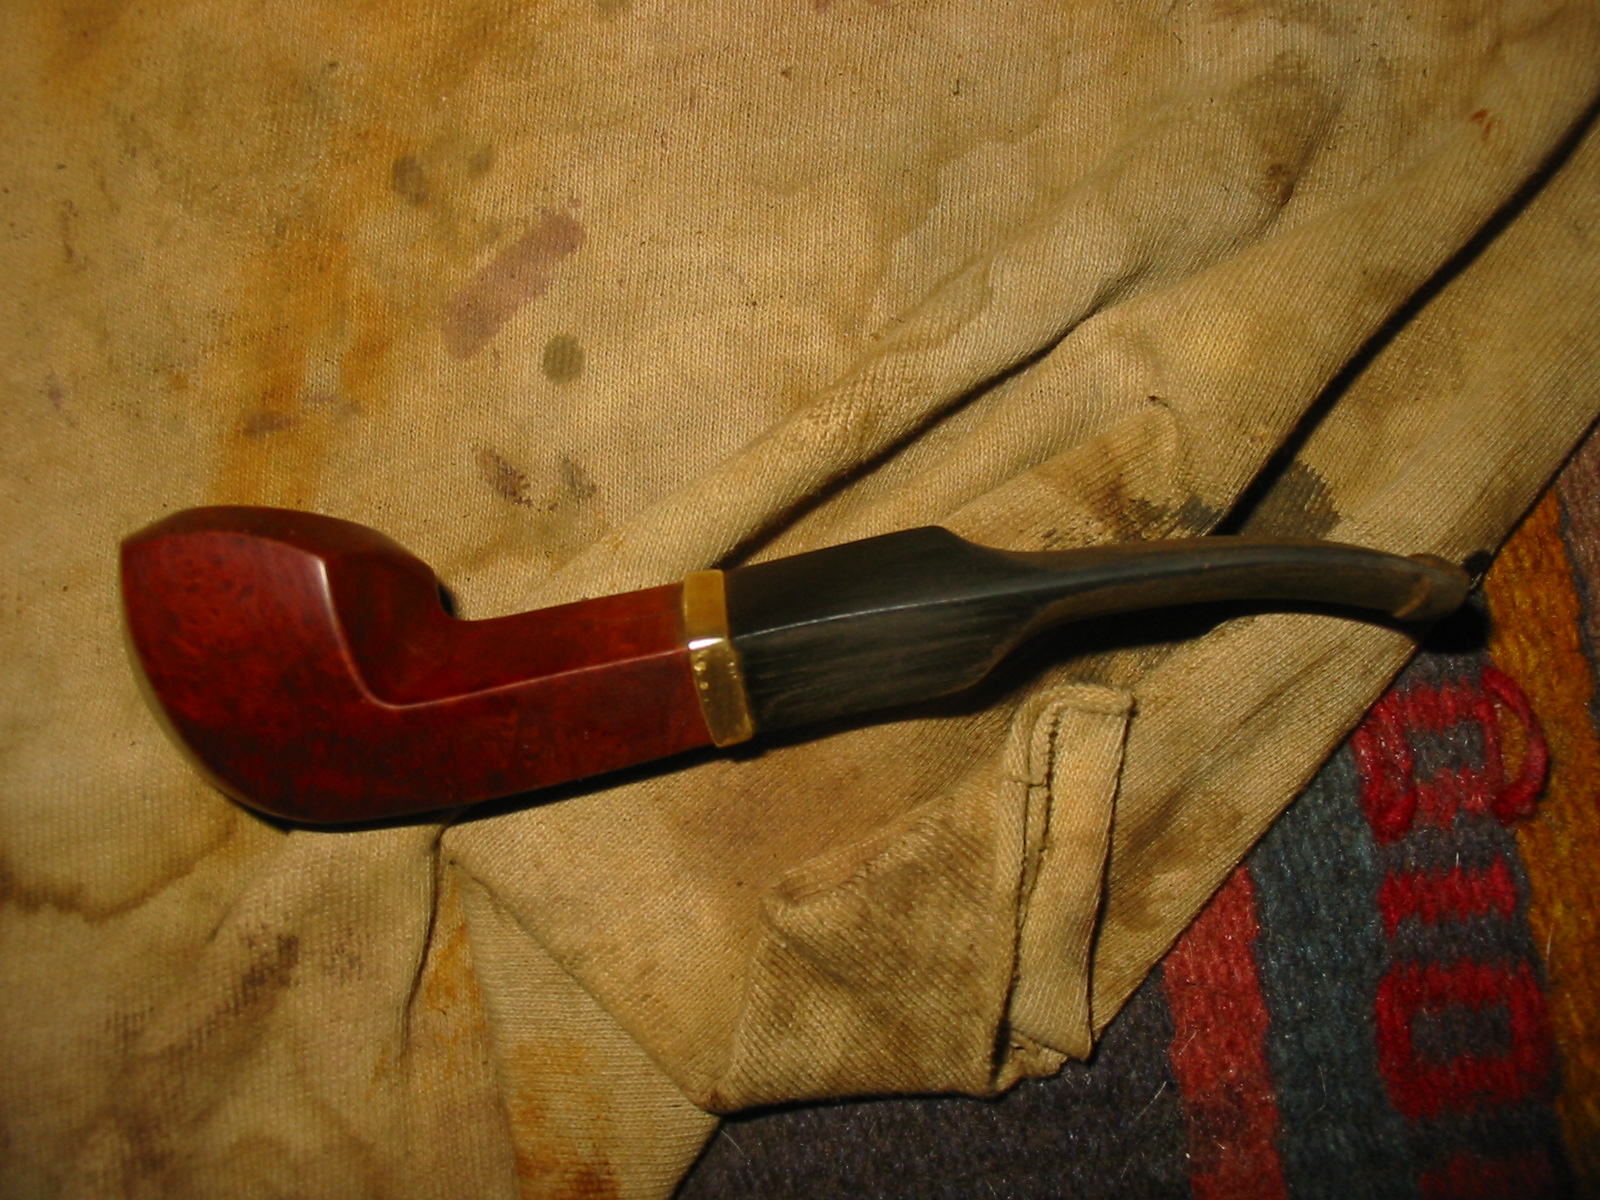
I sanded the bowl with the micromesh sanding pads at the same time as the stem and when finished I restained and flamed the bowl with the dark brown aniline stain until the coverage was better than previously. I buffed the pipe and the stem with White Diamond and then gave it multiple coats of carnauba wax. I buffed it with a soft flannel buffing wheel to bring up the finished shine. The final photos below show the finished pipe. It is finished and ready for its inaugural smoke.
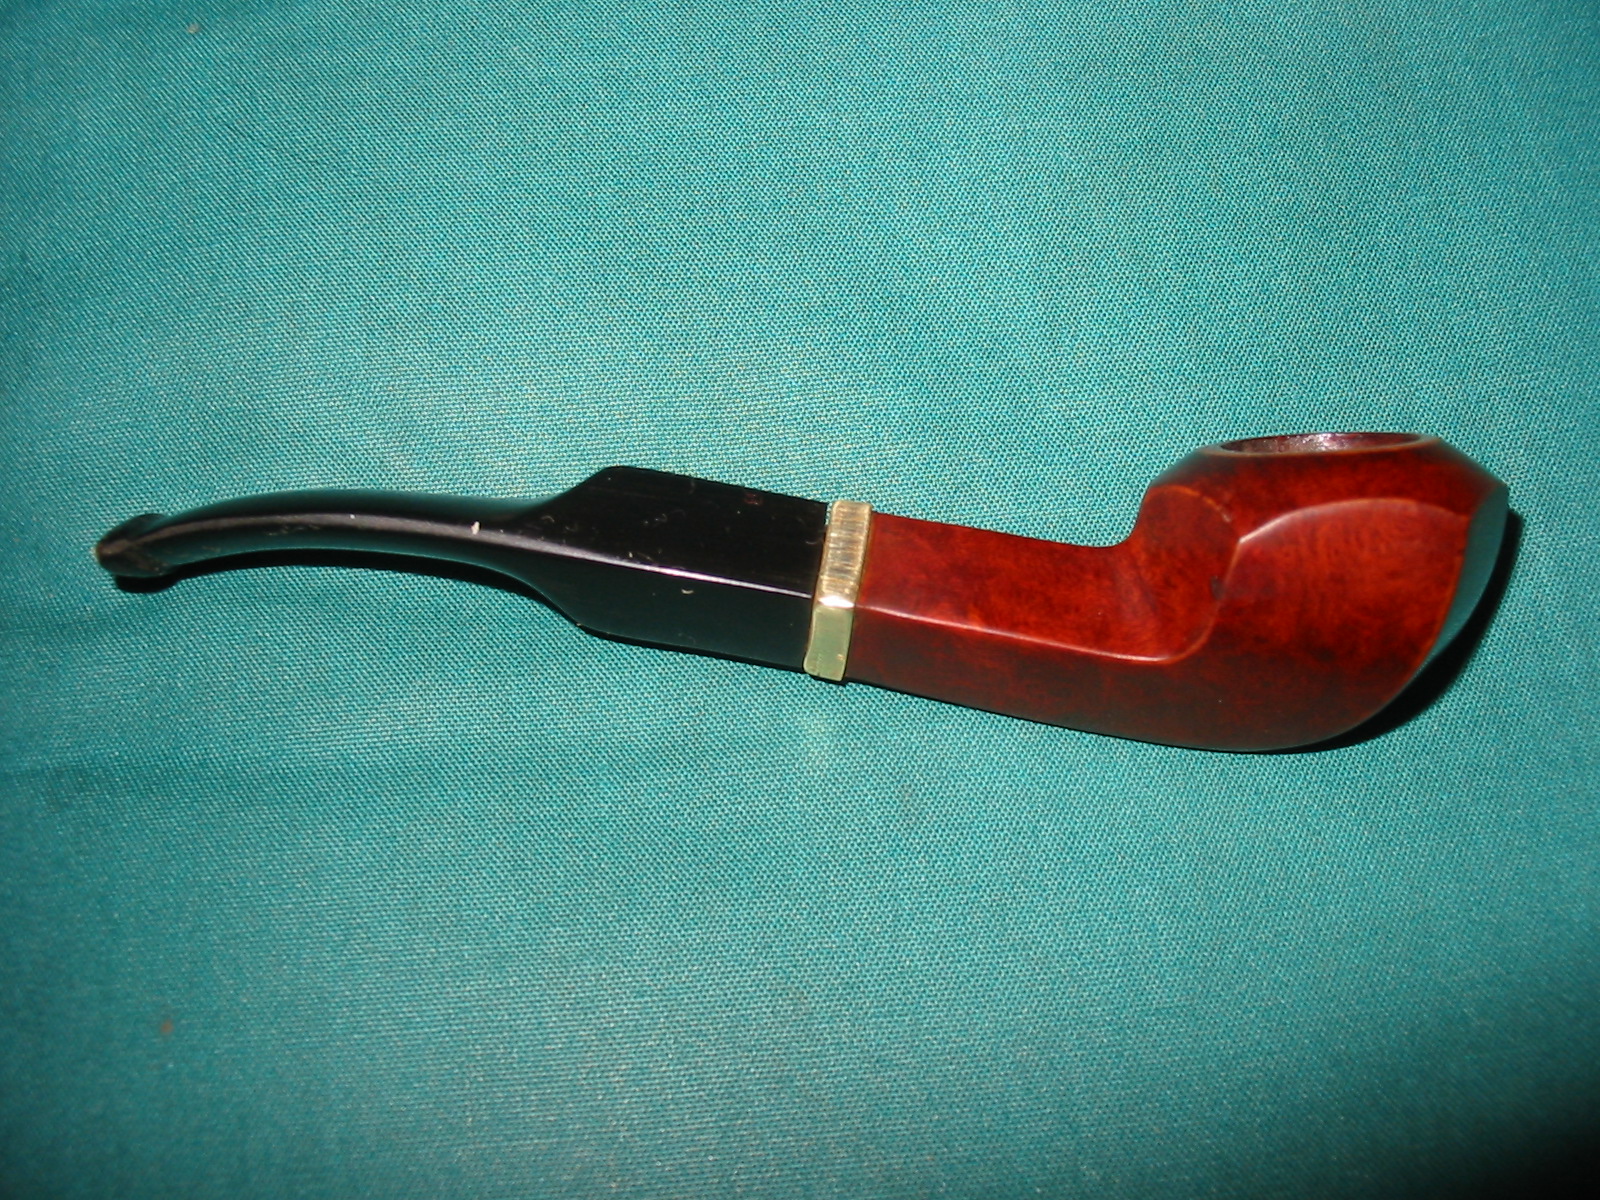

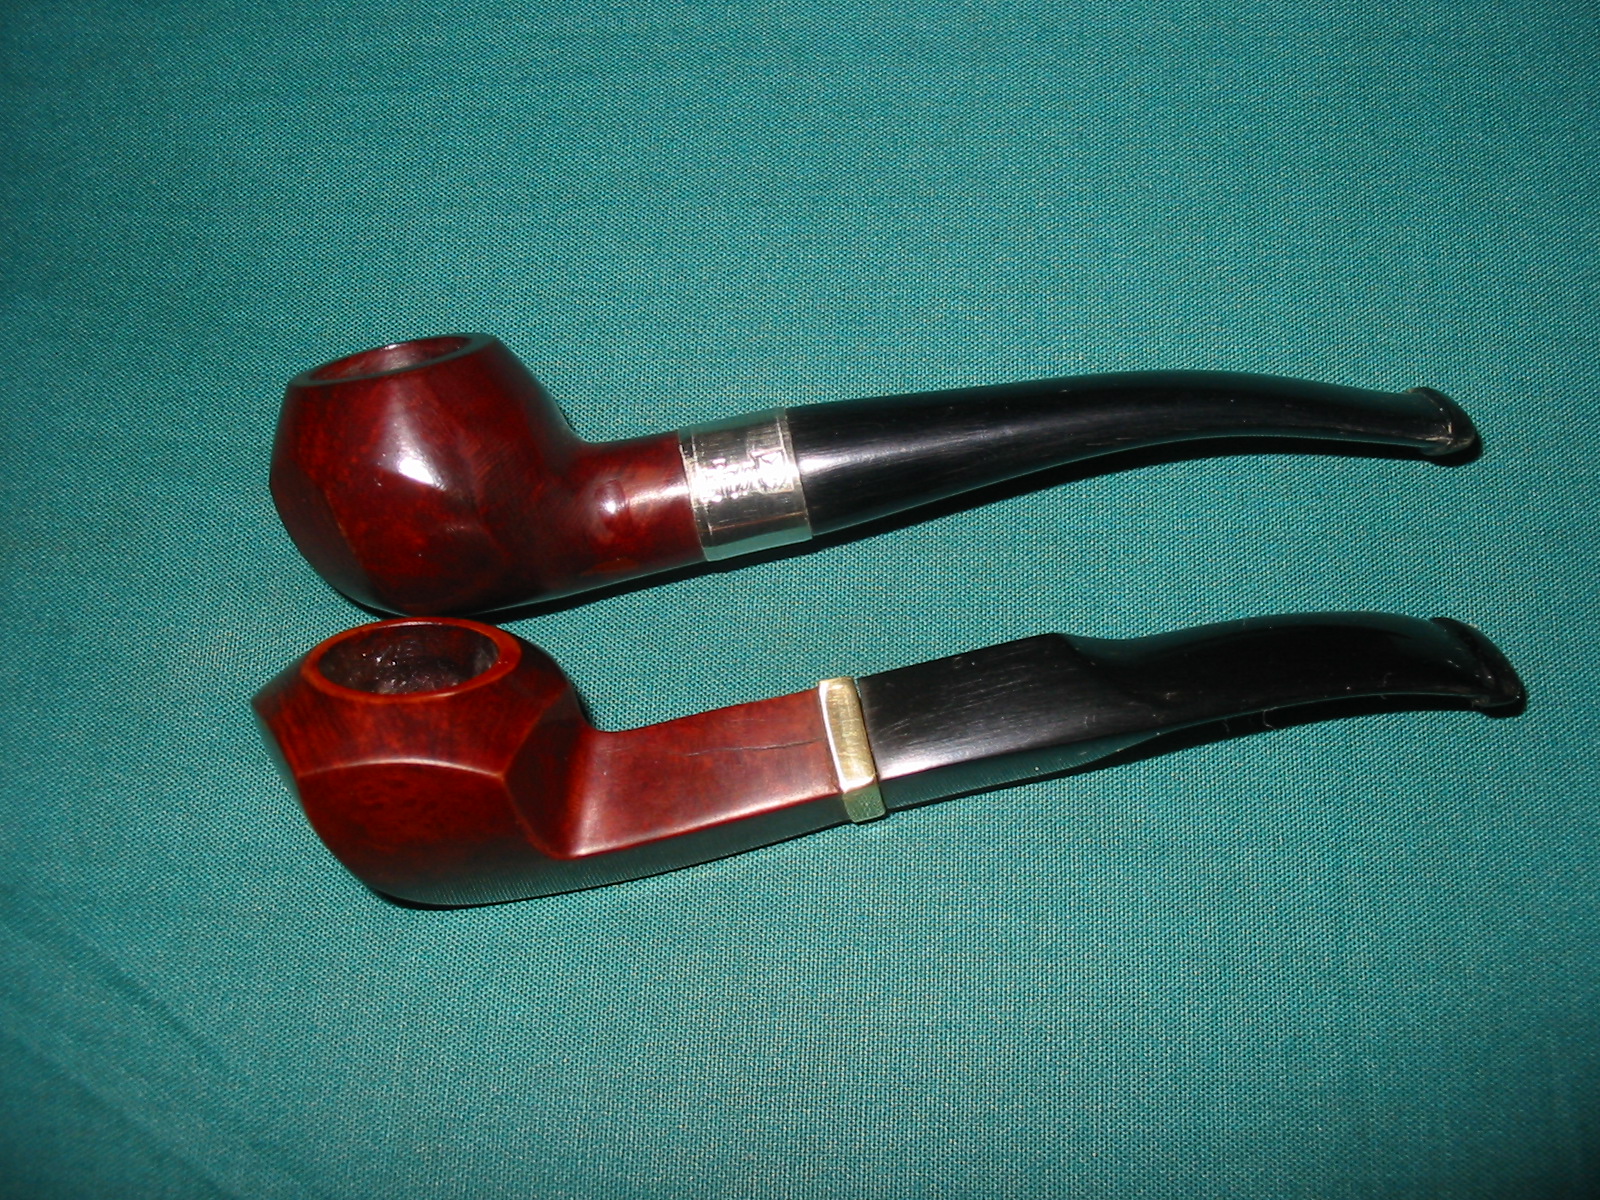
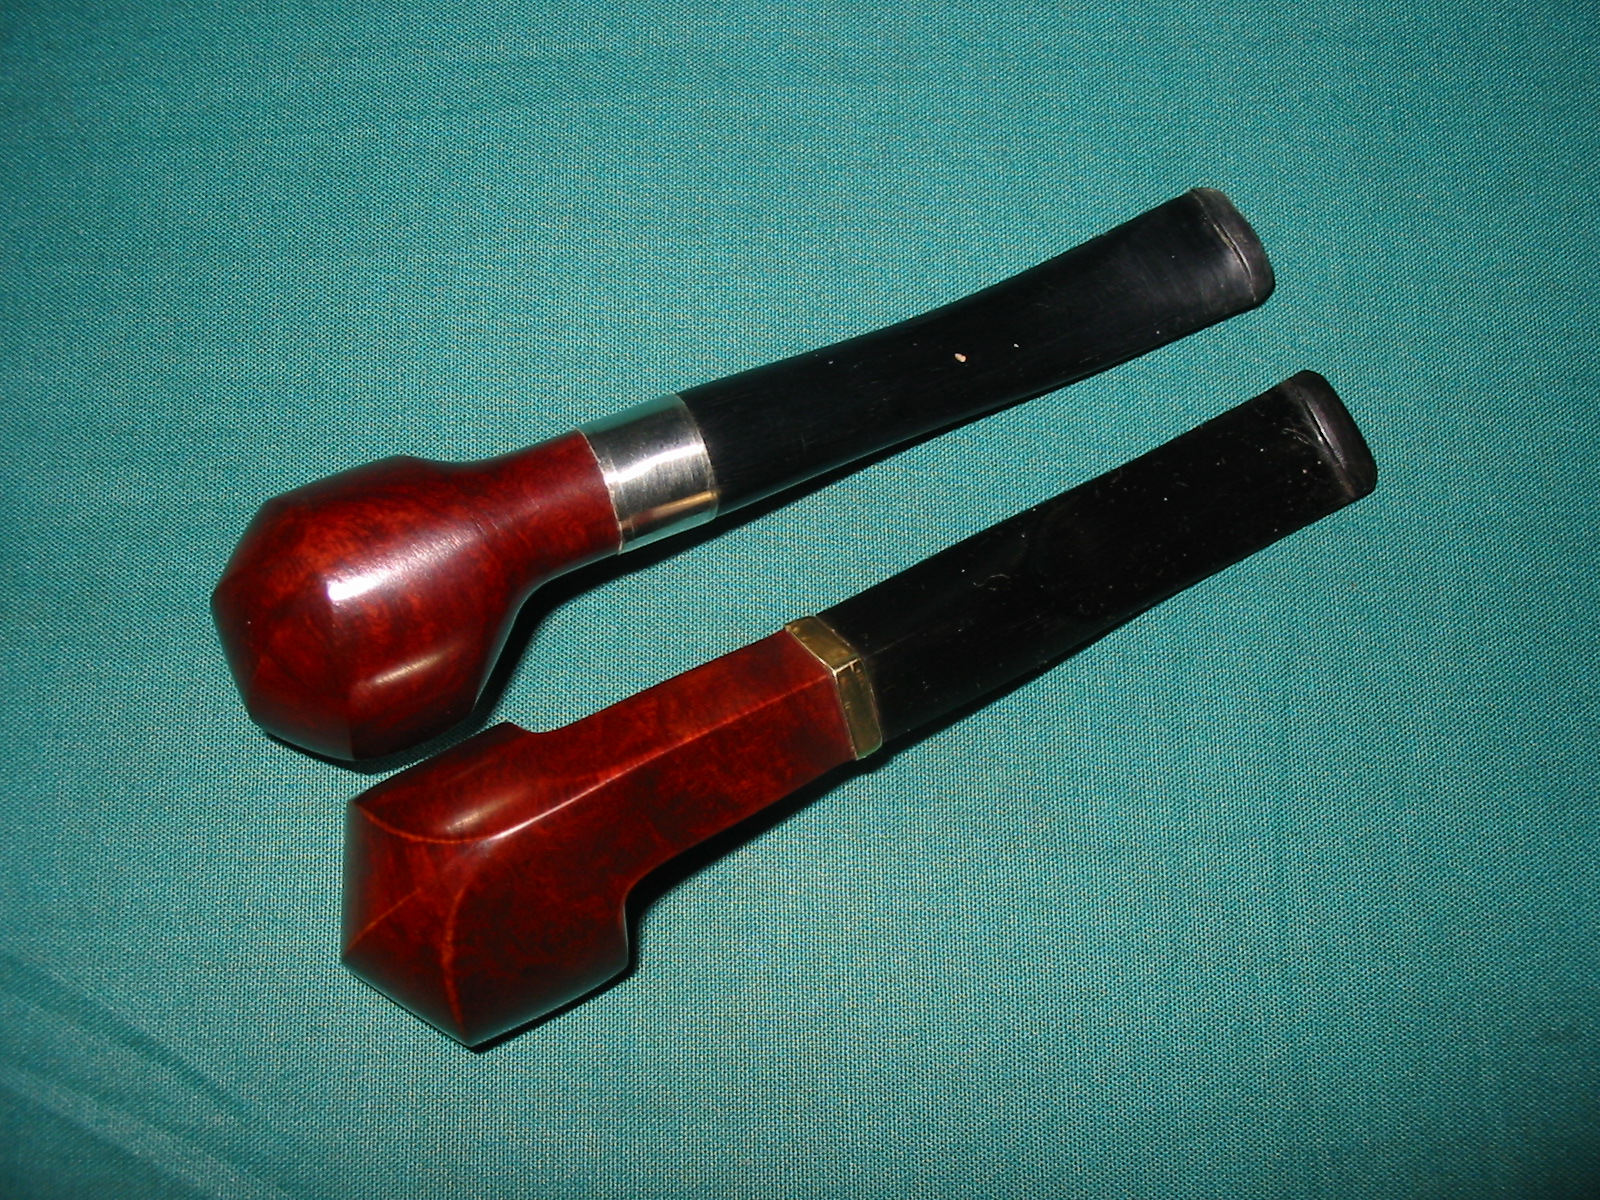
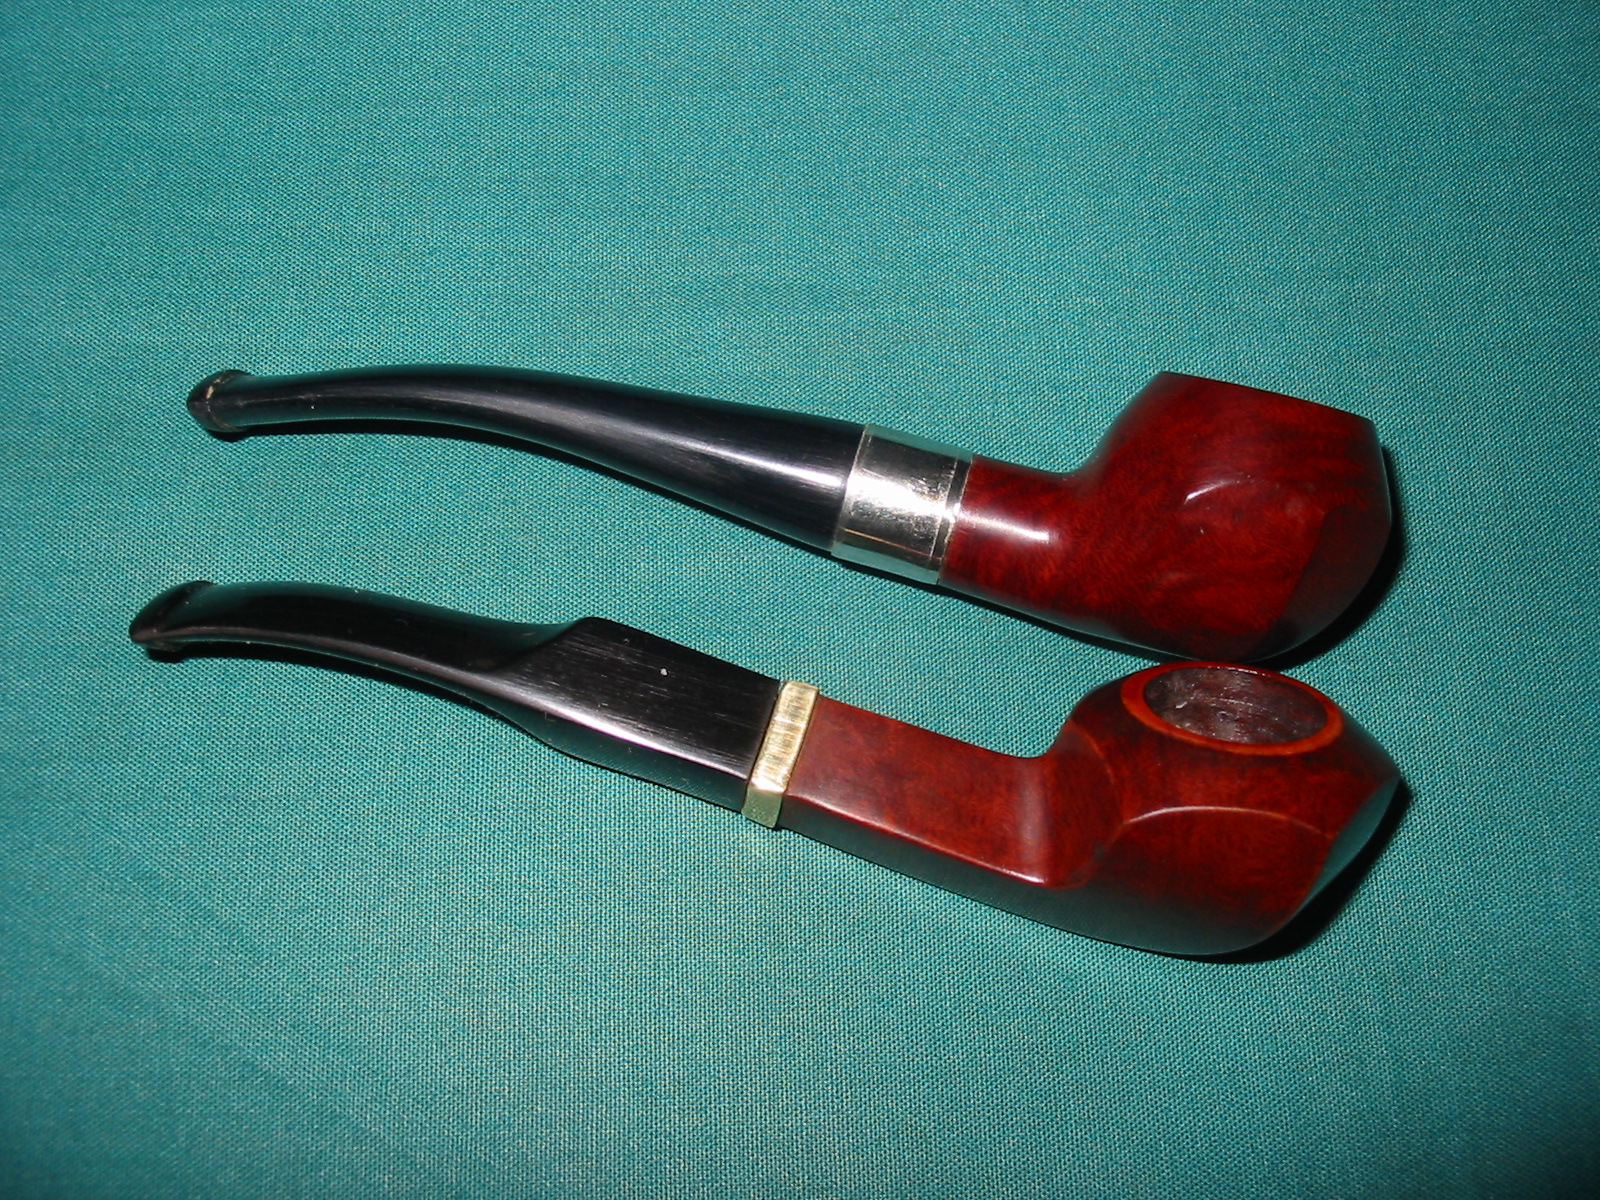
I have included some pictures of the pair of tiny pipes that I restemmed – the little Rhodesian and now the little bulldog. They make a nice pair of little pipes.