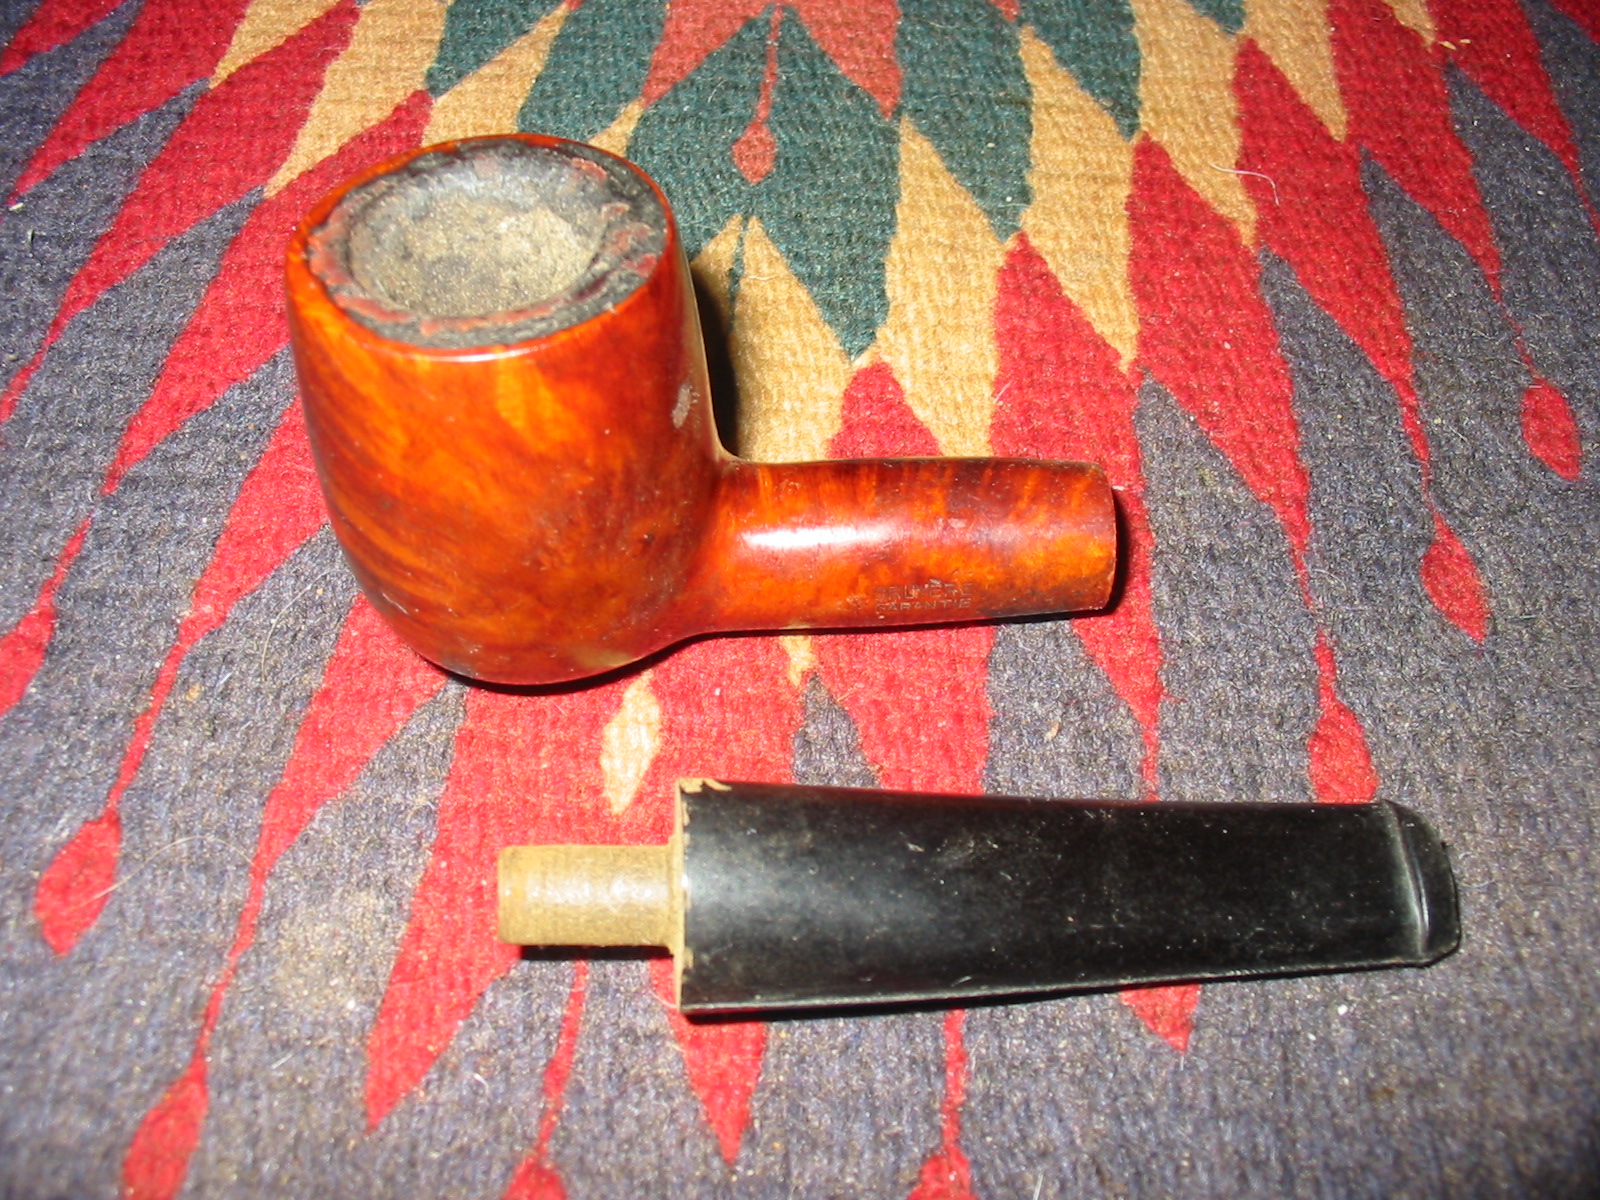
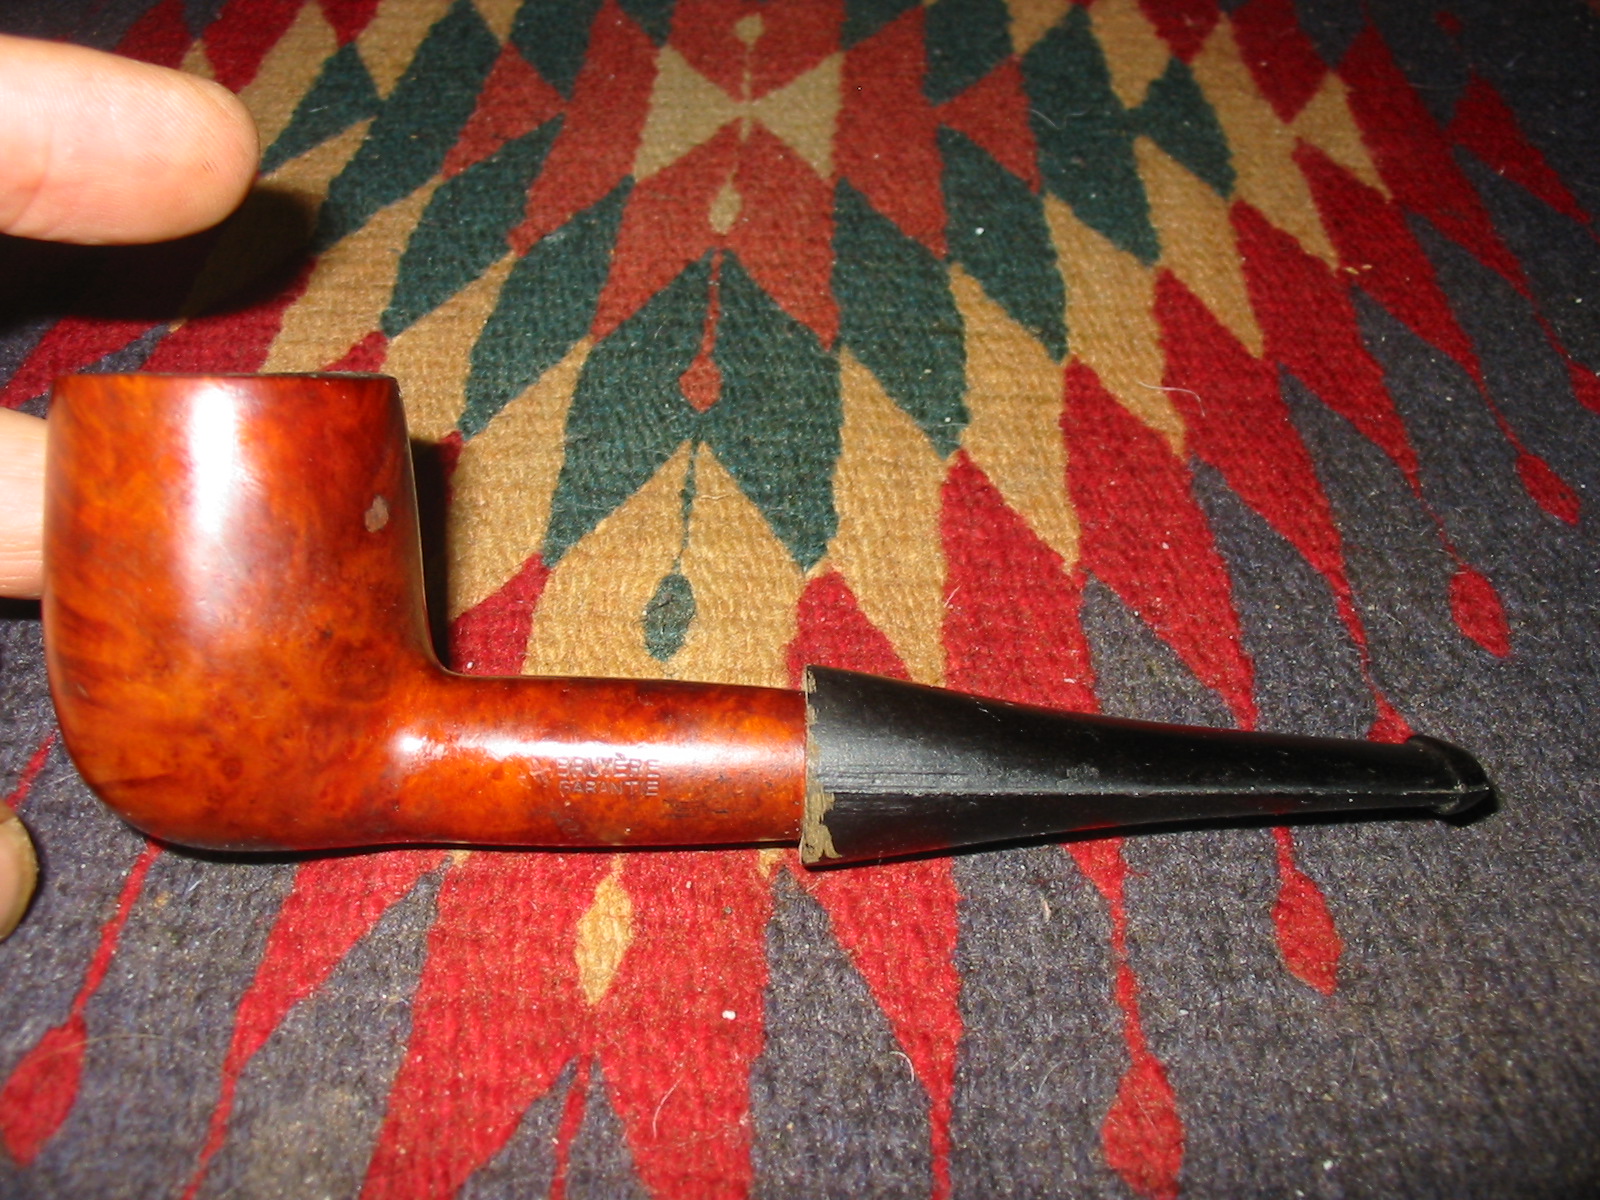
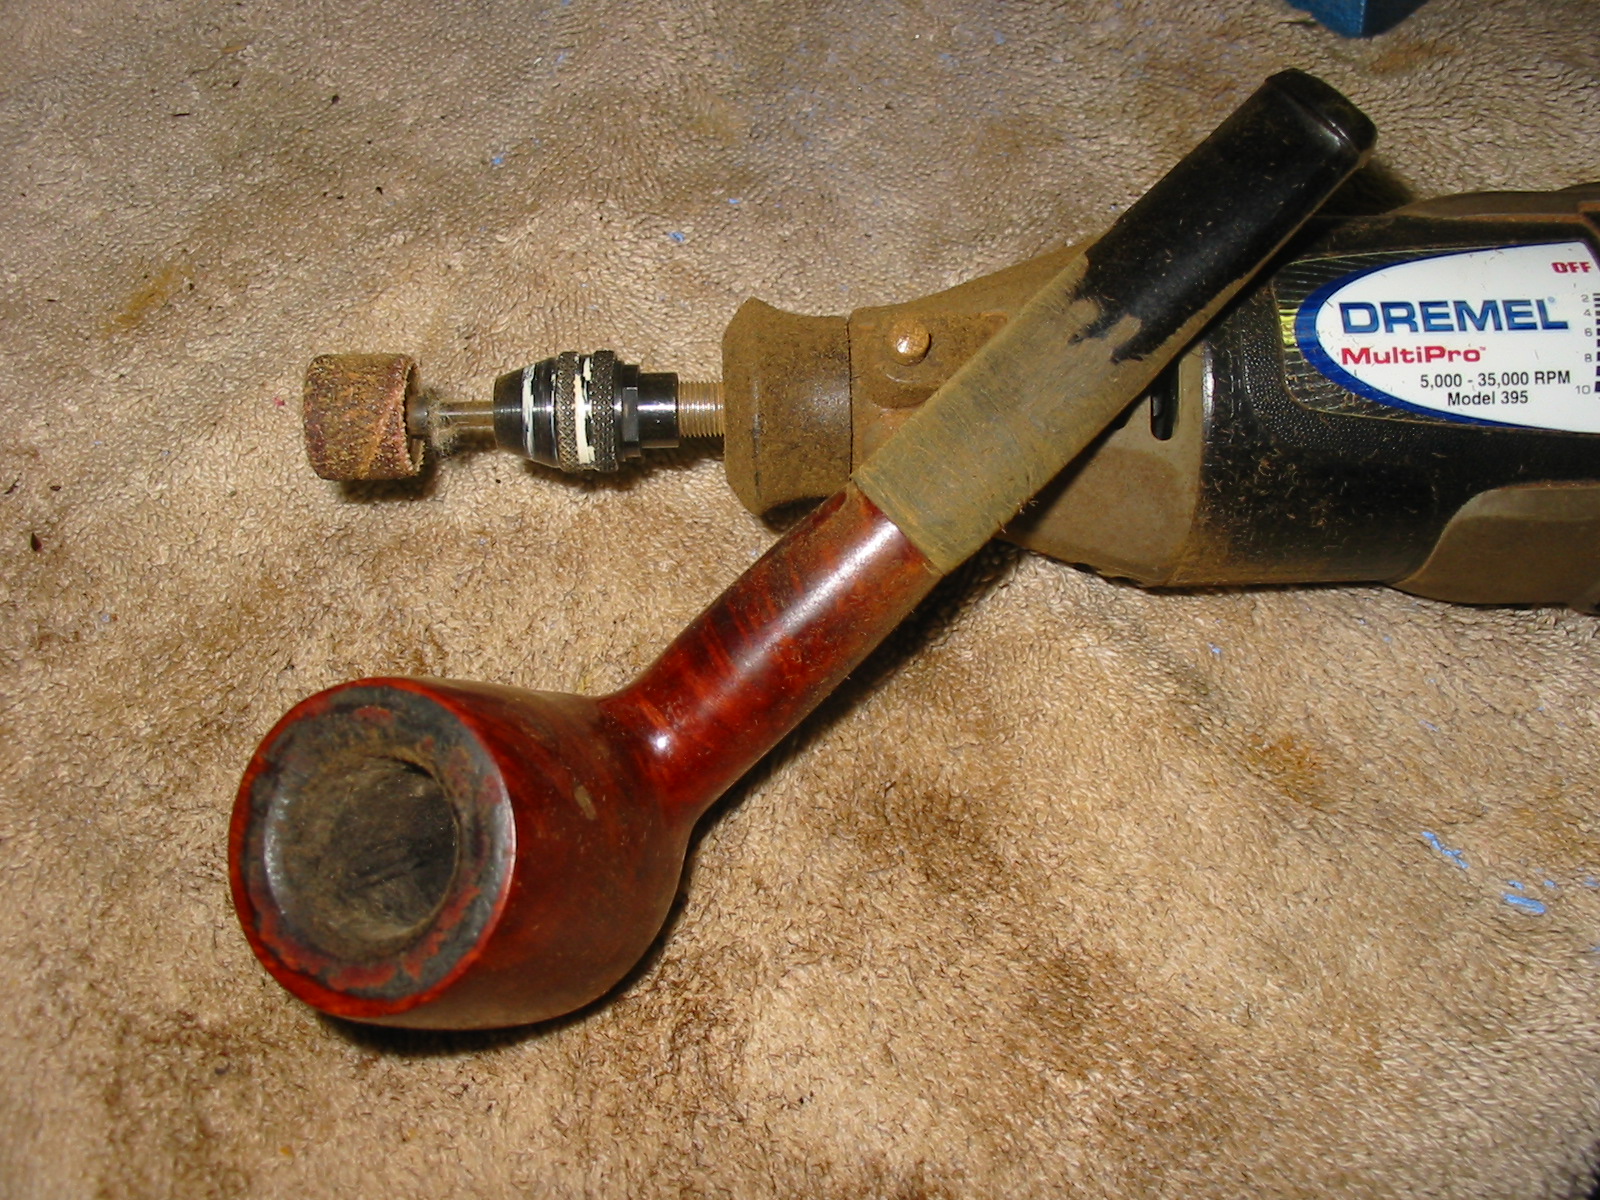
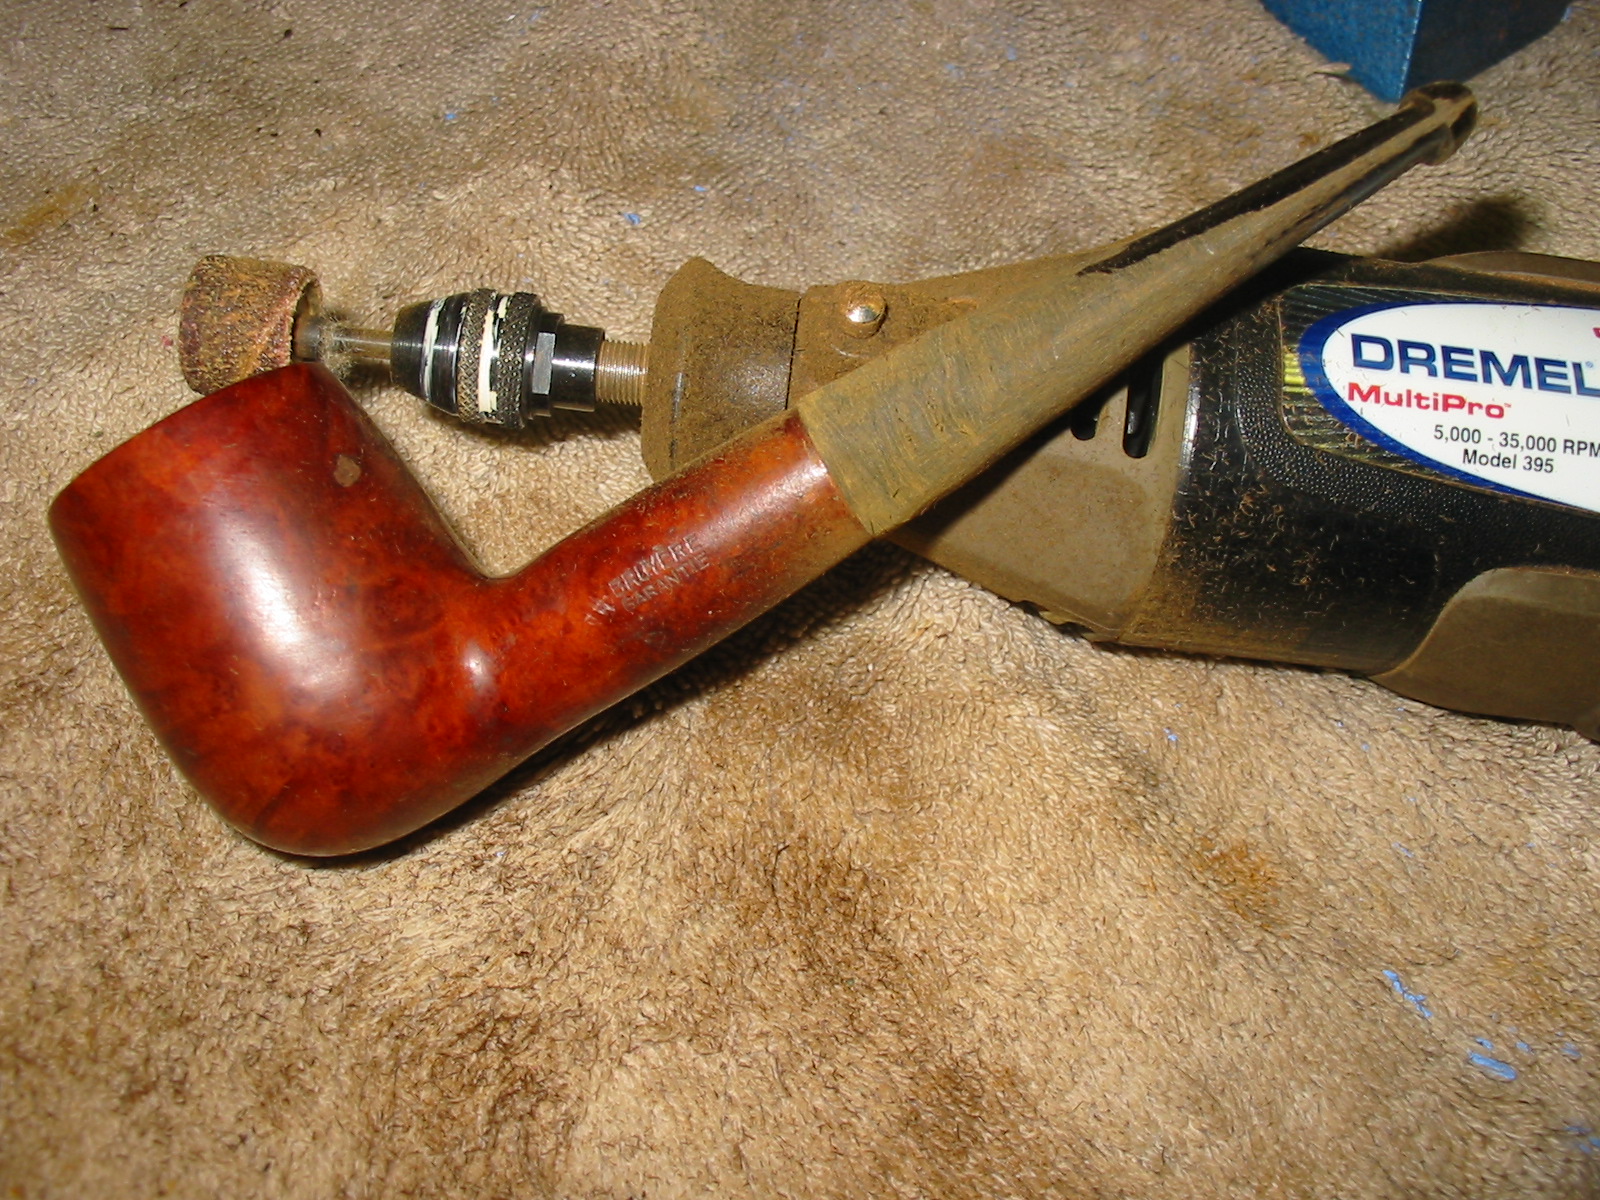
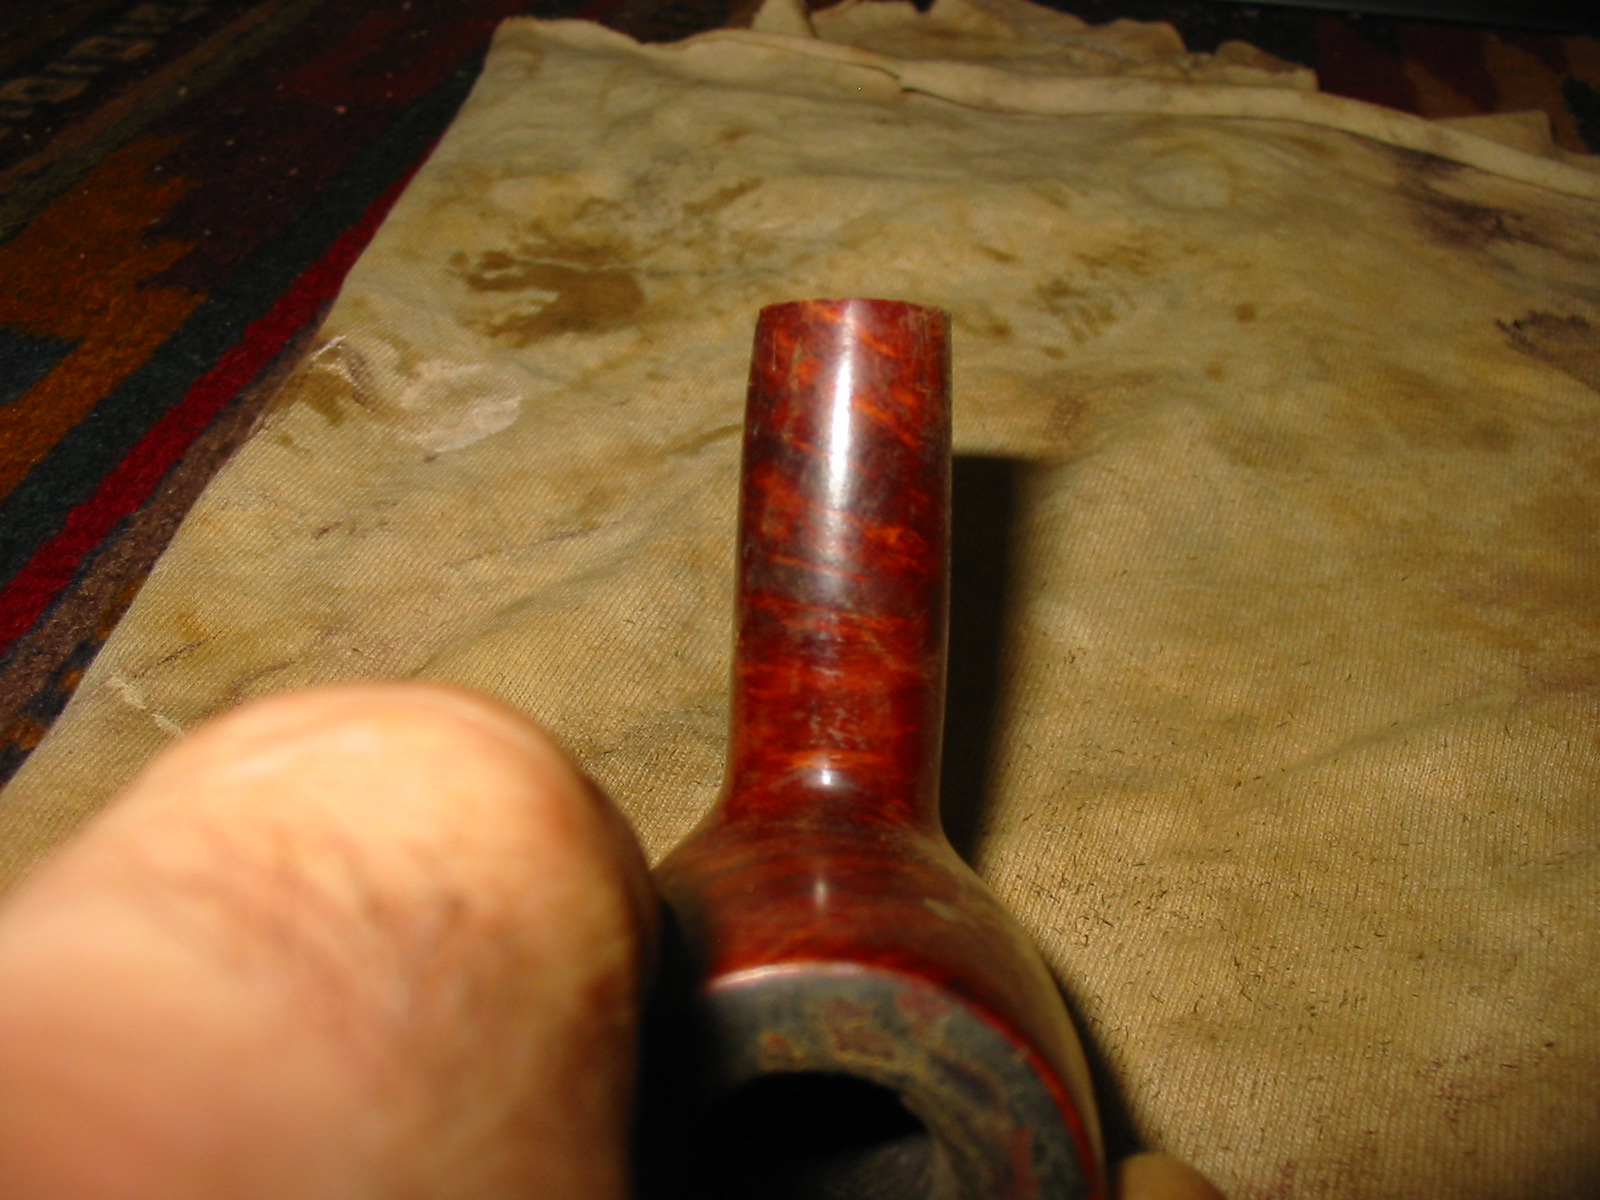
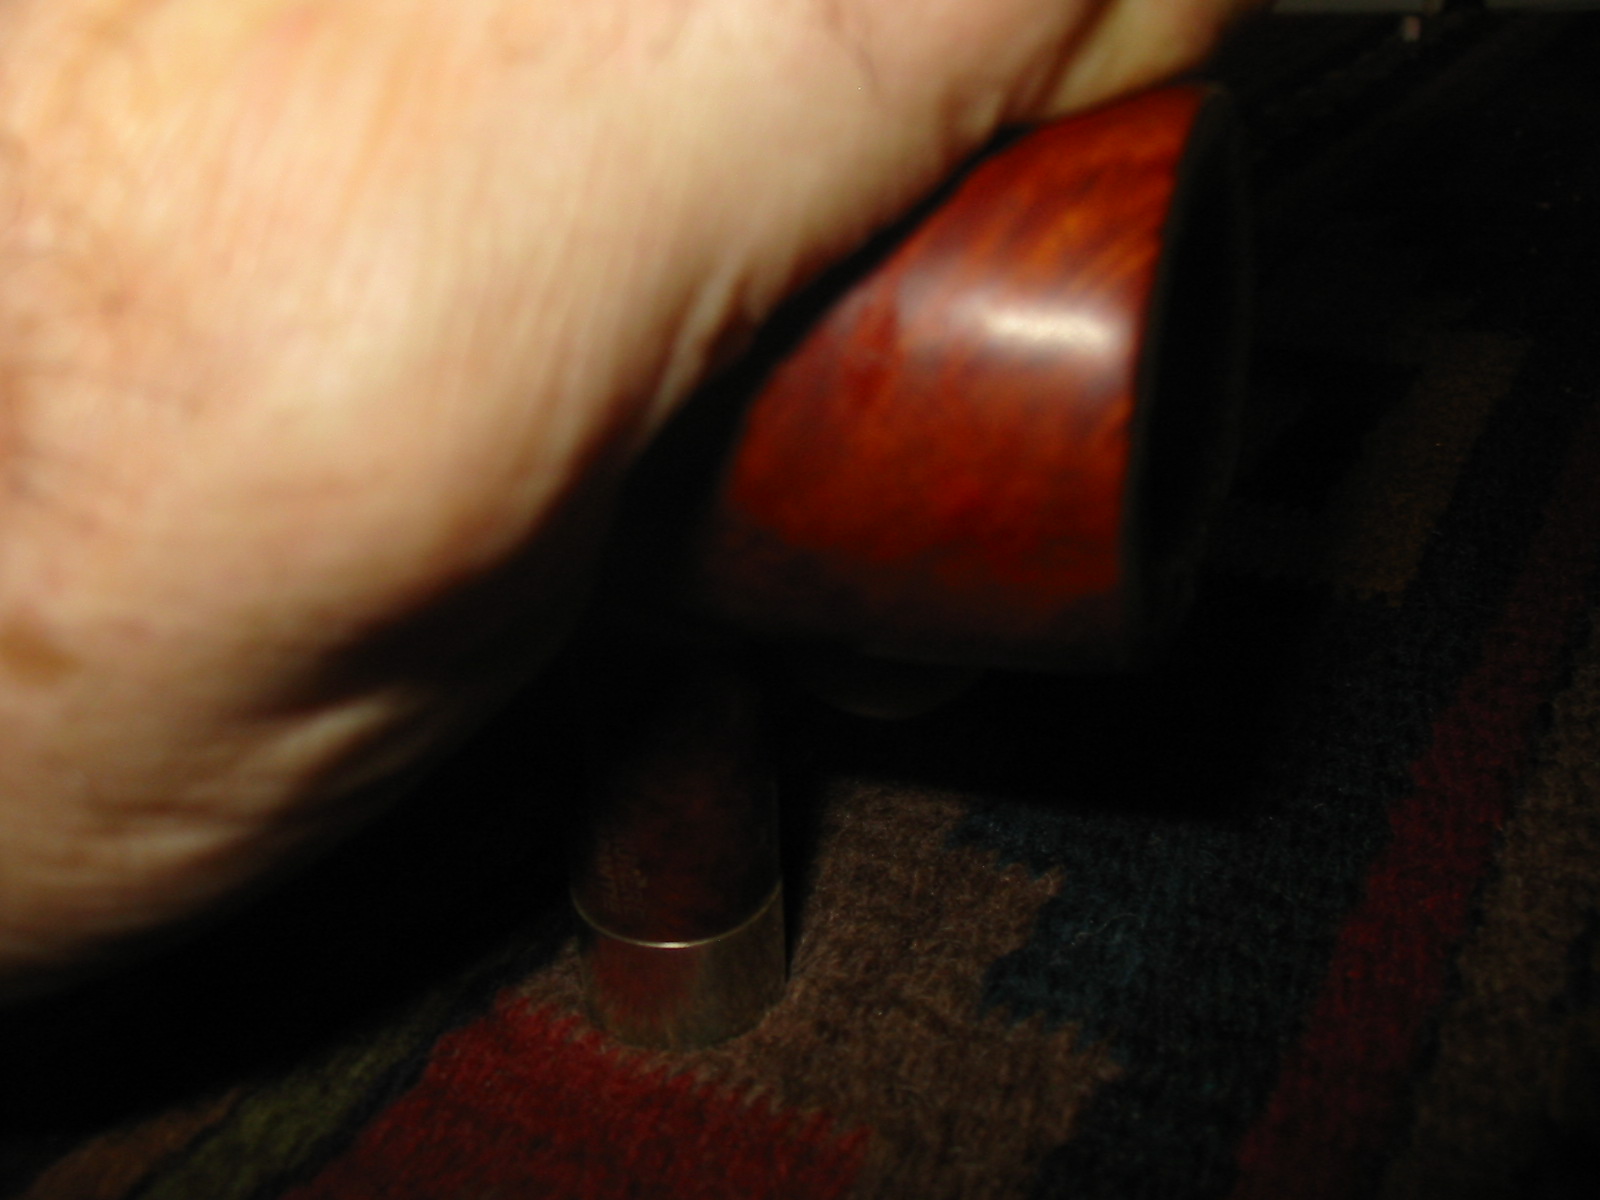
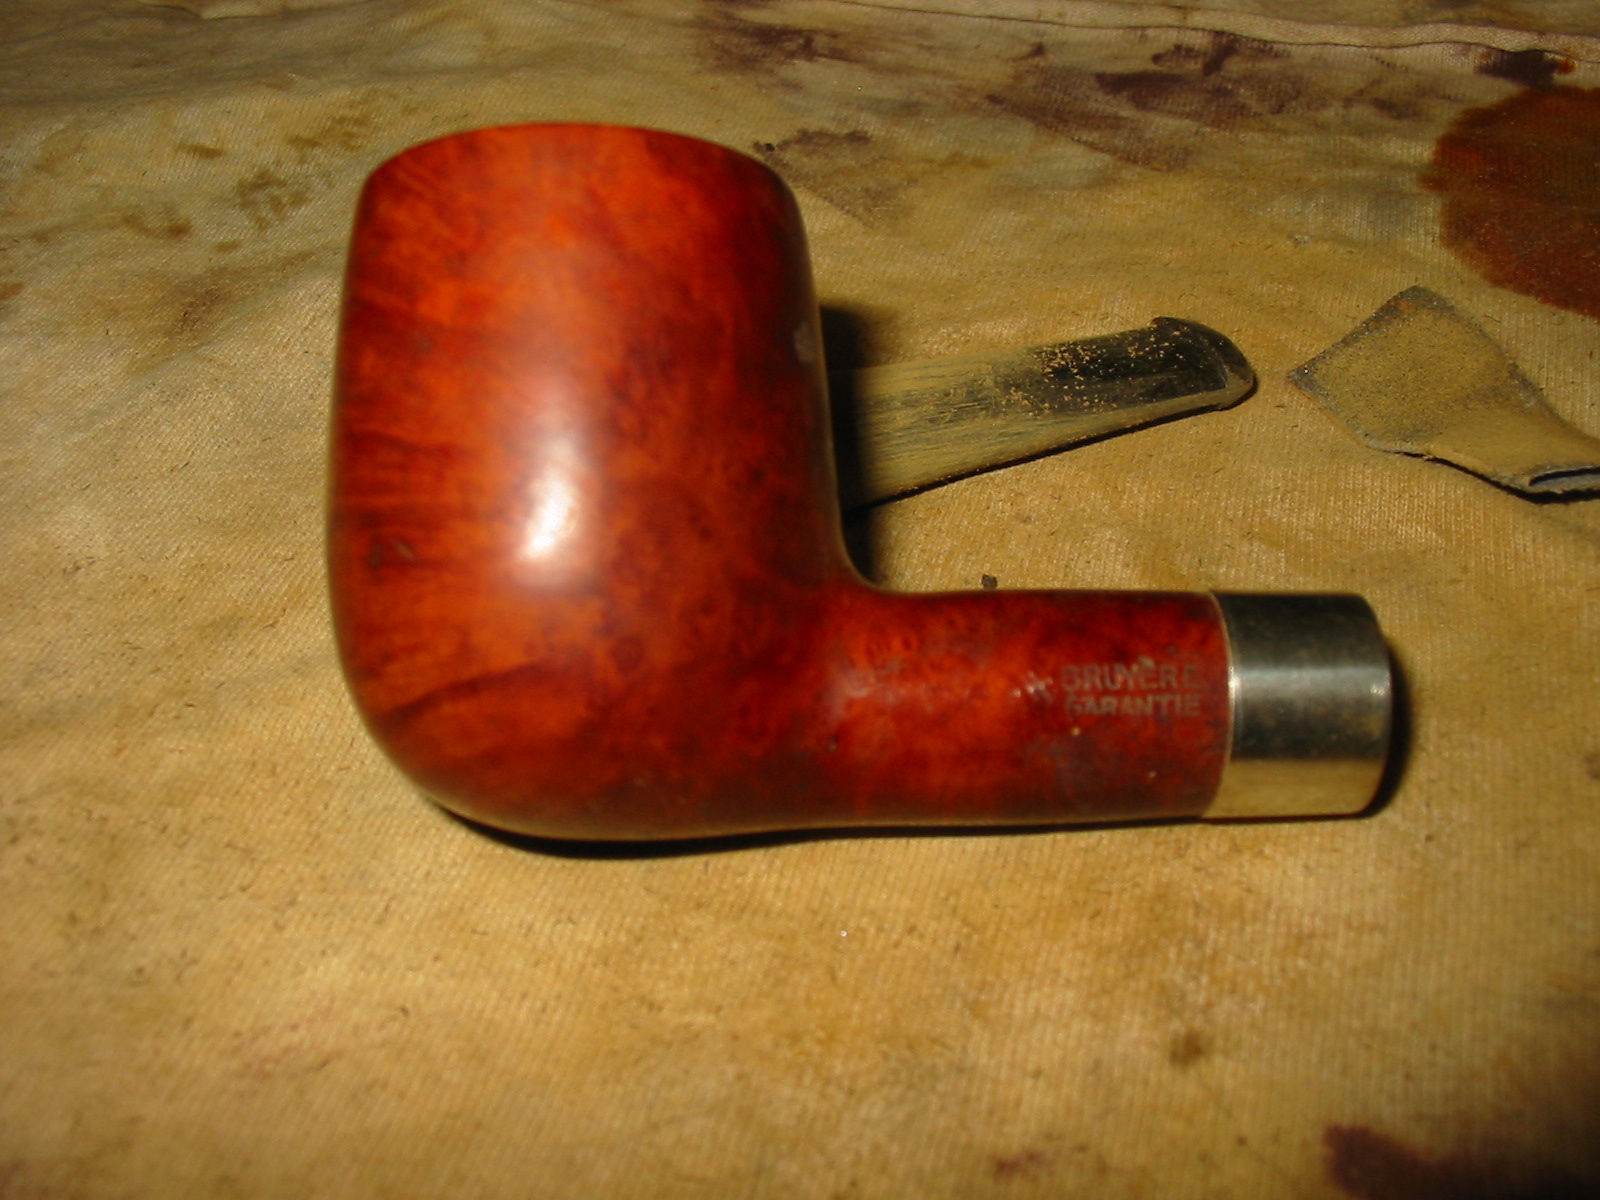
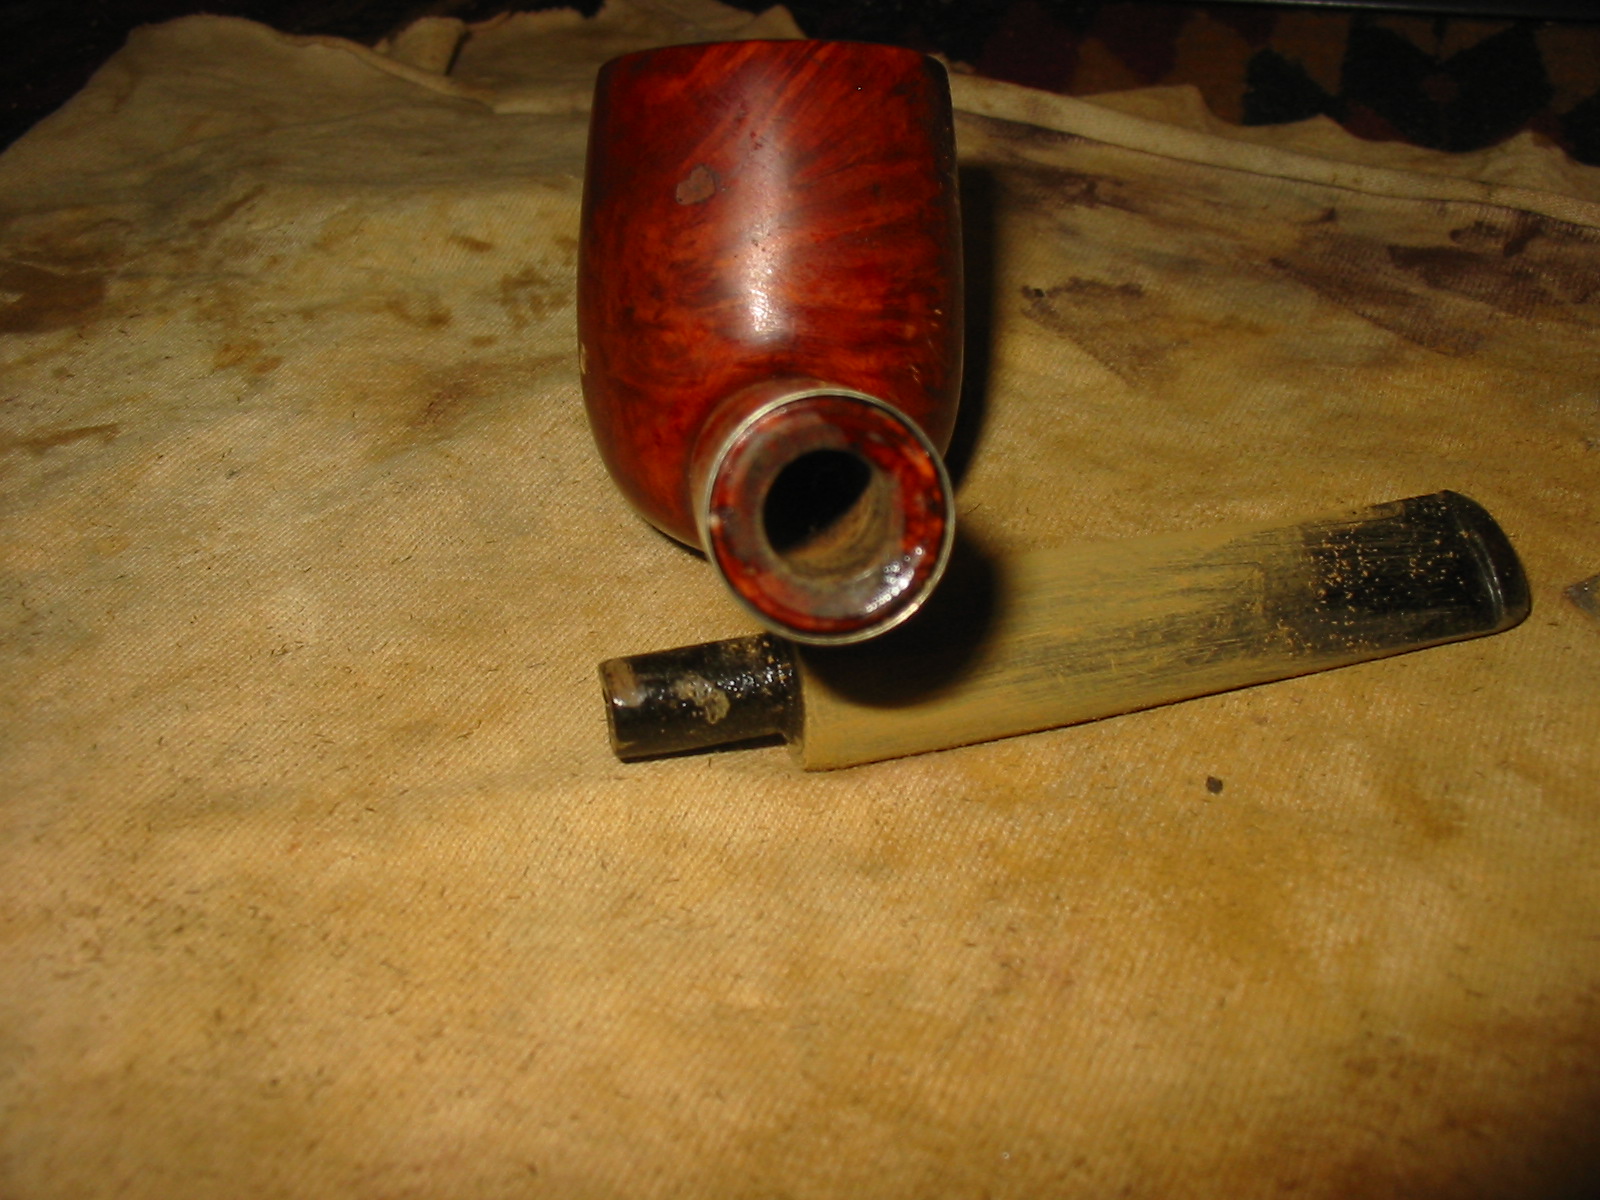
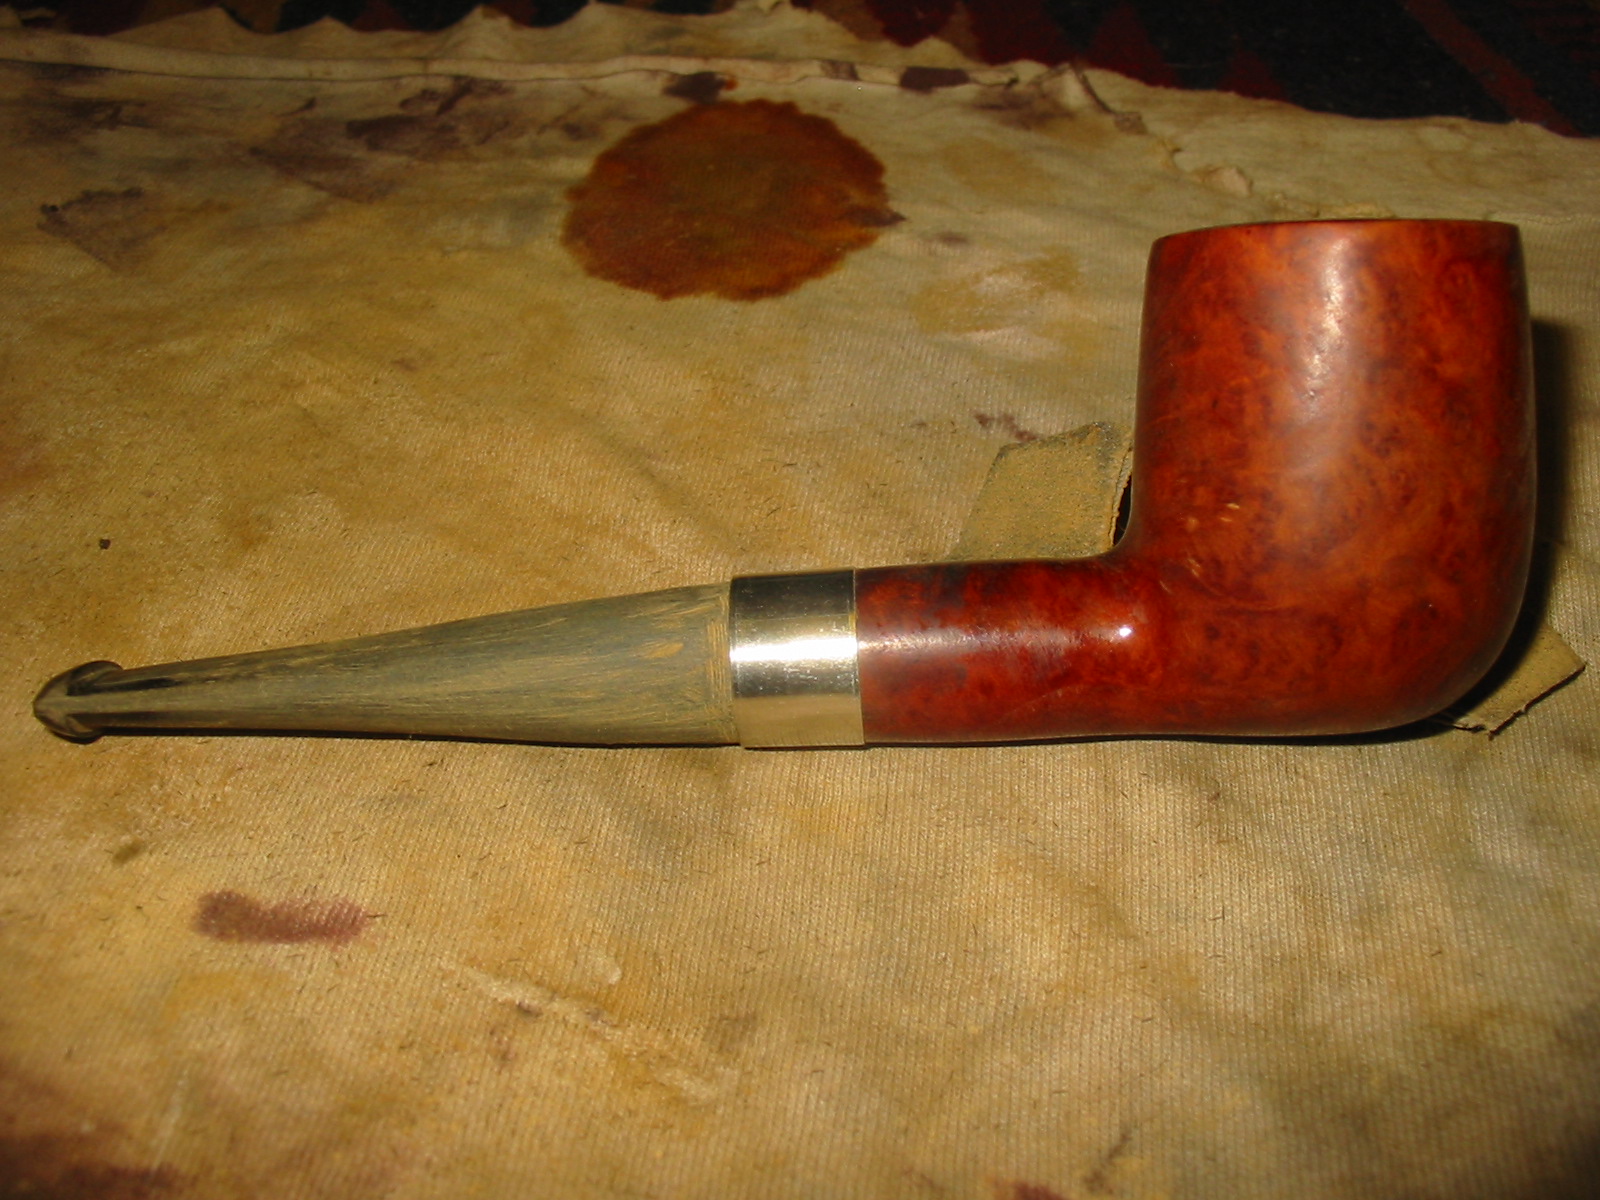
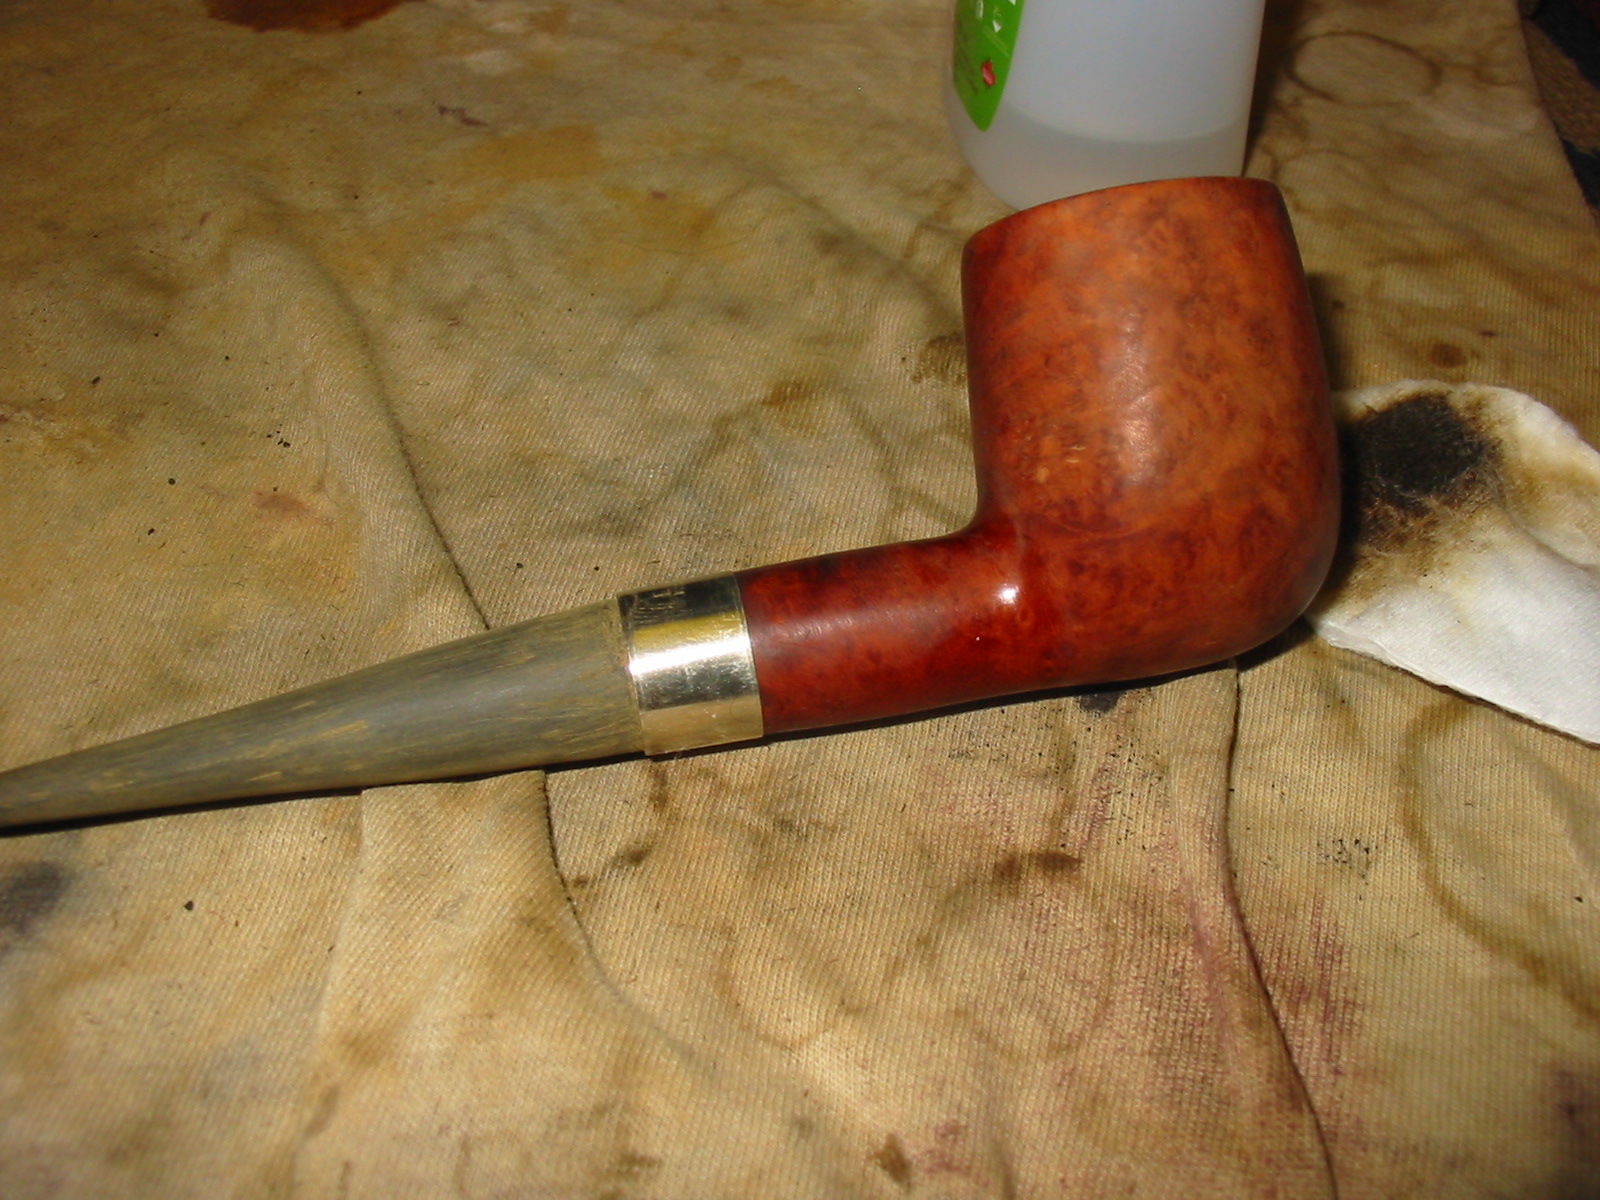
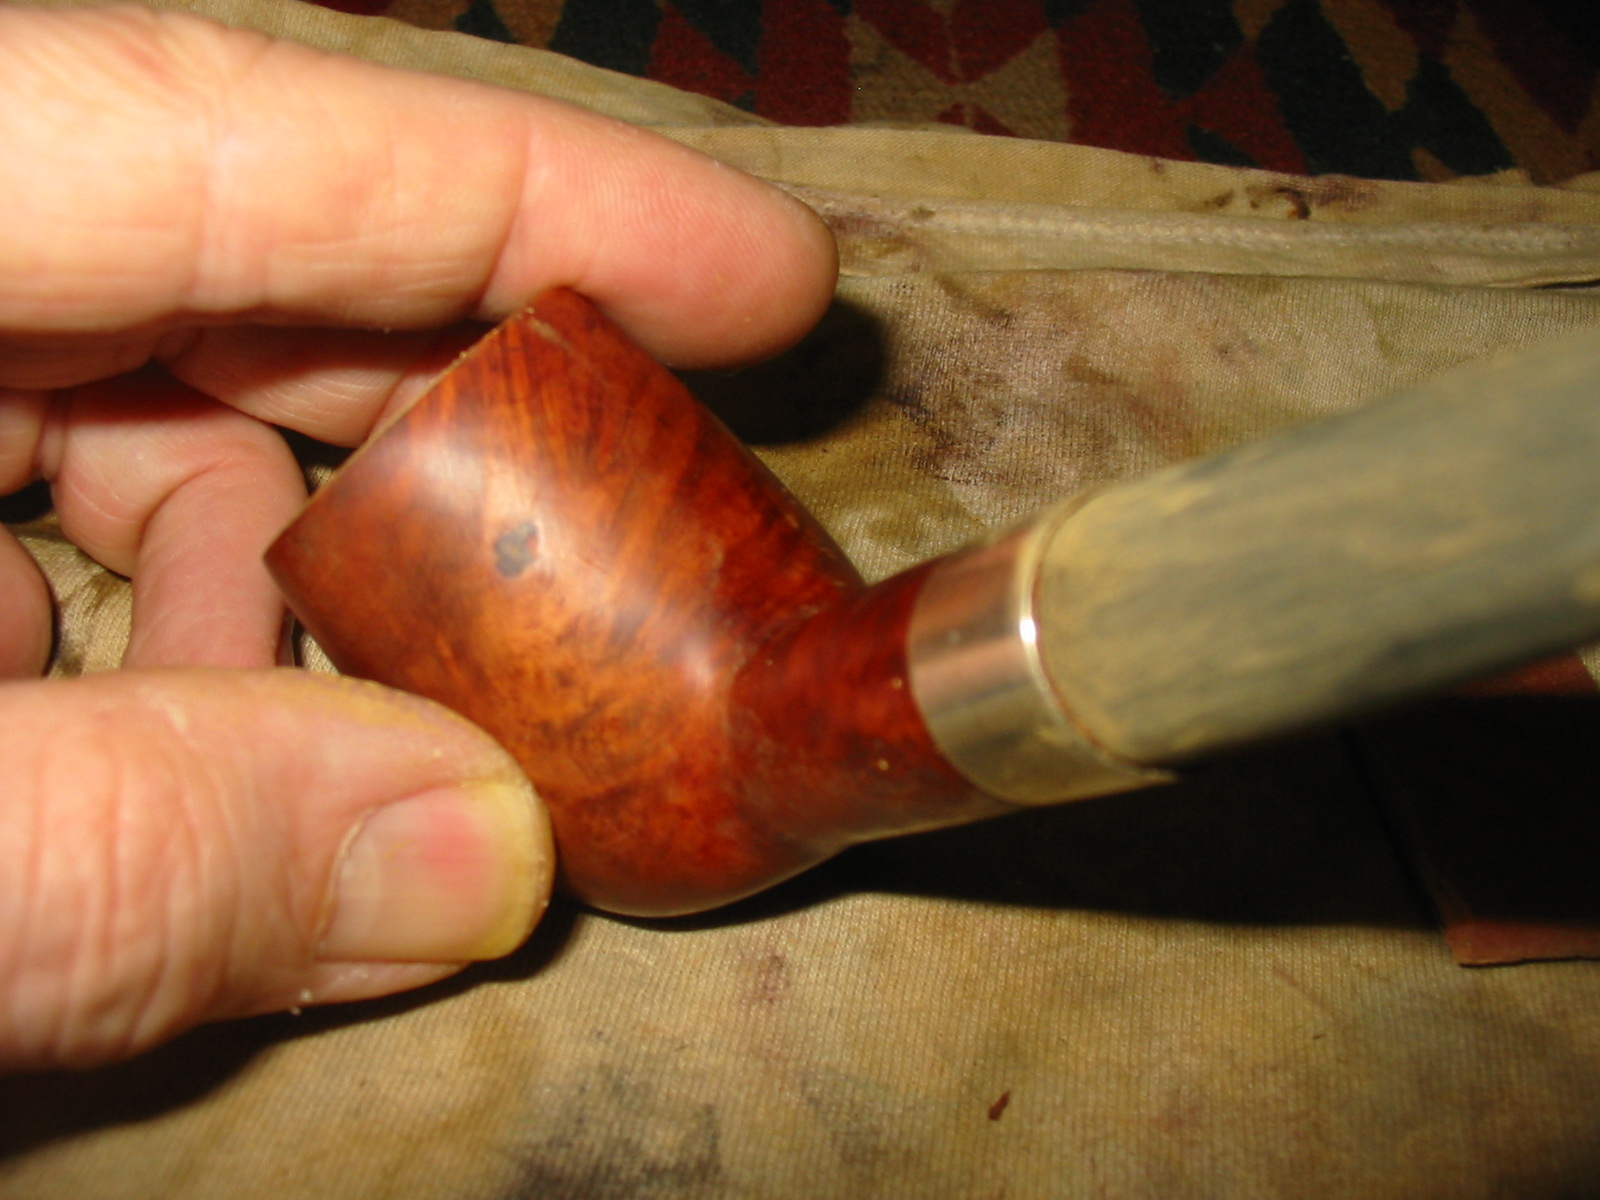
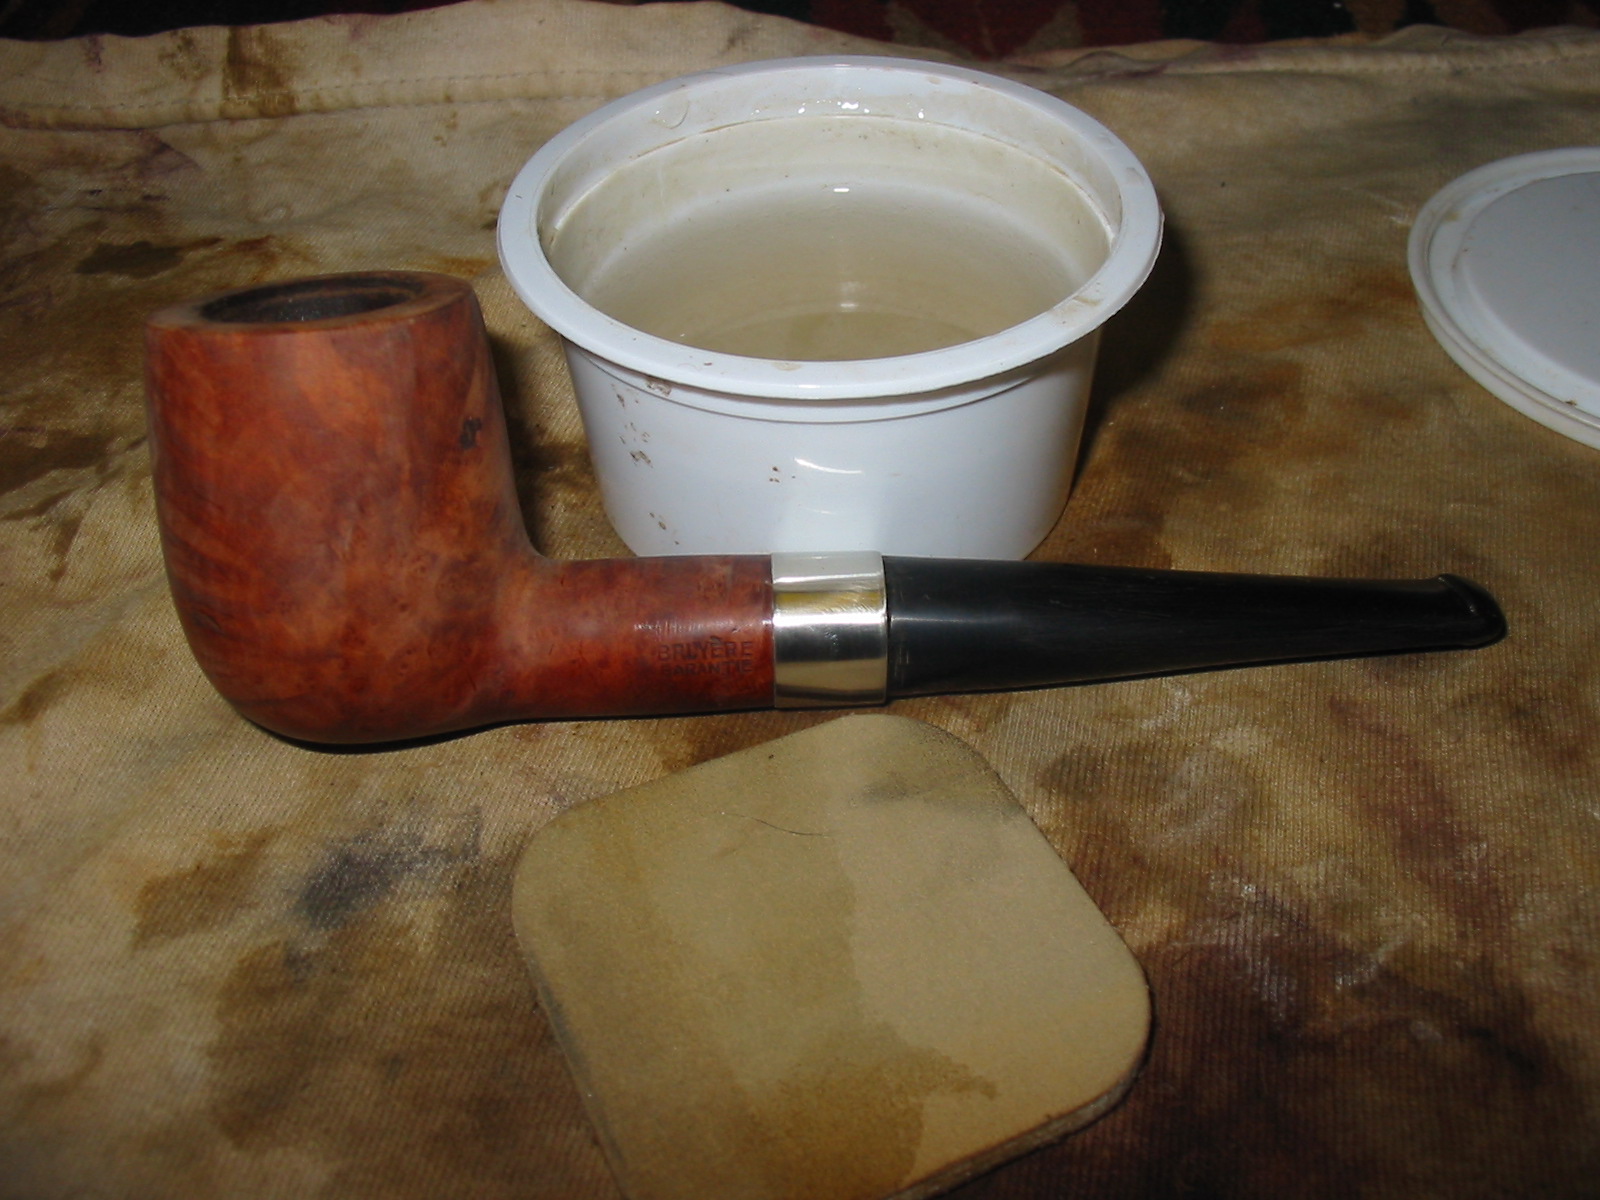
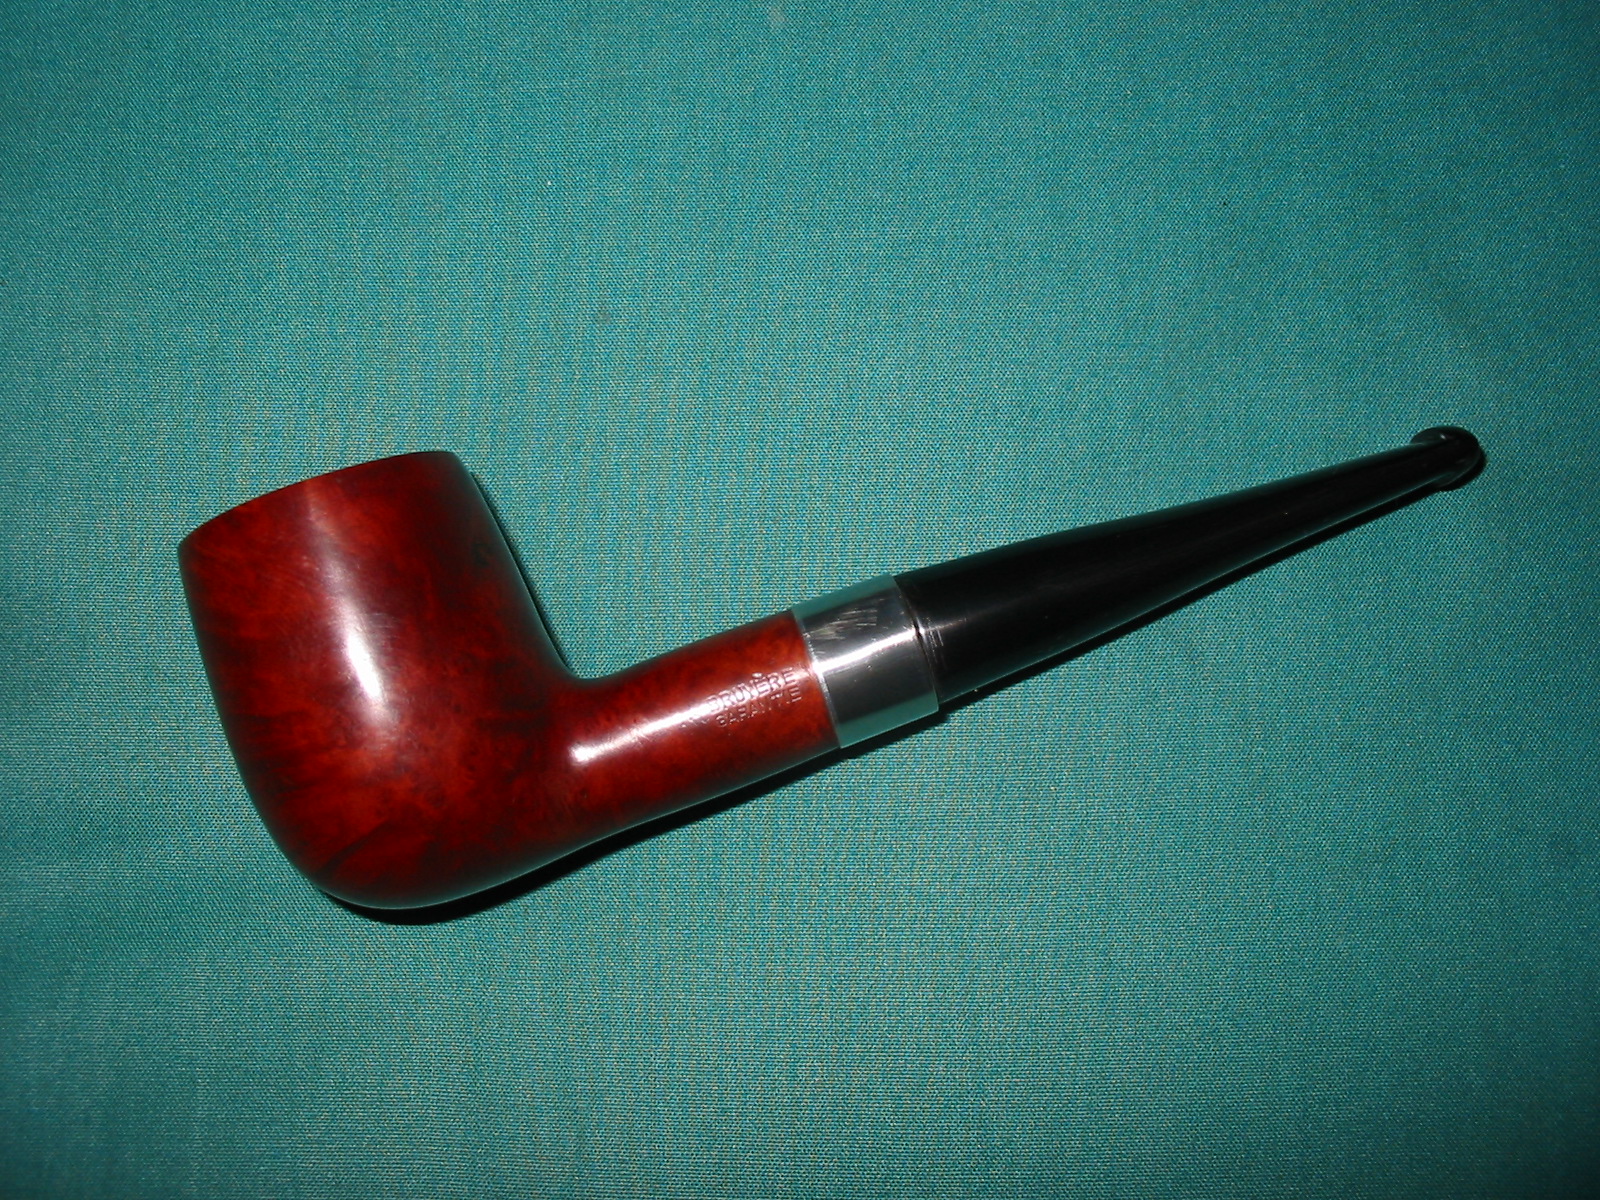
This is yet another of the bowls that was in my box of stummels. It is stamped Bruyere over Garantie on the left side of the shank with no other stamping. The bowl was badly caked with an crumbling, uneven cake. The cake was thicker at the top of the bowl than in the bottom of the bowl. The rim was also caked with oils and hardened tars. It was also dented and had a slight burn mark at about 12 o’clock on the front of the bowl. The shank was misshapen and out of round where it met the stem. It was almost as if someone had sanded the previous shank to meet the stem. There was a large fill on the back side of the bowl near the shank bowl junction. The finish had a coat of lacquer or varnish on it. I fit a tenon to the shank and worked on the stem to be a good tight fit to the bowl. The next series of four photos show the newly turned tenon and the shape of the shank at the shank stem junction.
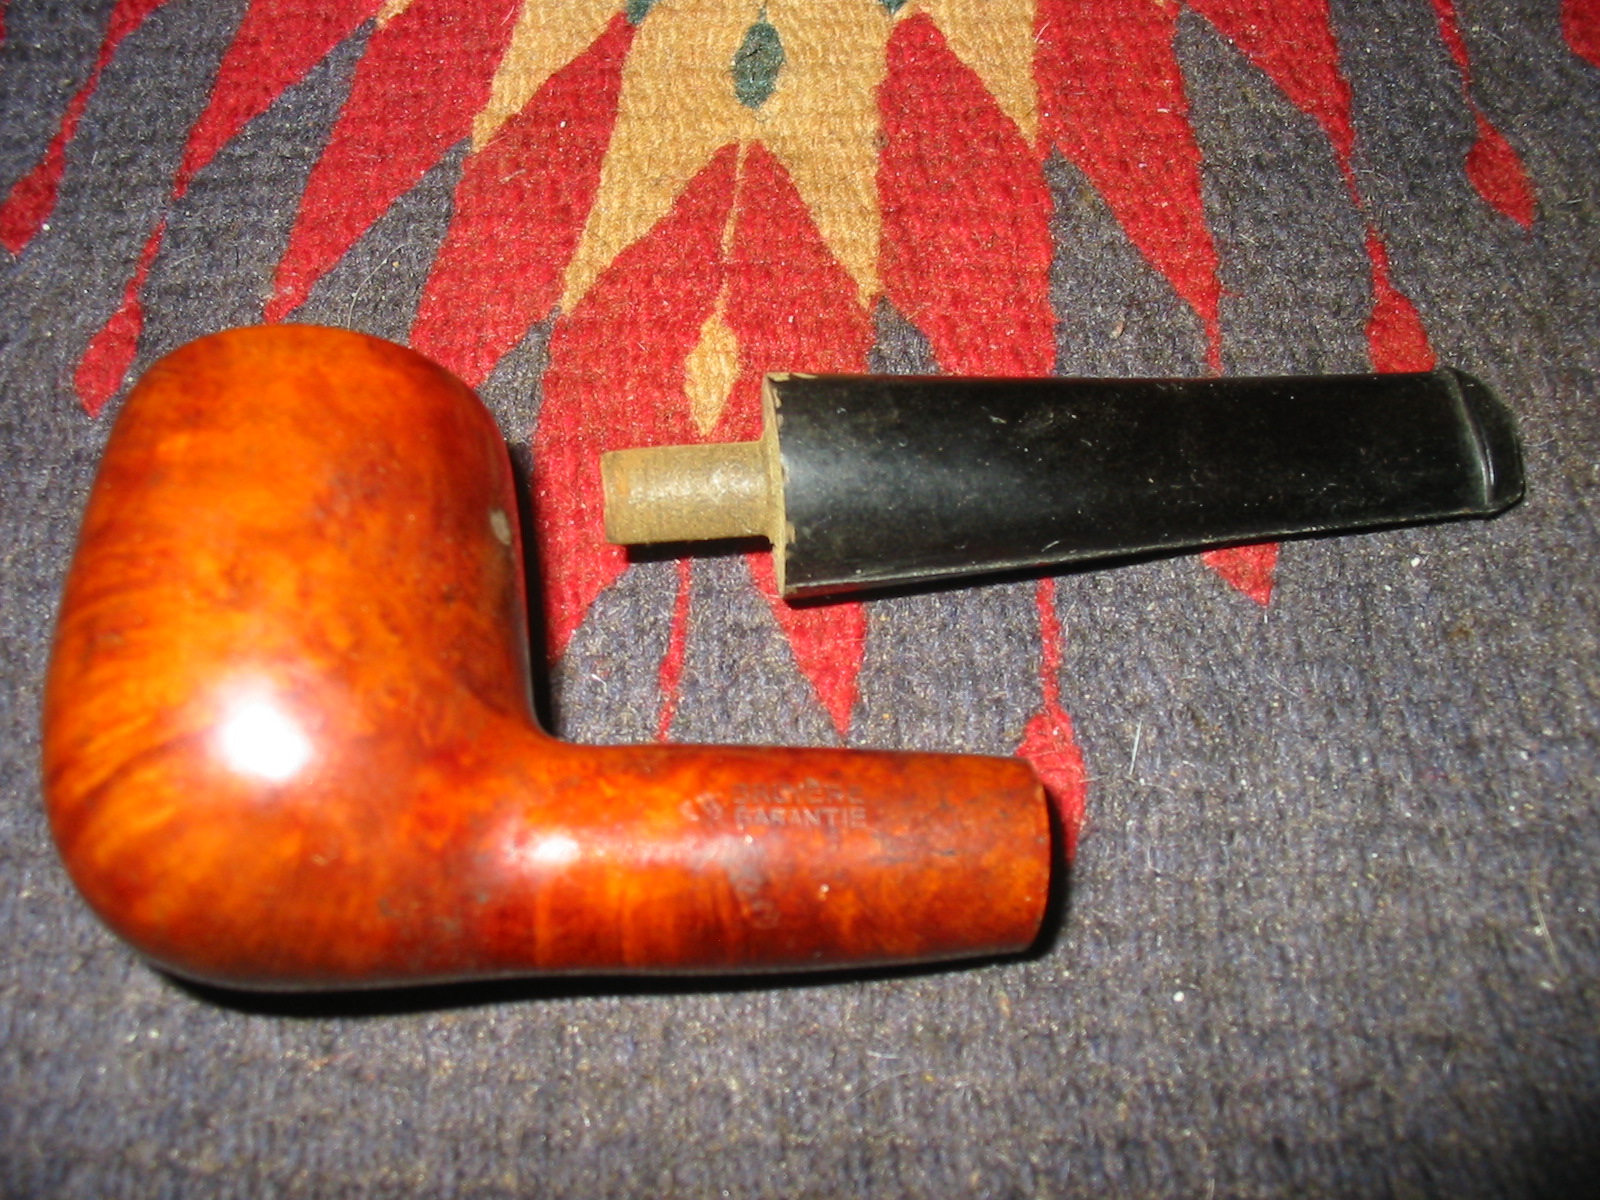
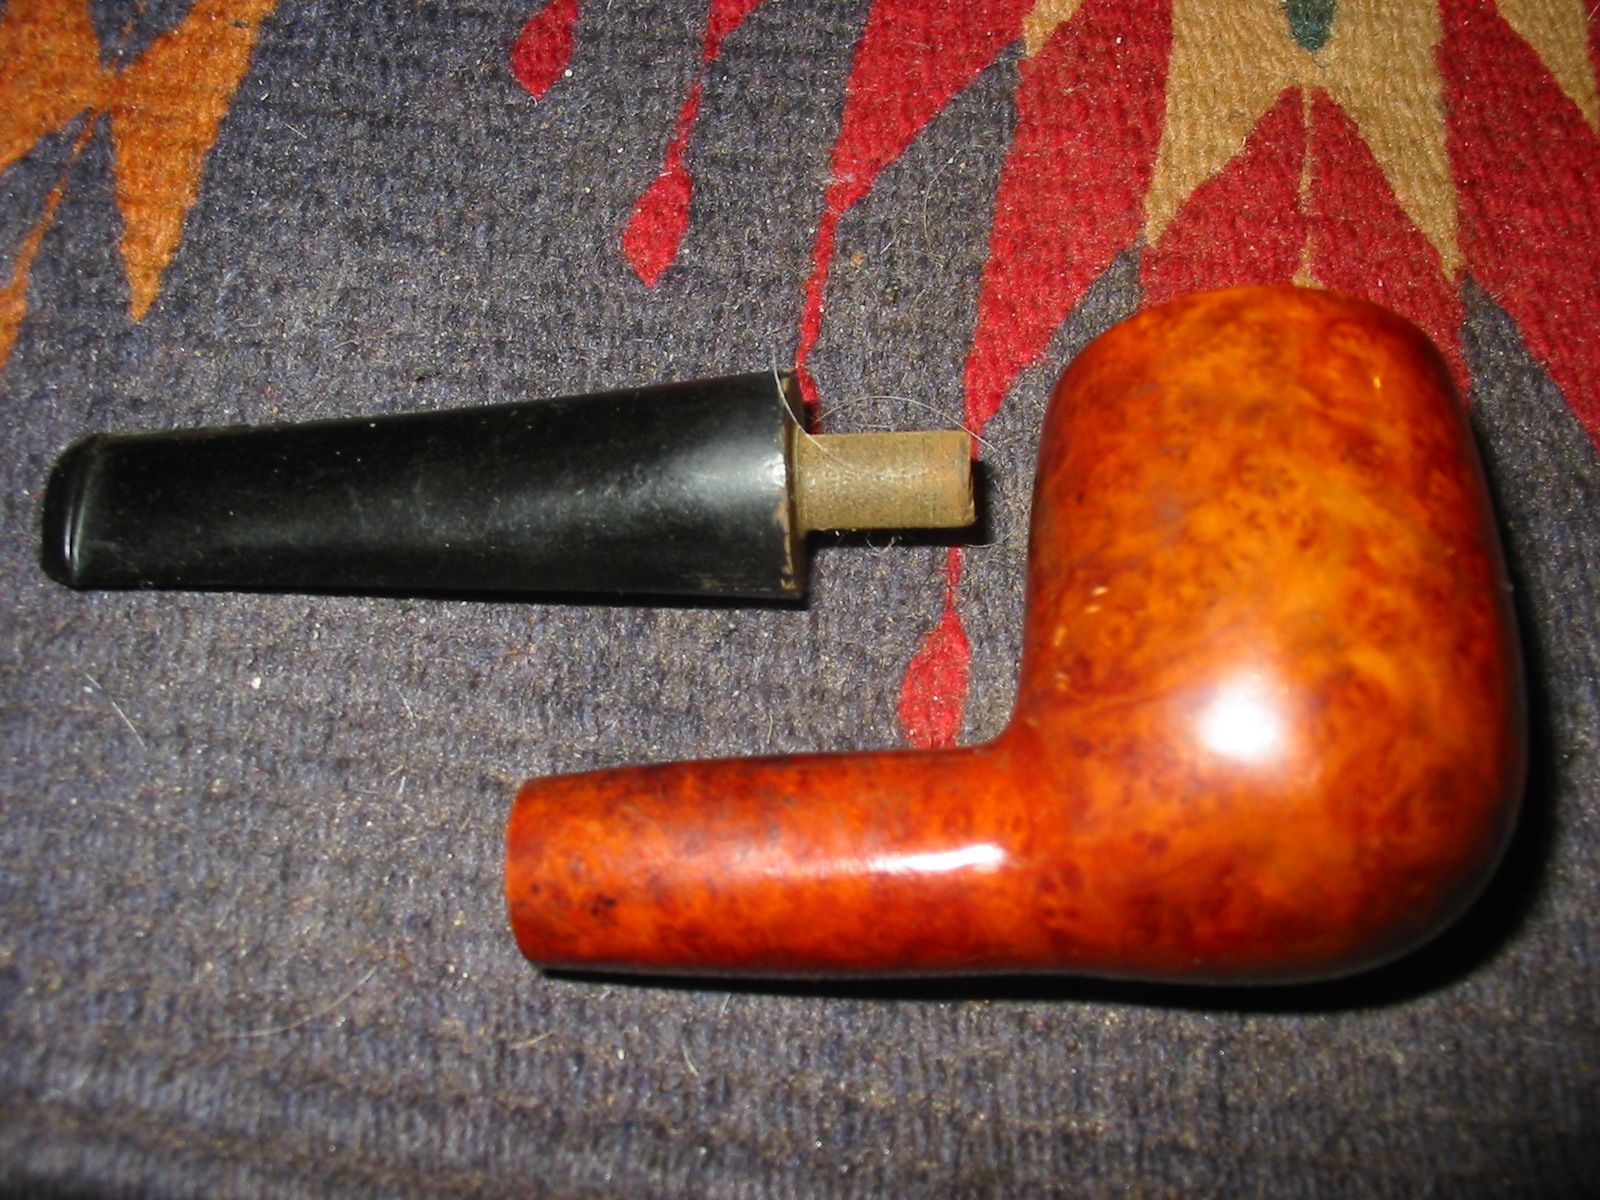
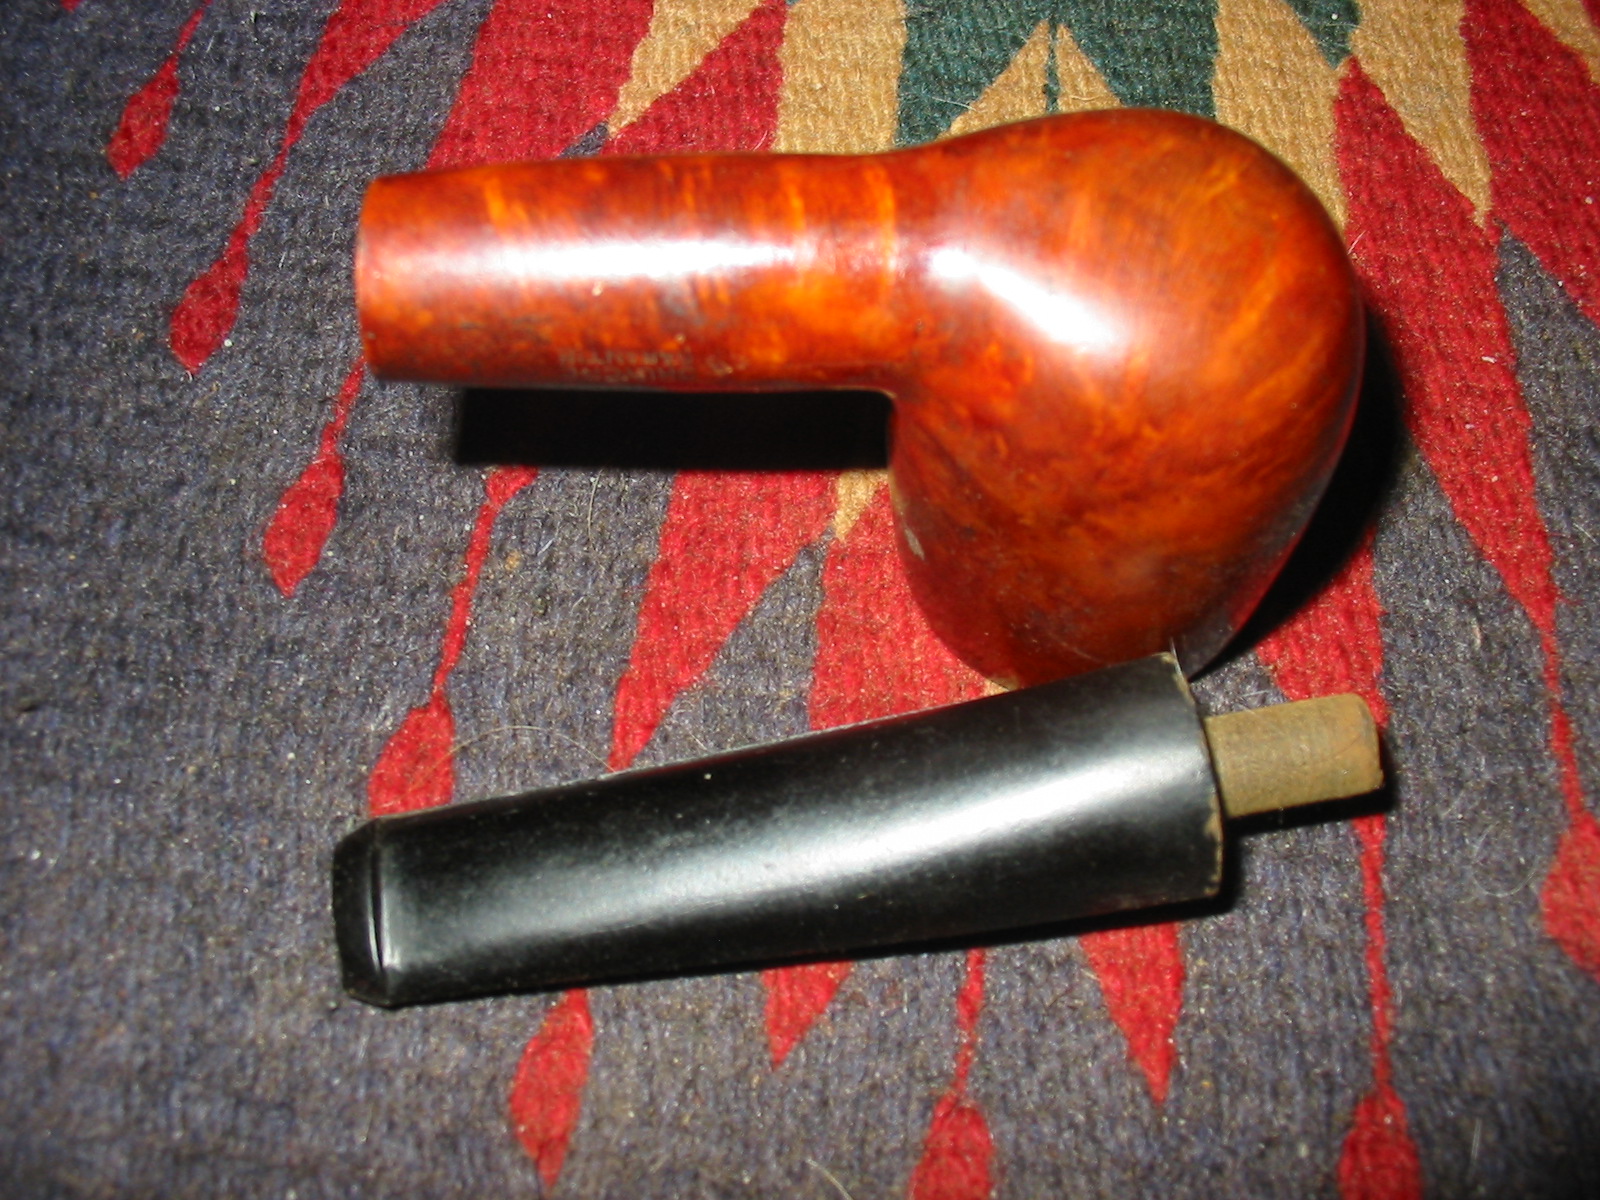
Once I had the tenon cut and sanded to a good snug fit I inserted it in the shank. The first two photos below show the fit of the stem to the shank. You can also see the taper on the on the shank that shows the misshaped nature of the shank. The stem fit very well but was much larger in diameter than the shank. I used my Dremel with a sanding drum to remove the excess diameter of the stem. The next series of six photos show the progress of removing the excess vulcanite with the sanding drum. The final photo of the six shows the newly formed fit of the stem to the shank. The taper on the shank is bothersome so that I wanted to have to address that issue before I finished the final fitting of the stem.


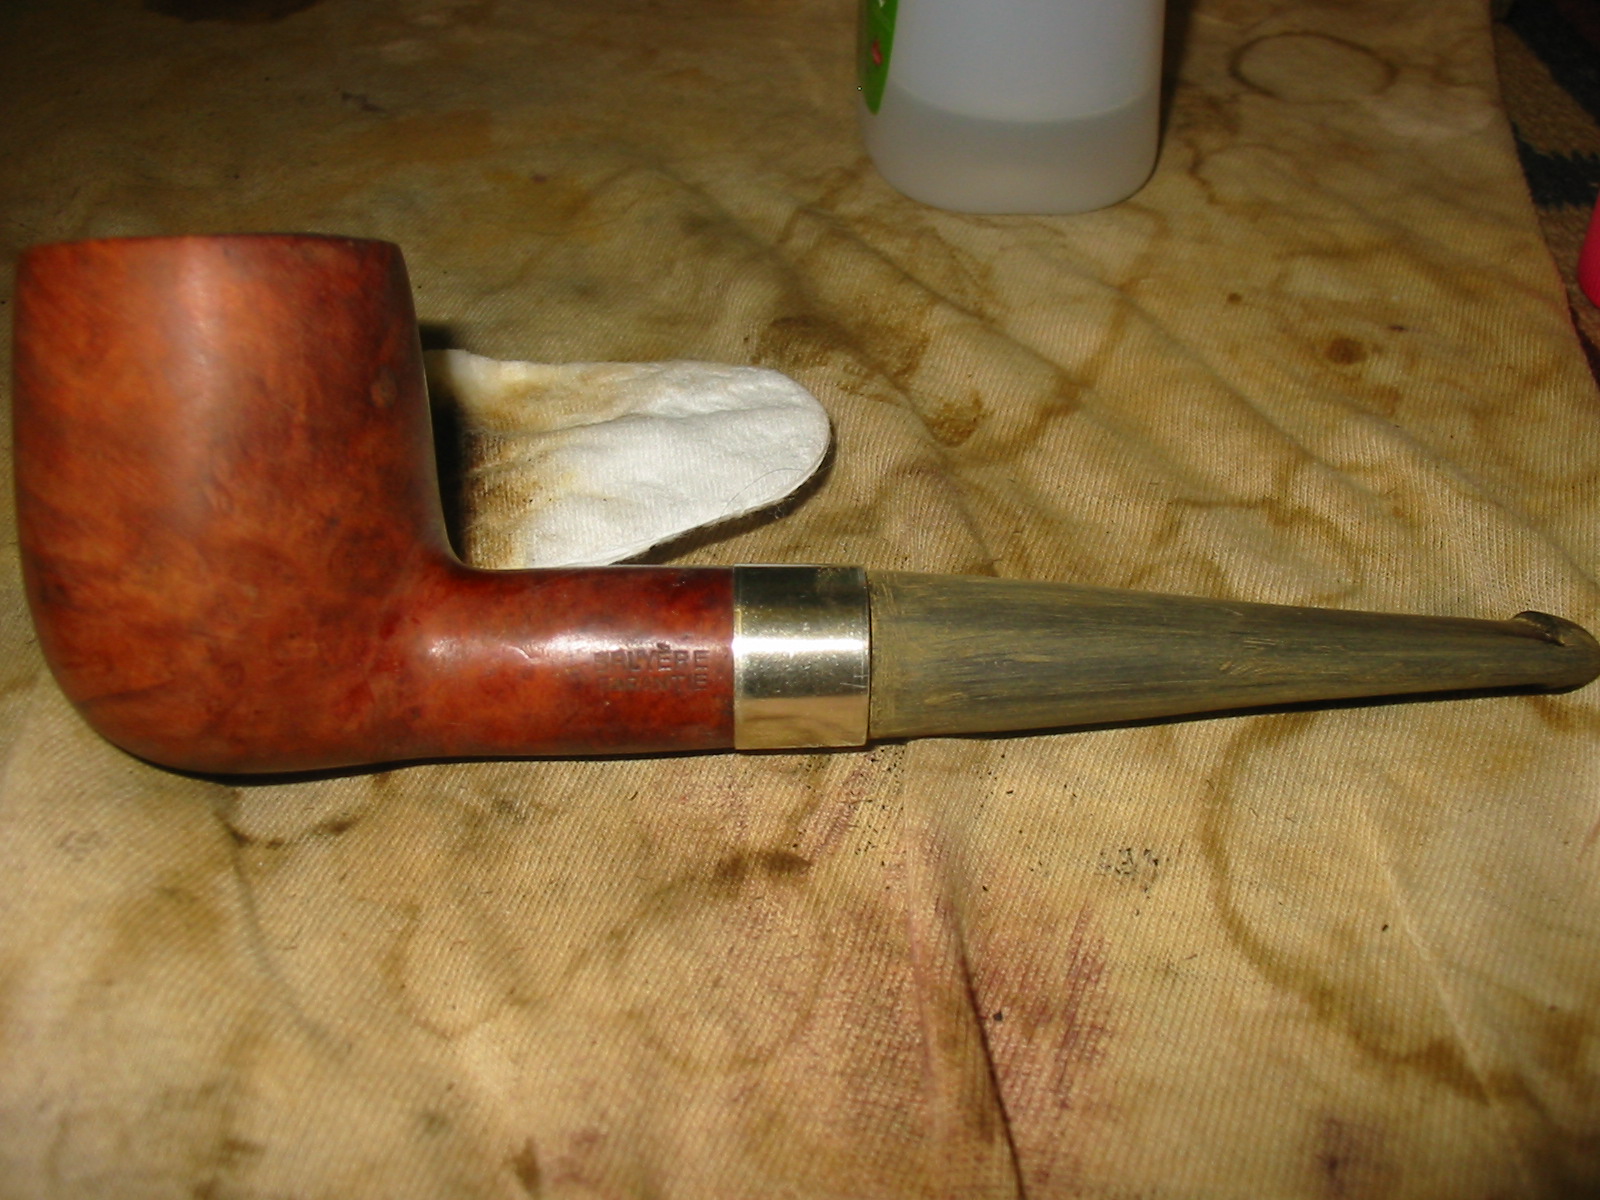
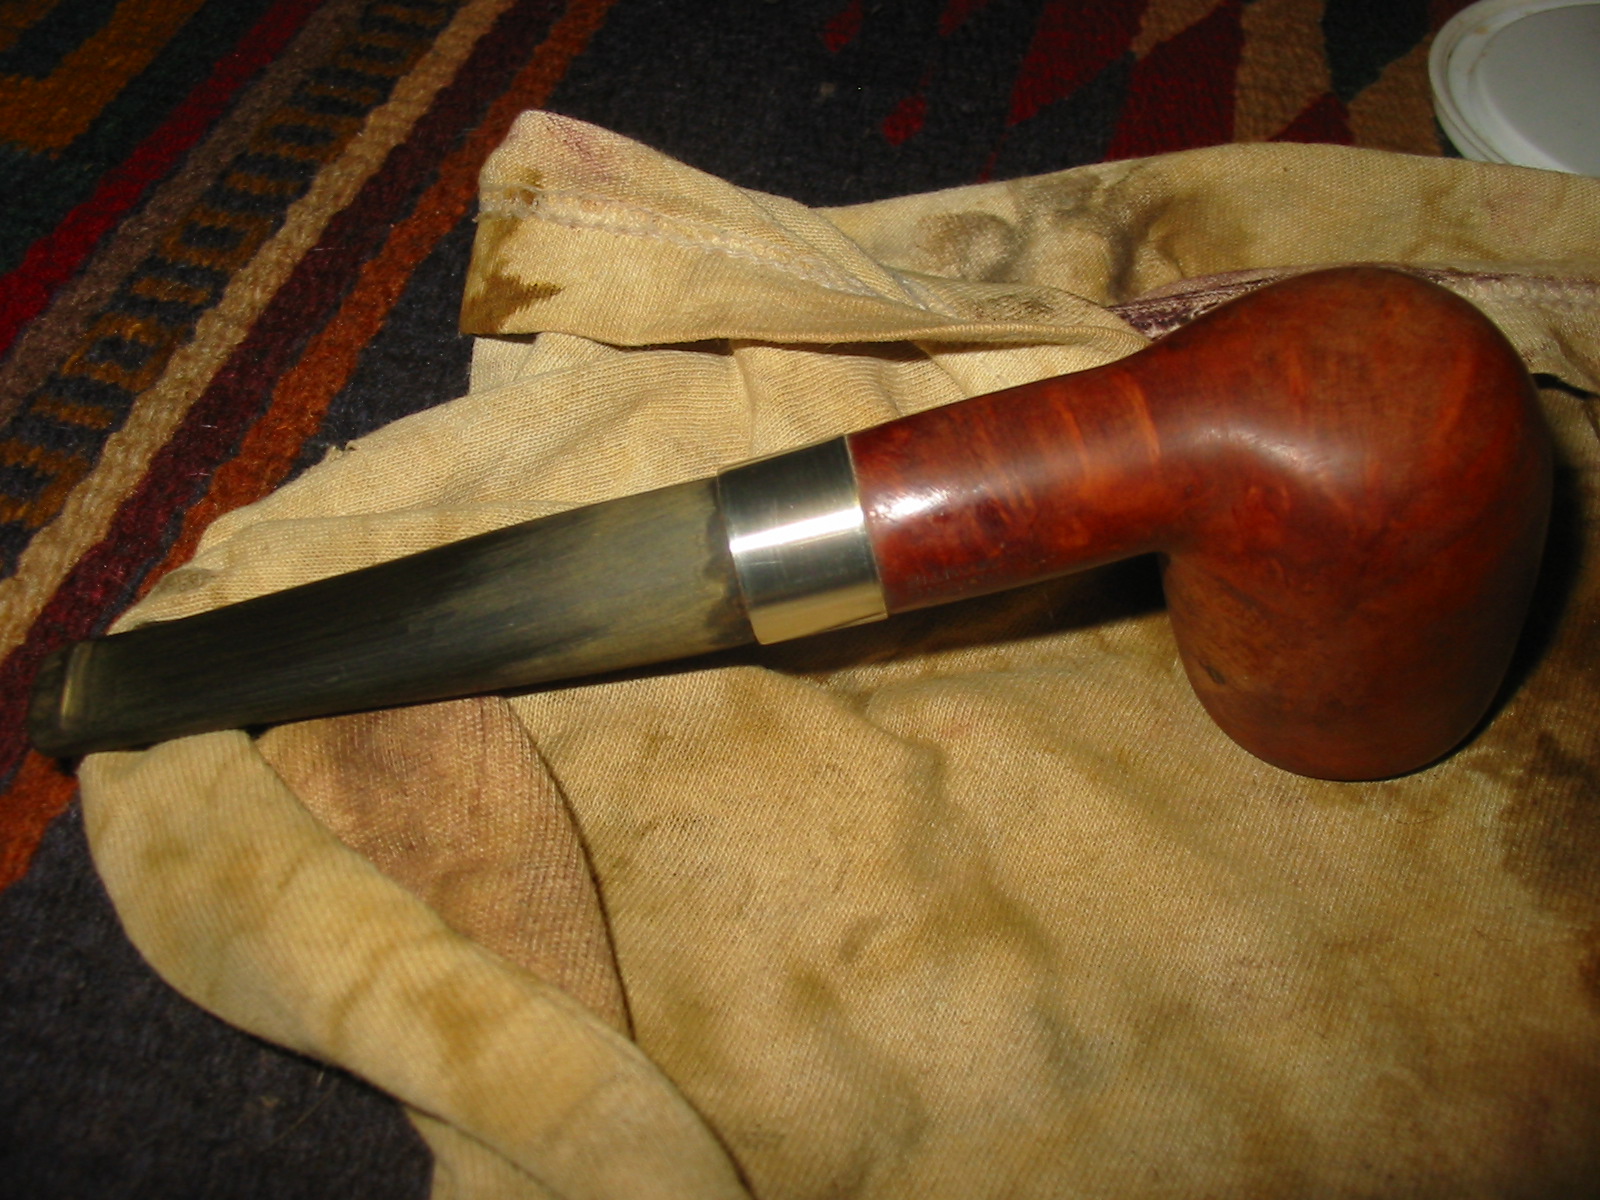
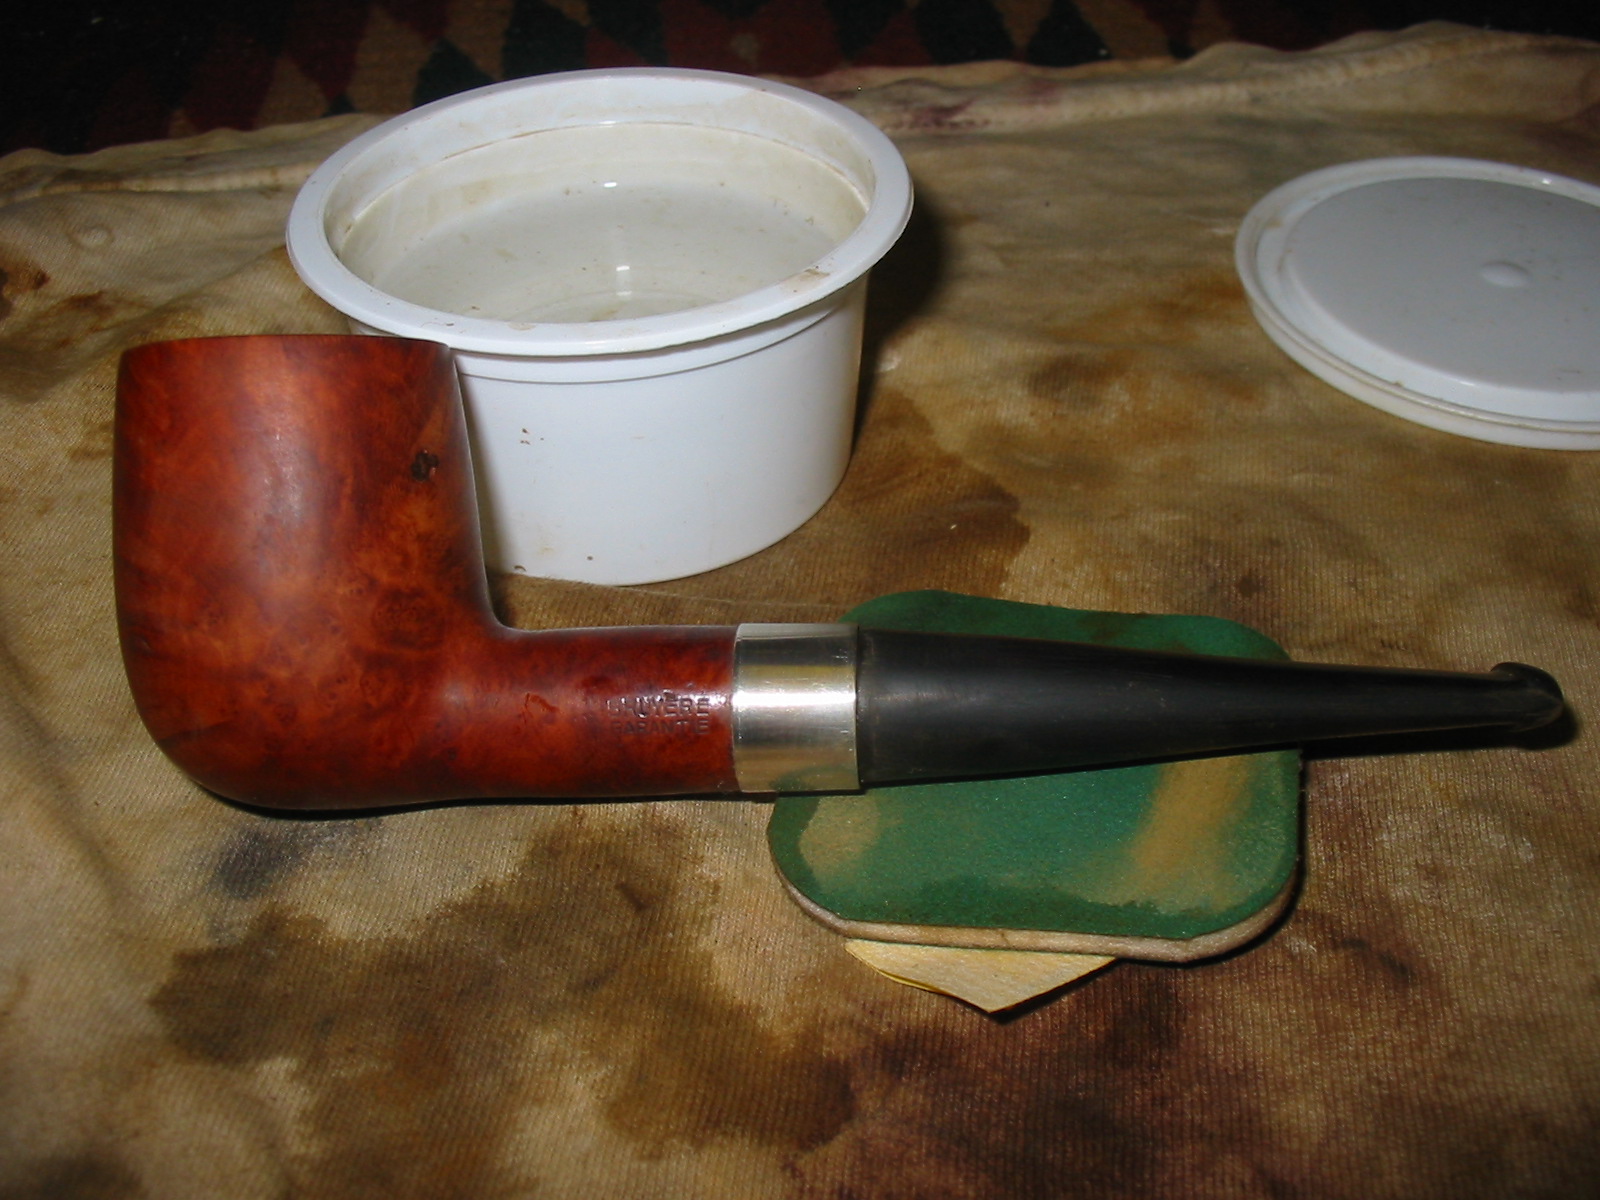
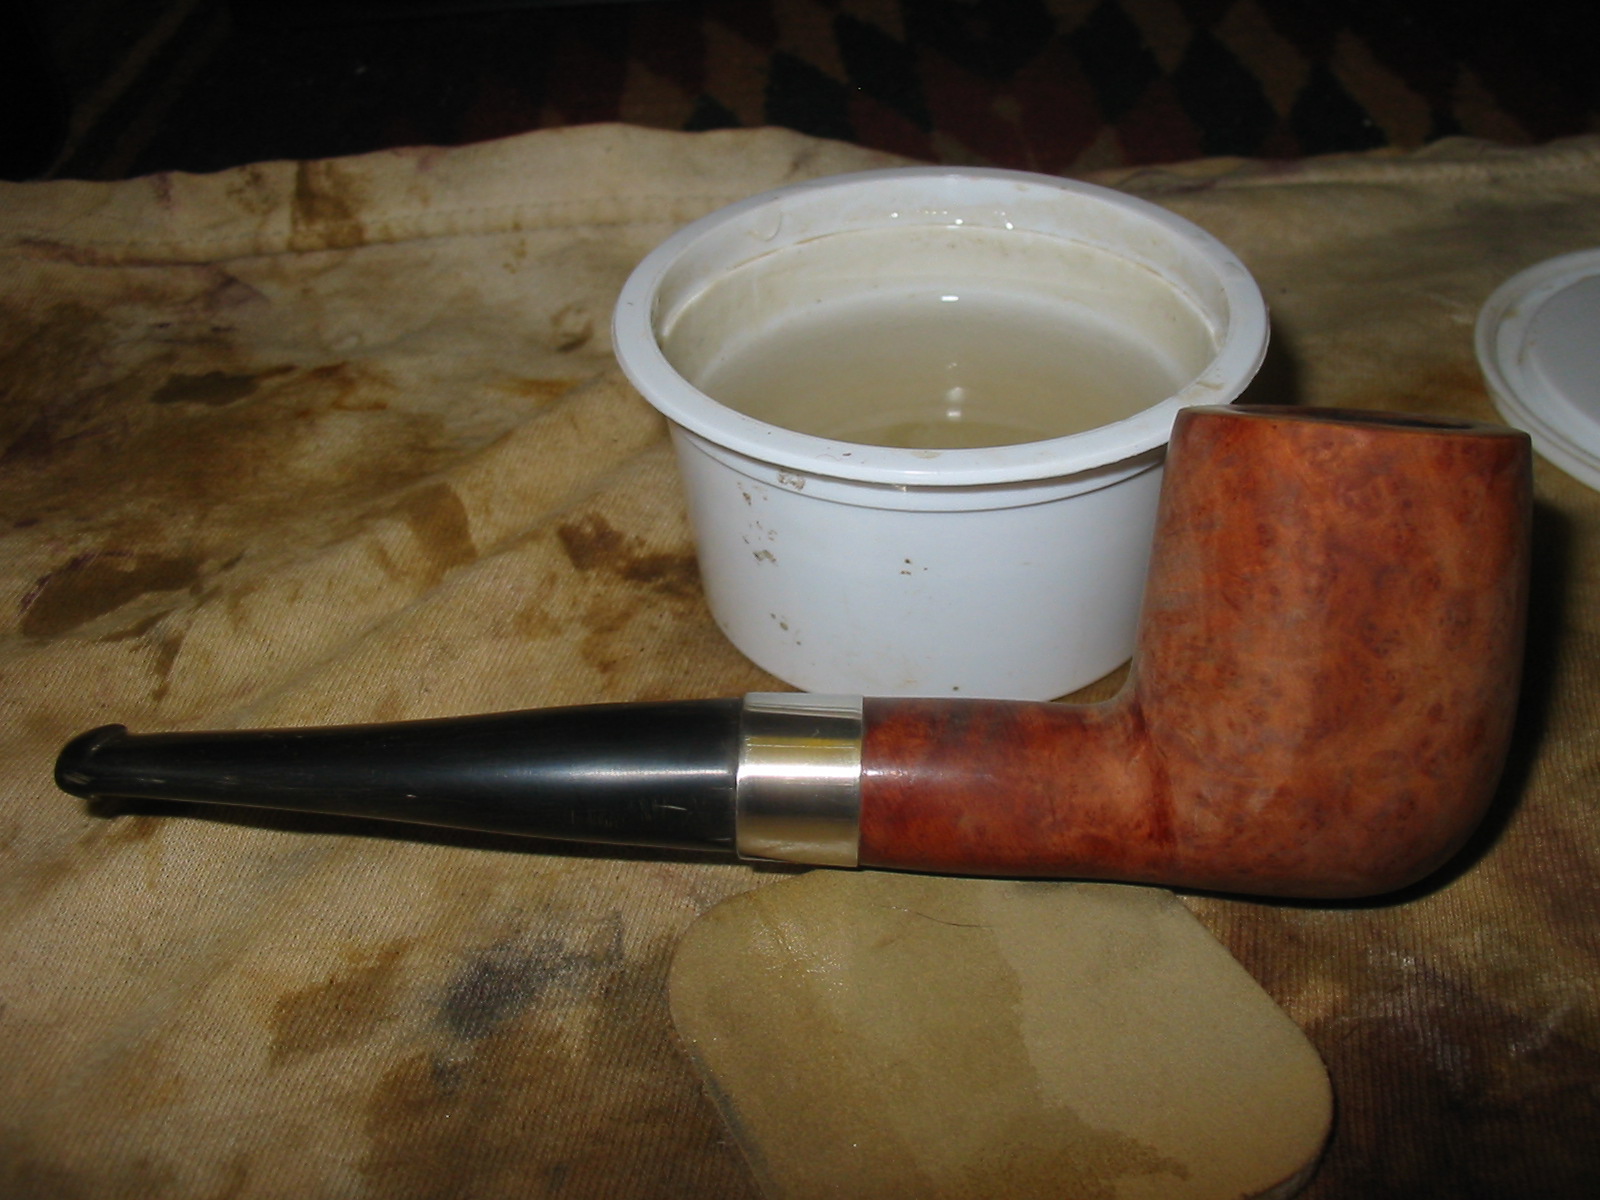
Once I had the stem fitting well I decided to band the shank to even out the flow and roundness of the shank. A wide nickel band would fit the shank well and flatten out the shank taper. I wanted an even flow from the shank bowl junction to the stem. The look of the taper on the shank was something that bothered me and that I decided to minimize with the band. The next five photos show the process and results of banding. I heated the band and then pressure fit it onto the shank. I then used some superglue to fill in the vacant areas in the inner diameter of the band. The final photo in the series shows an end view of the band on the shank.
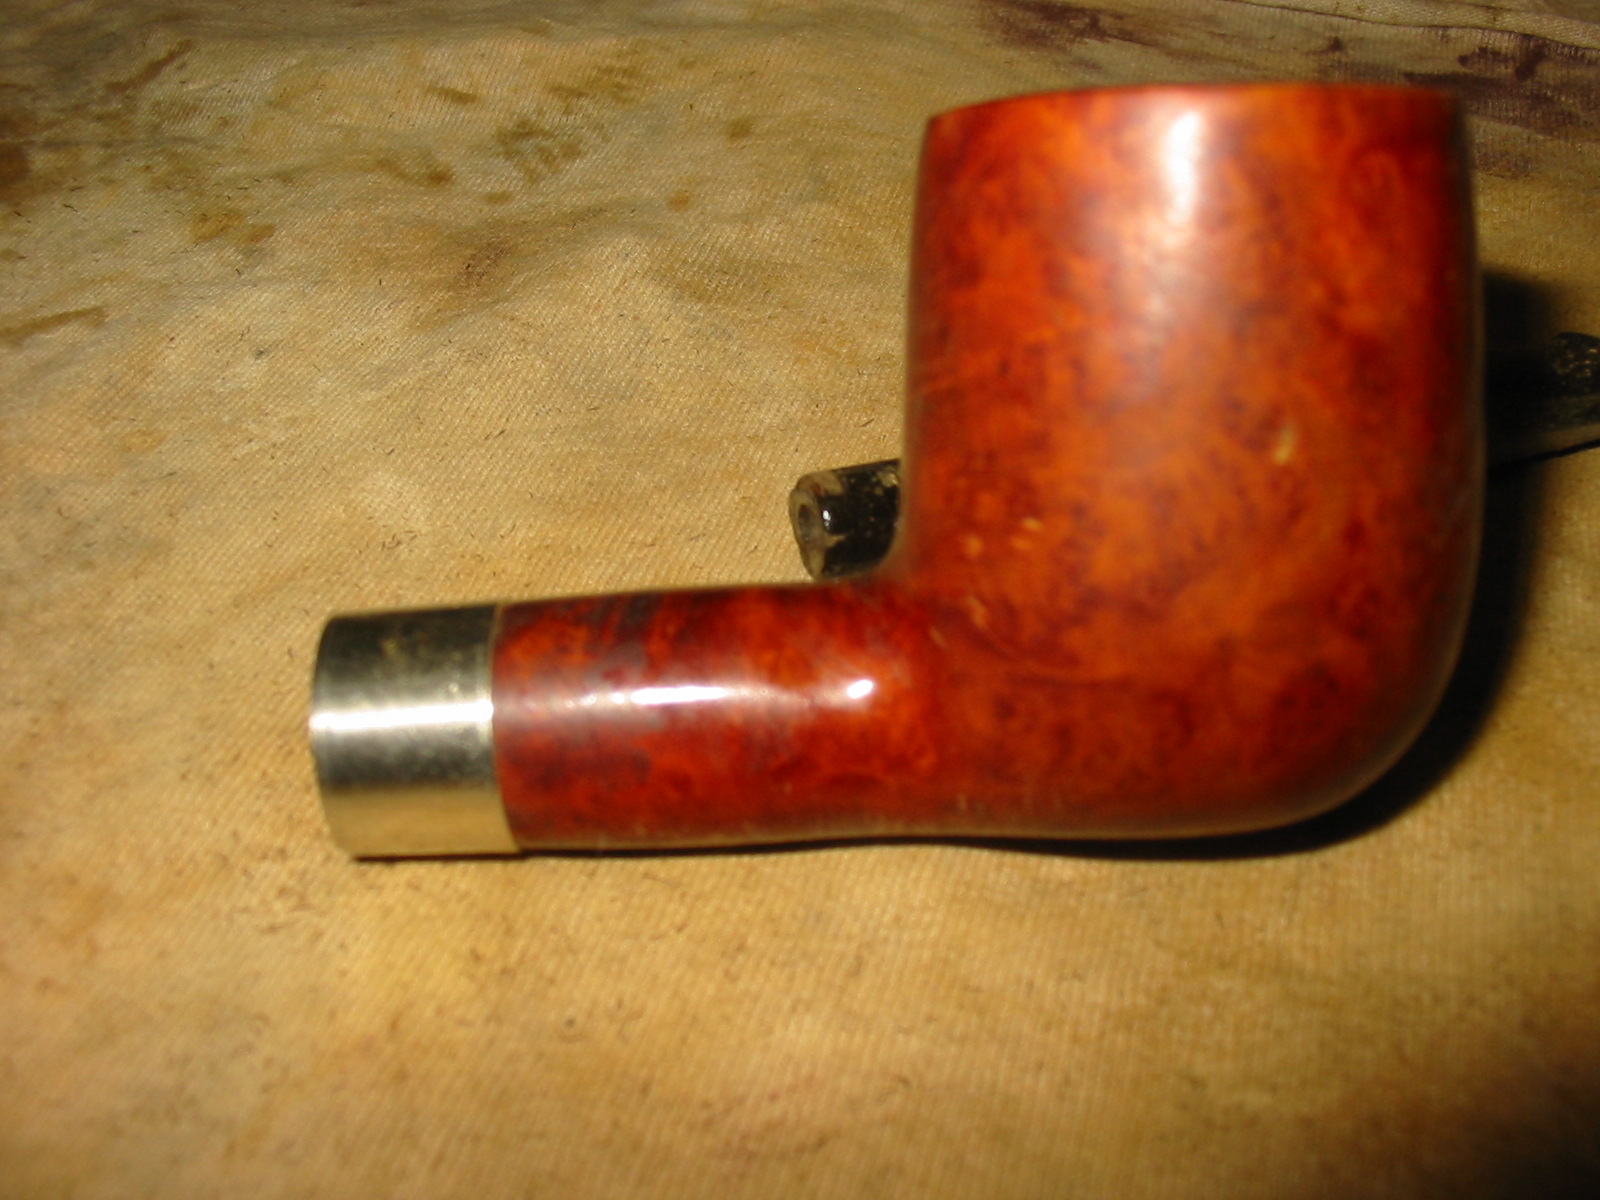
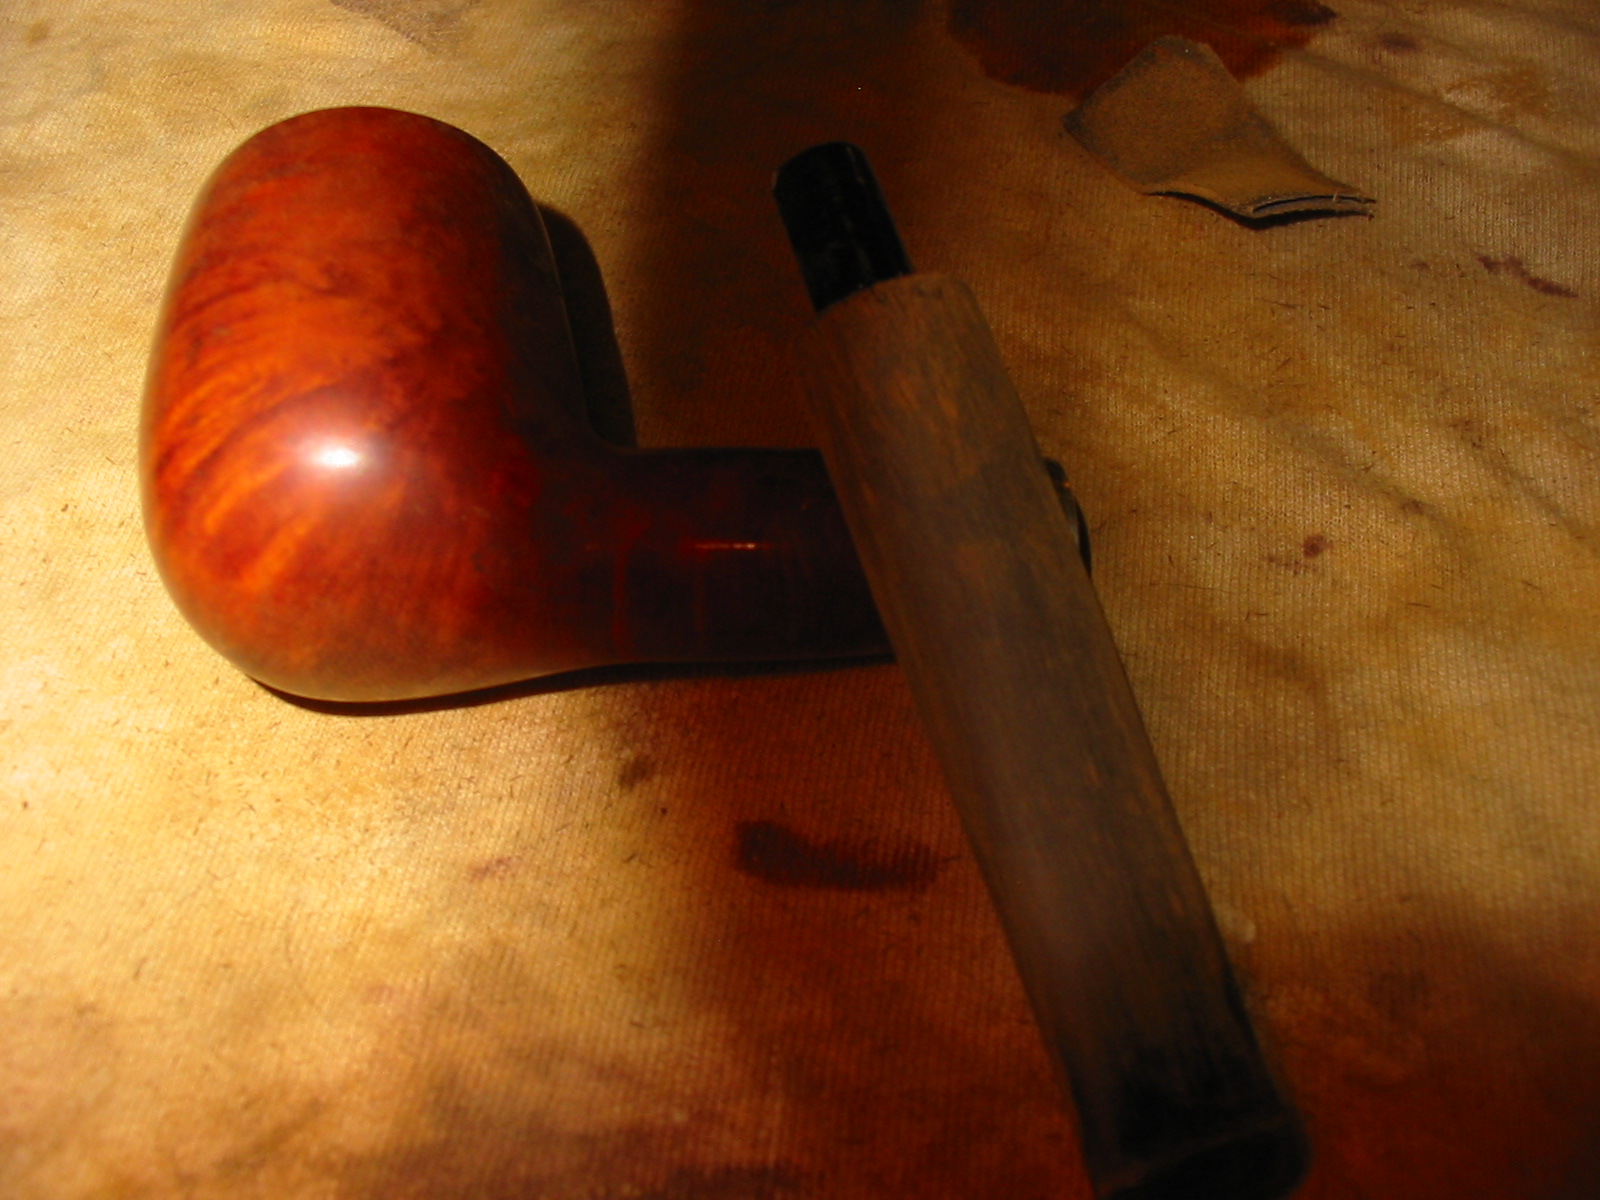
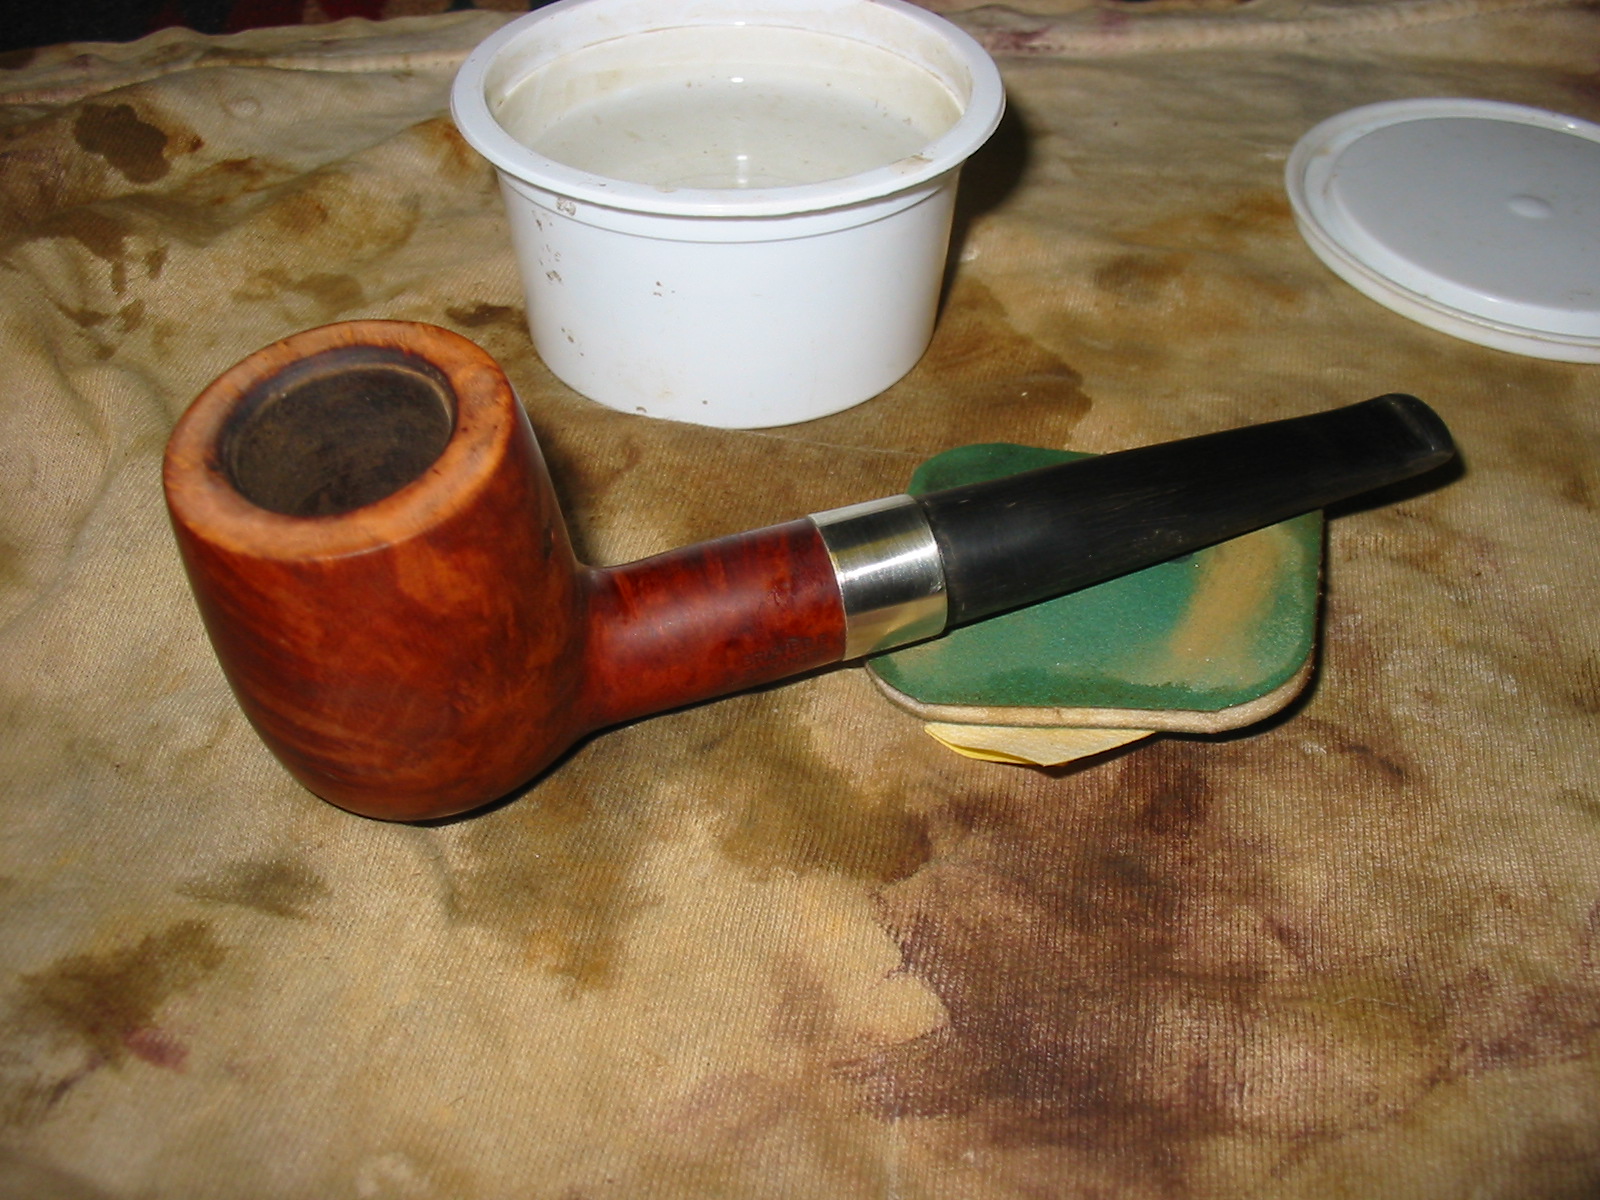
The next three photos show the fit of the new stem to the shank. The band sets off the stem shank junction well. The taper of the stem works very well in my opinion. More sanding needed to be done in making the fit smooth and the taper correct.
I worked on the stem with medium grit emery cloth to remove the scratches and to even out the taper on the stem and the flow of the sides of the stem from the shank to the button. The next two photos show the stem after sanding the stem.

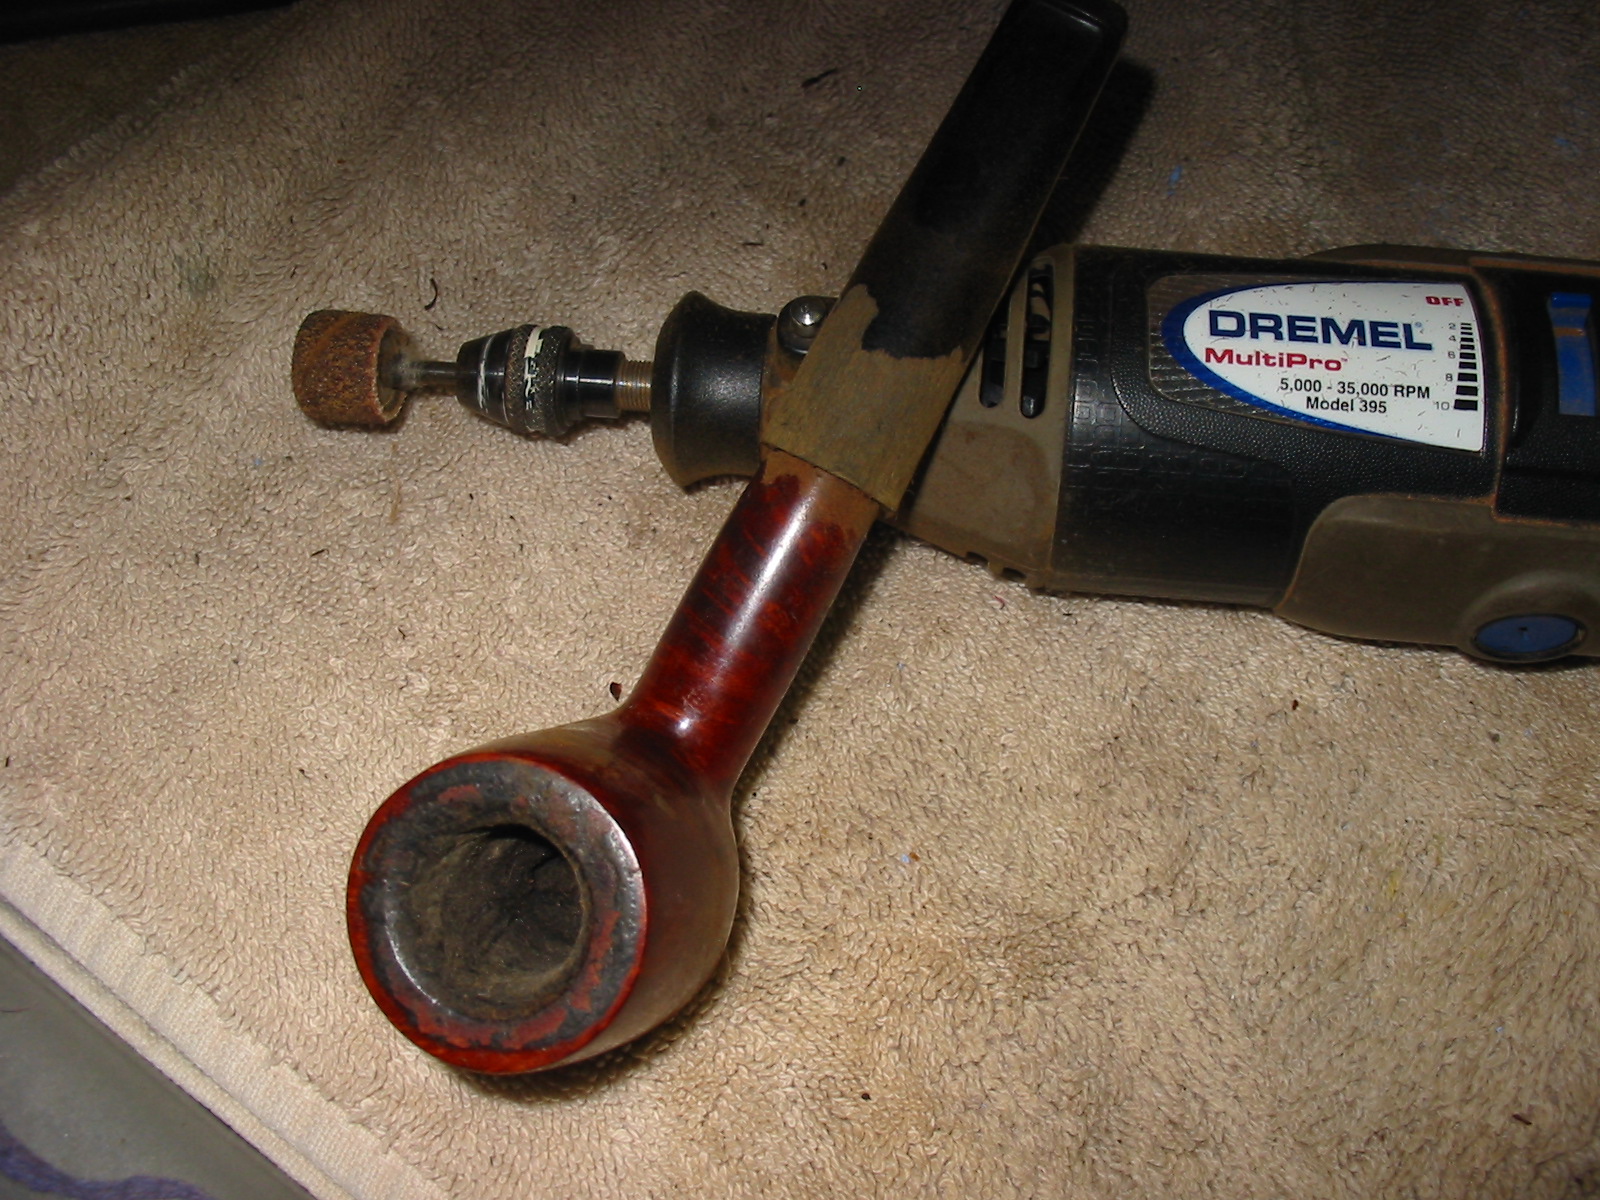
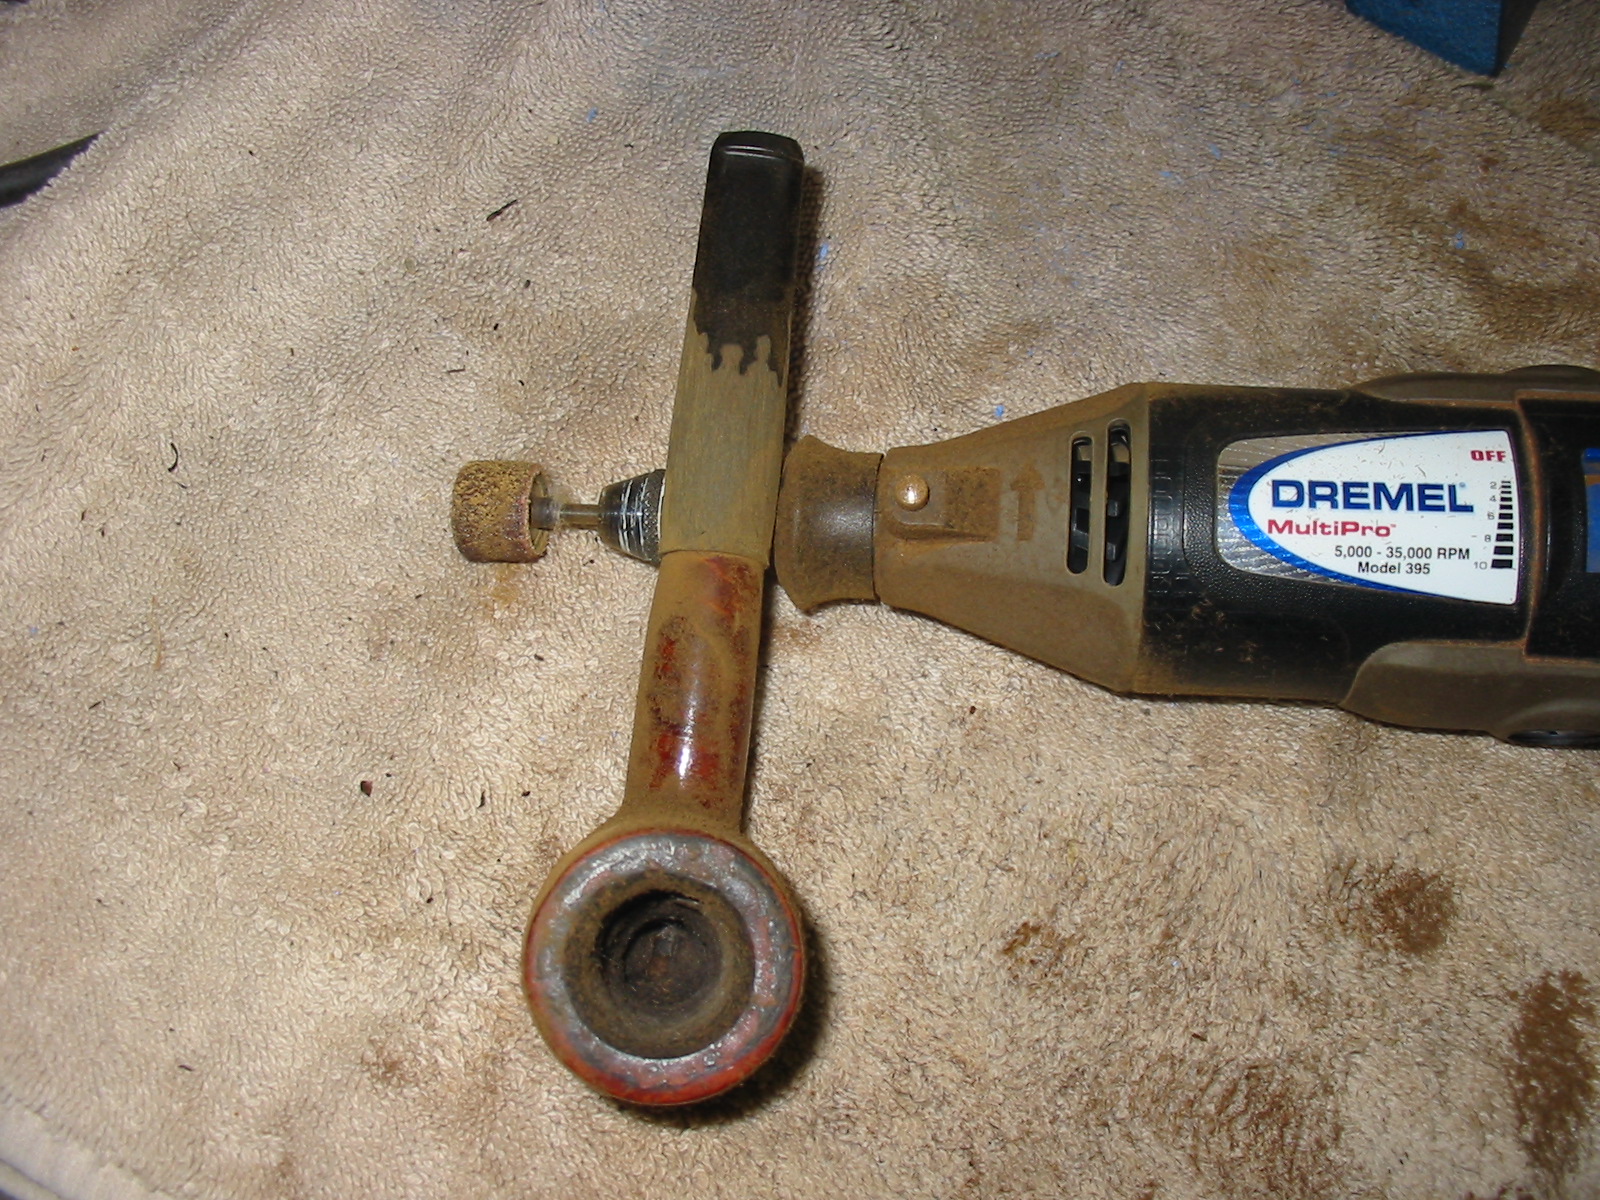
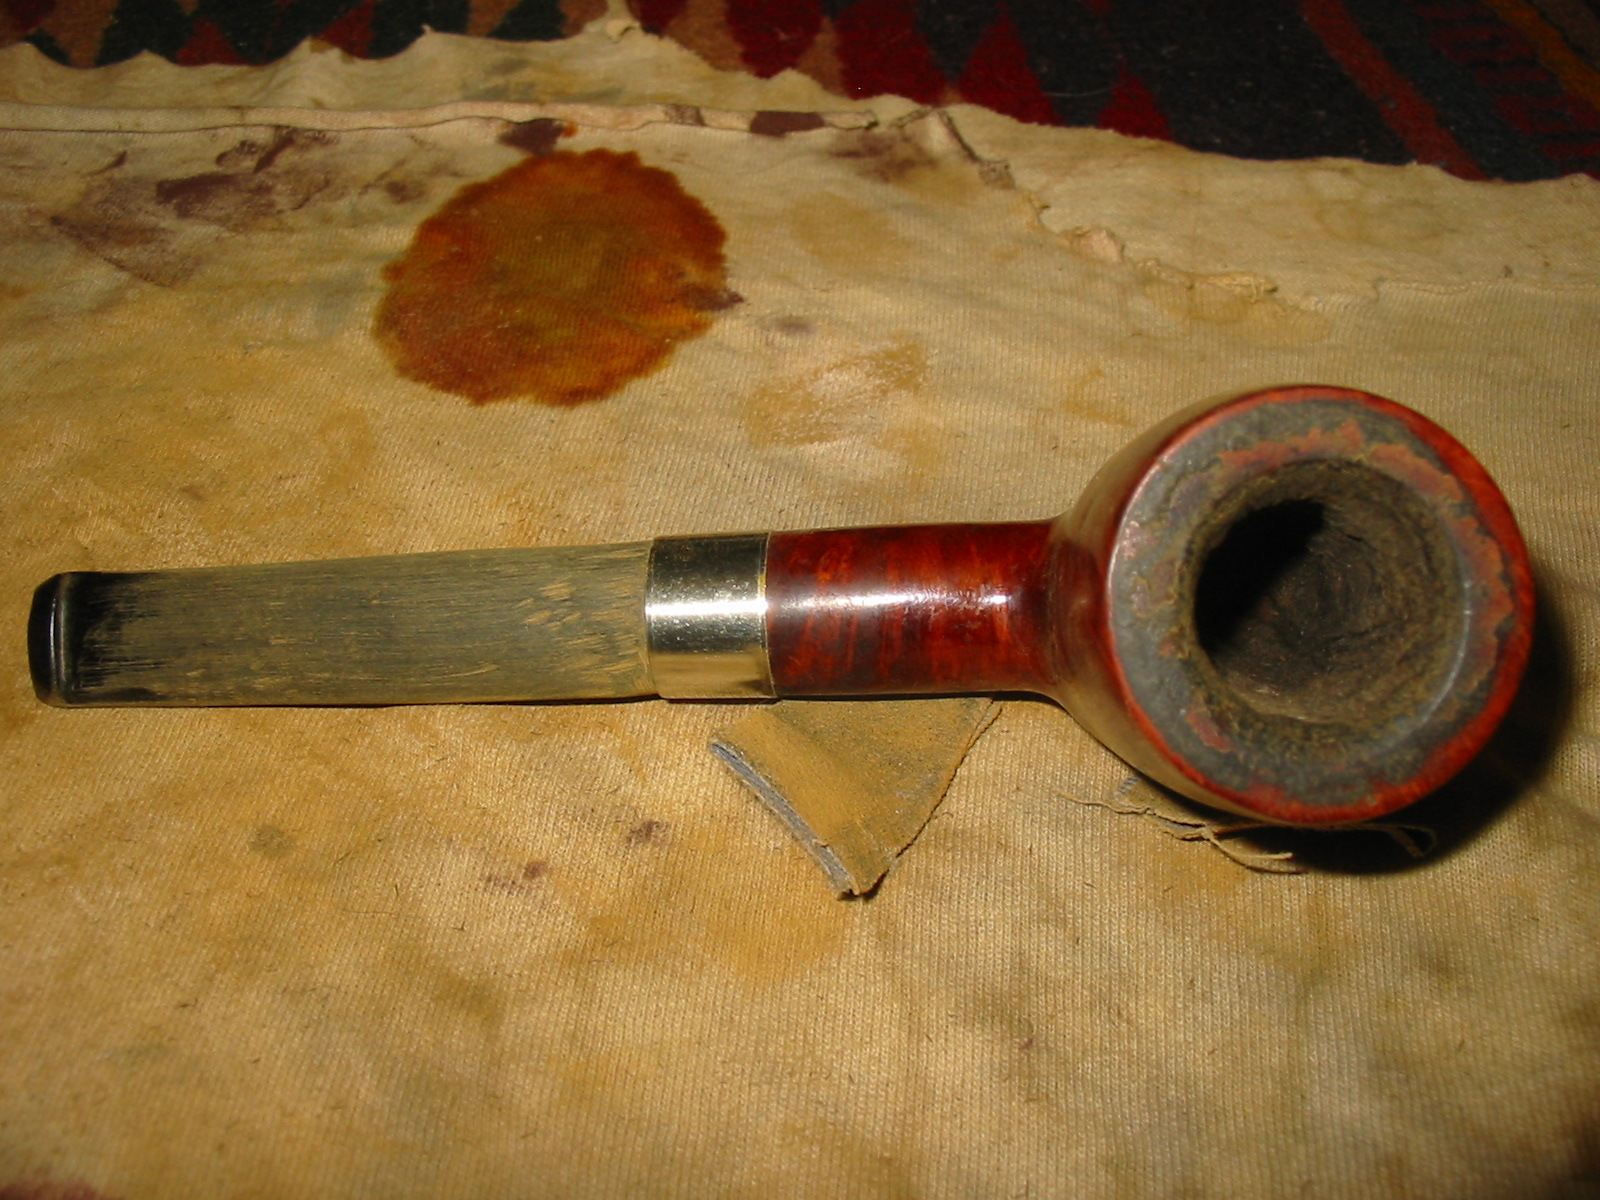
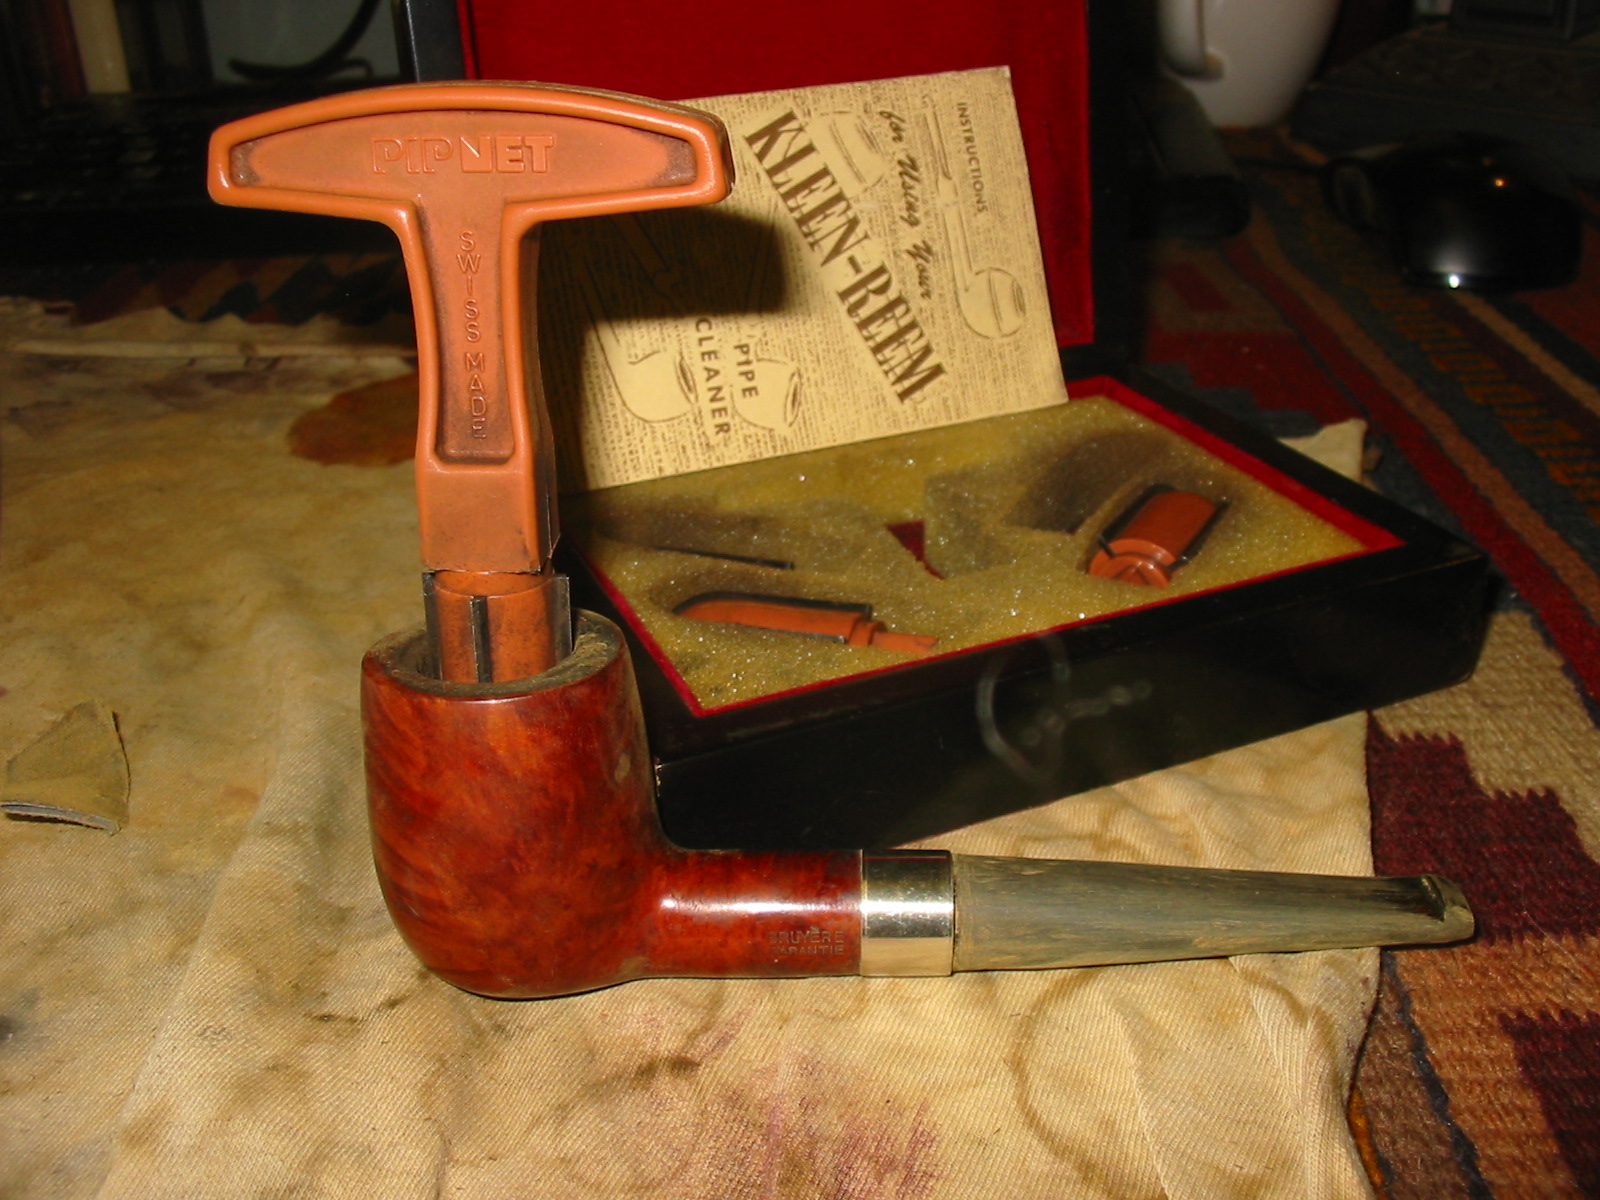
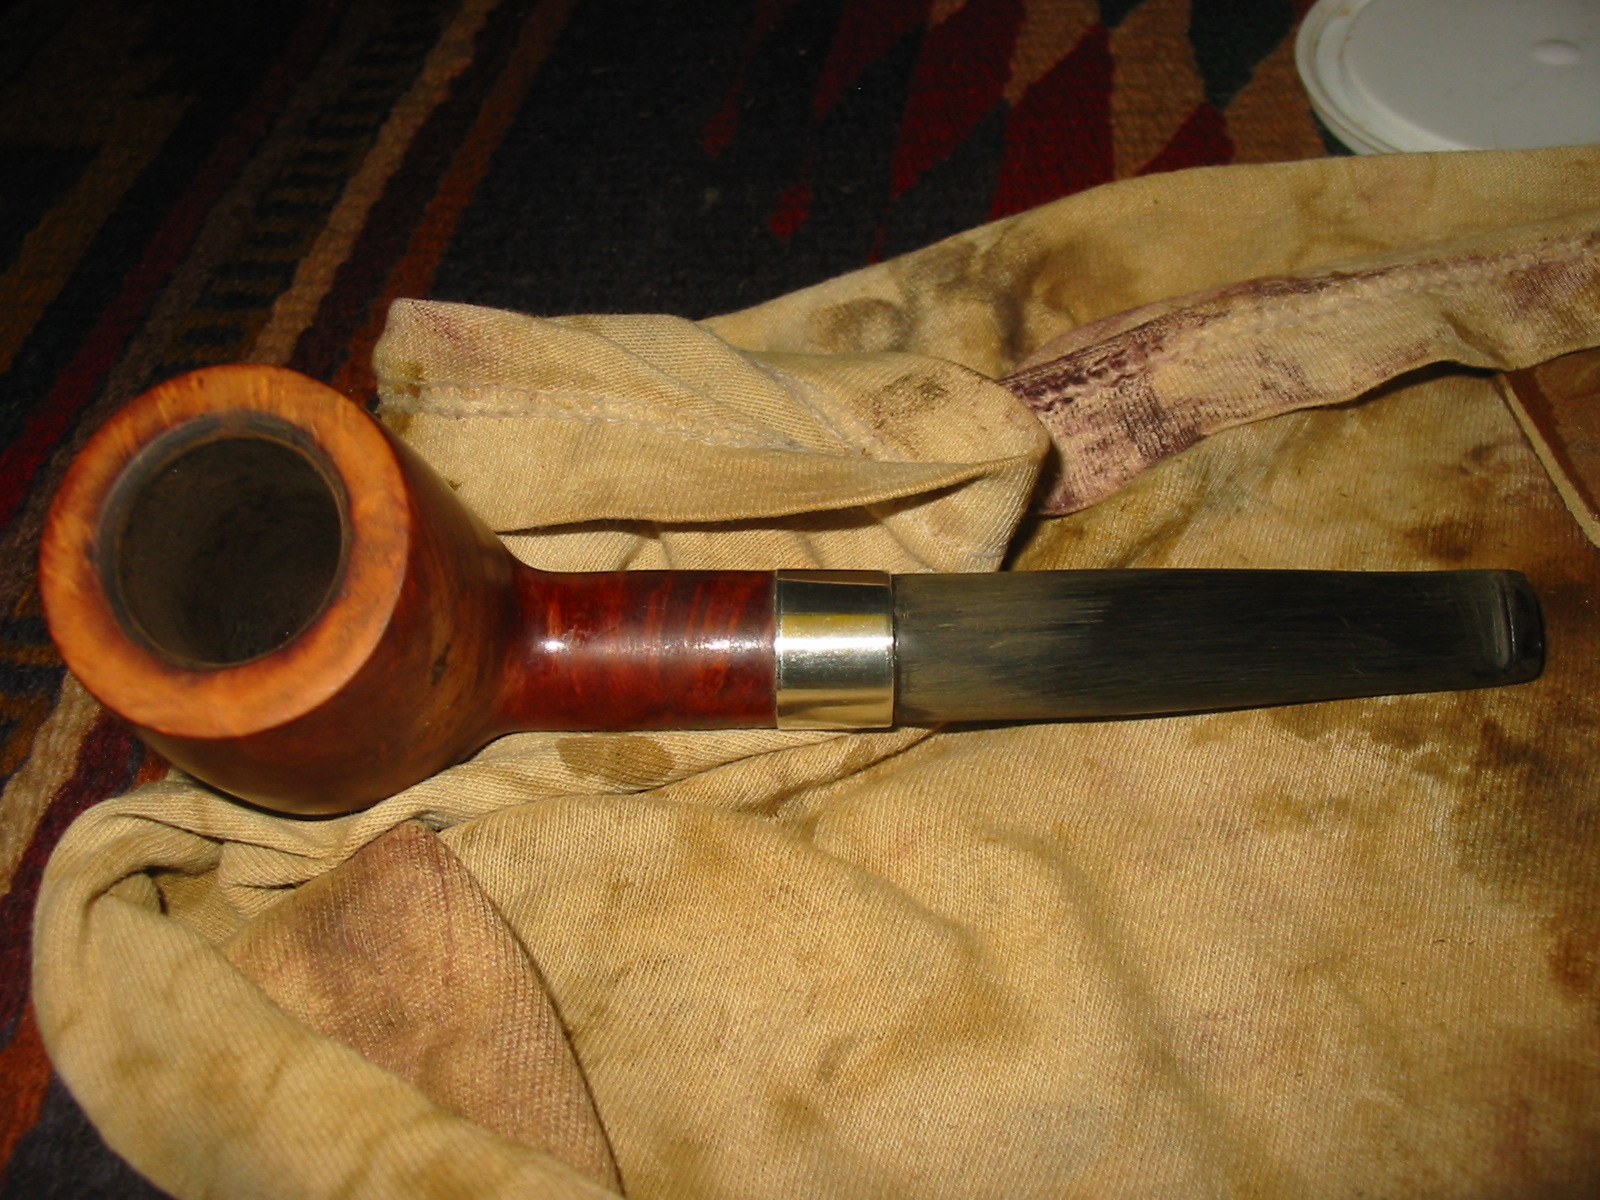
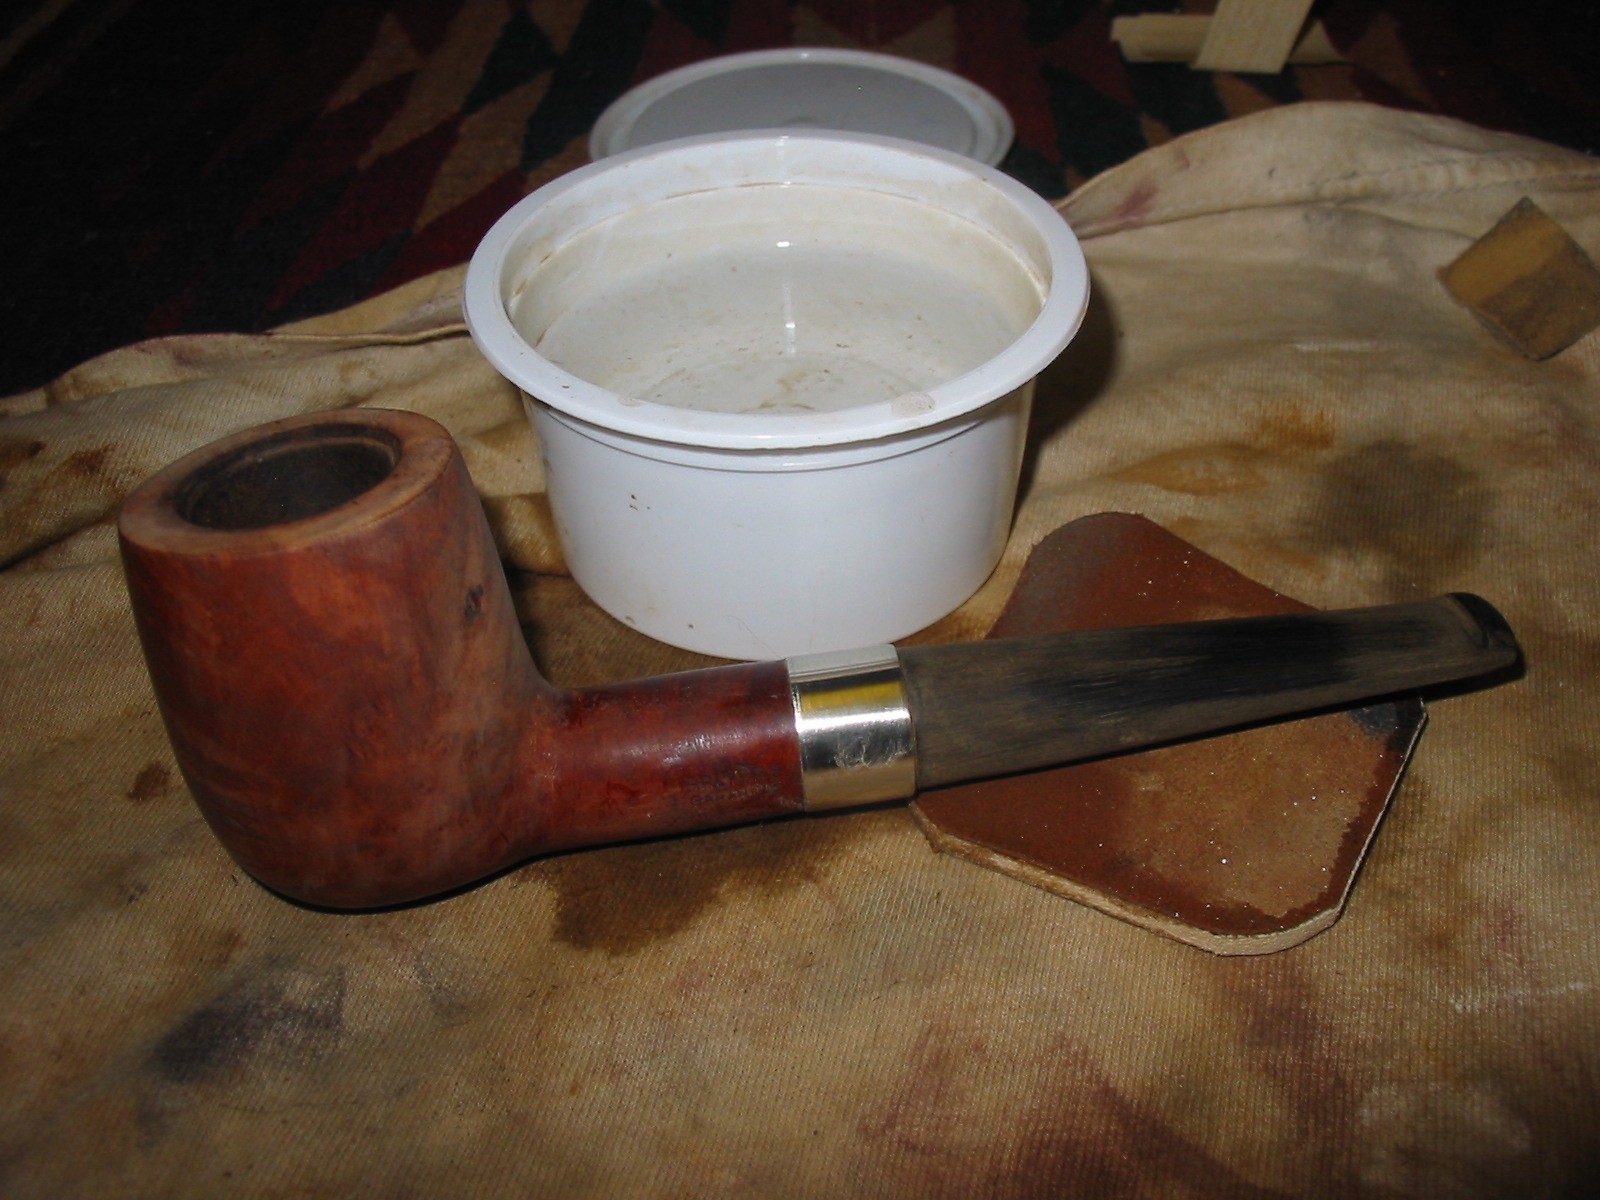
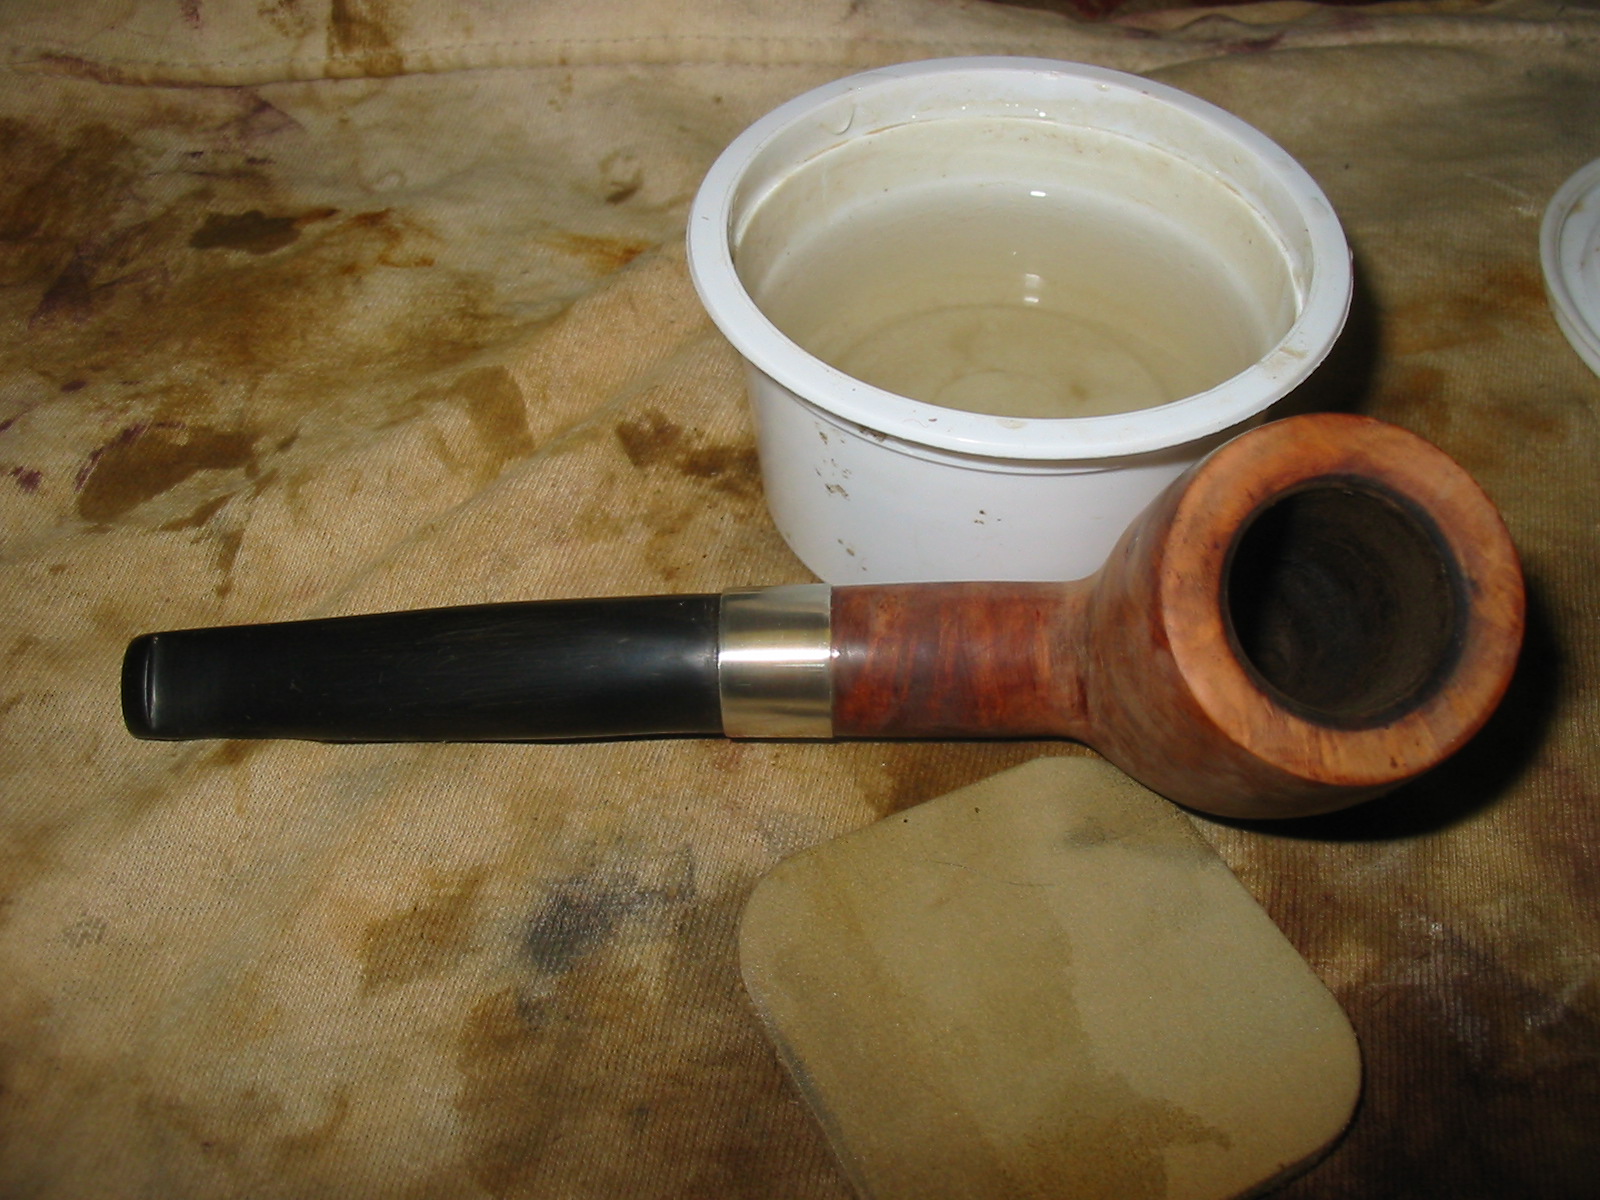
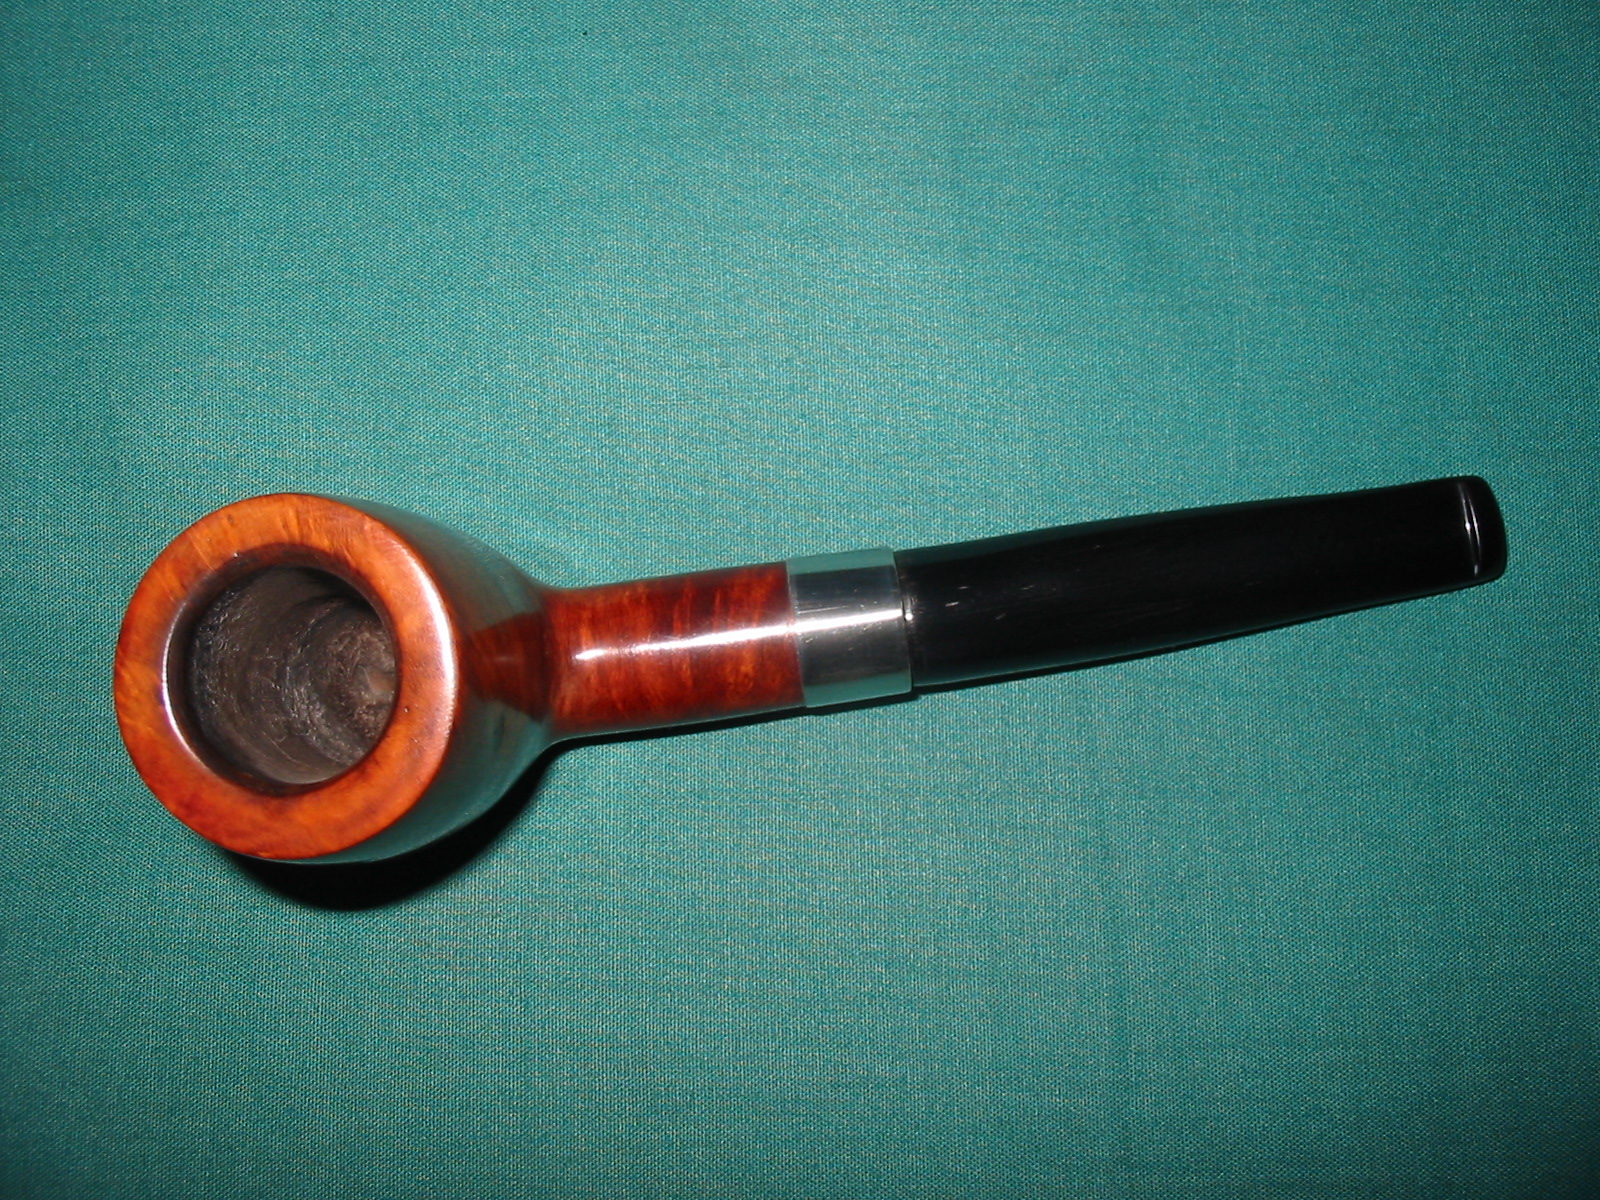
At this point in the process of fitting the stem I decided to set it aside and work on the bowl of the pipe. I reamed it out using several different bits on the t handle of the Pipnet pipe reamer. I reamed the bowl back to bare wood so that I could rebuild the cake more evenly. The next two photos show the reaming process.

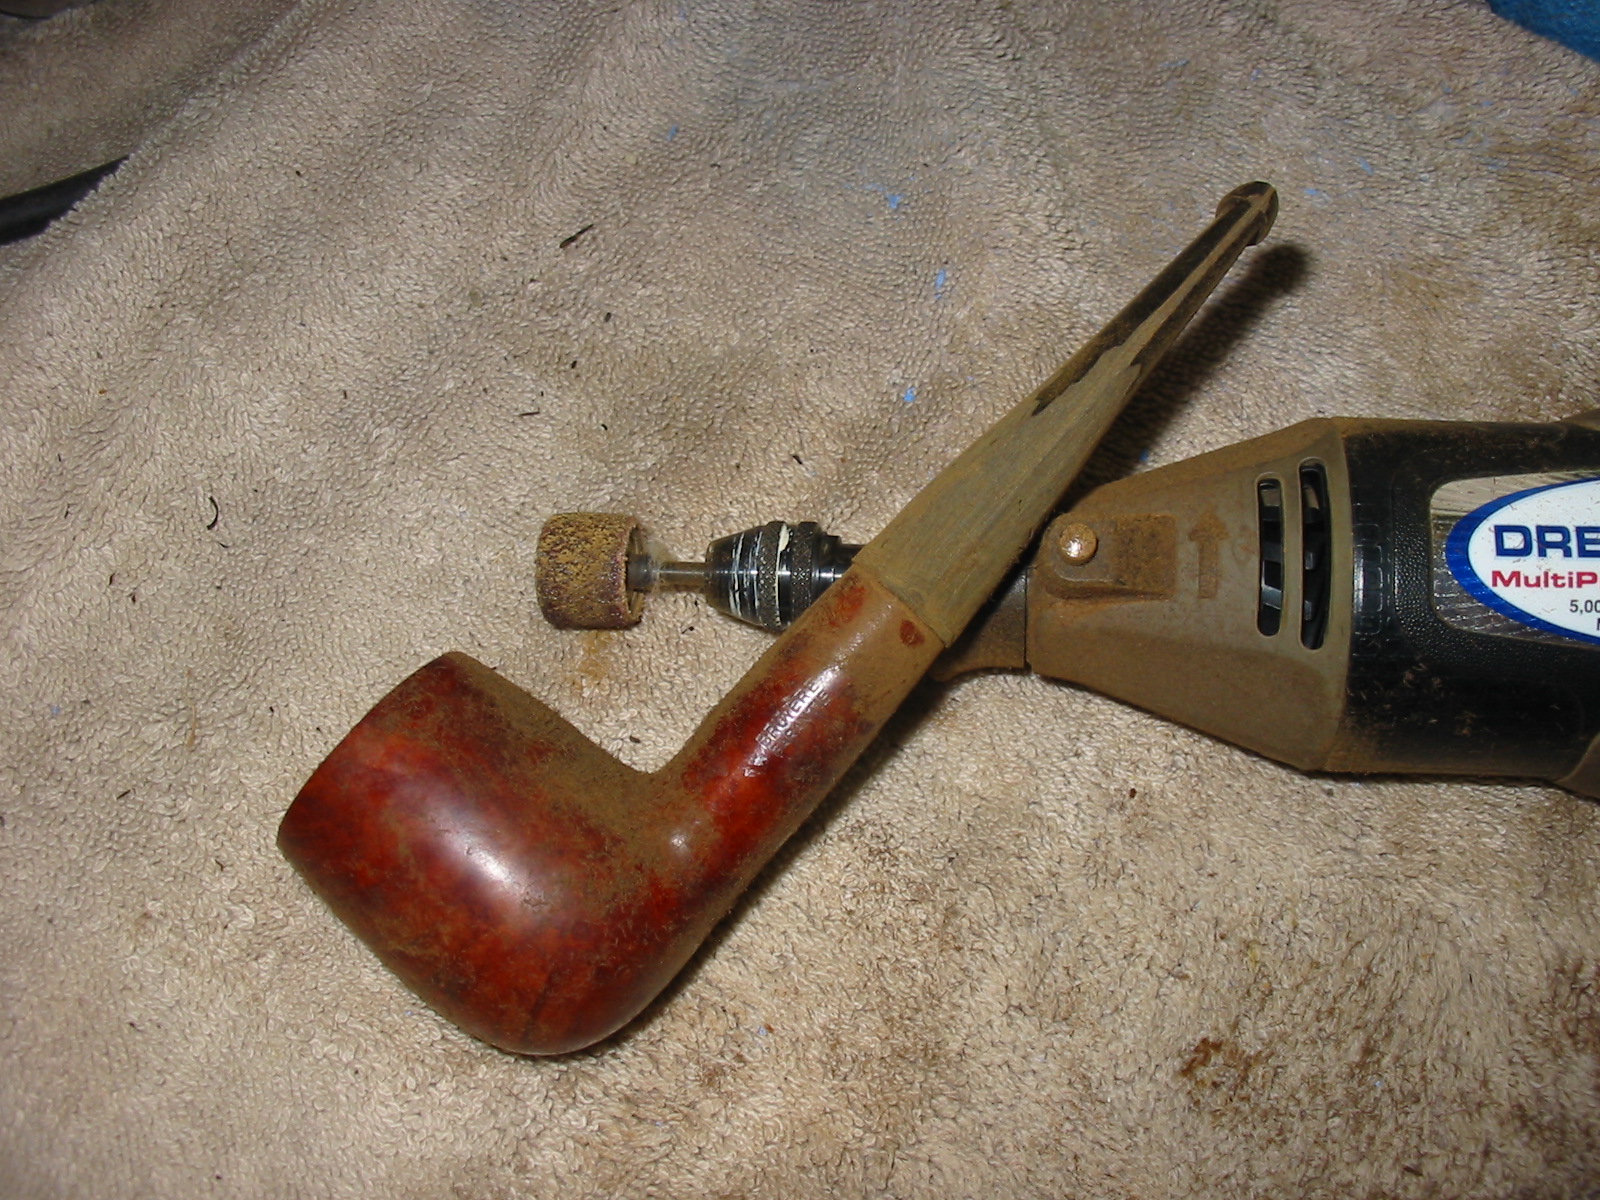
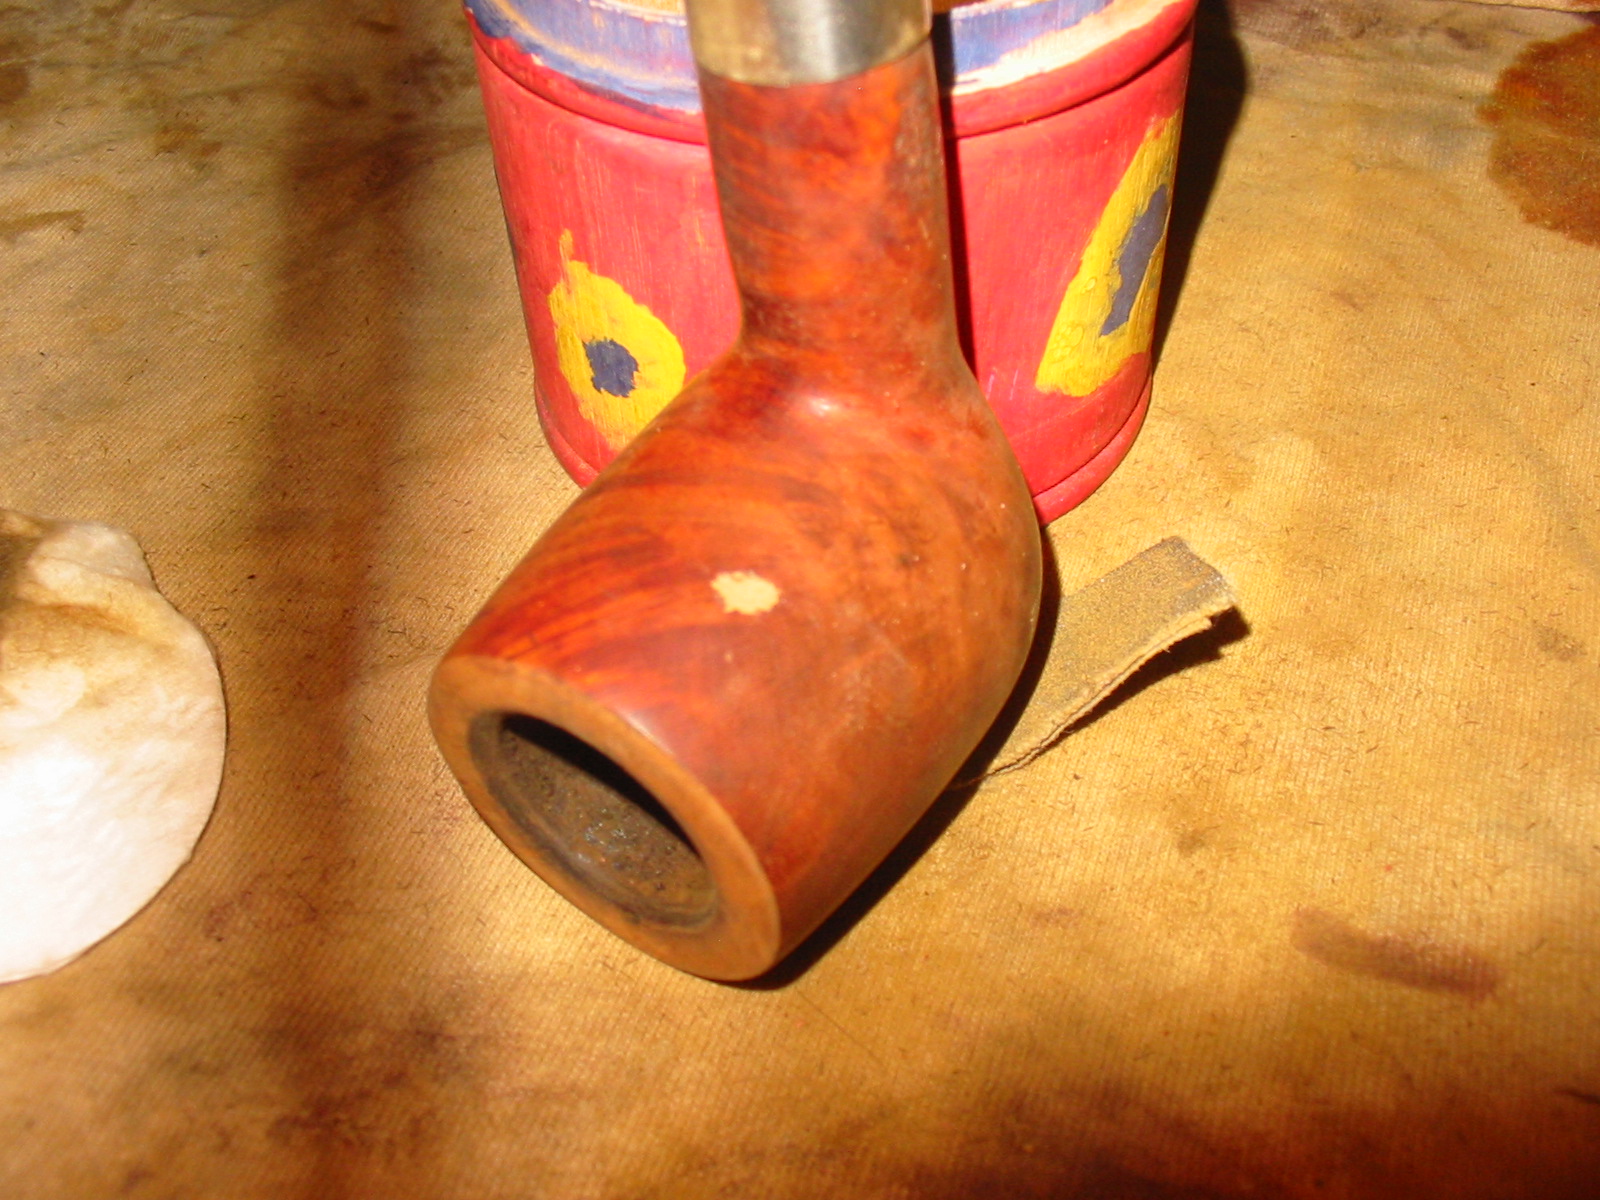
After reaming the bowl I decided to wipe the outside of the bowl down with acetone. I wet a cotton pad with the acetone and scrubbed the outside of the bowl. I also wiped down the rim to soften the tars and build up on the top. The next four photos show the bowl after I had wiped it down multiple times. I wanted to cut through the varnish or topcoat on the bowl so that I could restain it.
The next photo shows the bowl after I had topped it on the board and sandpaper. I was able to remove the damage of the dents and roughness with a minor topping on the sandpaper.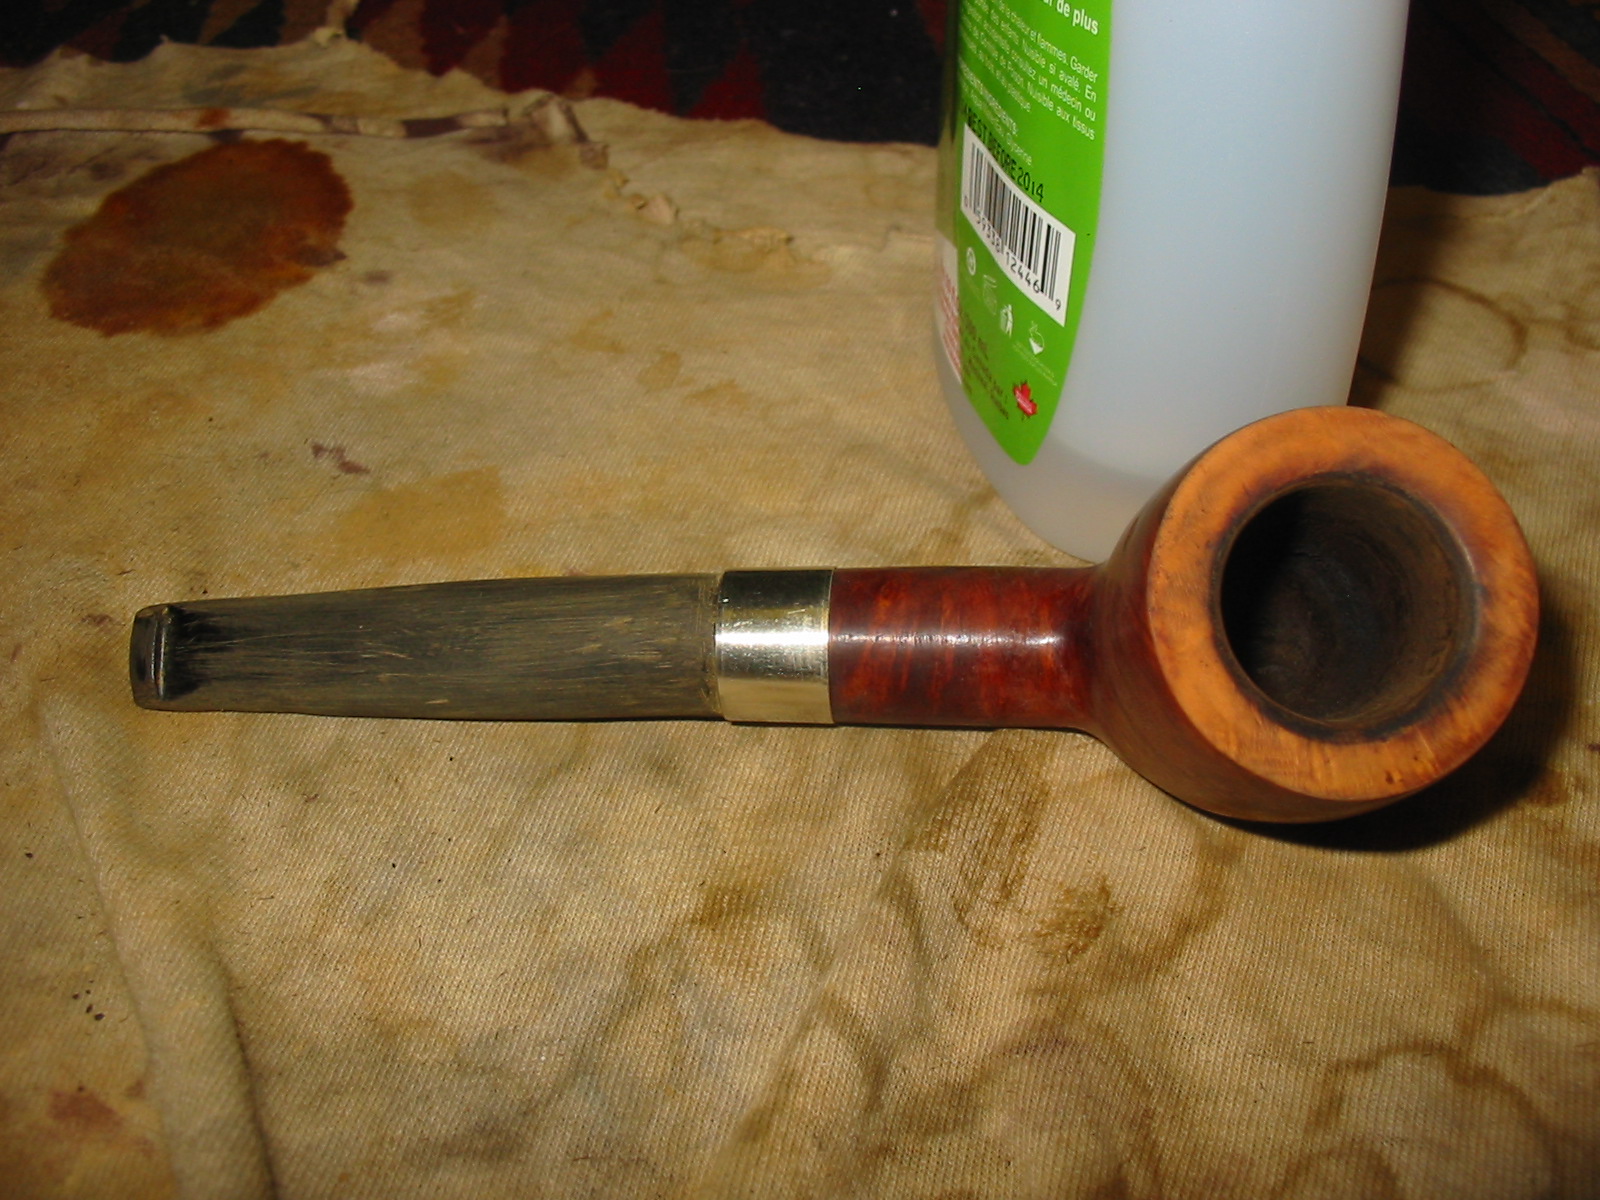
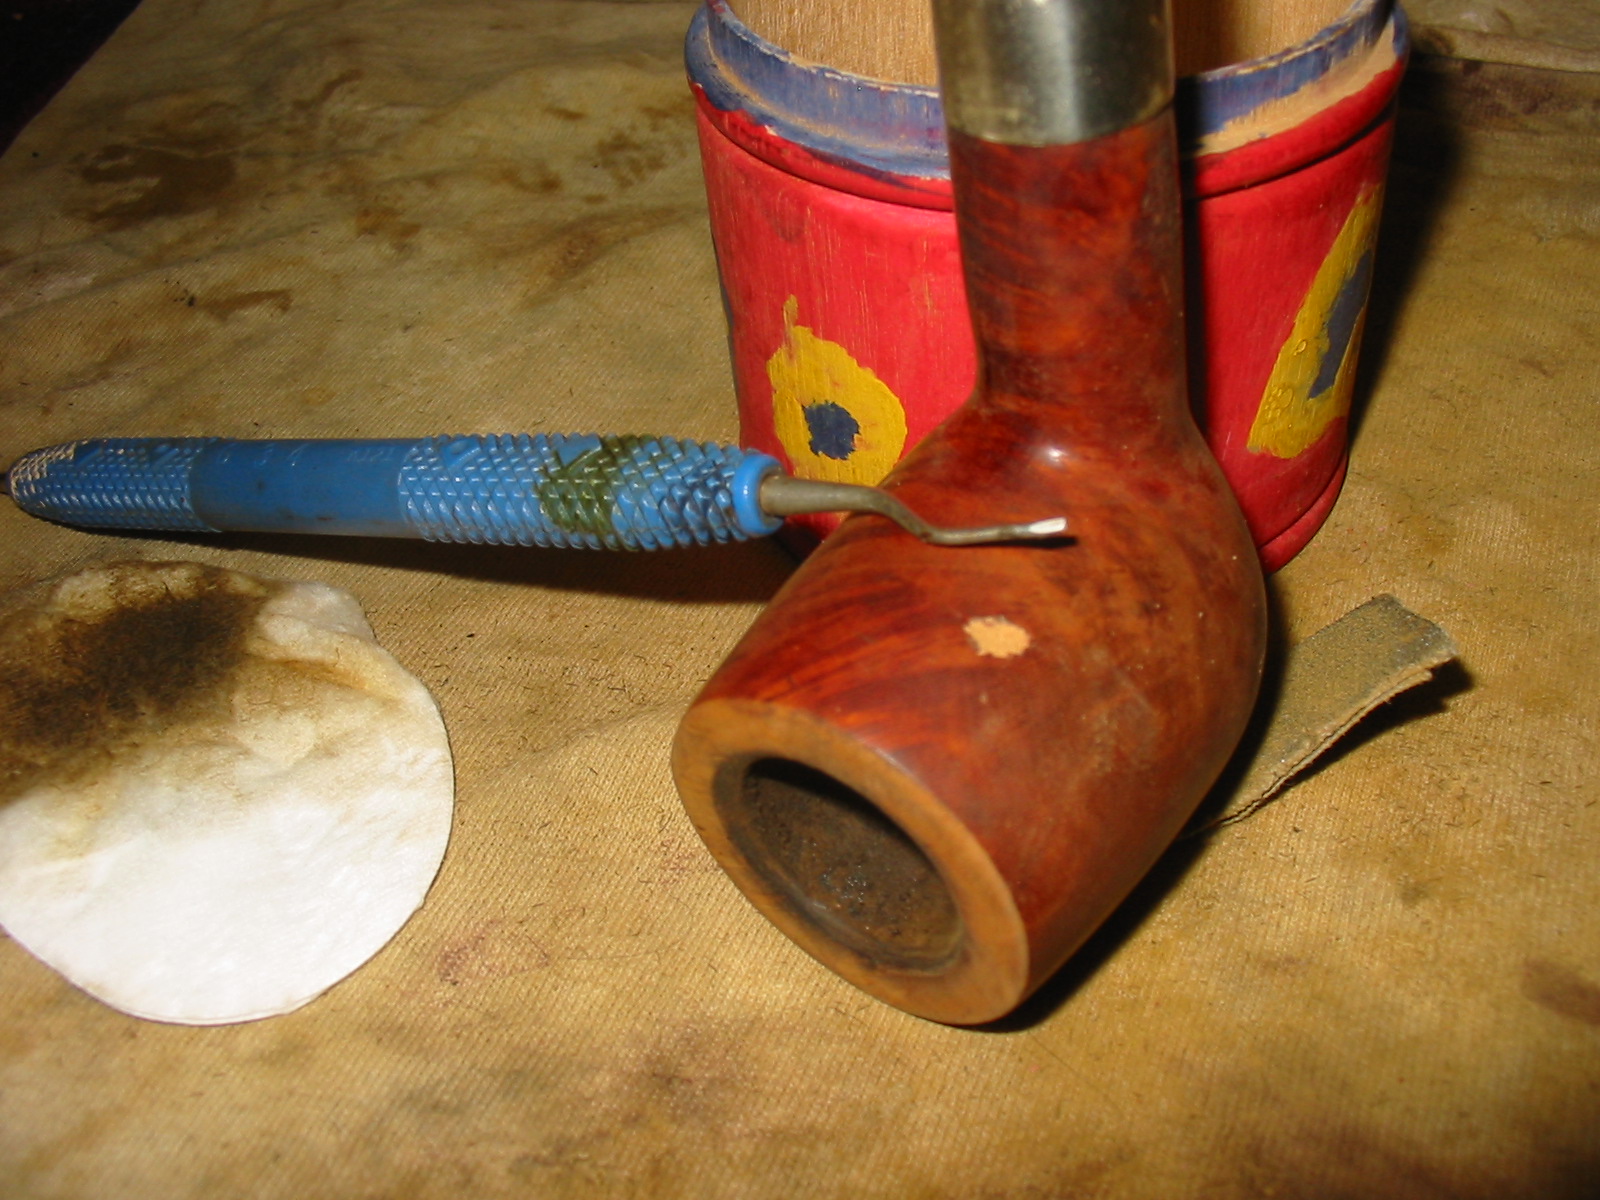
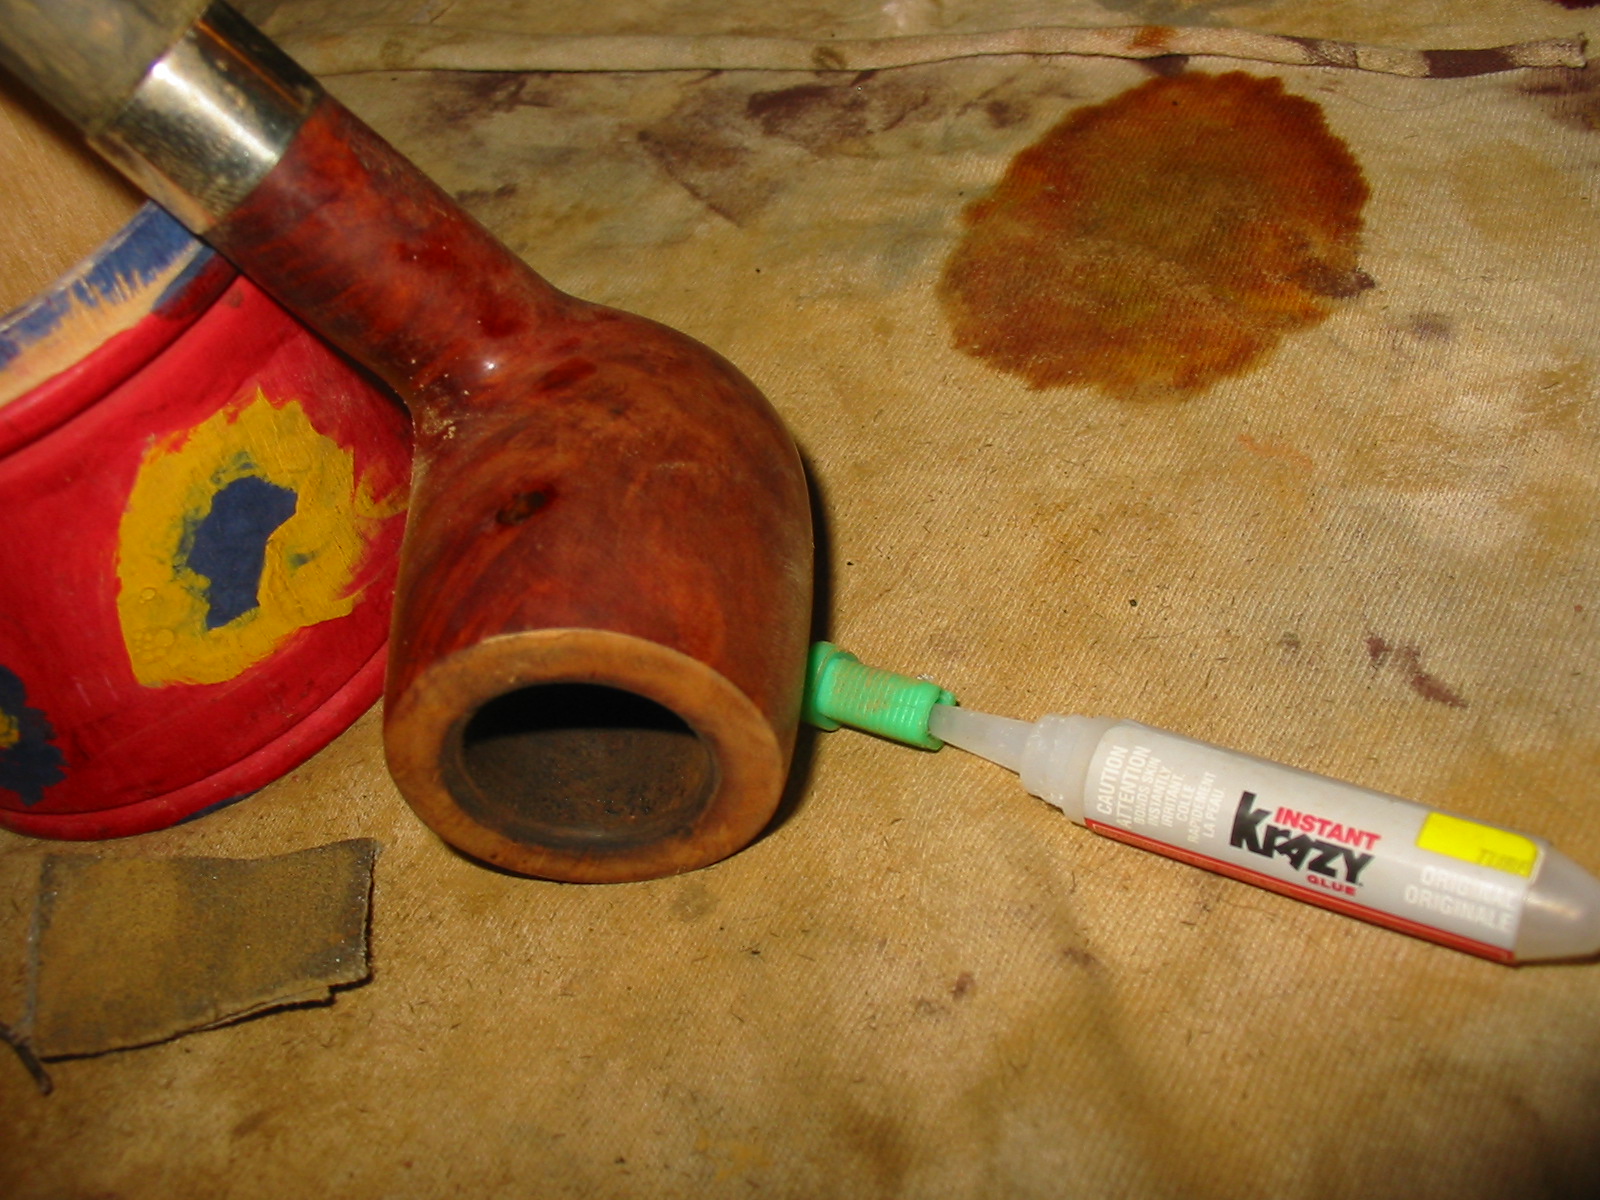
I also decided to remove the putty fill on the back side of the bowl. I picked out the putty with a dental pick. I wiped the bowl down after I had removed the fill to clean out the sandpit. I then picked it clean a second time and wiped it down again as well. Once it was clean I used the dental pick to pack the sandpit with briar dust that I had saved for this purpose. I packed it in and then tamped it down with the end of a pipe nail. I refilled the sandpit until the briar dust bulged slightly above the surface of the bowl. At this point I dripped superglue into the briar dust to anchor it in the hole. I repacked the dust and dripped in glue a second time. The first two photos below show the packed briar dust. The next two photos show the sandpit after the superglue has been dripped into the dust and dried. It blackens nicely with the superglue and instead of a pink fill the fill is now a black briar dust and superglue. I have found that the patch is much easier to blend in with stain than the putty fills.
The photo below shows the newly filled patch after I have sanded it. I sanded off the excess with a folded piece of fine grit emery cloth and then used a fine grit sanding sponge to smooth out the surface of the new fill to match the surface of the bowl.

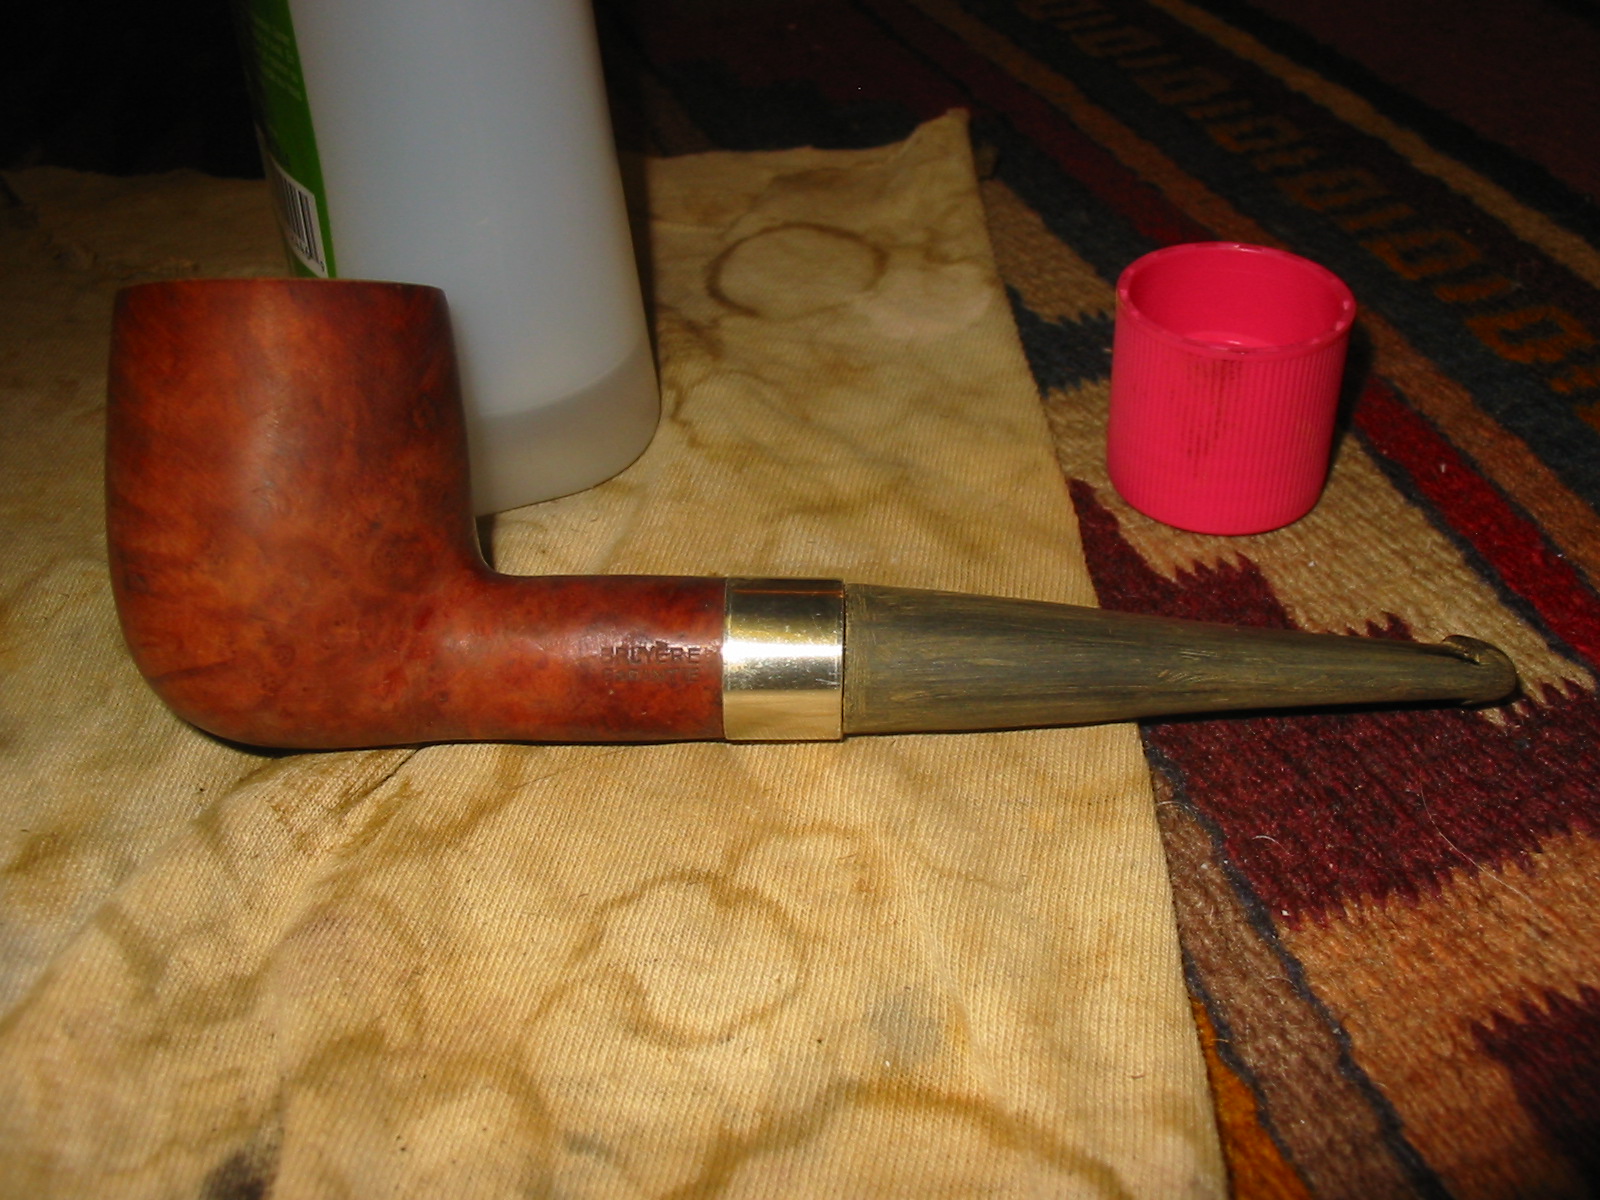
At this point in the process I decided to continue working on the stem of the pipe. I sanded it with the sanding sponge. I worked on the fit of the stem to the band. My ideal was to have the stem sit evenly within the band so that the gap was even all the way around the band and the stem was centered in the mortise. The next five photos show the sanding process to this point. Remember the issue at stake was to work on the fit of the stem to the band and to remove the deeper scratches in the surface of the stem. I also used the sanding drum on the Dremel to taper the stem a bit more at the button. I wanted the button end to be narrow and give the pipe and older feel and look. The top view photo below shows the shape of the stem at this point in the process.

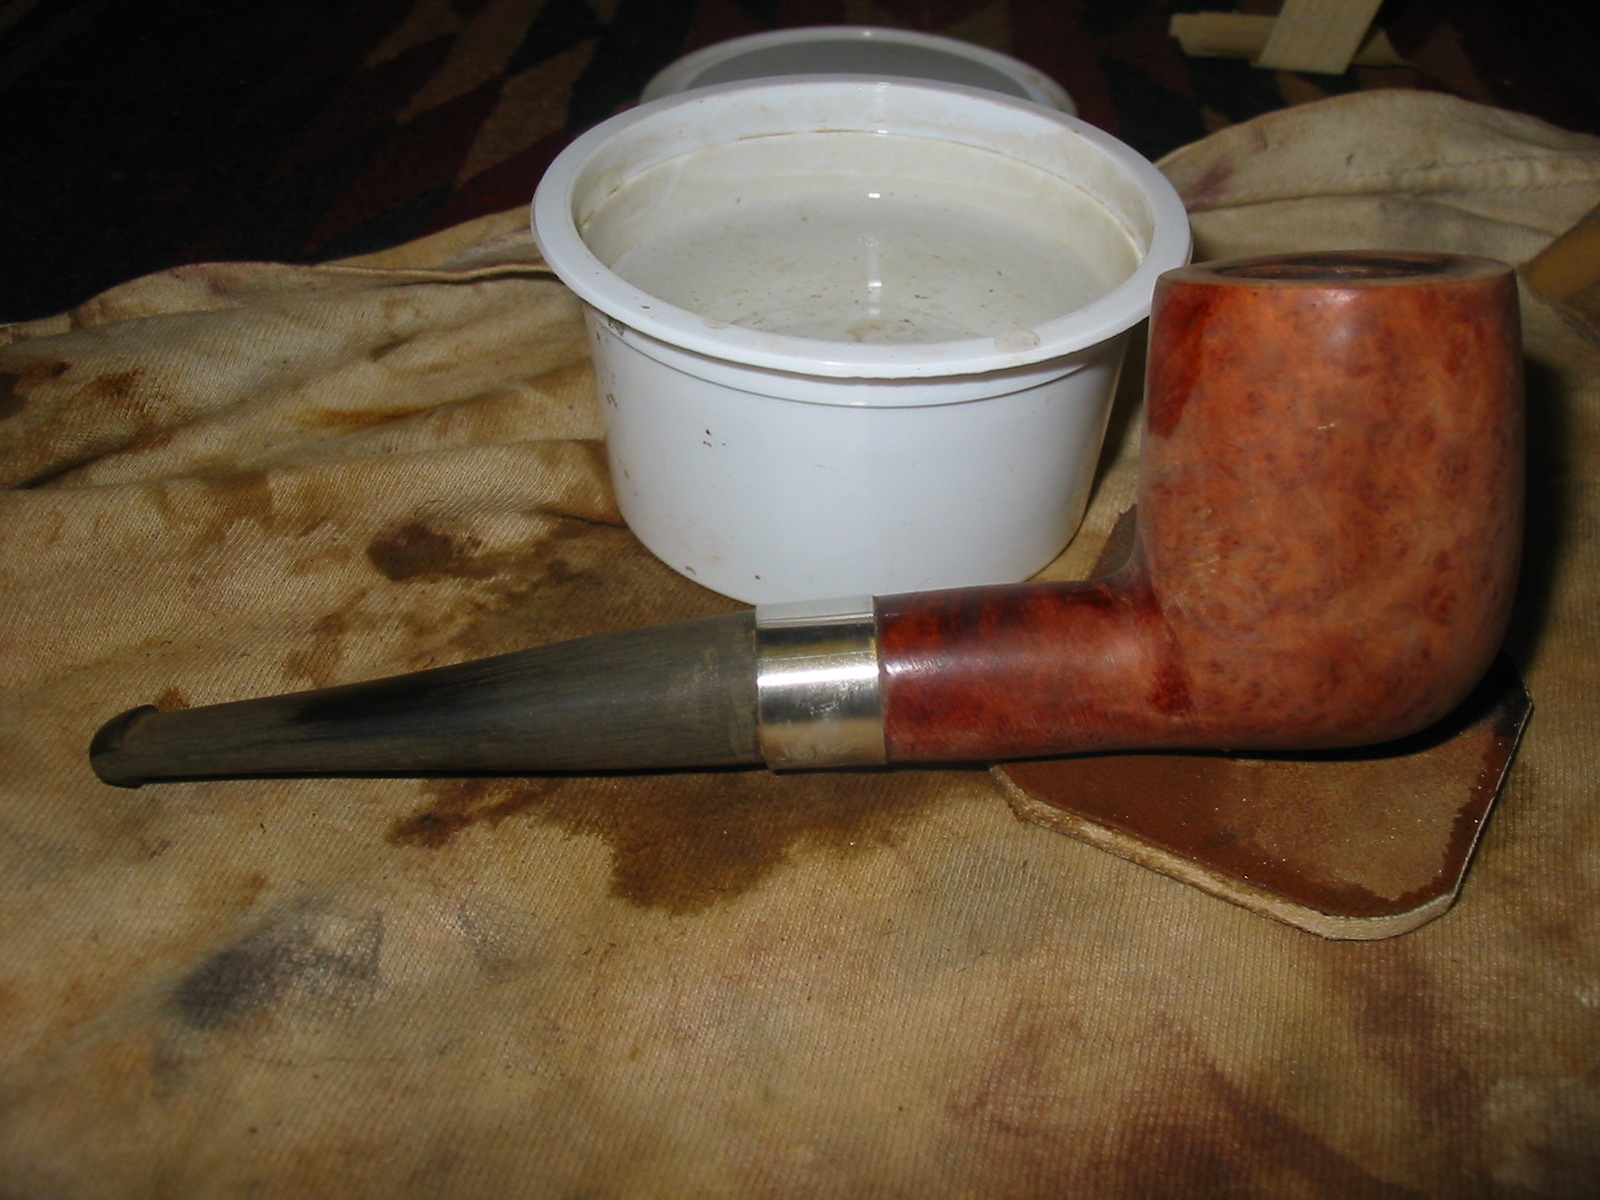
I then wet sanded the bowl and the stem with 1500 grit micromesh sanding pads and water. This process removed many of the remaining scratches in the surface of the stem and also removed the remaining finish on the pipe bowl and rim. I wanted the bowl to be cleaned of the varnish finish and as much of the stain colour as possible so that I could more easily blend the rim and the bowl colour. The next three photos show the pipe and the stem after wet sanding. The stem fit is working well at this point and the angles and flow of the taper on the stem is looking more and more finished.
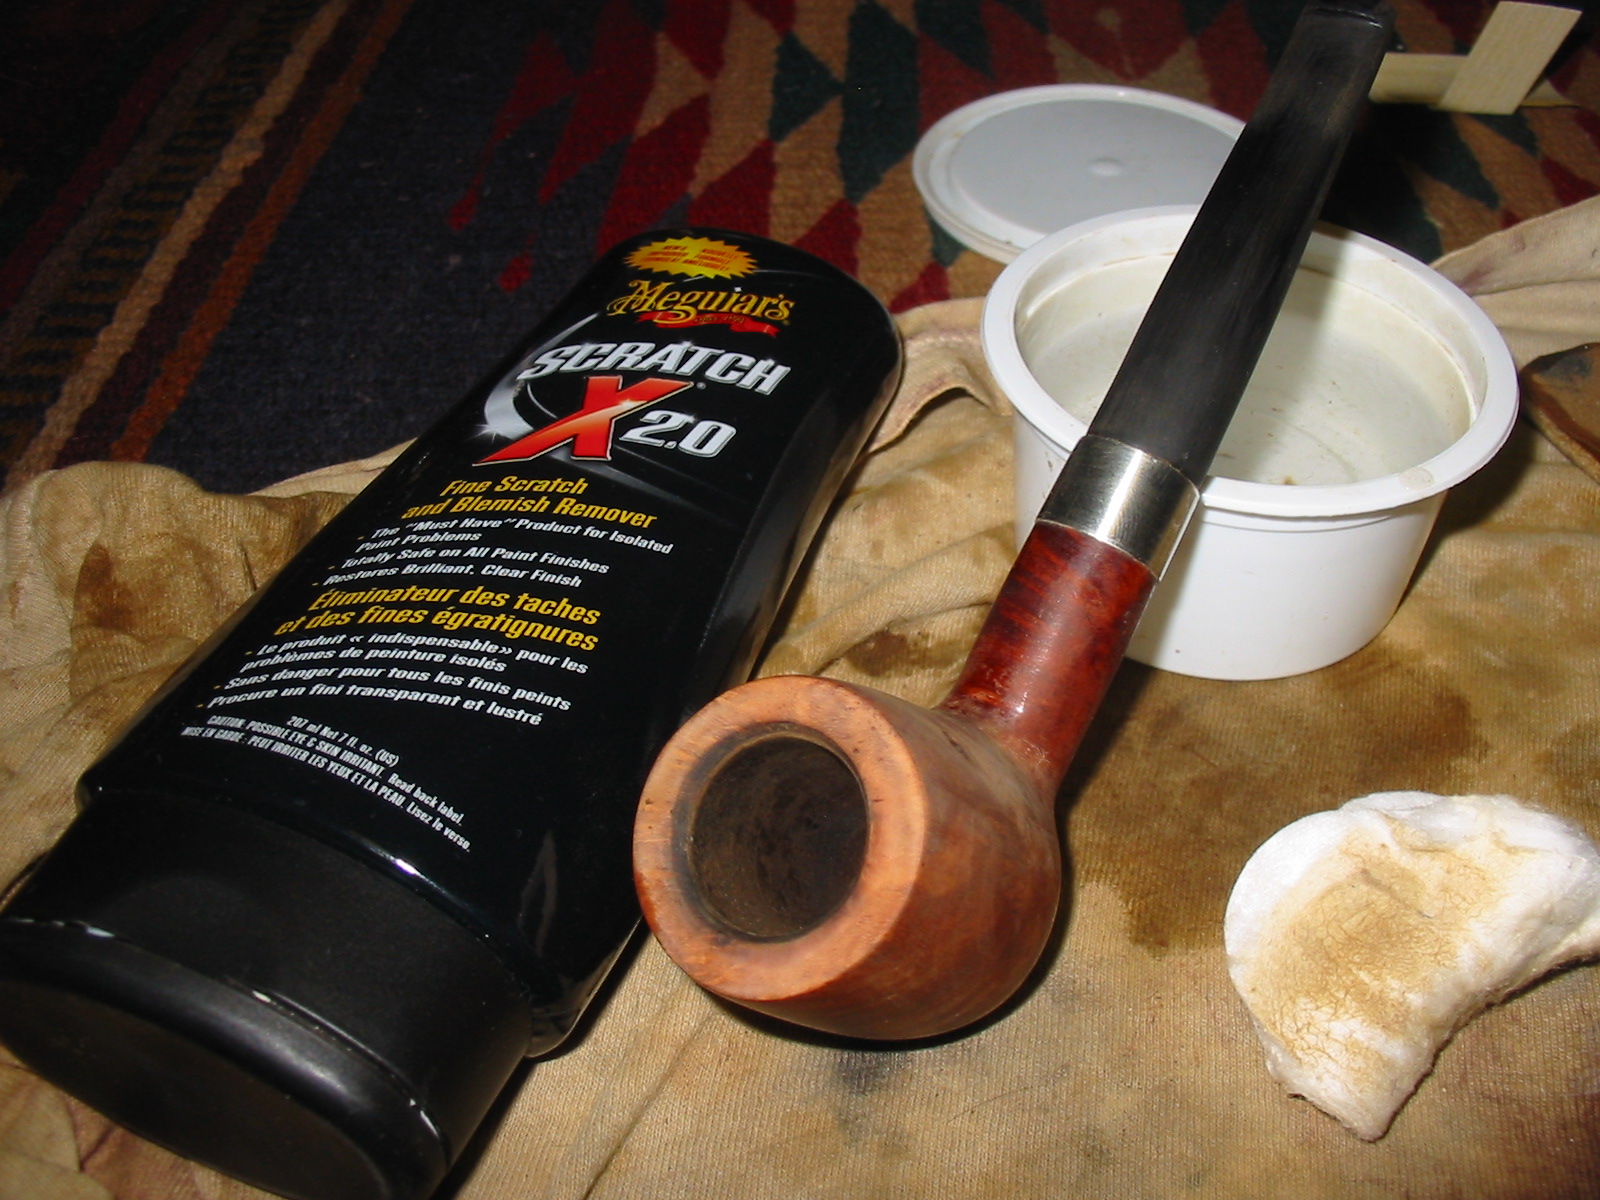
I wiped down the stem with some of the water and then used the Maguiar’s Scratch X2.0 polish on the stem to get a clear view of the remaining areas that needed more work with 320 grit sandpaper before I moved on to the higher grits of micromesh.
I continued to wet sand the bowl and stem with 1800 grit micromesh sanding pads. The next three photos show the progress that was made on the smoothing and polishing of both the stem and the bowl. I continued to wet sand with the 1800 grit until the surface was smooth and matte finished.
I continued wet sanding with 2400 and 3200 grit micromesh pads. The next three photos show the progress of the sanding on the bowl and the stem at this point in the process. I also decided to sand the band with these two grits to polish the nickel.
At this point in the sanding process I switched to dry sanding the bowl and the stem with the 3600 grit micromesh sanding pad. I sanded the bowl, band and stem with this sanding pad to bring out the growing shine in both. I wiped down the bowl and the stem with a damp cloth to remove the sanding dust and to prepare the bowl for staining.


For stain on this pipe I ended up using a two step process. I began with an oxblood stain as an undercoat. I applied it with cotton swabs and also a dauber. I rubbed it into the bowl and shank and flamed it and buffed it off. The next three photos show the application of the stain.
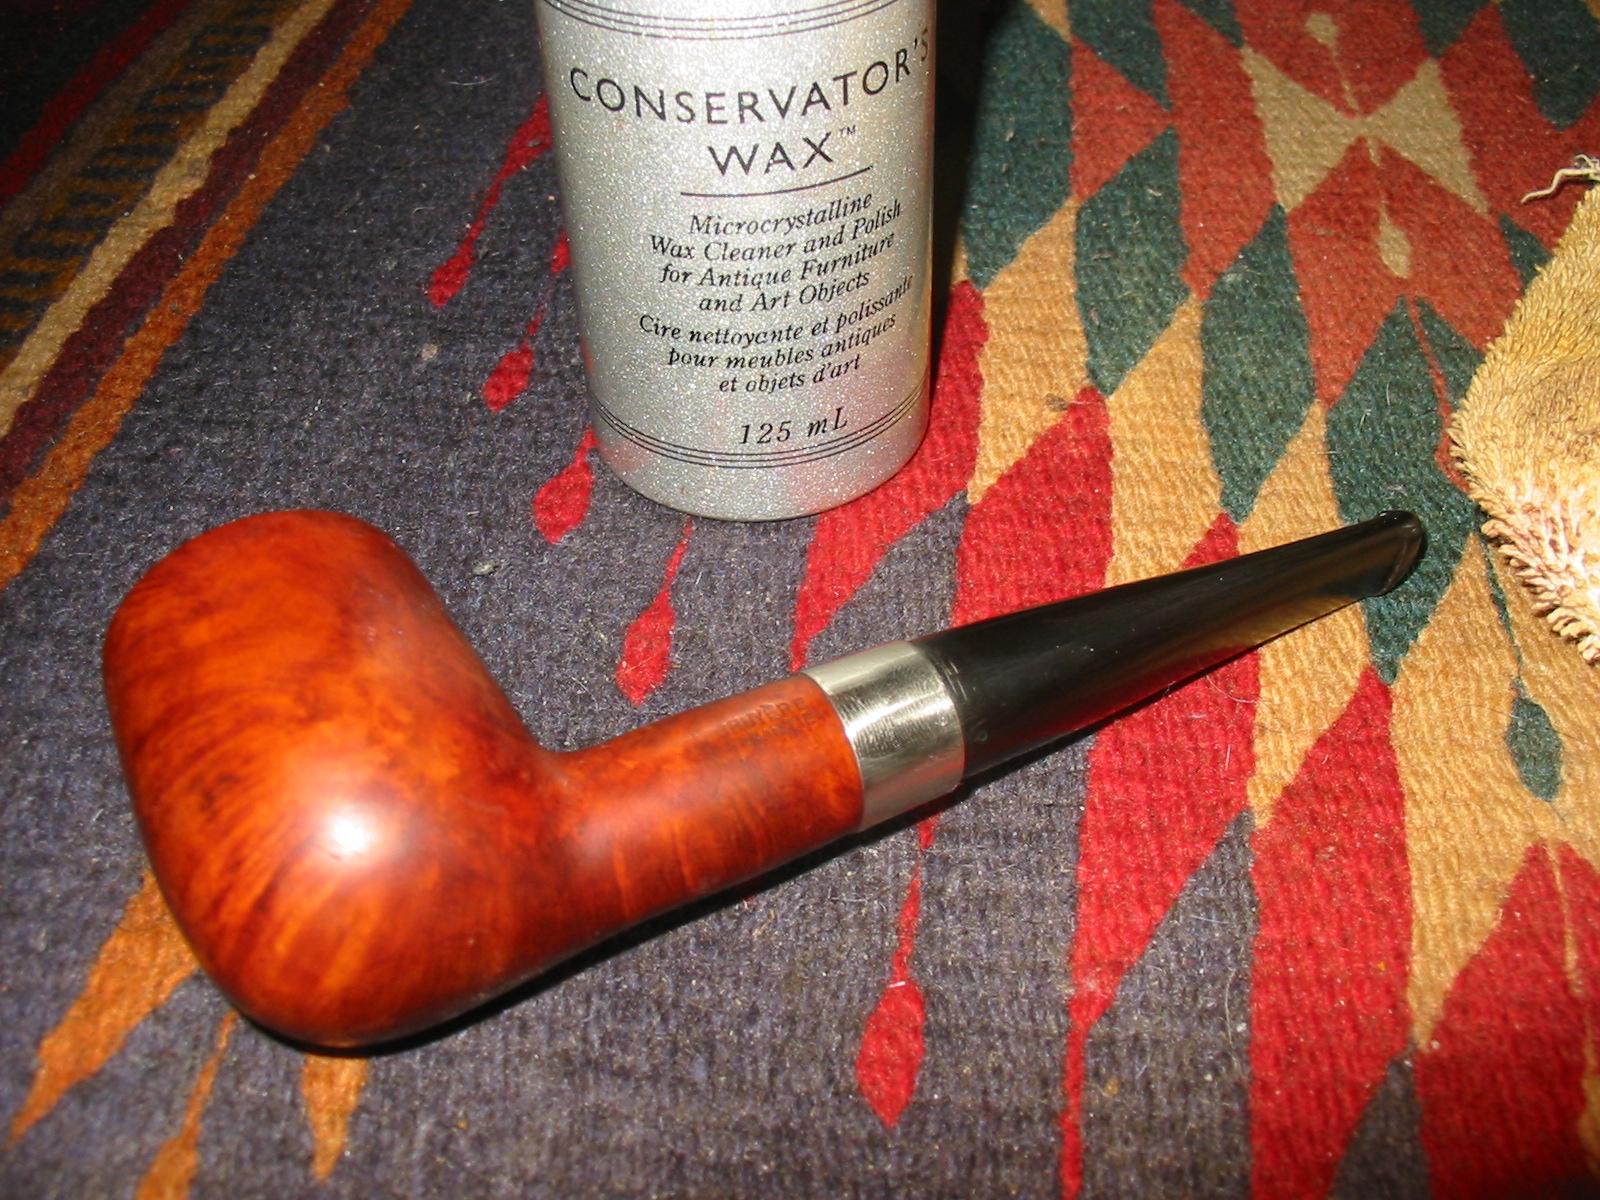
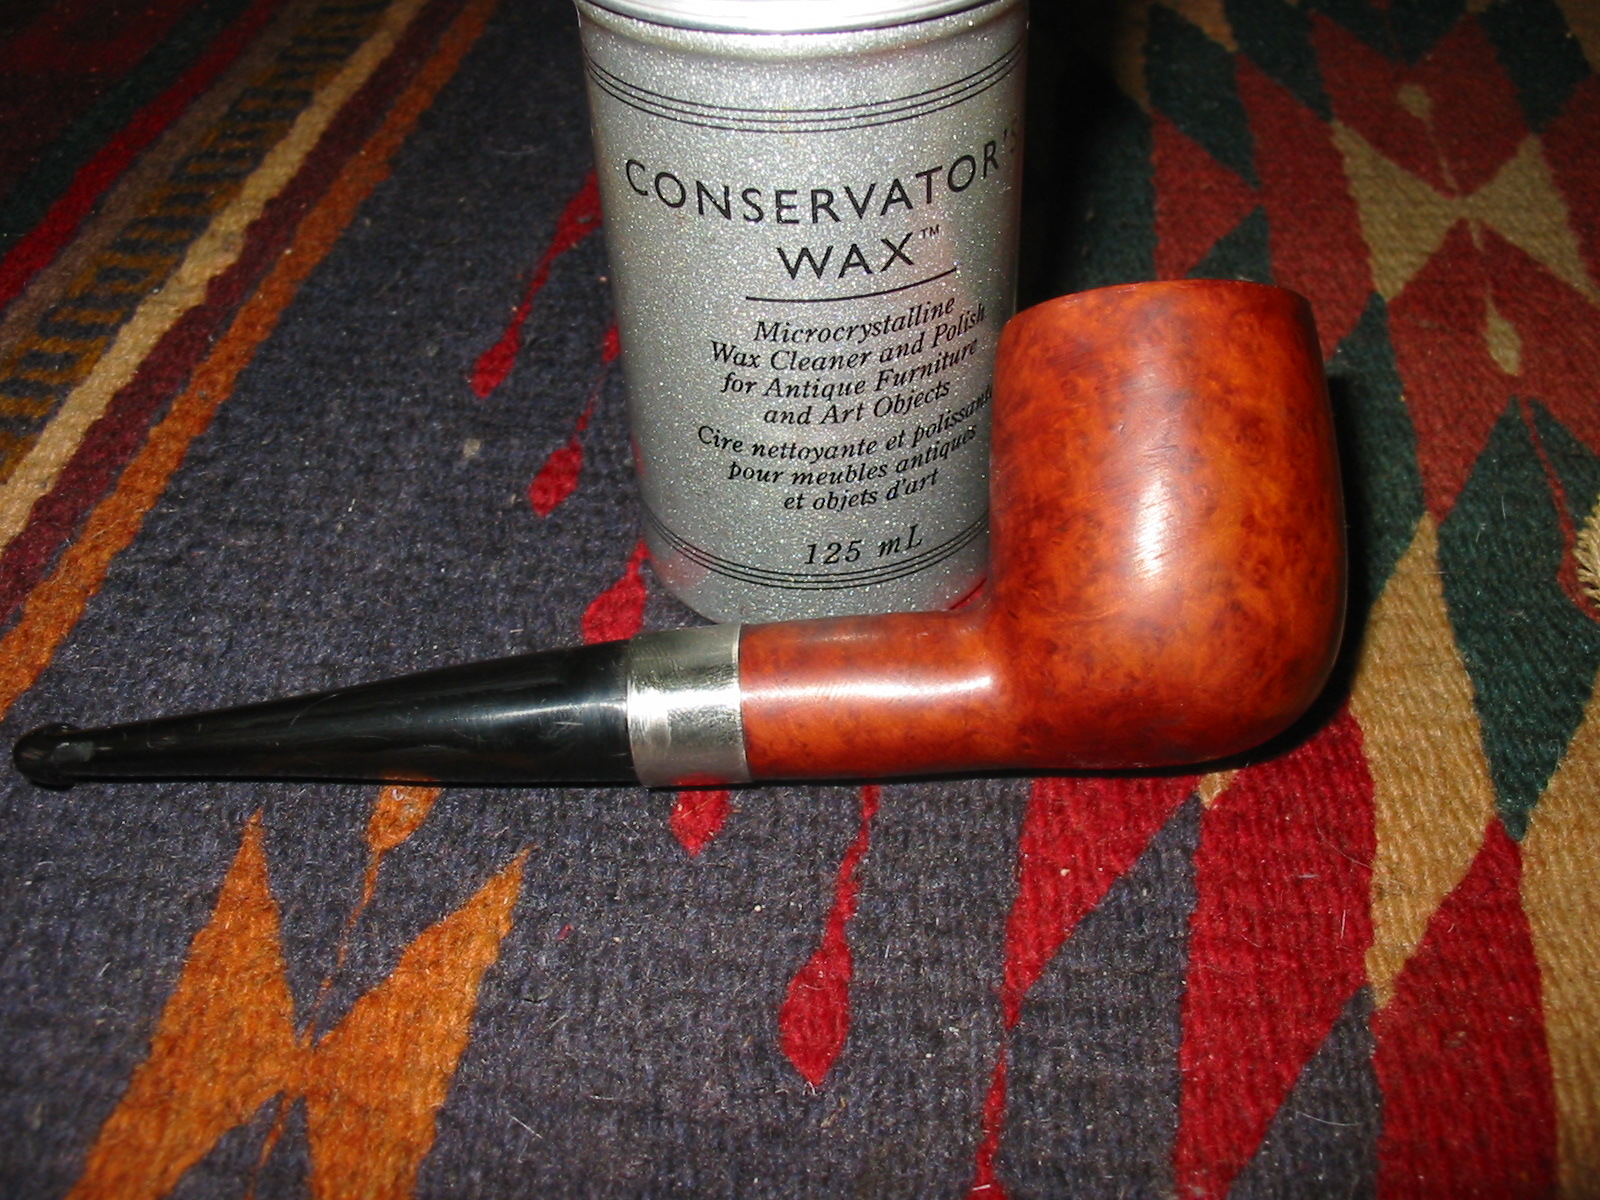
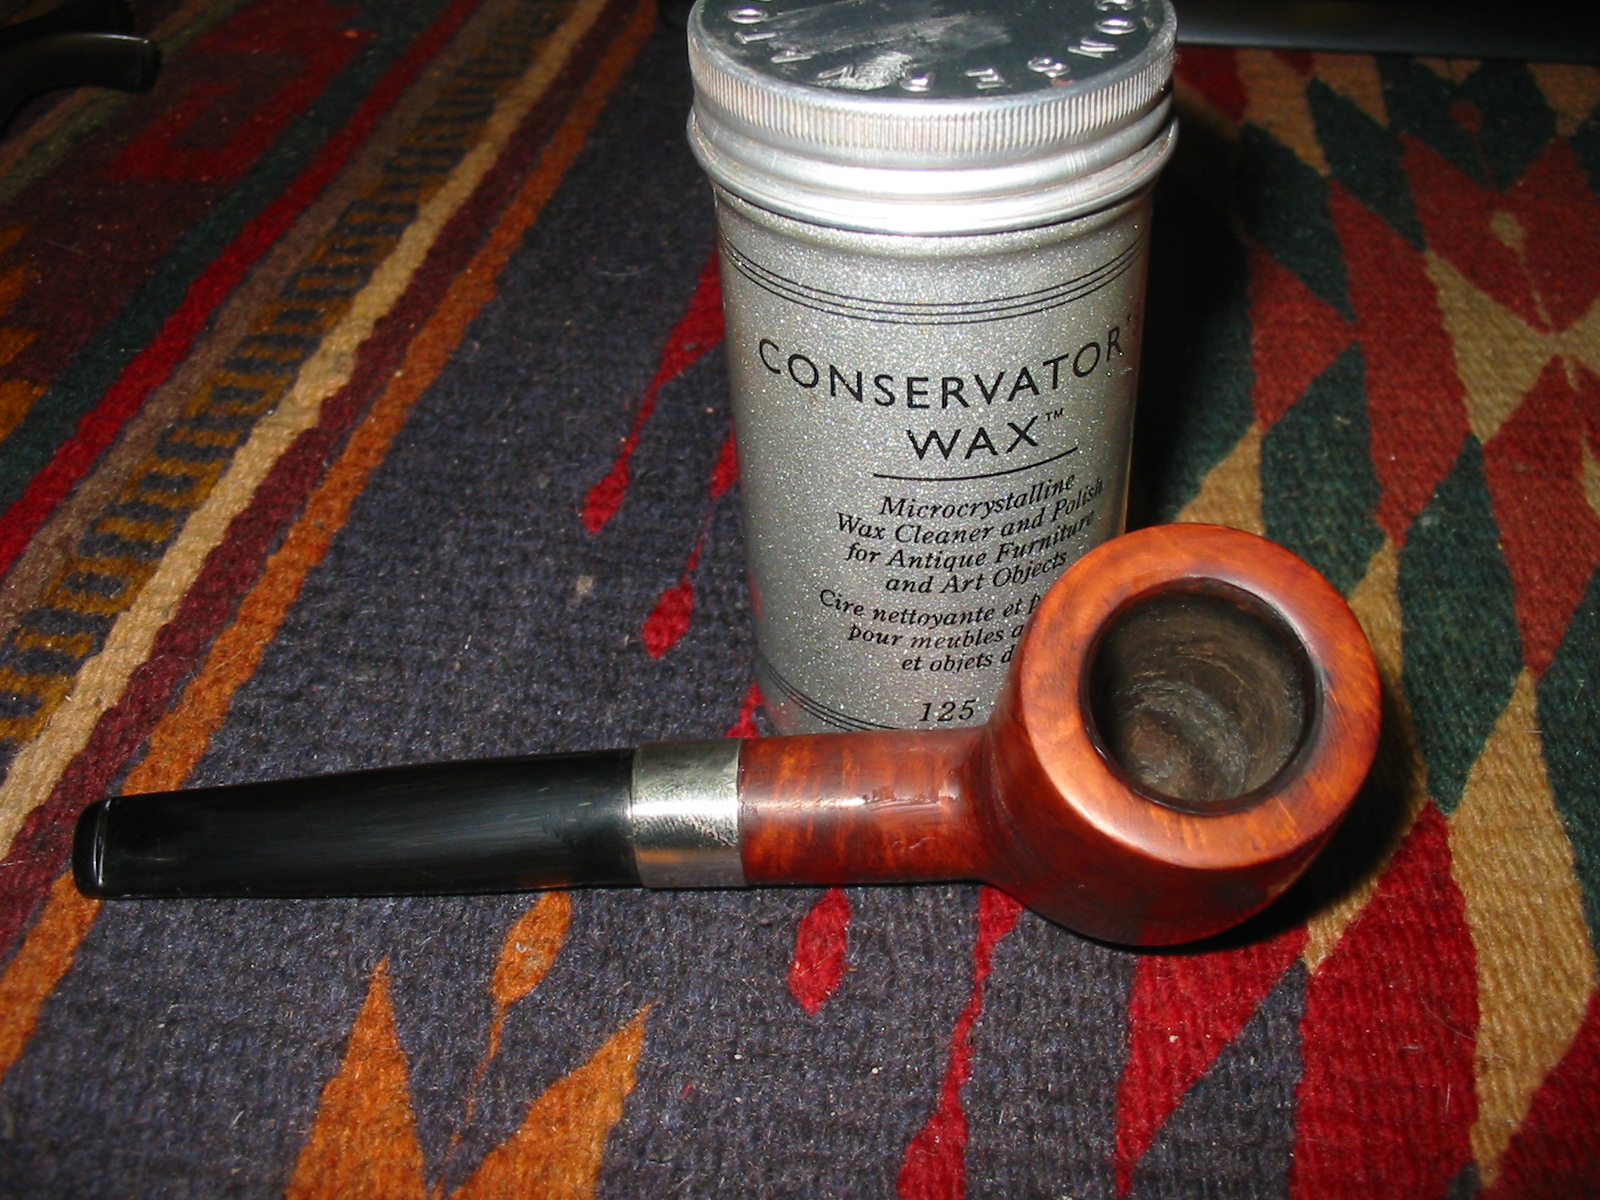
I liked the look of the oxblood stain so I wanted to see what it looked like with a light coat of wax on it. I rubbed on some conservator’s wax and then buffed it off by hand. The next series of photos shows the bowl after a light coat of wax. I was not overly happy with the overall coverage of the stain and the fill still was highly visible on the bowl. It did not blend well. I buffed the pipe with White Diamond on my buffer to see if I could even out the coverage a bit. The fourth through seventh photos below show the pipe after buffing. The coverage was not acceptable to me so I decided to go on and give the pipe a second stain coat of dark brown aniline. I wiped the bowl off with a soft cloth pad dampened with alcohol to cut the wax coat and take the bowl back to the briar before staining it with the second colour.
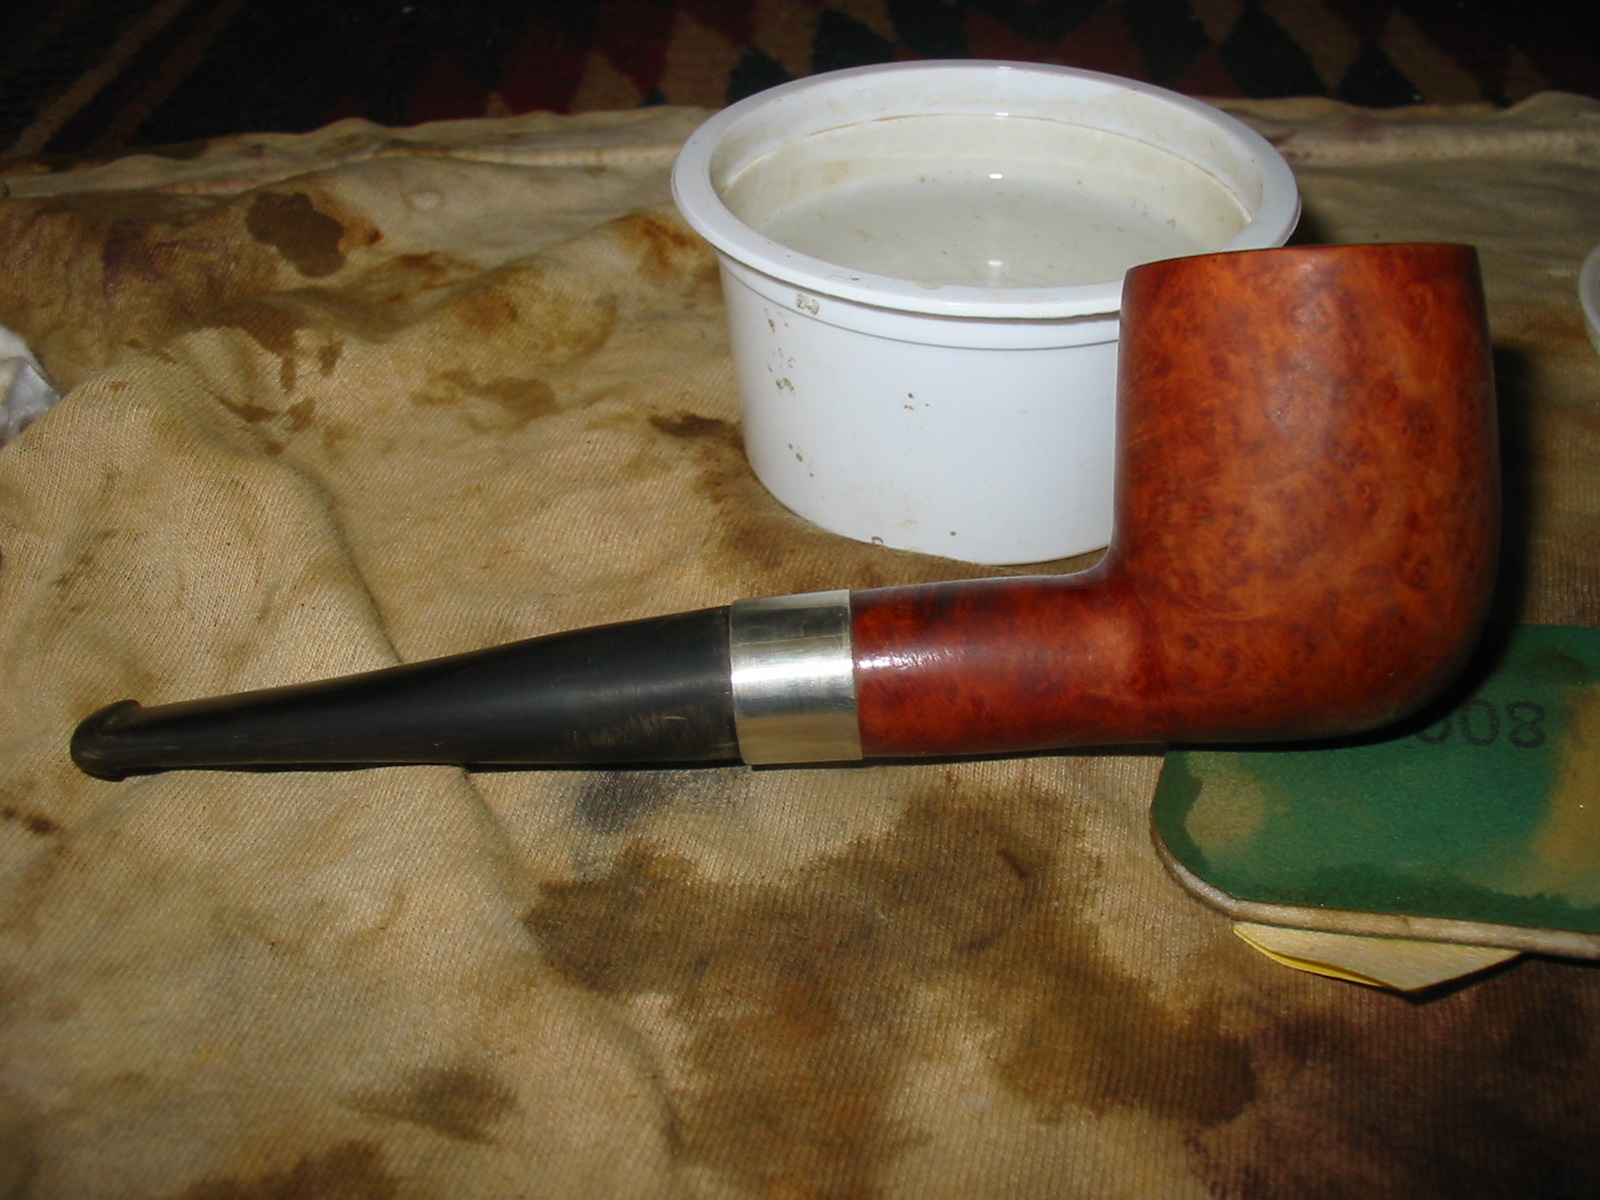
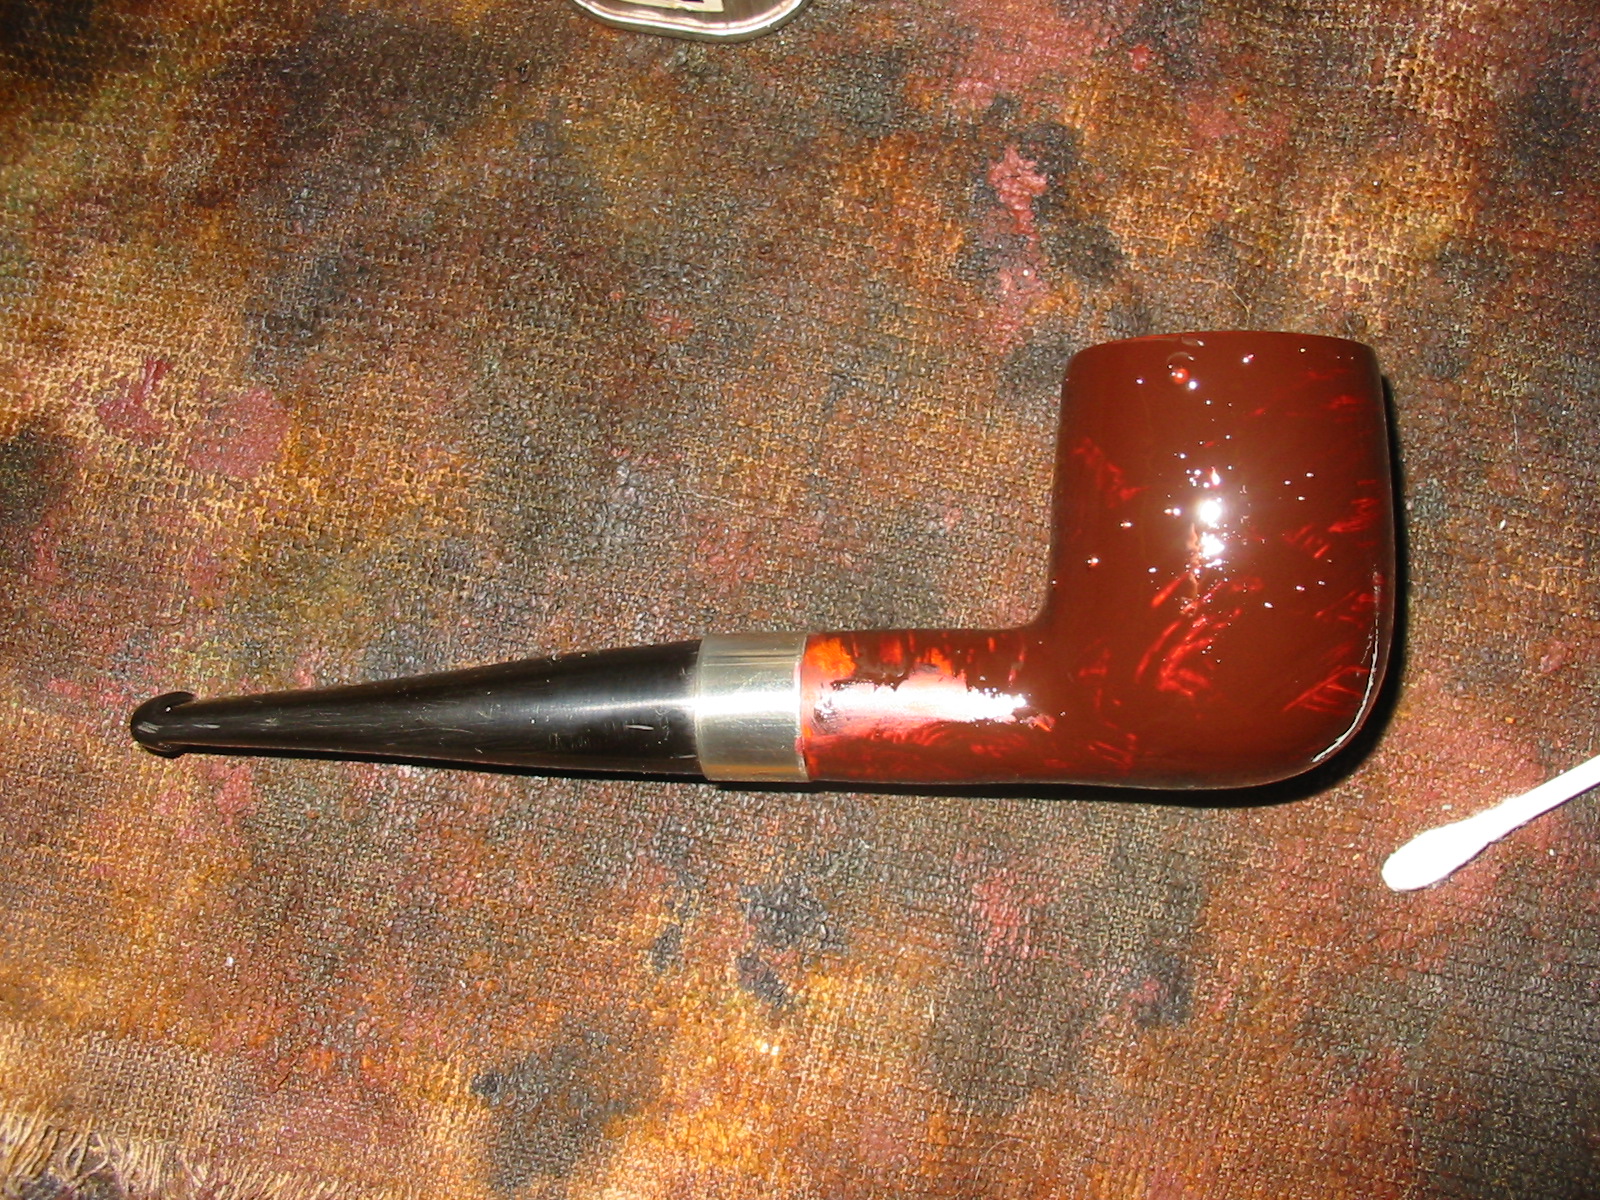
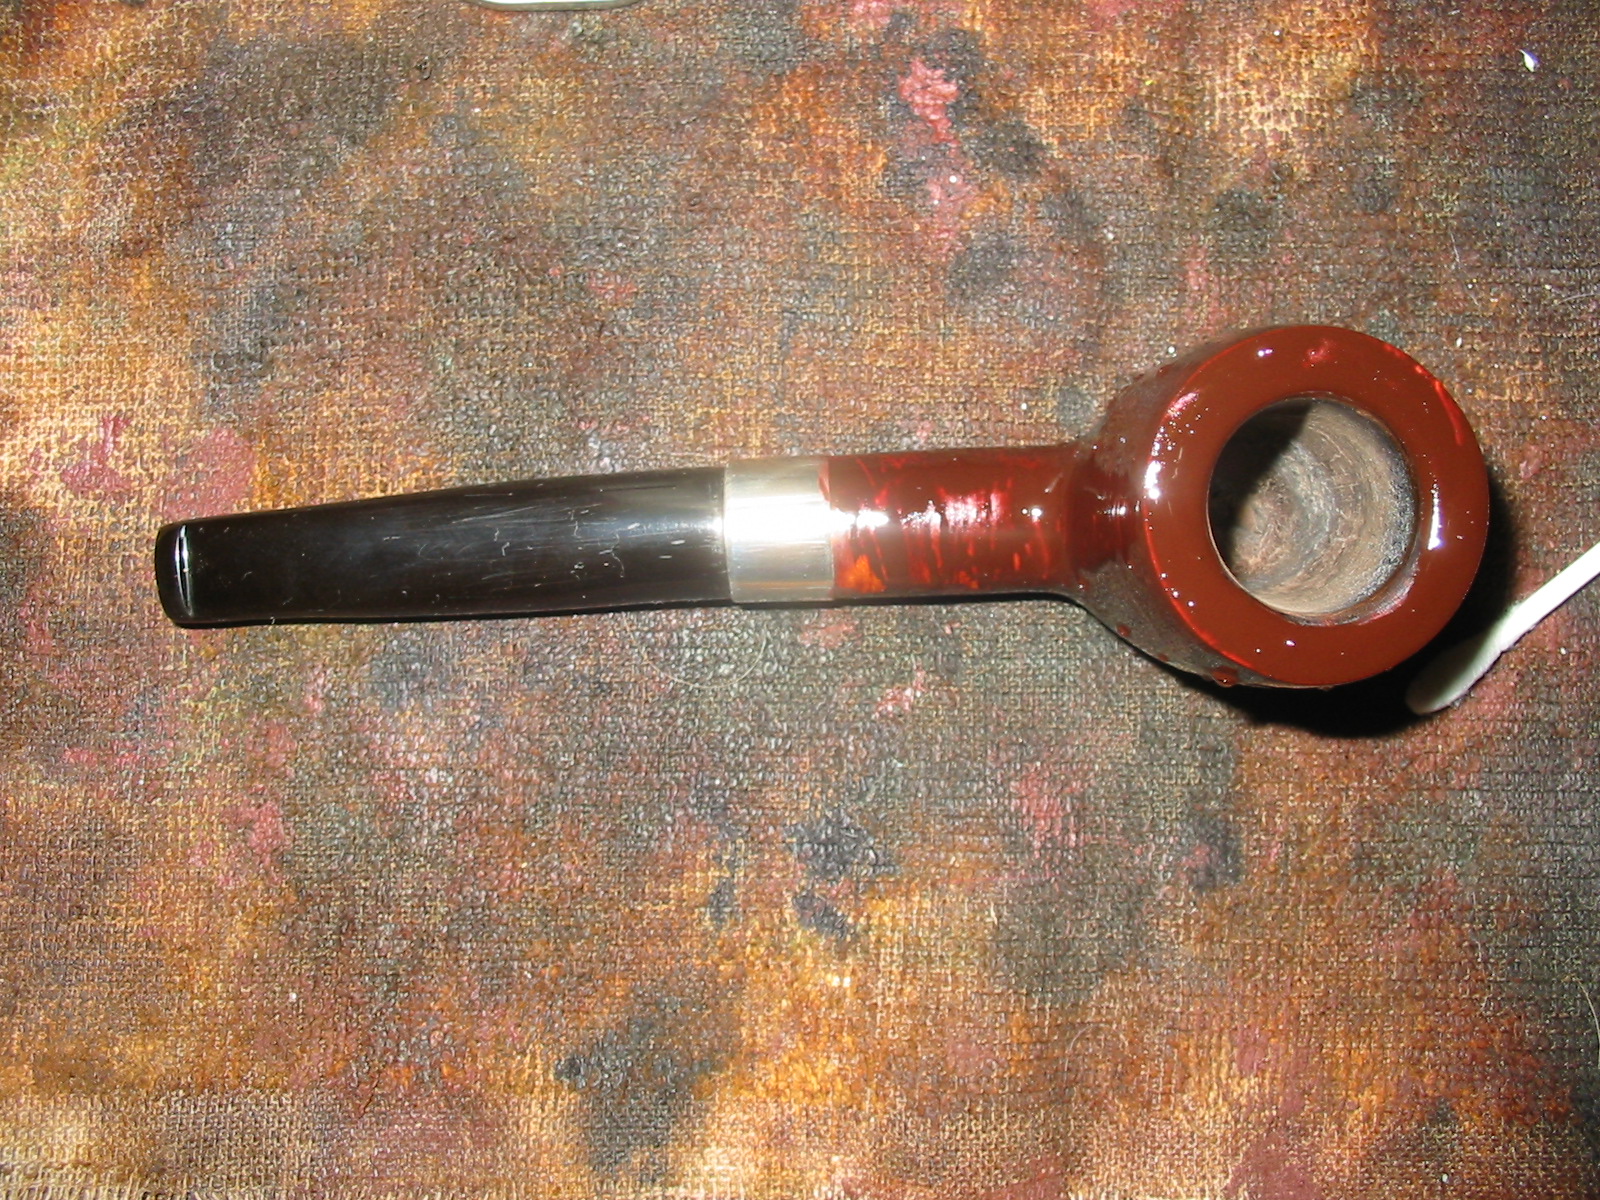
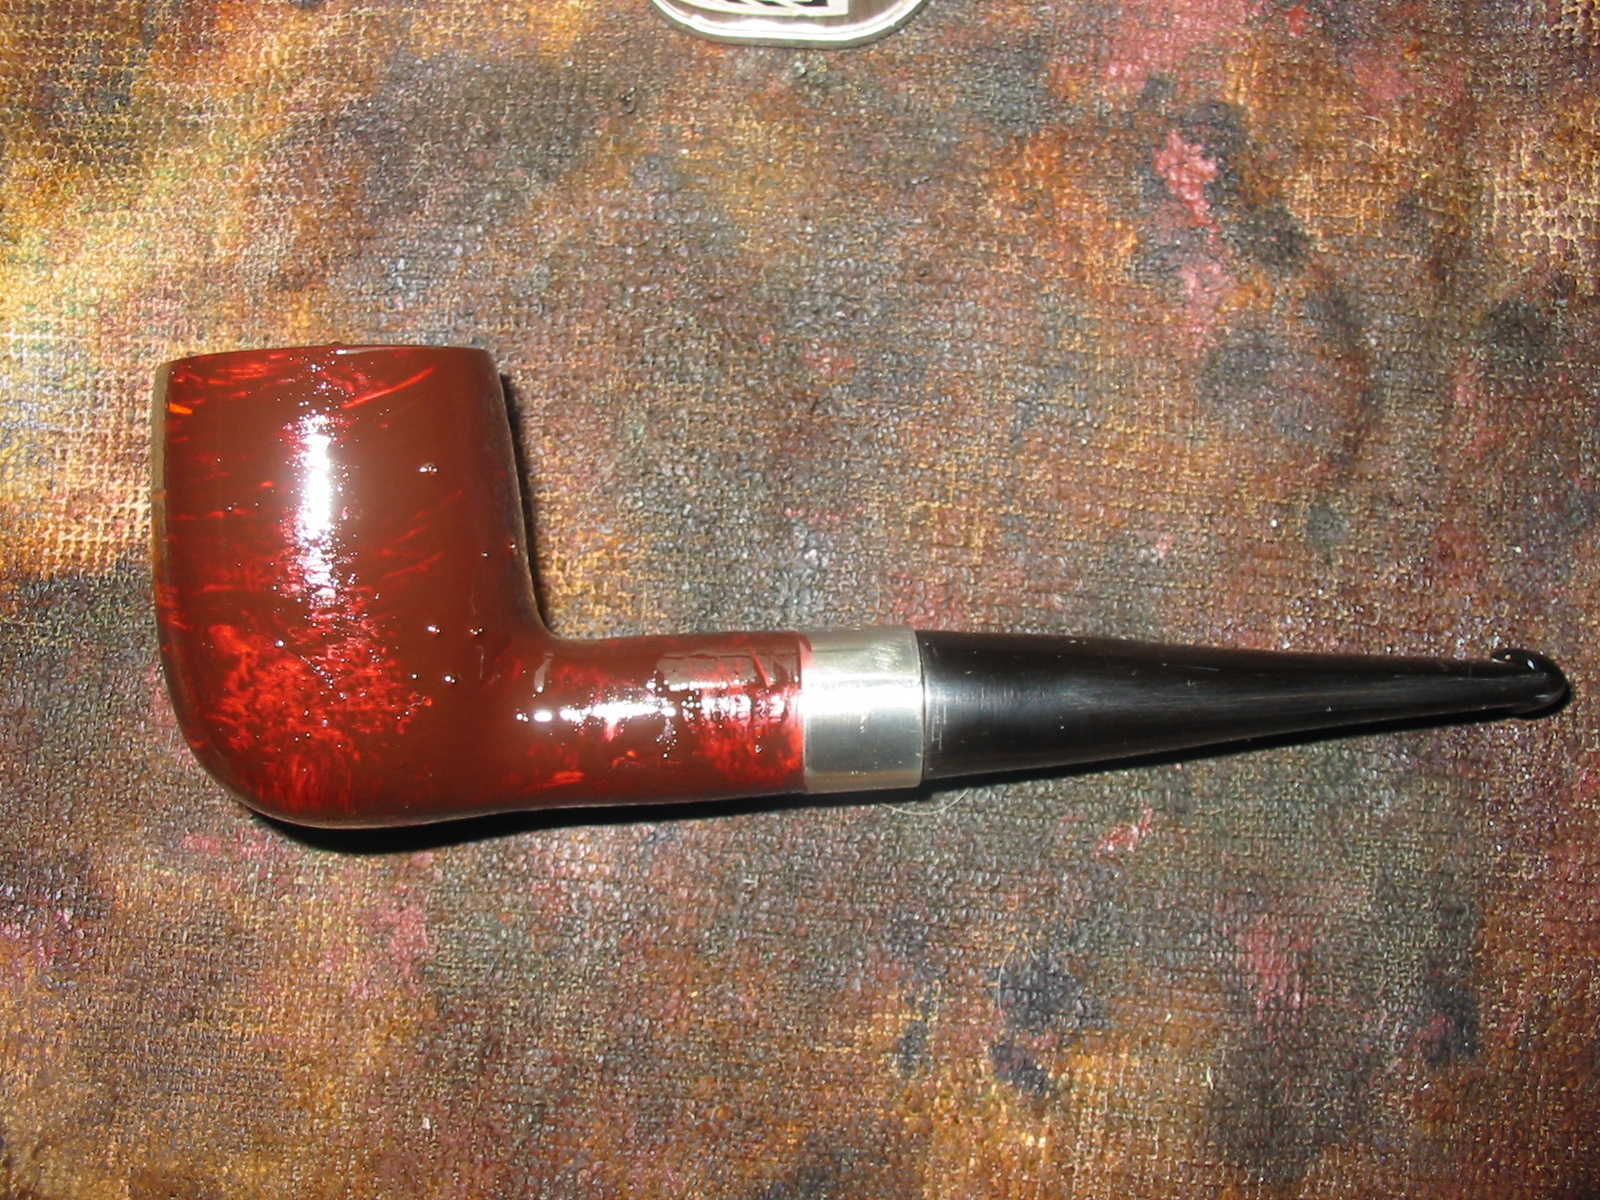
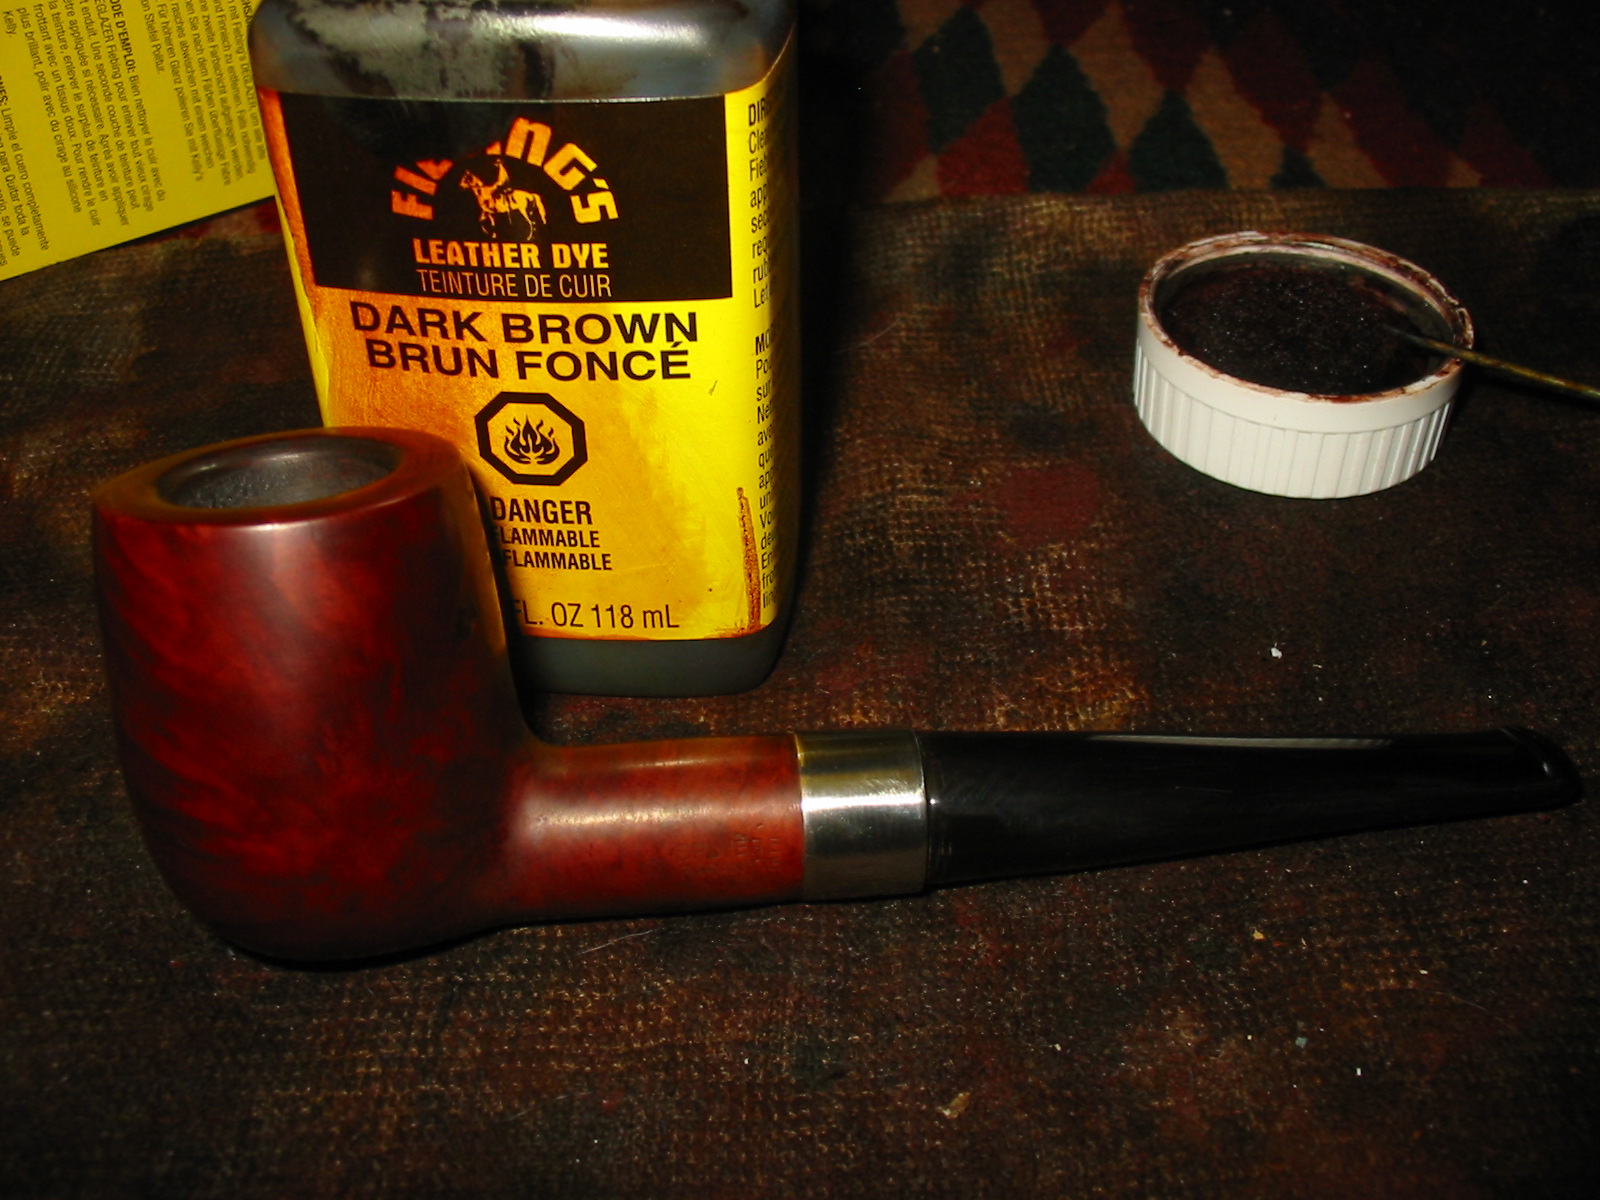
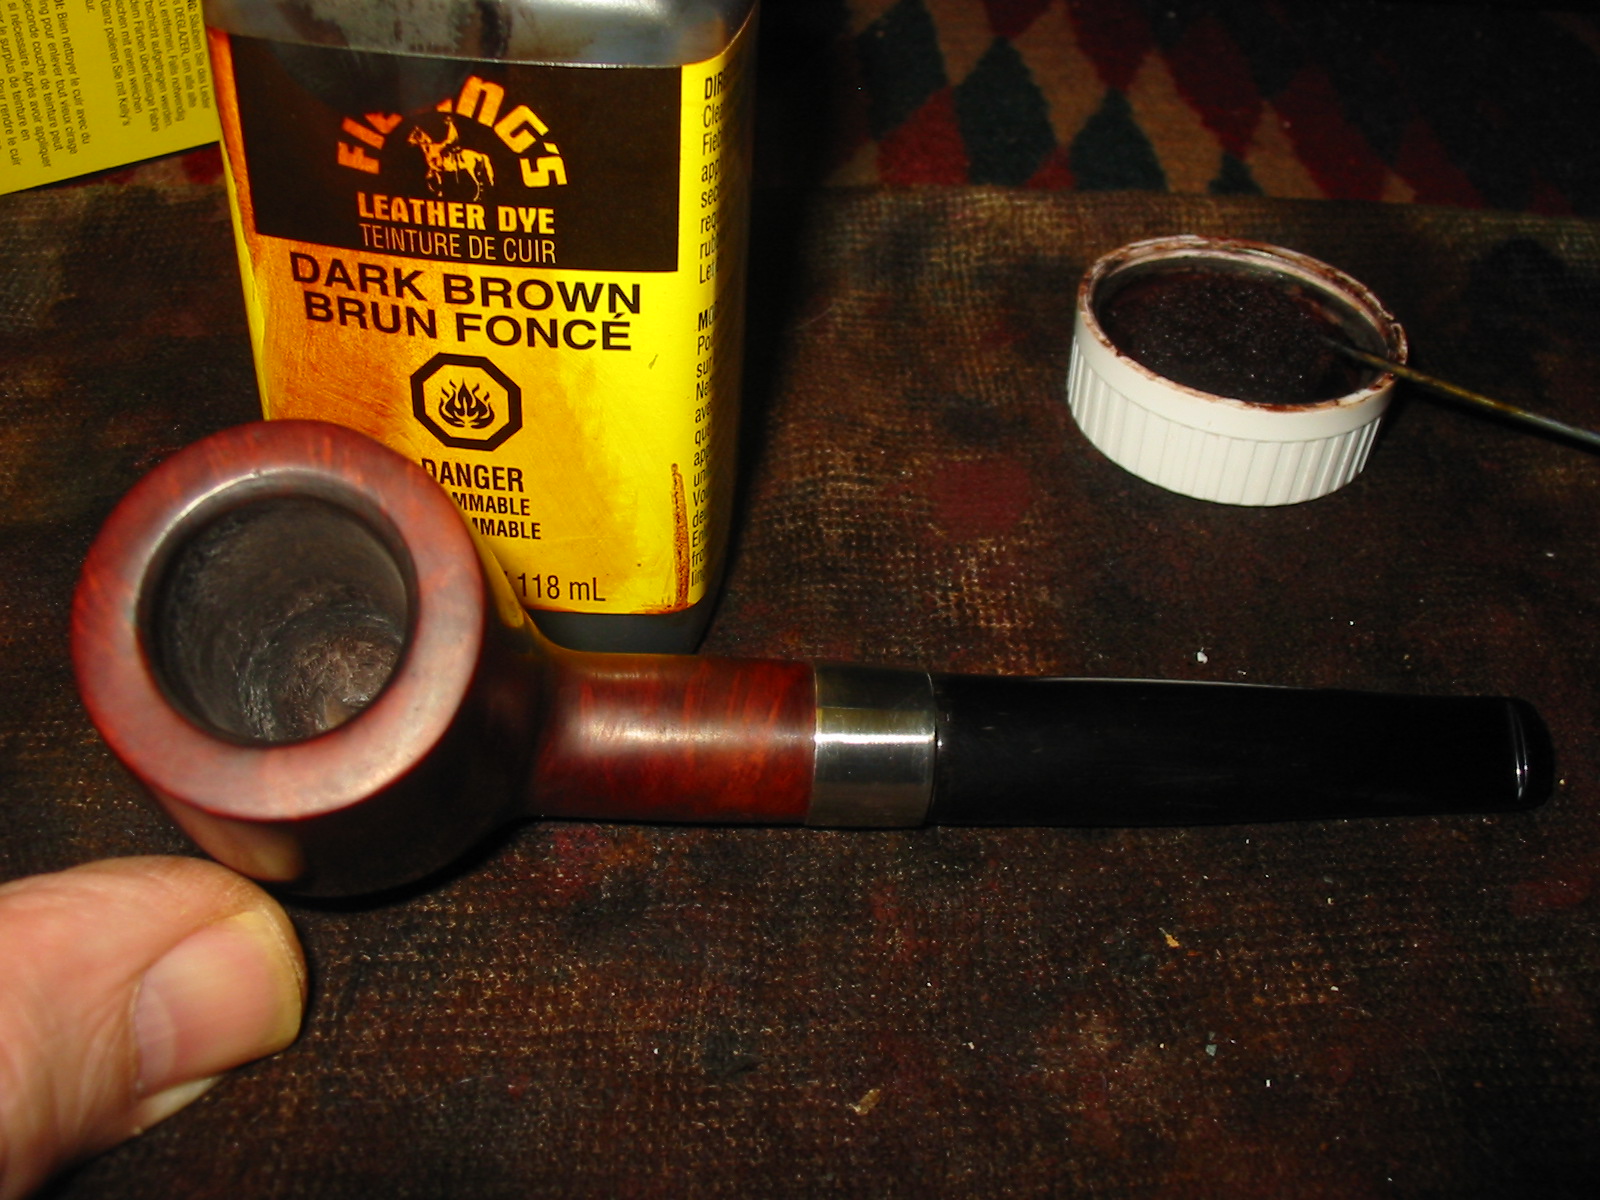
The next series of three photos shows the pipe after the application and flaming of the dark brown aniline stain. It was mixed 2:1 with isopropyl alcohol to get the colour that I wanted to use as the top coat. I applied the stain with the dauber and flamed it with my Bic lighter. I reapplied the stain two other times and reflamed it each time. I wanted a rich brown top coat that would give depth to the finish.

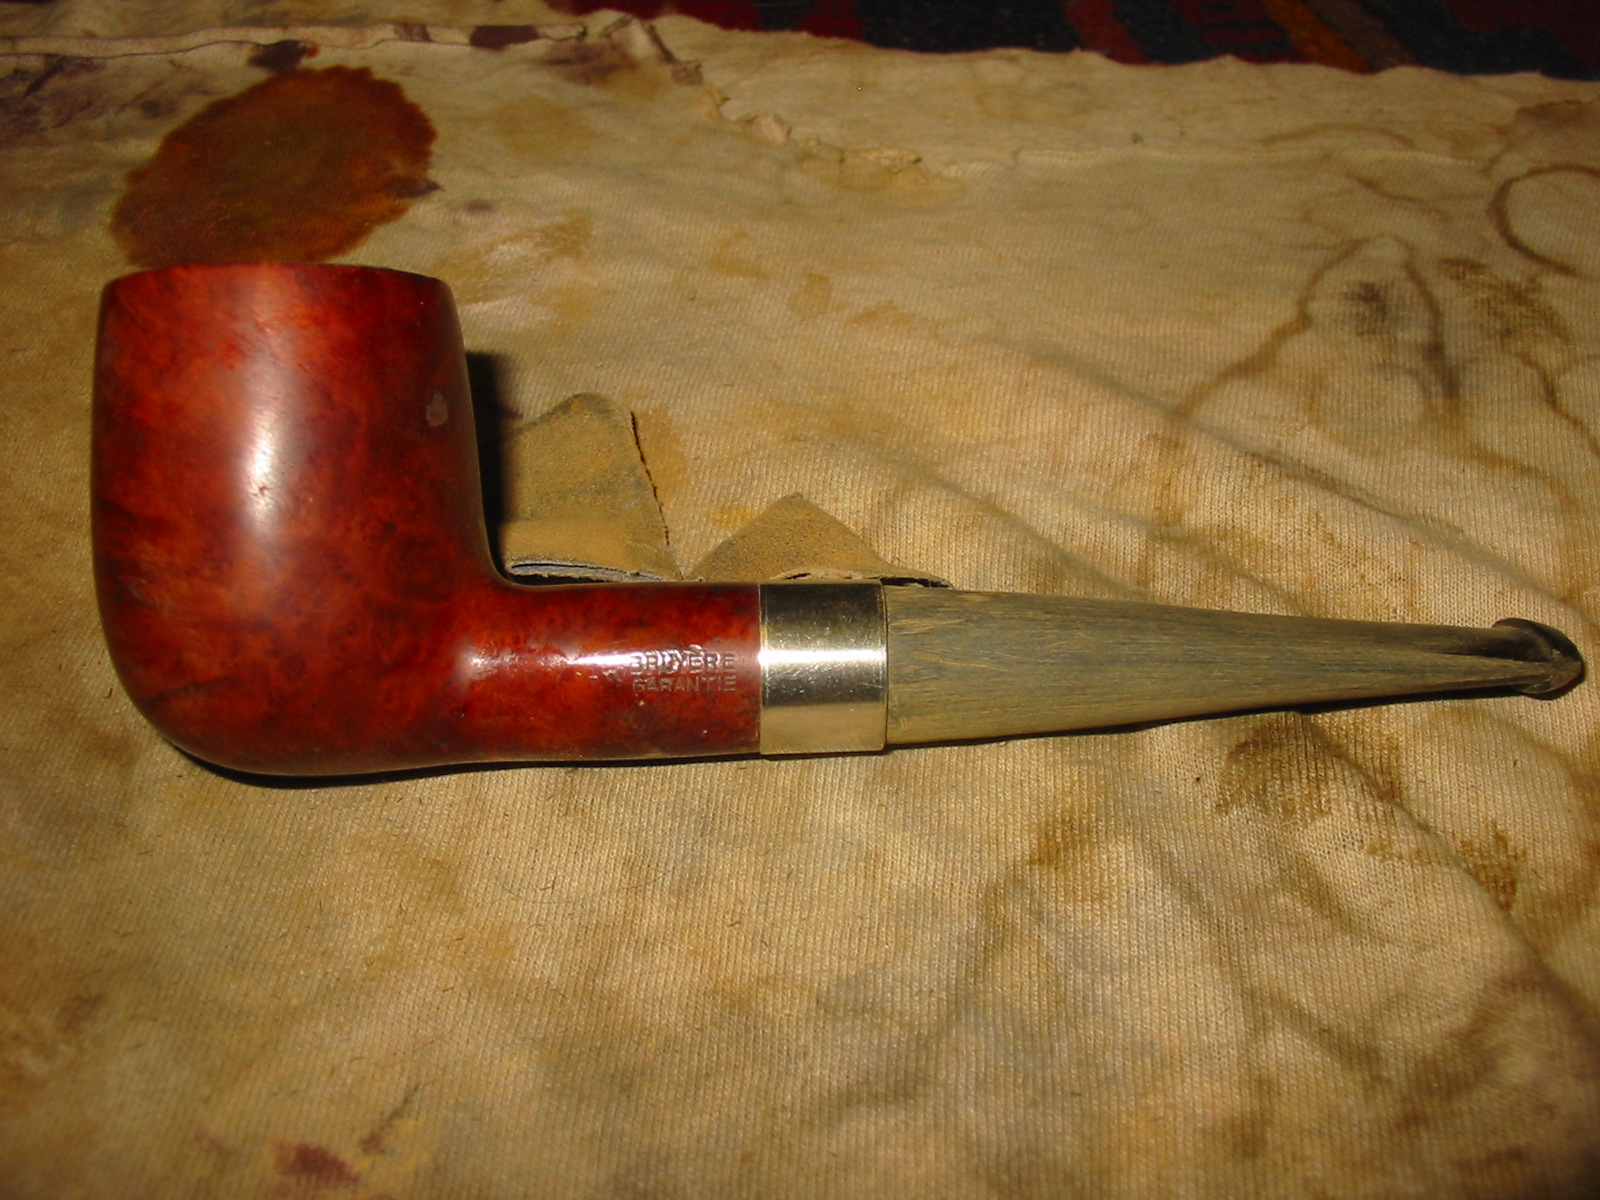
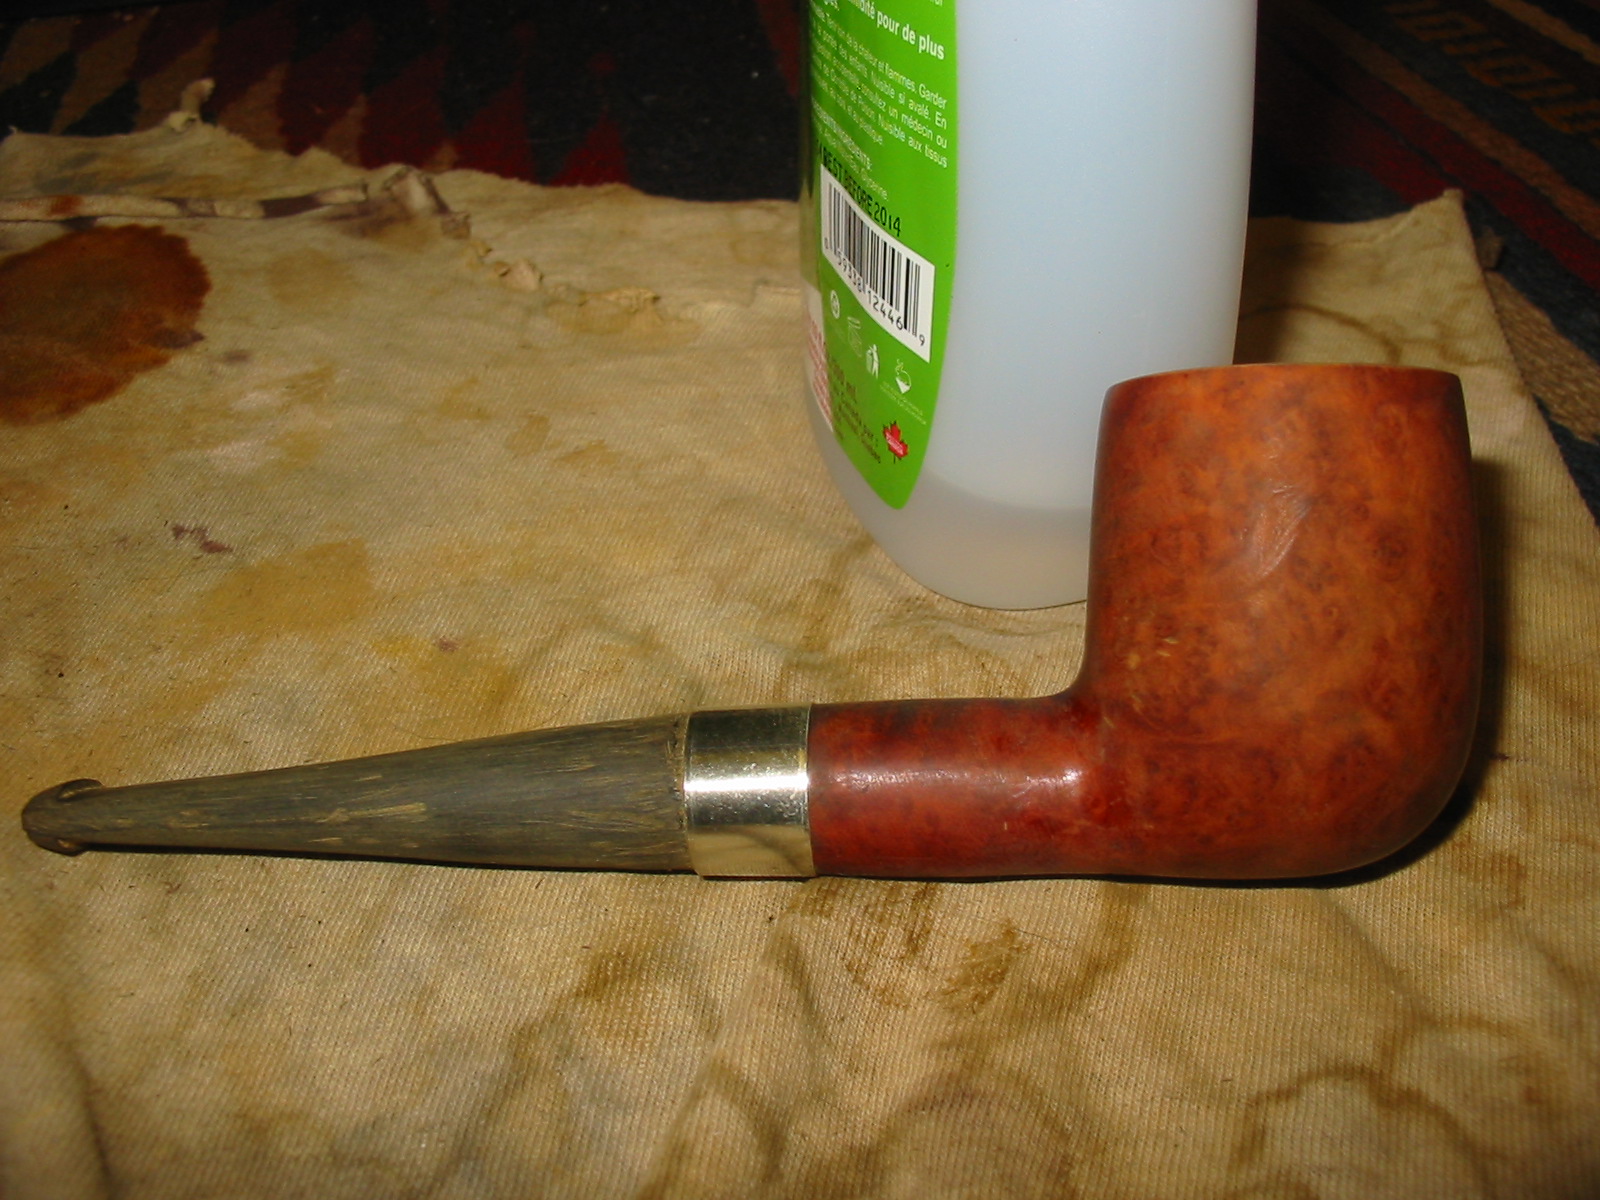
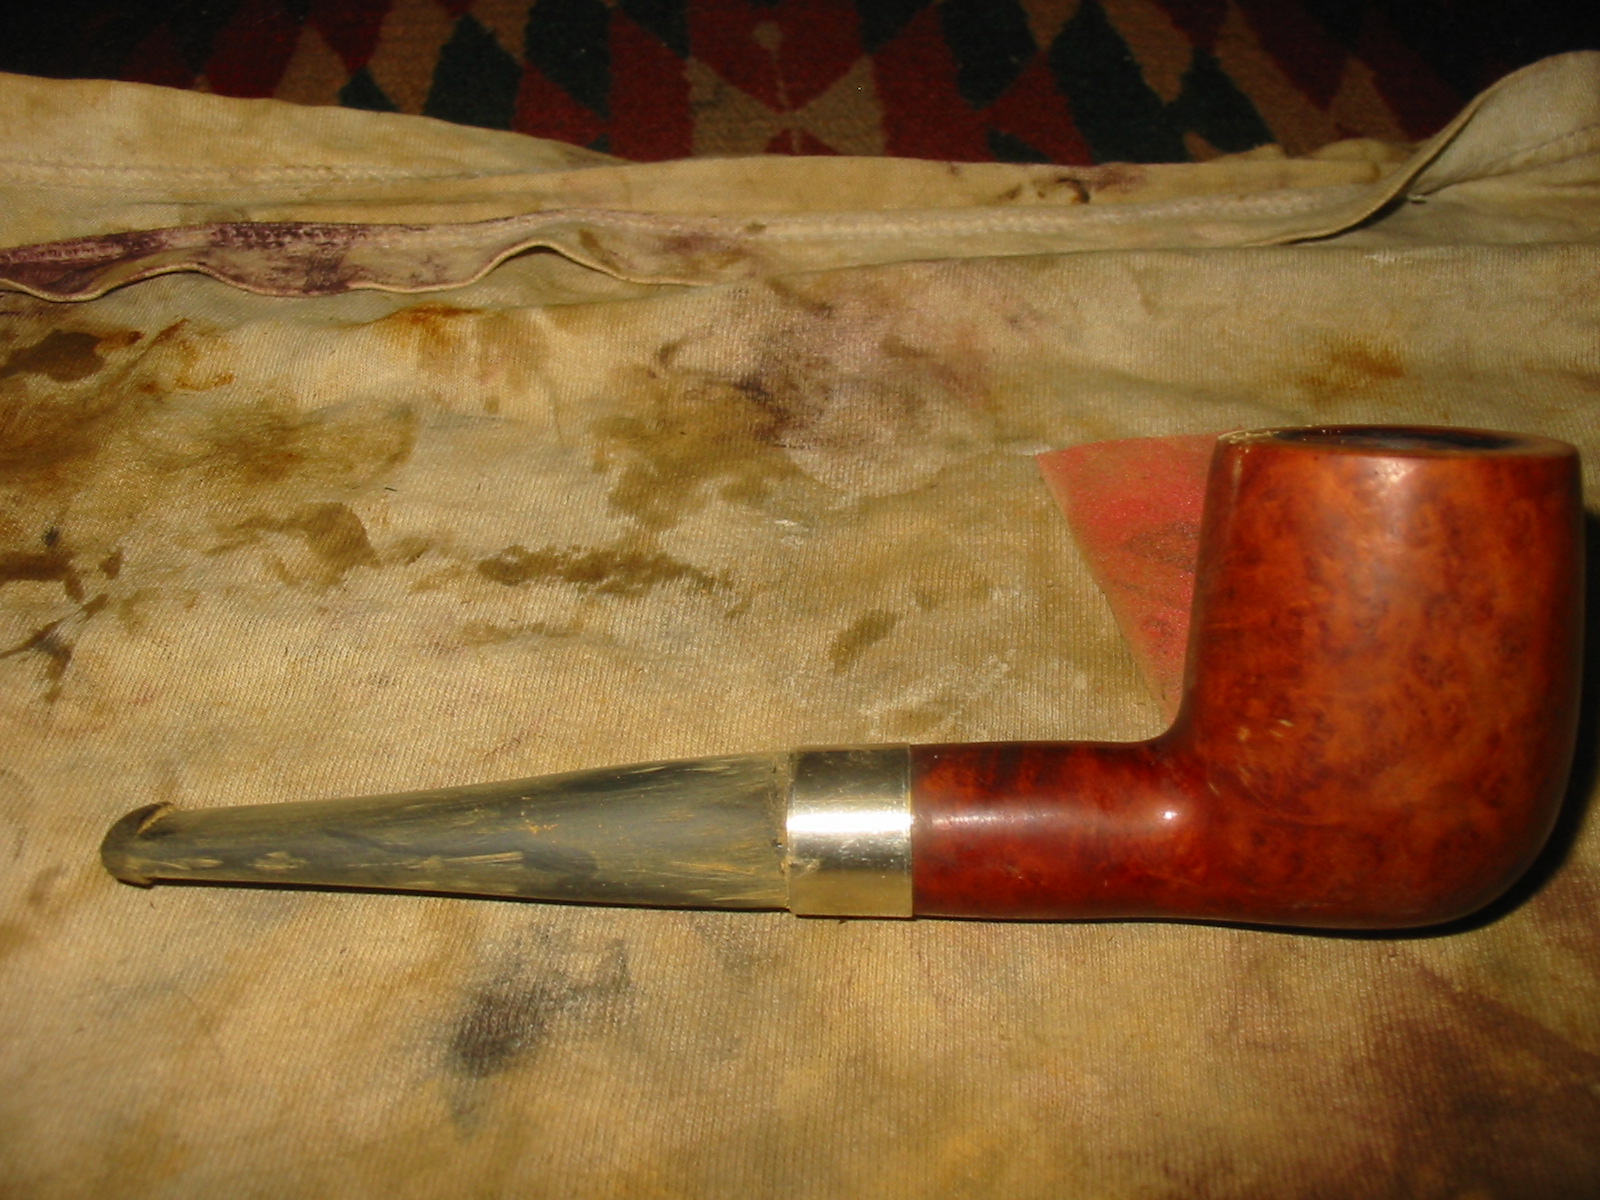
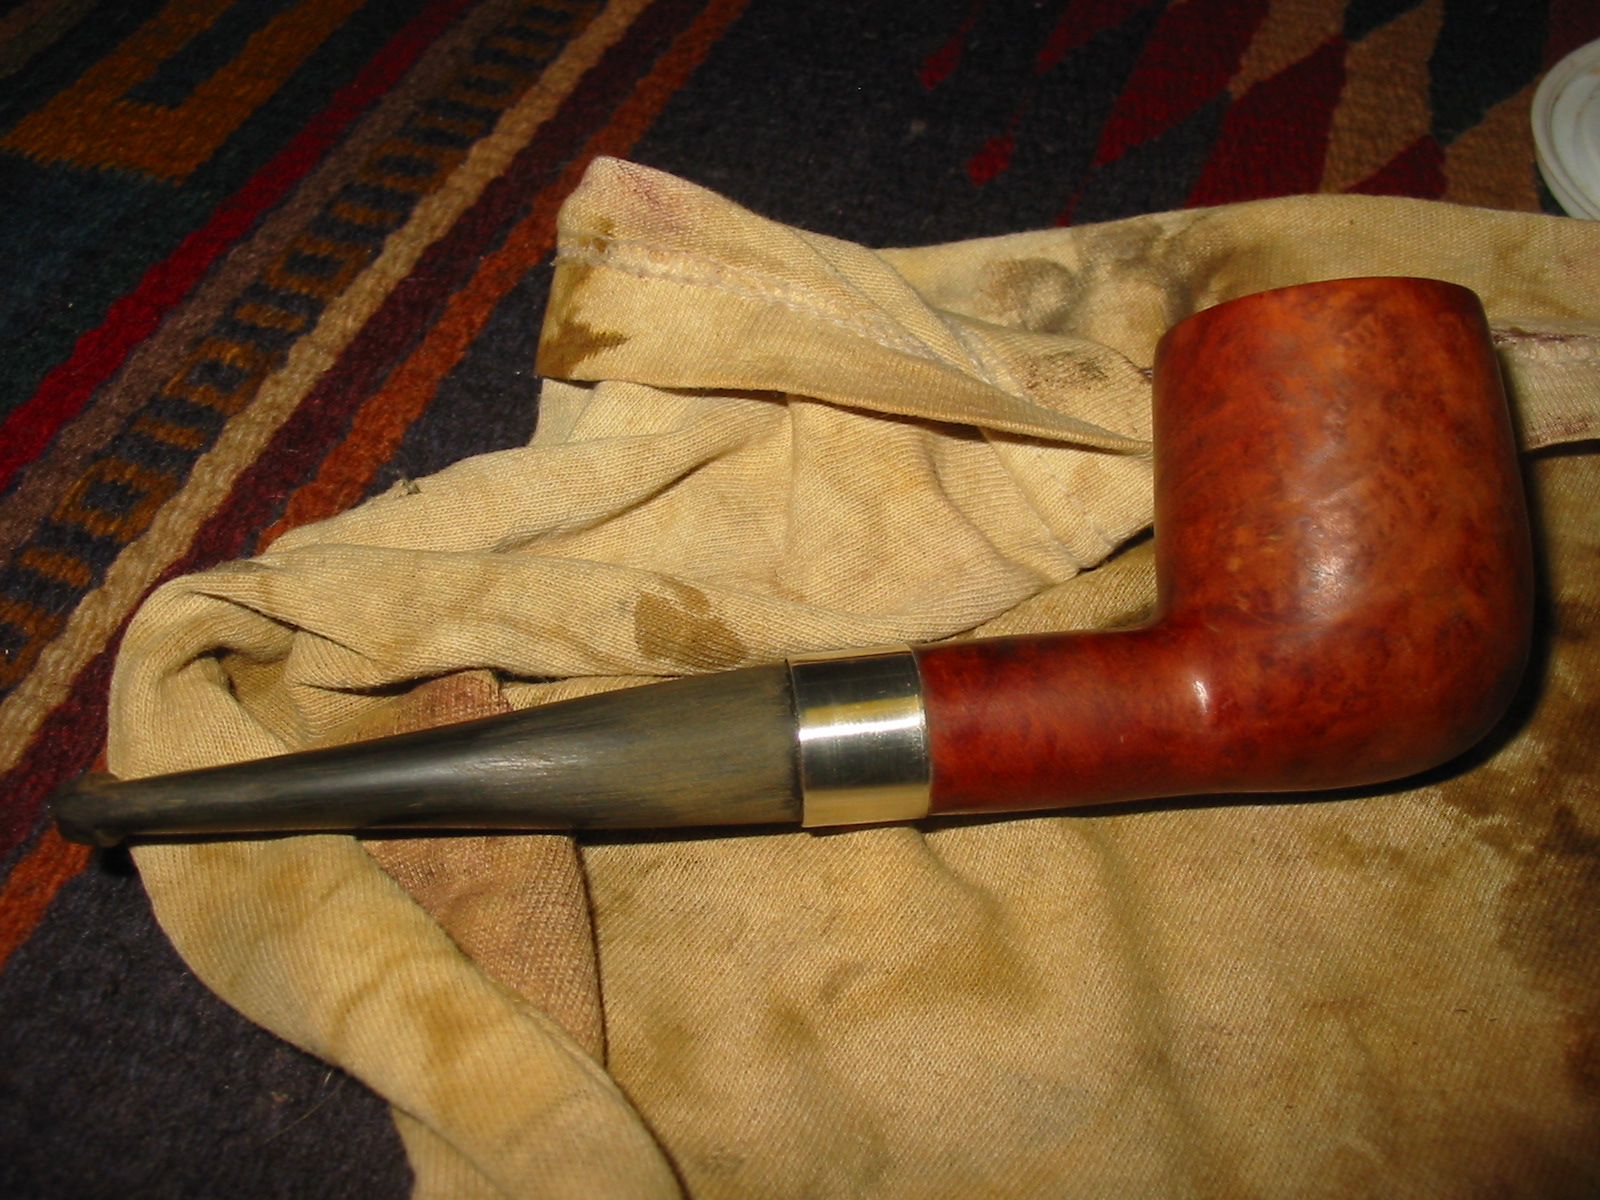
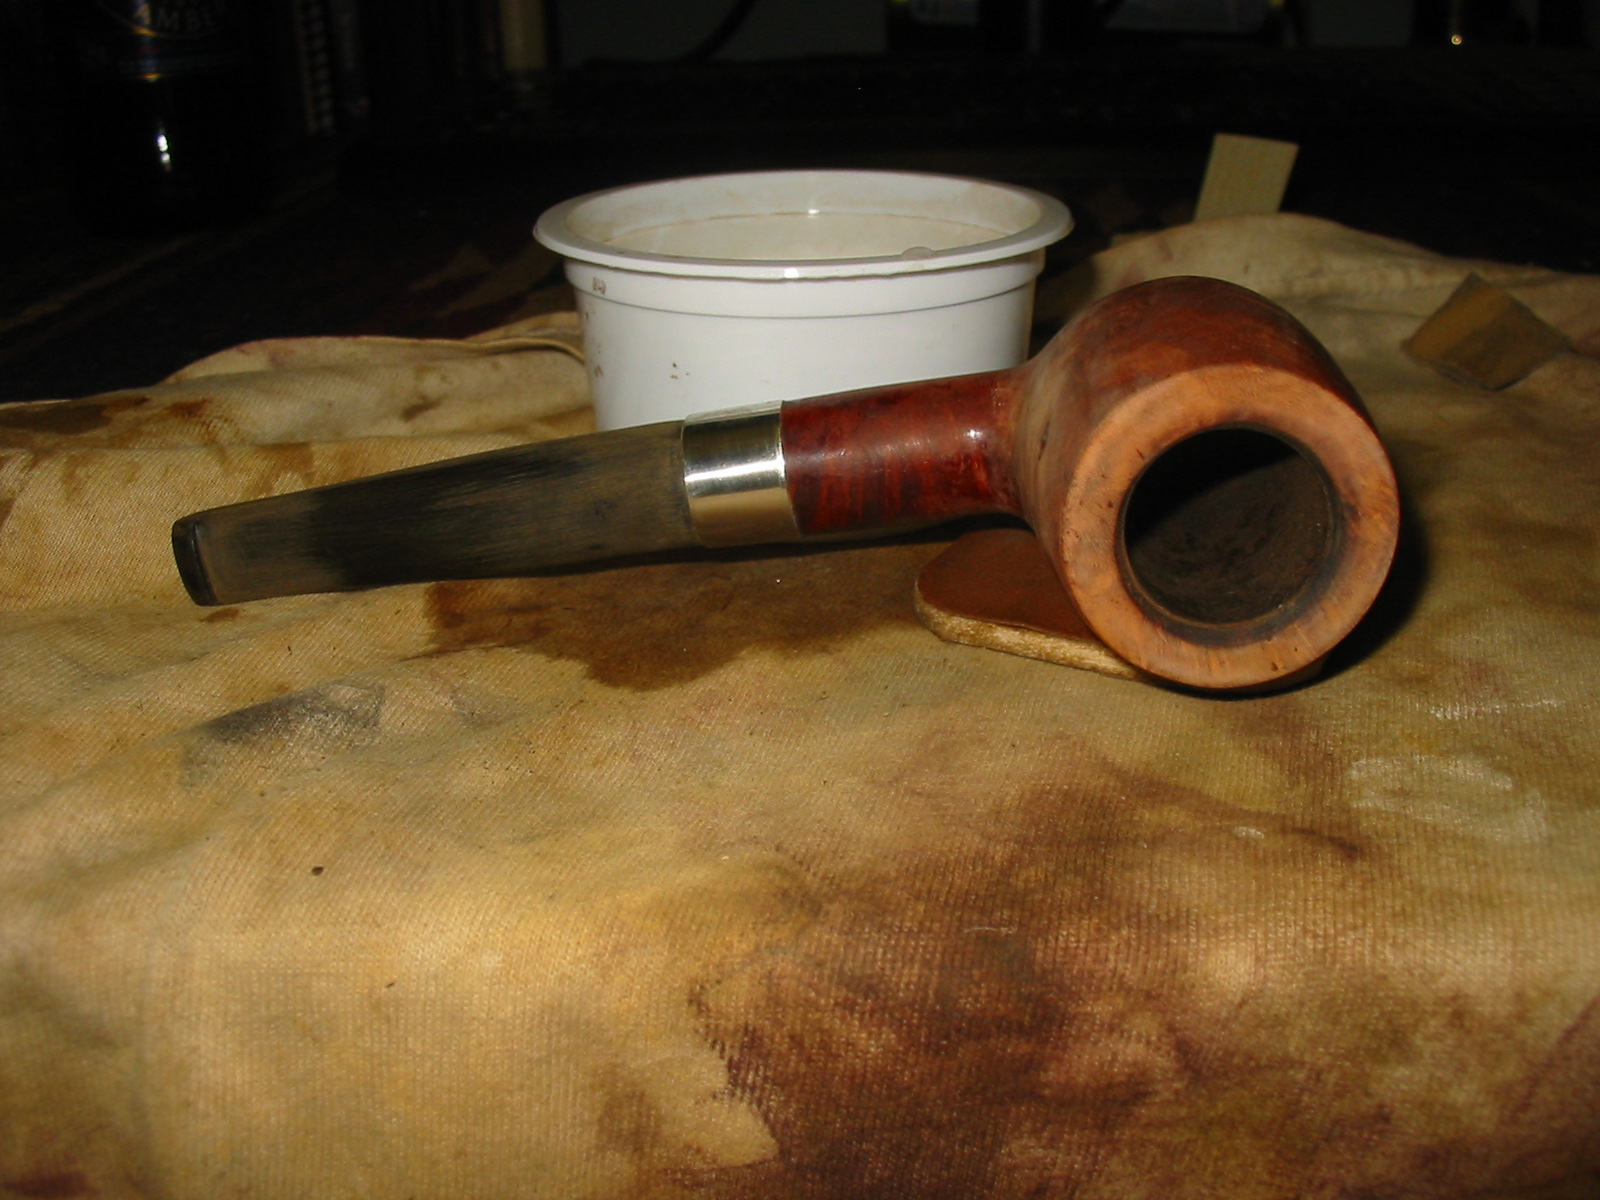
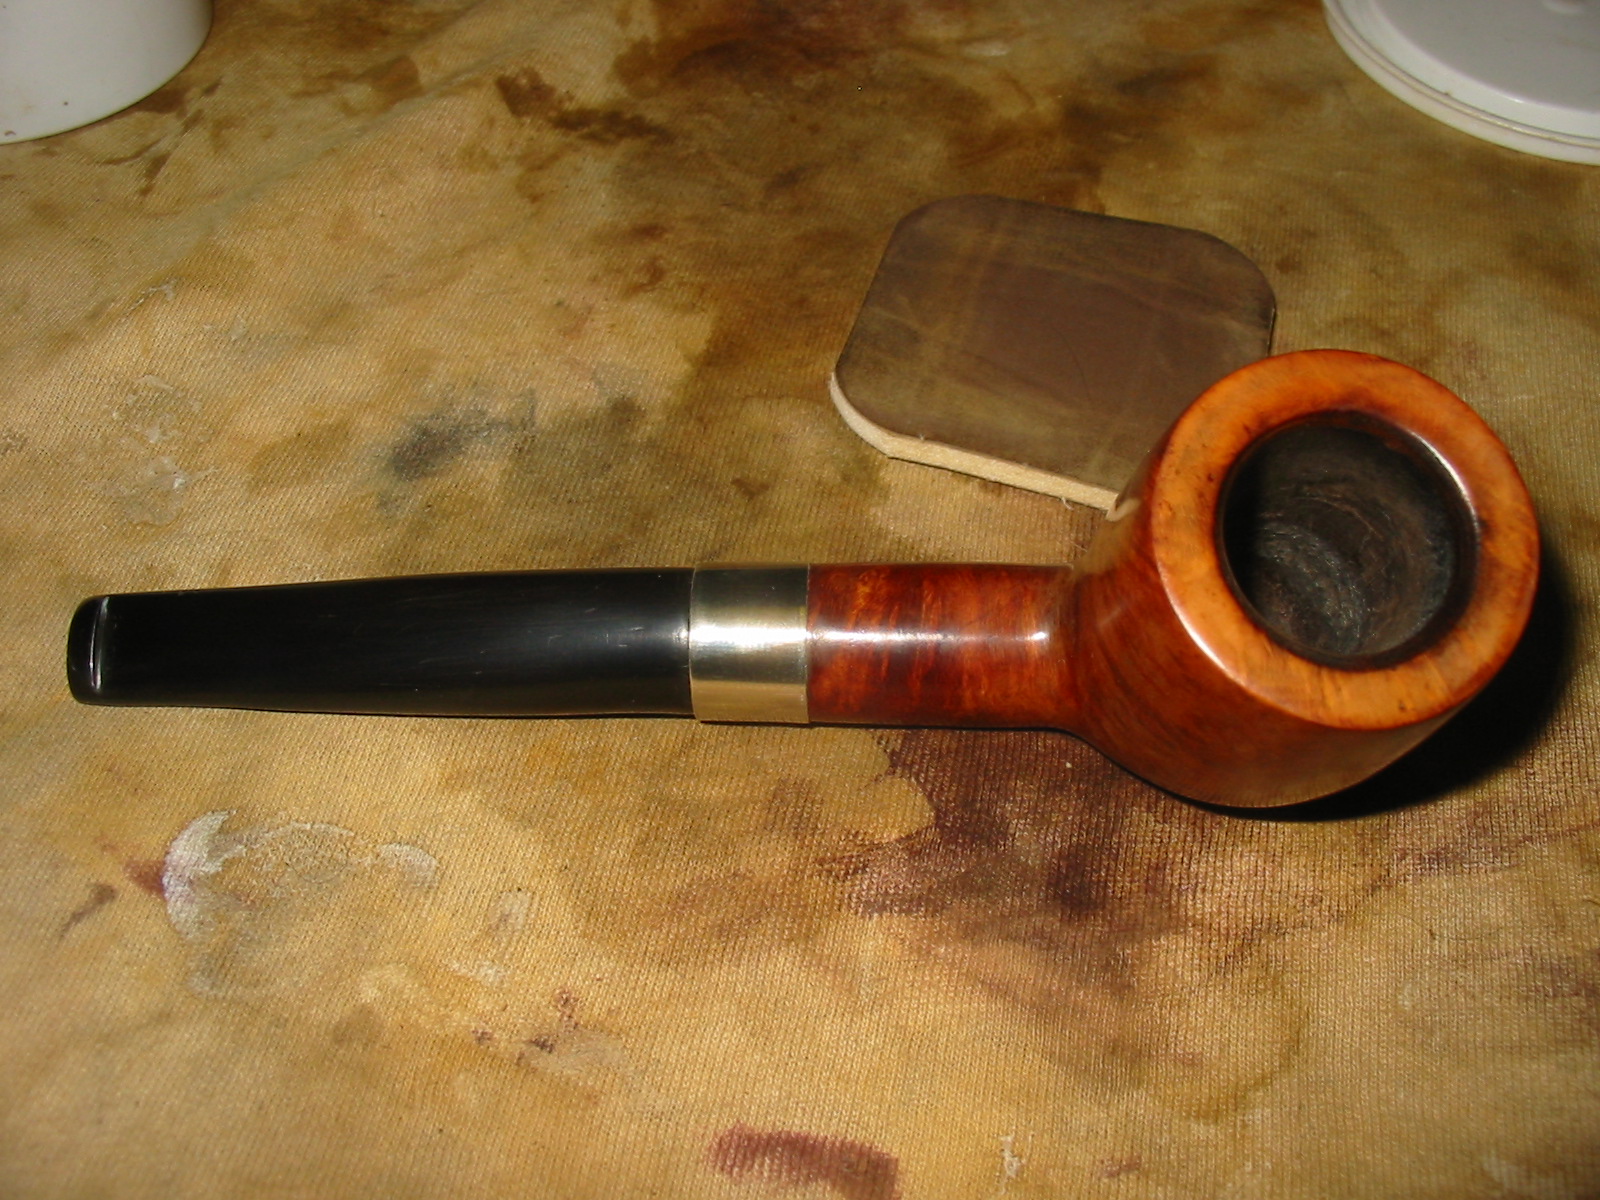
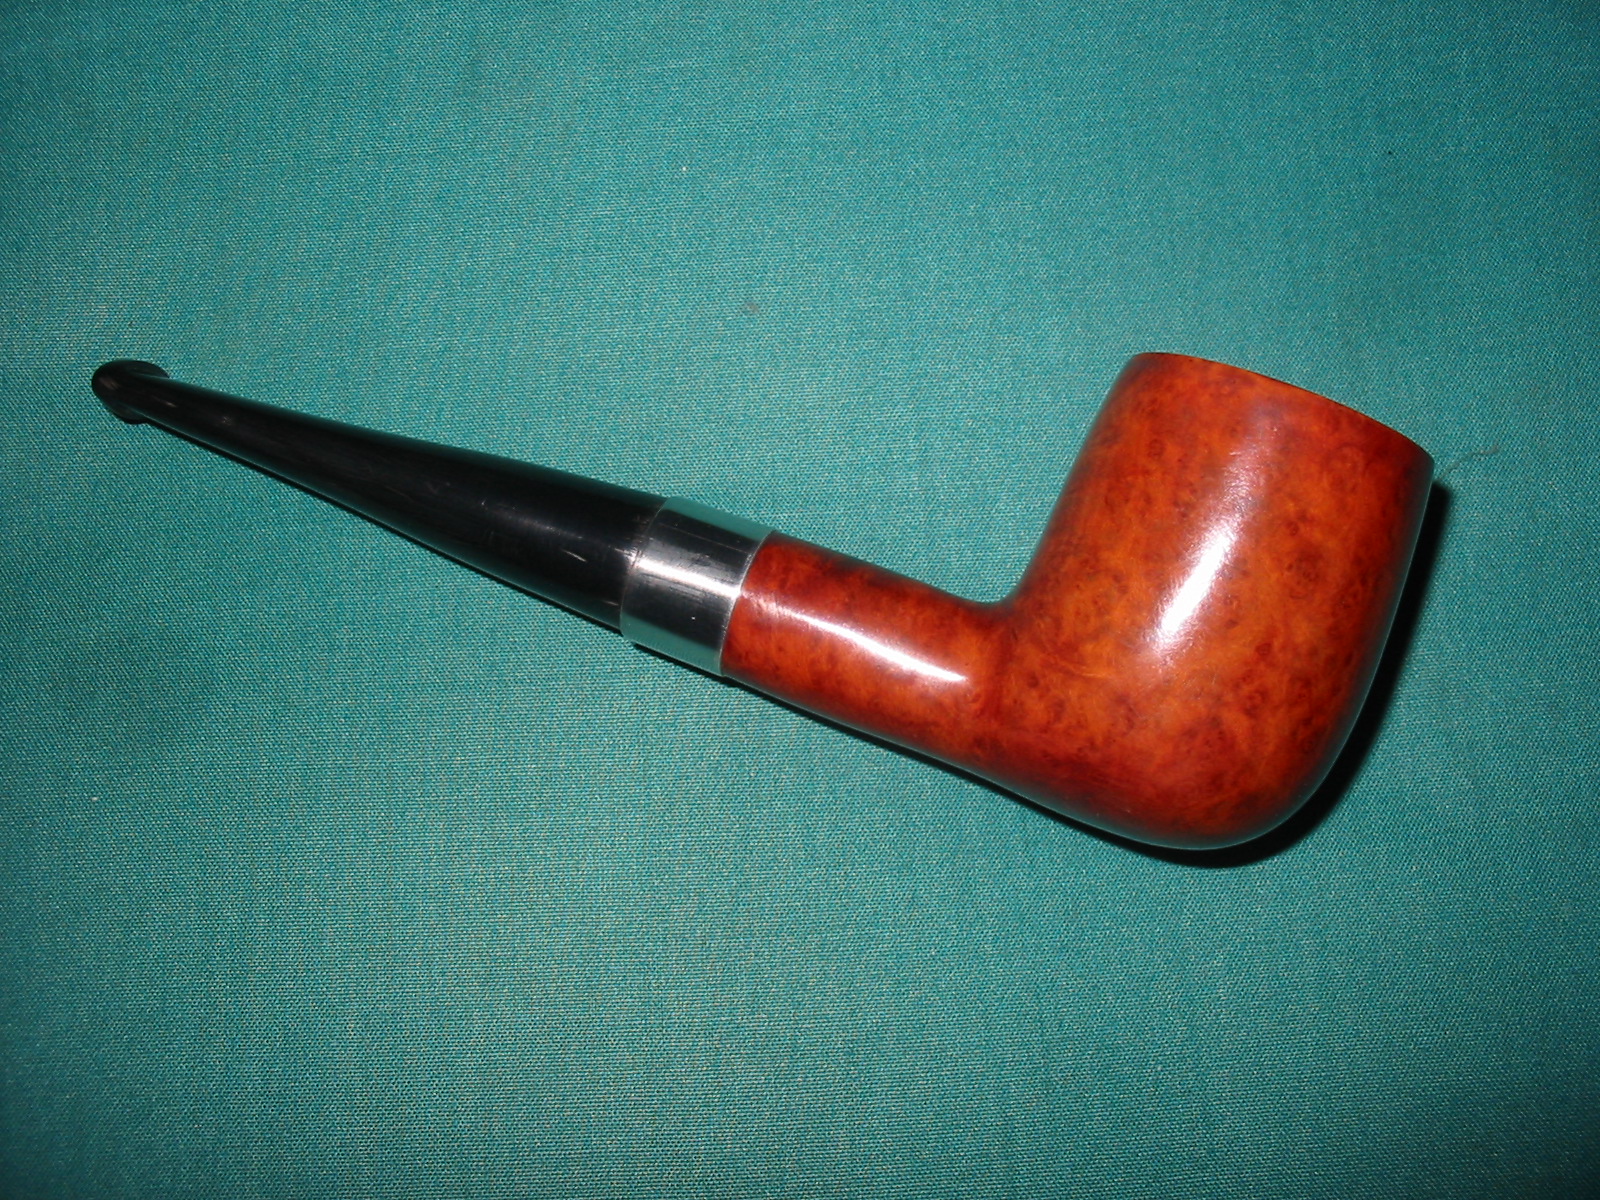
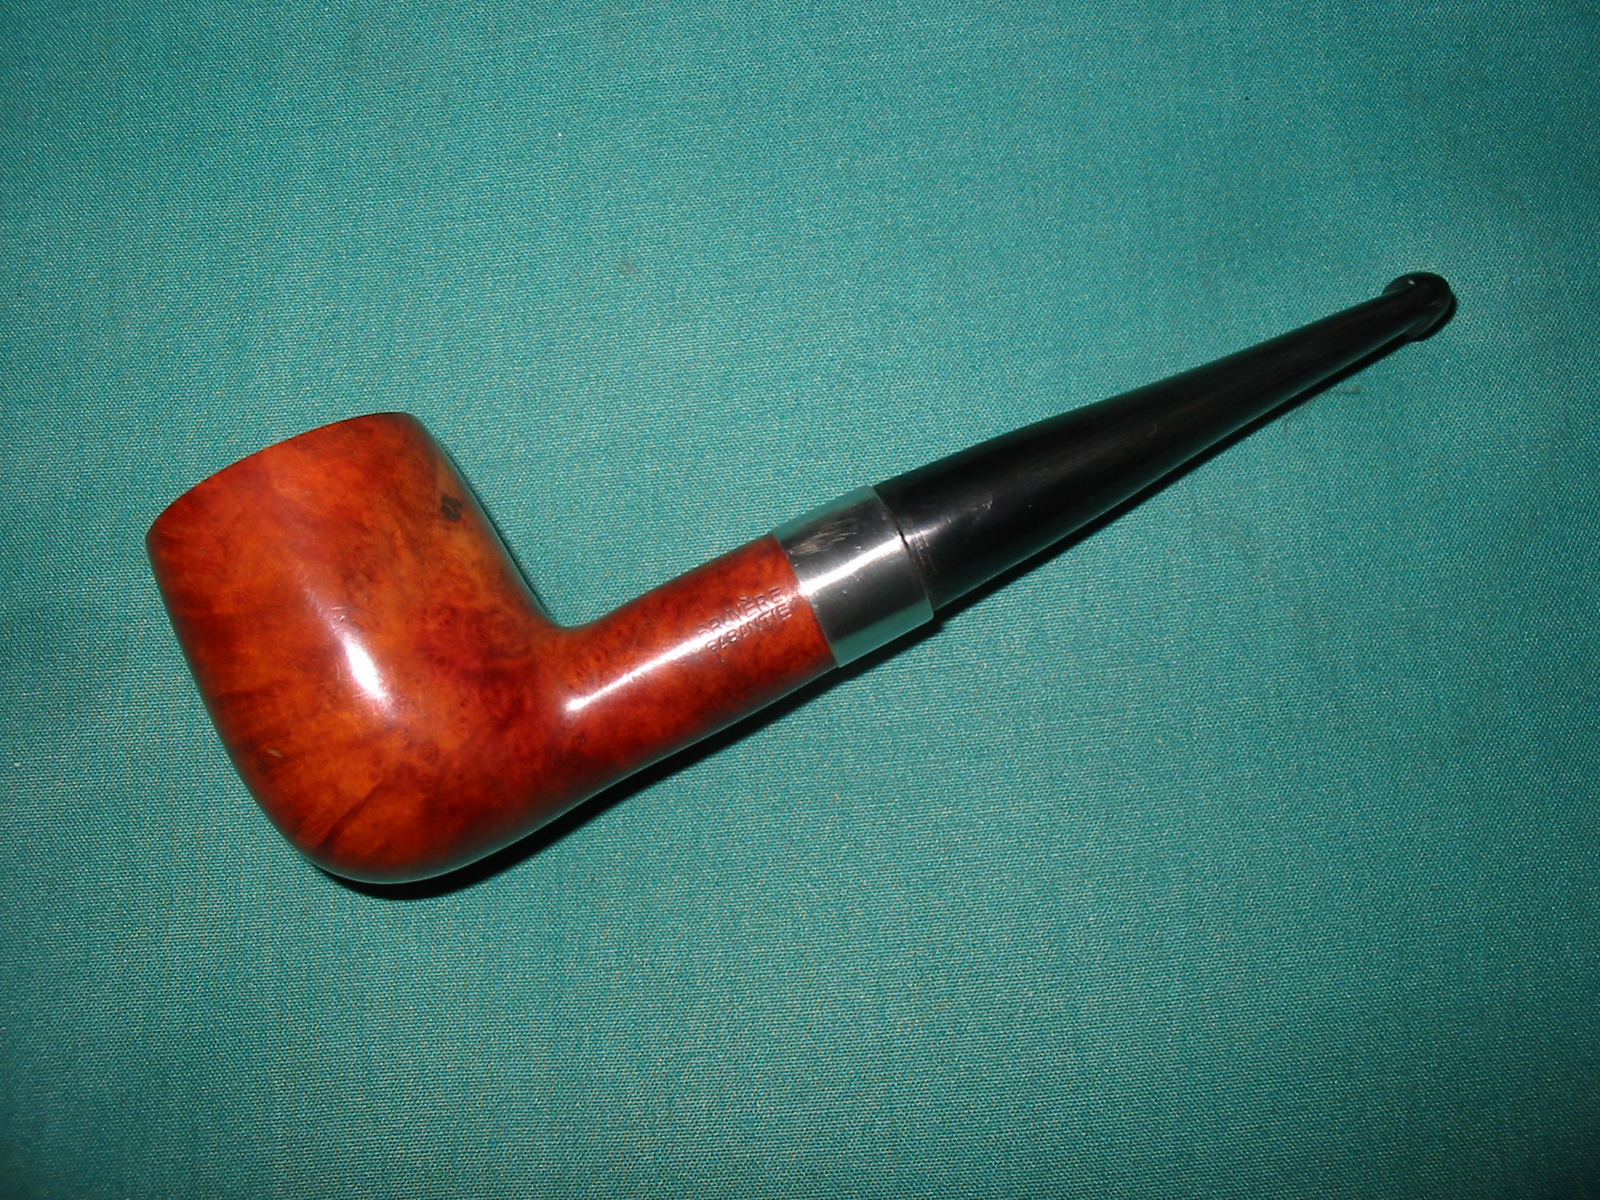
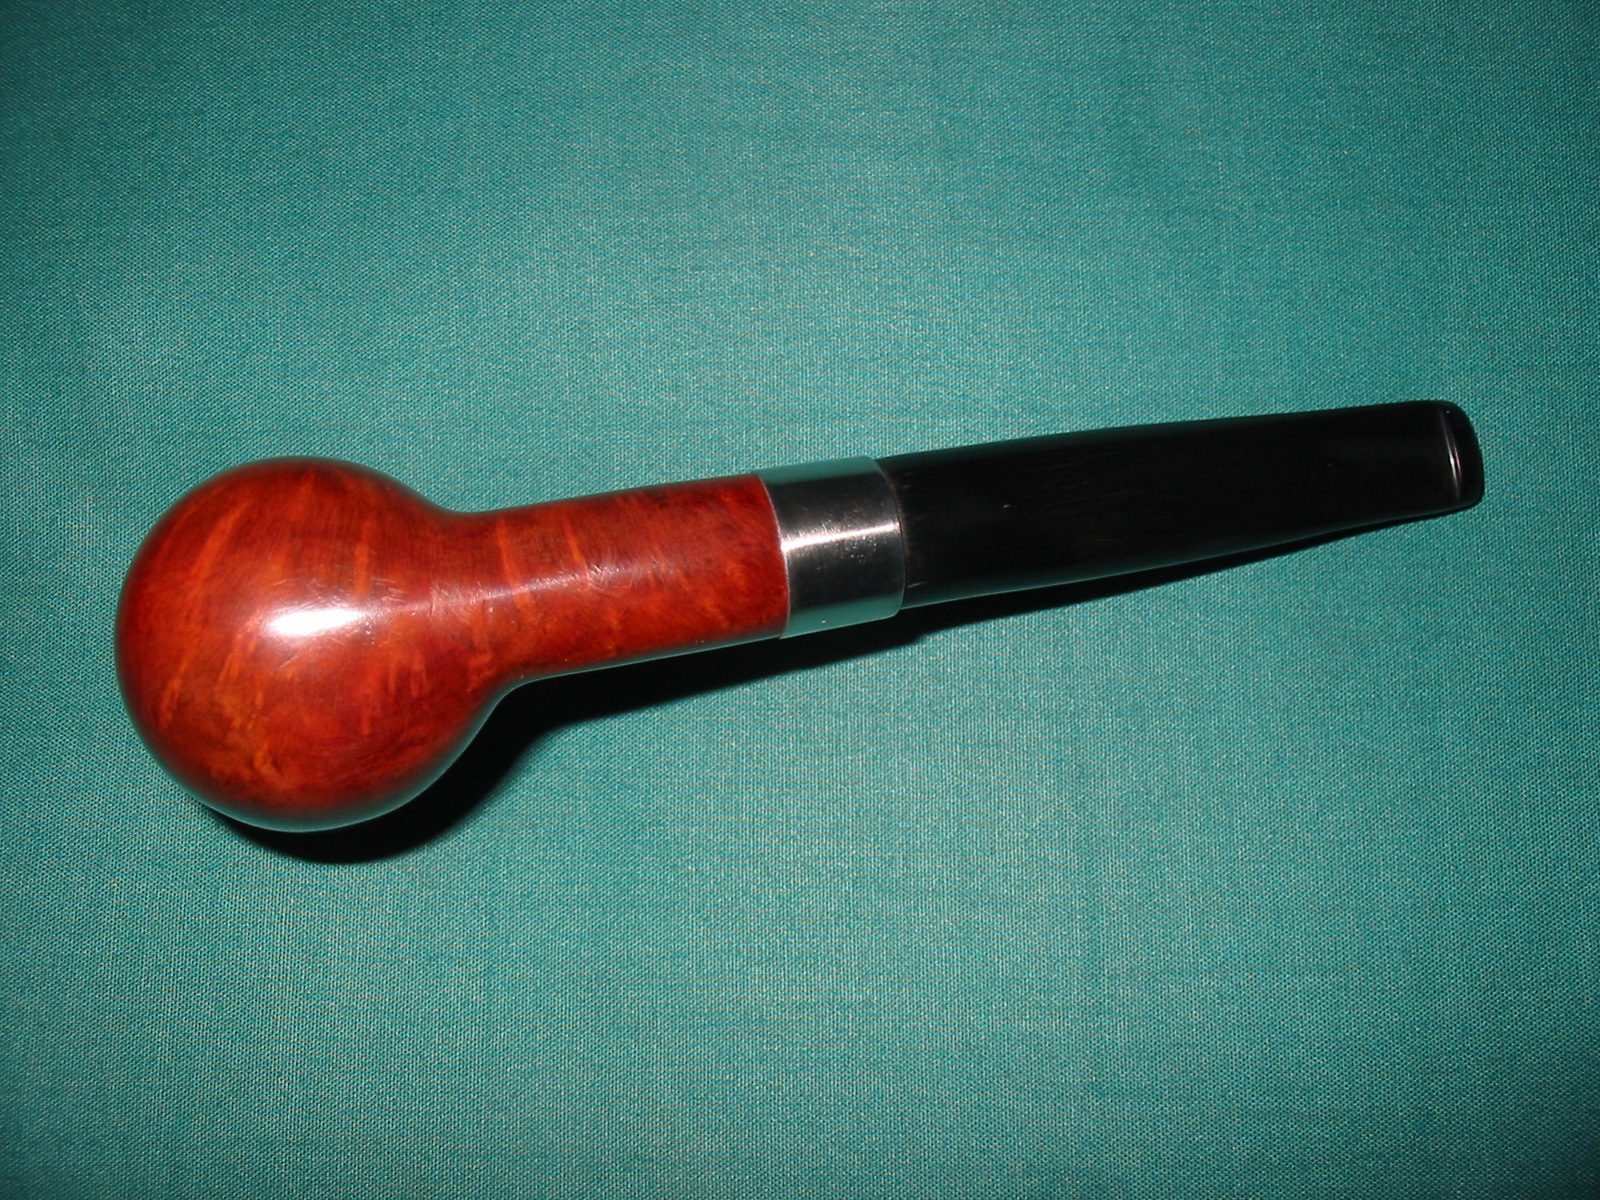
The final series of four photos show the finished pipe. After the stain dried I buffed it with White Diamond and then applied several coats of carnauba wax. I also gave the stem a coat of Obsidian Oil and rubbed it into the stem. Once the stem dried I buffed it with White Diamond for a final time and then wax it as well. The finished pipe has a great looking stain now and the shape of the stem lends an air of antique to the pipe.
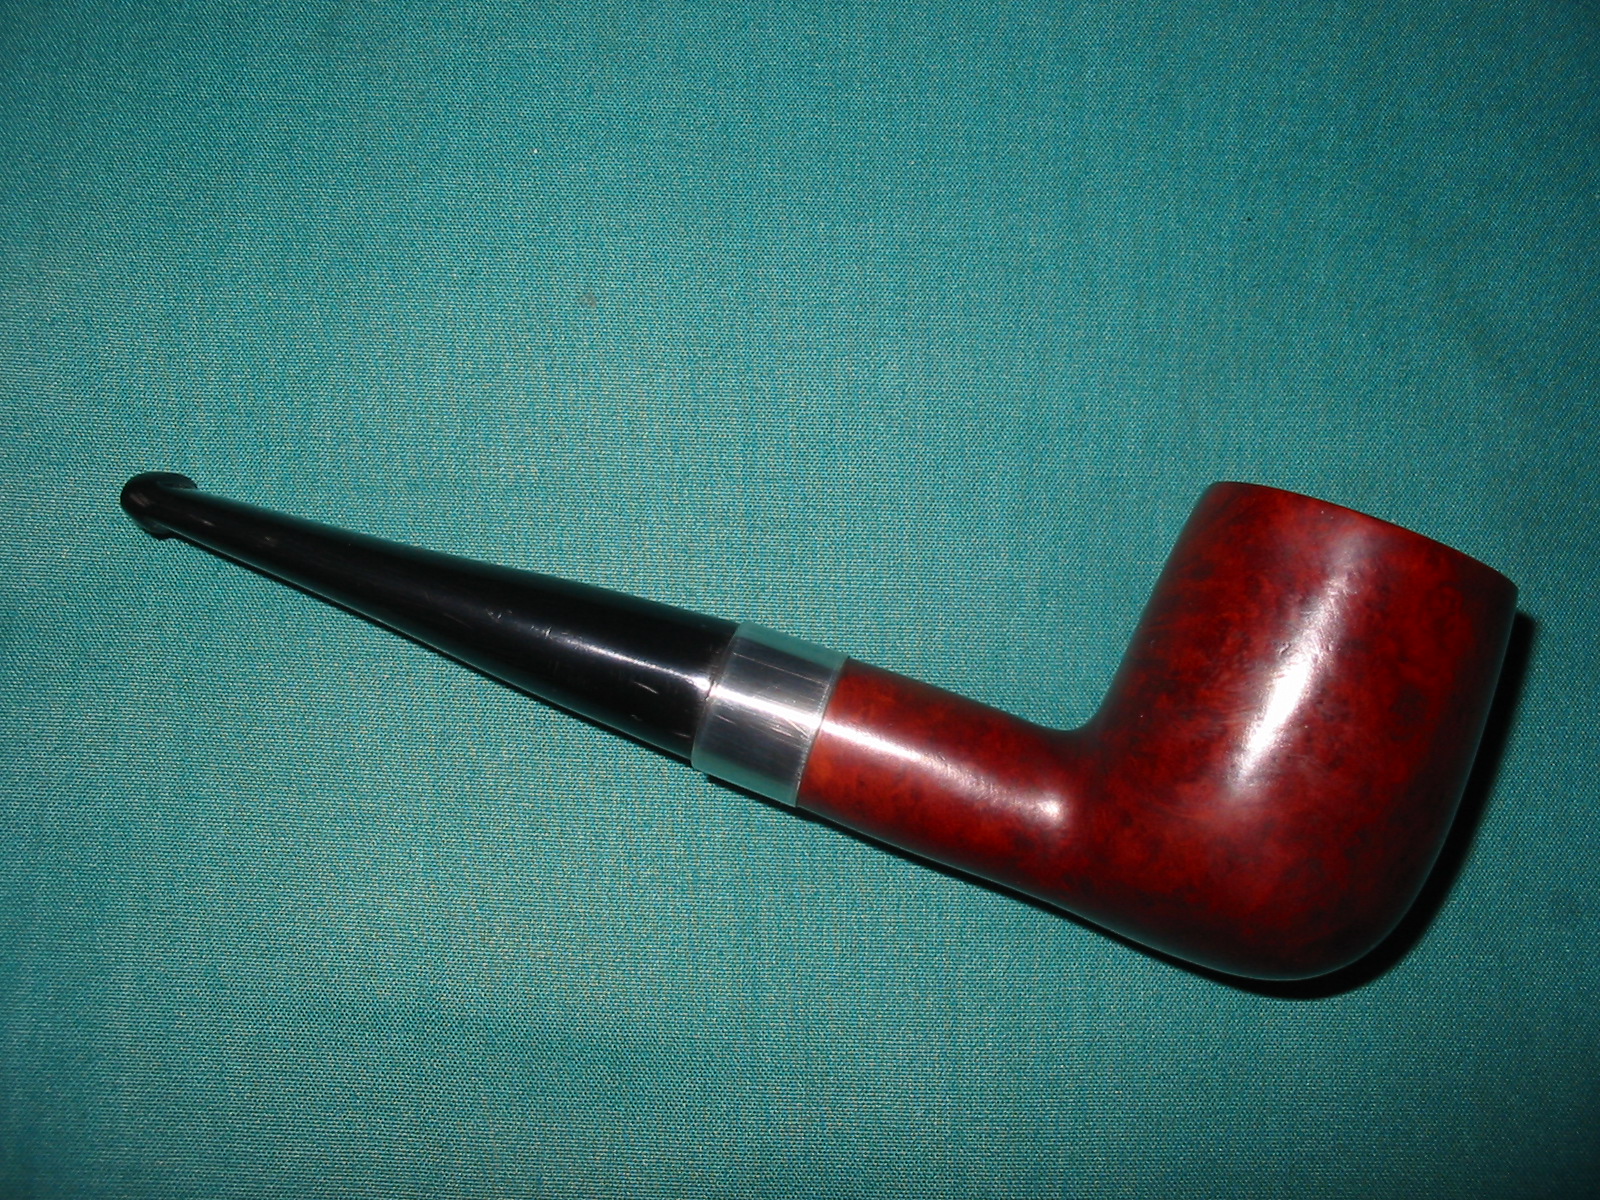

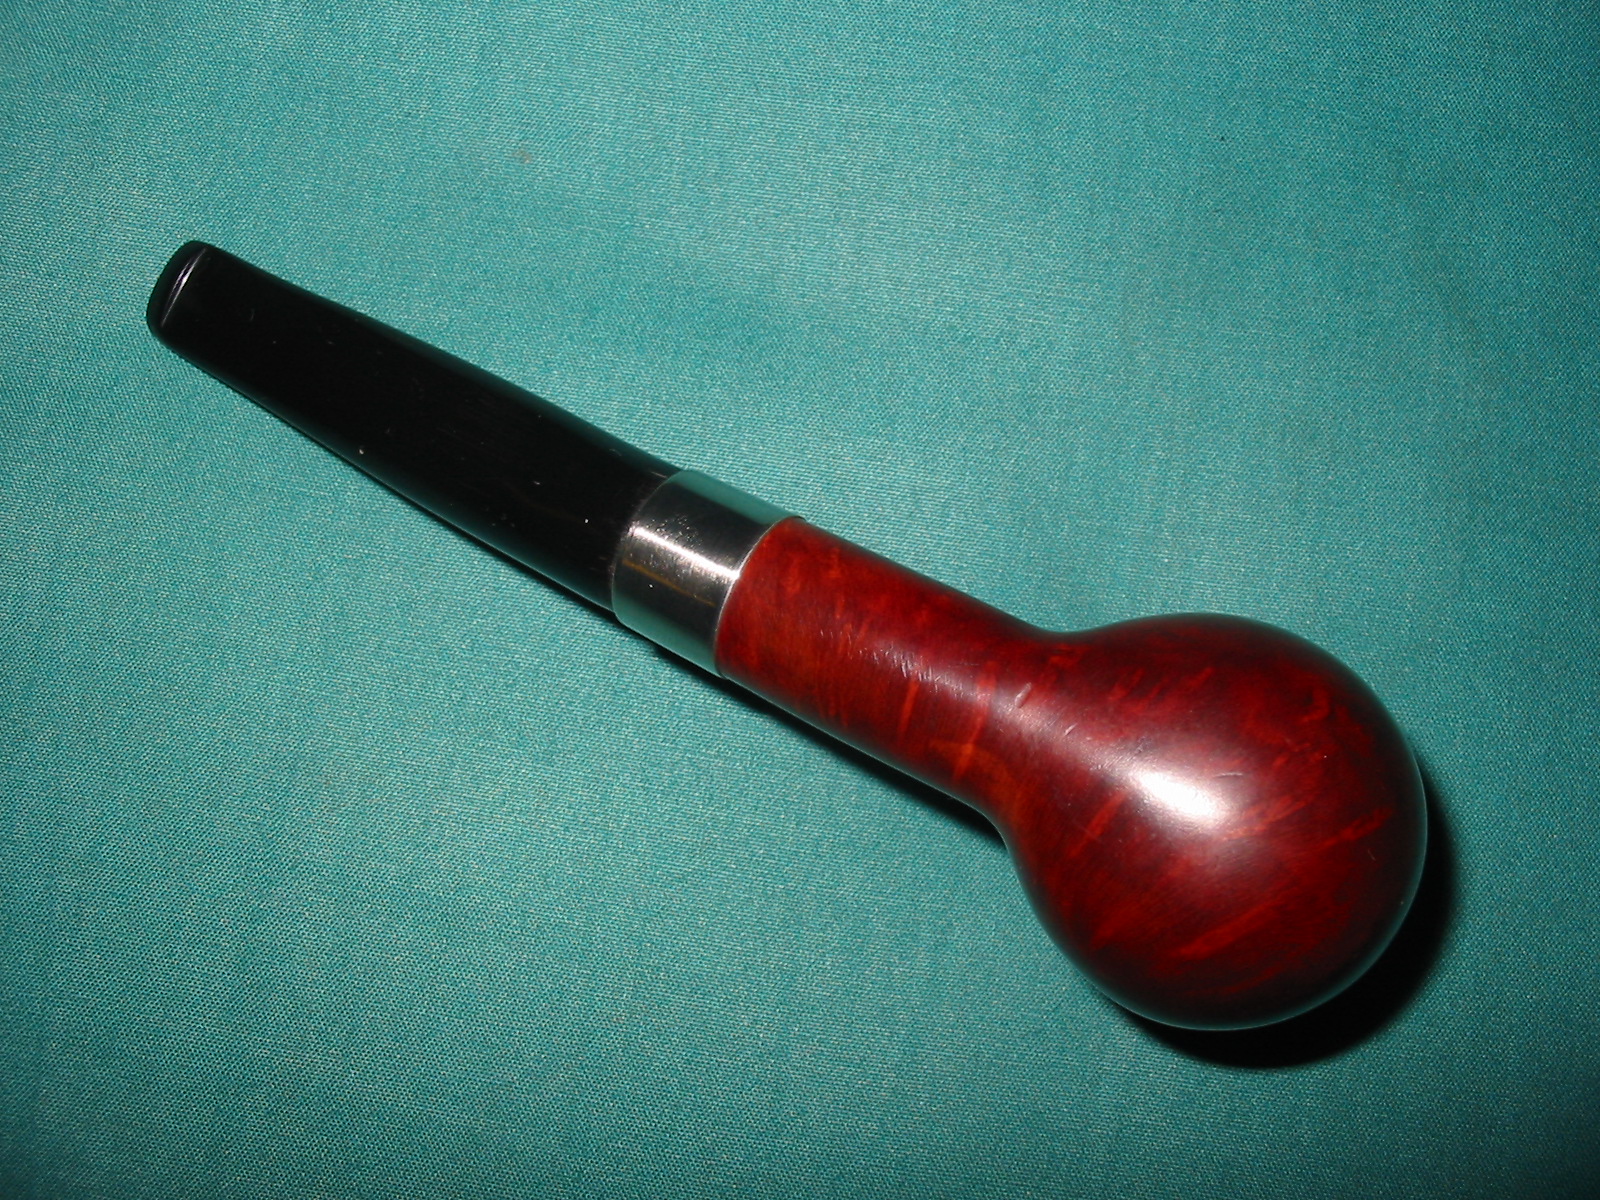

The dark brown stain really makes the finish jump.
LikeLike