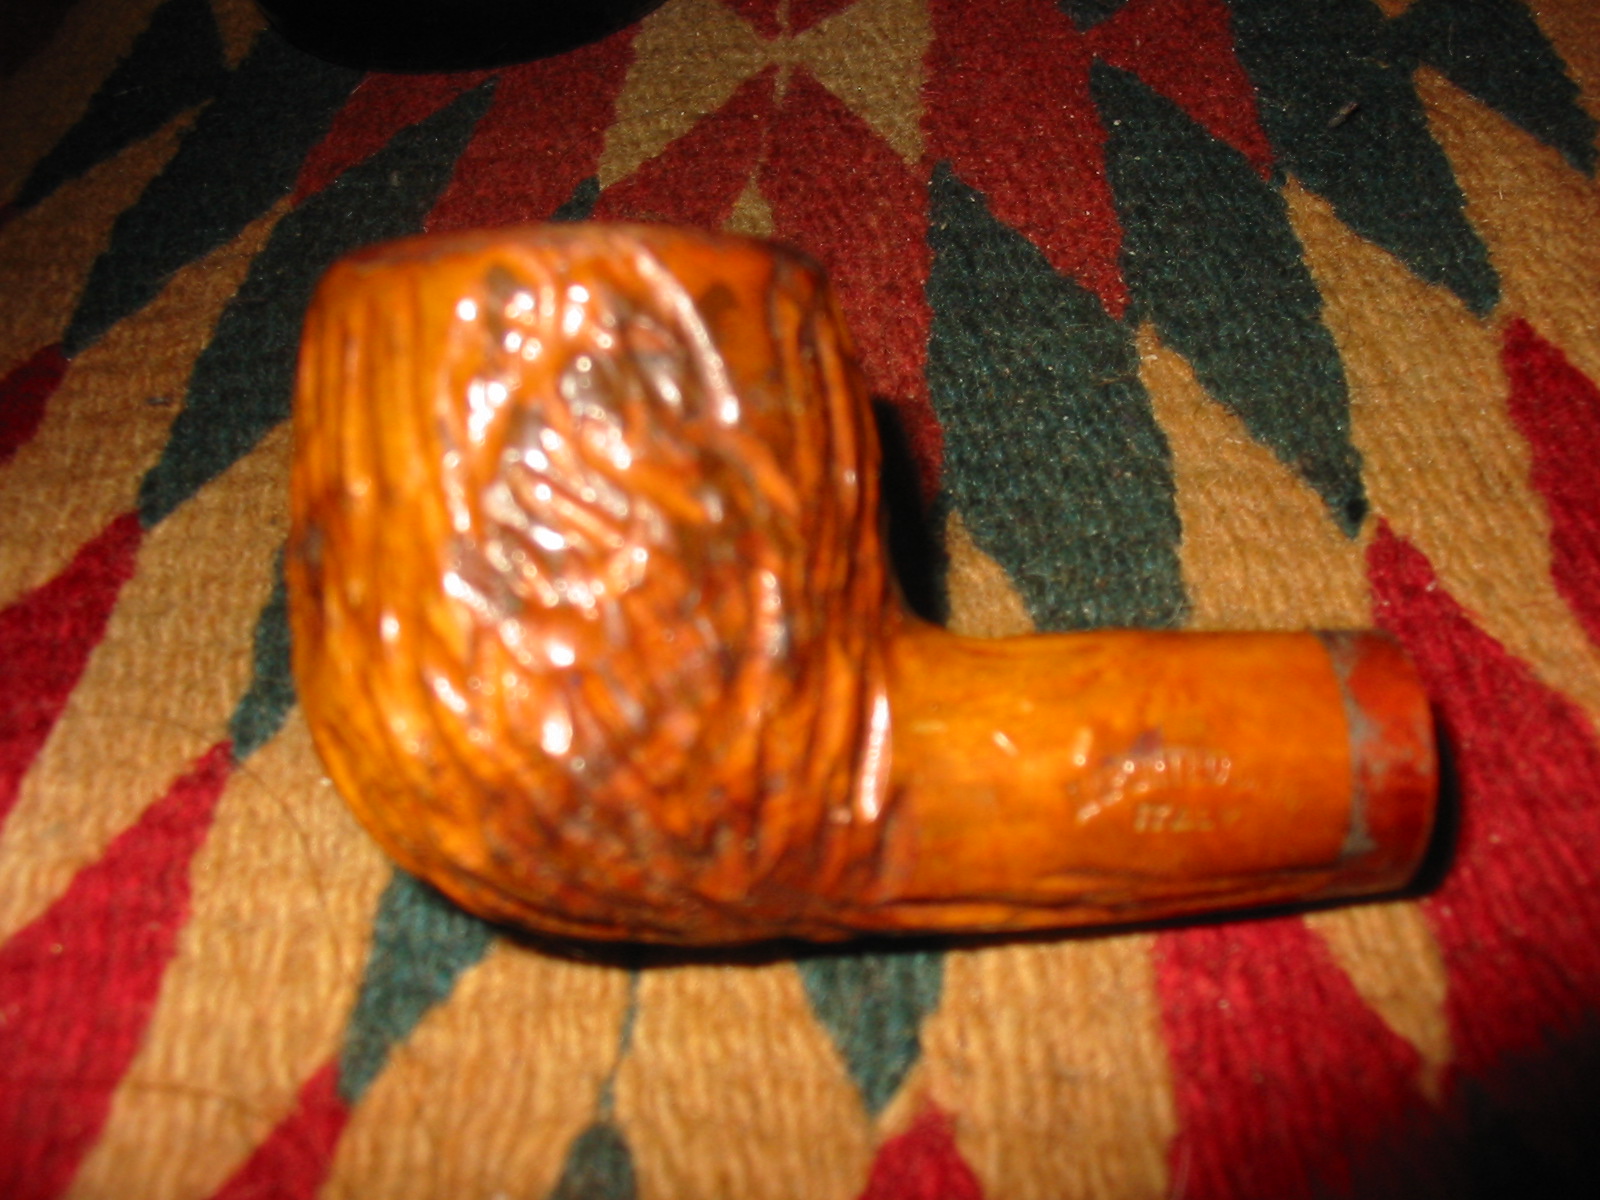
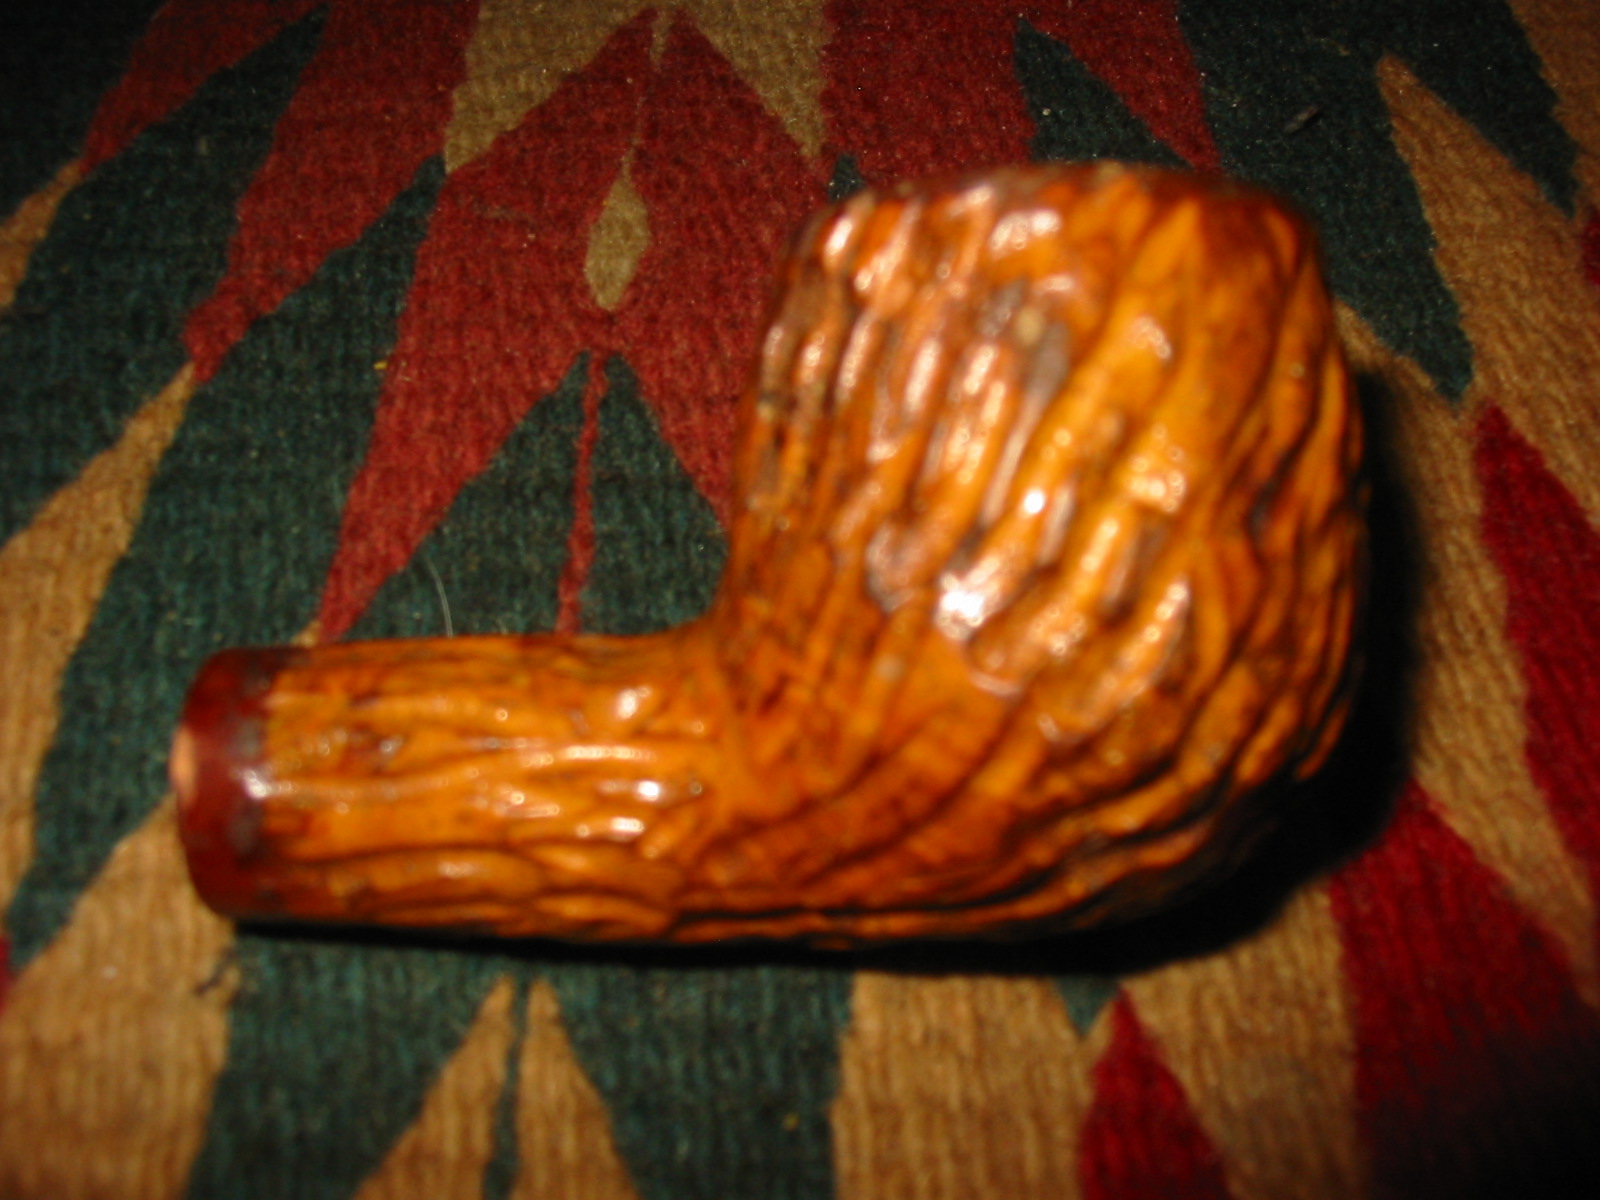
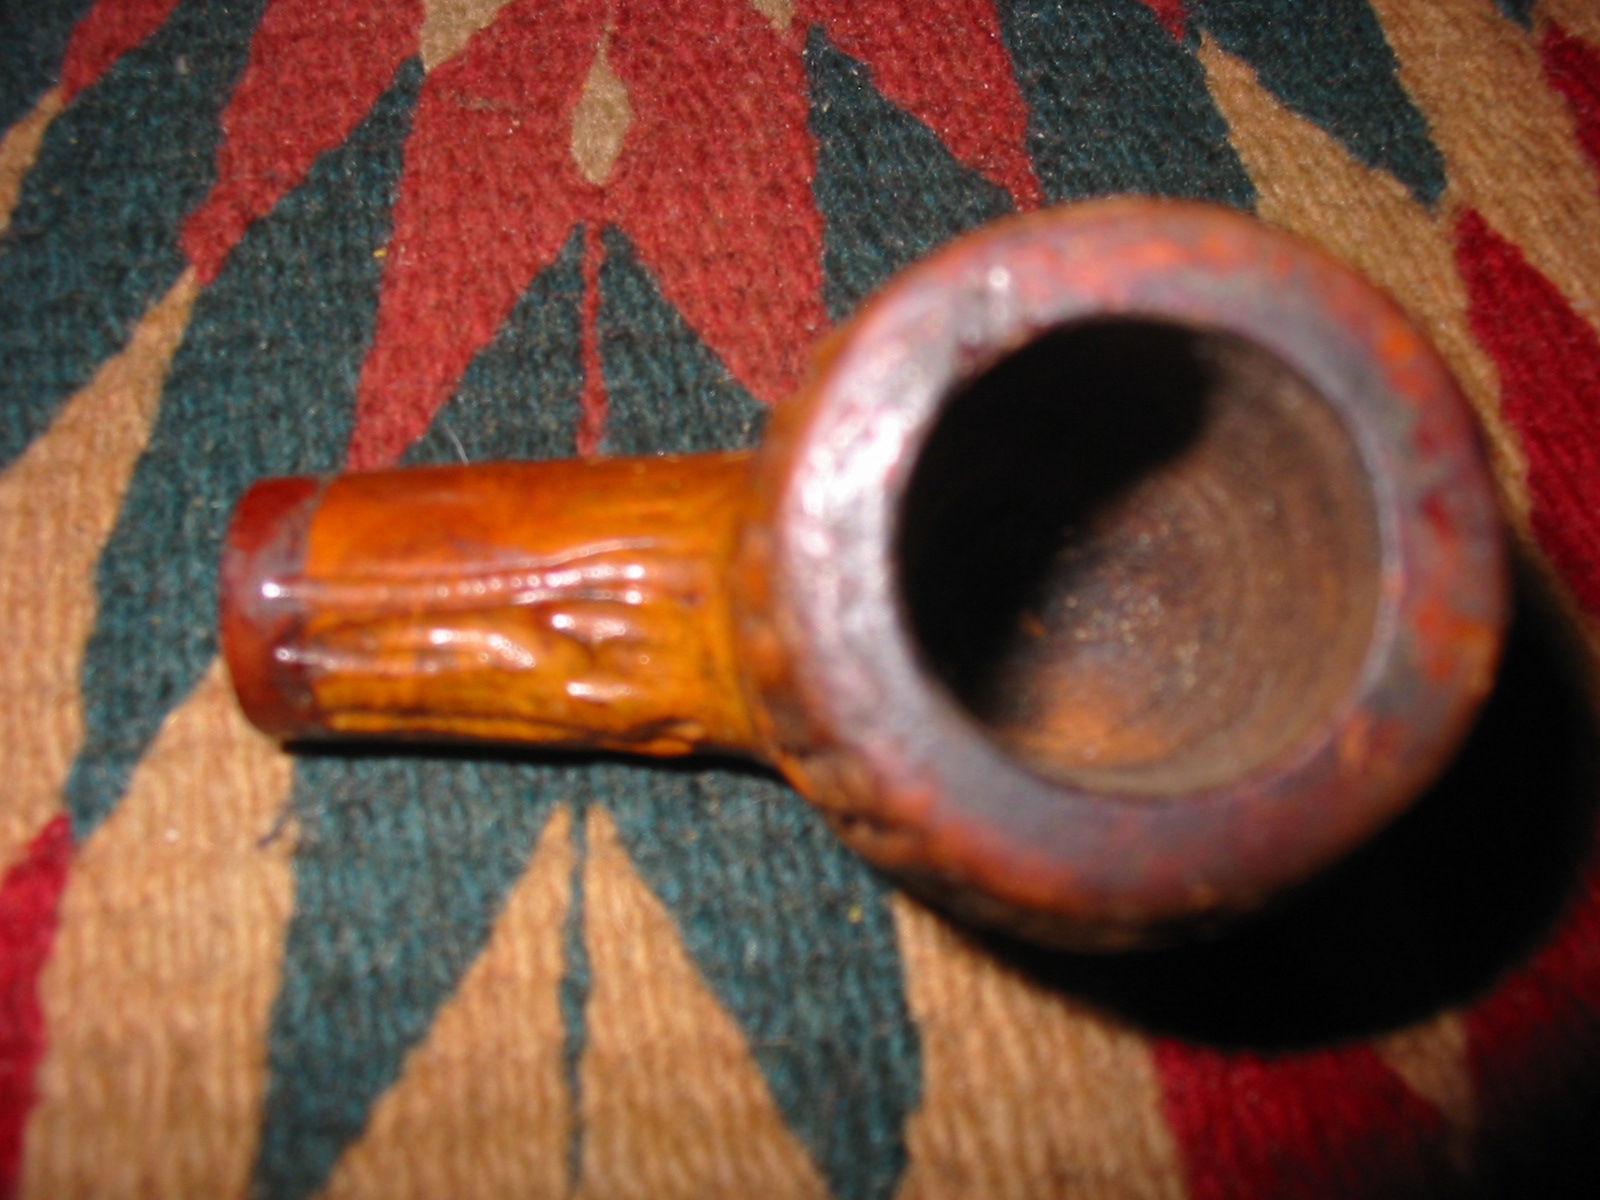
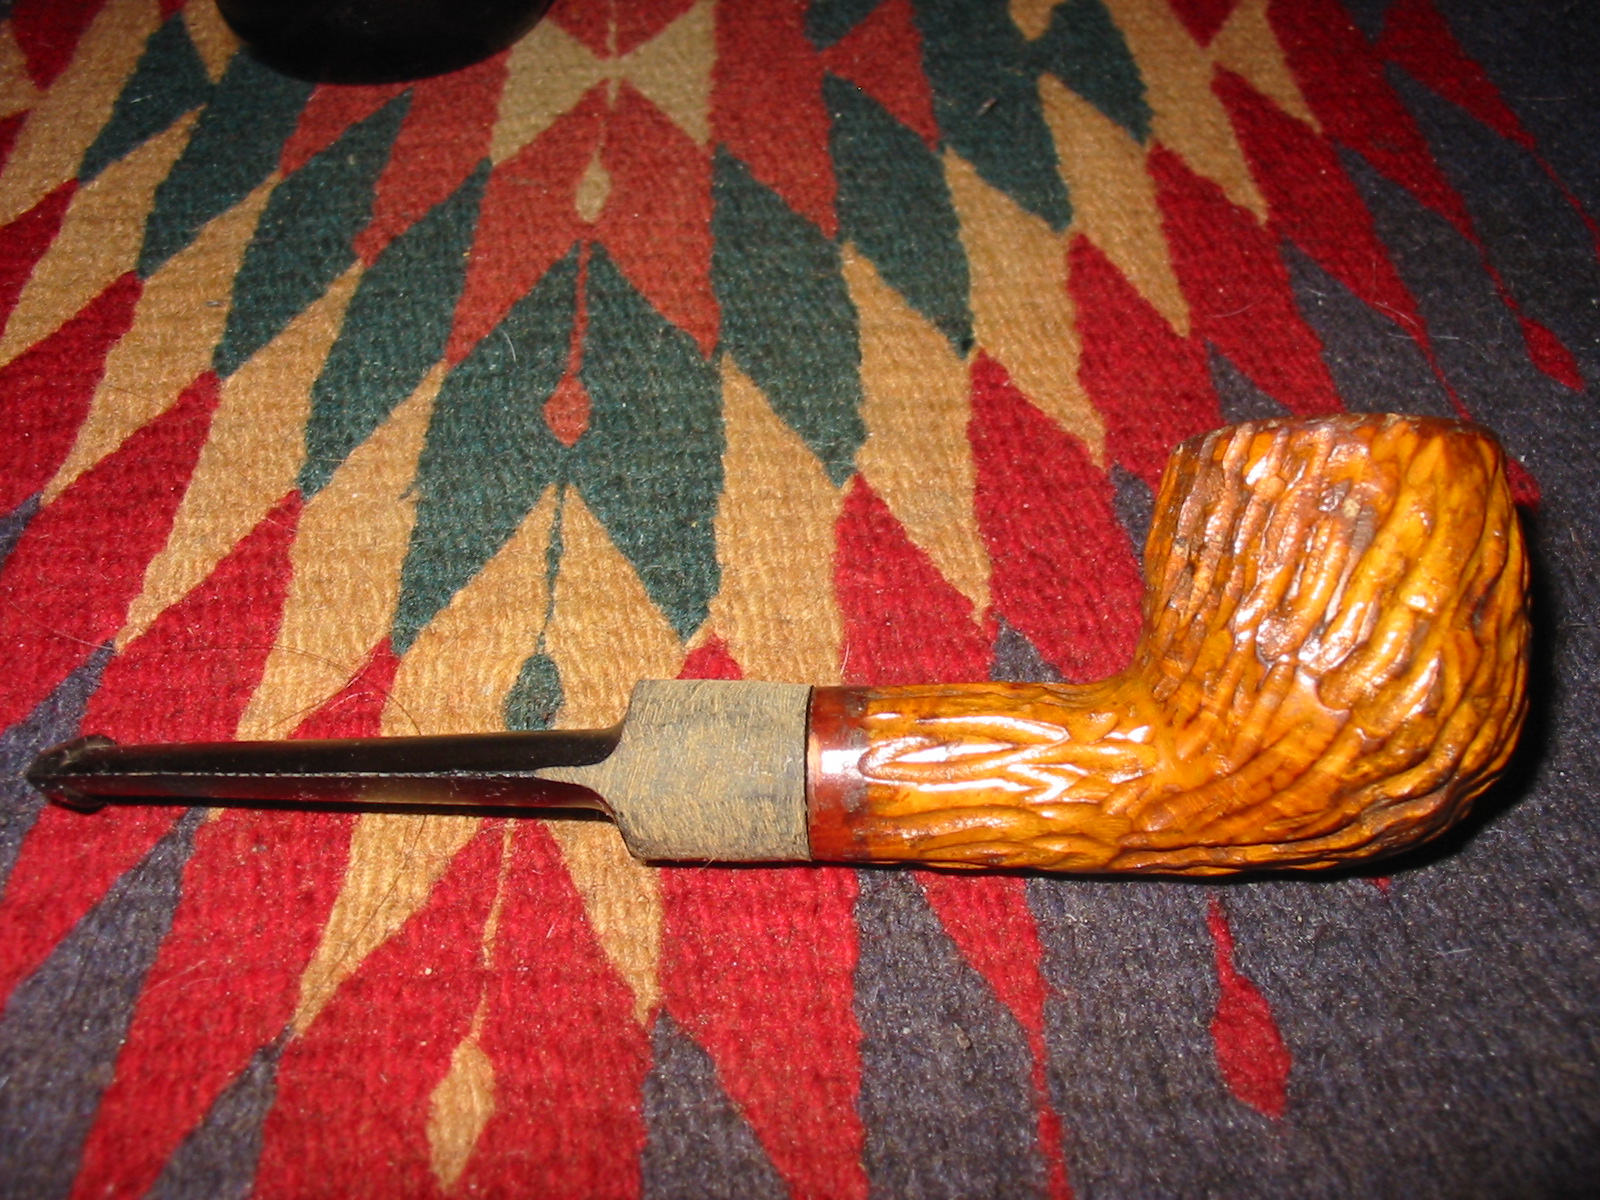
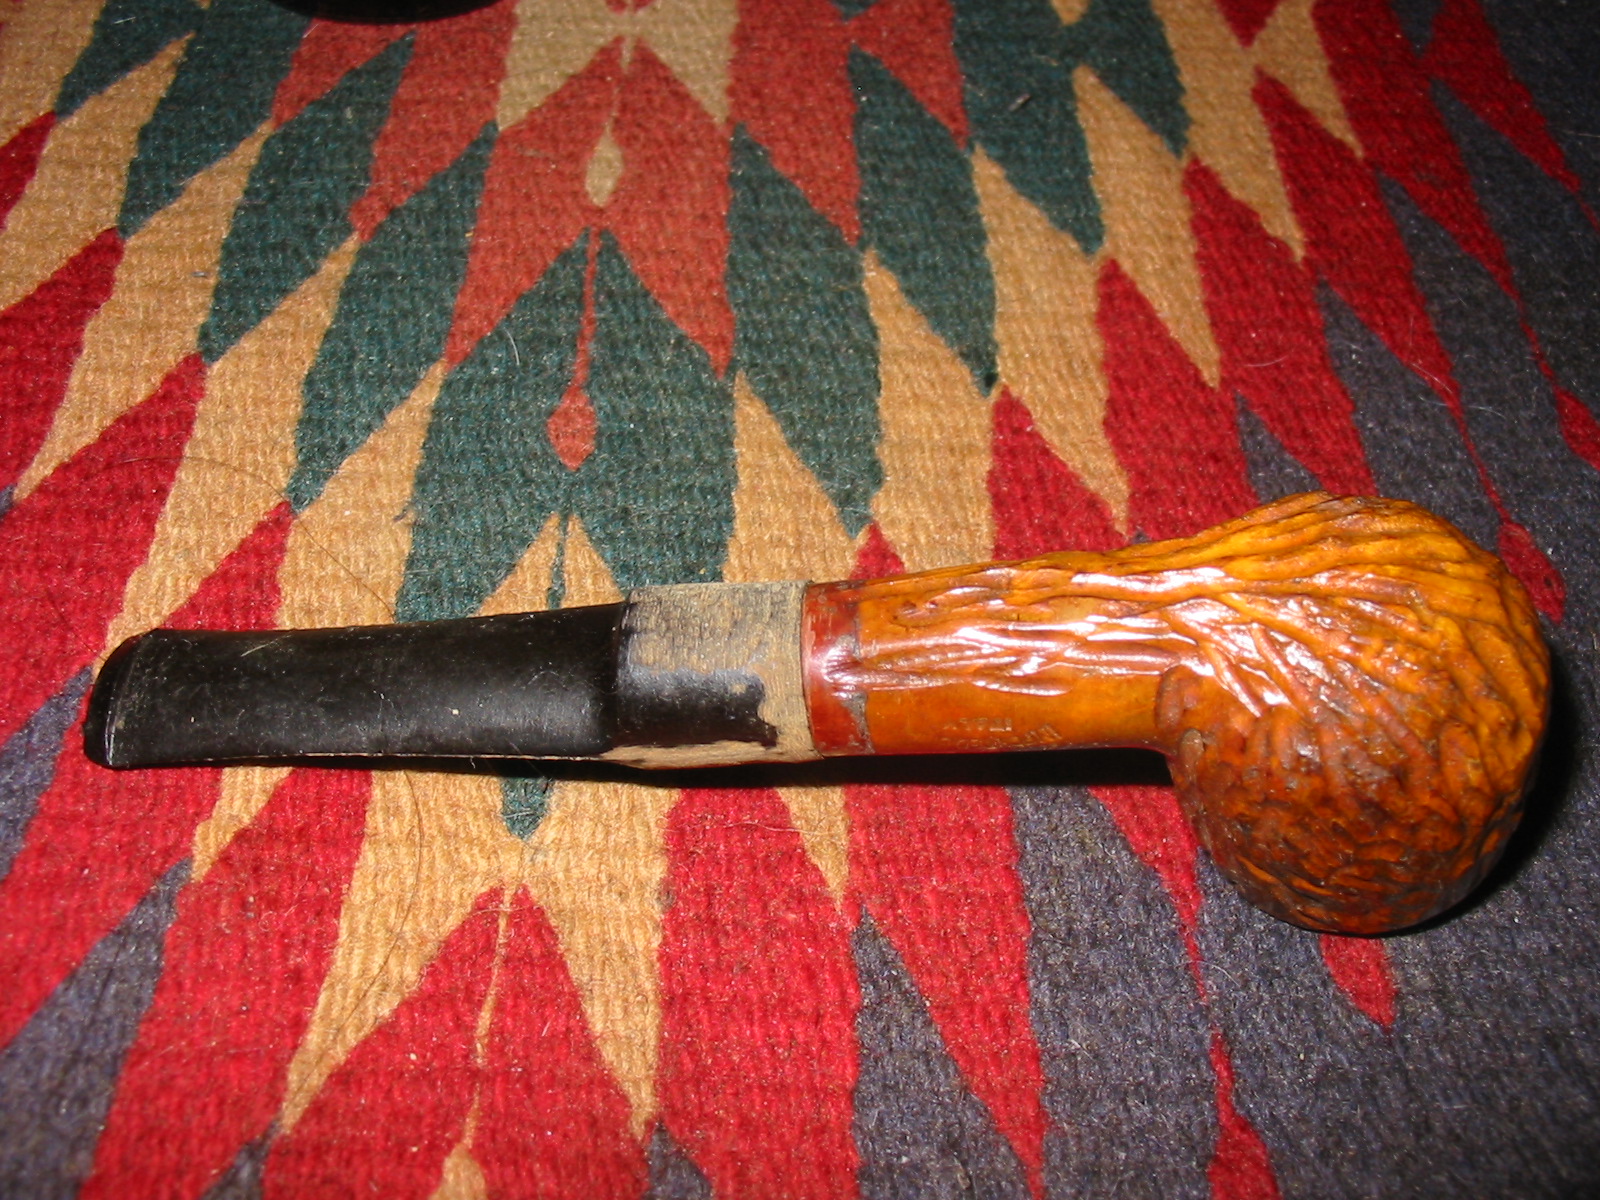
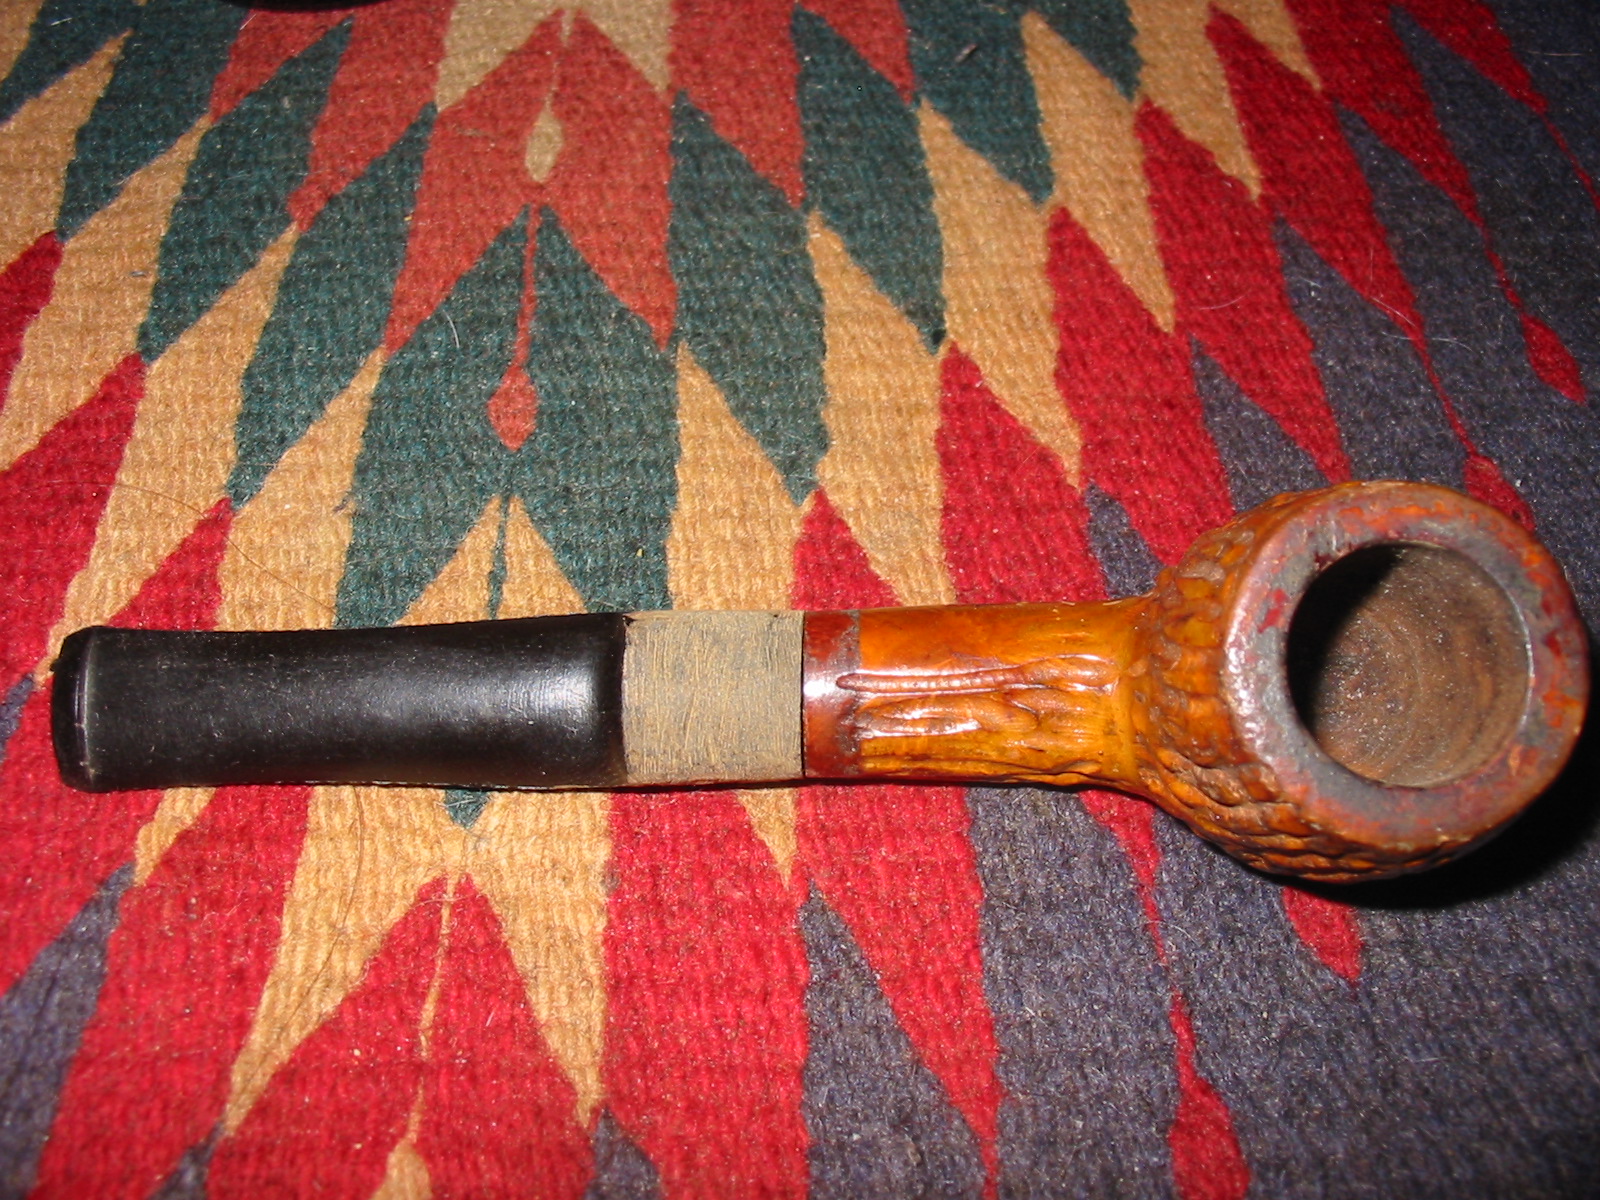
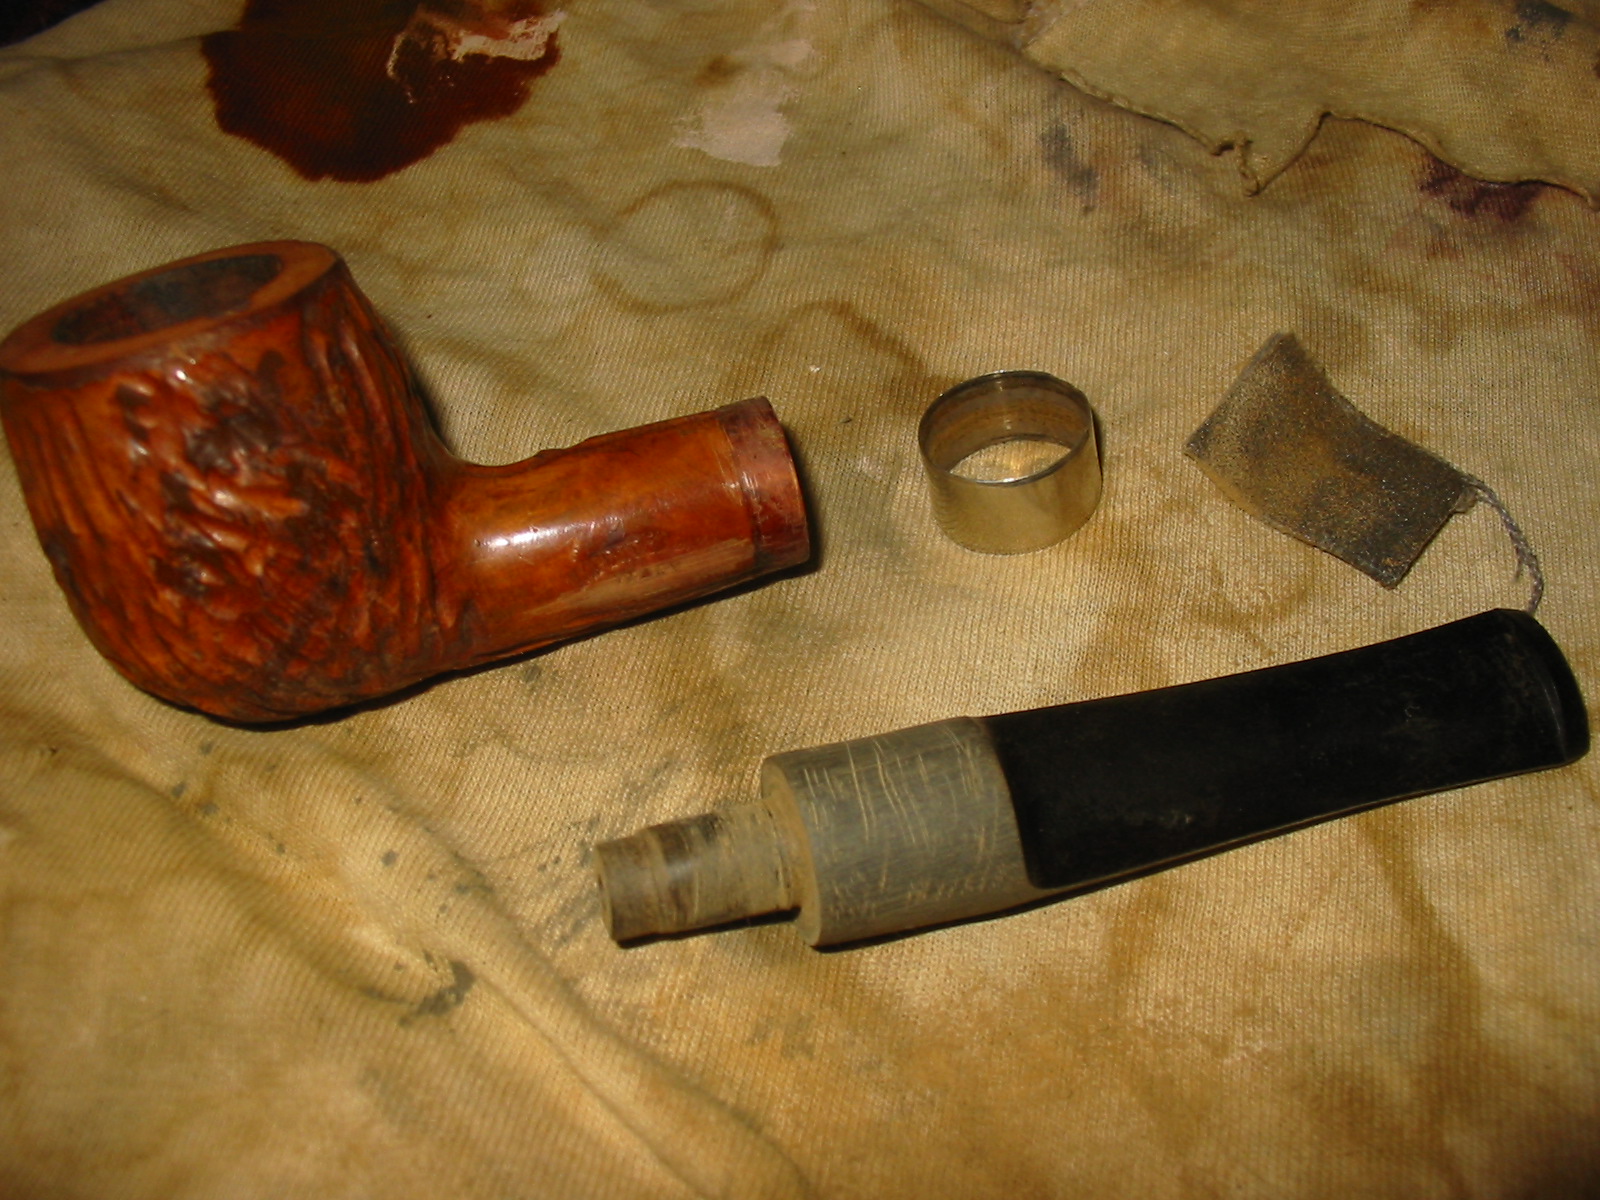
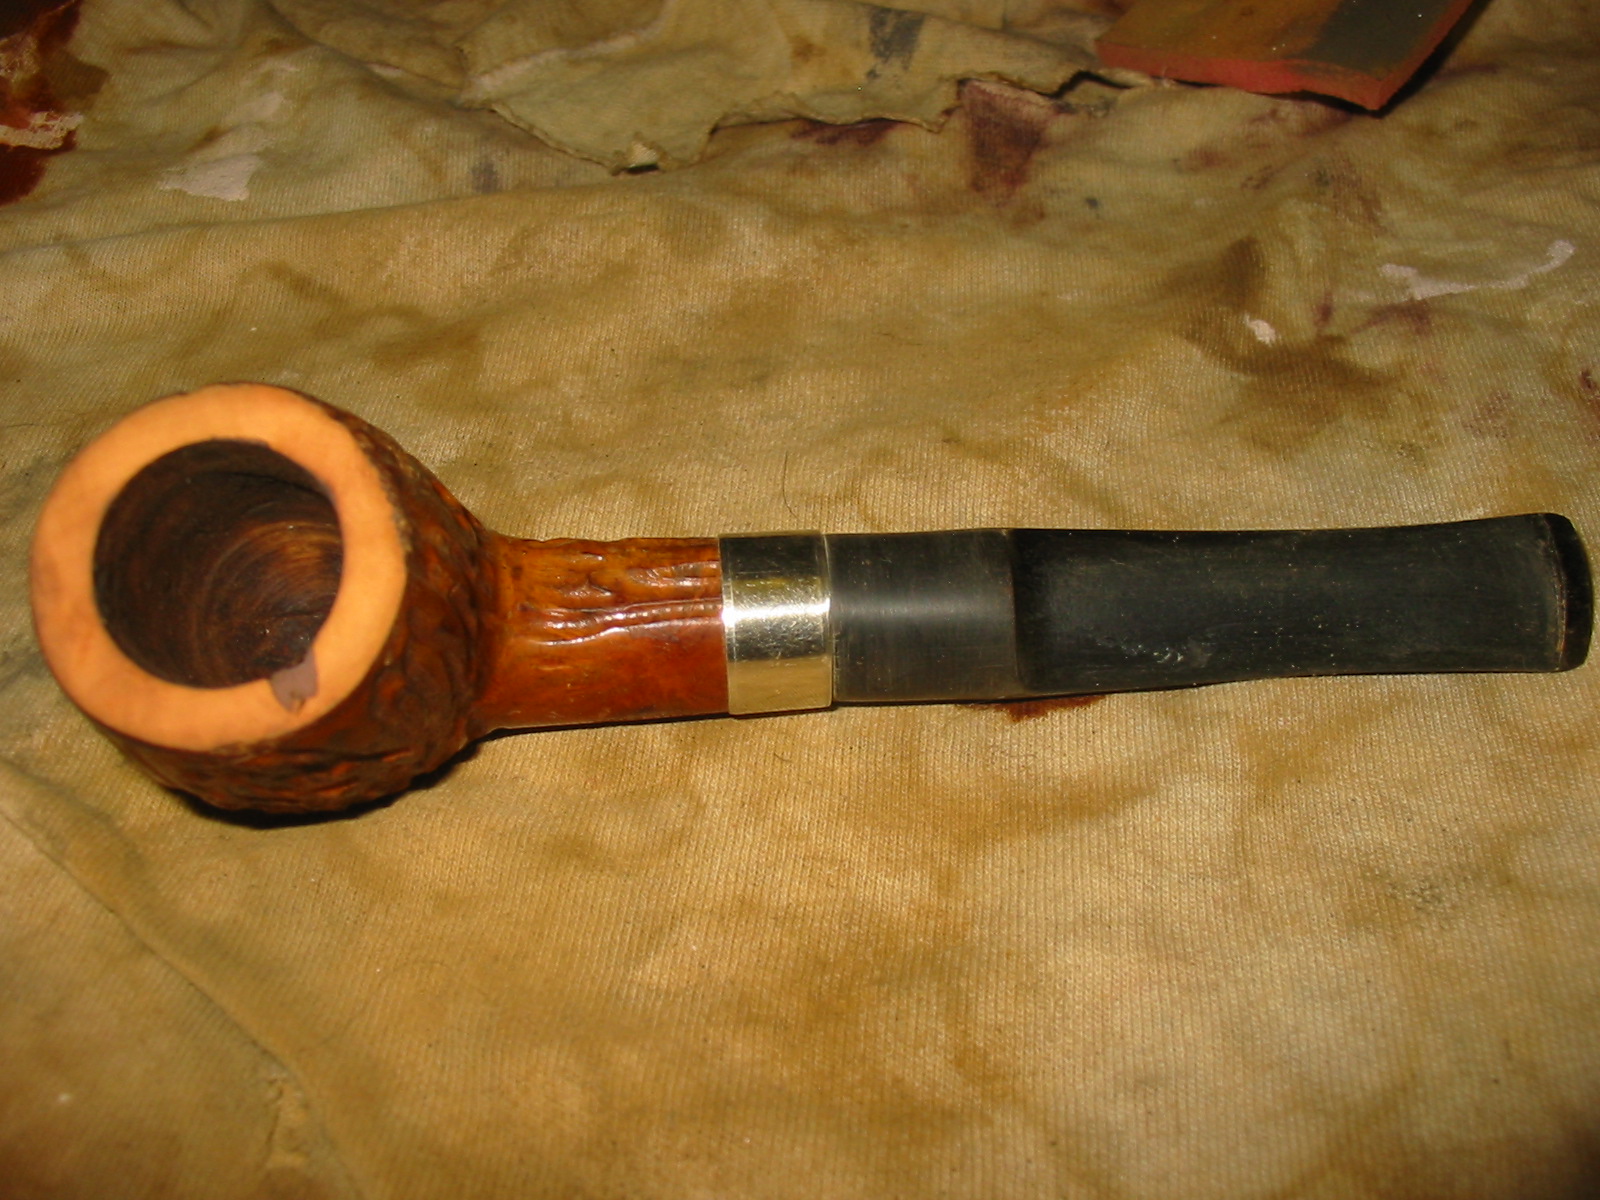
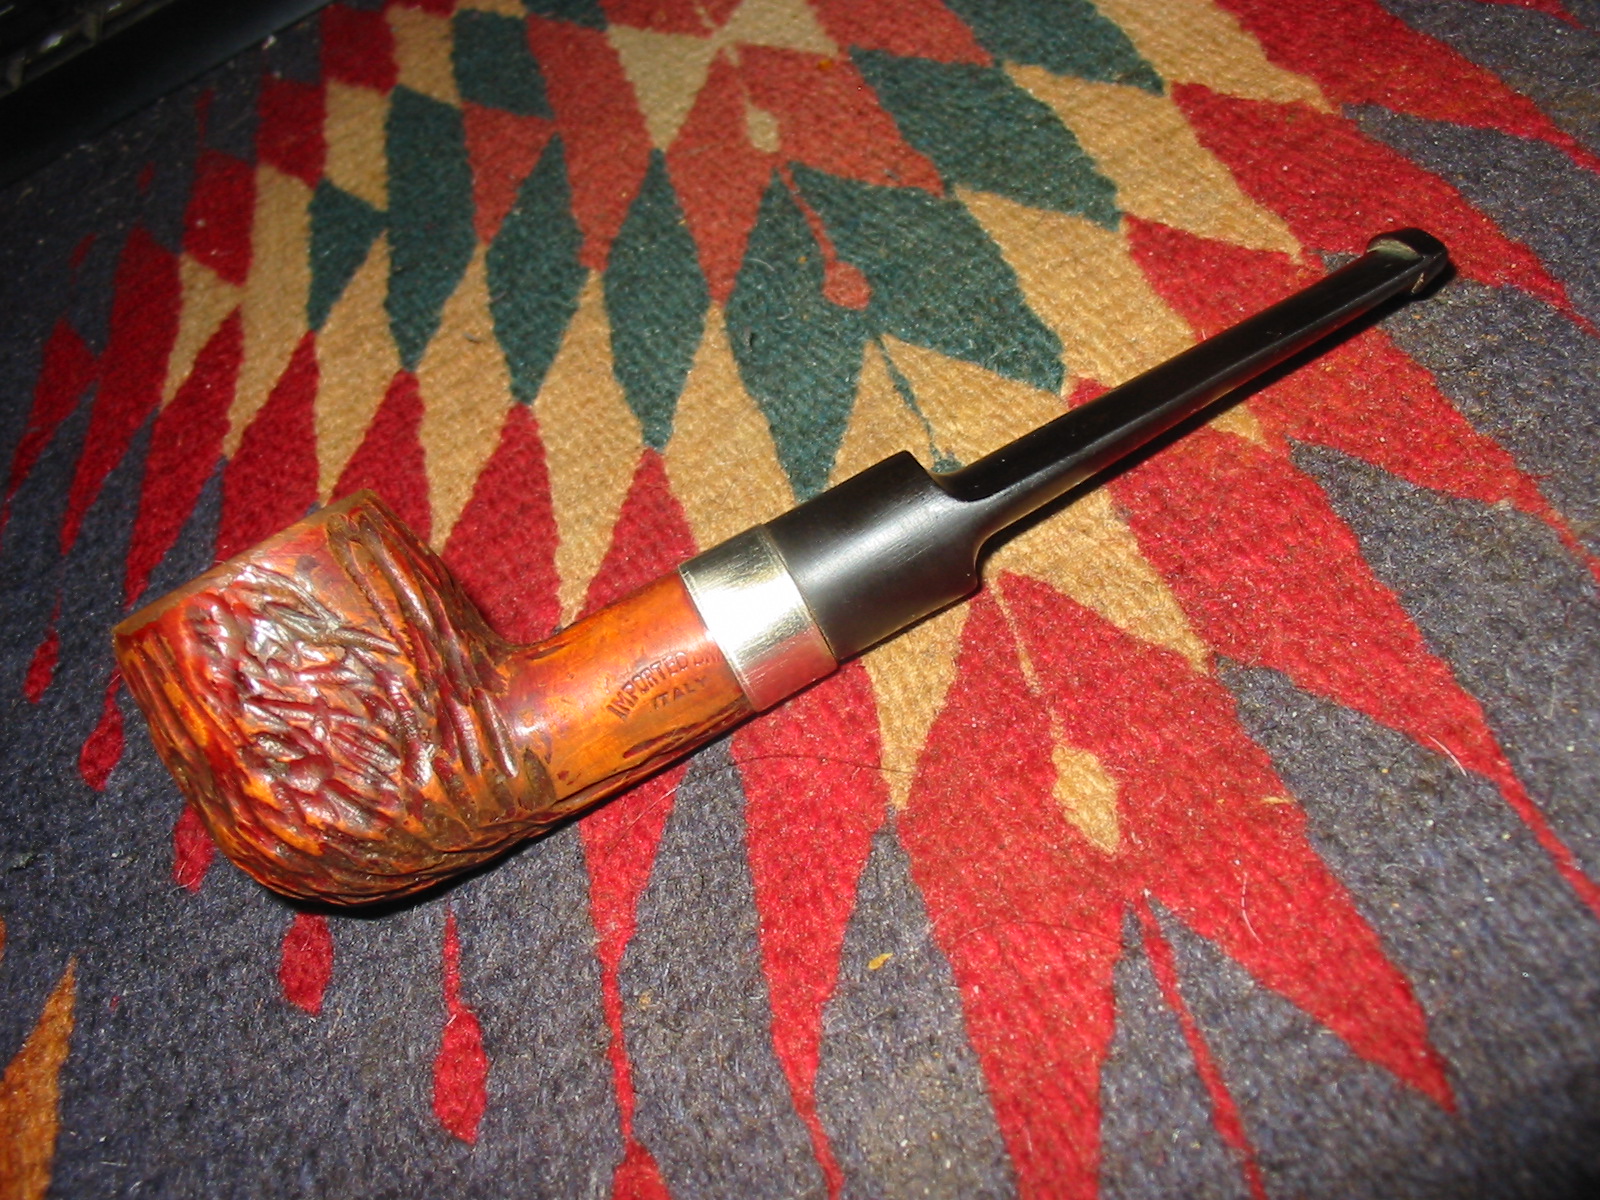
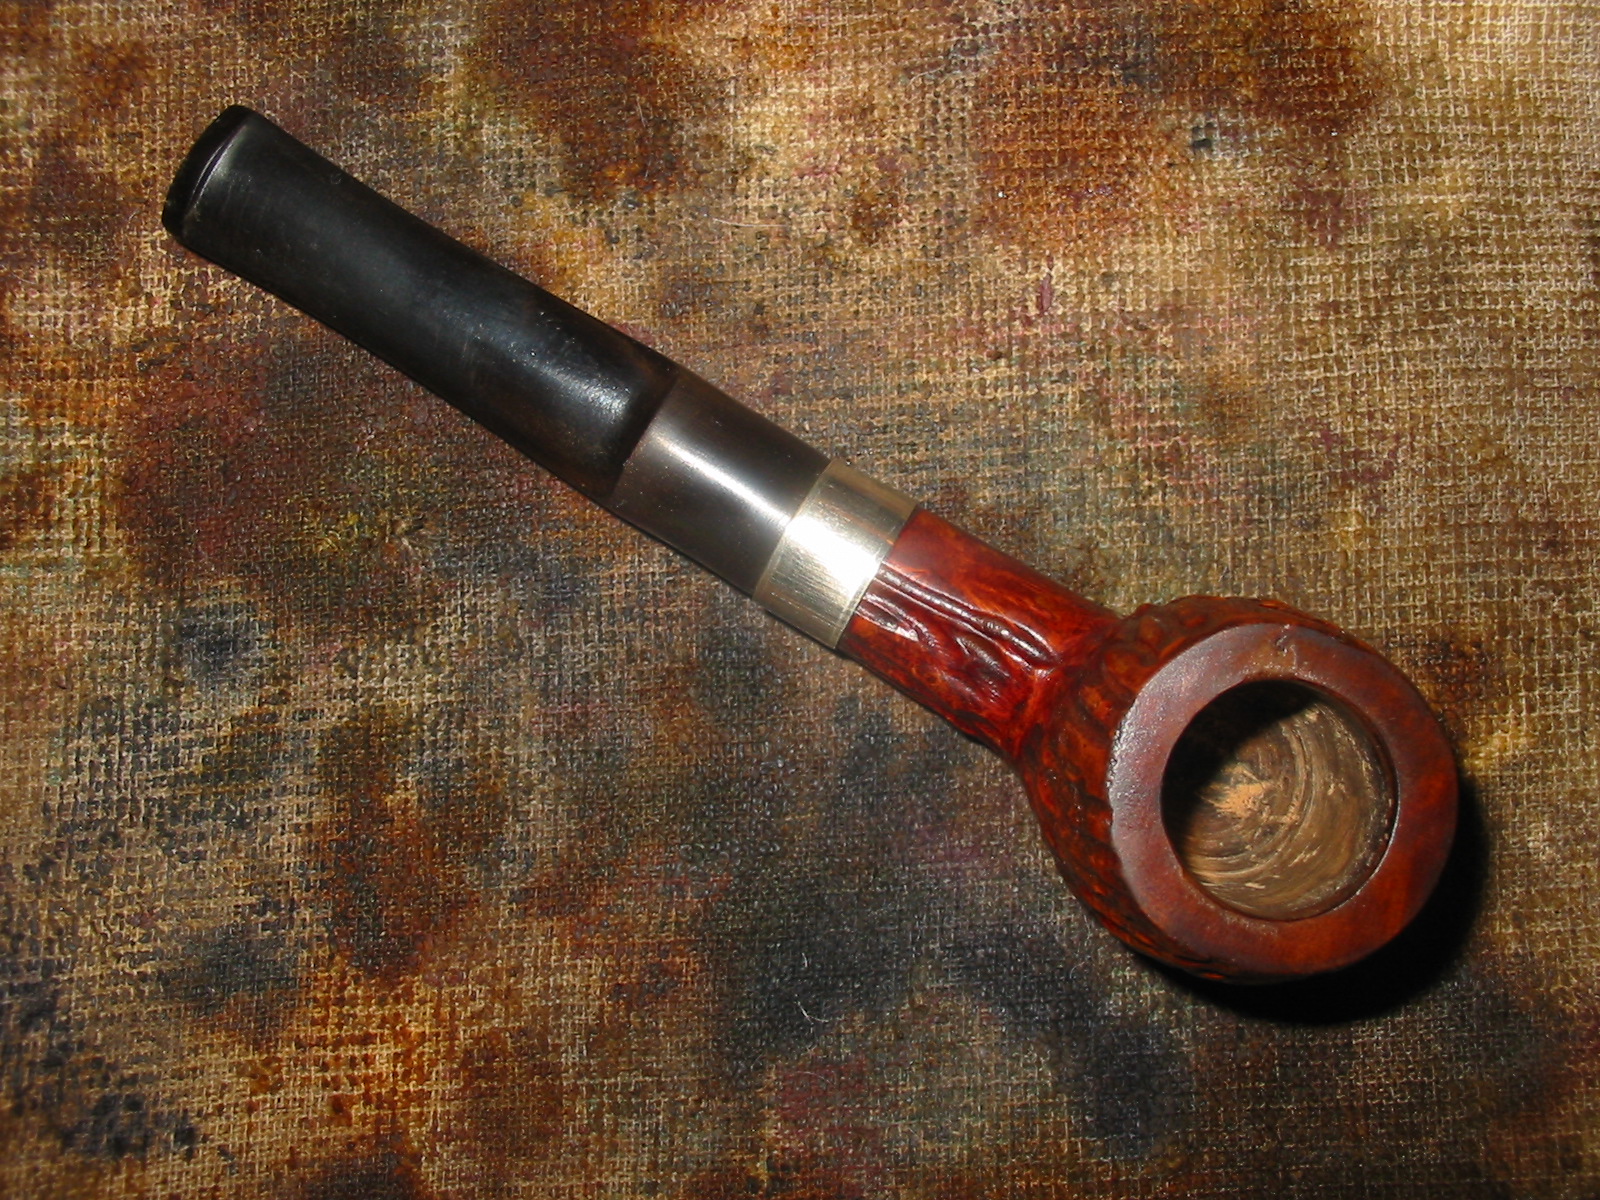
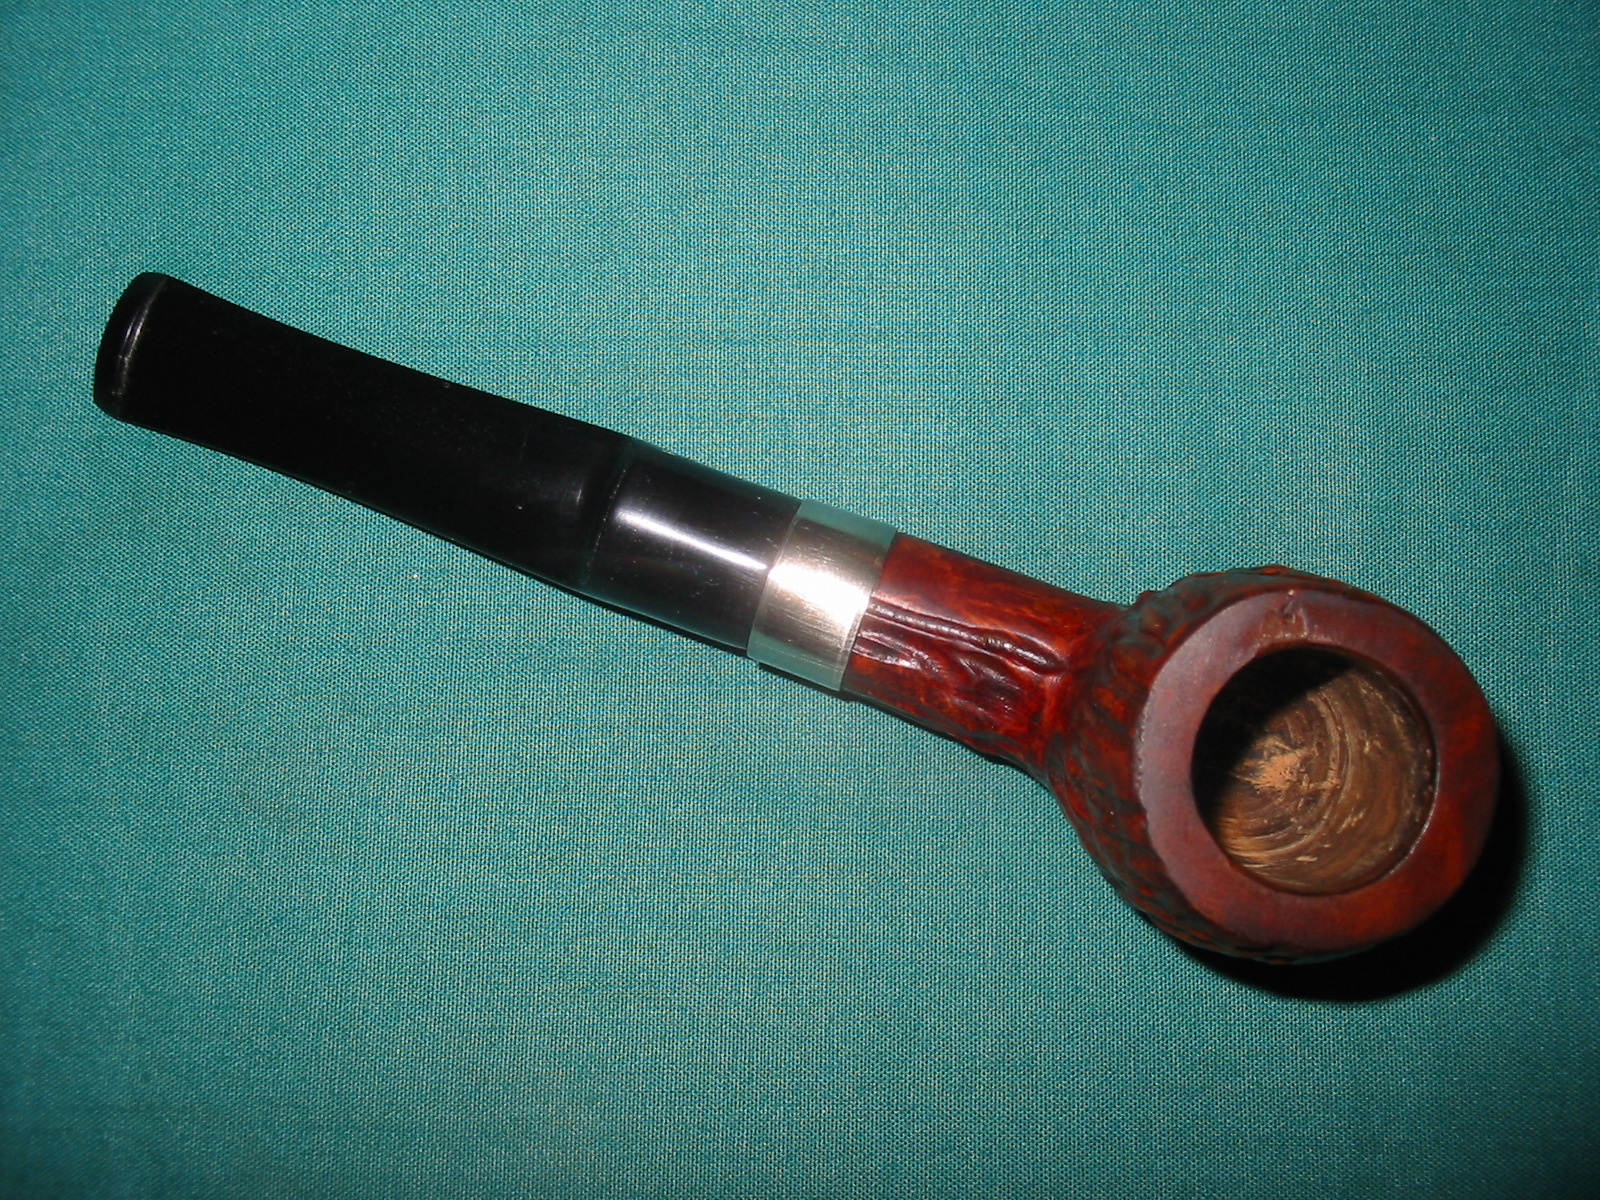
Today I took another bowl out of my box of pipes to restem. I had previously turned the tenons with a Pimo tenon turner and fit it to the bowl and shank. I had not fit the stem when I started. The diameter of the stem was larger than the bowl. This bowl was a real mess. It is stamped Imported Briar in an arch over Italy on the smooth left shank of the pipe. It had originally had a band but that was no longer present with the bowl. The finish on the pipe was in bad shape. It was almost a yellow varnish that was chipping and peeling away. The rustication was filled with grit and grime and the colour of the bowl was an ugly yellow colour under the varnish. The bowl was still round and the reaming had already been done and it was pretty clean. The rim had some build up of tars and oils and a few dents. Looking it over I decided I would have to top it to clean it up.
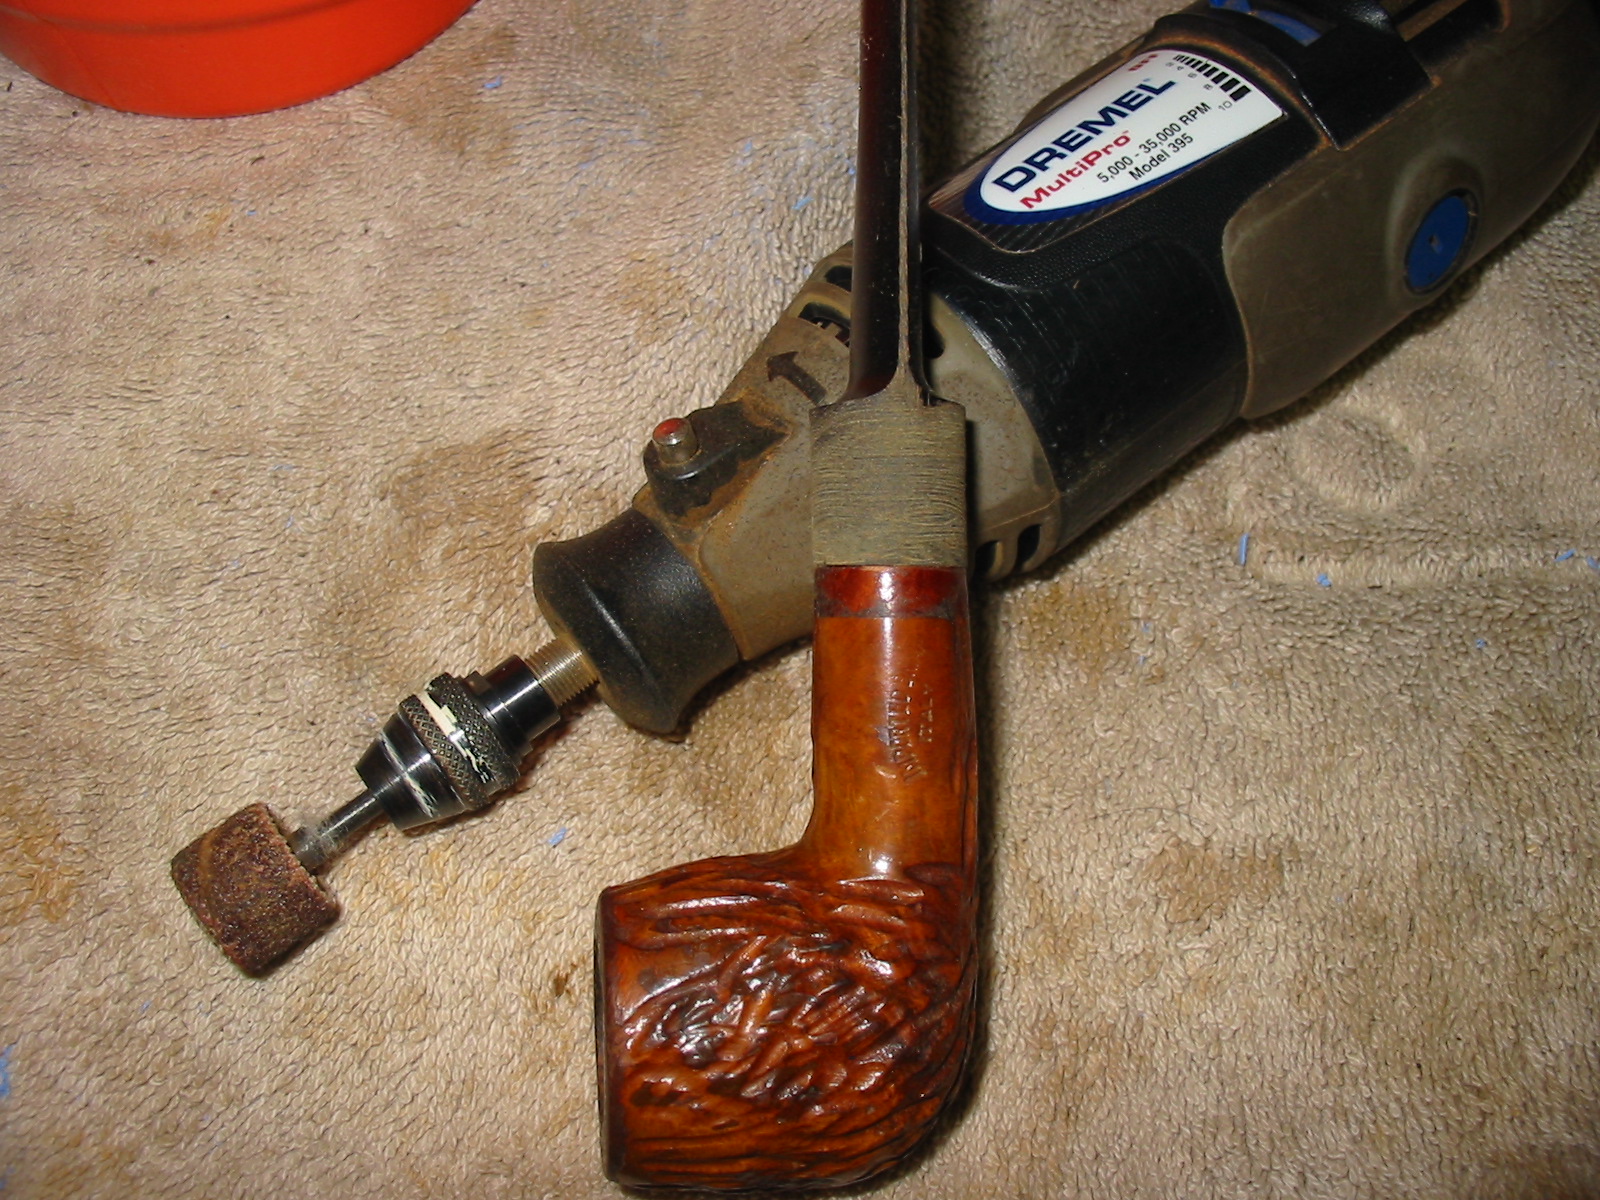
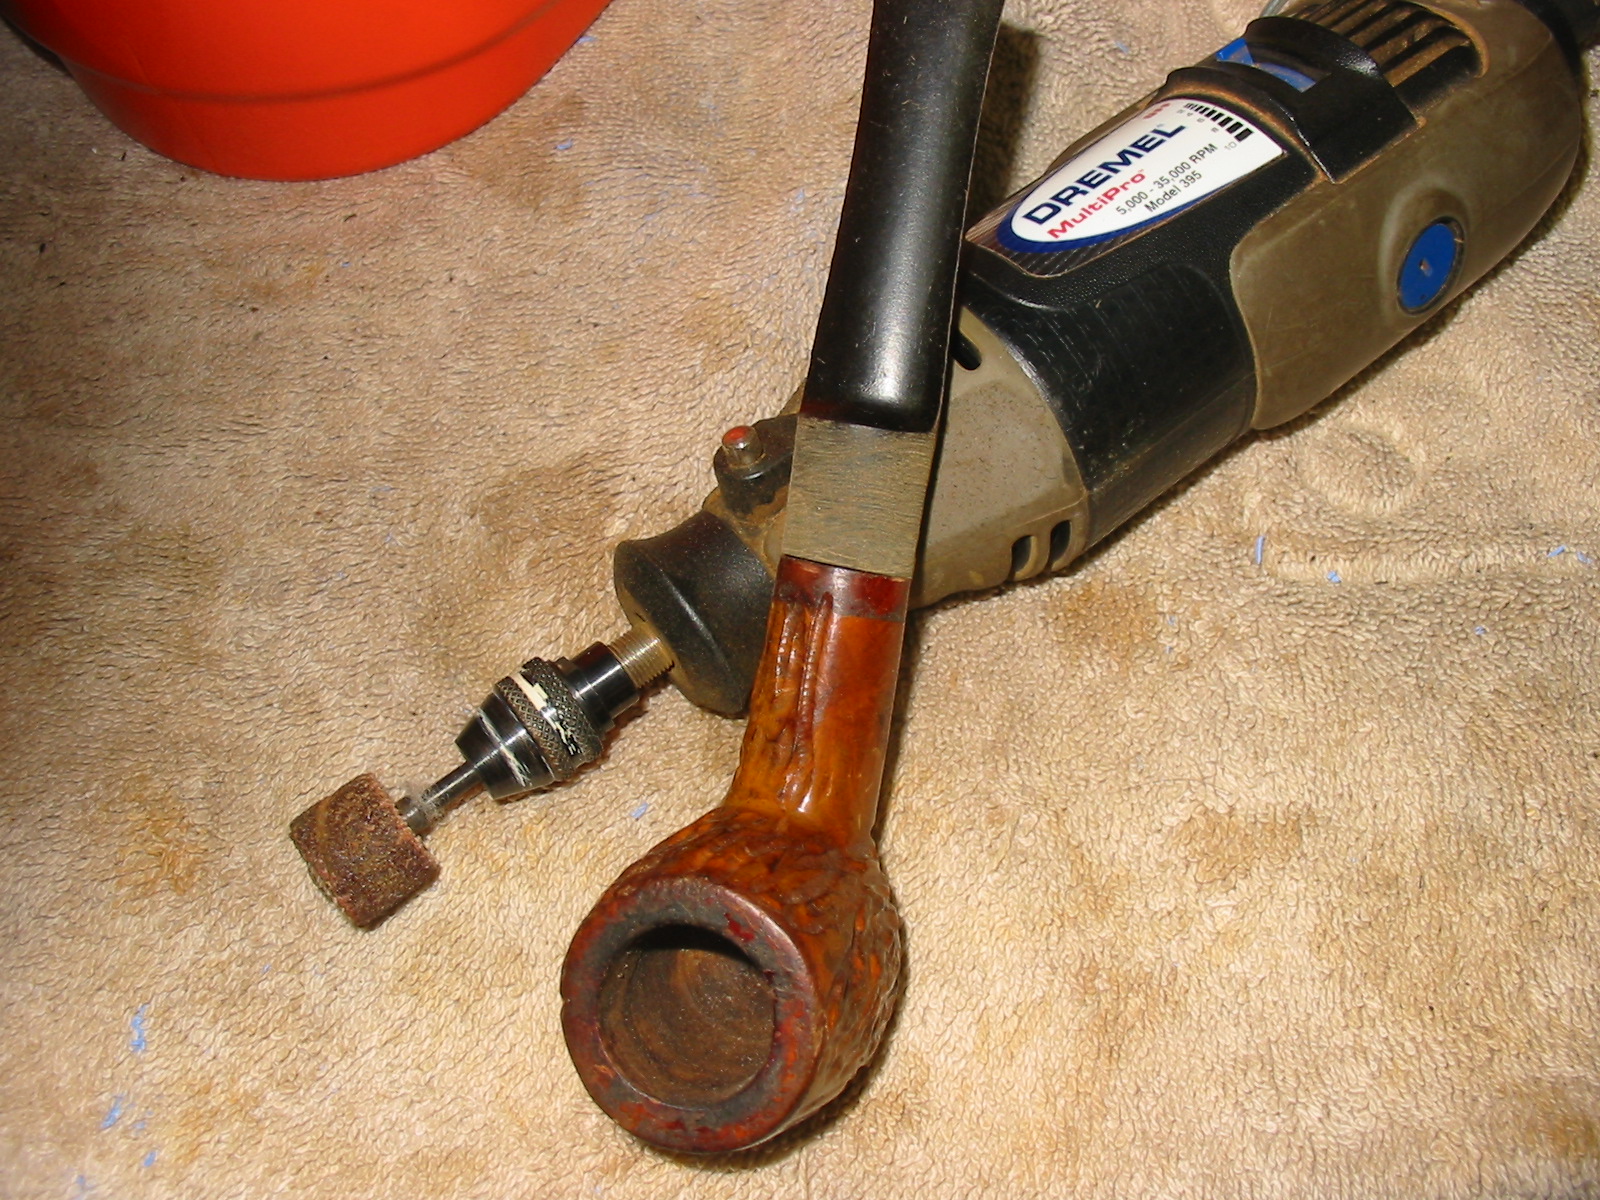
The tenon was a good tight fit. I stepped down the end of it to sit in the stepped mortise in the shank. I needed to remove a good deal of vulcanite from the saddle portion of the stem to bring it to the same diameter as the shank. I used my Dremel to do that work. The next series of four photos show the process of removing the material from the stem. I use a Dremel with a sanding drum to do the work. I run it at a medium speed that allows me to float it over the stem without digging to deeply into the vulcanite. I find that a slower speed gives a very rough finish and a faster speed is harder to control the work.
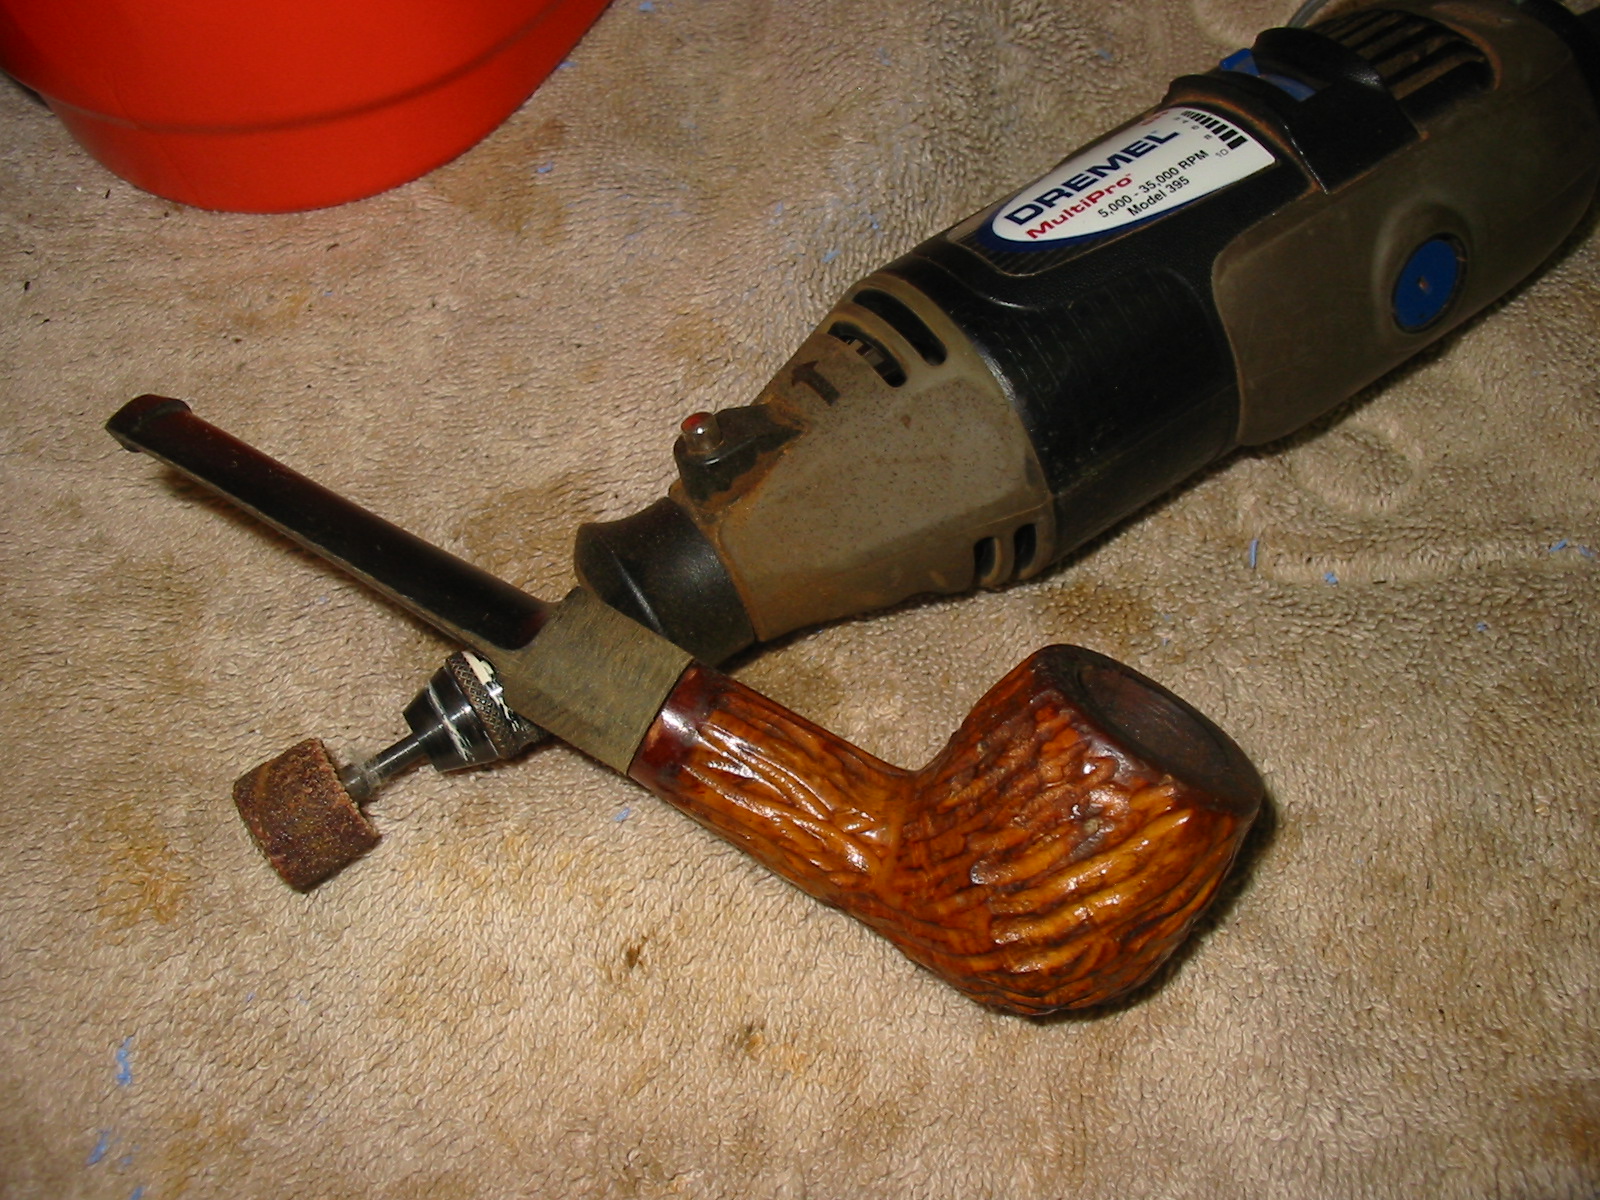
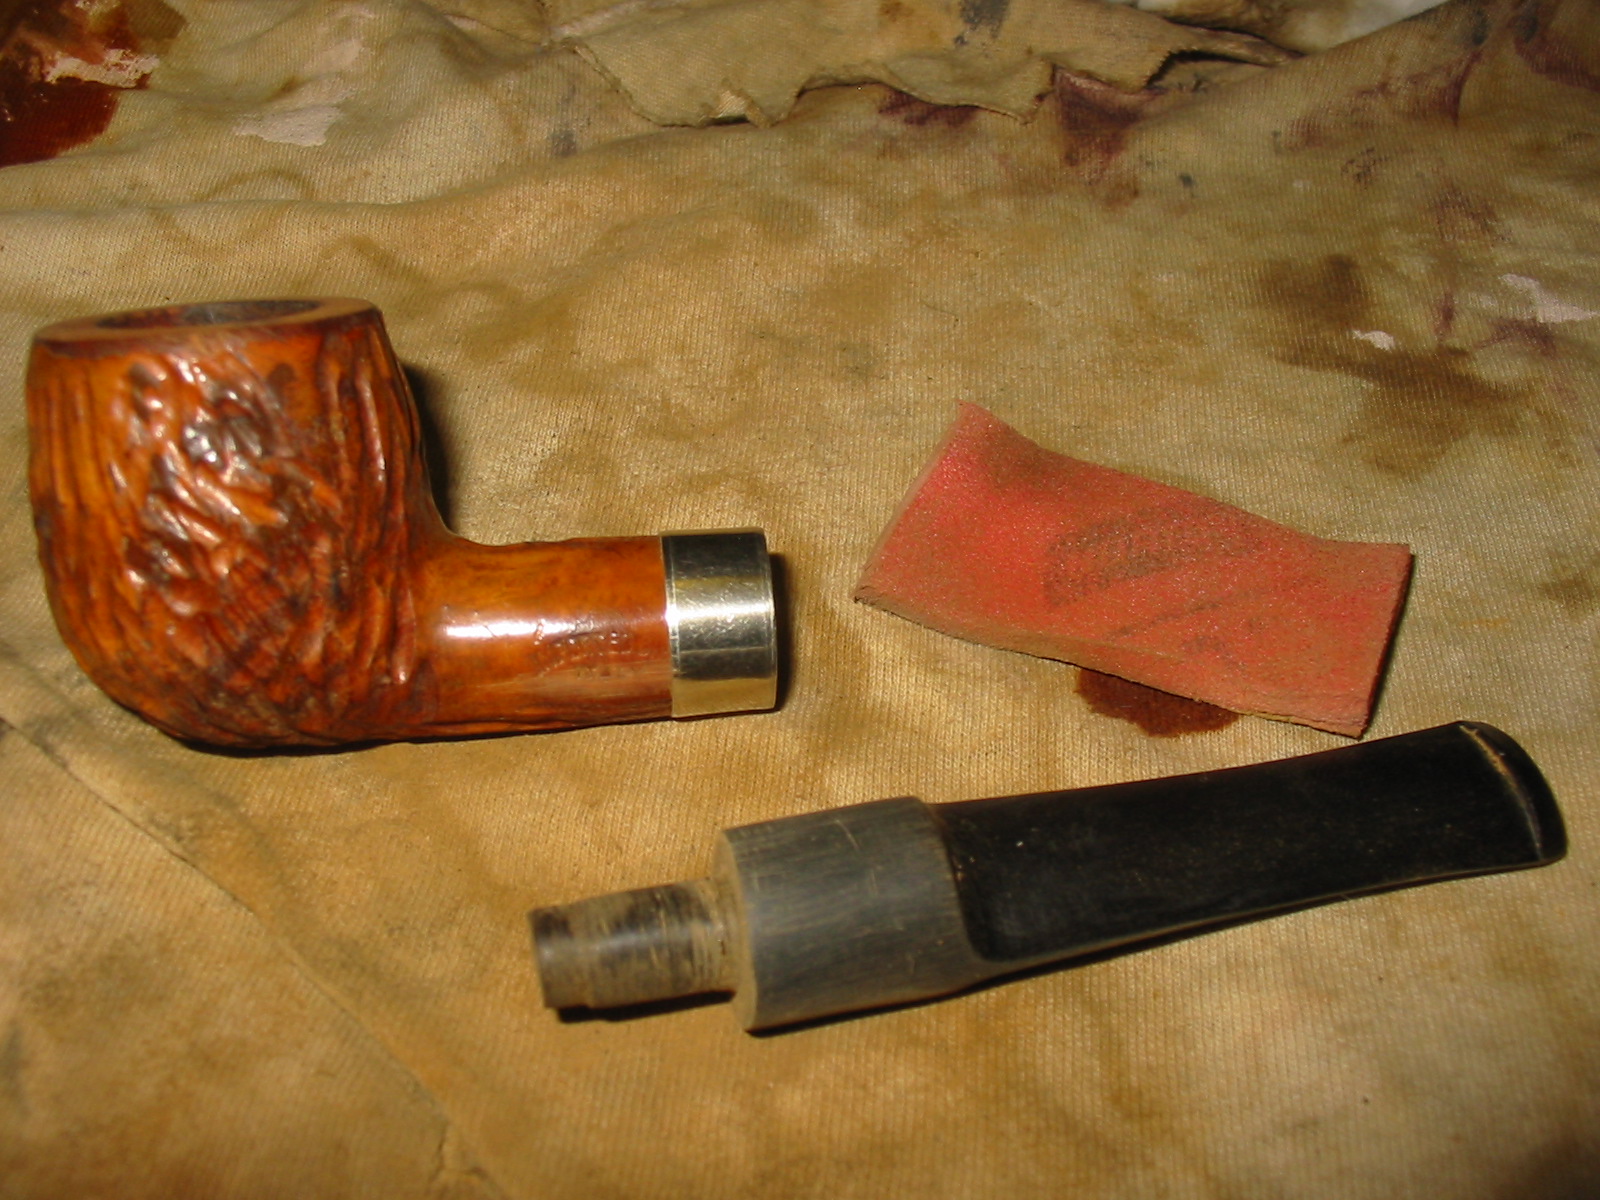
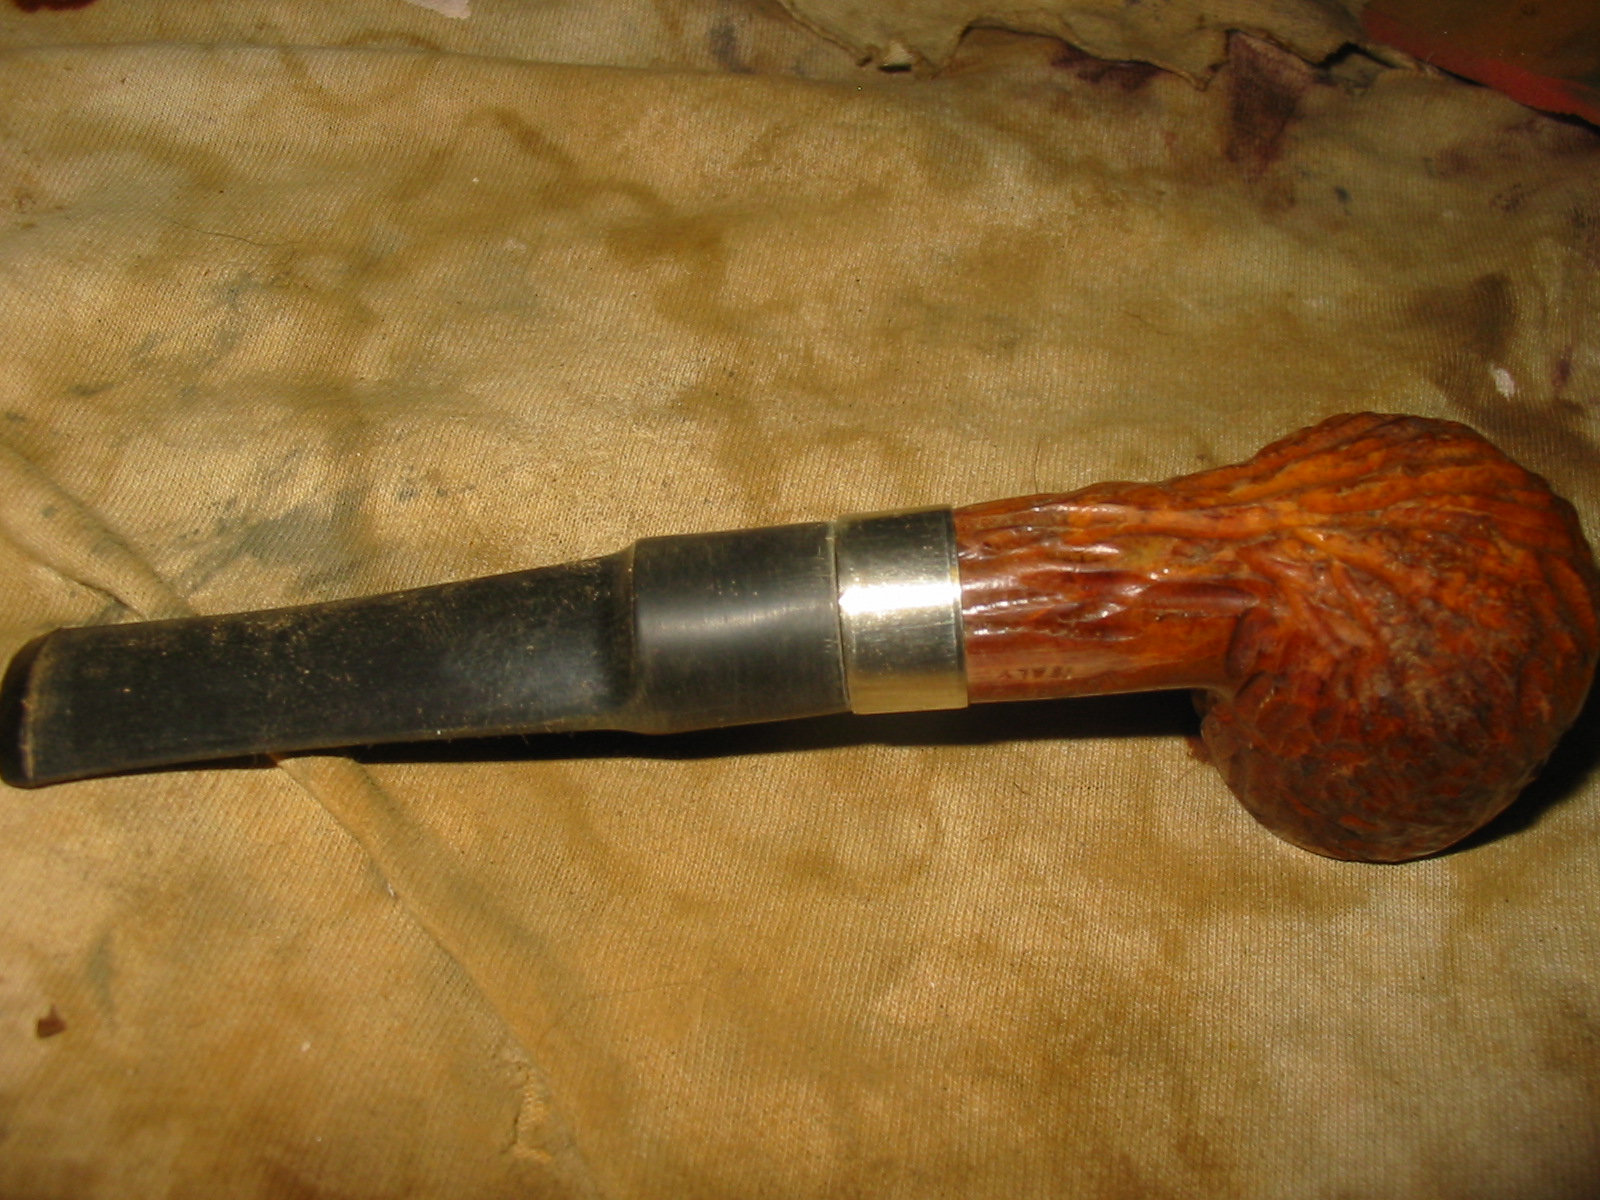
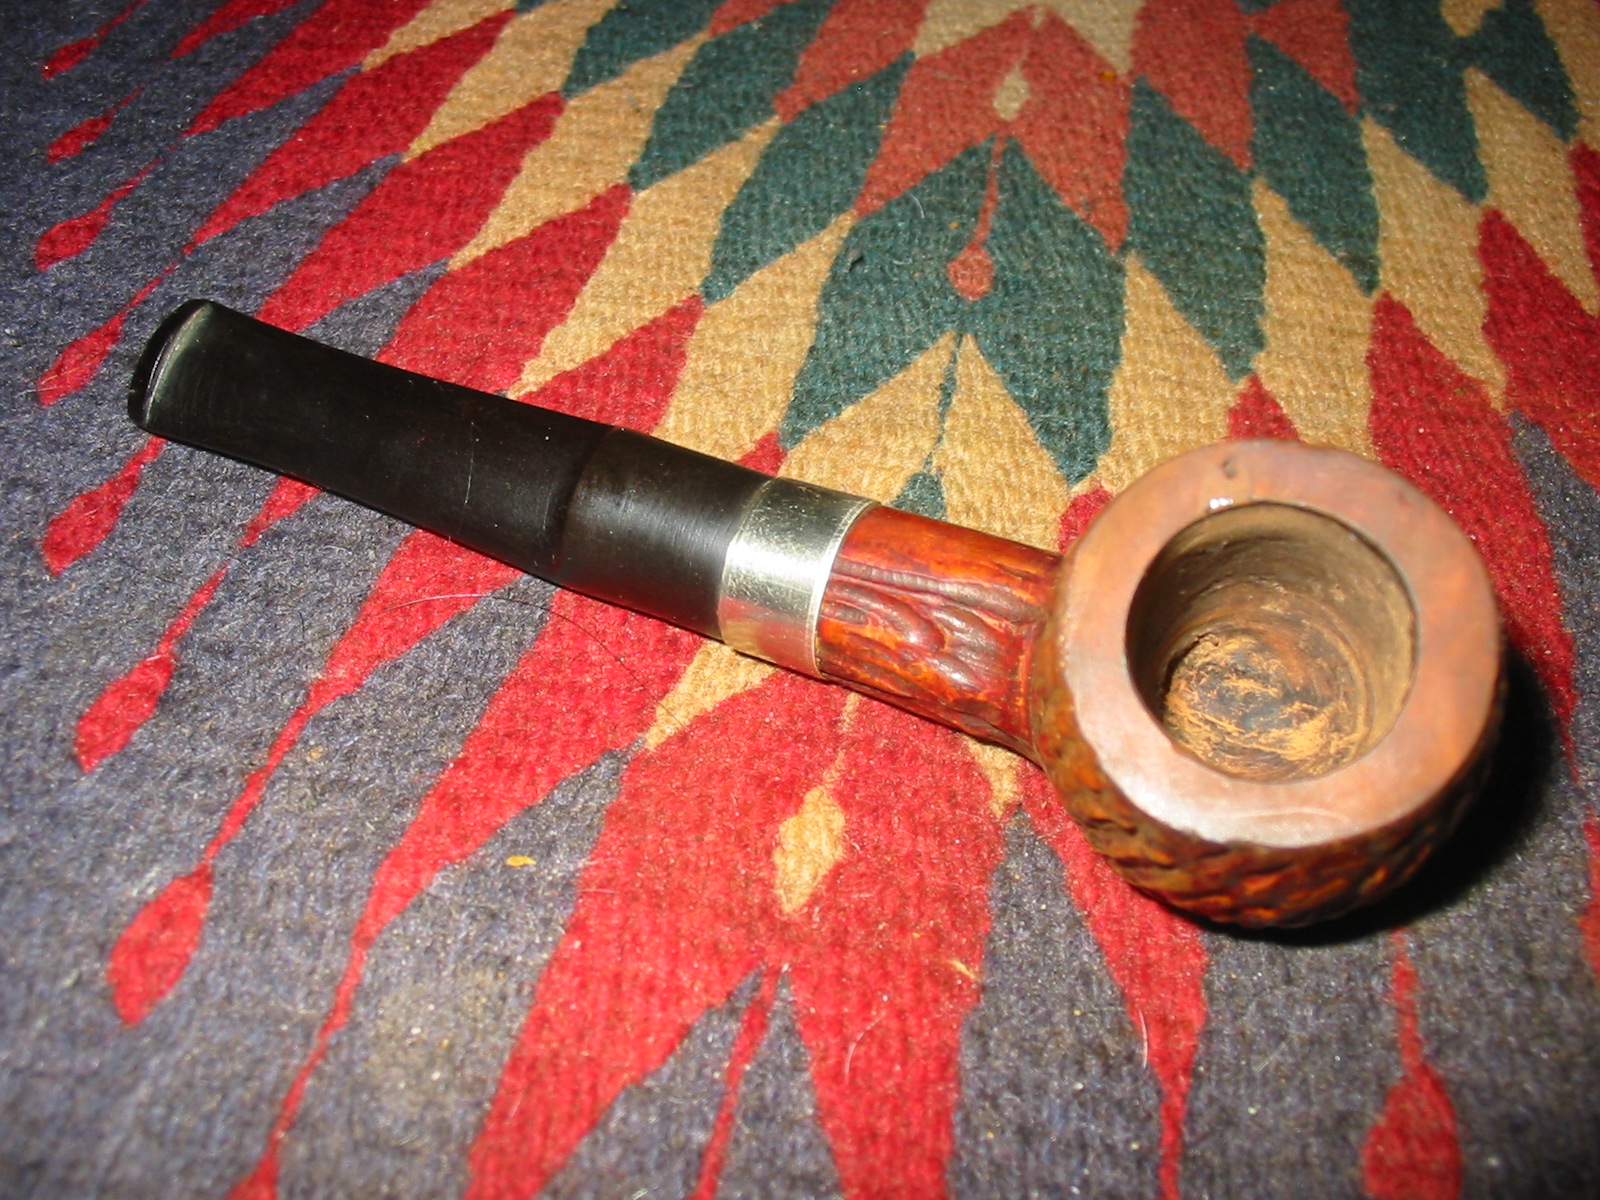
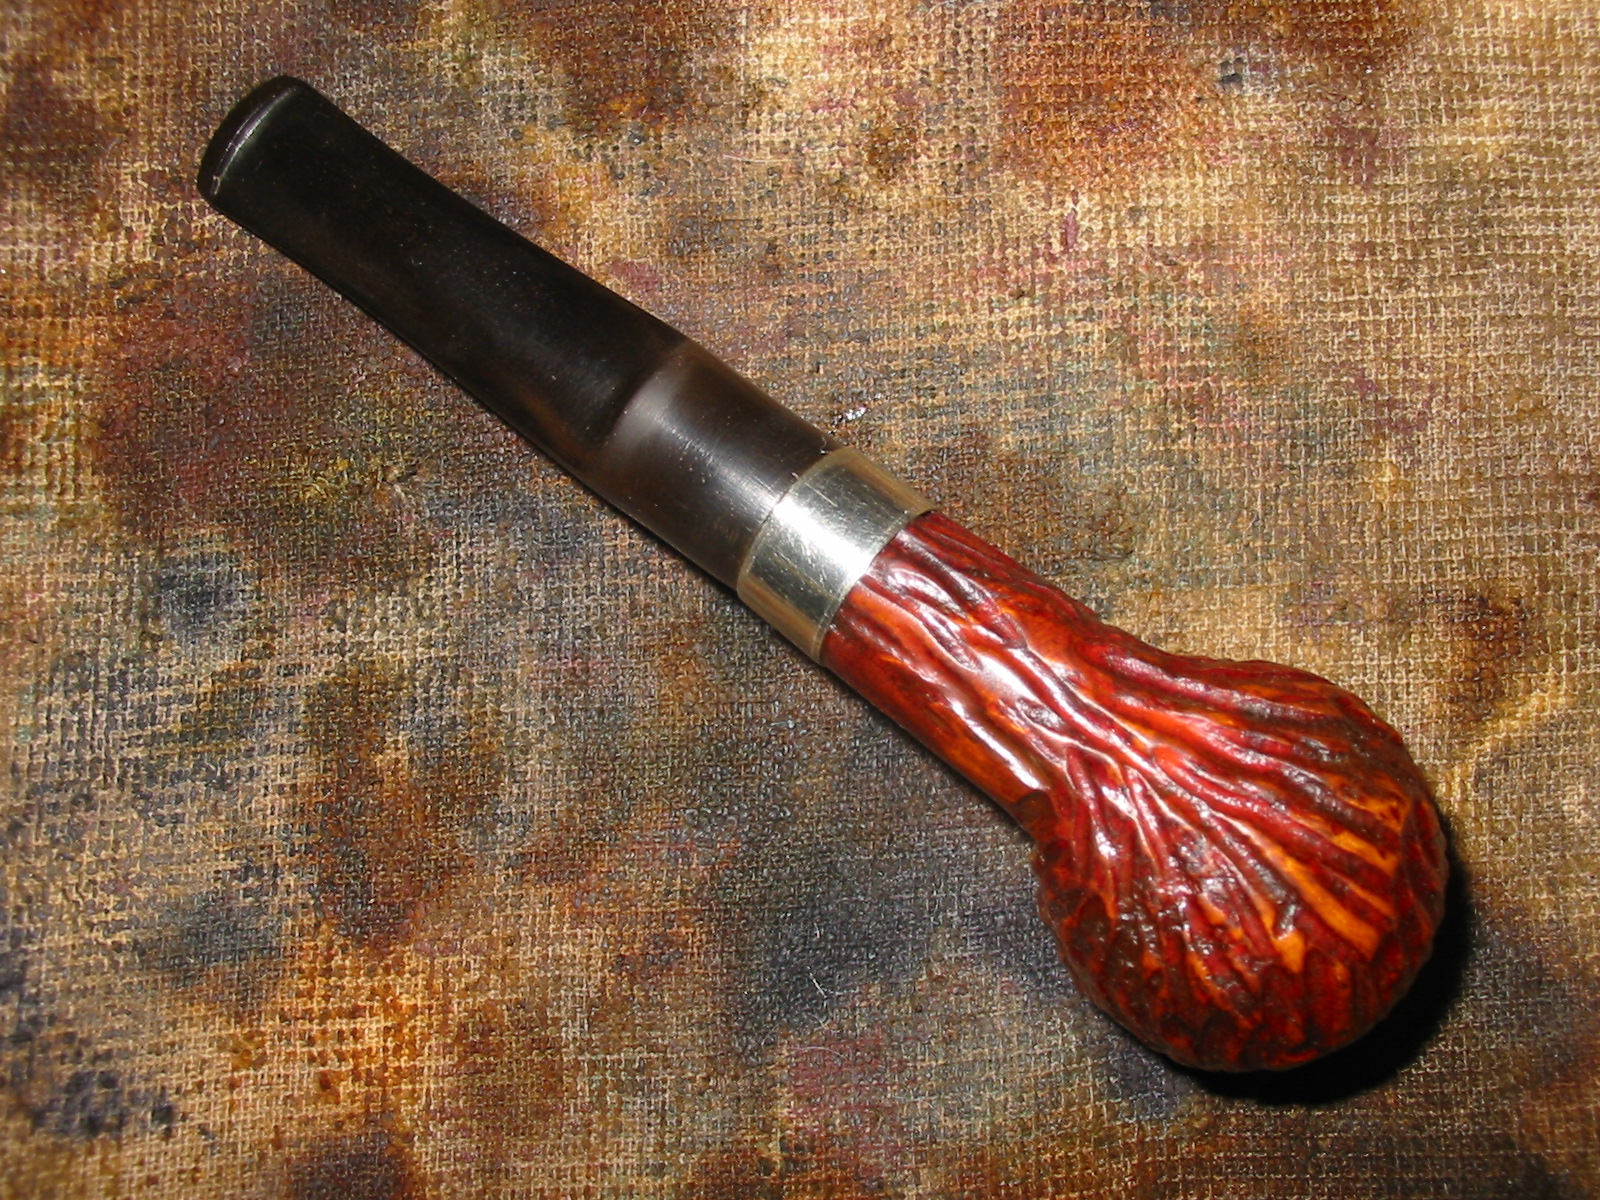
The next series of three photos shows the finished fit of the stem. I have finished sanding it with the Dremel. The photos show that it is relatively smooth with no deep gouges or scratches in the surface of the saddle. I also used the Dremel to sand down the castings on the button and on the sides of the stem. You can also see the place on the shank where the band was previously.
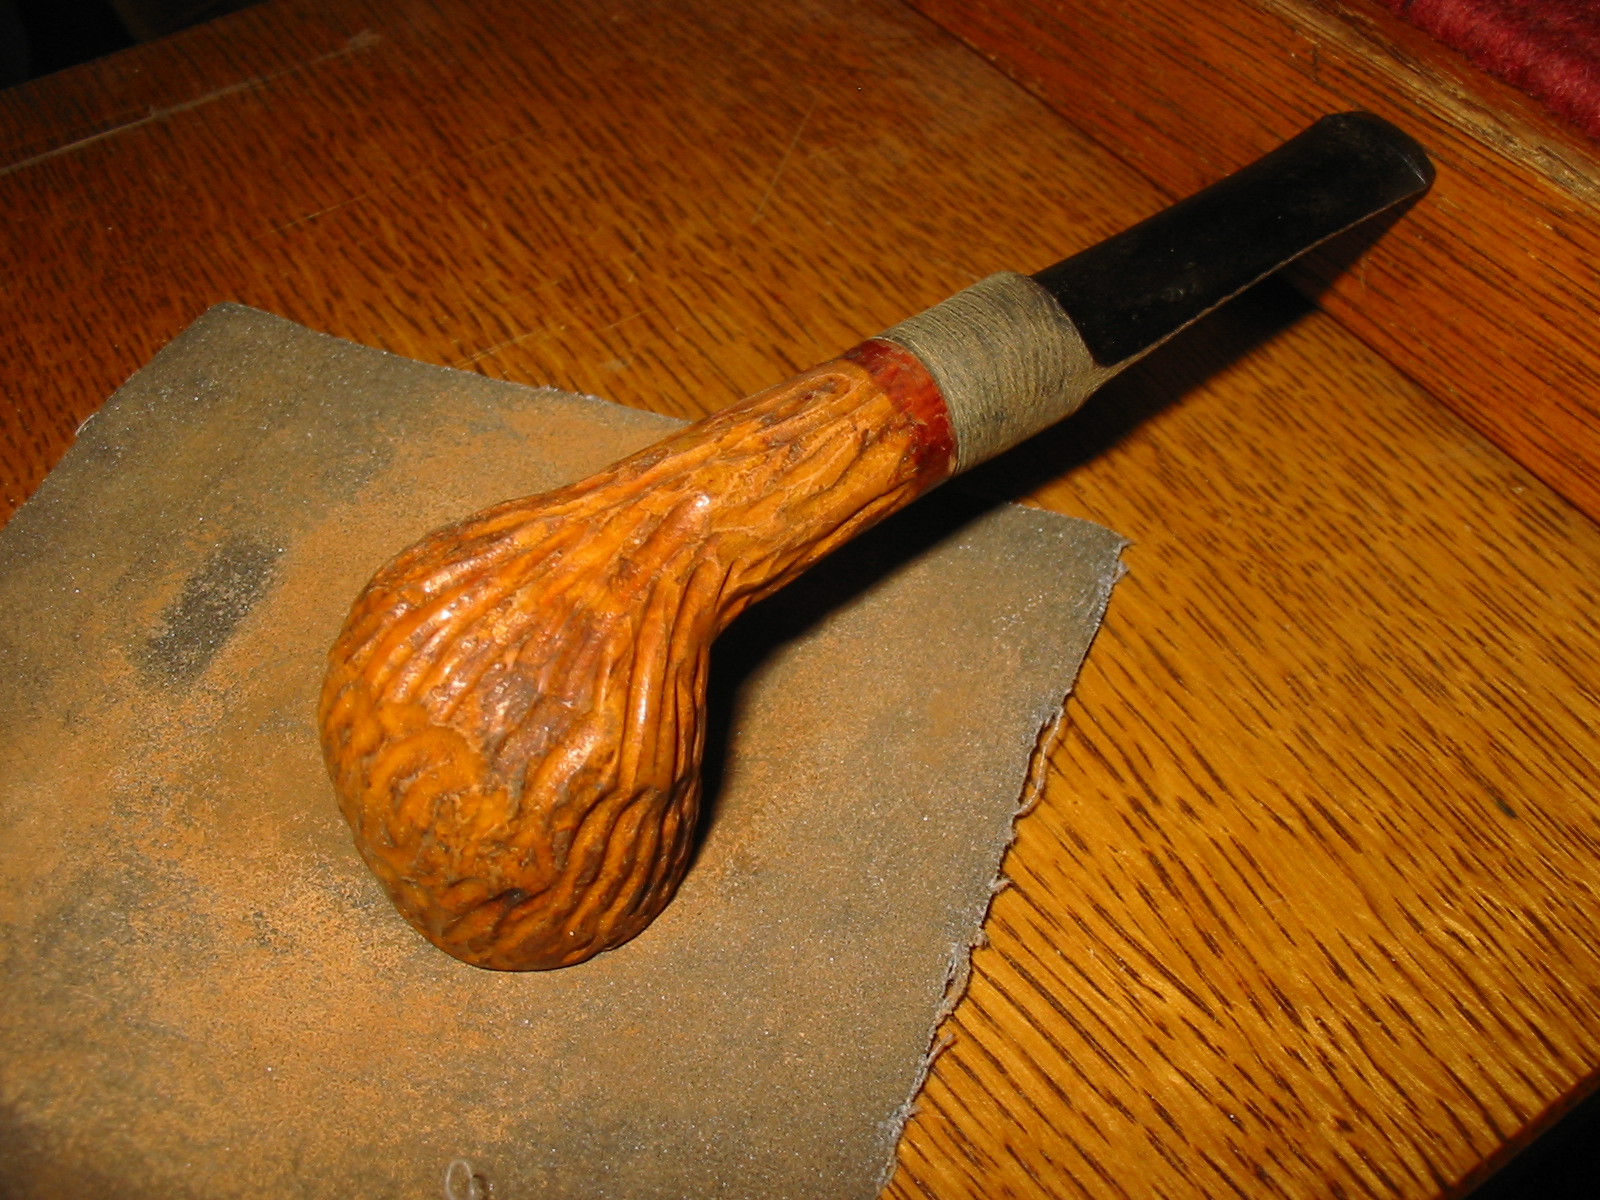
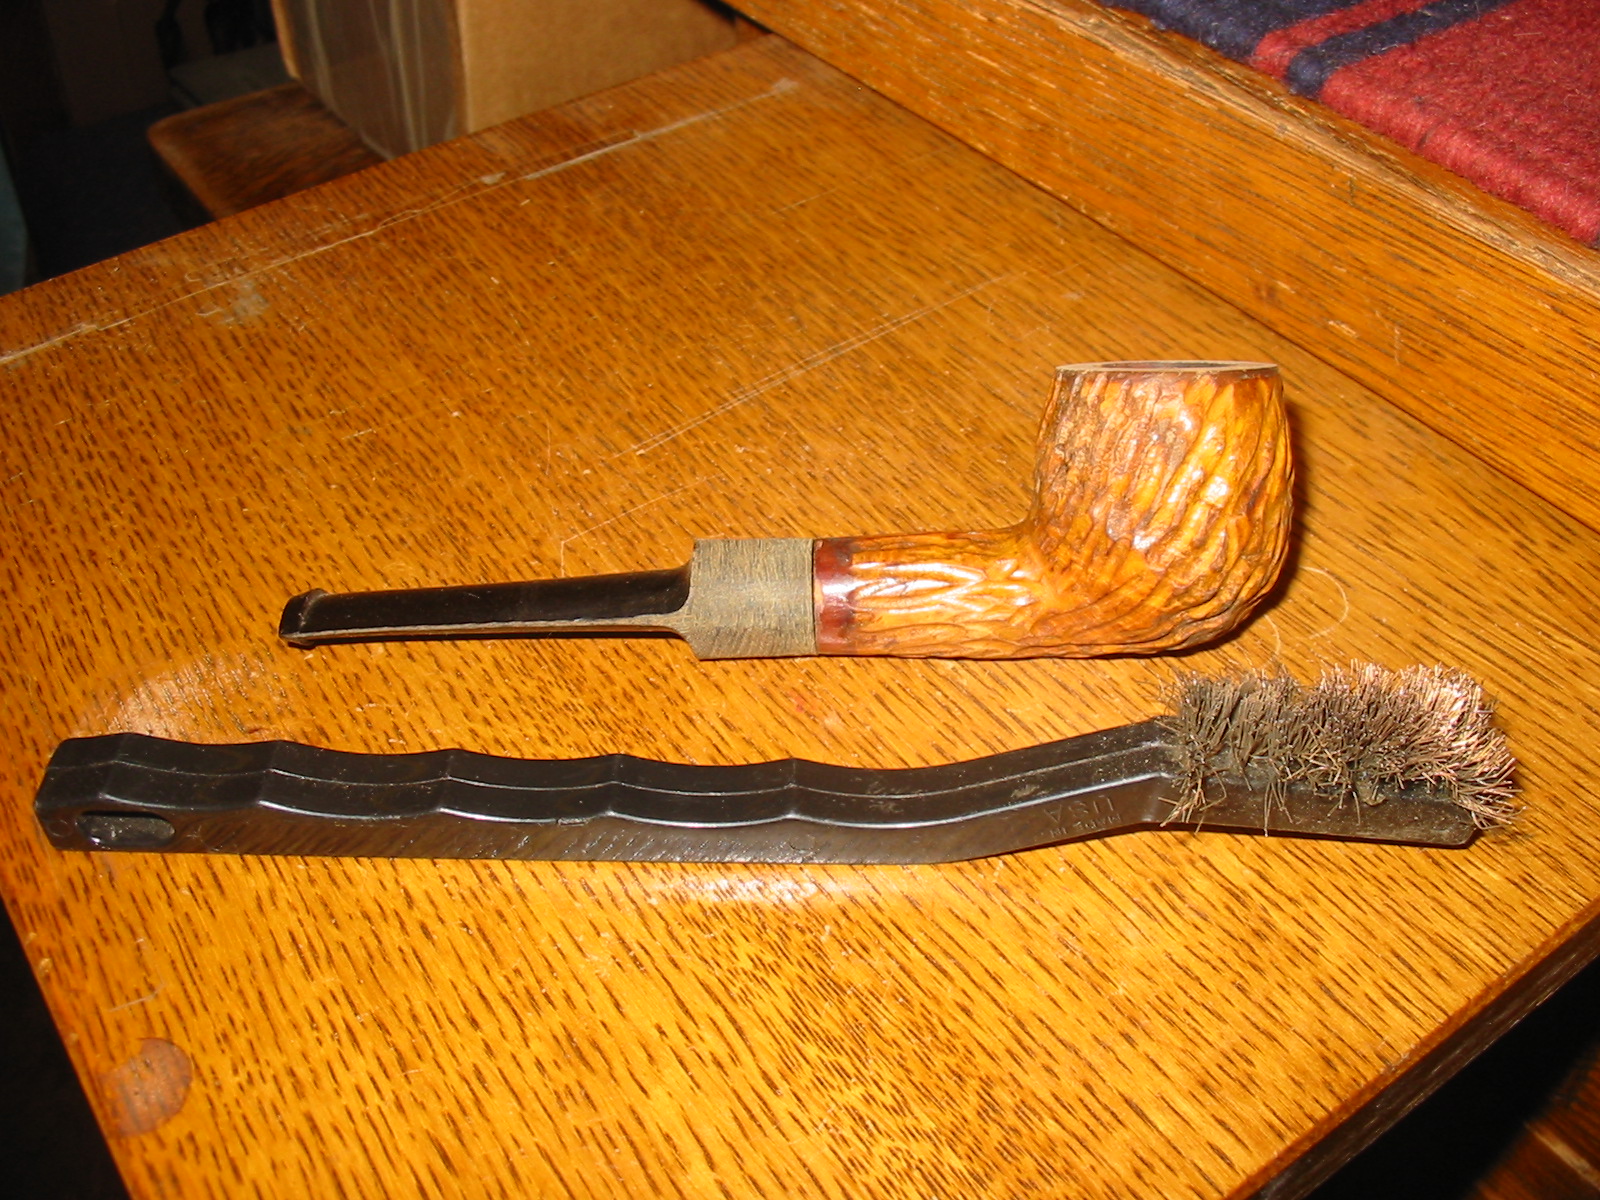
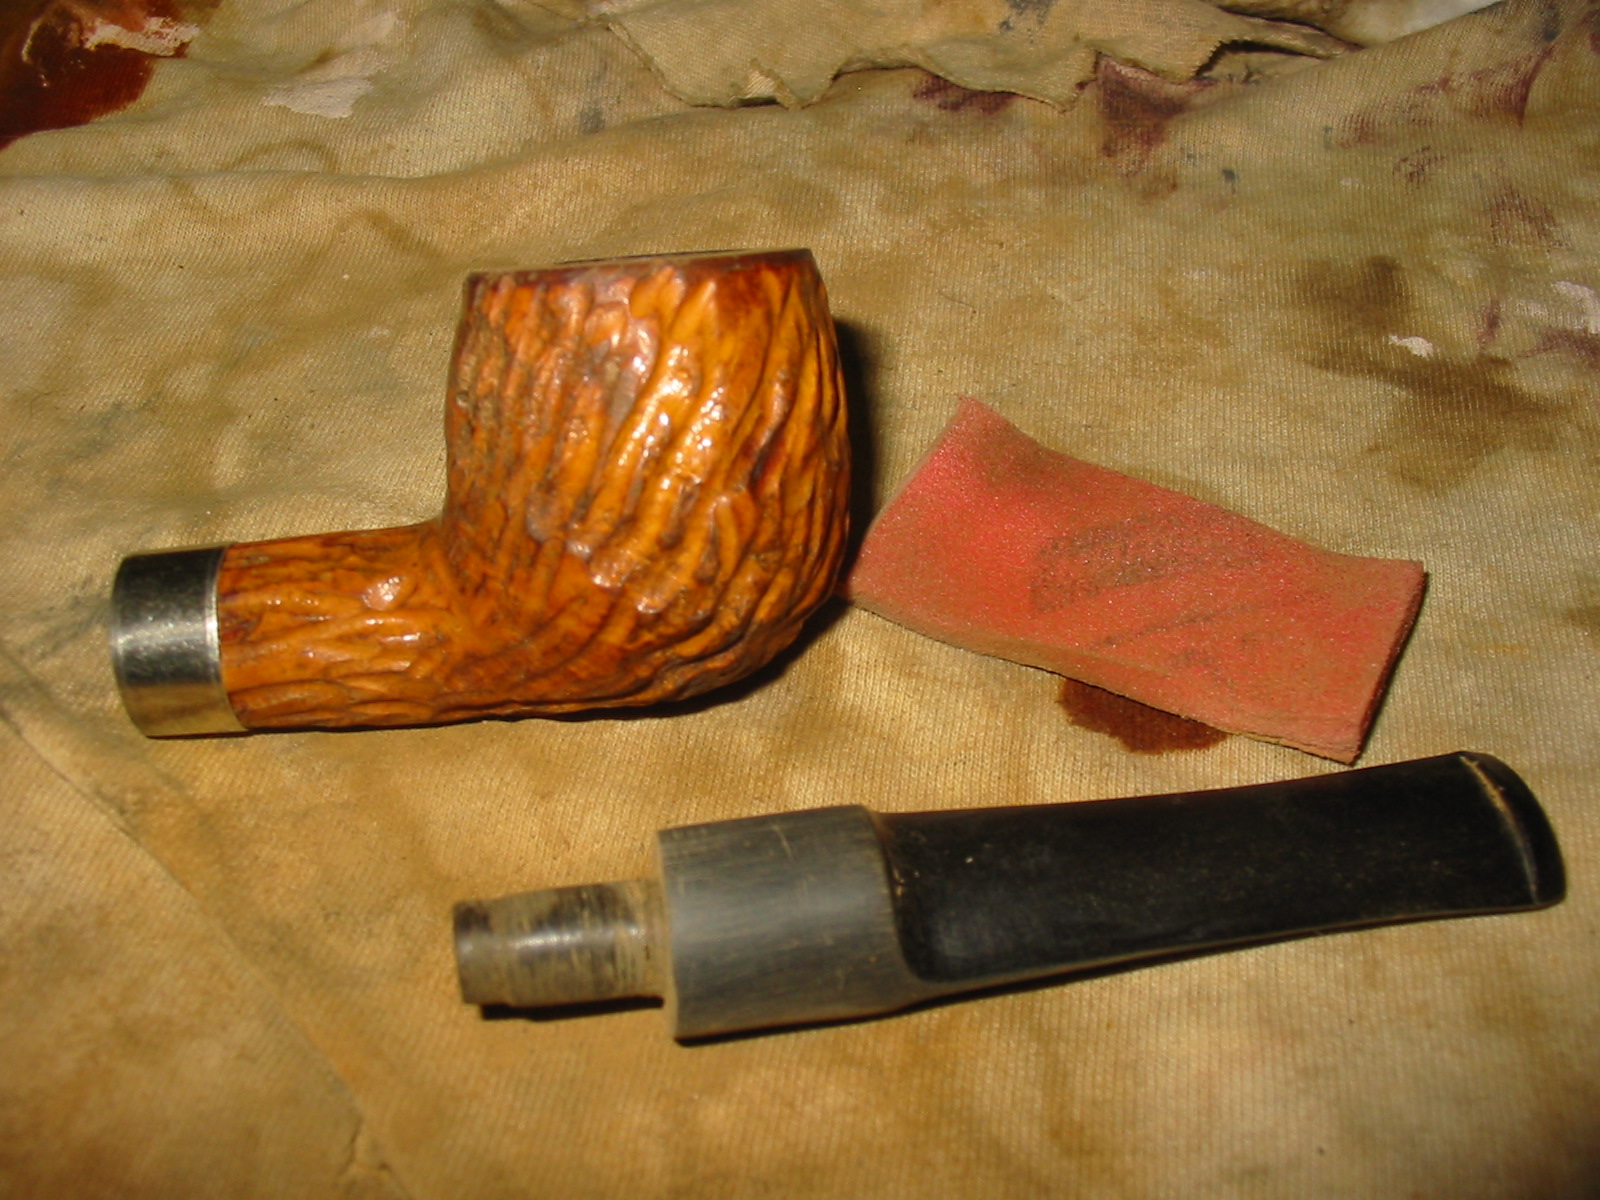
One the stem fit well against the shank I decided to top the bowl. I set up my sanding board with the piece of sandpaper I use. I hold the paper on the board (it is a fine grit emery paper). Then I place the pipe on the paper and sand it by working it clockwise against the sandpaper. The next two photos show the bowl against the paper and the finished topping of the bowl. The final photo in this threesome is one of the brass bristled tire brush that I use to clean rusticated bowls. This one was quite easy to work as I could work it along the grooves of the rustication and work it until the bowl was clean.

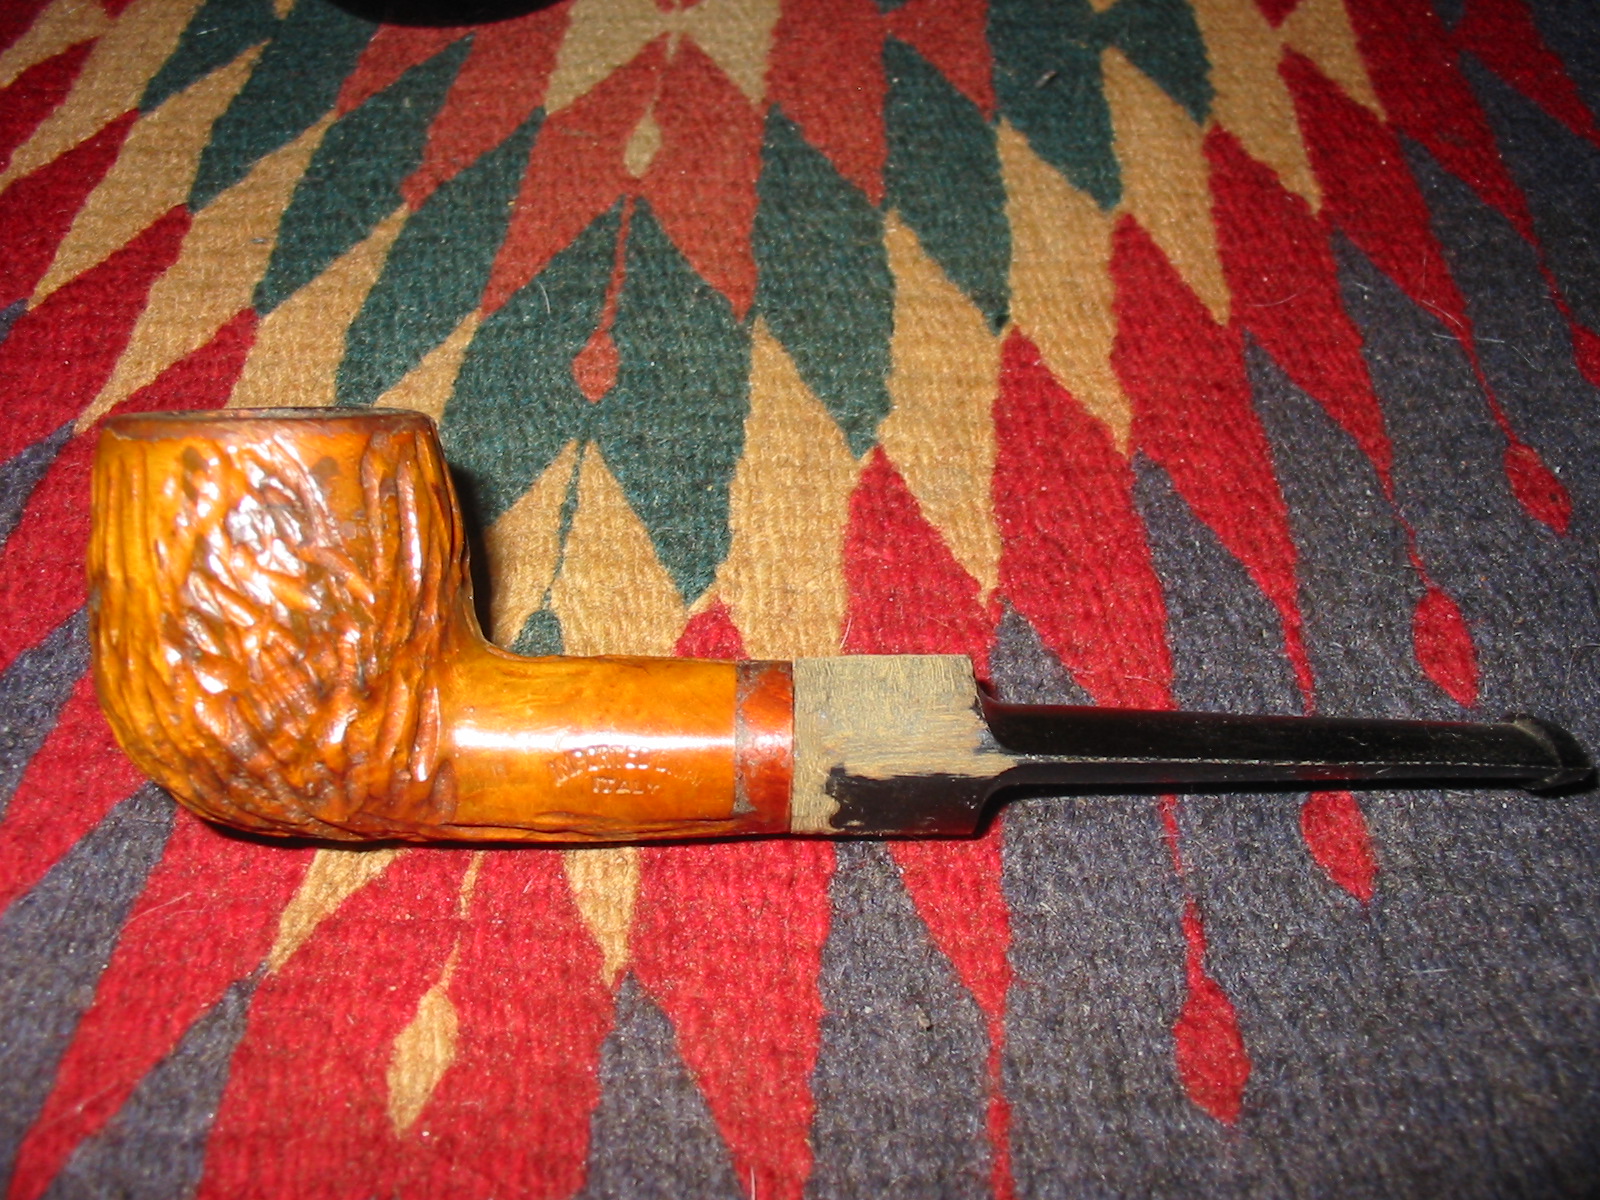
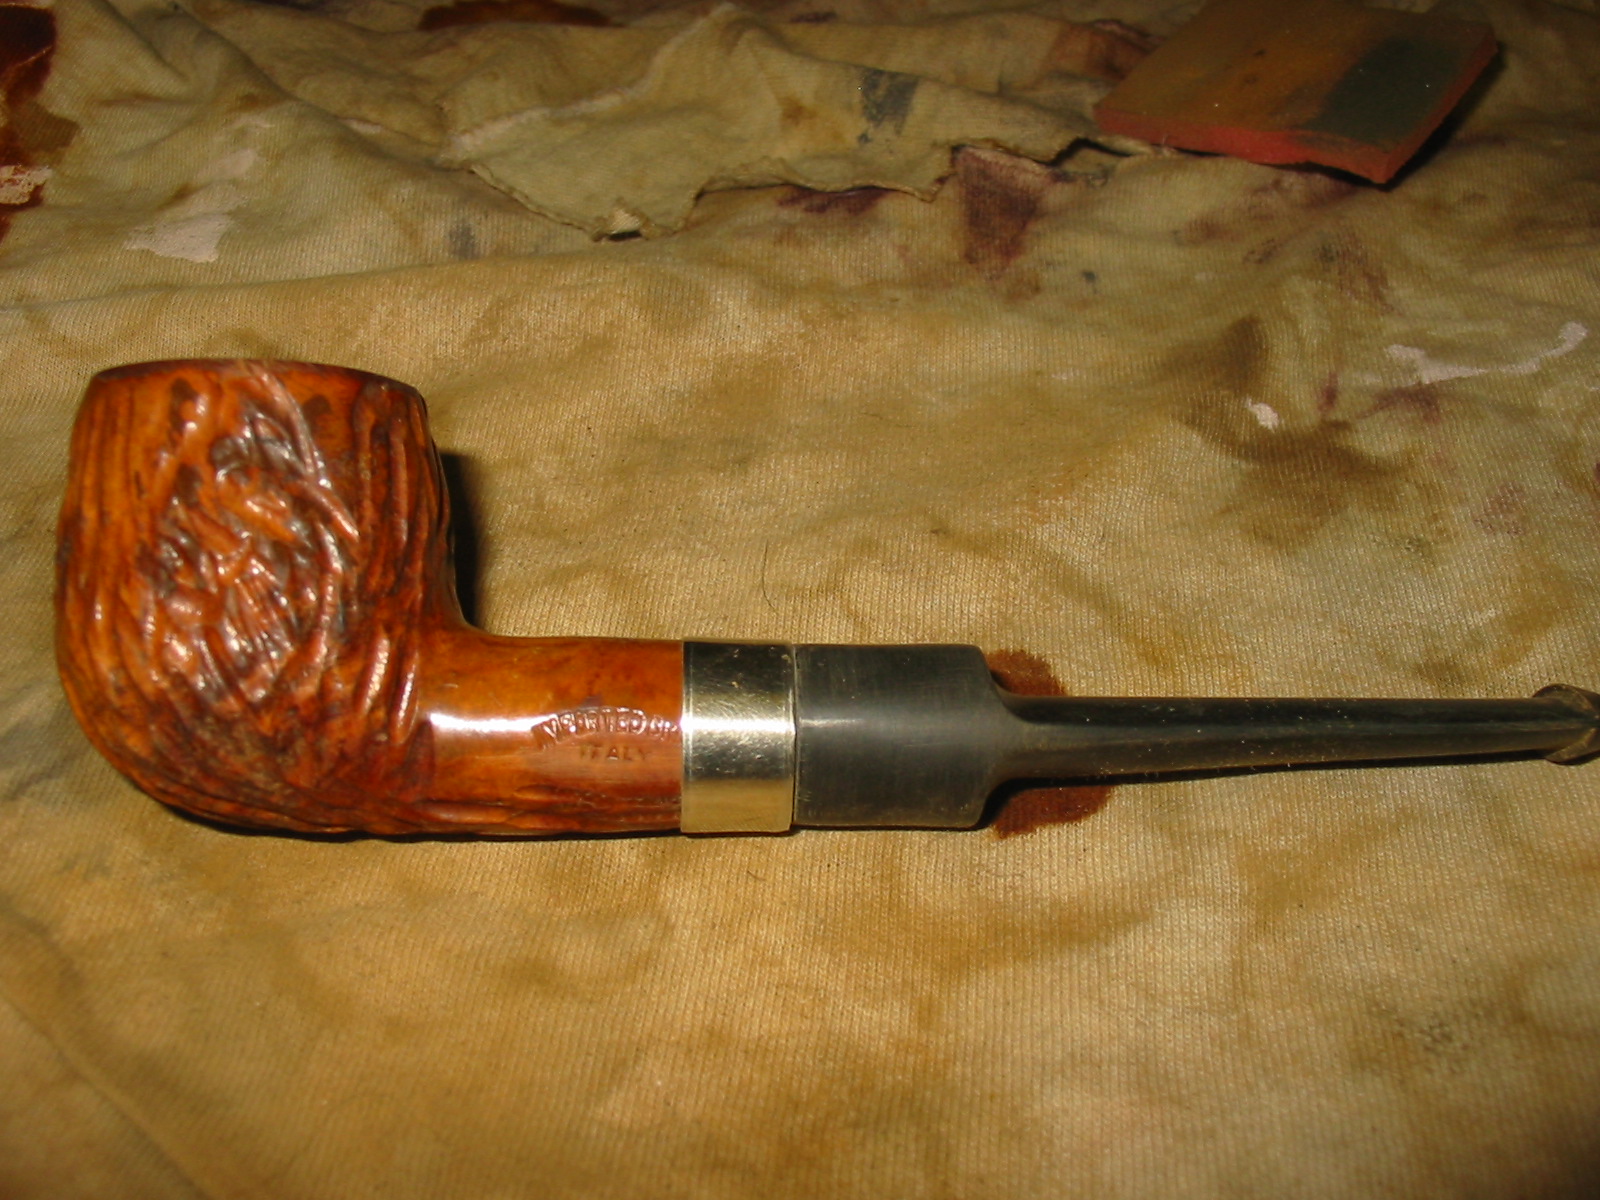
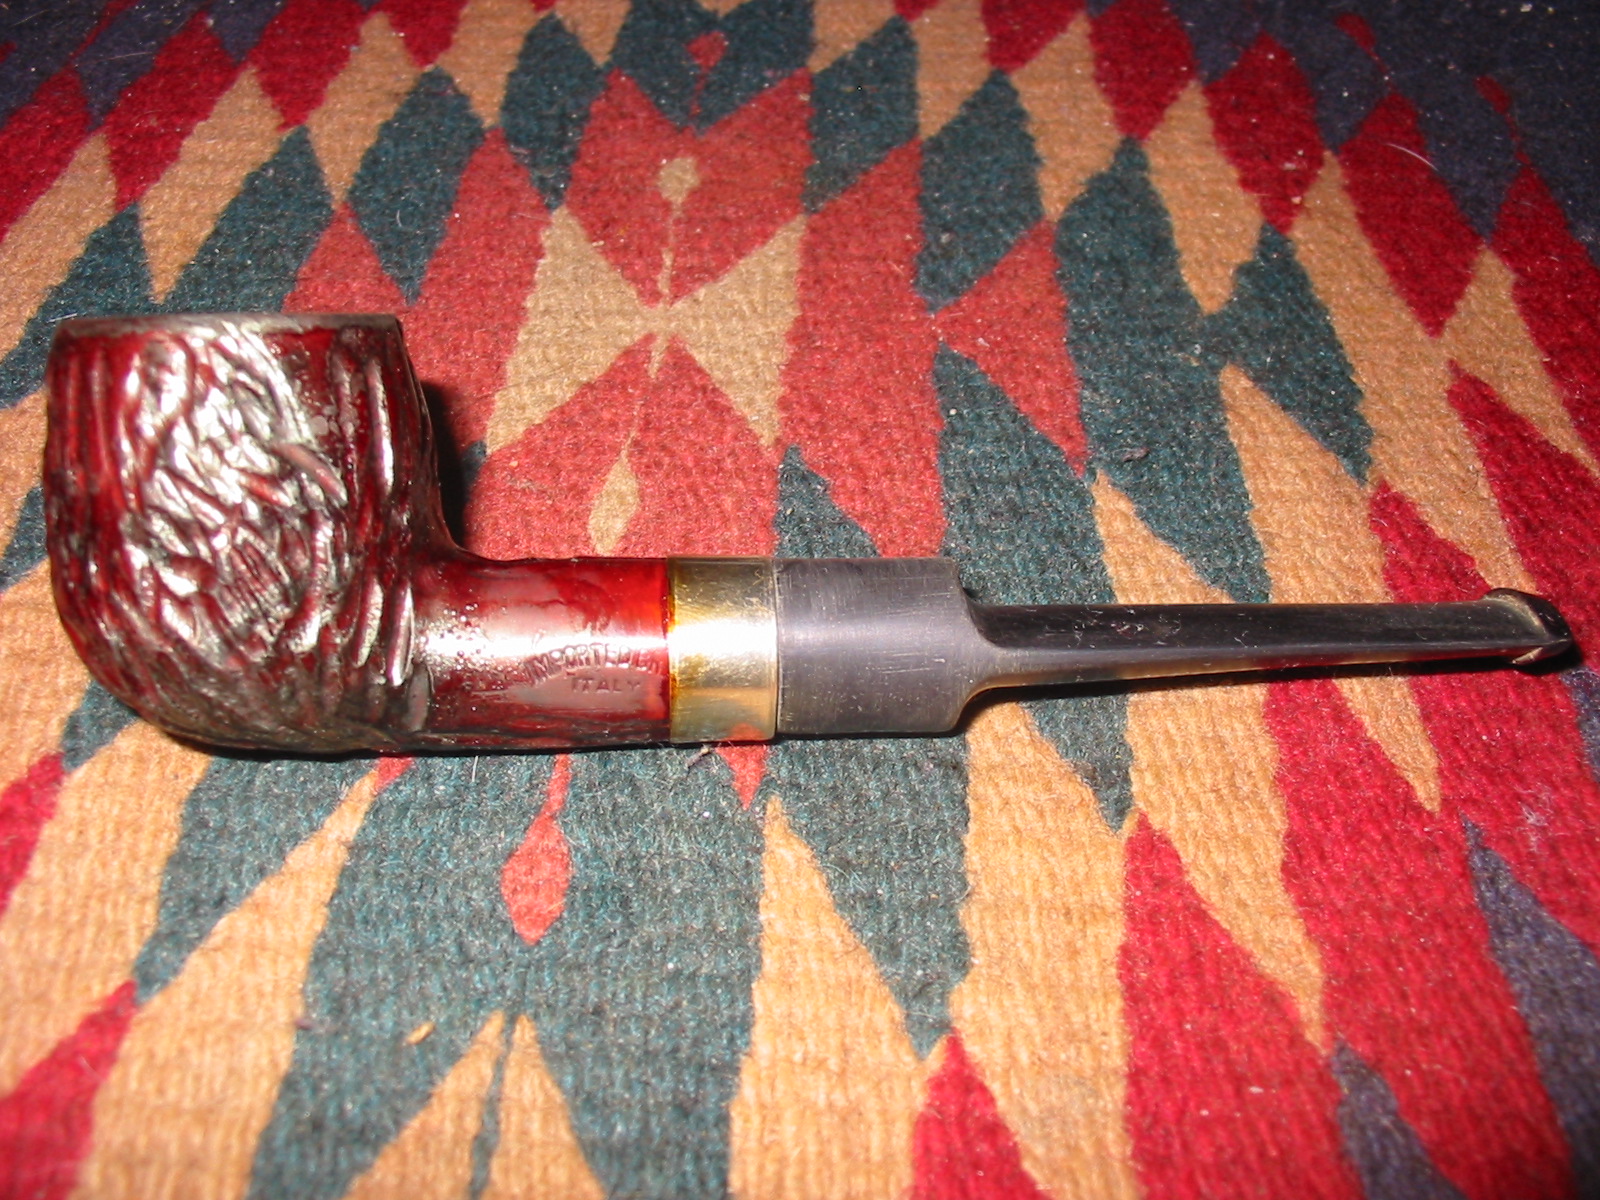
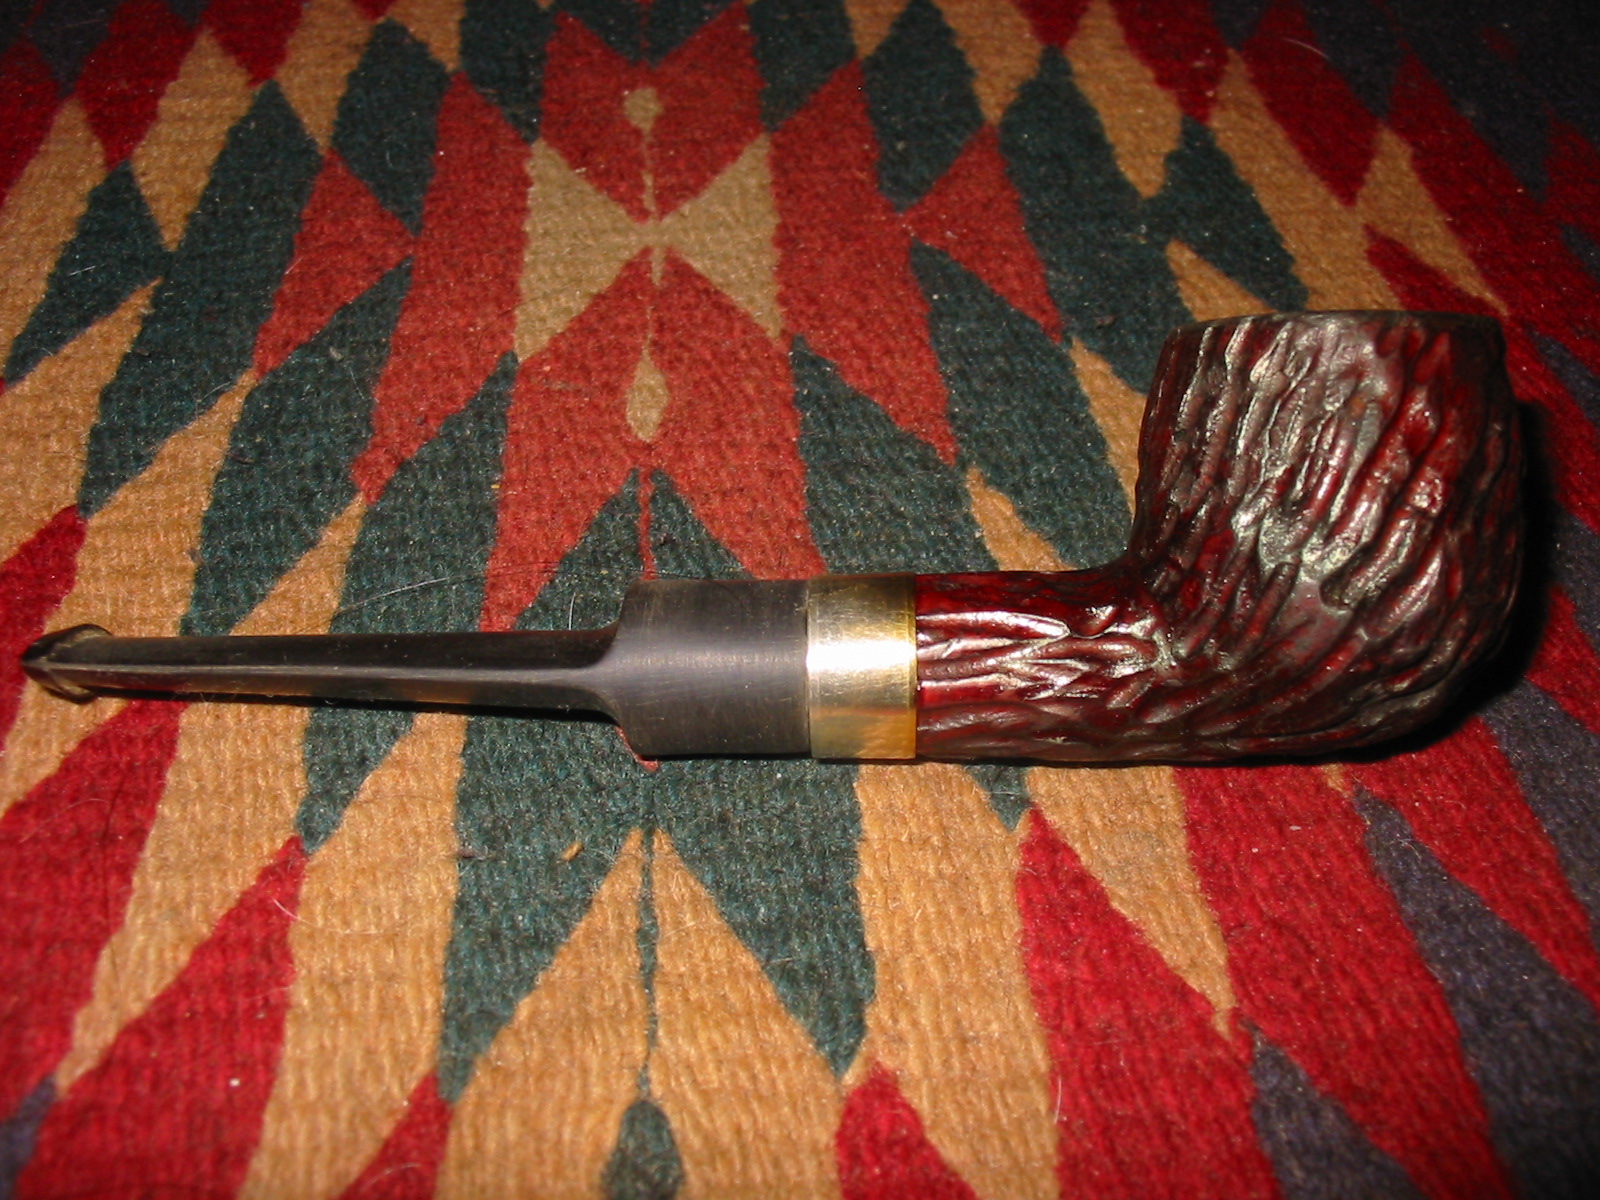
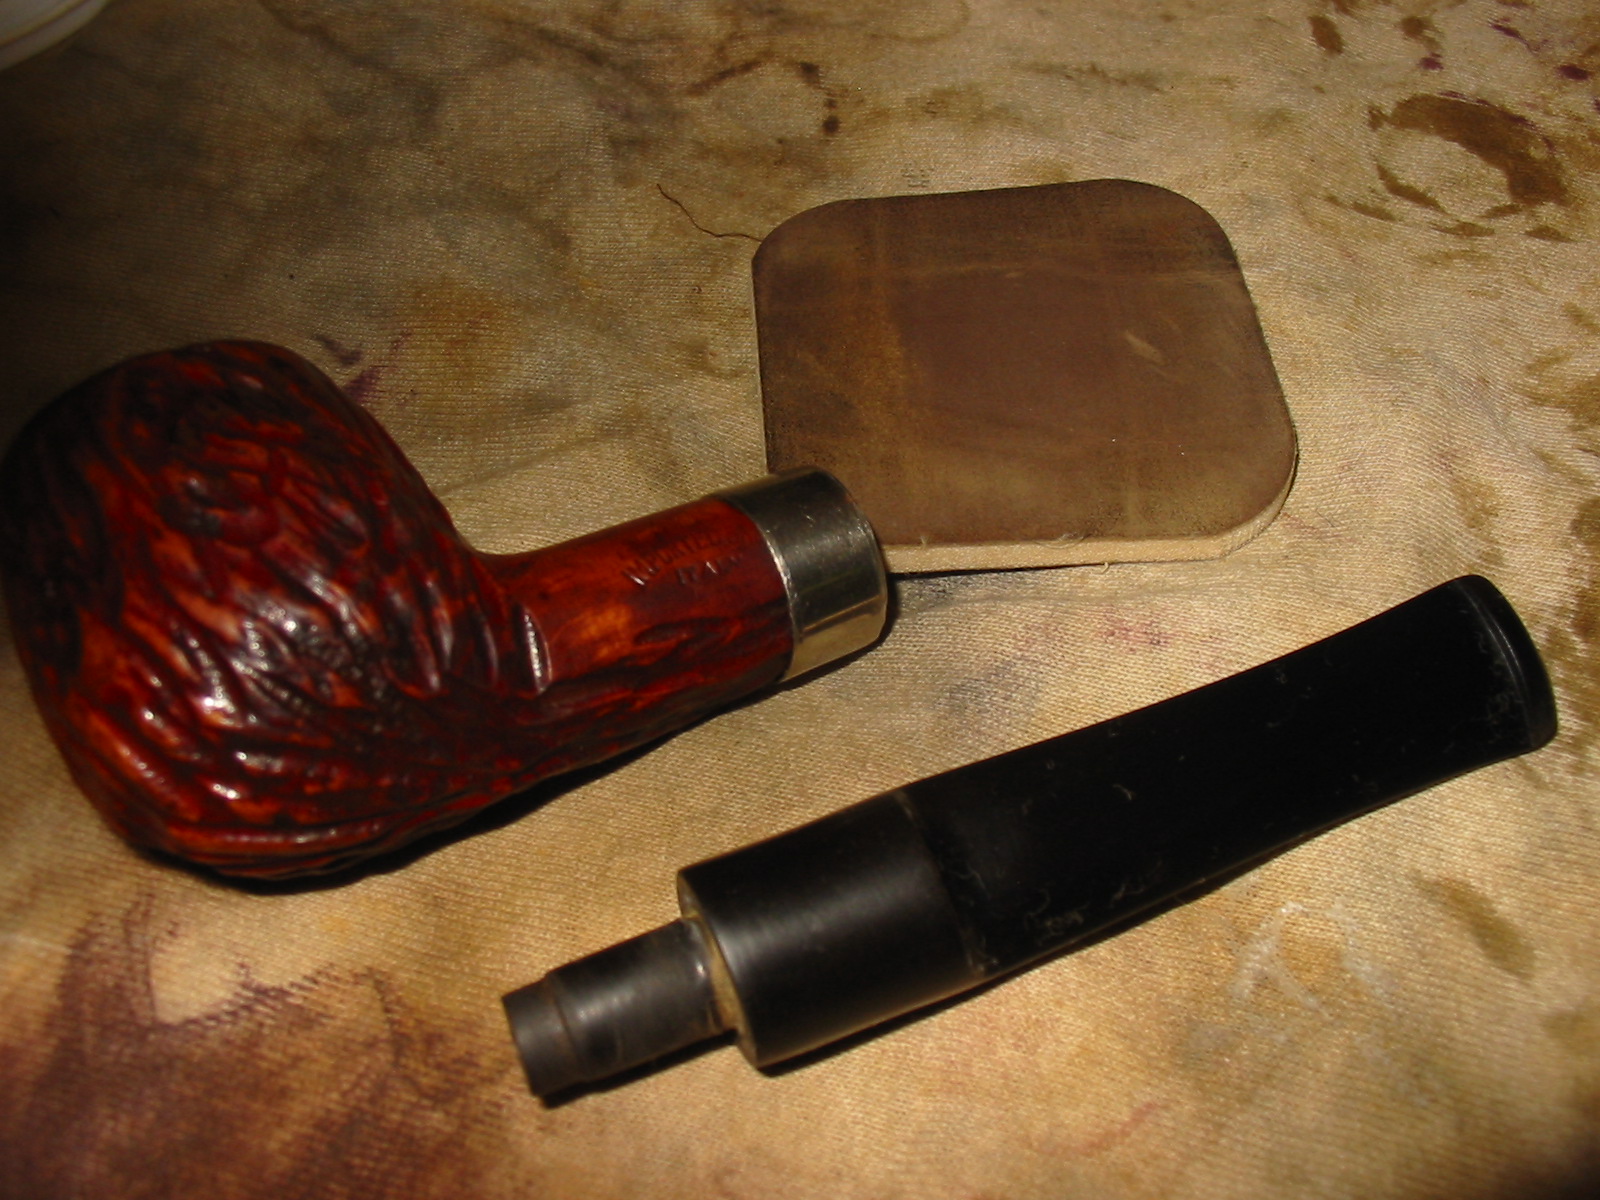
After scrubbing the pipe with the brass brush and some alcohol it was ready for a new band. I sorted through my bands and found one that fit the shank well. The next three photos show the shank before banding and then after I pressure fit the band to the shank. The emery paper and the fine grit sanding sponge in the pictures was used to sand the stem and begin removing the scratches and make a good fit against the band.
The next series of four photos show the fit of the stem against the banded shank. More work needed to be done on the stem to remove the scratches and refine the fit against the shank. Once the scratches were removed from the stem then I would work on the fit. I wiped down the bowl with acetone on cotton pads to remove the finish. I scrubbed it with the wire brush a second time and then wiped it with acetone again. I also sanded the bowl surface with the sanding sponge to remove the finish from the shank and the high points on the rustication.

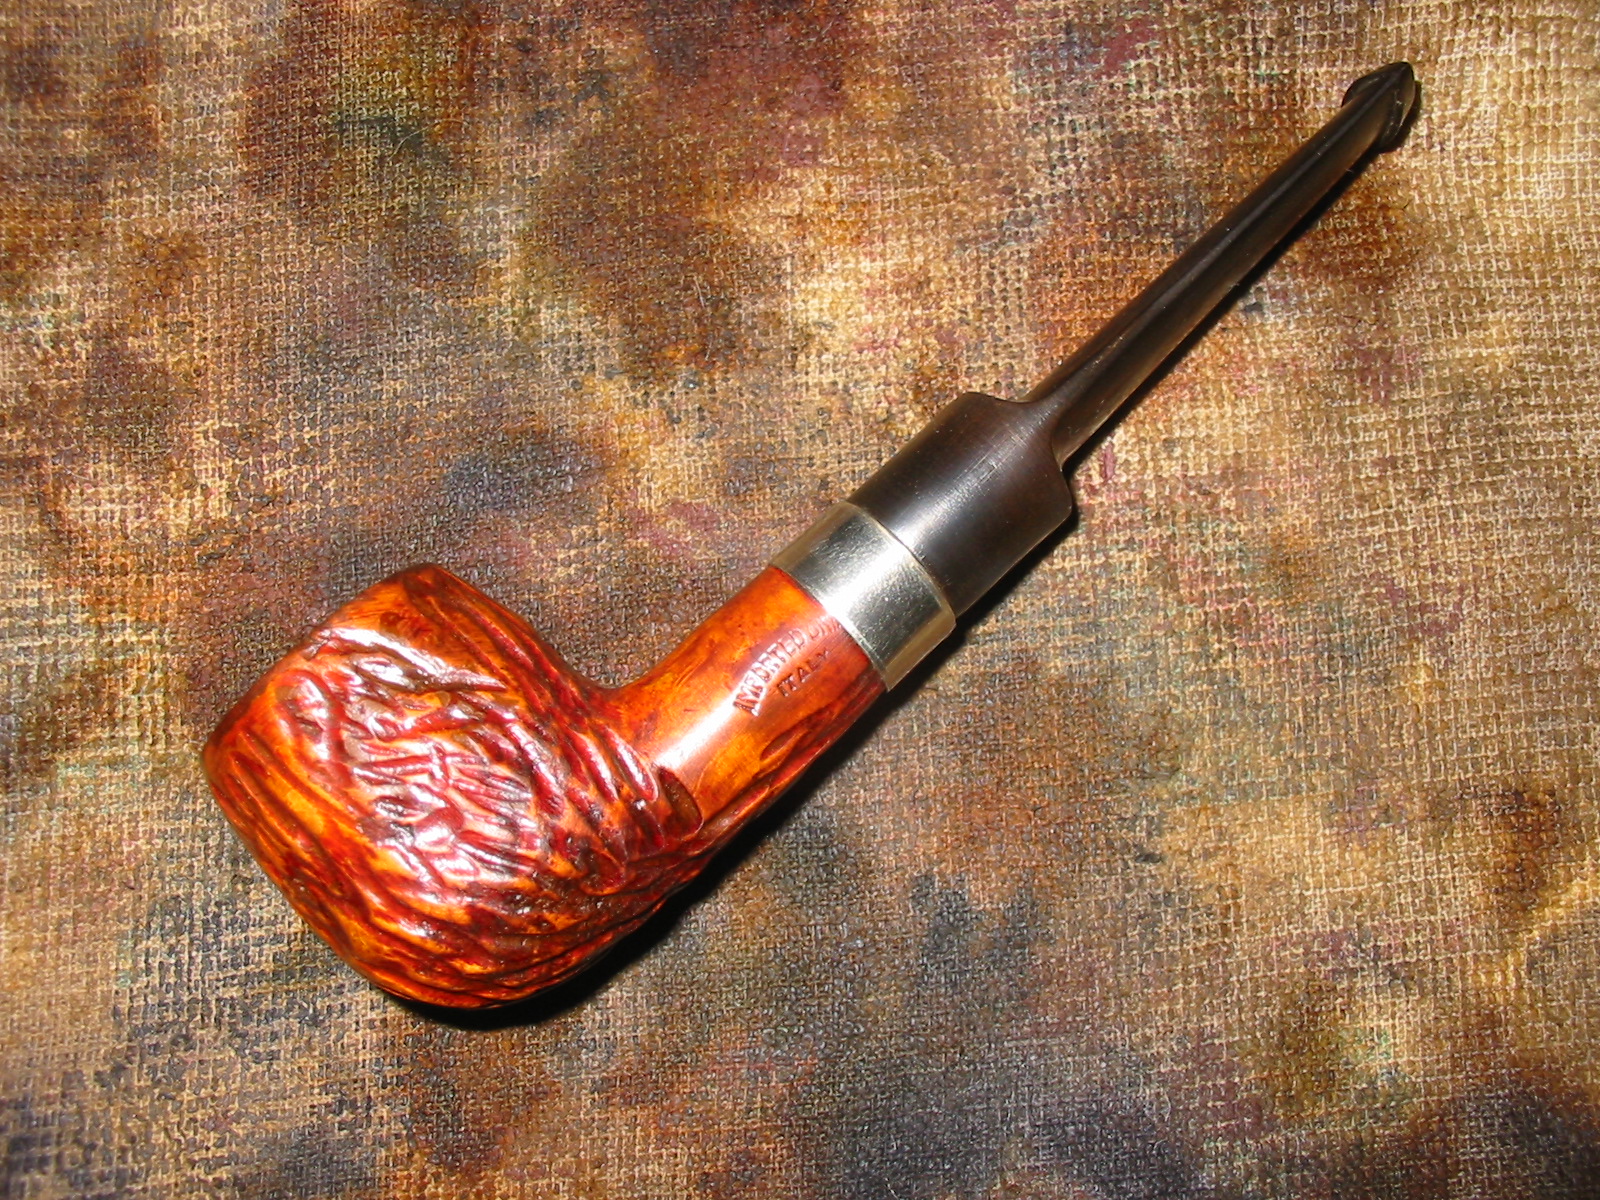
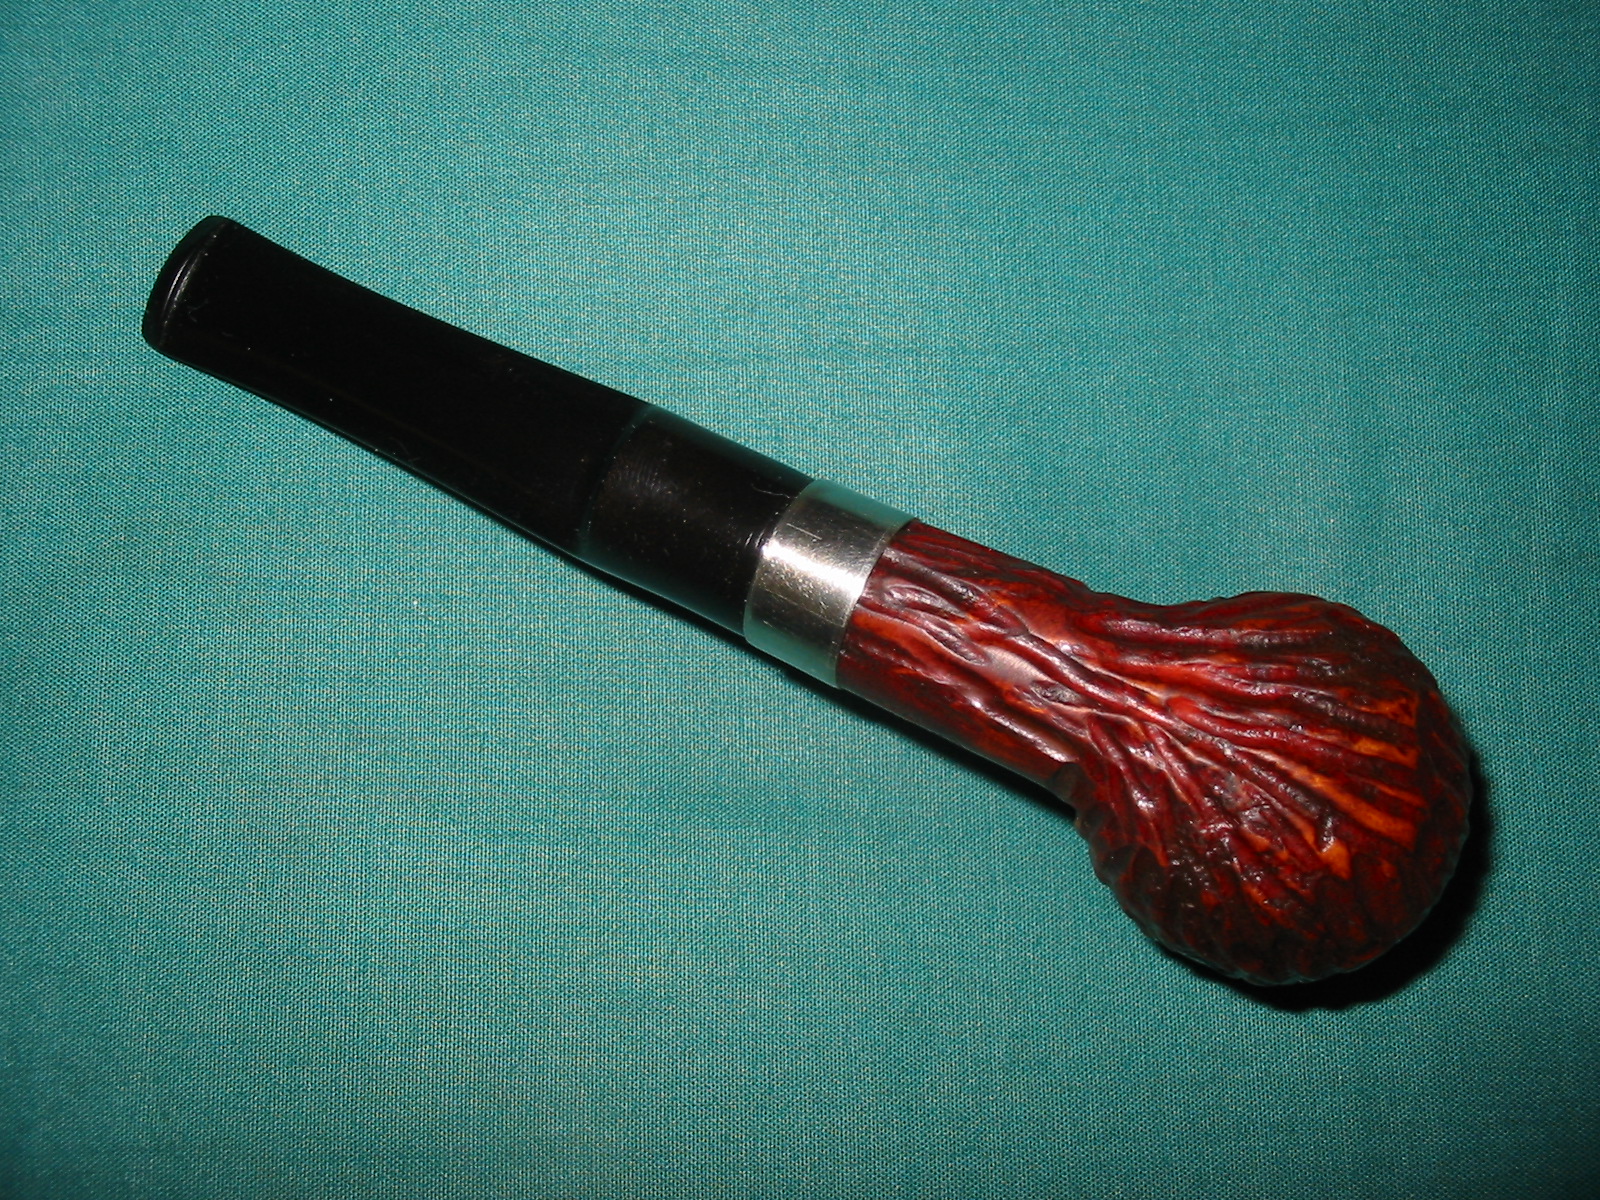
At this point in the restoration I decided to restain the pipe with a dark brown aniline stain mixed 2:1 with isopropyl alcohol. I applied it and flamed it, reapplied and reflamed it. I gave the rim two extra coats of the stain to match the colour of the bowl. The next series of three photos show the stained bowl. It was darker than I wanted for the end product so I decided to lighten it.

I wiped the bowl down with isopropyl alcohol on a cotton pad to lighten the stain. I wanted to see if I could clear it off the high points while still allowing it to remain in the grooves for contrast. The next three photos show the pipe after I had wiped it down.

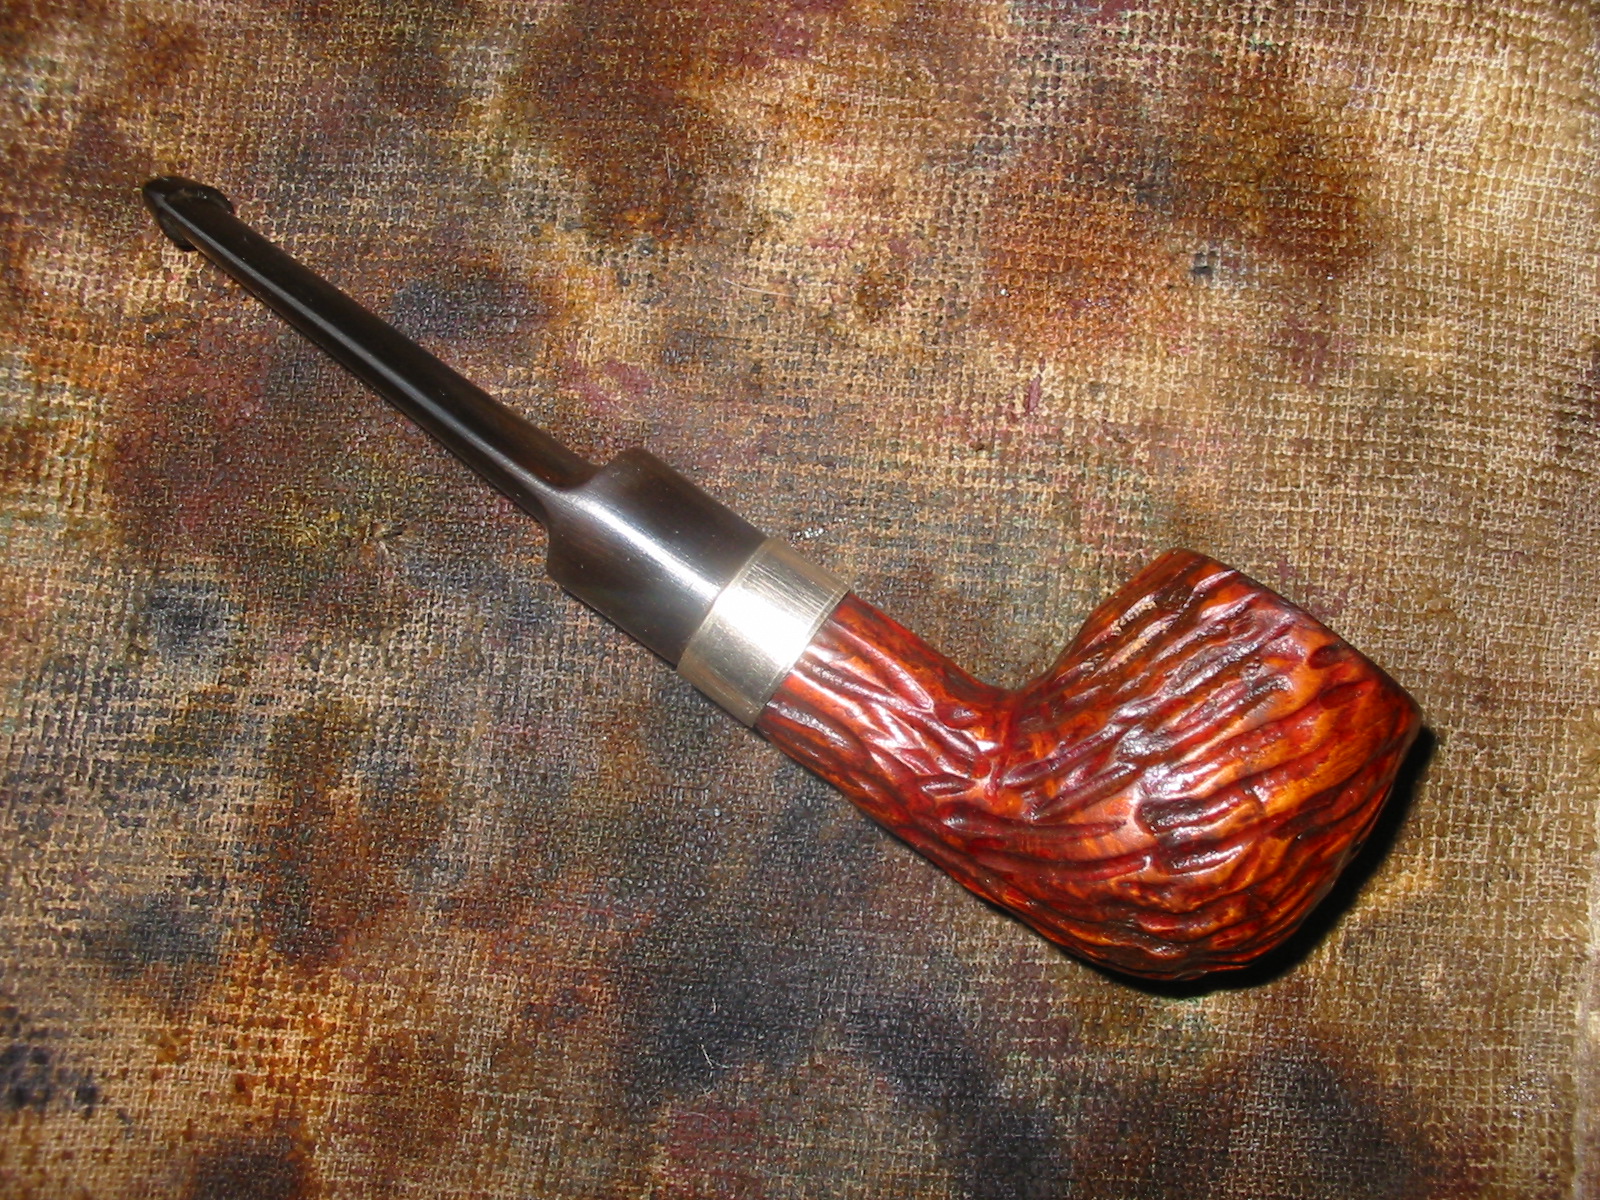
When I had finished wiping it down I took the pipe to the buffer and buffed the bowl with Tripoli to remove some of the dark stain. I wanted to remove it from the high surfaces of the bowl while leaving the dark stain in the grooves of the rustication. The next four photos show the pipe after I buffed it with the Tripoli. I also buffed the stem with Tripoli and White Diamond to give it a bit of polish and see what I needed to do with the sandpaper.
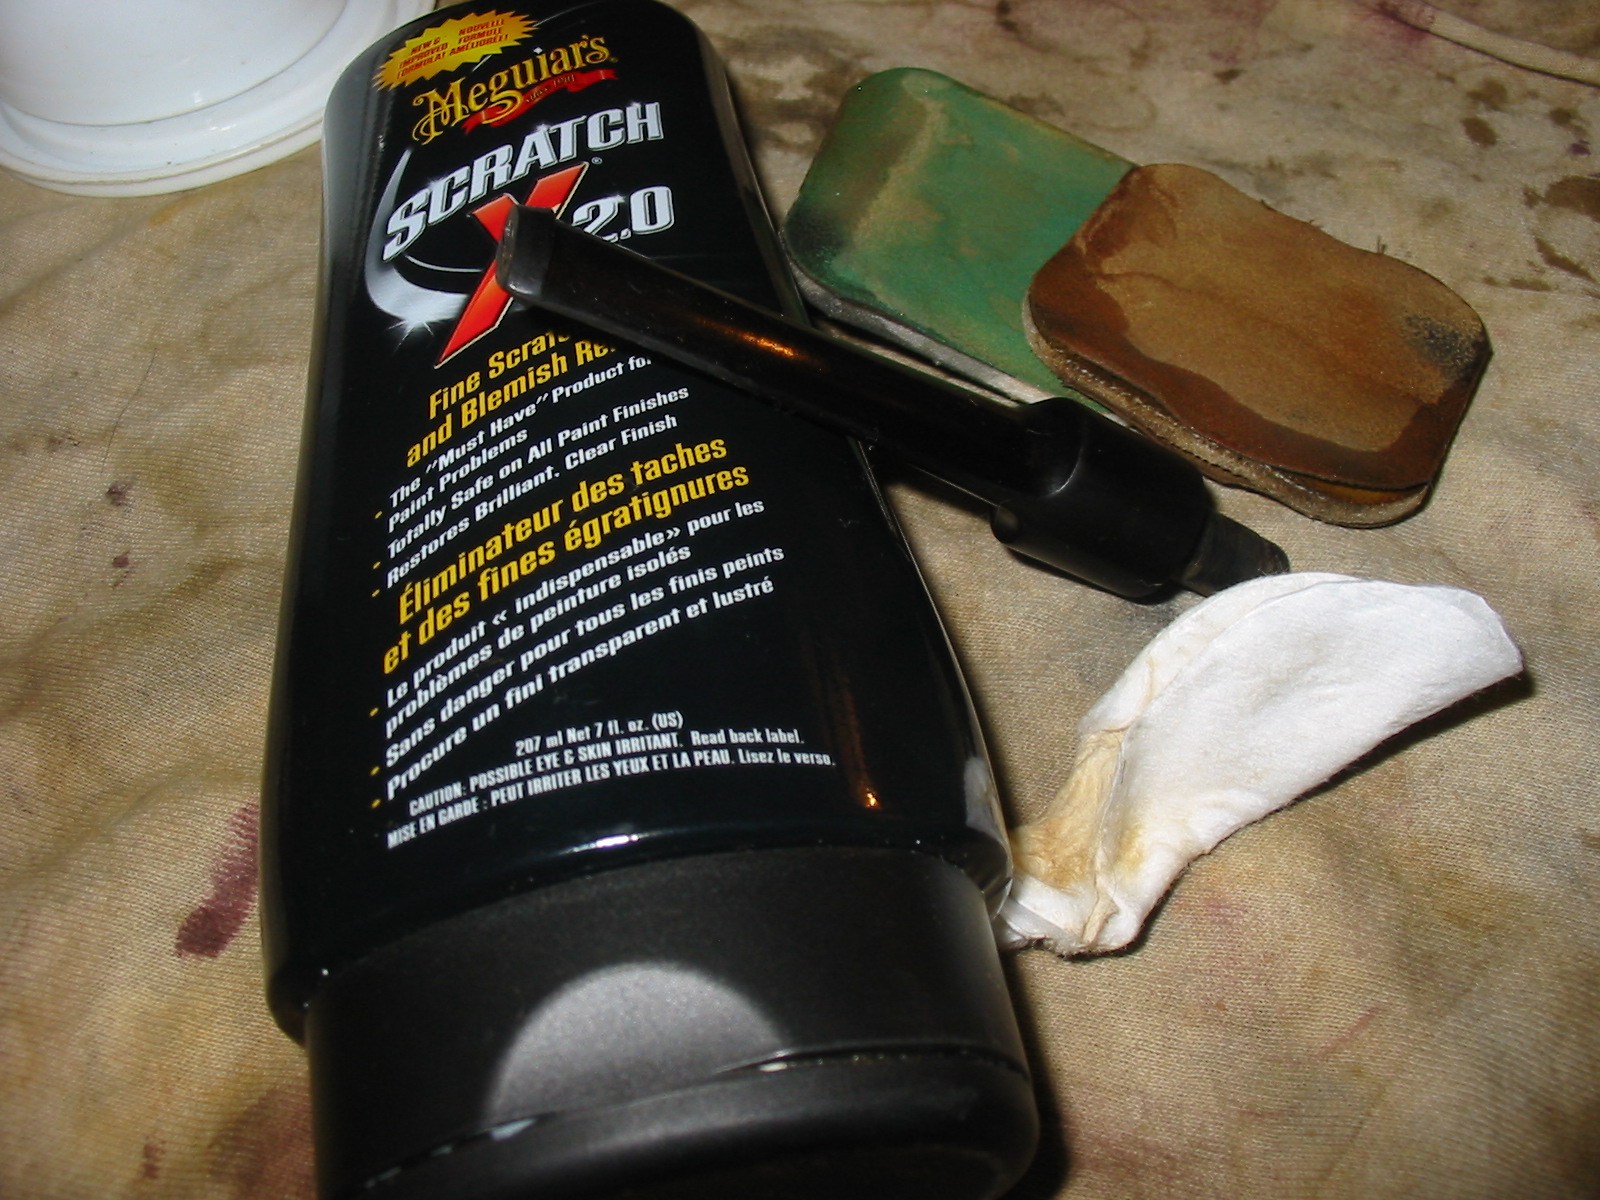
I then removed the stem and wet sanded it with the micromesh sanding pads in 1500 and 1800 grits. I use fresh warm water and dip the sanding pad in the water and then sand the stem. I also used the Maguiar’s Scratch X2.0 after sanding. The next photo shows the stem after sanding and polishing.
I then dry sanded the stem with the remaining grits of micromesh 2400-12,000 and then gave it a final polish with the Maguiar’s. The photo below shows the stem after sanding with the 3600 grit sanding pad. The shine is beginning to rise on the surface of the stem. I rubbed it down with Obsidian Oil and let it dry. The final four photos show the finished pipe. I buffed the stem with White Diamond and then polished the bowl and the stem with carnauba wax to get the shine.
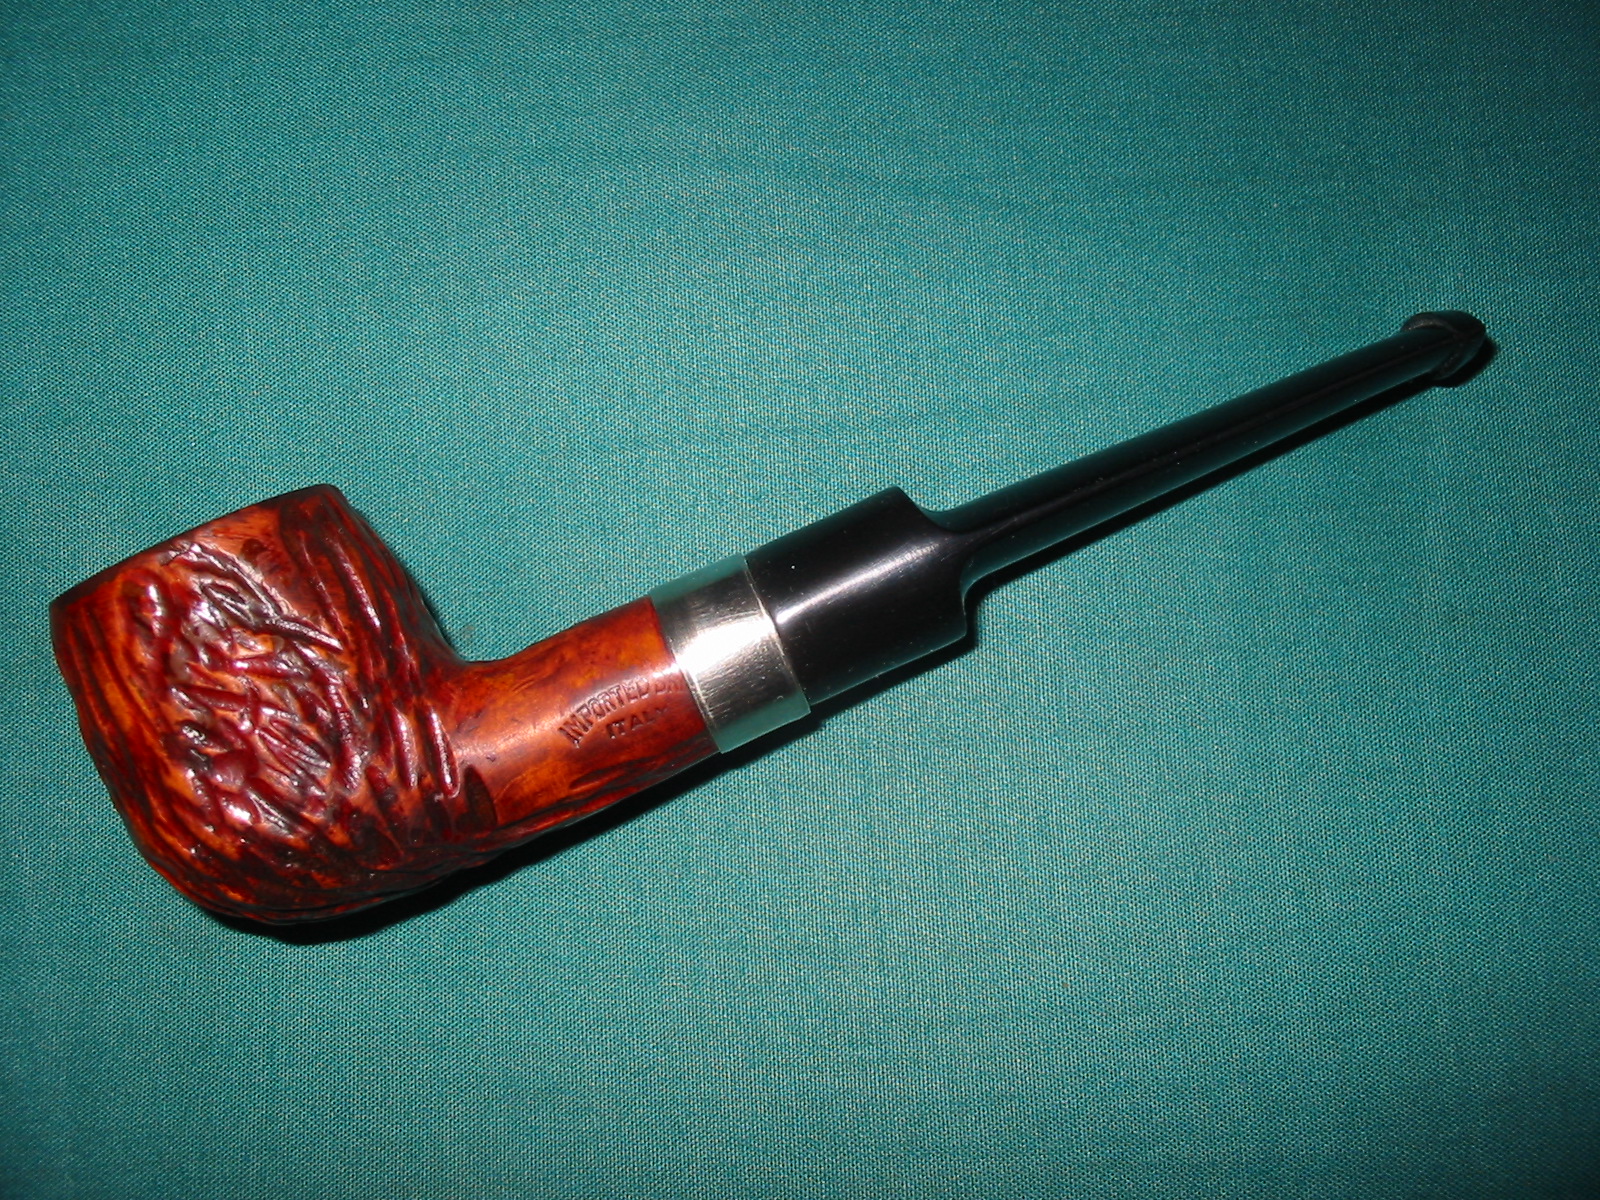
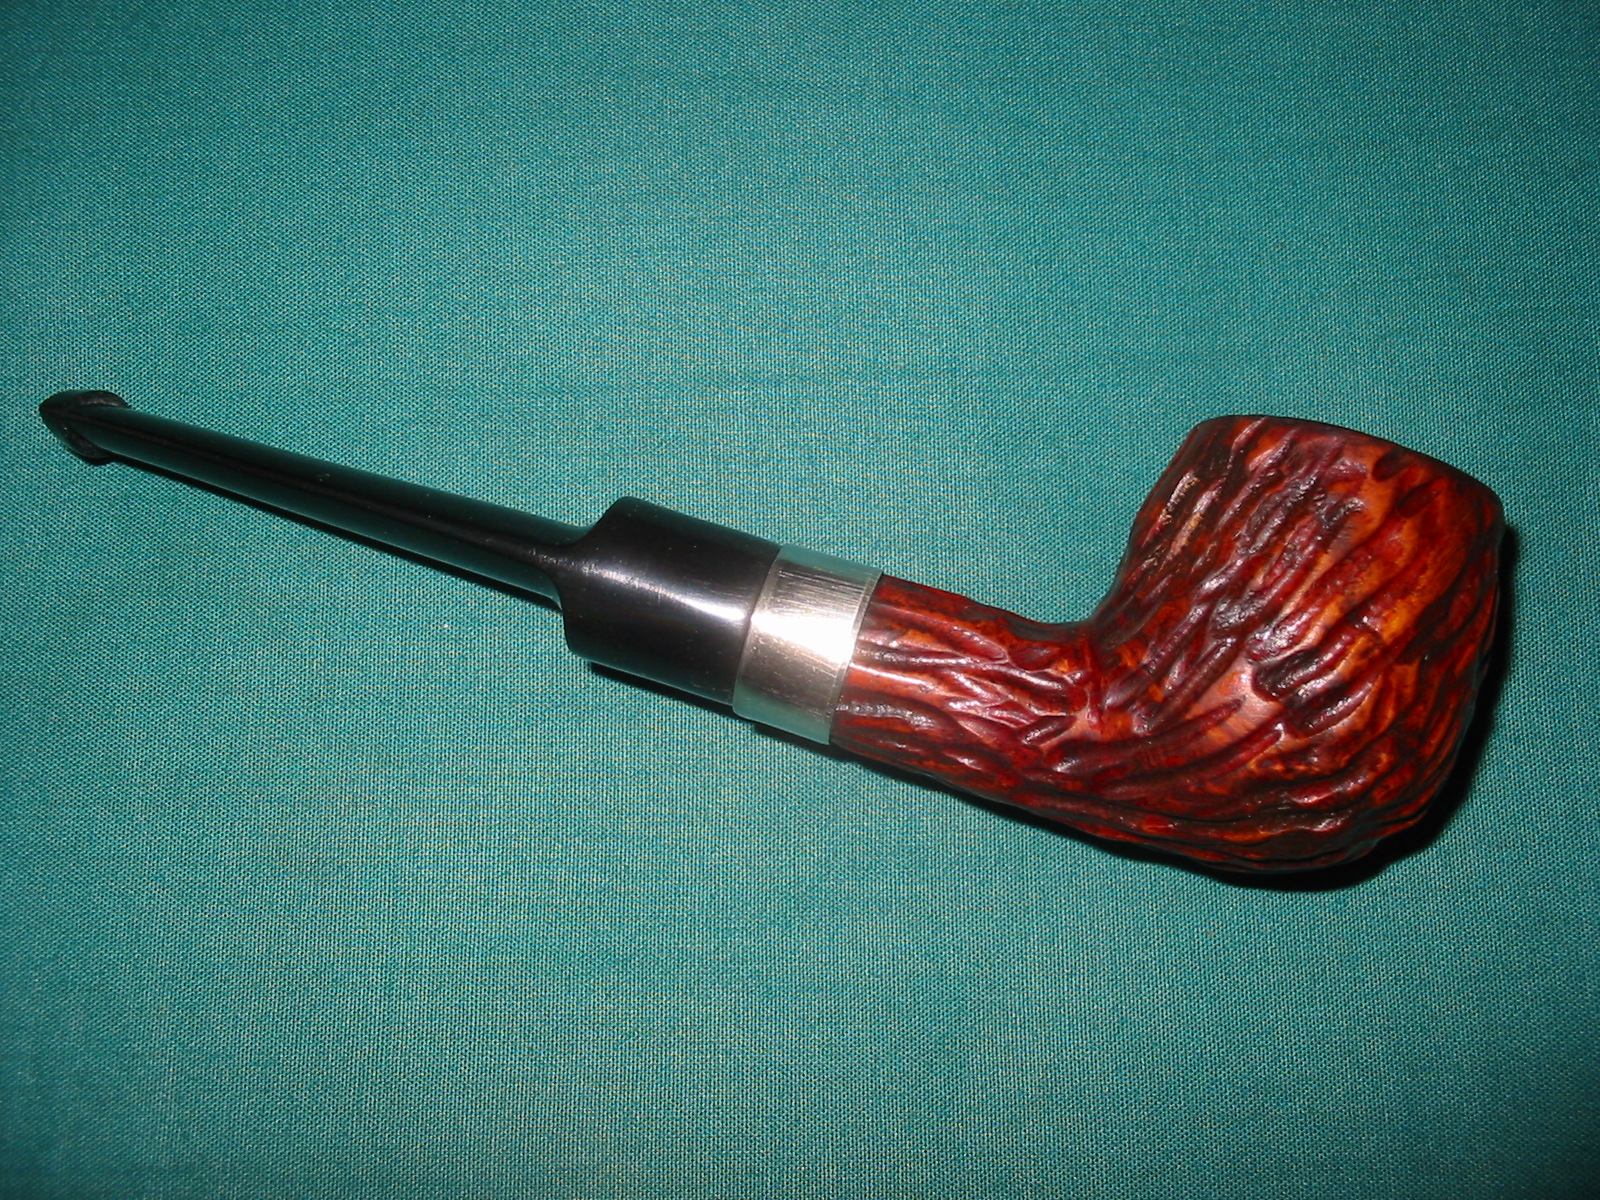
The pipe has come a long way from the stummel that was sitting in my repair box. I am happy with the finished pipe and the contrast stain. It feels great in the hand and will make a great smoking pipe for someone.

Nice job, ruggedly handsome pipe – perhaps some Custombilt DNA?
LikeLike
It does seem to have that look…maybe so.
LikeLike
That came out beautiful Steve!
LikeLike