Blog by Steve Laug
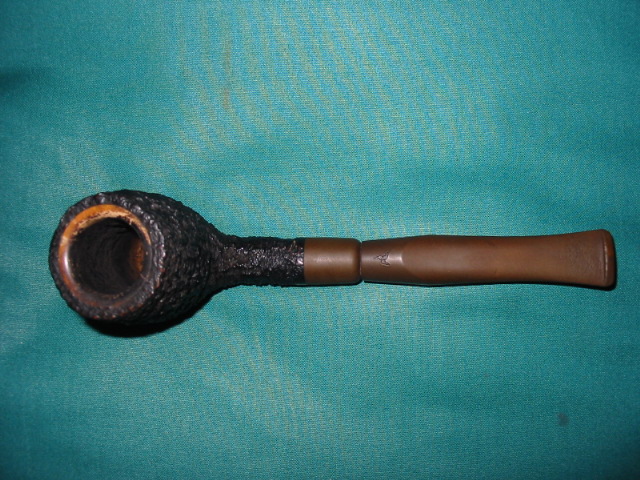
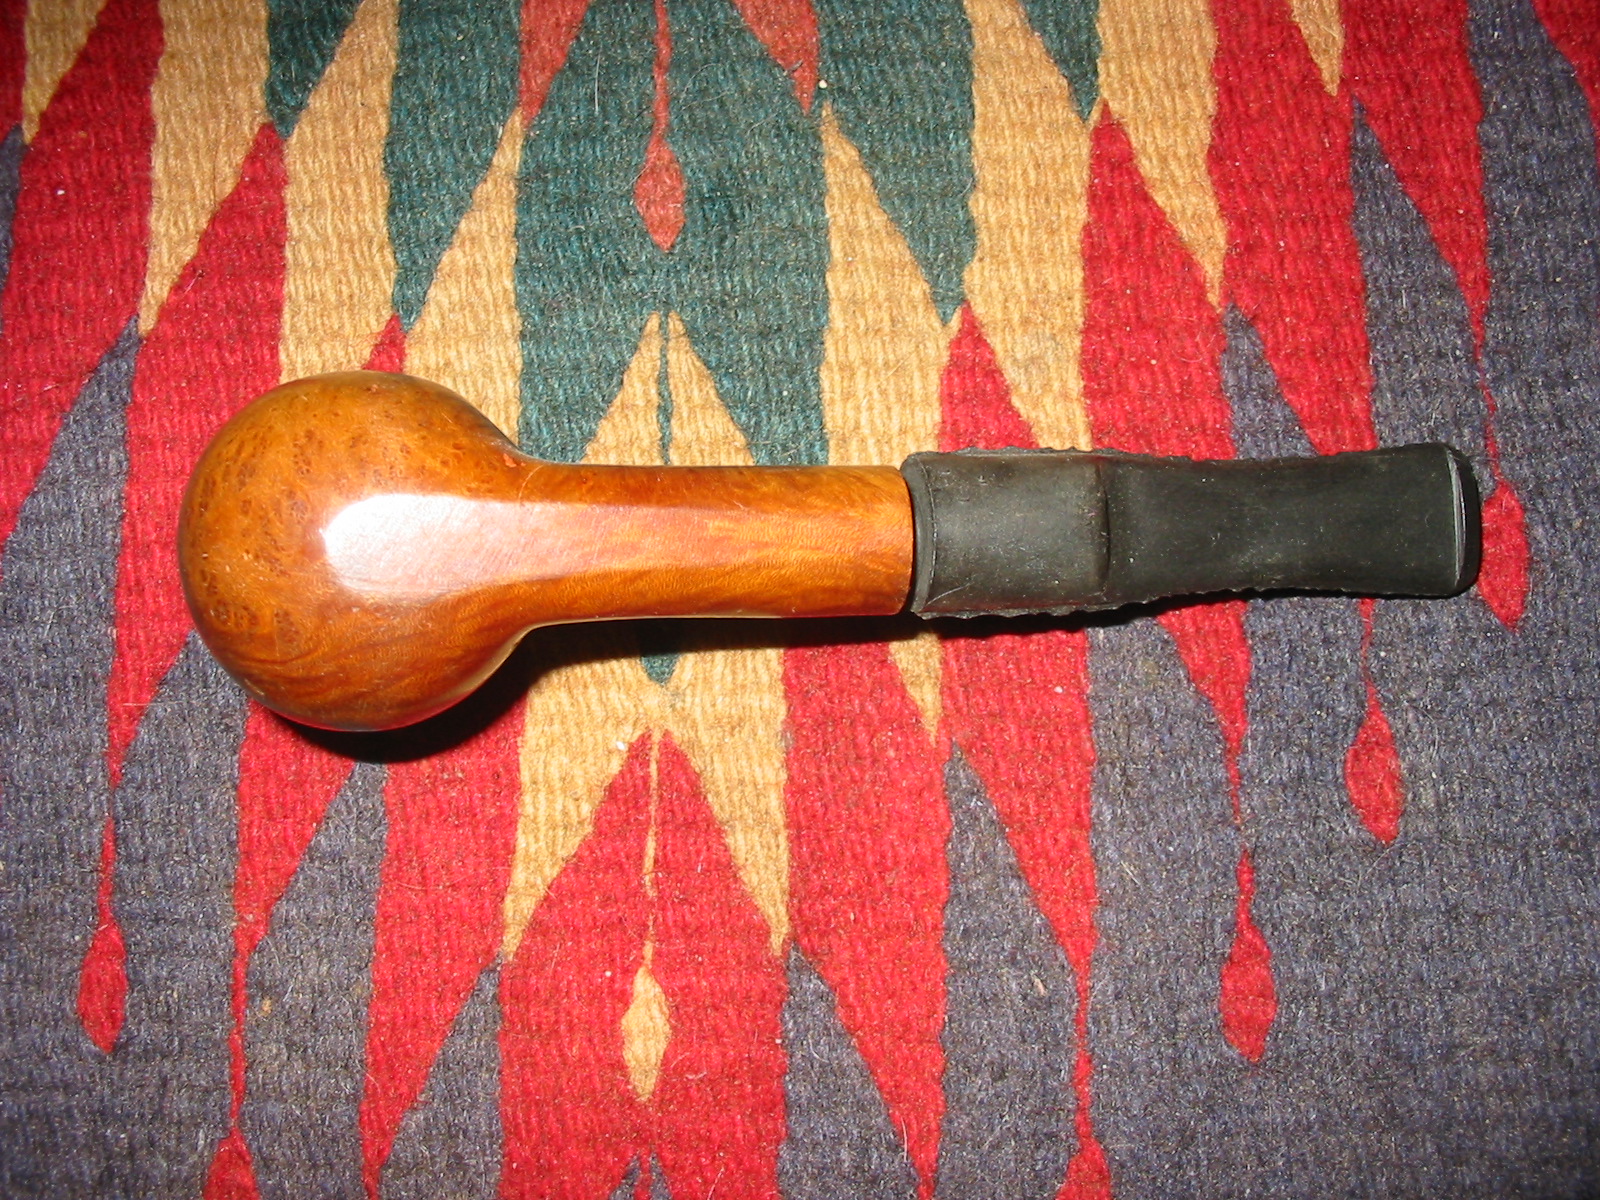
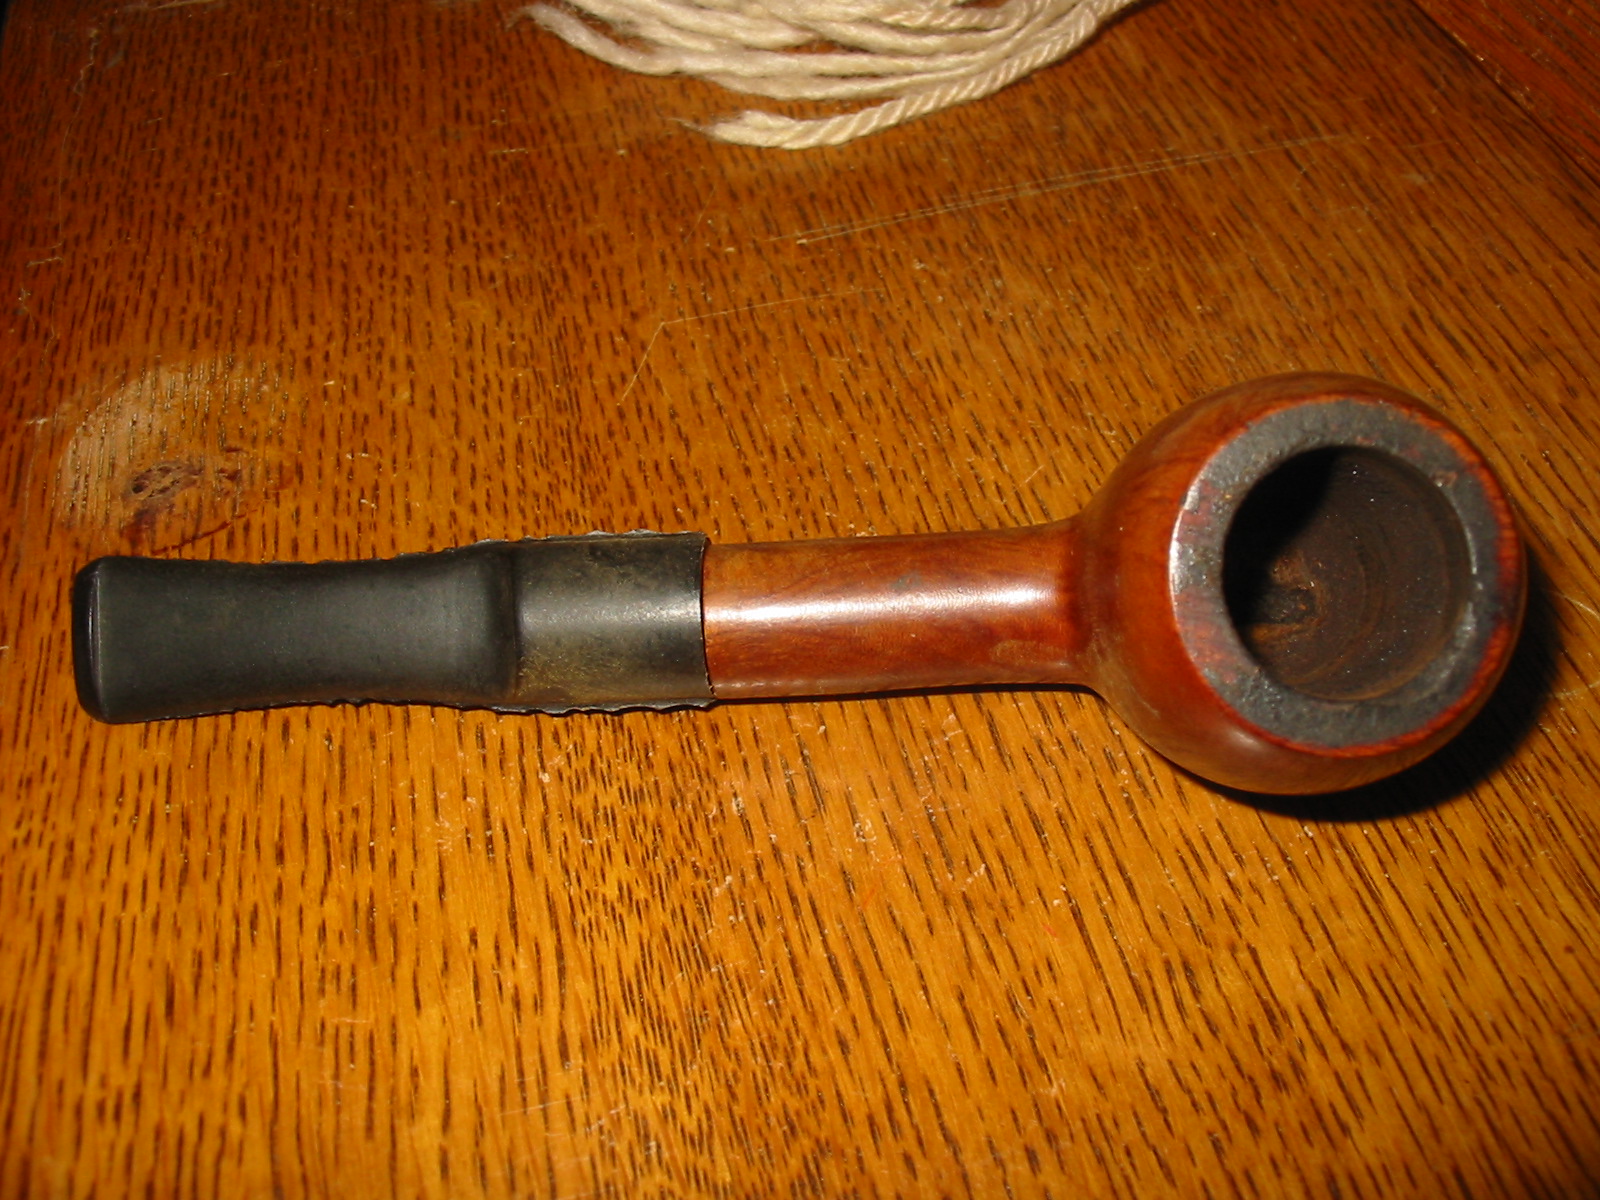
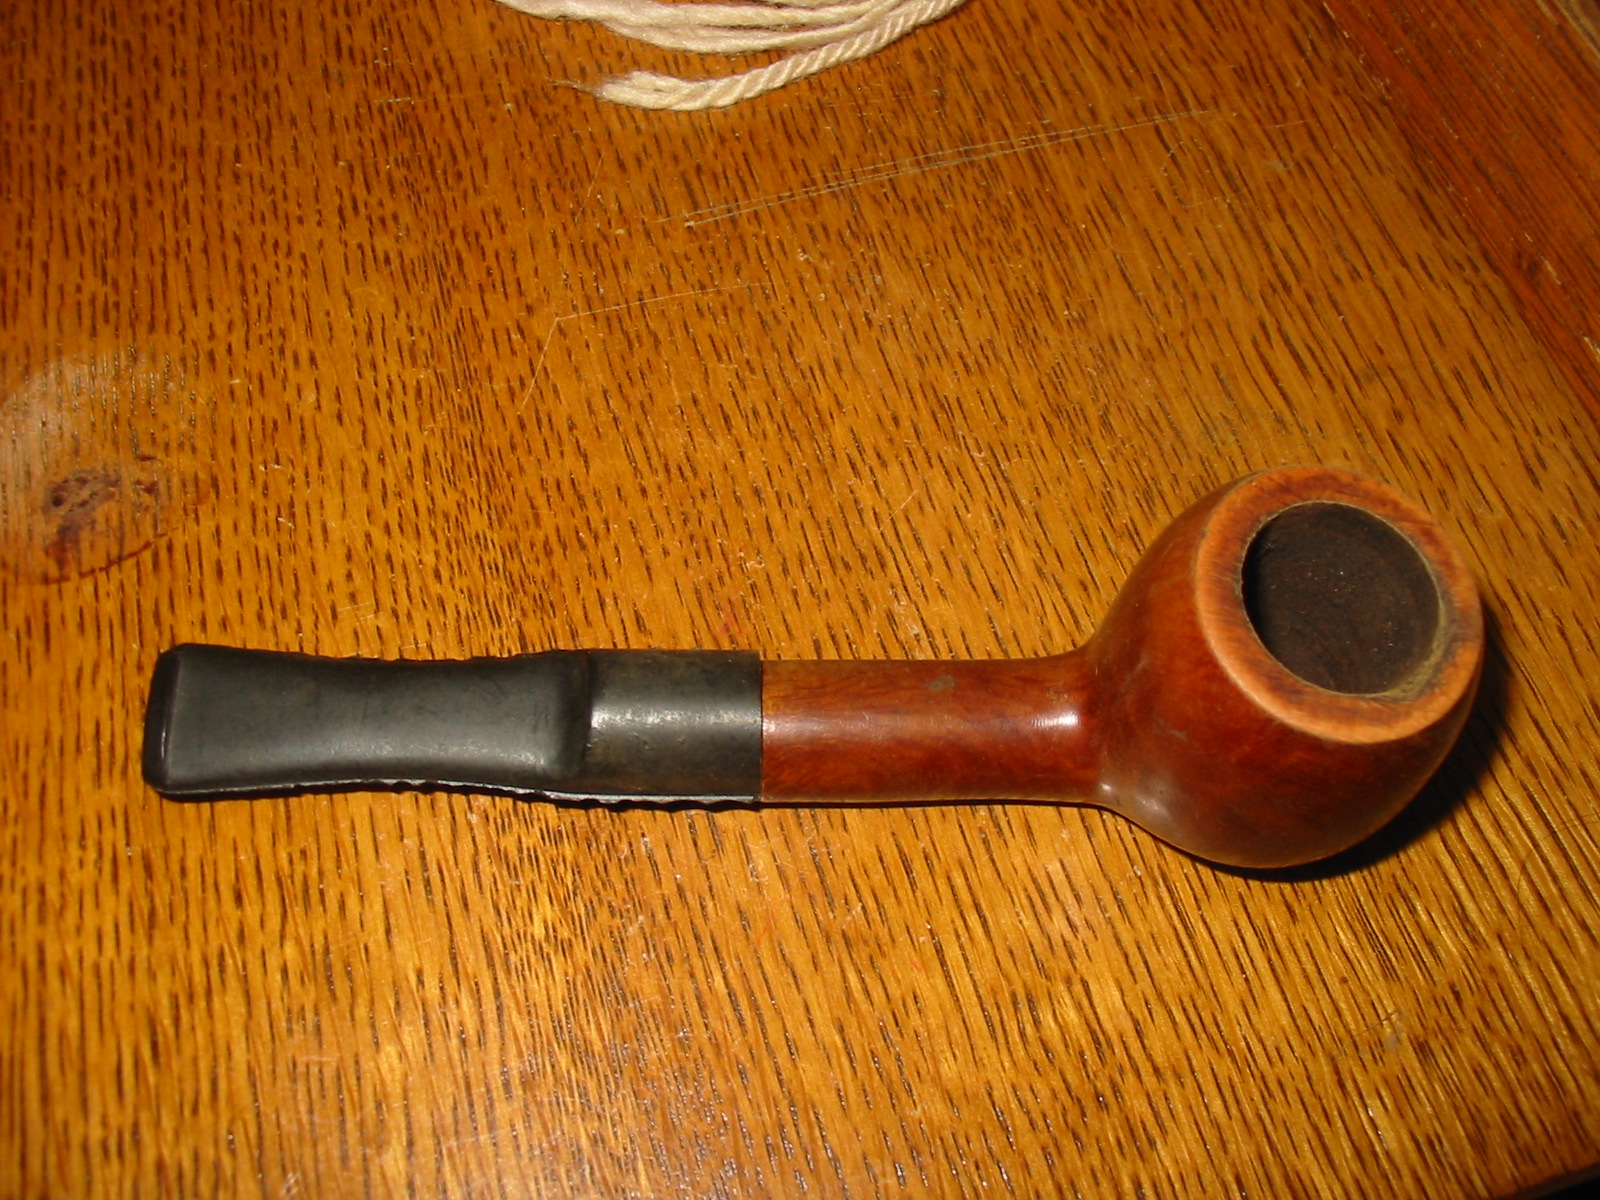
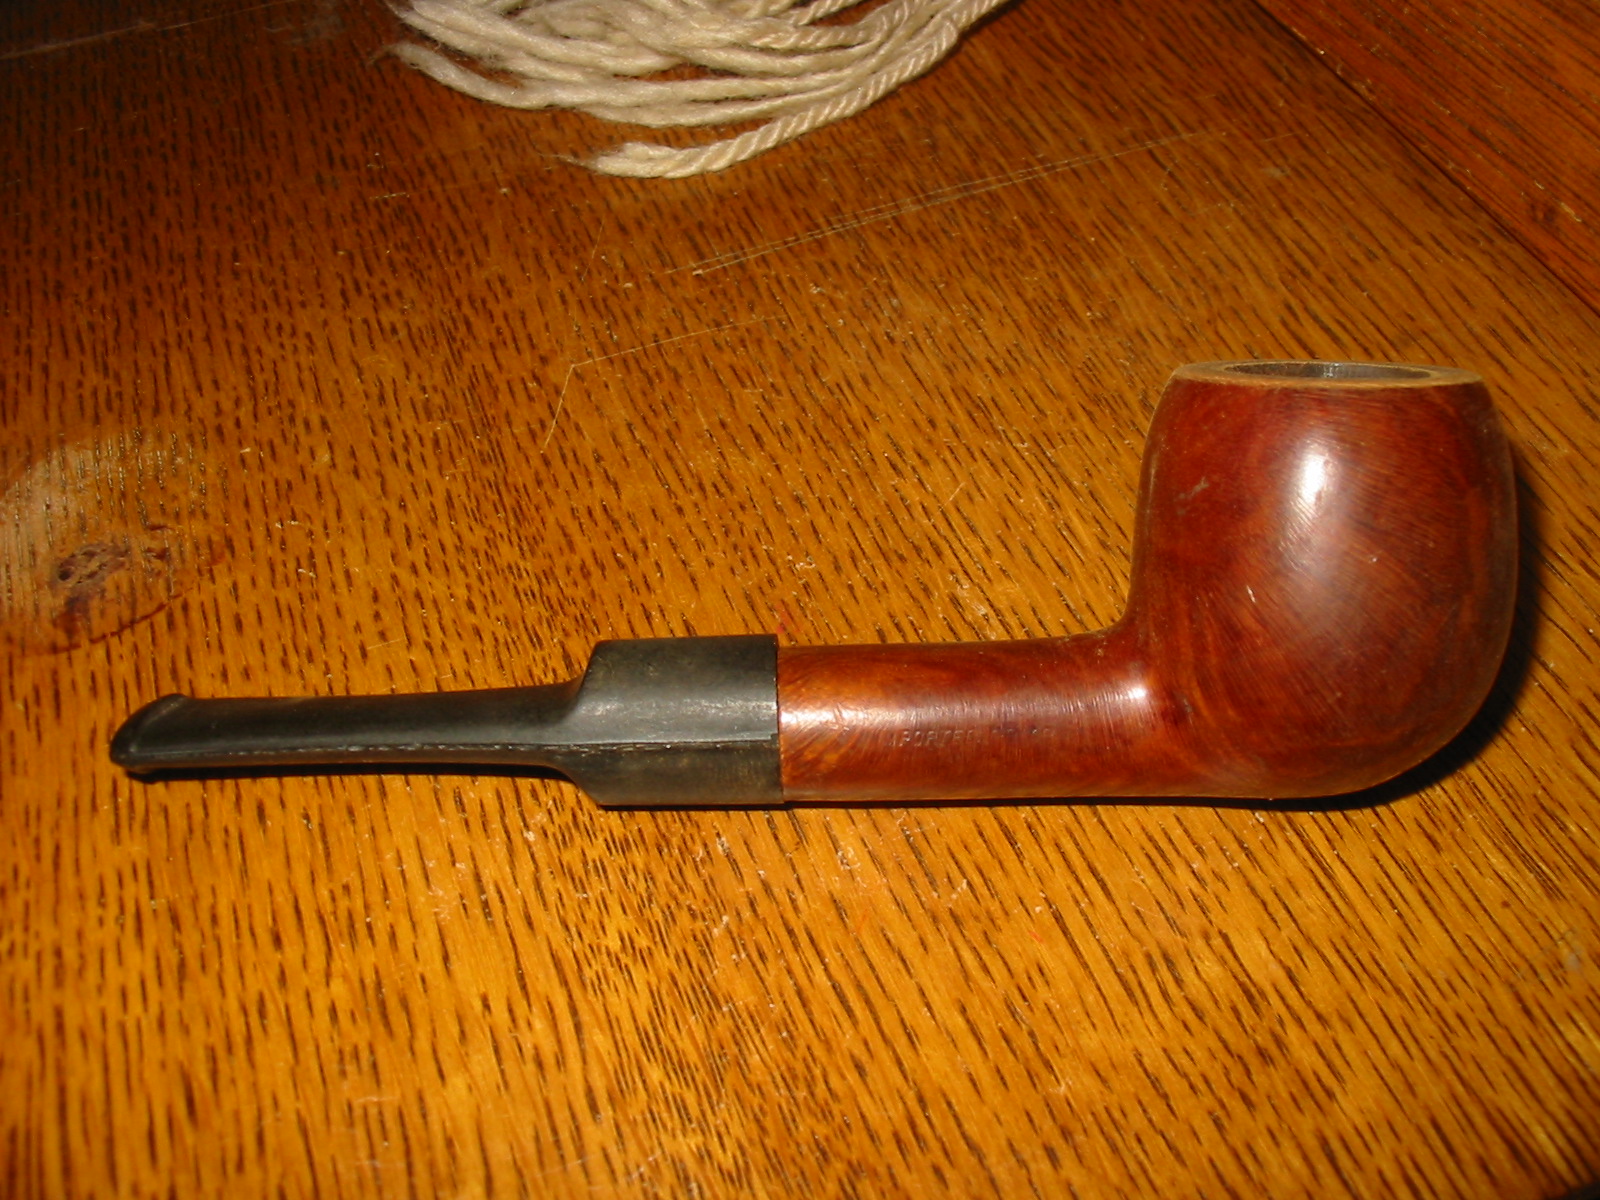
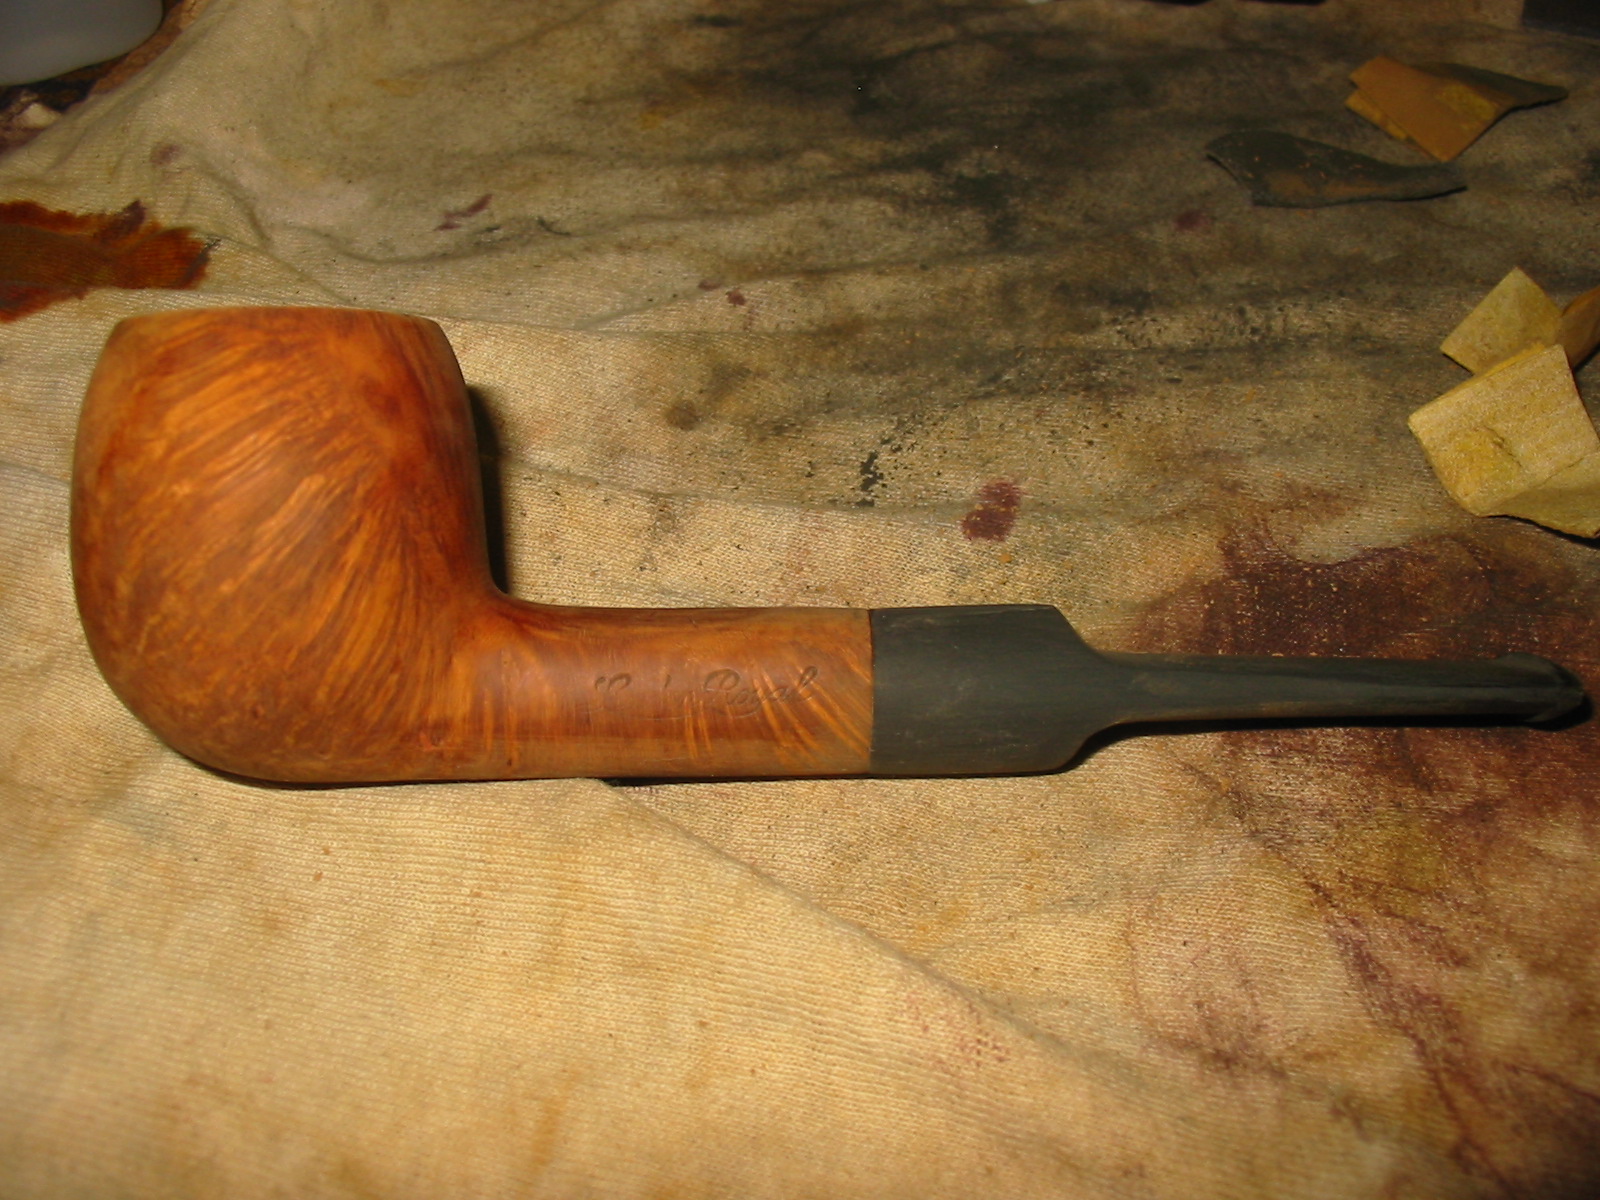
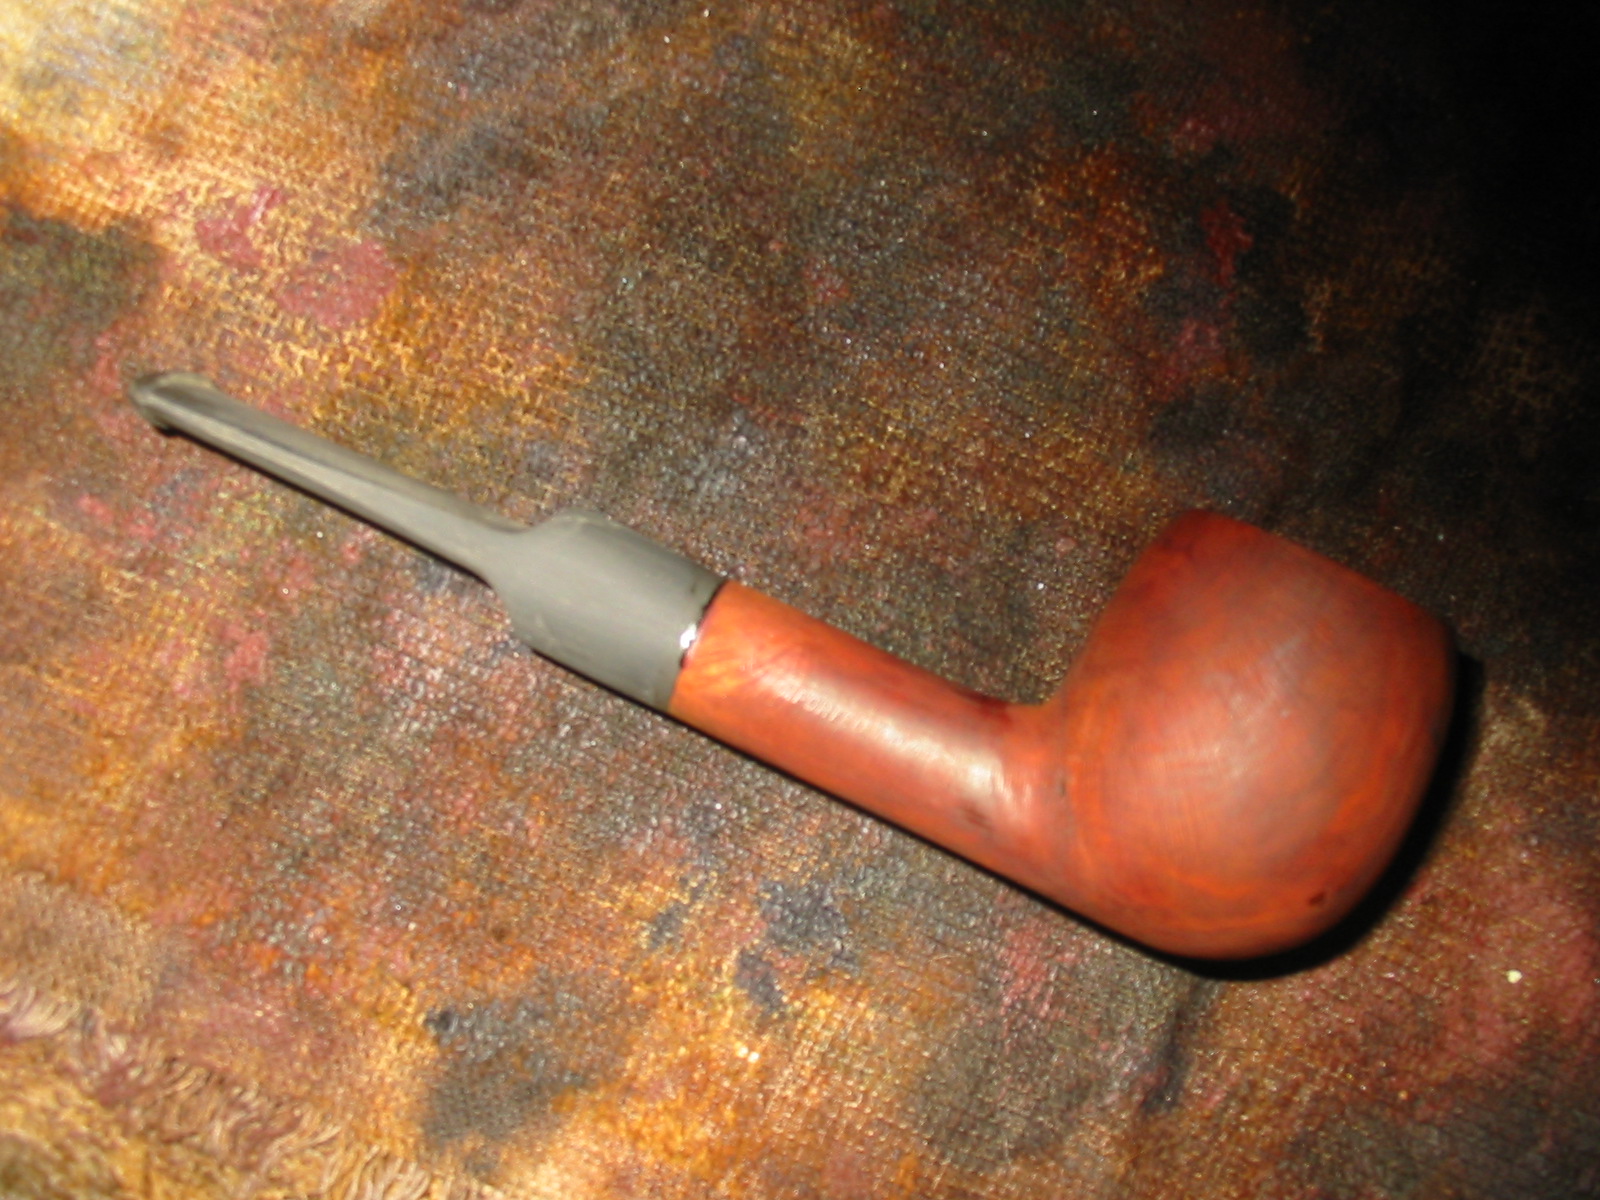
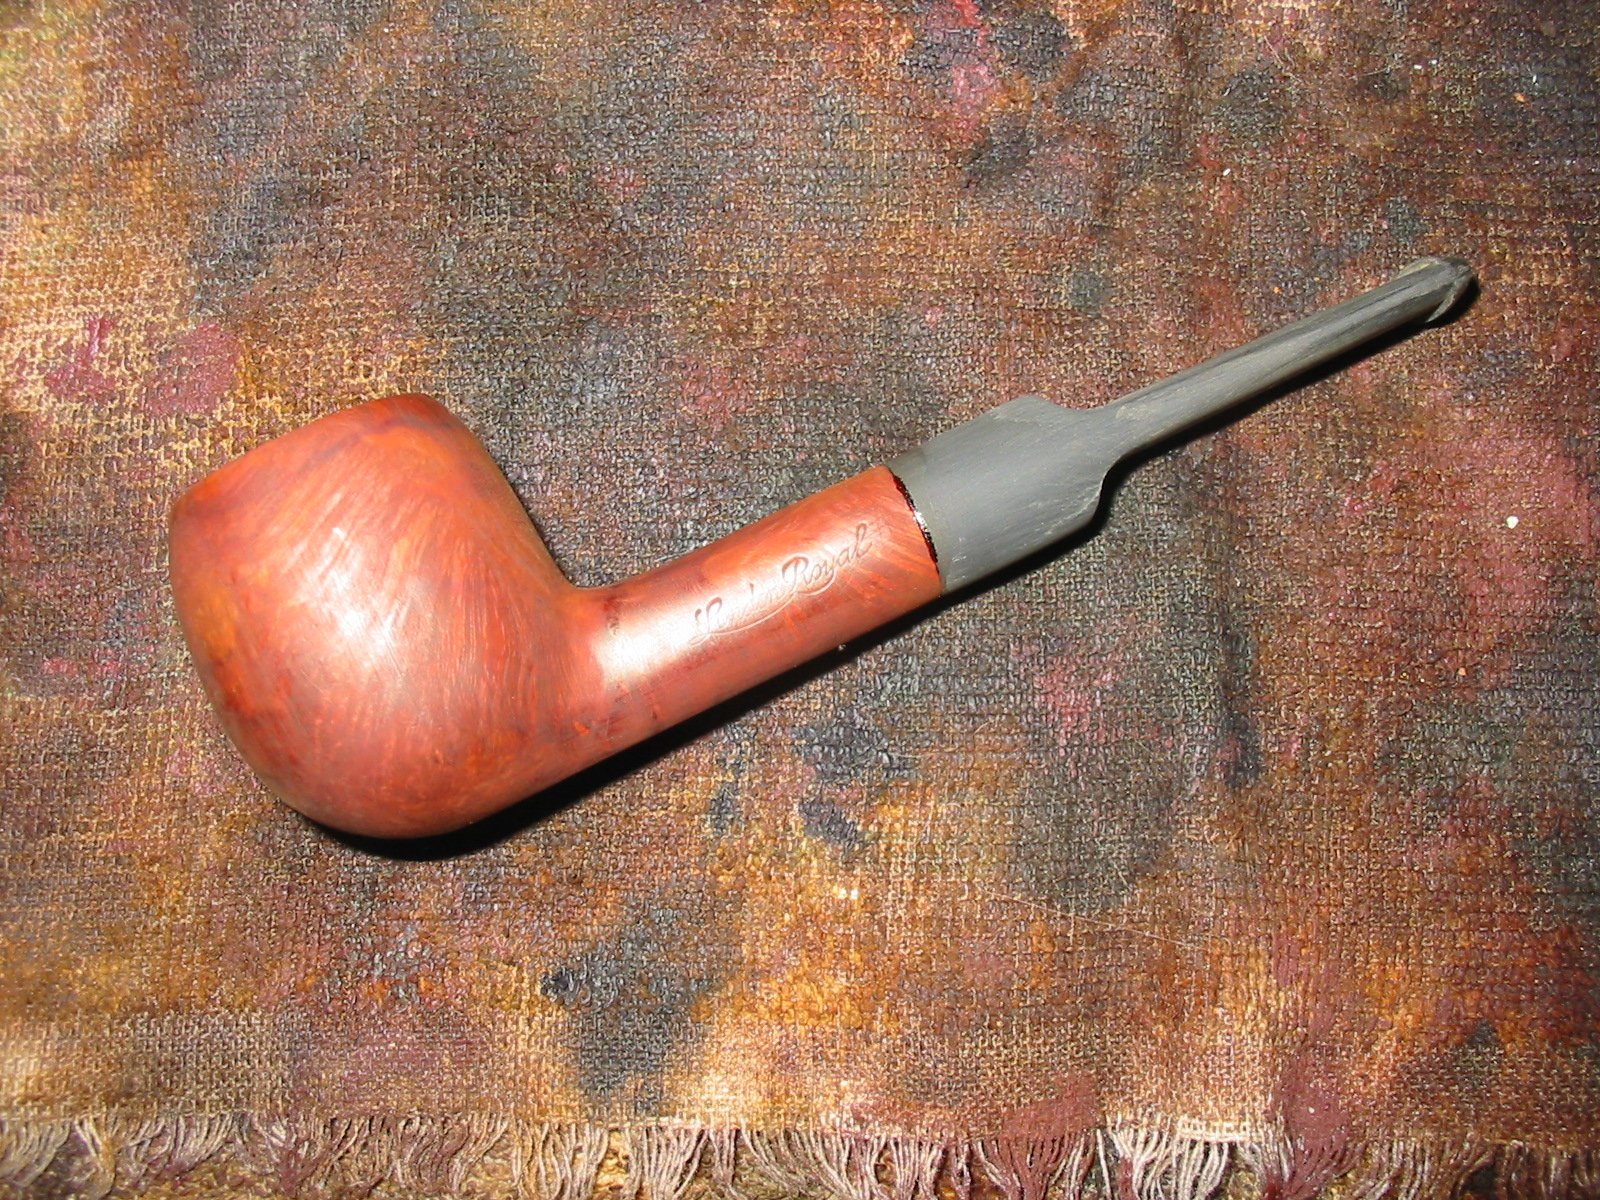
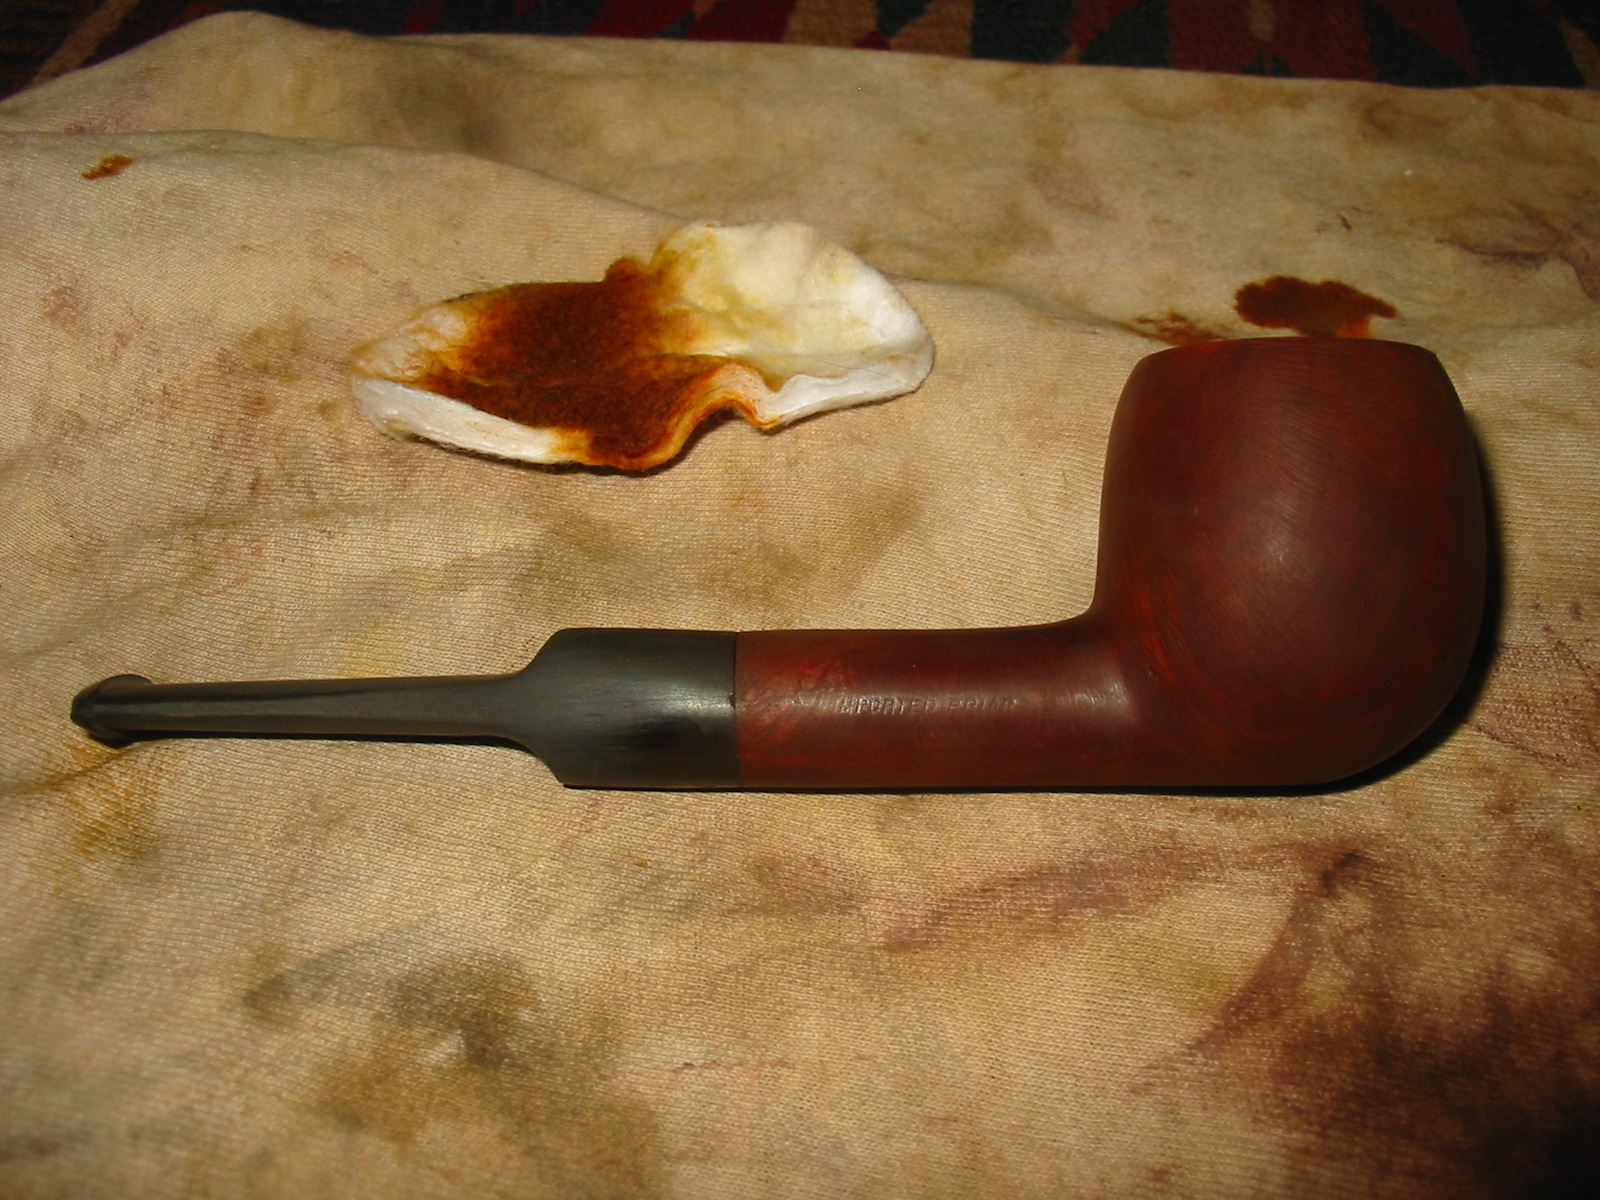
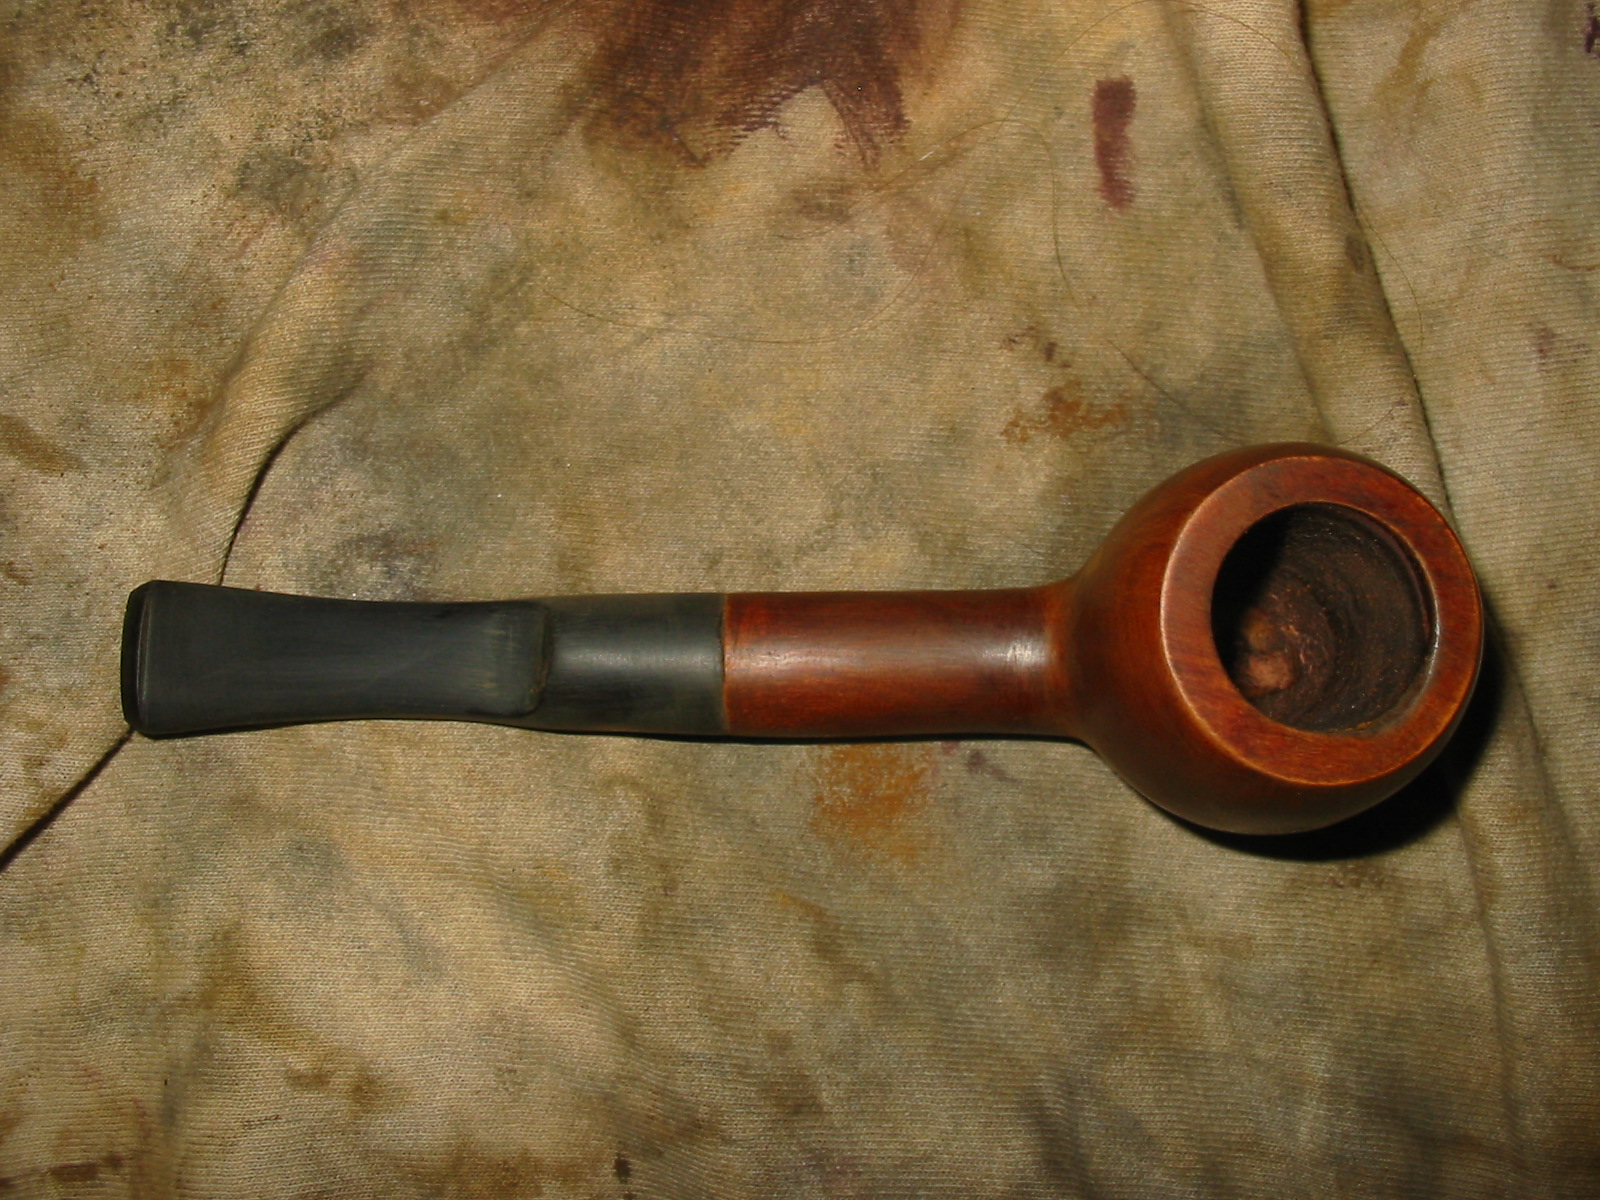
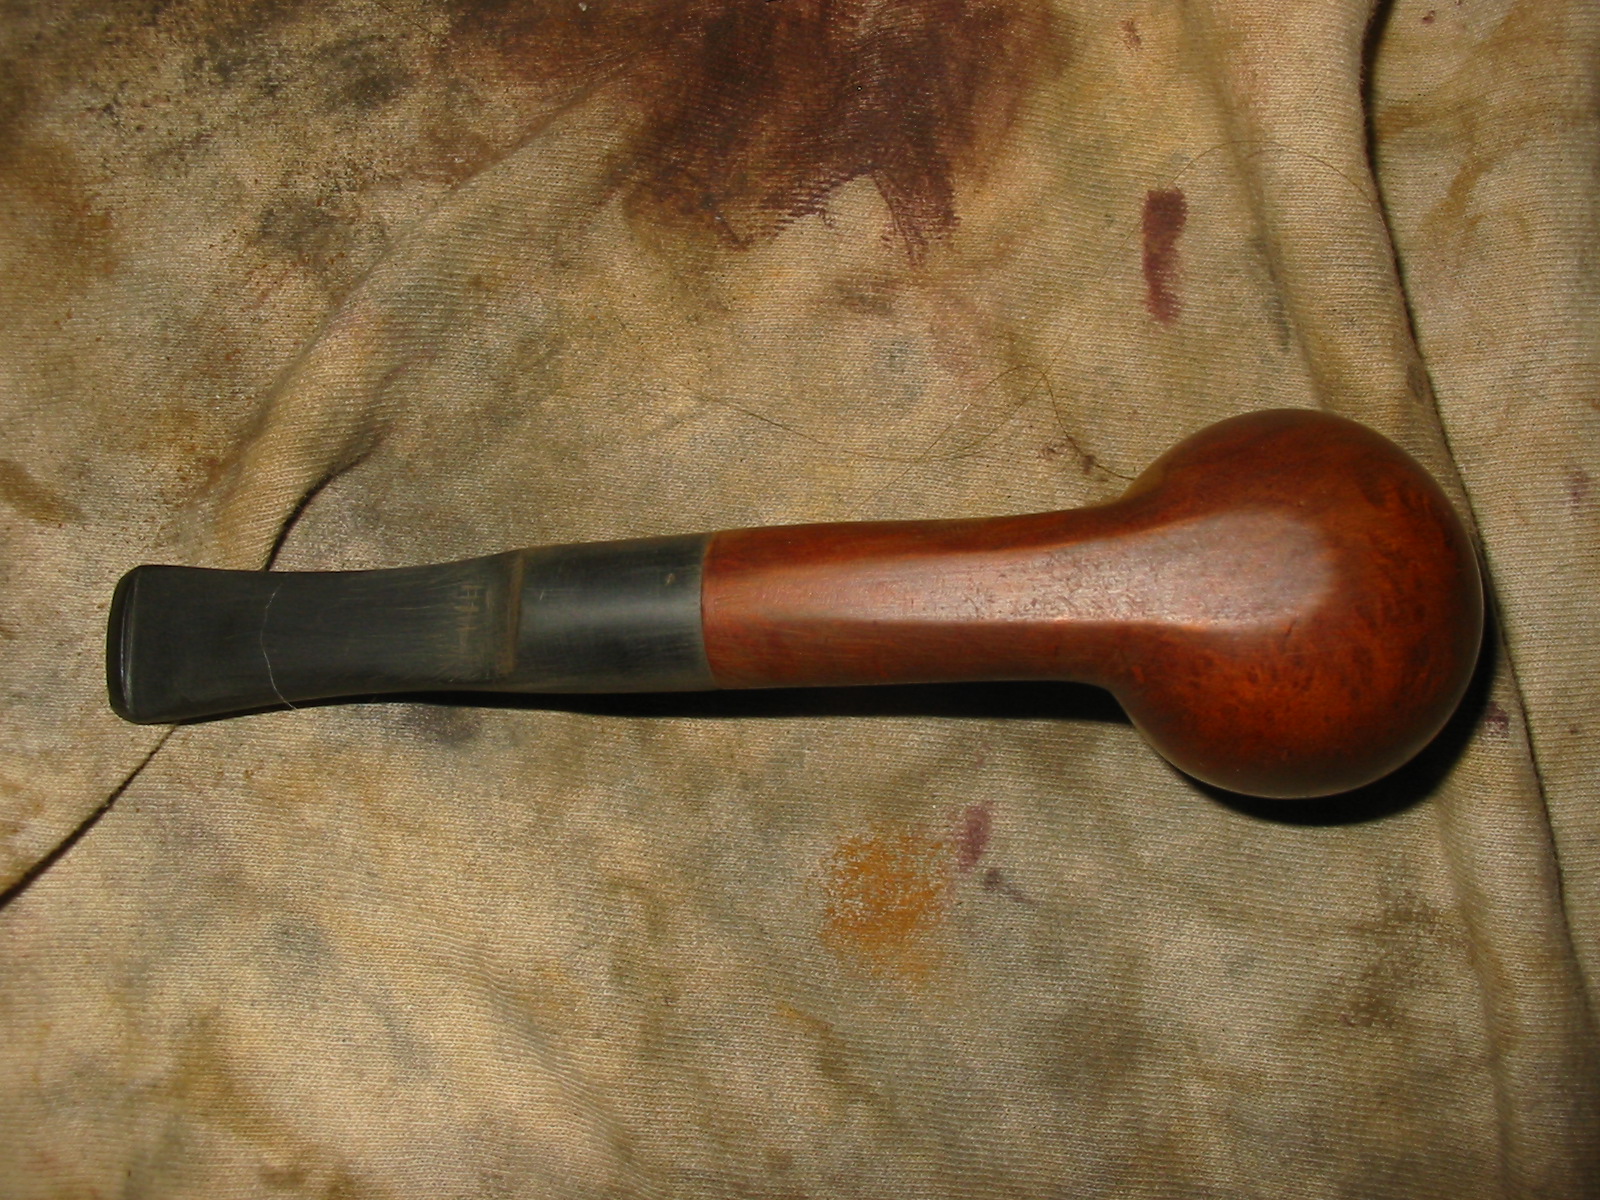
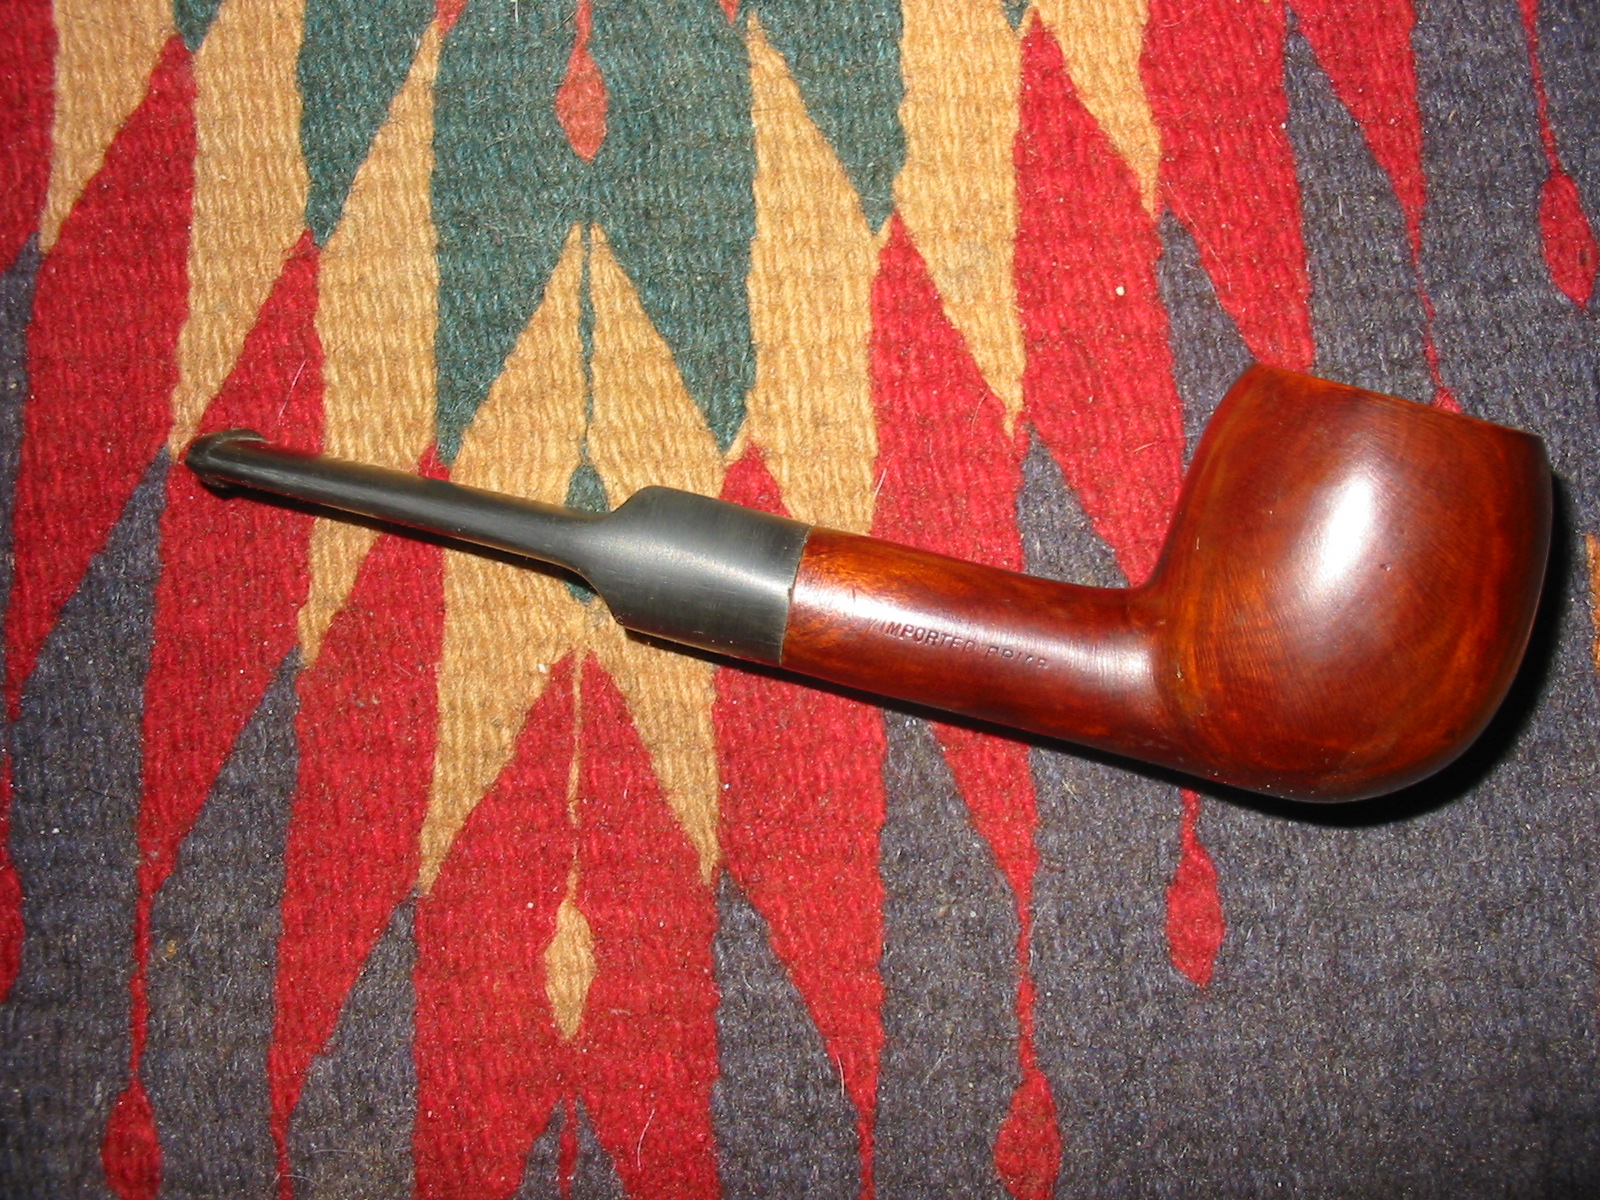
I am down to about 16 pipes in my box to be refurbished and all of them need to be restemmed. Some of them are full of fills or are just pipes that for one reason or another I have avoided dealing with. But I am at the bottom of the box and need something to work on so I am left to choosing from that lot. Last evening I chose this little apple shaped pipe, fit a new stem on it and reworked the finish and the fit of the stem. It is stamped London Royal on the left side of the shank and on the right side Imported Briar. It seems to me that it is thus an American made pipe. I have done no research on it so I have no idea of the manufacturer. The first series of four photos show the pipe after I turned a tenon to fit the shank. I used a new stem blank that is a nice hard vulcanite that seems less prone to oxidize. The dust from sanding is black. You can see the shape of the bowl and the condition it was in when I started in these photos.
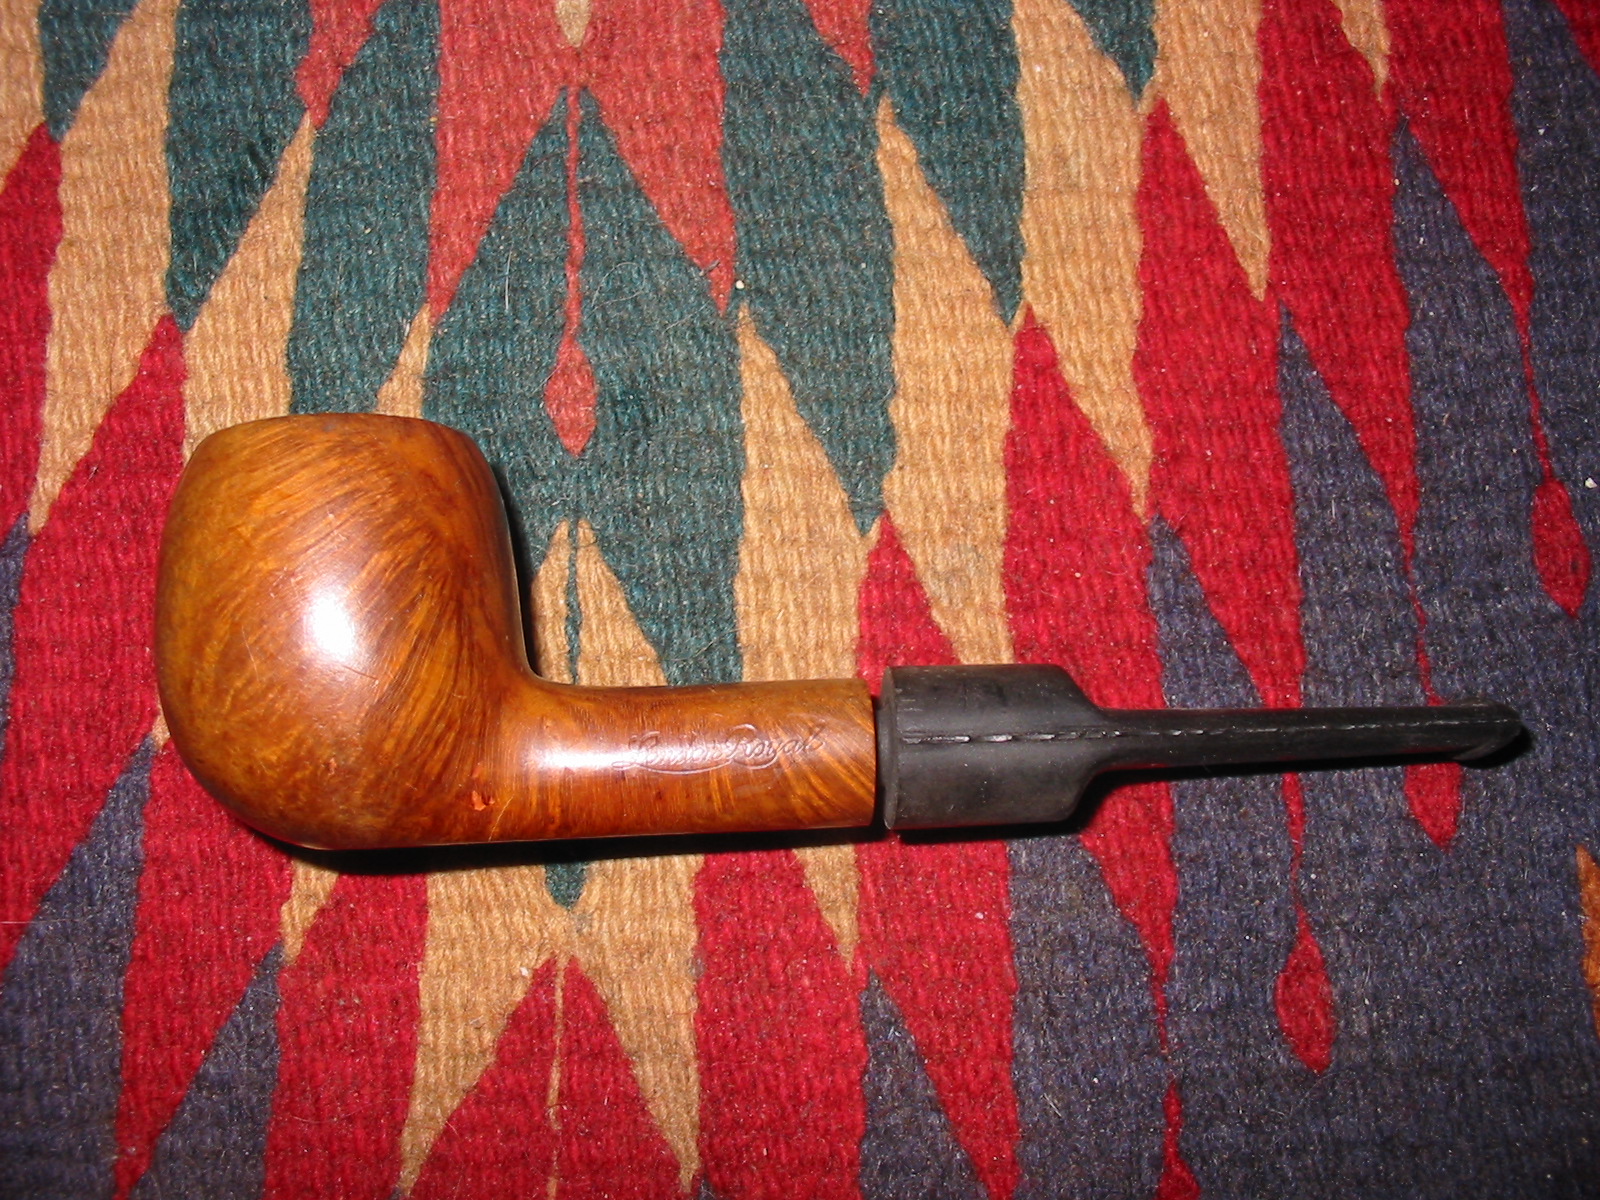
The tenon was long for the shank so it would need to be taken down until it fits snugly against the bottom of the mortise. You can see from the photos the small fill on the bottom of the left side of the bowl. The stem blank would also need to be cleaned up to remove the remnants of the casting.

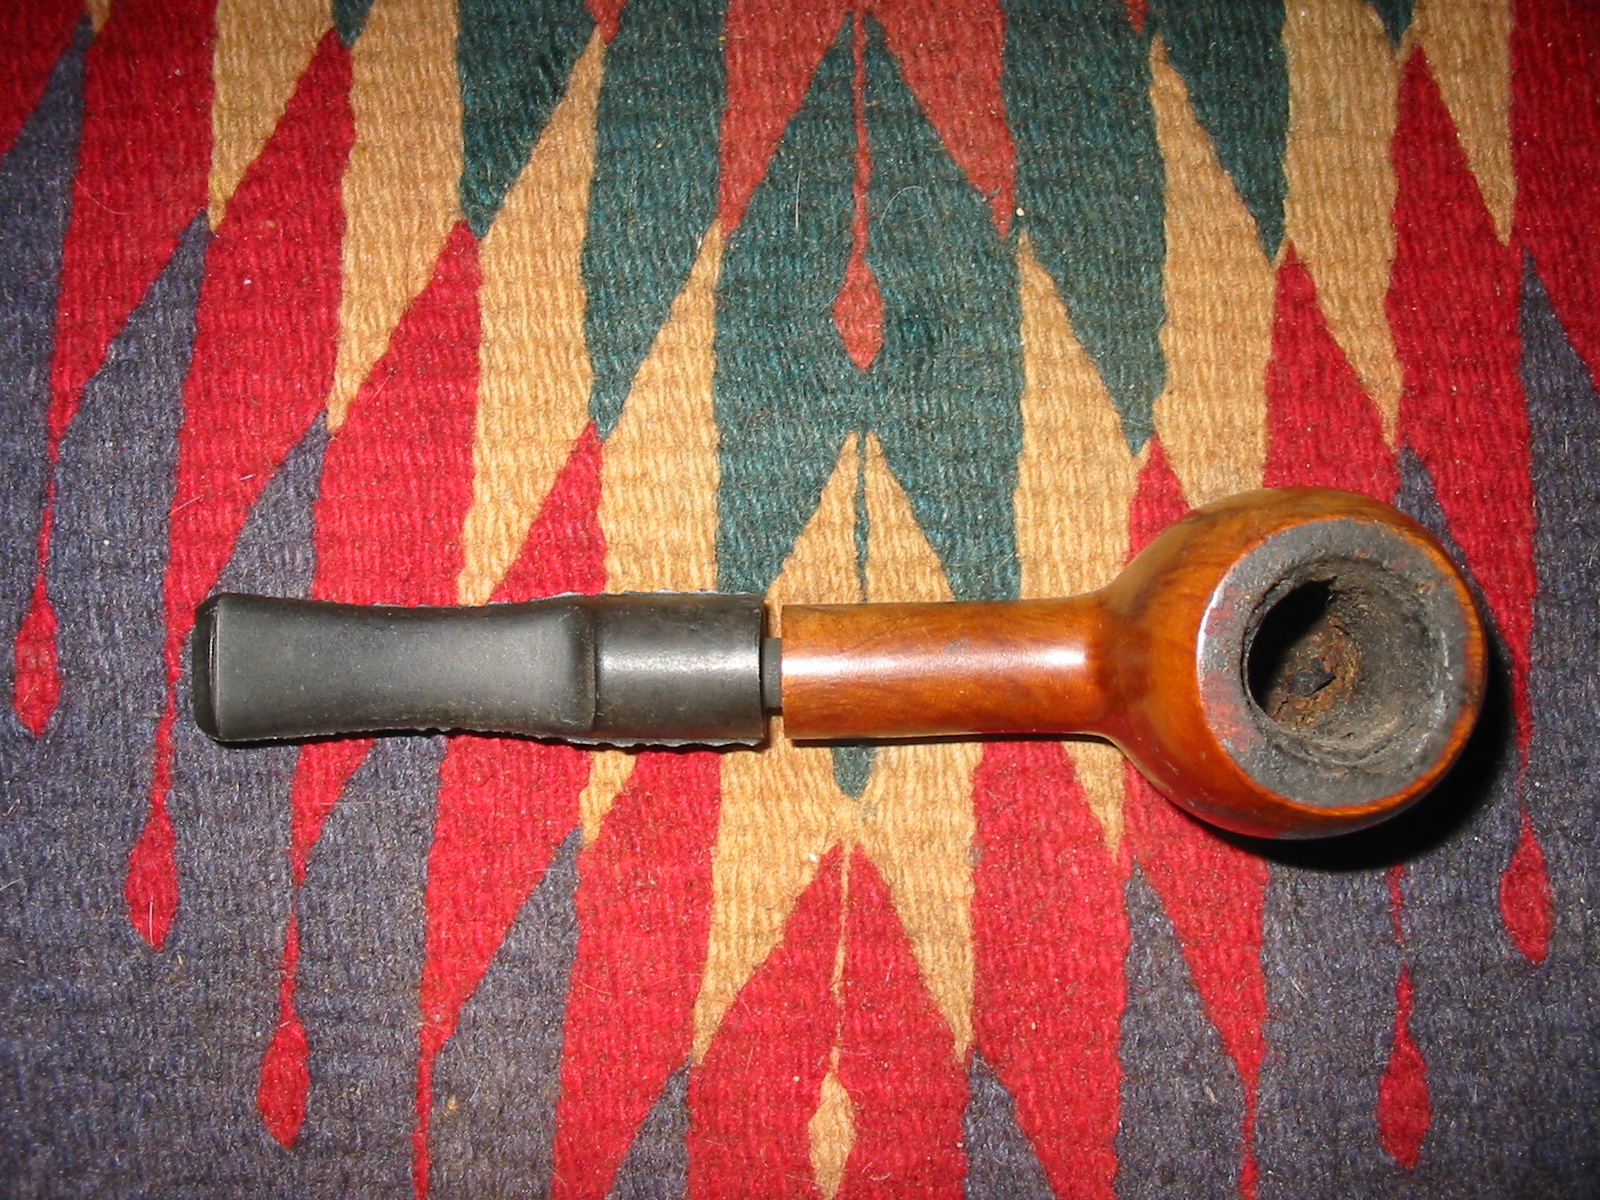
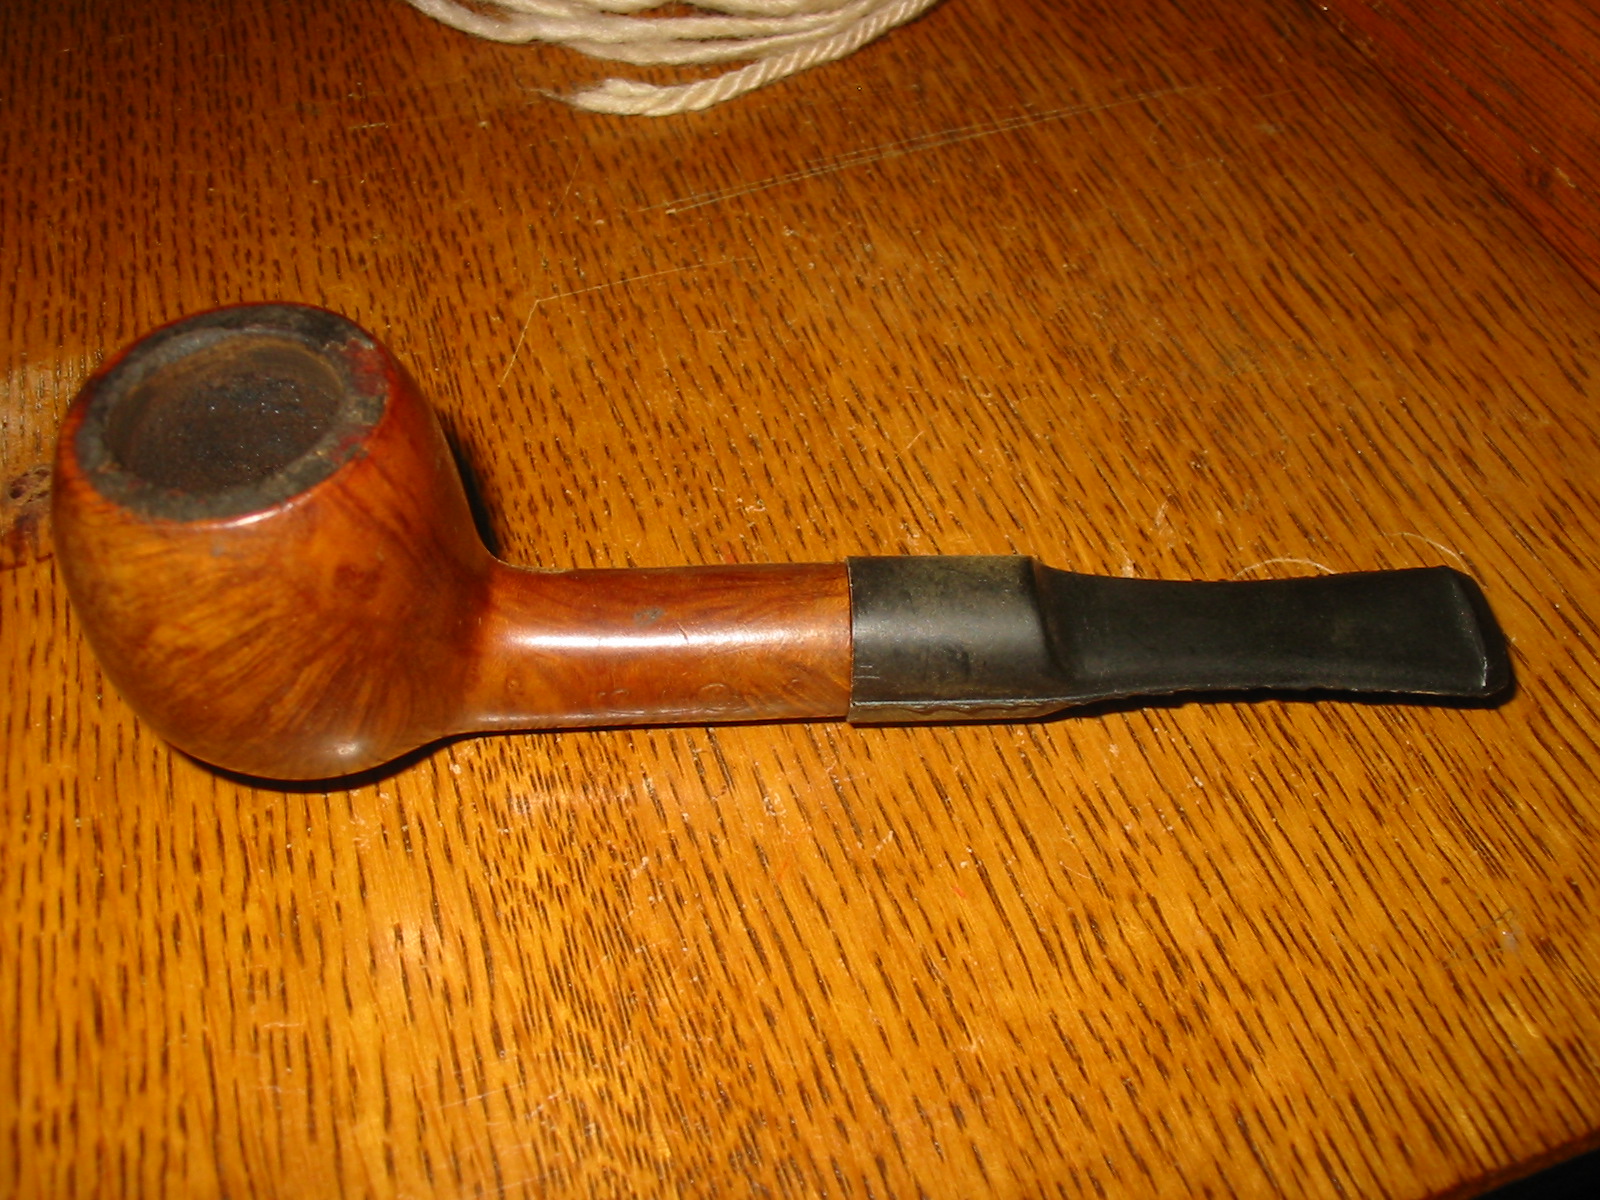
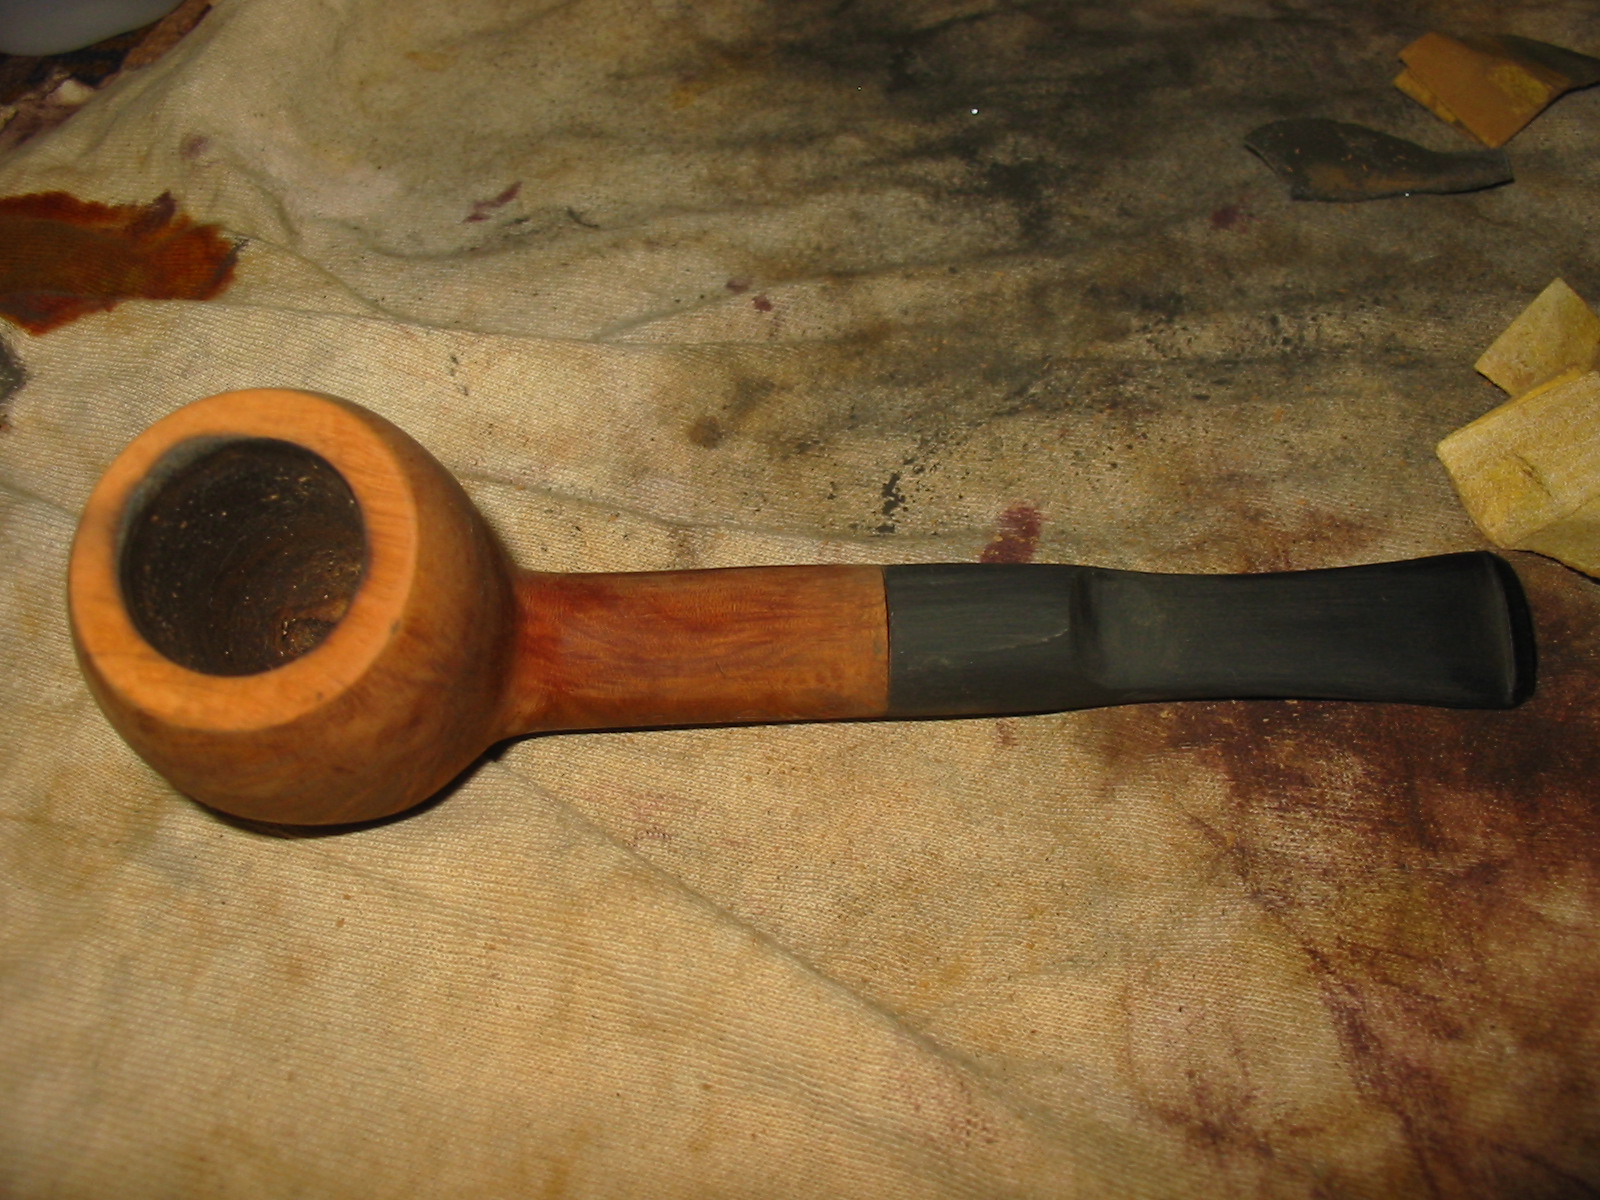
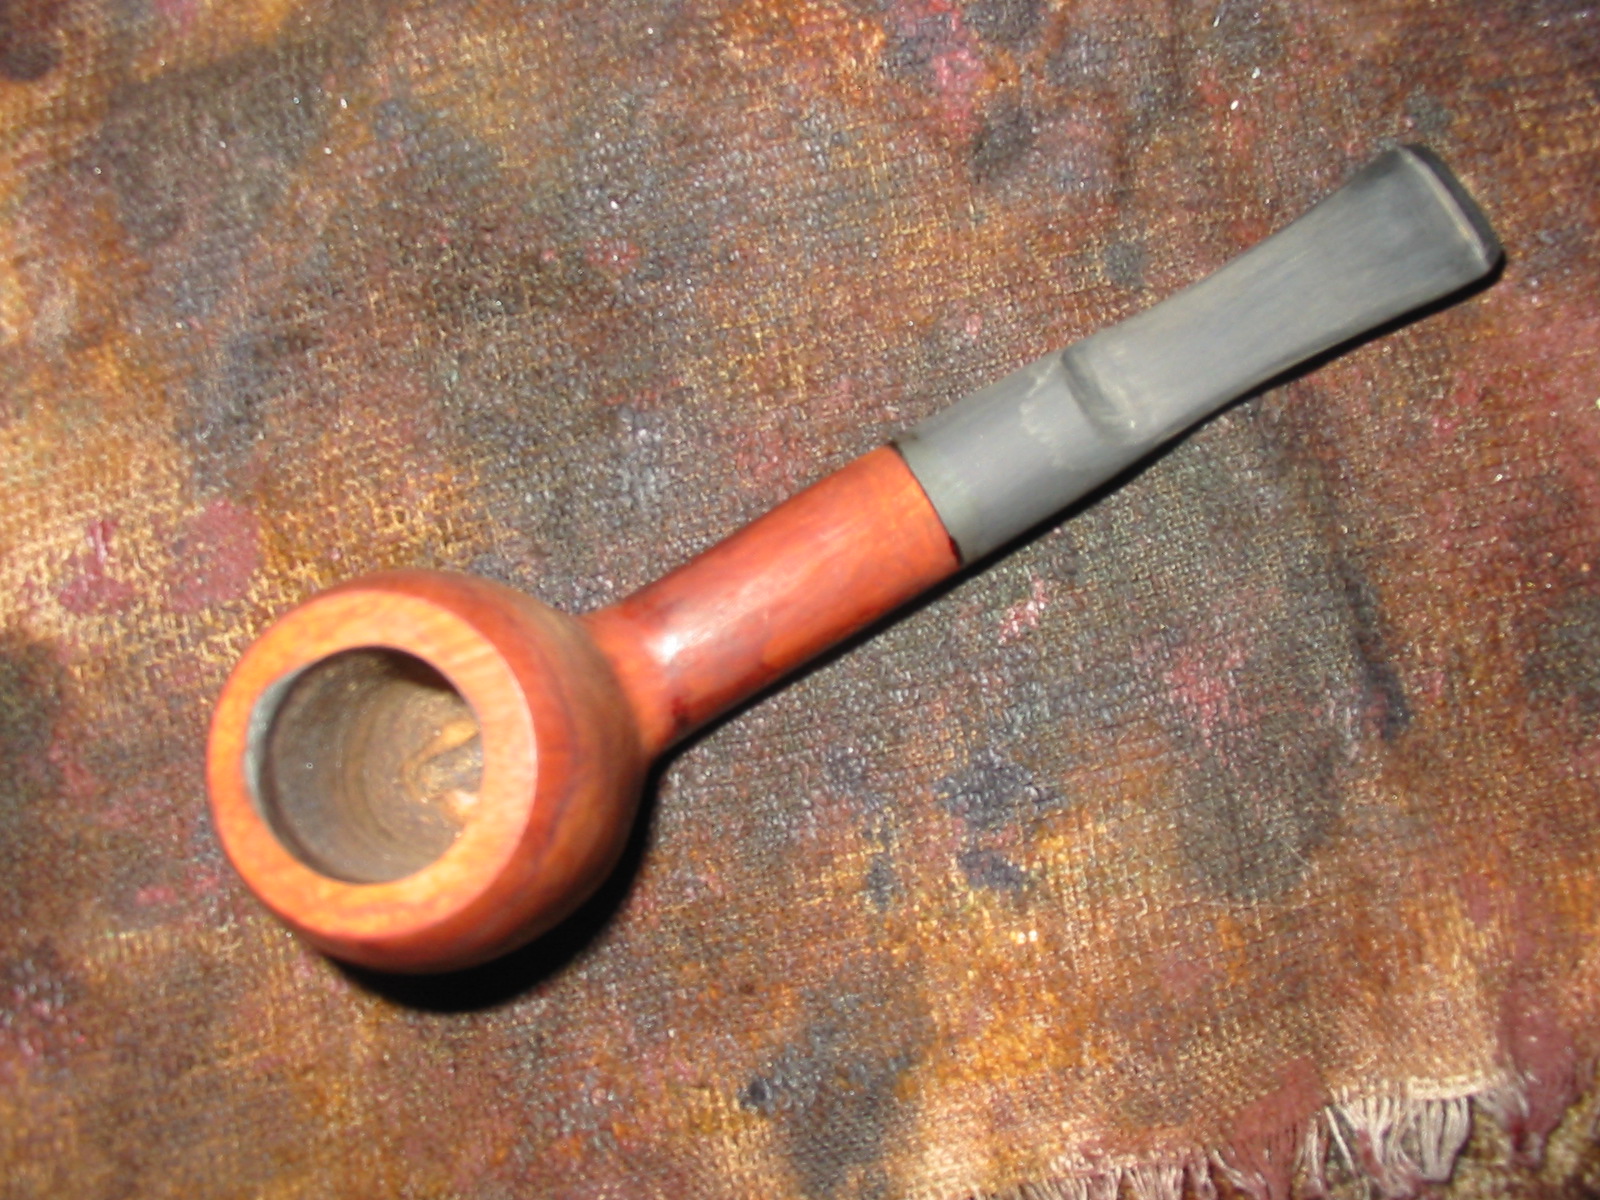
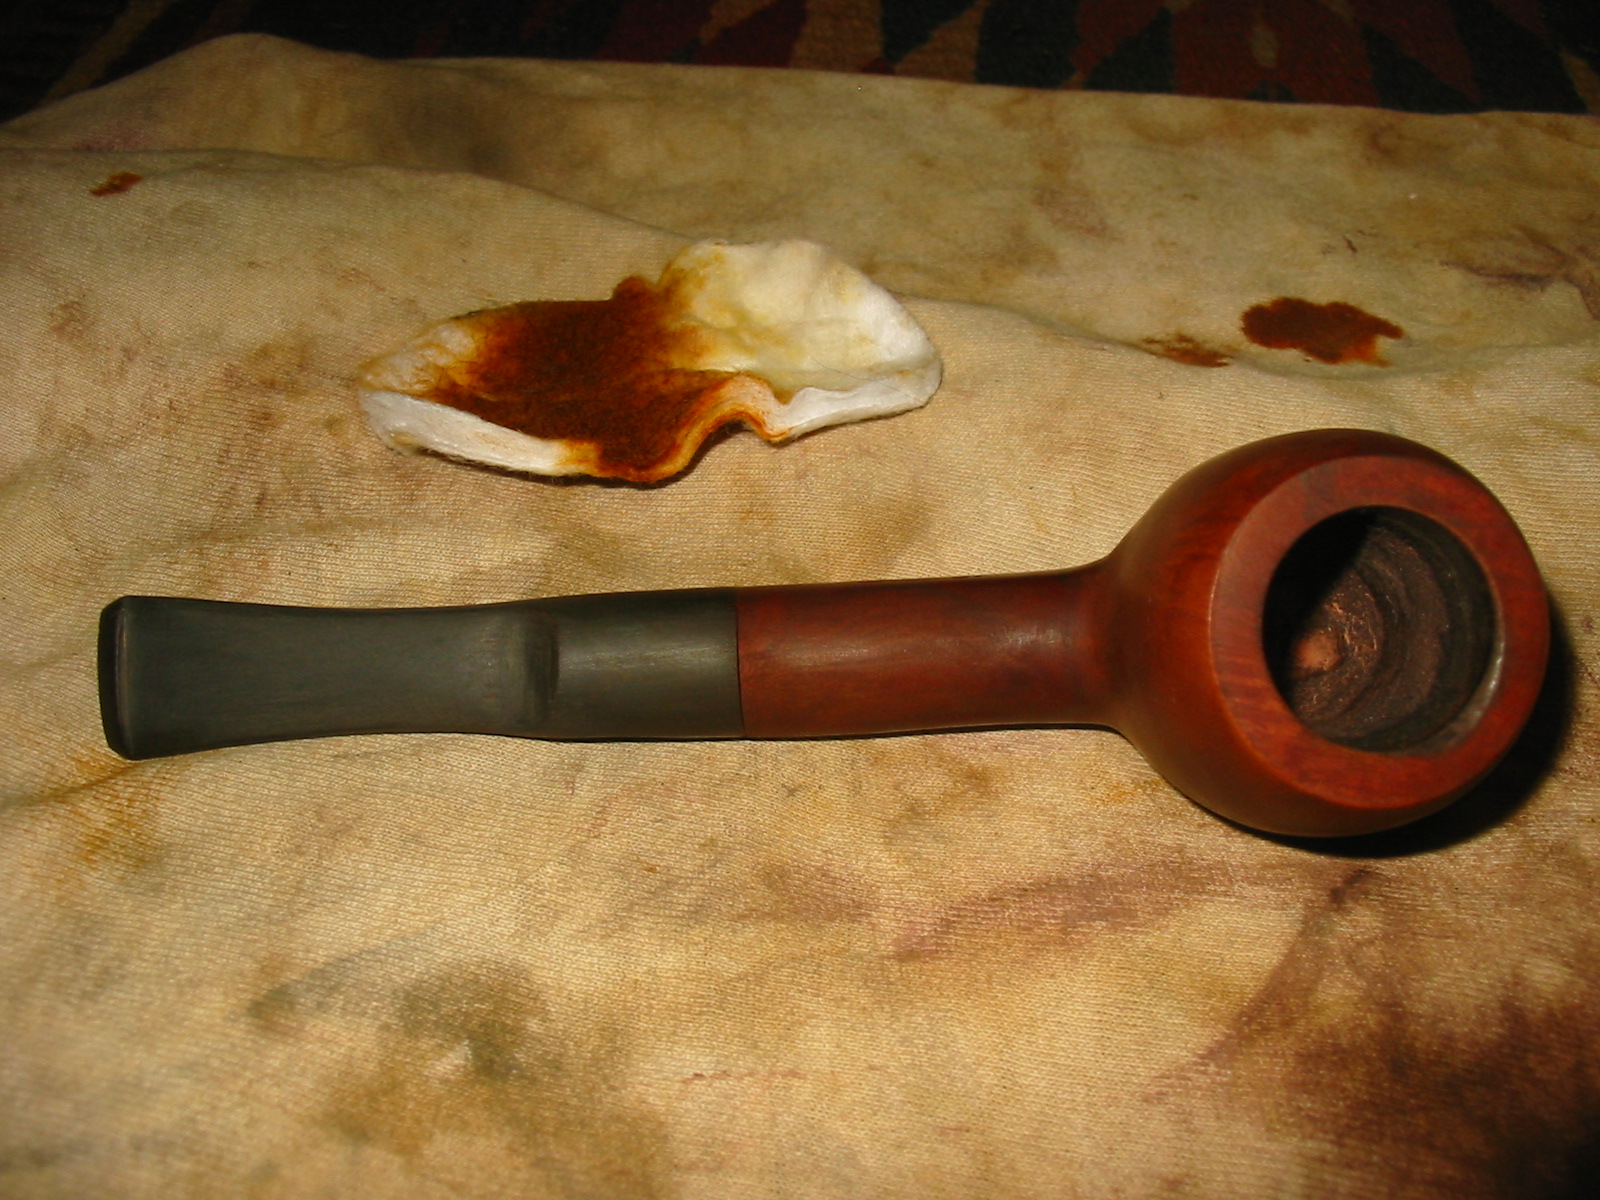
In the photo above you can see that the bowl still has tobacco in it and the cake uneven and rough. The rim is dirty and caked. There is one slight burned area on the rim as well on the front right side of the inner edge of the rim.
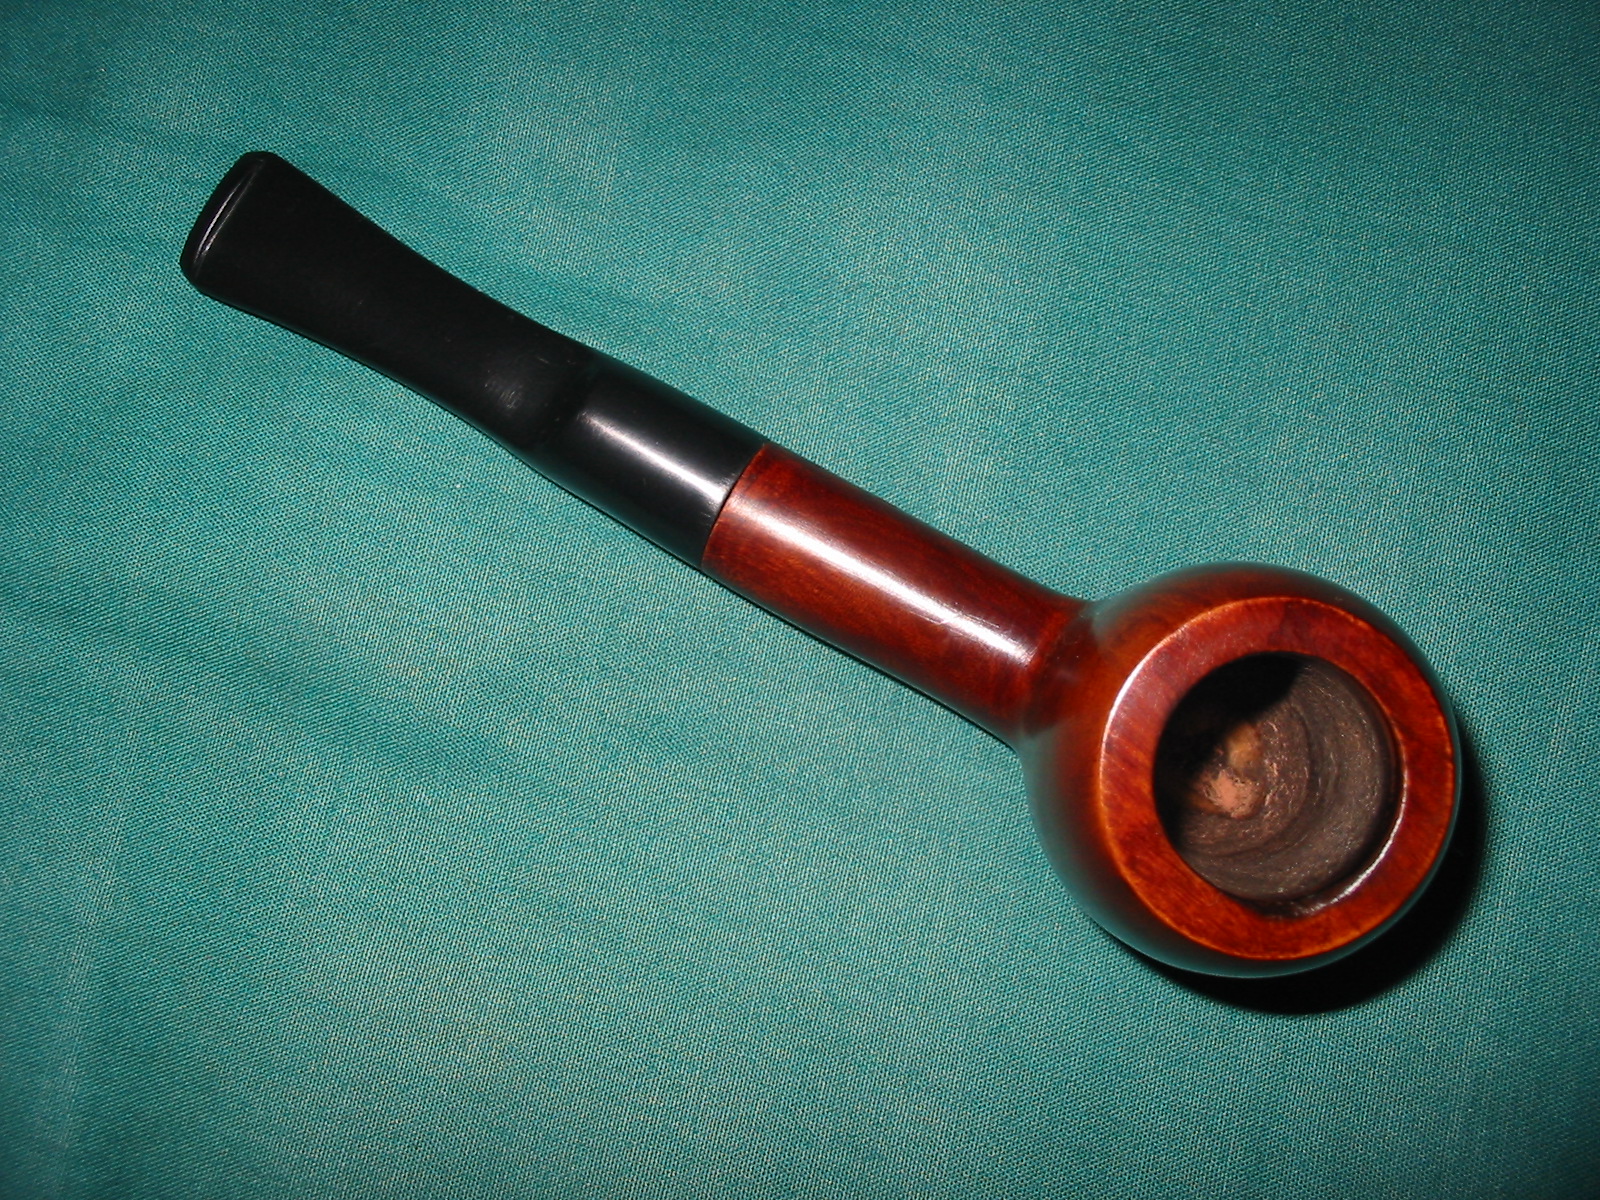
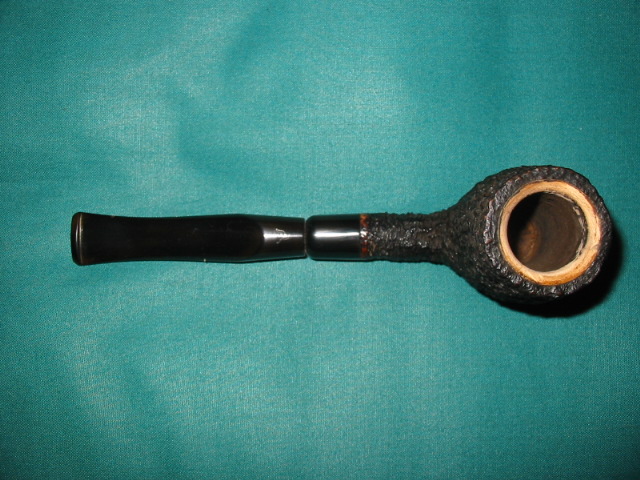
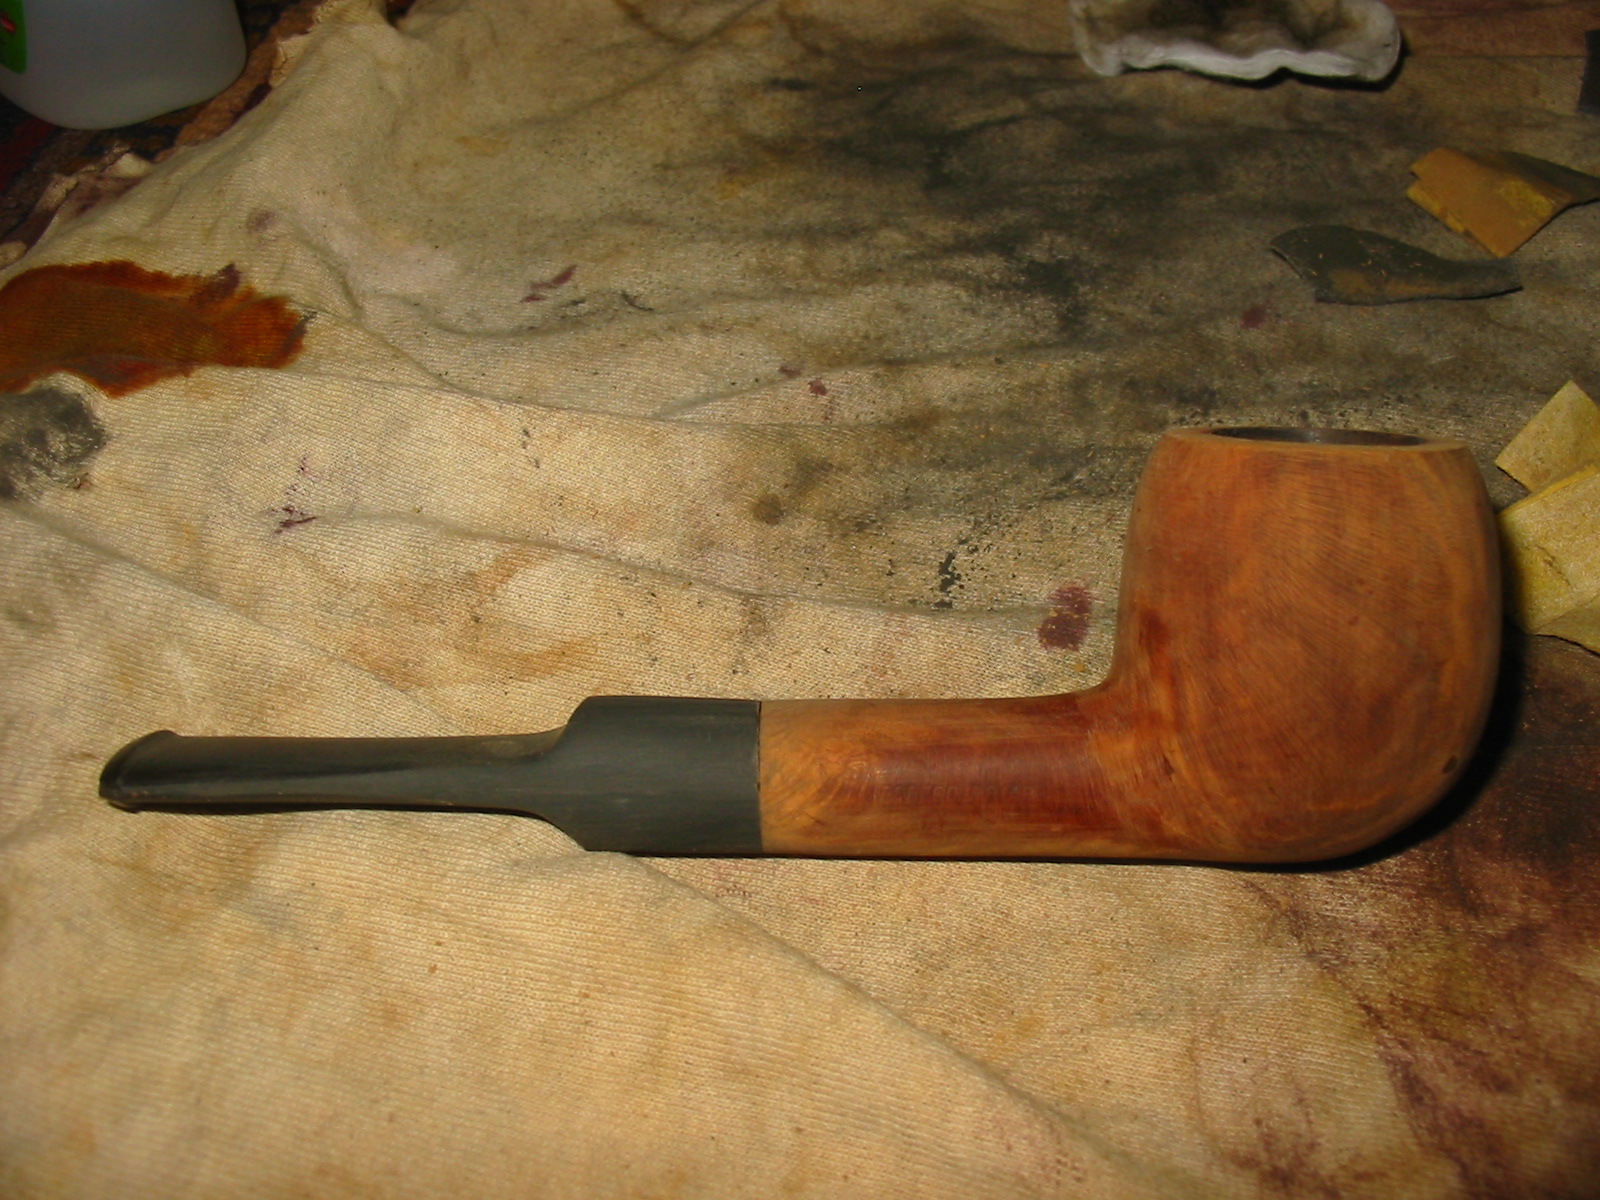
I shortened the tenon in order to get the snug fit in the mortise. I was then able to get the stem to fit snugly against the shank. I reamed the bowl to clean up the uneven cake. The next two photos show the stem fit and the reamed bowl. The bottom of the bowl has a groove in it that looks like it was made to fit a stinger apparatus that extended into the bottom of the bowl. I do not have that apparatus as the bowl came to me without a stem. The bottom of the bowl is still fairly thick so it should not be a problem, but it could be remedied with pipe mud should I choose to do so at a later time.
I topped the bowl lightly to remove the tars on the rim and also to try to minimize the burned area that is visible in the photo above on the front right inner edge of the bowl. The next two photos show the topped bowl and the minimized rim char. I planned on removing the finish from the bowl of the pipe so staining the entire pipe should blend in the rim and bowl as well as hide the rim damage a bit.
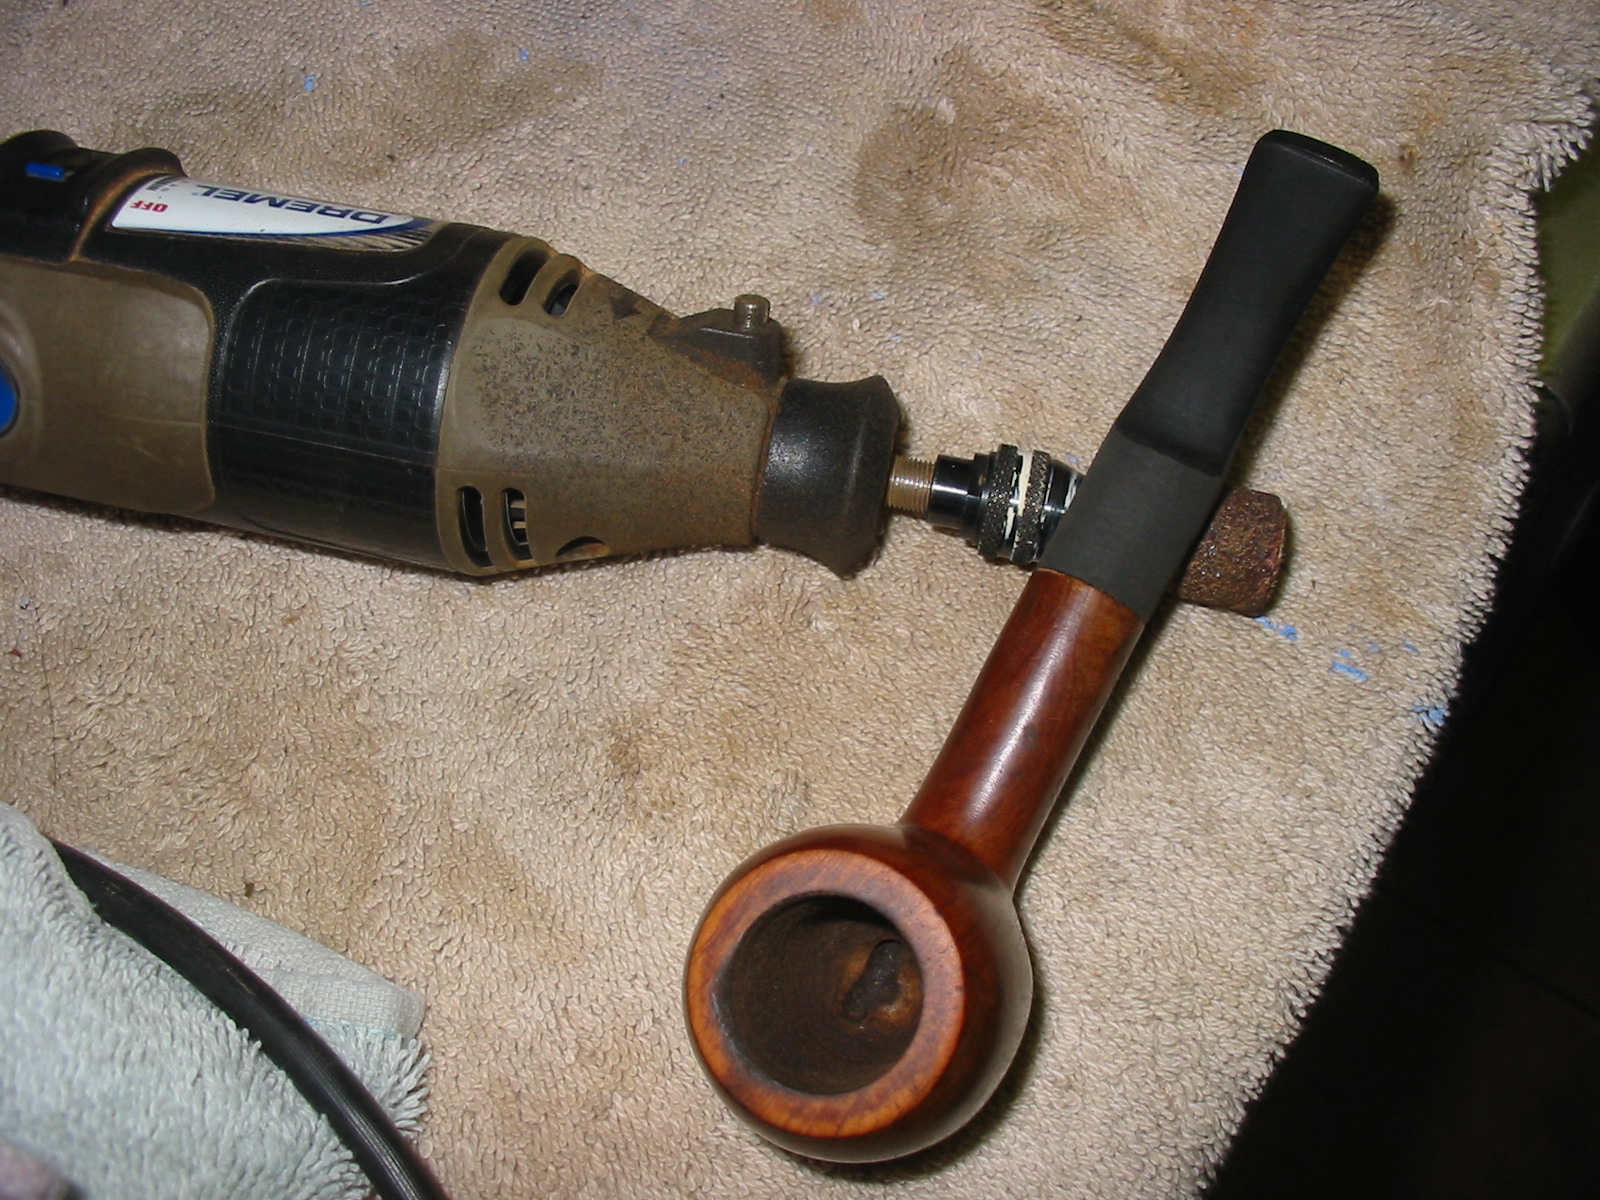
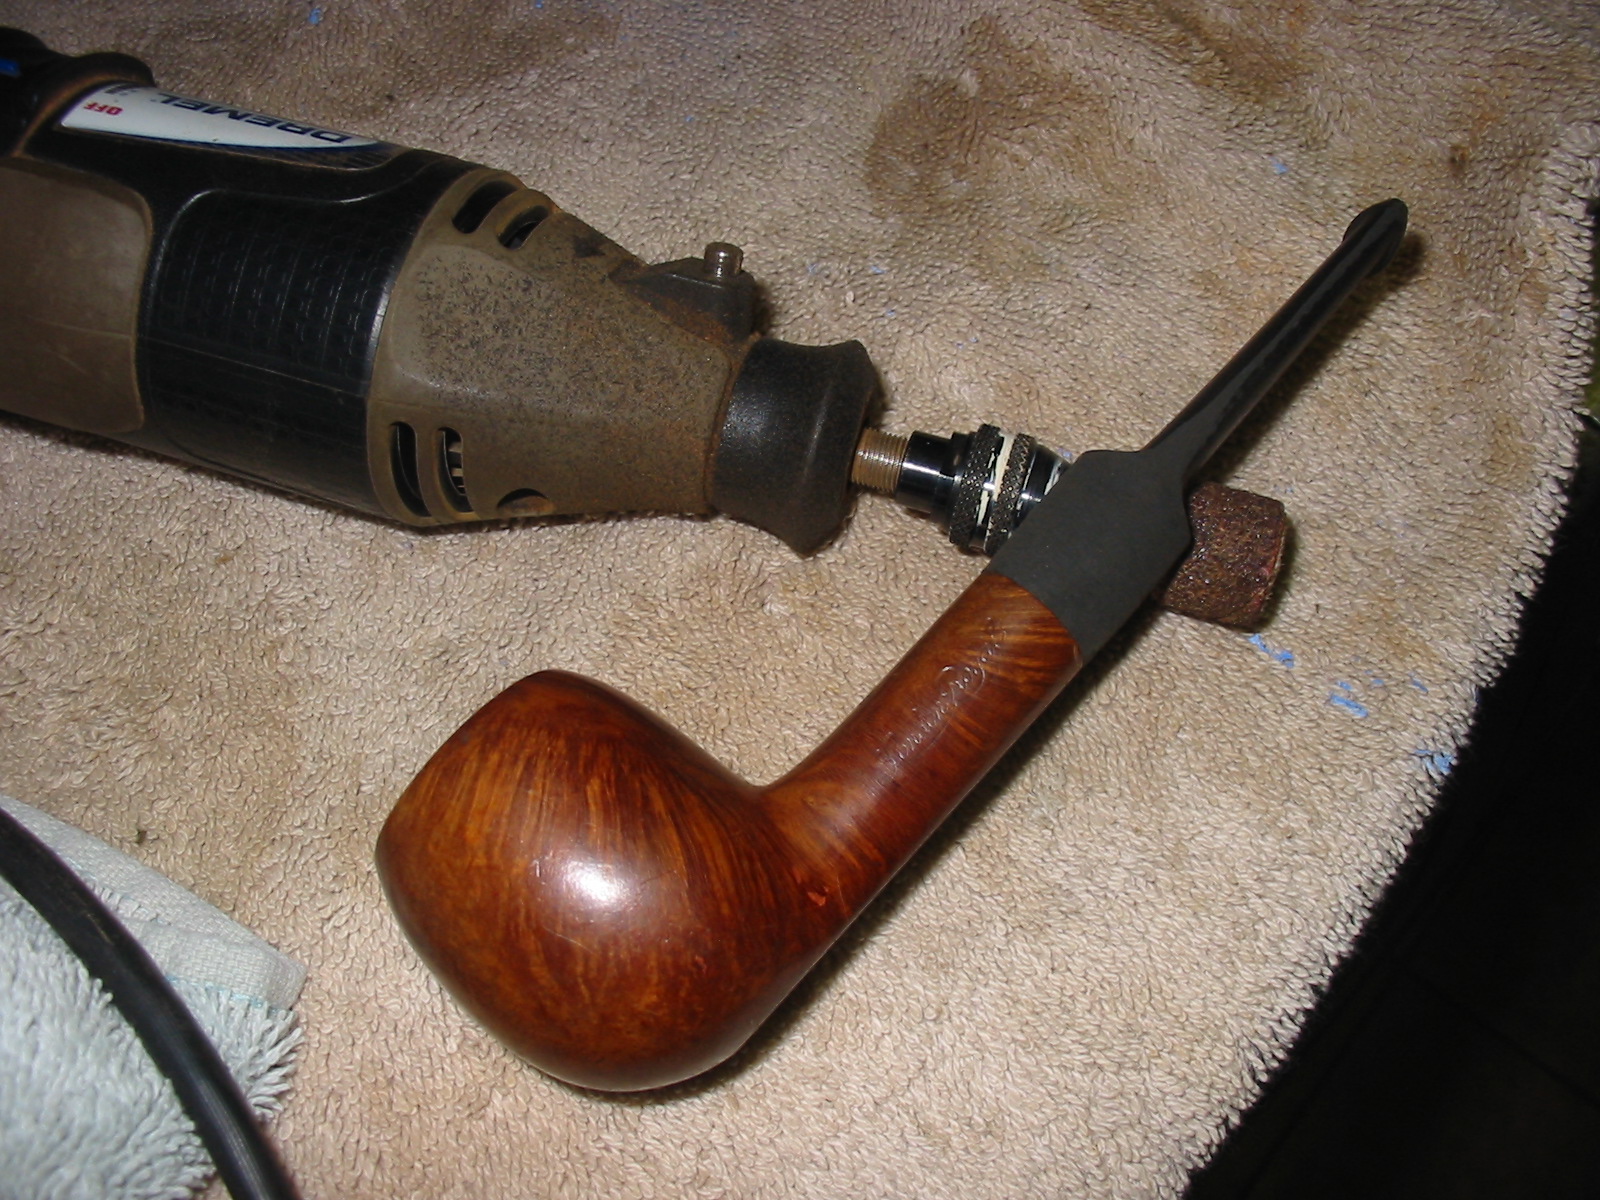
The next three photos show the stem after I have worked on the diameter of the saddle where it meets the shank and removed the rough edges of the casting of the stem. I run my Dremel at a speed that allows me to control the sanding drum as I use it to remove the excess material on the stem. In this case you can see that the excess is mainly on the top and the left side of the stem. I have found that using the Dremel with the sanding drum carefully can make the fitting of a stem short work. This particular stem blank is very high quality vulcanite as can be seen in the photos below. As I sanded the stem the sanding dust was black and the finished stem retained a very black look and colour as well. The shaping of the stem also had to take into account the changes made in the saddle as material was removed from the top of the stem and the left side. I used the sanding drum to rework the saddle area where is curves into the blade of the stem on both sides. I also had to reshape the blade to make both sides match in terms of the curves of the edges toward the button. The photos show the newly shaped and cleaned up stem. All that remains at this point is a lot of sanding and polishing before the stem is ready.

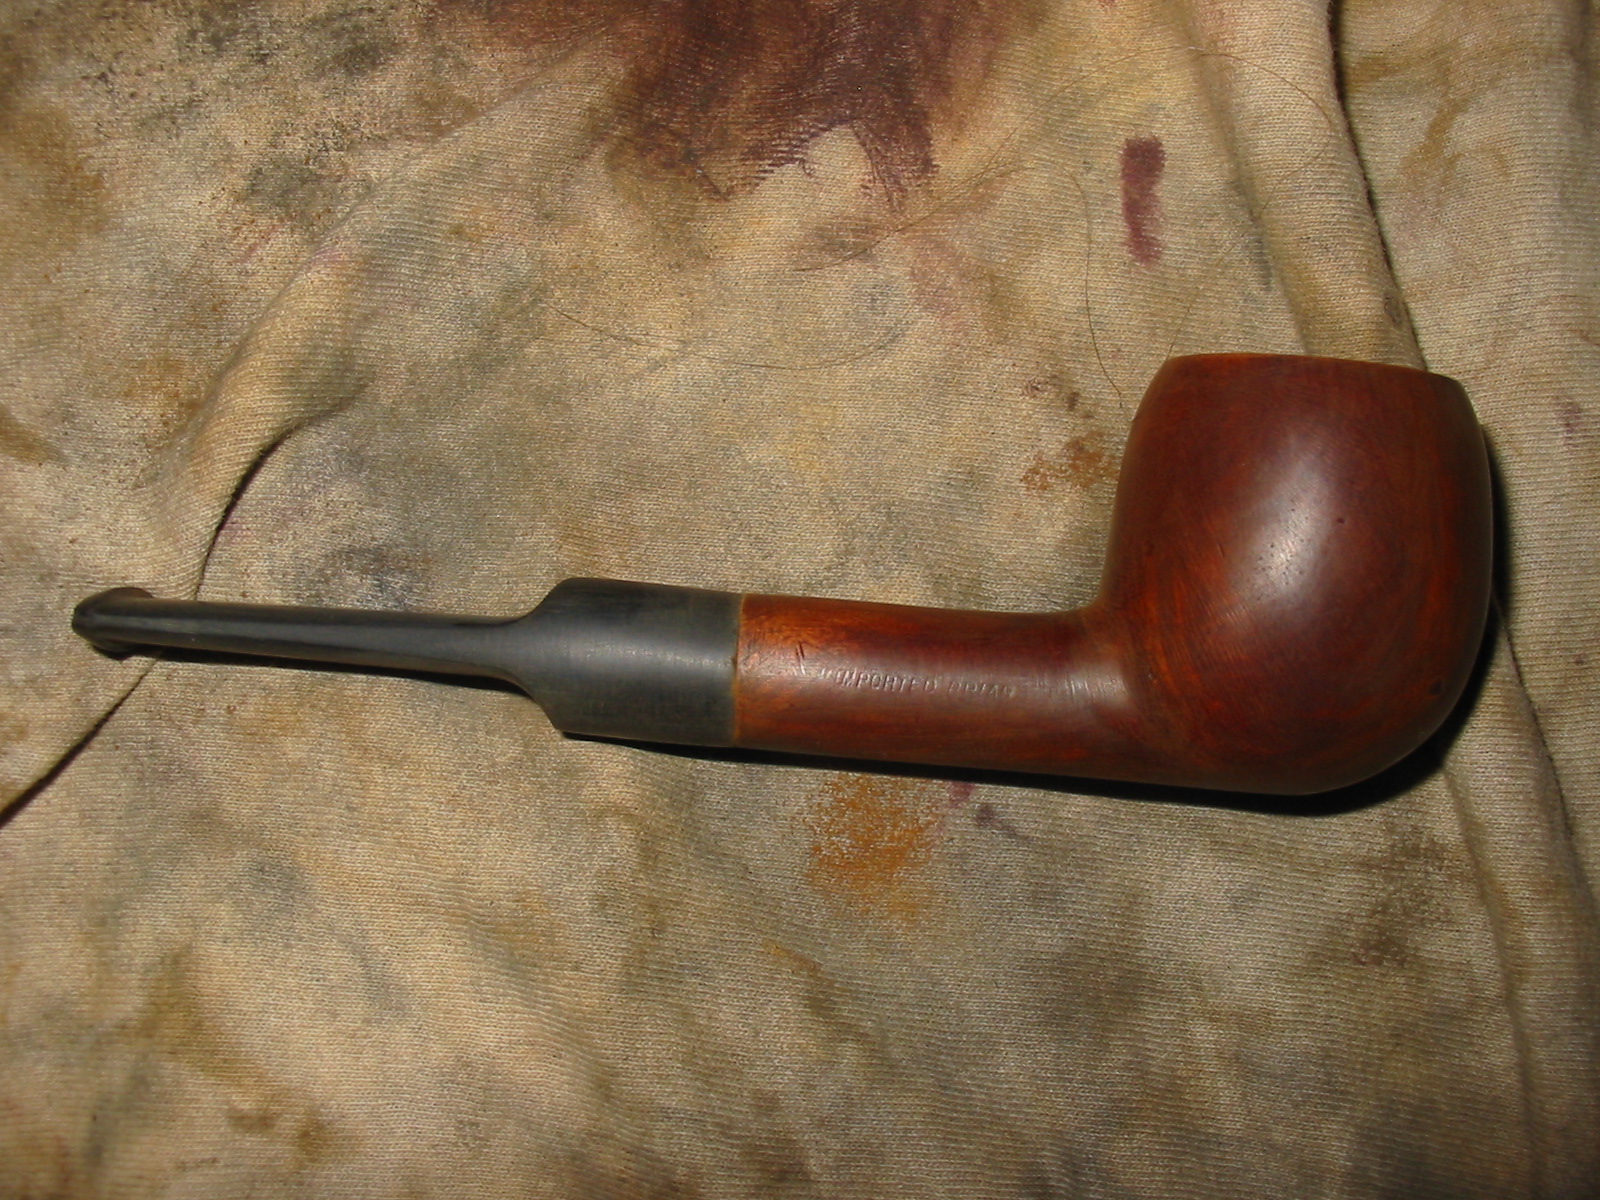
The next series of three photos below shows the pipe after I have washed the bowl with acetone to remove the finish and then sanded it with 320 grit sandpaper. I was careful around the stamping in order to leave it in tact. I wanted to bring the bowl and the rim to the same state so that the new stain would take well and match. I also sanded the stem with a medium grit sanding sponge to smooth it out as well. I wanted the shank stem transition to be smooth and even with no high or low points in the fit. The pipe revealed some really nice looking grain on the left side of the bowl but had bald spots on other side of the bowl.
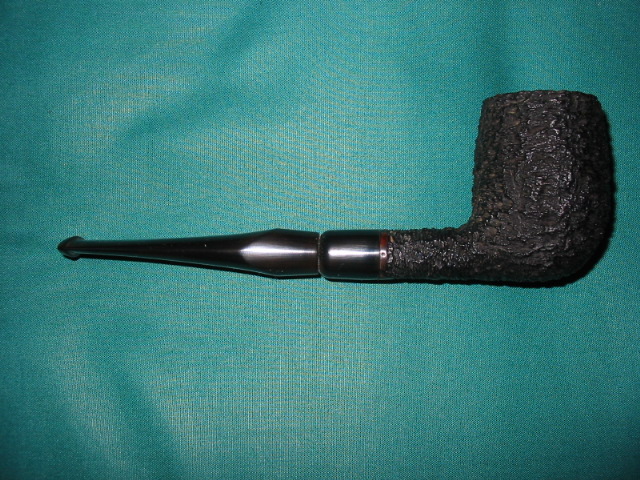
I wiped the bowl and shank a final time with acetone and a cotton pad to remove the sanding dust and prepare it for staining. The next series of three photos below show the pipe after I stained it. I used a dark brown aniline stain mixed 2:1 with isopropyl alcohol. I stained the pipe, flamed it with a lighter, restained it, reflamed it. I gave the rim several extra coats to make sure the pipe was evenly stained.
After the stain was dried I took the pipe to the buffer and buffed it with Tripoli and White Diamond to remove excess stain. The stain coat was very even but it was still too dark to my liking so I used some isopropyl alcohol on a cotton pad to remove some of the heaviness of the stain from the pipe. The next three photos show the pipe after I had removed much stain. The cotton pad is darkened with the brown stain. The grain is becoming more visible as I worked on the finish with the isopropyl alcohol.
I then sanded the stem some more with some fine grit emery cloth to even up the stem shank junction. The next series of four photos show the pipe after the sanding. The bowl and shank are close to the colour I was aiming for. I would need to remove a bit more colouring from them to get it so the grain shows through the finish.
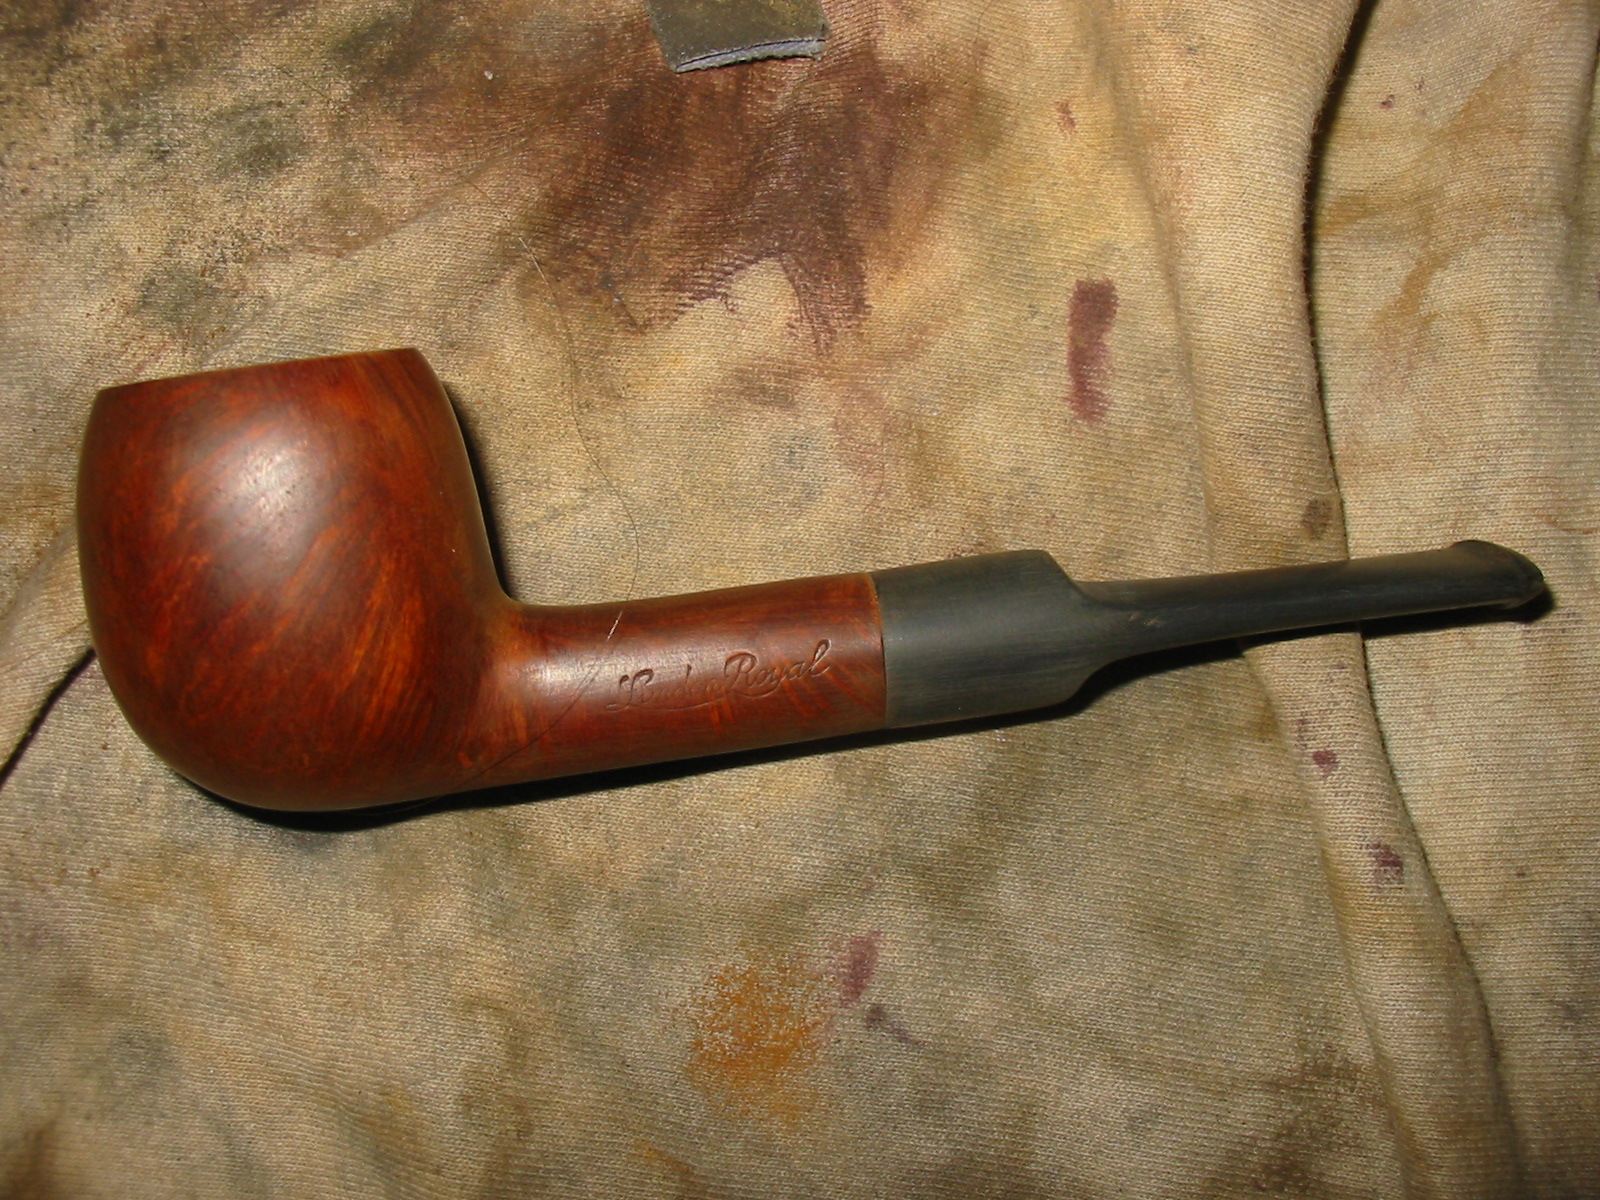
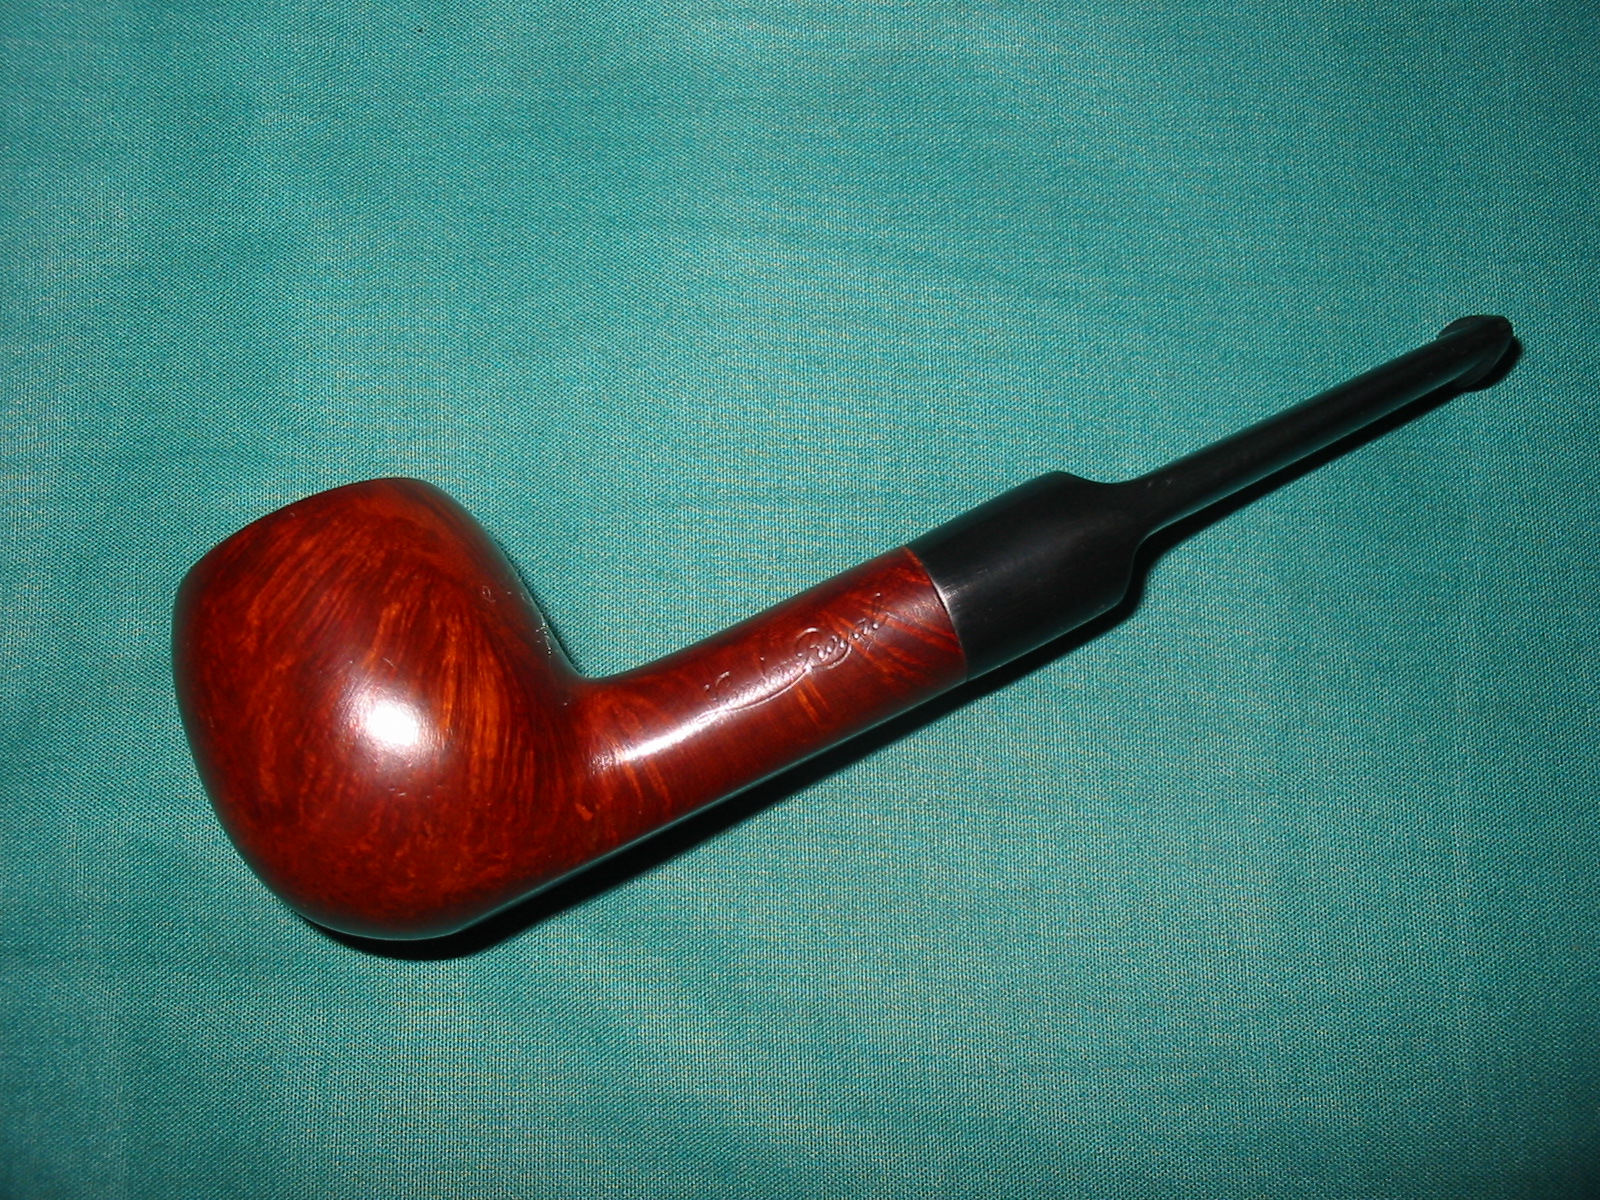
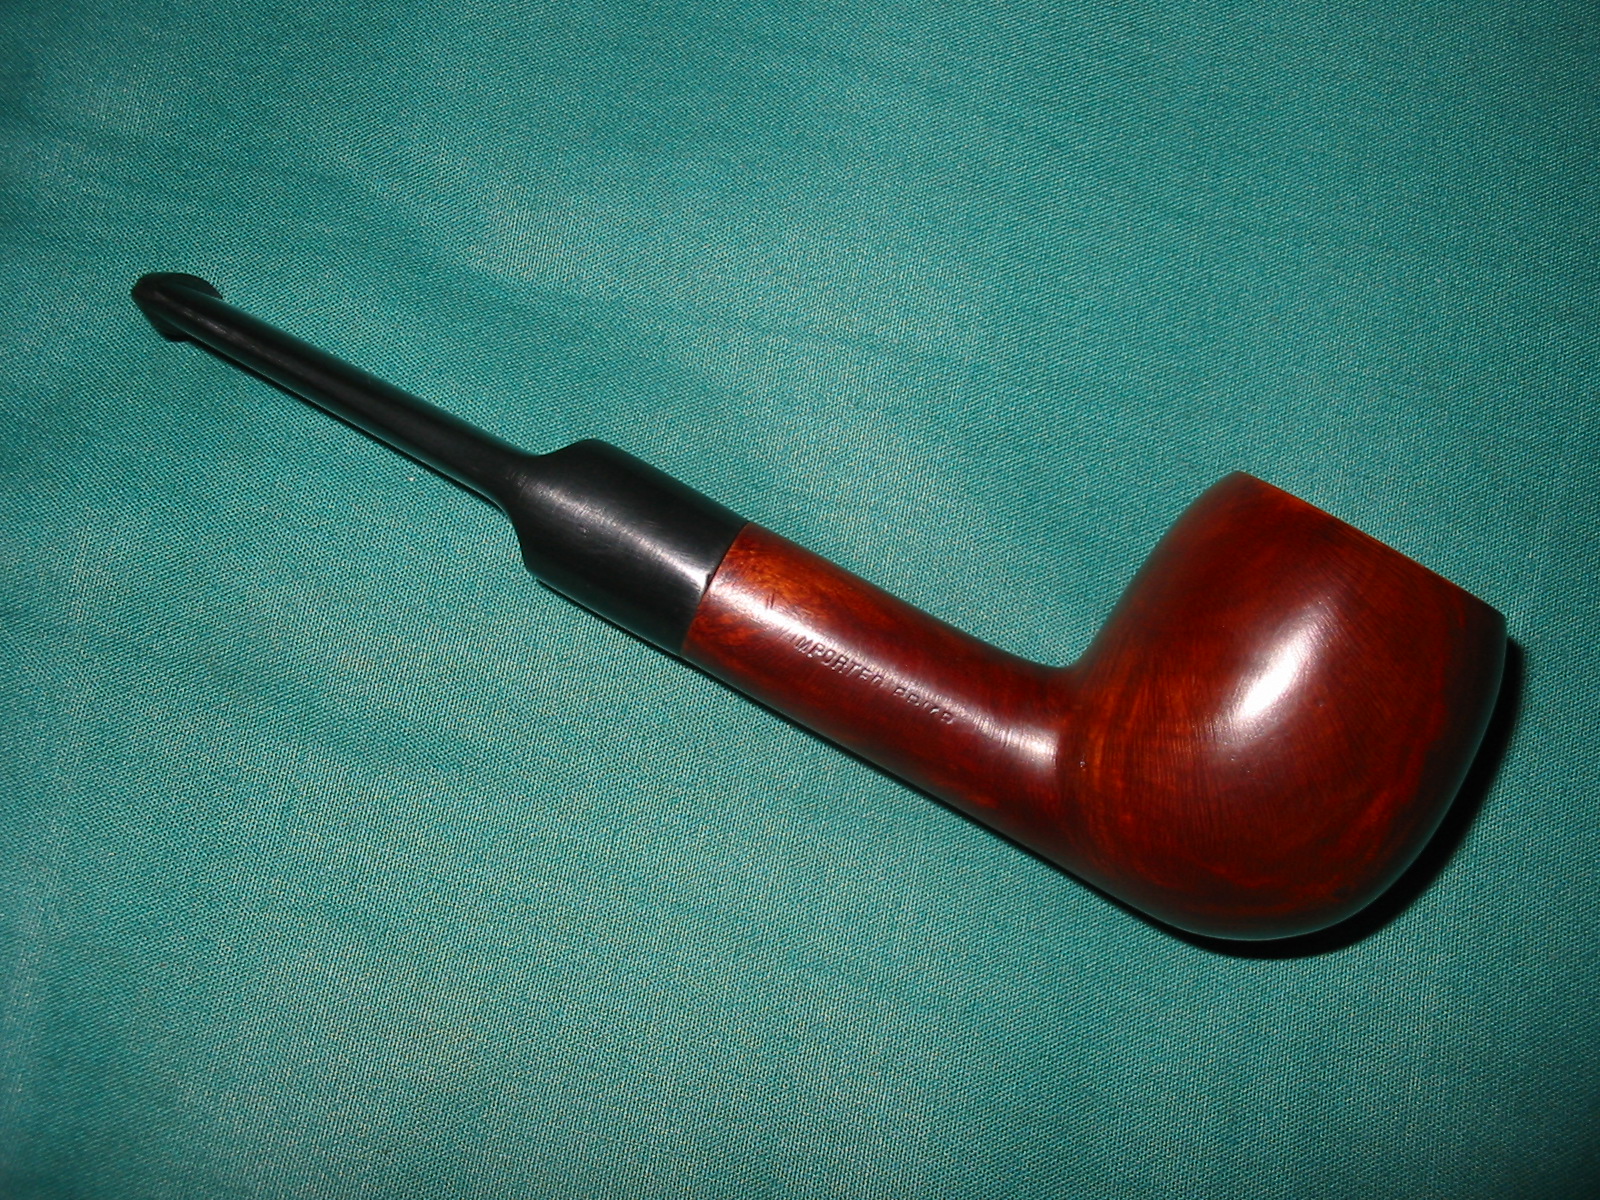
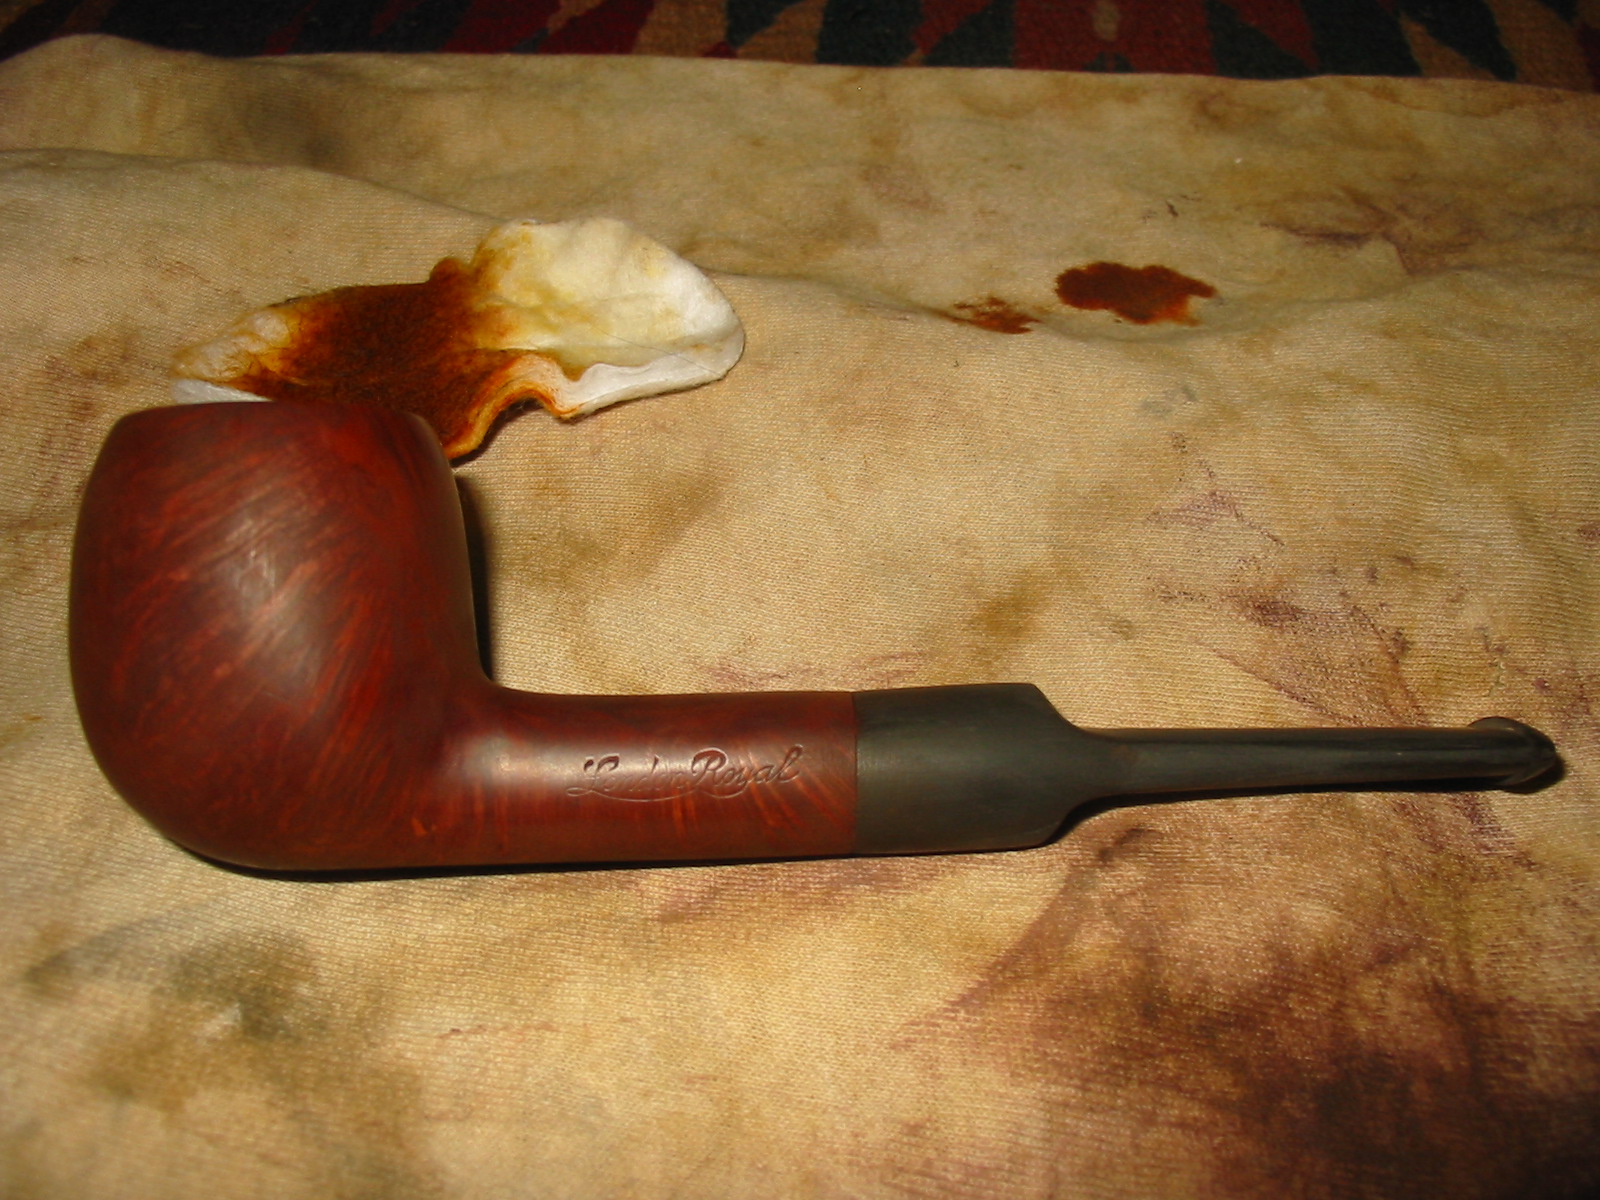
I took the pipe back to the buffer and gave it a buff with Tripoli and White Diamond. I use a light touch around the stamping on the shank and then hand buff that with a shoe shine brush to get it to shine. The next series of two photos show the finished bowl. There is still some work that needs to be done on the fit of the stem to the shank.
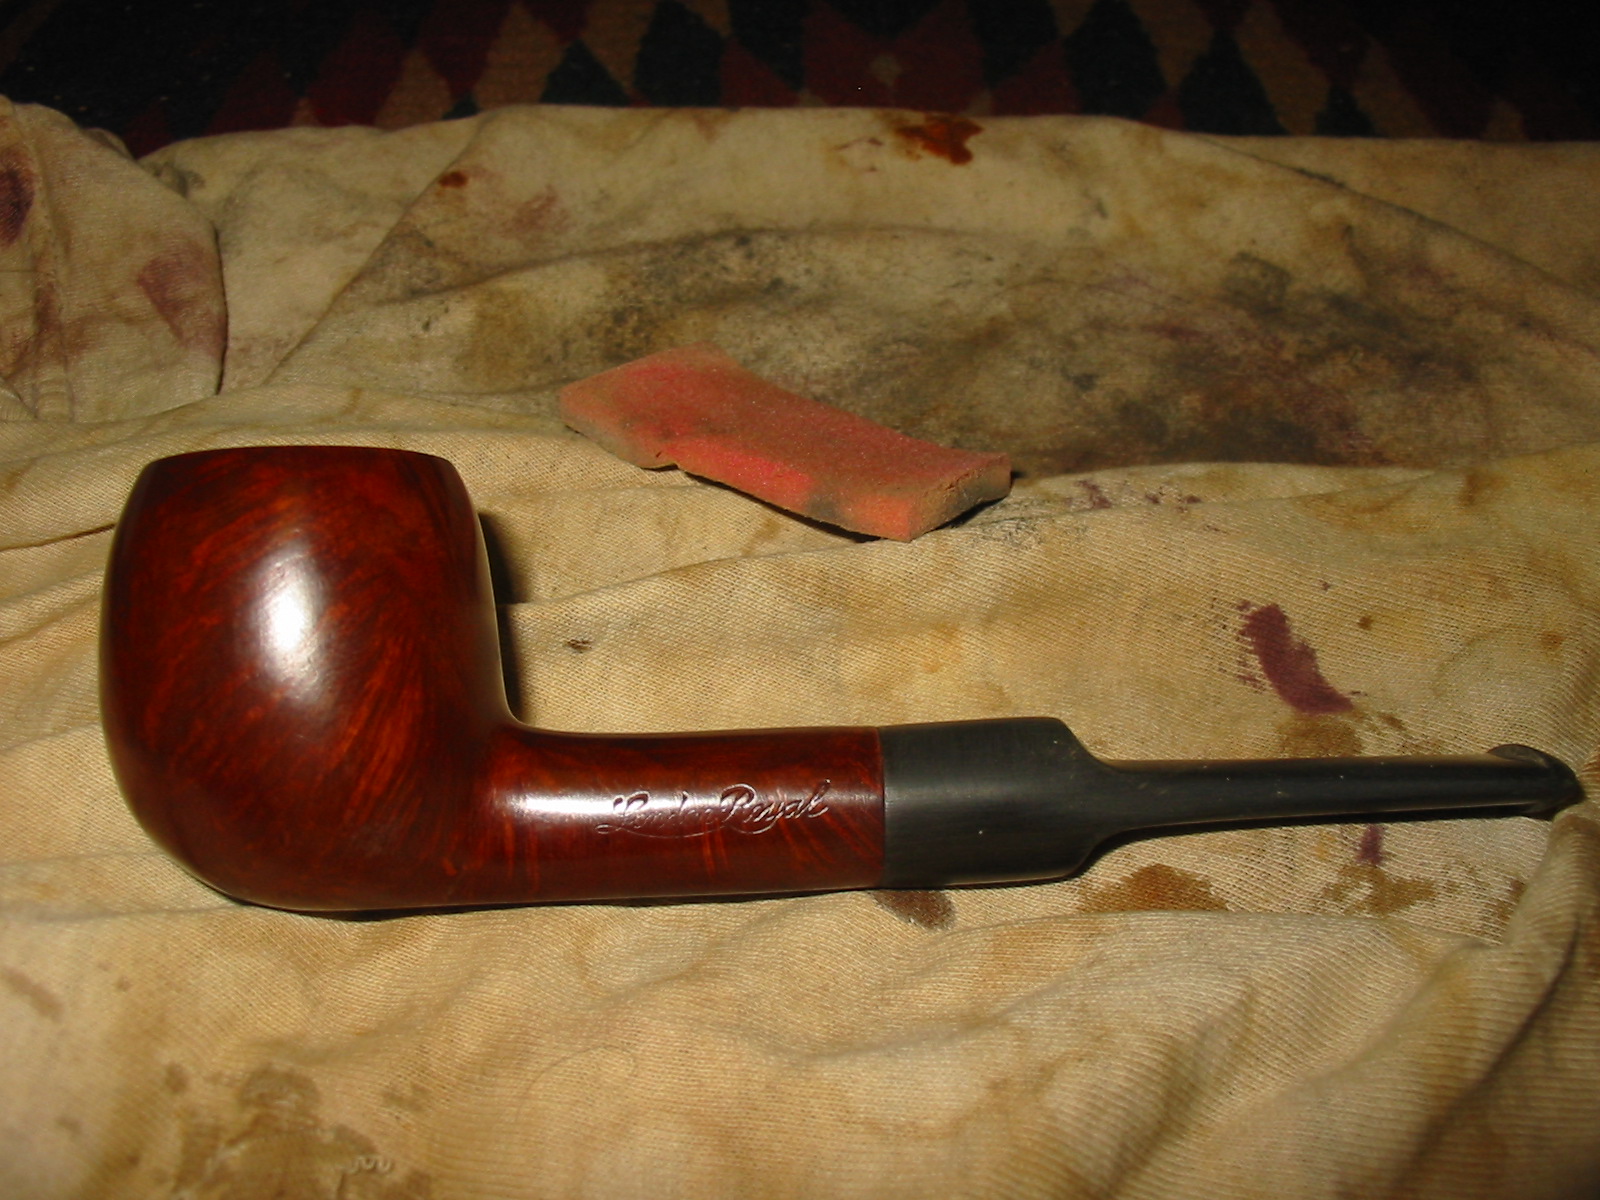
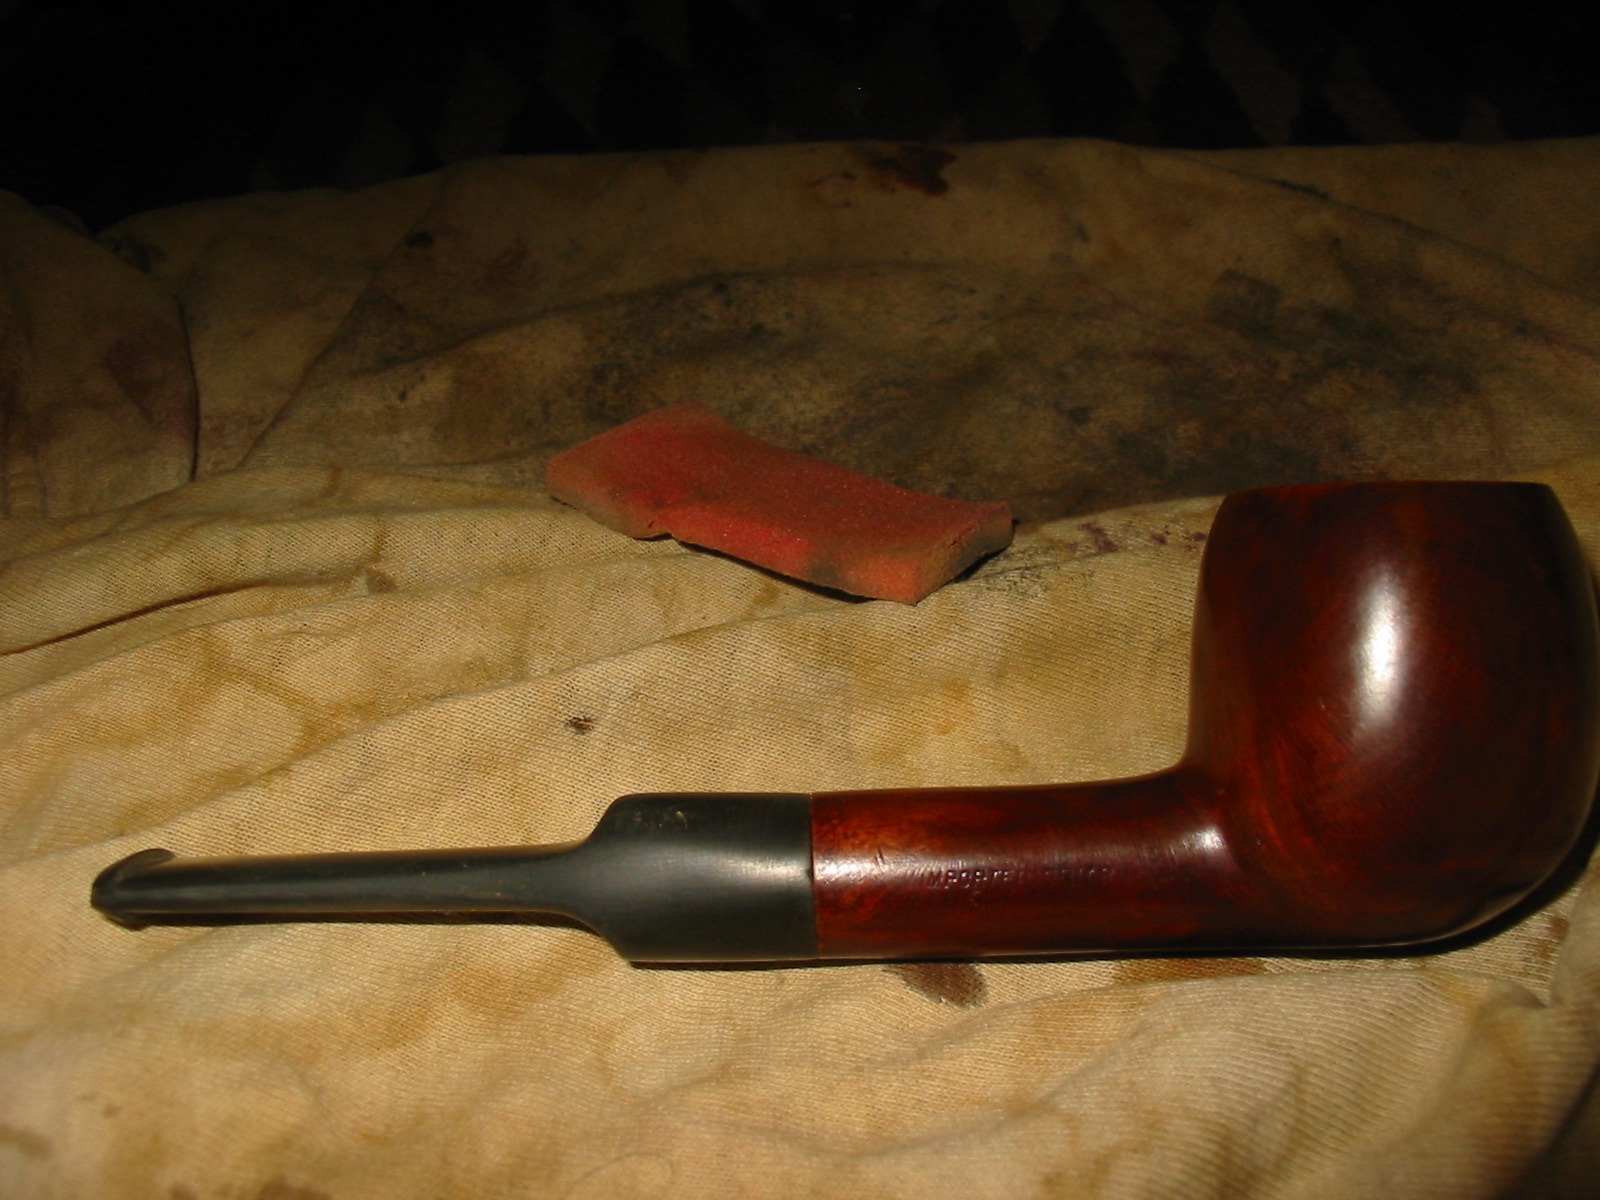
The next three photos show the stem after I used the sanding sponge on it to bring the stem even with the shank. The colour of the pipe is also exactly what I wanted in this pipe. The small fill on the left side of the bowl is no longer visible without a close examination. Once the stem was at this point it was ready for sanding with the micromesh pads and polishing with Maguiar’s.


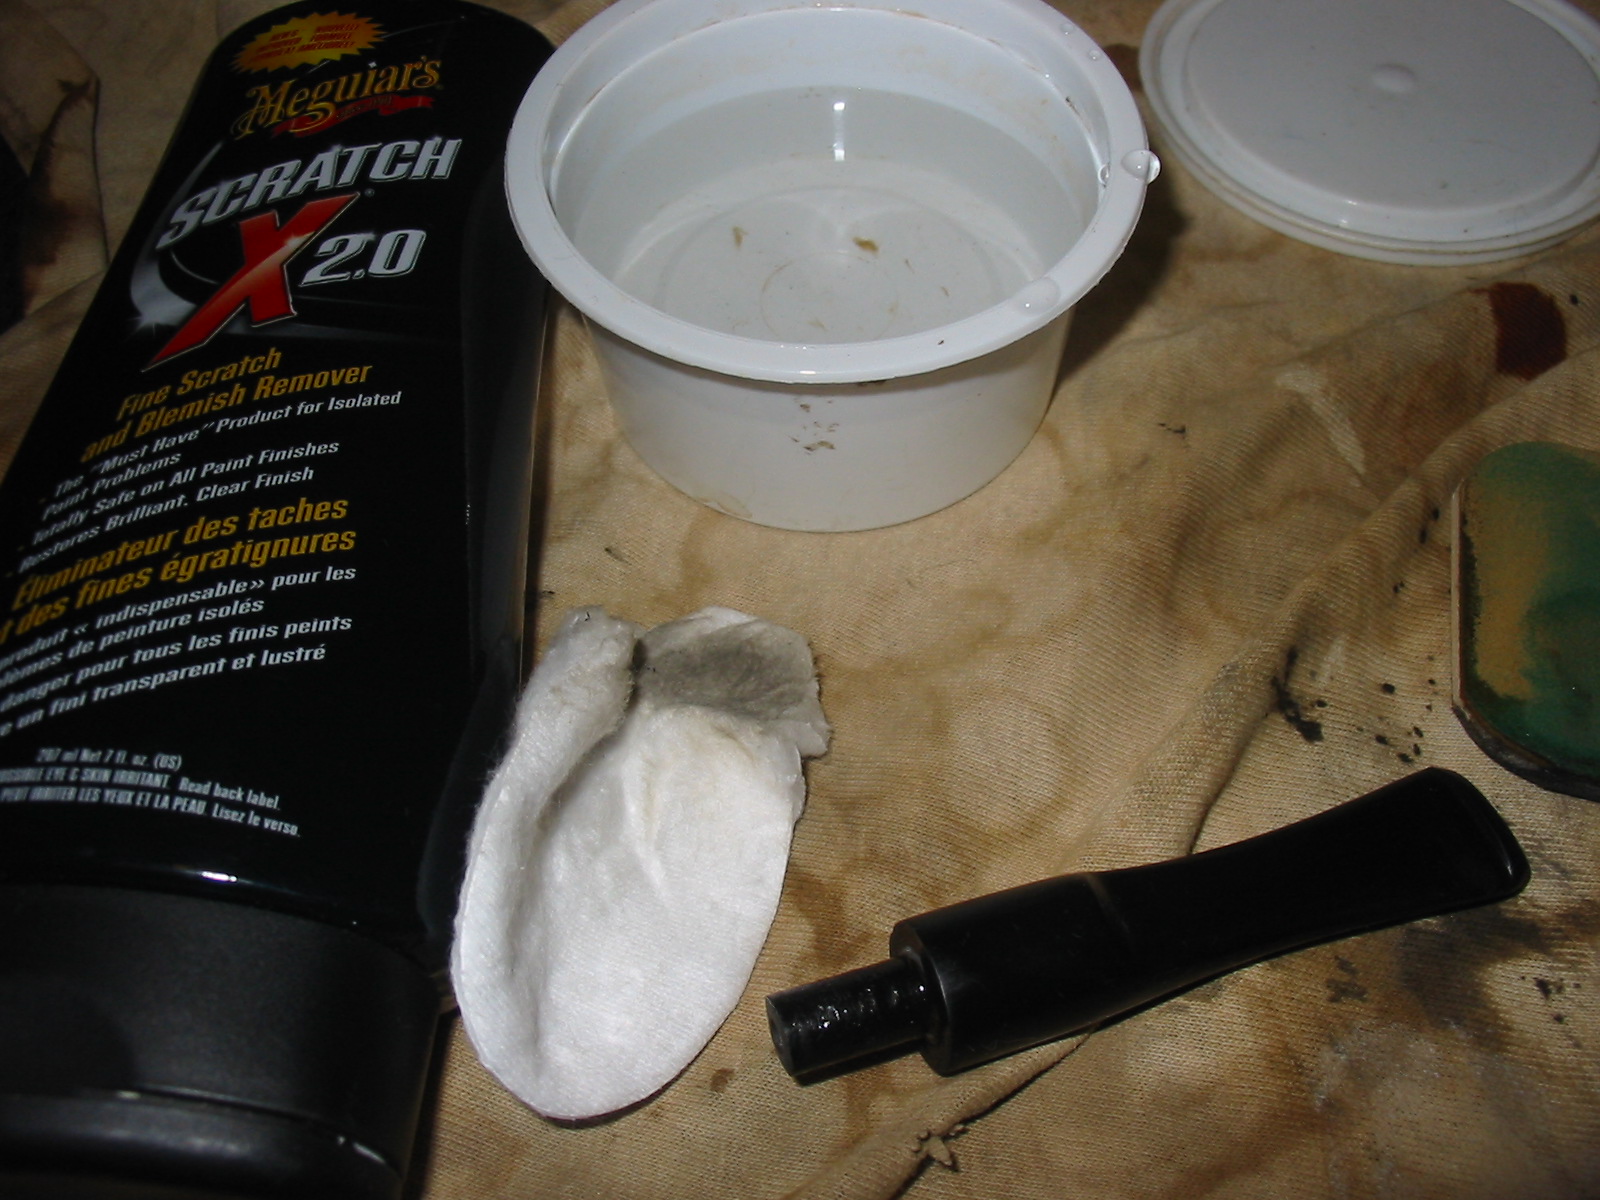
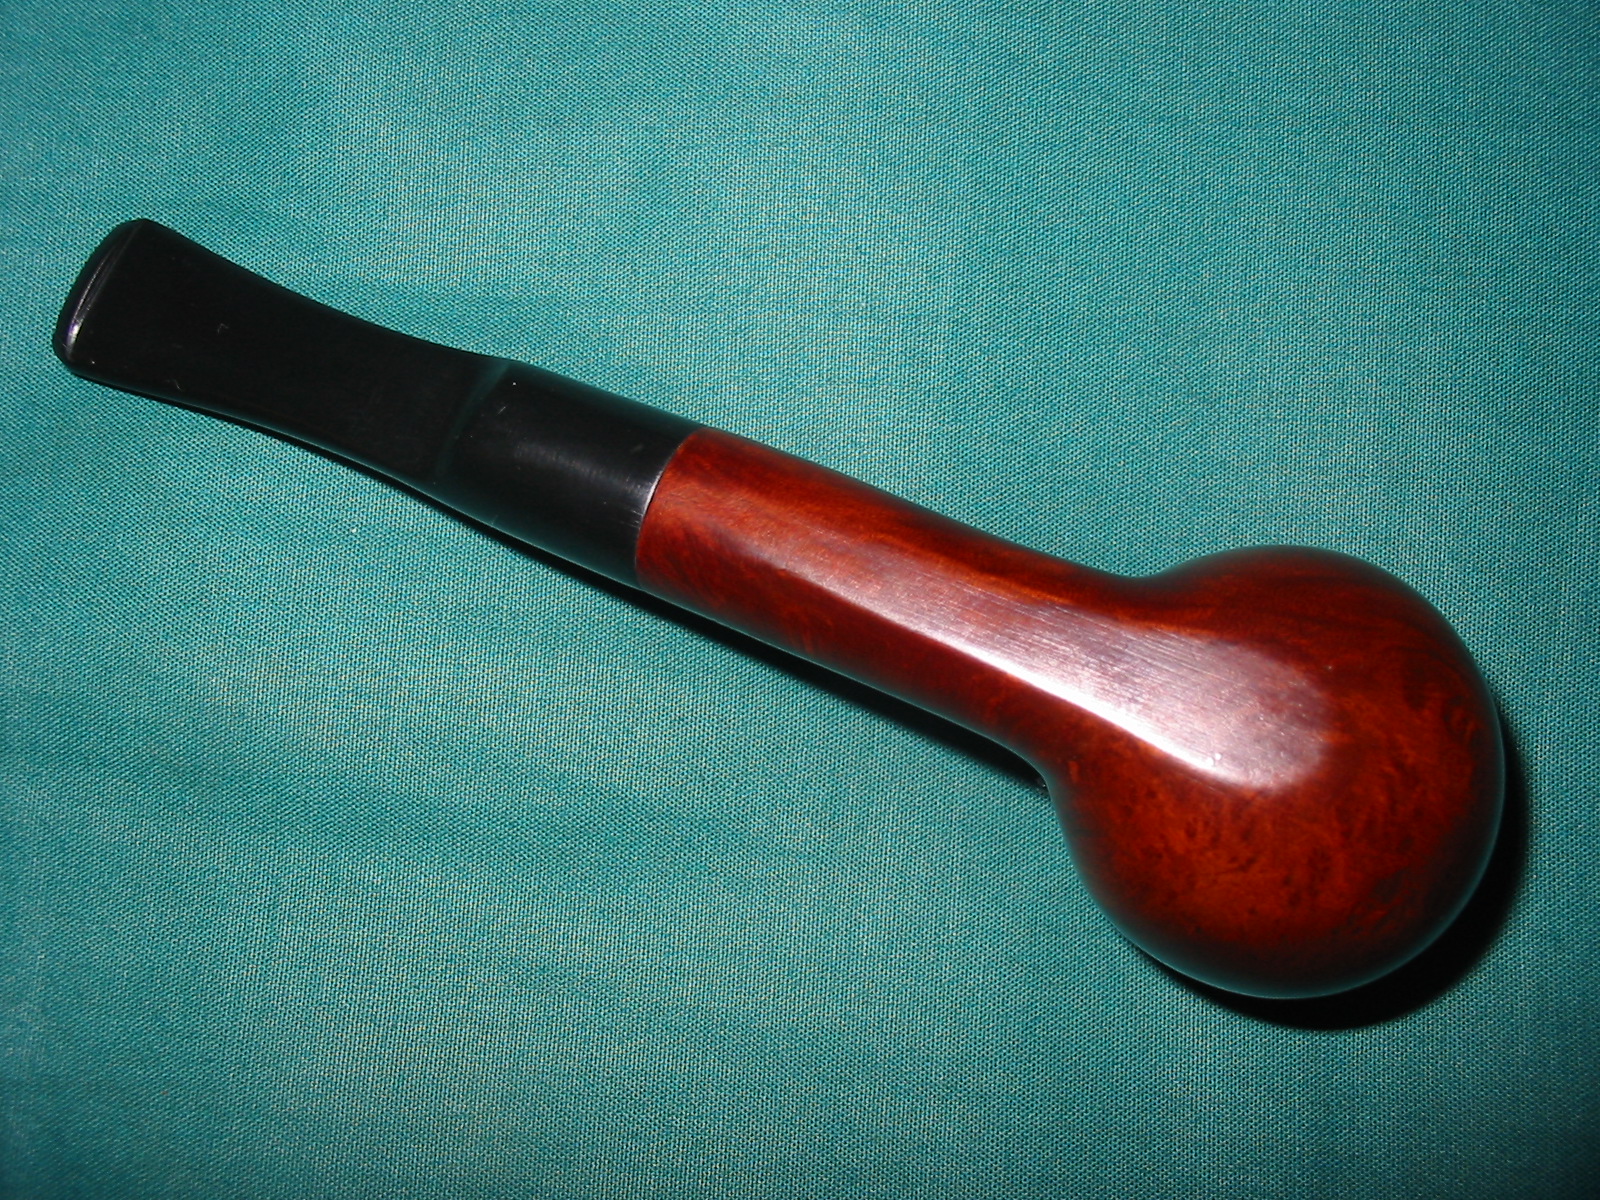
I wet sanded the stem with 1500, 1800 and 2400 grit micromesh sanding pads wiping the stem down between changes in grit. I repeated this sequence of pads until the fine scratches were out of the stem. Where I had recut the saddle had some very fine scratches that were very hard to remove. After this sanding I used Maguiar’s hand applied and rubbed into the stem then wiped off and scrubbed with a cotton pad. I dry sanded the stem with 3200-12,000 grit micromesh following the polish. I also repeated the polish with Maguiar’s. When finished I took the pipe to the buffer and gave the entirety a buff with White Diamond and then gave it several coats of carnauba wax to give it a shine. The final series of four photos show the finished pipe.