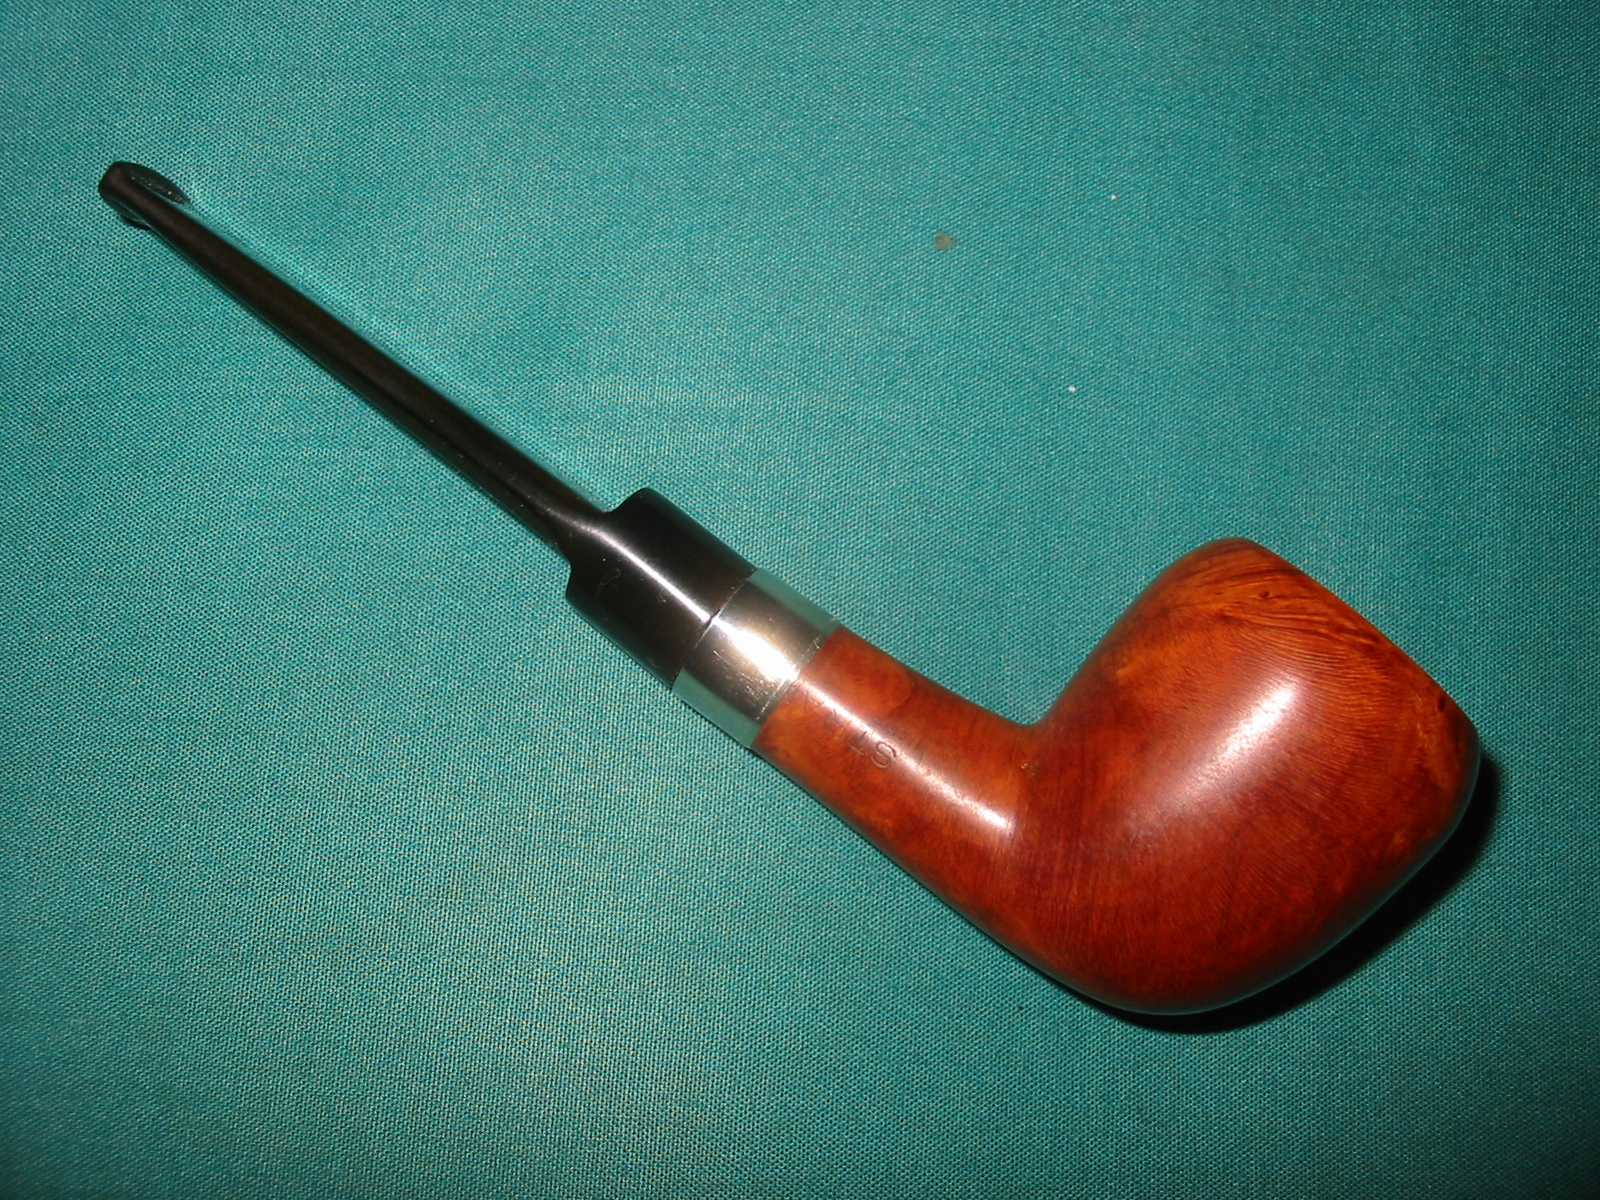
On Christmas Eve I decided to start working on a little acorn shaped pipe bowl that I have had here for quite awhile. It sat in my repair box in wait for the right moment for me to take it to the work table. It needed a stem and the shank was set up for a metal screw in tenon. I did not have any metal threaded tenons that fit the shank well or I could have made a stem for the pipe and inserted the threaded tenon. The time was right and I wanted to try something a bit different on this one. It did not matter if it worked or not really as it was truly a disposable pipe. With that freedom in mind I decided to fit the bowl with a push tenon stem. To make that work involved removing the metal insert from the shank. I reamed the bowl and cleaned out the shank to get it ready for removing the insert. I tried to twist if out as I figured that it was screwed into the shank. No such luck. It was tight and I could not remove it after using heat or putting it into the freezer to cause it to contract and loosen. I made a decision at that moment that did not end well – at least in the short term.
I set up my cordless drill with a bit that would open up the shank. My thinking was that if I could not removed the insert I would drill it open and smooth so that it would take a regular push tenon with no problem. I started with a drill bit virtually the same size as the airway and then planned on moving up to larger drill bits as the work progressed. The initial drilling worked well and the threads were smoothed out. So far so good! I was pretty excited to watch the airway smoothing out and opening up. Then I changed the drill bit for the next size up and drilled it a second time. I progressed slowly holding the bowl in my hand as I drilled the shank. I have done this before and did expect any problems. You know the thinking right – it worked well in the past so I could expect it to work the same this time around. So with full confidence I worked away. Then disaster struck. A few moments after starting to drill with the slightly larger bit the shank literally shattered in my hand. I was left holding four pieces of broken briar in my hand. The bottom half of the shank remained intact but the upper half was in three pieces. The metal insert remained unmovable in the bottom portion of the shank.
I was a bit stunned and almost binned the broken briar. What had at first appeared to be a good idea was reduced to something that I was ready to throw away and write off as a learning experience. However, I stopped and looked at the pieces for awhile. I thought about cutting the shank off and adding a shank extension to do one of Piet’s Hot Rods. I weighed the pros and cons of that and still was not certain whether I wanted to go to that trouble for this pipe. I took the pieces and puzzled them together to see what the damage looked like when it was put back together. I examined it closely and could see that the break was at least very clean and the surface was not chipped or damaged. I used a dental pick to remove the metal insert from the shank. I decided to get out the super glue and put the pieces back together for a look. With all the pieces in place the pipe looked okay. I sanded off the excess glue from the shank and used some acetone to clean off the stain that was on the shank and bowl. It looked like there was some promise. I decided to strengthen the bond with a nickel band. I heated a nickel band with my heat gun and carefully pressure fit the band on the shank. The repaired pipe was going to be workable.


I sanded the bowl and the shank and wiped it down repeatedly with acetone. The idea was to remove all of the remaining lacquer finish and even out the stain. I wanted to get the bowl back to bare wood as much as possible before restaining. Once I had it clean I sanded it again with a fine grit sponge backed sanding pad. I continued to sand it with the micromesh sanding pads from 1500-12,000 grit to prepare it for staining.
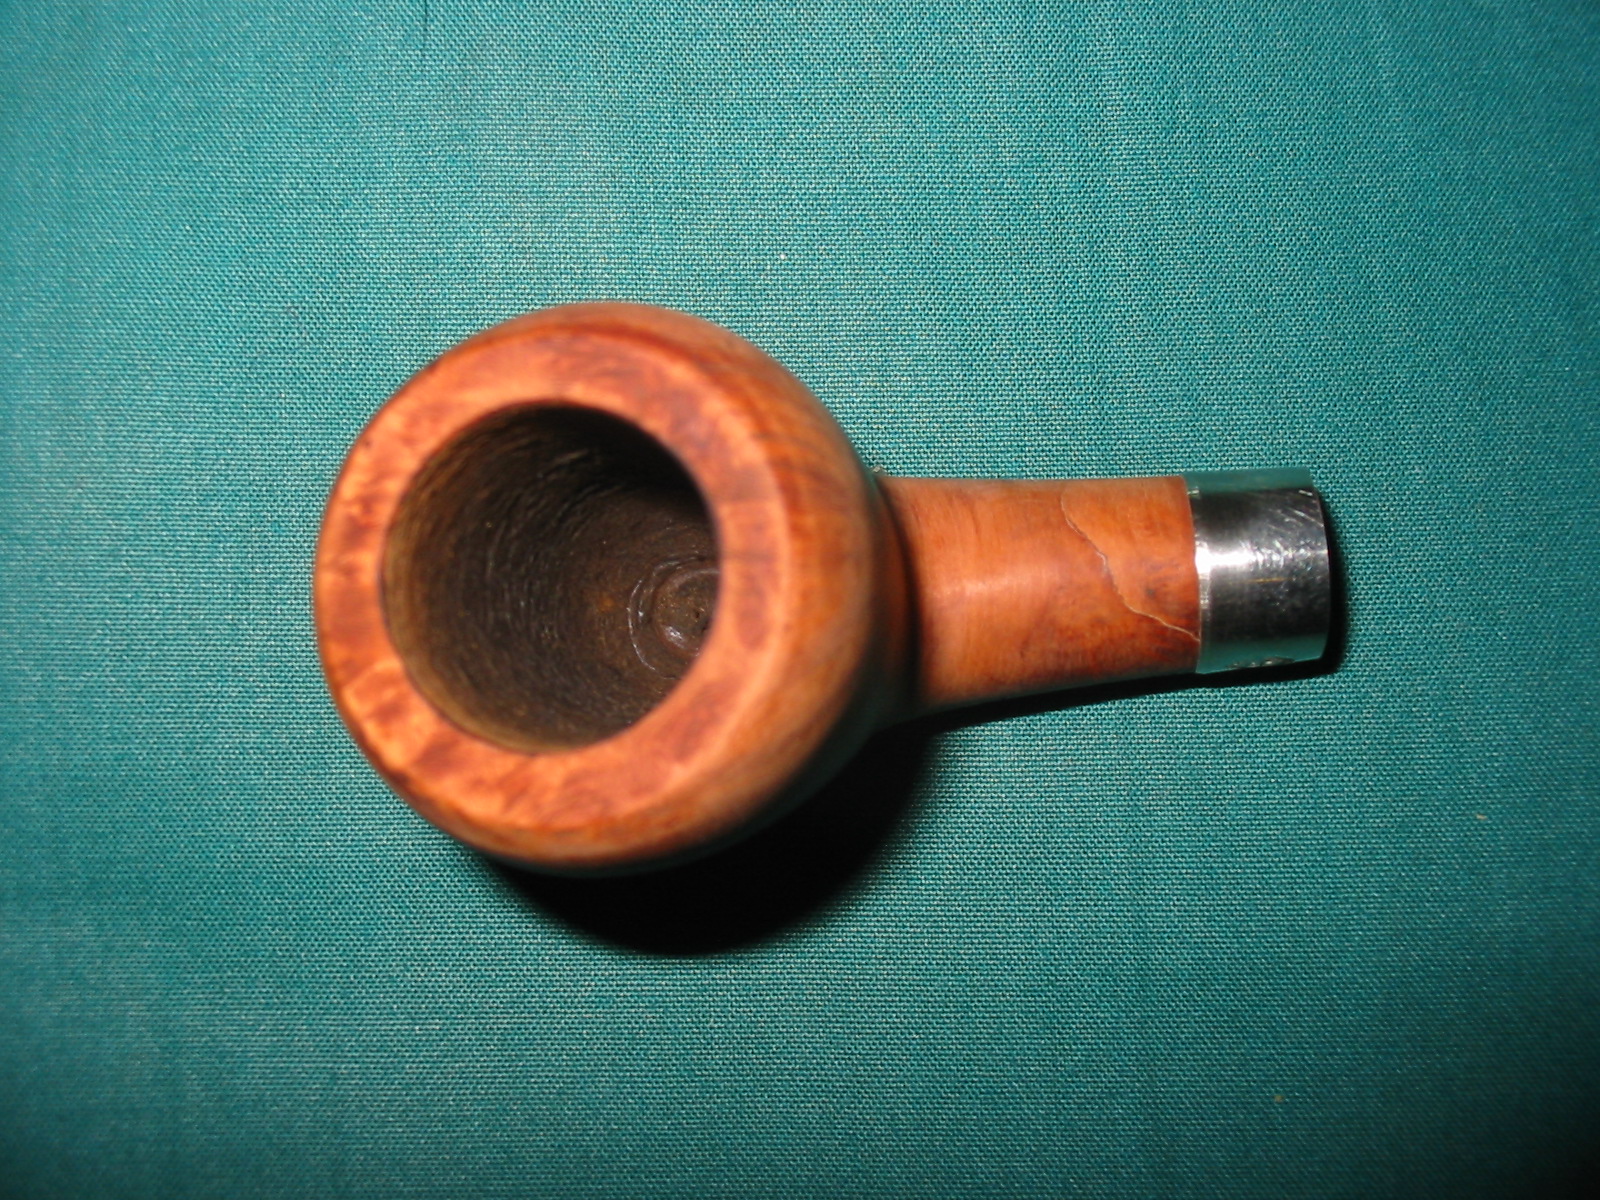
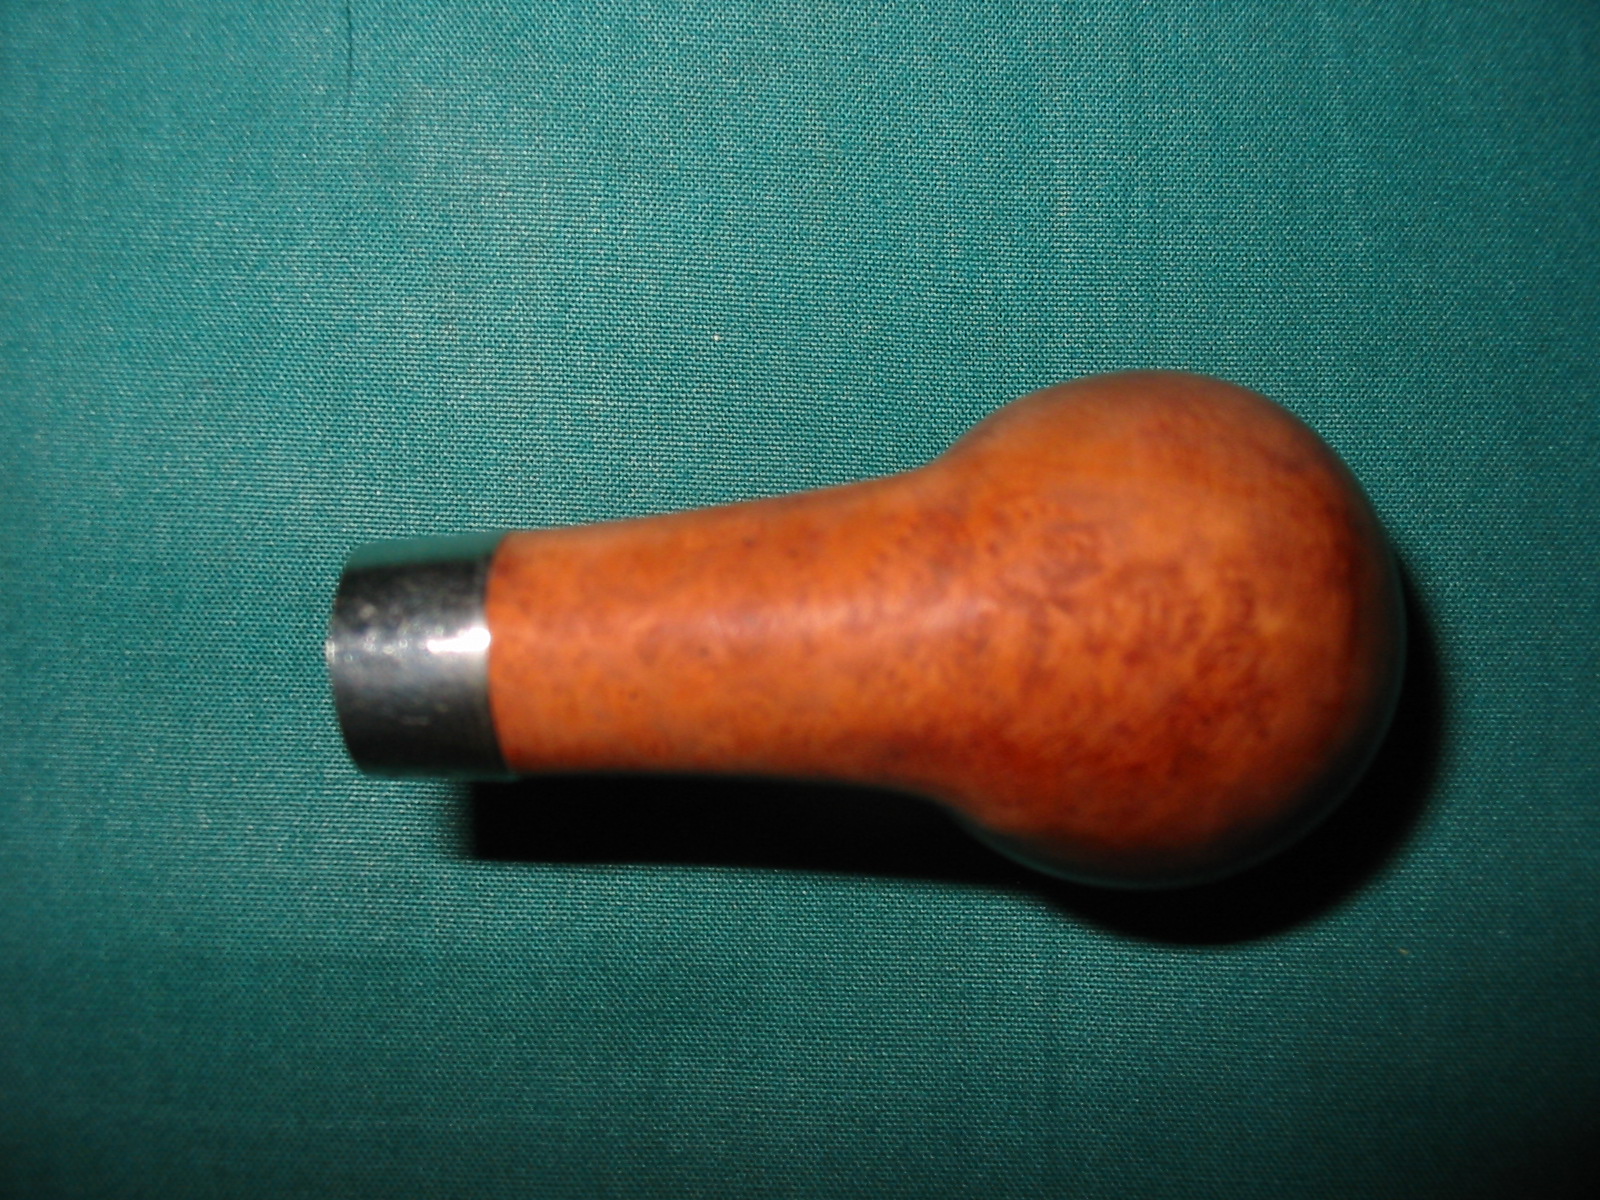
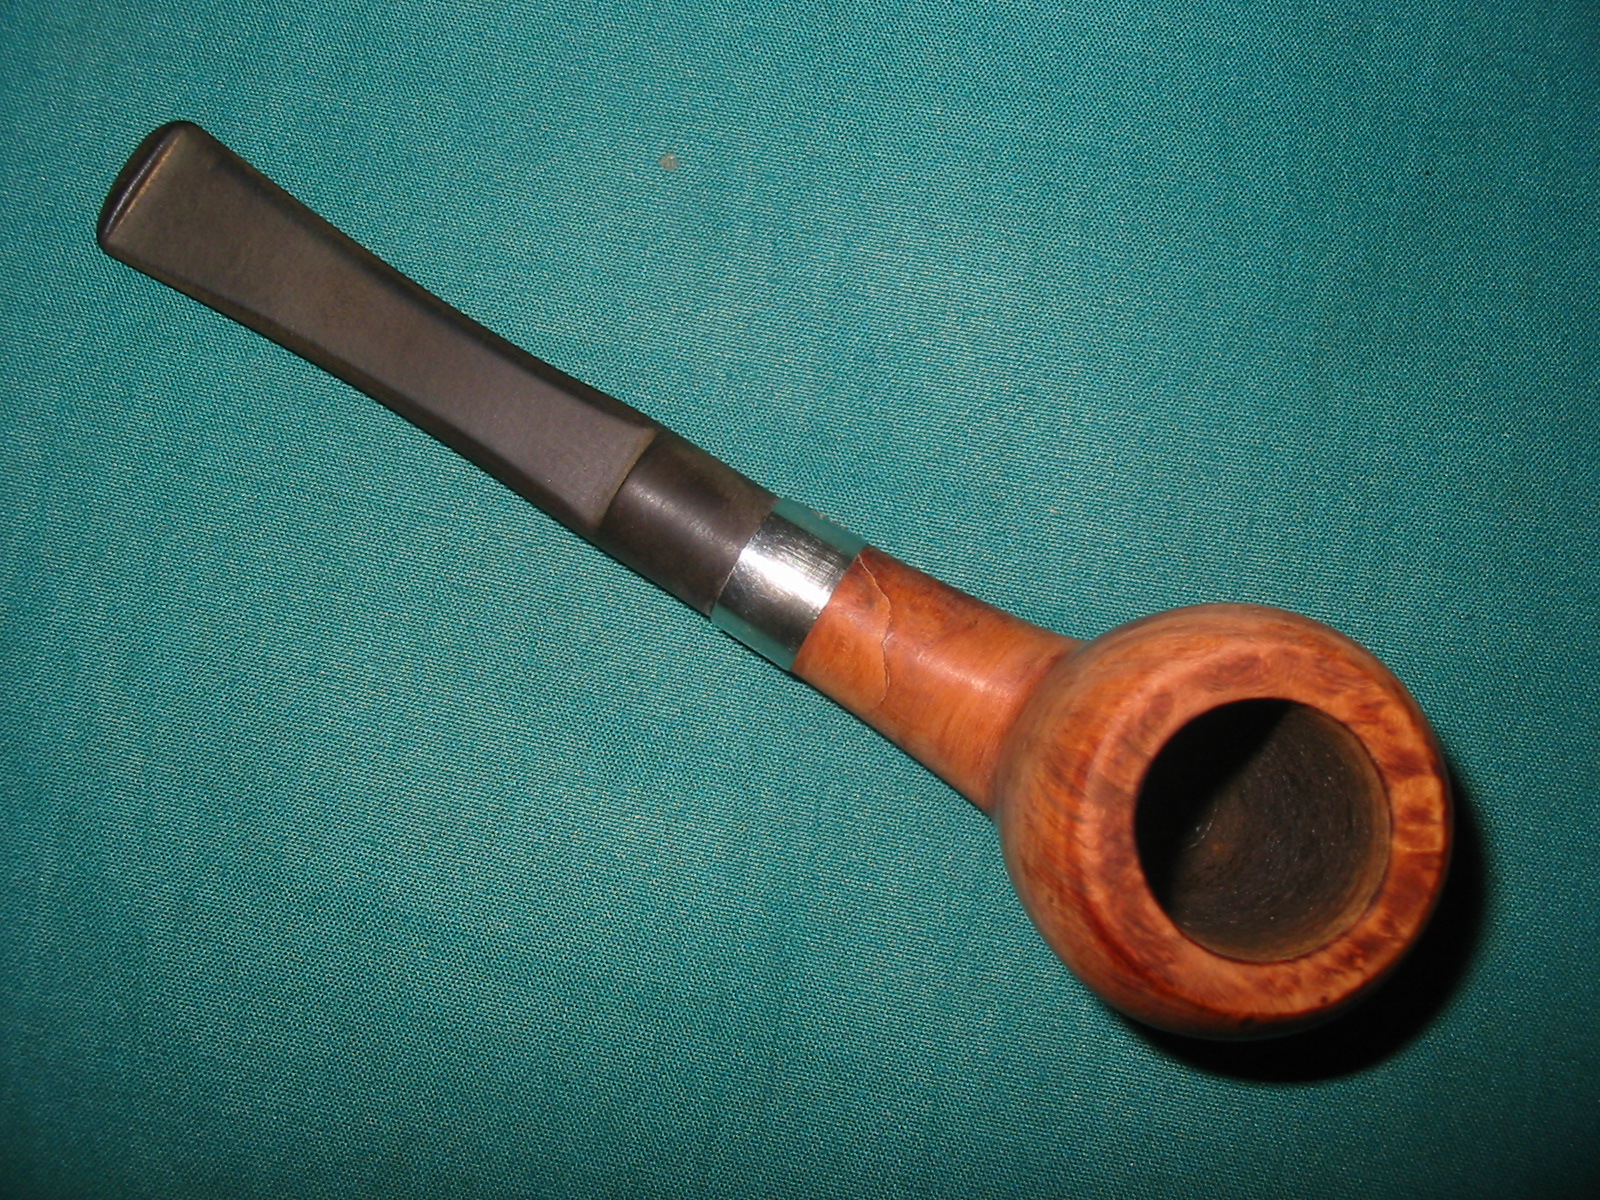
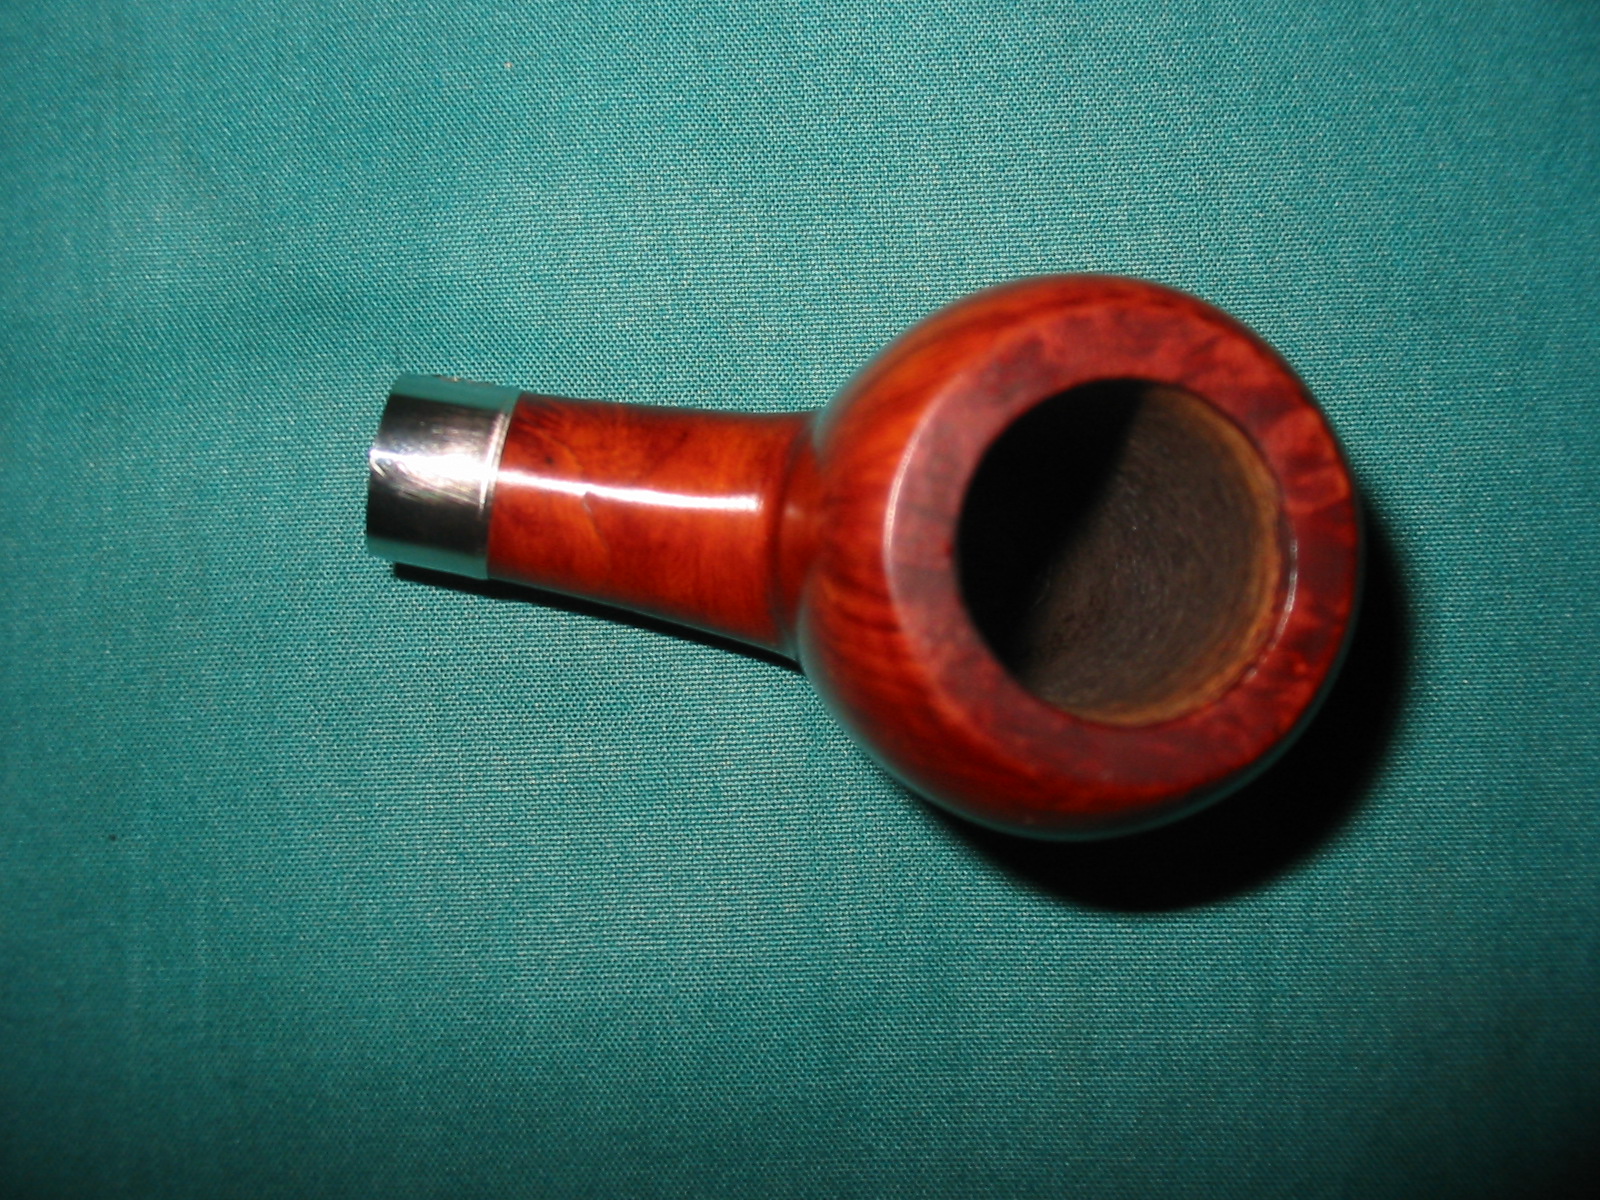
I had an old saddle stem that would fit the shank dimensions in my box of scavenged stems. I turned the tenon to fit the newly cleaned shank and did the initial sanding to remove the oxidation on the stem. I used the same sponge back sanding pad I used on the bowl as it allows good access to the saddle areas of the stem. The photos below show the newly fit stem. I have quite a bit more work to do on the stem and bowl to bring the pipe to a finished condition but the promise is definitely there. In the second and third top view photo below you can see the repaired shank. I am pretty confident that it will be pretty well hidden by the staining.
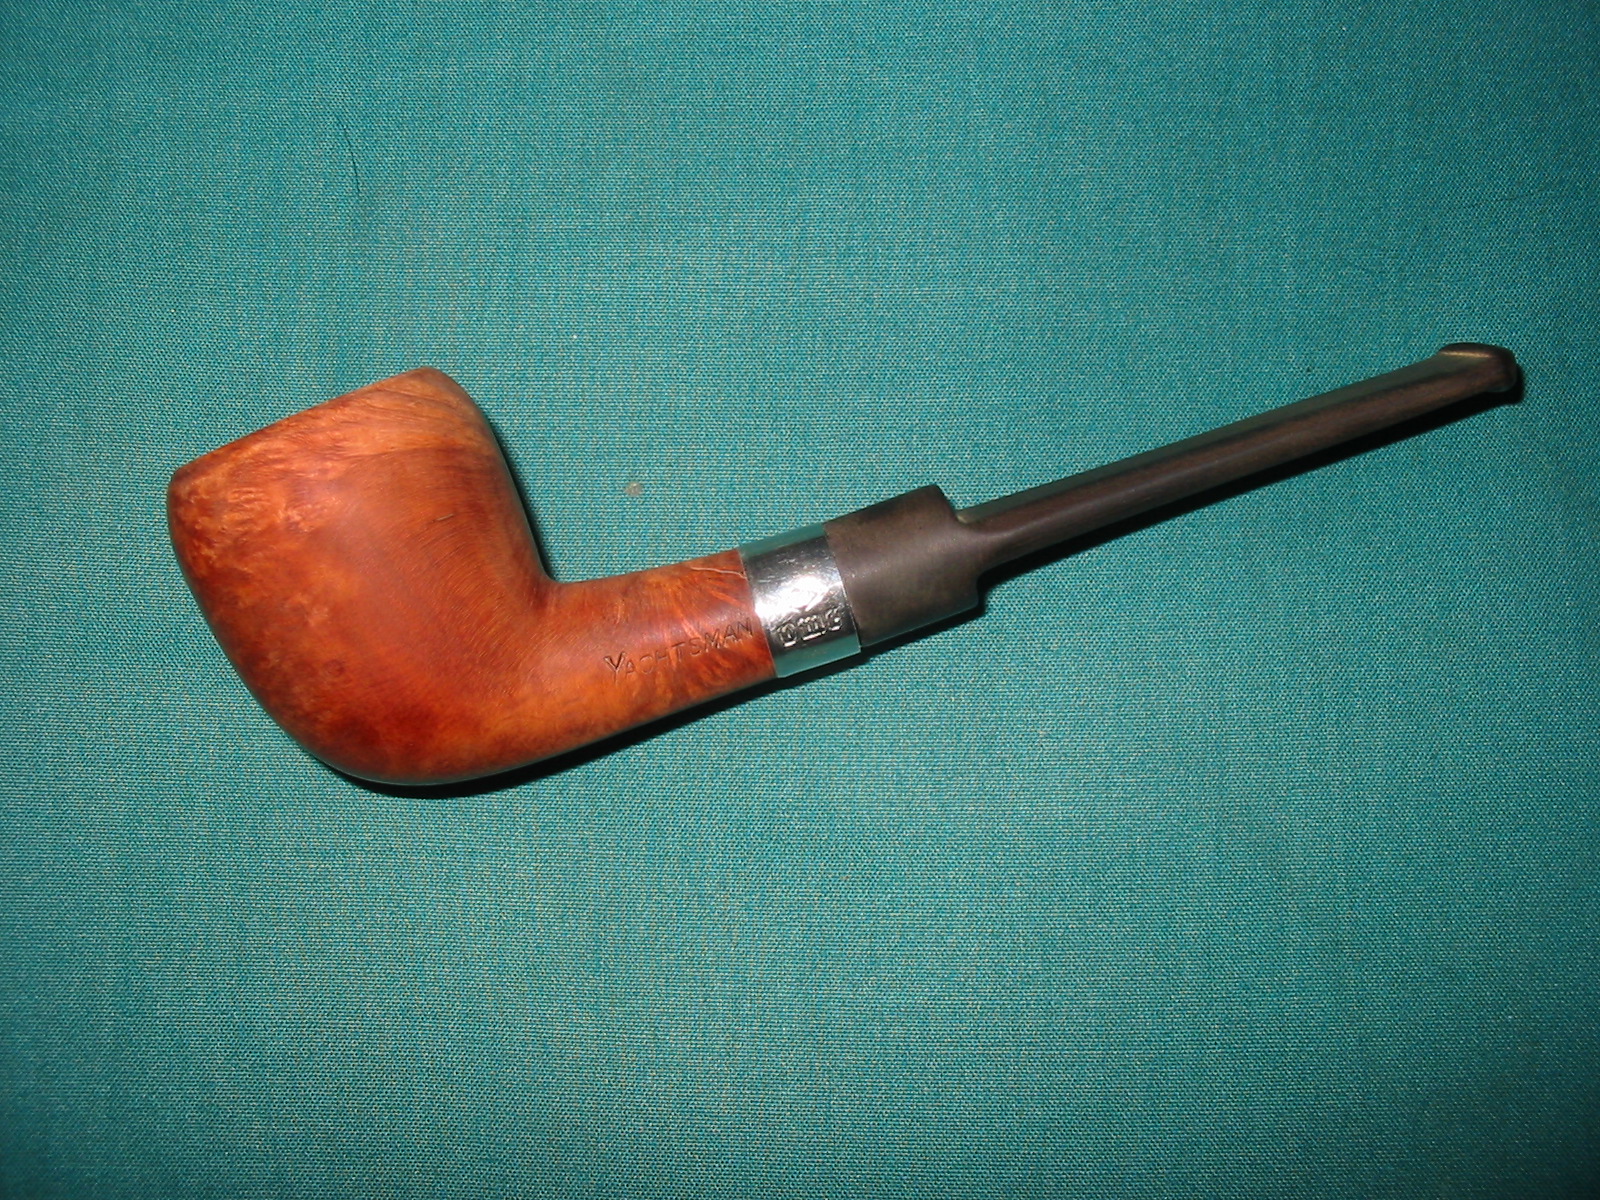
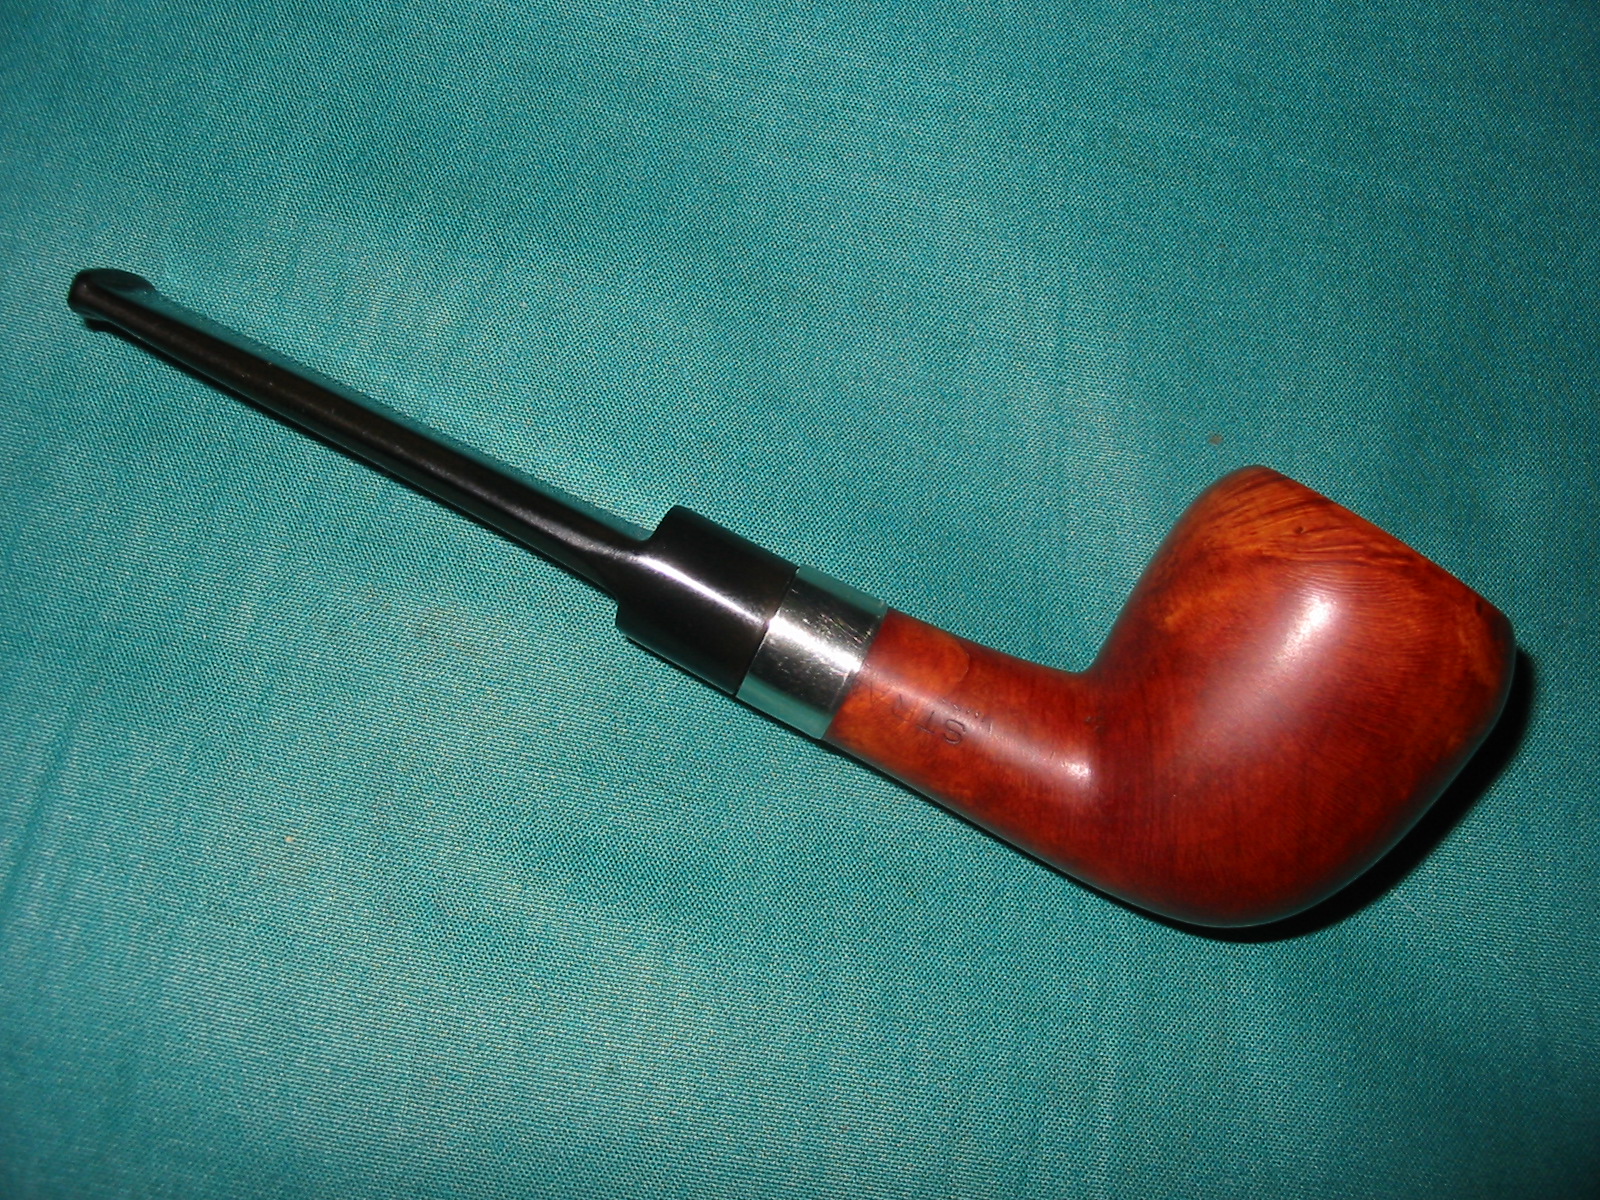
Before restaining the bowl I decided to work on the stem and get it polished and smooth. I used the 1500 and 1800 micromesh pads to do the sanding and polishing before using the Maguiar’s polishing compound. I have started to use it after the first two or three micromesh sanding grits. I rub it on by hand and then scrub it with a soft cotton pads before wiping it off. I repeat this polishing process with the compound two times before proceeding to working through the remaining micromesh grits. I sanded the stem with 2400 and 3200 grit and took it to the buffer and used Tripoli to buff away the scratches and the oxidation that remained at this point in the process. I also buffed the bowl with the Tripoli. Once back to the work table I used 3600 and 4000 grit before giving the stem a rub down with Obsidian Oil. The four pictures below show the pipe as it looks at this point. The bowl is ready to stain and the stem is getting close to the finished look. There is still some oxidation around the saddle area that will need some more work.
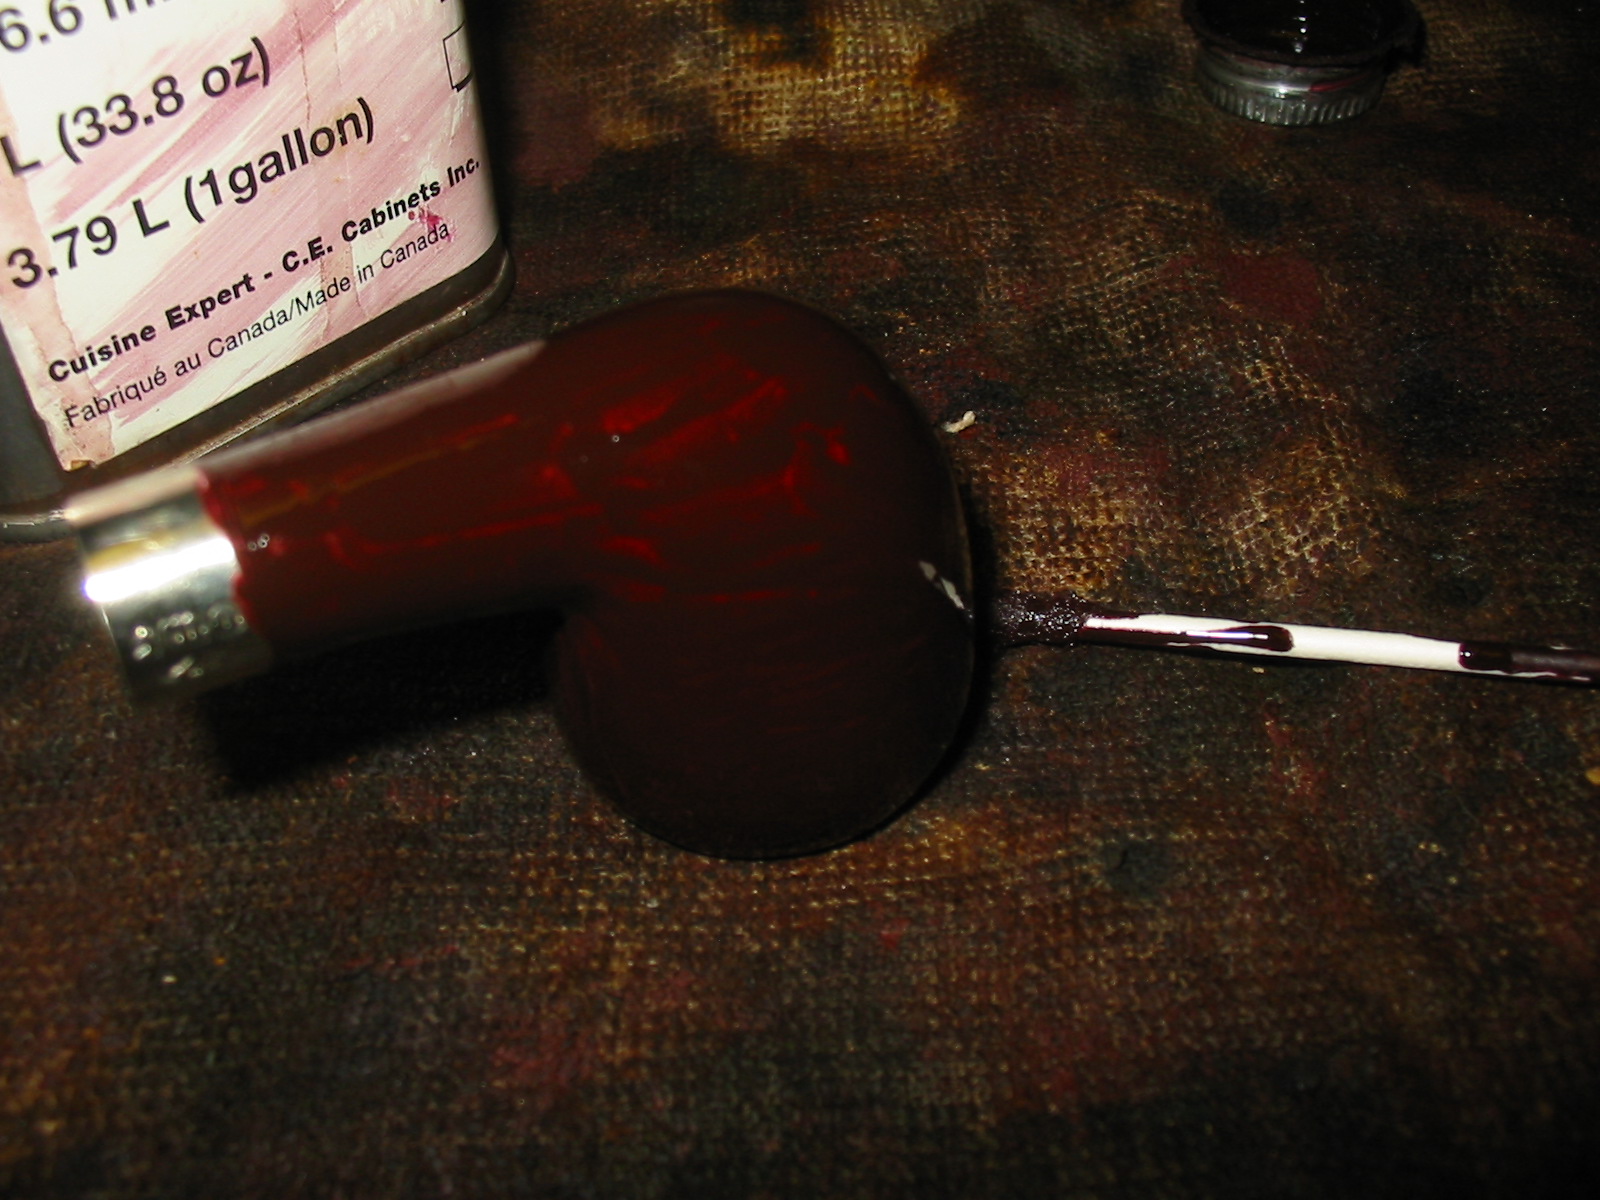
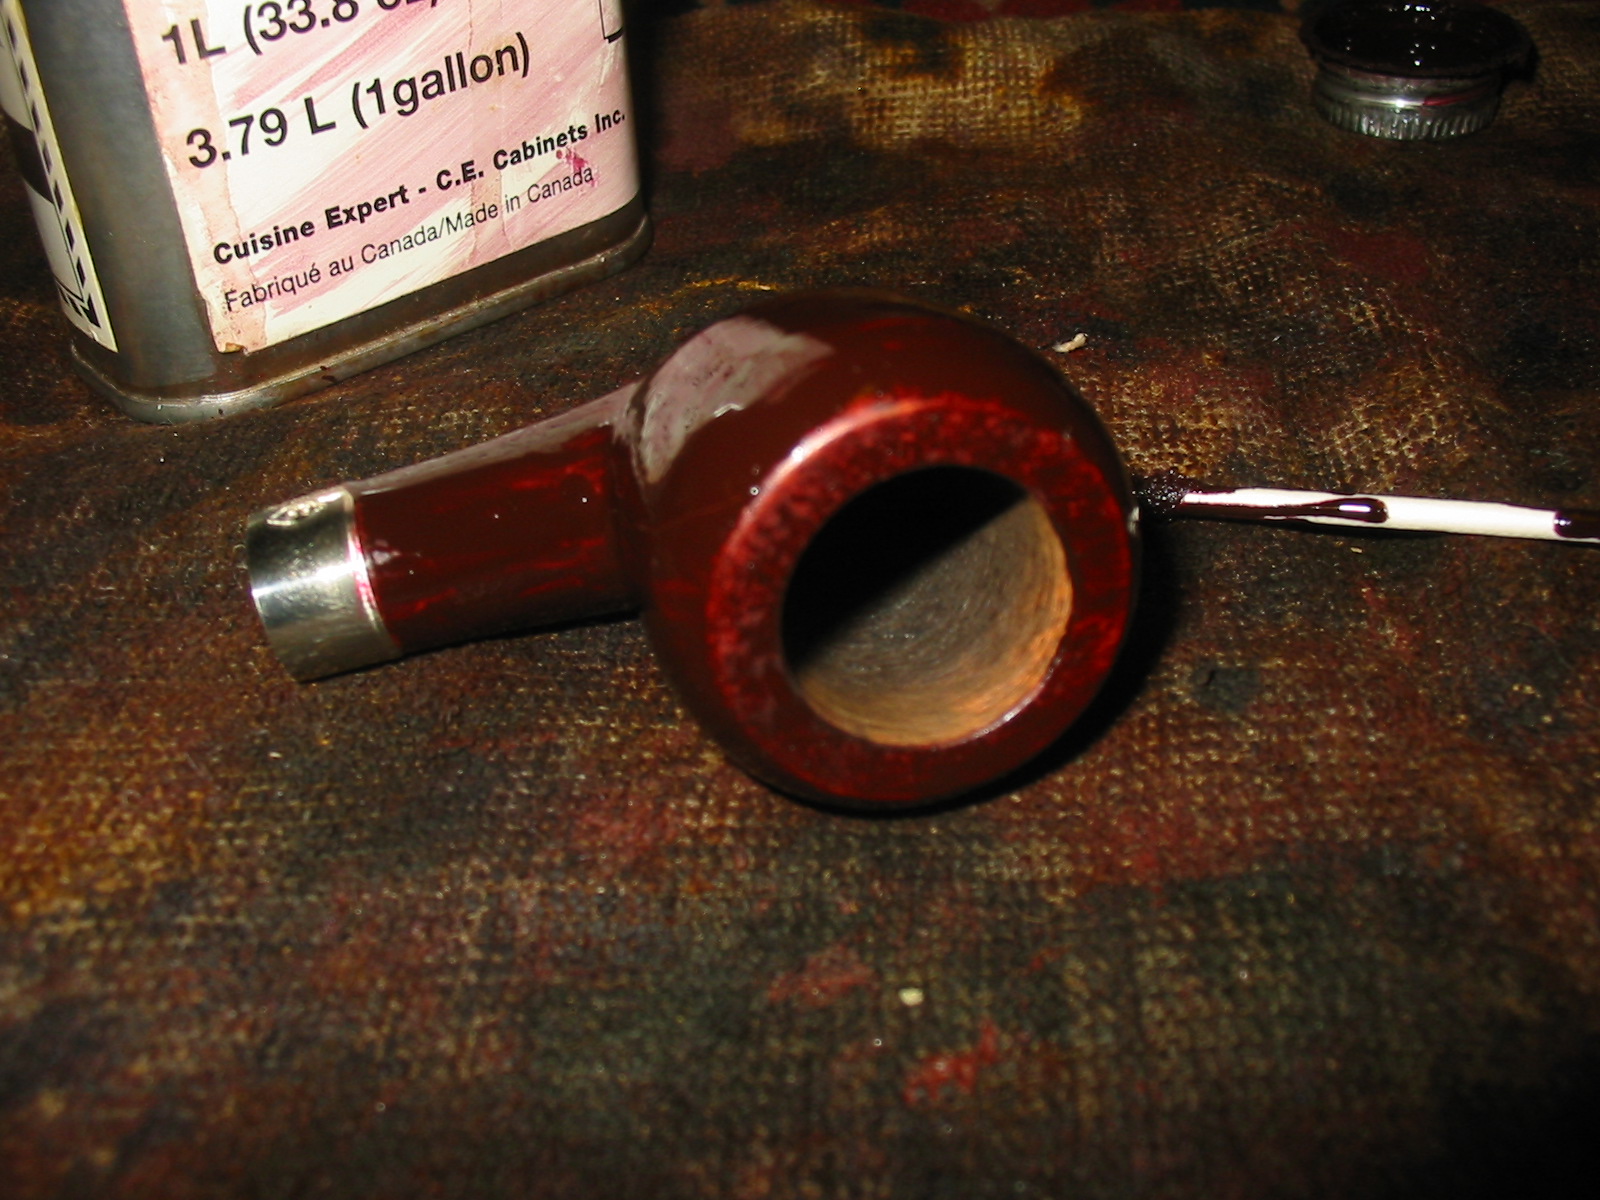
I decided to use an oxblood coloured aniline stain on the pipe to try to minimize the visibility of the repair to the shank. I used a cotton swab to apply the stain, flamed it and then buffed it off with a soft cotton cloth before taking it to the buffer and buffing it with White Diamond. After buffing I waxed it with several coats of carnauba wax to give it a shine.

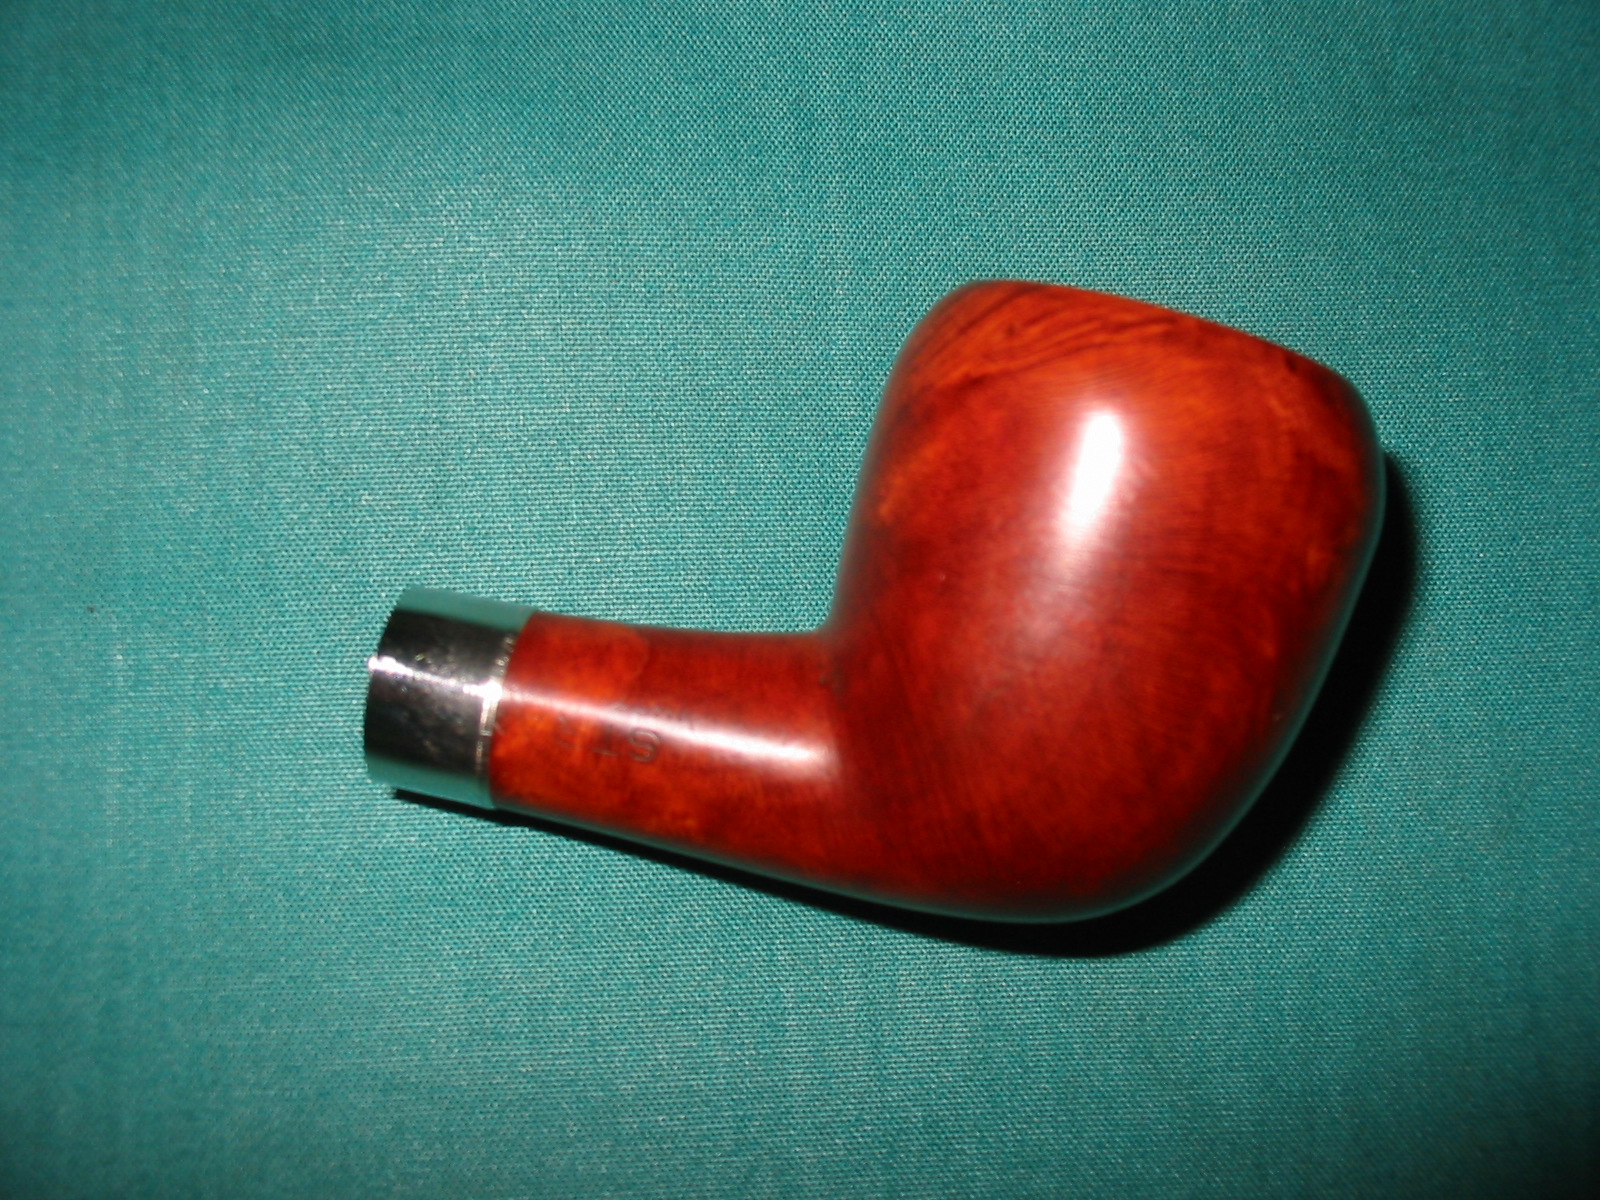
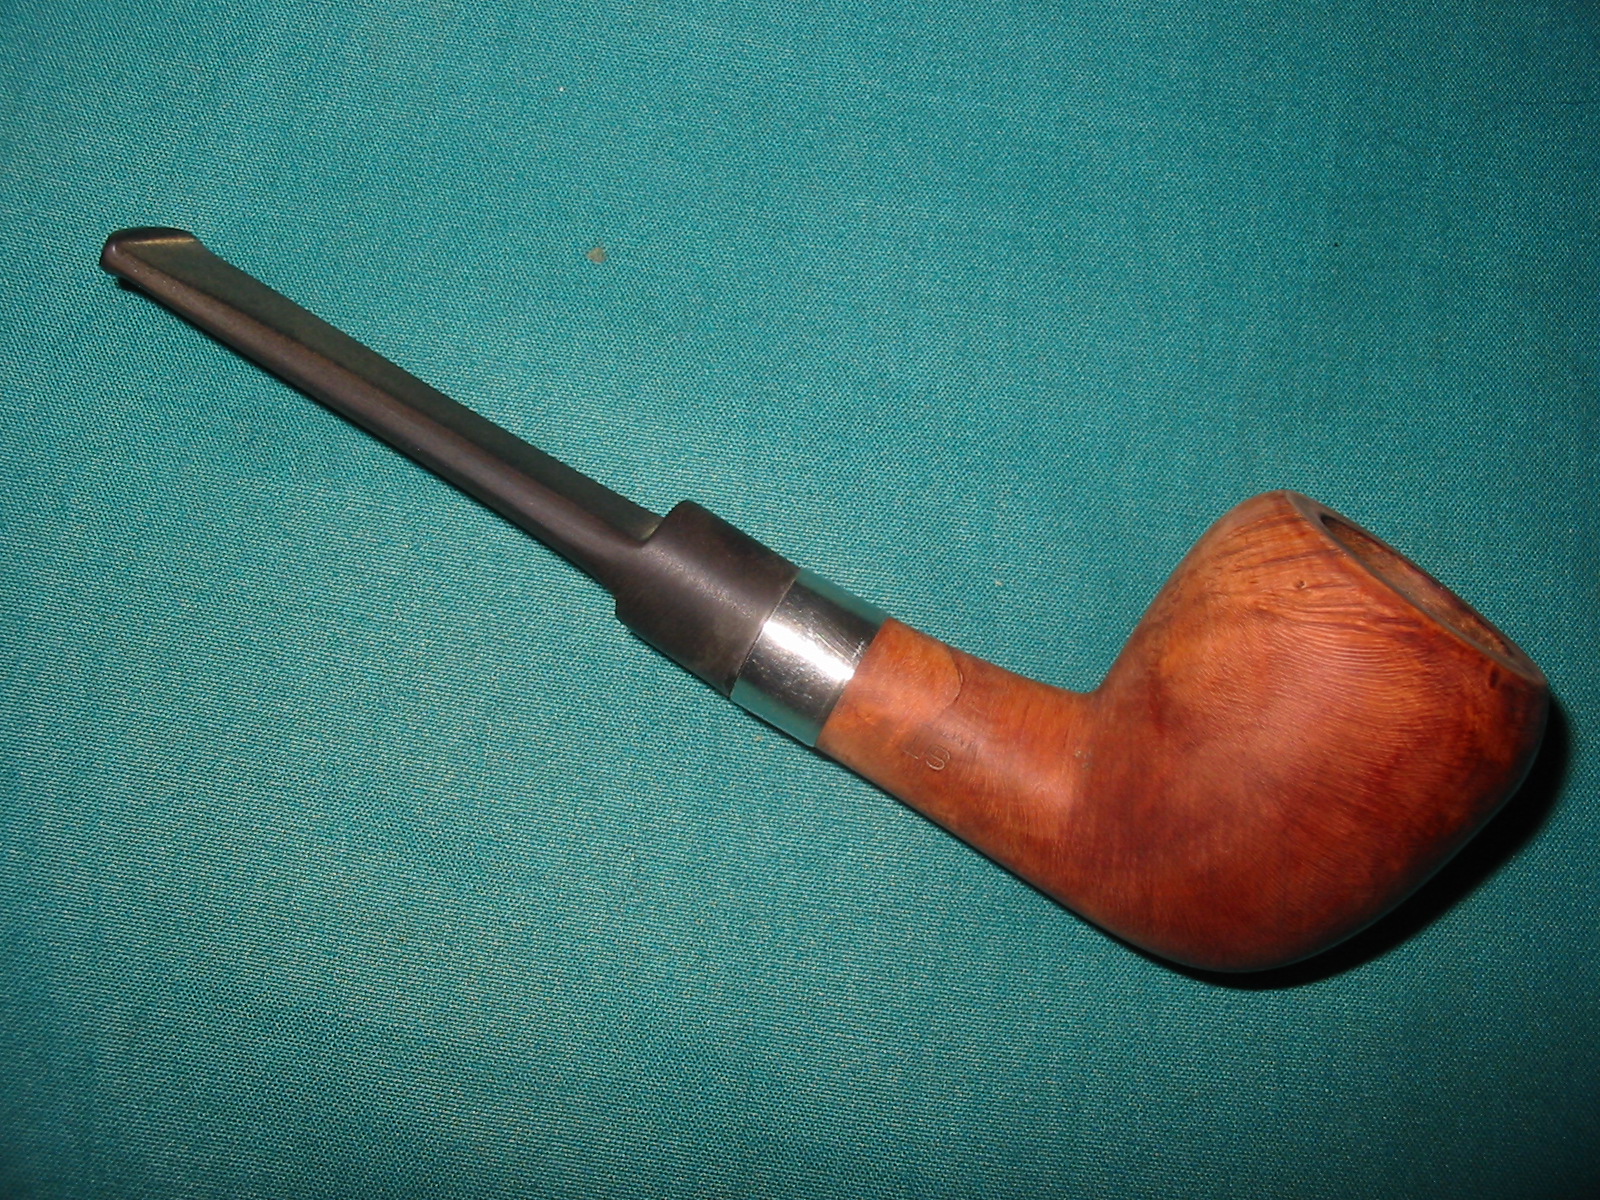
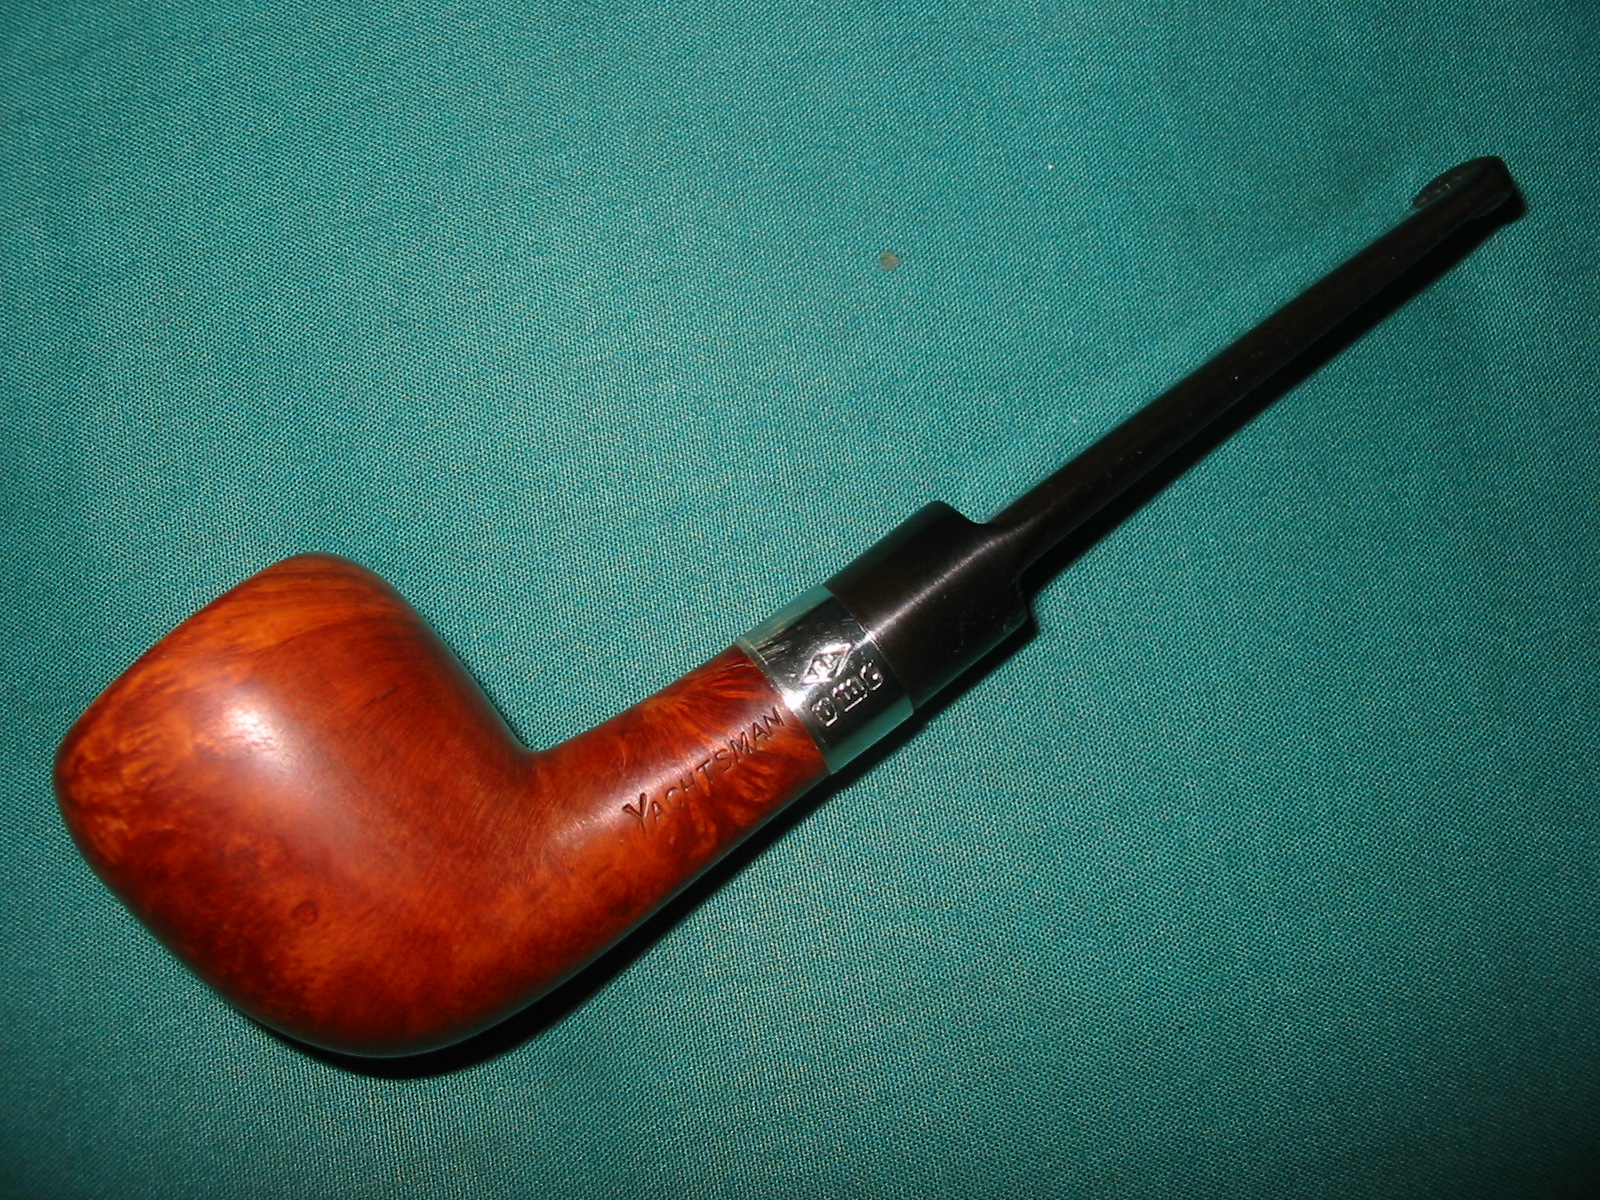
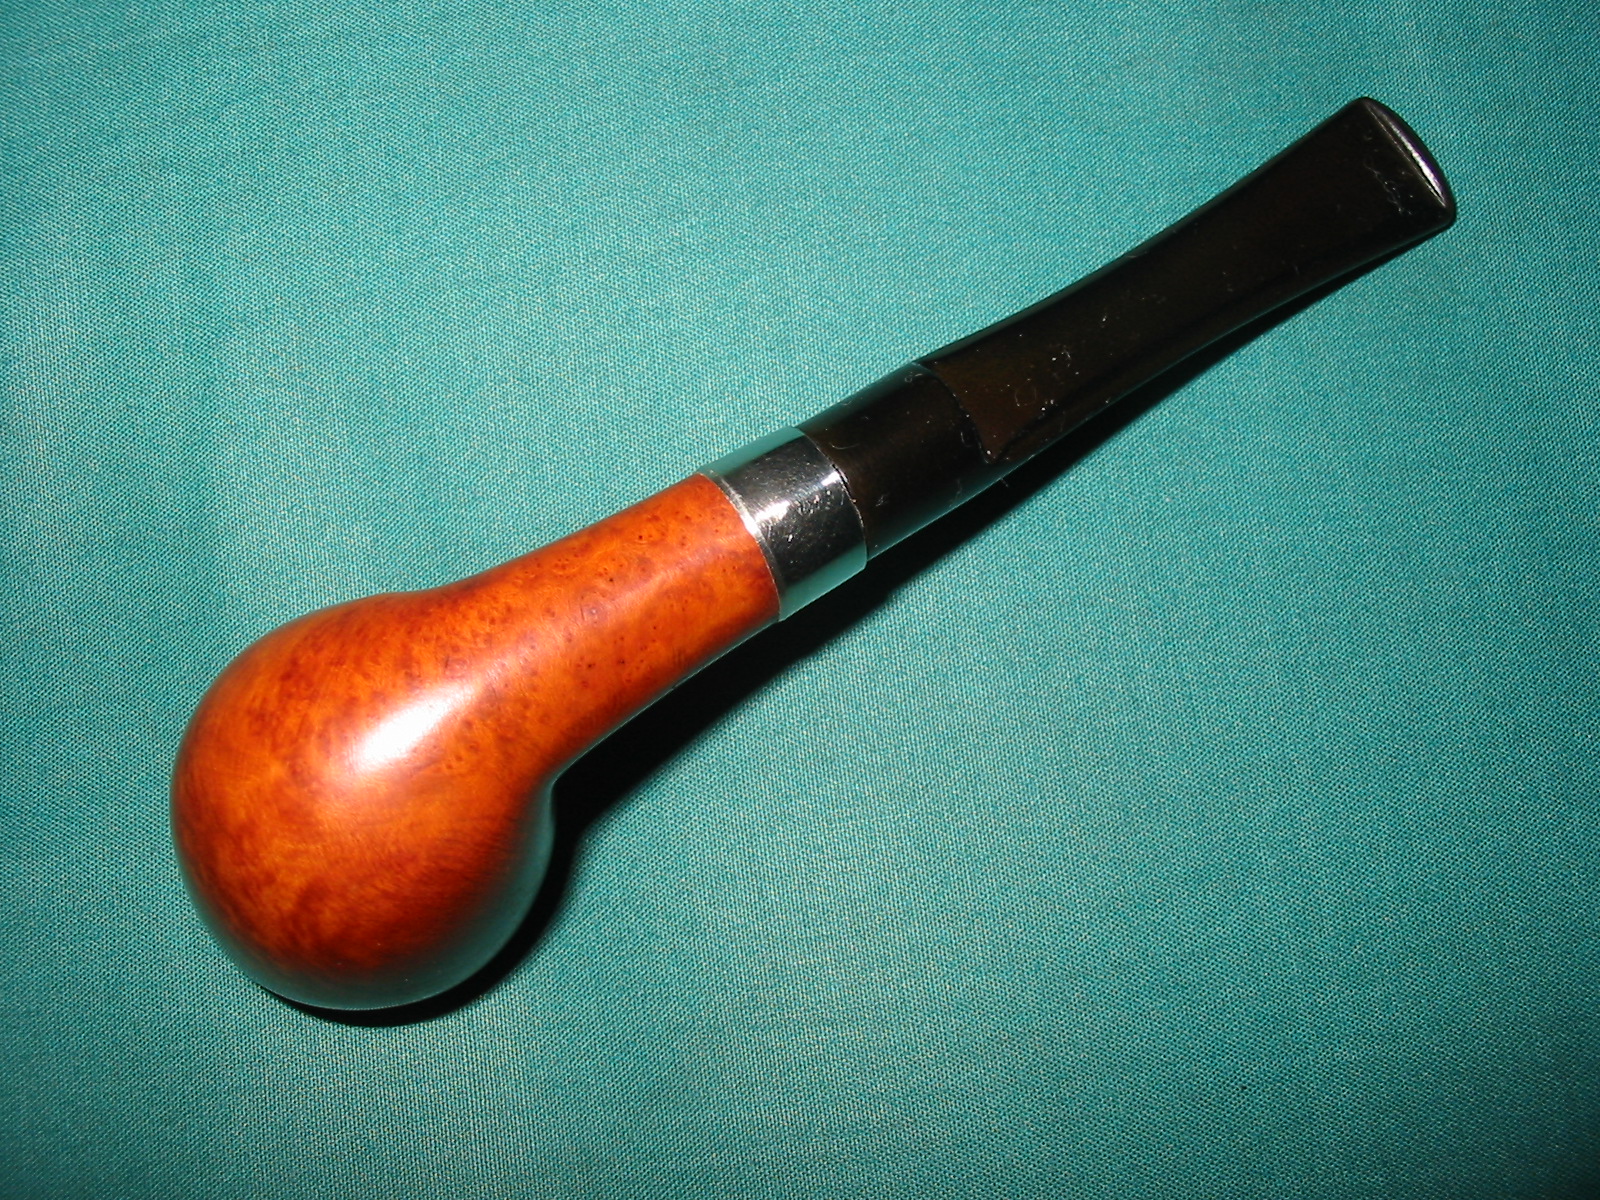
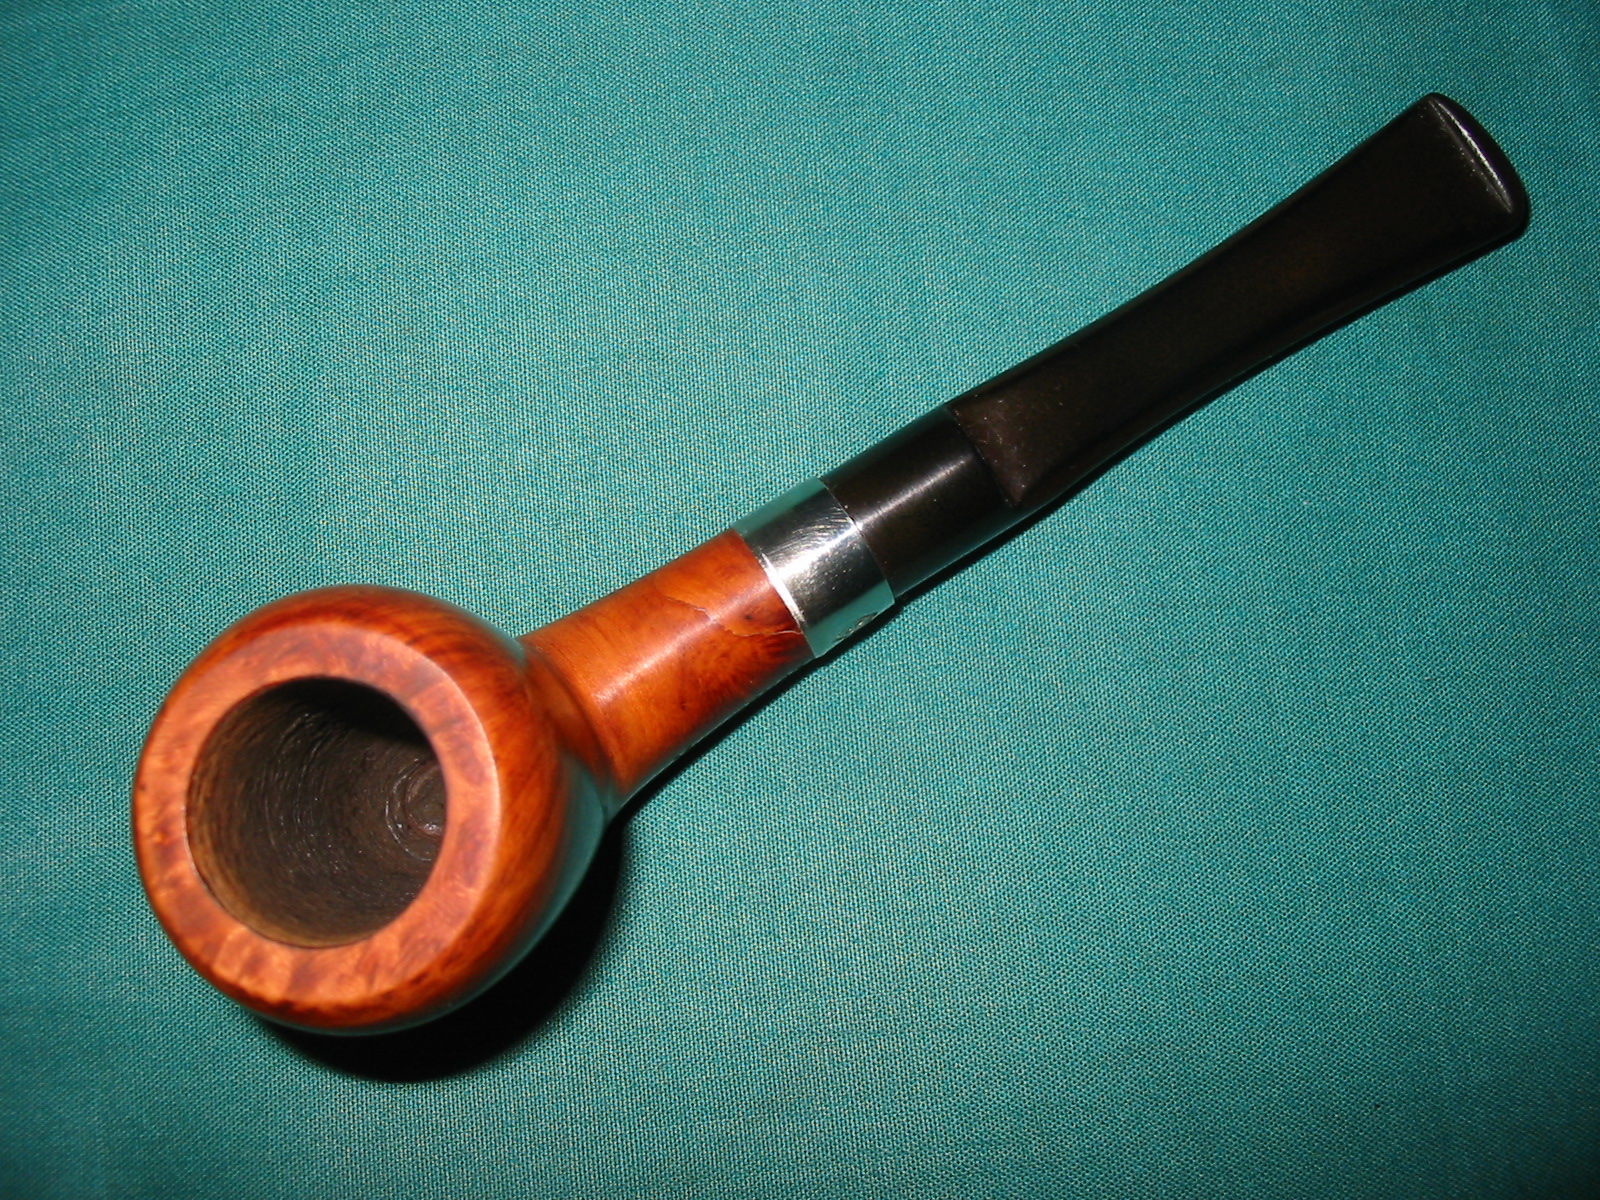
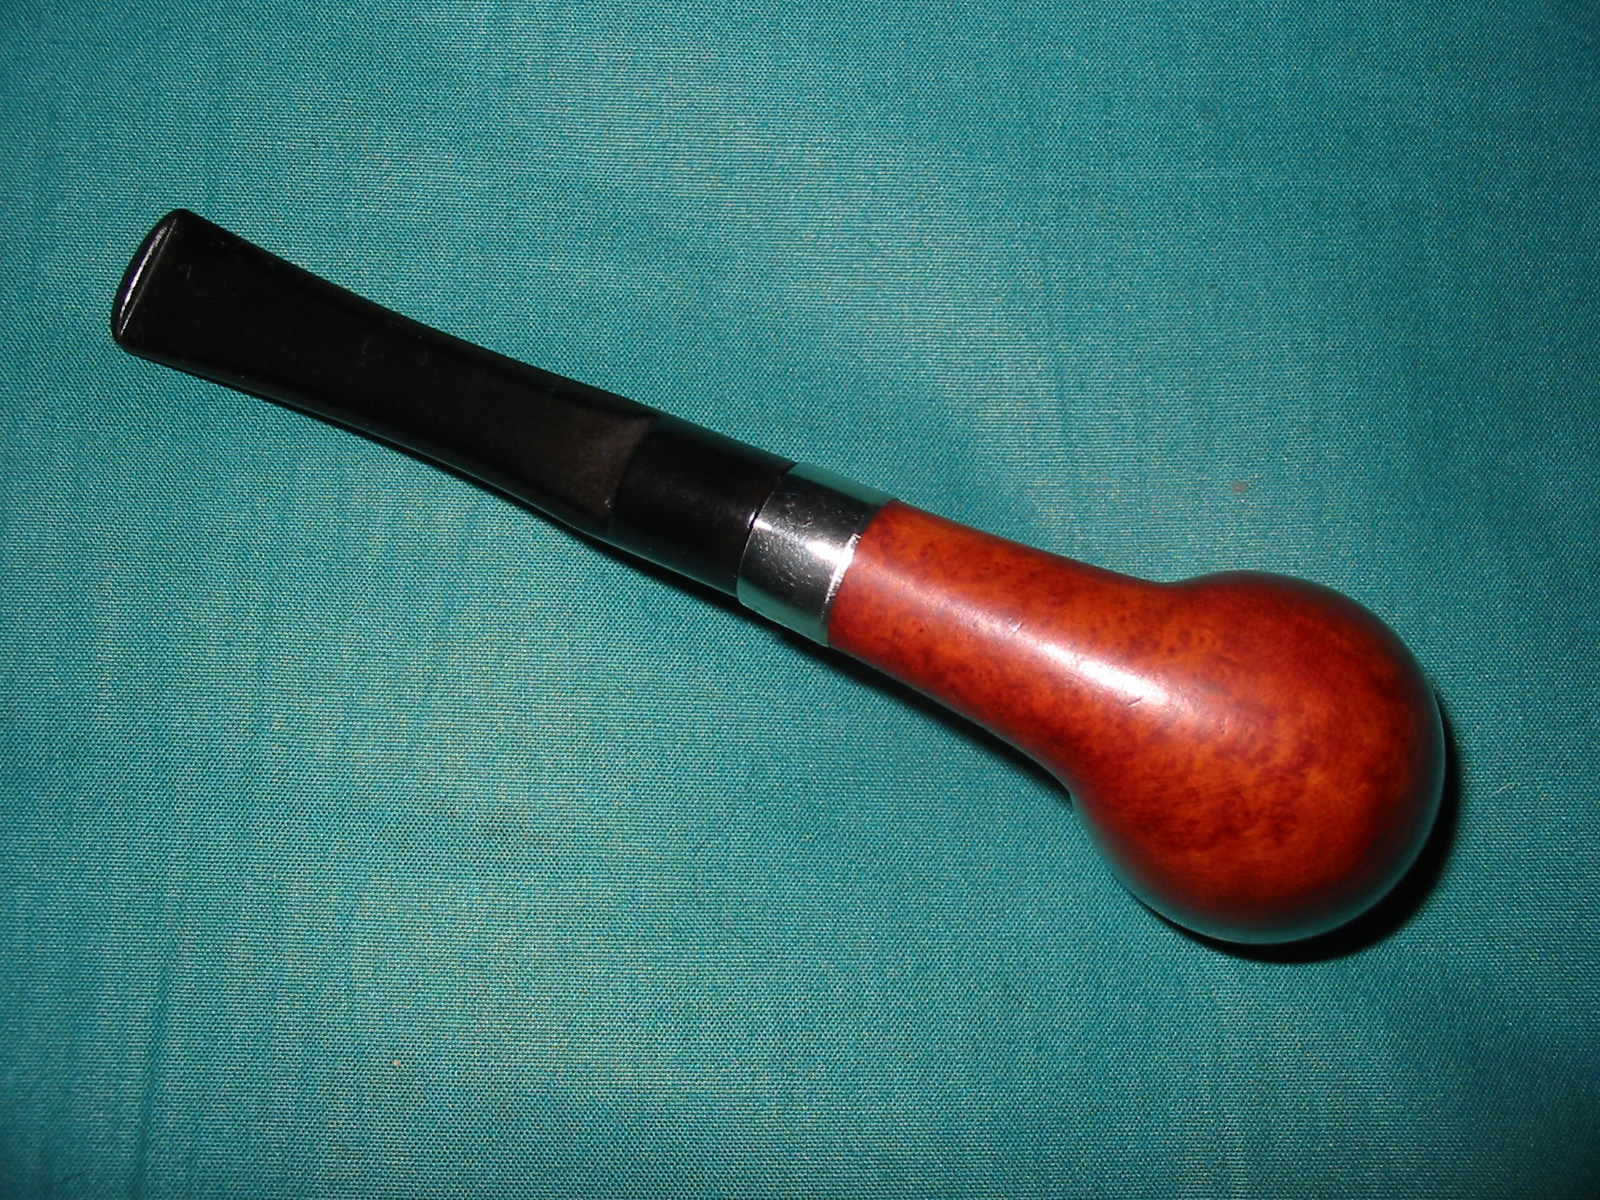
I also finished the polish on the stem using White Diamond on the buffer before finishing with the remaining three grits of micromesh pads – 6000, 8000 and 12,000. I gave it a final buff with White Diamond and then rubbed it down with some Obsidian Oil. I finished the stem with several coats of carnauba wax. The four photos below show the finished pipe. The repair to the stem is visible if you look closely but the redemption of this broken pipe is complete and it is ready to smoke.


Steve, Nice repair. It looks like a normal run of the grain where the repair is. Great Job.
When I did the London Hall reserection it had a metal fine thread insert. From my old mechanic days I had an EZ Out tool which has a left handed twist to it that allows the bit to turn out the insert. Worked it out real easy.
LikeLike
Phenomenal recovery and a-maz-ing save. You have a wonderful talent for bringing the best out of briar. Did I miss it in the narrative…or did you end up leaving in the metal insert?
LikeLike
Thanks Larry. I did get it out before gluing it back together.
LikeLike
I wondered, after all that work, if it still couldn’t be removed!! 🙂
LikeLike
Like my shop teacher use to tell us “it looked like it growed that way”. Nice save!
LikeLike