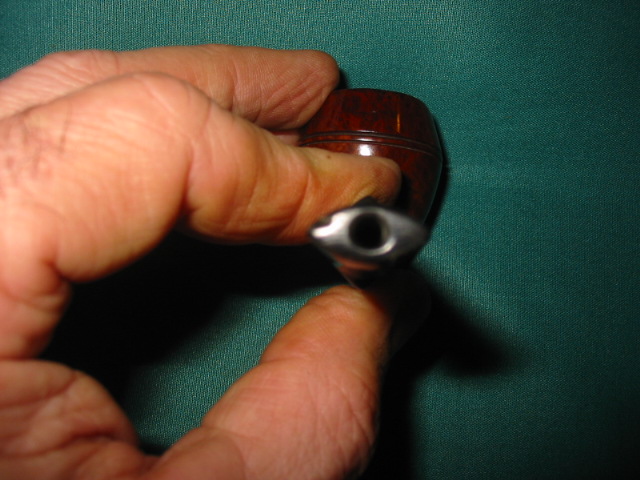
I picked up this little BBB Bulldog on EBay and knew it would take some work. In the photo below you can see the cut in the stem – a groove or channel that served as a dental grip for the pipe. It is just in front of the button. There was some minor oxidation on the stem as well. The button had an orific opening (round hole in the button) rather than a slot. The rim and sides of the bowl were dirty and there was some darkening around the edges. The bowl was caked with a thick cake that would need to be reamed. The photo below is the one that was on EBay.

When the pipe arrived it was smaller than I had imagined. No problem there as I like these pocket sized pipes. The stamping on the shank only had the BBB logo in the diamond. No name or other identifying marks were on either side of the shank. The stem did not have the BBB stamp or roundel. The finish was not too bad. The majority of work would need to be done on the rim and the top edges of the bulldog bowl. The stem was going to take some work to get rid of the trough that had been cut in it by a previous owner as a kind of dental bit. The bowl was not as caked as it had appeared in the original picture but had been over reamed and was out of round. The walls at the top appeared to be thinner than normal on a pipe of this shape.

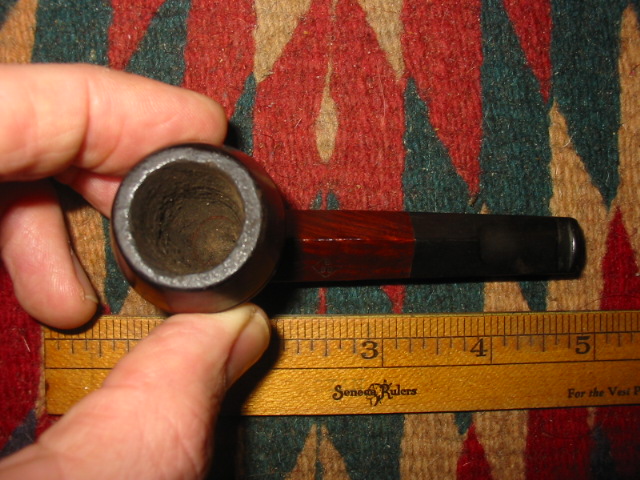
You can see the size of the pipe from the photos above with the ruler. It is four inches long and delicate in the hands. I went to work on the stem first with my needle files and sandpaper to remove the trough on the top of the stem and the underside of the stem. This took some work as it could have radically changed the slope of the stem. I worked to keep the angle looking right from the saddle to the button. It took quite a bit of time to remove the excess vulcanite and reshape the blade of the stem. I sanded the stem smooth and then progressed through the micromesh grits 1500 through 12000. I put it back on the pipe and took it to the buffer and buffed it with White Diamond until it shone. Then I removed the stem and set it aside while I worked on the bowl.
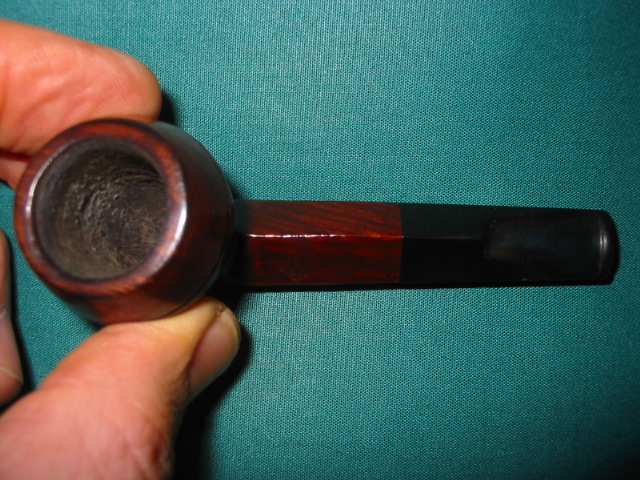
The bowl needed most of the work on the area of the rim and the edges following down the bowl. There was lava and also darkening. I worked on the rim and the darkening with acetone on a soft cloth. It removed the majority of the darkening and grime. I decided to top the bowl minimally to smooth out the surface. I chamferred the inner rim with a folded piece of sandpaper to minimize the chatter from the over reaming. The pipe was given a coat of medium brown aniline stain, flamed and then buffed gently with White Diamond. The entirety was given multiple coats of carnauba wax and buffed with a soft clean flannel buff. The final picture below has a Canadian penny included to give an idea of size. This will be helpful to those who are familiar with US and Canadian money. To others who are not you can refer to the photos above with a ruler. This is a nice little pipe that smokes very well. It also fits nicely into a coat pocket or shirt pocket!


Pingback: New Life for a Stubby Savoy London Made 429 Bulldog | rebornpipes
A handy travel pipe for sure. .And now looking all ready for the road.. Good work..
LikeLike
Thanks Chuck. Smoked it a few times and it is a great VA flake pipe.
LikeLike
I like it!
I really enjoy the odd stubby pipe (nosewarmer). The tobak chamber looked a right royal mess from what I can see.
You cracked it again Steve!
LikeLike
The chamber was a mess and now it is good to go. Thanks Piet
LikeLike