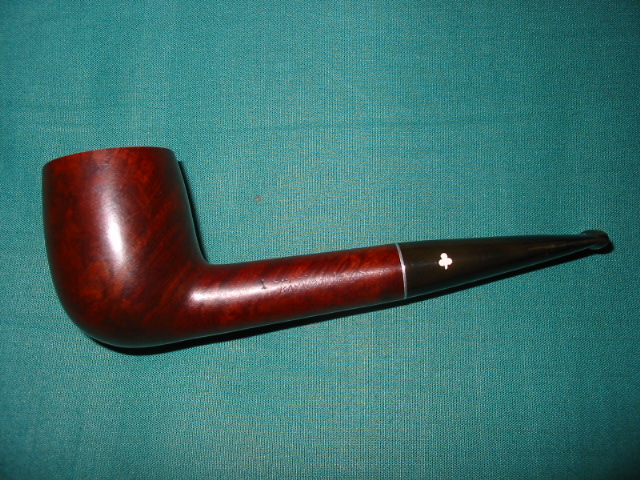
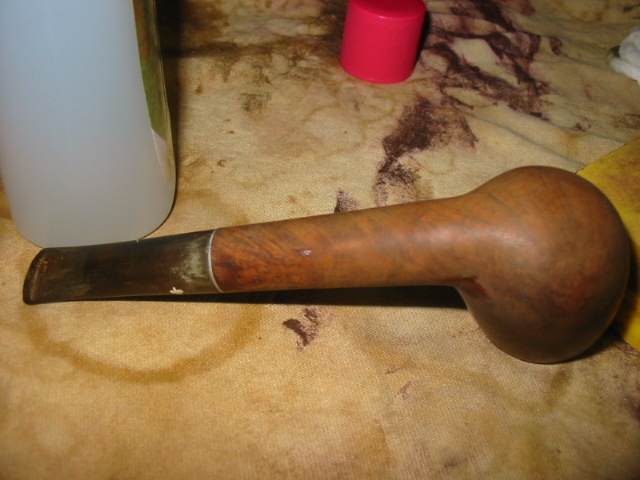
I have grown in my love of the older Kaywoodies. The ones I have worked on are made of some great briar and have classic English shapes. The stems are comfortable and well engineered. The finishes are usually above average and they smoke great – even with the four-hole stingers! I picked this one up on a recent trip to the US. My wife and I were on our 37th Anniversary trip and we always visit antique shops and malls as well travel. This one was one of about 8 that I picked up on that trip. The briar under the grime was quite nice and the pipe showed some promise.
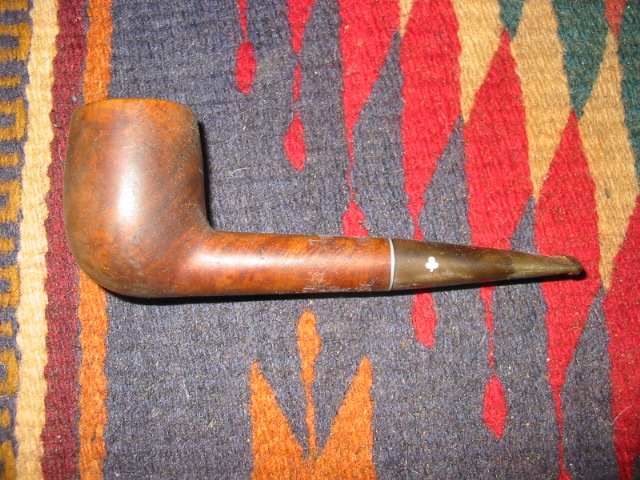
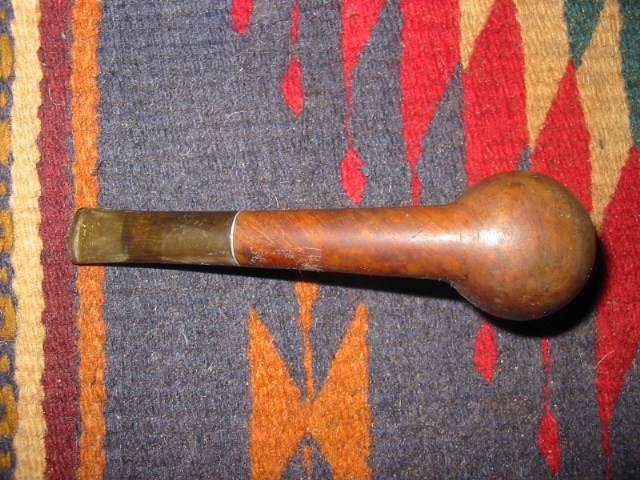
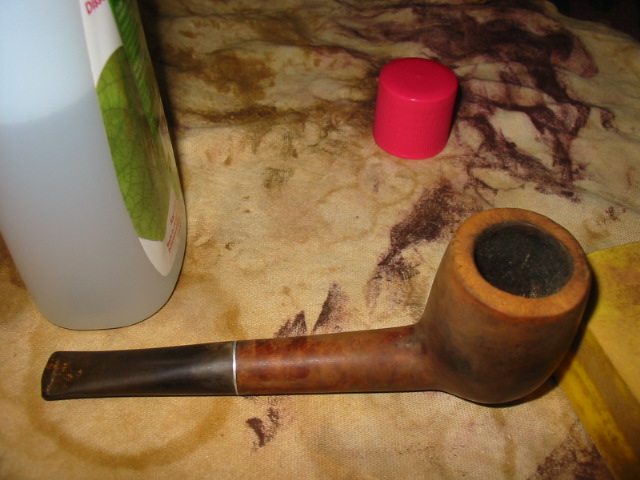
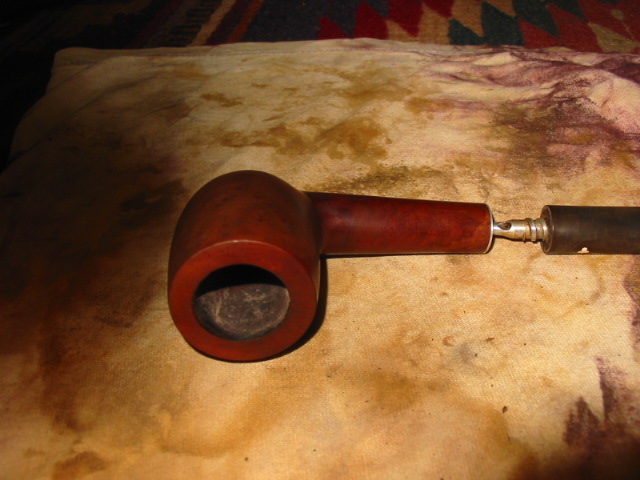
The bowl was in good condition and still round. No one had gone made with a knife or a reamer and ruined the bowl shape. The finish was shot and there were dark places on the wood from ground in dirt and grime. The stem was oxidized and there was some rippling along the stem for the first inch back from the button. I am still wondering if the stem had been trimmed and a new button cut on it. There are some conflicting signs regarding that. The slot is the typical KW slot in the button and the stem is meaty around the button. The taper looks right so I am not sure. The bowl had some caking but oilier tar rather than carbon cake – it reeked of cherry tobacco! The rim was damaged on the front from tapping out the dottle. This one would need some TLC and work to bring it back. 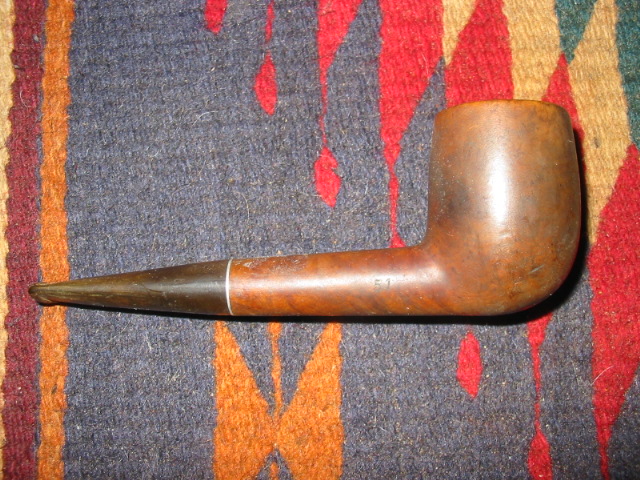

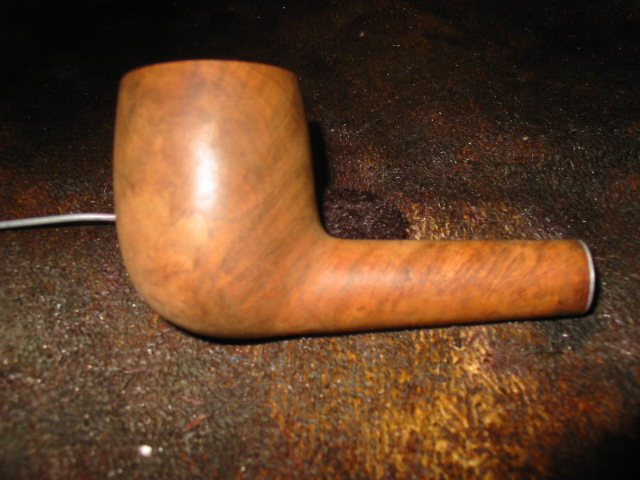
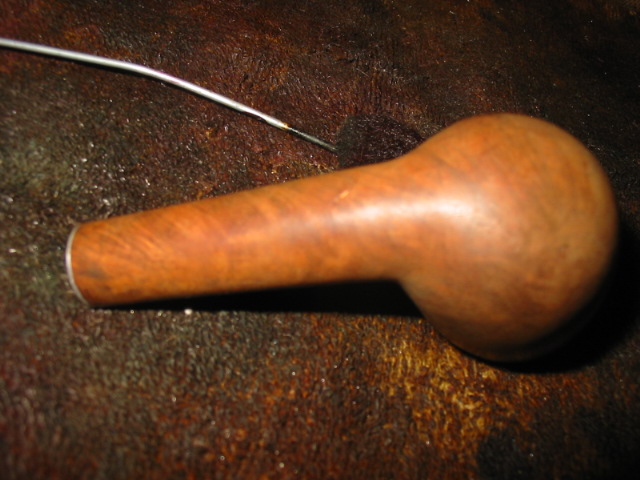
I reamed the bowl and cleaned out the tars and oils that were in it. I also put it in the alcohol bath to soak for a half an hour while I worked on the stem. When I took it out of the bath I dried it off and then wiped down the bowl with acetone to remove the remaining stain and finish that the bath did not remove. I really like the way the acetone removes the finish and leaves the pipe clean and ready to stain. You can see in the four pictures below the shiny spots and dark spots on the briar where I needed to concentrate the work to remove the finish and grime with the acetone. 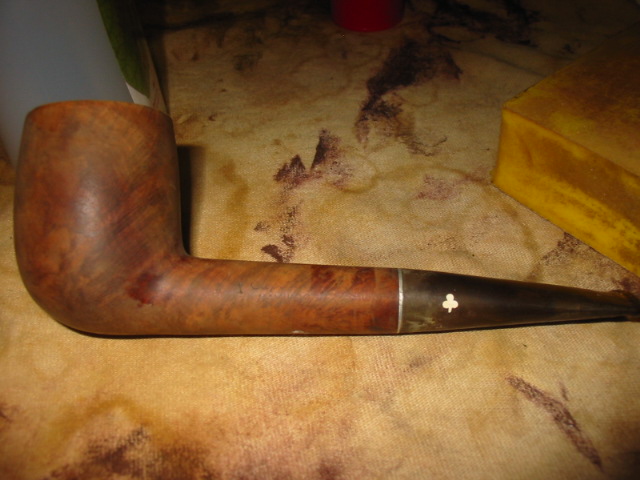
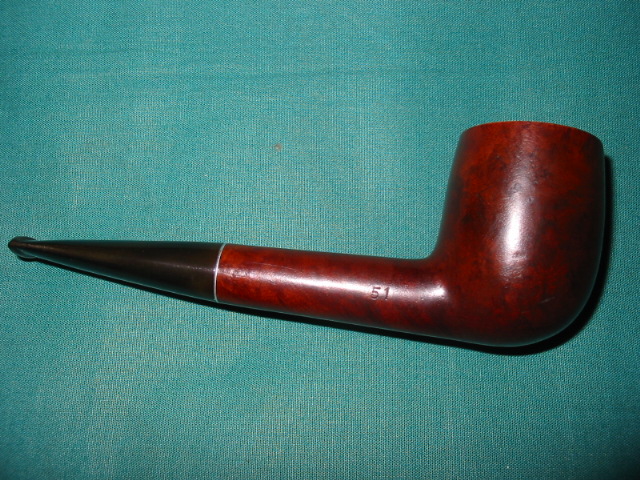
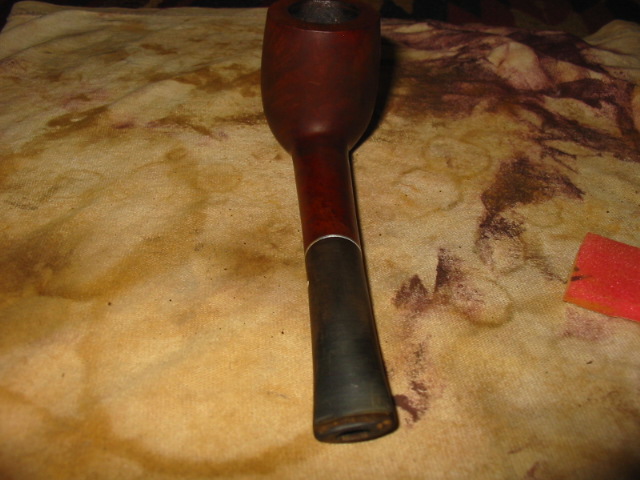
The damage to the front of the bowl and rim required that the bowl be topped. I removed about 7mm from the height of the bowl to remedy the damage to the front. If I had not done that the bowl looked out of round. The damage made the front rim seem thin. It was not as the curve of the damage accounted for the apparent thinness. I topped it as pictured below using medium grit emery cloth to remove the damage and then following that up with 240 grit sandpaper and finally sanding with a fine grit sanding pad to remove the scratches left behind. 

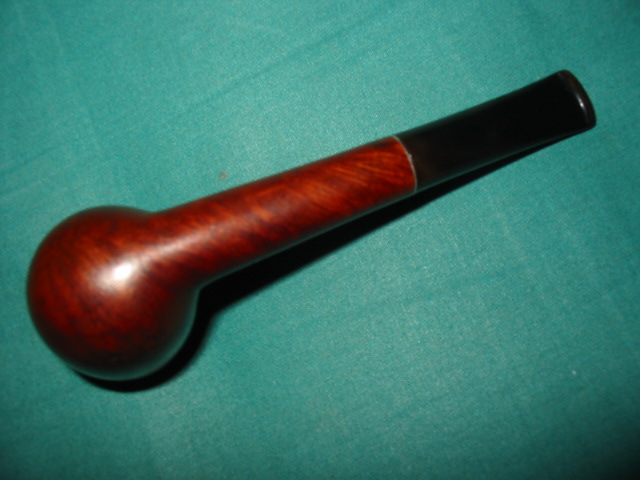
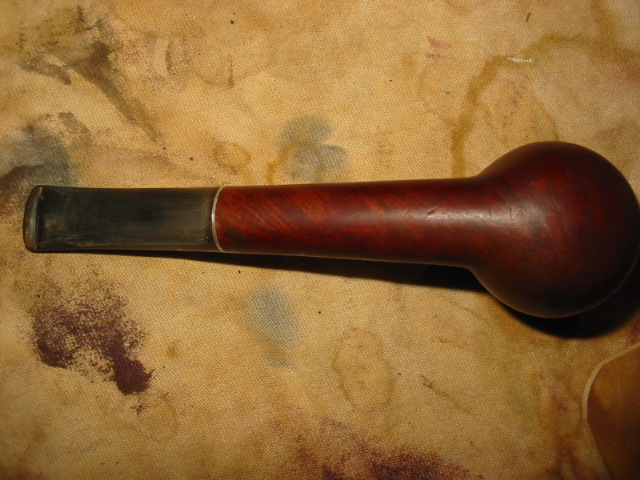
When I finished the work on the rim I wiped the bowl down one last time with the acetone to clean off the dust and grime of the sanding and prepped the bowl for staining. In the photos below you can see the state of the bowl as it stood ready for staining. The grain is very nice. The grime was removed and the dark spots lightened. The rim was back to a clean and sharp state and ready to stain. The darkened spots on the right side of the bowl influenced the choice of stain used on the bowl.


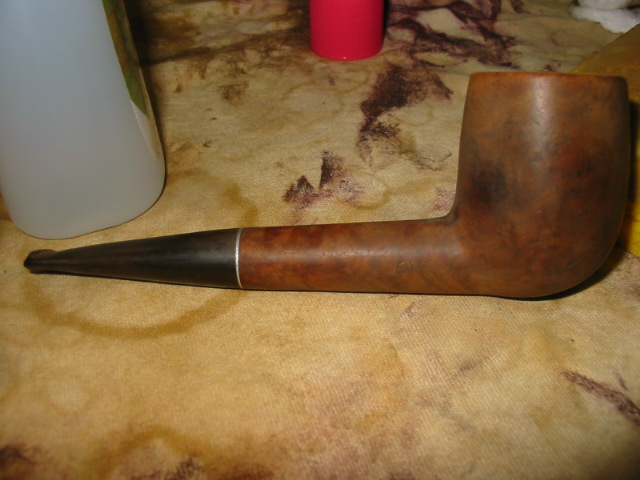
I chose to use a medium brown aniline stain to give some coverage to the dark spots but still allow the grain to come through. I applied the stain with the dauber and then flamed it to set the stain in the briar. Then I repeated the staining and flaming a second time. Once it was done I wanted to remove a bit of the opacity of the stain so I used some acetone on a cotton pad and wiped the pipe down until it had the saturation that I was looking for. In the next series of four photos below you can see the colour and the saturation levels. At this point I had not buffed the pipe or polished it on the buffer. In the third photo you will note that the stem was under turned and would not line up straight with the shank. 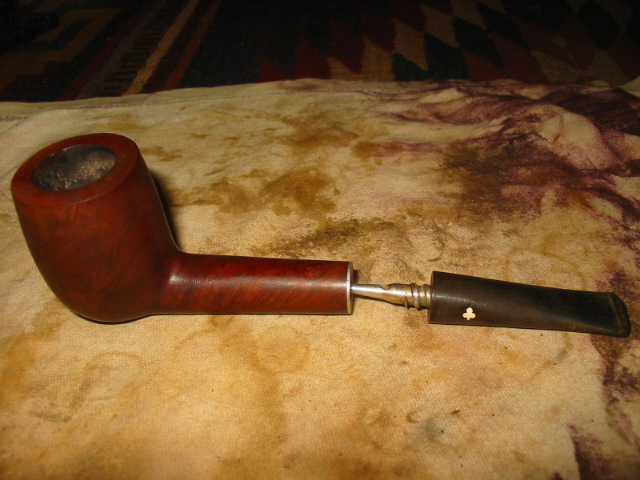

To correct the under turned stem I heated the stinger apparatus with my heat gun – avoiding heating the vulcanite. I wanted to soften the glue in the stem holding the stinger in place so that I could readjust the turn on the stem. Once the glue is heated and softened I screw the stem back in place and twist the stem in the shank until it aligns. I have to repeat it often to check on the softening of the glue. Once it is aligned I cool the stem and shank with running water and then dry quickly so as not to cause oxidation or damage to the finish. 

I continued to sand the stem to remove the oxidation and waves in the surface near the button using various grits of sandpaper. I started the process with medium grit emery cloth to level out the waves and remove tooth marks. Then I used 240 grit sandpaper to smooth out the scratches left by the emery cloth and level the stem. I followed that up with 400 and 600 grit wet dry sandpaper to smooth it more and remove more of the scratches. I finished the stem with micromesh sanding pads – 1500-12,000 grit to bring the stem to a shine. I coated it with Obsidian Oil and let it sit, repeated the application and wiped it down. I then gave the whole pipe a buff with White Diamond and then several coats of carnauba wax for protection and shine.