Blog by Steve Laug
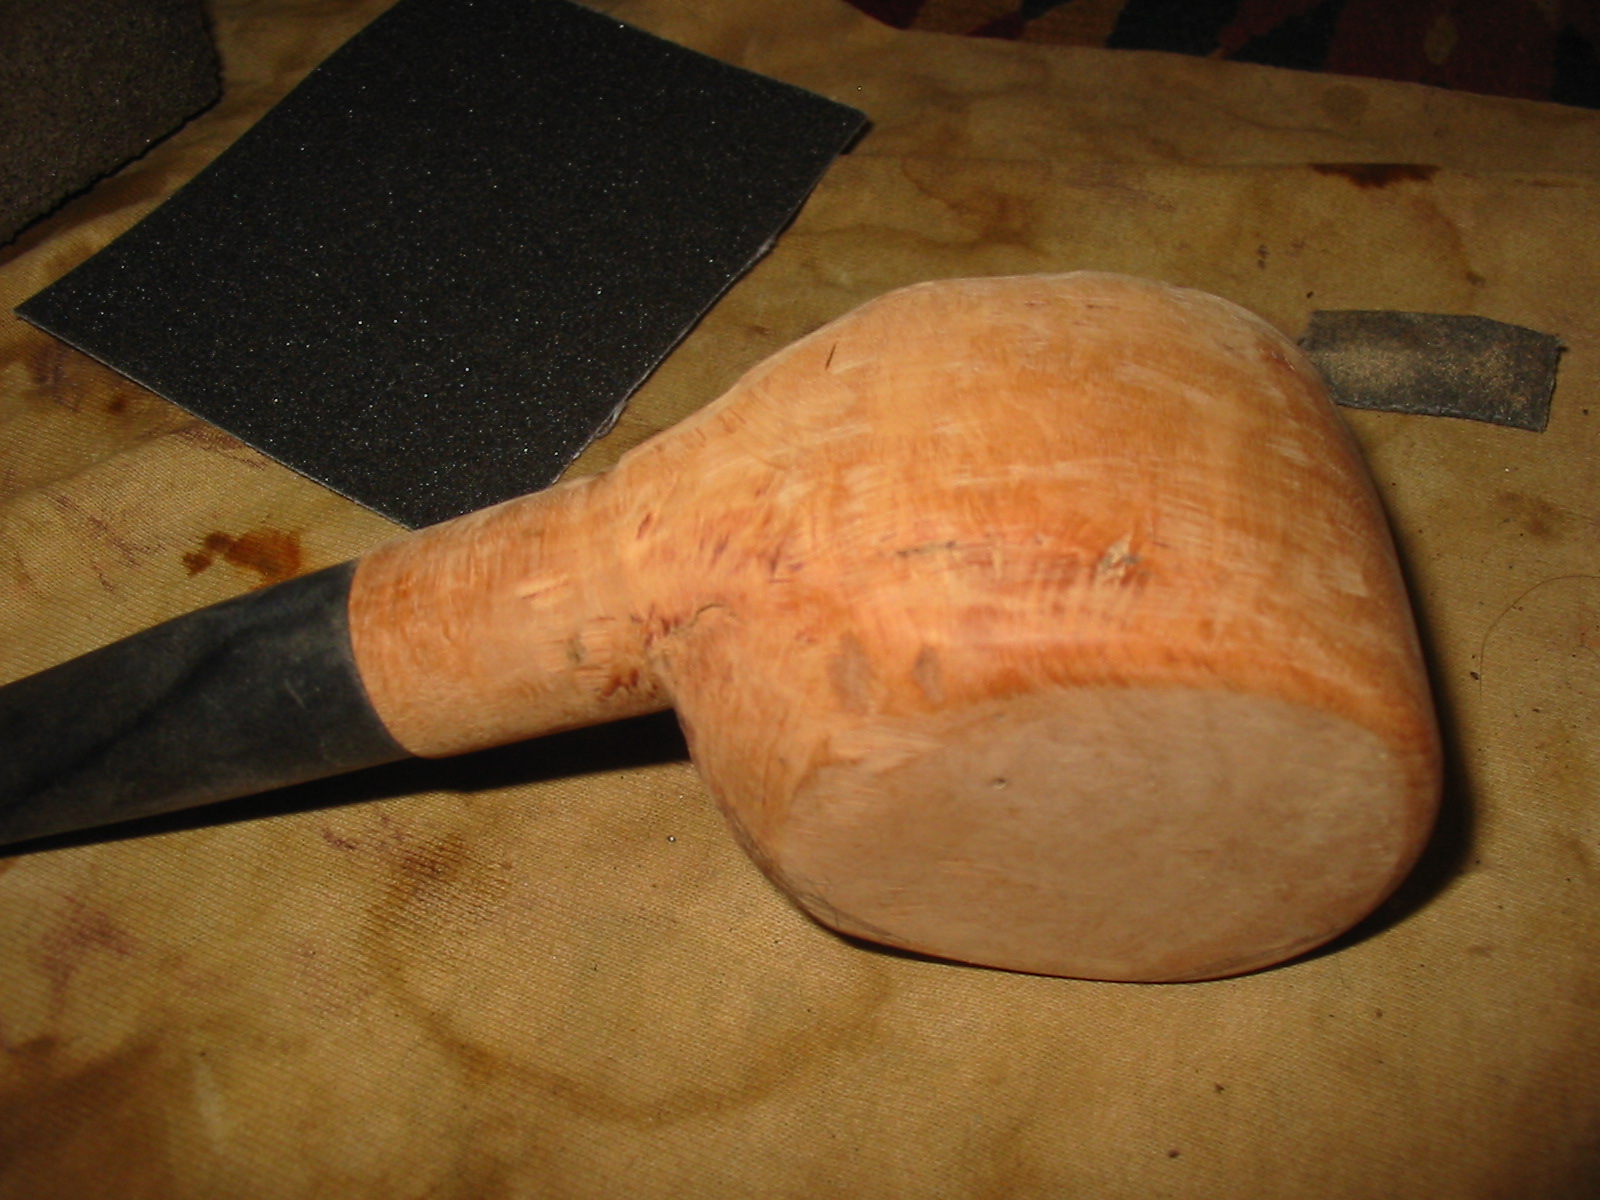
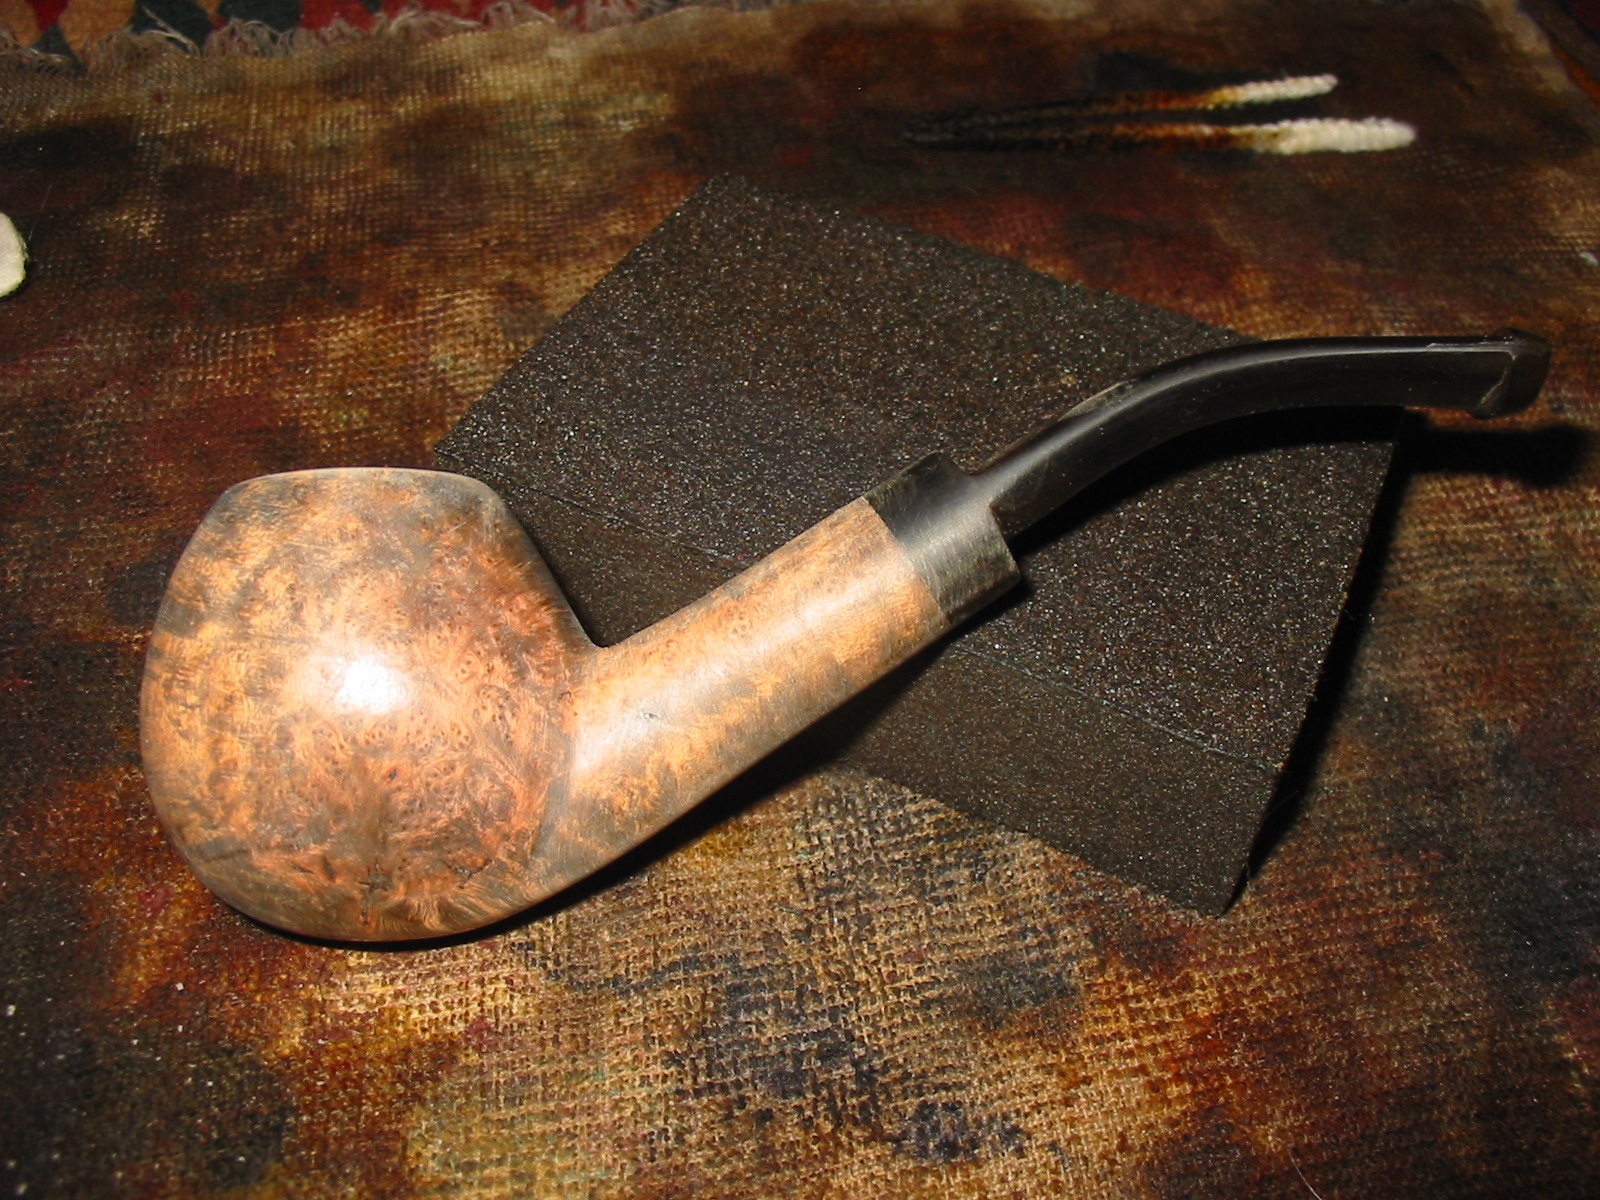
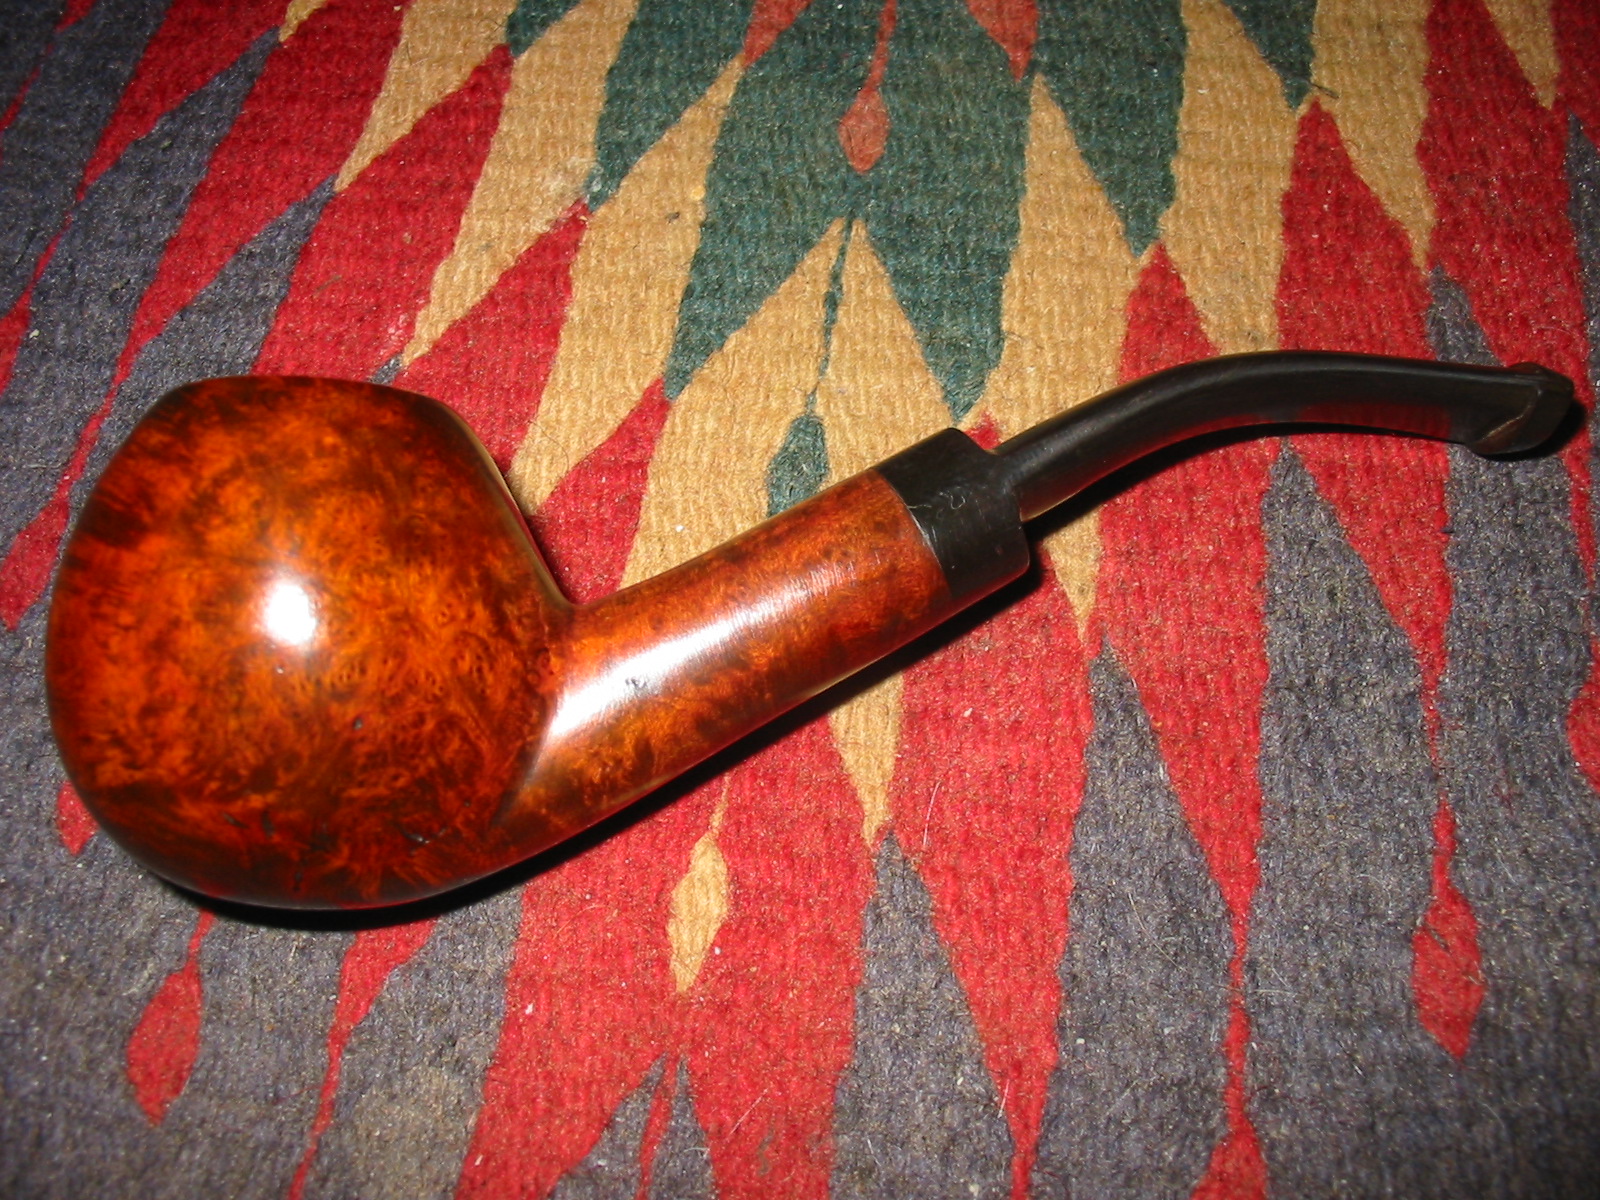
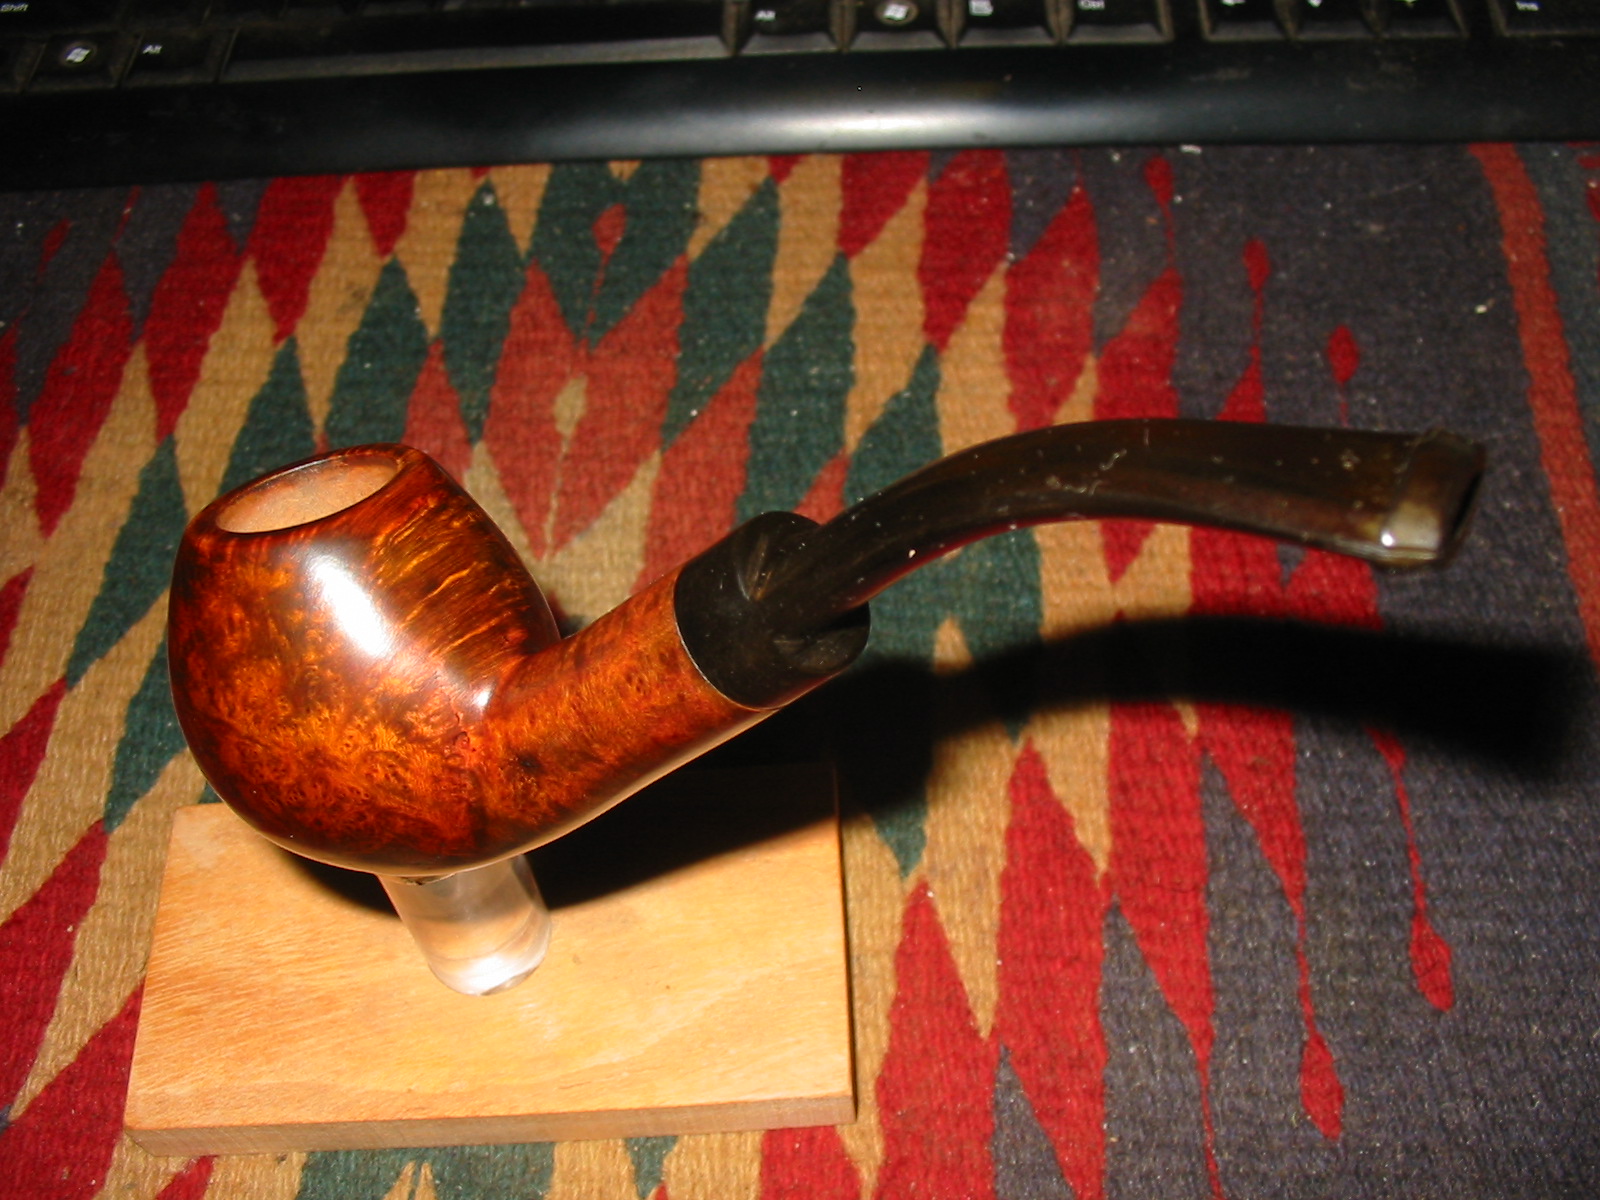
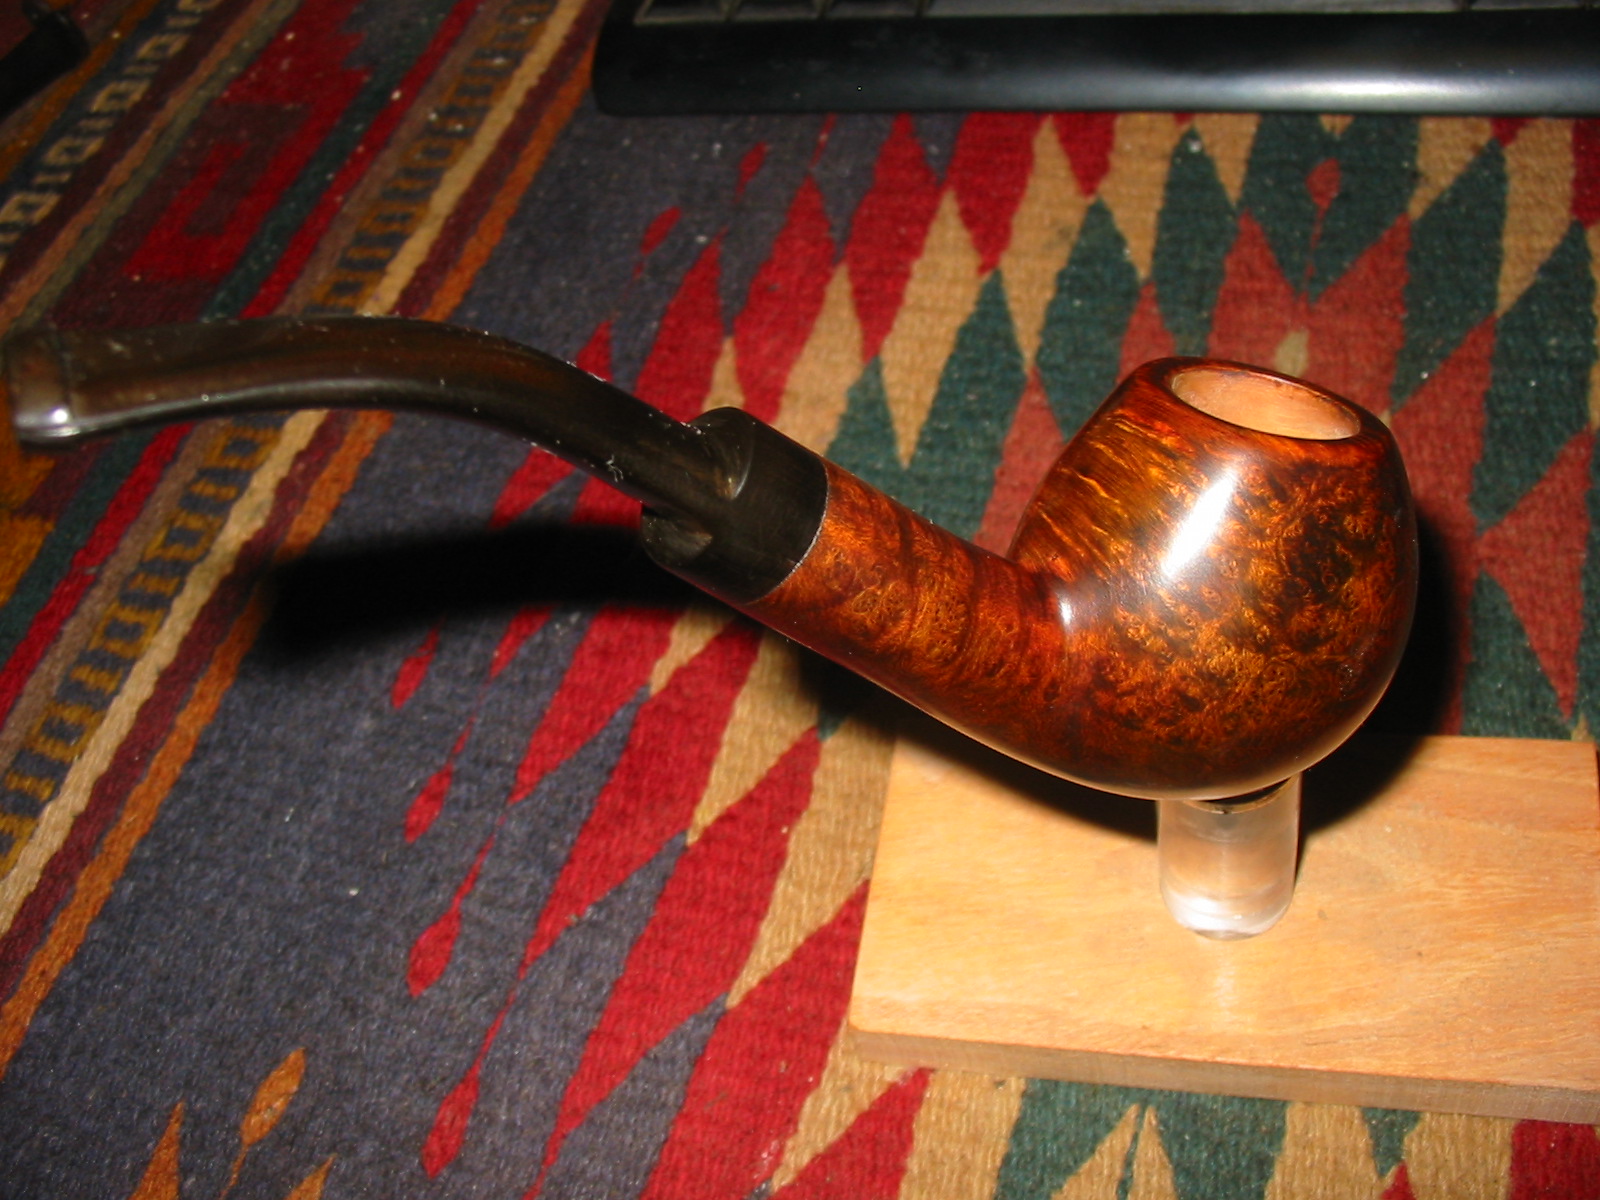
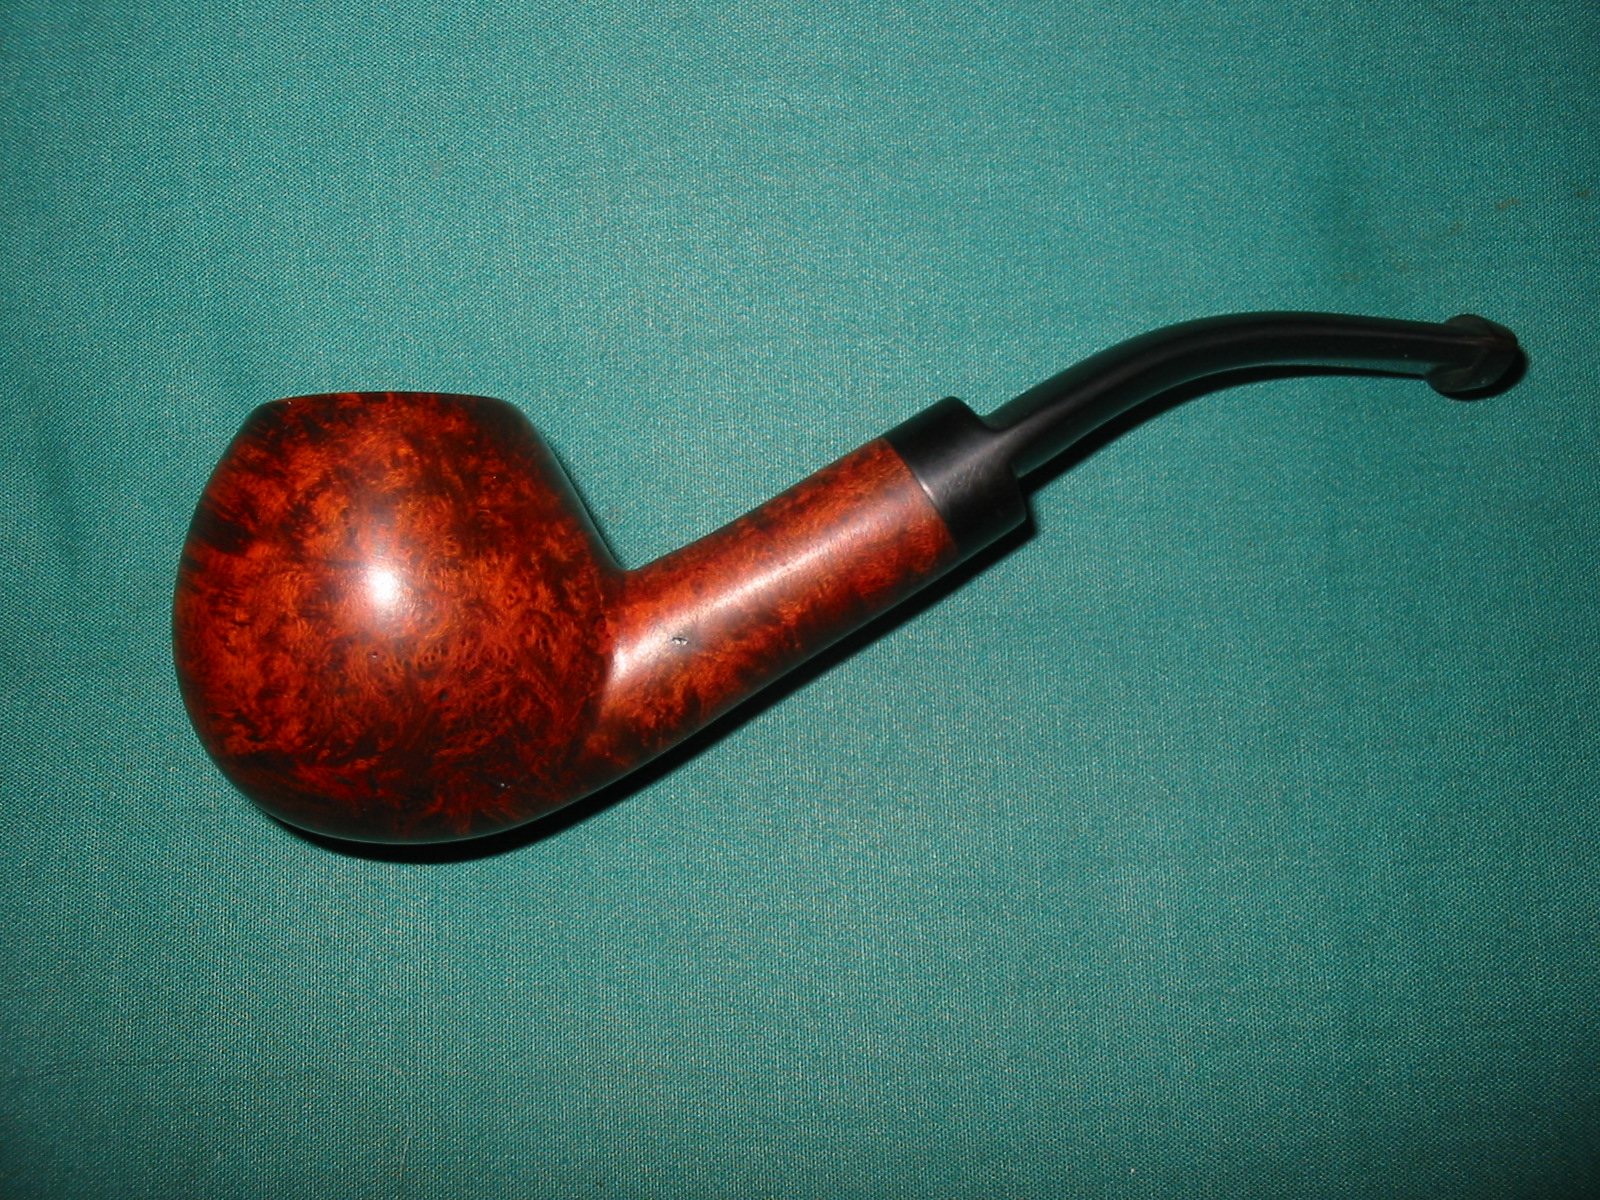
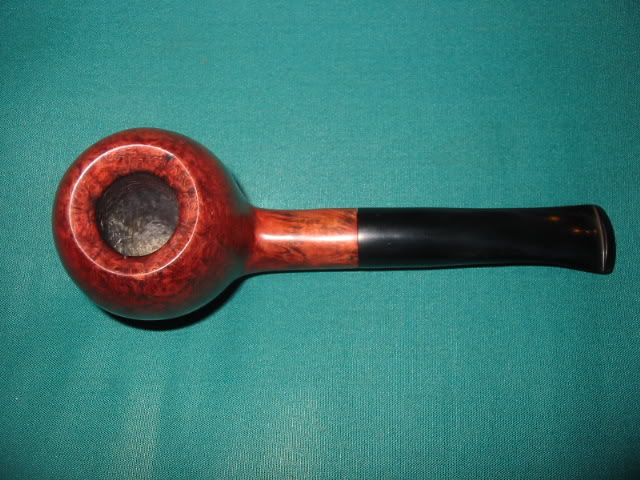
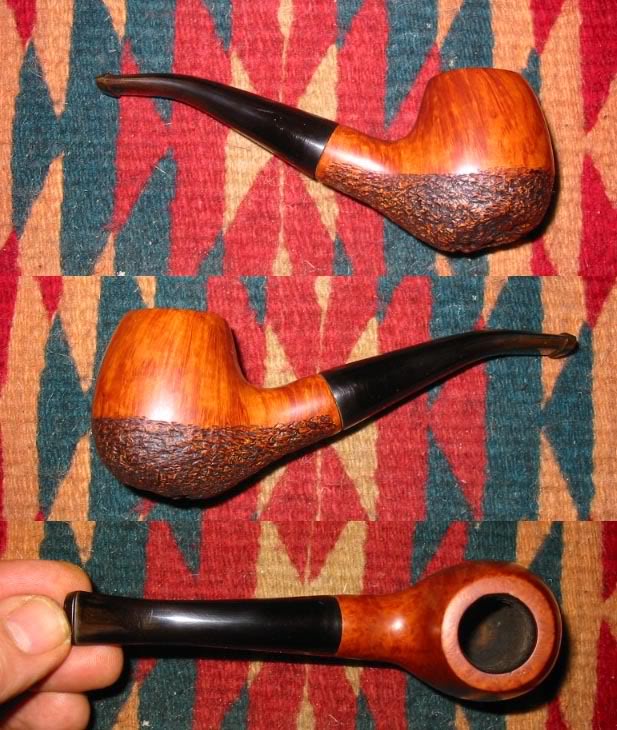
Earlier in the summer I received a package from a friend in Saskatchewan that included some nice pipes for me to enjoy that he had restored along with this partially finish Billiard. It had been shaped and drilled and had some large flaws on the left side of the bowl. The one mid-bowl was quite large and another toward the top of the bowl and onto the rim top. Both were deep and ragged looking and both would need work. I filled them both in with briar dust and clear CA glue and set it aside to cure. I was not too worried about it as in the shaping process much of the briar around the sides and rim would be removed.
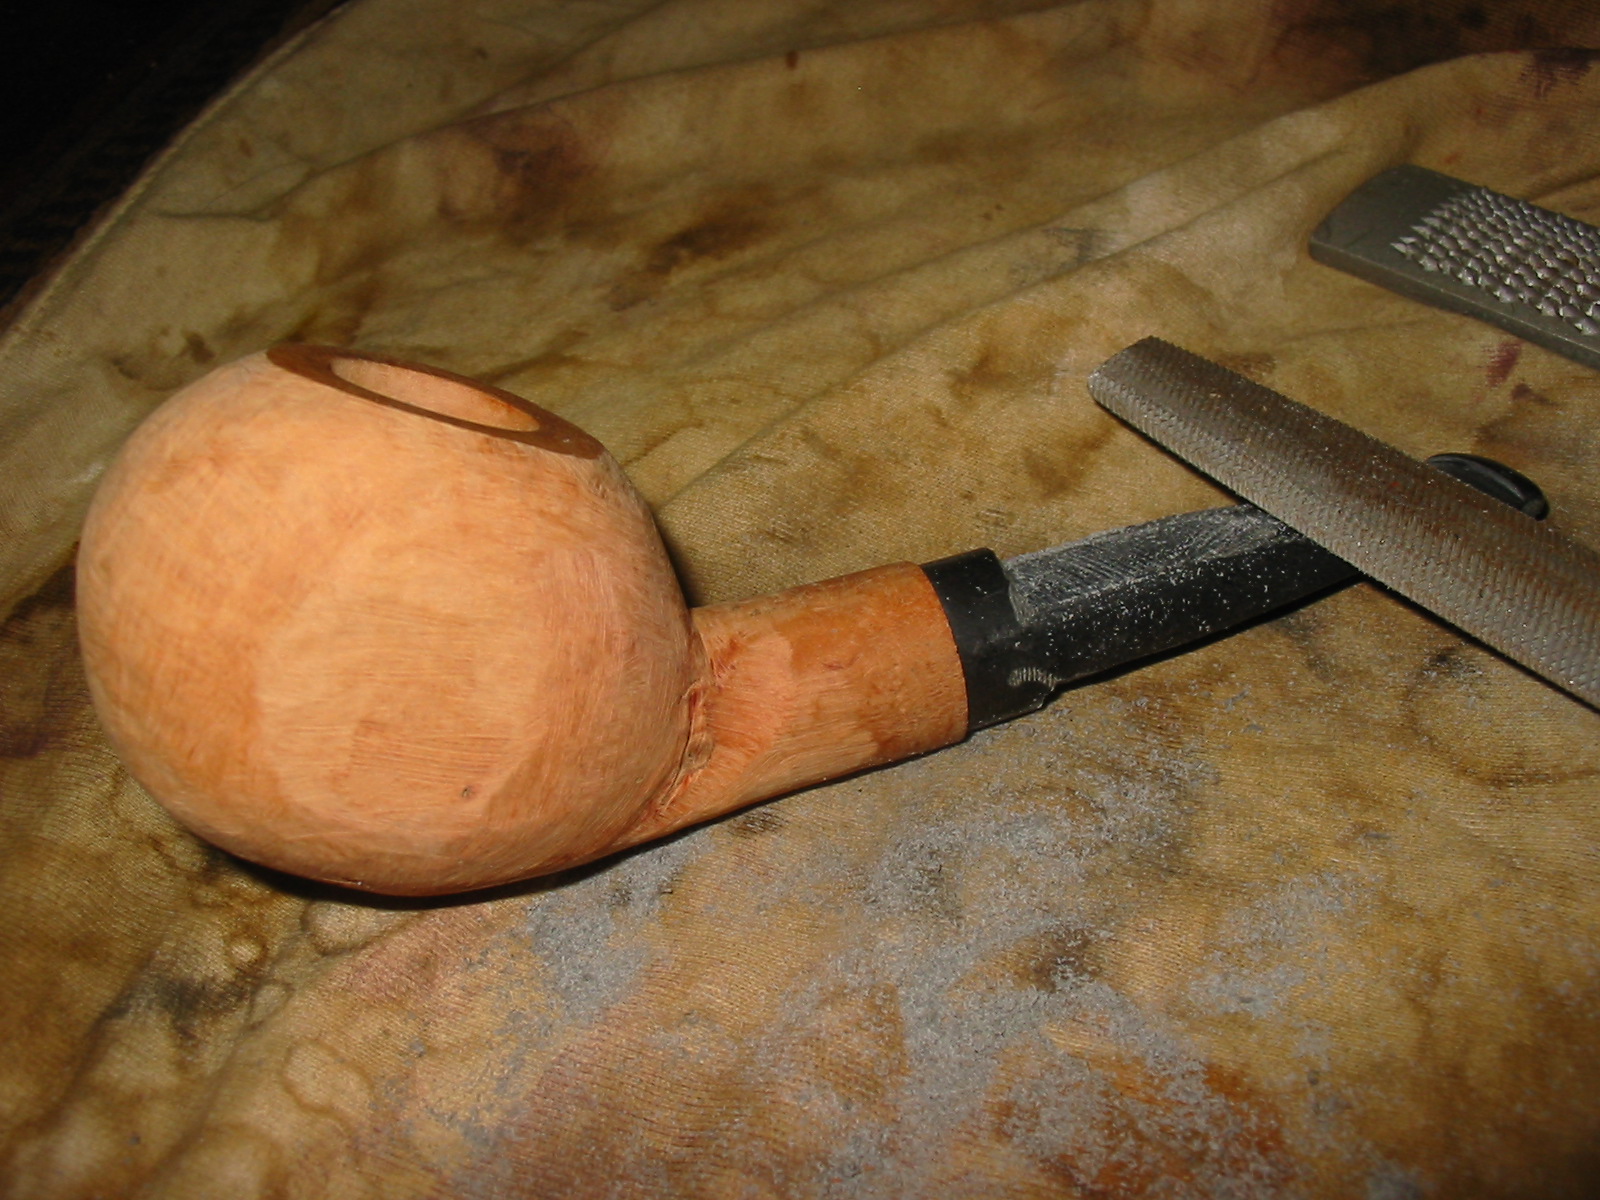
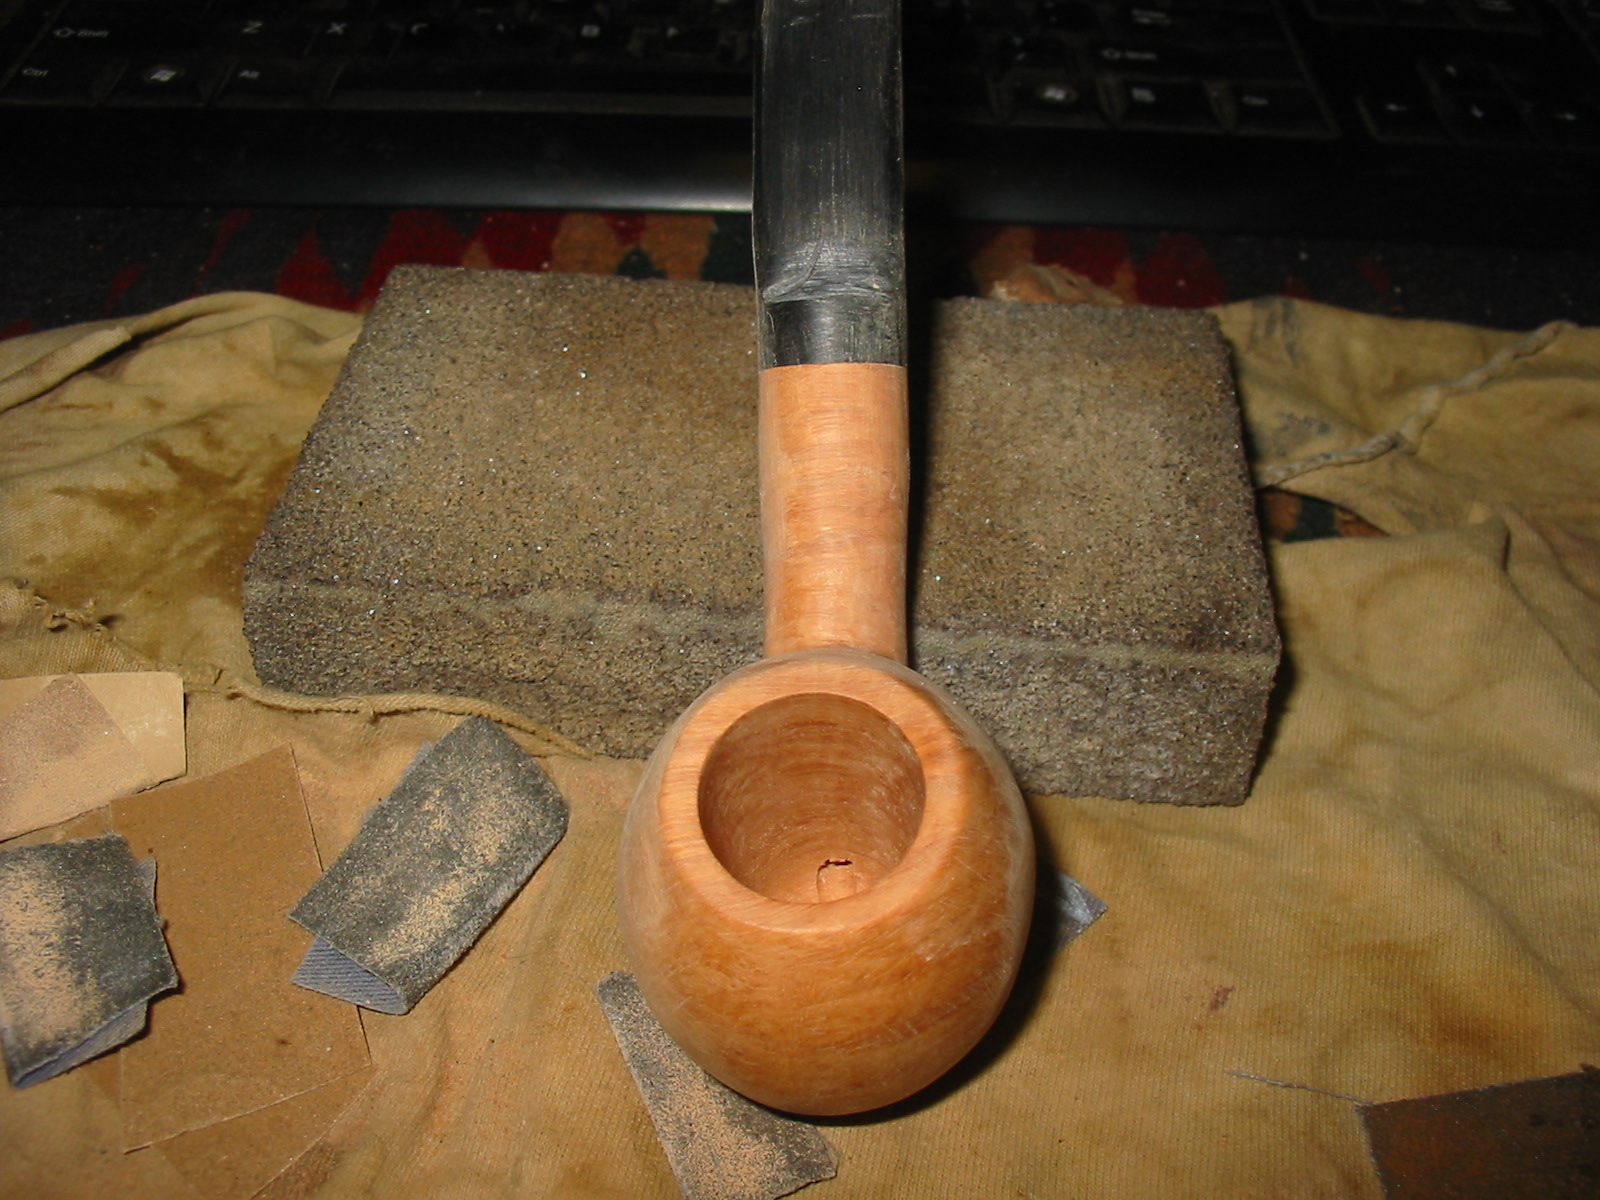
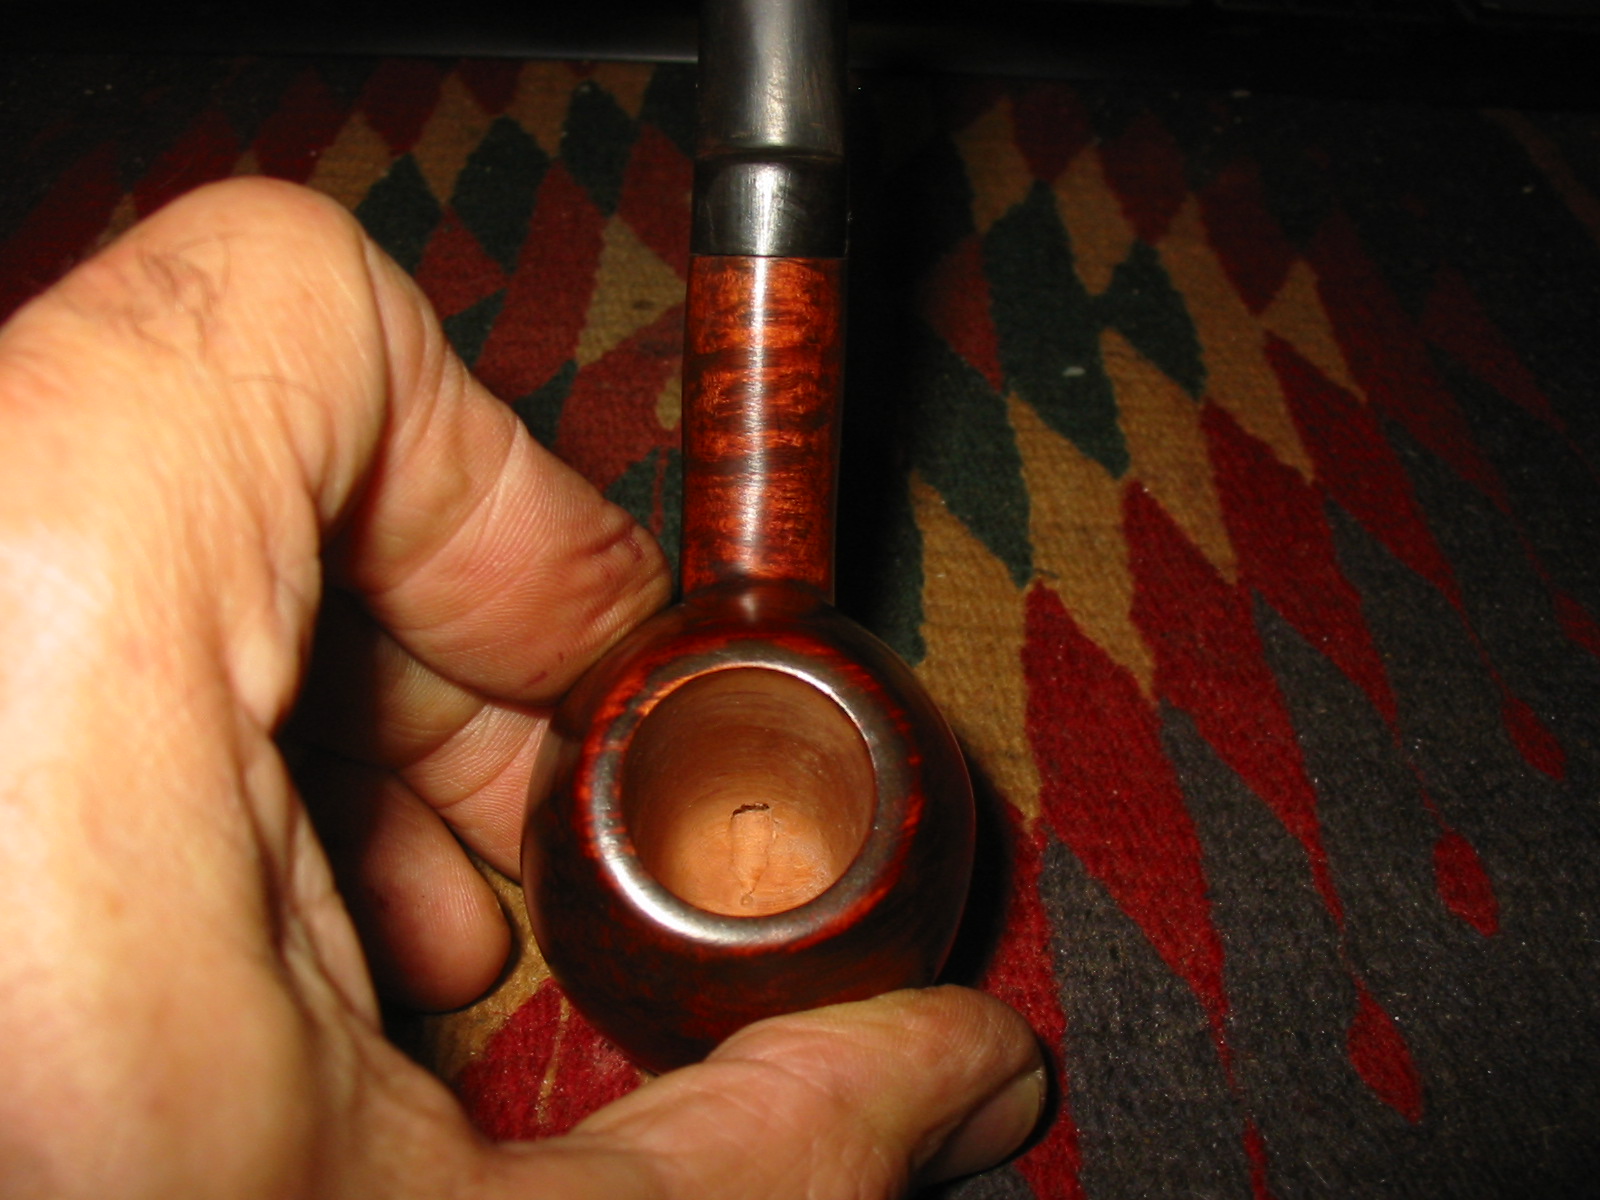
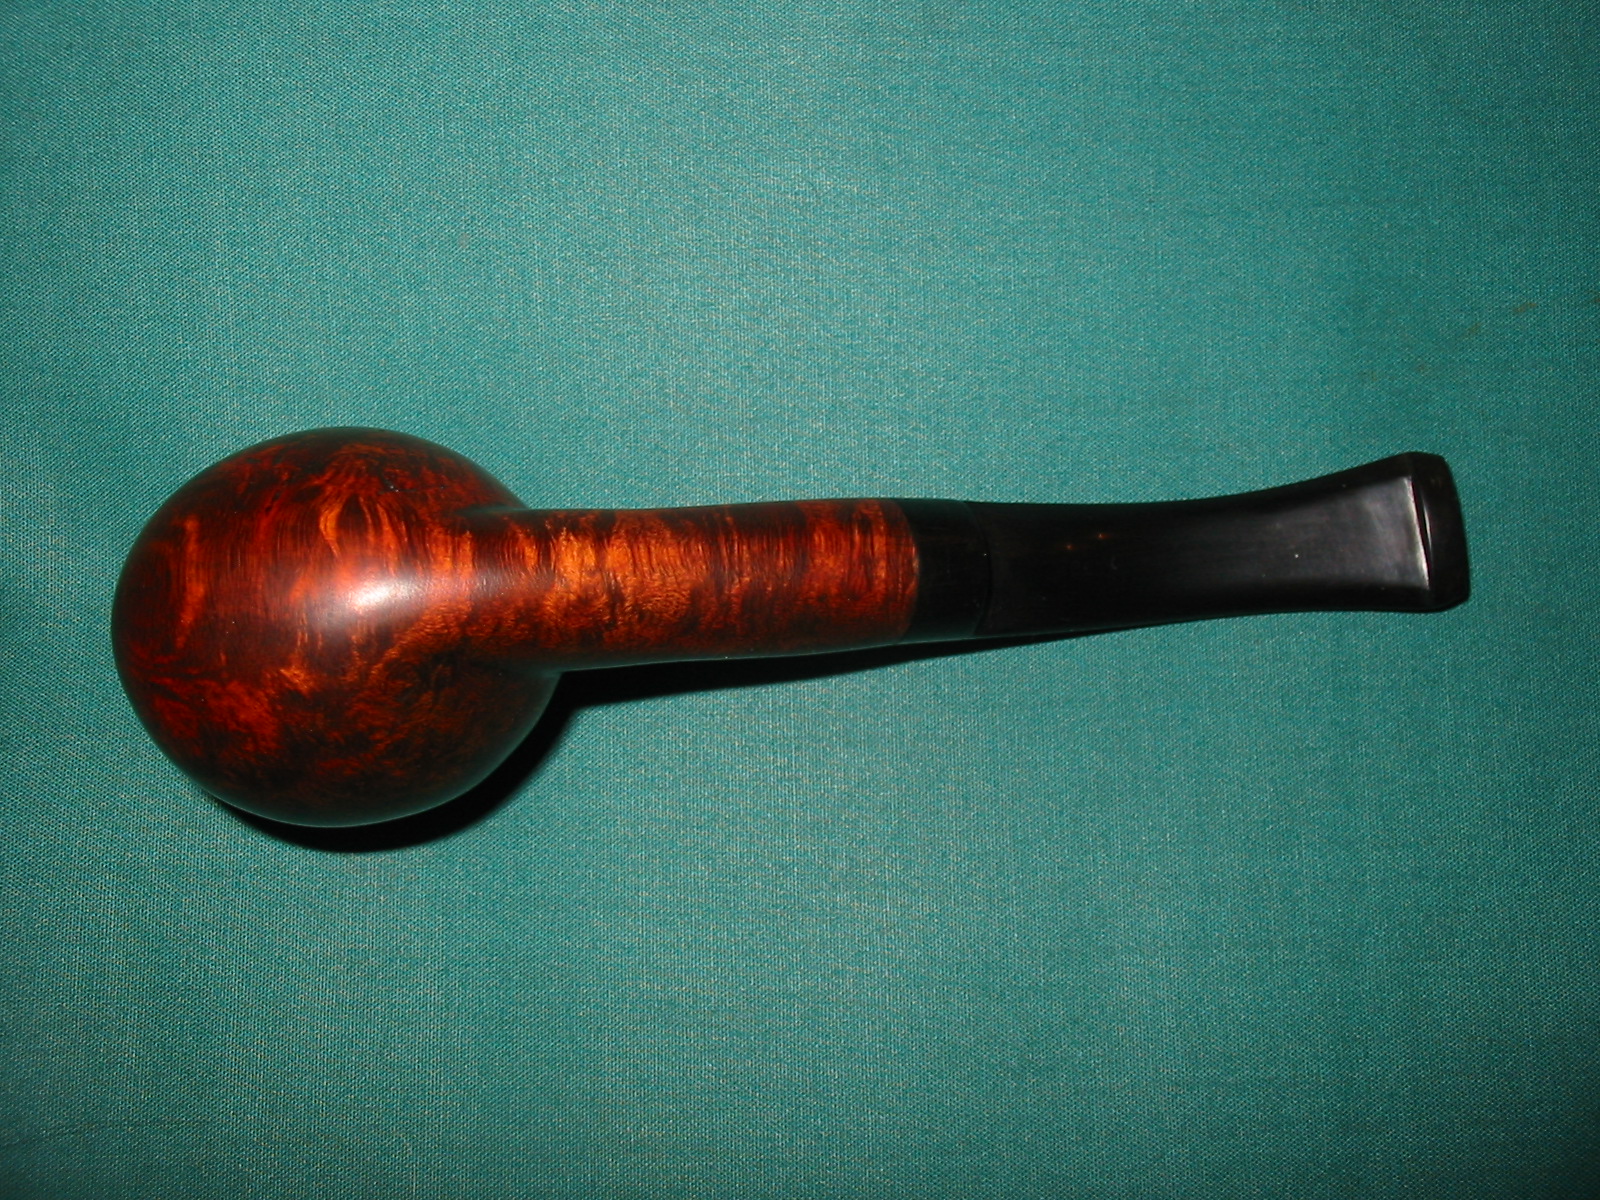
 I took closer photos of the repairs to the flaws in the sides of the bowl. I layered in briar dust and clear CA glue to build up the flawed areas. I wanted to be able to start the process with a smooth surface on the bowl and shank.


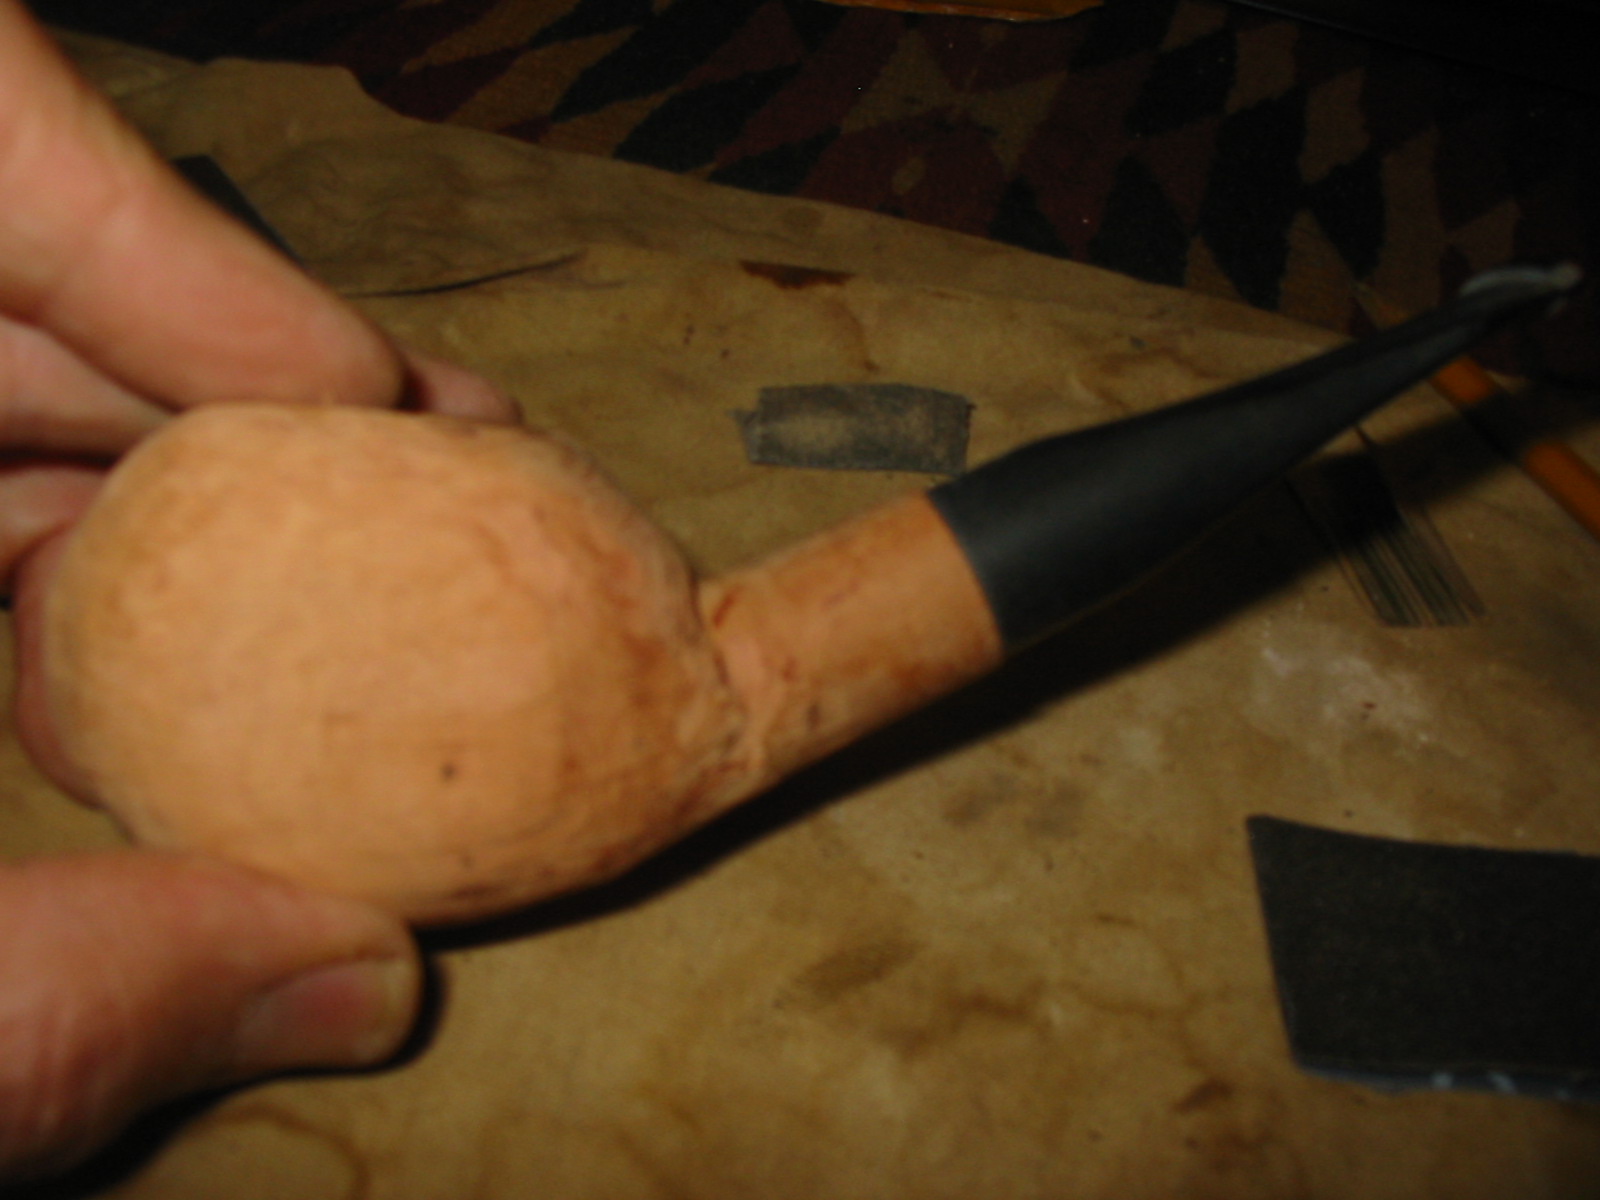
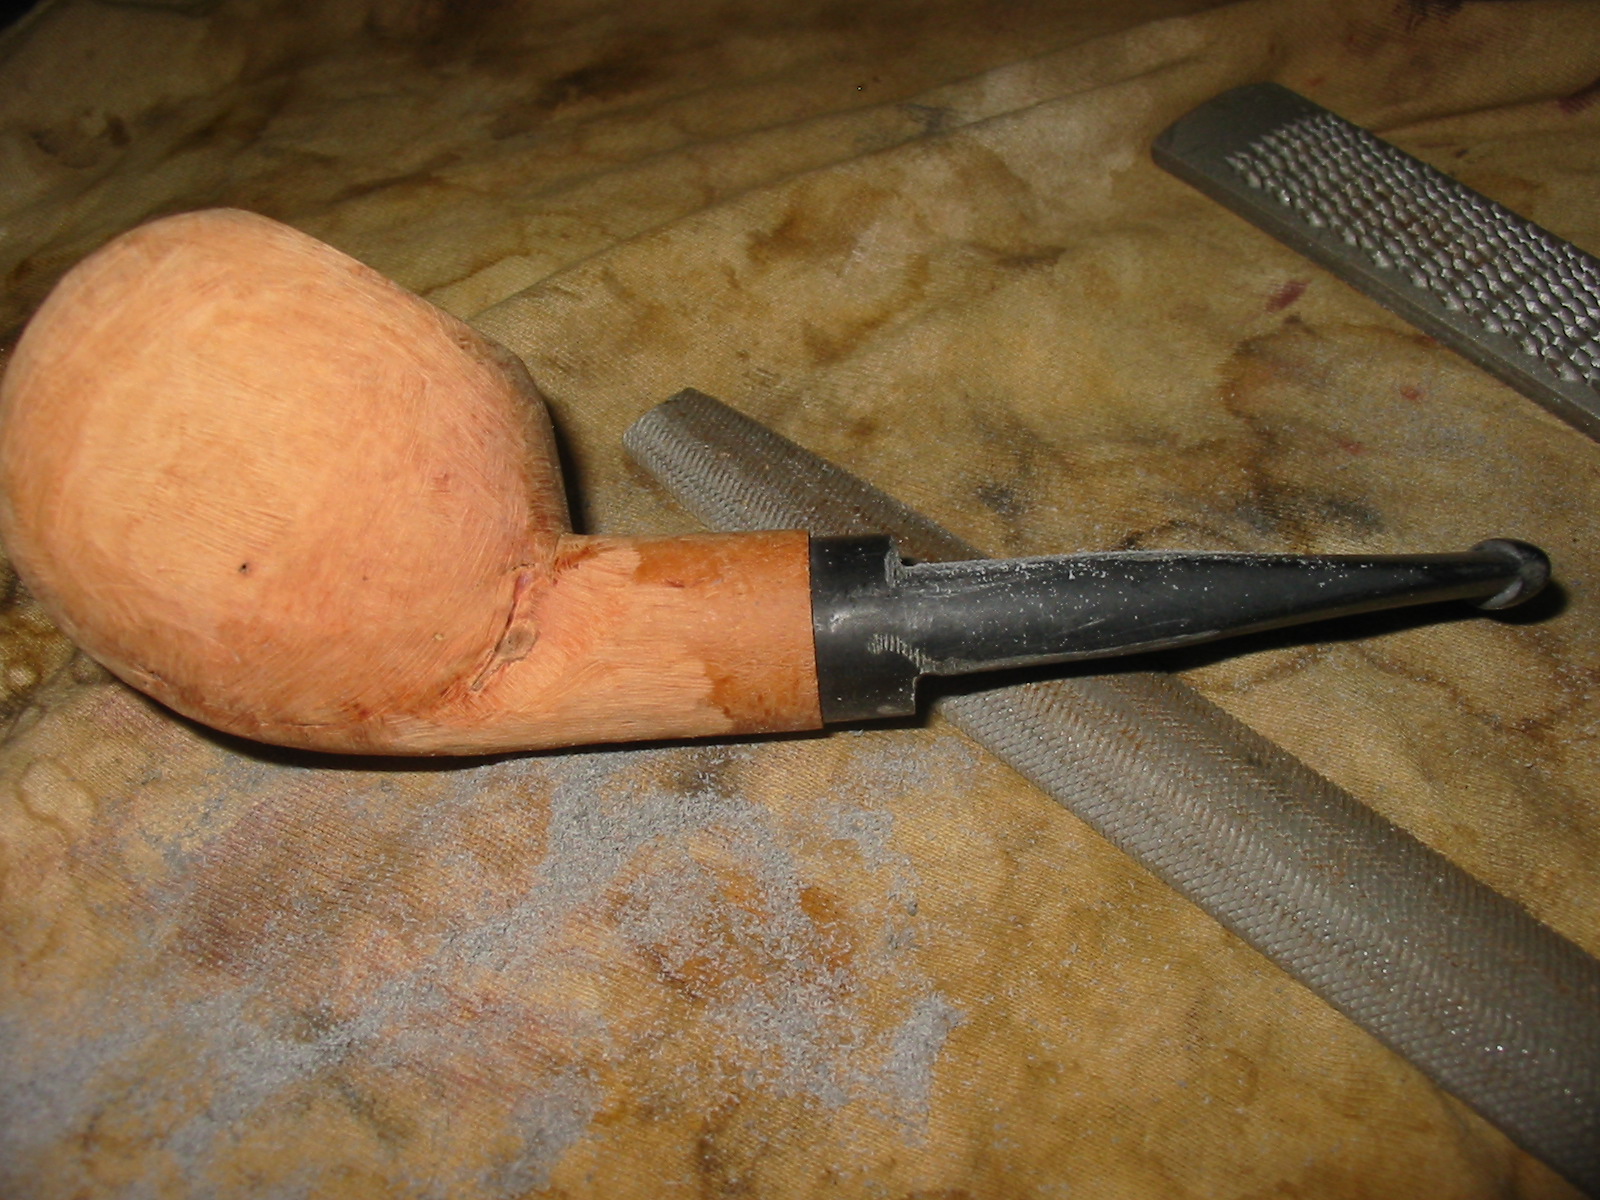
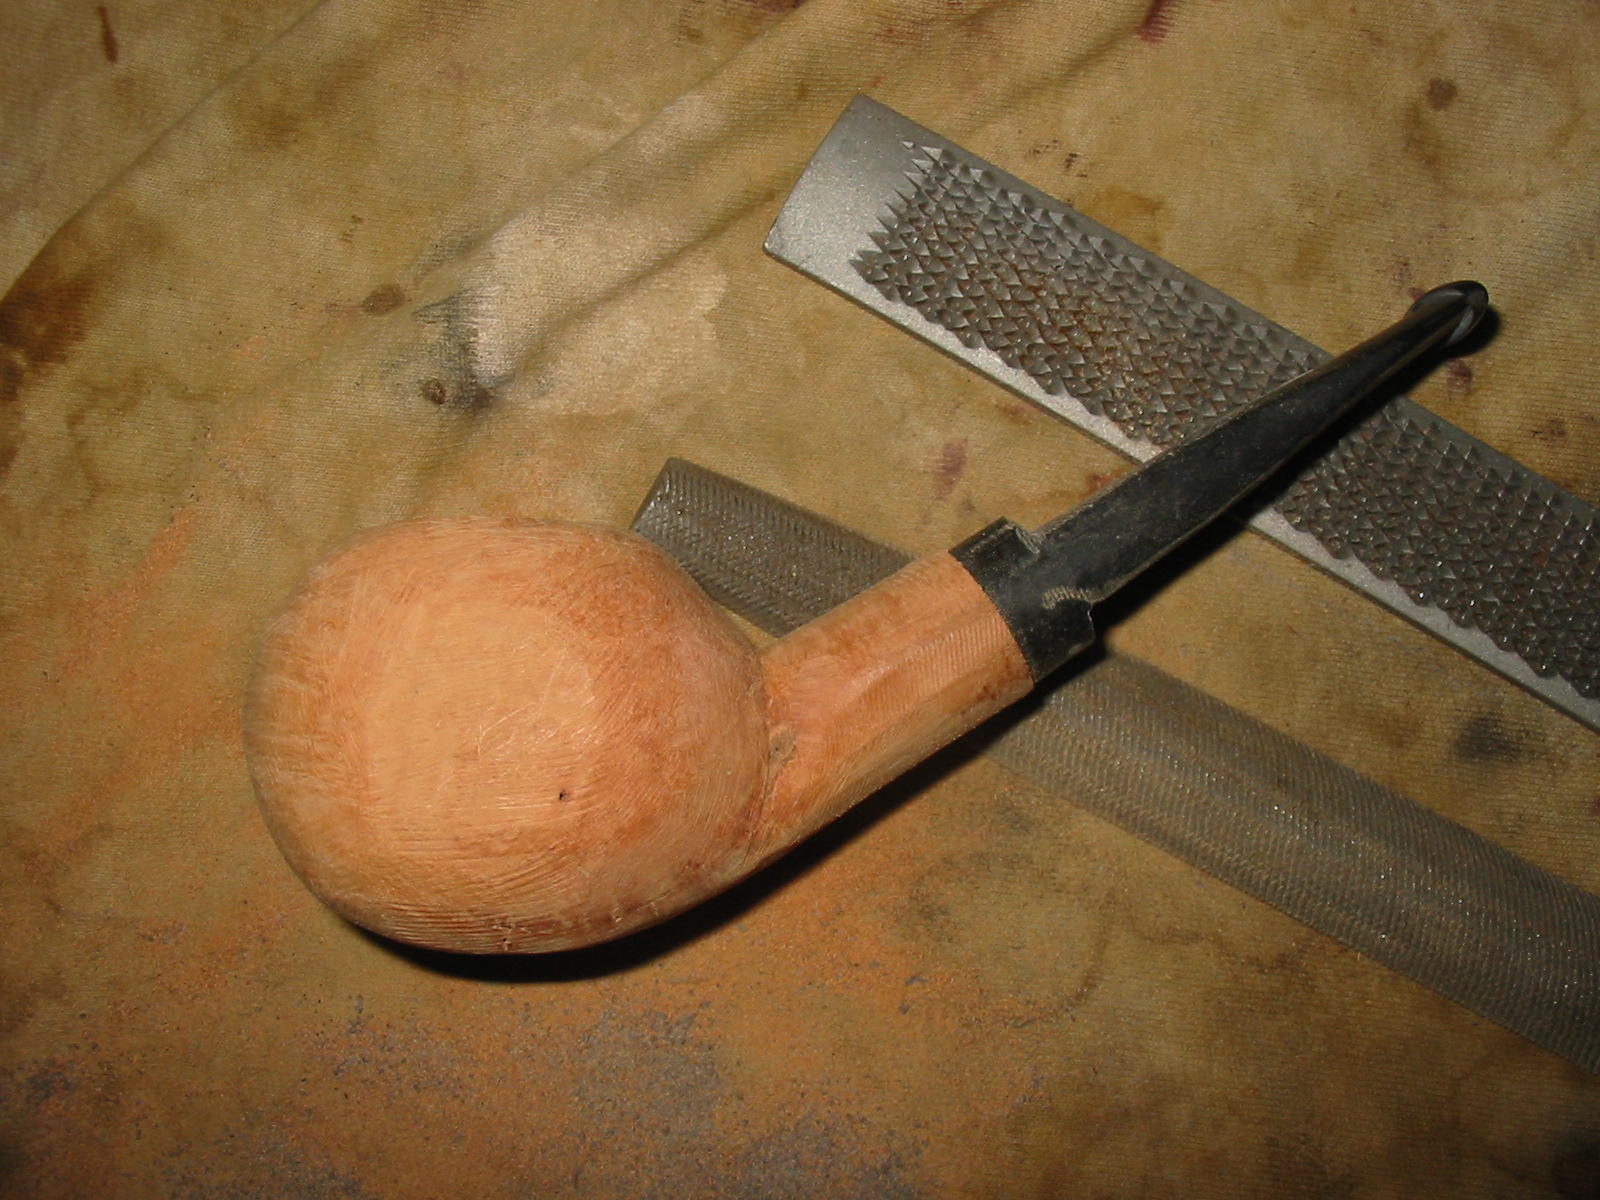
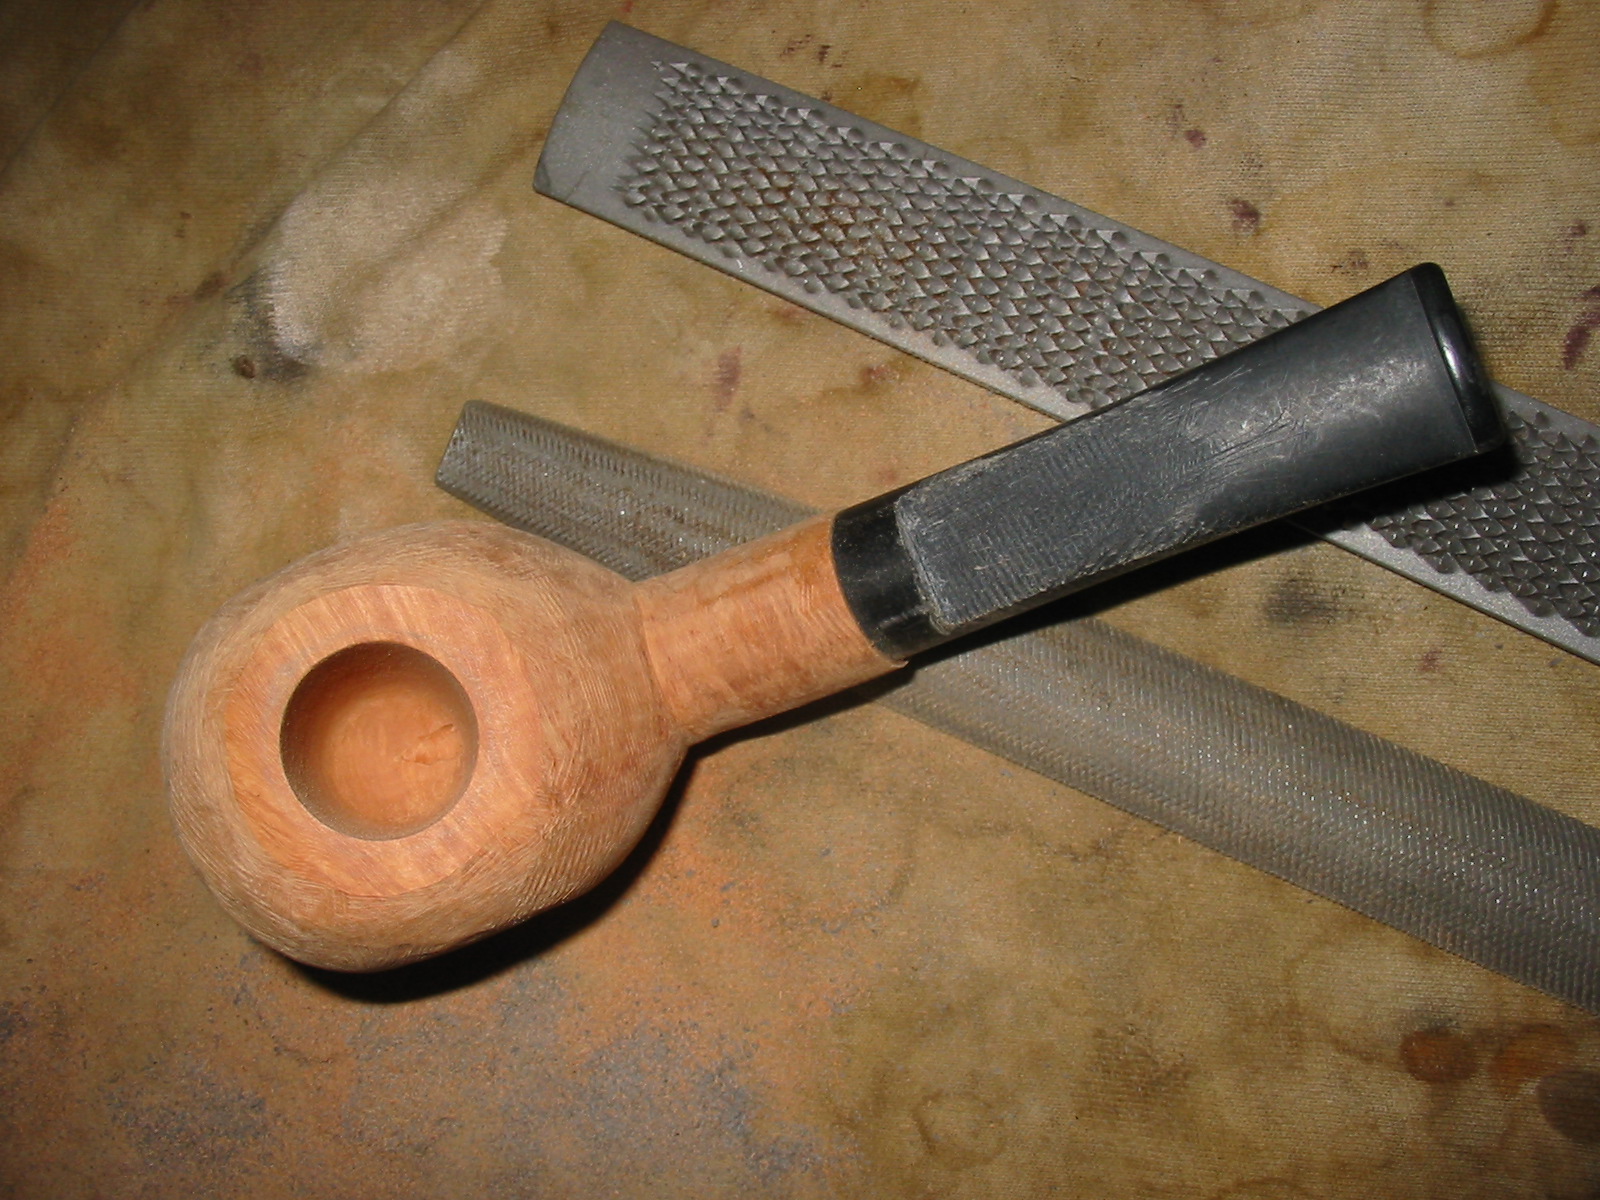
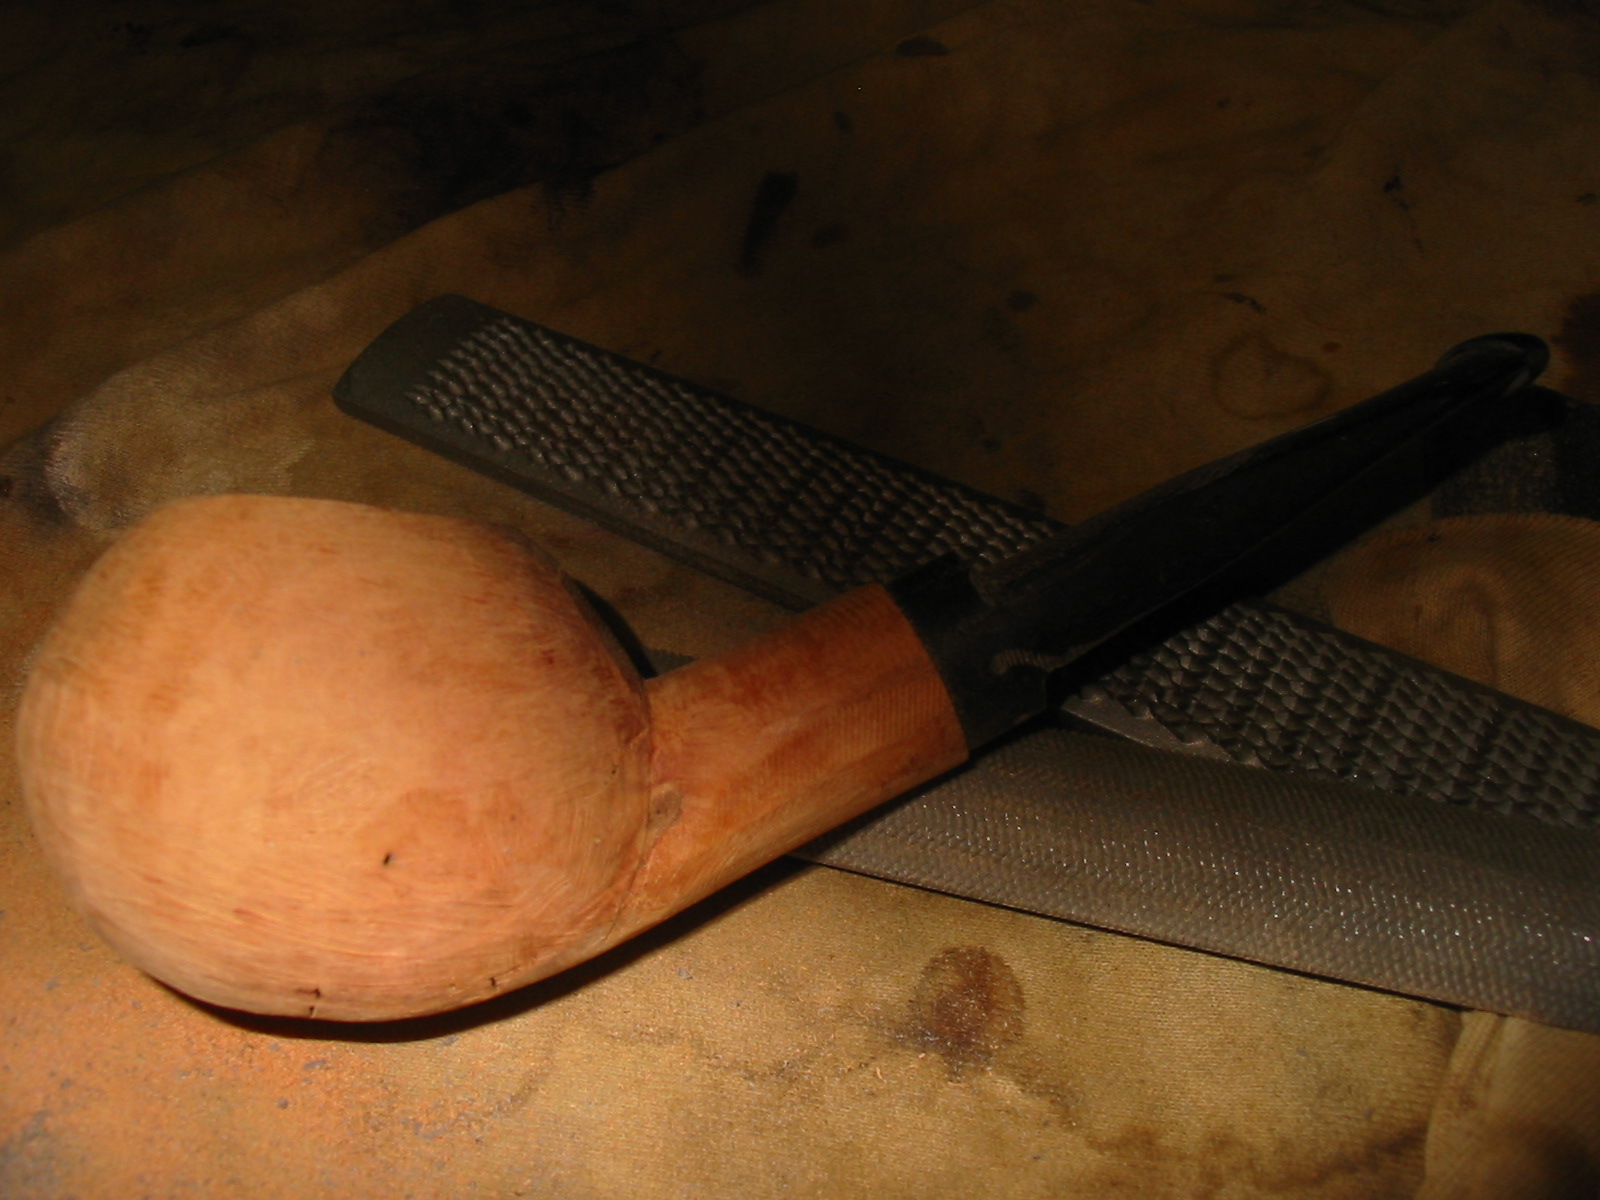
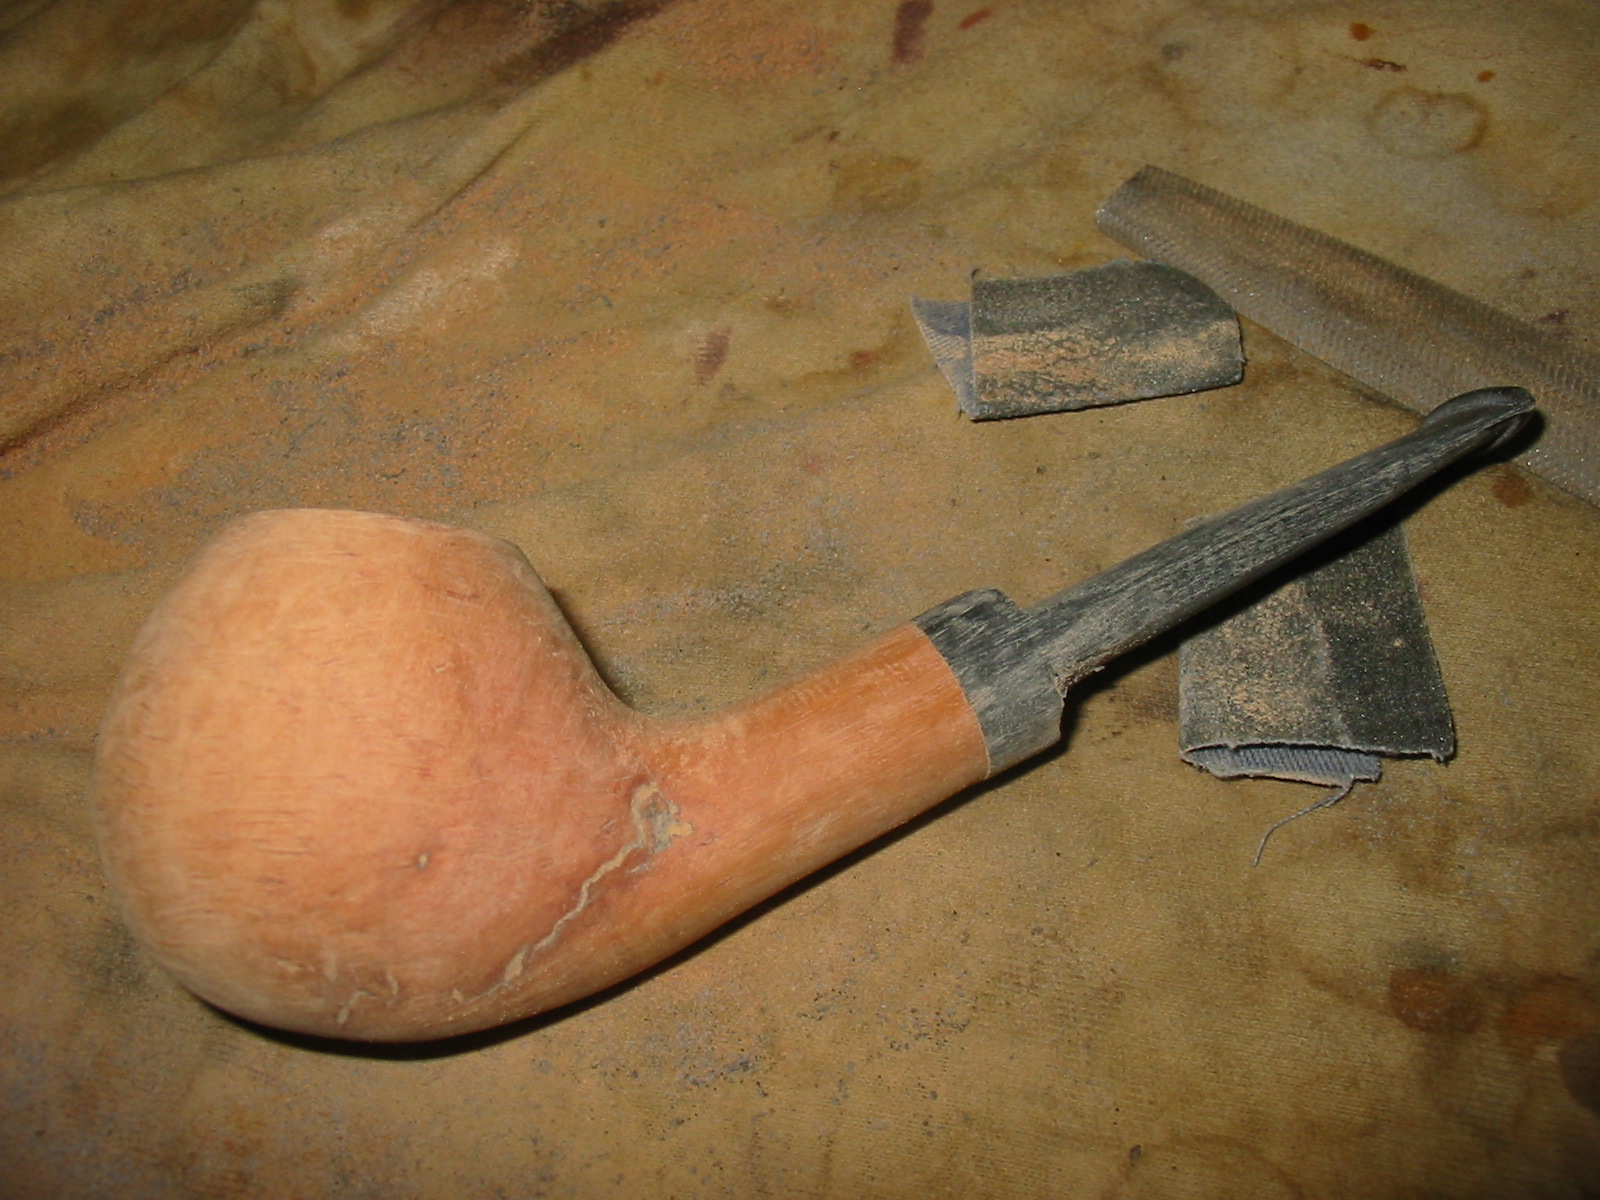
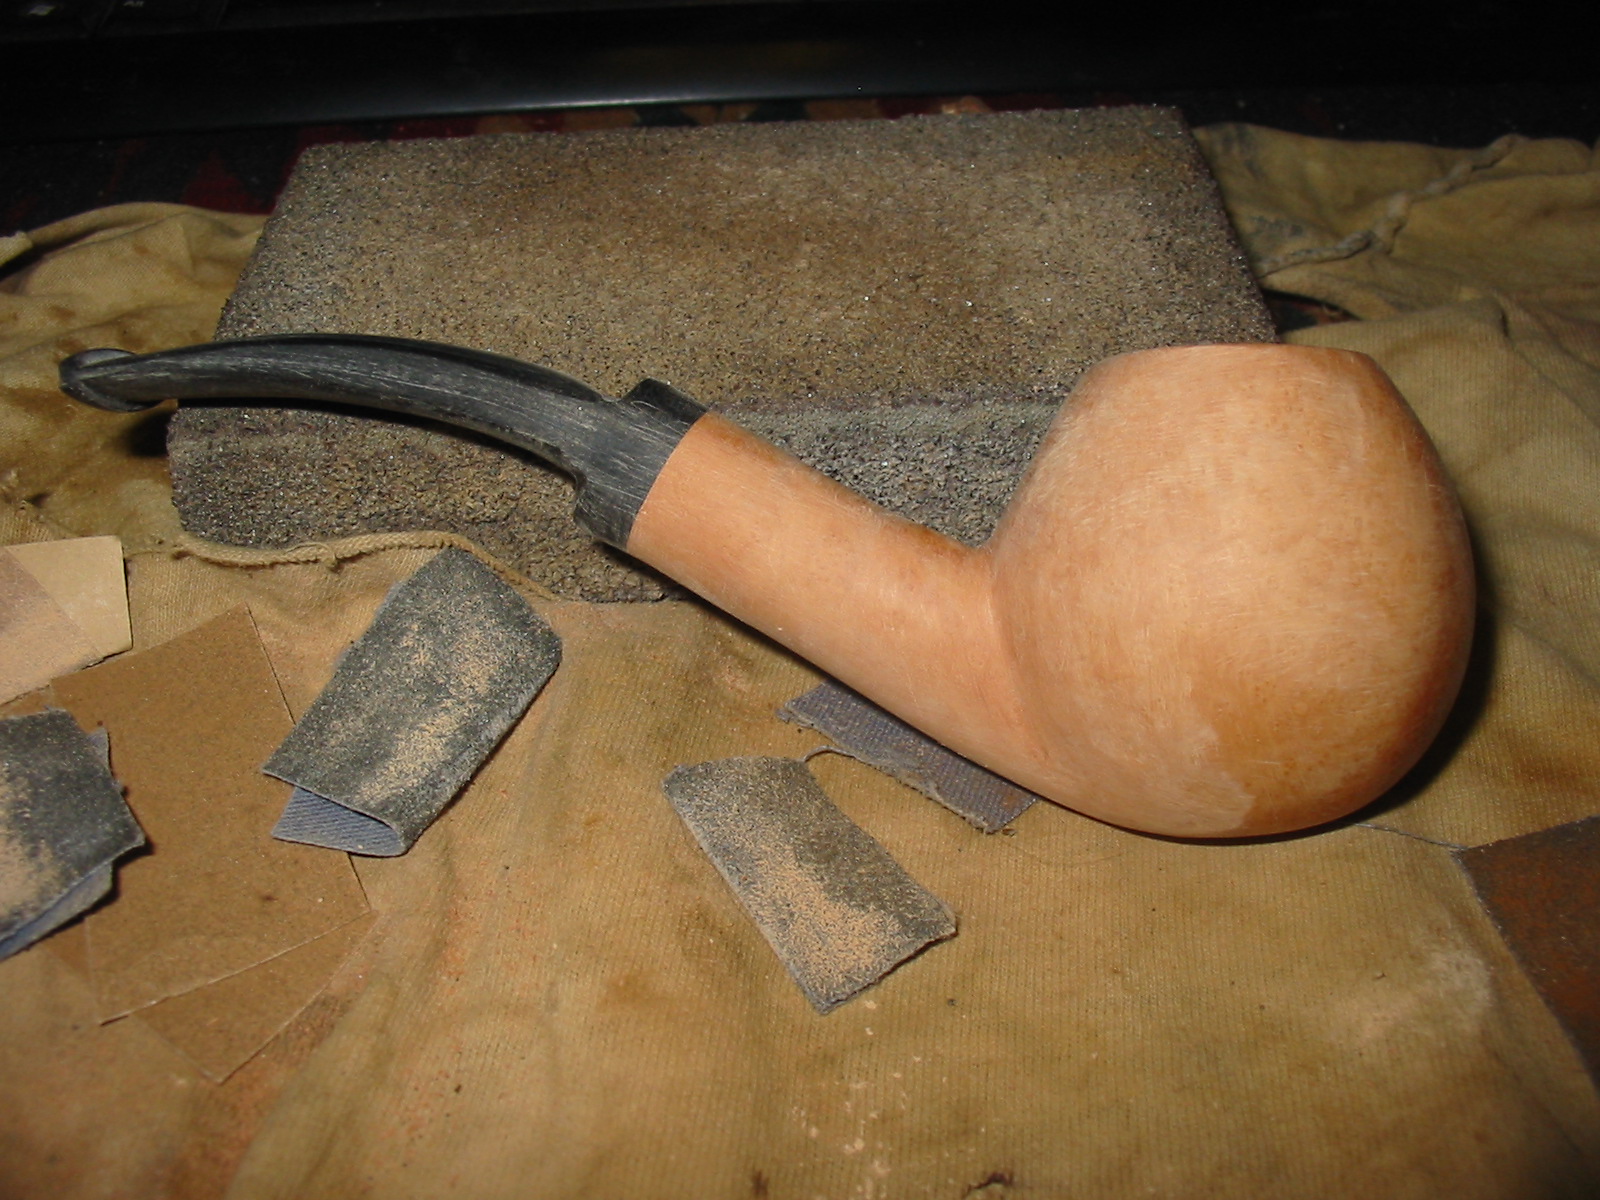
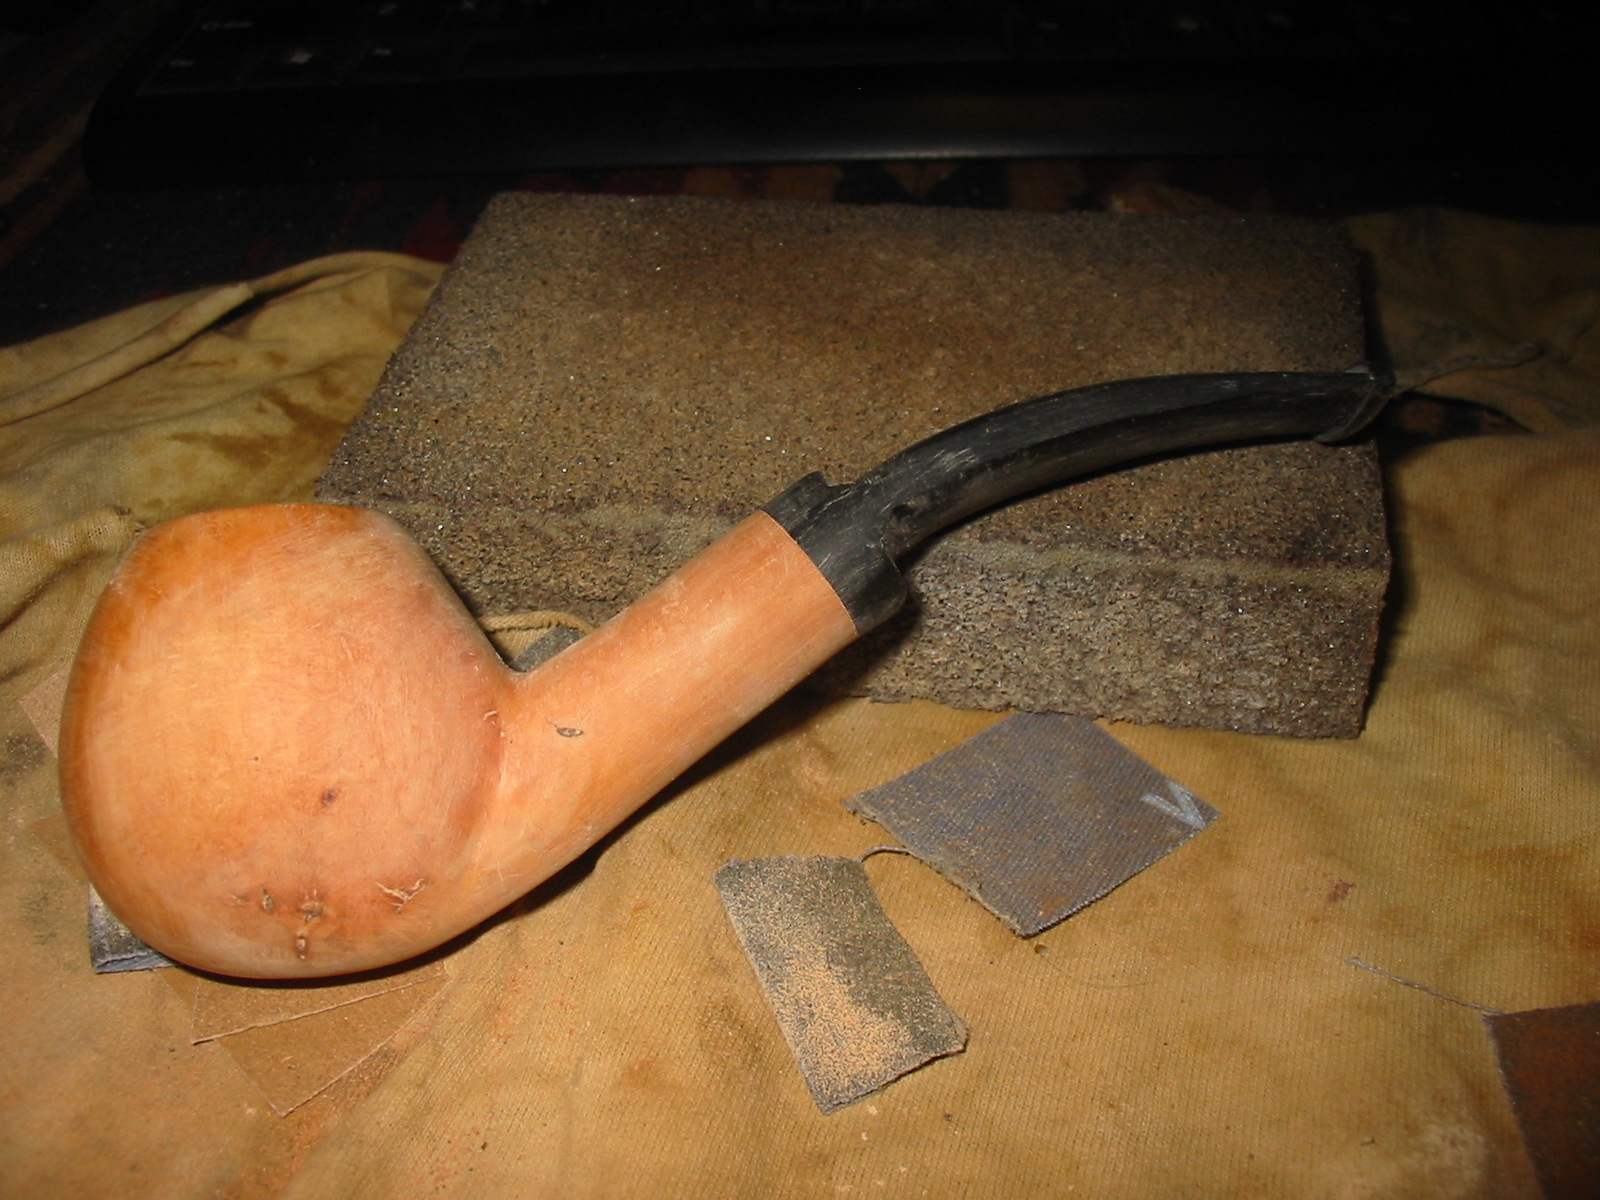
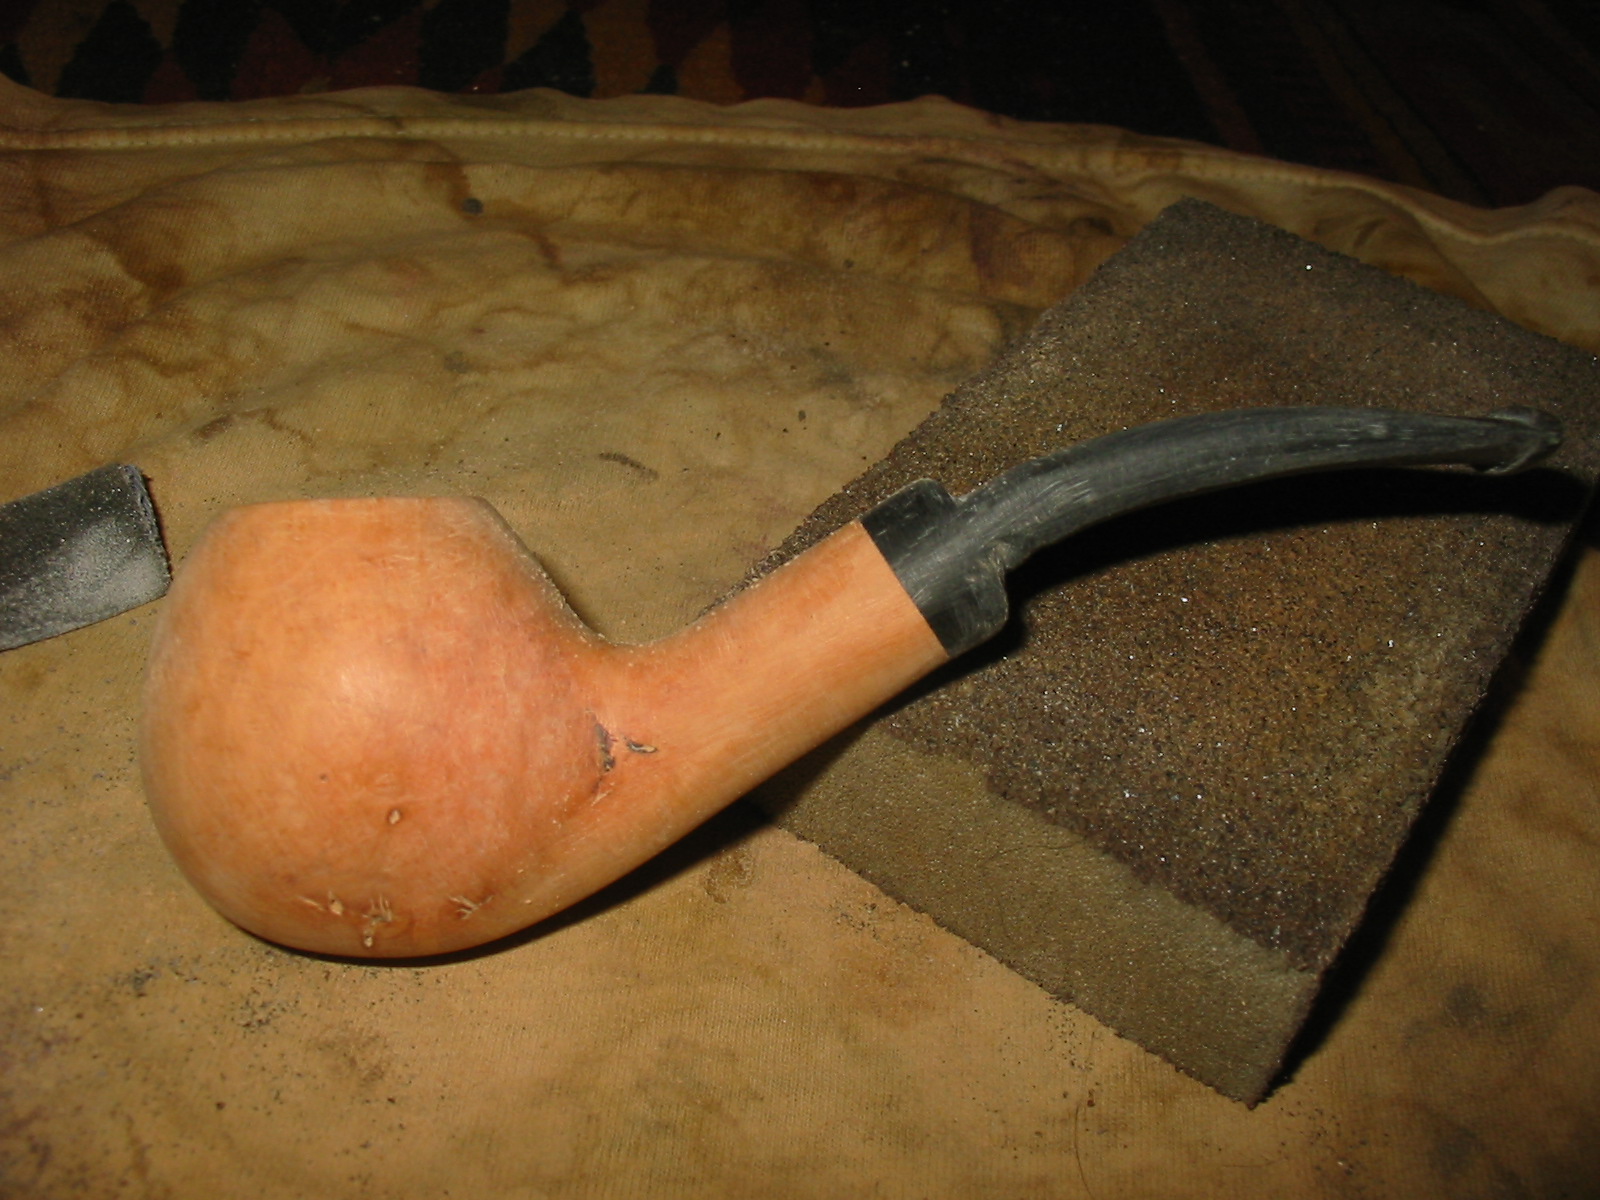
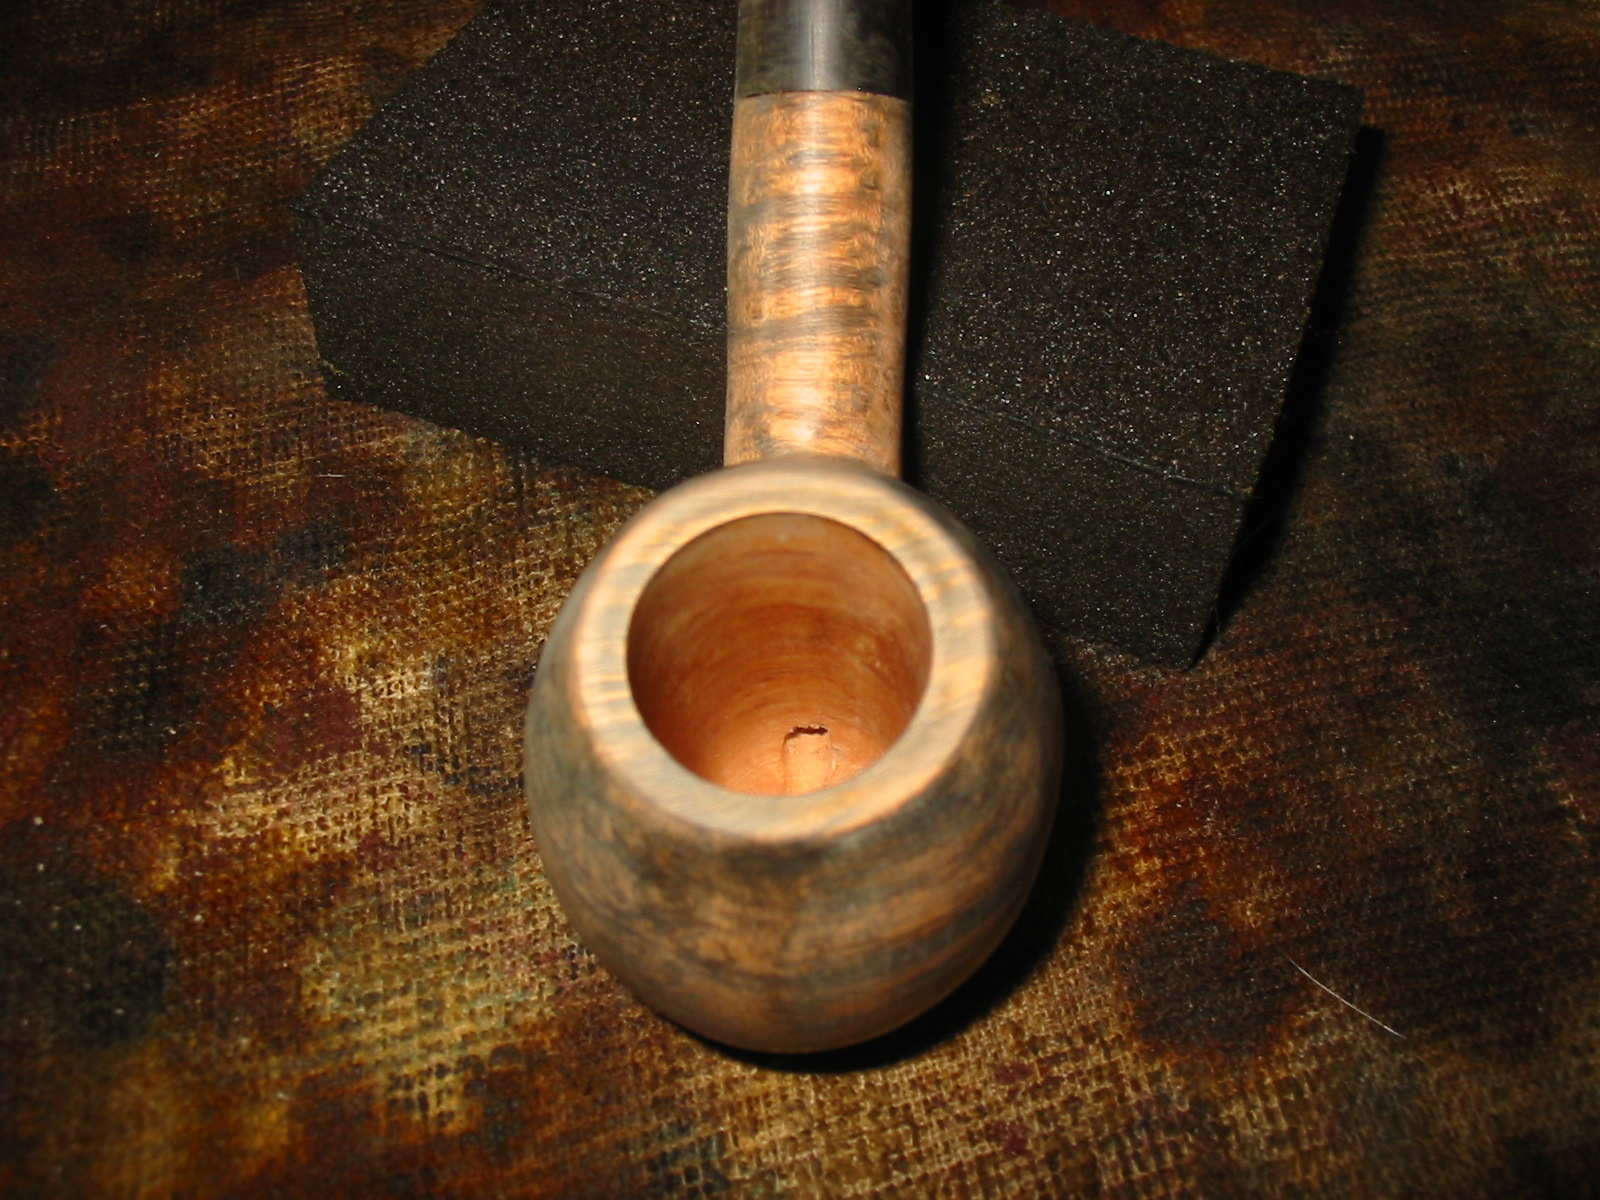
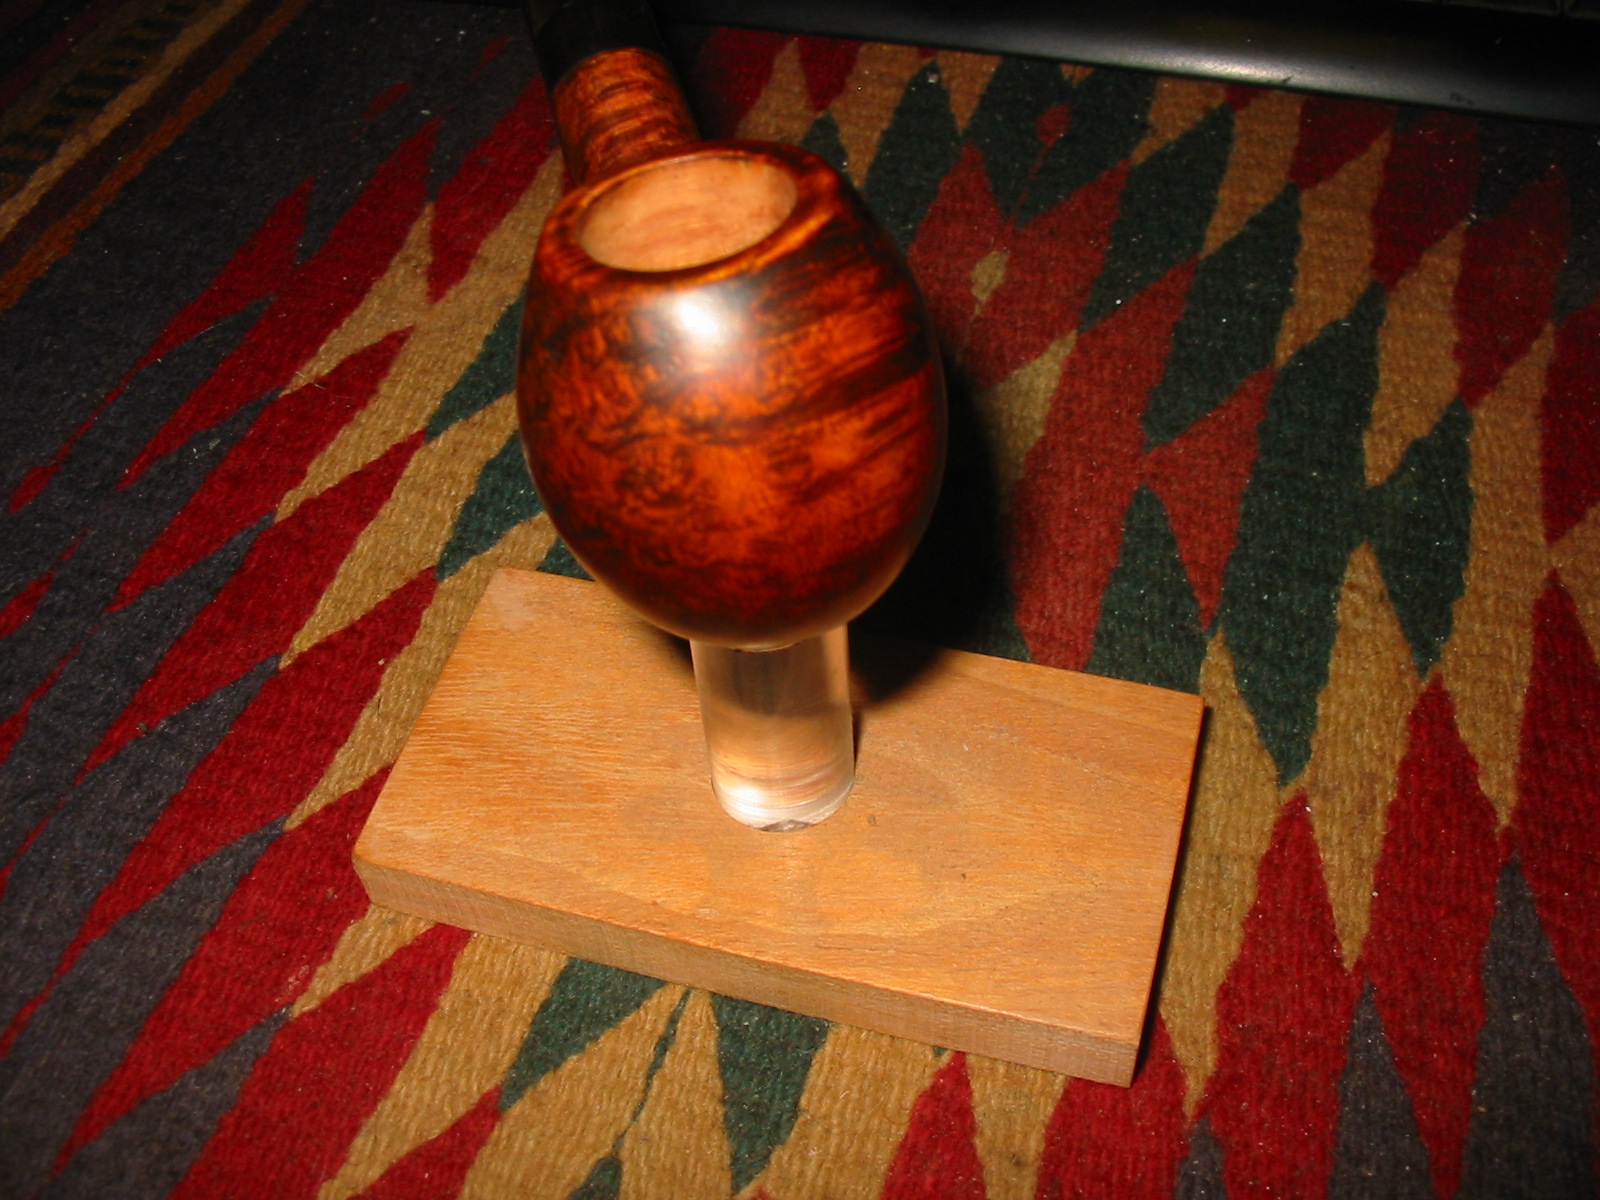
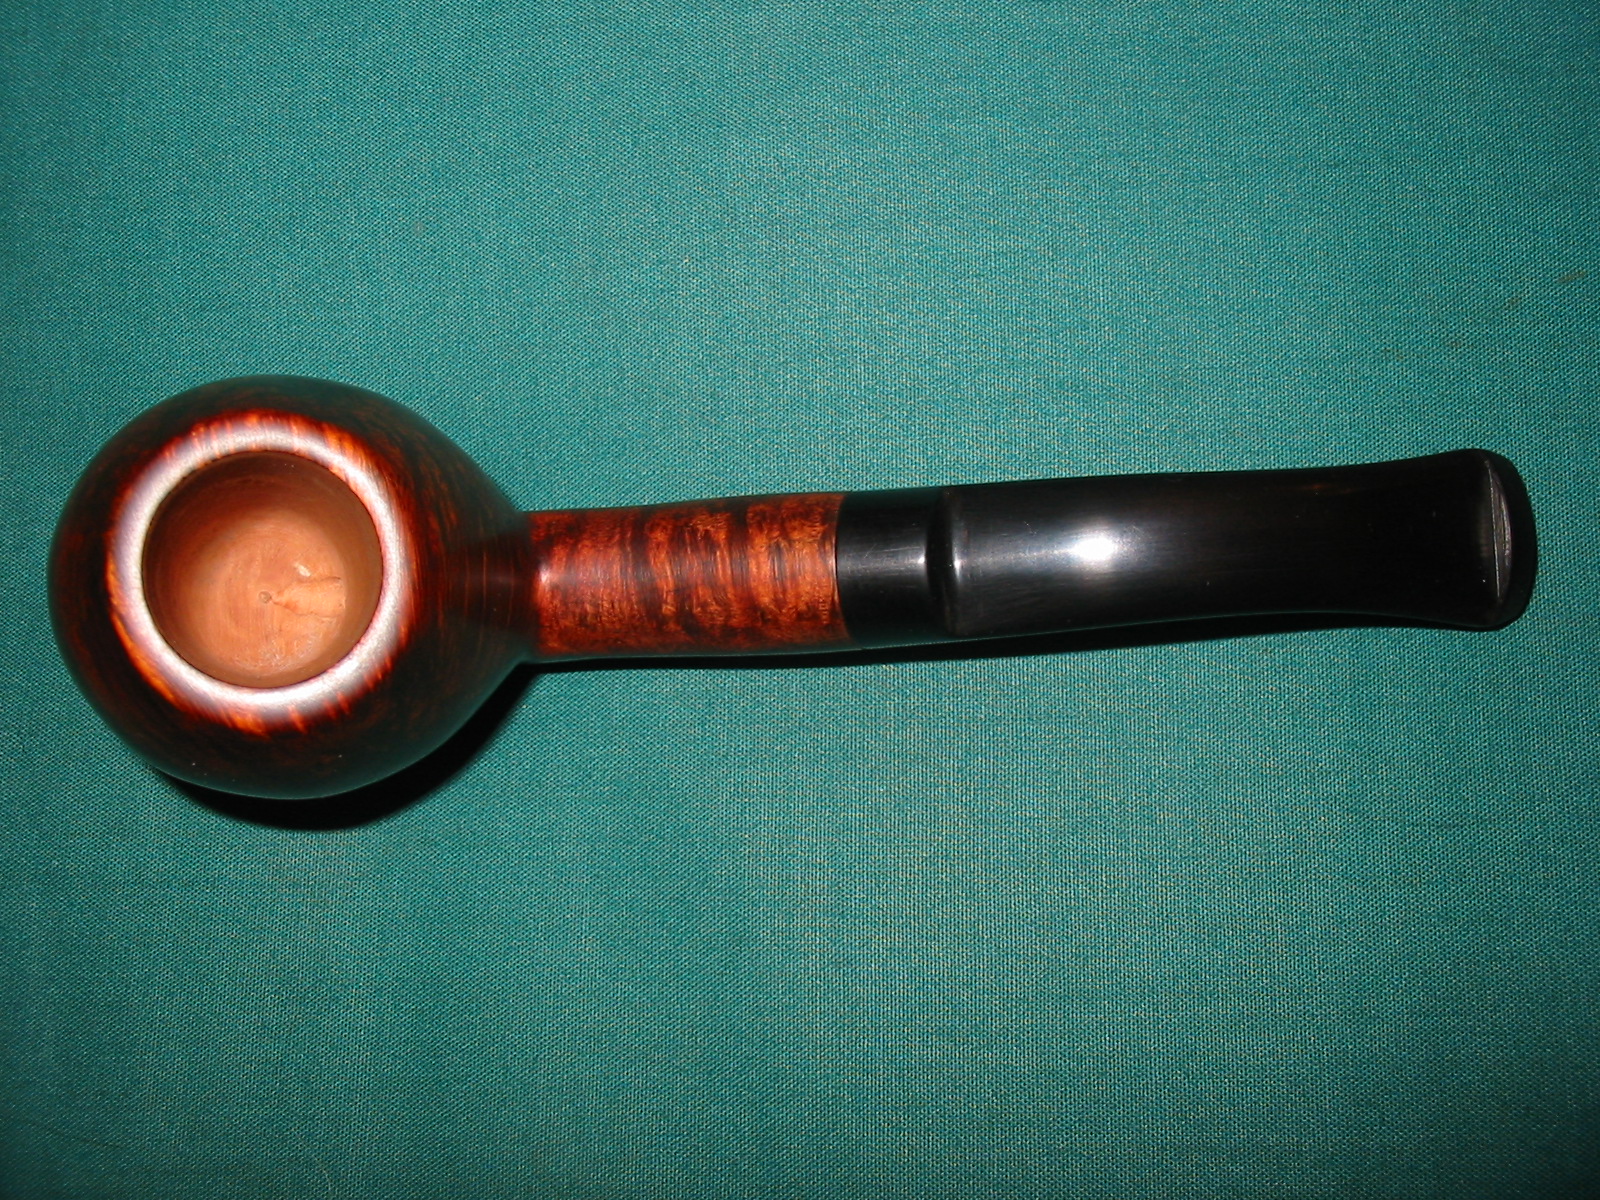
 Once the repairs cured I flattened them out with files and then sanded them smooth with 220 grit sandpaper. I used a Dremel and a sanding drum to further blend them into the surface of the bowl.

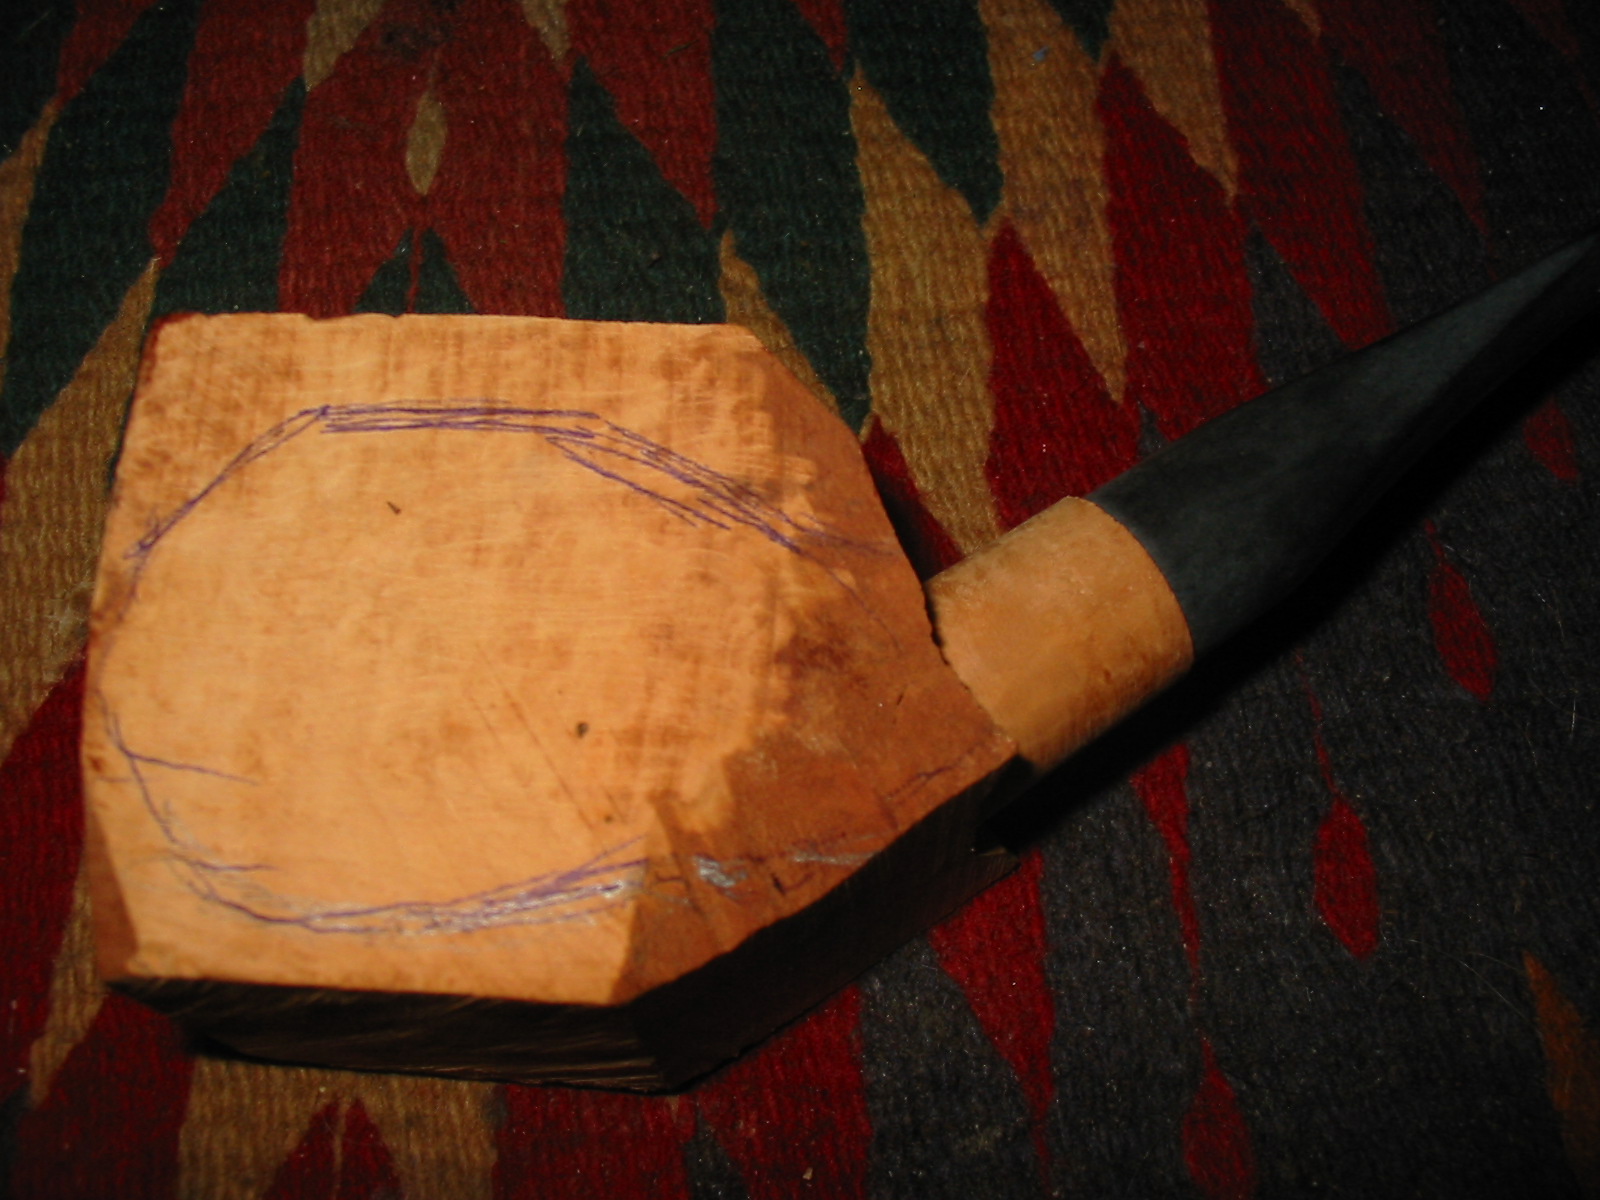
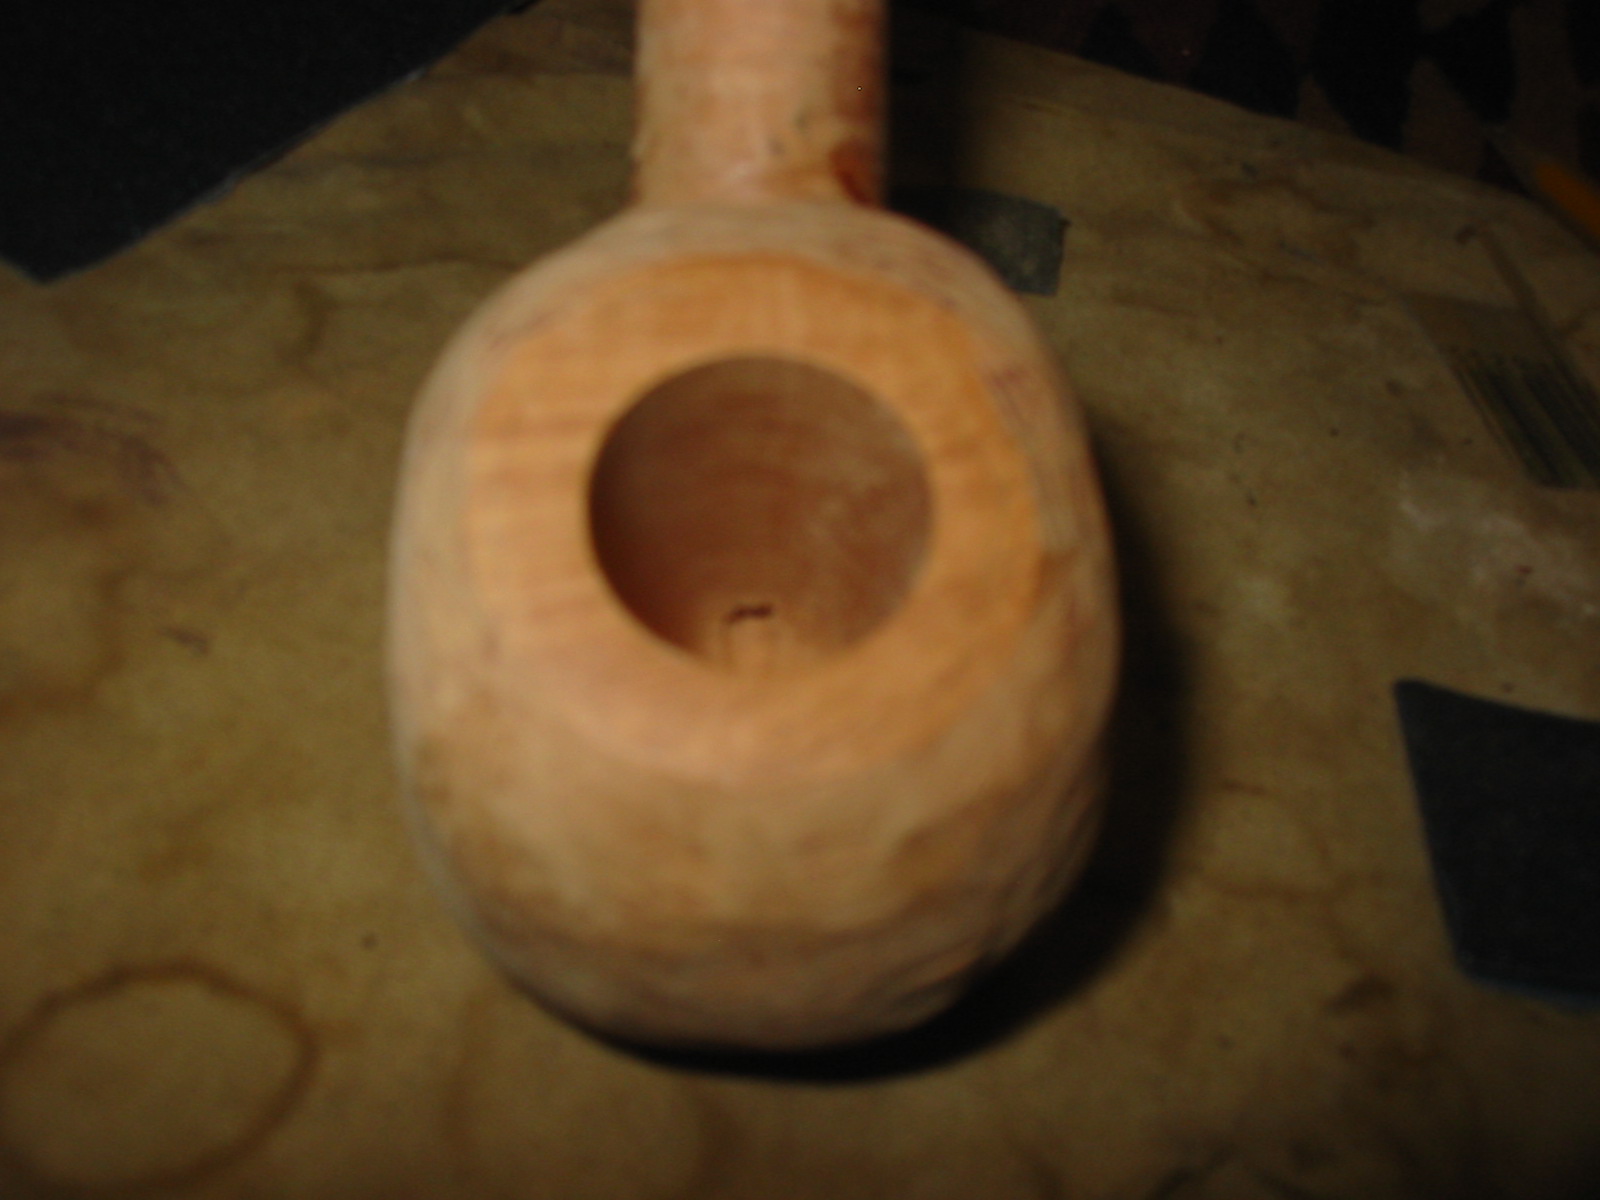
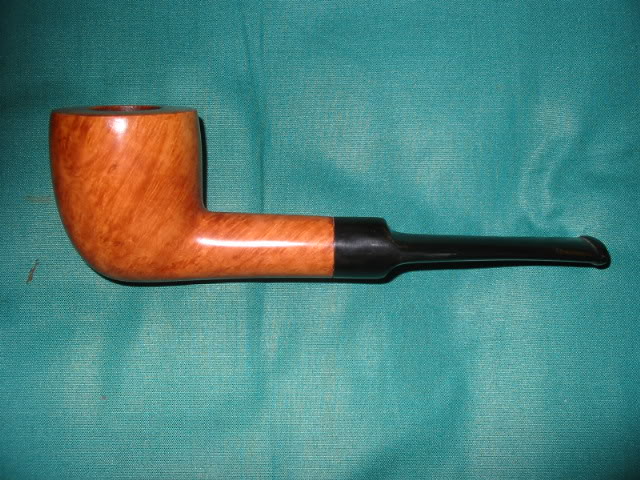
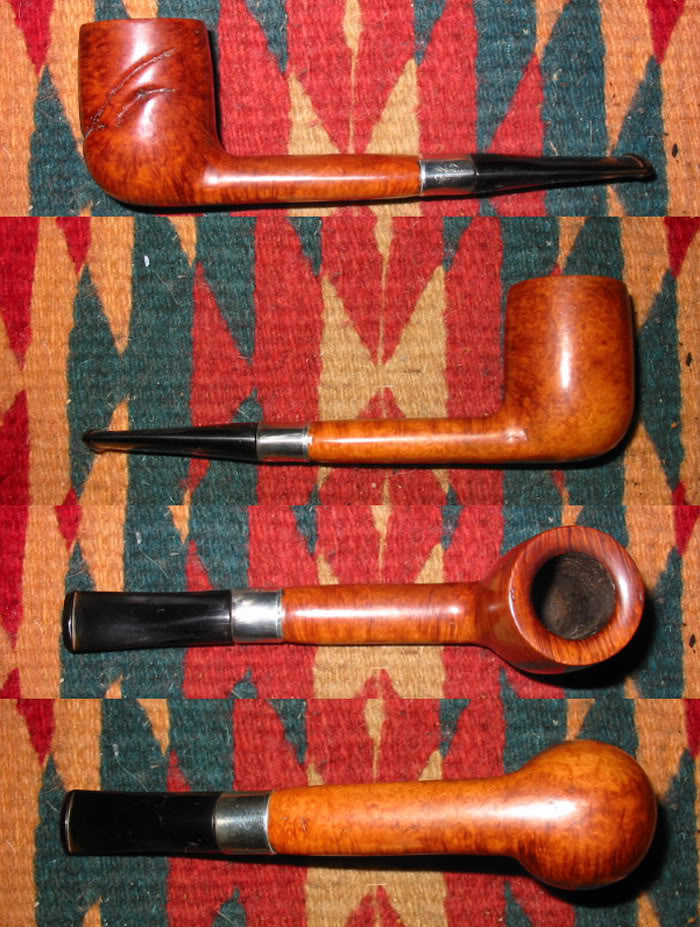
 I removed the long taper billiard stem and “discovered” that it was a filter stem made for a 9mm filter. I decided to get rid of that stem and with the length of the thick shank that I would fit a new stem. I chose a stem that was about an inch shorter than the taper original. It was a thick looking saddle stem that I thought would look great and create a nice looking Lovat.
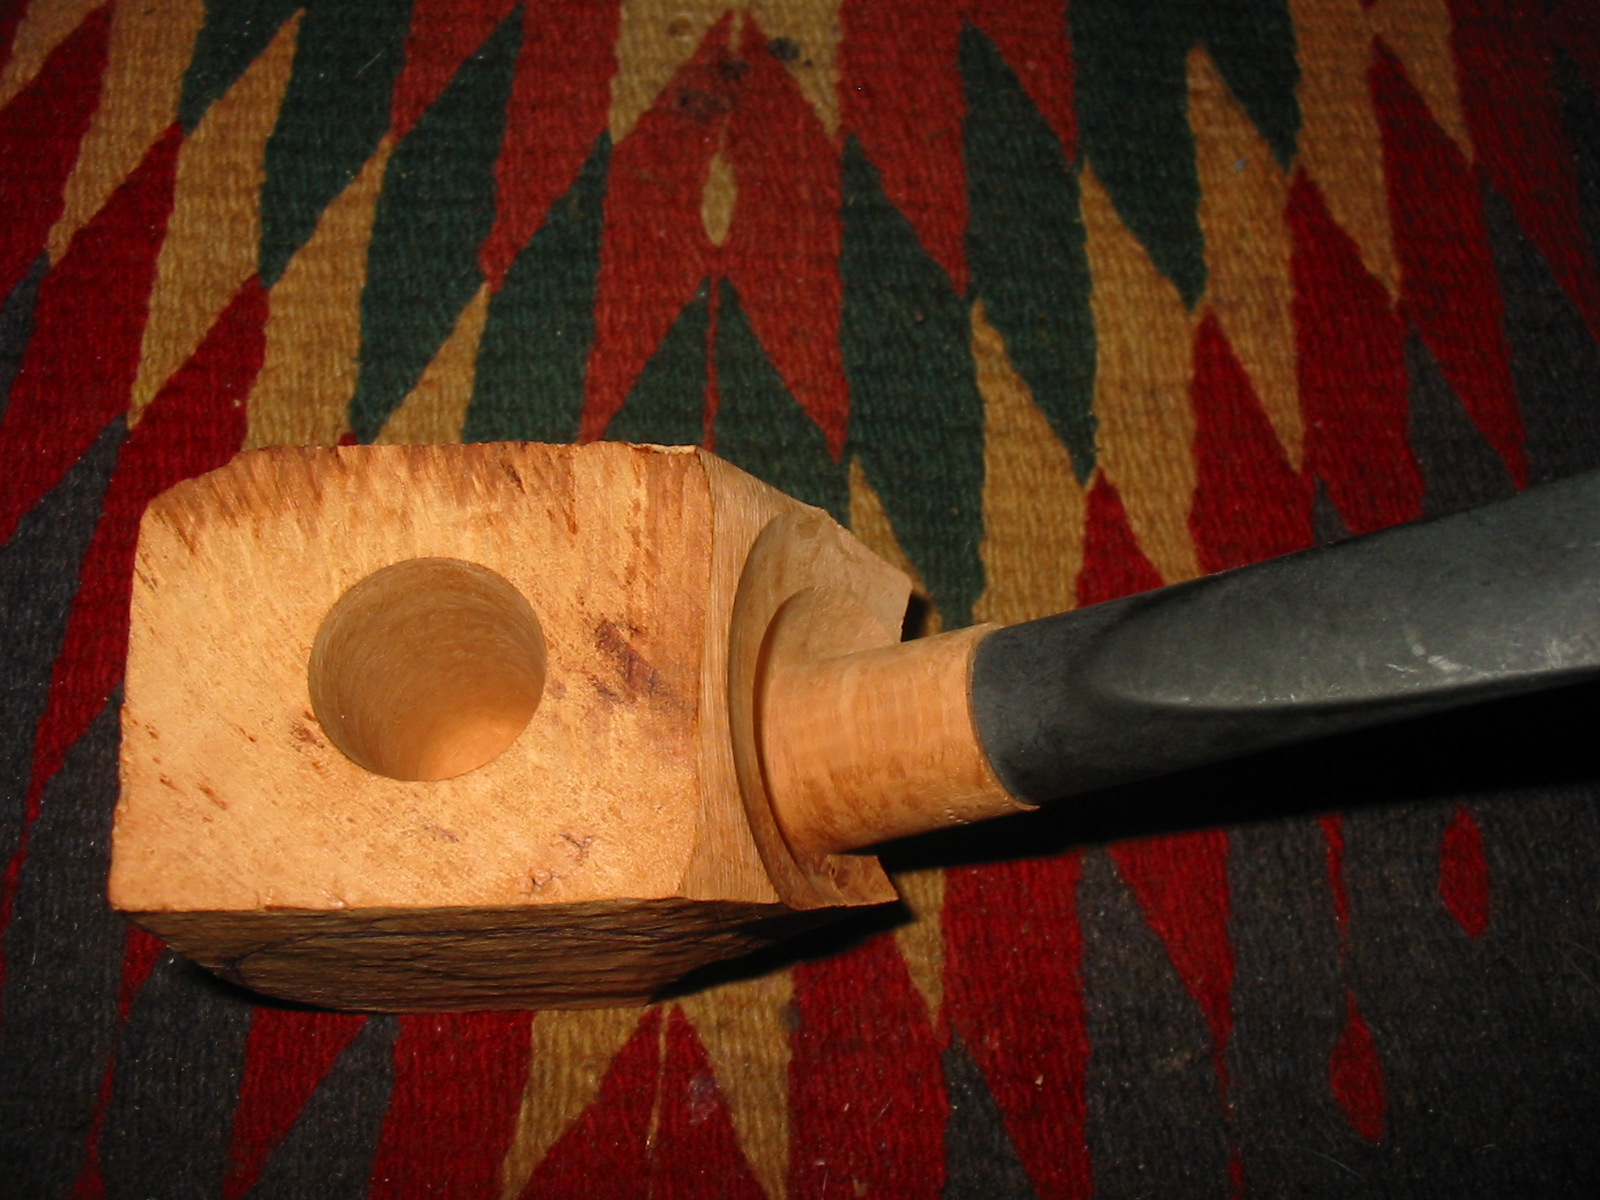
 I set up the PIMO tenon turning tool on my hand drill. I adjusted the settings to give me a very clean turn on the tenon. In the first photo you can see the misshaped tenon. I measured the tenon and then turned it once. I cleaned off the excess and turned it a second time to smooth out the roughness of the edges. I tried it in the shank and though the diameter of the stem was larger it looked very good.
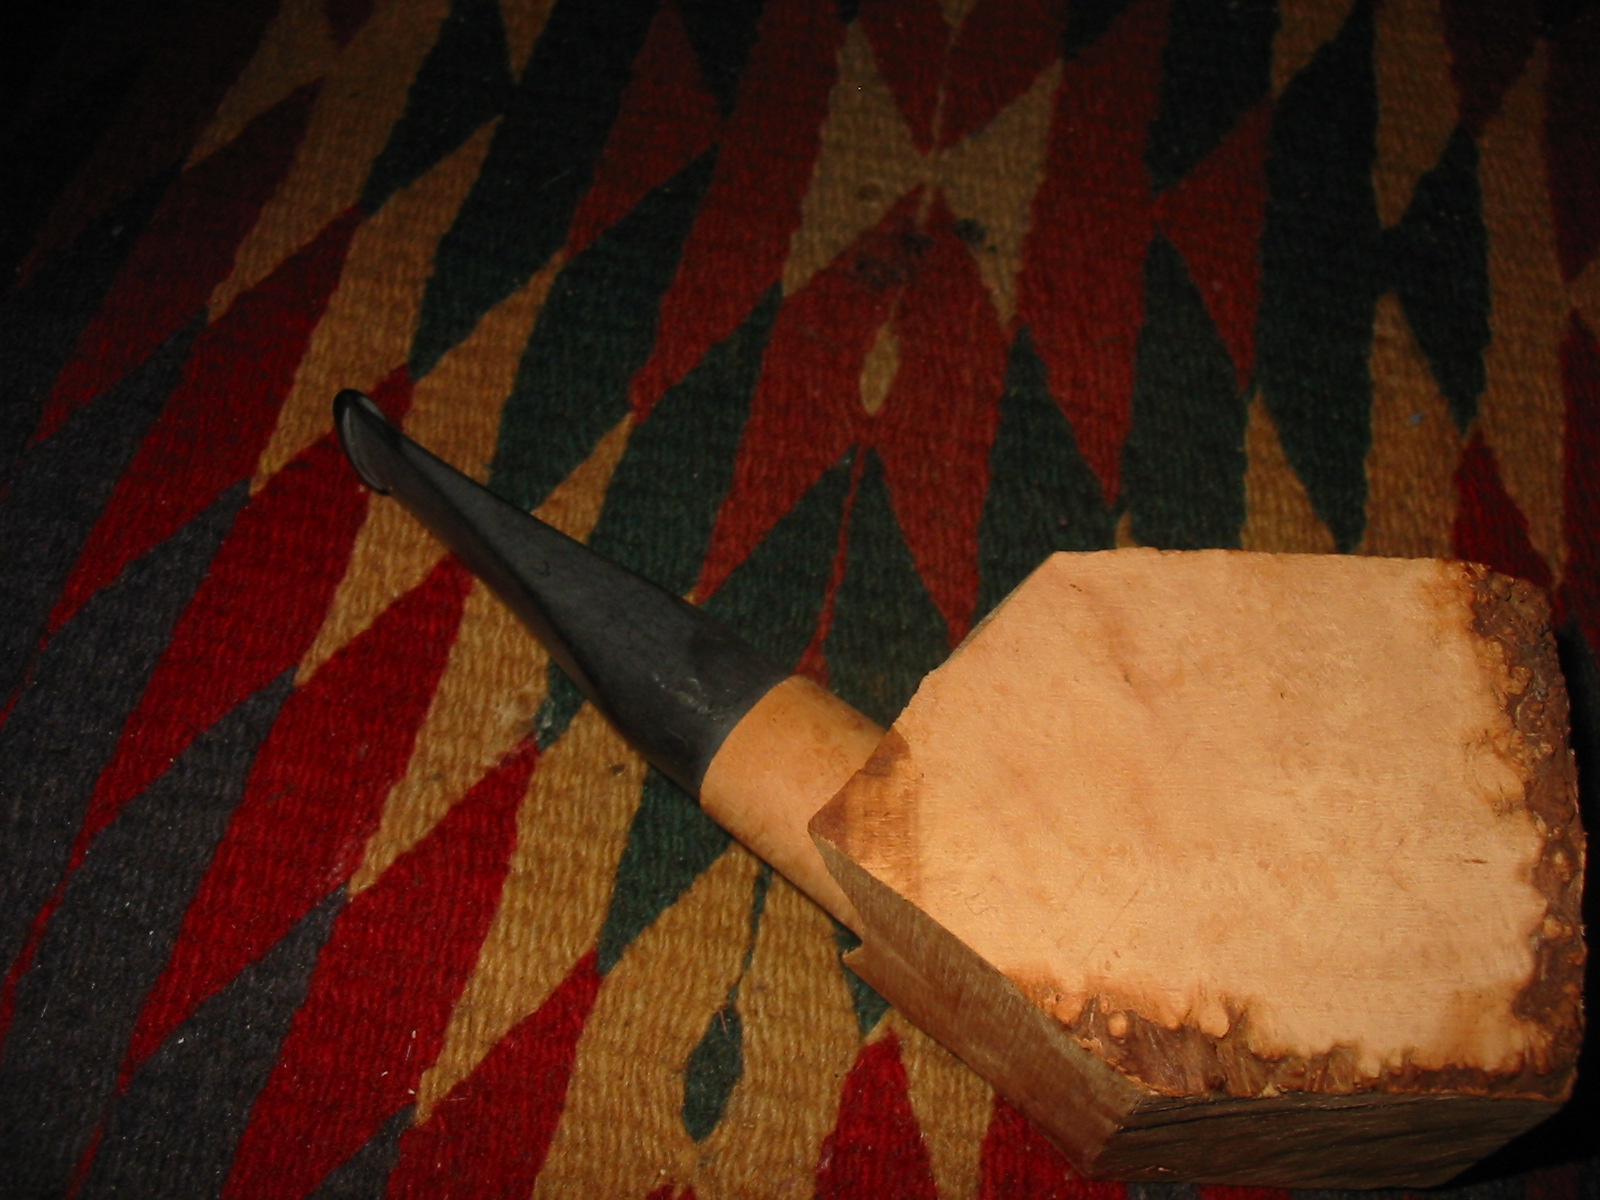
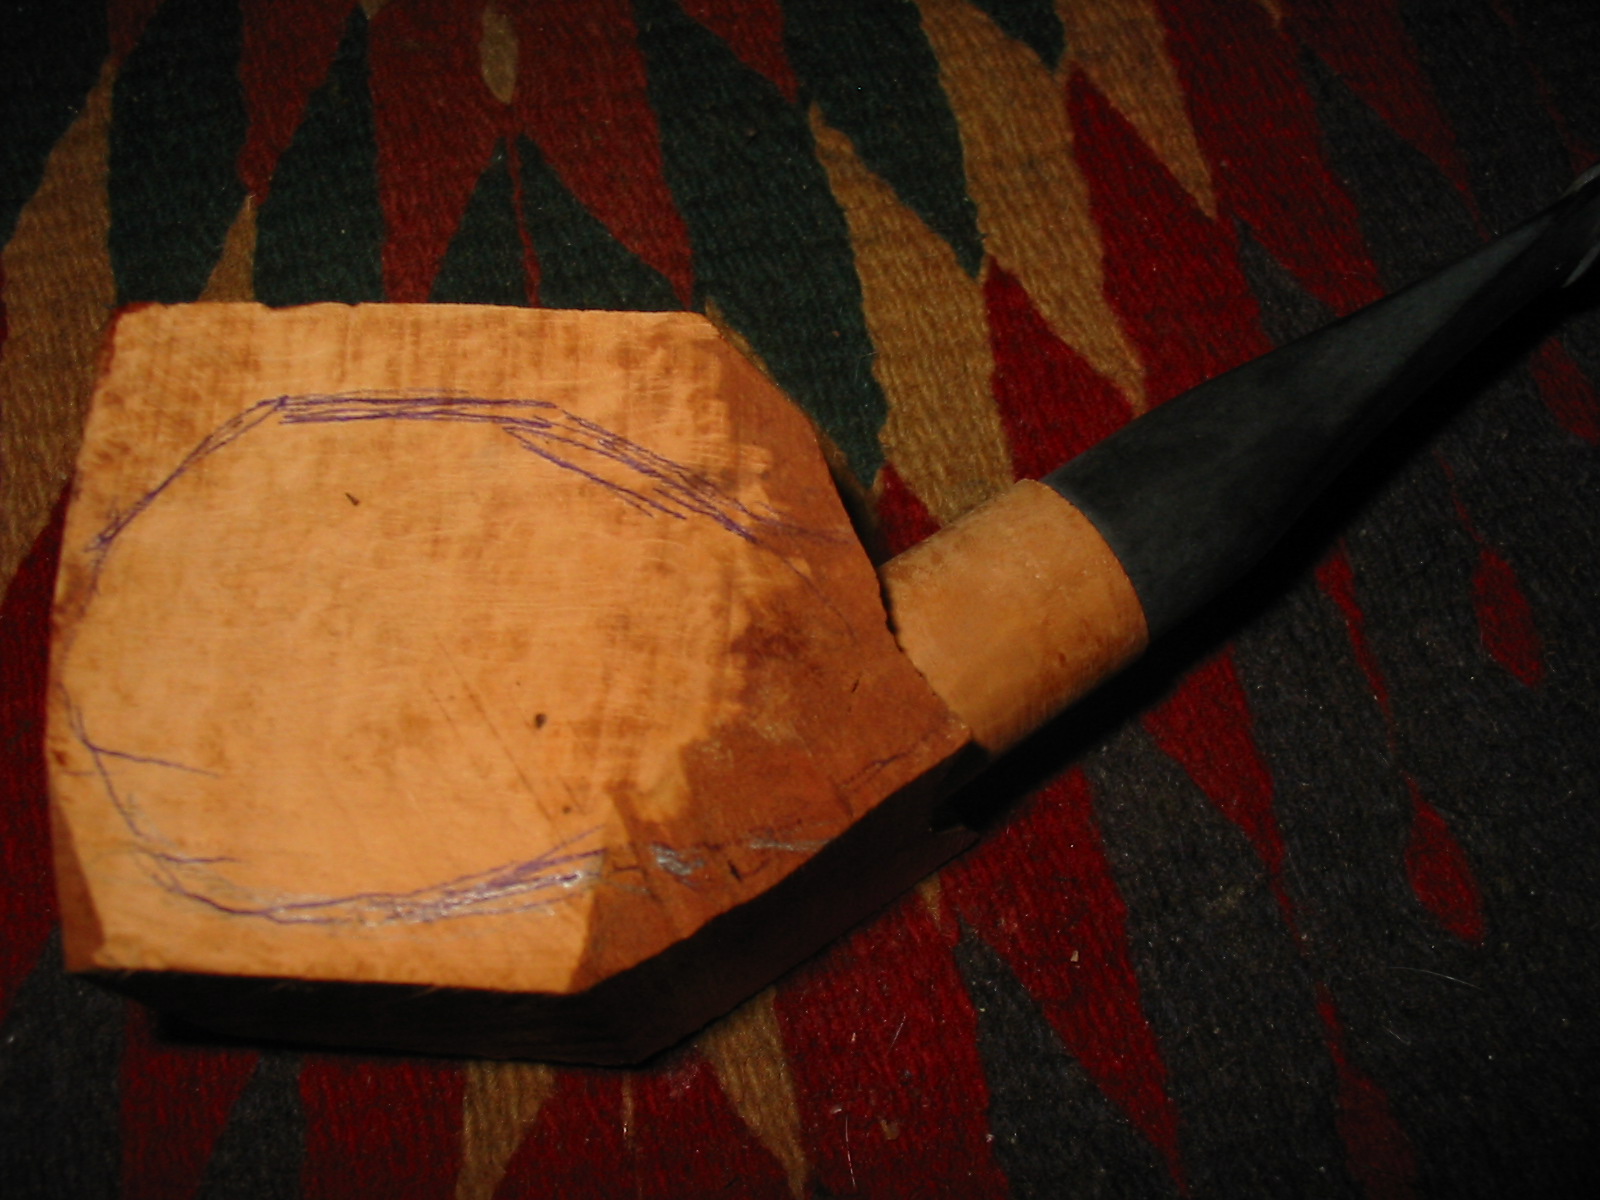
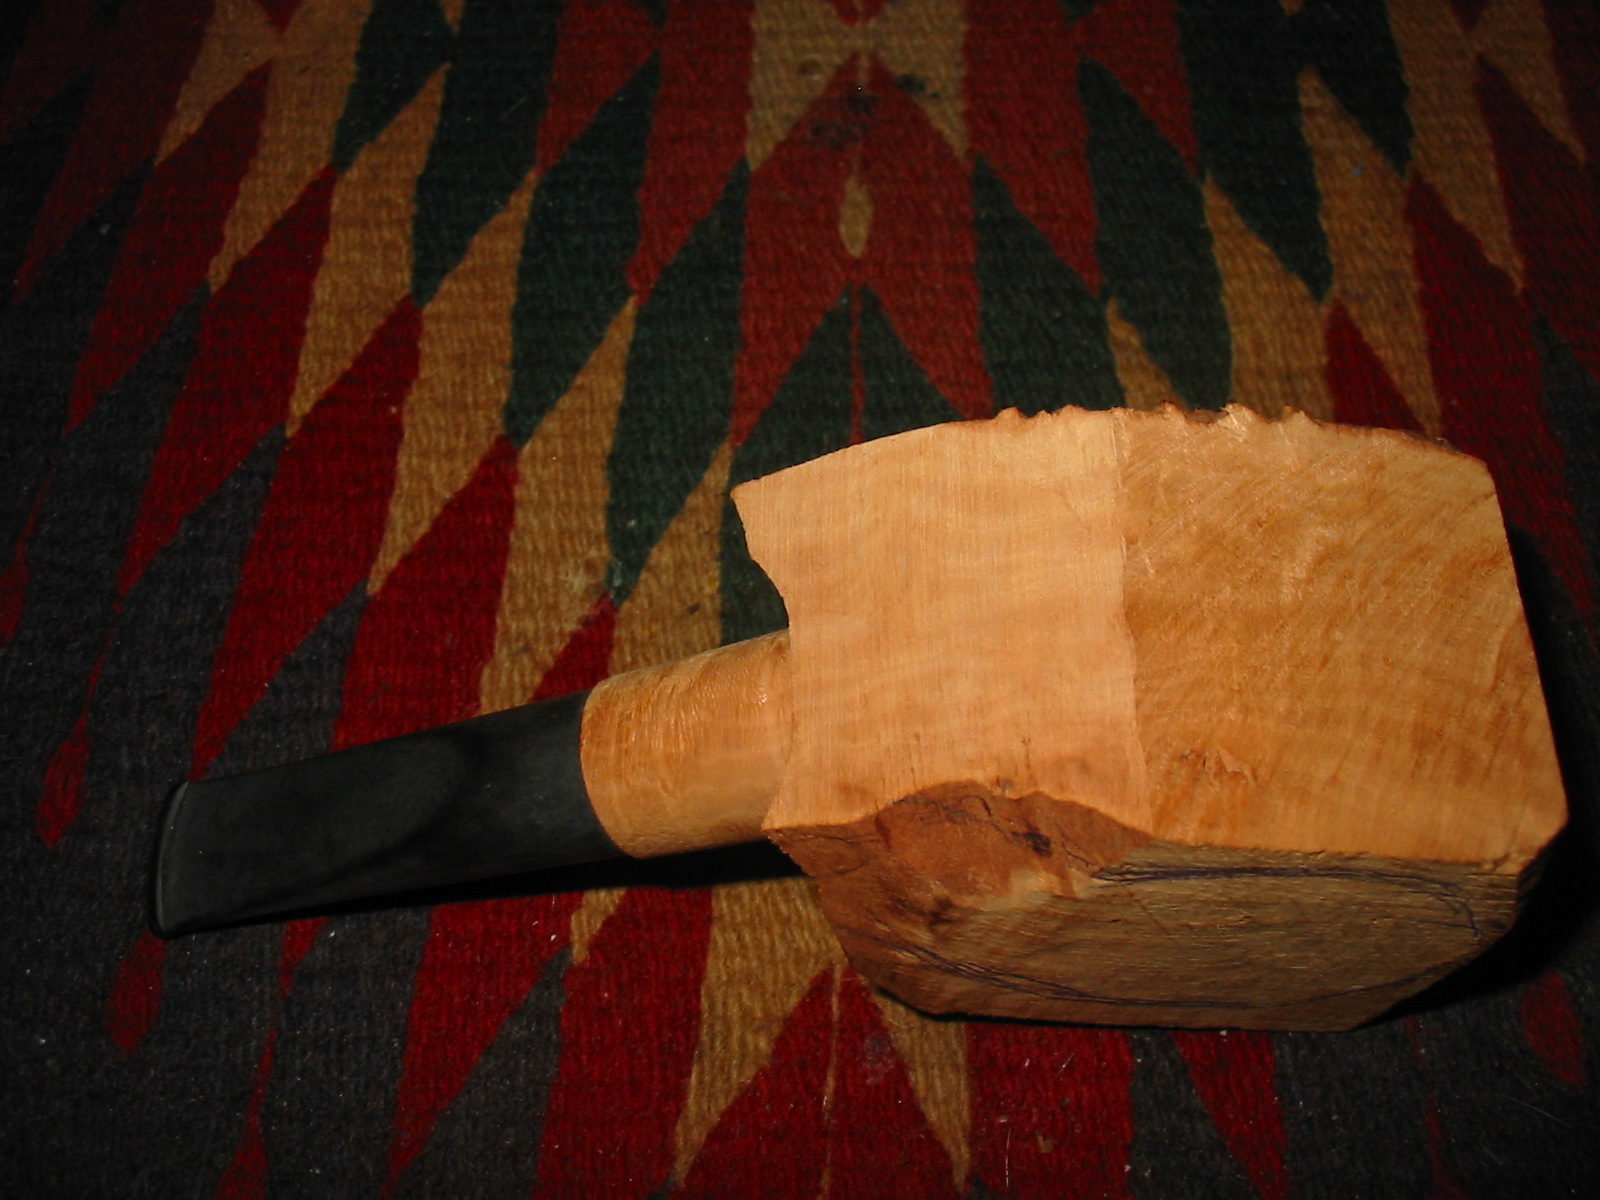
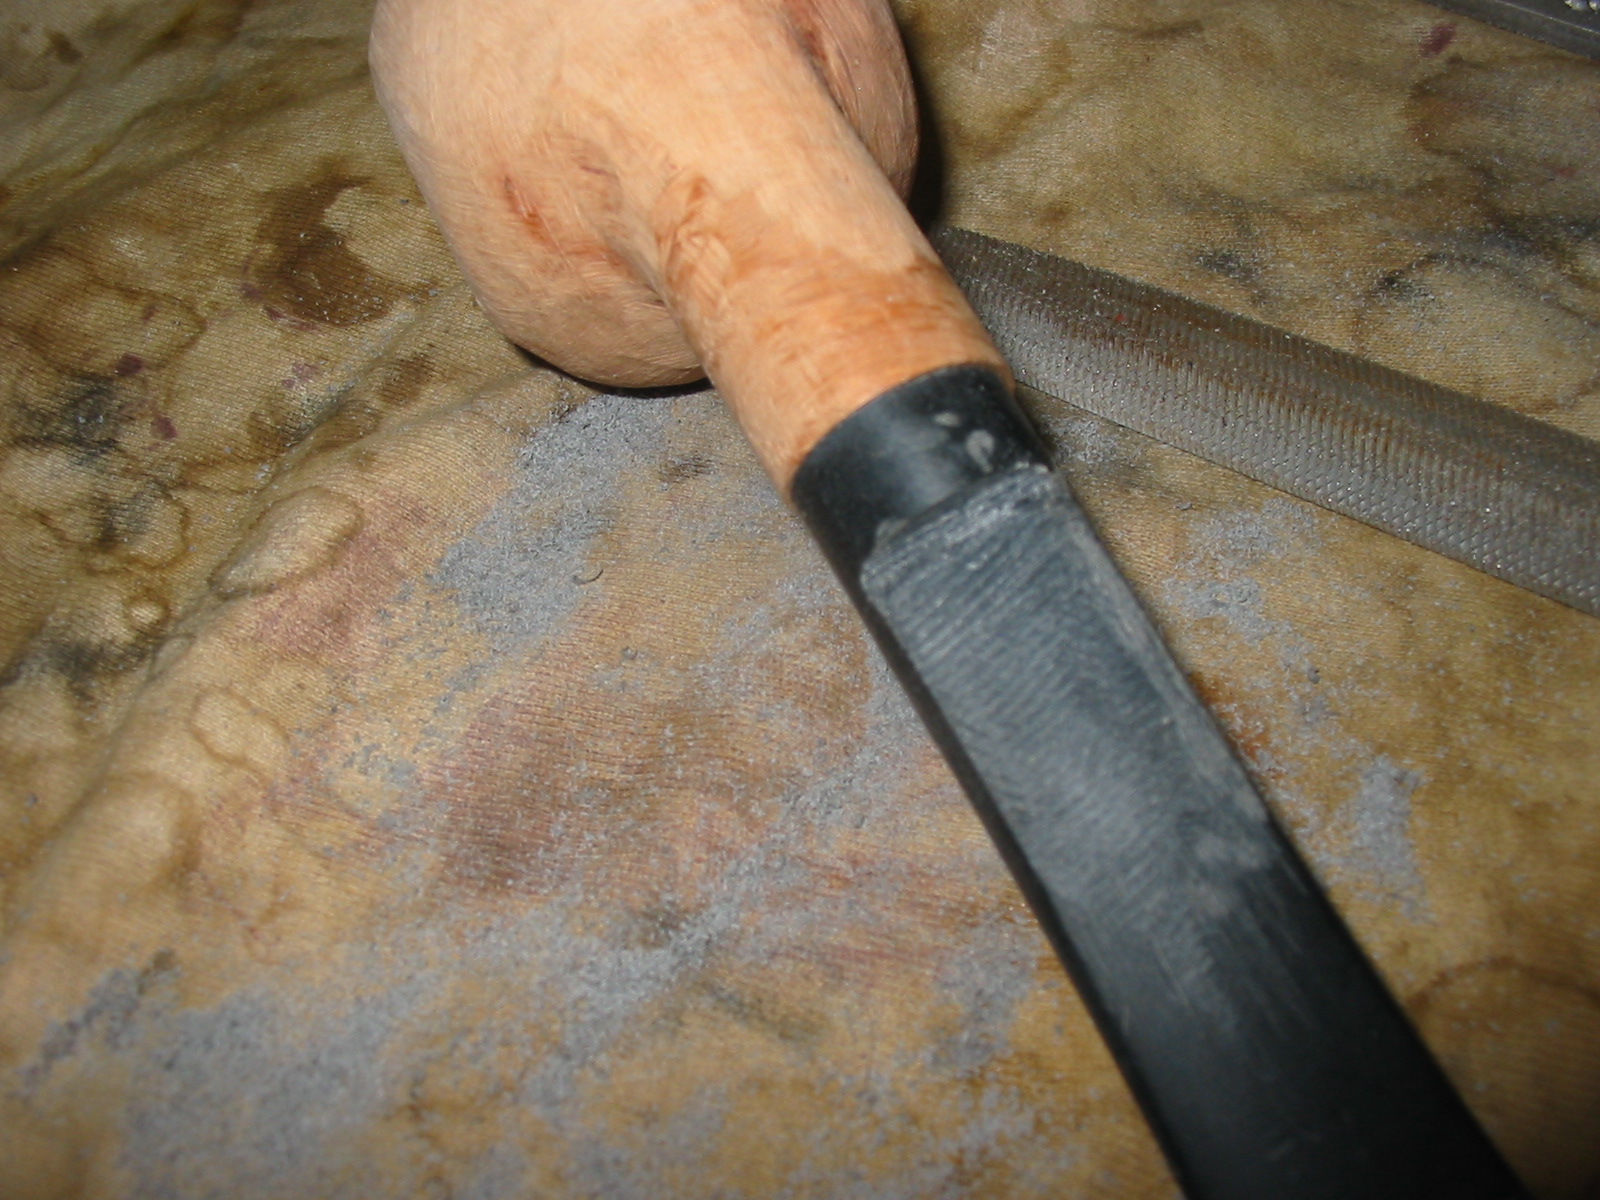
 I used a flat rasp to remove excess material from the stem diameter. I continued to sand and file off the excess until it was close to the same diameter as the shank. I took photos of the fit of the stem to the shank on the pipe.
 I used a Dremel and sanding drum to bring it down further. I worked on the stem/shank fit with 220 grit sandpaper. It was looking very good at this point. It was getting very close to the shank fit.
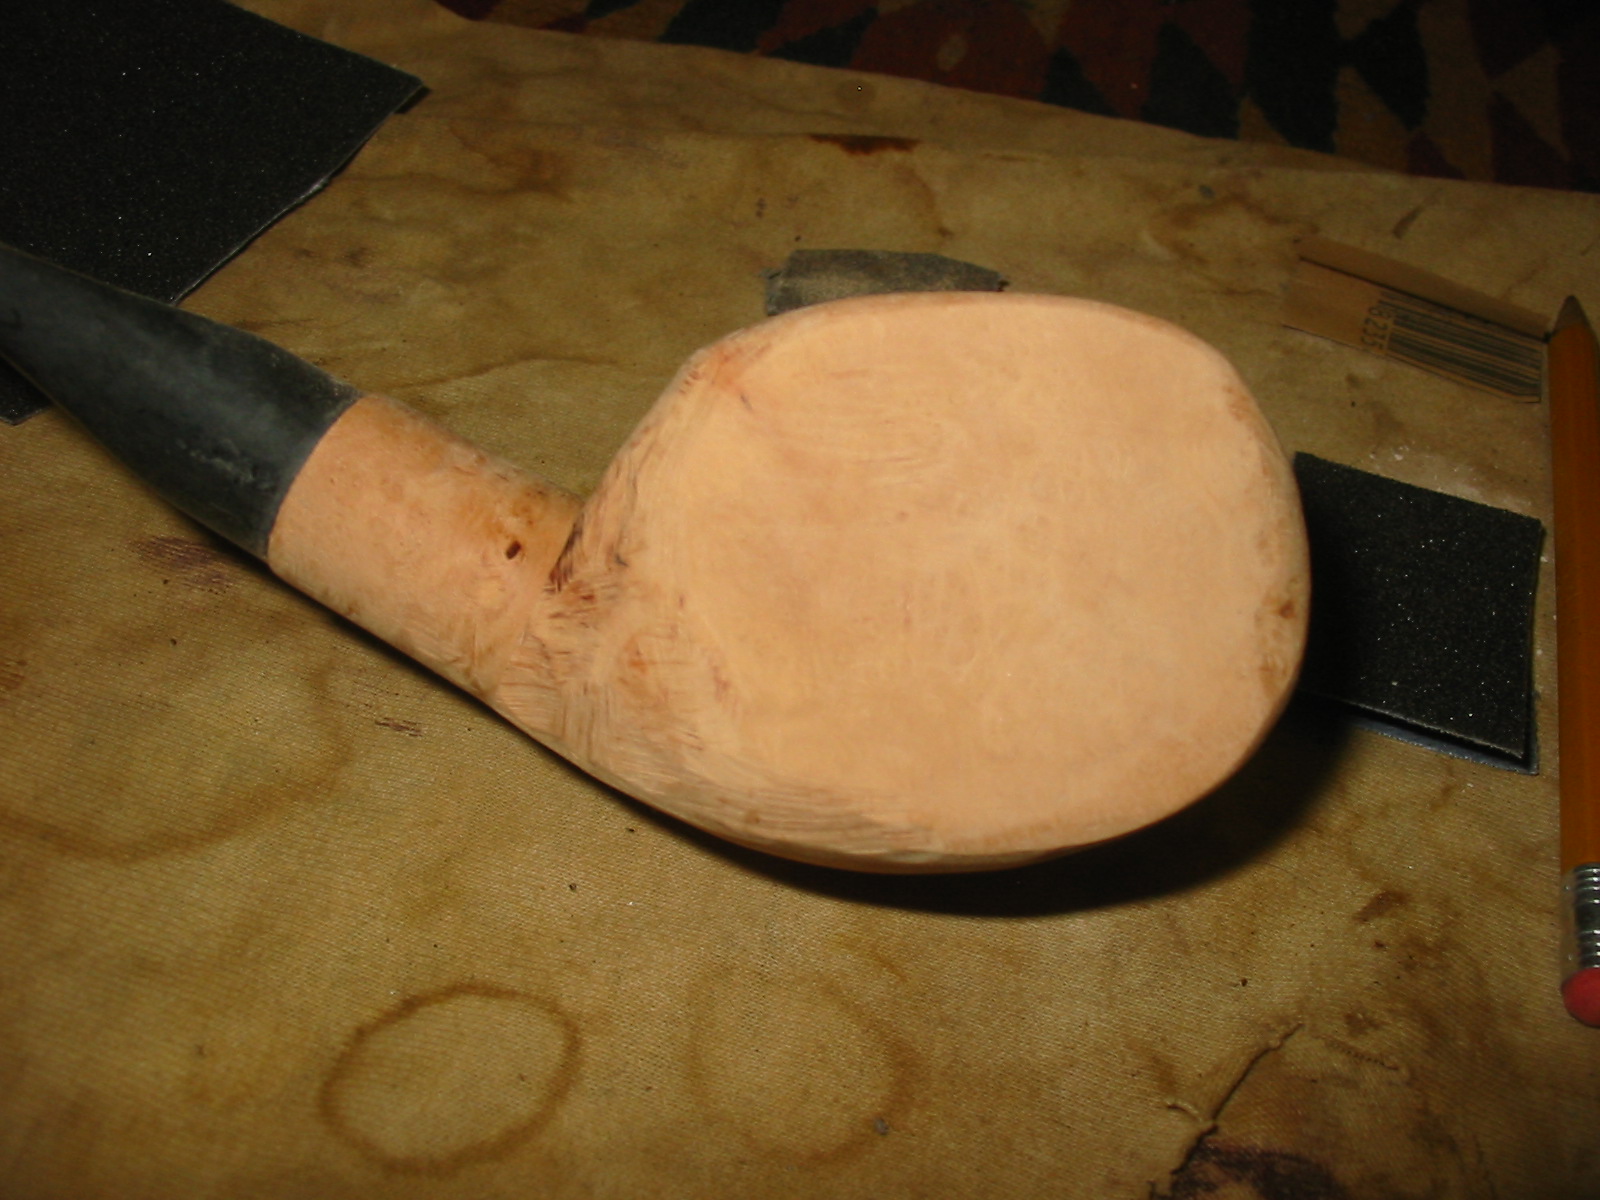
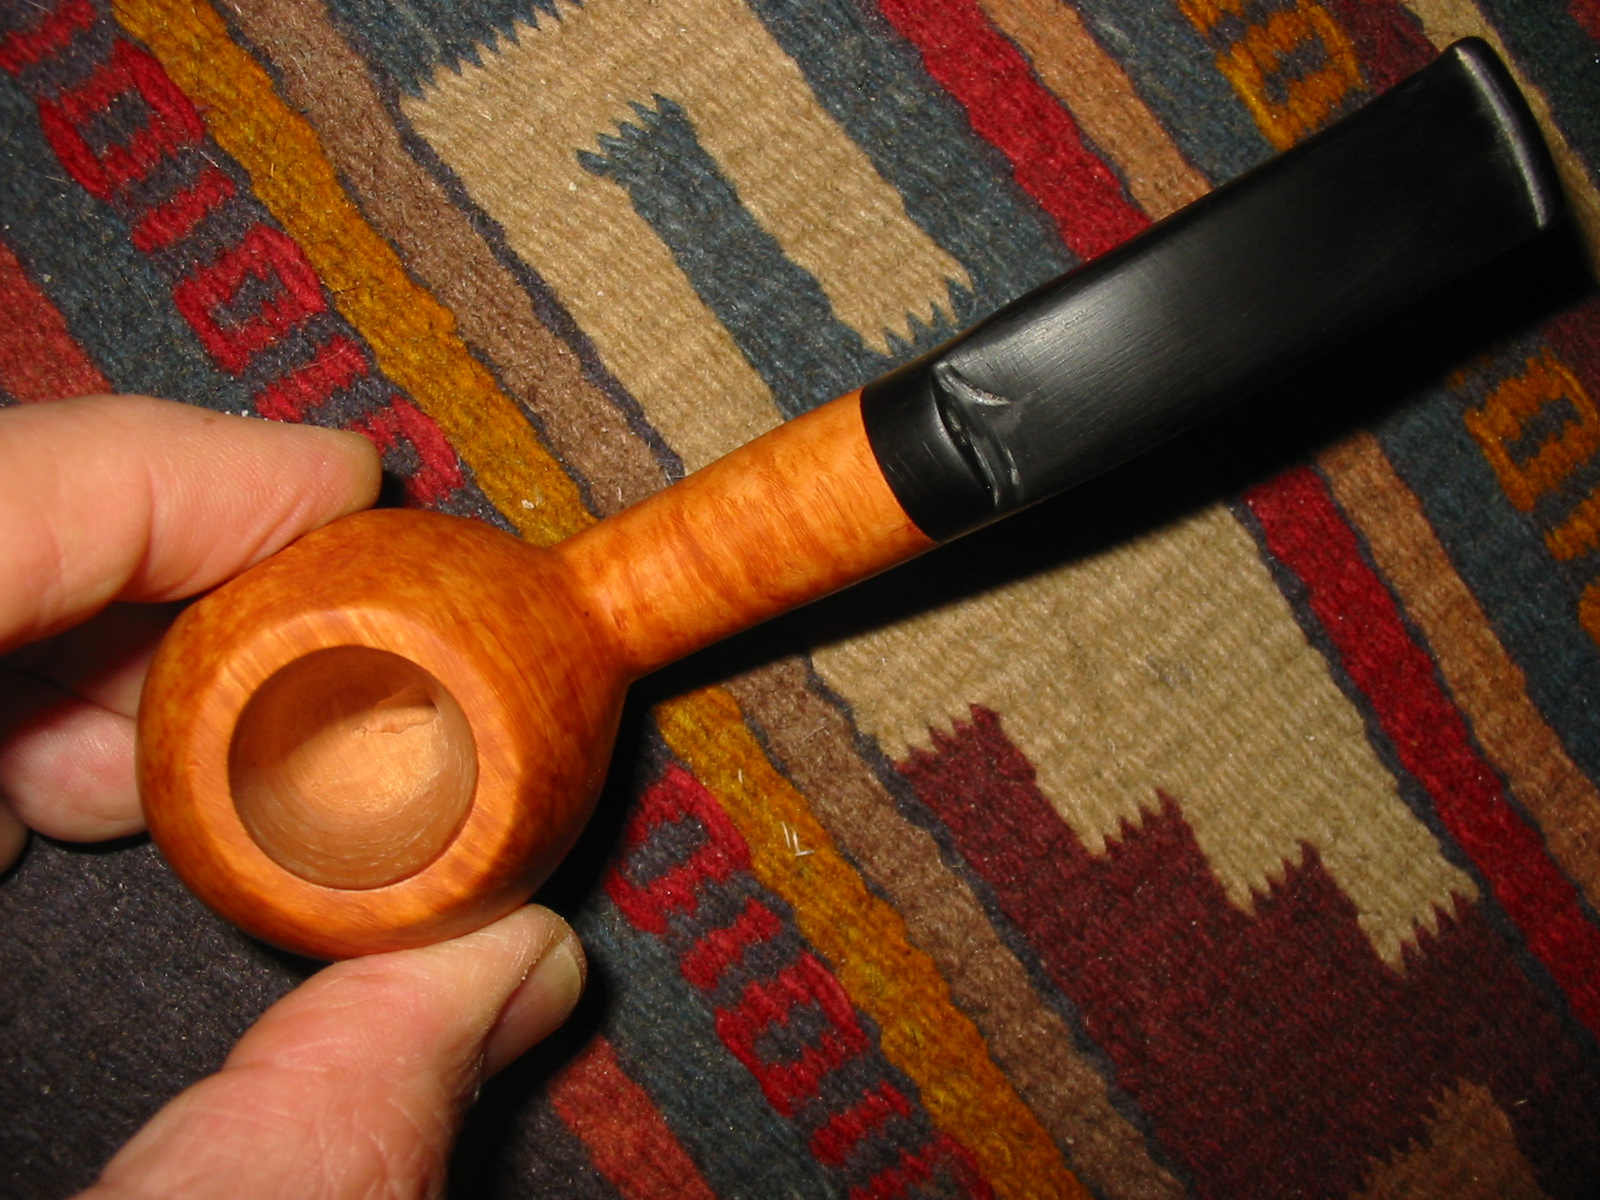
 I fit the stem on the shank and took photos of the new look of the stem/shank fit. It still needed work but it looked very good at this point.
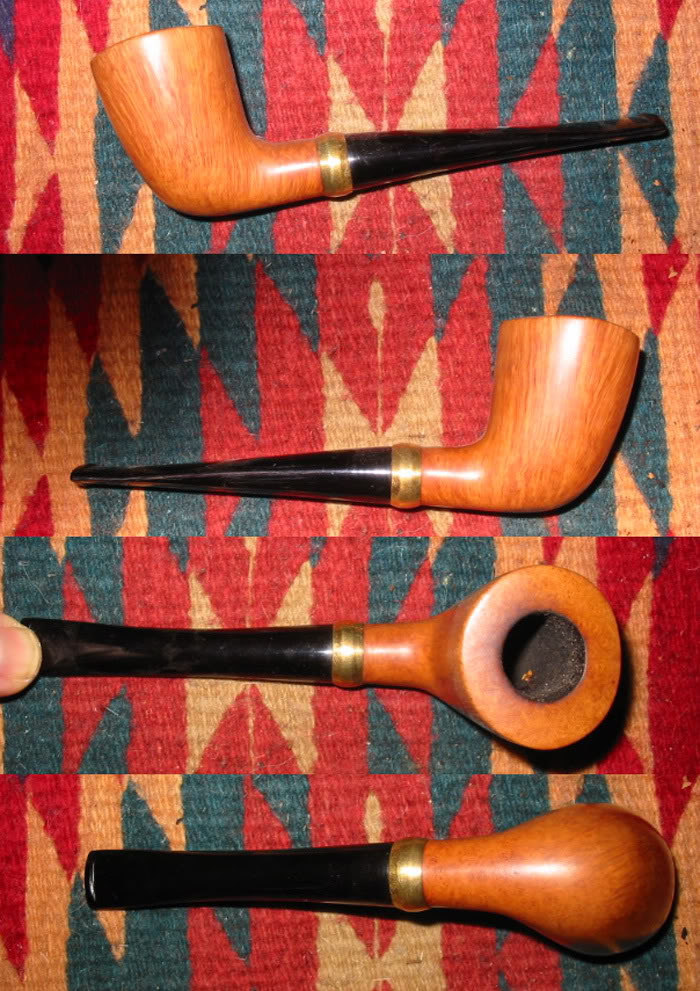
 I worked on the stem some more with 220 grit sandpaper to smooth out the transition between the stem and the shank. Once it was smooth I decided to see what the shank would look like with a band. I had a gold band that was perfect size for the shank. I put the band on the shank and took photos of the bowl with the shank. What do you think? To me it is exactly the touch I needed for this pipe to step up a bit. I like the look on the shank.
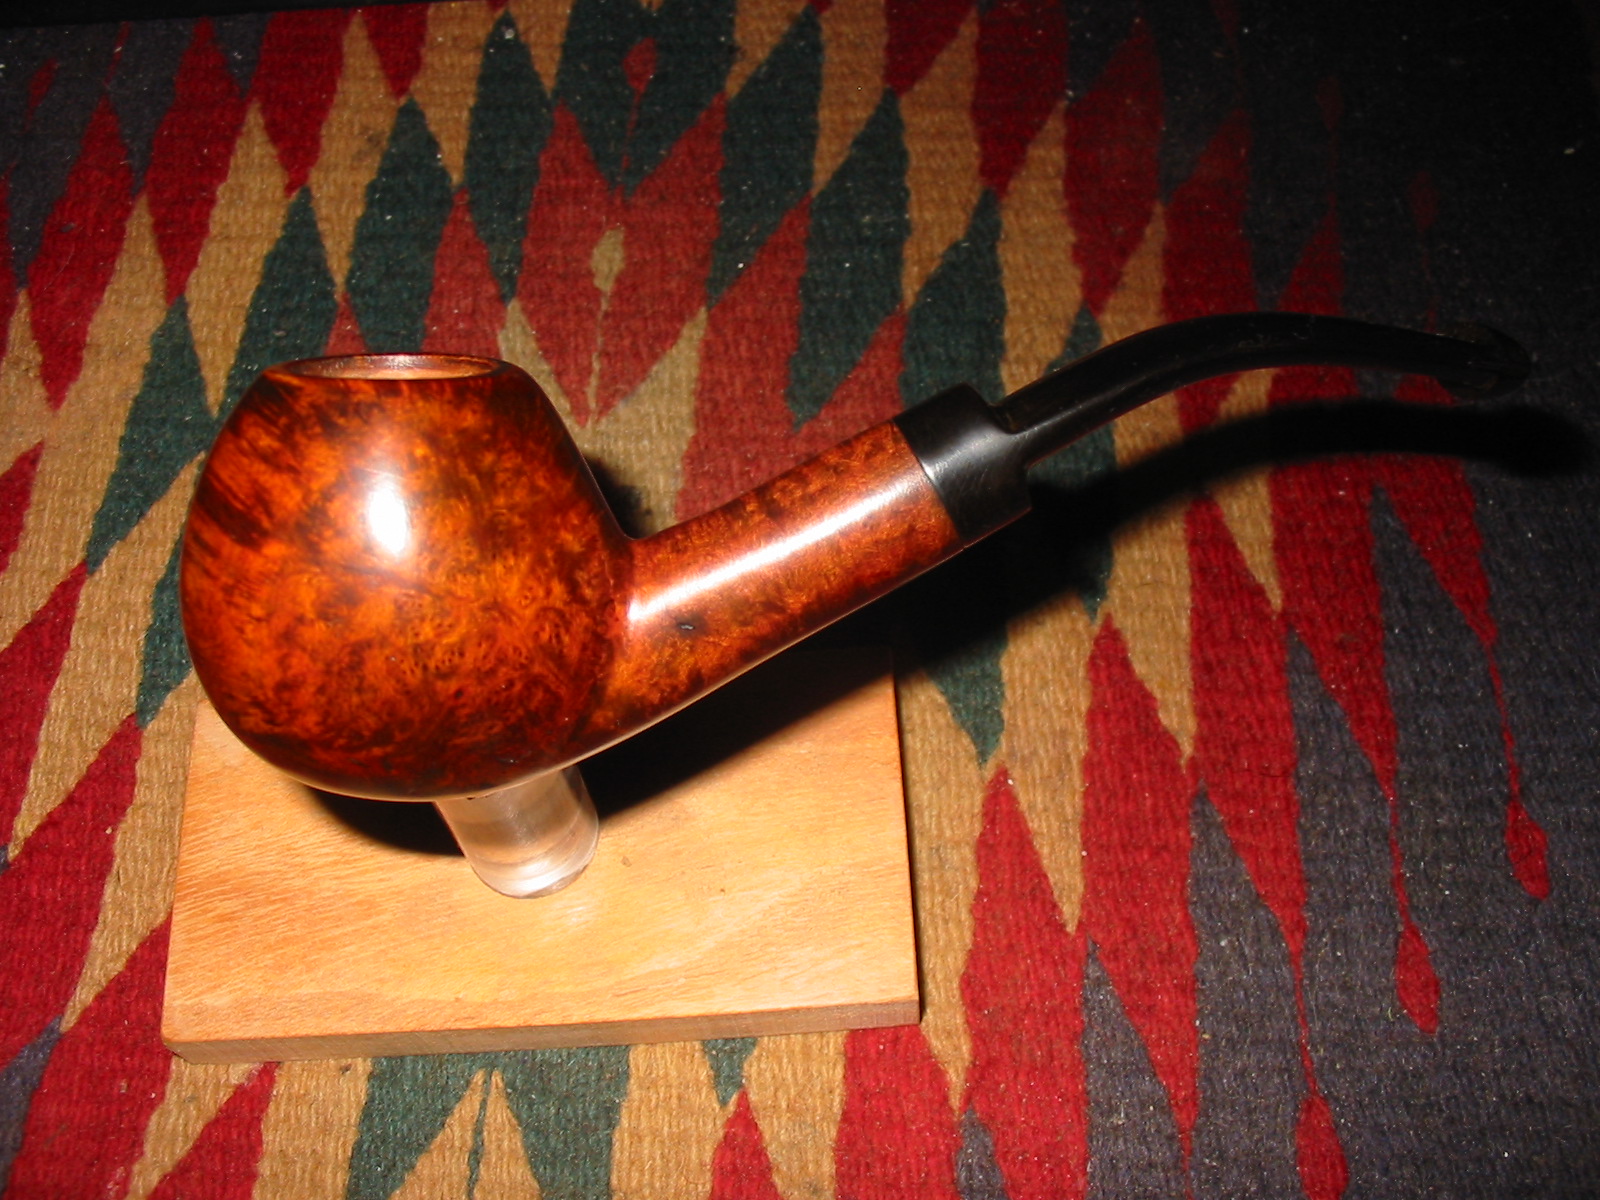
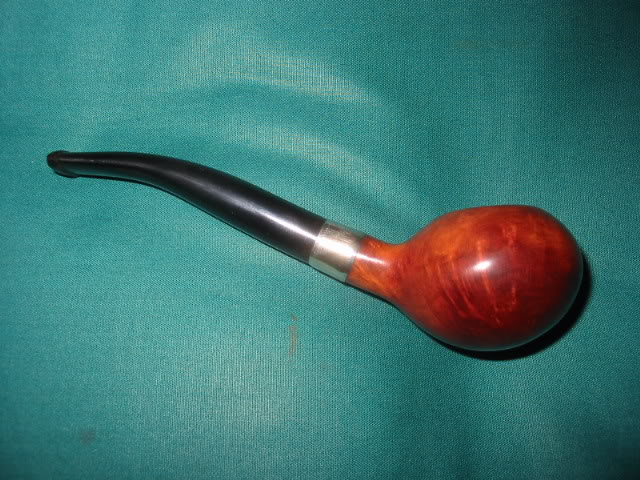
 I fit the stem to the shank to have a look at the flow of the pipe with the gold band and the saddle stem. Now I was even more convinced that the band was a great idea. It gives the pipe a classic Lovat look with a touch of bling.
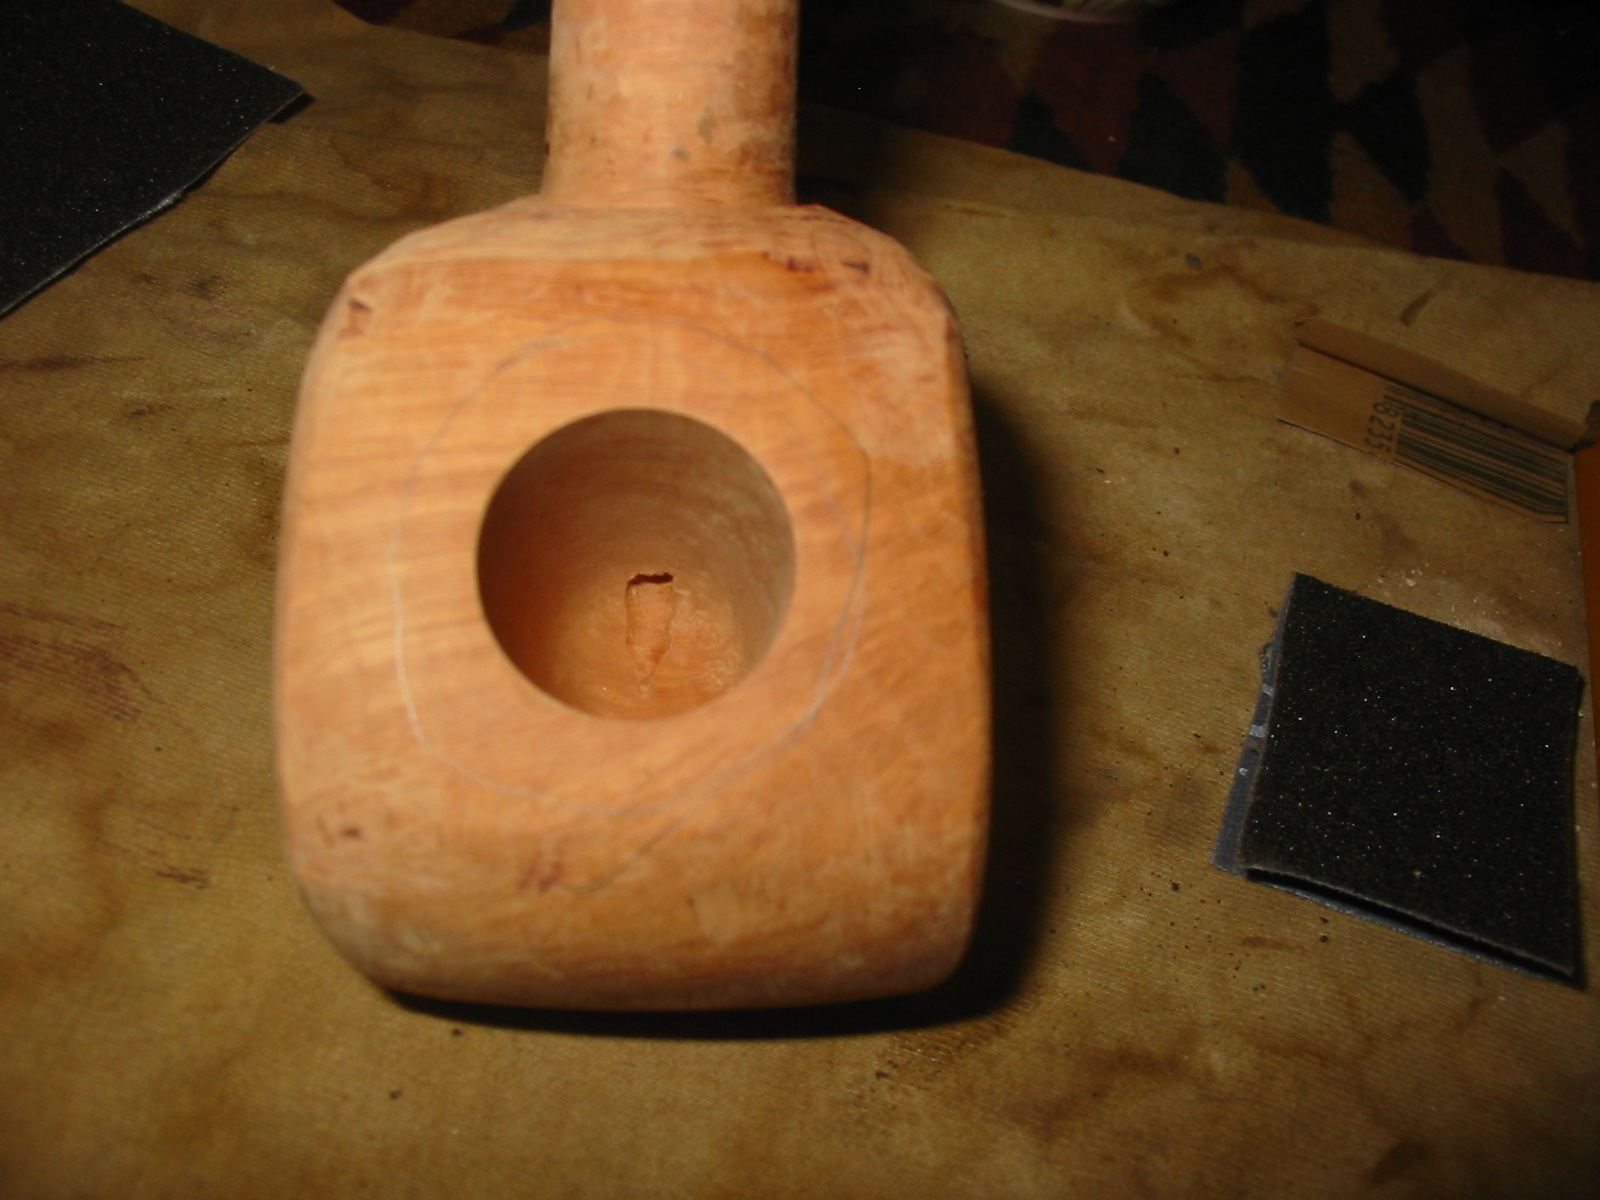
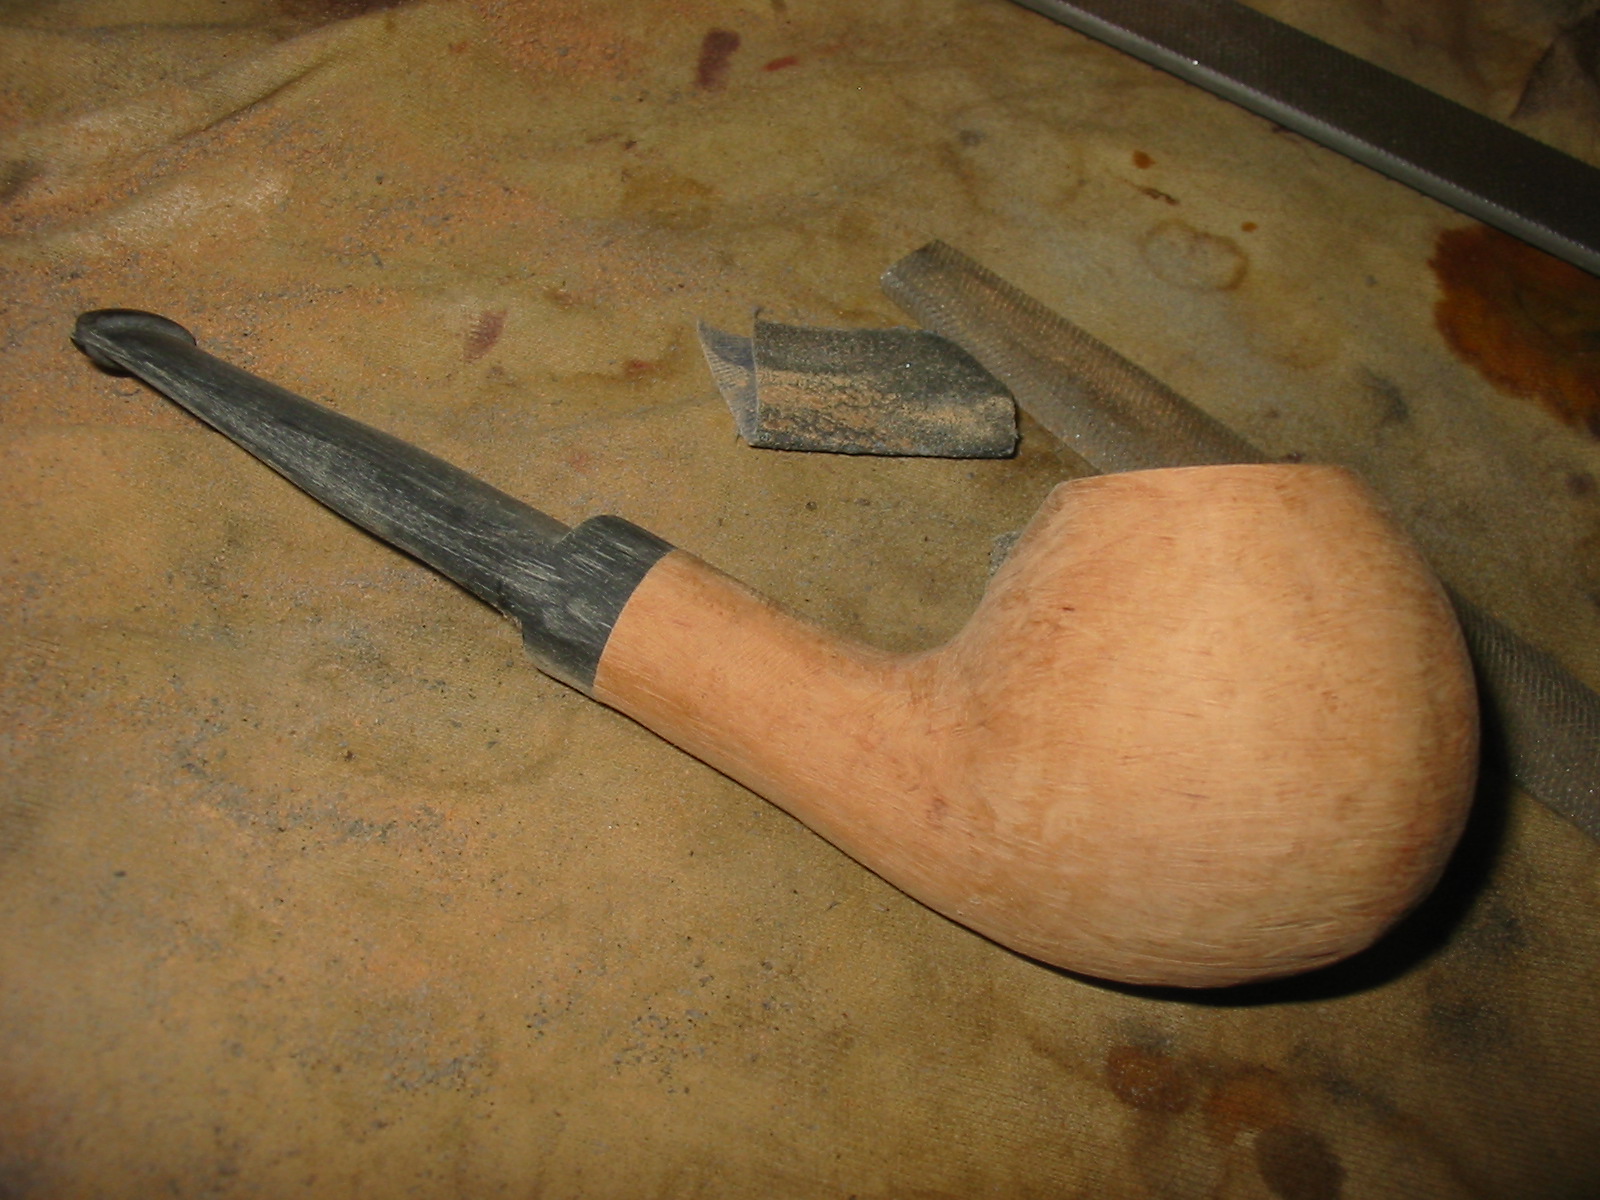
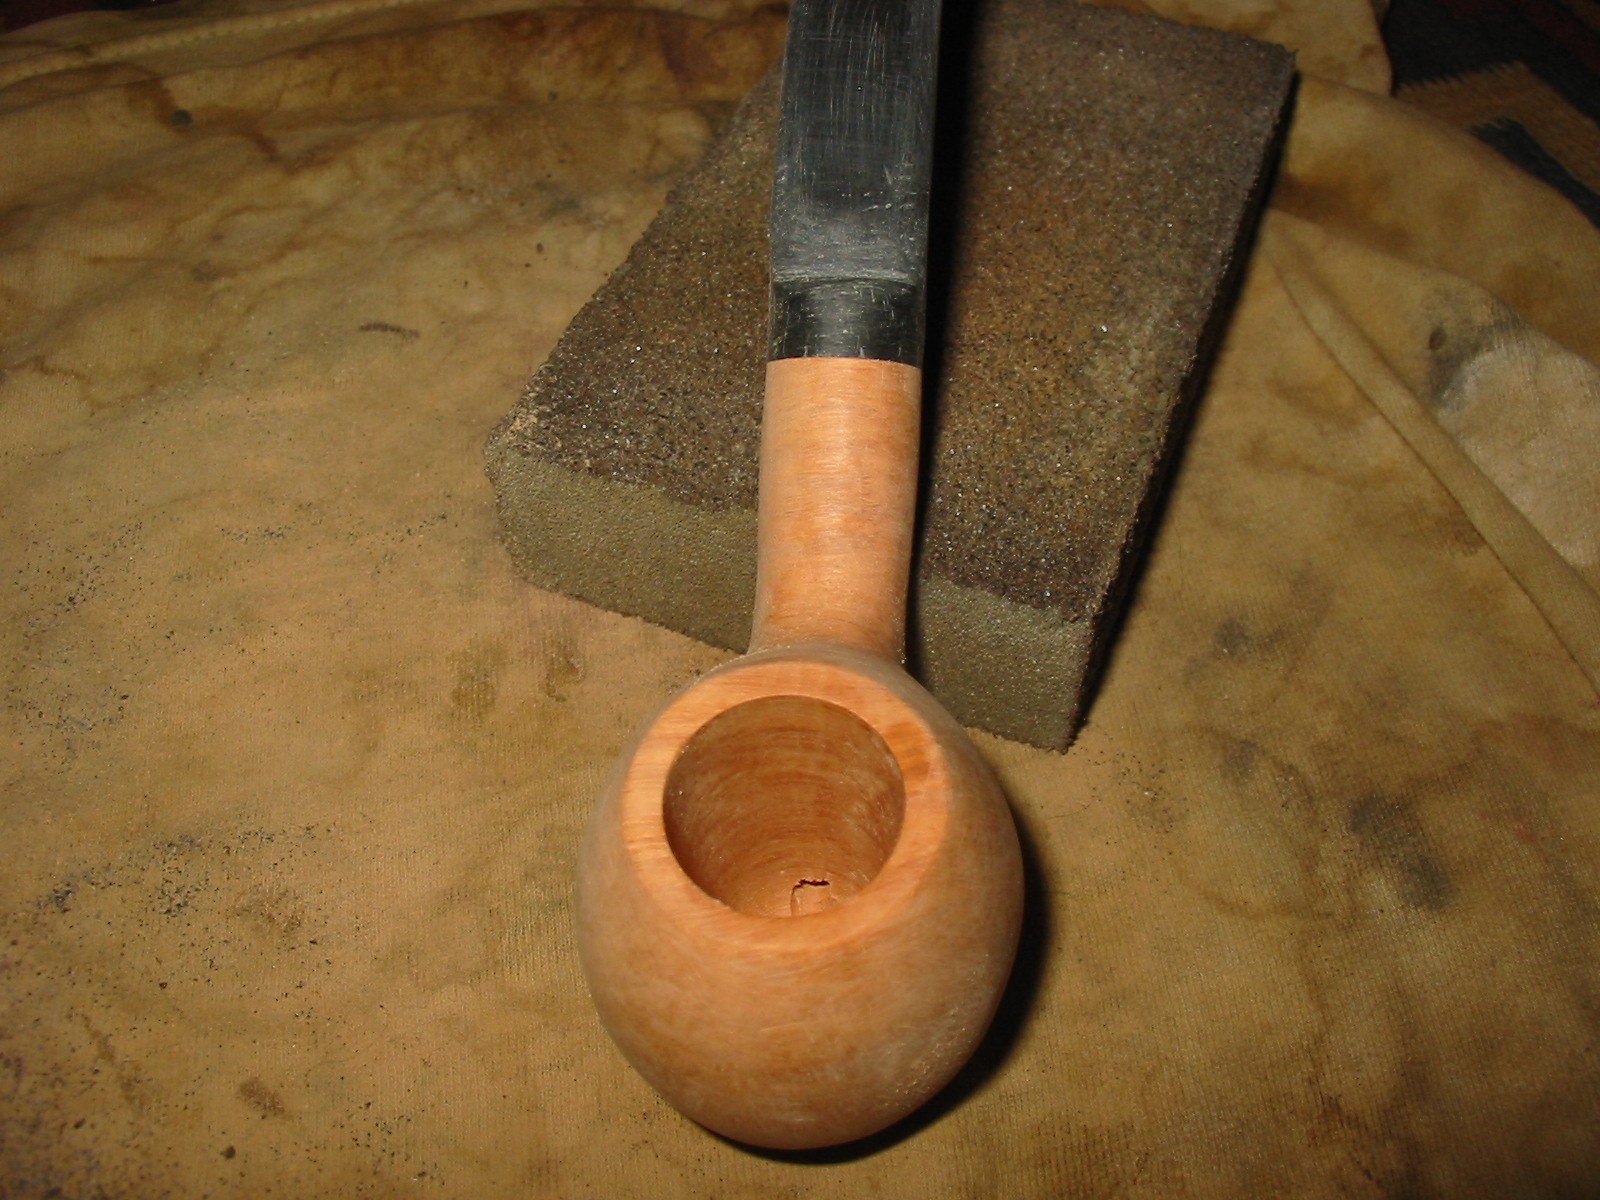
 In preparation for staining the bowl I polished it with micromesh sanding pads 1500-400 grit pads to smooth out the repaired areas and the scratches on the surface of the bowl and rim top. It looked much better at this point in the process.


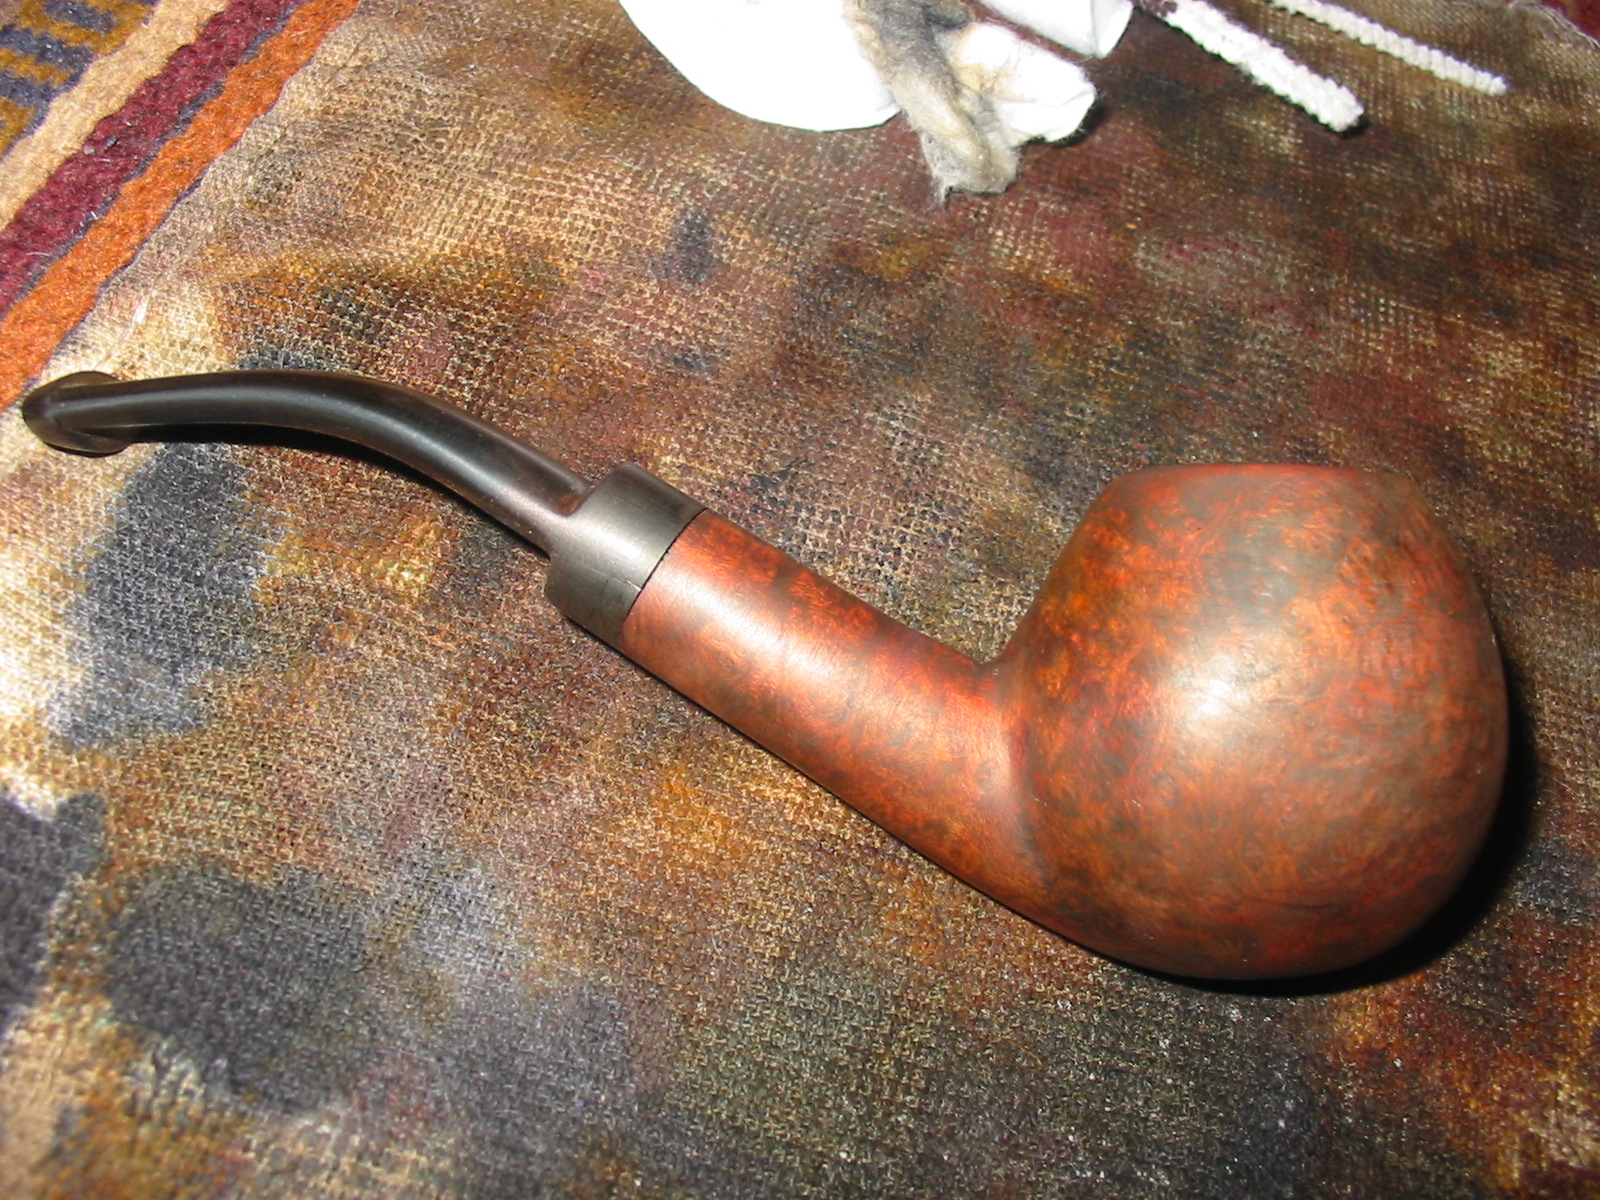
 I wiped the bowl down with a damp cloth to remove the sanding dust and then put a cork in the bowl and prepared the bowl for staining. I have had success in using a Cordovan stain when I am dealing with large repairs like this bowl had on the rear and left side of the bowl. It works to blend them in better than just a brown stain.
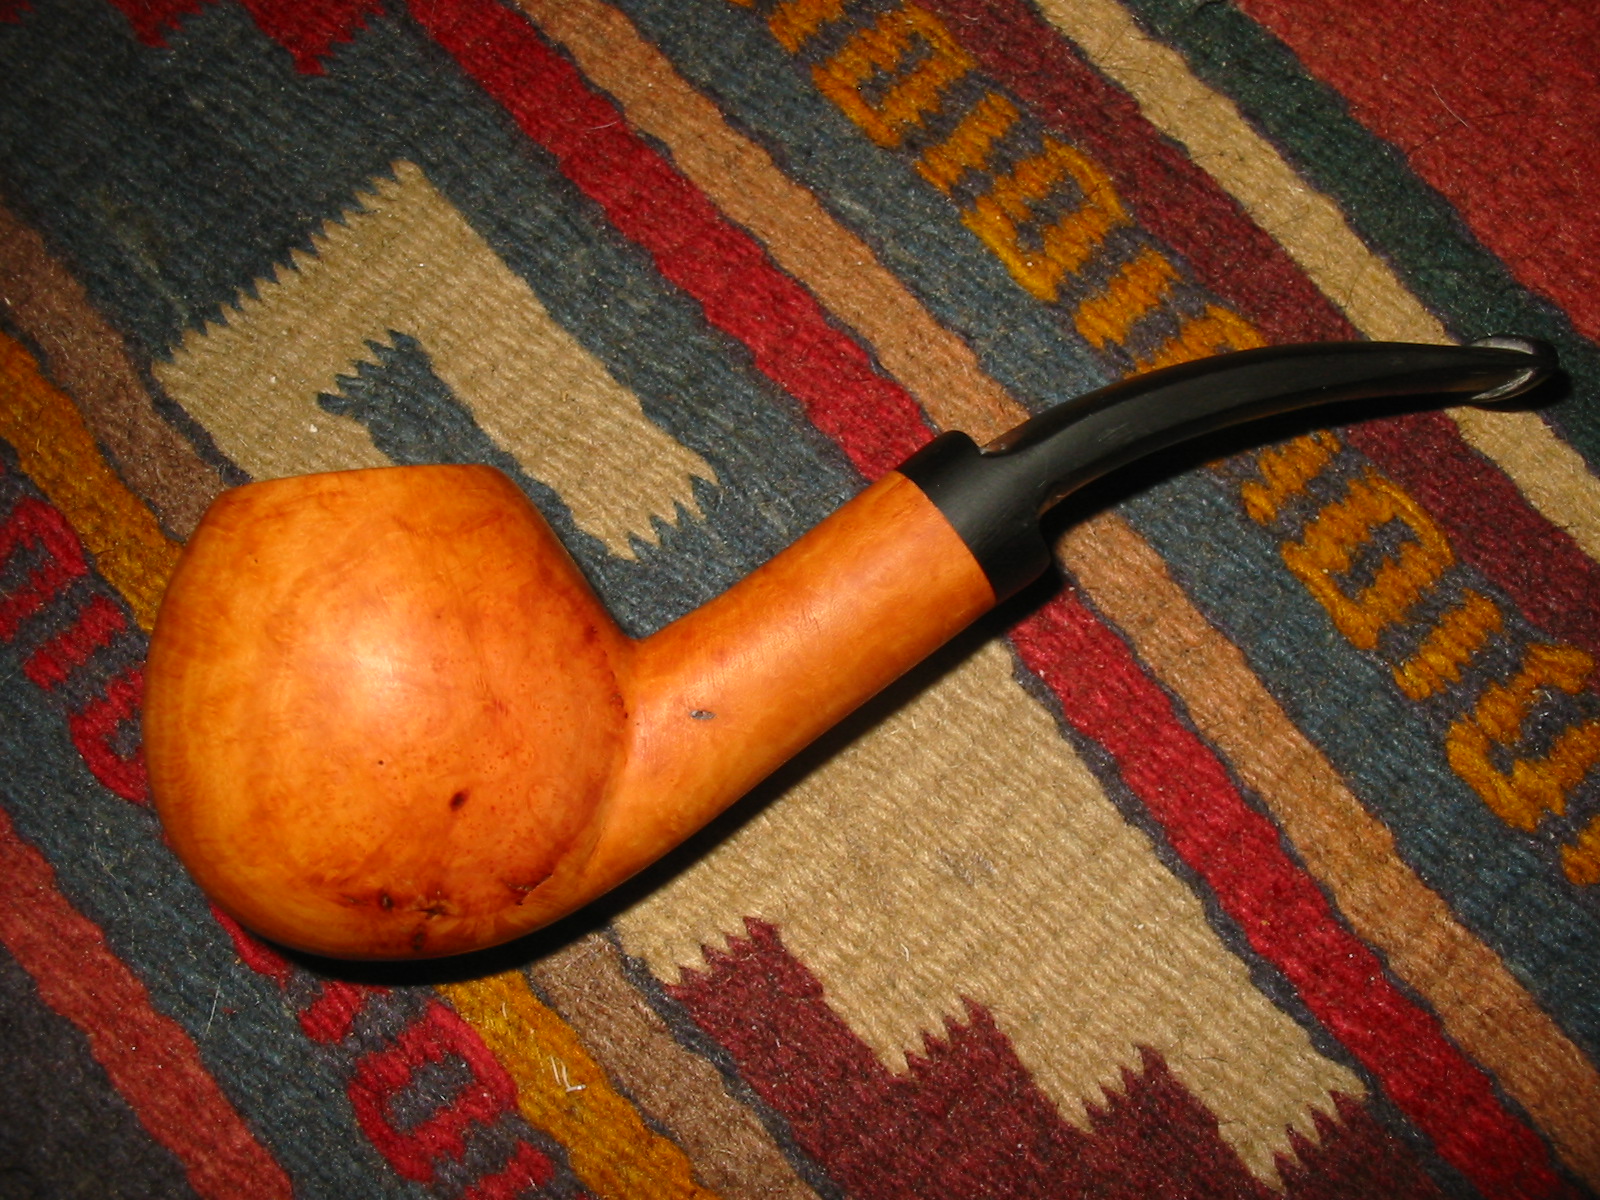
 I applied the stain with a dauber and then flamed it with a lighter it to set it in the grain. I repeated the process until I was happy with the coverage. You can see the darkness and coverage of the stain in the photos below.
 I like the stain to be more transparent to allow the grain to shine through but I want it opaque enough around the repairs to blend them into the surrounding briar. I sanded the bowl and shank with a medium and fine sanding sponge and I am really pleased with the coverage and the transparency of the colour.
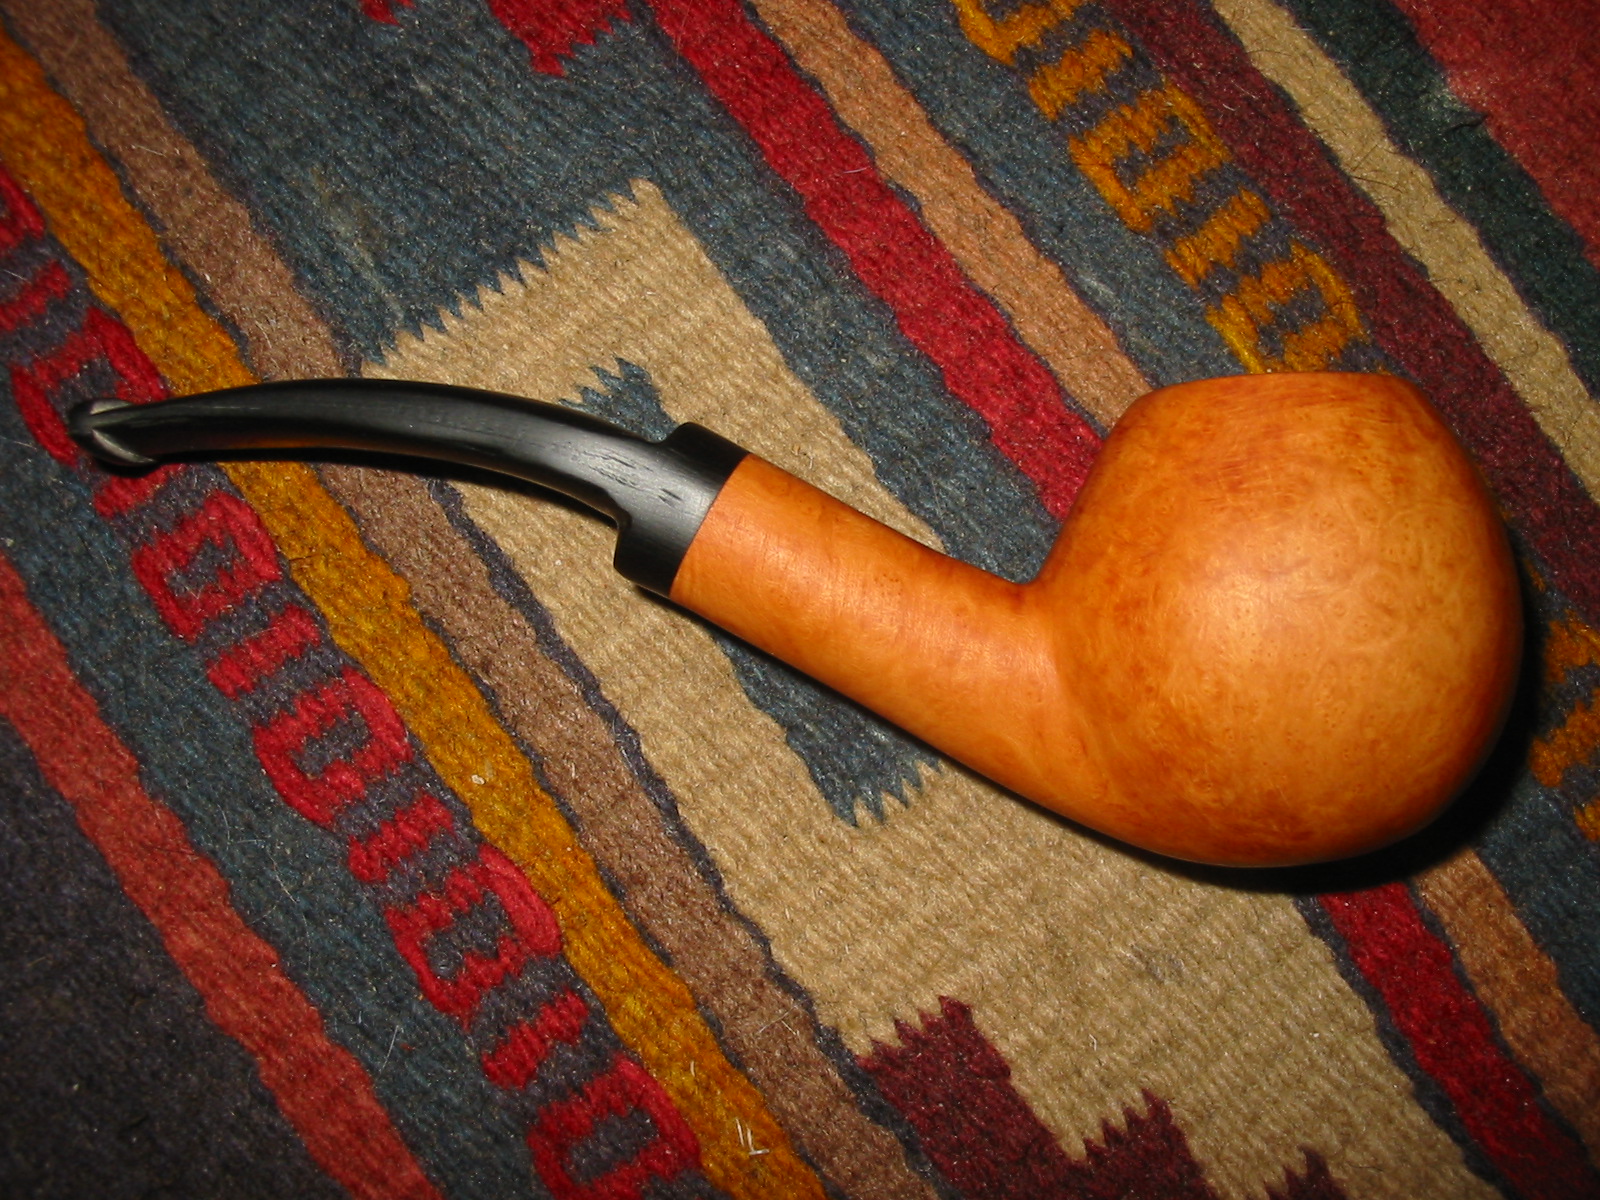
 I rubbed the bowl and rim down with Before & After Restoration Balm. I worked it into the surface of the briar with my fingertips to clean, enliven and protect it. I let the balm sit for 10 minutes and then buffed with a cotton cloth to raise the shine. I really like watching the Balm do its magic and bring the briar alive.

 I sanded out the file marks and the scratches with 220 grit sandpaper and started the polishing with 600 grit wet dry sandpaper. It looked significantly better and was ready to polish it.
  I polished the stem with micromesh sanding pads – wet sanding with 1500-12000 grit pads. I wiped the stem down after each sanding pad with Obsidian Oil.
 I polished it with Before & After Pipe Stem Polish – both Fine and Extra Fine. I gave it a coat of Obsidian Pipe Stem Oil. It works to protect the stem from oxidizing. I set it aside to dry.
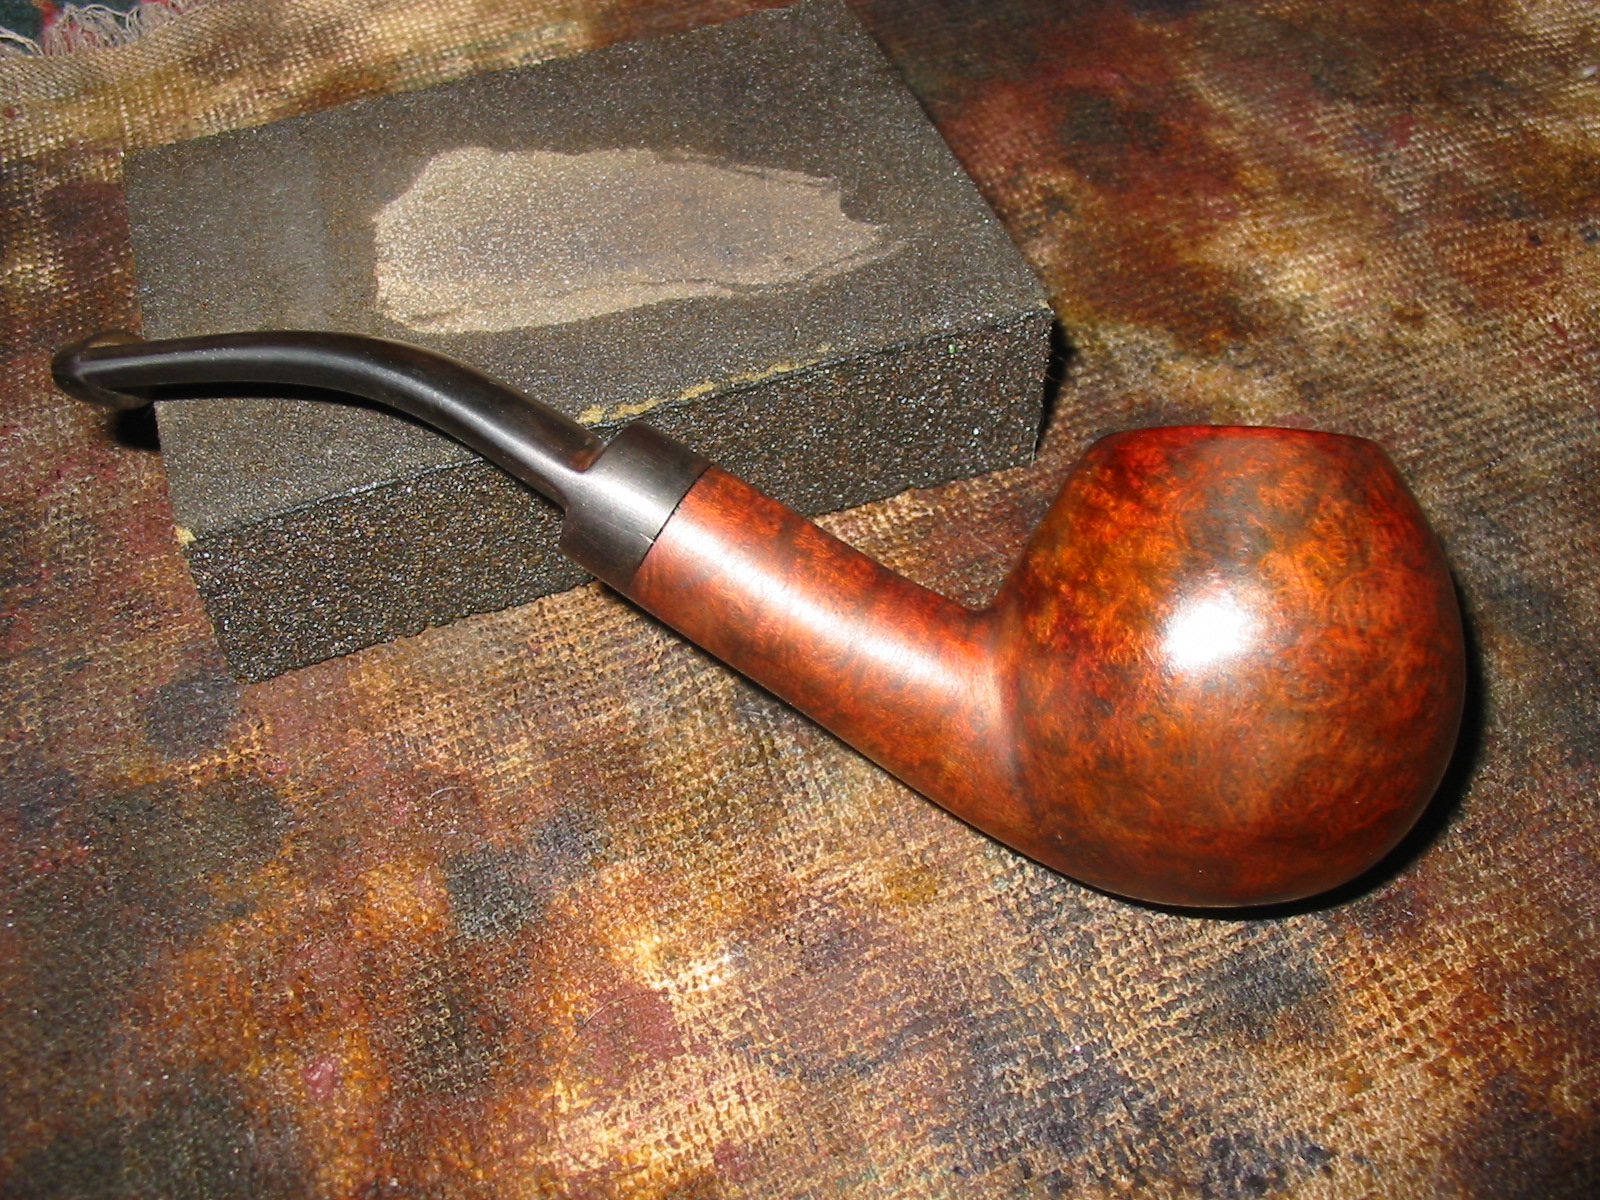
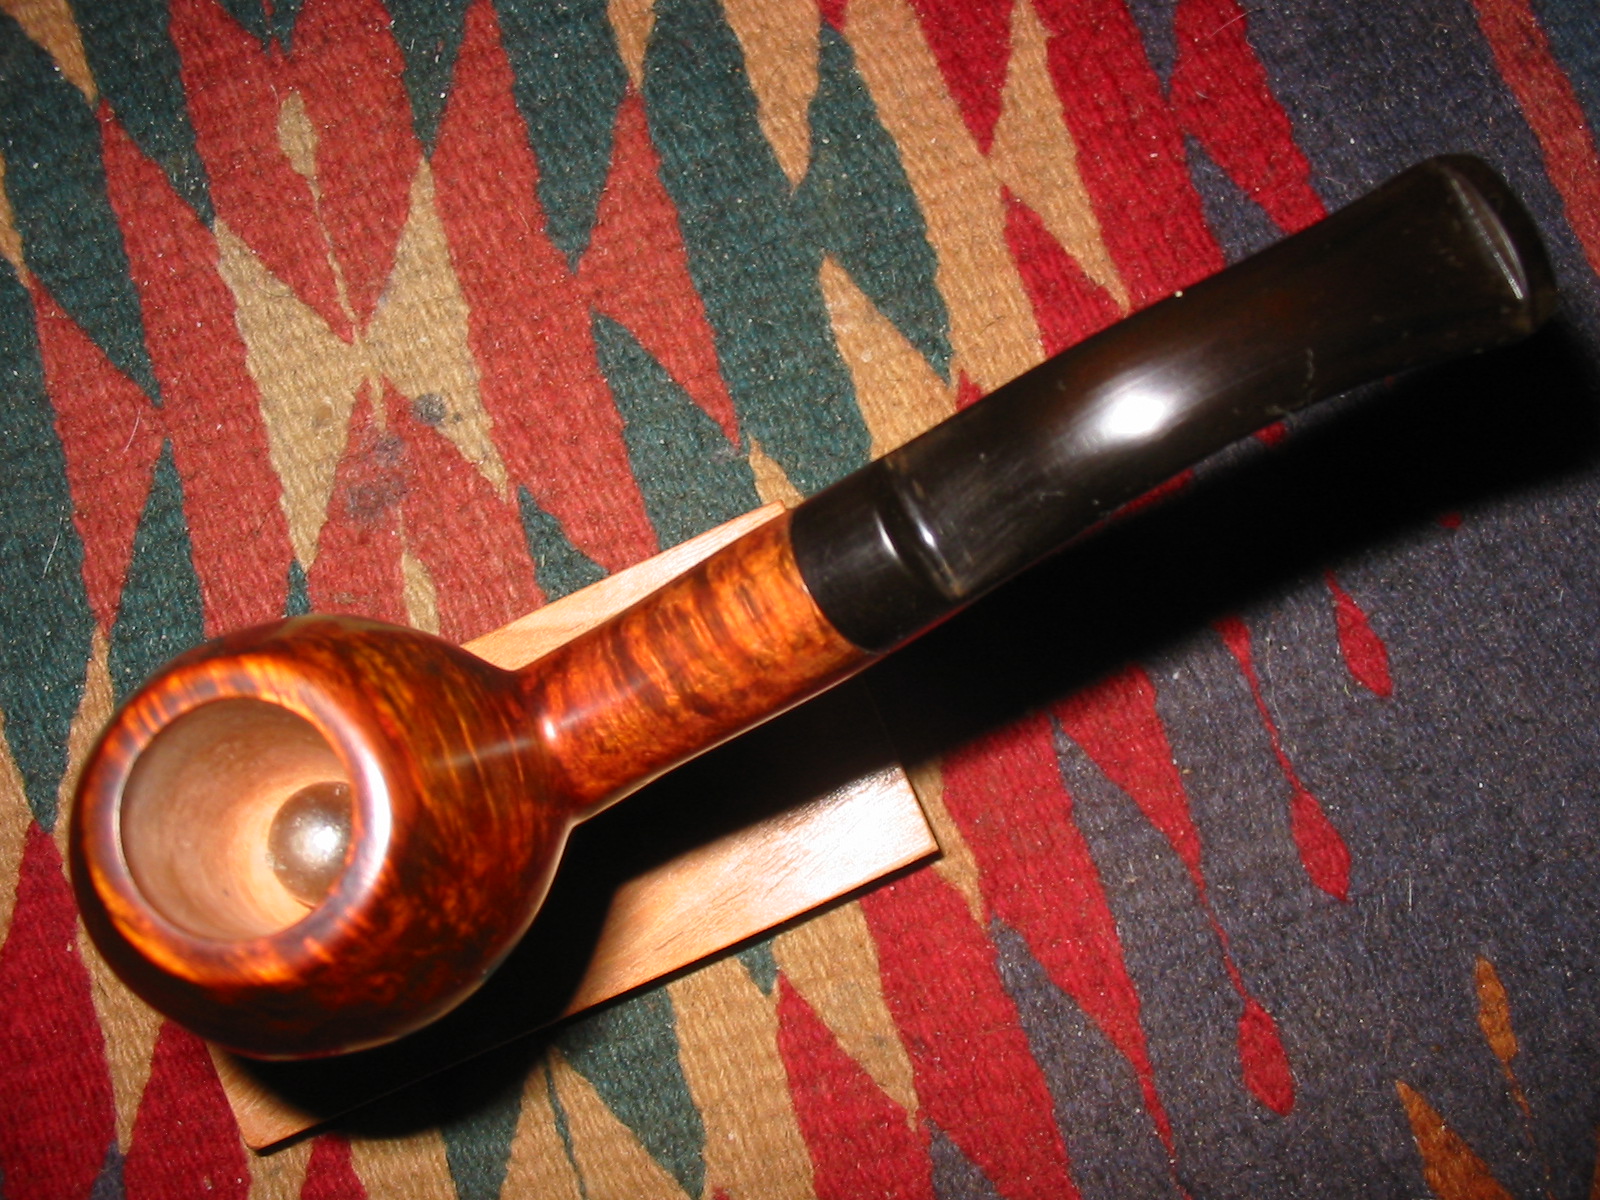
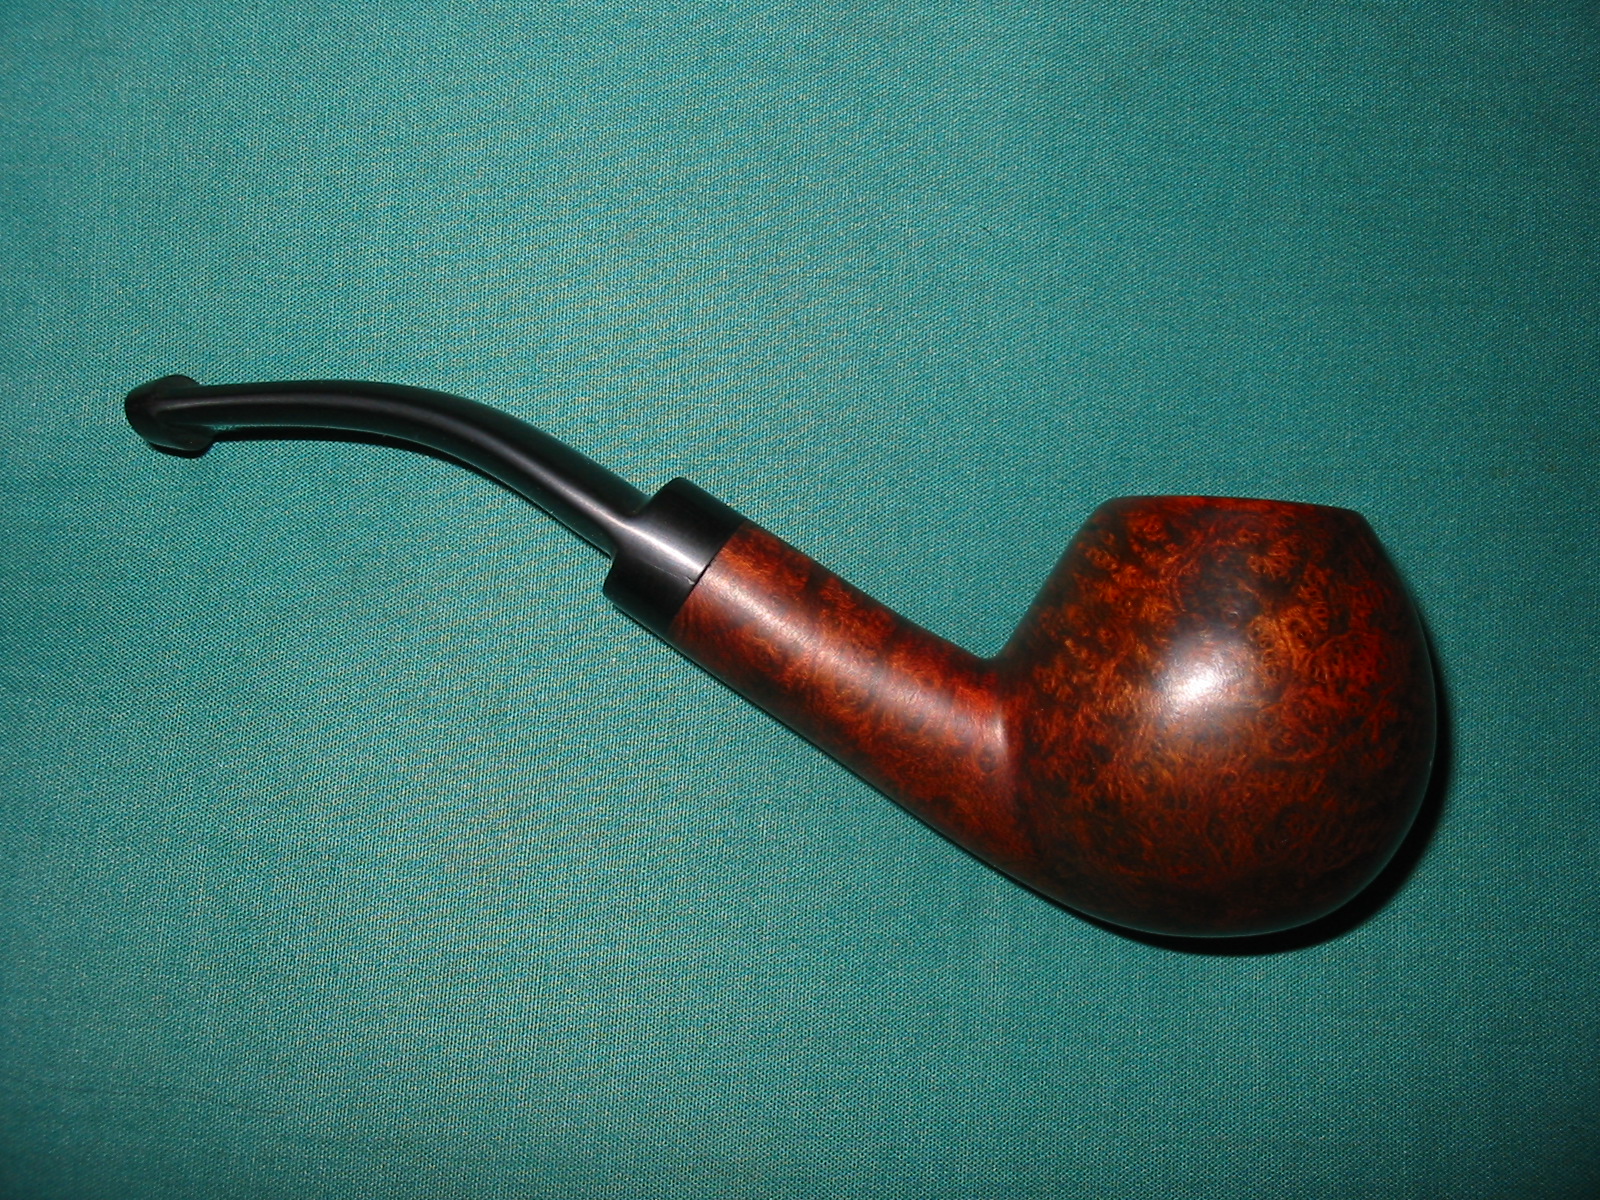
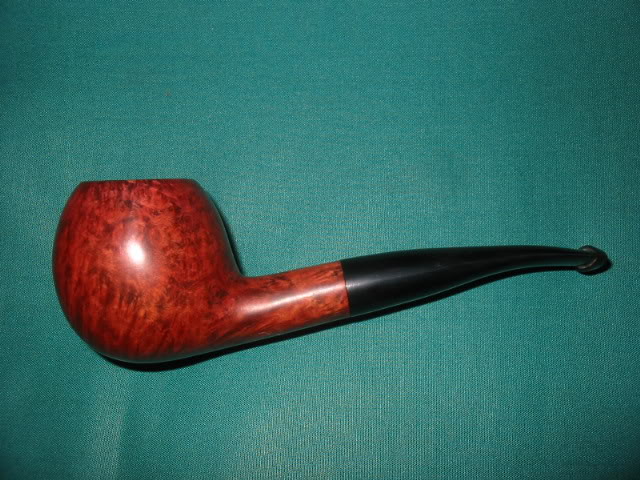
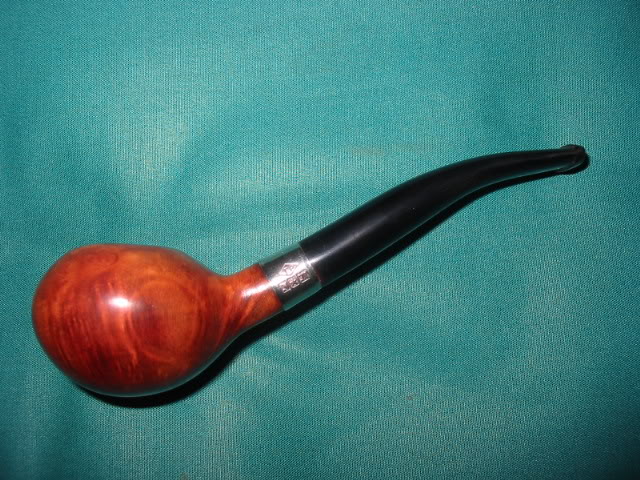
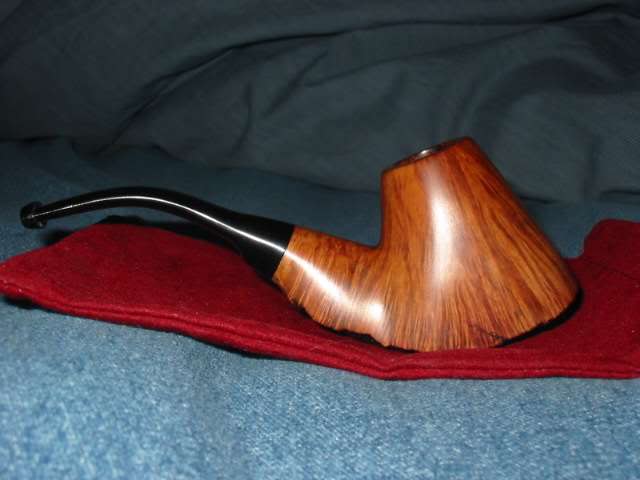
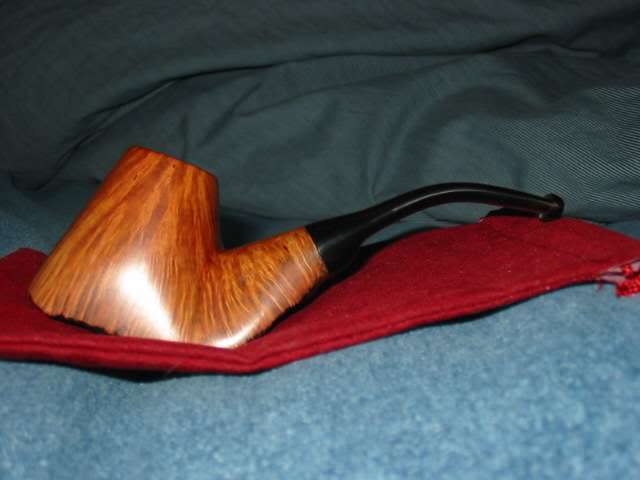
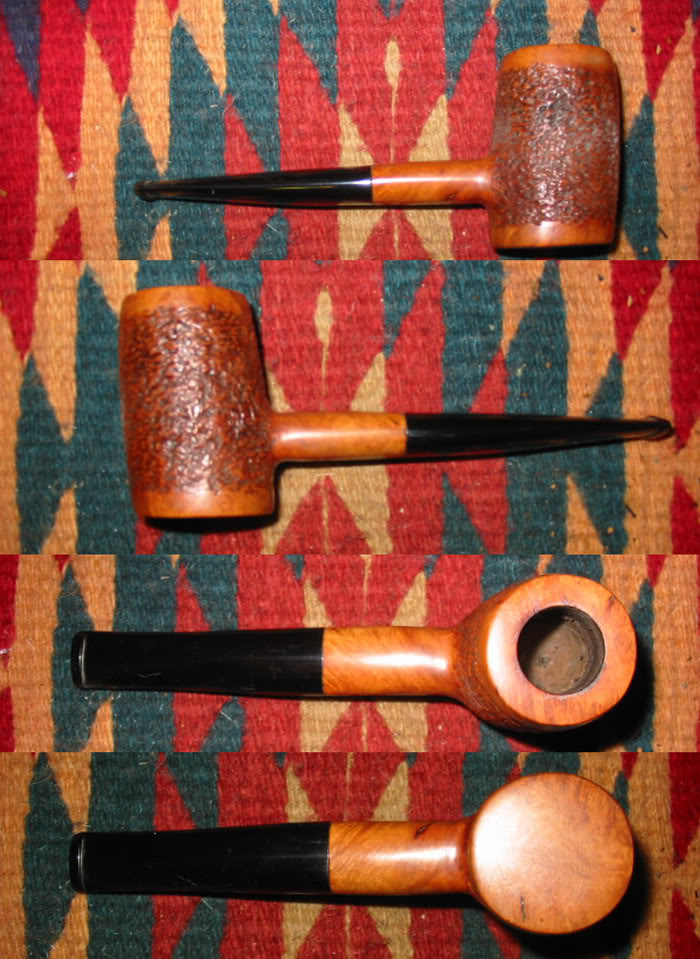
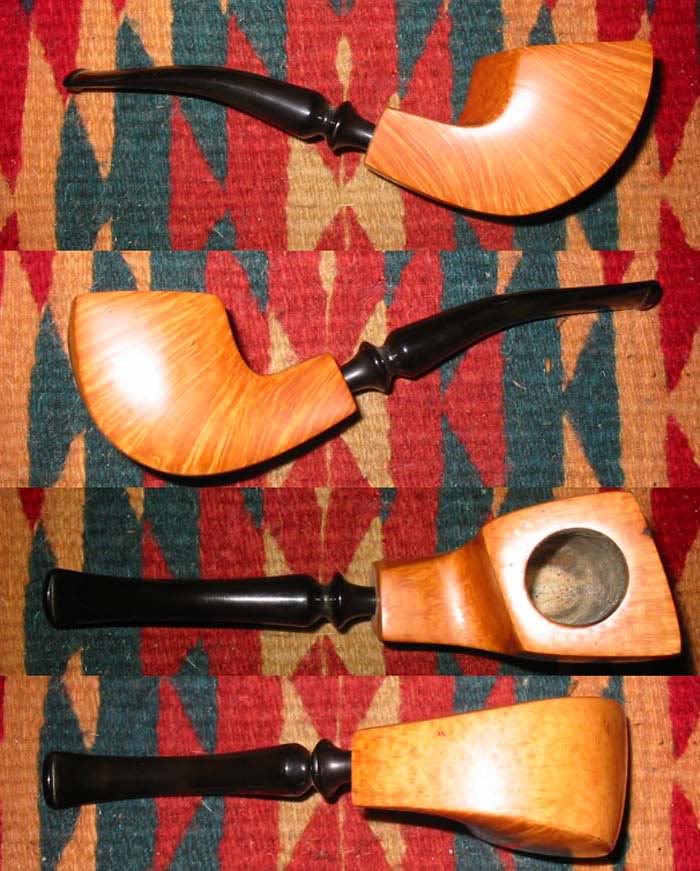
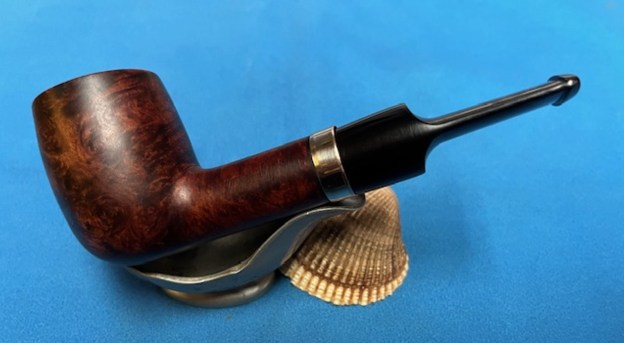
  I love it when I am carving or shaping a pipe to come to this point in the process. If always feels I am on the homestretch. I look forward to the final look when the Lovat I have carved is put back together, polished and waxed. I put the bowl and stem back together. I lightly polished the bowl and stem with Blue Diamond to polish out the scratches in the briar and the vulcanite. I gave the bowl and the stem multiple coats of carnauba wax. I buffed the pipe with a clean buffing pad to raise the shine. I hand buffed it with a microfiber cloth to deepen the shine. The pipe polished up pretty nicely. The depths of the rustication really pop with the wax and polish. The shiny black vulcanite stem is a beautiful contrast to the browns of the bowl and gold band on the thick shank. This Thick Shanked Lovat was a fun pipe to carve and to finish. It really is a quite stunning piece of briar whose shape follows the flow of the briar. The repaired fills blend well into the stain of the finish. The pipe feels great in the hand will be better when warmed up while smoking. The finished pipe is shown in the photos below. The dimensions of the pipe are Length: 5 ½ inches, Height: 2 inches, Outside diameter of the bowl: 1 3/8 inches, Chamber diameter: ¾ of an inch. The weight of the pipe is 2.15 ounces/61 grams. I am looking forward to loading a bowl and enjoying this pipe. Thanks again Bill for the gift and the joy I had in working on it.
As always, I encourage your questions and comments as you read the blog. Thanks to each of you who are reading this blog. Remember we are not pipe owners; we are pipe men and women who hold our pipes in trust until they pass on into the trust of those who follow us.