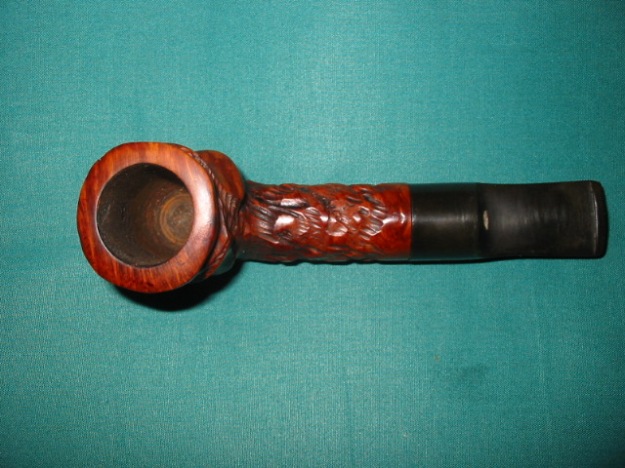
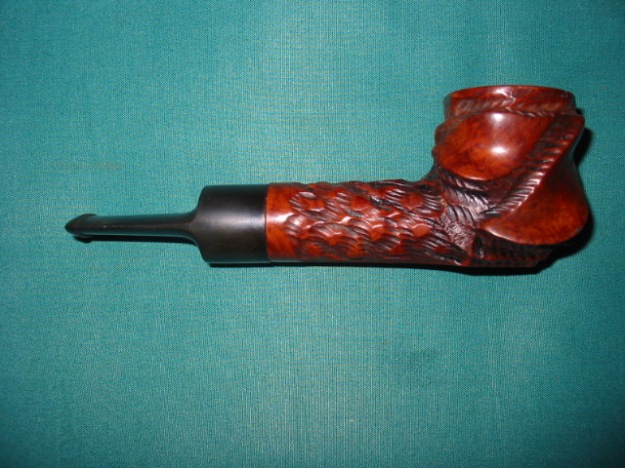
I had this interesting old timer in my box of pipes to repair. It is stamped Marxman Jumbo on the underside of the shank. The tenon was broken and stuck in the shank. I pulled the broken tenon with a screw and used it for sizing the new tenon for the pipe. The bowl finish was mottled and dirty so I dropped it in the alcohol bath while I worked on the new tenon.
I decide to use a Delrin tenon that I had here so it meant that I needed to drill out the stem in order to fit the new tenon. This was the first tenon I ever replaced so I proceeded slowly and with caution. I used a drill bit slightly larger than the airway in the stem. I wanted to move up slowly to the size of the tenon without chipping the vulcanite. So far so good. The hole began to open in diameter. In the photo above you can see the diameter of the airway in the stem after the first three drill bits. I had one more to go and the stem would be ready for the new tenon.
I decide to use a Delrin tenon that I had here so it meant that I needed to drill out the stem in order to fit the new tenon. This was the first tenon I ever replaced so I proceeded slowly and with caution. I used a drill bit slightly larger than the airway in the stem. I wanted to move up slowly to the size of the tenon without chipping the vulcanite. So far so good. The hole began to open in diameter. In the photo above you can see the diameter of the airway in the stem after the first three drill bits. I had one more to go and the stem would be ready for the new tenon.
No one had told me about a trick I have since learned to ensure that I do not drill too deeply. The idea is to measure the depth you want the bit to go and to mark the bit with tape so that you do not go beyond that. I had not learned that so I proceeded to drill with the last bit. I was feeling pretty good about the work at this point. It was going well and was centred. I was pleased and thinking this would be a breeze. But I was soon to be disappointed as I felt the drill break through at the place where saddle tapers off into the flat of the stem. I was sick when I felt this happen. I had drilled too deeply and the result was a hole on the top of the stem that all but ruined the repair. So much for my easy fix. In the photo below you can see the white spot on the stem at the spot where the saddle tapers. It was a large hole and I was frustrated. I put the pipe away for awhile and figured I had ruined a perfectly good stem. 
Finally one day I decided to see if I could repair the hole. I set the new tenon with epoxy and once it was dry I went to work on the new “air hole” I had drilled in the stem! I filled it with epoxy and vulcanite dust to work a patch. The white spot in the photo above is the resultant patch. It is actually a grey spot. The vulcanite dust and epoxy dried to a mottled grey finish. The hole was repaired but whenever I smoke the pipe I am reminded that in the future I will measure twice and drill once! That grey spot speaks loudly to me. The good news is that the pipe smokes very well.
The finish was shot and the colour of the stain was mottled and uneven. So I when I removed it from the alcohol bath I restained it with a medium brown aniline stain and buffed it gently with White Diamond and then a flannel buff and a light coat of carnauba wax.

Since that day I have replaced many more tenons. I have not repeated the same mistake twice. The point is to learn from the errors not to keep repeating them. I wanted to pass on what I learned and show the mistake I made to hopefully keep you from repeating my errors. Thanks for looking.
