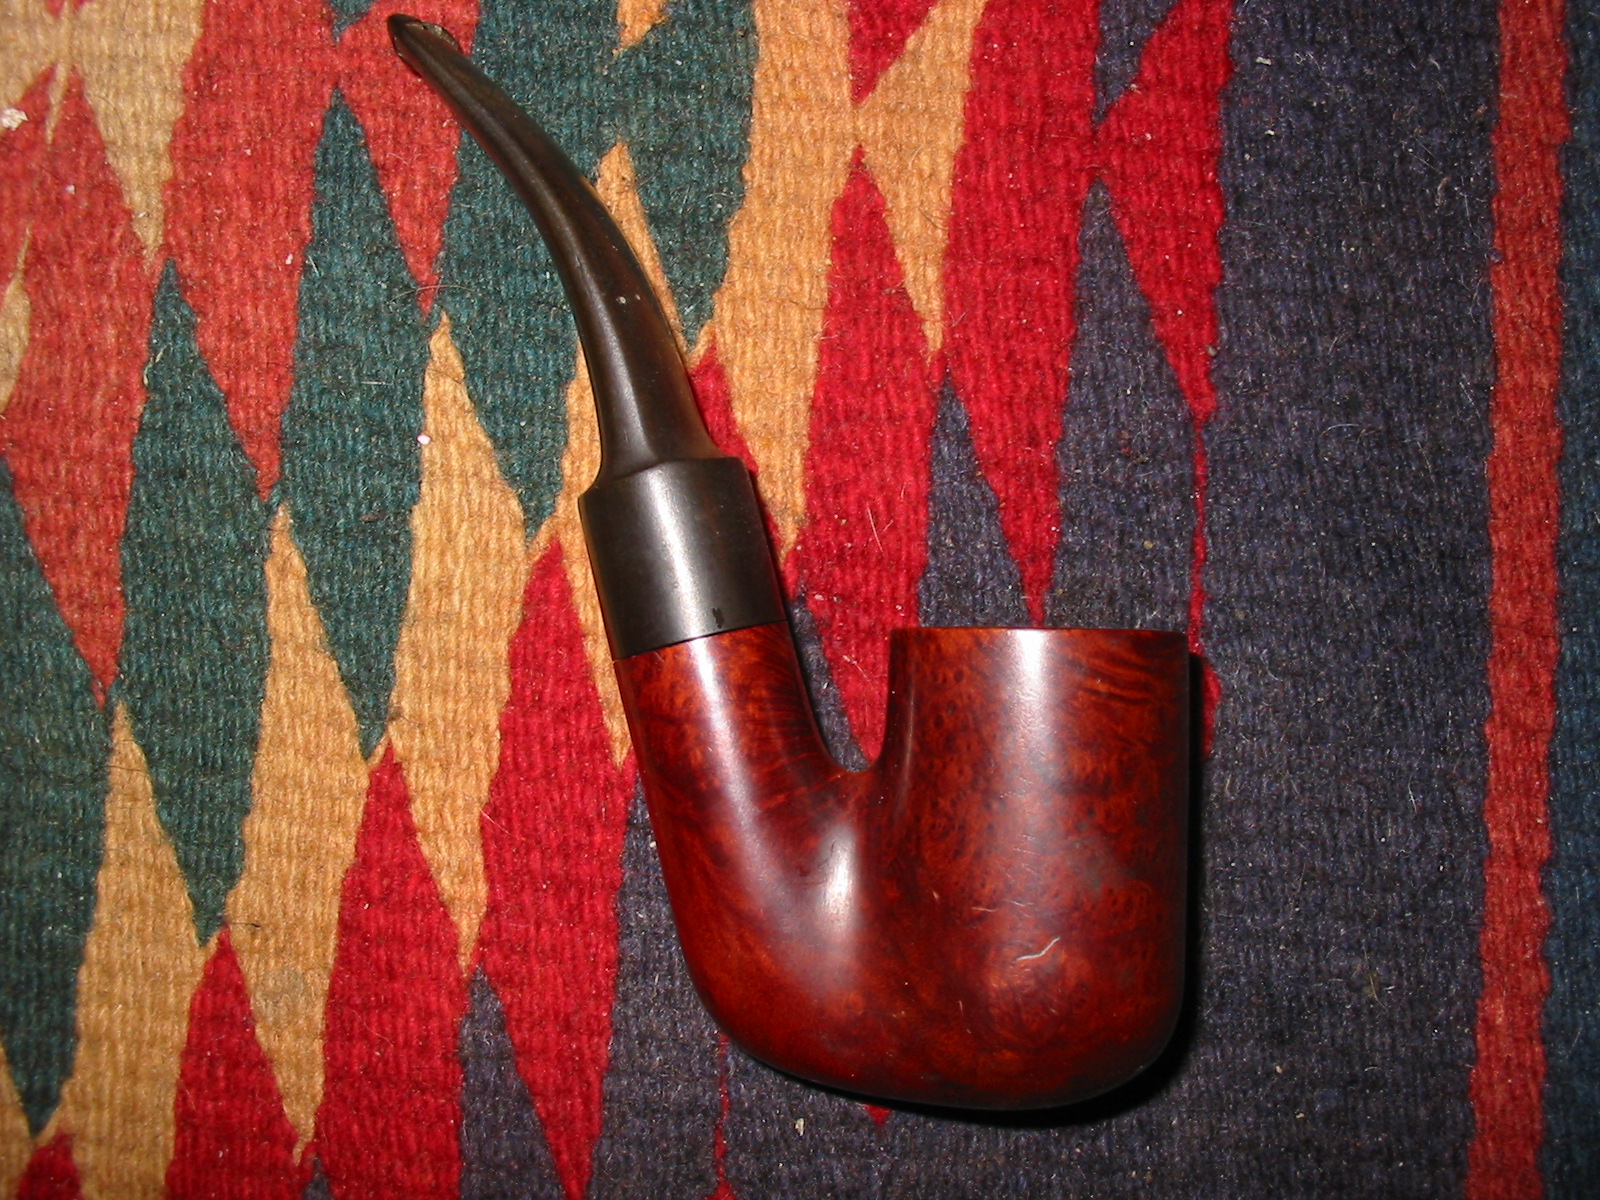
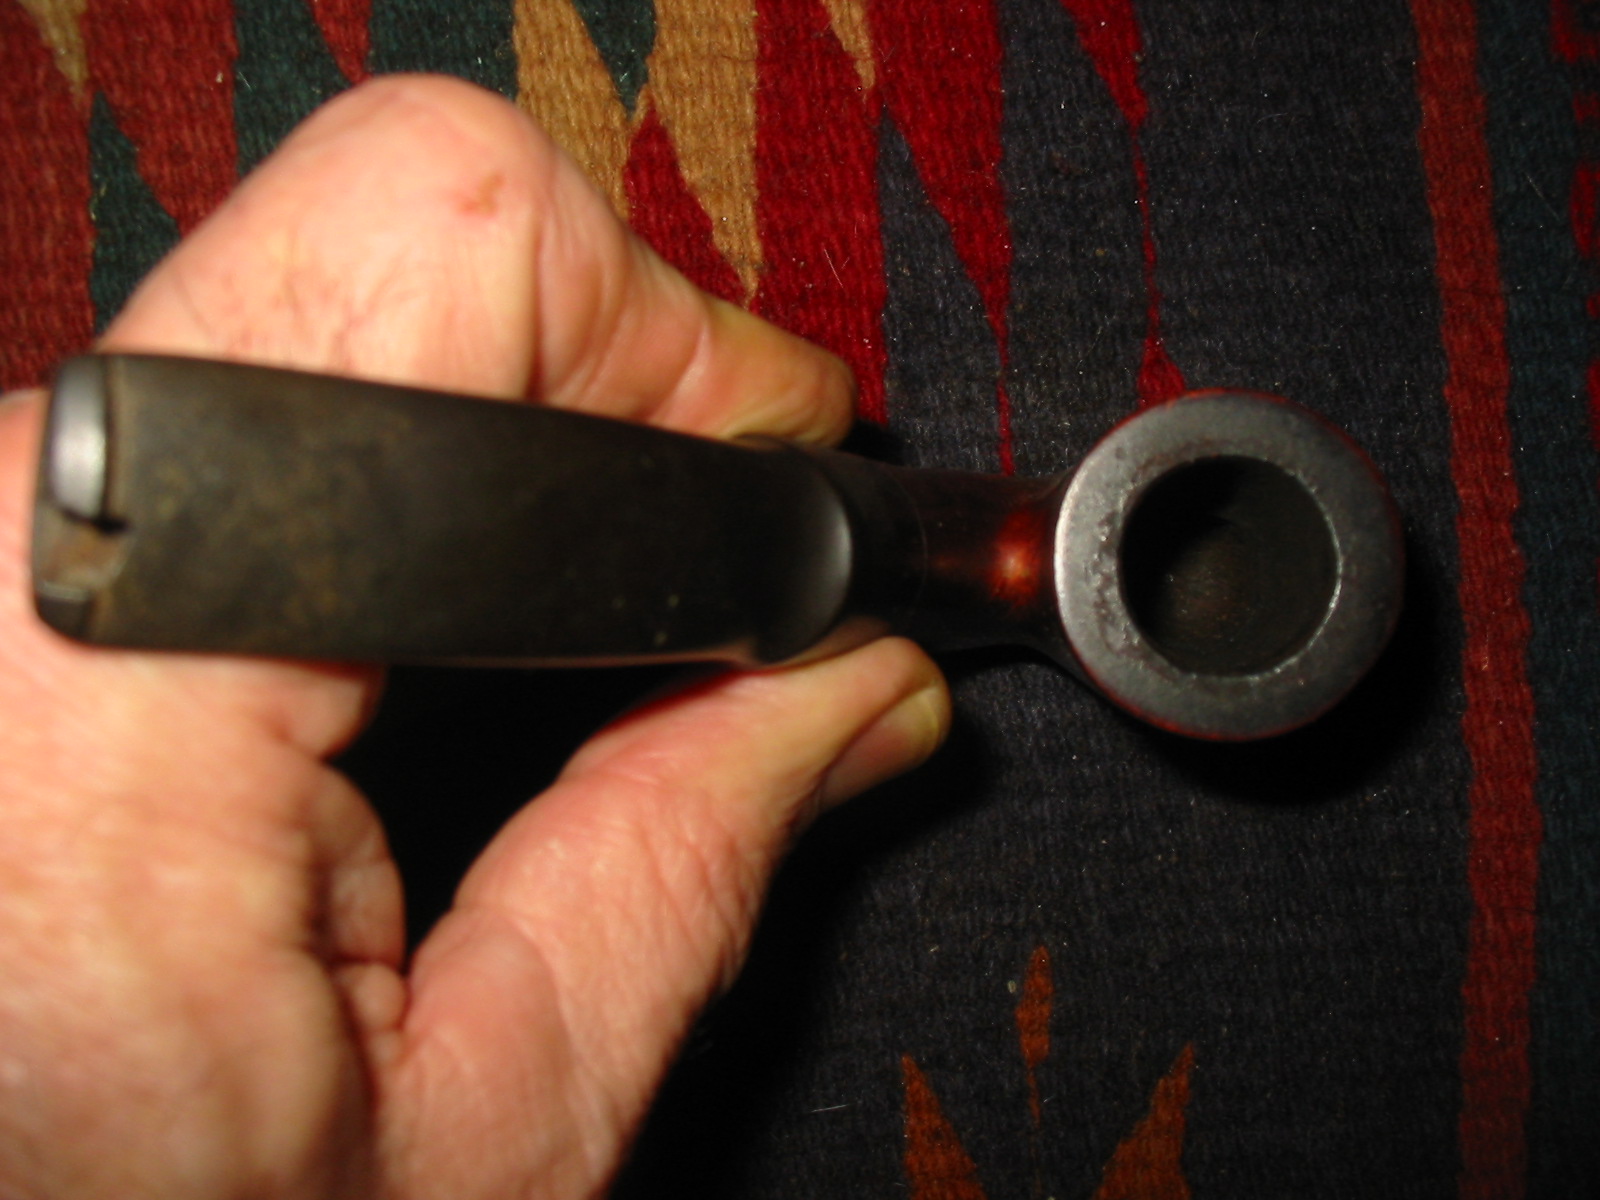
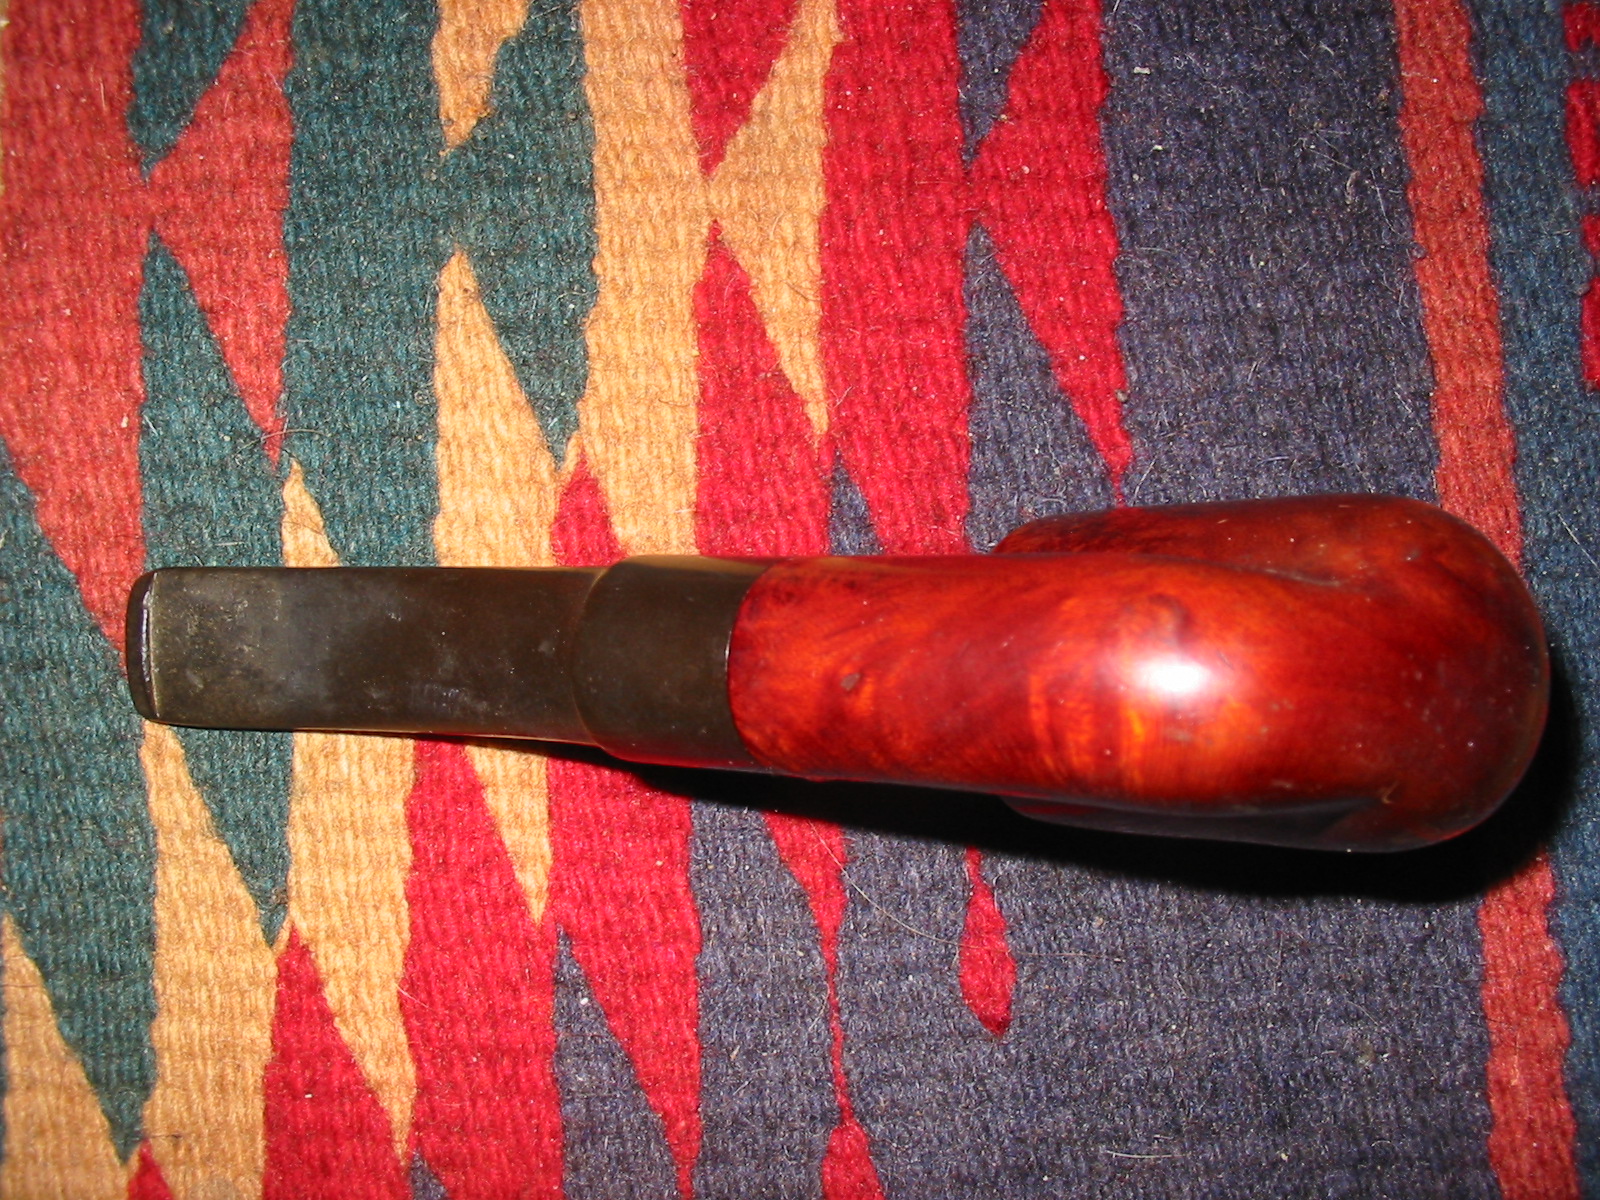
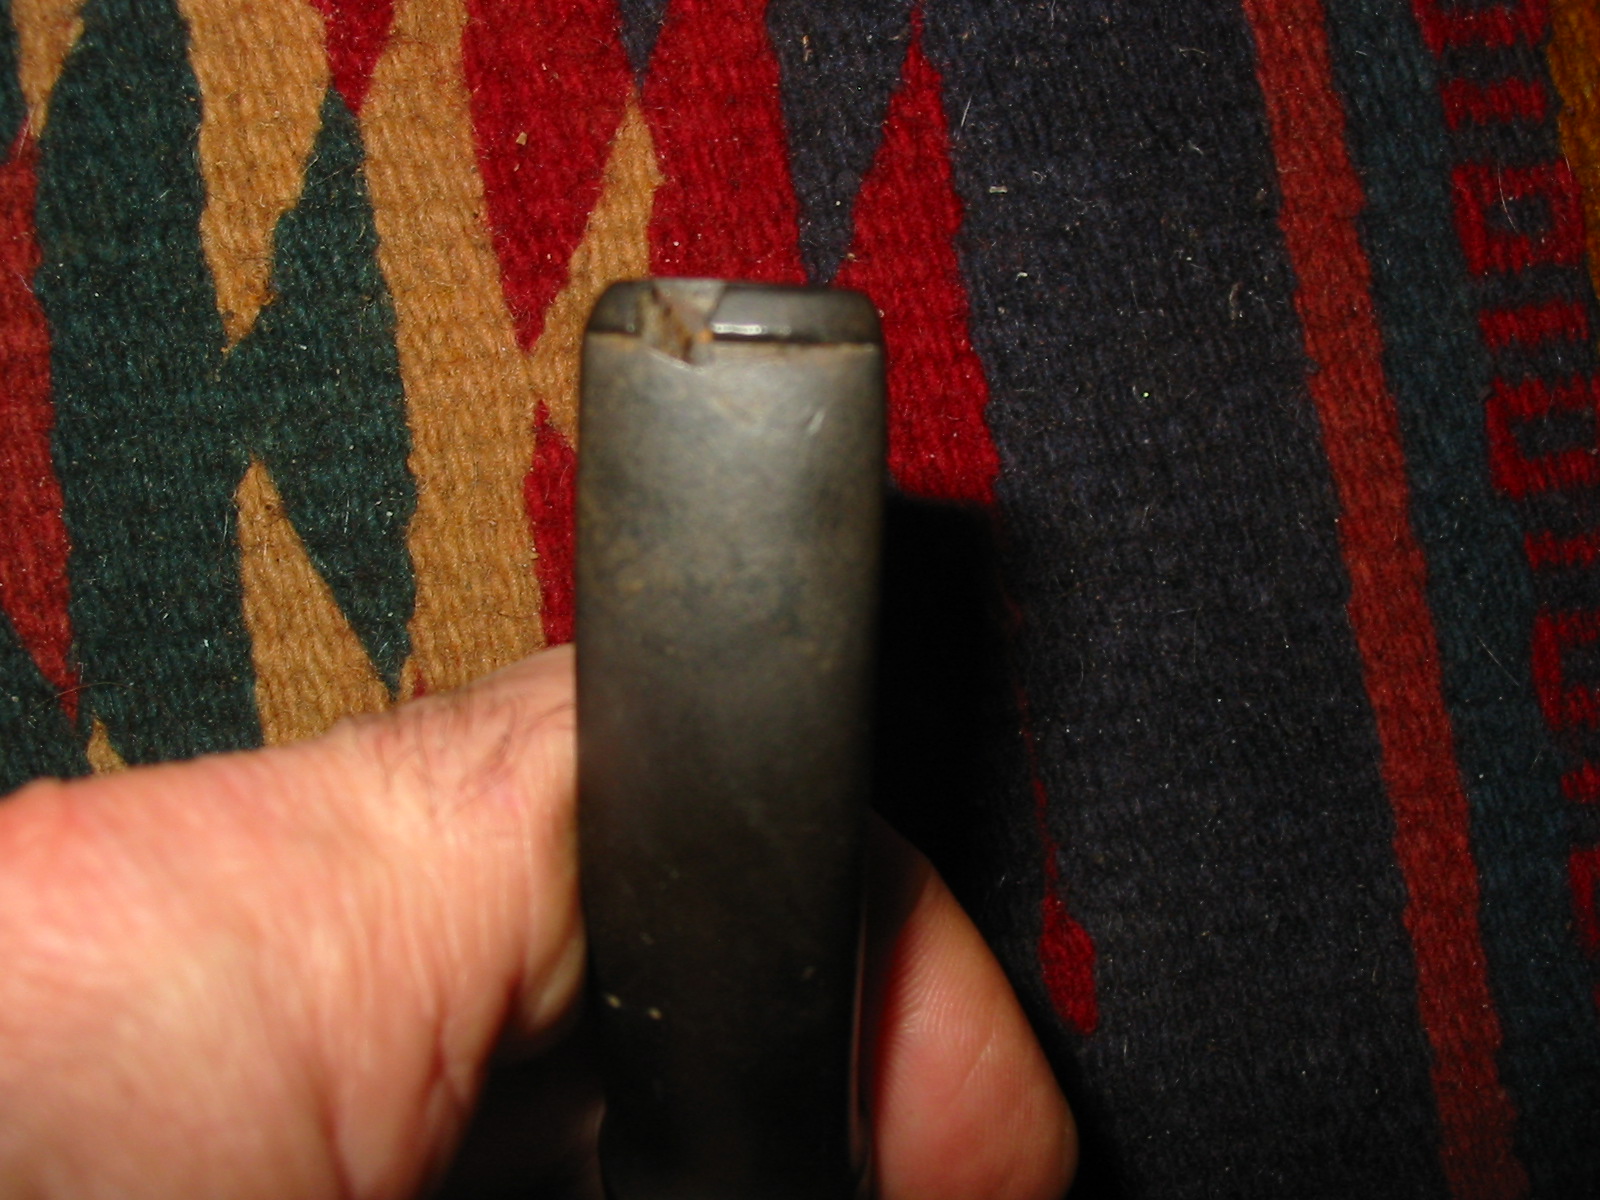
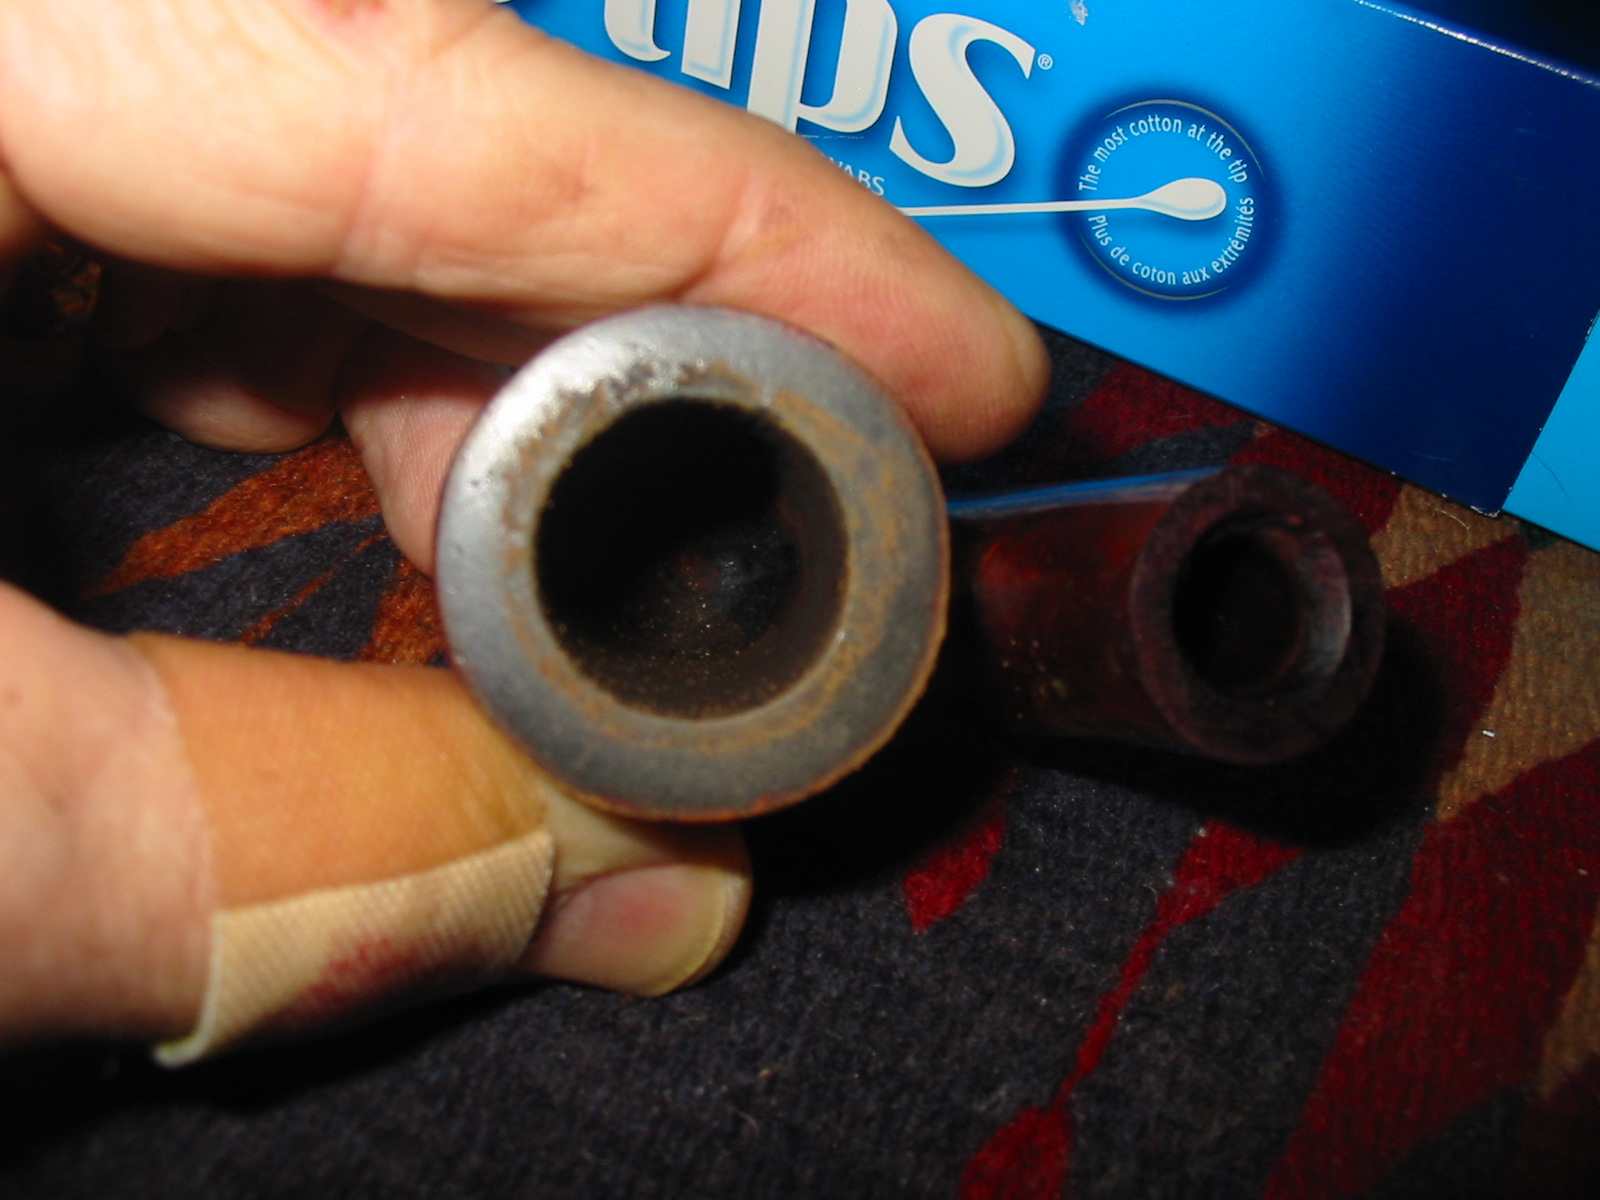
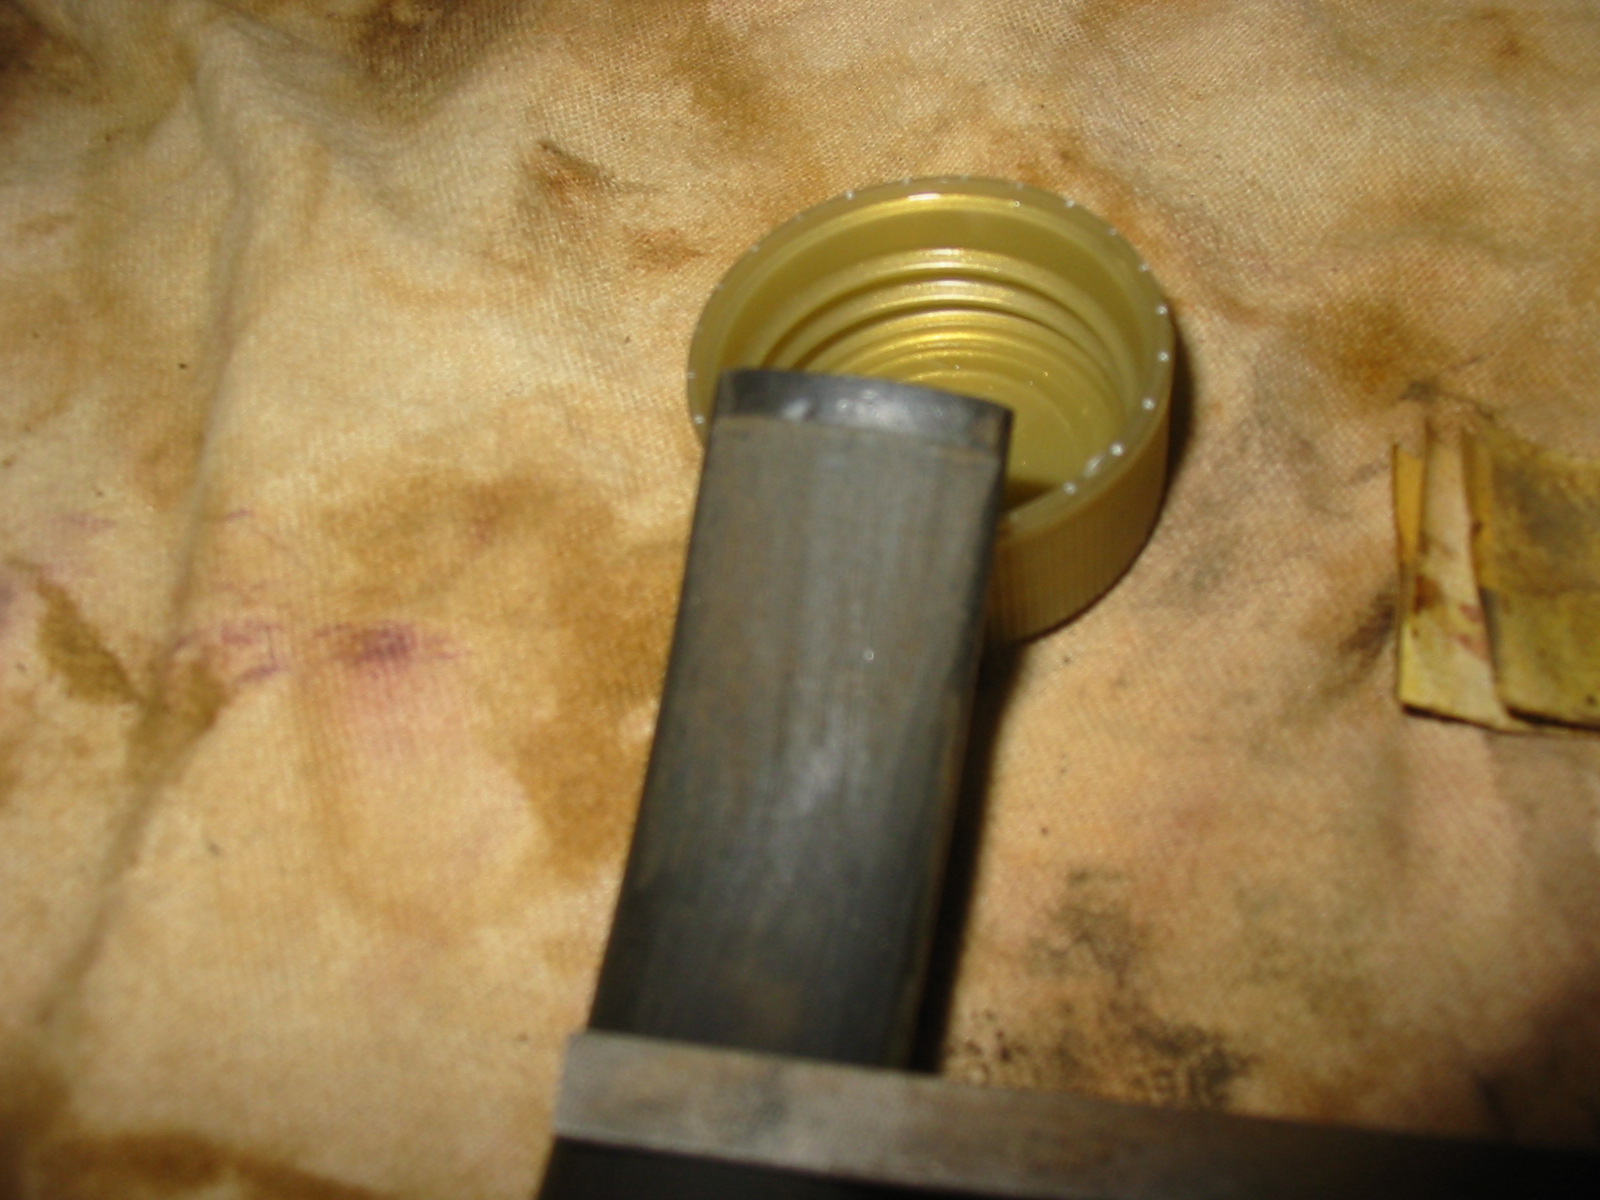
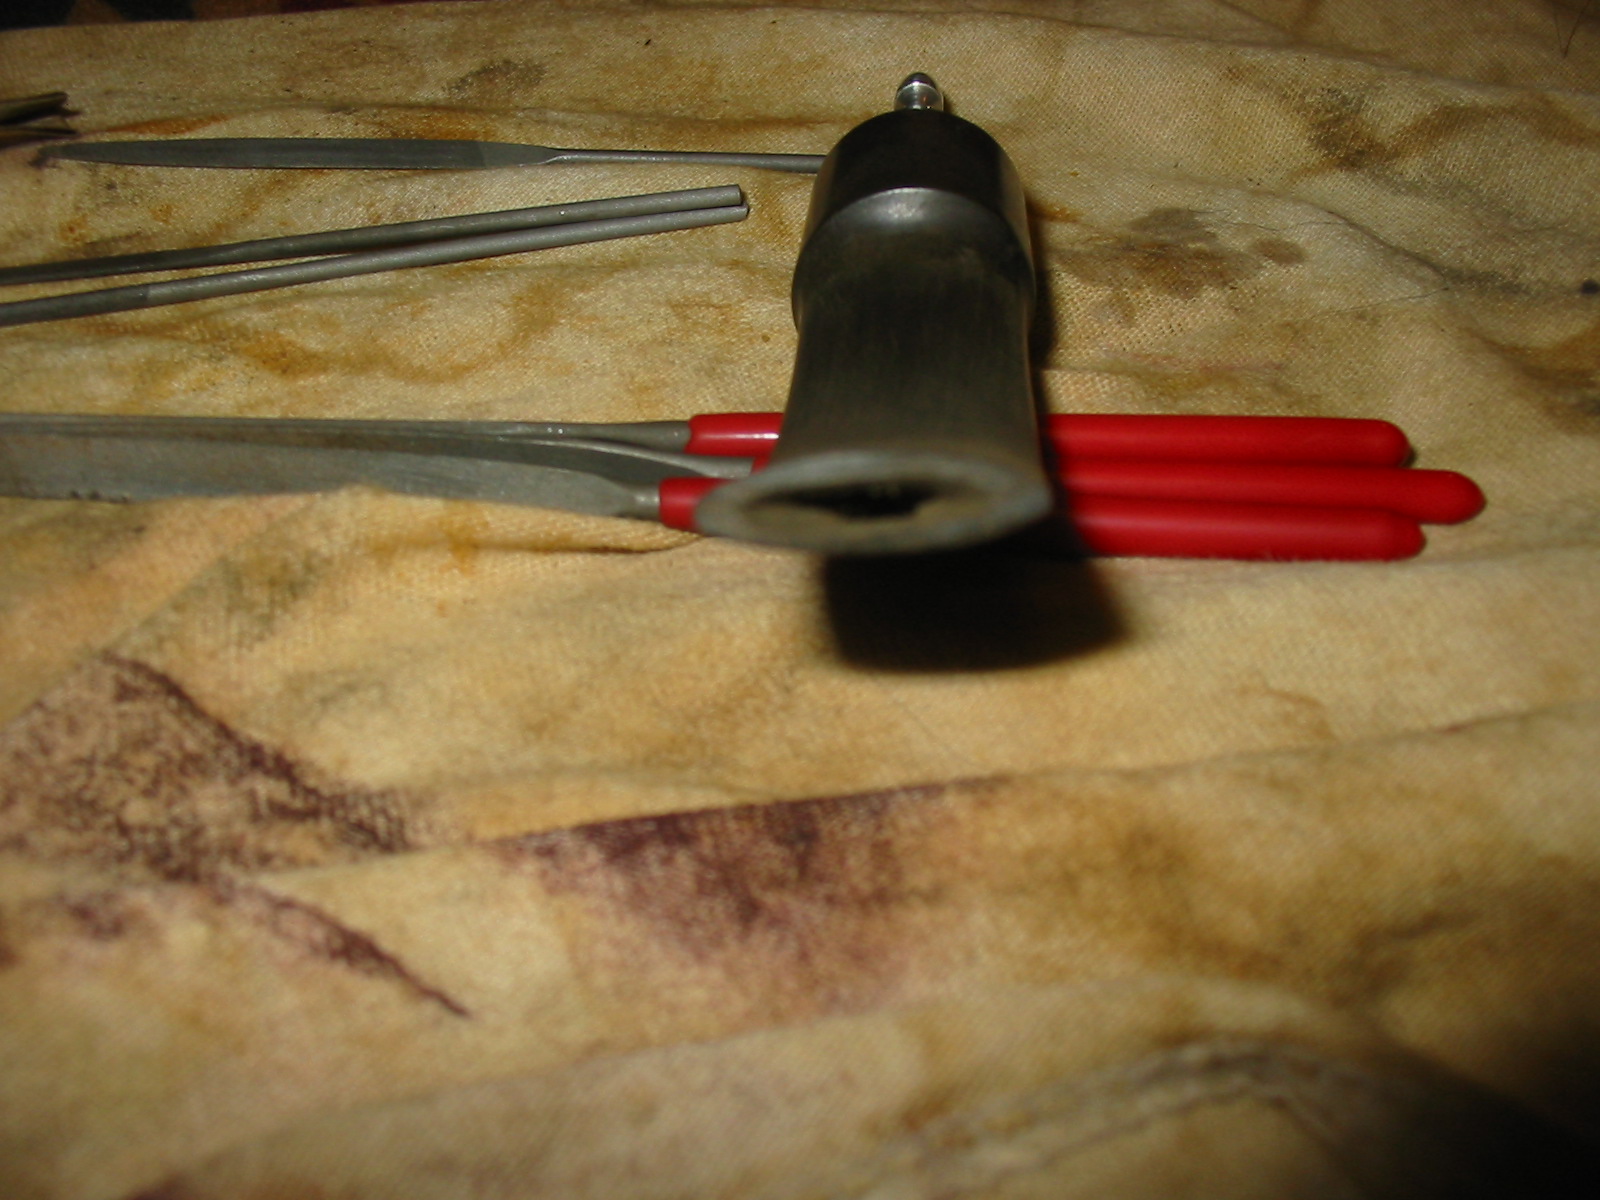
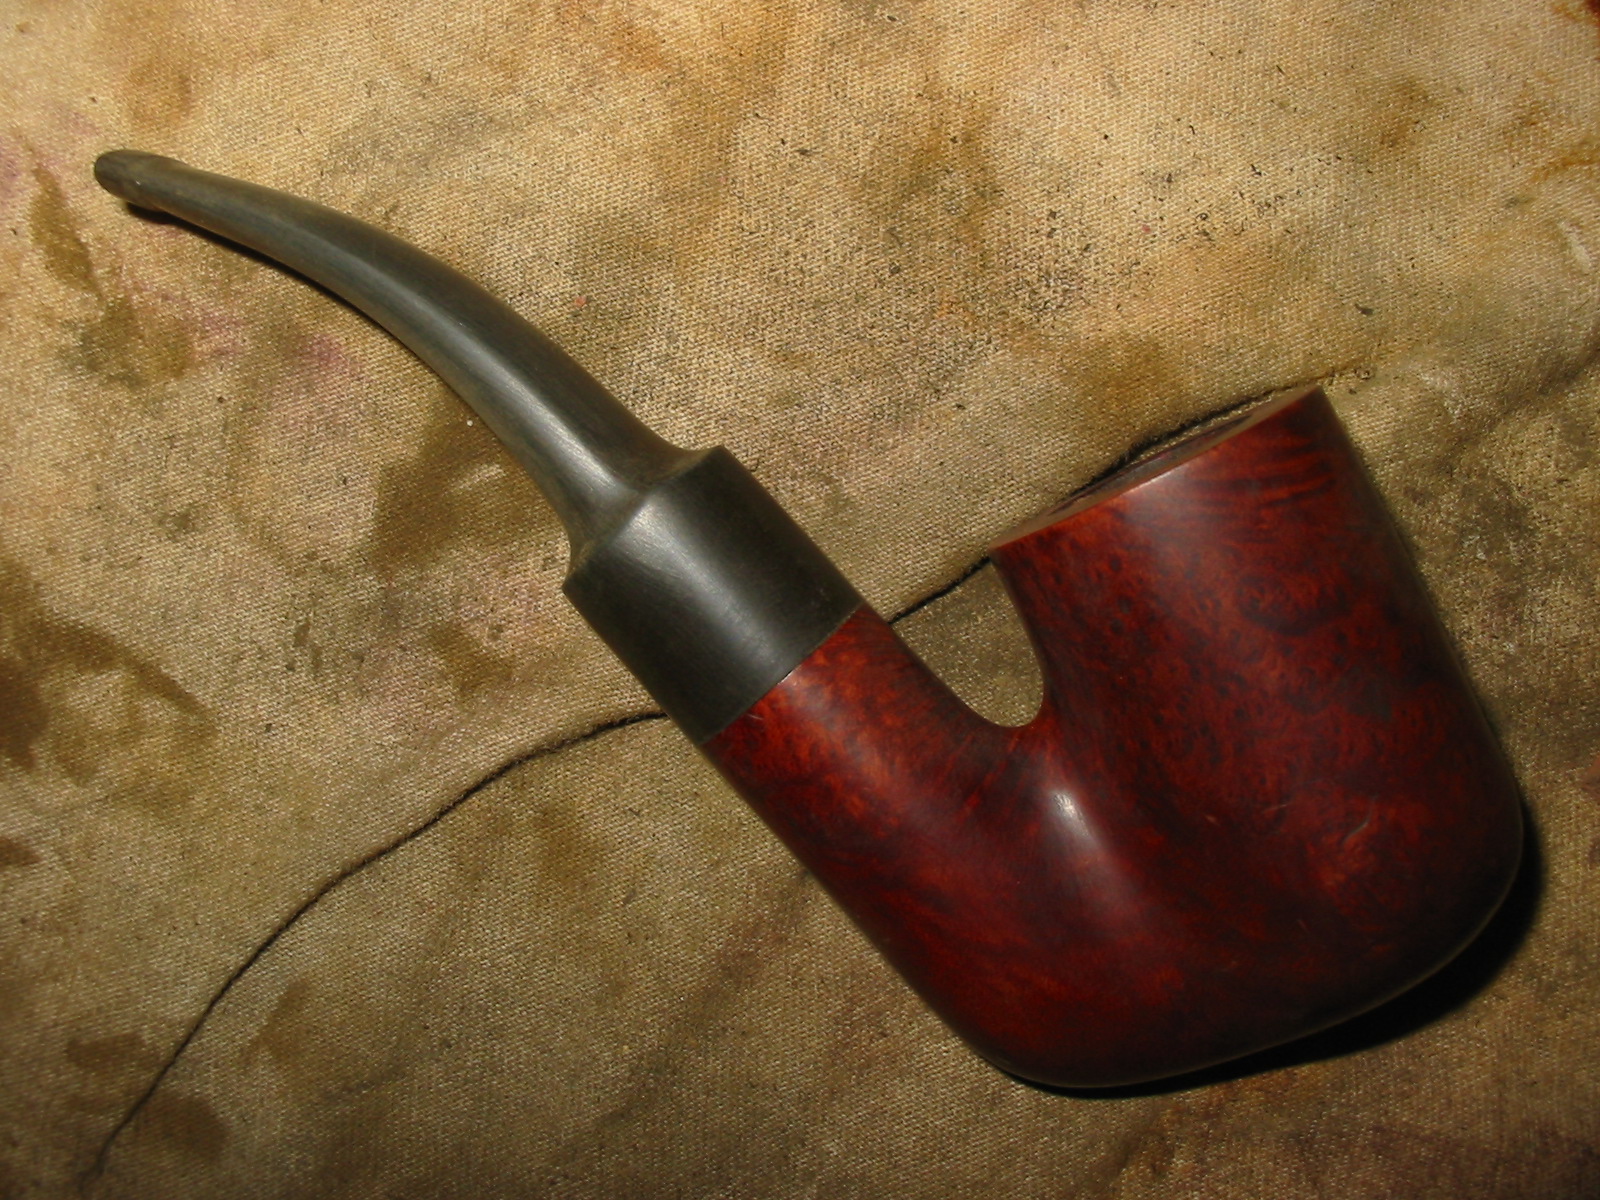
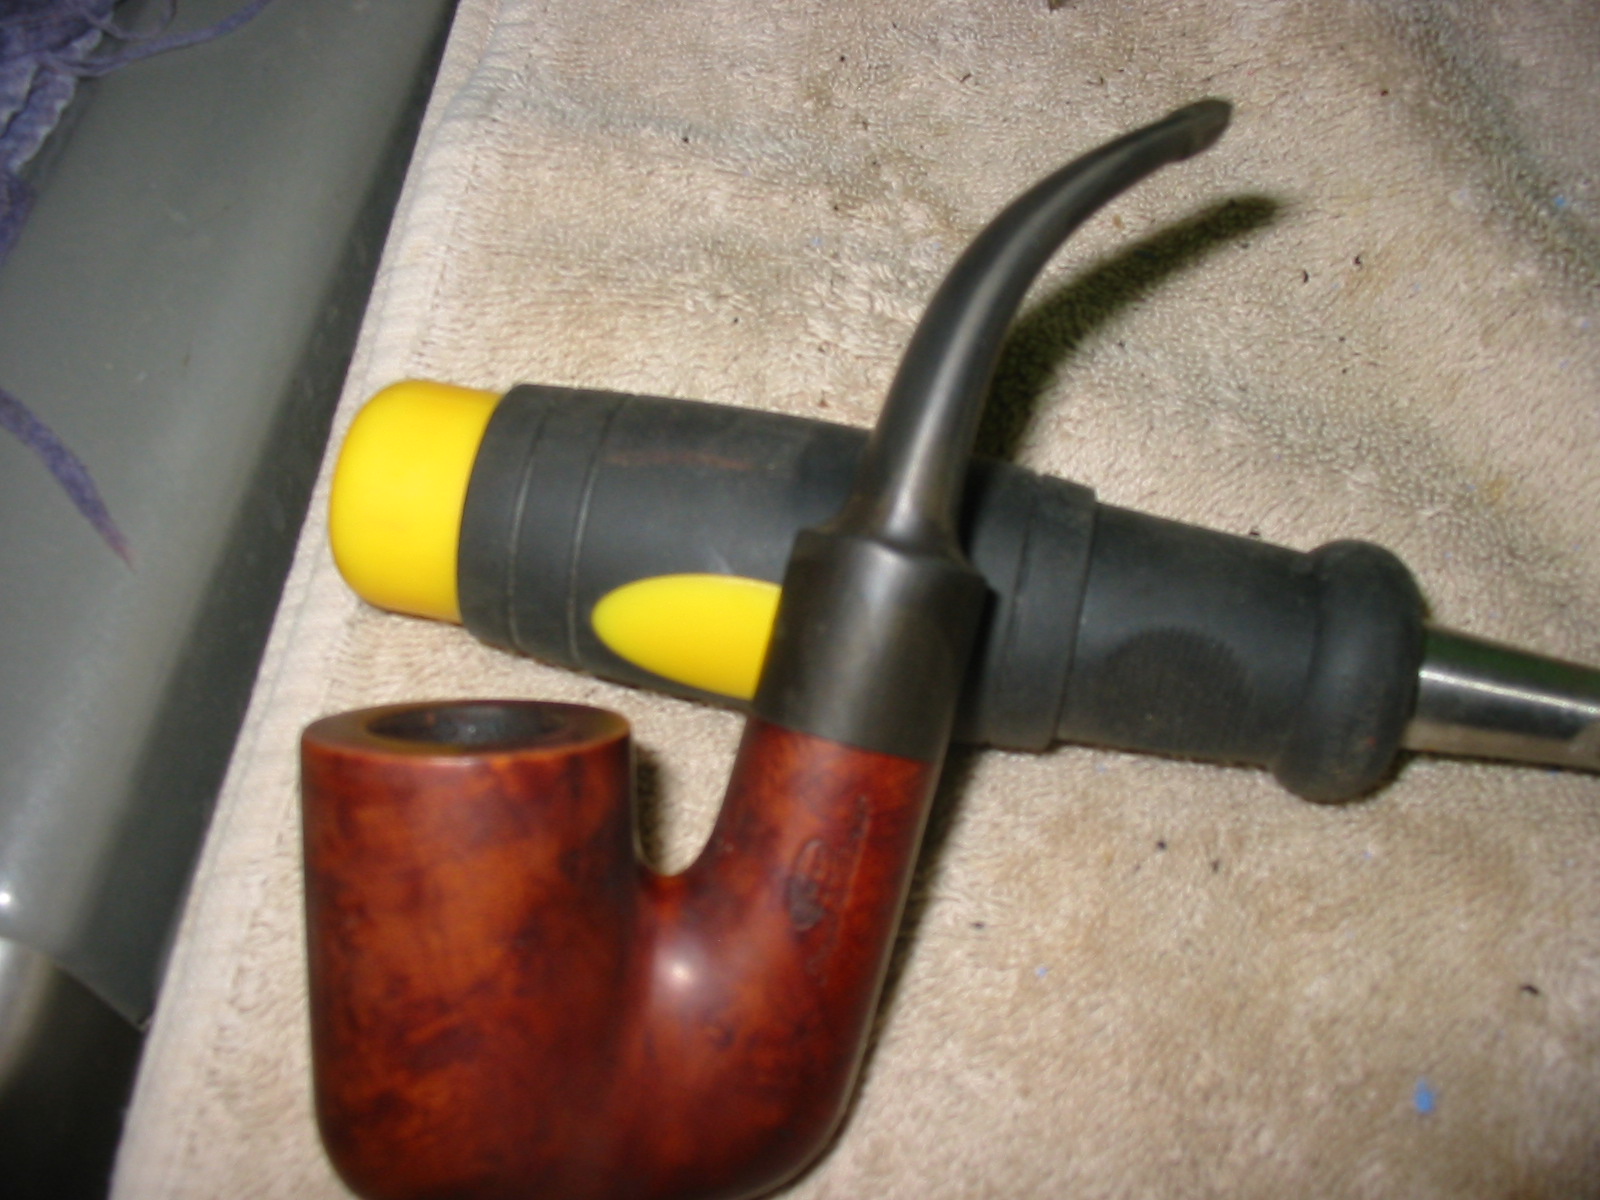
I decided to save the final pipe of the six I picked up in the states a few weekends ago for last. I knew it would take a bit more work to redo and wanted to take time focusing on it at the end of the cleanup work on the six. It was a Weber Imported Briar smooth finish in an Oom Paul shape. It is stamped on the left side of the shank with Weber in the oval and underneath it in script is stamped Imported Briar. The briar on this was in fairly decent shape and the stem was good other than a chunk that had been bitten or broken out of the button on the top edge. It was solid and the oxidation was actually quite light. The shape of the stem and the thickness of the vulcanite material left me lots of room to work with in reshaping the button. The next series of photos show the pipe as it was when I picked it up.
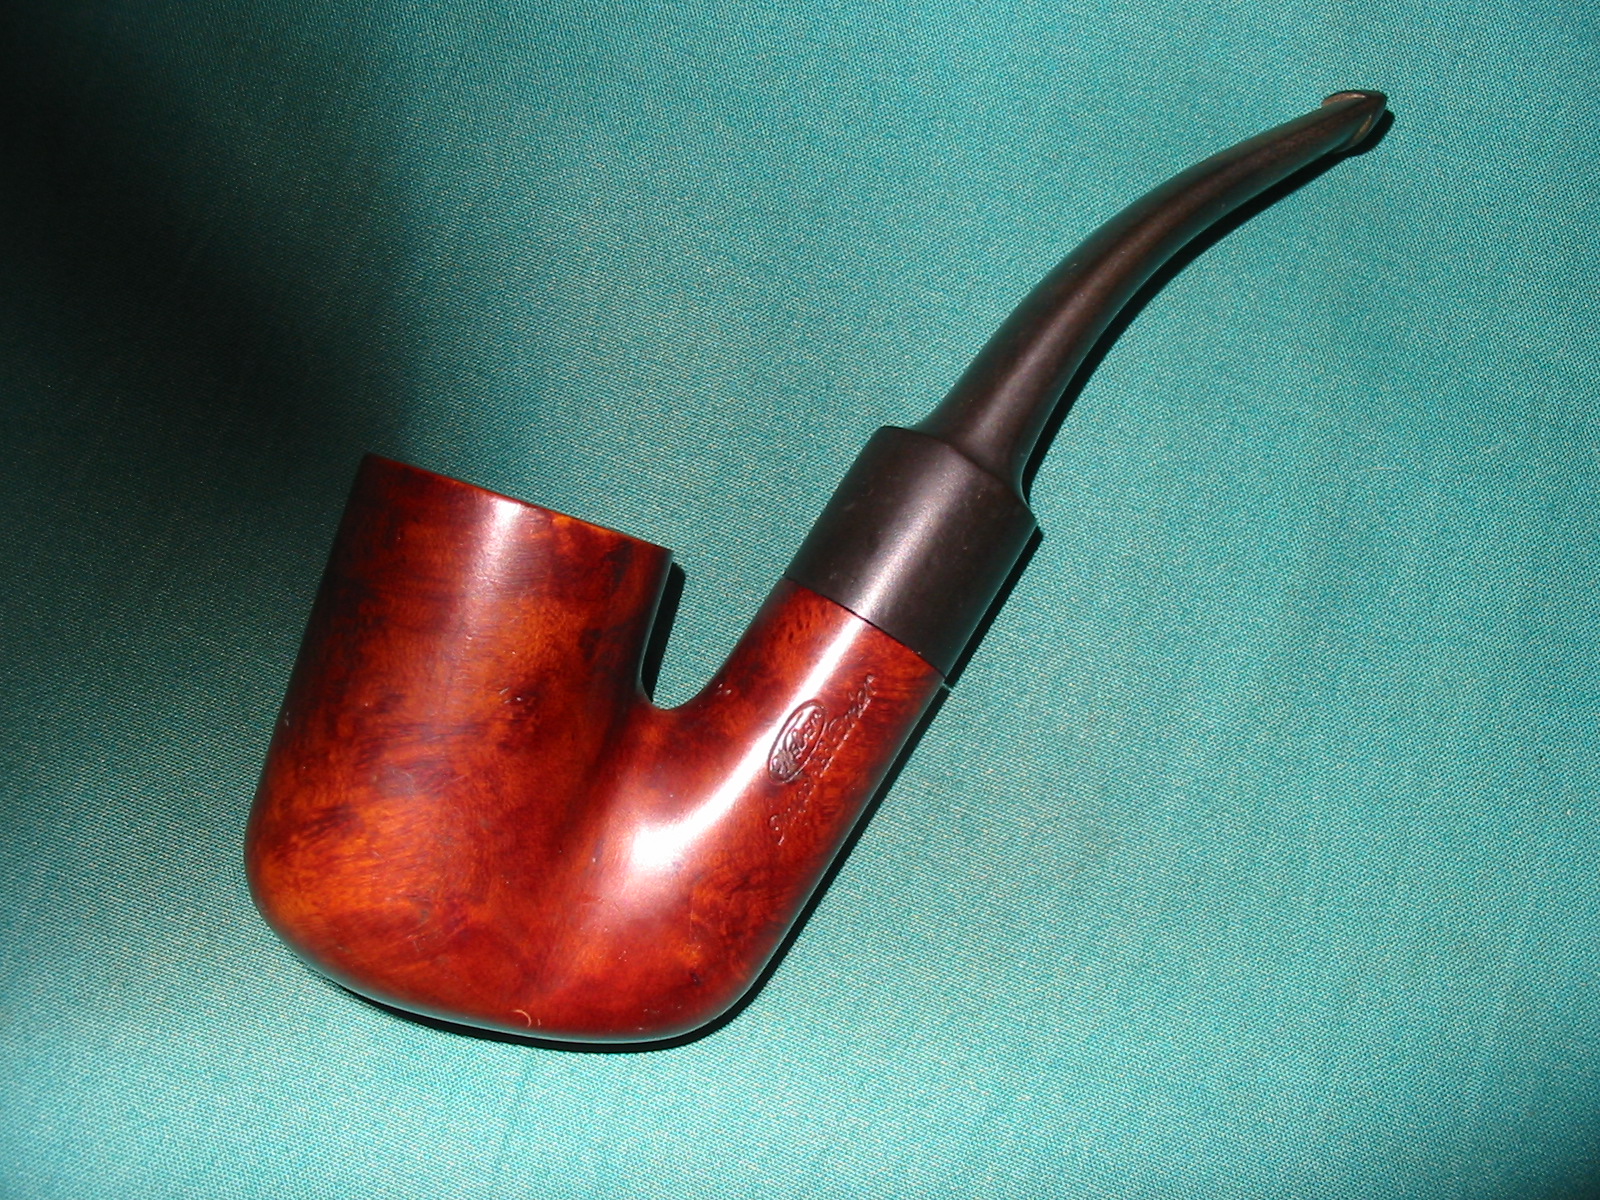
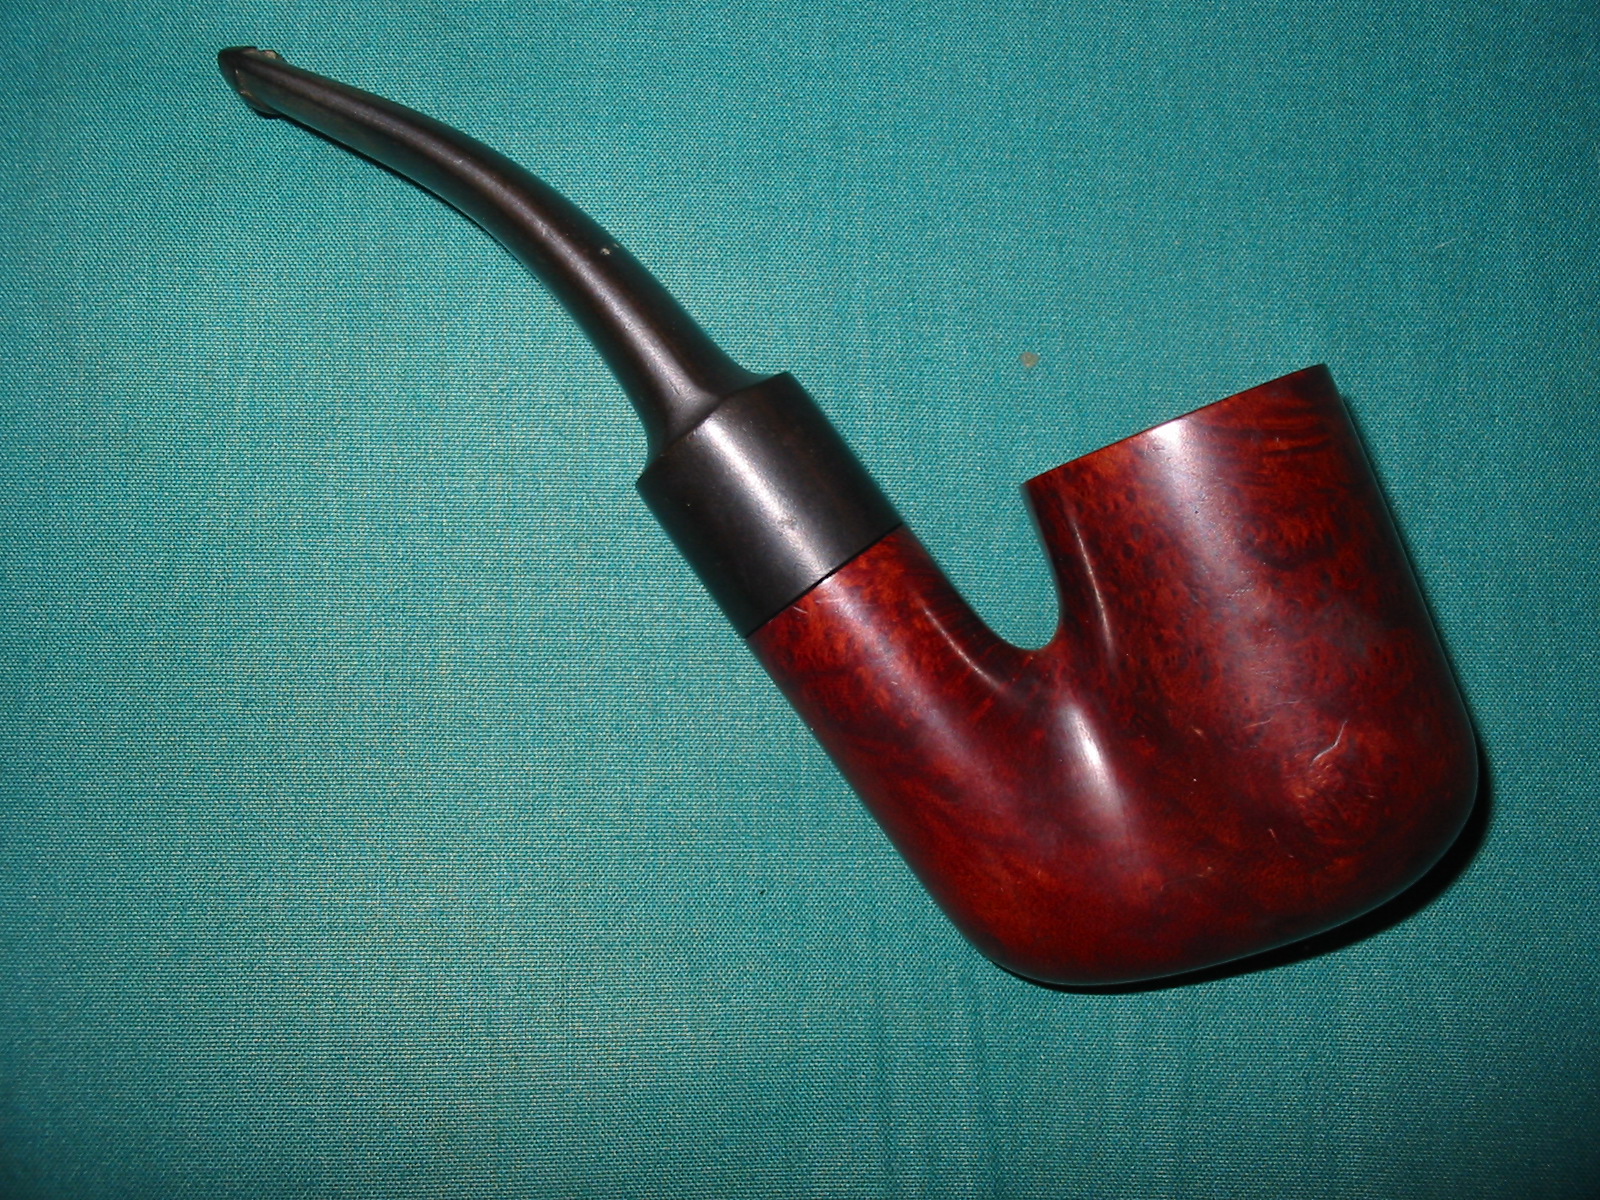
The bowl needed to be reamed and the rim needed to be cleaned of the tars and build up. The finish was a dirty but looked like it would clean up easily. The stem was oxidized a slight bit and the bend in the stem had straightened and would need to be rebent after the new button was cut. The shank had a sump like the Peterson system pipes that was full of tars and grime. That would need to be cleaned out. The stinger apparatus that was a working part of the Weber pipes was tarred and black.
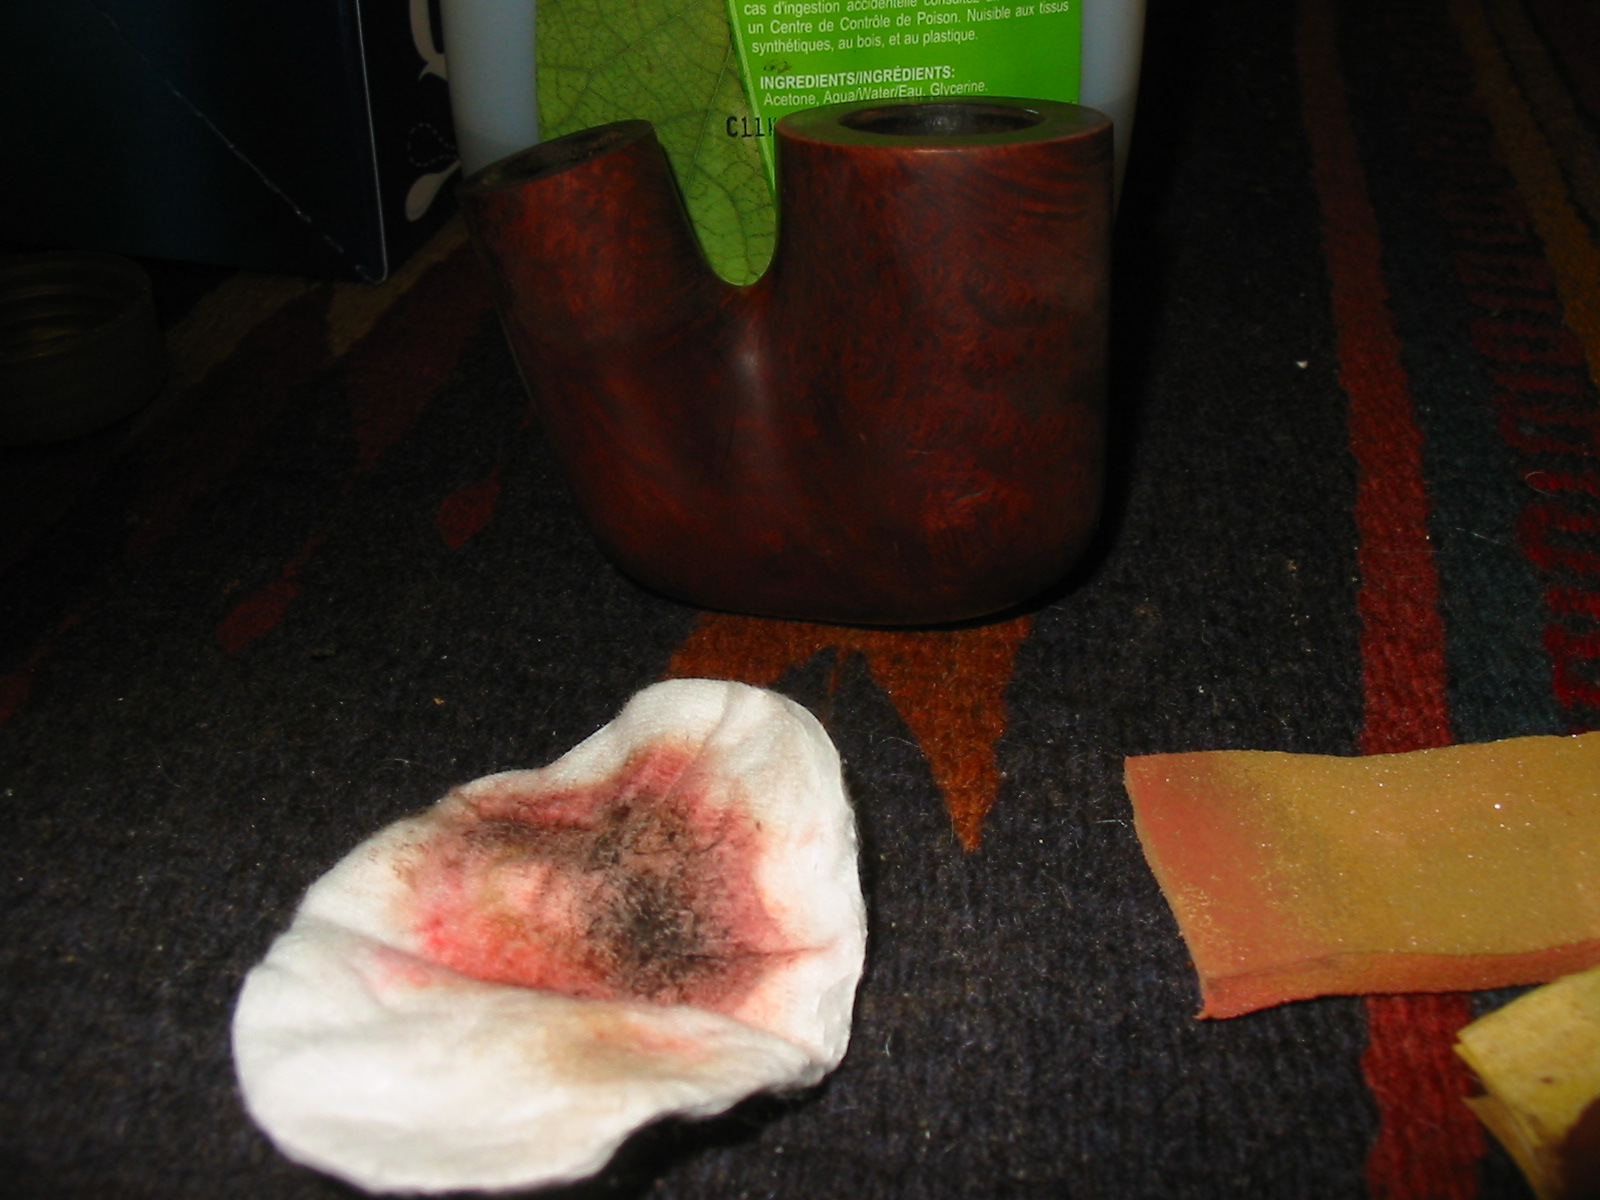
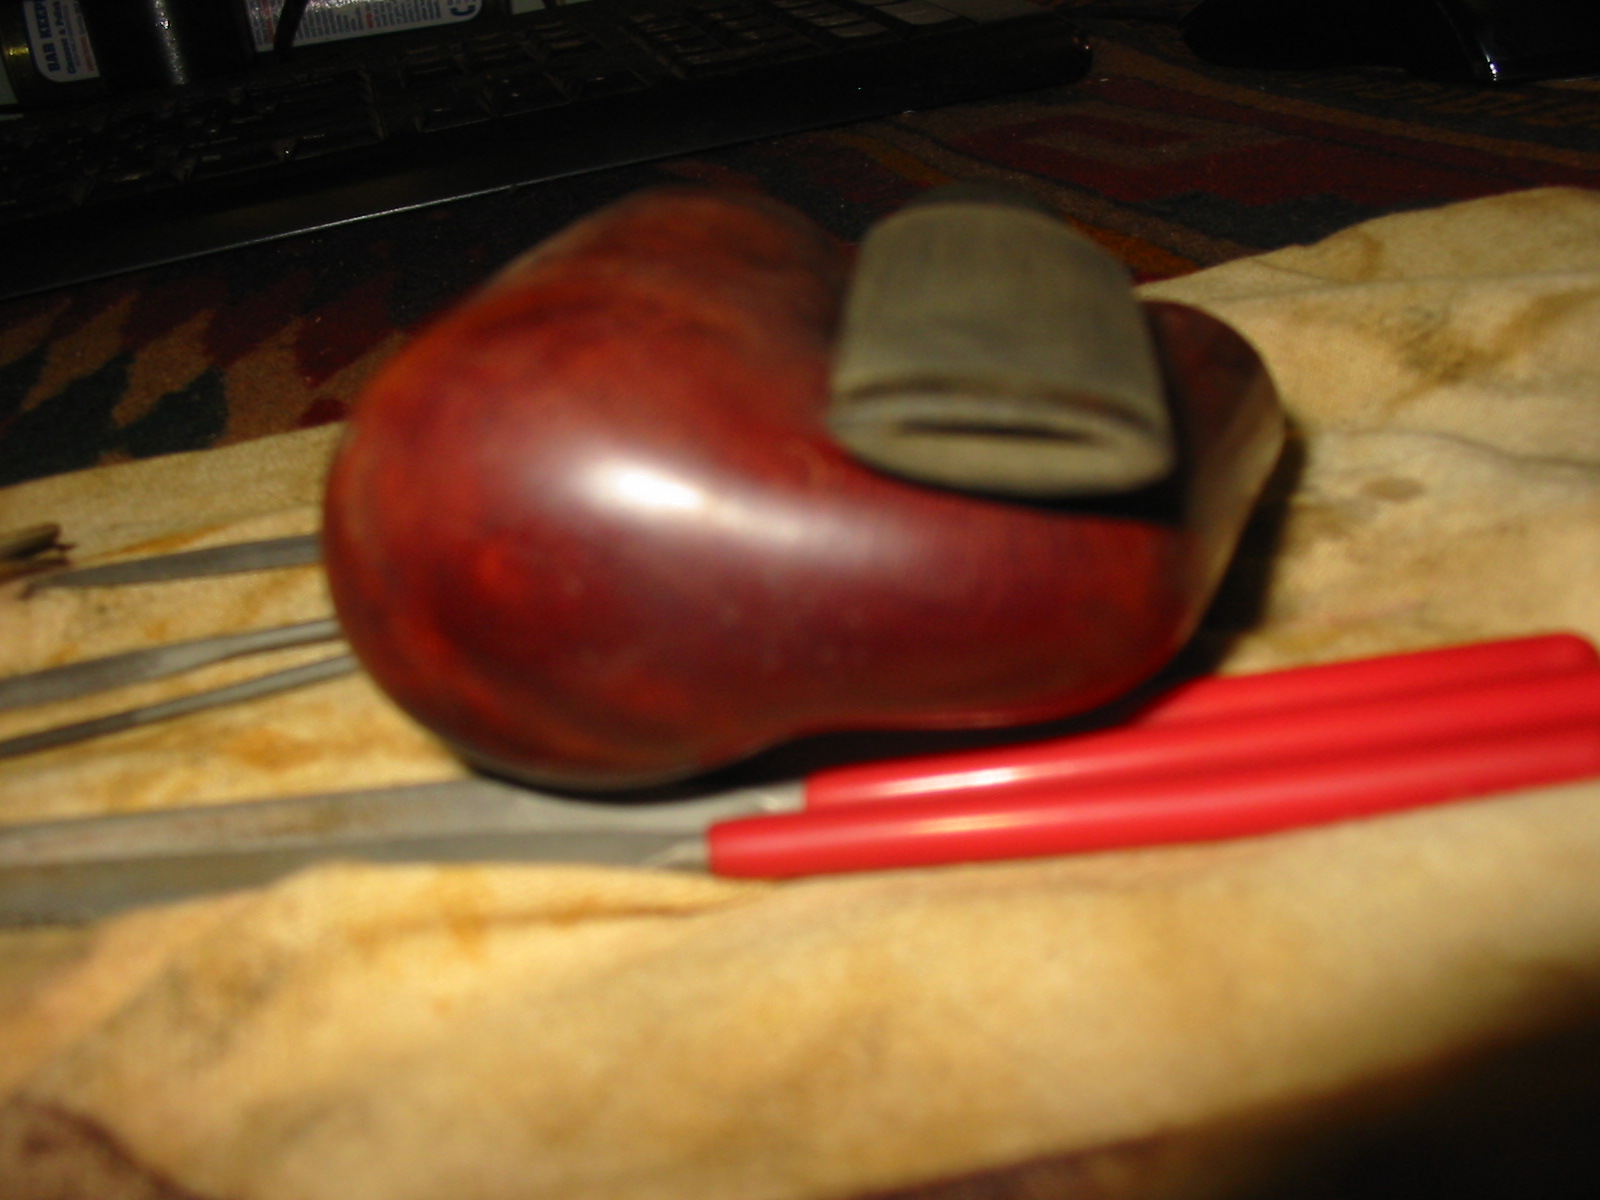
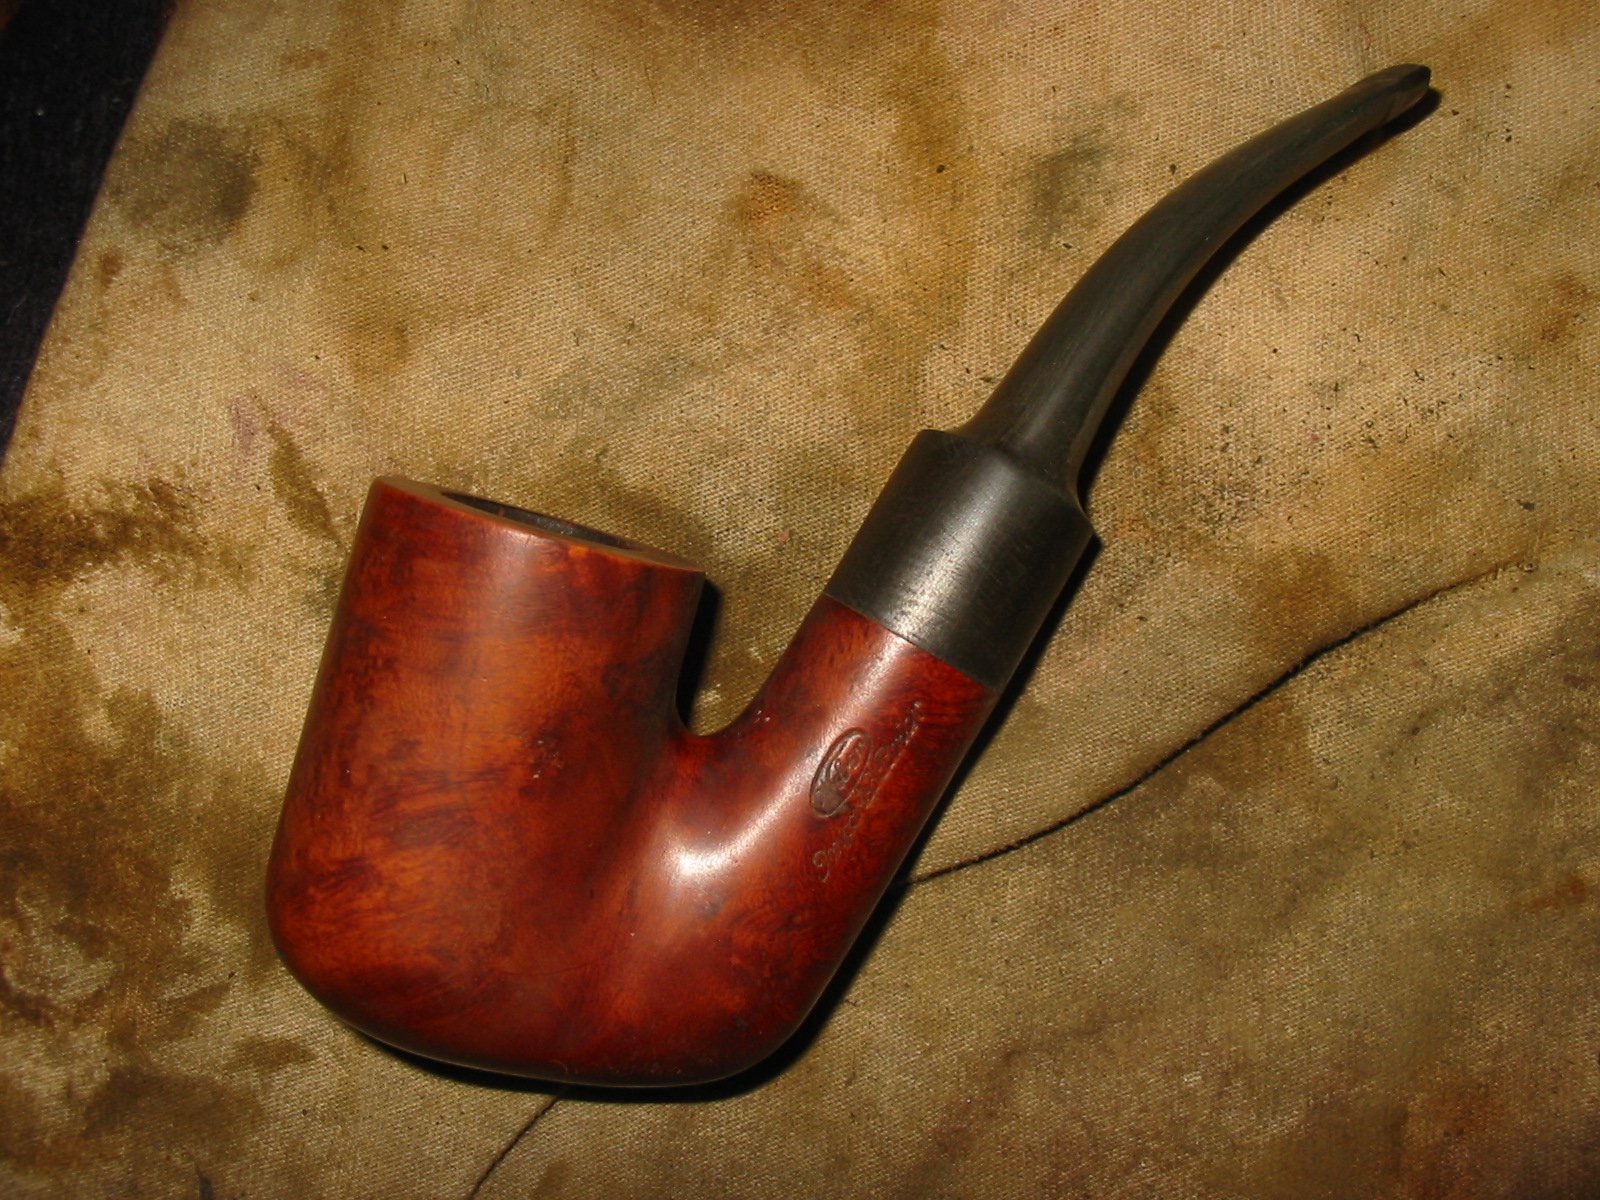
The next series of photos show the pipe after I wiped it down with some acetone to clean the finish and worked on the tars on the rim of the bowl. I also sanded the rim with some 320 grit sandpaper to remove the tars and smooth out the rim.
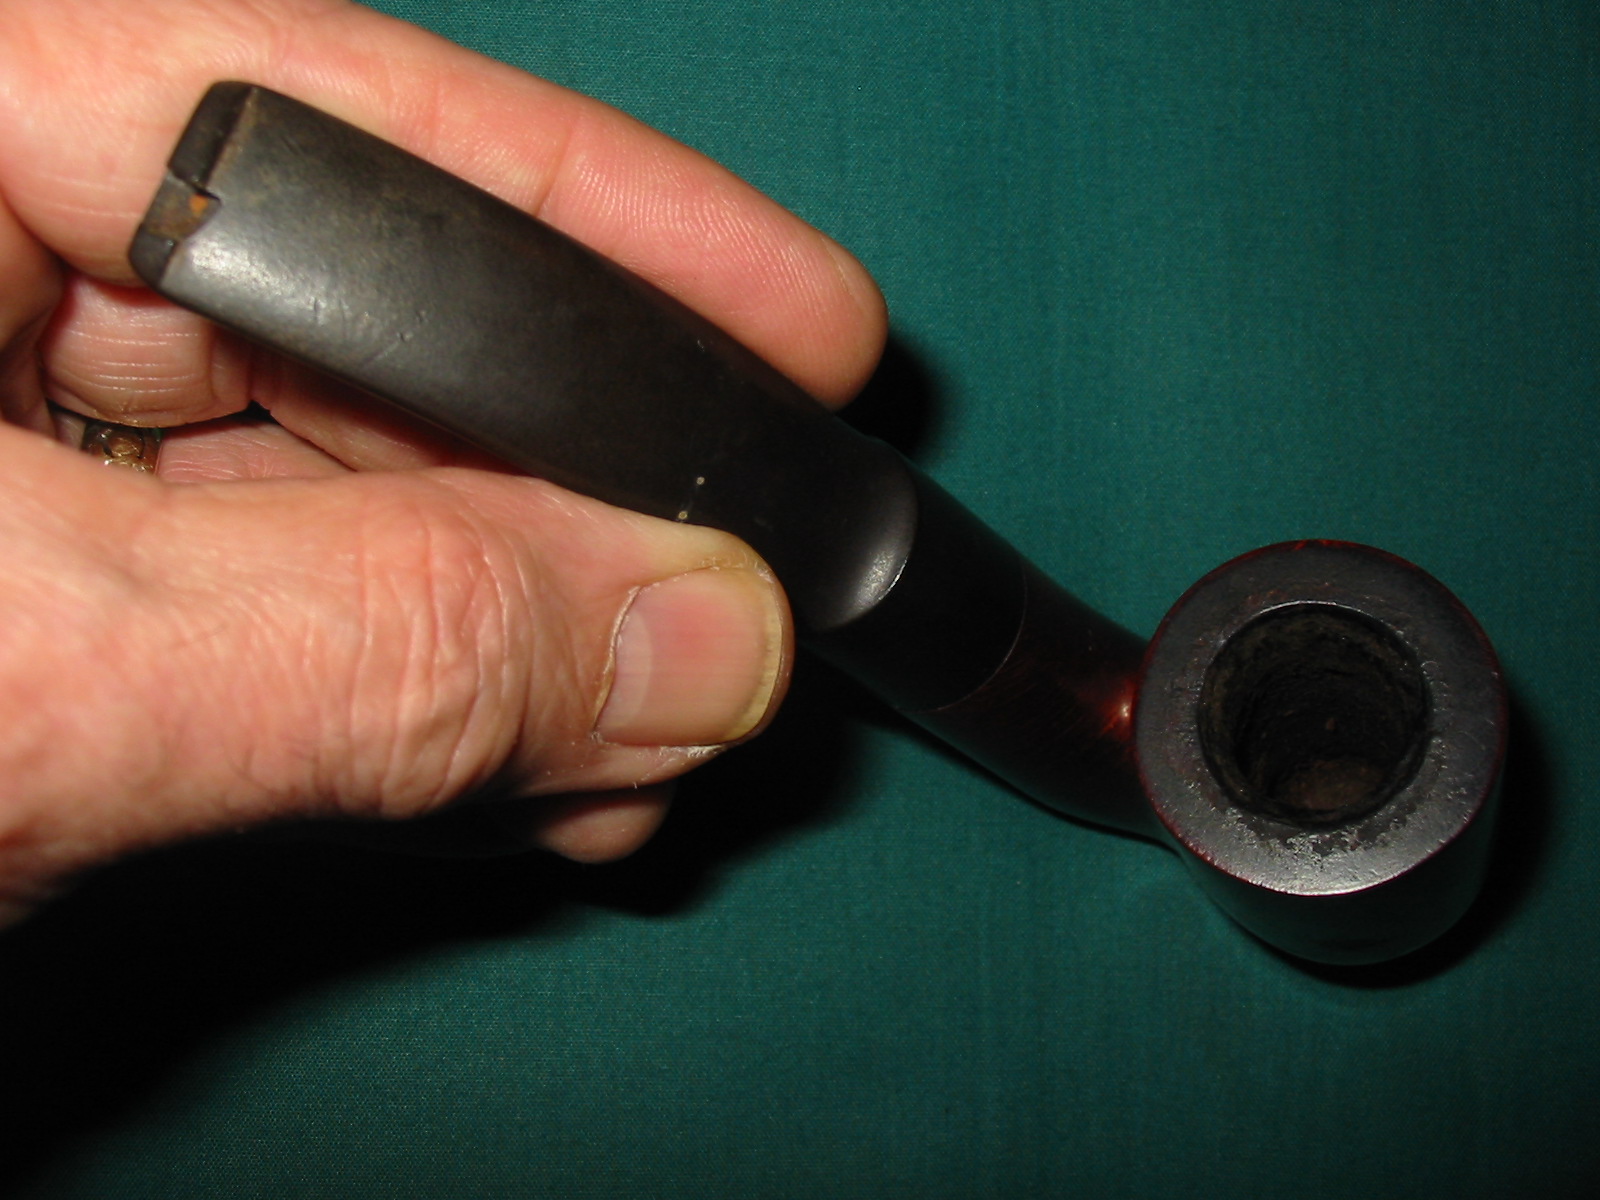
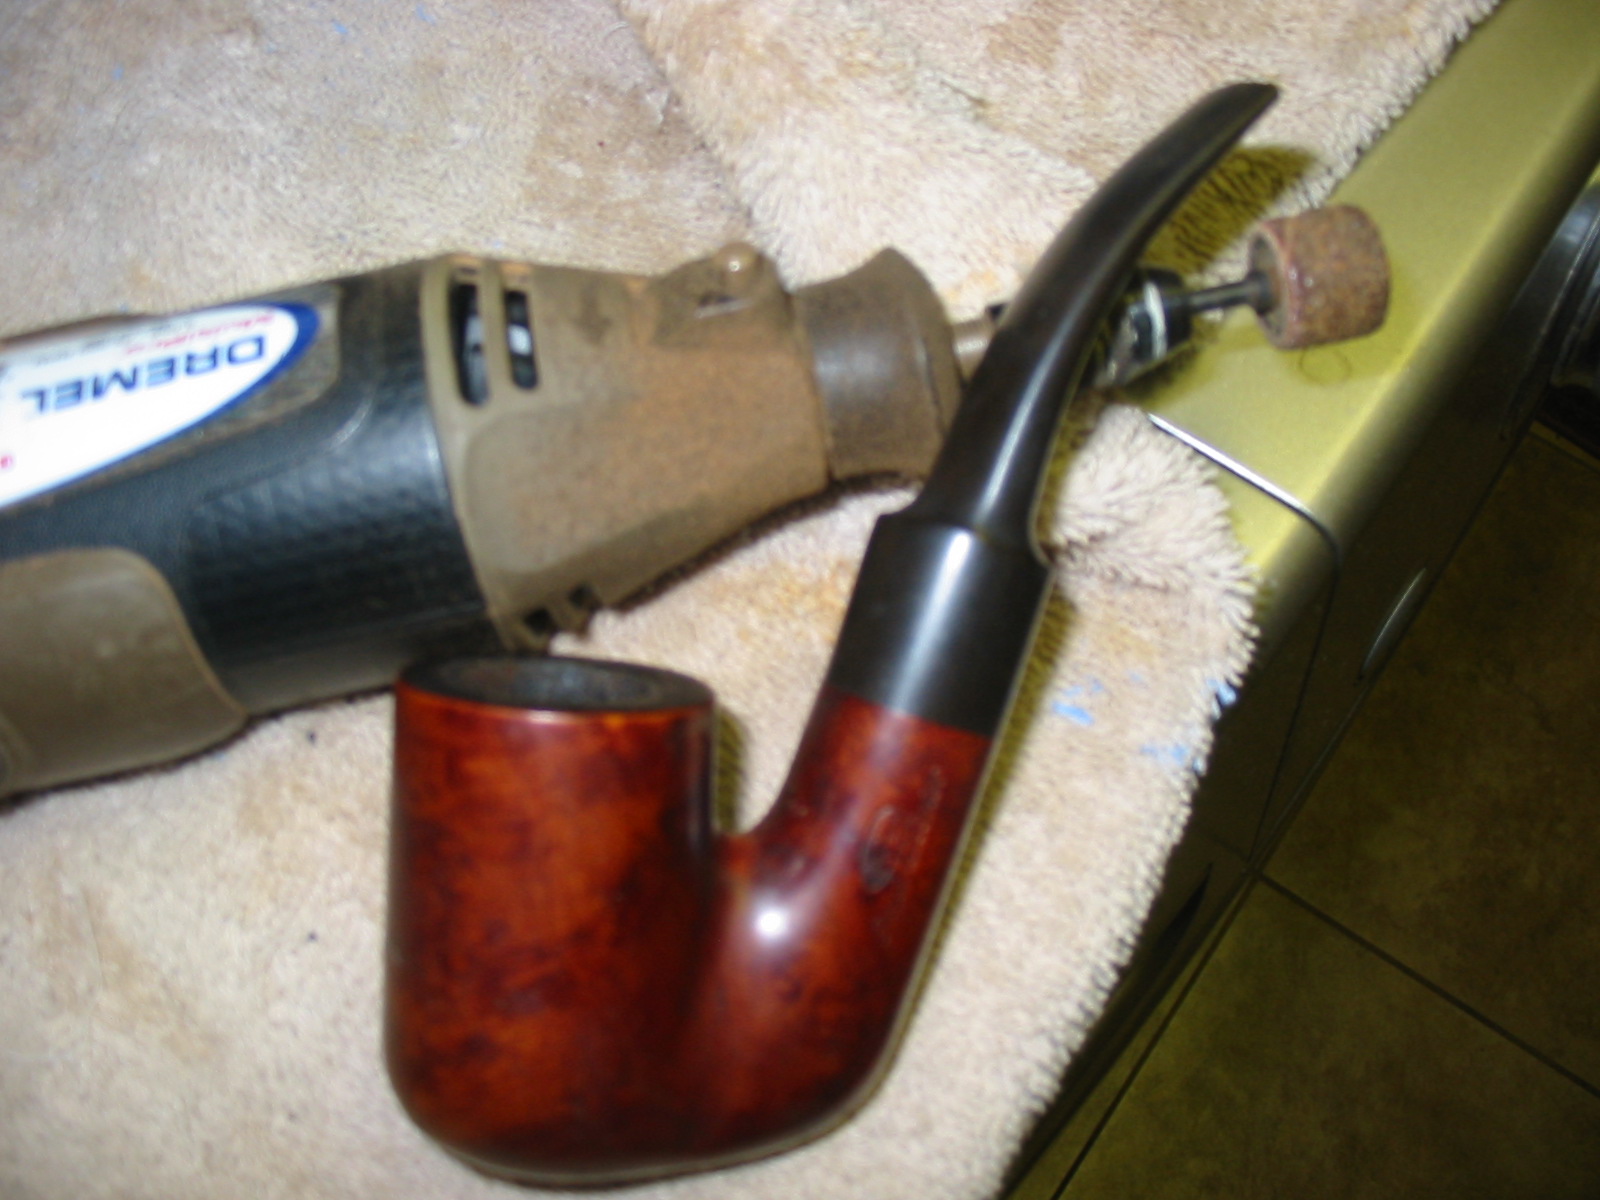
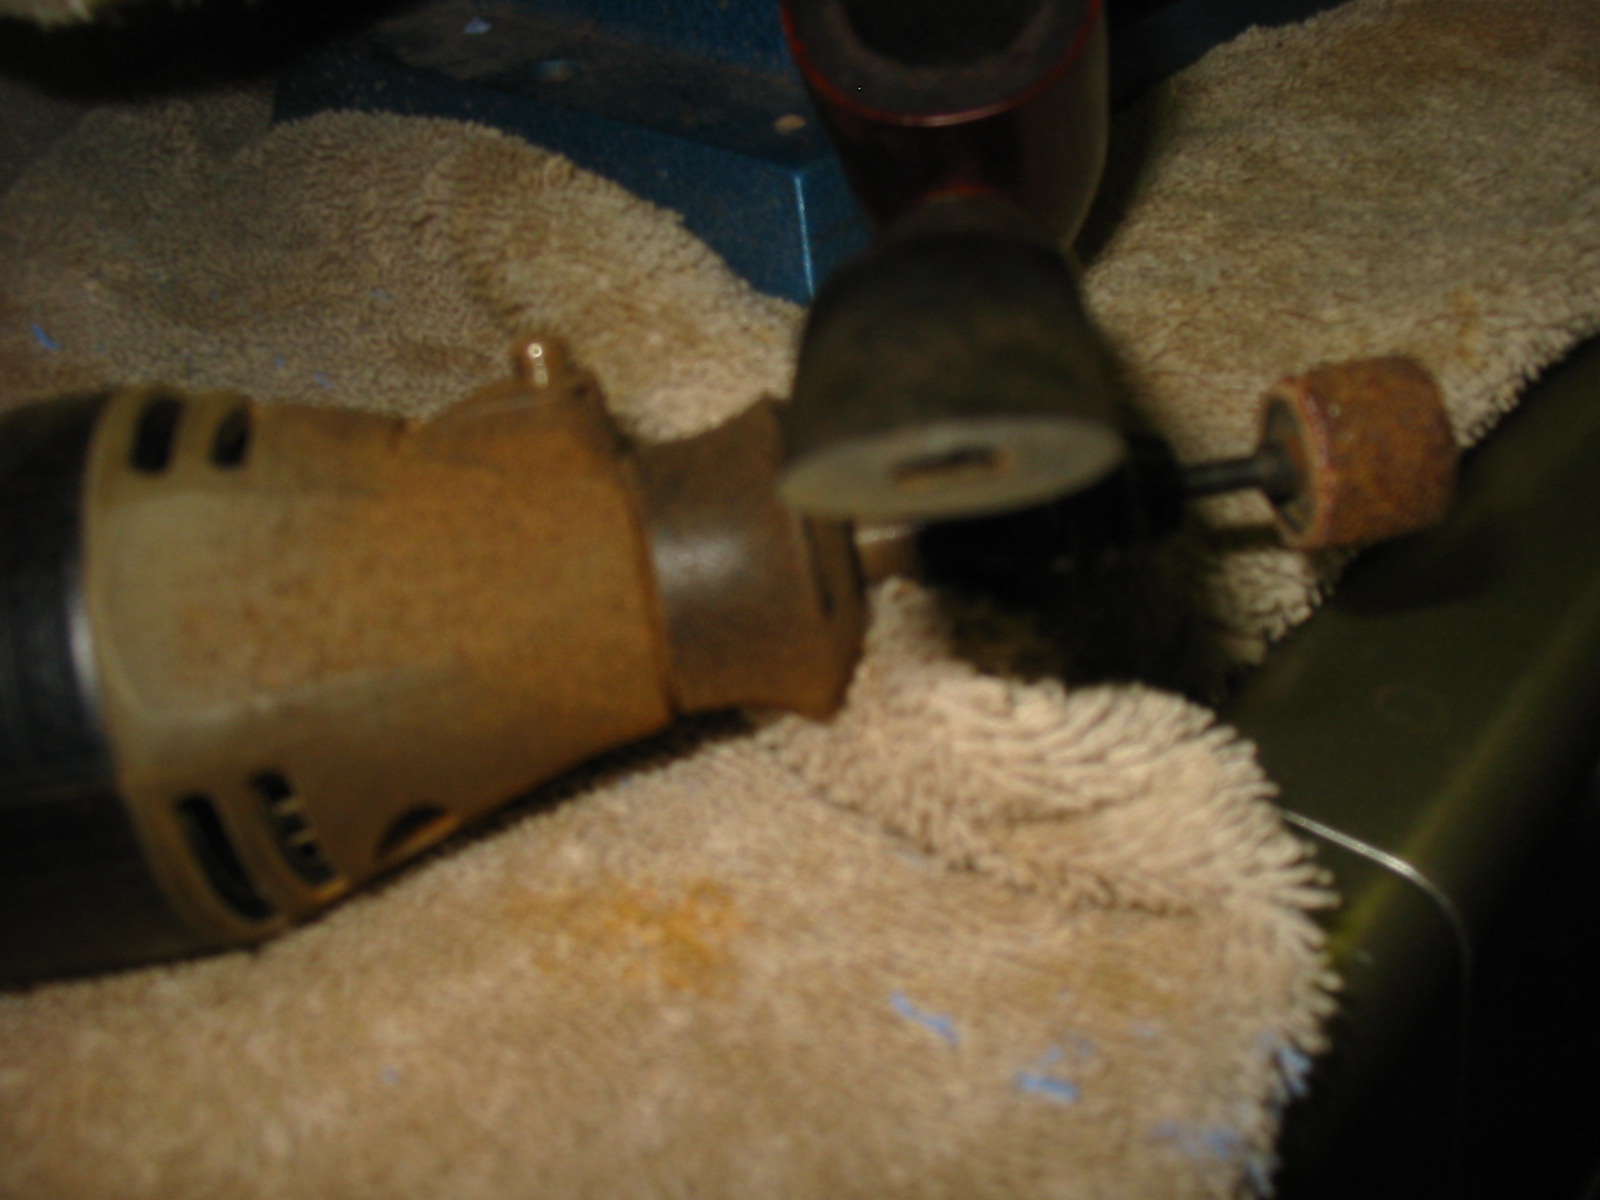
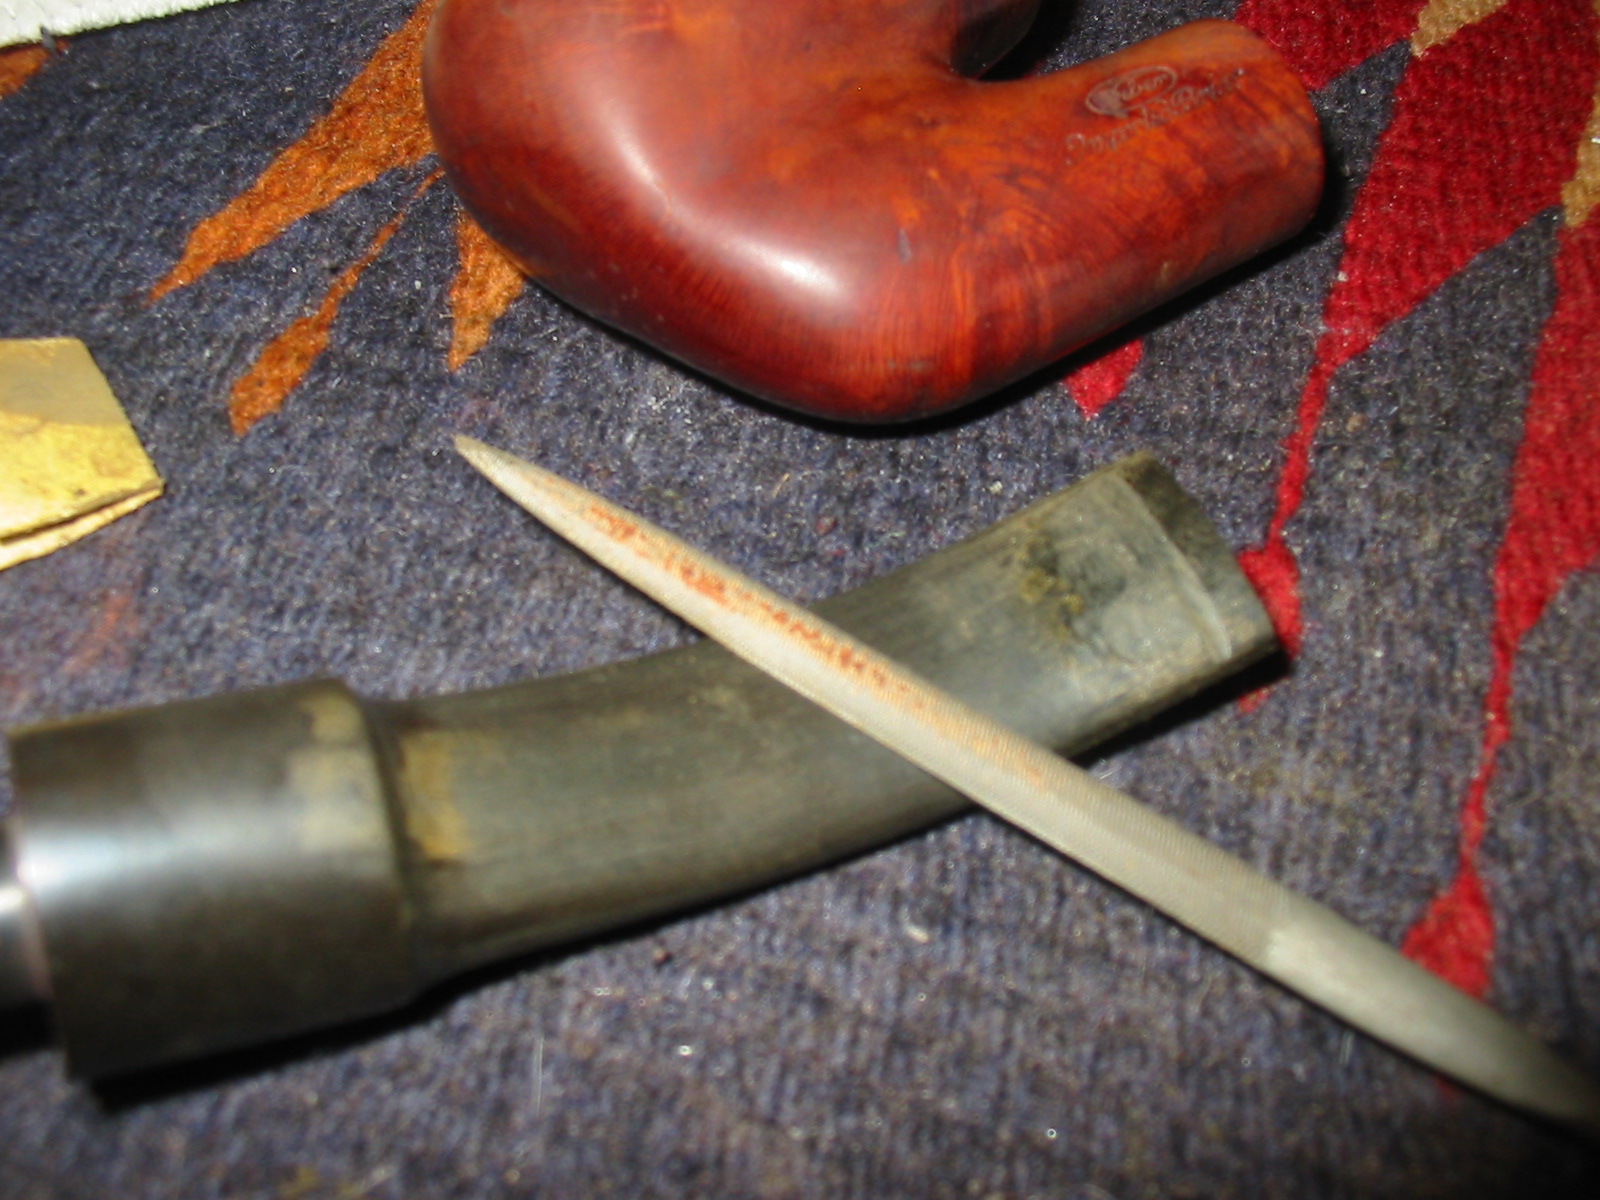
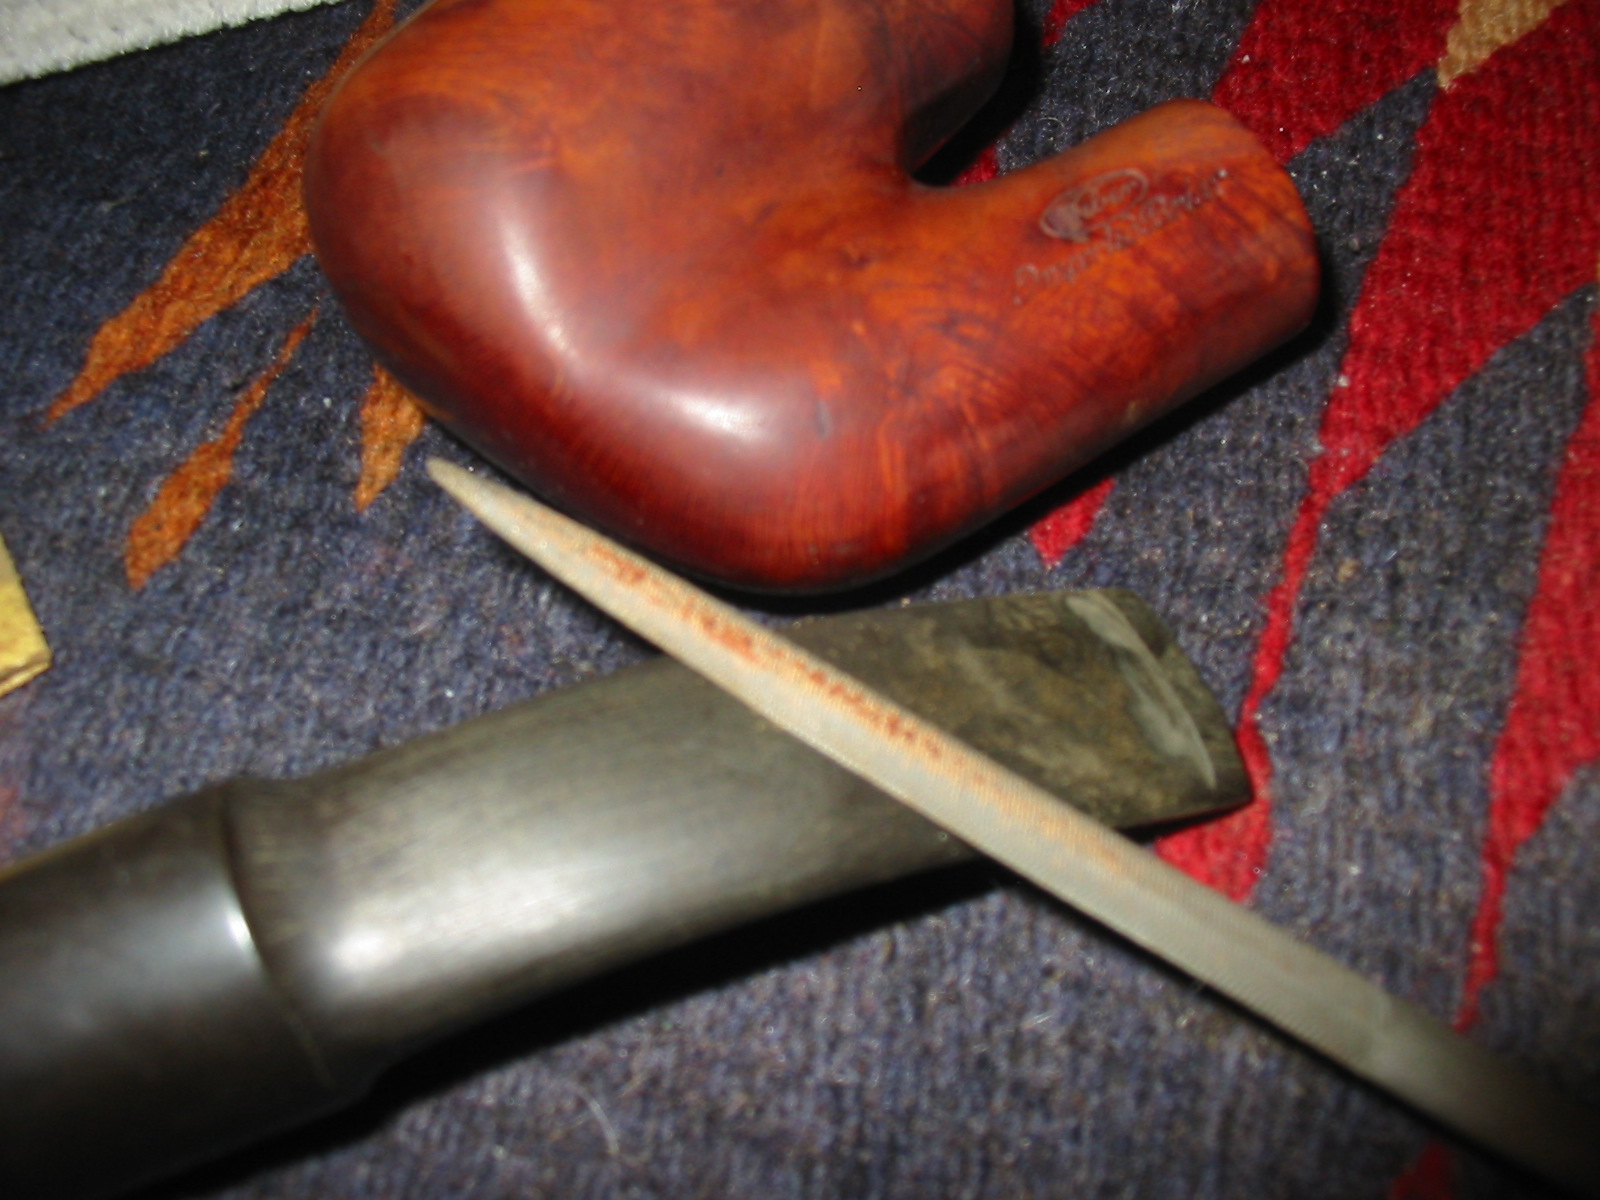
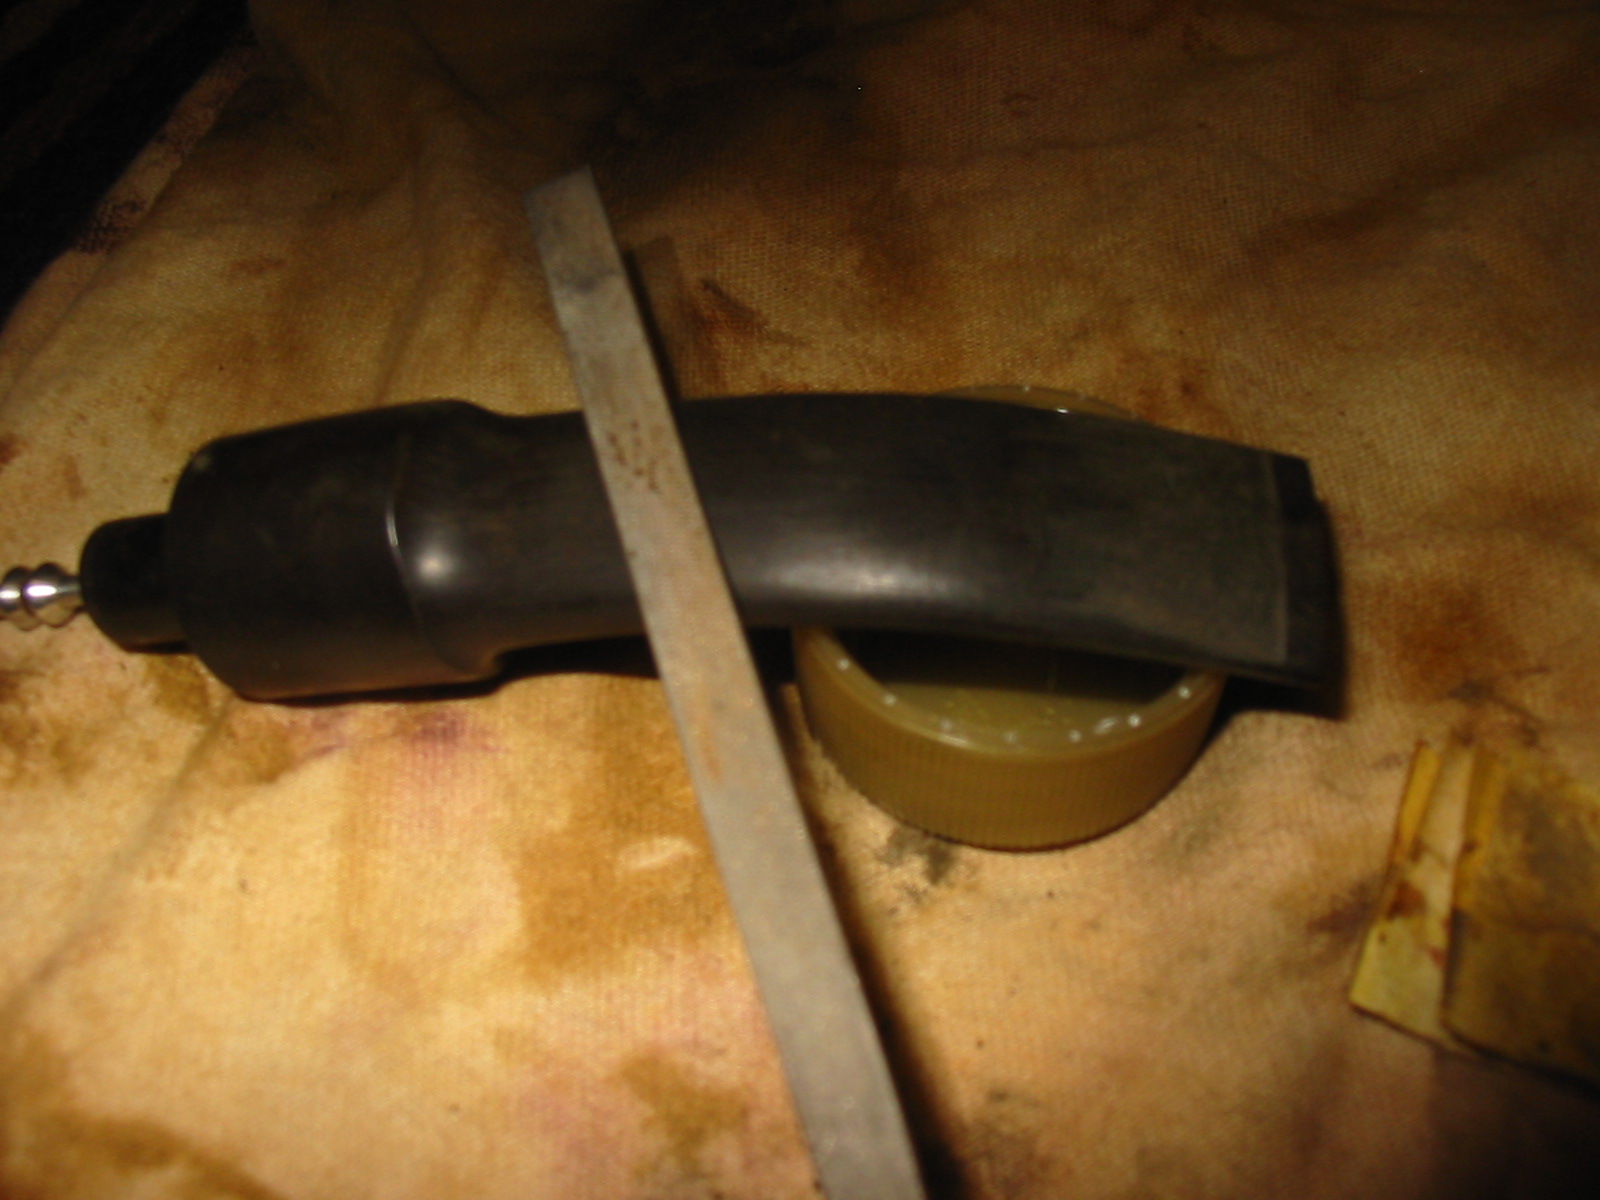
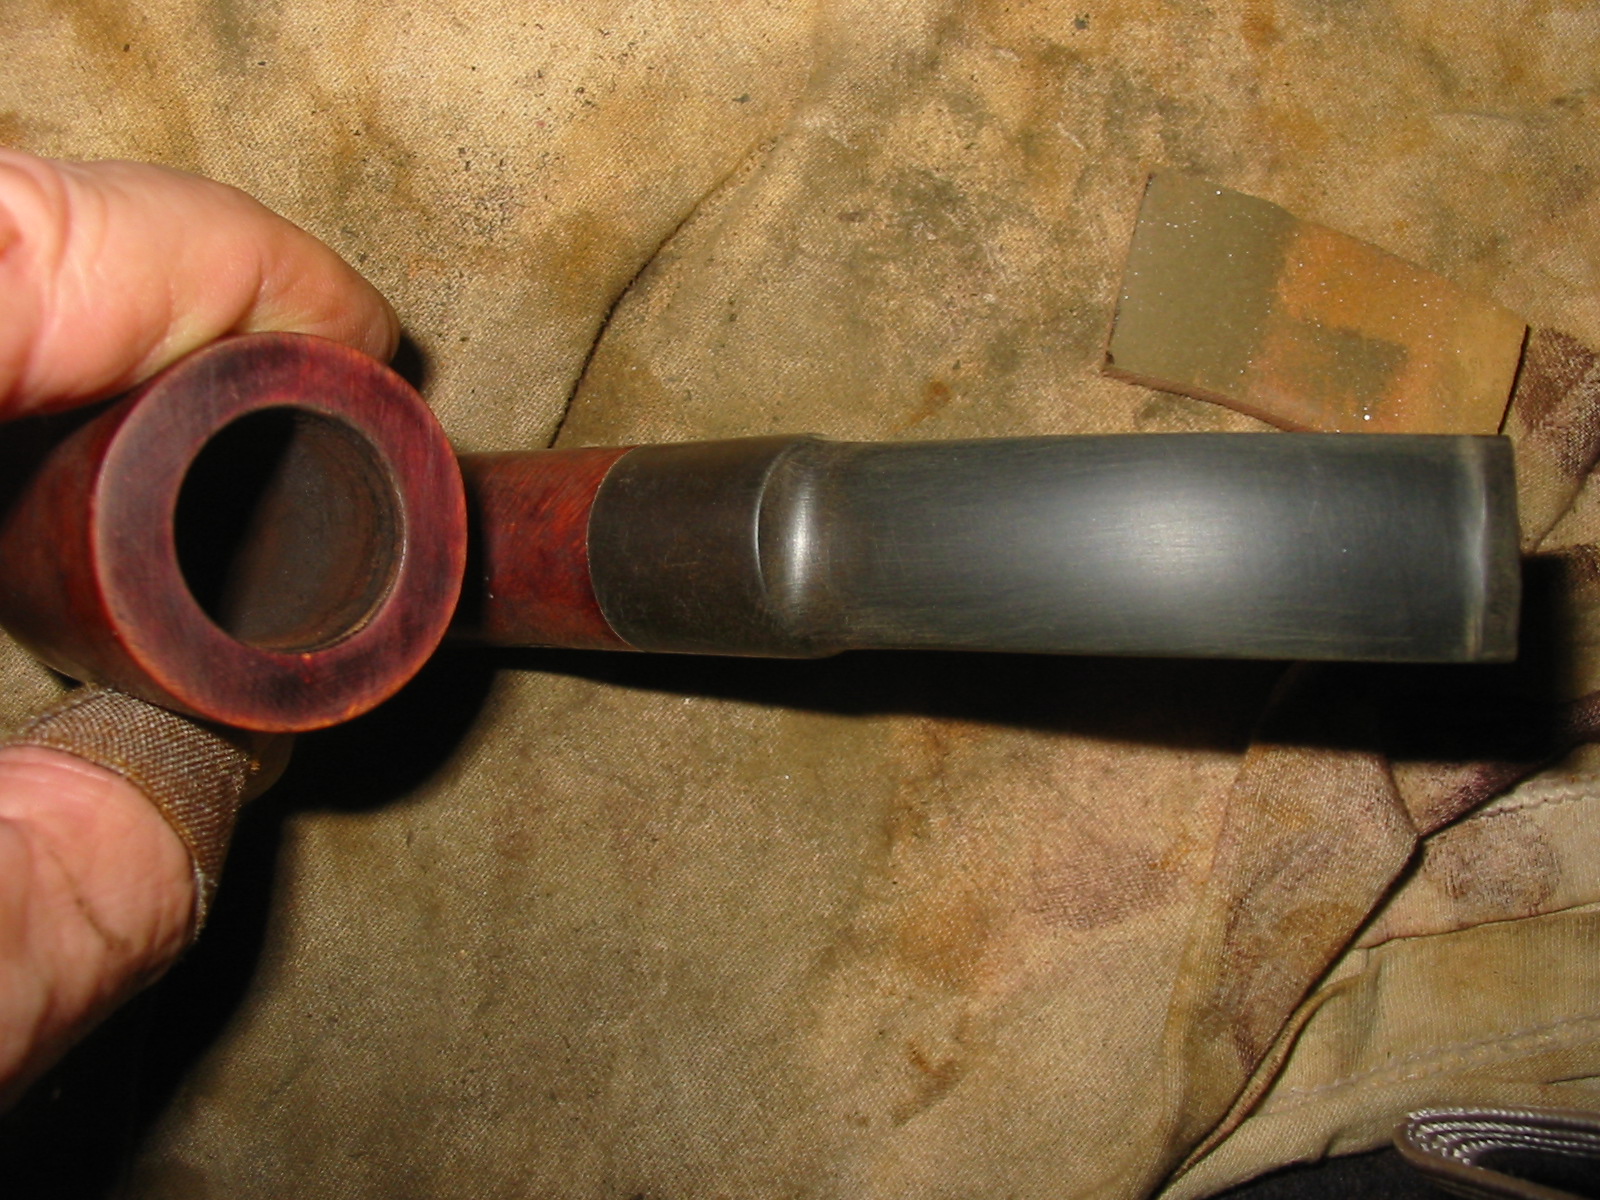
I decided to tackle the stem first and rework the button. The first photo below shows the chunk that is missing from the stem. It was quite deep and was not repairable with my usual fixes. So in order to use the same stem I would need to cut back the stem to remove the break and then to reshape the button and the slot. The Weber slot is quite open and oval shaped so I would need to reshape the opening in the slot once I had reshaped the button. I used my Dremel with a sanding drum to cut away the broken part of the stem and to even it out until I had some good thickness in the stem material above and below the airway to work with in cutting the new button. The second, third and fourth photos show the stem after I removed the broken part with the Dremel. You can also see the work that would have to be done in reshaping the button and opening up the new slot.

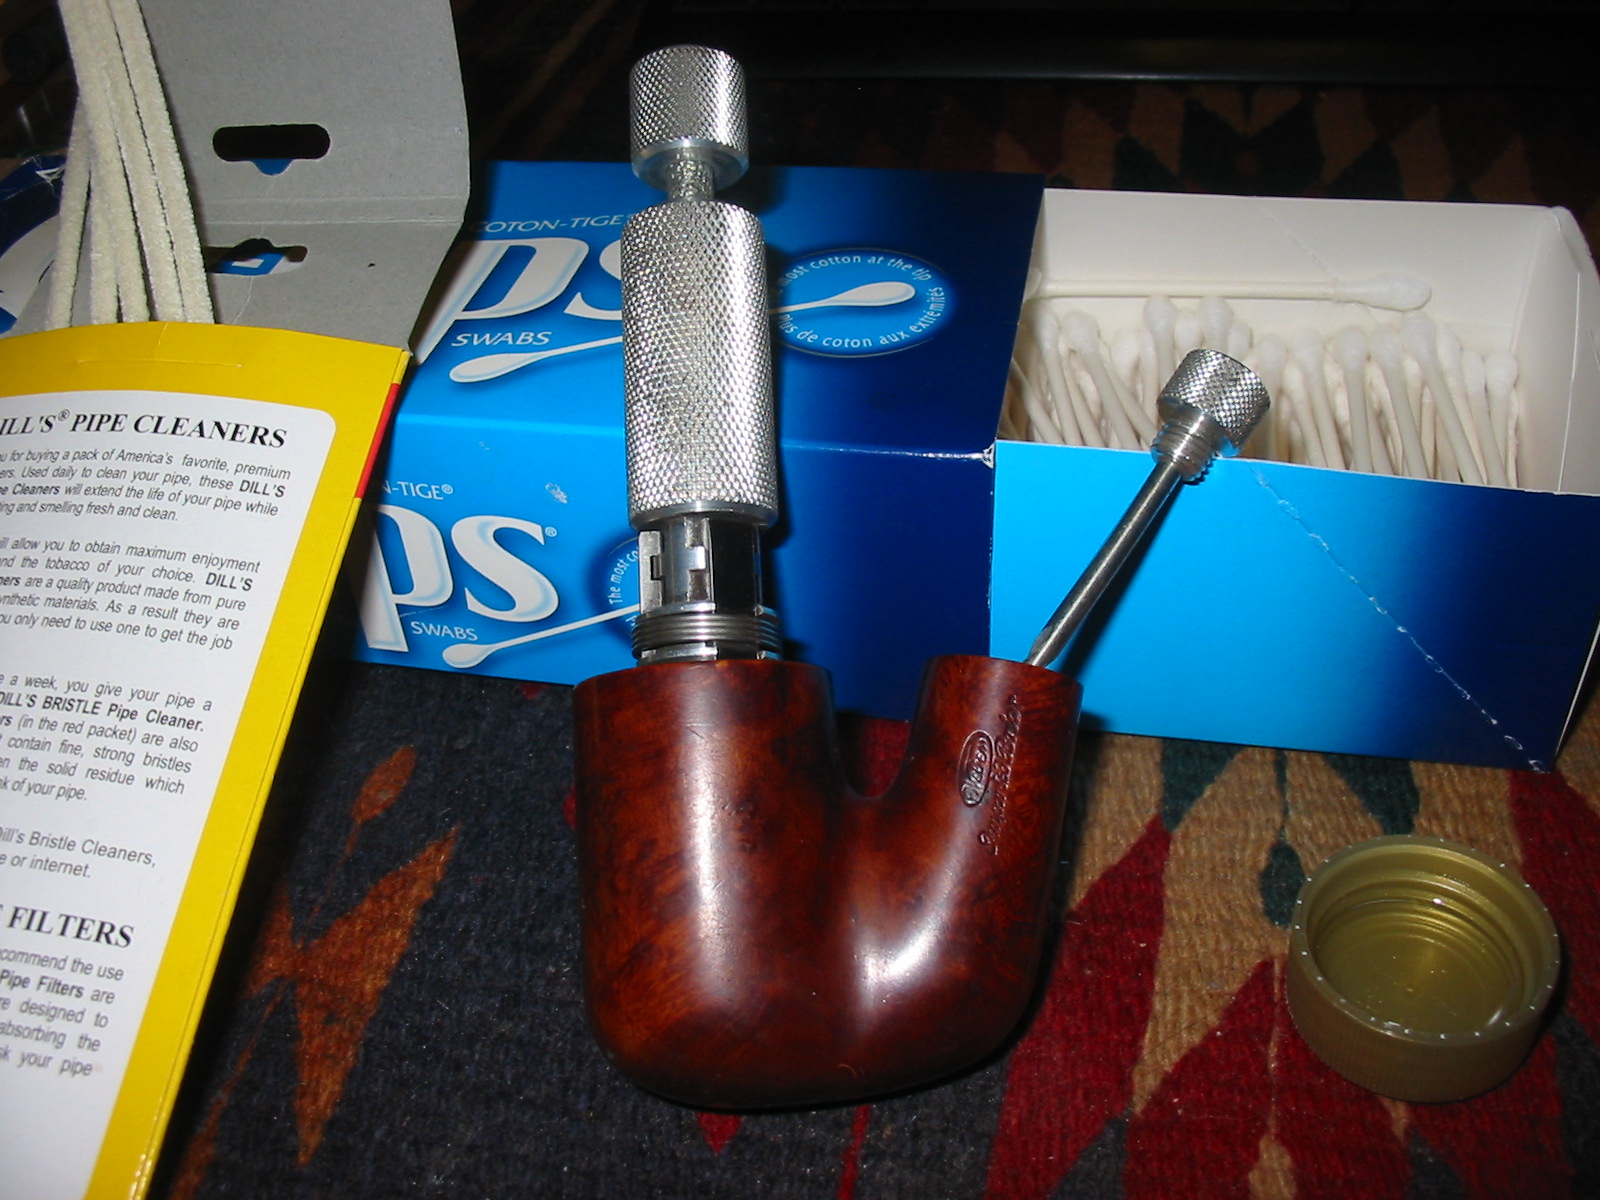
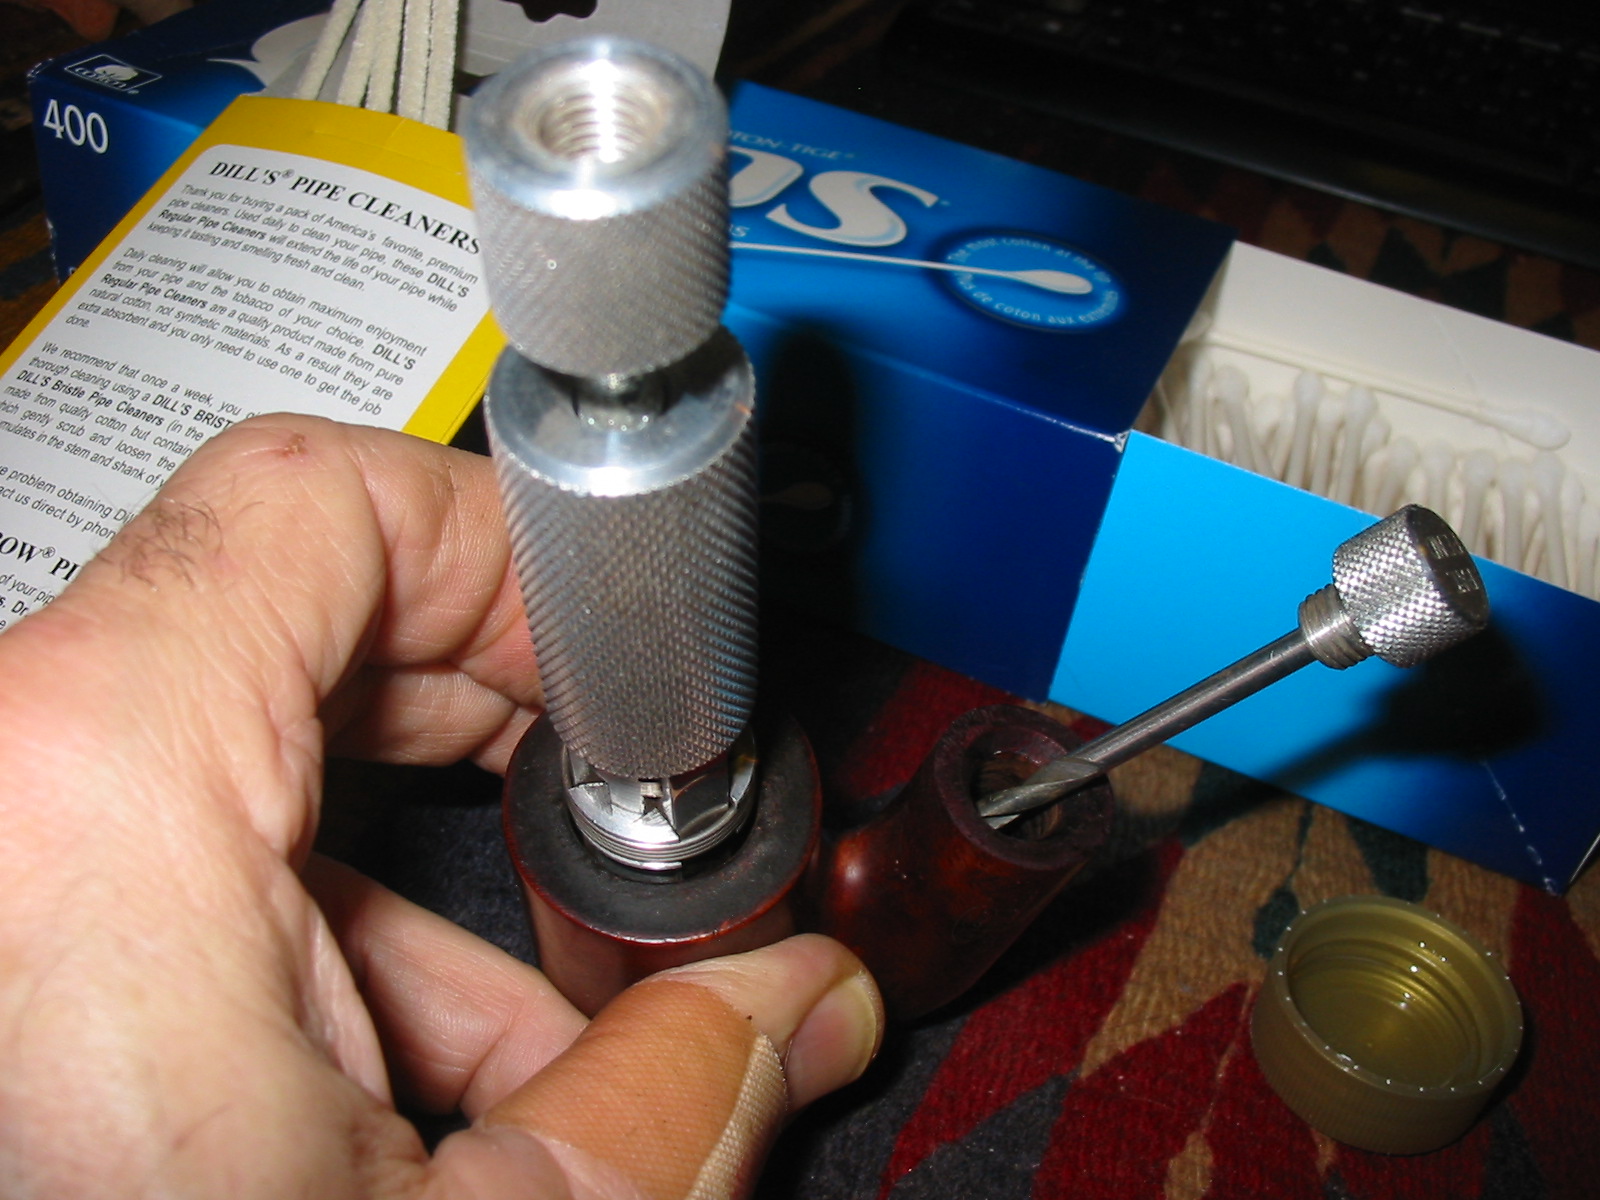
After I cut the stem I set it aside and reamed the bowl to remove the cake and even up the walls of the bowl. The existing cake was heavy in the top of the bowl and light in the lower portion. I wanted to ream it back to bare wood so I could build up a new even hard cake. I used a KleenReem pipe reamer at first to ream the bowl back (photos 1 and 2 below). The problem is that the KleenReem does not clean out the bottom of the bowl very well so I finished reaming it with my PipNet reamer and the T handle (photo 3 below). I also used the drill bit that comes with the KleenReem to clear out the airway to the bowl. It was pretty gummed up so that cleared out the airway. I also cleaned out the shank and mortise with cotton swabs and pipe cleaners and Everclear. Once the pipe cleaners and cotton swabs came out clean I was ready to work on the outside of the bowl. I have included a fourth photo in the series to show you the bowl after reaming.

I wiped the bowl down with acetone again to remove the lasts of the grime and the buildup on the rim of the bowl. Once that was done I set it aside and began to work on the stem. The wiped down bowl is visible in the photo below.
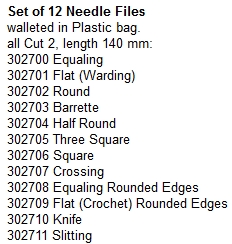
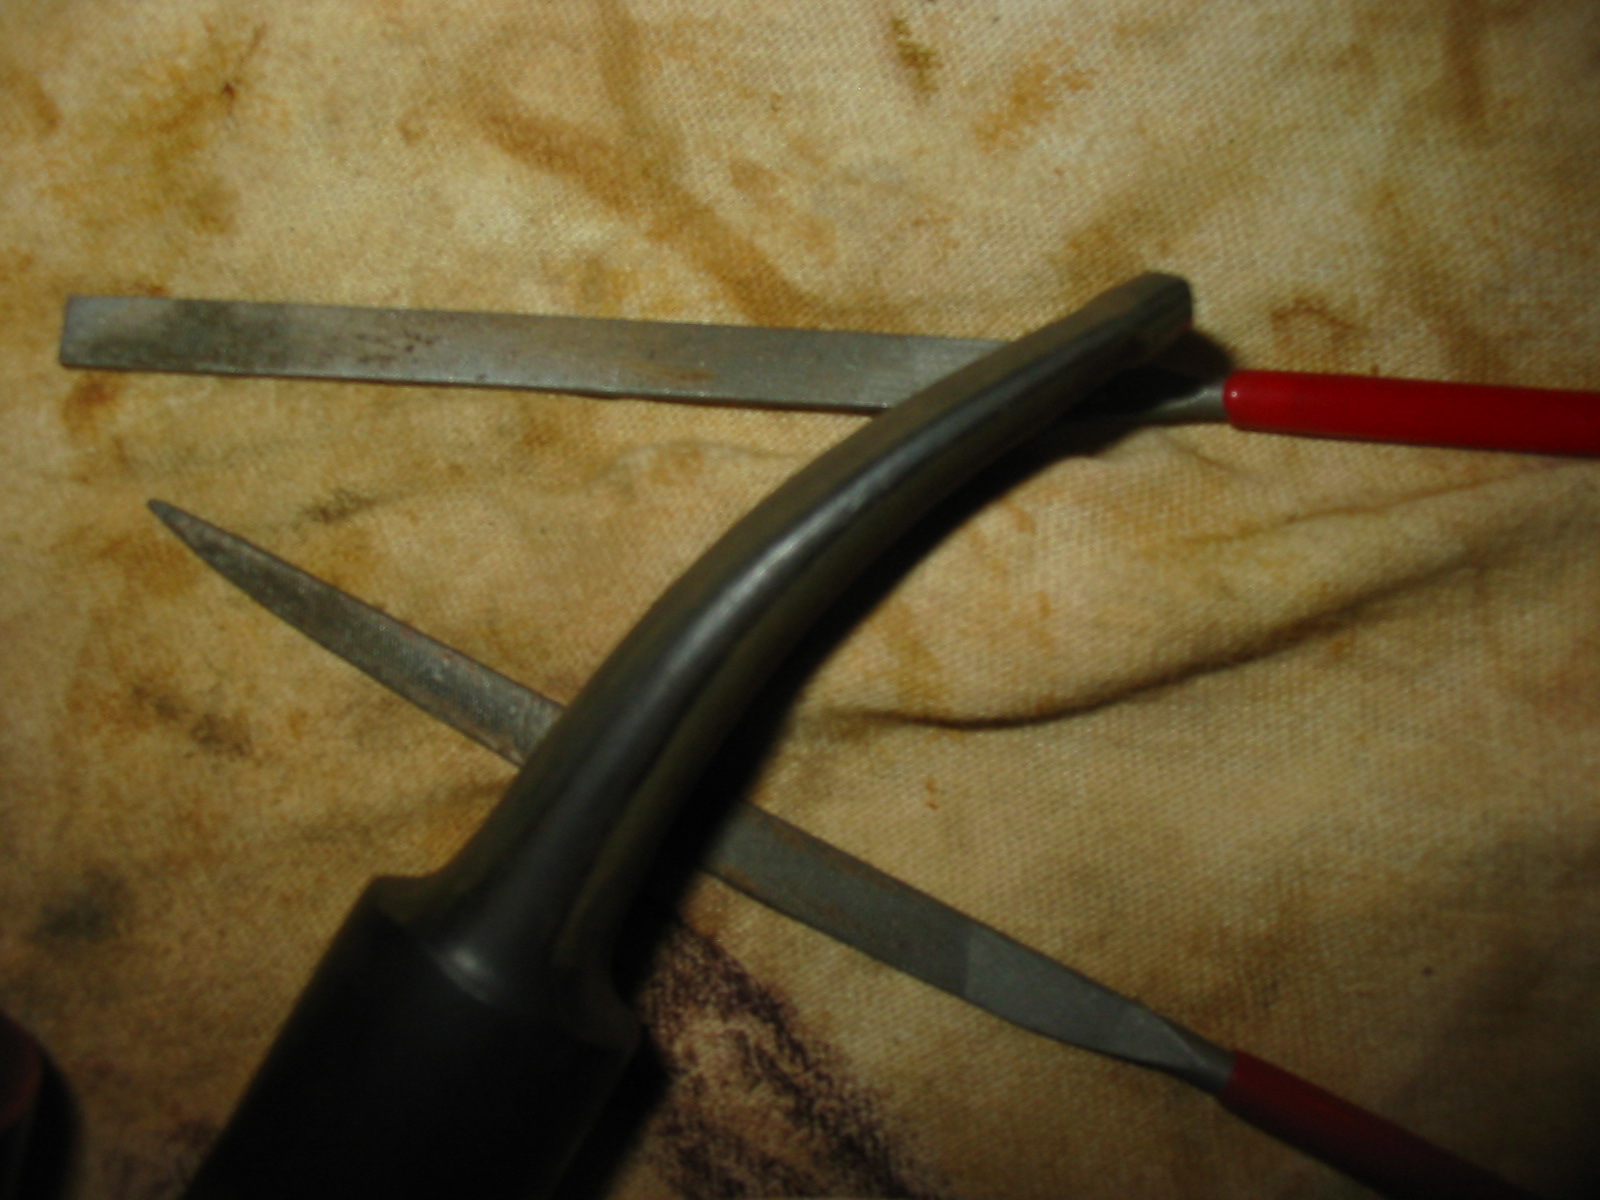
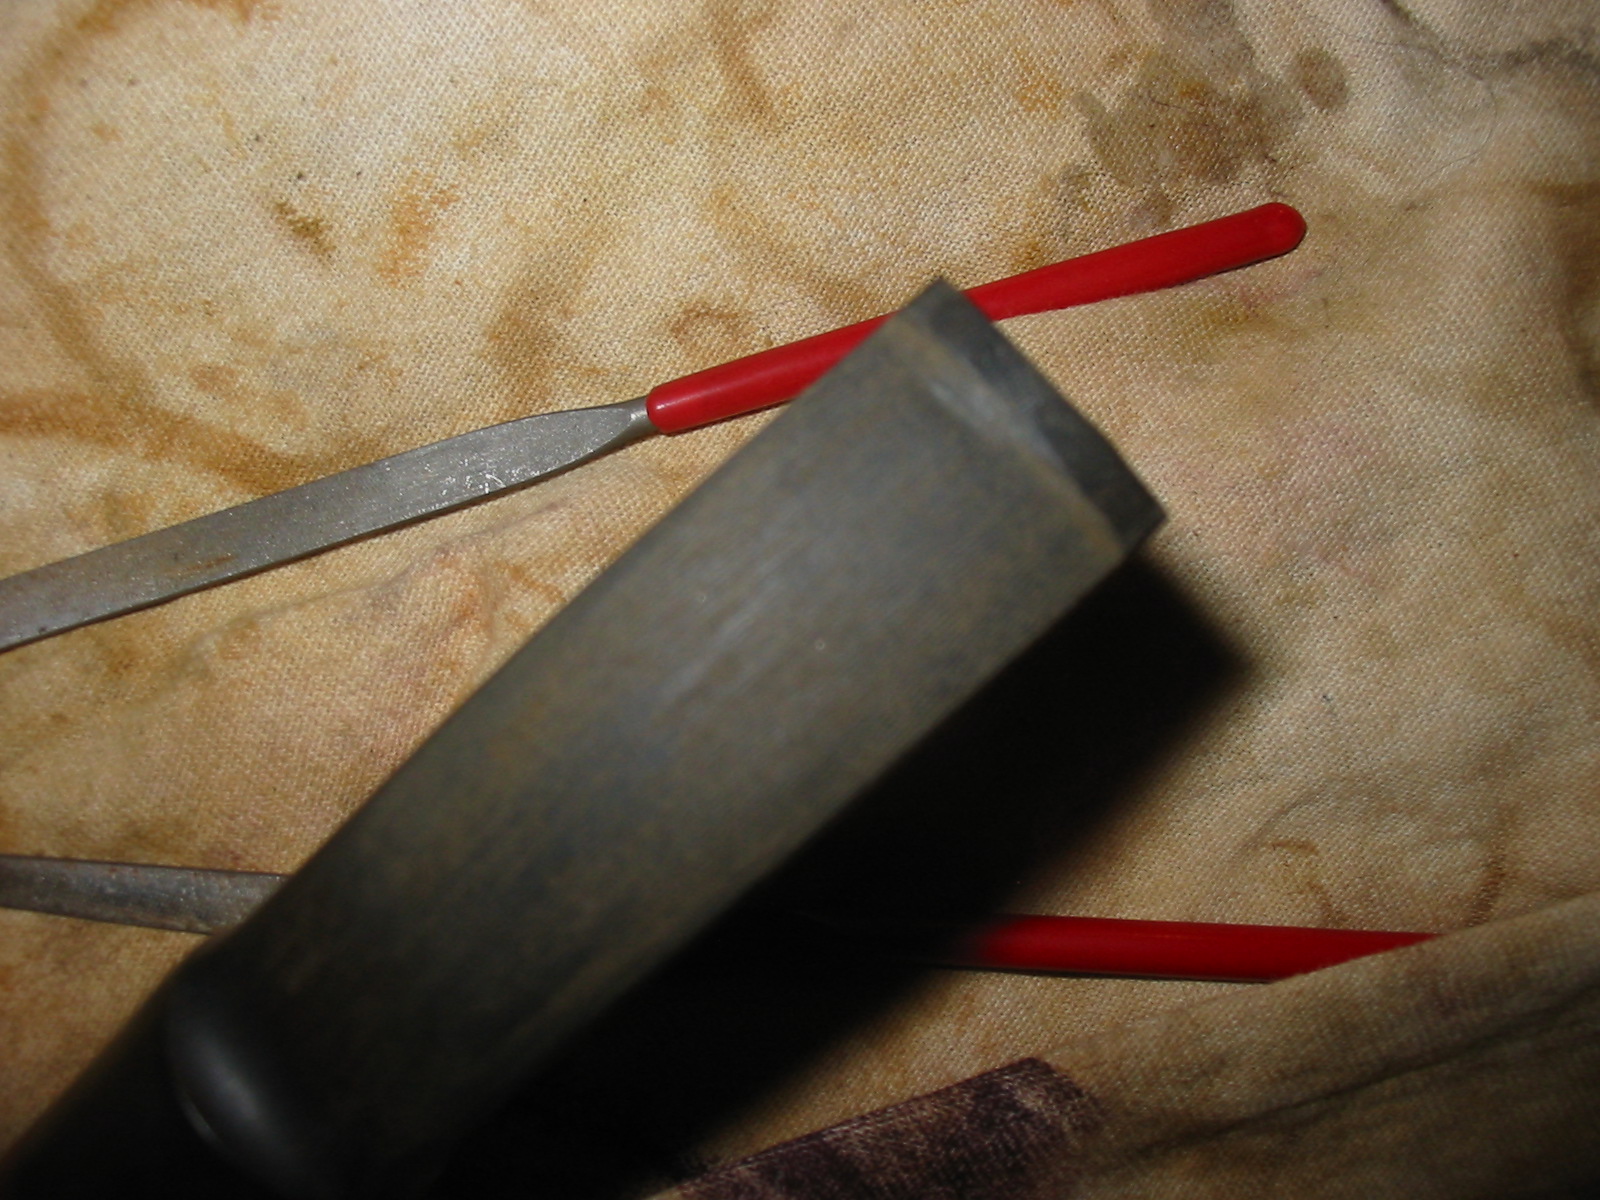
The next series of twelve photos shows the cutting of the new button on the stem. I used three different needle files to cut the button into the existing stem. You can trace the progress of the new button by the series of photos. I begin by cutting a straight line across the top of the stem and the bottom of the stem. I work to make both sides of the stem match one another so that the edge of the button is consistent on the top and the bottom. I do this initial cut with a flat rectangular blade needle file. I hold it firmly on the work table with one hand and work the file into the surface of the stem. Once I have the line defined on top and bottom I work the file like a carving knife against the new edge. I repeat the cut on the edge several times as the stem begins to taper into the button. I work the flat rectangular file first and then move through different flat edged files that have slightly different tooth patterns to keep carving away the vulcanite. By the last few photos you can see the shape of the button and the taper that works down the stem toward the new button.
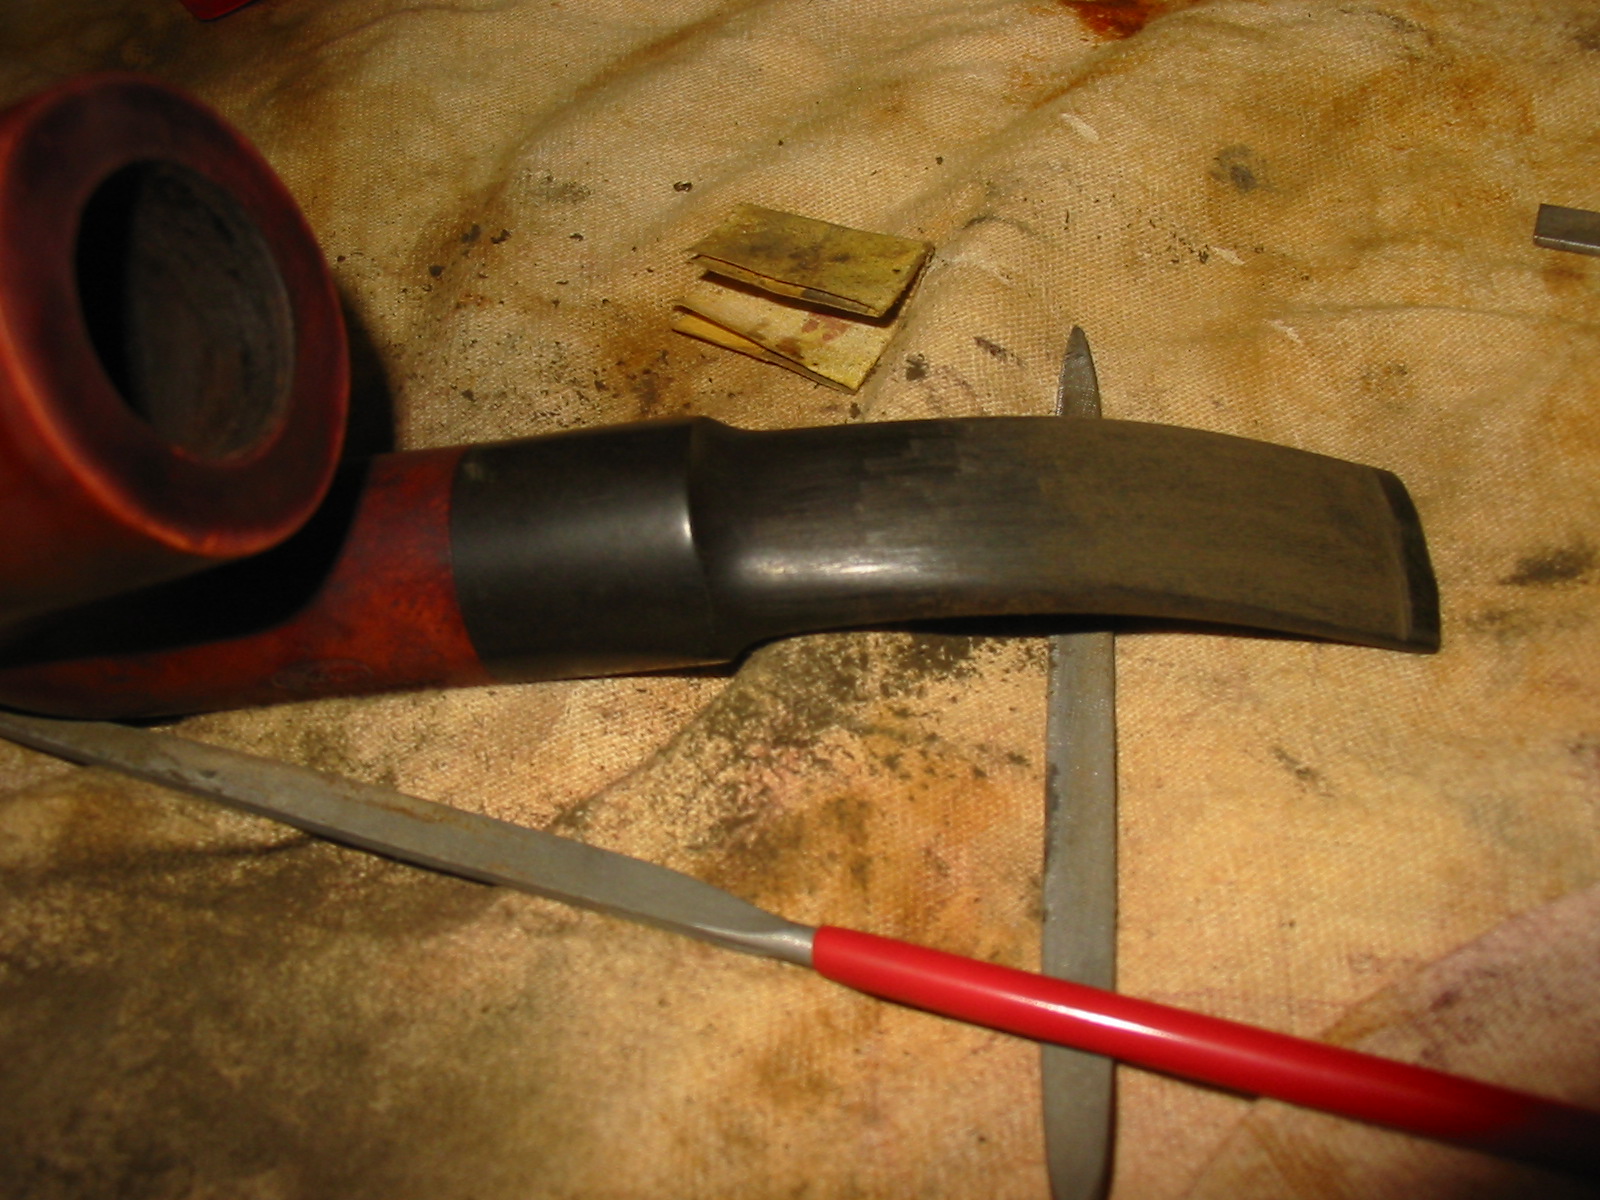
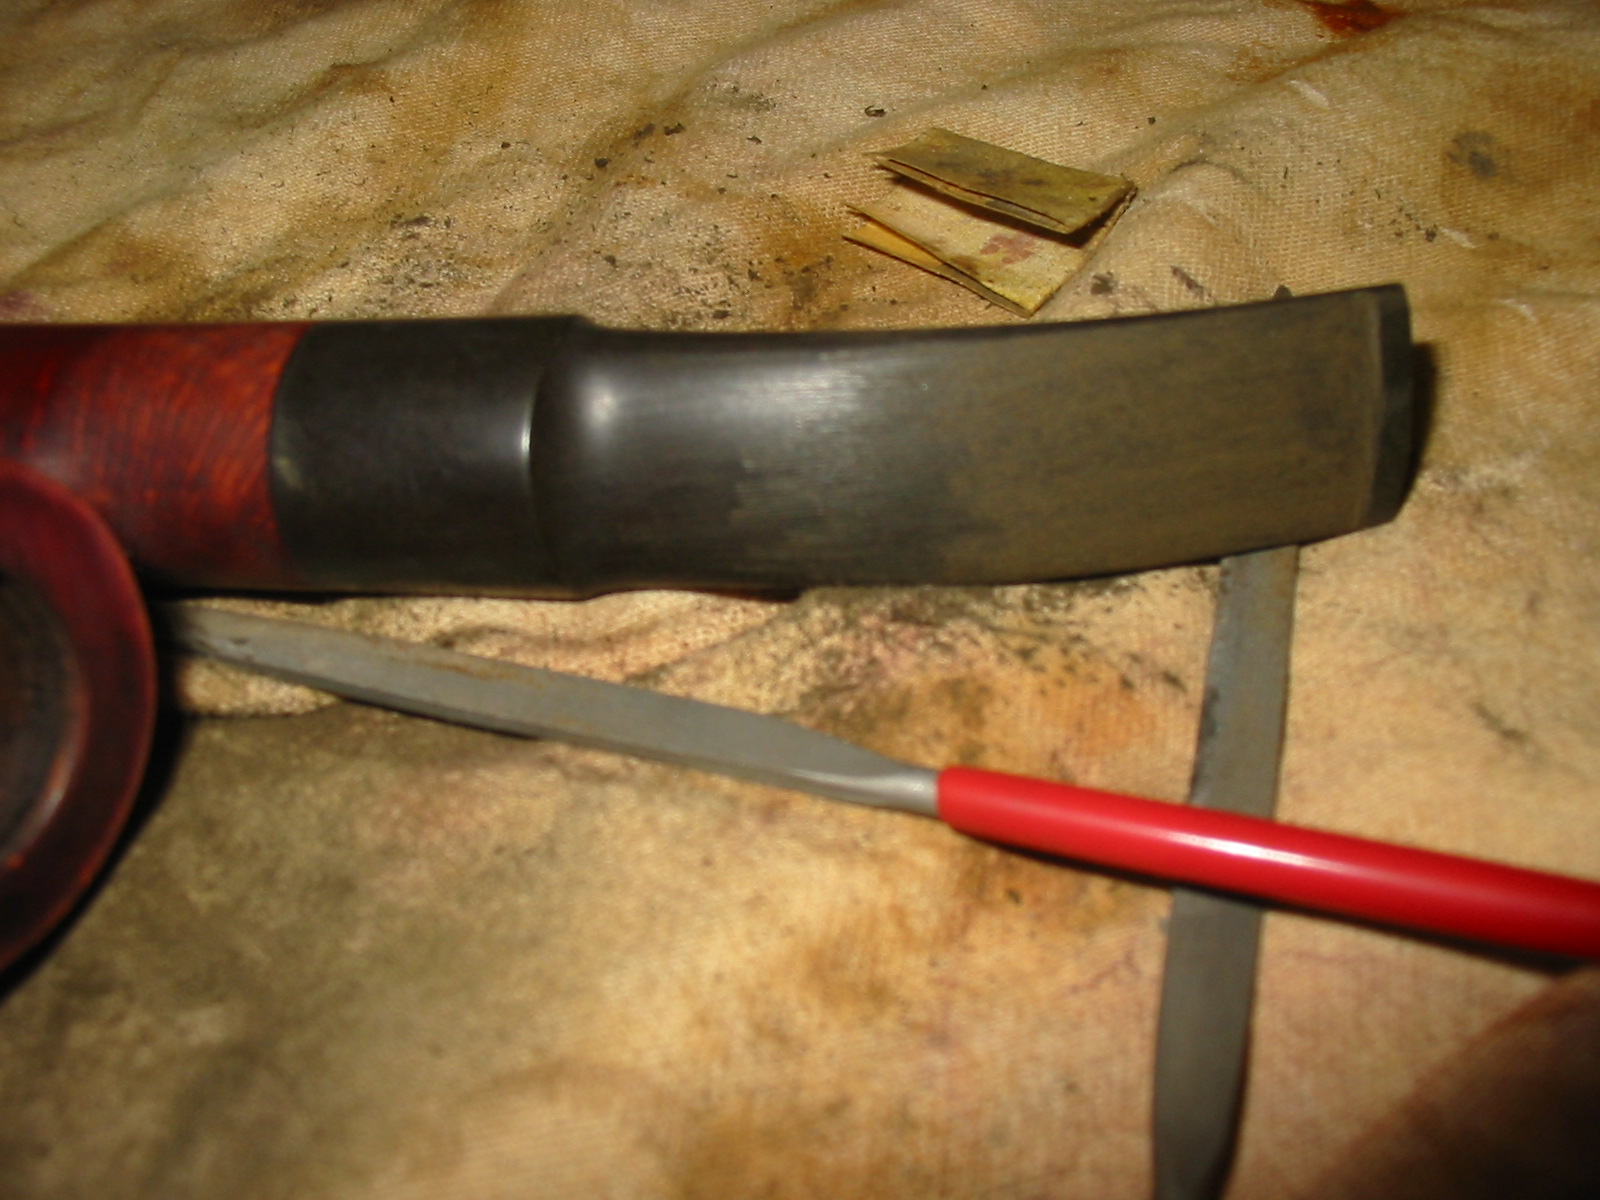


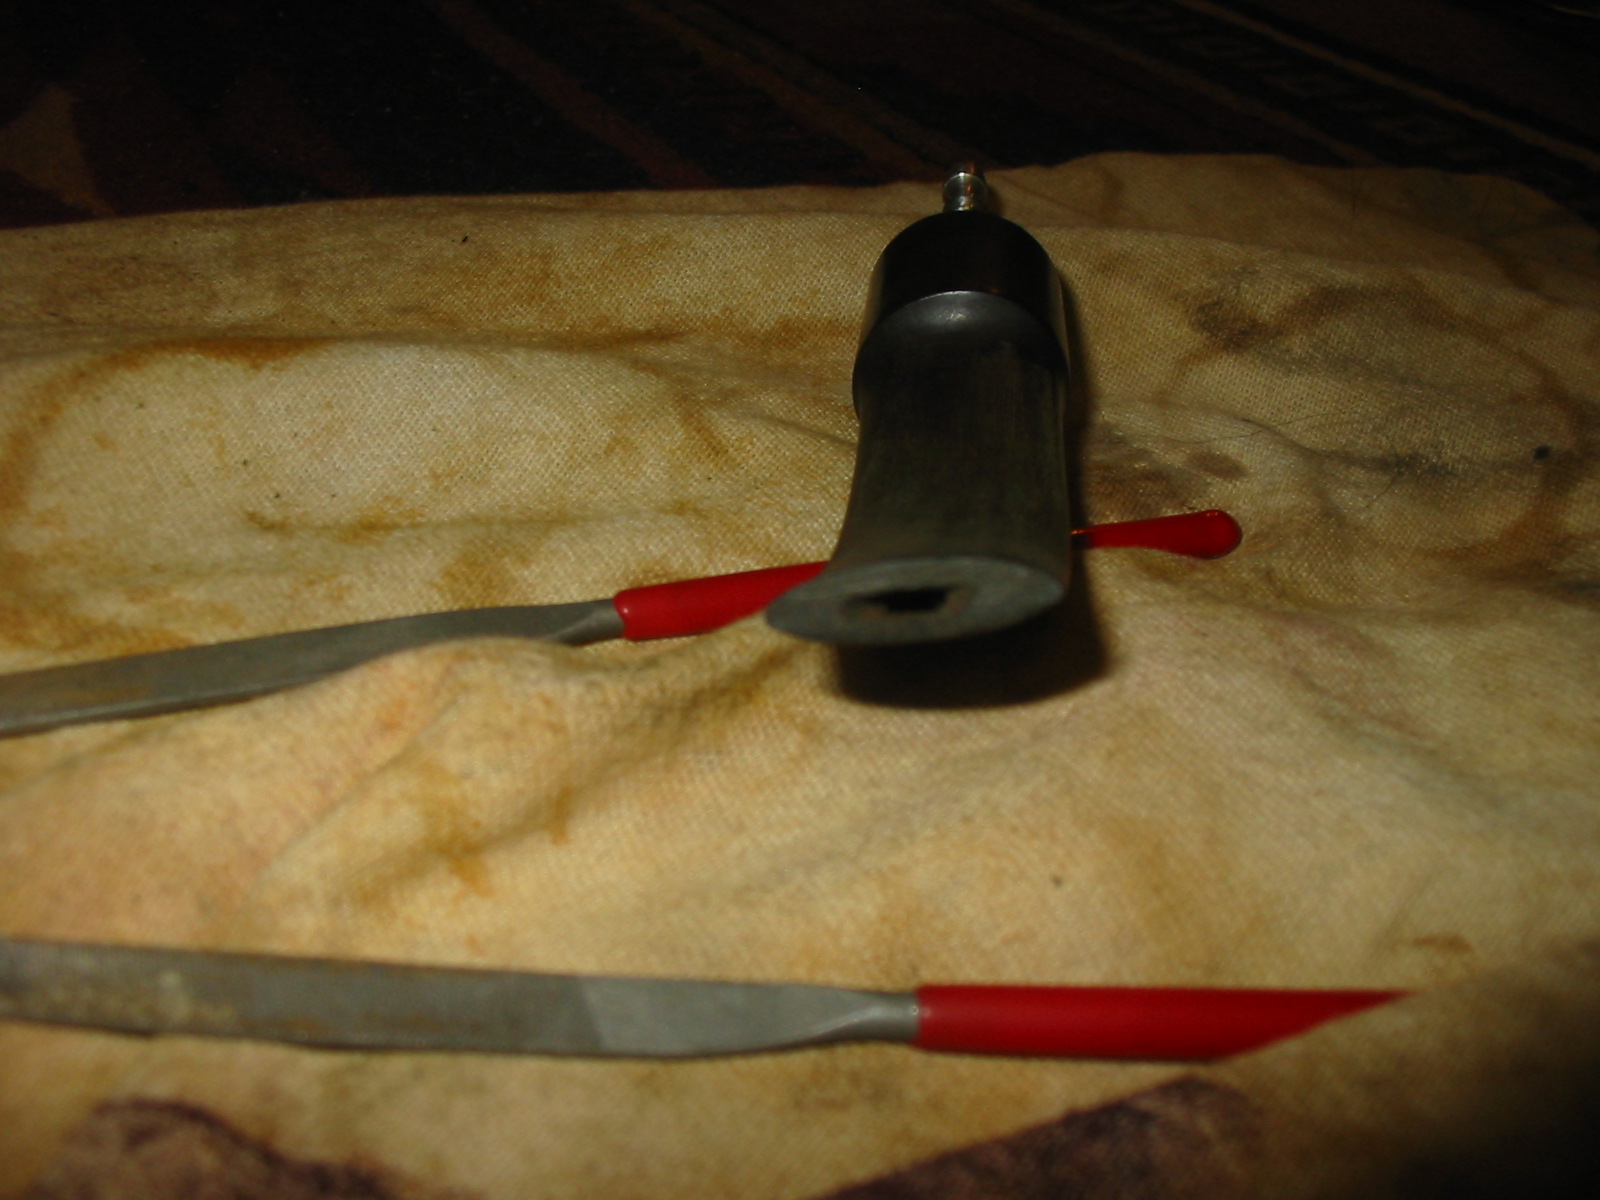
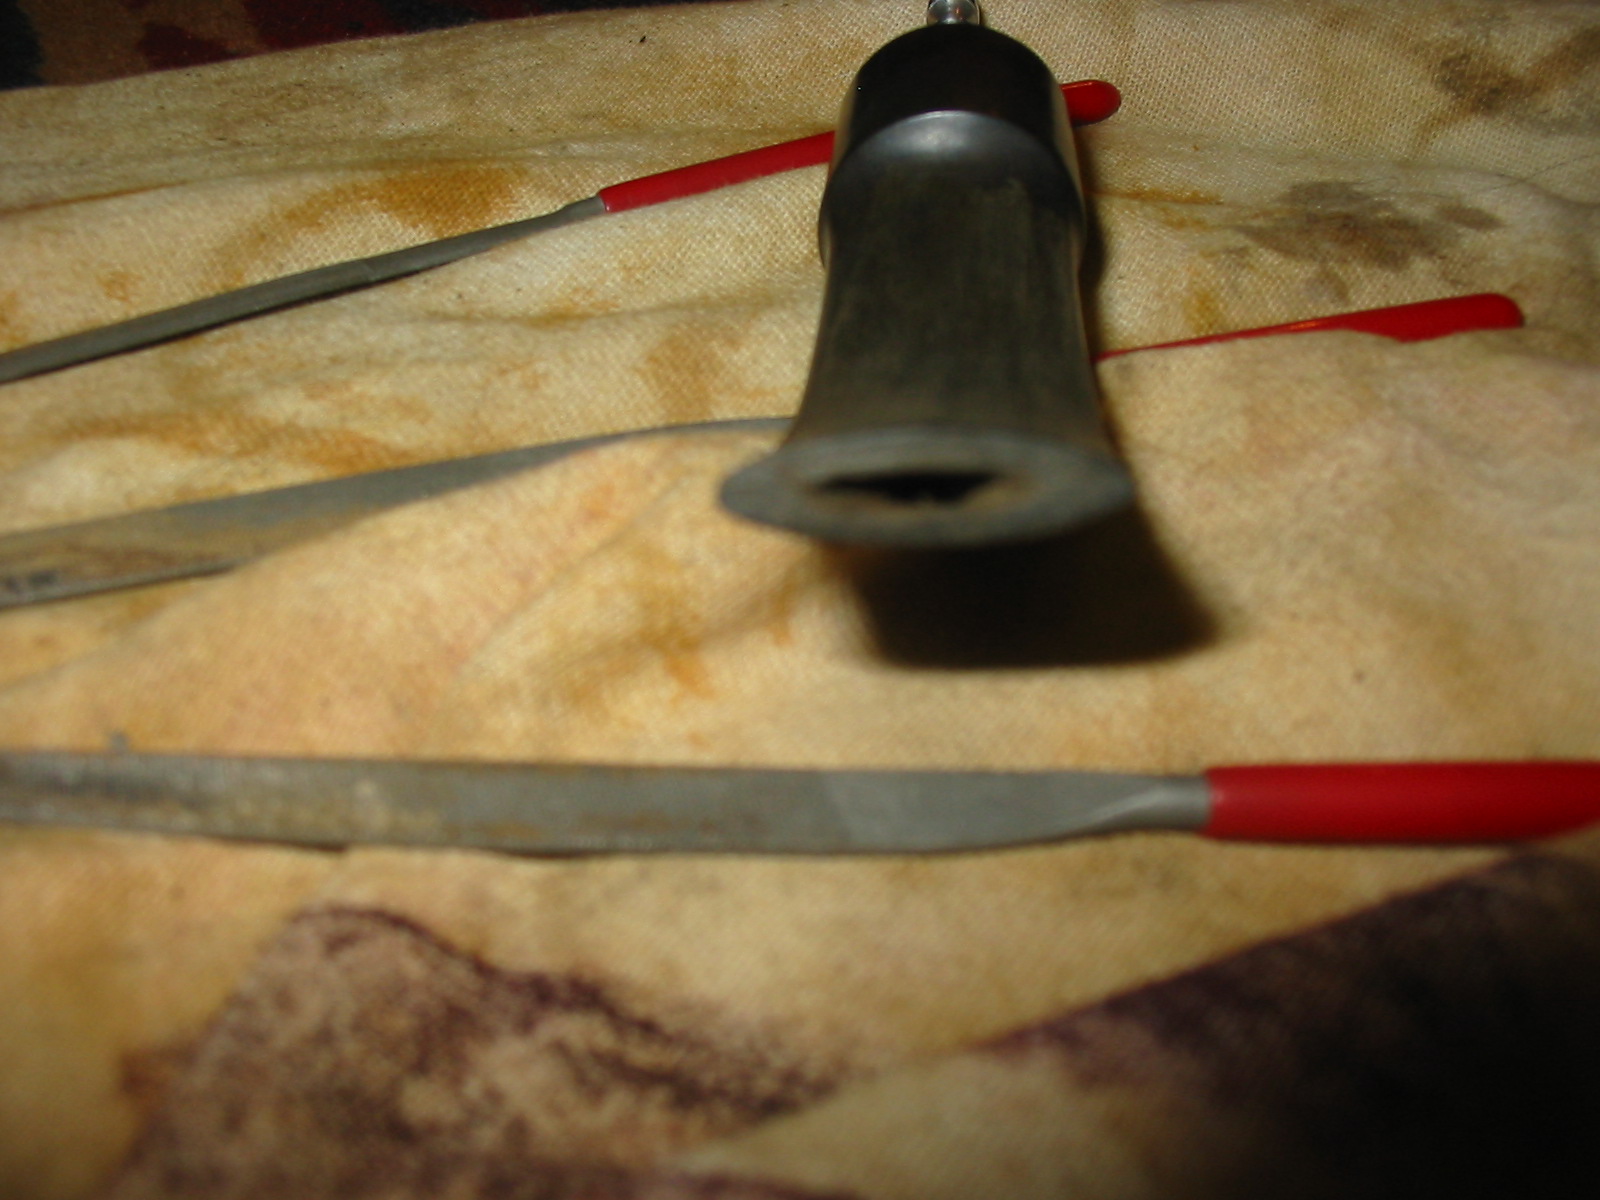
Once the button is at the place pictured above I move to work on the slot in the button. I wanted to open up the airway to match the other Weber stems that I have in my collection. If you can picture an American football, that is about the normal shape of the Weber slot. The next series of four photos shows the progress of the slot. I used a variety of smaller needle files – round, oval, flat and rectangular – to open the airway. Once I had it opened and shaped I used a folded piece of sandpaper (320 grit) to sand the opening and smooth it out. The last two photos show the shape of the slot when I had finished this part of the process.
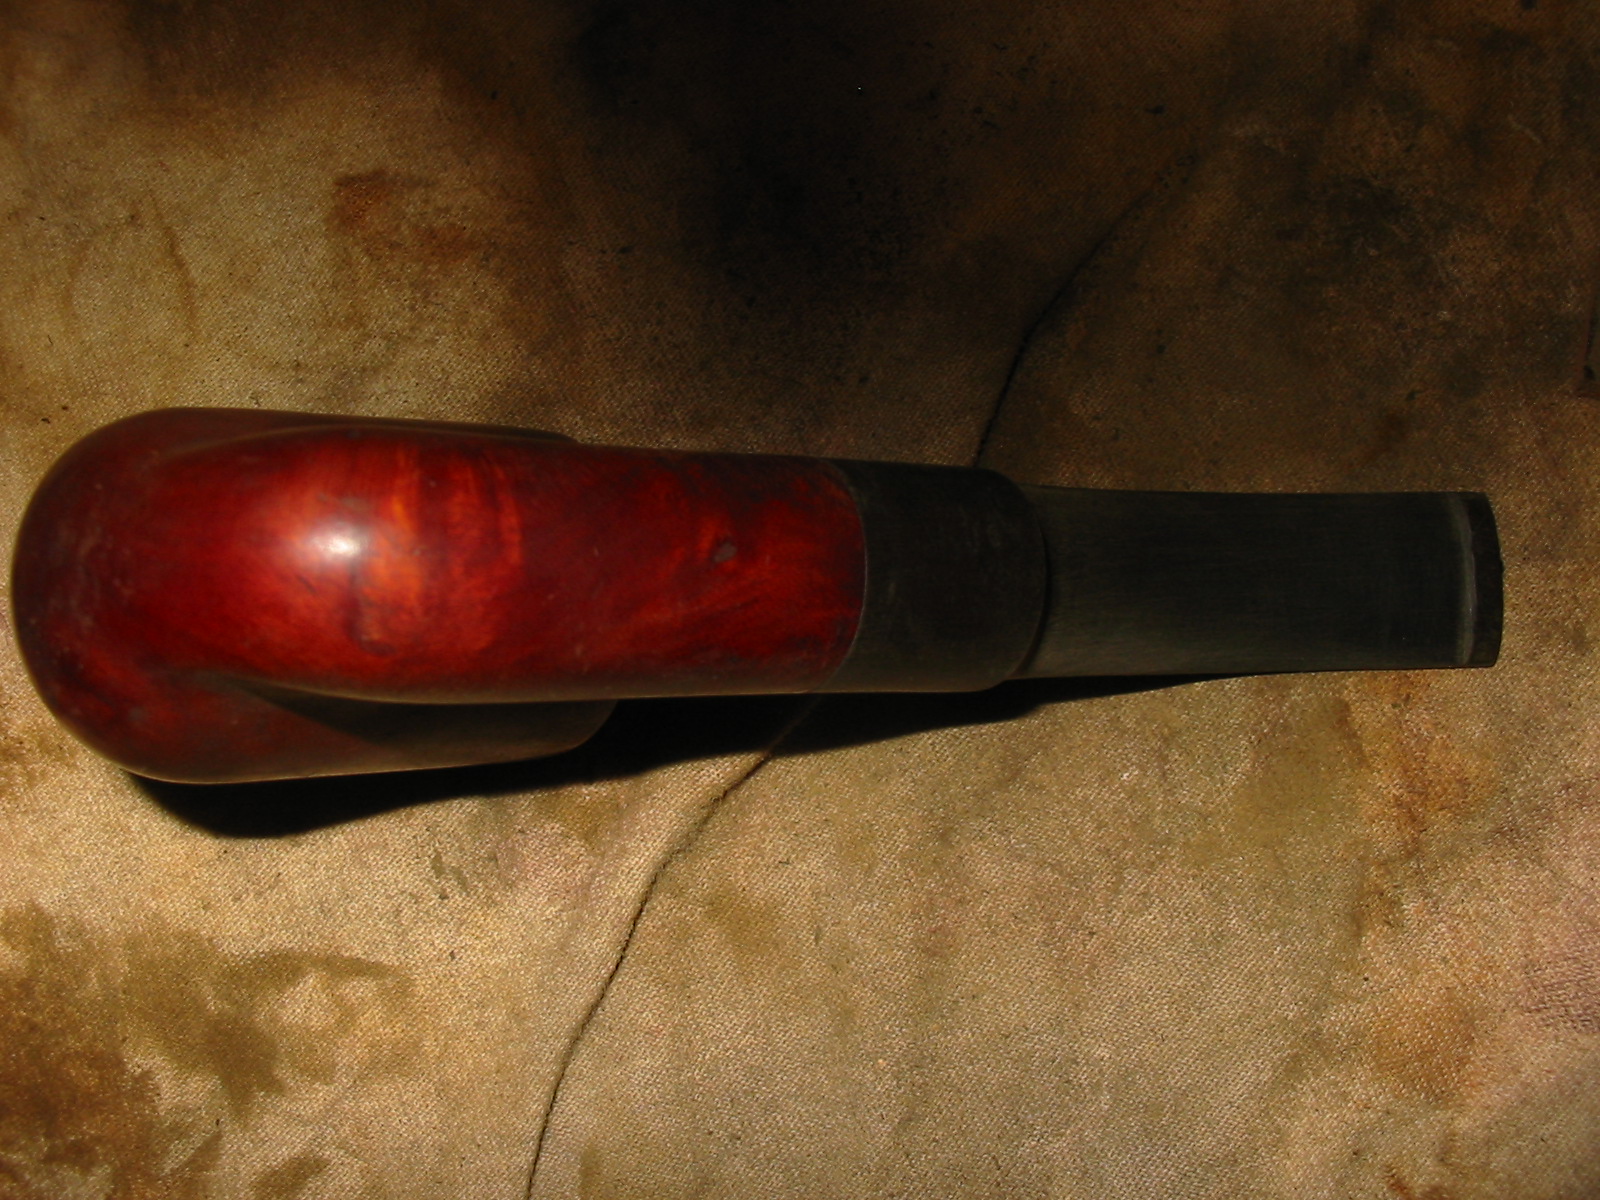
Once the slot was cut I needed to sand the stem to remove all the cut marks from the files and smooth out the surface and flow of the stem. The next four photos show the work with sandpapers and emery cloth. I began with folded medium grit emery cloth and worked through the medium grit sanding sponge and then 220 and 240 grit sandpaper. When I finished sanding with these sandpapers the oxidation was gone and the file marks were removed. The new button is very visible and the edge is well defined. It feels great in the mouth and catches nicely behind the teeth. The slot is smooth and the draw is open.
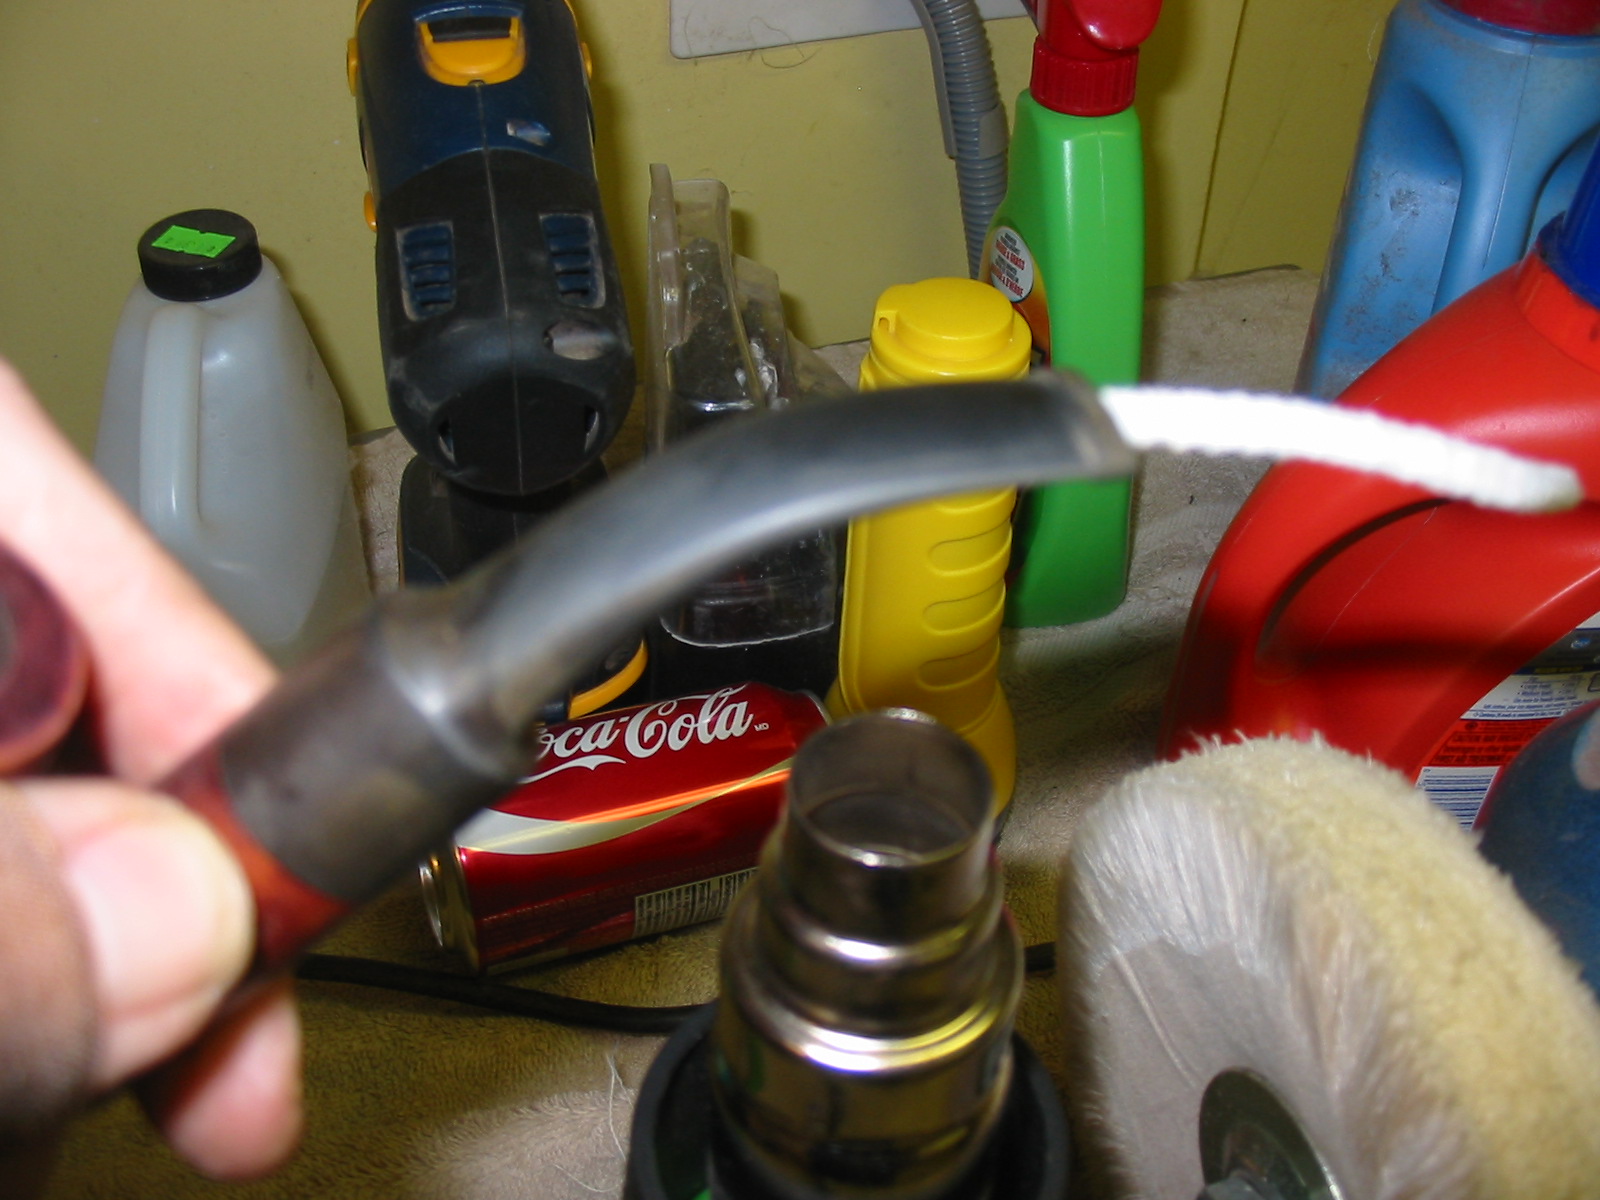
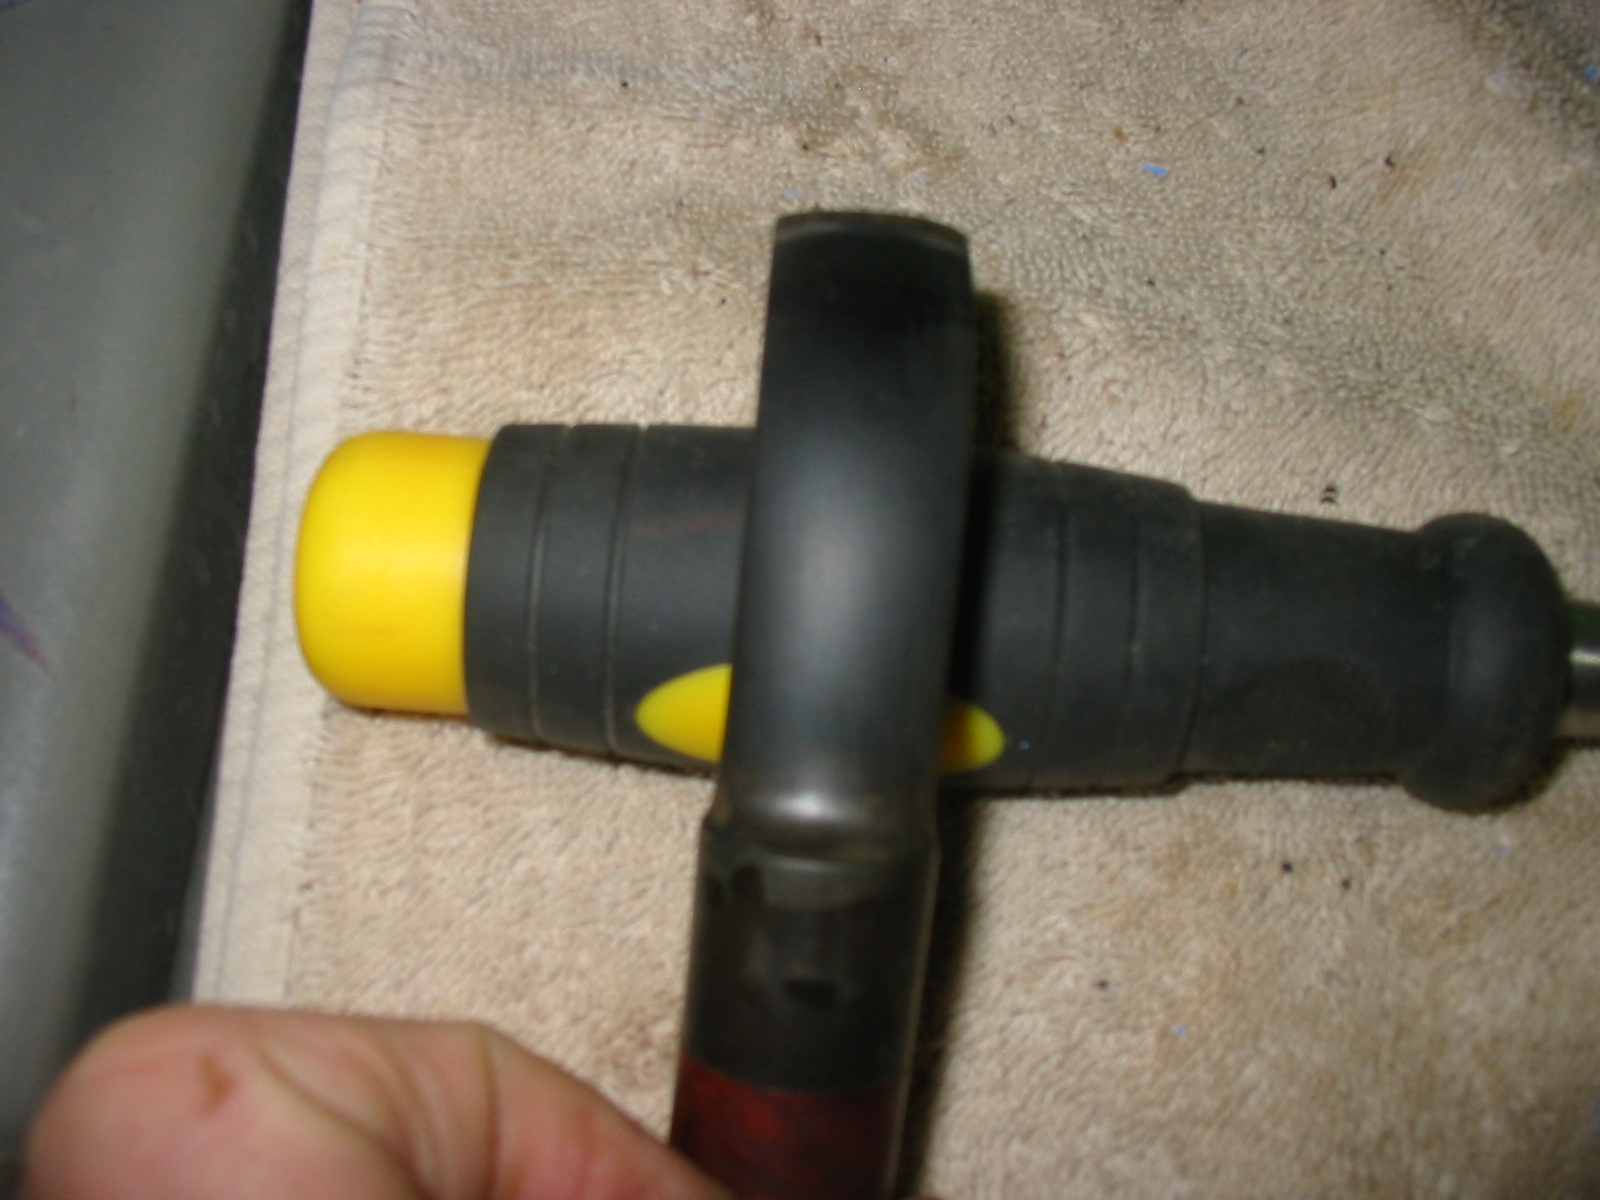
In the last two photos above you can see that the stem needs to be bent to make it look right and hang correctly in the mouth. I set up my heat gun on the table and inserted a pipe cleaner in the stem. When I am bending a stem I do not want to put a kink in the airway or somehow collapse the airway in the process. Once I have this ready I turn the heat gun on the lowest setting and hold the stem about 2-3 inches above the tip of the gun. If you hold it to close the stem bubbles and the vulcanite can burn. I heat it until it straightens further and that gives me a good sign that the stem is pliable enough to bend. I either use a piece of dowel or some other round tool handle that has the proper bend that I am going for with the stem. I lay the heated stem over the handle or dowel and press the stem downward to comply with the bend. Once I have it where I want it I let it sit for a few moments and then submerge the end of the stem under cool water. The first two photos below show the process of heating the stem and bending it over the tool handle. I repeated this bending process several times to get the bend that I wanted in the stem. The third photo shows the stem after it has been cooled off. This was the angle that I wanted on the stem. All that remained was to do some more sanding to the surface to smooth it out.
The next series of four photos show the pipe after the sanding has been finished. I wet sanded the stem with 400 and 600 grit wet dry sandpaper to further remove the scratches left by the previous sandpapers. I then used micromesh sanding pads 1500, 1800 and 2400 grit with water and wet sanded the stem further. I sanded the stem on the pipe be careful around the shank. I removed it from the shank to really smooth out the scratches around the saddle area of the stem. I sanded the button and the slot edges with the same grit micromesh until they were smooth and matte finished. I then polished the stem with Maguiar’s Scratch X2.0 rubbed on by hand and then scrubbed with a cotton pad. I sanded further with micromesh sanding pads 3200, 3600 and 4000 grit this time using water on the first two grits and then finishing that trio up by dry sanding with the 4000 grit pad. I coated the stem with Obsidian Oil and let it soak in before taking it to the buffer and buffing with White Diamond both the pipe and the stem. I took it back to the table and finished dry sanding with 6000, 8000, 12,000 grit micromesh sanding pads. I buffed the stem and pipe with several coats of carnauba wax to bring it to a shine.

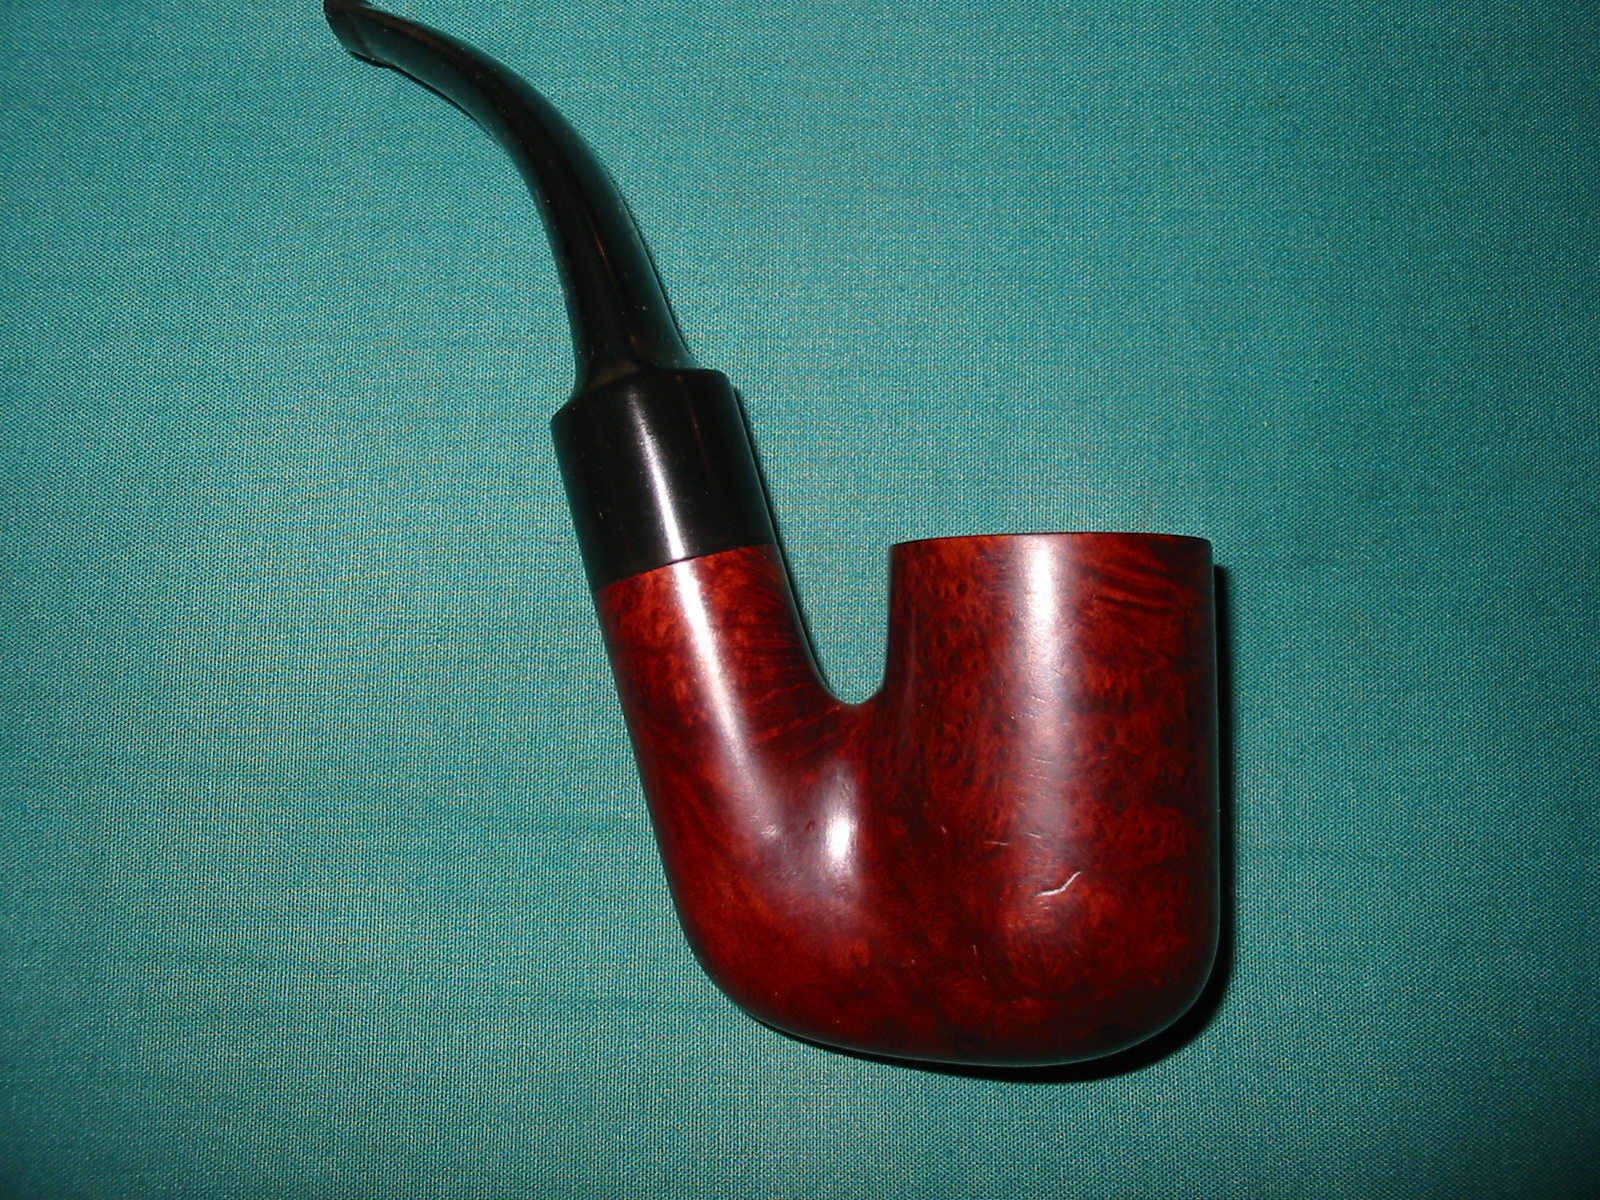
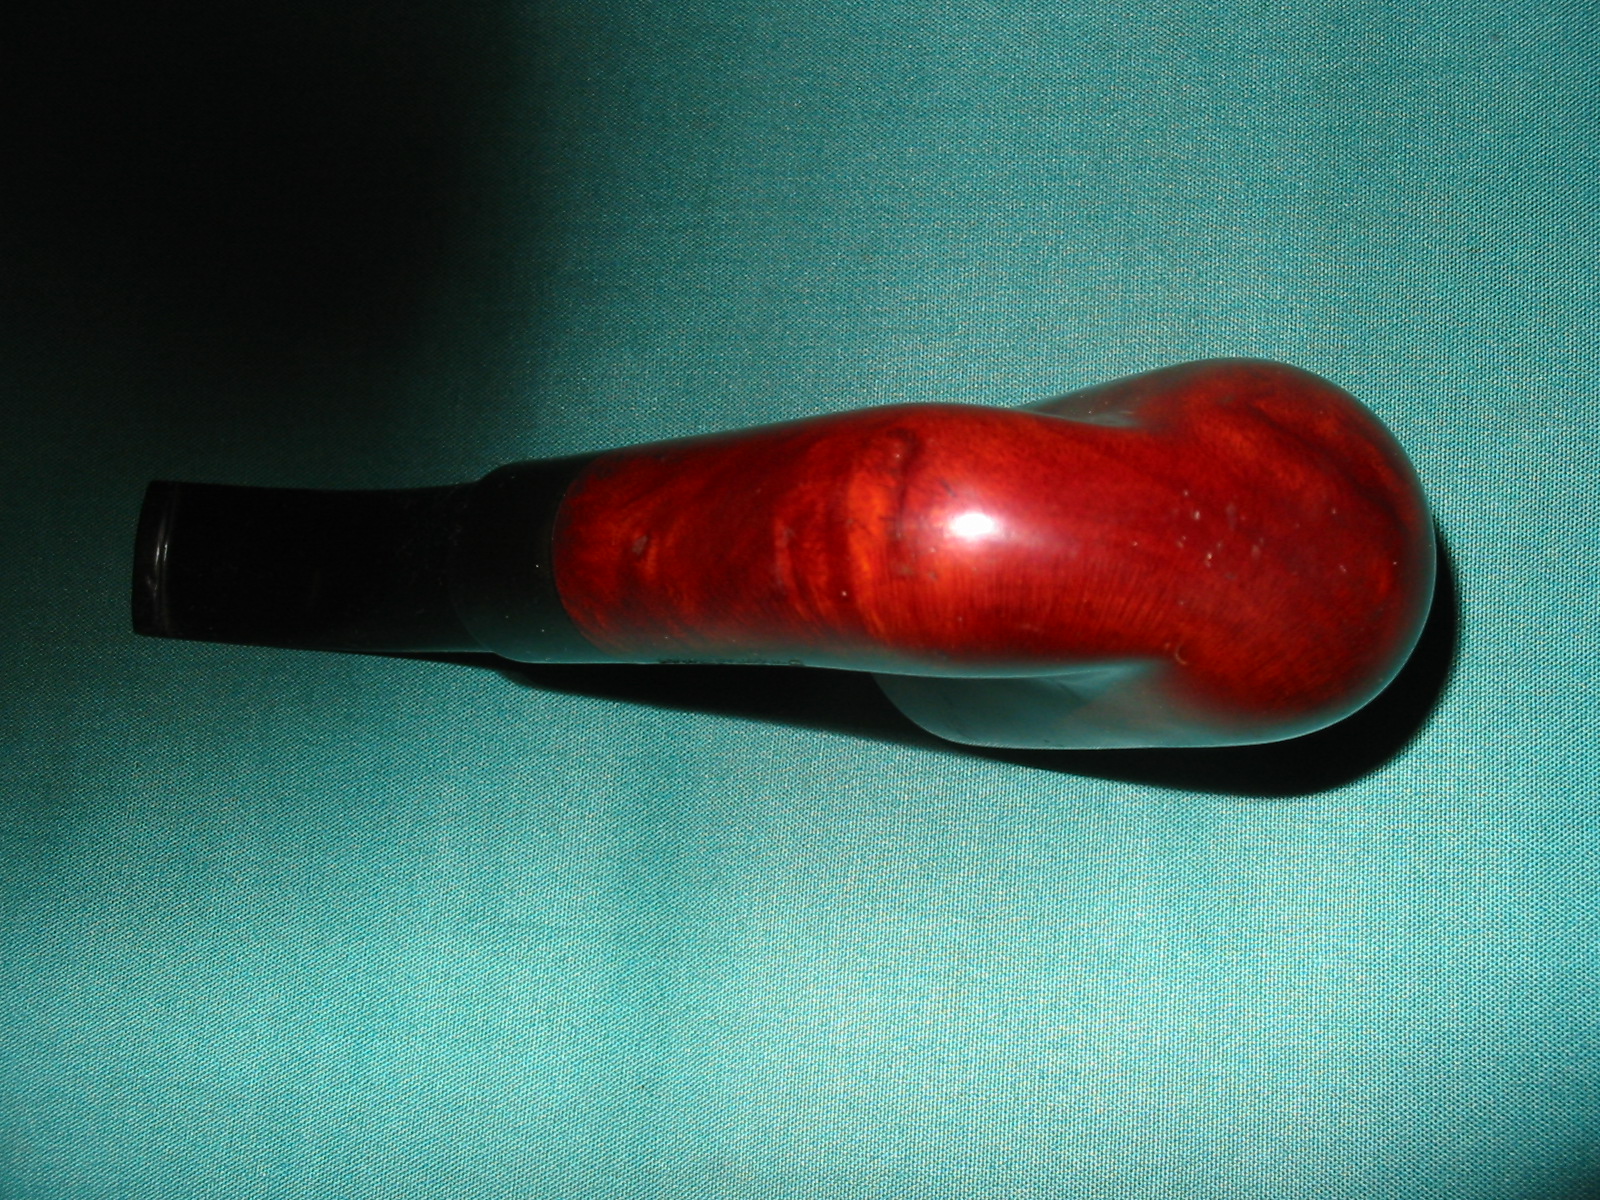

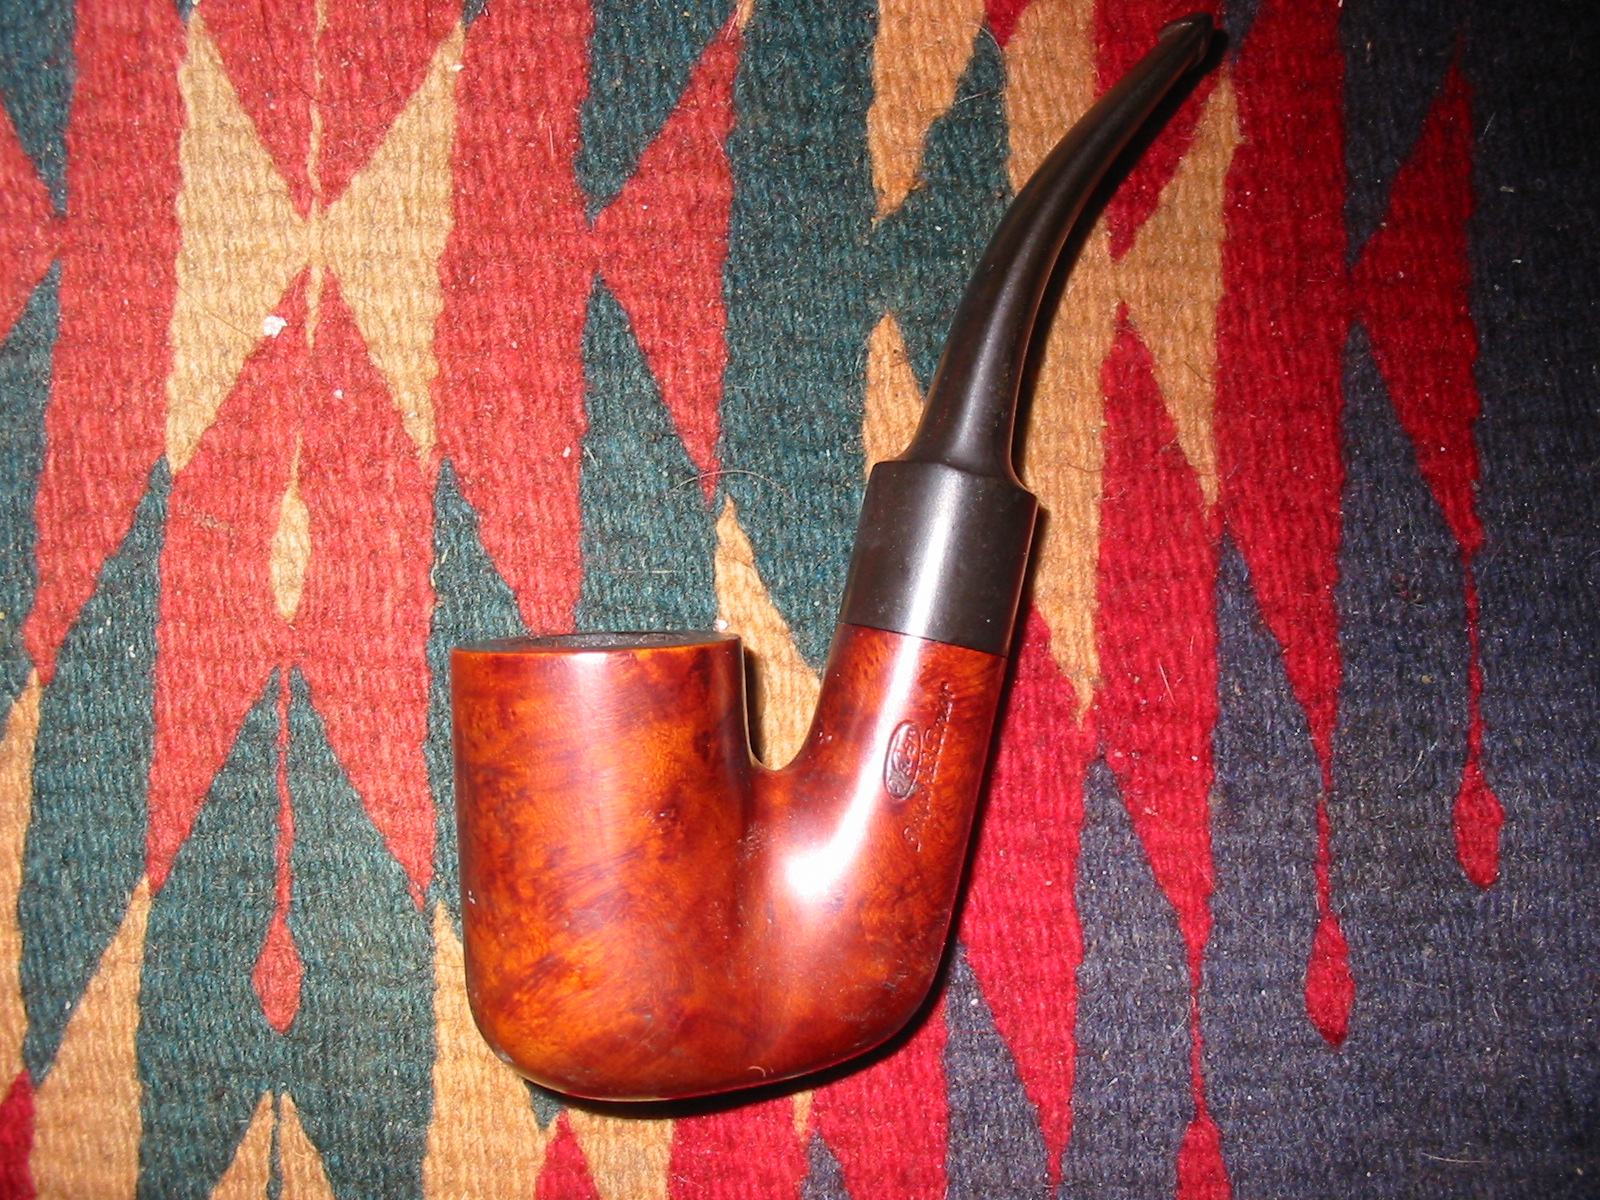
One of the perks of working on this pipe was that I did not need to restain it or remove the finish on the bowl and start over. The finish was salvageable and the darkening on the rim is smooth but in hand it is much lighter than it appears in the photo above.