Blog by Steve Laug
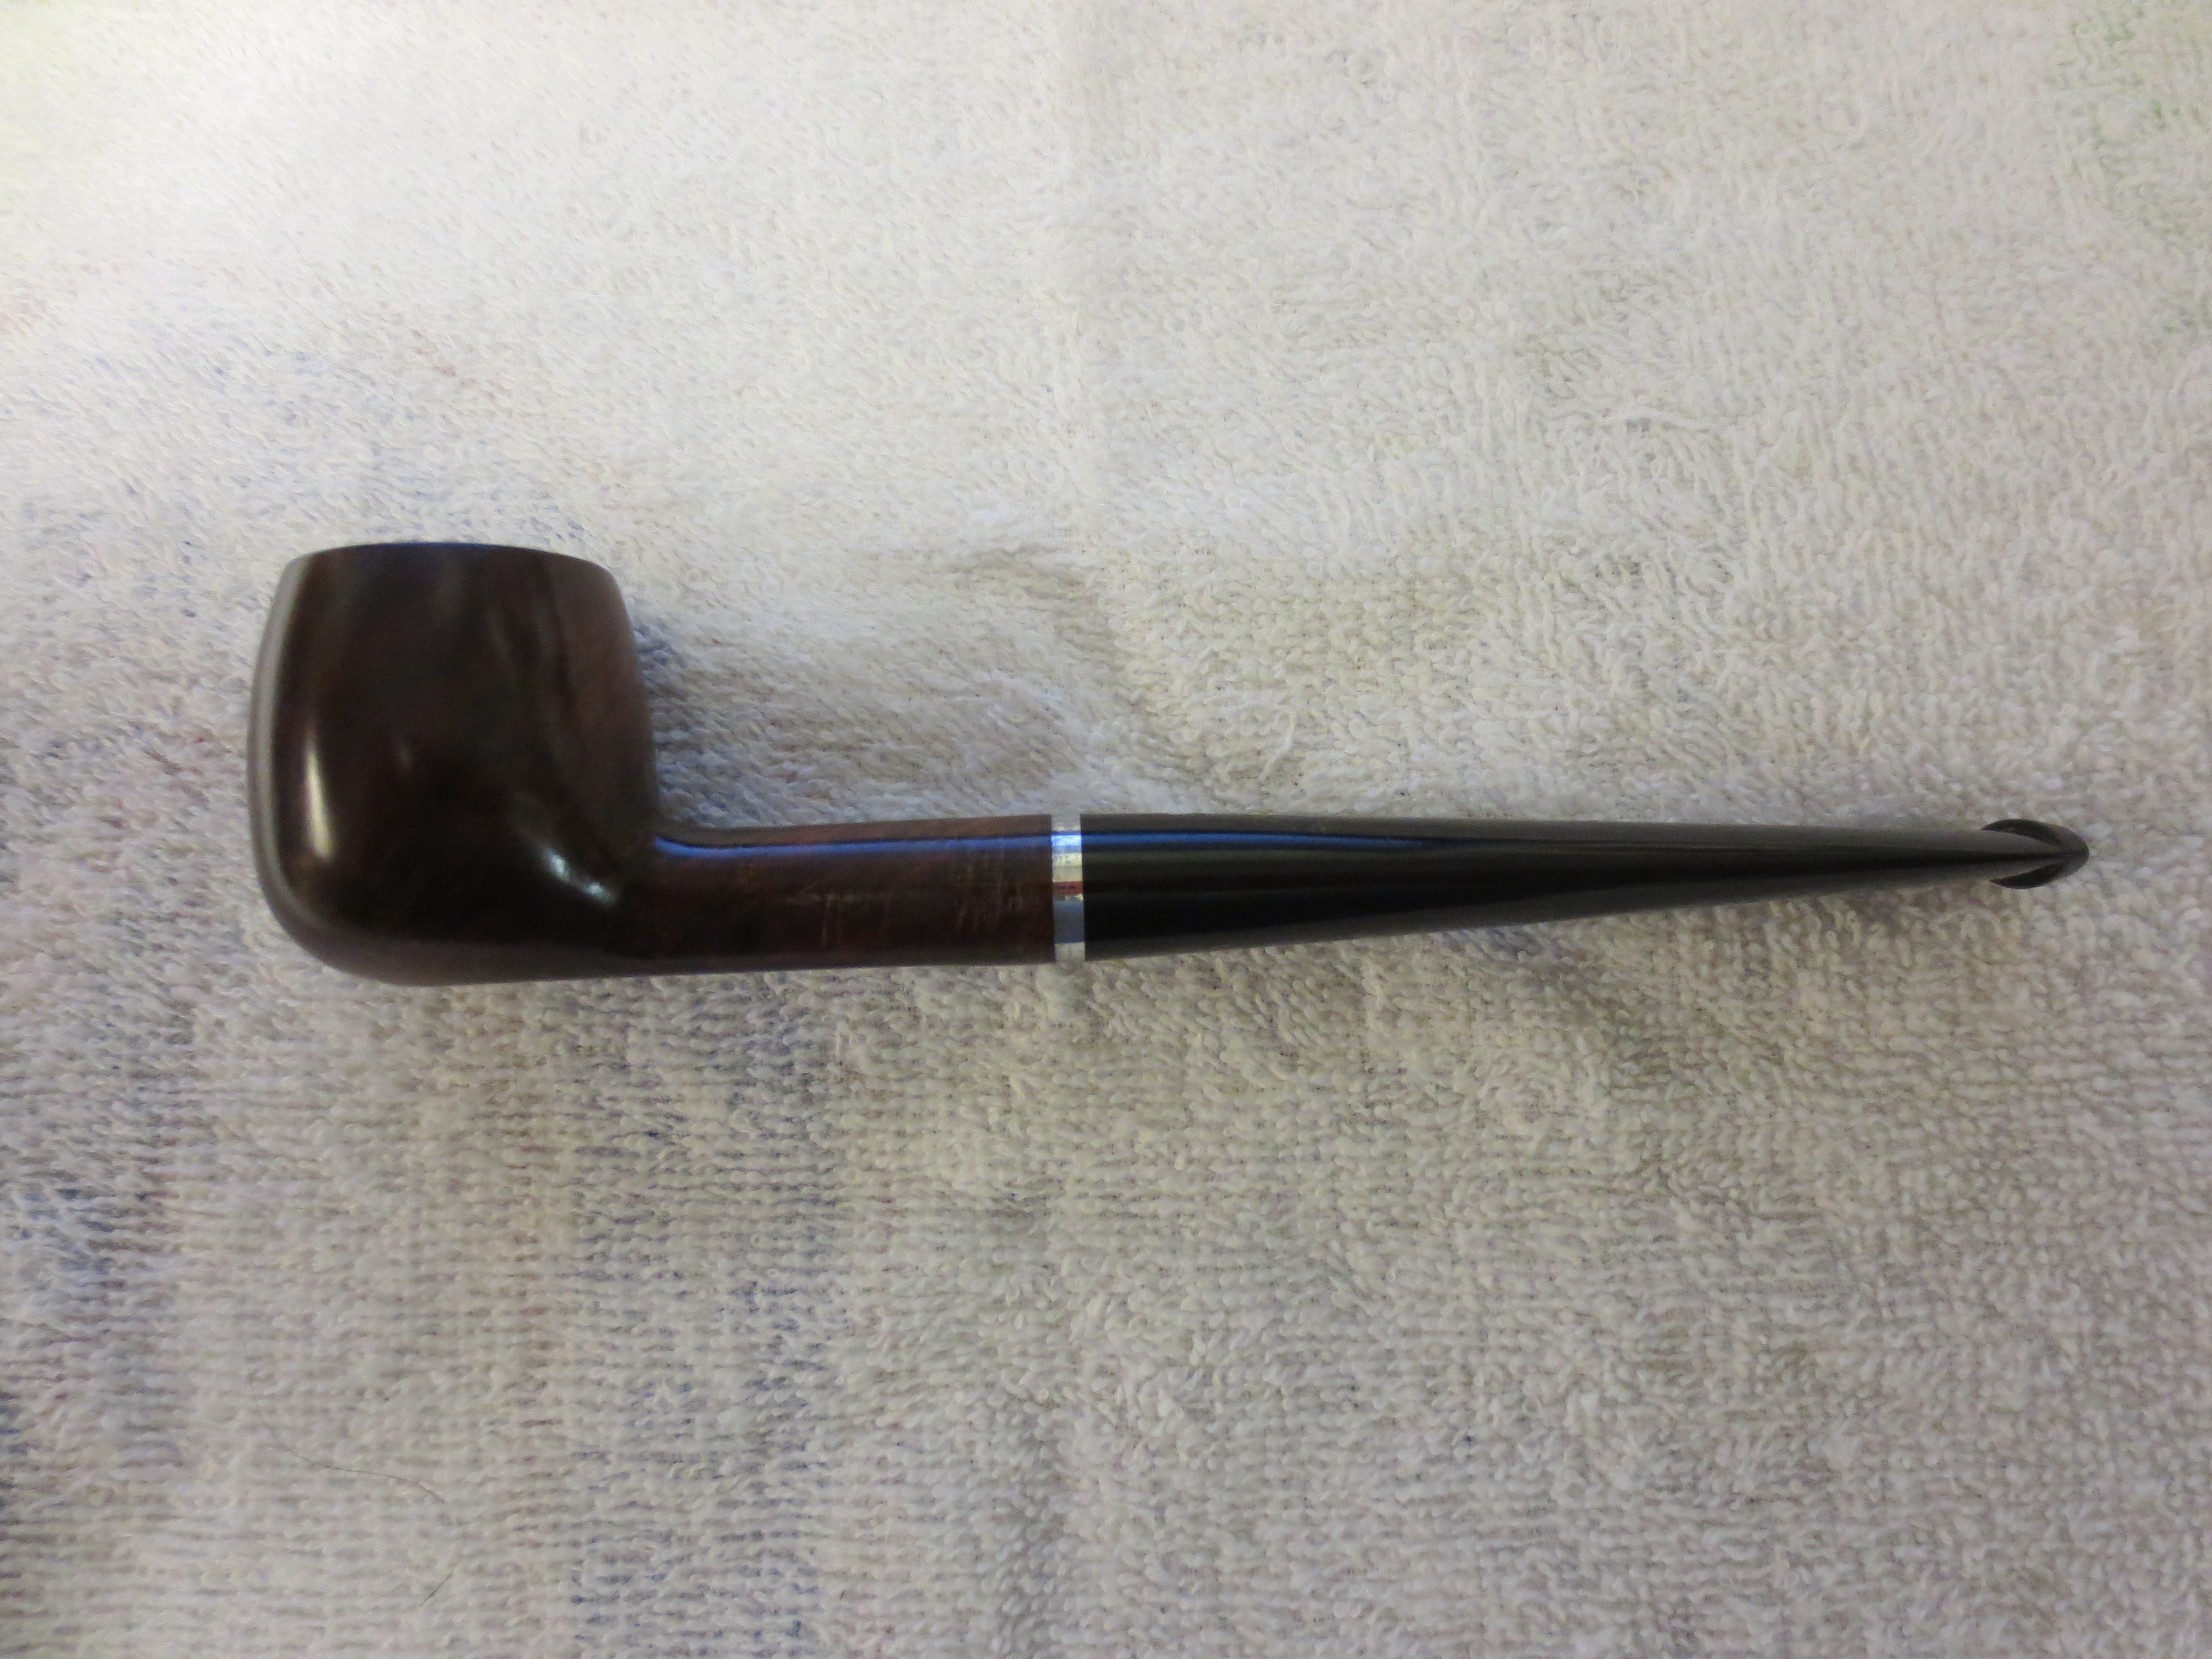
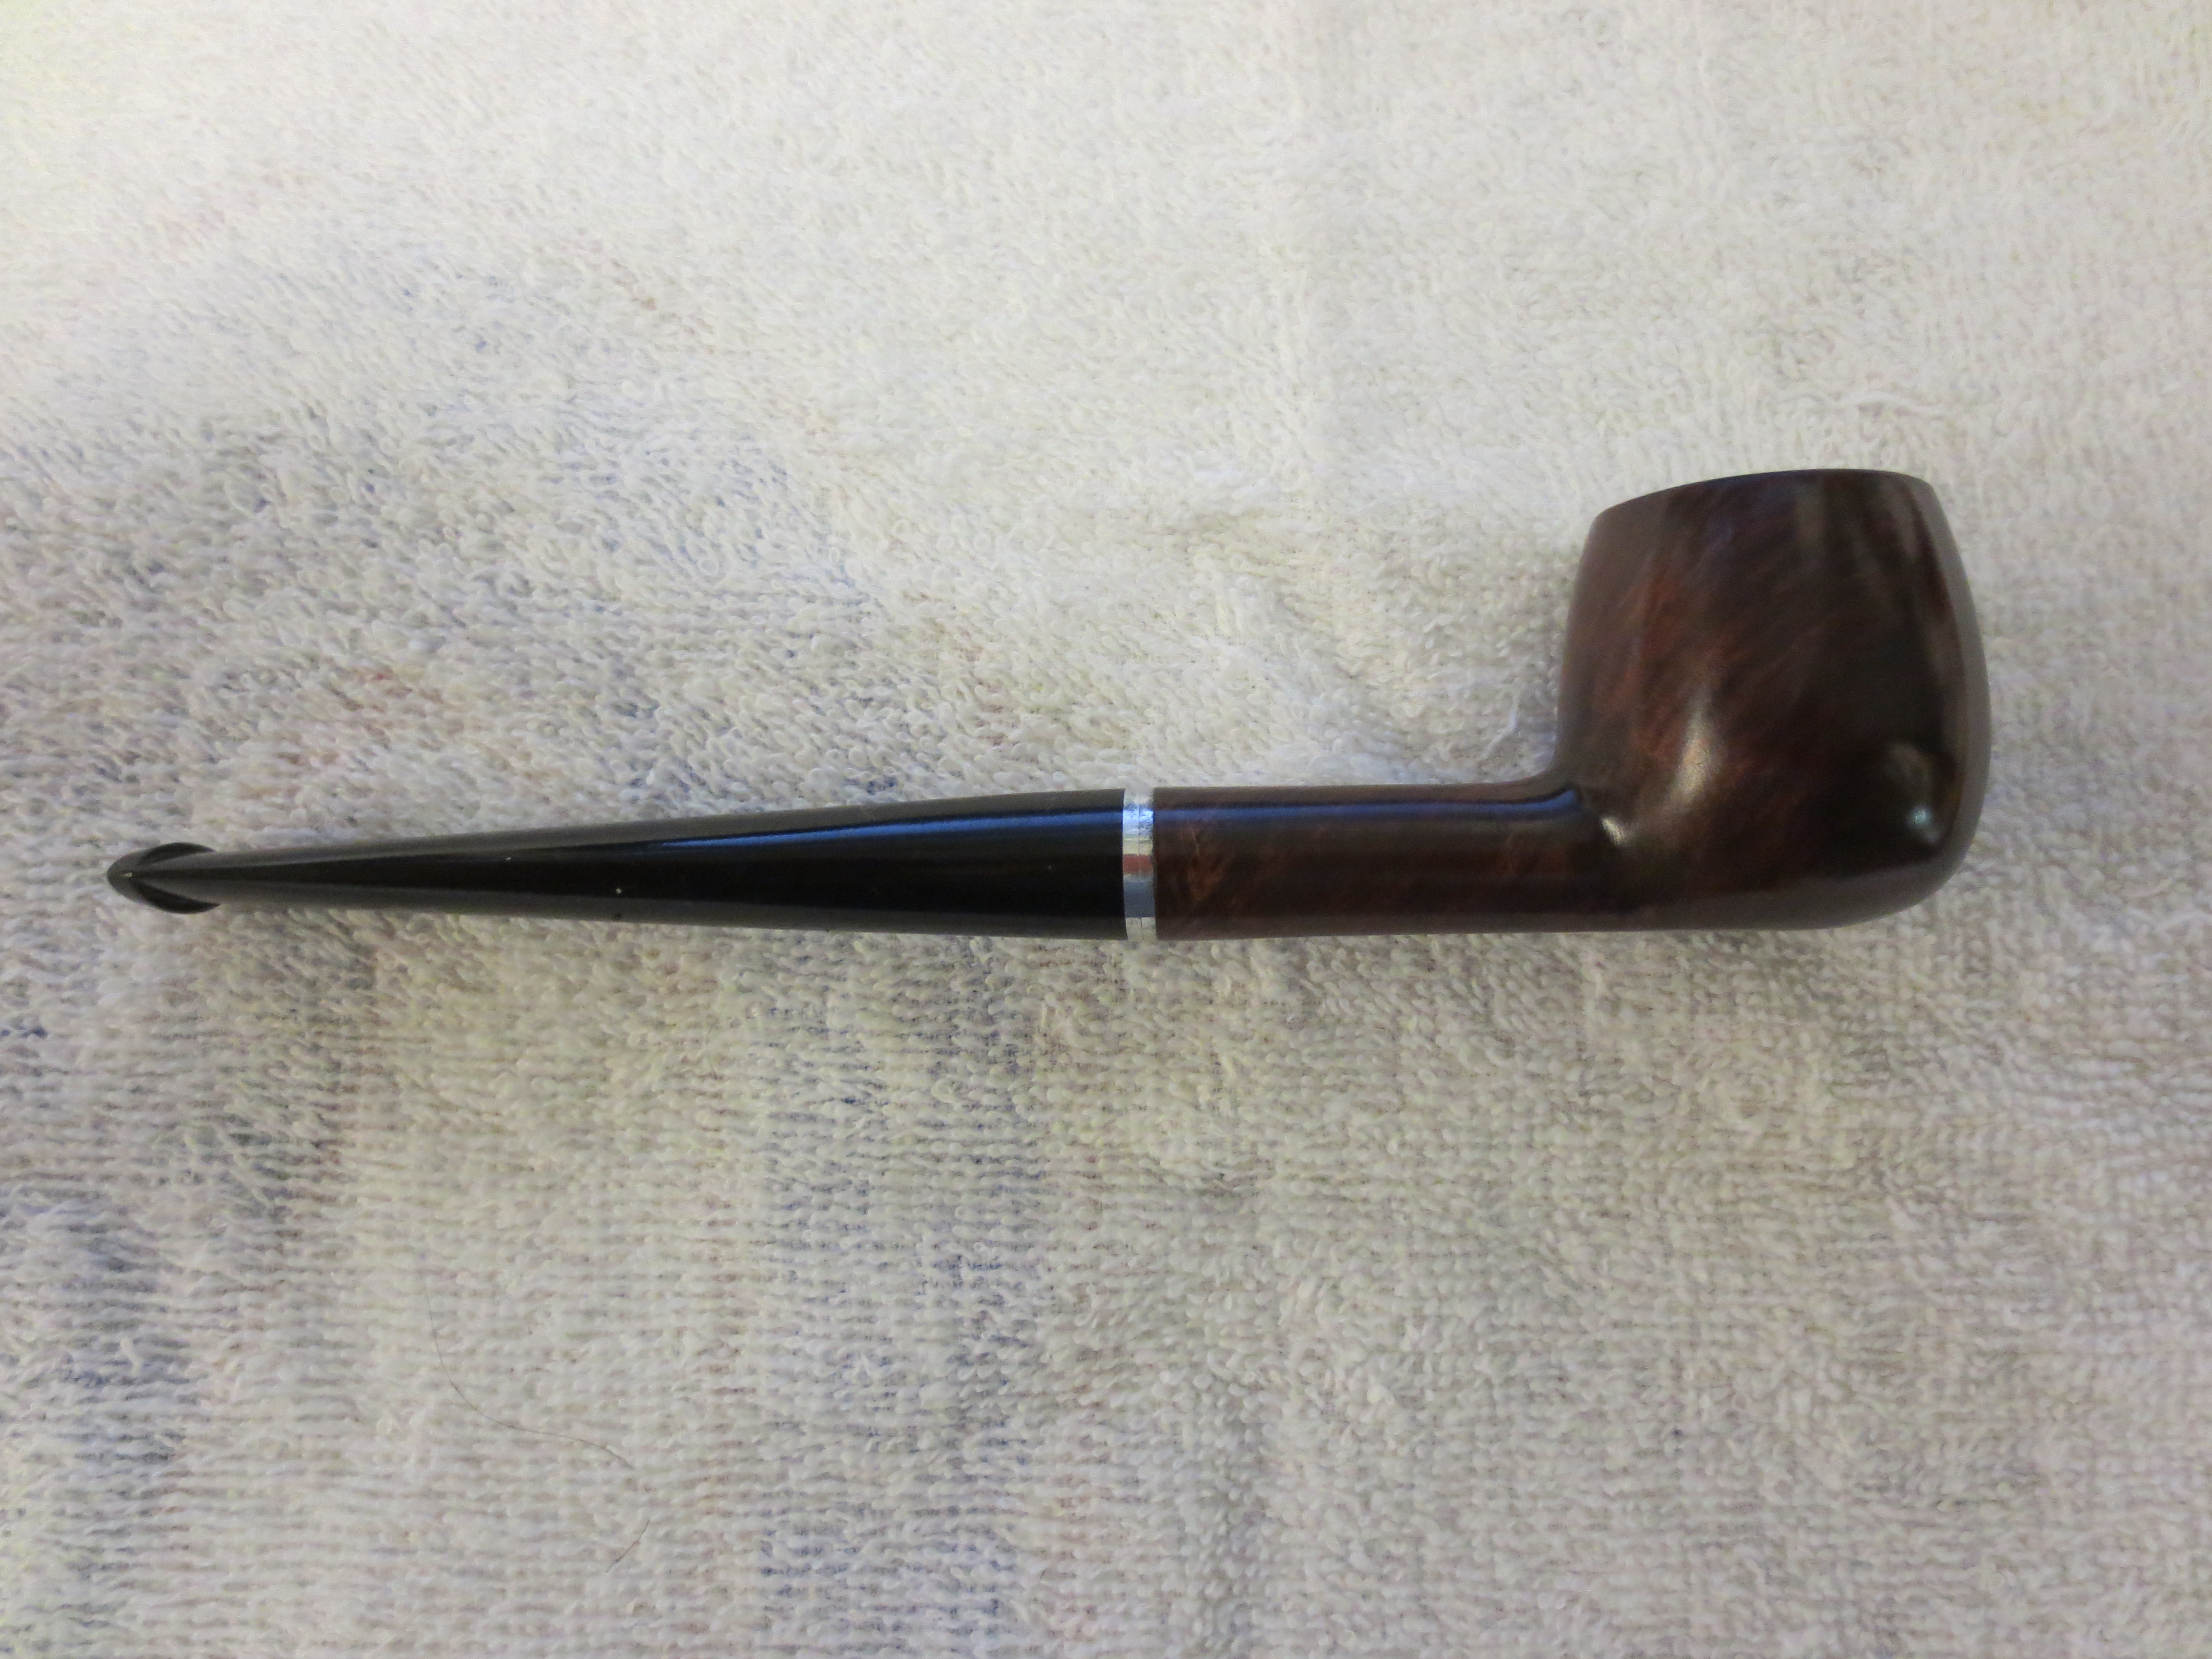
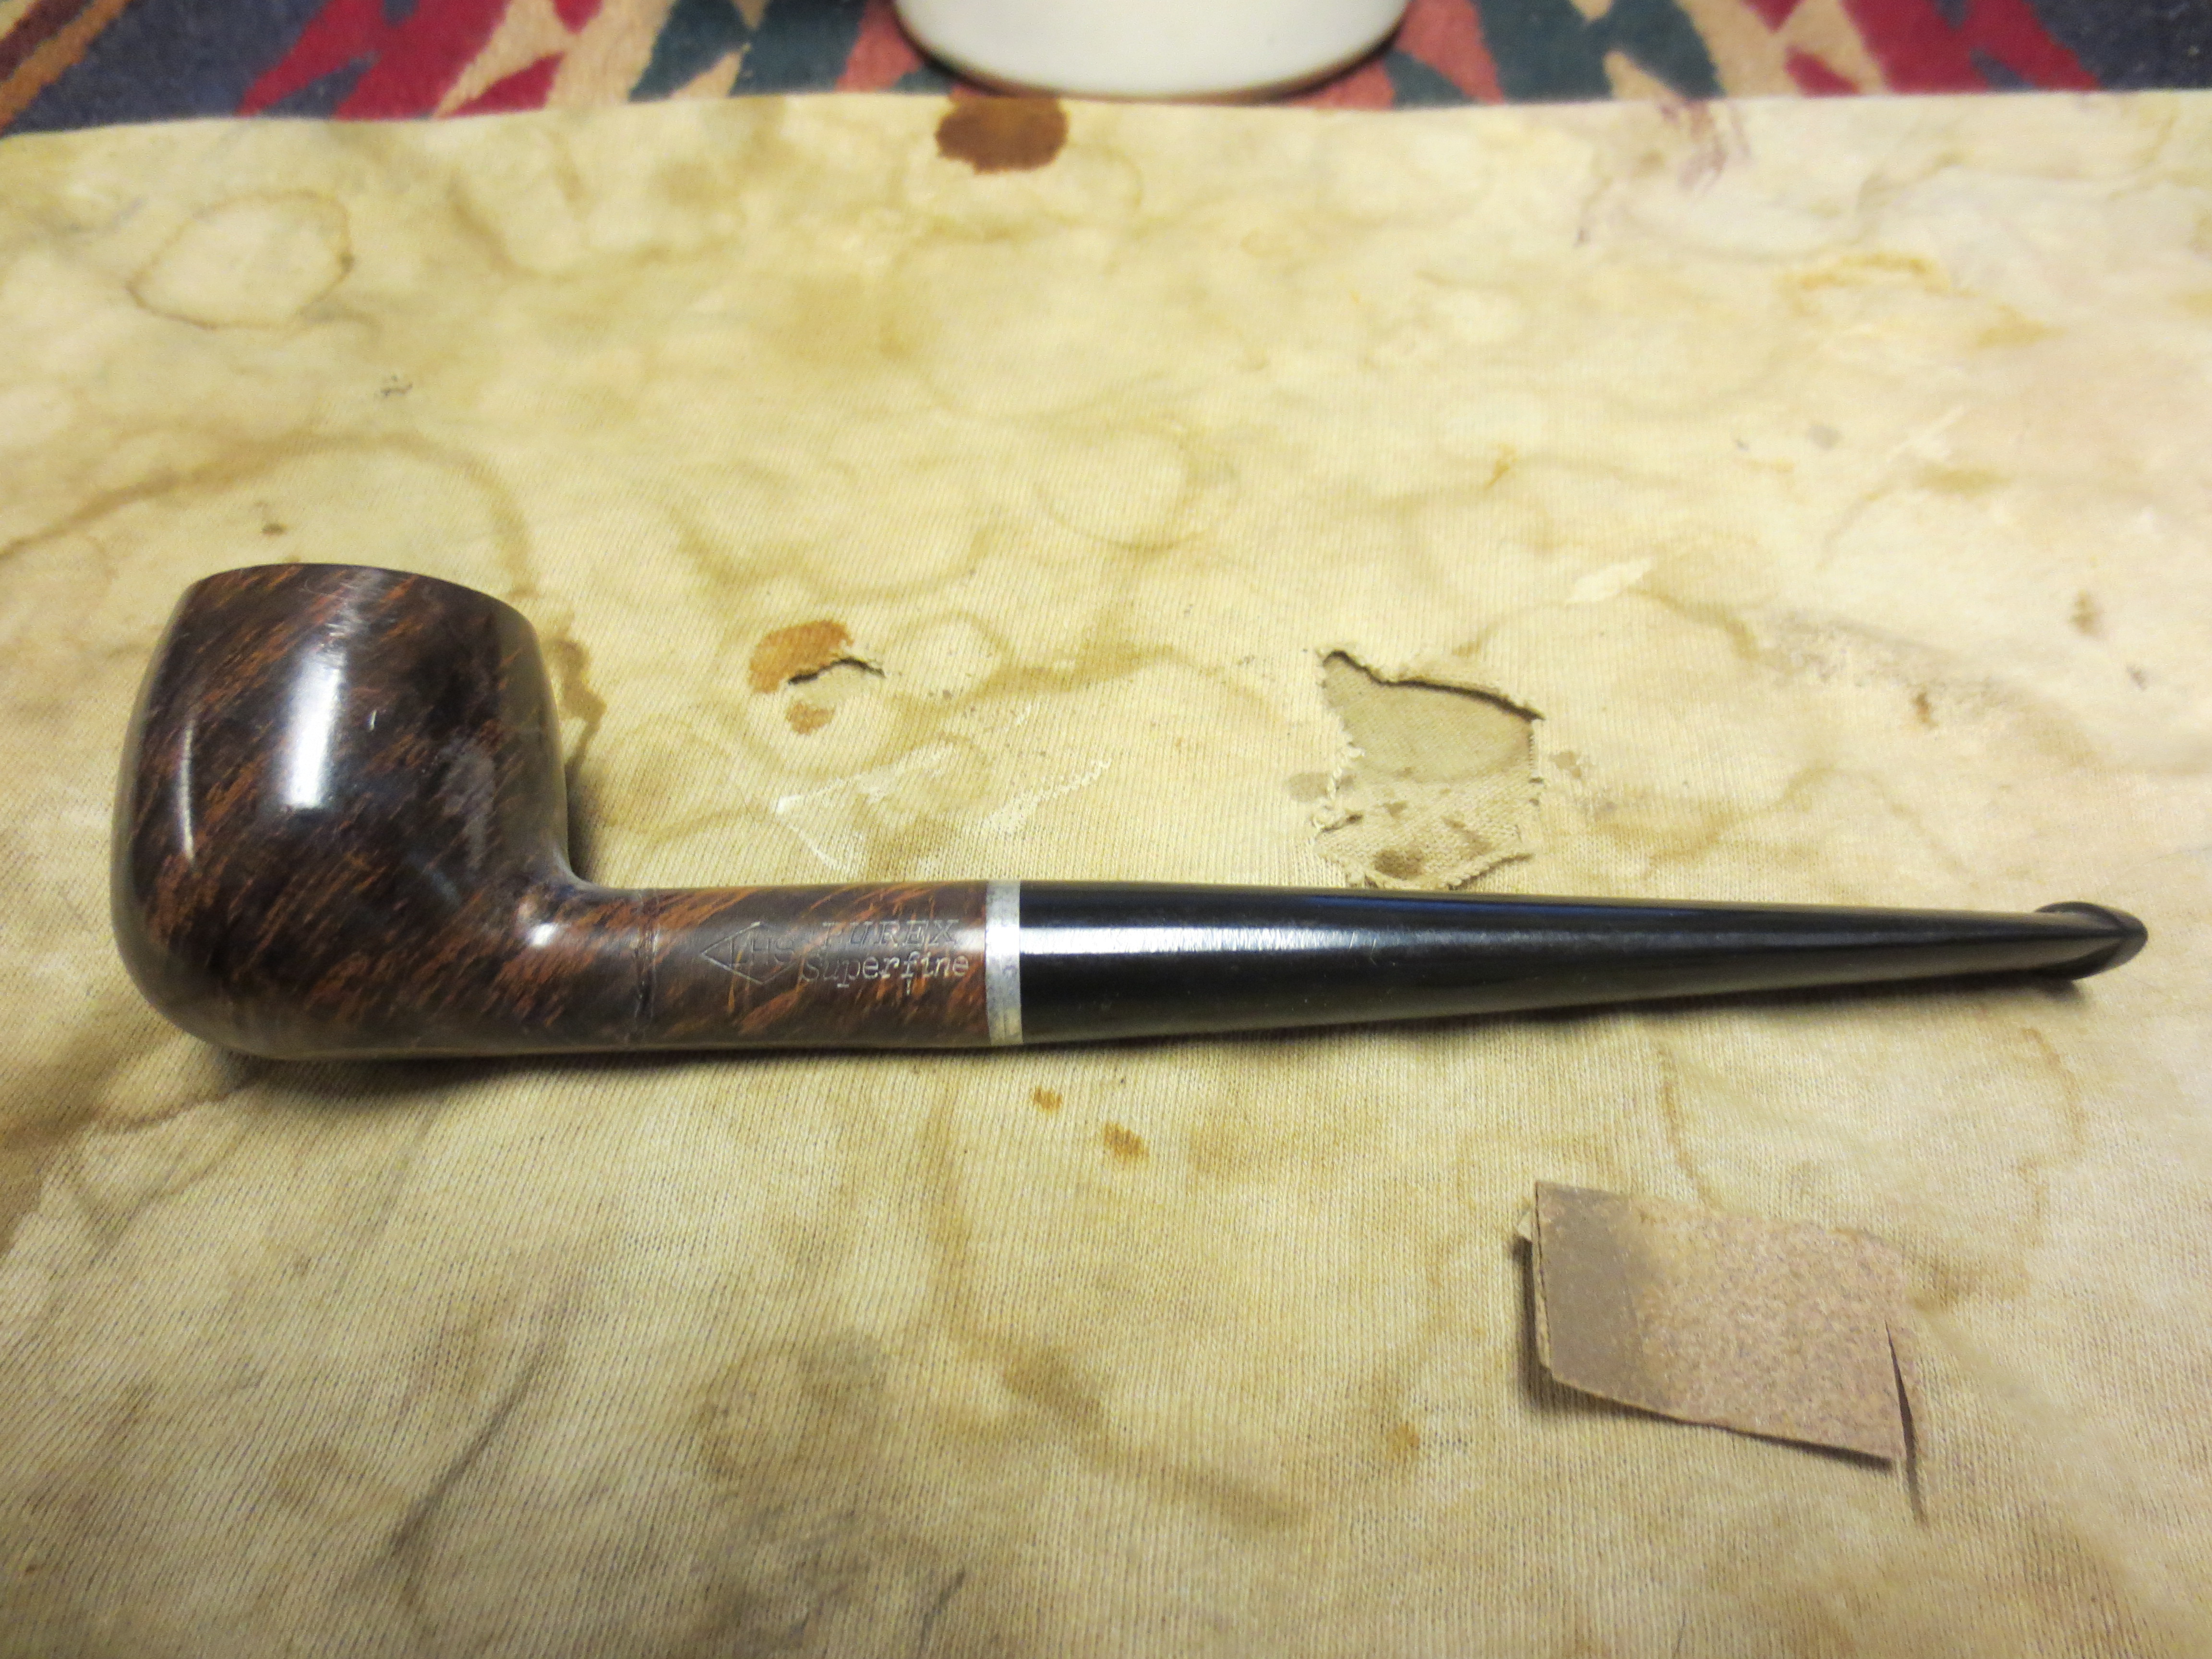
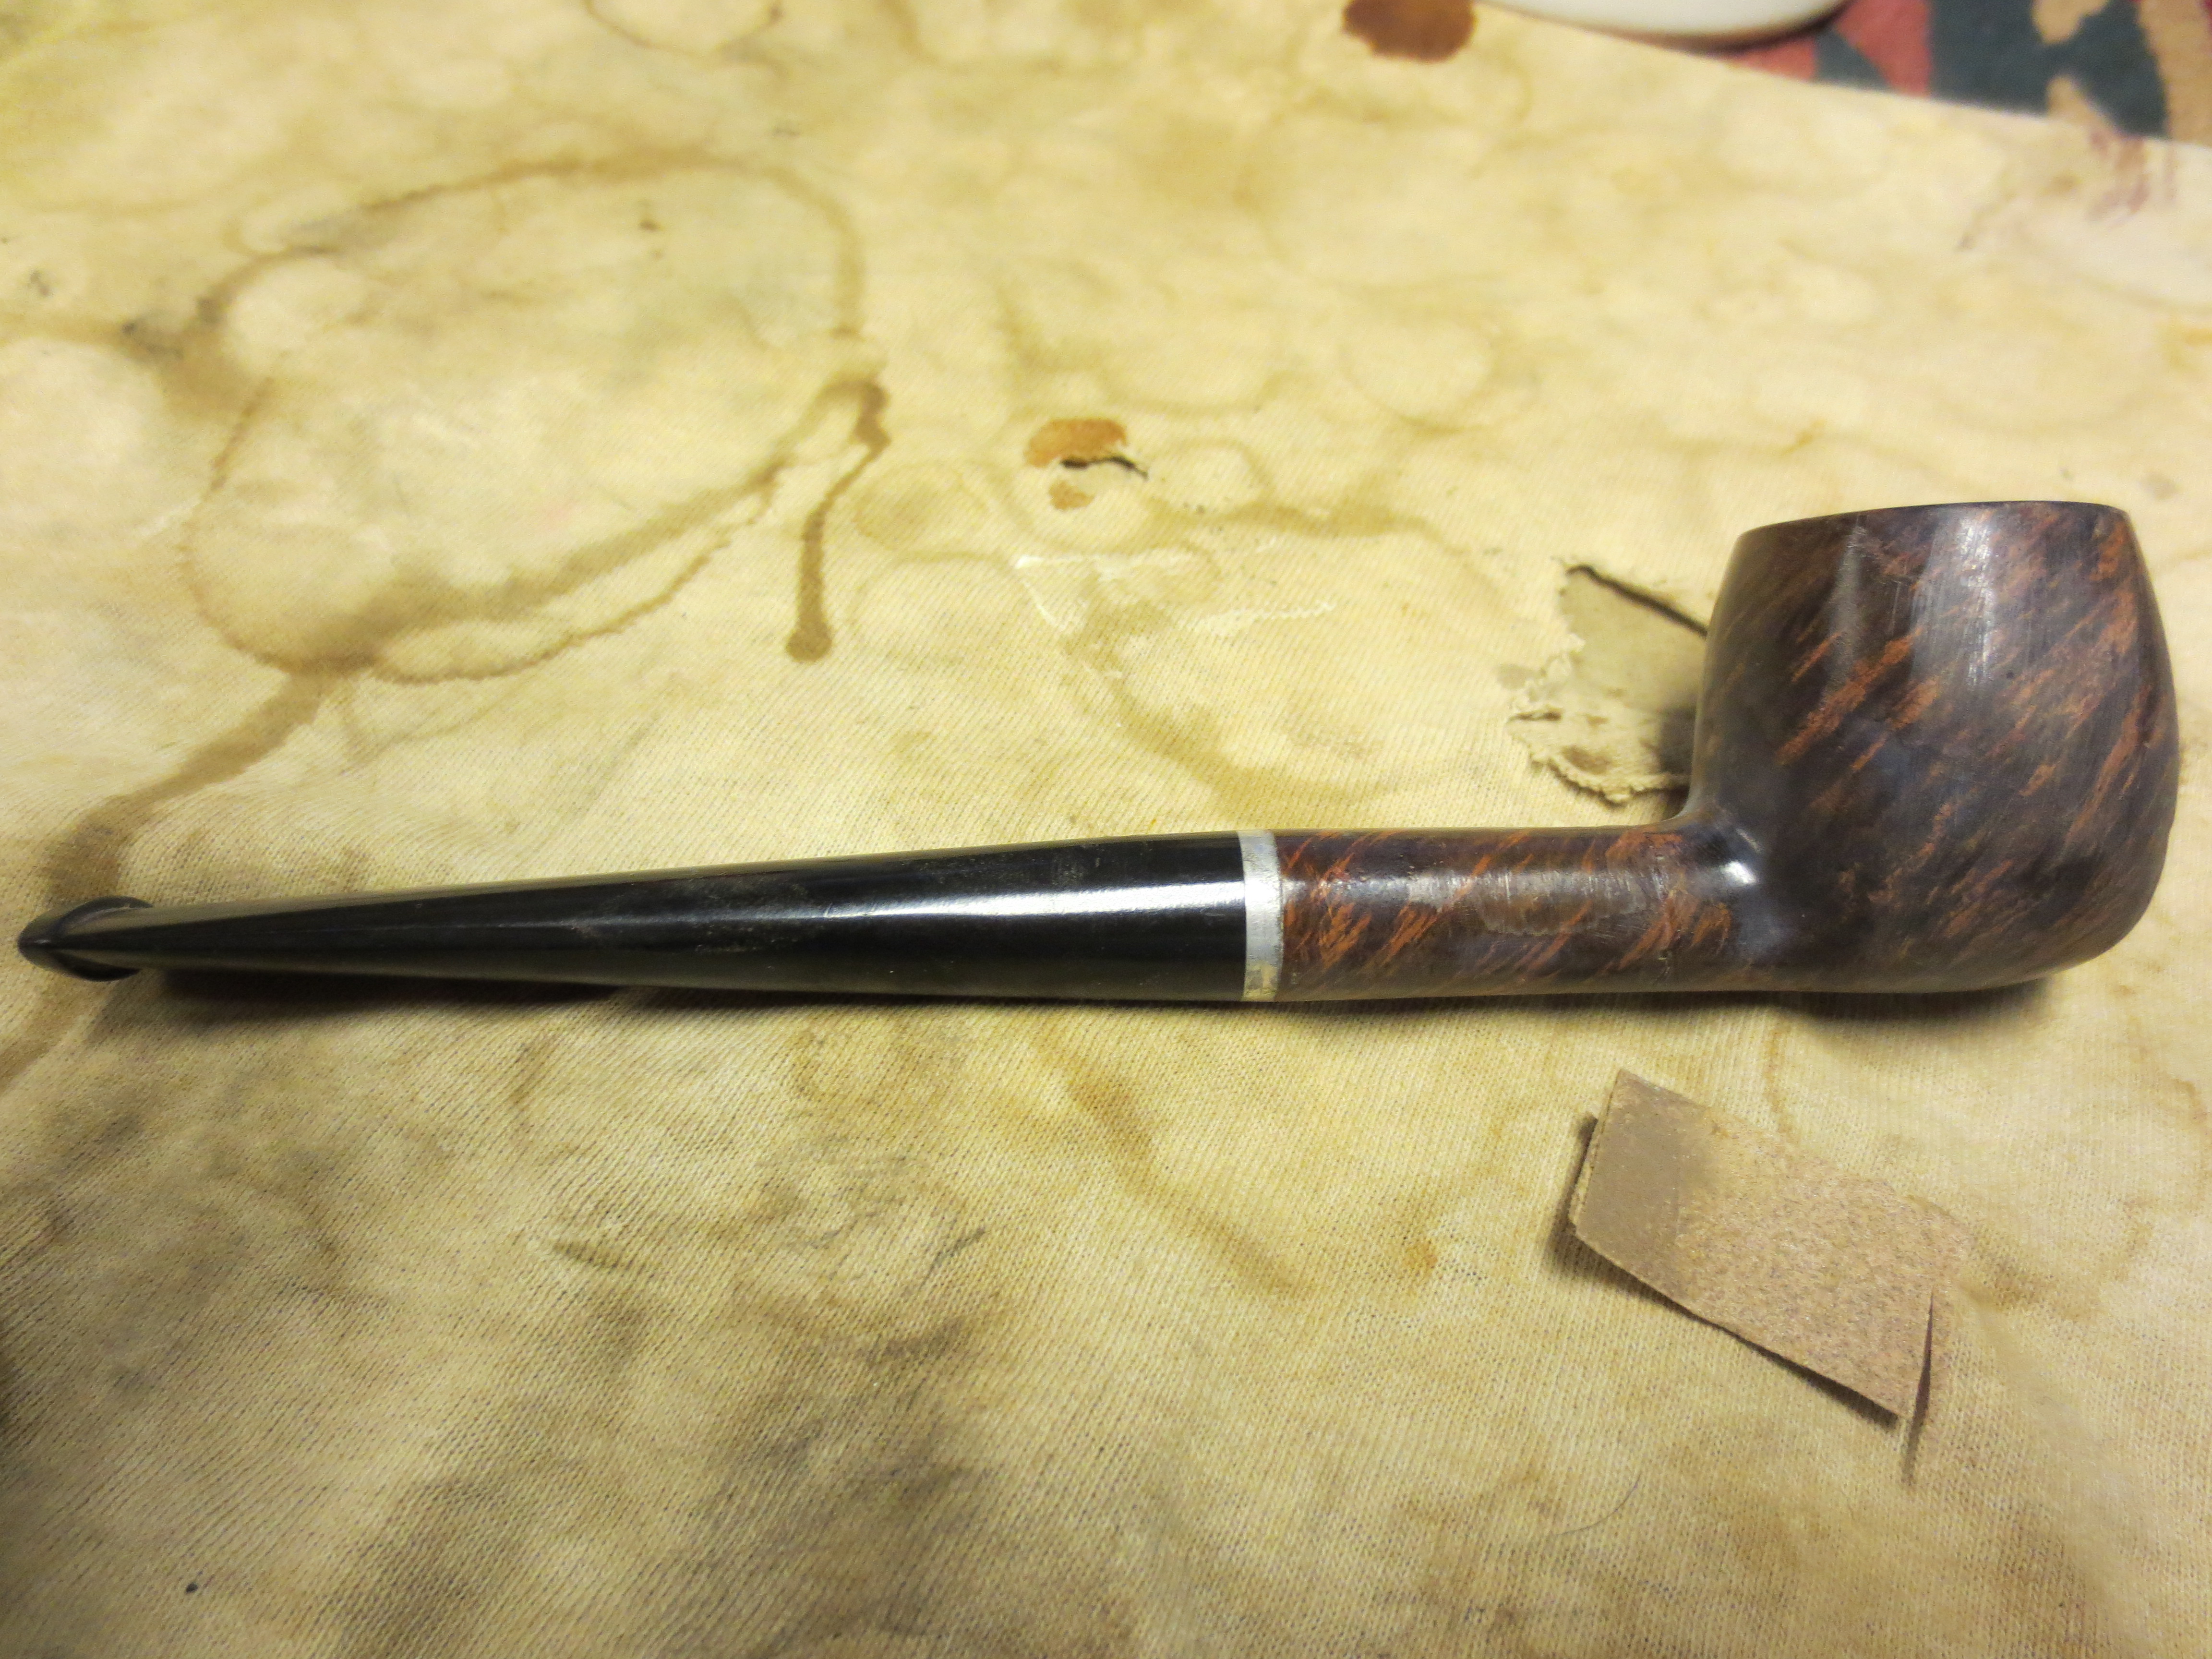
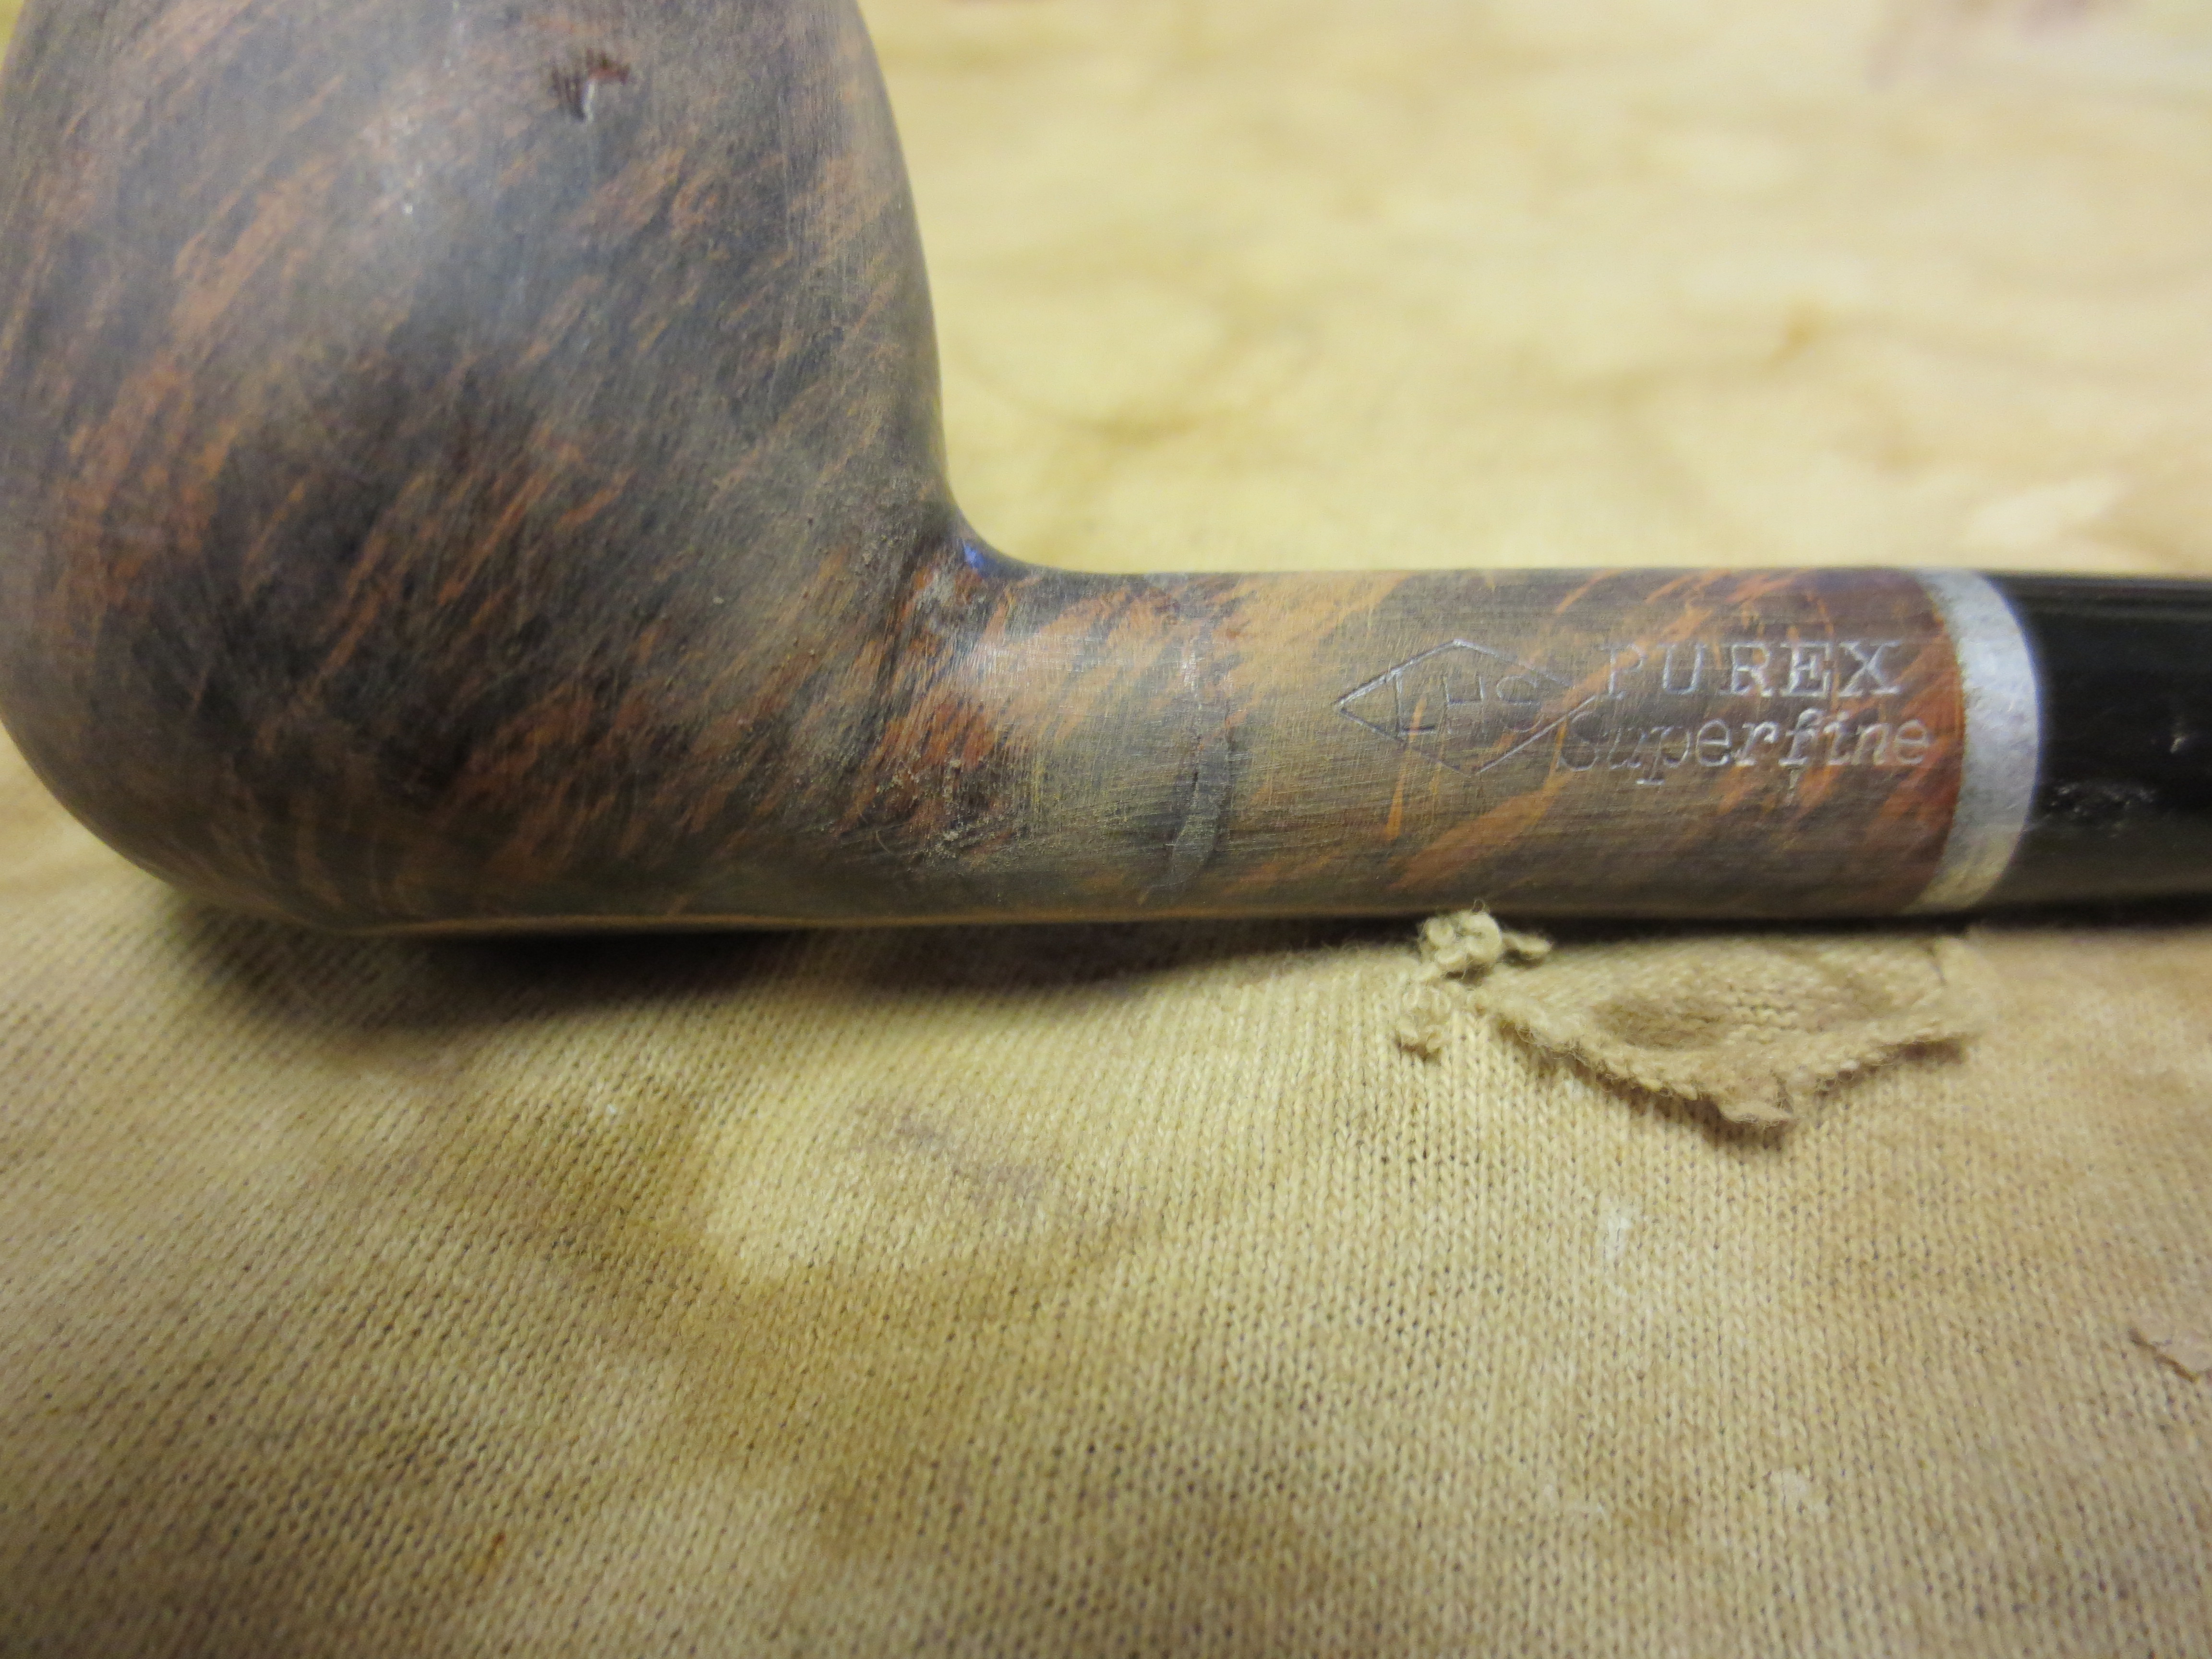
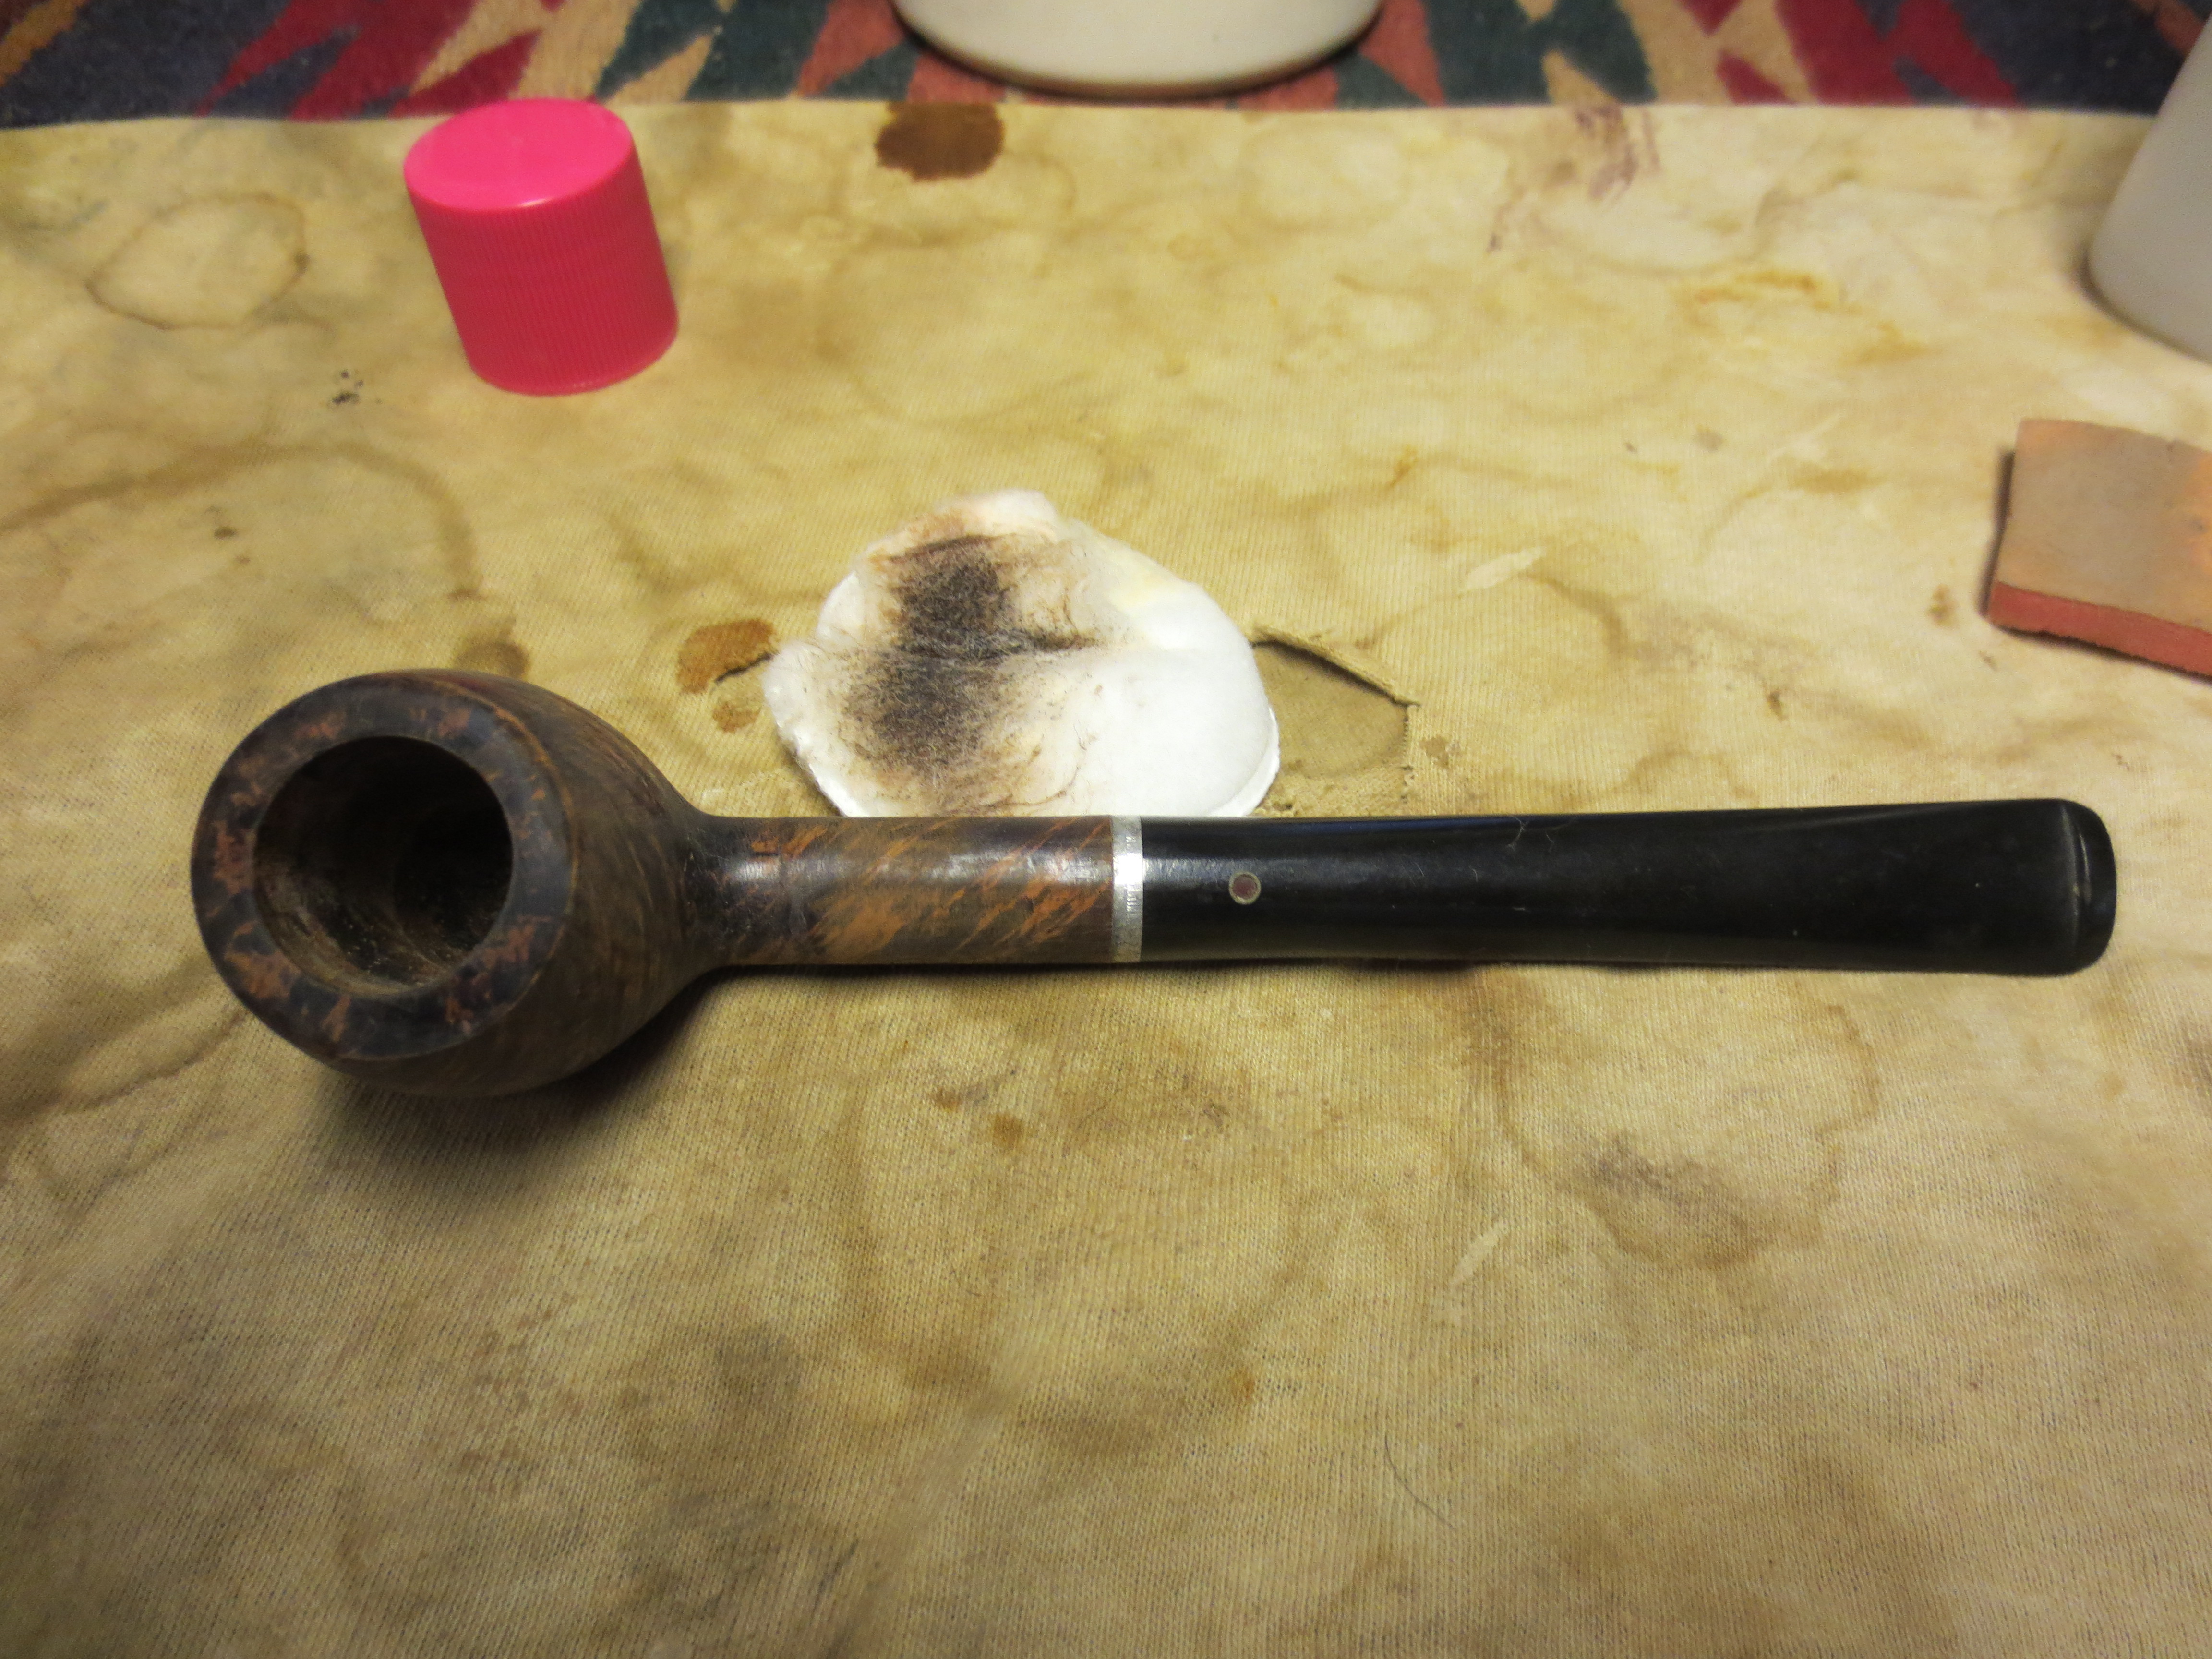
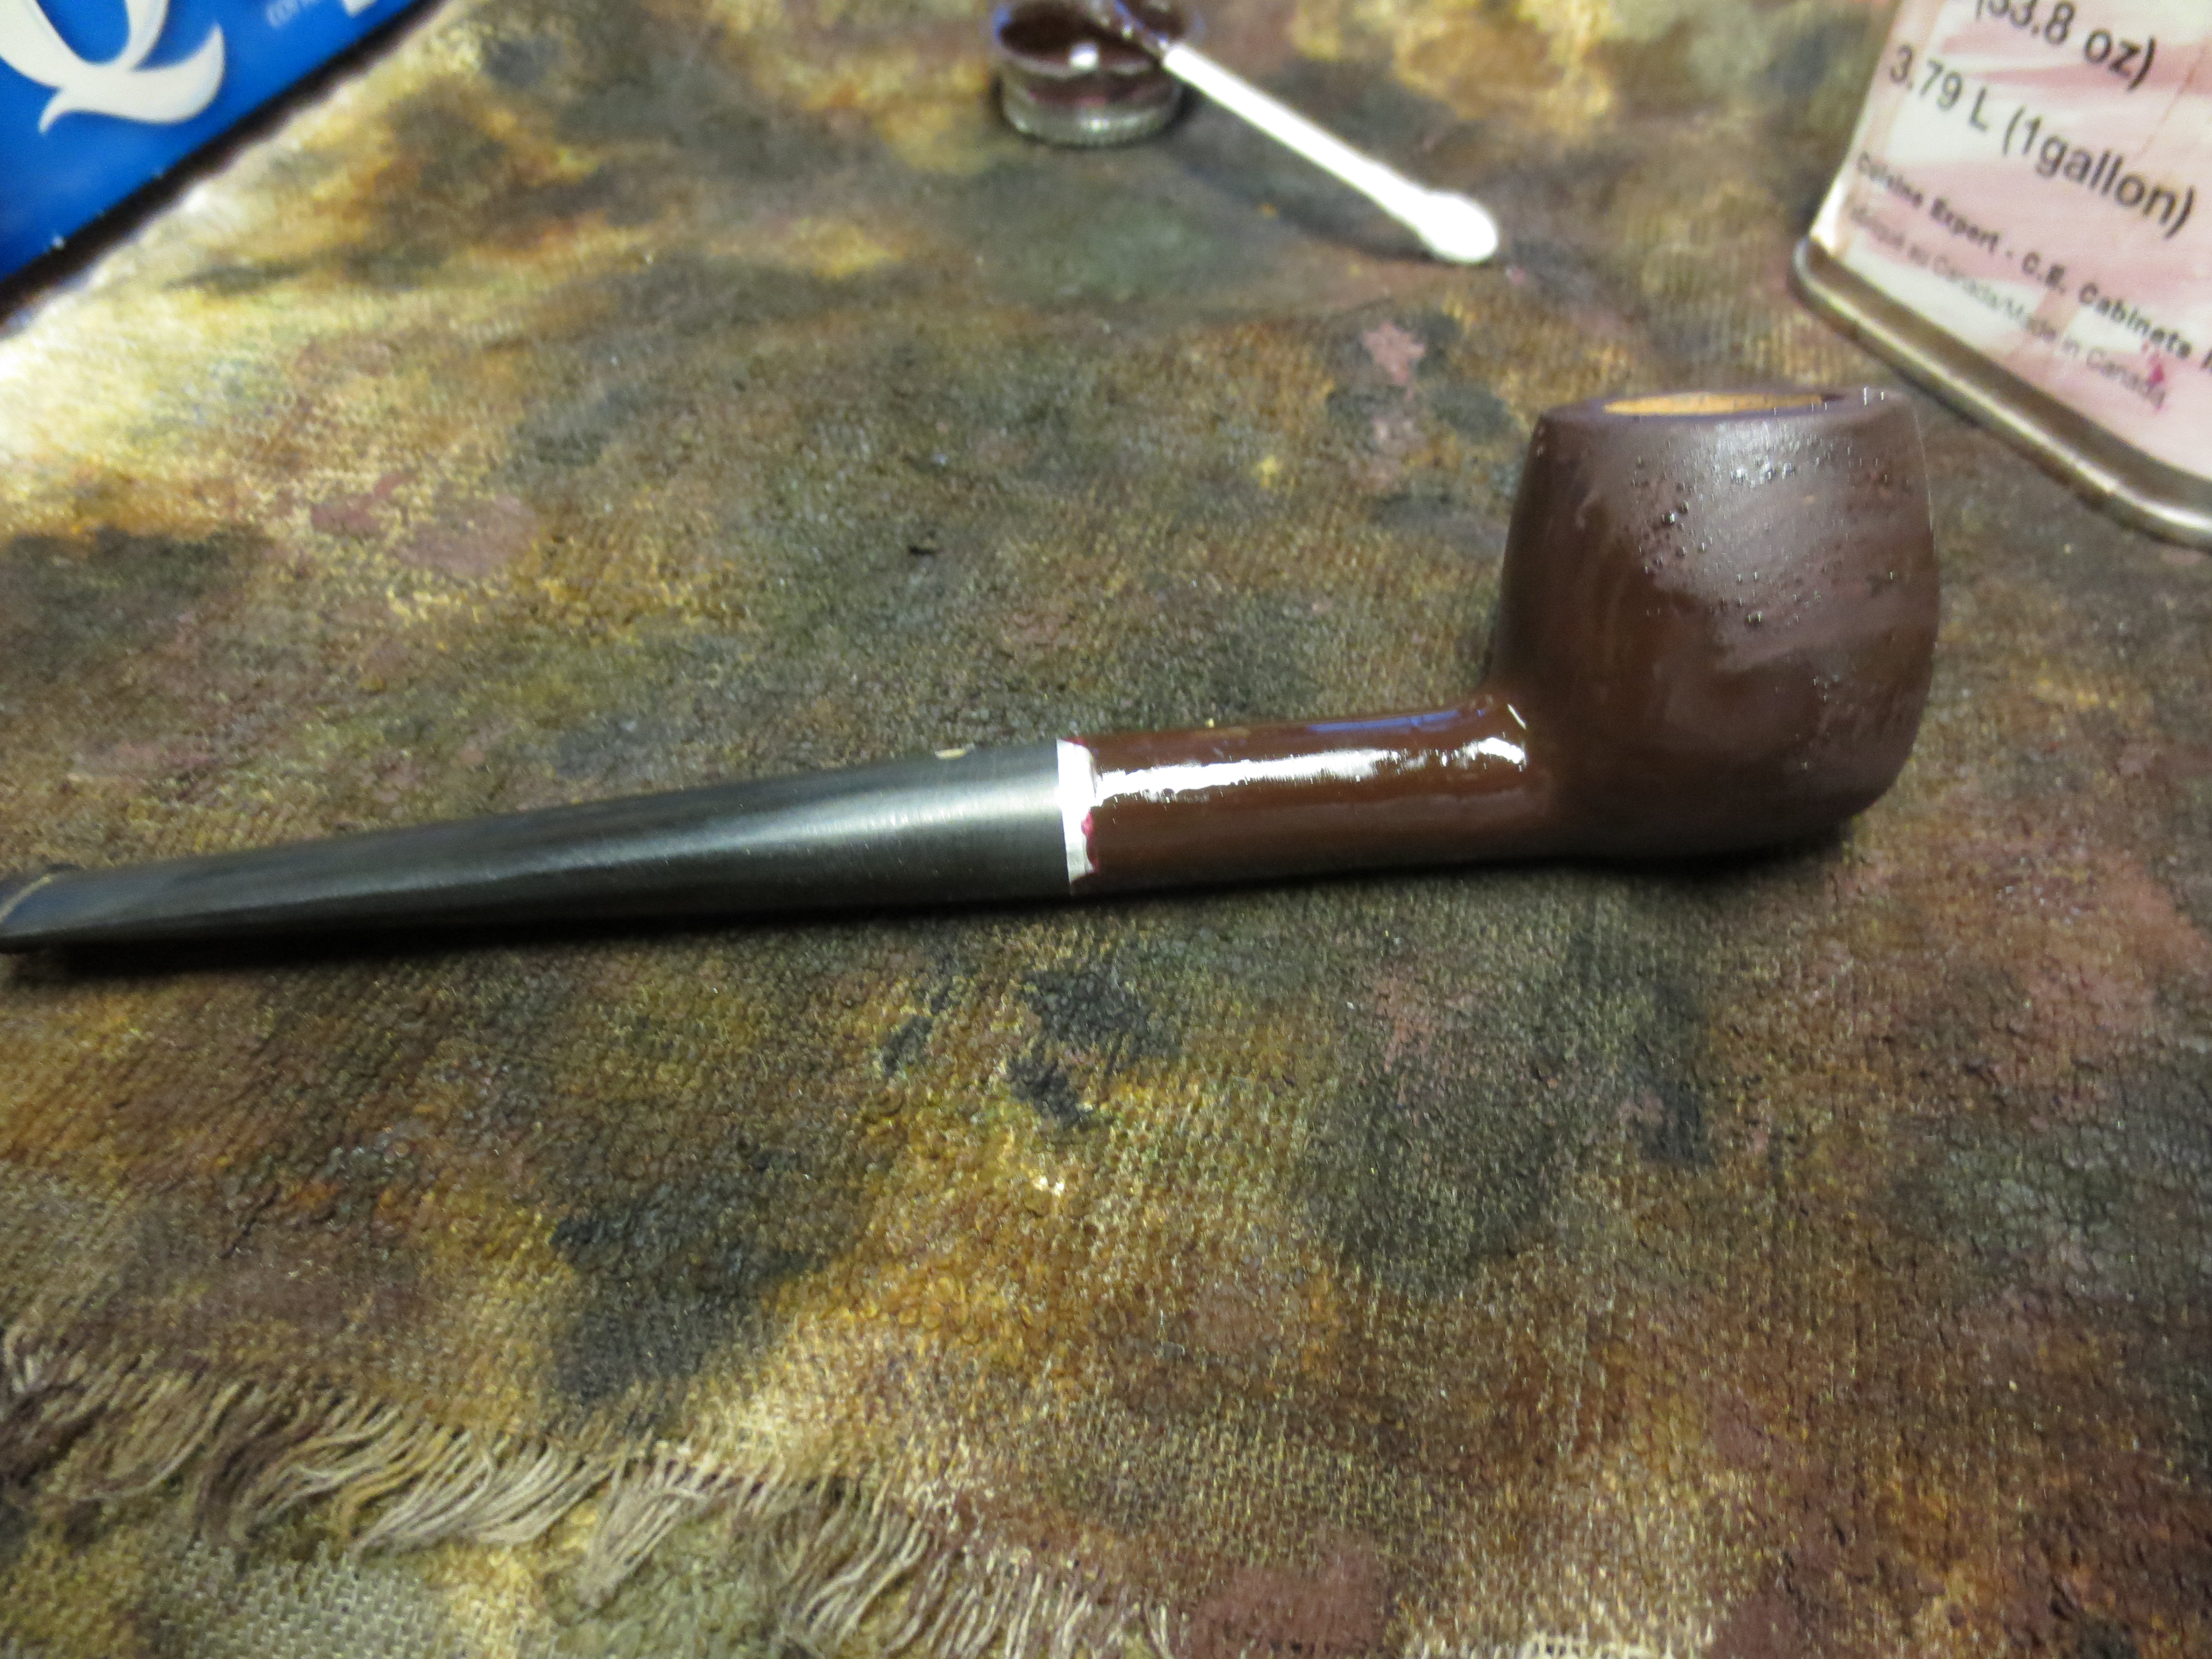
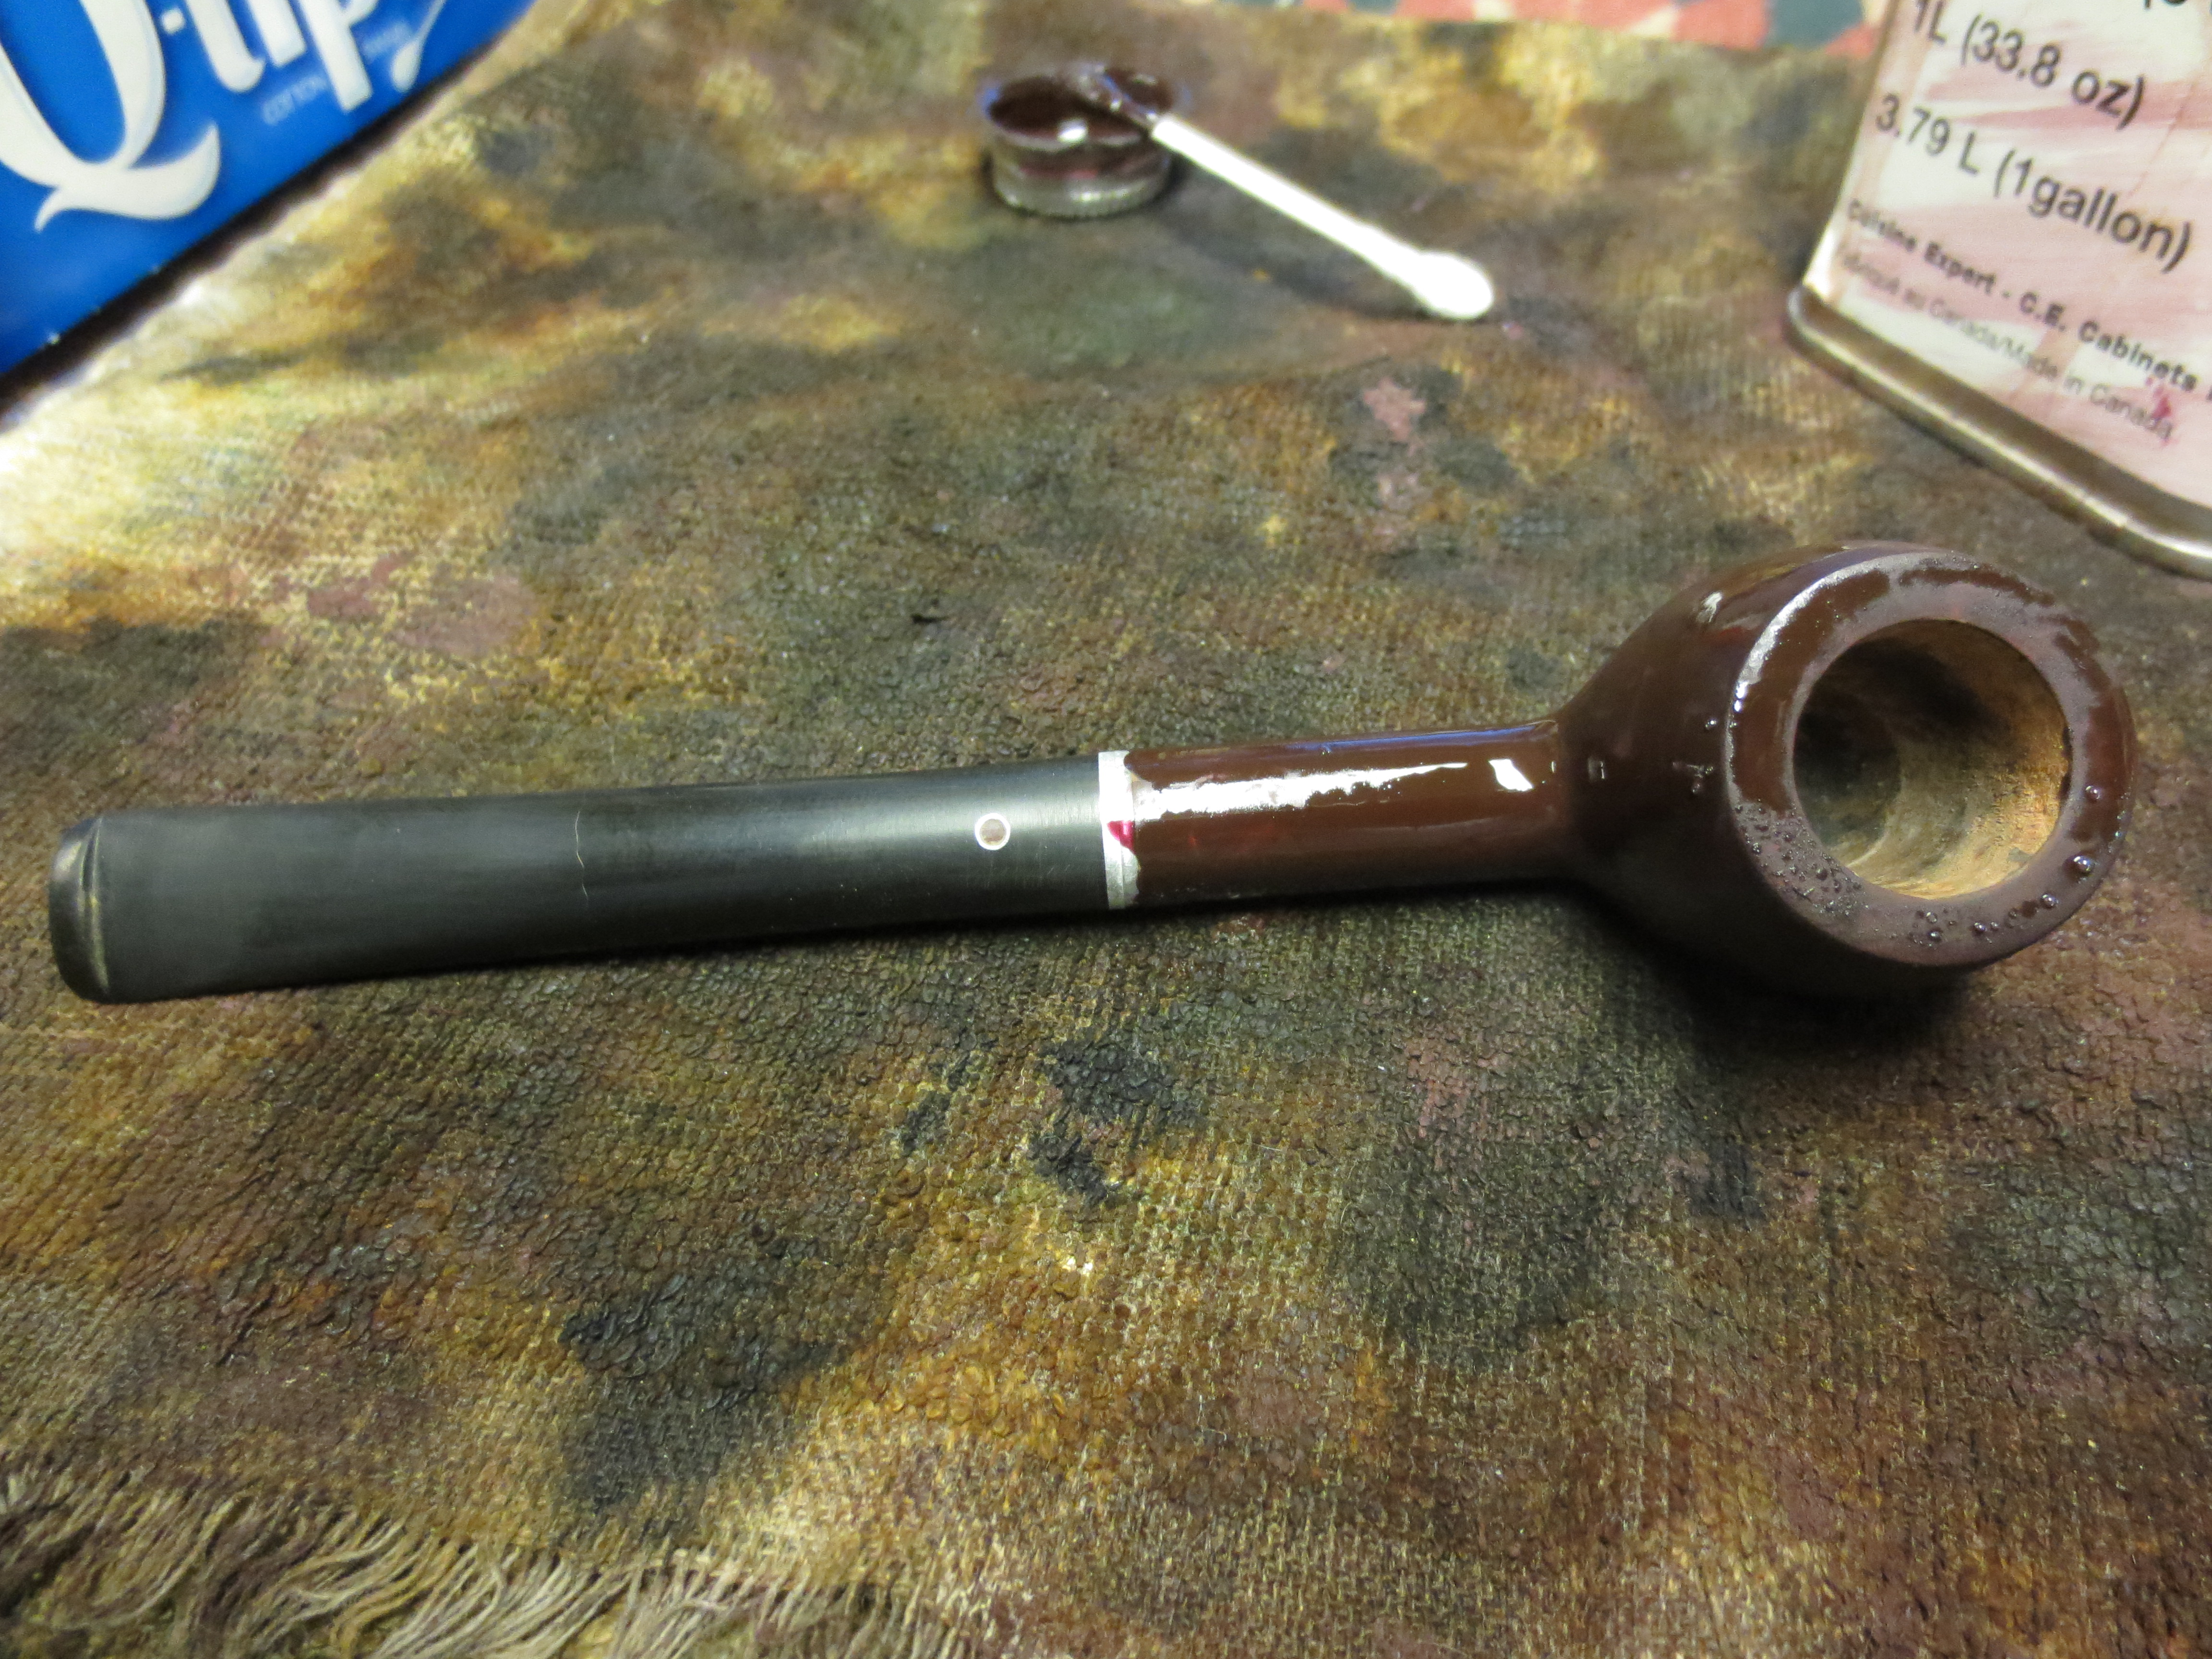
I have had this older LHS Purex for quite some time now in my box. I keep passing over it and I am not sure why. It did not need a stem. The finish was rough but workable. There had been a shank repair where it looked like the shank had snapped and had been reglued. The repair was not bad and the pipe obviously had held up for quite some time since that repair. The glue around the repair was a bit thick. The bowl needed reaming and the finish was a glossy varnish. It is stamped with the LHS logo in a triangle and to the right of that is stamped PUREX in italics over Superfine also in italics. It has a metal screw mount tenon with a stinger built in. This morning I decided to give it a go. Here are the pictures of the pipe as it stood when I removed it from the box. I had used acetone on the finish in the past to try to remove the varnish but it was not altogether successful.

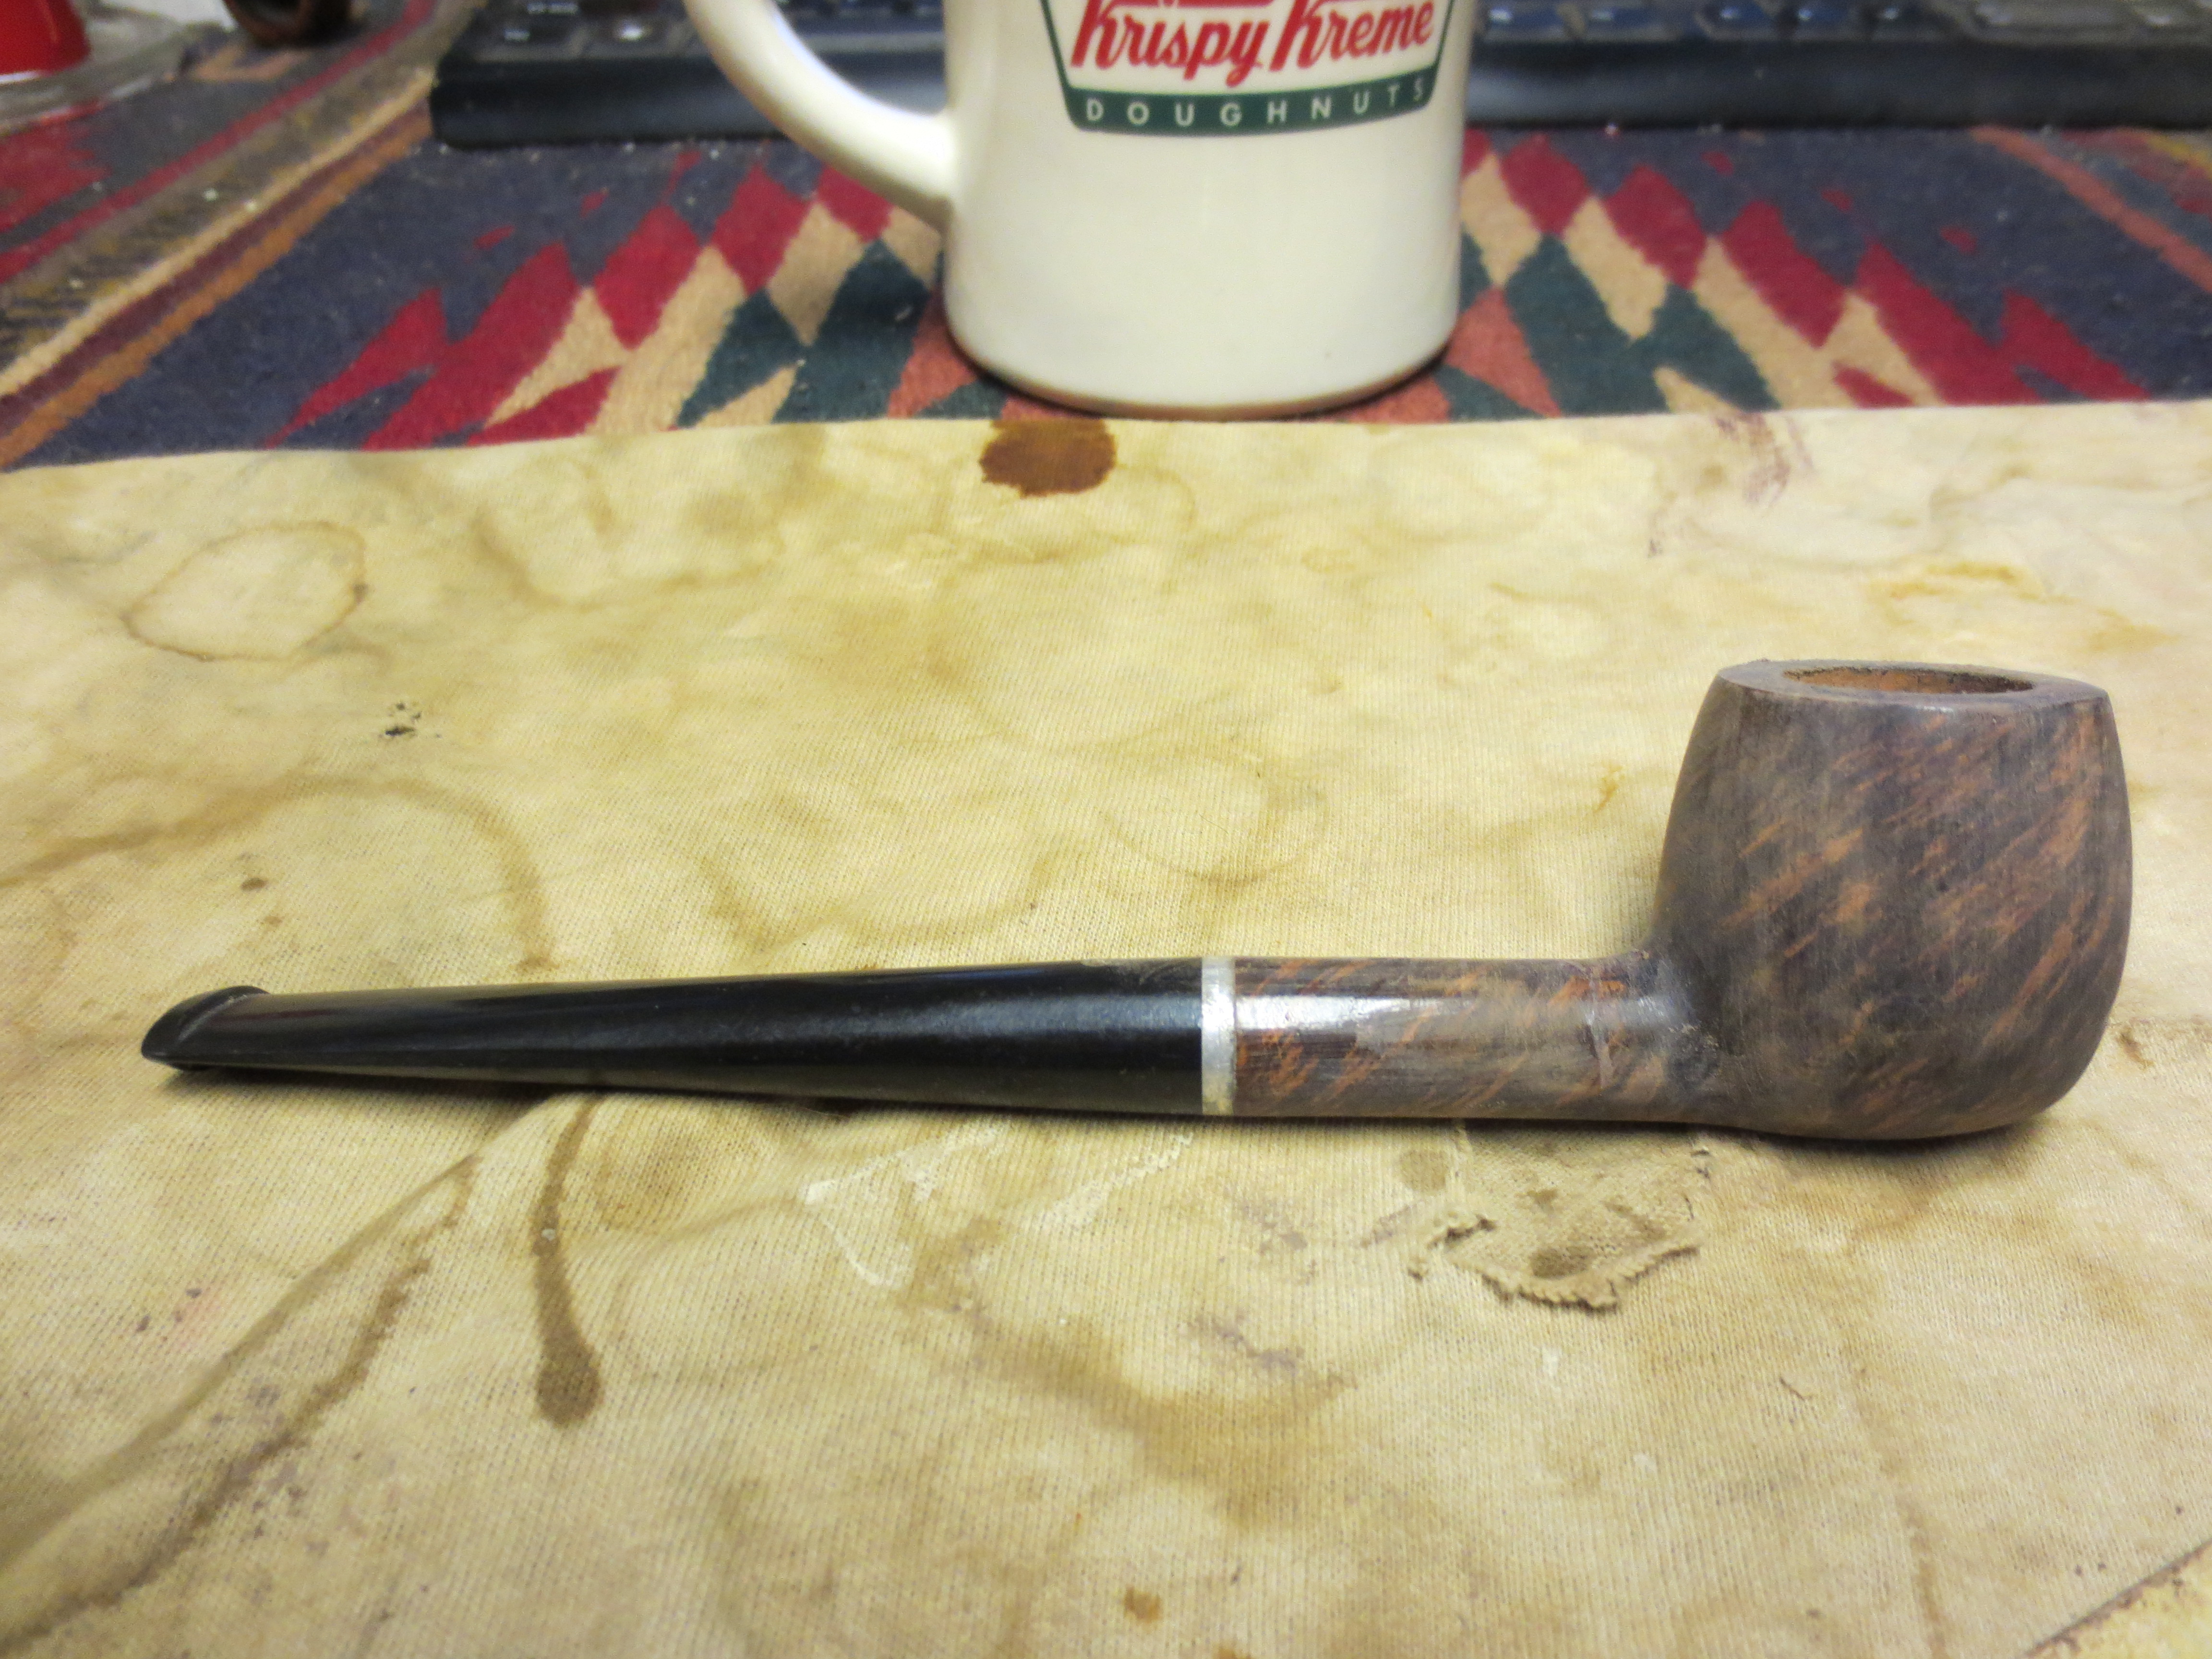
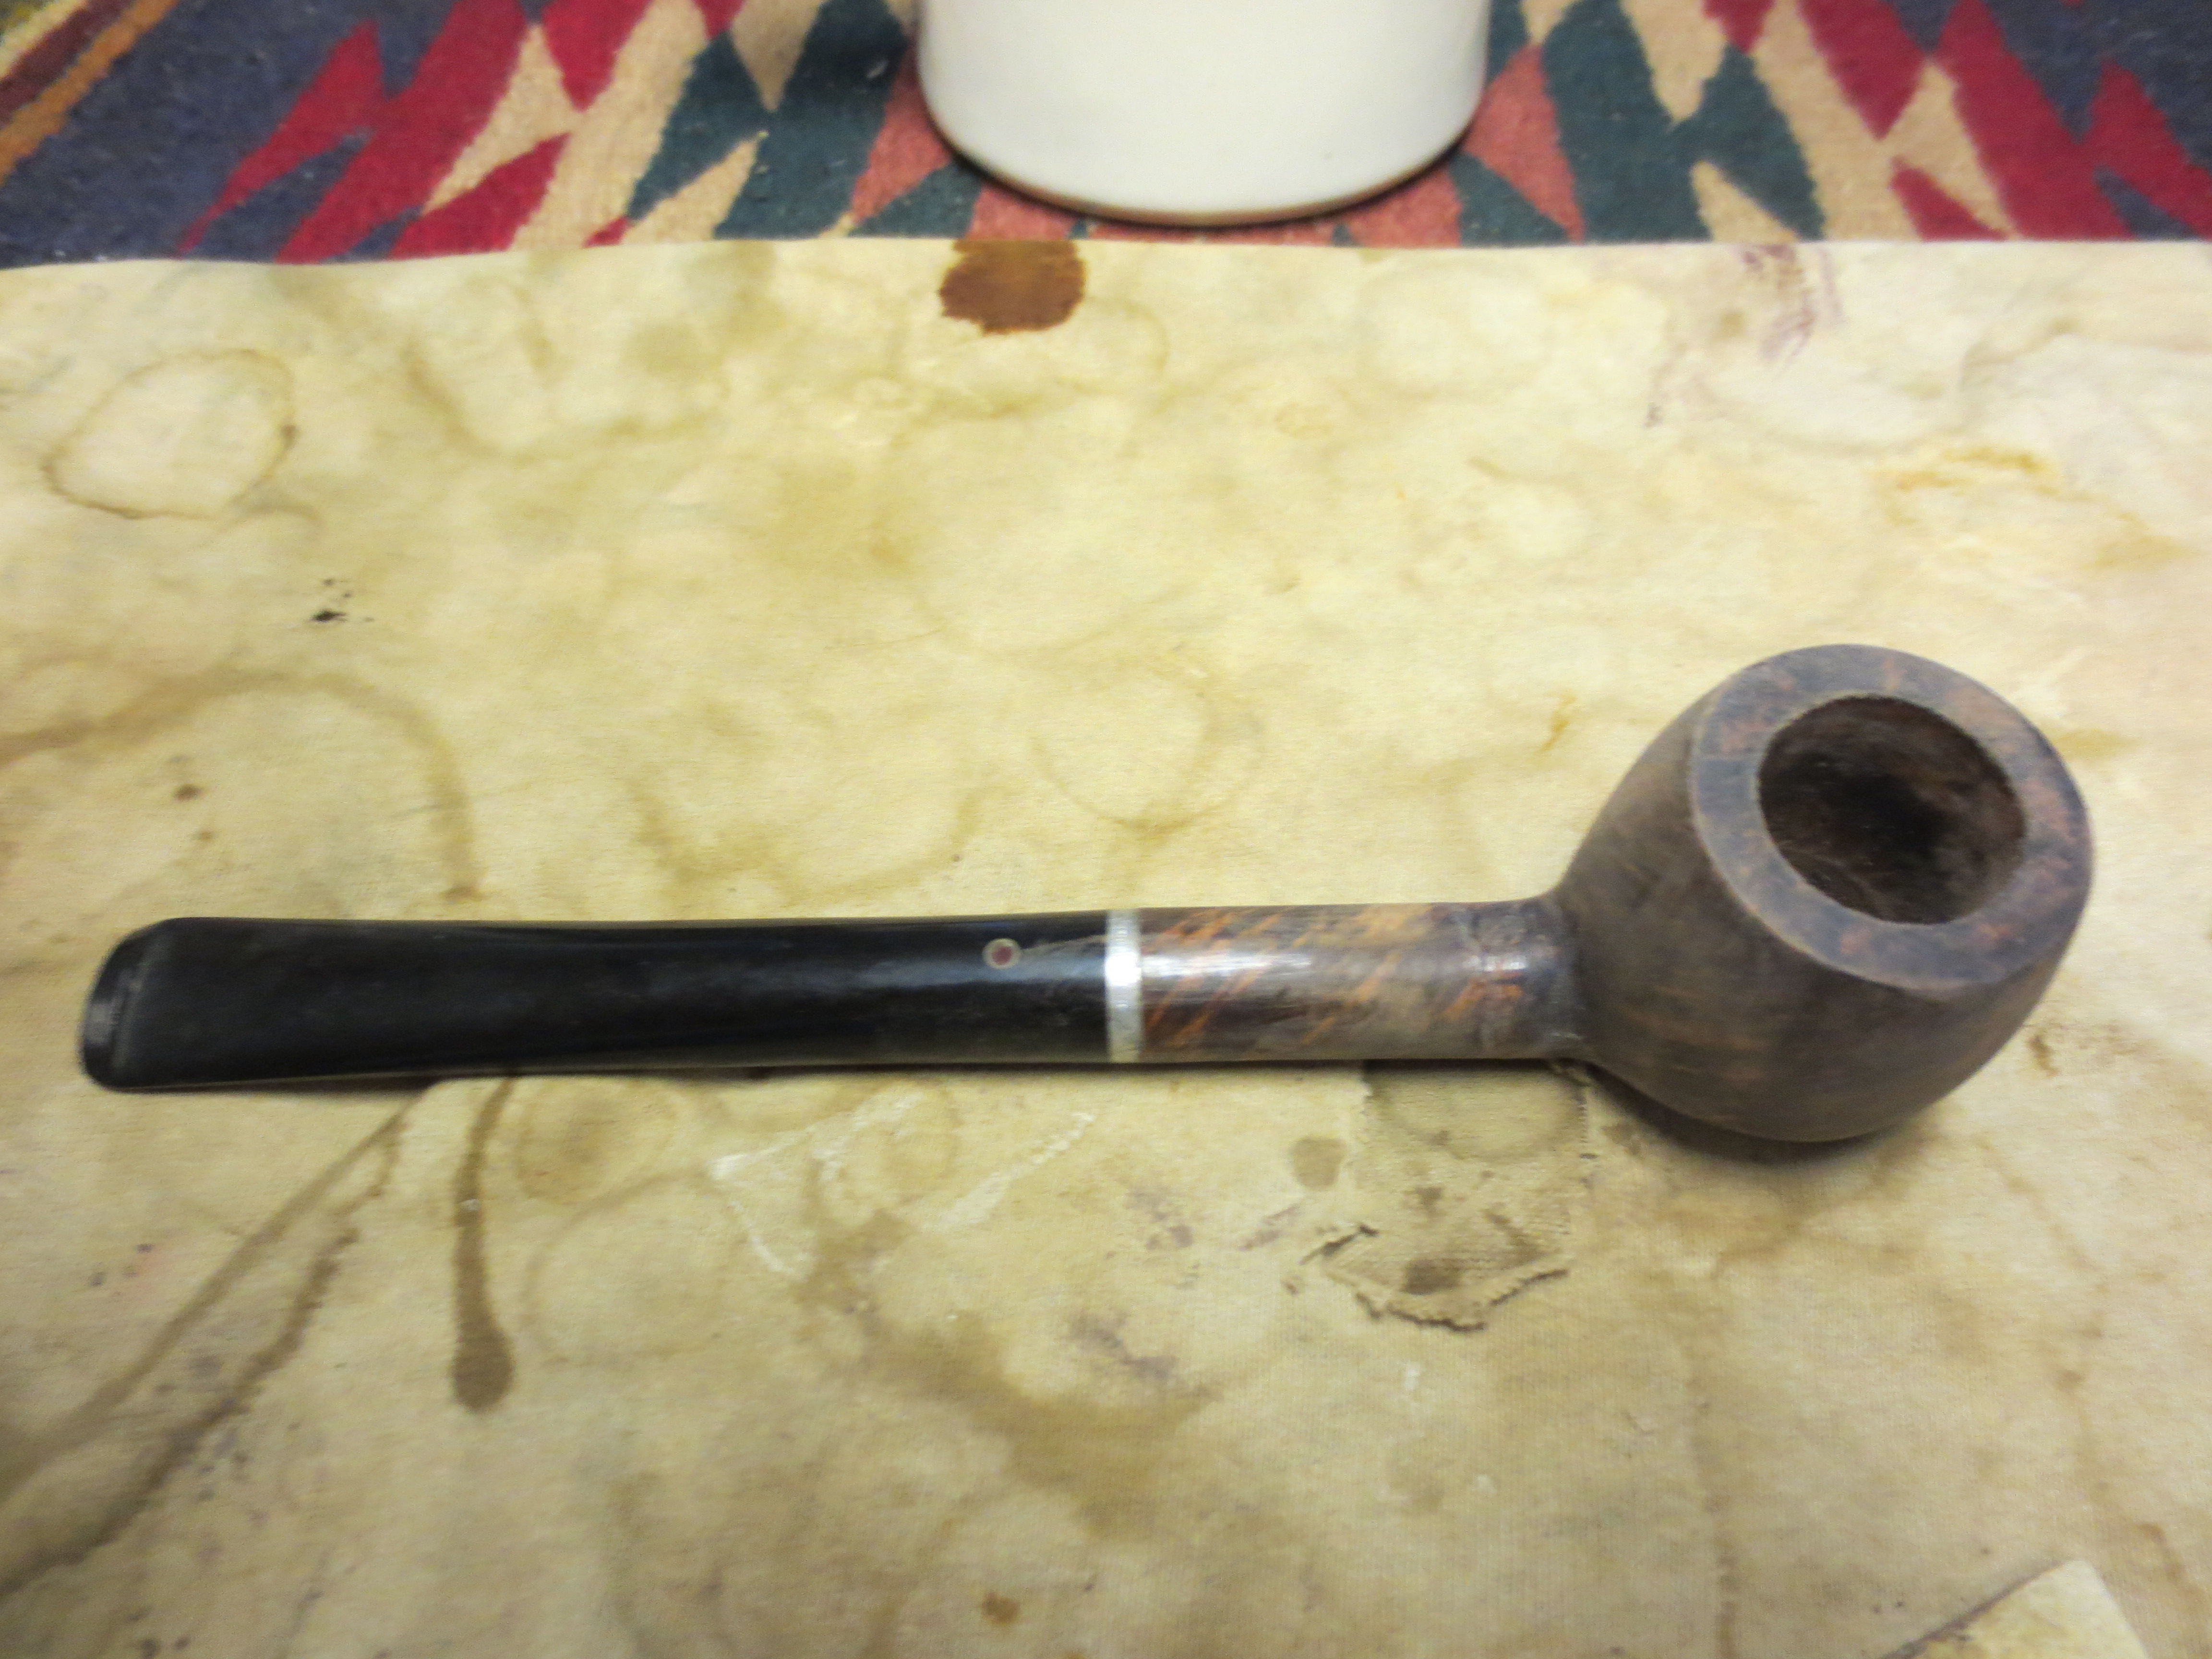
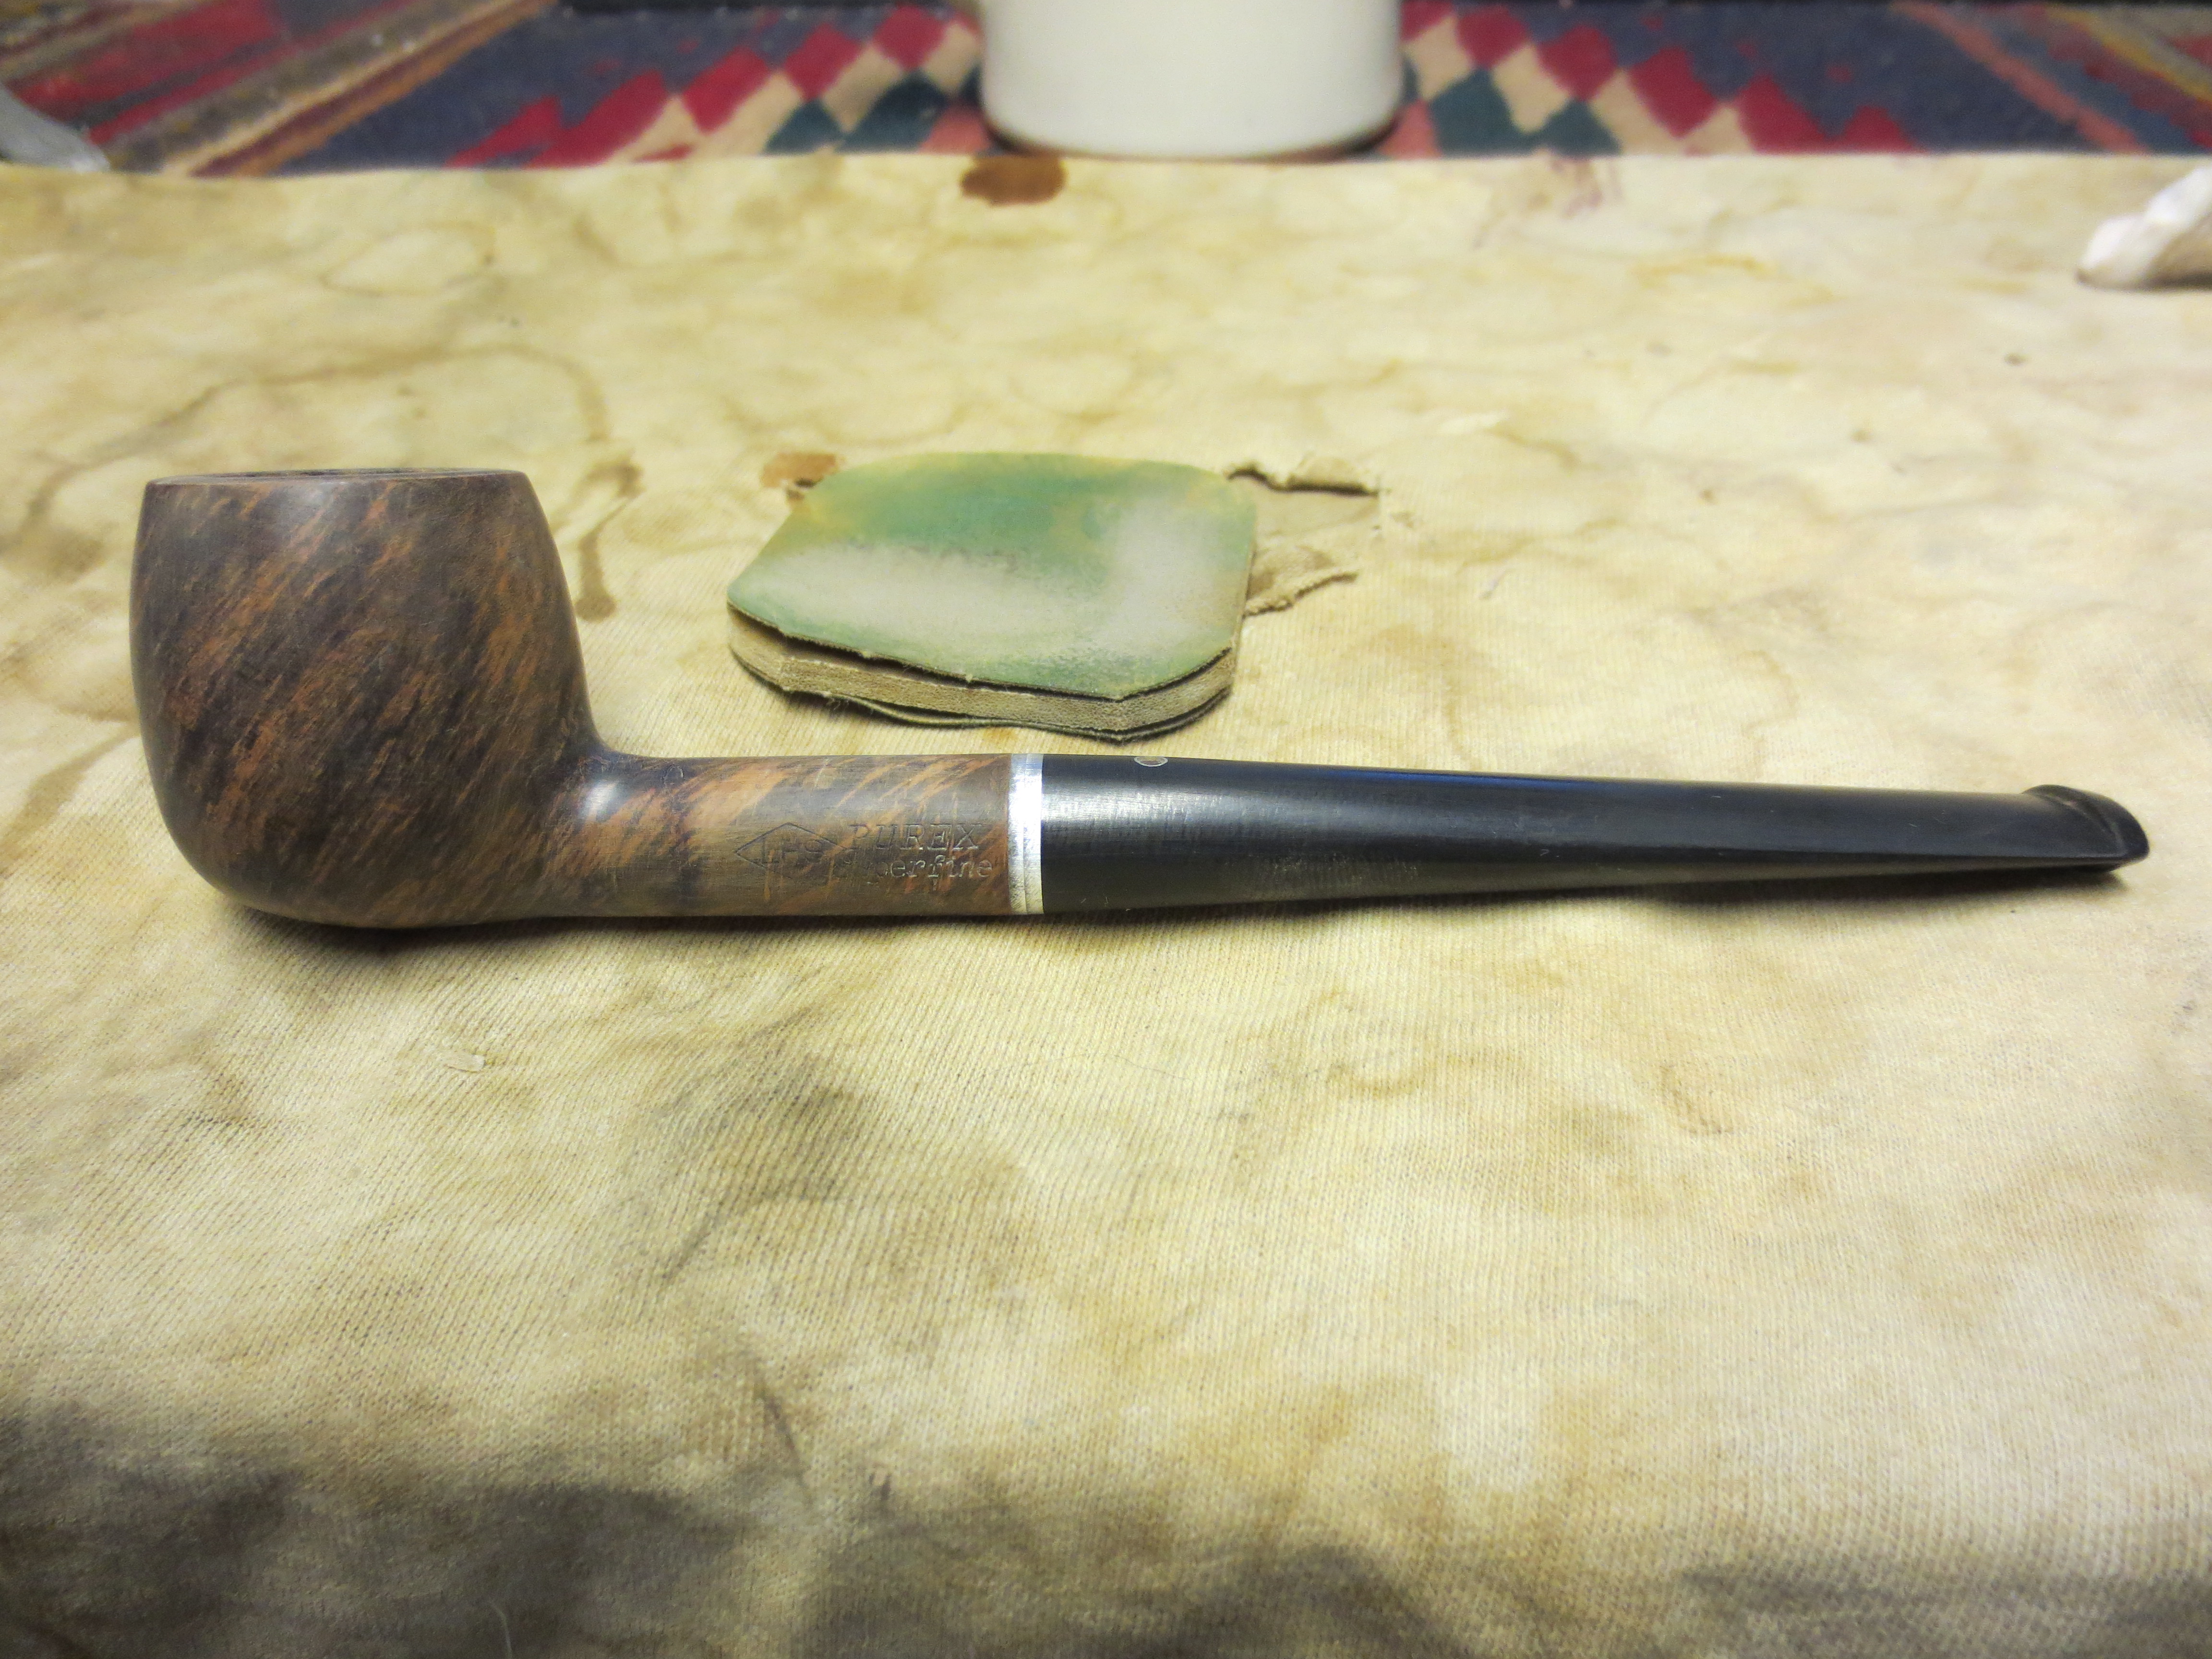
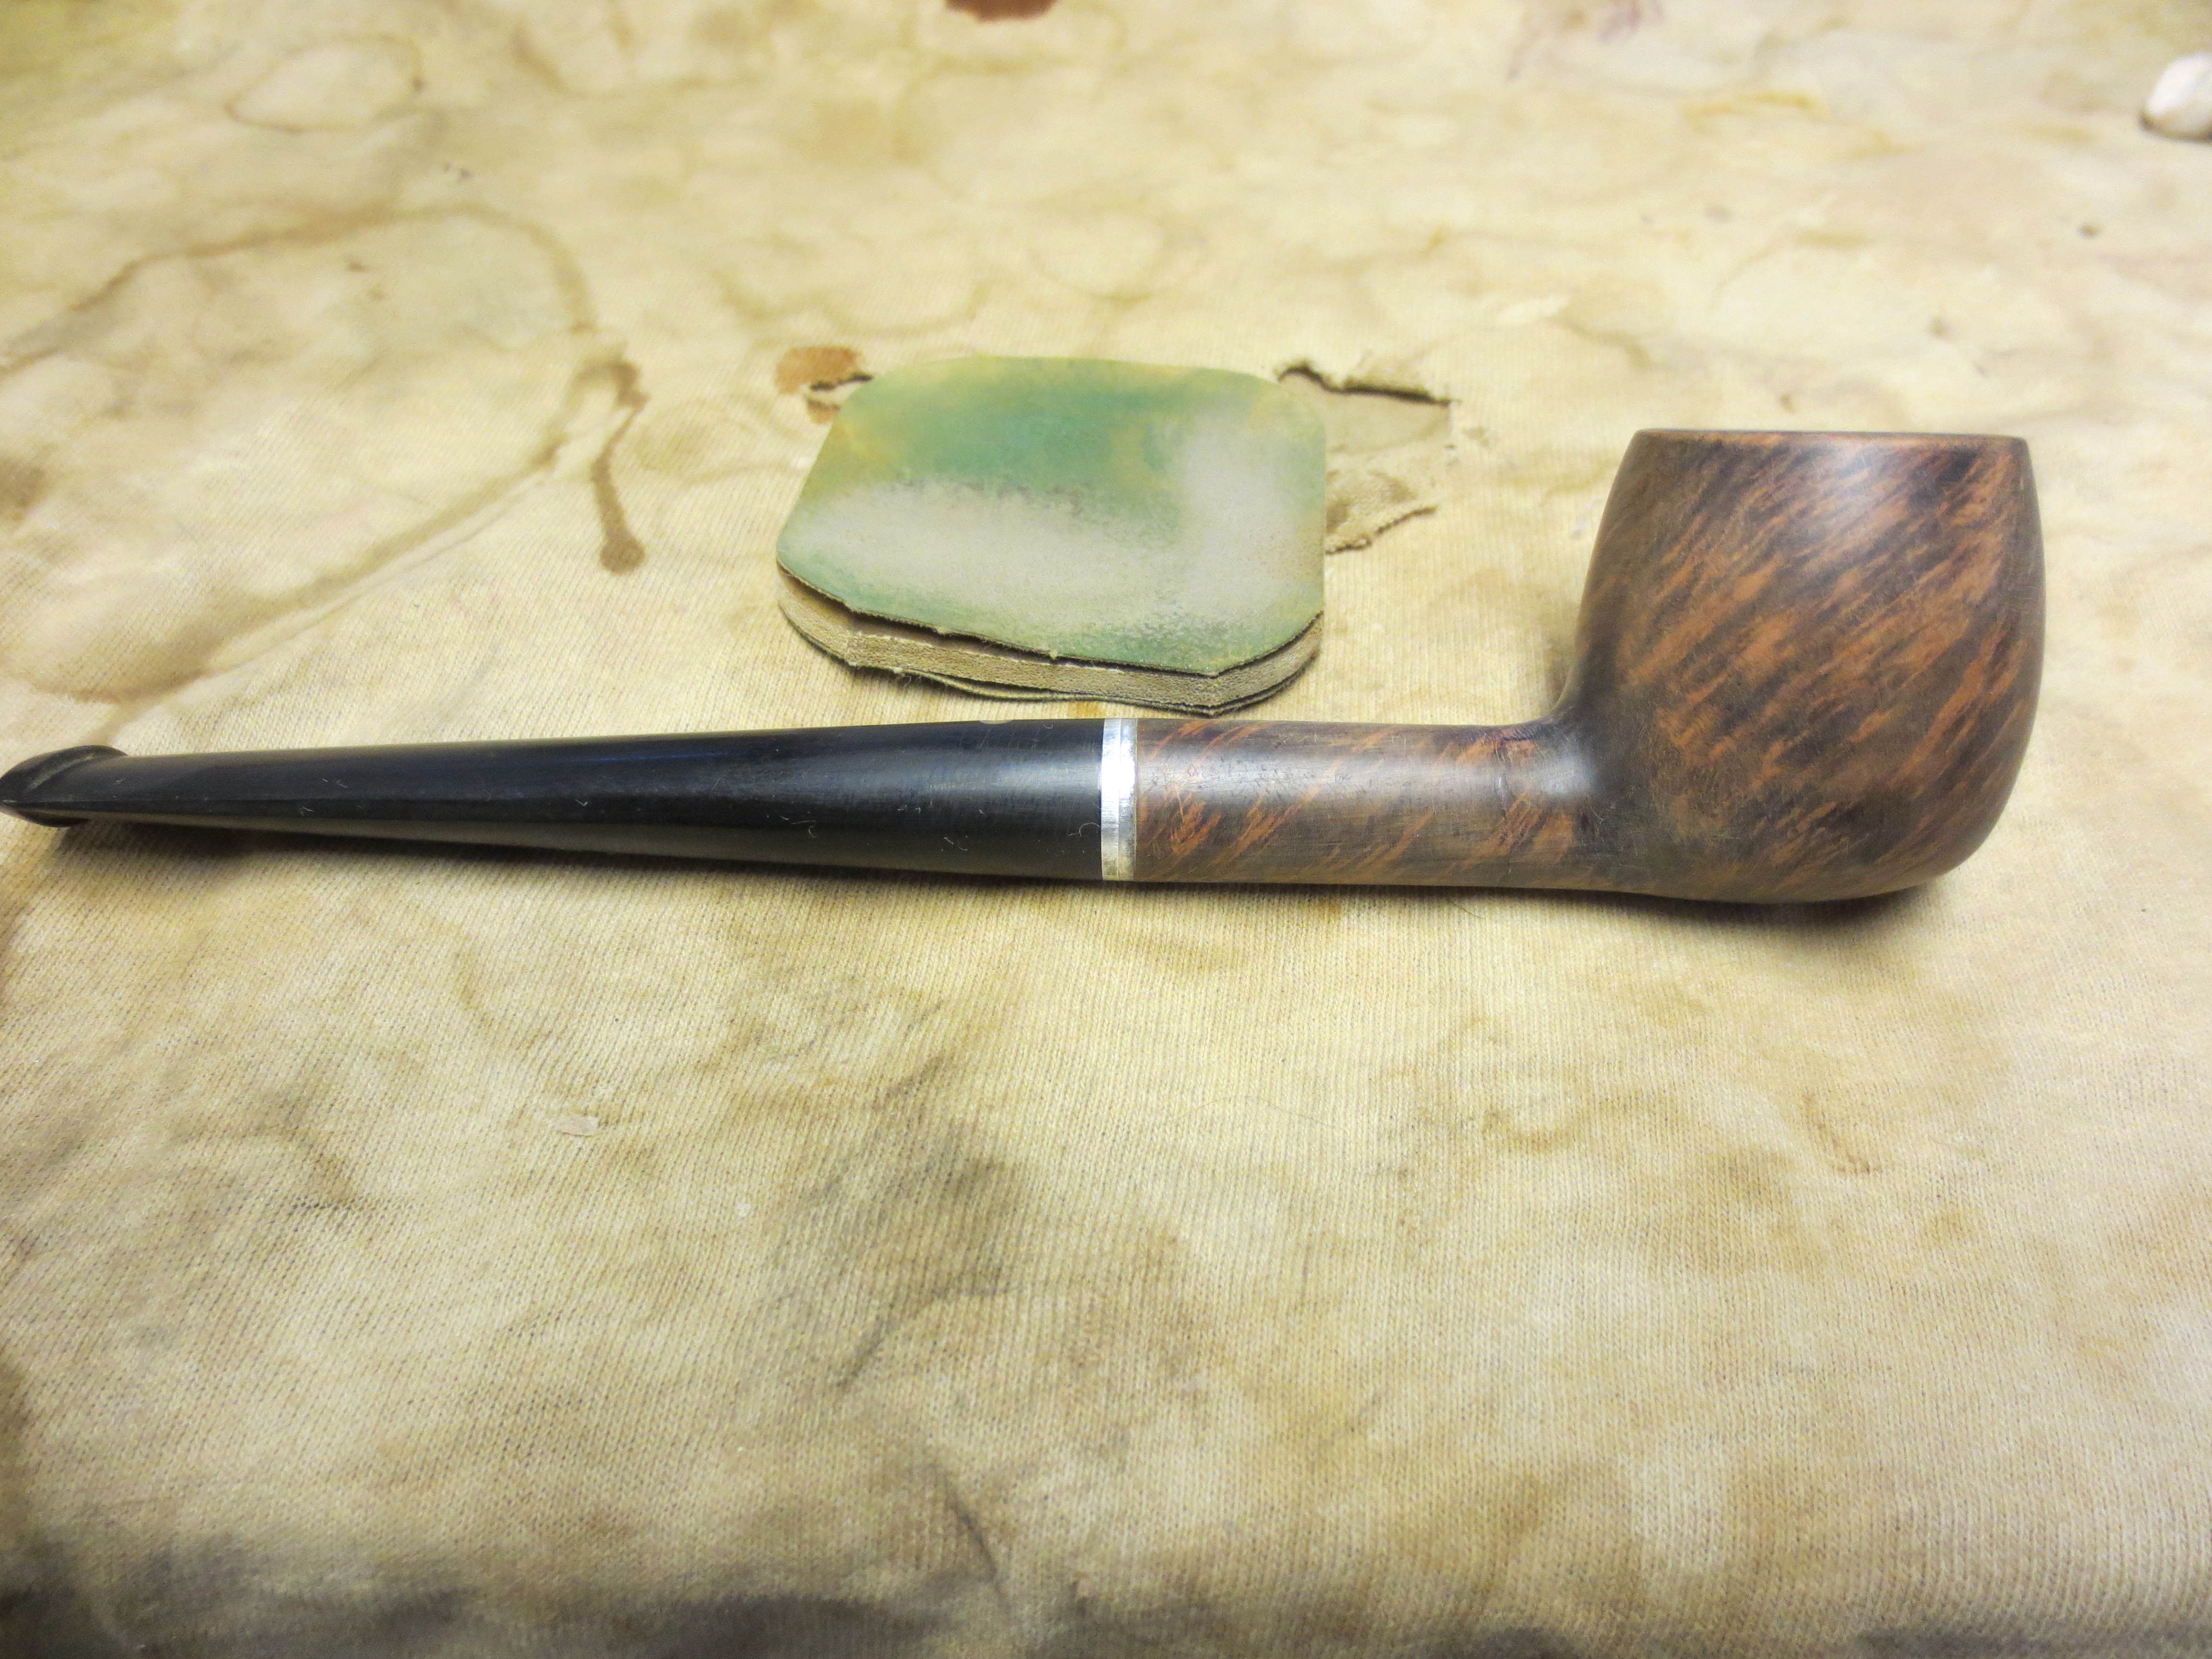
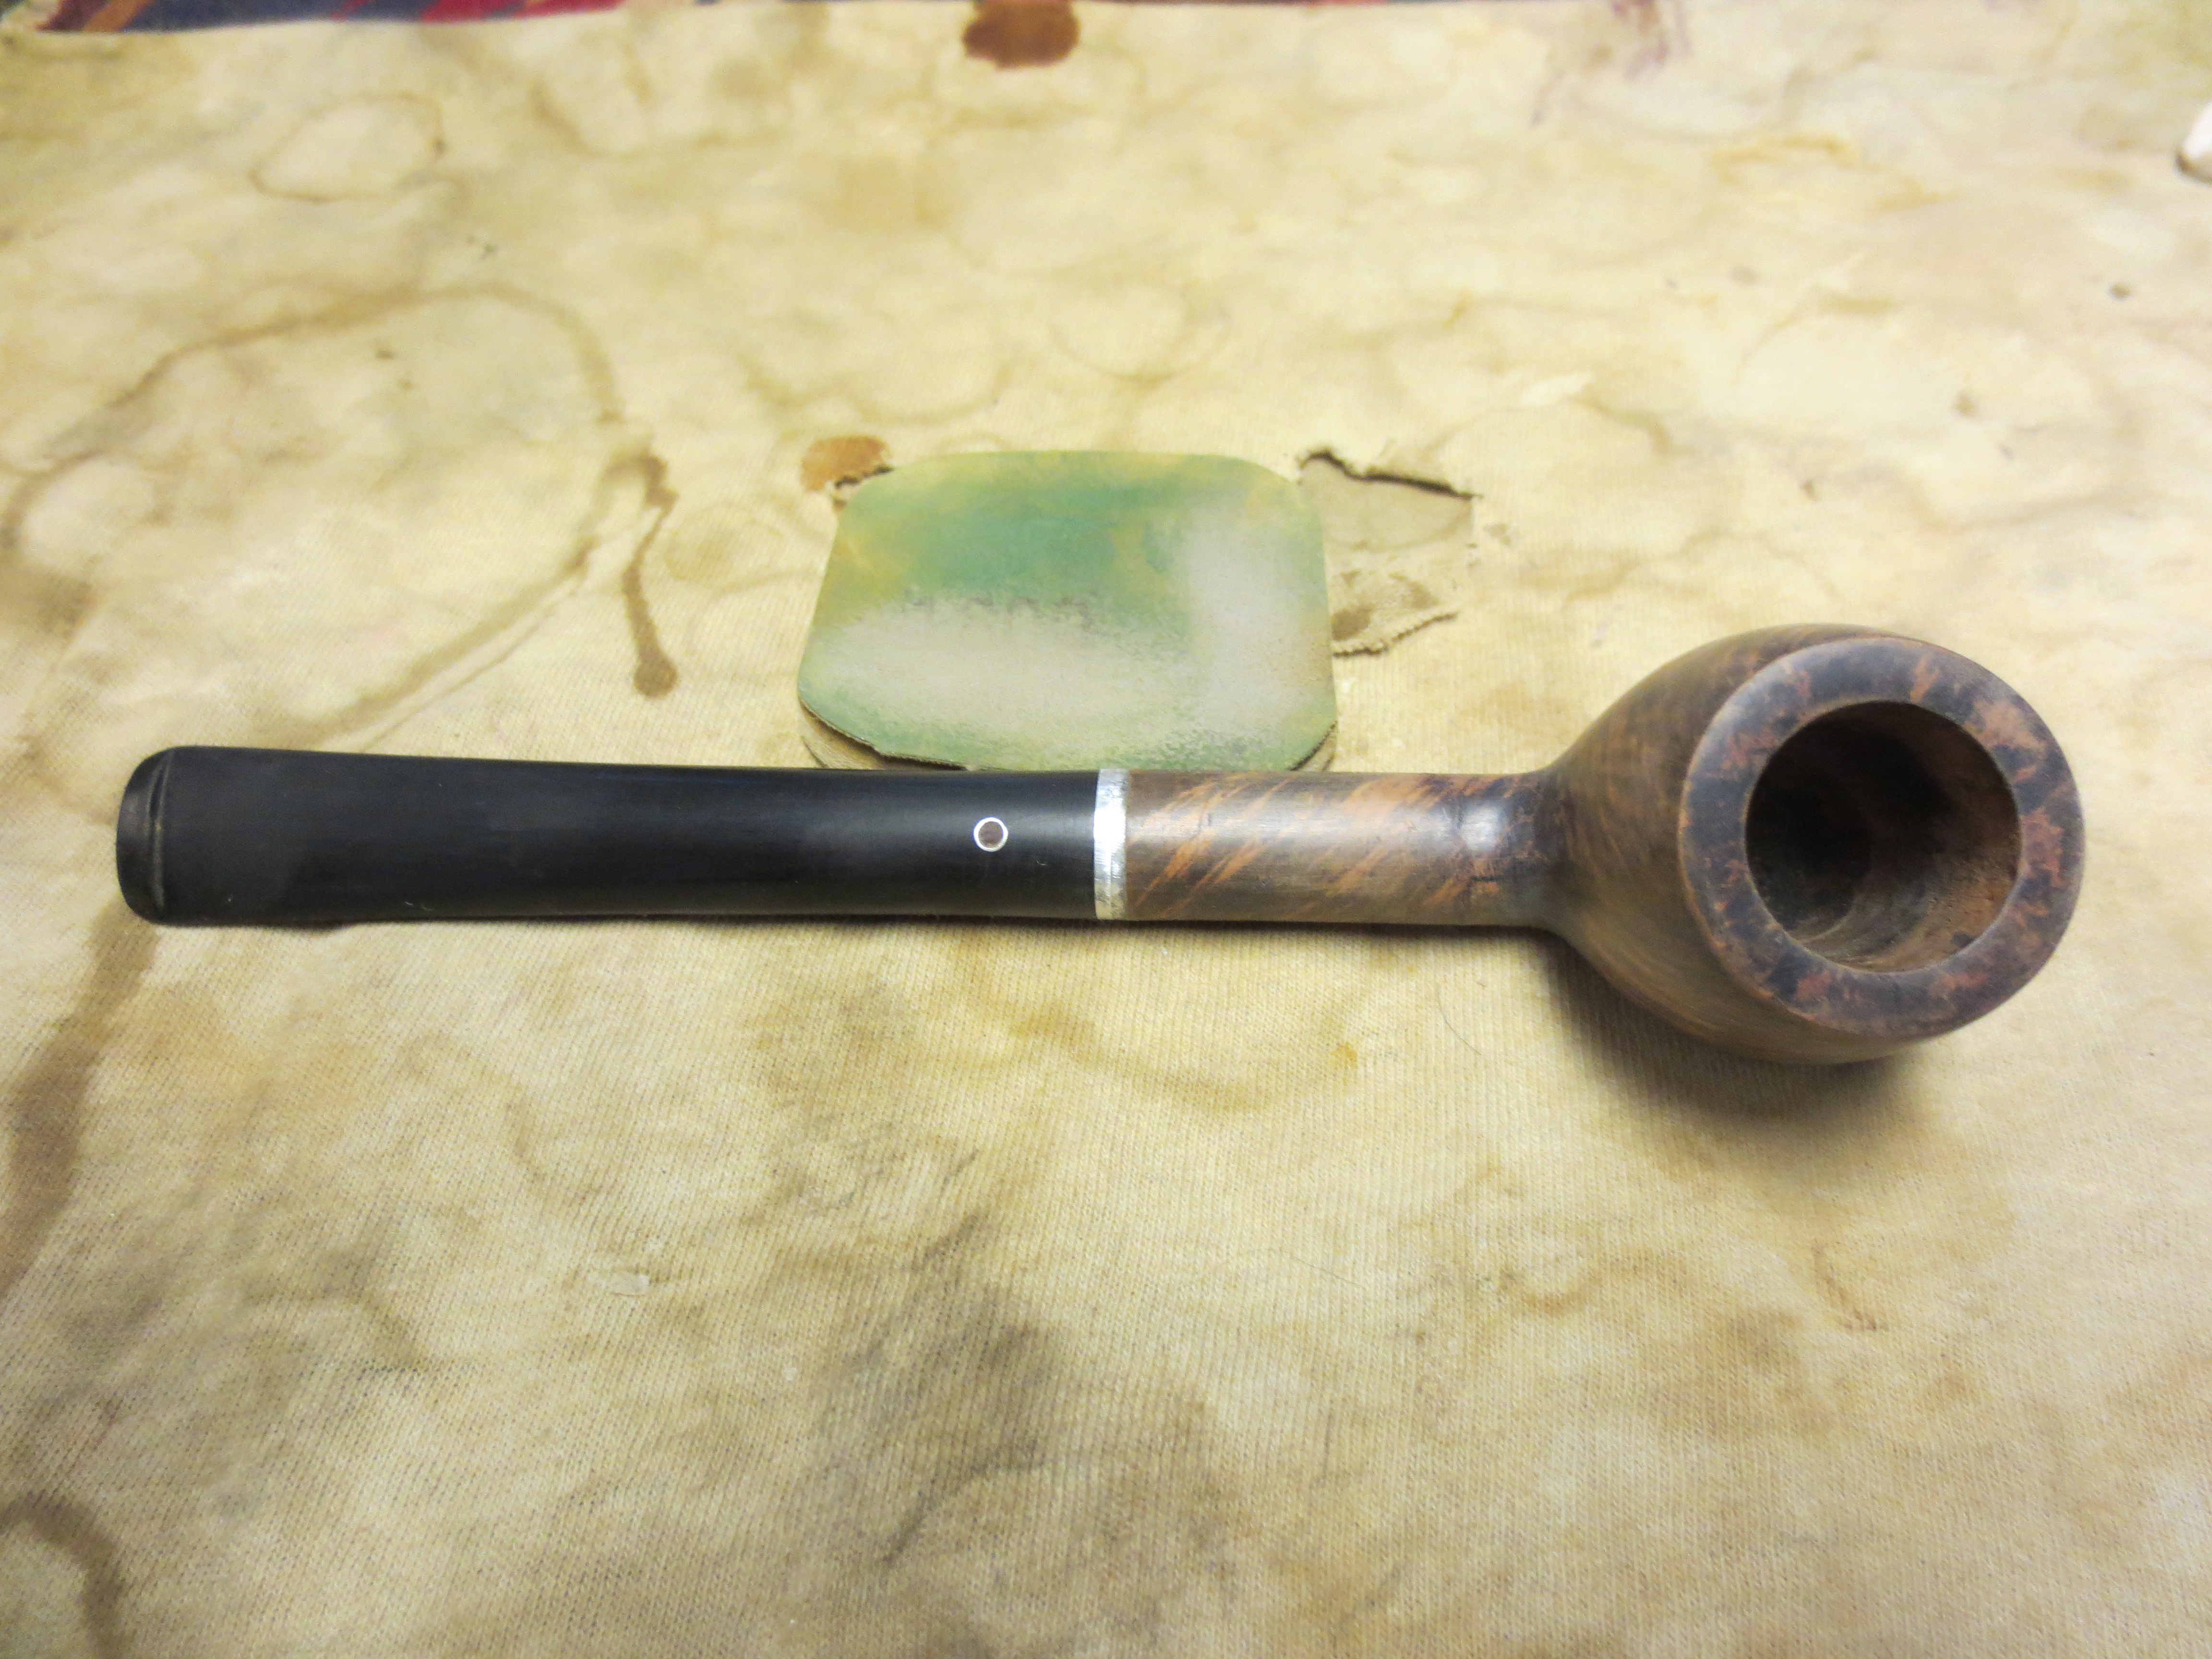
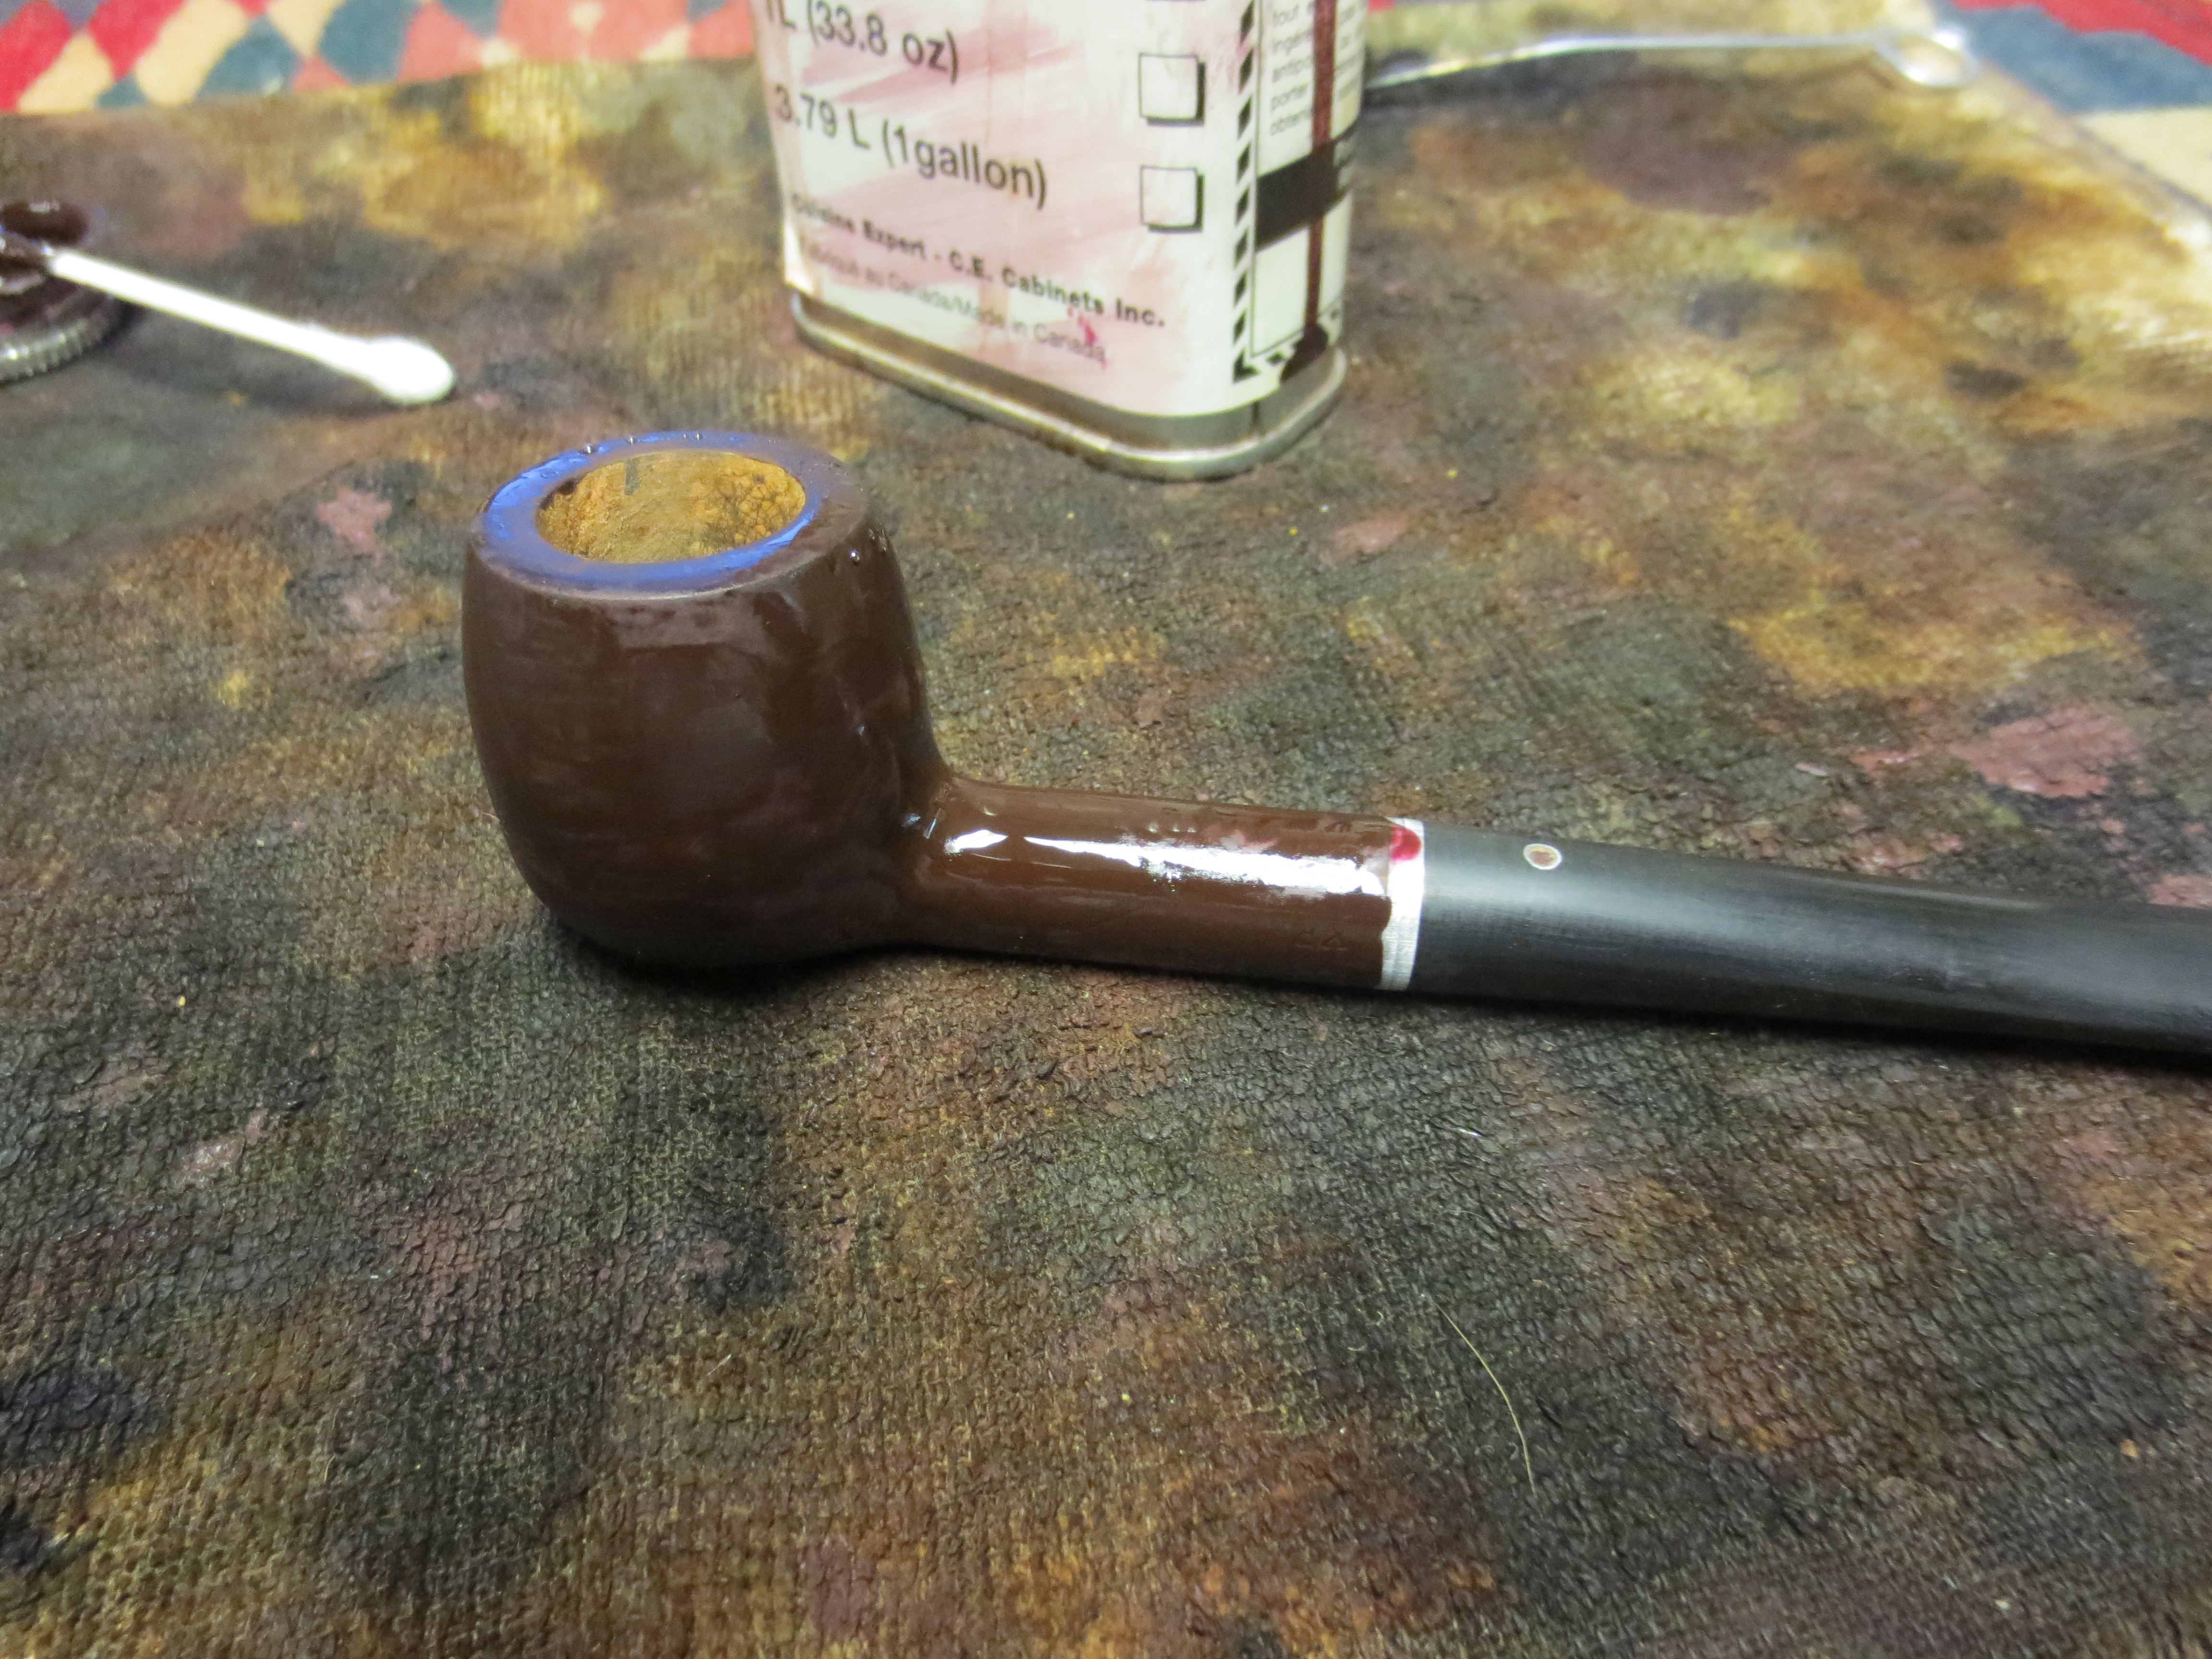
I began the cleanup by sanding the bowl and shank with 240 grit sandpaper to remove the varnish or ?Varathane? that coated the bowl. This took some work to get rid of. The next three photos show the bowl after sanding with the 240 grit sandpaper.
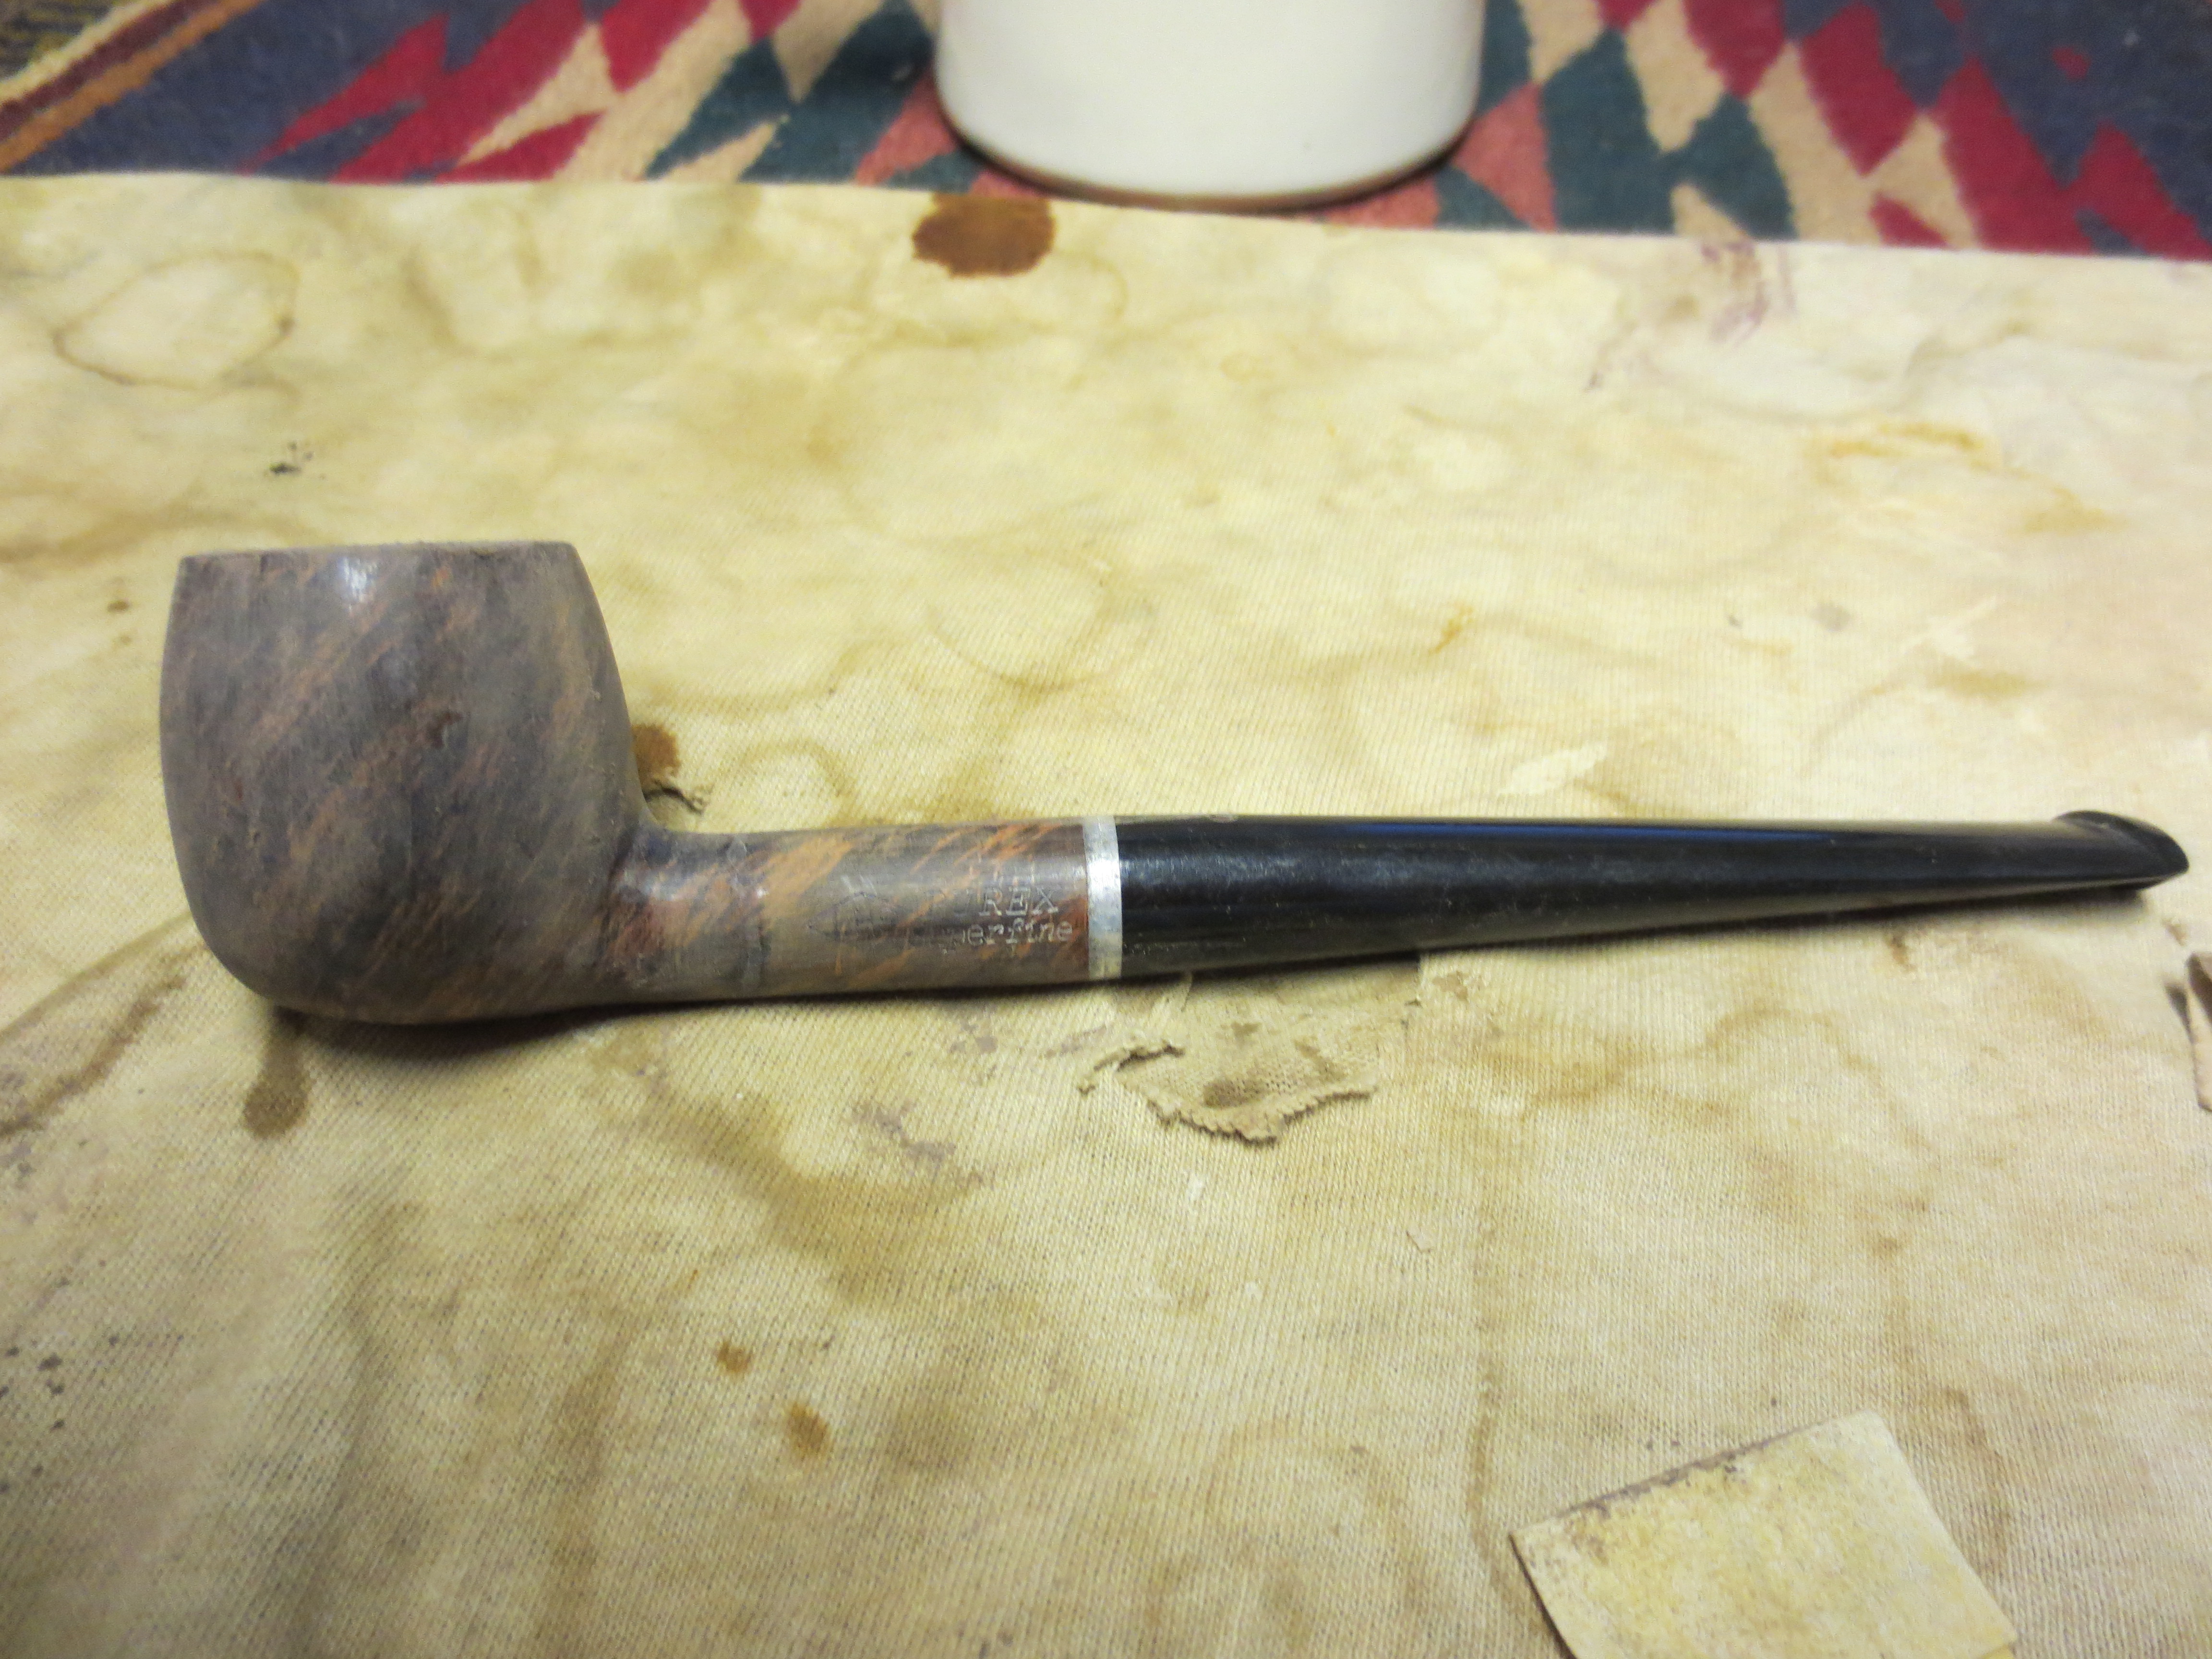
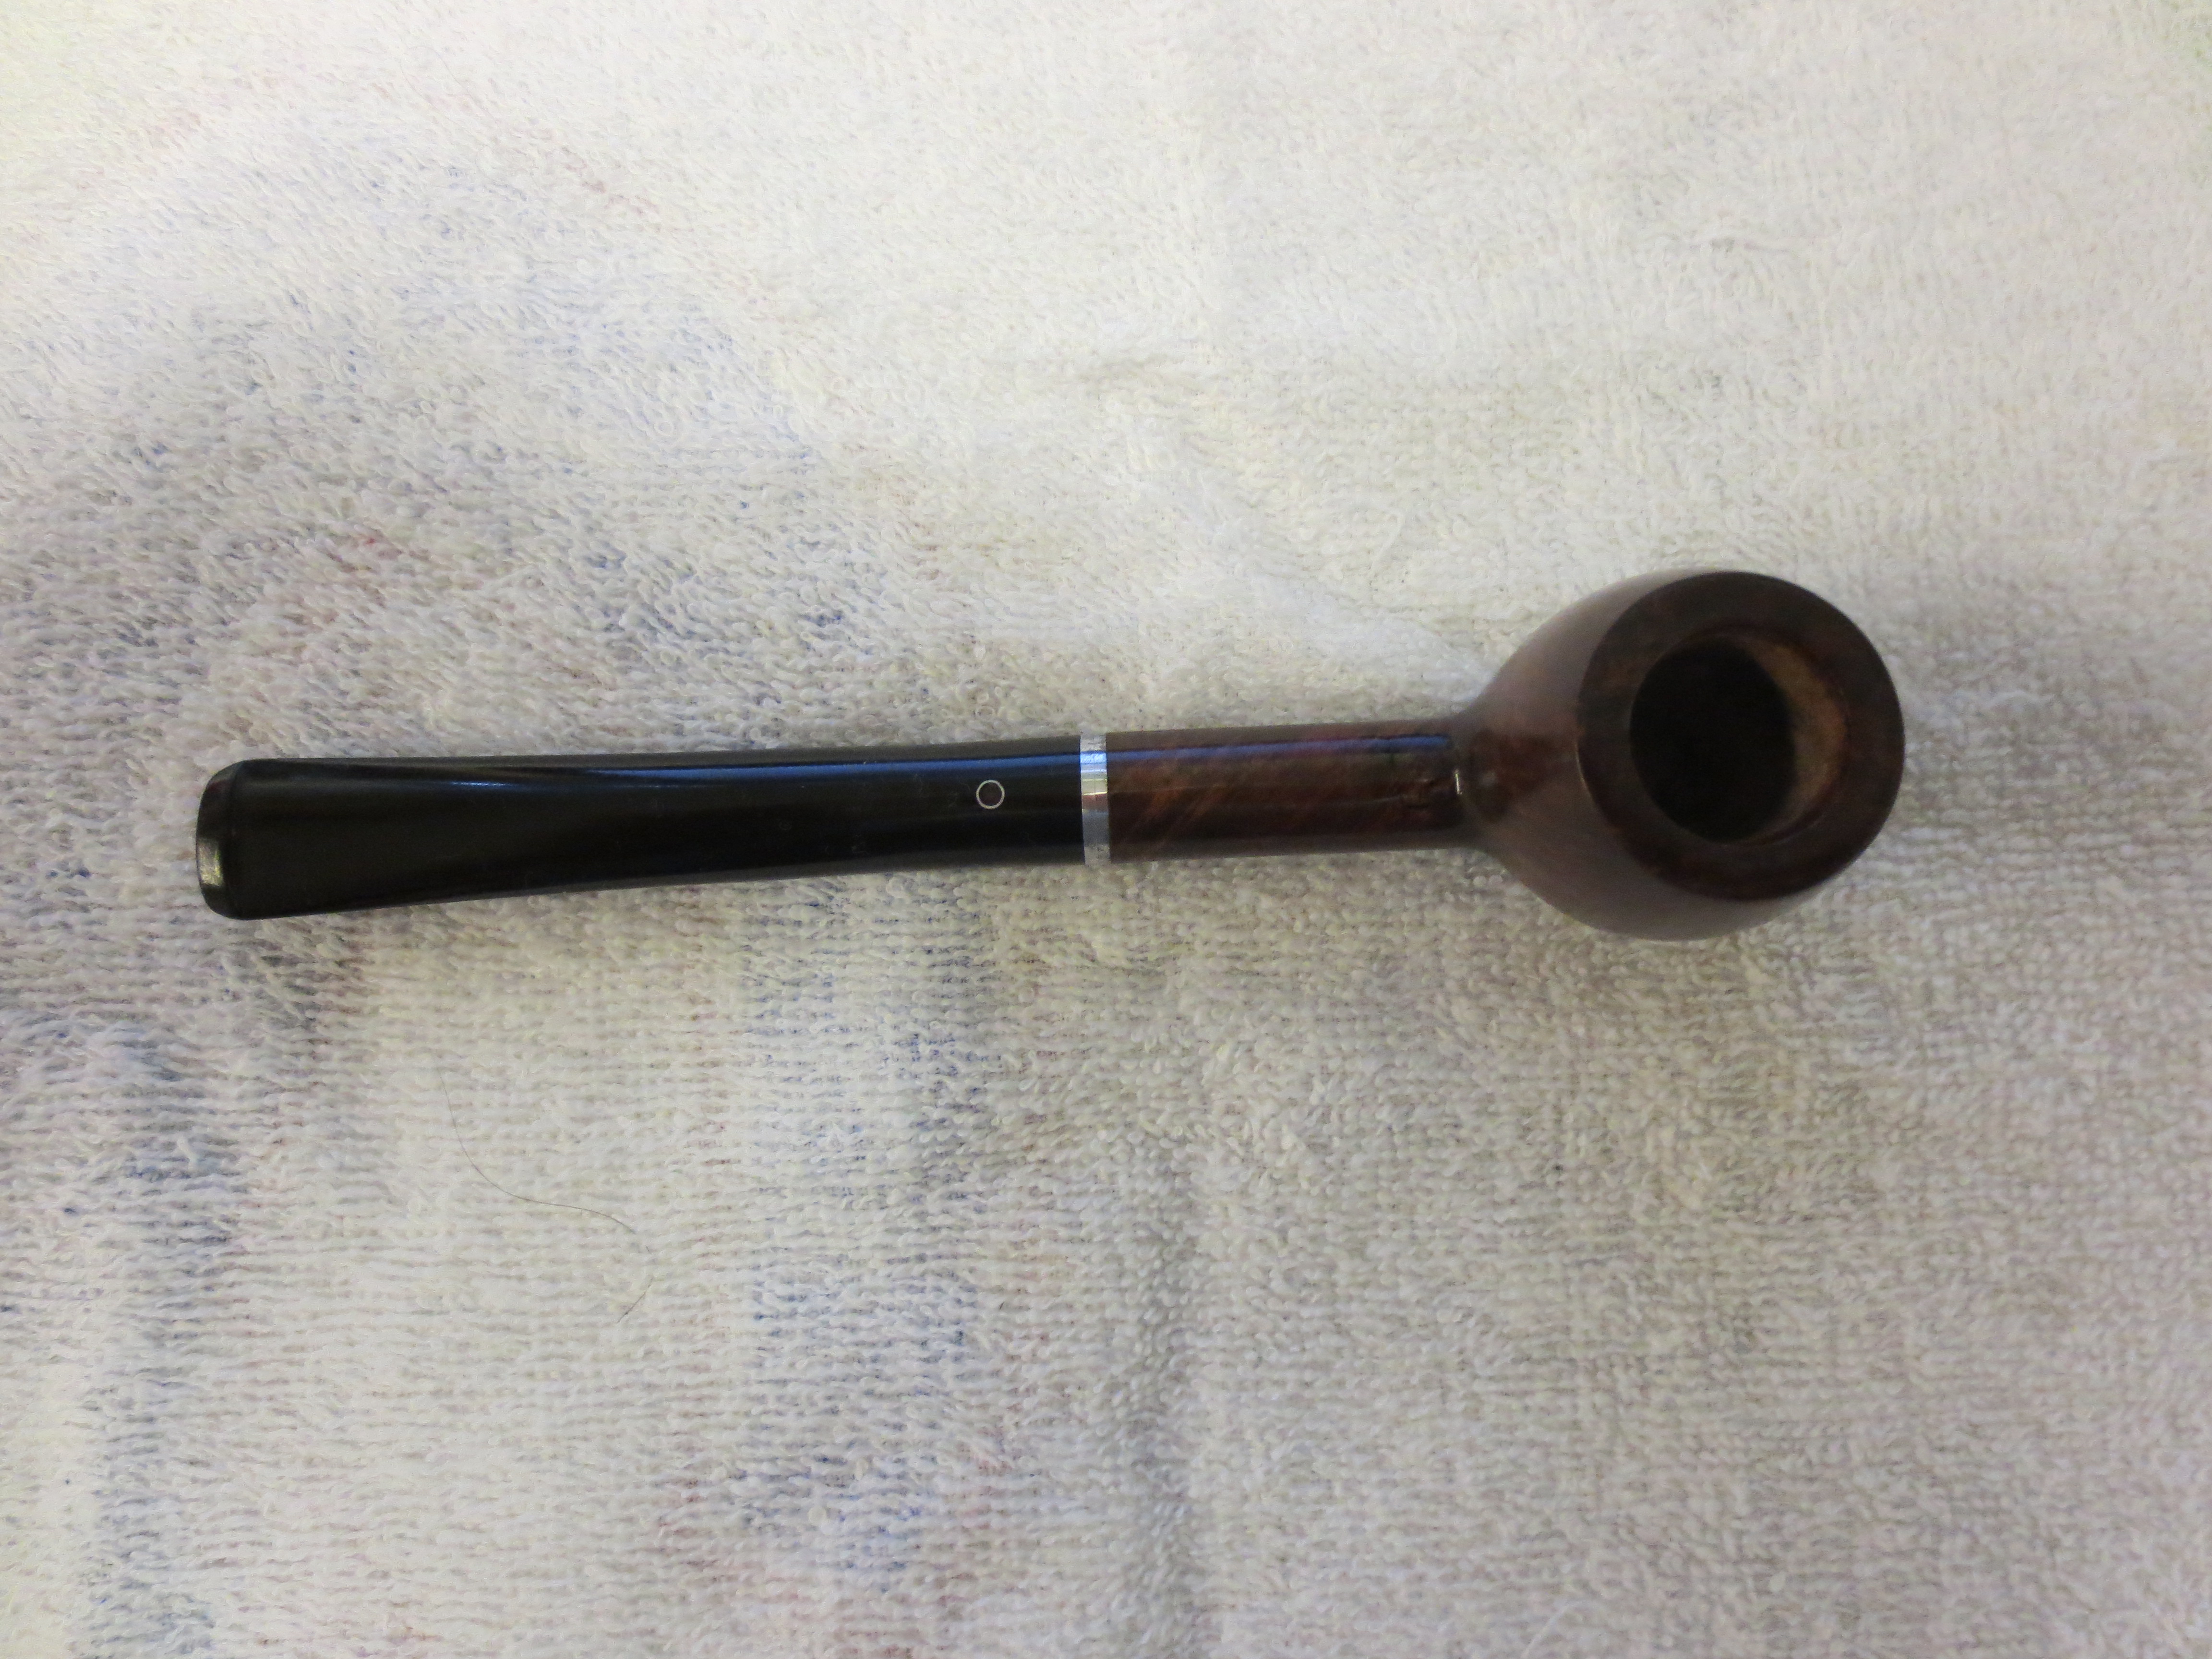
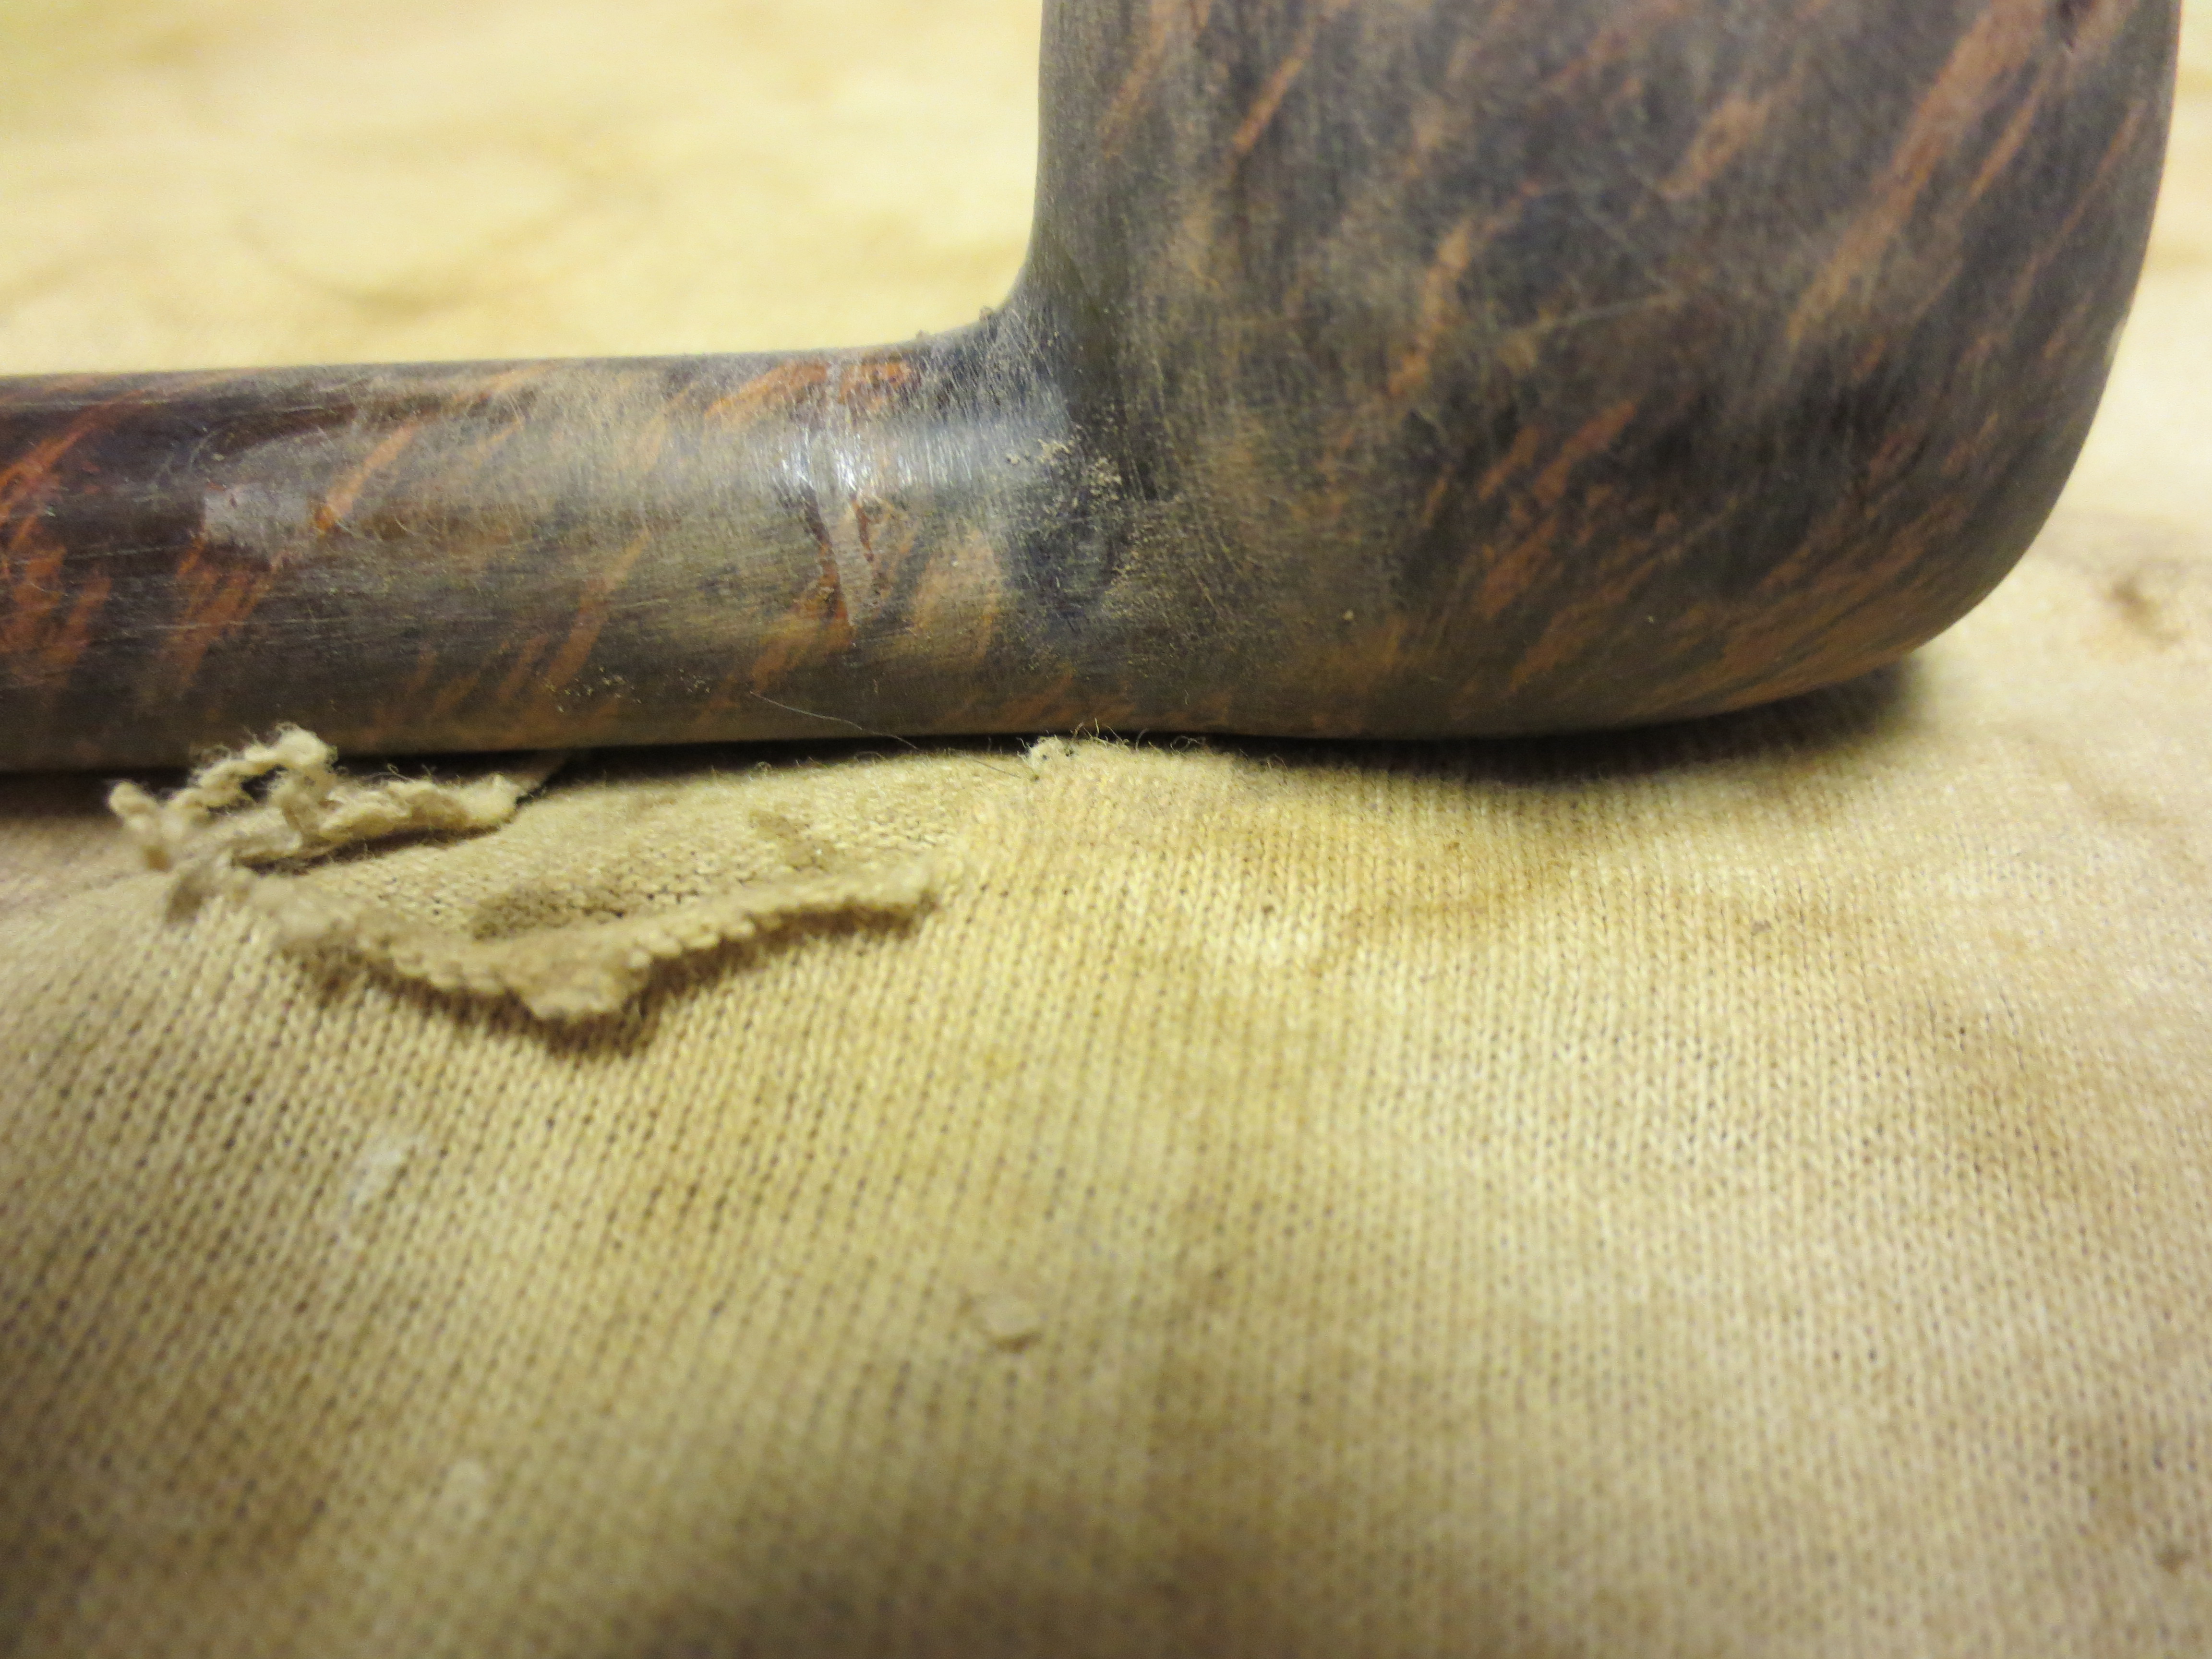
The next two photos are close-ups of the repaired shank. The repair is clean but the glue had over run the repair and was built up on the shank. I sanded the repair area to smooth out the glue to the same level as the stem.
I then wiped the bowl down with acetone once again. The next three photos show the pipe after the acetone wash. The finish is finally beginning to breakdown so that I can get to the briar underneath.
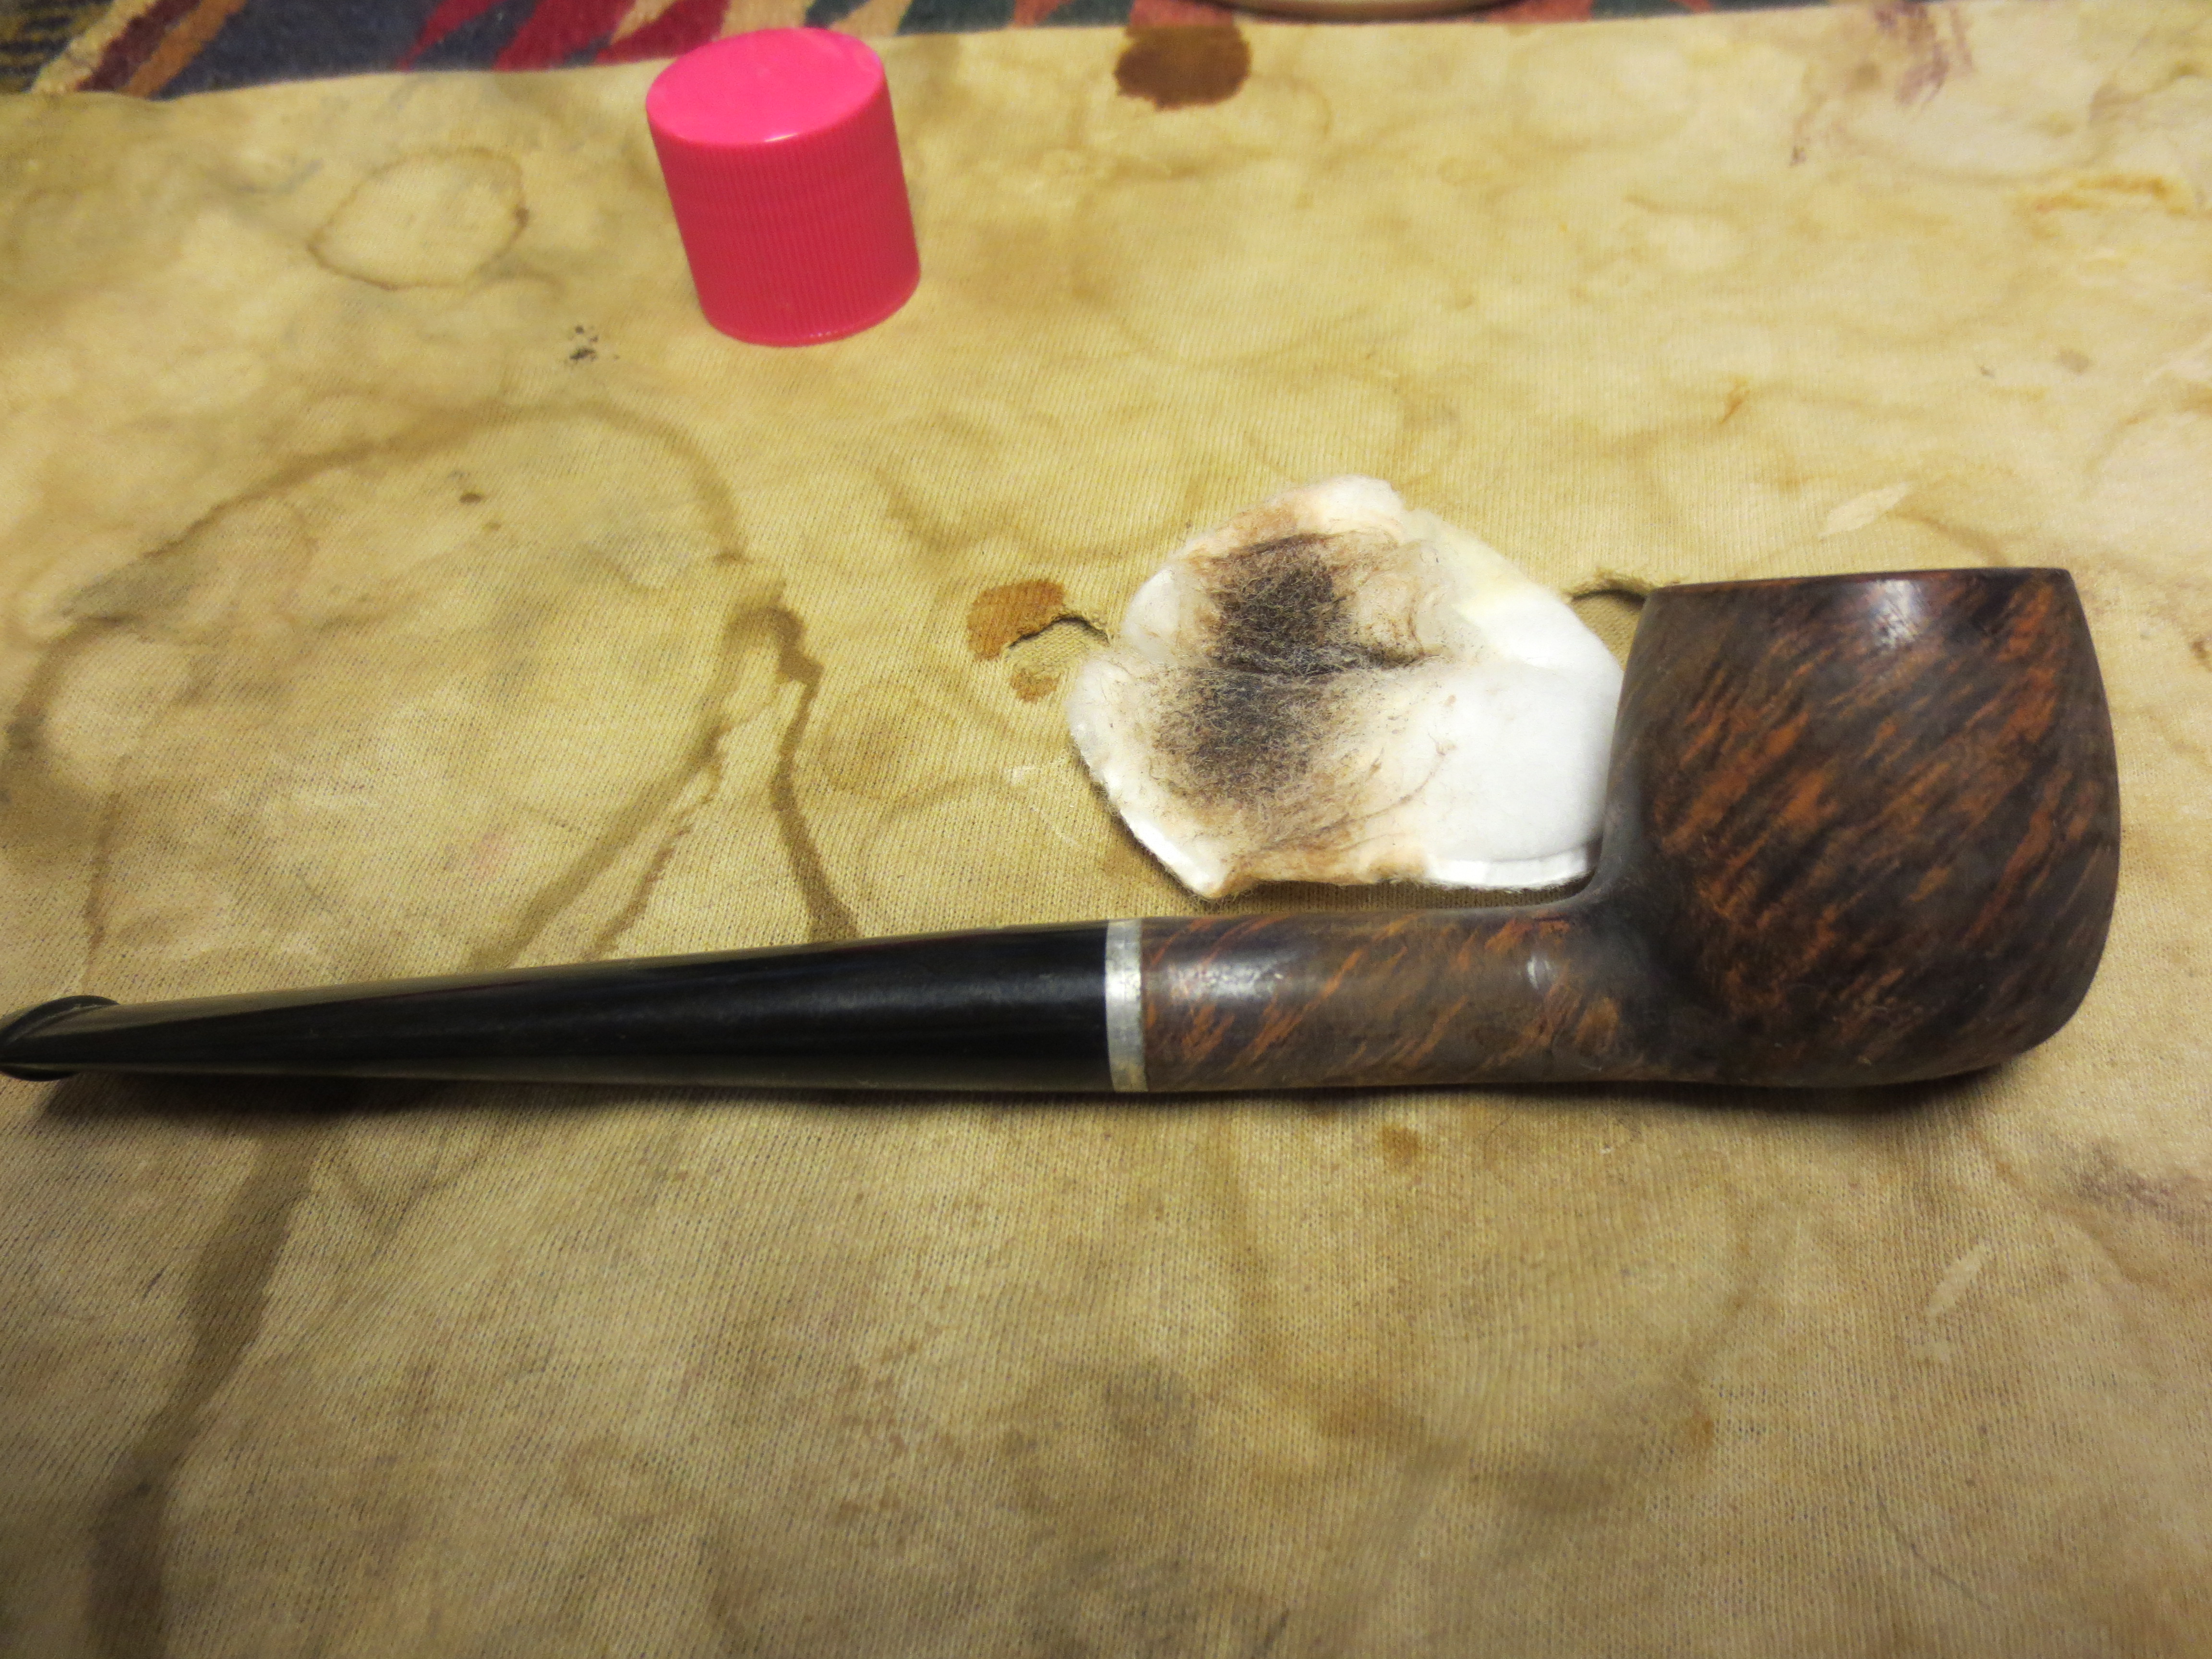
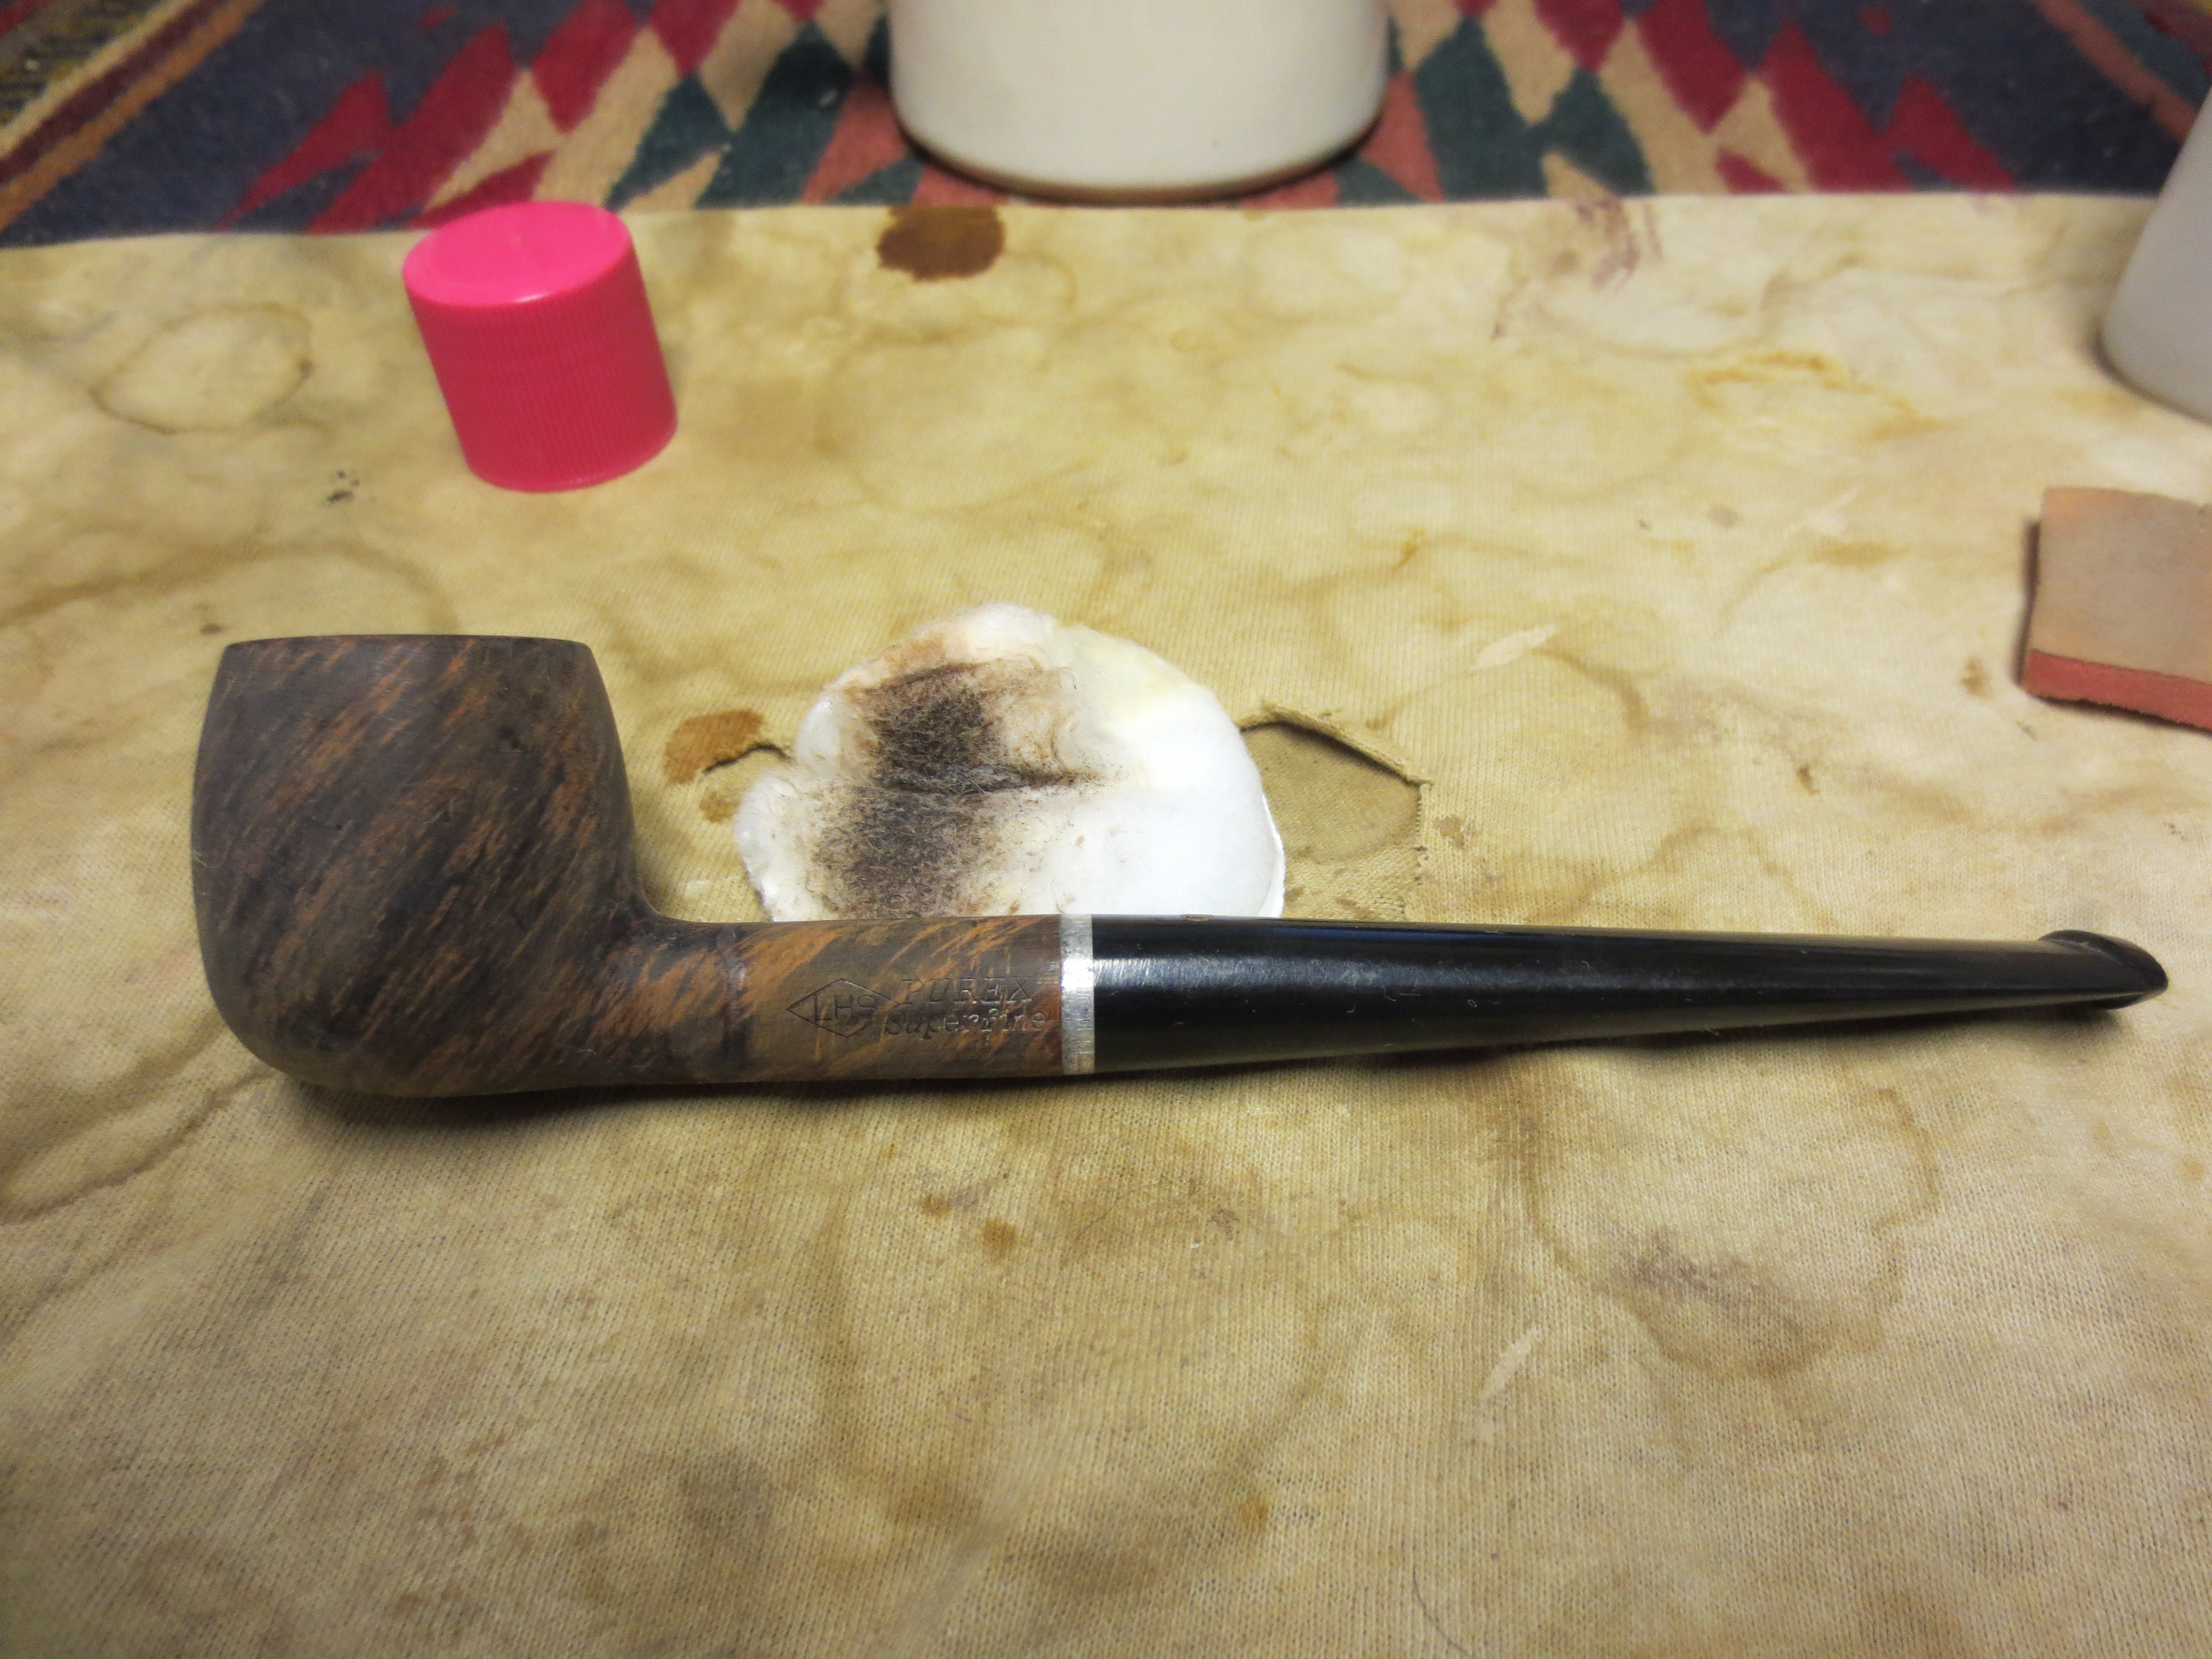
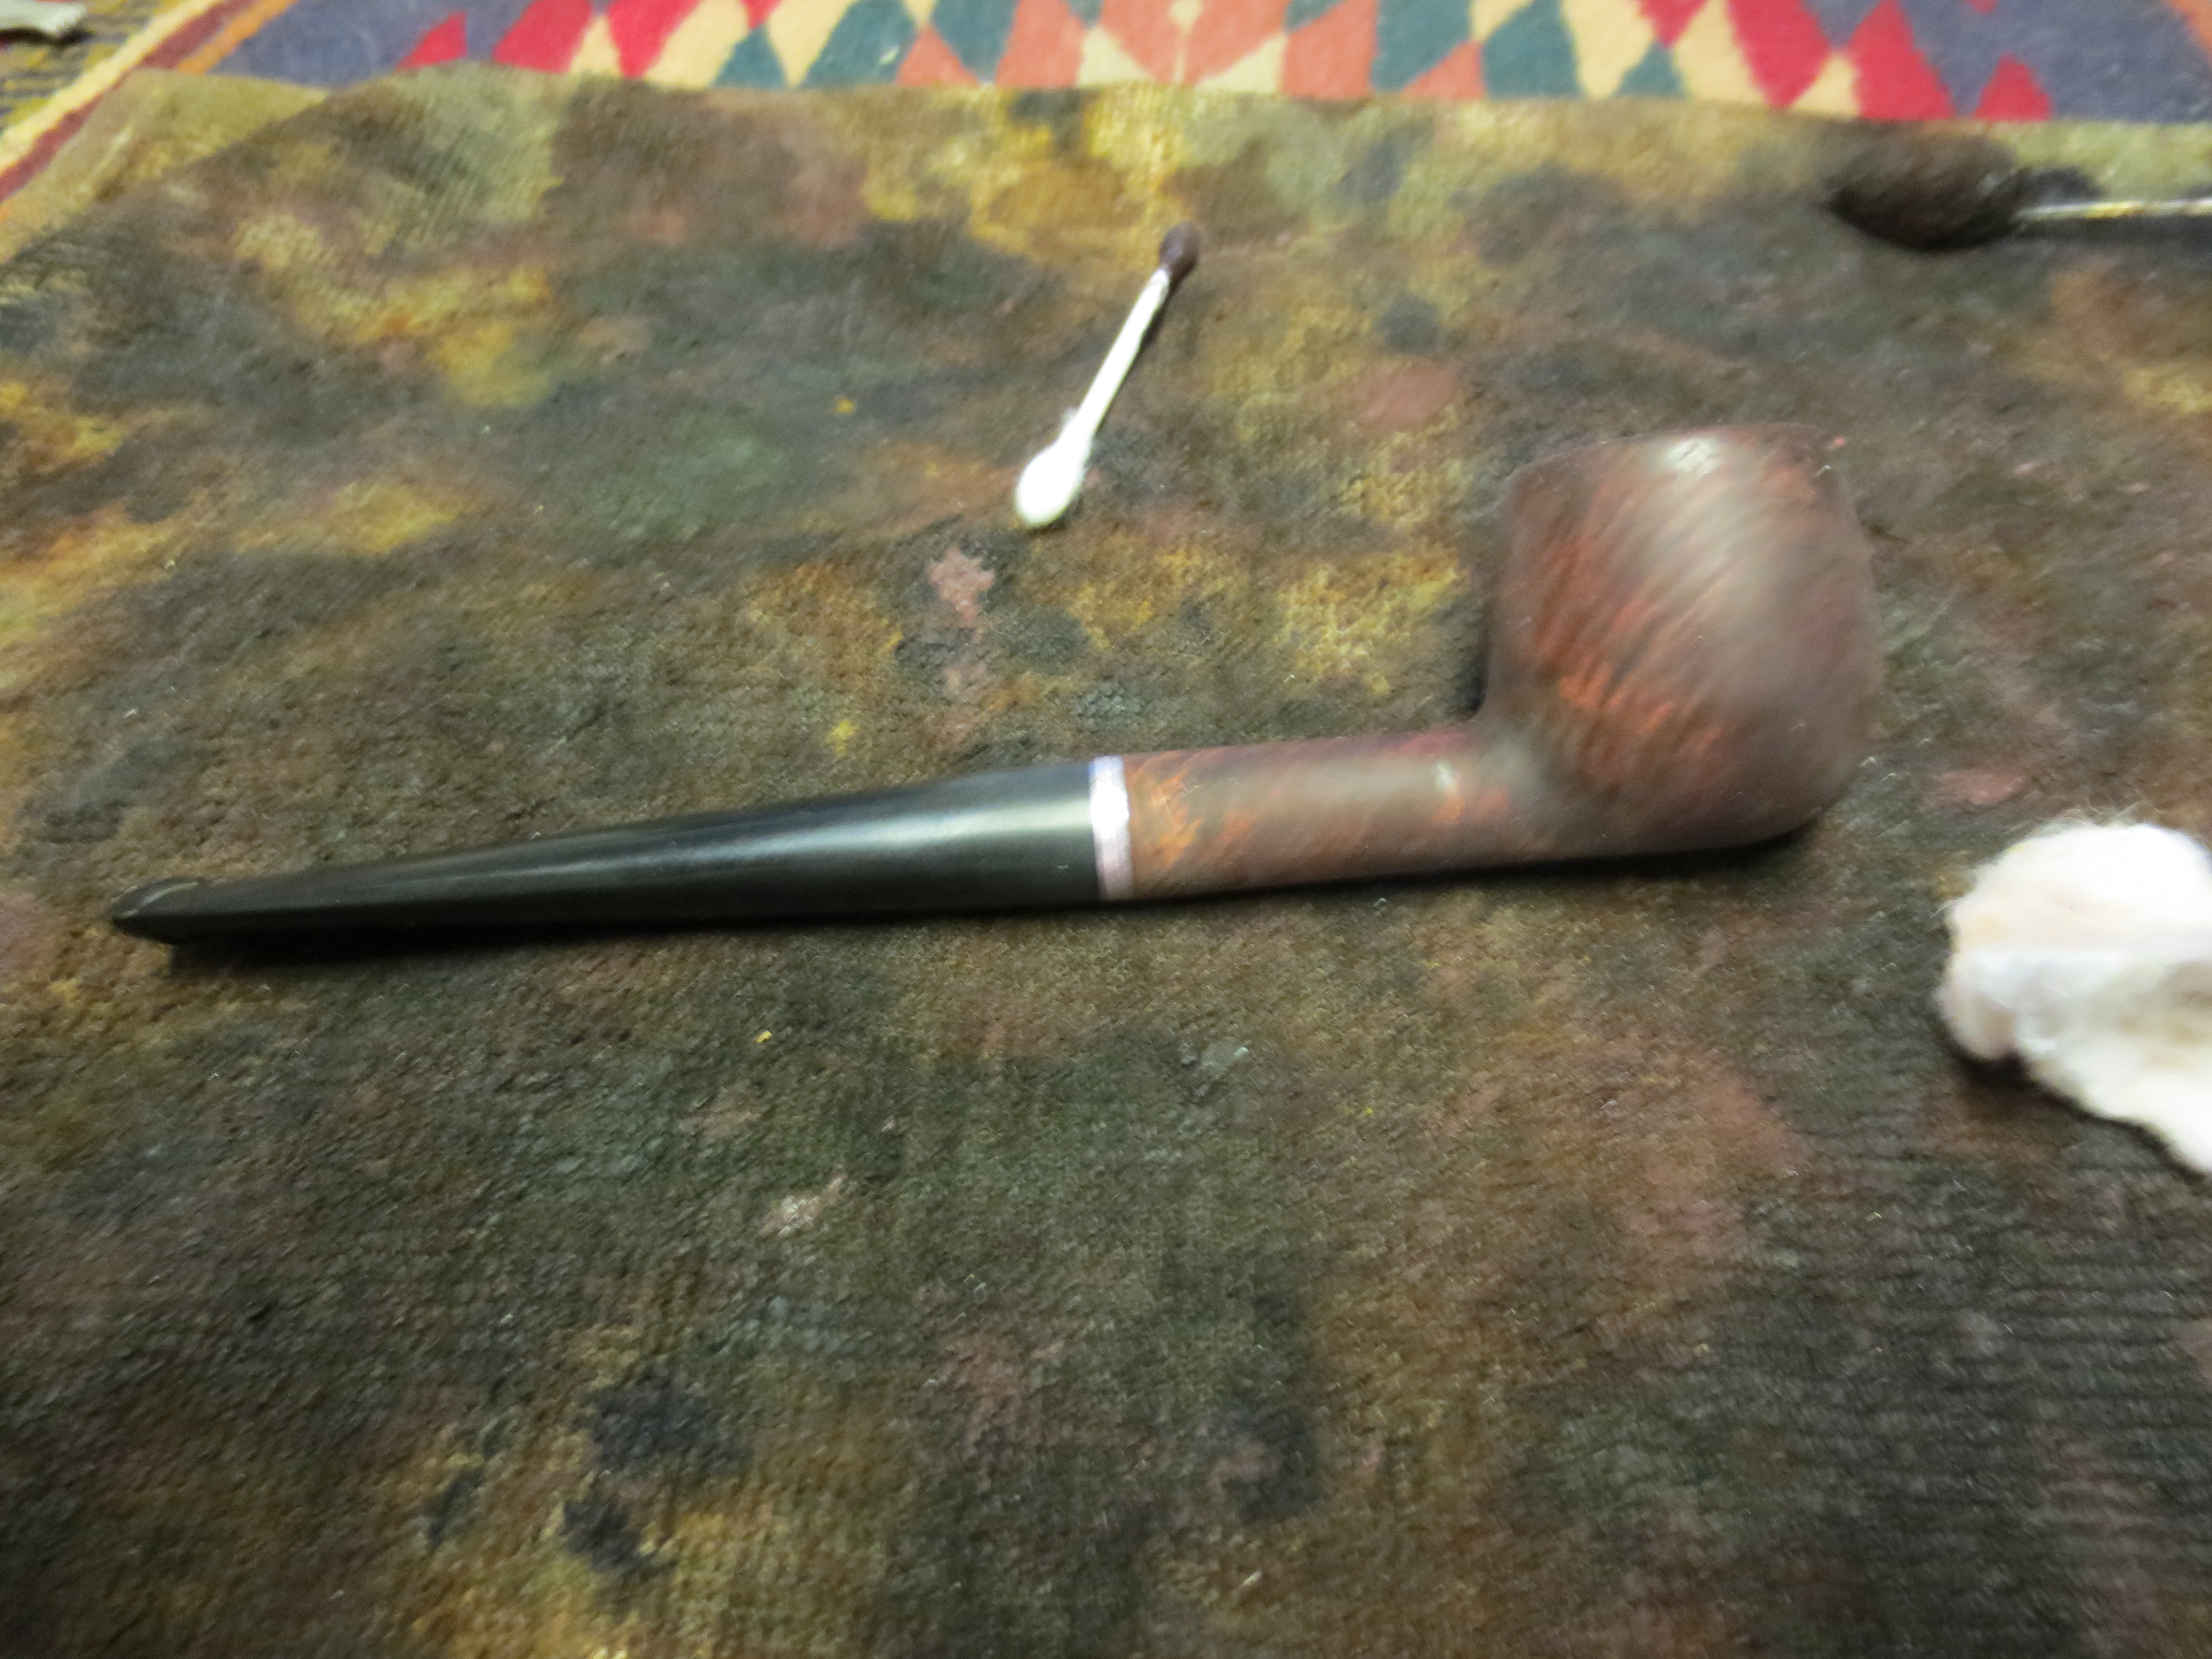
I then sanded the bowl with a fine grit sanding sponge (pictured above at the right top edge of the photo). I then sanded with micromesh sanding pads from 1500-2400 grit. I wet sanded at first to really give the pads some bite and then dry sanded with the same grit pads. The next three photos show the pipe after the sanding. The finish is gone and the pipe is ready for the buffer. I took it to the buffer and buffed it with White Diamond and then wiped it down a final time with acetone to prepare it for staining.
I decided to restain the pipe with an oxblood stain I have here. I applied it with a cotton swab and then flamed it and wiped it off. The next series of photos show the staining process. The first three photos show the pipe just after the stain has been applied. I wiped the pipe down again with the acetone to remove some of the opacity of the stain and get the grain to show again. The fourth photo in the series shows the pipe after the wipe down with acetone.
The last series of four photos show the pipe after buffing with White Diamond and coating with several coats of carnauba wax and giving a flannel buff. The photos make the pipe appear a bit darker than it is – the grain shows through more clearly but the shine of the pipe hides it in the photos. It is done and ready to be a nice addition to someone’s rack.