Tag Archives: Inserting a new tenon

Replacing a tenon in a stem with a minimum of tools


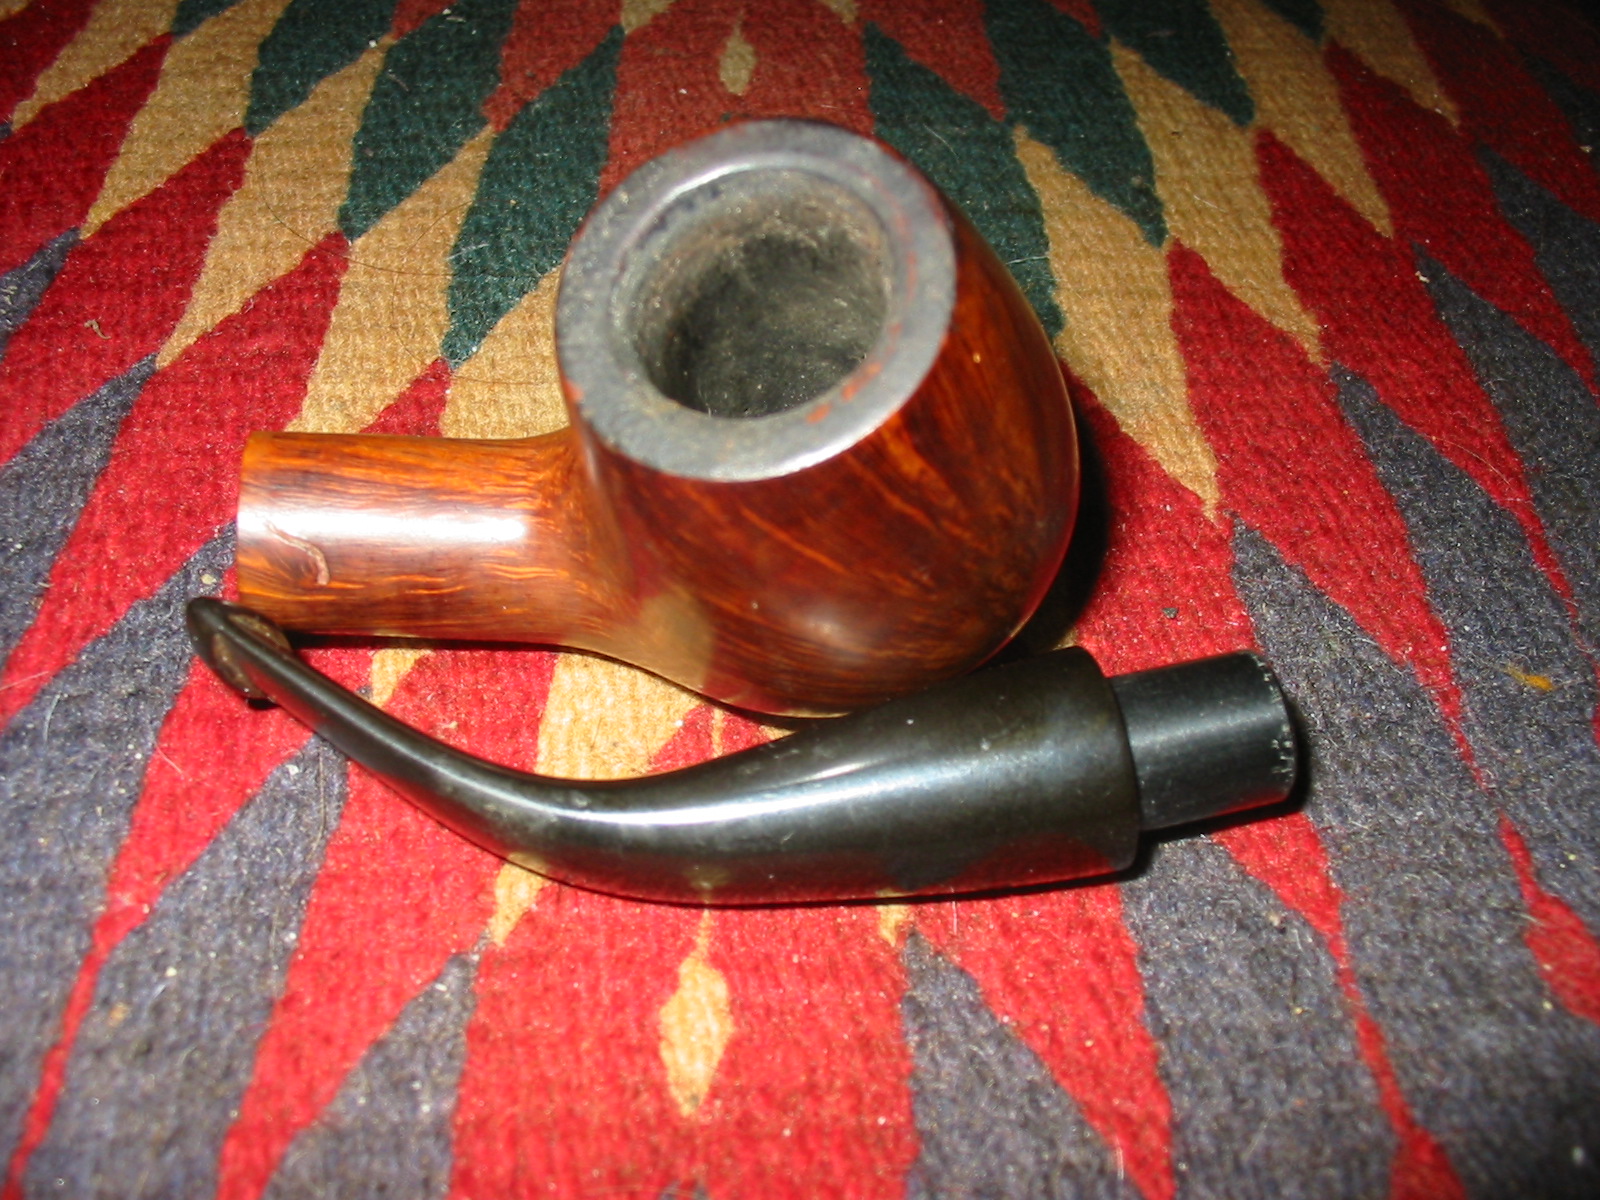
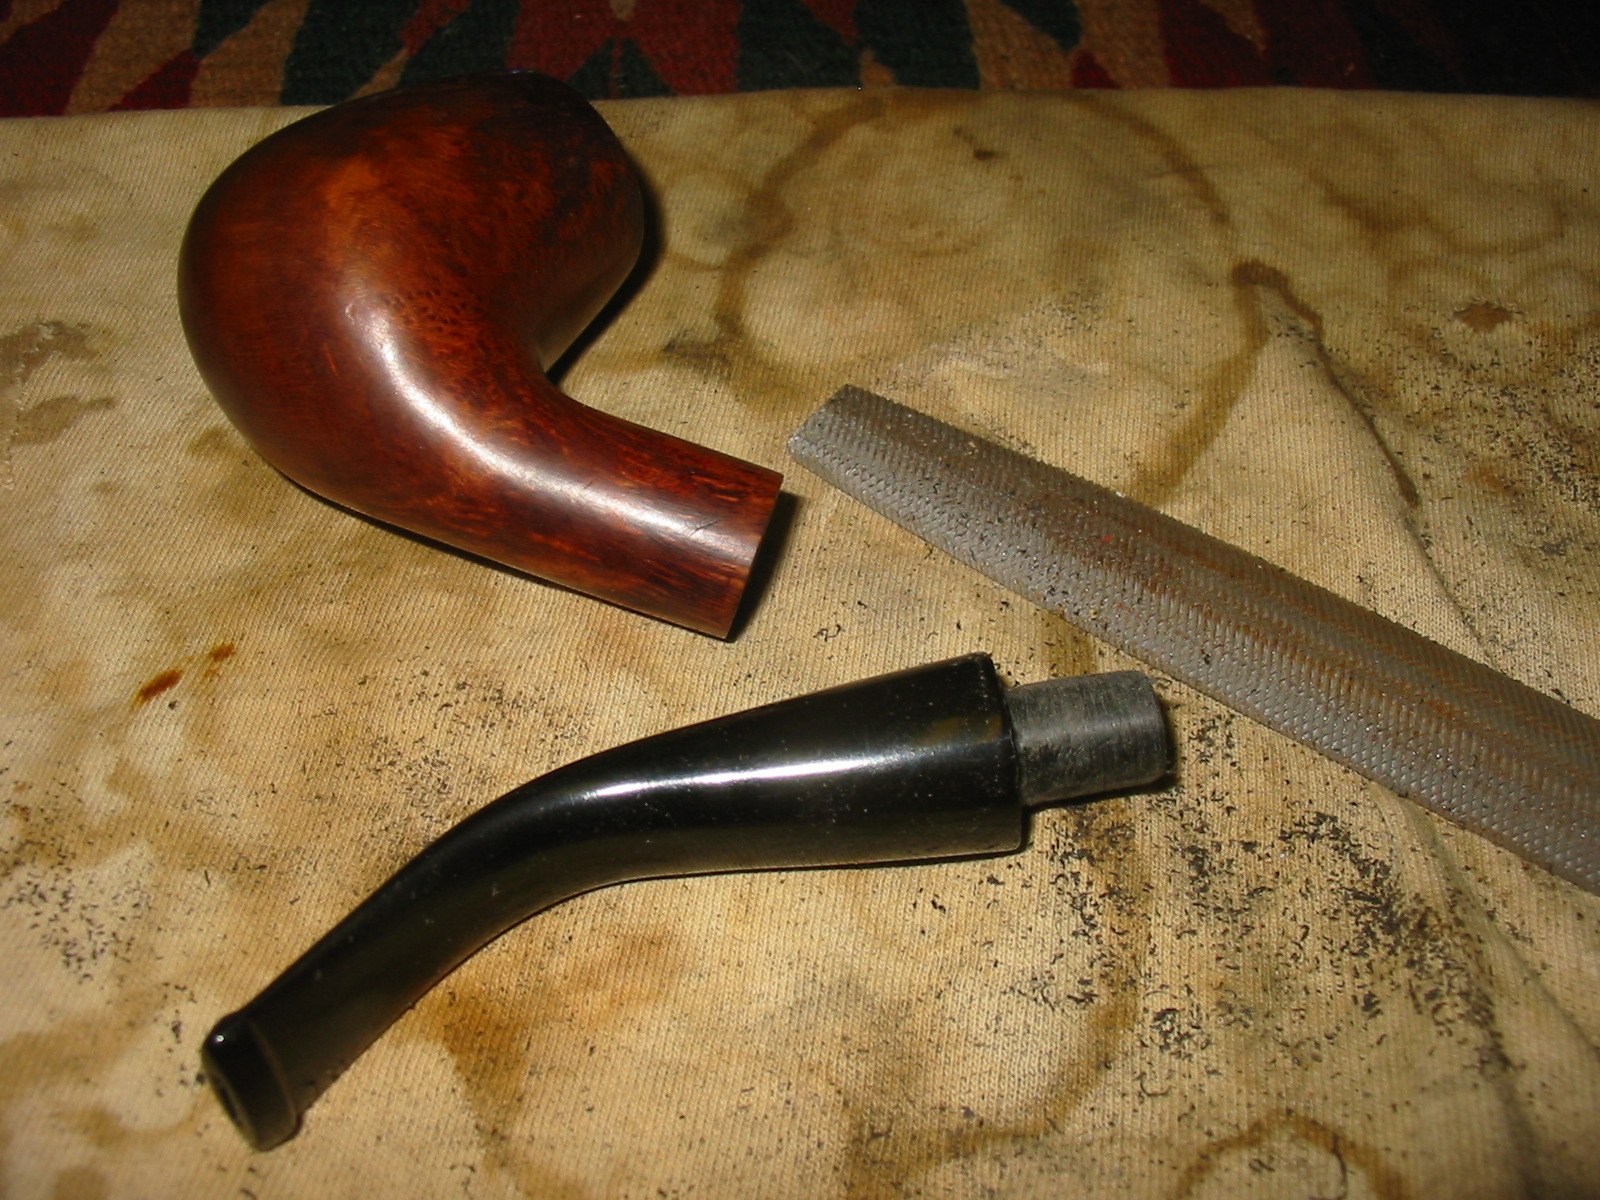
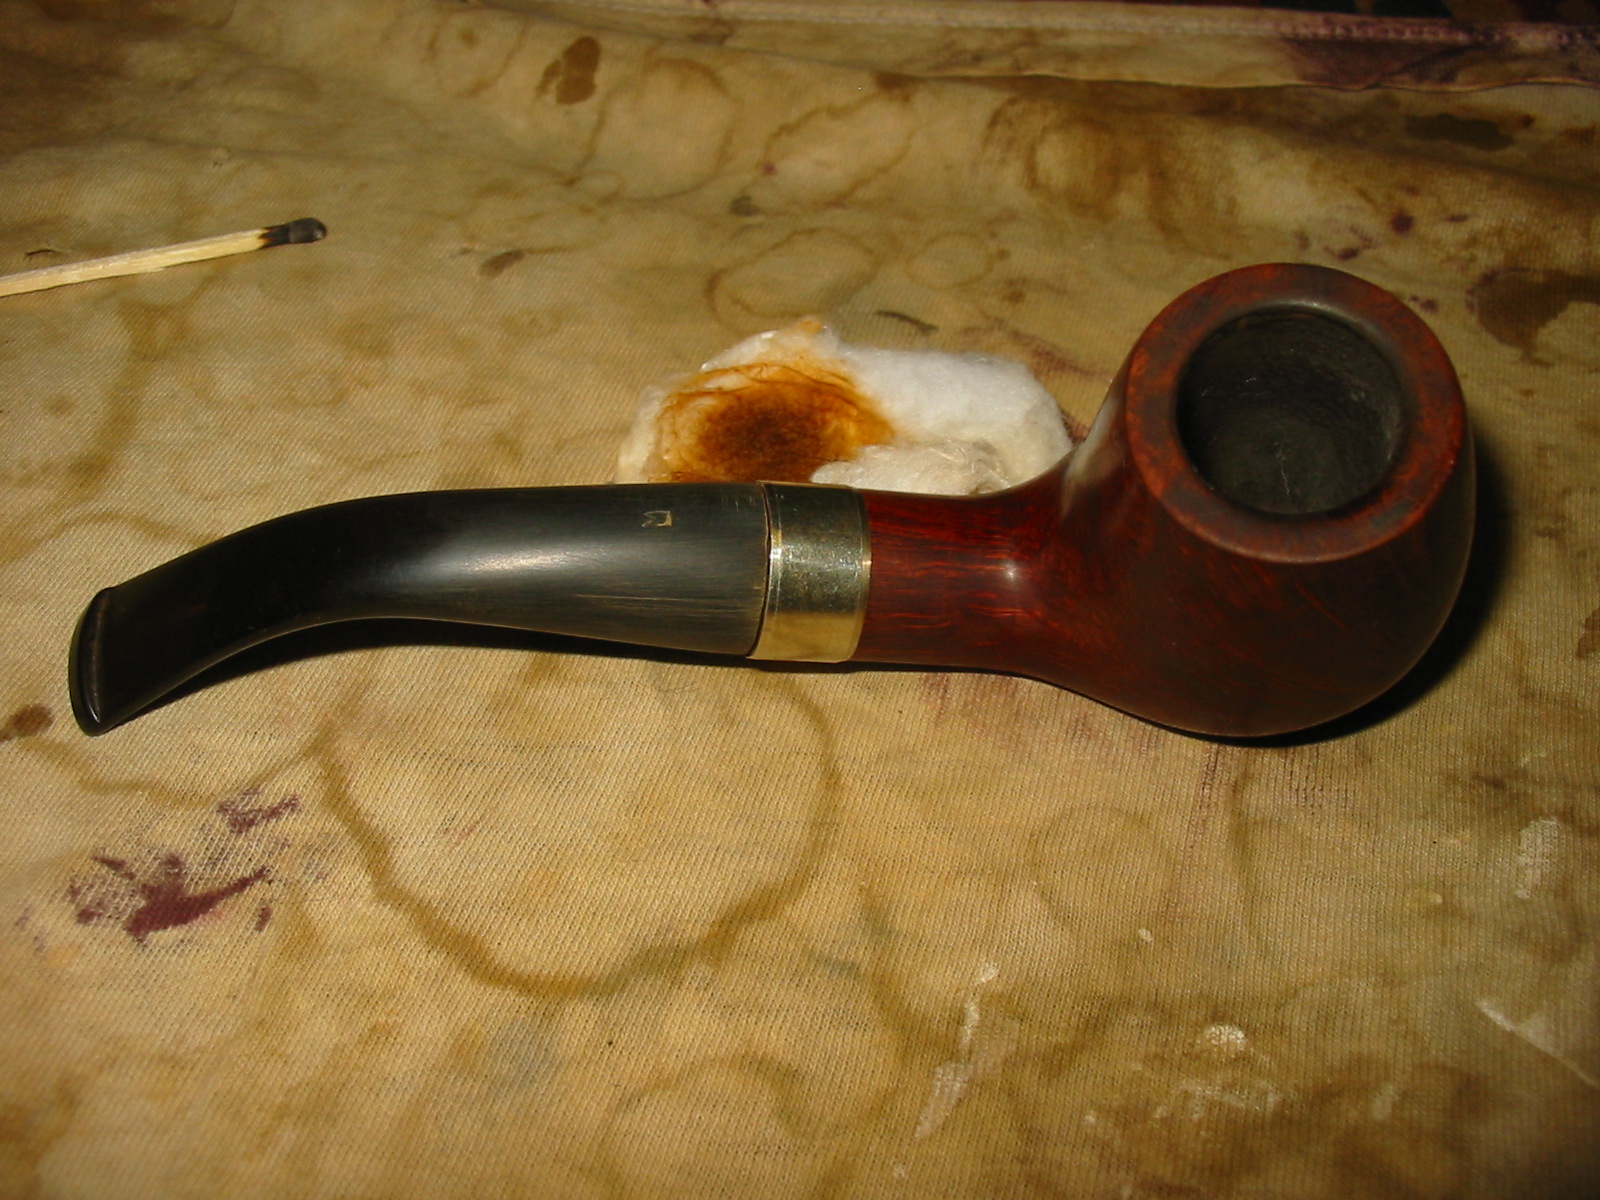
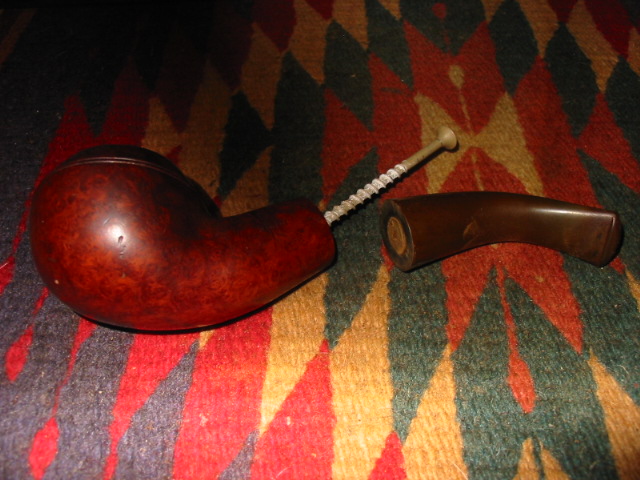
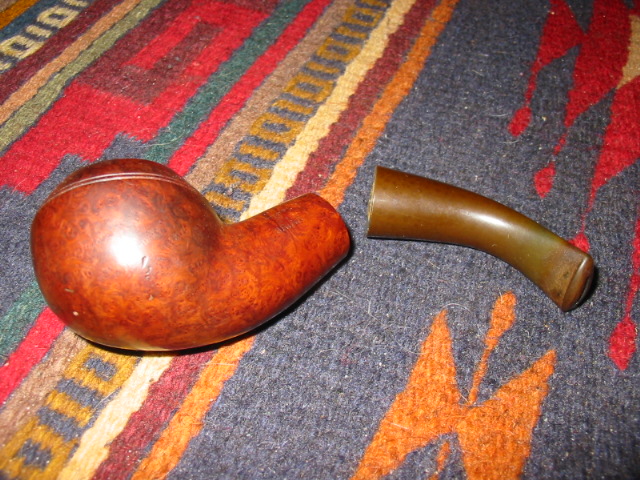
Last evening I was looking at the lone pipe bowl in my refurbishing box and decided I wanted to do something with it. I wasn’t sure if I would refinish it or rusticate it with the new tool Chris sent me. Either way though, it needed a new stem. I went through my can of stems and found that I did not have any that would fit the shank without a lot of work. I did have one with a broken tenon that was the right diameter for this pipe. I looked at it for a while and then found a Delrin tenon that I had on the work table. The tenon was the right size for the shank! The stem was the right diameter for the shank. Now all I had to do was wed the two of them and I would have my new stem.

I have drilled out broken stems in the past and inserted a new tenon. I have used a tap and then screwed in a threaded tenon that I purchased from Pipe Makers Emporium. Either way it was work that I did by hand. By hand means that I do not have a drill press, I do not have a vise to hold the stem. I have my two hands and a cordless drill. This takes steady and slow work to keep all the angles straight and get things properly aligned. It is one of those processes that will either work really well or not at all. There is no in between. You cannot redrill a crooked hole to straighten it out without making it too large to fit the piece. So really the fact of the matter is that it all comes down to whether I can drill the stem out straight!

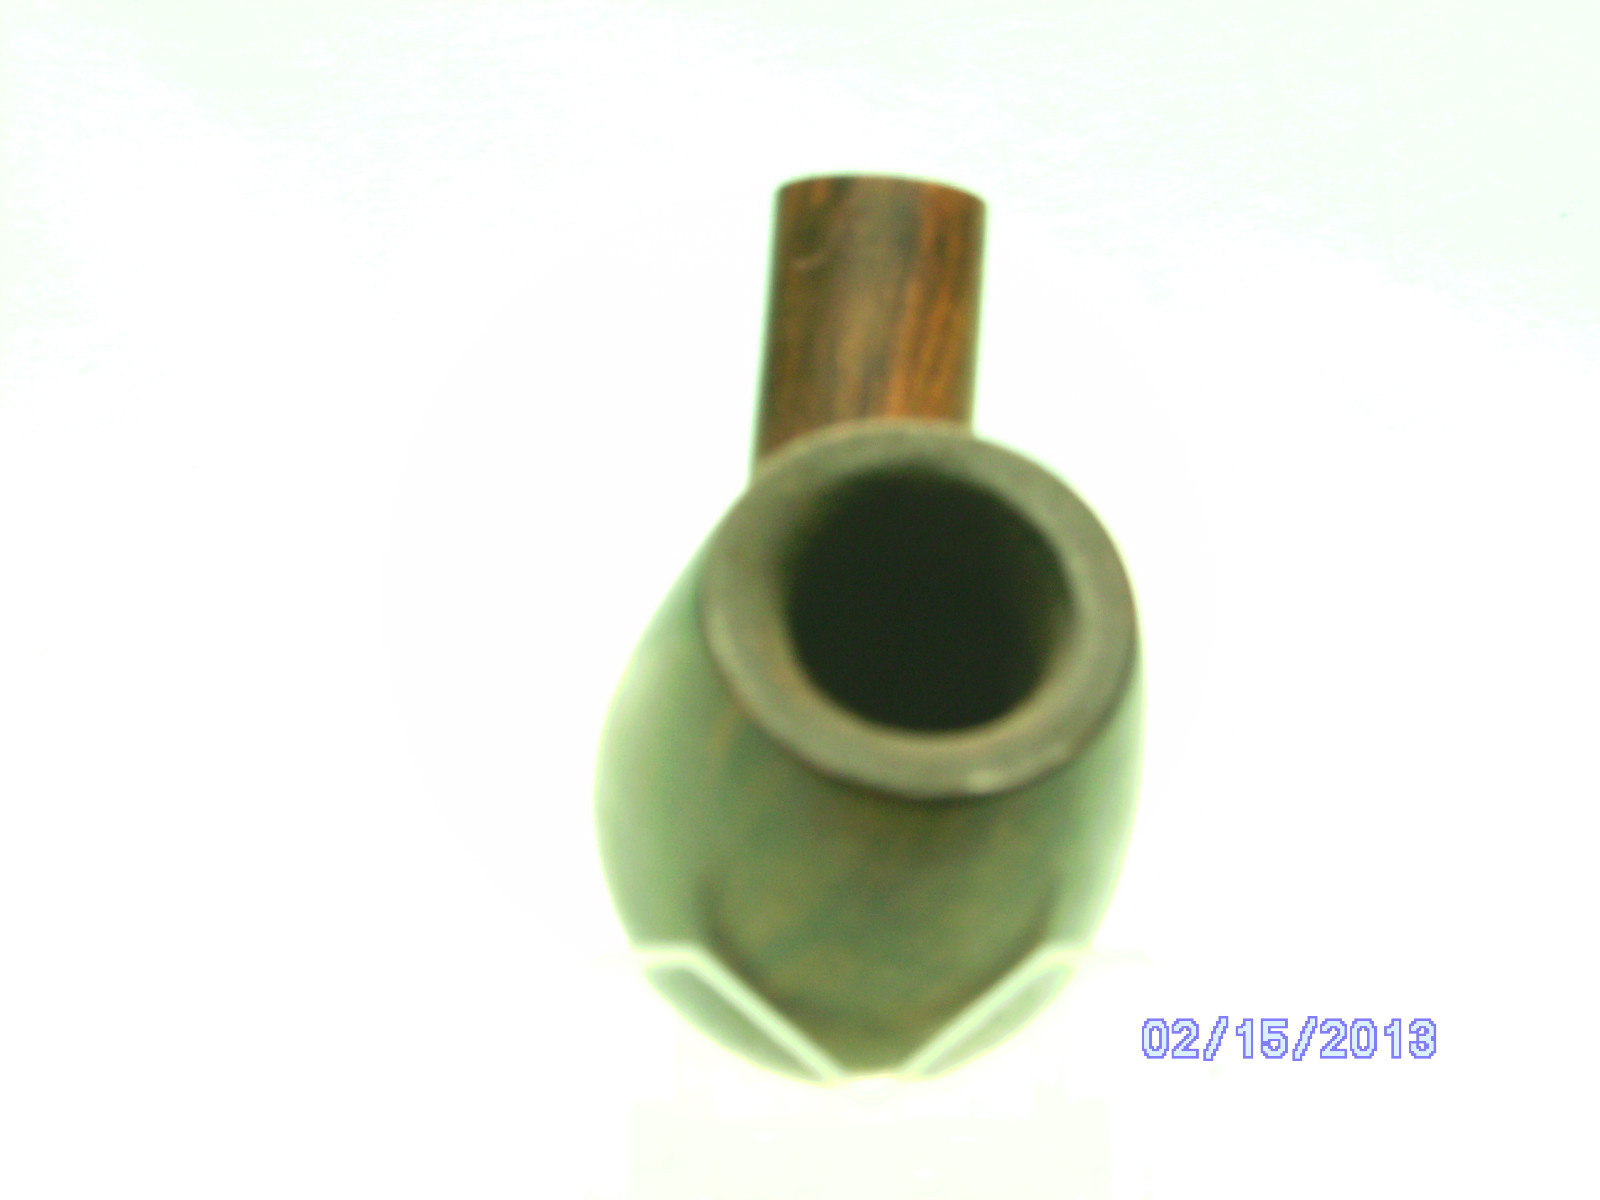
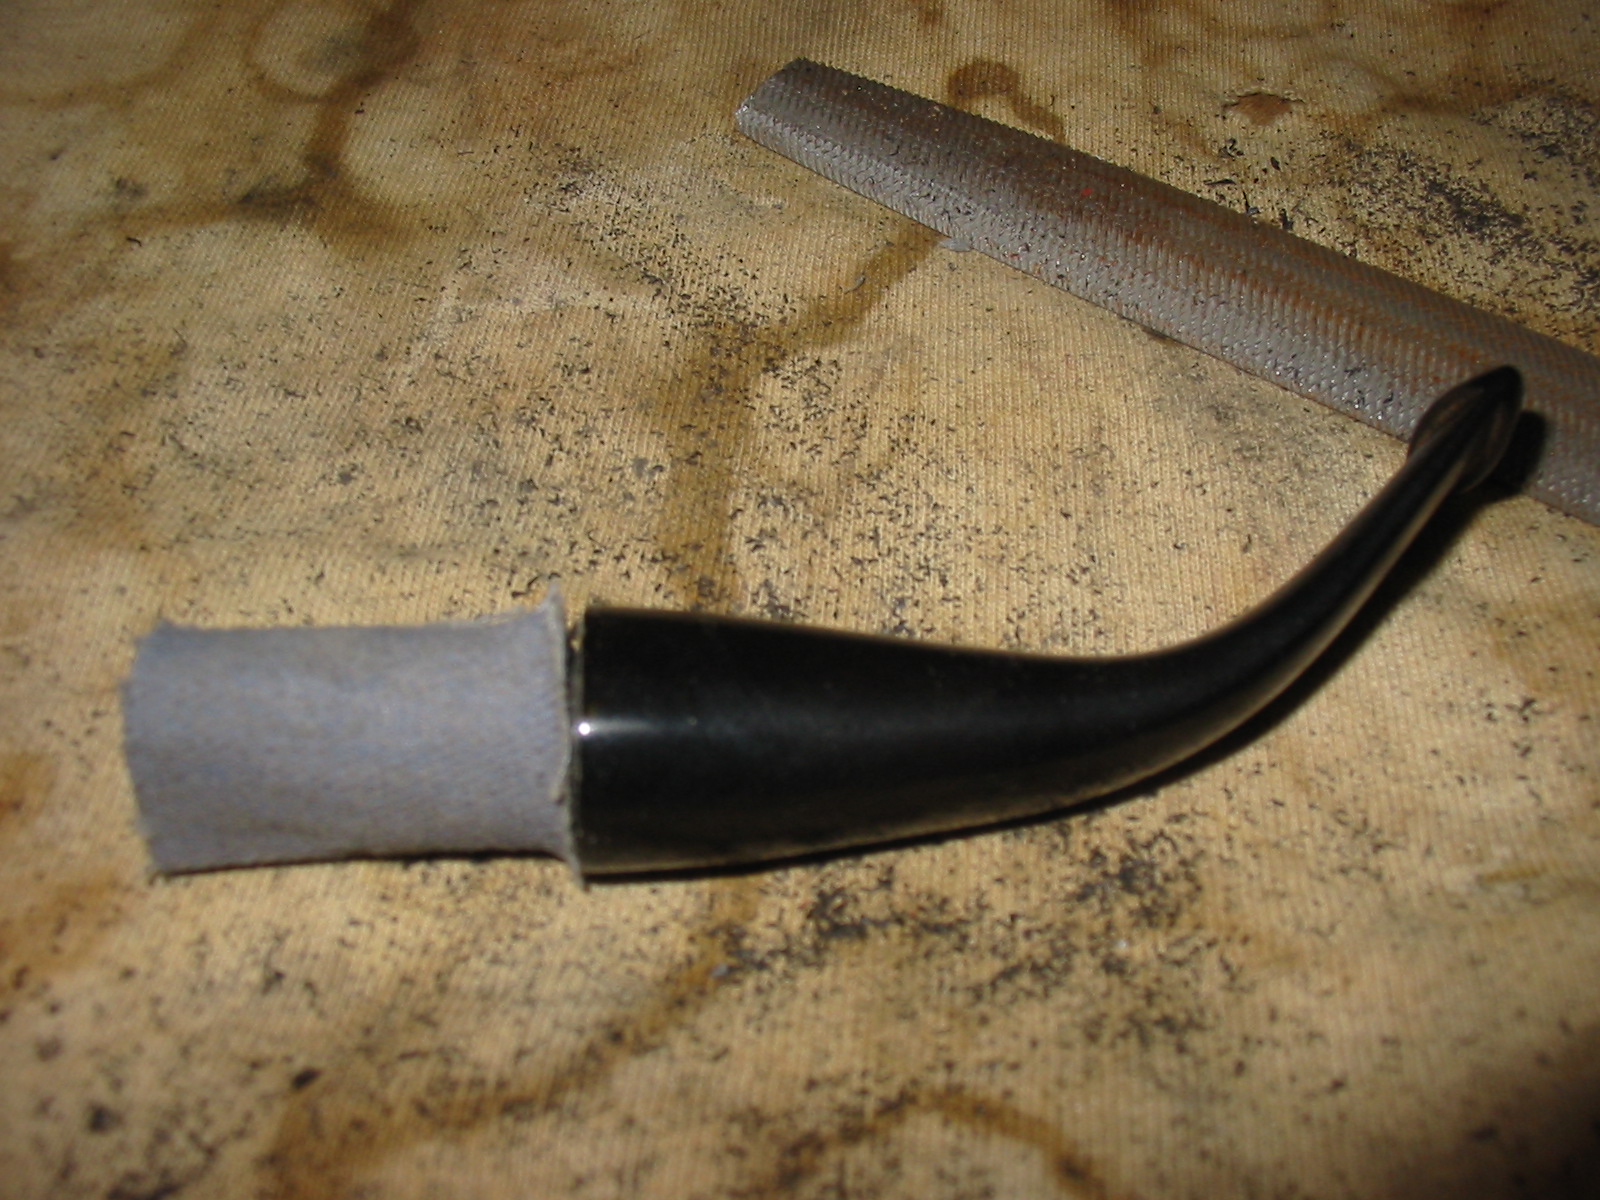
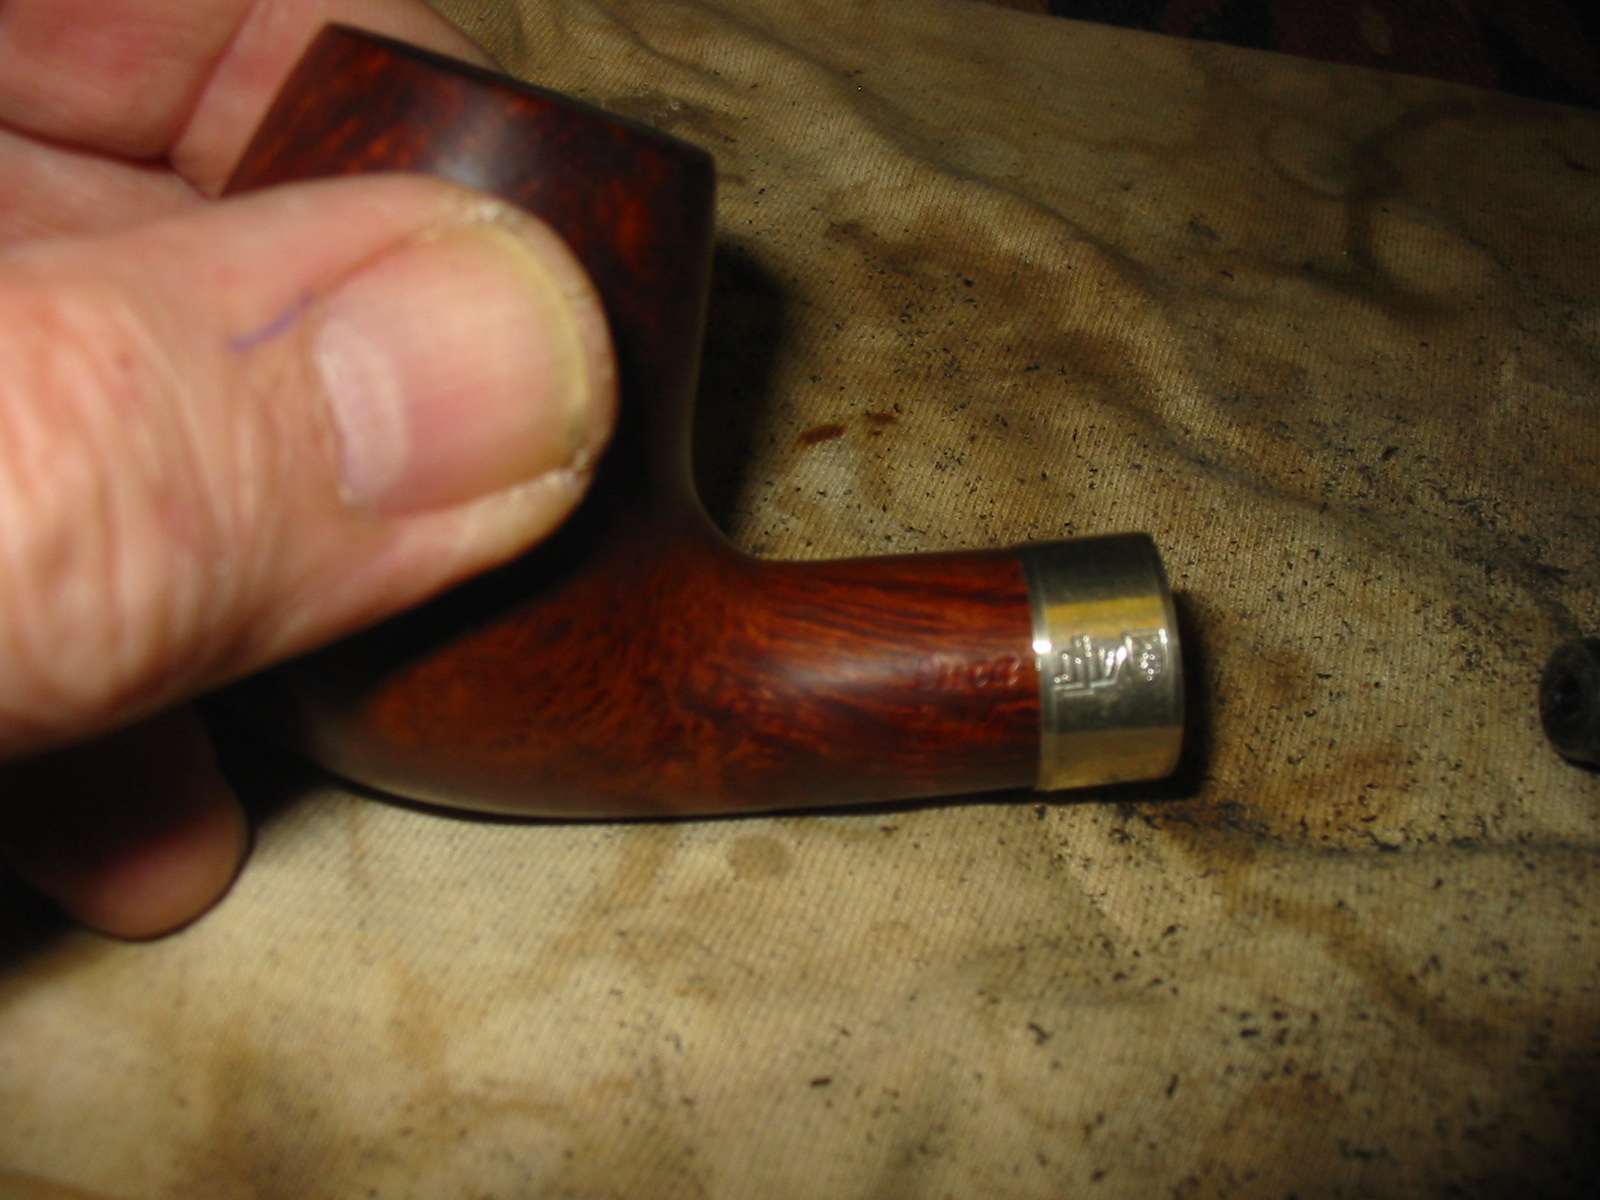
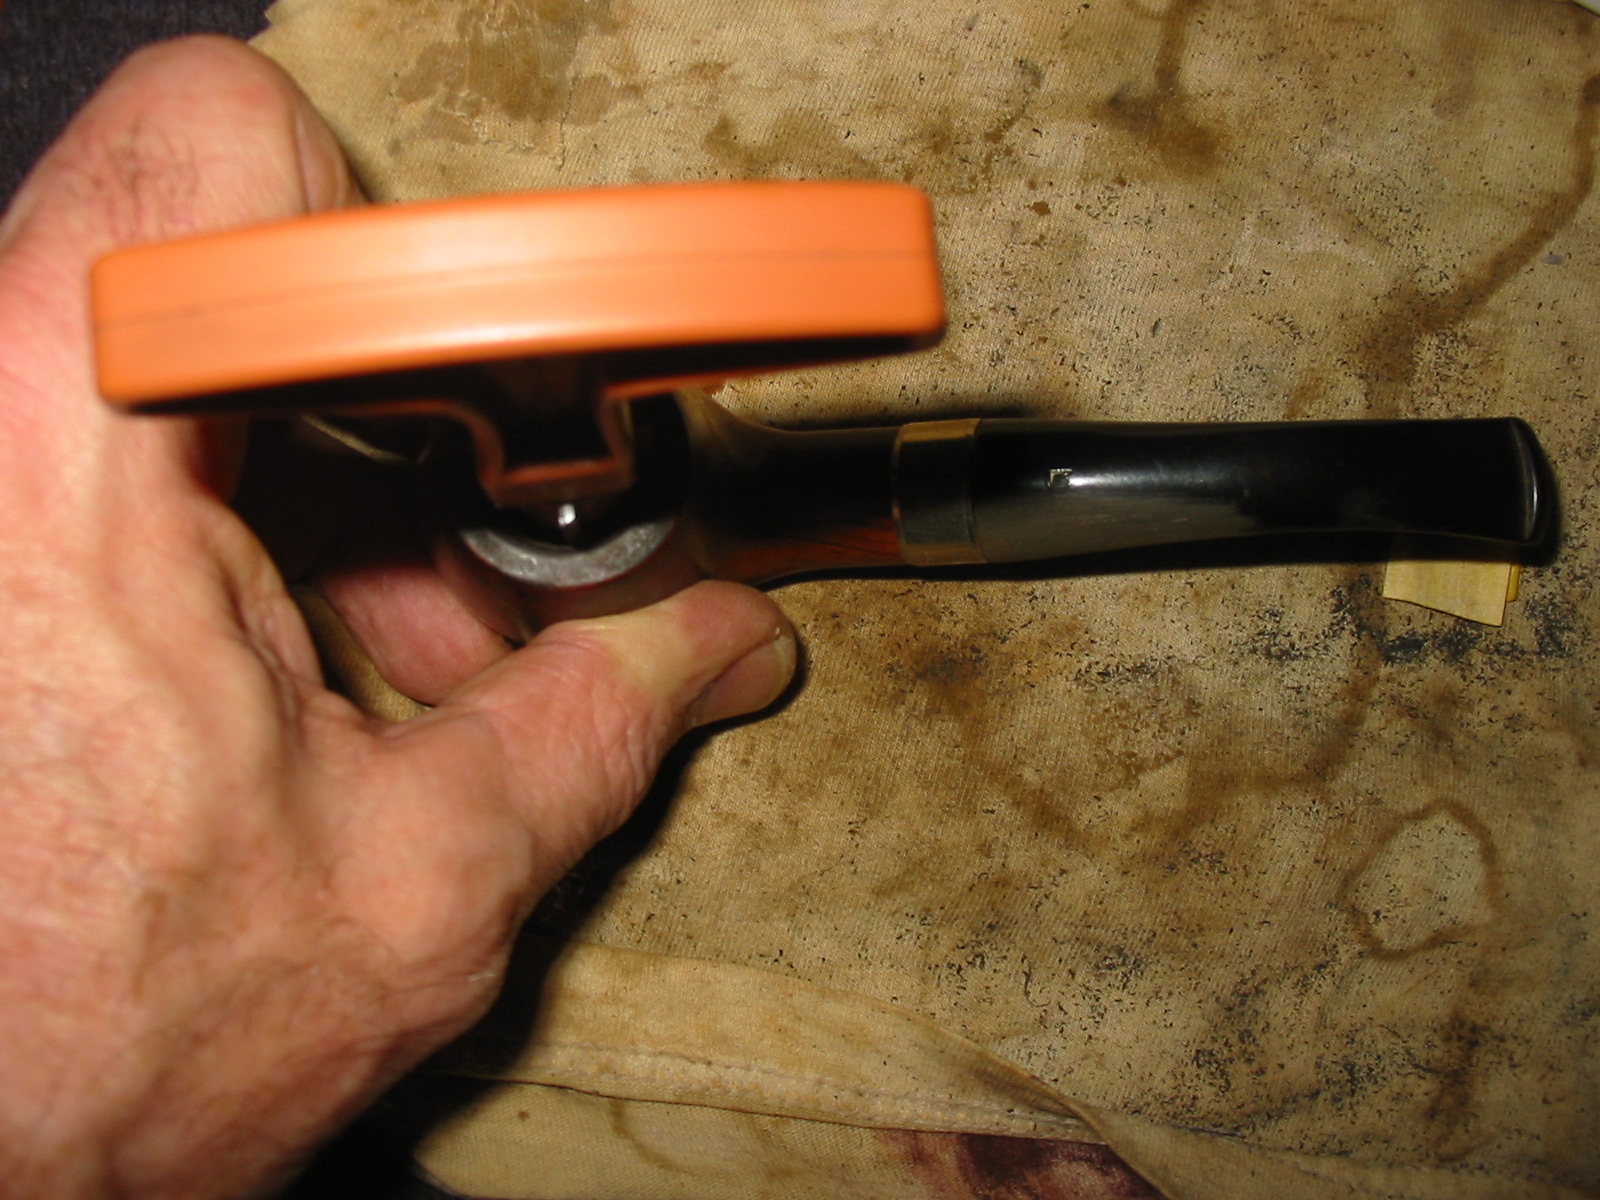
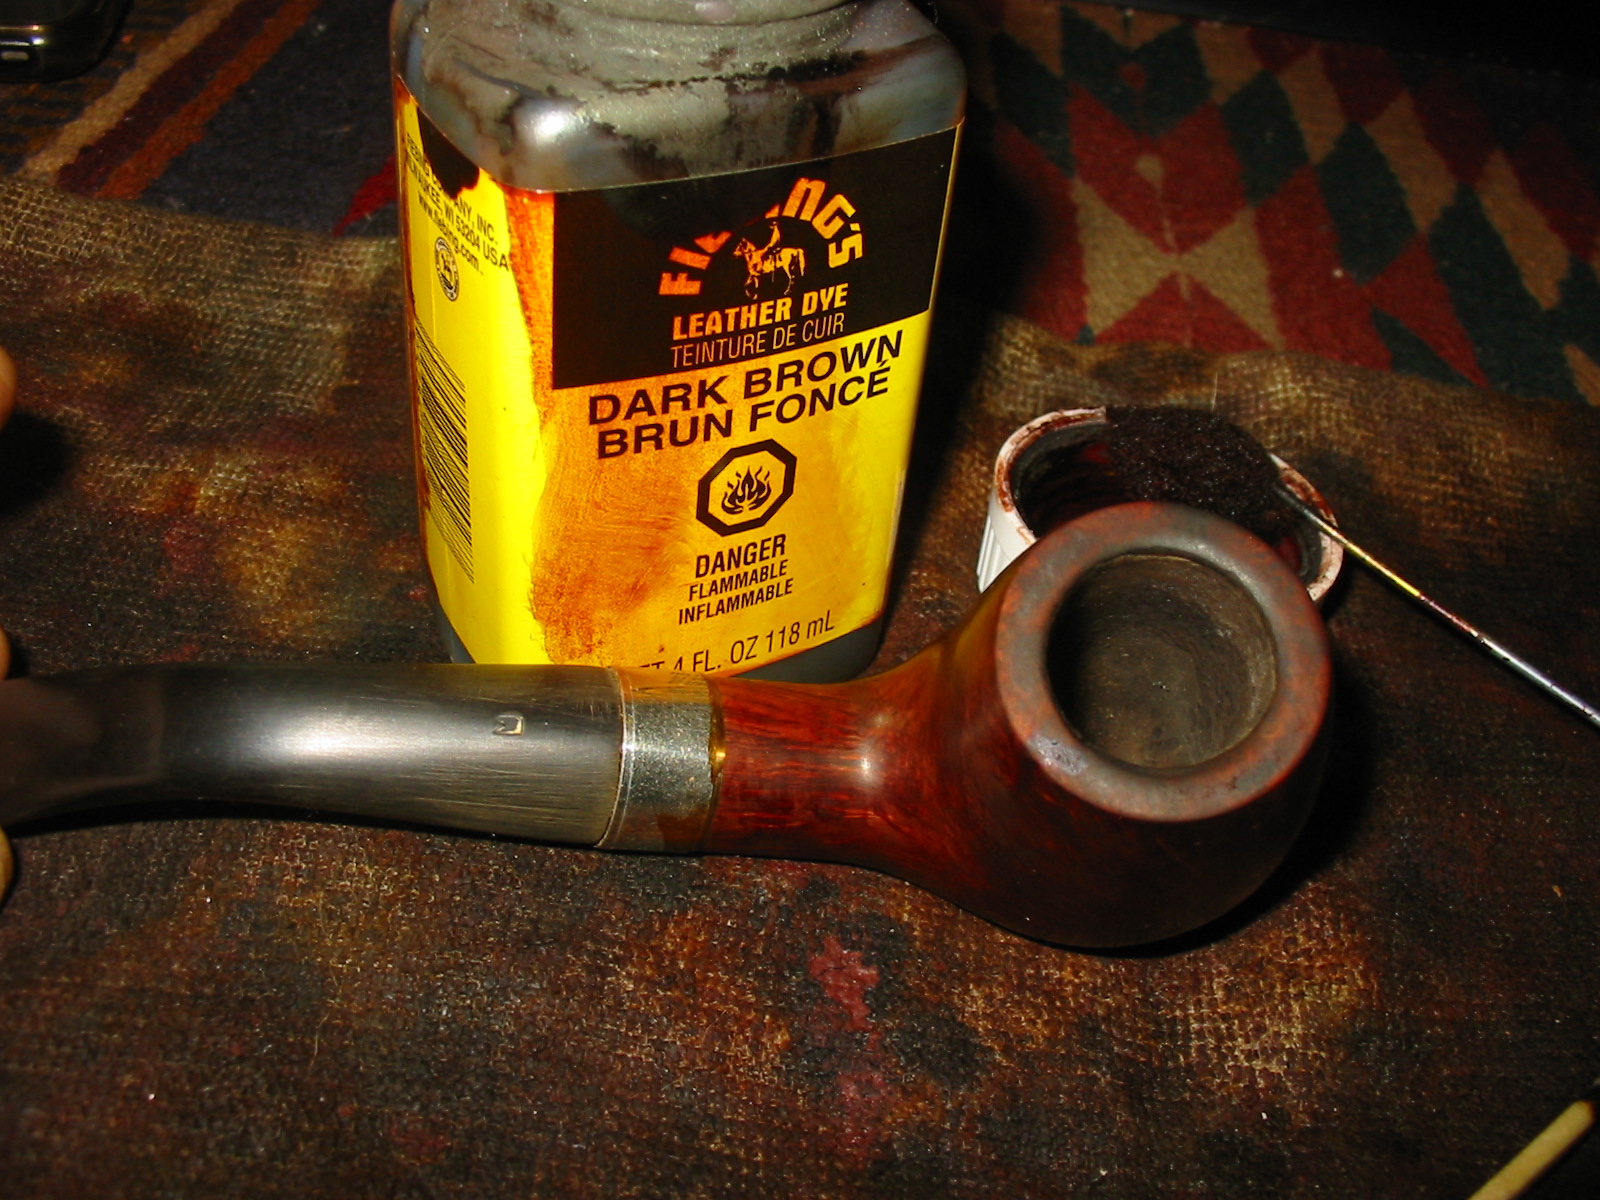
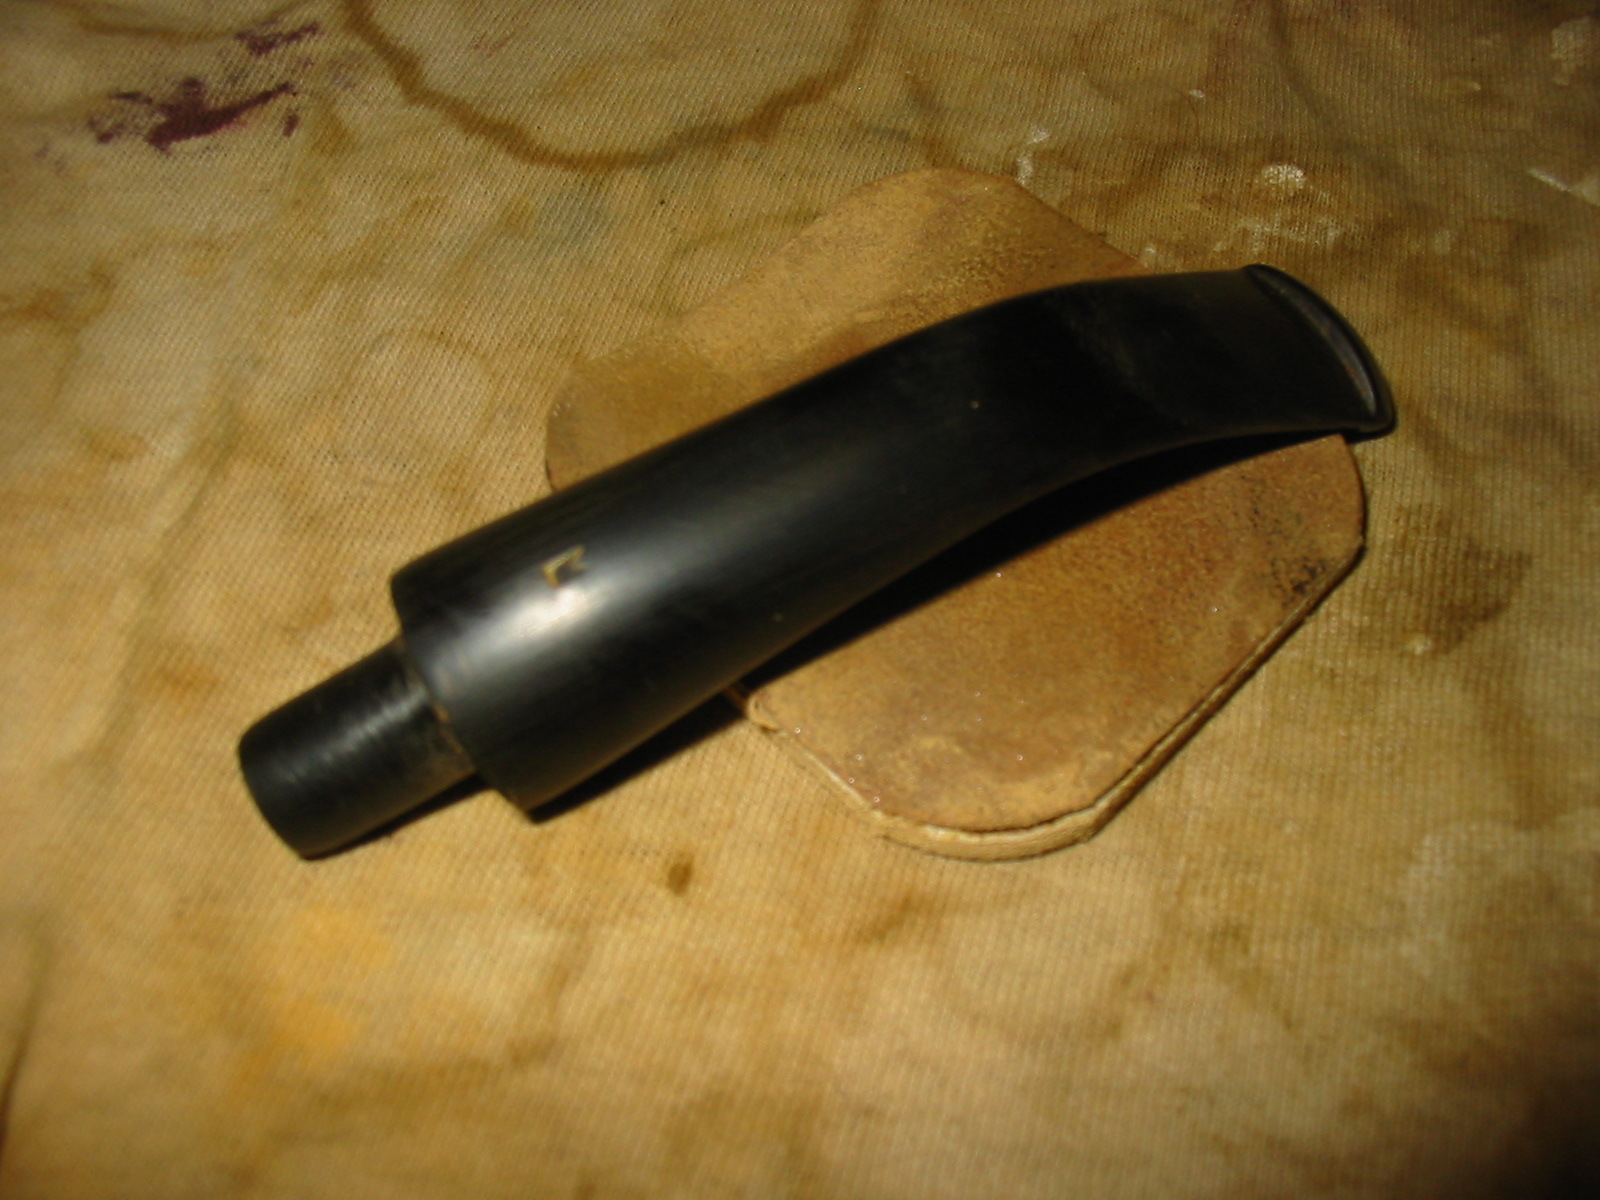
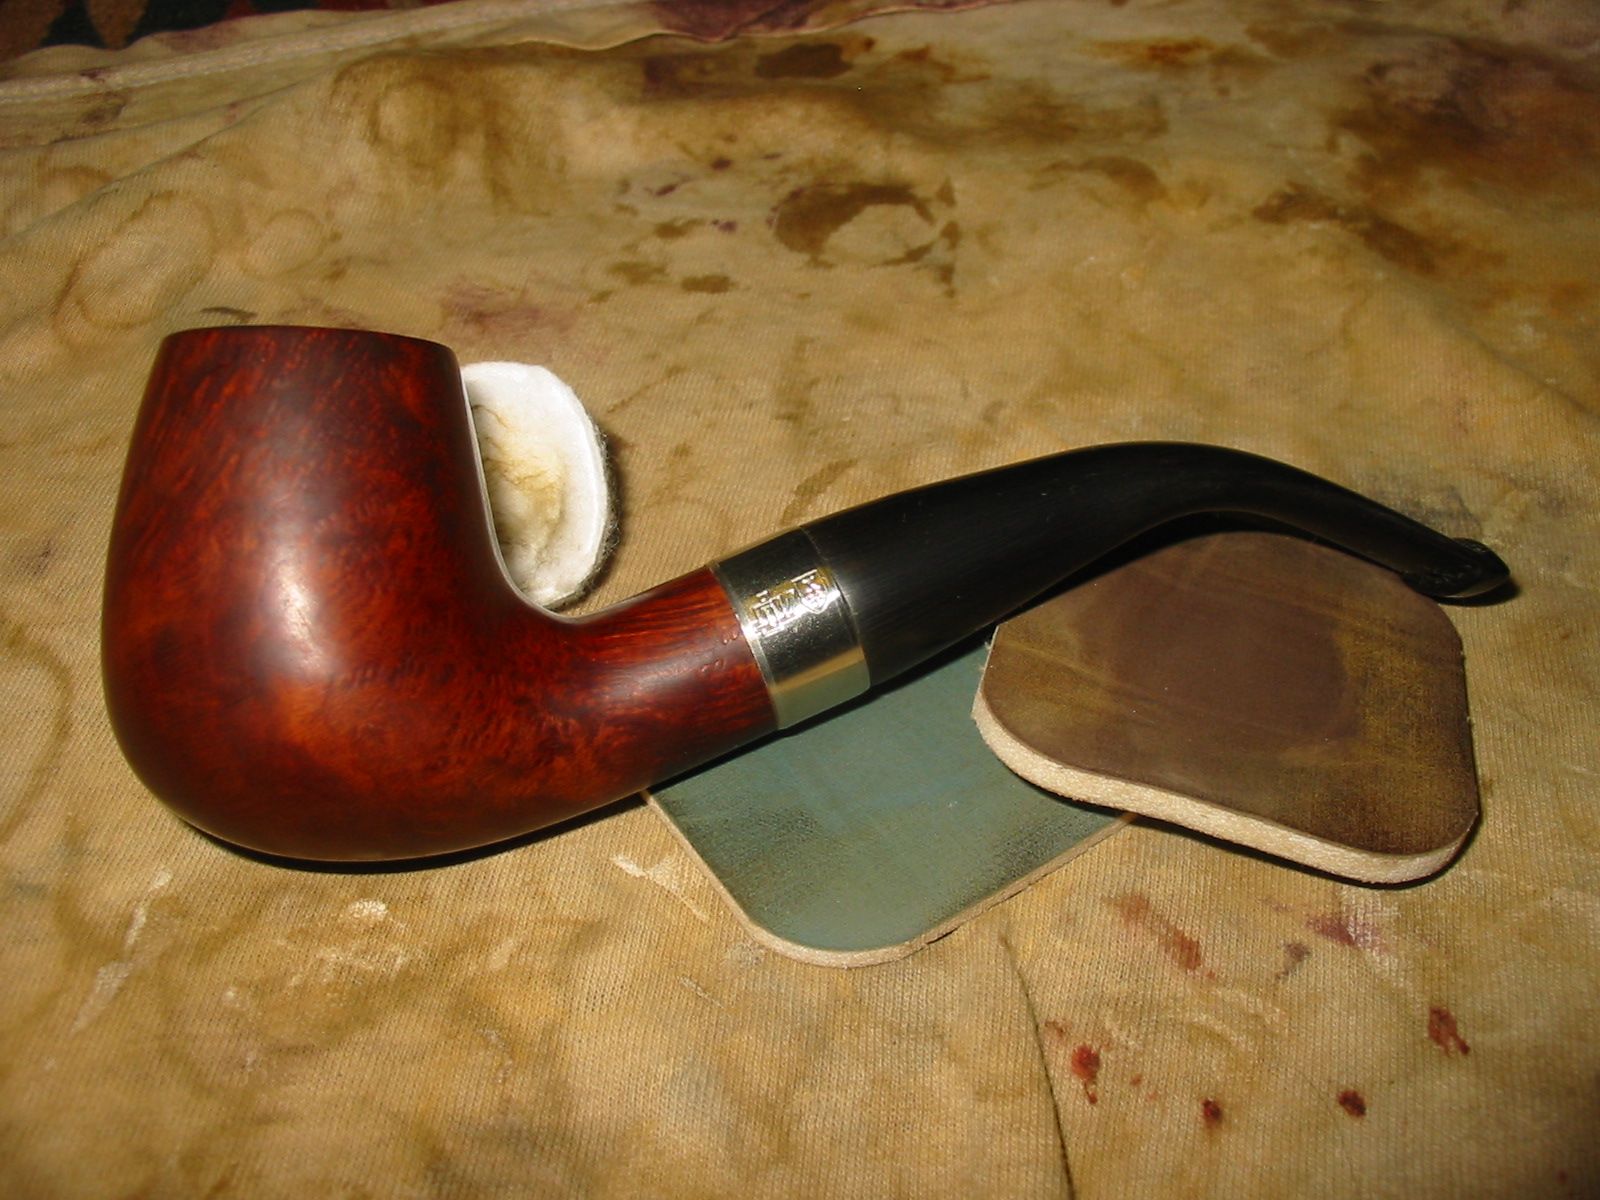
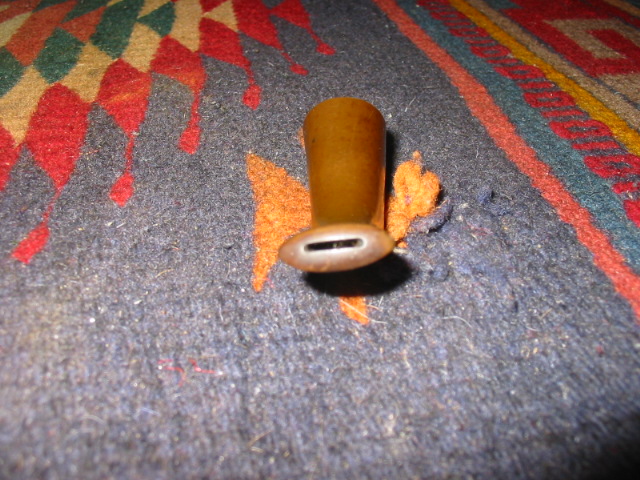
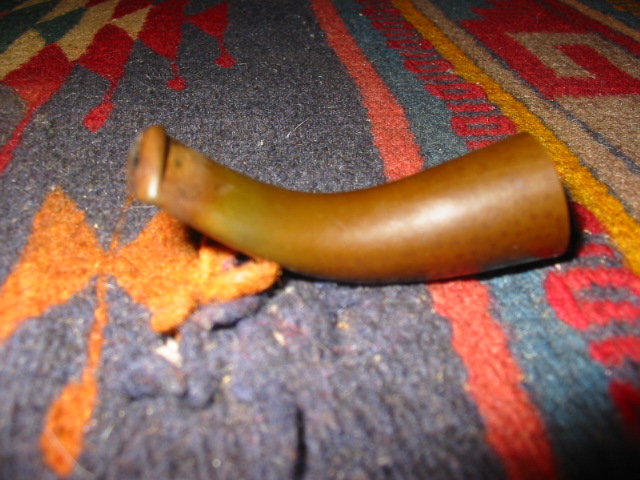
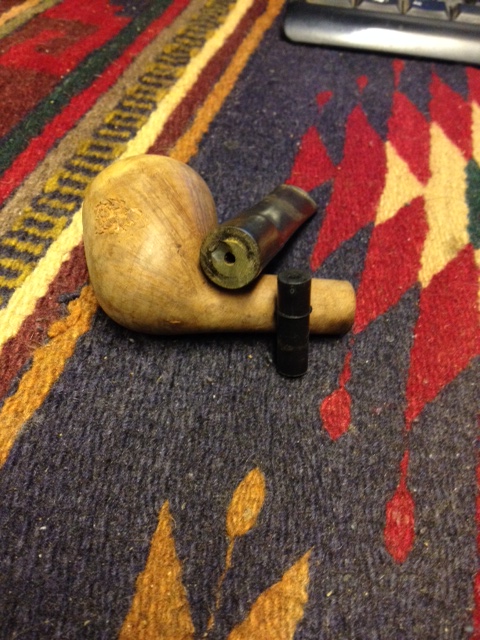
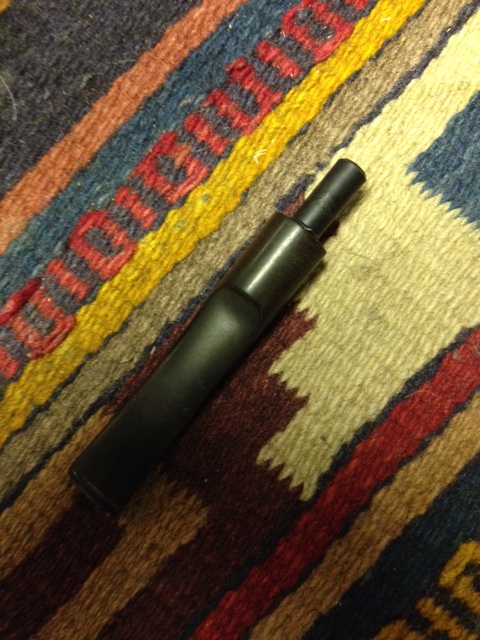
To begin the process I needed to square up the end of the stem and remove the broken pieces of the tenon that still remained. The end needed to be flat and even for the drilling. I sanded down the end of the stem flush using a sanding board (like the one used when topping a bowl). In the photo below you can see that the end of the stem has a divot out of it due to the breakage. I did not worry too much about that as the drilling would take most of that area out of the equation. I only worked on flattening out the rest of the stem. When finished I pressed it against the end of the shank to see if it was a flush fit or if there were any high spots. The fit was perfect. Now it was ready for drilling.
tenon1
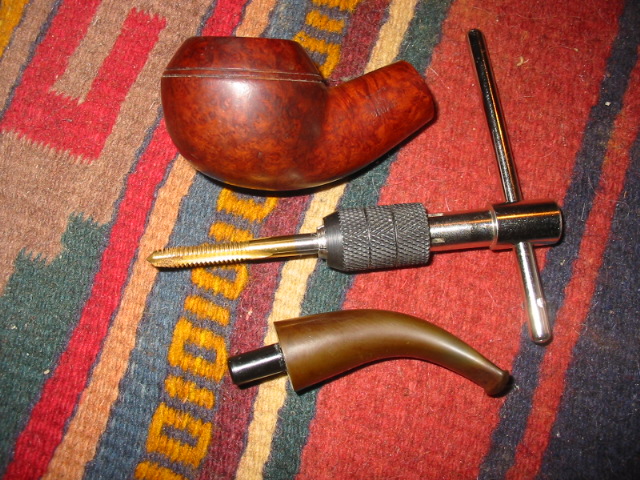
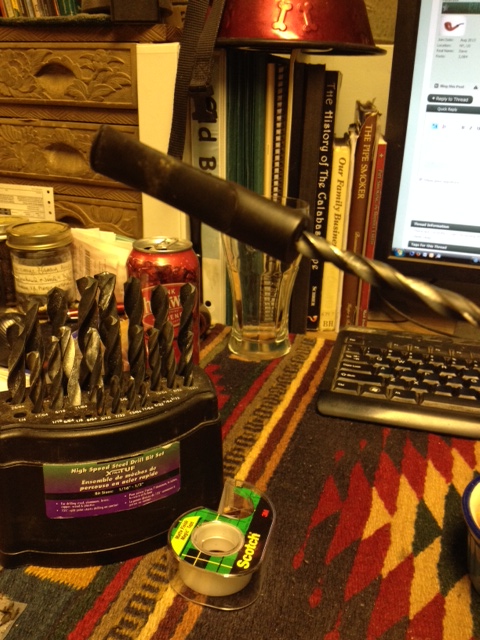
I took out my cordless drill and found that the battery was dead. I put the battery on the charger and sat thinking for a bit about how to best drill out the stem. I measured the diameter of the new tenon and found that it was 15/16 inches. To make sure I did not crack the stem or break it in the process I would drill it out in stages. I would mark the depth on each drill bit I used with a piece of tape so that I would not over drill or under drill the depth of the hole. I used the tenon as the measure for this. The tenon I had came with a slight lip on it so I would need to countersink the end of the stem once the hole was drilled in order to accommodate the lip.

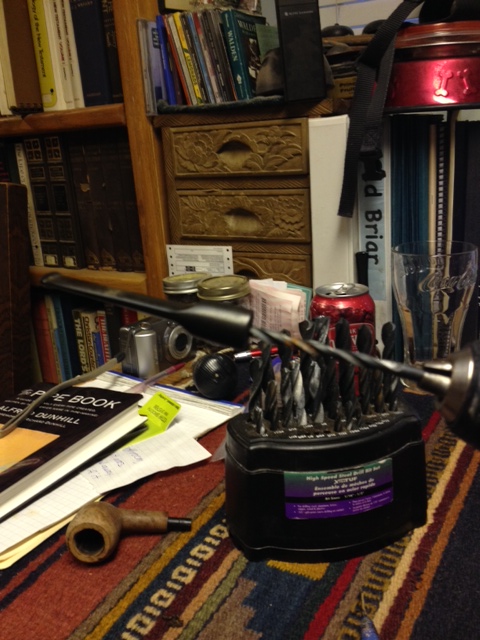
I decided to try something different this time and not wait for the battery to charge. I stood the drill on my desk, inserted the drill bit and hand turned the stem onto the drill bit. I started with the 11/64 inch bit which was slightly larger than the airway in the stem. I turned the stem onto the stationary bit to the depth that I had marked on the drill bit. I lined up the stem and the angles making sure the line was straight and the hole stayed centered throughout the process. I worked my way through 7 bit sizes up to the 17/64 inch bit. Each time I turned the stem onto the bit in increments and cleaned out the hole with a dental pick. I continued to turn it on and off the bit until the drilling was smooth before moving onto the next sized bit.
tenon2

tenon3

tenon4

tenon5

tenon6
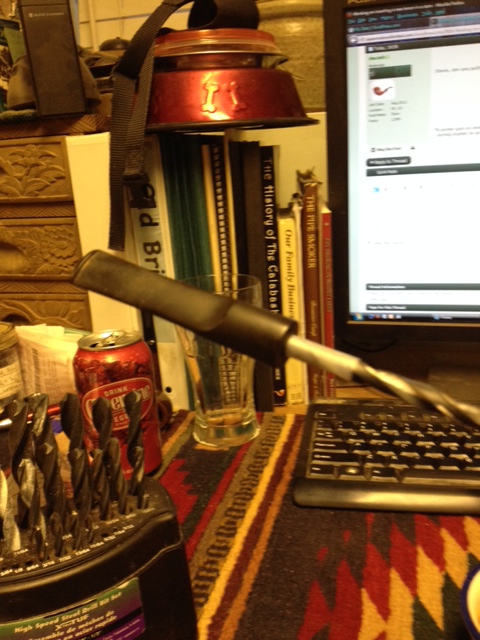
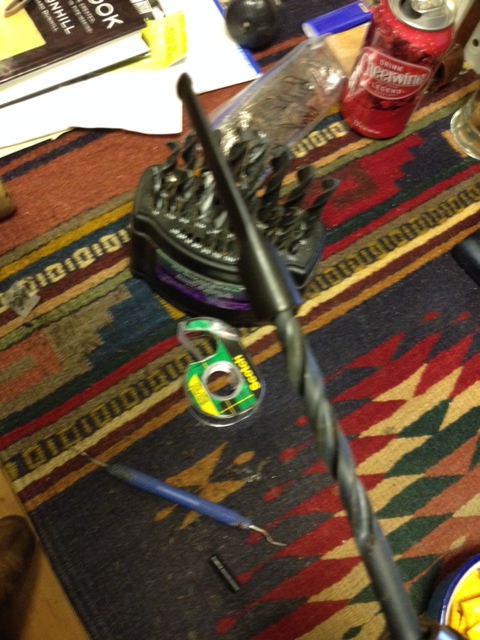
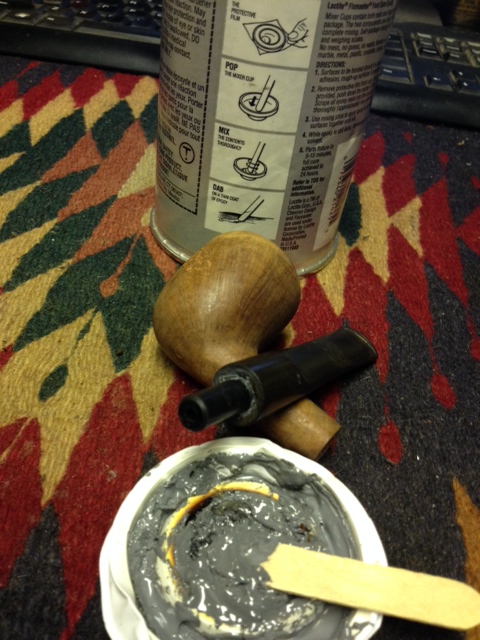
I found that when I got to the larger sized bits from 19/64, 5/16, 21/64 inches it was hard to turn them on by hand. I could get them started but they quickly bound up on the bit and I could not turn them further. I turned them back and forth but it was not working well. I put the battery back on the drill and drilled the stem using a very slow speed. It worked well. When I had finished drilling it with the 5/16 inch bit the tenon pressure fit very nicely in the hole. There was not enough room for epoxy to be applied and still fit in the hole, so I drilled it with the 21/64 bit to give it the amount of room for the epoxy. To countersink the end of the stem I used a slightly larger drill bit and then a sharp knife to bevel the inner edge to accept the ridge on the tenon.
tenon8

tenon7

tenon9
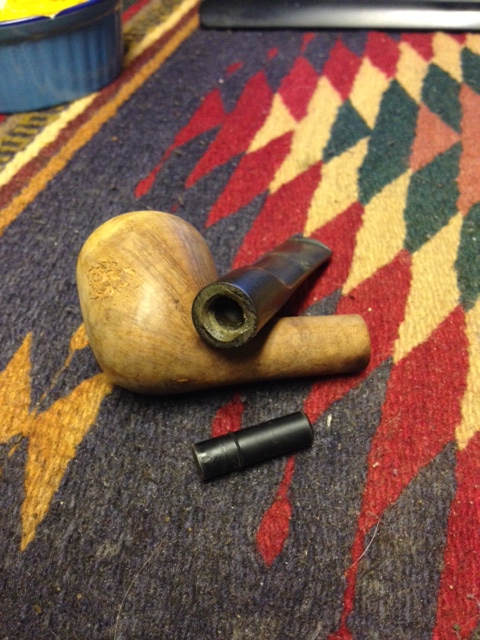
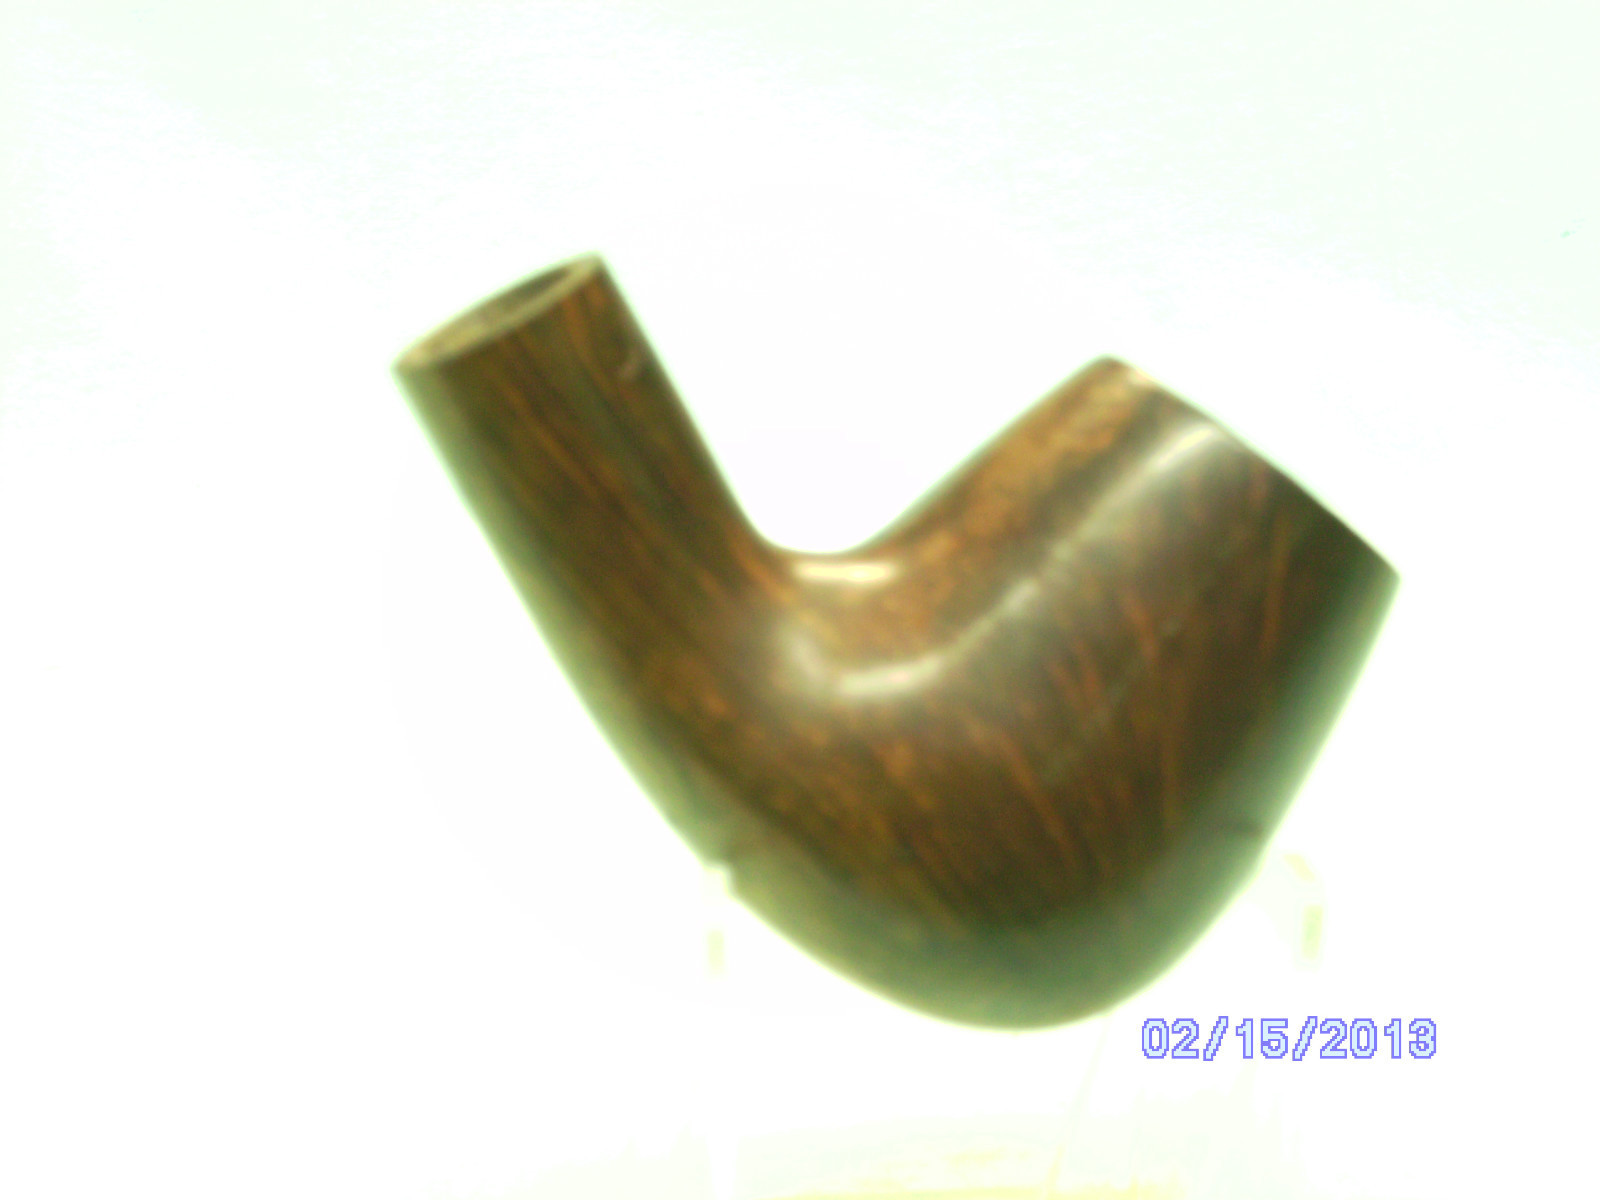
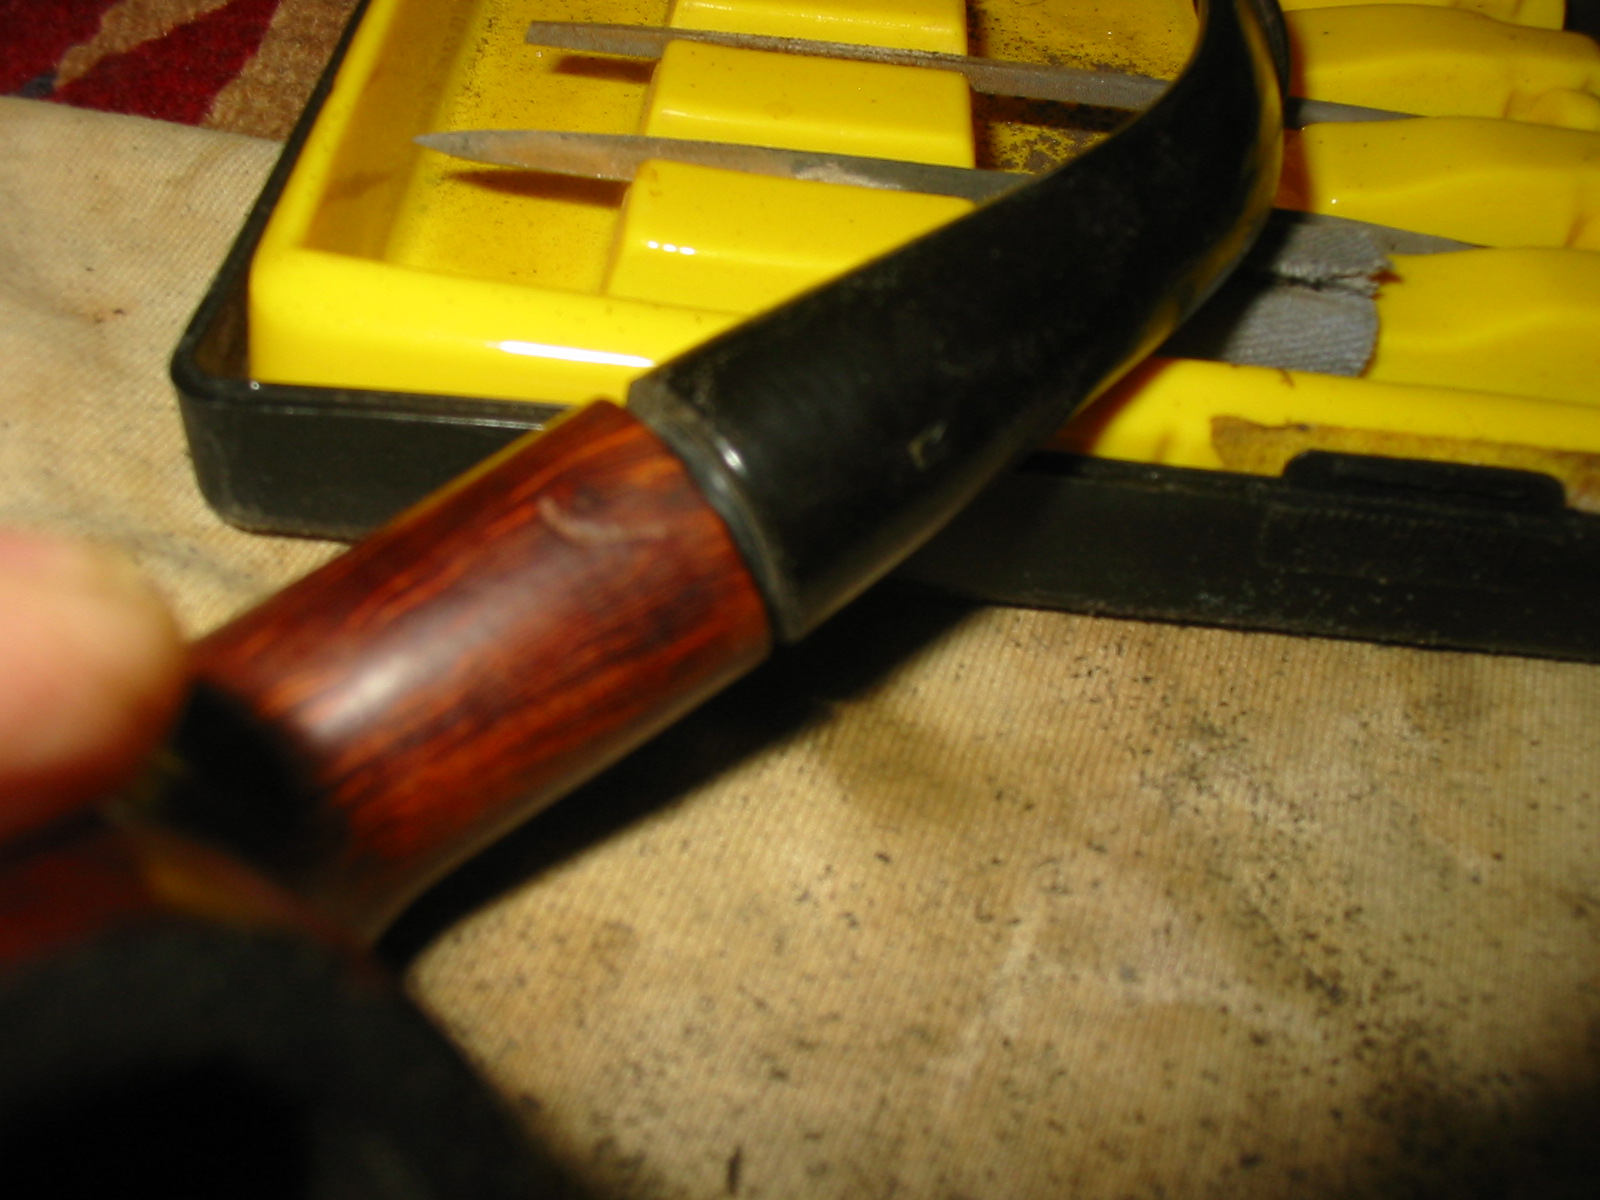
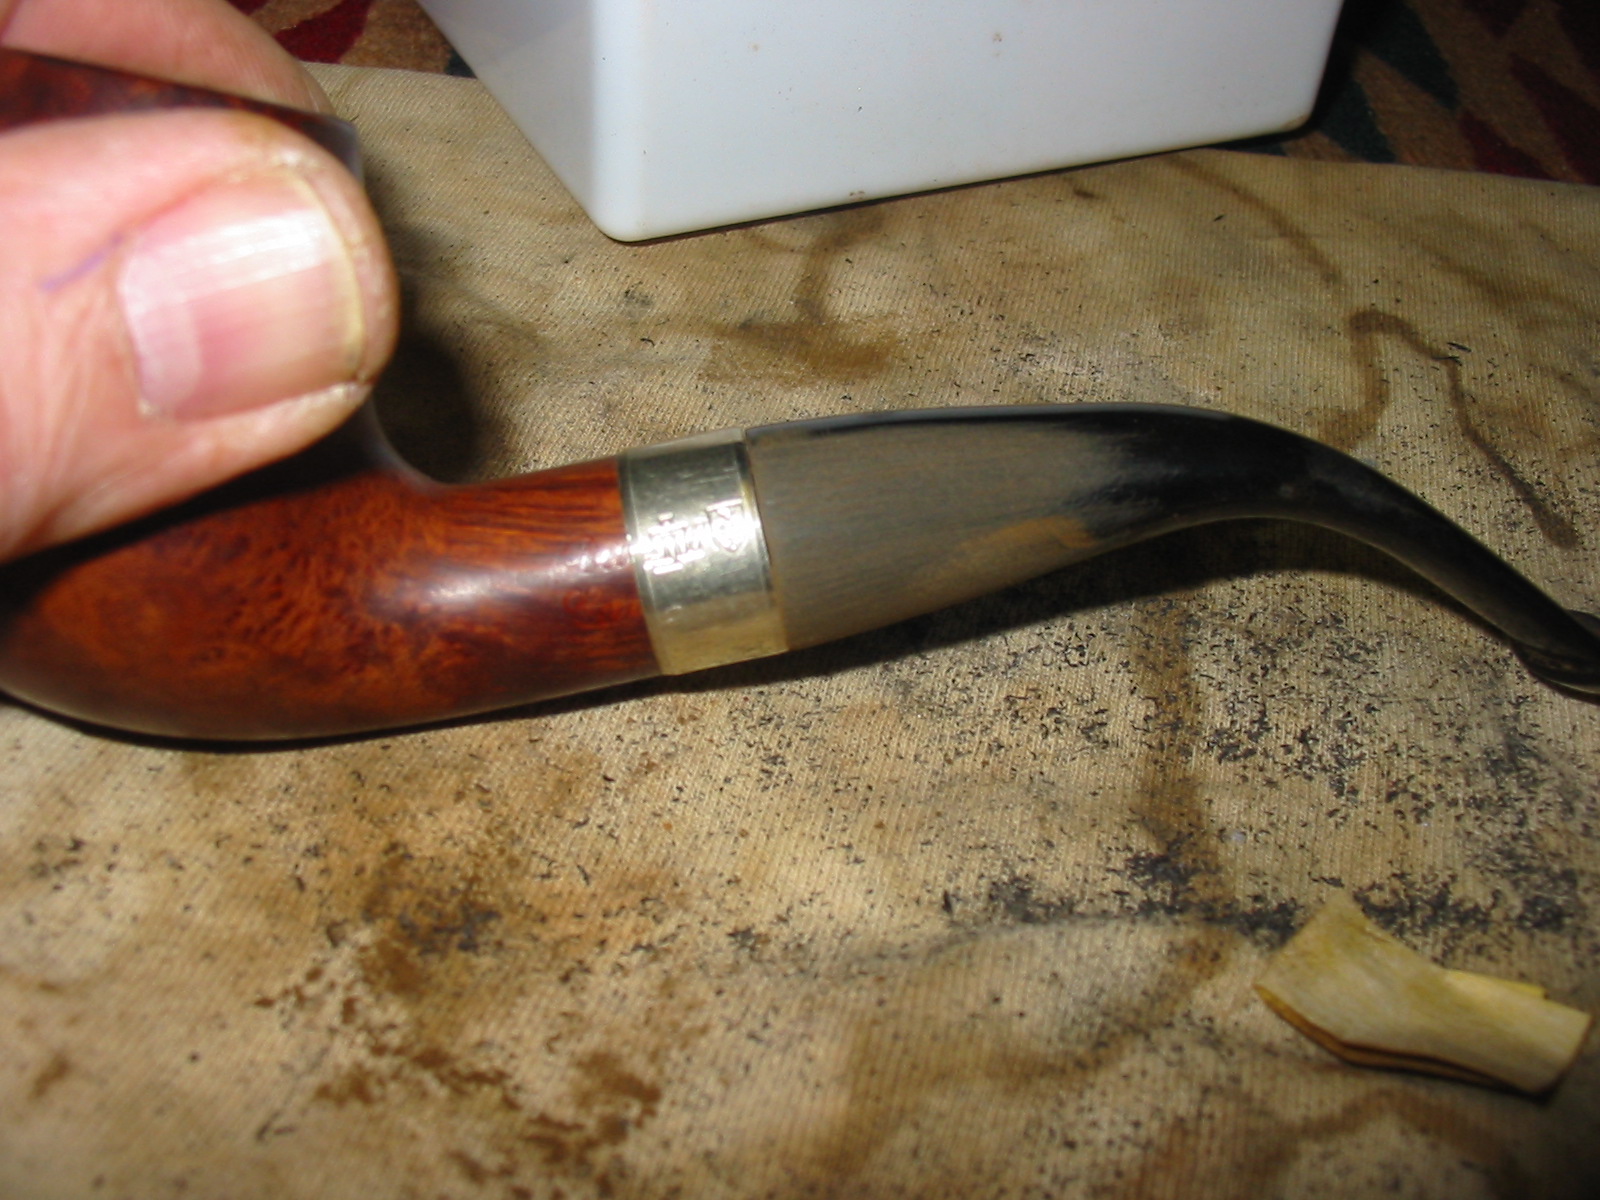
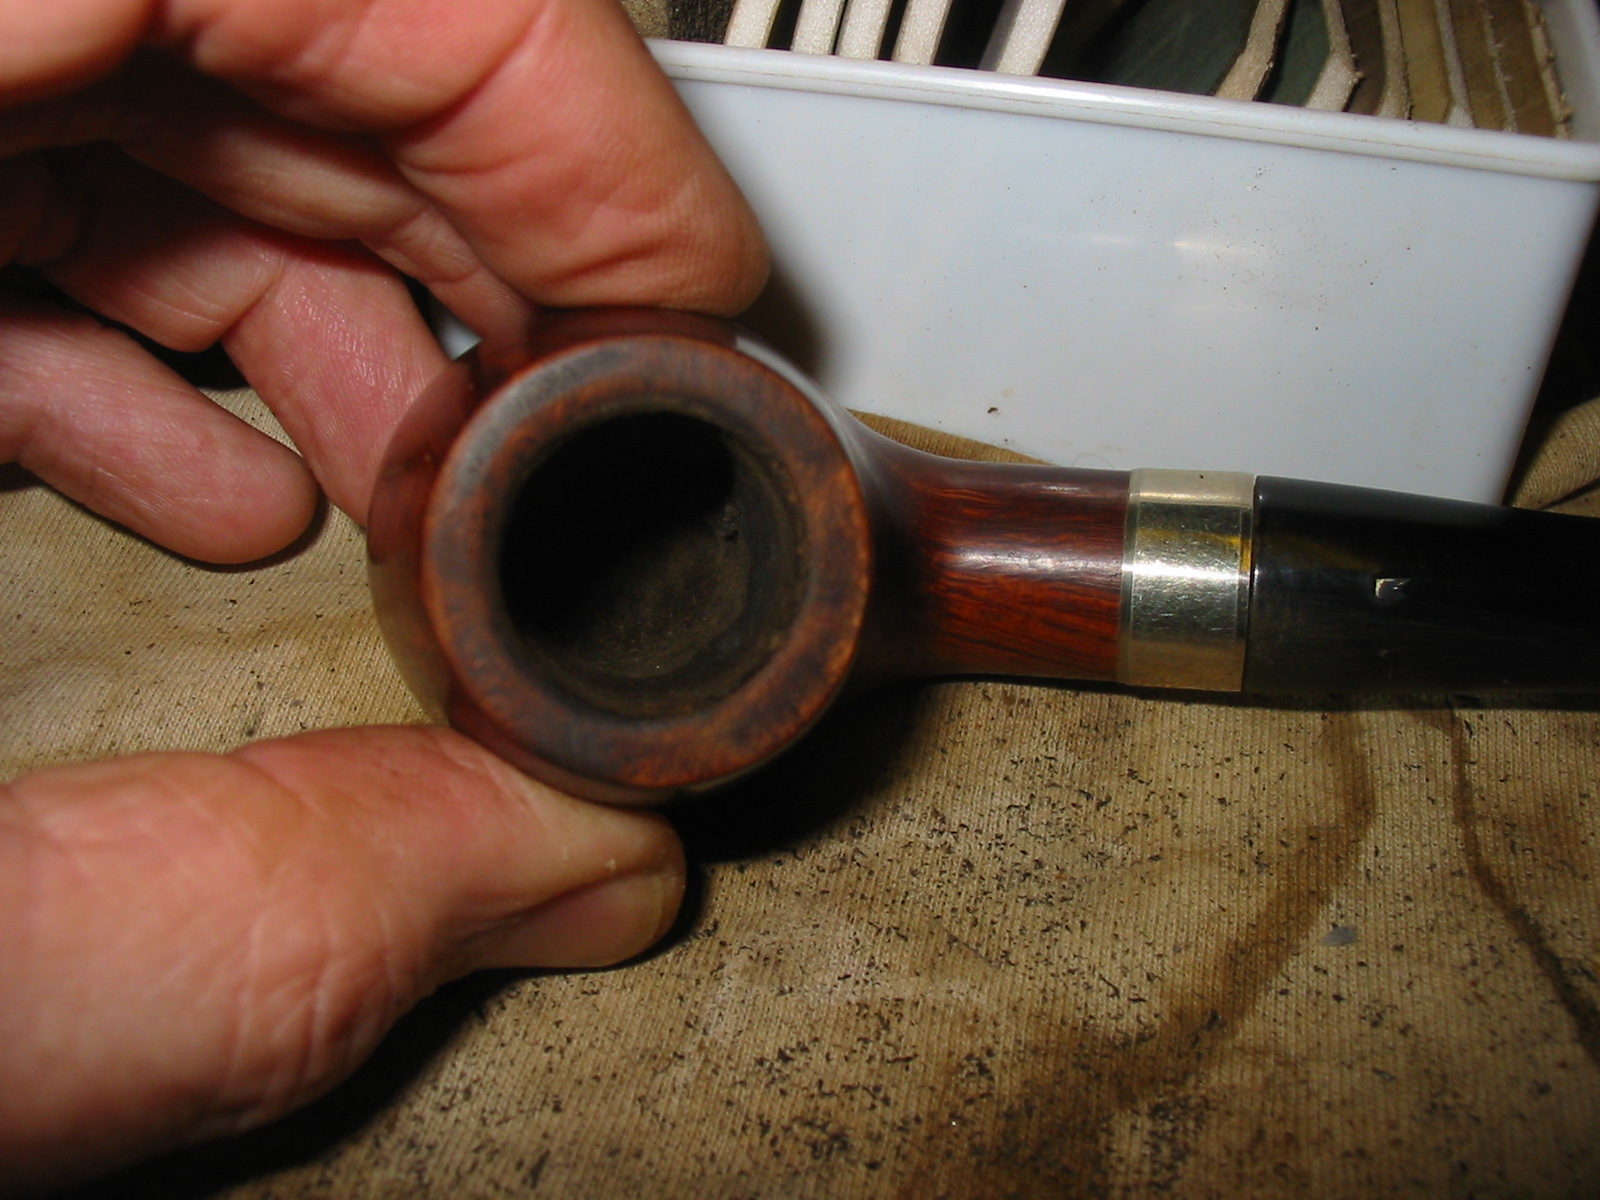
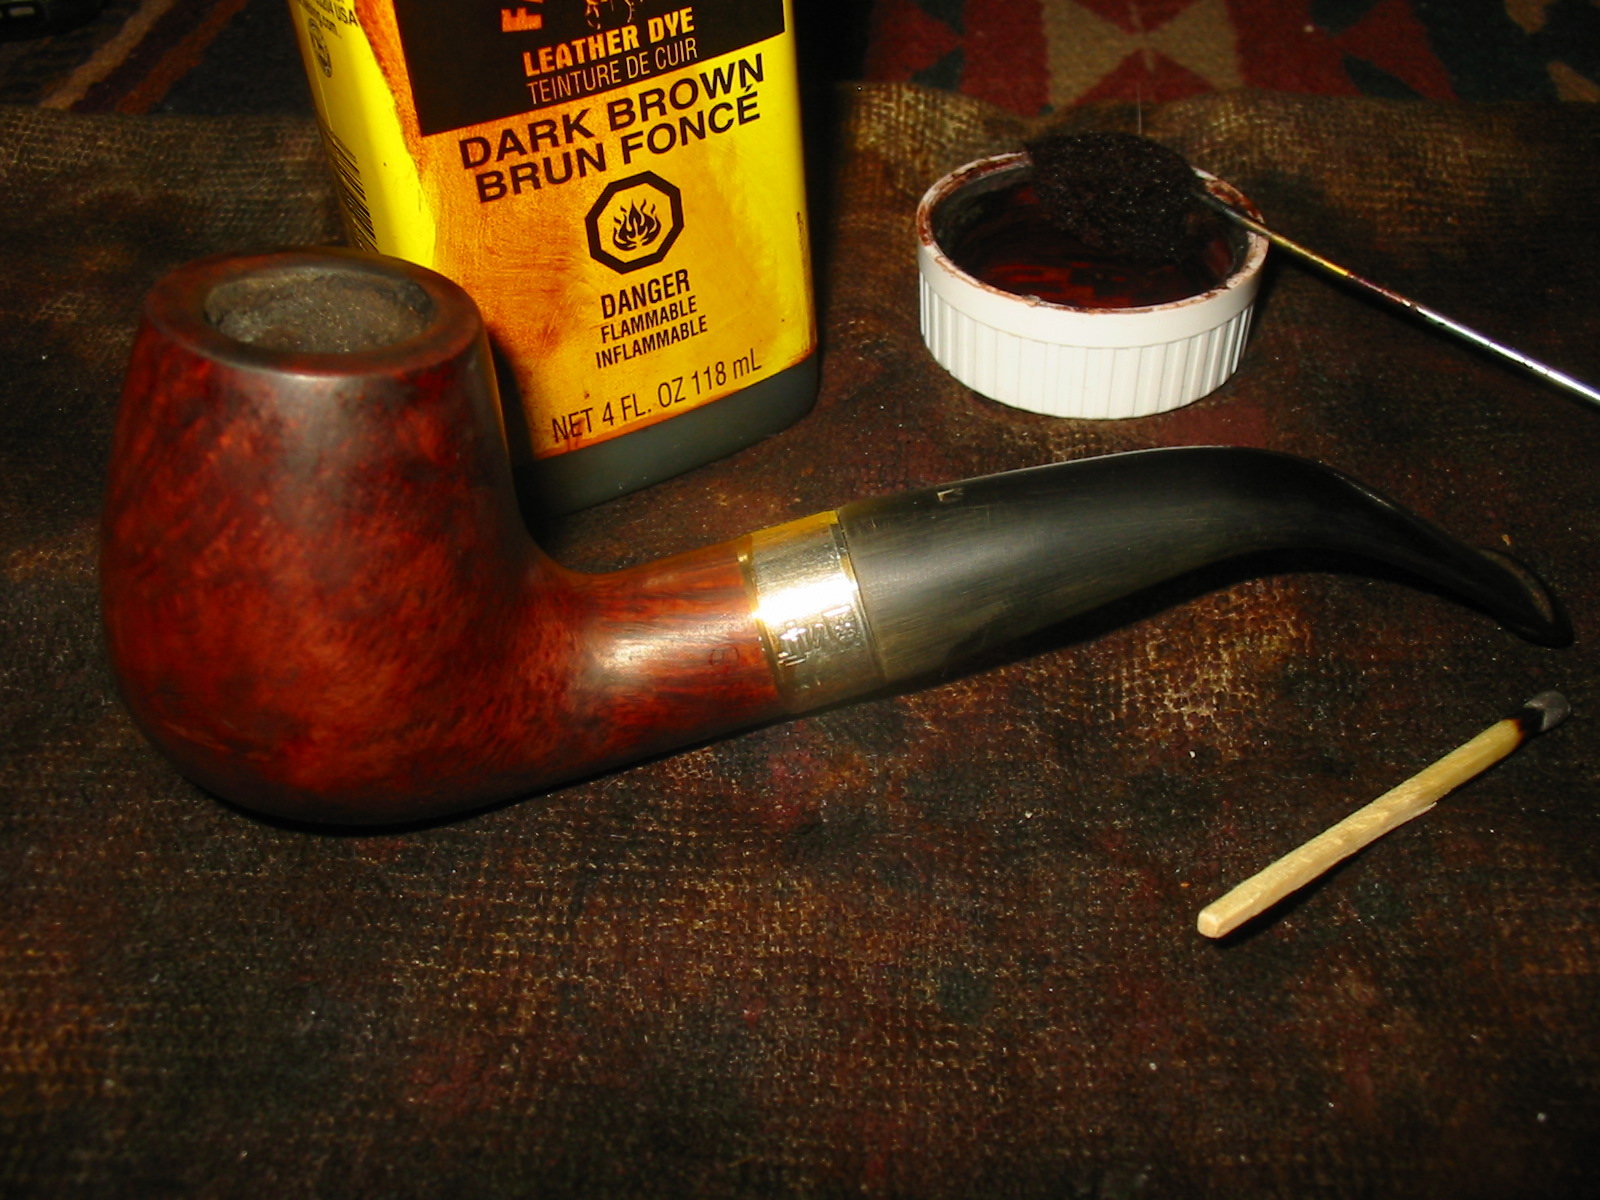
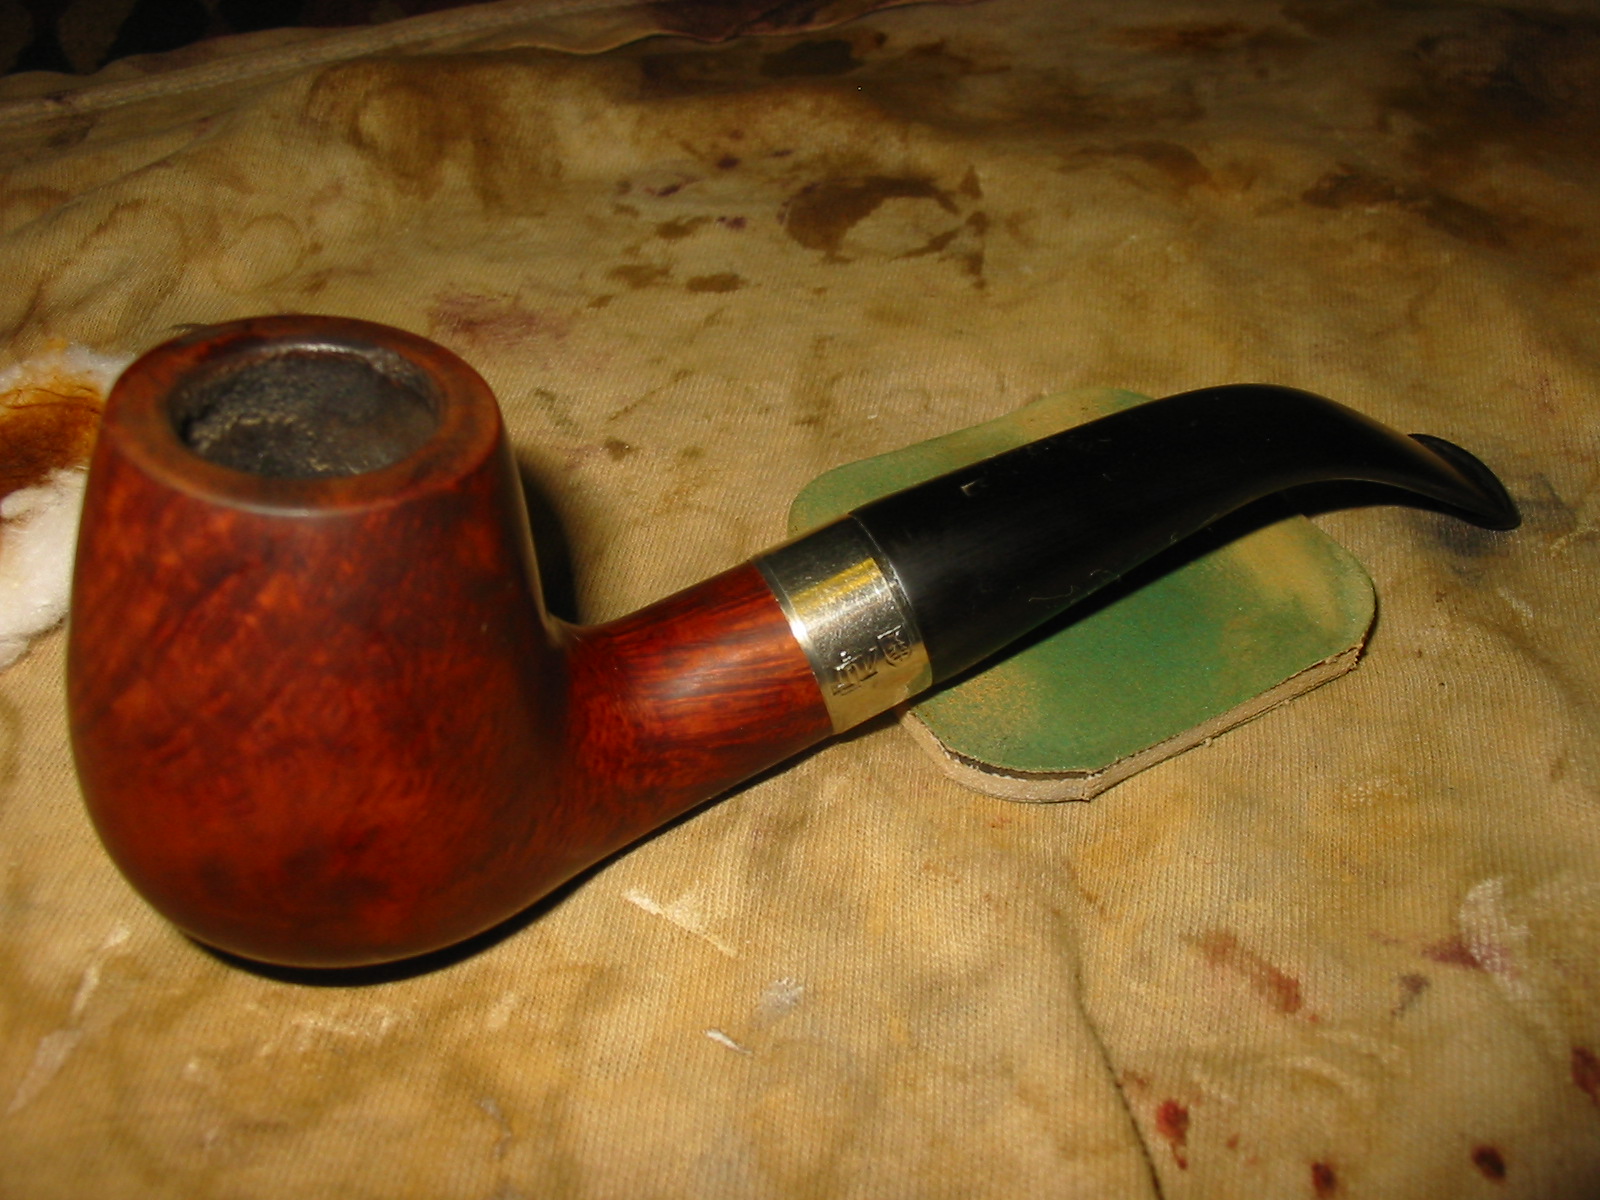
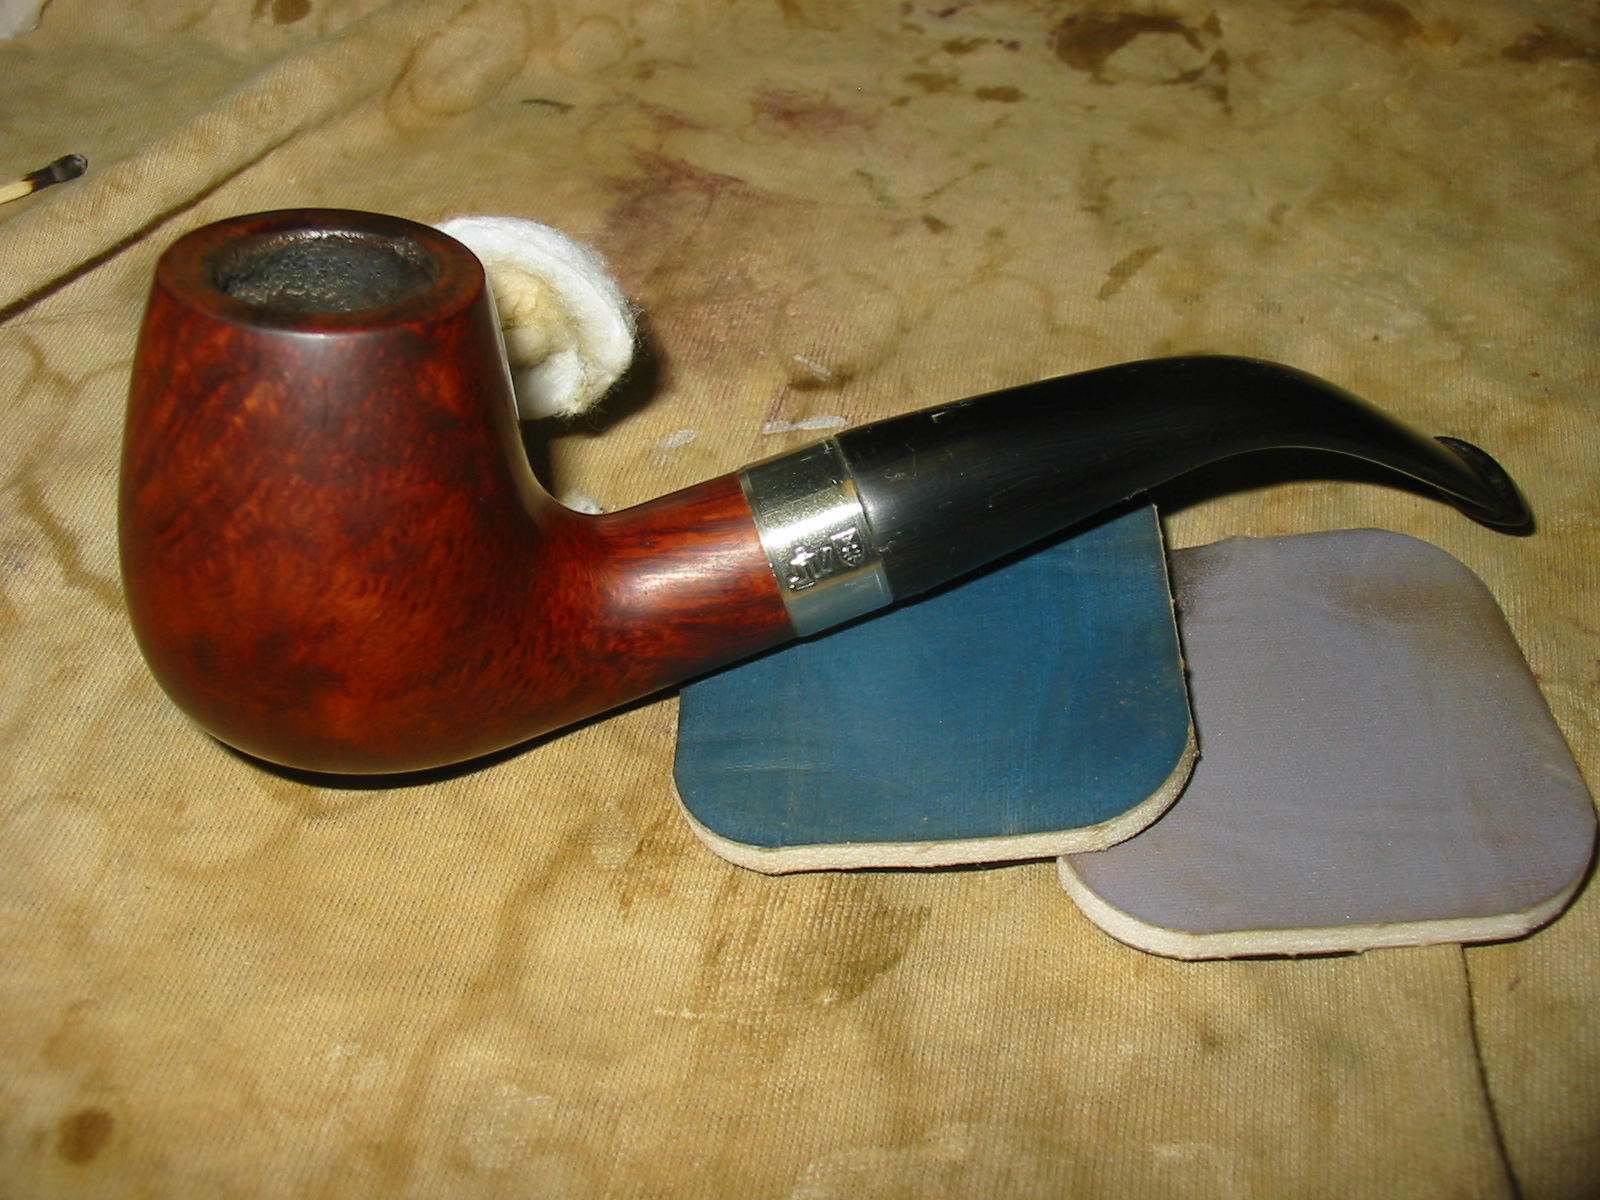
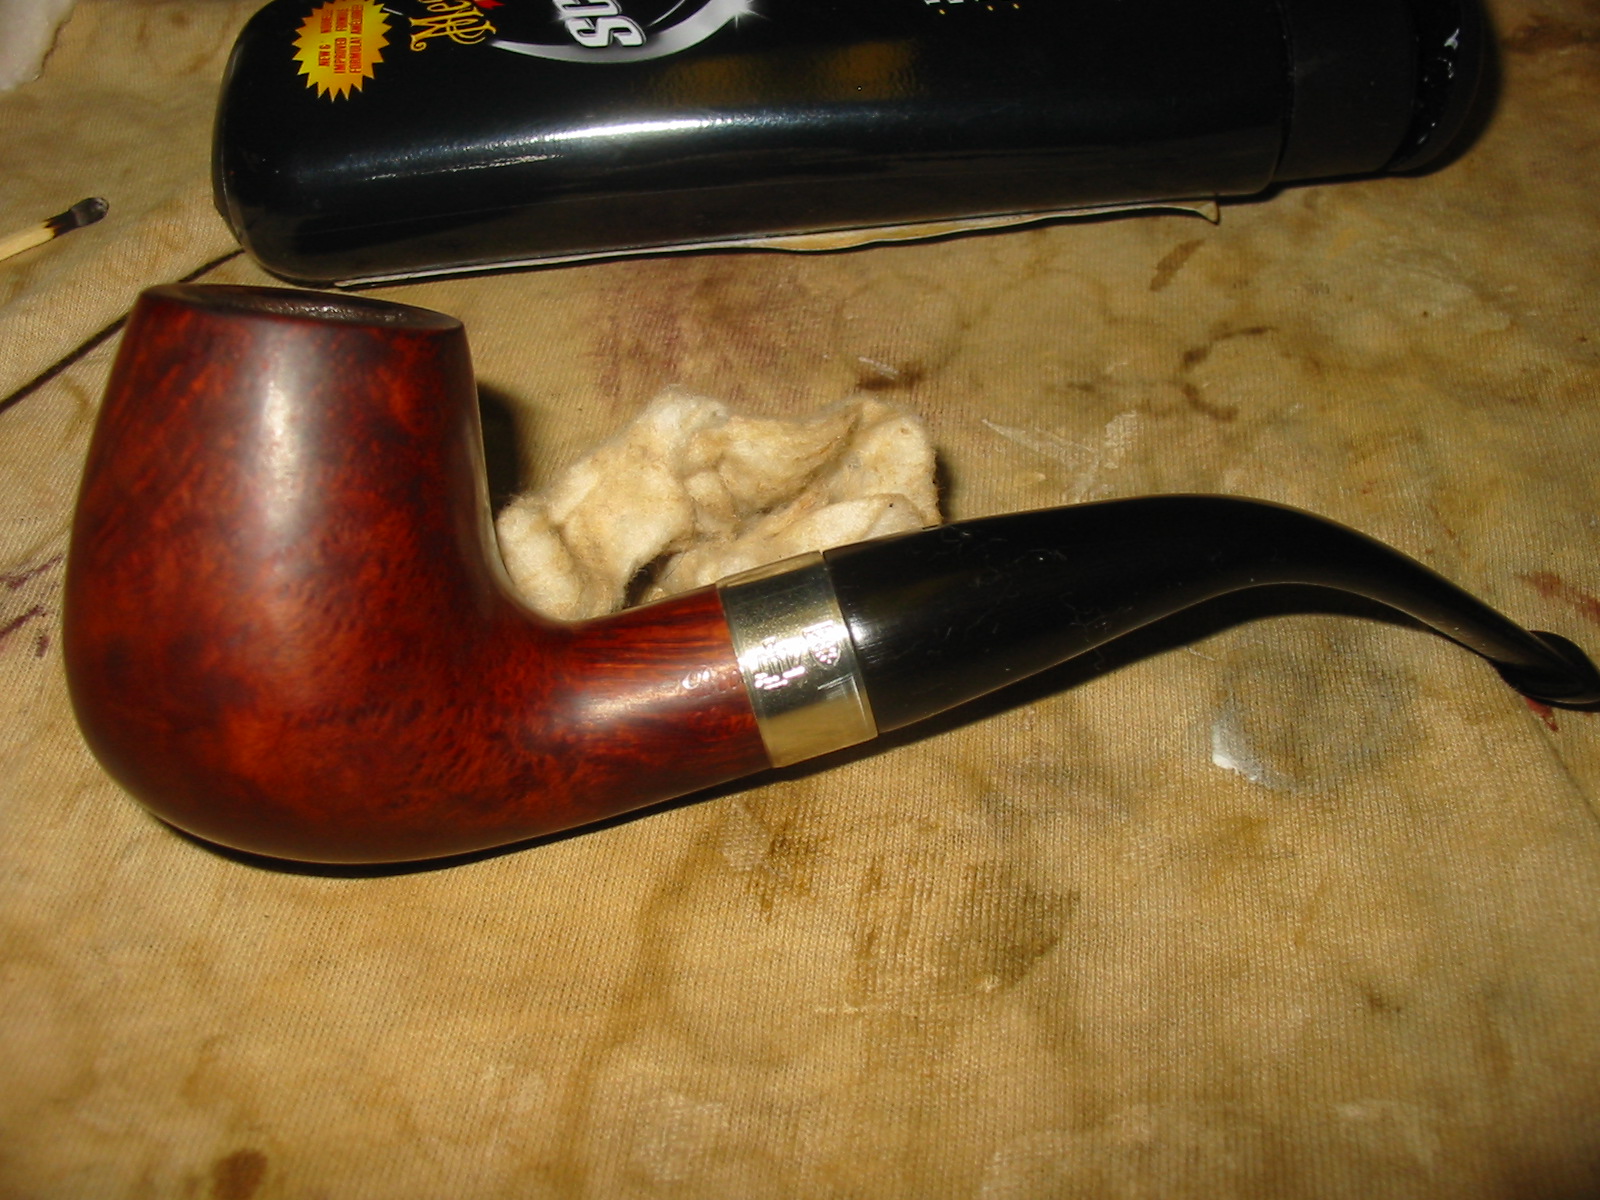
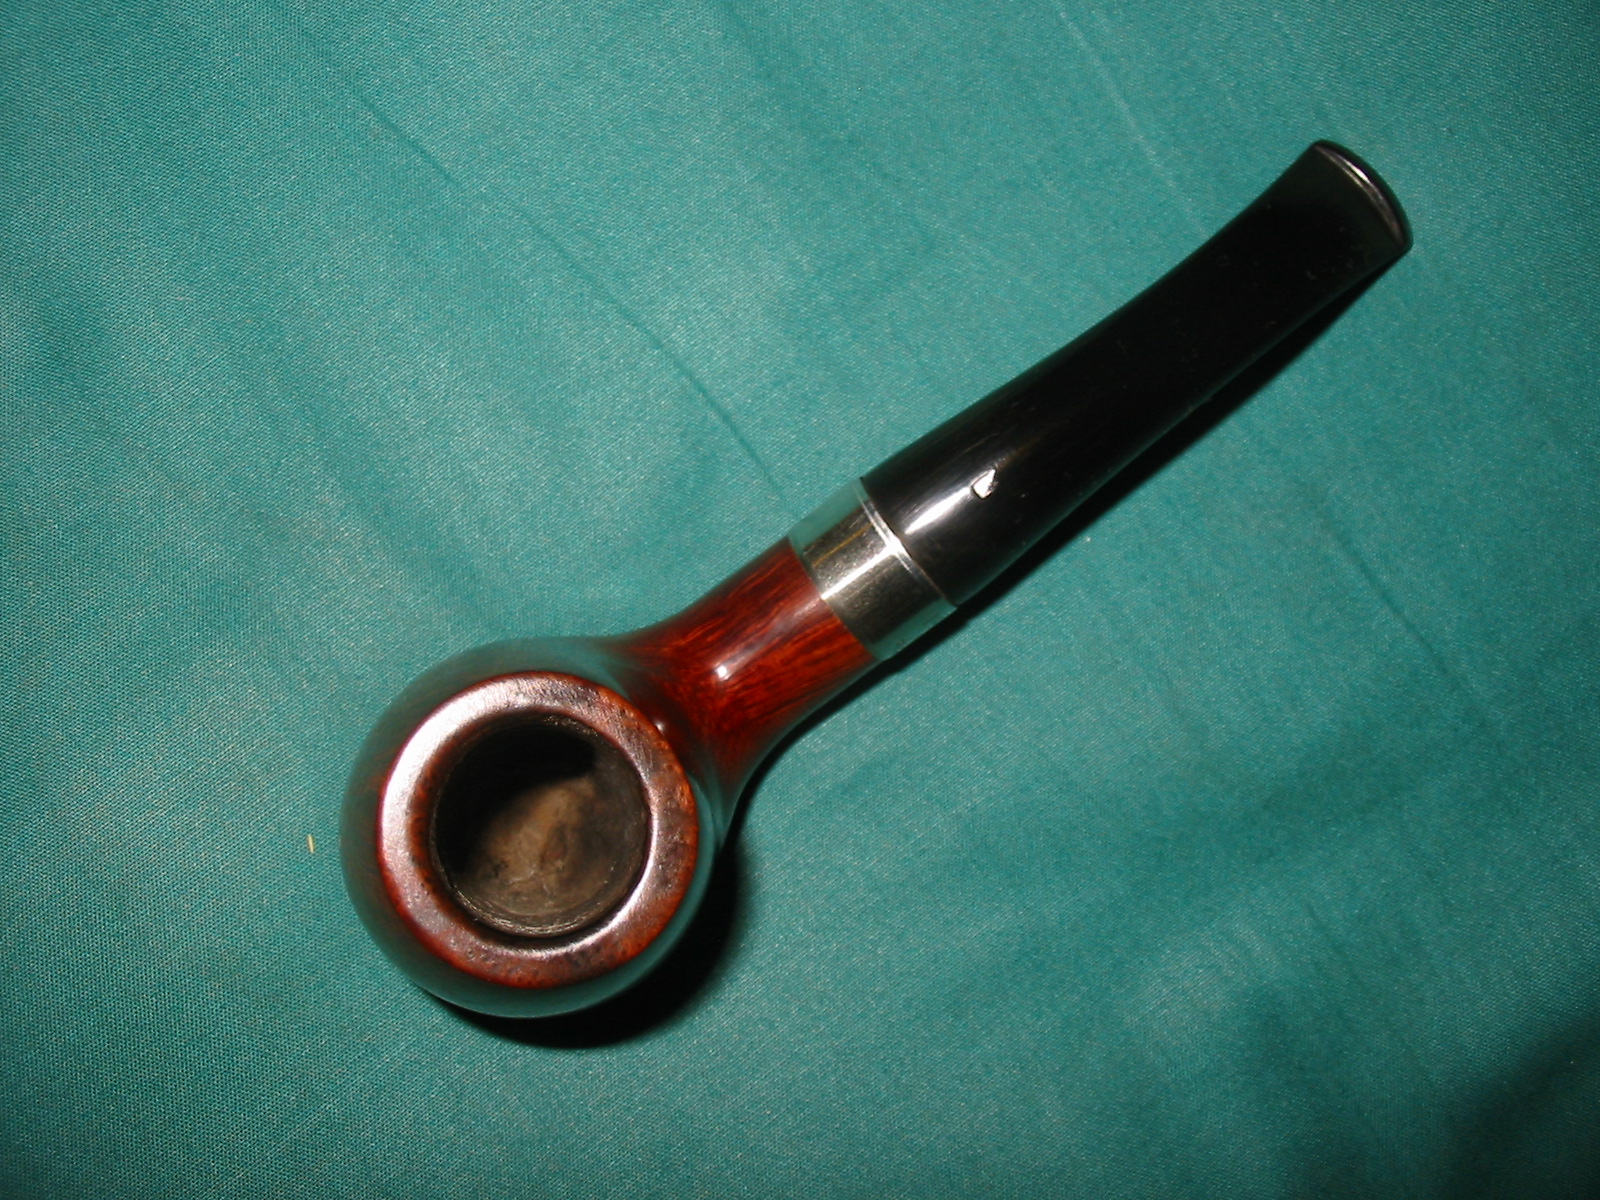
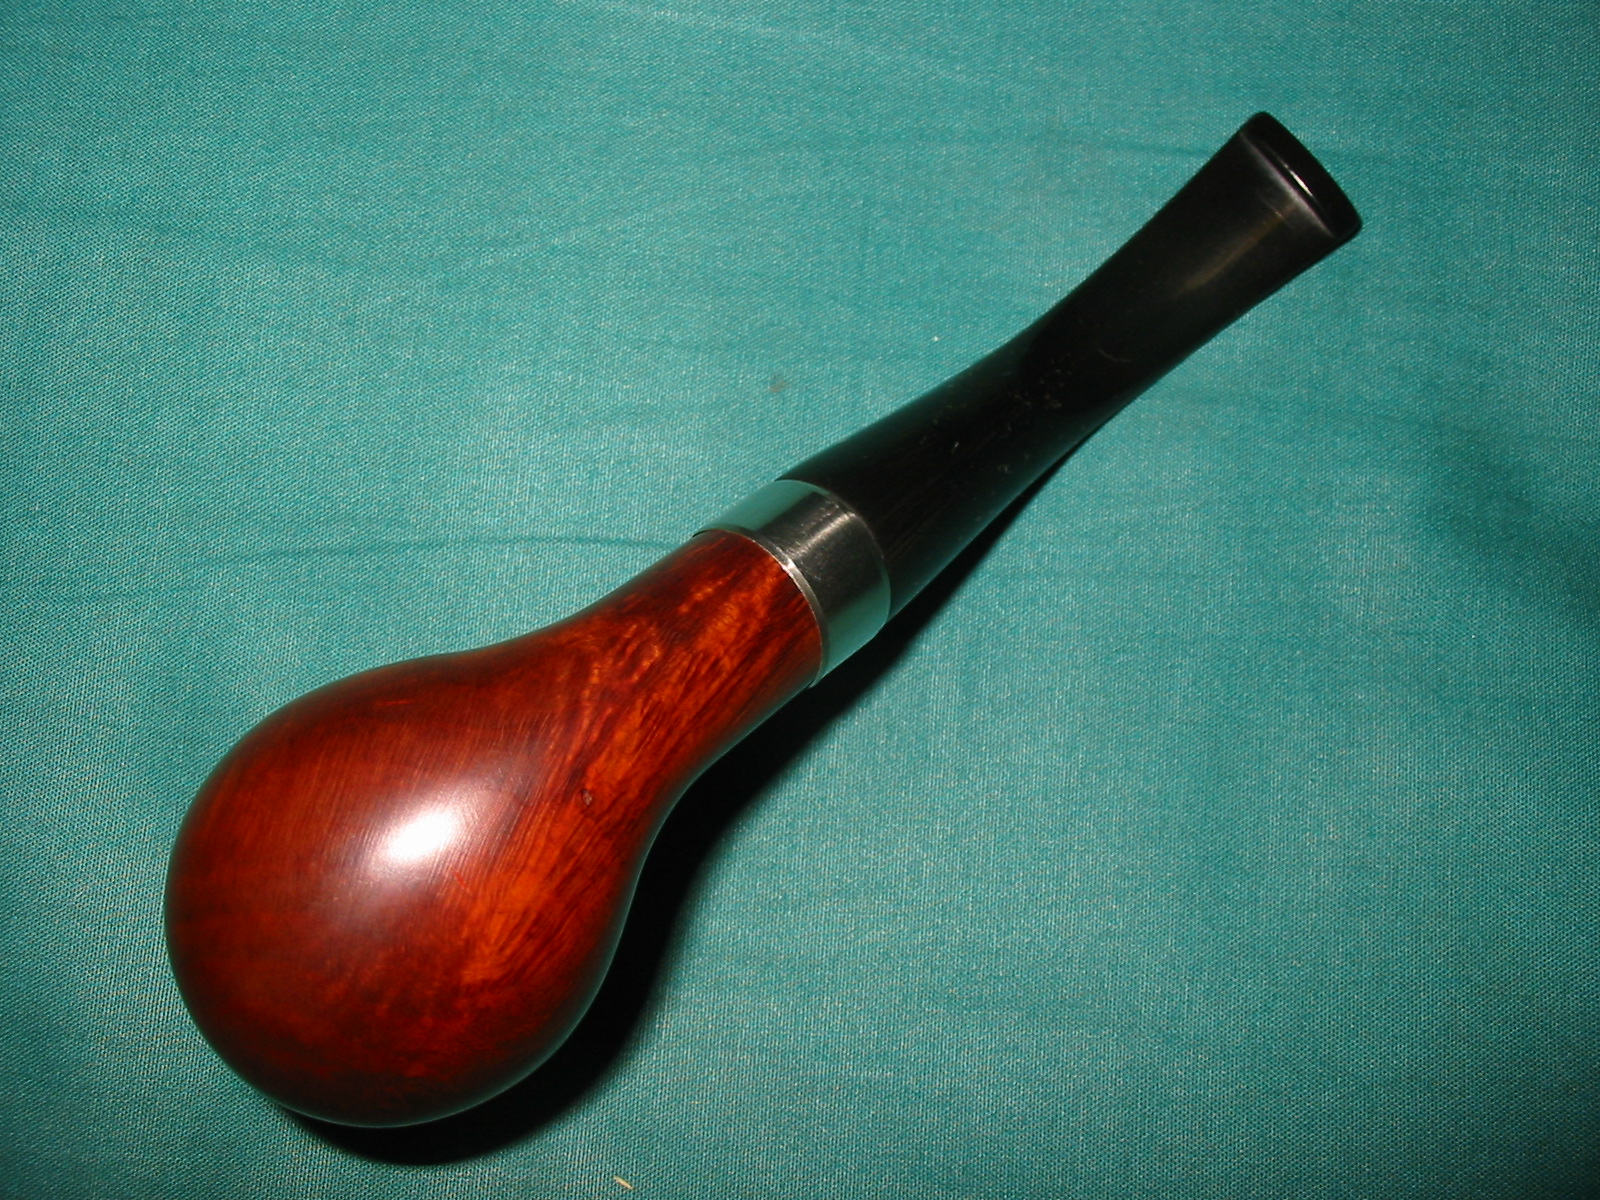
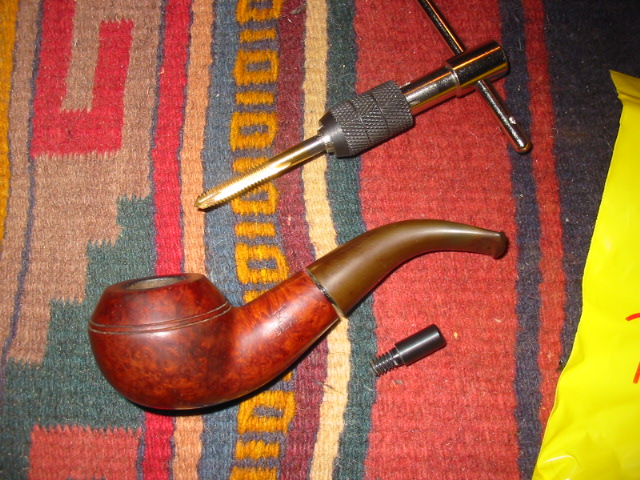
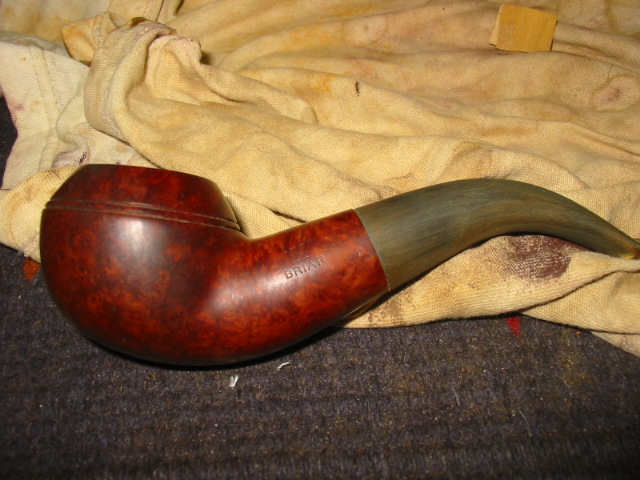
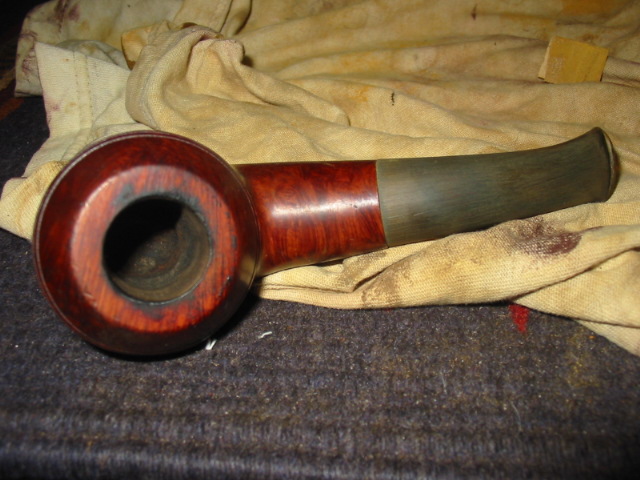
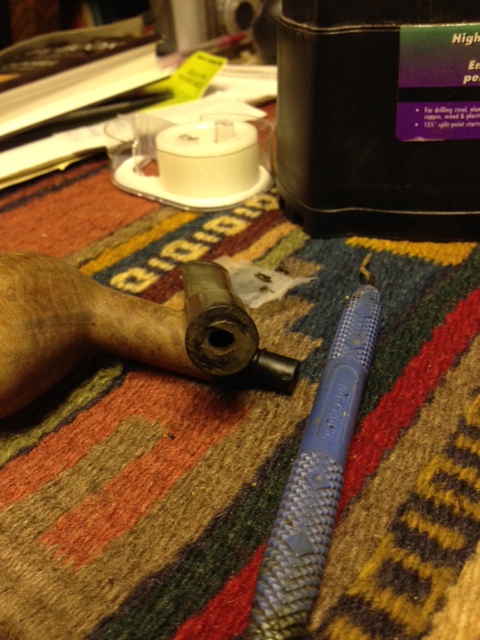
In the morning the tenon was firmly in place and dry. I cleaned the face with a dental pick and removed the excess epoxy from the stem. I pushed the stem into the shank of the pipe to see the fit. This was the final test. Did things align properly? Did I get the angle square and straight? Would there be a gap in the stem and shank joint? In case you are wondering I have had all of those issues in the past and had to do a lot of adjustments to get a clean fit. But this time things worked well. The fit was perfect and the alignment was absolutely correct. The pipe now had a new stem and it was time to make a decision on what to do with the finish of the bowl. That will be another story however. The photo below shows the fit of the stem and the shank. I am very pleased with the fit.
tenon12
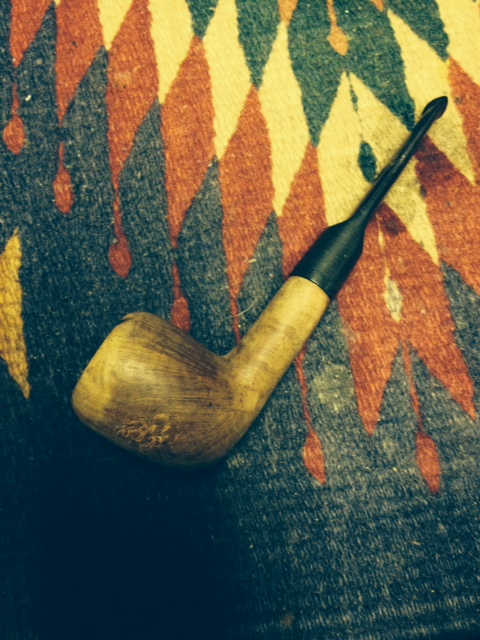
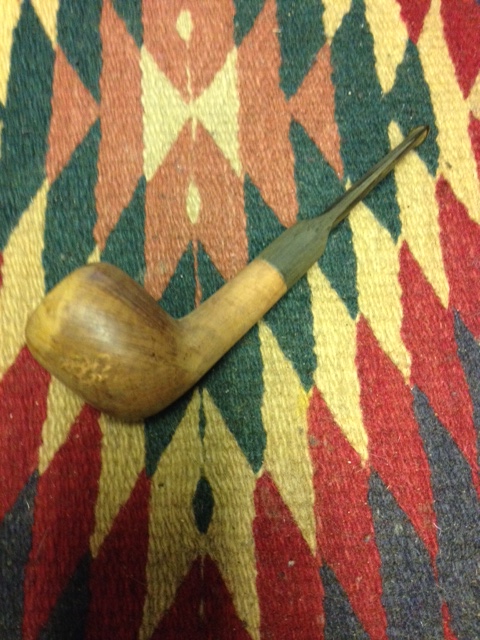
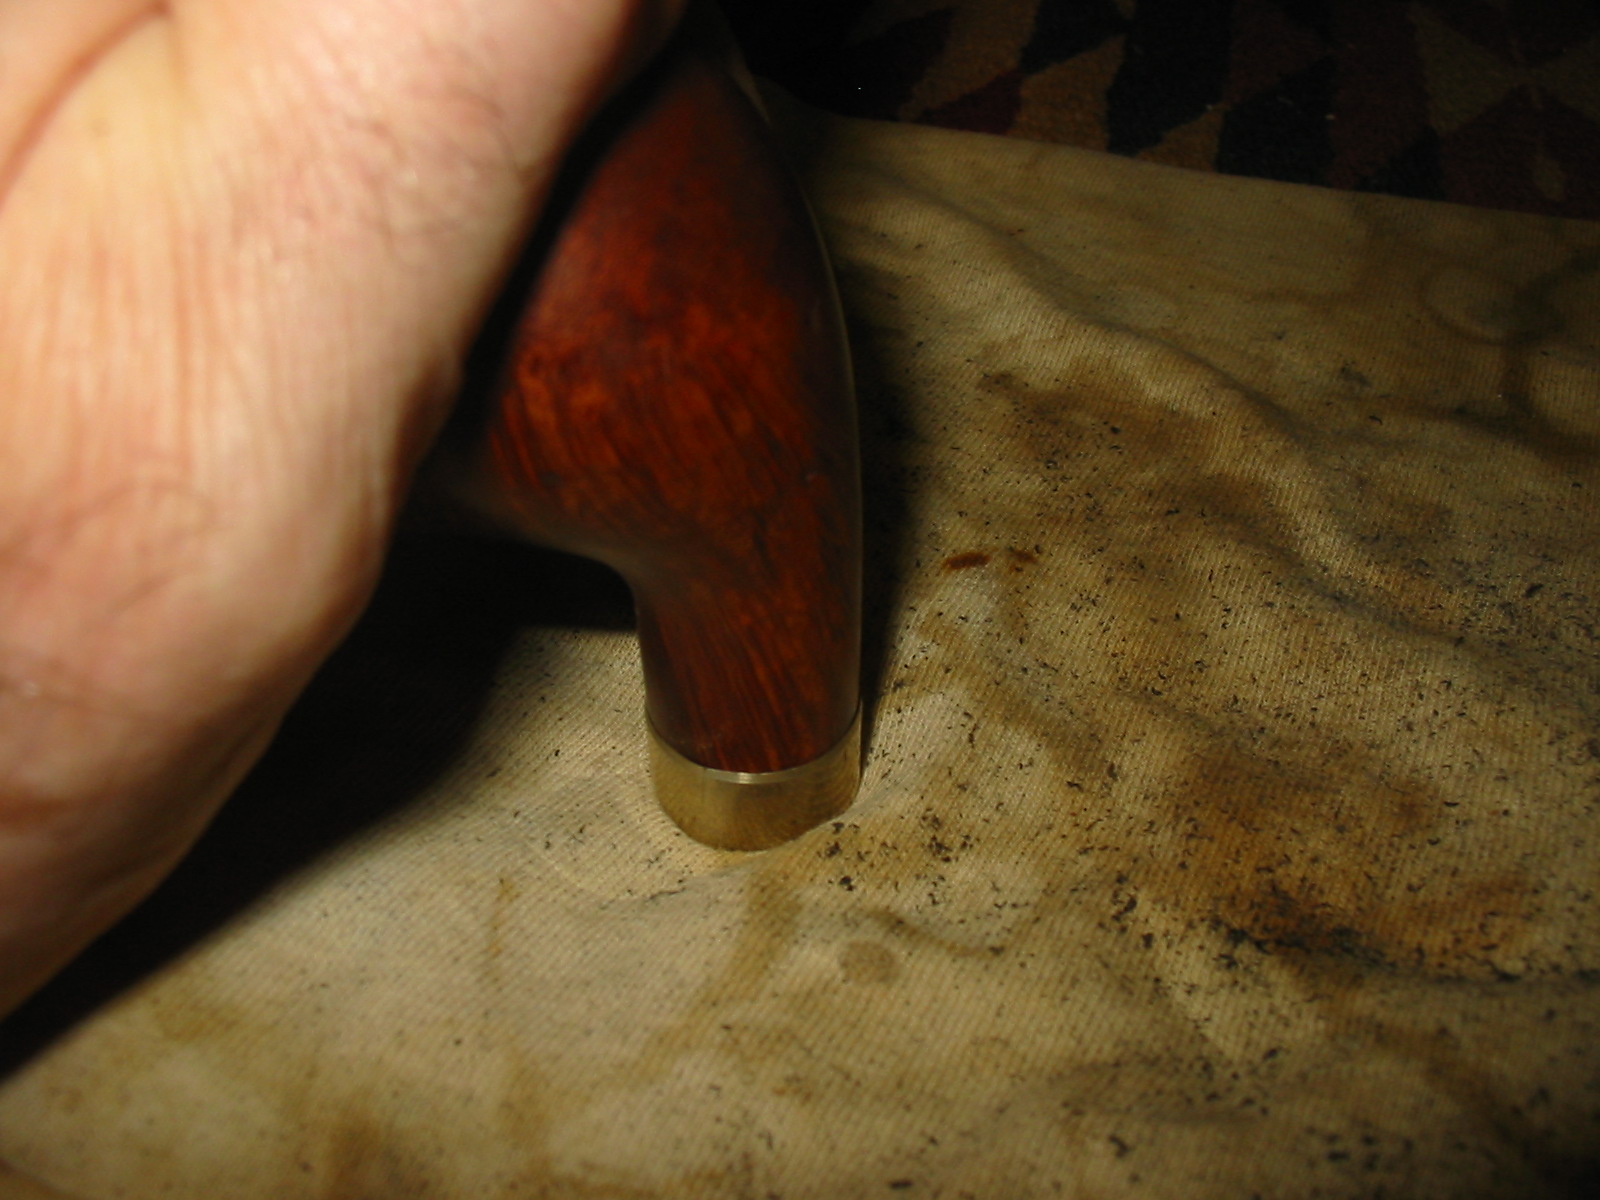
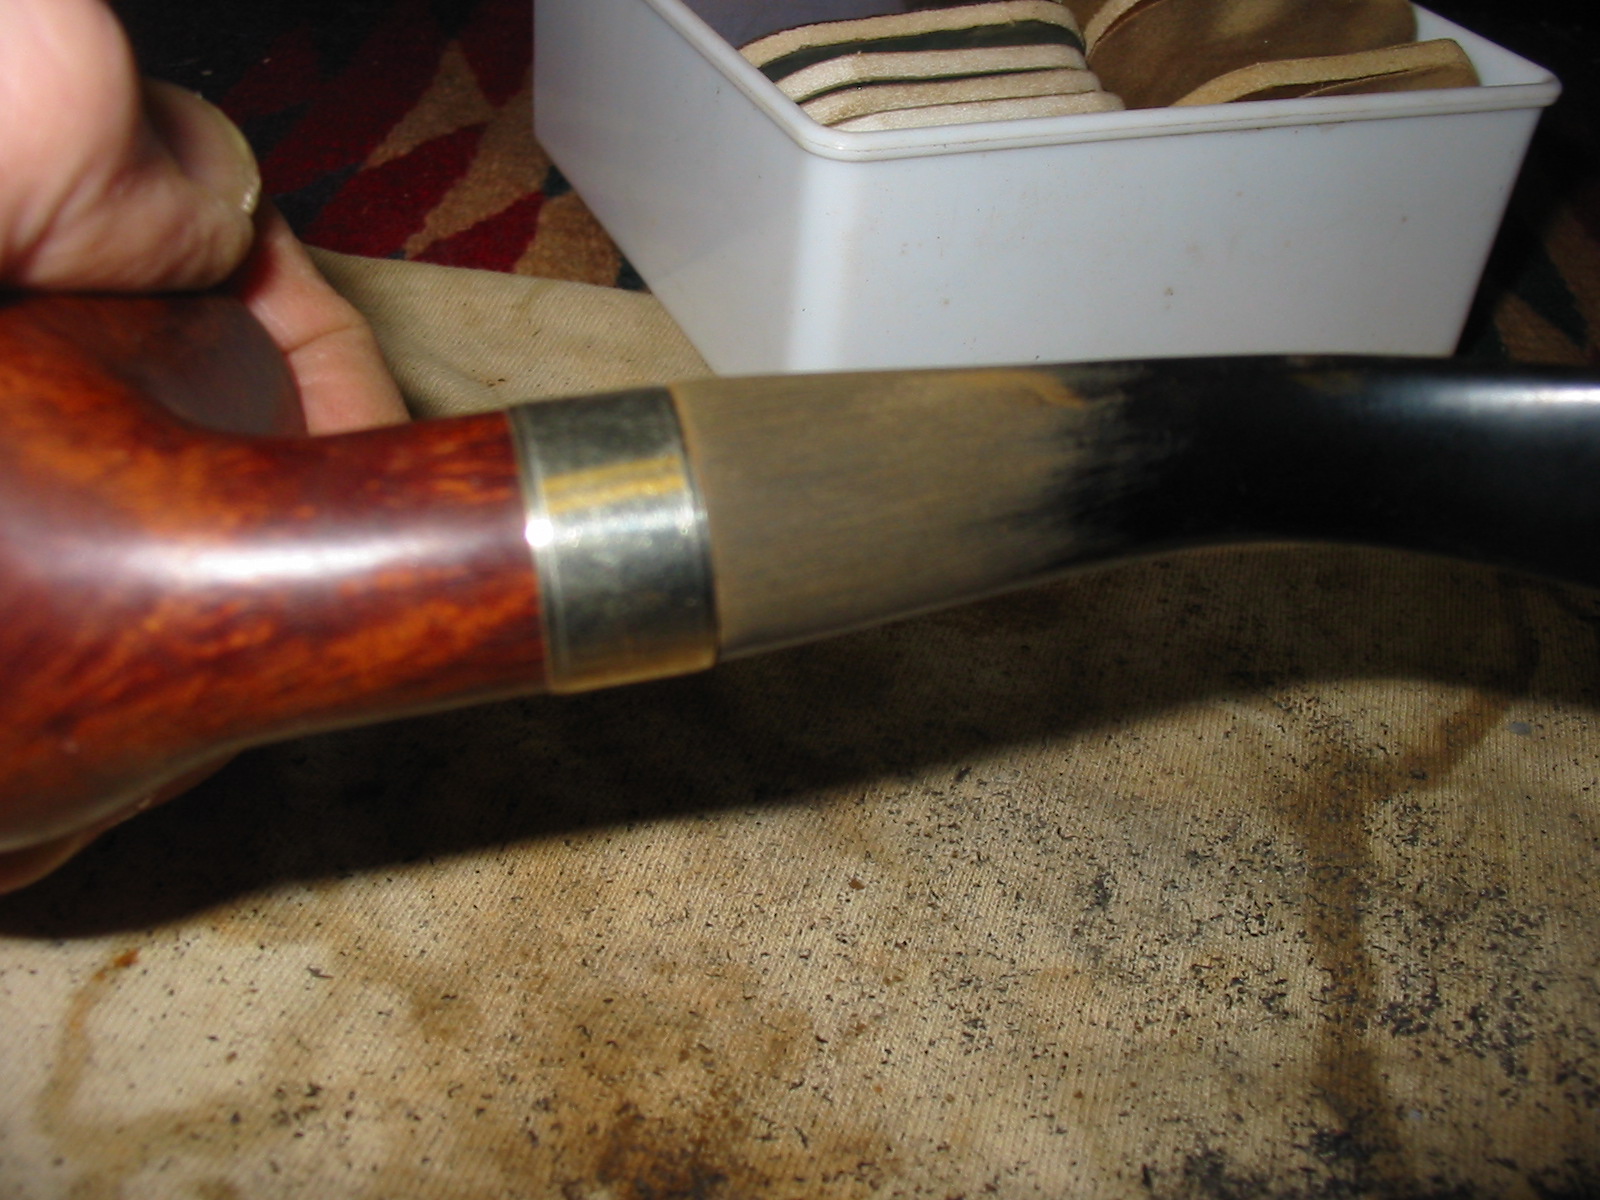
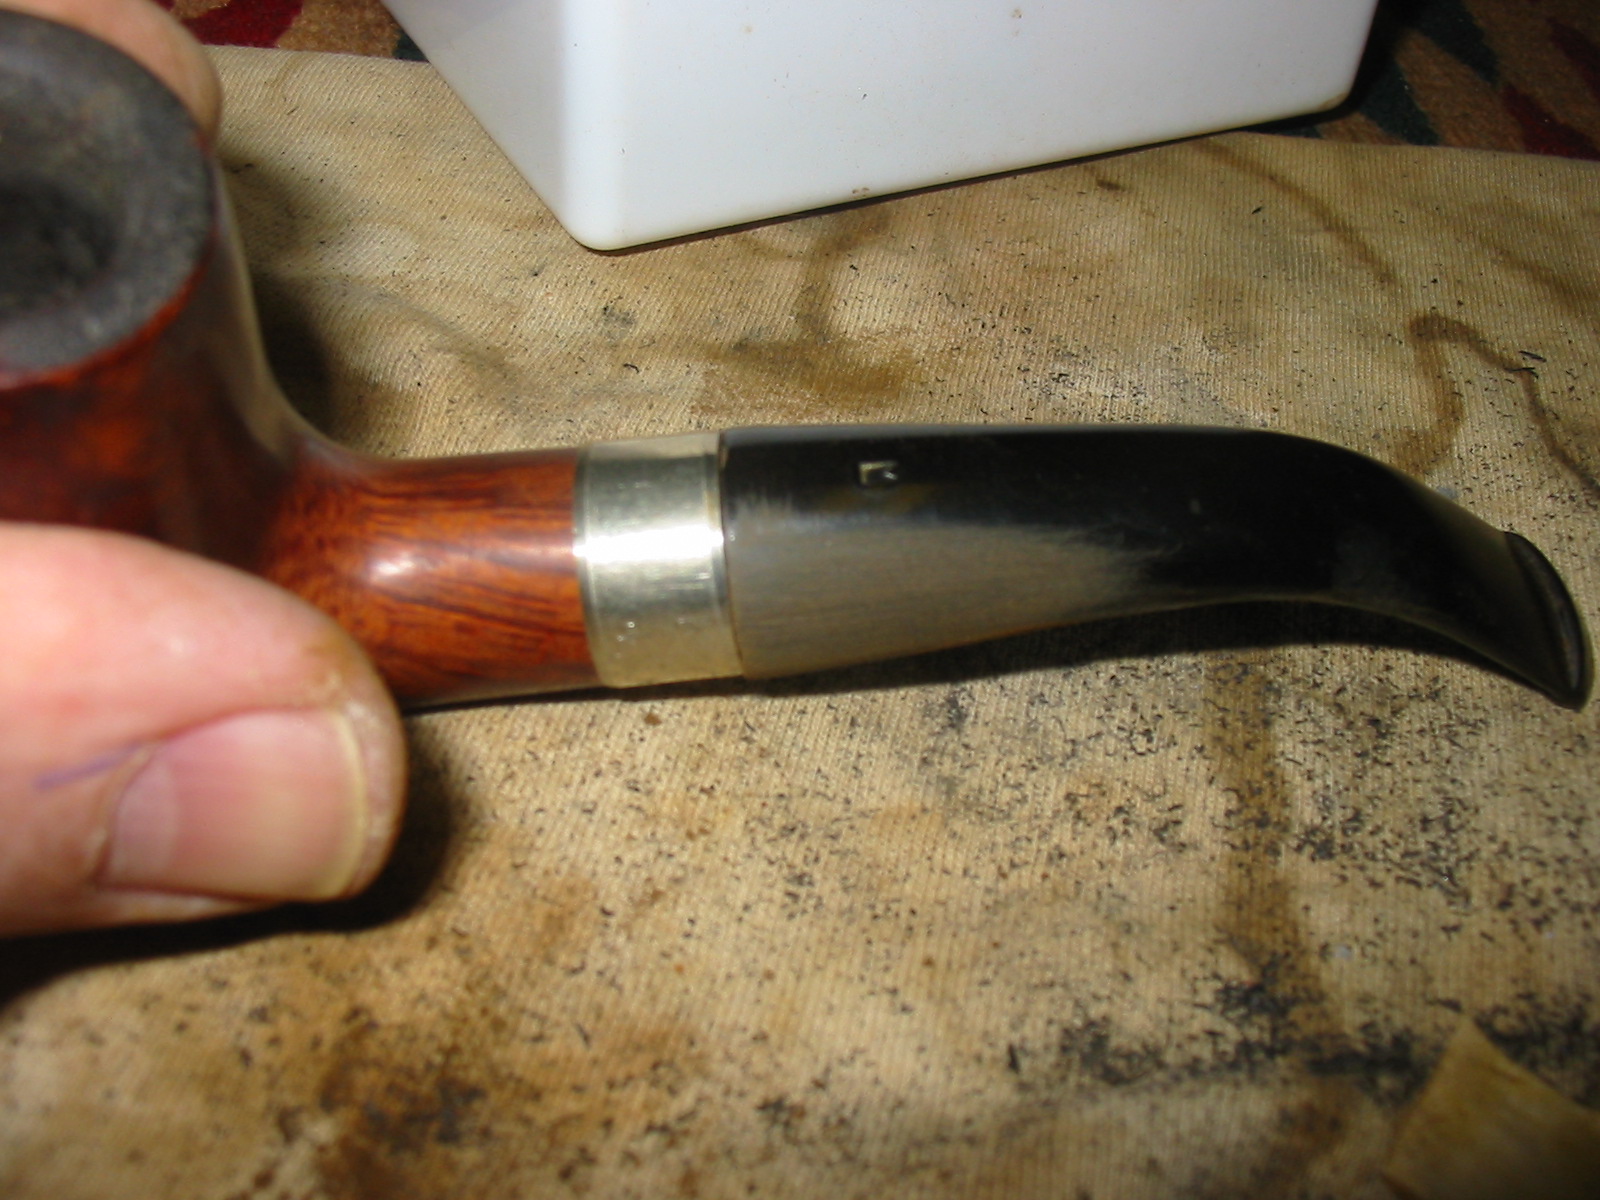
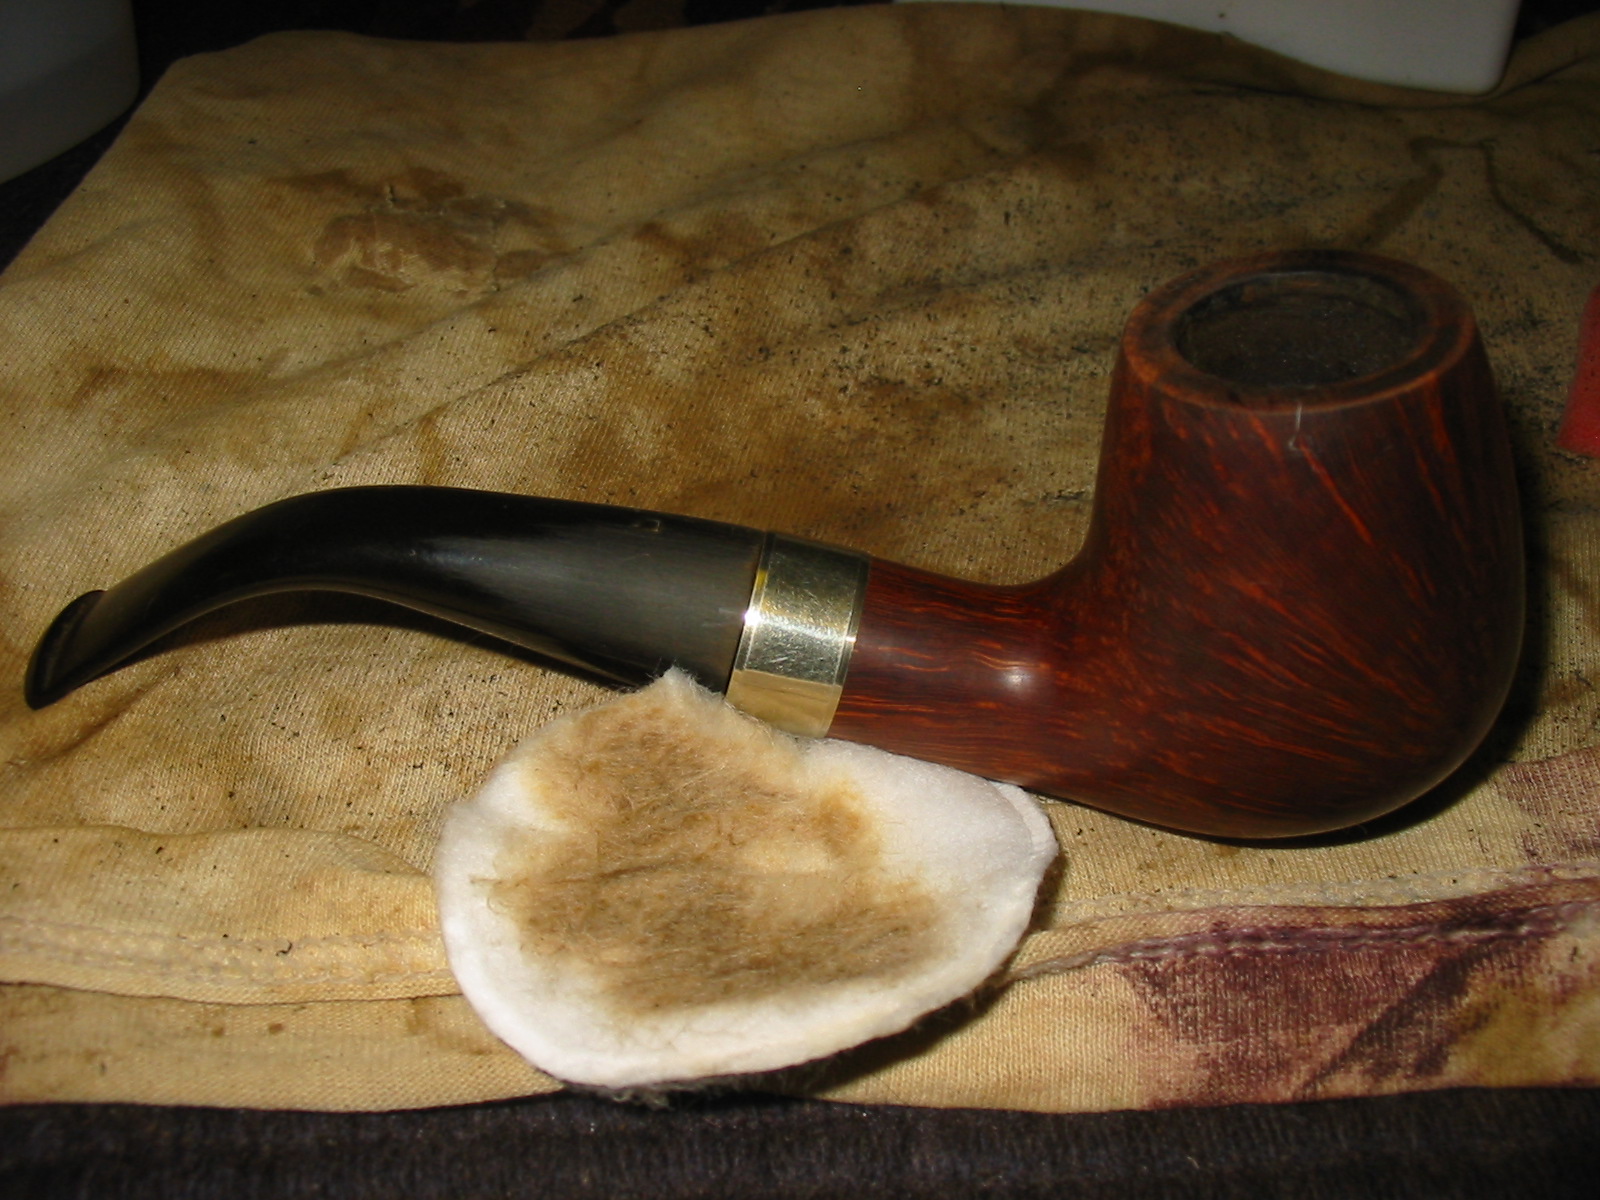
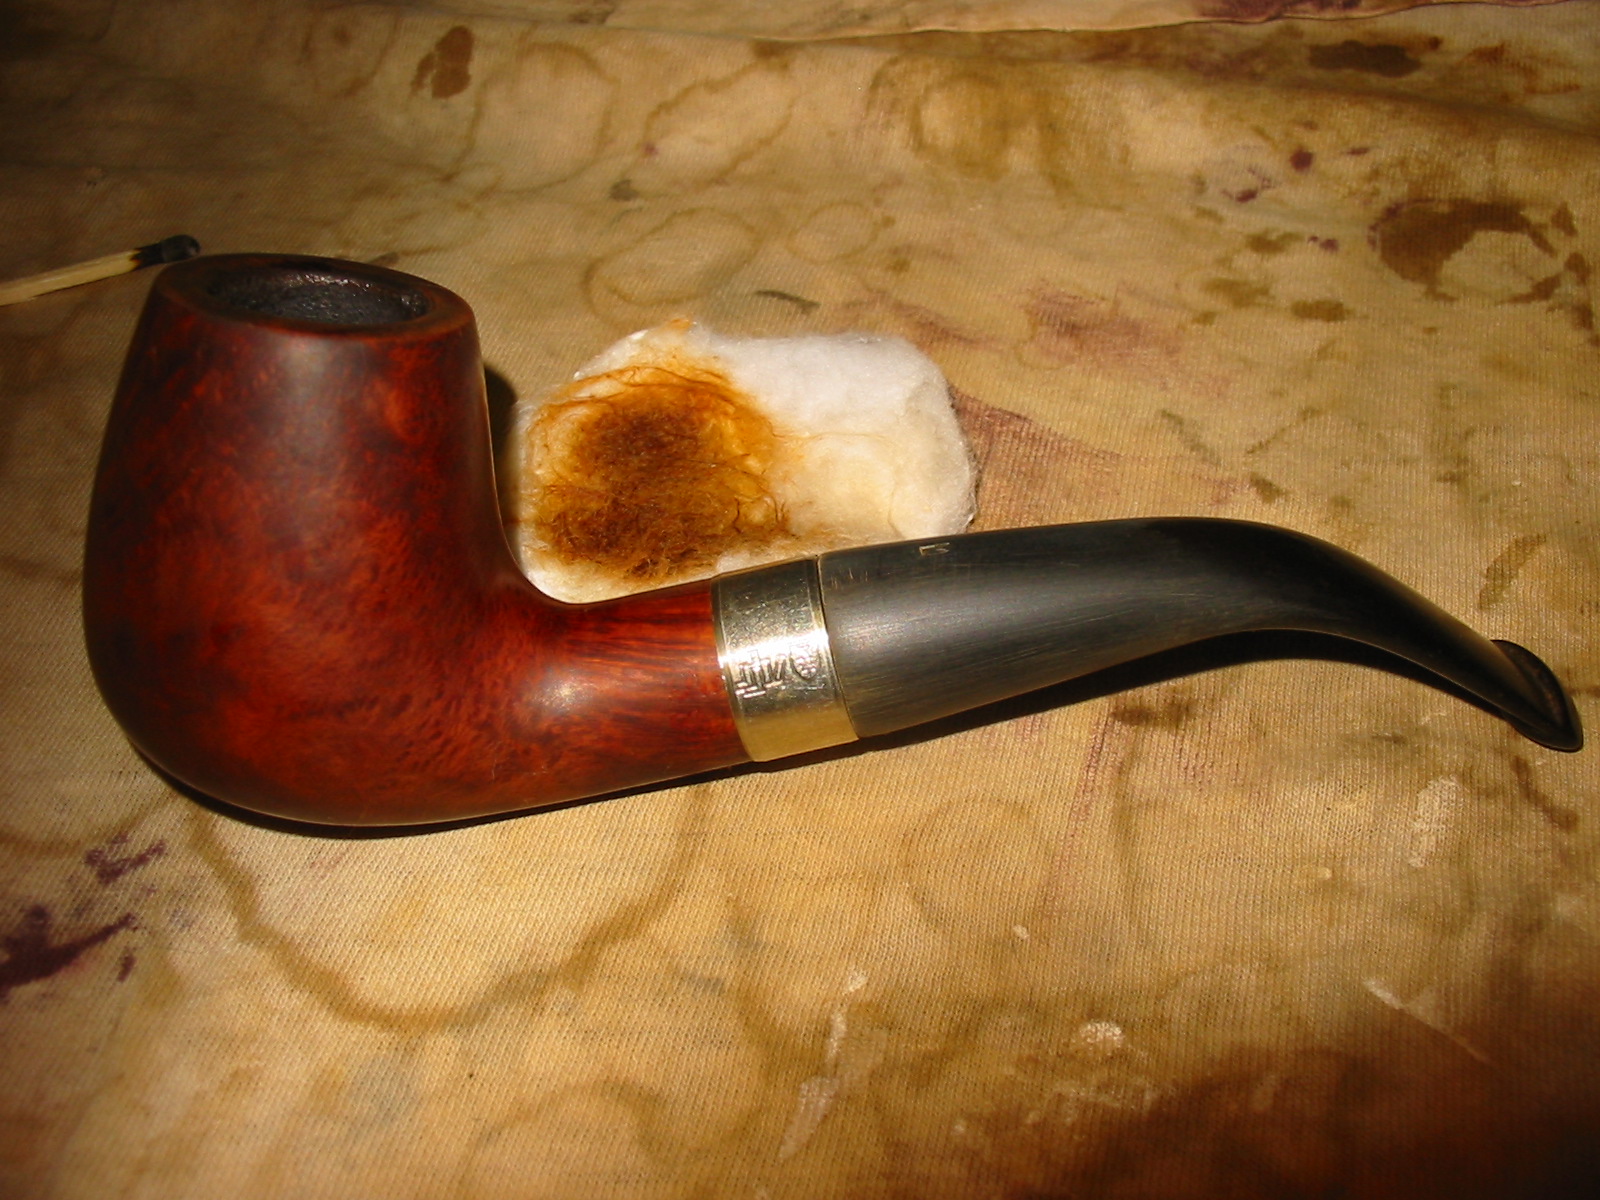
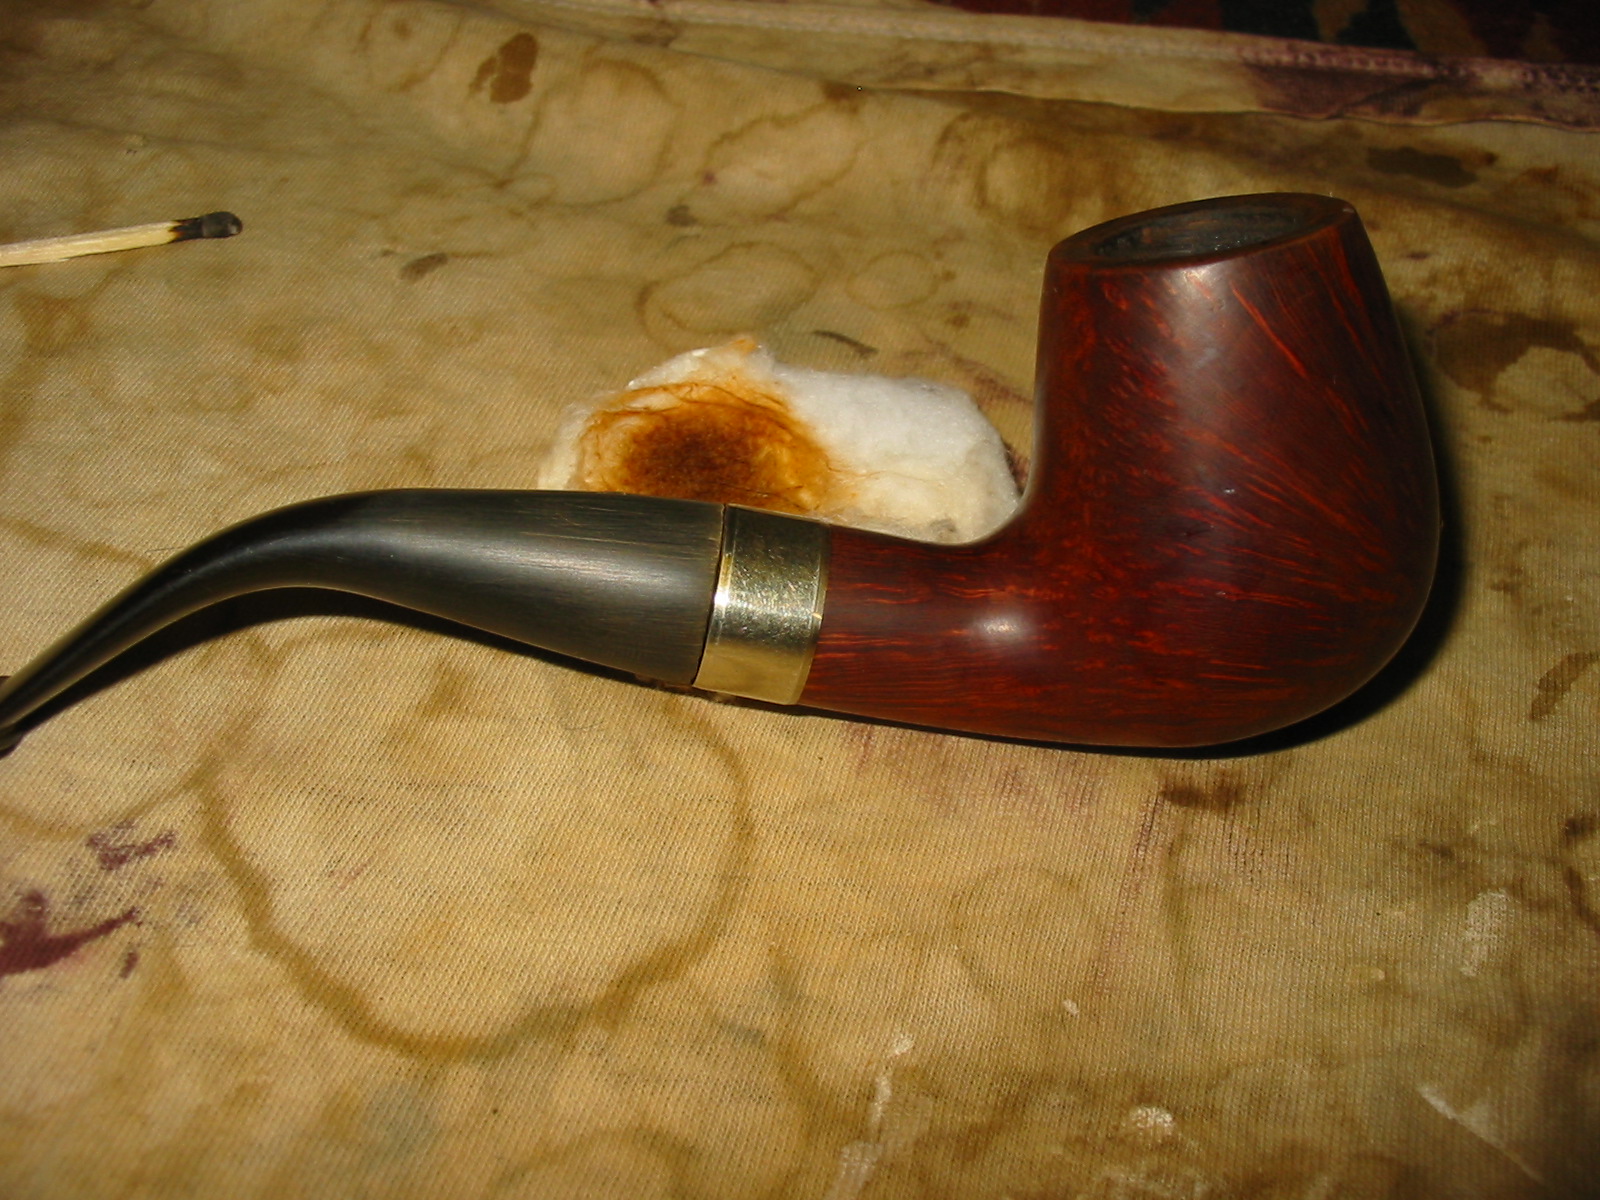
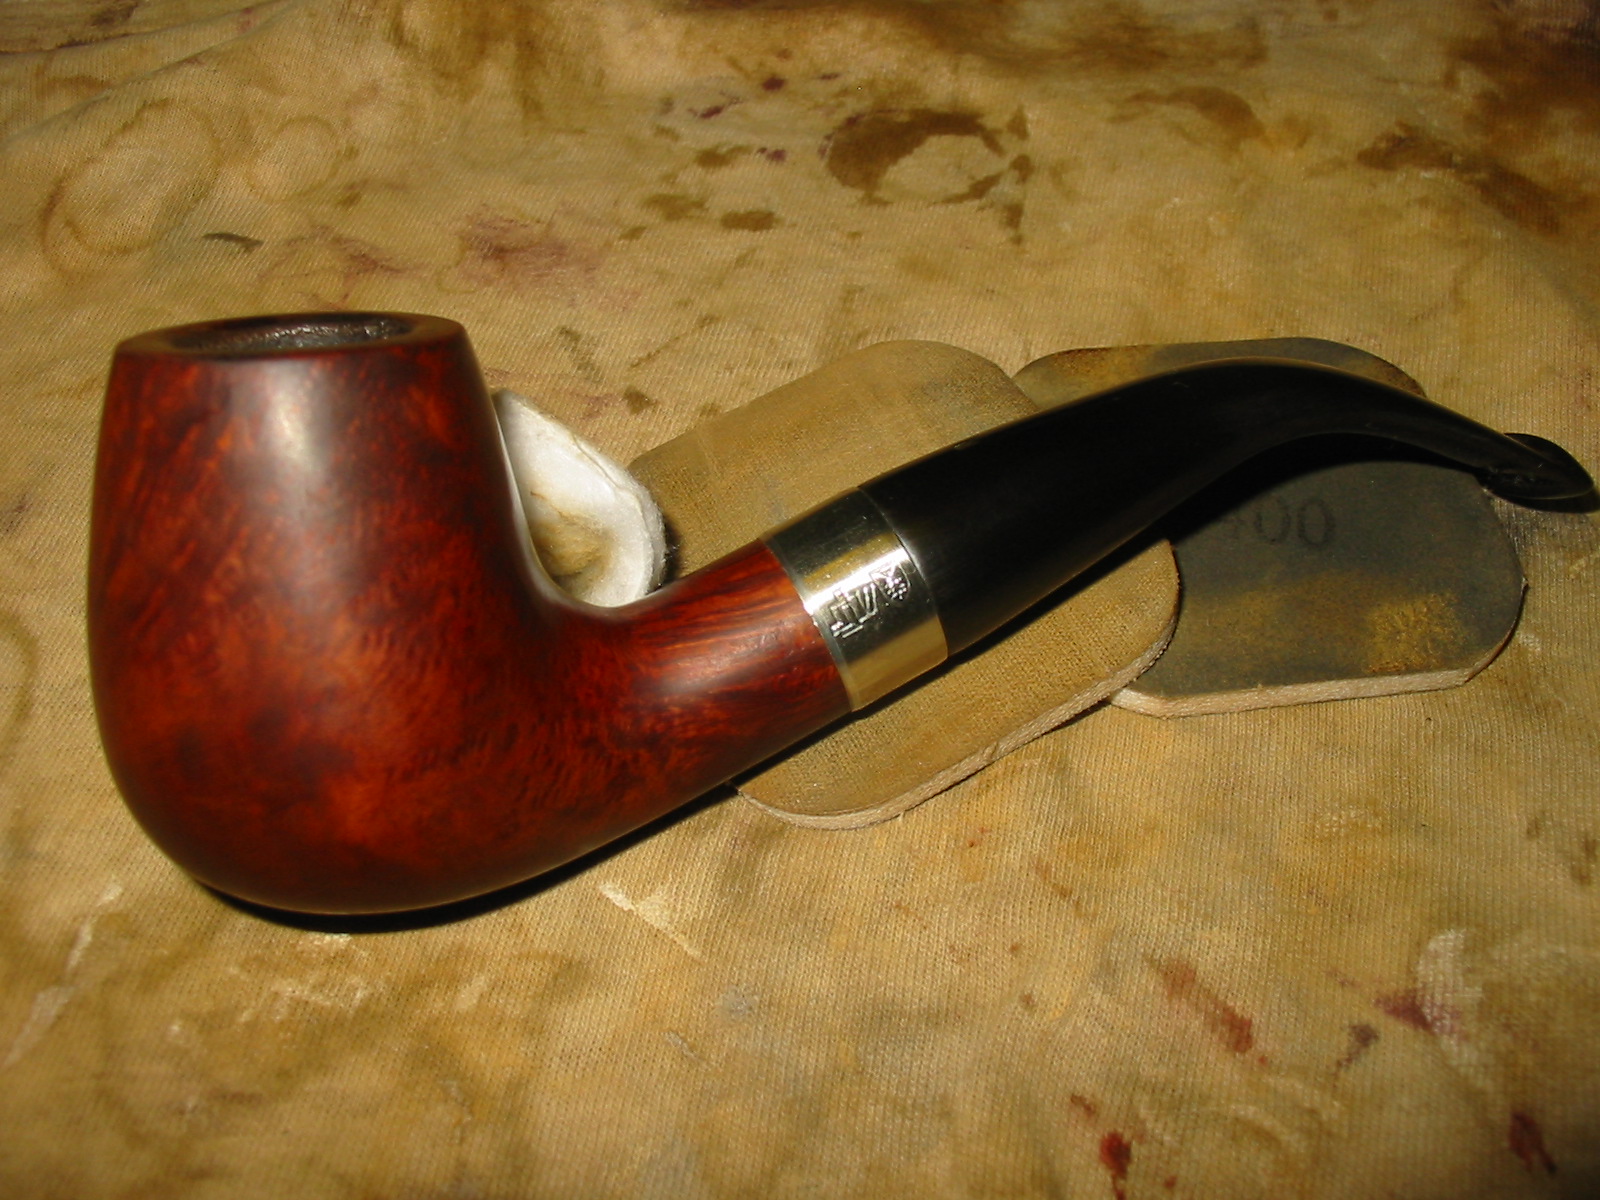
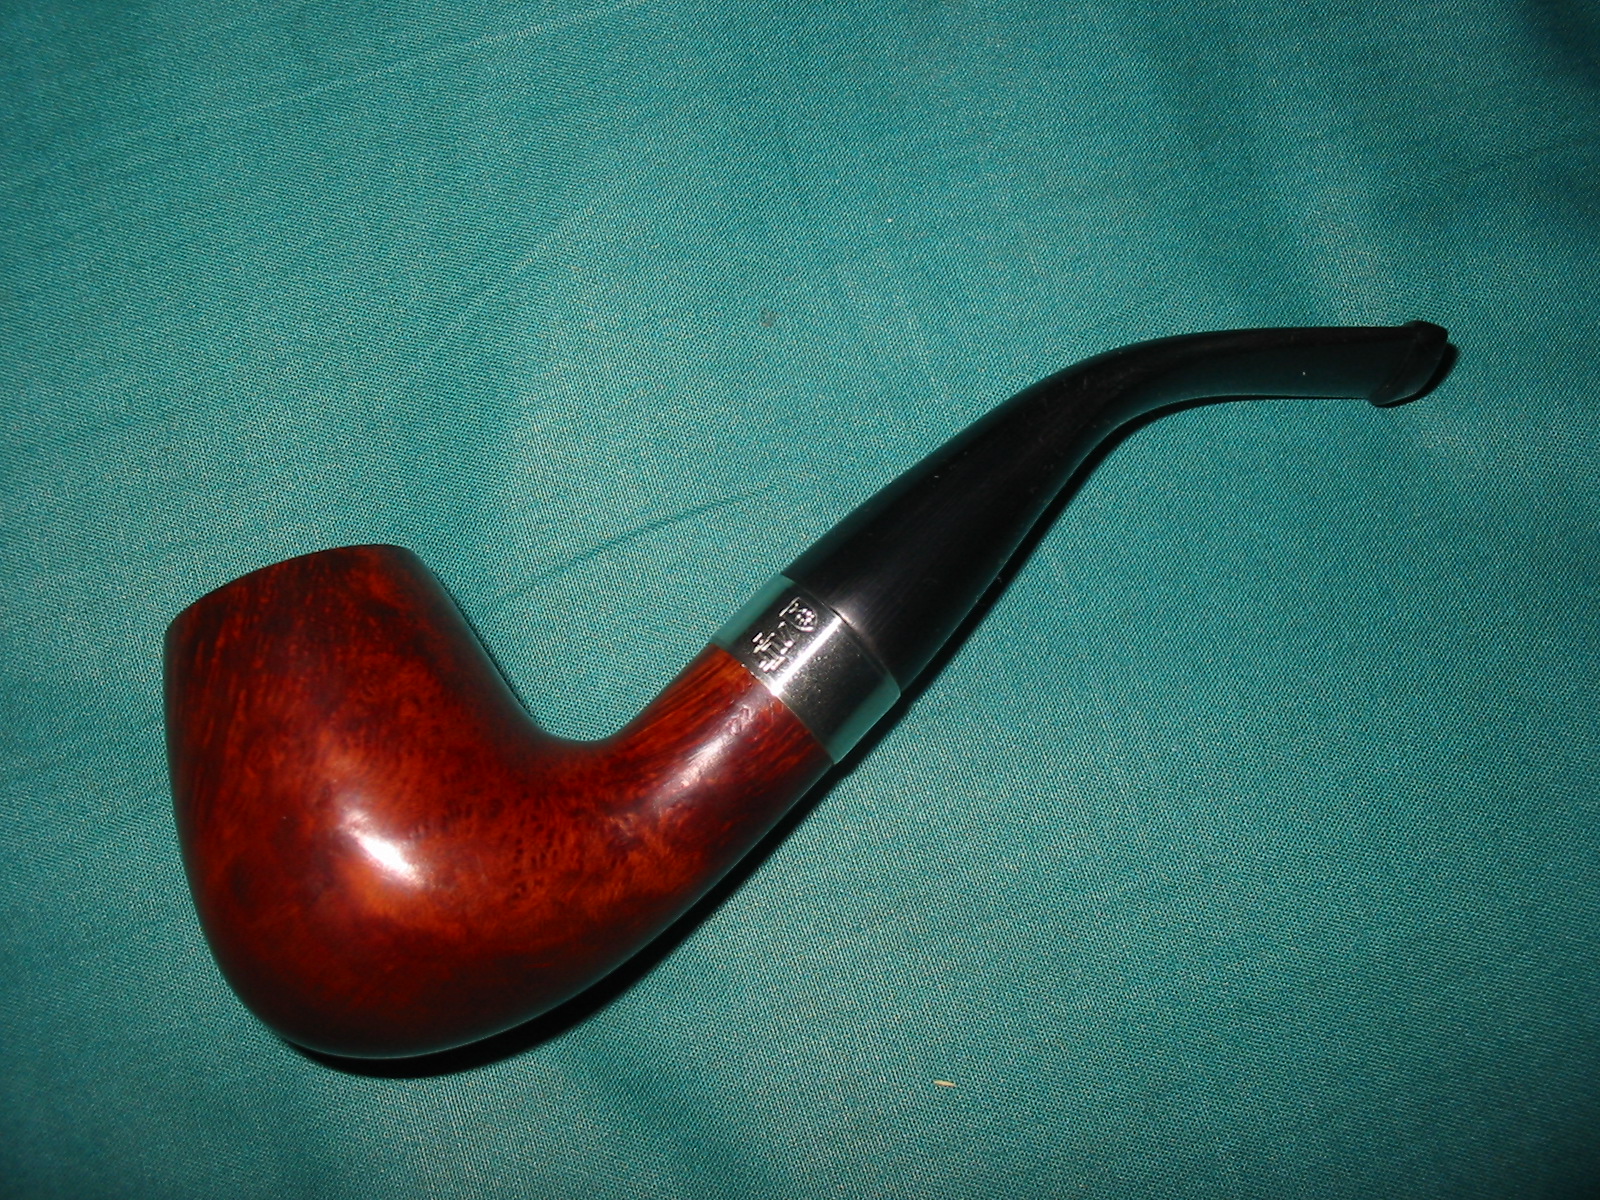
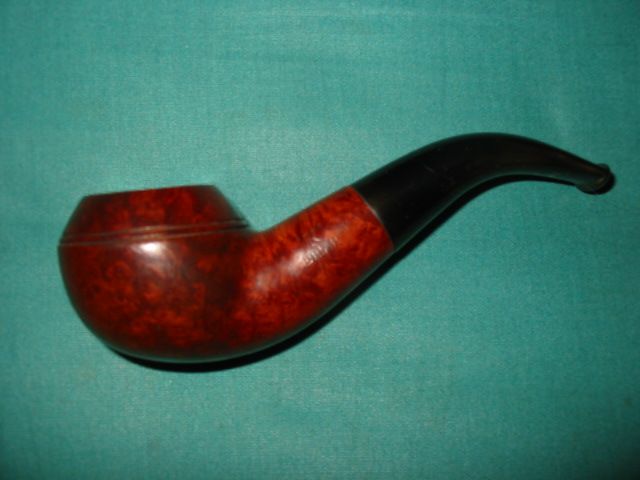
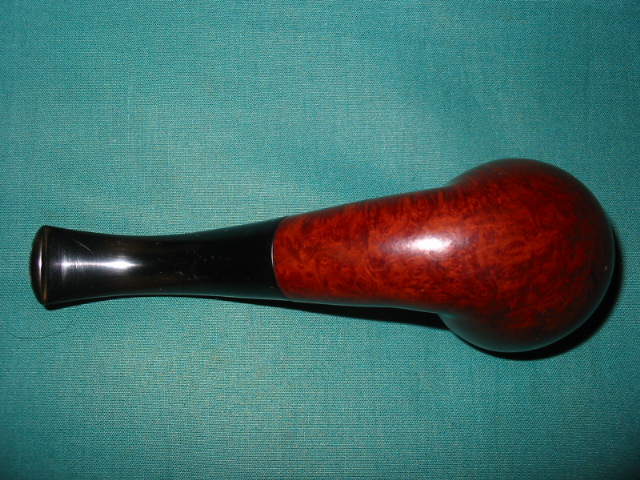
I sanded the stem and the shank to get a smooth transition between the stem and shank. I wanted the fit to be seamless so it took some sanding with 220 grit sandpaper followed by a sanding sponge to fine tune the fit. Here is the pipe as it stands now. Later today I will rework the bowl and finish the entire stem. But for the purpose of this post the tenon replacement and fit of the stem to the shank is complete.
tenon13

Restemmed and Refurbish Savinelli Duca Carlo


Blog by Steve Laug

I picked up a Duca Carlo in utter ignorance on EBay the other day. I was not familiar with the brand and only later found out it was a Savinelli. The seller’s photograph are worse than mine so I was not sure what I was getting but decided to take a chance on it. I picked it up for very little so I figured I had nothing to lose. The first series of out of focus photos show the pipe as it appeared in the seller’s advert on EBay. The grain looked like it had potential to me and the rest of the pipe appeared to be in workable shape. Once it got here I would have a better idea of what work would need to be done.

ImageImageImage

The first photo below shows the pipe after I took it out of the box it came in and put it on my work table. It was definitely in need of a ream and clean. The bottom of the bowl was dusty but had no cake on it. The upper portion of the bowl had an uneven cake. The rim was tarred and oily but there were no dents in the rim or on the rest of the bowl for that matter. The shank had a small hairline crack on the right side. It is next to the fill on the shank that is visible in the photo below. Fortunately this was the only fill I found in the bowl. It was not a bad piece of briar. There are a few bald spots on the bottom of the bowl but there is also some nice grain both birdseye and flame on the sides, front and back of the bowl and also on the shank. The shank and the bottom of the bowl had some cobwebs in it like it had been sitting in storage for a while. I blew out the dust bunnies and then pulled out a stem from my box of stems. It did not have a tenon so I screwed in a delrin tenon into the drilled out hole in the stem. The shank of the Duca Carlo was also drilled for a filter but I decided since I was restemming it and putting a new tenon on the stem I would make it fit without a filter.

Image

I needed to remove a lot of the delrin from the diameter of the tenon to get a proper fit. The tenon was too large for my Pimo Tenon Turner so I had to do the shaping by hand with files and my Dremel. The next two photos show the shaping process of the tenon. I used a rasp to take of as much of the material as I thought practical. I then used the sanding drum on the Dremel to smooth out the tooth marks from the rasp. I finally used medium grit Emery paper to take down the remainder of the tenon.

ImageImage

Once I had it sanded to fit I inserted it in the mortise to check the hairline crack. In the photo below I have it partially inserted and the crack is visible next to the fill on the shank. It was not a large or serious crack but in inspecting it I found one on the underside of the shank as well on the opposite edge. This made it necessary for me to band the shank to maintain the integrity of the pipe.

Image

I sorted through my box of bands and found one that would give a good tight fit to the shank. It is a nickel band and once heated and pressure fit on the shank it would give the strength to the shank. The next three photos show the banding process from choosing the band to pressure fitting it on the shank.

ImageImageImage

After banding the shank I inserted the stem in the shank and it fit well. It was snug and fit against the end of the shank cleanly. It was a bit larger in diameter than the shank so I sanded it with the emery paper to remove the excess material on the stem. The next three photos show the progress of fitting the stem against the shank.

ImageImageImage

I reamed the bowl with my T handle Pipnet reamer and blade heads. It was an easy ream as the bottom half of the bowl was clear briar. The Pipnet reamer must be carefully inserted and turned so as not to make the bowl out of round or damage the bowl.

ImageImage

After reaming I decided to clean off the tars and oils on the rim. I used a fine grit sanding sponge to remove the grime as seen in the first picture below. I then wiped down the bowl and rim with acetone on a cotton pad as can be seen in the second and third photo below. I found that cleaning off the grime and the dark parts of the bowl revealed some really nice grain on the pipe.

ImageImageImage

The next three photos show the bowl after the wipe down with acetone and the stem after sanding with the medium grit sanding sponge. The fit is getting very close to being what I was looking for. I am still not sure about the bend in the stem. It fits well in the mouth but I may heat and rebend it. I will see once I am finished with the pipe.

ImageImageImage

I restained the bowl and rim with dark brown aniline stain. I applied it with the dauber and then flamed it with a match, restained and reflamed it. The next three photos show the freshly stained bowl after I flamed it. Once it was dry I took it to my buffer and buffed the bowl with Tripoli to polish and remove the excess stain.

ImageImageImage

Even after buffing the stain was too dark for me. I wiped the bowl down with acetone on a cotton pad to lighten the stain. The next series of three photos show the bowl after I had wiped it down with the acetone. The colour was what I wanted. It would polish up very well.

ImageImageImage

I set the bowl aside after this and went to work on the stem with the micromesh sanding pads. The next nine photos show the polishing process with the micromesh pads and the Maguiar’s Scratch X 2.0. I began dry sanding the stem with 1500 grit micromesh sanding pads. After that I polished the stem with the Maguiar’s before working through the rest of the micromesh grits 1800-12,000. After the final sanding I polished it a second time with the Maguiar’s and then gave it a buff with White Diamond. I brought it back to the work table and wiped it down with Obsidian Oil and then coated it with some carnauba wax. For much of the final sanding I worked with the stem on the shank so as not to round the shoulders of the stem.

ImageImageImageImageImageImageImageImageImage


When I had the scratches worked out of the stem I buffed the entire pipe with White Diamond and then several coats of carnauba wax. The finished pipe can be seen in the photos below. I decided not to rebend the stem but to leave it for now and see how it feels when smoking it. I can rebend it at any time should I choose. The final four photos show the finished pipe. This was a pretty straightforward refurb, it took me about three hours to restem and refinish the pipe.

ImageImageImageImage


A New Tenon on an Old Stem and a Petersons K Briar 999 is Back in Action


Blog by Steve Laug

I picked up this older Peterson 999 K Briar from EBay. It came in a lot with some Barlings, Bewlays and three Imperial Tobacco pipes that I have repaired. This is an interesting pipe in that it is stamped K over Briar on the left side of the shank and on the right side it is stamped 999 “Peterson’s Product” made in England. I had not seen a K Briar pipe from Peterson before. This one is a beauty. It has the appearance of a GBD Rhodesian or a BBB Rhodesian. It has no fills and some very minor sand pits. The stain and finish were in great shape. The stem had just two small bite marks that needed to be taken care of. It has a unique stem that can be seen in the photos below. It is very different from the standard Peterson stem as it is rounded and crowned with a slot in the end of the button.

When the pipe arrived the tenon was broken off at the shank. It was a clean break as can be seen in the photo below. The tenon itself was stuck in the shank. I tried to remove it by my usual method – turning a screw into the airway on the tenon and then pulling. I tried and pulled both by hand and with a pair of vice grips. I clamp down on the screw and try to twist the bowl of the pipe. This tenon was really stuck. I dribbled alcohol down the shank and filled the bowl with cotton bolls and poured in alcohol and so that the inside of the shank could soak. I left it sitting that way over night and in the morning the tenon still would not come out. I figured I would try putting it in the freezer so that the two materials of the shank and tenon would contract and expand at different rates and loosen that way. When I took it out of the freezer I tried to remove it from the shank. It did not move. Nothing I tried seemed to work. I took a drill bit a little bigger than the airway in the tenon and drilled out the tenon very carefully. Once the drill bit was set I backed the drill out and the tenon was free. ImageImageImageImageImage

Once the tenon was out I held the stem vertically on a flat board and sandpaper to make certain that the flat surface of the stem was smooth and that there were no sharp pieces of the old tenon in the way. I drilled the airway in the stem to receive a quarter inch tap. I worked up to the quarter inch drill bit slowly moving from one that was slightly bigger than the airway. I wanted to make sure that the new opening for the Delrin tenon was centred and not off. Once I had it drilled with the ¼ inch drill bit I used a quarter inch tap to thread the hole in the stem. I had ordered threaded tenons from Pipe Makers Emporium and when they arrived I checked the depth on the tapped hole in the stem to make sure that it was the same depth as the length of the new tenon. Once it was correct I turned the new tenon into the threaded hole until it was just about tight and then dripped some super glue into the hole and finished threading the tenon in. I set it aside to dry before trying the tenon for a fit on the pipe. These threaded tenons are great to work with. It is the first time I have used them and it worked like a charm. ImageImage

Once the tenon was set, it was time to work on the stem and remove the oxidation. I used fine grit emery cloth to loosen the oxidation on the stem. From there I proceeded to use 240 grit sandpaper and then used 400 and 600 wet dry sandpaper. I wet the stem and sanded it with the wet dry sandpaper until all of the scratches were gone. The next series of three photos show the fit of the stem with the new tenon. Most of the oxidation is gone at this point. ImageImageImage

I took the pipe to the buffer and buffed the stem with Tripoli to see where I was at with the sanding. The oxidation was gone so I took it back to the worktable and sanded it with the micromesh pads from 1500-12000 grit. The final shine came alive with the 8000 and the 12000 grit micromesh. From that point I took it to the buffer and lightly buffed it with White Diamond. Then I waxed the pipe and stem with carnauba and buffed with a flannel buff. ImageImageImageImage