Blog by Steve Laug
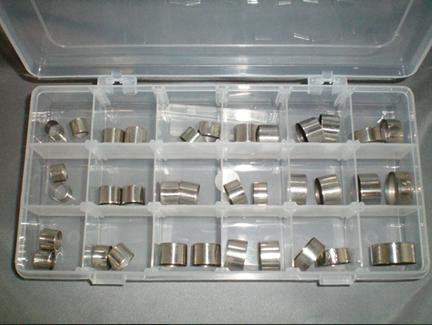
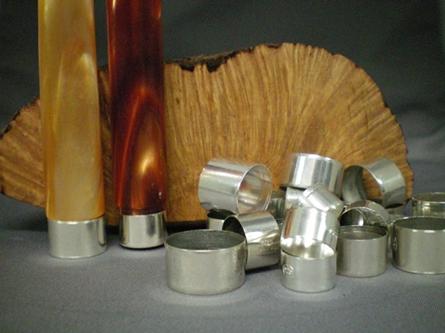
There are many options in terms of the bands that can be used to repair a cracked shank or to give a cosmetic facelift to a pipe shank. Pipe Makers Emporium carries nickel, silver and gold bands in both short and long lengths. They also carry end caps should you want to use an end cap on a pipe or do a repair on a Peterson pipe. I have included pictures of the options that you can choose with regard to bands. I personally purchased the nickel banding assortment that is in the first photograph. It gives you a wide range of diameter bands that can be used. From this I then replenished the areas that I needed more and also added some silver, gold and end caps to the lot. This set up has worked for me for many years and I just add as necessary.


Pipe Makers Emporium also sells a banding tool that they advertise as making banding more simple. I have not used the tool as I find that my method works well for me. I will detail my procedure below and include photos of the process.

My process for banding a pipe will be seen in the following photos and the accompanying description of the work.
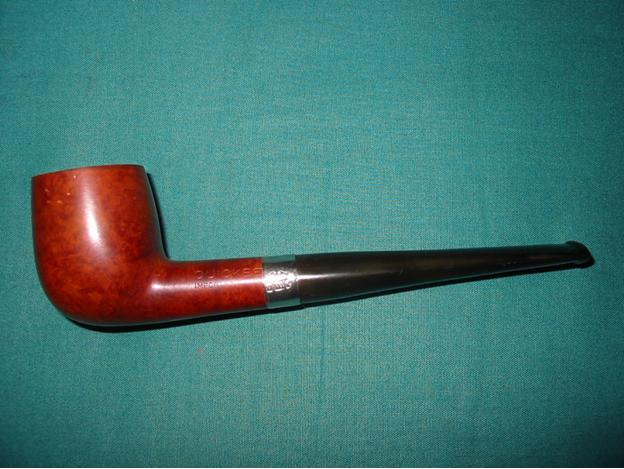
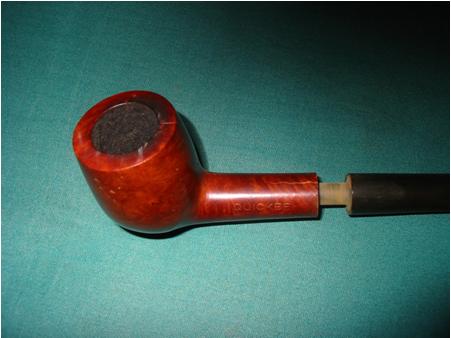
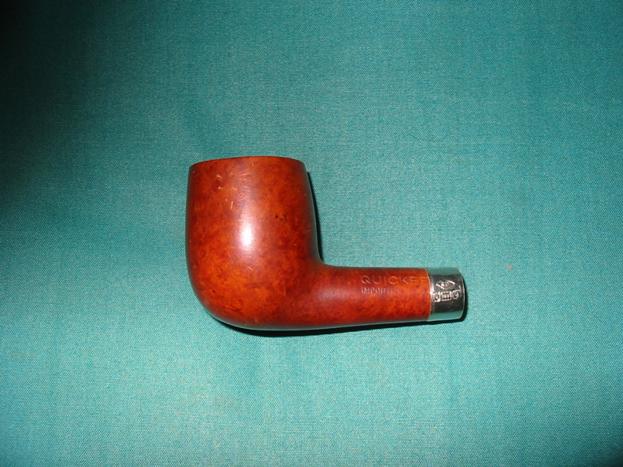
The pipe that I needed to band had a crack in the shank at the top. You can see the length of the crack. I always clean it out with a dental pick and drip some superglue into the crack and squeeze it together with a clamp that has rubber on the teeth. Once the glue is dry – which is actually very quick – I choose a proper band (in the case of the pipe that I picture below it is a 13.5mm nickel band). The ideal choice is a band that is approximately the same size as the diameter of the shank. You do not want it too large as it will slide when the pipe is disassembled or heated. You also want one that will bind together the crack in the shank. The 13.5mm was perfect and matched the size of the shank.
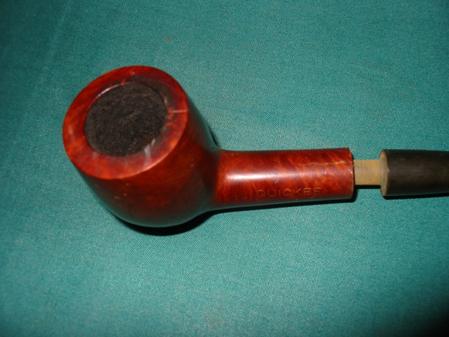
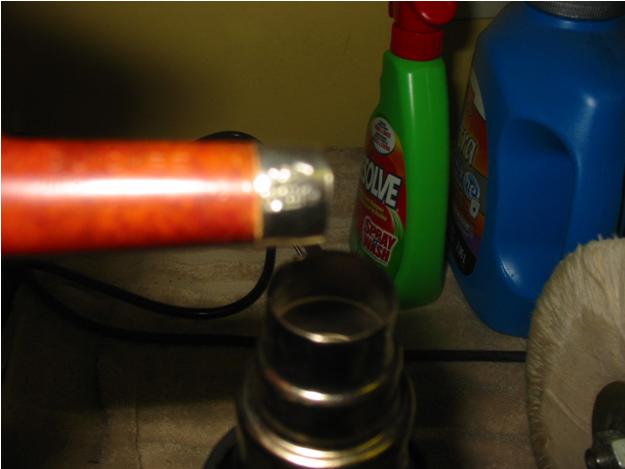
I place the band on the end of the shank – in this case it only fit minimally along ¾ of the band. One edge was too tight to fit. I heat the band with a heat gun, being careful not to burn wood – this generally only takes a few moments.
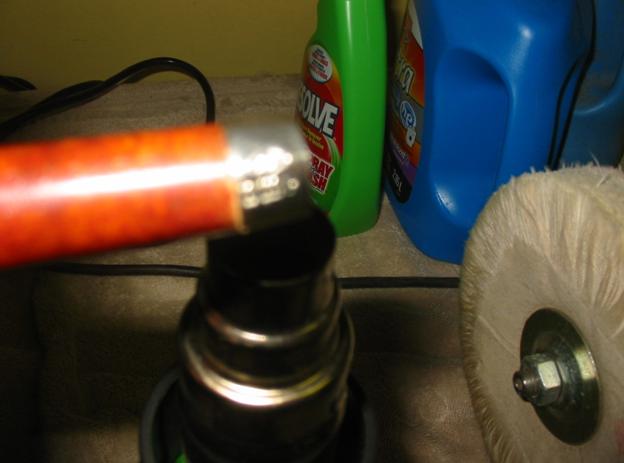
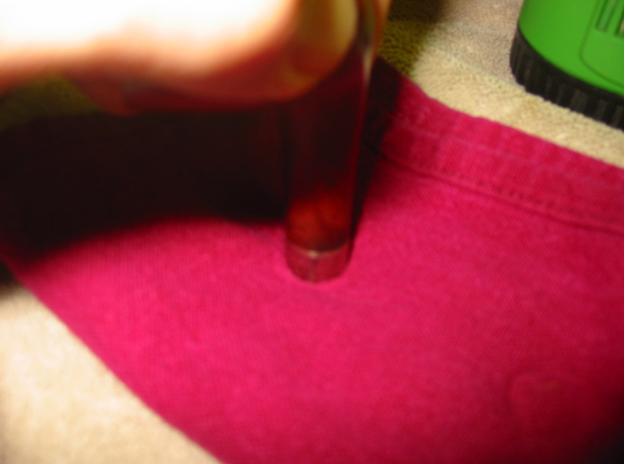
I then pressed the shank into the band on a piece of soft carpet that is on a solid table top. Do not force the fit as a heated band will tear. Reheat it until it is pliable enough to fit the shank well. When you are satisfied as to the fit and placement of the band, cool the band slowly before proceeding to work on the edges. I use room temperature water and dip the end of the shank with the band into the water. If you use the tool here you can press the end into the bowl at the end of the tool to round the edges and make for a nice fit. I use a piece of tightly woven wool carpet and twist the end of the banded shank into the carpet. In my opinion this does the same thing as the shank tool.
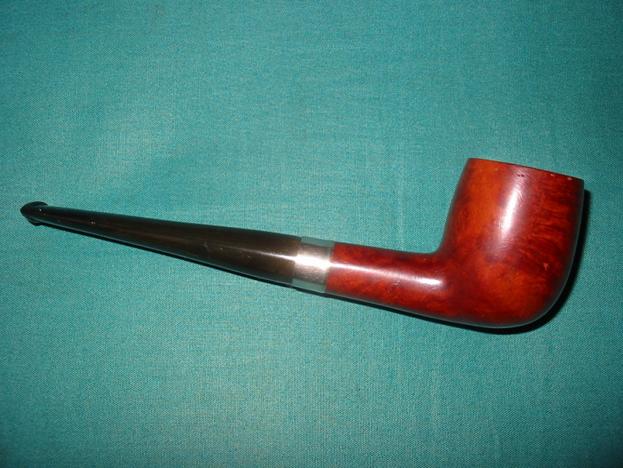
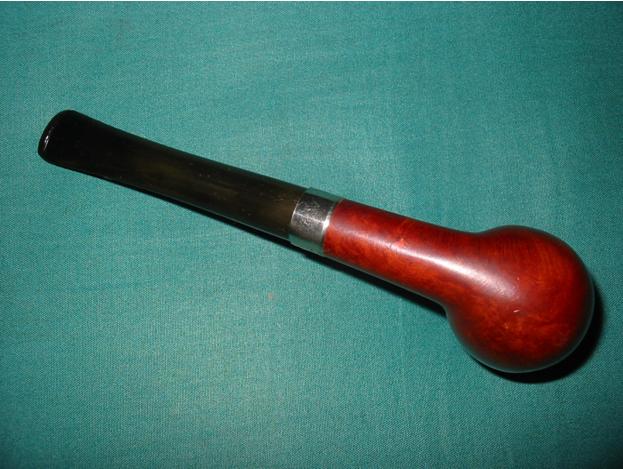
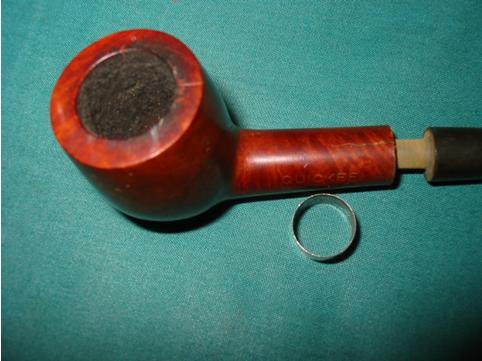
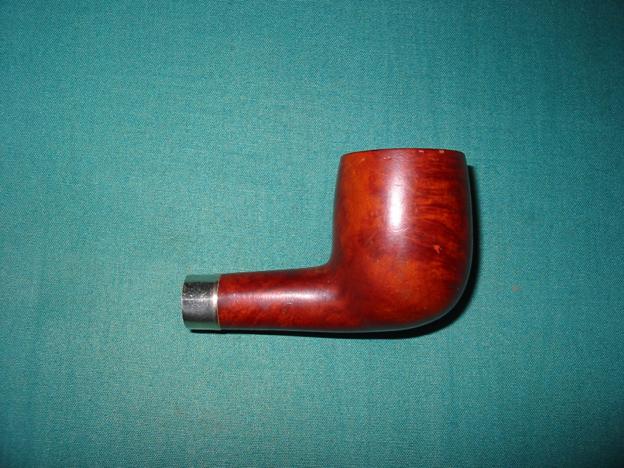
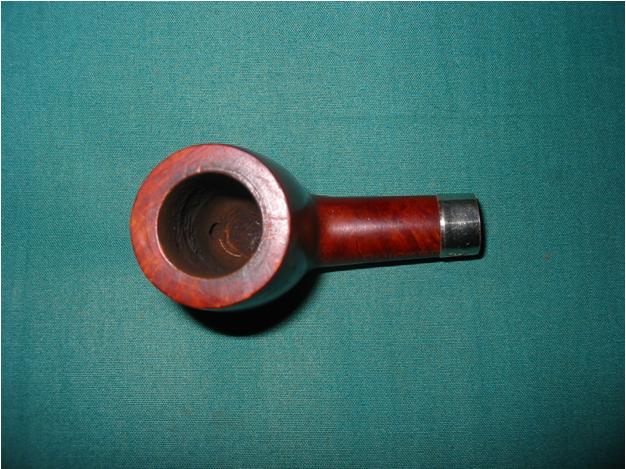
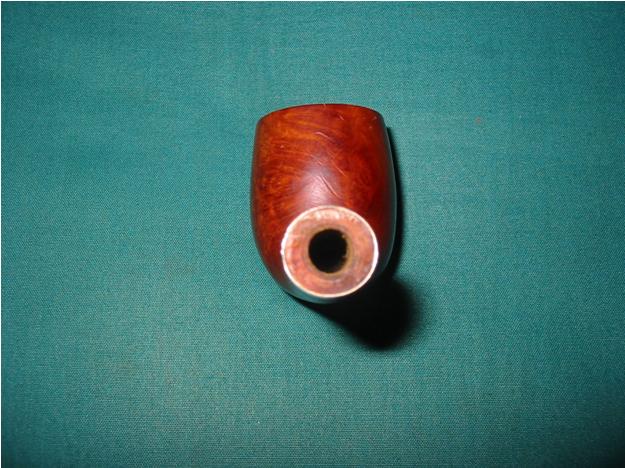
When the band is in place the pipe is ready for the stem to be refitted. Often the tenon will need to be reduced in diameter to fit the tightened shank. In the case of this pipe I needed to fit a stem as the bowl did not come to me with its stem. I used sandpaper to turn the tenon down to size on an older stem that I had in my jar of stems. The next series of photos show the band in place on the shank. It is pressure fit and it is tight and immovable. The third photo shows the top view of the shank and you will notice that the crack that was very visible before is now no longer visible. The fourth and fifth photos show an end view of the fit of the band. It is flush with the end of the shank so that the new stem will fit snugly in place.
The next series of four photos show the new stem that is fitted to the pipe. There is still some oxidation that needs to be removed from it but you can see the fit and finish of the stem and the banded shank.