Author Archives: upshallfan

Unknown's avatar

About upshallfan

Moderator on the PipesMagazine forum since 2011. Guest contributor on the Reborn Pipes Blog by Steve Laug.

GBD New Era Billiard Restoration


By Al Jones

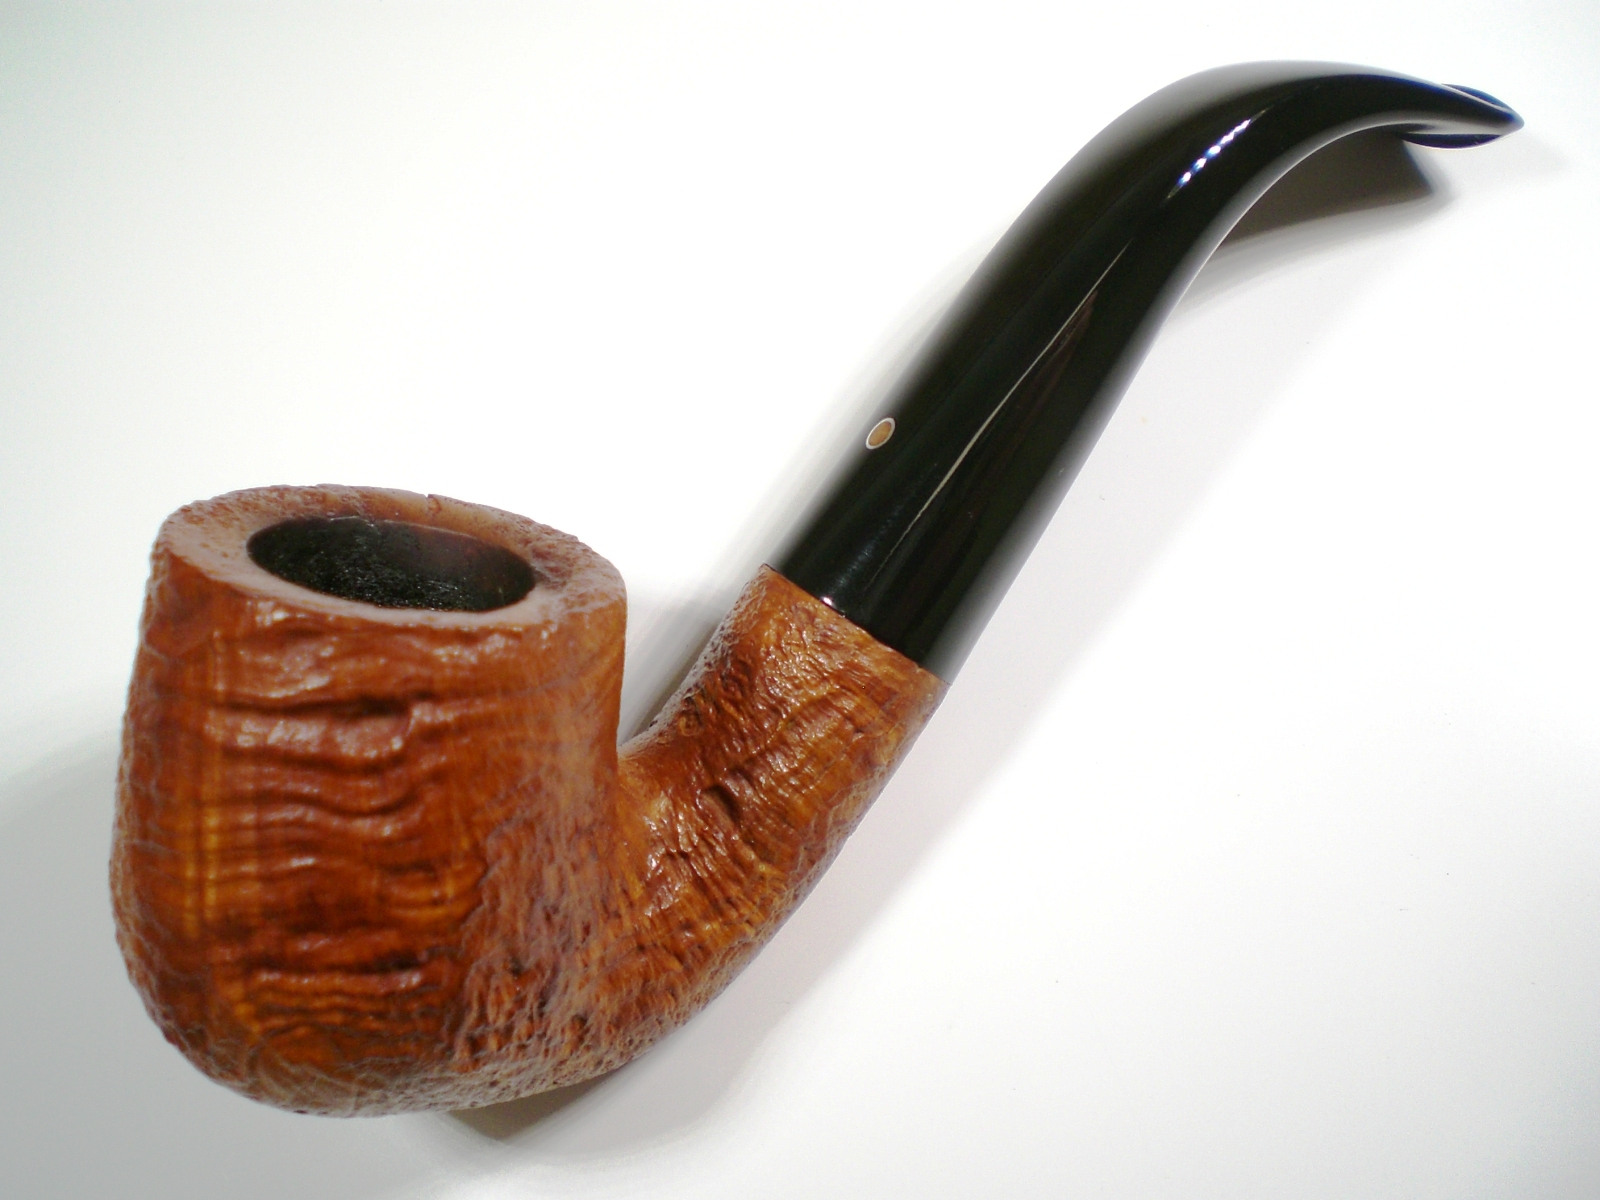
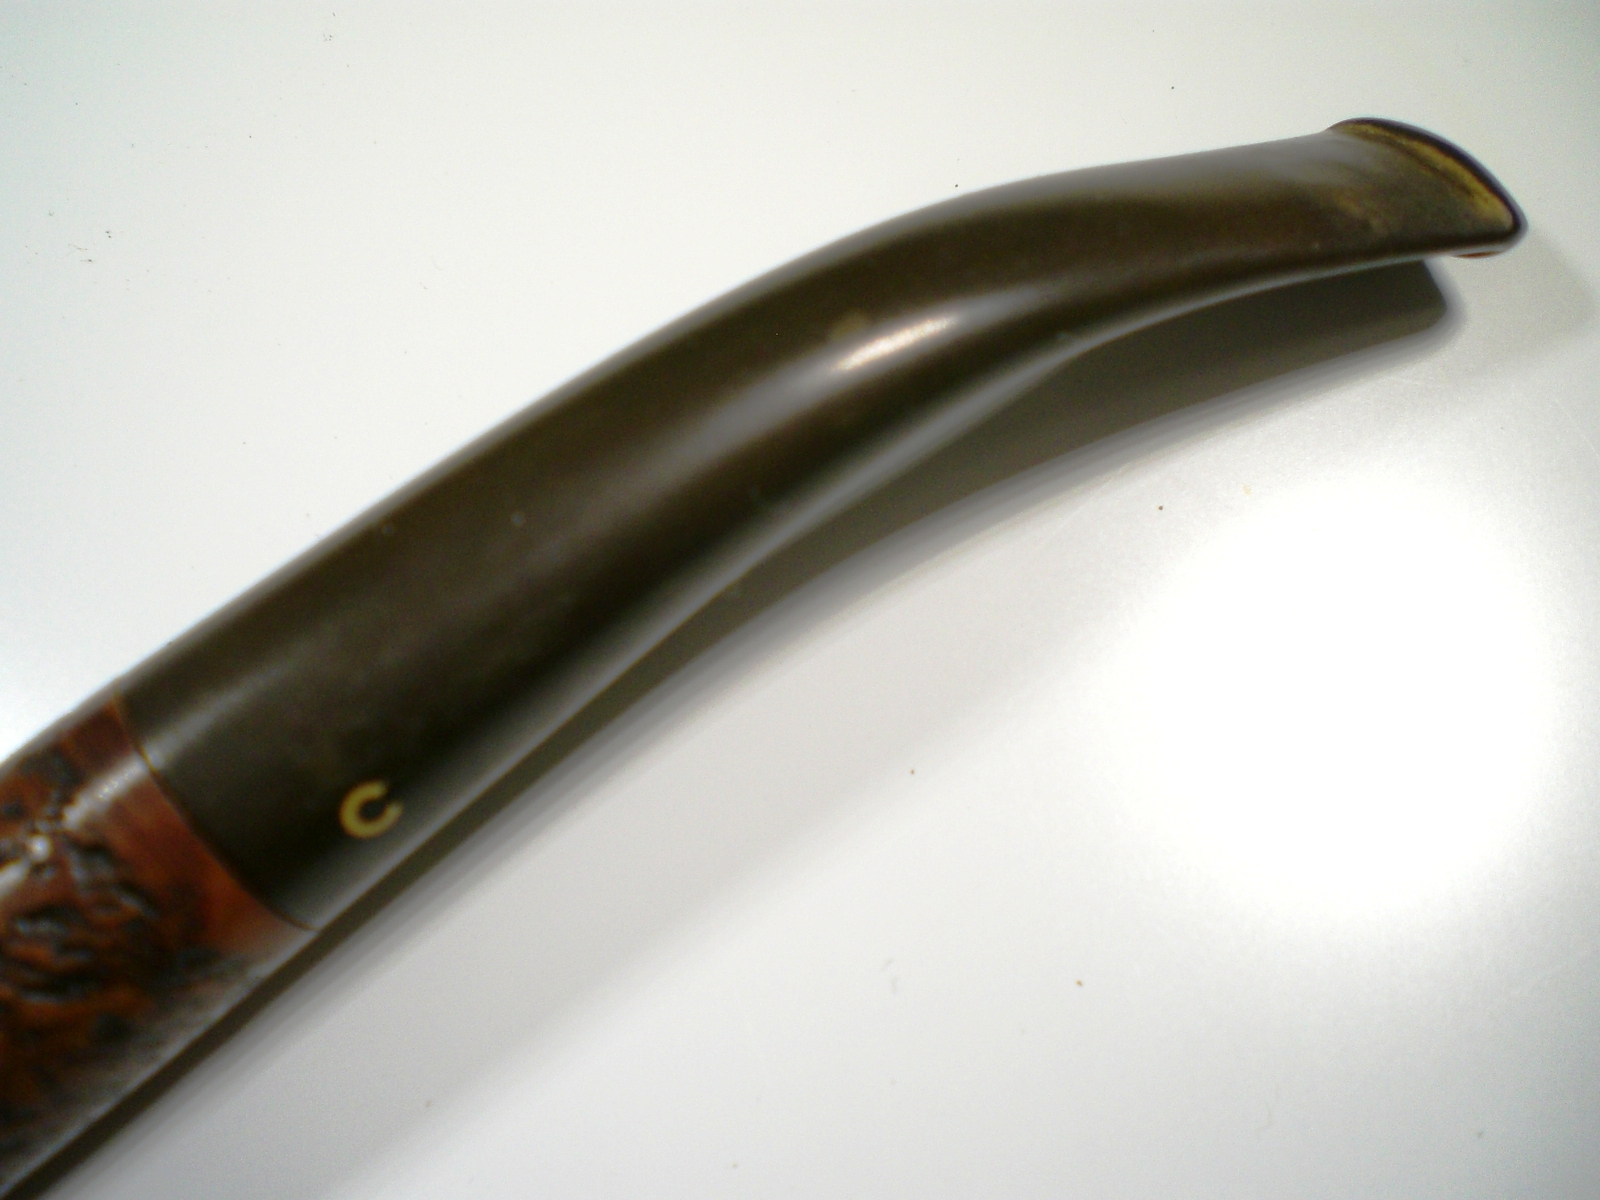
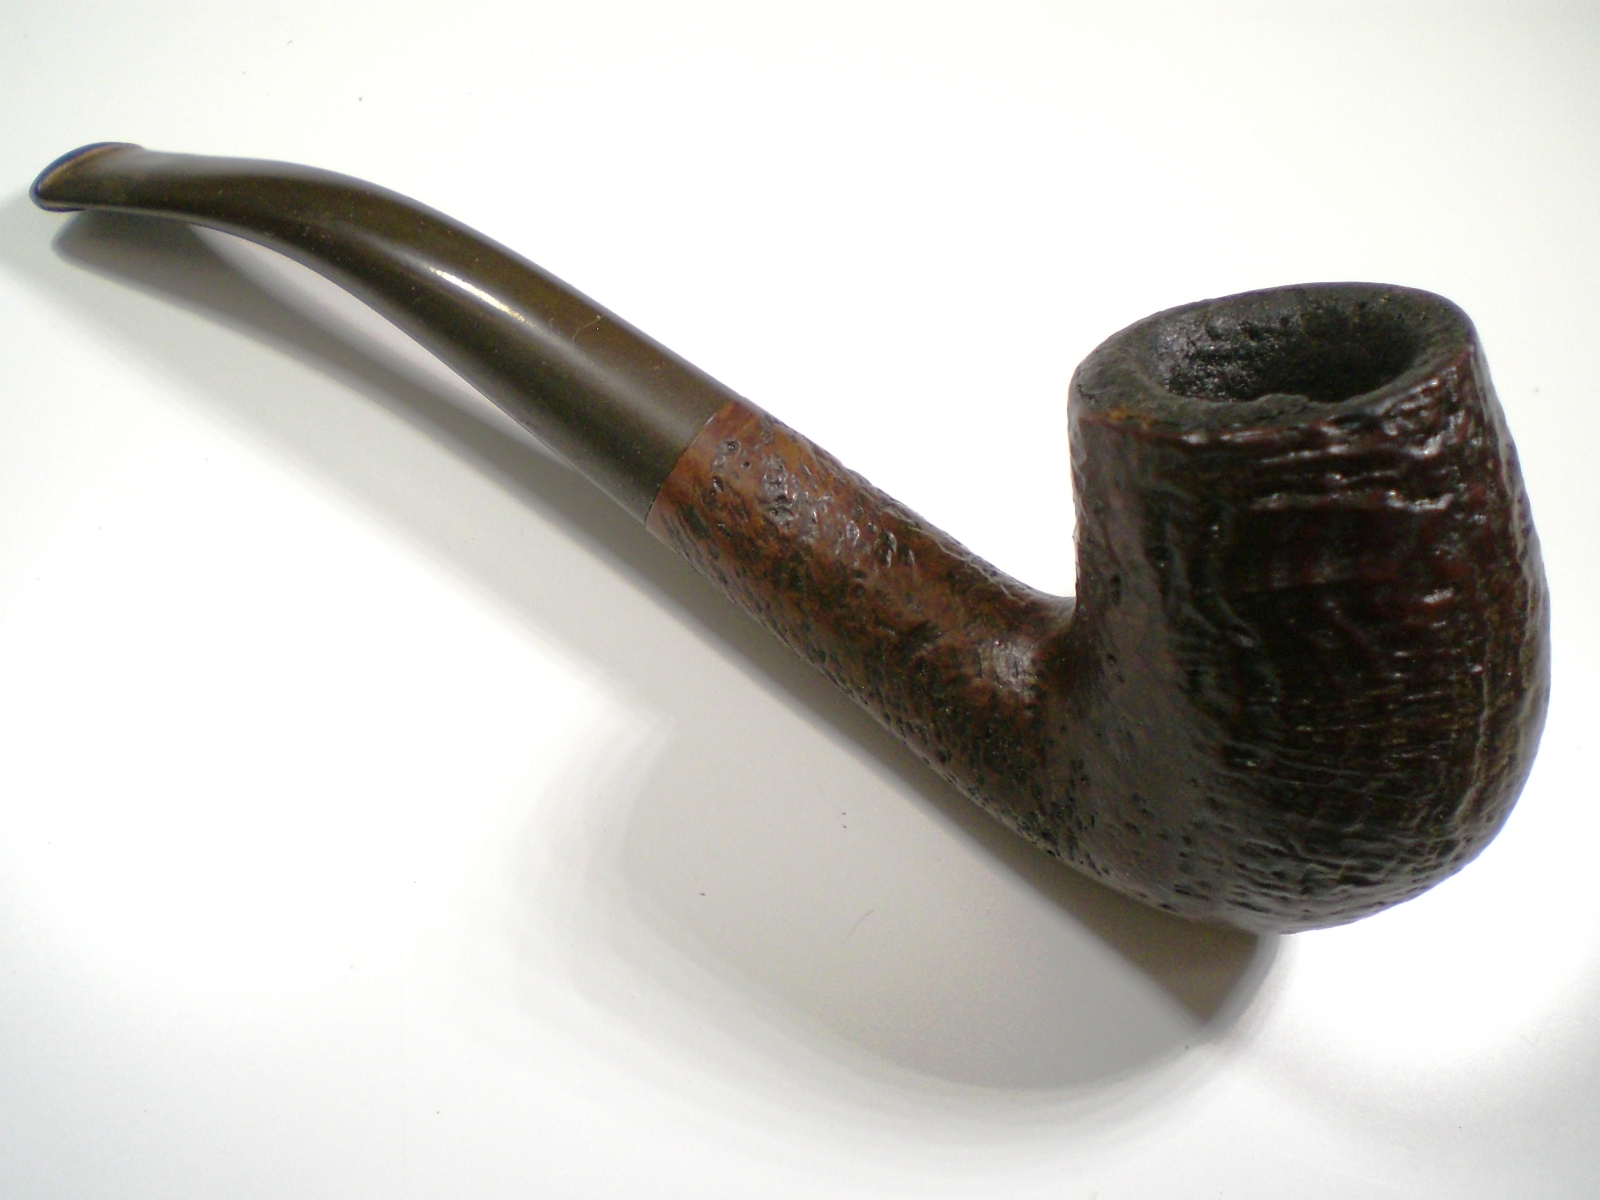
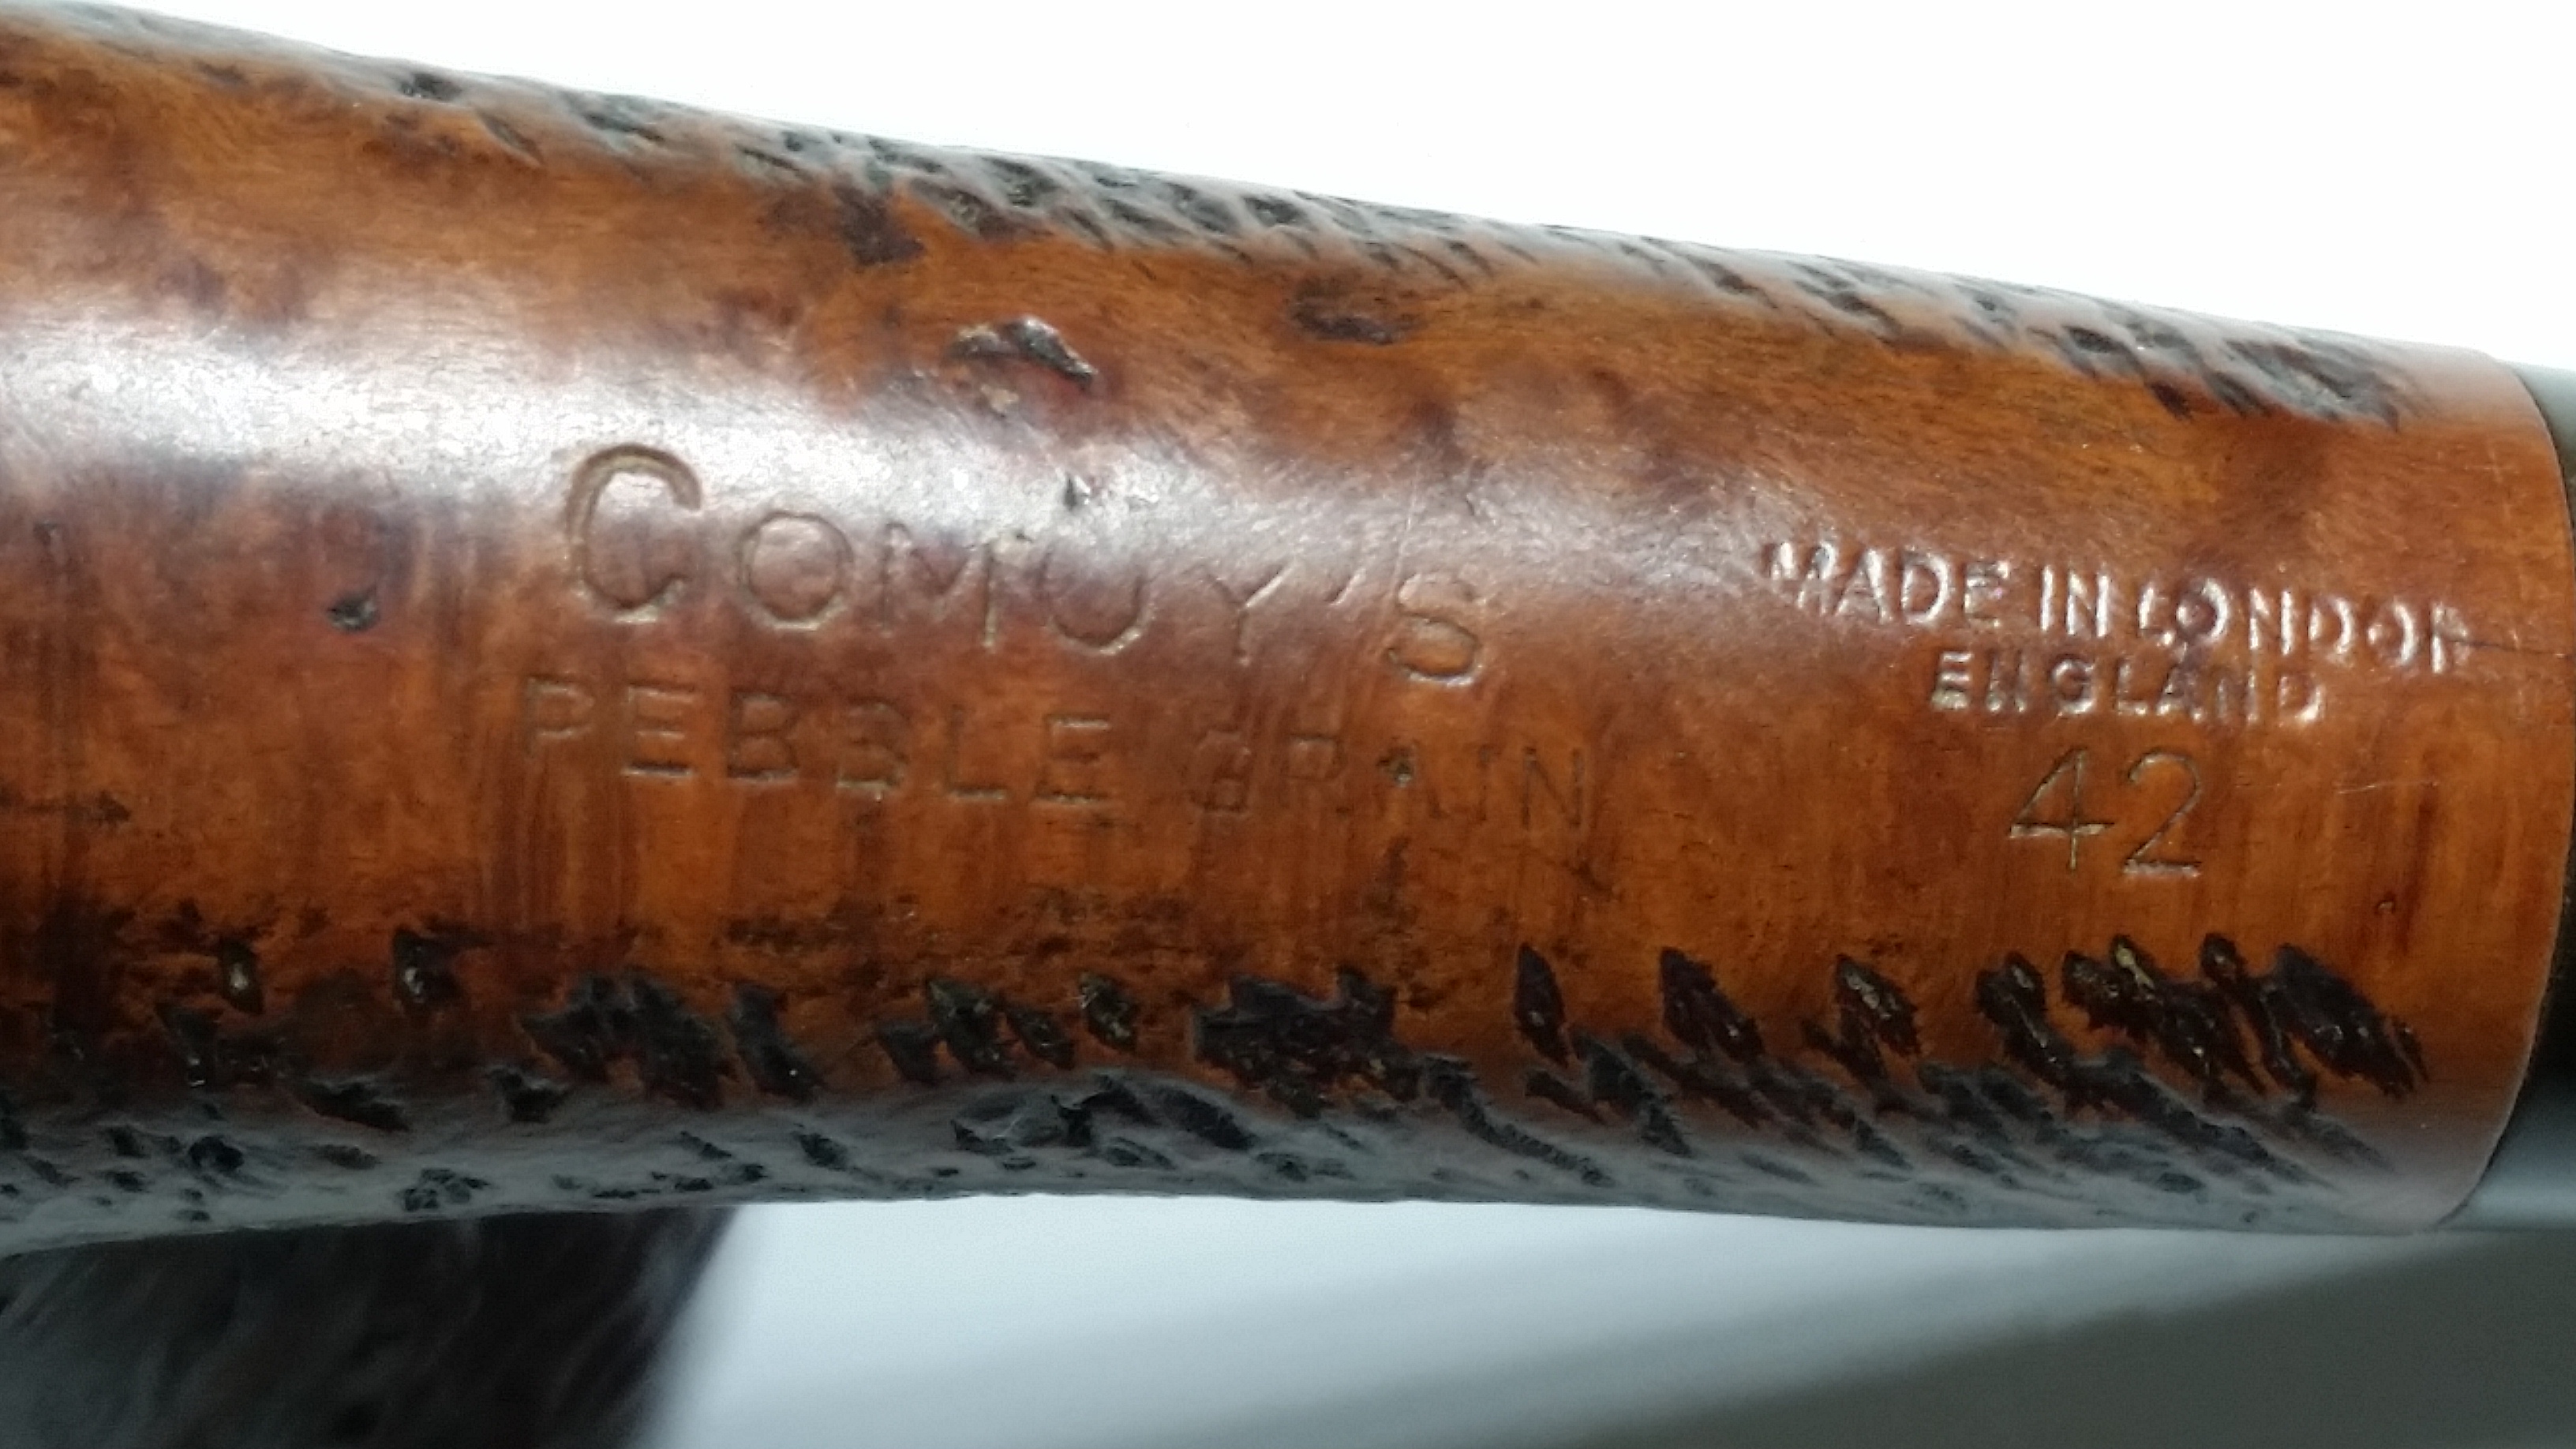
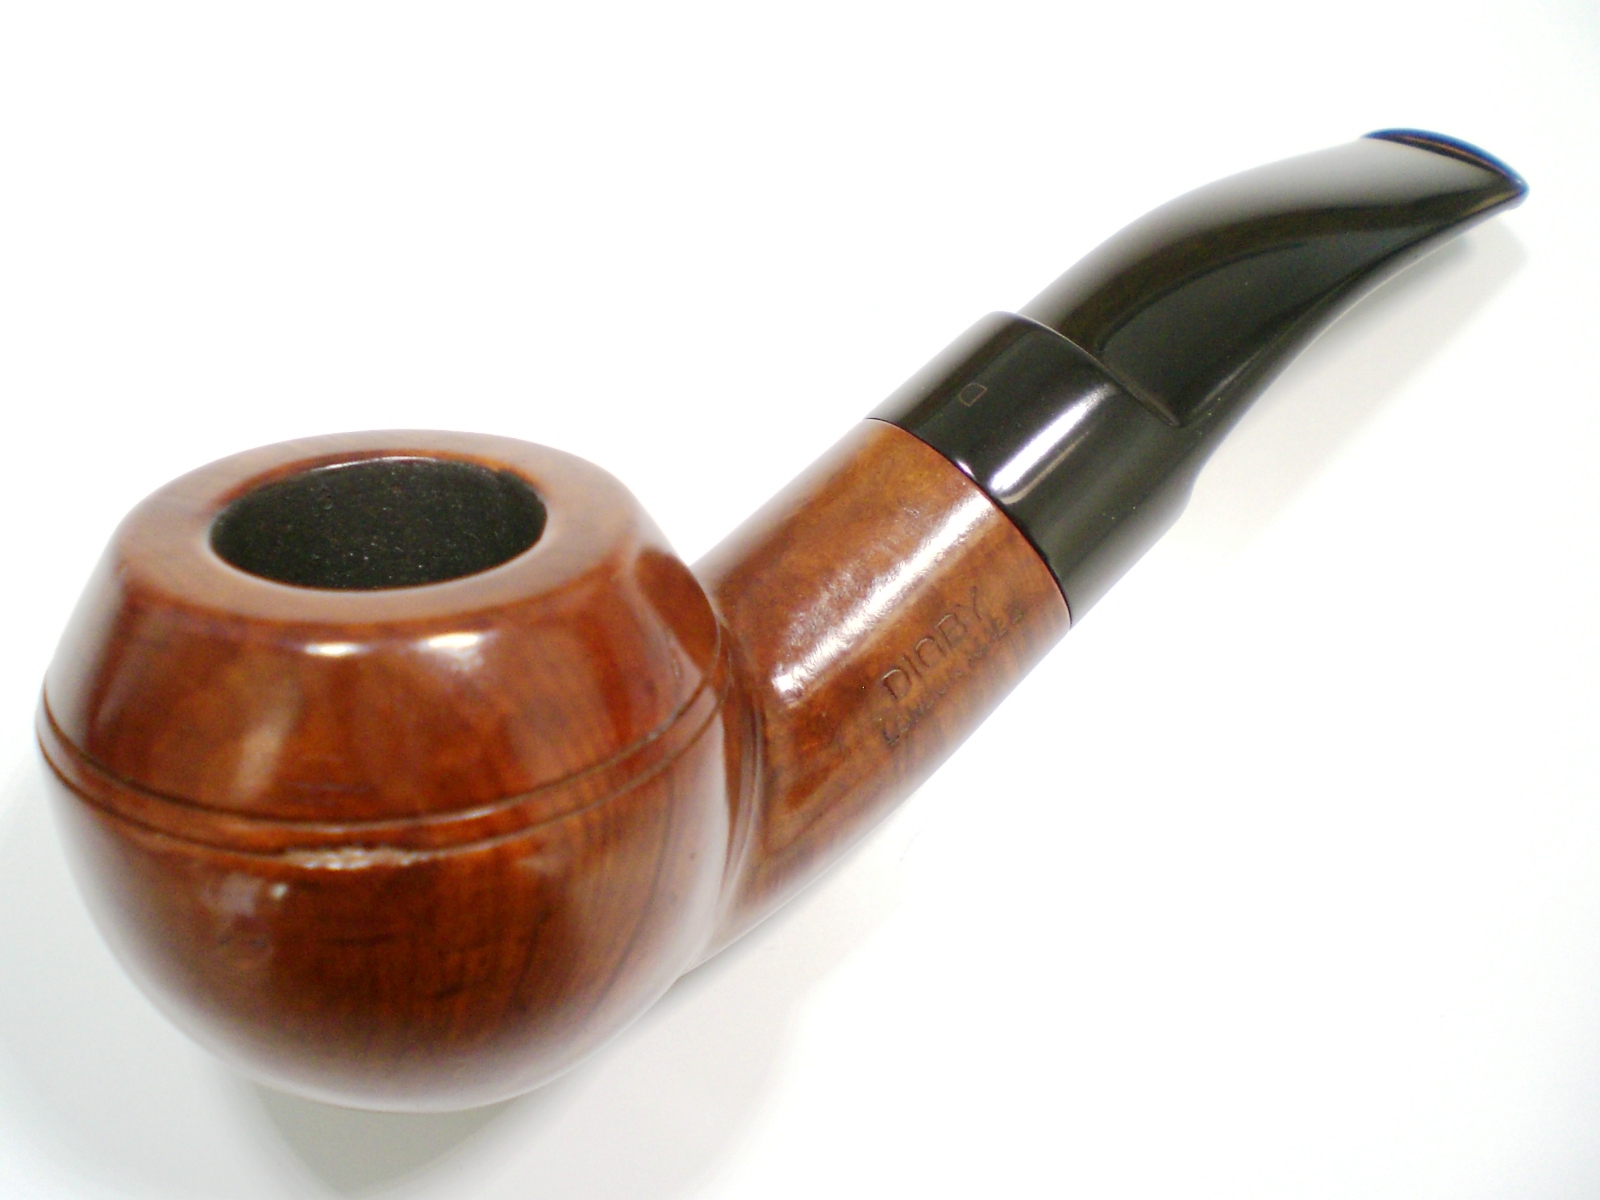
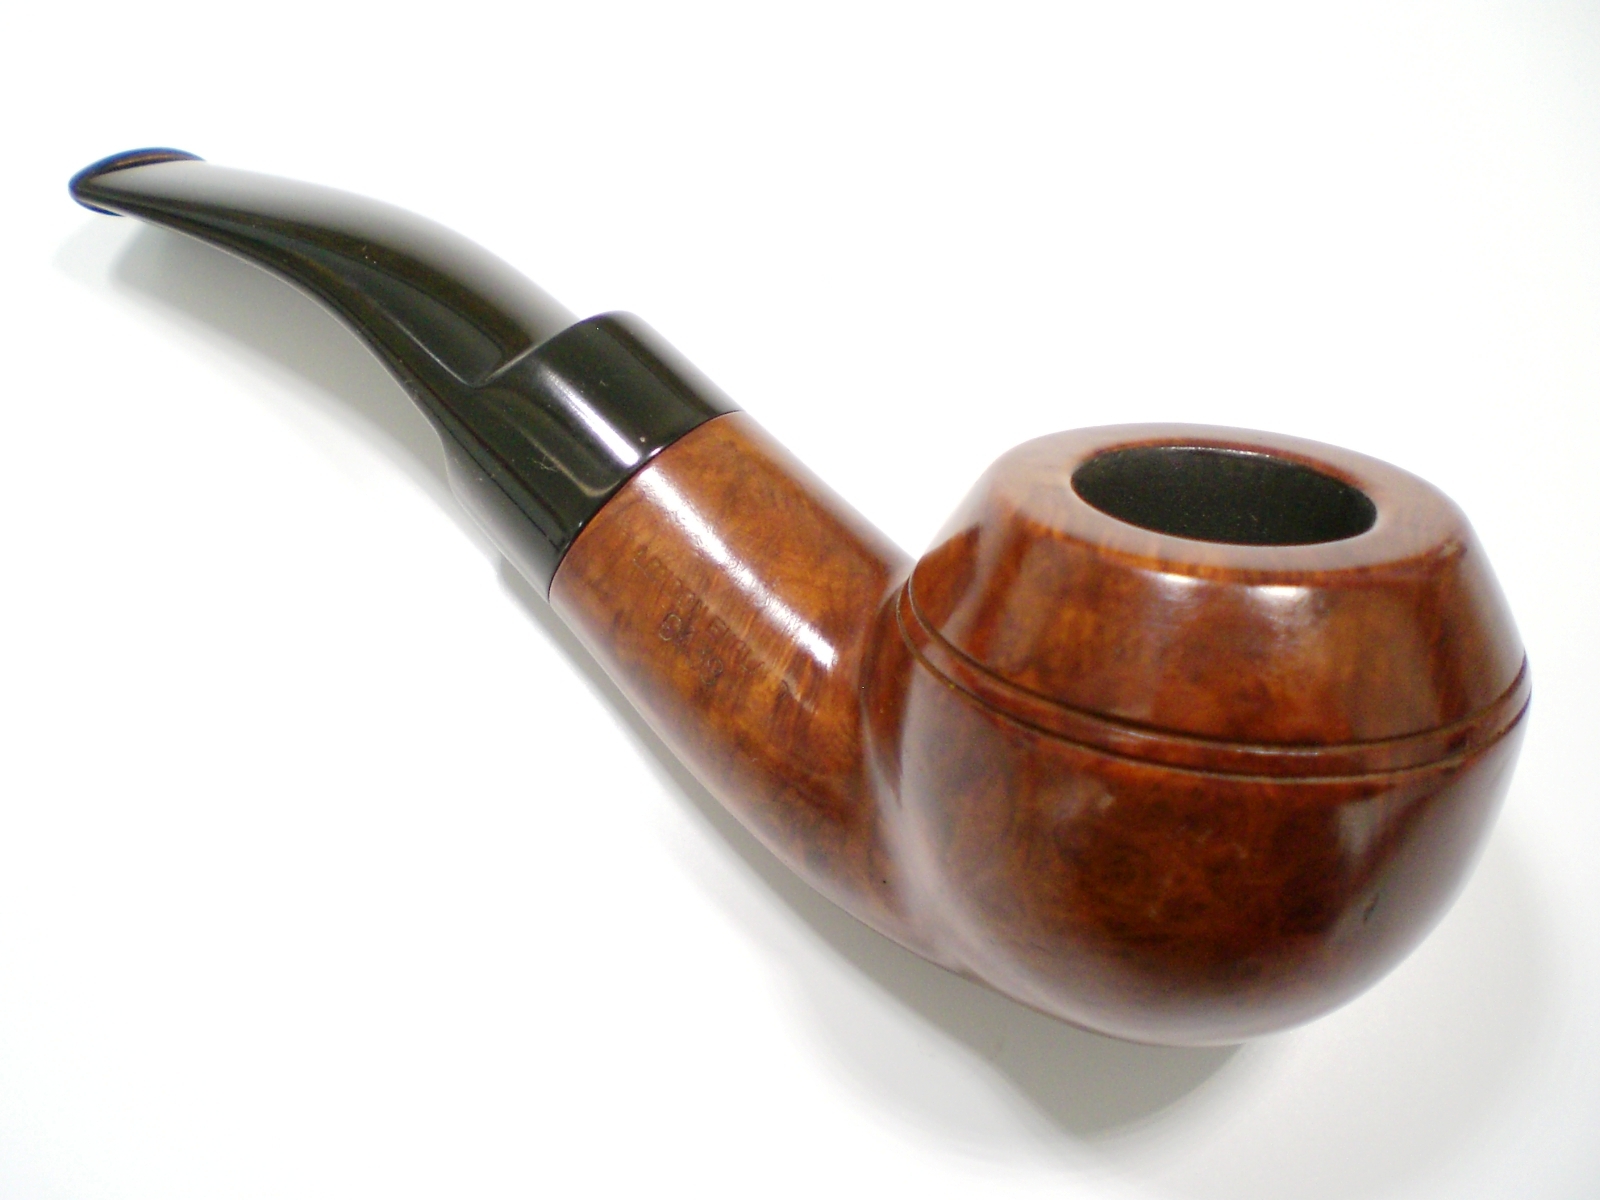
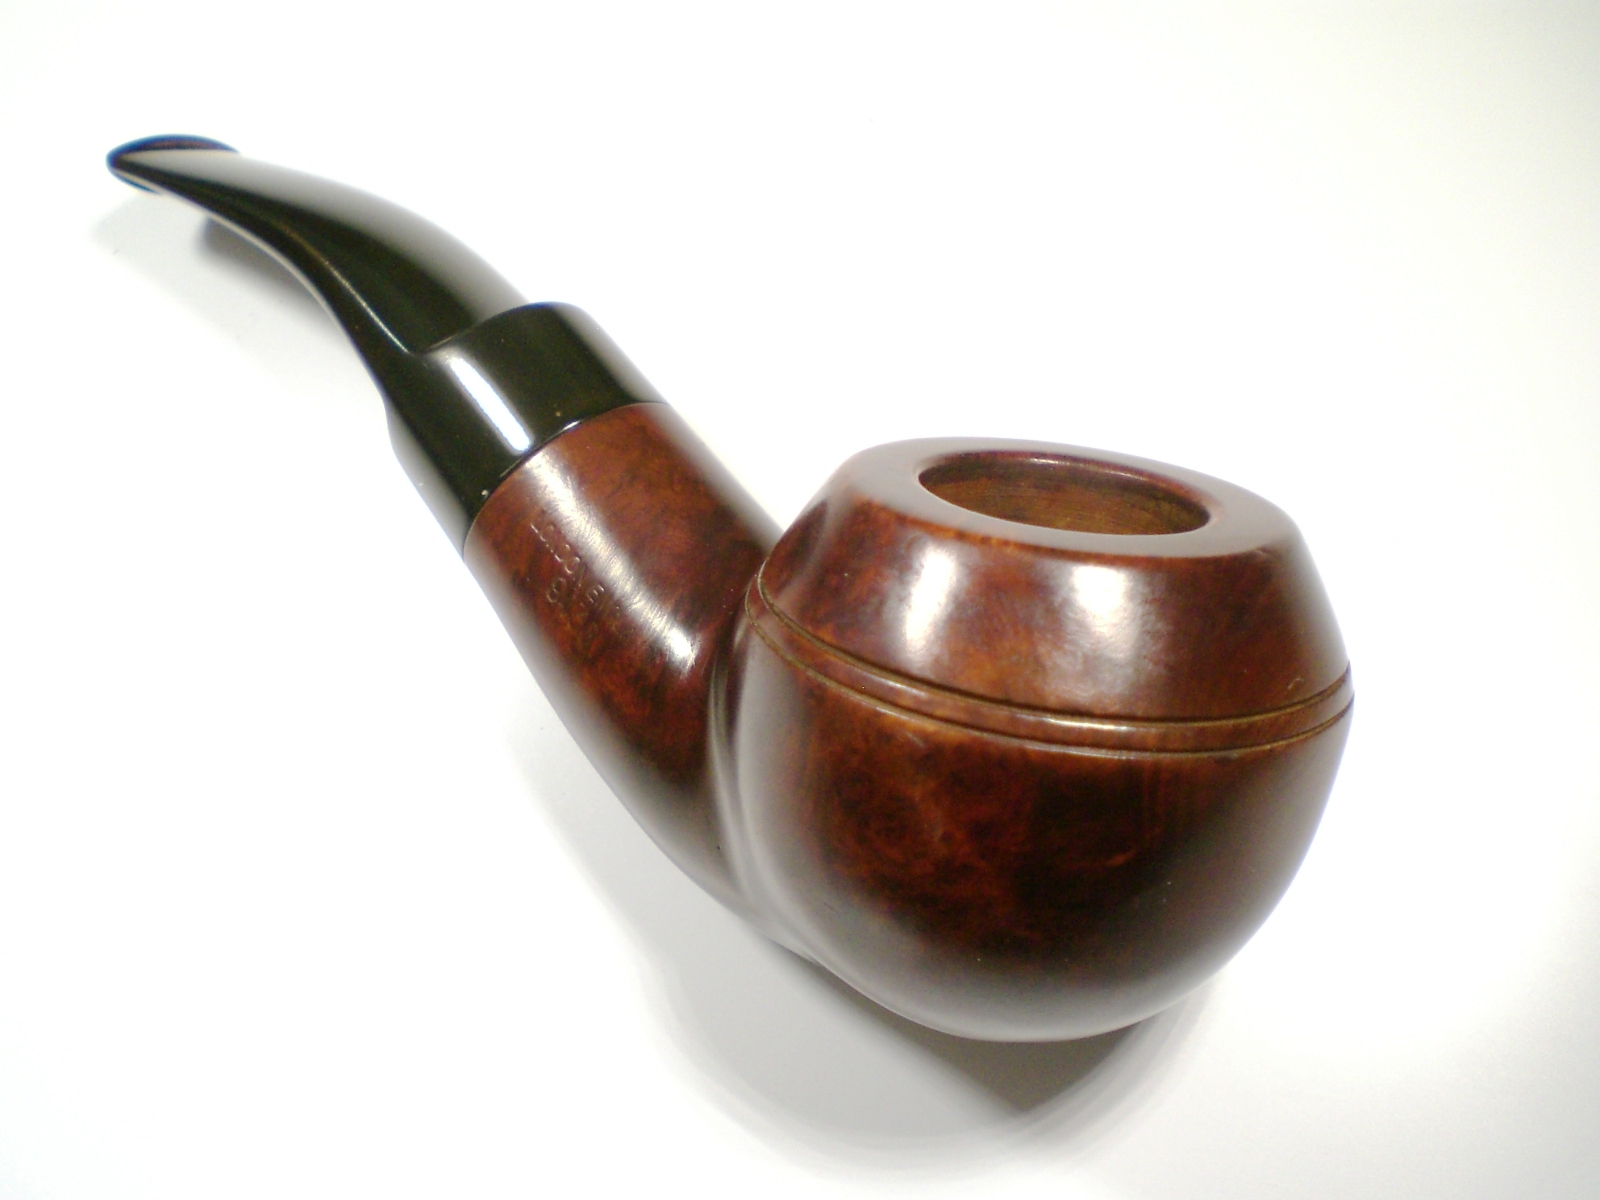
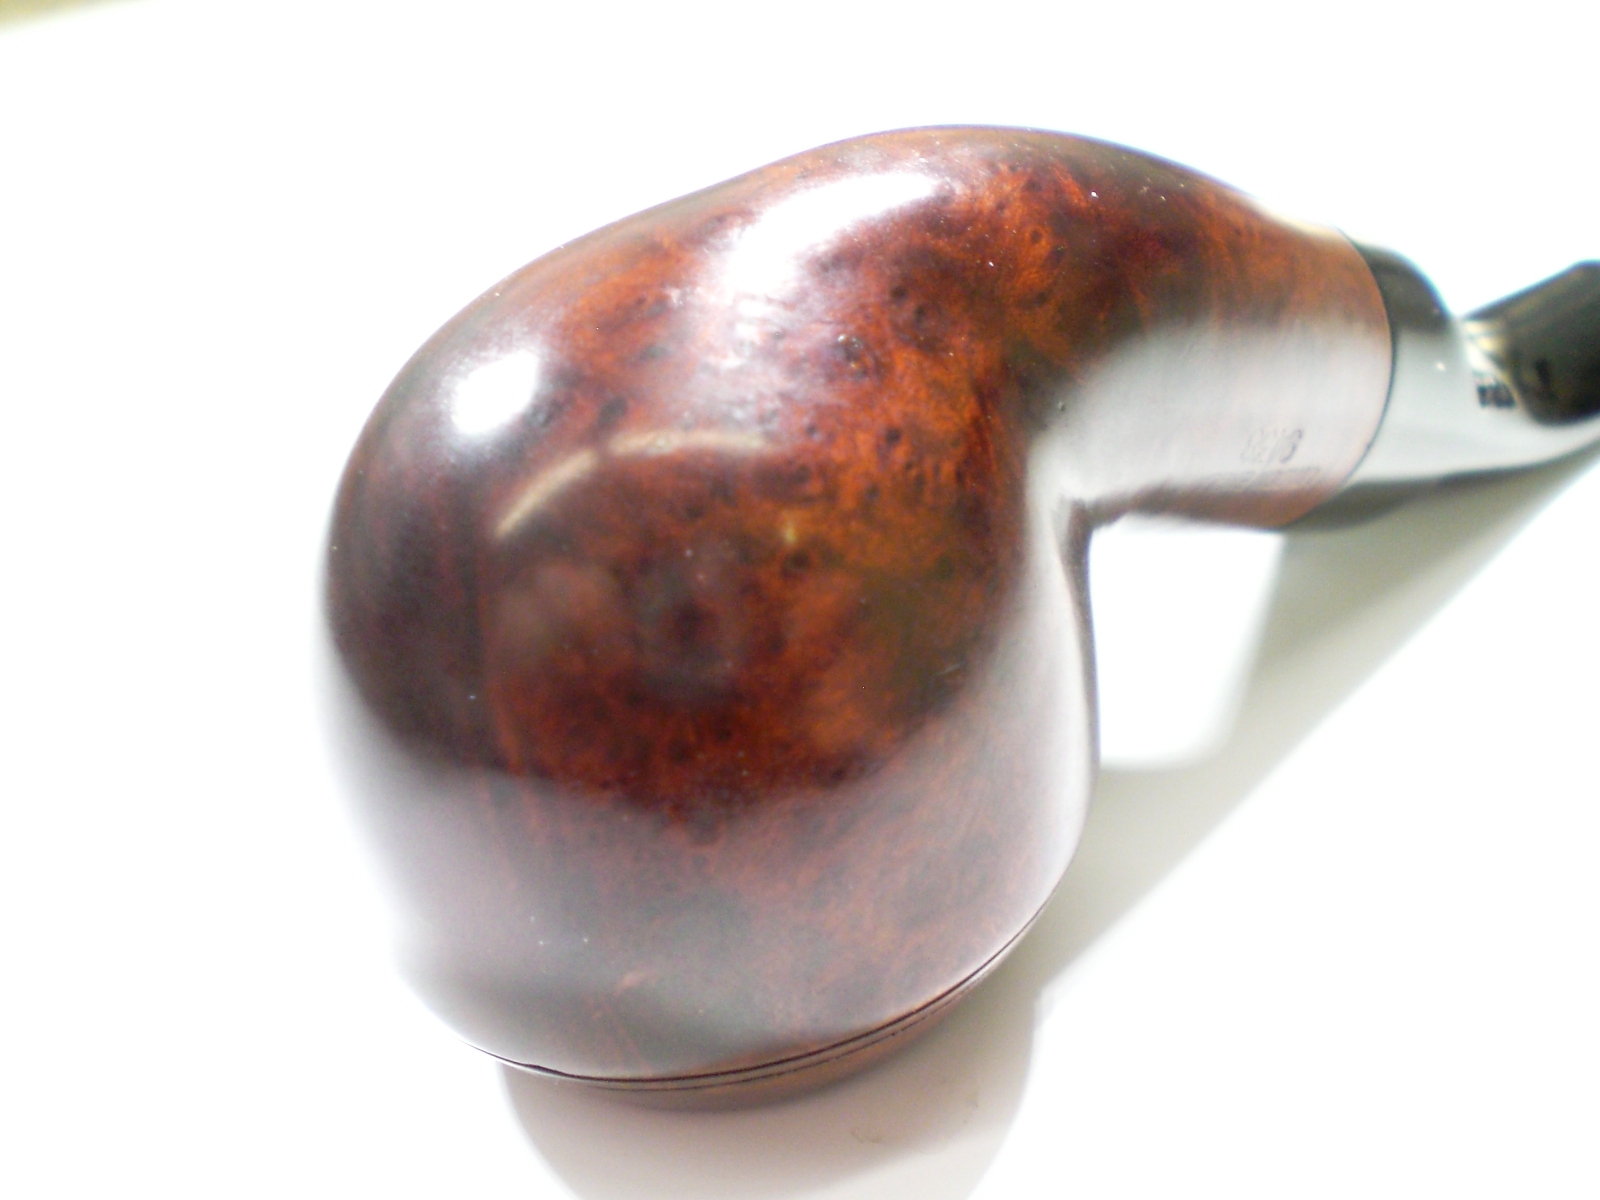
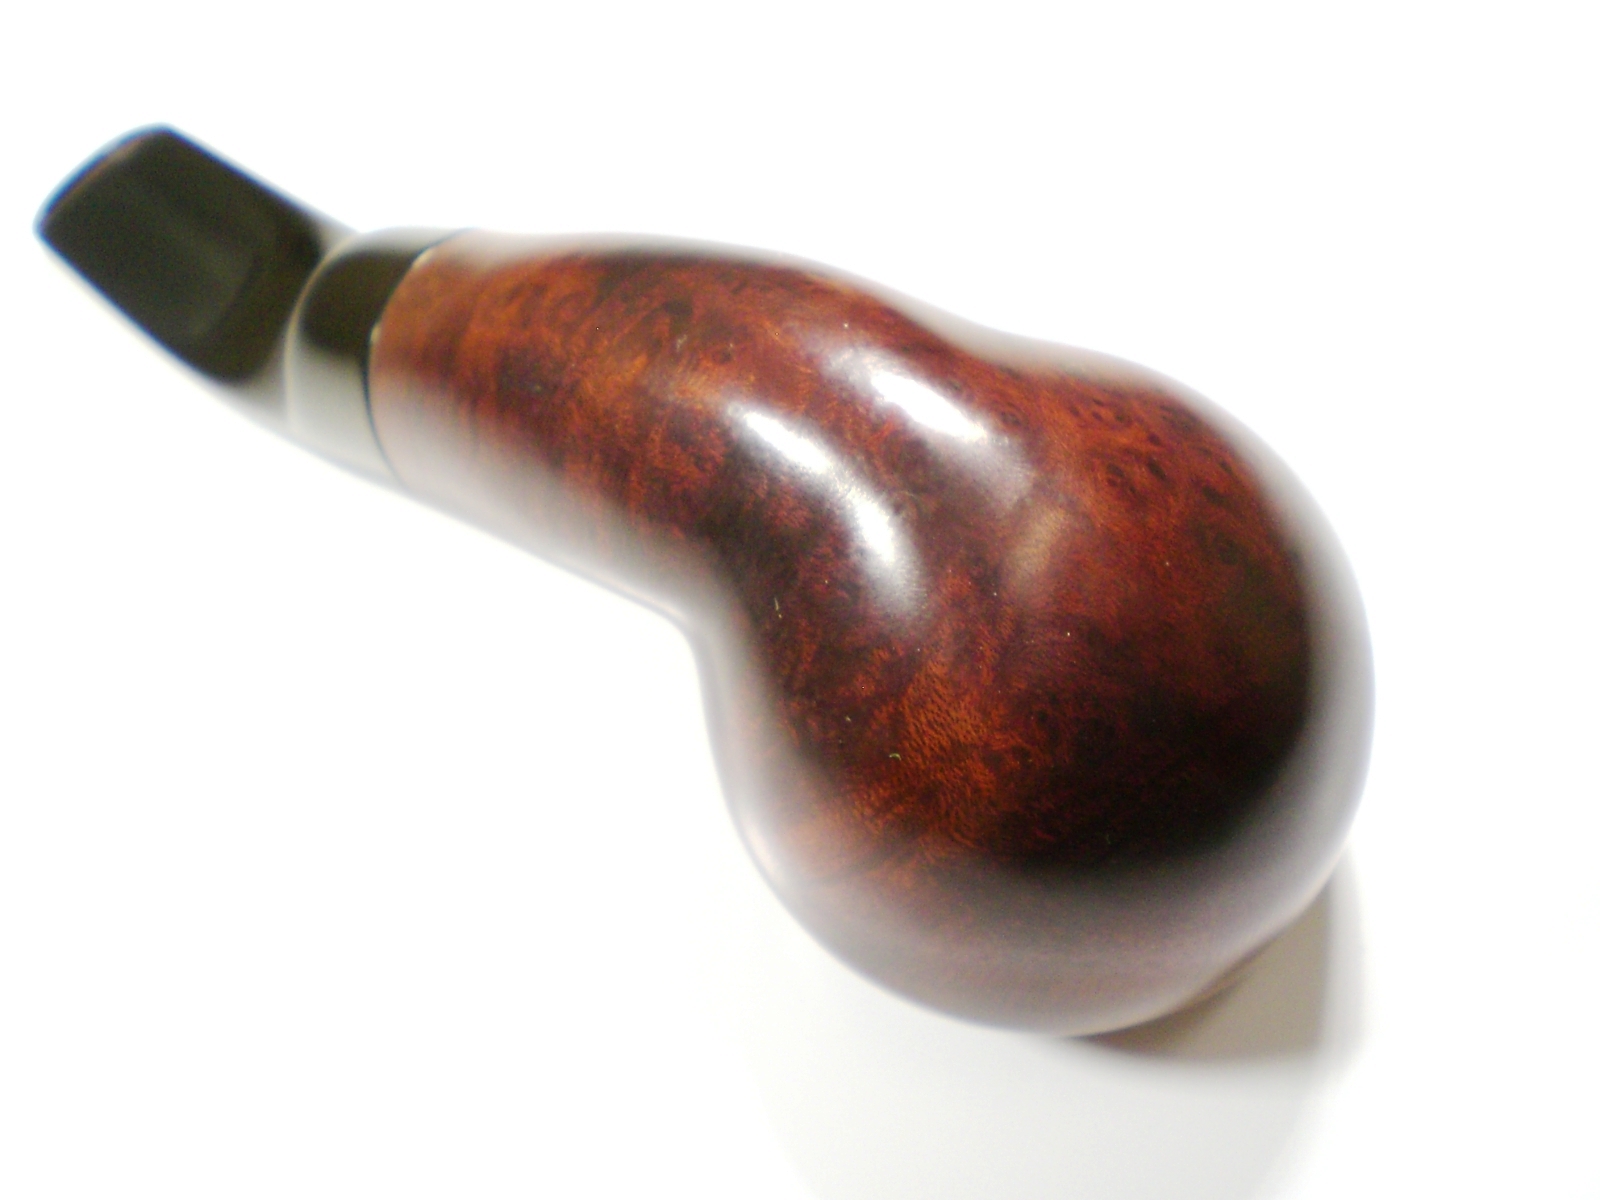
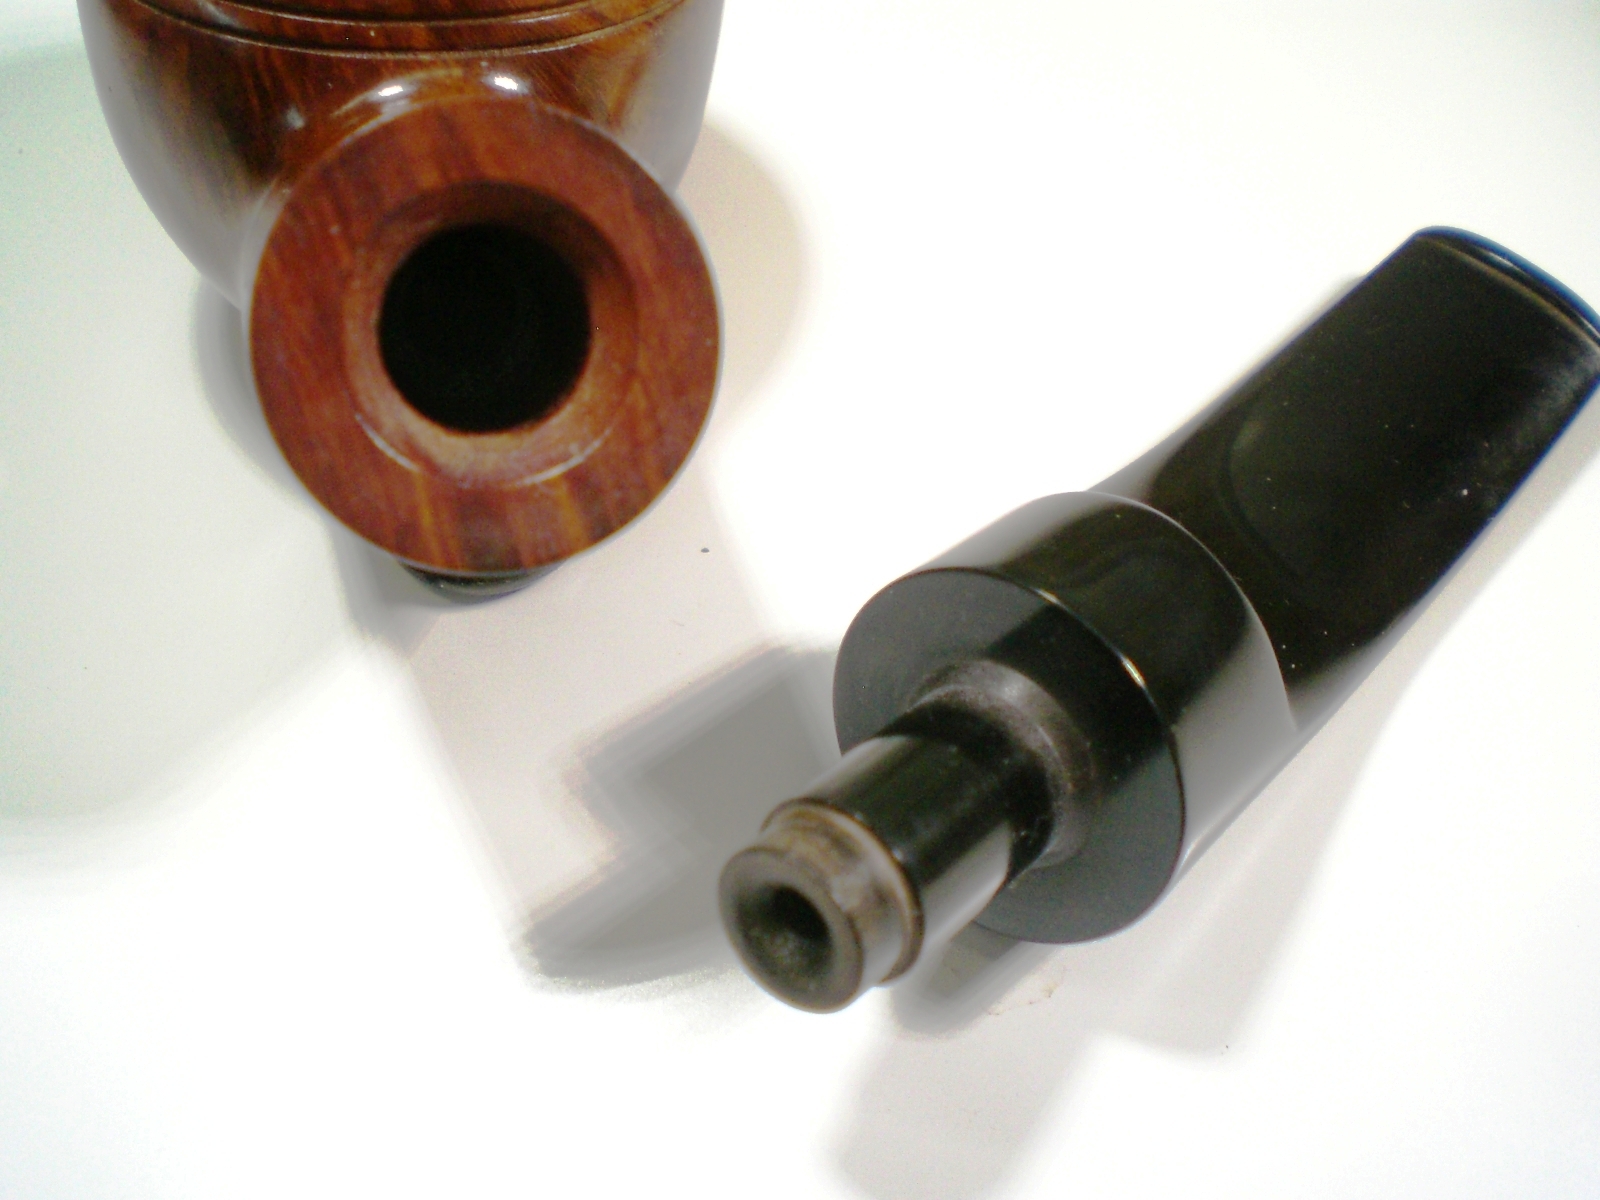
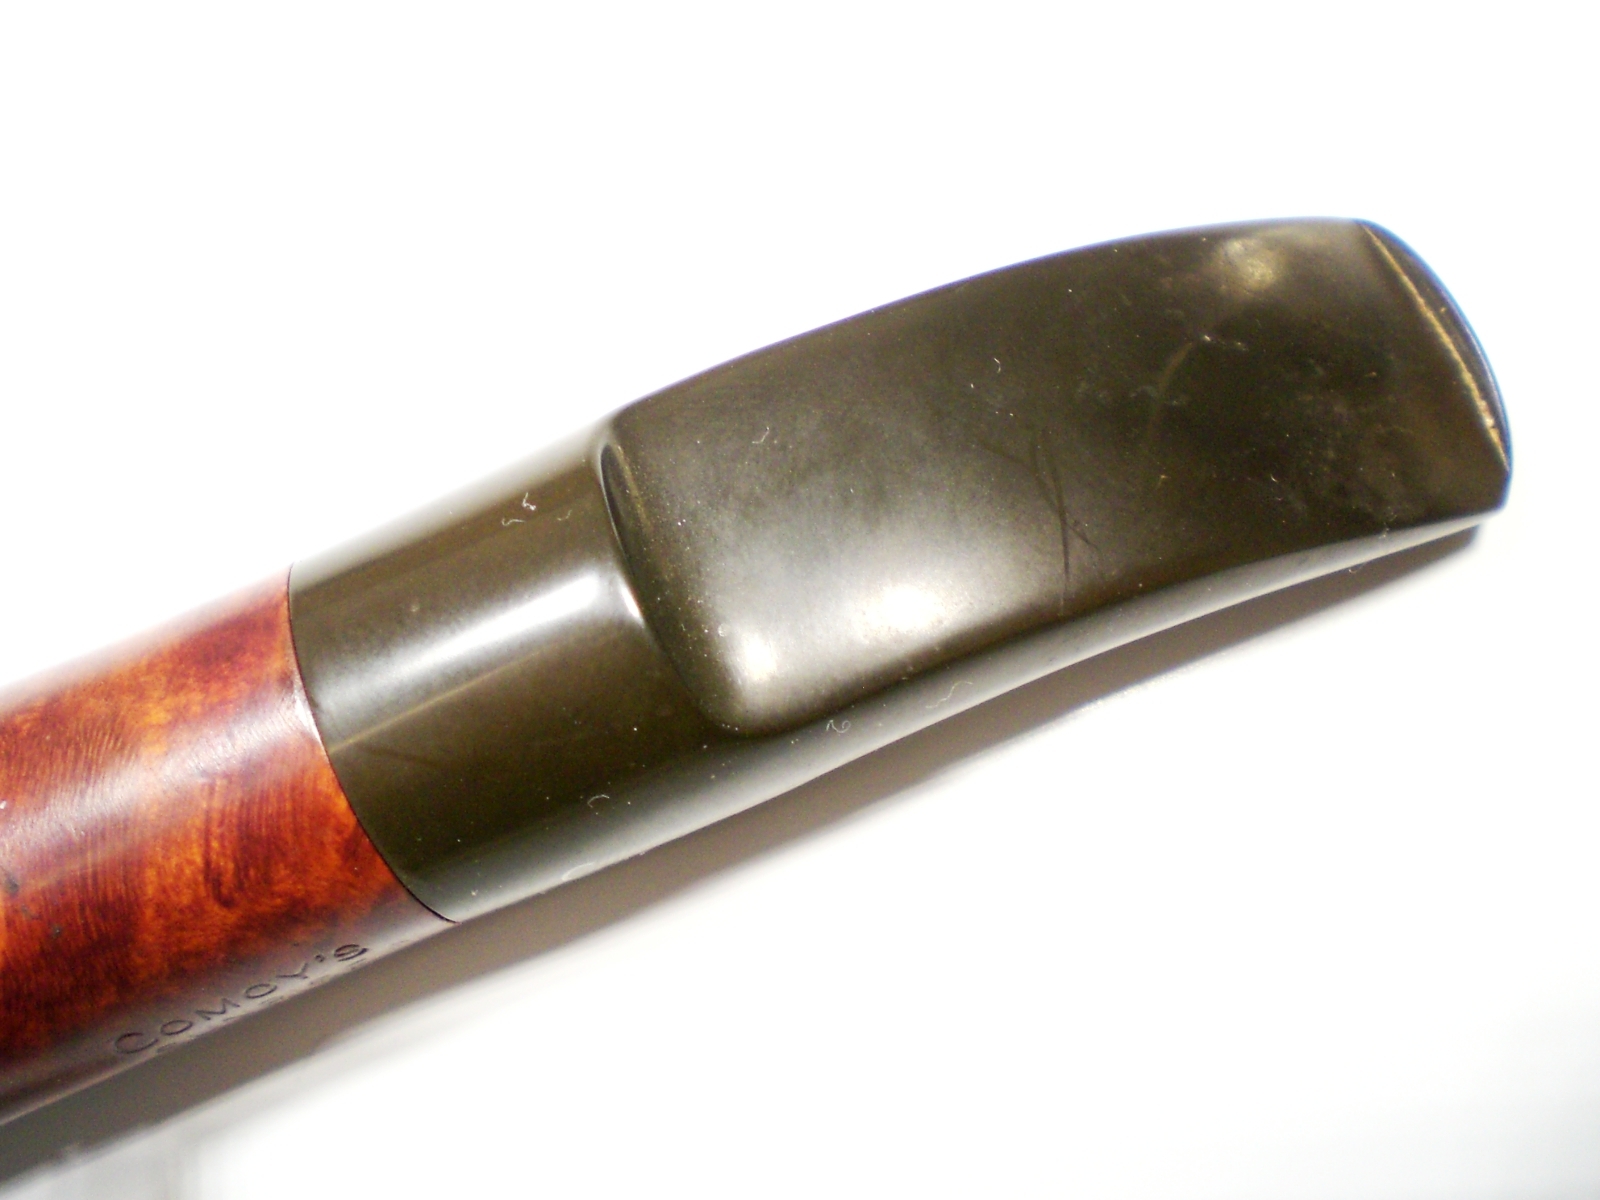
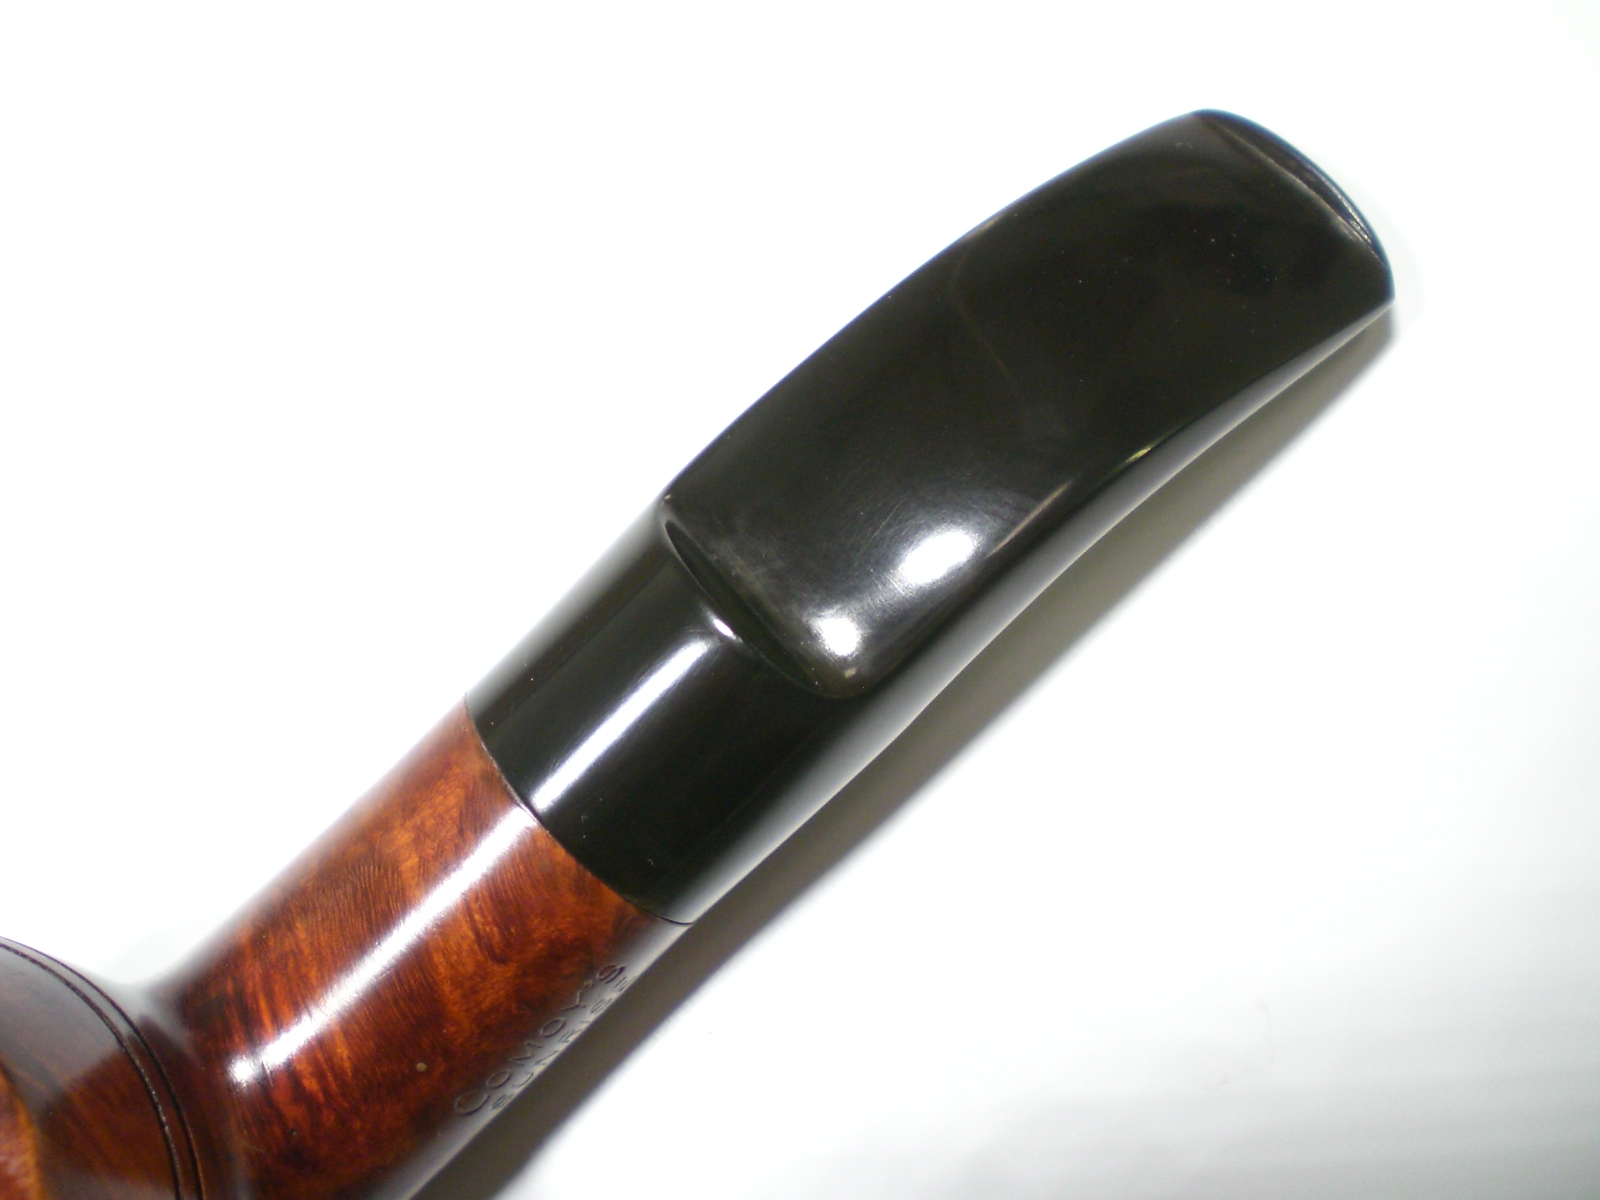
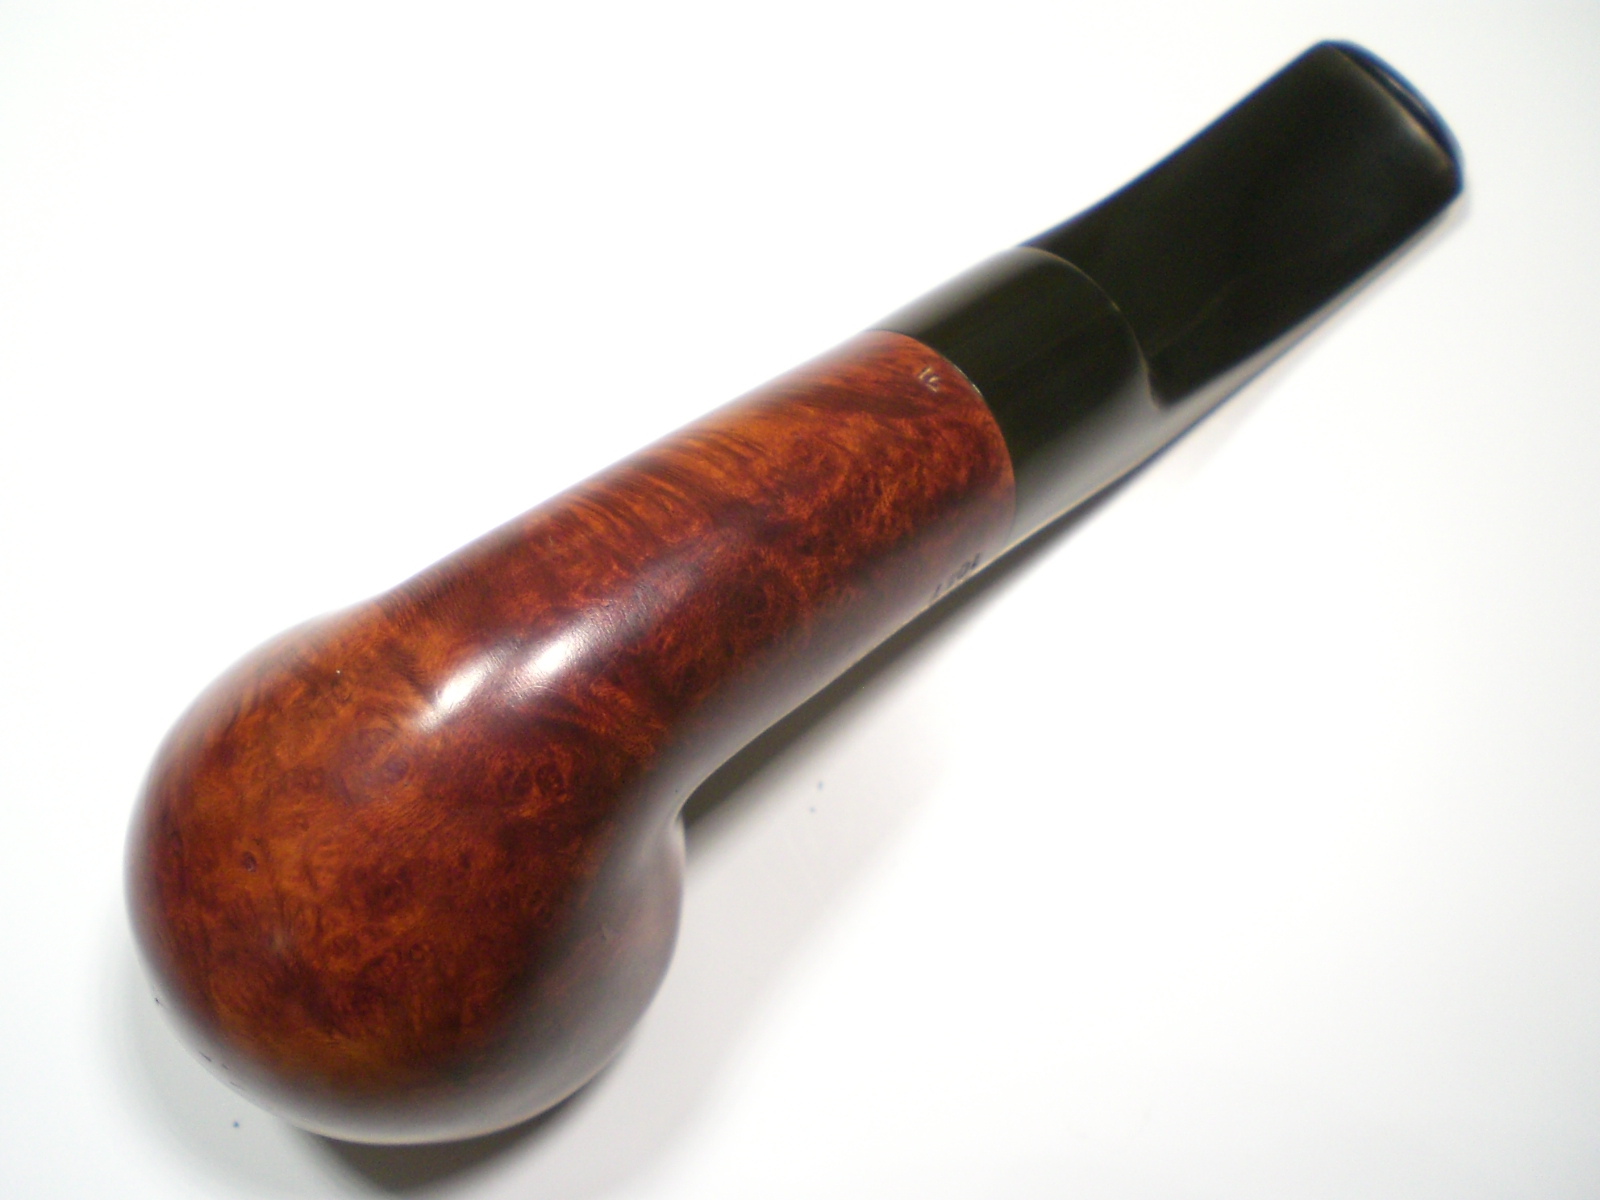
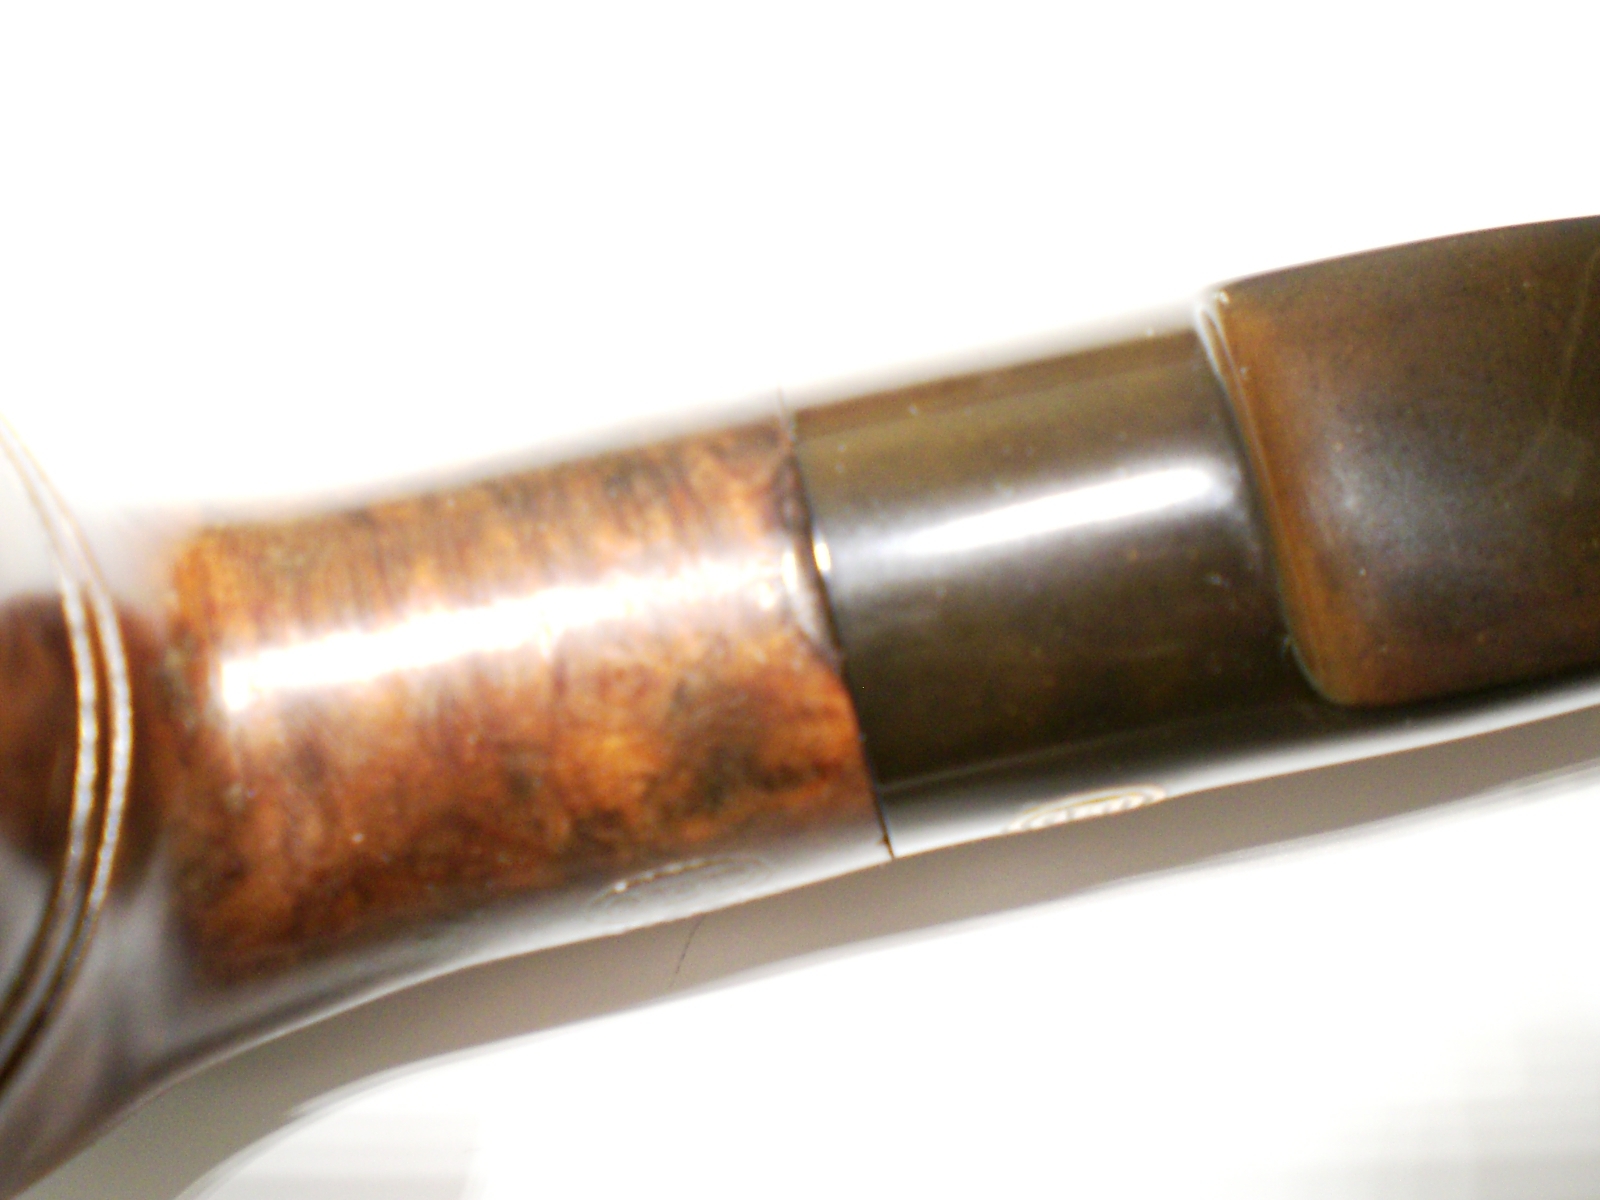
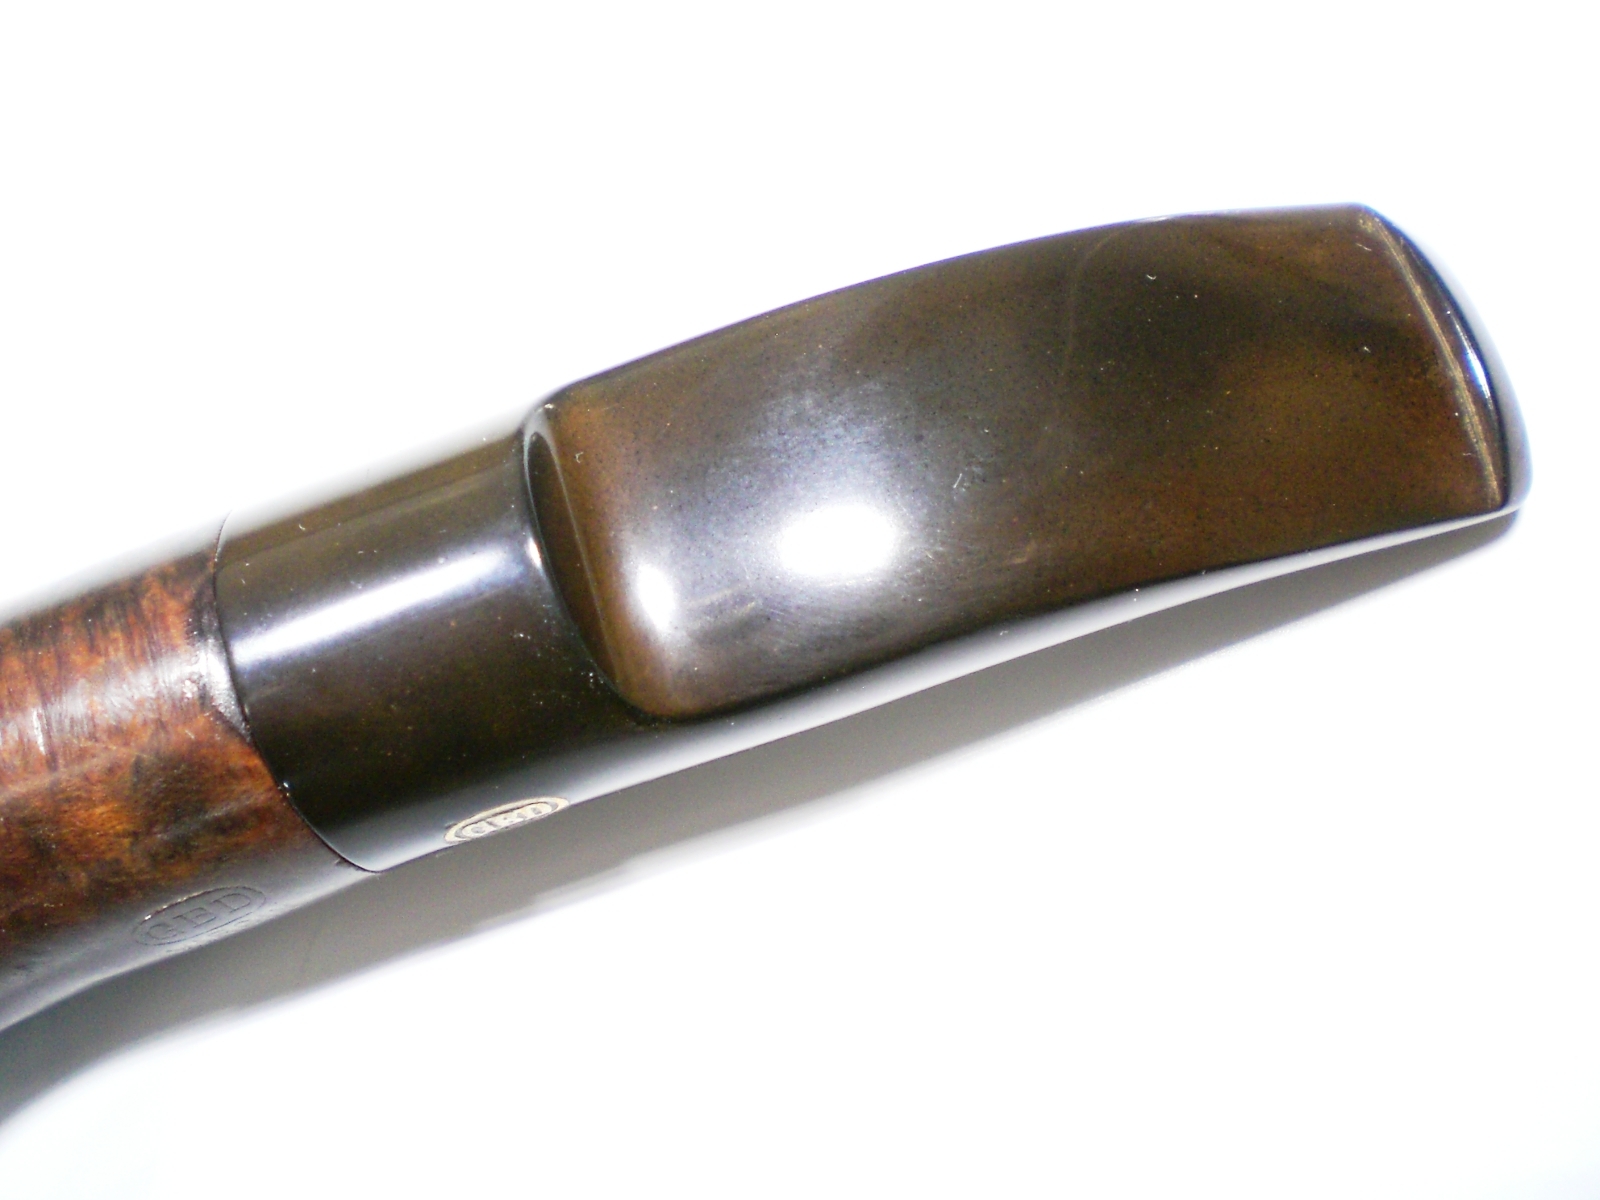
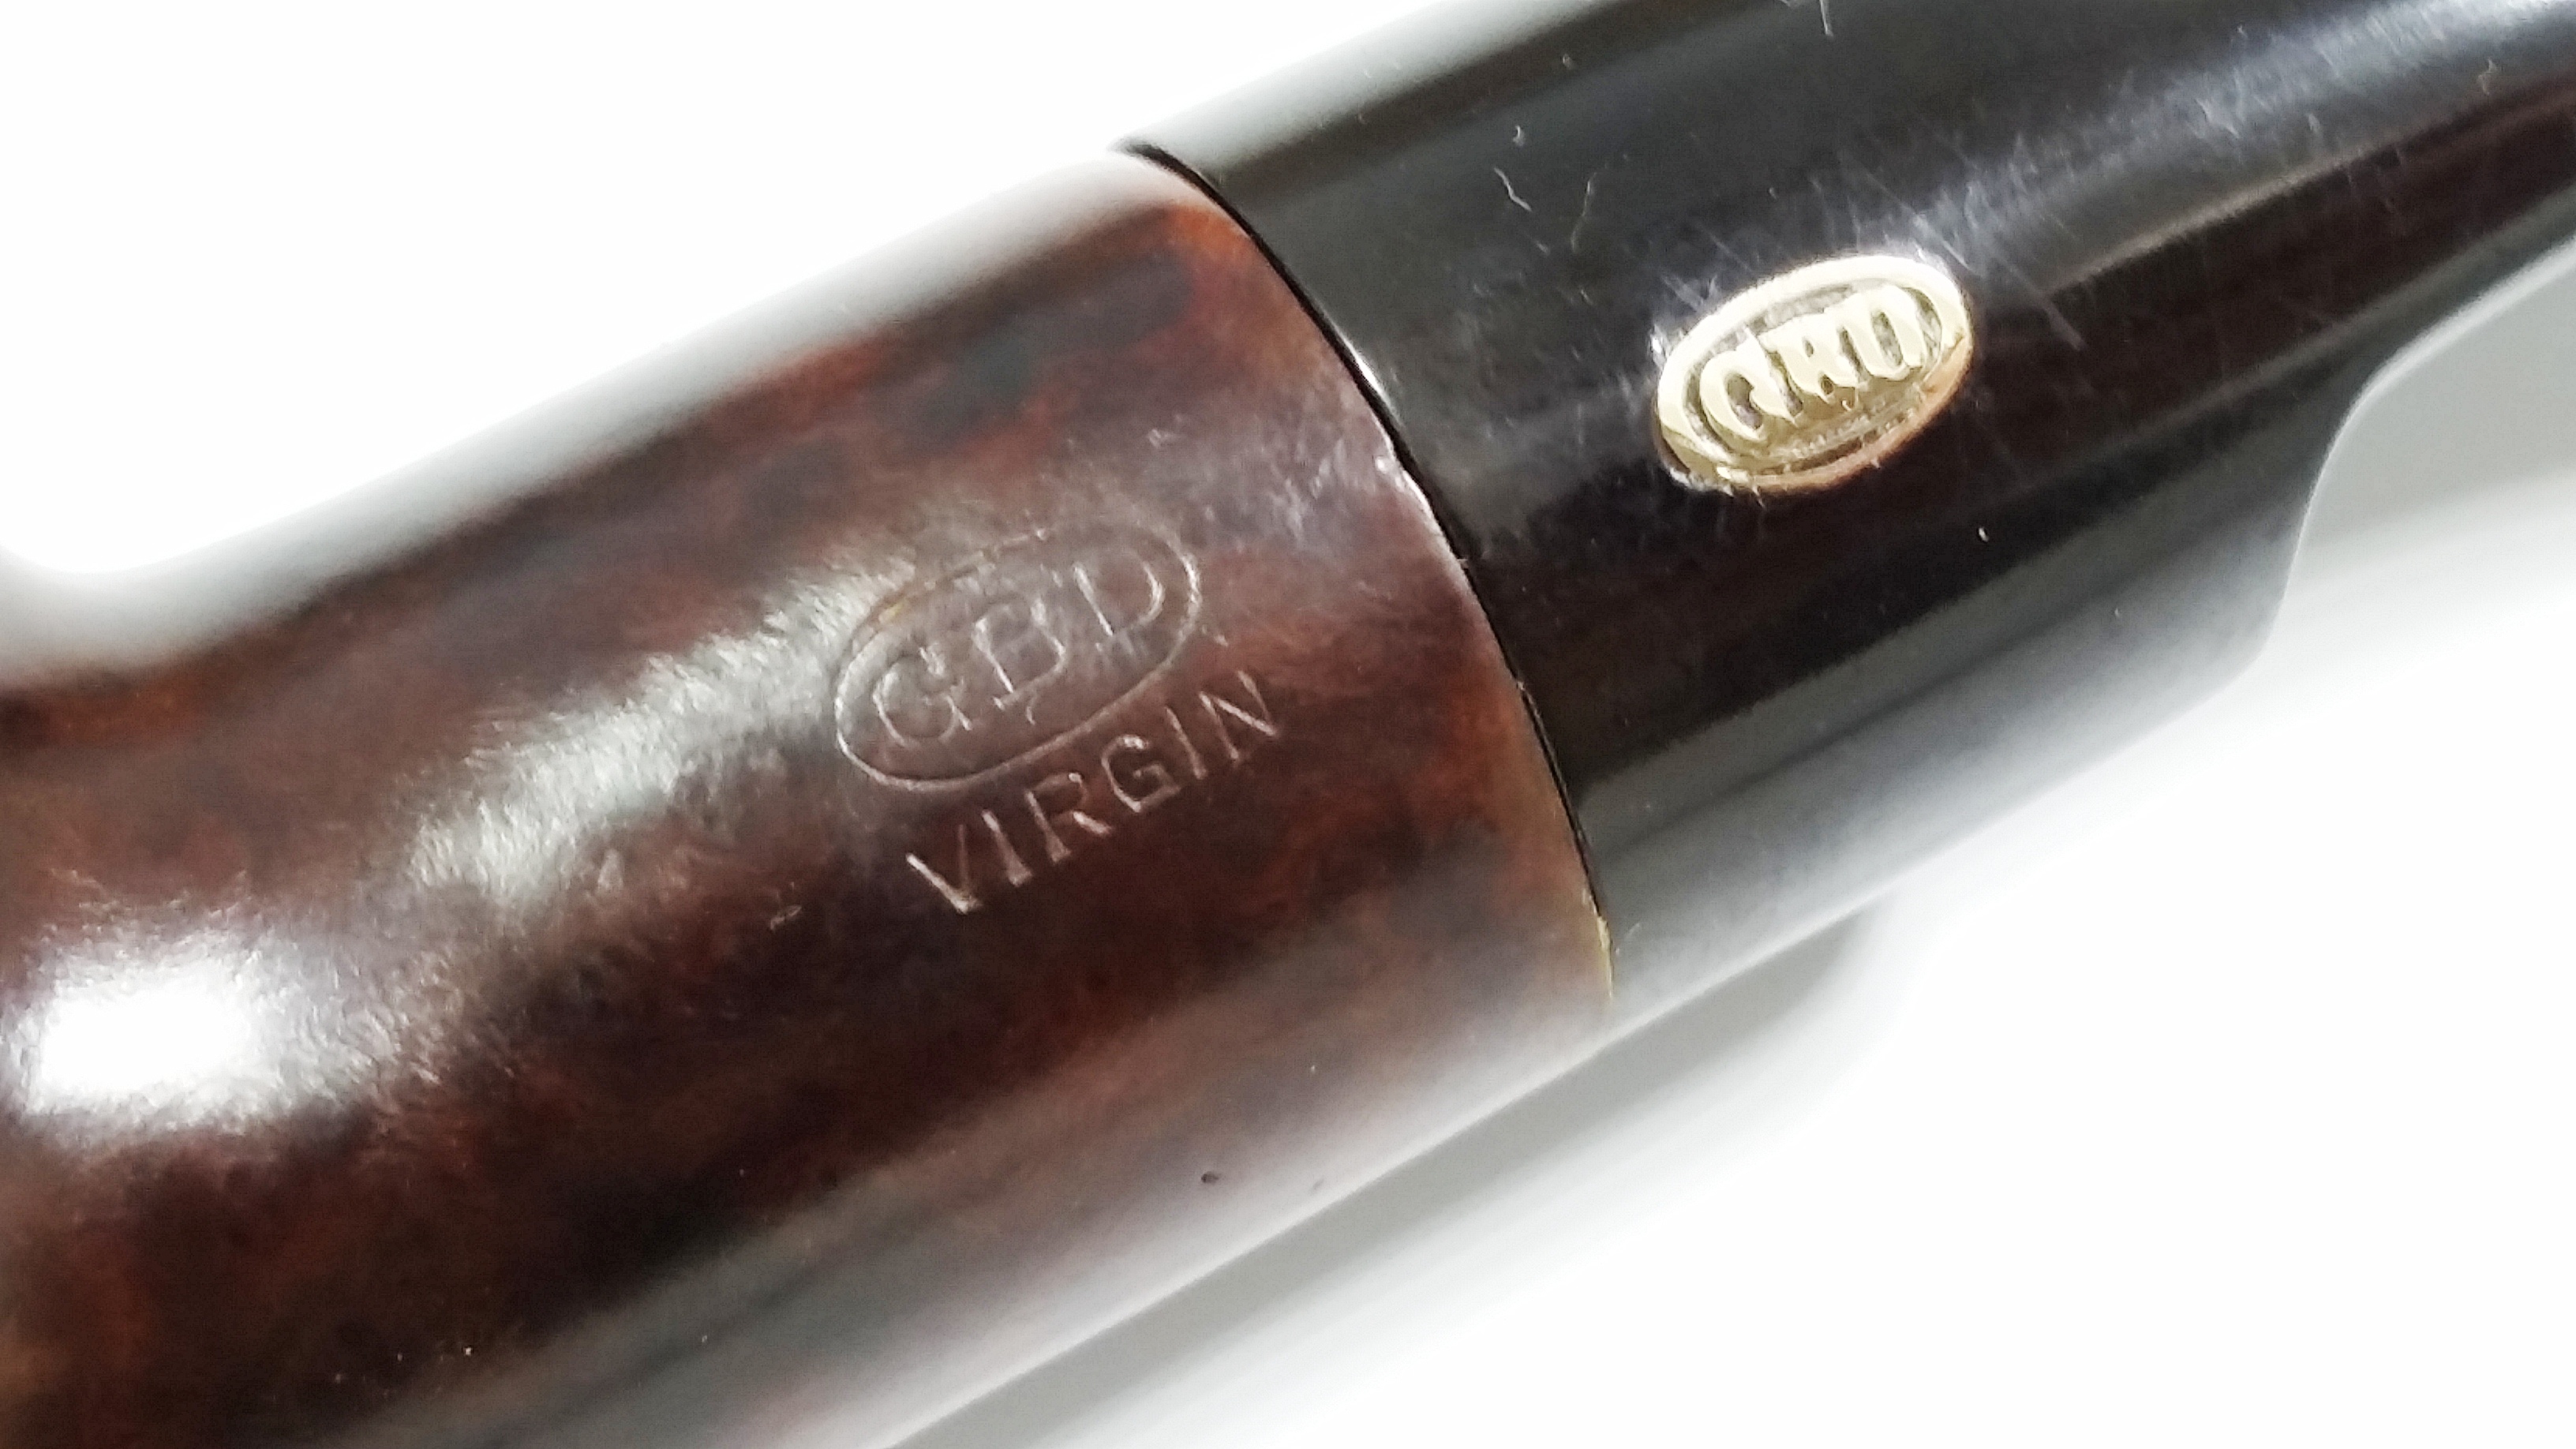
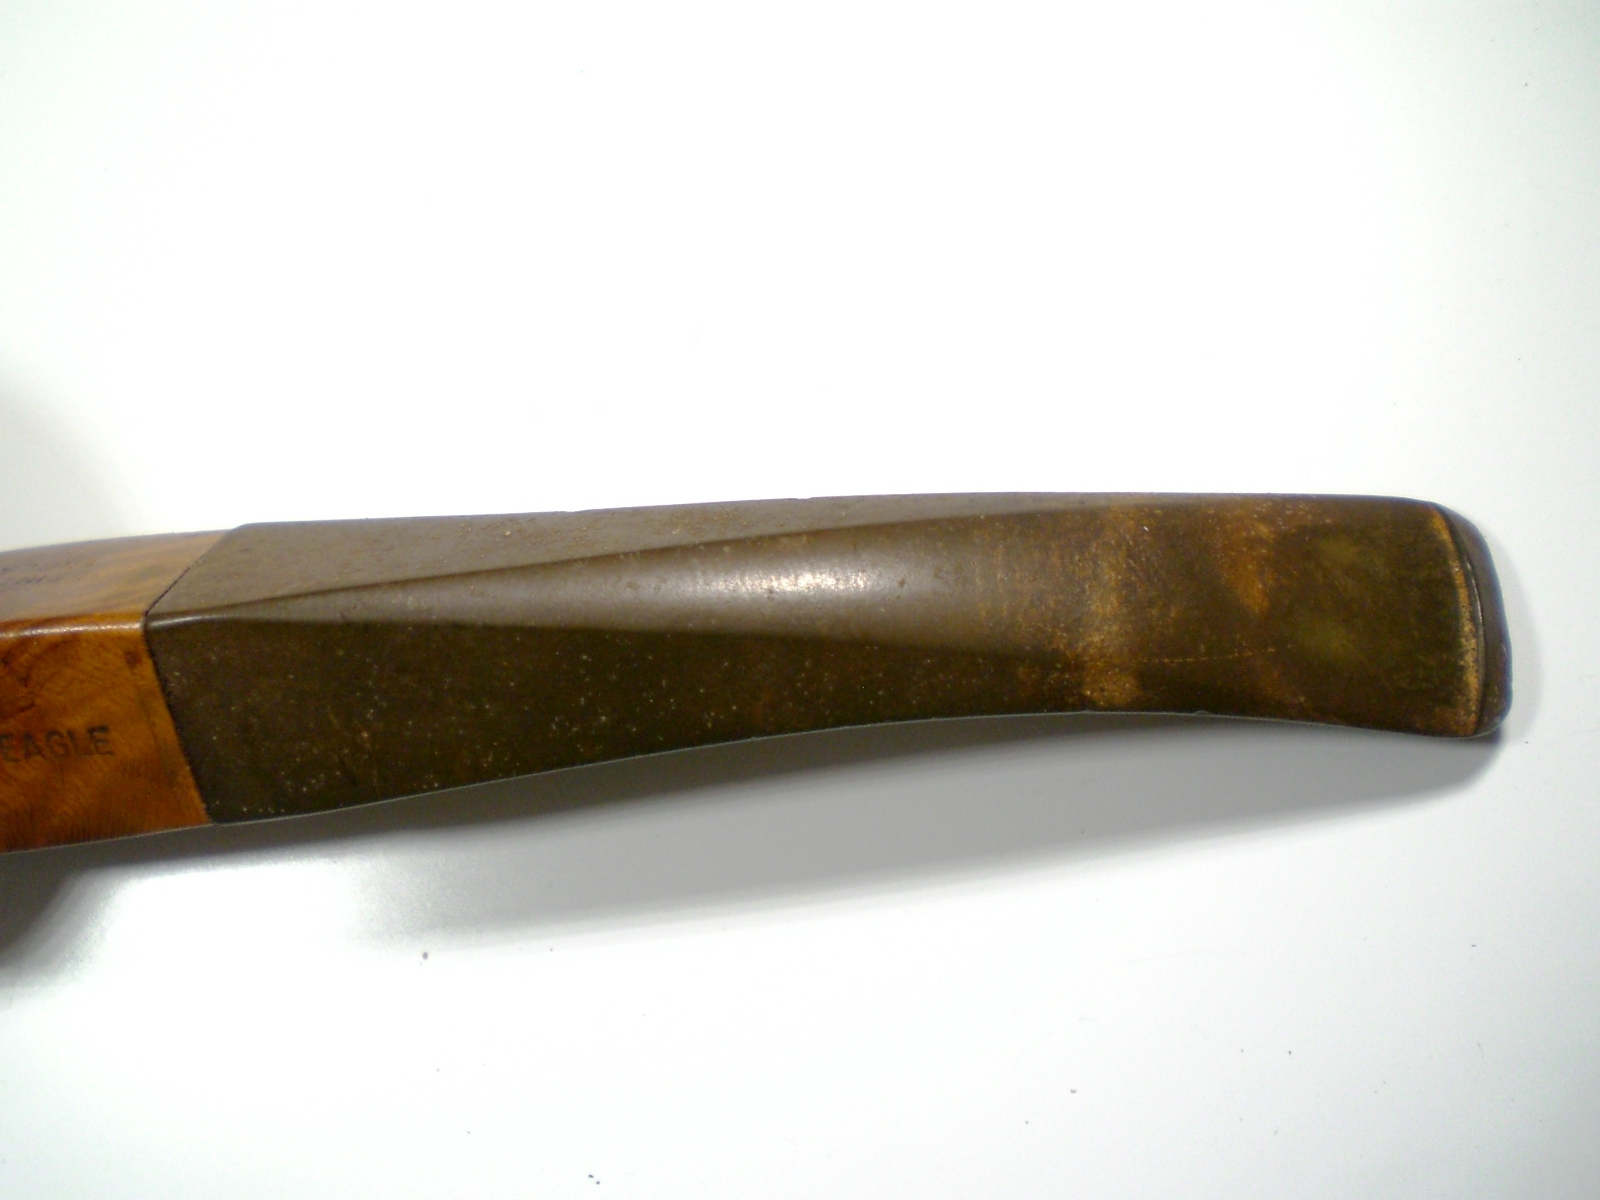
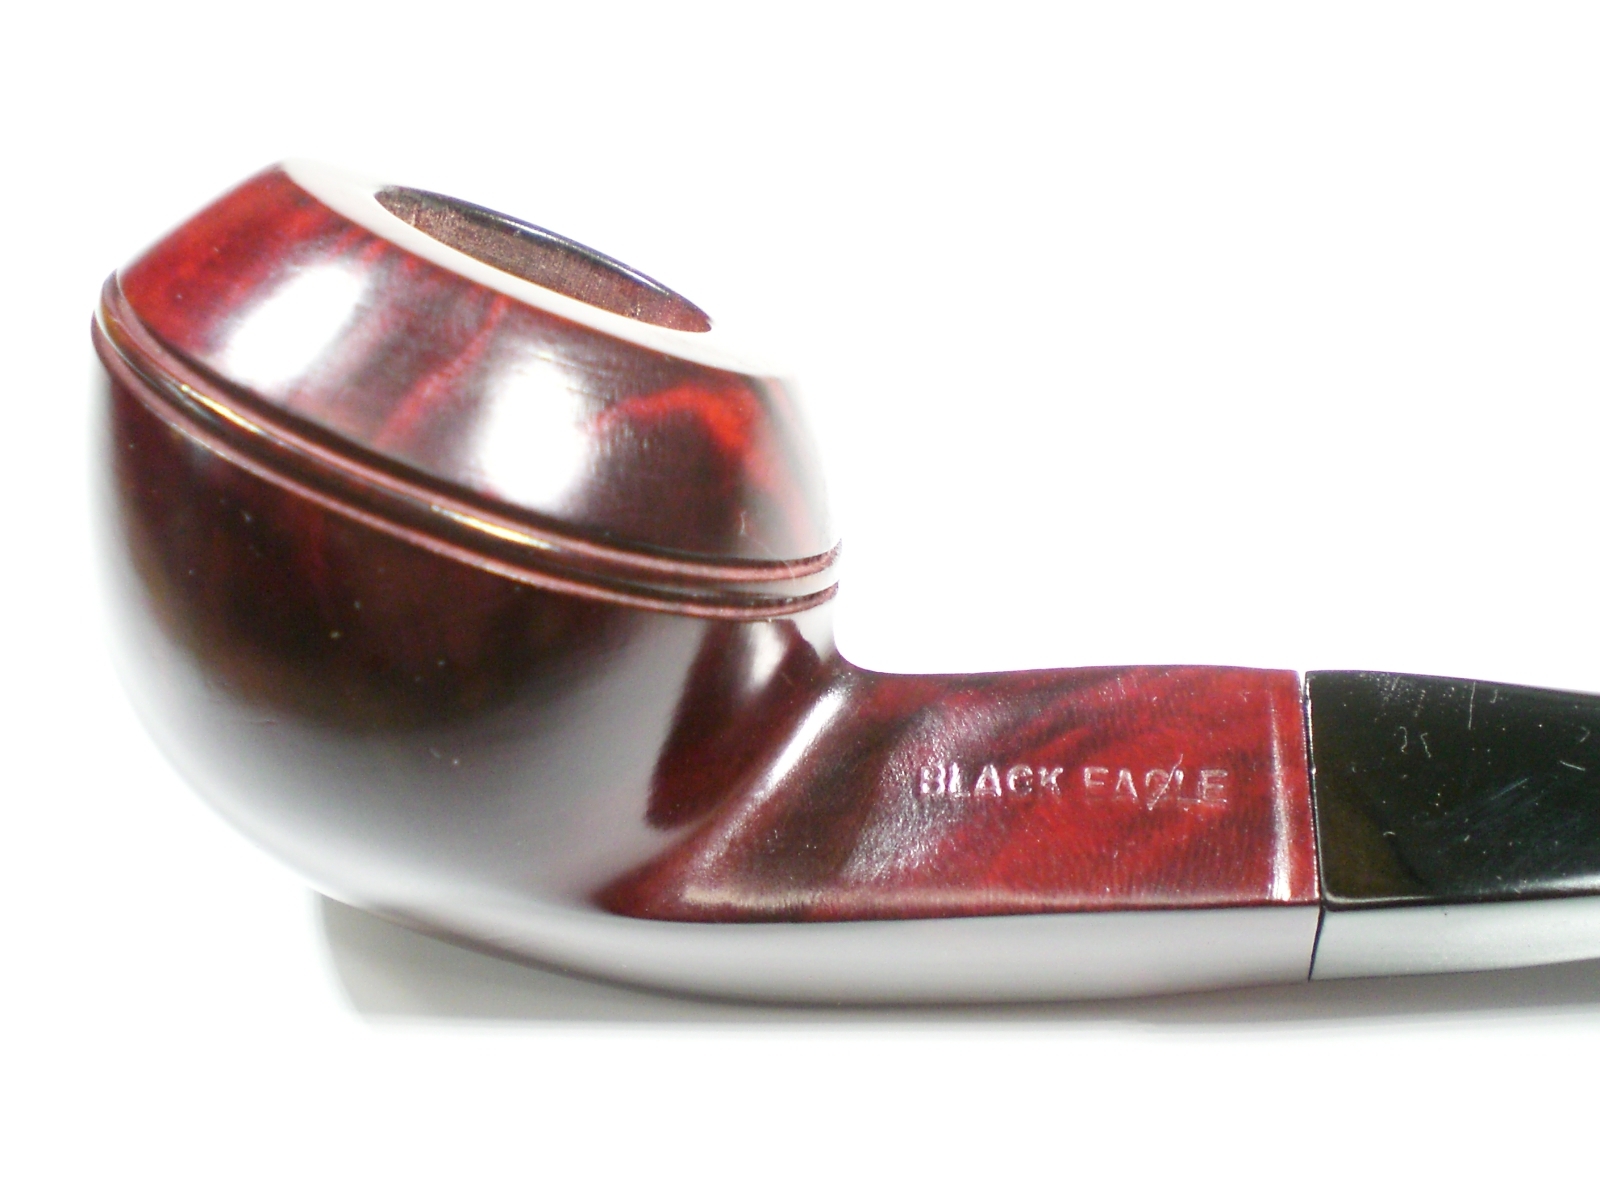
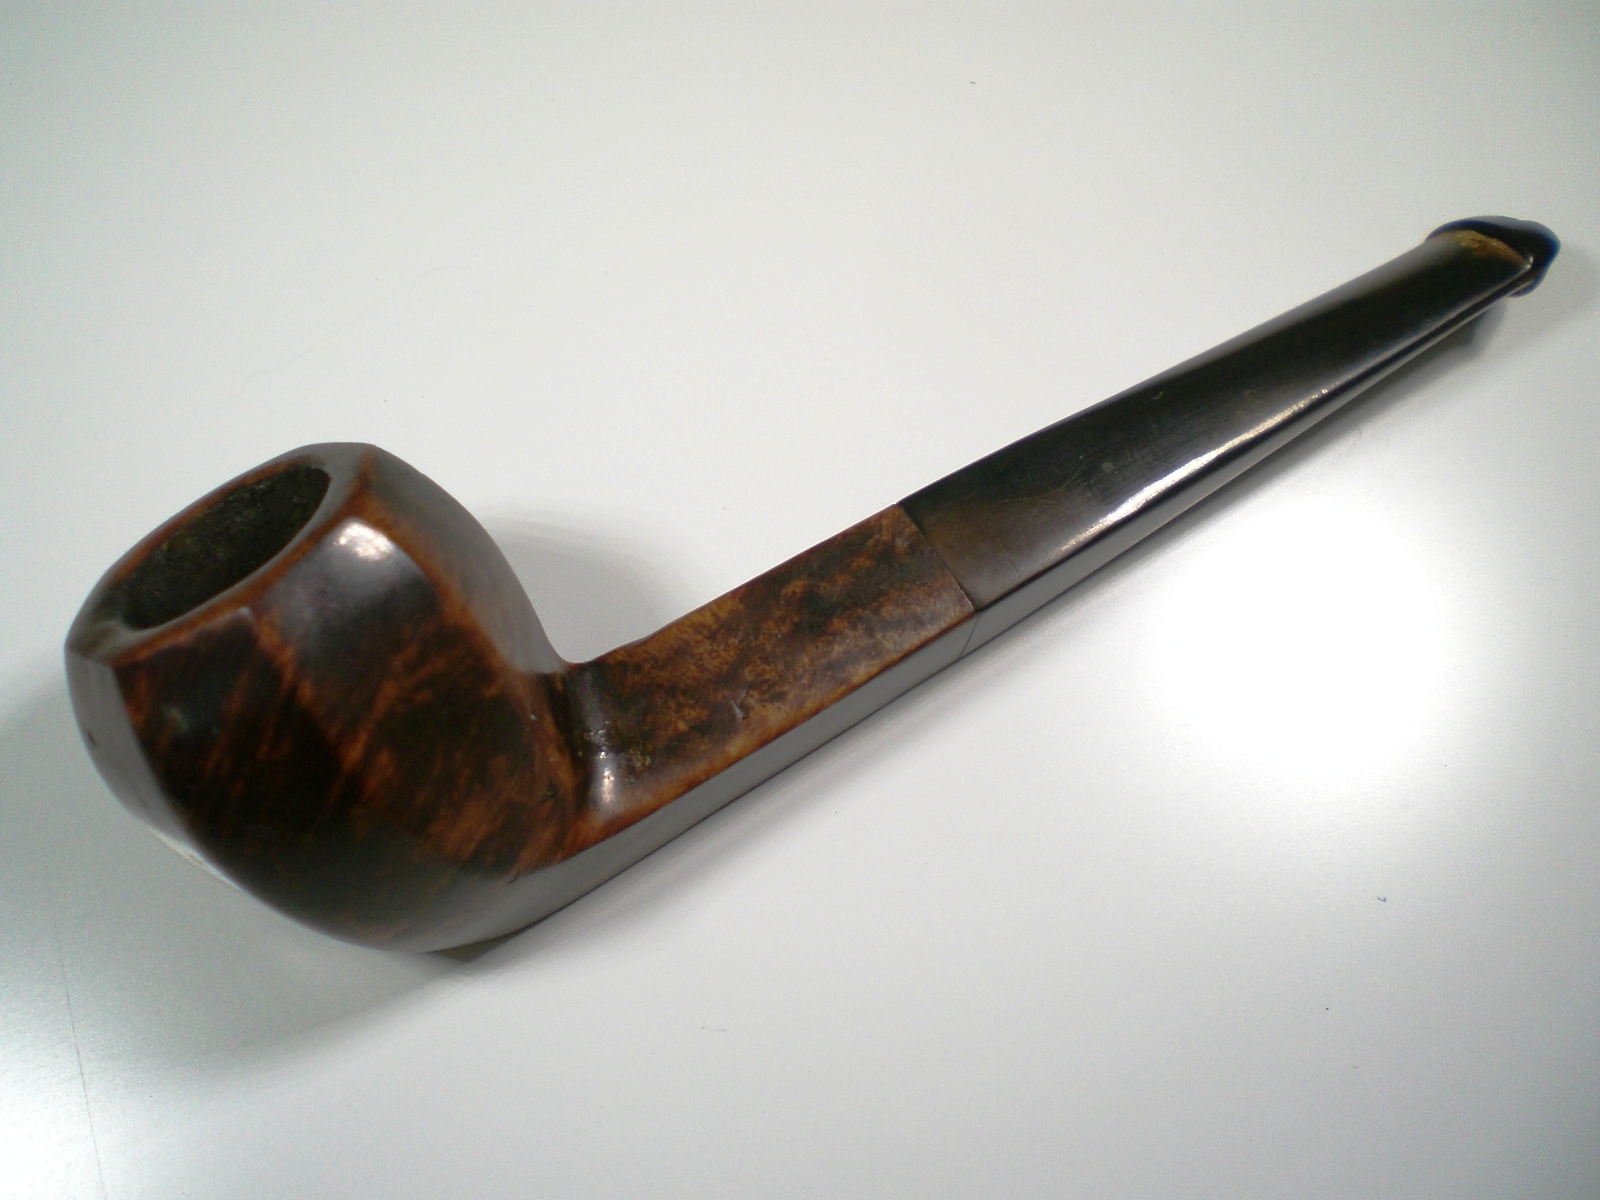
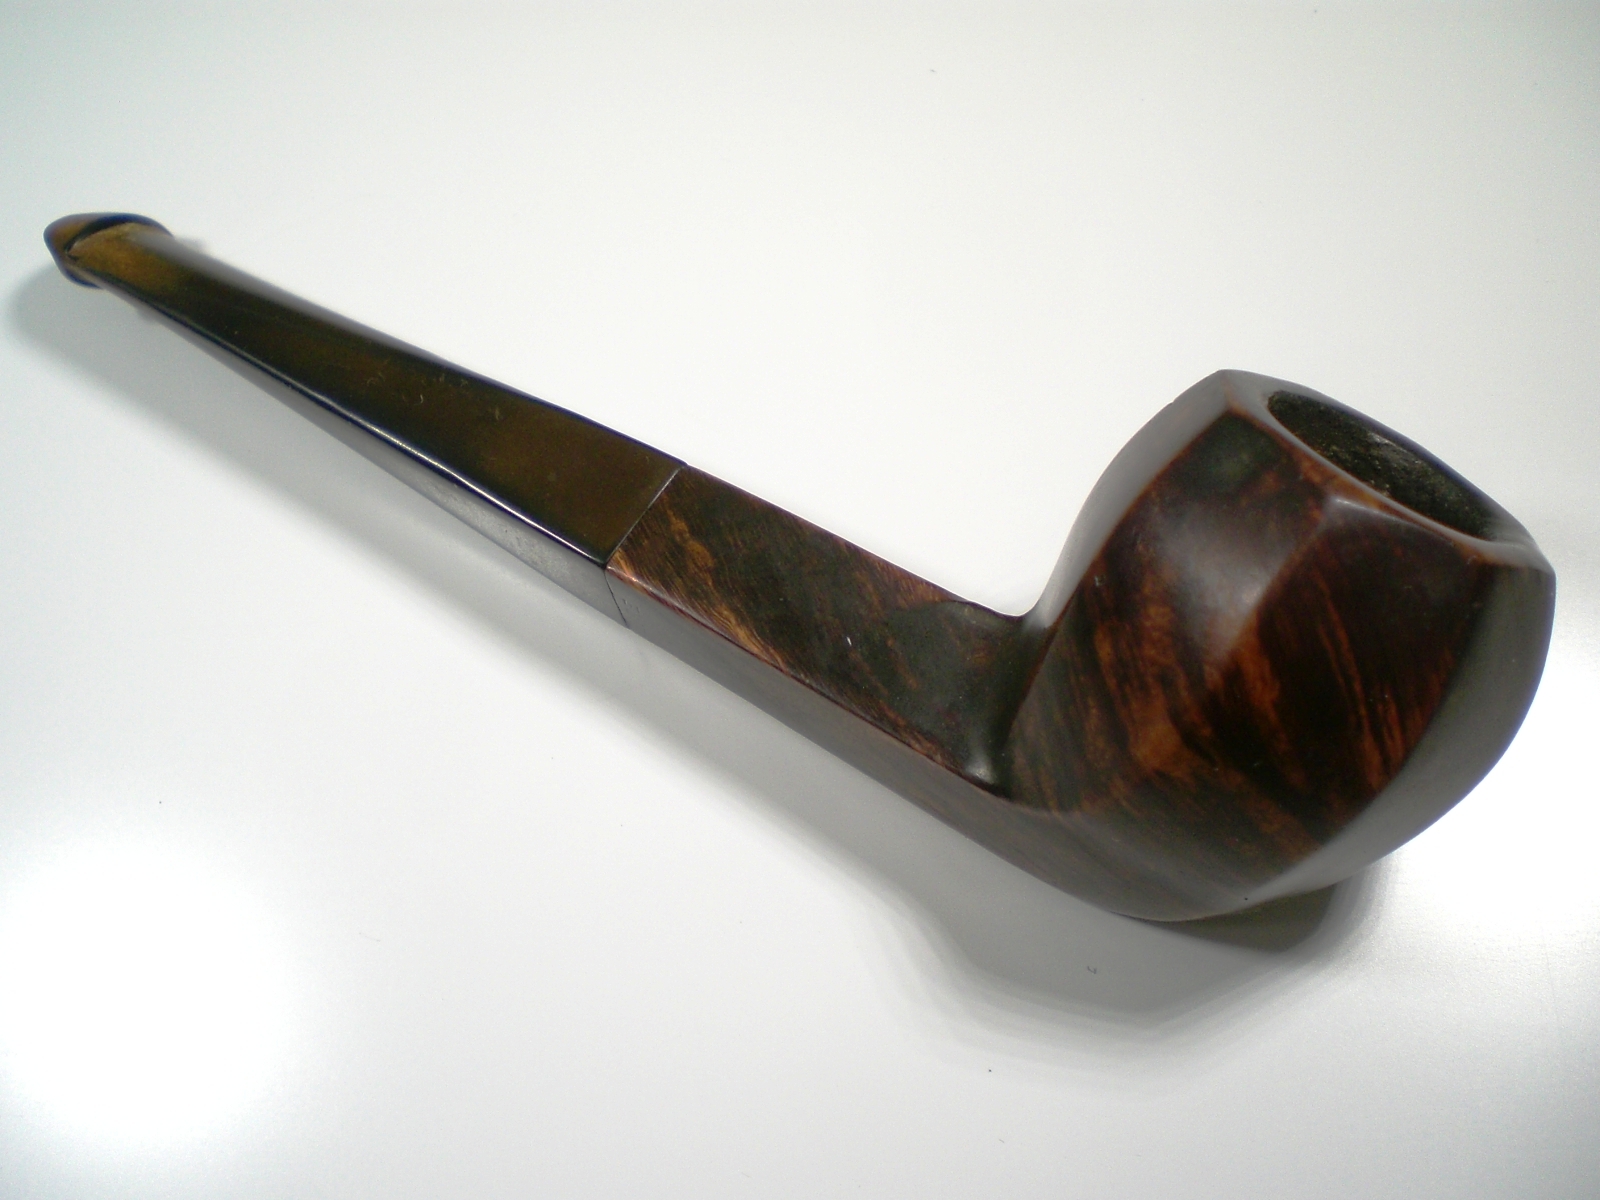
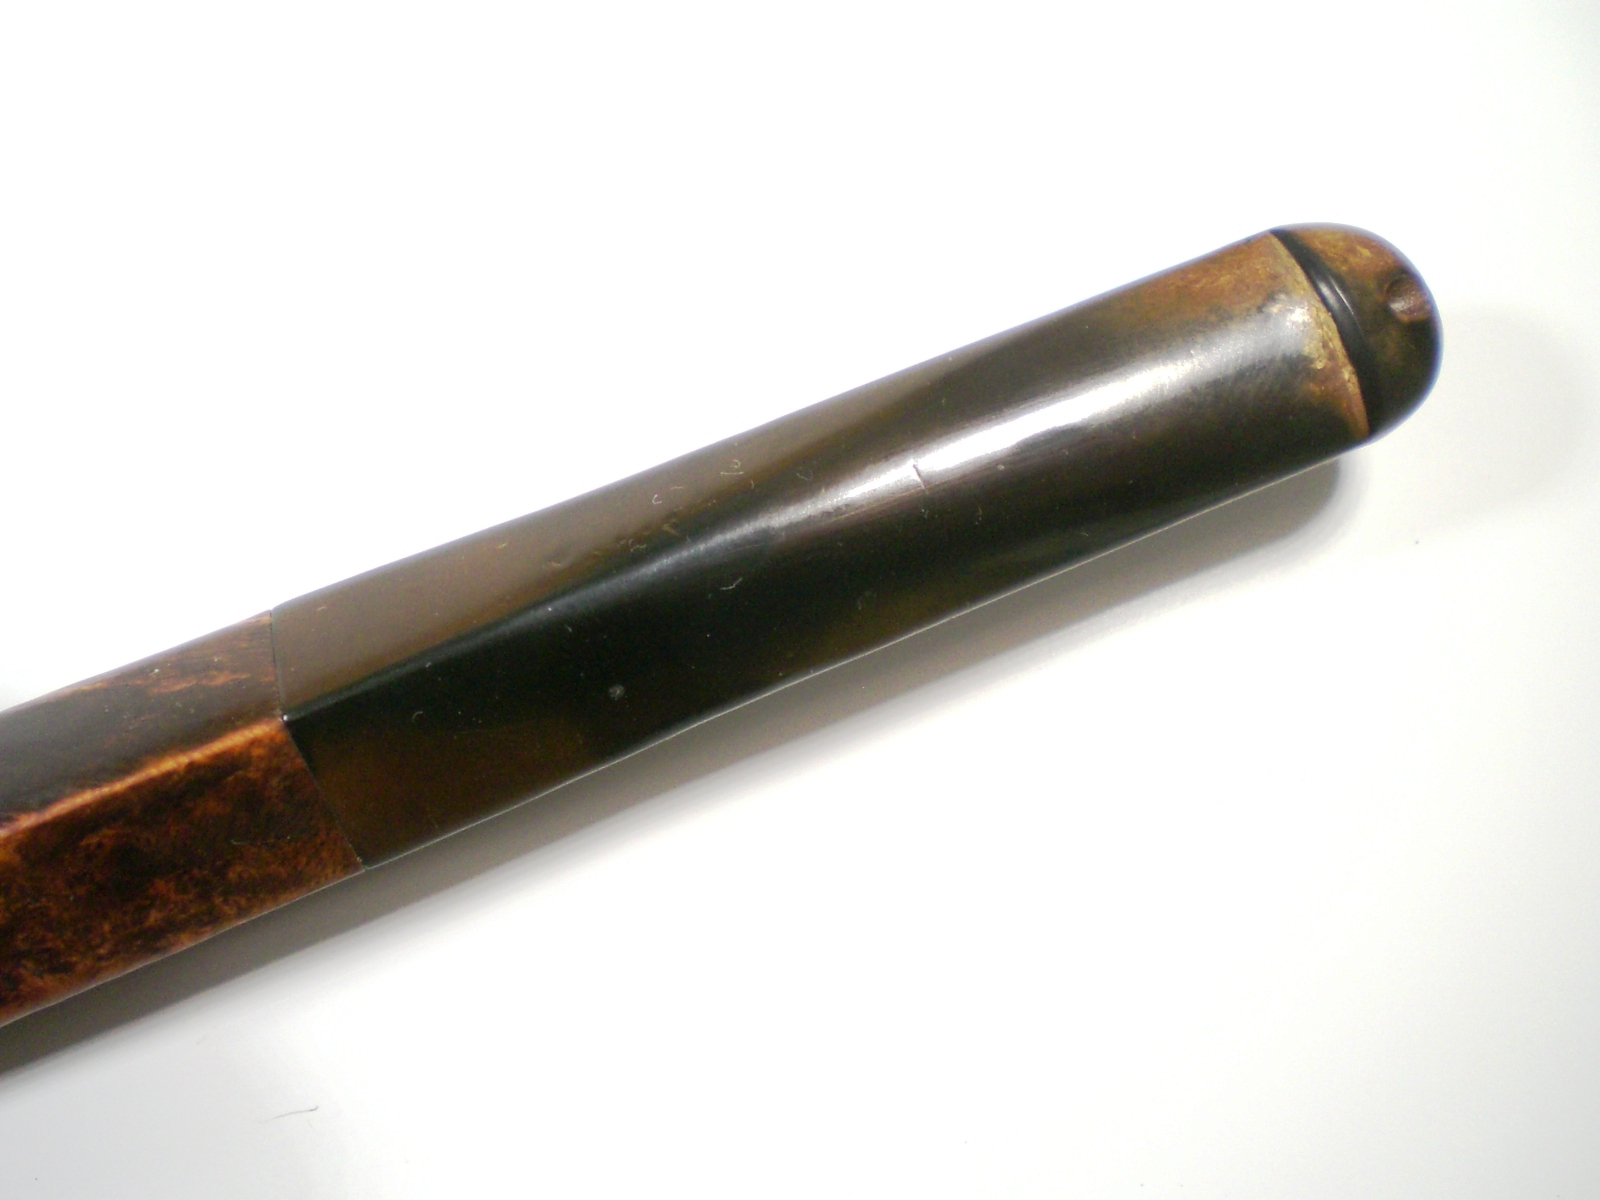
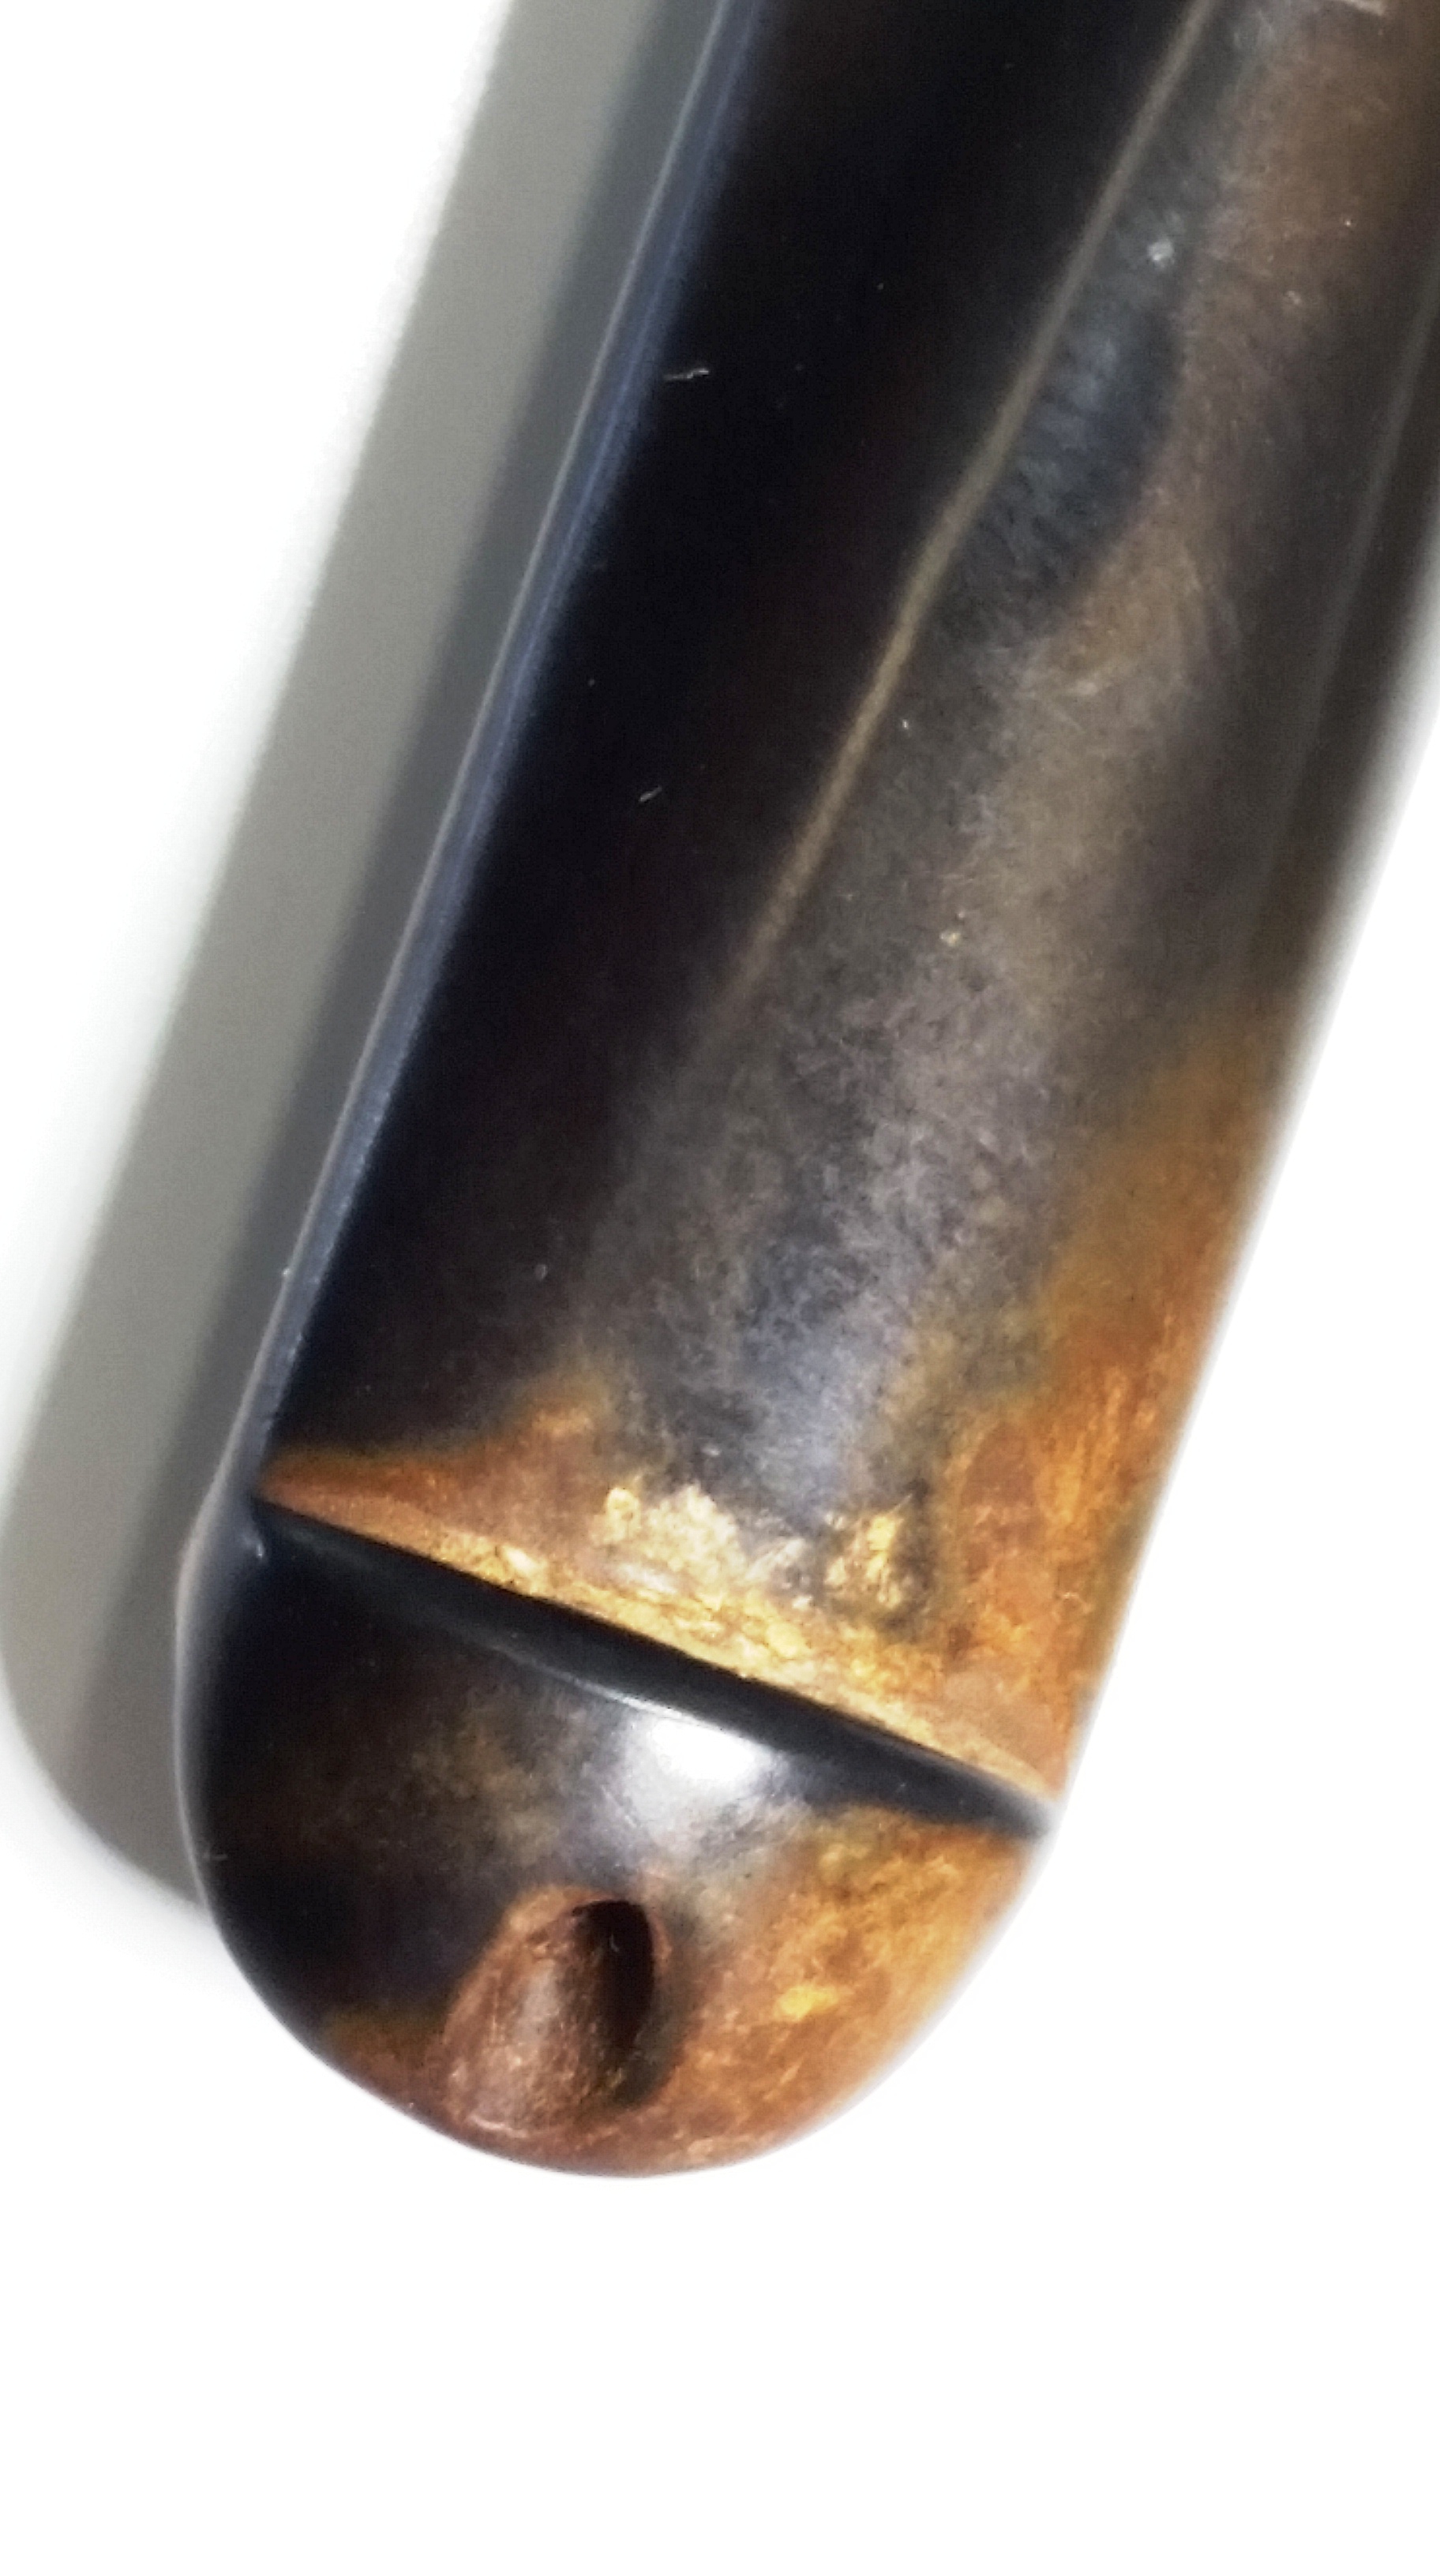
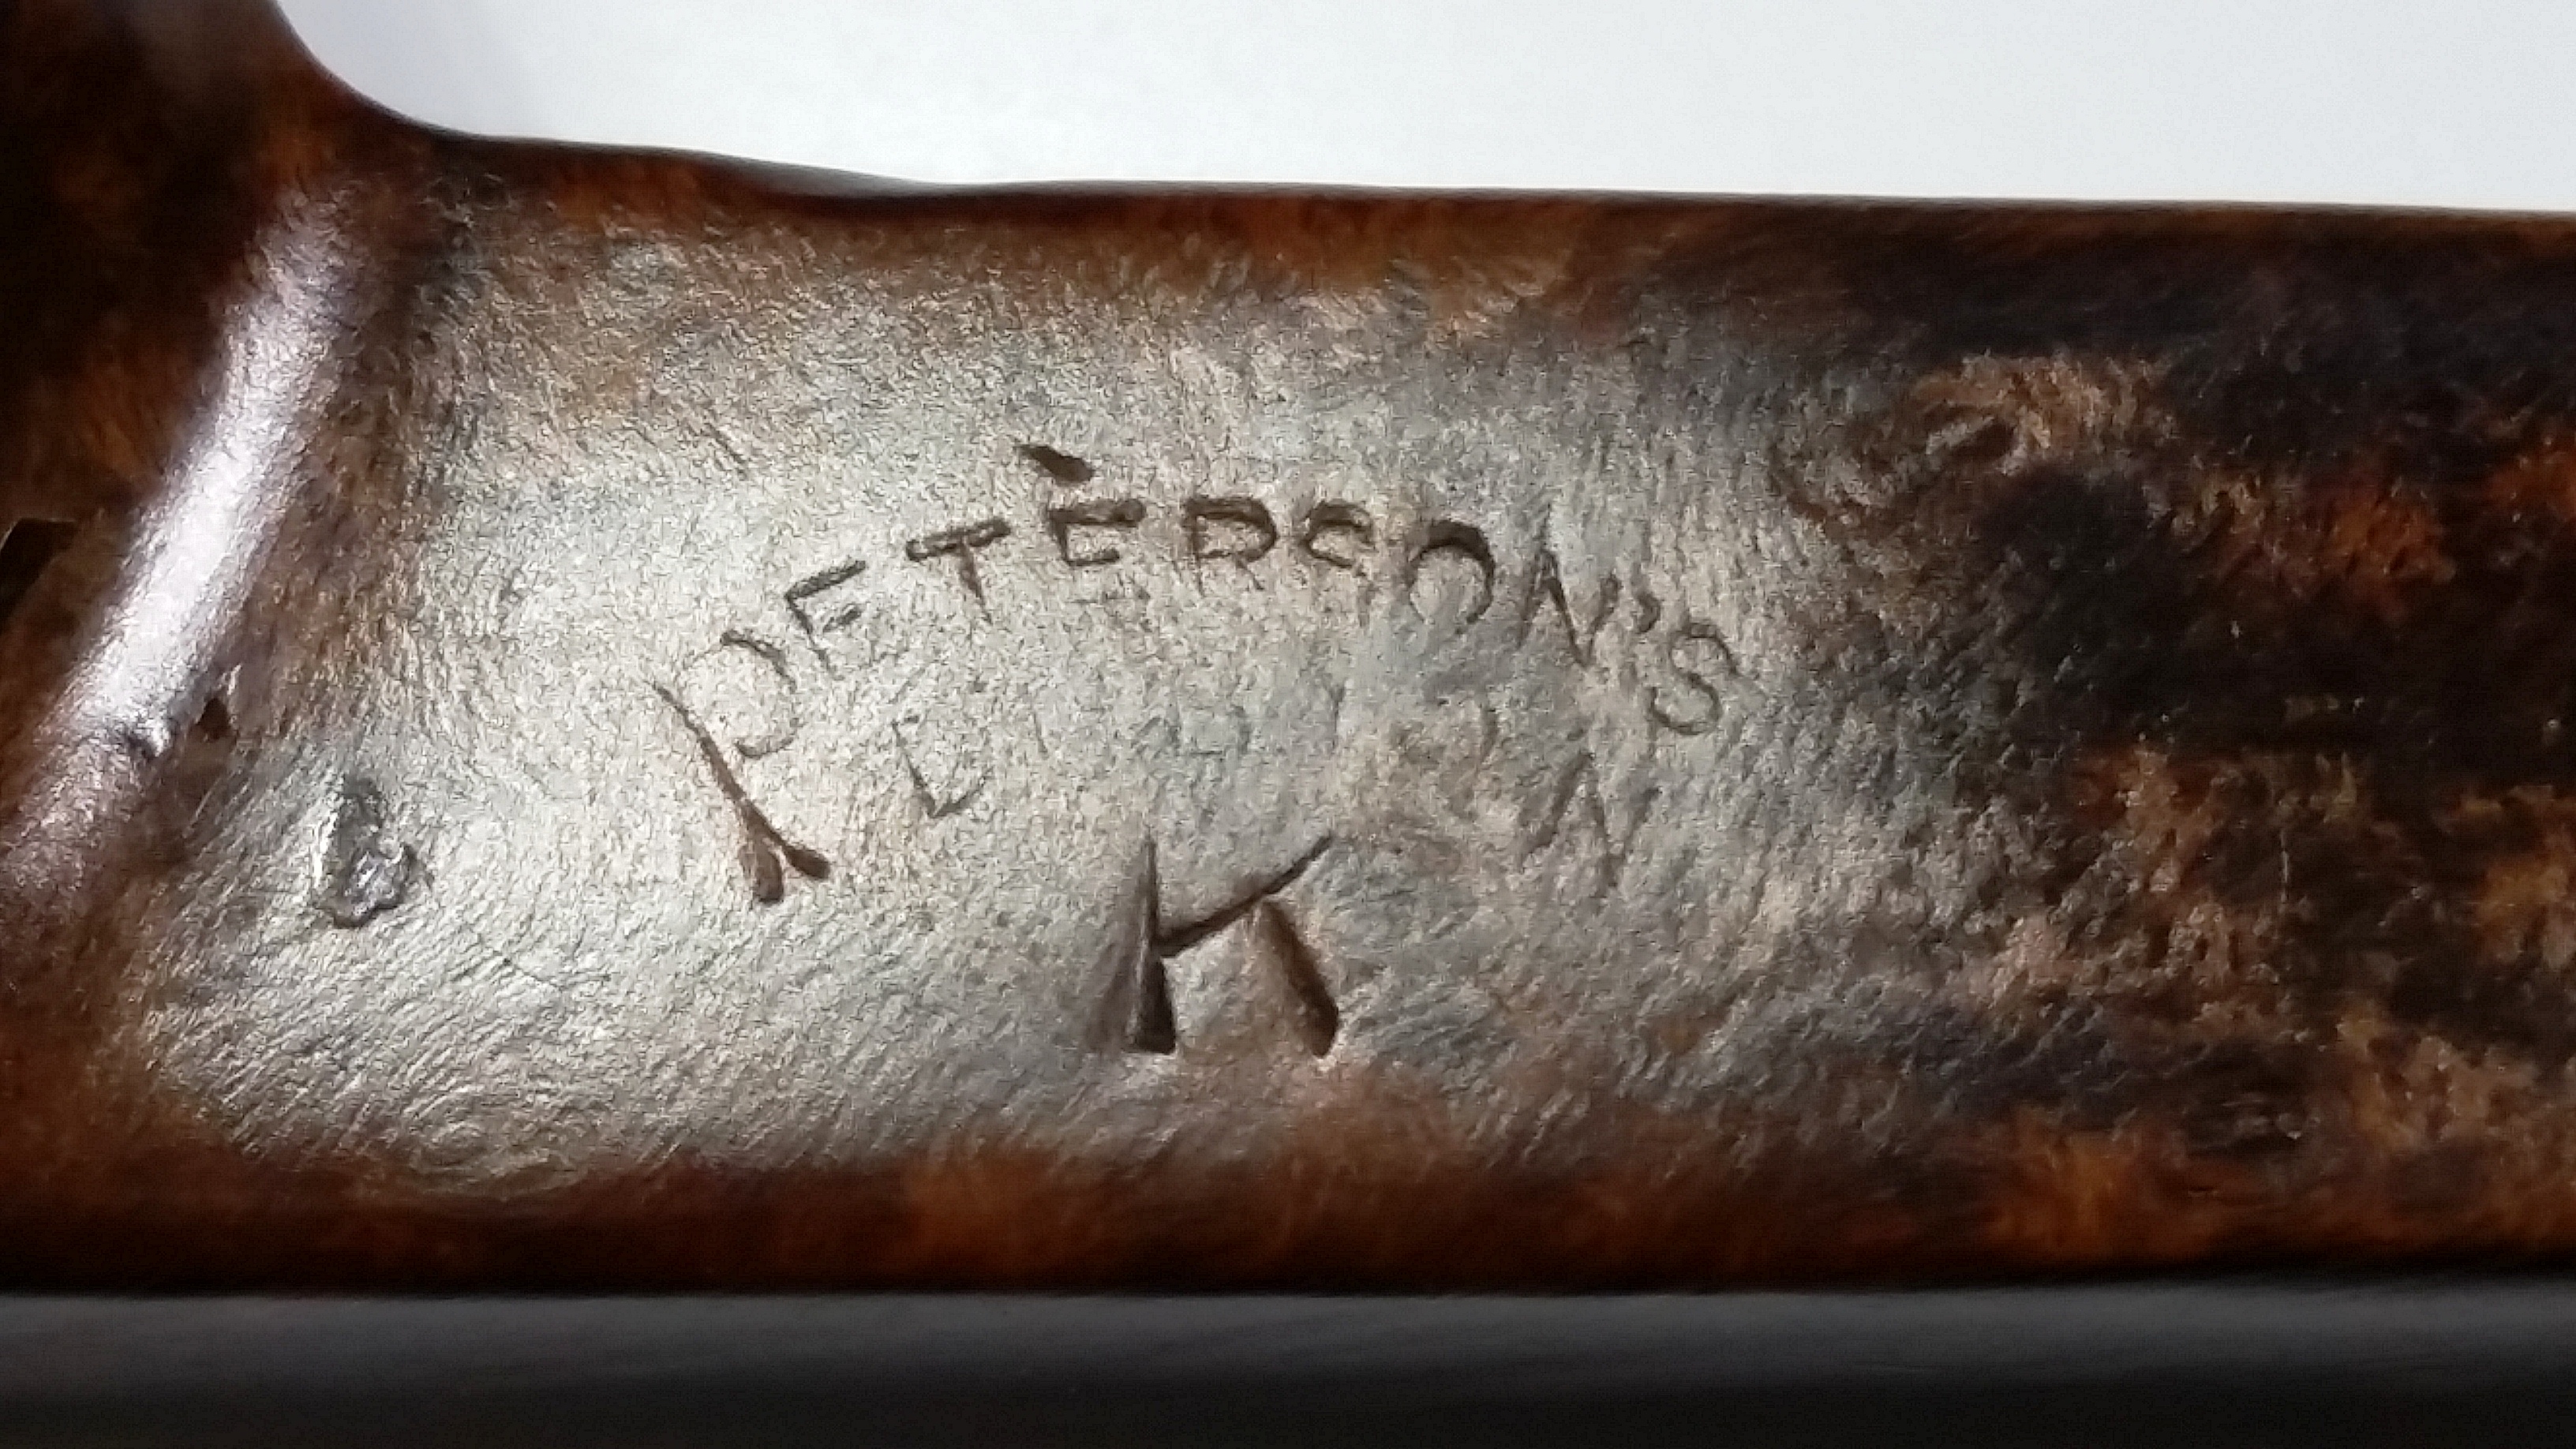
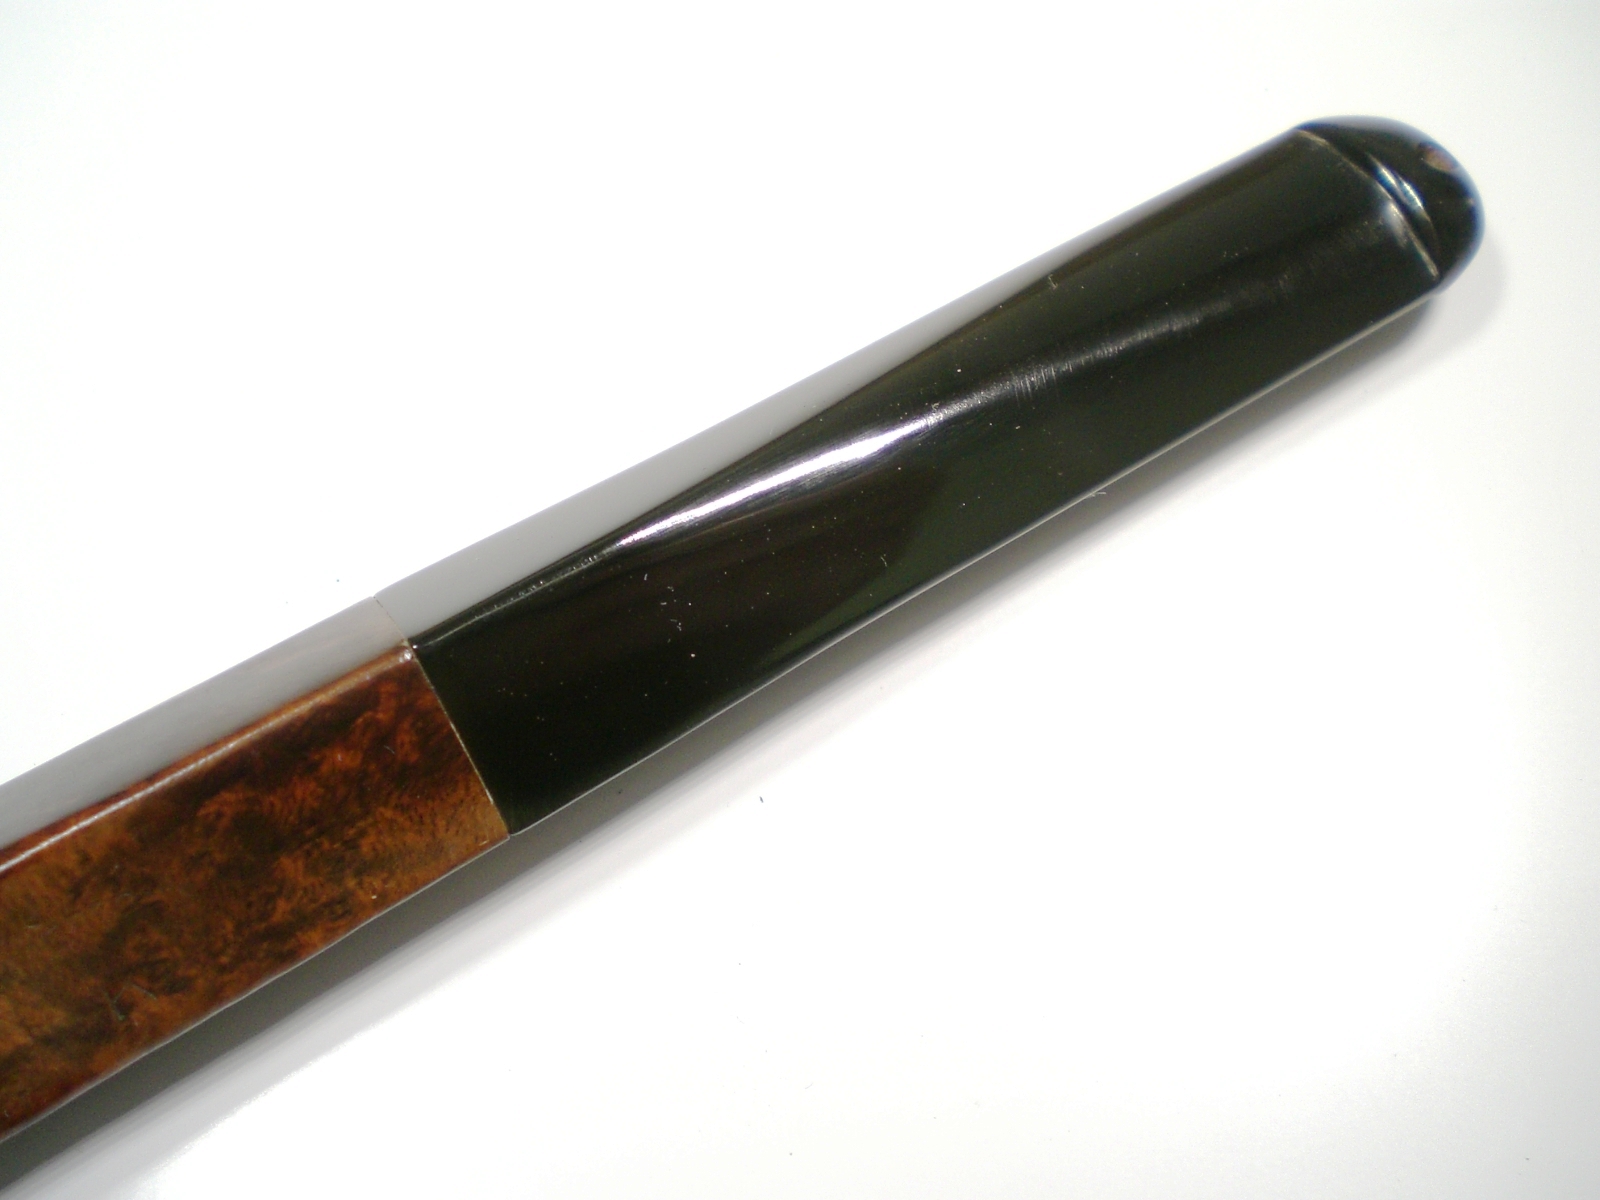
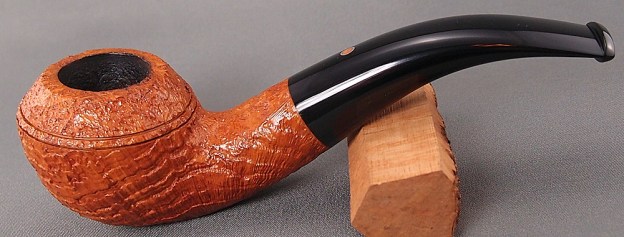
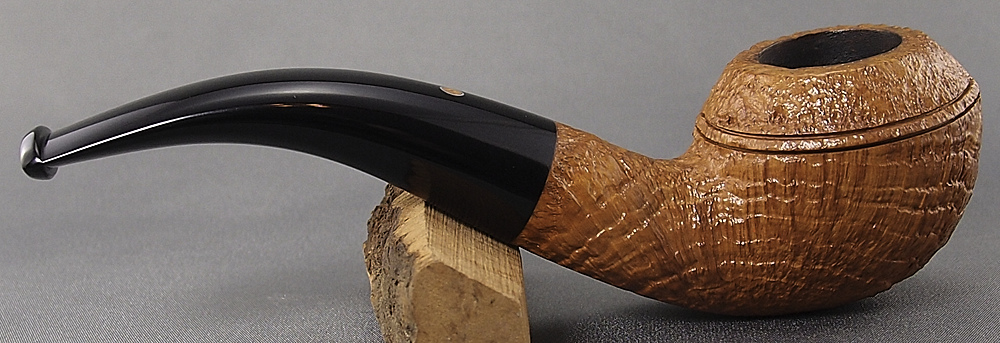
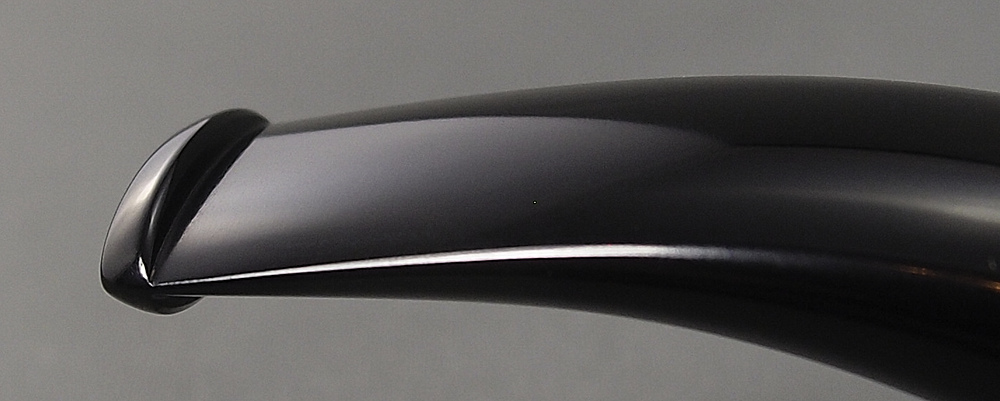
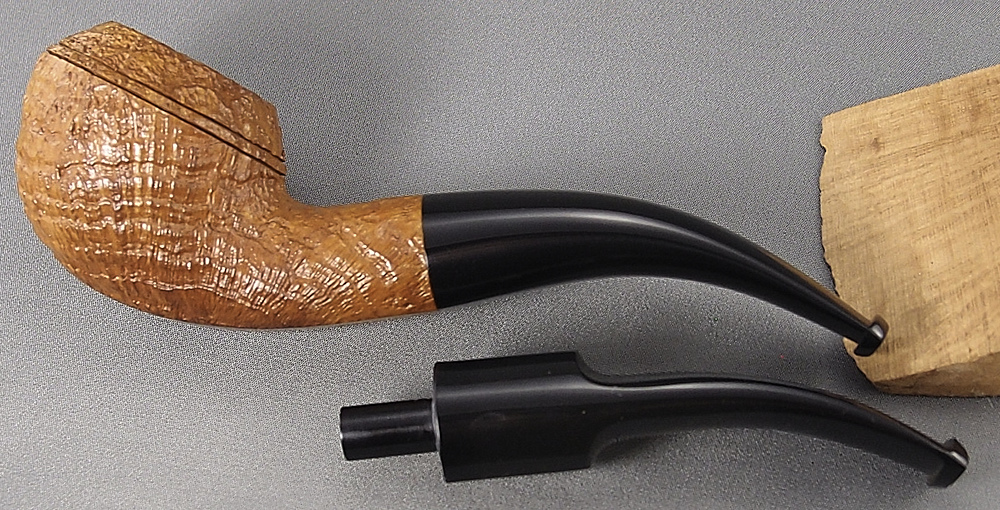
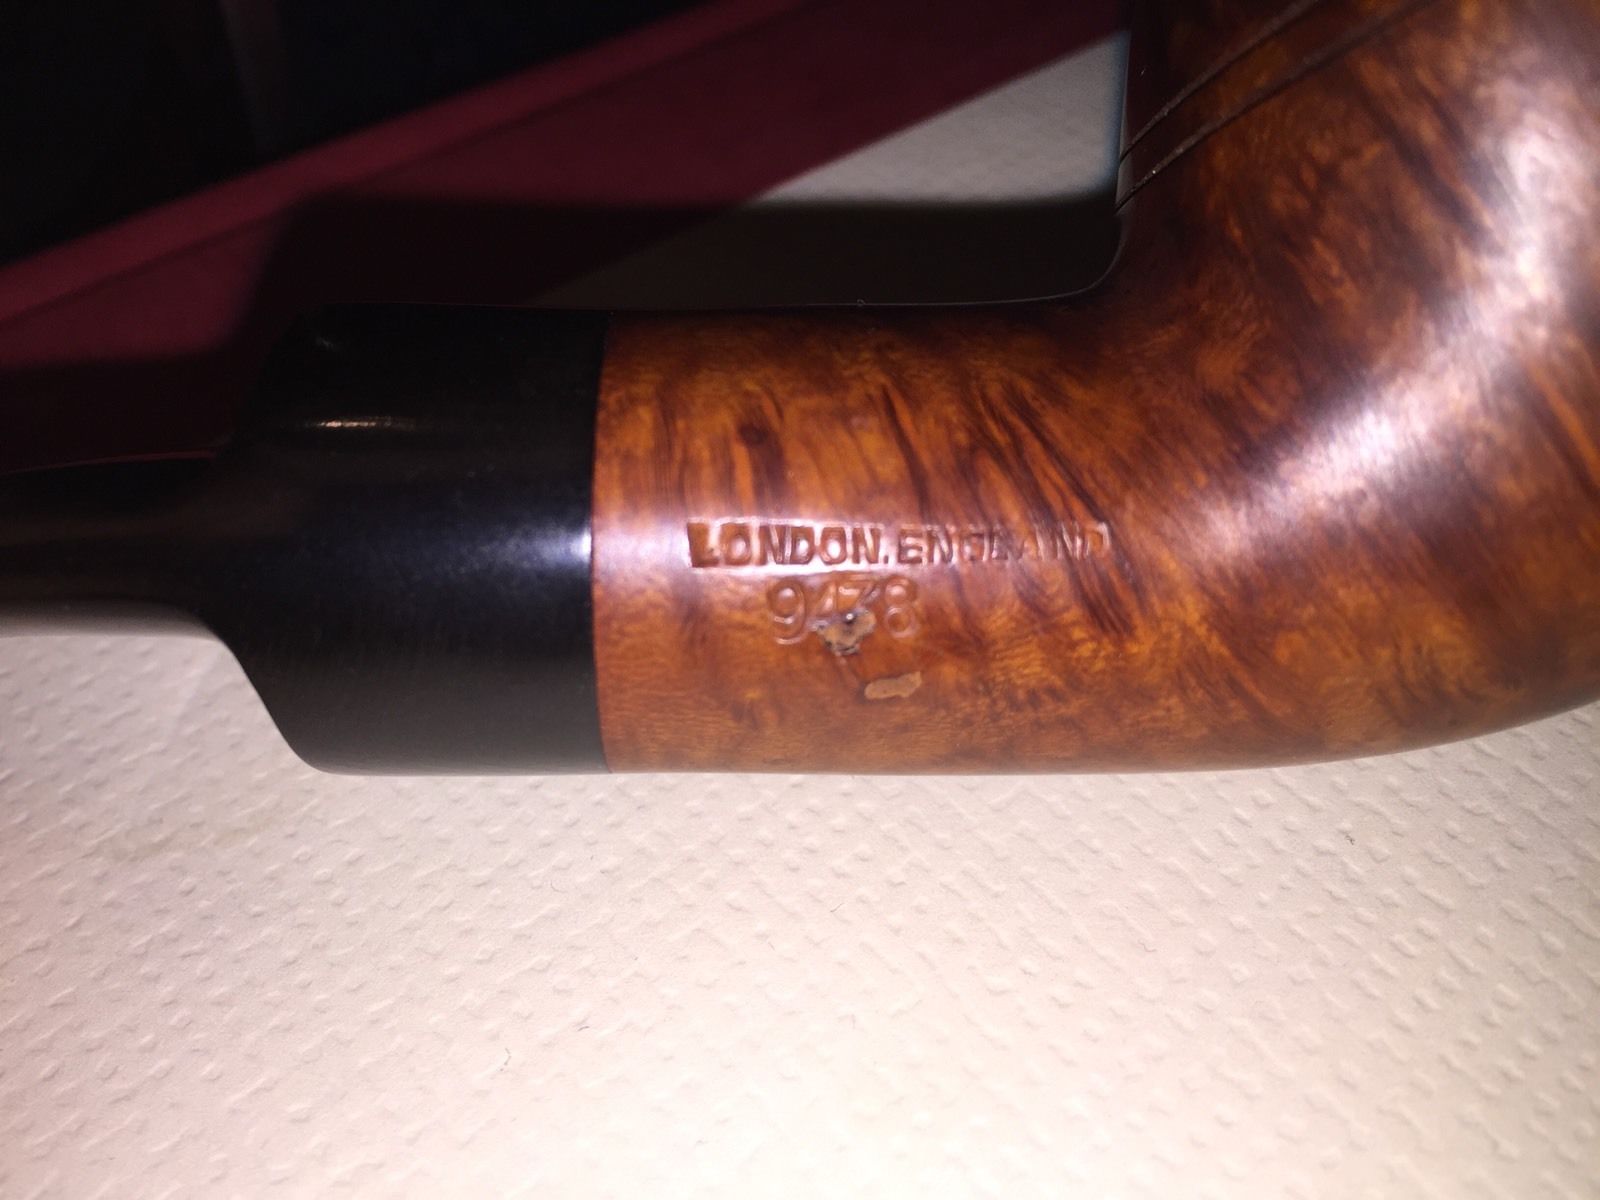
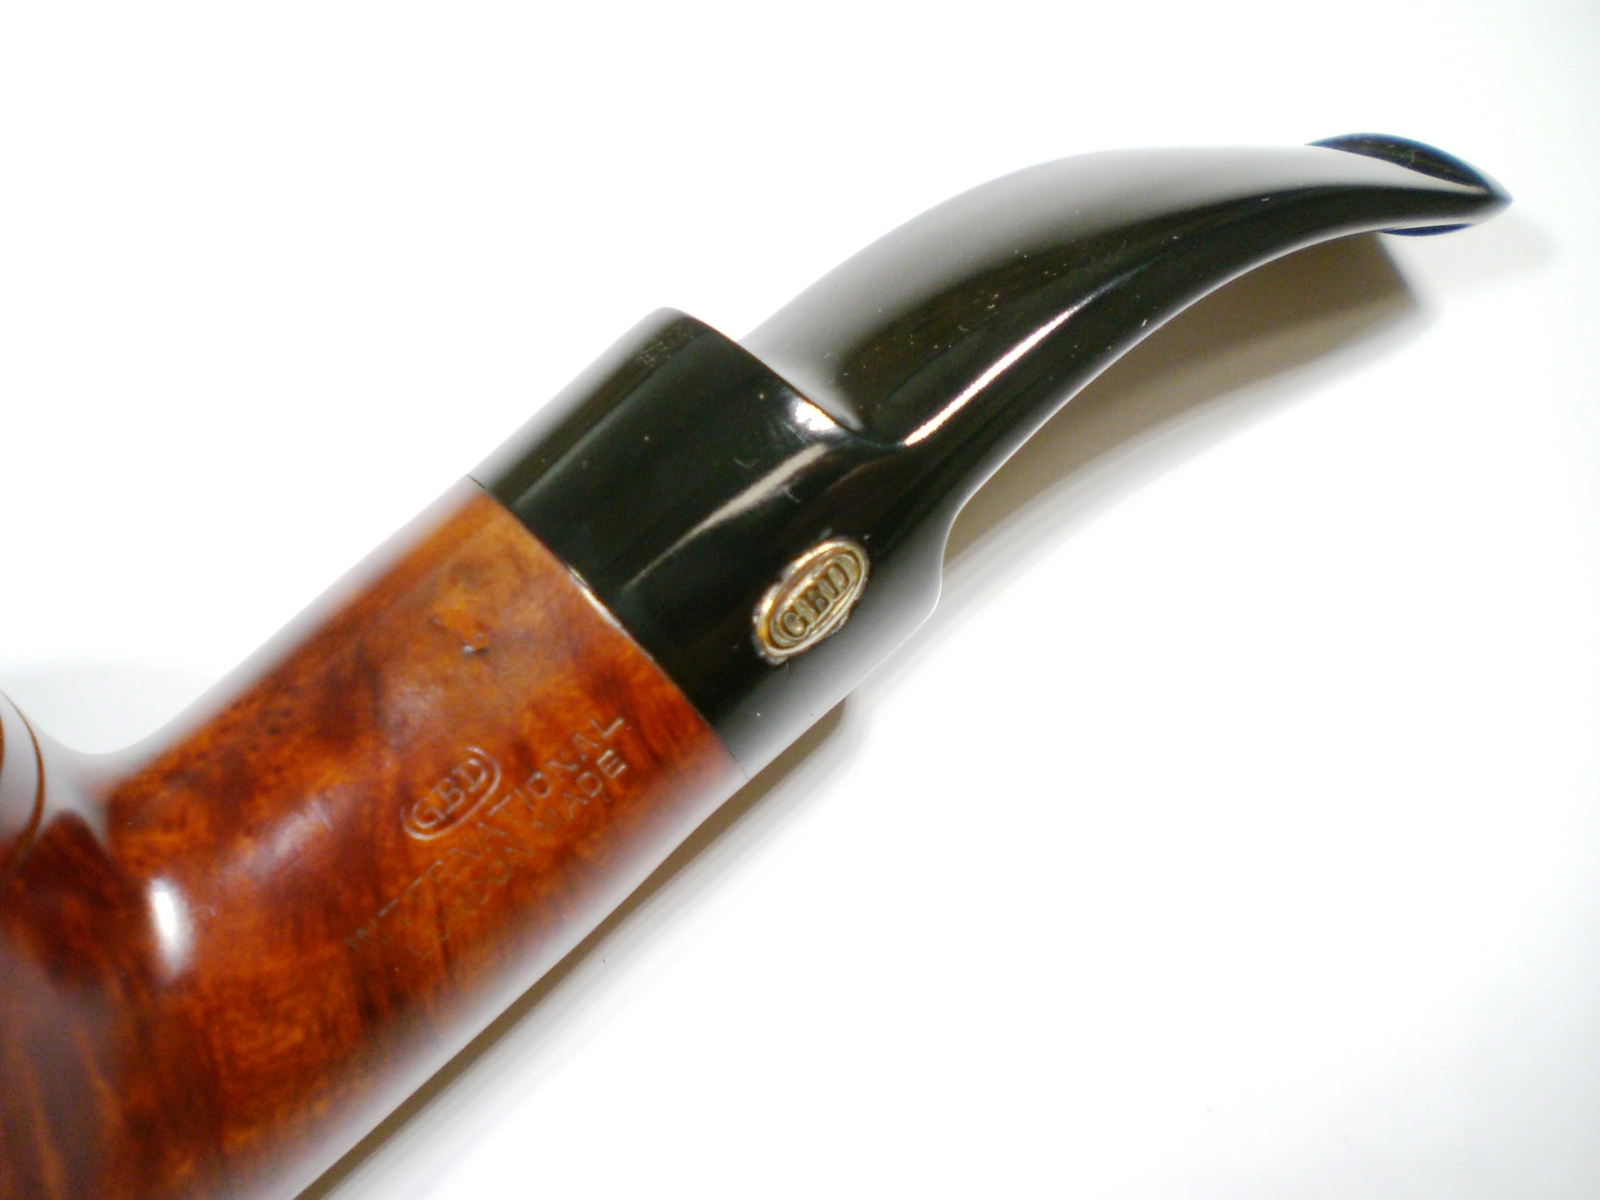
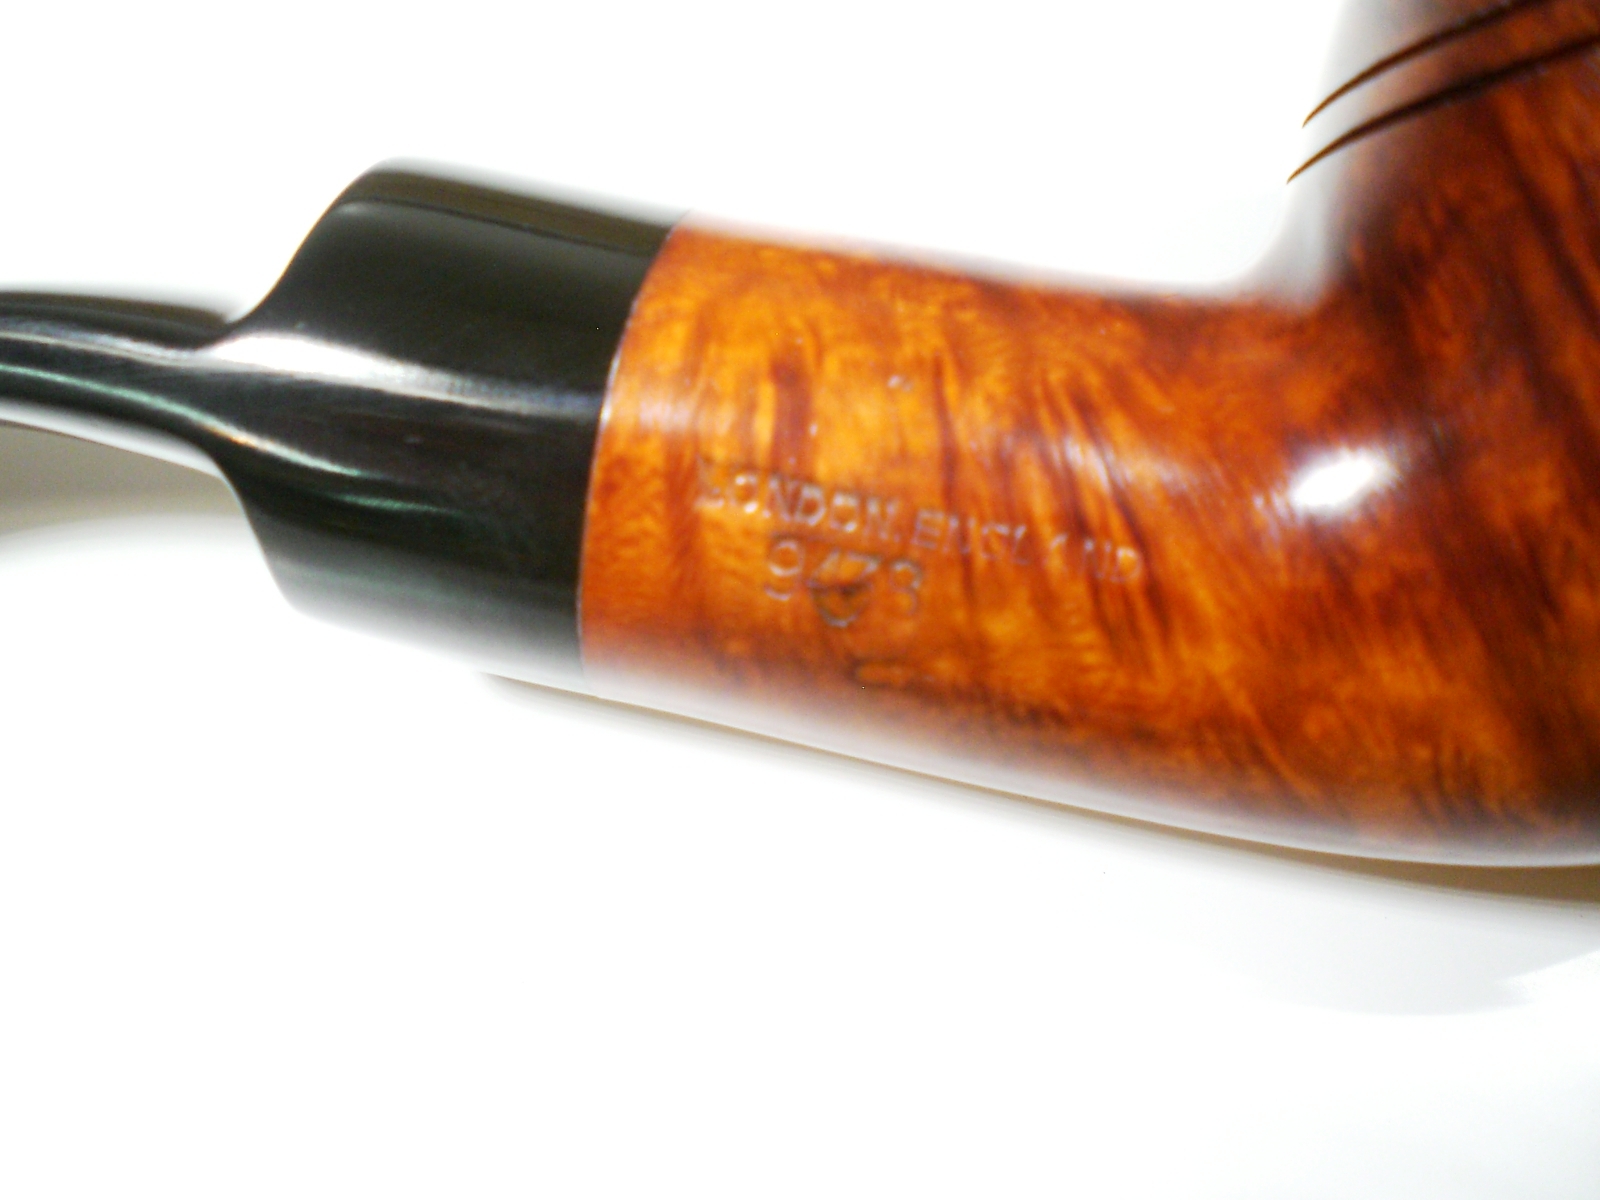
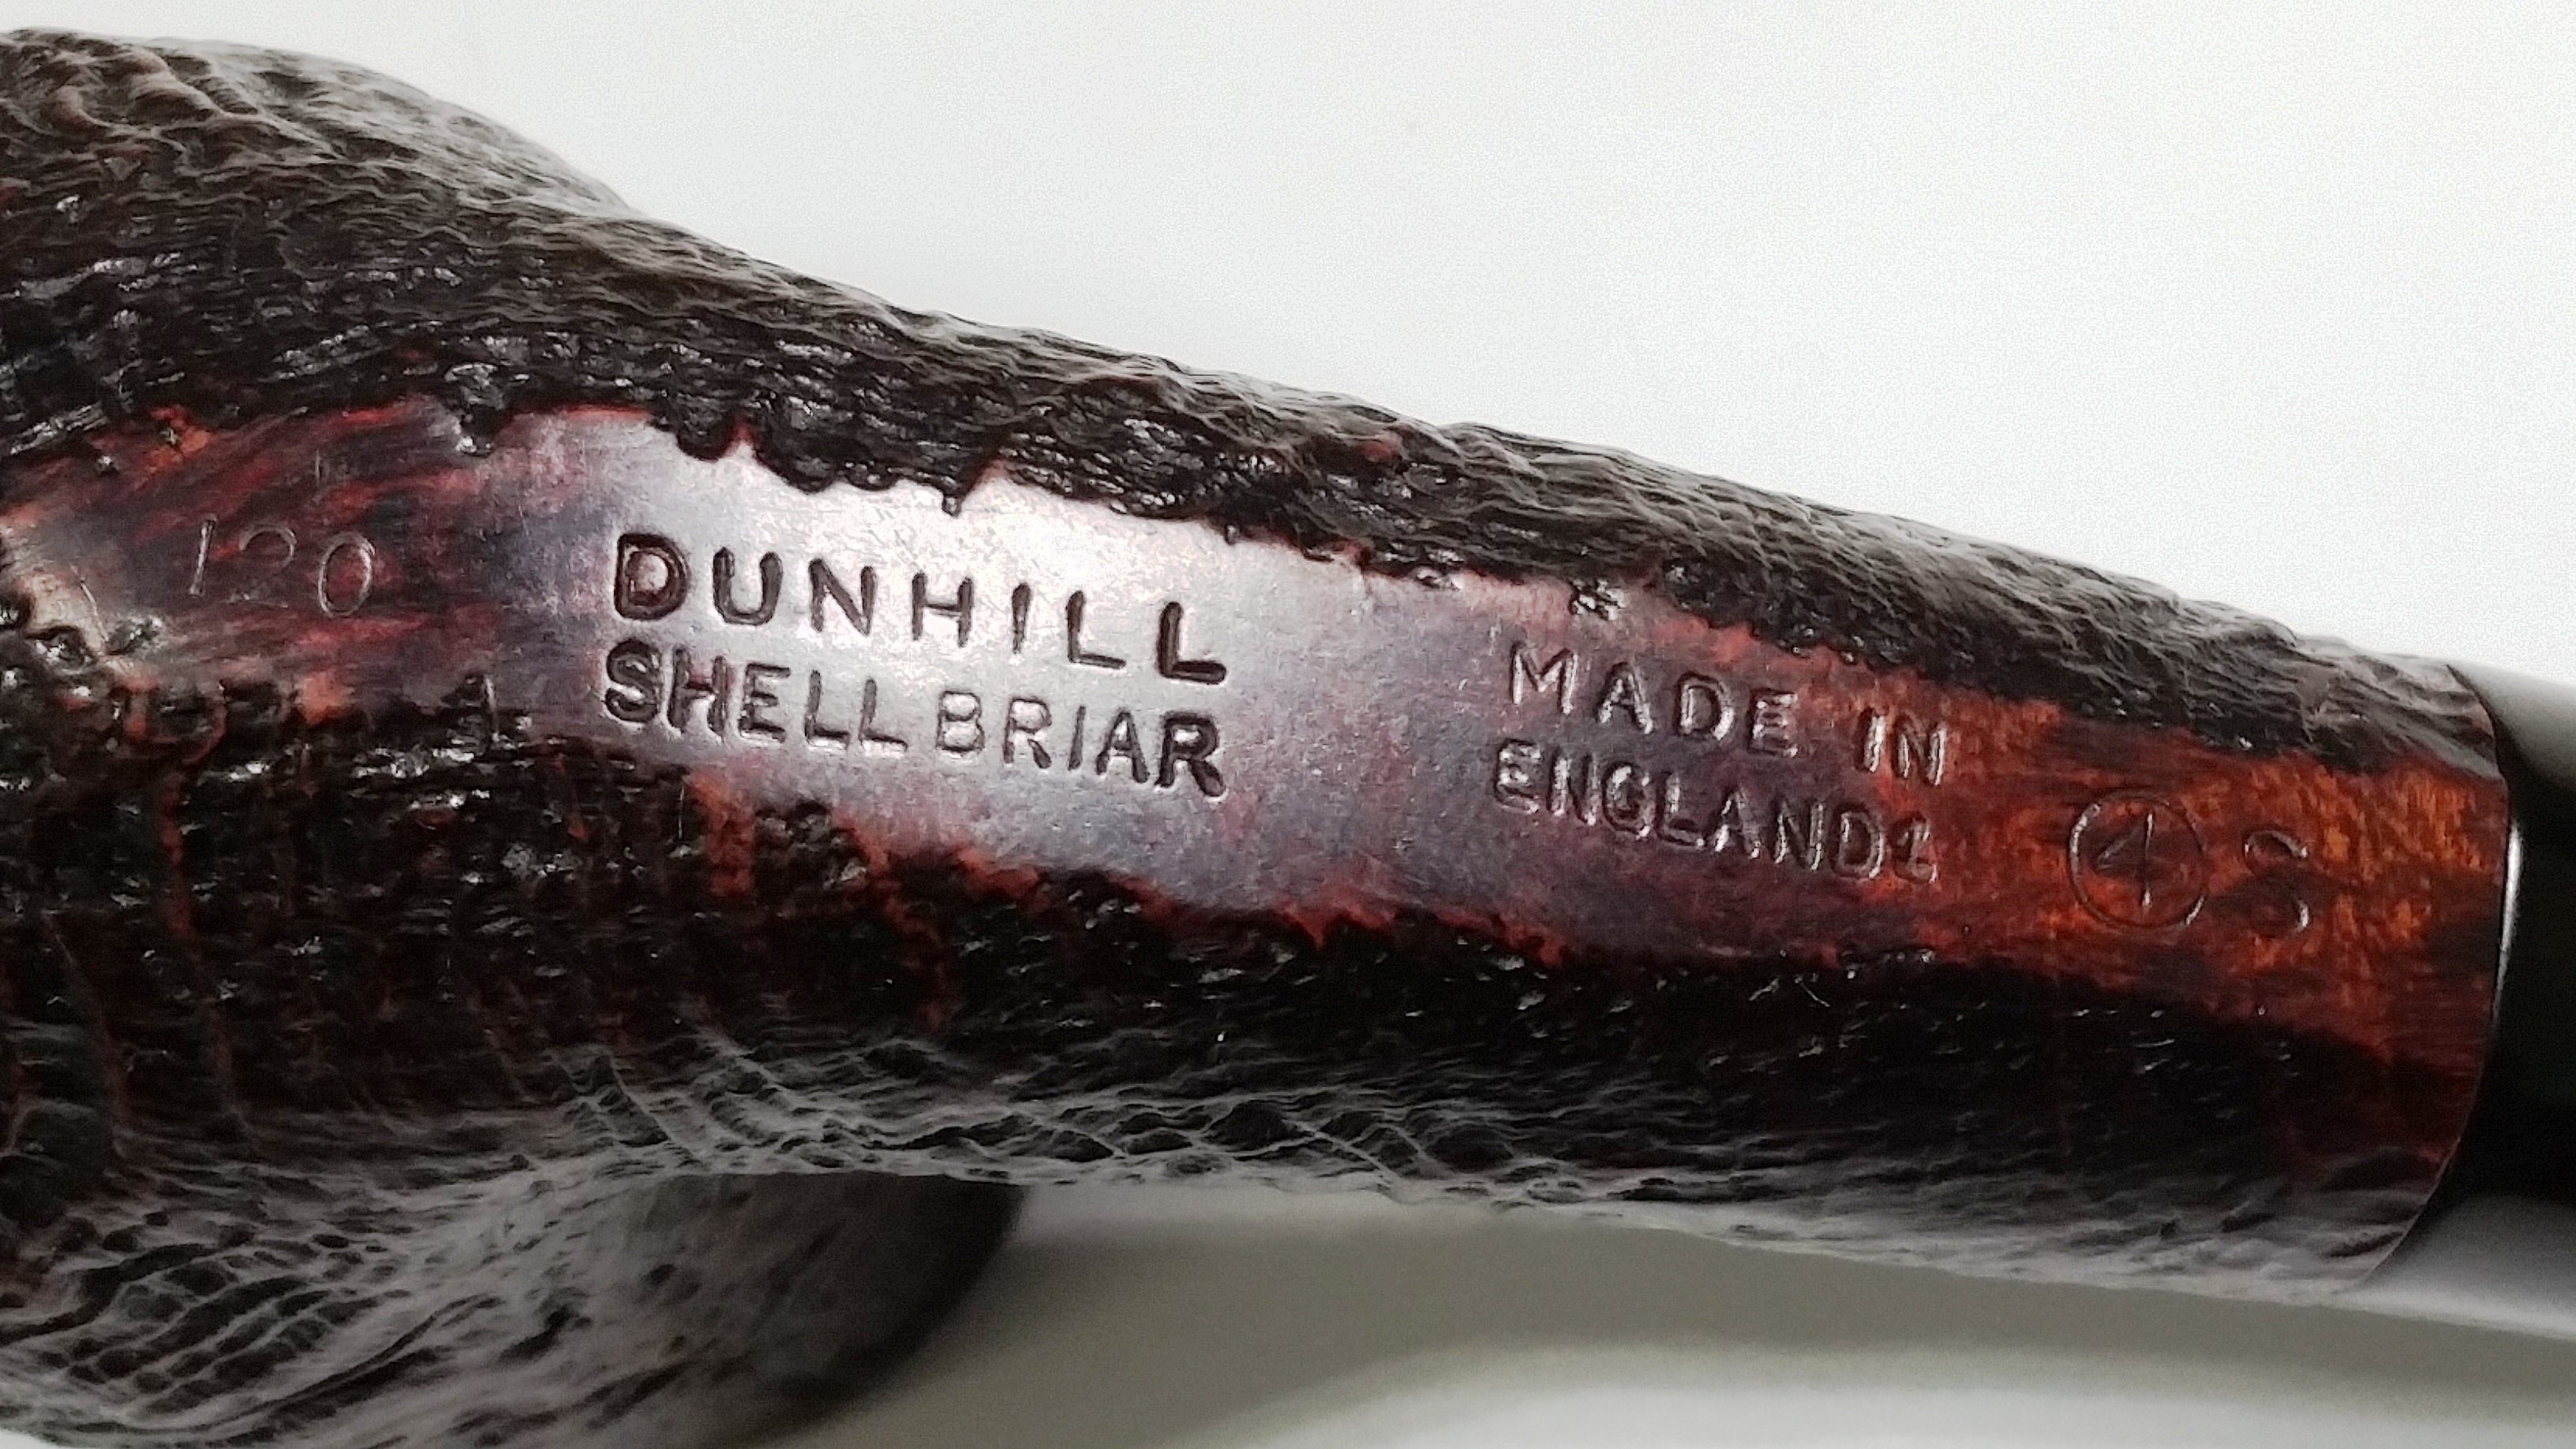
This GBD is a New Era grade, shape 122. While the classic billiard shape is not in my wheel house, two details on this pipe caught my eye. First, the New Era grade is a step up the GBD food chain and less common than the New Standard pipes. The second was a stamp on the stem. Thanks to the sellers good photos, I was able to make out the “Hand Cut” stamp on the stem, which is becoming increasingly rare. Typically, I’ve only seen the “Hand Cut” stamp on Virgin or Collector grade pipes.

In their 1973 catalog, GBD describes the New Era finish as:

“The beauty of this pipe’s perfect briar is accentuated by the richness of
the ‘take-off’ dual finish.”

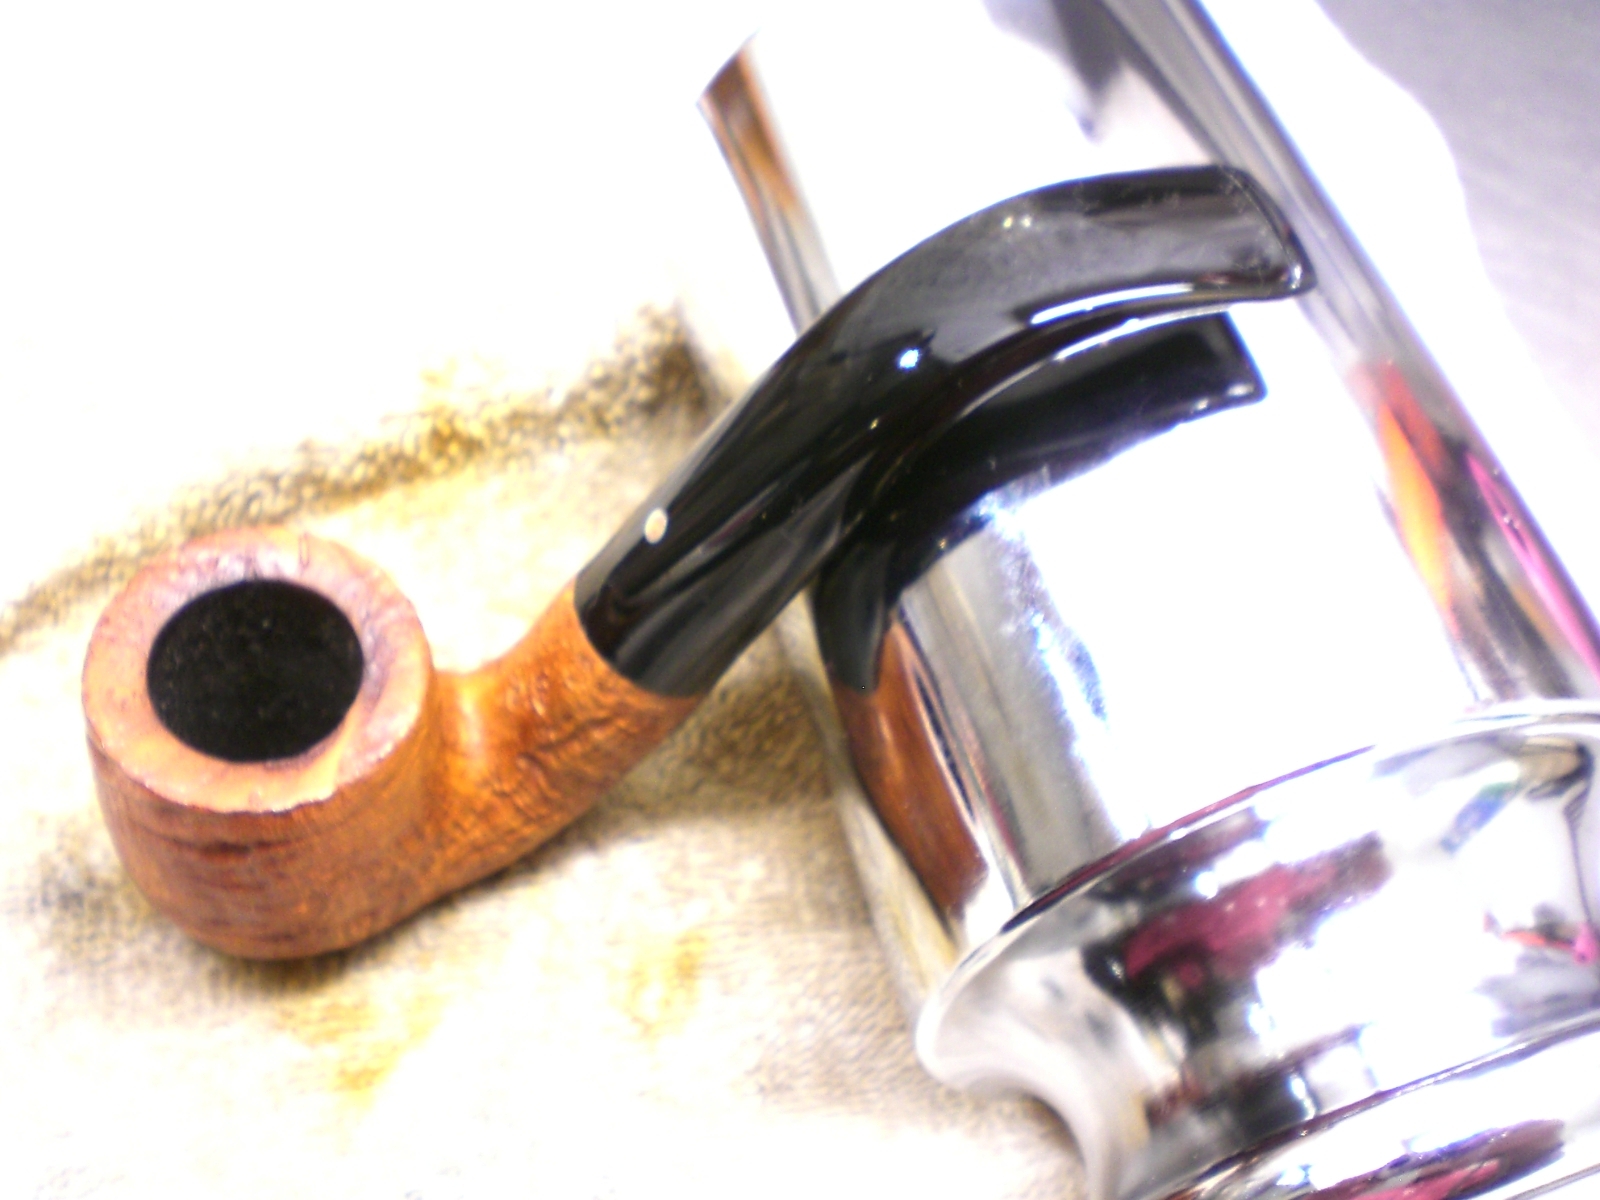
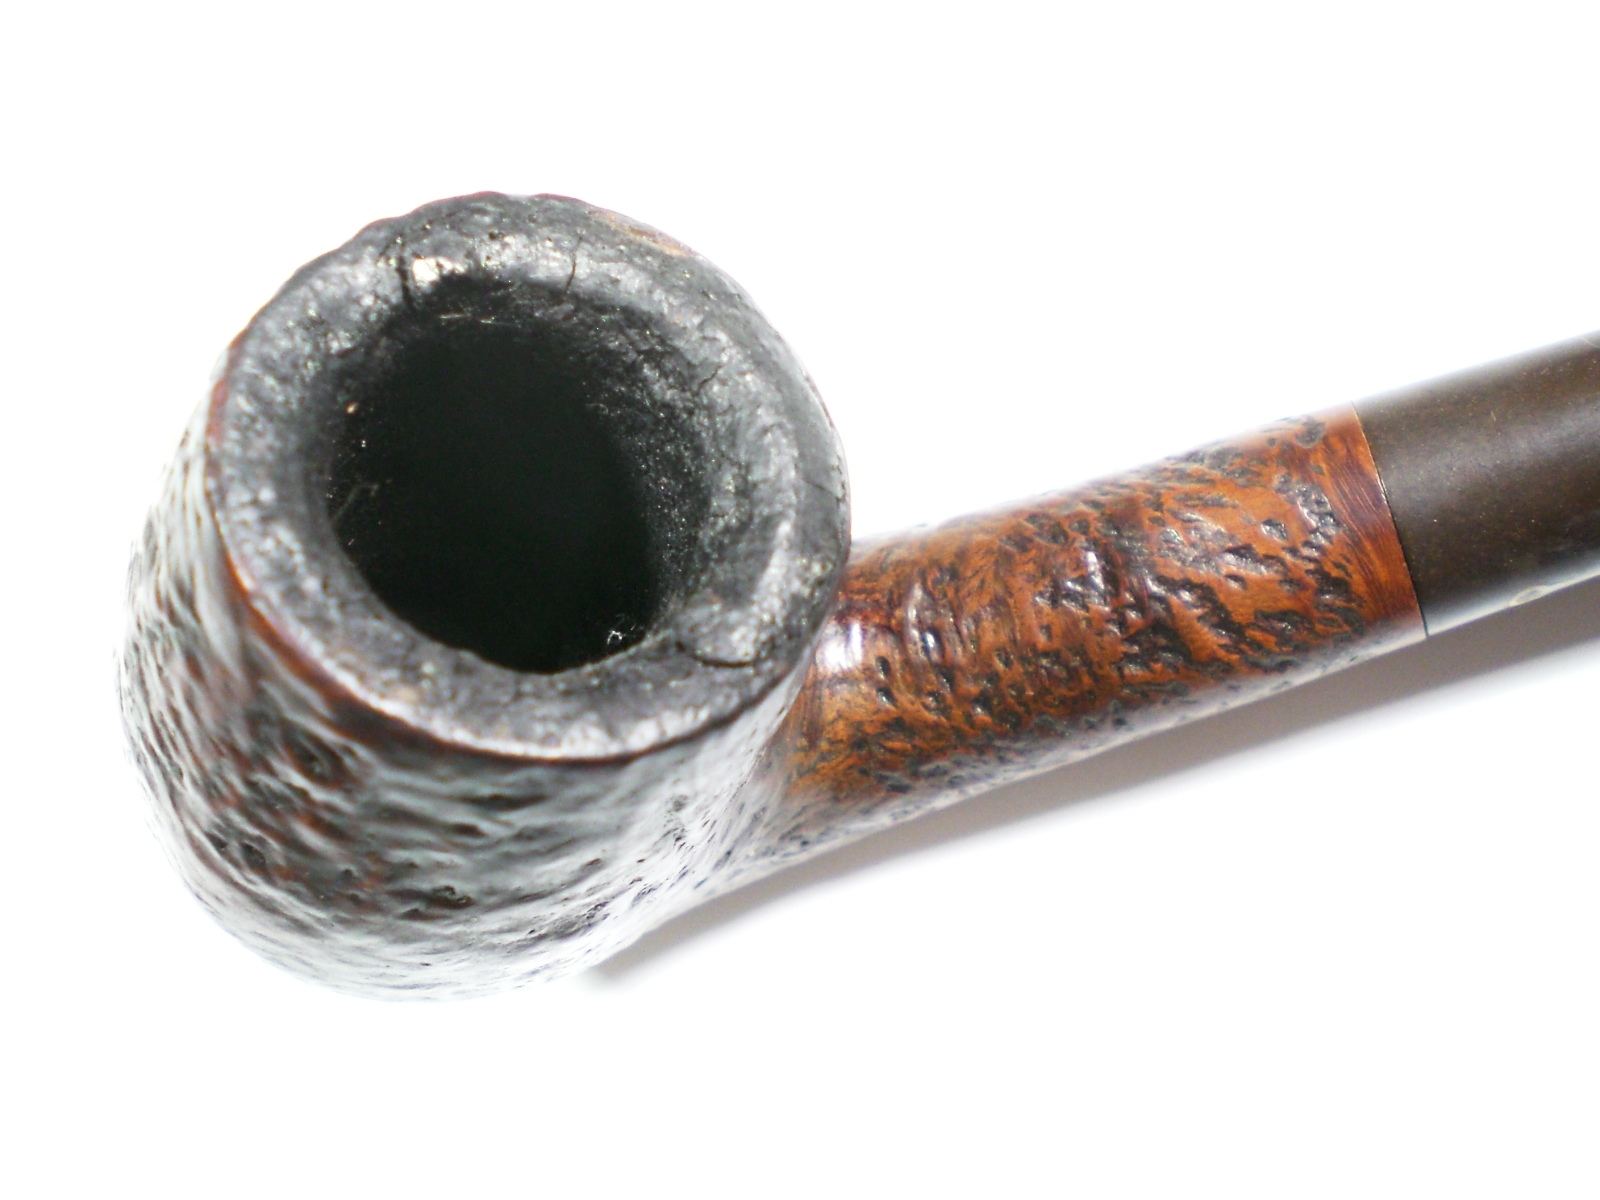
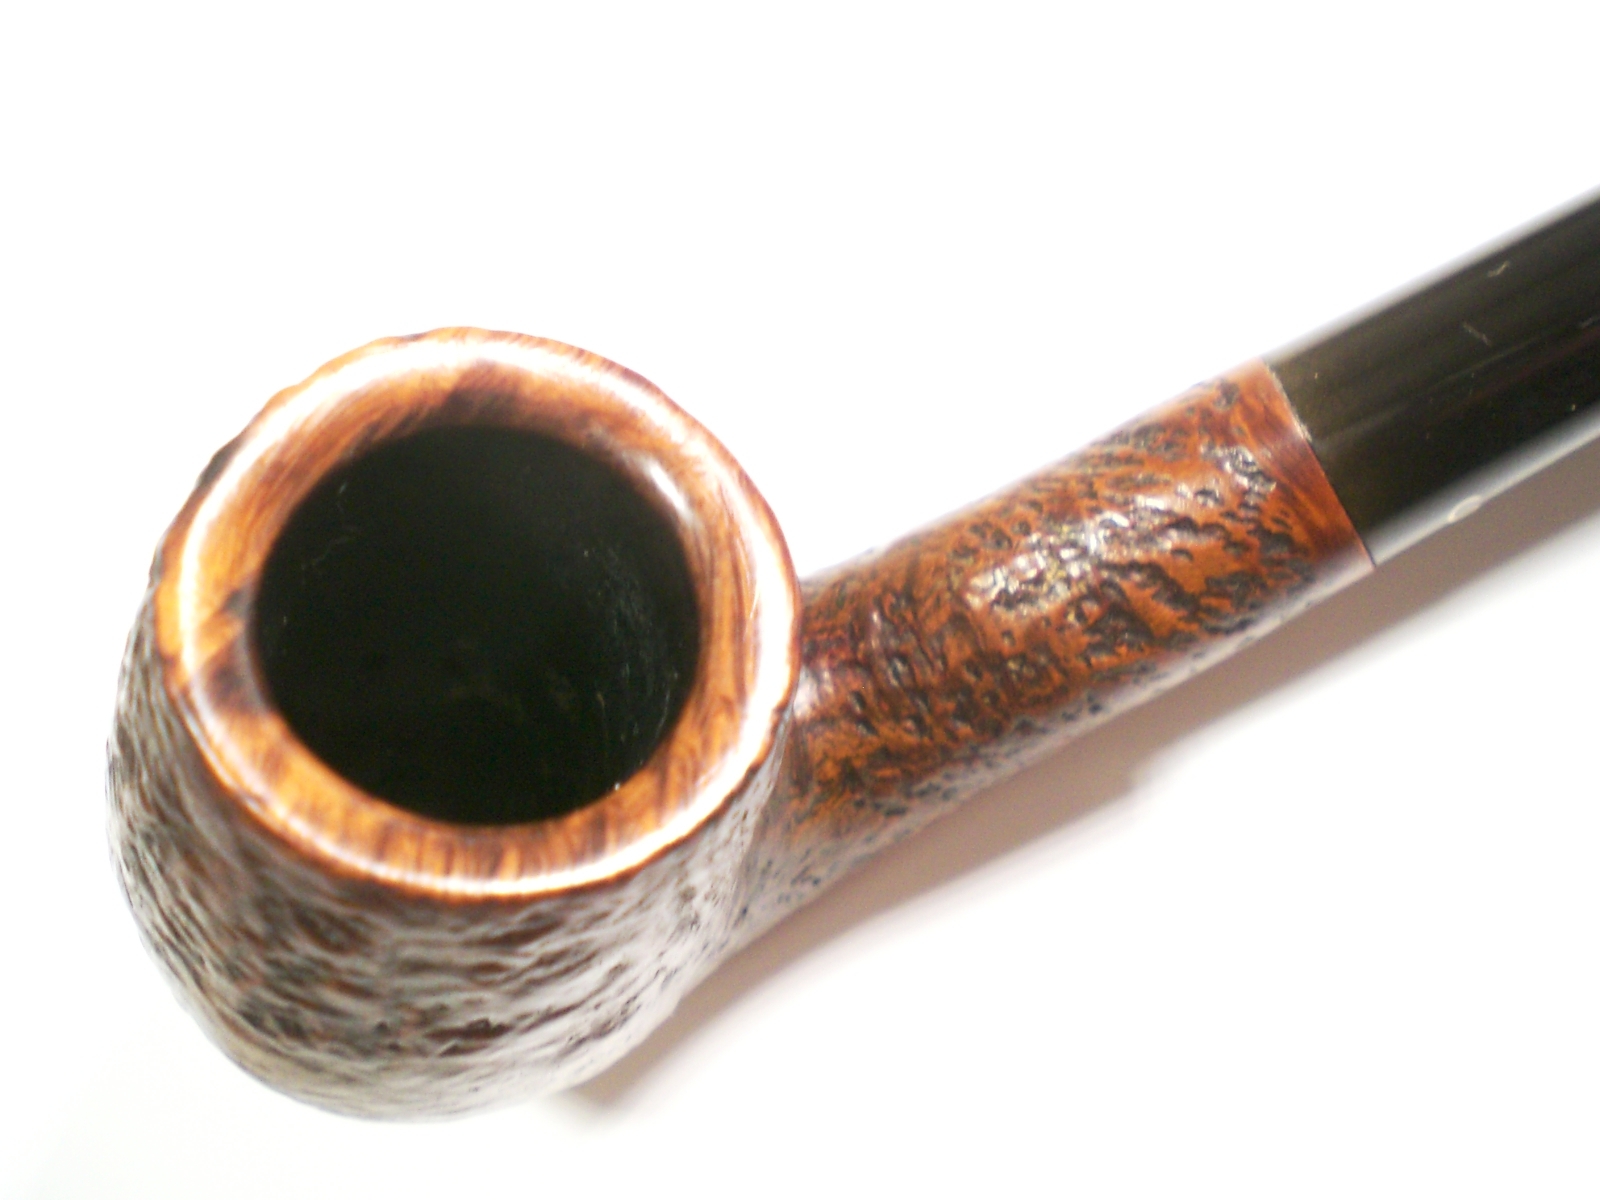
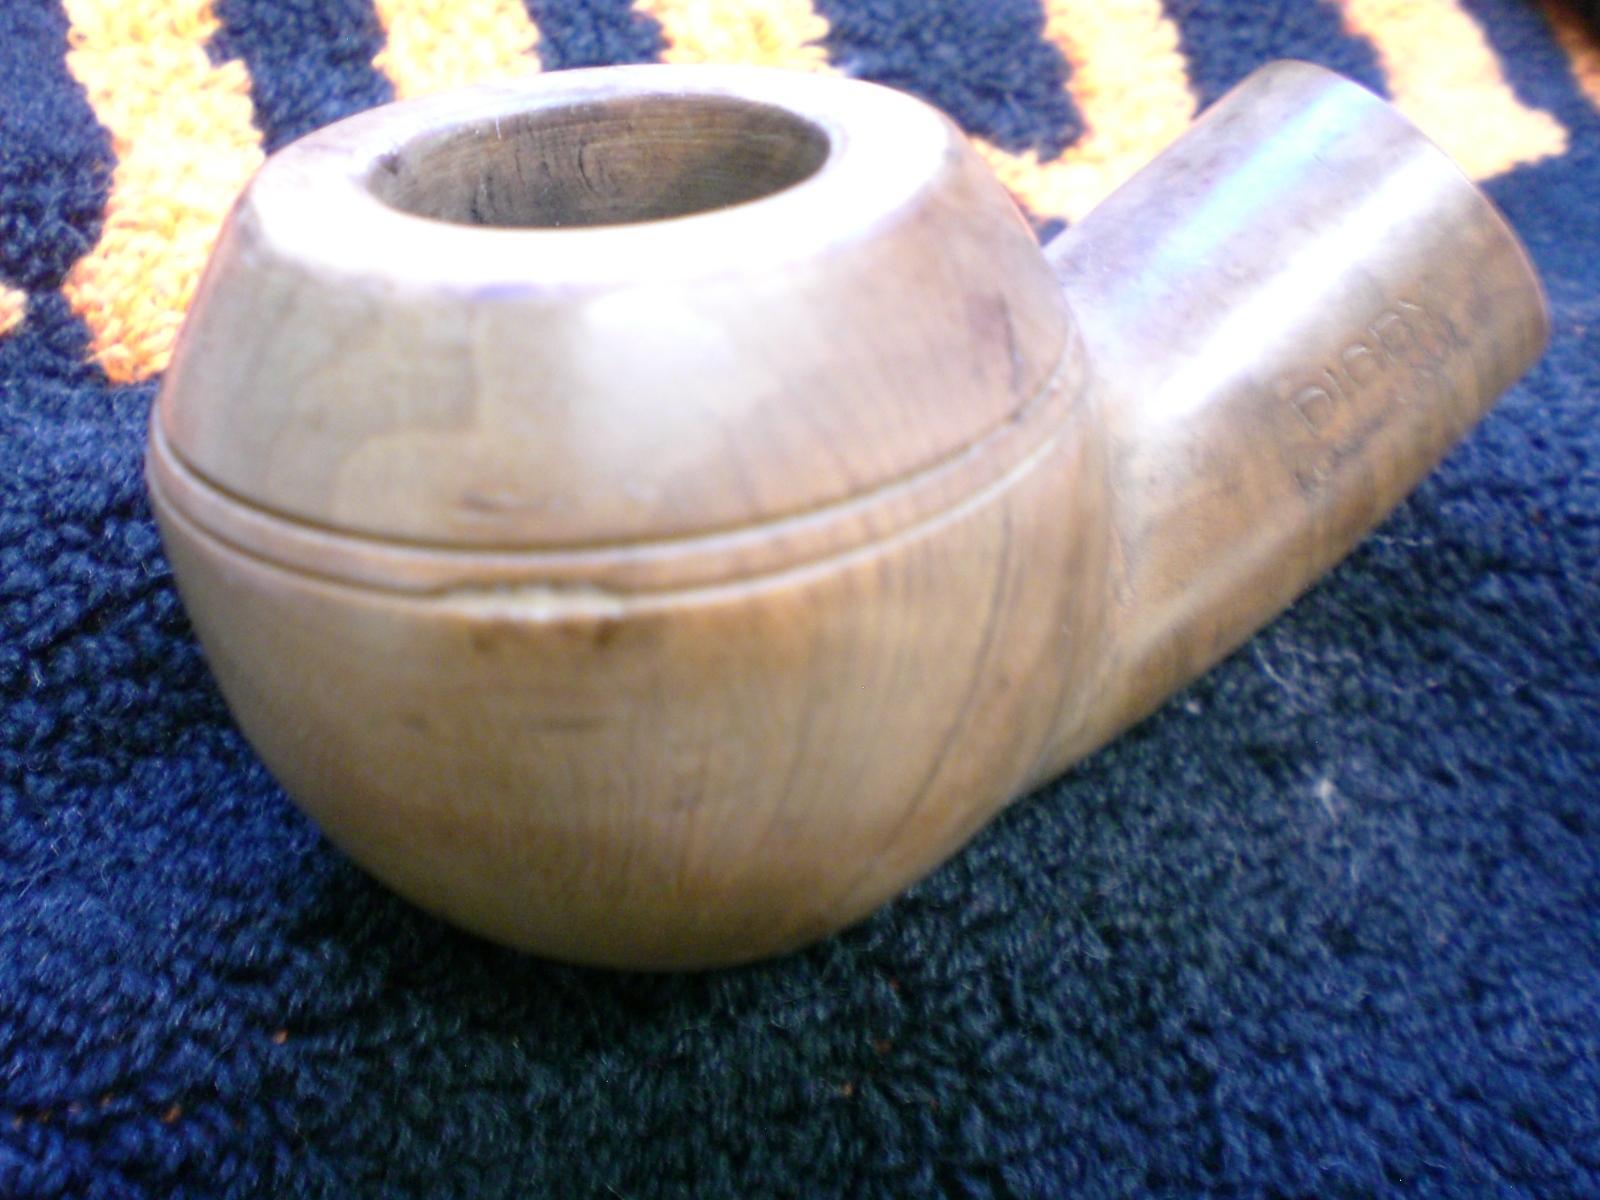
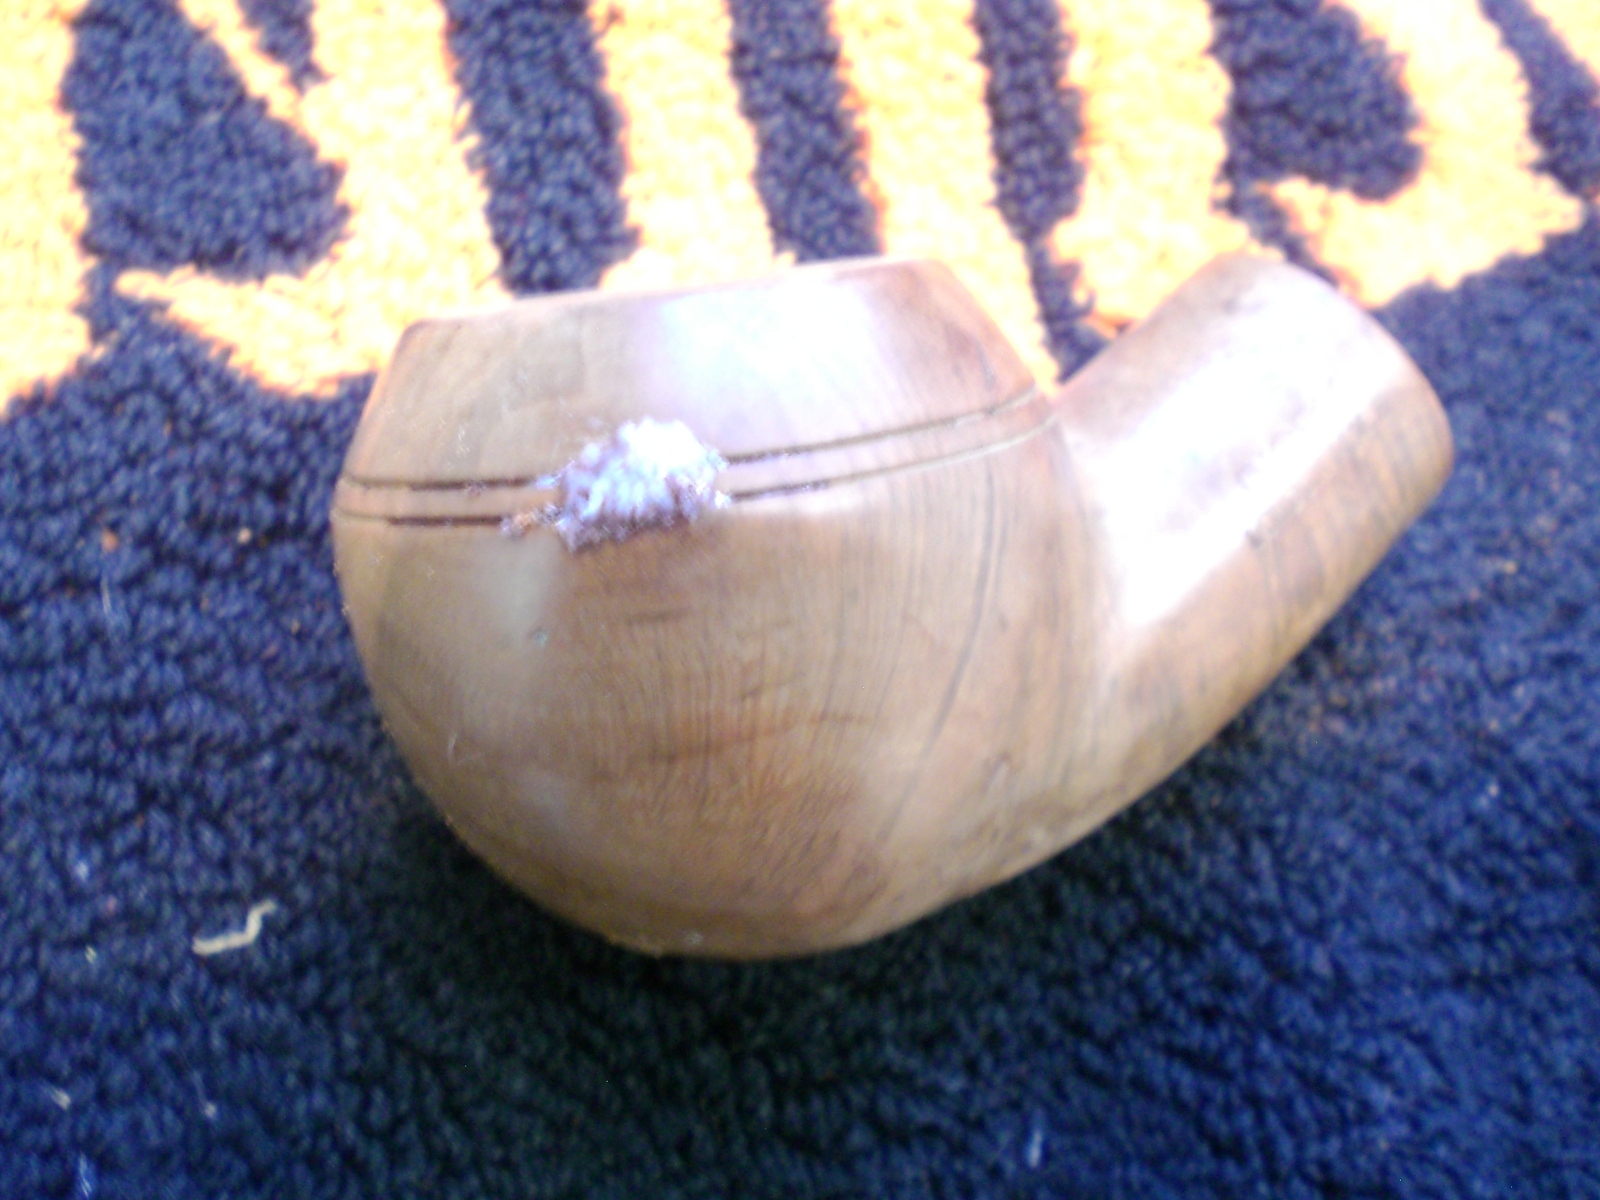
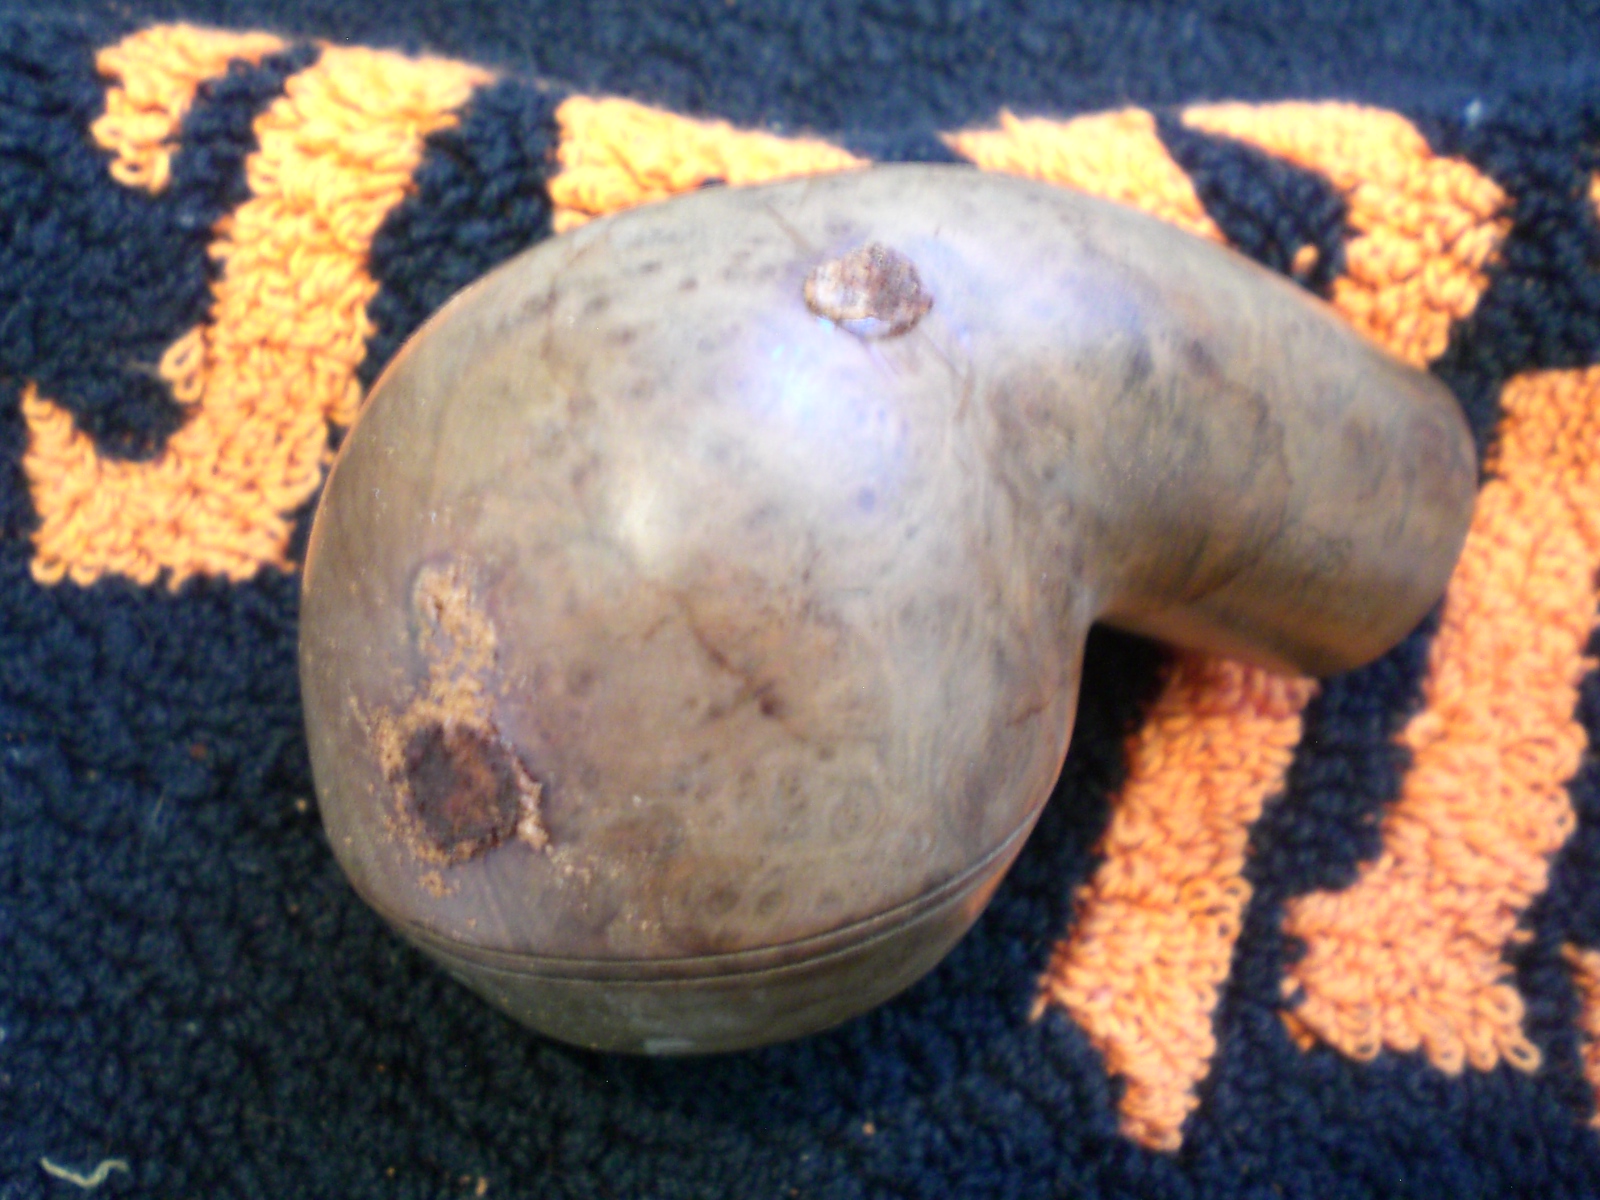
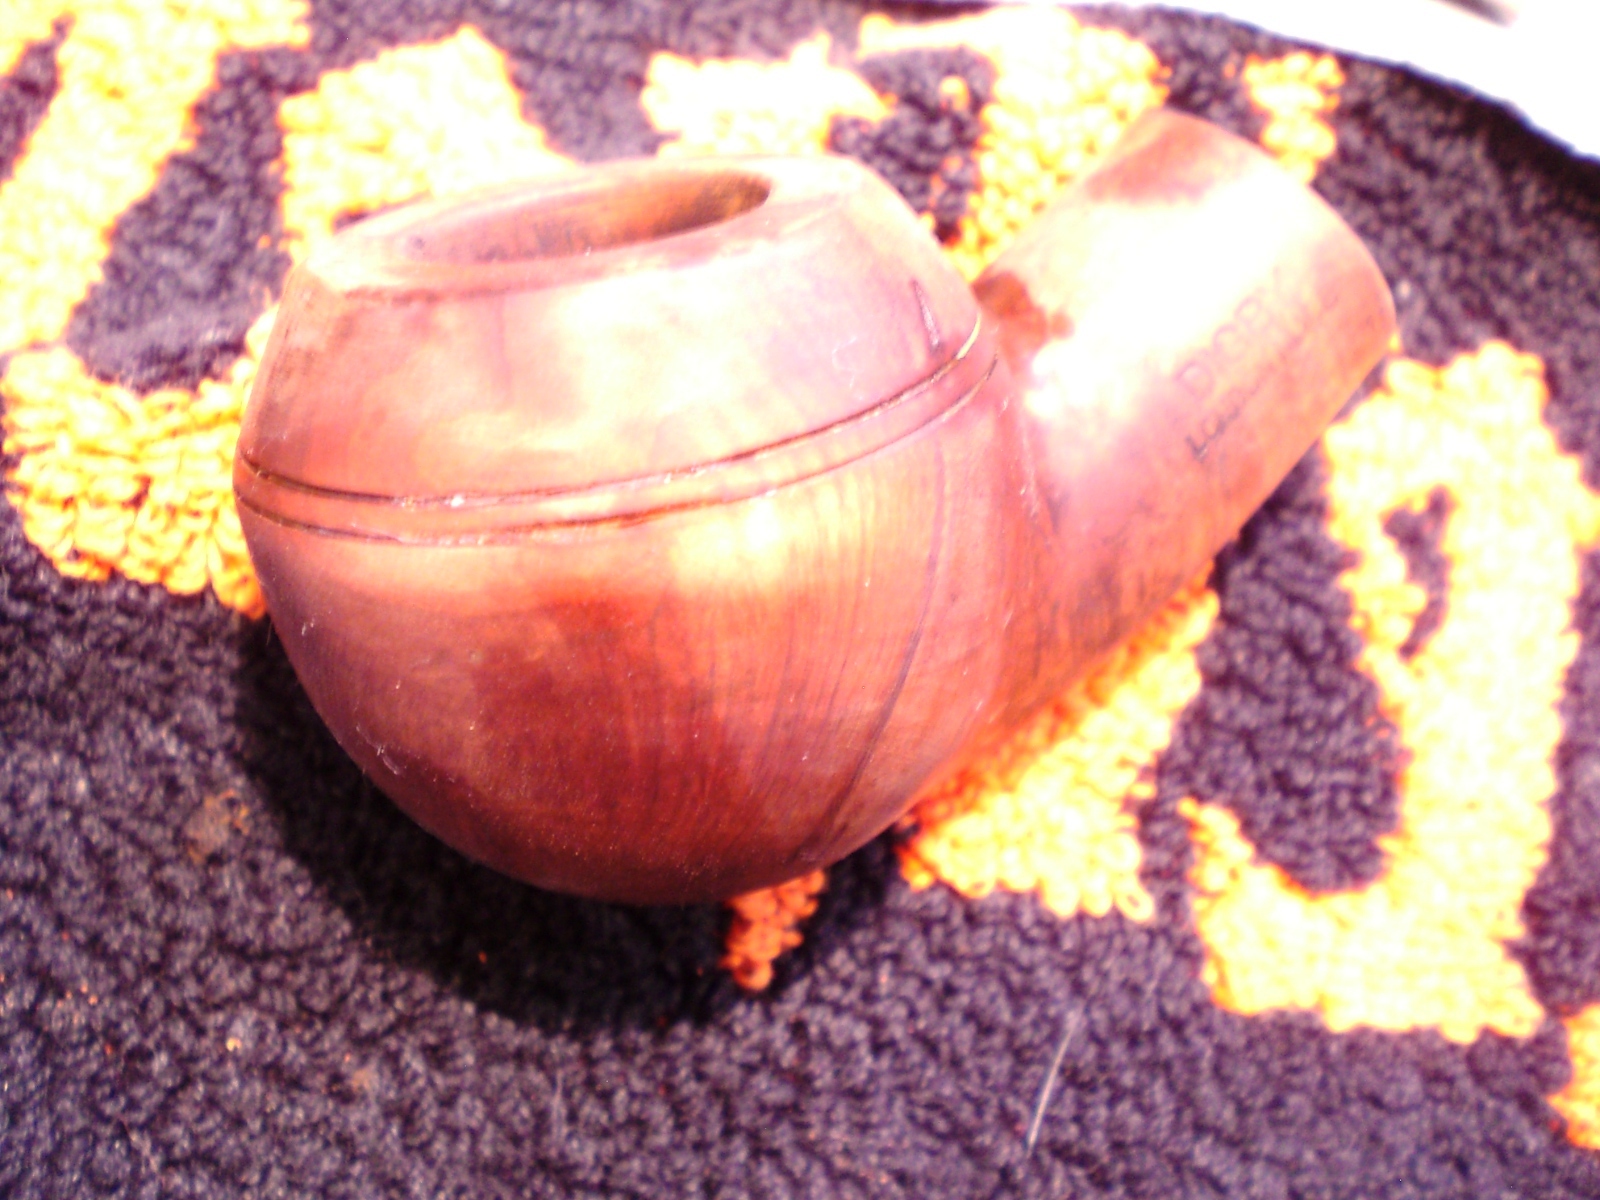
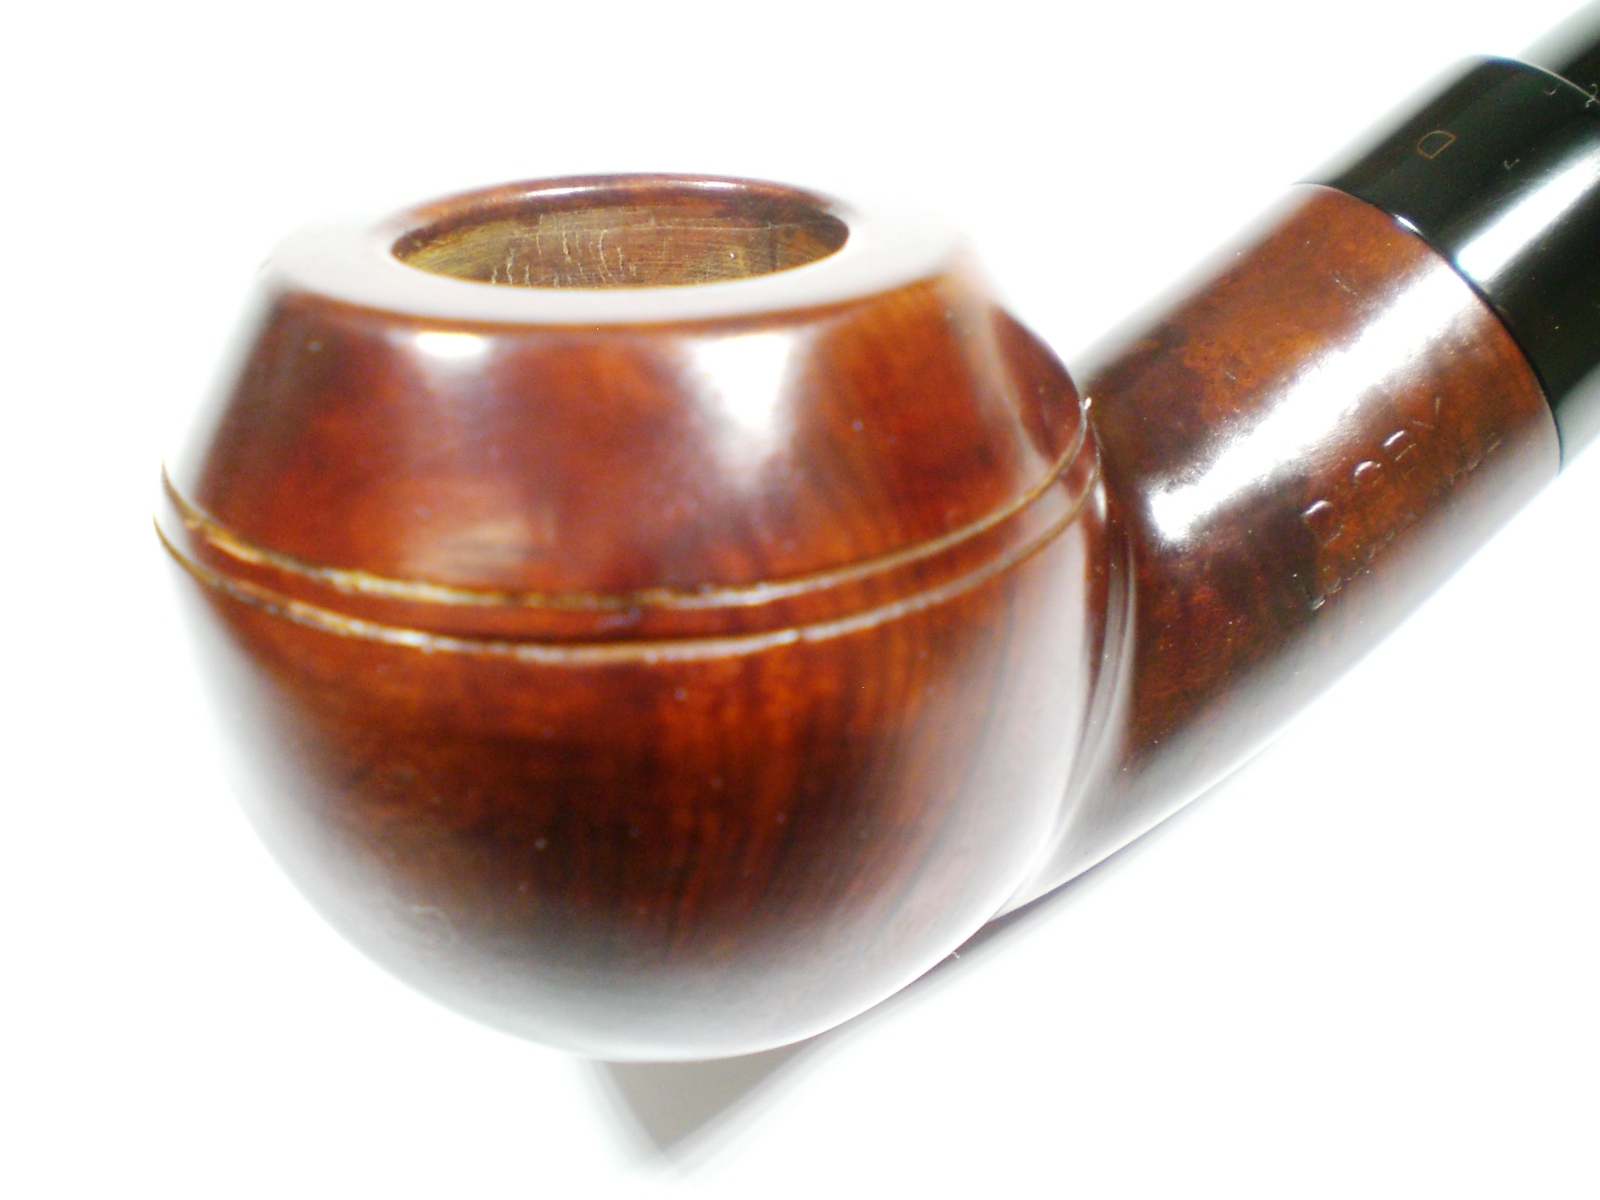
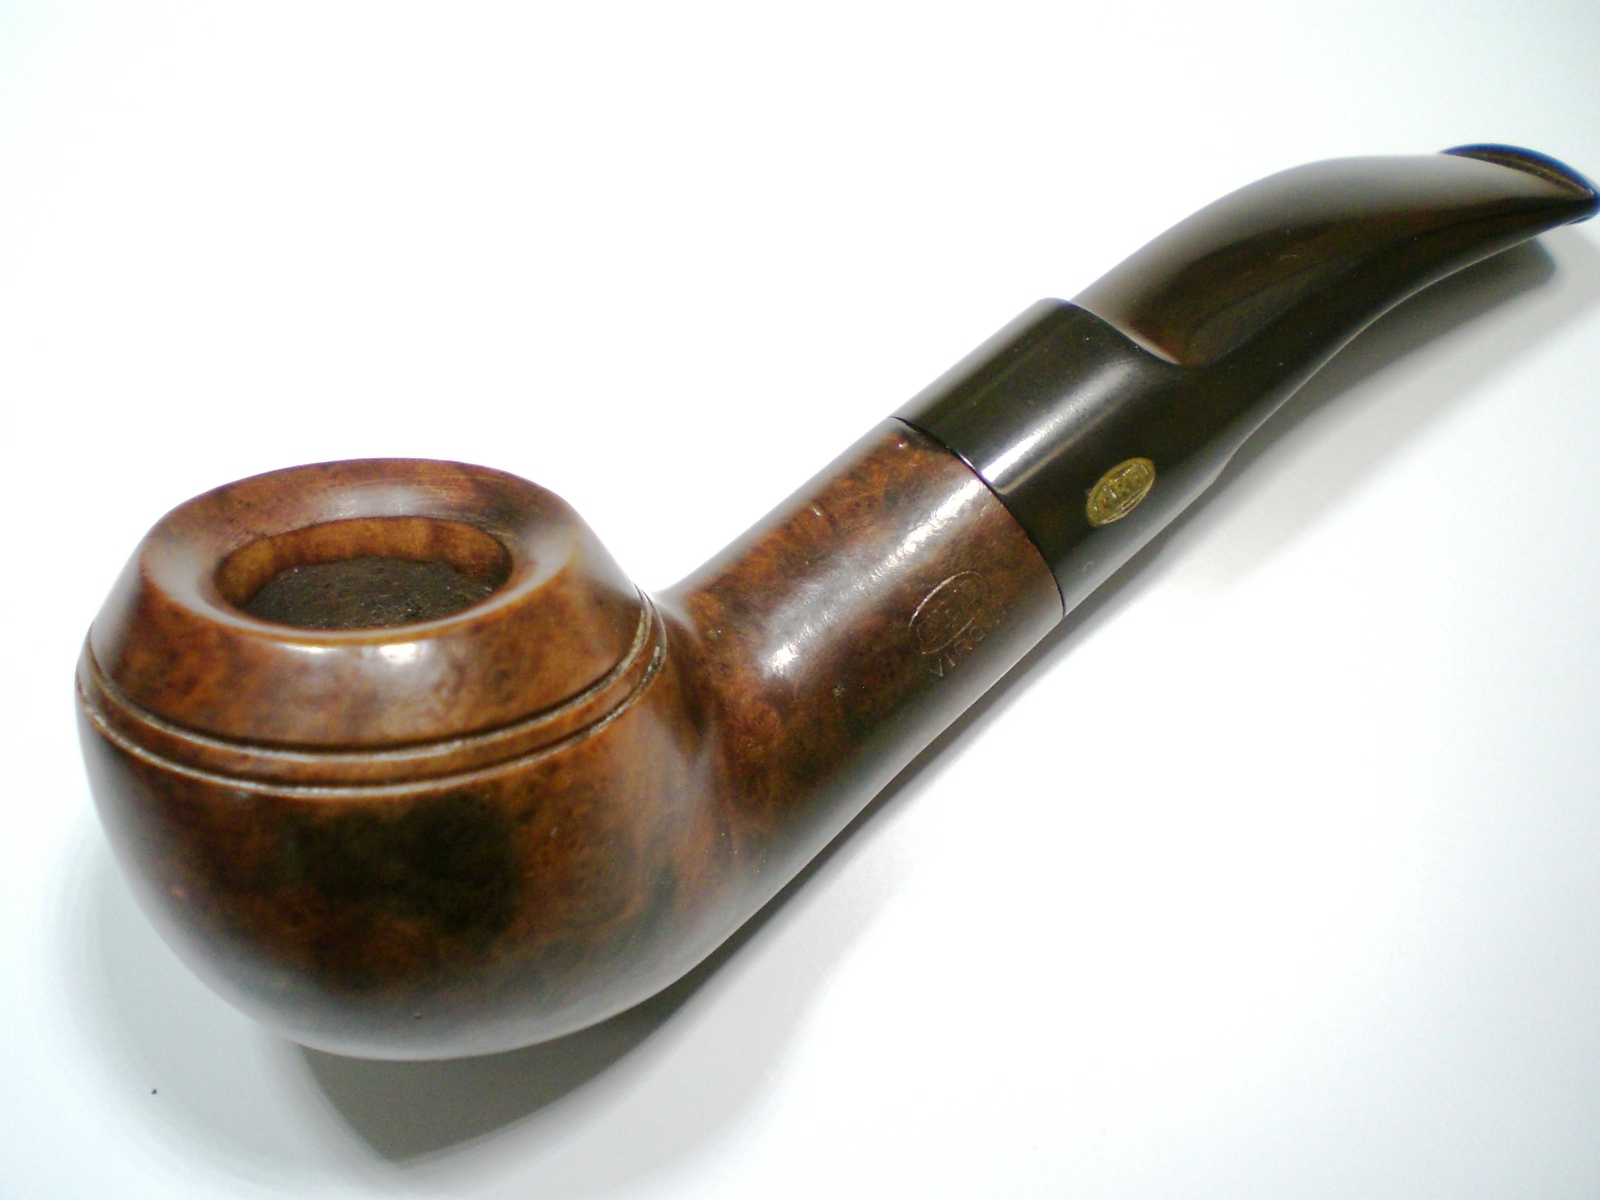
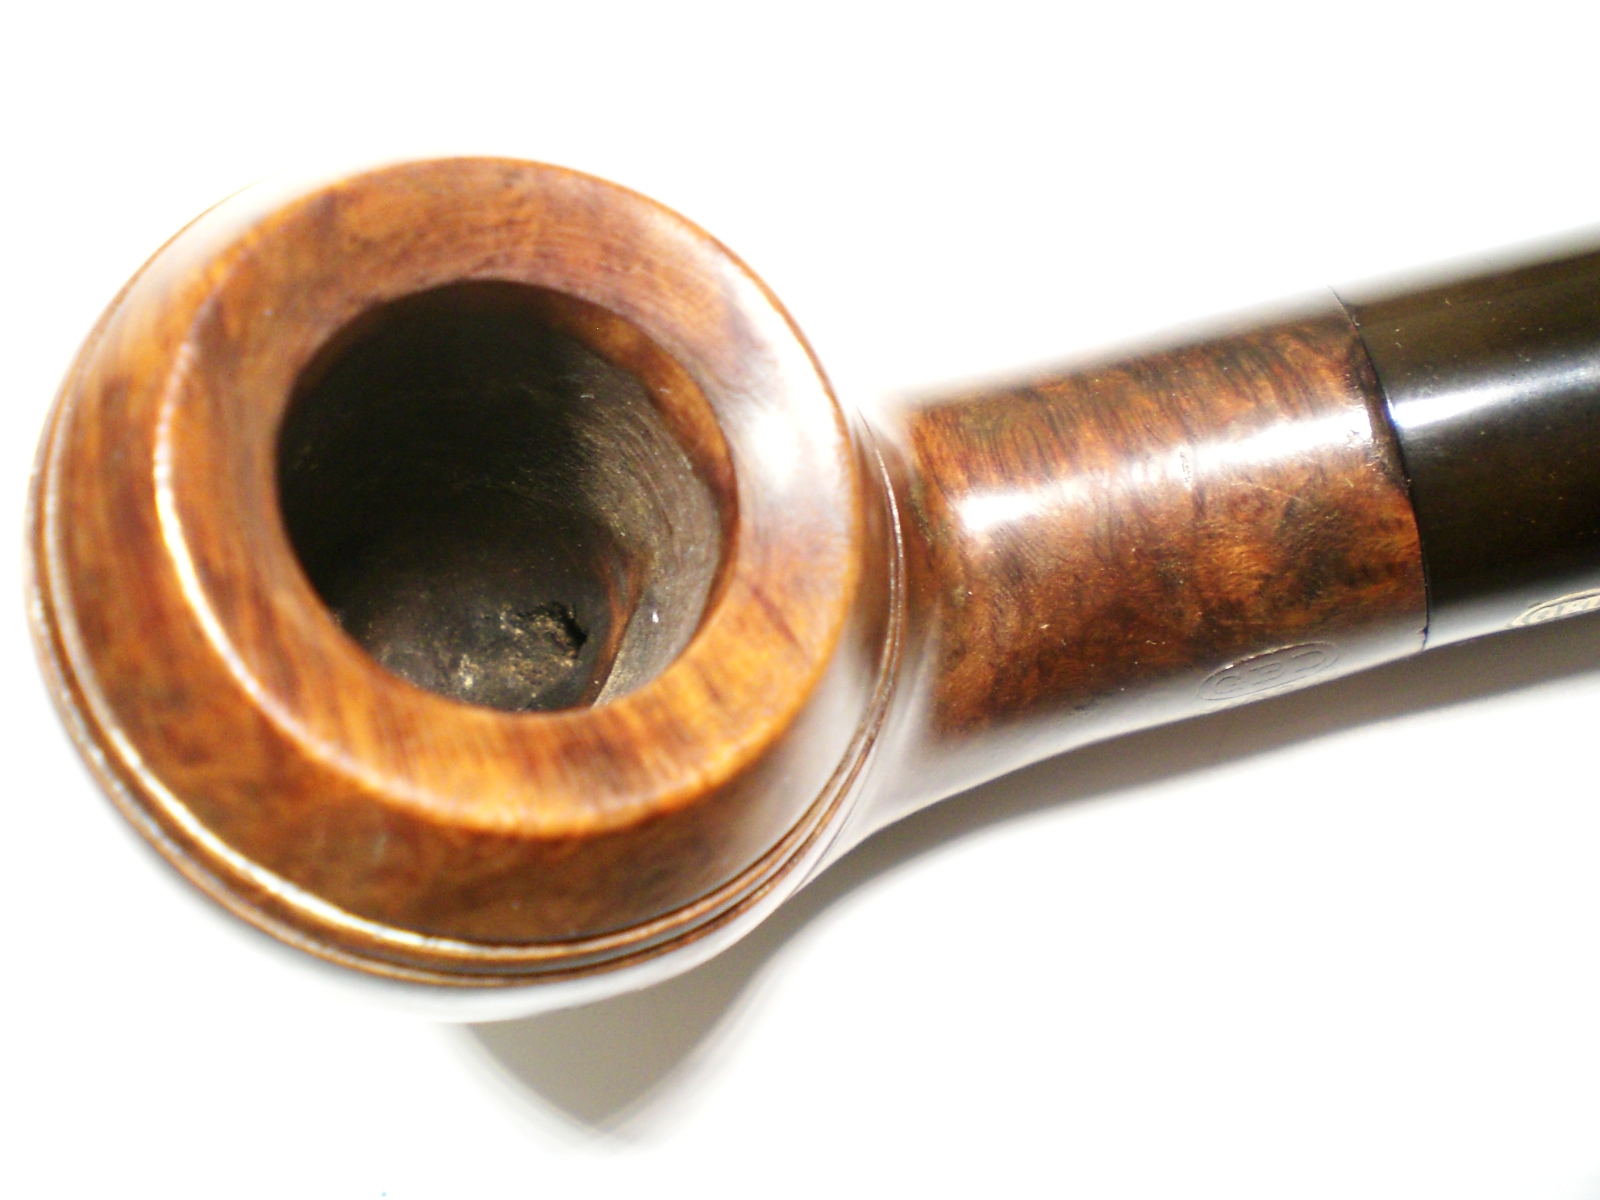
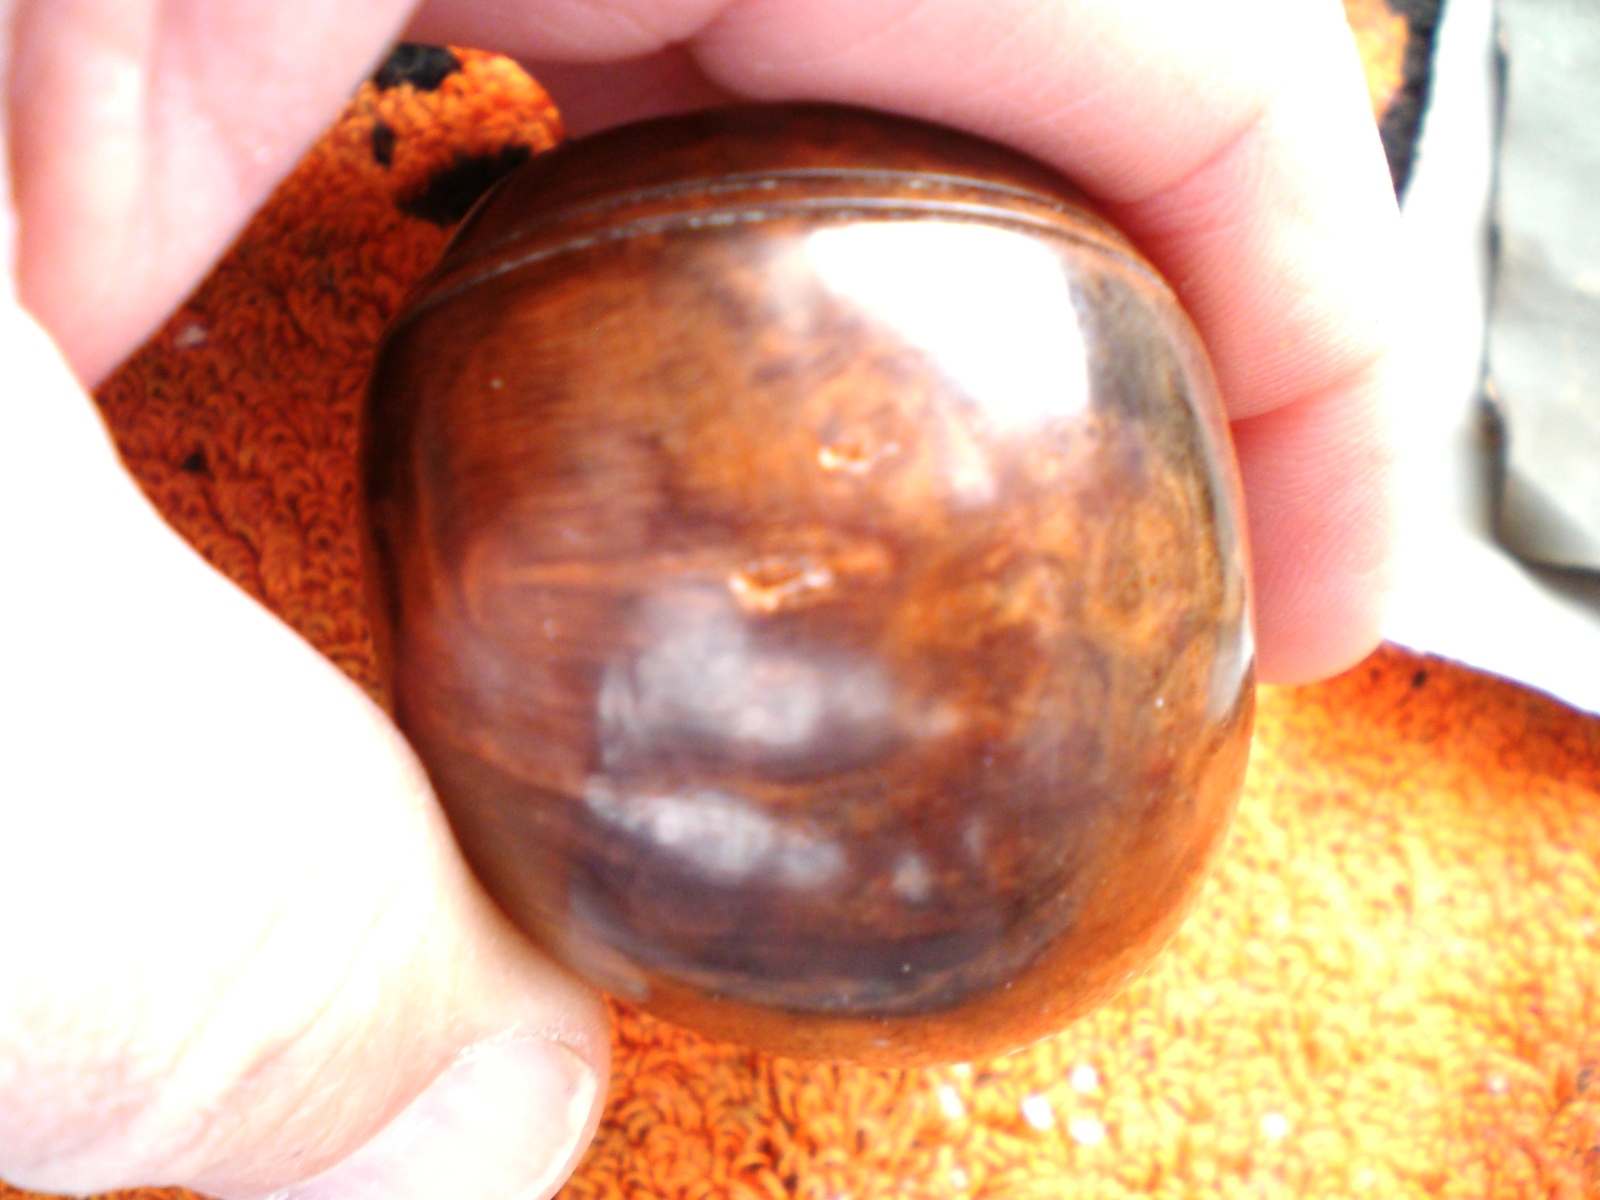
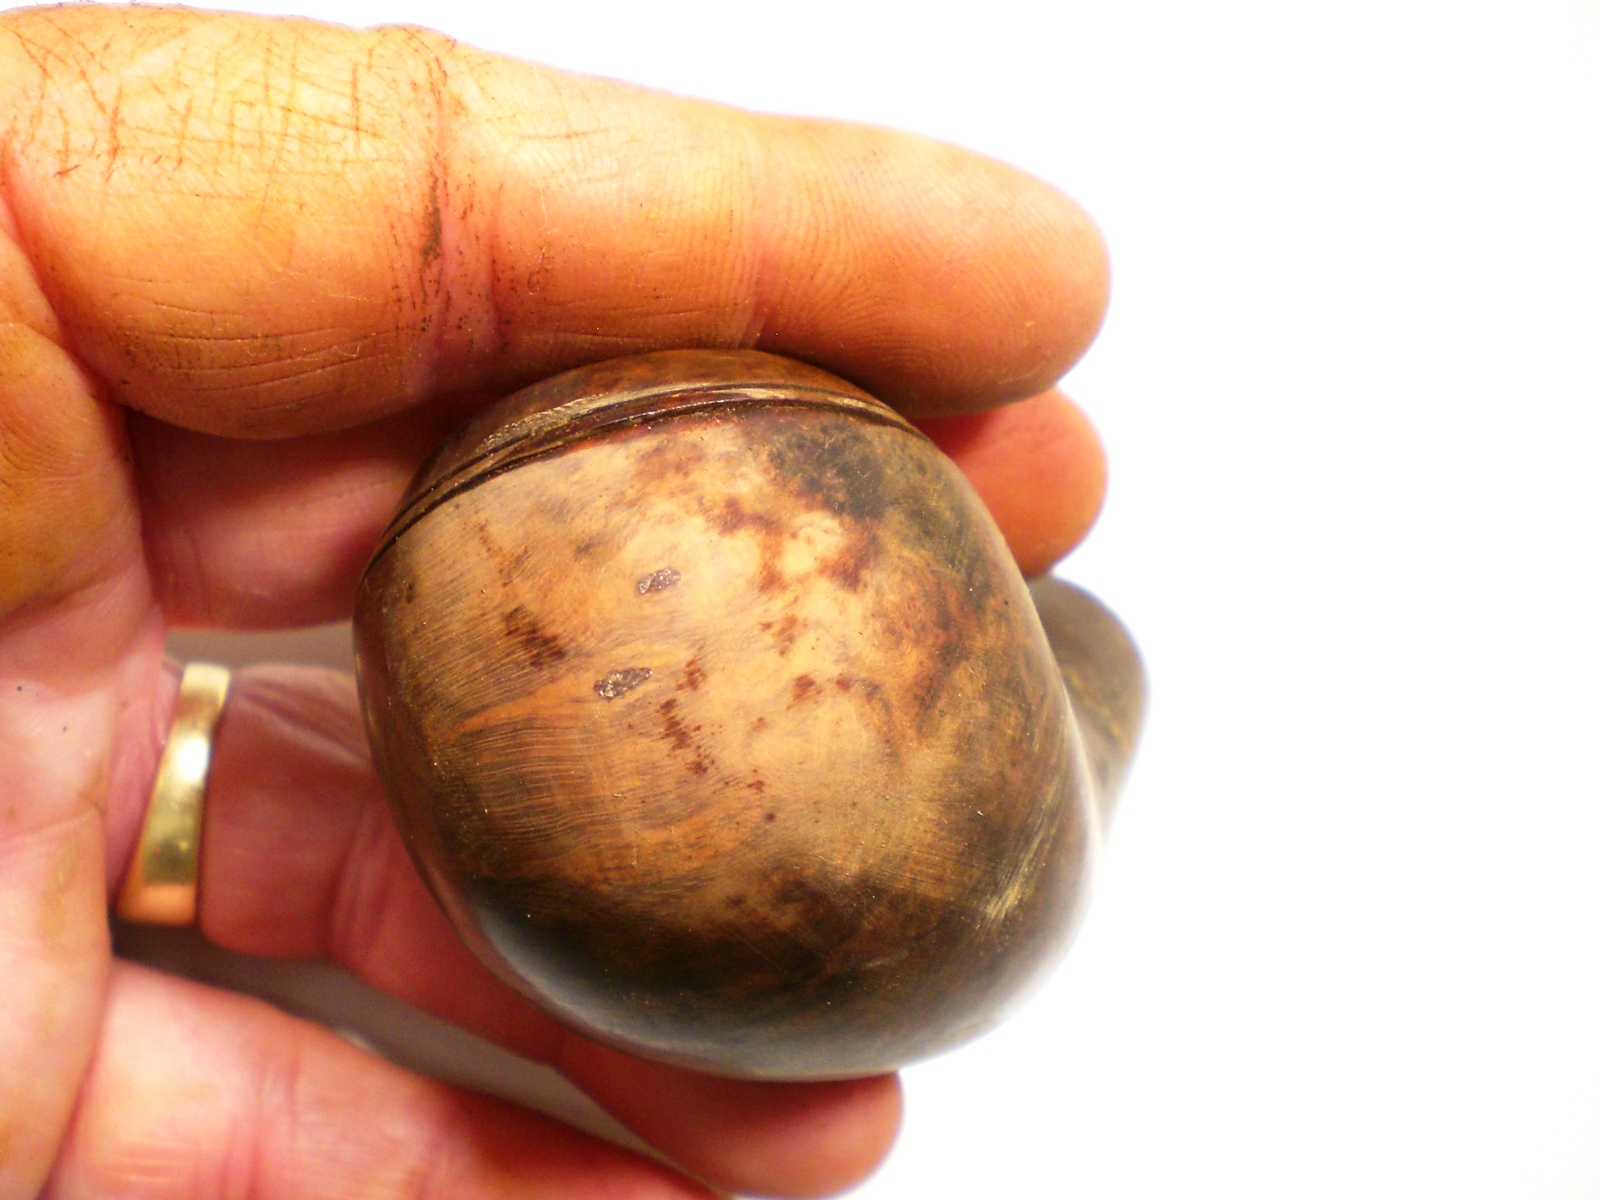
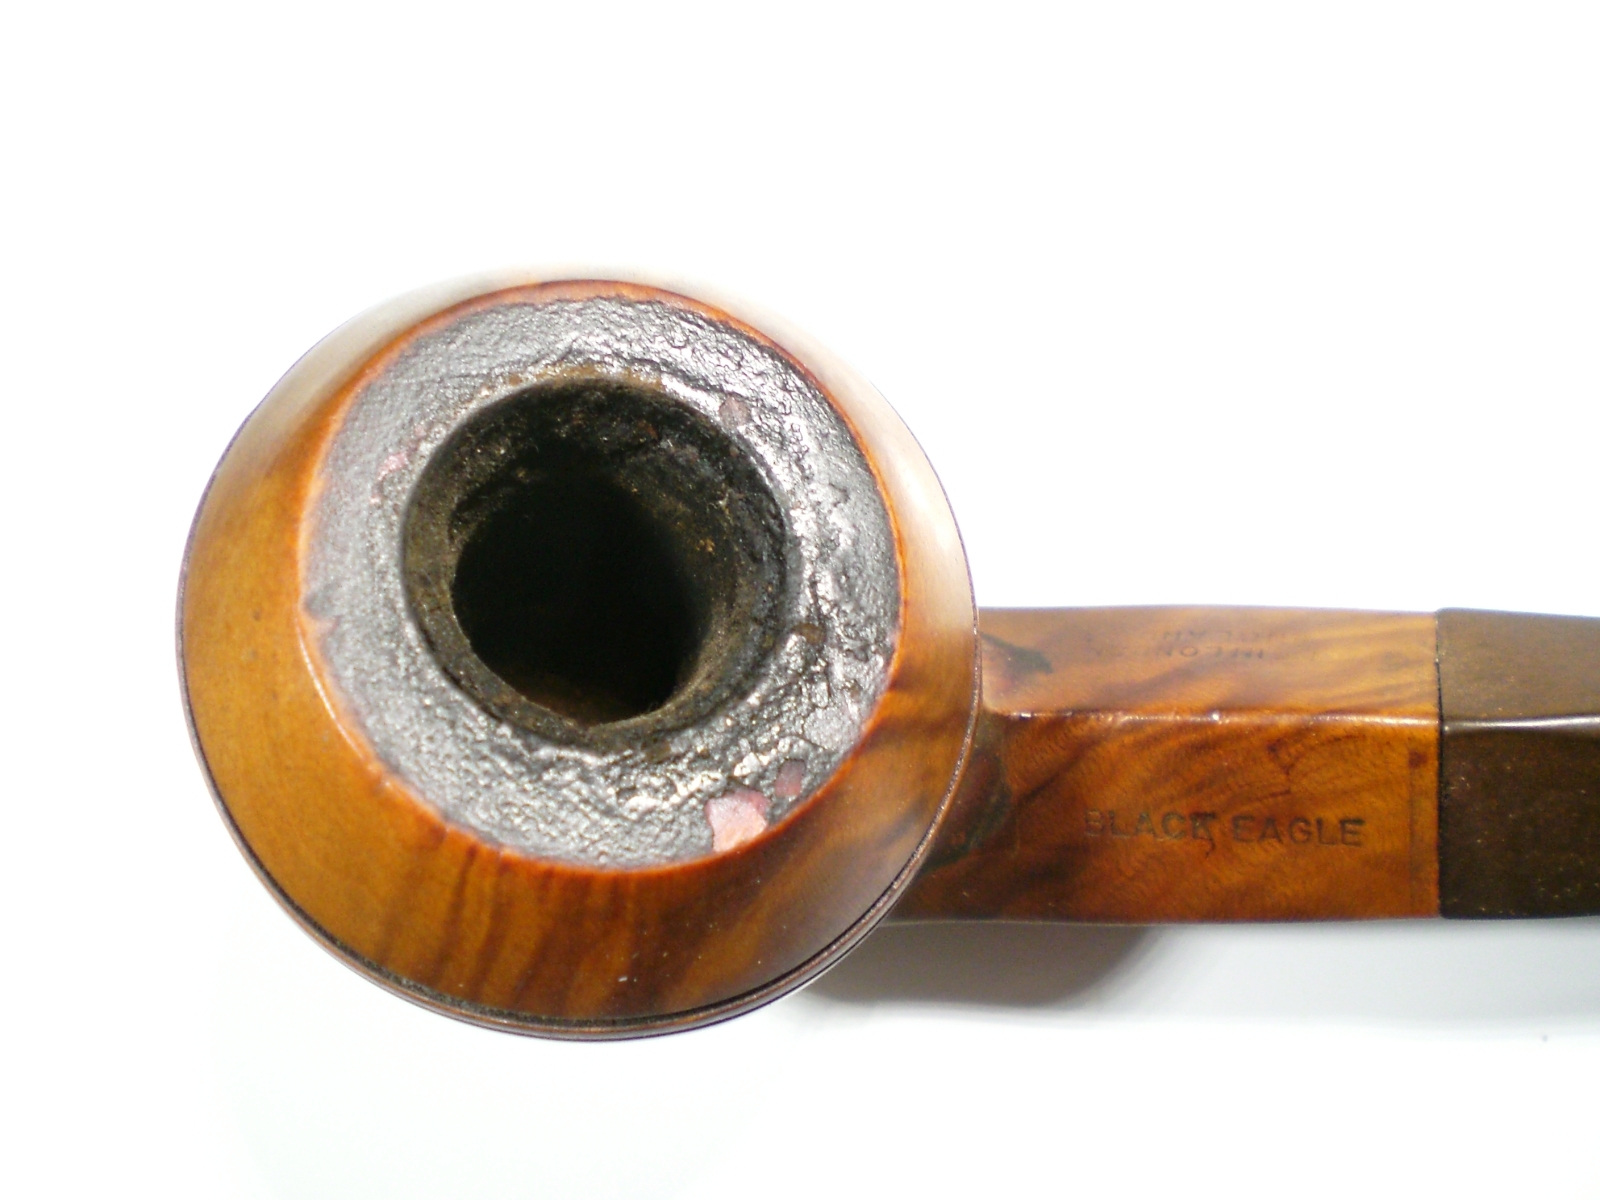
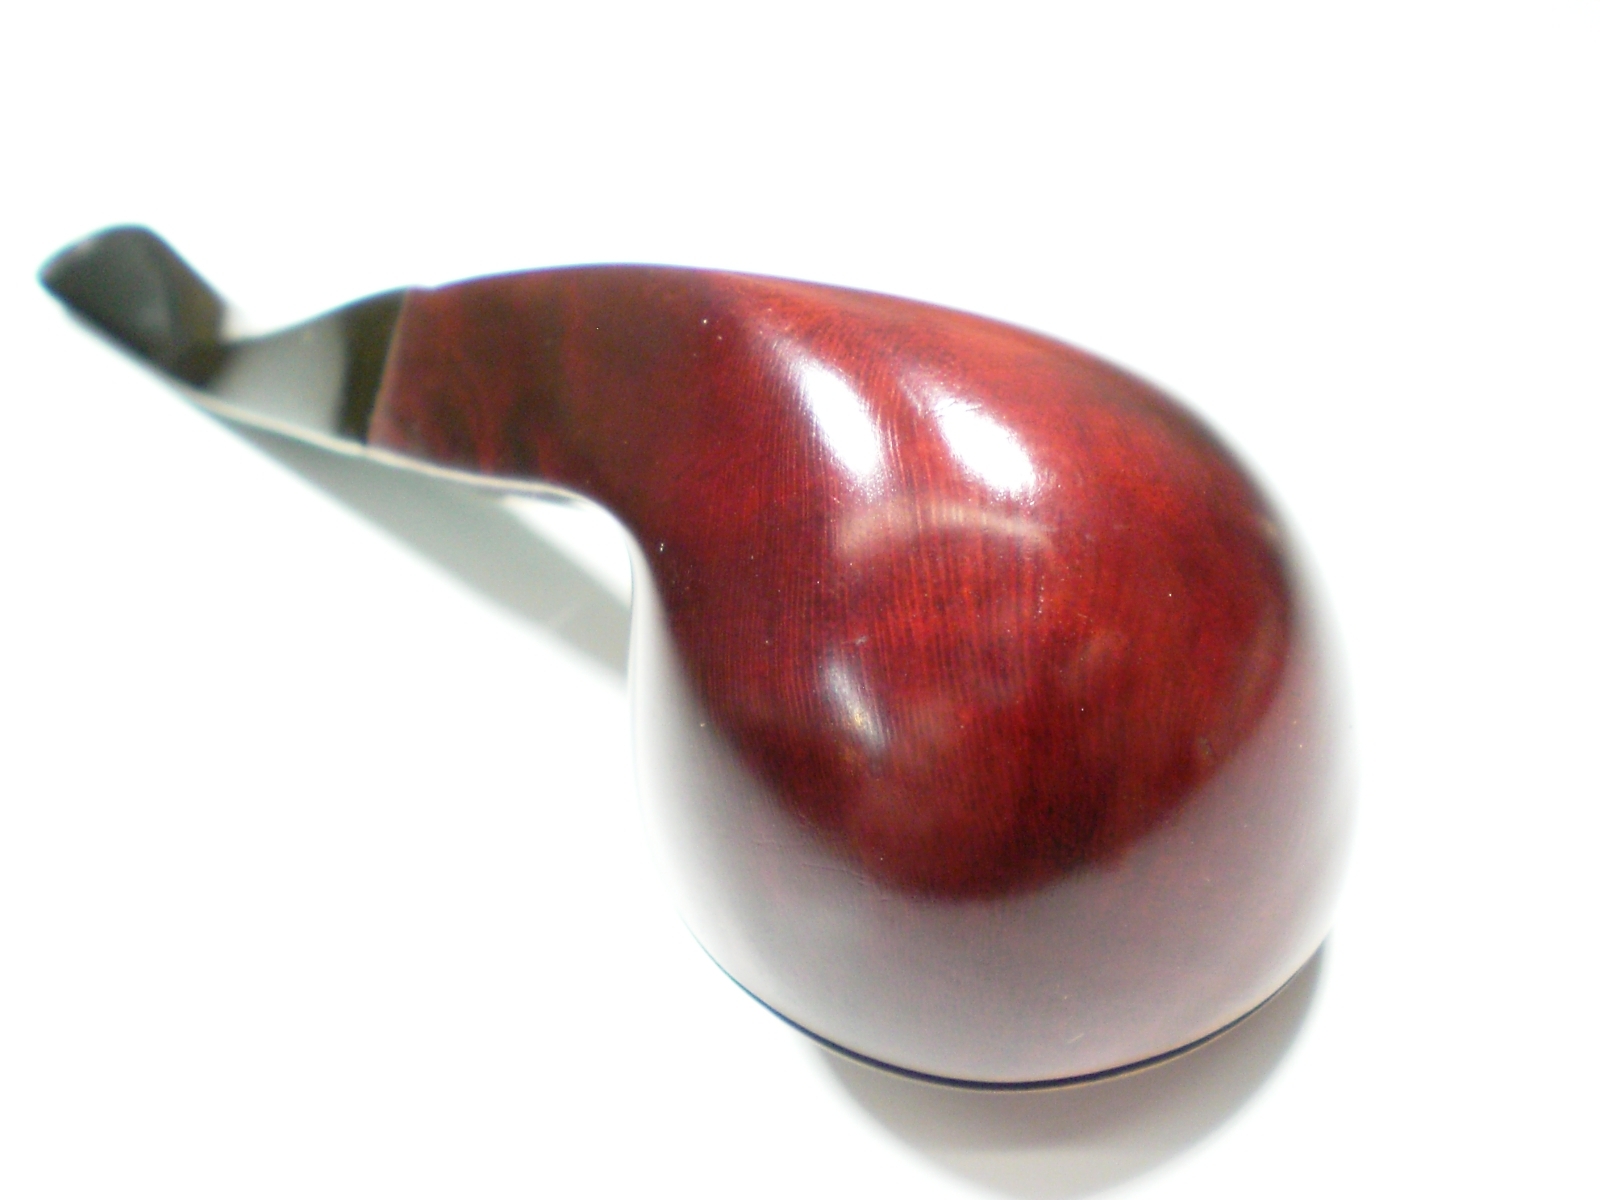
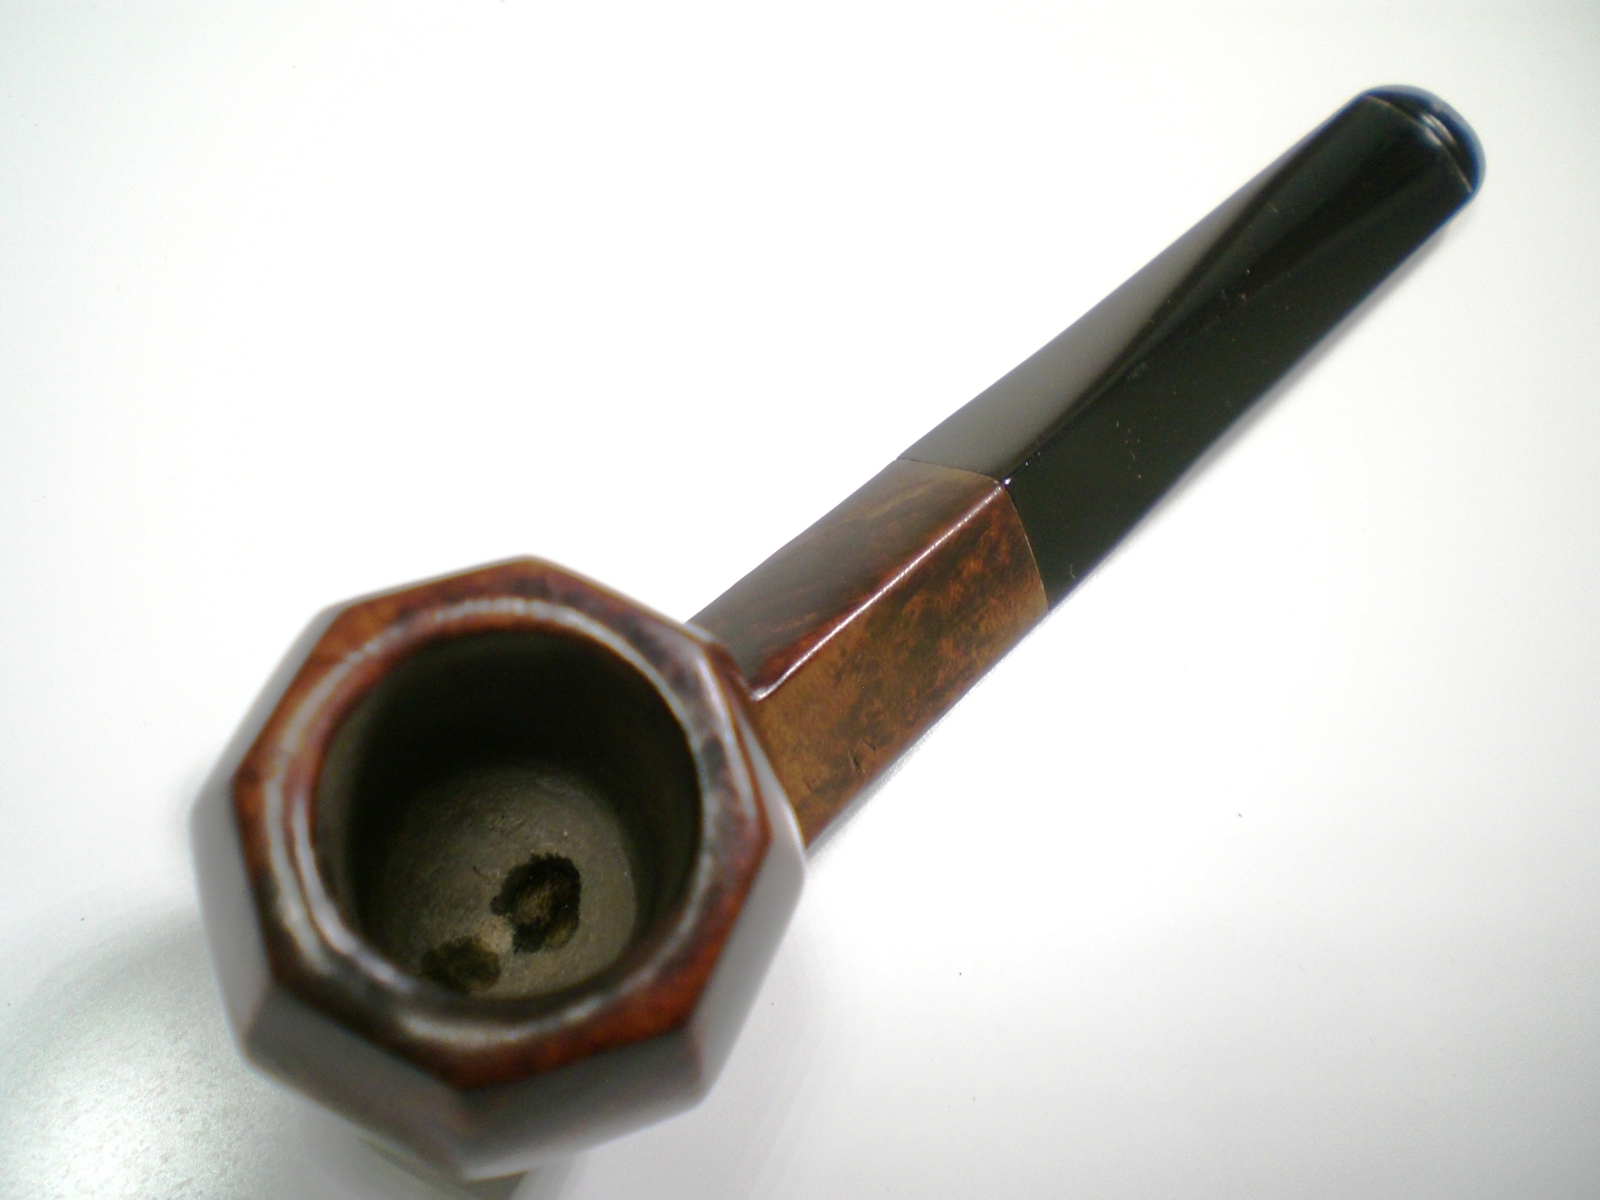
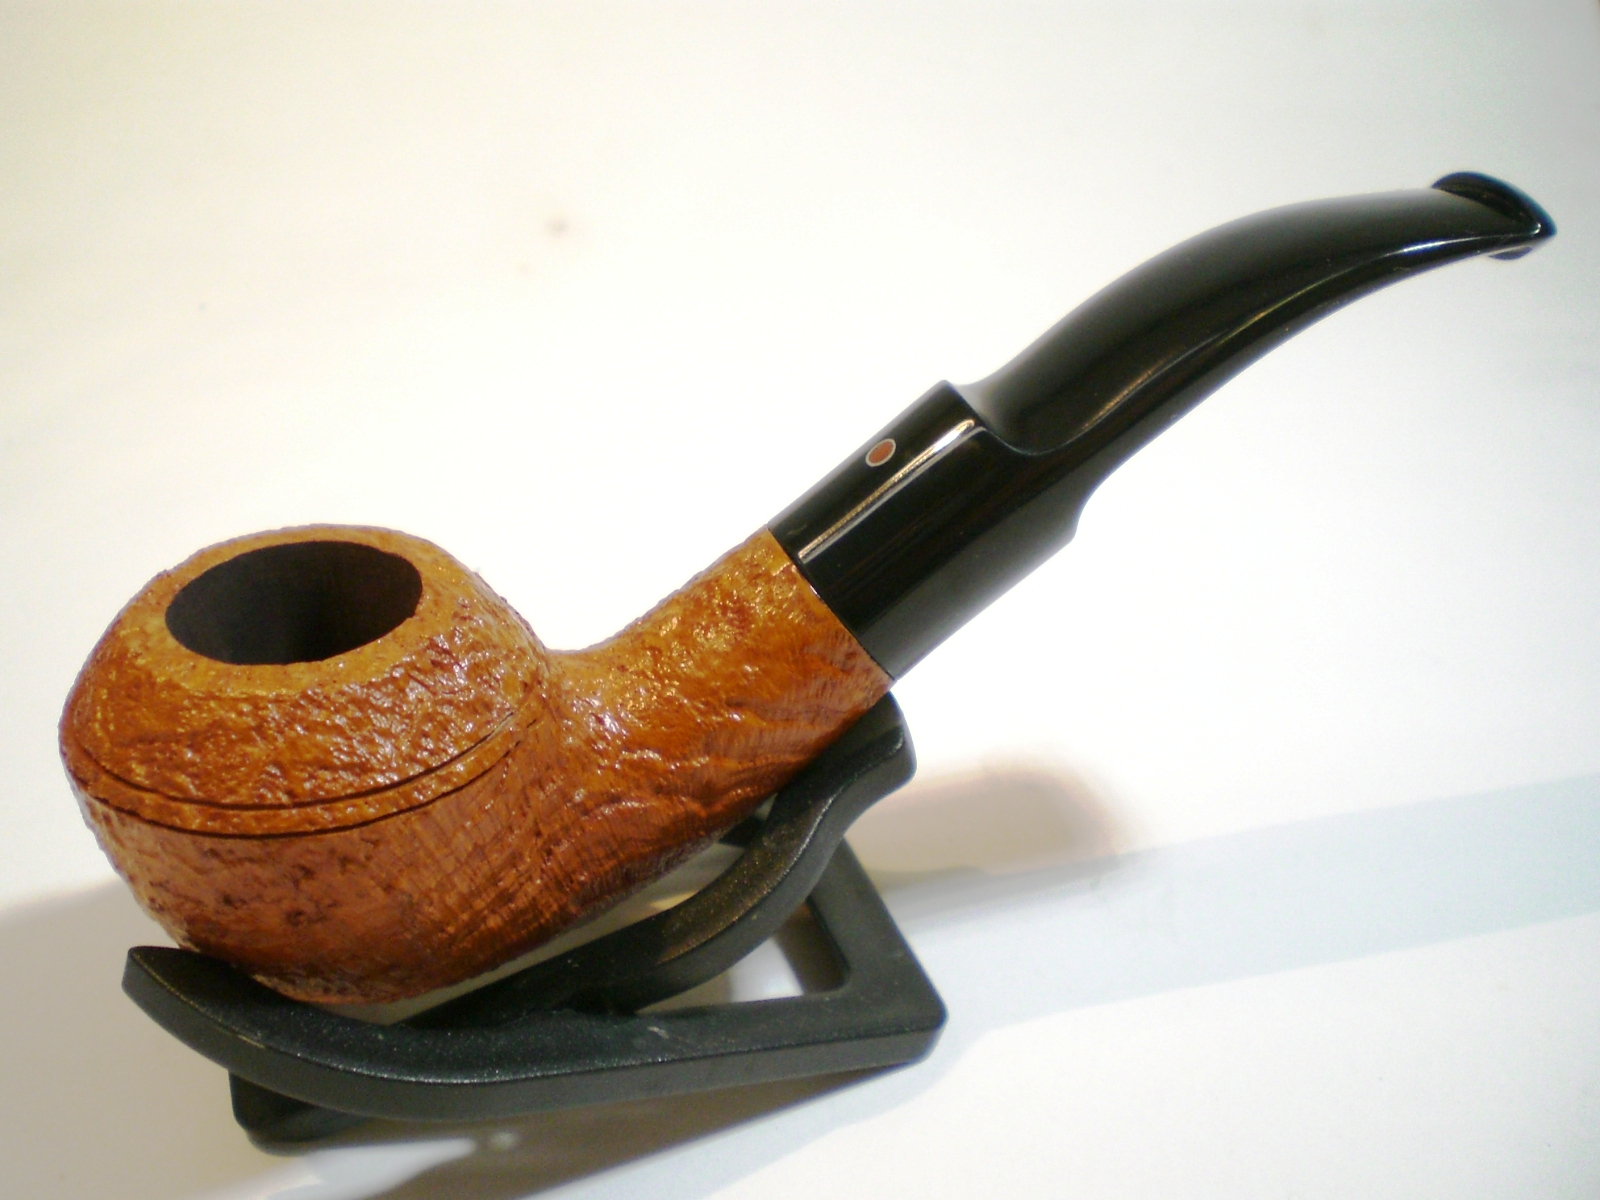
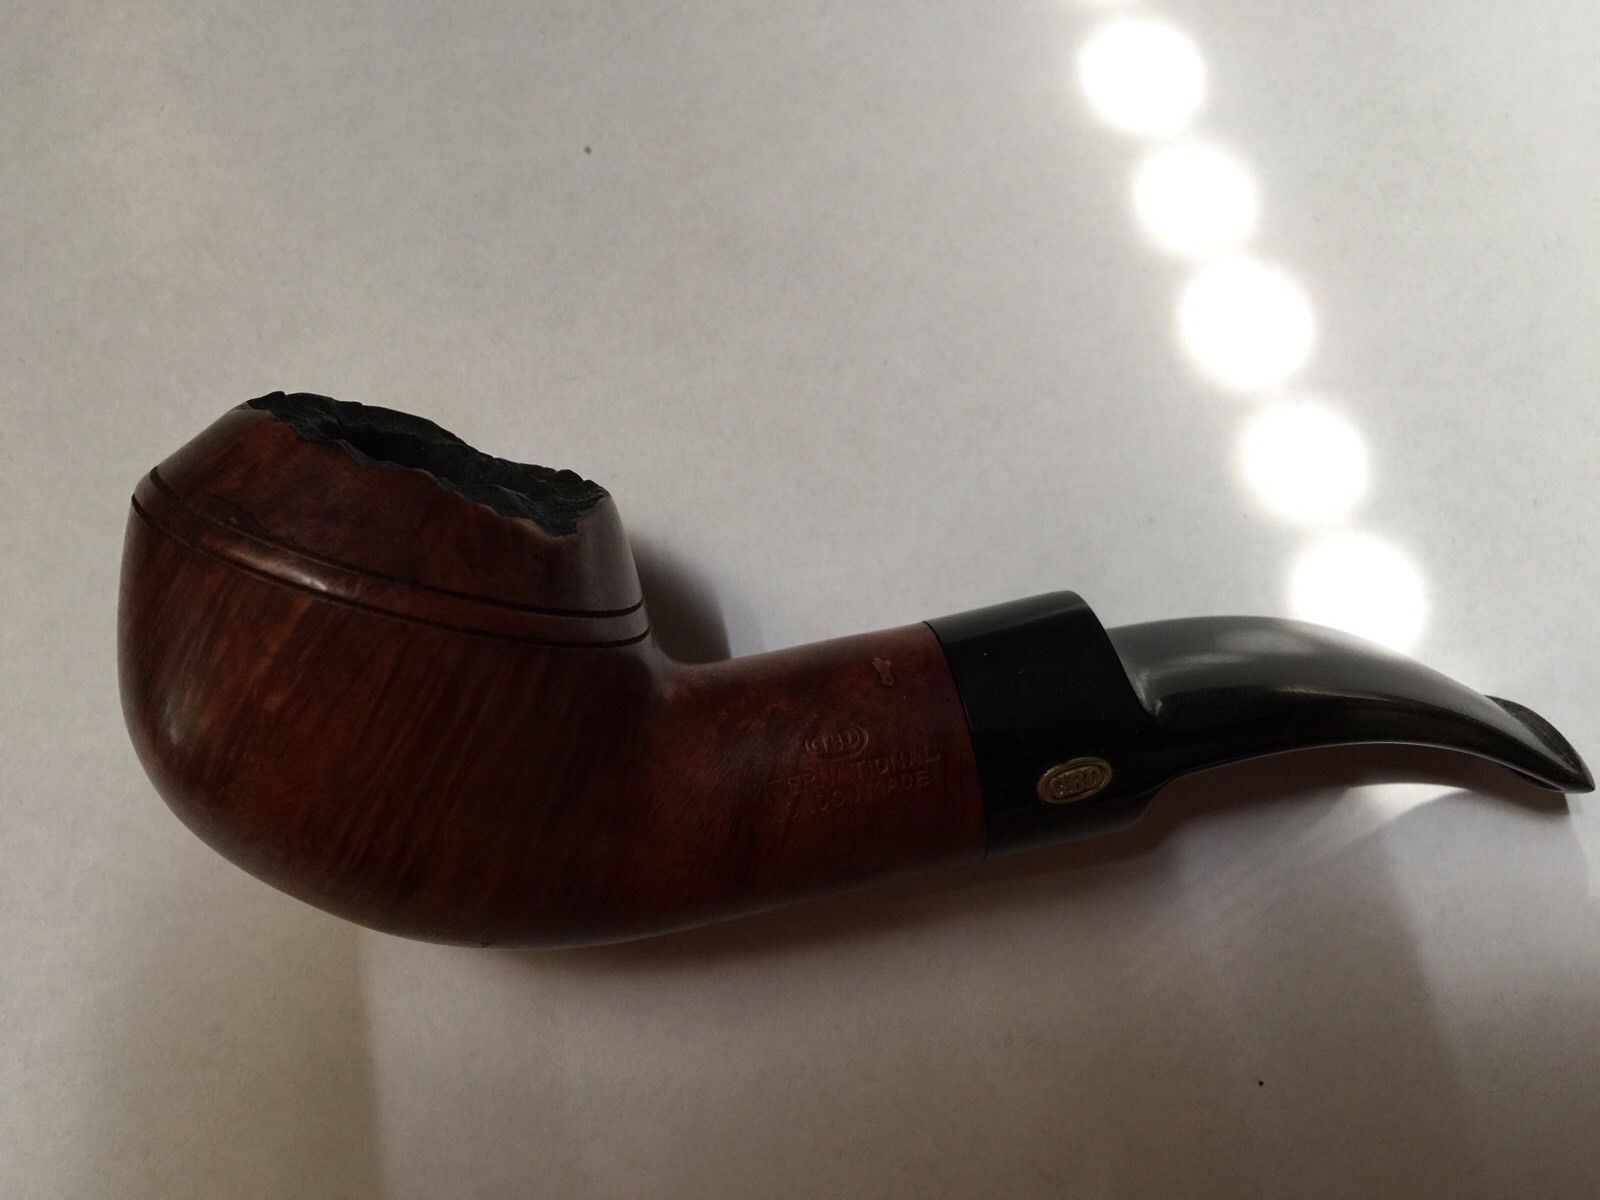
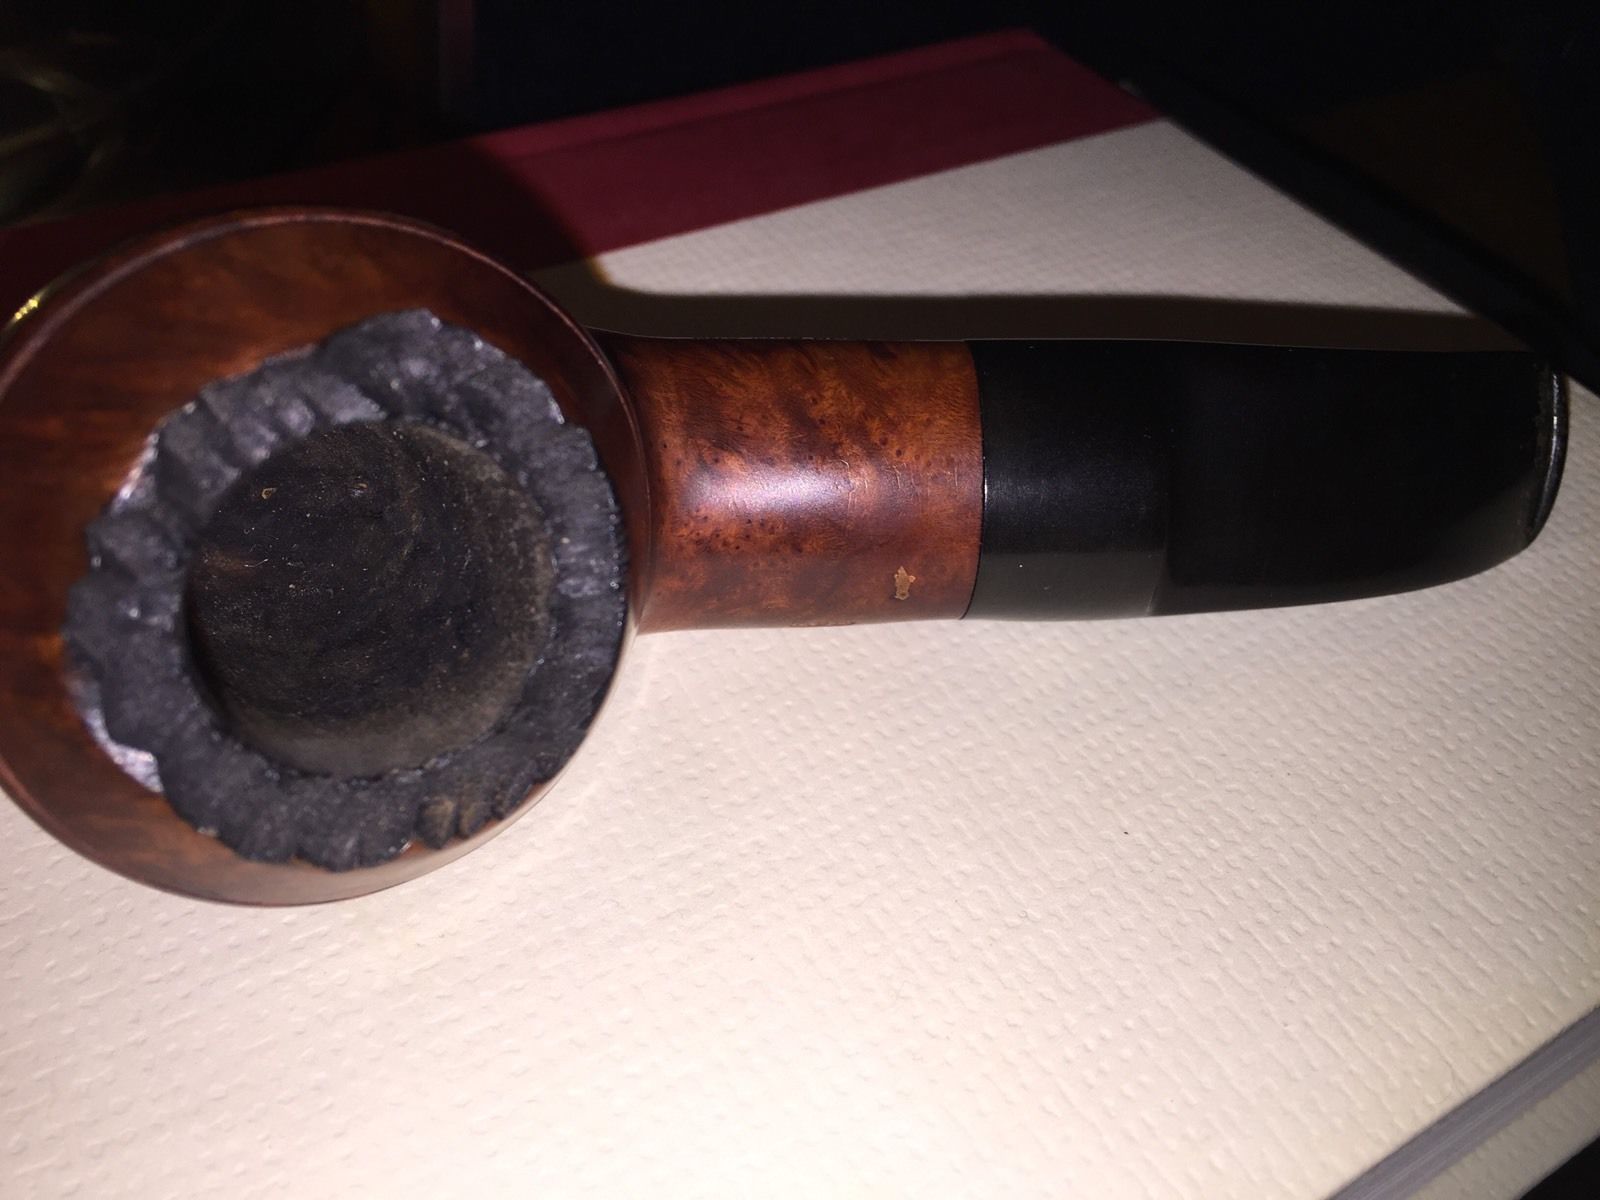
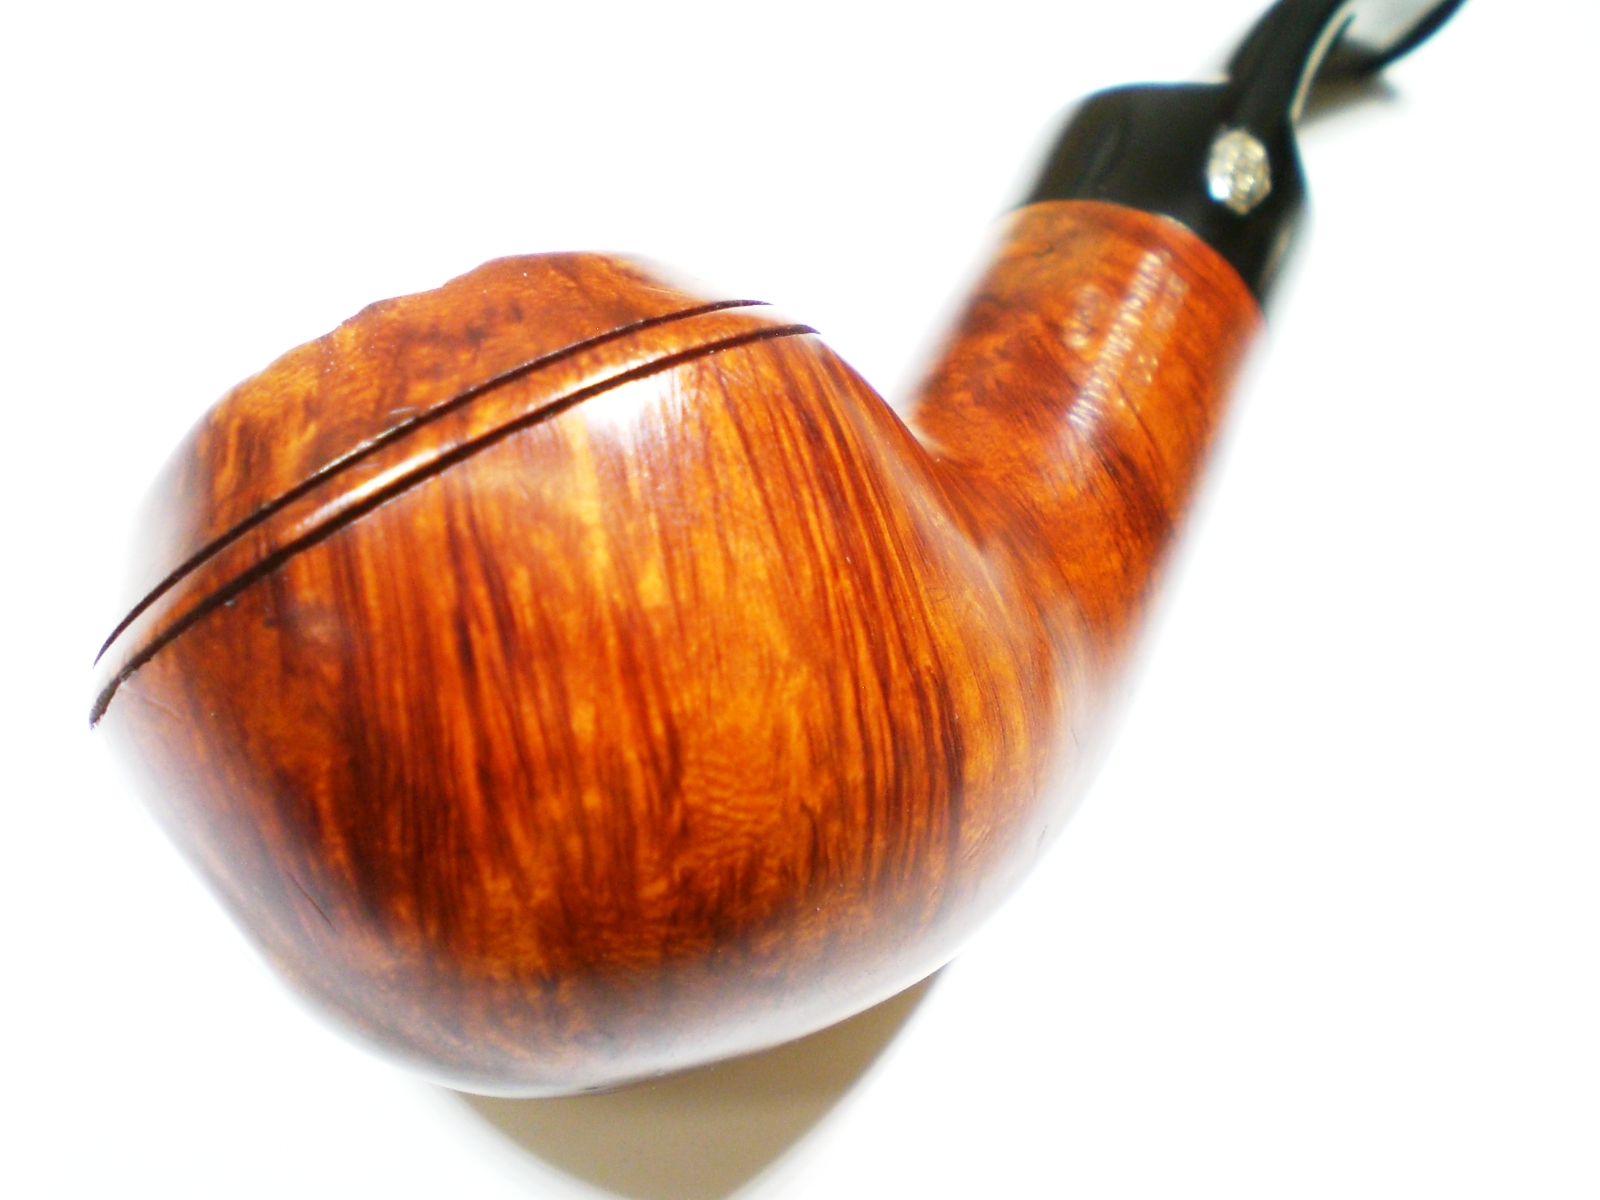
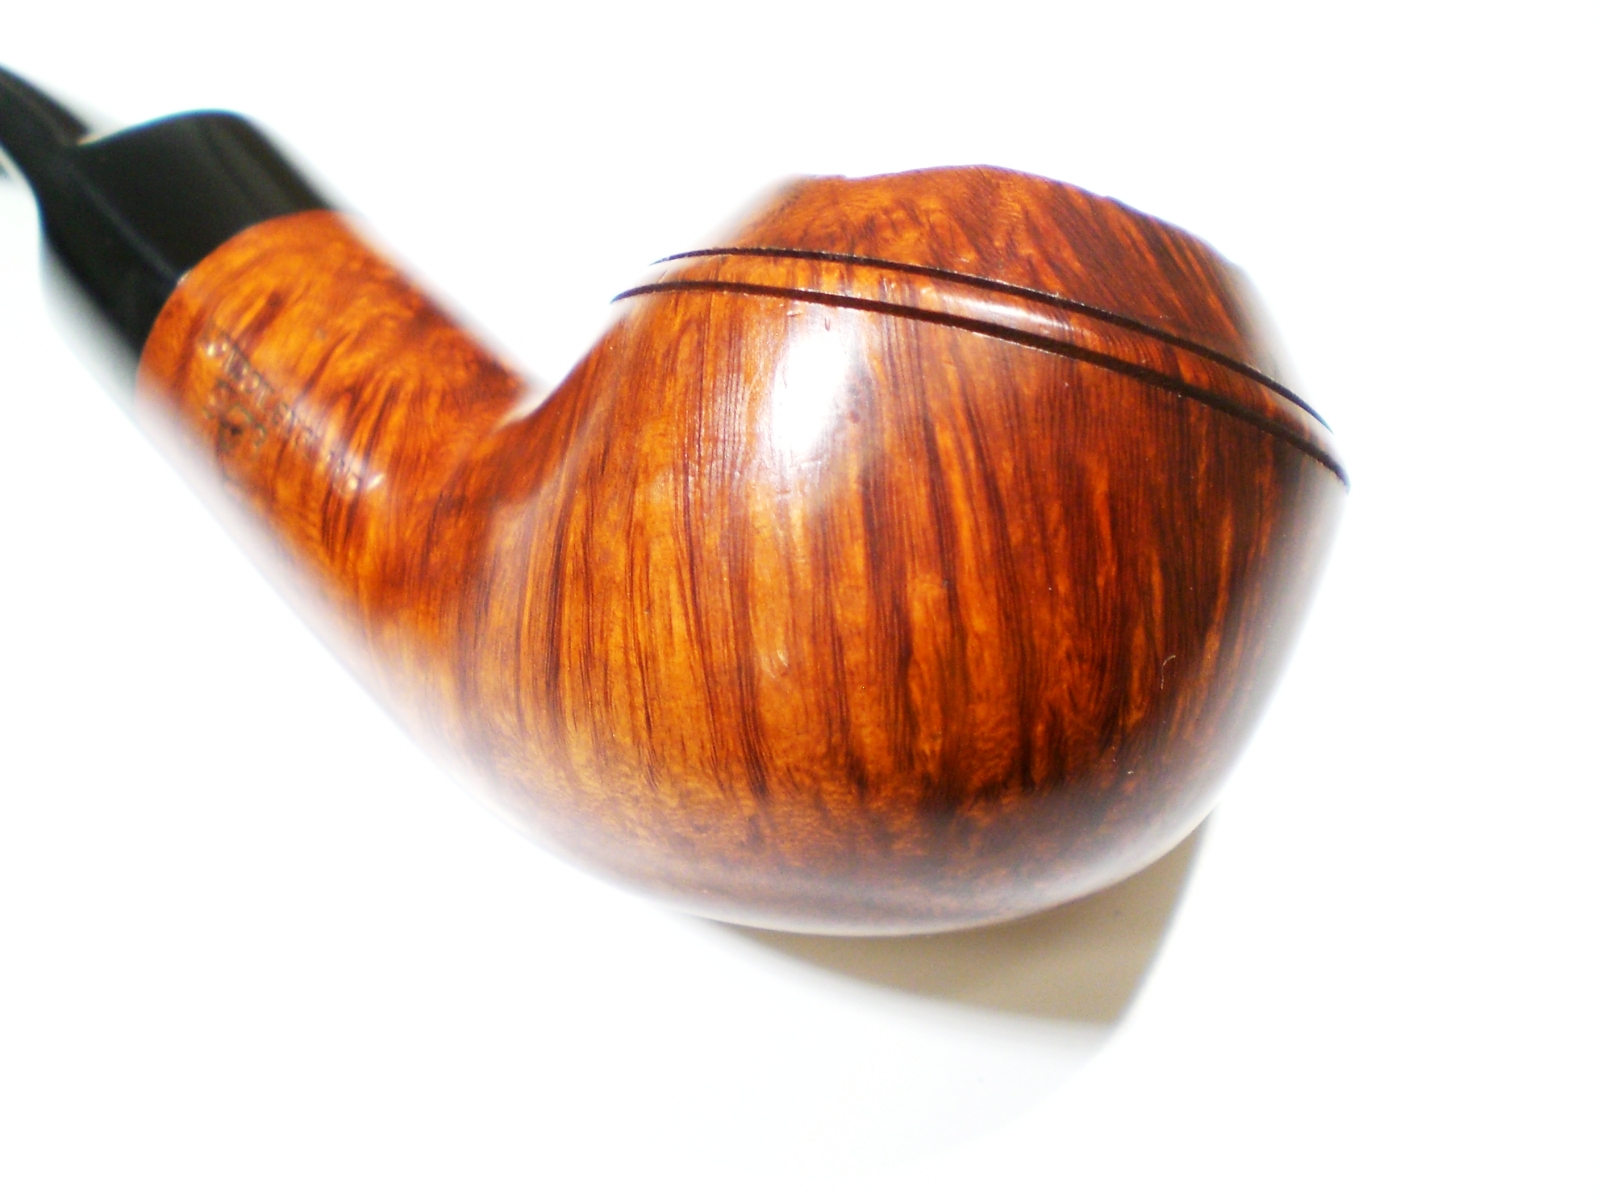
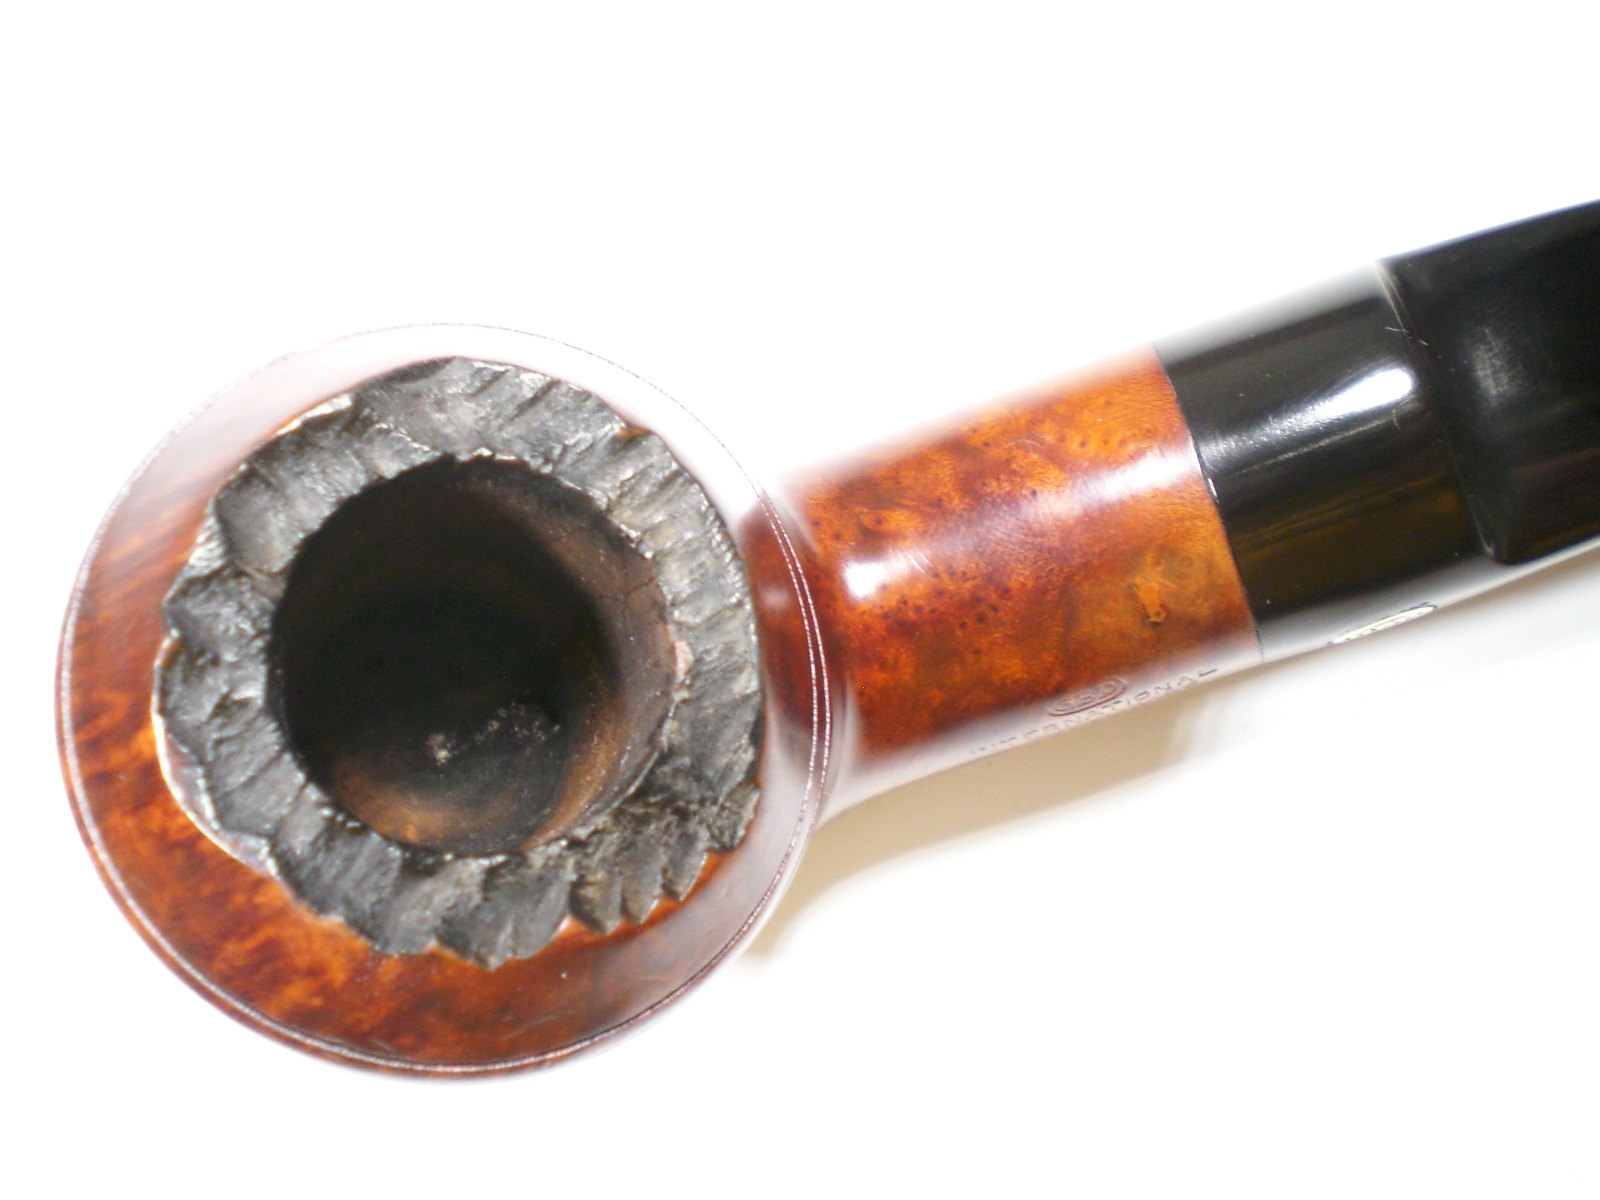
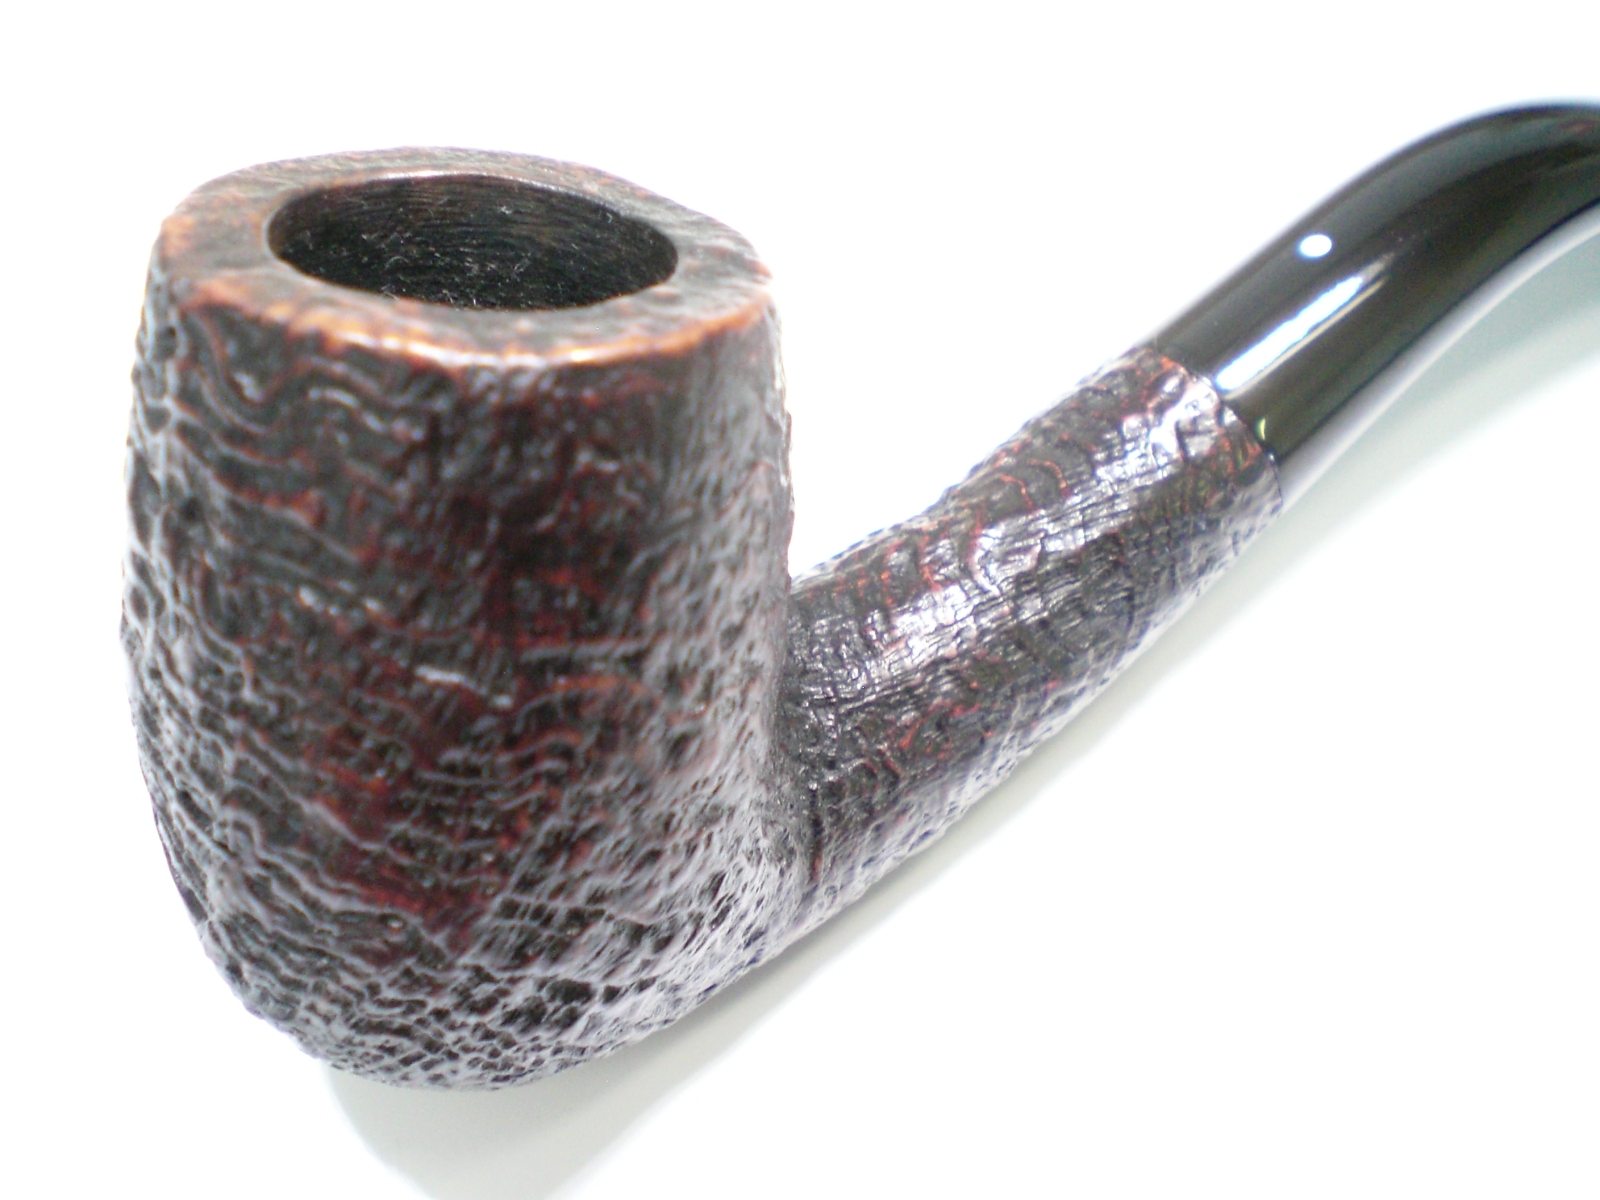
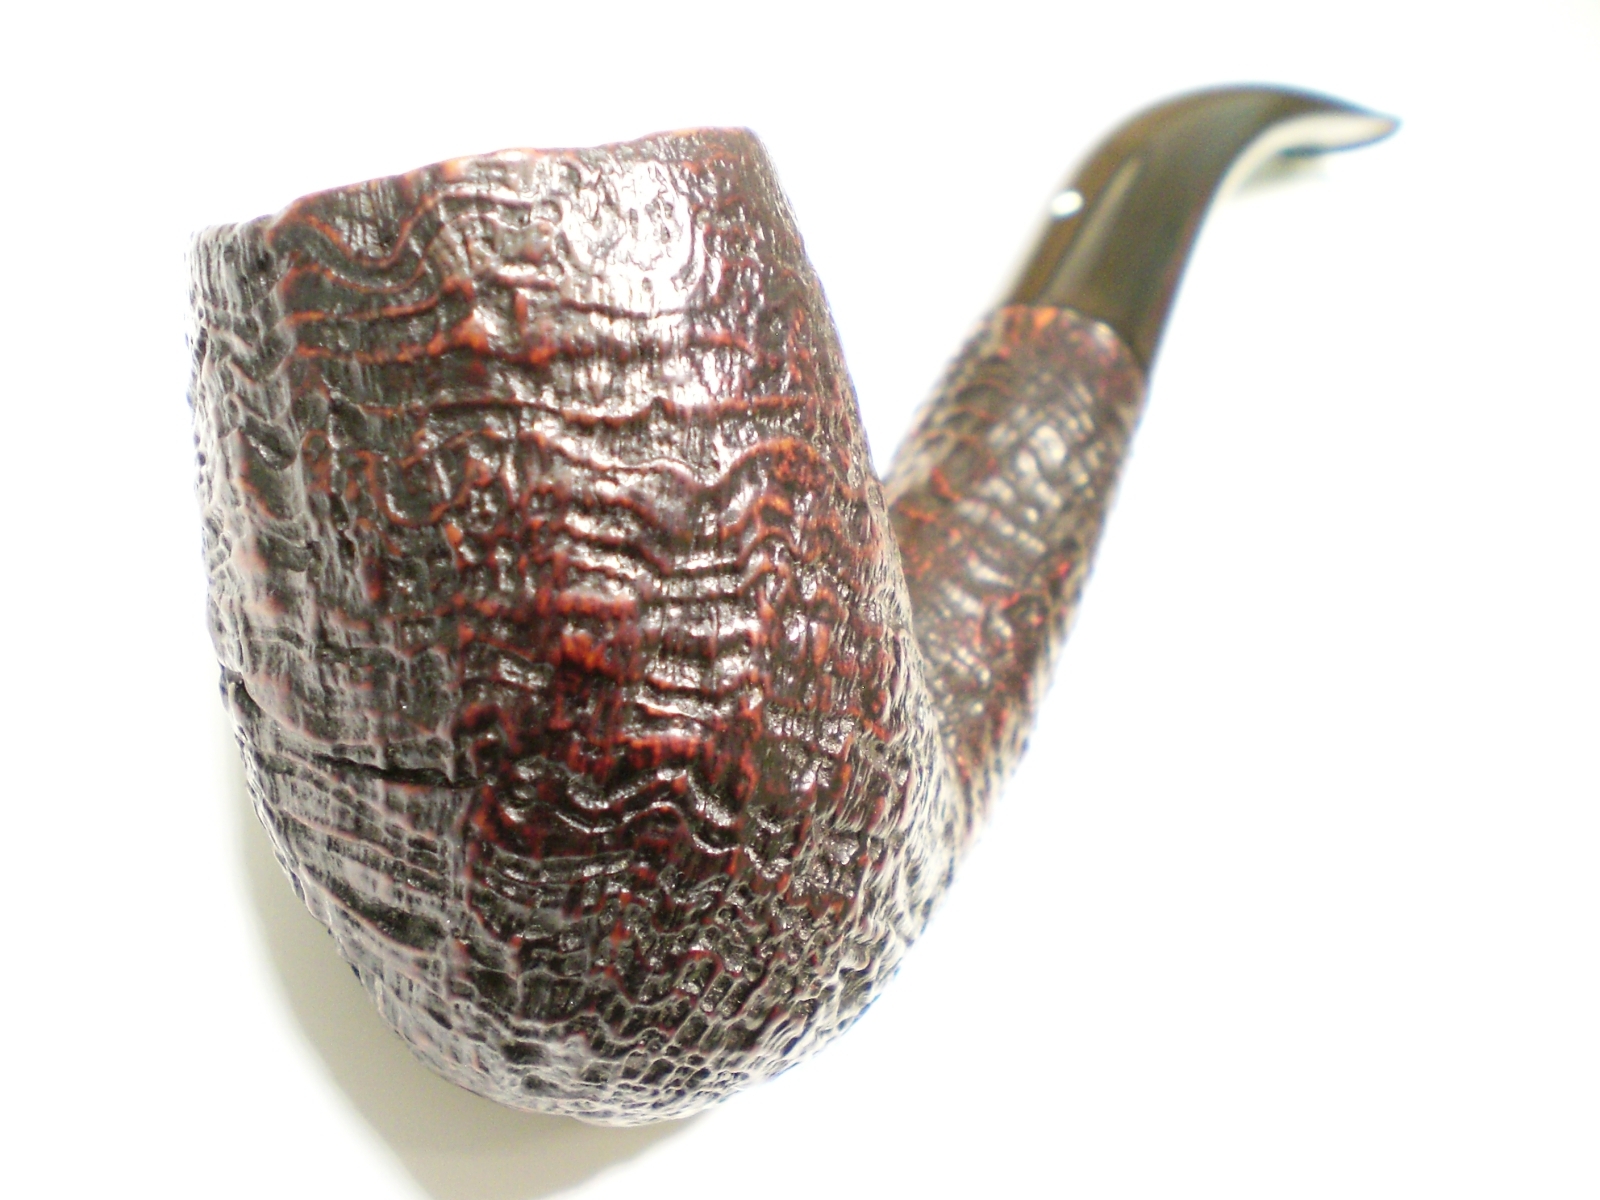
The pipe looked in decent shape, with some build-up on the bowl top rim and some teeth marks on the stem.

GBD_New_Era_122_Before (1)

GBD_New_Era_122_Before (2)

GBD_New_Era_122_Before (3)

GBD_New_Era_122_Before (4)

GBD_New_Era_122_Before (5)

GBD_New_Era_122_Before (6)

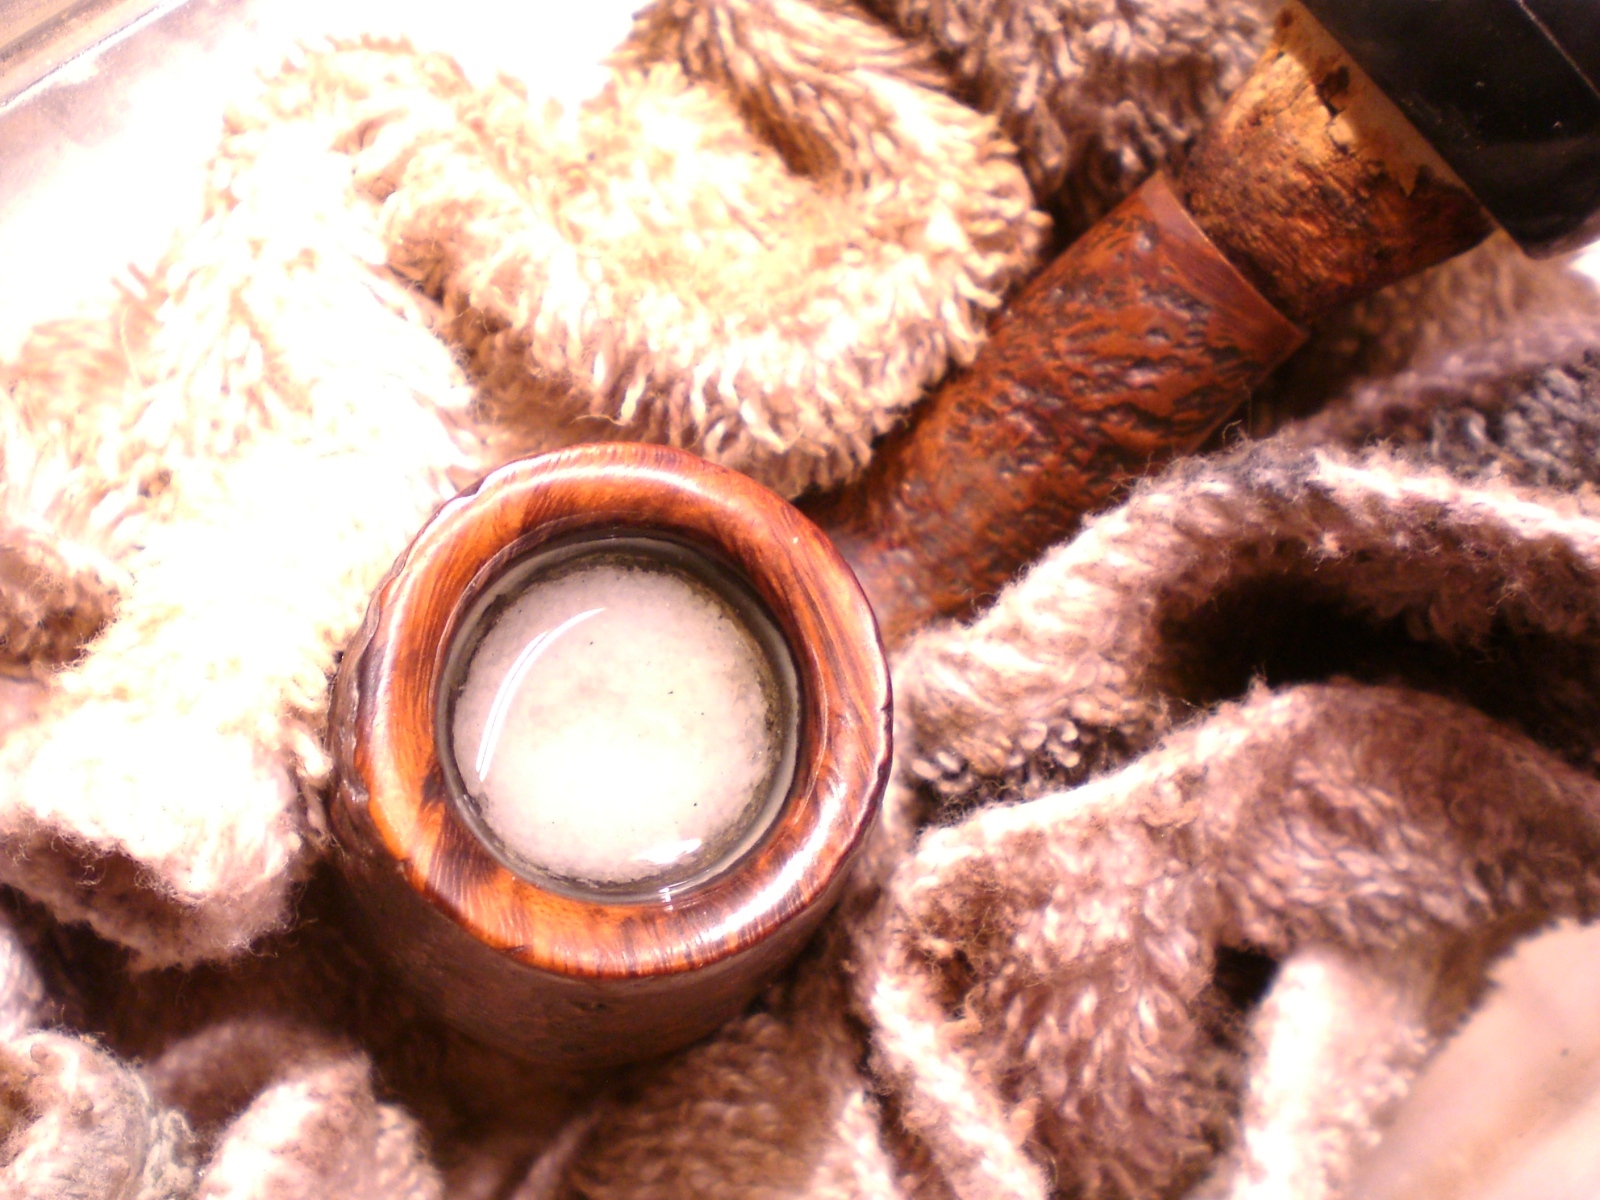
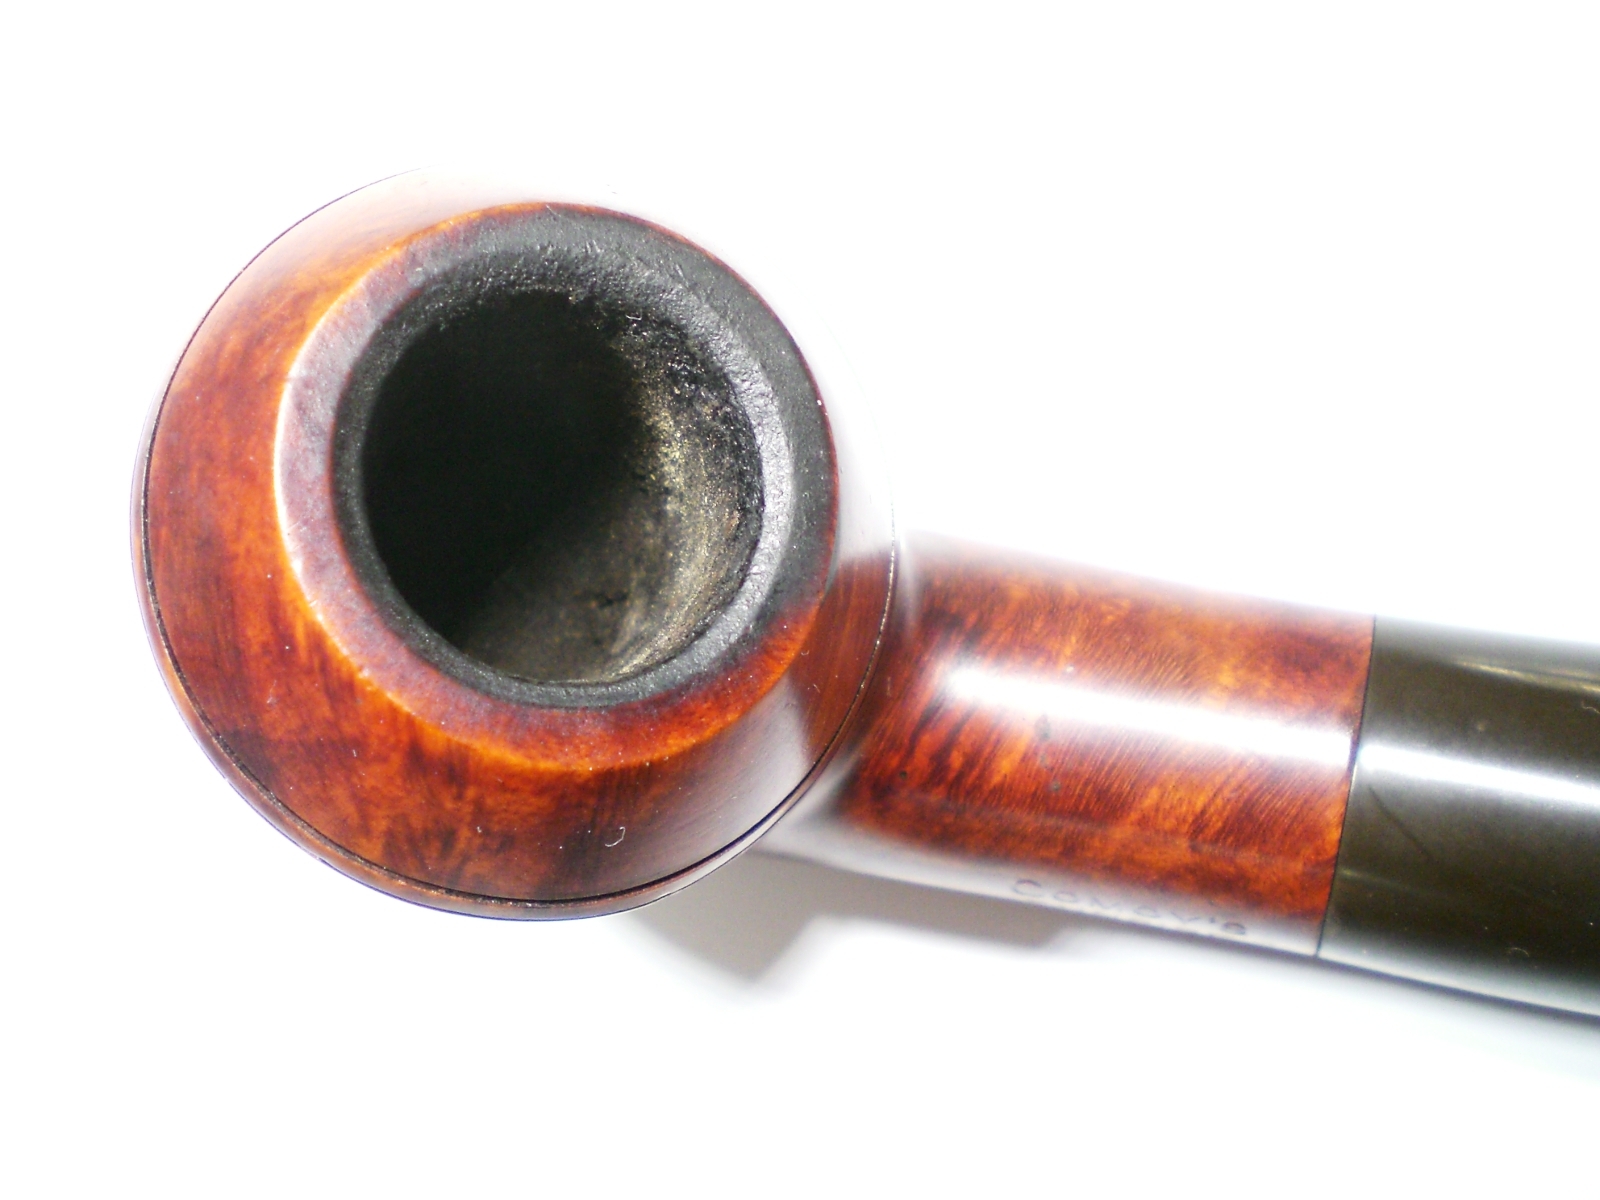
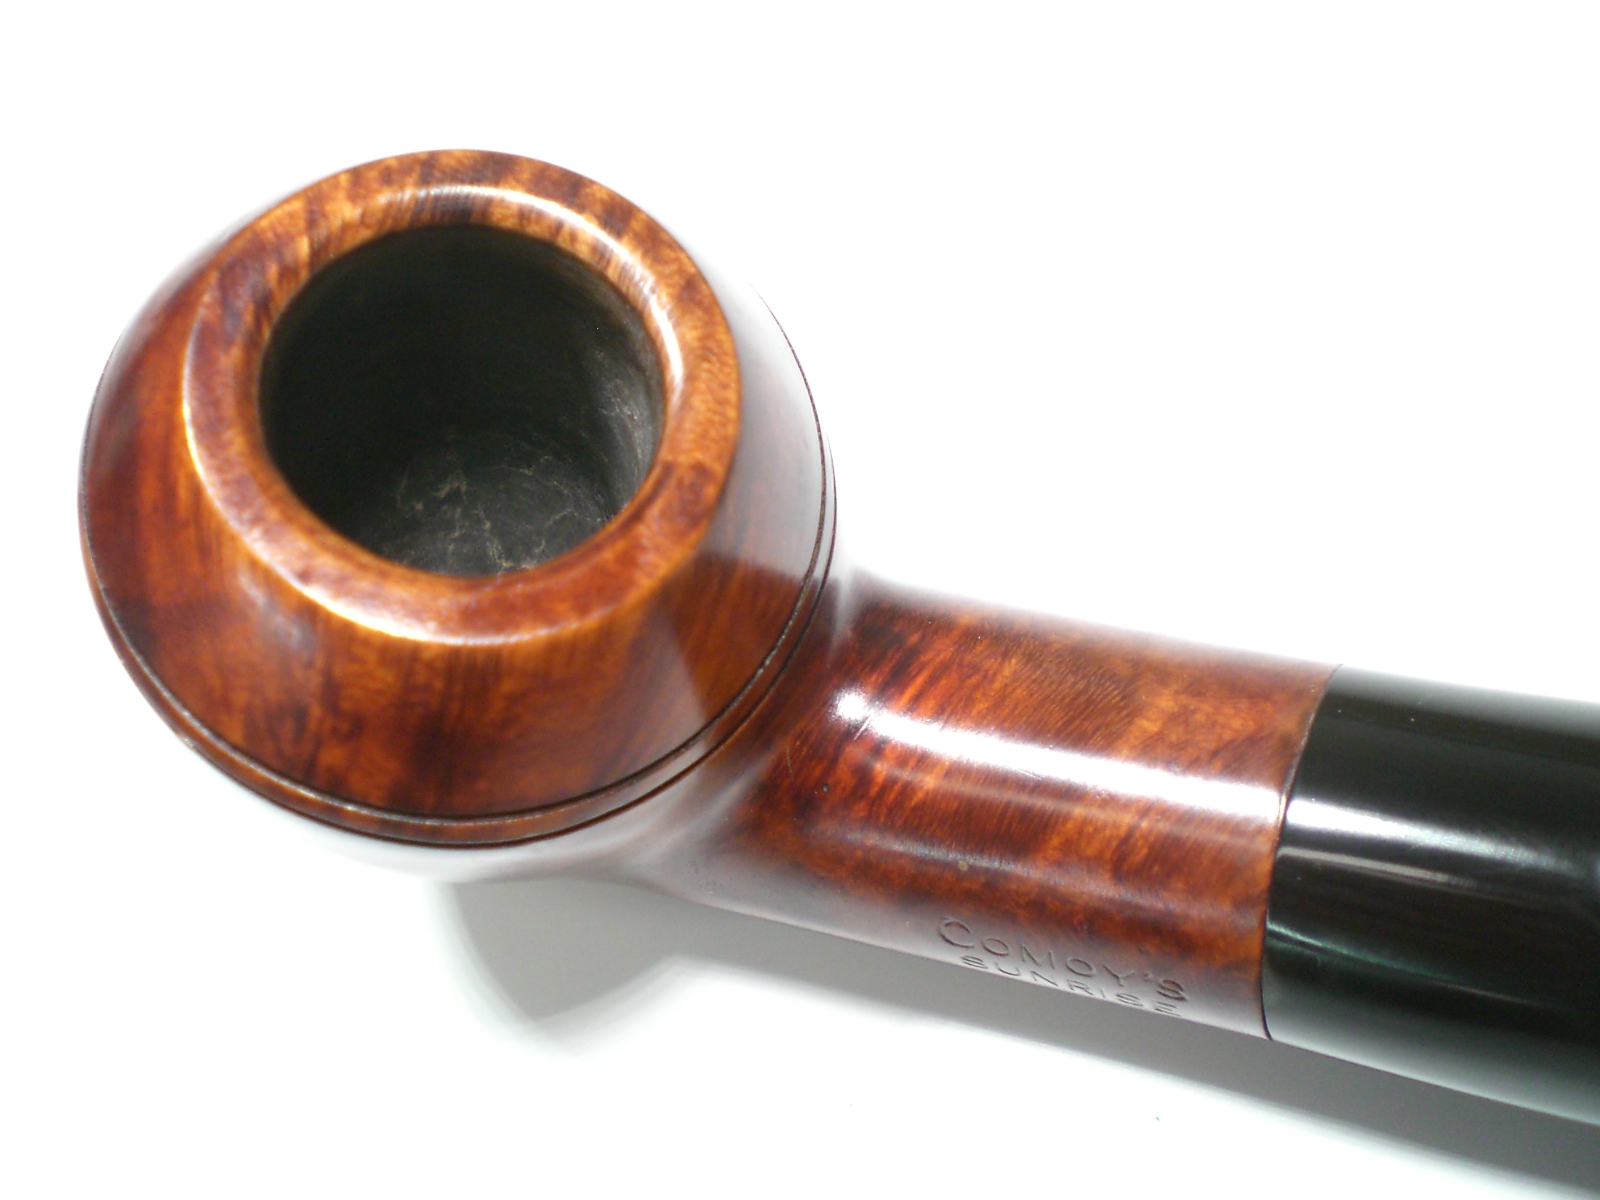
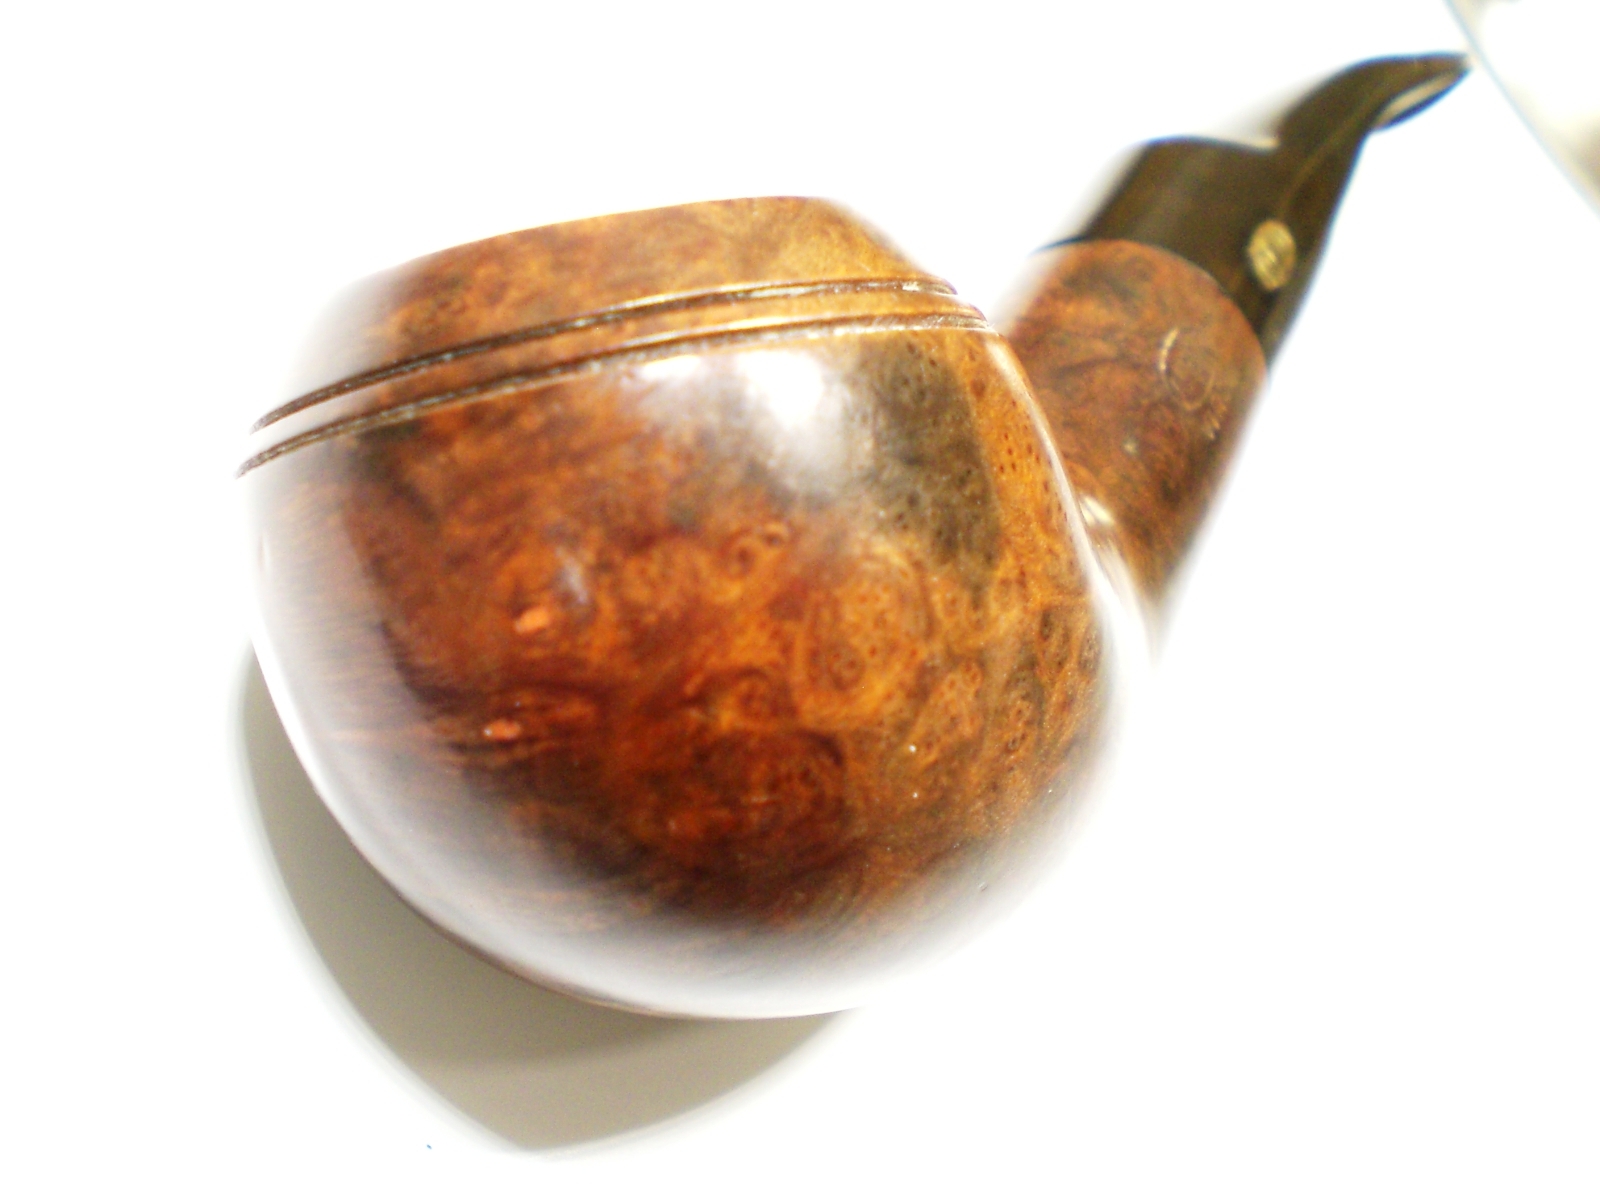
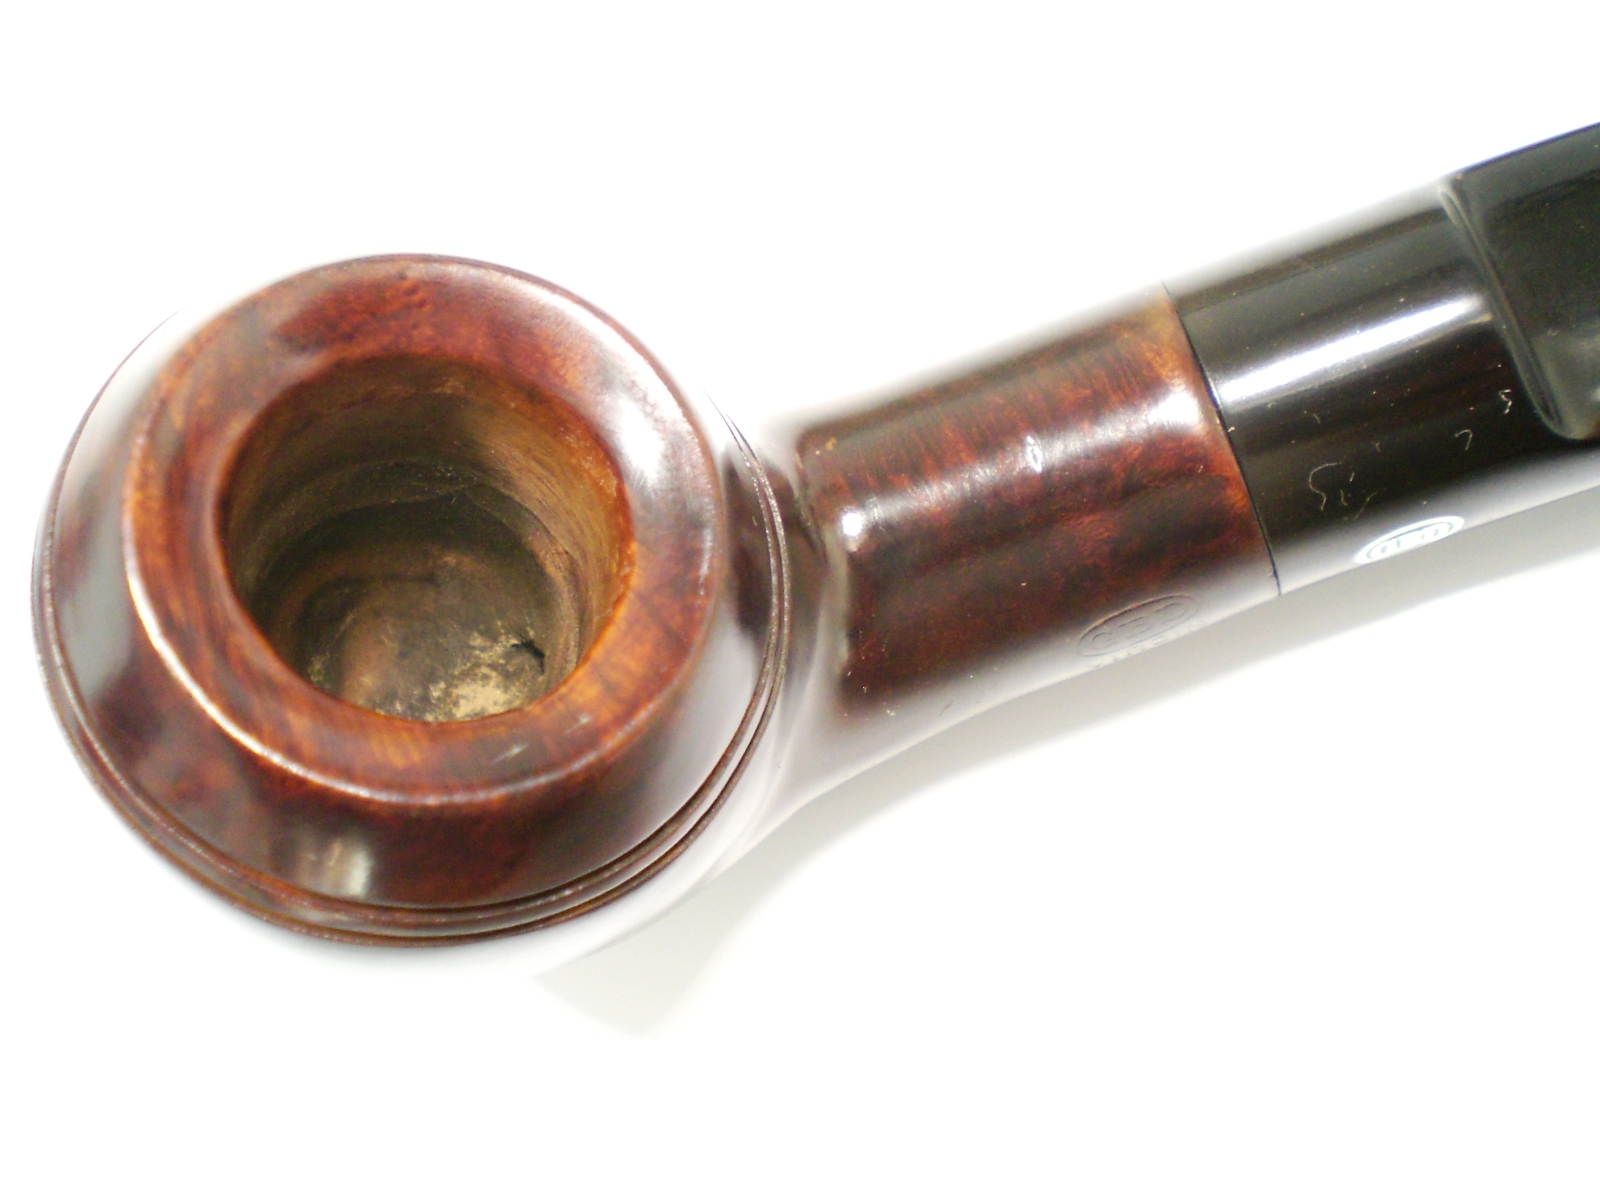
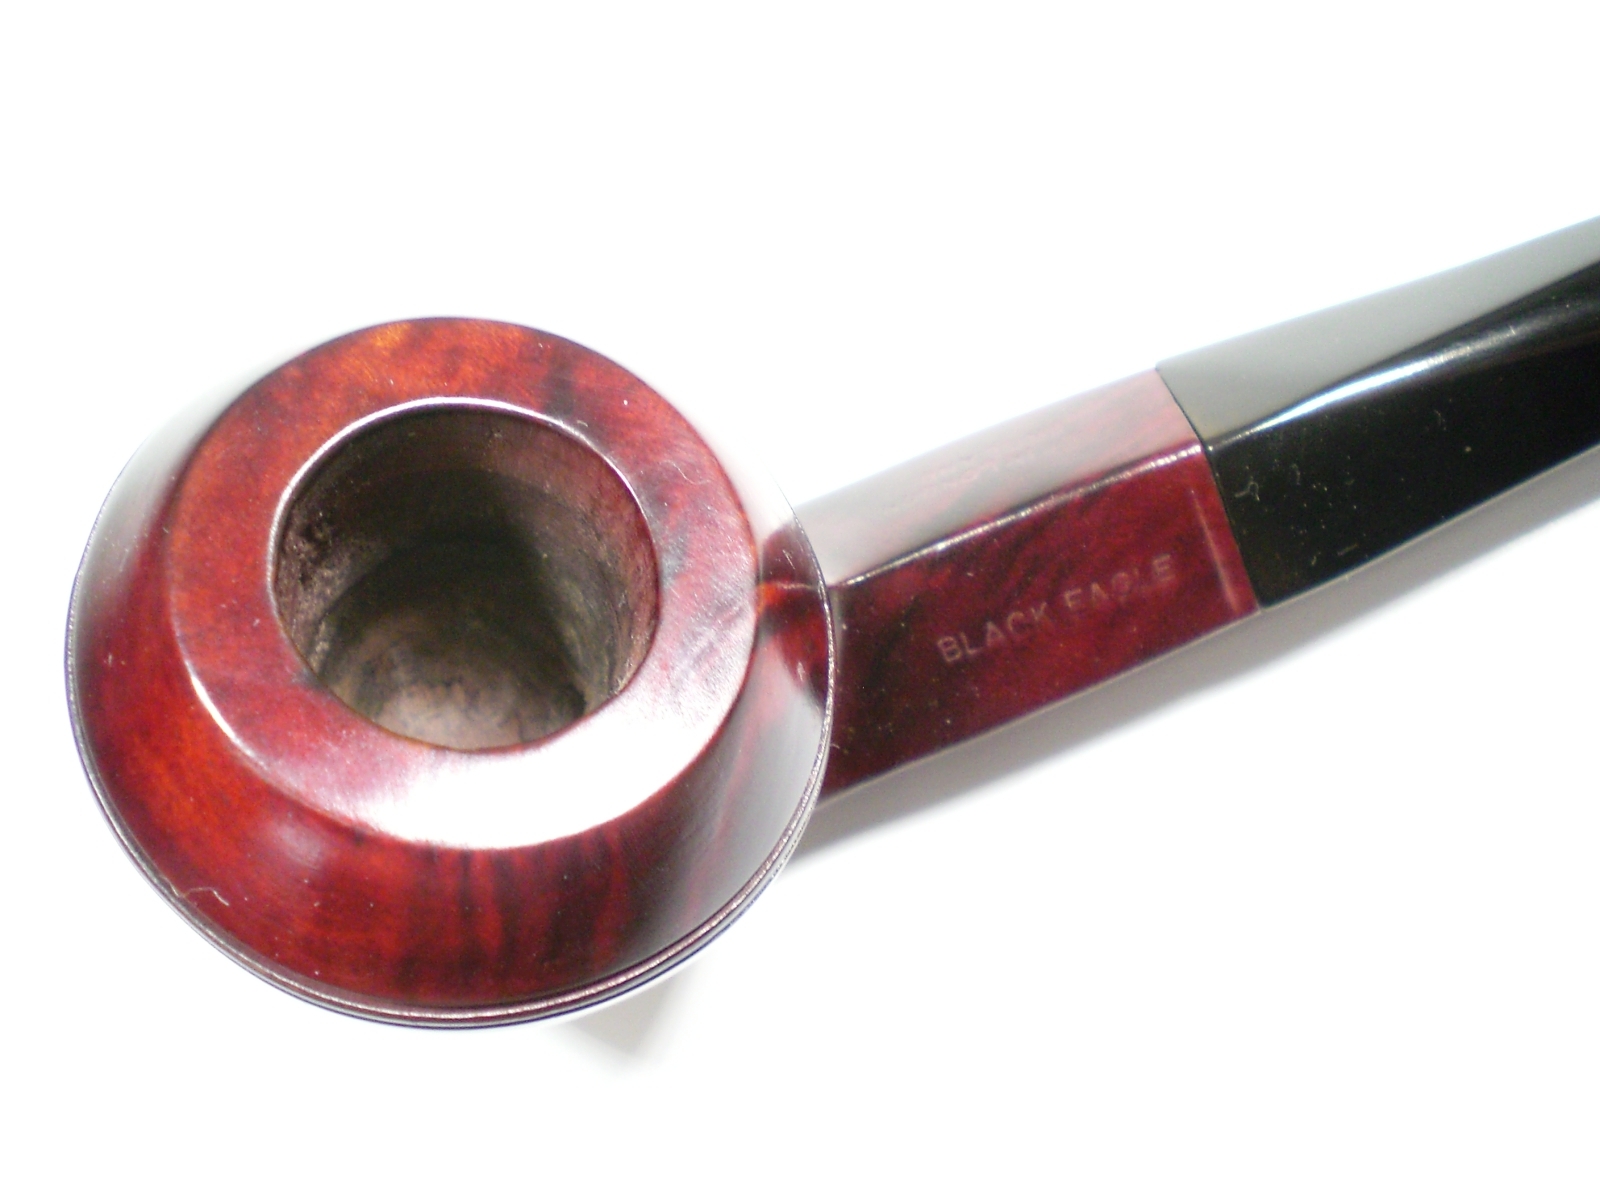
There was only a very thin cake inside the bowl, which I reamed. The bowl was then soaked with 91% isopropyl alcohol and sea salt. I used a mild Oxy-clean solution and a worn piece of 8000 grade micromesh to remove the build-up on the bowl top. Under the build up was an unharmed, nicely grained, beveled bowl top.

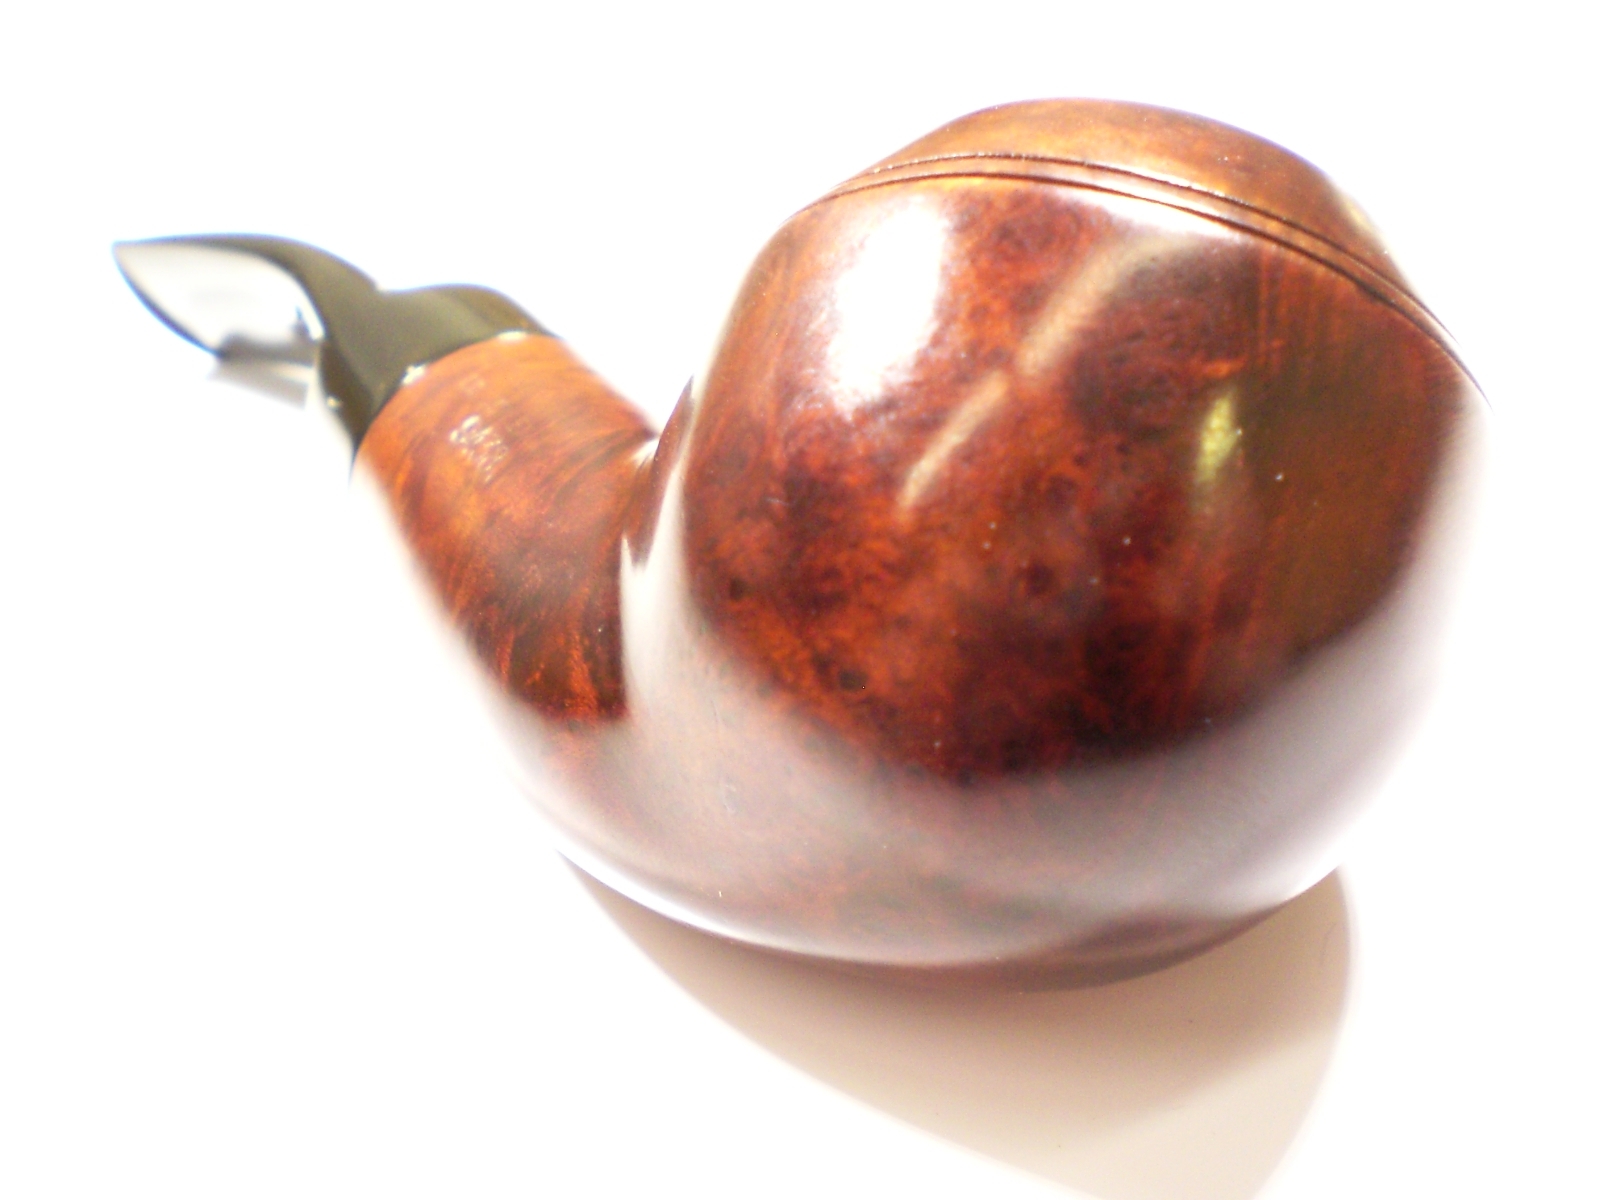
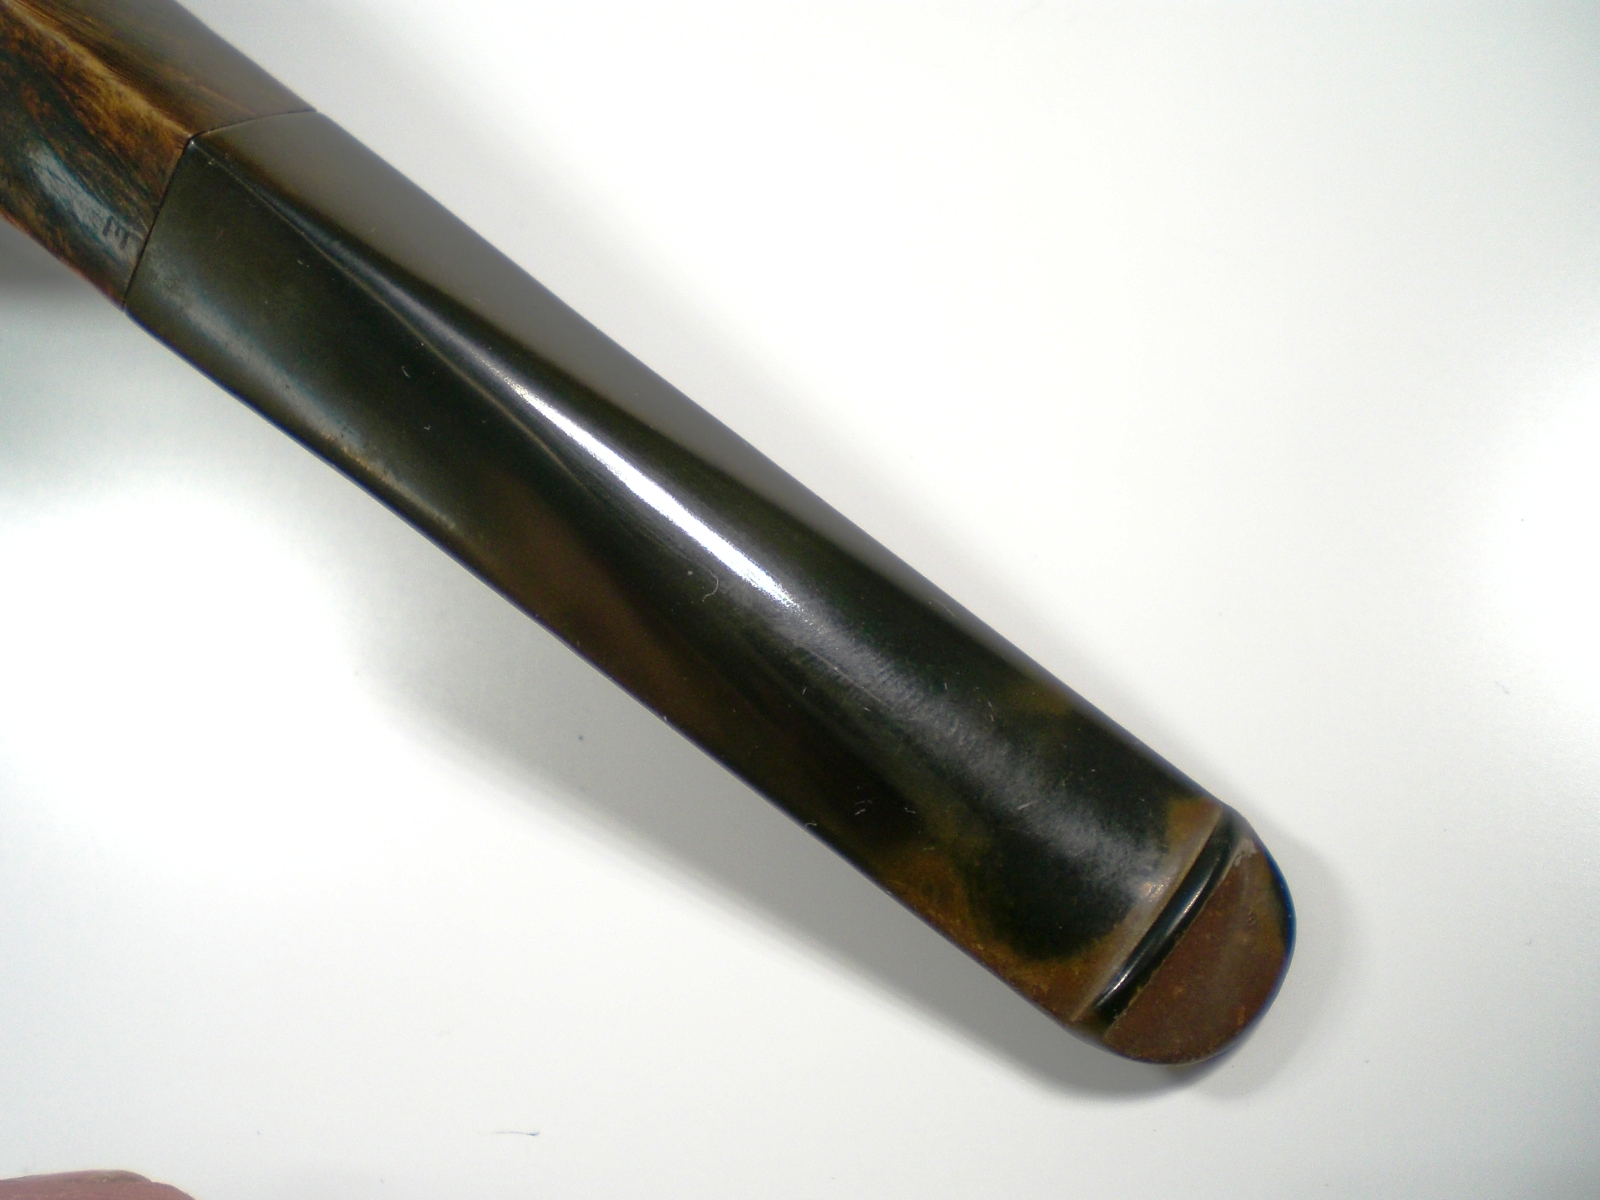
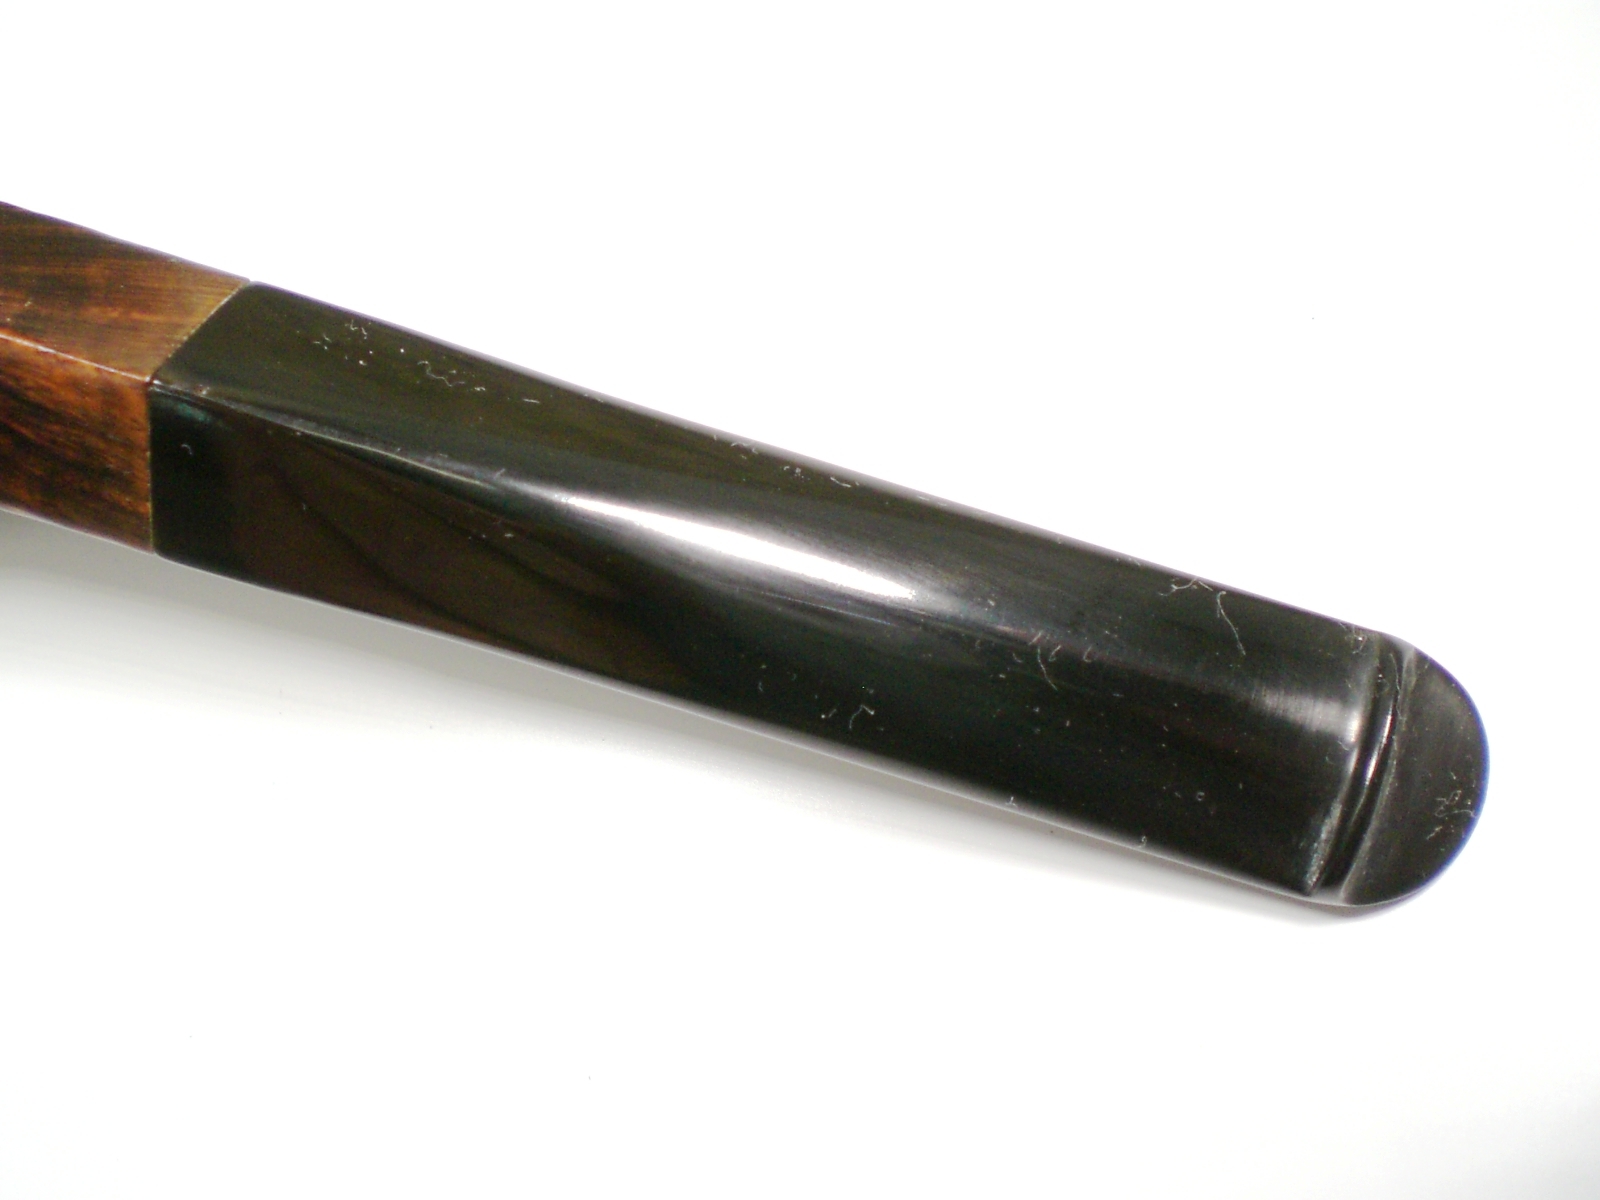
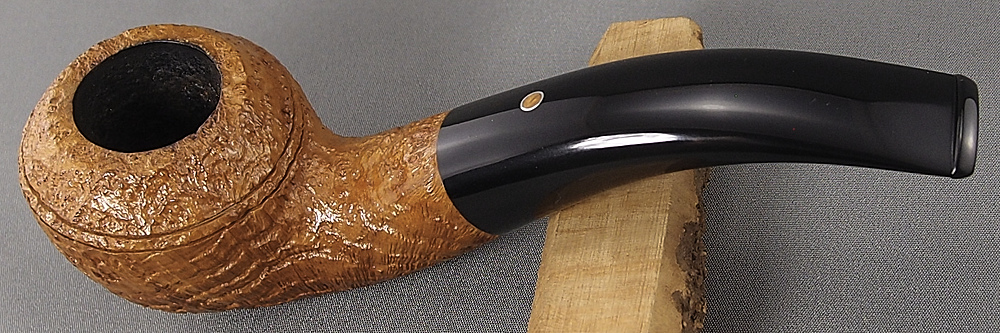
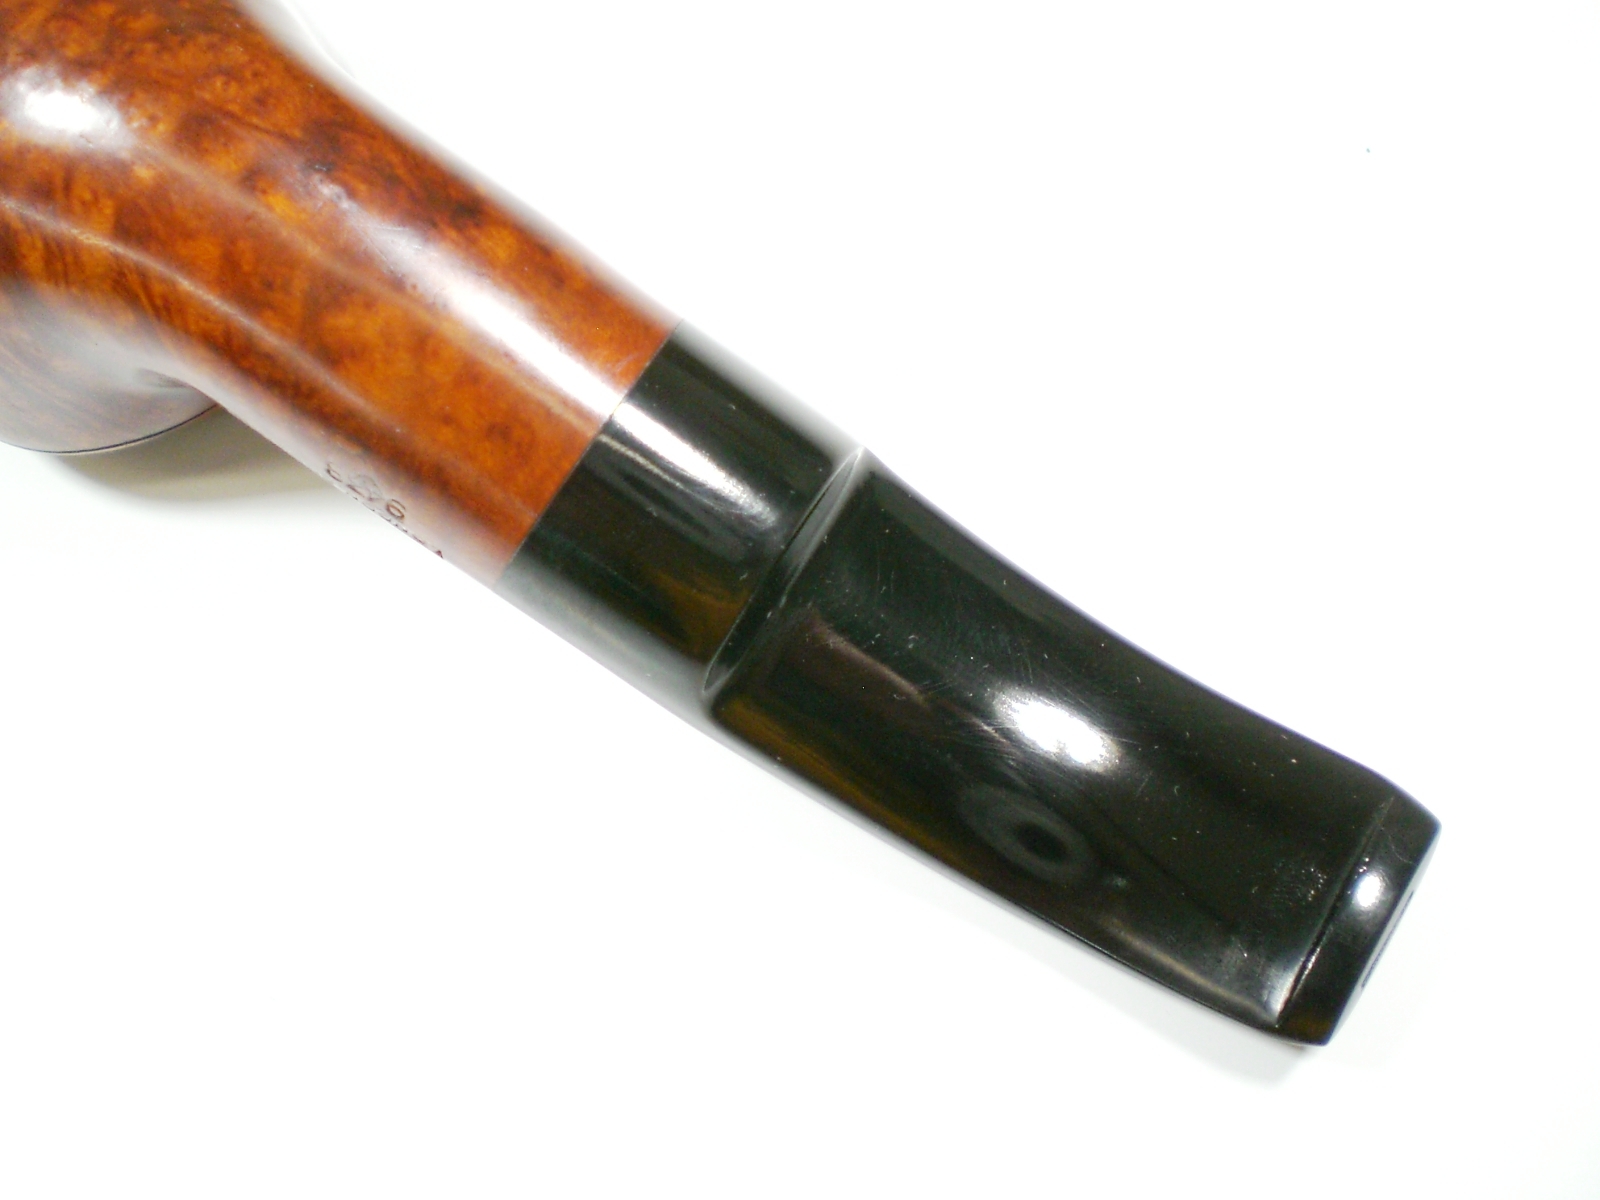
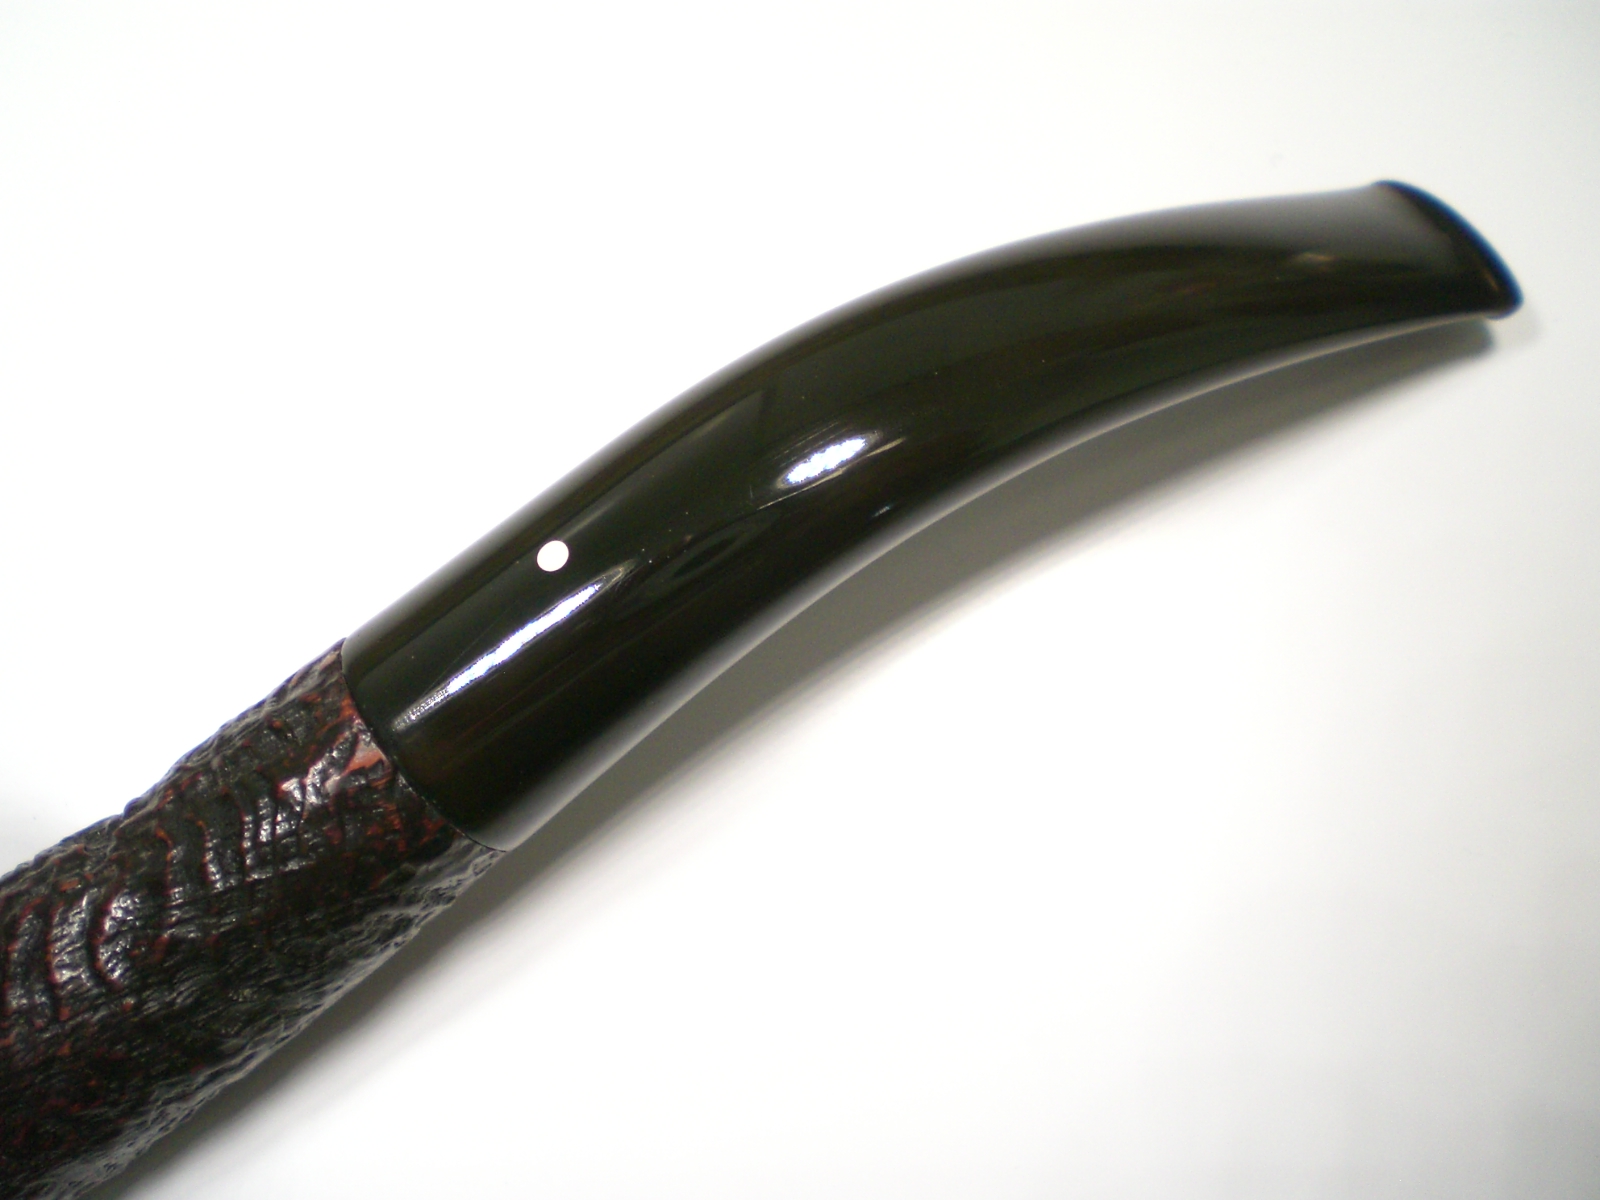
The stem had some teeth marks, which I was able to raise slightly with a lighter flame. There was only had a mild layer of oxidation, which was removed starting with 800 grade wet paper, working thru 1500 and 2000 grades, then the 8000 and 12000 grade micromesh sheets. The stem was mounted and then buffed with white diamond and Meguiars Plastic Polish. One deeper tooth indention on the bottom of the stem bothered me, so I filled it with the black, Medium Stew-Mac Superglue product and accelerator (from Hobby Lobby). It was a shallow indention, and I was worried the repair might not work. Using a file and some 800 grade paper, I smoothed the glue fill and it blended in nicely with the rest of the stem.

GBD_New_Era_122_Finish (6)

GBD_New_Era_122_Finish(13)

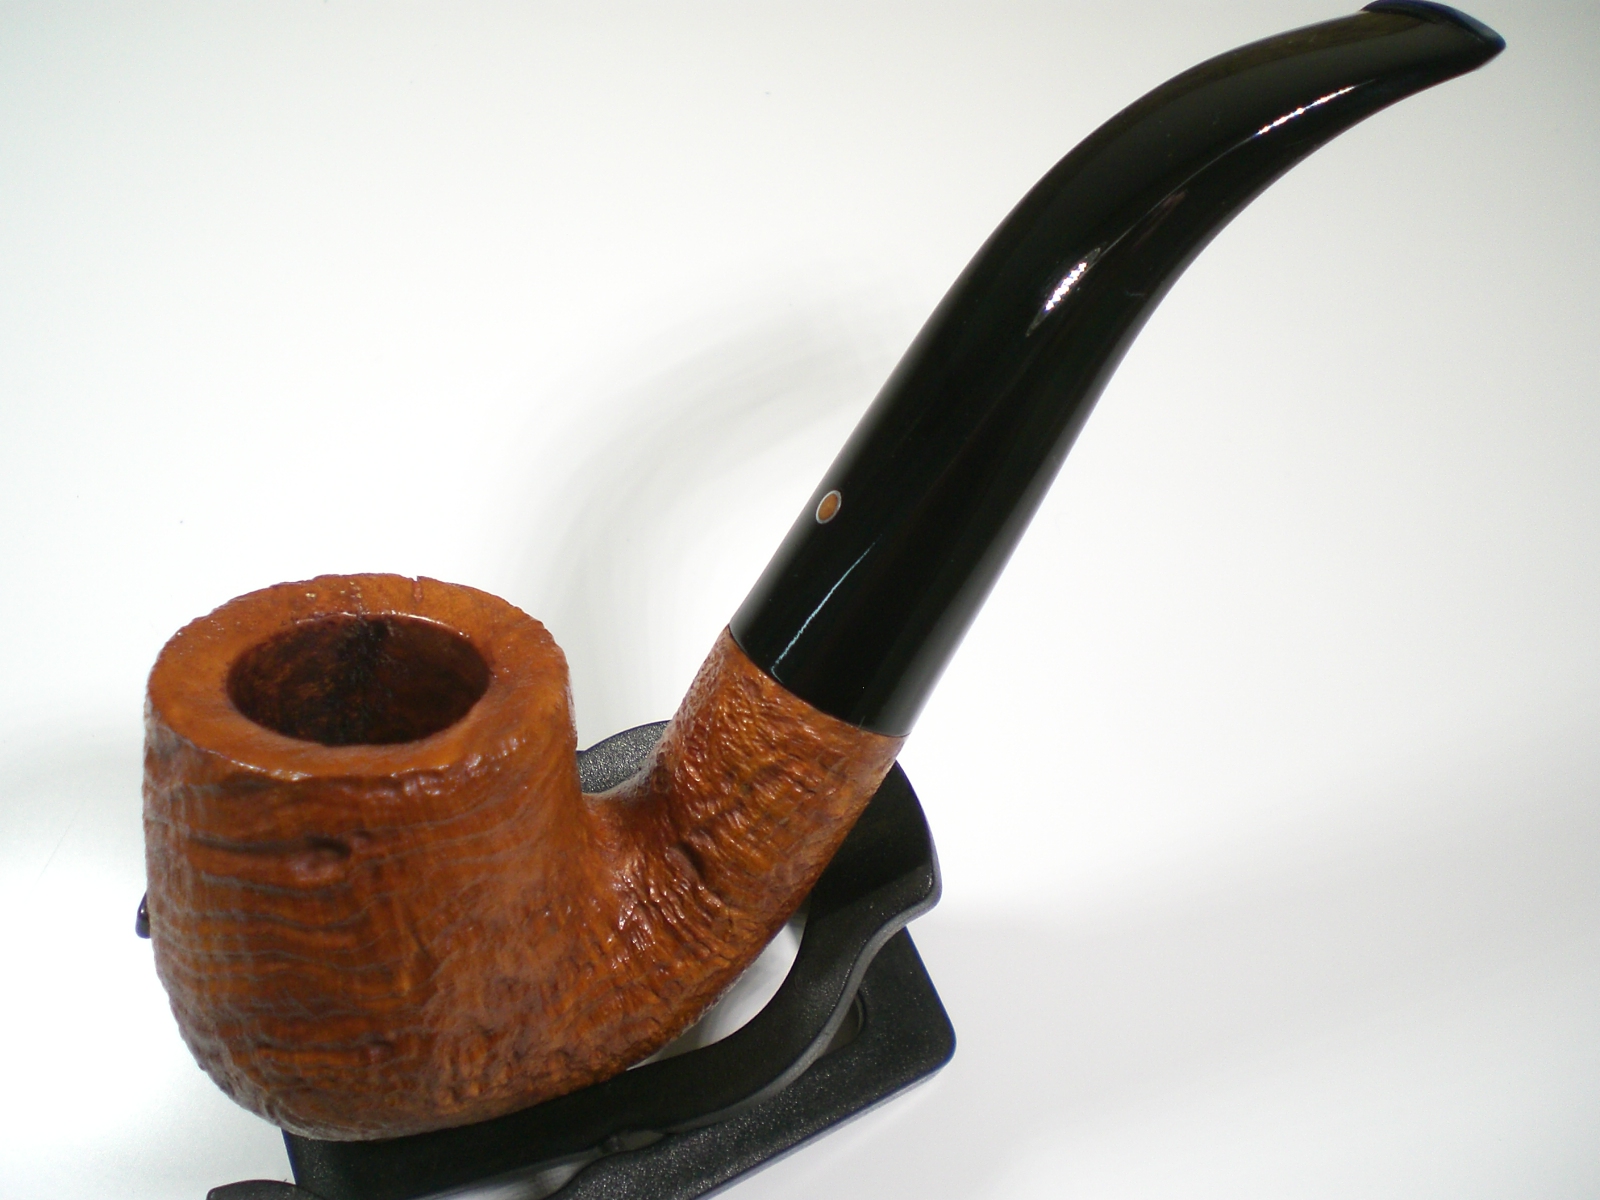
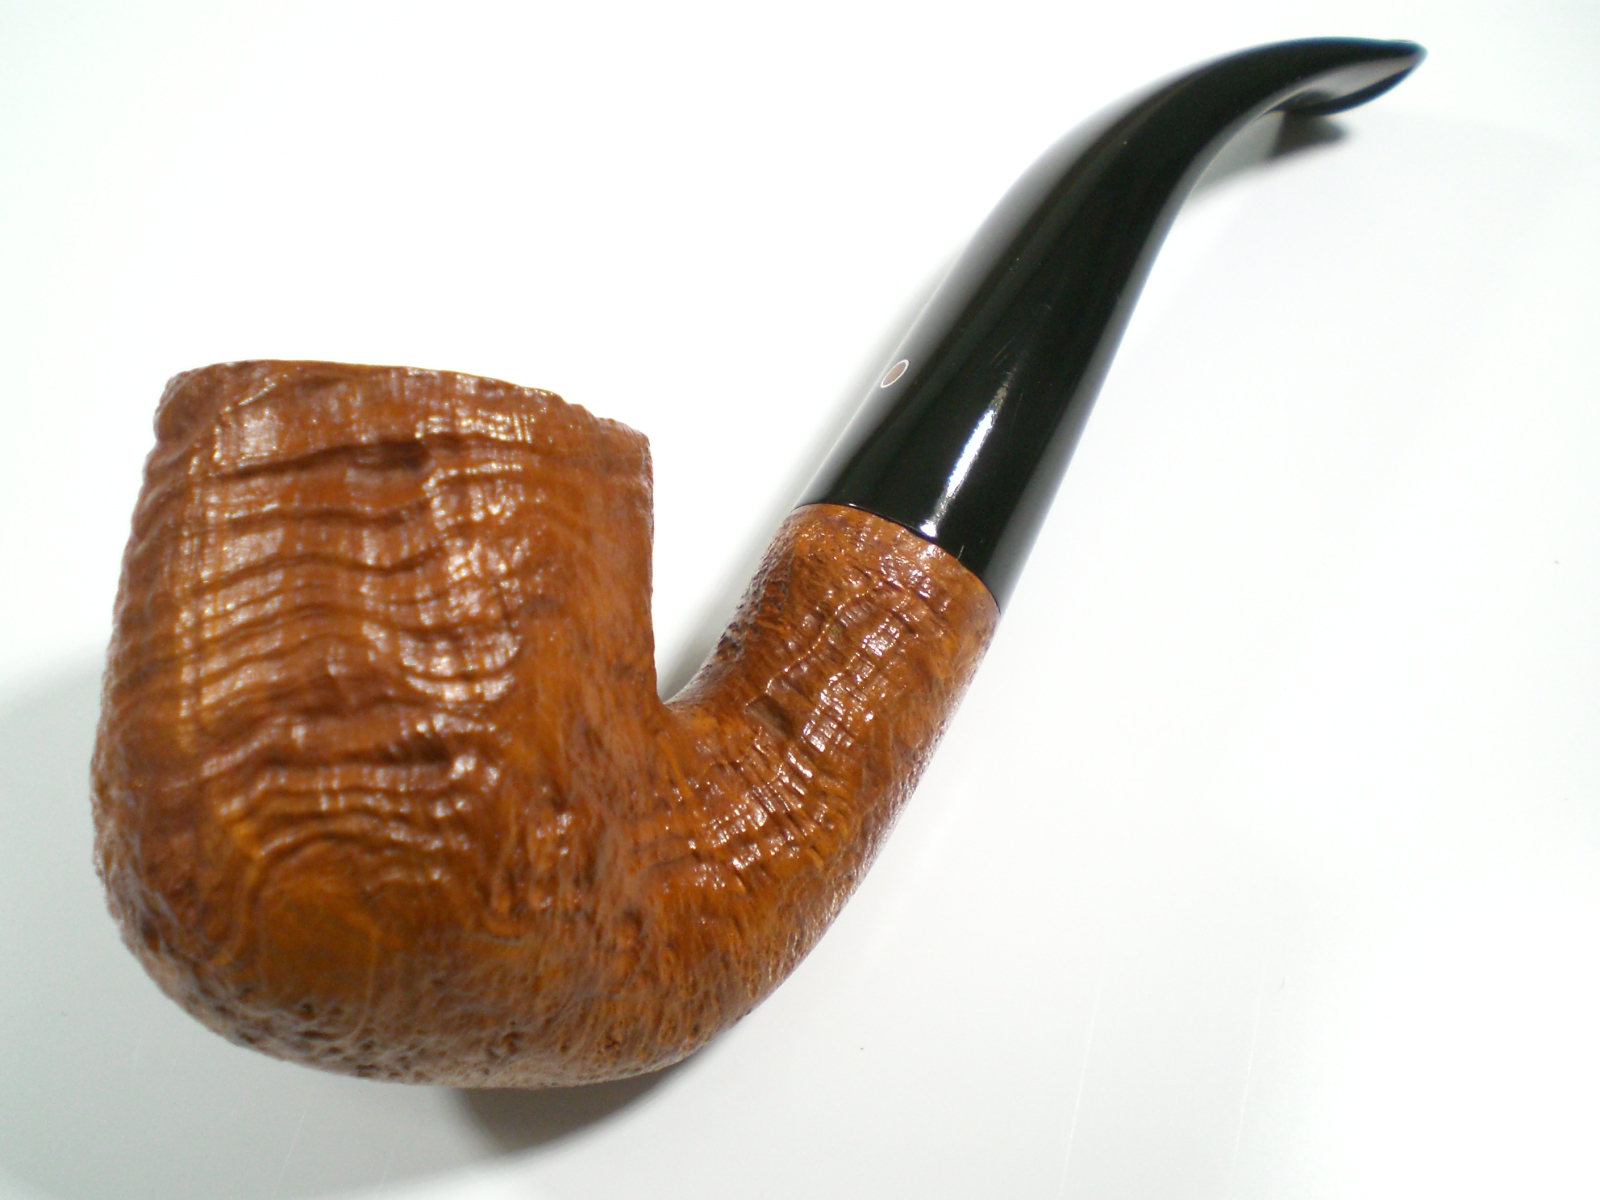
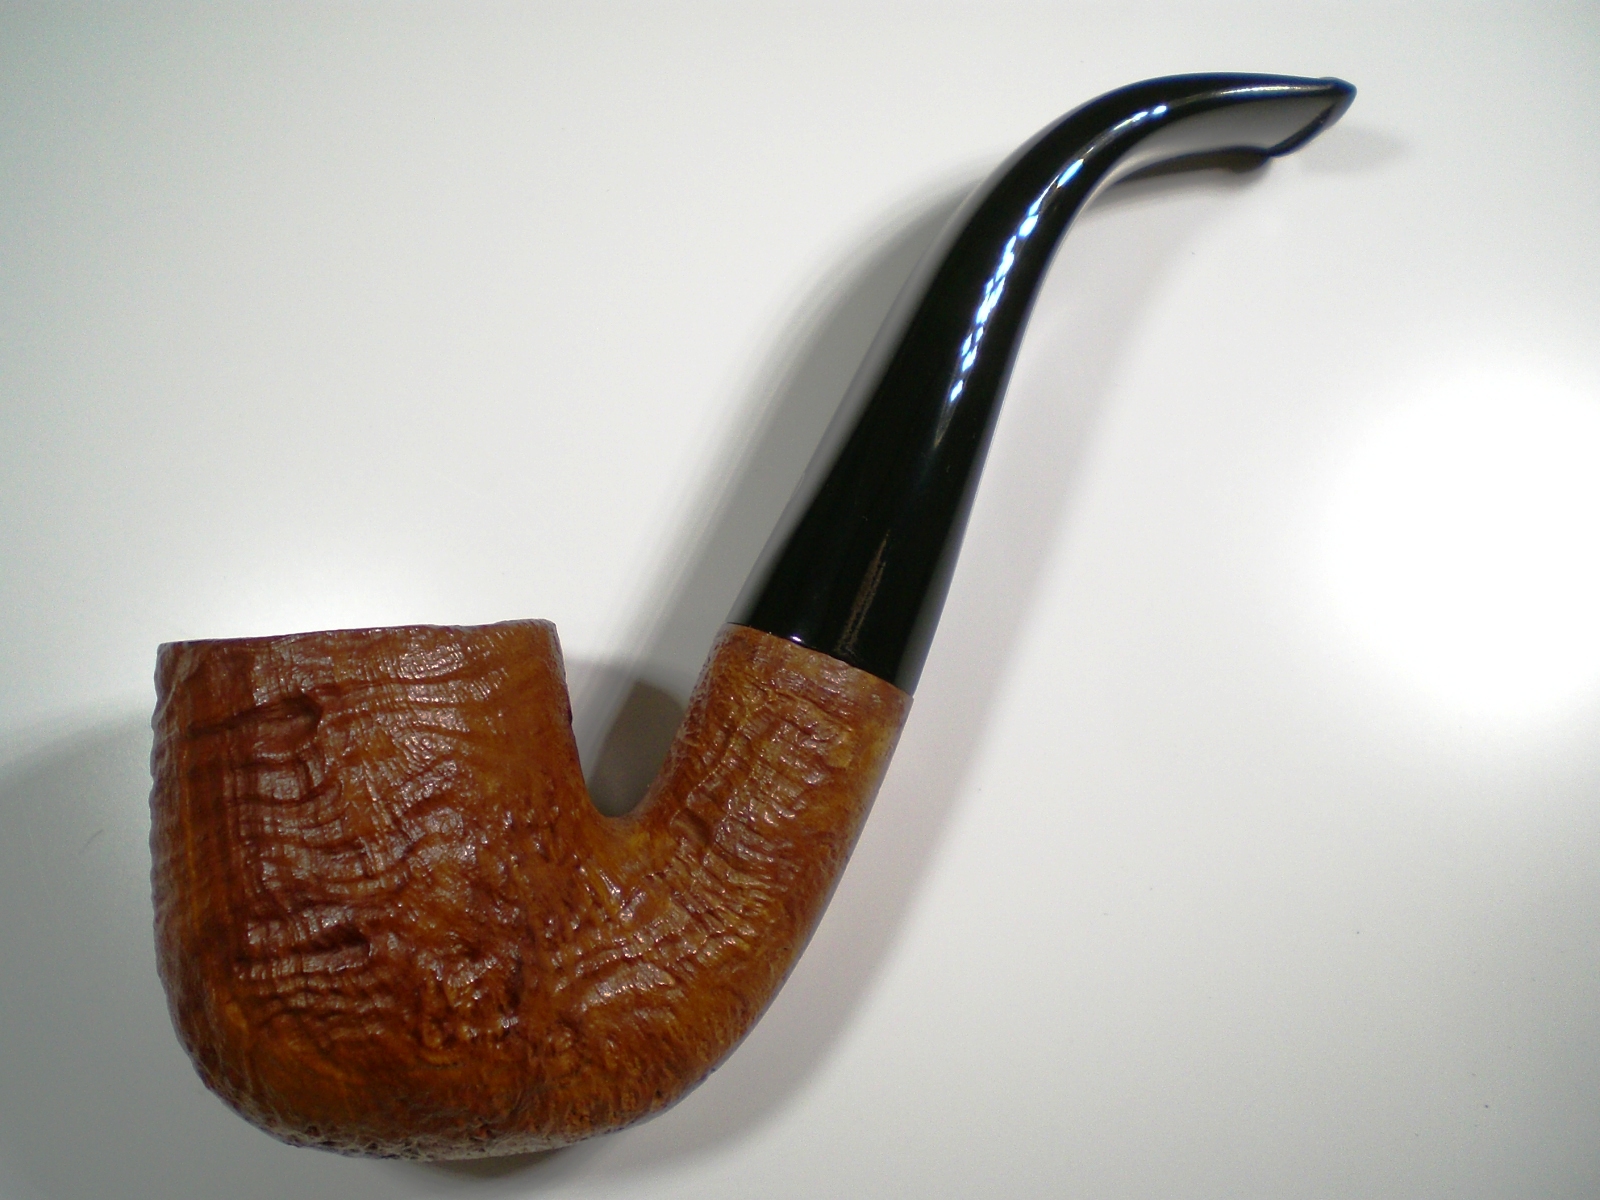
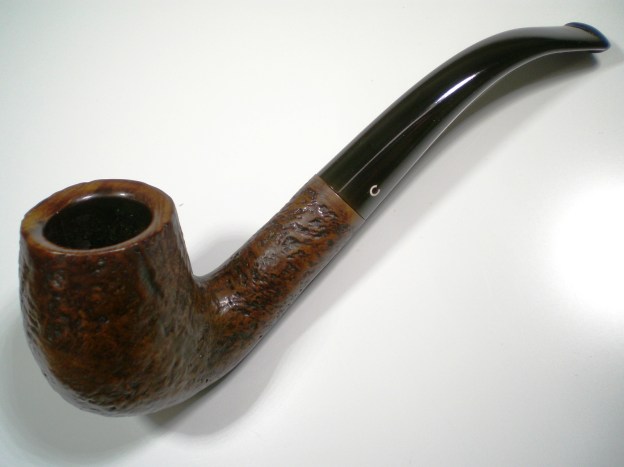
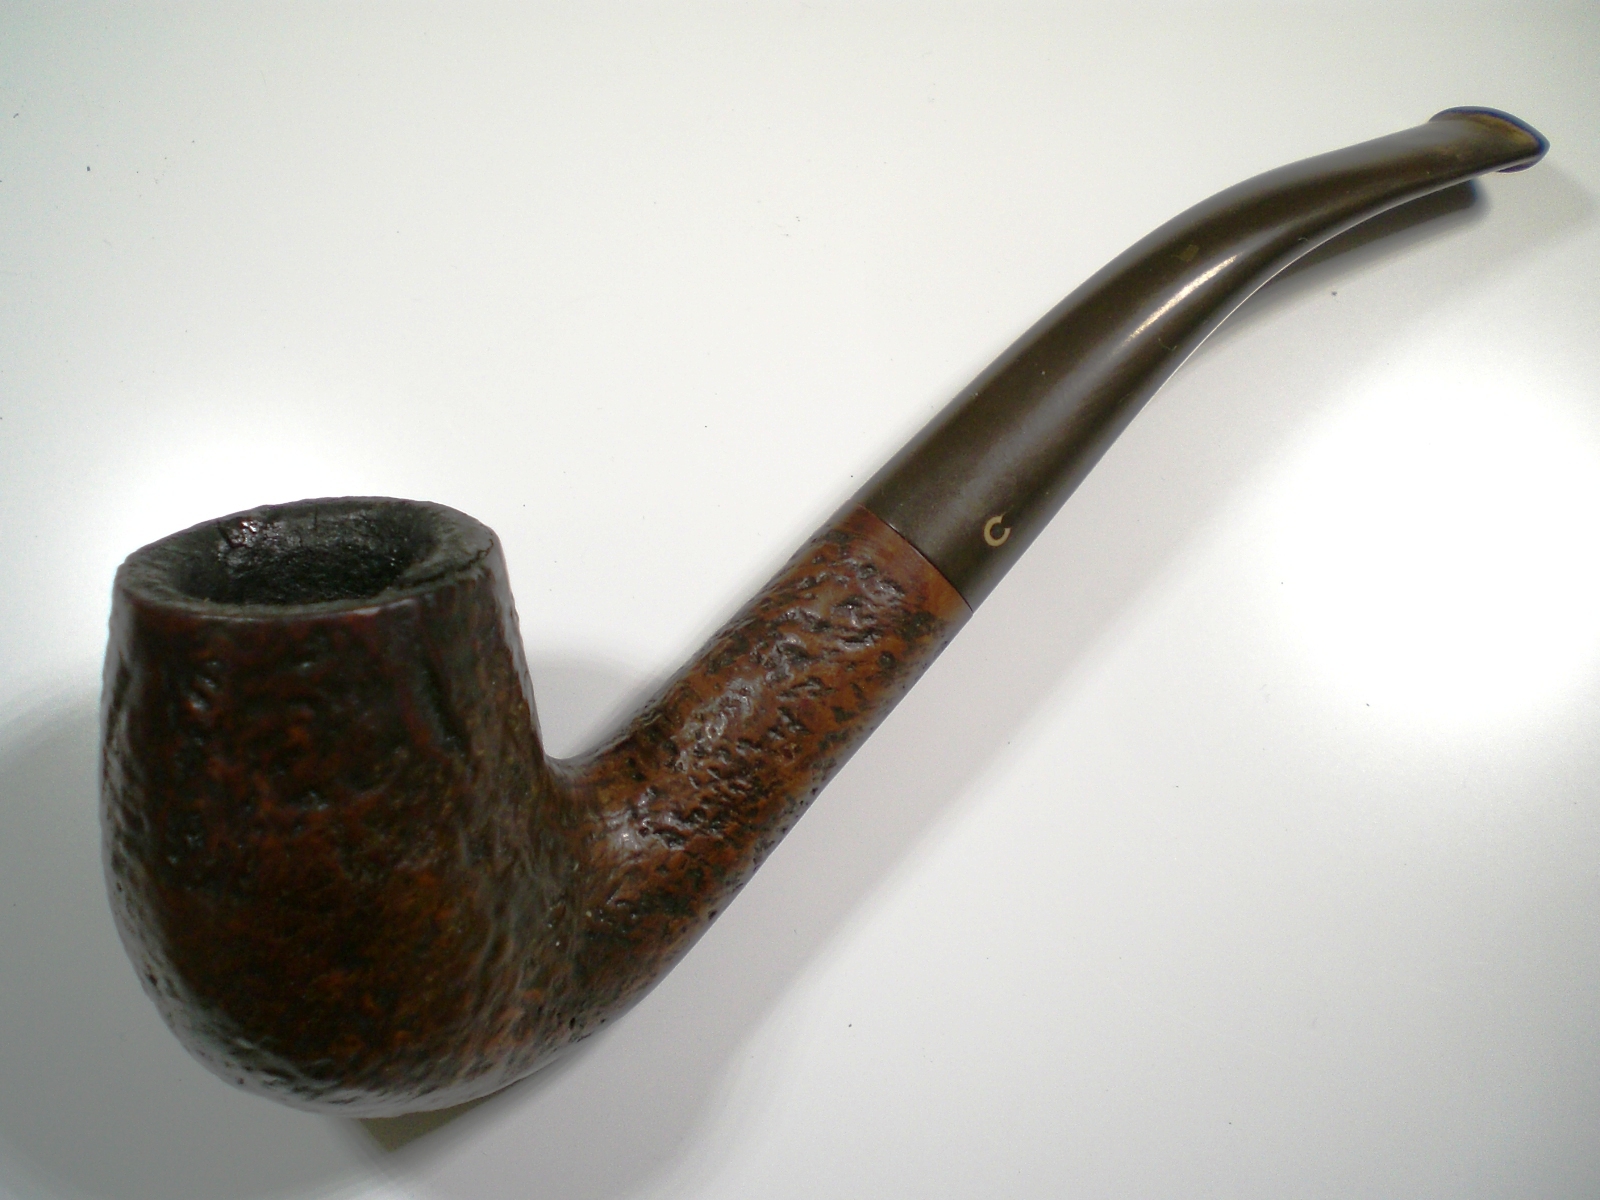
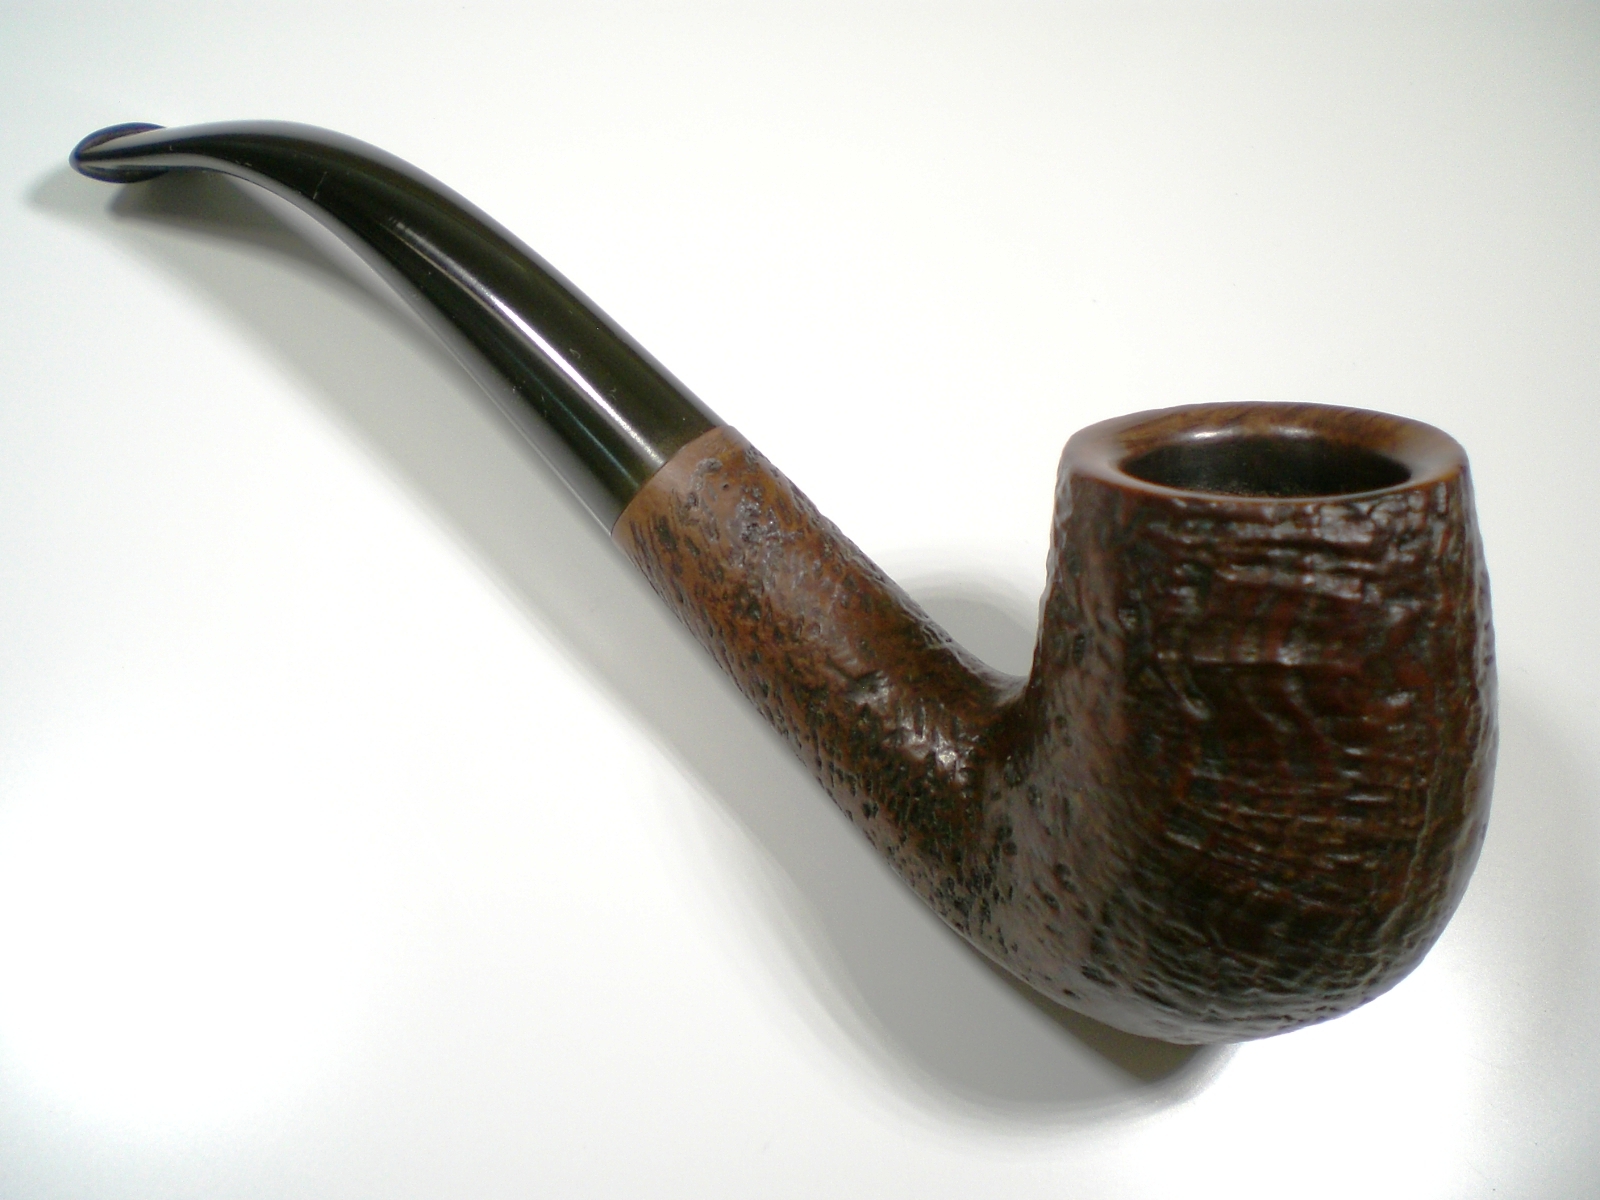
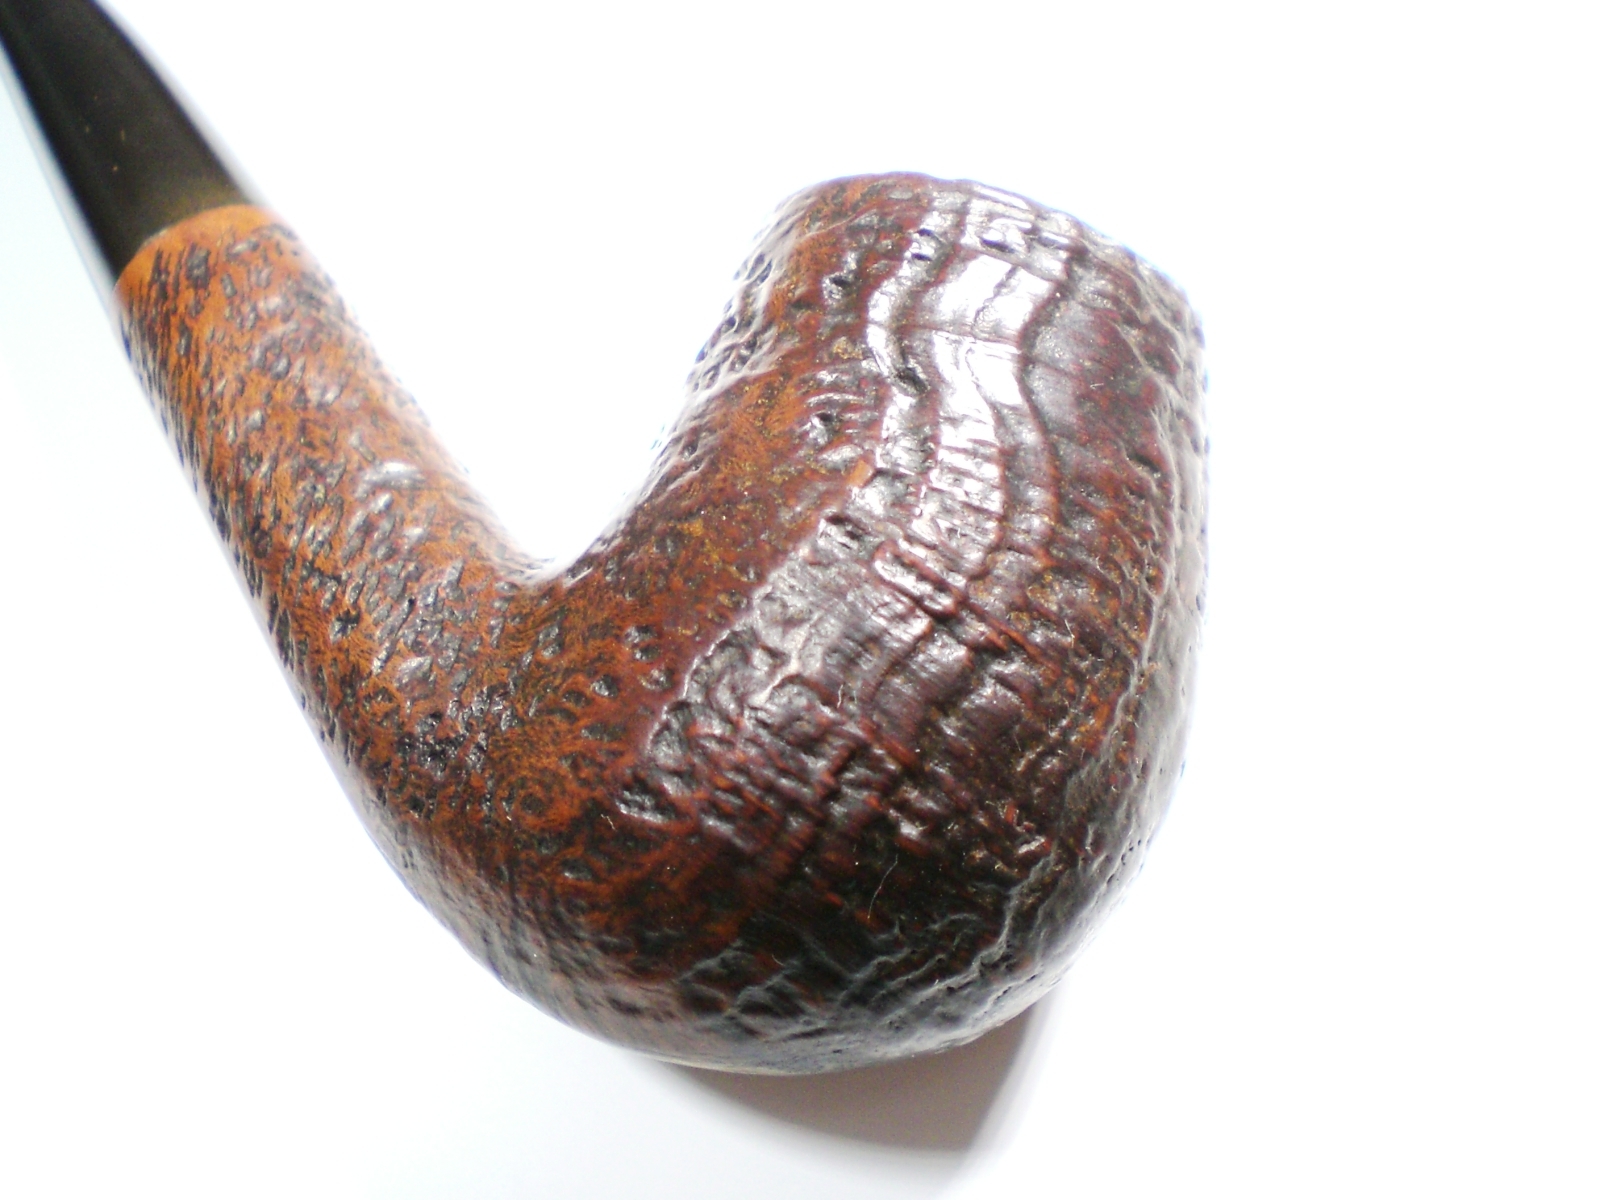
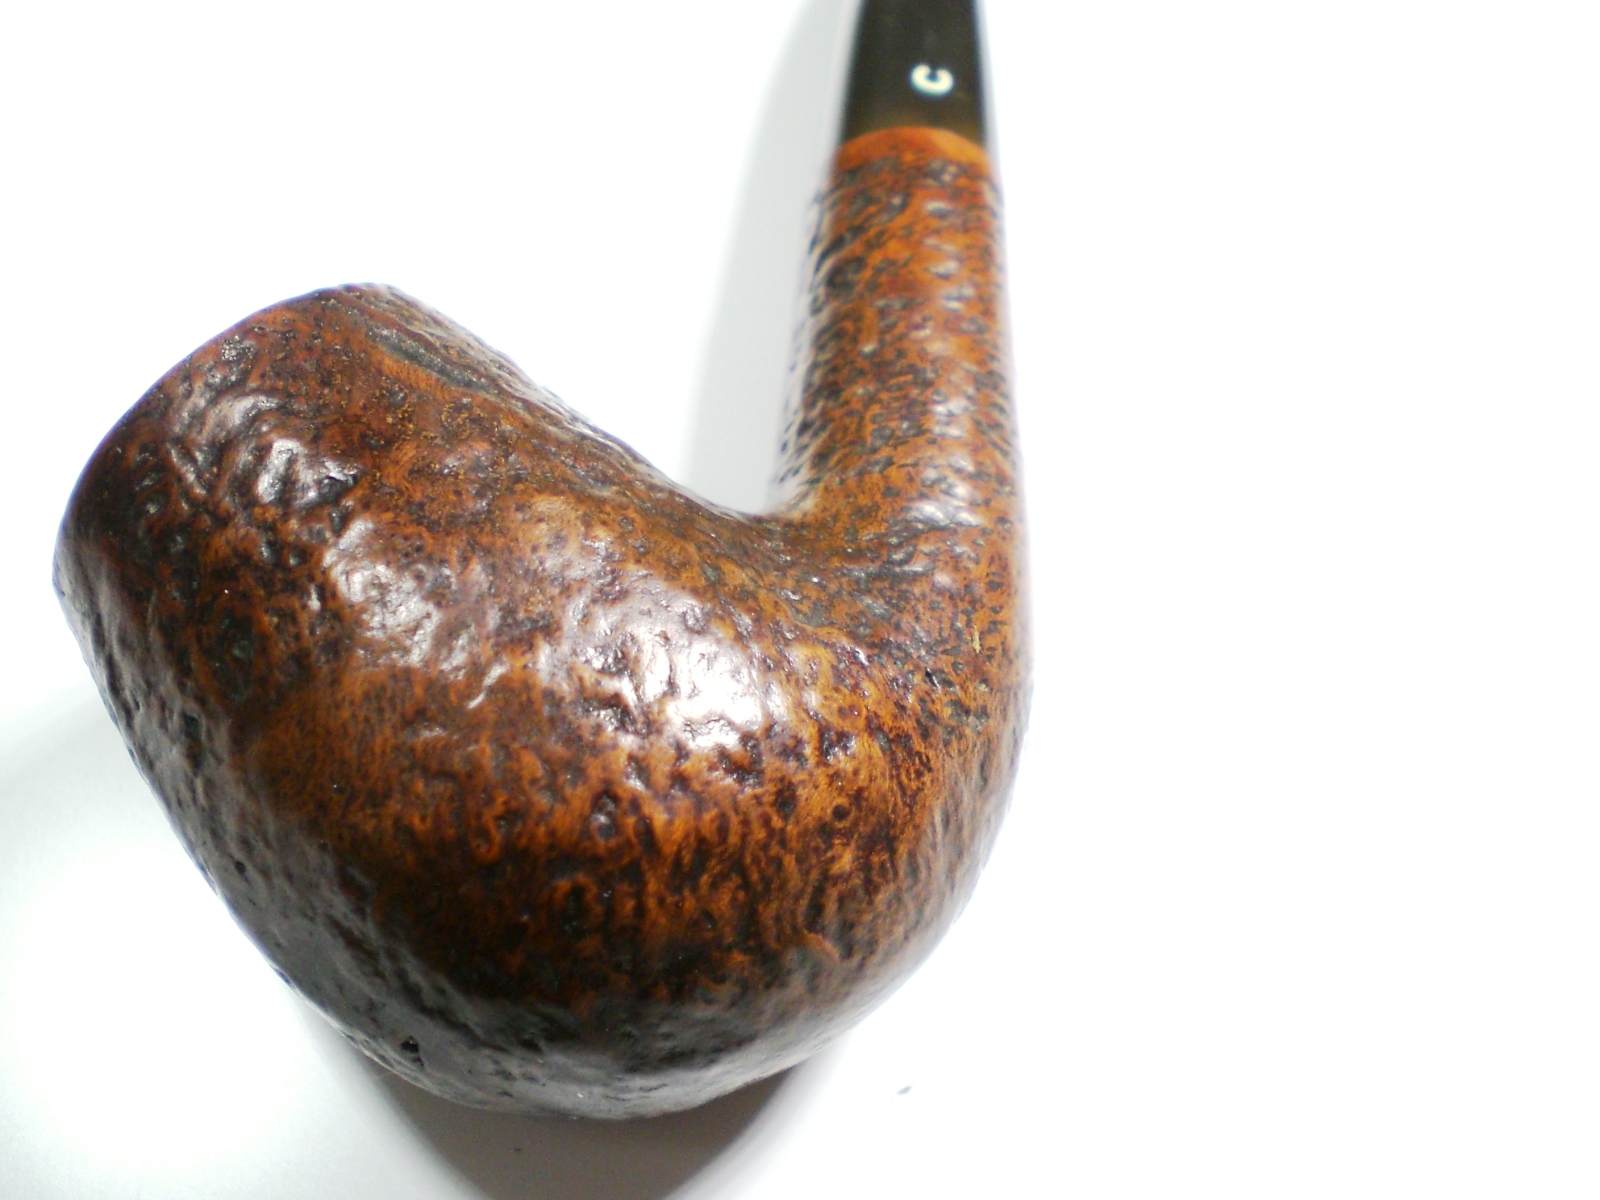
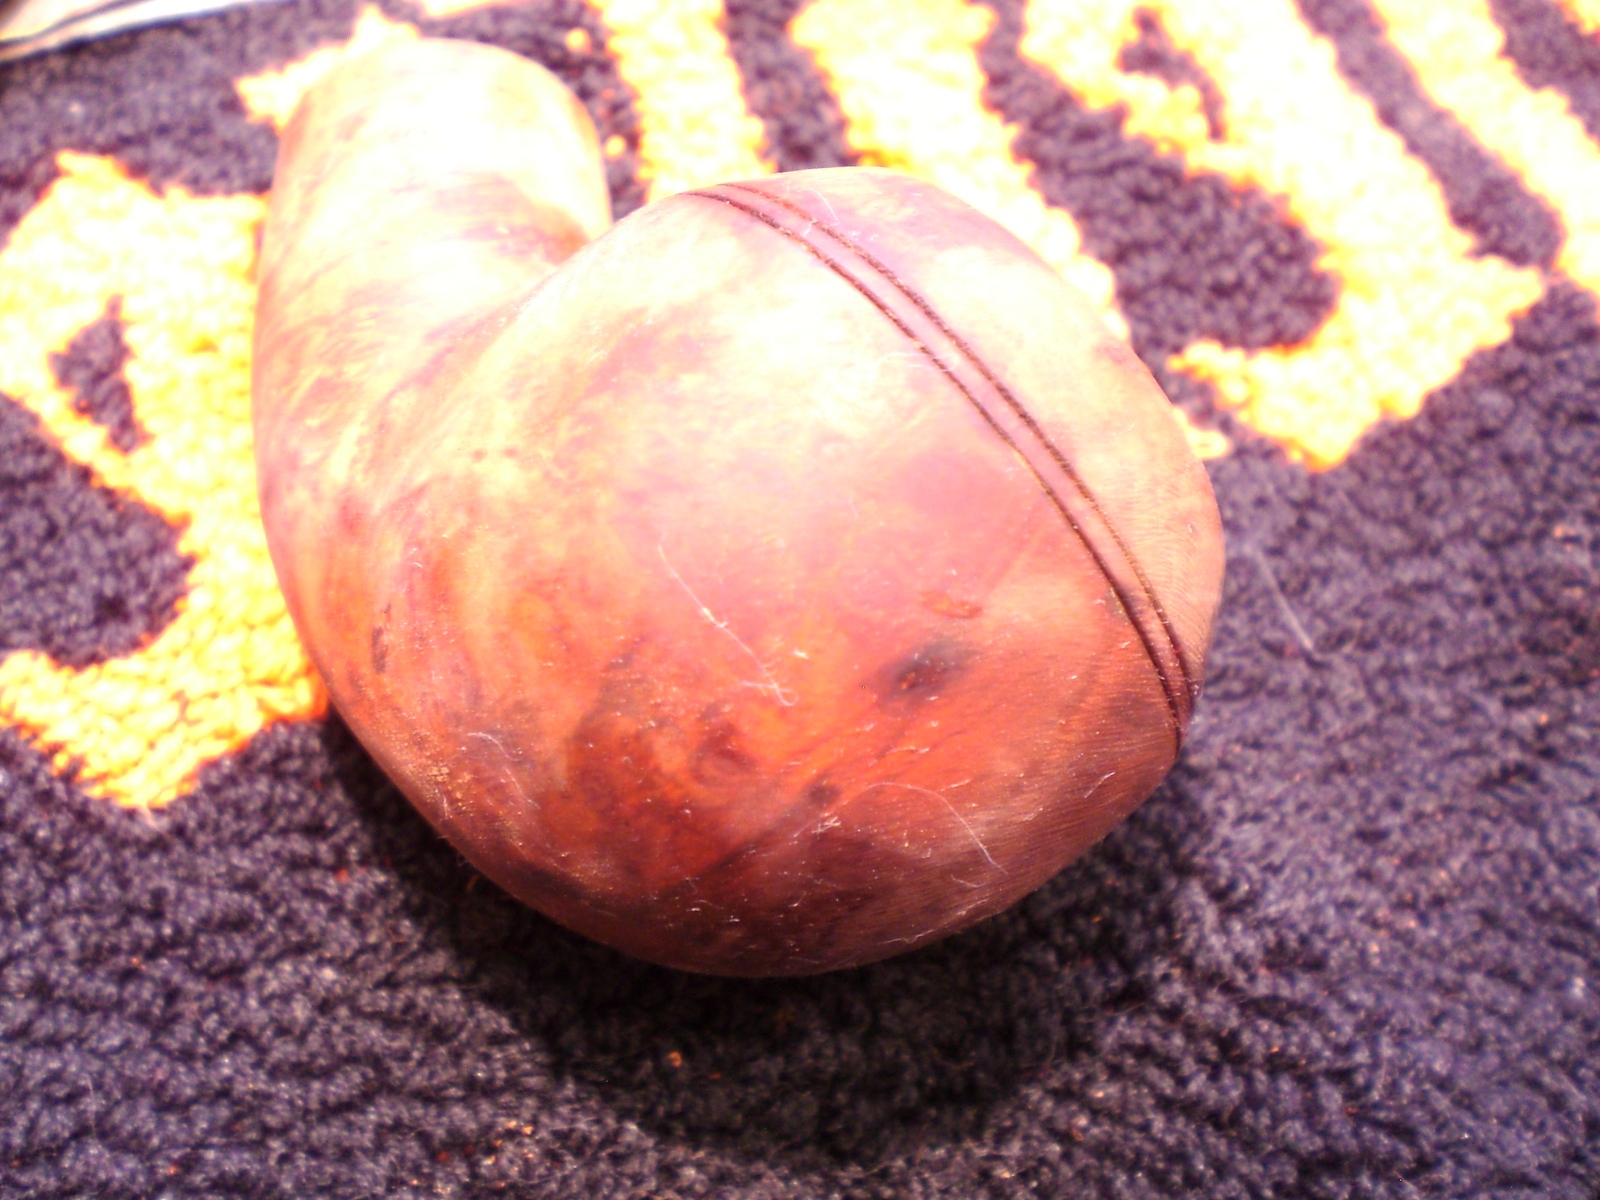
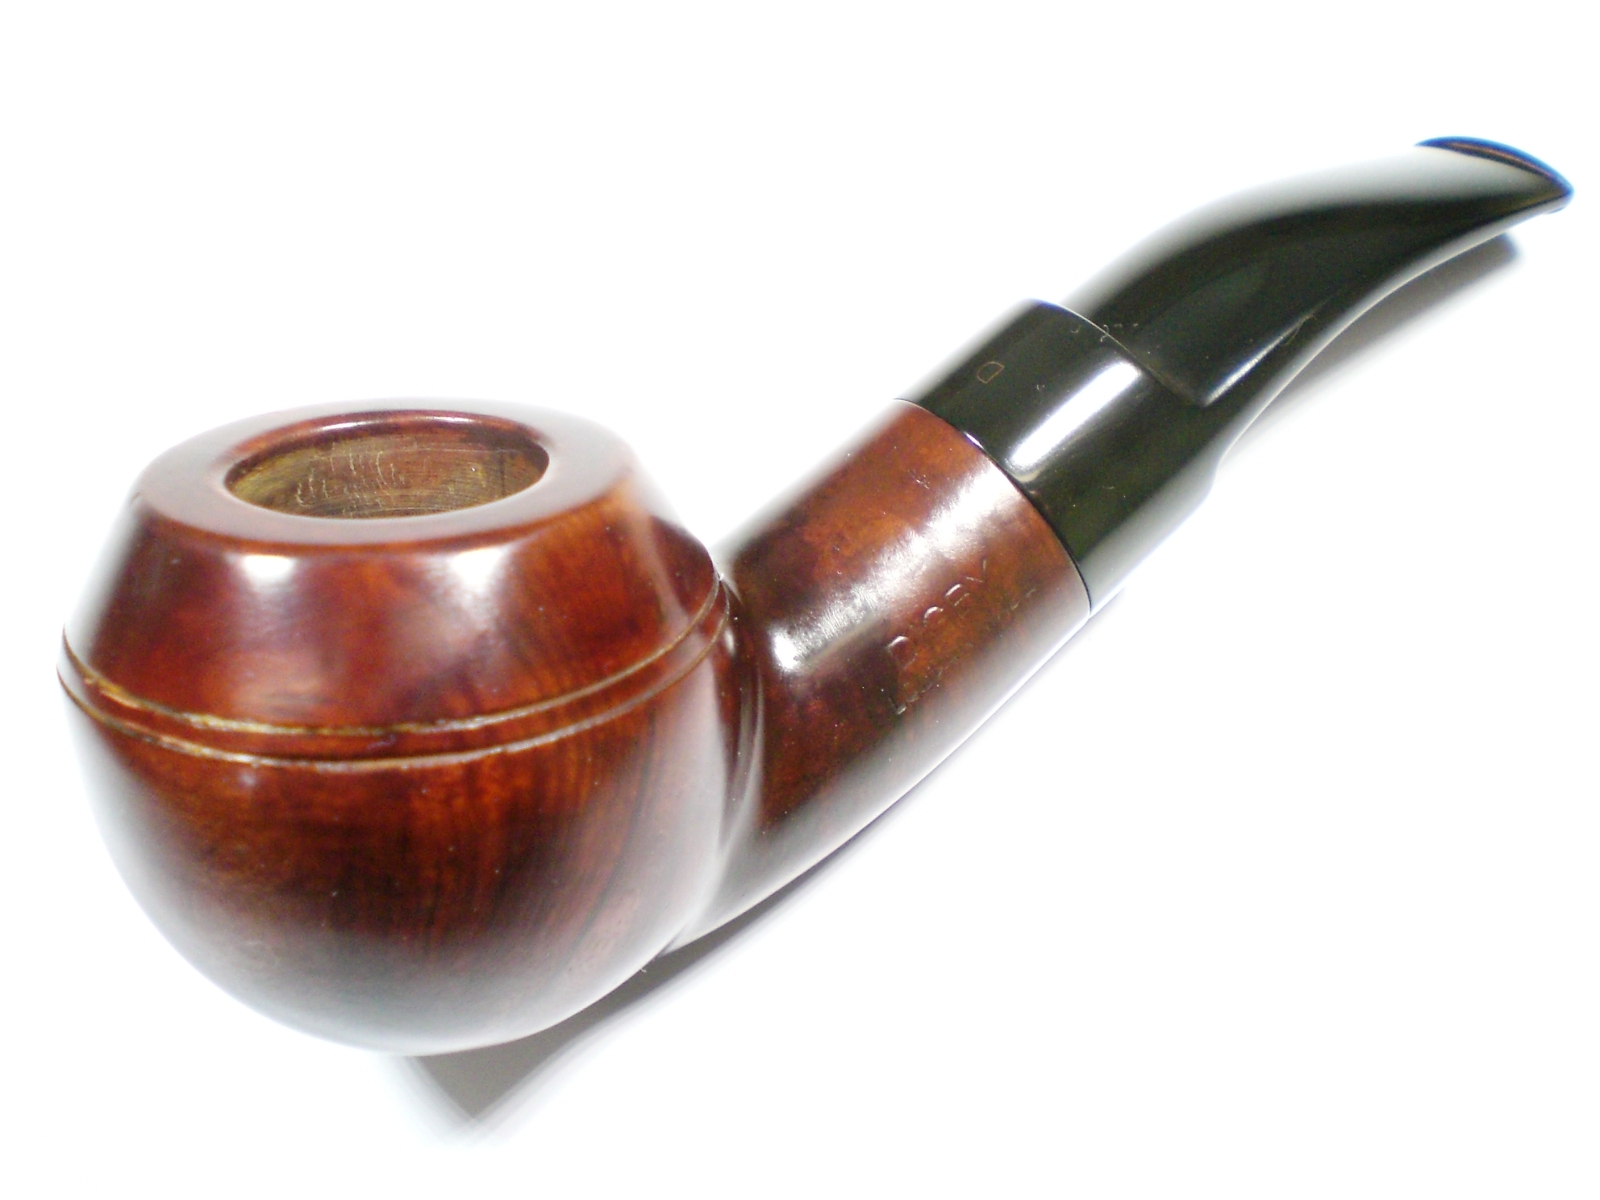
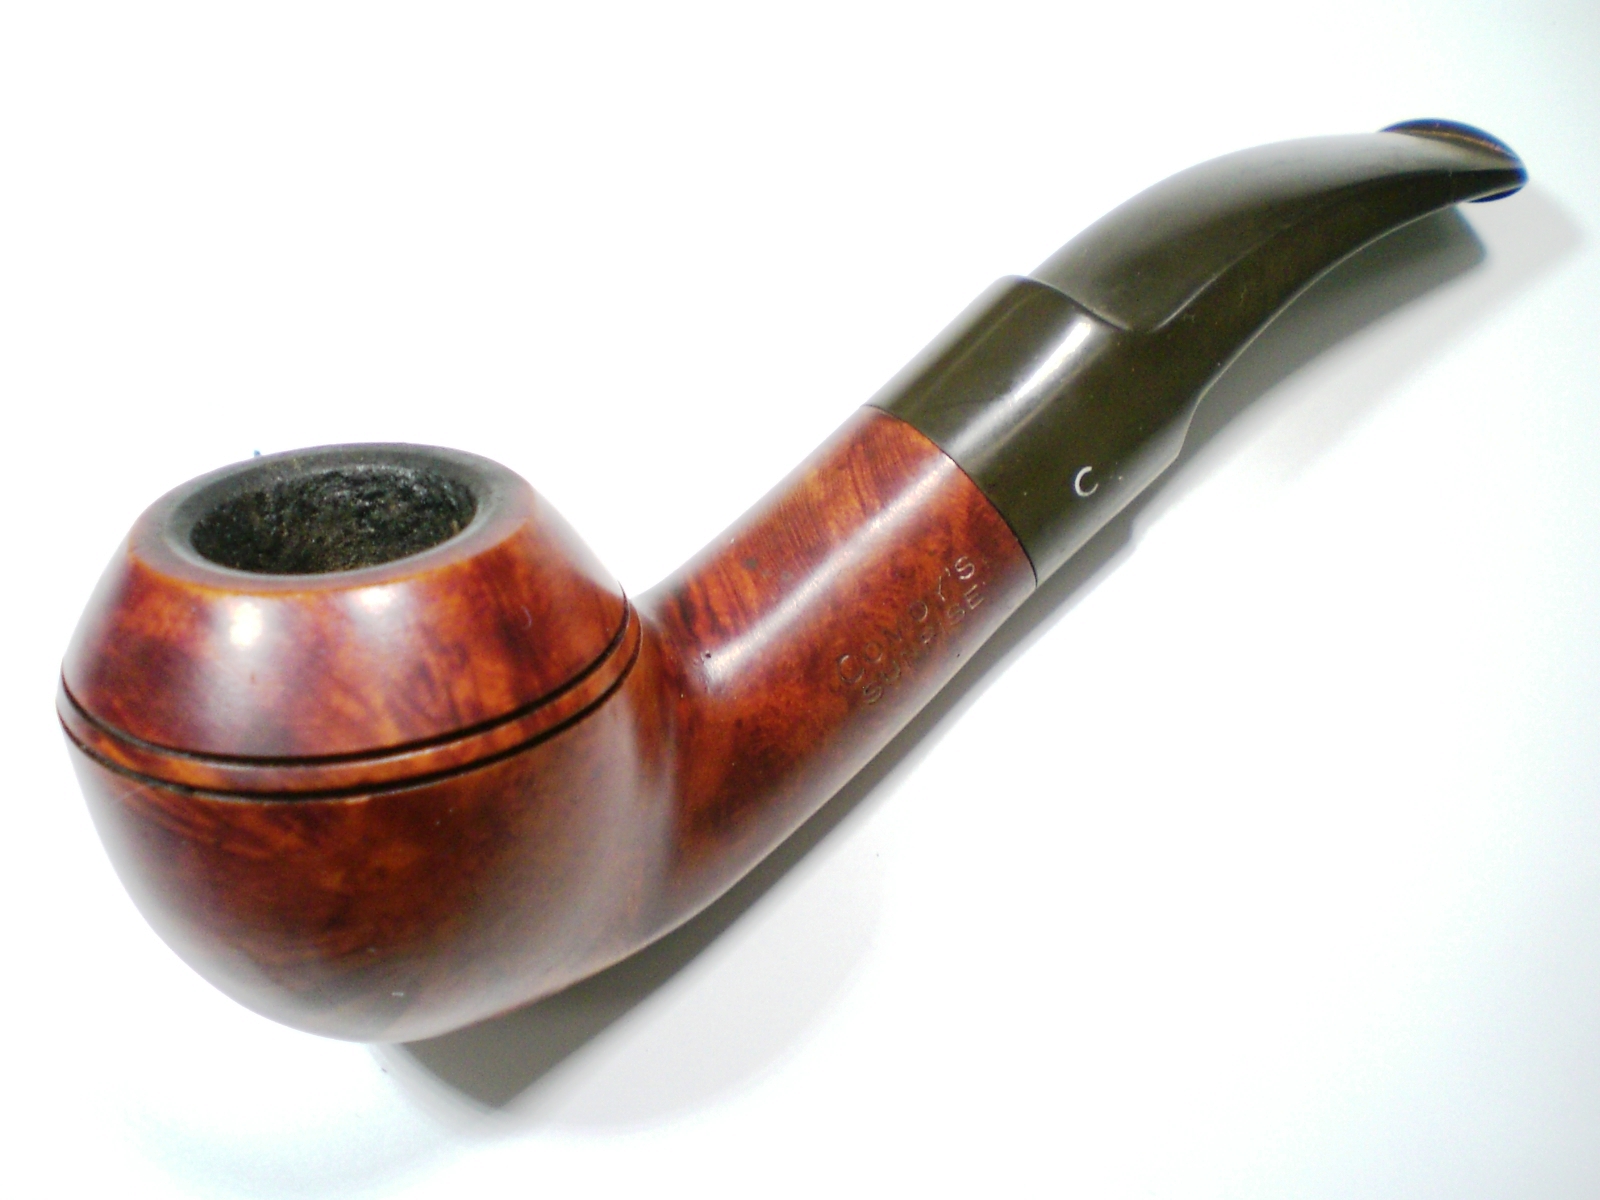
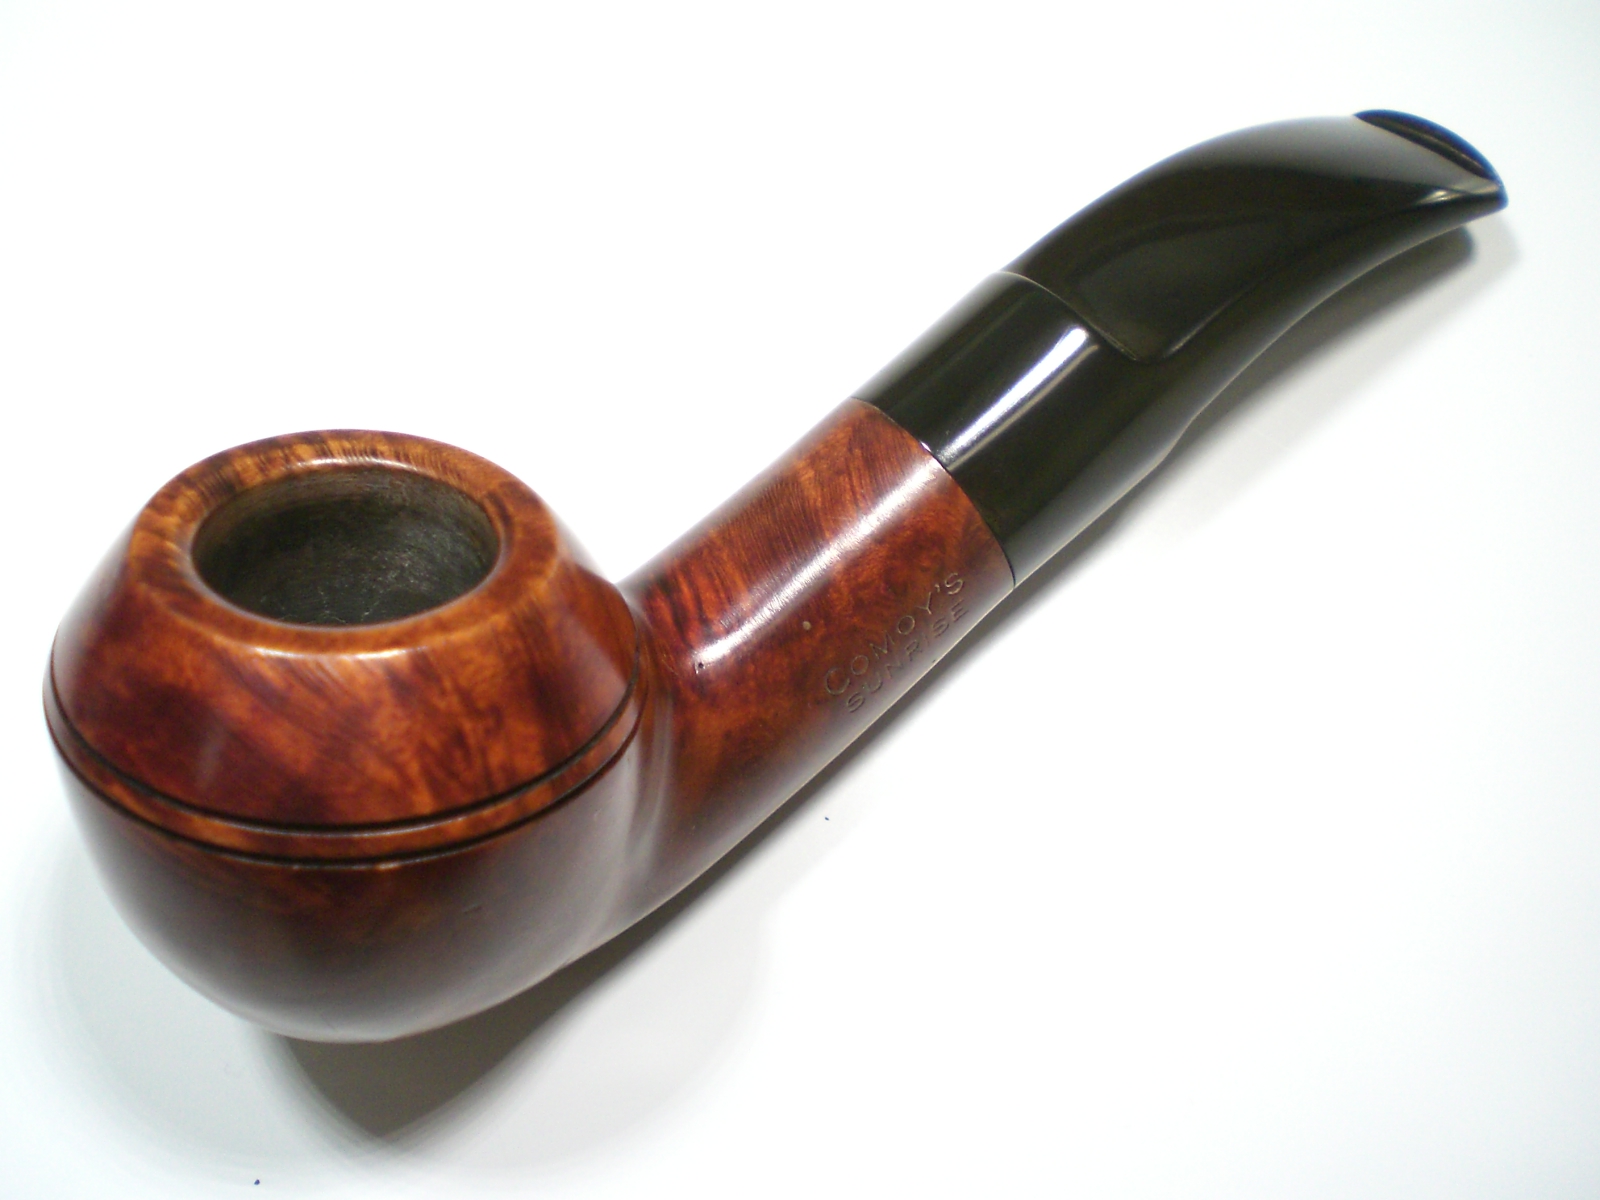
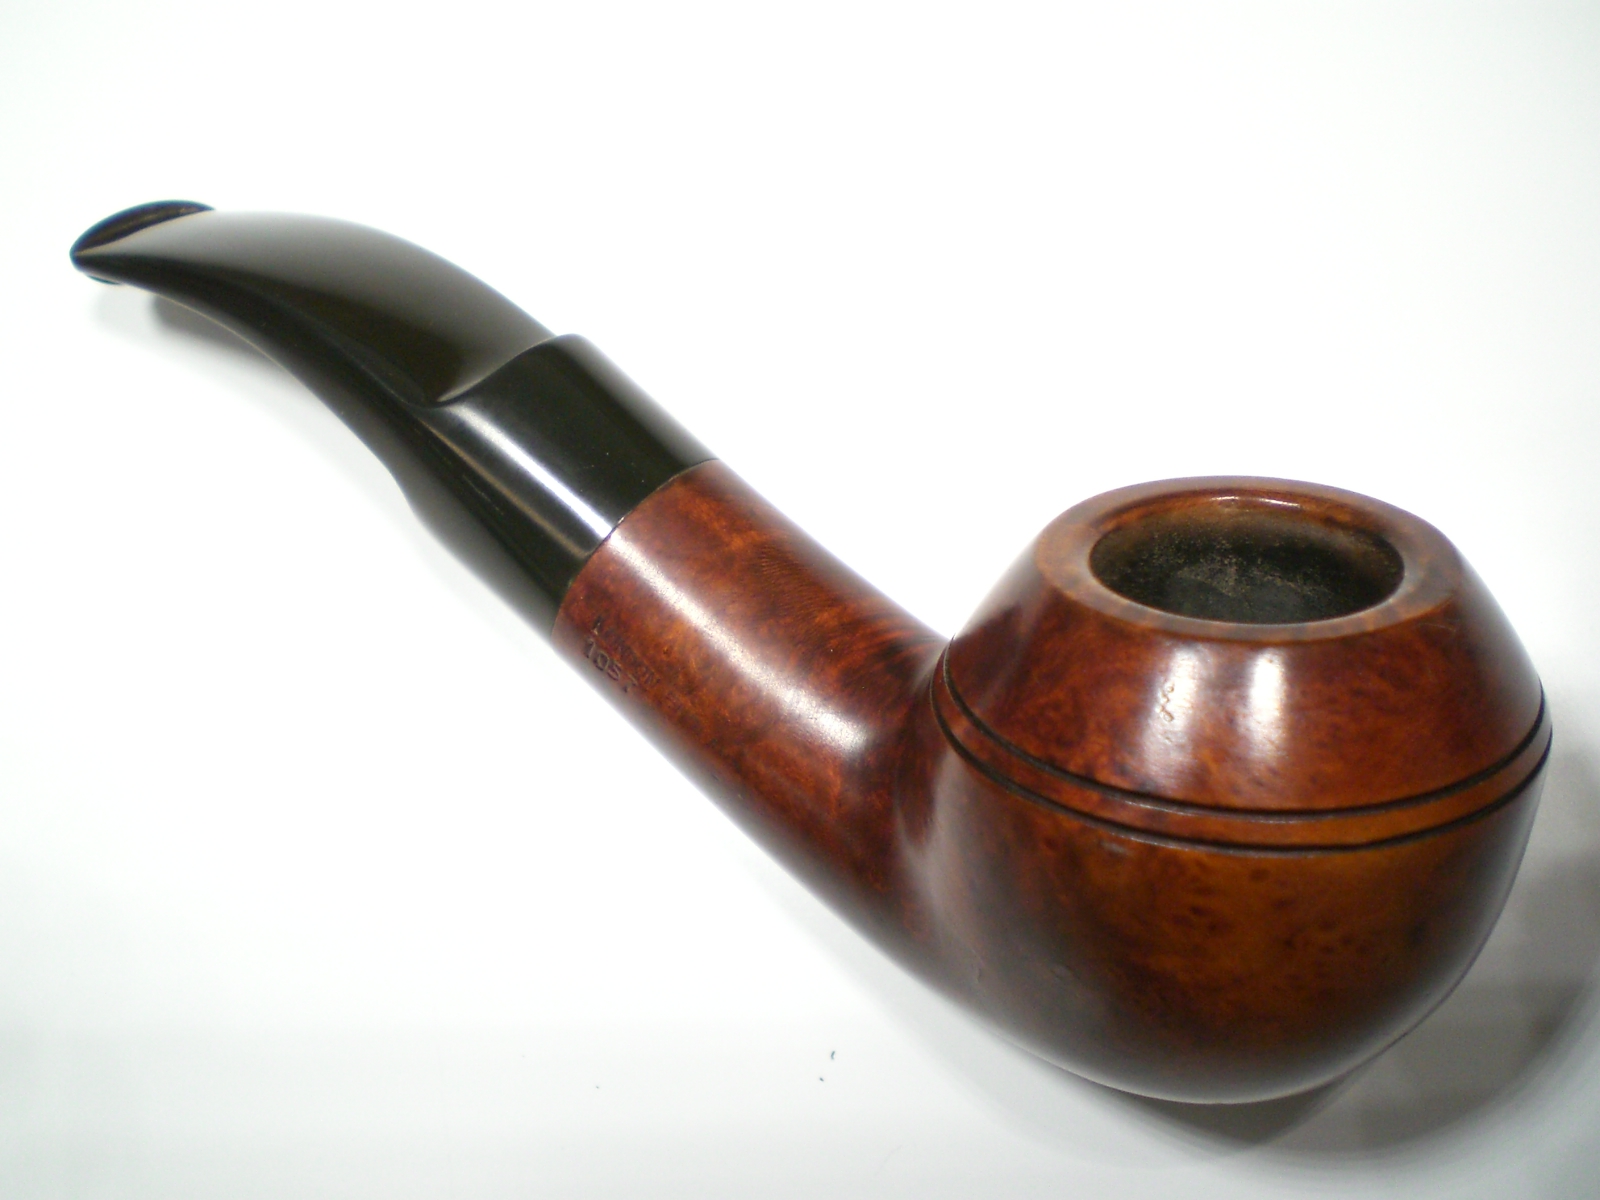
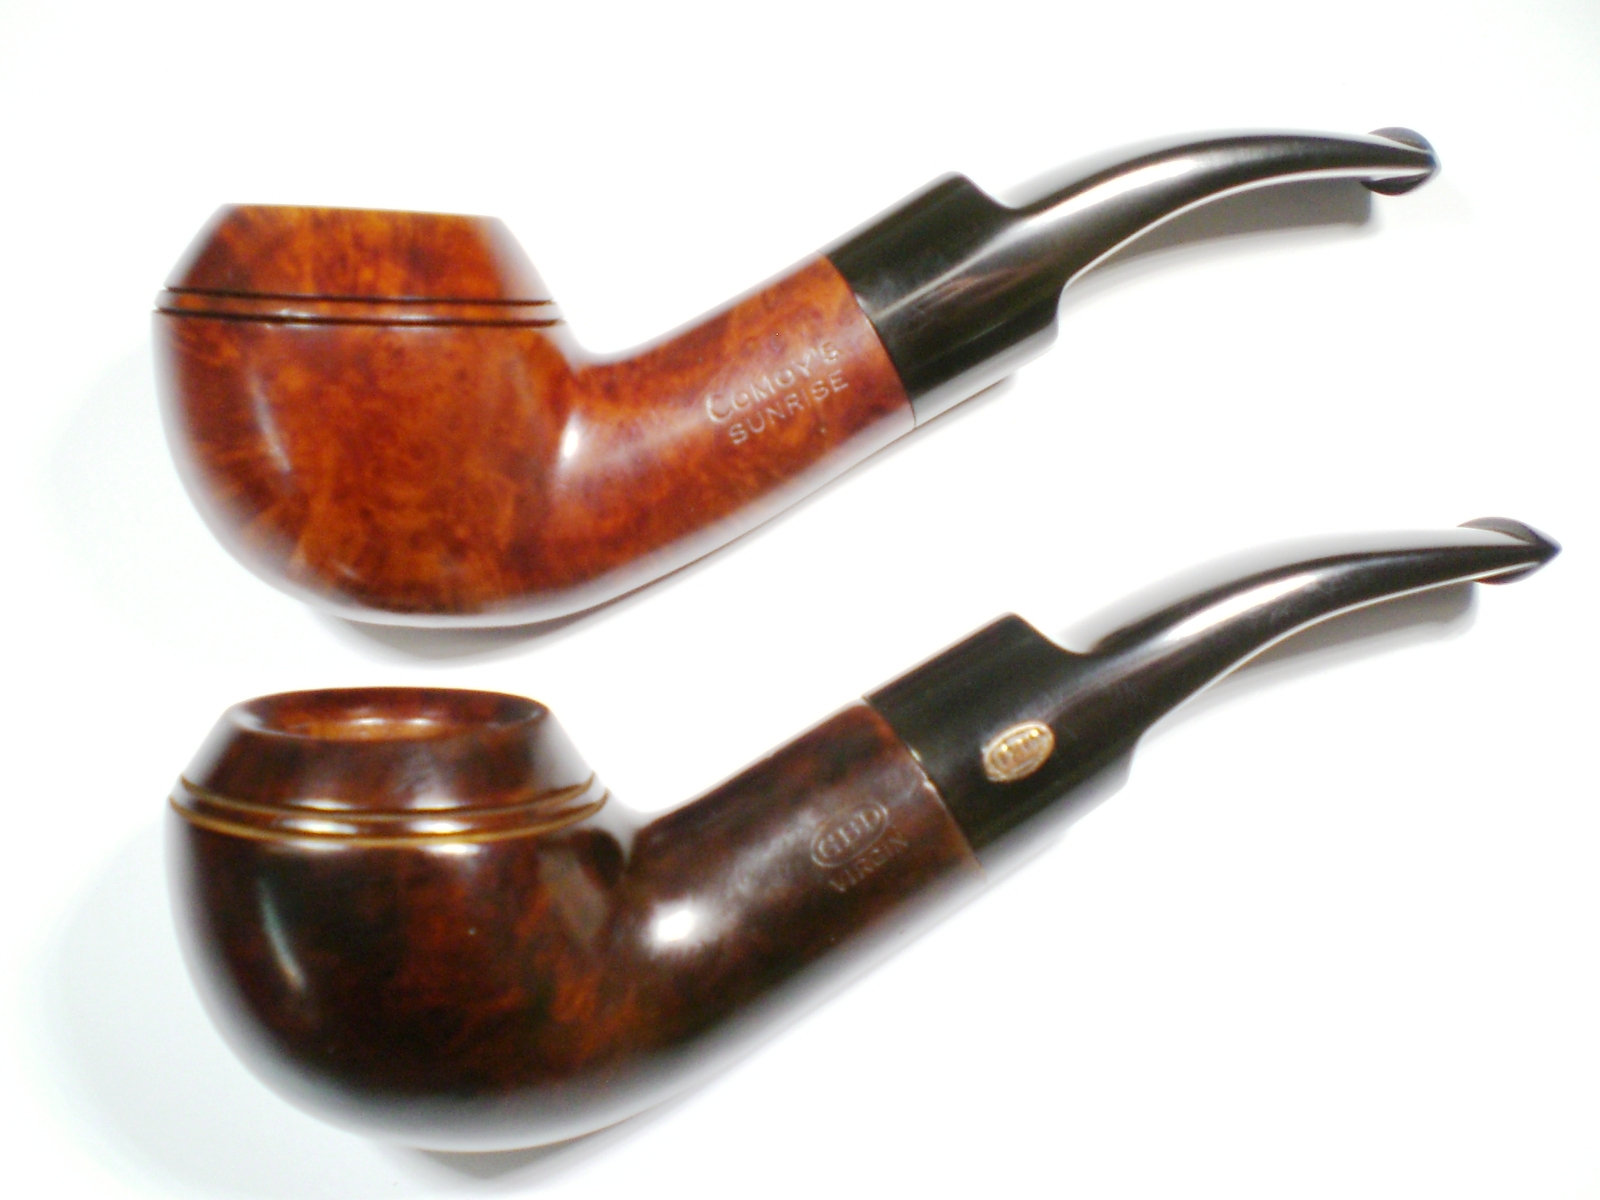
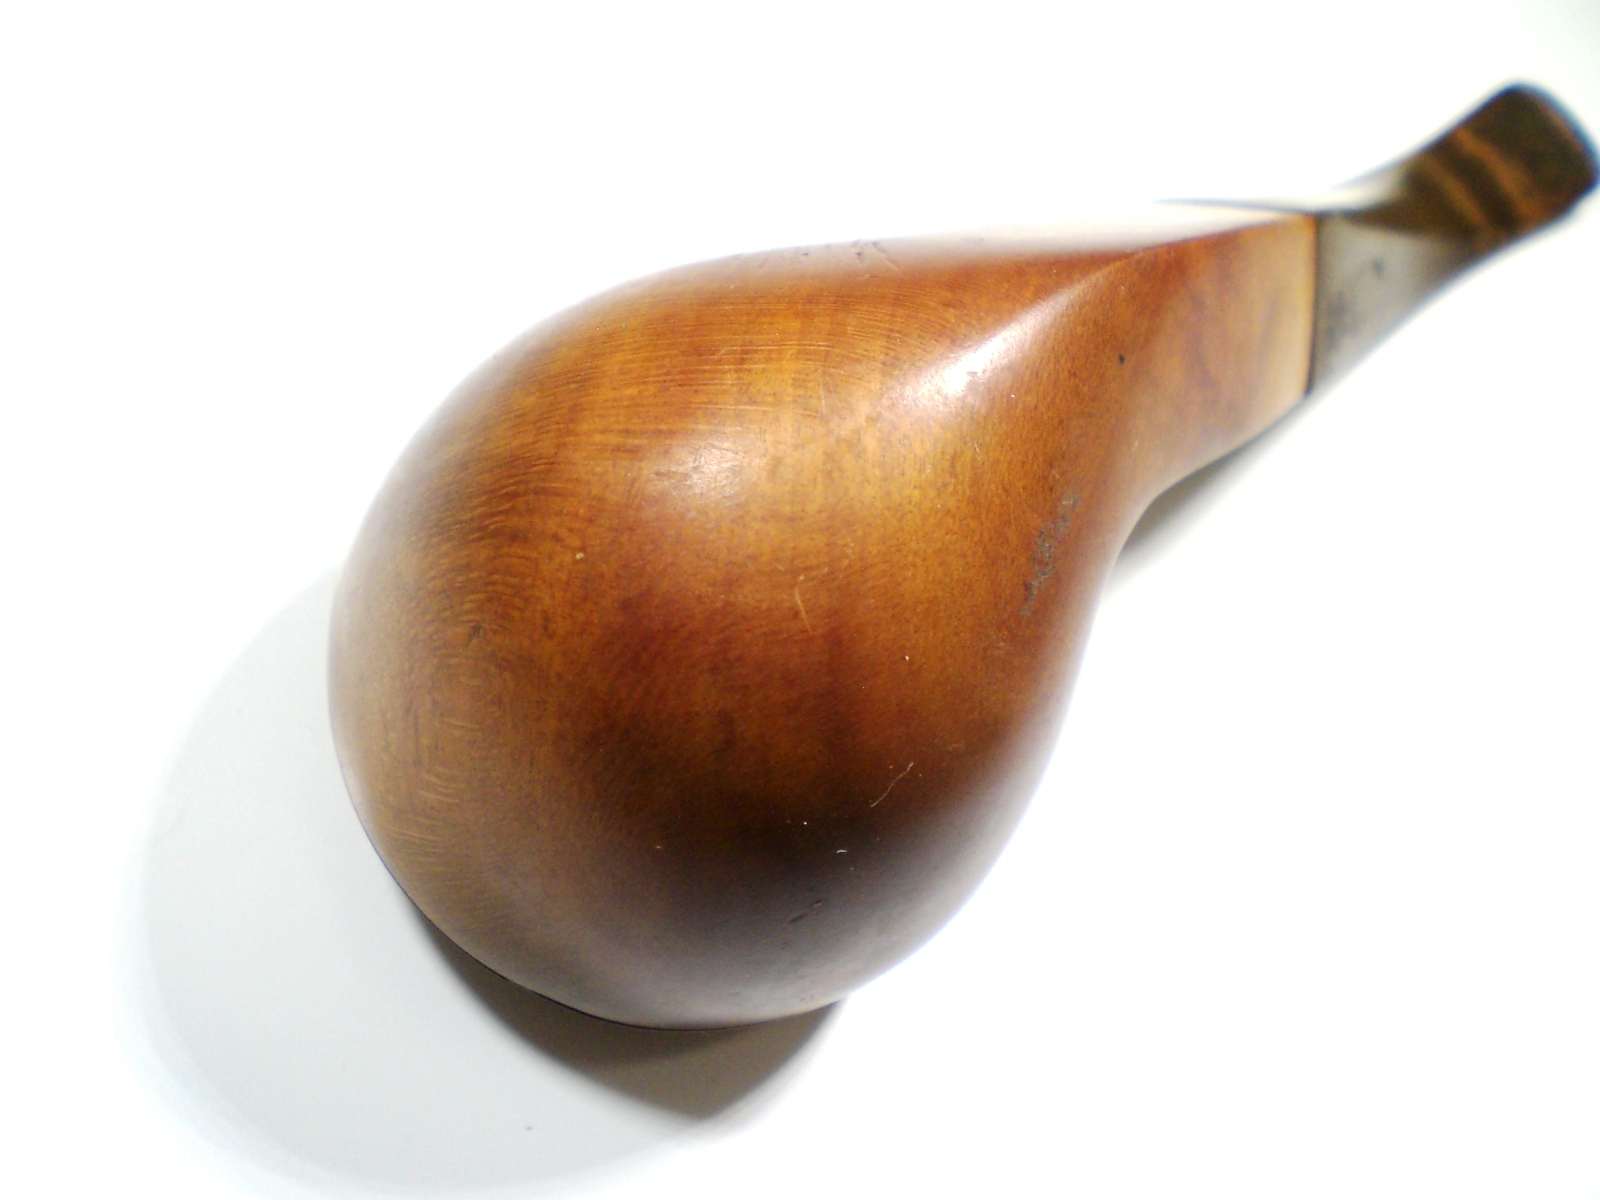
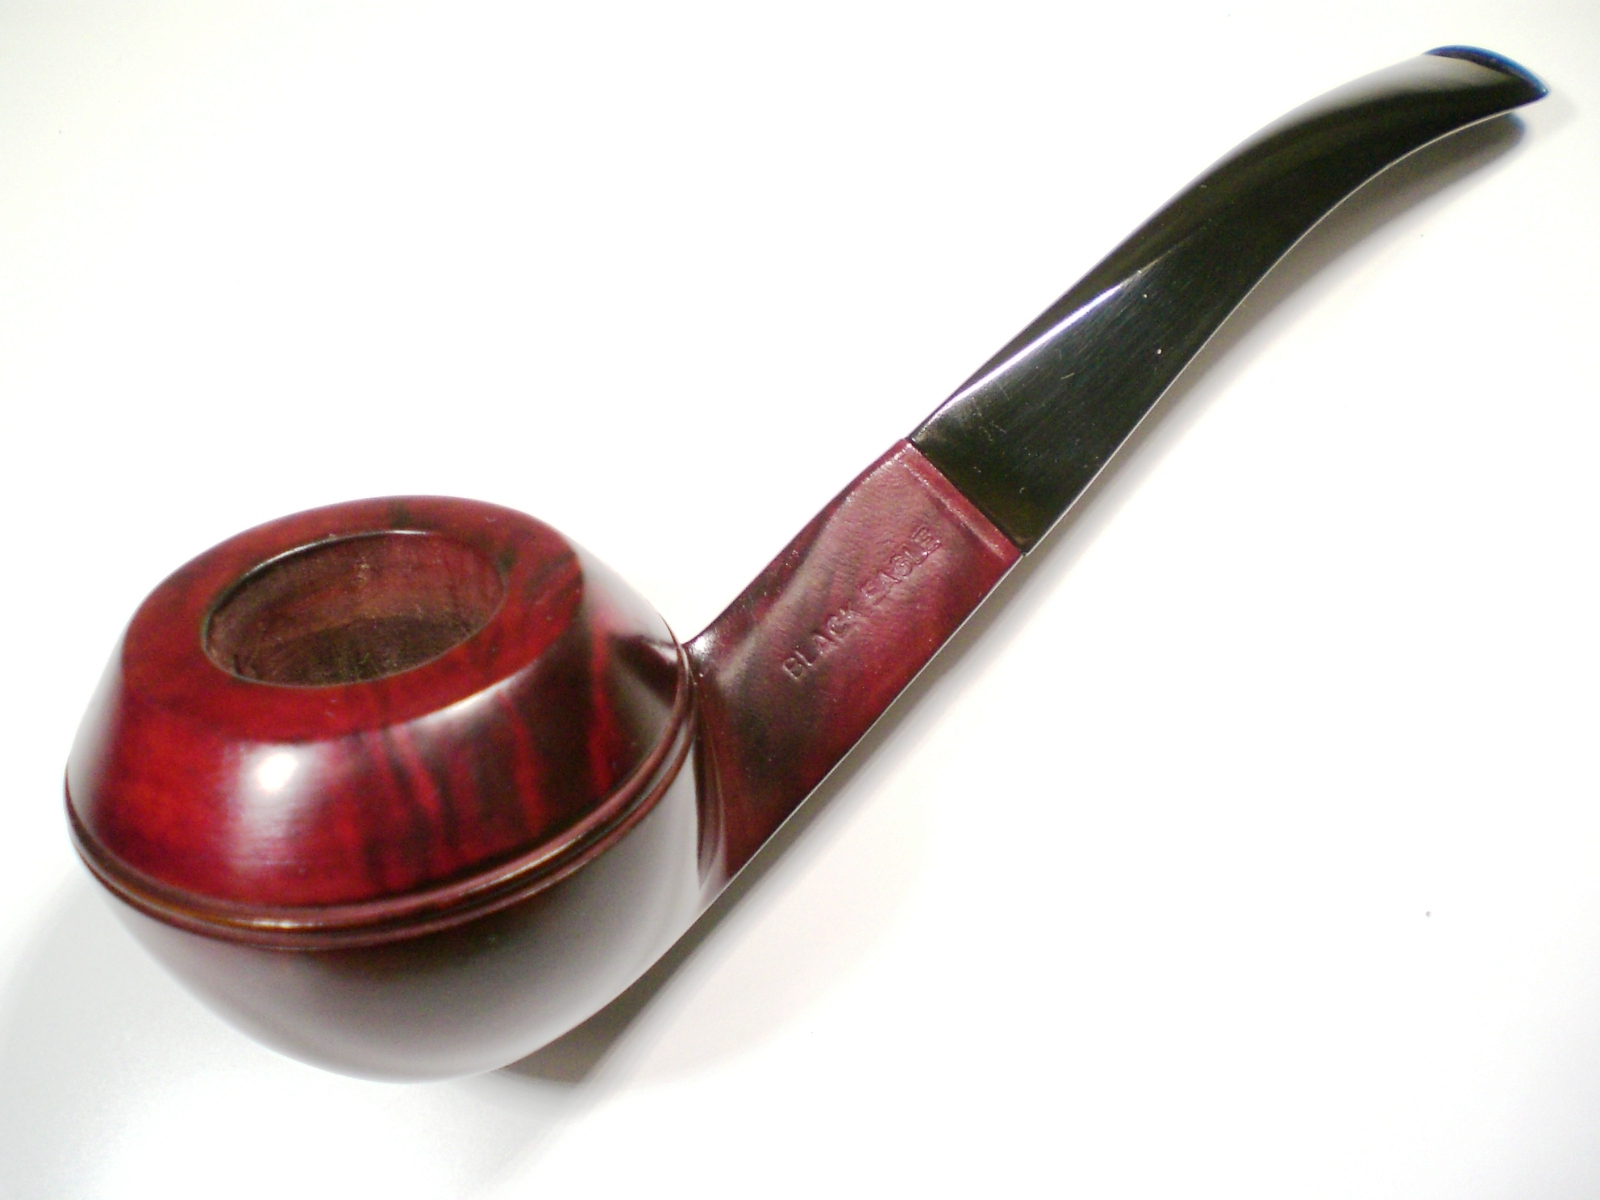
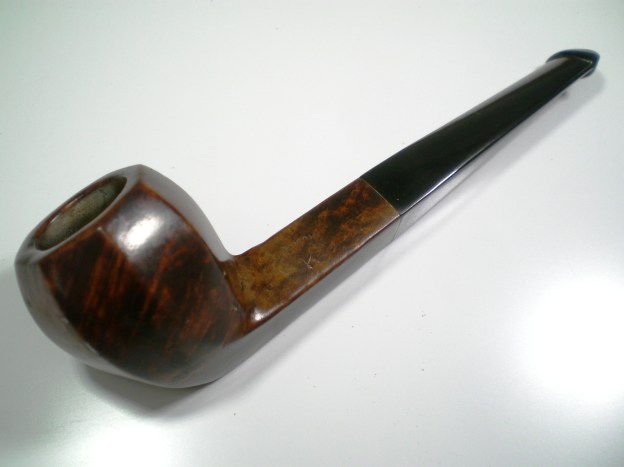
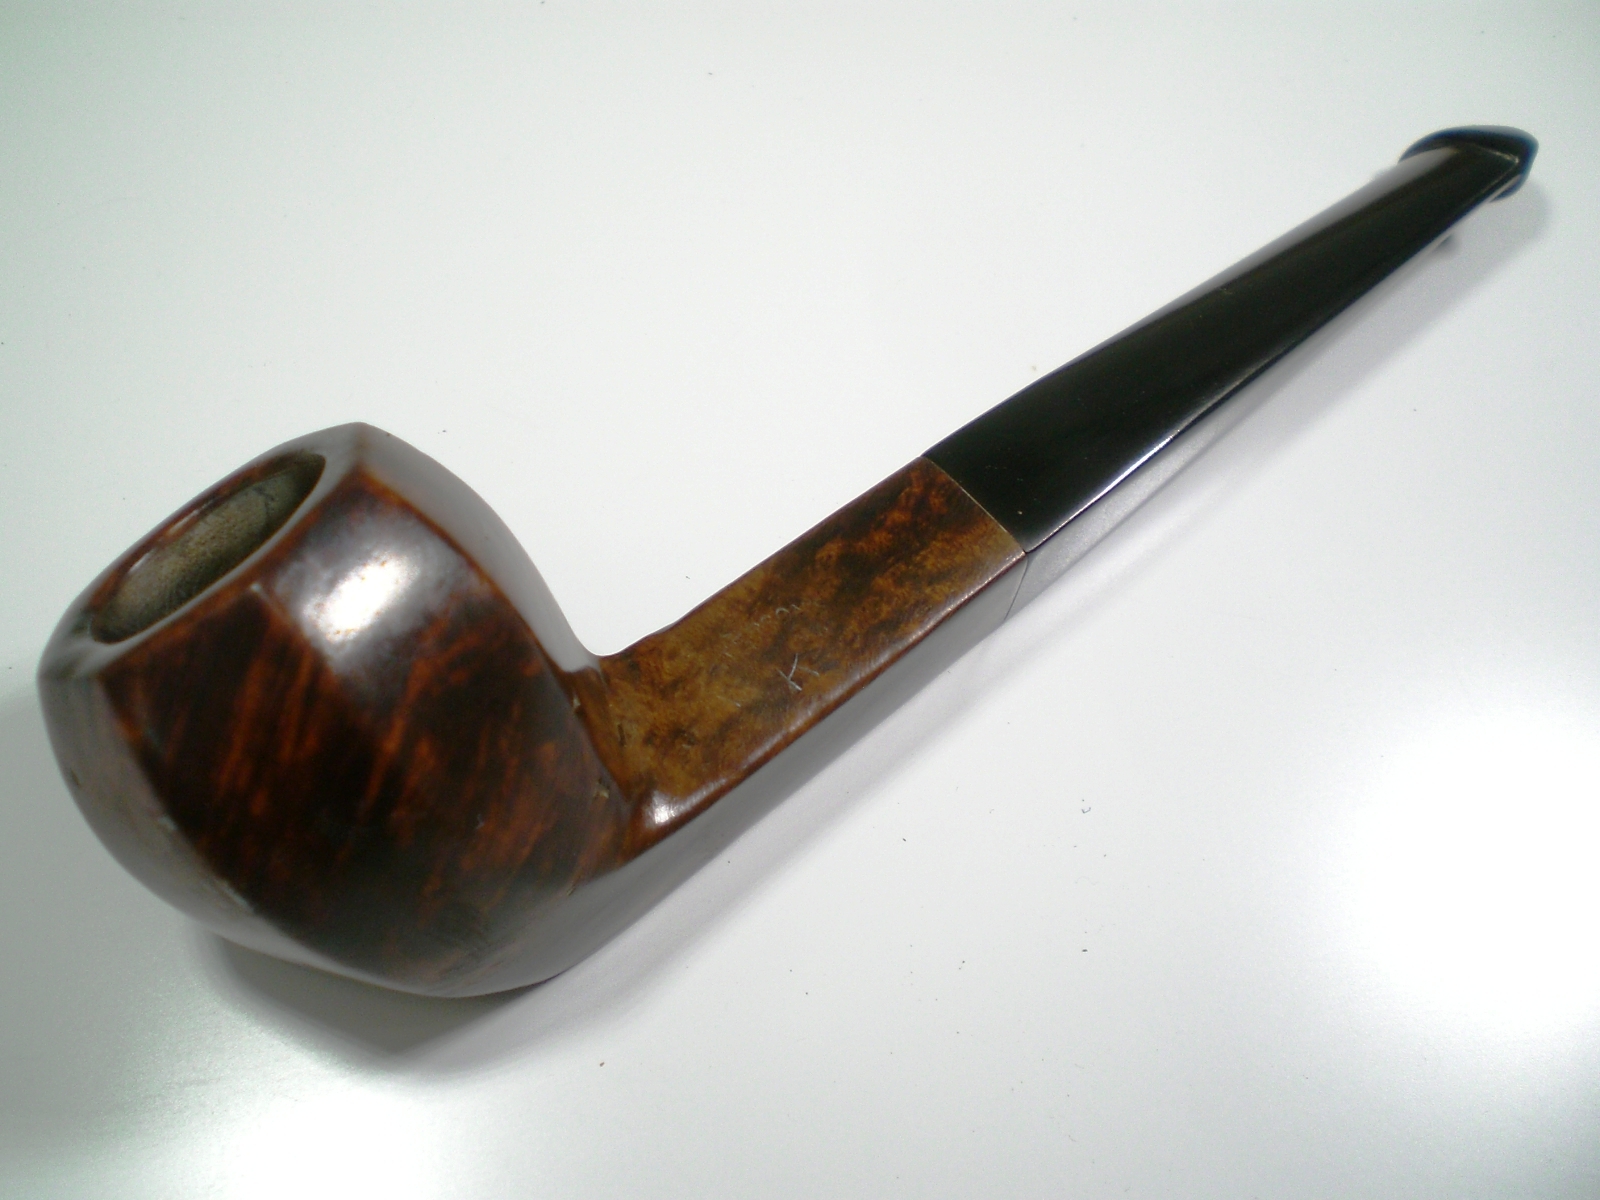
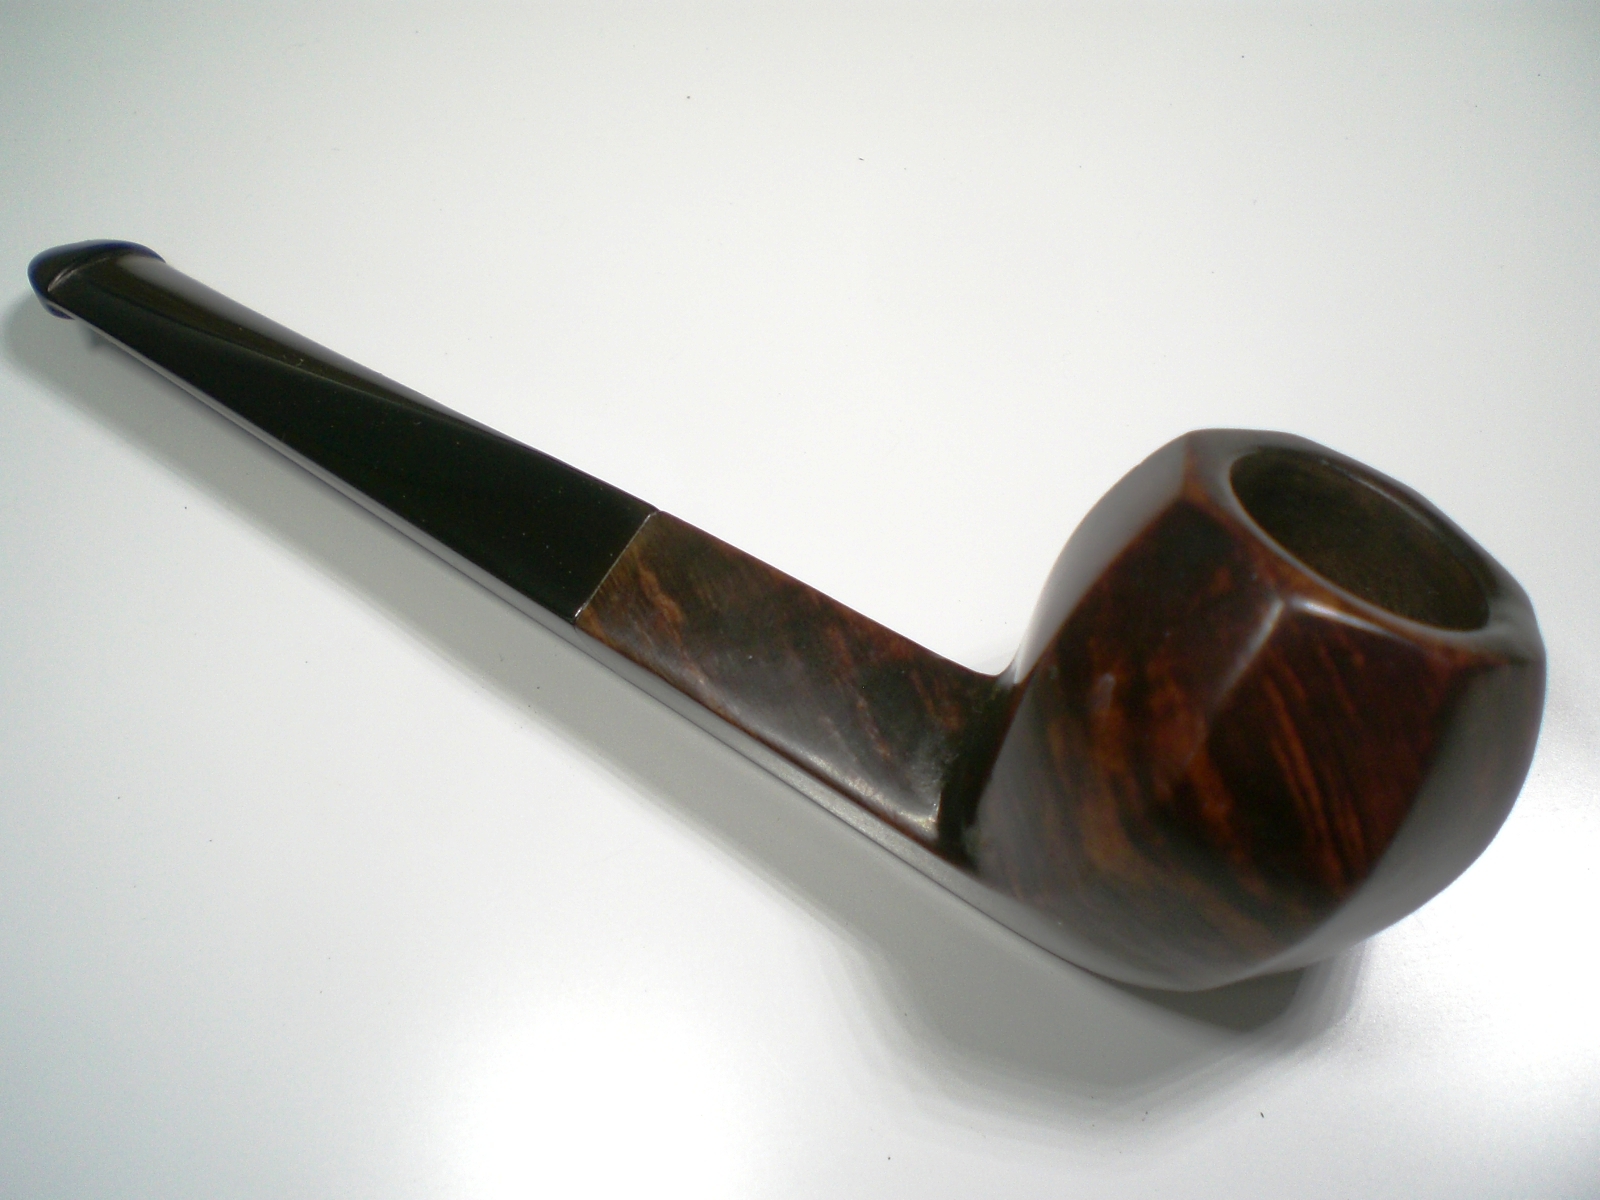
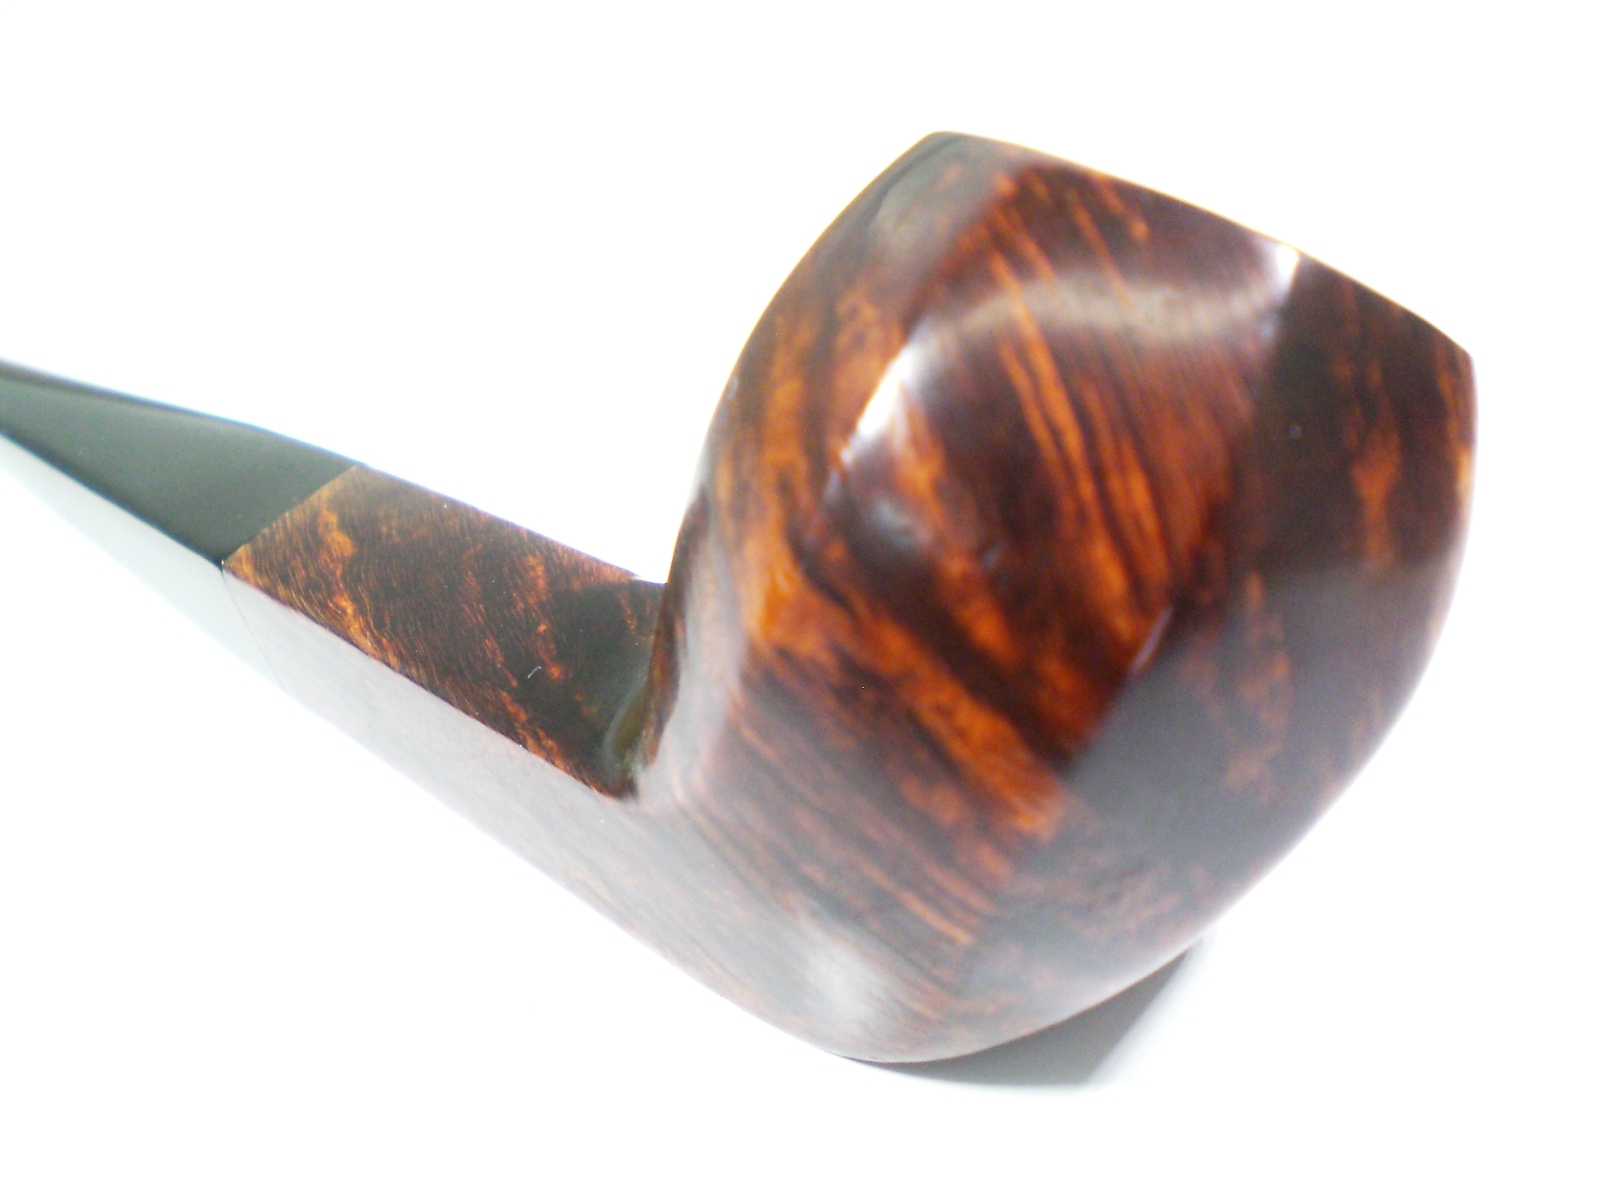
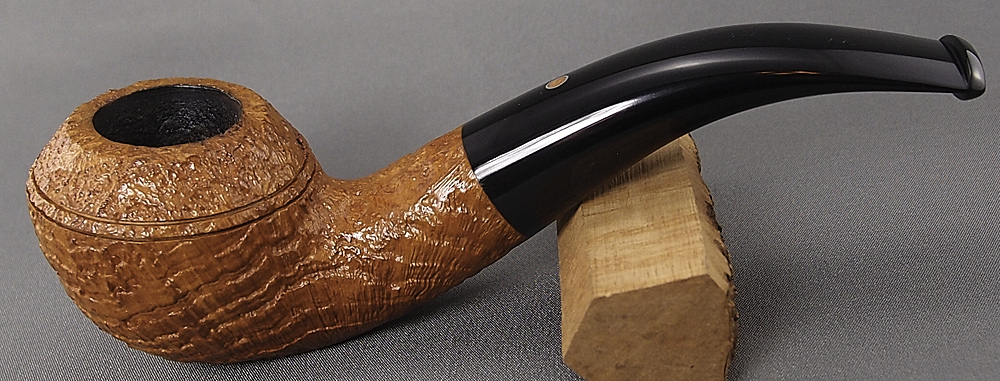
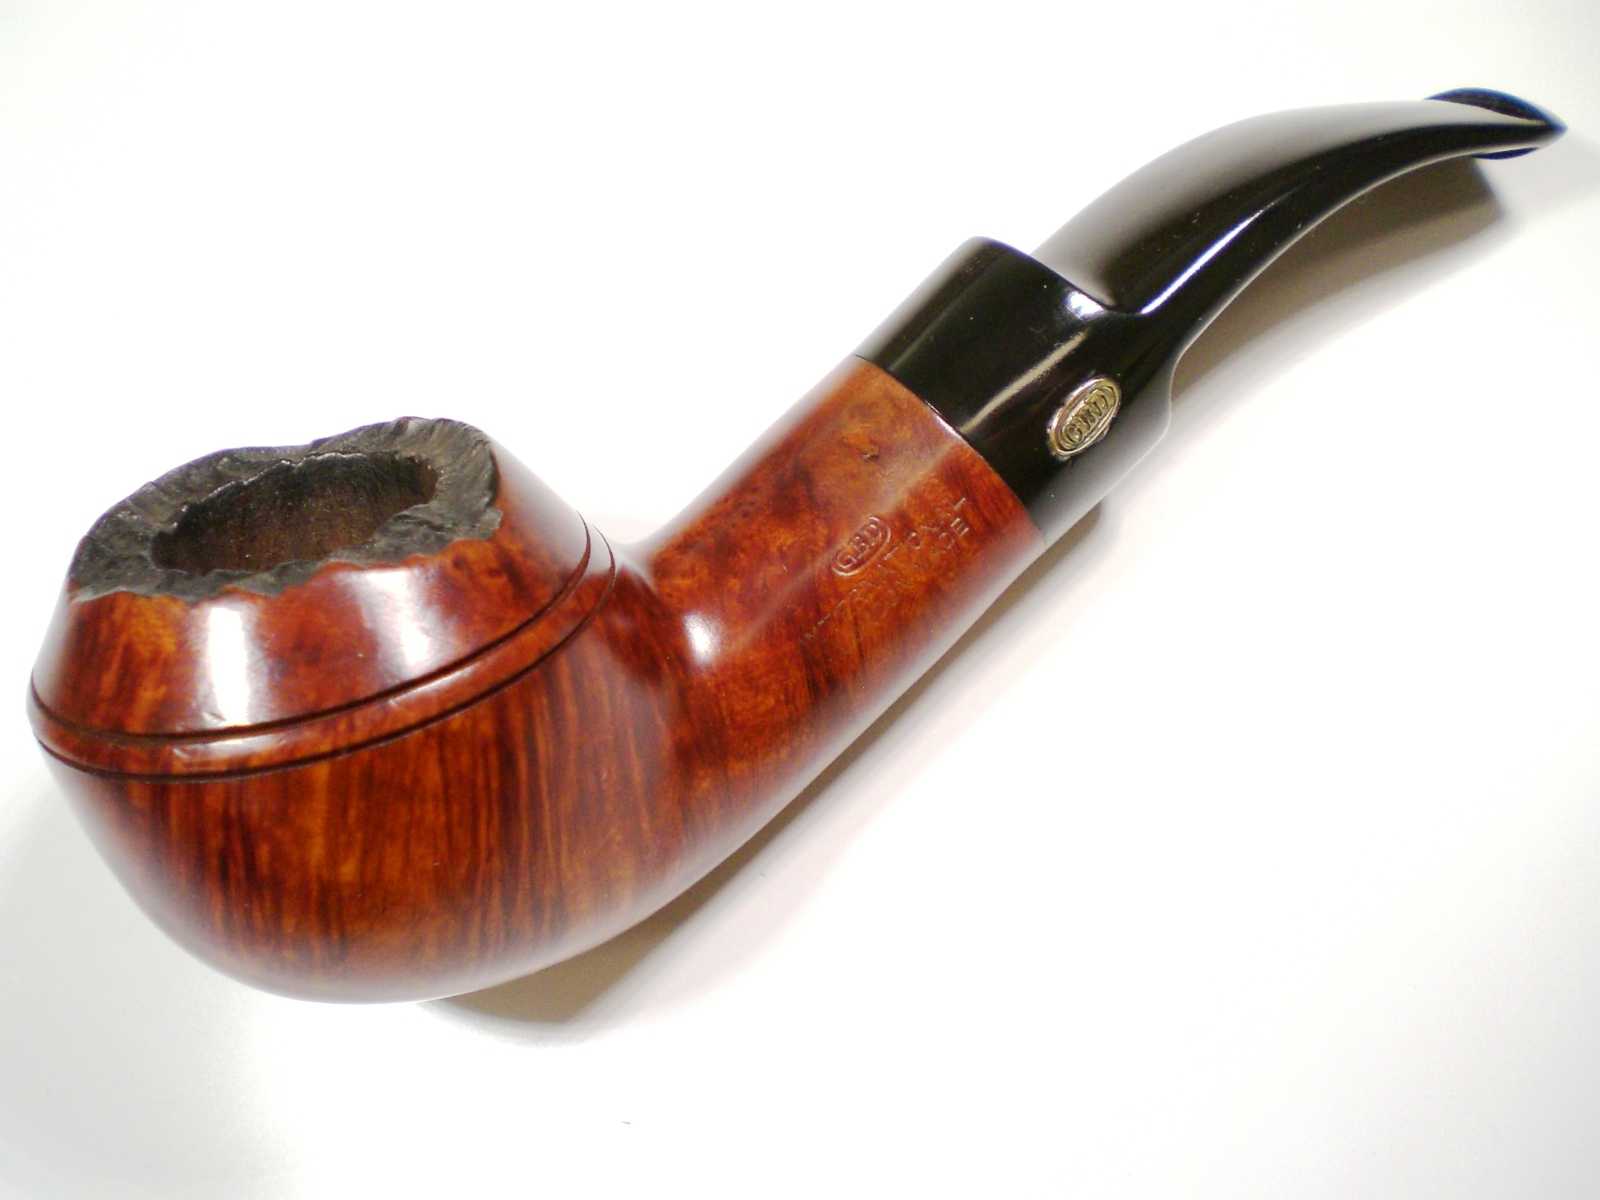
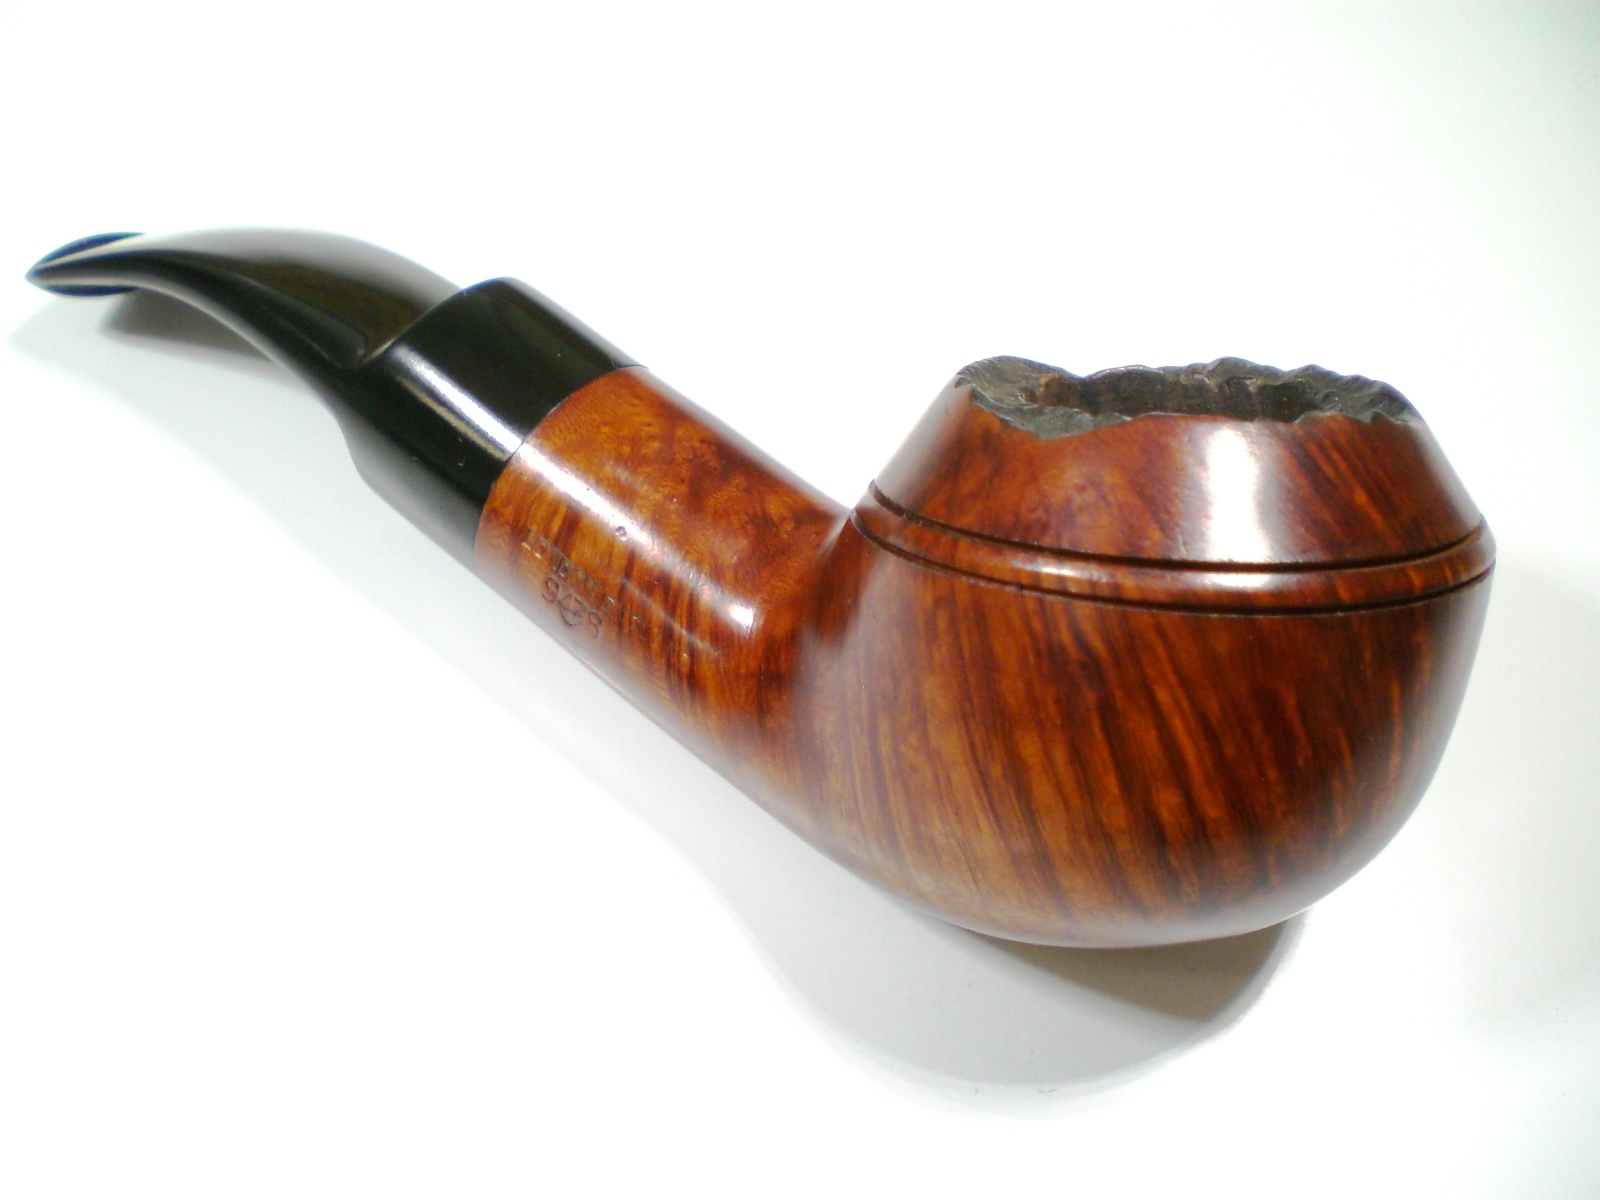
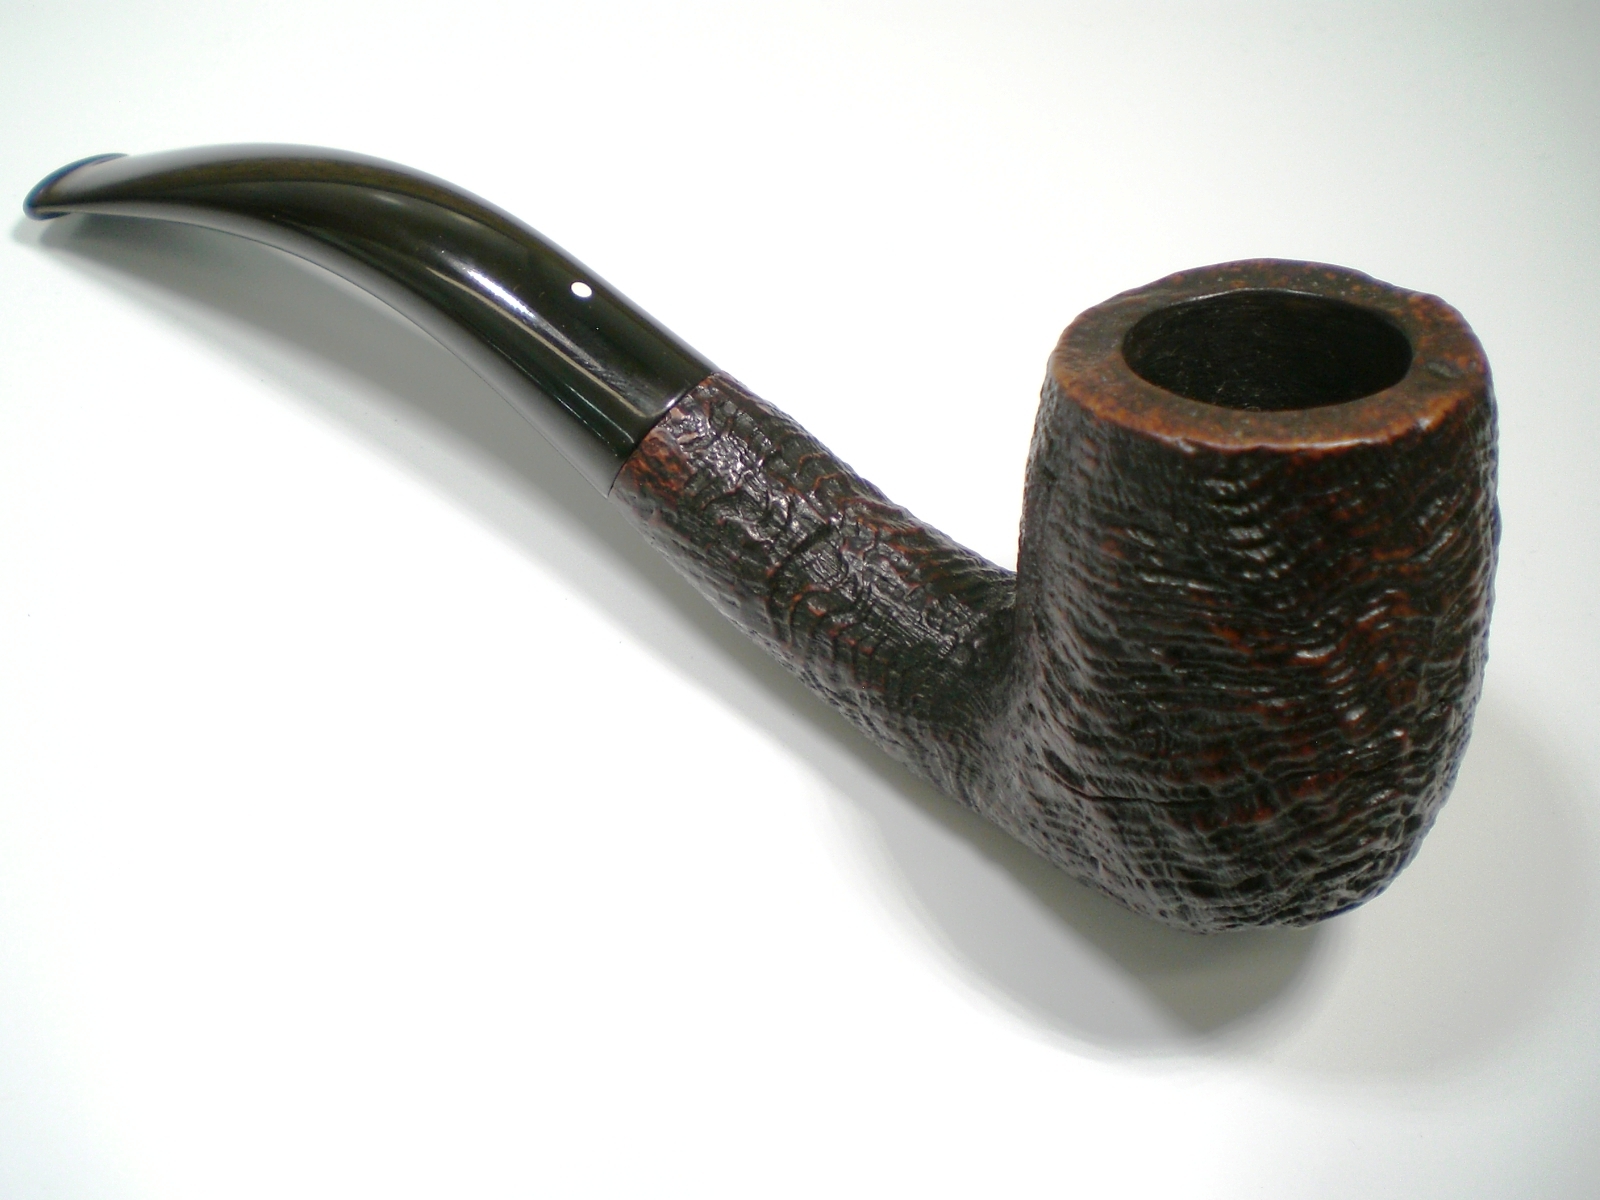
There were several dents in the briar that I was able to minimize. I used a wet cloth and an iron set on high, using the steam to lift the dents. The bowl was then buffed with White Diamond and several coats of Carnuba Wax. Below is the finished pipe. The original intent was to clean this one up and resell it, but the pipe has such a nice feel, I’m tempted to hang onto this one. If I ever take a shine to the straight tapered-stem billiard, I have a feeling that I would regret letting this one go.

GBD_New_Era_122_Finish (1)

GBD_New_Era_122_Finish (2)

GBD_New_Era_122_Finish (3)

GBD_New_Era_122_Finish (4)

GBD_New_Era_122_Finish (5)

GBD_New_Era_122_Finish (7)

GBD_New_Era_122_Finish (8)

?

?

?

?

?

?

GBD_New_Era_122_Finish (1)

New Tool For Bending a Stem


By Al Jones

To this point, I’ve never had a proper tool for bending a stem. Previously, I used a propane torch, which was pretty risky and completely unnecessary. Someone on a forum mentioned that Hobby Lobby sold heat guns. I found this item and it was priced at $24. At the checkout counter, the clerk said a coupon for 40% was on their website, so that reduced it to $16. The gun didn’t look very formidable, but the spec sheet said it had a maximum heat range of 604 degrees, which sounded more than adequate. It has a flip down wire stand. Unfortunately, it only comes in the pink color, but I’ll never misplace it.

CIMG2648

I practiced on an old beater pipe with a Vulcanite stem. I inserted a fat pipe cleaner in the stem to keep the airway open. The gun made the stem pliable in about 25-30 seconds, held about 1″ away from the nozzle. I used a big, metal weight to set the bend, but any jar, etc. would work fine. Just match the arc of the stand to the bend you desire. After making the bend, I immerse the stem in cold water to set the bend.

CIMG2649

I have a very nice, full-bent, 1999 Ashton Pebble Grain (in rare tan stain) in my collection. The angle of that stem never looked right to me and by my taste, was too shallow. I like the final bent portion of the stem to match the top of the bowl. I was curious as to how the Ashtonite stem would bend compared to the vulcanite. It took a bit longer to get pliable but bent nicely. After immersing in cool water, I noticed there was a slight wrinkle in the material on the underside. I removed that with some 1500 wet paper and polished up that area. The pipe still passes a stem cleaner, but now is at a more attractive angle.

The original stem angle:

Ashton_Pebble_Grain_XX_1999 (1)

Ashton_Pebble_Grain_XX_1999_Gallery

The new bend below. The pipe smokes as well, but hangs more naturally.

Ashton_Pebble_Grain_XX-1999 (2)

Ashton_Pebble_Grain_XX-1999_Gallery

Comoys Pebble Grain Shape 42 Restoration


By Al Jones

This is the second Comoy’s Pebble Grain pipe that has crossed my bench in the past two years. This one has a thick layer of carbon build-up on the bowl top, but I’ve learned that sometimes can hide a nice bowl and even possibly protect it from further damage. The stem appeared to be in great shape, with just a little oxidation.

The 3 piece, drilled “C” stem logo indicates the pipe was made prior to 1981. Tony Soderman told me me that he believed Comoy’s introduced the Pebble Grain line in the 1970’s. Some while the straight line “Made In London, England” was used before WWII, this pipe was most likely made between he 1970’s to 1981.

Comoys_Pebble_Grain_42_Before (1)

Comoys_Pebble_Grain_42_Before (2)

Comoys_Pebble_Grain_42_Before (3)

Comoys_Pebble_Grain_42_Before (4)

Comoy’s “Sandblast” pipes have a sandblasted bowl top but the Pebble Grains seem to all have polished, beveled bowl tops. I couldn’t resist seeing what was under that thick coating of build-up. A few minutes with a cloth dipped in a mild Oxy-Clean solution removed all of the build-up on the bowl top. A piece of worn 1500 grit wet paper restored the finish. I buffed the top with some White Diamond and it will be waxed in a final step. I then reamed the bowl and soaked it with 91% isopropyl alcohol and sea salt.

Comoys_Pebble_Grain_42_Before (6)

I put a dab of grease on the drilled, “C” stem logo and gave it a short soak in a mild Oxy-Clean solution. The oxidation was removed with 800 grade wet paper, followed by 1500, 2000 and then 8000 and 12000 grade micromesh sheets. I buffed the stem lightly with White Diamond and then Meguiars Plastic Polish.

I wiped the grime from the briar with some mild Oxy-Clean and a cloth and then hand waxed the bowl with Halycon wax.

Below is the finished pipe.

Comoys_Pebble_Grain_42_Finished (1)

Comoys_Pebble_Grain_42_Finished (3)

Comoys_Pebble_Grain_42_Finished (4)

Comoys_Pebble_Grain_42_Finished (5)

Comoys_Pebble_Grain_42_Finished (6)

Comoys_Pebble_Grain_42_Finished (2)

Comoys_Pebble_Grain_42_Finished (7)

Comoys_Pebble_Grain_42_Finished (9)

Comoys_Pebble_Grain_42_Finished (8)

Comoys_Pebble_Grain_42_Finished (1)

Digby 9438 Bead Repair/Refinish


By Al Jones

I really didn’t need another 9438 shape, but this Digby model was listed at a reasonable Buy-It-Now price eBay from seller “Shiny Pipes” and I couldn’t resist. The overall pipe was in good condition and the stem was in great condition. There were a few dings and or fill holes on the bowl and one section of the bead line had been damaged. Typically, I’m never happy with the stem finish on eBay pipes, but I didn’t need to do anything to this one.

Pipedia lists very little for the Digby line, only:

Digby pipes were made by GBD as a second line for pipes with too many flaws to carry the primary brand. They appeared, in the 1976 catalog, in either a smooth walnut finish or a dark sandblast. Digby pipes were openly sold as being made “By the Makers of the Famous GBD”.

The pipe as received. The damaged bead line is noticable.

Digby_9438 (2)

Digby_9438 (3)

Digby_9438 (4)

I’ve never tried to repair a bead line, but I’ve followed with great interest of the work by Dave Gossett, whose excellent work is detailed in this blog.

I gave the pipe a brief soak in alcohol, to remove the wax and stain. Dave has warned me that the alcohol soak has raised grain and damaged nomenclature so I only left the pipe immersed for 30 minutes.

I used clear CA glue and pressed in briar dust/shavings (created with a file from an old pipe). Dave has mentioned putting a tape-covered piece of cardboard in the bead ring, but these rings were so shallow that didn’t work. I was forced to cover both bead lines with the repair.

Digby_9438_Resto (8)

Digby_9438_Resto (9)

Digby_9438_Resto (10)

Digby_9438_Resto (11)

Digby_9438_Resto (12)

Digby_9438_Resto (13)

I used 600 and then 800 grit wet sandpaper (3M) to smooth the glue repairs.

On the bead ring, I used a sharp, think knife blade to recut the bead line. One fill was on top of the bead line, but very close. I covered the bead line with a piece of clear packing tape to keep the glue out of the lines. The bead line repair is not perfect, but a big improvement from what was received.

I used Feiblings Medium Brown stain on the bowl. The stain color blended in the fill areas nicely and gave the briar a richer look. The original stain was a little washed out and highlighted the bland grain too much.

I then buffed the pipe with White Diamond and several coats of Carnuba wax to finish the job. The stem was already in great condition, including the D stamp, which somehow survived.

Below is the finished pipe. Curiously, the tenon on this Digby is nicely funneled, a feature I’ve only seen on GBD “Hand Cut” stamped stems.

Digby_9438_Resto (1)

Digby_9438_Resto (2)

Digby_9438_Resto (3)

Digby_9438_Resto (4)

Digby_9438_Resto (5)

Digby_9438_Resto (6)

Digby_9438_Resto (7)

Digby_9438_Resto (1)

Pipes for Marines Project (Comoys 1057 & GBD 9438 Virgin)


By Al Jones

Last year, PipesMagazine forum member “shaintiques” undertook a project to supply pipes and tobacco to active duty Marines on deployment. Dave Shain has been posting updates to the forum, below is the latest update. Dave explains the project:

The purpose of the project is to build community and help new pipe smokers. I want new pipe smokers to have an awesome experience out of the gate so they stick with it. All pipes and tobacco are donated from the larger community. I run the project through two forums, facebook, and instagram. I have started reaching out to some of the bigger names in the business looking for donations as well. Anyone who wants to donate can contact me at westgapipe@gmail.com. My address is Dave Shain, 6808 Brookwood Ct. Douglasville, Ga 30135.

http://pipesmagazine.com/forums/topic/pipes-for-marines?replies=30#post-862037

A fellow British Rhodesian forum member, Glouchesterman, recently sent me these two Rhodesian beauties and we decided once restored, they would be a nice contribution to Dave’s project. The first pipe is a Comoys Shape 1057 in Sunrise and the second a GBD 9438 Virgin. Both are post-Cadogan makes of the same shape.

The pipes were in very good shape. The Comoys just needed a mild clean-up. The GBD was also in terrific shape but curiously had two noticeable fills.

Comoys 1057

Comoys_1057_Sunrise_Before (1)

Comoys_1057_Sunrise_Before (2)

Comoys_1057_Sunrise_Before (3)

The Comoys just needed the typical bowl ream and soak (alcohol & sea salt). The stem only had mild oxidation and was polished with 800>1500 and 2000 grade wet paper, than 8000 and 12000 grade micromesh. It was buffed with White Diamond and Meguiars Plastic polish. I did decided to remove the very weakly stamped “C” stem logo. Working around it only makes it stand out more. The nomenclature is super-strong on this one, so there’s no mistaking that it is a Comoys. The tenon did have a very tiny draft hole. I used a 5/32″ drill bit to open the tenon end up a bit, hopefully that will enable it to be a better smoker for the soldier that receives it.

There was some mild scorching on the rim top but it was removed with 2000 grade wet paper and then a stain wash just on the bowl top. The bowl was then buffed lightly with White Diamond to brighten it up and several coats of Carnuba wax.

Comoys_1057_Sunrise_Finish (1)

Comoys_1057_Sunrise_Finish (4)

Comoys_1057_Sunrise_Finish (2)

Comoys_1057_Sunrise_Finish (3)

Comoys_1057_Sunrise_Finish (5)

The GBD was an interesting piece. It was stamped “Virgin” and had the “London, England” stamping and brass rondell usually seen on pre-Cadogan era pipes. The person donating these pipes thought it was a Cadogan era pipe. The brass rondell does look a little different. There is also a letter stamped on the shank, which I have frequently seen on Cadogan era pipes. This one also has the non-tapered stem (full width) and I’ve heard that is a sign of a Cadogan era stem. It is identical to the Comoys, but drilled larger. And of course there are the two fills and dark stain. Virgin grade pipes, while not necessarily nicely grained, were never seen with fills (at least by my experience).

Curiously, the shank had what appeared to be a burn mark on the top of the shank,near the junction with the stem. The stain was also blotchy dark in several spots.

GBD_9438_Virgin_Before (1)

GBD_9438_Virgin_Before (2)

GBD_9438_Virgin_Before (3)

GBD_9438_Virgin_Before (4)

GBD_9438_Virgin_Before (6)

The stem had some stubborn oxidation that I removed with 800>1500 and 2000 grade paper. Then, like the Comoys, 8000 and 12000 grade paper to finish. It was also buffed with White Diamond and Meguiars Plastic polish.

I thought the pipe would present better with the fills removed. At first, I just used some black super-glue but they were just as noticeable. I took that out and put a drop of clear superglue and briar dust in each fill. Sanded smooth with 800 grit paper, the fills were nearly invisible. The first picture shows the fills removed and then covered by the glue/dust.

GBD_9438_Virgin_Before(8)

GBD_9438_Virgin_Before(9)

GBD_9438_Virgin_Before(10)

I restained the pipe with some darker brown stain (Feiblings Medium Brown) and then buffed it with White Diamond and several coats of Carnuba wax. I was able to minimize the burn mark on the shank by sanding it with some 2000 grade wet paper. It was already below the edge of the stem,but it looked like an improvement.

The finished GBD and both pipes. Hopefully they allow two of our Marines to enjoy some brief moments of peace and solitude as they serve our country.

GBD_9438_Virgin_Finish (1)

GBD_9438_Virgin_Finish (4)

GBD_9438_Virgin_Finish (2)

GBD_9438_Virgin_Finish (5)

GBD_9438_Virgin_Finish (6)

GBD_9438_Virgin_Finish (3)

?

GBD&Comoys

New Orleans “Black Eagle” Rides Again


By Al Jones

Last week, my wife and I had the opportunity to visit our daughter and son-in-law who live in New Orleans. Our visit coincided with the first annual New Orleans Pipe Show, which was an outstanding event. While I was at the show, my family stopped at one of the flea markets in the city. At one shop, they found this “Black Eagle” bulldog, which had a faint “Made in London England” stamp as well. They knew that I loved the tapered stem bulldog shape and spied the “London England” stamp. I assume this was one of many basket pipes made as I can find nothing on the “Black Eagle” name, either via Google or in “Who Made That Pipe”.

The pipe had a heavy coating of tar on the bowl top and a few handling dings. Curiously, there appears to be a band mark on the edge of the shank. The diamond bulldog stem didn’t quite line up with the shank creases and it had a heavy cake build-up inside the bowl. There is one fill on the bowl

Below is the pipe as found. It is a generous Group 5 size and weighs 53 grams.

Black_Eagle_Before (1)

Black_Eagle_Before (4)

Black_Eagle_Before (3)

Black_Eagle_Before (2)

Black_Eagle_Before (5)

Black_Eagle_Before (6)

I reamed the bowl and discovered the interior was in very good shape. While completing that task, I soaked the mildy oxidized stem in a solution of Oxy-Clean.

I decided to remove the finish and restain the briar as part of the restoration. The handling marks were sanded smooth with 800 grit paper.

I reworked the angles of the stem with a fine, flat file than 800 grit paper. As I was completing this work, I concluded that someone had made replacement stem for this pipe. The vulcanite was of a good quality and it polished up nicely. I used 800>1500 and 2000 grit wet sandpaper to further improve the shine. Since I was restaining the bowl, I was able to mount the stem and do the file work from that position.

The bowl was soaked overnight in 91% isopropyl alchohol. I sanded the handling marks with 800 grit paper the 1500 in preparation for staining.

I decided to stain the pipe with Oxblood, as I only have one red stain bulldog in my collection. I lightened the stain with a little Medium Brown. I put on two coats of stain, and set them with a flame. The bowl was then buffed with White Diamond and several coats of Carnuba wax.

The stem profile still isn’t perfect, but the edges align. The one fill was made less visible by the oxblood stain. The pipe will be a nice souvenir from our New Orleans trip and my wife’s thoughtfulness.

Black_Eagle_Finished (1)

Black_Eagle_Finished (4)

Black_Eagle_Finished (5)

Black_Eagle_Finished (3)

Black_Eagle_Finished (2)

Black_Eagle_Finished (1)

Peterson Pre-Republic K Briar Restoration


This pipe was sent to me by a friend on the Brothers of Briar forum. This was his first pre-Republic Peterson and I think he chose well. The pipe was in very good shape, with some just minor stem oxidation.

Here’s the pipe as received.

Peterson_K-Briar_Before (1)

Peterson_K-Briar_Before (2)

Peterson_K-Briar_Before (3)

Peterson_K-Briar_Before (4)

?

?

The pipe is only stamped “Eire” which according to Mike Leverette’s Peterson Dating Guide, was used between 1938 and 1941. The nomenclature is weak, but visible. I’ve found that my Samsung S5 camera is the best choice for taking close-up pictures of nomenclature, as below. One day I’ll add a macro lens to my wife’s digital SLR camera.

?

?

?

?

The pipe had only the slightest cake, which was removed with a reamer bit and a piece of sandpaper wrapped around the bit. It was so clean, the owner and I decided against the alcohol and sea salt soak. I did clean the shank with alcohol and a bristle brush, but it was also very clean.

I tried to lift some of the dents with steam, but most were too deep. So, the briar was polished with white diamond and several coats of carnuba wax. The stem was soaked in a mild mixture of Oxy-Clean (dry powder mix) and then sanded with 600, 1500 and 2000 grit wet paper. 8,000 and 12,000 micromesh sheets were used next followed by a polishing with White Diamond rouge and then Meguiars Plastic Polish.

Below is the finished pipe. It still has a few bruises, but I think some patina on an old pipe is a good thing.

Peterson_K-Briar_Finished (1)

Peterson_K-Briar_Finished (2)

Peterson_K-Briar_Finished (3)

Peterson_K-Briar_Finished (4)

Peterson_K-Briar_Finished (5)

Peterson_K-Briar_Finished (6)

Peterson_K-Briar_Finished (7)

Peterson_K-Briar_Finished (1)

Update – 9/14/15
I posted this blog entry to the PipesMagazine.com forums and one member (rblood) provided this feedback regarding the date and unique Country of Manufacture (COM) stamp:

First, we know that Eire came into being in late 1937 so we can assume that as a starting point. Peterson tends to use old stampings, sometimes much later than we expect – Eire and other odd stampings possibly through 1948 from what I have seen, so that gives you a range of 1937 – 1948.

The “P” in Peterson is the old fork style, so still good on that count. Here is where it get’s interesting – The “Peterson Dublin” (with no “of”) and the single “K” in non-serif font to me points to an early Eire pipe.

Add to that the odd COM stamp. You would expect to see an Eire pipe COM in circle format with “made” on top, “in” in the center and “Eire” at the bottom of the circle. A very odd COM stamp indeed – can’t say that I have ever seen this before. I am guessing here, but it is possible that they just did not have the circle stamps ready if this was early production – That would narrow it to late 1937 – 1938 in my mind.

The stem in this era would have had the “P” stamp, not the “K” stamp – the K stamp I believe came into use with the “A Peterson Product” pipes in the 1960’s. The 1960’s pipes also got the “‘K’-Briar” stamp, not just the “K”.

Ashton Old Church – Re imagined by George Dibos


I have two, Bill Taylor, XX size Ashton Rhodesians, both with saddle stems. The stem on my Old Church finish pipe always seemed a little ungainly and my preference is for a taper stem. Recently, pipe repairman, George Dibos of Precision Pipe Repair in Kansas has posted several re-stemmed classic pipes on the PipesMagazine.com forums. Last week, he posted the identical Old Church Rhodesian with a new, tapered profile stem. The change and improvement, to my eye was dramatic. So, I sent him my Old Church for the similar treatment. George can even replicate the briar in silver iconic Ashton stem logo.

In email exchanges regarding the work, George told me that getting the proper bend in a fat, taper stem take time and effort. Going with the saddle stem is typically the most efficient way of creating a the stem.

This morning, George posted pictures of the new stem on the forum, which was surprising as he had just received the pipe the day before. My pipe had the added challenge because the nomenclature panel was flat and that feature transferred up to the saddle part of the stem. George had to finesse the transition into a taper stem.

Ashton_Old_Church_XX_98_Gallery

Ashton_Old_Church_XX_98 (3)

And the finished pipe below. I joked with George that he actually saved me money, as a tapered Stem, Old Church XX Rhodesian was still on my “Holy Grail” list.

I consider George Dibos to be one of the best stem guys in the business. If you wish to contact him, he can be reached thru his website:

http://www.precisionpiperepair.com/

I can’t wait to get this one back in my rotation

Ashton_Old_Church_George_Dibos_Stem2

Ashton_Old_Church_George_Dibos_Stem3

Ashton_Old_Church_George_Dibos_Stem

Ashton_Old_Church_George_Dibos_Stem4

Ashton_Old_Church_George_Dibos_Stem5

GBD 9438 International Clean-up


This is another example of an Ebay ad that had poor pictures and an inaccurate listing. This pipe didn’t sell on several attempts and was listed as a 9478.The price was right on the 3rd listing but from the pictures, I thought it needed a major restoration, including a re-stain. Here’s some pictures from the Ebay listing. The pipe has pre-Cadogan “London, England” stamping and a brass rondell. I’ve not yet seen a 9438 with a plateau or rusticated bowl top.

GBD_9438_International_ebay

GBD_9438_International_ebay3

GBD_9438_International_ebay2

When the pipe arrived, I was surprised to find it in very good condition. There were some nicks in the briar, but I felt they would blend in nicely and the stem was near mint. The pipe was also very clean and appeared to have only been lightly smoked.

I reamed the slight cake and soaked the bowl in sea salt and alcohol. I put a dab of grease on the brass rondell and soaked it in a mild solution of Oxy-Clean.

The stem was mounted, and shined with 800>1500 and 2000 grit wet paper, followed by 8000 and 12000 grade micromesh papers. It was then buffed with White Diamond and Meguiars Plastic Polish.

I buffed the briar lightly with some Tripoli, which softened the two nicks nicely. This was followed by a buff with White Diamond and several coats of Carnuba wax. Below is the finished pipe. It is on it’s way to its new owner, friend from the PipesMagazine forums. I had a hard time boxing up this one, a 9438 typically isn’t found with such nice grain.

GBD_9438_International_Finish (1)

GBD_9438_International_Finish (3)

GBD_9438_International_Finish (7)

GBD_9438_International_Finish (6)

GBD_9438_International_Finish (2)

GBD_9438_International_Finish (4)

GBD_9438_International_Finish (5)

GBD_9438_International_Finish (8)

Birth Year Dunhill 1961 Shape 120 Shell


I don’t have many Dunhill shapes on my “Holy Grail” list. However the Shape 120, Bent Billiard was placed on their last year.  I would love to own a shape LC, but they are rare, frighteningly expense and in many cases damaged due to the thin shank design.  The Shape 120, while not as graceful, is the next best thing and much more available and affordable.   While I wasn’t actively seeking a birth year Dunhill, this 1961 Shell pipe came up on Ebay and I was fortunate to win the auction.  My 54th birthday is in a few days, so the timing was good.  This was a Shell model with tapered stem and in terrific condition.  The Group 4 size, at 50 grams was also perfect for my tastes.

The Dunhill LC shape, from the Loring Dunhill pipe pages.

Dunhill_LC_Shapes

The pipe was in excellent shape, requiring only removal of the slight cake and I did the alcohol and sea salt soak.  The stem fitment is excellent but someone rounded the edges slightly.  There were a few teeth abrasions on the bottom side which were removed with 2000 grit wet paper, micromesh and then buffed lightly with White Diamond rouge followed by plastic polish.

Below is the finished pipe, which my wife has stashed away for several days until my actual birthday arrives.

Dunhill_120_Shell_1961_Gallery Dunhill_120_Shell_1961 (4) Dunhill_120_Shell_1961 (3) Dunhill_120_Shell_1961 (5) Dunhill_120_Shell_1961 (7) Dunhill_120_Shell_1961 (8) Dunhill_120_Shell_1961 (2) Dunhill_120_Shell_1961 (6)

?

?