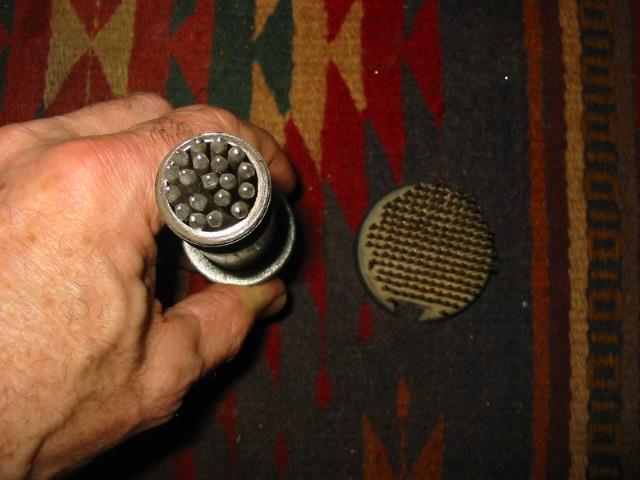
Several weeks ago now I was in correspondence with Chris, a reader of the blog and an online friend, regarding the design and crafting of a rustication tool. I had sent him pictures of the one I was currently using. I had made it using a piece of pipe. I enumerated some of the issues that I had found with the tool as I used it. These mainly concerned comfort and ease of use. The pipe worked well to stabilize the nails and keep them in place. There was no flex in the nails as I pressed them into the briar. The configuration and number of nails was fine in terms of coverage on the briar. Adding more or fewer nails did not seem to be a relevant concern as doing so would either broaden or reduce the area covered per twist of the tool. The comfort issue predominantly revolved around the end cap that I used to hold the nails in place and form the handle on the tool. When pressed into the briar the cap pressed into the palm and was uncomfortable. The pressure on the palm of the hand made it necessary to pause frequently to give the palm rest. I had modified the tool with a “T” handle and found that though it was better but still did not give comfortable hand feel when pressing into the briar.

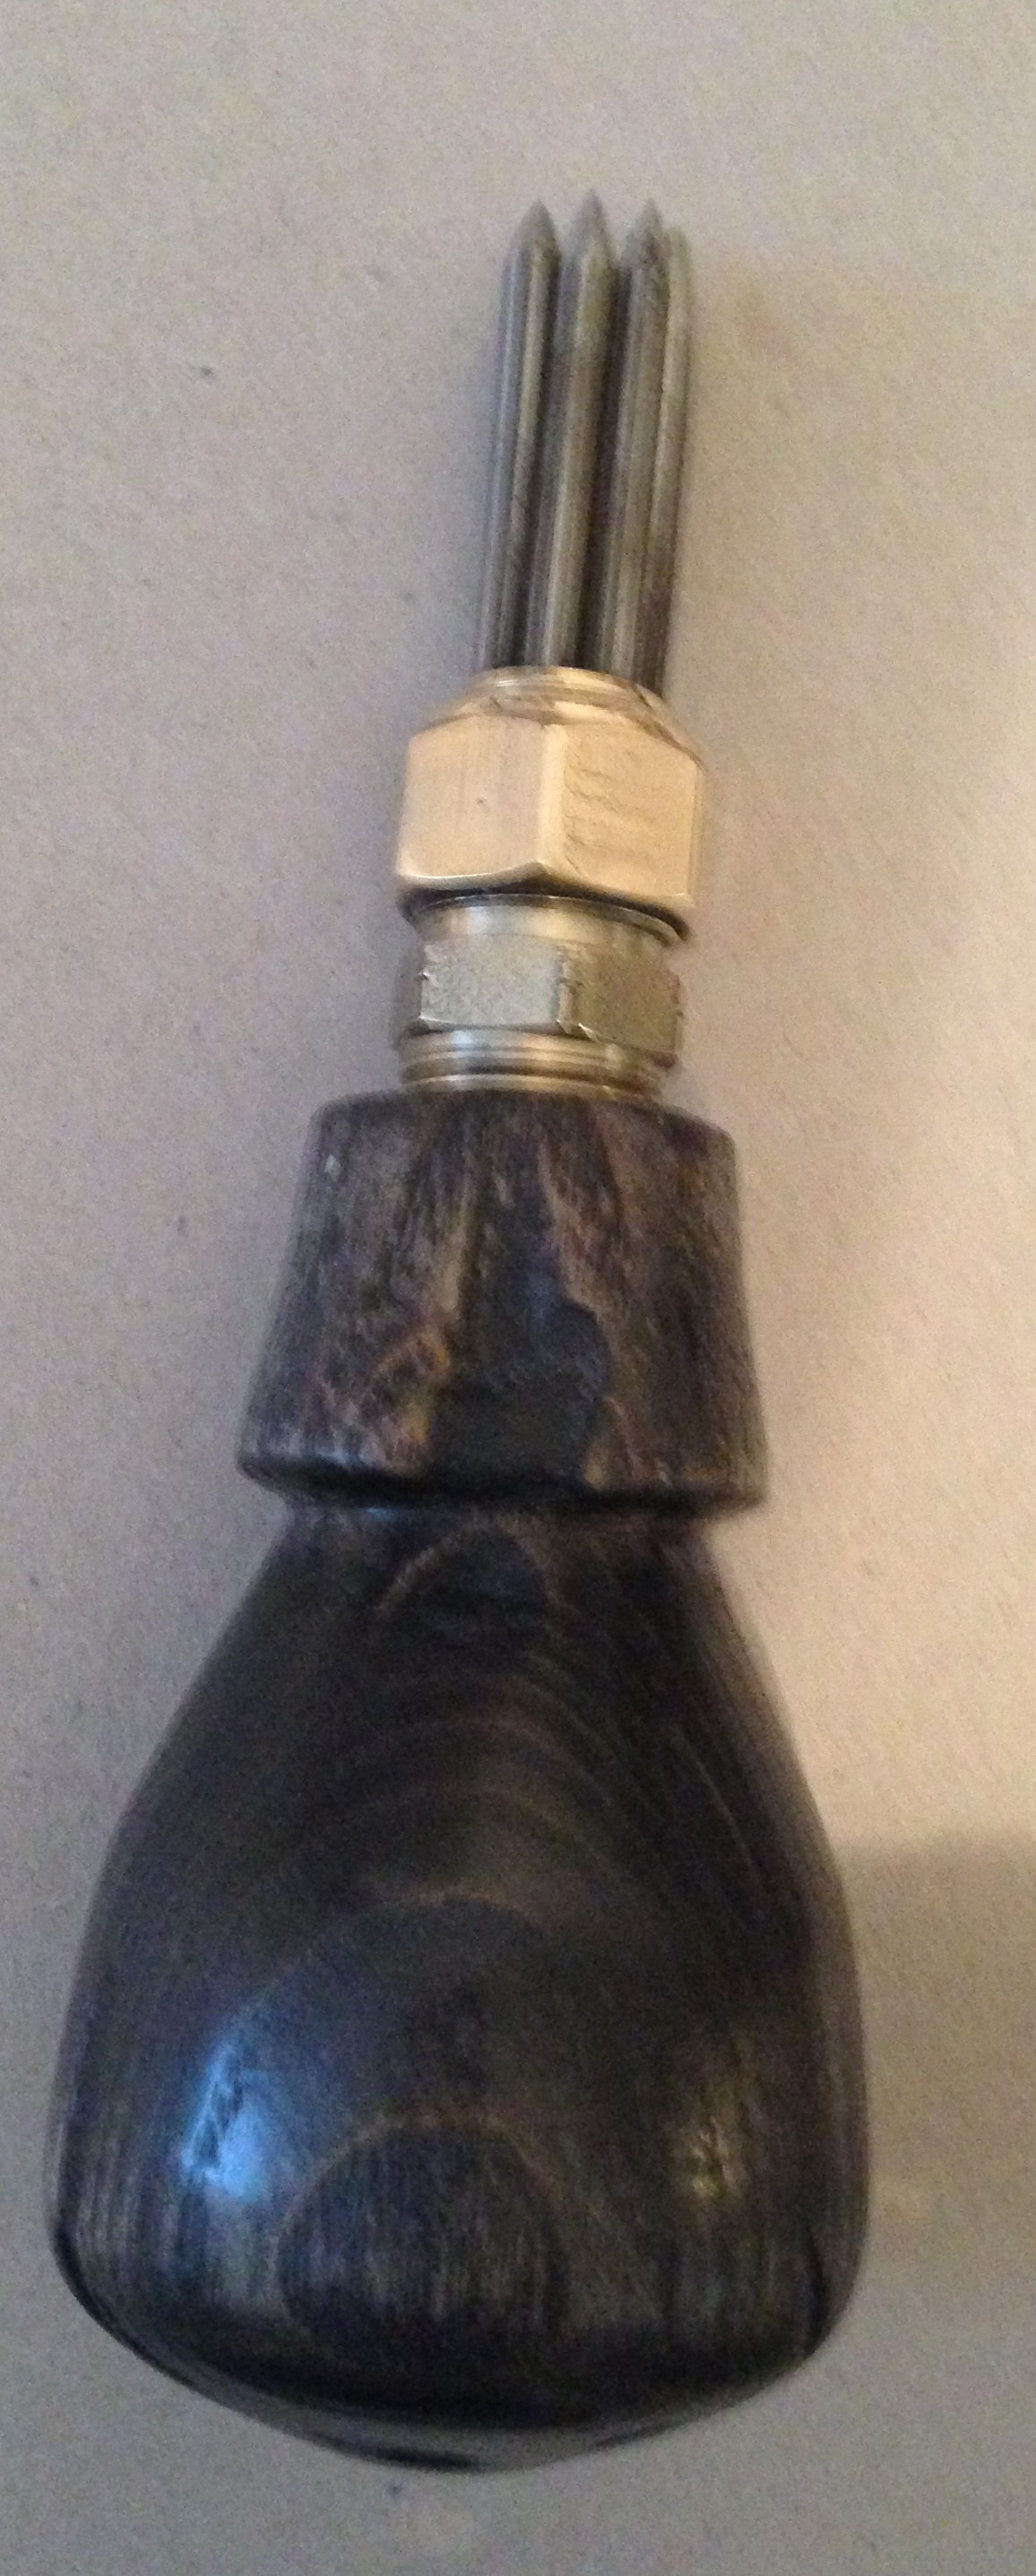
Chris decided to improve on the design and come up with a far more functional and beautiful edition of the tool. It certainly would not be hard to improve on the looks and functionality of hte tool. He wrote and asked me questions regarding the tool I had and as he worked on the rusticator we exchanged a series of back and forth emails. It saw several iterations before he arrived at this version of the rustication tool. He turned the handle on his lathe to try and address the comfort issues that I had raised in our discussions. He tapped and fitted the threaded brass coupling on the handle to hold the nails. He cut back the nails with a grinder and inserted them in the brass coupling. To hold them in place he screwed on an end cap. At this point the tool looked great and was certainly easier to hold and press into the block of briar. We wondered about the length of the nails and the effect on them when the tool was pressed and twisted into the briar.
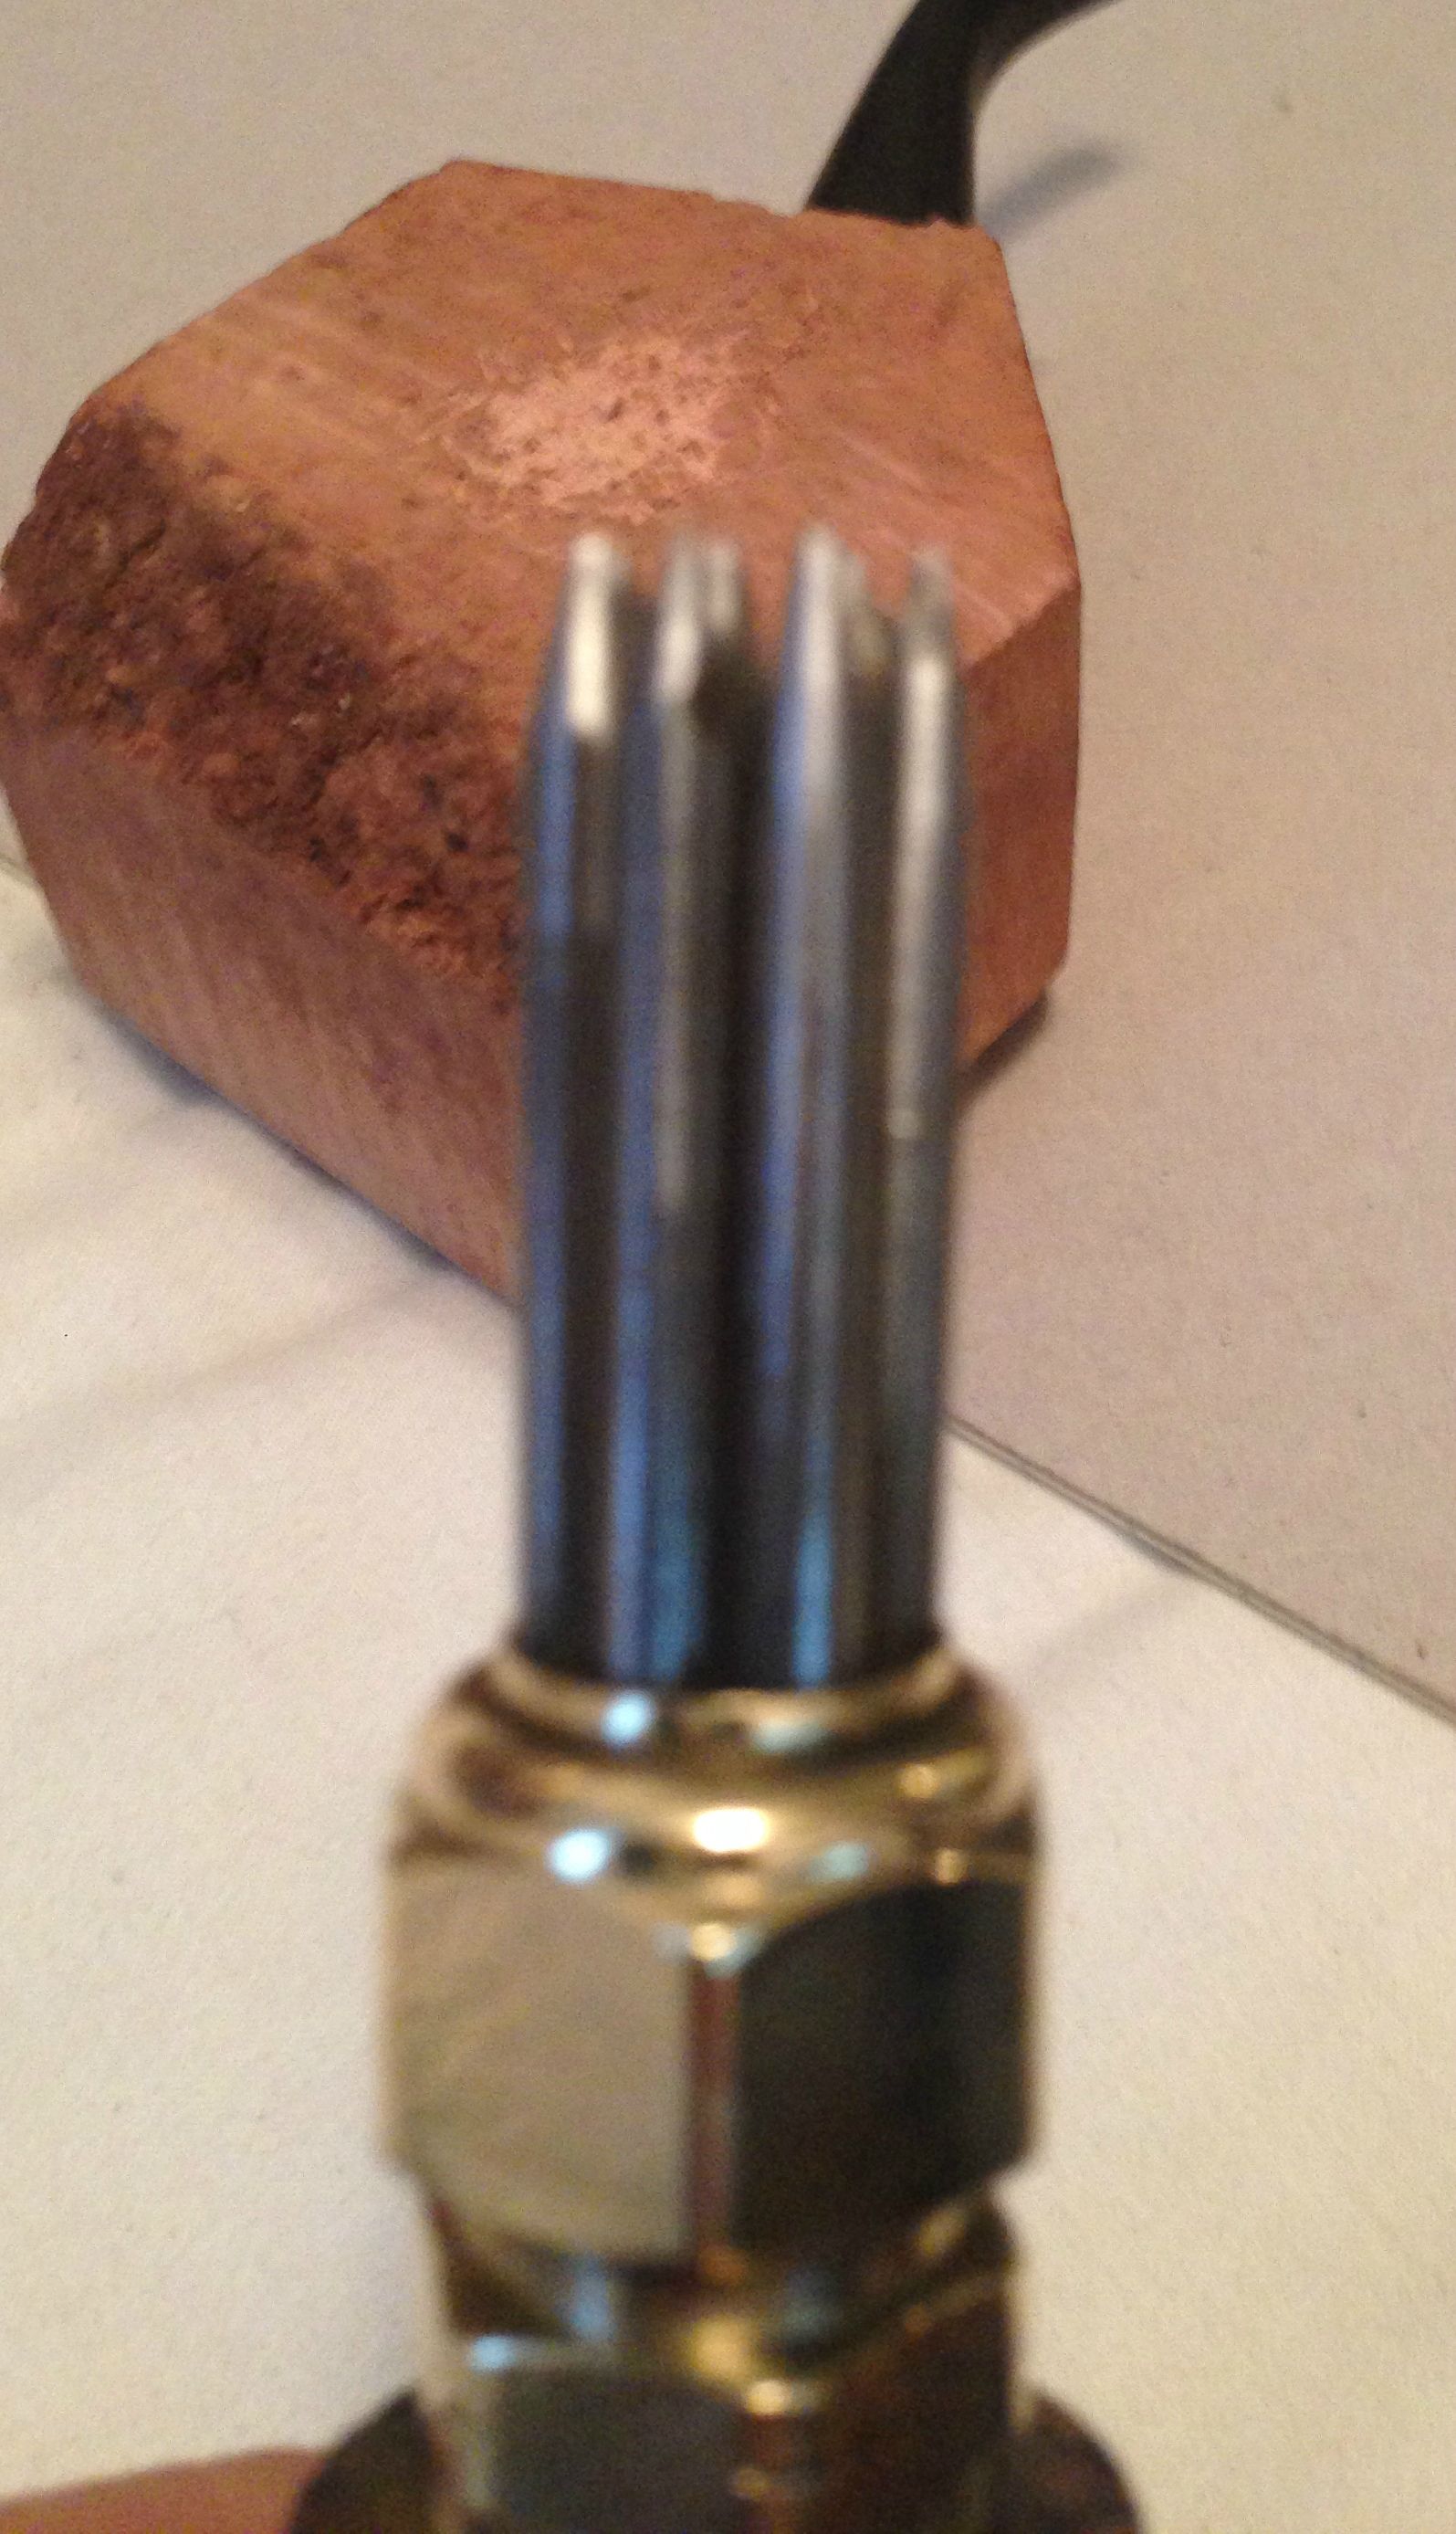
 Before getting into the trial of the tool on the block of briar I want to point out one of the best features of the tool in my opinion. That is the method Chris used to install the nails in the brass coupling makes the nail head changeable. The coupling can be unscrewed and a new head replaced. That alone fascinates me as it will make it possible for me to do some experimenting with a variety of nail configurations and sizes in the future.
I have always wondered if the size and configuration of the nails affects the pattern of the rustication. It seems logical to me that smaller nails will make a finer rustication and approximate a sandblasted look if done properly. Larger nails will give it a more pebbled look. One of my next steps with the tool will be to craft a series of nail heads that I can experiment with.
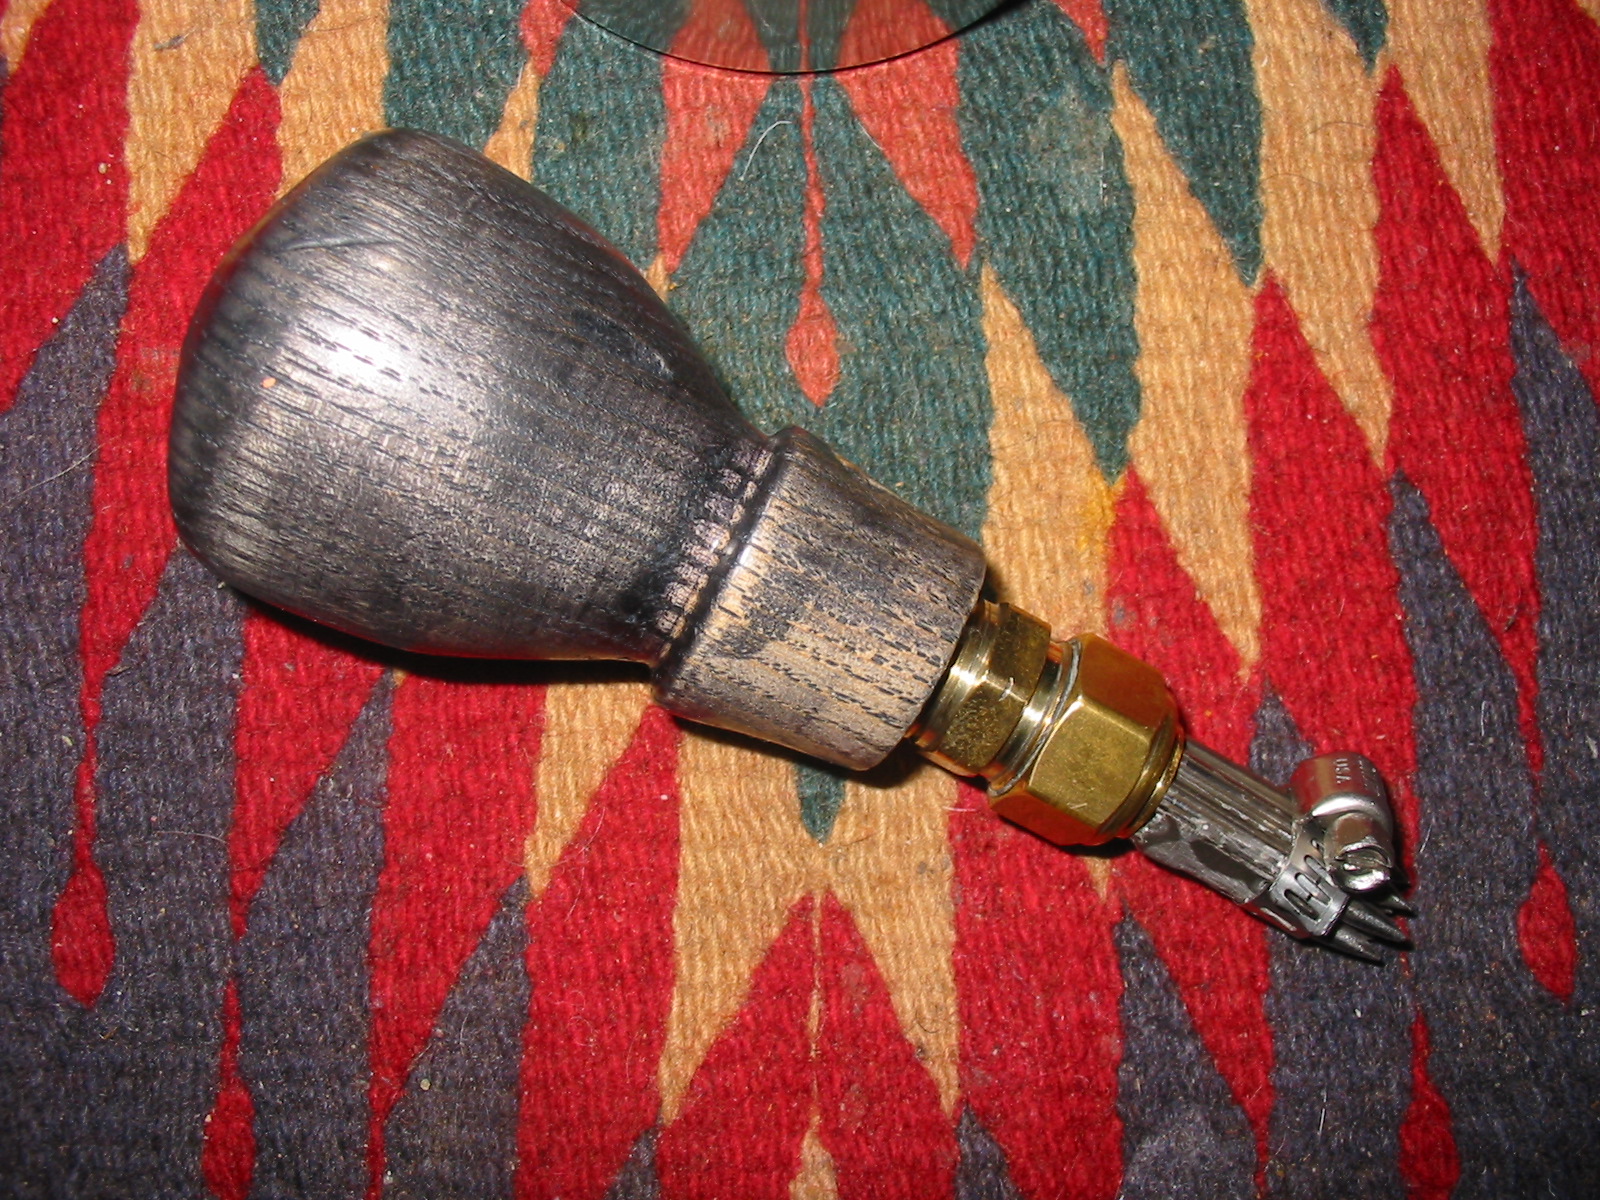
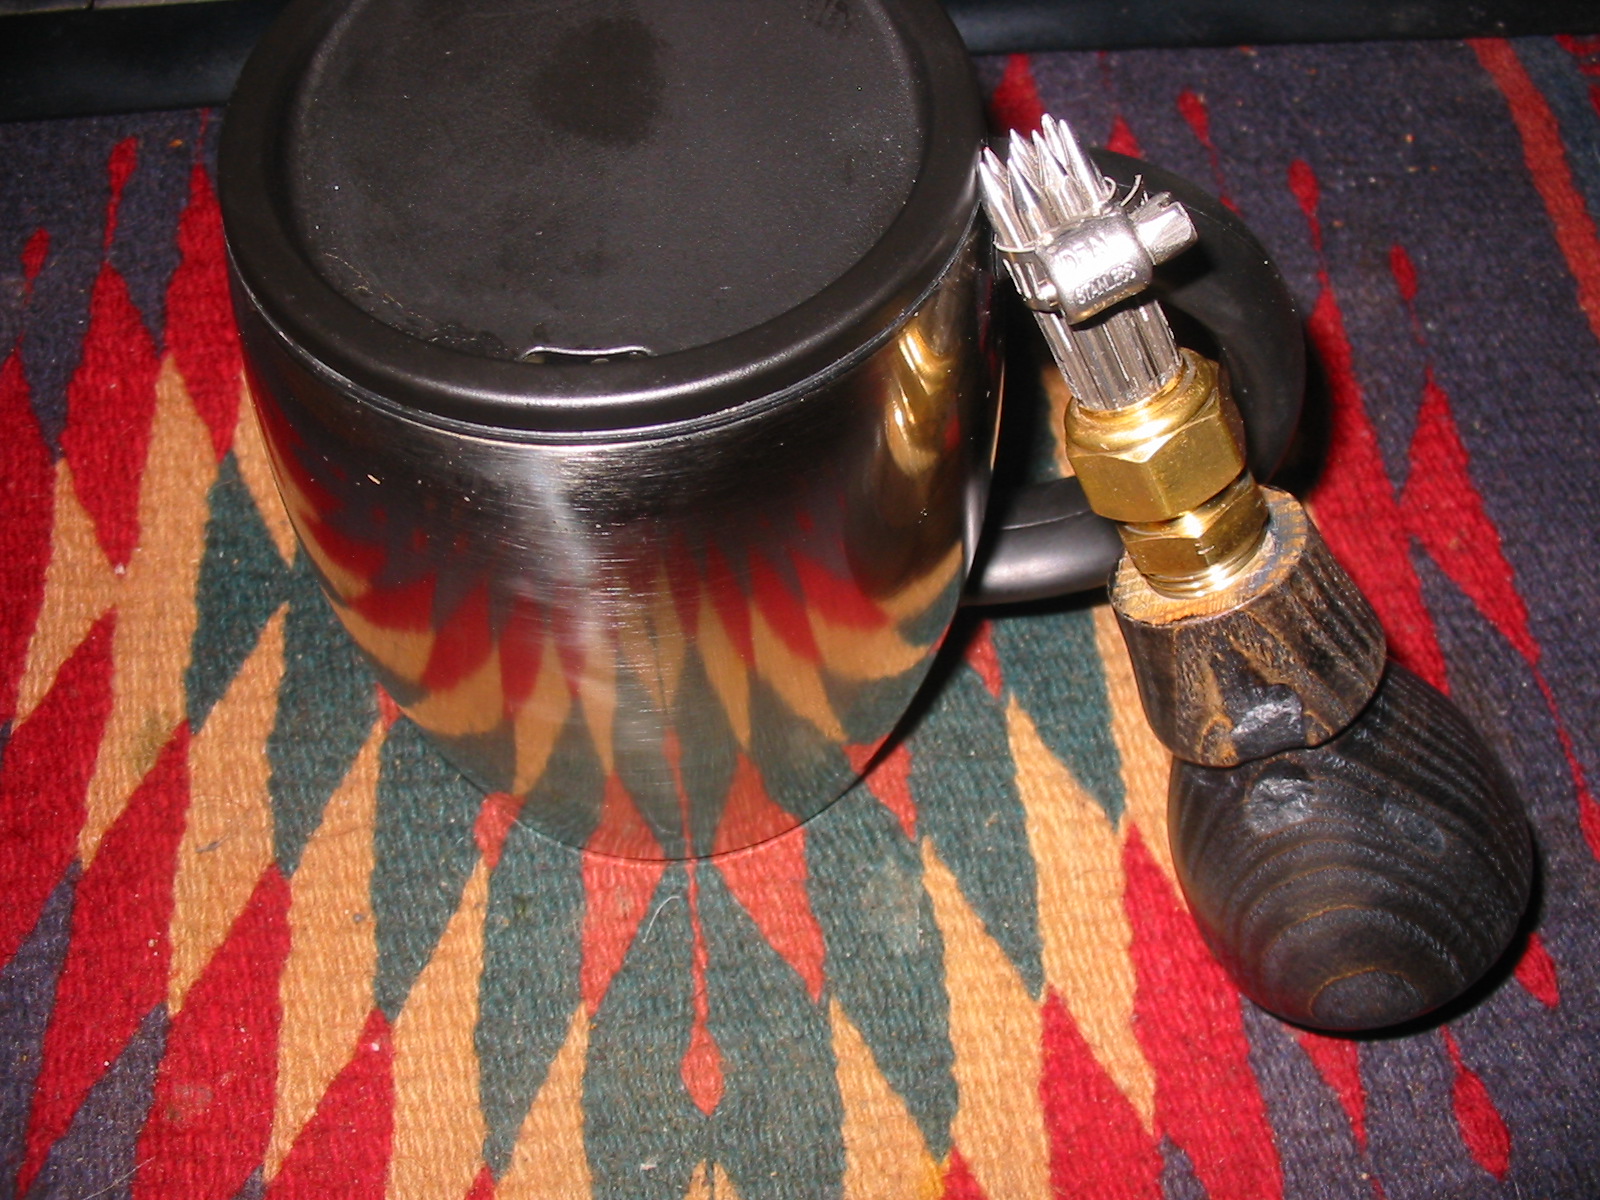
Chris tried it out on a block he had present. He found that the nails wobbled and splayed with the pressure into the block. The major difference in this model in comparison to my pipe model is that the nails extended from the brass cap further. This length made them less solid and accounted for the play in them when used on the briar. Chris and I discussed how to stabilize them. He sent me photos of the tool with an adjustable hose clamp applied to the nails about 1 inch from the tip. This worked well but took away some of the natural beauty of the tool.
I suggested that he bind the nails together using JB Weld and see what that would do. He did and once the Weld had dried and cured he tried the tool. He found that the nails still flexed and the JB Weld broke loose.

After the test runs he put the hose clamp back in place for this version of the tool and sent it to me. He wrote that in future versions of the tool he will shorten the length of the nails. That should give the tool stability when pressing and turning it into the briar.
The tool arrived here in Canada while I was travelling and was waiting for me when I got home. I opened the box and took the tool out to look at it. Chris did an amazing job in crafting this rusticator. I want to thank him for sending it to me. I appreciate his willingness to pass it on to me. It will certainly get some use from me. I look forward to using it and making further recommendations for future versions. One thing I can say with certainty at this point is that it fits more comfortably in my hand than the pipe version that I was previously using. I will keep you posted on how it works. Thanks again Chris.
Here are some photos of the tool when it arrived here in Canada.


Pingback: Now that the pipe has been restemmed it is time to rusticate it | rebornpipes
Thank you, Steve, for showing this tool and writing on it ! there are several techniques and tools for rustication, and this one seems to be a very good one in it’s cathegory. It reminds me a little the toll used by Mrs. Daniela Cavicchi,
Daniela Showing her Rustication Skills
shown at the picture titled: Beginning 3rd phase
http://www.theitalianpipe.com/make/cv/cvlab.htm
LikeLike
Thanks Jacek. That too looks like an interesting tool. The use of screws instead of nails gives additional areas that work to gouge the briar in a different way. I sense another experiment coming!
LikeLike
Yes, Steve, I think that you have a point saying that use of screws gives additional areas – working/sharp areas – that work as “carving”/cutting edges. I believe that screws used by Mrs. Cavicchi are of this type that are “self screwing”/pentrating wood without “piloting” whole drilled before screwing, so their edges are really sharp.
LikeLike
Very glad it made it there safely, and thanks for the great writeup! I’m going to get a swelled head. Just to add one bit of detail, the brass is actually a 1/2″ by 1/2″ compression fitting with male threads, and the hole in the handle was drilled to 5/8″. The compression fitting was hand turned and then finished with a wrench, and it’s in there tight. But my mistake was done at the clipping the nail heads stage. I tried to leave the full length of the nail in place, and should have left only about 1/8″ past the edge of the fitting. Only other thing is I added a bit of epoxy to the base of the nails inside the compression fitting to keep them fitted in solid. The next time I do this, which is a given because it was fun, I think I will instead drill the handle to accept a pipe nipple and epoxy it in, leaving the threads flush, which would allow me to make a series of heads in different sizes and configurations which can be removed without weakening the fit even after many changes. Thanks again for your help in getting this project closer to finished, and for the ideas and leads you passed along!
LikeLike
Thanks Chris for the additional information. I figured that you must have anchored them in place somehow.
LikeLike