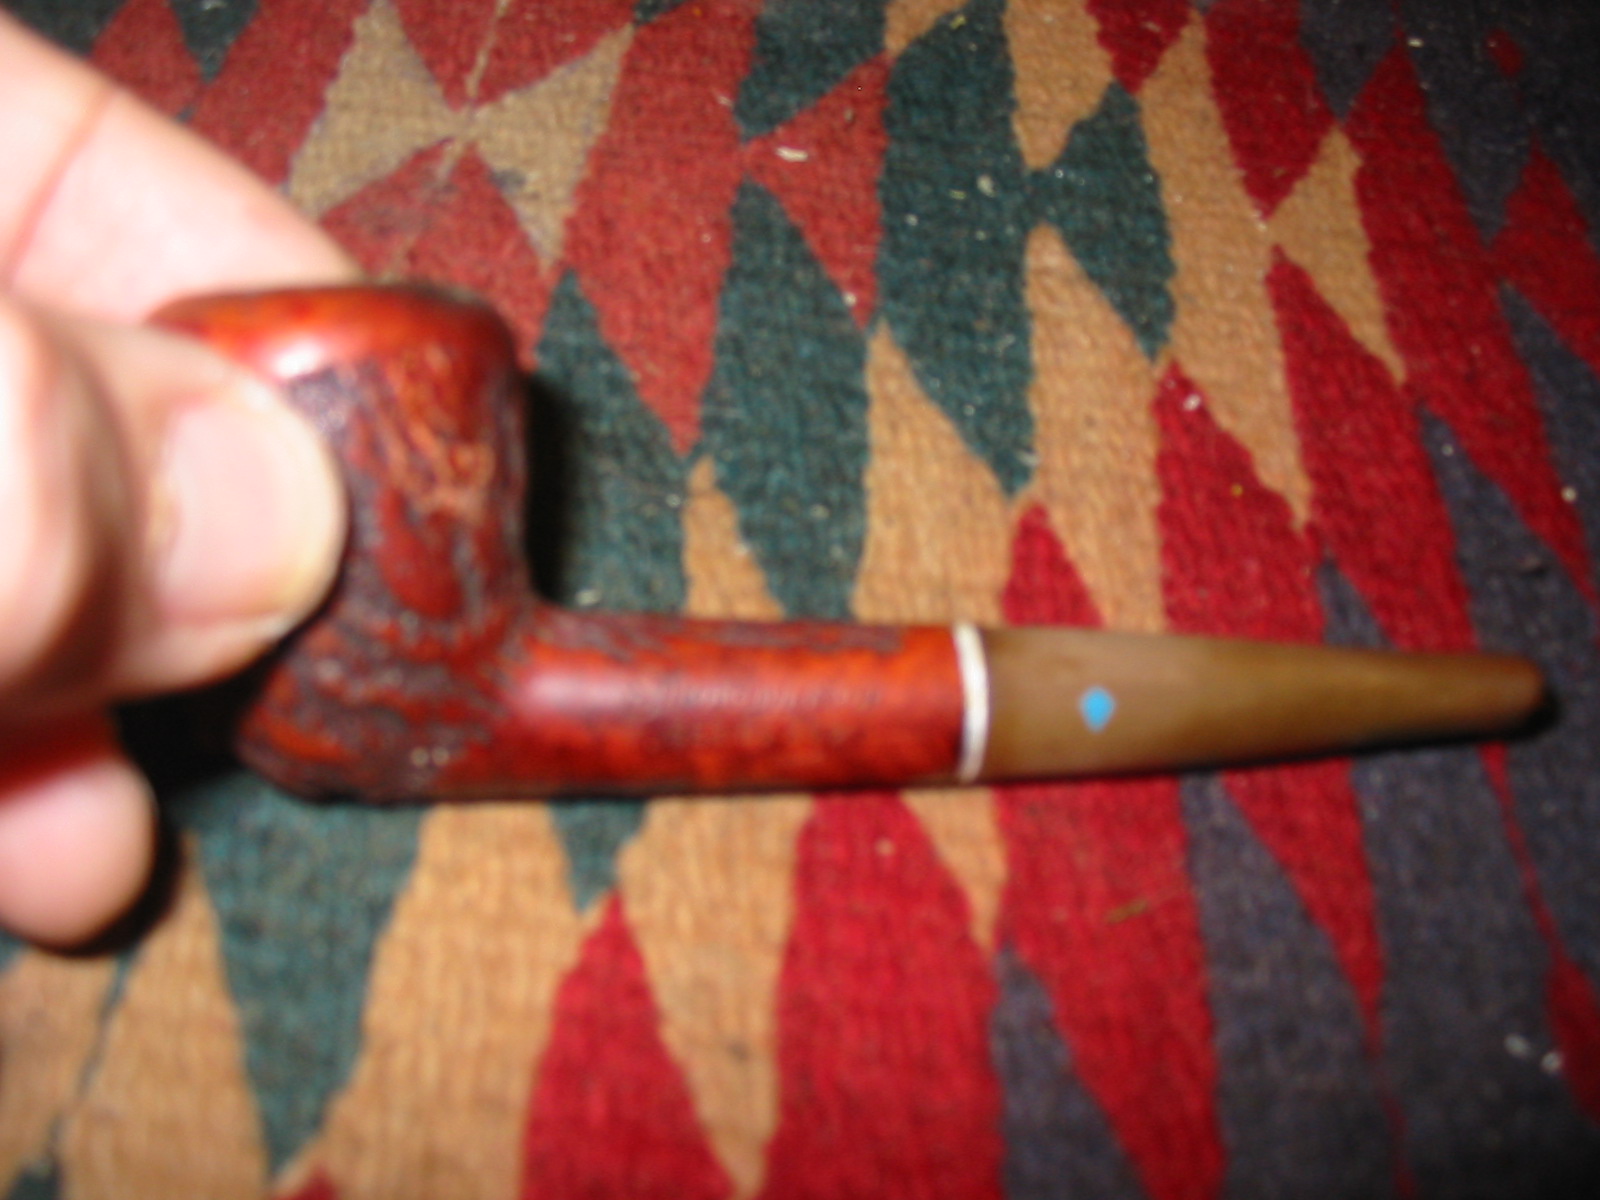
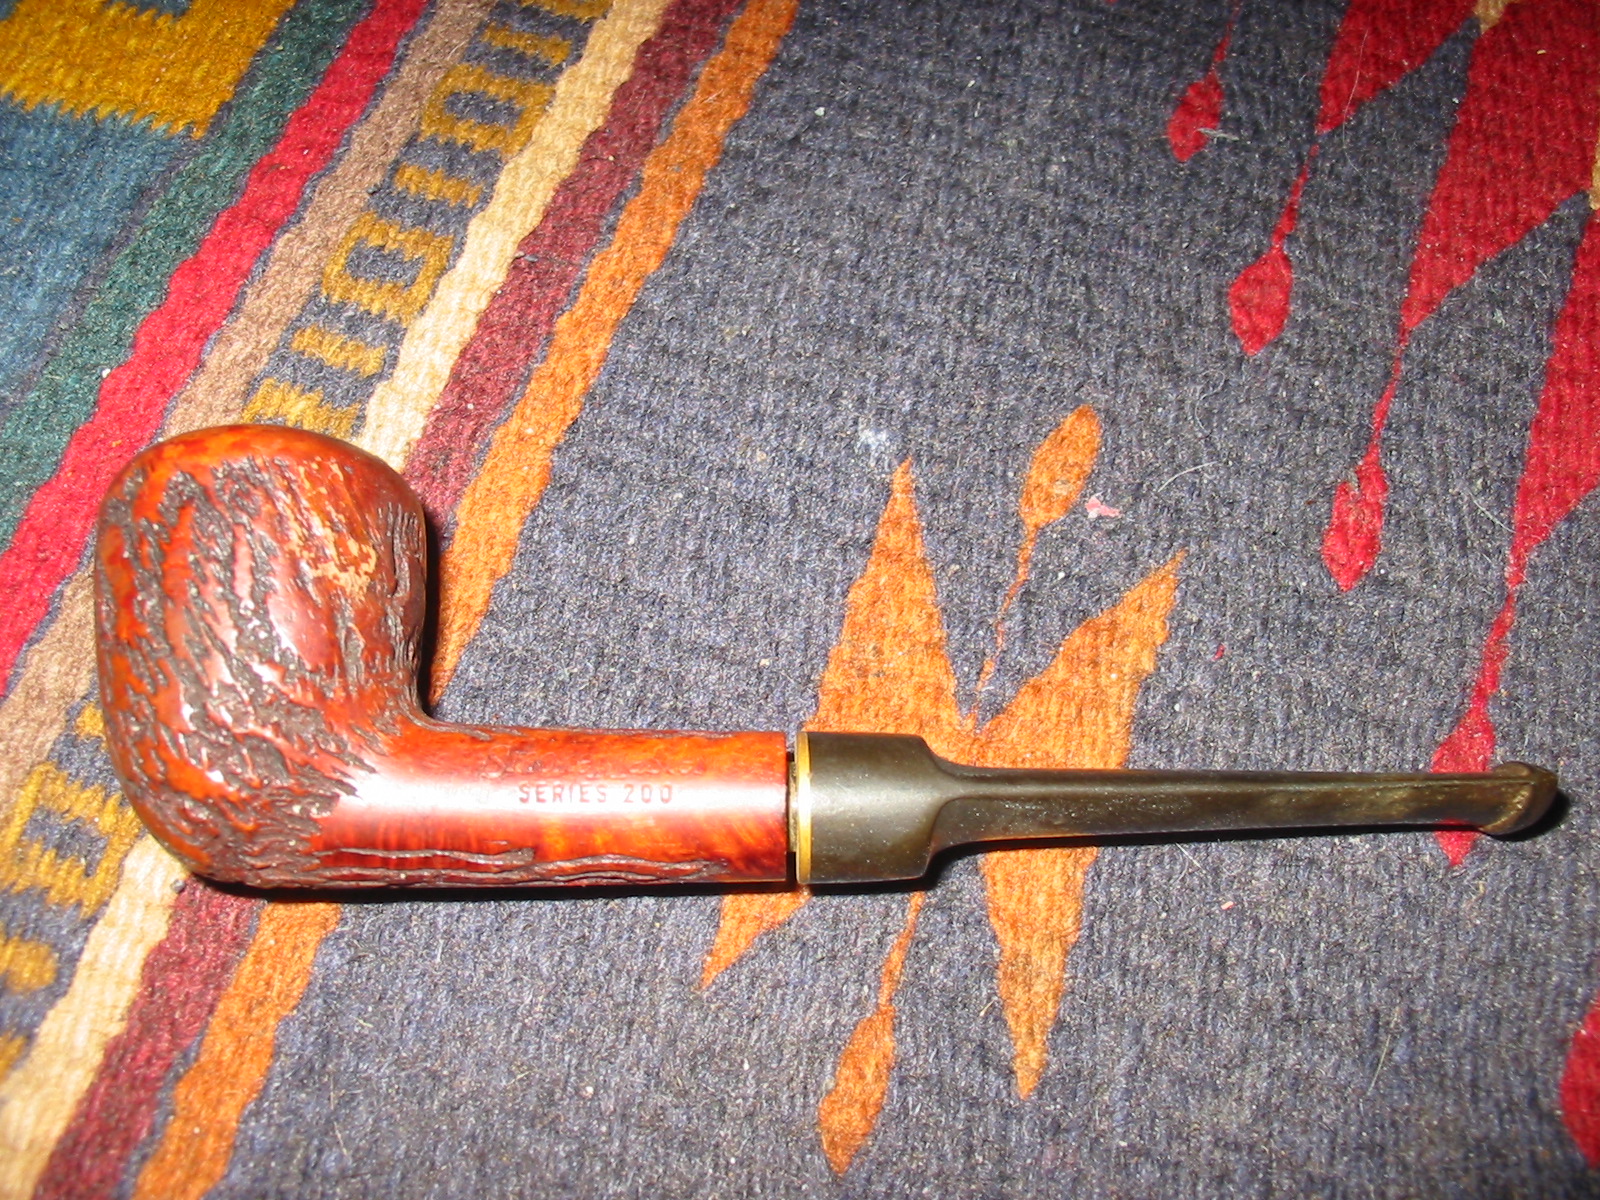
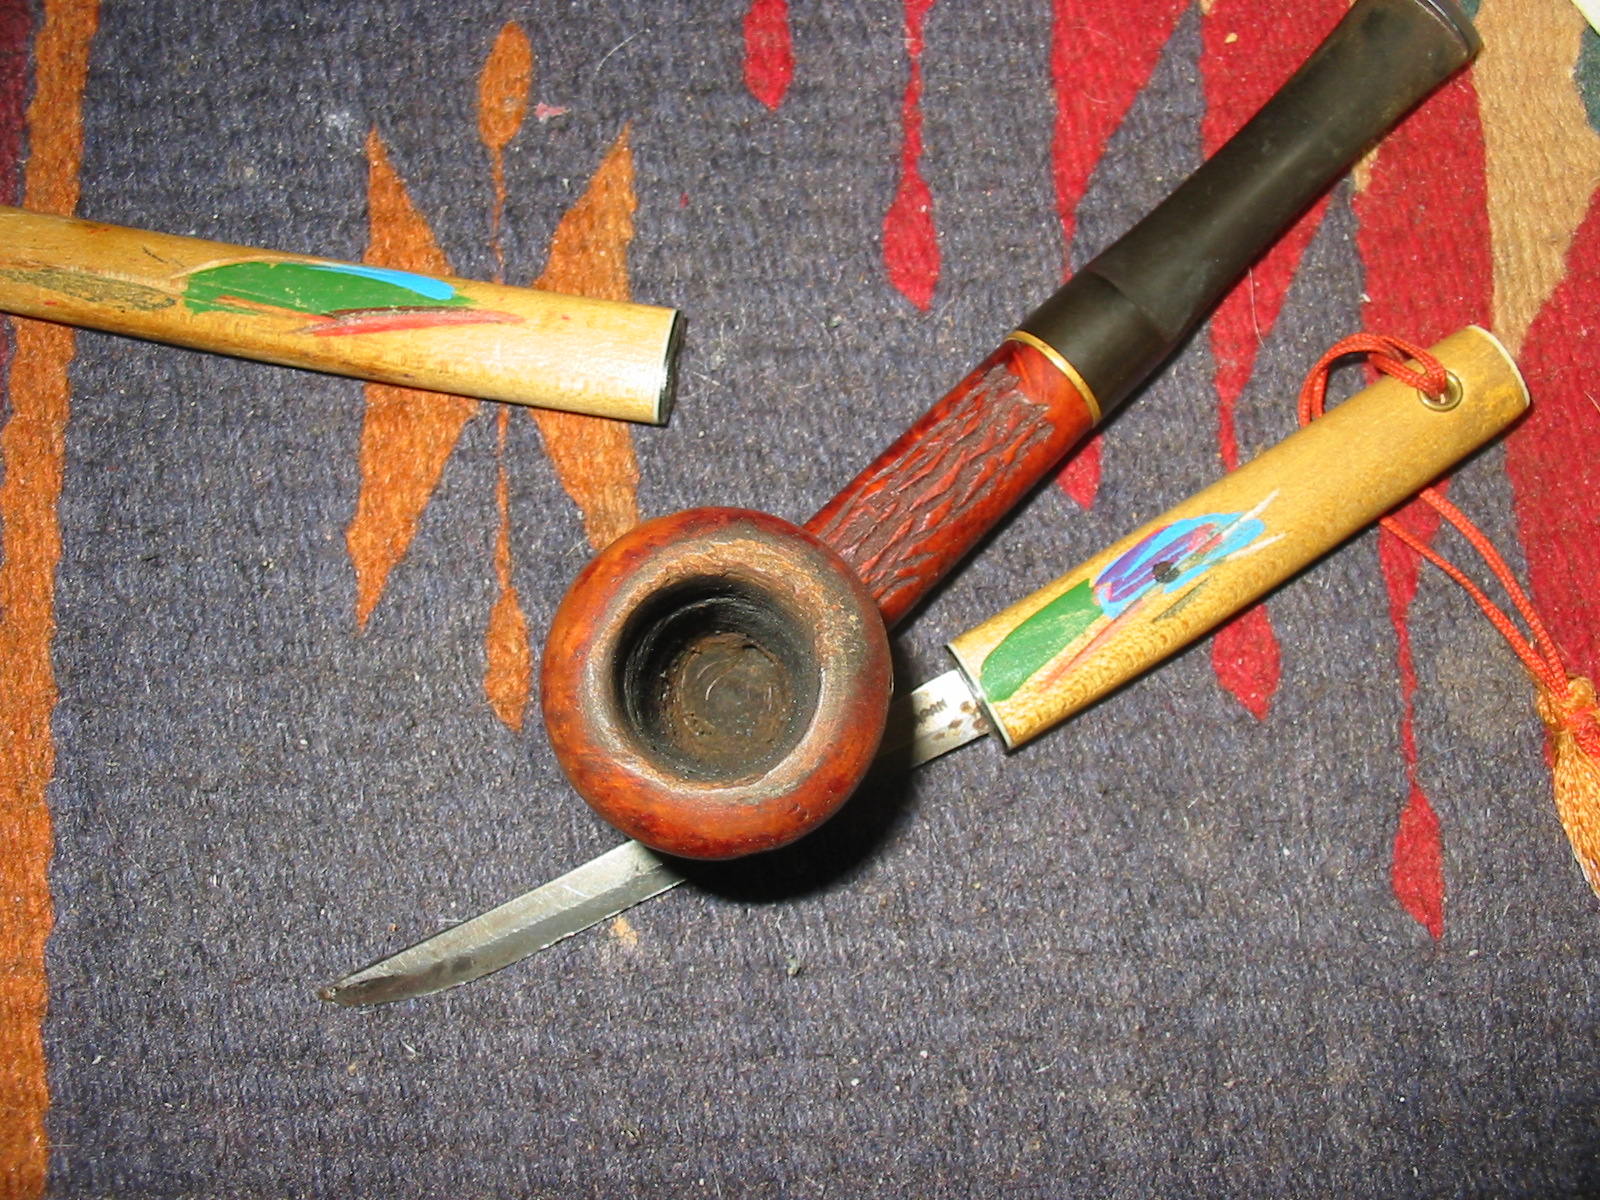
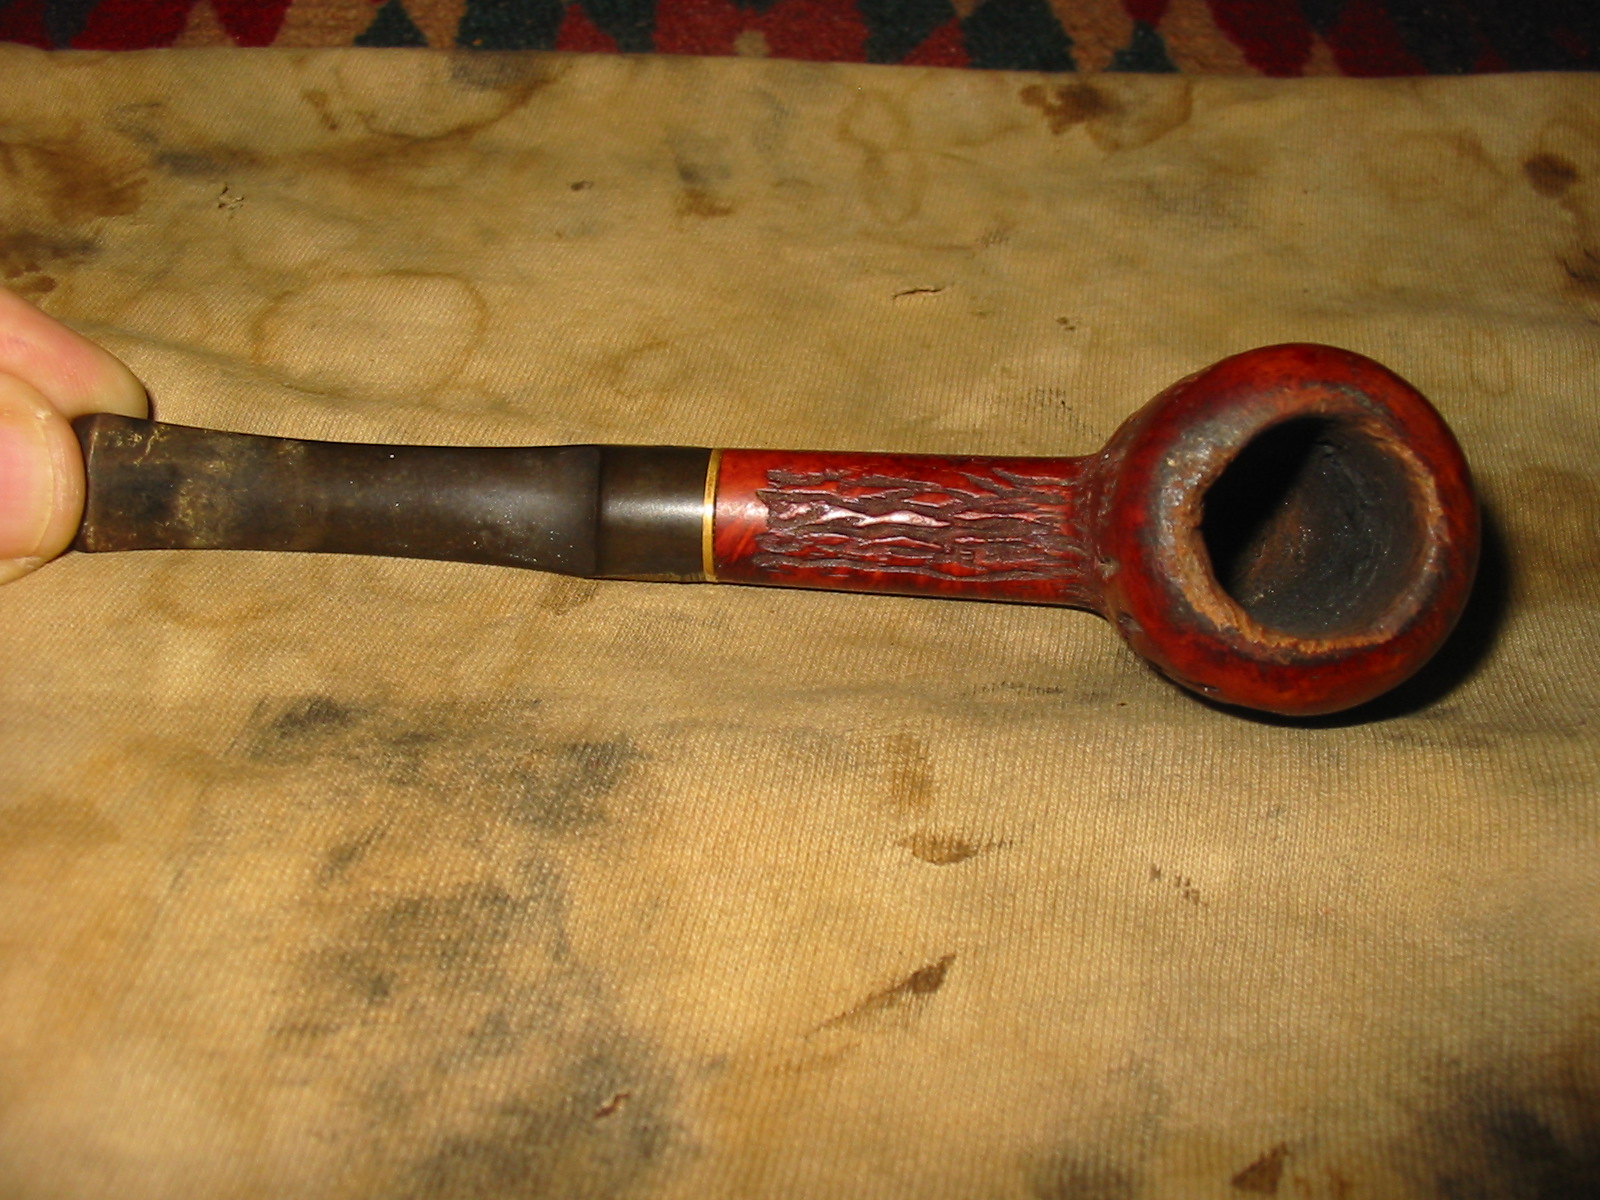
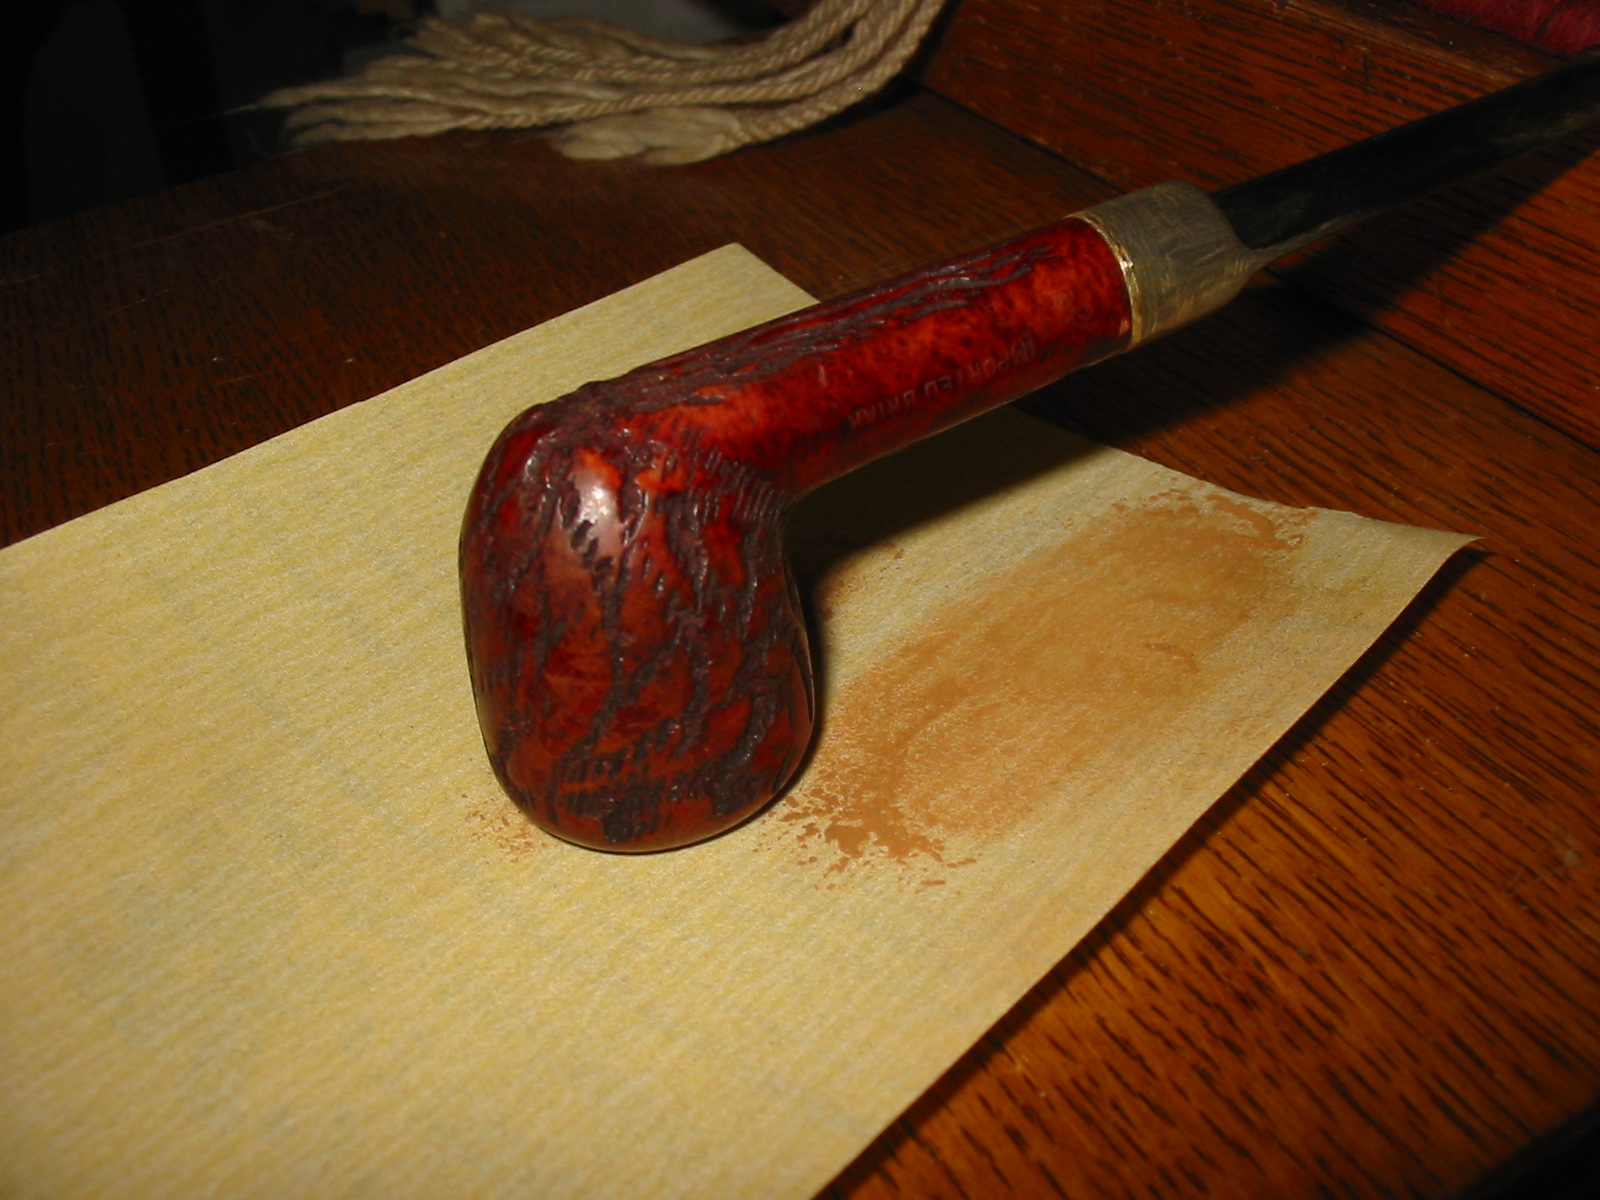
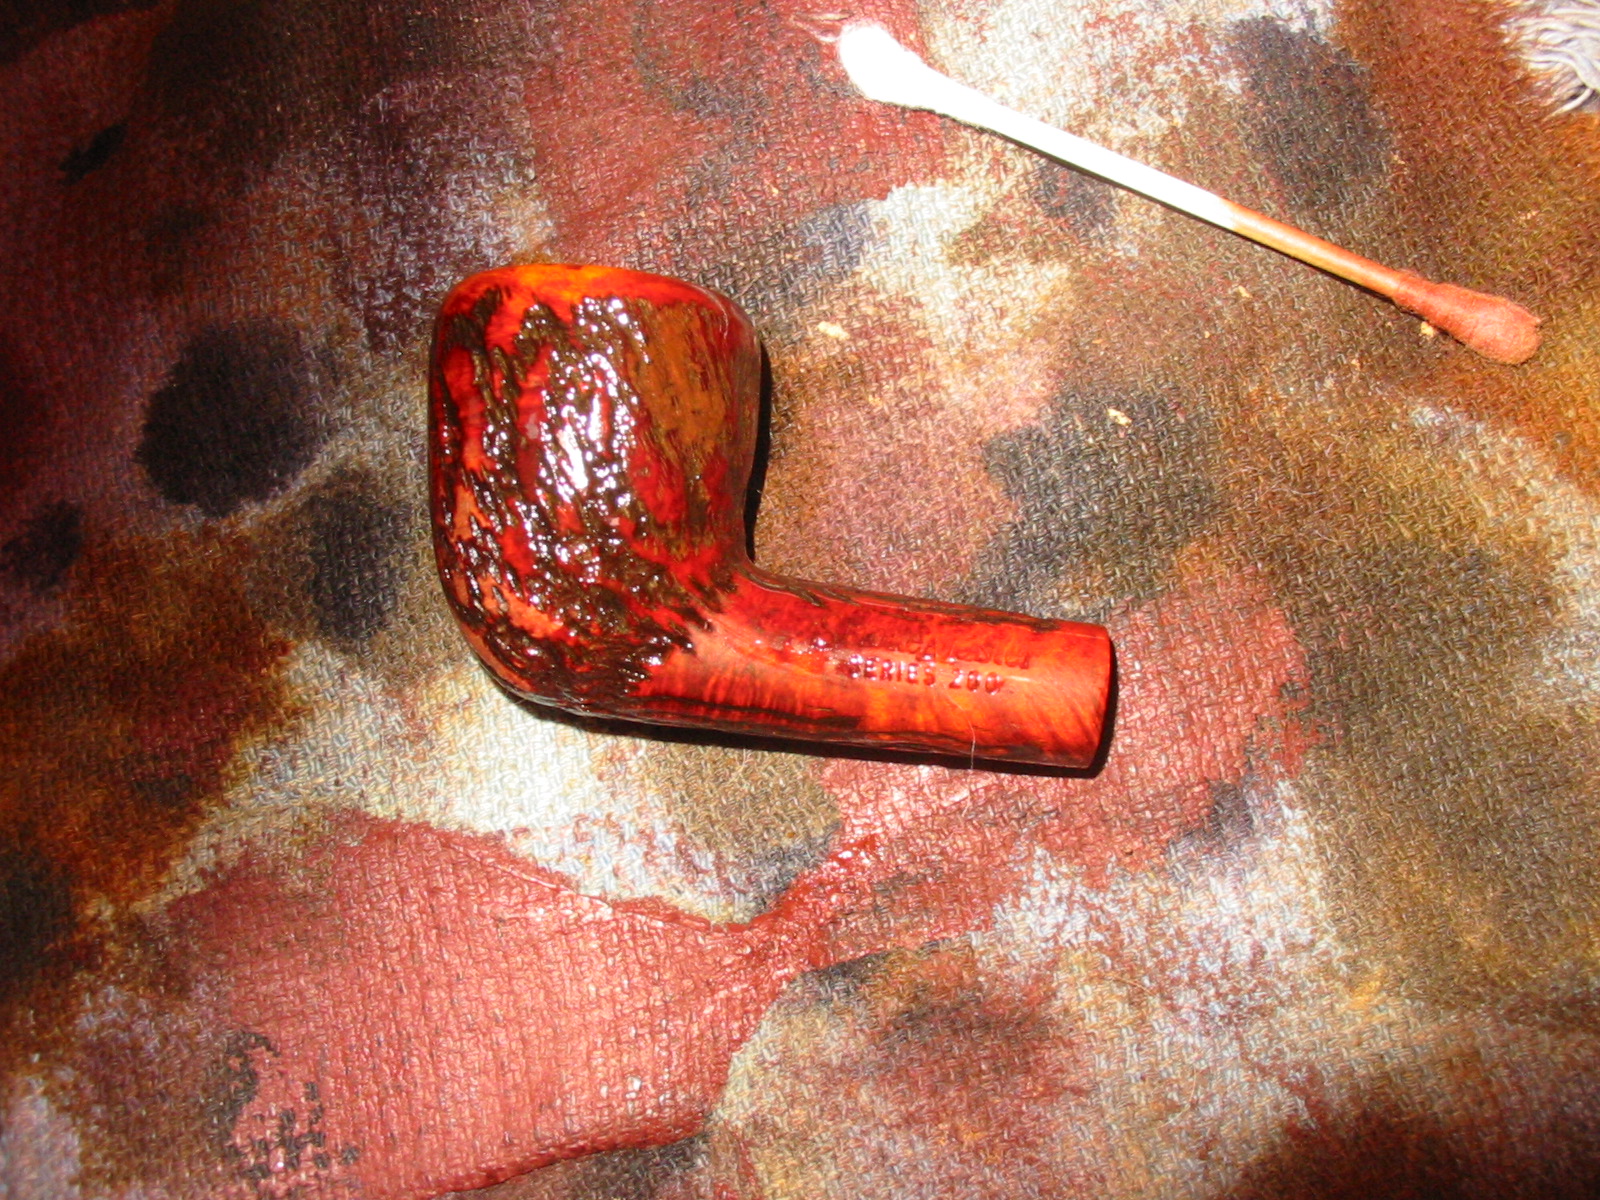
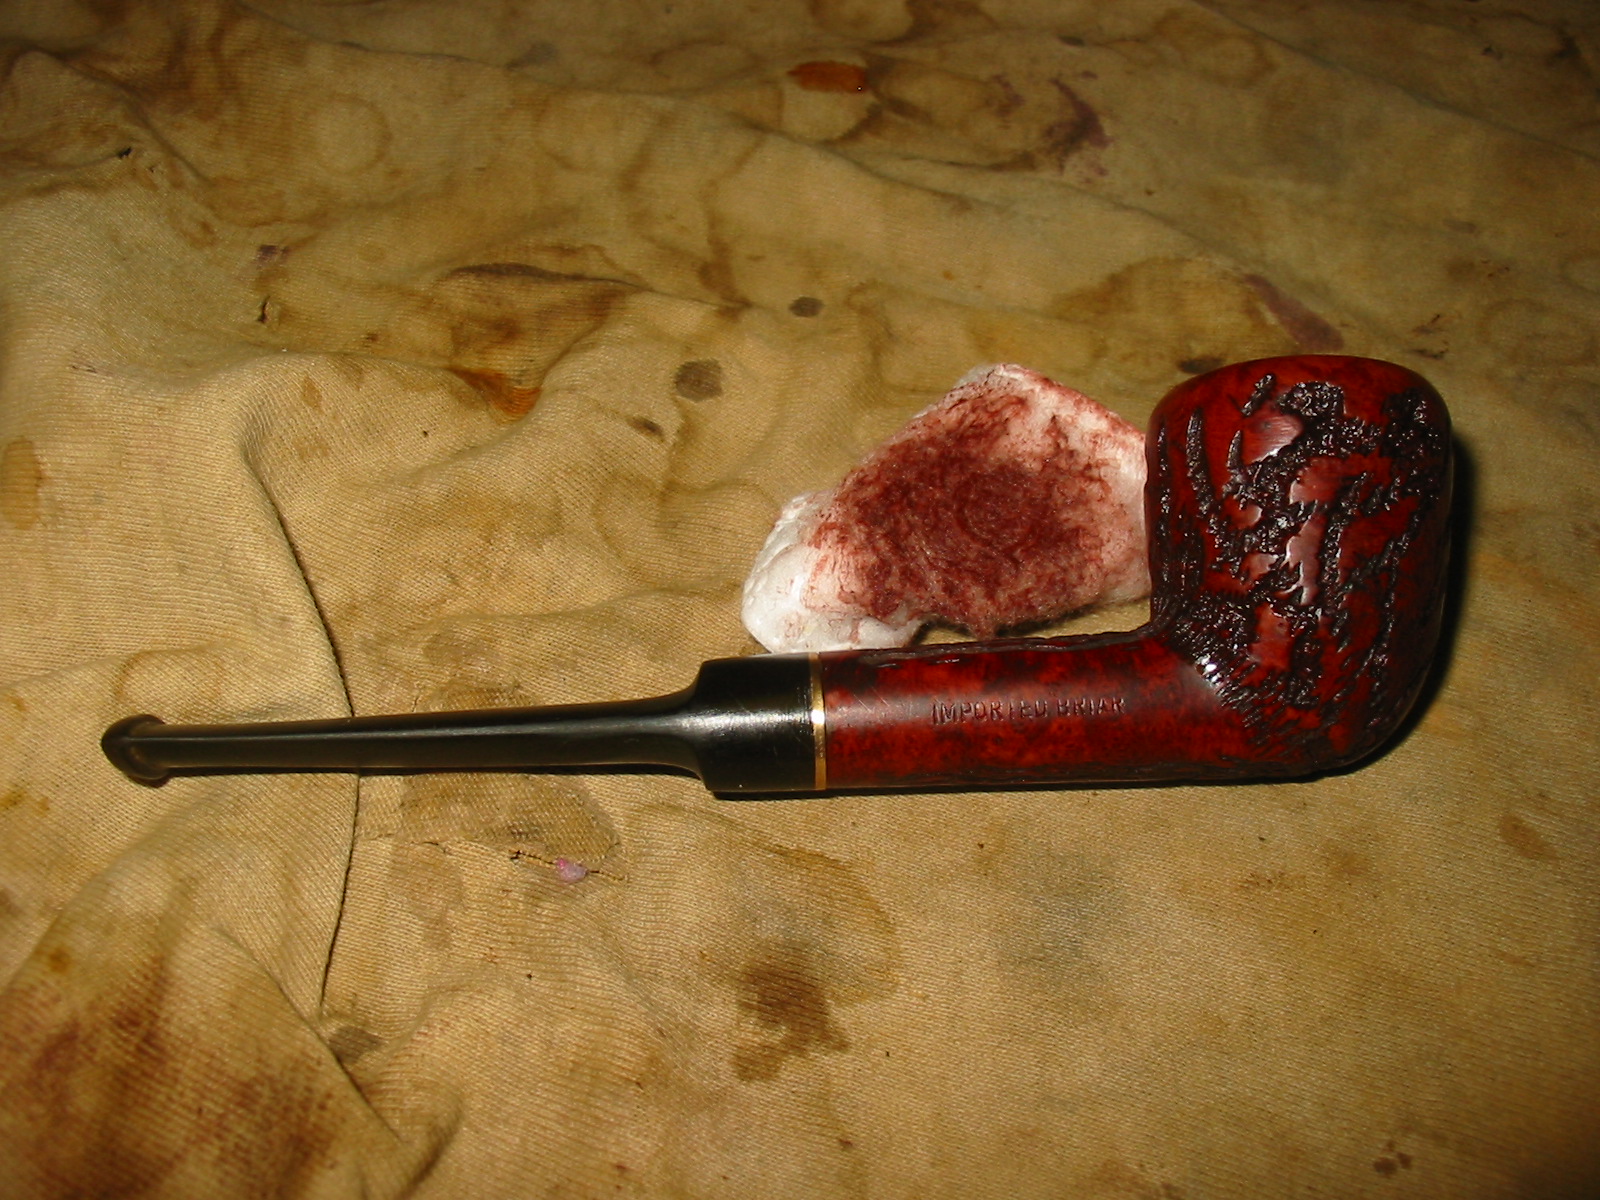
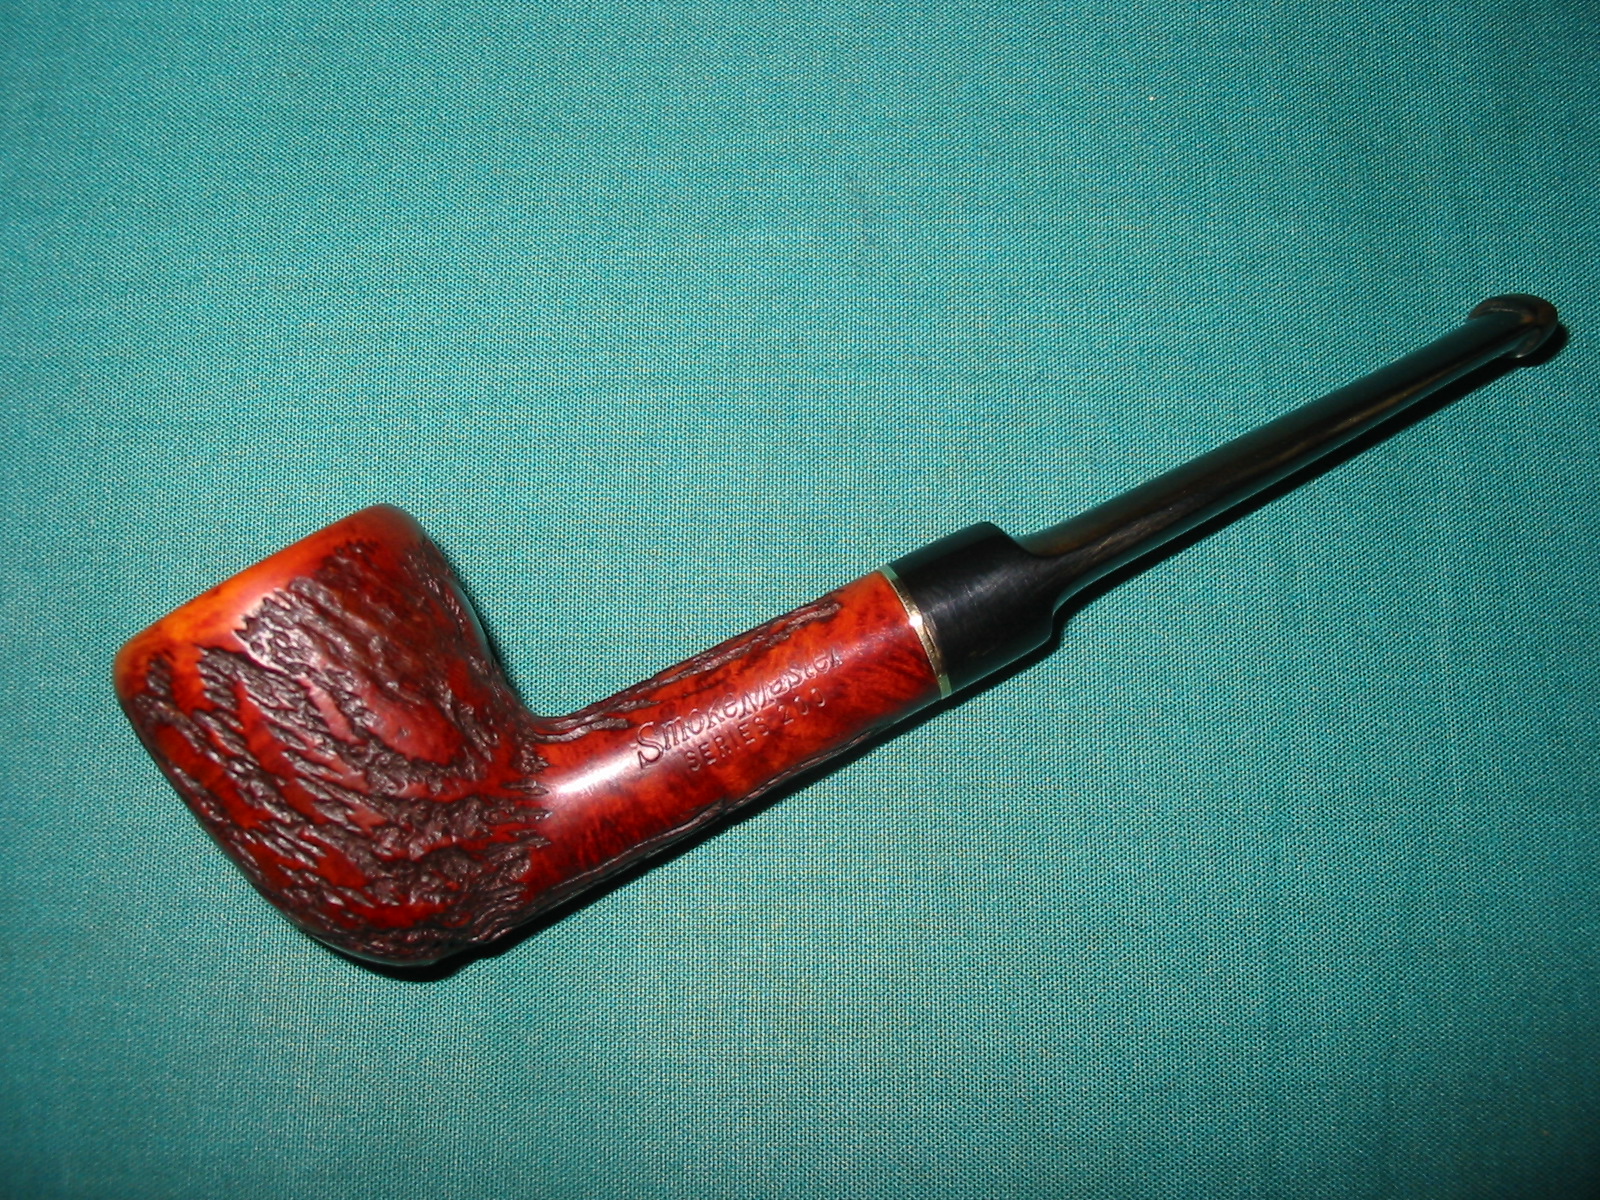
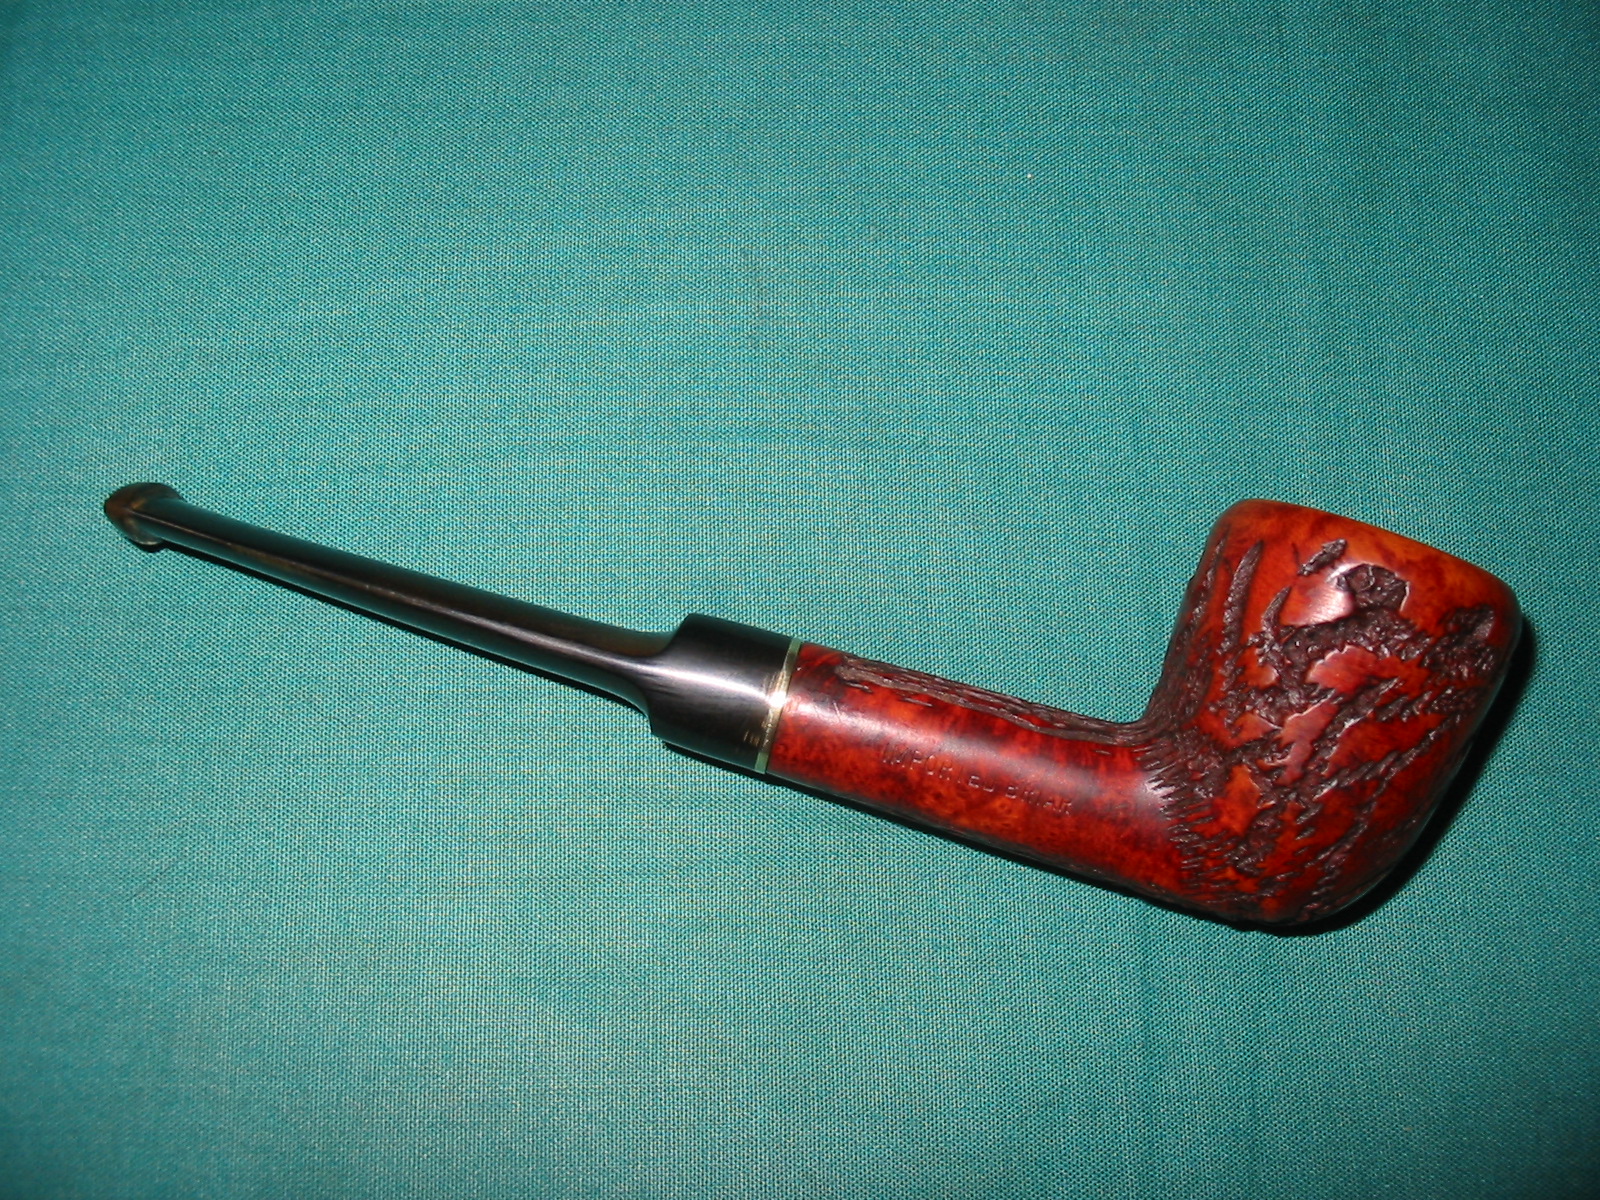
One of the pipes that I had been given years ago was stamped SmokeMaster Series 200 and was an acorn shaped rusticated bow with a smooth side on each side of the shank for stamping and a smooth rim. The left side bore the name and series number and the right side was stamped Imported Briar. The stem had been well chewed and the internal apparatus was missing. It was not useable on this pipe. I would have to restem it. I knew nothing of the brand name. My search on the internet gave me some information on the brand.
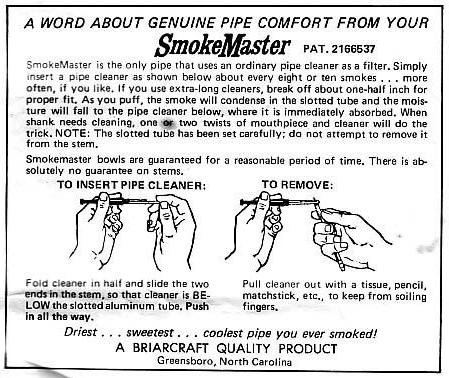
On the Dr. Grabow site ( http://drgrabows.myfreeforum.org/sutra13181.php ) I found some interesting information. I quote this post by Dave Whitney, the author of Old Briar, a book on refurbishing. “Smokemaster was a Briarcraft pipe. Richard Kliethermes Sr. was the founder of Briarcraft. First located on Pipetown Hill Rd, Spring Valley, NY, it moved later to 66 Central Ave., Spring Valley, NY. After the death of RK Sr., the business was run by Richard Kliethermes Jr. († 1943) and was quite prosperous between 1920 and 1940. The company closed in 1950. Briarcraft seconds are as follows: Airo, Arcadian, Briarmeer, Smokemaster, Cavalcade, Hallmark, Sterling Hall, and Wimbledon. The Orange off-center diamond was one of their logos.”
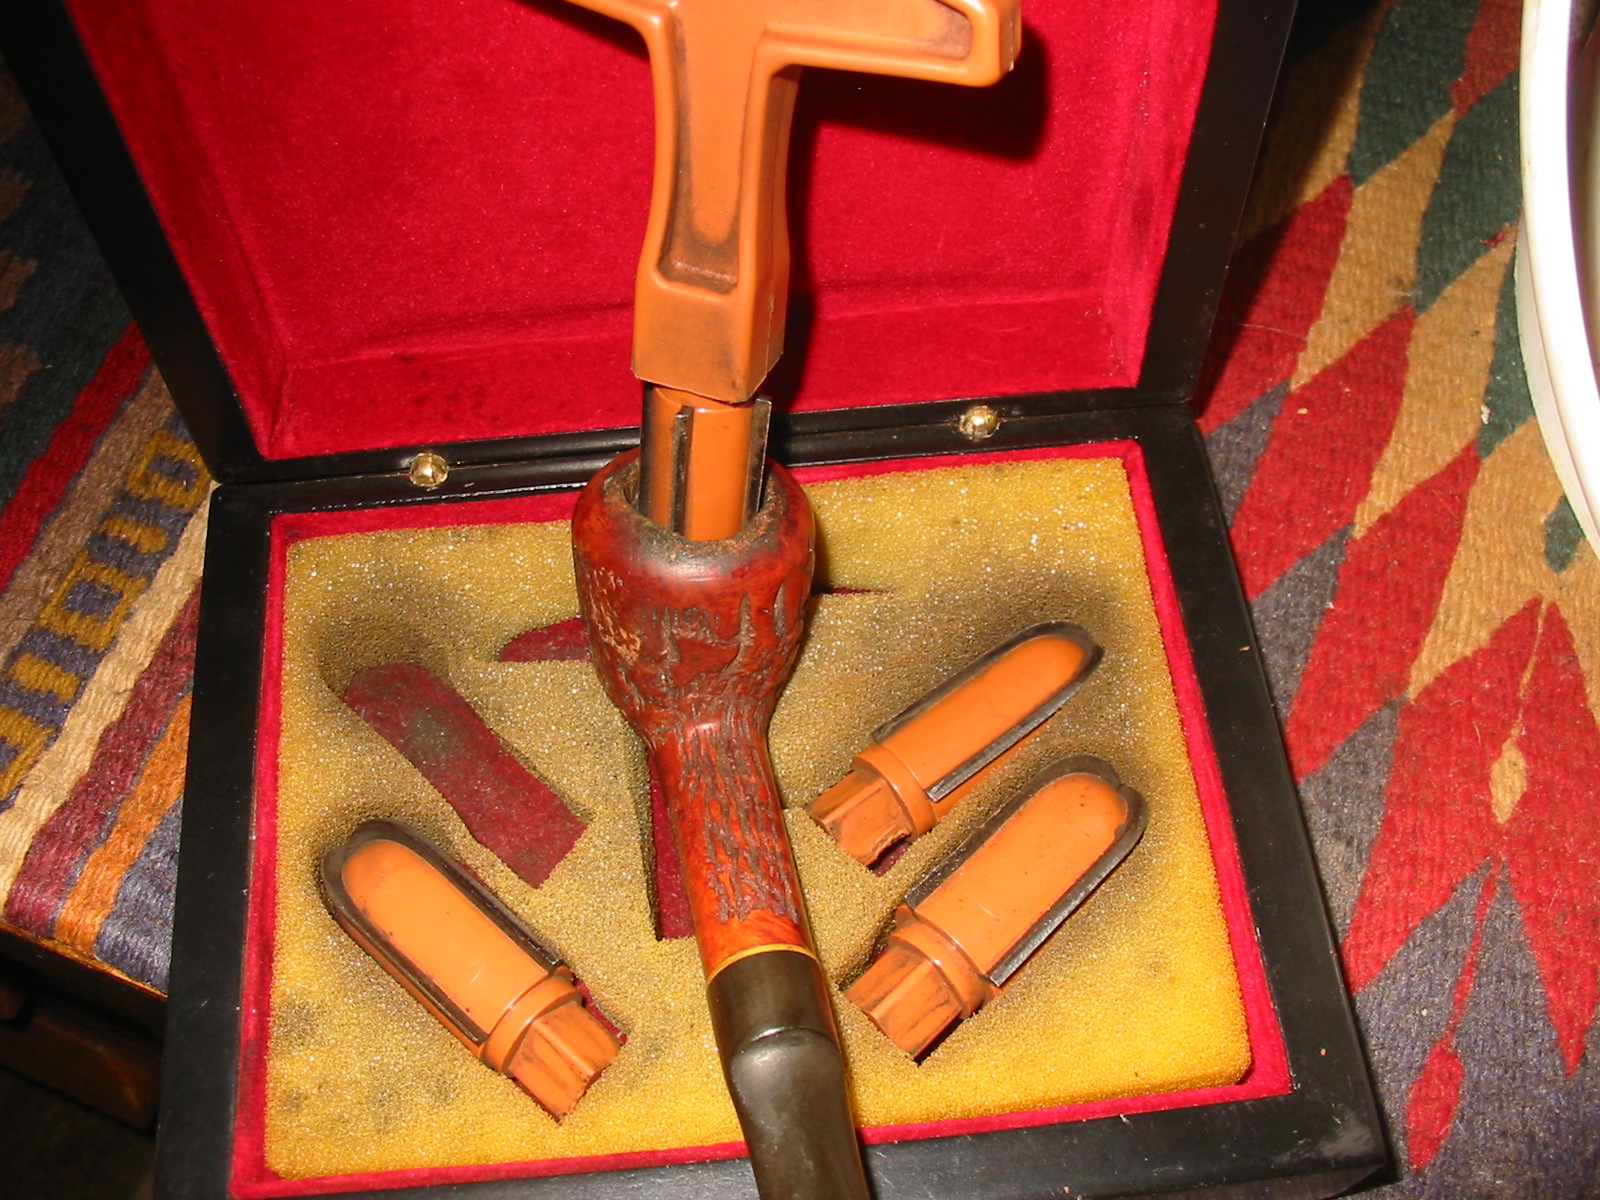
The link also had the following scan that shows the original design for the stems and the unique folded pipe cleaner filtration system of the original pipe. I decided to restem the pipe with a stem of my own choice rather than hunt down an original stem.
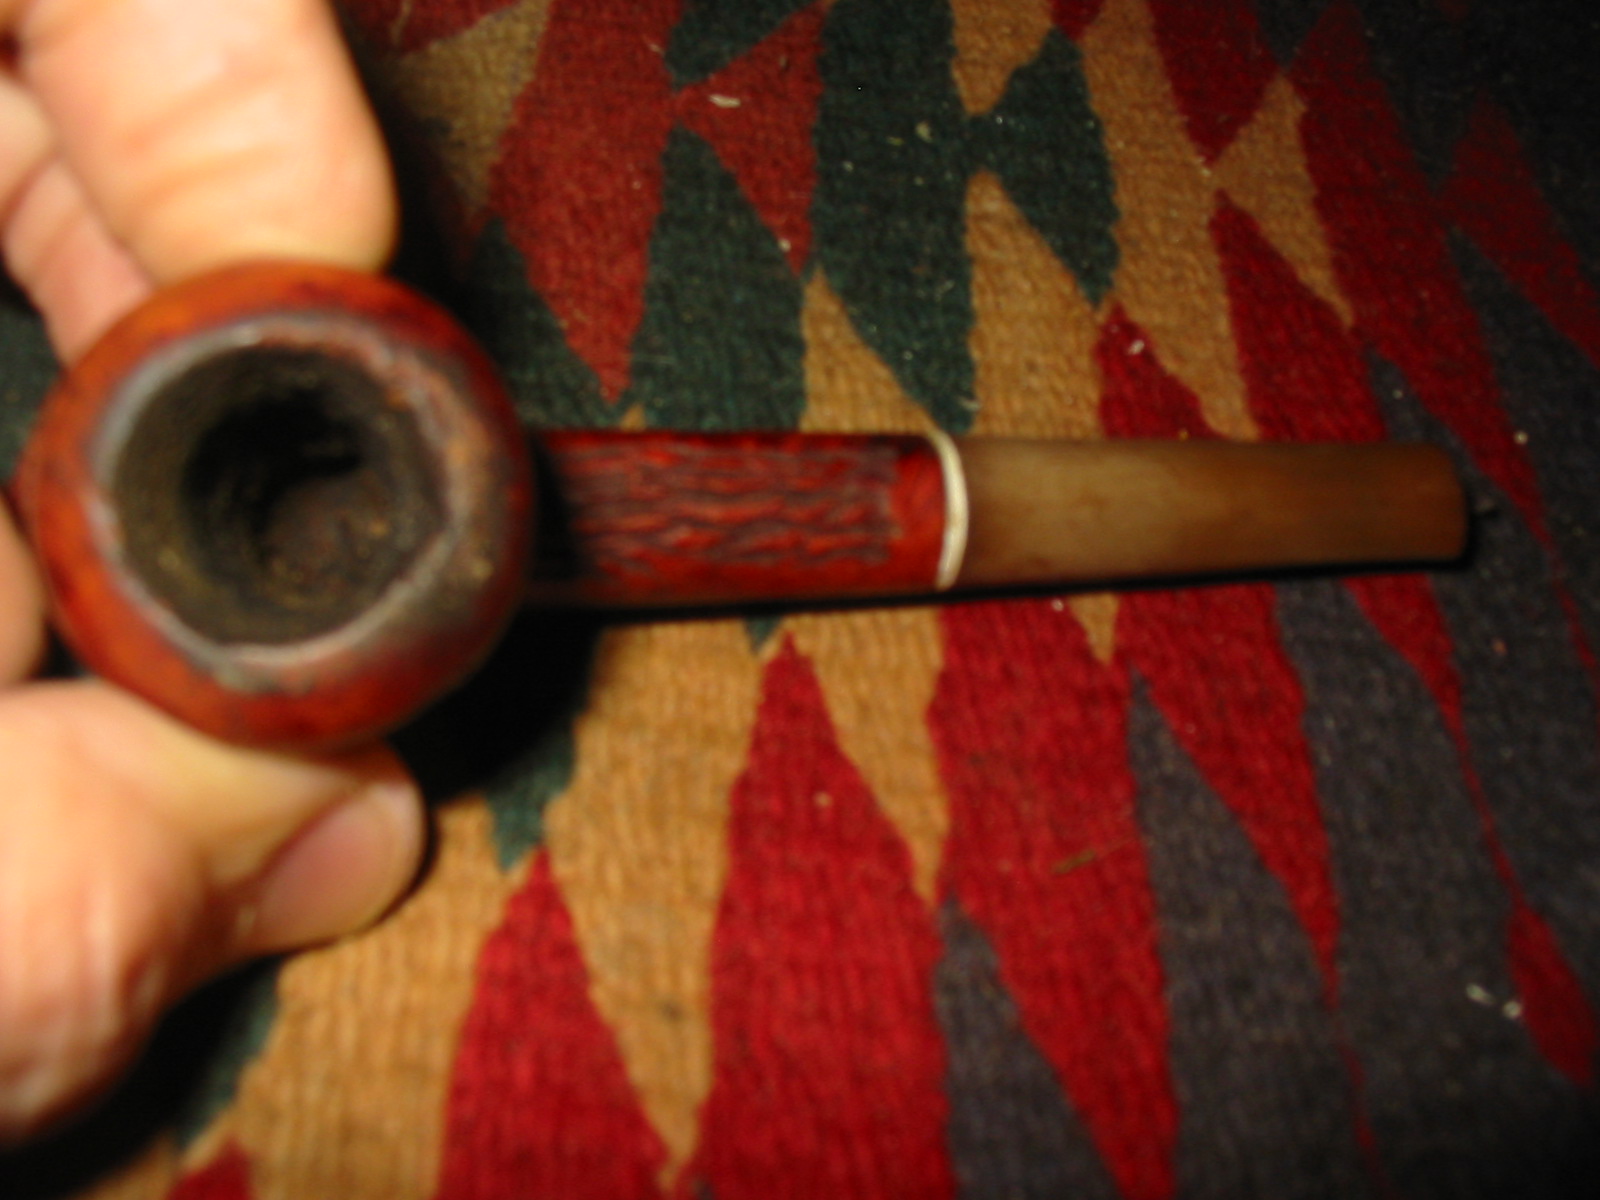
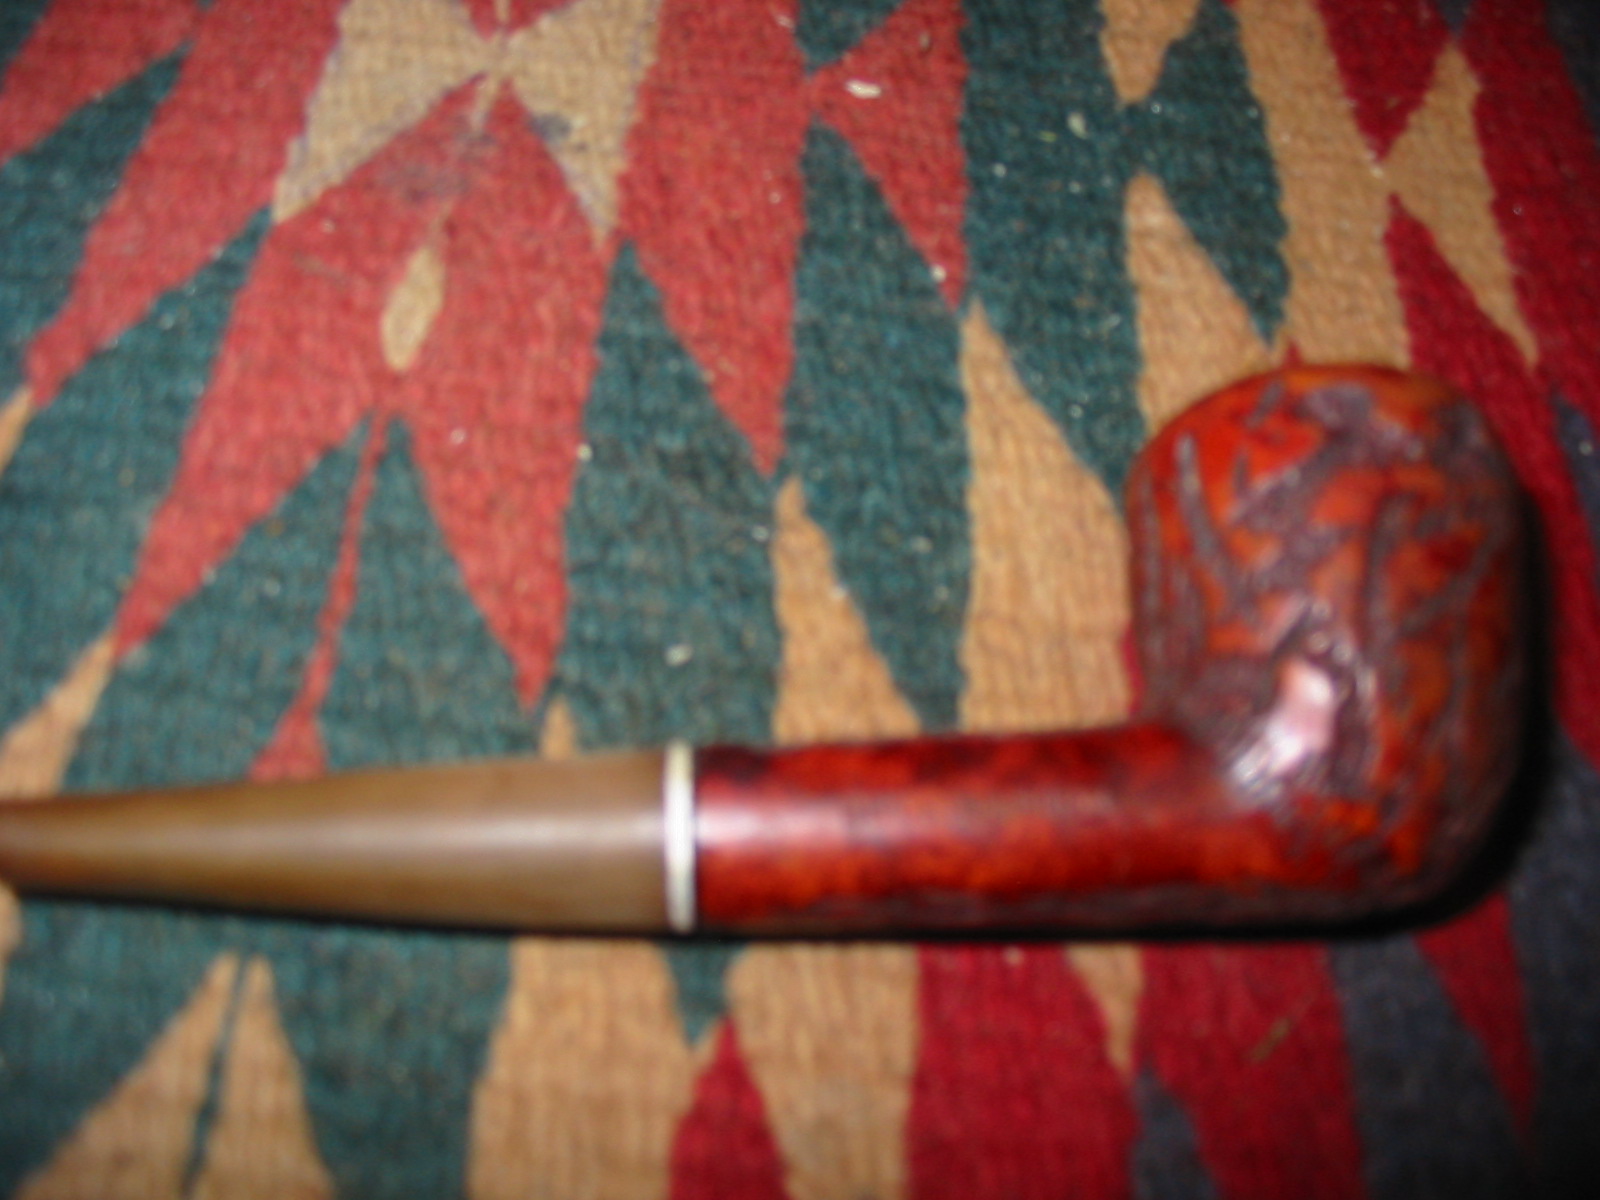
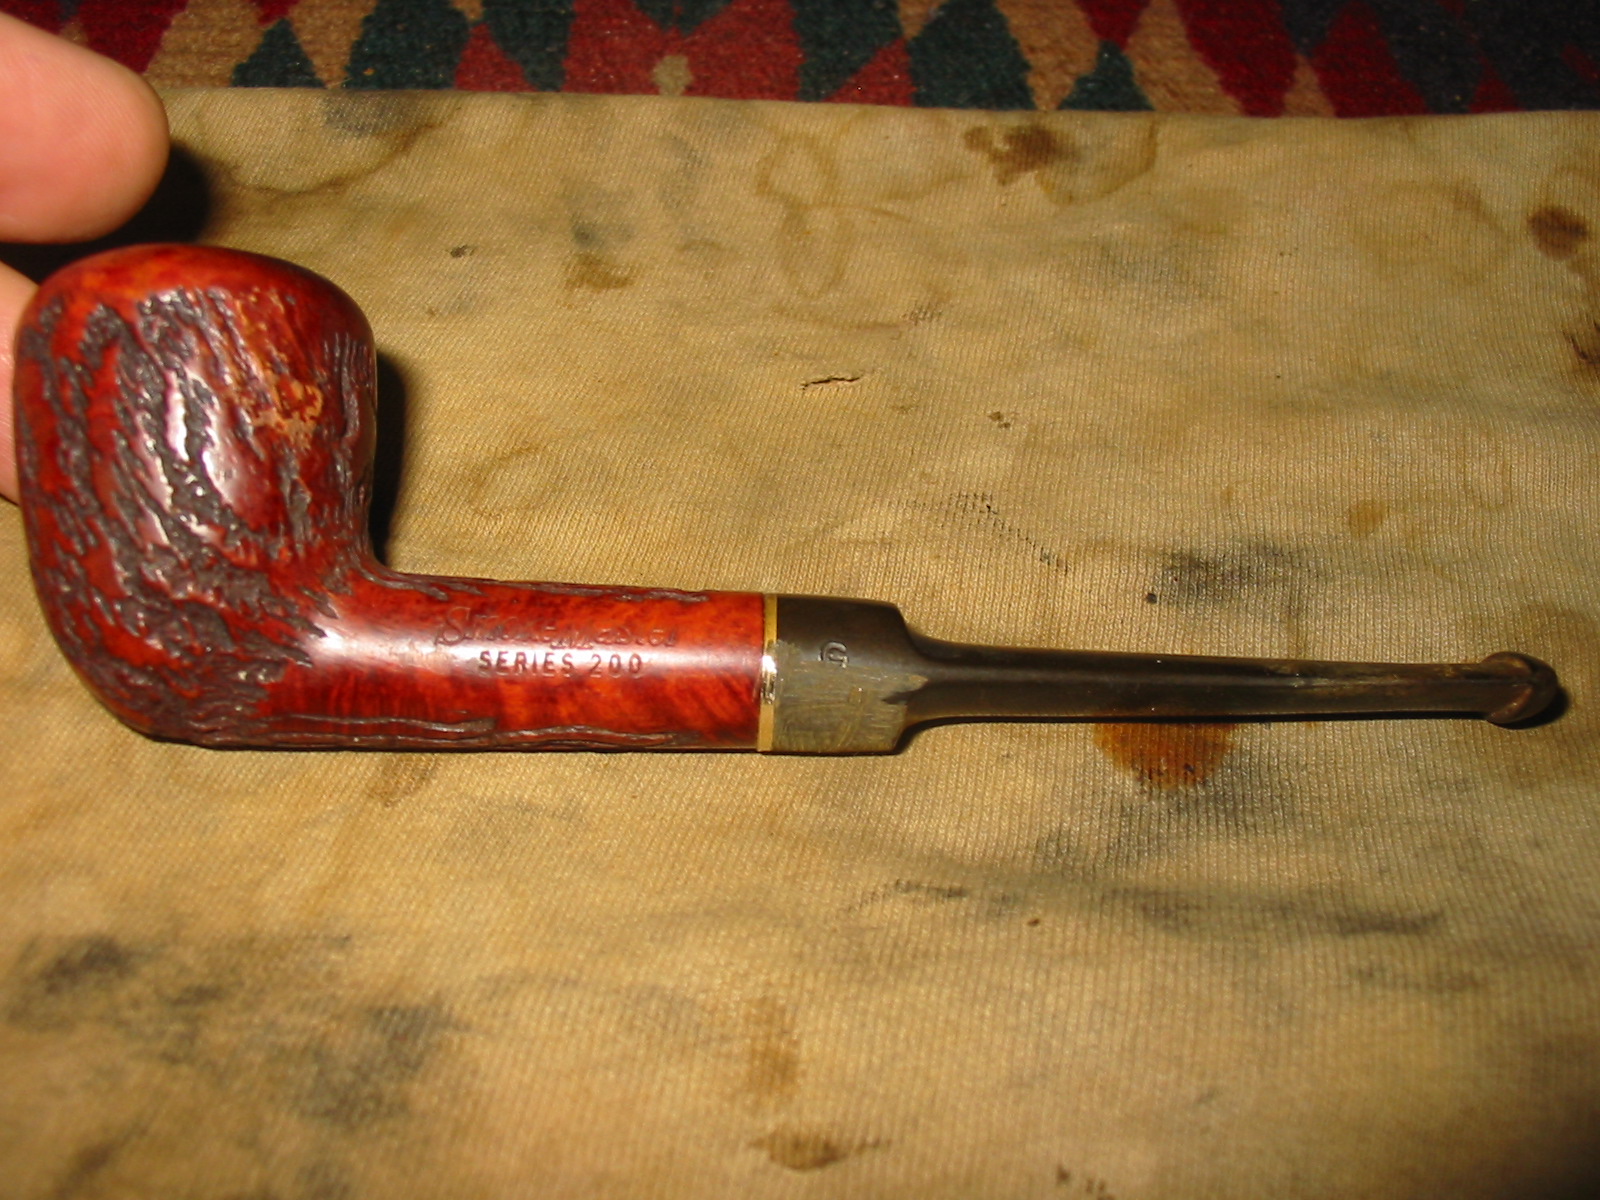
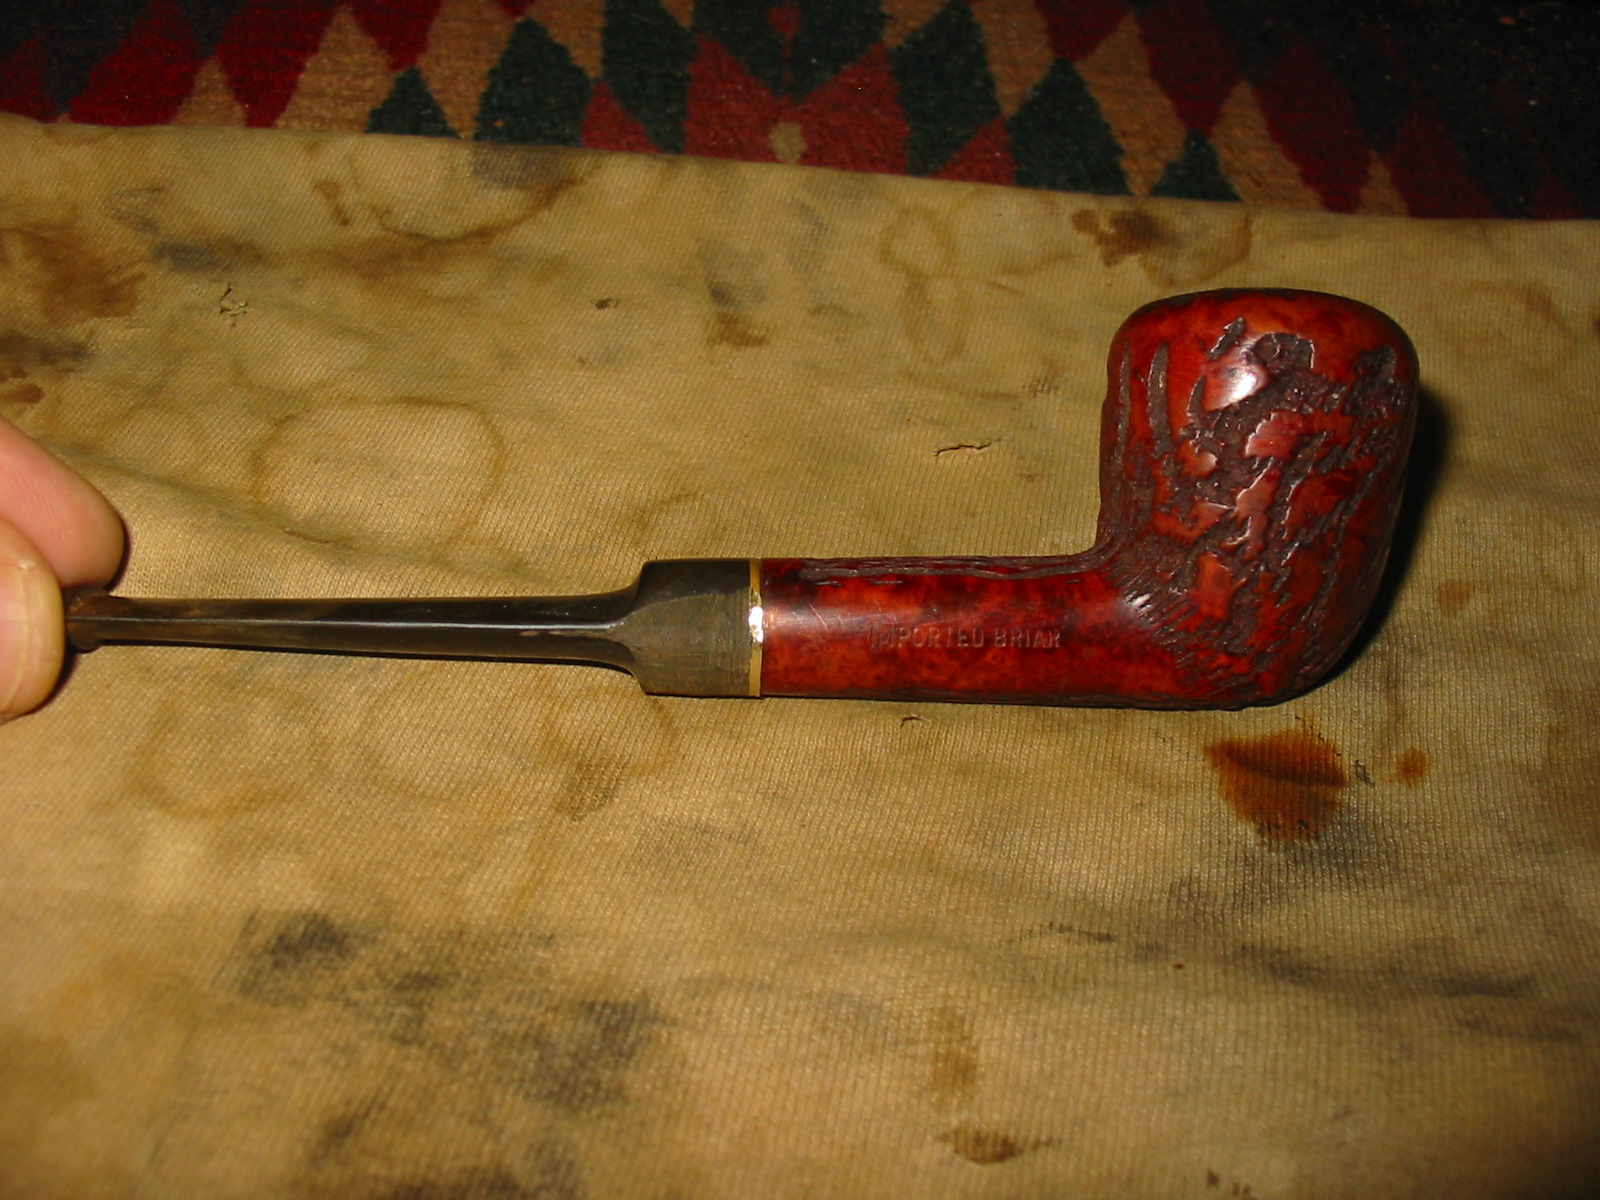
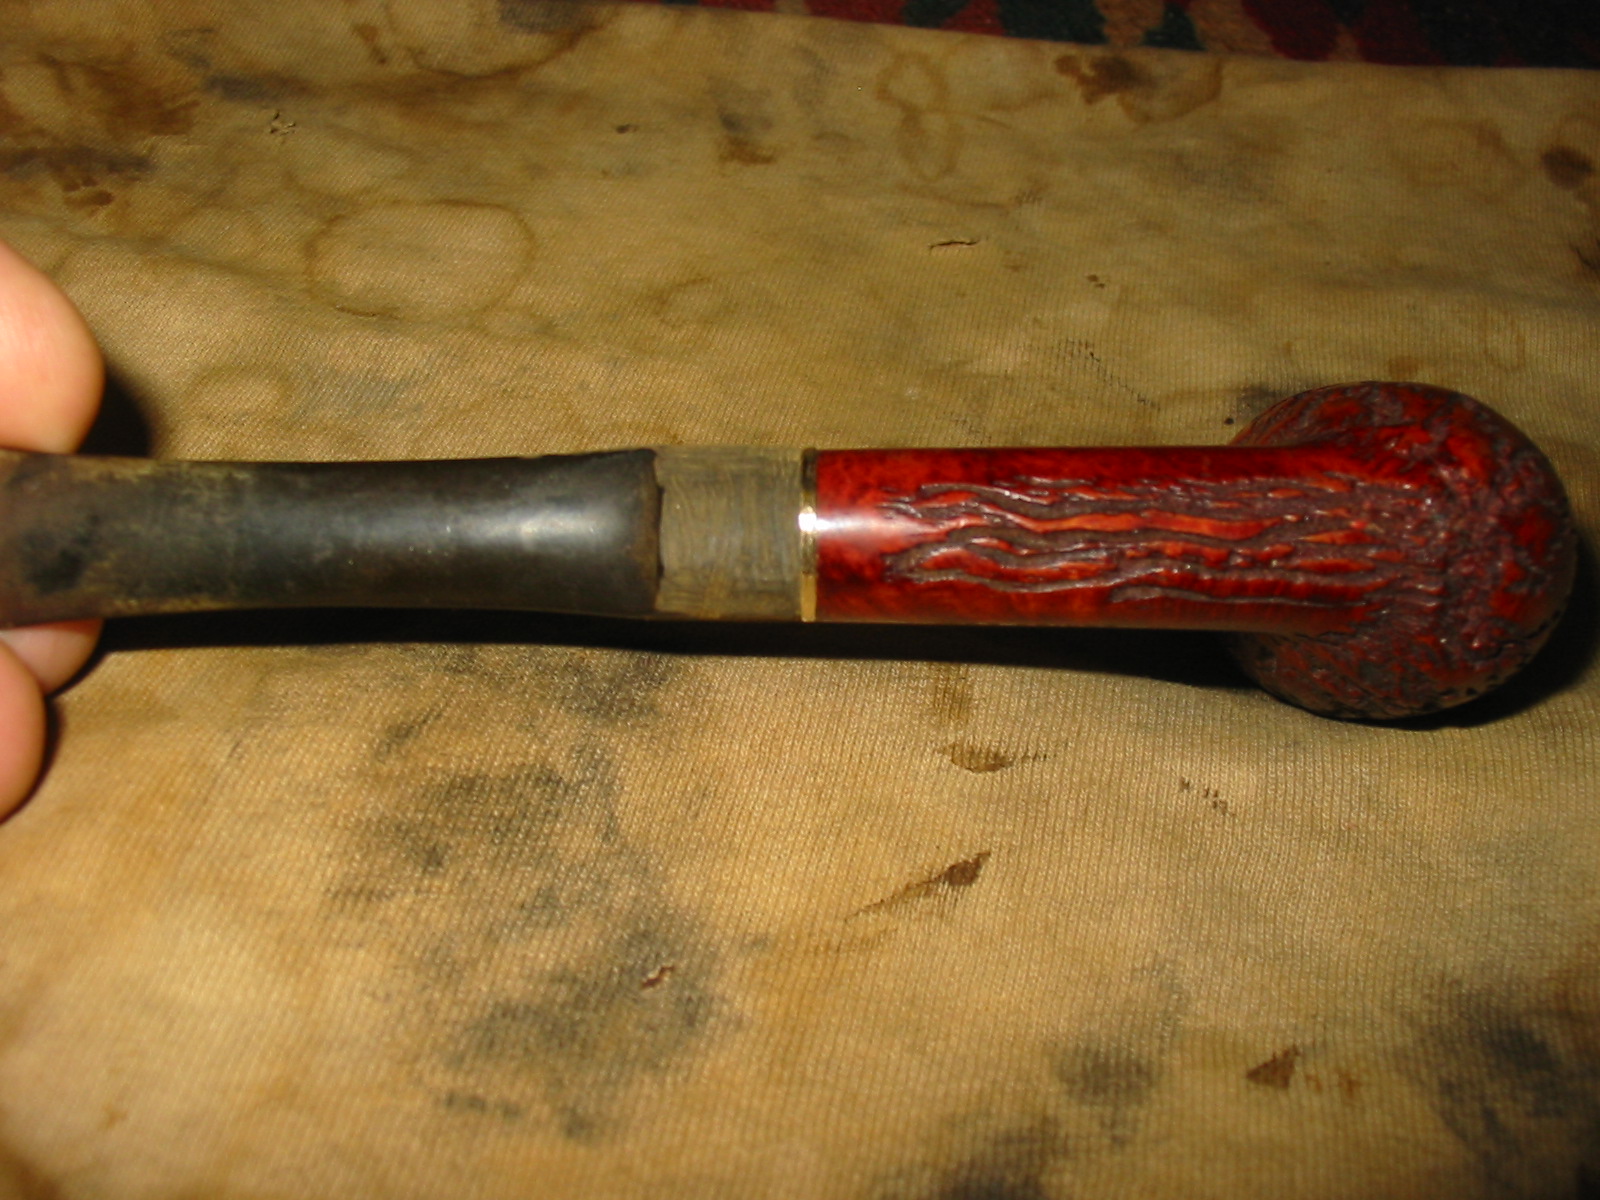
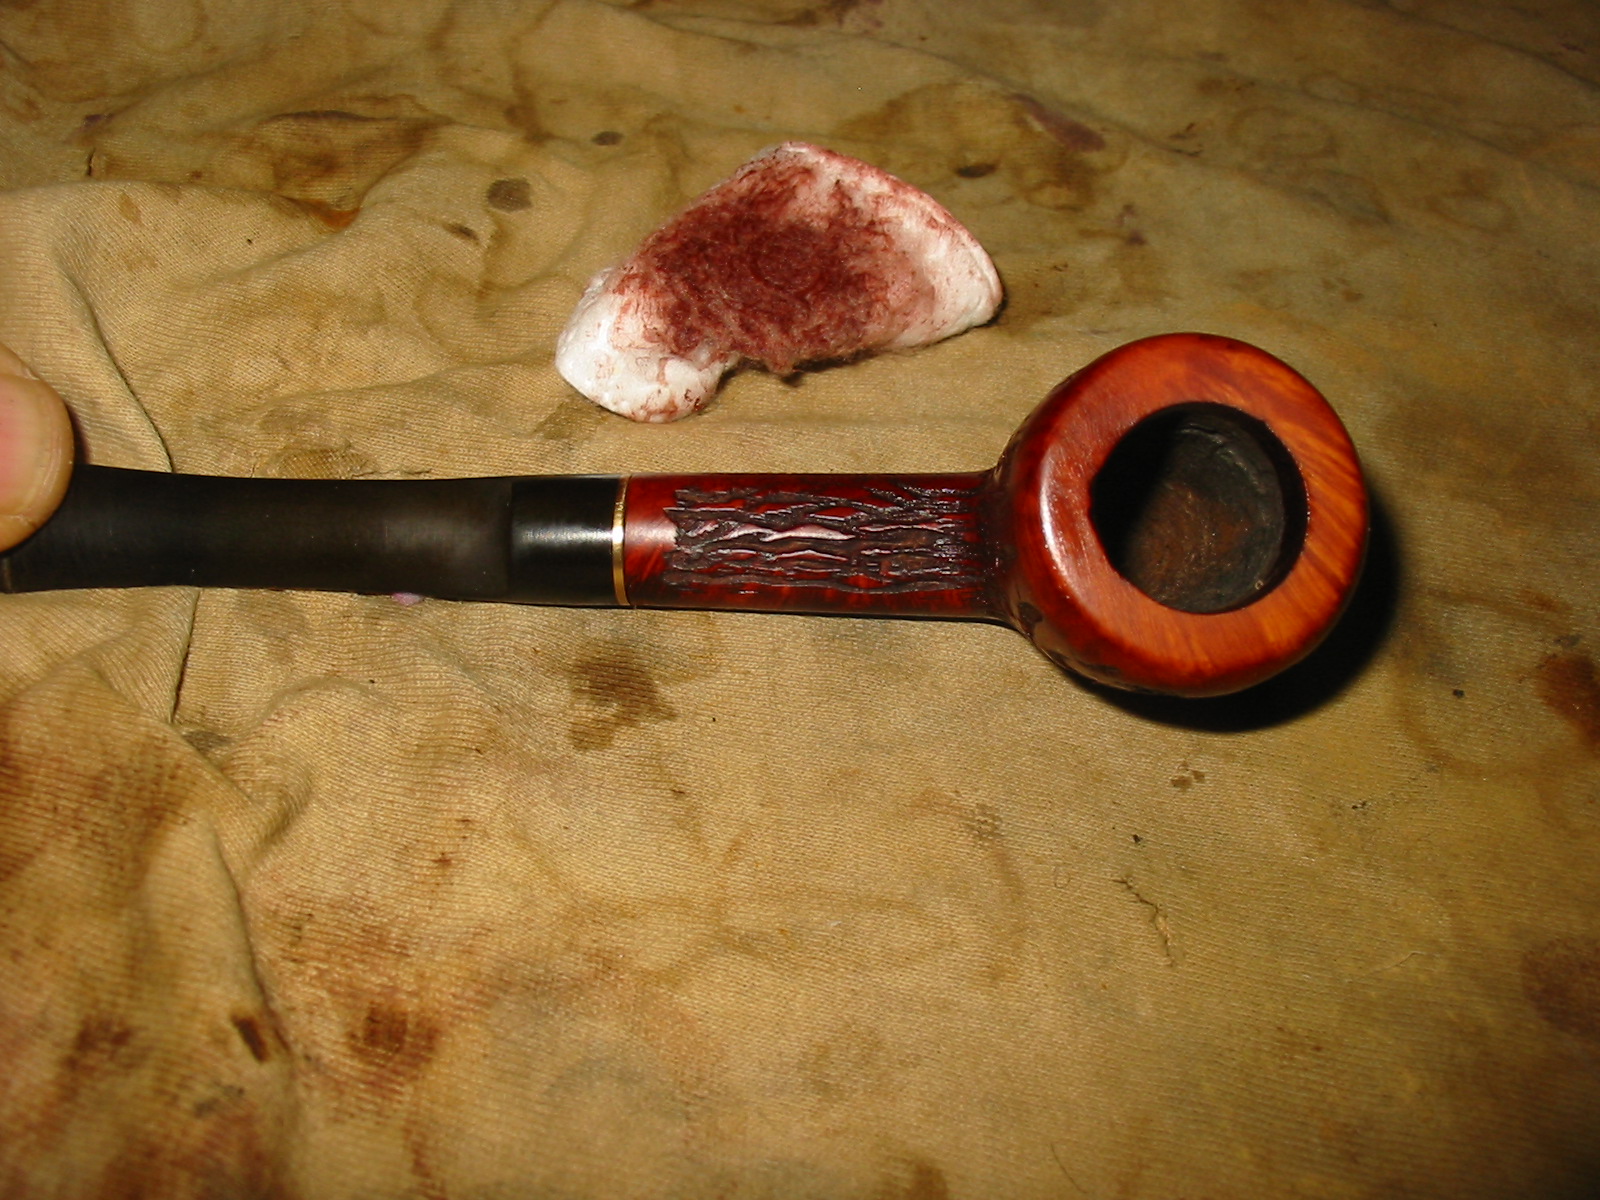
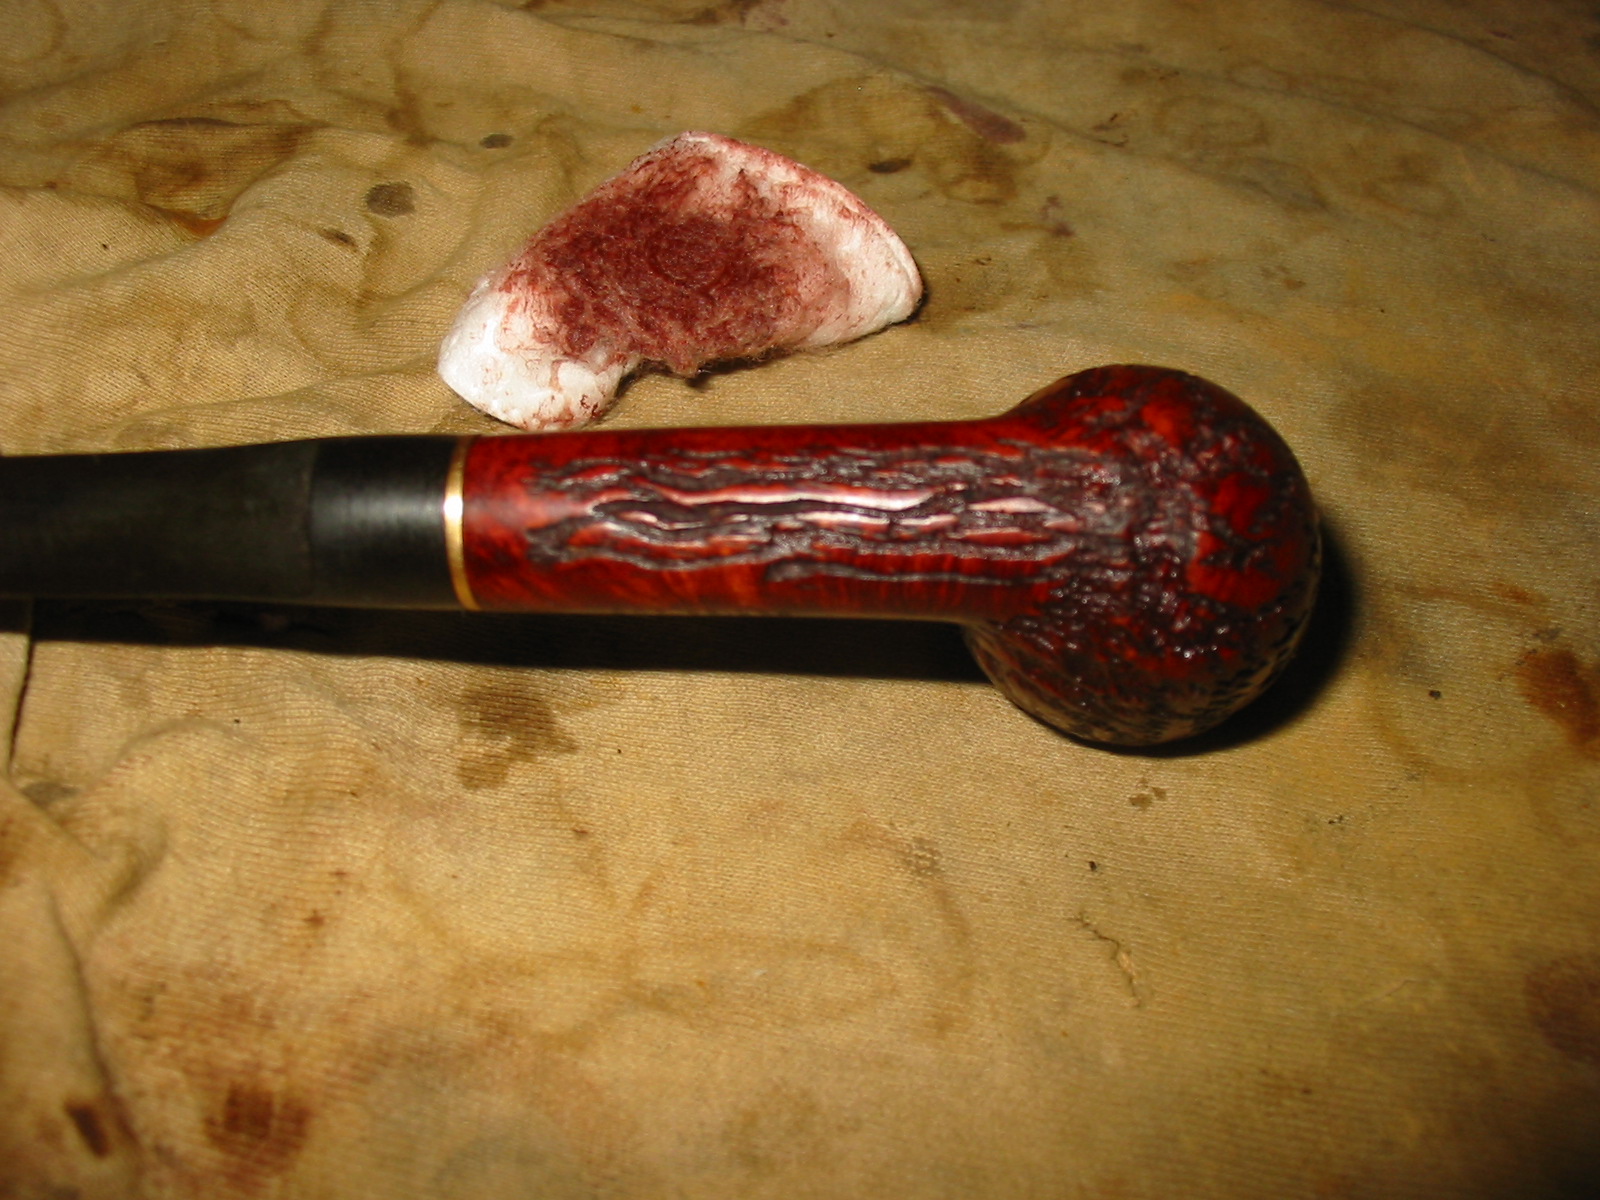
Please forgive the poor focus on the next three photos but they still give the idea of what the pipe looked like when it arrived to my work table. It was in rough shape. The bowl finish was spotty and the varnish was coming off. The rim was out of round and the back edge of the inner rim and top were beat up and rough. The stem was gnawed off and the short length would not work with this old pipe. The cake was thick and uneven with large flakes of tobacco stuck to the inner walls of the bowl.
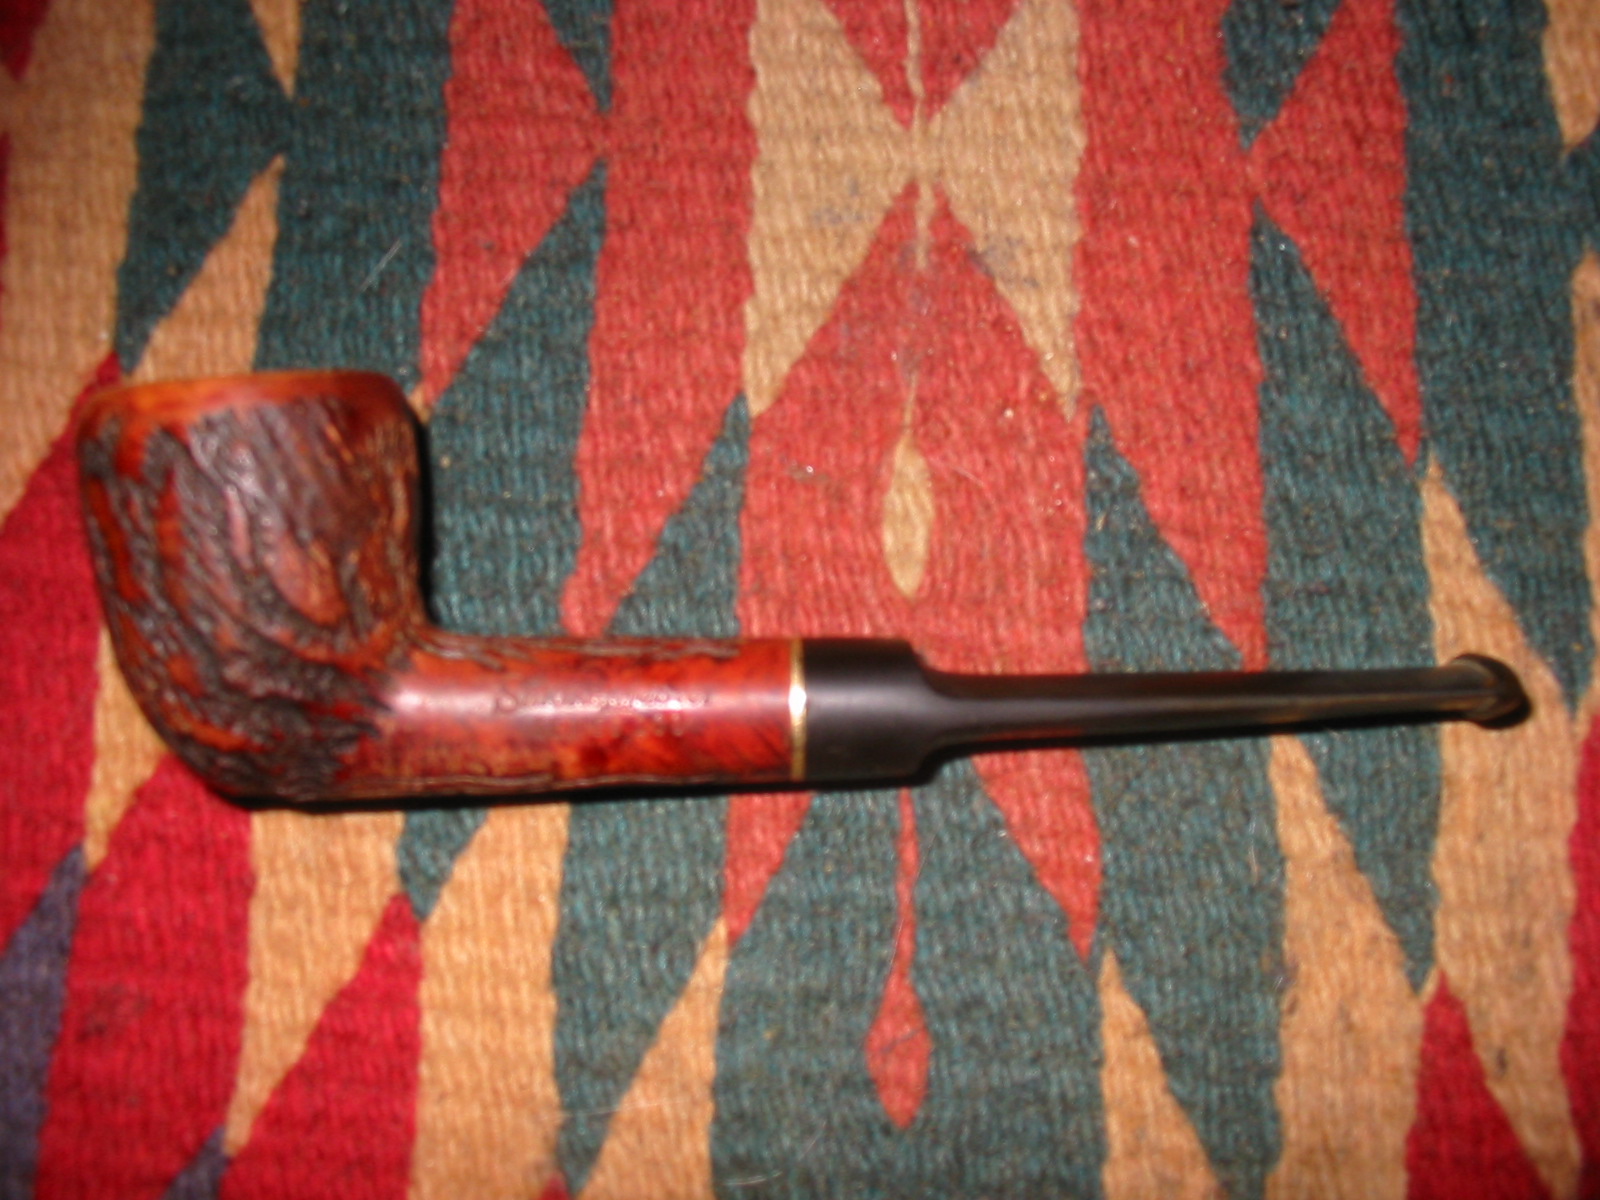
I went through my stash of stems and found an old saddle stem with a built in brass band that would approximate the aluminum one on the original stem. I would need to do some work on the tenon length and the diameter of the saddle portion of the stem to get a correct fit but it was workable as the new stem.
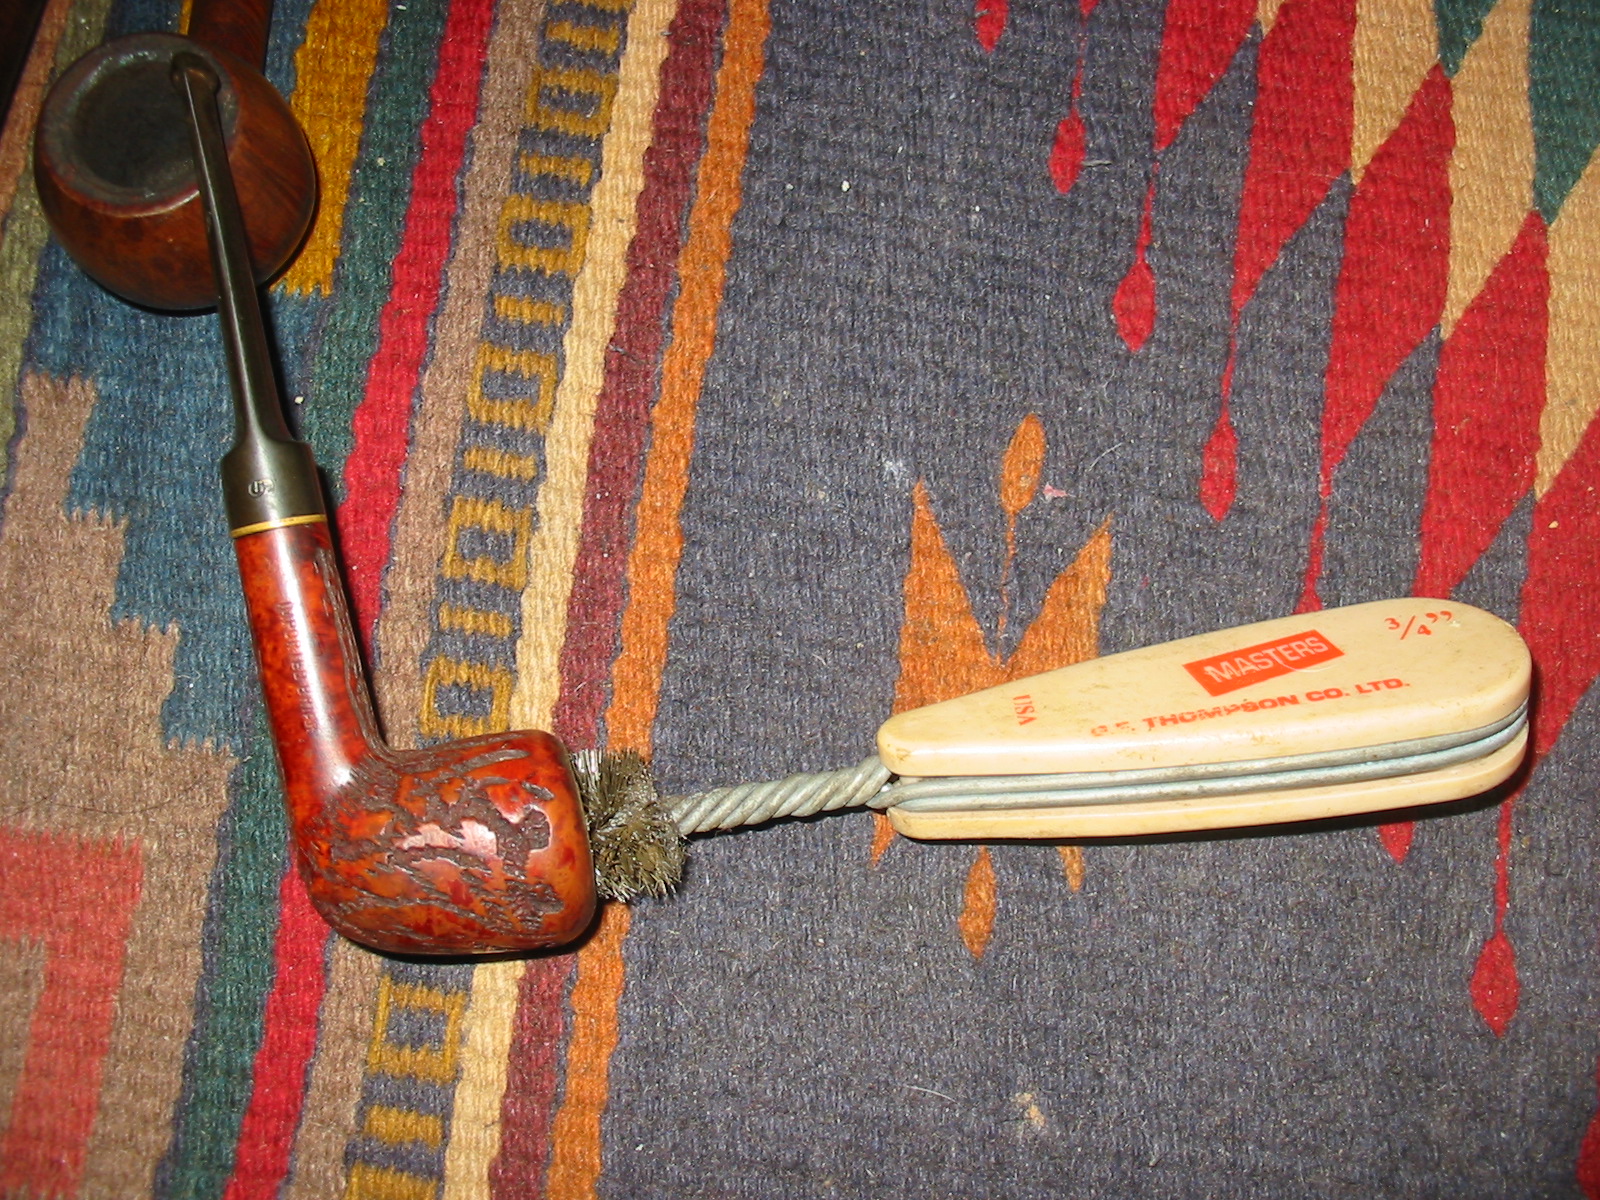
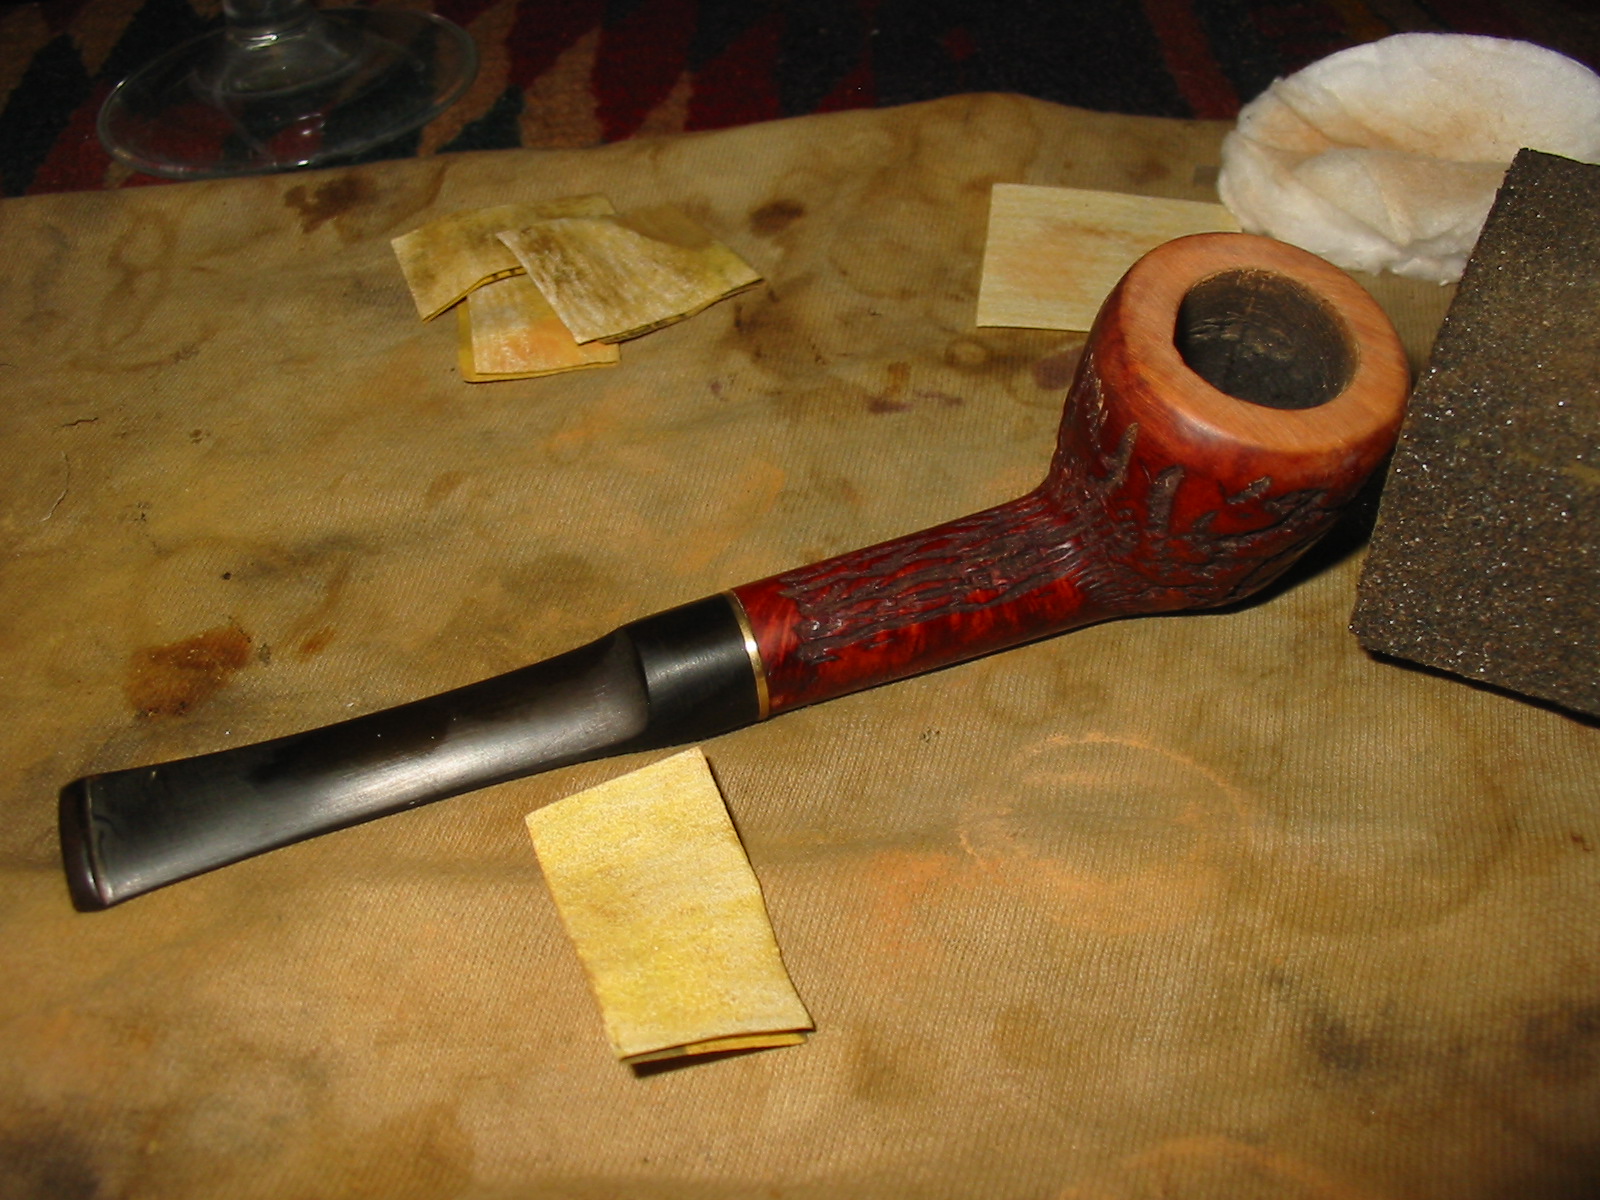
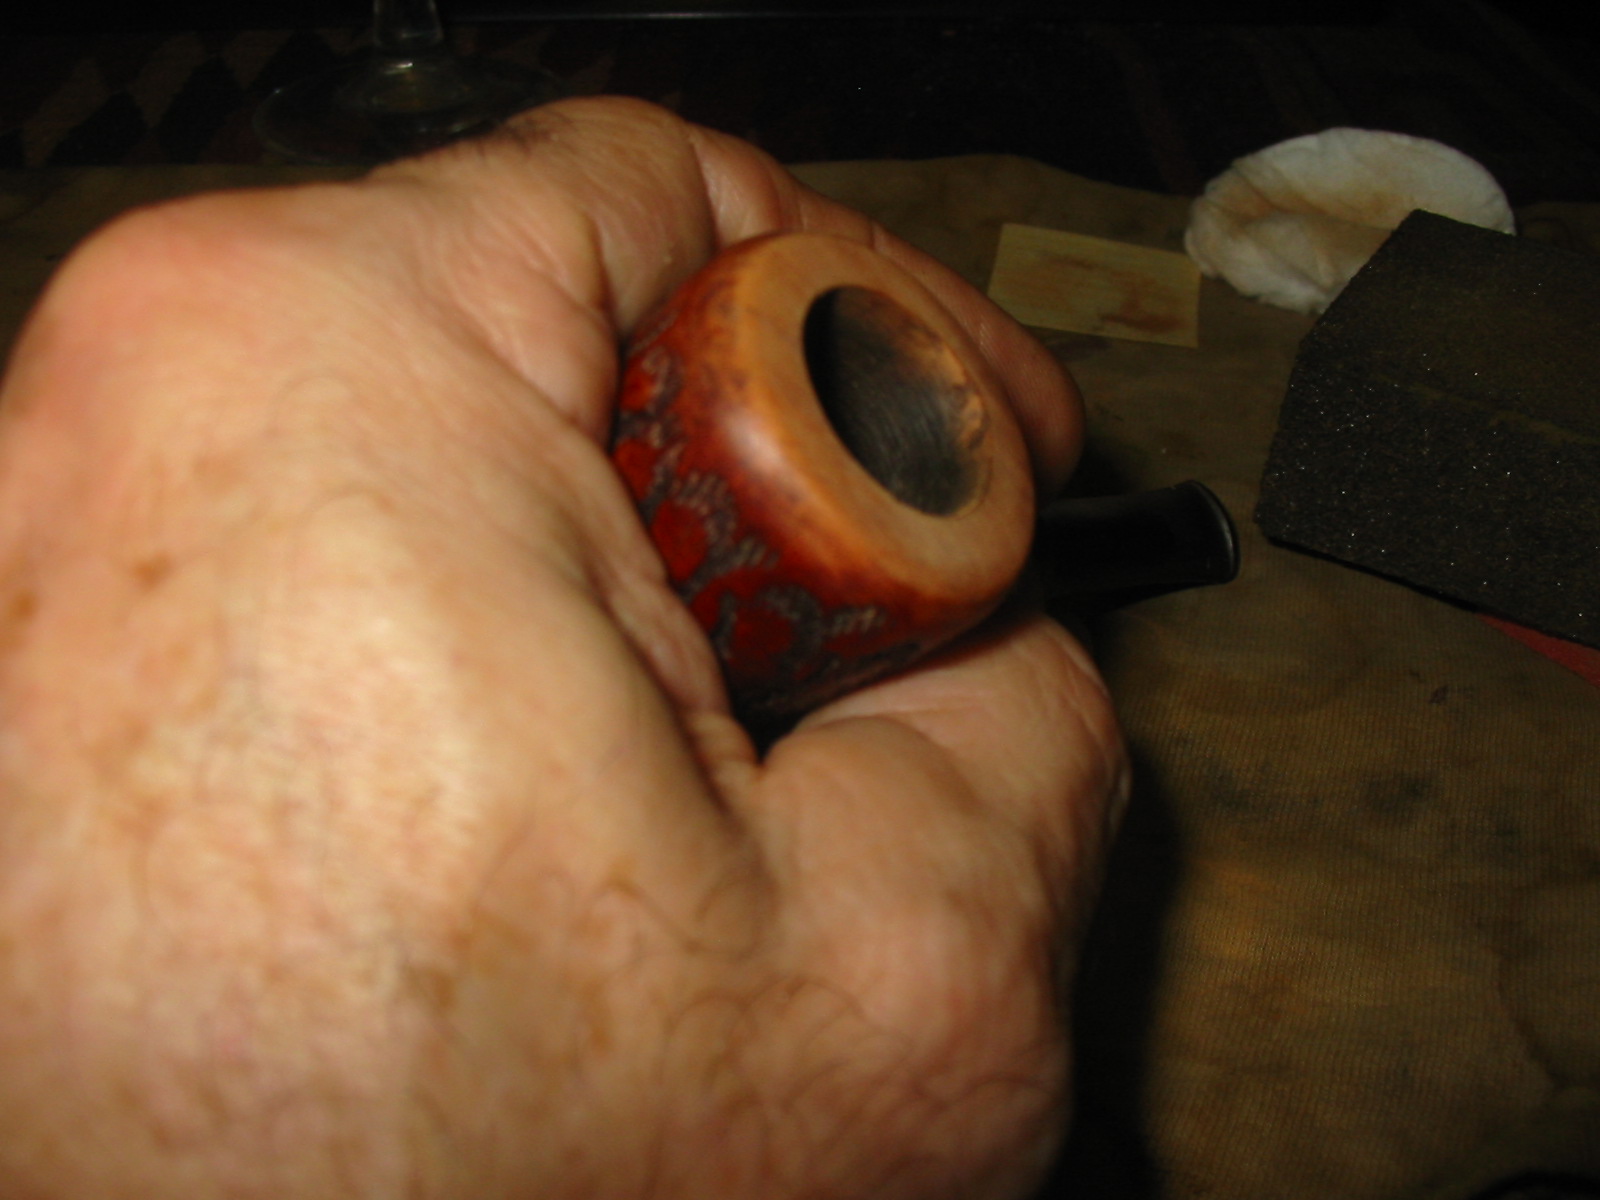
I reamed the bowl with a PipNet reamer (Photo 1 below) and a plumber’s wire brush (Photo 2 below) to clean out the debris. I used a sharp knife (Photo 3 below) to reshape the inner edge of the bowl and bring it back to round. Photo 4 shows the reshaped and cleaned bowl. I would have to top the bowl to repair the roughness to the top of the rim.
I used a sanding drum on a Dremel to shape the saddle diameter to meet that of the shank. The sanding drum worked well on the vulcanite and the brass. Due to the difference in hardness of the two materials I had to be careful to not cut the vulcanite deeper than the brass. The idea was to make a smooth transition between the two materials on the stem.
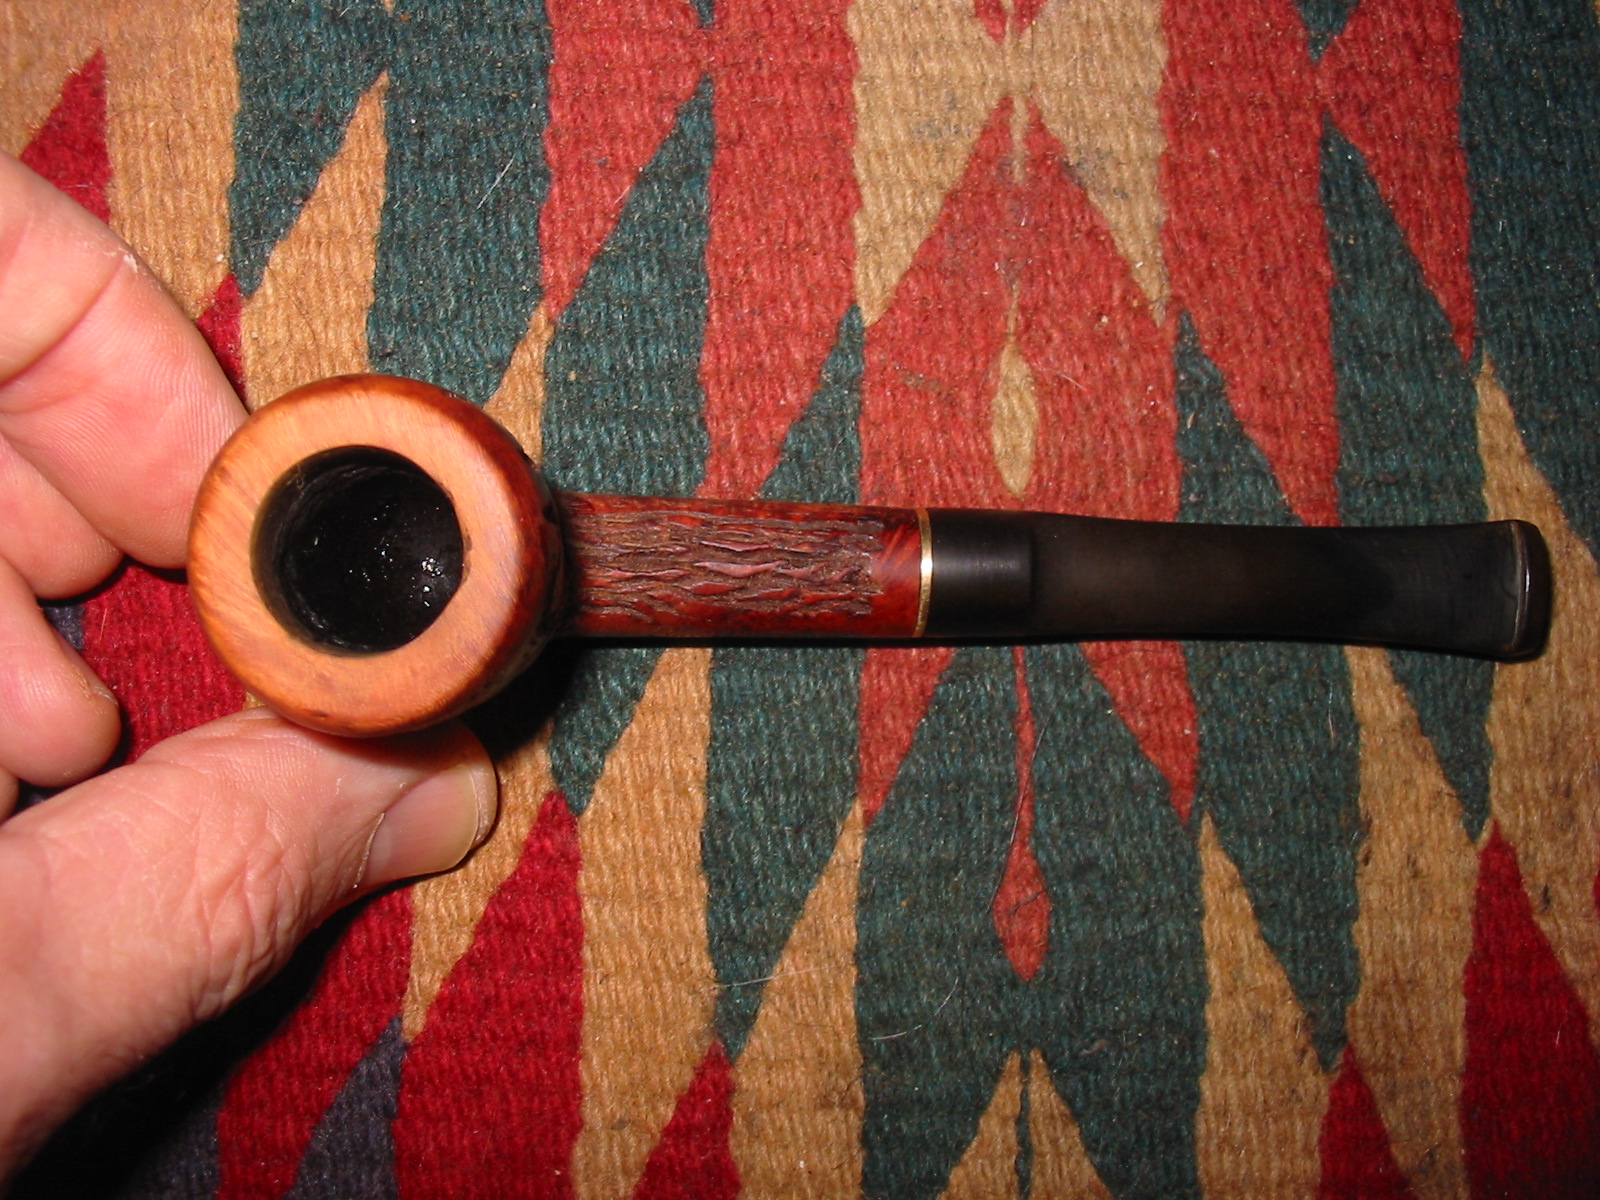
The next photo shows the condition of the top rim of the bowl. I decided to top the bowl and then rework the rounded edge to keep the acorn shape intact. I set up a piece of sandpaper on my flat board and turned the bowl into the sandpaper. I worked it and sanded it, repeatedly checking the flatness of the rim and also the amount of briar I was removing from the rim.

Once the roughness was smoothed out I sanded the rim with 220 grit sandpaper and a medium grit sanding block to smooth out the top and to round the outer edge of the rim to make it less abrupt and more like the original shape. The next two photos show the rim after the sanding and shaping with the sanding block.
At this point in the process I put the bowl into an alcohol bath and let it soak overnight to remove the varnish finish that was spotty and damaged. The next morning I took it out of the bath, dried it off and cleaned out the shank and the shank. The first photo below shows the bowl after I removed it from the bath. The second, third and fourth photos show the bowl after drying.

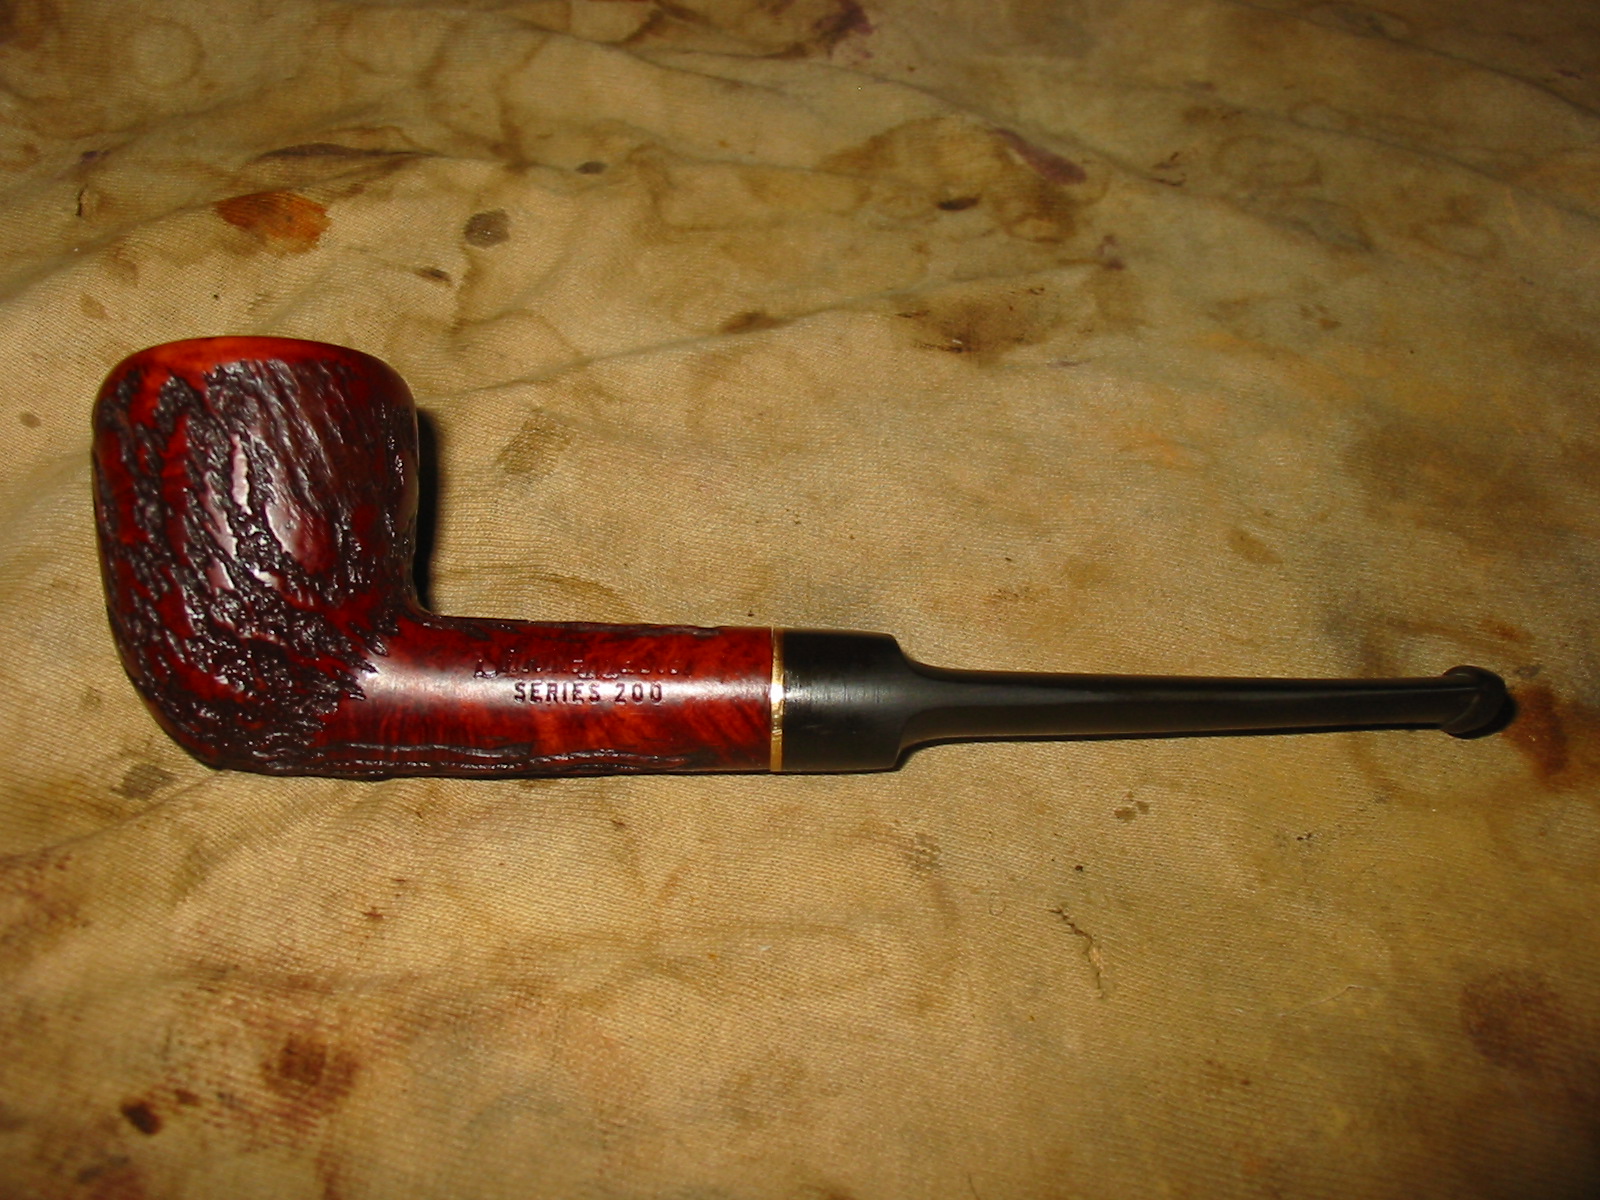
I restained the pipe with a Danish Oil Cherry stain applied with a cotton pad. I need to be able to work the stain into the deep rustication and also on to the smooth portions of the shank and rim. The rim took several applications to match the rest of the bowl.
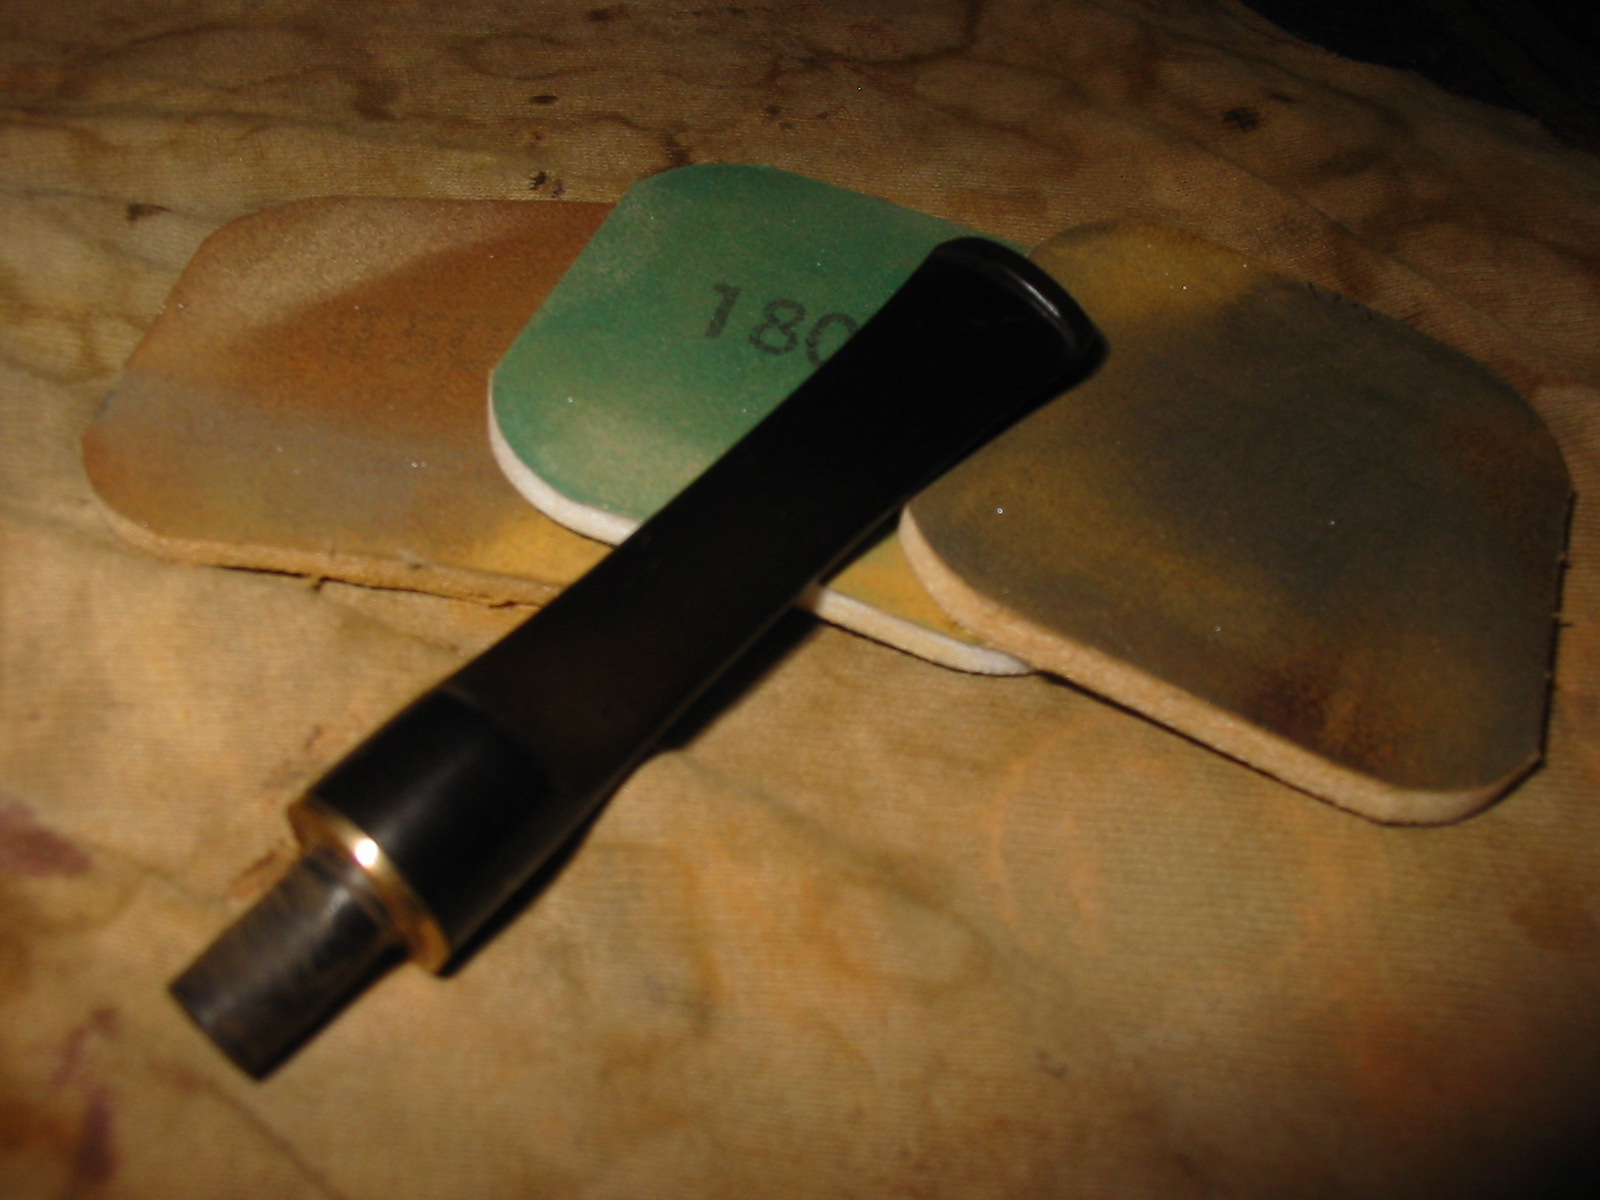
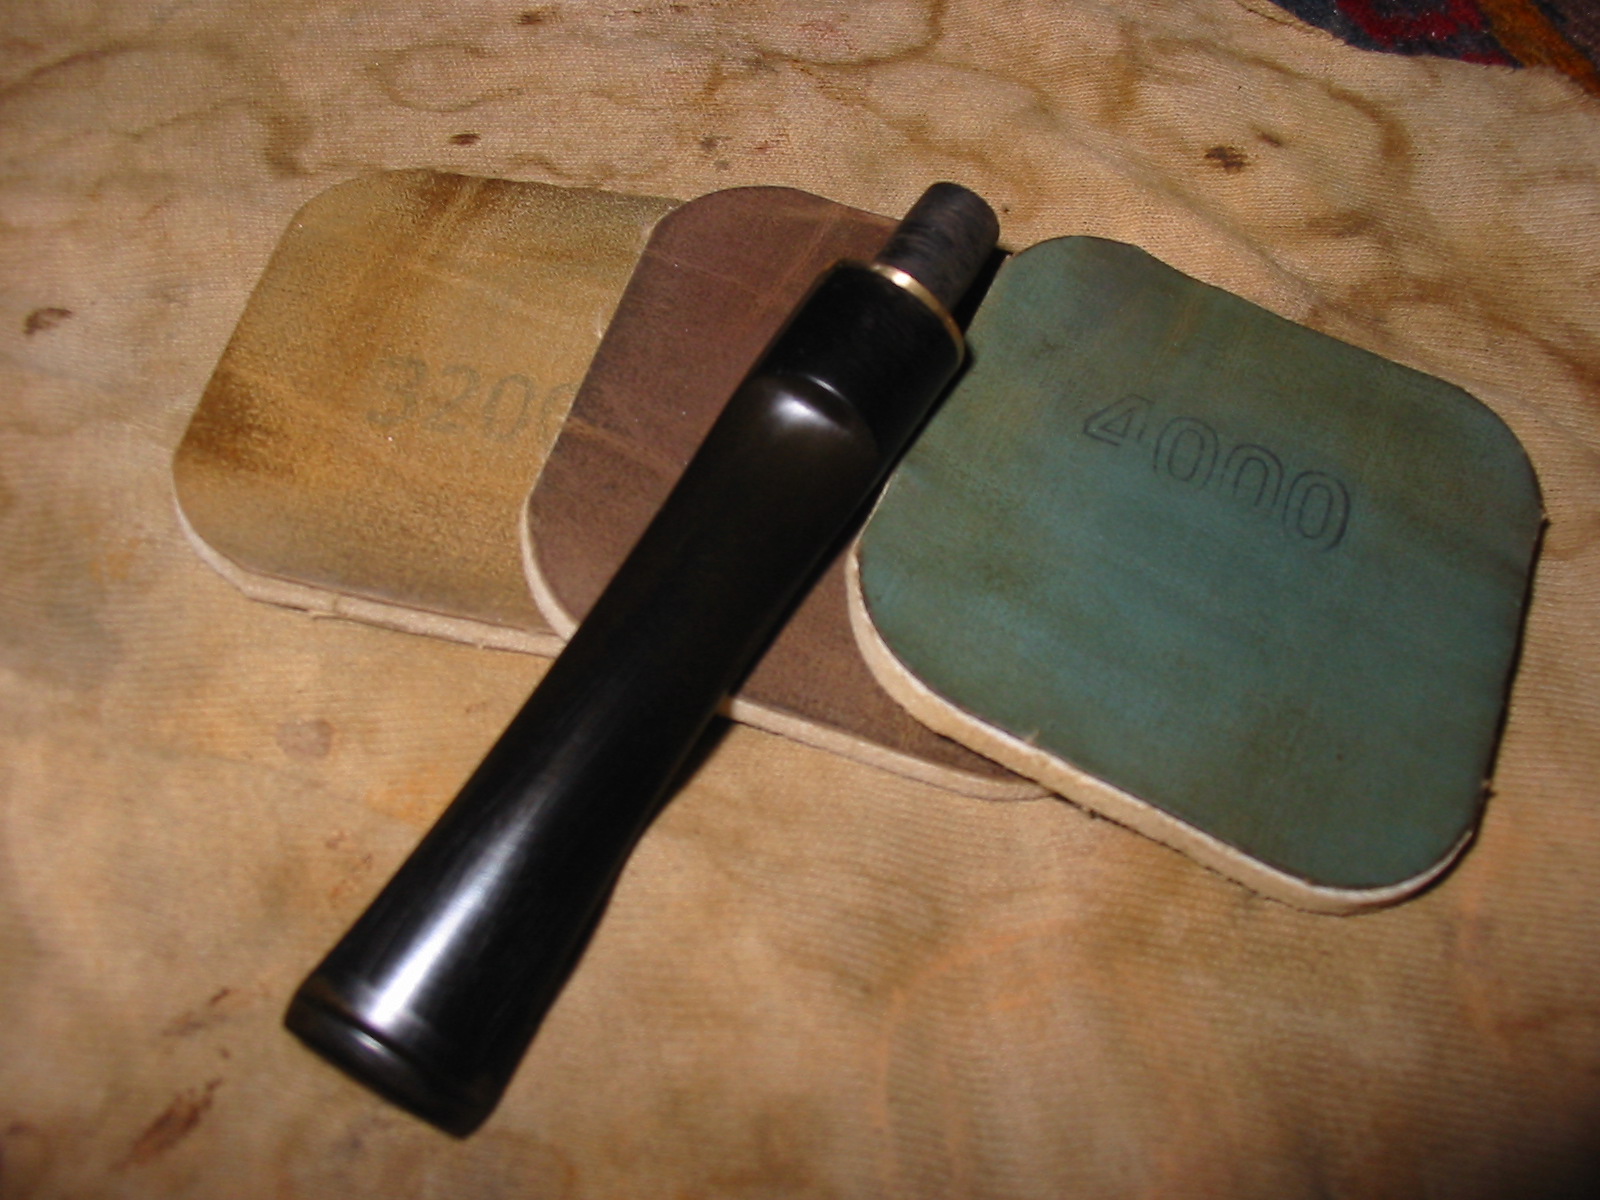
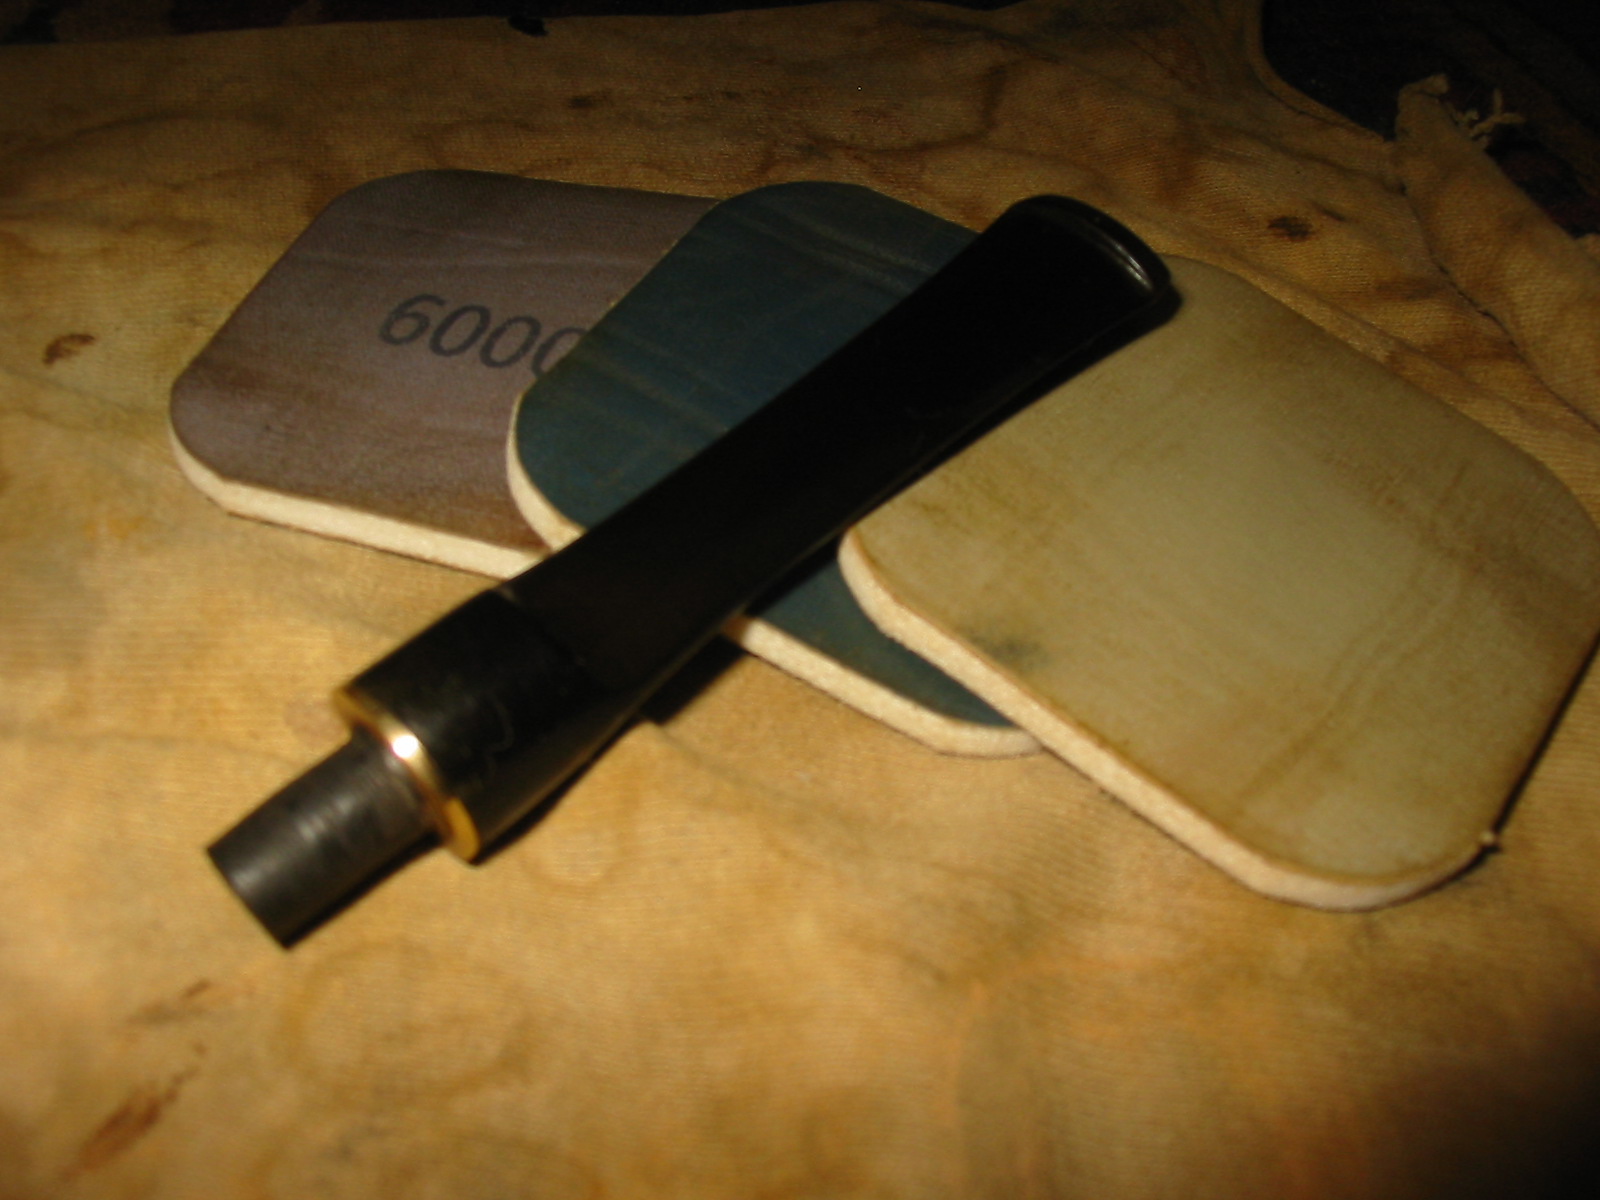
I put the bowl aside to dry and worked on the stem. I sanded out the remaining scratches around the brass band on the stem with 220 grit sandpaper and then reworked it with the medium grit sanding block. Once the scratches were no longer evident I worked on the stem using the micromesh sanding pads from 1500-12,000 grit to polish the stem and prepare it for waxing and buffing. Once I finished with the 12,000 grit pad I gave the stem a coat of Obsidian Oil to seal the surface and to soak deeply into vulcanite. I buffed the stem with White Diamond to finish the shine and then reinserted it into the shank.
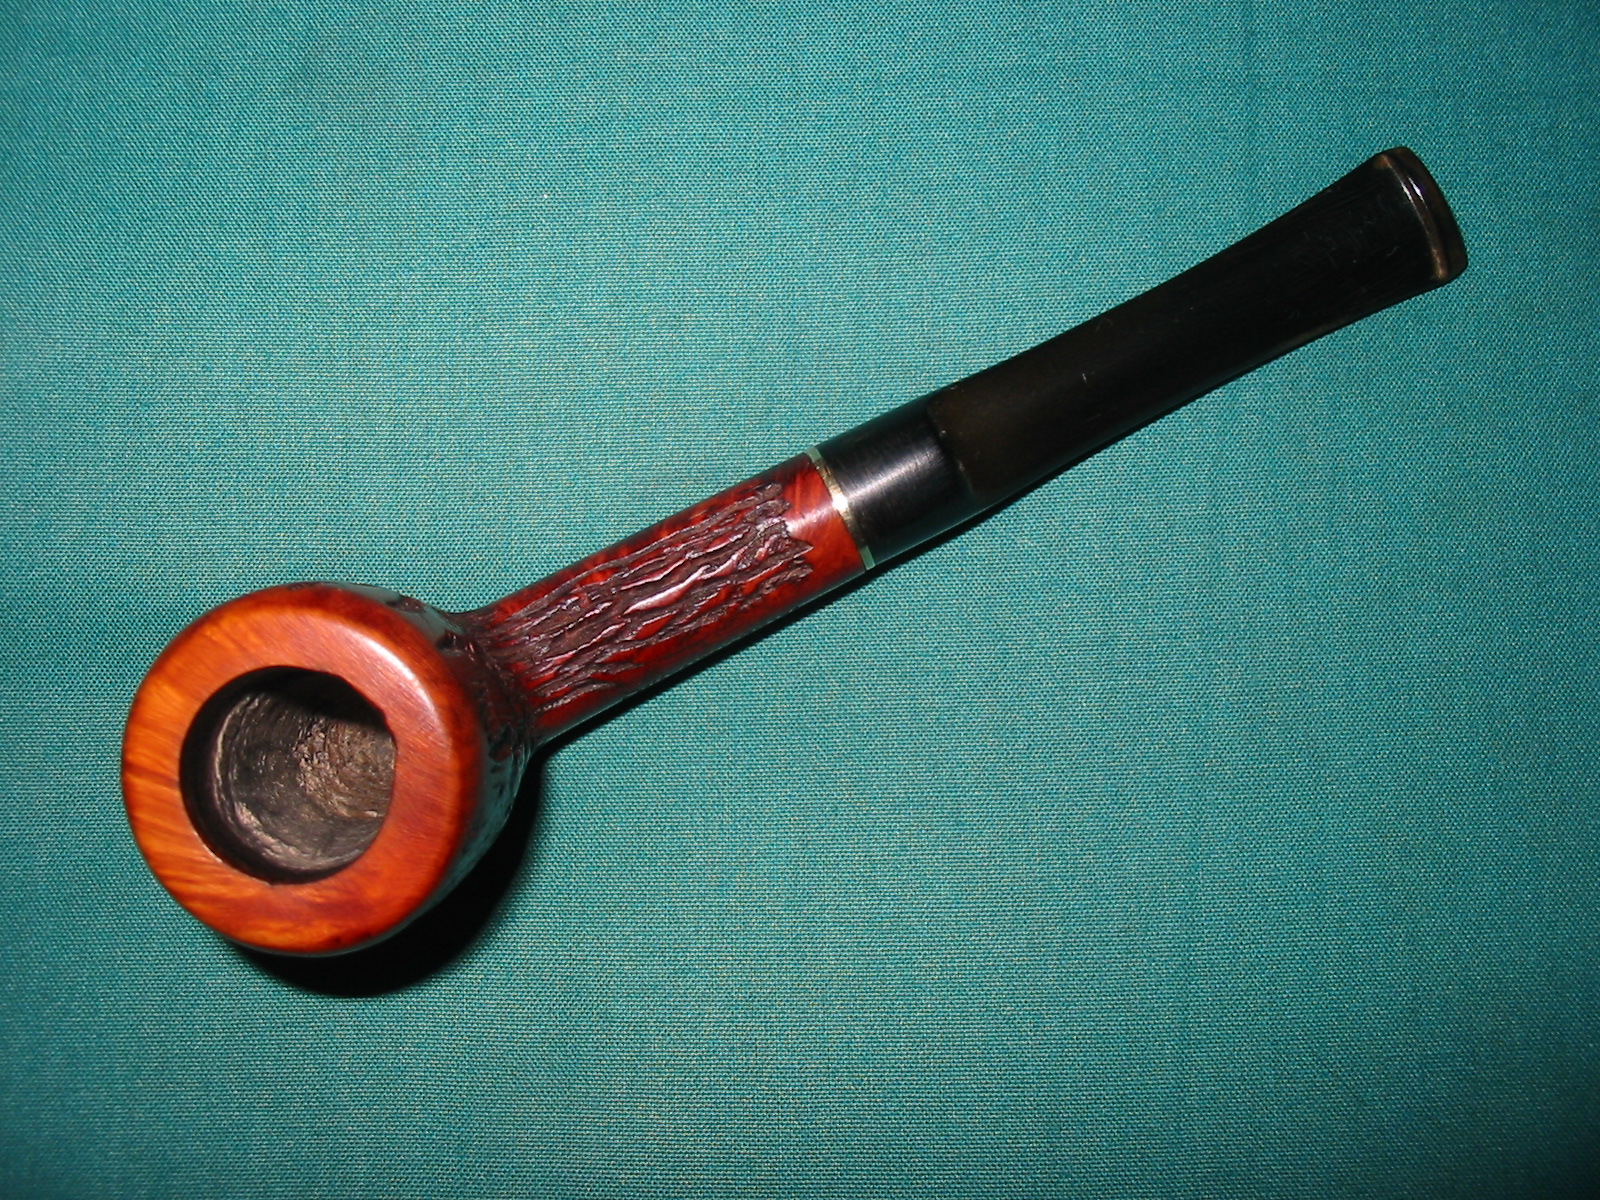
I buffed the entire pipe with White Diamond and gave it a coat of Halcyon II wax for rusticated pipes. I then buffed it again with a clean flannel buff to raise the shine. The photos below show the finished pipe.


That came out great. I really like your choice of stems; the brass ring really sets it off I think. And the rim came out really nicely!
LikeLike
Very well done! This one was in pretty rough shape, but after you worked your magic it now looks better than new. You “stem stash” never ceases to amaze me…nor your ability to mate an old bowl to an old stem, and come out with a unit that has the look of being made for each other. Thanks for sharing the text, and pictures.
LikeLike
A pretty nifty pipe and restoration. I’m sure it smokes much better now, sans apparatus! I’m always amazed at what you can get done restemming using a Dremel tool.
LikeLike
Beautiful job on the rim. In the photo, it appears lighter than the rest – probably not what you intended, but I like the effect.
LikeLike
Another awesome resto! You have the artiste touch for blending the colors. Is the danish stain alcohol based like the leather dyes? And the alcohol bath is only for totally removing the finish? It doesn’t cause the nomenclature to swell and disappear?
LikeLike
Thanks Mark. The Danish oil is Linseed oil. It is a carrier for an oil stain. The alcohol bath removes the finish well and with scrubbing removes the grit in the grooves. It does not cause the nomenclature to swell or disappear. I have used it now for quite a few years with no damage to stampings.
LikeLike