Blog by Steve Laug
You can’t imagine the disappointment that I experienced when I began to ream this old Hardcastles Jack O’ London billiard; unless of course you have had the same experience or one like it. On the outside it looked like a pipe that would clean up very nicely. The stem was in excellent shape other than the normal oxidation. It did not have any tooth marks in the stem. The finish was in pretty good shape with no dents or divots in the briar. The bowl was caked with a heavy coat of carbon all the way to the bottom. The inner edge of the bowl was slightly out of round but repairable. The top of the rim was not too bad under the light buildup of tars and lava. A light sanding would bring it back to smooth. The outer edge was not dented or damaged. Yes, it was a great find from all appearances.
But that was not to be the case with this old pipe. Things were not as they appeared on the surface. When I begin refurbishing a pipe I always begin with a light reaming. In a pipe like this I start with the smallest reaming head on the PipNet reamer and work my way up to the proper size to take back the cake to the thinness of a dime or back to bare wood. I put the smallest cutting head in the handle and inserted it in the bowl. No problem. The head cut back the cake without any effort. Once it was trimmed to the bottom of the bowl I used the nest larger cutting head on the handle. I put it in the bowl and slowly turned reamer. As I did I heard and felt a small crack. I stopped turning the reamer and a chunk of briar dropped free of the bowl. You can’t imagine the surprise… and frustration at having that happen. I have never had a bowl do that when I am reaming and all things considered it should not have done it this time if all things were the same as usual.
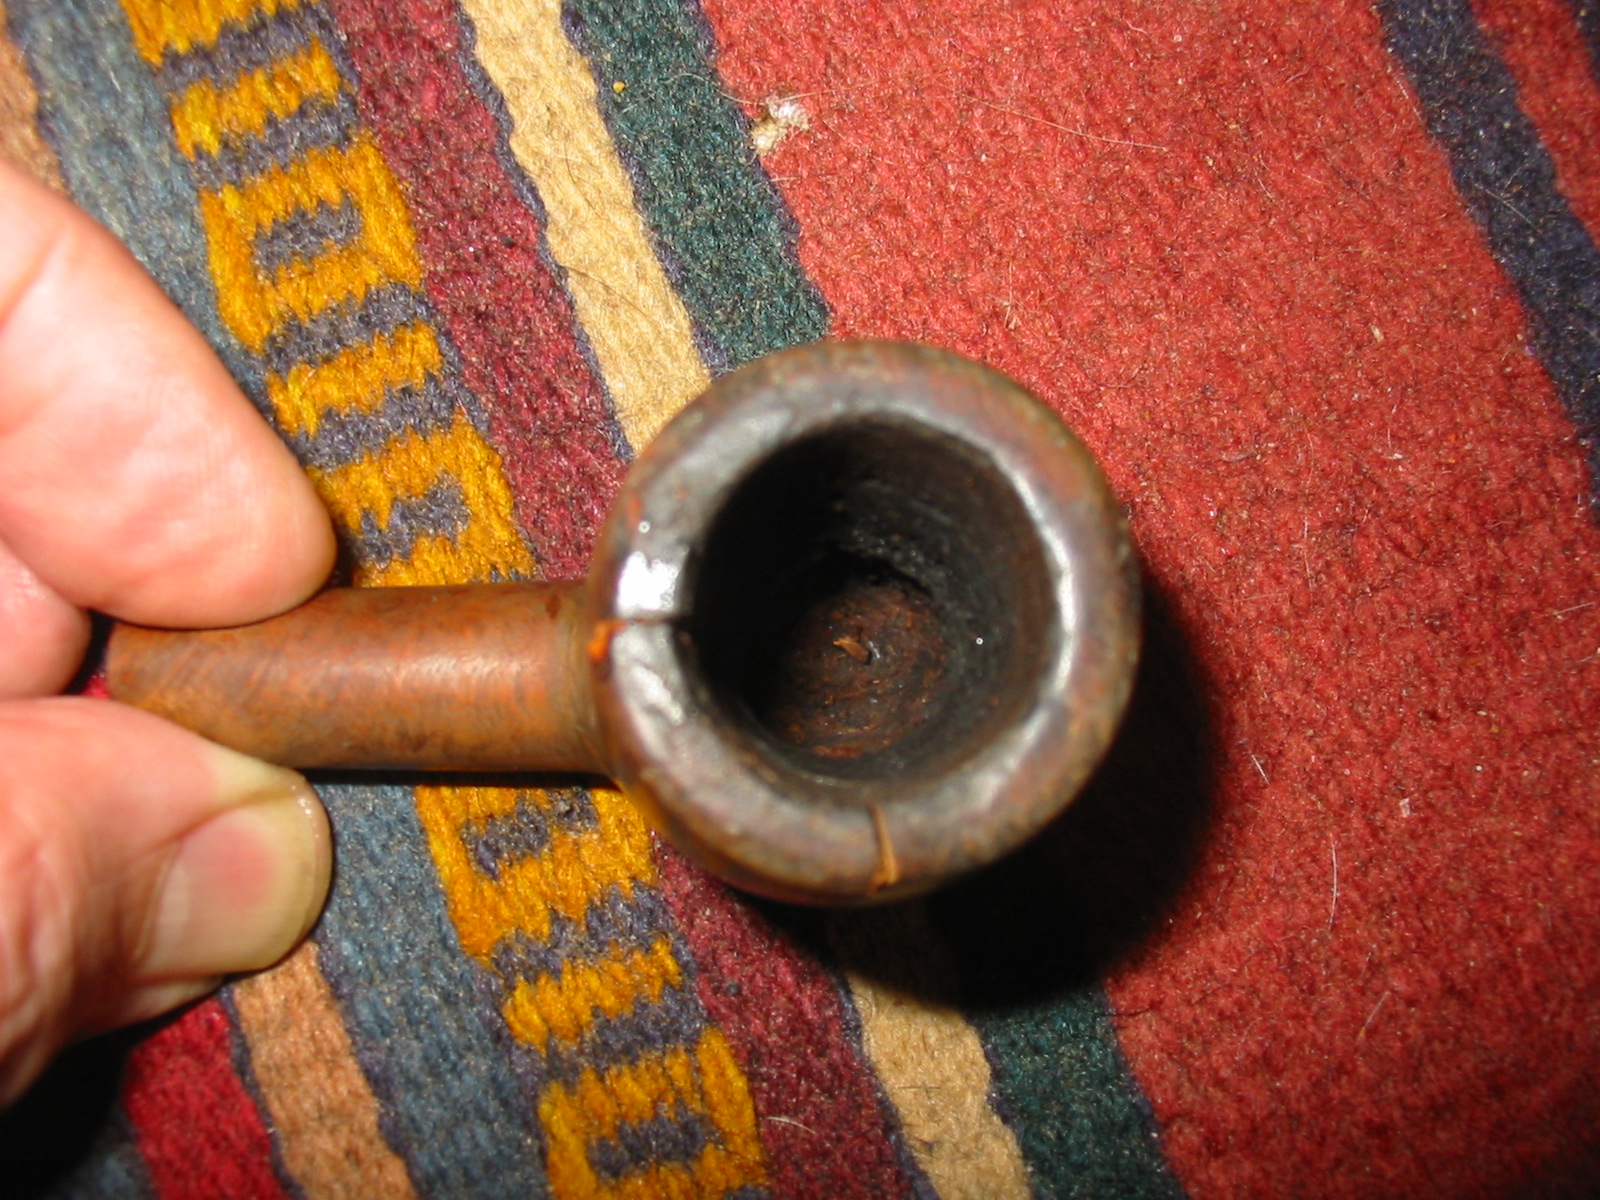
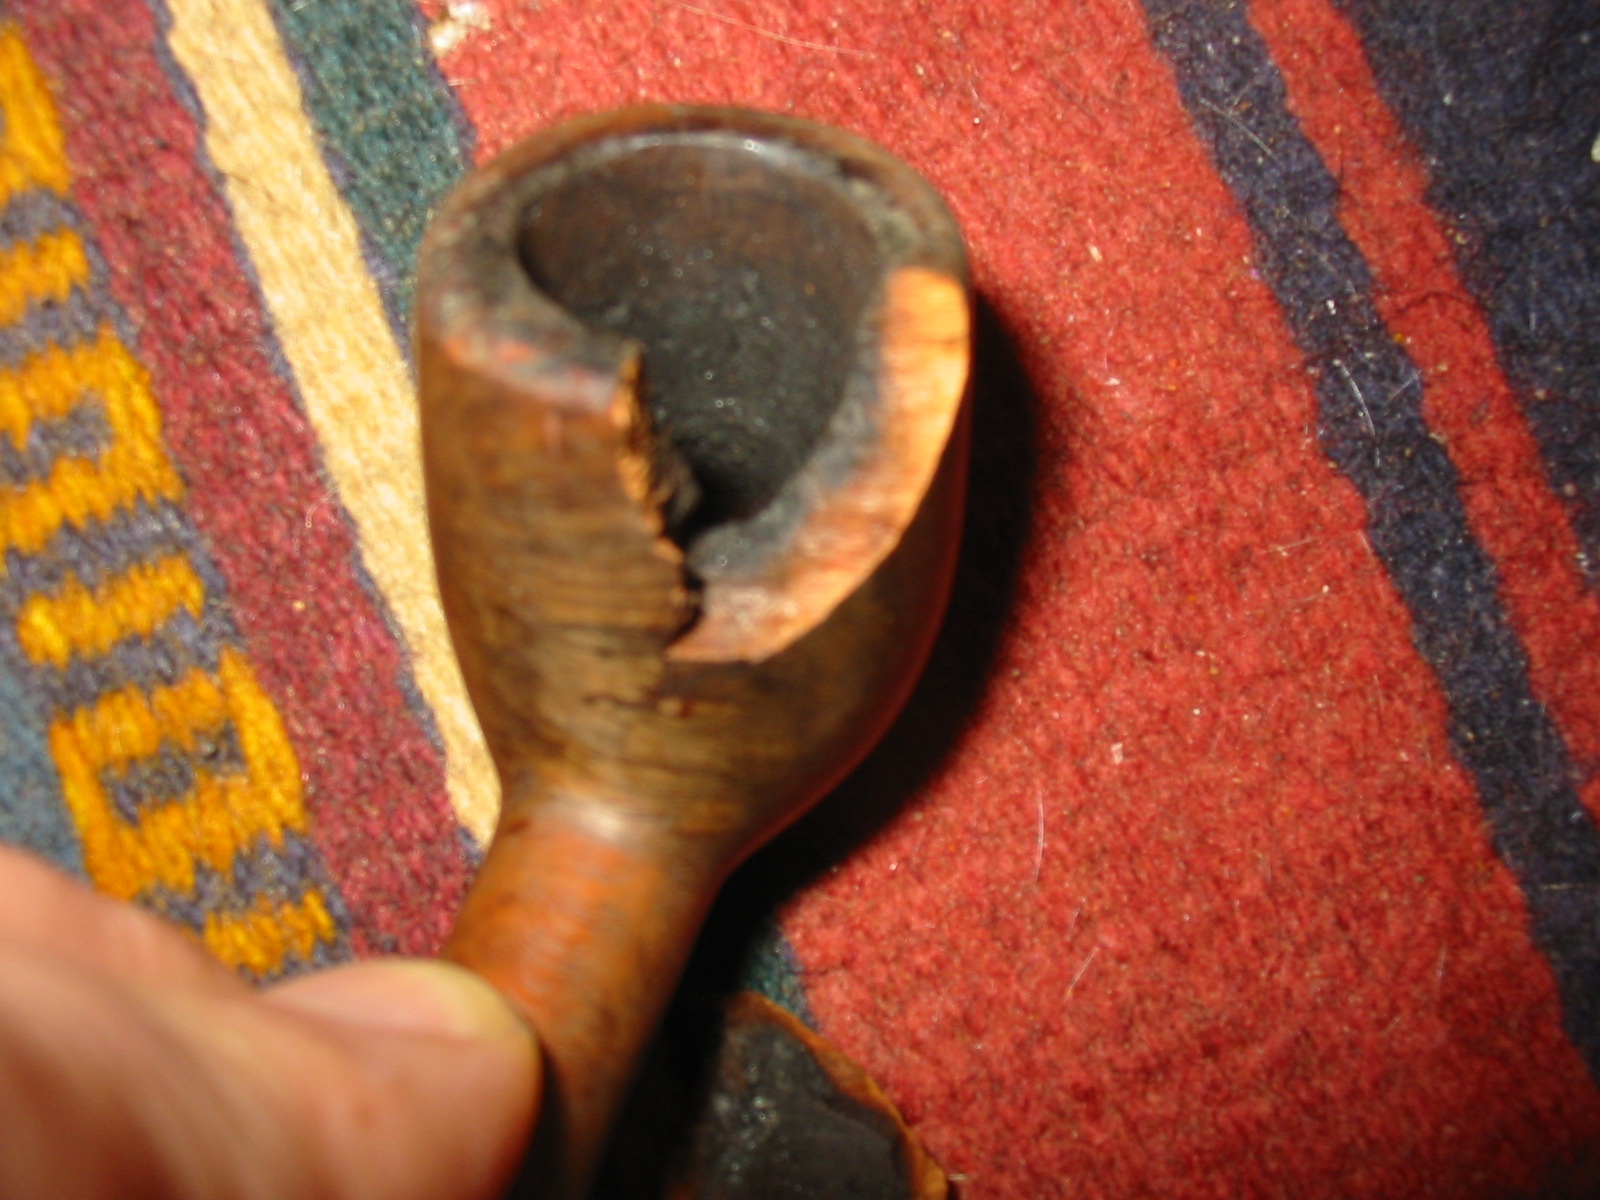
But they were not the same. I examined the bowl with the chunk out on the table and also examined the chunk. The depth of the char on that portion of the bowl went half way through in most spots and in some was just under the surface of the outside of the bowl. In the first top view photo below you can see how far the reamer went down in the bowl and the cracks on the top of the rim – looking at it like a clock face the cracks are at half past and quarter of on the circle of the bowl. The second photo below is a side view of the cracked portion of the bowl wall with the piece of briar inserted for the photo.

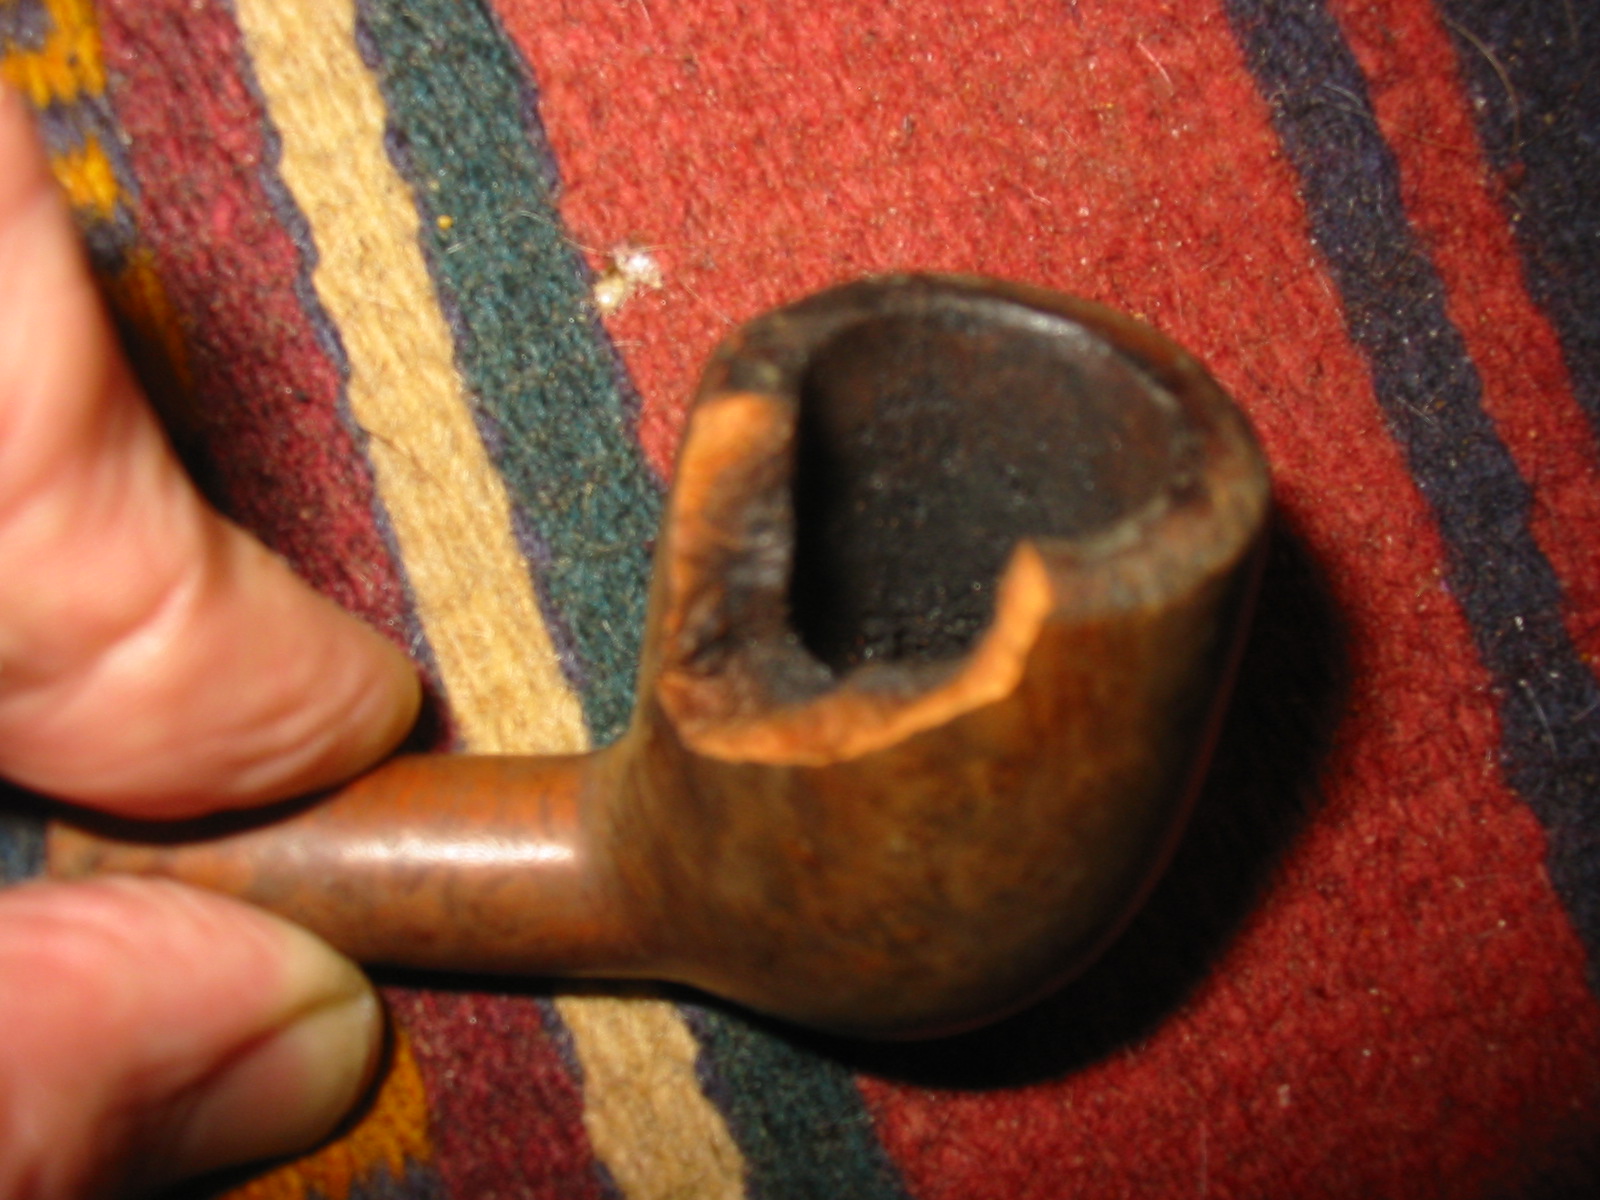
For the next two photos I lifted the chunk out of the side of the bowl to show the extent of the damage to the briar. In the first photo below I show the angle right side of the cracked area. Note how deeply the char had gone into the side of the bowl. The depth of the burned area grows as you move down the bowl to the point at the bottom of the cracked area. At the bottom of the photo you can see that it is charred at least half way through. For the second photo below I turned the bowl to show the other side of the cracked area. At the bottom point just before the crack goes straight upward on the left side of the area, the depth of the burn is just below the surface of the briar. This area was due for a burnout in a very short time. From these photos you can see the amount of damage that occurred in this old pipe. Too me it was smoked hard and not properly cared for in break in period. In examining the rest of the bowl it is clear that the damage goes all the way around the bowl. I used a dental pick to poke at the inside walls of the remaining bowl and found that they were also soft and charred to a similar depth.
This bowl was as good as history. But the bowl is also a great demonstration of why I ream an old estate back to the bare wood and then examine it for burned or charred areas. I explore the bowl surface with a pick to see what I am dealing with before I finish the rest of the refurbishing.
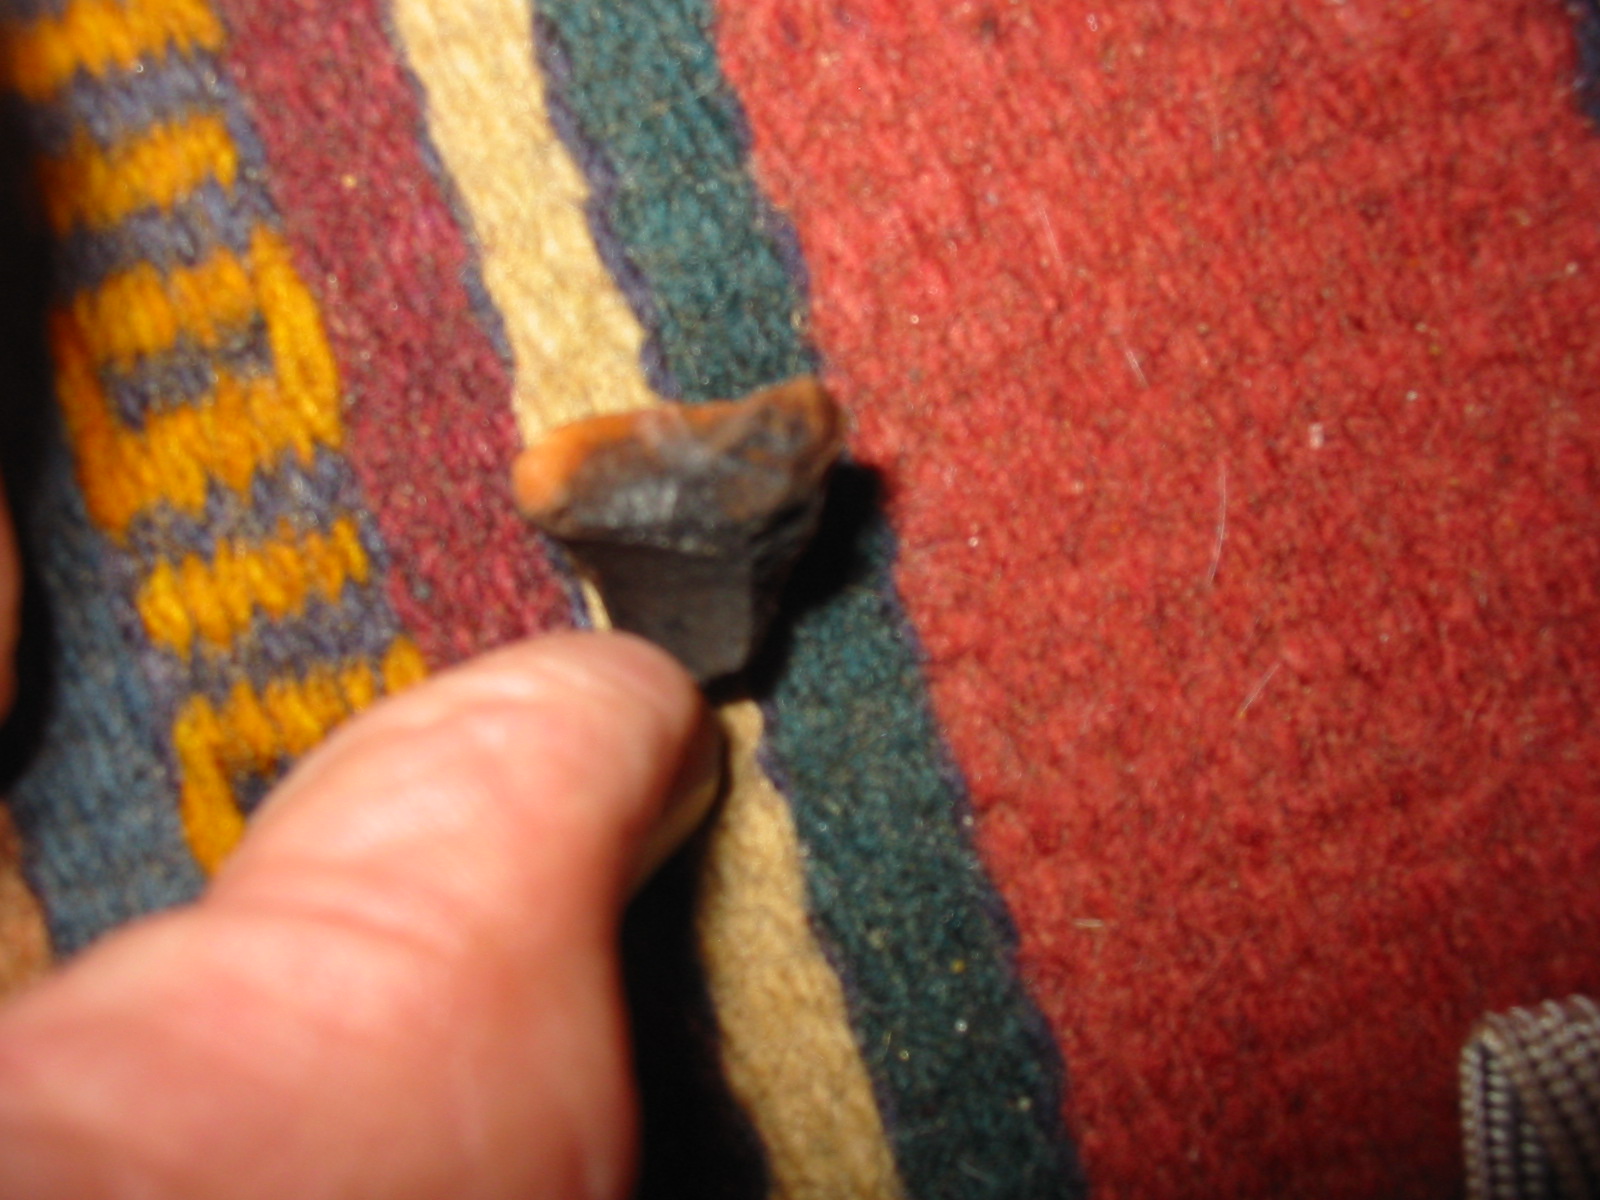
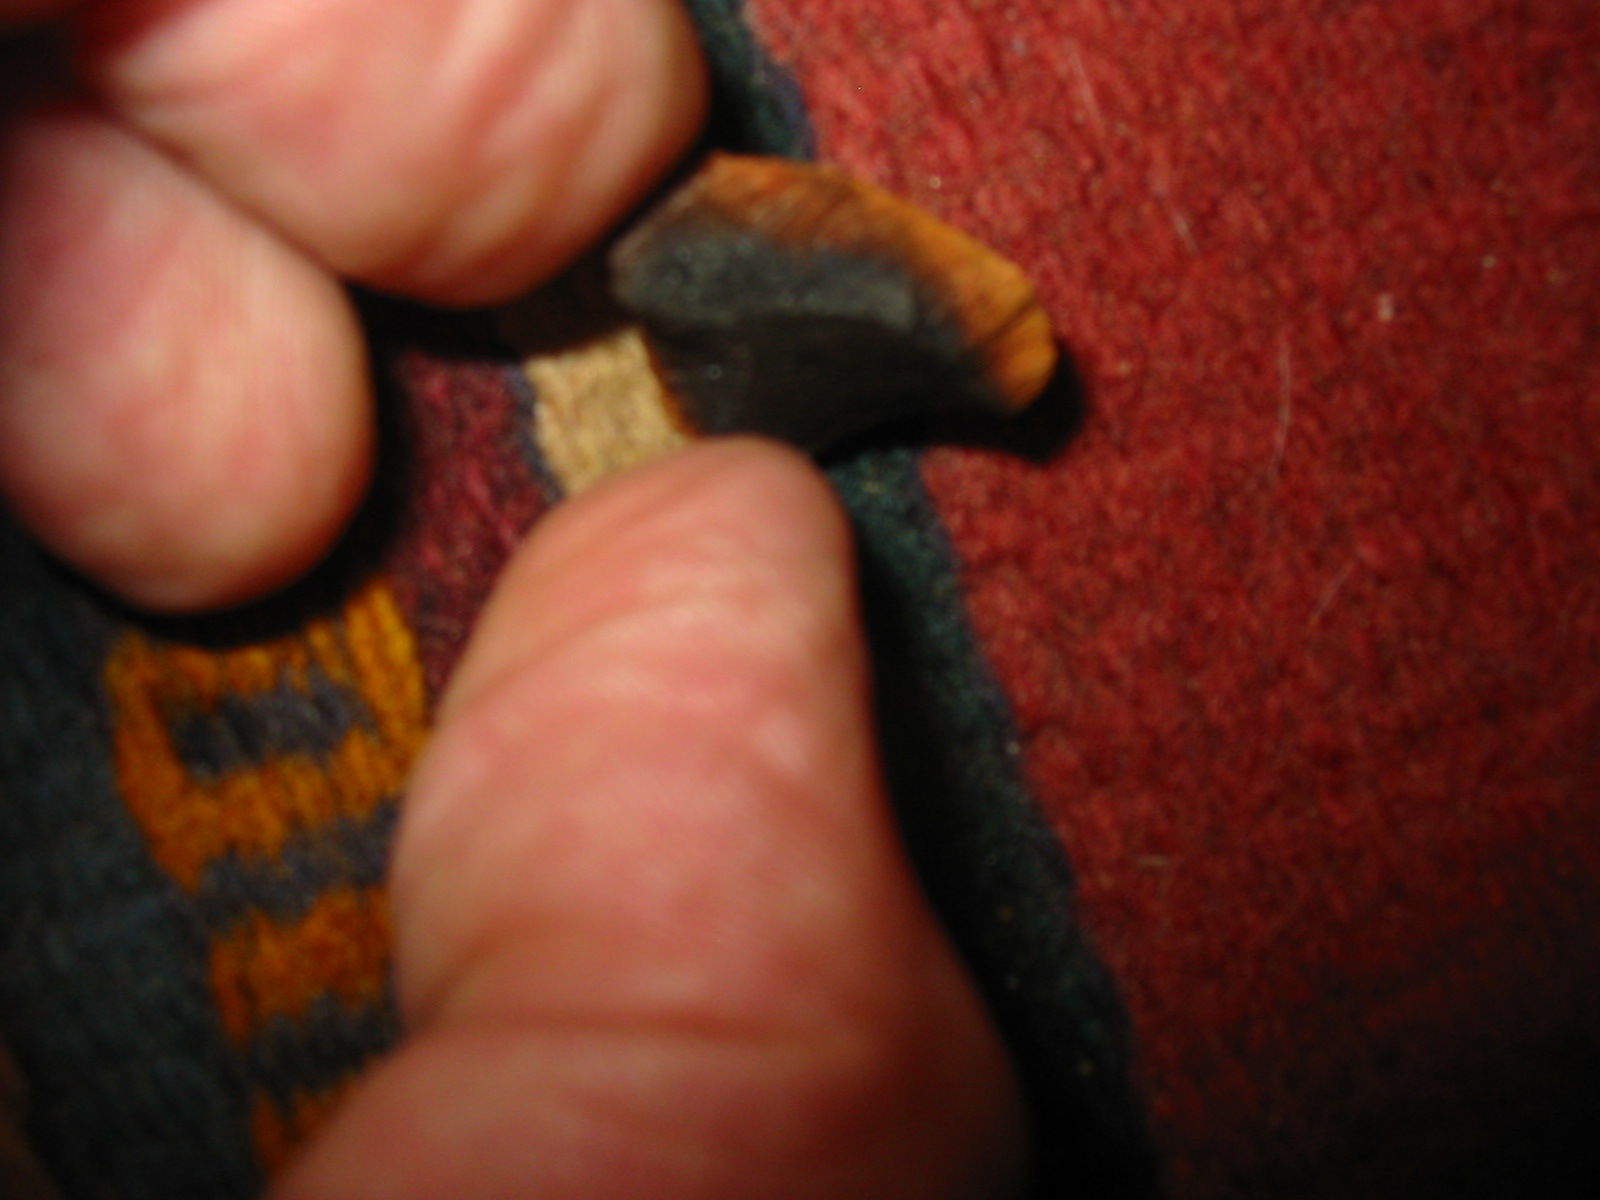
I have also included two photos that show the piece of briar that broke free from the pipe bowl. These also show the extent of the damage to this old bowl. In the first photo you can see that the burn/char is all the way through the piece on that side. The second photo shows the other side of the piece and shows that on that side of the briar the burn is not as deep as the other side.
I took a final photo showing a top down view of the bowl with the broken piece of briar removed. Examine it closely and you can see the depth of the burn into the inner surface of the briar.

While this pipe is lost and not redeemable all is not a waste. I will part out everything that is usable and it will find purpose in other pipes that will cross the work table. Nothing will be wasted. The stem will be scavenged for use on another pipe. The shank will be cut off and used for something. Only the bowl itself will be assigned to the fire. Nothing is totally wasted and the old pipe also served an educational purpose. The photos of the burned and broken briar show the extent of damage into the interior of the walls of this old pipe. It was one that had been smoked hard and abused.

I had the same problem with a beautiful Stanwell OSS egg. It was part of a box of 65 pipes I had bought in a lot. I thought I was mostly buying the very well made, but often quirky Edwards Algerian Briar pipes, but on further inspection there were some finer pipes, including this Stanwell. As I was getting ready to start cleaning it up, I noticed a chip in the delicate rim and a small fill a little below. I elected to hand same the rim perhaps 3/32″ to eliminate the chip. That went well enough but the chamber seemed off center and the uneven cake was bugging me, so I decided to ream it. It went okay for much of the way, then disaster hit. A triangular chunk, 3/8″ on each side came flying off. Like your pipe, I could see that the pipe was nearly burned through at the front top edge. I was able to glue it back in and it’s serviceable. In retrospect, I should have used a knife to ream this pipe.
I’ve noticed several repaired pipes in this lot. Reattached shanks on a couple Canadians. A couple of shortened and banded shanks, including a very nice The Briar Workshop bent Brandy. I almost think the original owner was a former Edwards dealer. I don’t feel too badly. The pipe was a nice surprise, so easy come easy go.
LikeLiked by 1 person
A first for me. It appears that the cake was all that held the bowl intact. I now see where you get all of those niffty stems that you always seem to have. Thanks for the instructional article.
LikeLike
I can only imagine the lite pipe was regularly laid on a dashboard or in a dash pipeholder where the draft from a vent window drew air thru the stem. I experienced a hot pipe several times from such an experience….just a thought.
LikeLike
Wow, an unfortunate but none the less interesting dissection of a problem pipe. I occasionally do pipes for forum friends and I always stress that type of outcome could occur, particularly with pipes that were new estate purchases.
Yes, perhaps grinding up some wood for a nice supply of briar dust would be a good use.
LikeLike
I was waiting to see a full restoration! Oh well, maybe grind up the bowl for patching fills?
LikeLike
Wow, I’ve never seen that. I can’t imagine how it felt when that bowl fell apart on you. Definitely a good object lesson in look before you do too much work and in proper care and maintenance of your pipe.
LikeLike