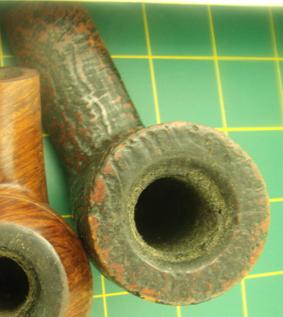
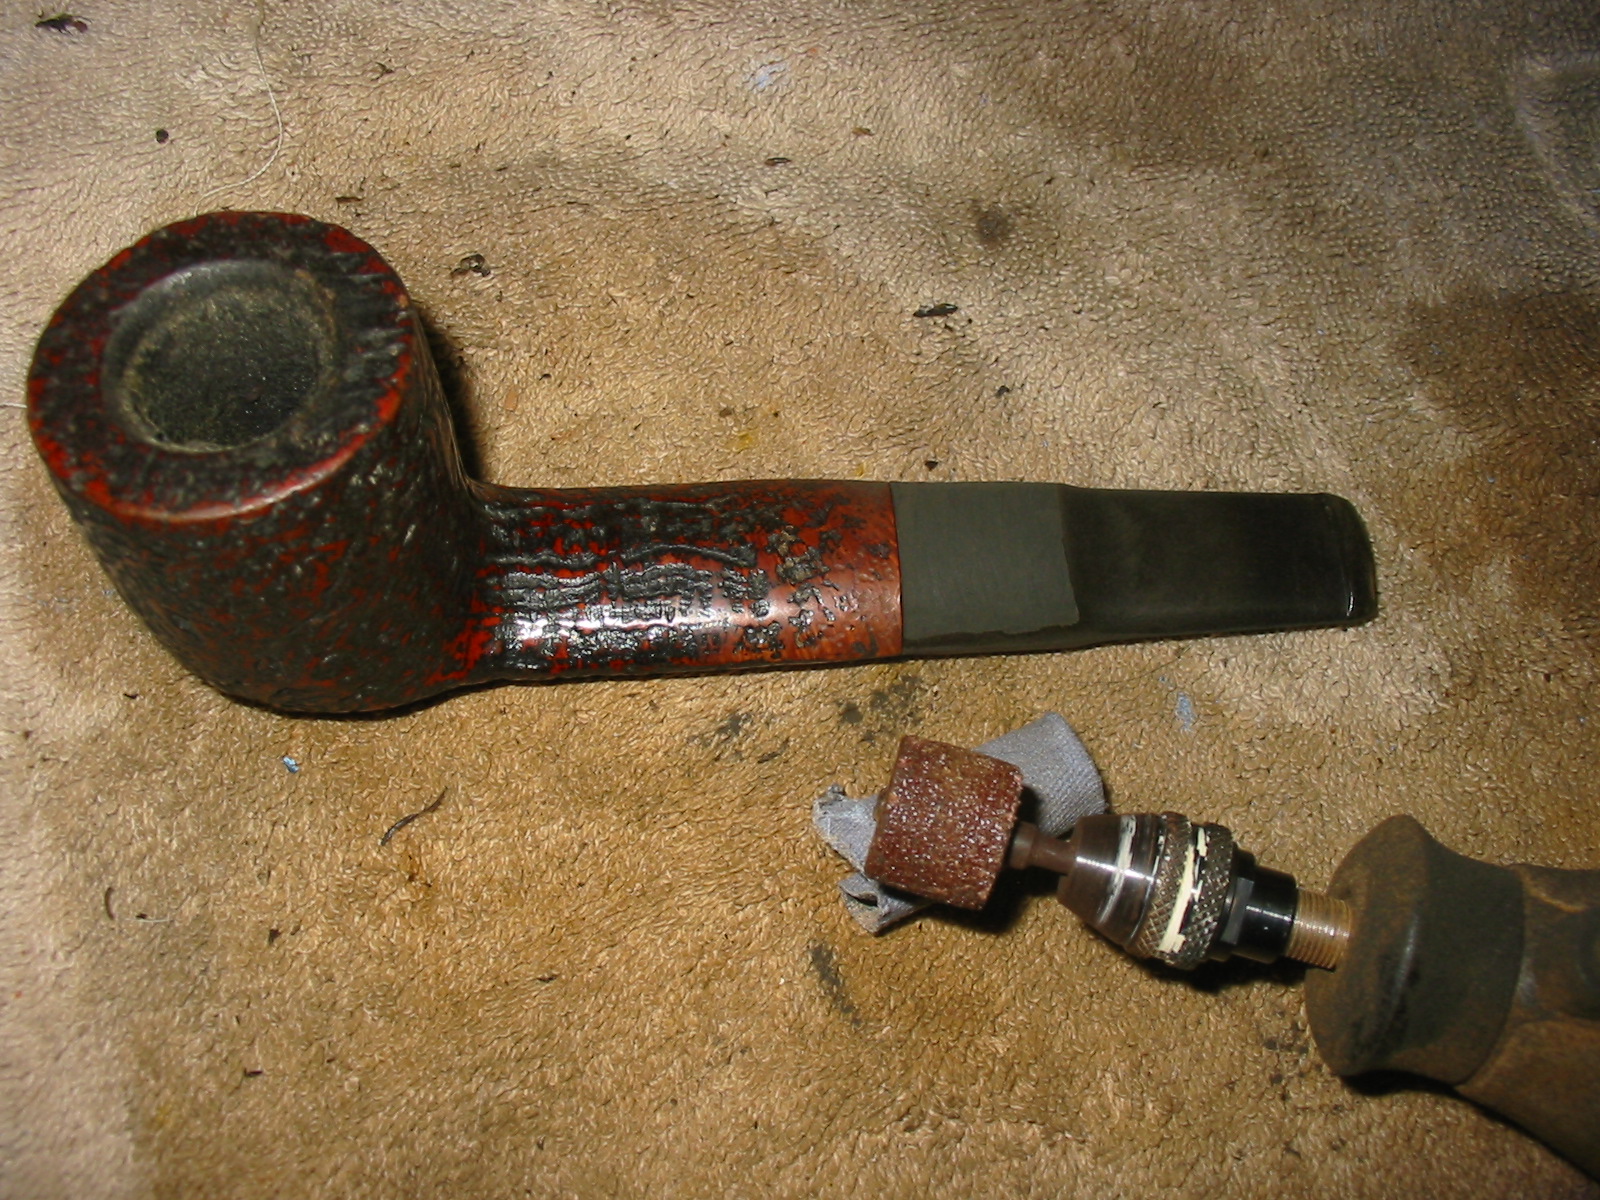
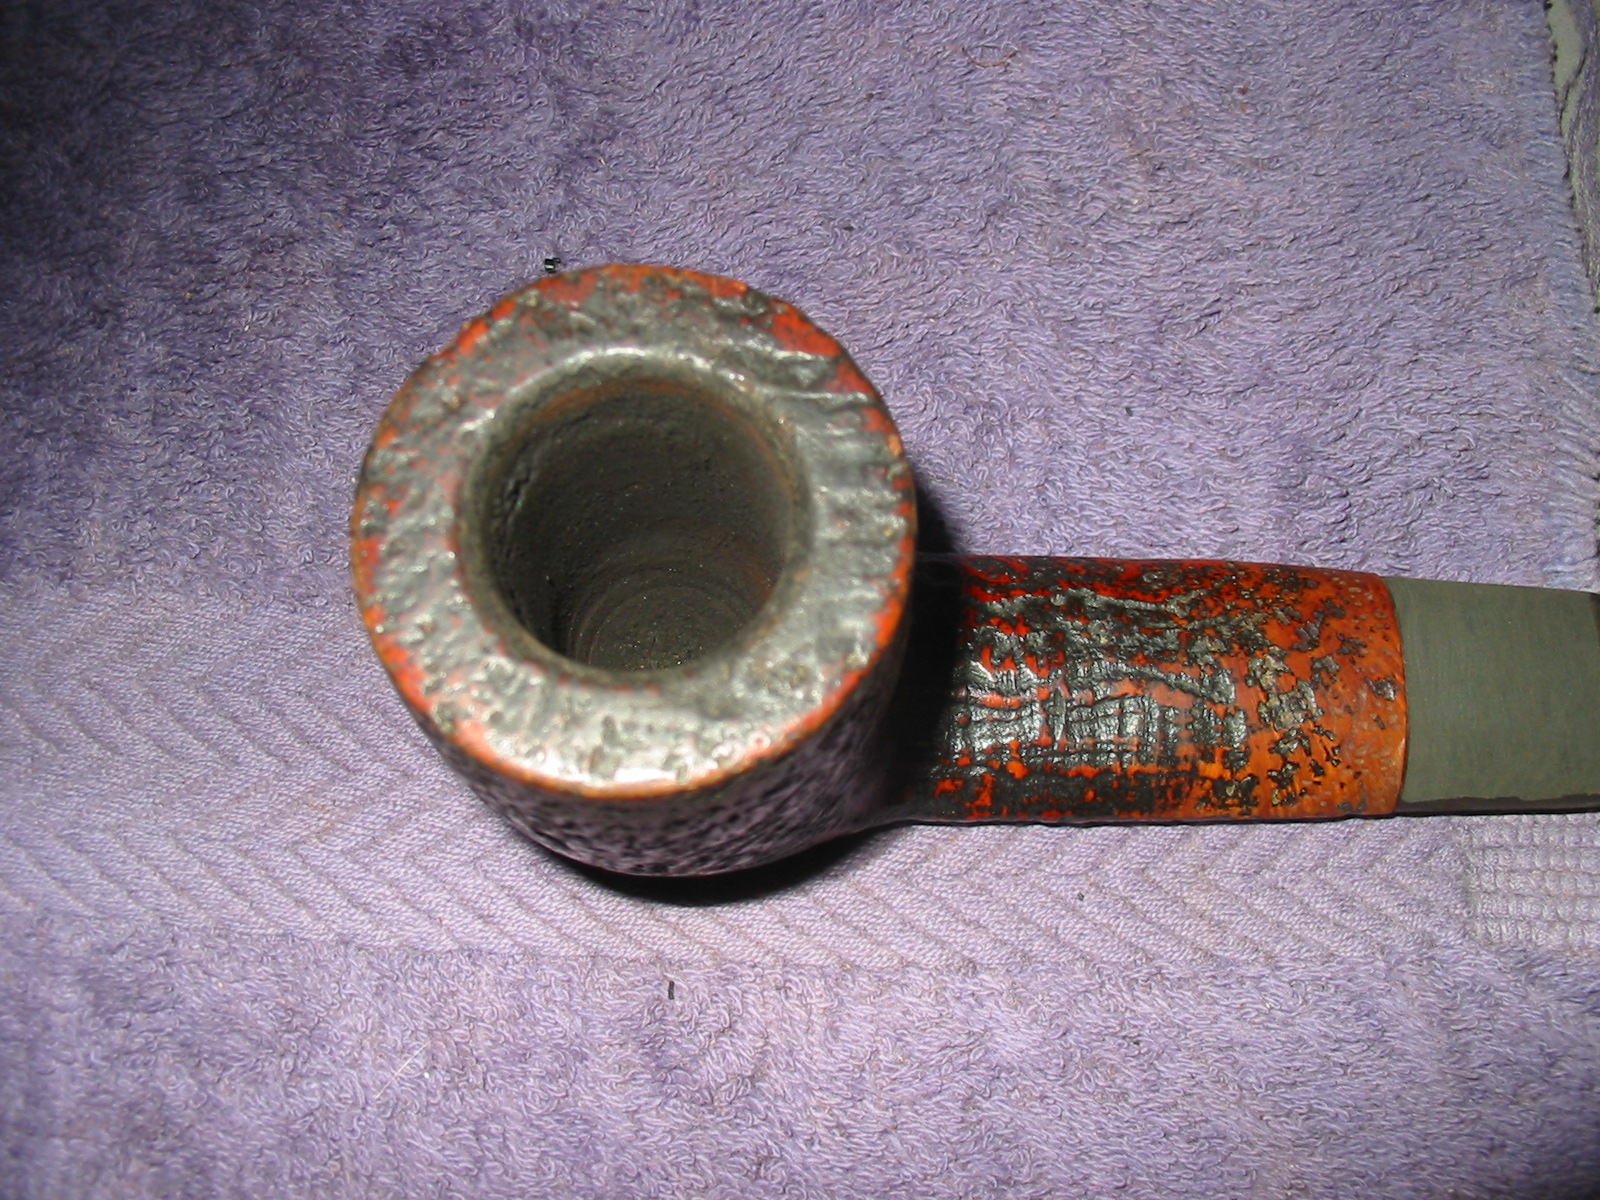
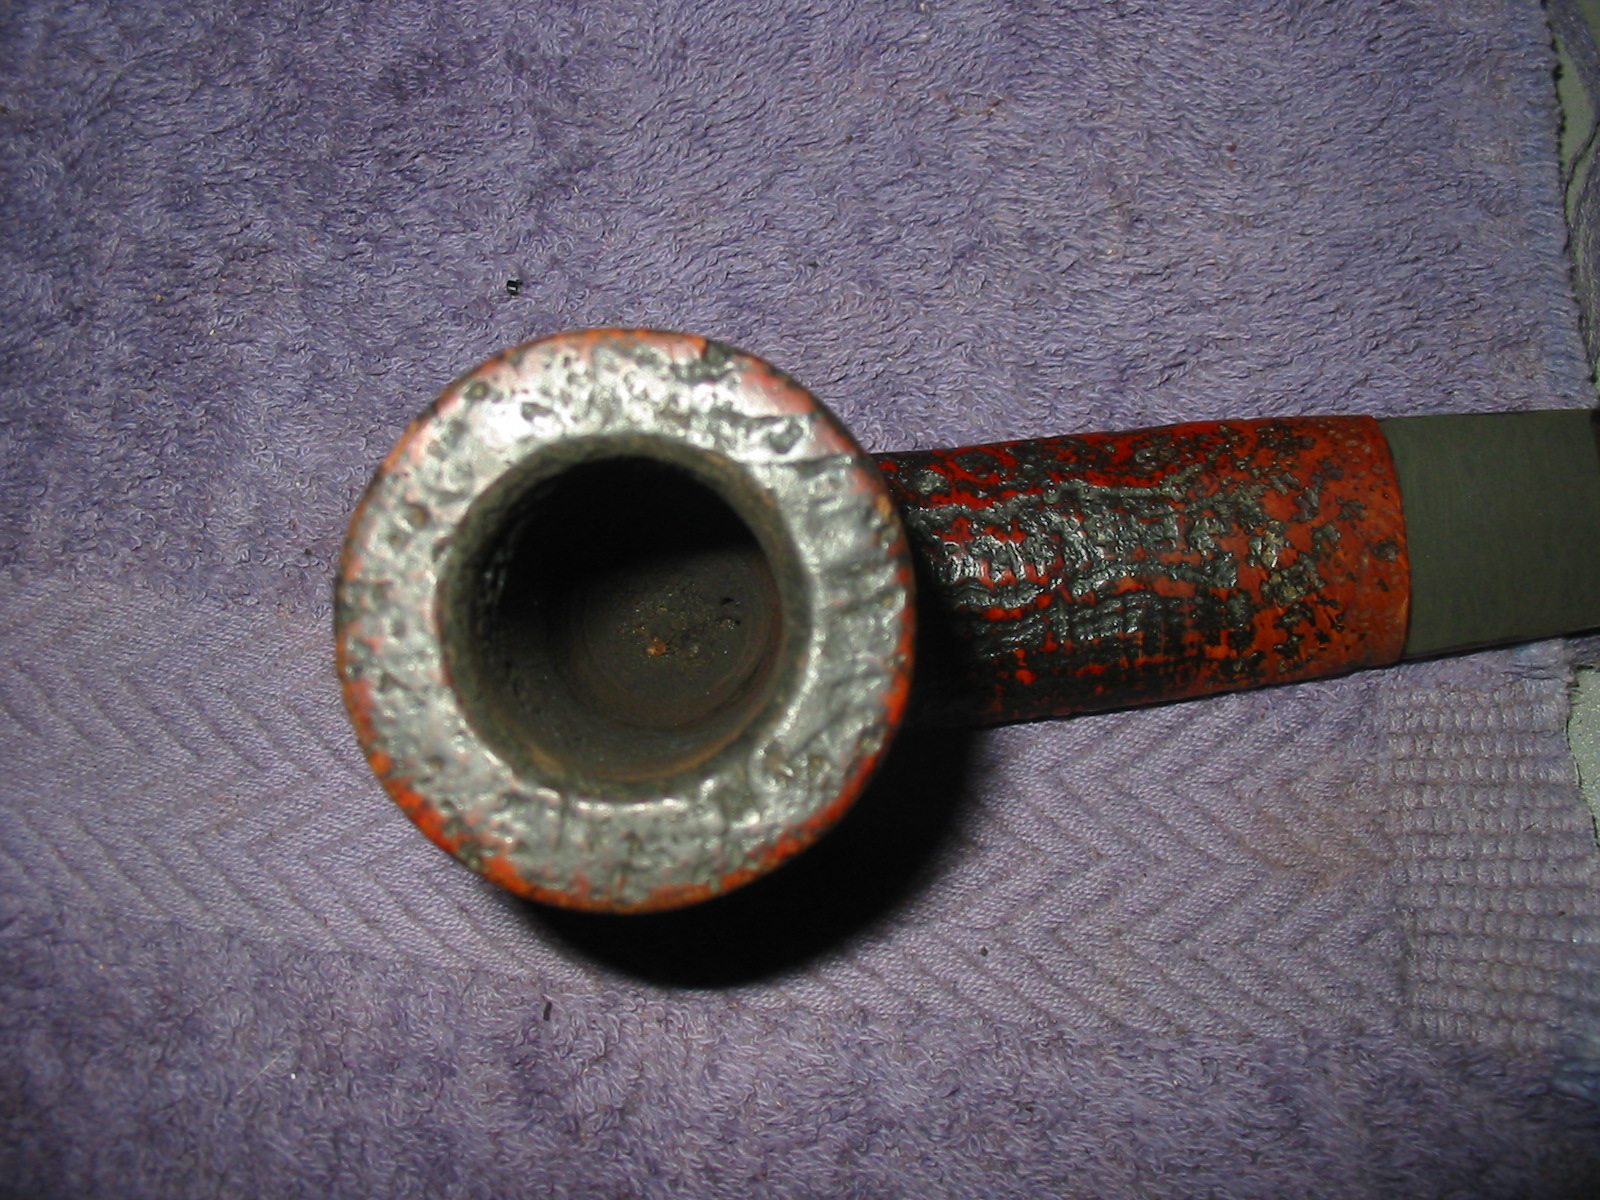
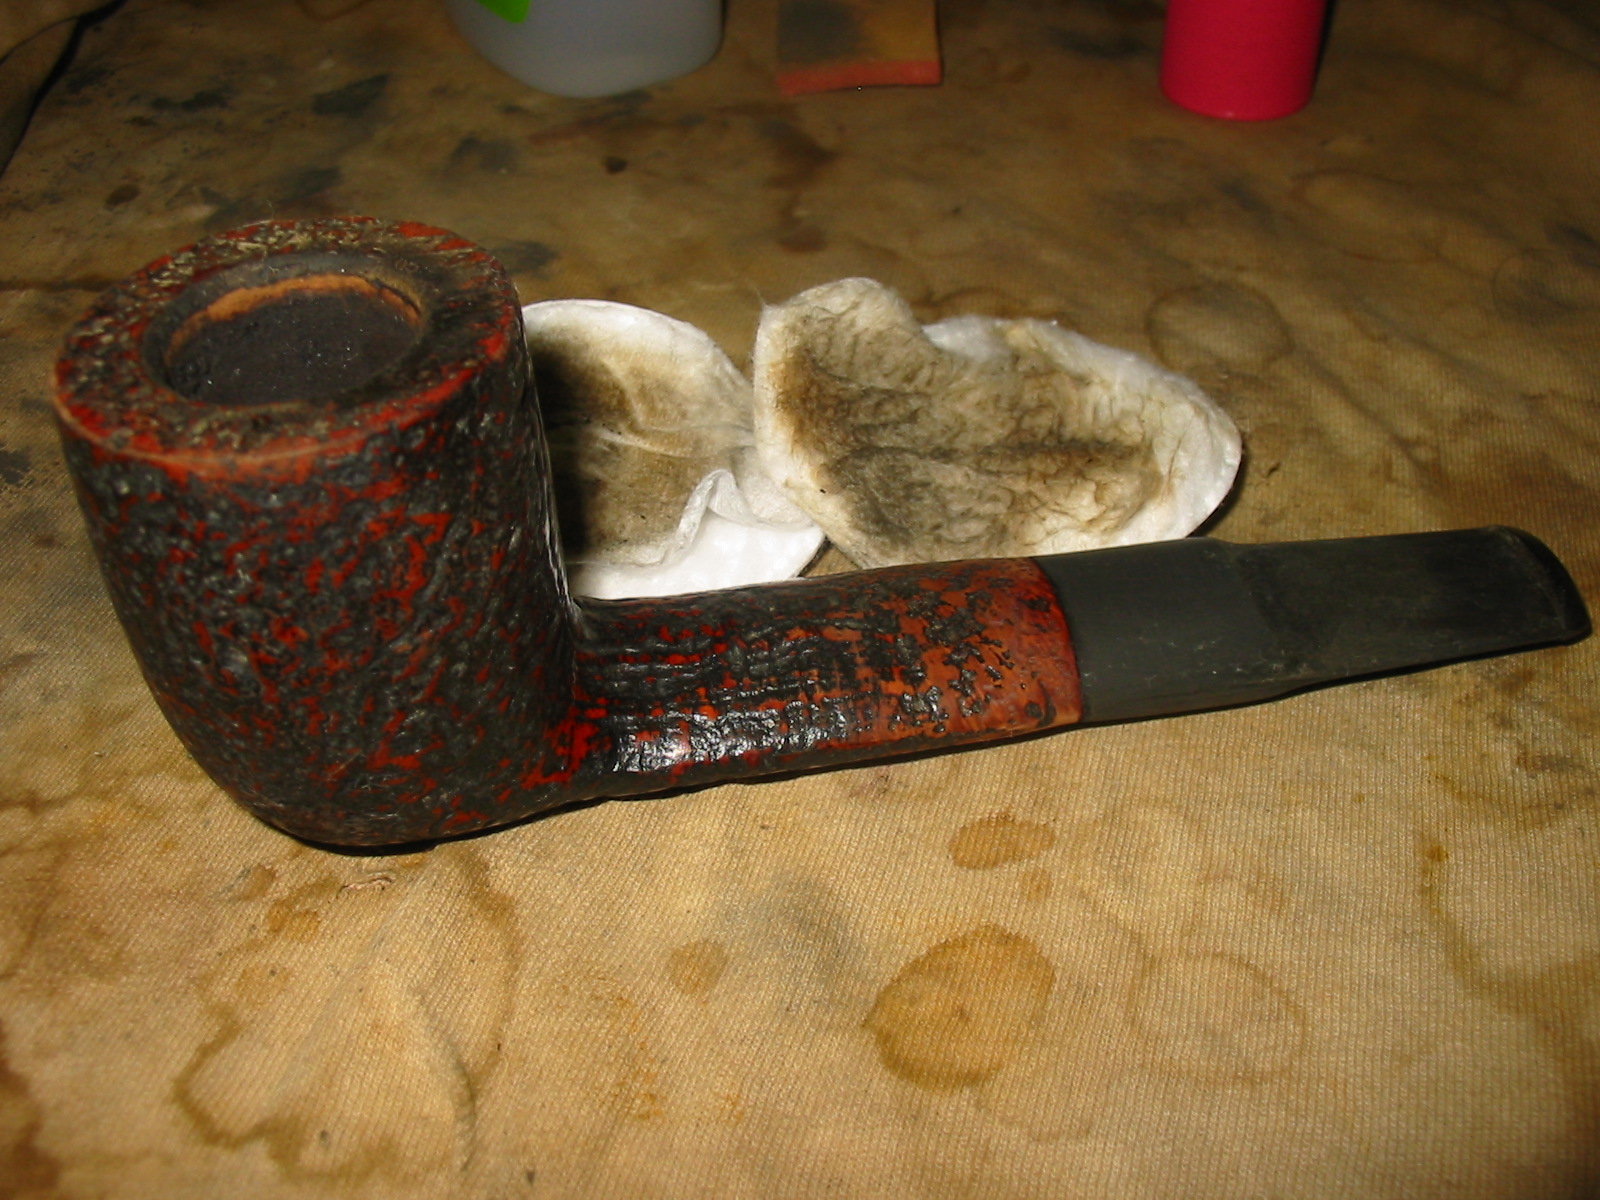
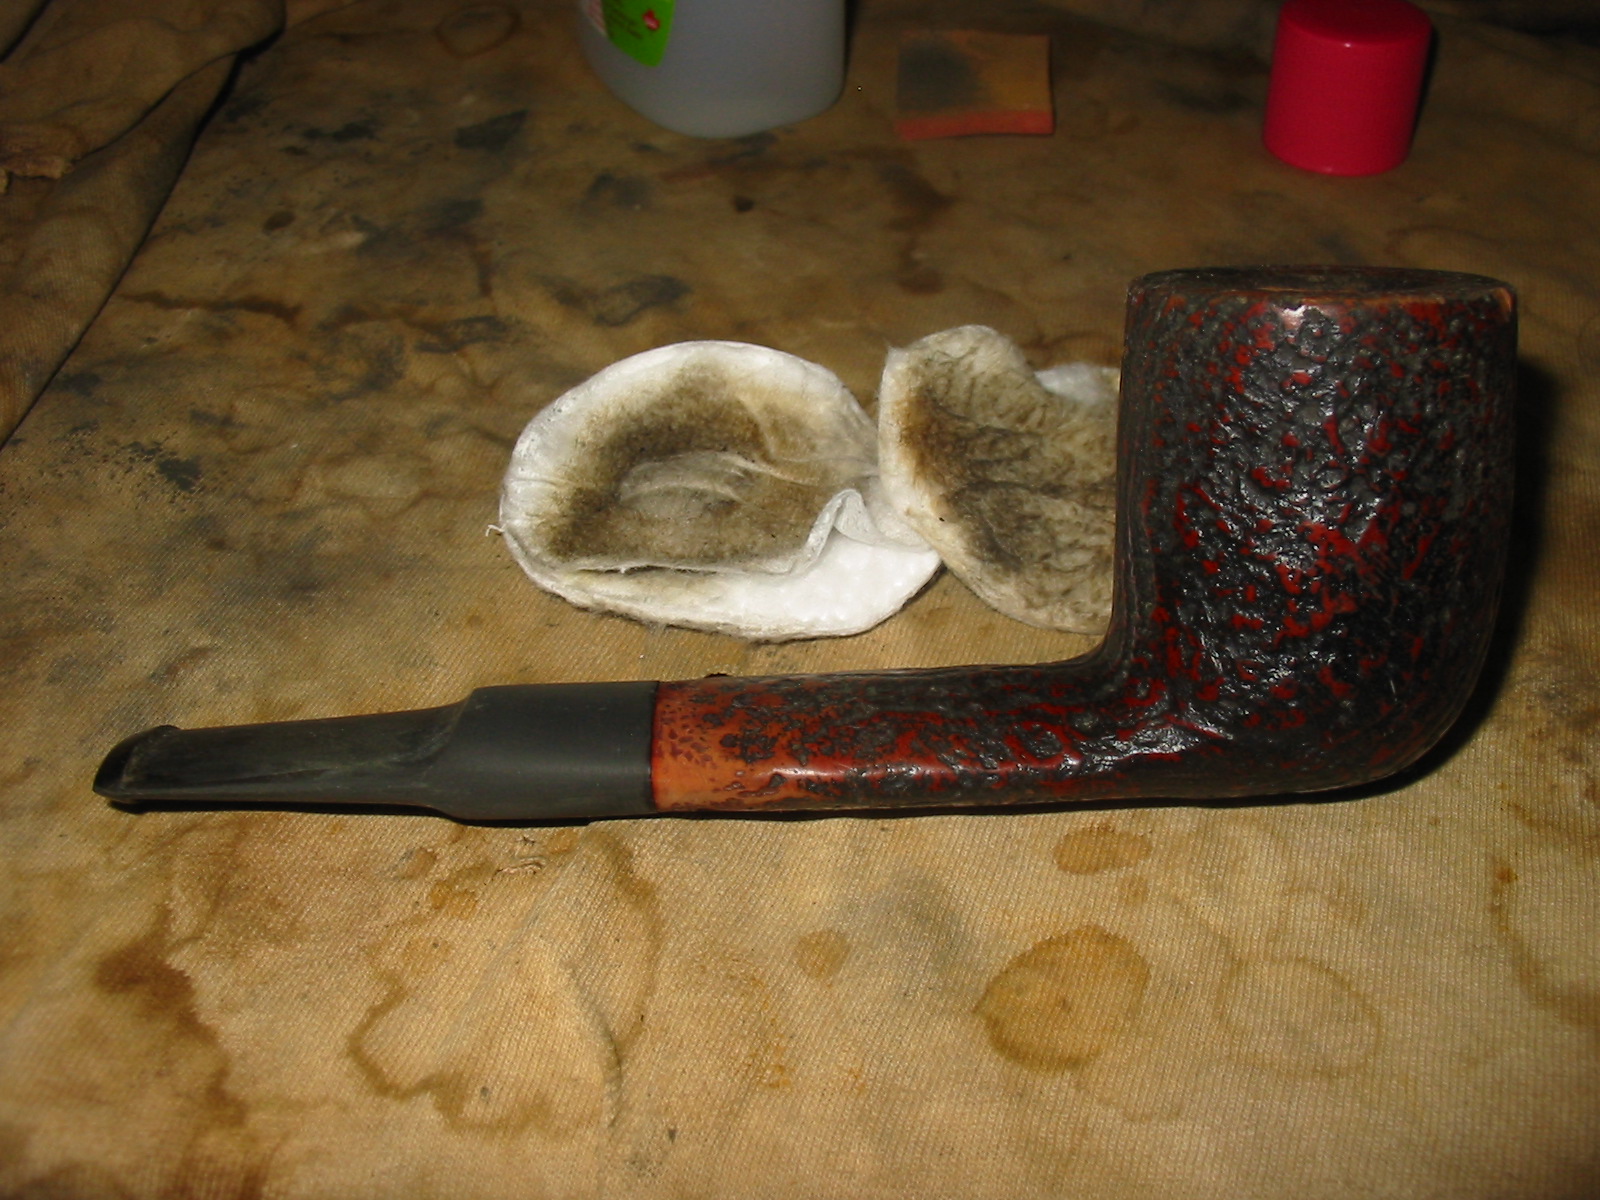
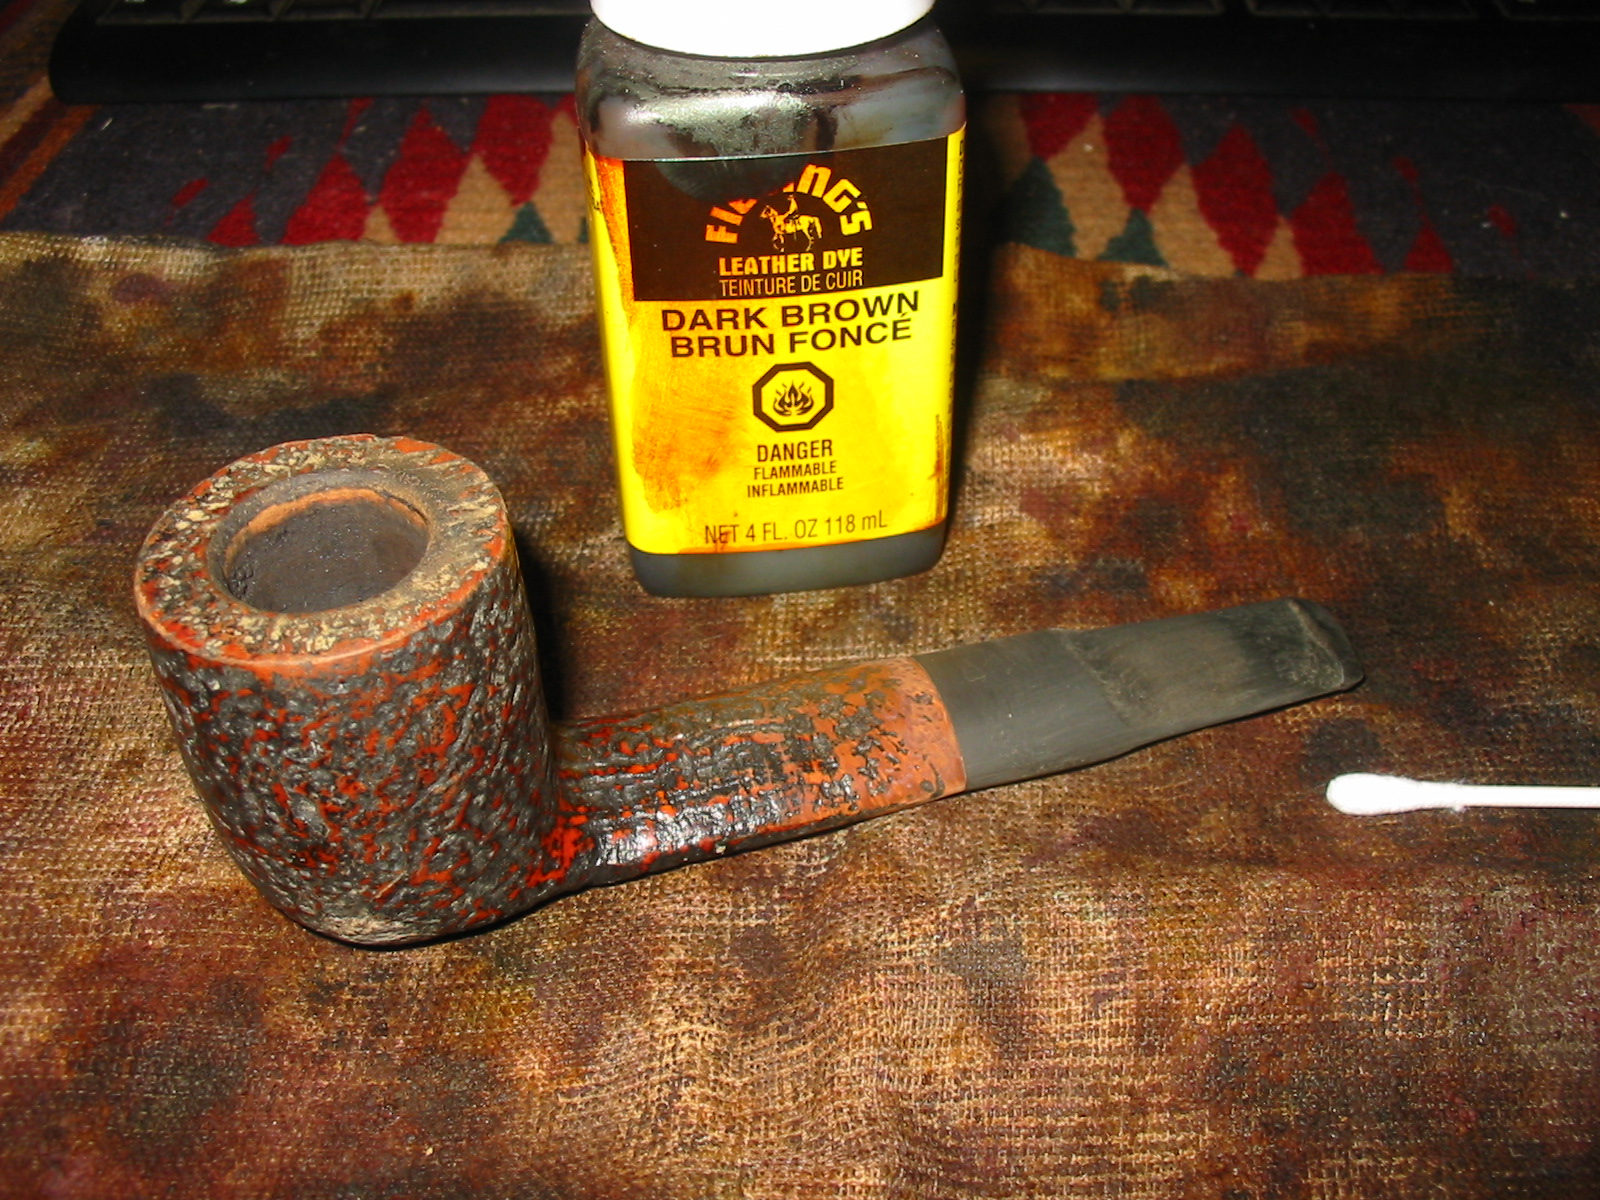
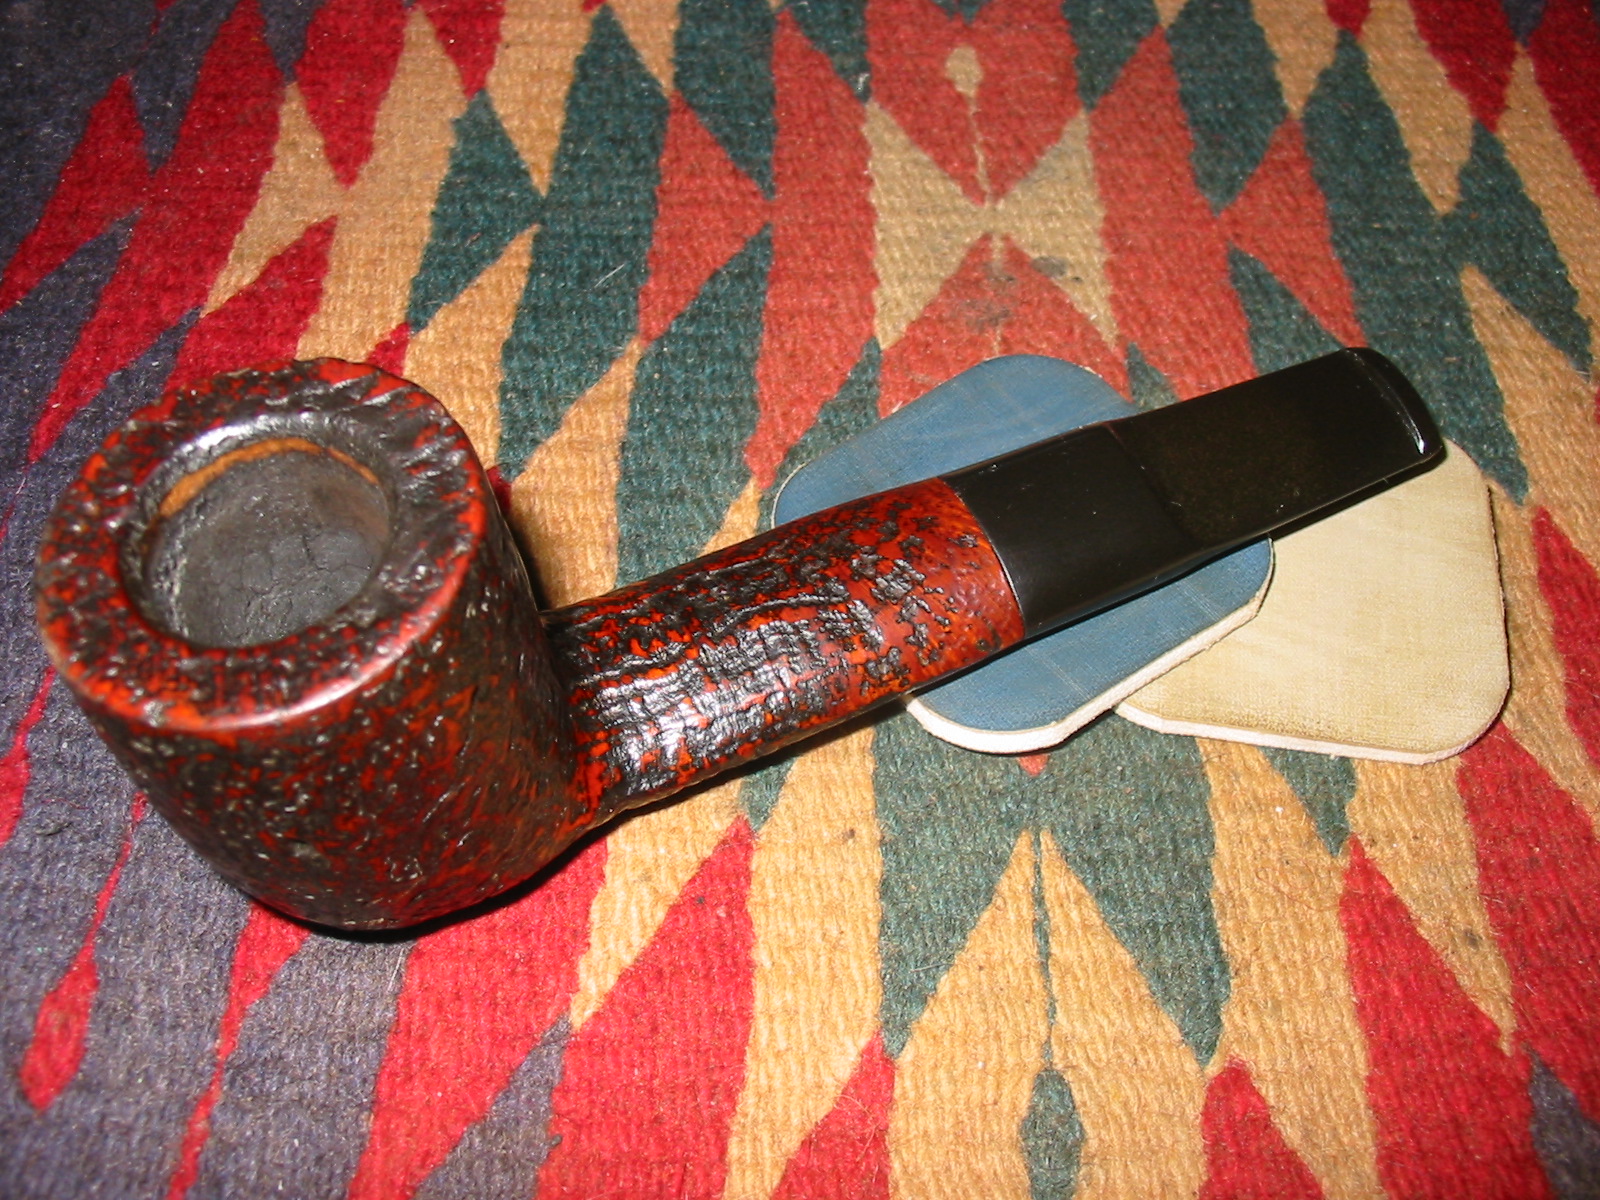
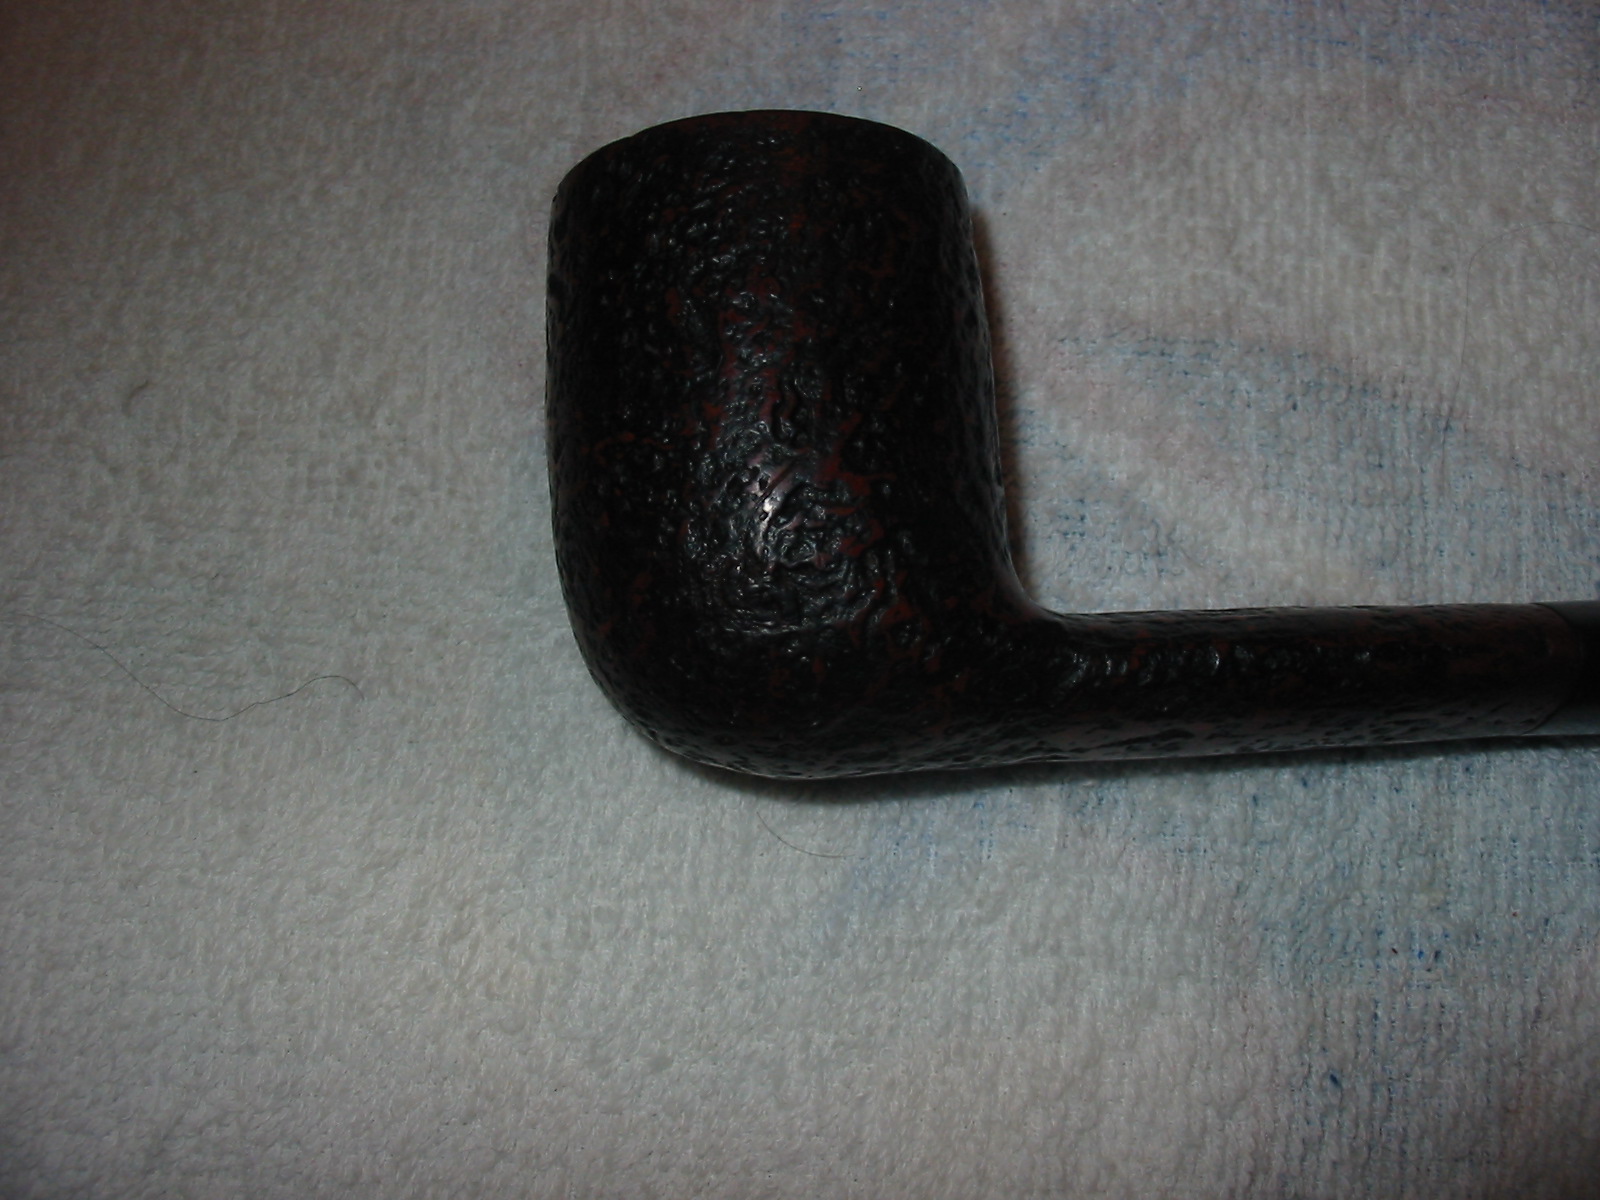
This pipe is another that came in that EBay lot of bowls that I purchased. Once I was finished with this one I have two more left to restem. It is a large oval shanked pipe with a large bowl. The sandblast is not deep and is particularly shallow on the shank where it meets the stem. The bowl was heavily caked and the finish was dirty and faded. There was a deep divot out of the left side of the bowl toward the bottom. It was a chipped out spot that looked like the pipe had been knocked hard against something when it was dropped. There was also a chip on the edge of the front right side of the outer rim. It is pictured below in the first photo and is the first pipe in column one on the left. The second photo shows the state of the bowl when I started working on it. The cake was hard and thick.

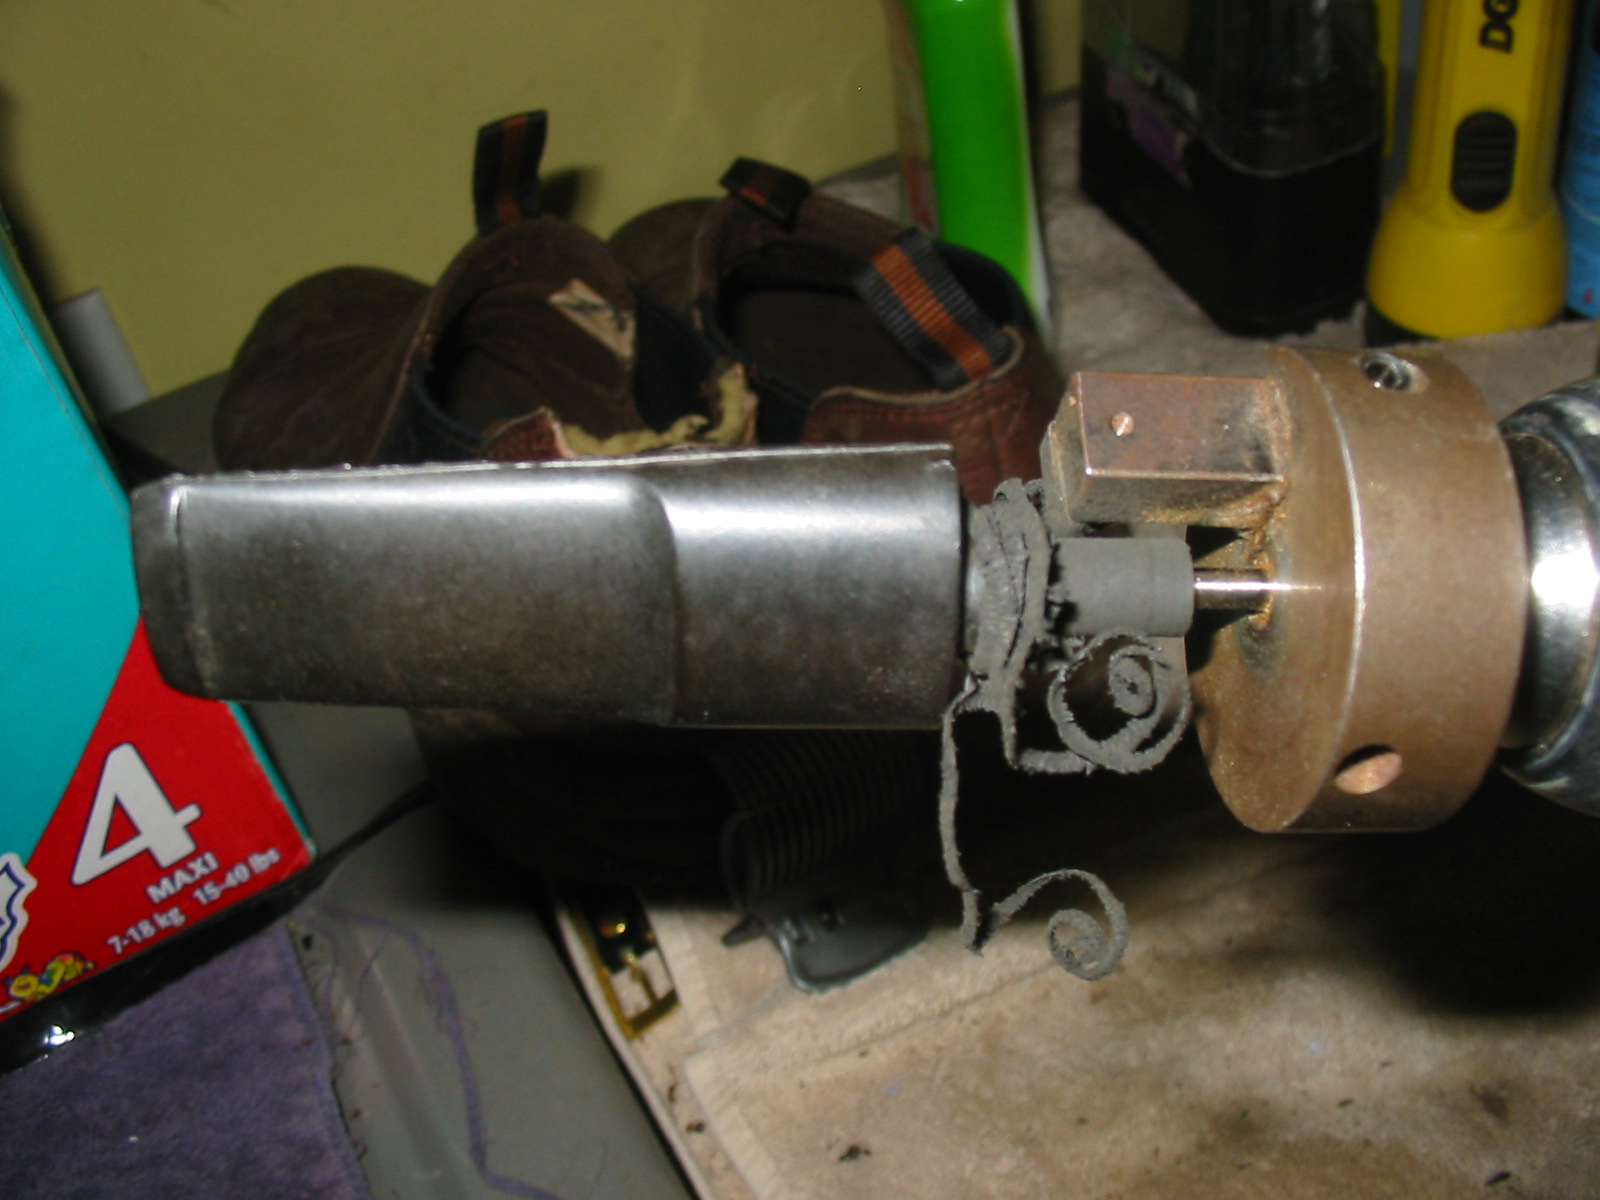
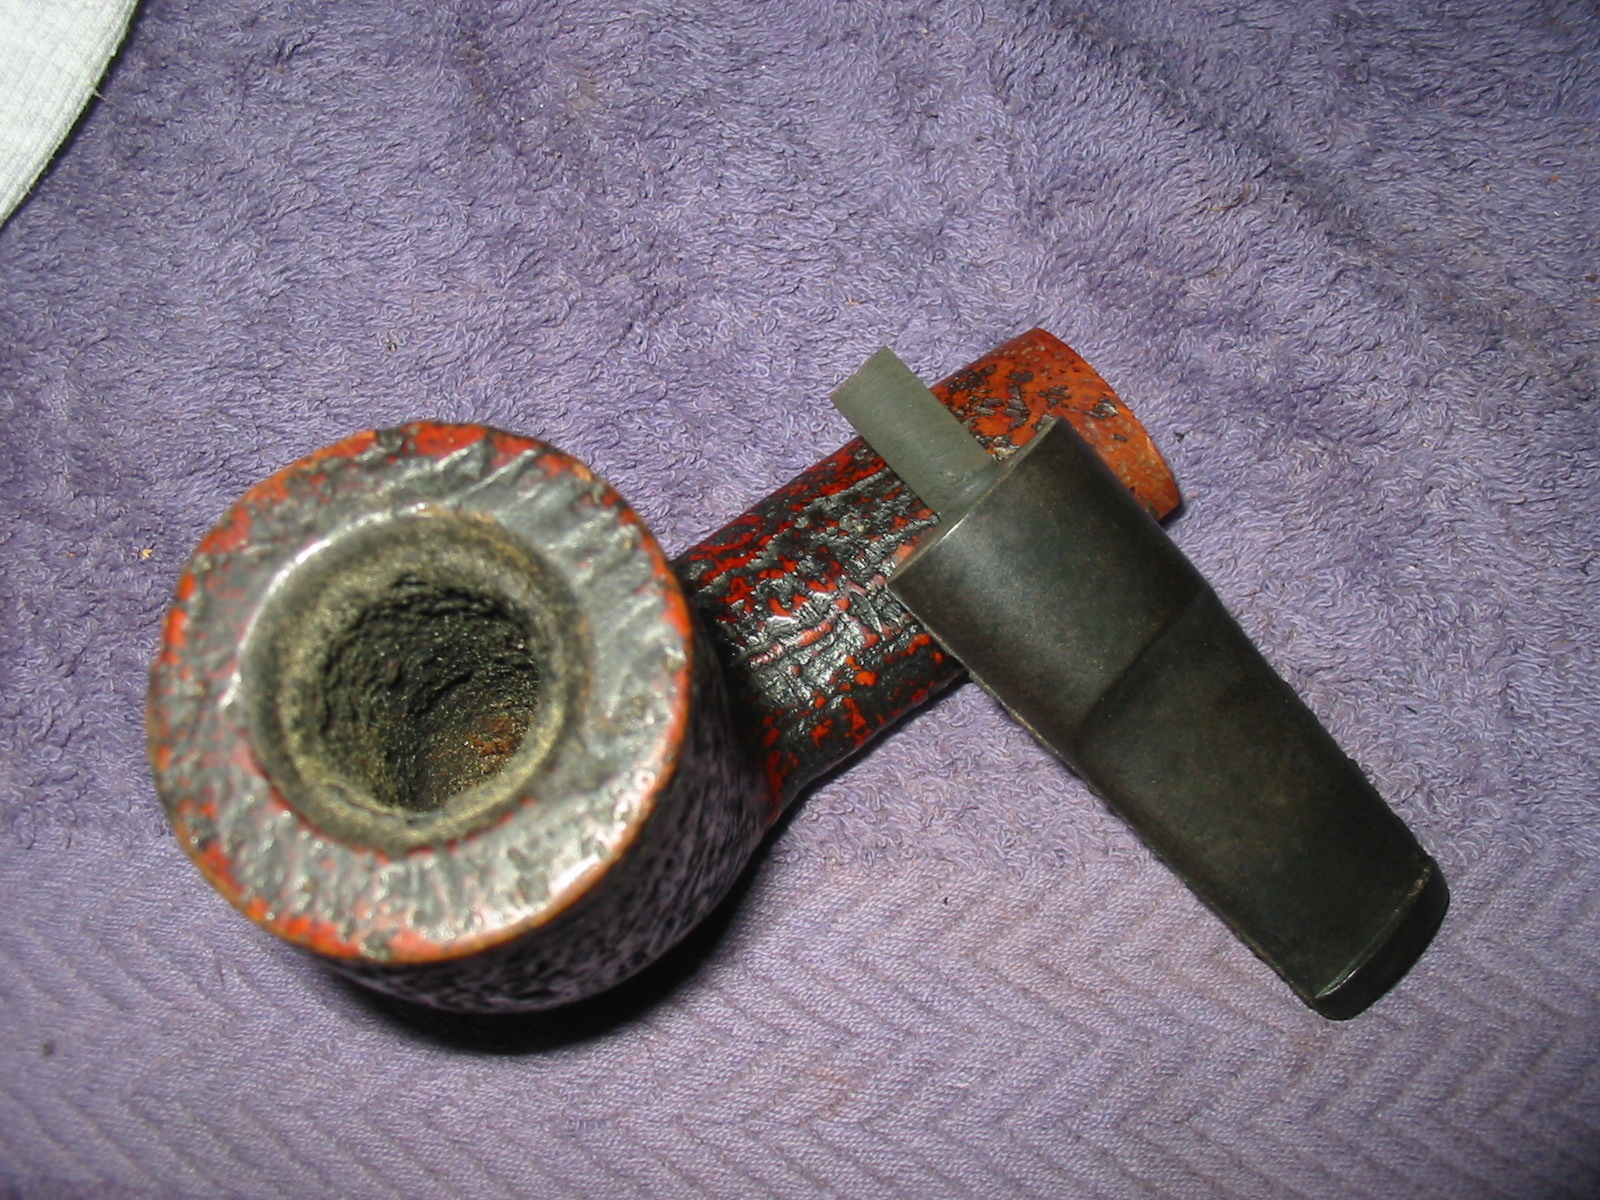
 I sorted through my box of stems and found a wide oval stem blank that would fit the curves and width of the shank. The first photo below shows the new stem before any work was done on it. The second photo below shows the tenon being turned on the PIMO tenon turning tool. I removed enough material from the tenon to get it close to fitting. I hand sanded it to get a snug fit in the shank. The tenon turner literally peels the vulcanite back to the right diameter. The third photo below shows the newly turned tenon before the hand sanding to fit it in the shank. The fourth photo shows the fit of tenon. It still needed to be shaped to match the diameter of the shank but the fit was good and tight.

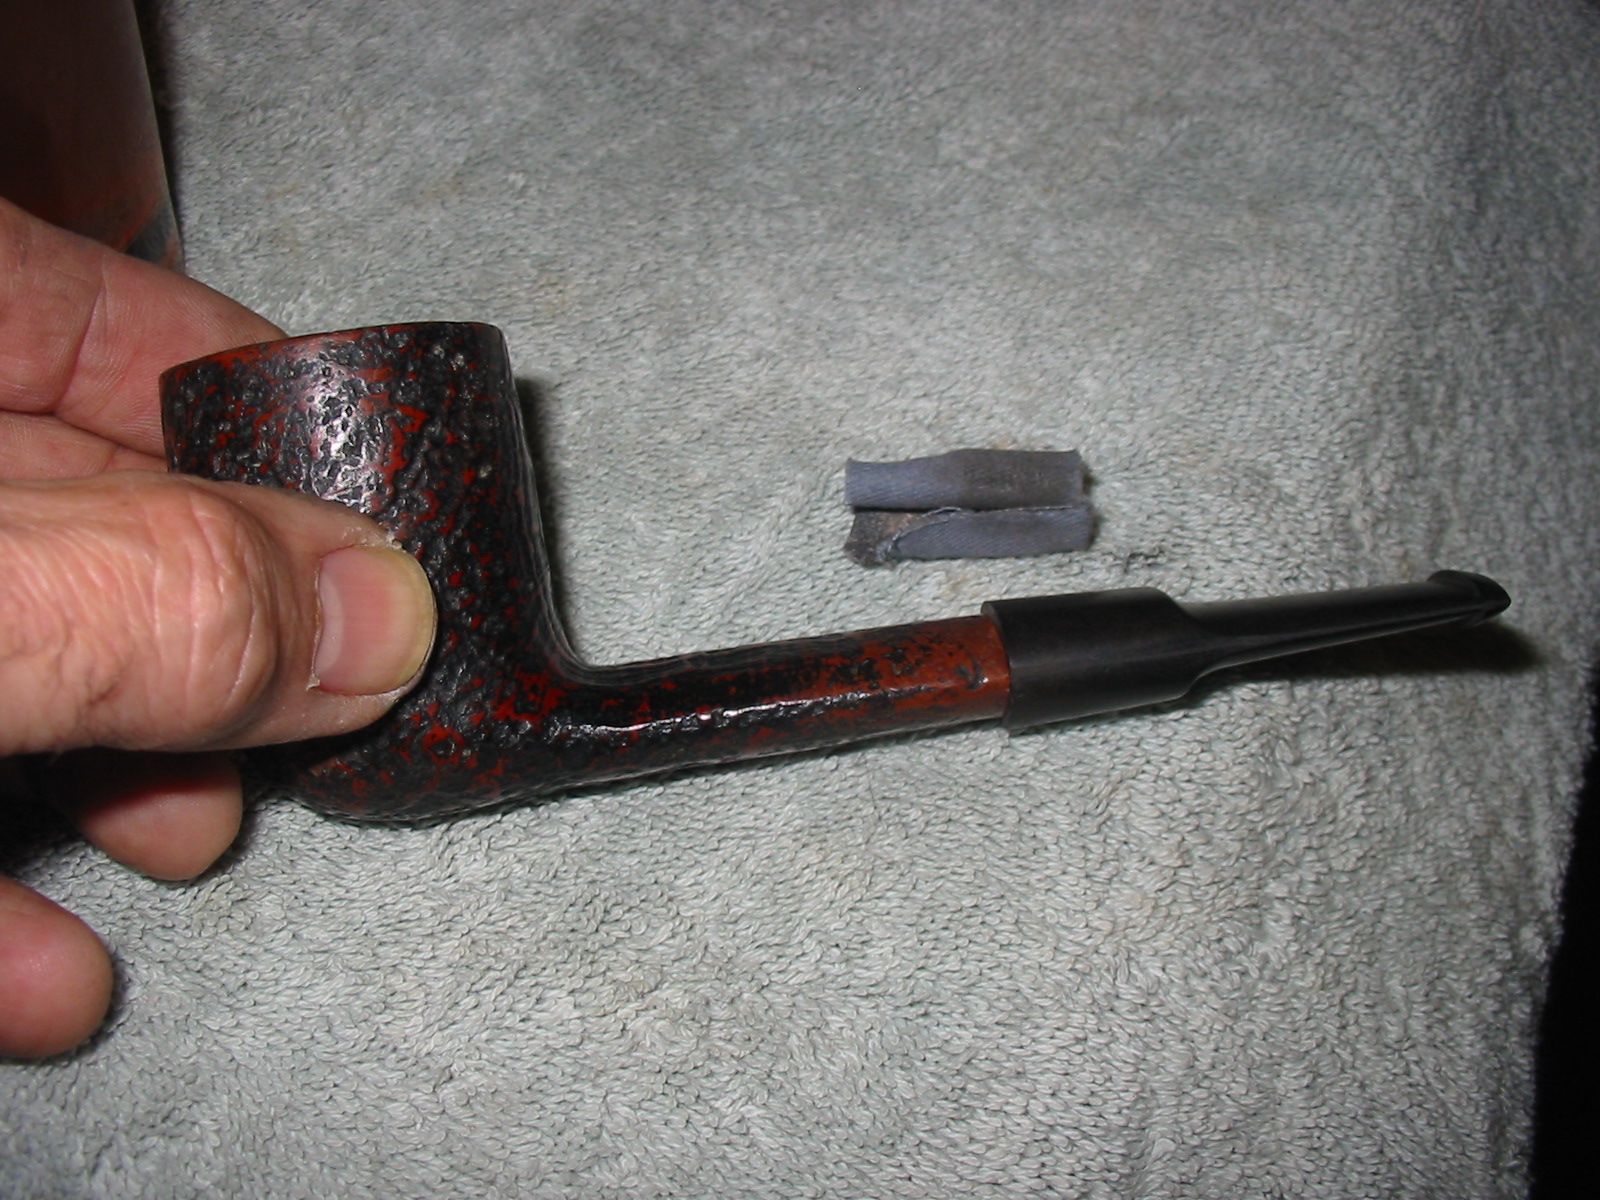
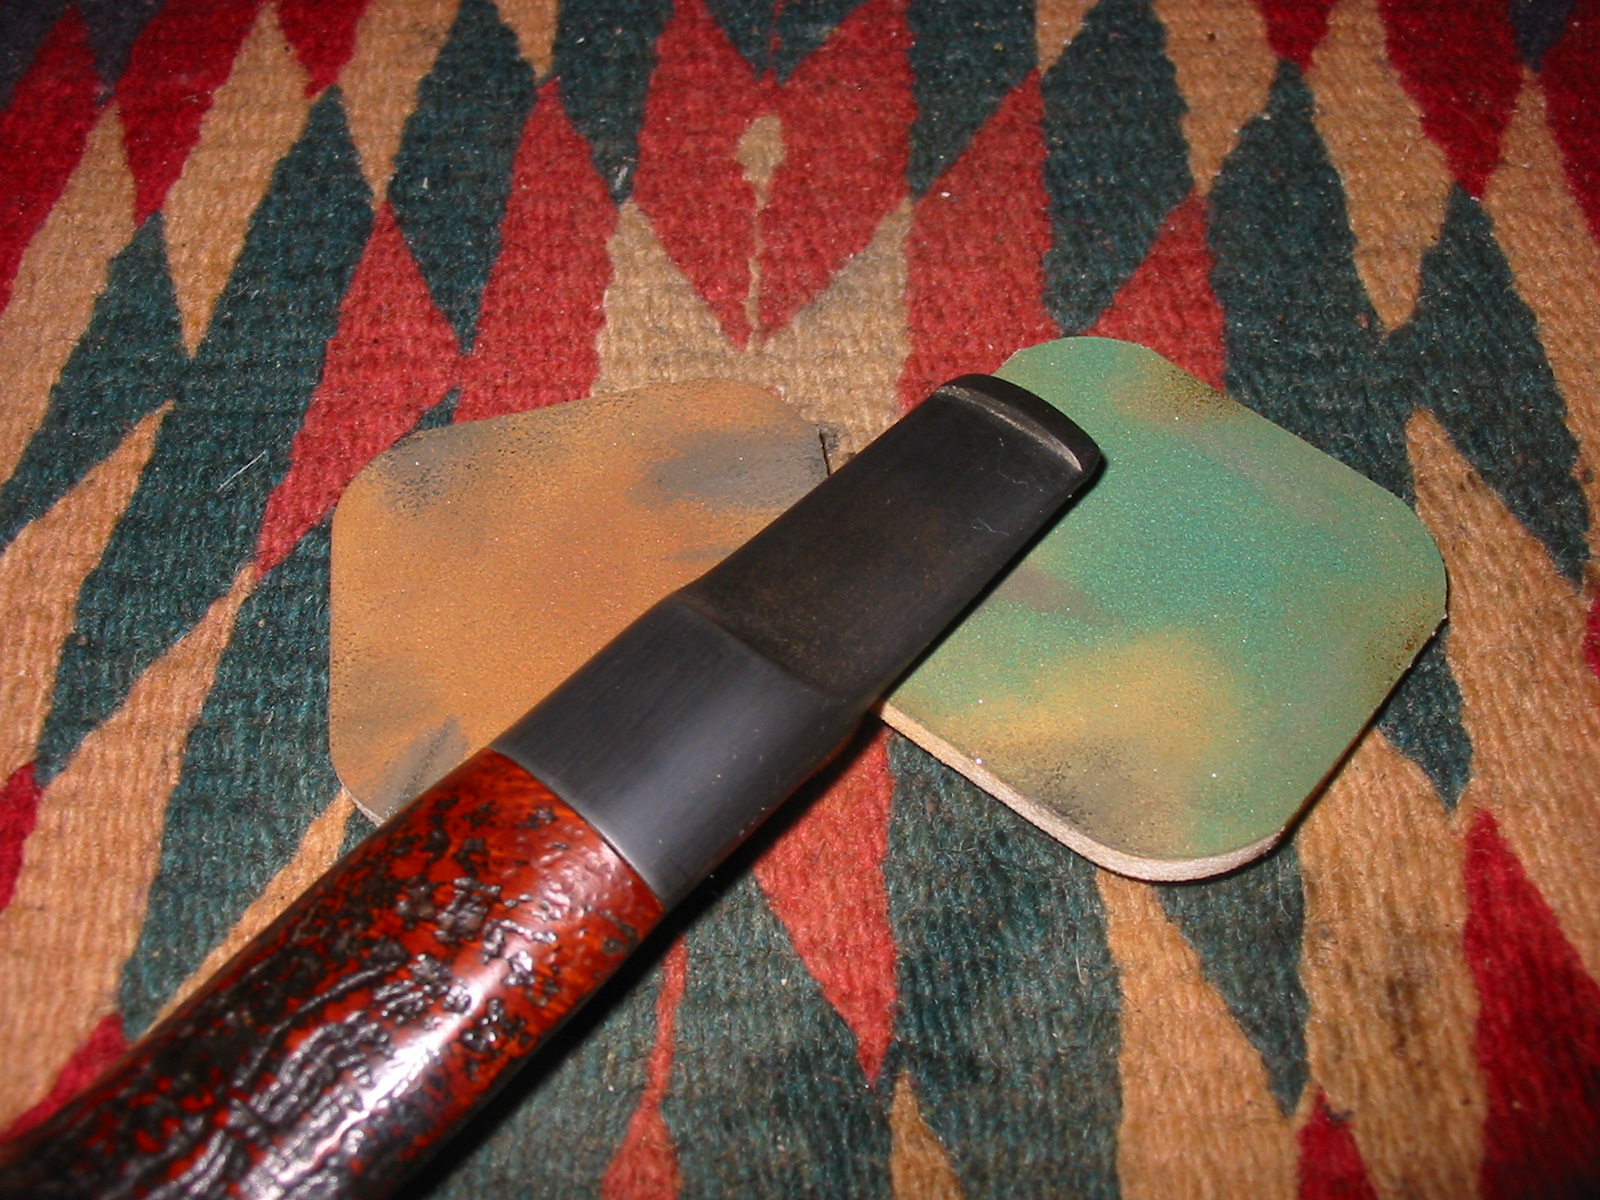
I removed the excess of vulcanite and shaped the stem close to the diameter of the shank with a Dremel with a sanding drum. I carefully worked the drum against the stem and worked to get it as close to the shank shape as possible without damaging the shank. Once I had it close I worked on the fit with emery paper to remove the marks left by the sanding drum. The next series of four photos show the shaping of the stem to fit the shank with the Dremel and the emery paper.

I reamed the bowl with a PipNet reamer. I started with the smallest head on the T handle and worked my way up to the largest head that would fit the bowl. The next series of three photos shows the reaming of the bowl and the finished reamed bowl.

I cleaned out the divot on the side of the bowl with a dental pick and then packed in briar dust with a dental pick and added drops of super glue. I created a briar dust and super glue fill for the divot. The next series of five photos show the progress of the patch. Once it was filled and even with the surrounding area I used a dental pick to scratch in grooves and crevices to match the sand blasted finish of the surrounding bowl. I wiped down the surface with Everclear and scratched the surface until the finish matched.
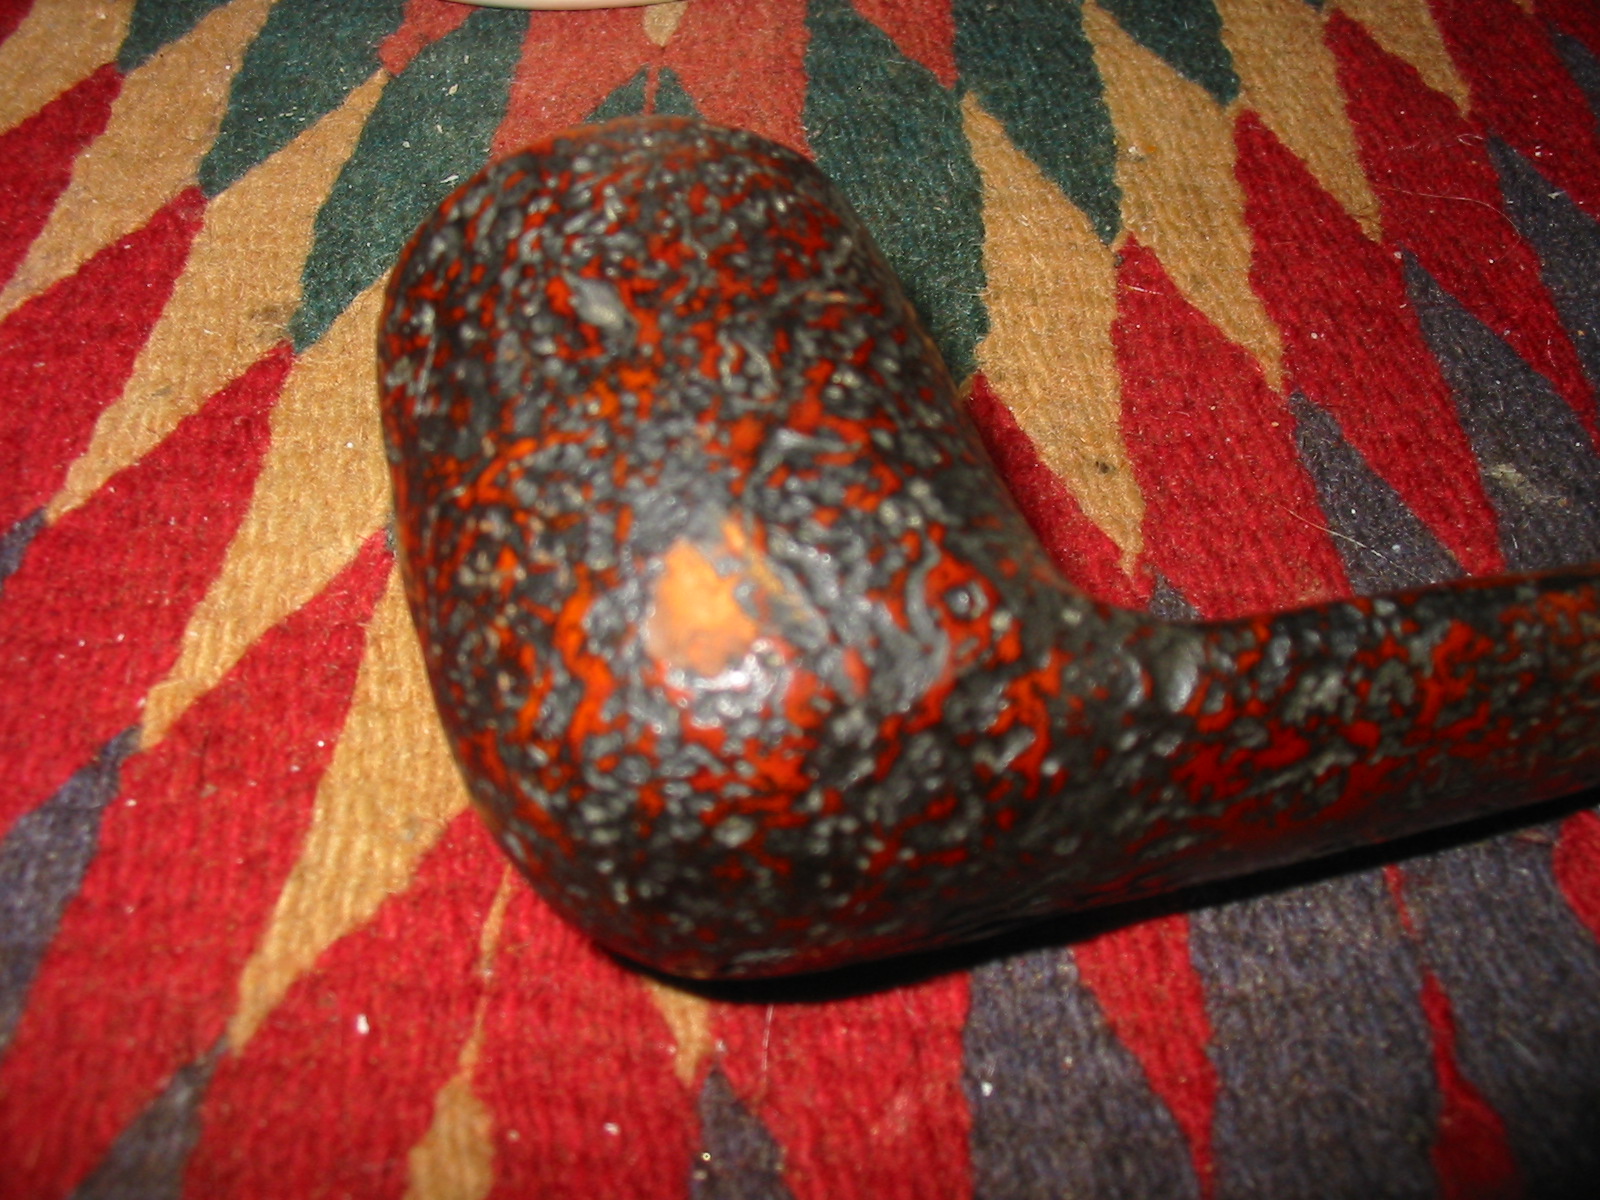
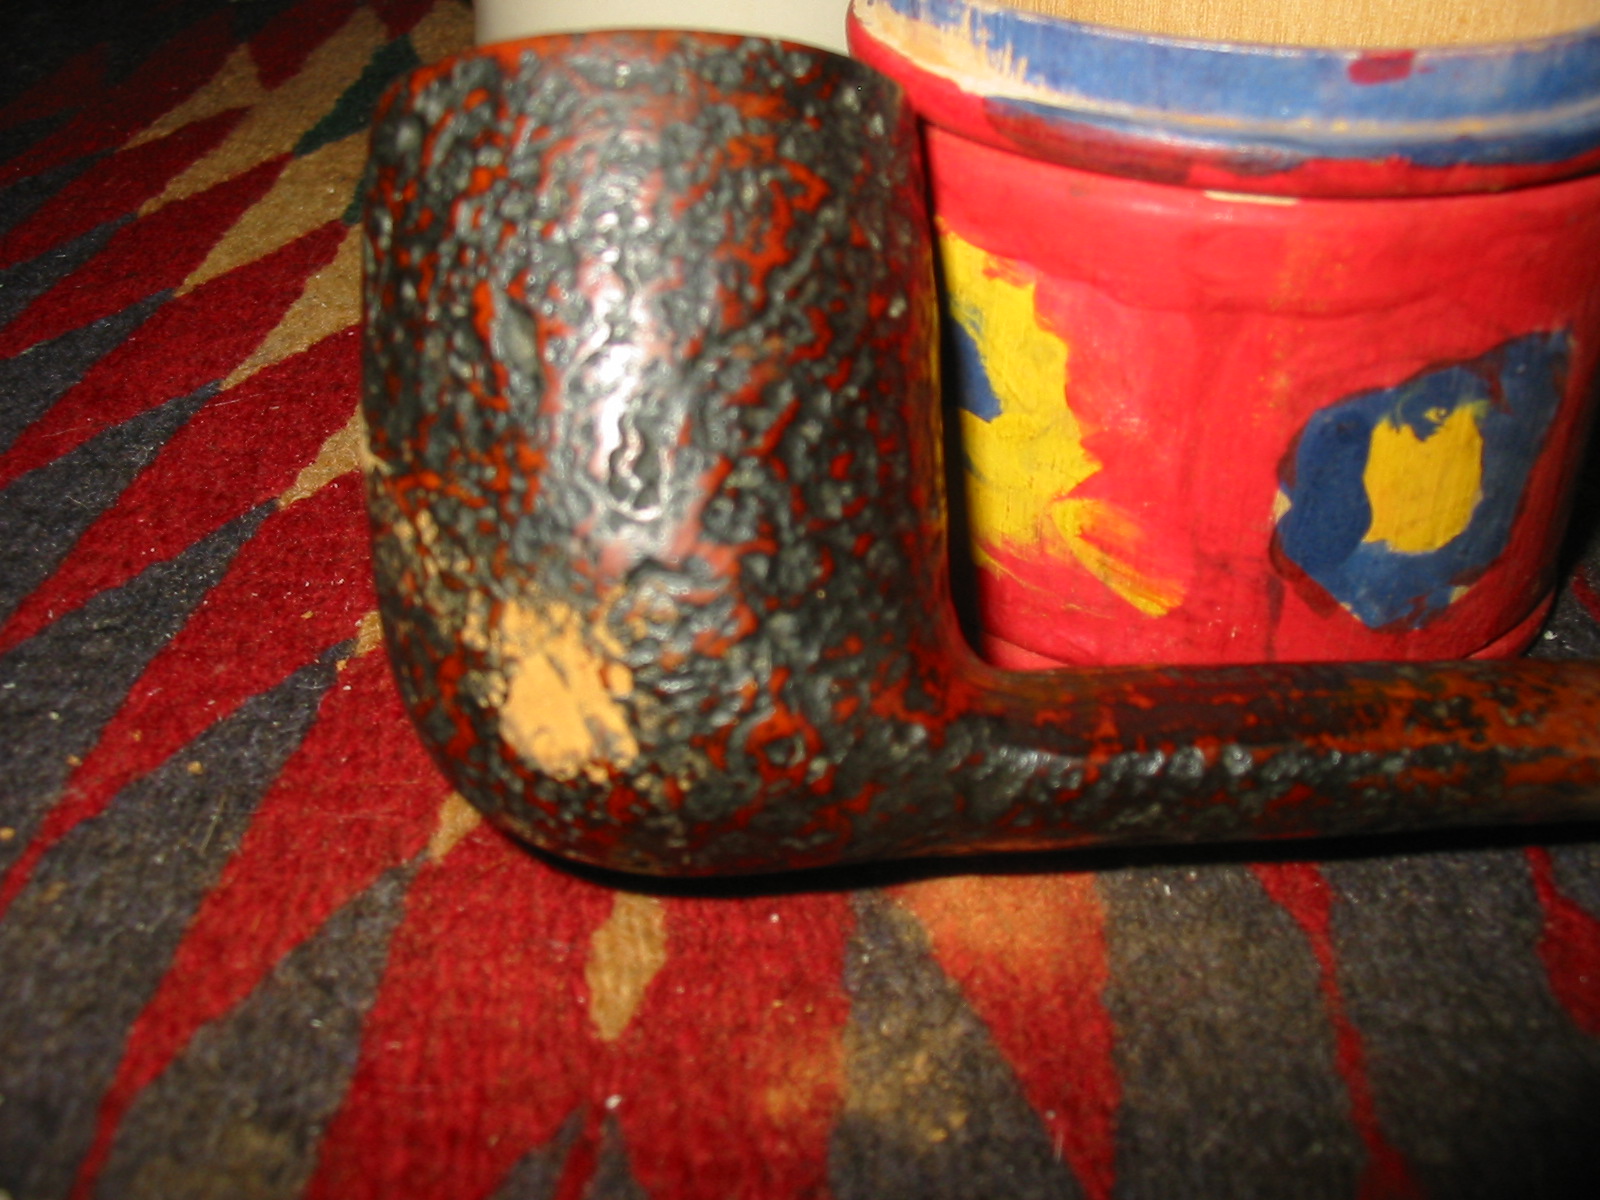


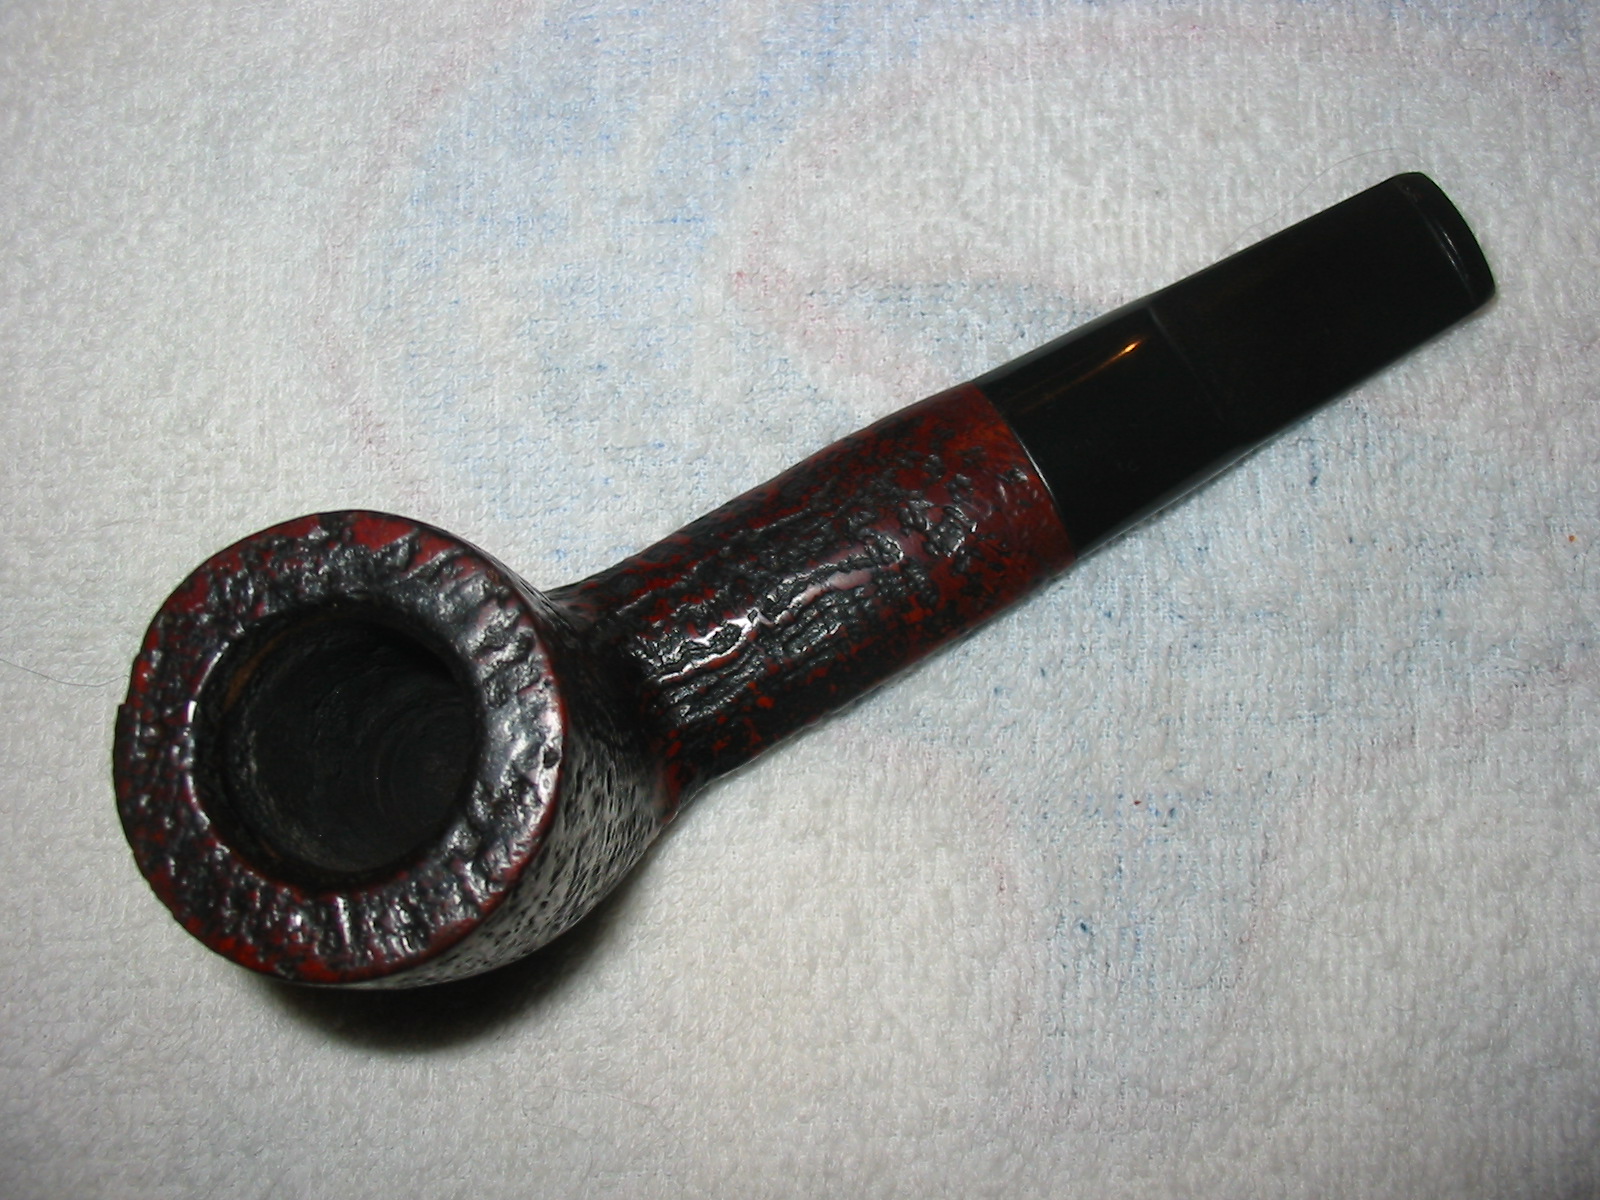
I wiped down the entire bowl with acetone on a cotton pad to clean up the finish on the bowl and prepare if for the new stain that I would add once the surface was clean. Note how well the patch on the left side of the bowl matched the grain of the sand blast on the rest of the bowl in first photo below.
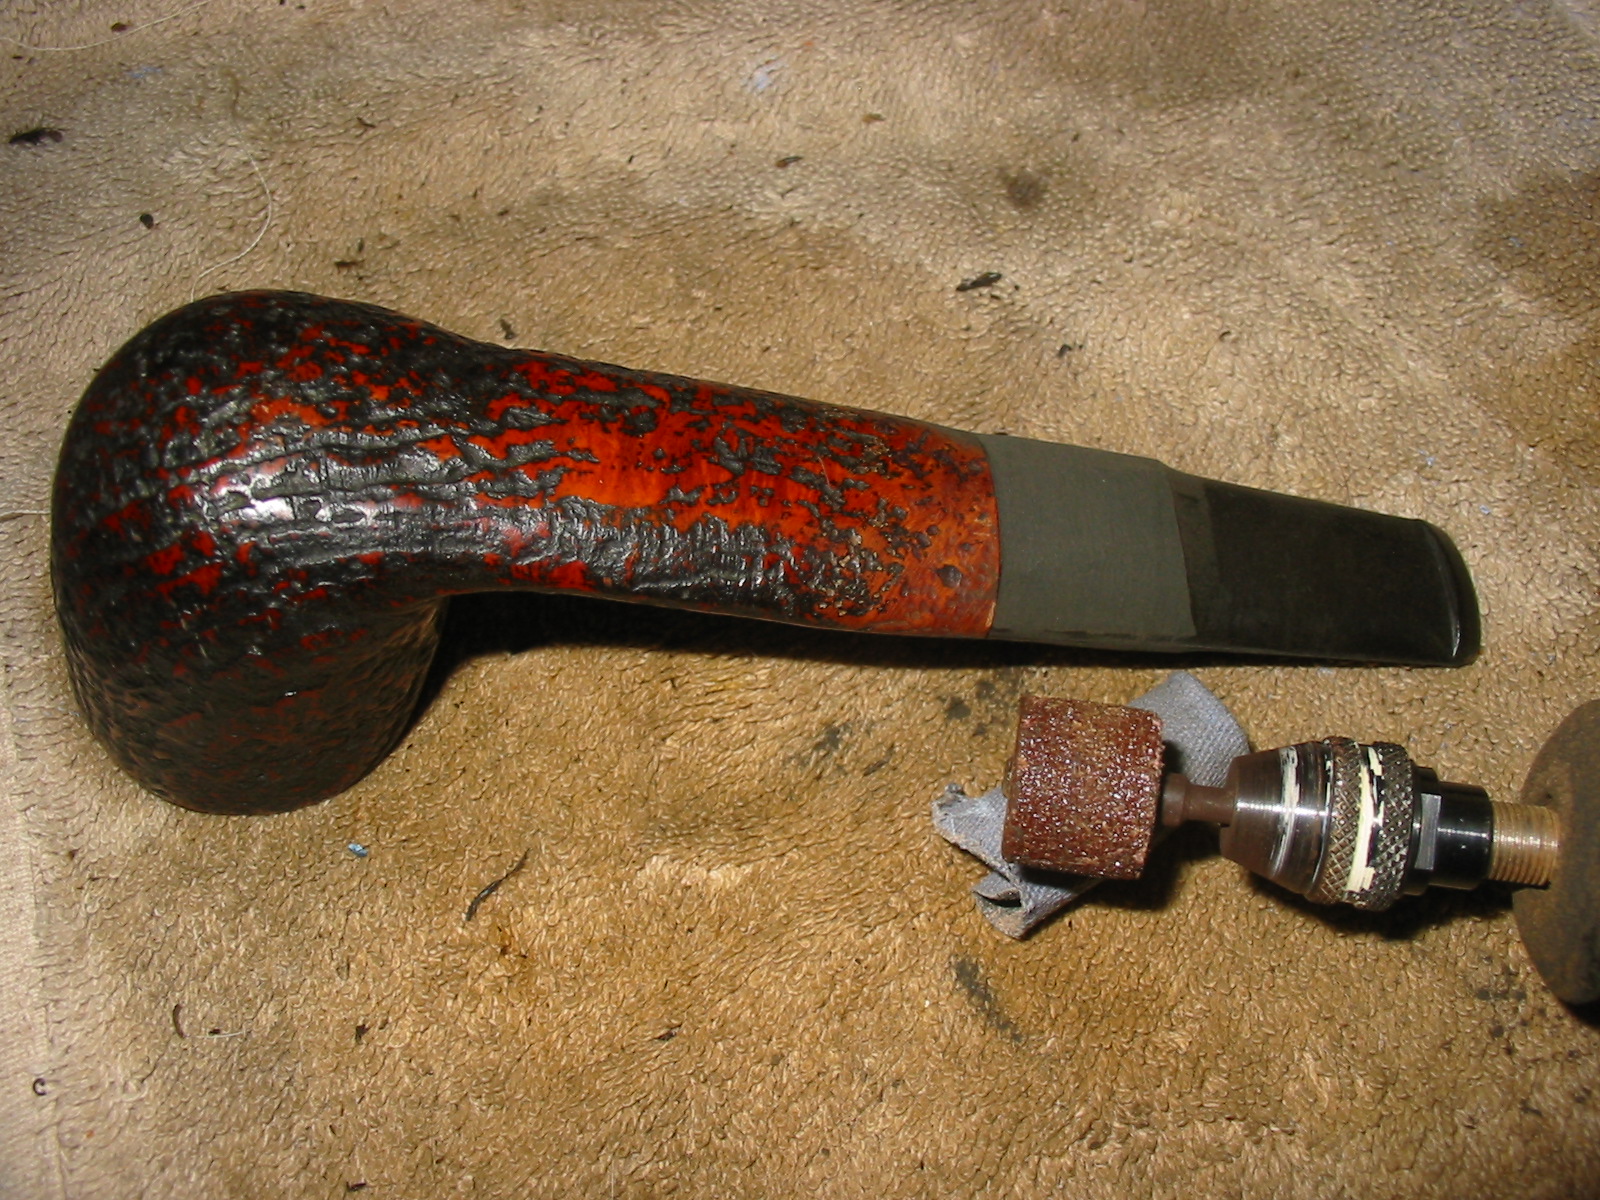
I chose to restain the bowl with a dark brown aniline stain that I thinned with two parts isopropyl alcohol to one part stain. From experimenting I had found that this colour matched the original stain on the bowl. I heated the bowl with a heat gun, applied the stain, flamed it and stained and flamed it a second time. I put more stain on the shank near the stem as the smoother portion of the finish seemed to not hold the stain as well as the blasted areas. There had also been a black under stain on the bowl from the original and the thinned dark brown worked well with that under stain to give some depth to the finish of the bowl. I hand buffed the bowl with a shoe brush to give it the initial shine.
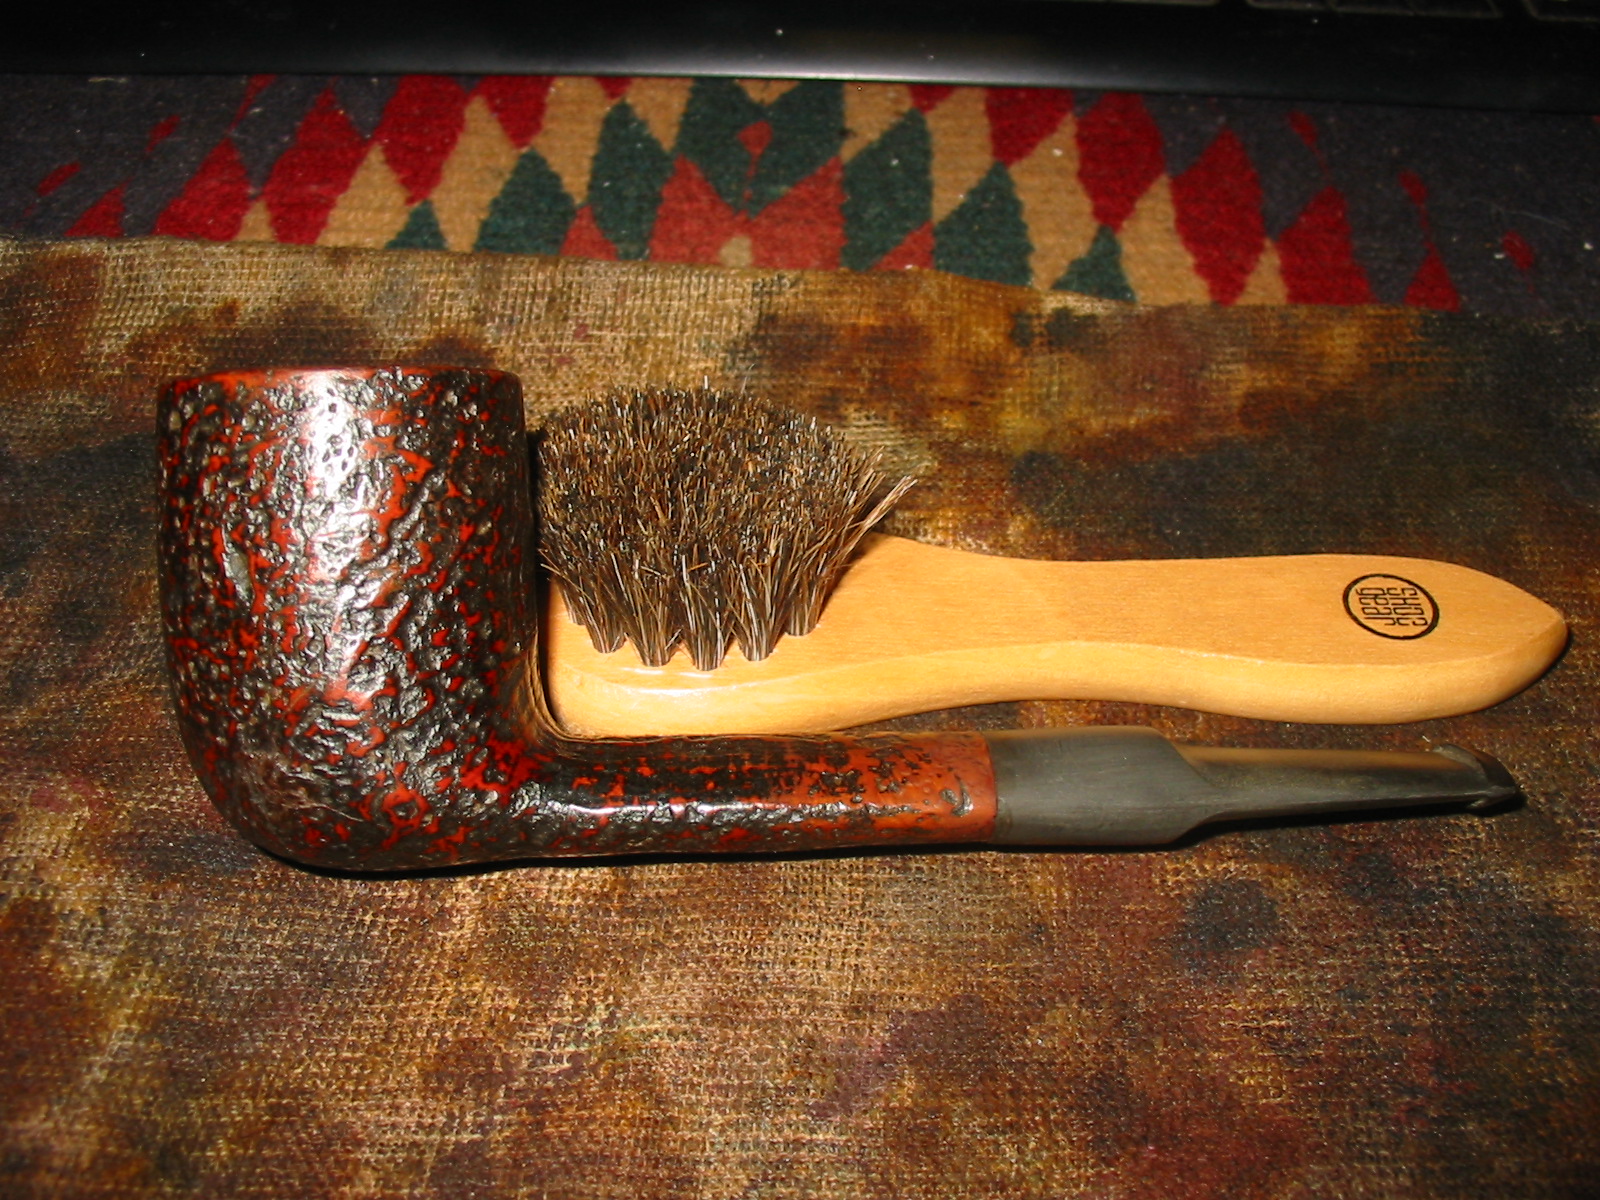
I sanded the stem with micromesh sanding pads from 1500-12,000 grit to polish the stem. Each successive grit of micromesh deepened the shine of the stem. Between the 2400 and the 3200 grit micromesh I polished the stem with Maguiar’s Scratch X2.0 – a plastic polish that I have used to polish stems. I then sanded with the remaining grits of micromesh.
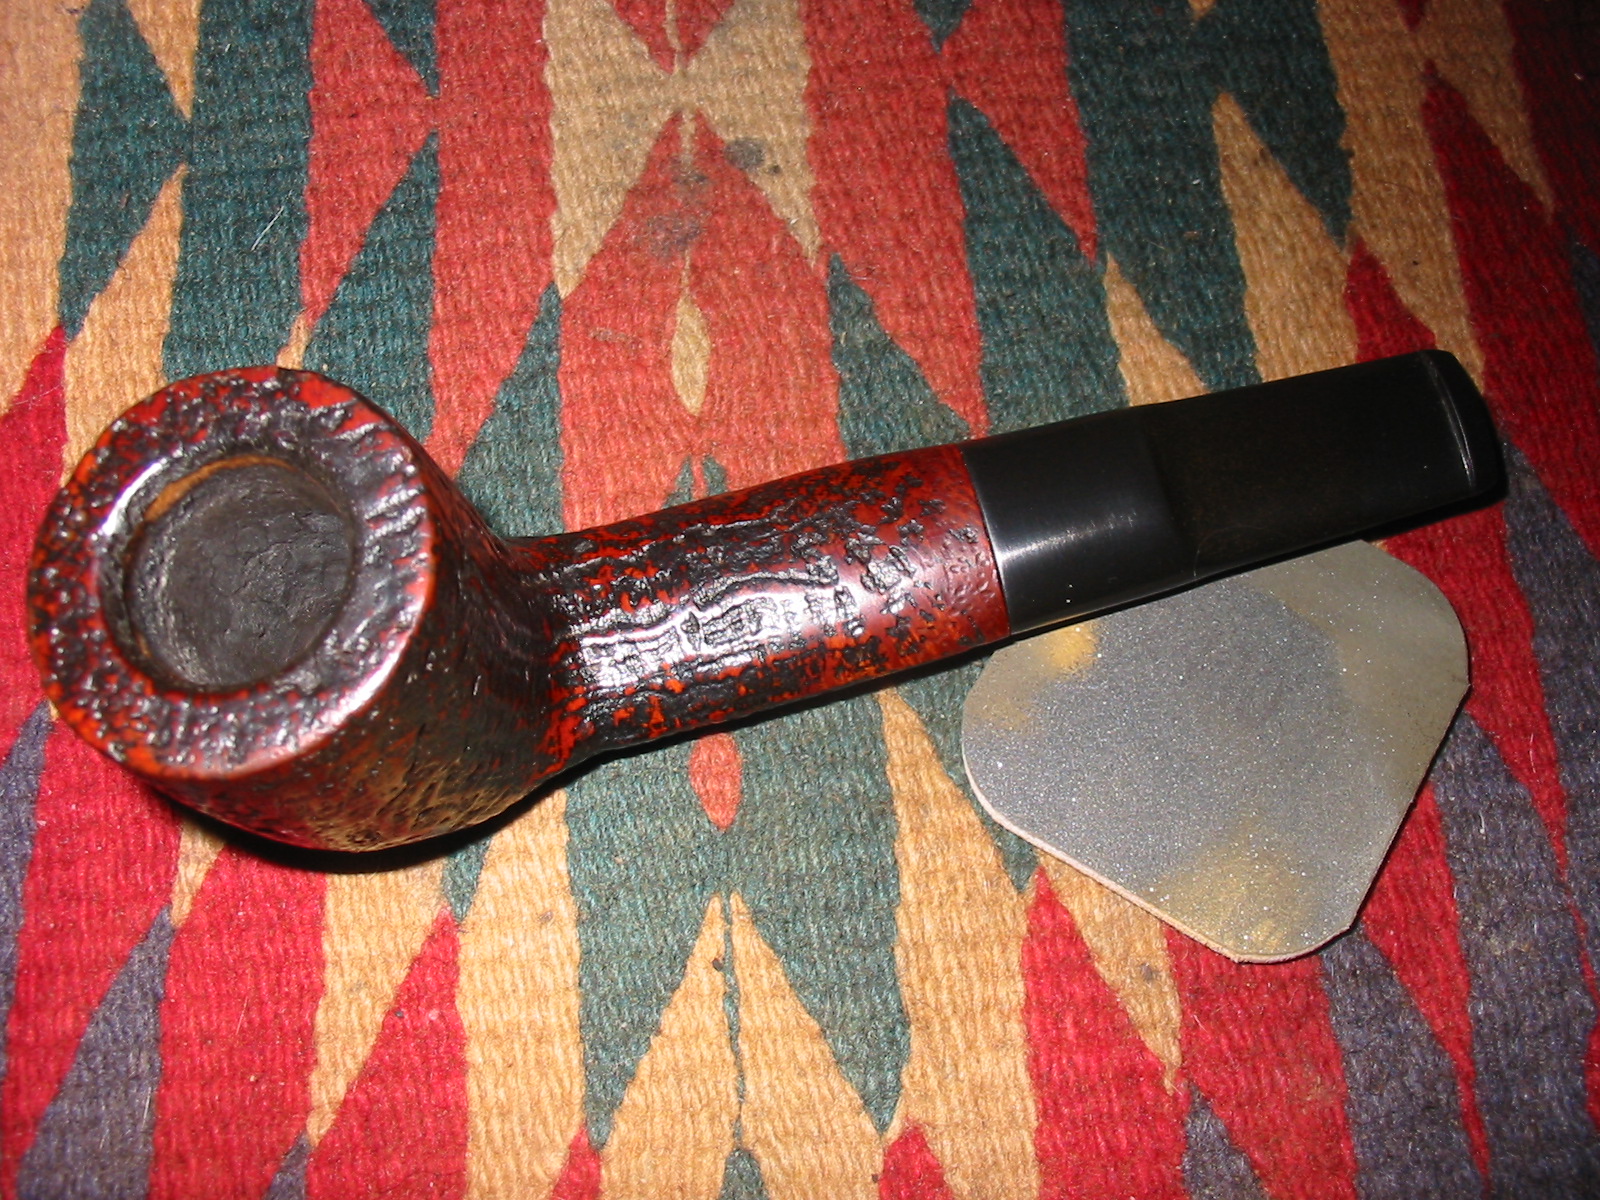
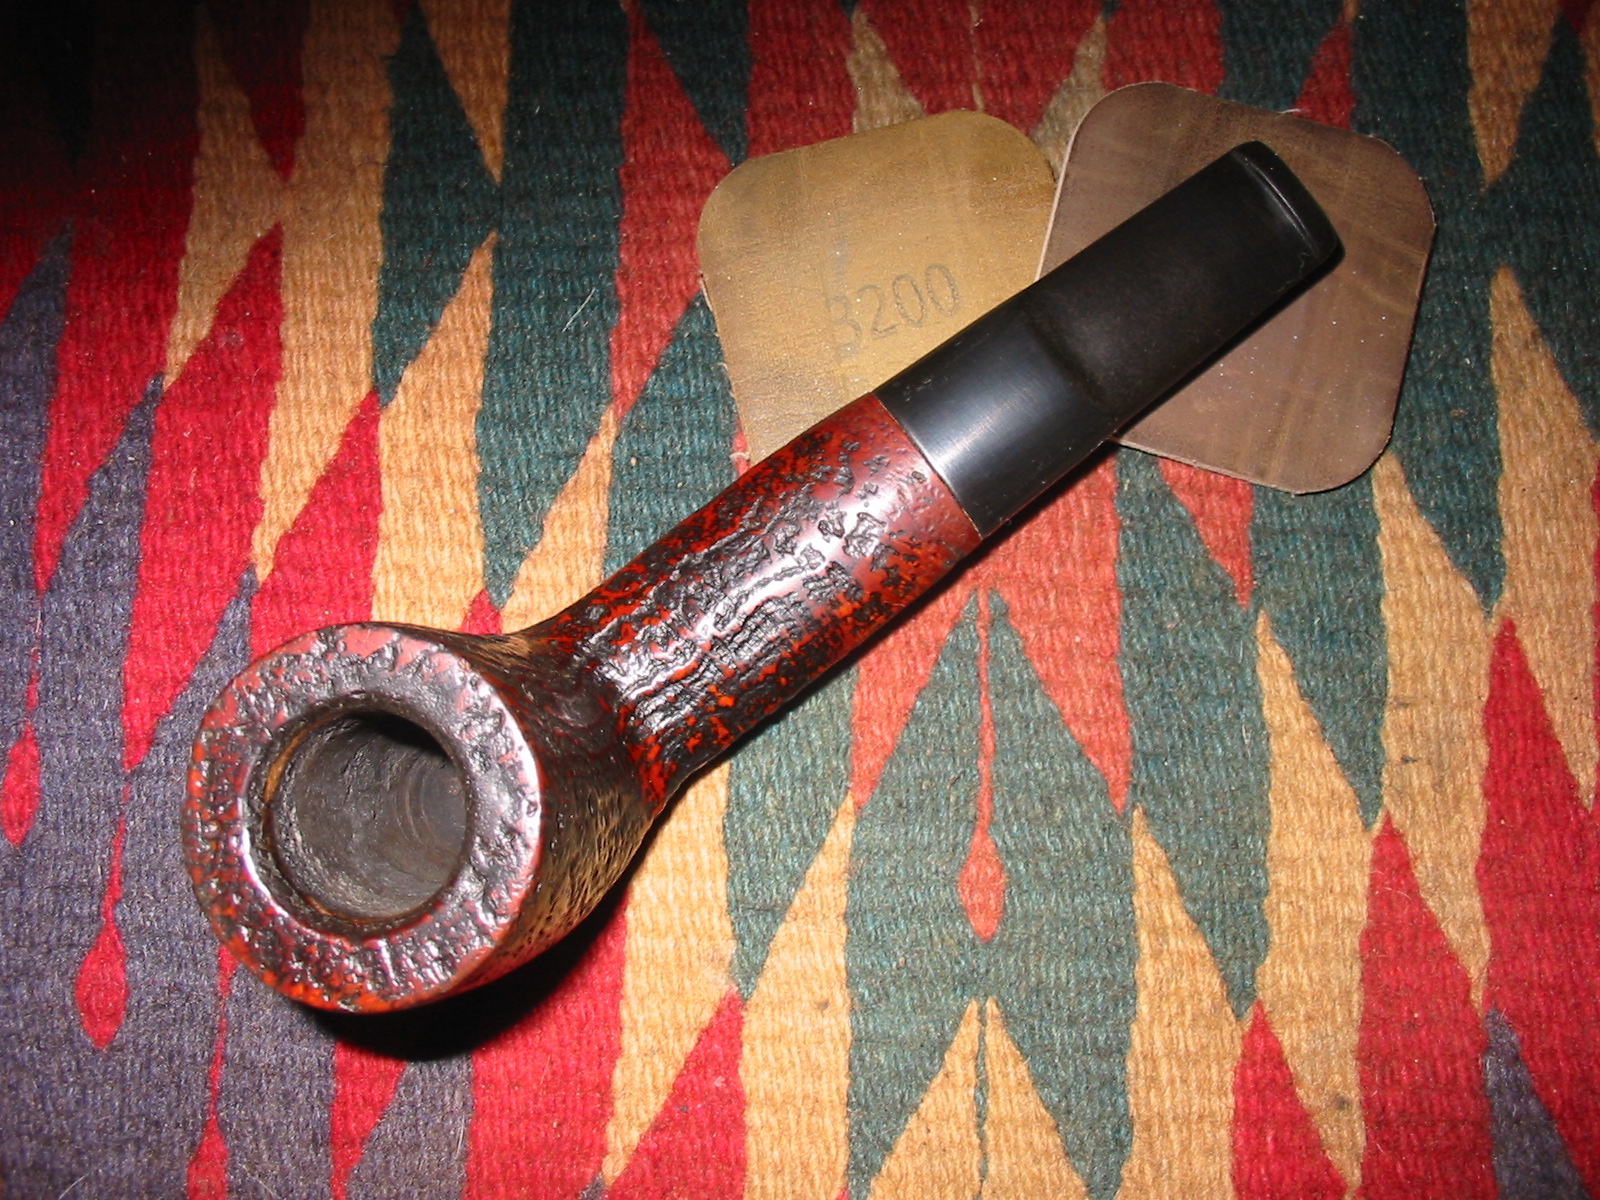

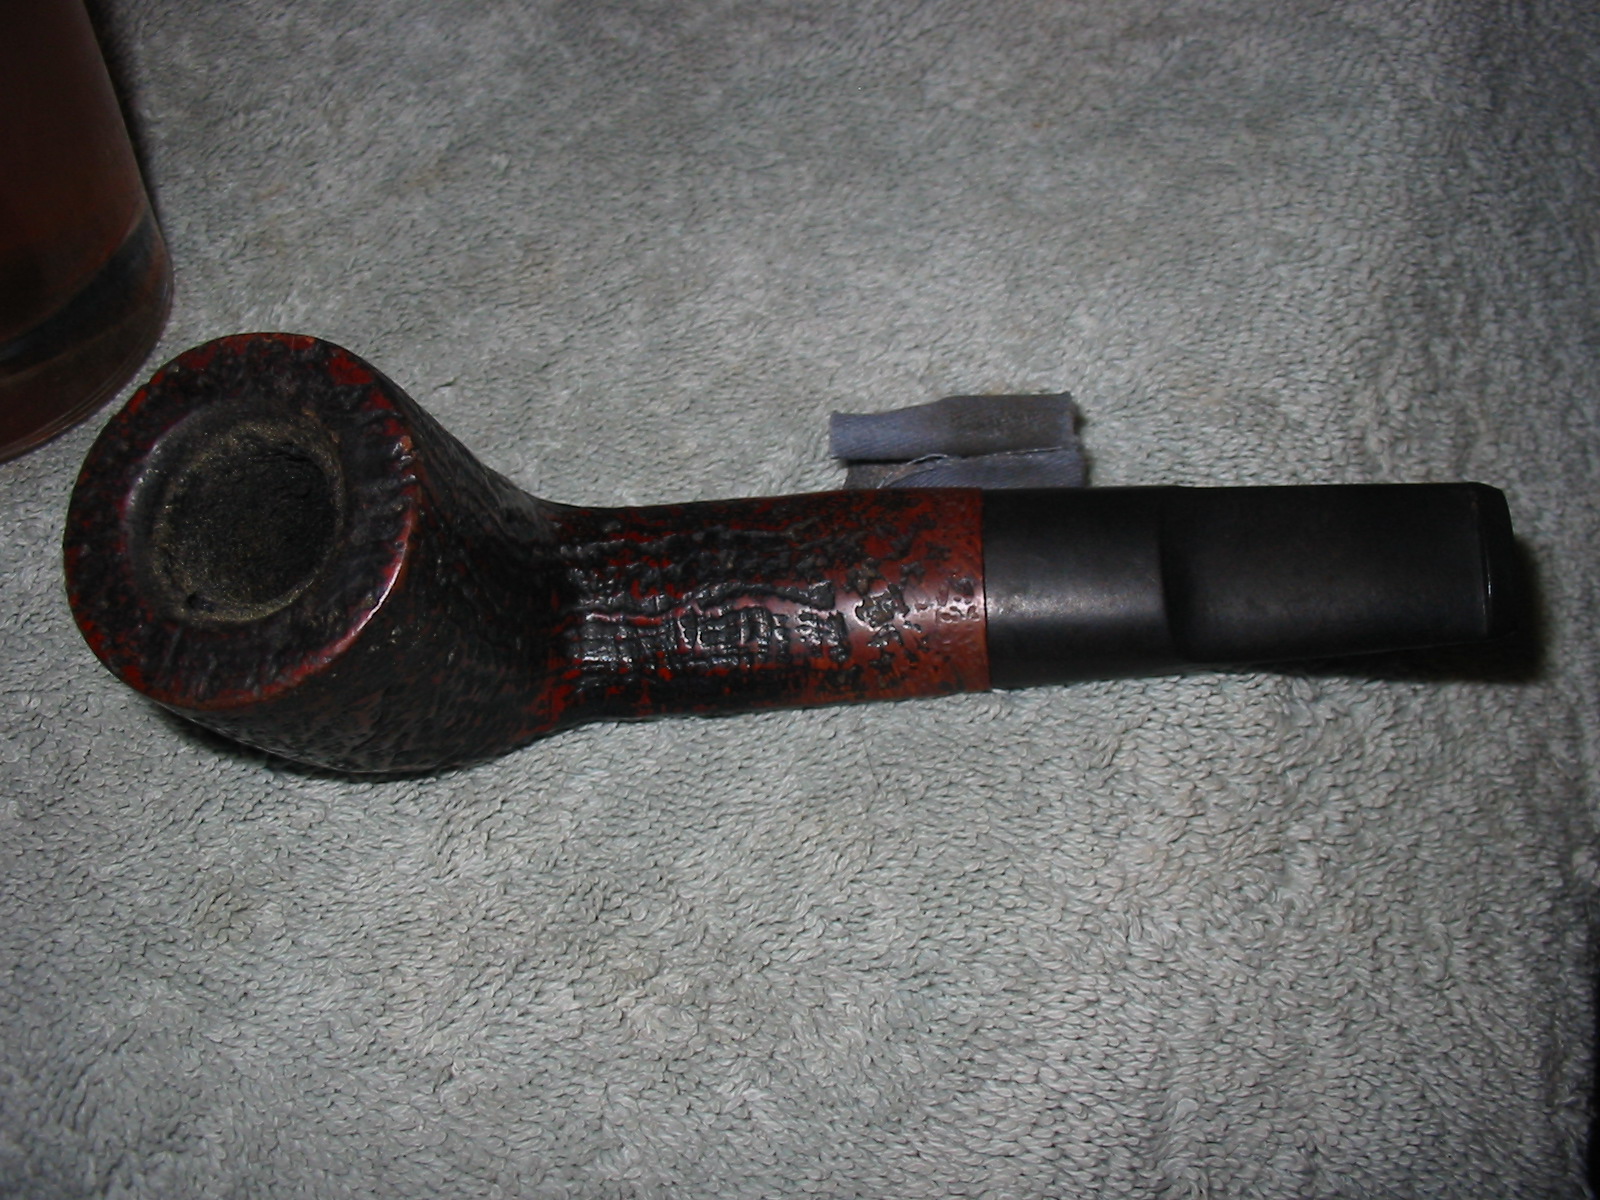
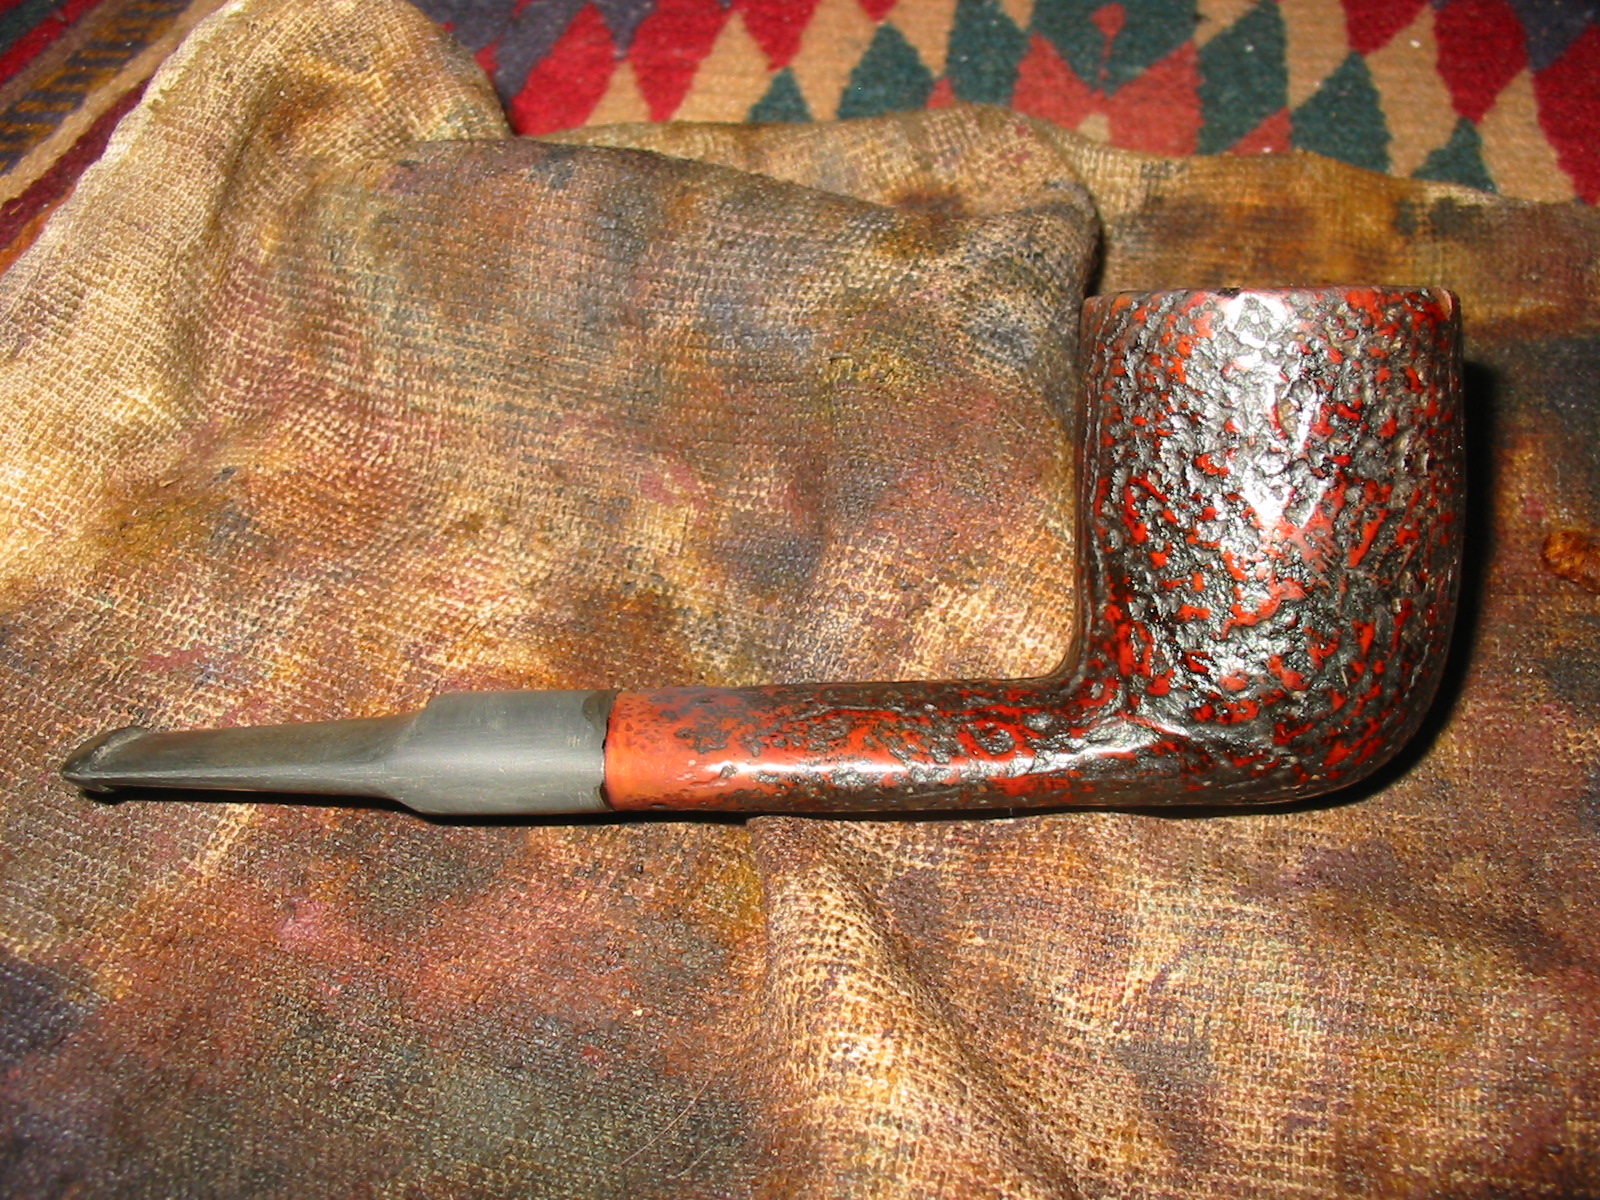
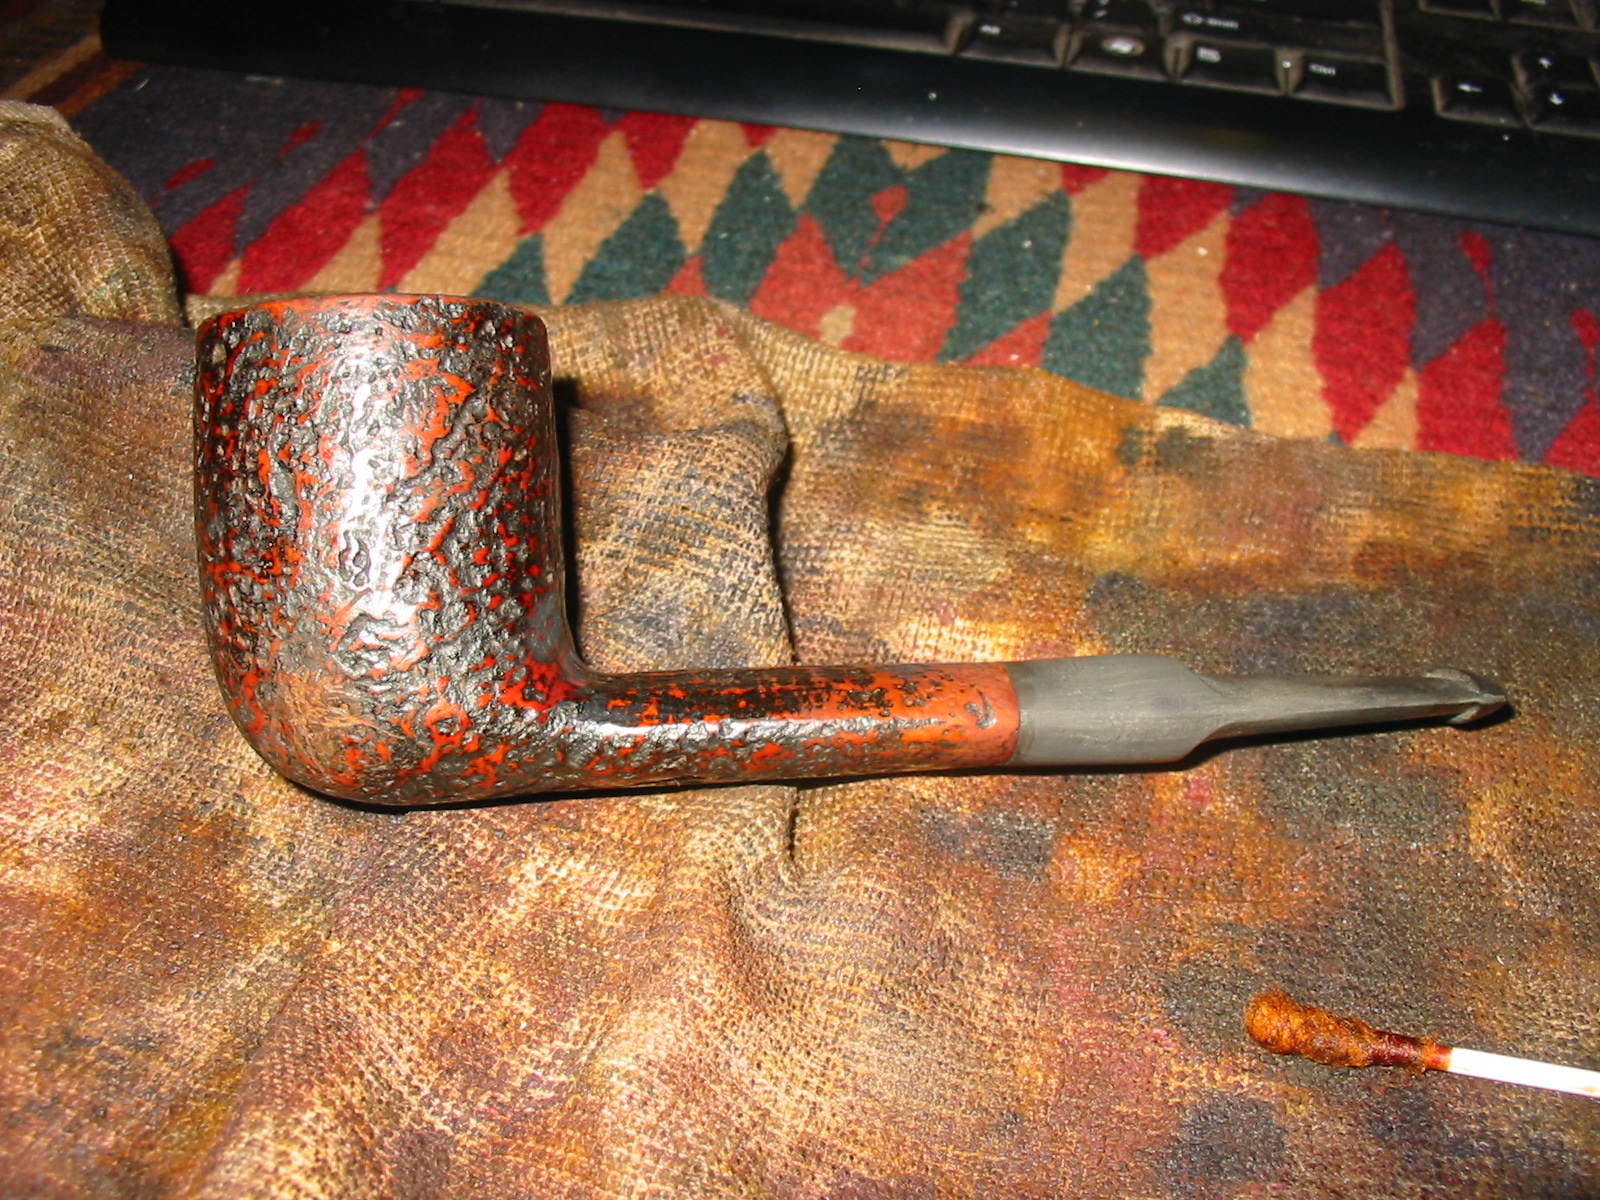
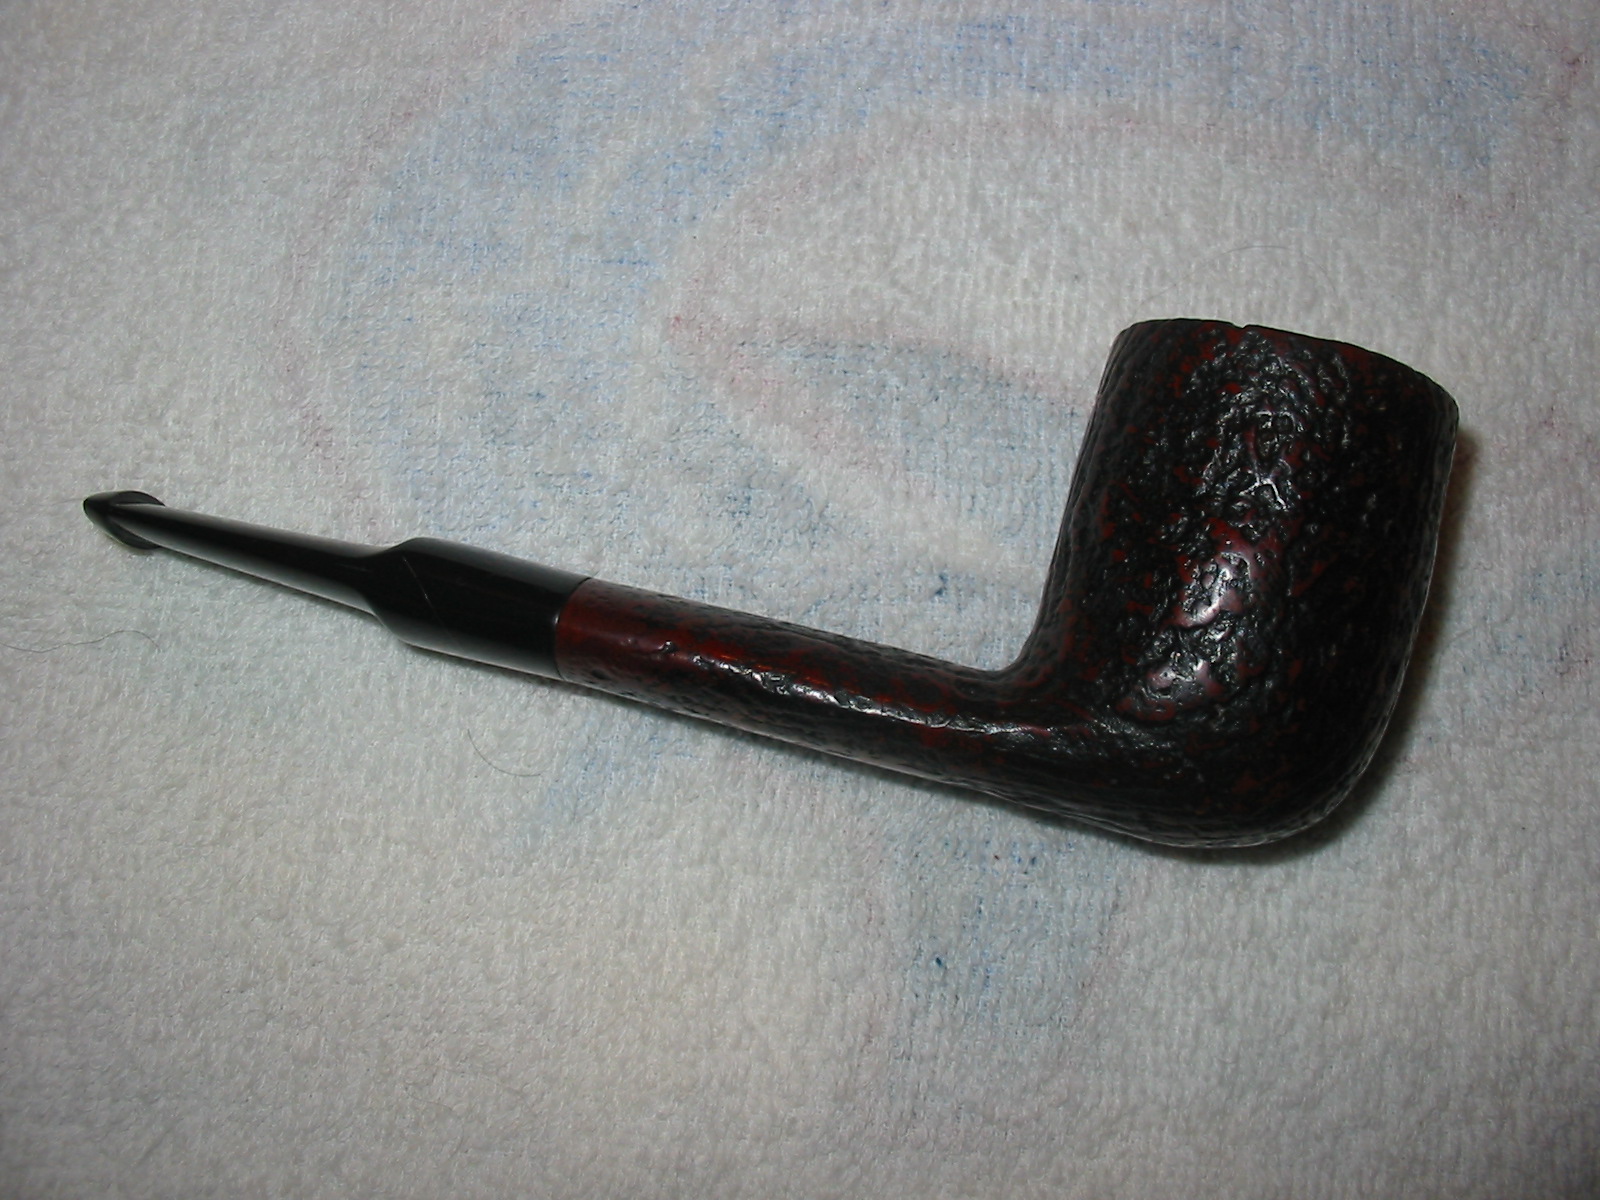
After sanding, I buffed the bowl and stem on the buffer with White Diamond and then gave the stem several coats of carnauba wax on the buffing wheel. I used Halcyon II wax on the sandblasted finish on the bowl and shank. I finished the pipe by buffing it with a clean flannel buff to raise the shine of the wax. The finished pipe is pictured below.

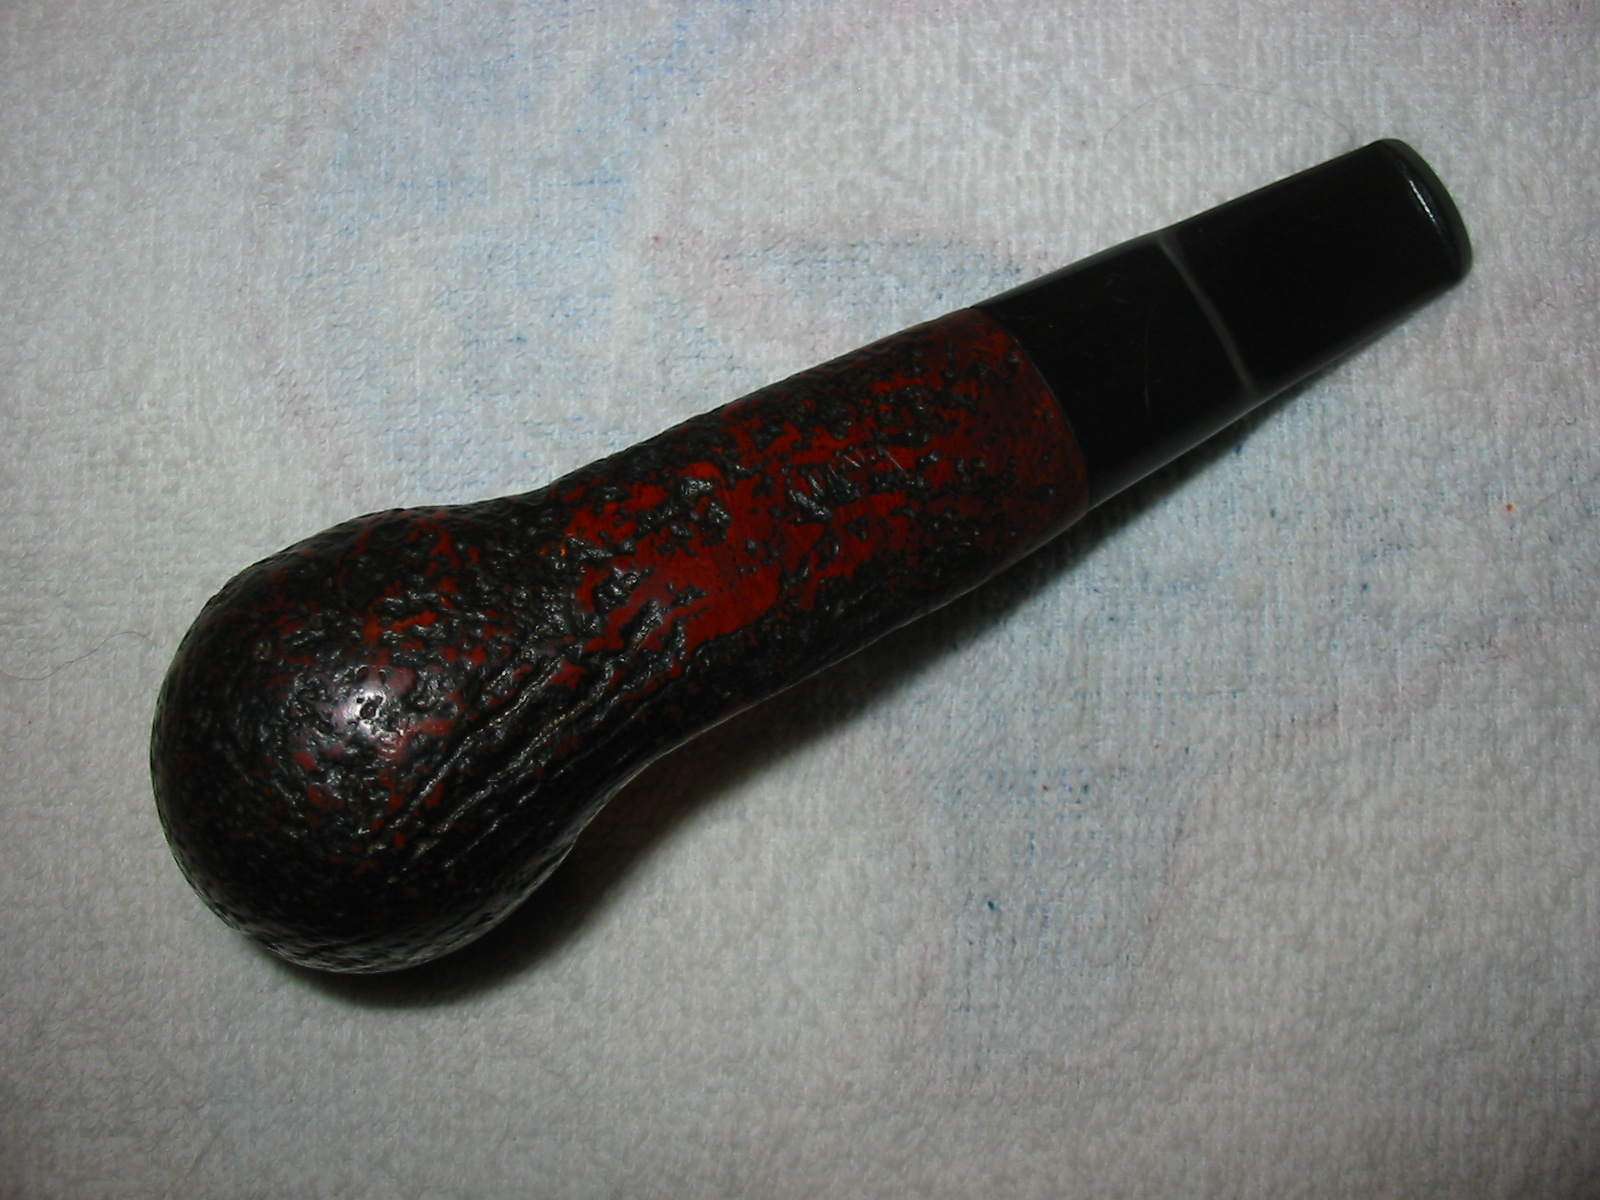
The final photo below shows the repaired divot on the bowl. It is utterly merged in the side of the bowl and the finish and stain make it invisible.

What a rich looking pipe. I’m really starting to like oval stemmed pipes. Nice job on that repair spot, it’s invisible. I also appreciated the photo of the Pimo tenon tool in action, to this point I just couldn’t picture how it worked. Is there any chance you could shoot a little video on that process in the future?
LikeLike