Blog by Steve Laug
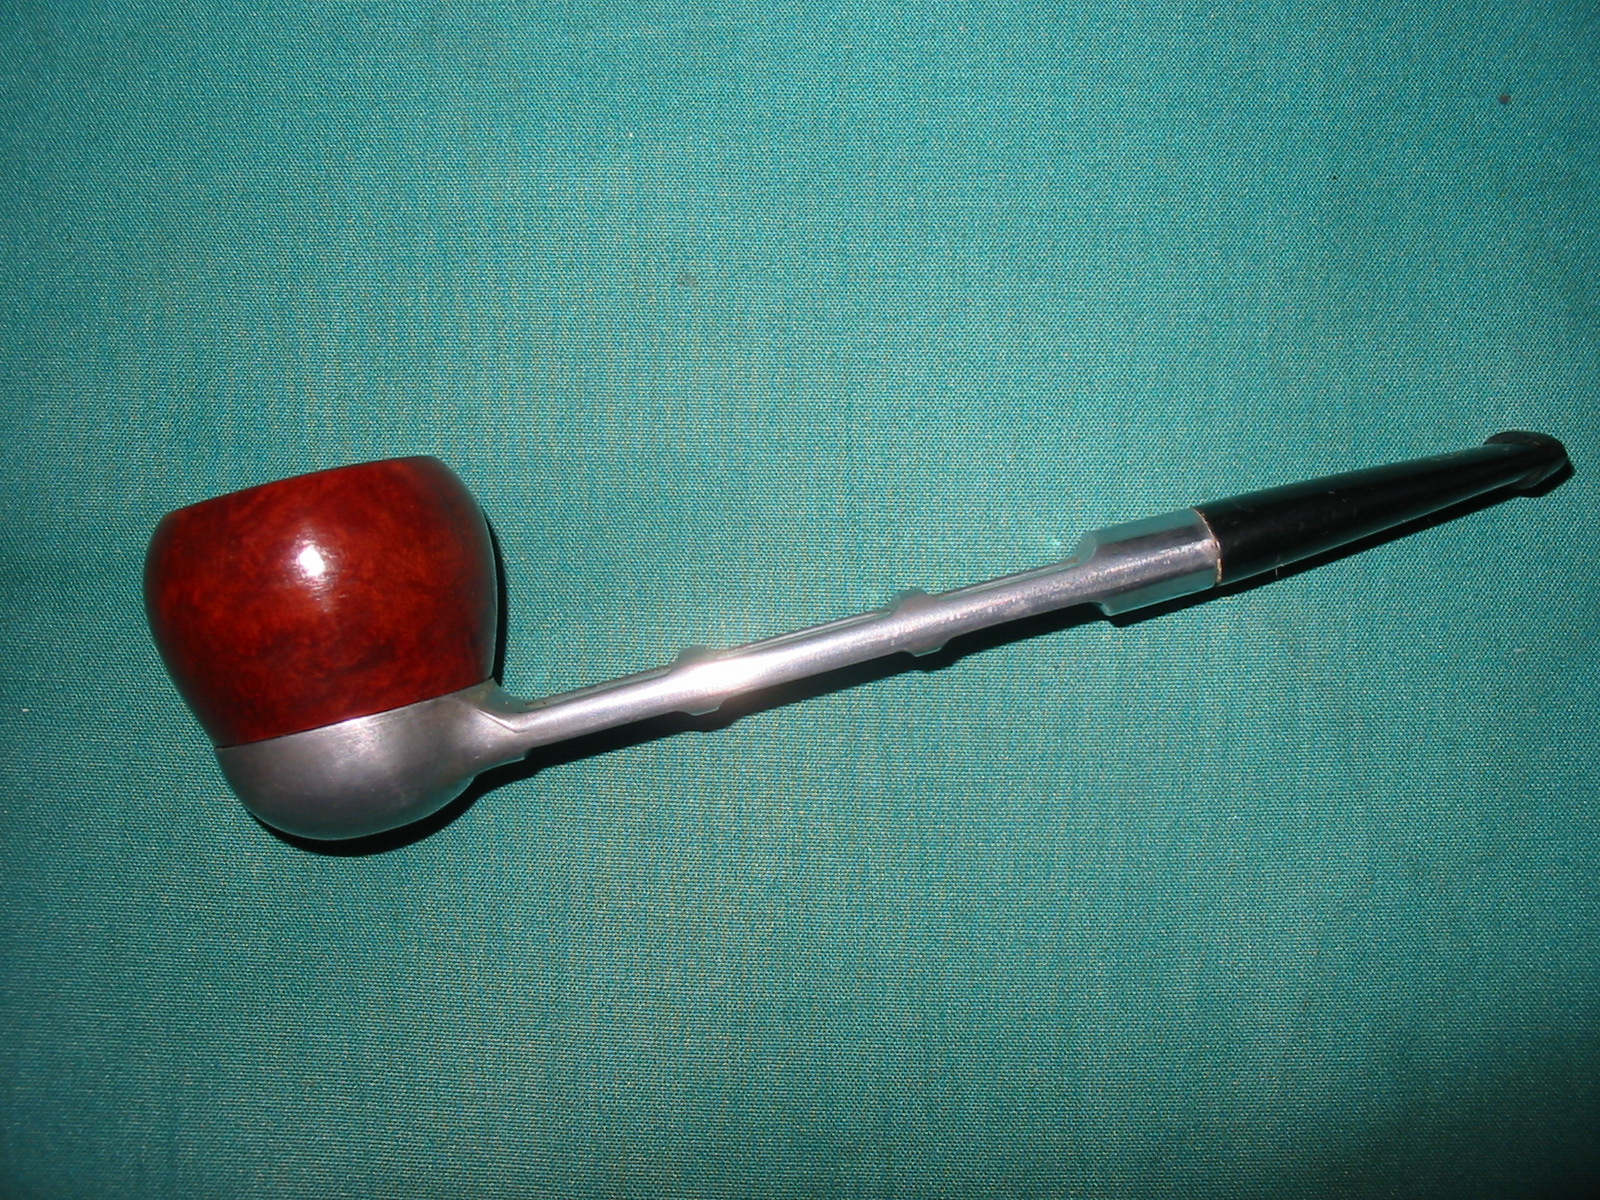
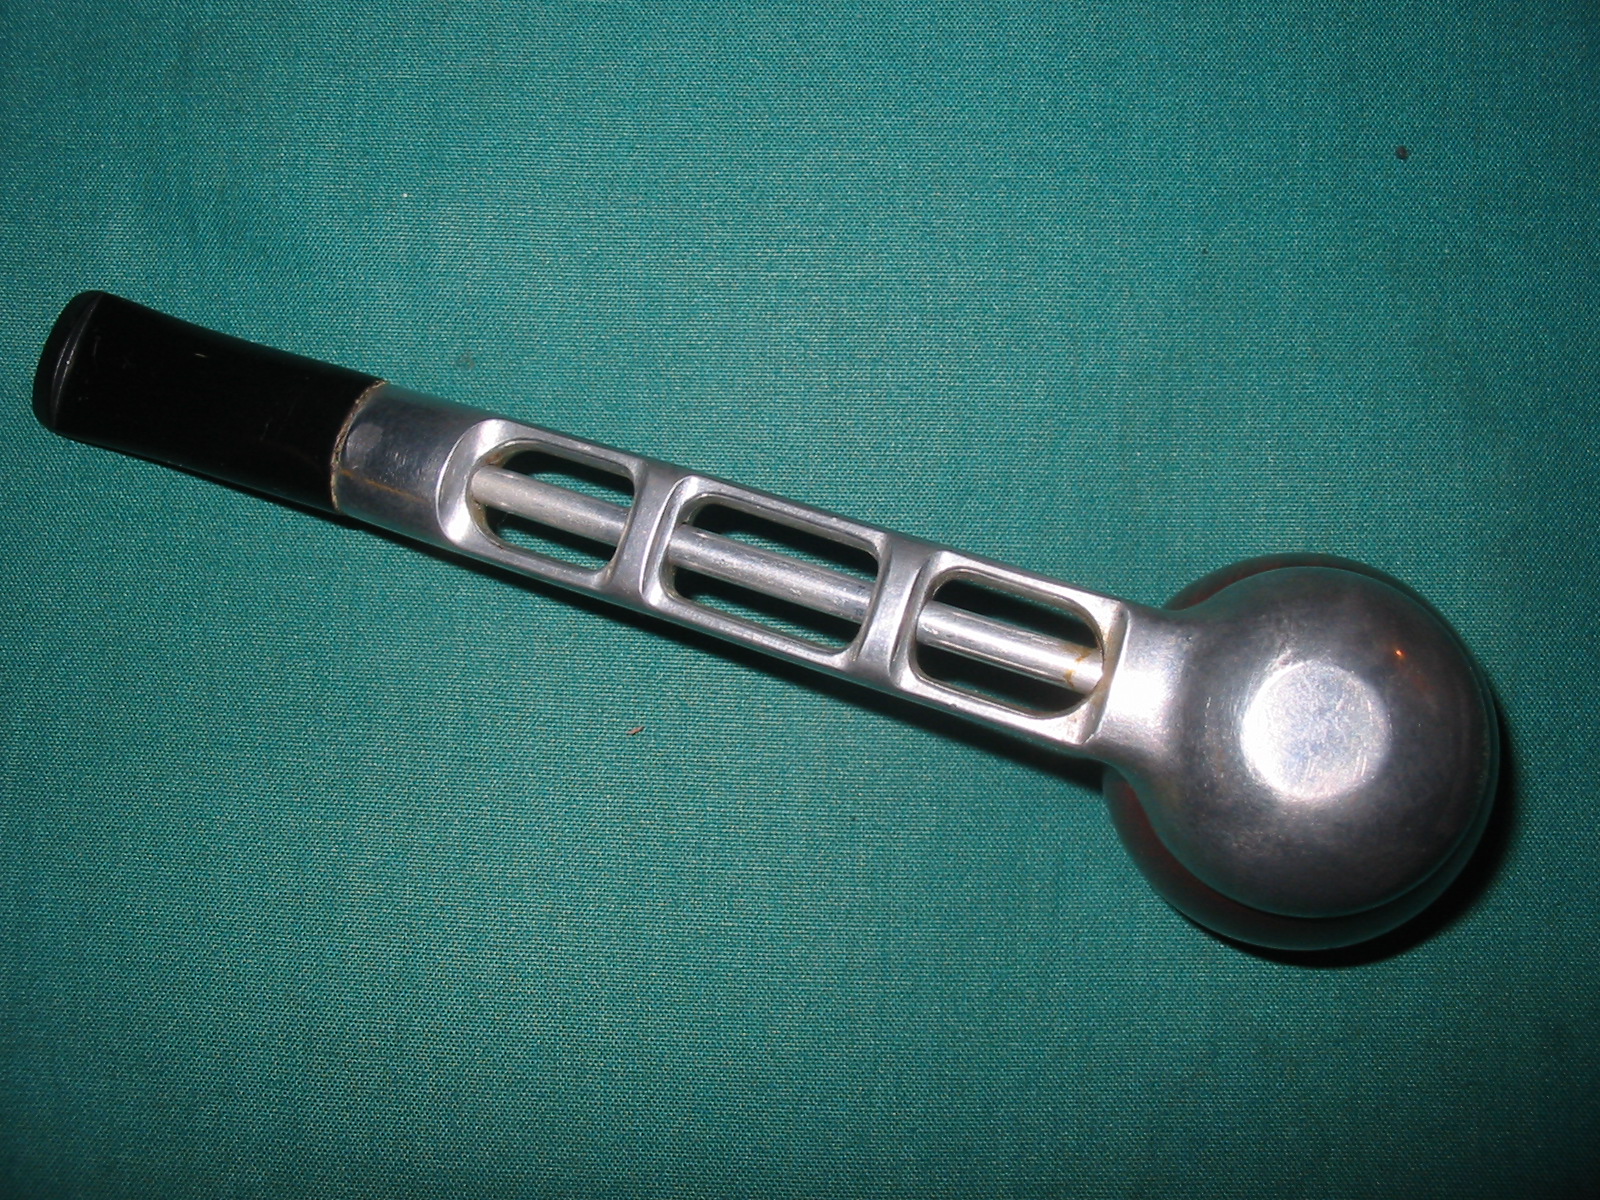
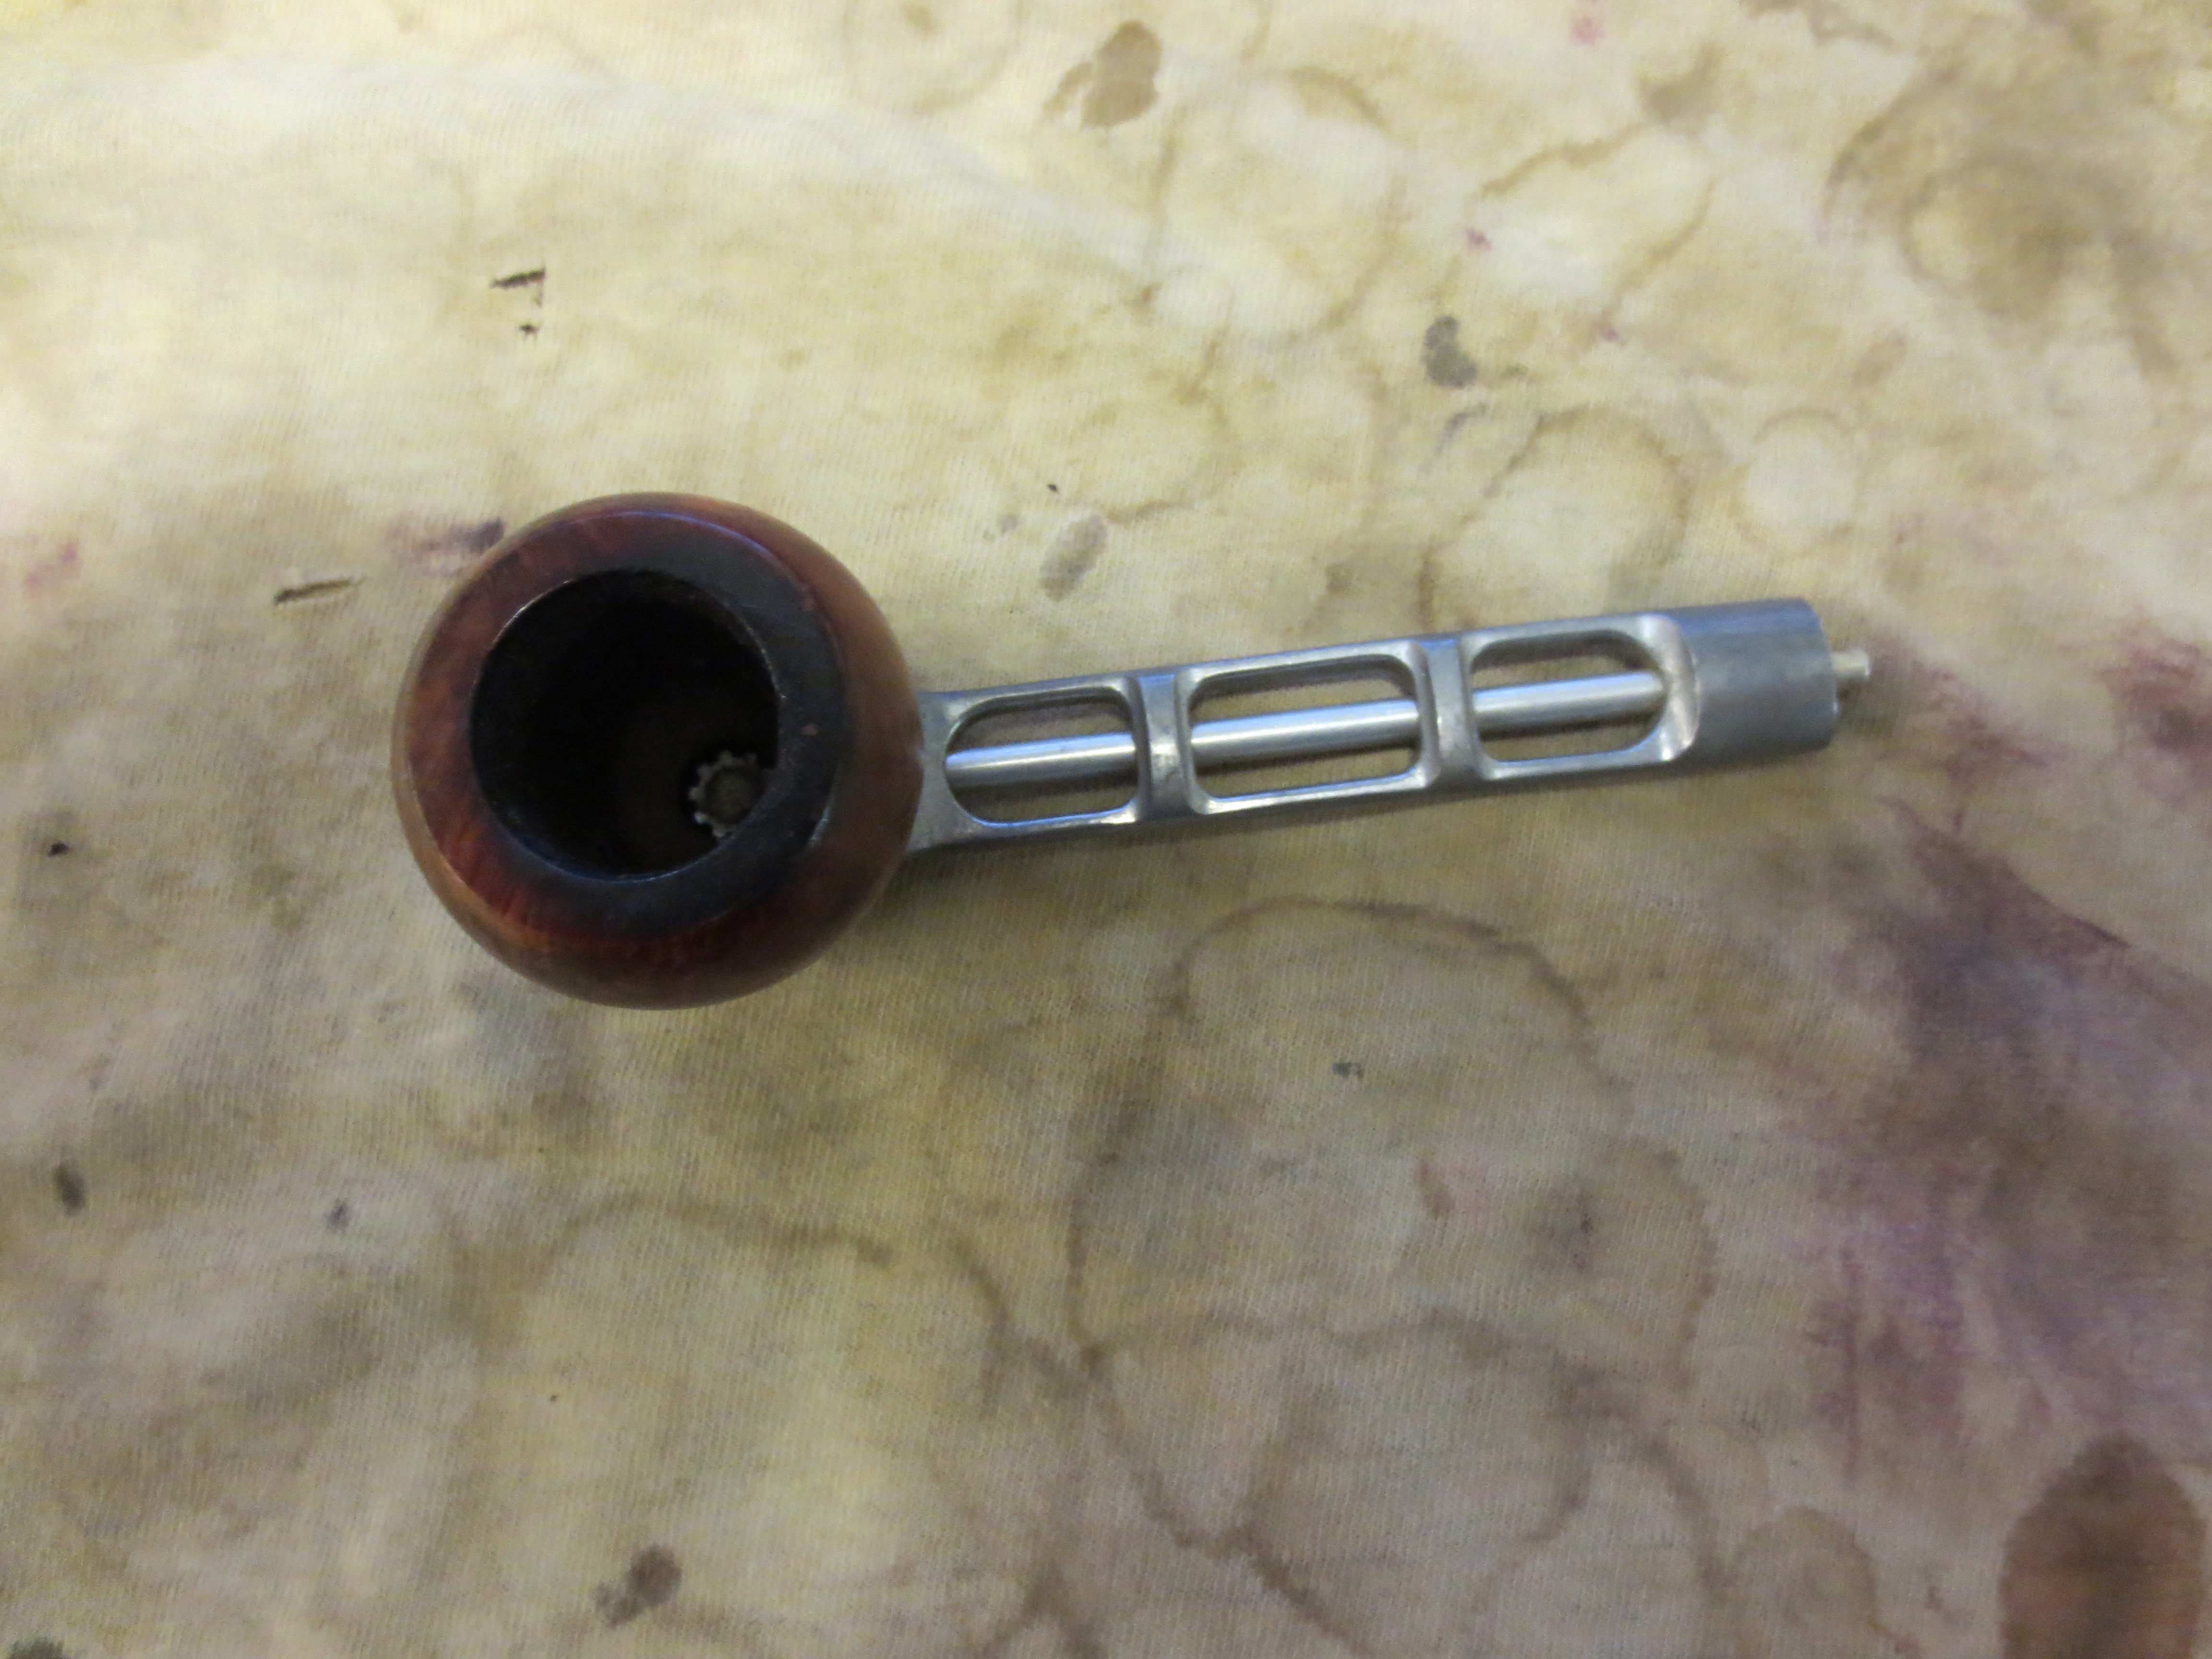
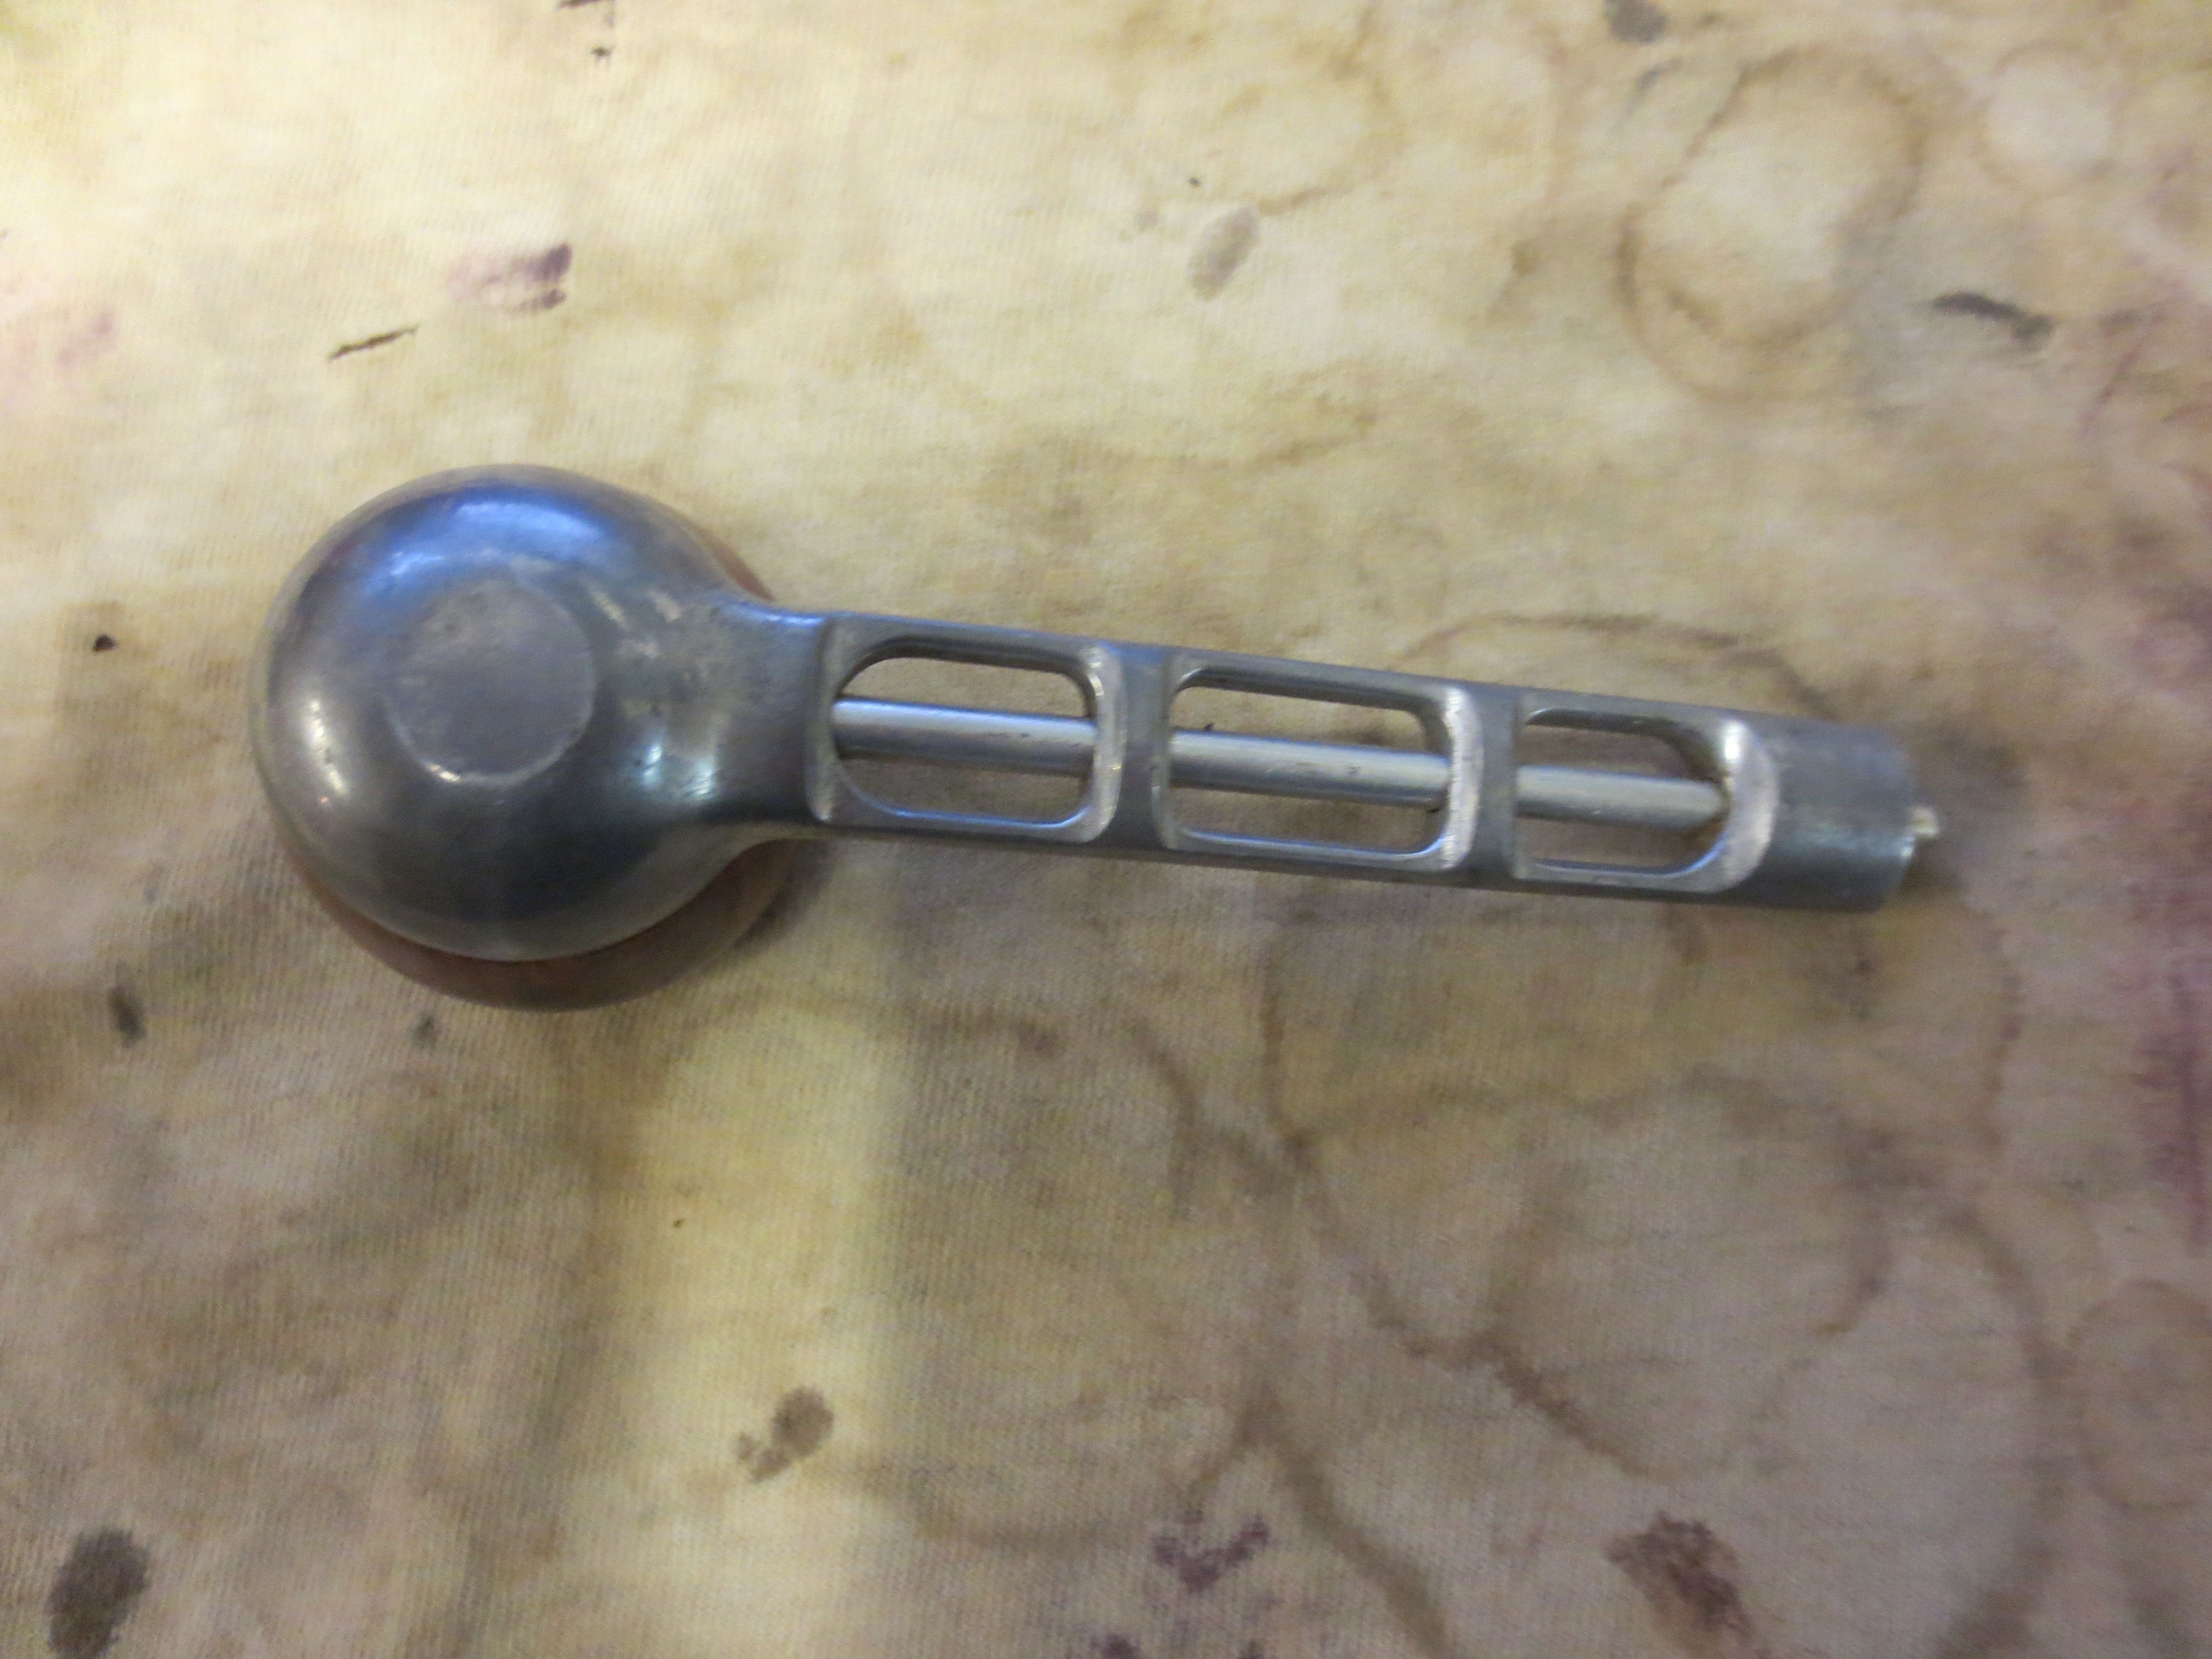
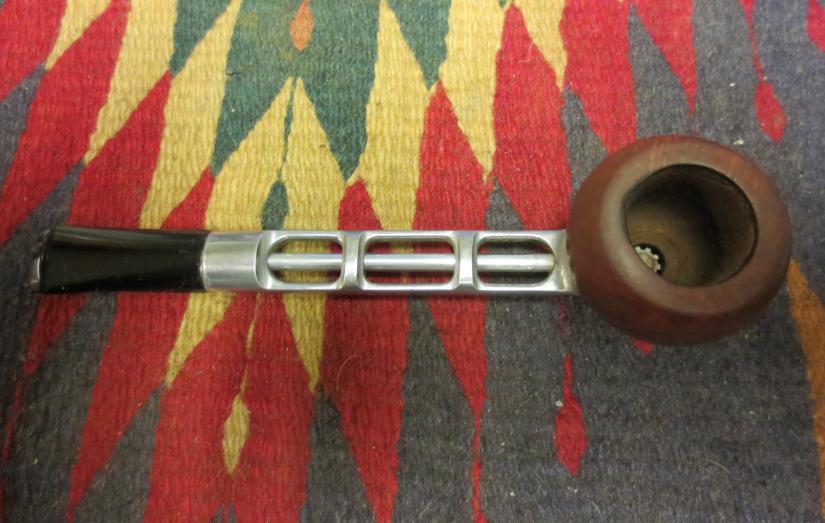
In my recent EBay purchase of pipe bowls there was a Dr. Grabow Viking metal base minus the stem. I have had several of the Grabow Vikings over the years and cleaned them up and sold them. I have one that is in my regular rotation and it is a great little pipe. This one came with a Dublin shaped bowl and the shank was not bent or damaged. For a long time now I have wanted to try restemming one of these metal pipes and do a write up on the process. This would be the opportunity to do both. The metal bowl base was coated inside with the tobacco lacquer that is often found in old Vikings or Falcons that have been sitting for a long time unused. The aluminum shank was oxidized and dull but would shine up well with a little elbow grease. The finish on the outside of the bowl was not damaged and would be easy to restore. There was a rough broken cake in the bowl and the rim was tarred and caked. As I inspected the bowl I noted that there was also a burned area on the inner rim at the back of the bowl. The first three photos that follow show the condition of the pipe when it arrived on my work table.

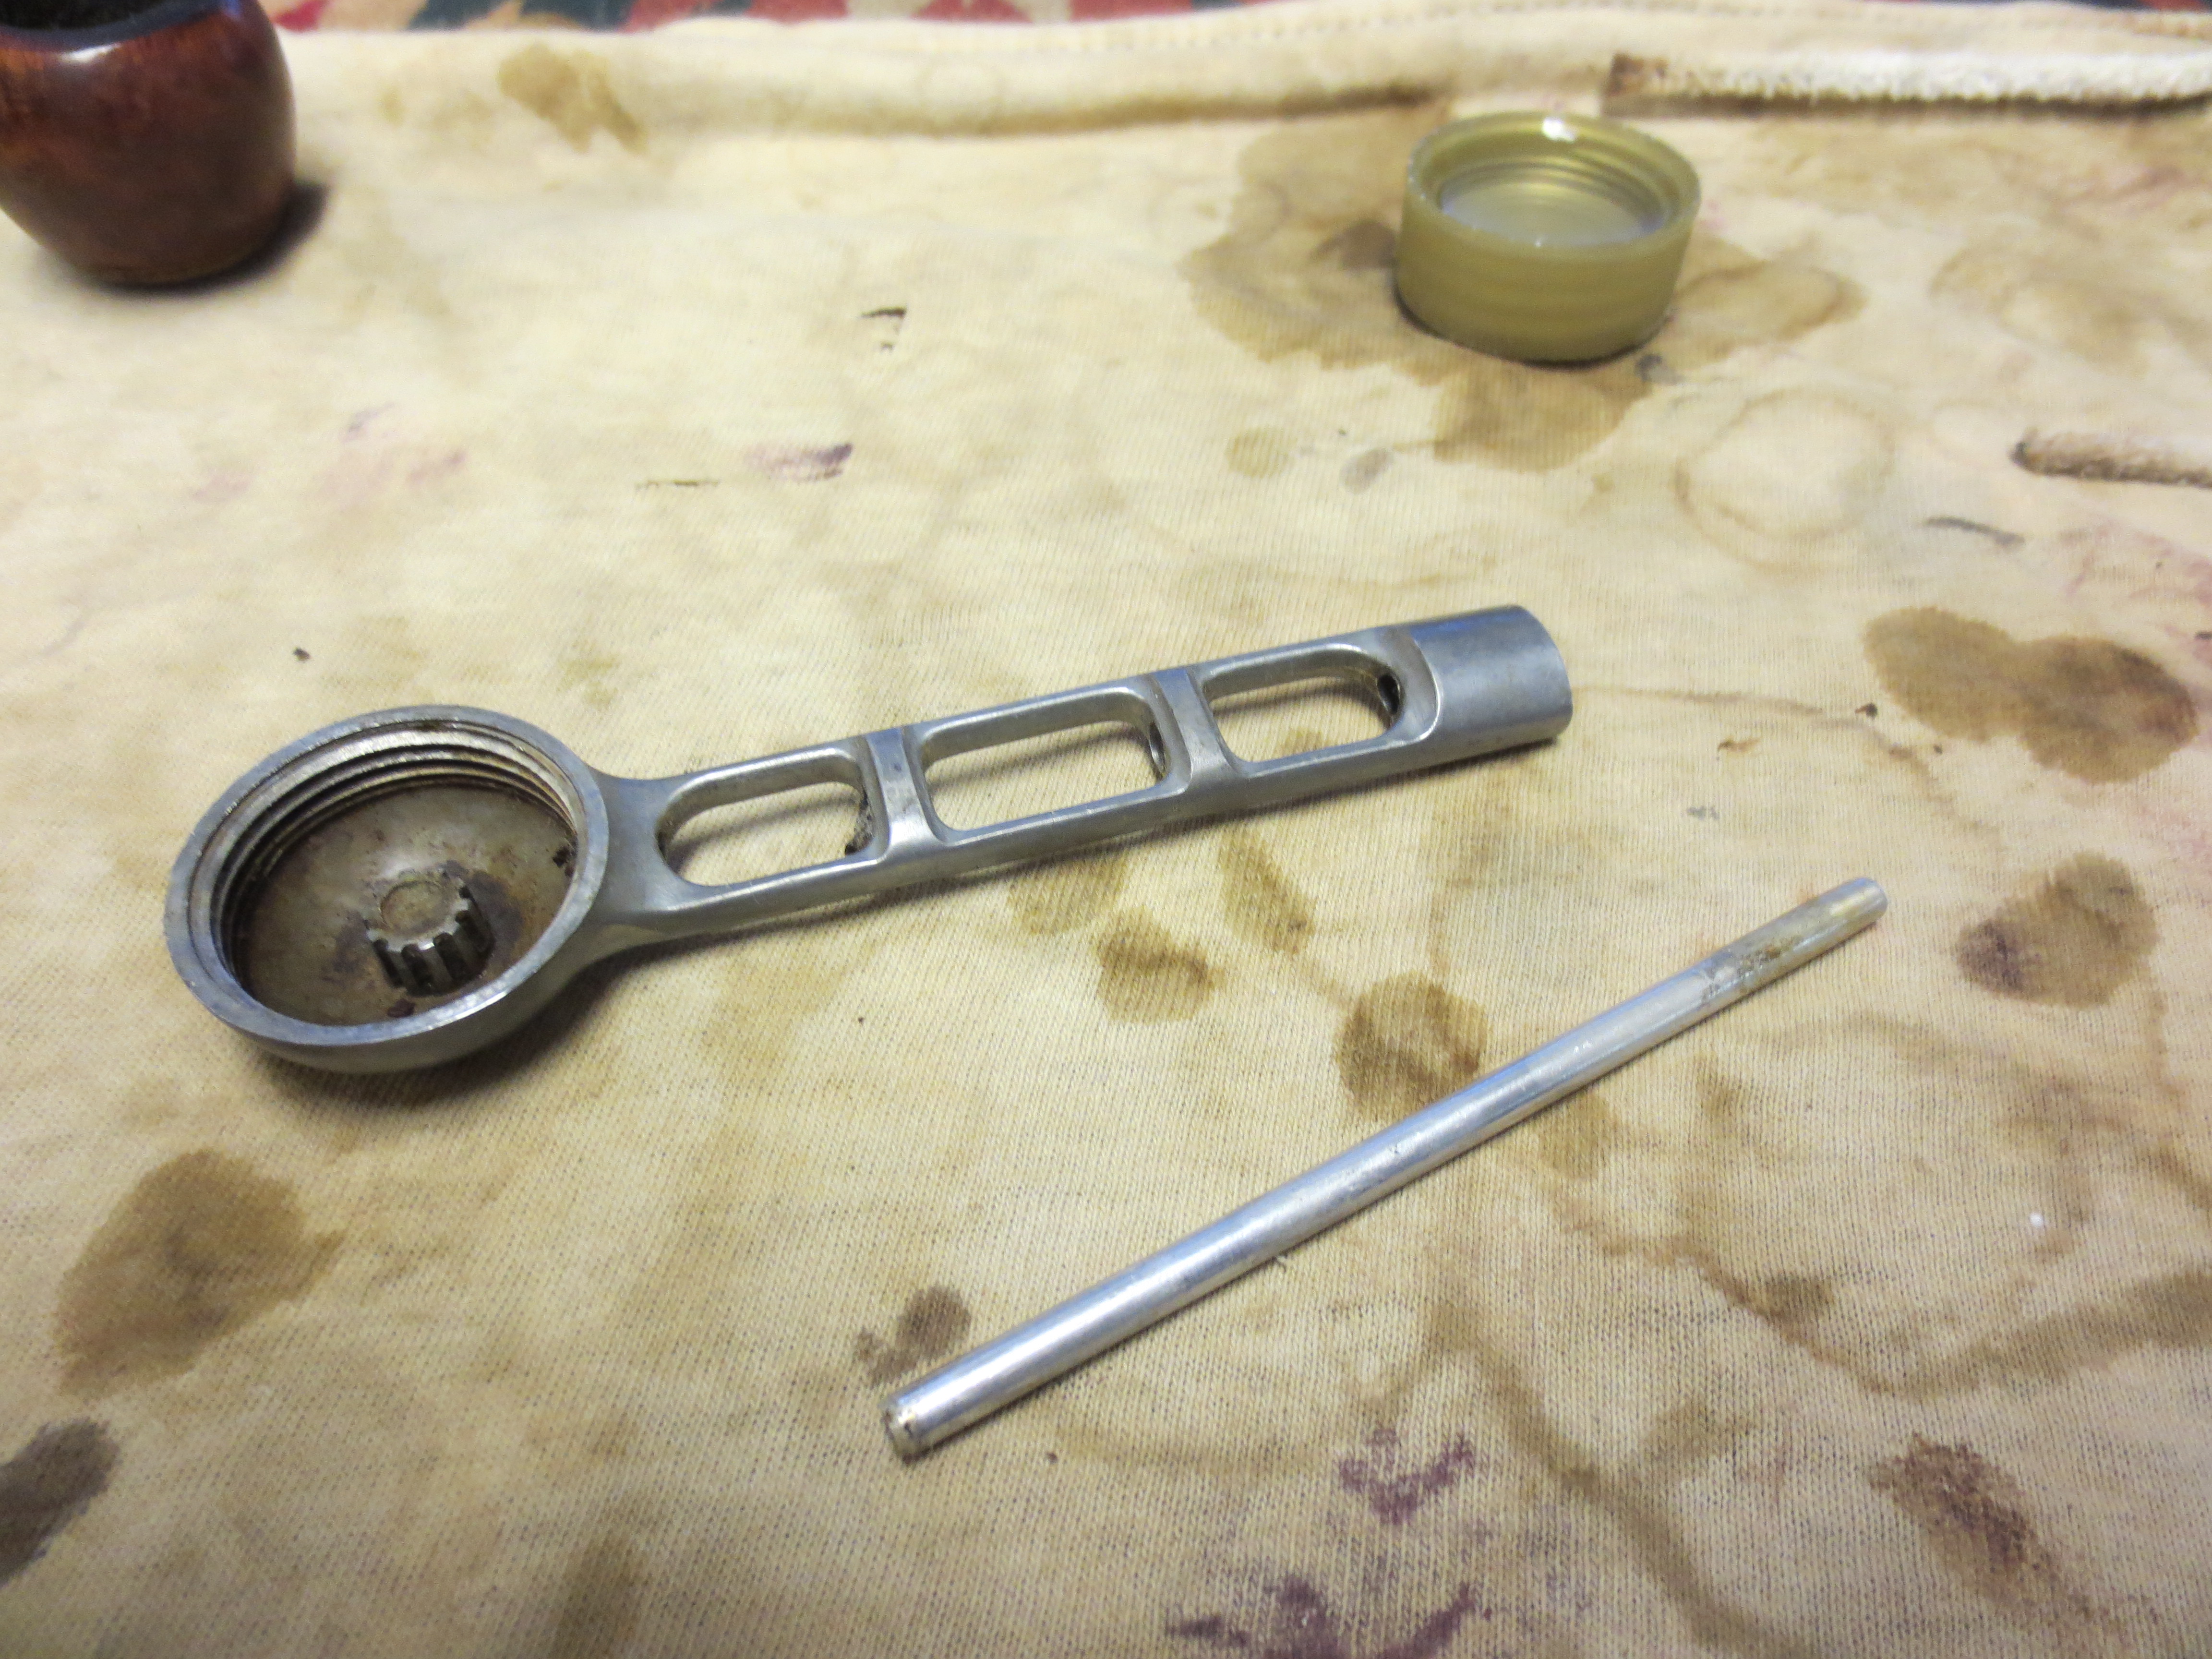
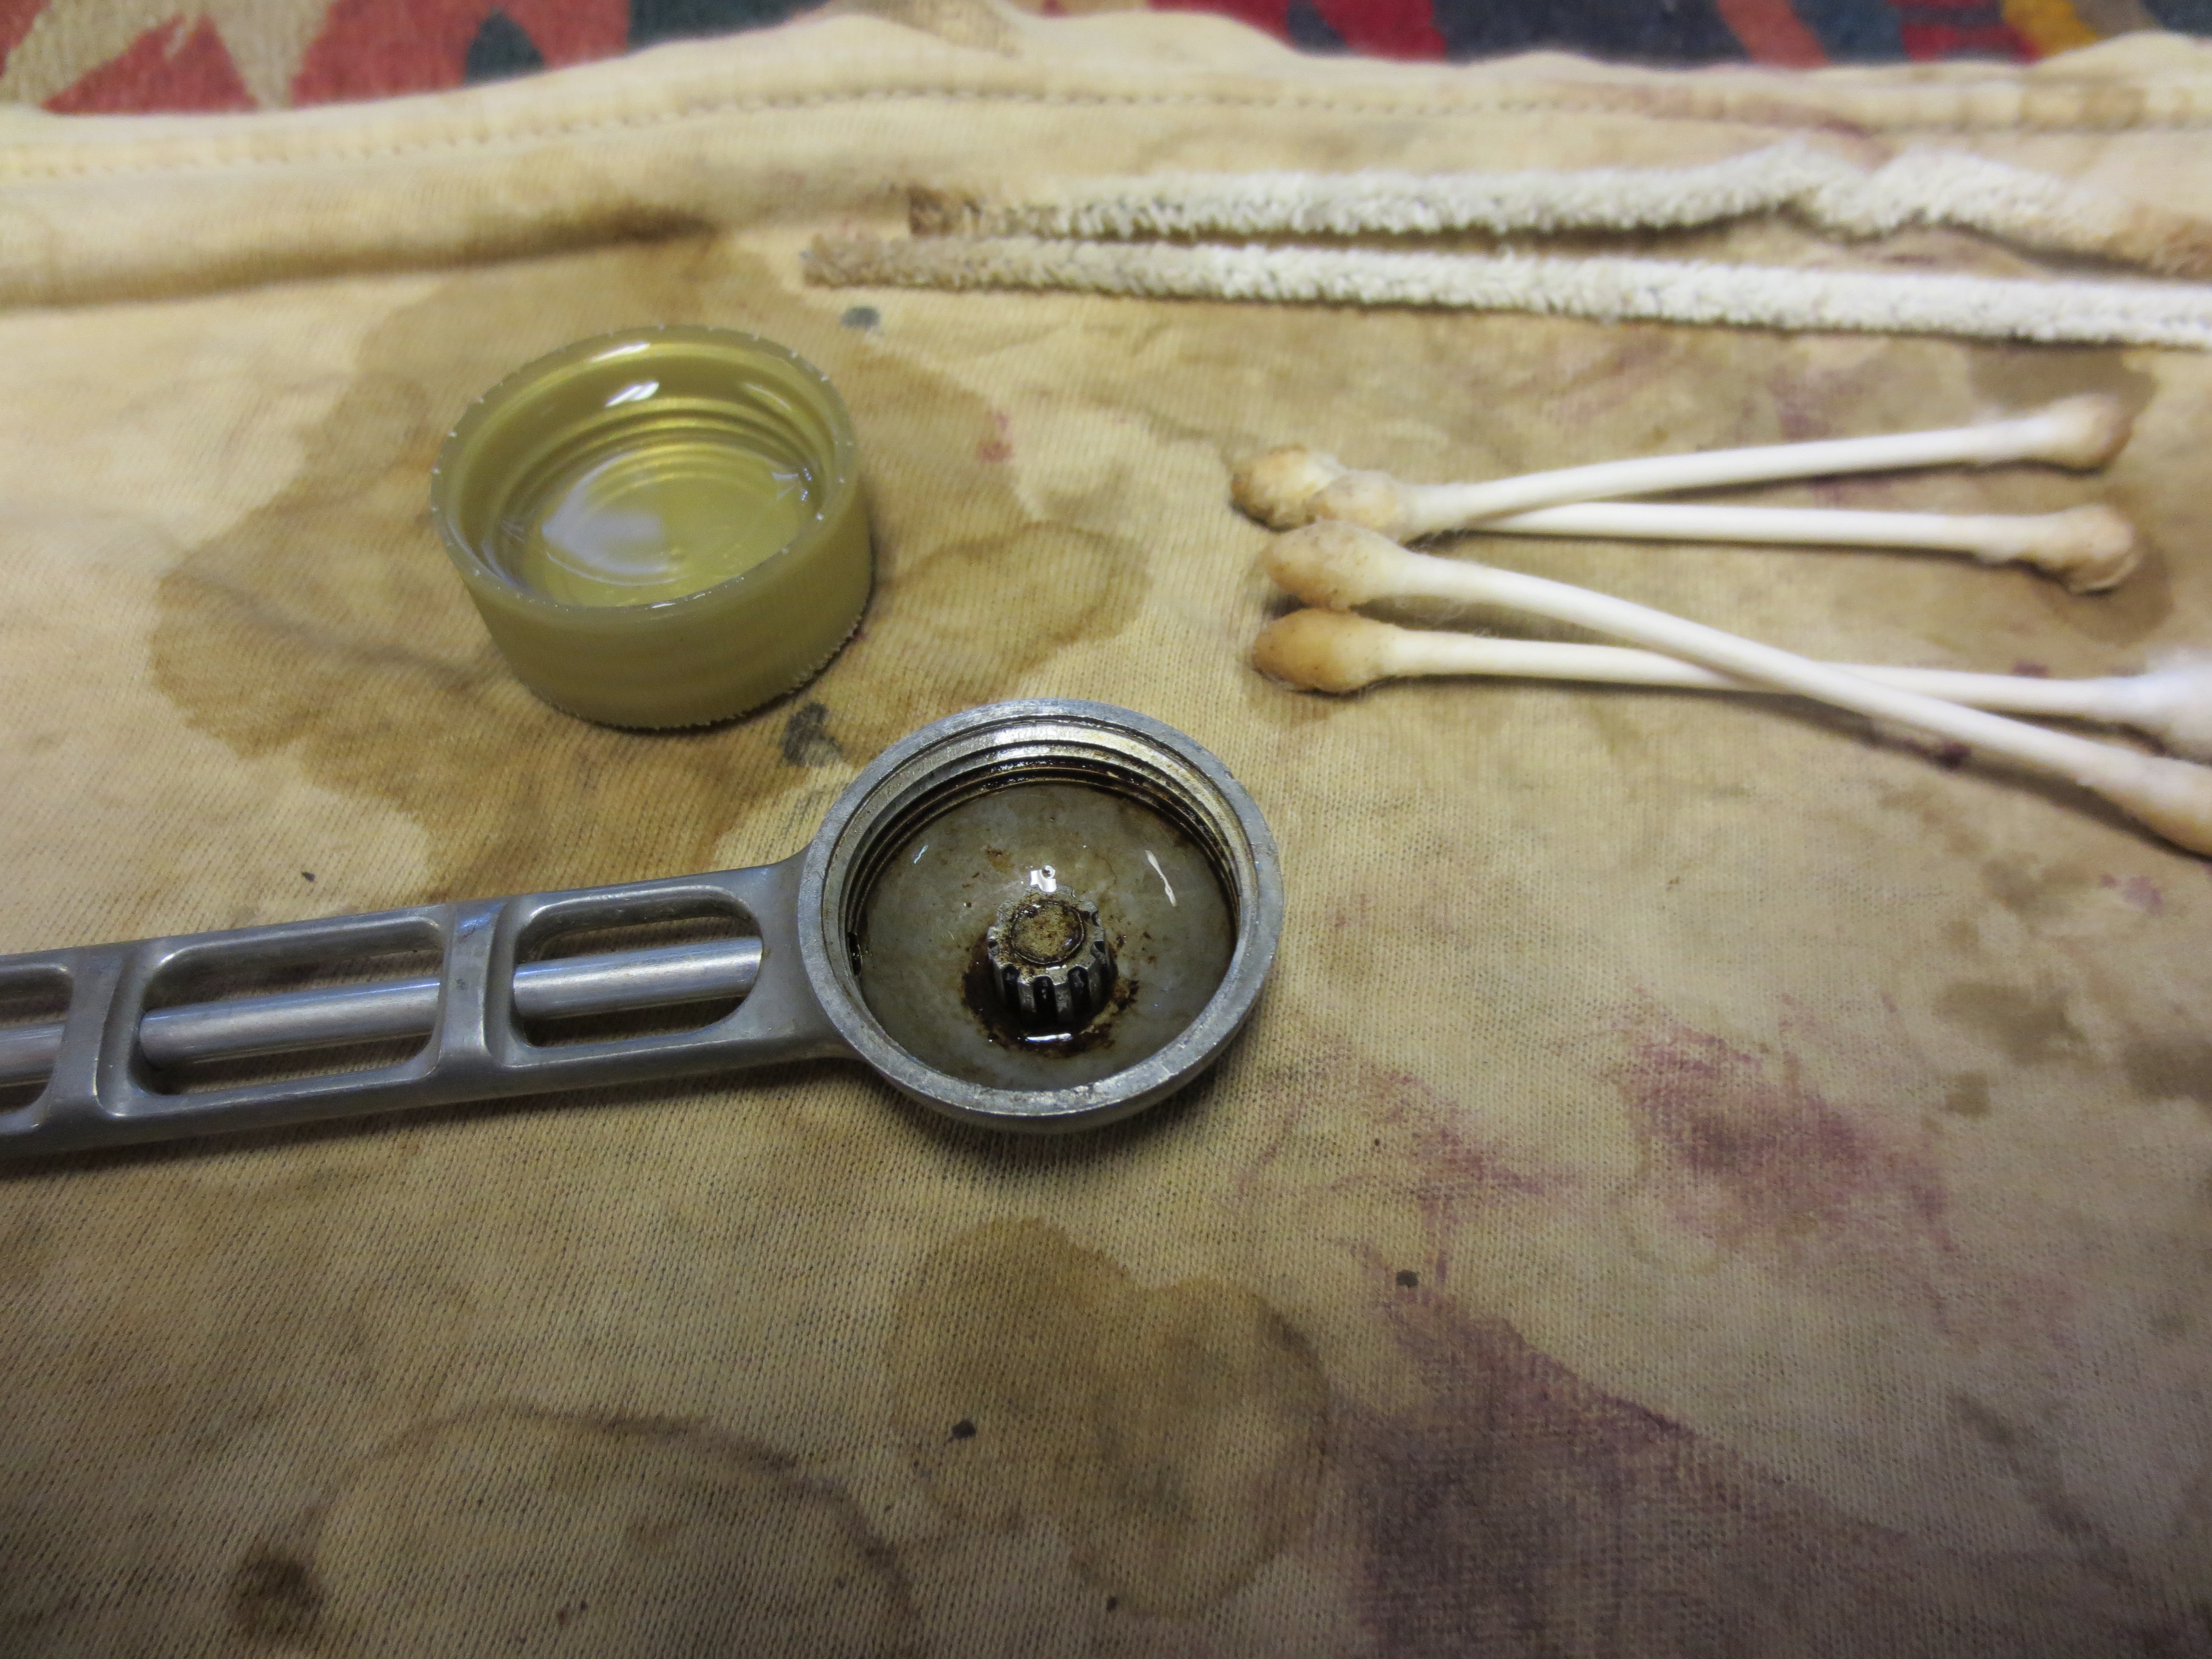
My procedure for cleaning an estate pipe is generally the same. I may vary the steps a bit but always cover the same ground in pretty much the same order. On this one I began by working on the bowl. In this case it meant removing the bowl from the pipe. The Viking has screw on bowls that are interchangeable with other Viking bowls (but not with Falcon bowls which have a different thread size and count). I reamed and cleaned the bowl of the old broken cake and picked out the buildup around the hole in the bottom of the bowl using a dental pick. I took apart the base and the inner tube. The tube slipped out easily as it is normally held in place by the stem. I cleaned the tube with pipe cleaners and Everclear and then cleaned out the entrance of the tube into the bowl base. After cleaning that I put the tube back in place. I wanted to plug the hole with it so that I could fill the base with Everclear to soften the lacquer buildup. I soaked it with Everclear and then scrubbed it with cotton swabs once it had softened. The next two photos show the process of cleaning the bowl base and tube.
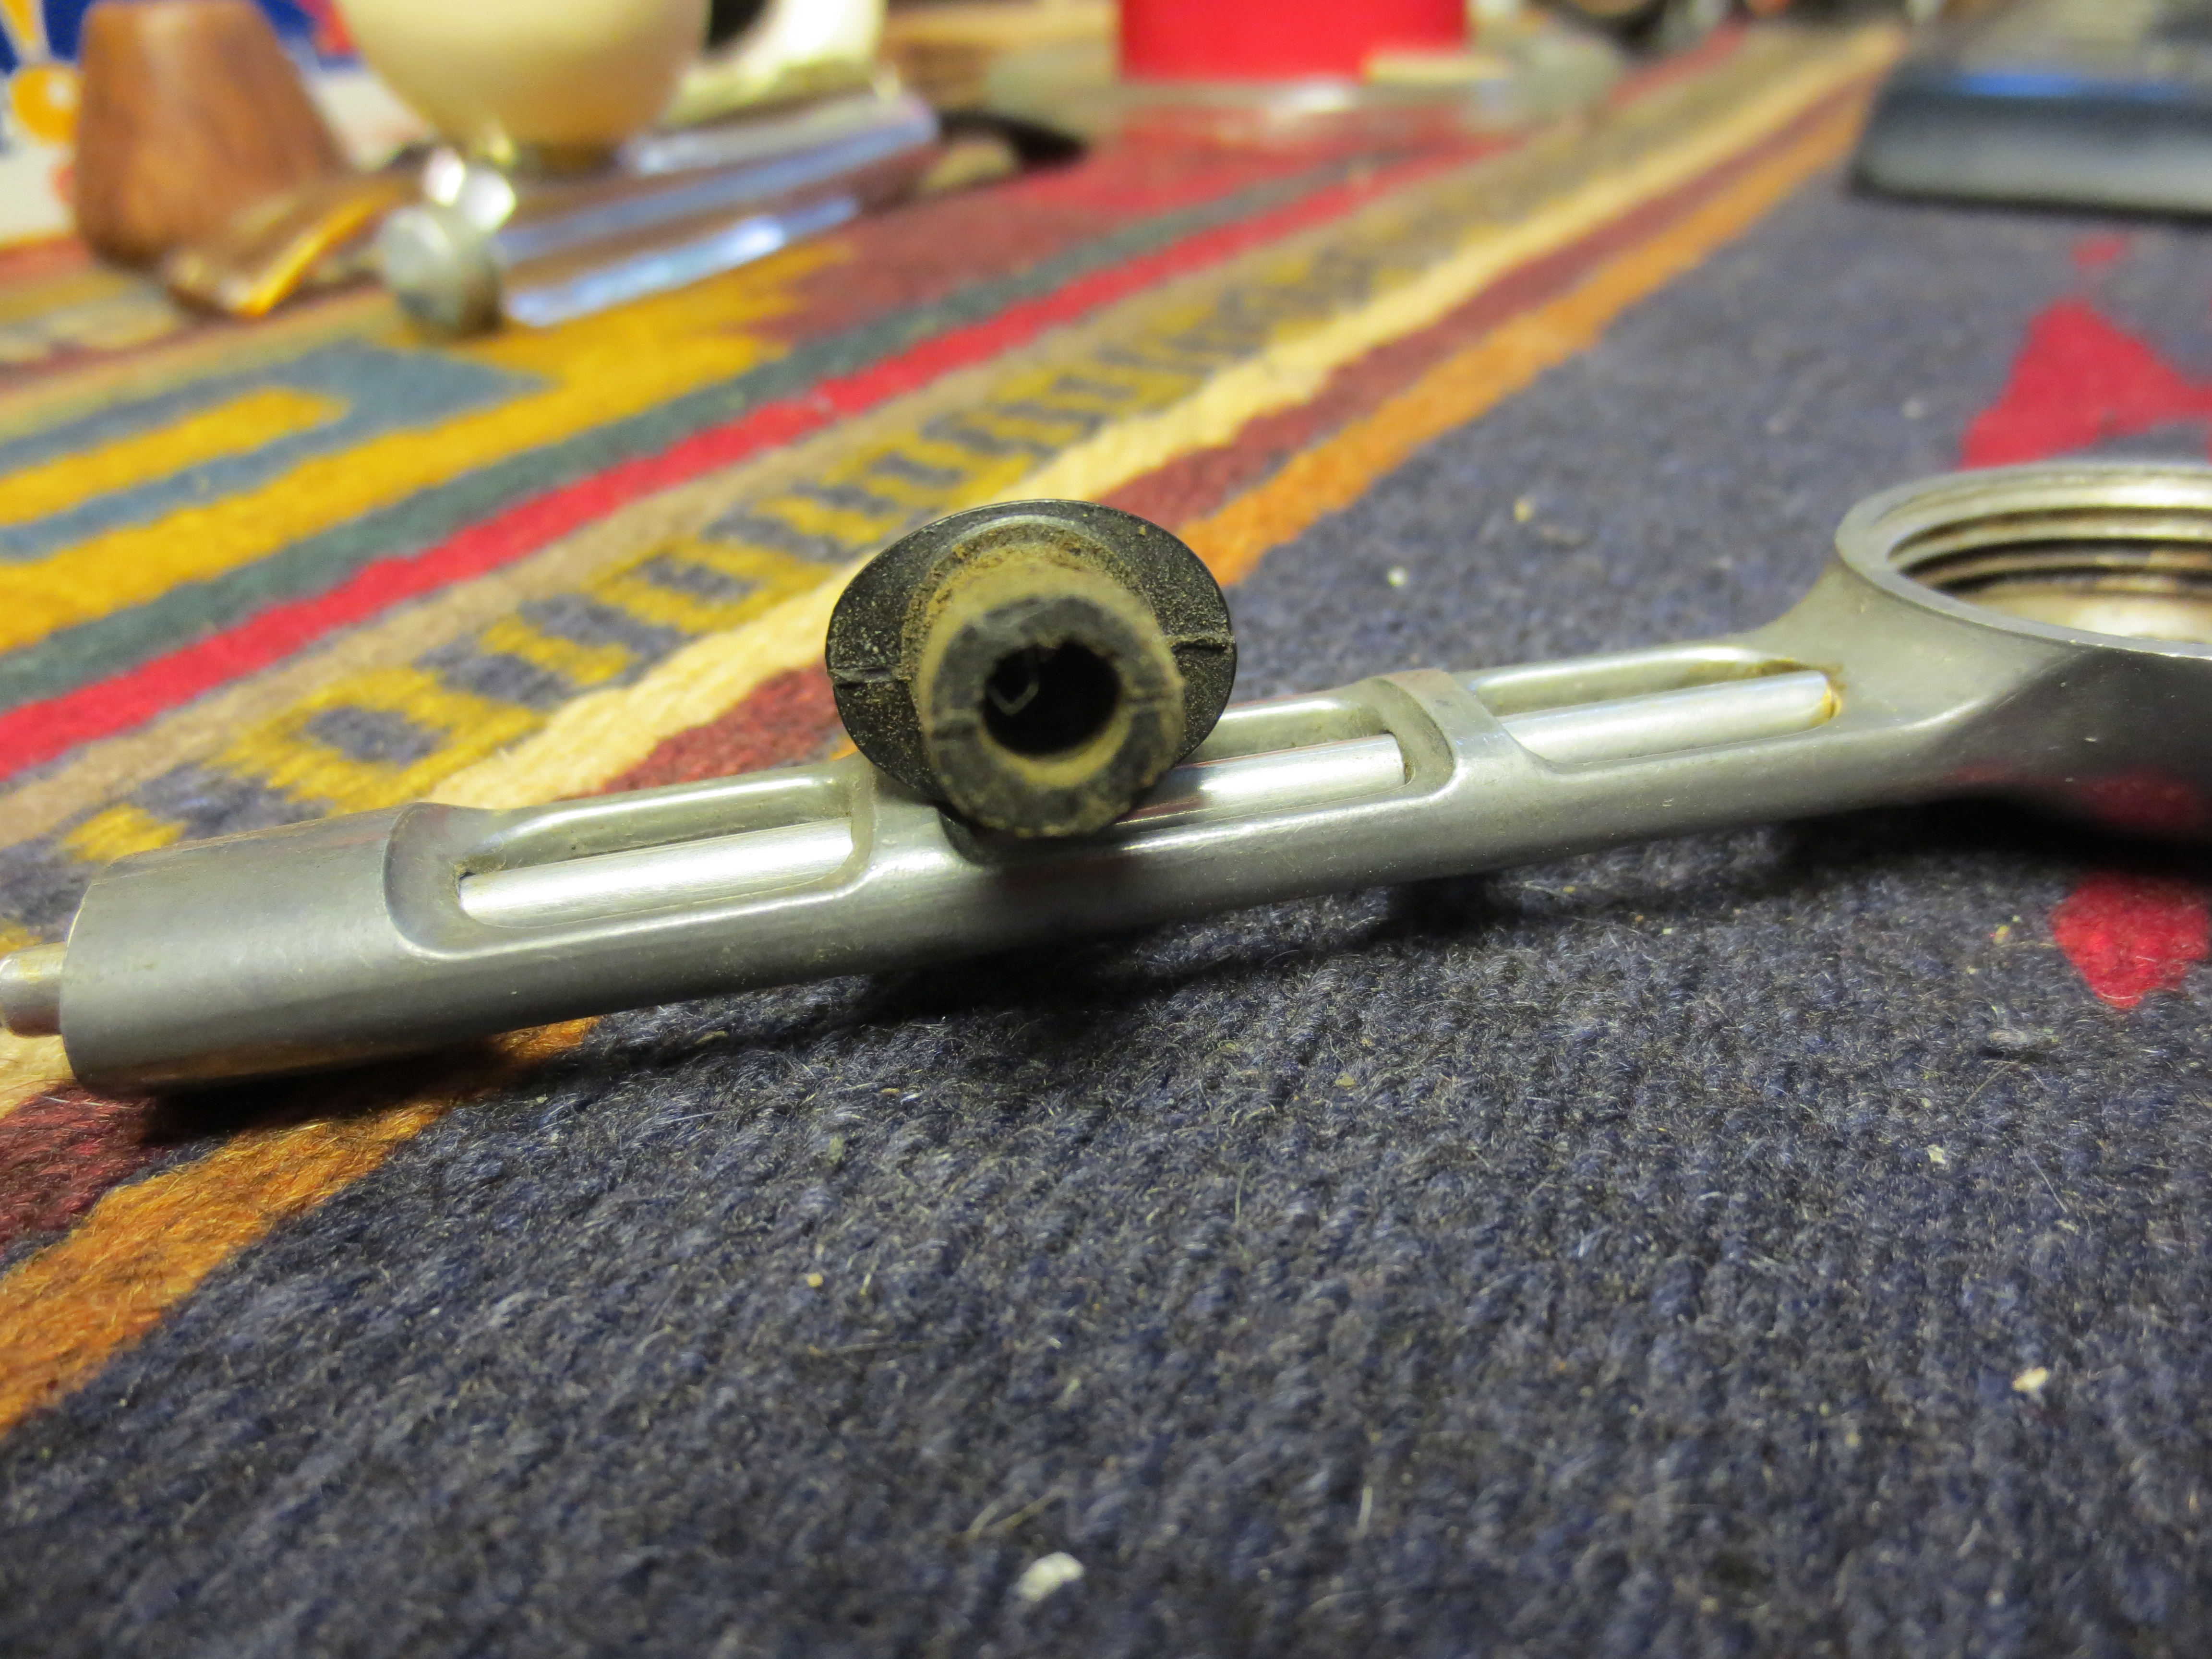
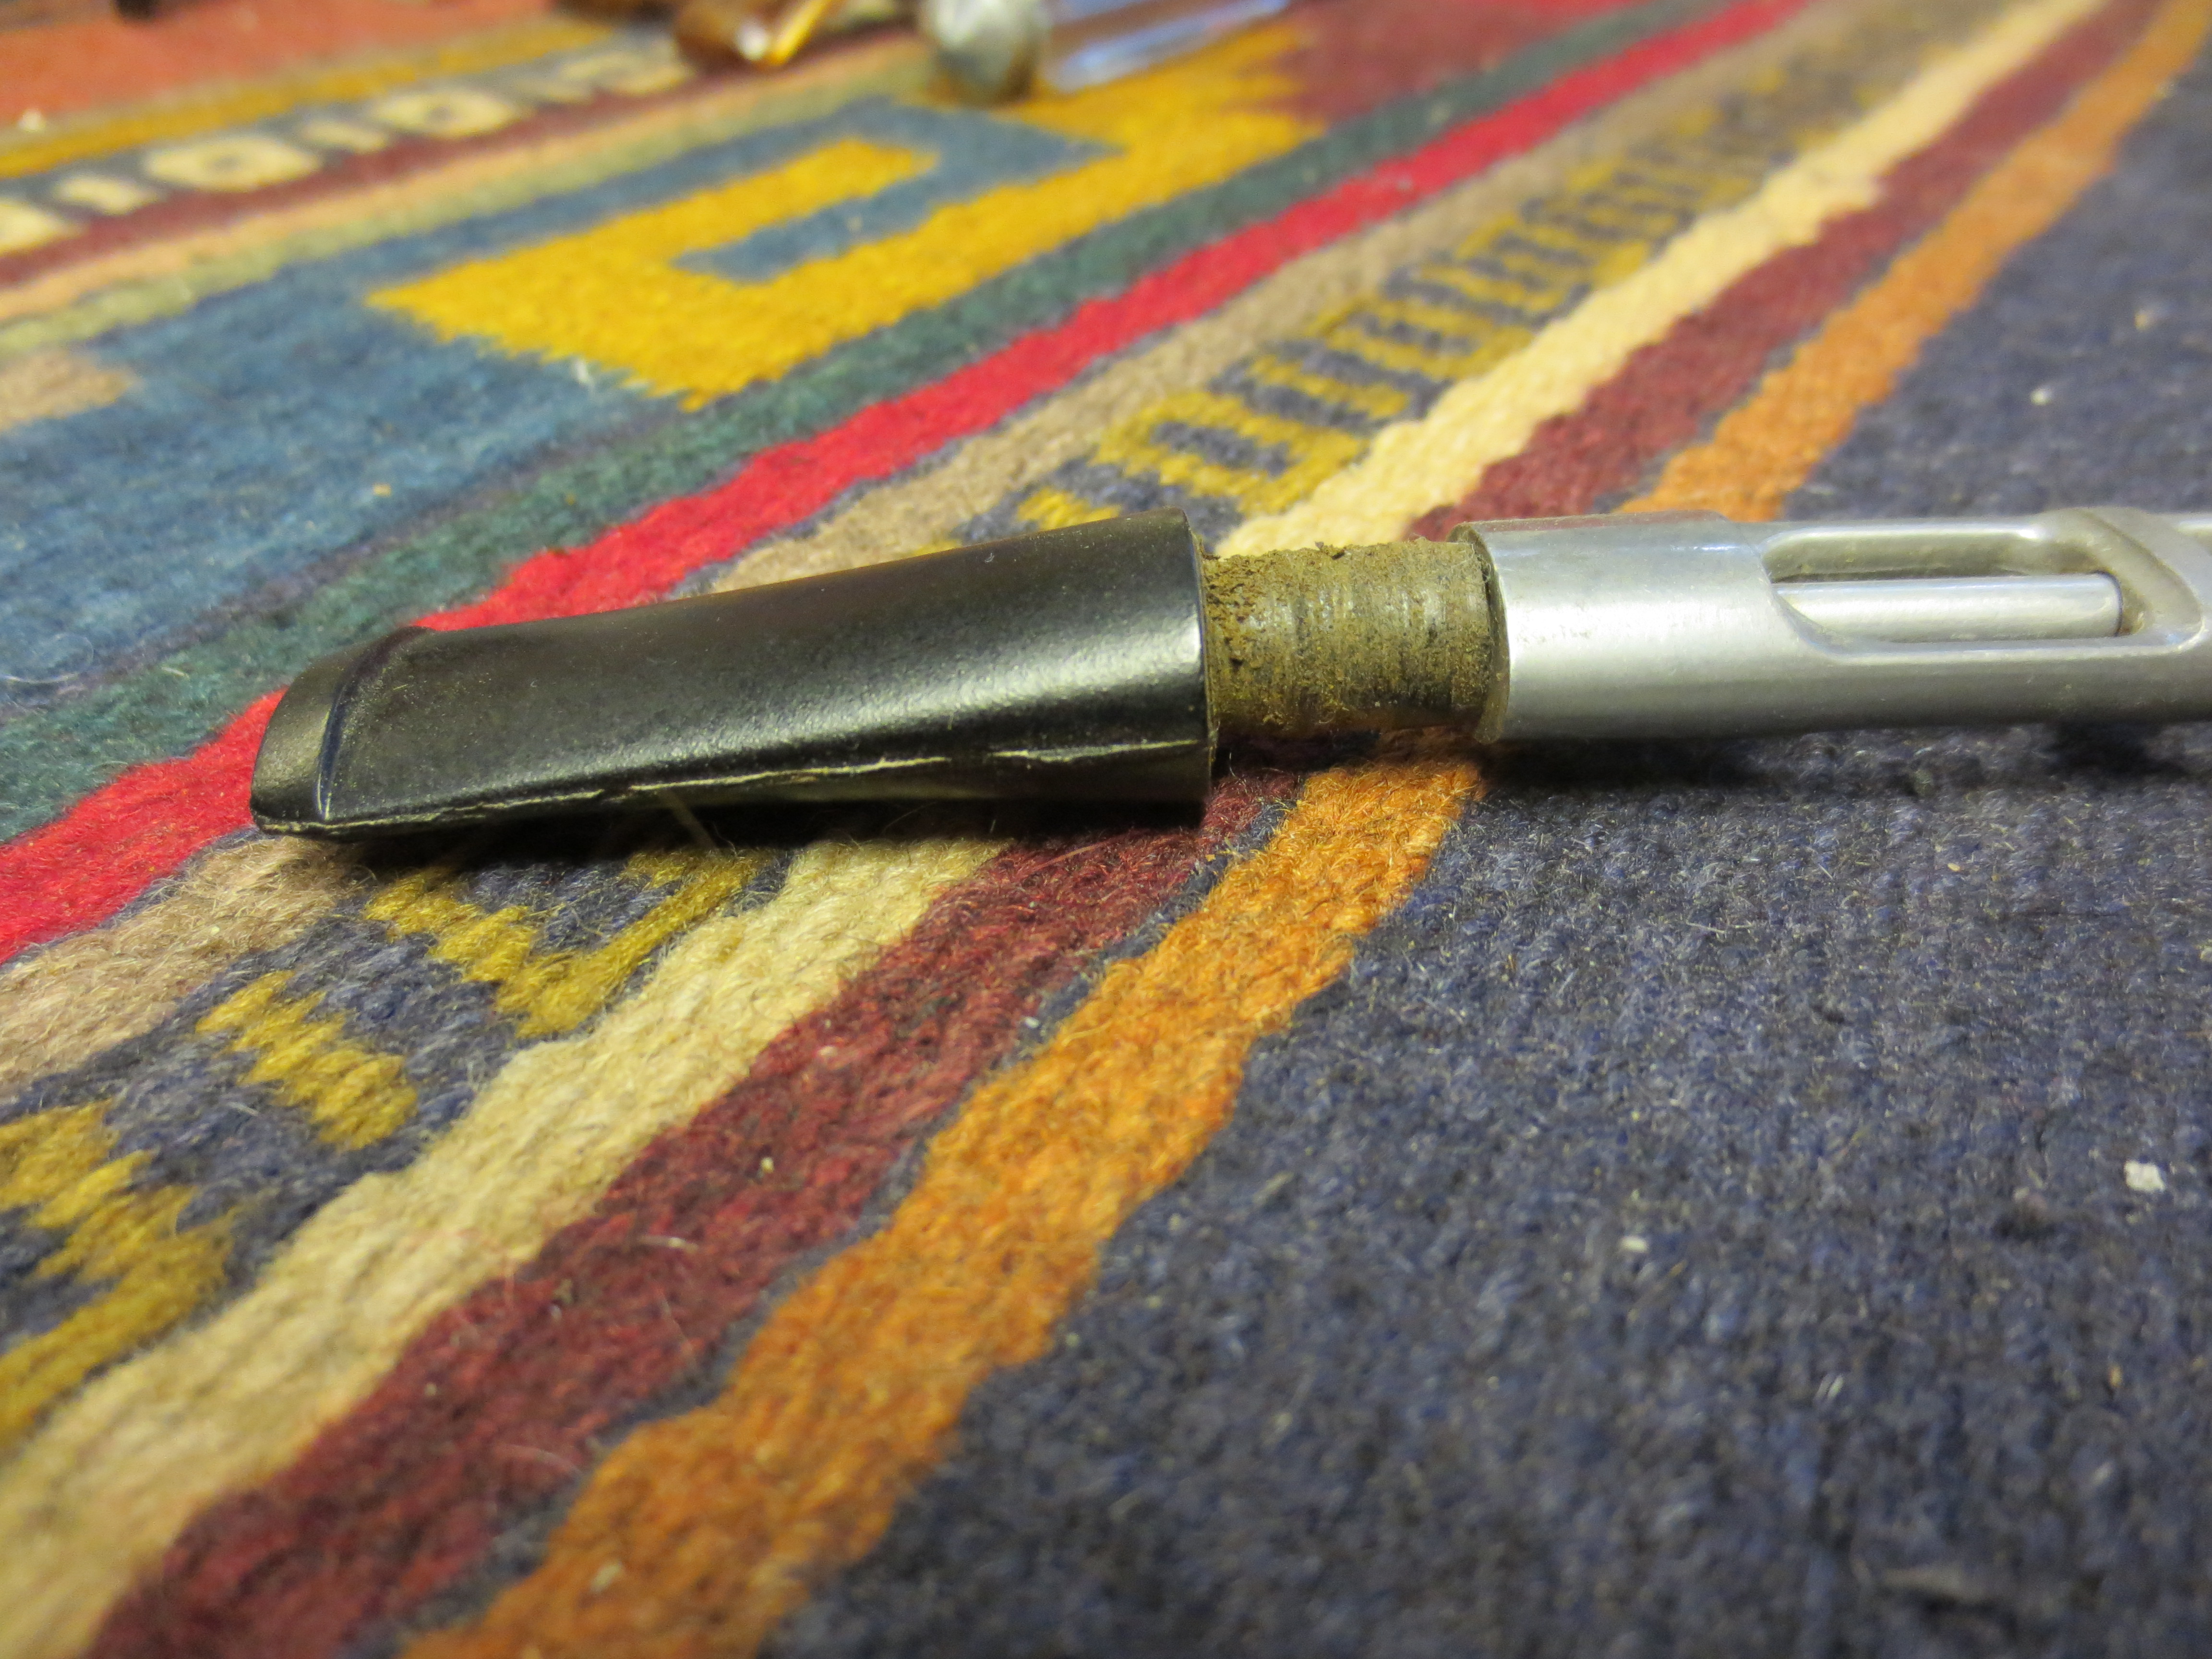
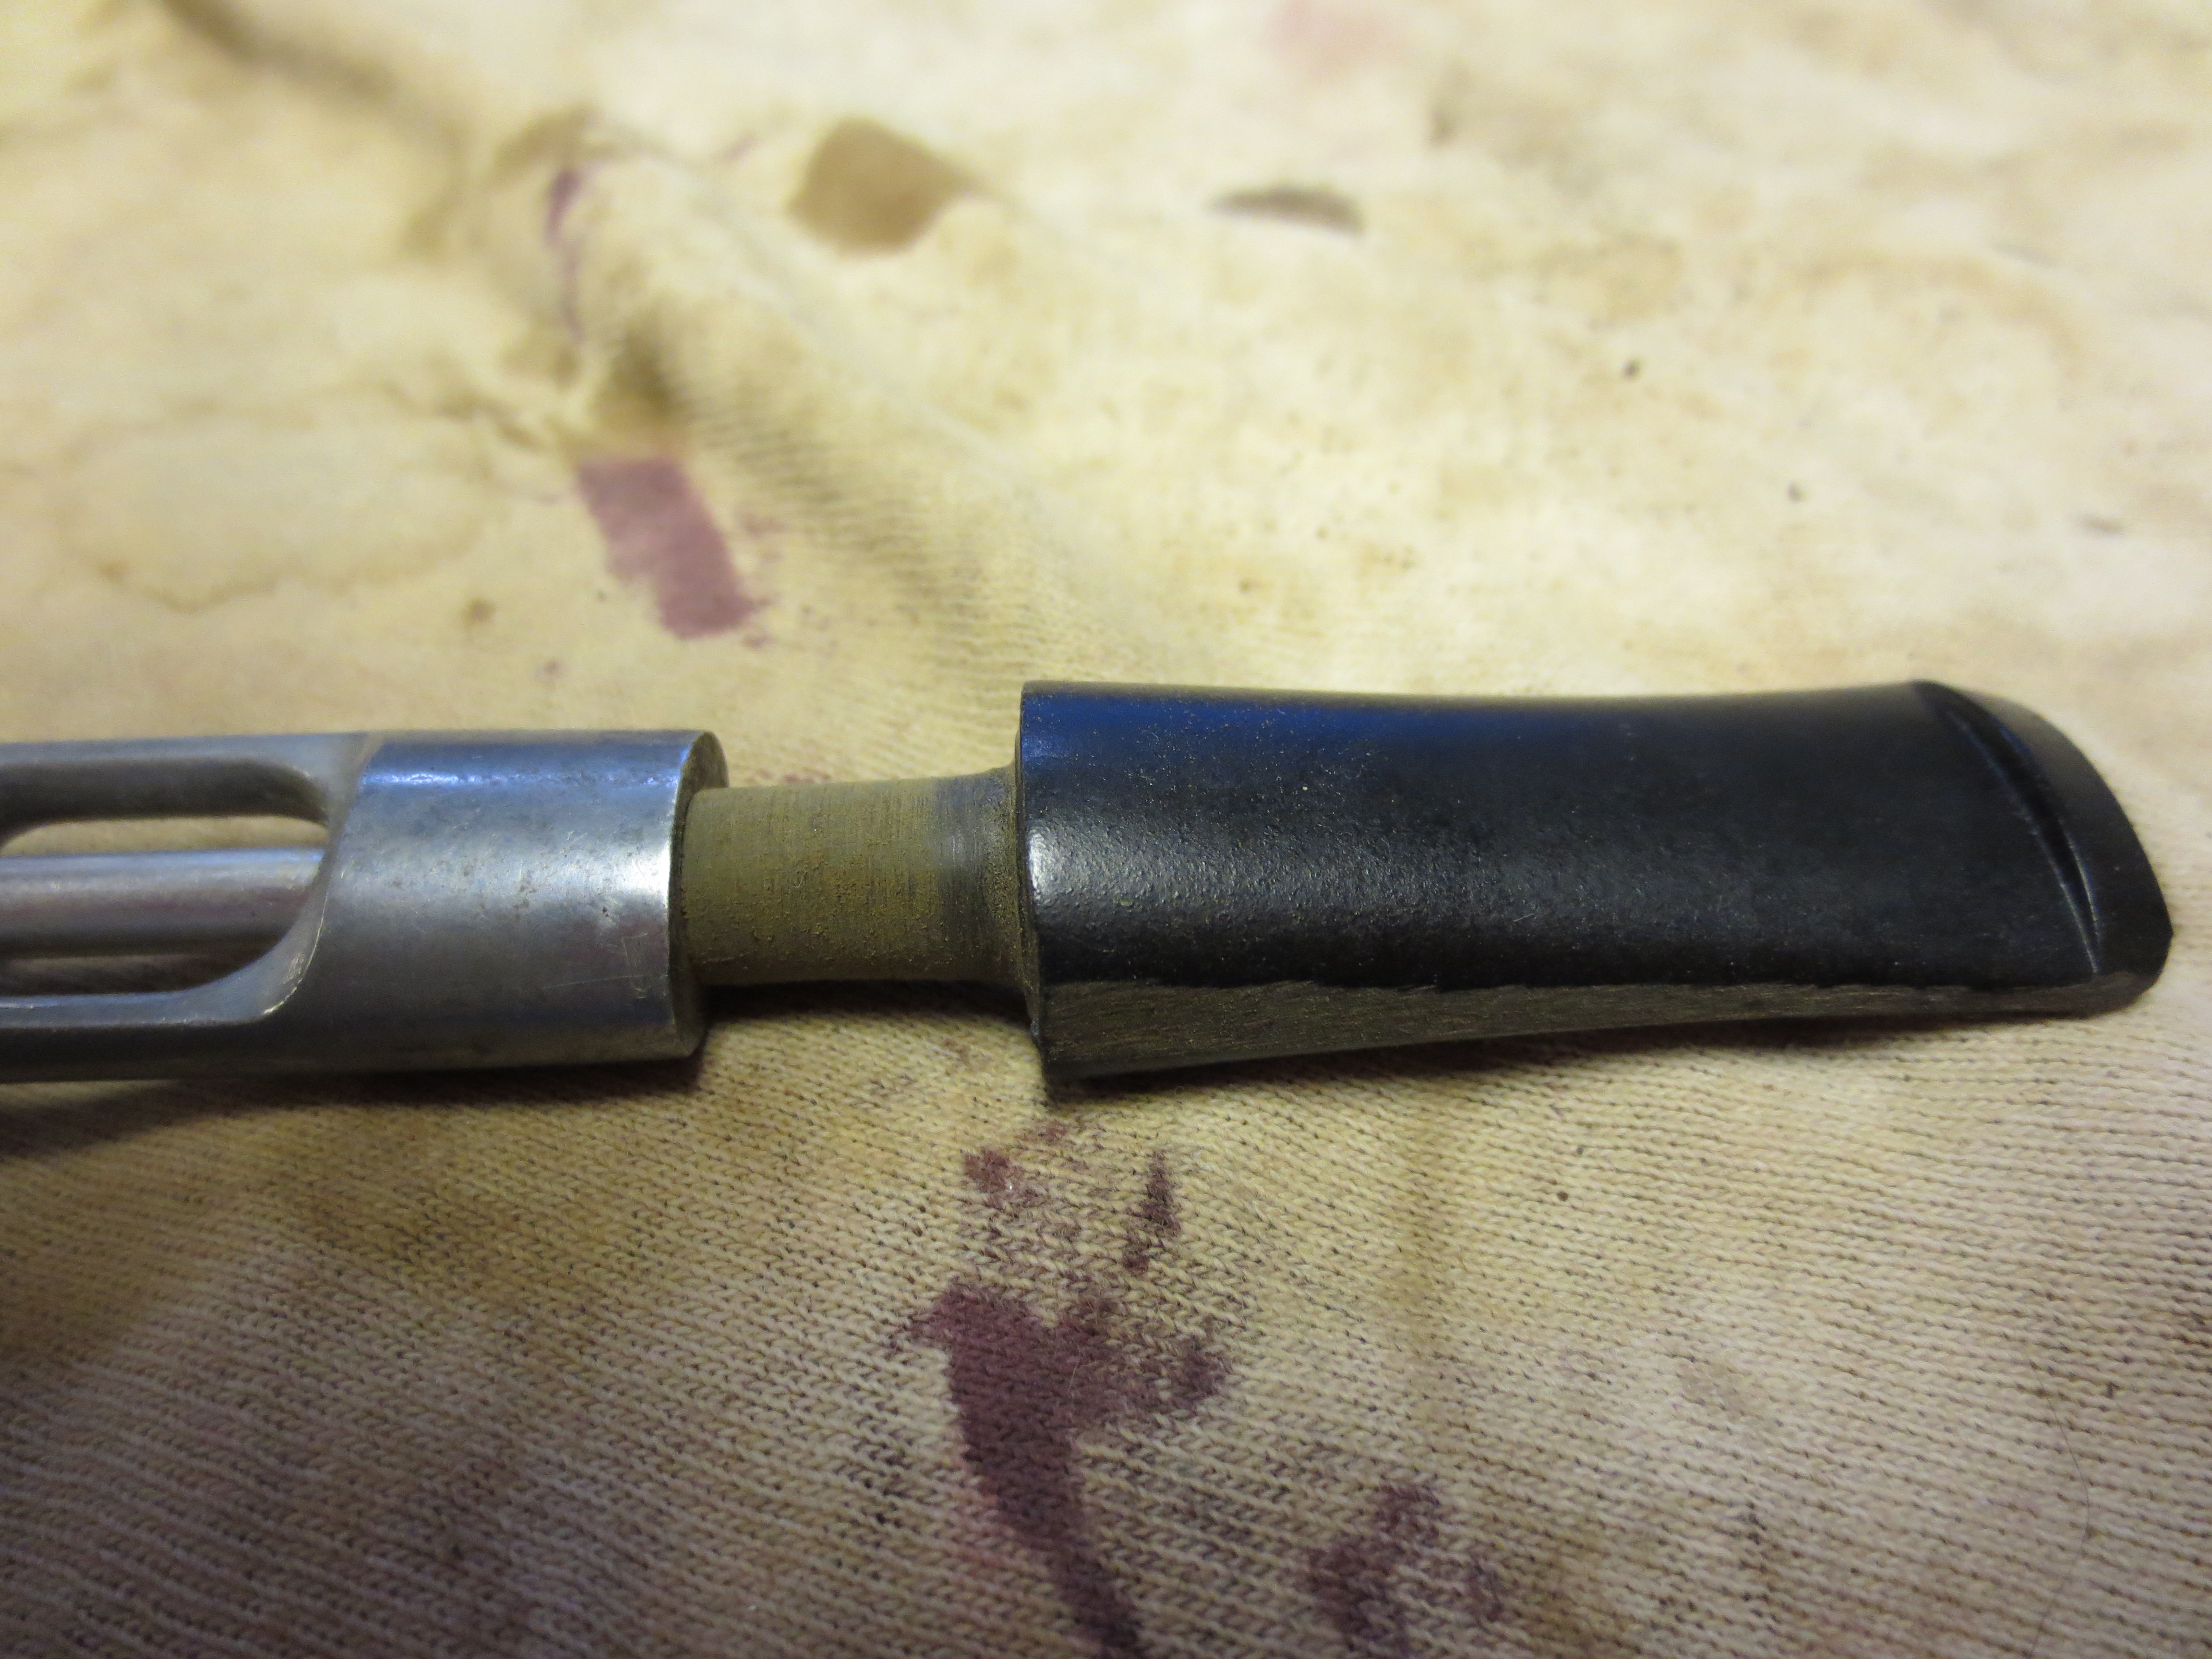
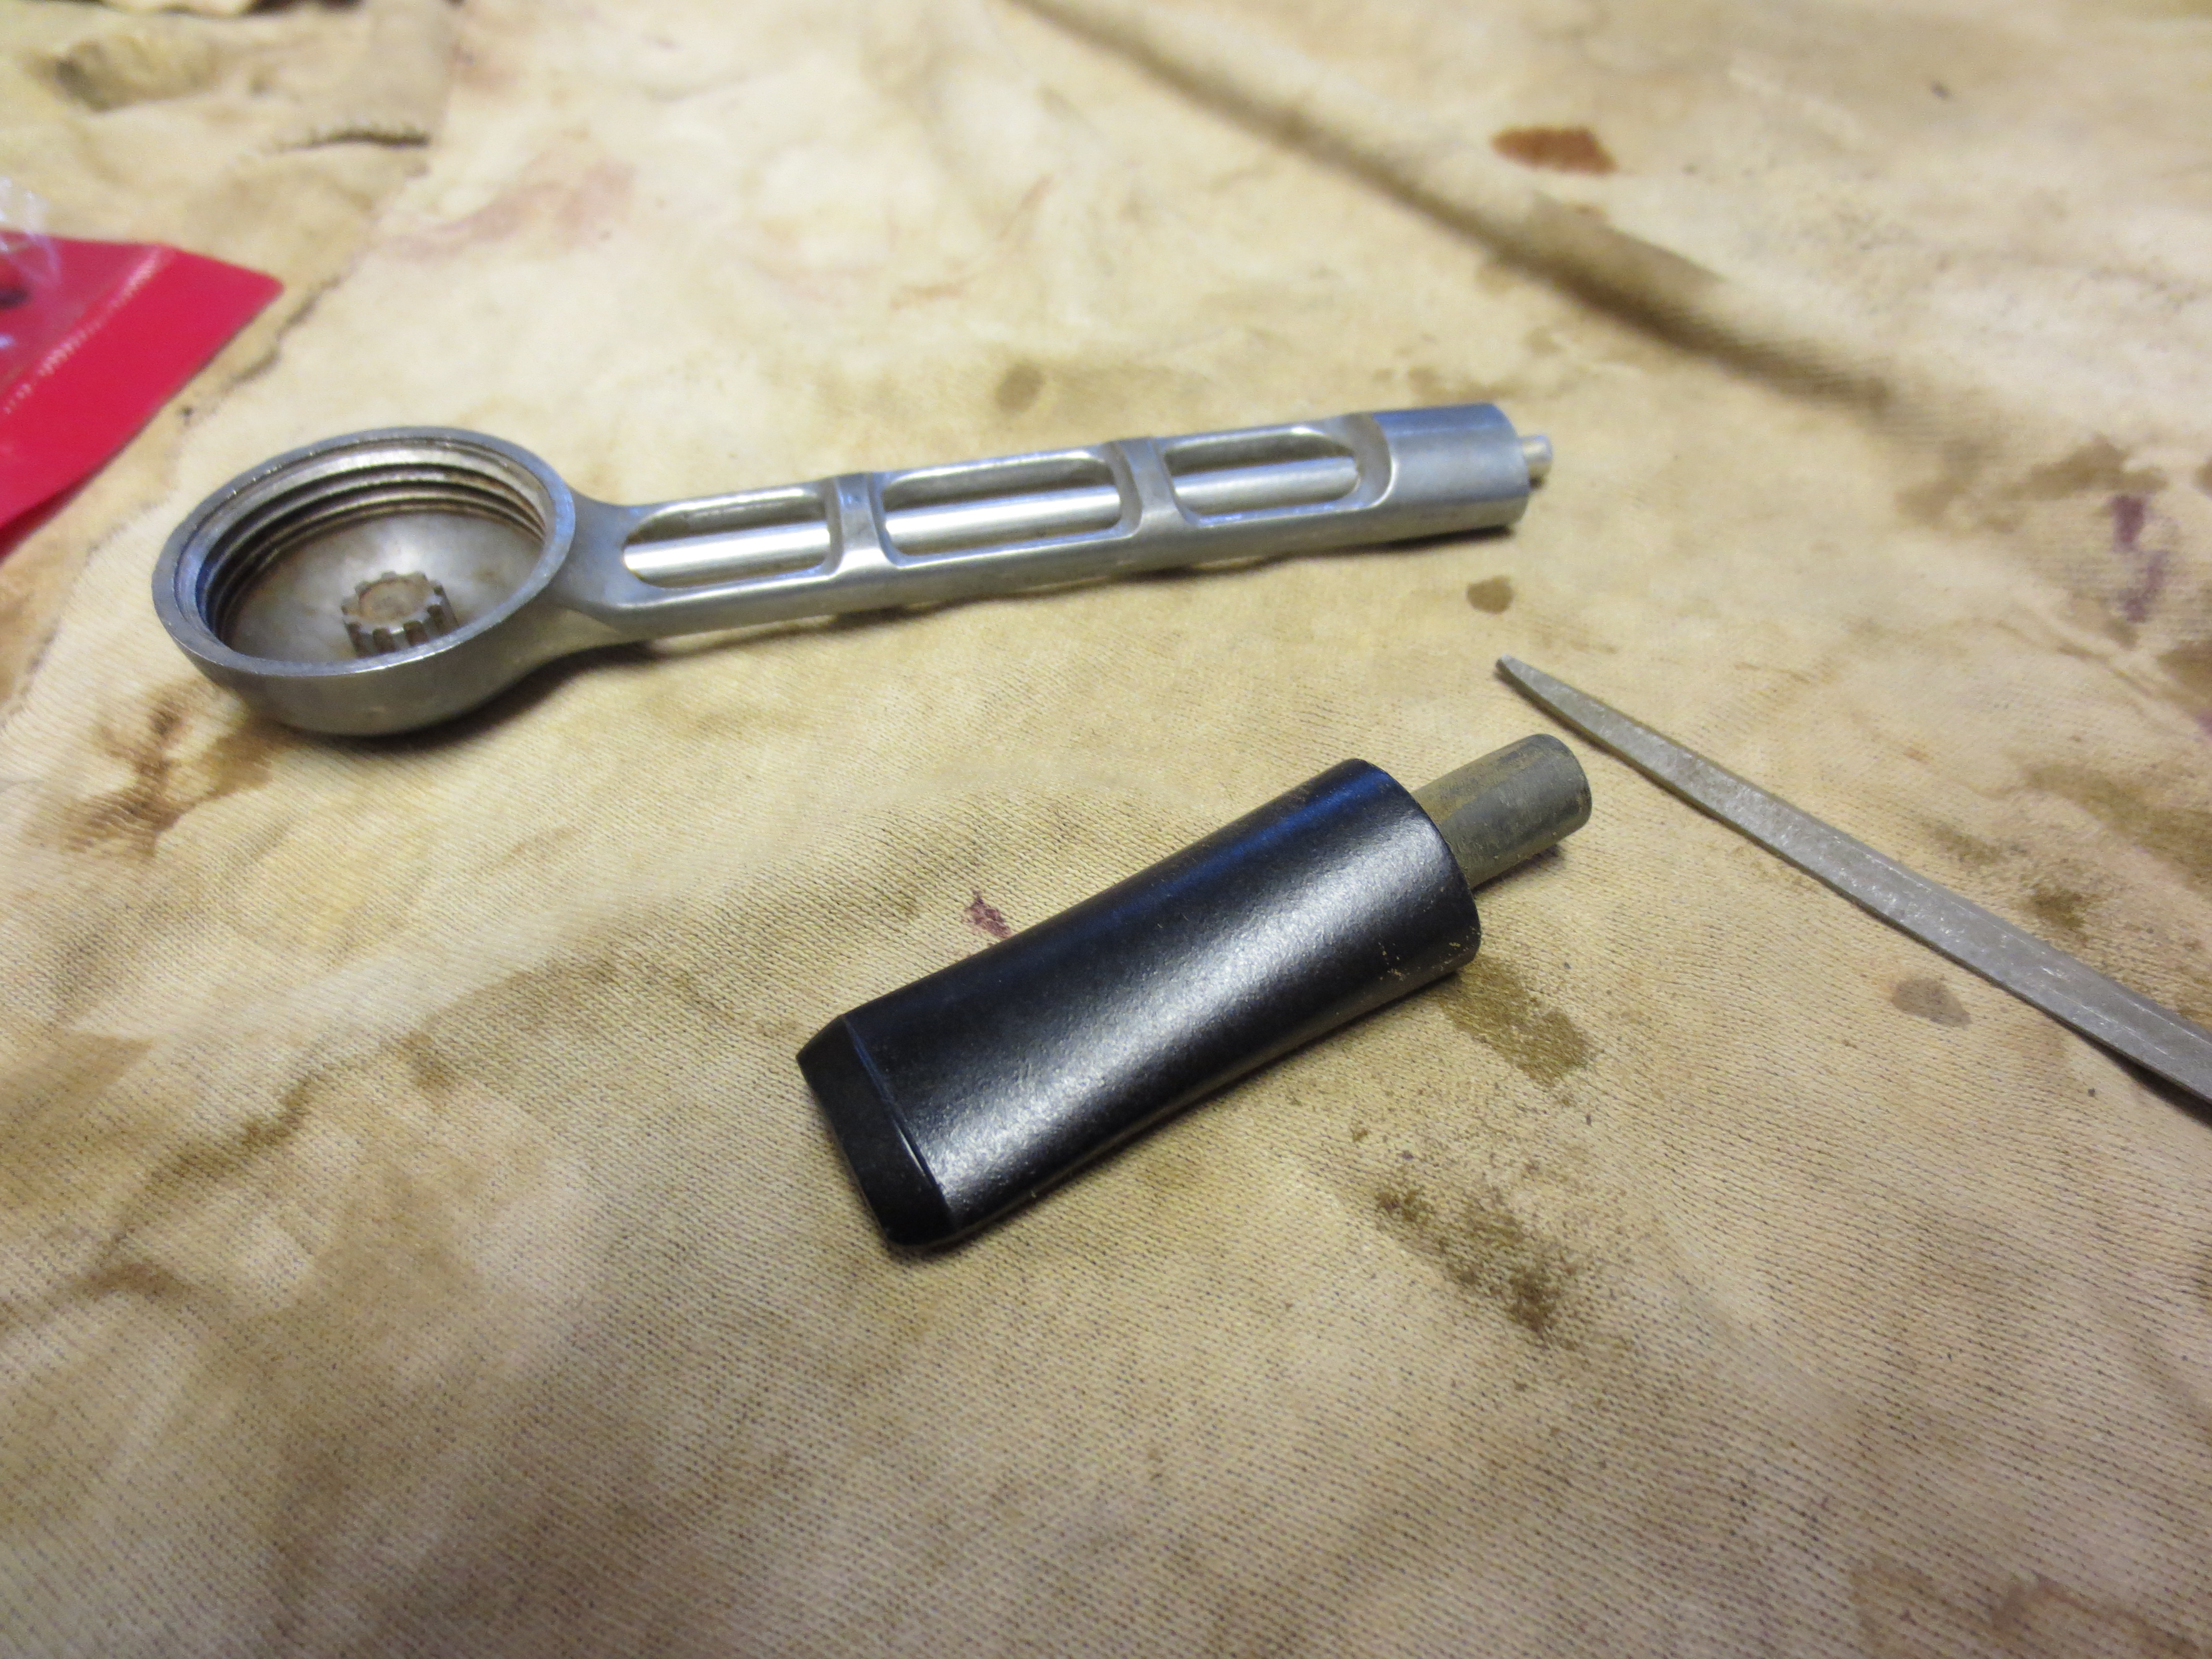
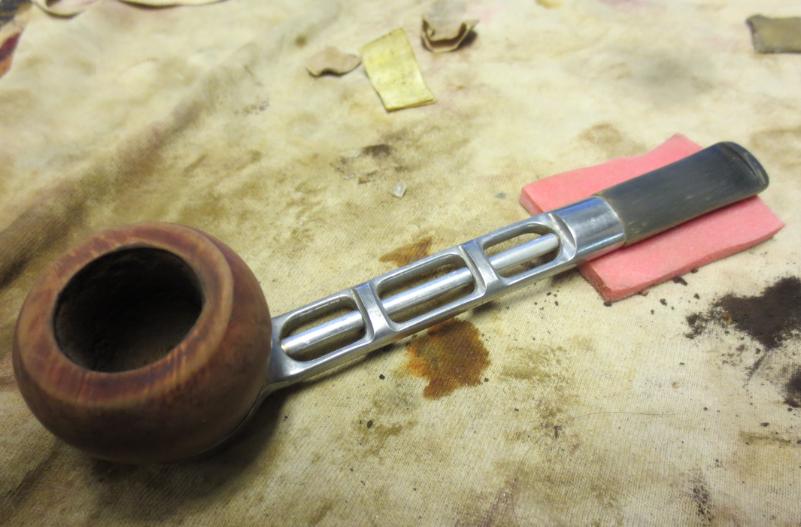
I sorted through my stem box and found a precast stem for a Canadian. It was a small sized taper that would give me room to work with the diameter and the length that I needed for the right dimensions. I drilled the tenon on the stem blank so that the airway would be large enough to go over the tube at the end of the shank. I turned the tenon with my PIMO tenon turner set to the smallest setting so that I would have little left to remove for a good fit into the hole in the end of the metal shank. The fit involved the tube fitting inside the airway of the tenon and then the tenon itself fitting into the opening on the end of the shank. I used my needle files and emery paper to sand the tenon after I had turned it on the turner. I needed to take it down further for the fit so I used my Dremel with a sanding drum. The next series of seven photos show the process of fitting the stem to the metal shank.
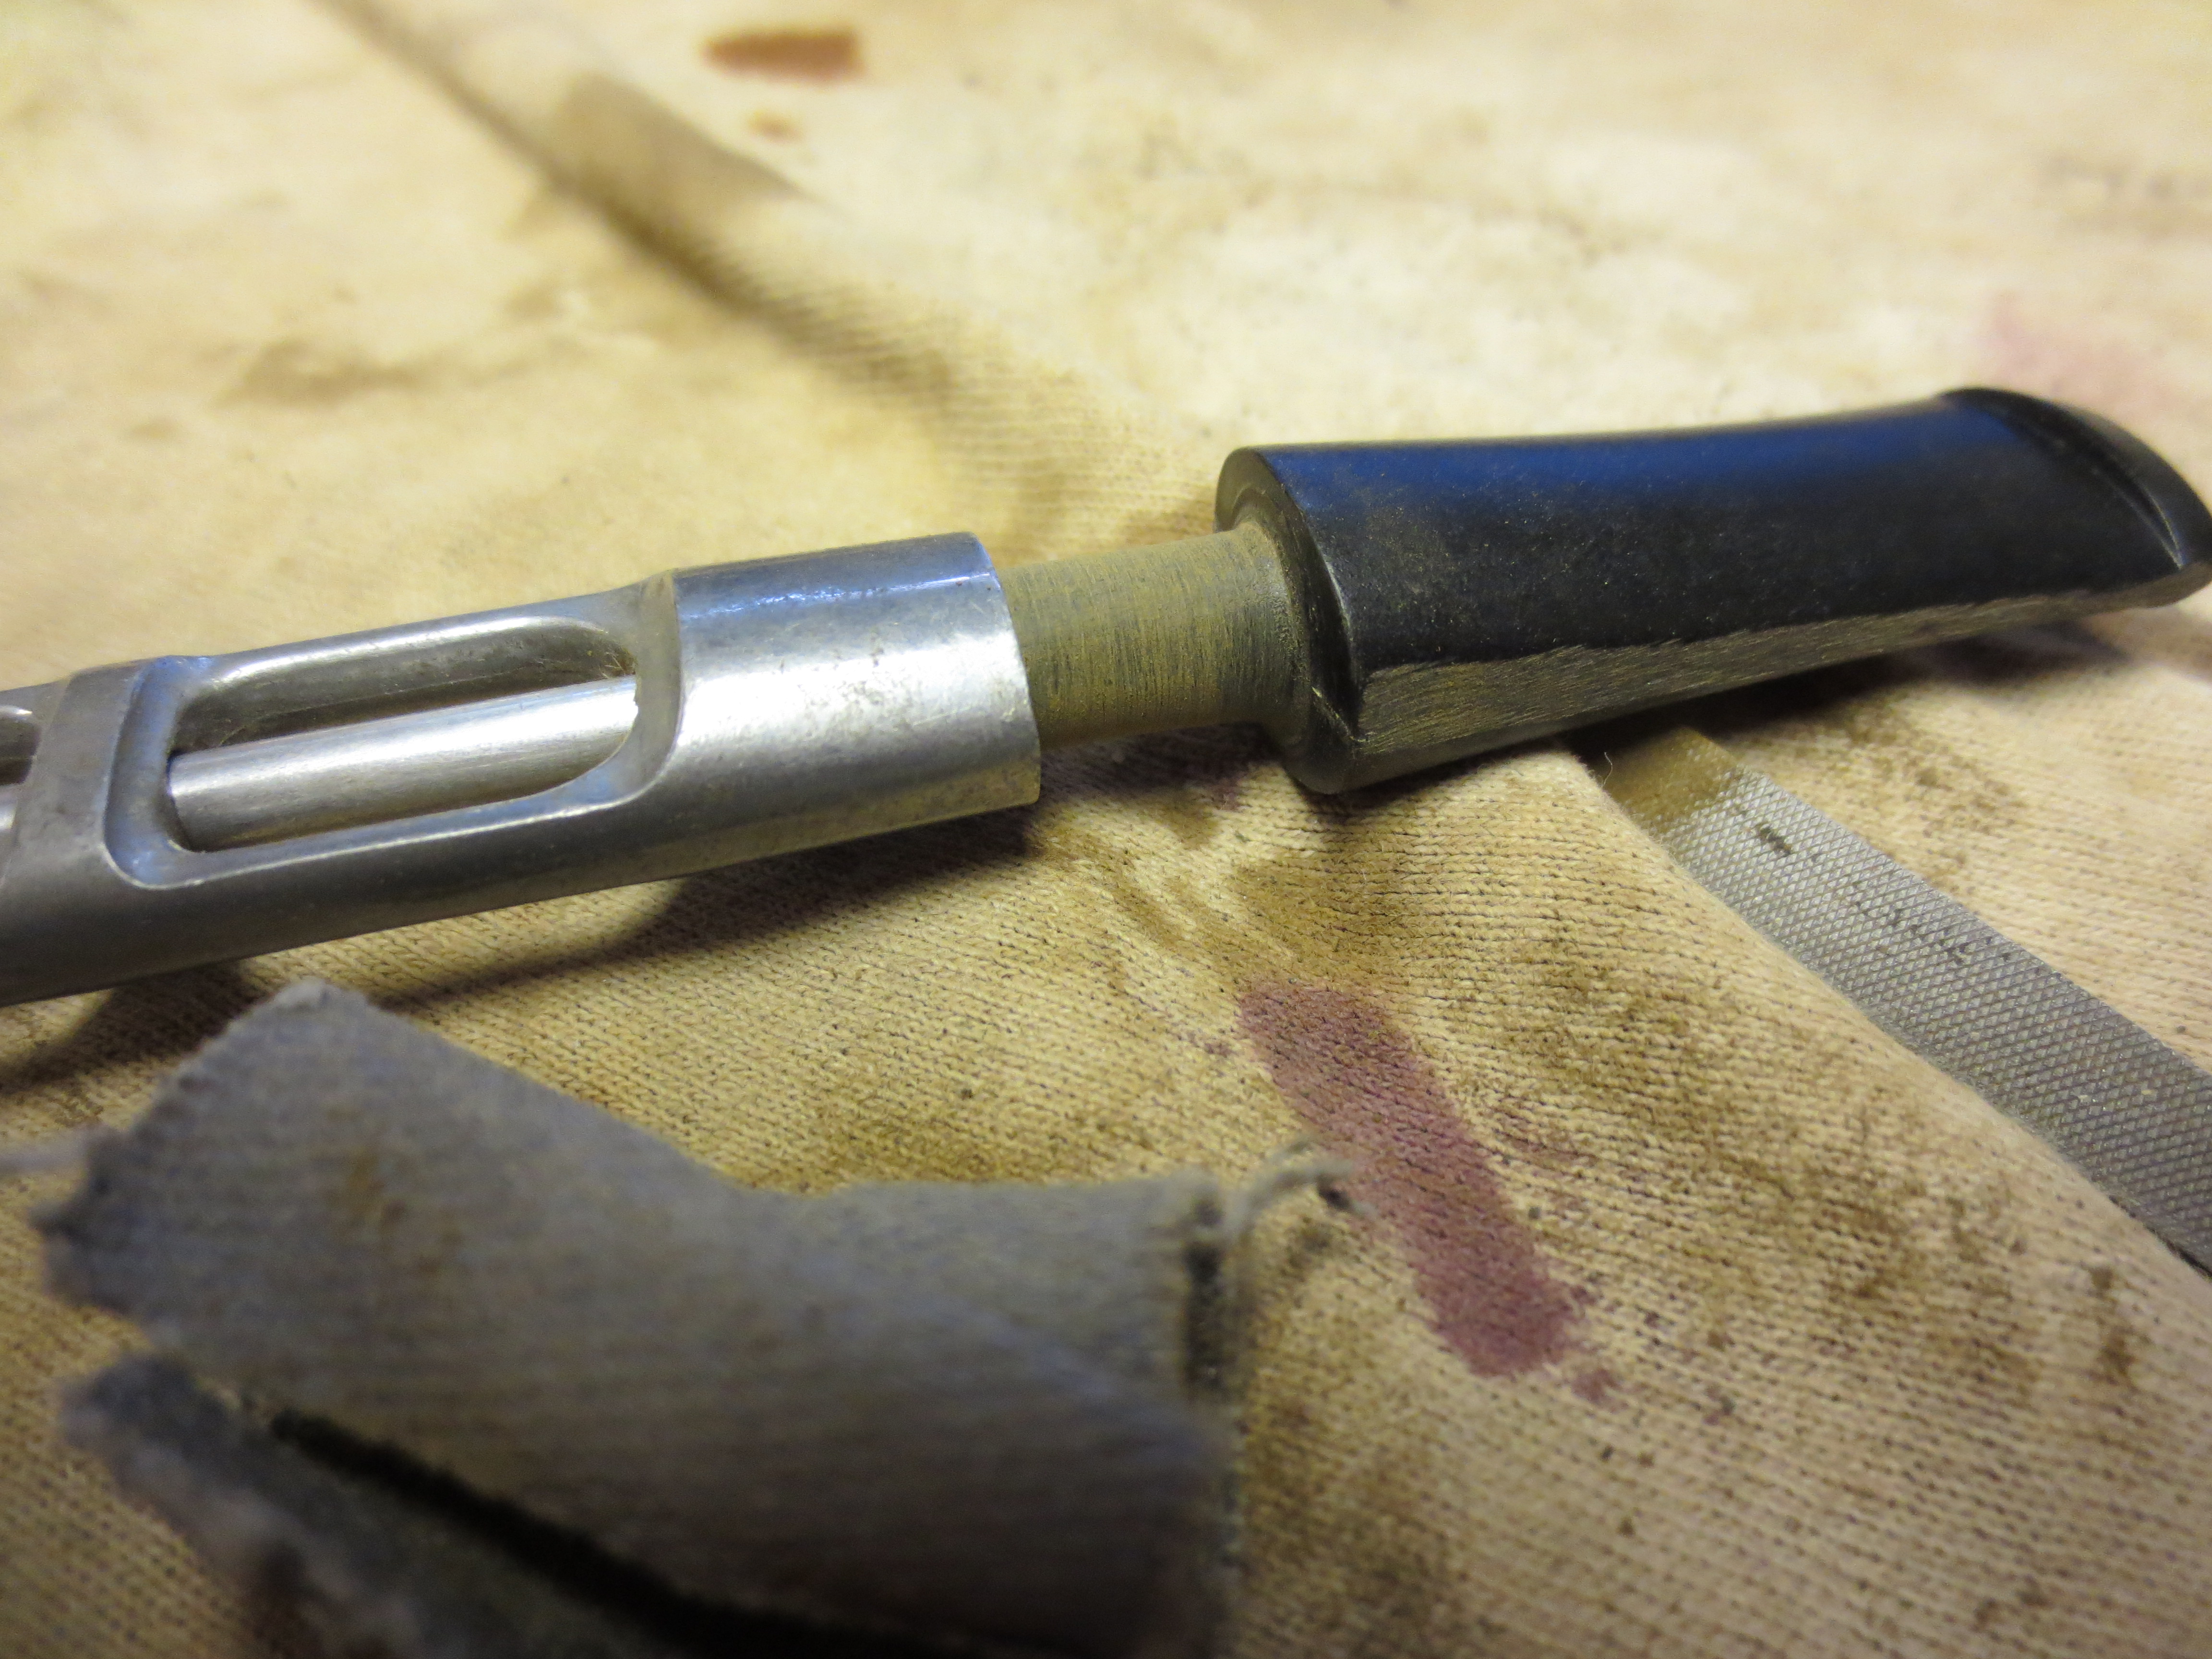
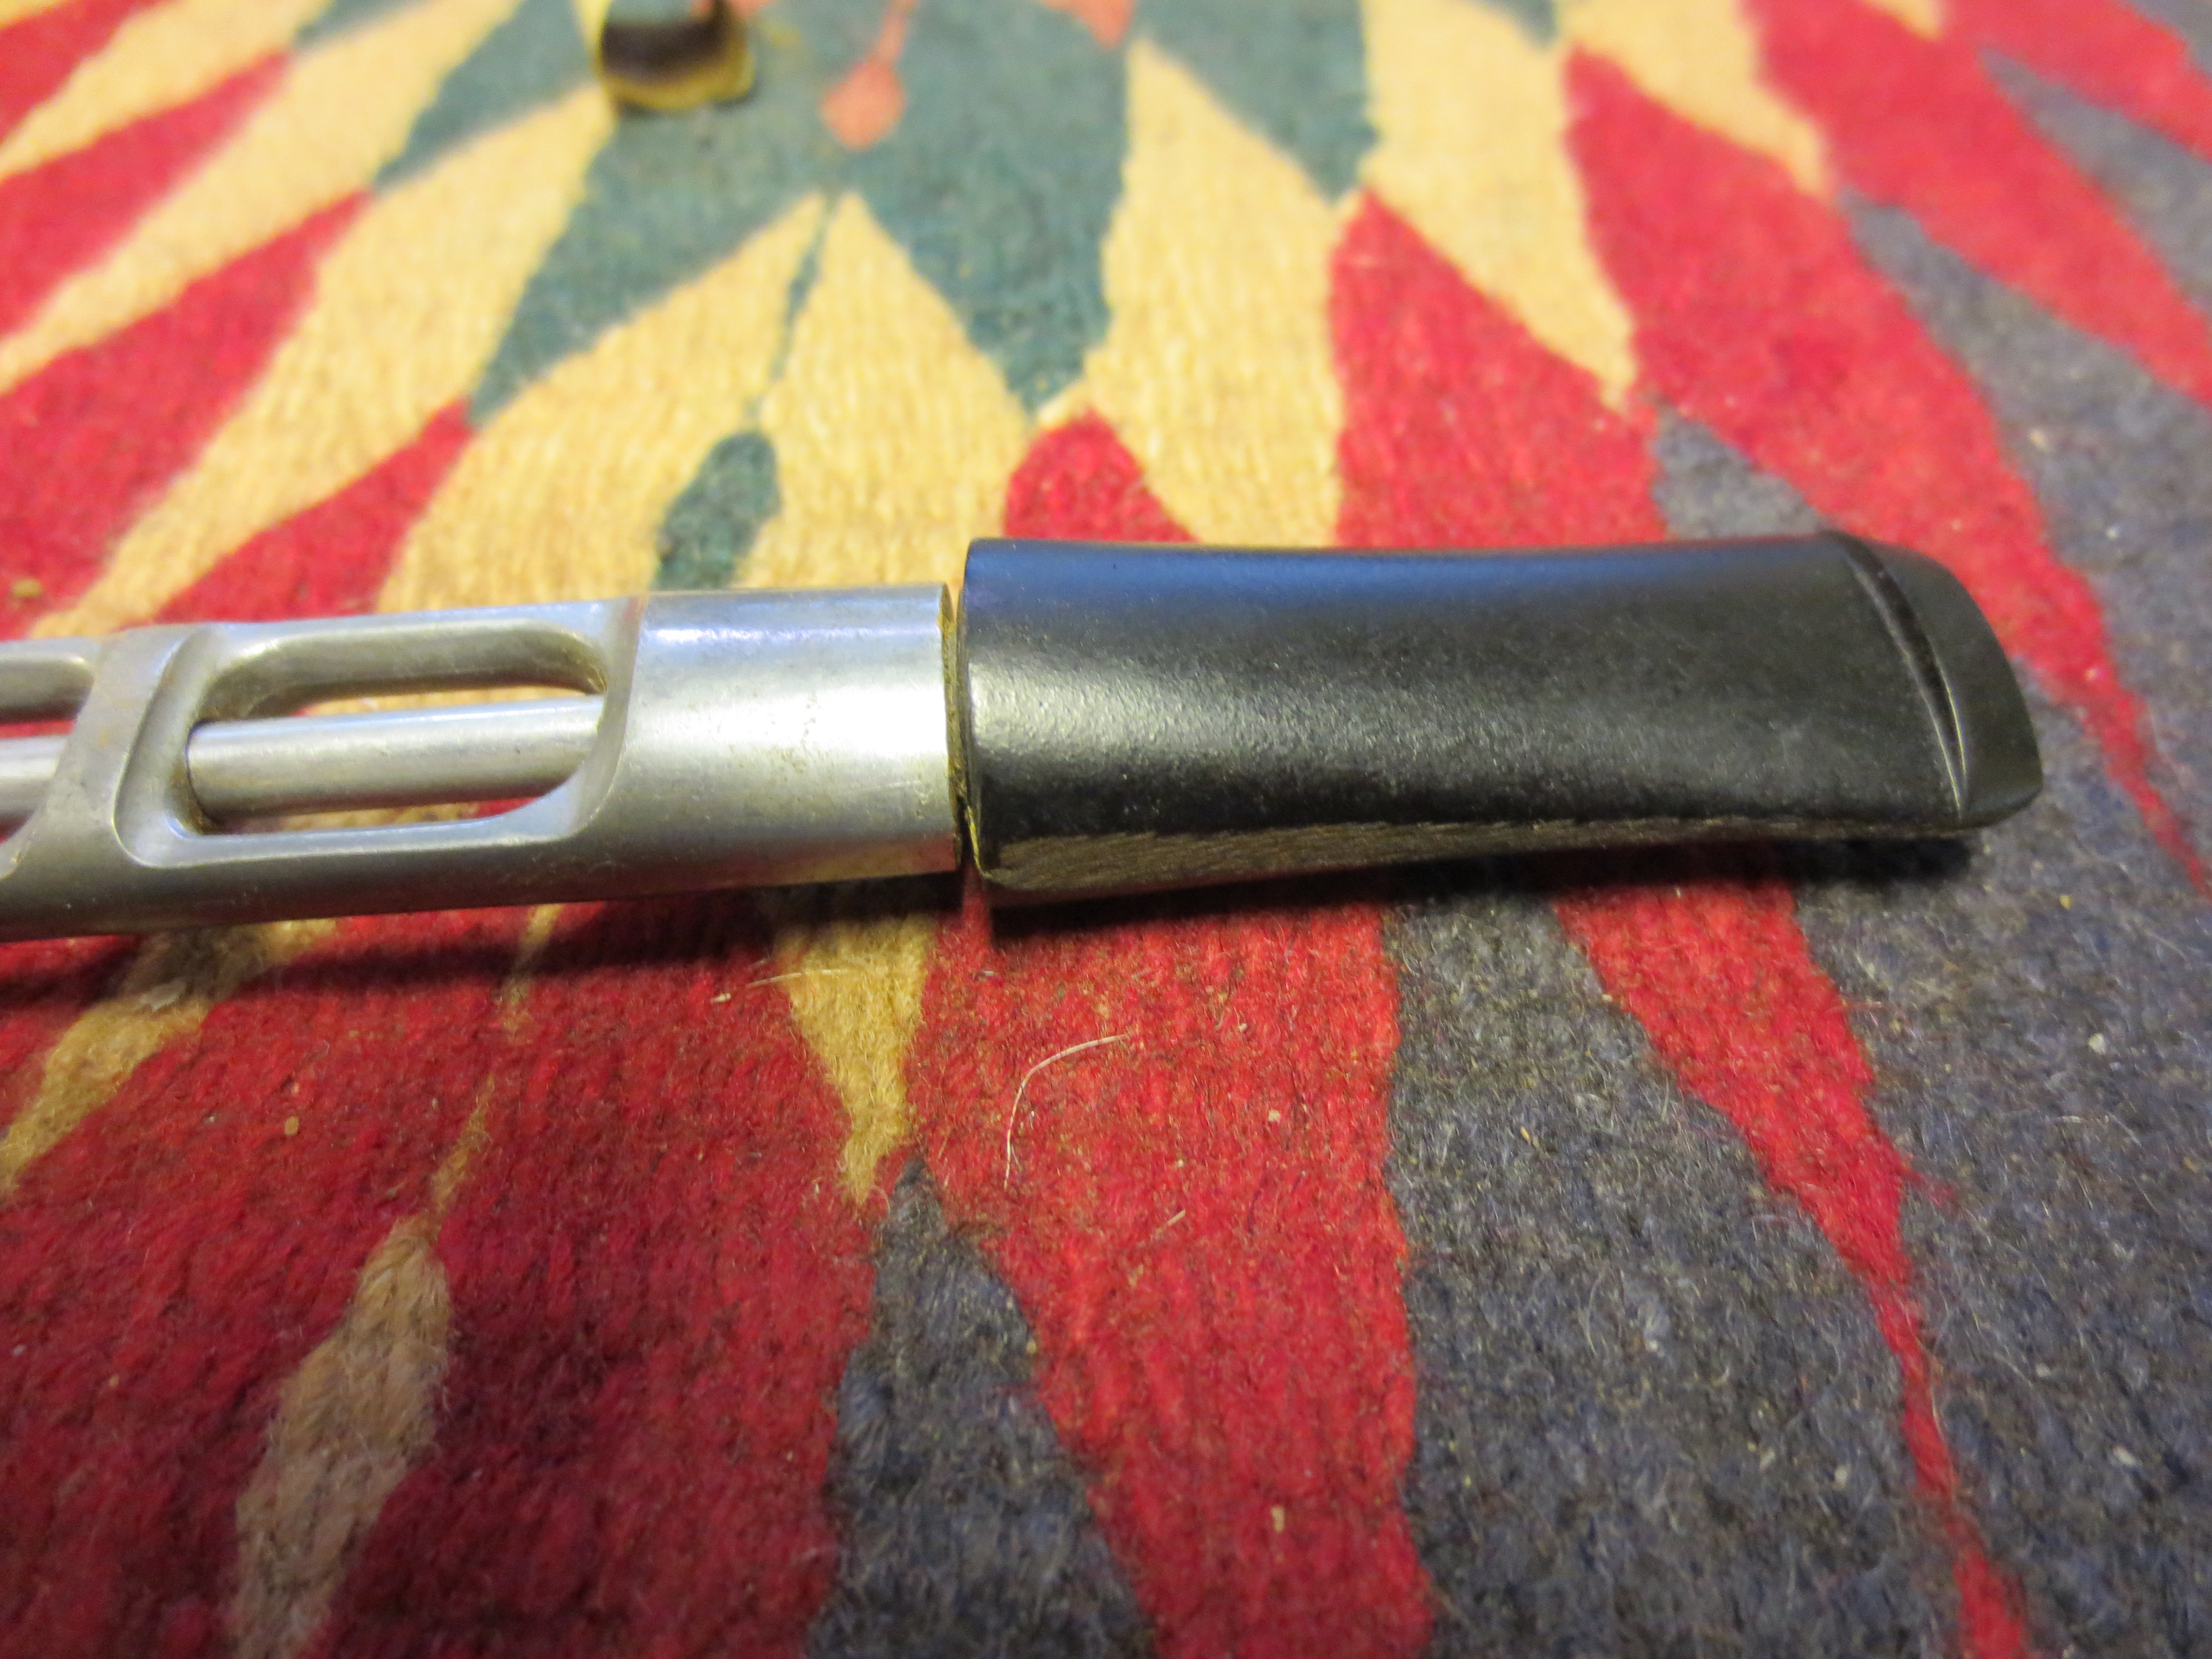
After I had the basic fit as pictured above I decided to work on the out dimensions of the stem to get a smooth flow between the metal shank and the vulcanite stem. I used my Dremel to take down the majority of the excess material that needed to be removed. The next two photos show the stem after I had used the Dremel. It was ready to hand sand at this point in the process.
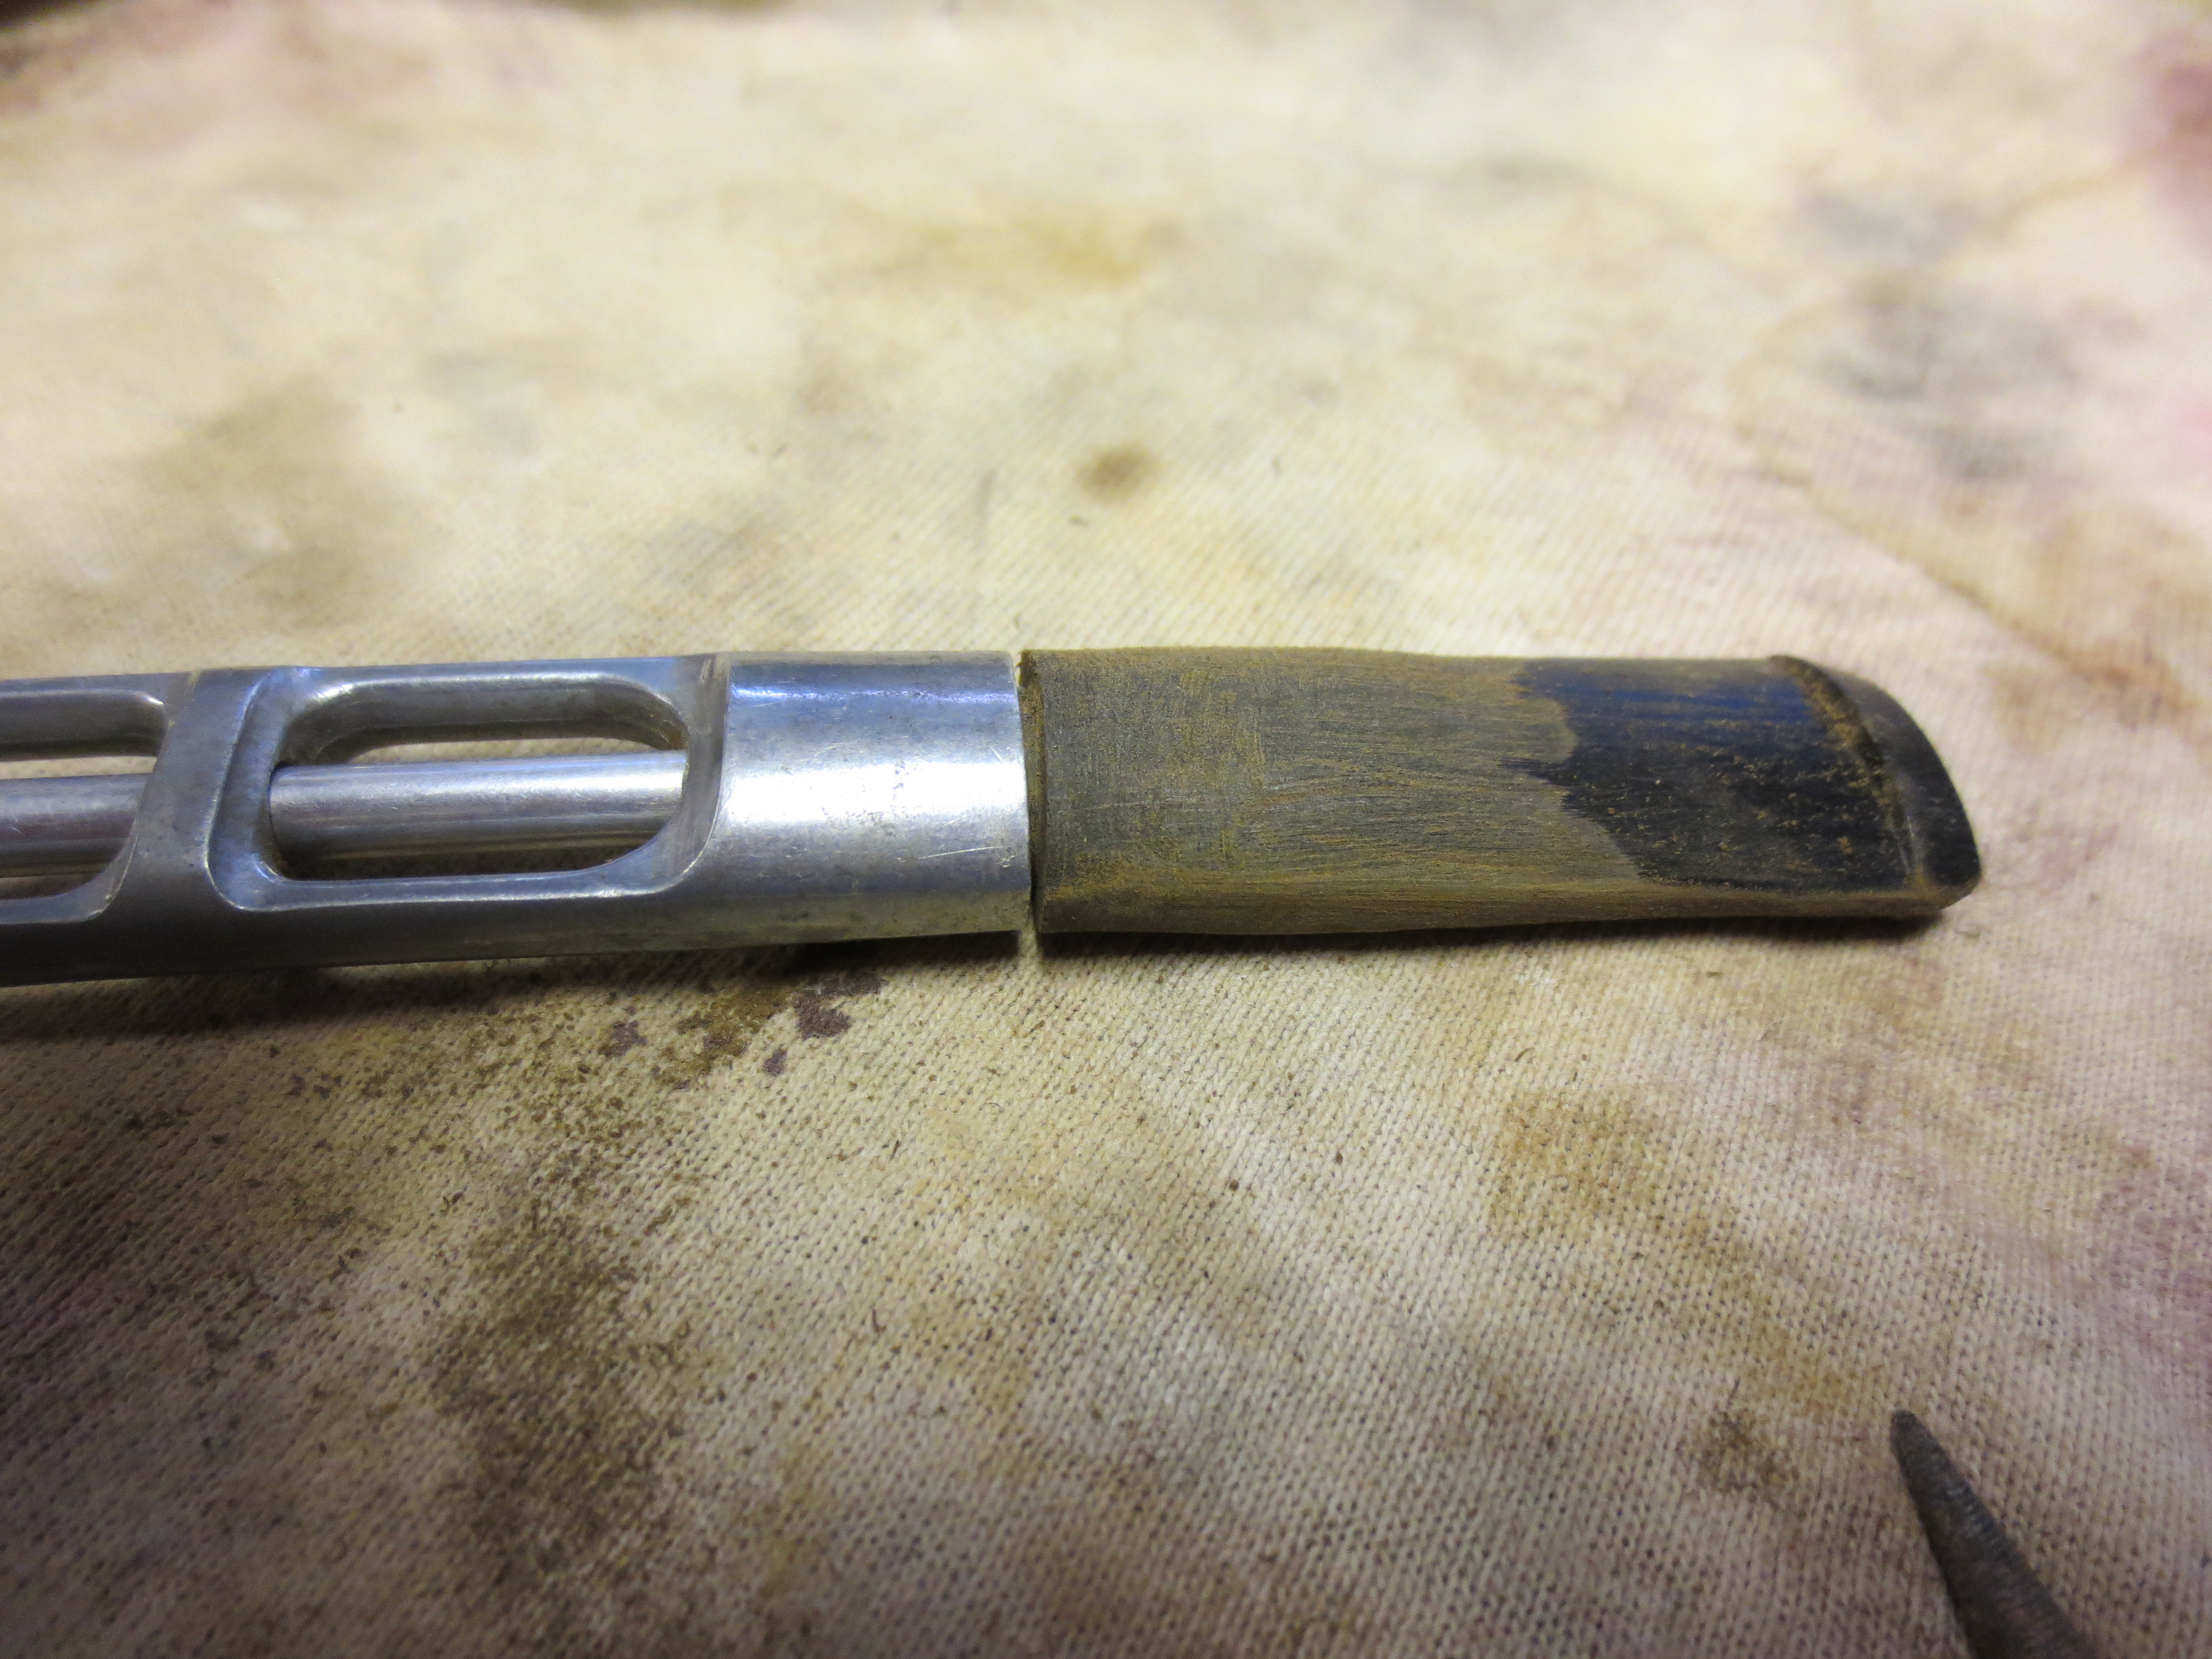

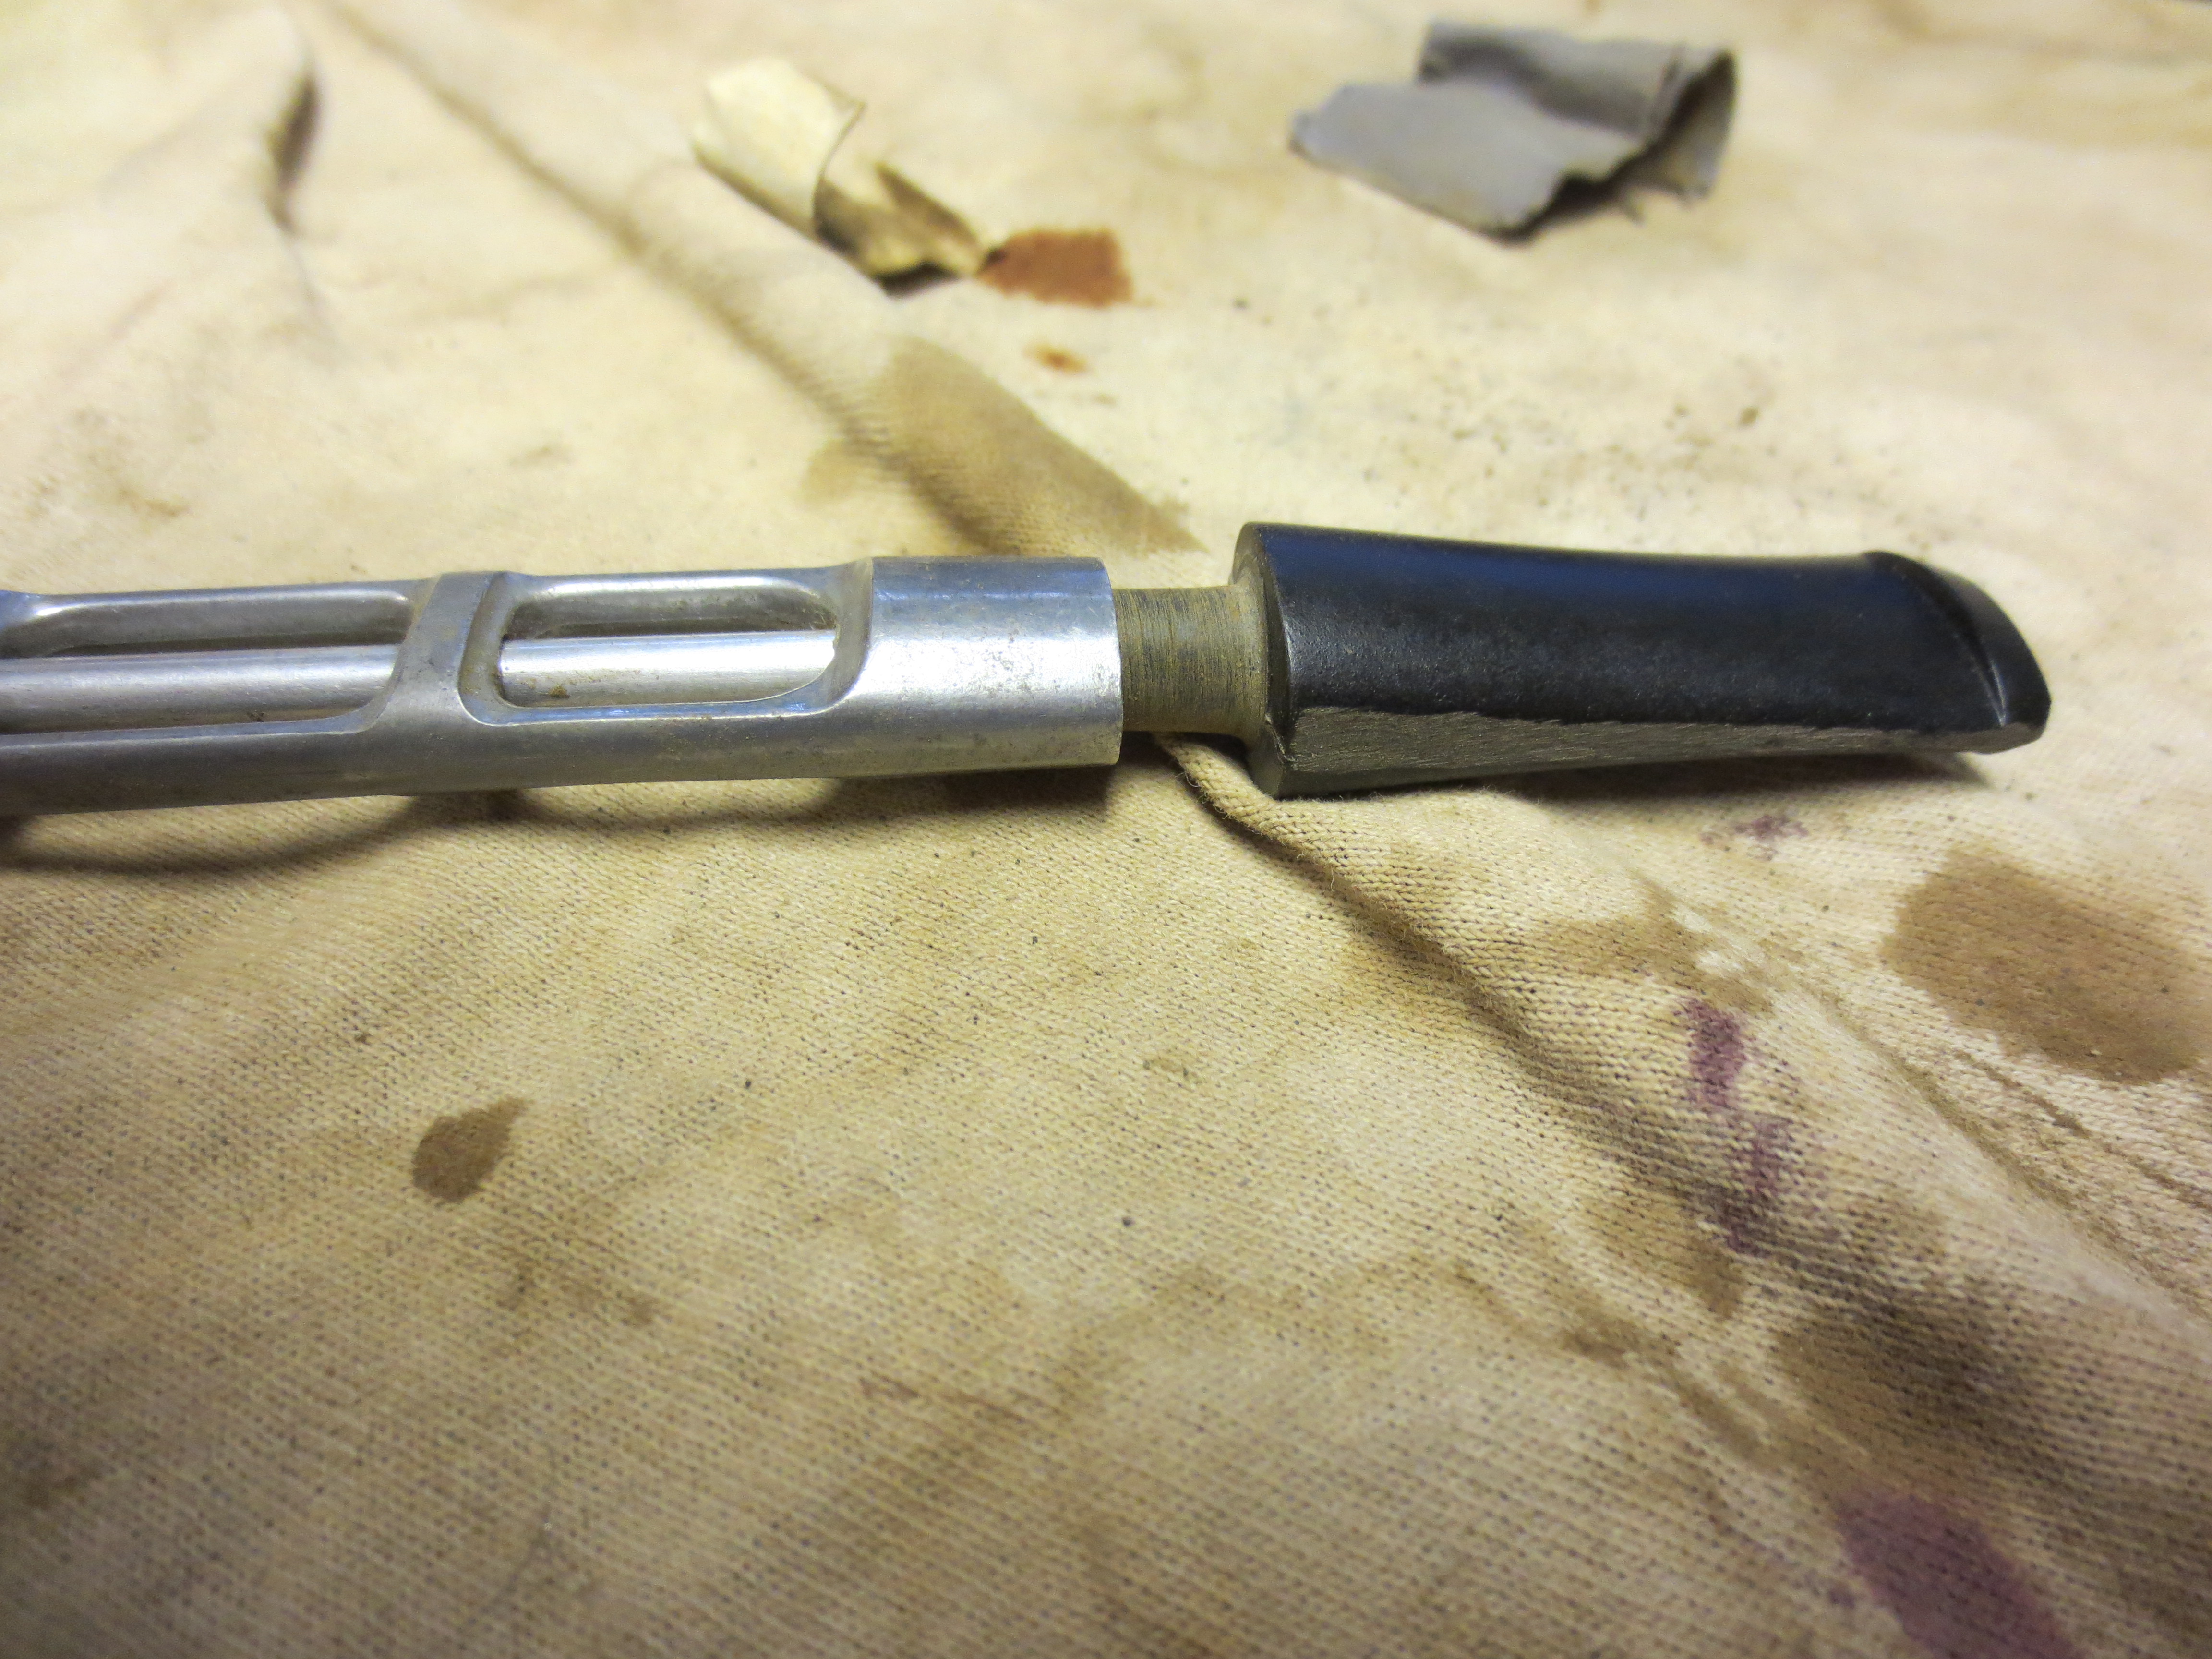
I sanded the stem with medium grit emery paper to remove the marks from the Dremel and smooth out the angle of the stem from the shank to the button. I also shortened the tenon to get a tight fit on the stem to the shank. It was just a little too long to fit the depth of the hole in the shank. The next series of five photos show the fit to the shank and the first stage of sanding to remove the scratches.
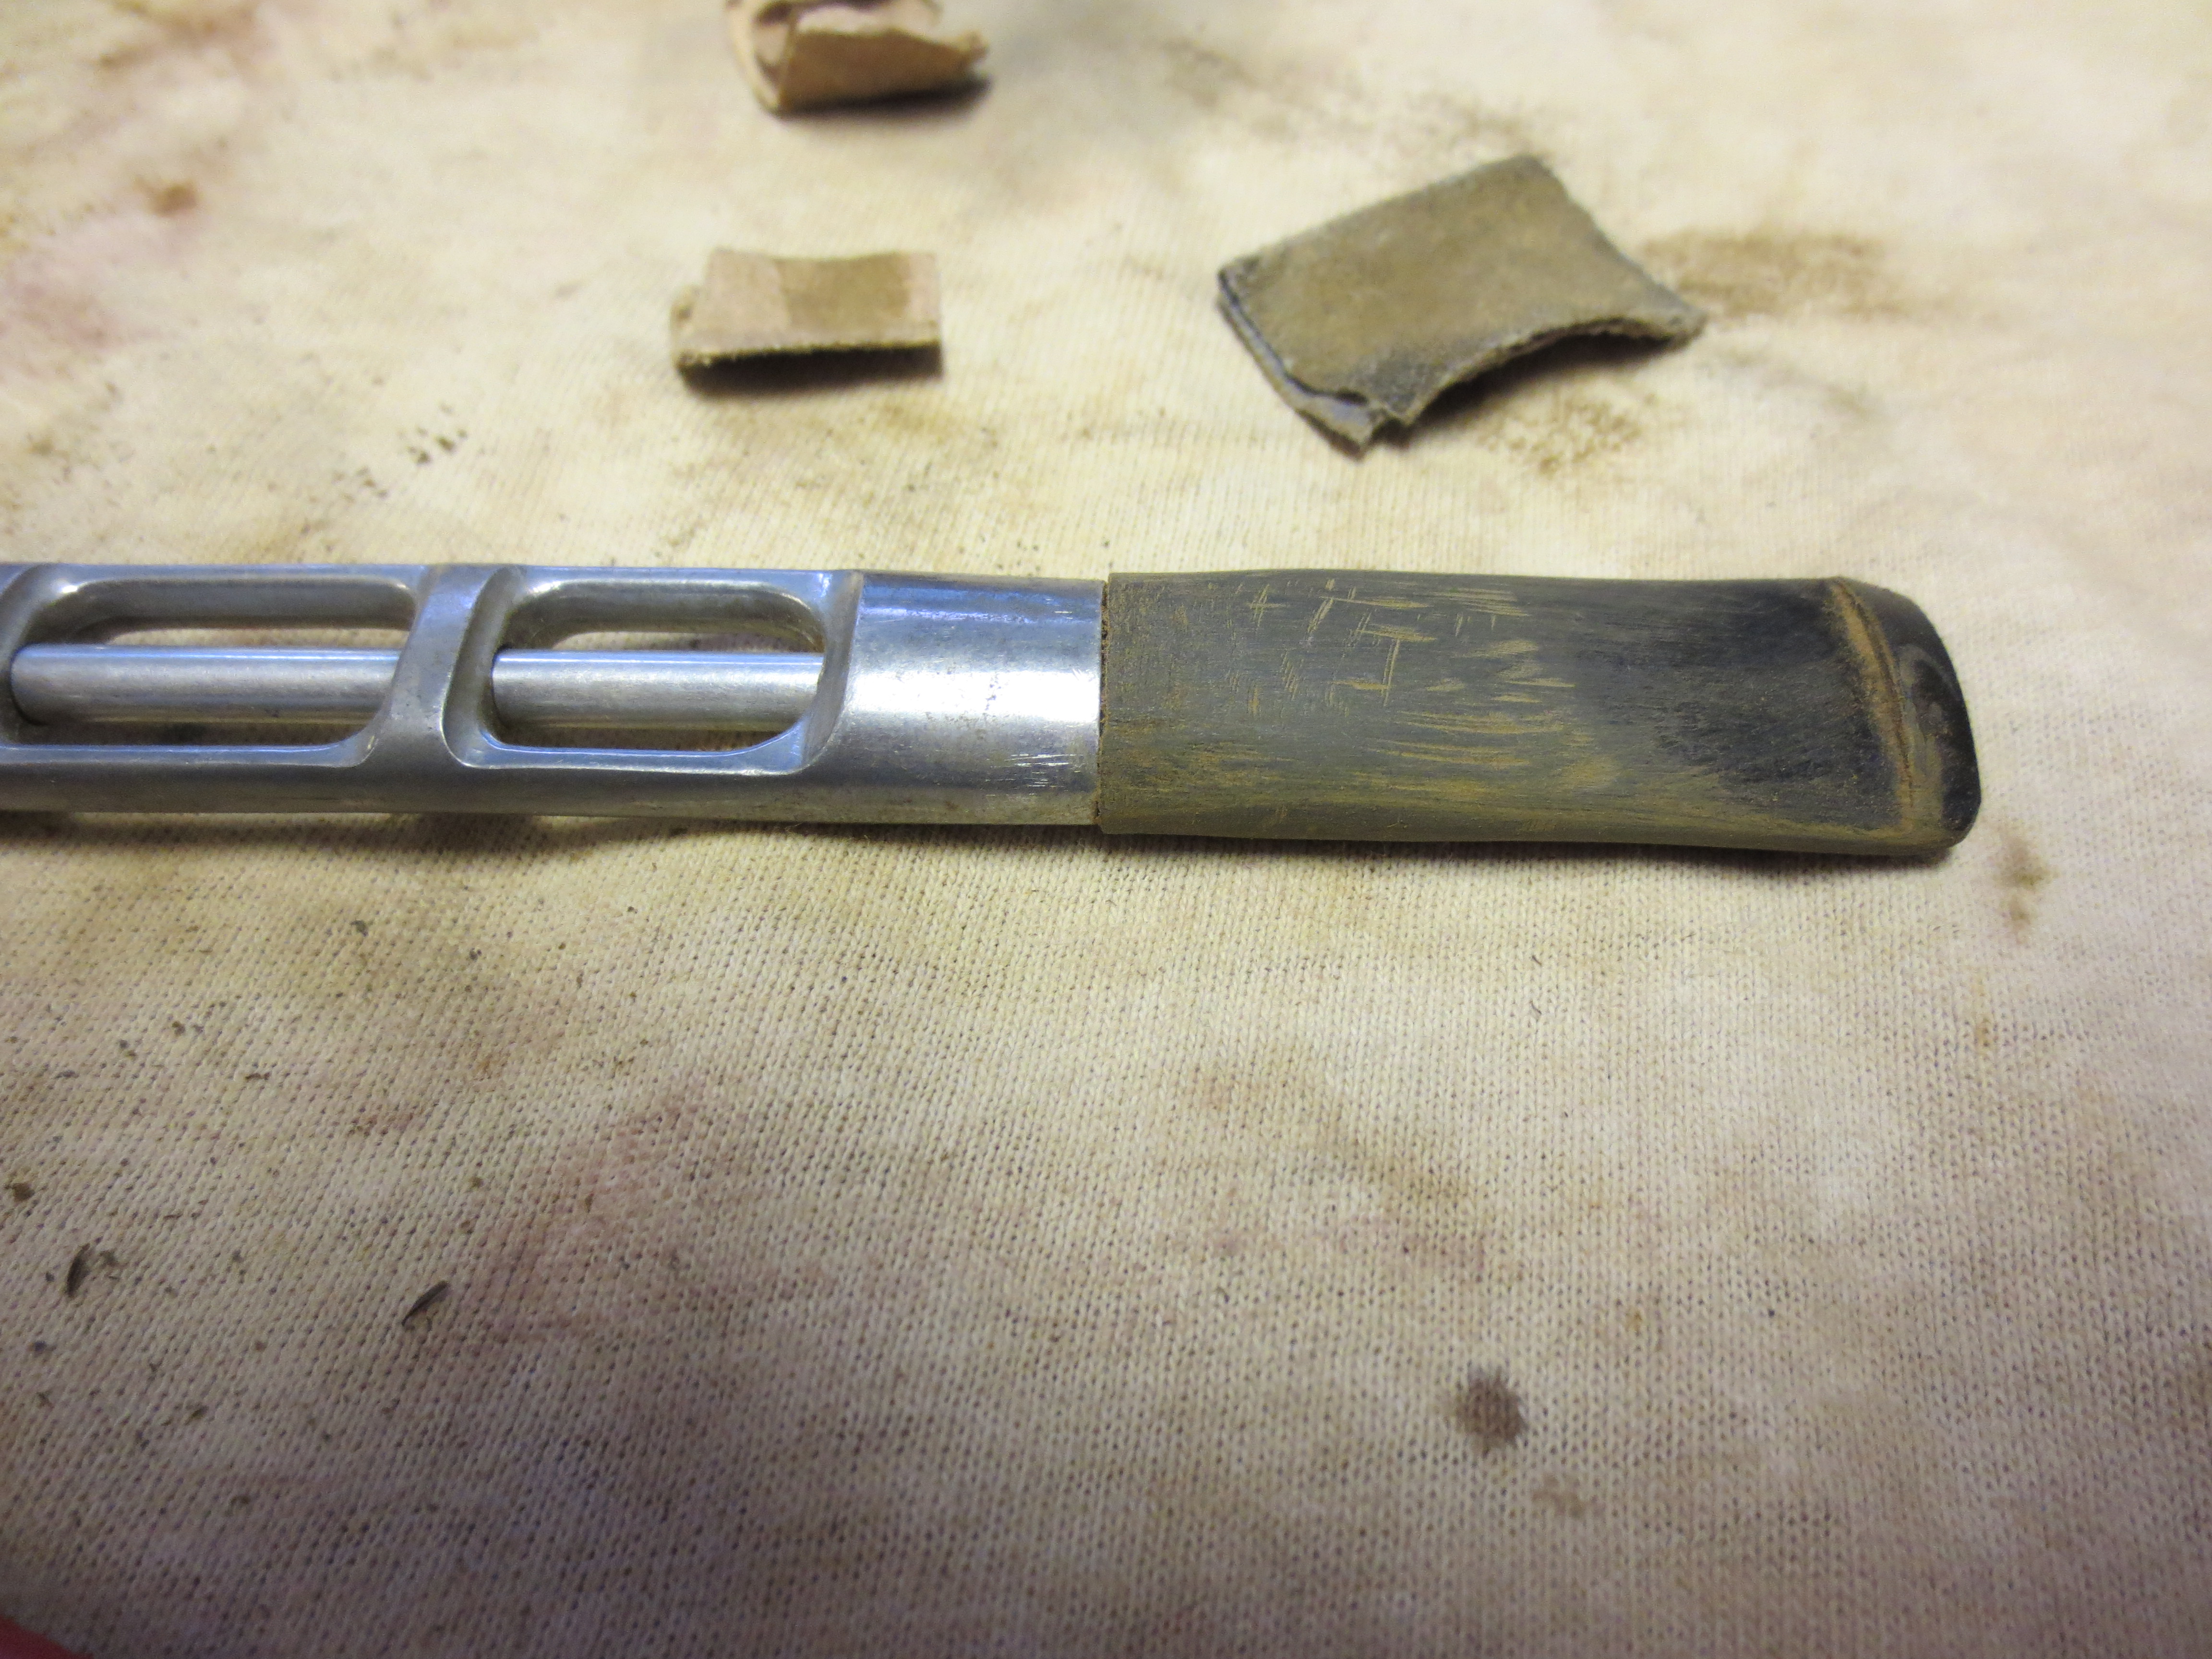

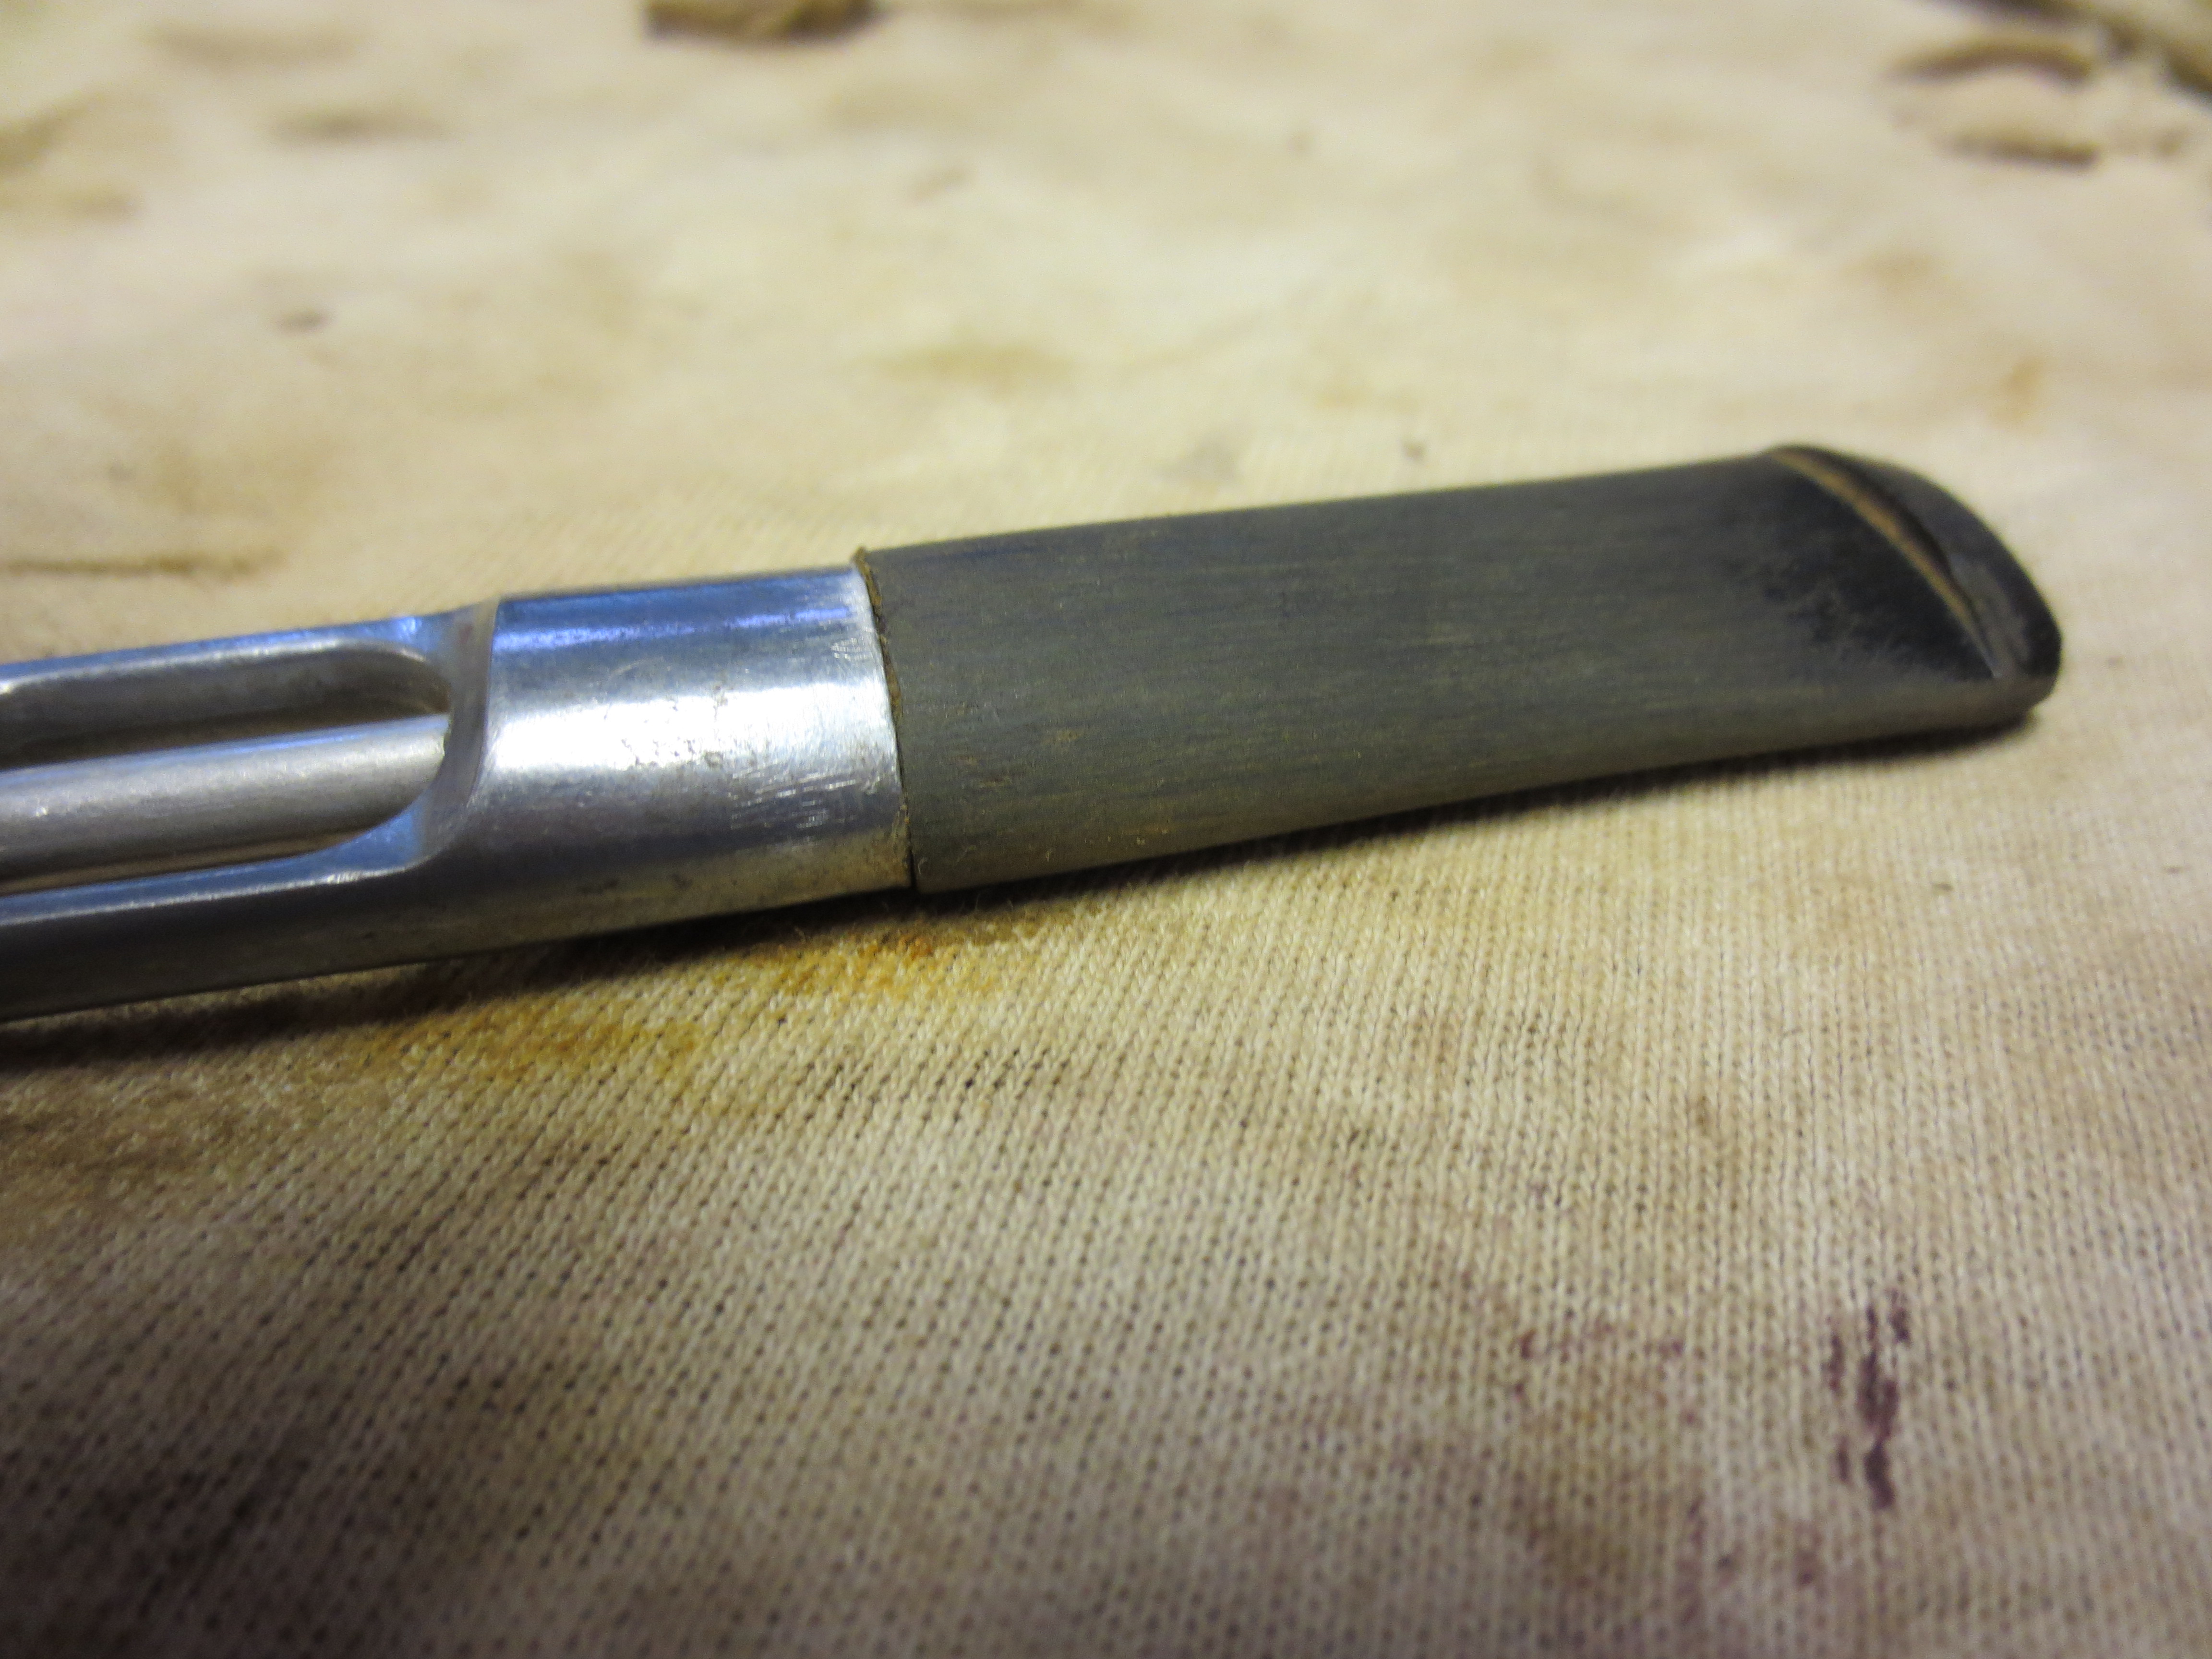
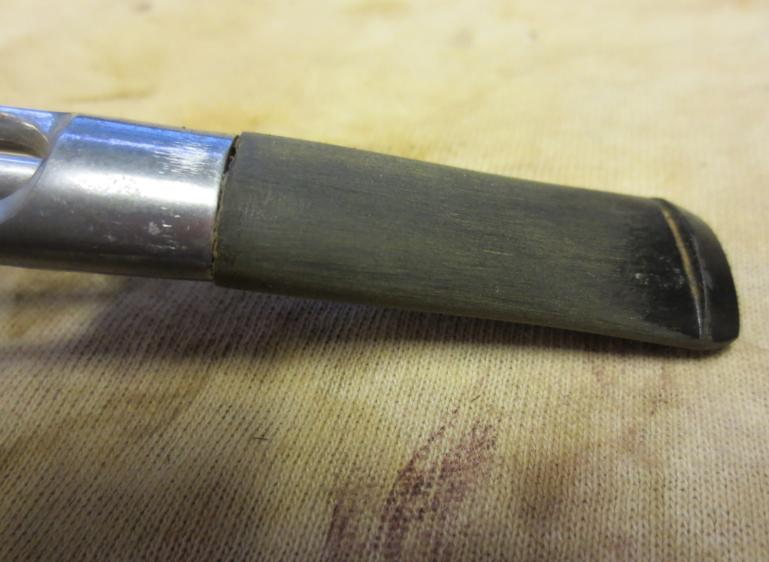
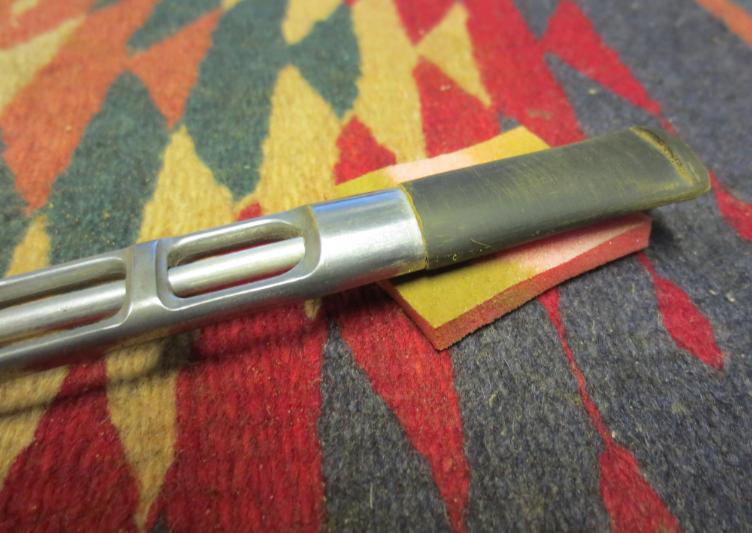
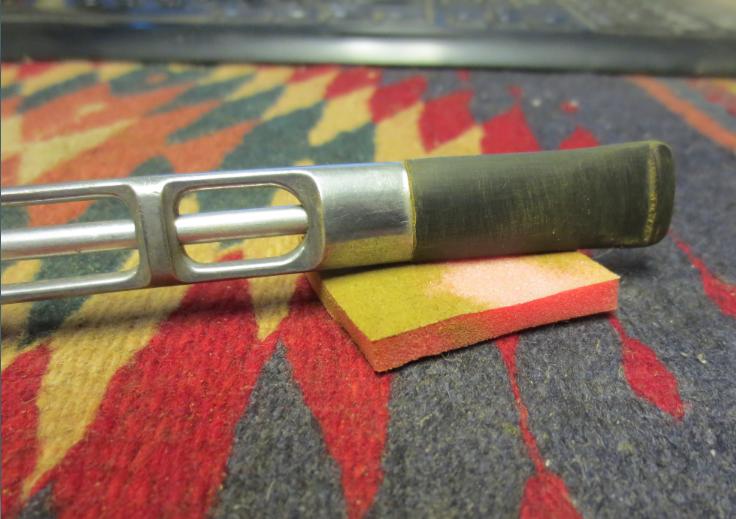
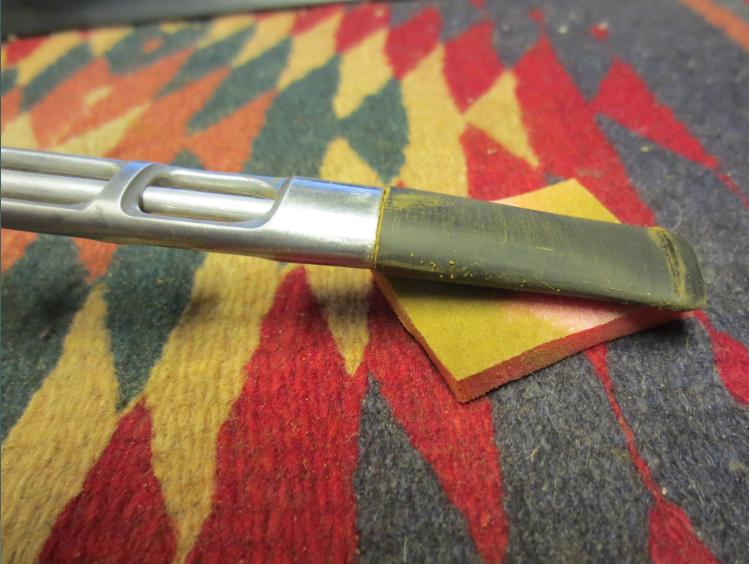
I took the stem back to the Pimo tenon turner and set it a bit deeper to smooth out the portion that goes against the shank. Then I took it back for more sanding to make it fit more tightly against the shank. I moved on to sand with medium grit sanding sponges to continue to make the stem sit correctly on the shank and to remove the scratches remaining on the stem. The next seven photos show the progress on the stem. It is getting close to a good fit and the scratches are less visible. I also wiped down the bowl with acetone and sanded the top of the bowl and the inside edge of the bowl to deal with the burn mark on the back side of the rim.
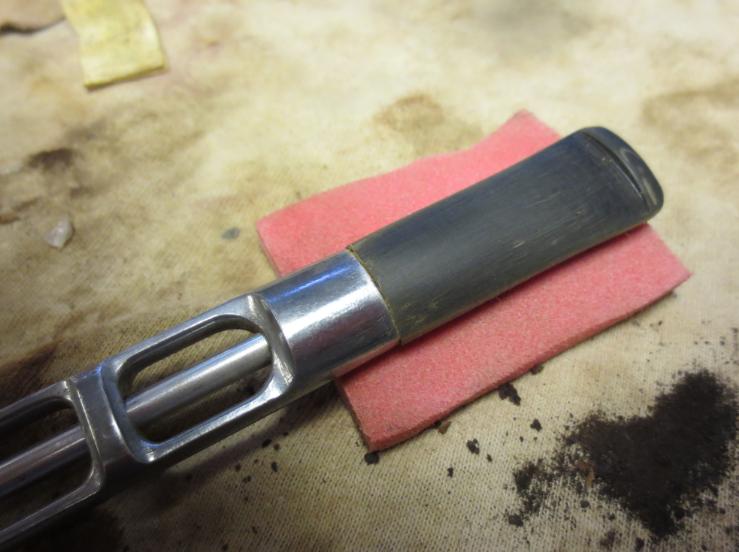

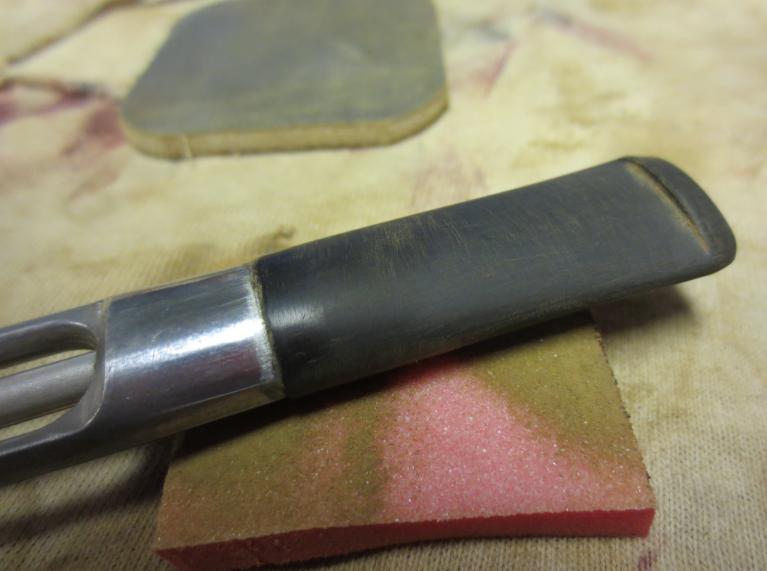
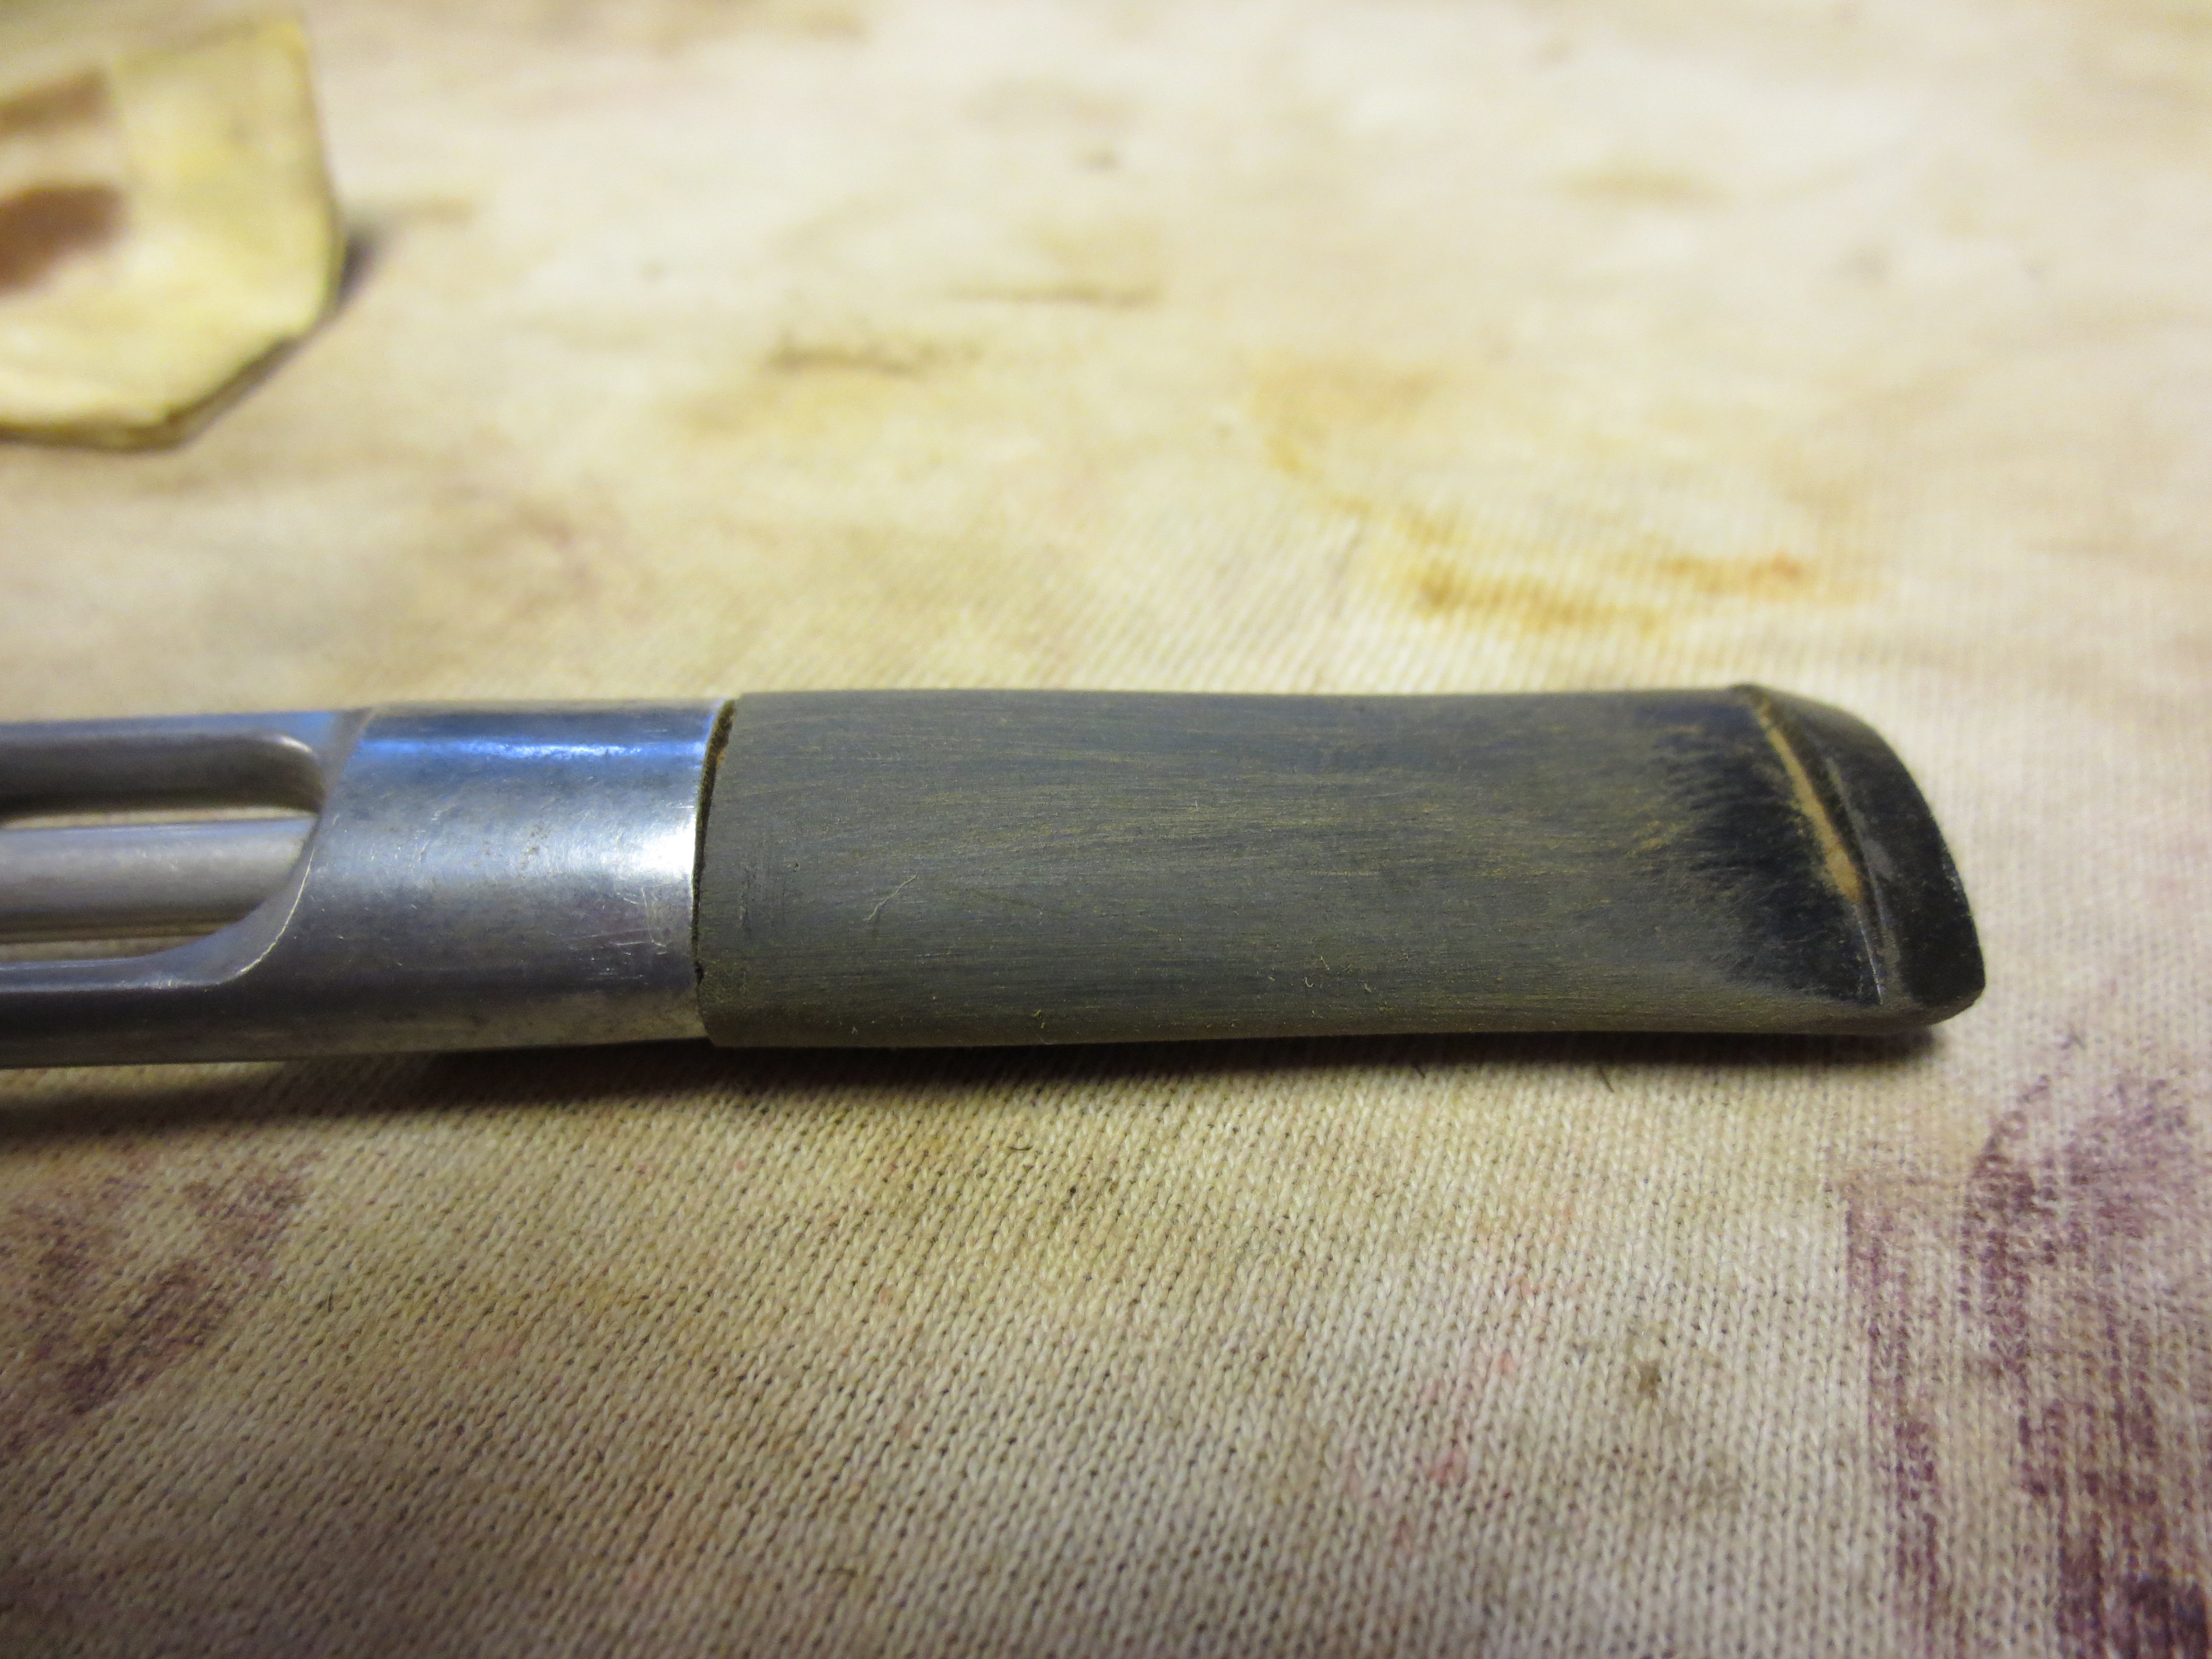
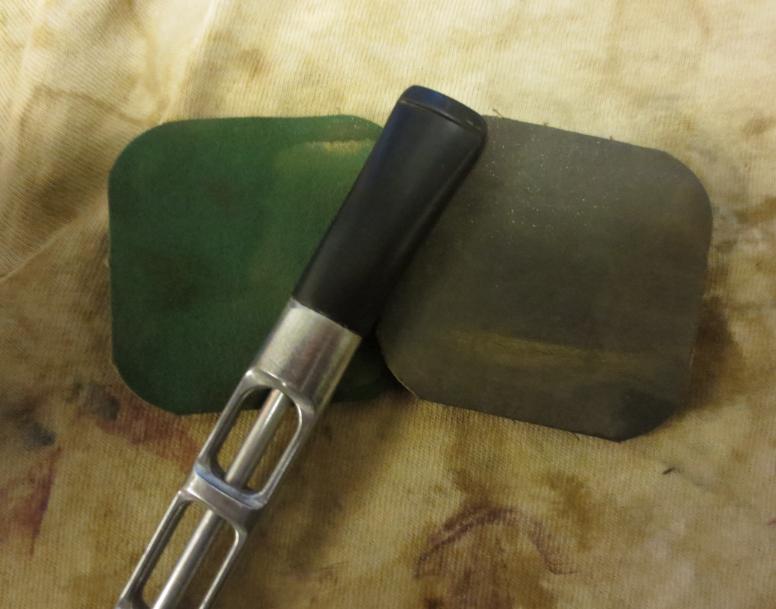
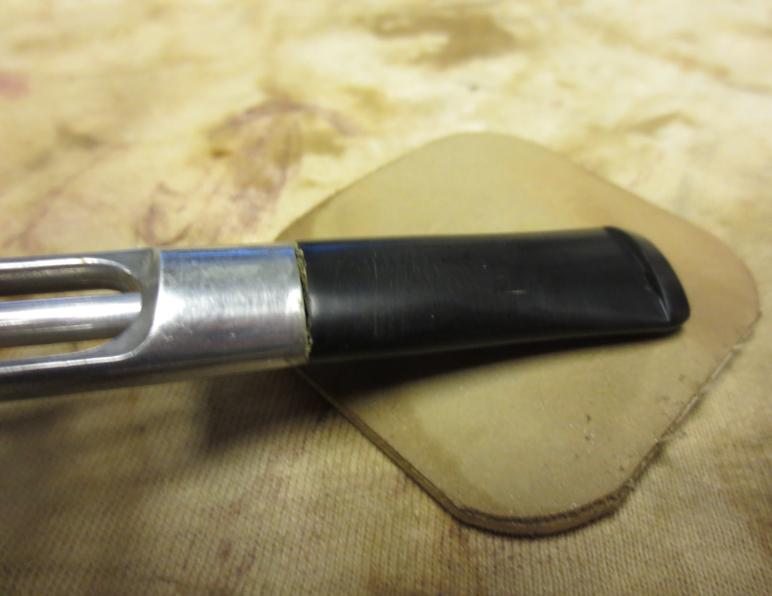
At this point you can see some of the minor scratches on the aluminum of the shank. These will come out when I use the micromesh sanding pads after the stem is ready. The next series of two photos show the progress of smoothing out the stem with the micromesh sanding pads. I wet sanded with 1500, 1800 and 2400 grit sanding pads. Each successive grit gave a deeper shine and polish to the stem surface.
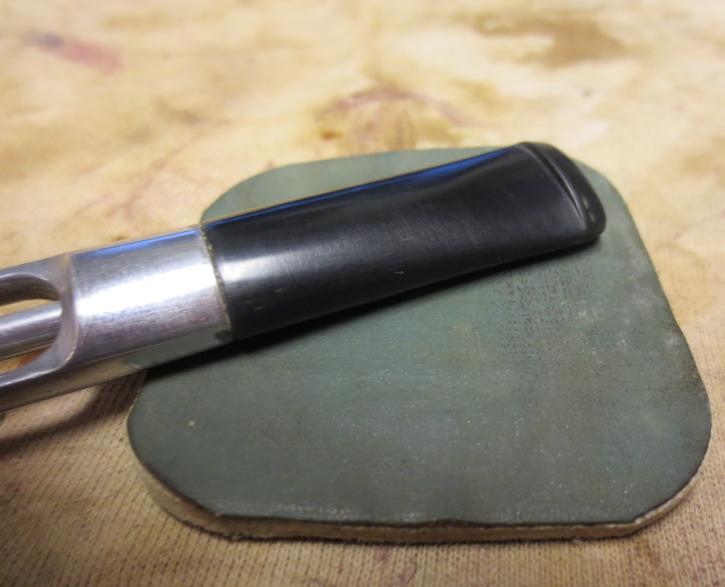
 I also wet sanded with 3200 grit micromesh sanding pads. The next two photos show the change in the stem as the shine deepens.

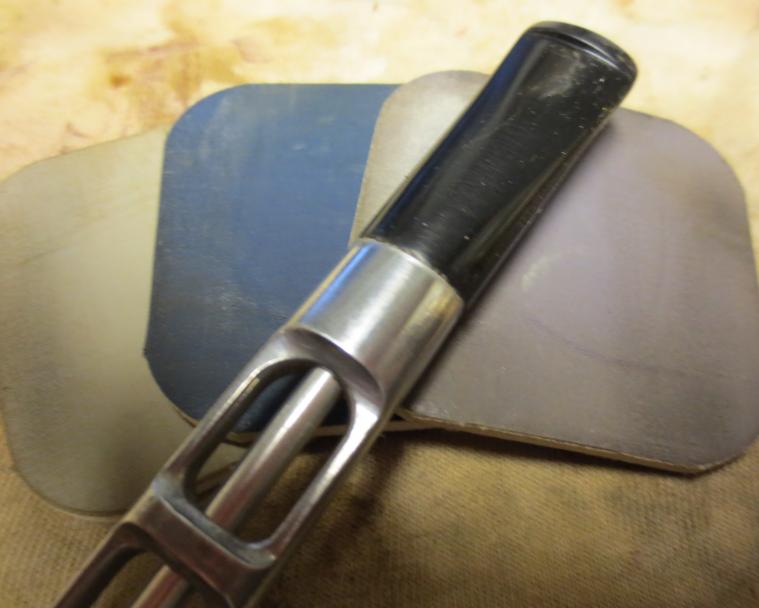
I went on to dry sand with 3600 – 12,000 grit micromesh sanding pads. The next series of photos show the progress in polishing of the stem. To me the final three grits – 6000, 8000 and 12,000 grit – show the most change. The next two photos are selected to show the progress. The first one below is of the stem after sanding with the 4000 grit micromesh. The second photo shows the stem after sanding with the final three grits of micromesh.
 Once the stem was polished I used some clear superglue to glue the stem to the shank. I also went on to stain the bowl with an oxblood stain. I applied it and then flamed it and restained and reflamed it. The next four photos show the pipe after staining and before taking it to the buffer. I also used the micromesh to polish the stem and shank.

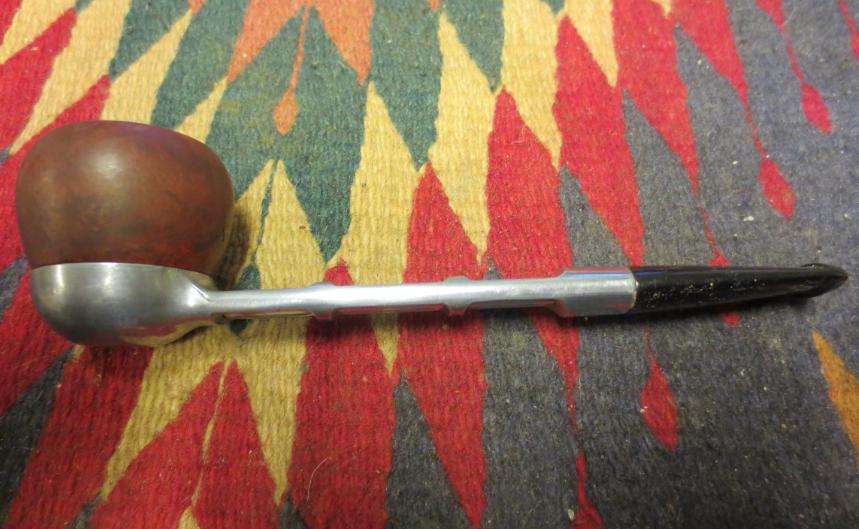
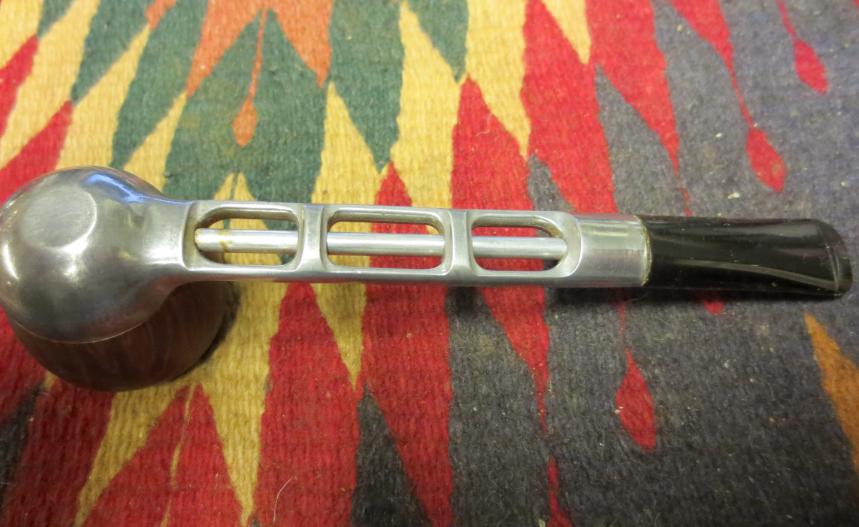
The final four photos show the finished pipe. I buffed it on the buffer with White Diamond and then gave the bowl and stem multiple coats of carnauba wax and buffed with a soft flannel buffing pad to give it a shine.