One of my pet peeves in the realm of refurbished estate pipes is rounded shoulders on the tenon end of the pipe stem where it meets the shank of a pipe. A second one that is nearly as irritating is rounded edges on the button to the point where it has lost all definition. When the pipe was finished and left the factory the transition between the shank and stem was smooth. The edge of the stem was sharp and crisp and the joint was unnoticeable to the touch. I have gotten pickier now in my choice of estates. I would rather pick up a pipe that is in rough shape and needs work than one that has rounded shoulders. Early in my refurbishing days I did not pay attention to this and was guilty of rounding the shoulders. Even in some of the pipes that I have carved in years past I rounded the shoulders through carelessly sanding the stem while it was off of the pipe. Over the years through the helpful critiques of others I have come to see the error and am now very careful in proceeding with stem refurbishing. I decided to write about the error itself and its causes in order to help others avoid this mistake. There are multiple ways to cause the rounding of shoulders and buttons. I want to write about the ones I am guilty of and how I have corrected the errors.
One of the most frequent errors is to over buff the pipe stem to bring it back to black. While the oxidation is removed and the stem shines, the edges are lost. The crisp sharp lines of the pipe are destroyed. I remember working the stems against the buffing wheel with brown and red Tripoli to get rid of the oxidation. I buffed almost indiscriminately on my quest to remove the greenish brown. The sad thing was I also rounded edges, button and sharp angles. I remember buffing stems without the pipe attached and when they were good and black, buffing them with carnauba. They sure shone but the pristine angles were forever gone.
Once the error of buffing the oxidation away and losing the shape of the pipe stem had been pointed out to me I began to search for new ways of removing the oxidation without damaging the edges of the stem and button. My quest took me to the second method that I used – to sand the stem with varying grits of sandpaper. At first glance, this method seemed better than buffing as it was easier to maintain the edges. On another level, however, it was just as bad in that it changed the shape of the stem. Again, I learned the hard way, thinking I could maintain the sharp edges; I sanded the stem while it was removed from the pipe. This stemmed from my fear of damaging the finish and shape of the shank. In doing this my track record was better and over 50% of the stems retained sharp edges. I was better in maintaining the integrity of the button and its edges with this method. But because I knew better than to damage the edges I looked for a different method that would minimize damage to the stem even more.
My third experiment in removing oxidation involved bleaching the stem. I filled a container with bleach and placed the stem in it for a soak. I tried straight undiluted bleach and bleach diluted 50% with water. I left them in for short periods of time in both solutions. I found that it left the stem surface pitted and rough. It also affected the clean and sharp lines because the pits would also end up on the sharp edges. The only way I knew of removing the pitting and attaining a smooth finish afterward was by sanding with wet dry sand paper from 400-1200 grit. While this was more satisfactory in maintaining sharp and distinct as opposed to rounded shoulders it still was not exactly what I was looking for as it affected the finished look of the stem. Sanding the stem after bleaching still changed the overall profile. So the search went on.
My fourth experiment involved soaking the stems in an Oxyclean solution. I had heard from a variety of people that this worked well and did not leave the stem pitted and rough when it was removed from the soak. I mixed the Oxyclean according to directions – a half scoop for a quart jar of warm water. I shook the jar to dissolve the Oxyclean and then placed the stems in the solution. I experimented with the time left in the solution – anywhere from 1-12 hours. Regardless of the amount of time left in the solution I found that the Oxyclean did not remove the oxidation but did soften it significantly. I learned from my experiments that it took over an hour of soaking to soften the oxidation. The longer soak did not significantly soften the oxidation more. When the stems were removed they were almost white from the work of the solution. I wiped them down with a cotton cloth to remove the surface oxidation that was on the surface and had been softened. I scrubbed it hard with the cloth and was able to remove a lot of the oxidation. However, there was still a remnant that had to be scrubbed or sanded. It is important to note that was less sanding of the stem involved with this method.
A fifth experiment happened accidentally. A friend of mine who does refurbishing as well was using the flame from a Bic lighter to lift tooth marks from a vulcanite stem. He found that the moving flame not only lifted the tooth marks but burned the oxidation. He tried moving the flame quickly over the length of the stem and it worked quite nicely. Many have wondered about heat damage and stems straightening from the heat but miss the point that the flame does not sit anywhere on the stem too long. The concept is to let the flame lick the surface of the stem and quickly paint the stem with the flame. I have experimented with this and found that it works very well in the crease along the button and on heavily oxidized stems. I have also used it after a pipe stem has soaked in Oxyclean and it works. To me the jury is still out on the long term effects of the method but it does work and does not damage the sharp edges or the profile of the stem. The two of us have done a lot of experimenting and talking through the process and continue to learn as we do it. I know others on the blog have experimented with the method as well and have had a variety of experiences with it.
Today, through my experimenting, I arrived at the point where I have combined several of the methods from my learning process described above. I use the Oxyclean soak and the micromesh sanding pads from 1500-12,000 grit to wet sand and dry sand the stems. I like the fact that they do not remove large amounts of material in the process of sanding the stem. Less frequently I have to use 320 grit or 400 grit wet dry sandpaper to work on heavy oxidation. That combination allows me to clean up the stem with minimal invasive action on the surface of the stem. I have added the use a plastic polish between the various grits of micromesh to further clean the stem. I do not finish the stem with the plastic polish but merely use it in the midst of the process. Finally for the tough areas I have used the Bic lighter to quickly move over areas that are hard to sand with the micromesh. With this combination of resources I am happy with the results I am getting on the stems.
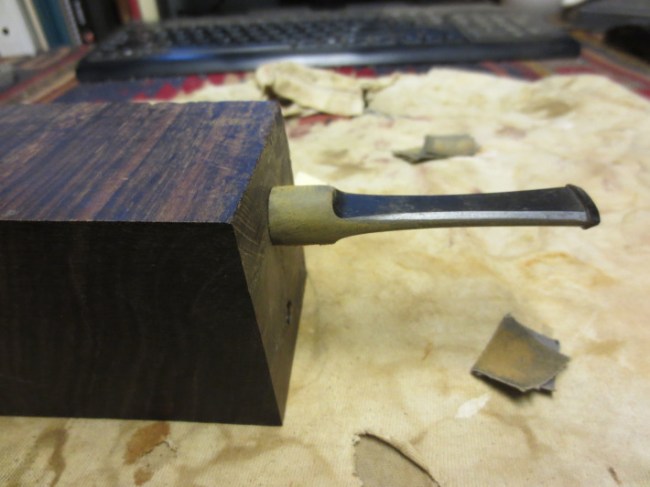
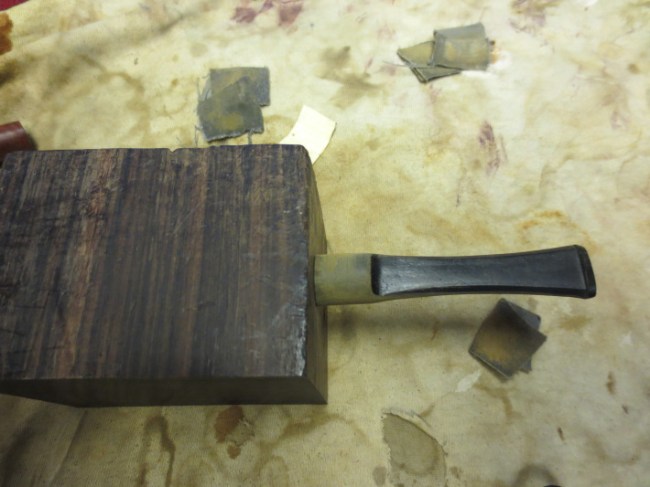
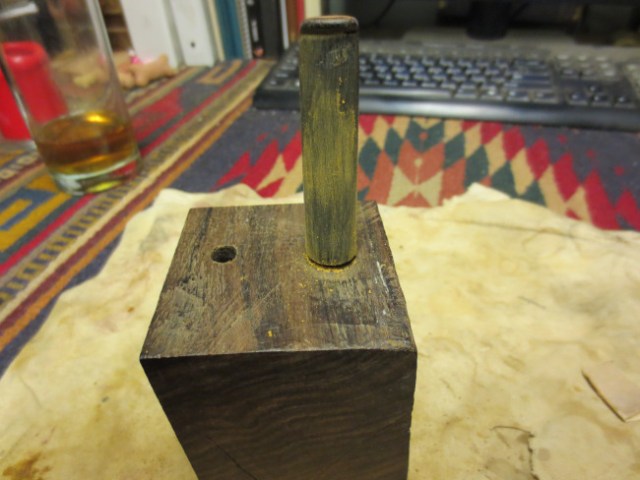
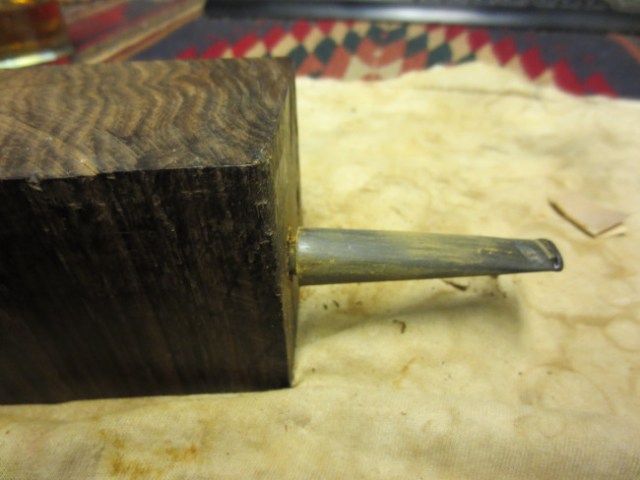
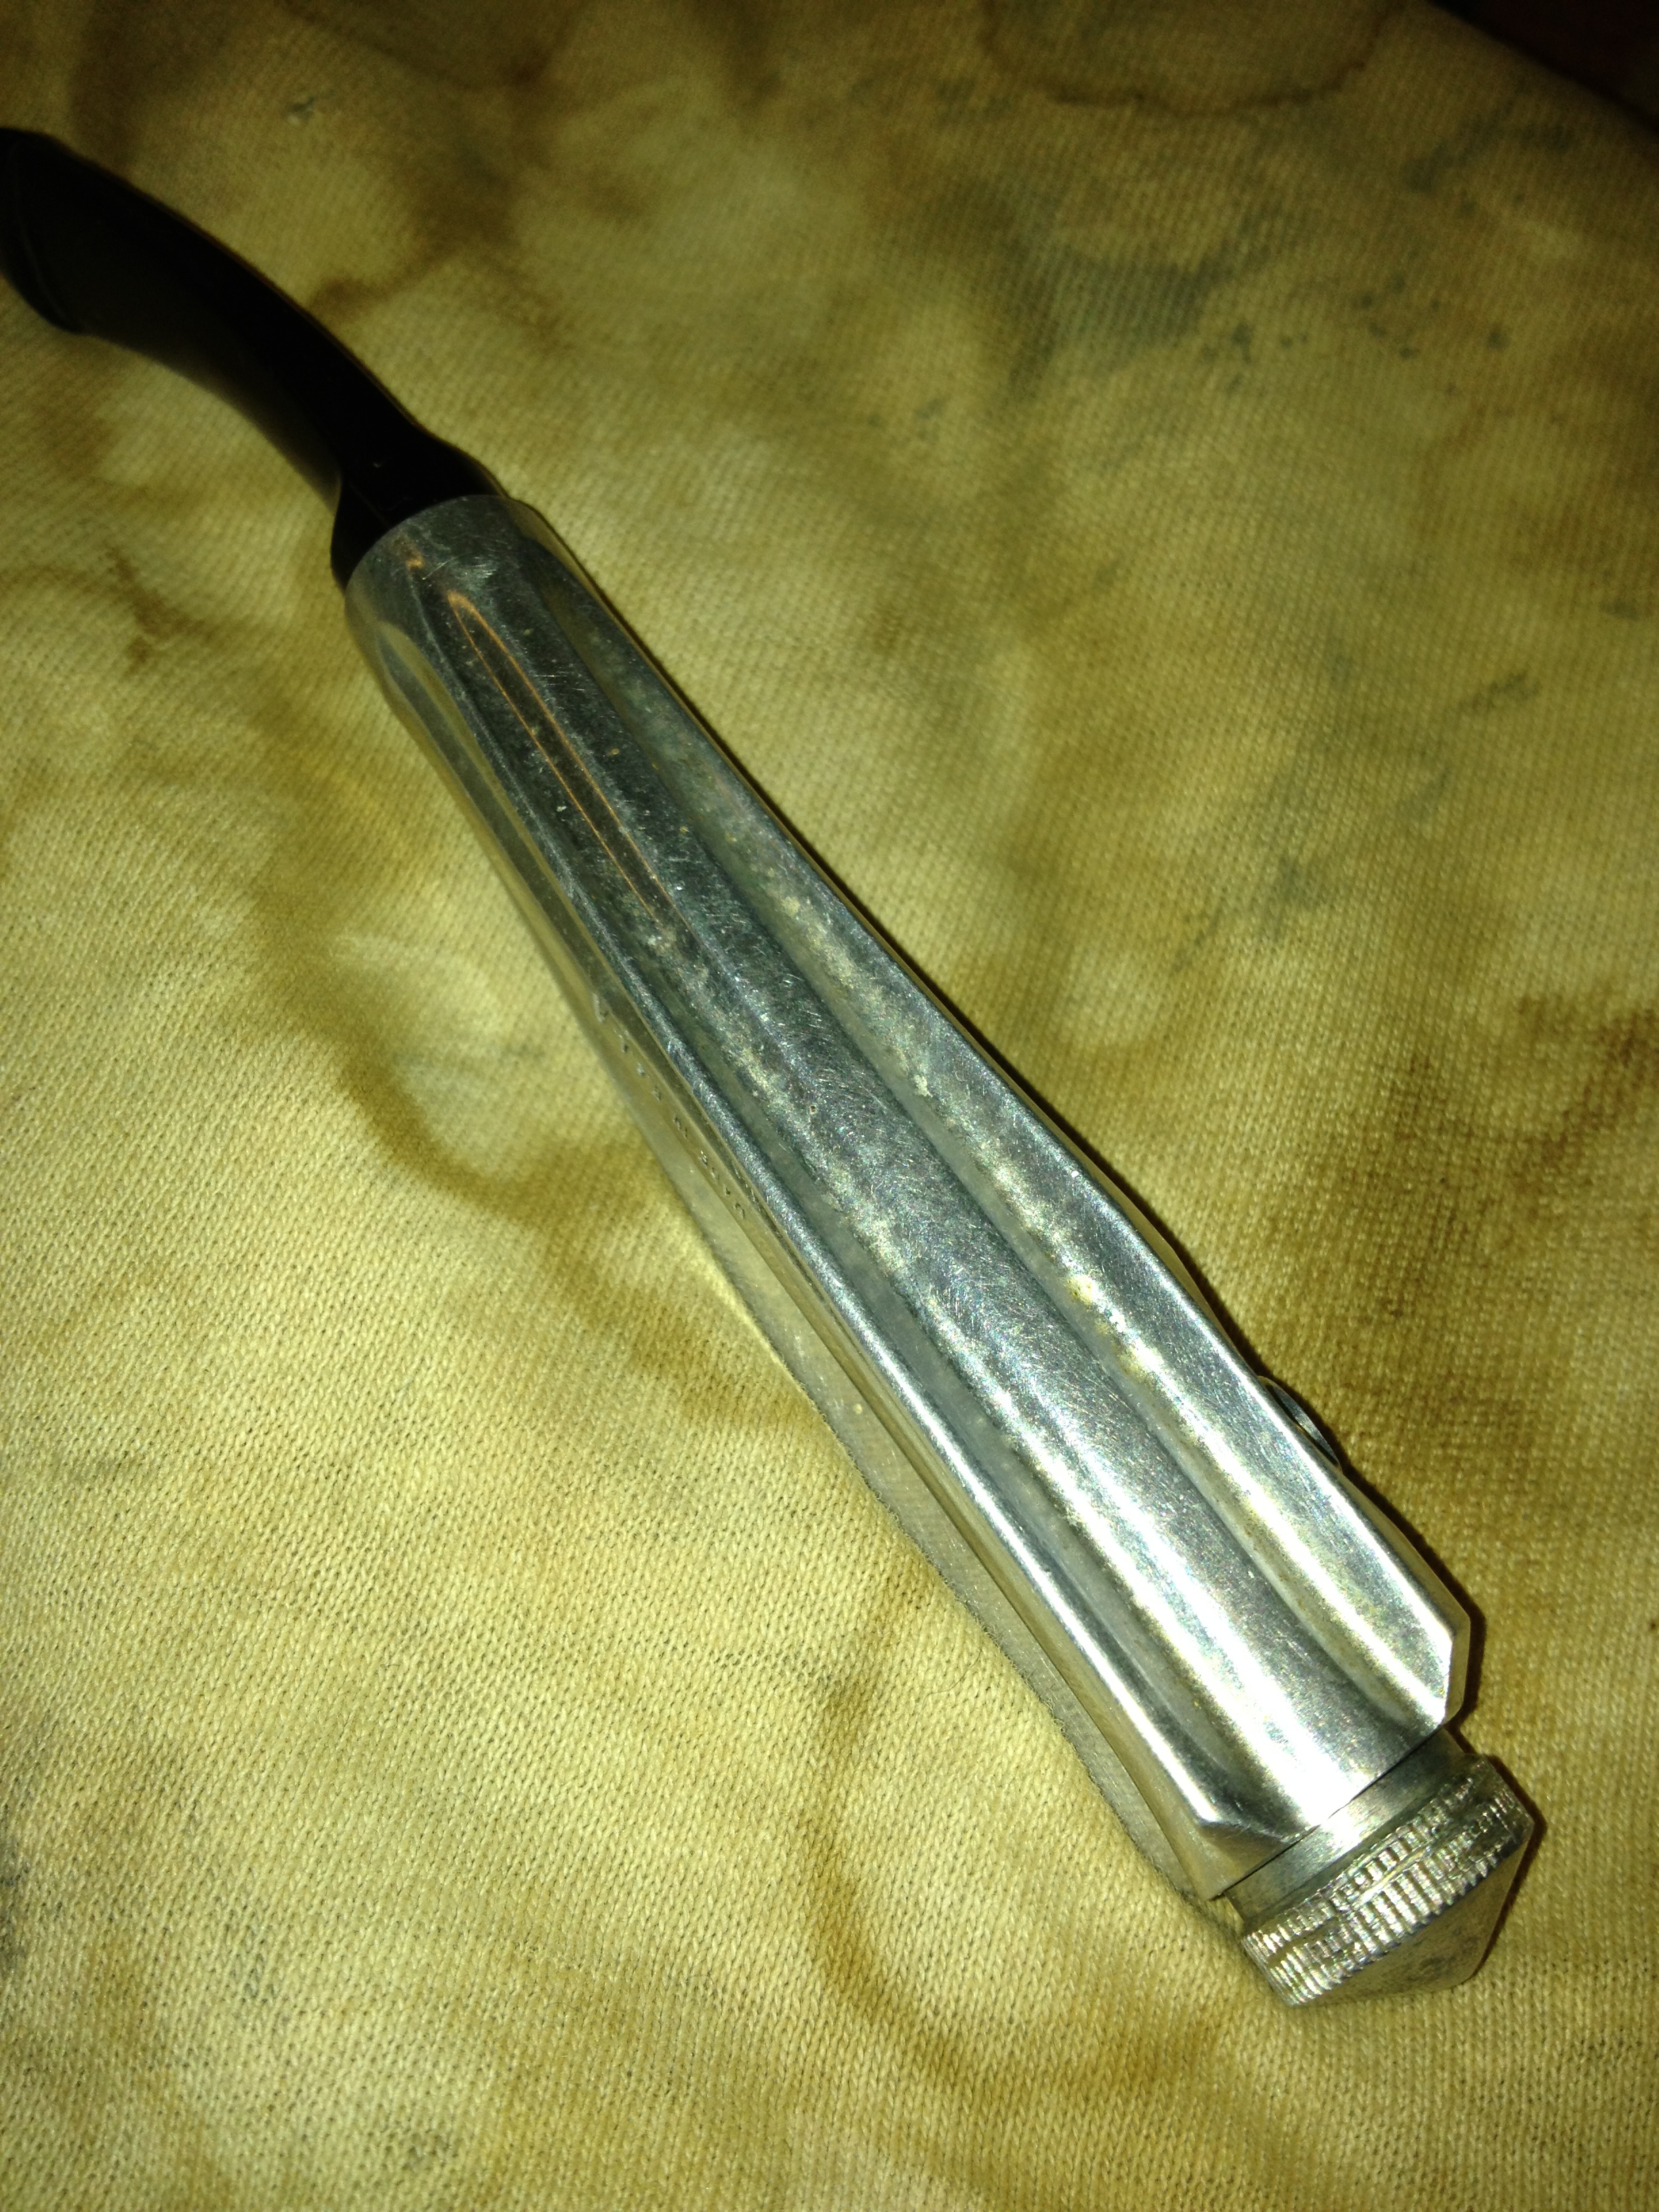
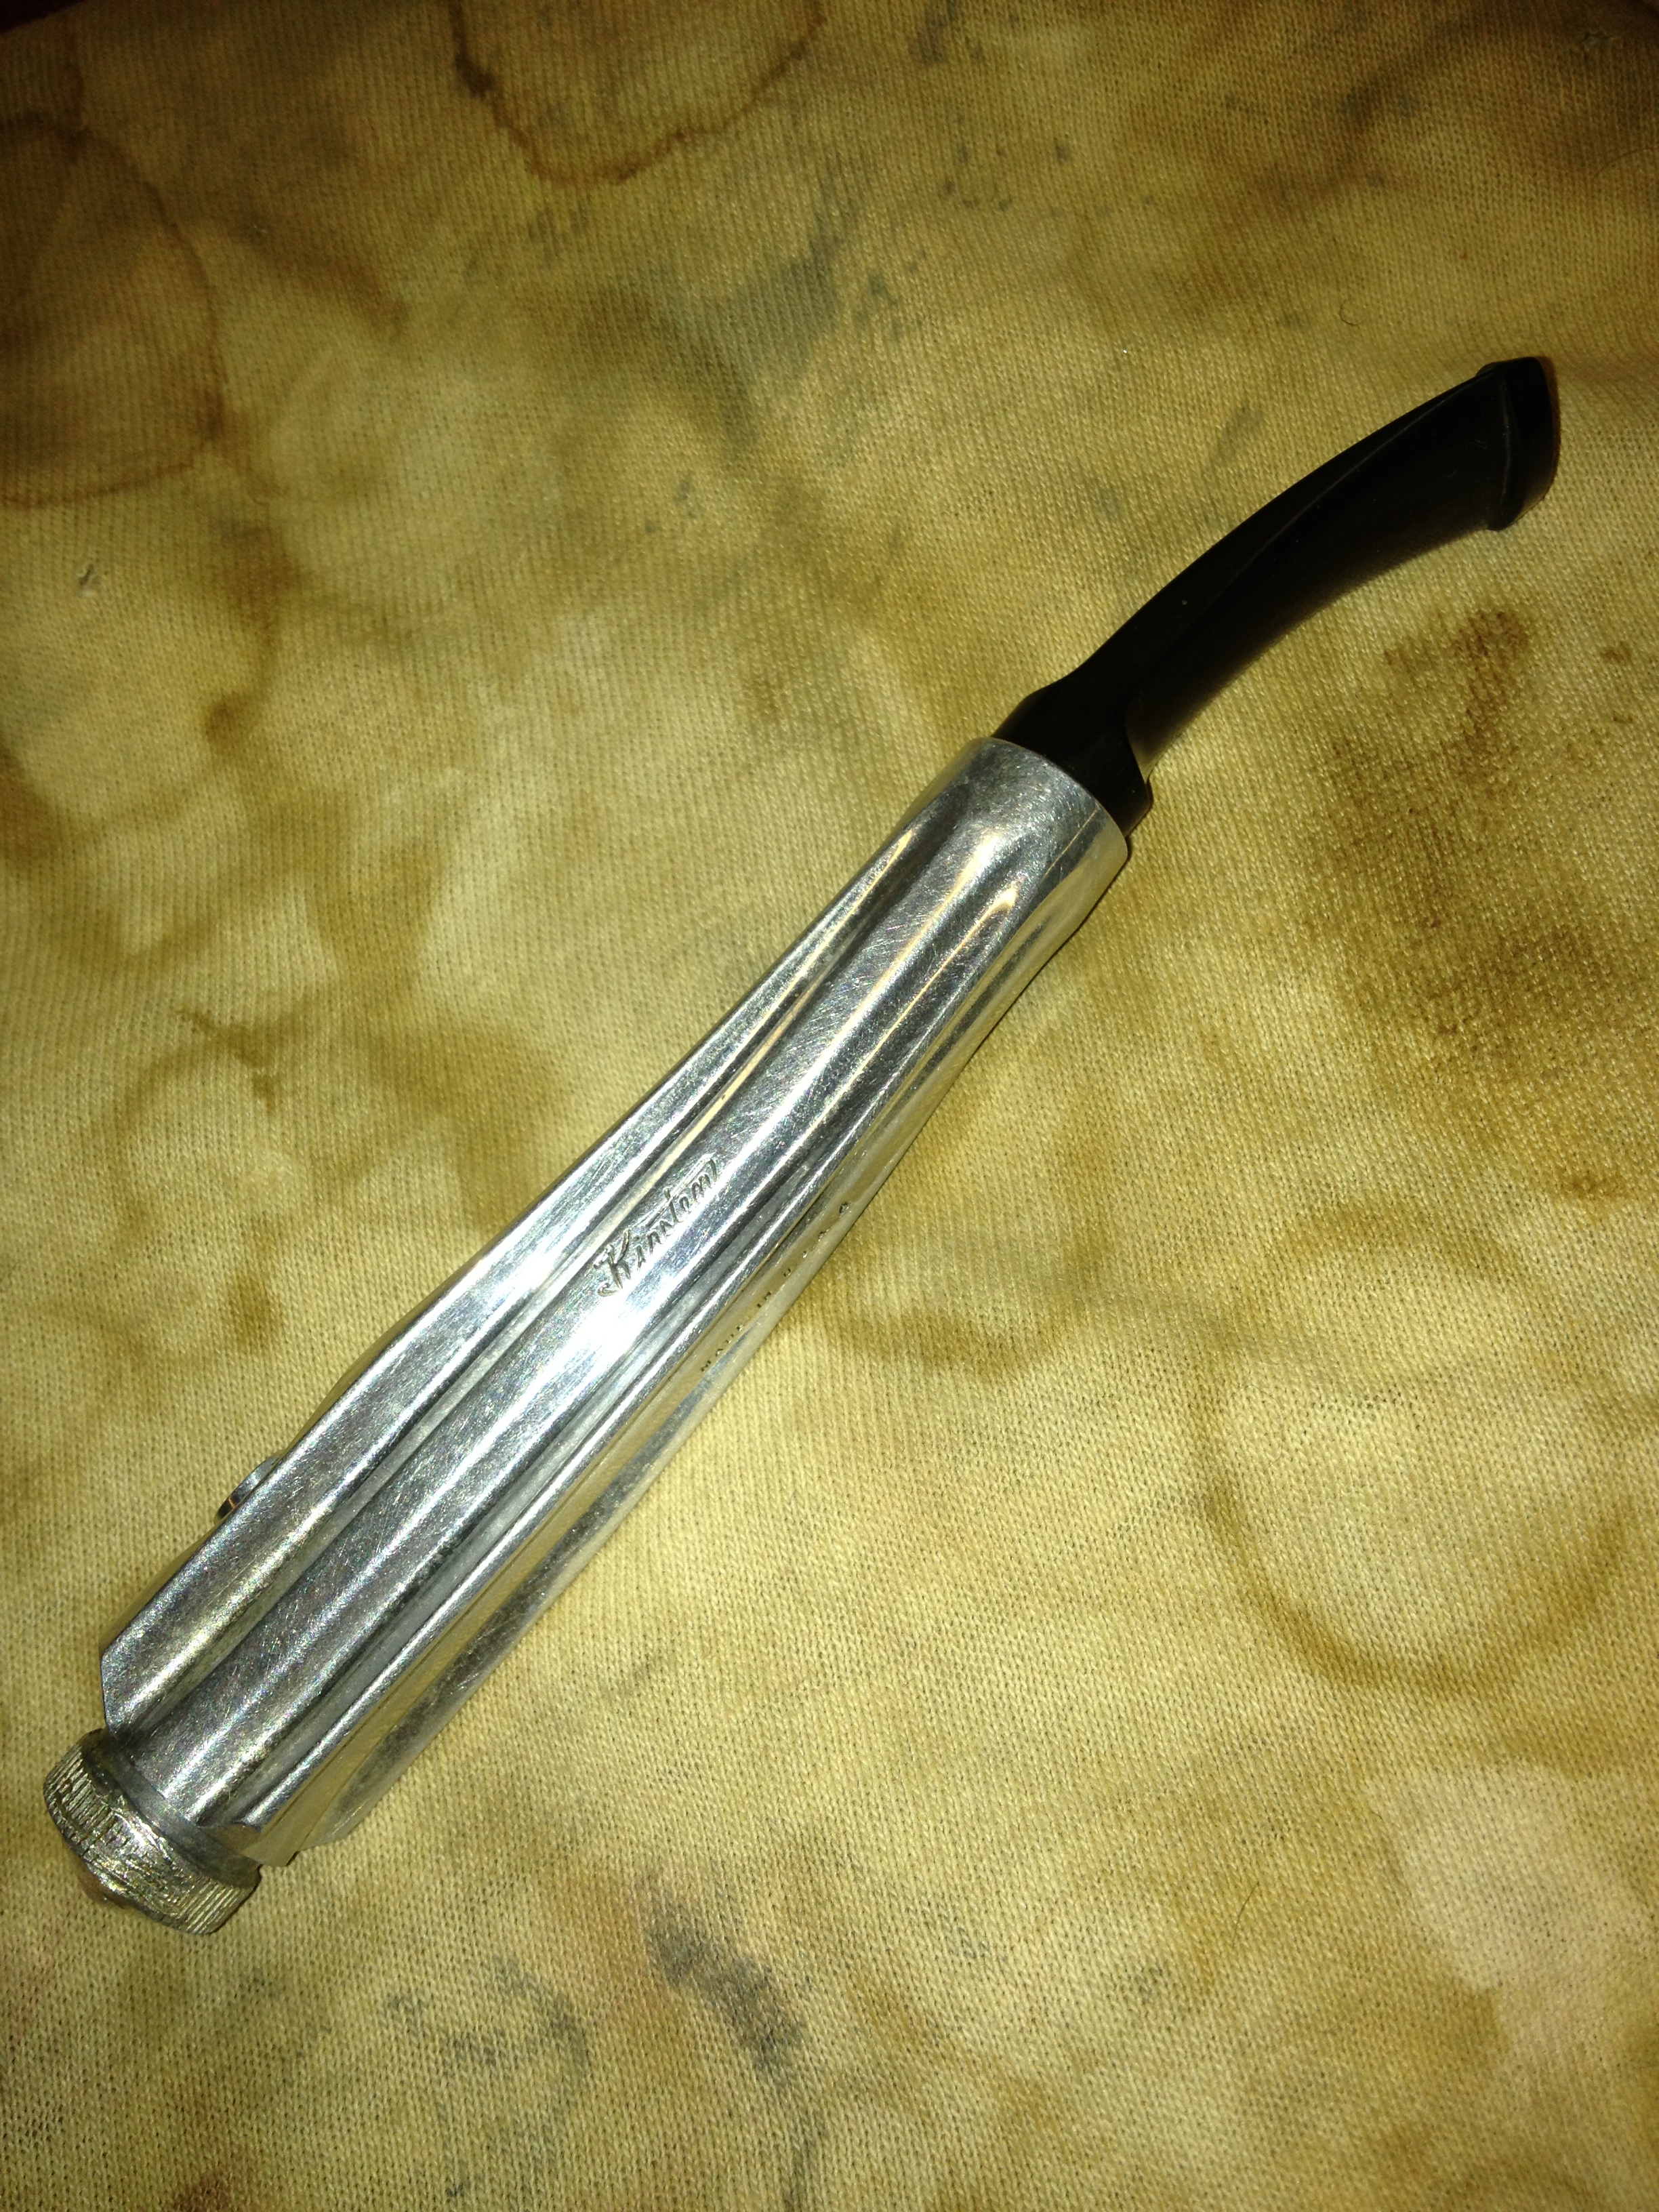
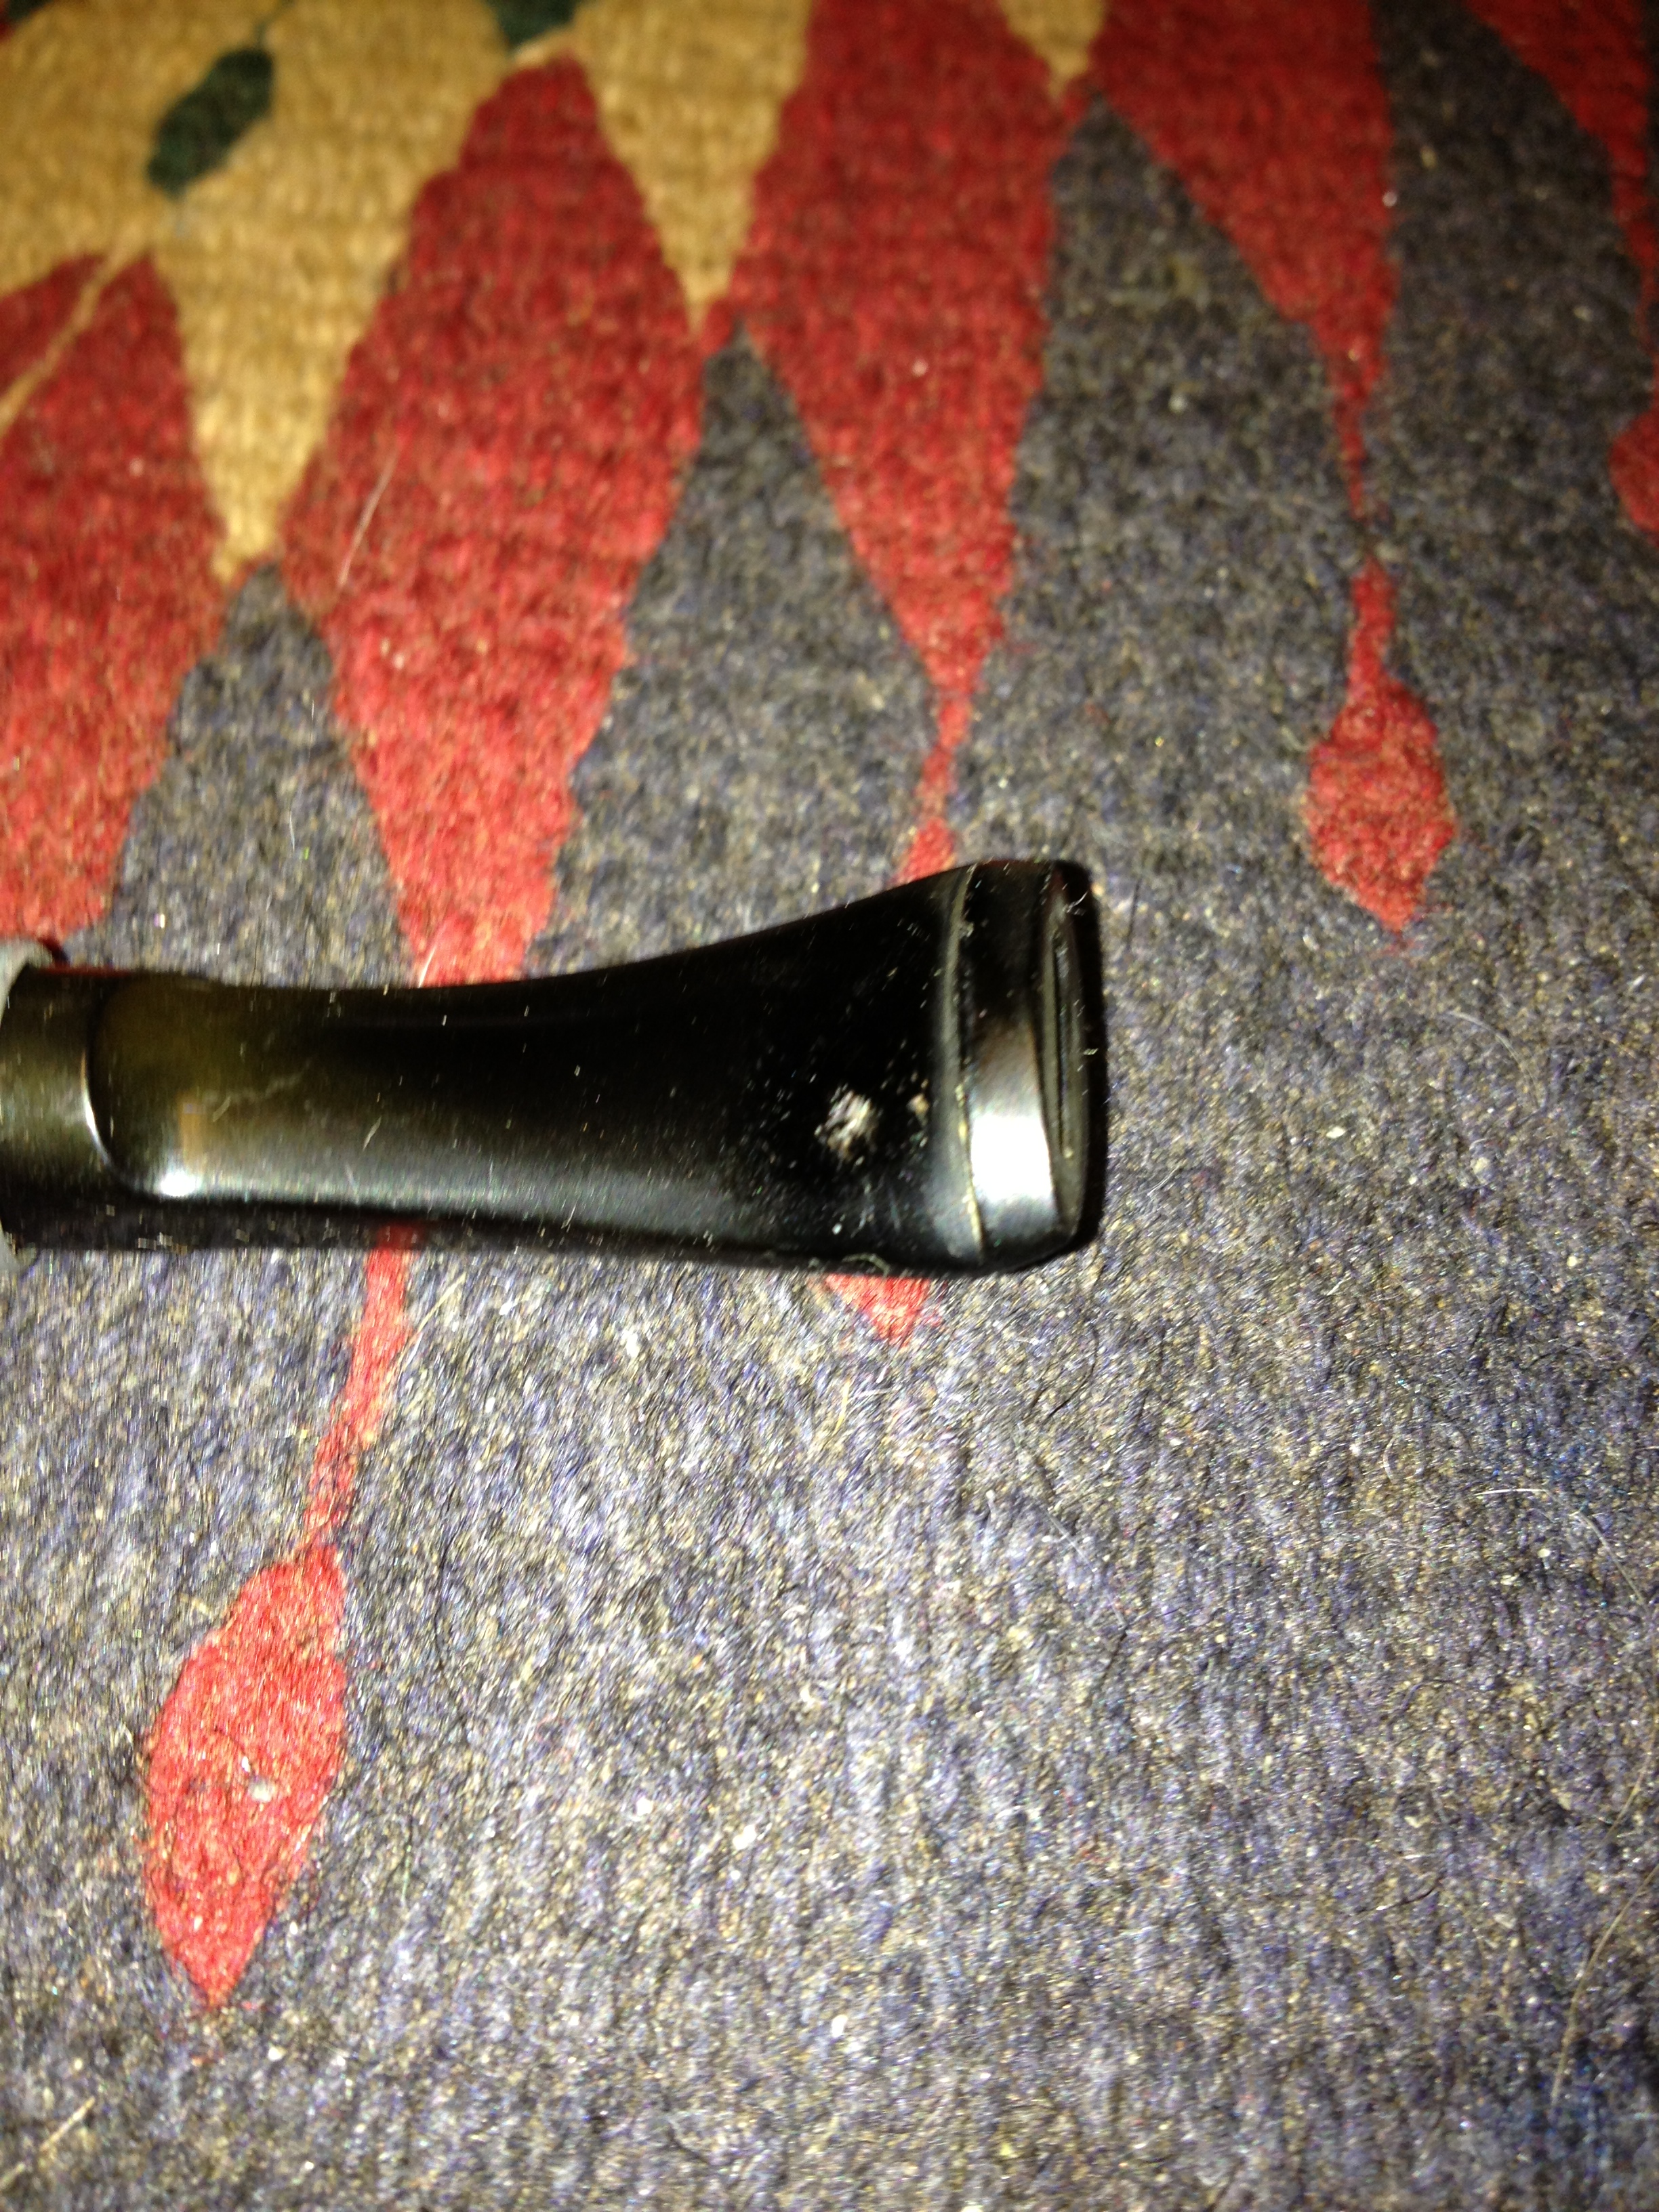
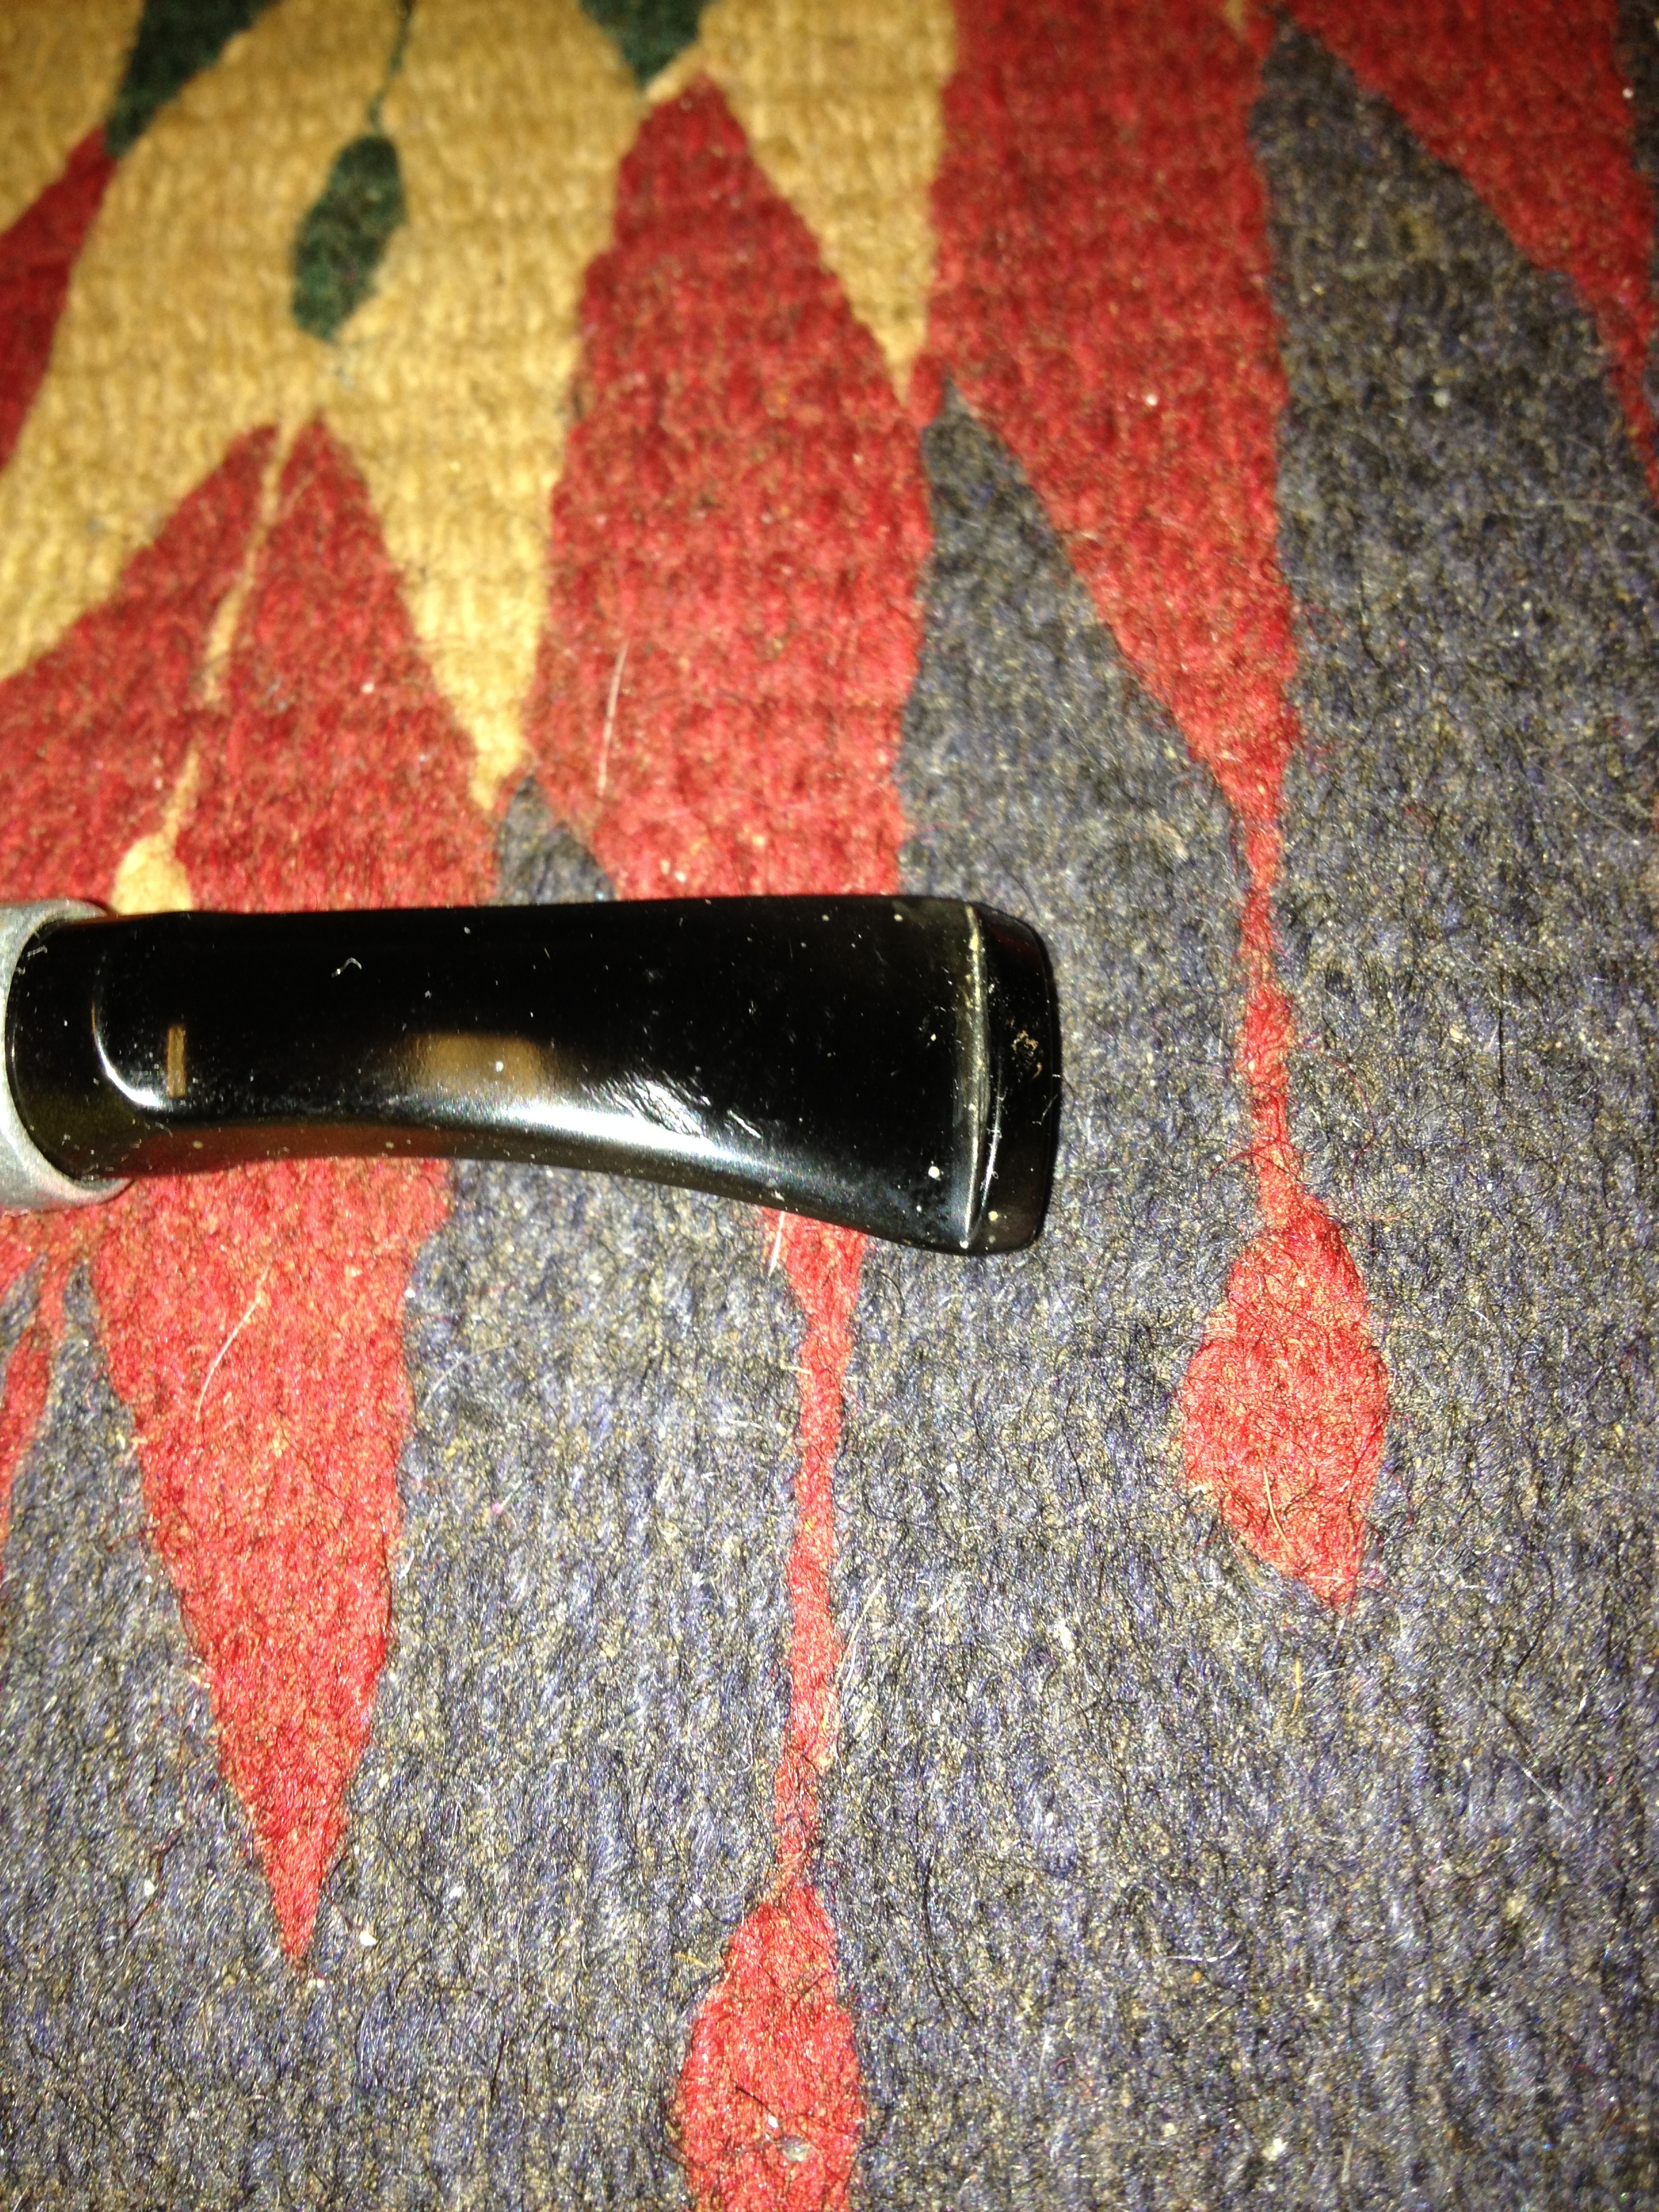
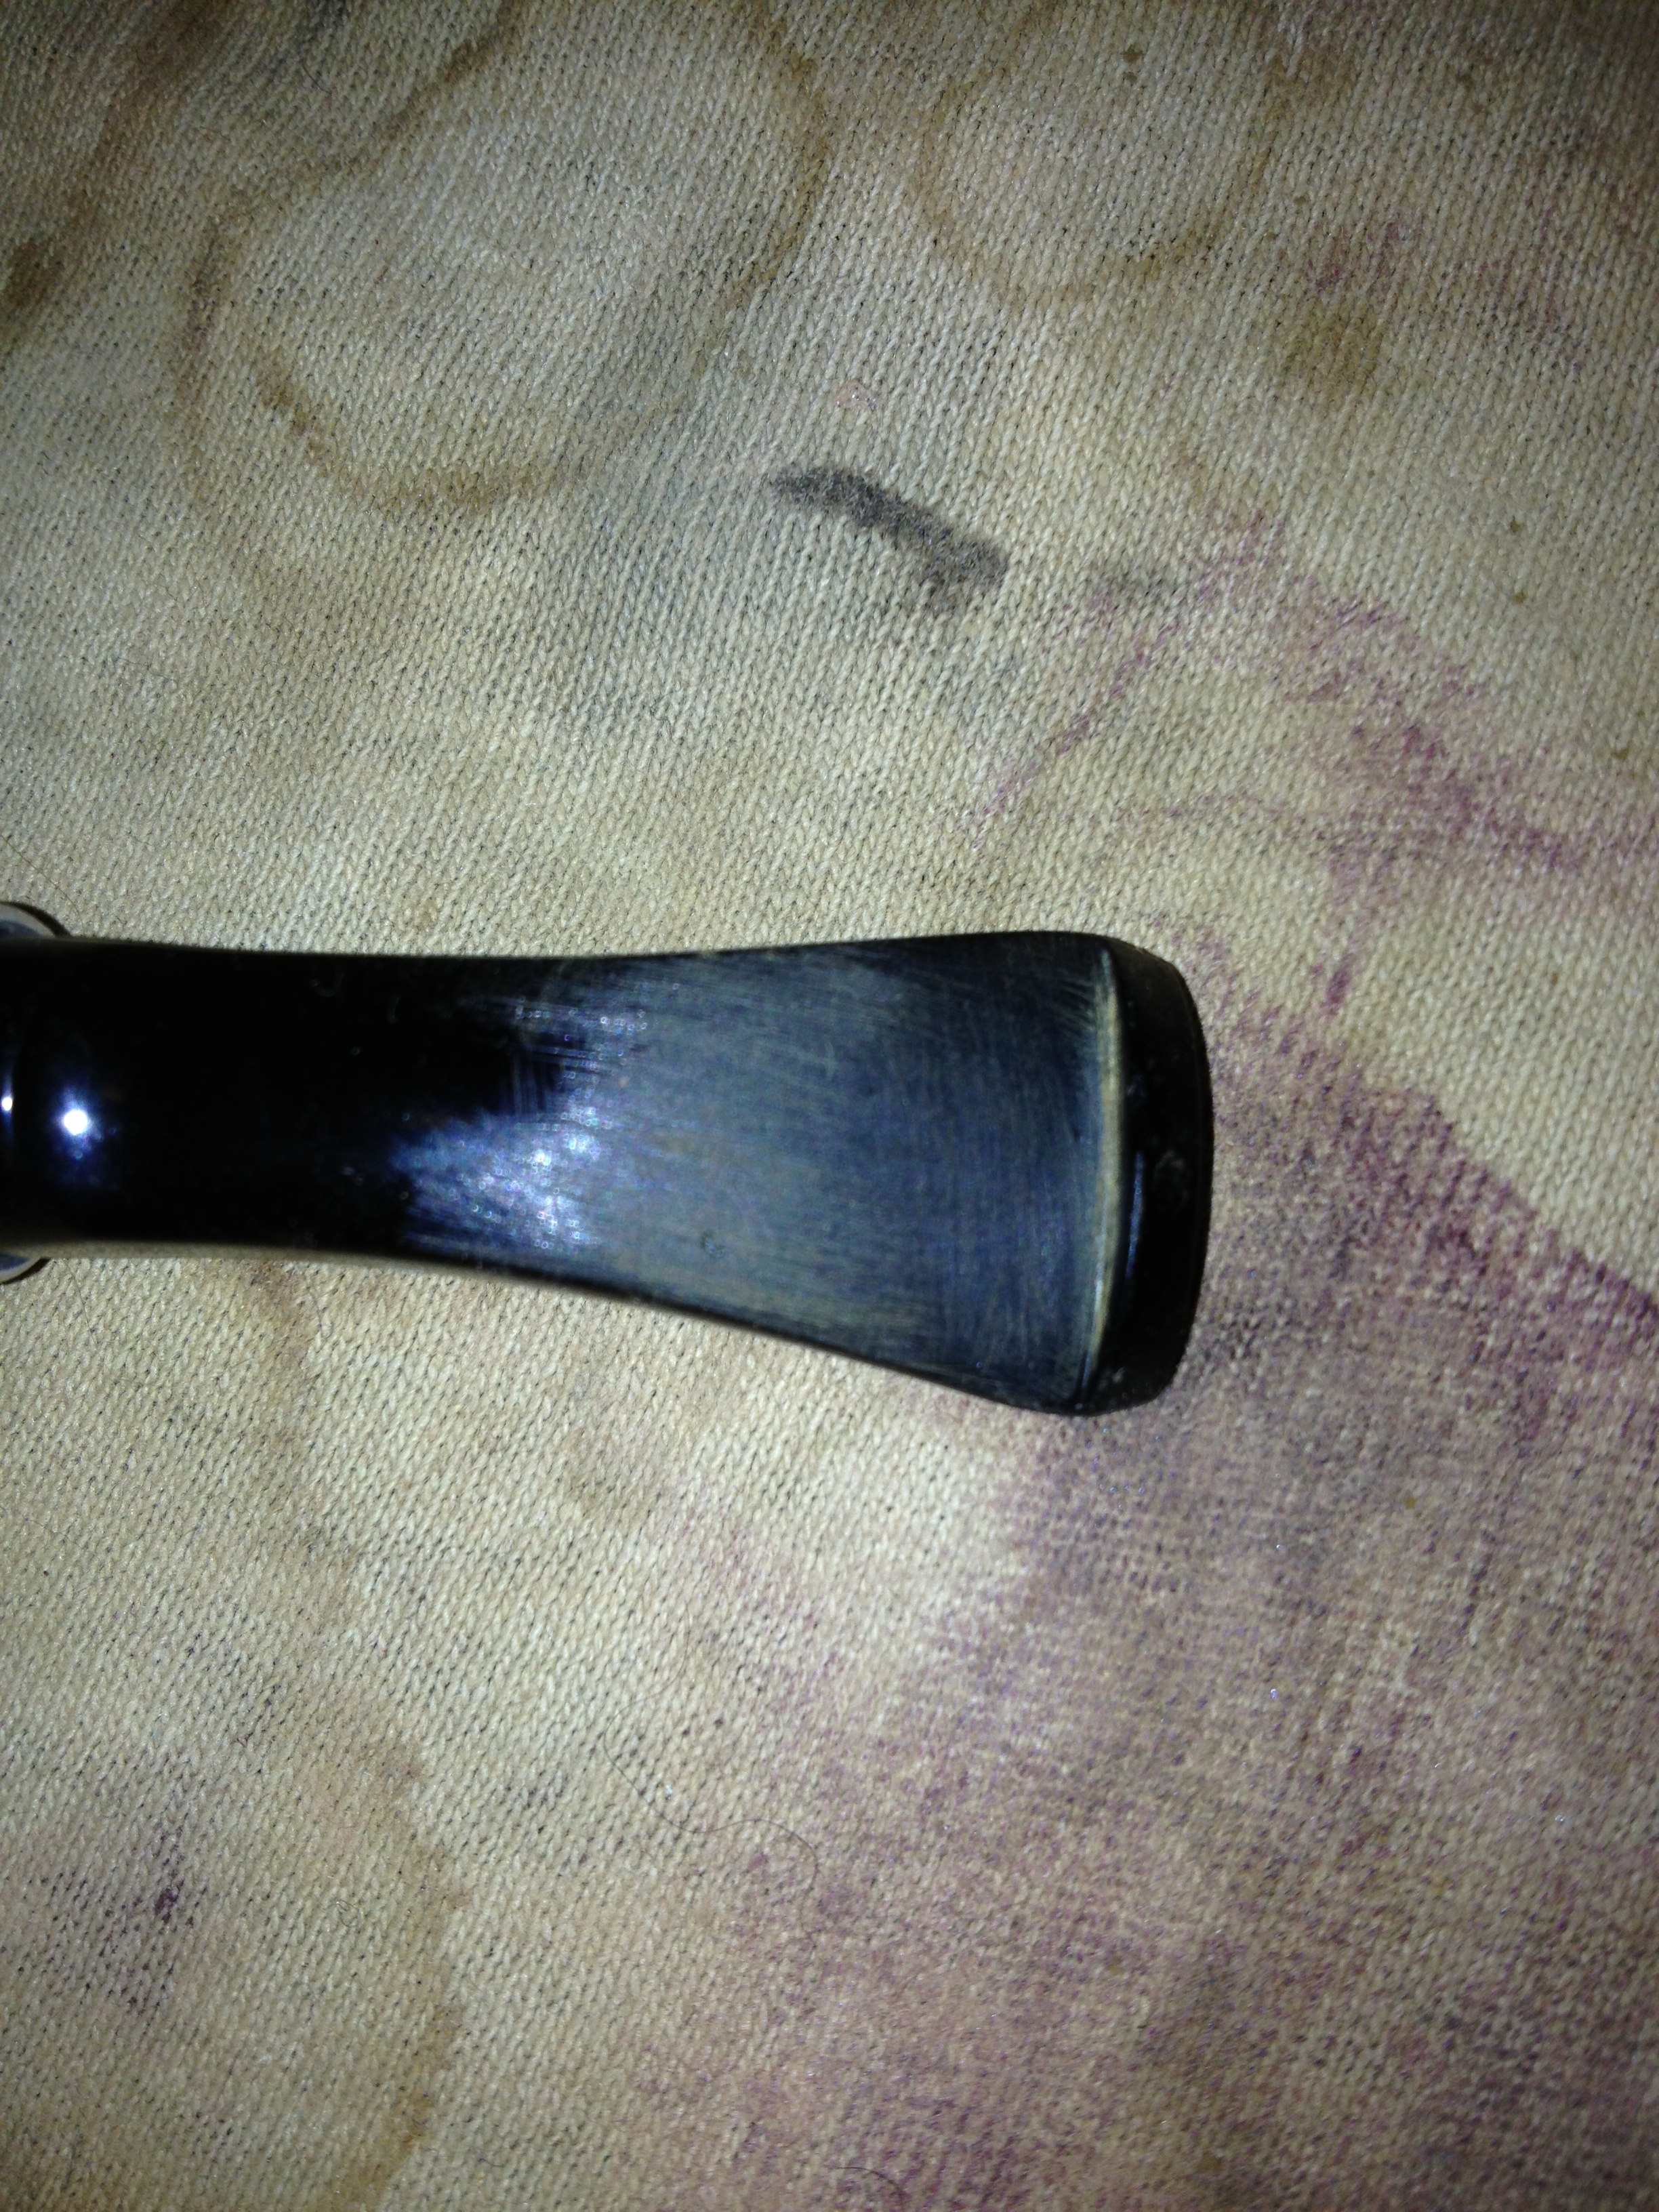
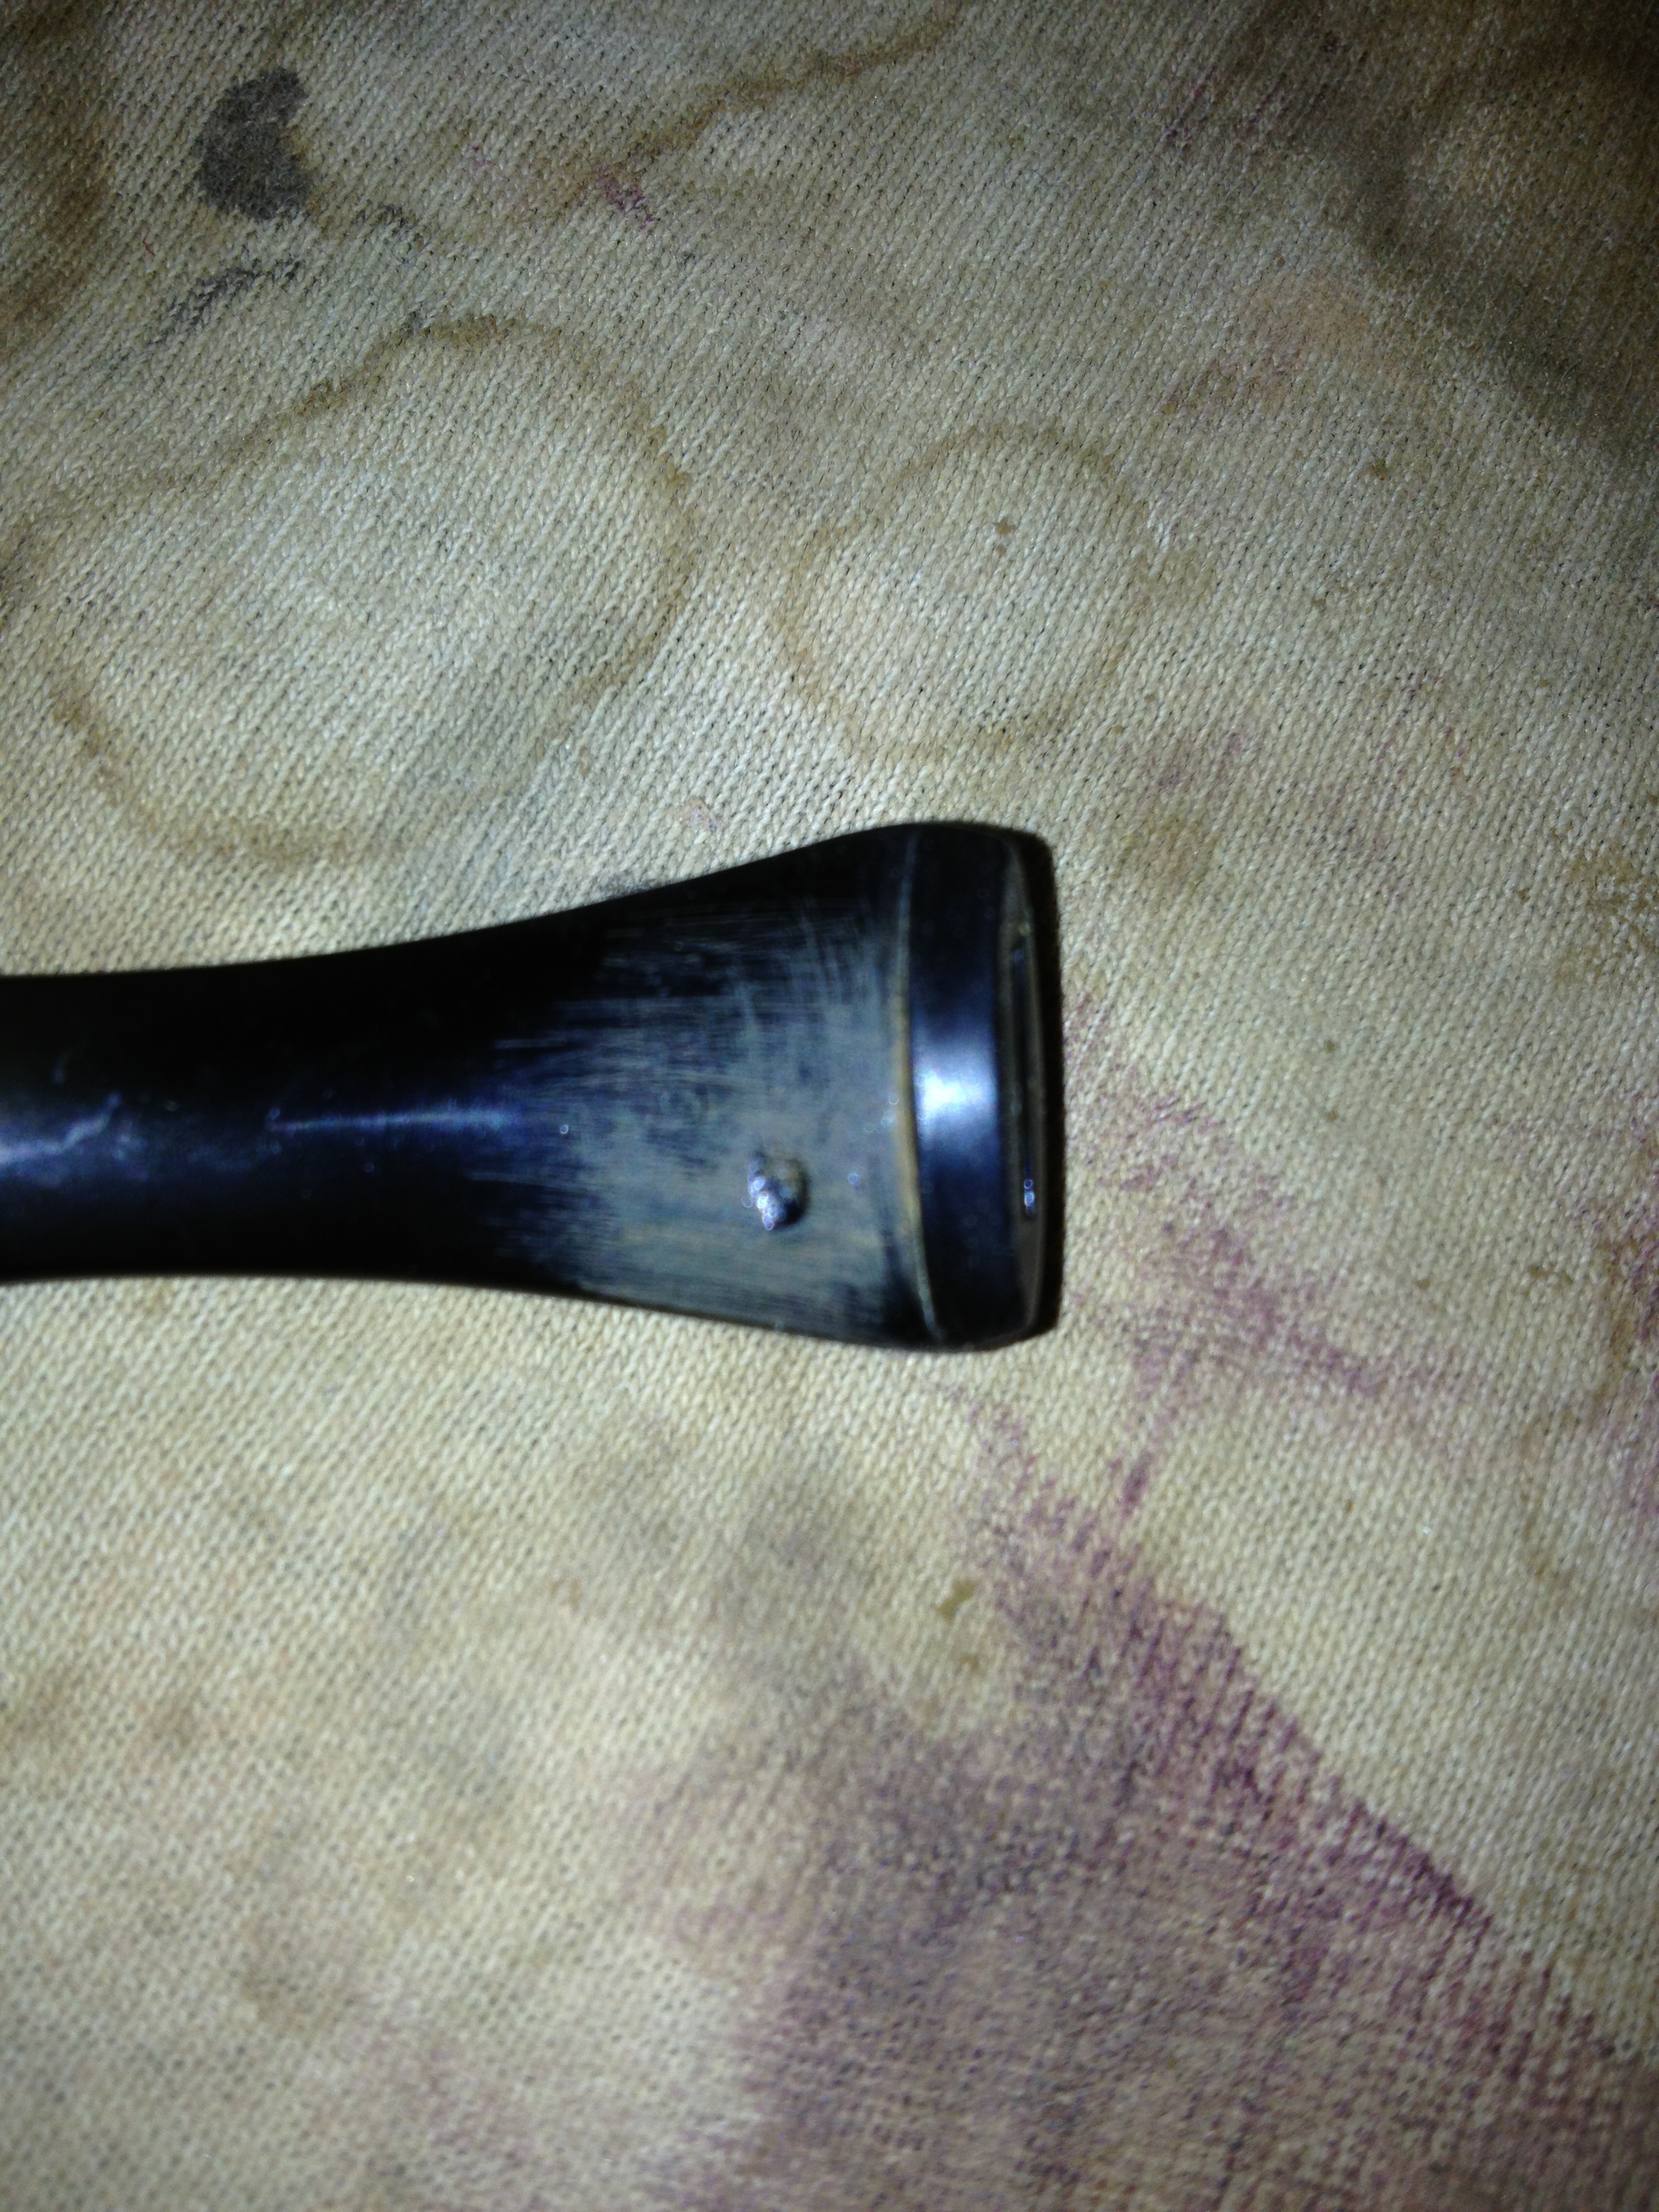
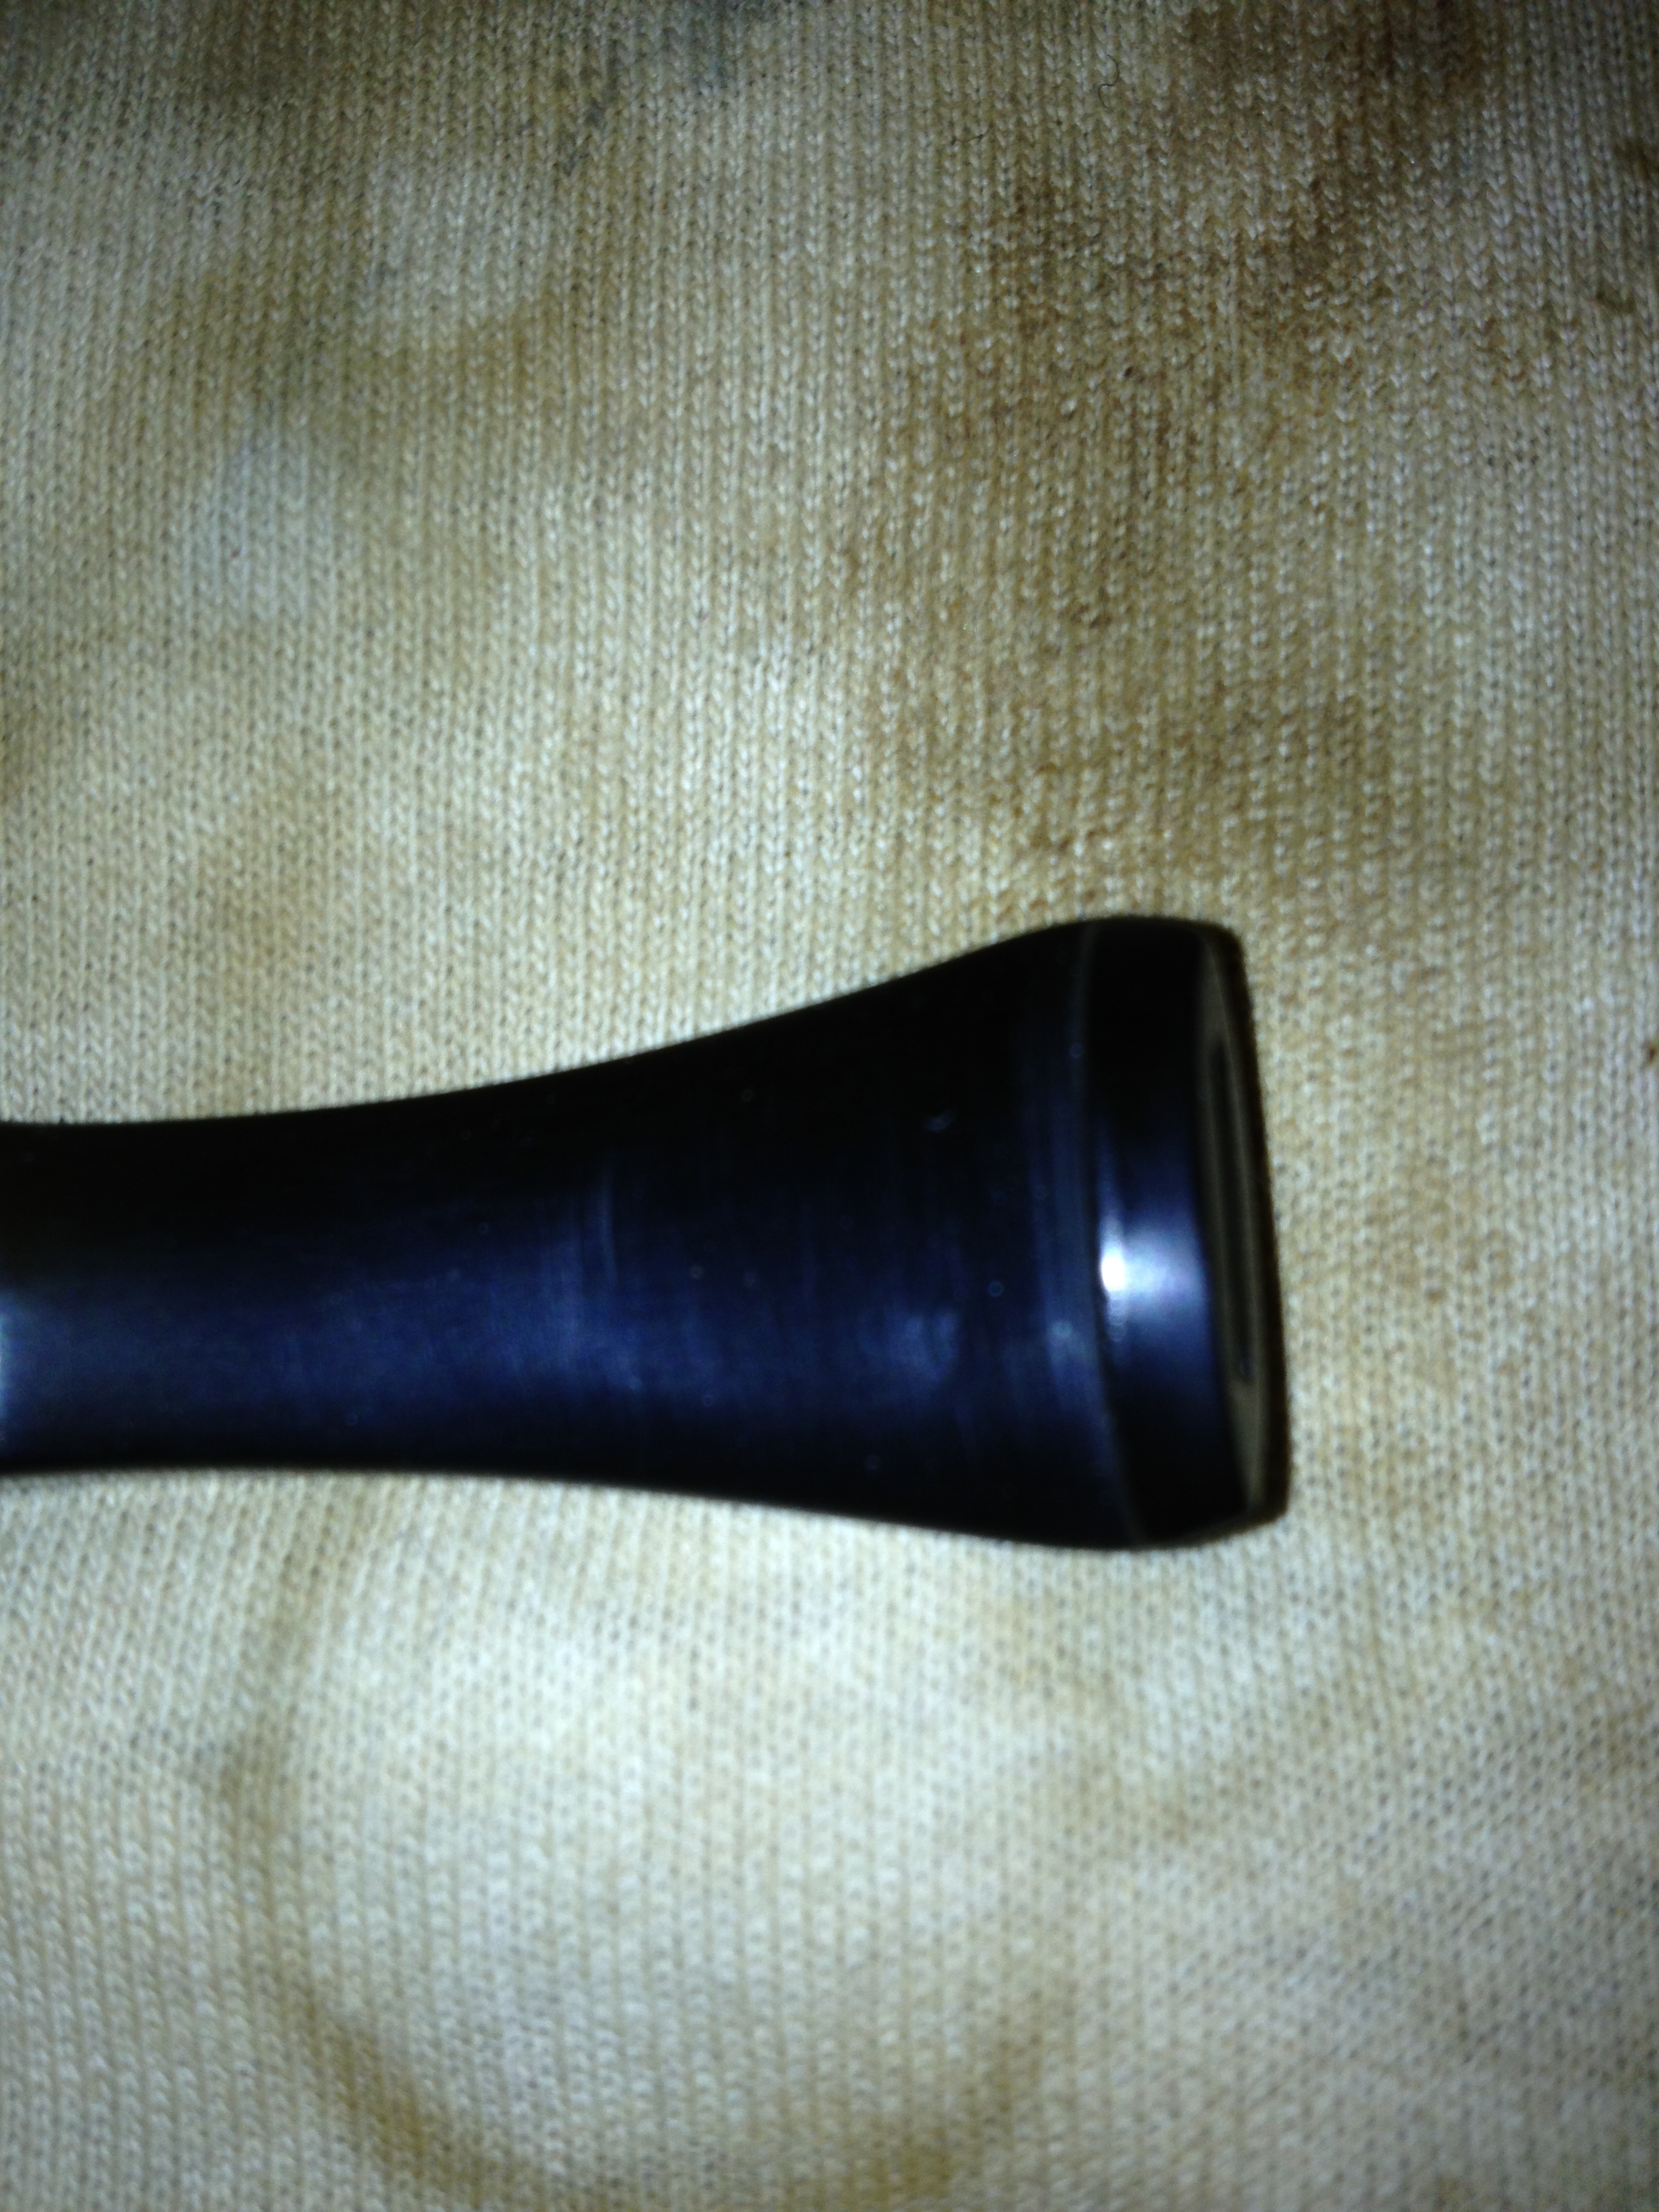
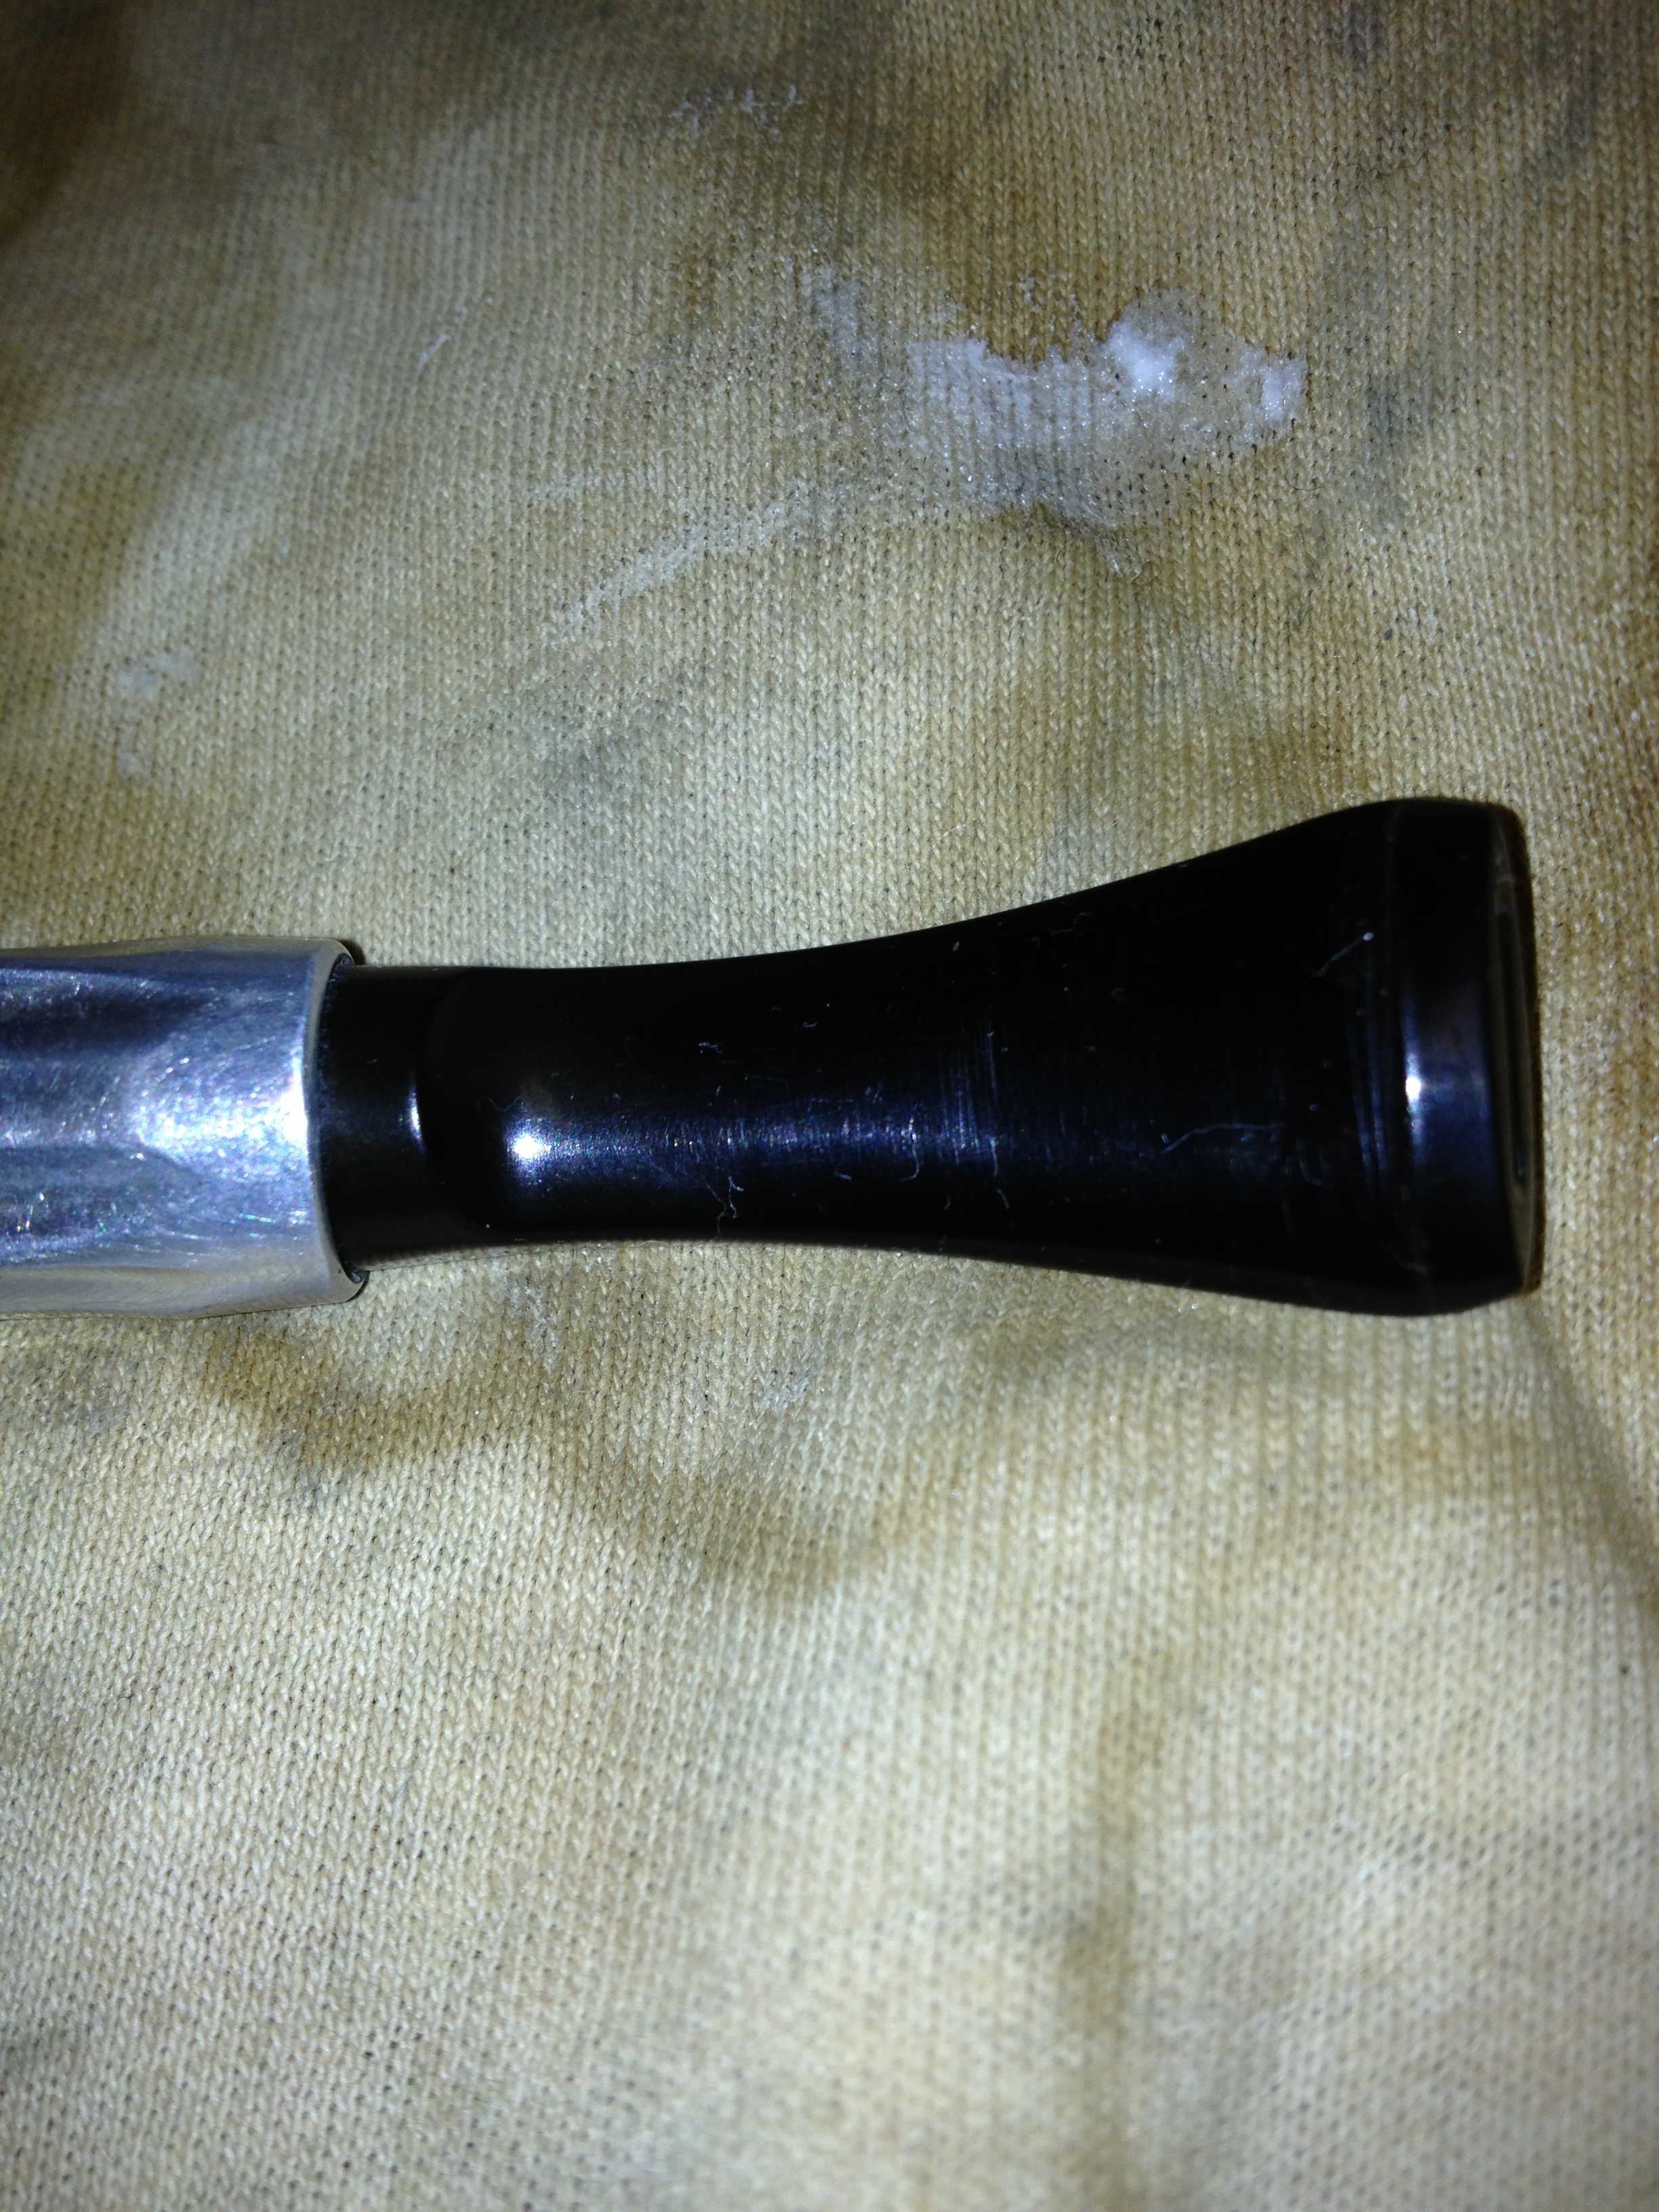
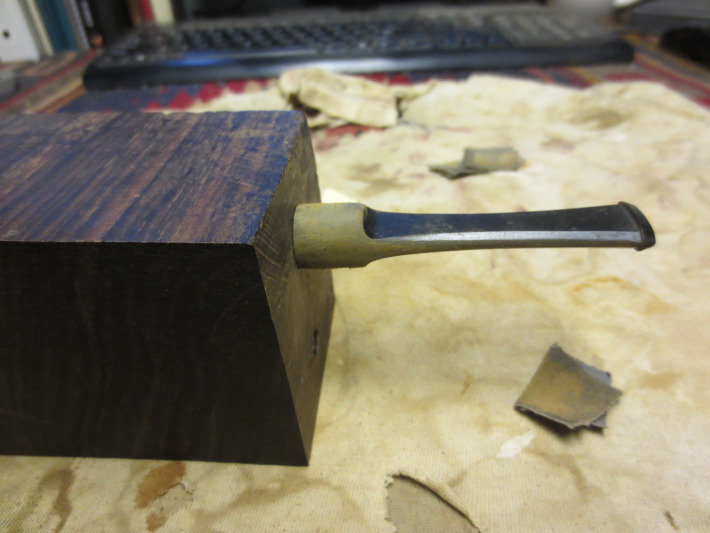
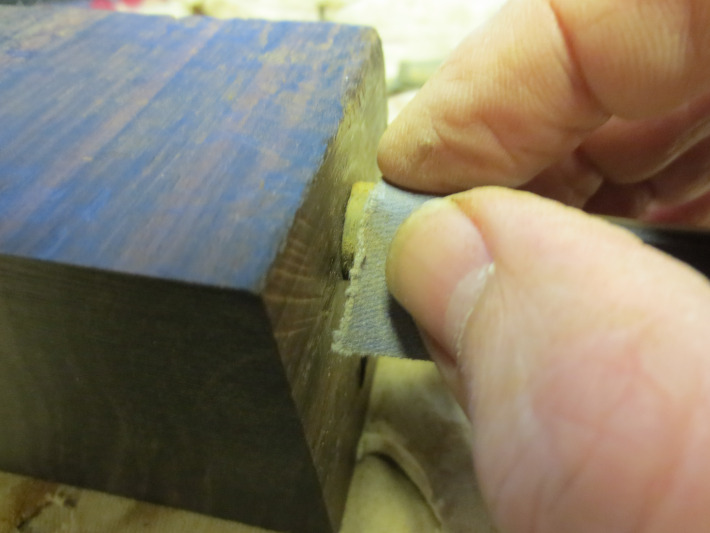
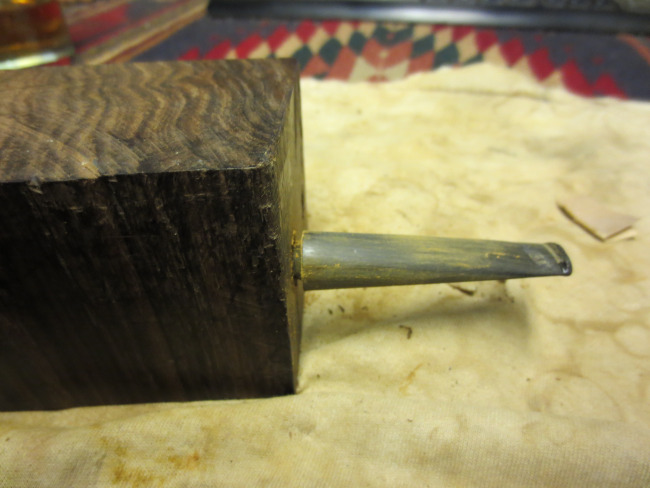
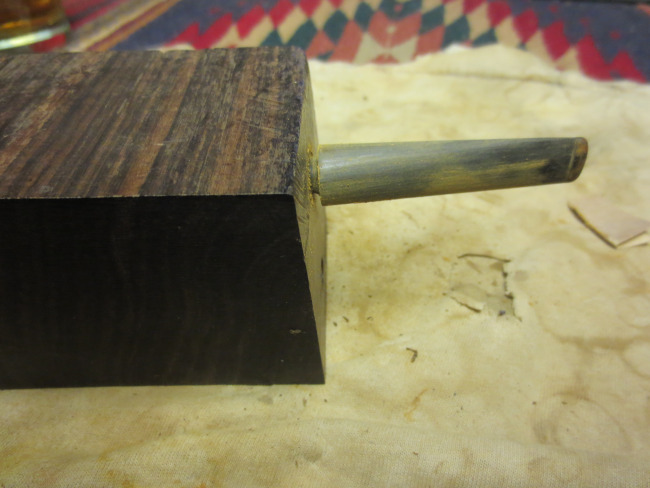
But, as always I am on the lookout and thinking of new tools or items that will make my job easier in the cleanup and refurbishing process. Some of my methods or ideas come through odd associations and a passing thought. I was looking at my drill bit keeper the other evening and noticing that the larger bit slots would work well as mortises for the tenons of the stems I was working on. My newest idea is in the design stages. But it is pretty simple. I want to cut a series of 4-5 inch lengths of 1 inch to 1 and ½ inch dowel. I want the doweling to be large enough that I can hold it in my hand while working on the stem or anchor it in a vice.I plan on drilling mortises for the standard tenon sizes into the ends (a different size on each end) of the dowel to accommodate the tenons while I work on the area of the joint of the stem and the shank. At least in theory it will give me a flat edge to push the stem against and allow me to work on the area of the stem that sits against the shank. I have not had time to hunt down some doweling yet but I have been using an ebony block that I have here to the same purpose. I drilled two mortises in the block that can accommodate two different tenon sizes. I also drilled them deep enough to allow the stem to sit flush against the block. I have used it now on two stem cleanups and it works really well. The only drawback that I find is the size of the block. I think the dowel will work better as I can hold it easily in my hand while I am working on the stem.I have included a few pictures of the block that I am currently using with two different styles and sizes of stems. Both stems fit well and the fit gave me a flat edge to work against while sanding the area where the stem meets the shank and keep the shoulders unharmed. I will post a follow-up with photos of the doweling when I have made those.