I am pretty certain that many of you who will read this review are unfamiliar with John Rocheleau or his pipes. John was a Canadian pipe maker and artist who, though still living, is no longer able to carve pipes. It is a shame and a loss to the pipe smoking world as he made beautiful and great smoking pipes. I keep my eyes open for them on the estate market and have been able to pick up a second one that came from John’s own collection.
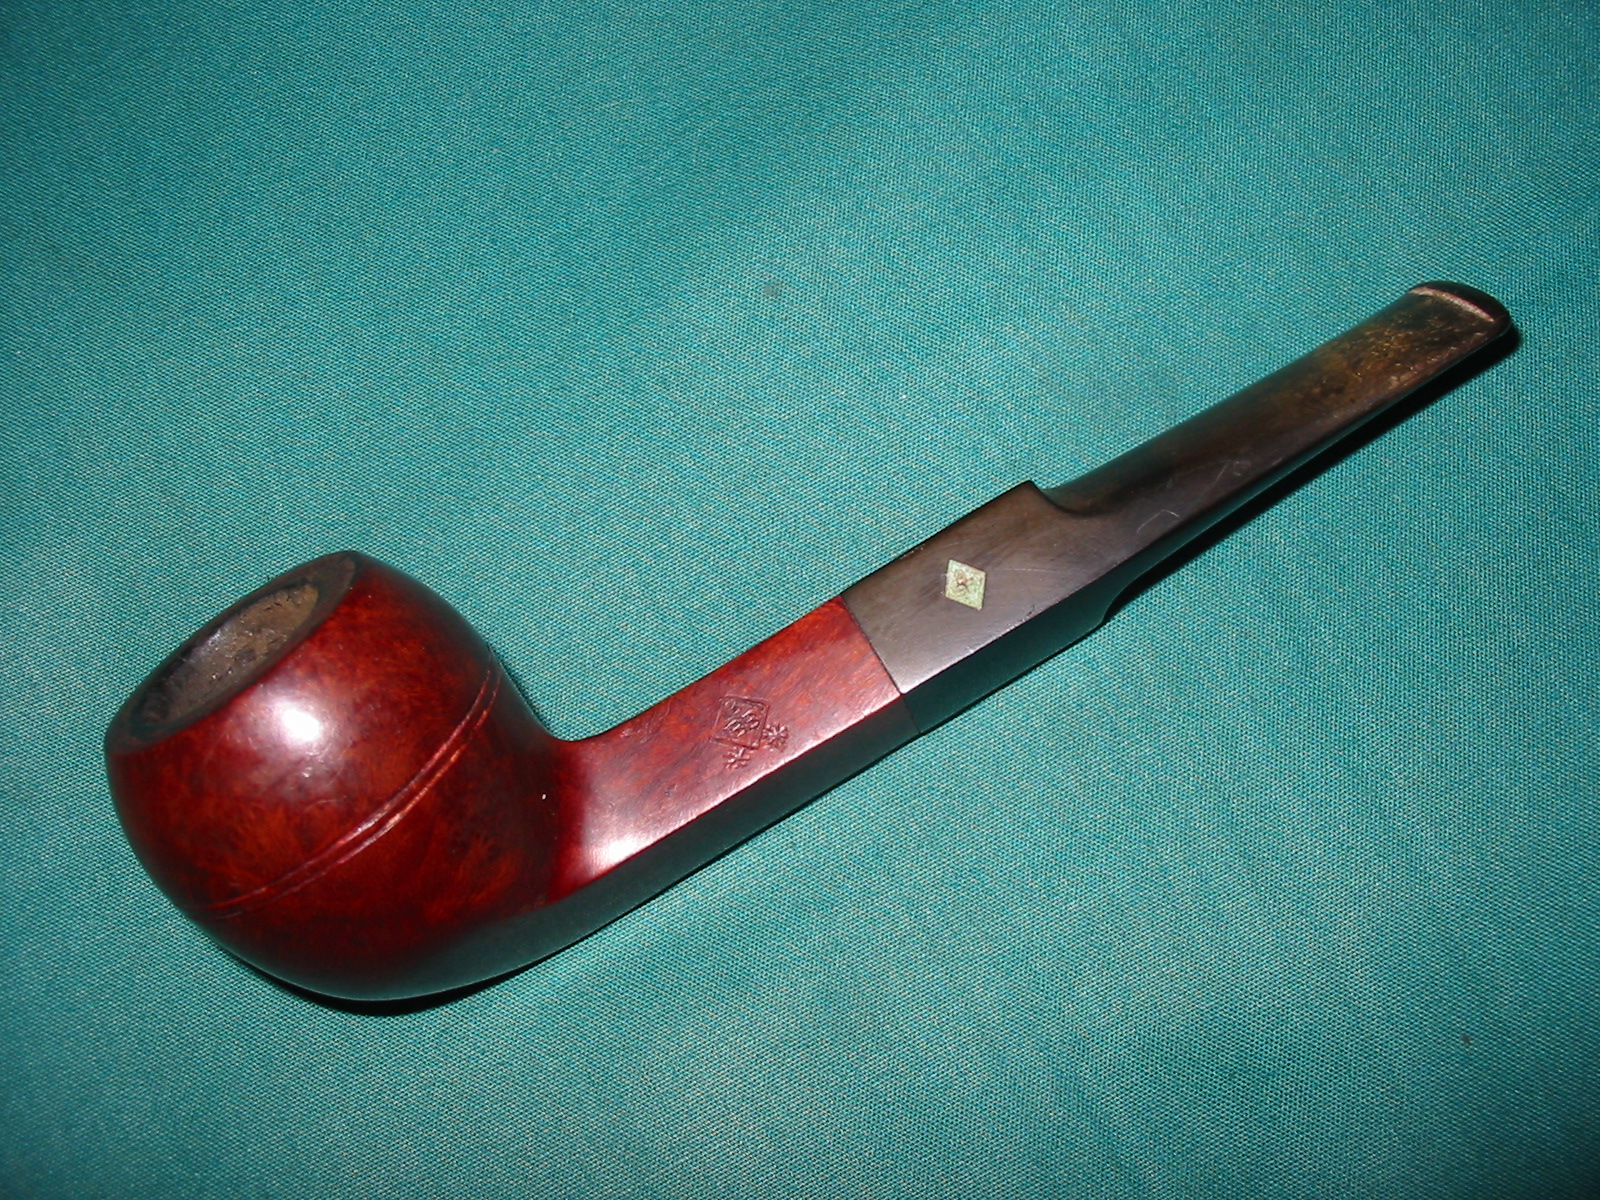
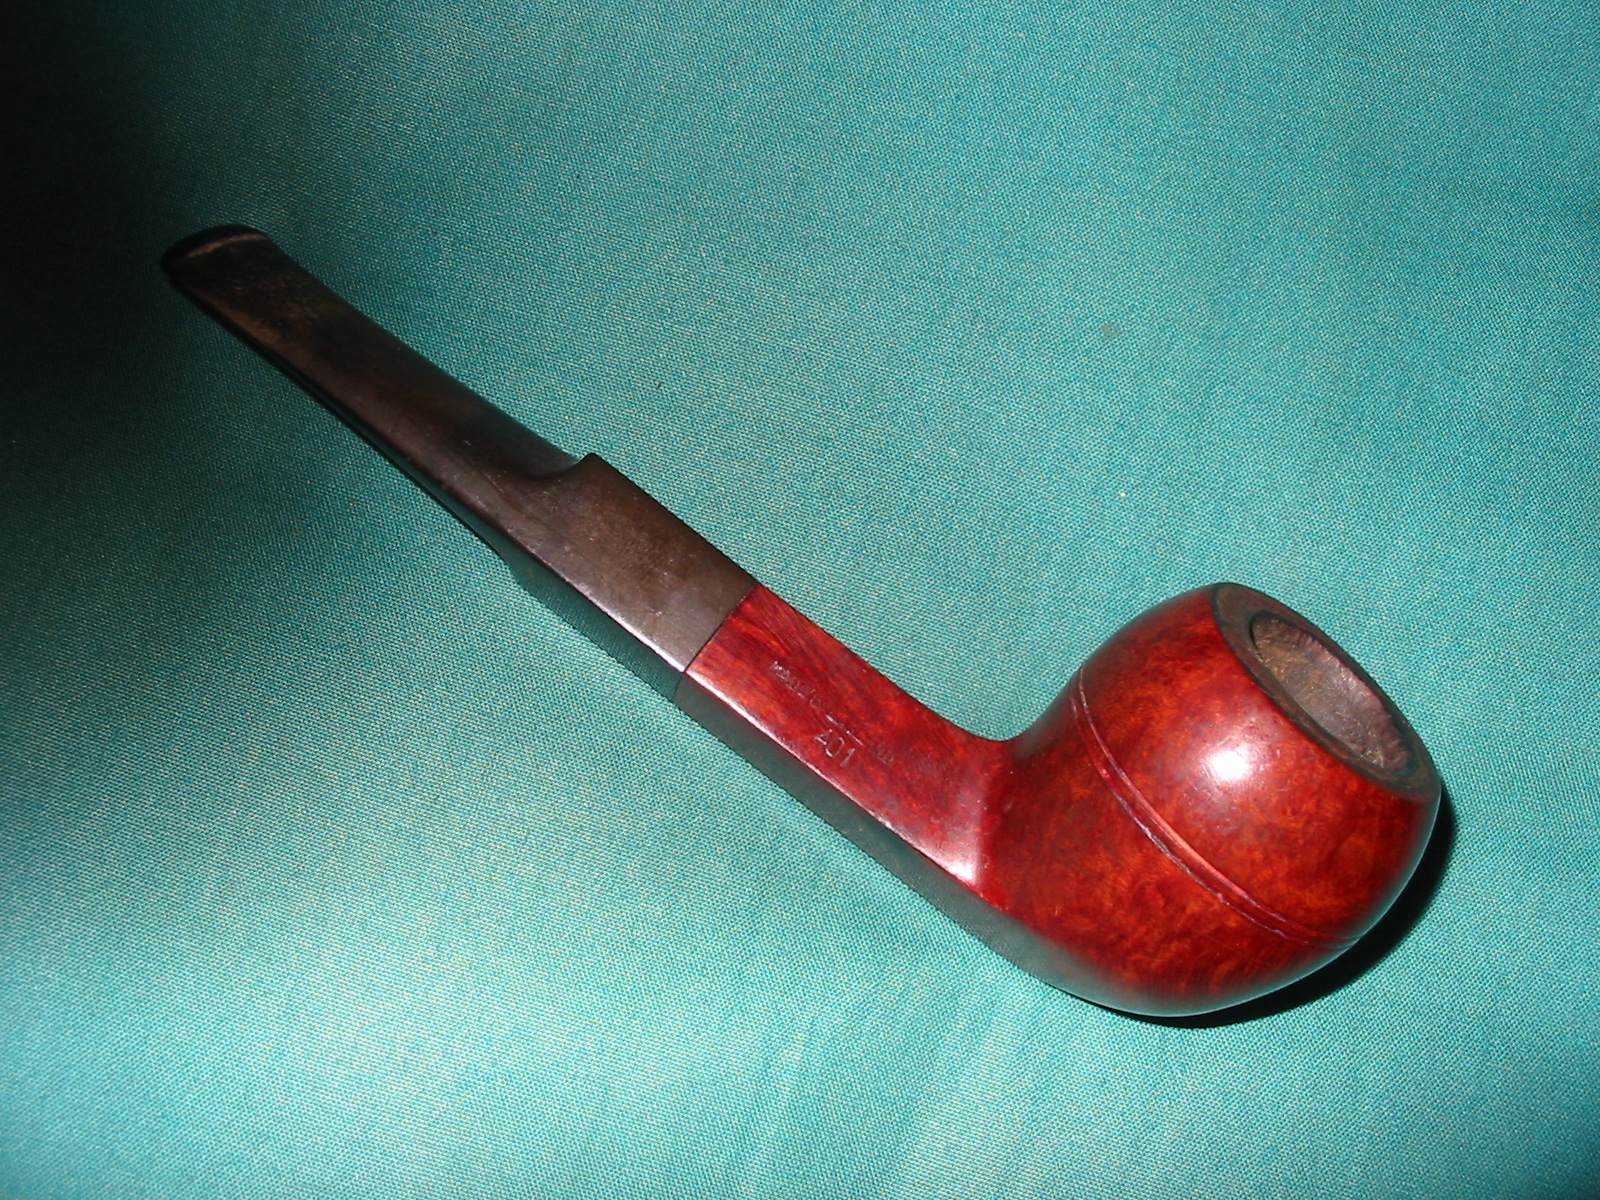
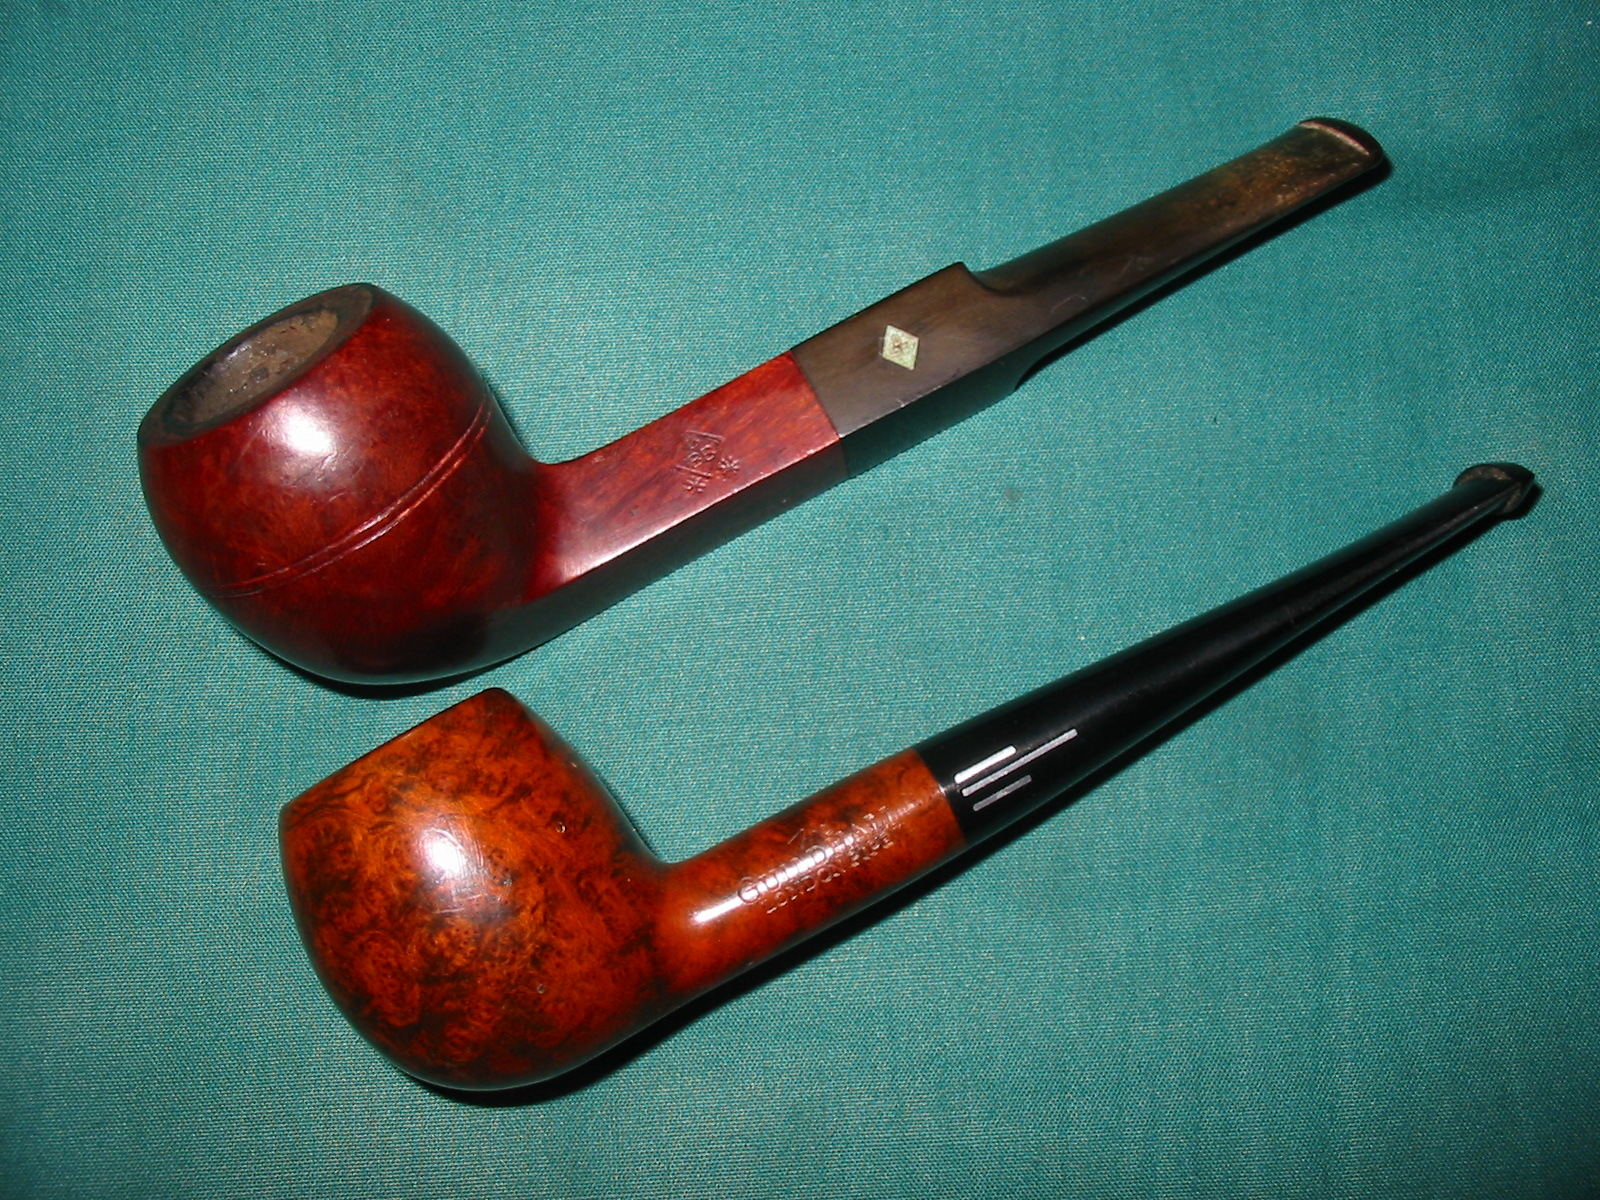
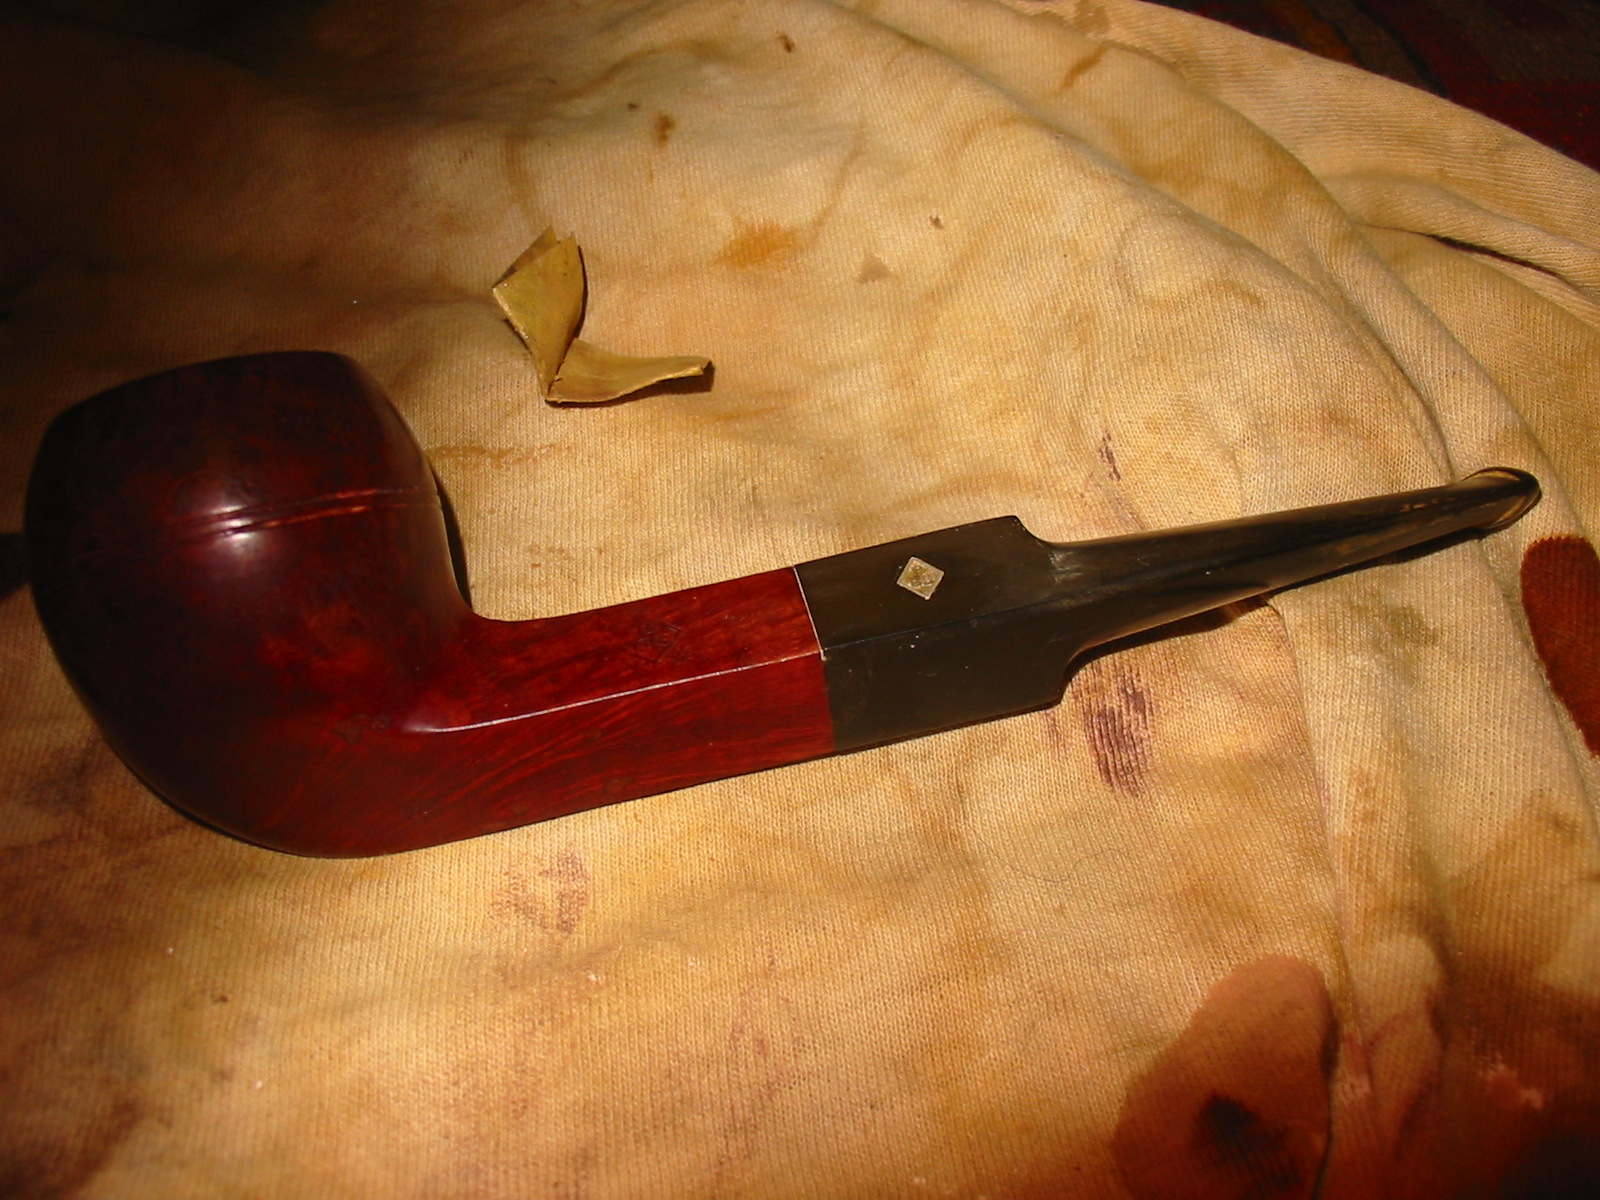
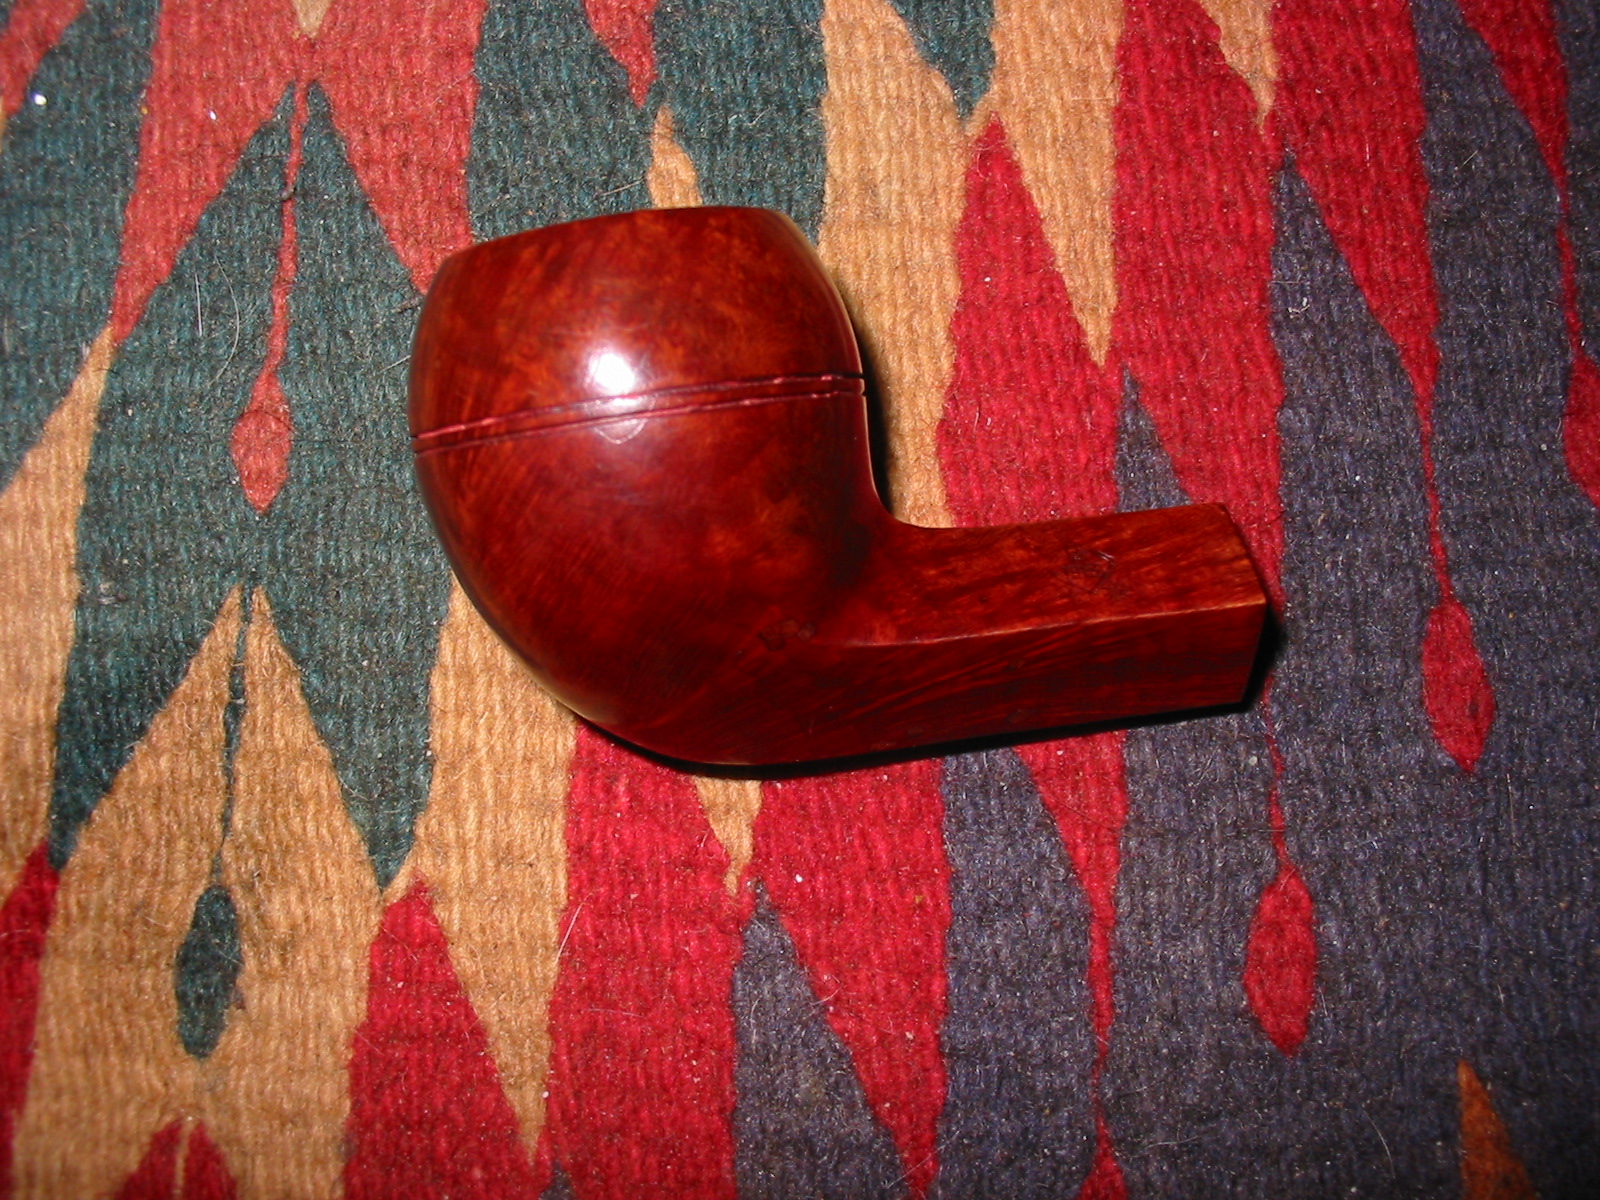
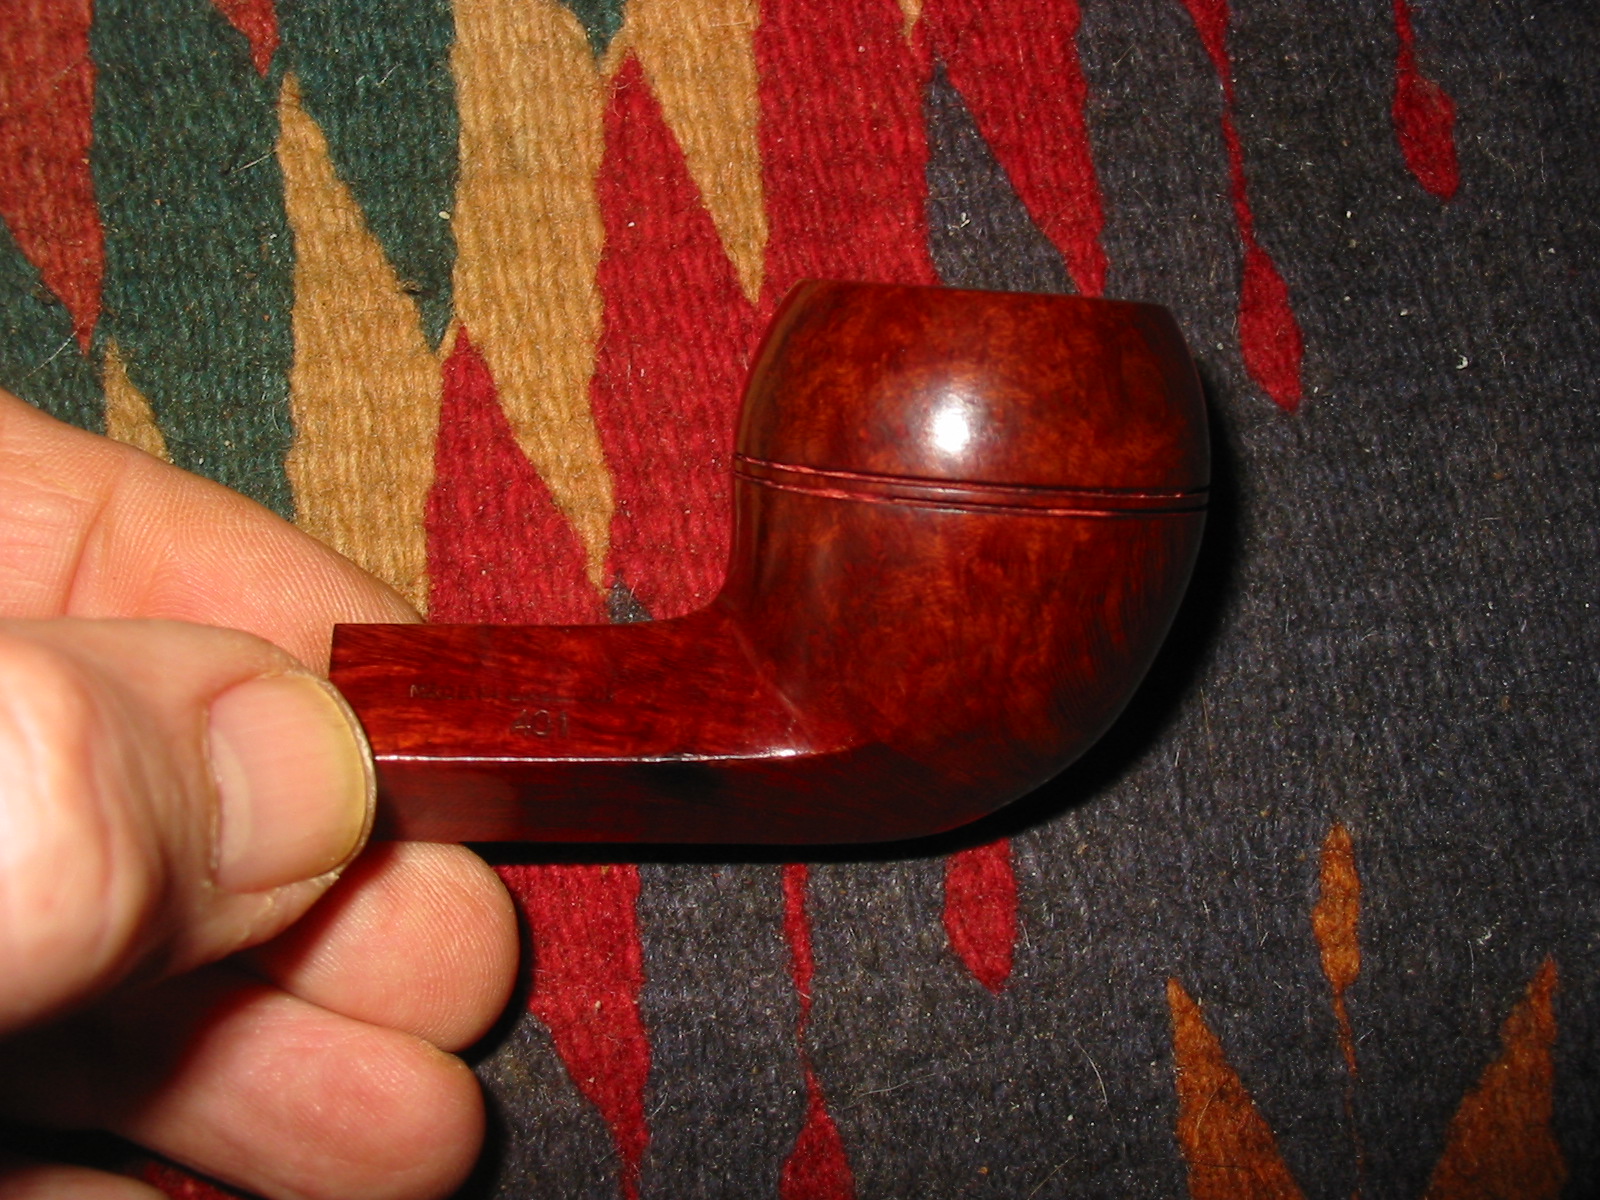
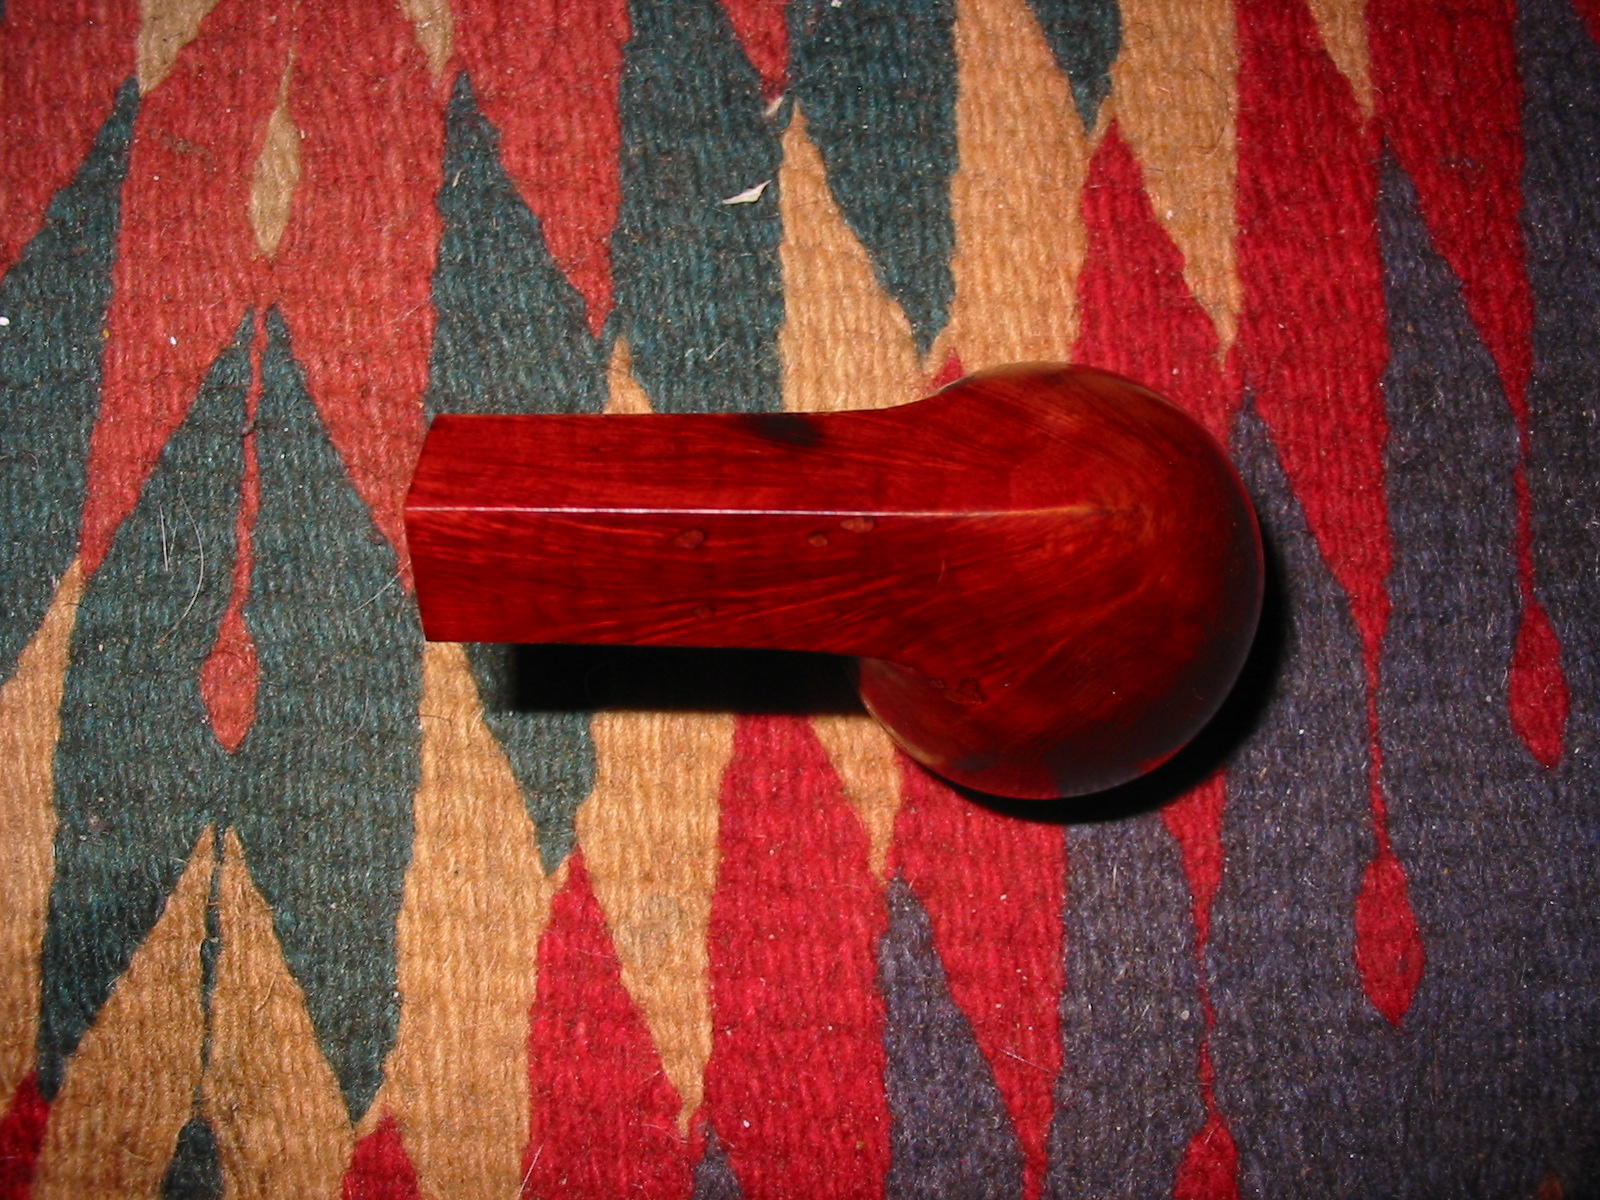
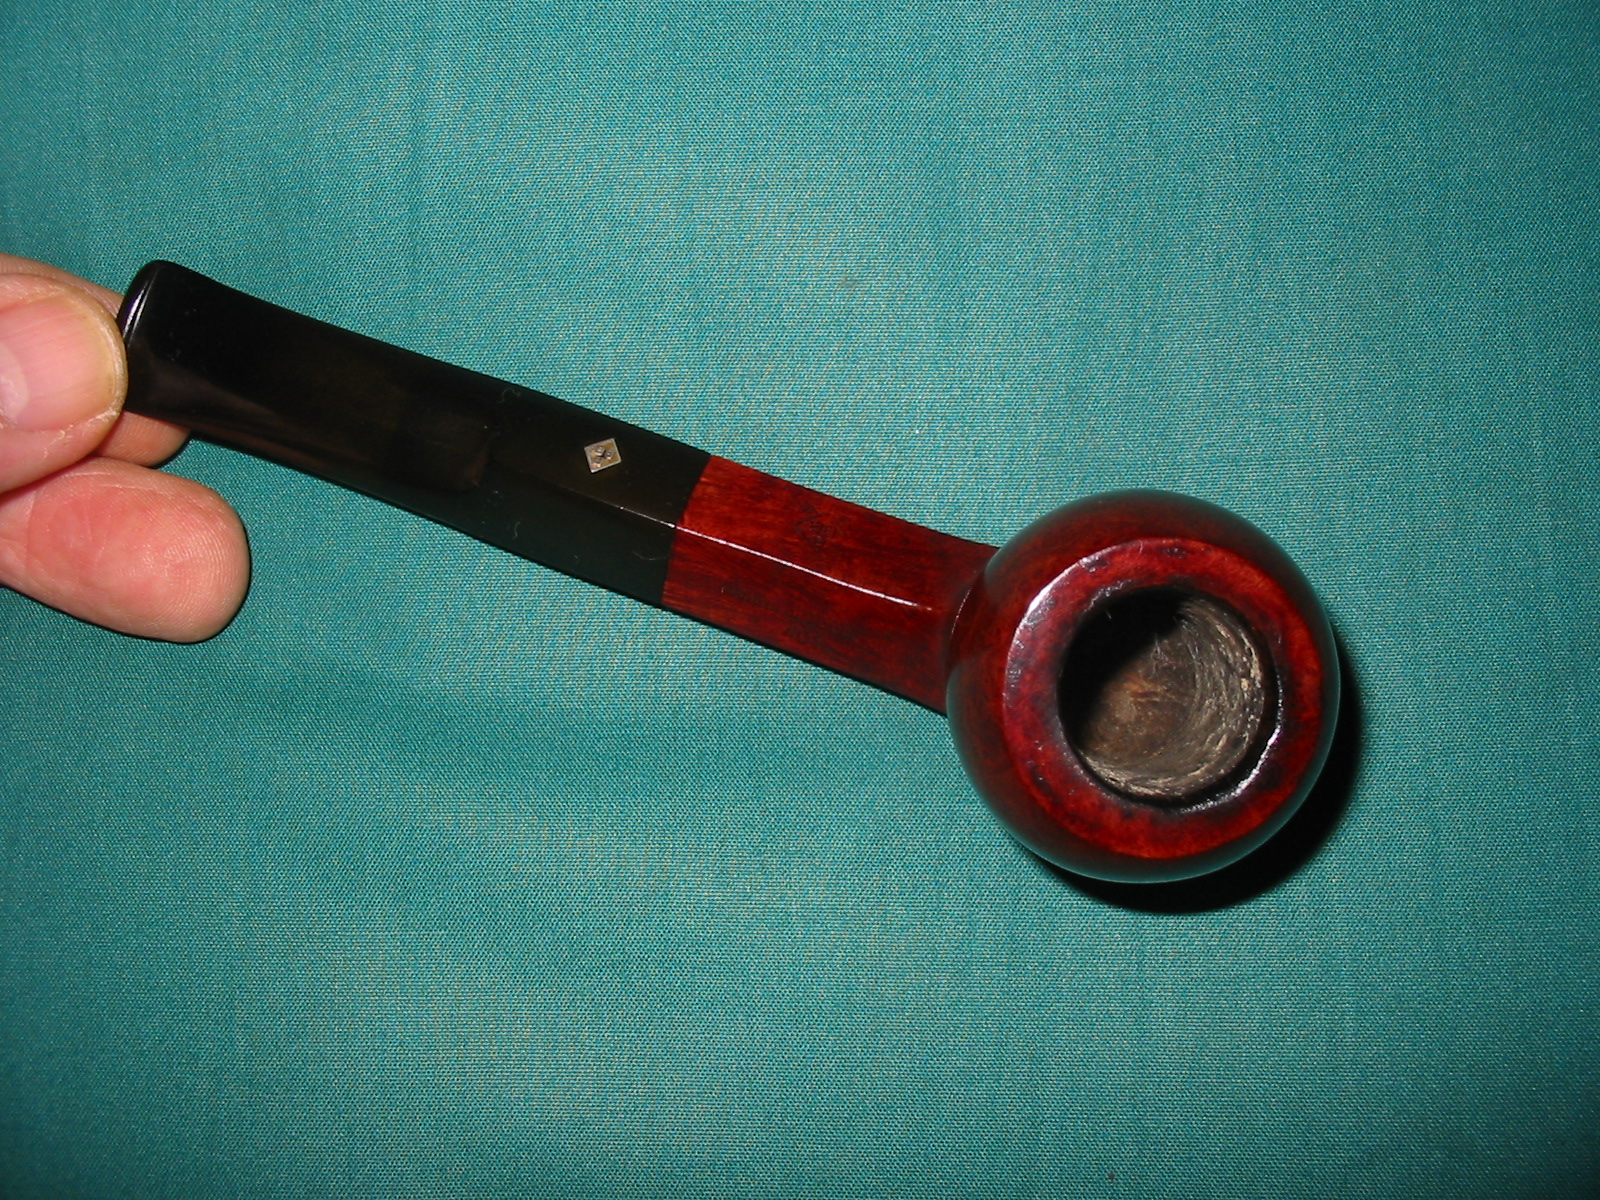
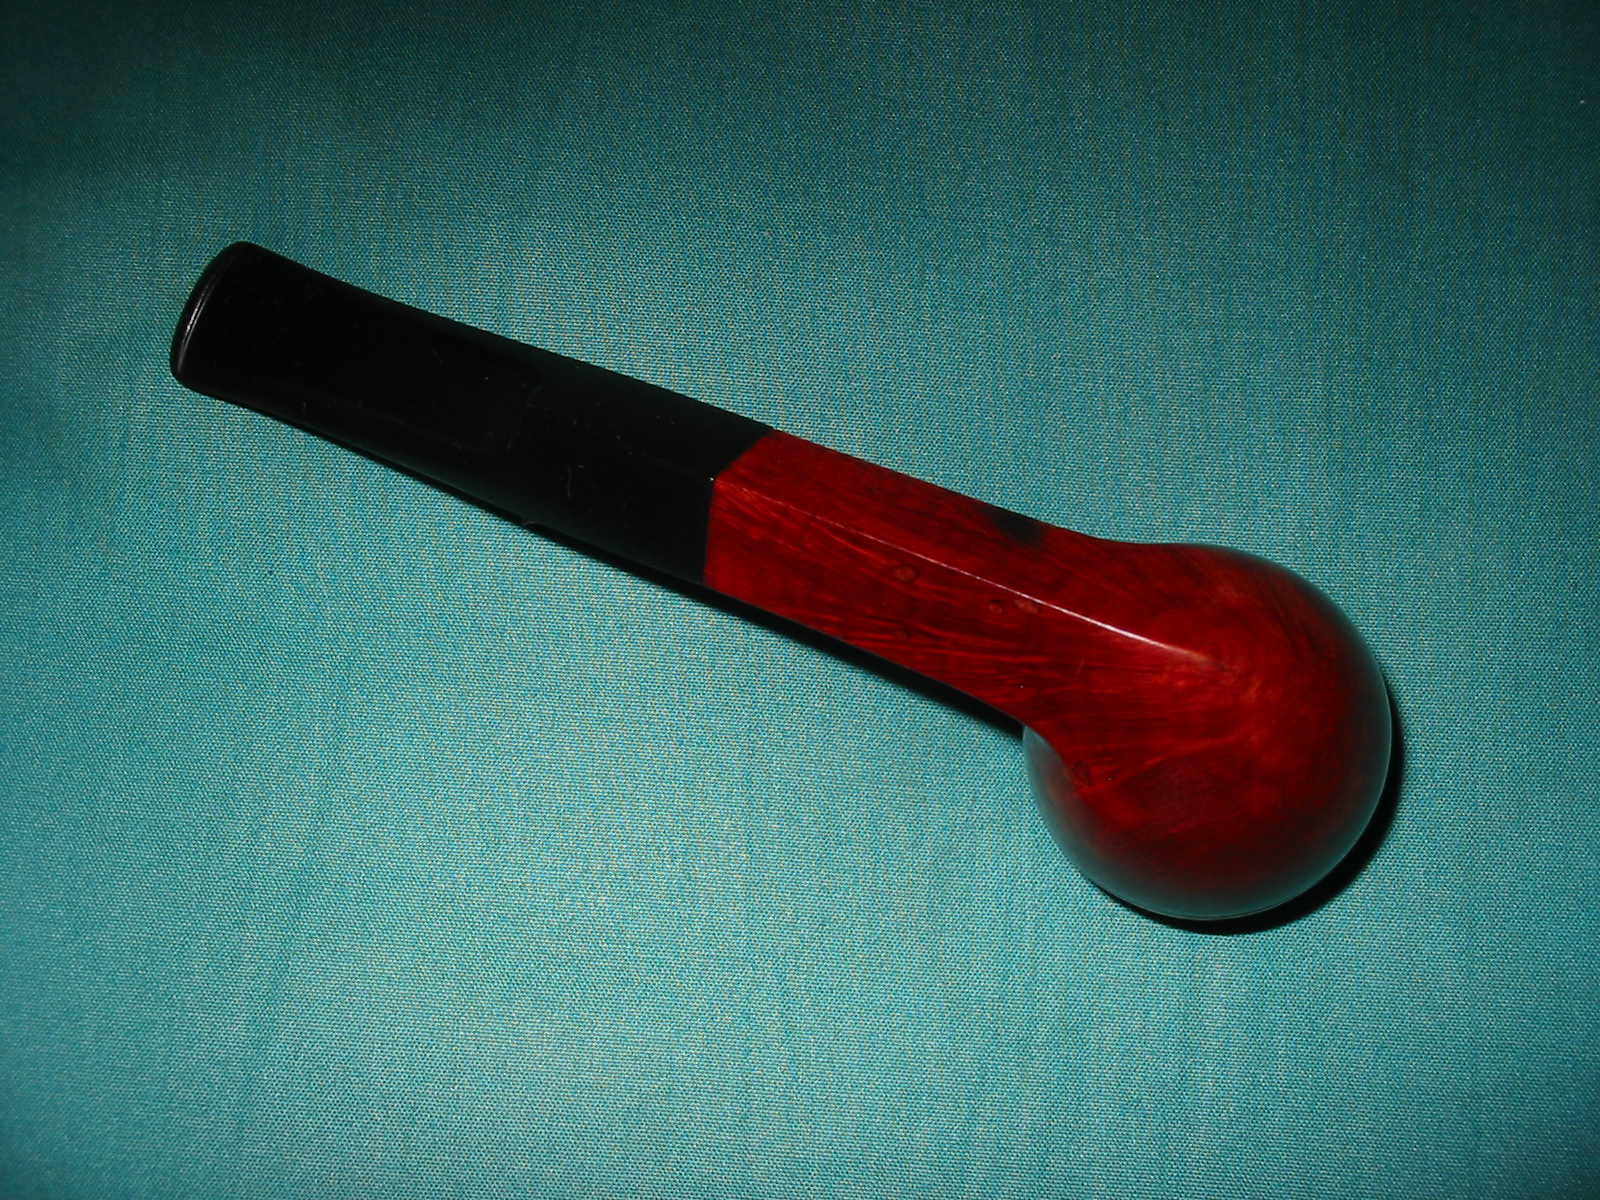
I still remember driving to Kelowna, British Columbia from Vancouver to pick up this little pipe. I had talked with carver, John Rocheleau for quite a while and wanted to purchase one of his pipes. One day it happened that I had some meetings in Kelowna (about a four hour drive from Vancouver) so I called and set up an appointment to visit with John and pick out a pipe from his finished pipes. I arrived and had a great visit with John, looking at his own collection of pipes and talking about the incredible paintings that he does. John is a great artist besides being a pipe maker. We enjoyed some good tobacco and conversation and then he brought out the pipes that he had for sale. This little acorn shape just called my name. It looked amazing and when I picked it up to look it over, I fell in love with it and did not lay it down again. The workmanship on this pipe is very nice. I have smoked it quite a bit over the years since I got it. The length of the pipe is 5 1/2 inches and the bowl height is 1 1/2 inches. The outer diameter of the bowl is 1 5/8 inches. The chamber diameter is 3/4 inches and depth is 1 1/8 inches. It sits well in the nook of the hand formed by the thumb and index finger on either hand. The stamping is on the underside of the shank. It is stamped Rocheleau in script and to the left of it is stamped A49A.
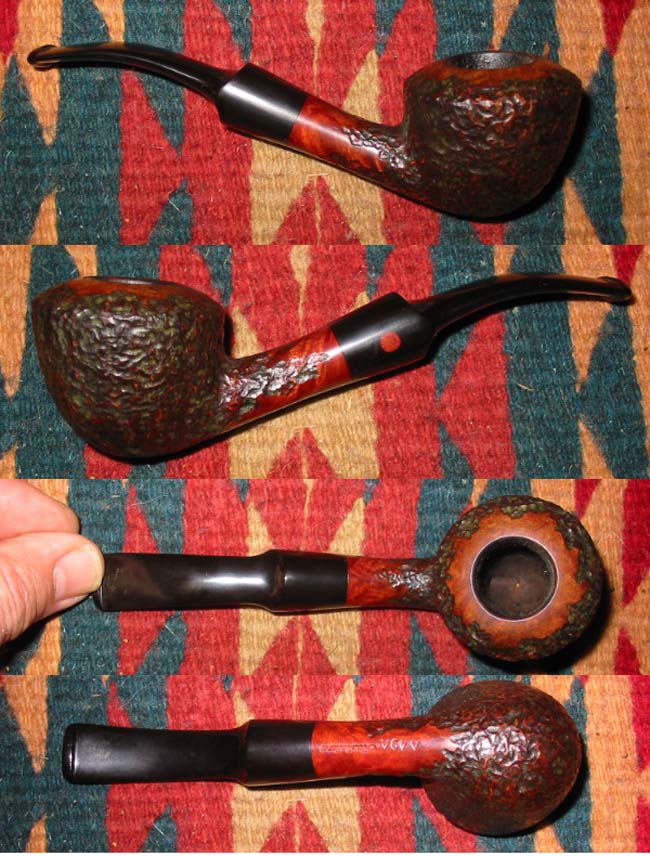
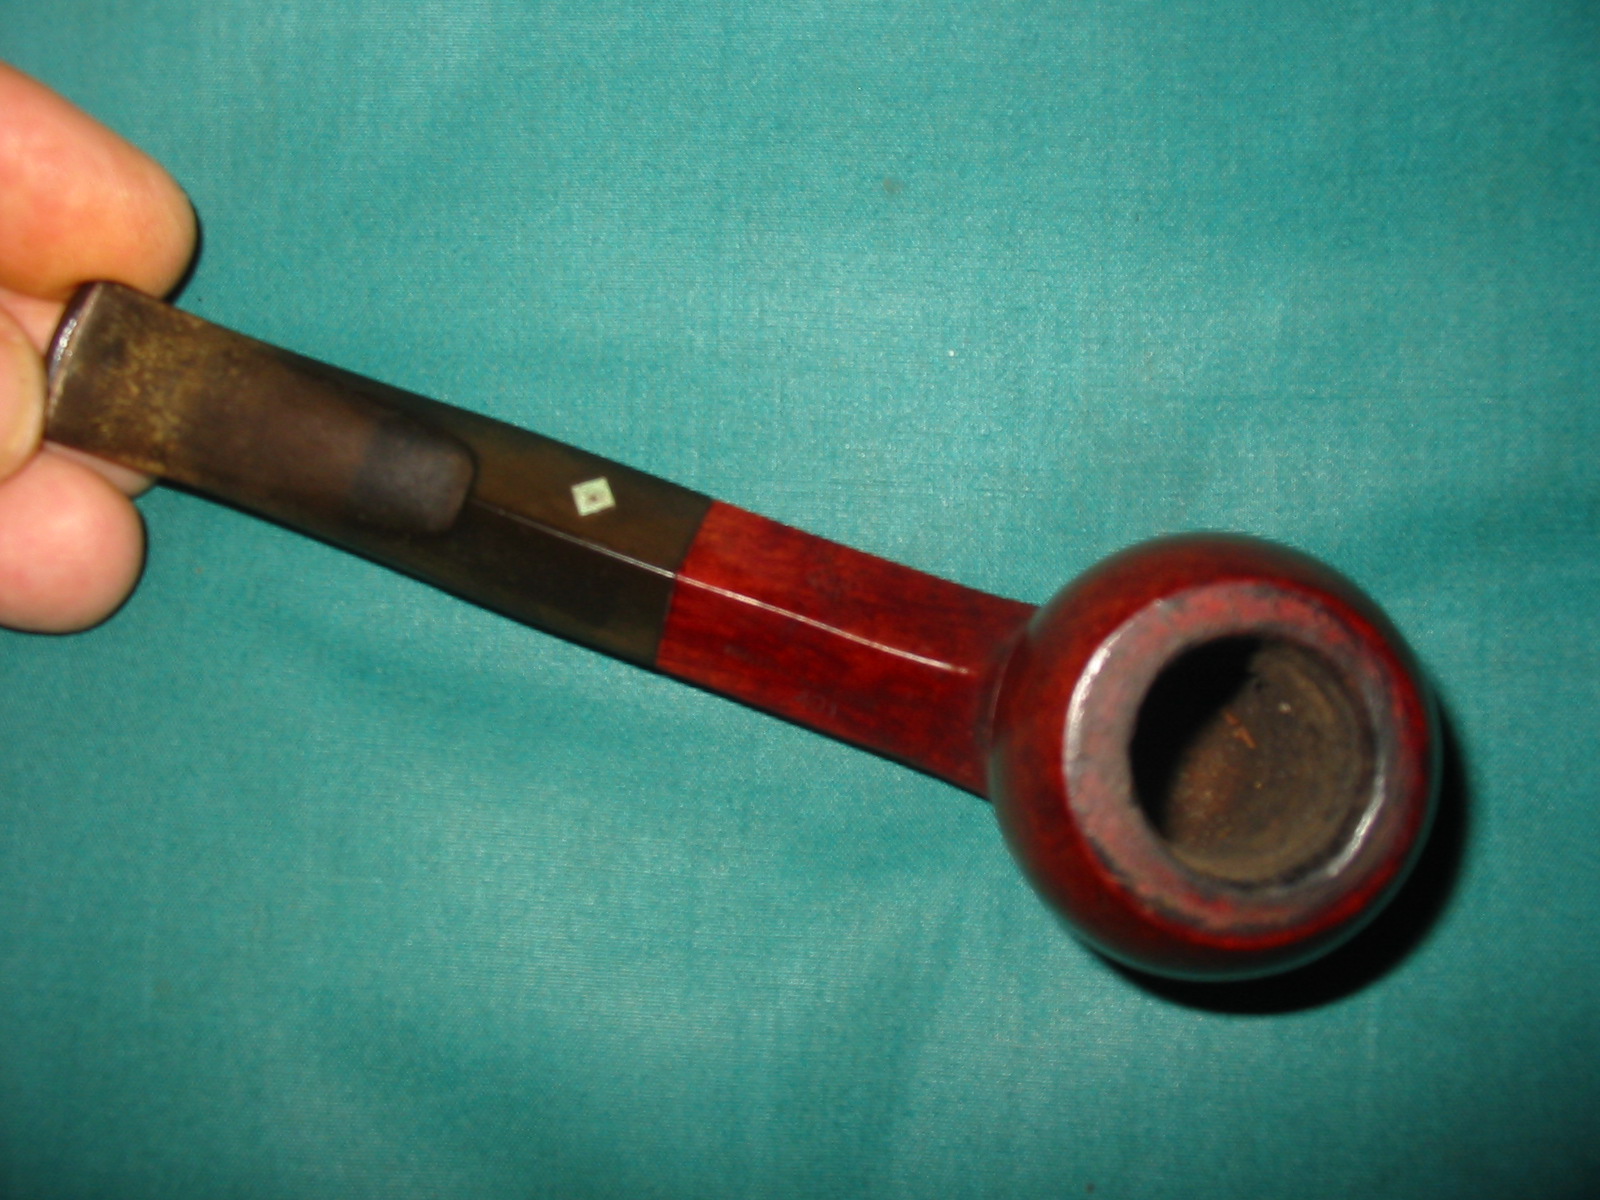
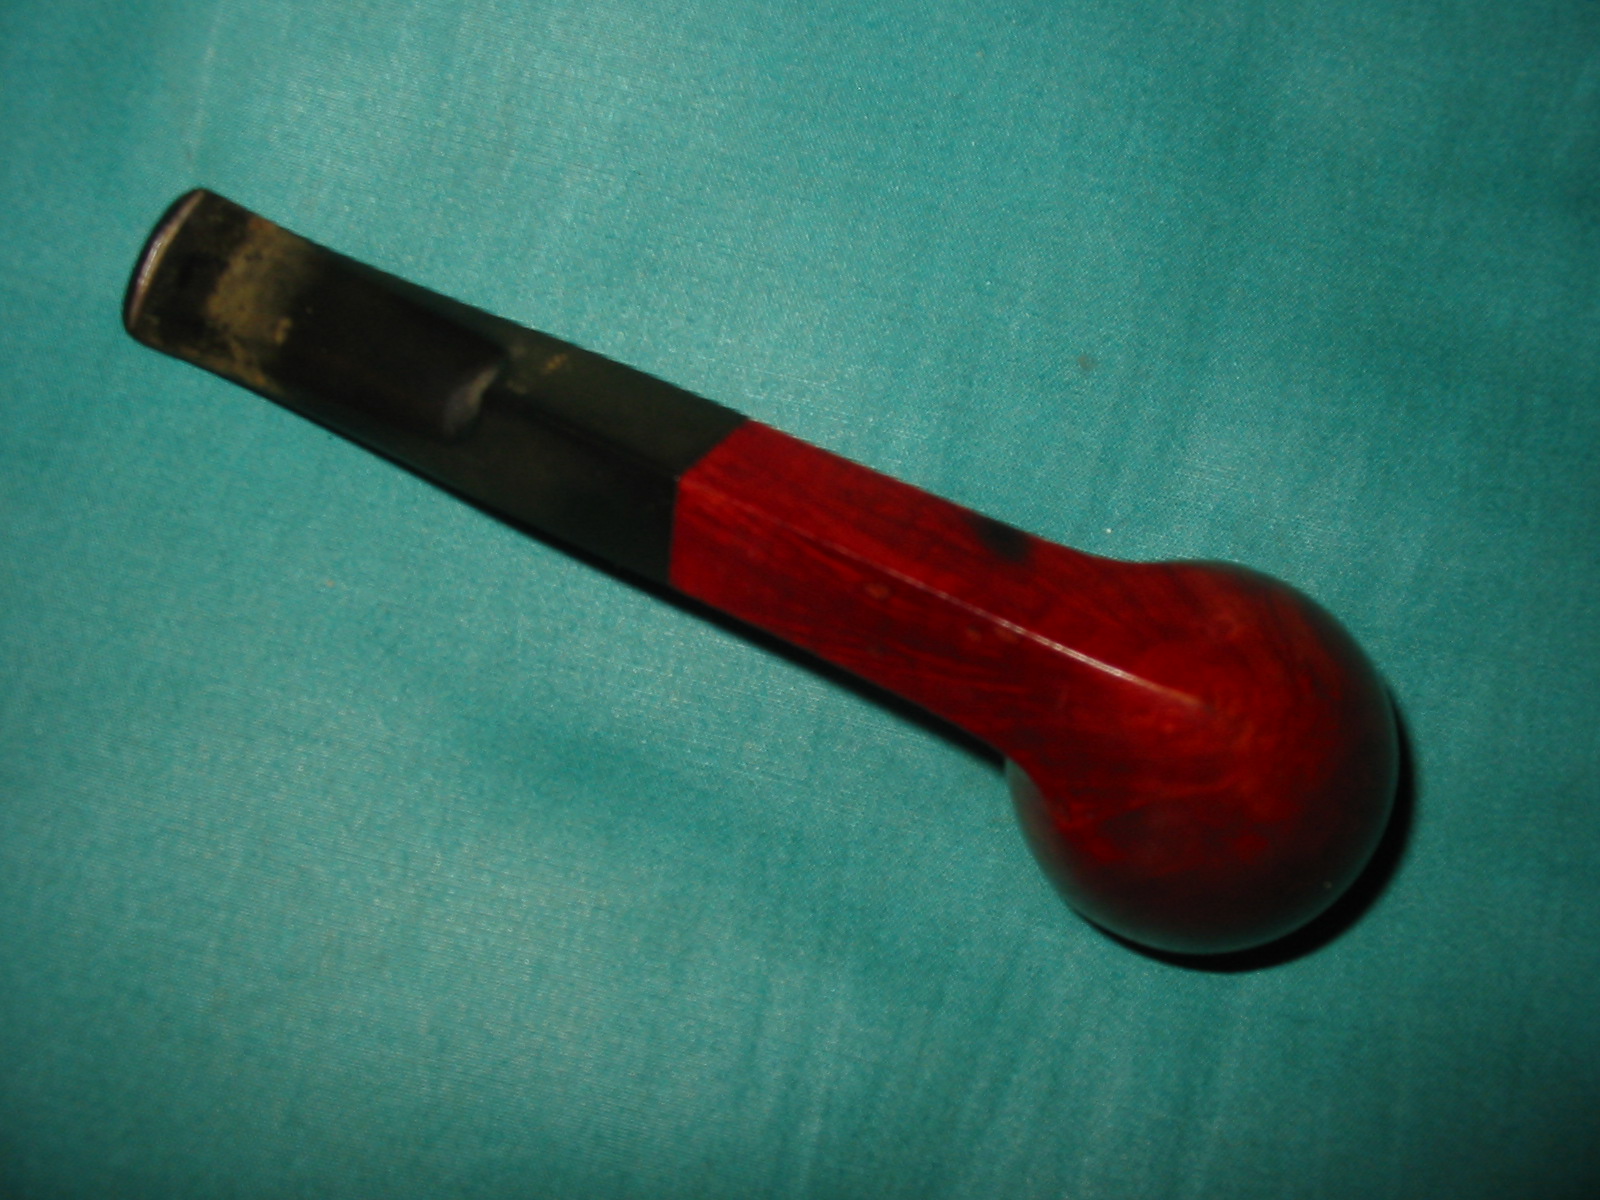
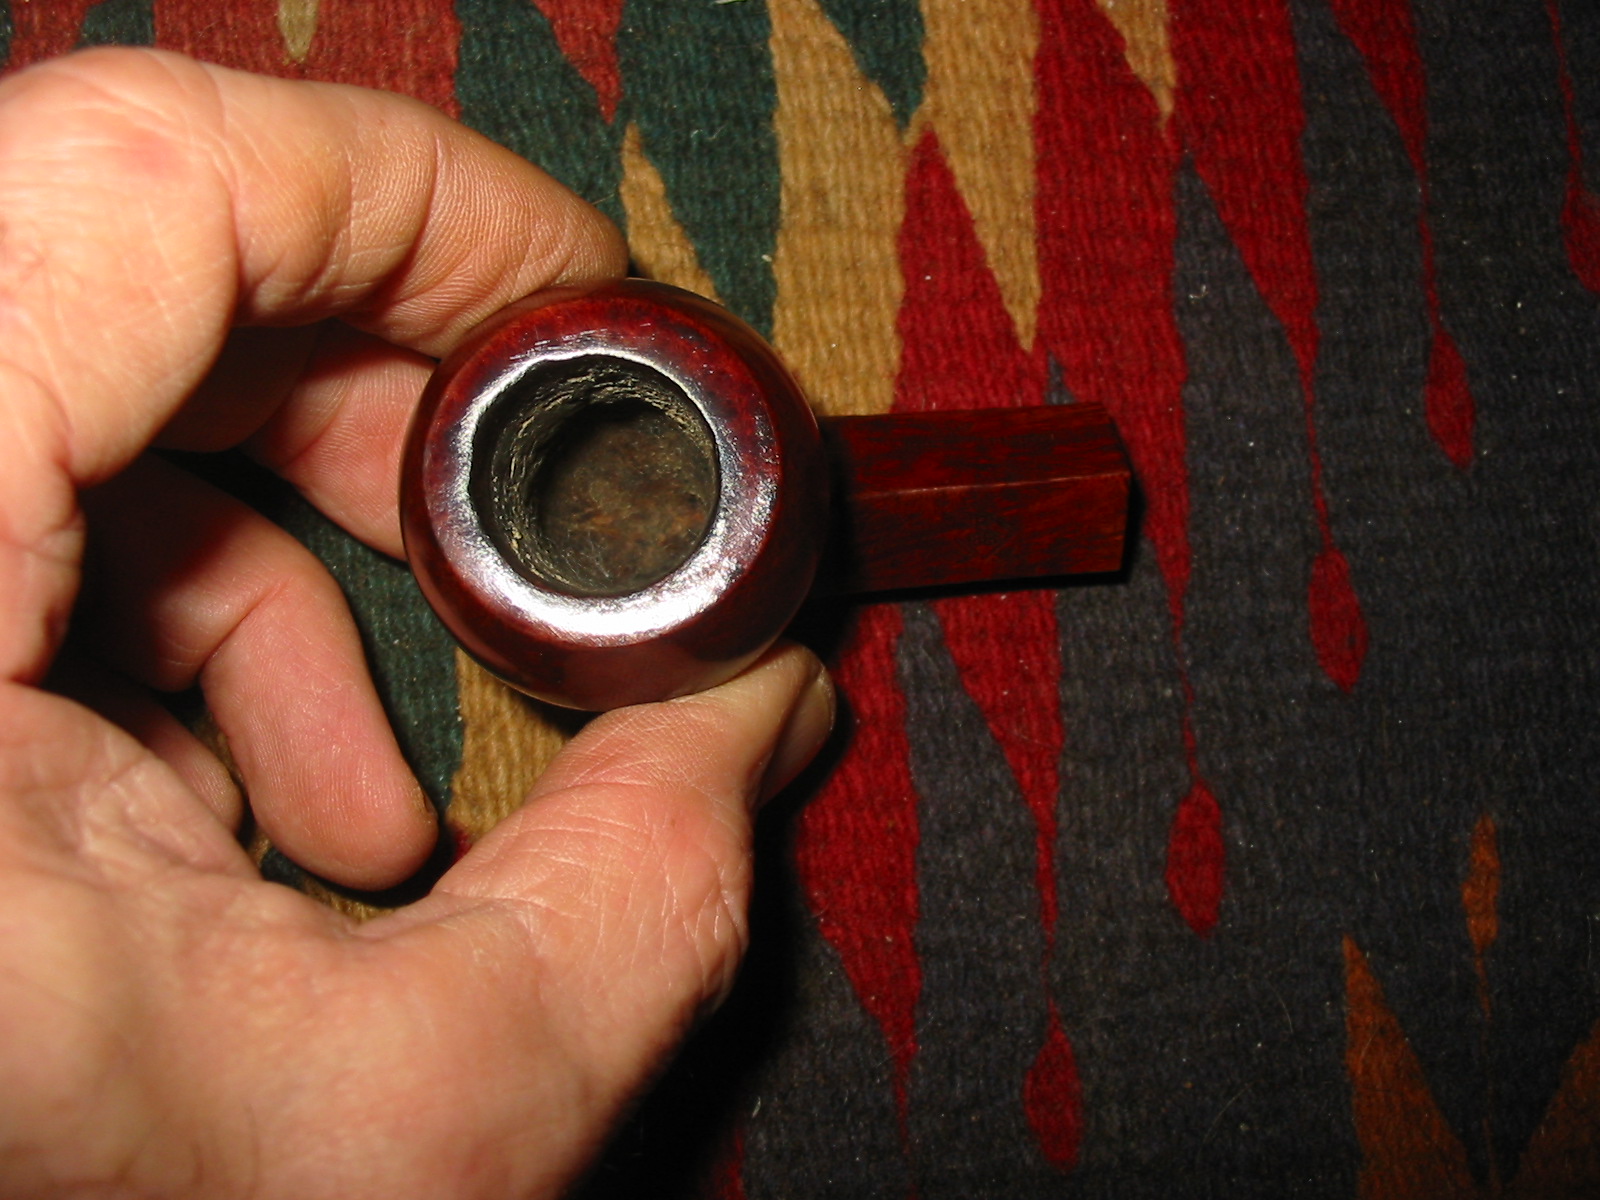
The pipe has a rusticated finish and the staining choice highlights the unique rustication. John has a achieved a rustication that looks and feels like a sandblast. I was able to sit in his shop that day and on one other occasion and watch as he rusticated the pipes with a Dremel and a cutting head. In this case he left a smooth area near the shank stem union and on the underside of the shank. The top of the bowl also has a smooth area that nicely integrated with his rustication. The stain has several distinguishable colours that show the number of coats used. There seems to be a medium brown understain that comes through in the smooth areas of the bowl and shank and in the high points of the rustication. Over this is a coat of dark brown. The result is a multidimensional look to the finish and stain of the pipe. The colour varies with the light that hits the bowl. The rim’s inner edge is straight into the bowl with a clean sharp edge. John highlights this crisp look with the smooth finish on the pattern of the rim. The outer edge is crown almost like a cap on a Rhodesian that comes to a sharp edge and drops evenly to the sides. The crowned top gives the pipe almost a Rhodesian look from the side.
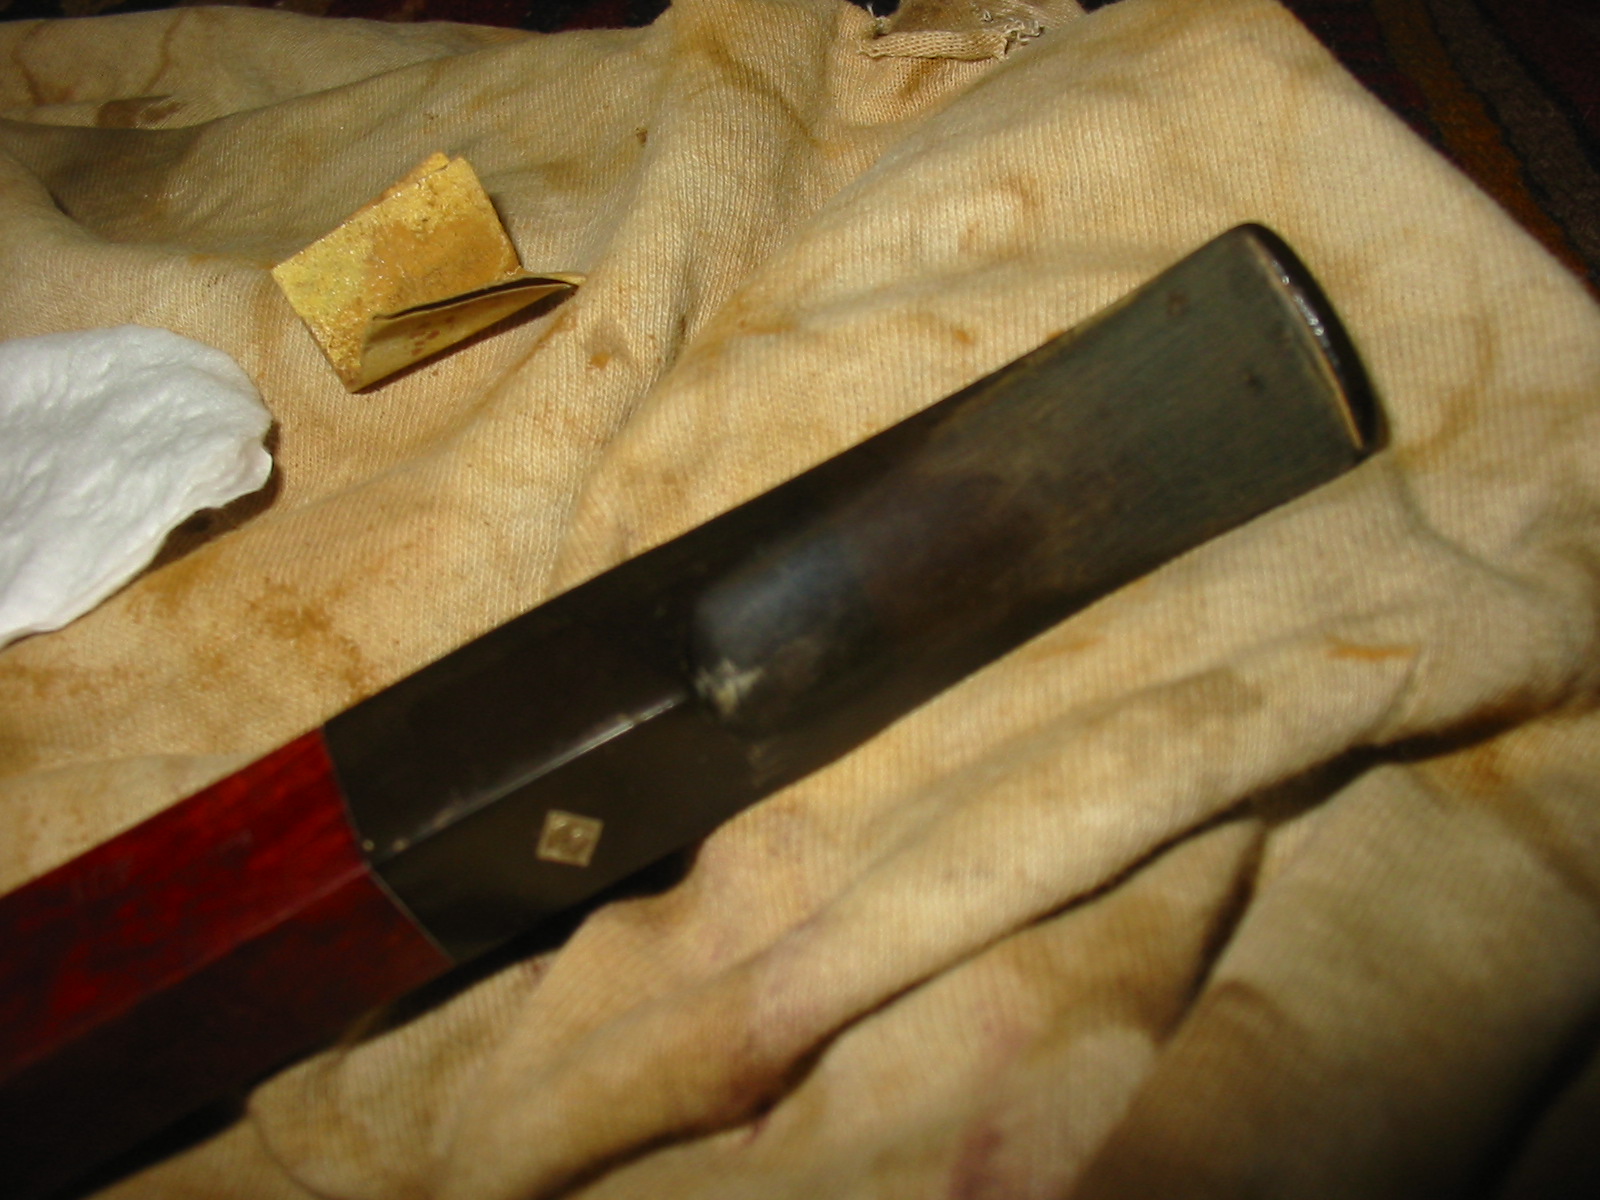
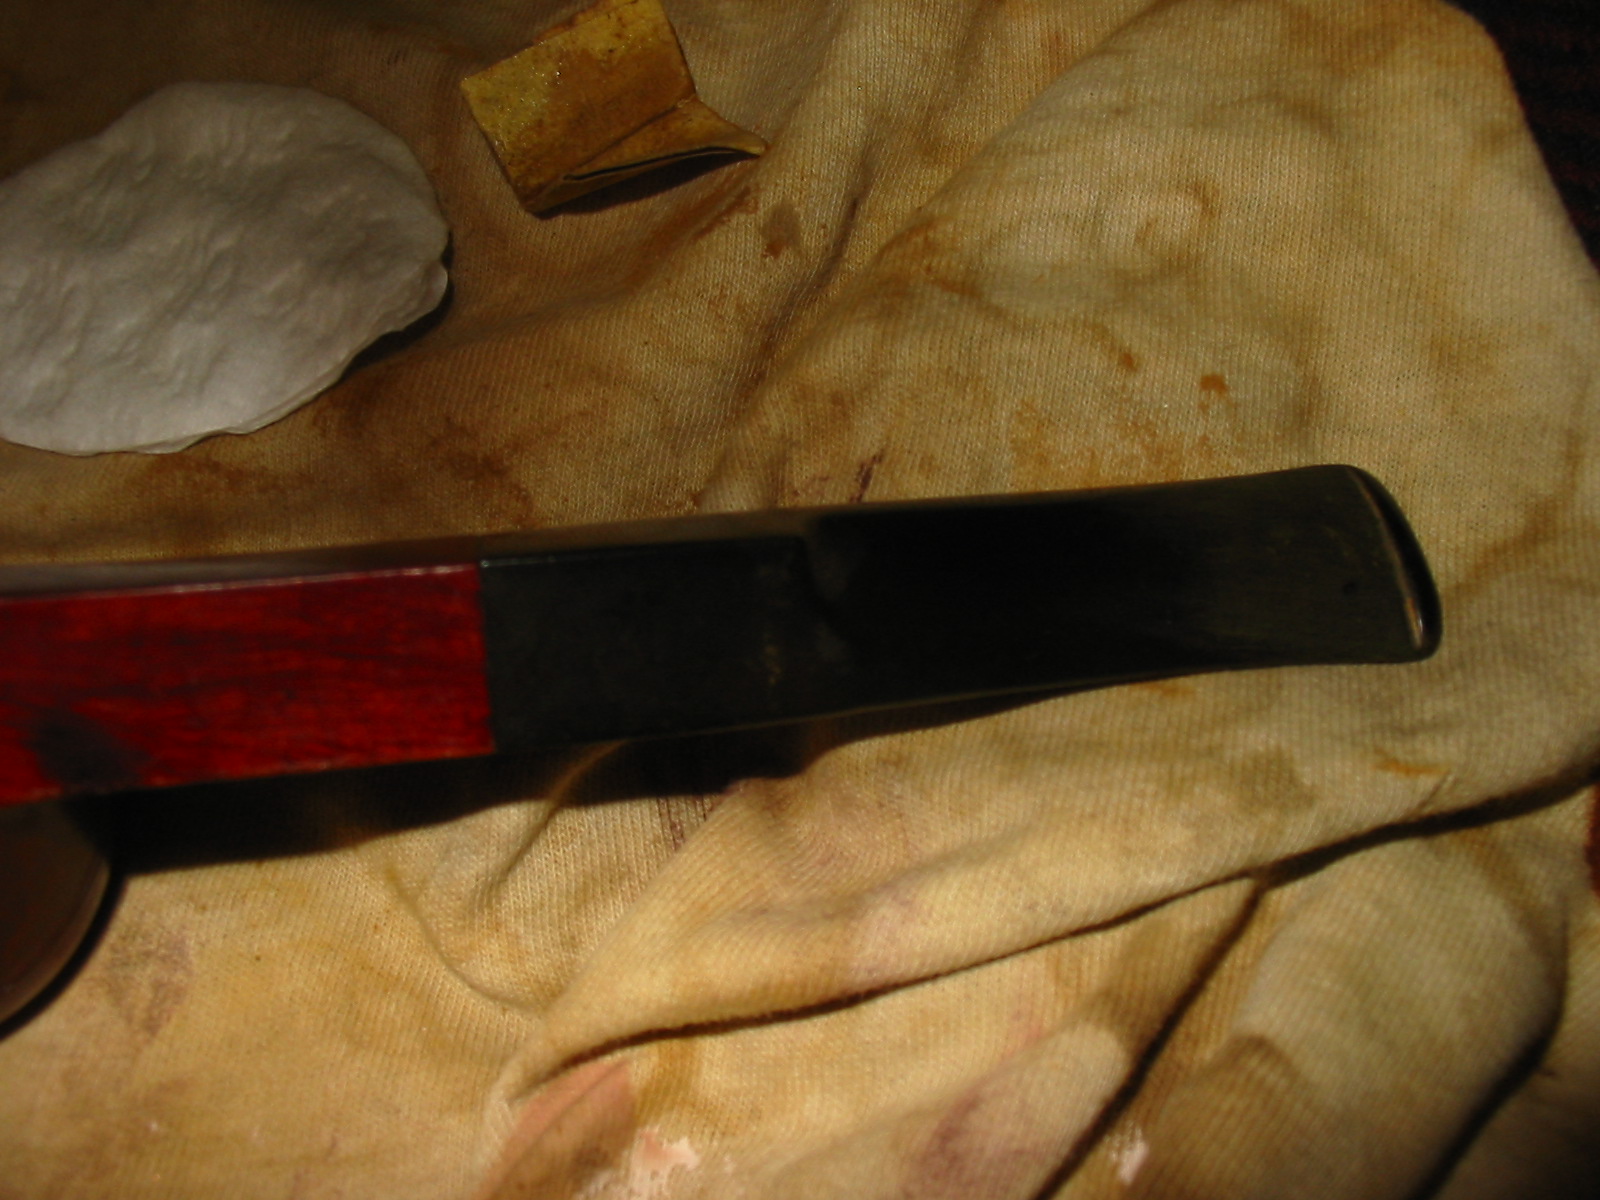
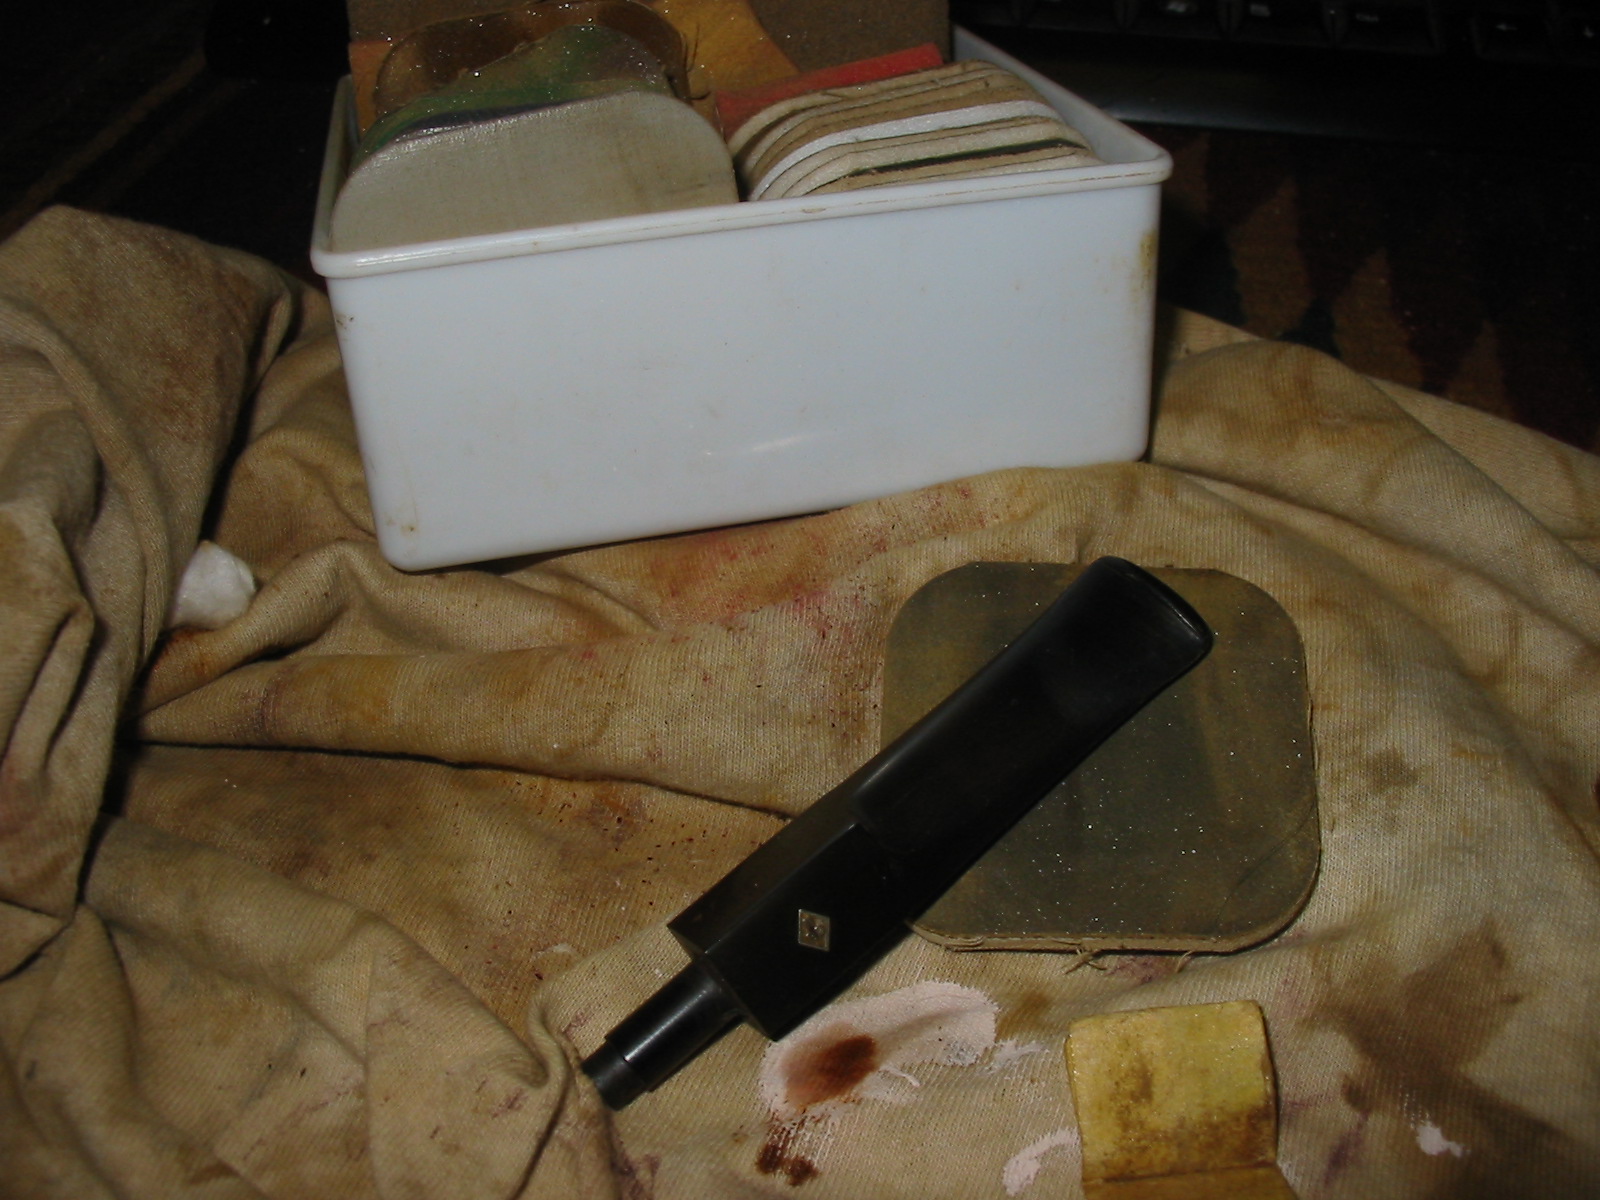
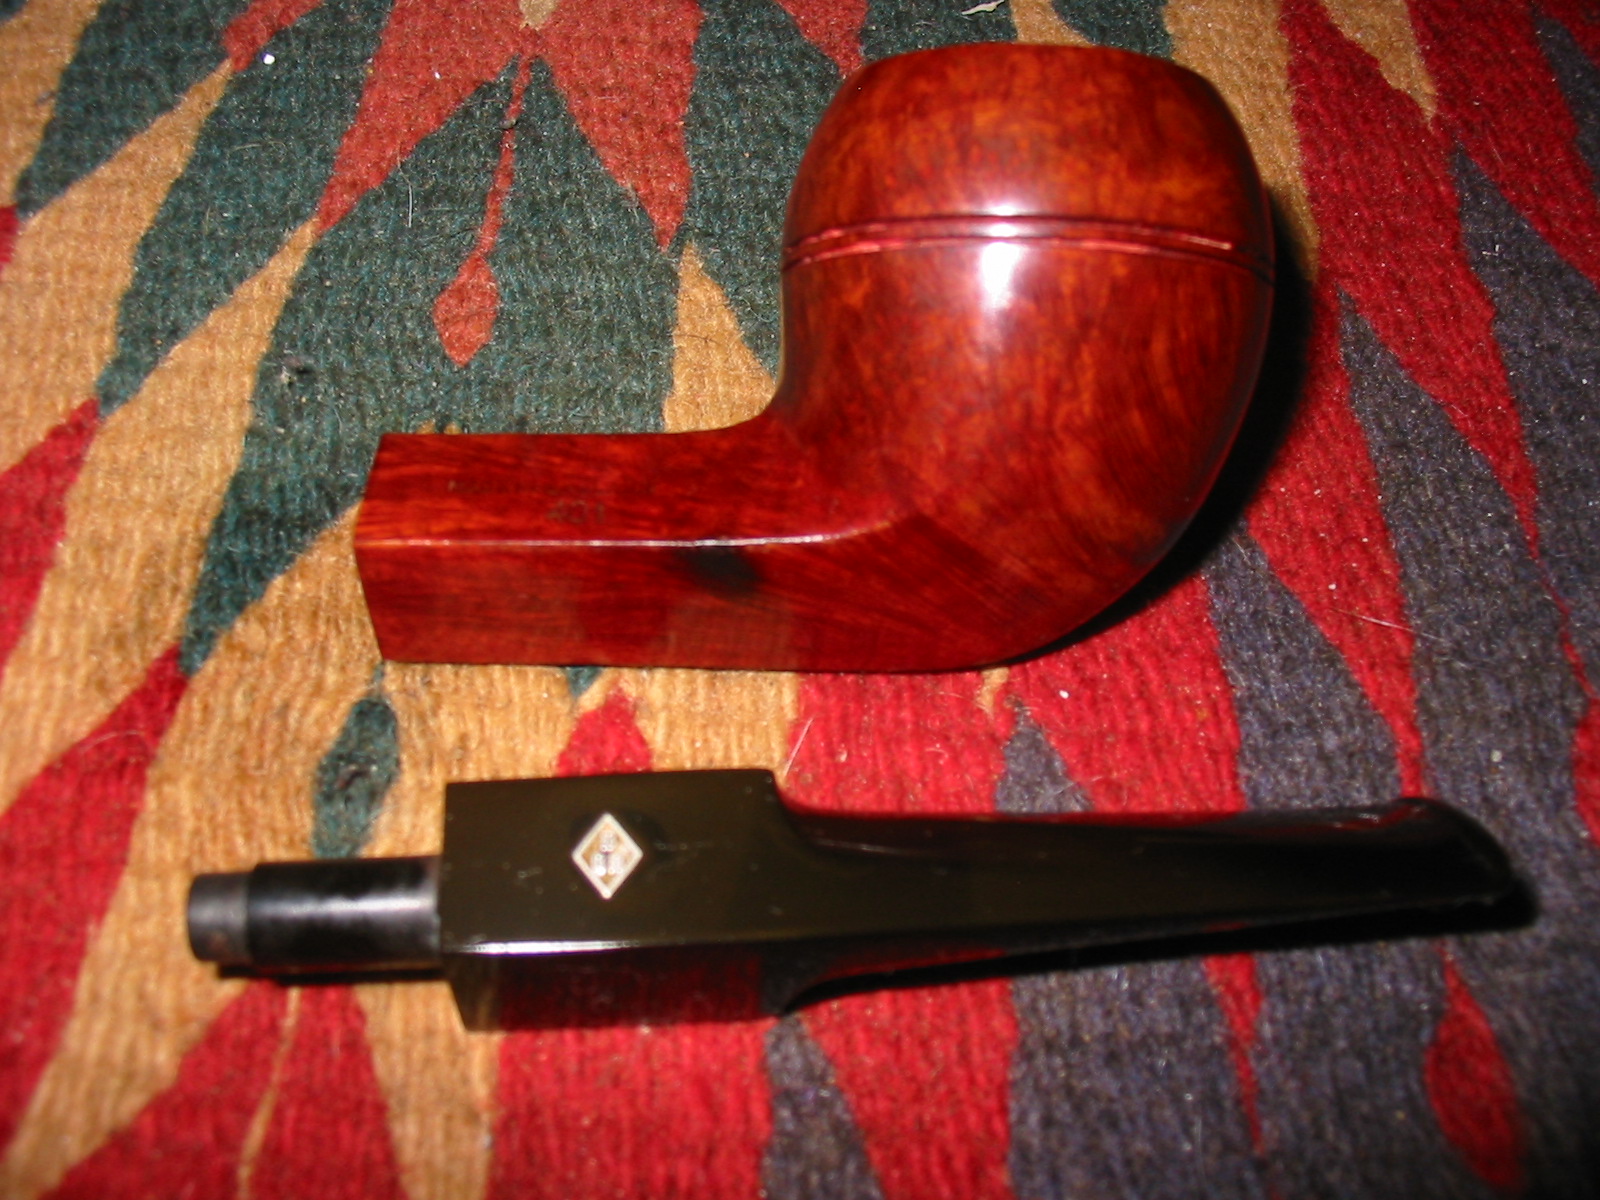
The stem is a well-made saddle style with a bit of a Danish flare. From the shank stem union the saddle flares to the end where it slopes to the blade. It is hand turned ebonite or vulcanite. It is a softer feel in the mouth and on the teeth than acrylic. The stem blade tapers gradually back to the button where it flares to the same width as the flare on saddle. It is just the right thickness at the portion that rides in the mouth – not too thick or too thin. It is also durable and is made of quality material as it has not oxidized in the years I have had it. John used a briar inlaid circle in his stems as his logo. The tenon is an integral part of the stem and is chamfered outward to form a crowned end which is also countersunk and well-polished. The button is well shaped – thin at the edges with a very slight rise to the centre top and bottom, forming an eye shaped end view. The lip on the button is very slight but still fits well behind the teeth for a comfortable feel. The slot in the end of the button is also funneled and flattened to deliver a mouthpiece that has the same diameter from start to finish. John also rounded the ends of the slot giving it a finished look. The attention to detail shows the artist’s touch that John puts into his pipes. It is a comfortable and well executed pipe. A pipe cleaner passes easily through the pipe with no obstruction.
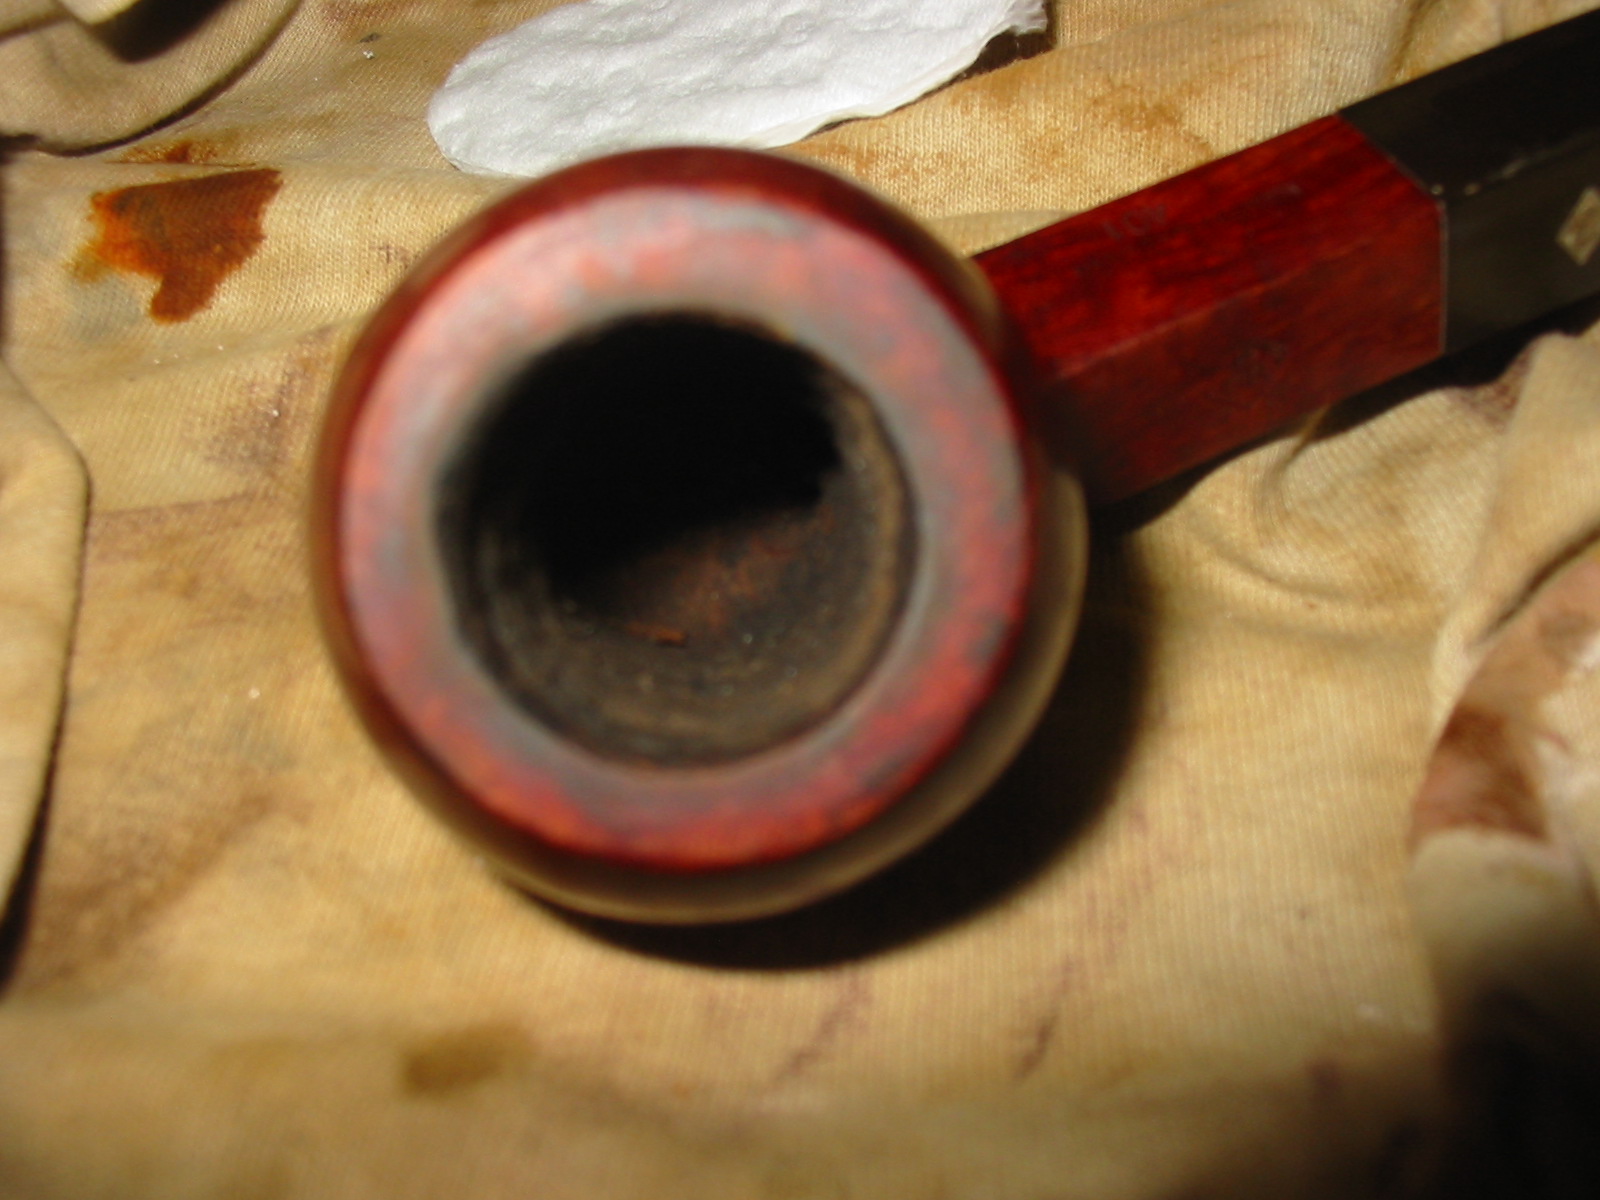
I have two of John’s pipes and both are identical in terms of internal mechanics. John mastered the airflow dynamics of his pipes and the draught is clean and easy with no whistling or tightness. It has an easy draw that makes smoking it a pleasure. The bowl chamber is drilled to a 3/4 inch diameter. The bowl was clean and raw briar with no bowl coating. The cake built up on the bowl very easily. The draught hole is centered at the slightly above the bottom of the bowl and seems to have a slight funnel leading into the shank and stem. The fit of the stem to the shank is excellent – smooth and tight with no light showing at the joint. The tenon fits well in the mortise and seems to sit deep in the mortise against the bottom. The airway is in the centre of the mortise and aligns with the airway in the tenon. The edges of the tenon have been polished and rounded and the airhole countersunk so that it meets the airway in the mortise. Looking at the airways with a flashlight it is clear to see that they are smooth and polished with no rough edges.
I have always smoked Virginias in both of John’s pipes and they seem to handle them exceptionally well. They both smoke cool and dry and deliver good flavor with the Virginias that I choose to smoke in them.