This morning while organizing my workspace I came across the instruction booklet for my Kleen Reem Pipe Reamer. I thought I would put the booklet here on the blog for others to access. It is a great read.
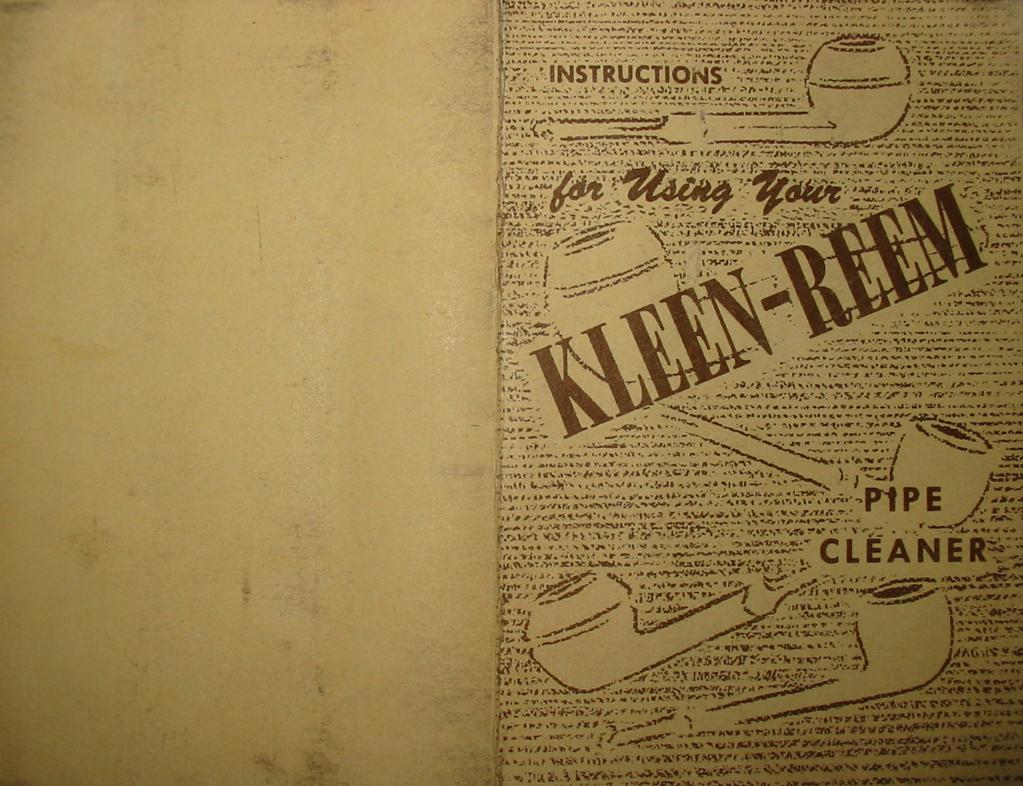
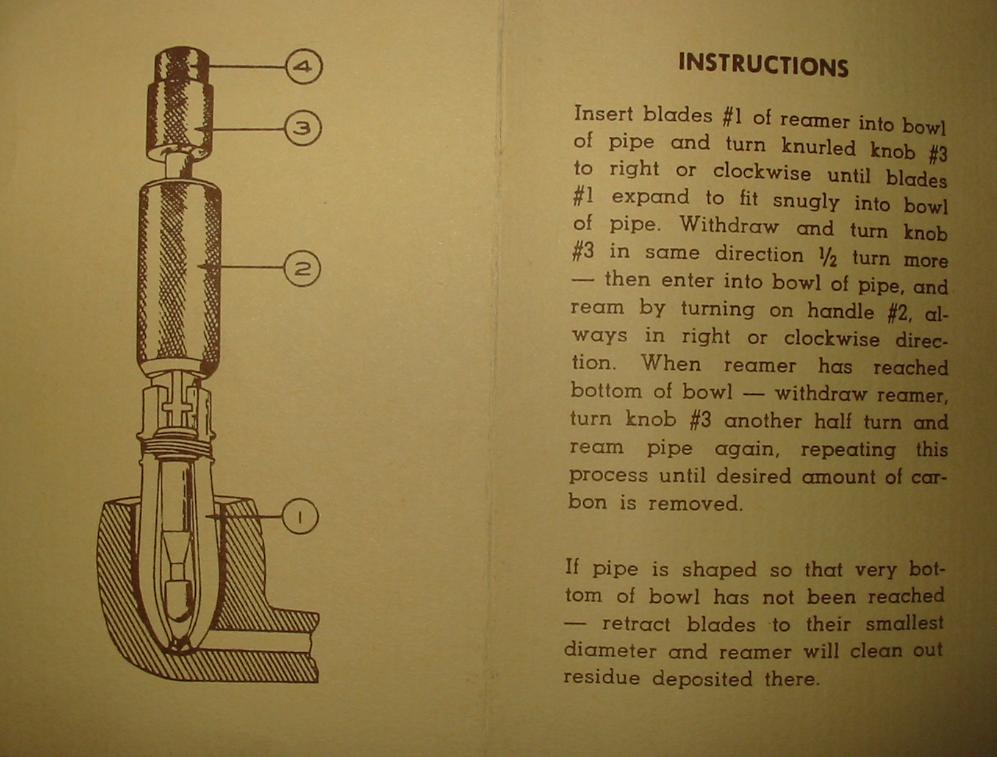
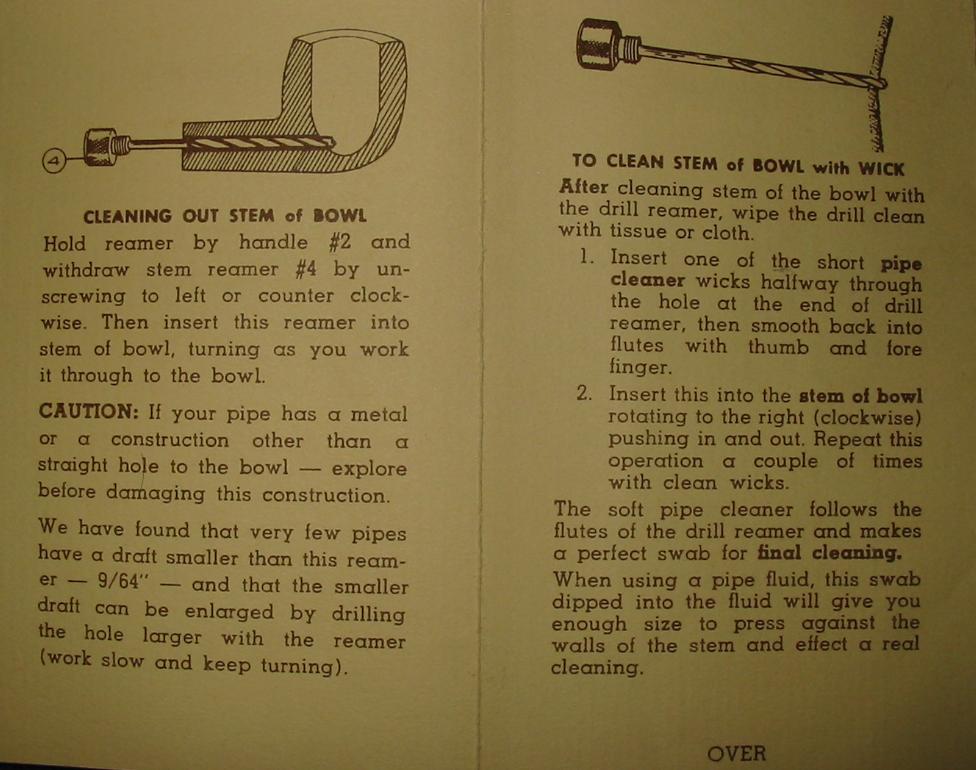
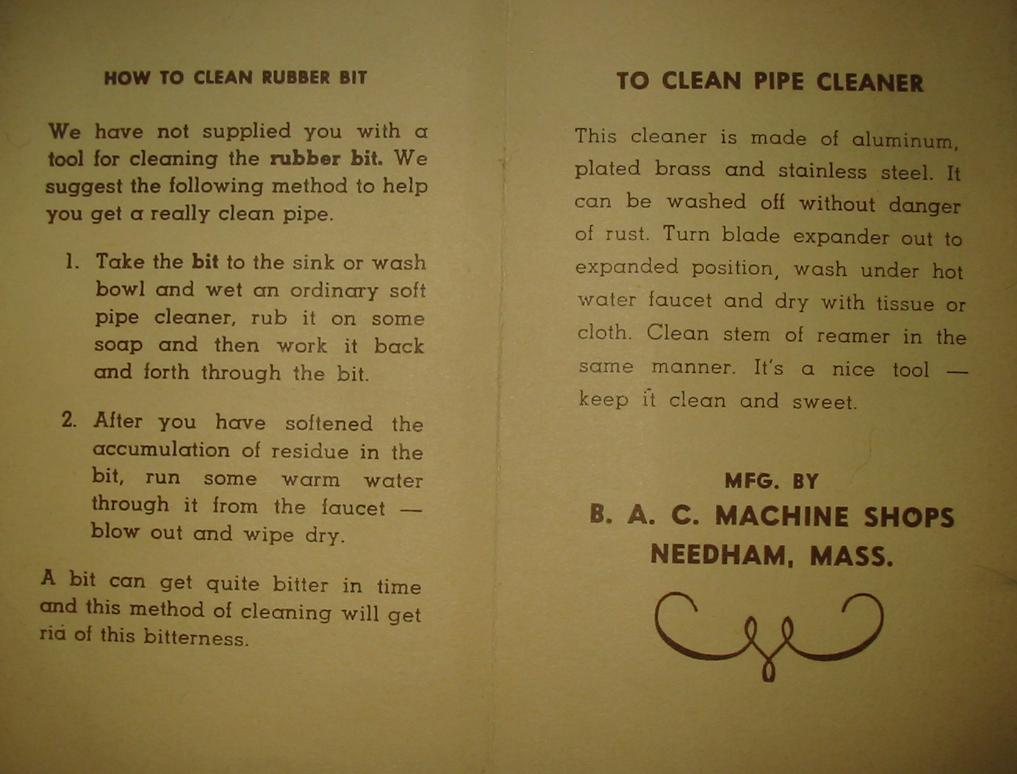
This morning while organizing my workspace I came across the instruction booklet for my Kleen Reem Pipe Reamer. I thought I would put the booklet here on the blog for others to access. It is a great read.
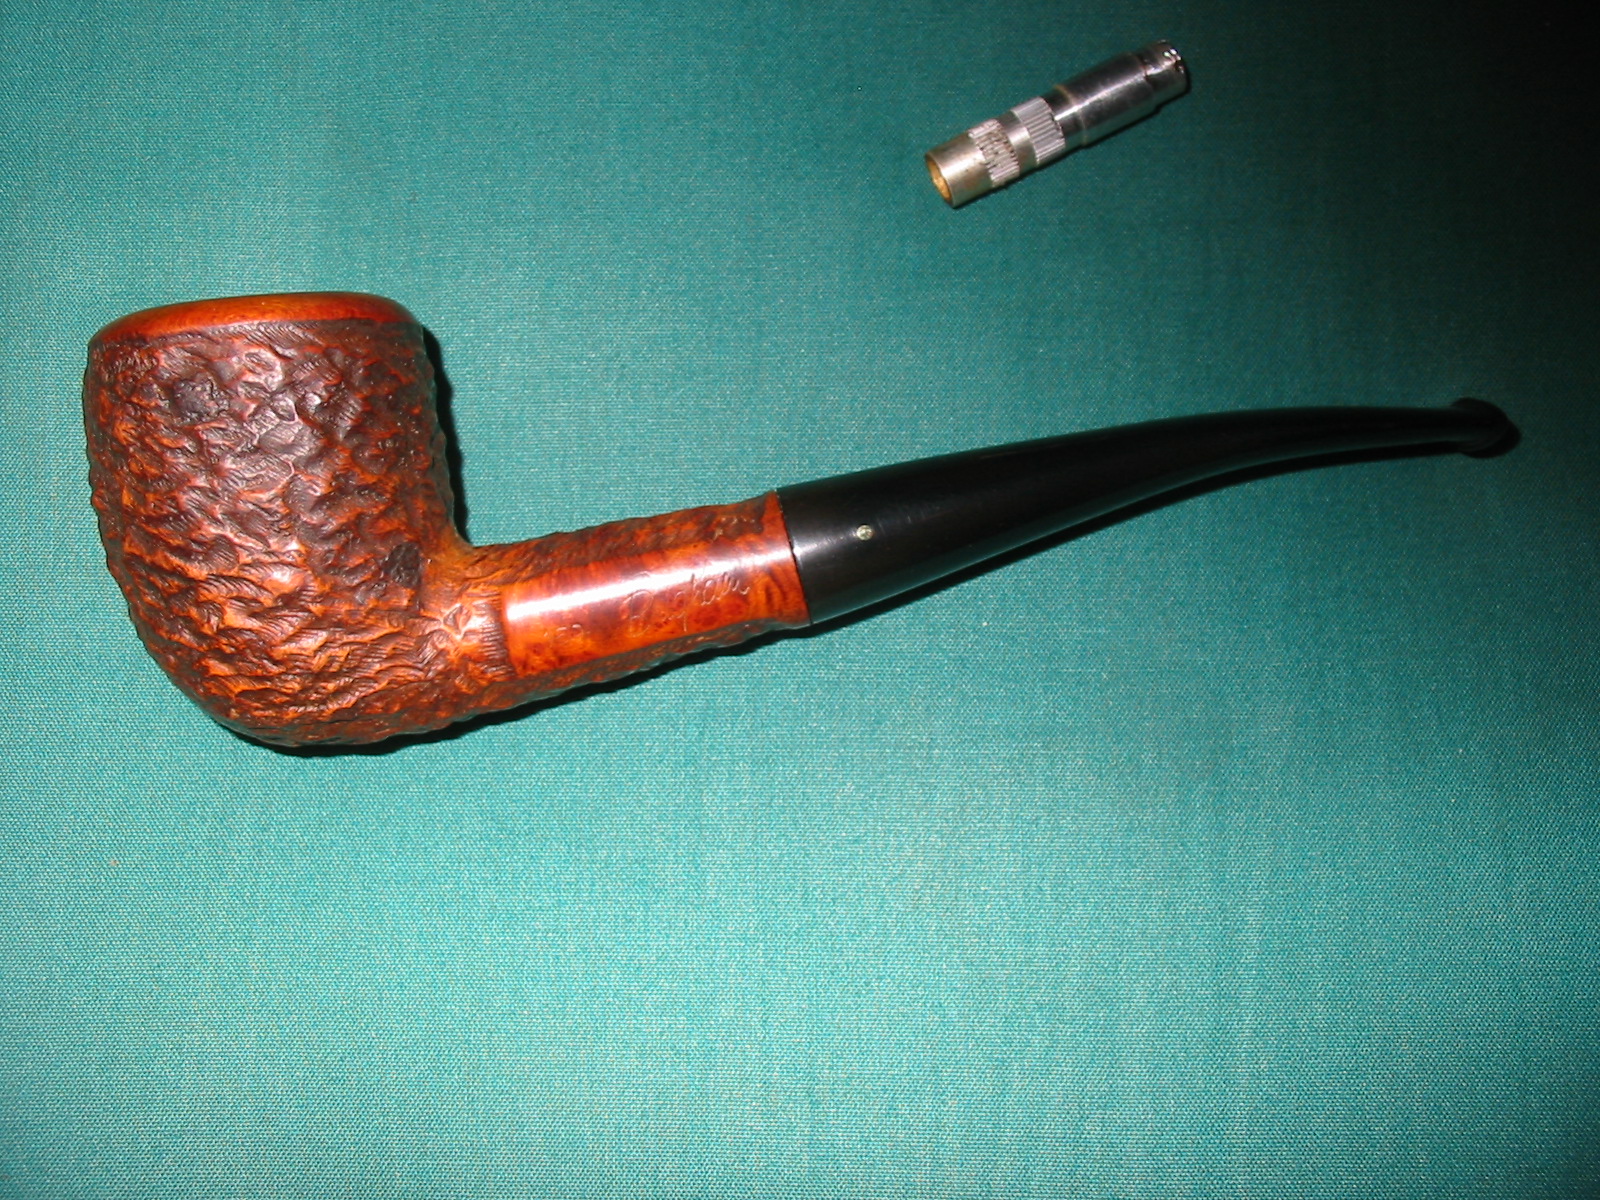
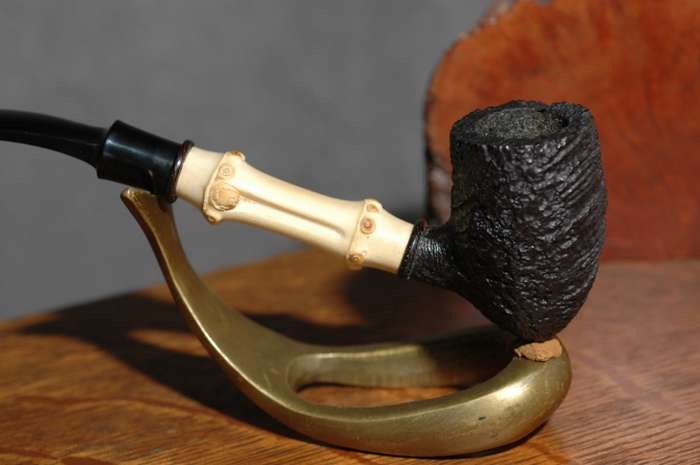
When I first saw this Medici Bamboo Acorn pipe I knew that I had to have it. The Medici mark is made by or for Todd Johnson of Todd Johnson pipes. I bought this one and later found out via Adam Davidson that it was carved by him when he worked with Todd. I bought it from a fellow Smoker’s Forums in late 2006 or early 2007. And I have been smoking it since that time and it is a great smoke. Since I had the day off today I decided to write a review on this beauty. The length of the pipe is 6 inches long and the bowl height is 2 inches. The chamber diameter is 3/4 inches and depth is 1 1/2 inches. It is great sized pipe and very light weight. It is comfortable in the hand. The overall shape is something like a ¼ bent acorn with a nicely done bamboo shank extension. The stamping is on the bamboo shank. It is stamped USA over MEDICI over 2006.
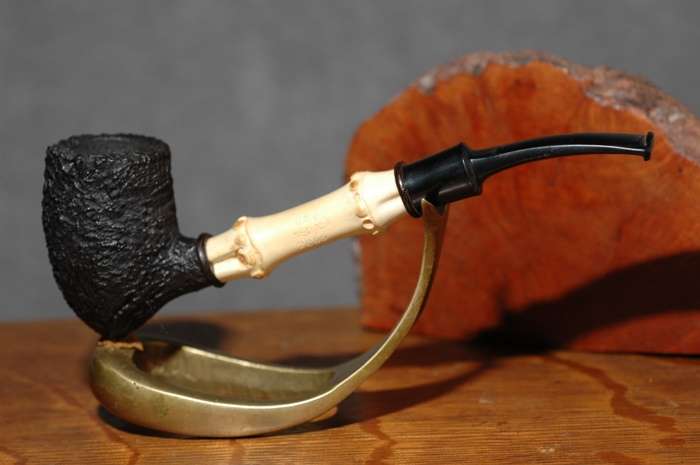
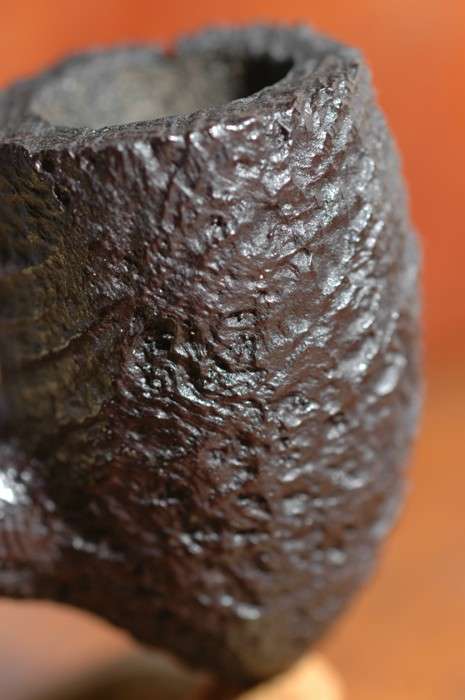
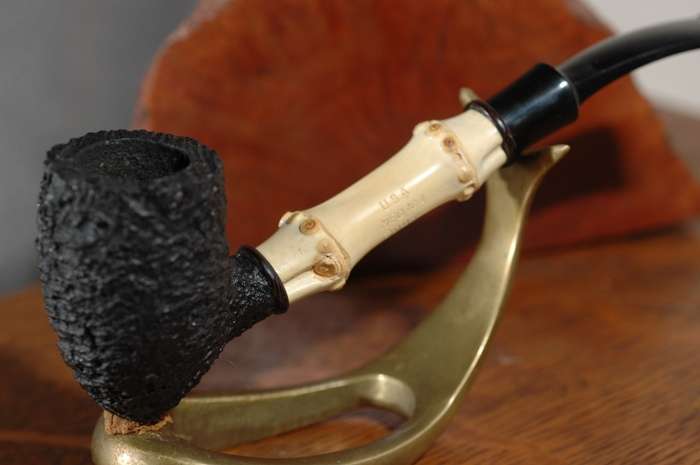
The finish on the outside of the pipe is a gnarly sandblast that highlights the ring grain on the front and the back side of the pipe and birdseye on the sides of the bowl. I have come to love the tactile feel of the sandblast on this pipe. The bamboo shank is a two knuckle piece that is very light coloured and natural looking. There is an ebony ring that is on the shank where it meets the bowl and where it meets the stem. The shank is joined to the bowl by a stainless steel tenon and the stem also has a stainless steel tenon. The shank is unlined bamboo between the mortise and the joint at the bowl. The staining on this appears to be a black but in the light it has highlights of a burgundy or red that shines through.
The stem itself is a well made saddle stem handcrafted from acrylic. The blade of the stem is well tapered and thin without sacrificing durability. The saddle and blade have been carved in such a way to make it look almost like a military bit with the blade meeting the saddle on a rounded platform. The blade is flattened on the sides tapering back to the button. It is a comfortable bit in the mouth and it so light that it makes an easy clencher. The tenon is stainless and sits against the ebony ring/disk that caps off the open end of the bamboo. The disk is applied in such a way that is forms a band around the end of the bamboo. The button is exactly the way I like them – thinner on the edges with a gentle rise at the centre top and bottom. It fits well behind the teeth for a comfortable feel. The draught hole in the end of the button is also funneled to deliver a mouthpiece that has the same diameter from start to finish. Comfortable and well executed. A pipe cleaner passes easily through the pipe with no obstruction.
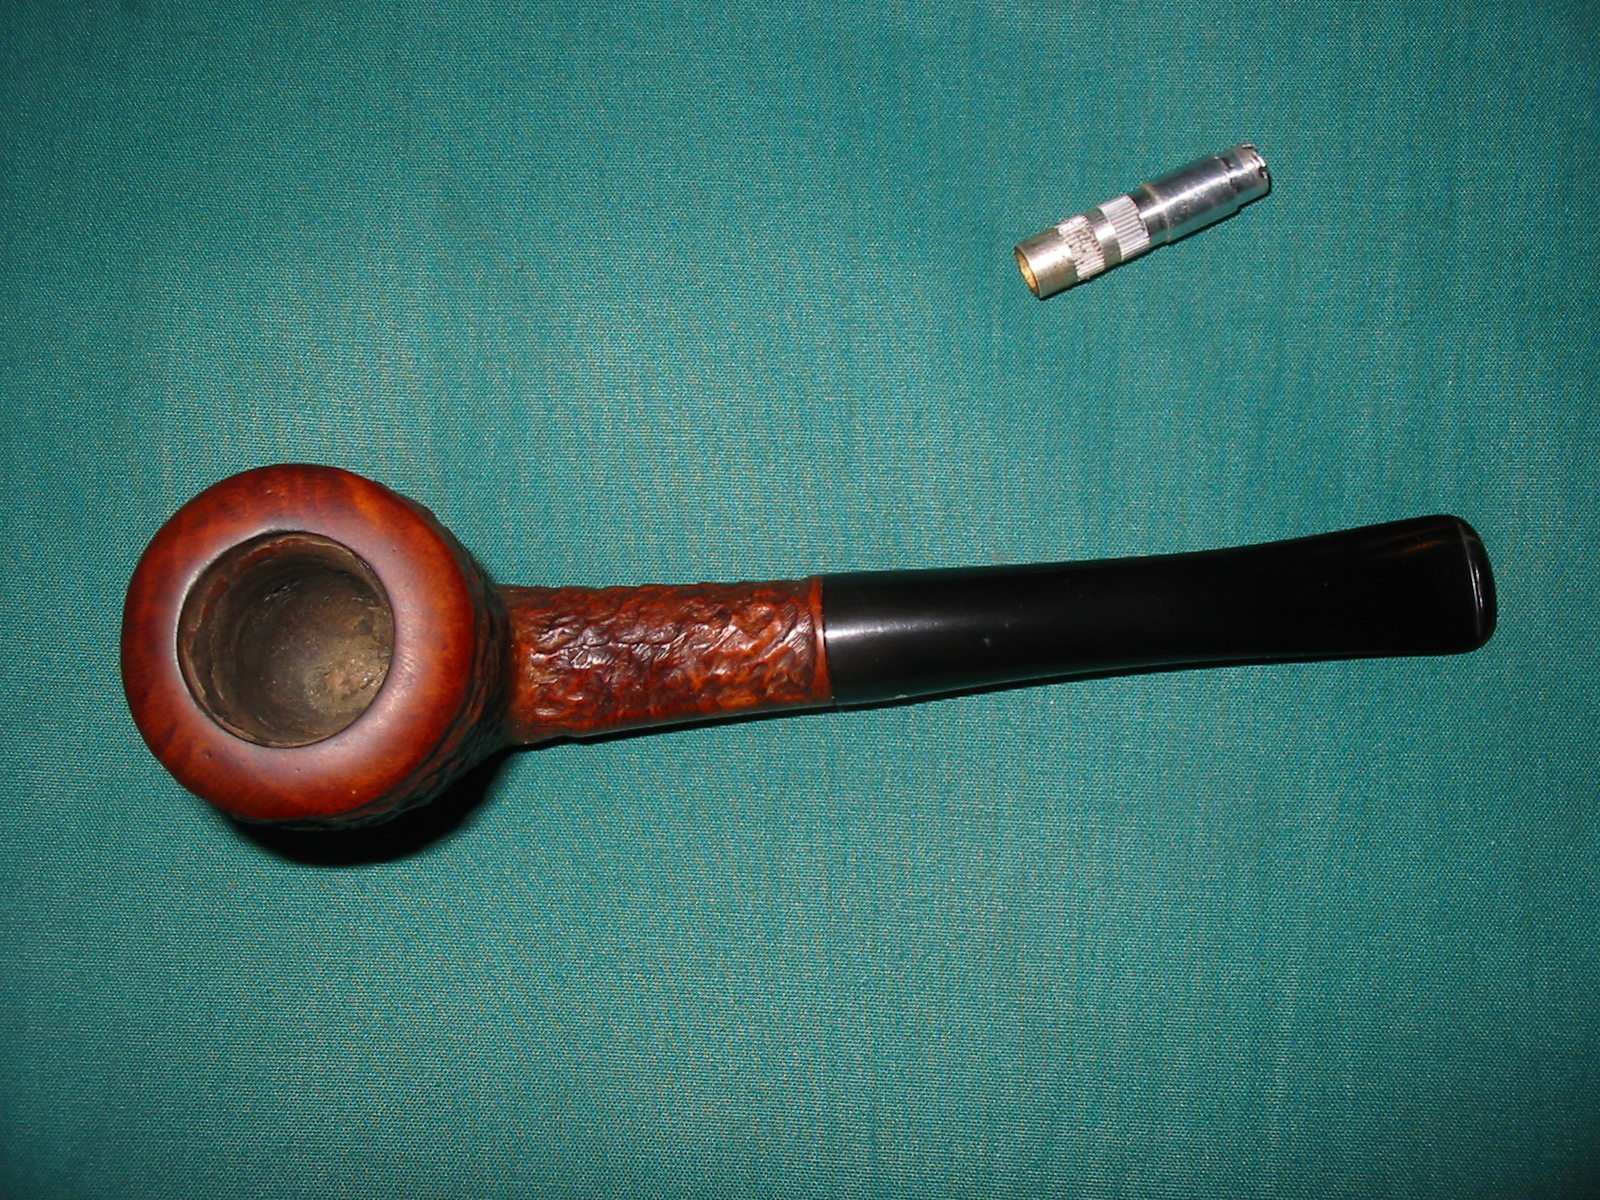
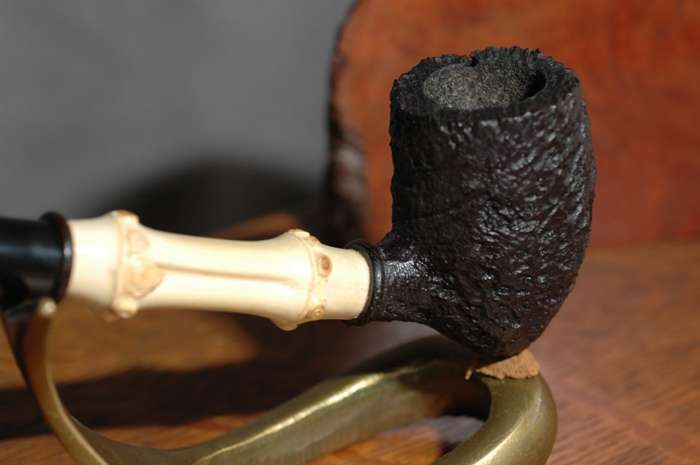
The internal mechanics of the pipe are very well executed. The bowl chamber is drilled to a ¾ inch diameter. The inner edge of the bowl us straight and clean to the rim. The outer edge is sharp and clean with the blast coming right to inner edge of the rim. I don’t believe the bowl was coated. It is actually hard to remember back to the time of the first smoke of this one and it now has a nice solid cake of Virginia tobacco. There were no flaws or visible pits in the interior. The draught hole is centered at the bottom of the bowl and seems to have a slight funnel as well – like a shallow Y- leading into the shank and stem. There is a very easy and open draw to the pipe. The fit of the stem to the shank is very good – smooth and tight with no light showing at the joint. The tenon sits deep in the mortise against the ebony ring/disk. The fit of the tenon is smooth and tight. The edges of the stainless tenon have been polished and rounded so there are no sharp edges. The drilling of the draught in the bamboo shank is straight and centered in the back of the mortise. The air pulls clearly through the pipe with no whistling at all. Using a light to shine through the various airways reveals smoothly executed airways on the inside. It also appears that the stainless tenon that attaches the bamboo and the disk on the bowl is also polished and smoothed out as there is no catch when a pipe cleaner is pushed through the airway.
Since I was writing this up today I decided to smoke a bowl in while I took down my Christmas light. I loaded a bowl of aged McClelland’s 5100 and puffed on it as I unwound the lights from the columns on the porch. The tobacco packed as easily as I had remembered and kept burning after the second light. I love that about this pipe. Sitting outdoors or inside the thing almost smokes itself. The draught on the pipe is superb. The smoke was uncomplicated and effortless. It was just as I remembered it from the first bowl many years ago. It has always smoked incredibly well and delivered a flavourful and effortless smoke.
I end this post with a picture taken by a friend of me with the pipe in my mouth. I had just received it in the mail and had decided to save it for this occasion. What was the occasion you might ask? It was the wedding of a good friend. He had asked me to officiate at is wedding and when it was over I had gone outside to fire up this pipe for the first time. I did not notice but his photographer shot this picture. It was a gorgeous Vancouver afternoon and a perfect day for a smoke outside the church under one of the trees along the curb.
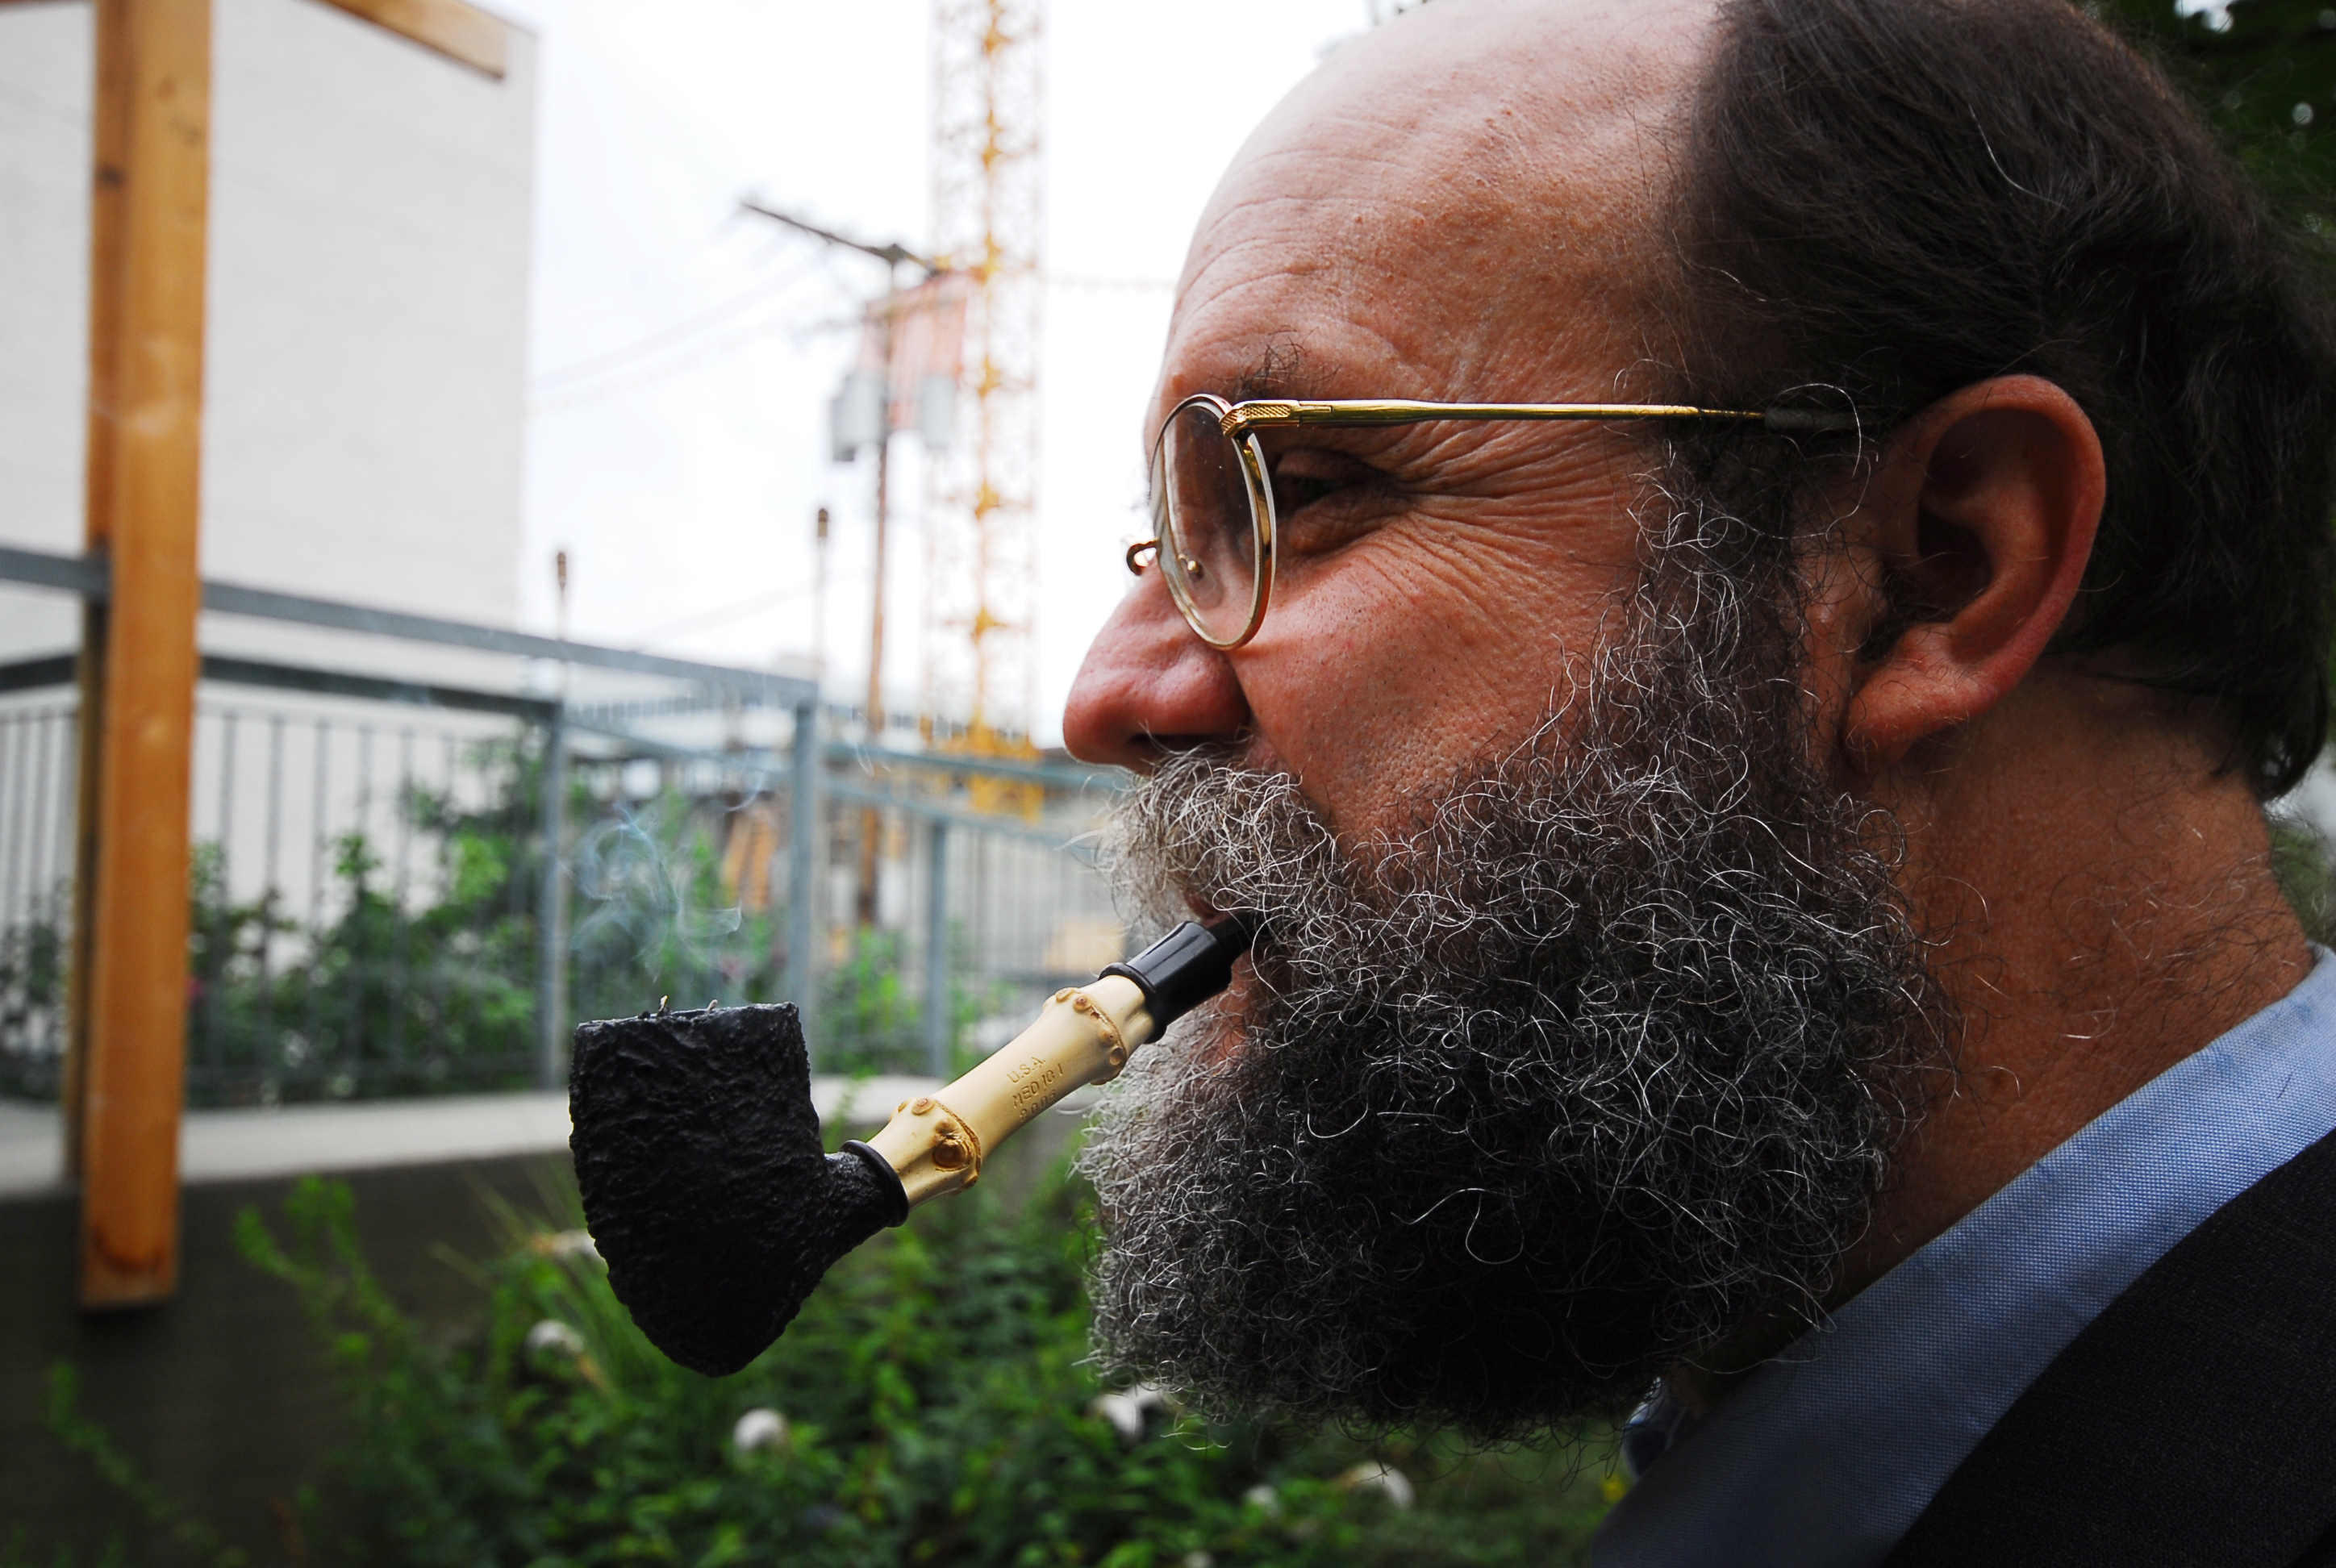
Thanks Adam for crafting a beautiful and great smoking pipe. Thanks for providing me with over five years of great smoking. This pipe is a veritable Virginia machine.
Blog by Steve Laug
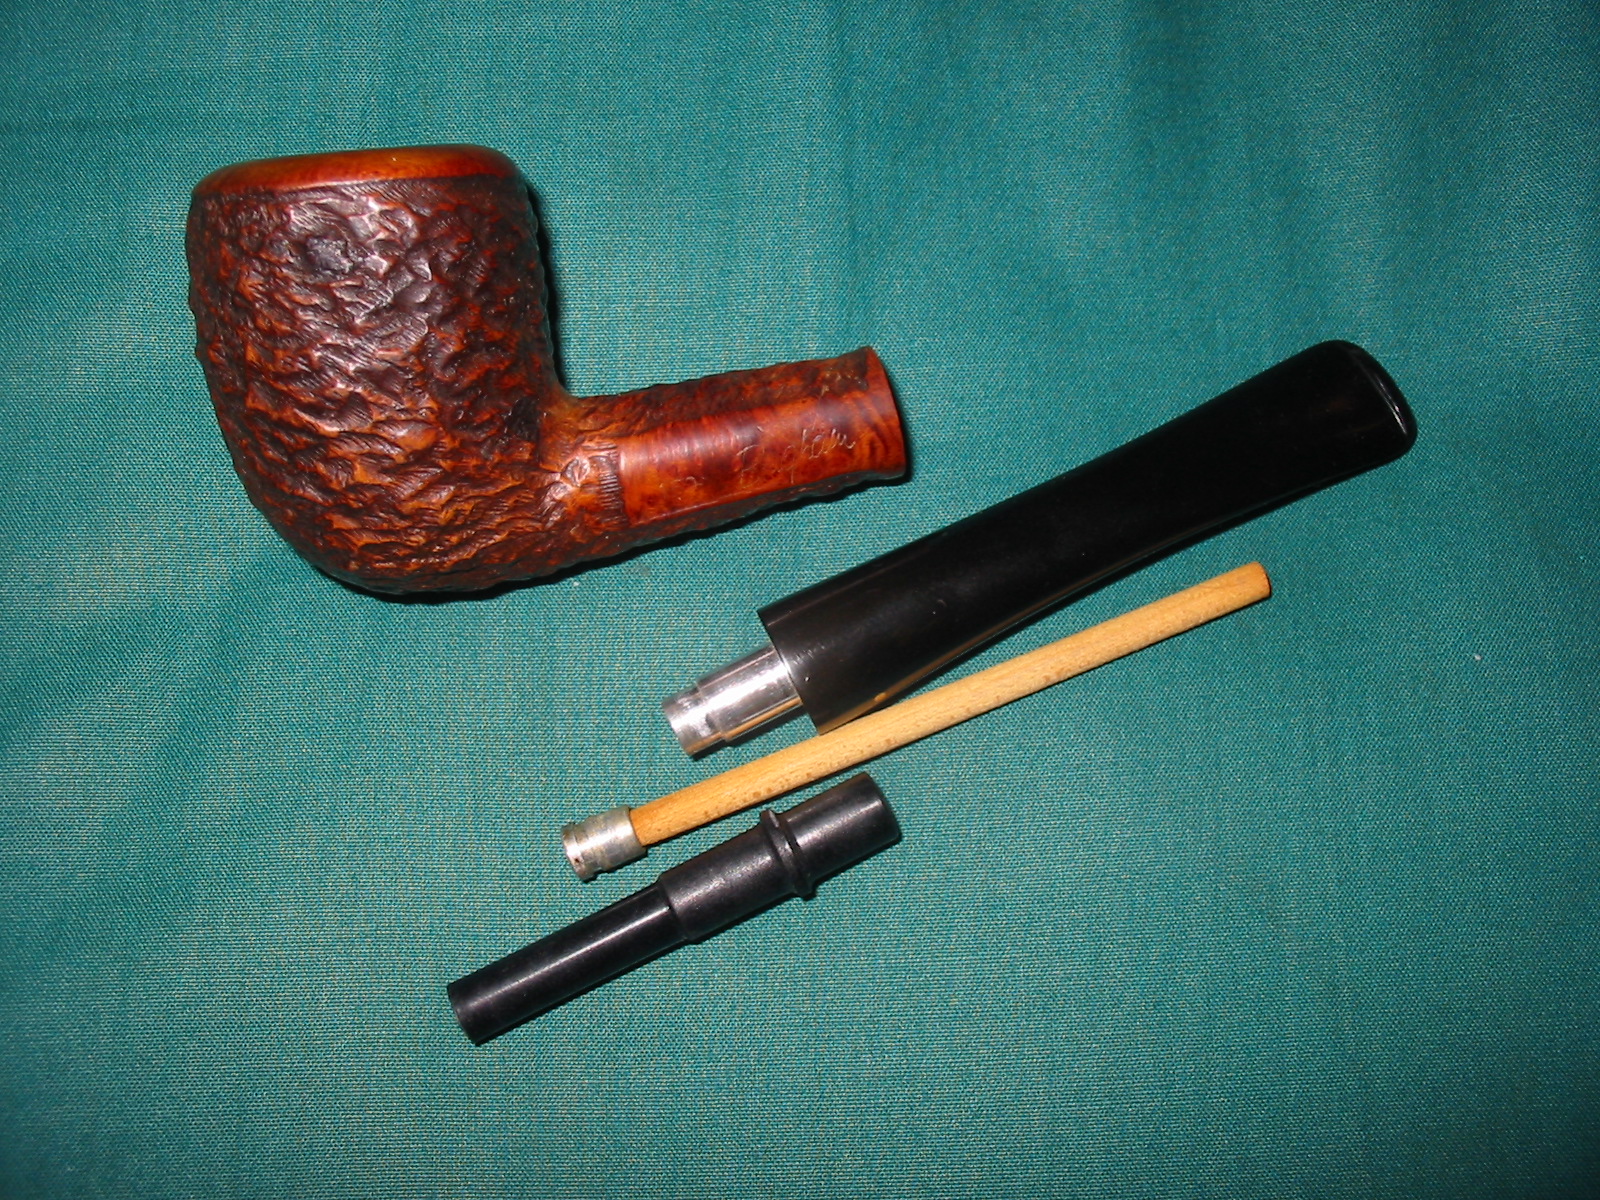
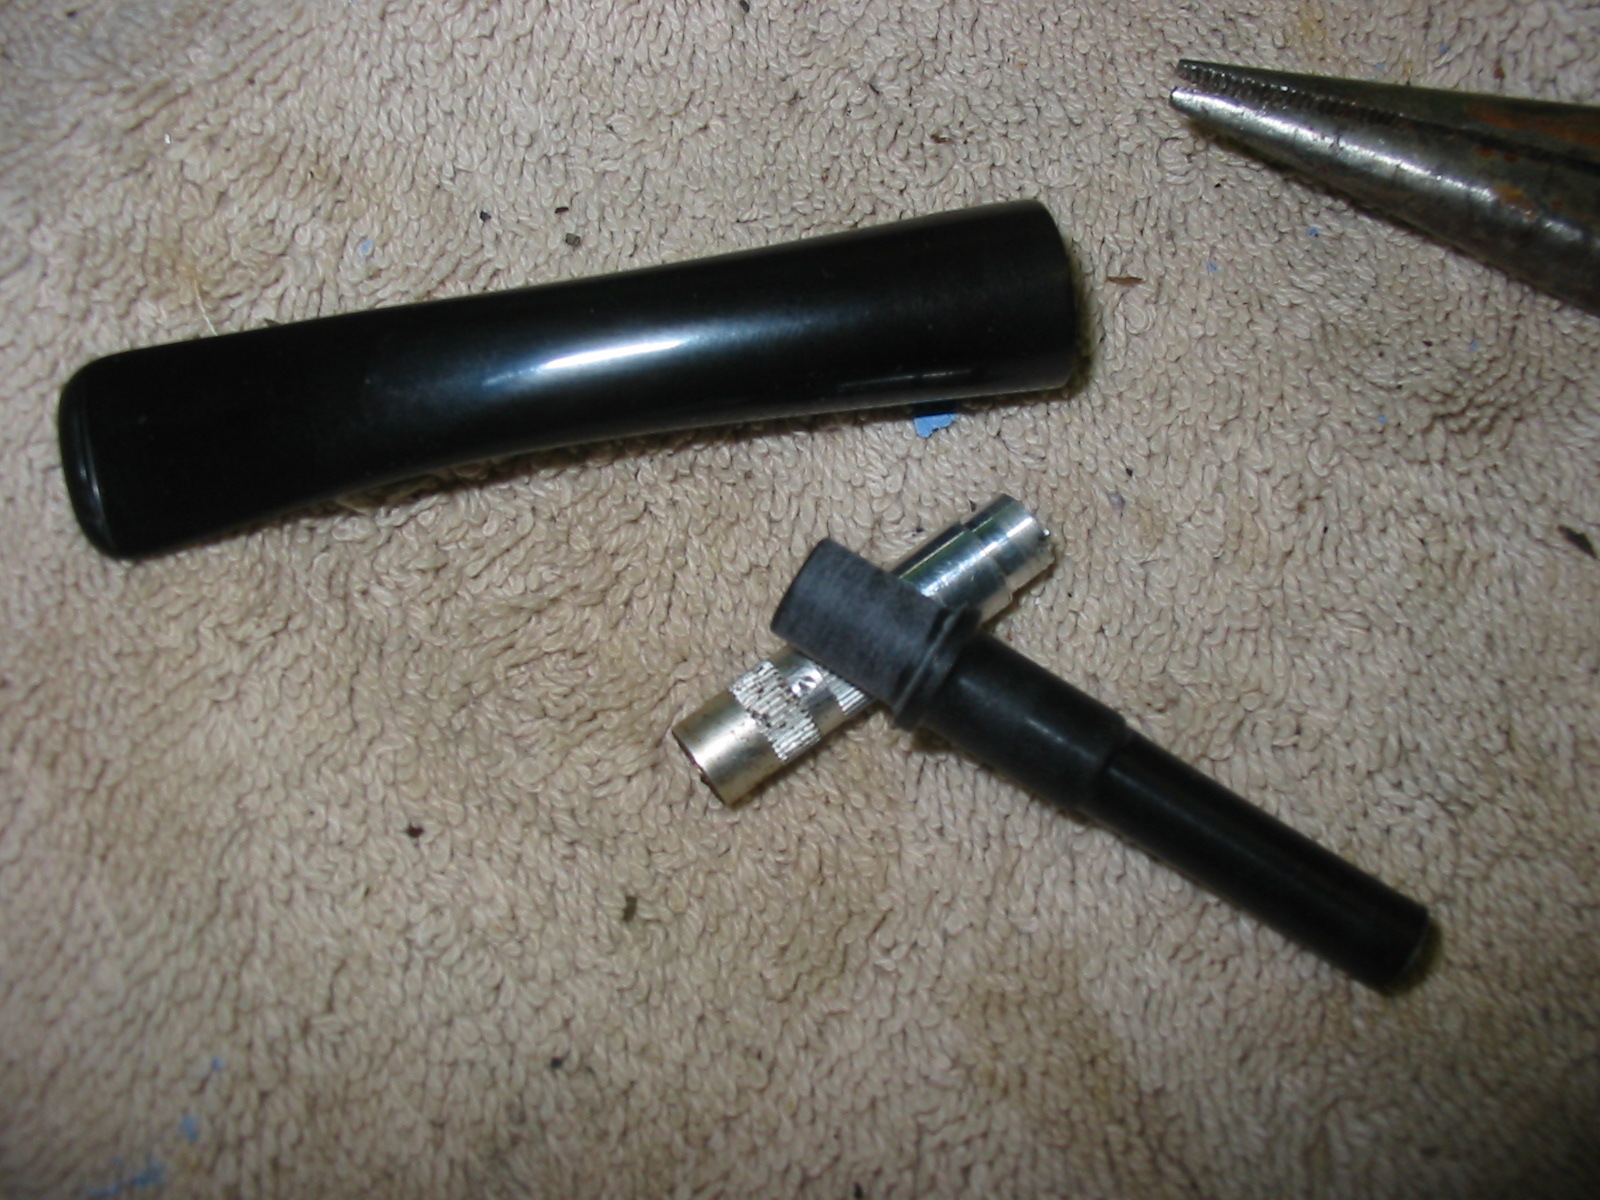
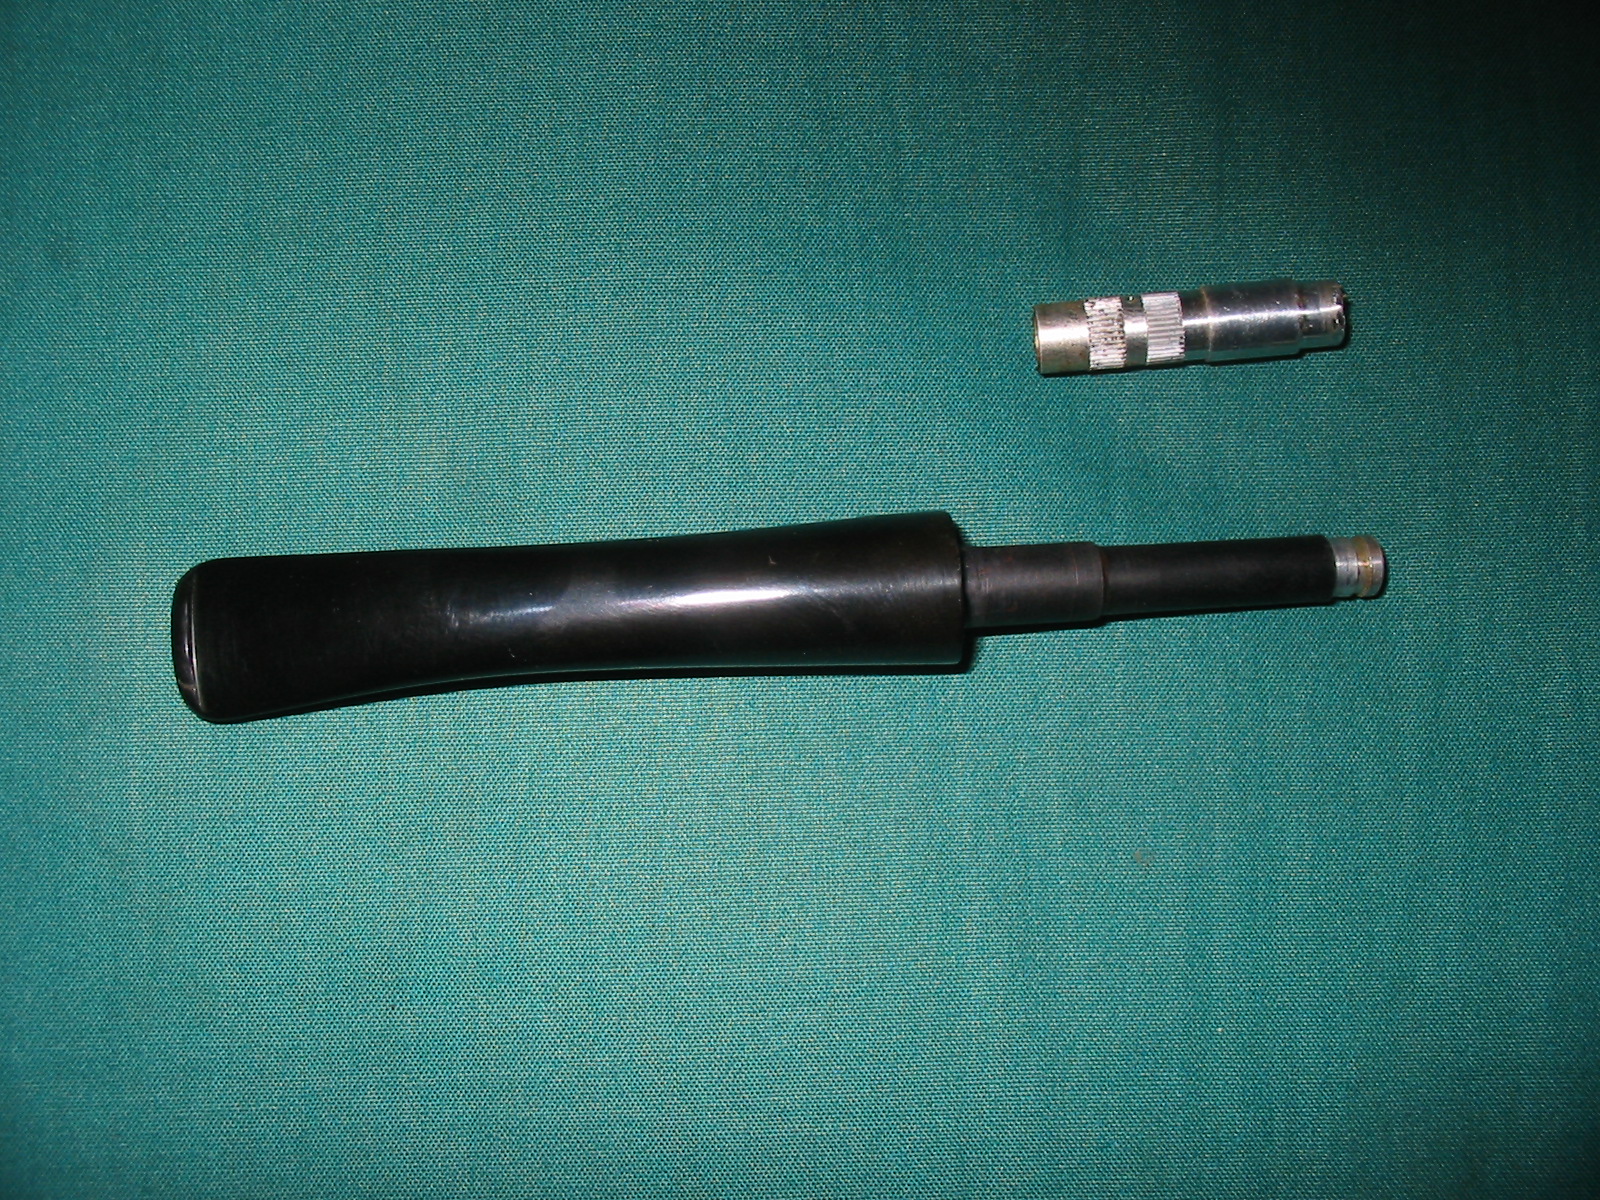
I have written about the restoration of this old Brigham one dot pipe in an earlier blog post. https://rebornpipes.wordpress.com/2012/09/17/a-frustrating-brigham-1-dot-rehabilitation/ I was contacted by Brigham in a comment to the post with the following: “Great work! It is nice to see someone put in the extra effort. If you would like a free nylon tenon to replace the aluminum just send us an email at sales@brigham1906.com” I wrote to them after reading this and they sent me the nylon tenon pictured below to replace the metal one that I had remedied earlier by cutting off. You can read the previous post and see why that was necessary. But needless to say it took me until this morning to rise to the challenge of replacing the tenon. There were multiple reasons for this. The first being that I was uncertain as to how the metal tenon was inserted and how it could be removed. Second, the metal end of the maple filter had broken off and was stuck in the bottom of the shank right against the airway which did not allow me to insert the tenon to the full length with the new filter in place. This morning I had a day off so I decided to tackle the replacement. In the photo below you can see the dismantled pipe. The metal tenon is cut back, the maple filter is below that and the new nylon tenon is at the bottom of the picture.
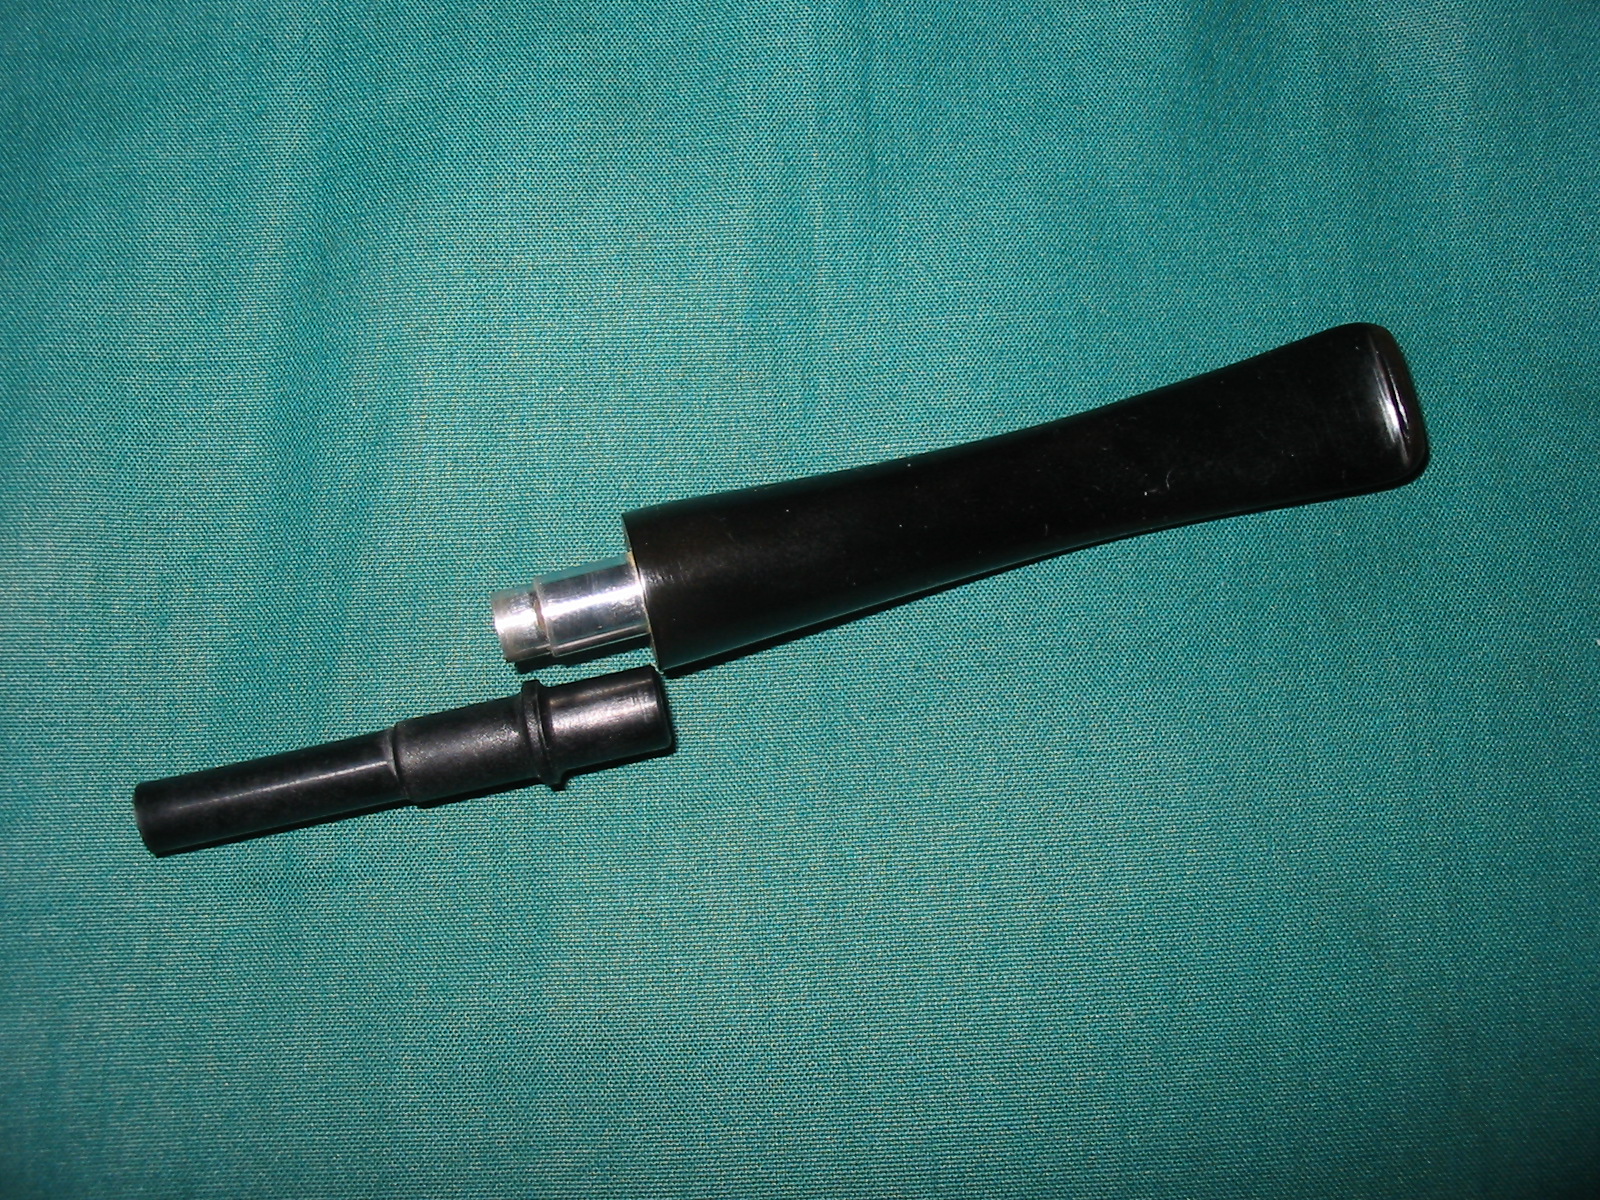
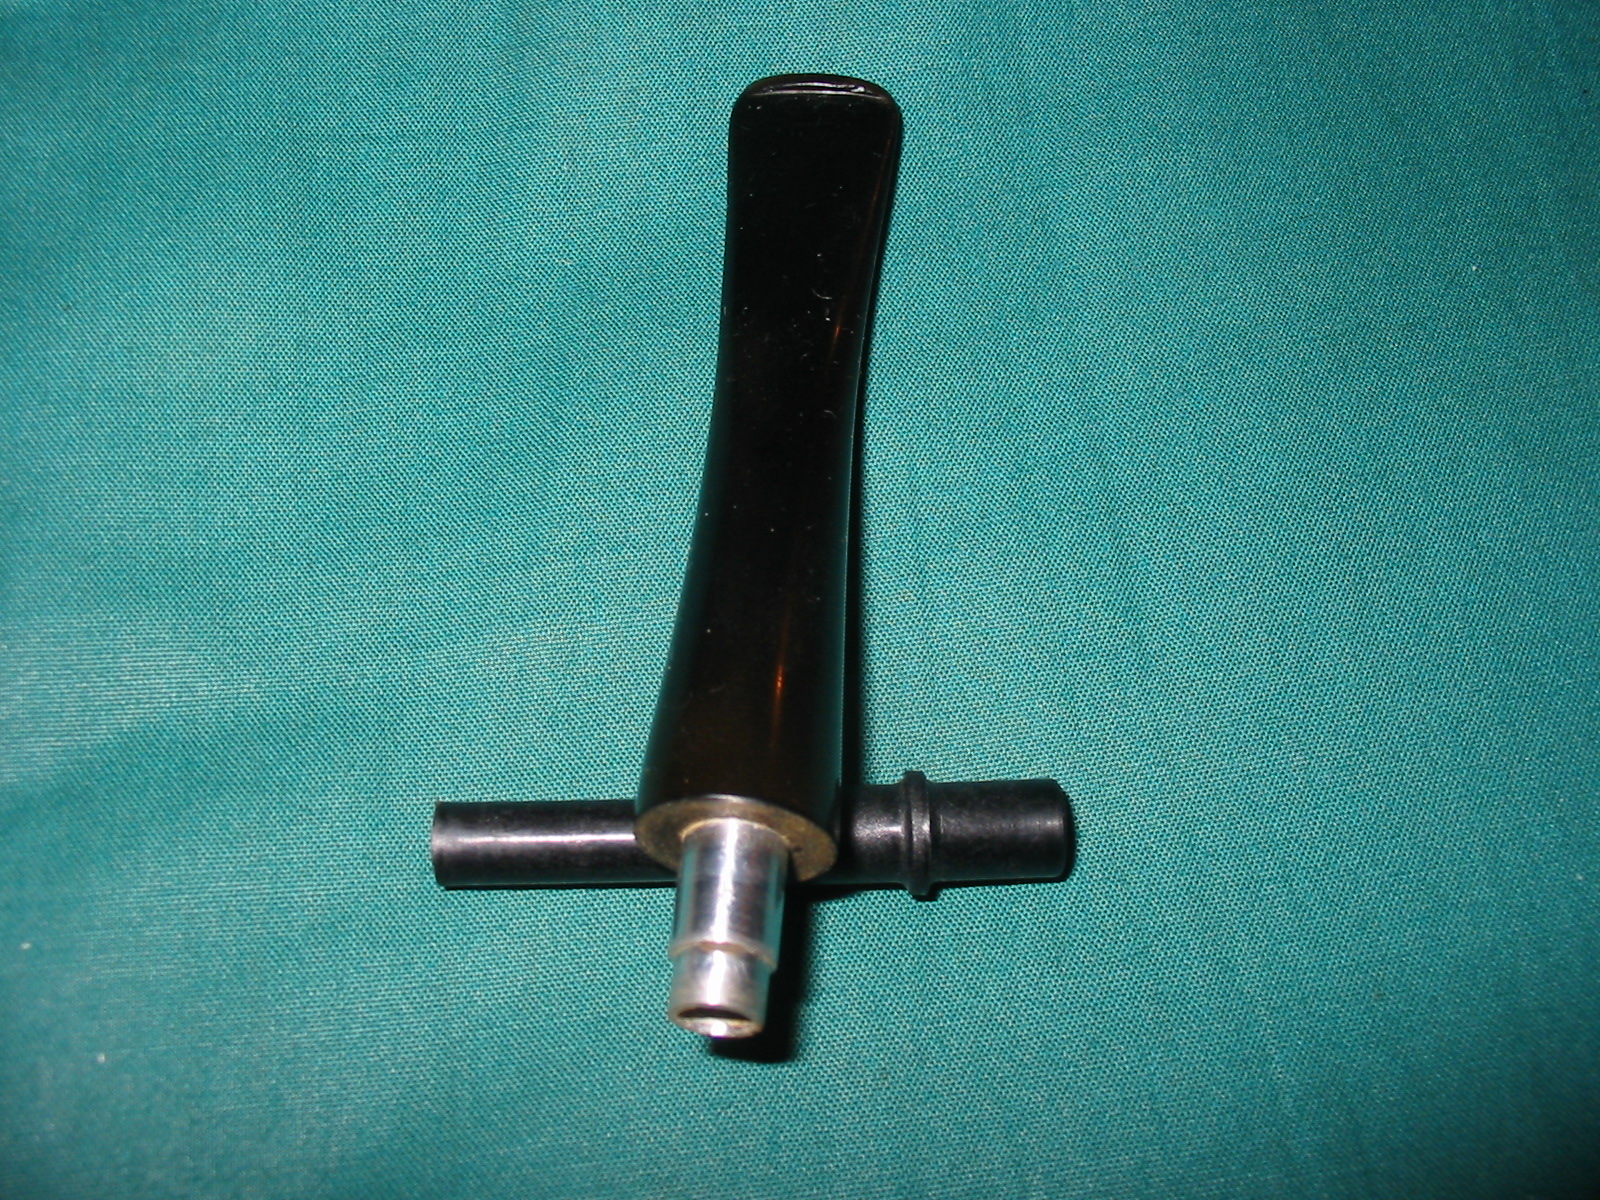
I lined the two tenons up to an idea about the length. I wanted to know how deeply the metal tenon was inserted into the stem. From the look of the new nylon one I was not dealing with a lot of depth to the tenon insert. I still did not know how it was inserted and what held it in place but my guess was glue, similar to what I use to hold Delrin tenons that I have inserted. The next two photos below show the tenon depth. The third photo below shows the maple filter inserted. I was concerned how I would get that length into the shank of the pipe with the metal end cap firmly stuck in the shank.

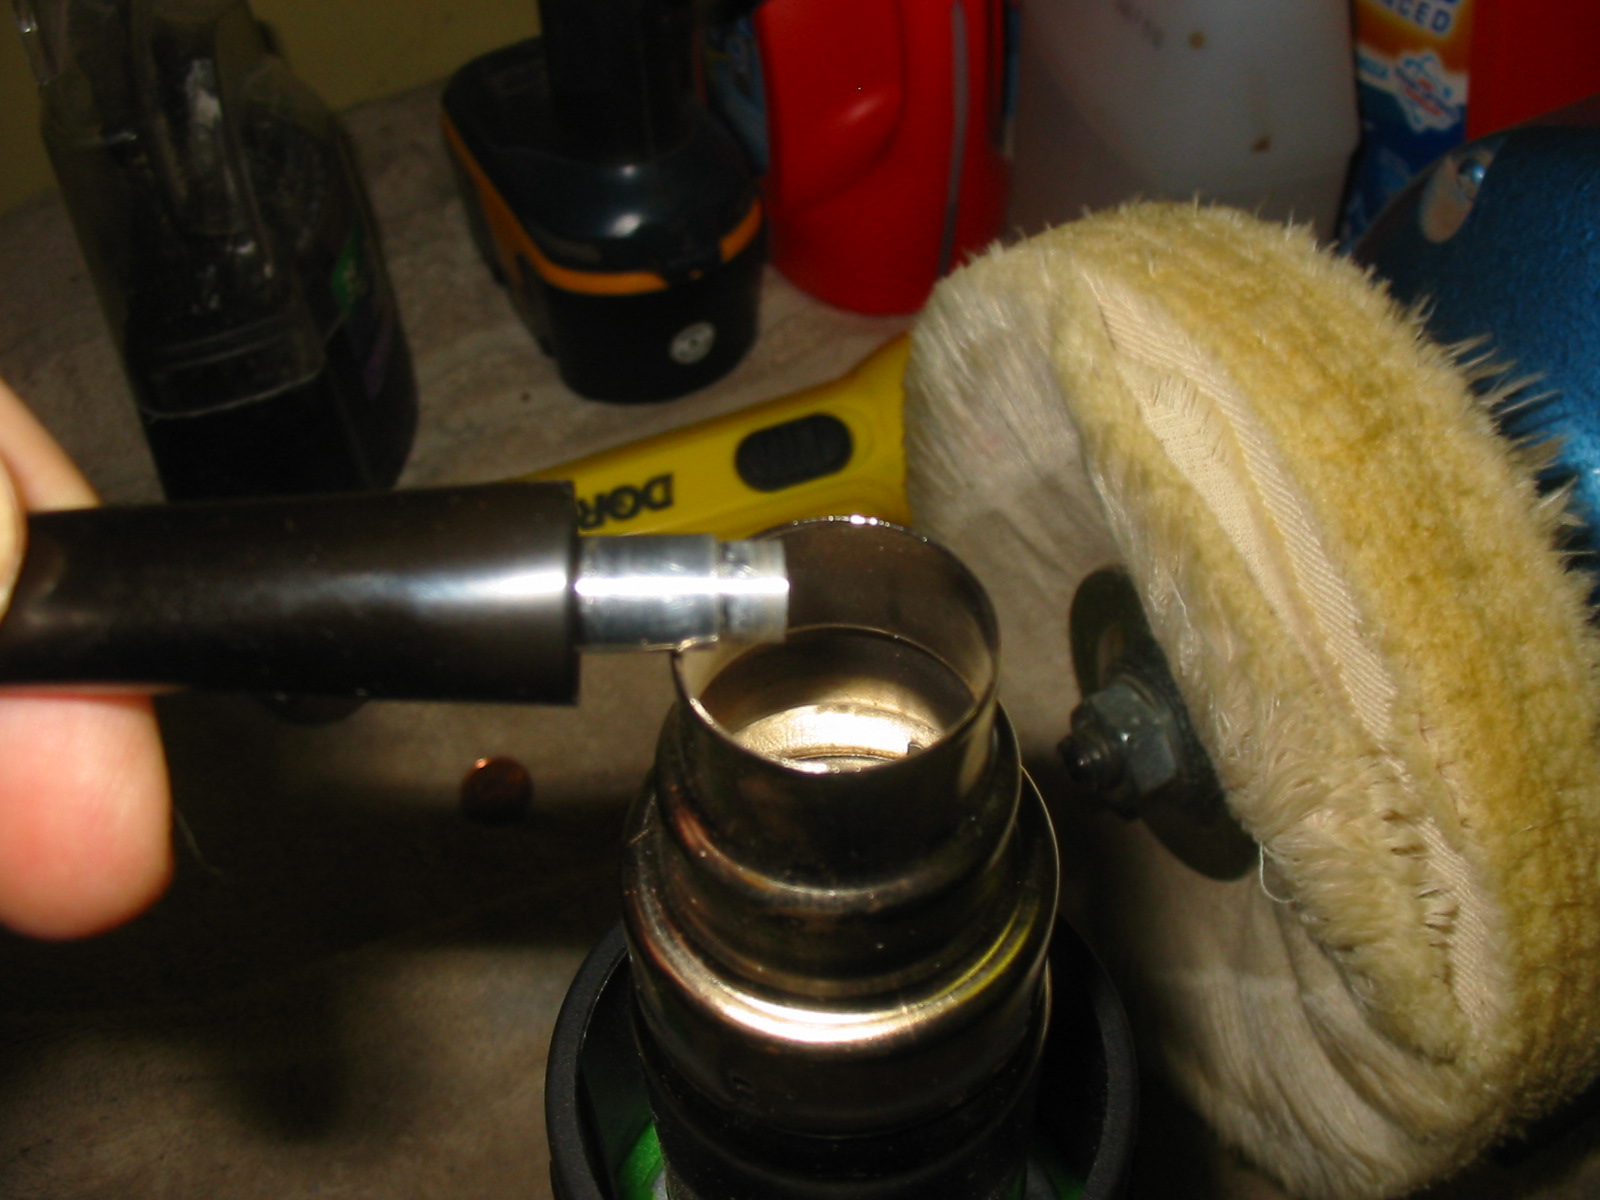
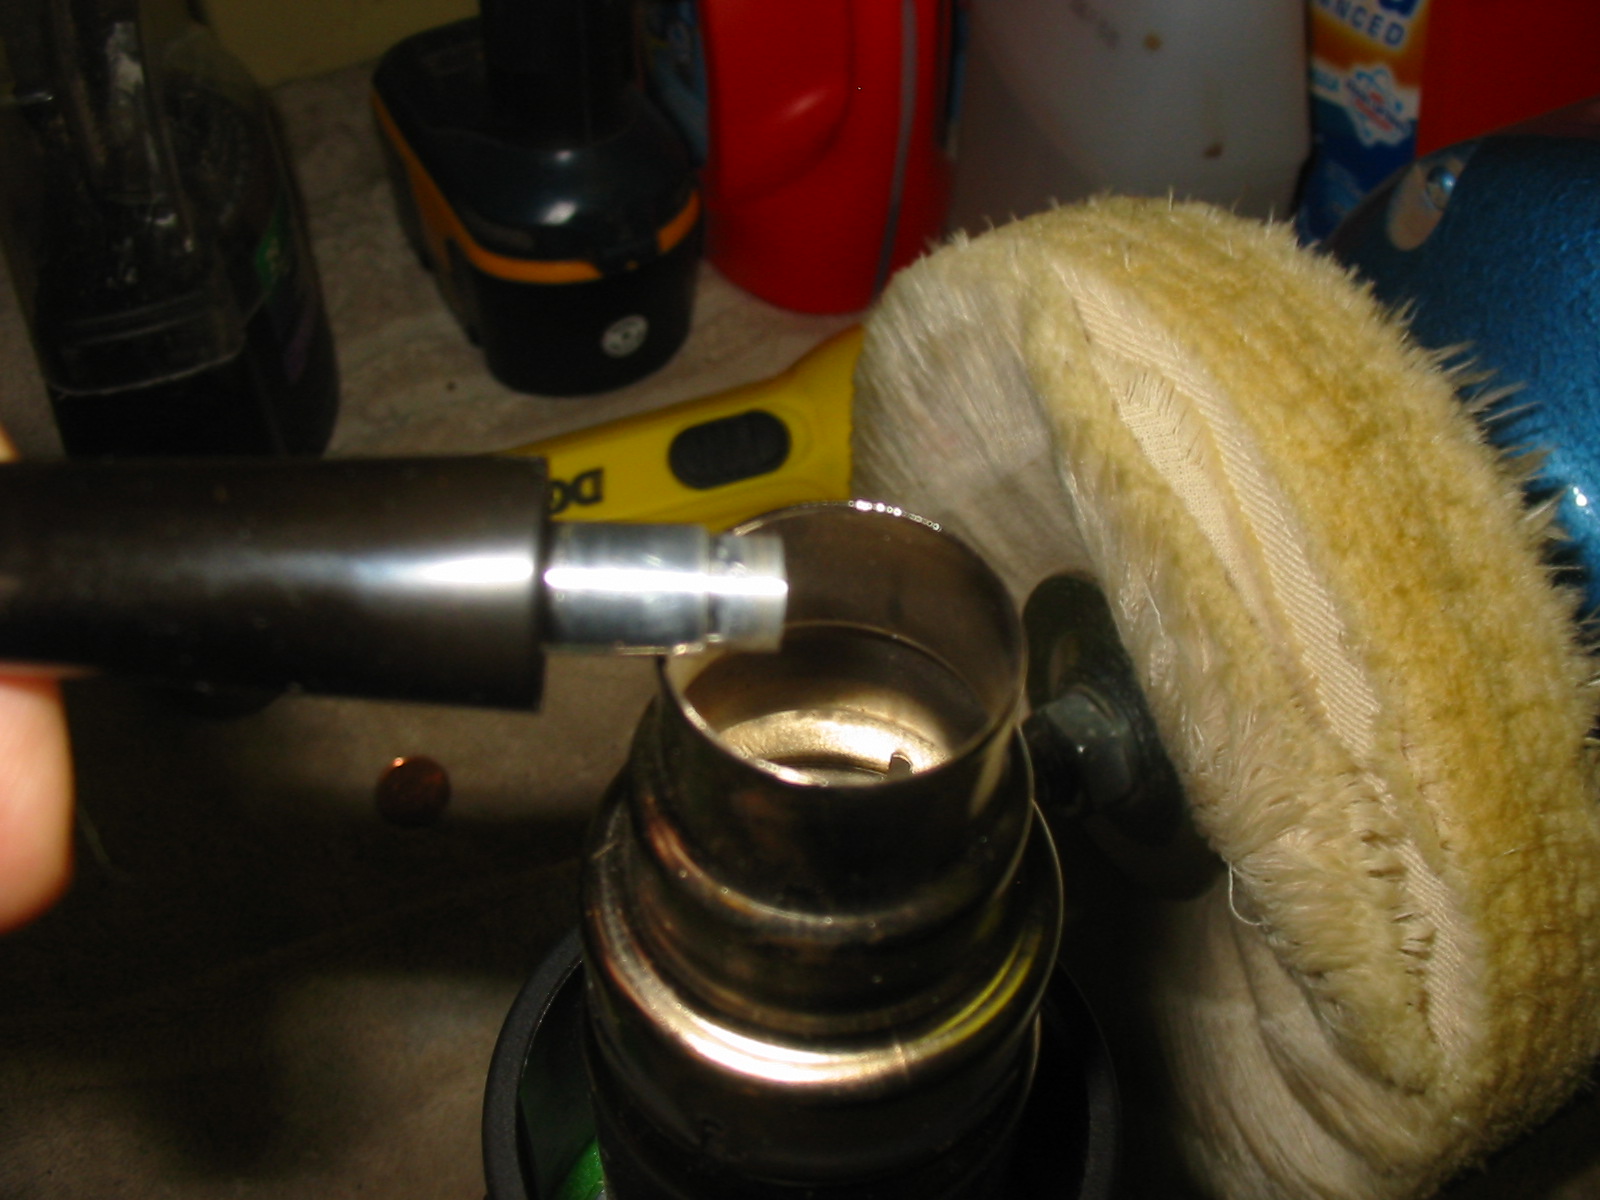
I set up my heat gun on its stand on the top of the washing machine in the laundry room. Pardon the cleaning supplies pictured below around the heat gun. I heated the metal tenon and not the stem. I have found that to heat the stem can damage the vulcanite and it seems to take a long time to heat the glue in the tenon insert. I heat the tenon instead and the heat on the metal carries back into the stem and loosens the glue. The two pictures below show the heating process. It does not take more than 2 or 3 minutes to heat the glue and soften it.
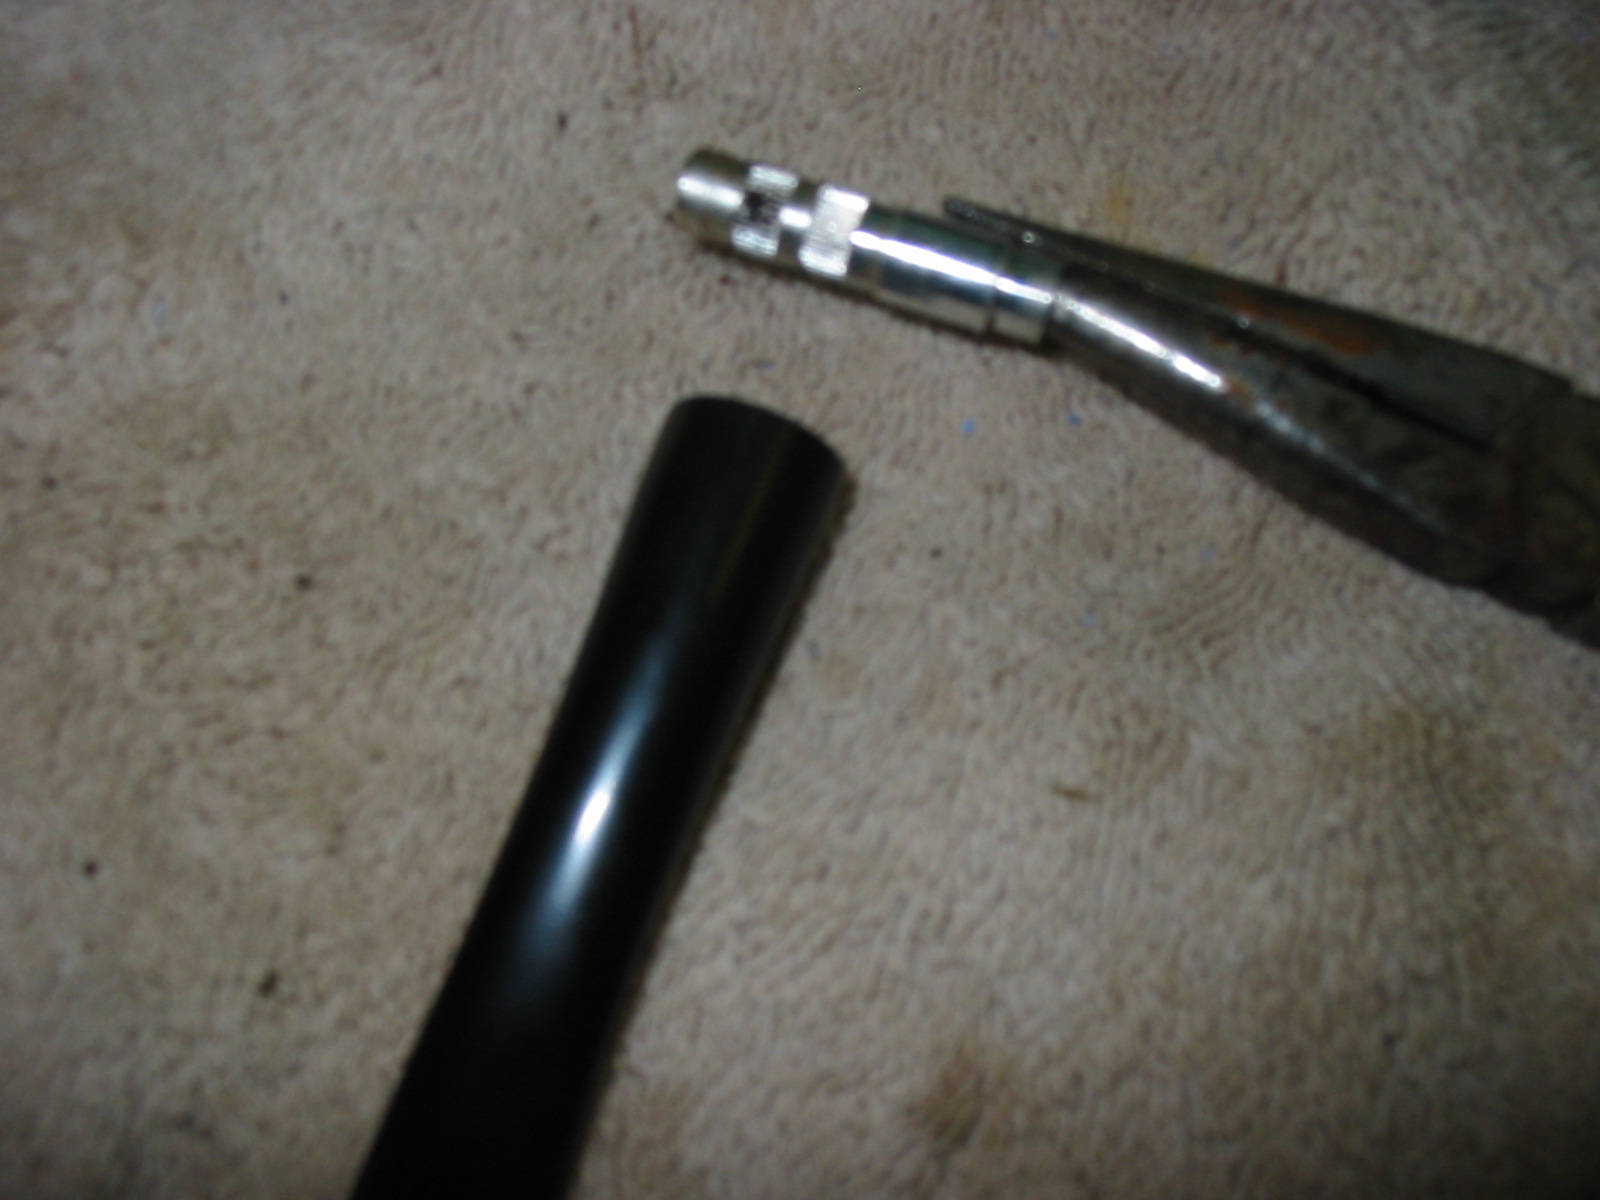
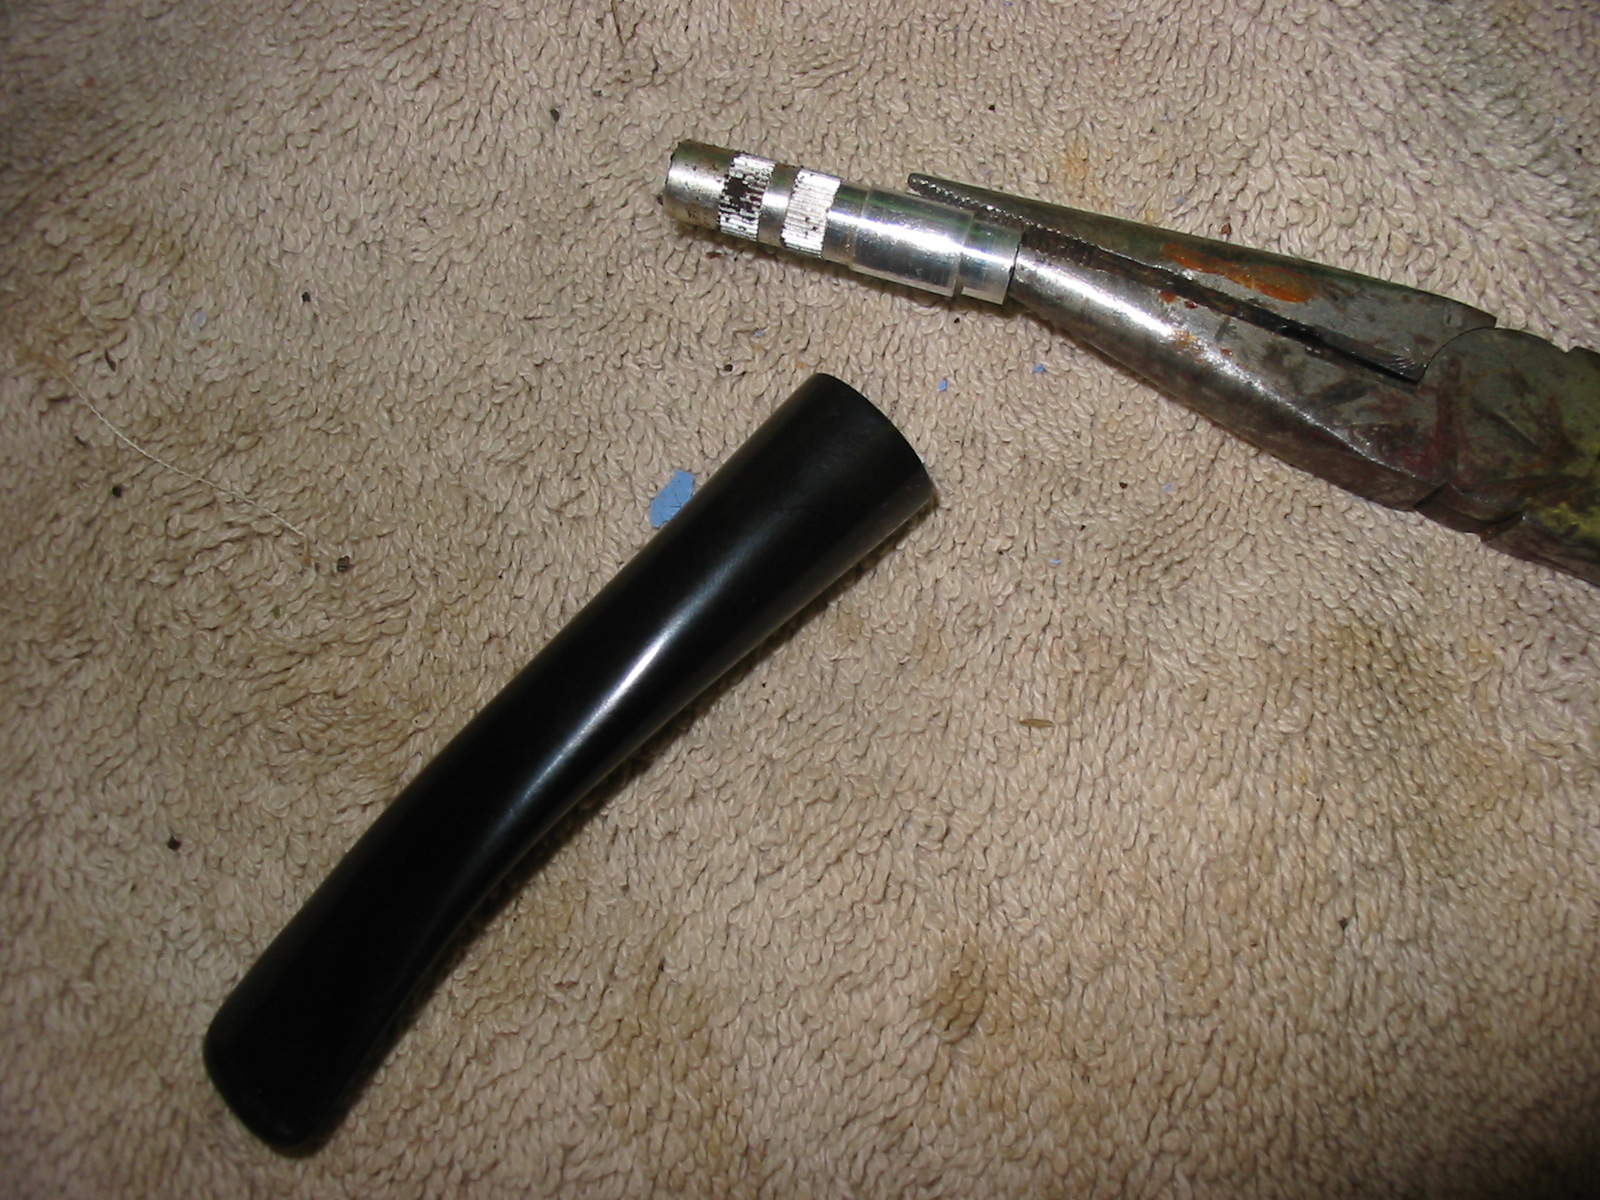
I use a pair of needle nose pliars to gently pull on the tenon. I do not want to damage the tenon because I may want to use it again (you never know when you might use it again so you don’t want to ruin it). I pulled gently and it came out pretty easily. You can see from the next pictures below that the metal was scored in two bands around the insert to provide a grip with the glue and the vulcanite.
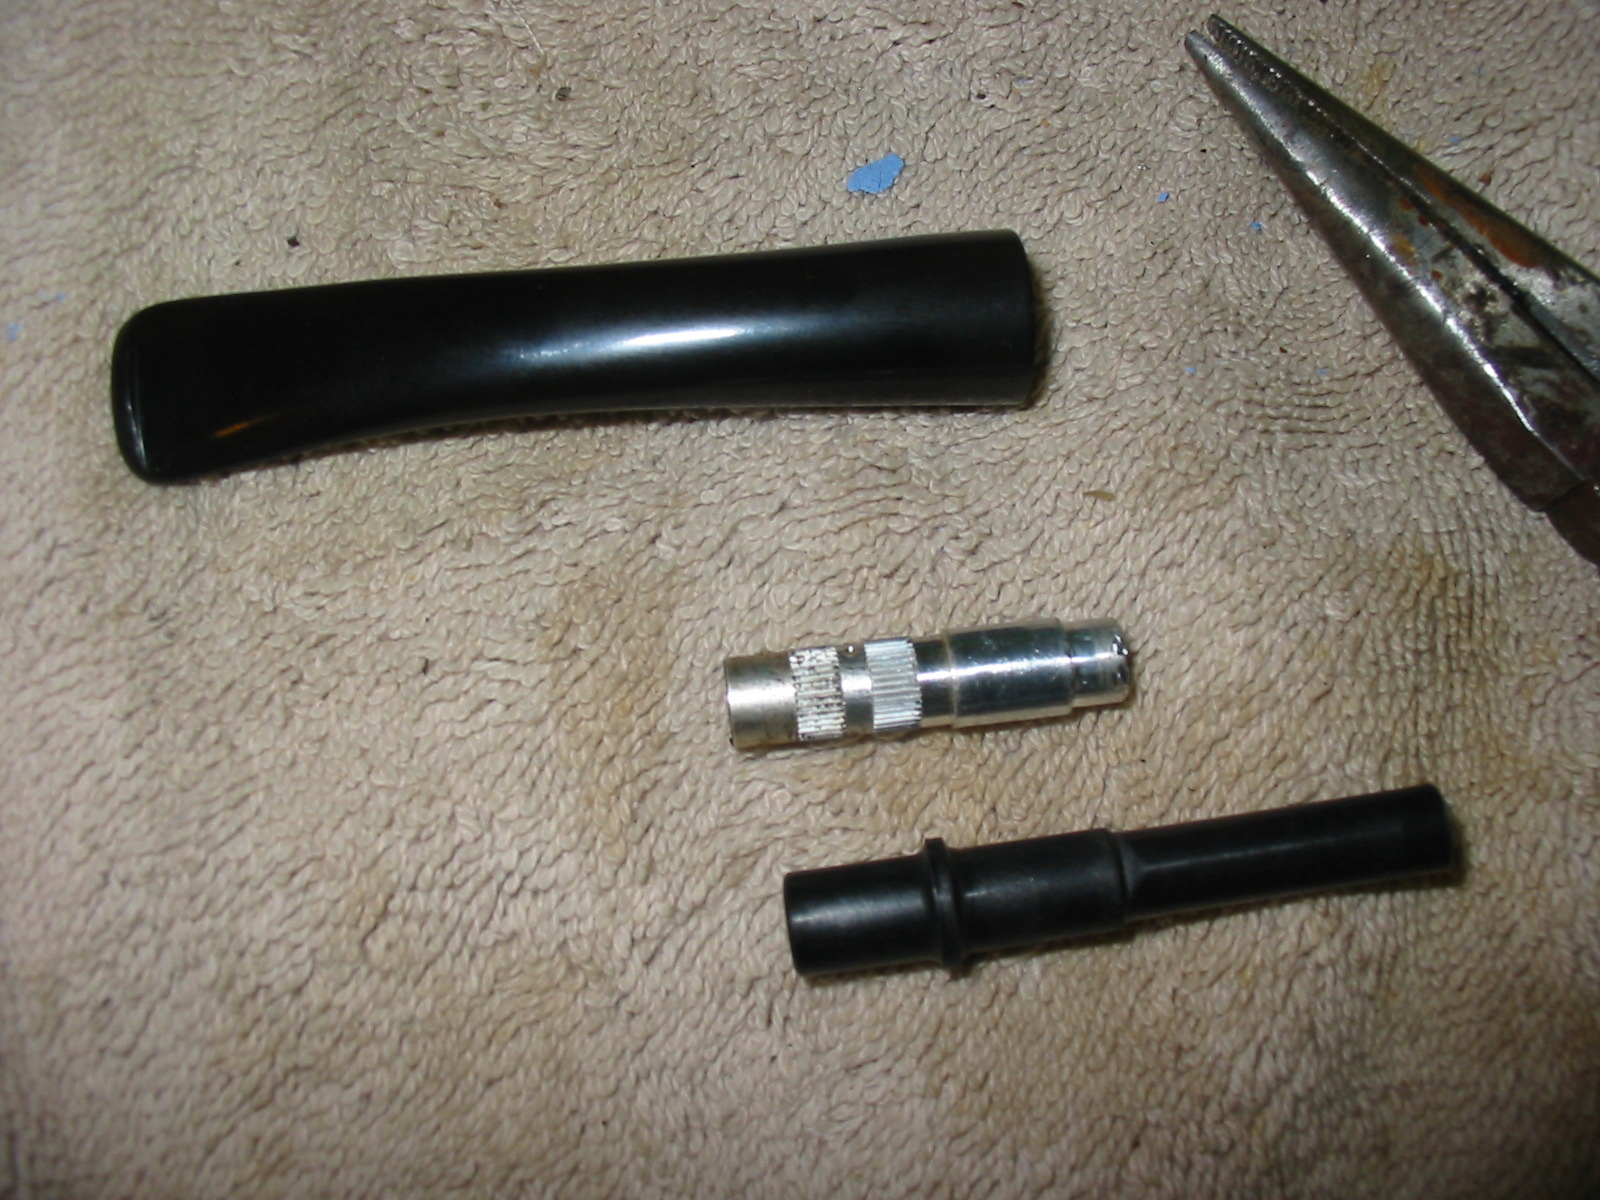
Once it was removed I put the old tenon insert next to the new one to measure length and also diameter. I wanted to know how deeply it would sit in the stem and also whether I would need to drill the hole a bit large to fit it correctly in the stem. You can see in the next two photos that the older insert (metal) is a bit longer than the new one. You can also see that the new one has a ridge around the diameter that would sit against the flush edge of the stem. I decided to remove that ridge and to split the difference in the length and insert the tenon end more deeply than the ridge would allow. Once I had removed it I still had some work to do as the hole in the stem was too small in diameter to take the new insert. I started by sanding a bit off of the insert to see if that would help it fit. I quickly saw that in order to fit I would have to remove more material than was wise in the diameter of the tenon end. So I would have to enlarge the hole. The third photo below shows the tenon end after I had sanded it. I still had not removed the ridge at this point as I was more concerned with diameter at the moment.

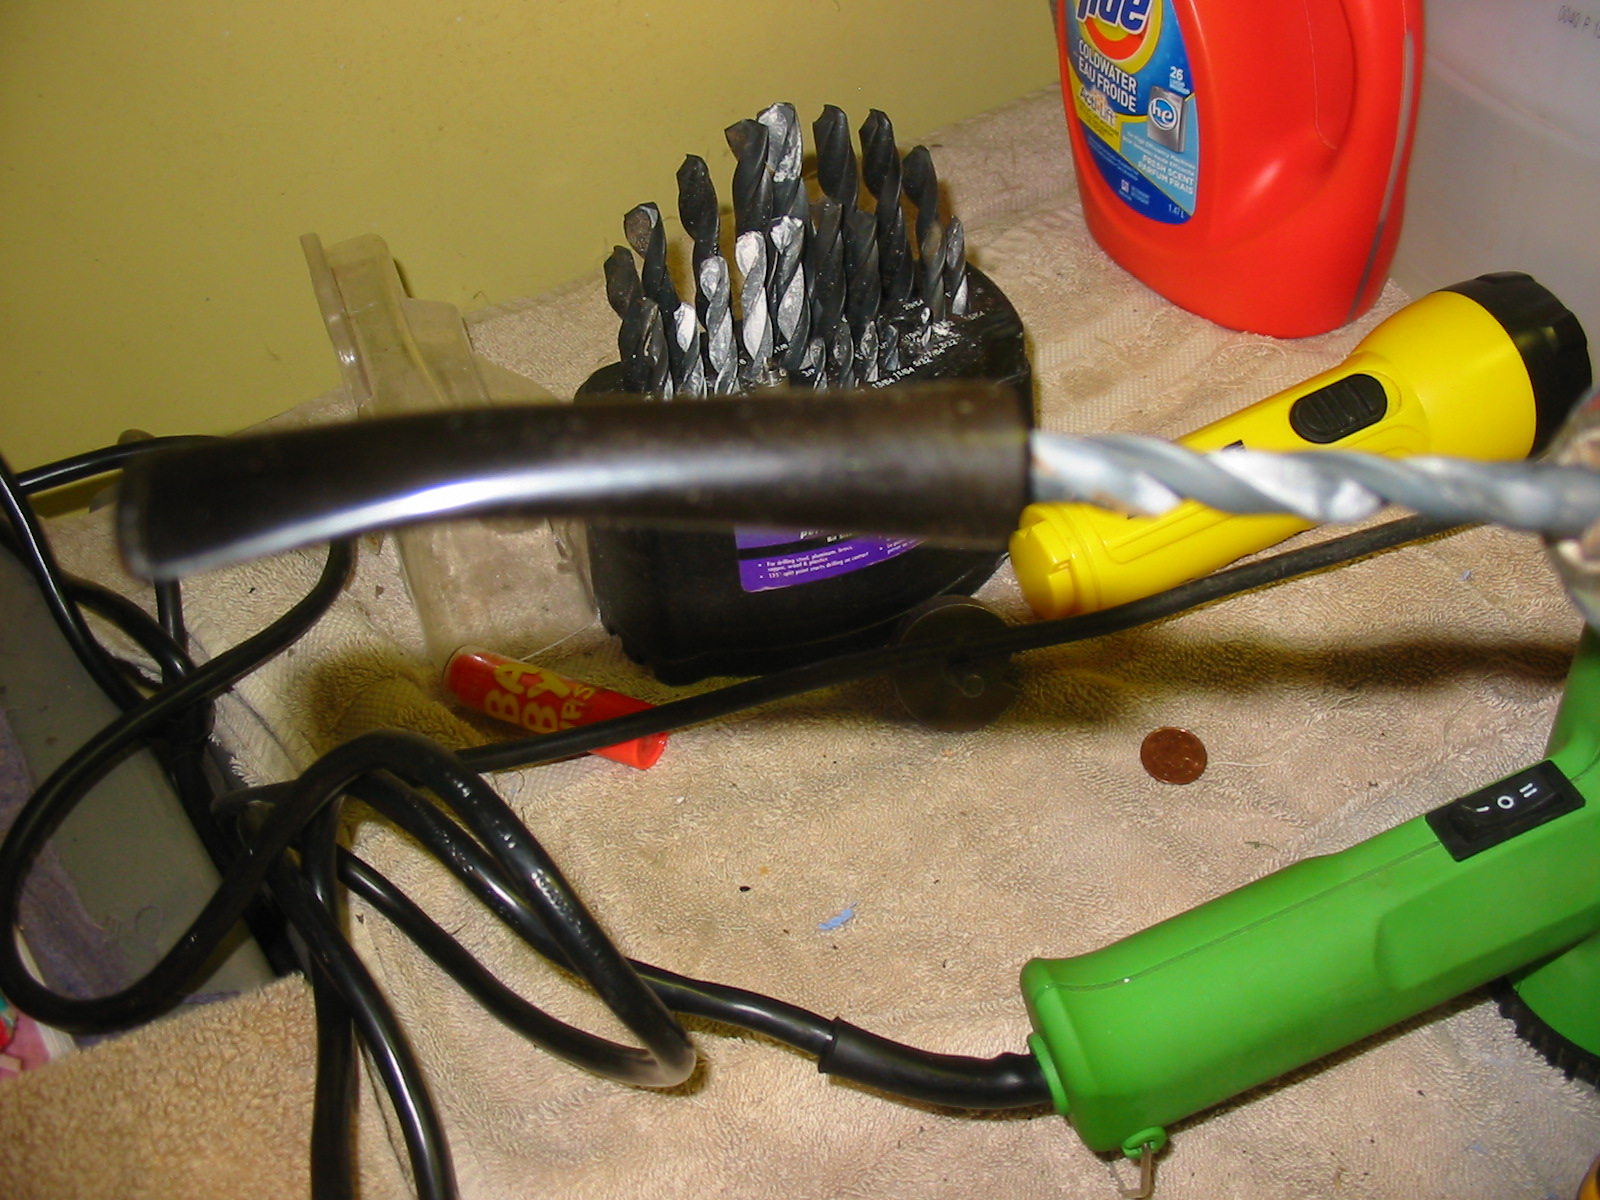
I began with a drill bit the same size as the hole and turned it in by hand to smooth out the walls of the hole. Then I moved up once size of drill bit and used my cordless drill. The trick here is not to hold the bit at an angle and to slowly turn the bit into the stem. I generally start doing this by hand without power. I make the drill stationary and then slowly turn the stem onto the bit. Once I have it started I slowly use the electric drill to take it deeper into the stem. The first photo below shows that process and set up.
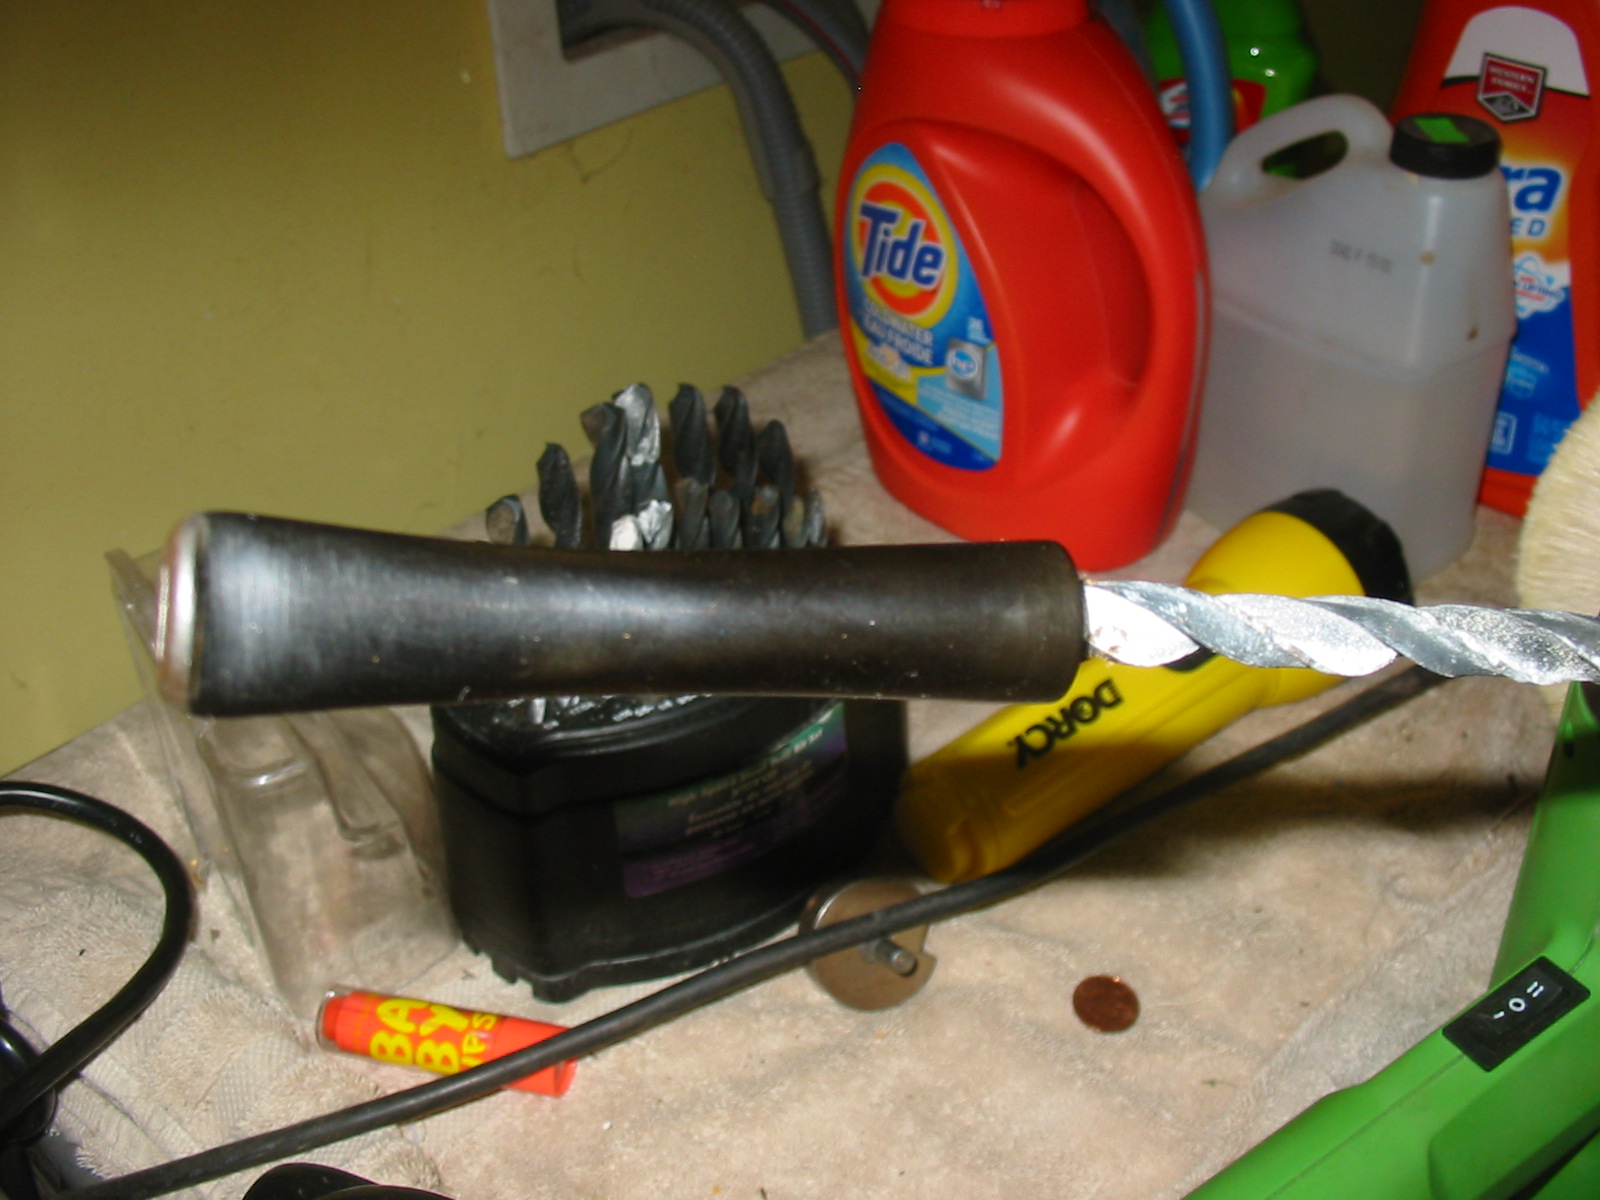
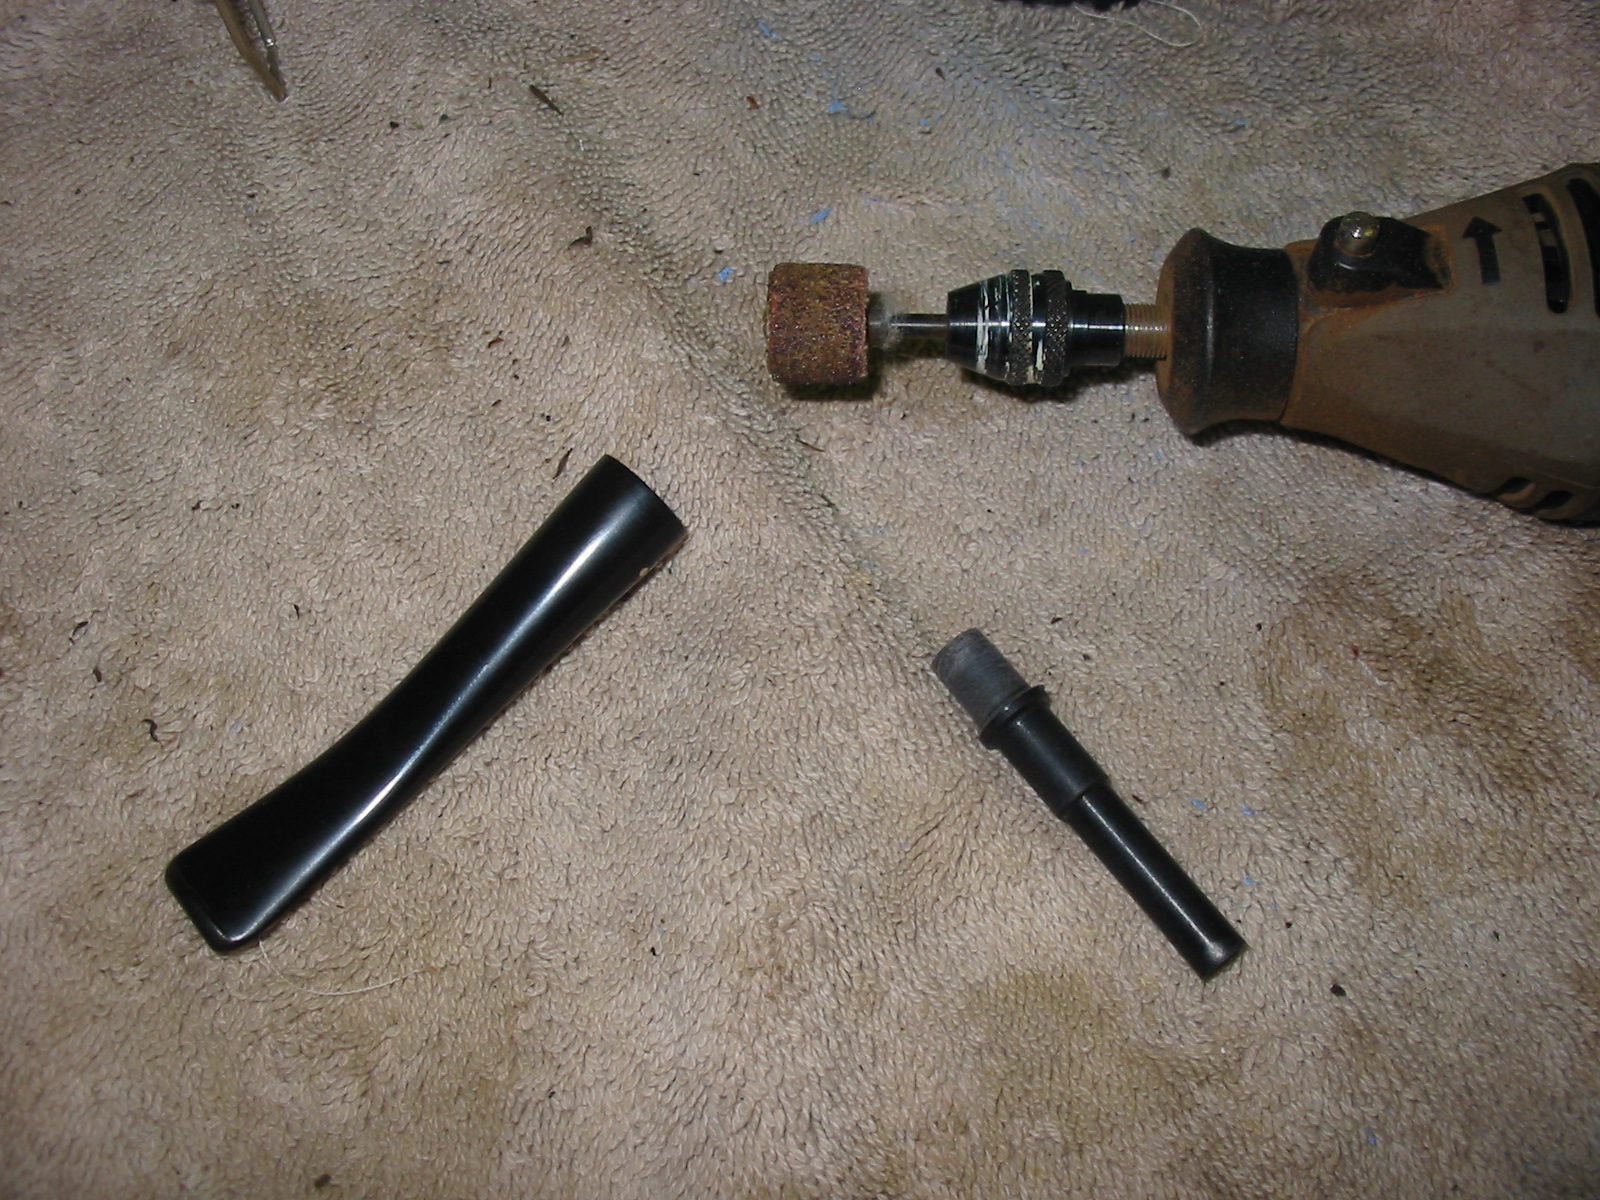
The next photo shows the next sized drill bit that I used. I followed the same procedure turning it on by hand first and then finishing with low power on the drill. After this drilling the insert fit tightly and I was ready to remove the ridge on the new tenon. I used my Dremel with the sanding drum to remove the ridge. I used it at a slow speed as I only wanted to remove the ridge and not change the diameter of the end. It did not take long. In the second photo below you can see the Dremel and the tenon before I sanded it.
After sanding the ridge I put several drops of superglue on the tenon surface and inserted it in the stem. The fit was perfect and the joint tight and strong. You have to work quickly once the glue is on the tenon insert as it dries very quickly. To facilitate the pressure fit I inserted the tenon in the shank to give me something to push against. I pushed the tenon into place and in the photo below you can see the fit. Above the newly inserted tenon I also included the old insert in the picture.
Once I had a good fit on the tenon insert it was time to try and remove the stuck metal end cap in the shank. This had given me problems as mentioned in the earlier blog post. This time I decided to use a larger drill bit and see if I could drill it carefully until the metal locked onto the bit and I could then extract it. The first drill bit pulled a major piece of the metal cap out but there still was a piece remaining. I used a larger sized bit and carefully inserted it in the shank and drill at low speed until I felt the metal lock on. Then I extracted the end cap – a ¼ inch piece of metal – from the shank. I finally had gotten it all out of the shank. I then pushed the next filter into the new tenon and inserted the stem into the shank. It was a perfect fit… well almost. I removed it and did a counter sink on the shank with my Buck knife and then the stem fit tightly in place. The three photos below show the finished pipe.