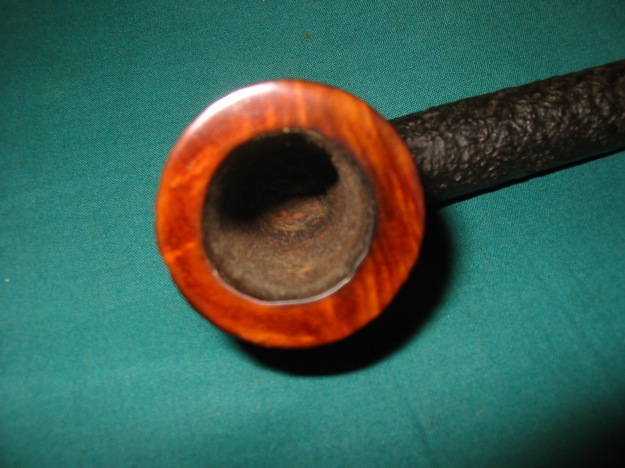
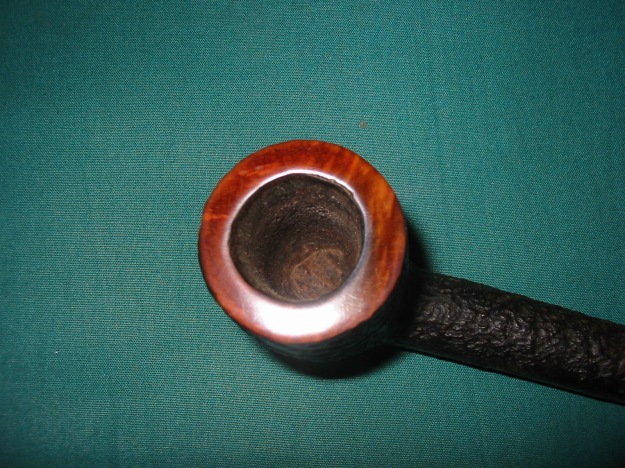
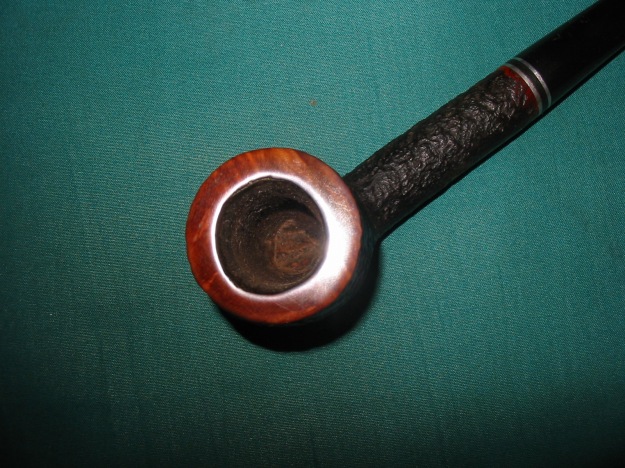
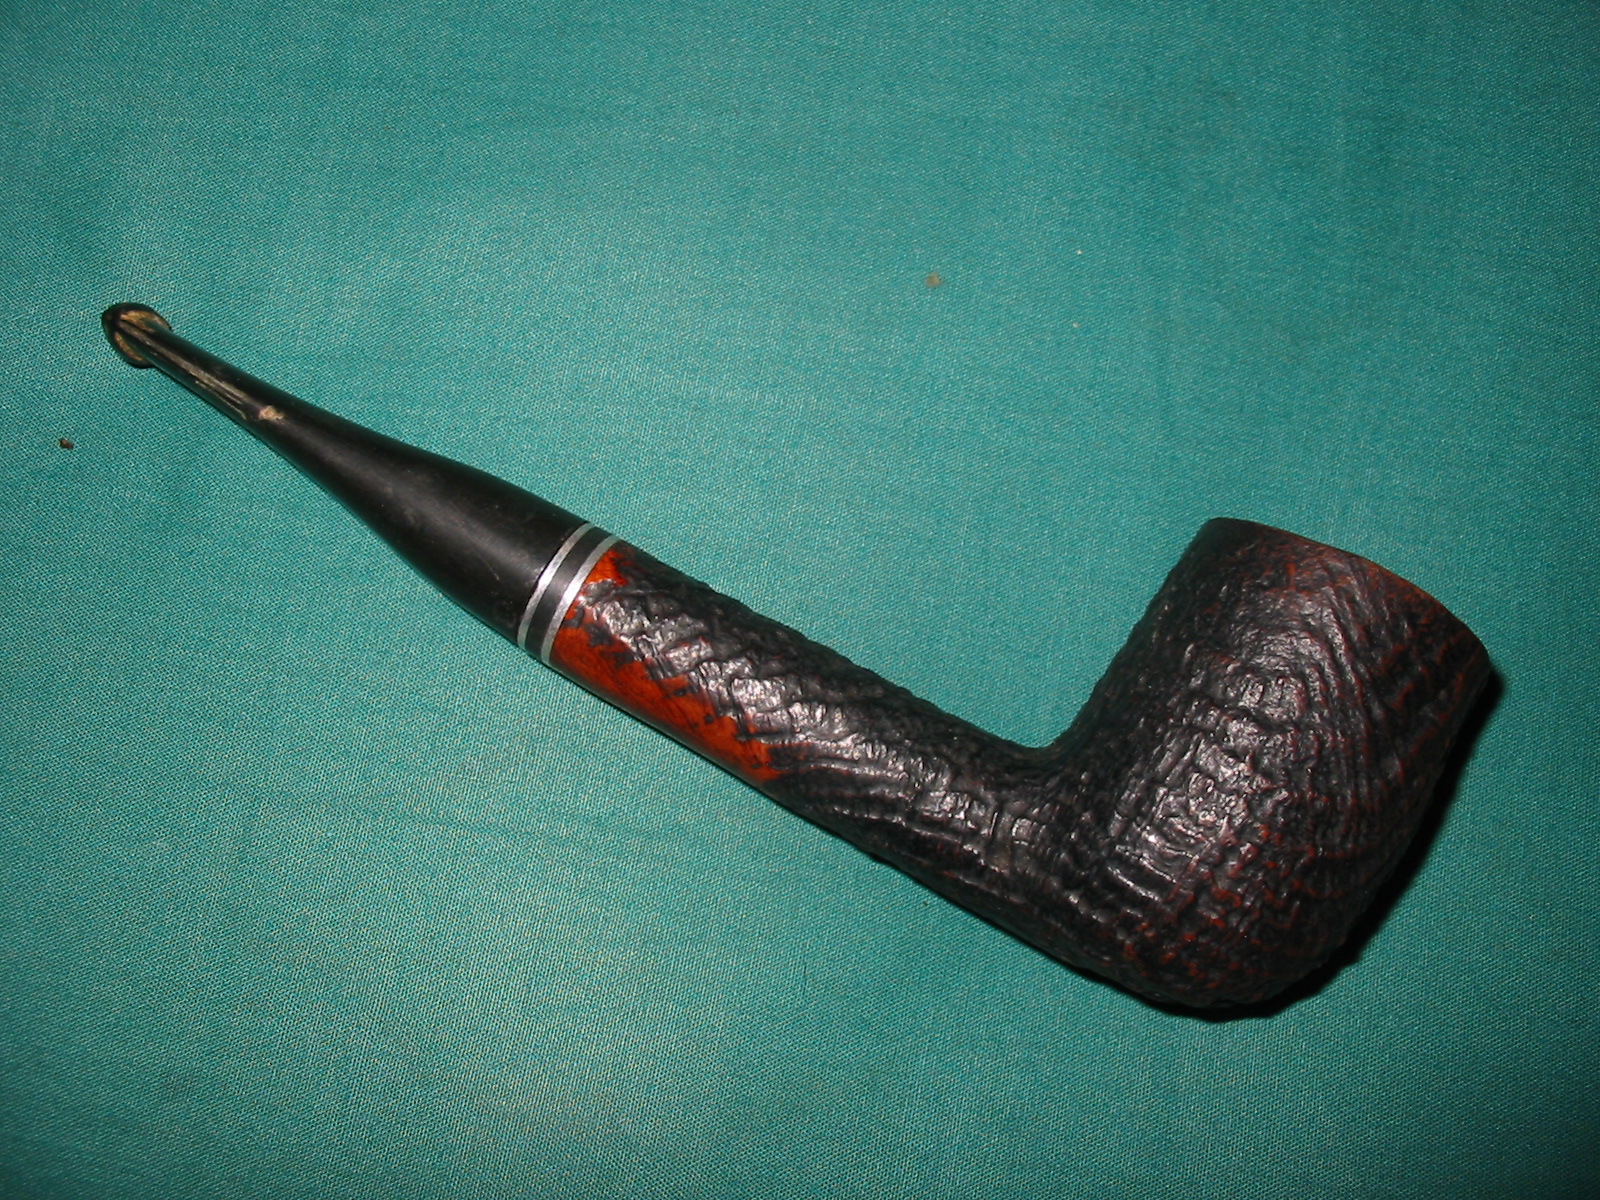
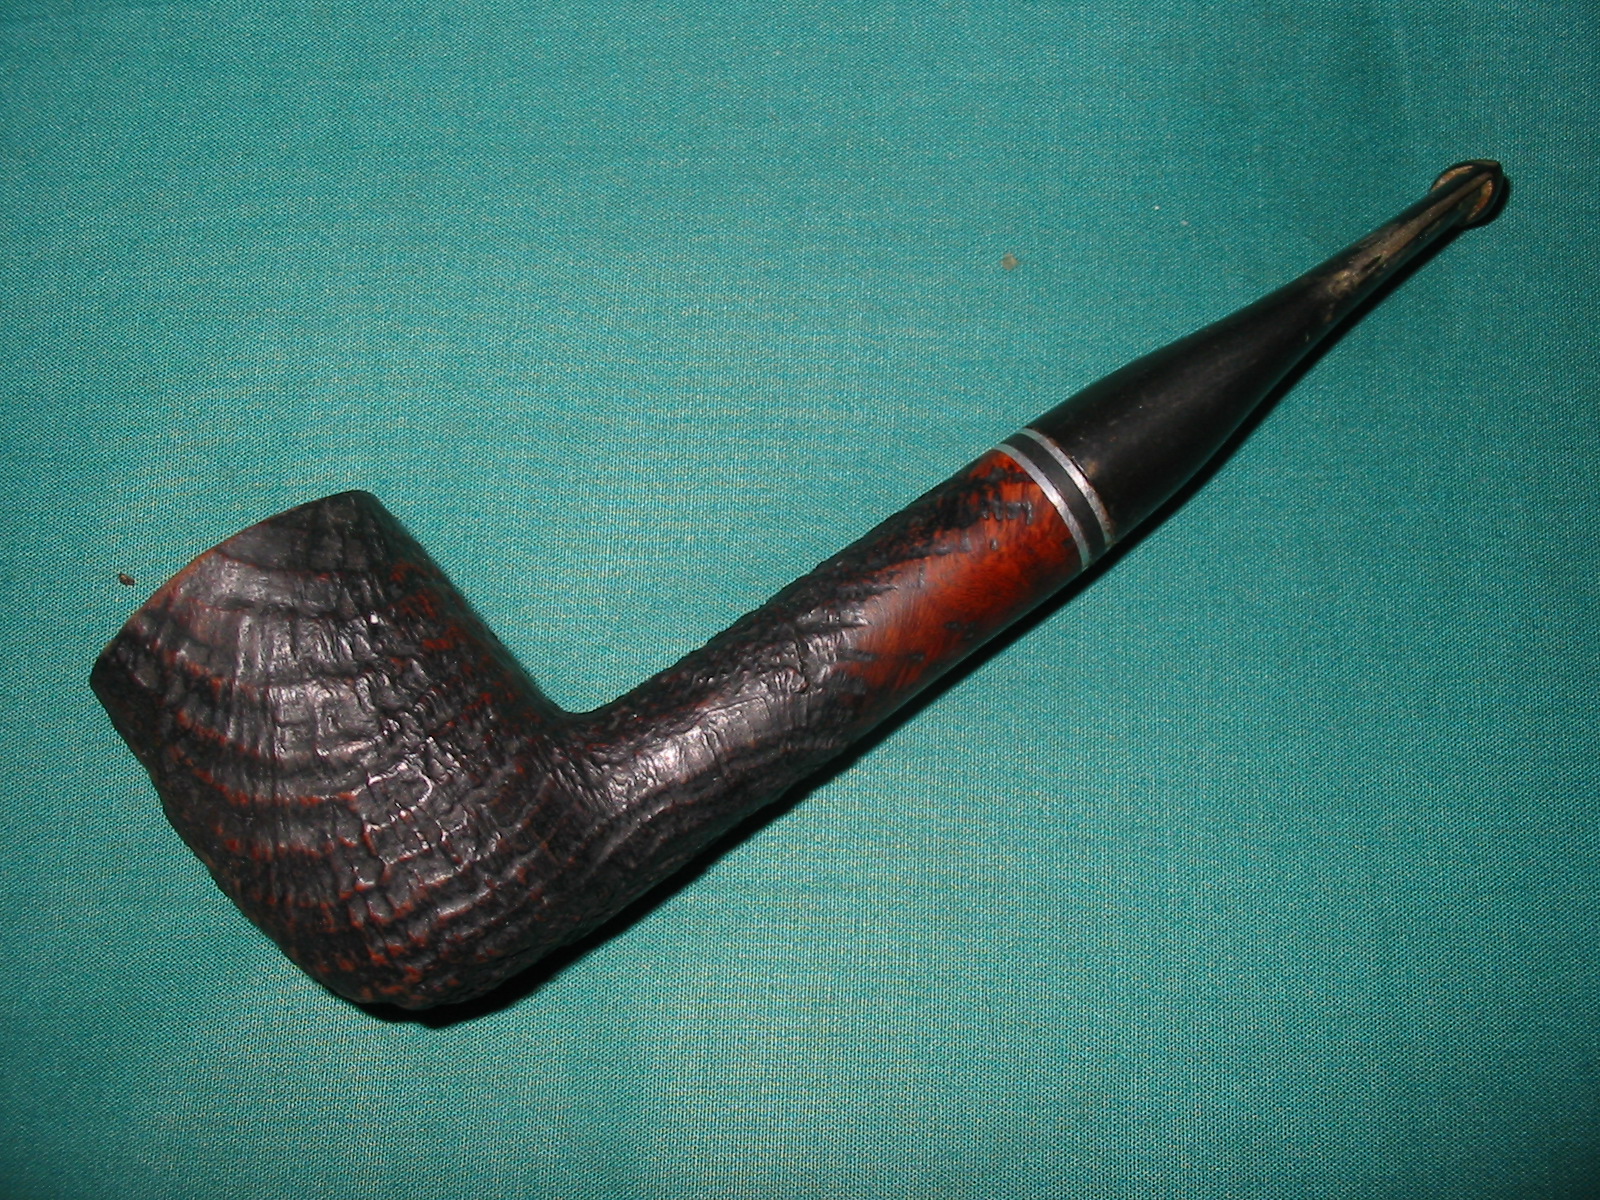
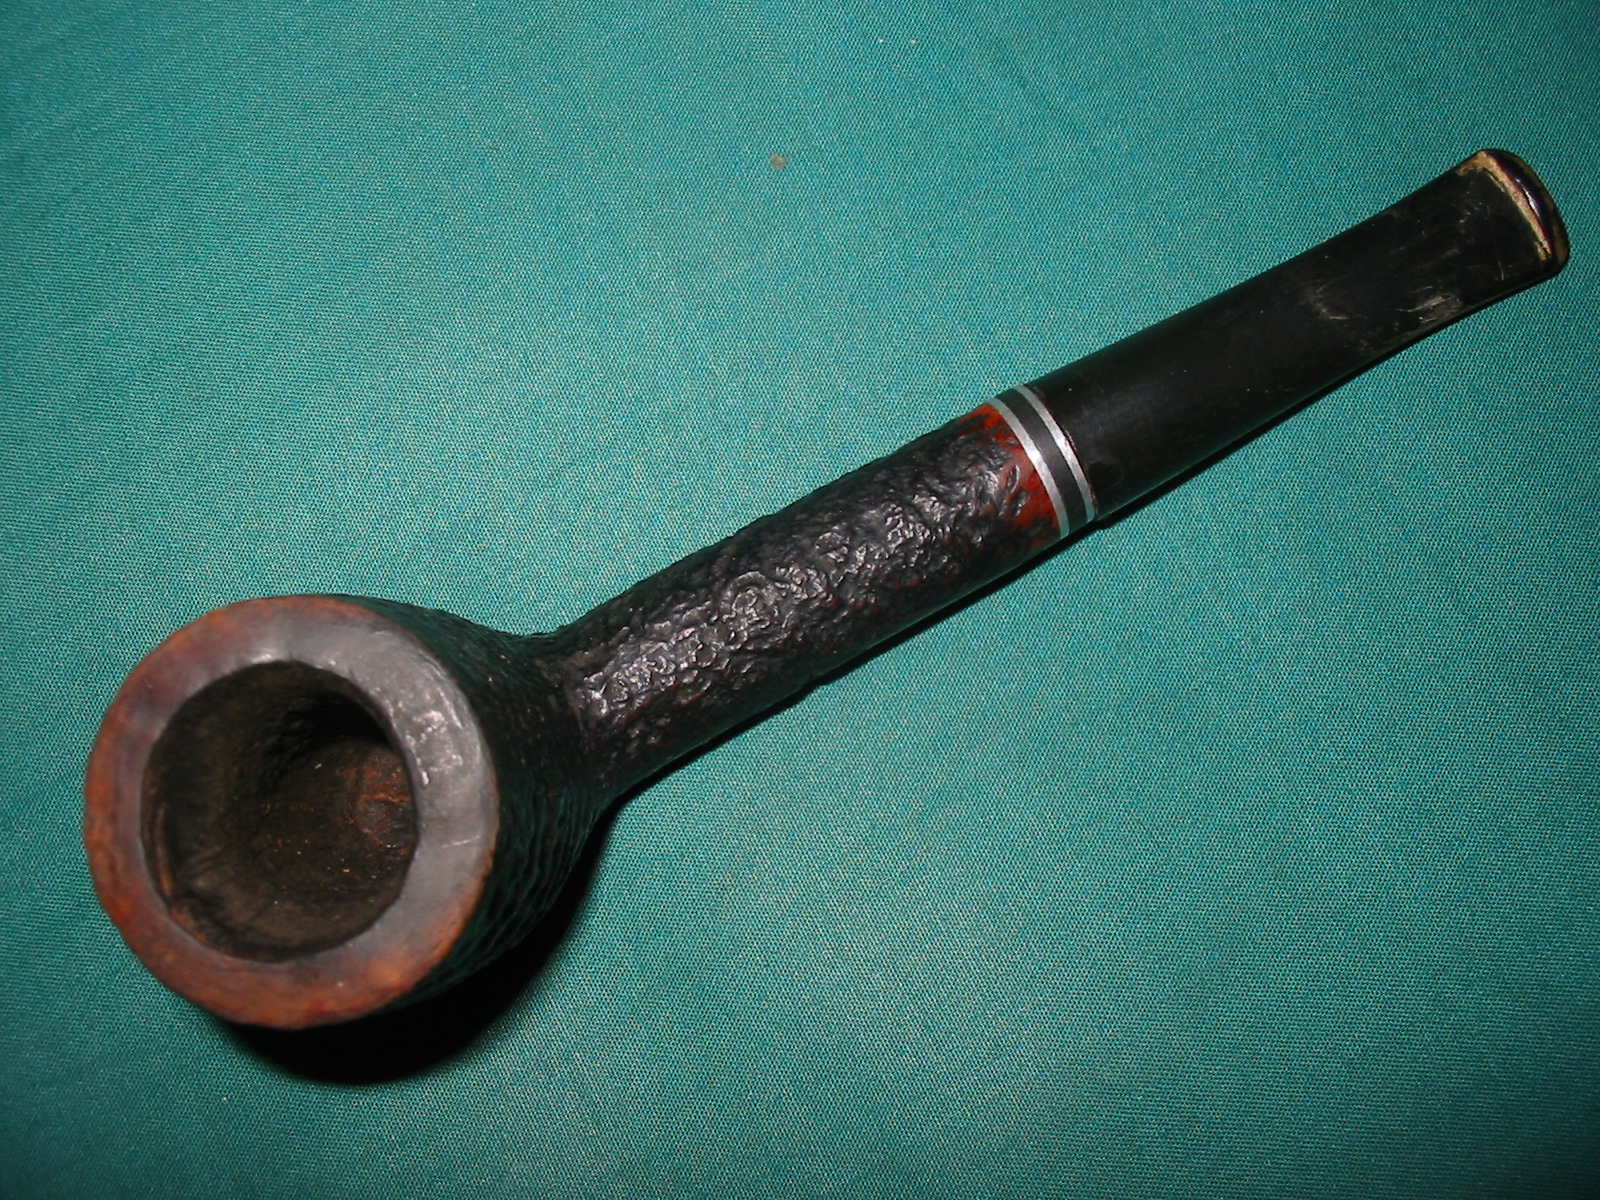
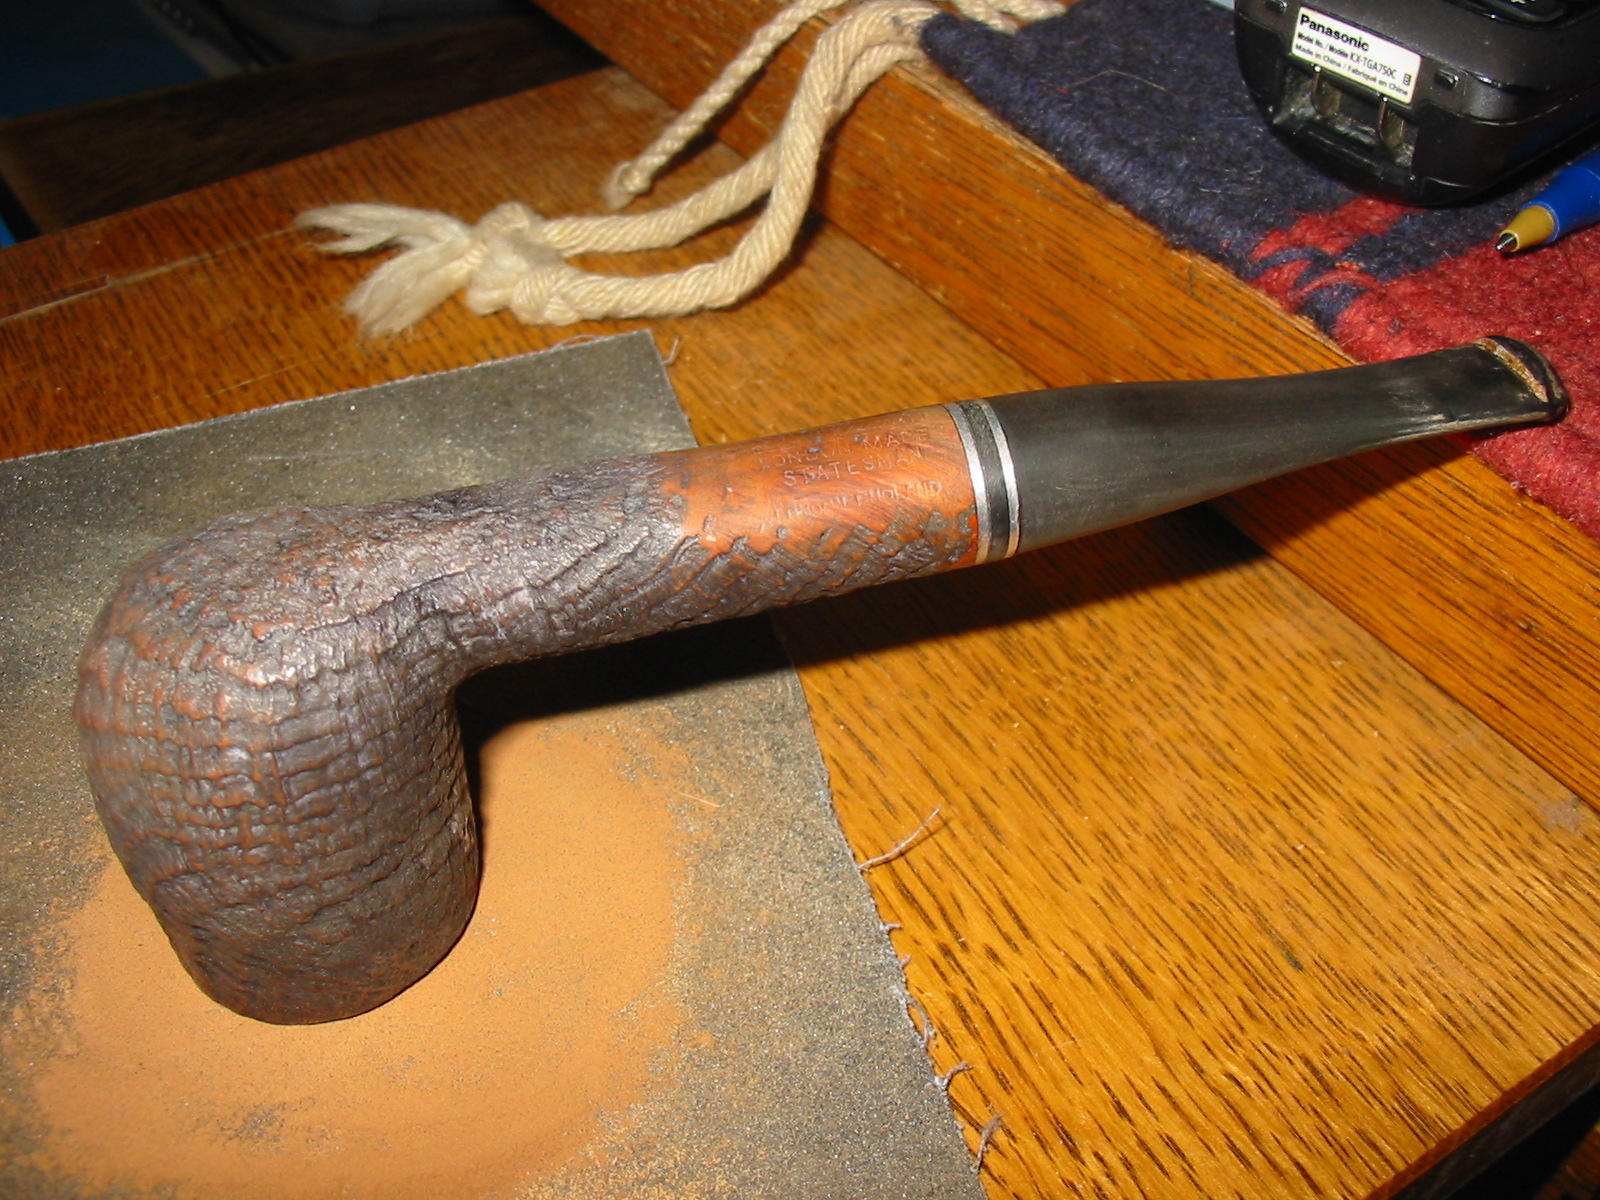
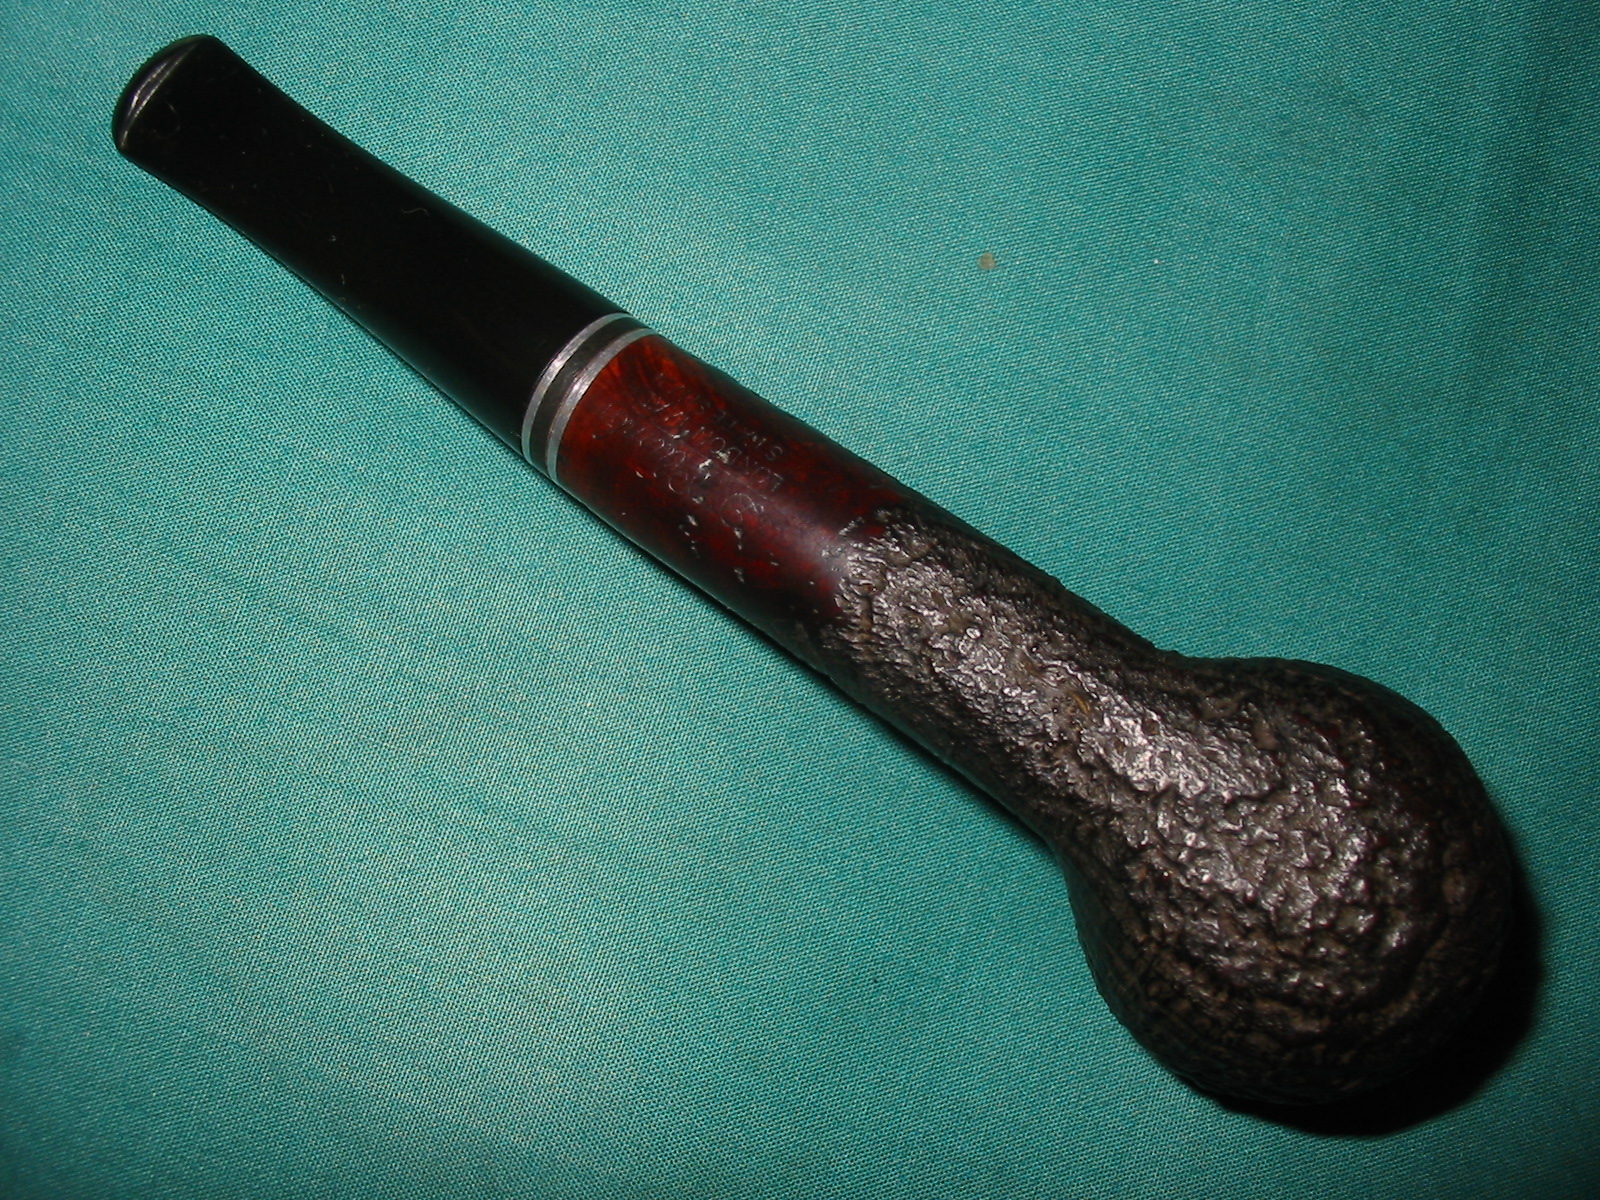
The second pipe in the lot of three pipes I picked up on EBay was this long shanked billiard. The first one I refurbished and posted about was the no name poker that I wrote about here. This one was stamped Dr. Plumb over London Made over Statesman on the underside of the shank. The sand blast was very nice on it. In fact I like the deep grooves and flow of the blast on the briar. The rim was shot. It had been sanded smooth (may have been smooth originally to match the smooth portions of the bowl). It was also no longer flat. When the pipe was laid down on the rim it rocked in every direction. It was rough and pitted from tapping the pipe out. The bowl was a bit out of round and the previous owner had reamed the inner rim with a knife at an angle that really damaged the inside rim and the roundness of the bowl. The stem had the same white calcification on it as the poker. This one also had teeth marks and dents in it. The slot on the stem was closed with the white calcified material and there was no open airway in the stem. The shank was dirty and clogged and the bowl needed to be reamed in the lower portion. The first four picture show the pipe as it was when it came to me.

It had the same alcohol bath as the poker and I am including the same photos of that process I included in the previous post. It soaked for two hours and then I took it out and dried the bowls off with a soft cloth. I also soaked the stem in Oxyclean to soften the calcification on the button area.

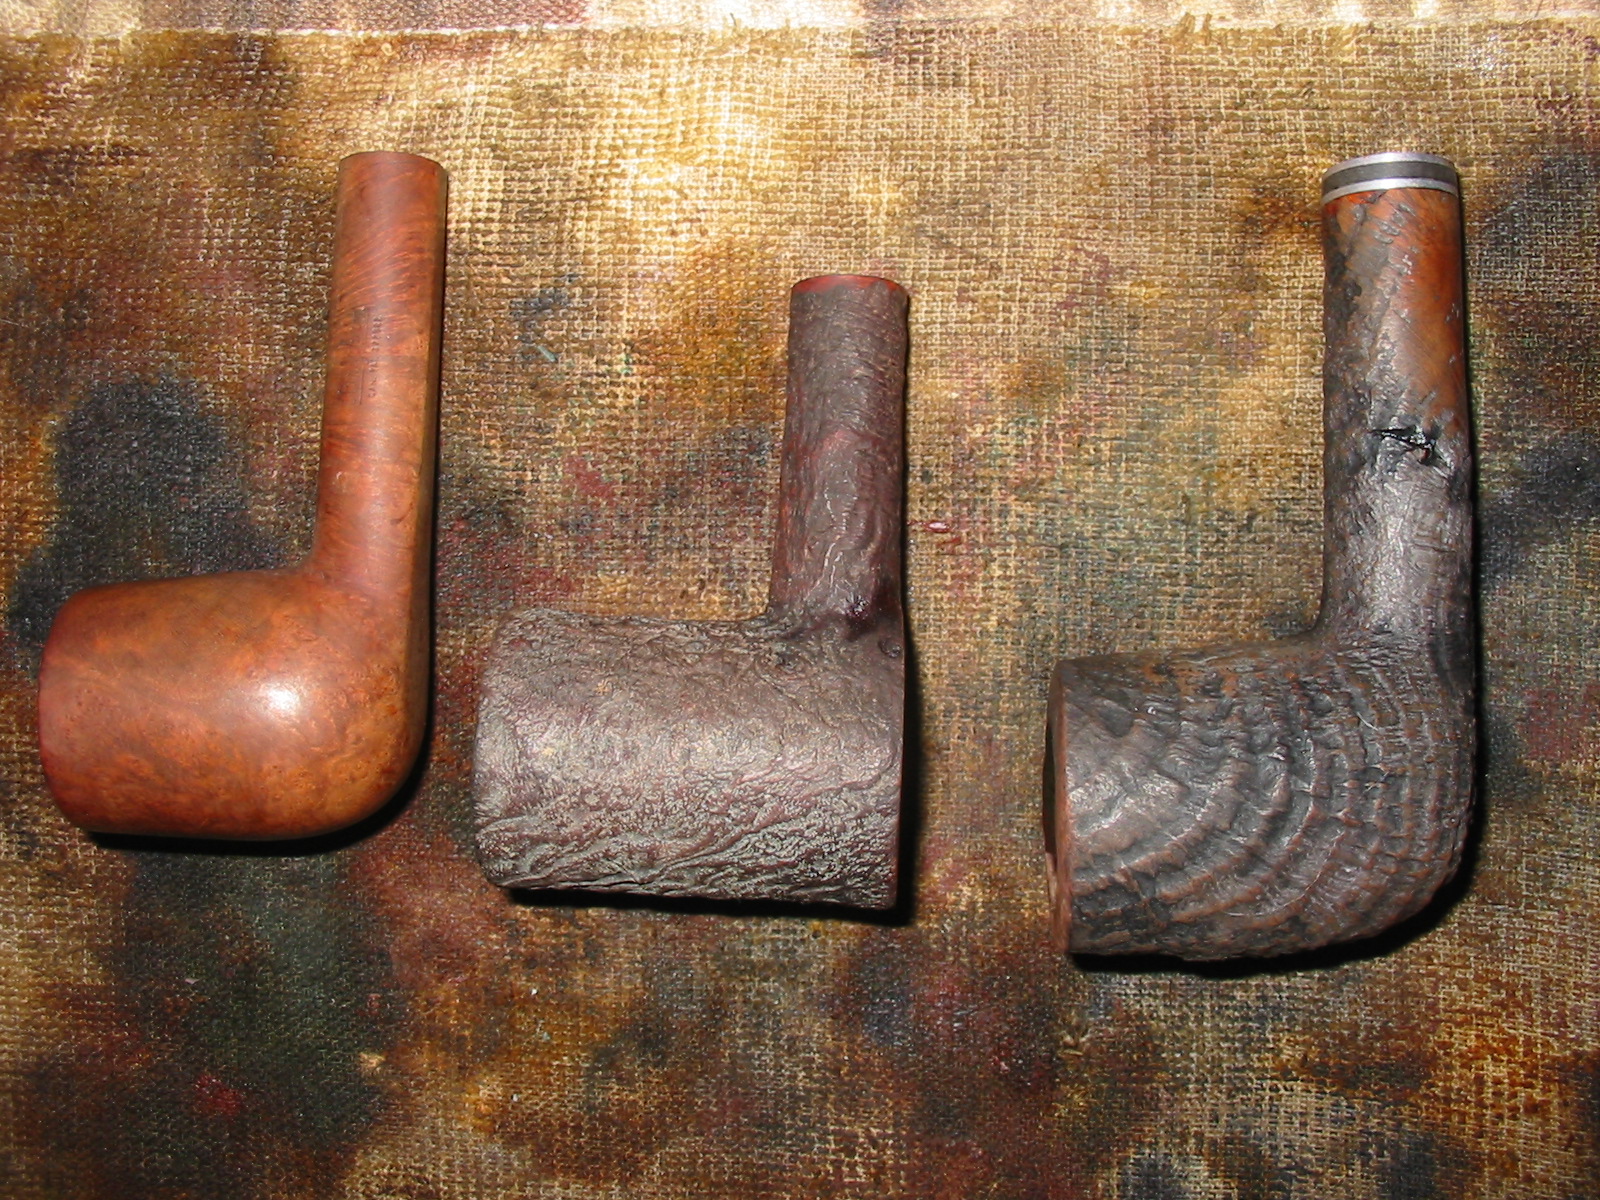
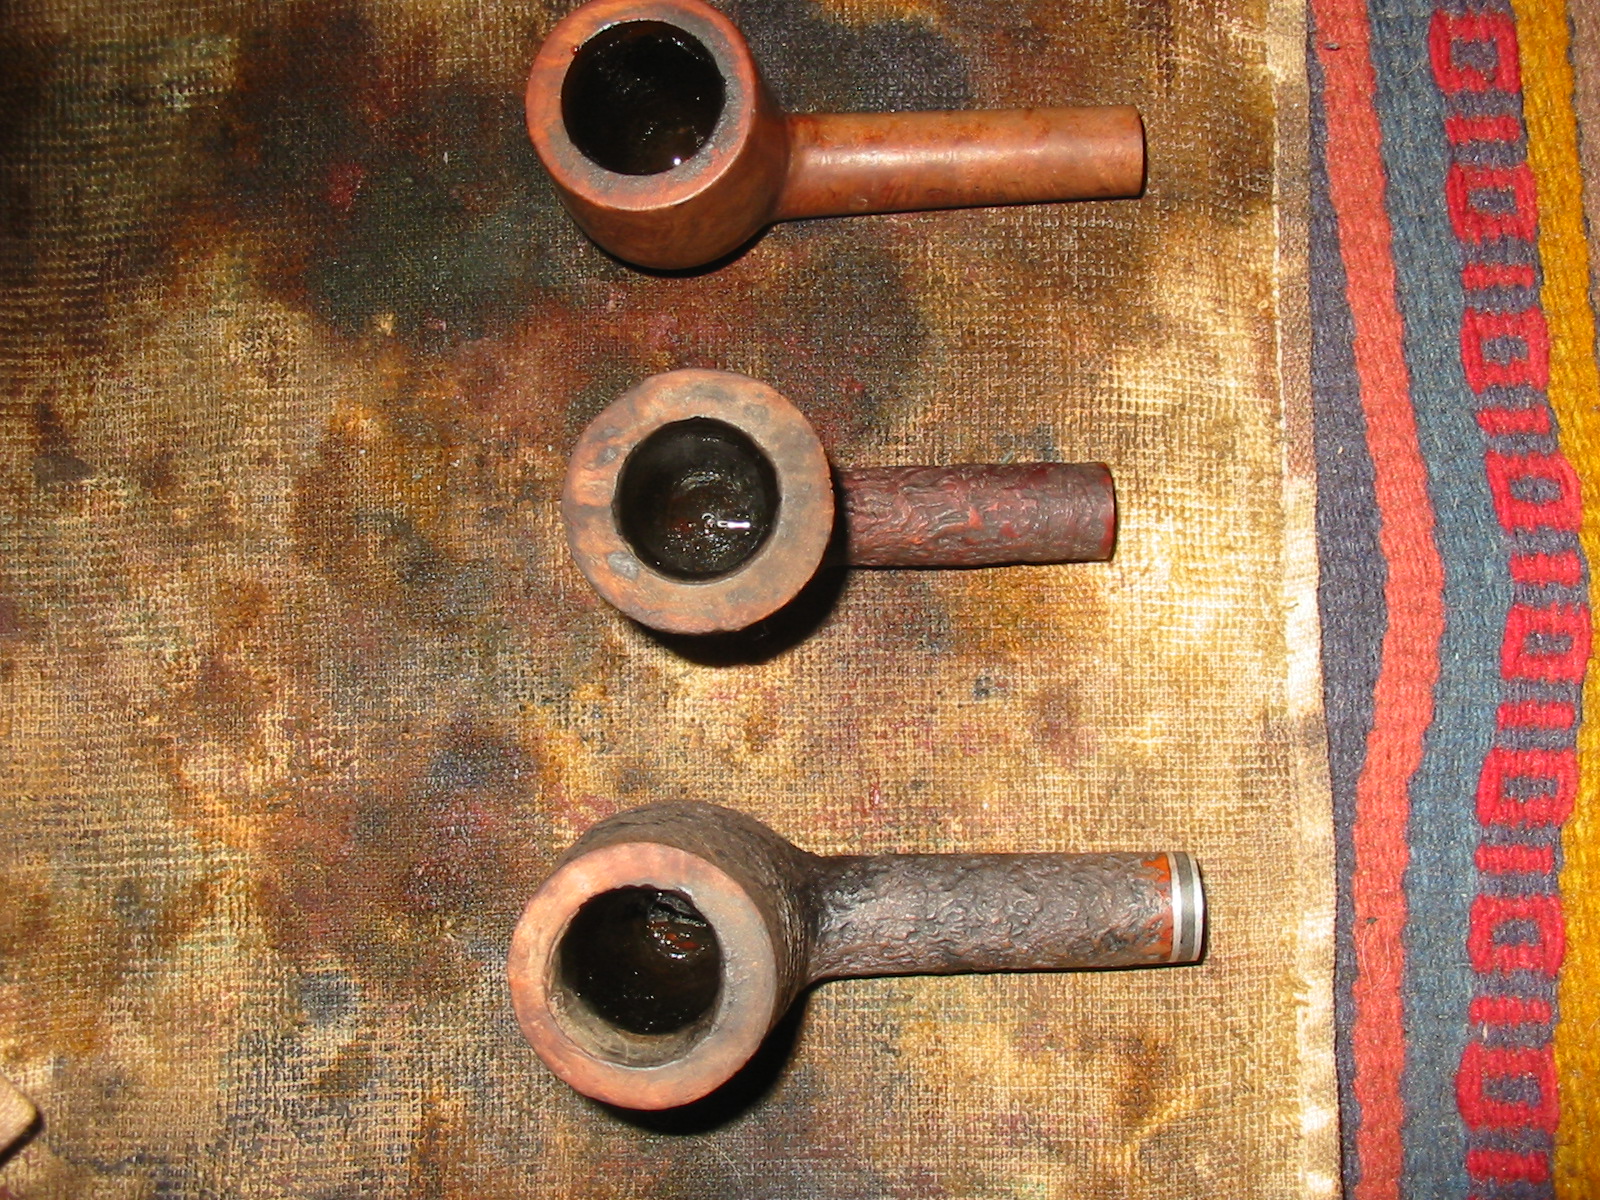
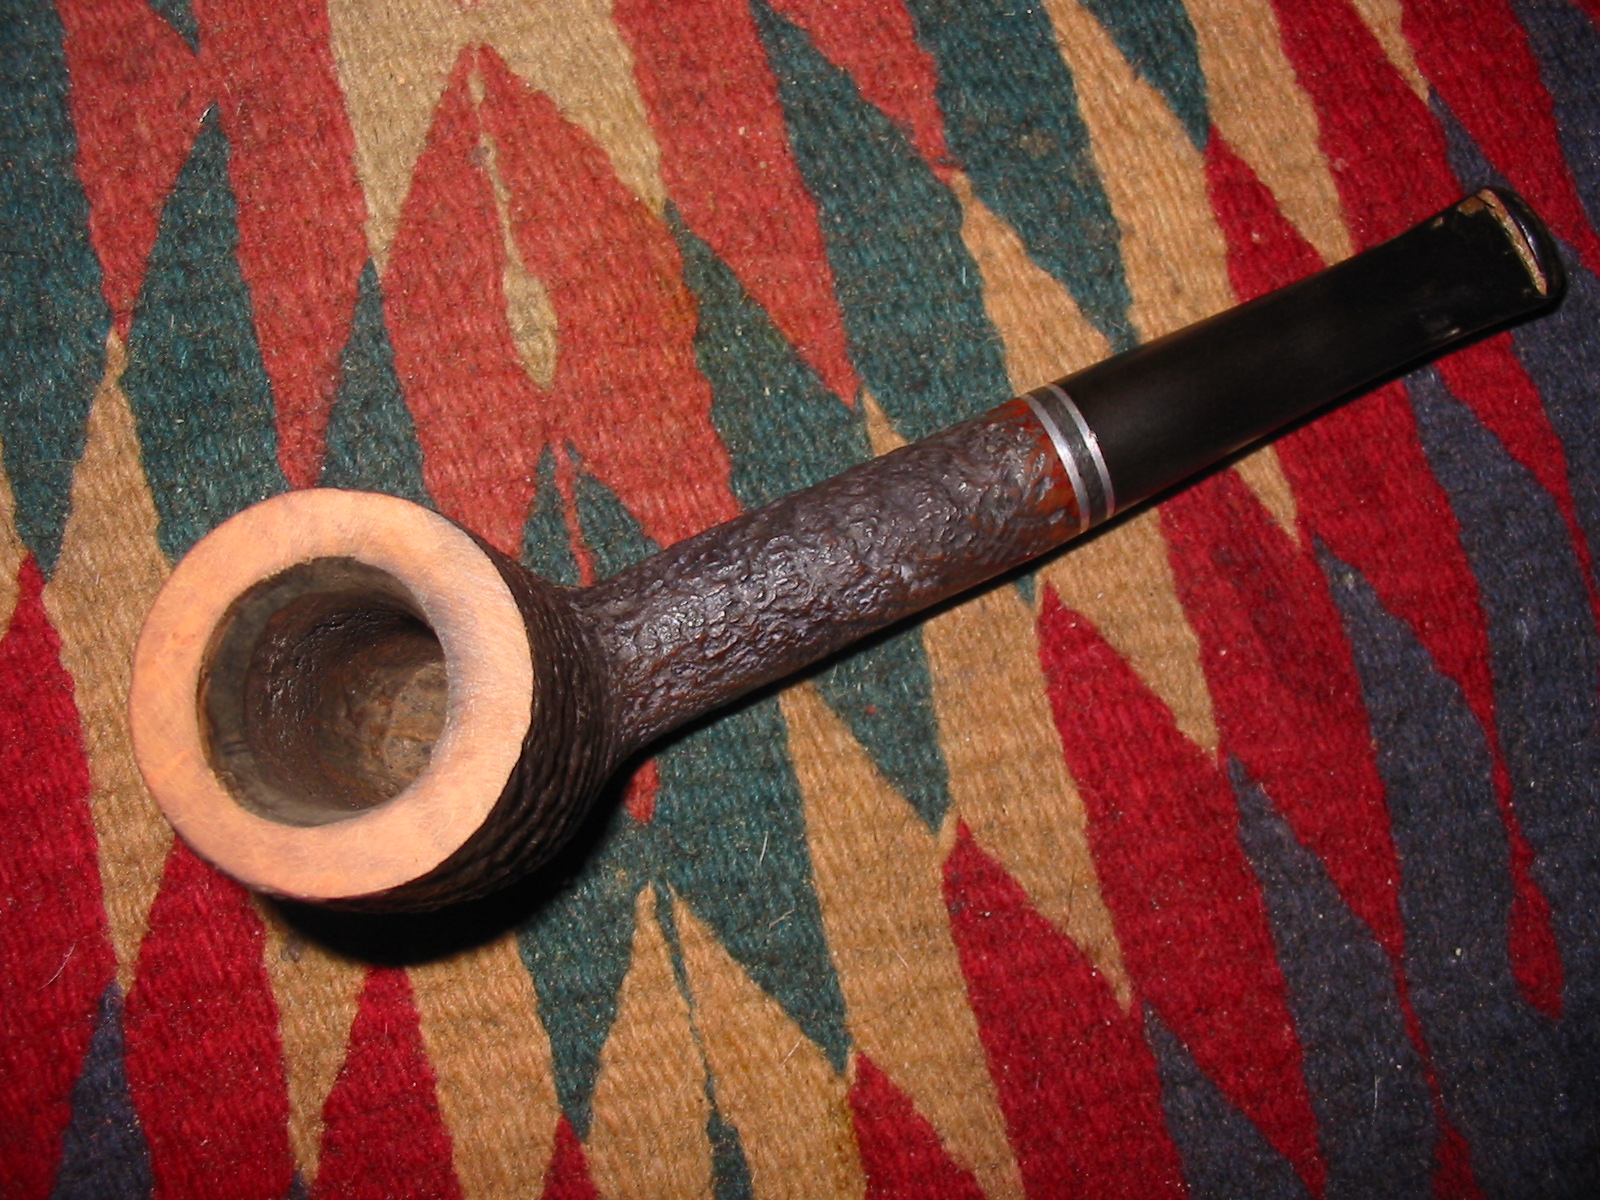
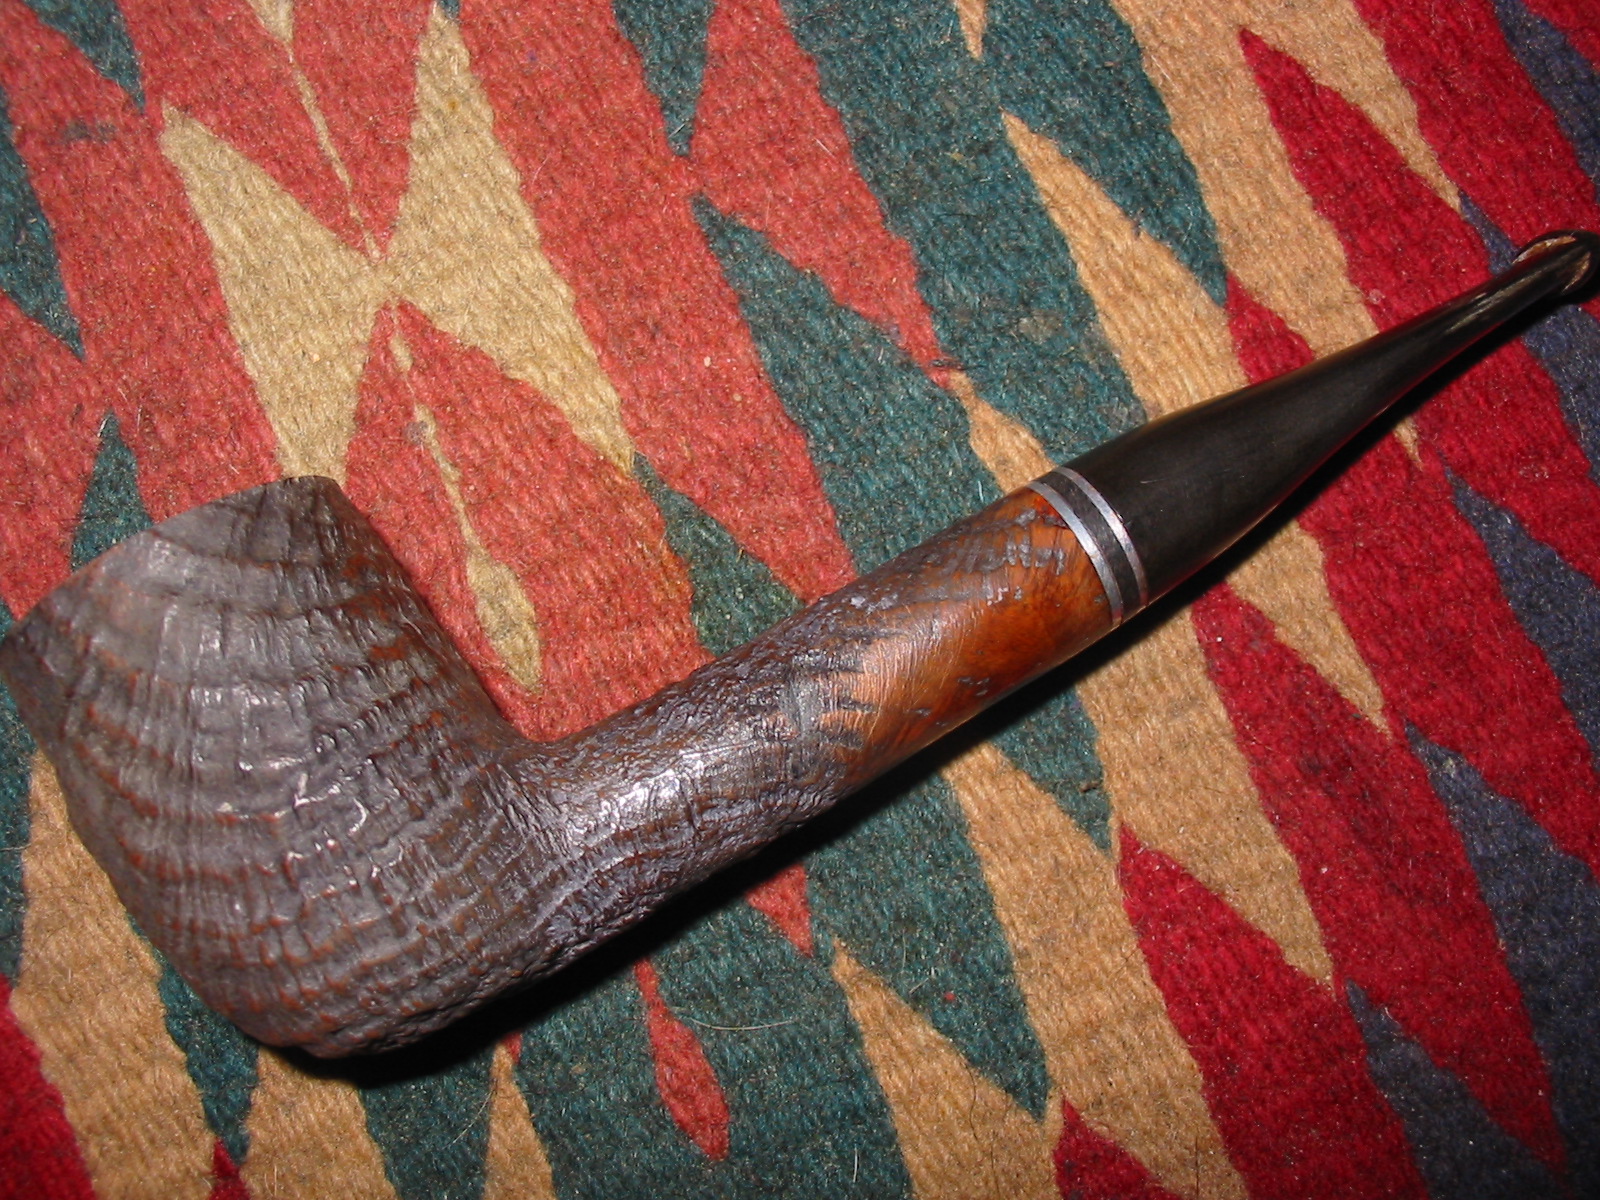
In the photo below you can clearly see the flaw in the briar of the Dr. Plumb (the pipe on the right side of the photo). The alcohol bath softened the fill and it fell out of the crevice. It was quite large but not deep. It appears to me that it opened up larger as the pipe was blasted. You can also see in the second photo below the shape of the bowl and rim of the pipe.
The first thing that I decided to address with regard to this pipe was the rim. I set up my board for sanding the top. I anchored the sandpaper to it. I used a pretty heavy grit for this one because I needed to remove quite a bit of the top to smooth it out and remove the rockiness of the pipe. I used a medium grit emery paper. I hold the pipe flat against the board and sandpaper and sand it in a circular fashion clockwise. I don’t know what the point is of that but that has been my practice for as long as I remember. The next two photos show that process. Once I had the top level once again I sanded it in the same manner using 240 grit sandpaper and then 400 and 600 wet dry sandpaper and water. I finished sanding the top with the micromesh sanding pads from 1500 – 12,000 grit.

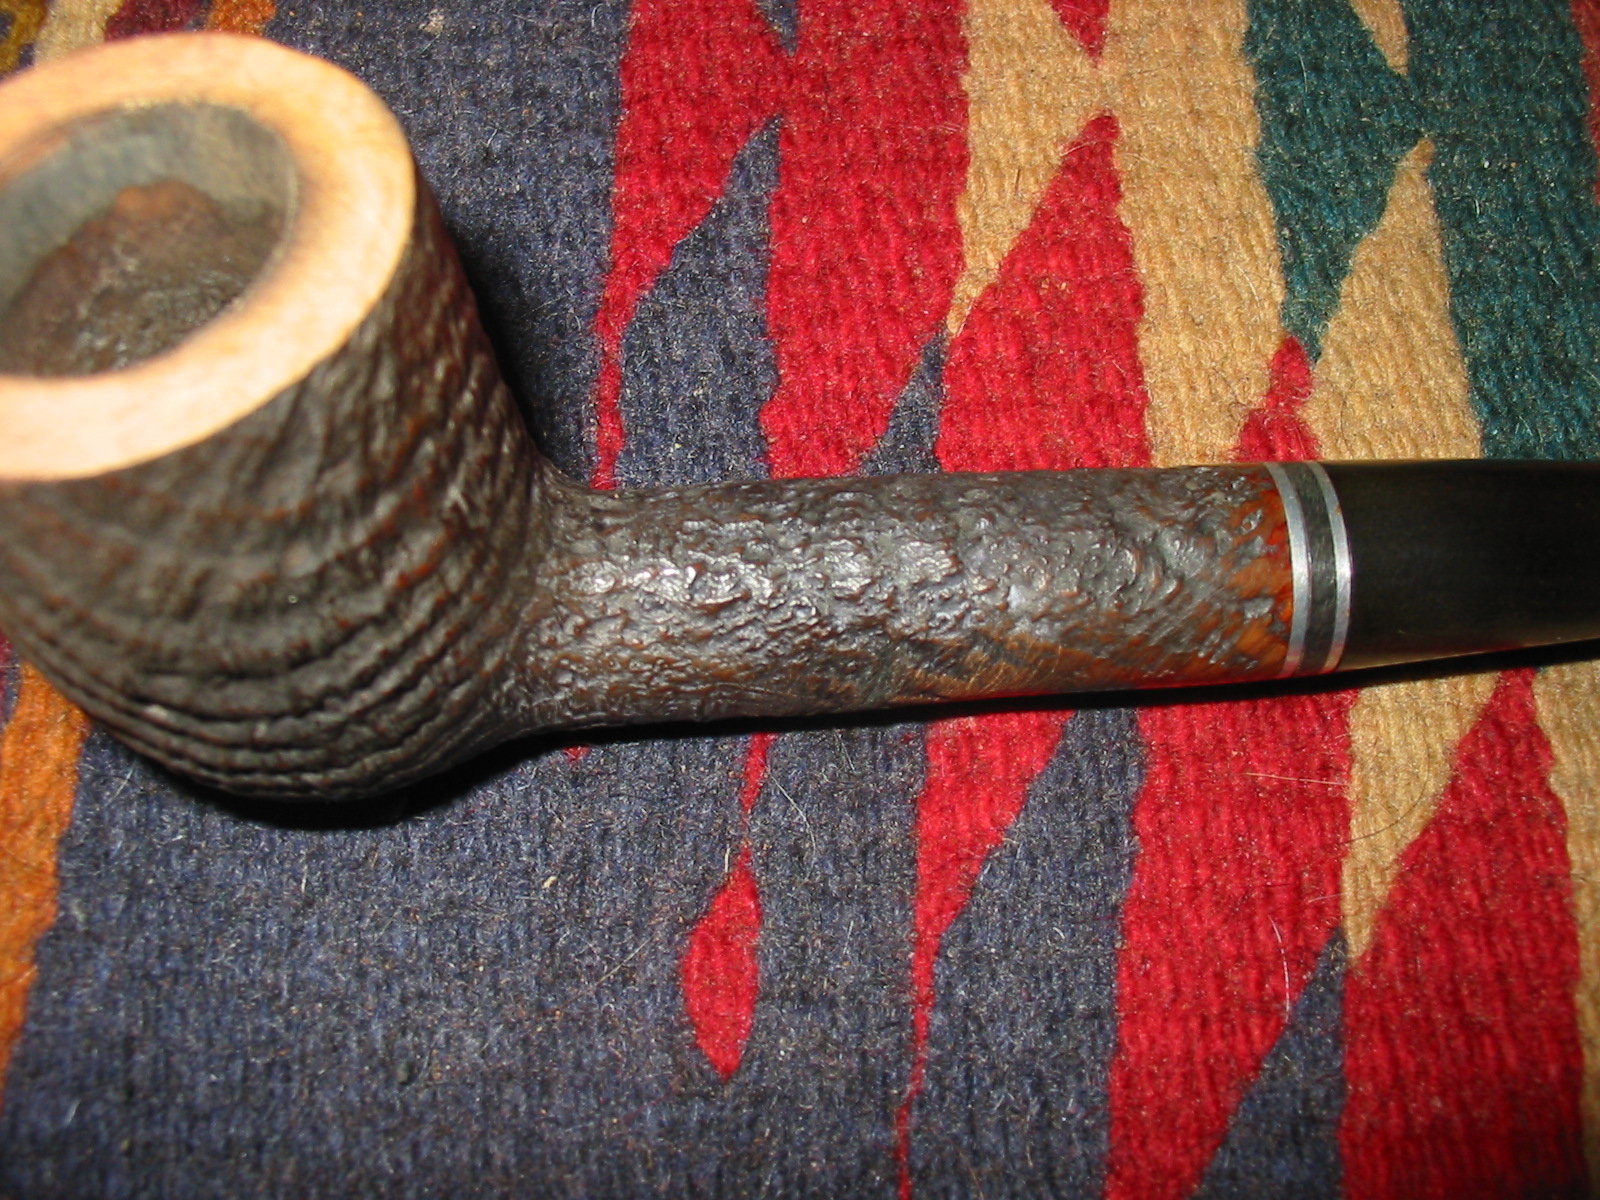
The next photo shows the finished topping of the bowl. The grain is quite nice and will stain well in contrast to the roughness of the blast. The second and third photo below show the repaired fill in the shank. I used briar dust from the topping of the bowl and packed it into the crevice with a dental pick. When it was full I dripped super glue into the dust. Once it was dry I used a wire brush on the shank rather than sandpaper. I wanted to remove the signs of my repair without sanding the fill. The shank looked really good when that job was done. The pipe was basically ready for a coat of brown aniline stain.
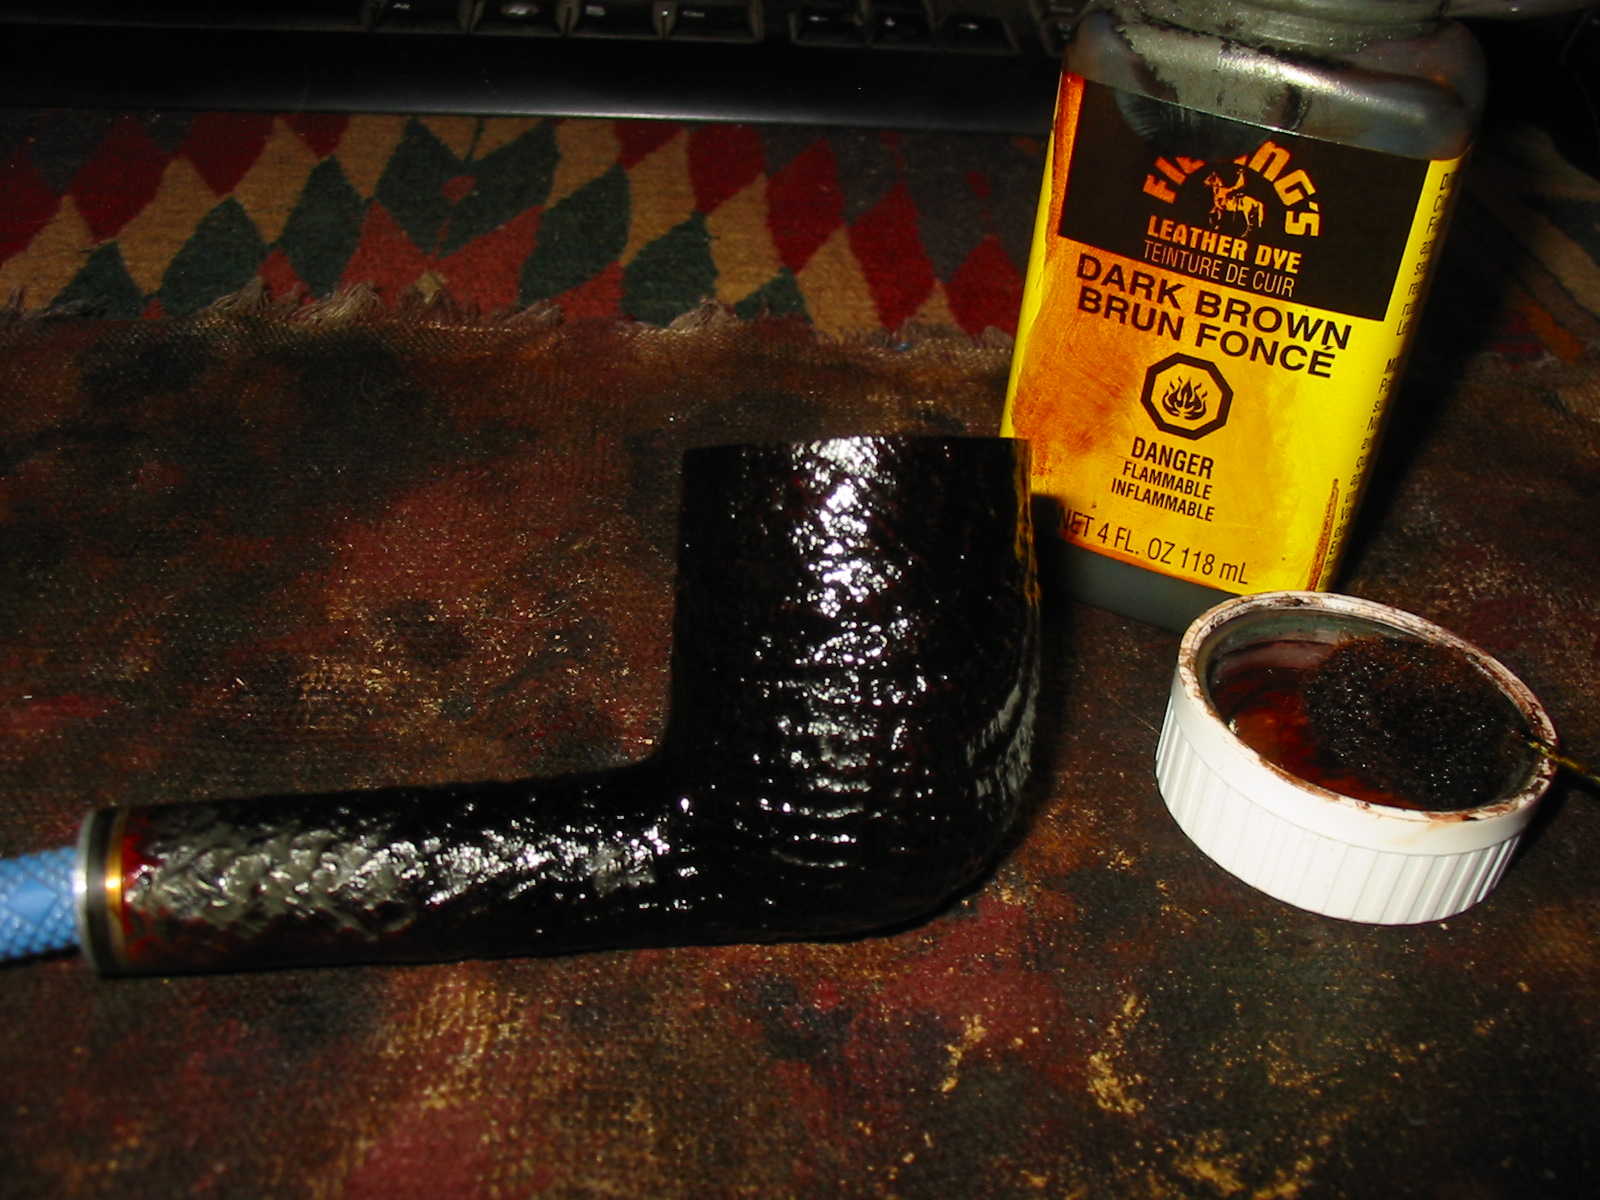
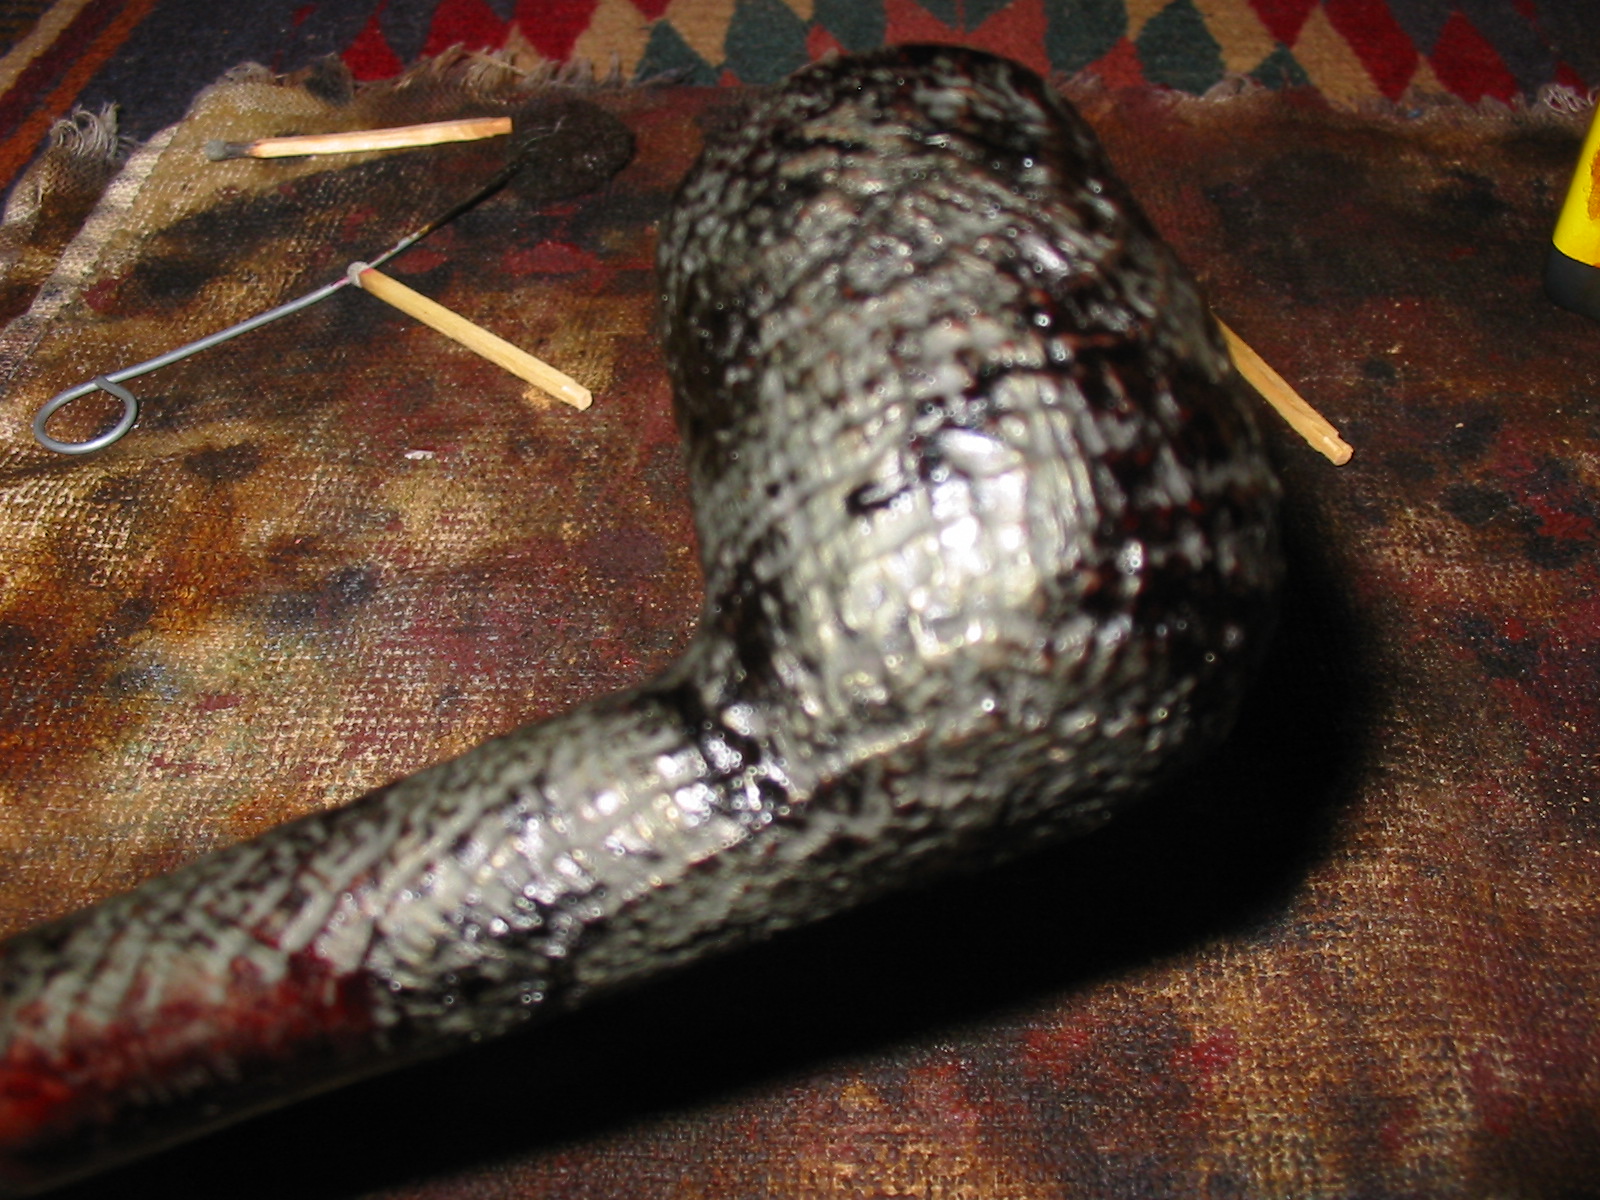
I used my dental pick for a handle by inserting it into the mortise and then used Fiebing’s Dark Brown Leather Dye. I diluted it 2 to 1 with Isopropyl alcohol to get the colour I was aiming for. Once I coated it with the stain I flamed the stain to set it in the grain. I repeated this several times to make certain I had stained all the crevices and blast. The first picture below is of the wet pipe. The second is of the bowl after flaming the stain. I light wooden matches and ignite the stain. The alcohol burns off and the pipe then is dry to touch.
At this point in my refurbishing process I took the bowl to the buffer and buffed the bowl lightly with Tripoli and the repeated it with White Diamond. My goal was to buff of the high areas and make a bit of contrast. I also wanted to buff the rim to make it a bit lighter than the blast and have it match the smooth patch on the bottom of the shank.
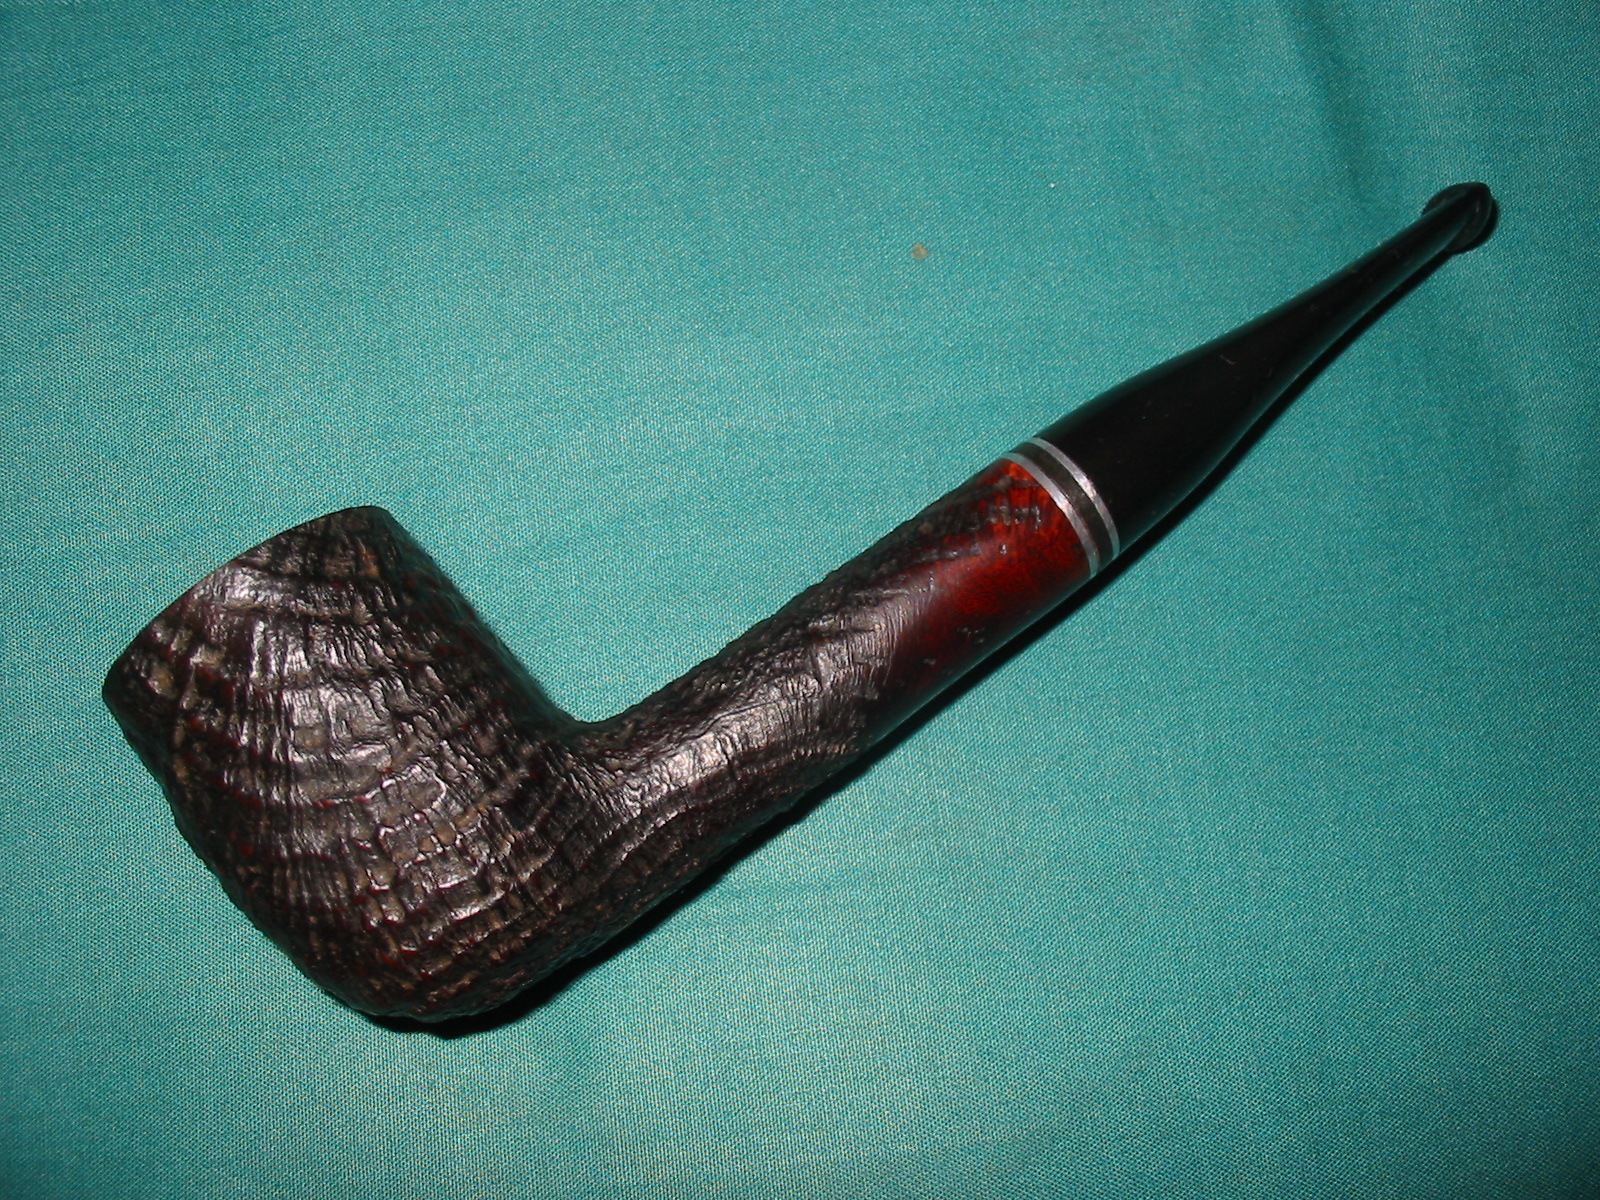
I then went to work on the stem. I heated the dents to raise them as much as possible and then sanded the stem with 220 grit sandpaper to remove the remaining tooth chatter and also to remove the calcified area around the button. I cleaned out the stem with pipe cleaners and a shank brush to remove the tars and oils and to open the stem. I used the dental pick to clean out the slot in the button. Once that was done I sanded the stem with a fine grit sanding pad and then progressed through 1500, 1600, and 2400 grit micromesh before scrubbing the stem with Maguiar’s X2.0 scratch polish. I rub it on with a cotton pad and let it dry a bit before rubbing it off. I finished sanding the stem with 3200 – 12,000 grit micromesh pads and then buffed the stem with White Diamond. I coated it with Obsidian Oil and then when it dried I coated it with multiple coats of carnauba wax. I waxed the rim and the smooth part with carnauba and then used Halcyon II wax on the sandblast. I buffed the pipe with a light touch on the cotton buffing wheel to polish and then hand buffed it with a shoe brush. Here is the final product – ready to fire up!
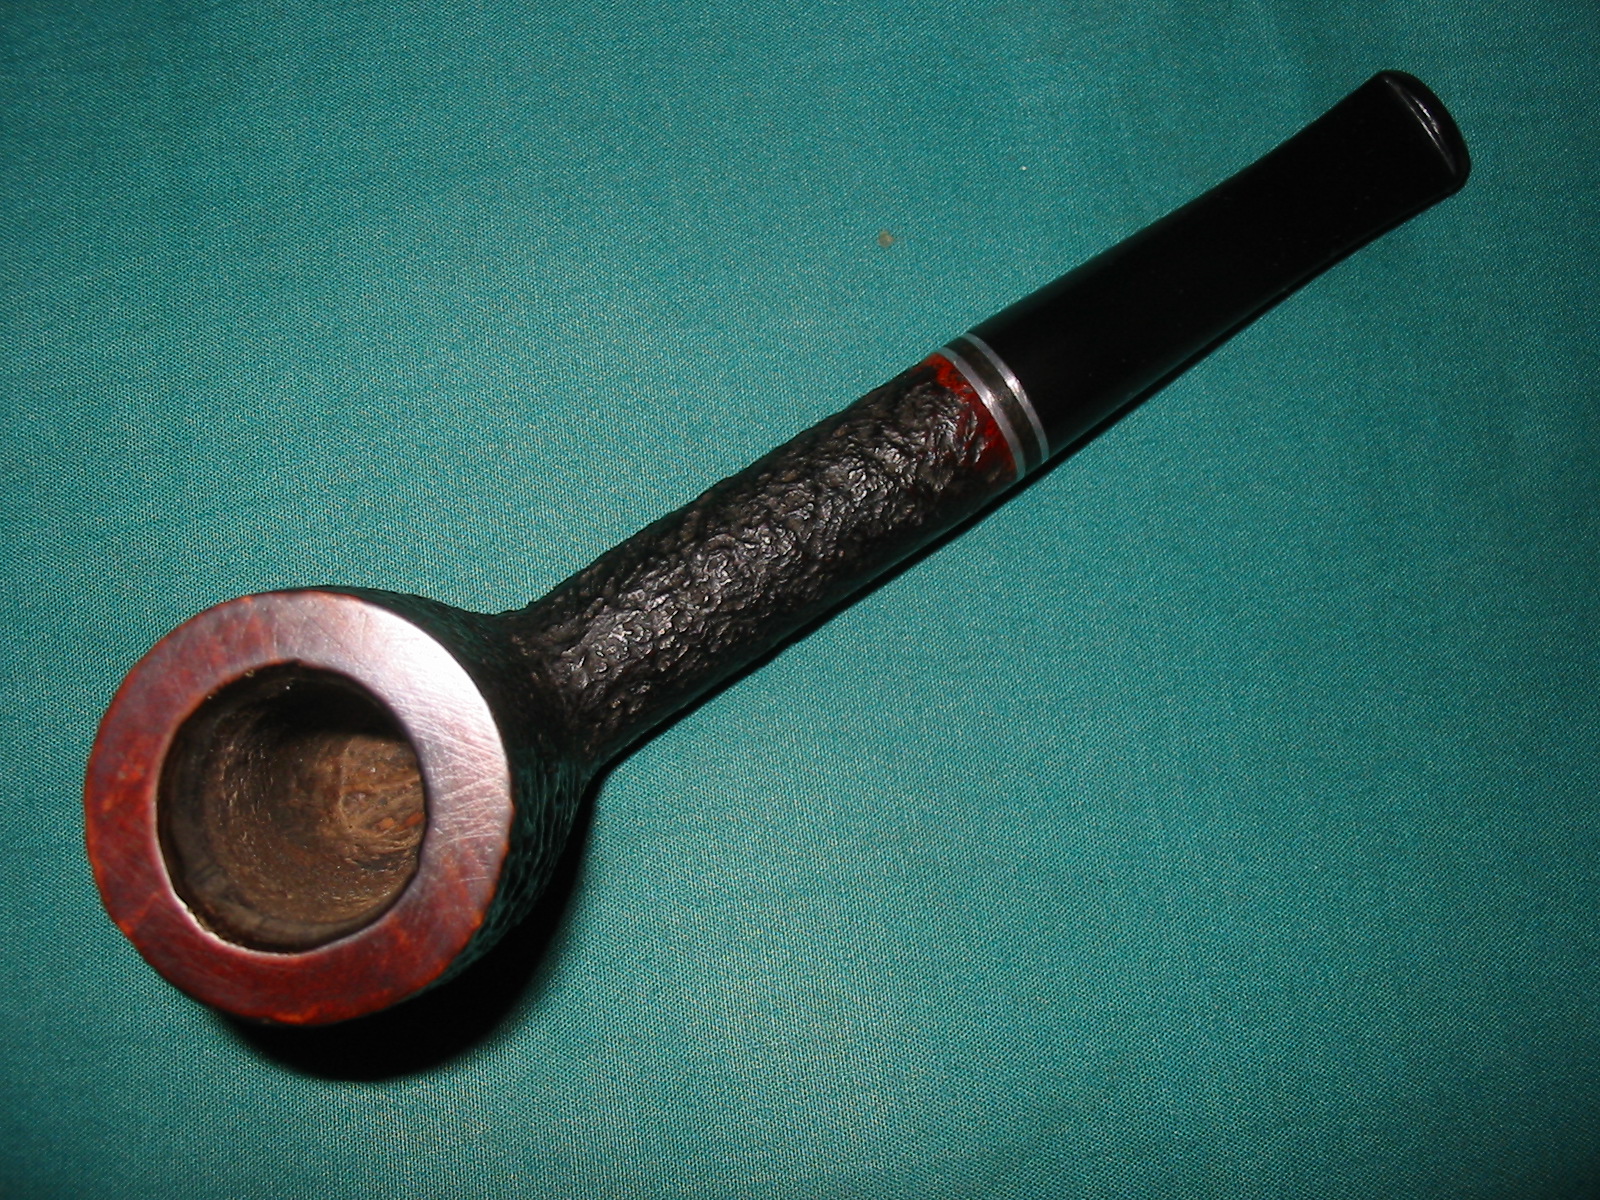

Once I had posted the pictures of the pipe above when I blew them up to see them more clearly the top of the rim was full of scratches and obviously to me needed more work so I just finished reworking the rim and restaining it.