Over the years I have set up several box passes of tobacco to facilitate sampling of different blends and a way of trading pipes. The concept is quite simple and generally works best when kept within a geographic area. For instance – Canadians start a Canadian pass, Americans and American pass, etc. I have found over the years that fighting the Customs people at the borders is not worth the lot of problems that cross border or ocean shipping can cause. The one who starts the pass packs a box with tins or samples of tobacco and a few pipes that are available to each person on the list of those participating. The basic idea can be adapted to fit a particular region or even type of blend. I have also seen it used with cigars and it also works very well.
I am including two documents in this post that I include with each box pass. The first is a document called How It Works. The second is called Contents of the Box – Puts and Takes. The idea of the box pass is explained and a few simple “rules” are included in the How It Works document. I have found it important to include these in the box pass as they give a framework for recruiting of participants in the box pass as well as guidelines for the recipients of the box when they look at the contents and swap tobaccos or pipes.
I have participated in box passes where there were no rules and generally there have been problems with things being lost or kept too long or with items being swapped that had lesser value than the ones that were taken. The Contents document works to keep people honest. It lists what was sent when the box went out and what was taken and added. The Puts and Takes list is updated by each participant. In my passes I have asked that other participants put their name or initials by what they added and/or took.
Box passes are great fun and are a way to connect people who otherwise may not ever connect. I would invite and encourage you to give a box pass a try in your location. Gather about 6 to 12 individuals and collect names and addresses. Make a sheet with these names and addresses in the order of the pass. Send it out to the first name on the list, they will send it to the second and so forth. The last person on the list returns it to the original sender and they can either take and put and start it over or lay it aside until a later date.
HOW IT WORKS: (This is the sheet that I send out with my box pass)
— This pass is open to Canadian Residents ONLY! We have many friends across the borders that we’d love to have participate with us in this pass, but issues with Canada Customs makes this impractical, at best. Our apologies are extended to those Brethren of the Briar outside Canada.
— Each participant can keep the Box till the following Monday before shipping it out to the next person on the list. This means if you get the Box on a Wednesday you can keep the Box till the next Monday (yep, that is 4 days), if you want to ship it sooner you can.
Hopefully this will give you longer to sample the goodies. Feel free to sample from the open tins and from the bulk tobaccos (but, please be sure to reseal the baggies that contain them once you are done thanks!). All that is asked in exchange for this is that you leave something in the box for others to sample. While this is fun, please remember that those further down the list from you are anxiously awaiting the box’s arrival. Uncalled for delays spoil the fun!
— When shipping the box to the next participant the use of Priority Mail service with Delivery Confirmation is required. Shipping via UPS is also acceptable.
— If the box is beginning to show some wear and tear, or needs a bigger box (last time we changed the box several times), please replace it with a new box. “It can make it one more time” thinking in the past has resulted in items being lost due to the box failing while in the shipping company’s hands.
— Puts and Takes should be of like kind of items in the box. If you take a sealed tin, replace it with a sealed tin. If you take a partial tin, replace it with a partial tin. The only caveat is that sealed tins can be used to replace any tobacco in the box. Partial tins in this box will be individually placed in Ziploc bags, so please be courteous and place your partial tins going into the box in Ziplocs as well (this is to insure that they do not dry out).
— Tobacco used for Puts into the box should be of good quality and should be blends that you would like others to try. This is not a disposal service; it is an opportunity to sample and trade for some tobaccos you may not have had the chance to smoke and to give your
fellow Brethren of the Briar a chance to try some tobaccos they may not have tried before.
–Please, no glass containers. One word breakage! `Nuff said!
–Puts and Takes should be notated on the list enclosed in the box. Additionally, all puts and takes should be posted to this thread of the Web forum (if you are a web forum member. Web forums are great places to recruit a list). Remember: That part of the fun of participating in a box pass is watching the thing play out on the board!
CONTENTS OF THE BOX – PUTS AND TAKES (this is a copy of the initial list I sent out in the last box pass I sent out. I include it to give you an idea of how it works for the one starting the pass.)
(Note: Alongside the item you take from the list of contents add your name. Add your puts at the end of the list and also add your name. It is always interesting to follow the box and see what others have taken and put in. Thanks!)
Tobacco
1 unopened tin of GLP Haddo’s Delight
1 unopened tin of Bjarne’s Flake DeLuxe
1 unopened pouch of Three Star China Black Whiskey
1 unopened pouch of Three Star China Black Fire Cured
1 unopened pouch of Three Star China Black Vanilla Burley
1 opened tin of F&T Blackjack (VA Flake)
1 opened tin of Dunhill Royal Yacht (older and a bit dry but smokes well)
1 50 gram +/- of GLP Tribute (this is the first edition of this tobacco. It came out after 9/11.)
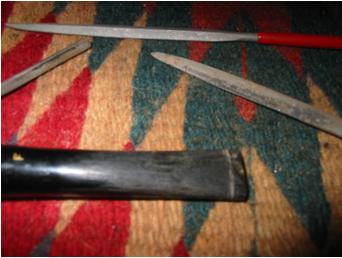
Accessories
2 Drift wood tampers from the Pacific Ocean
3 briar tampers
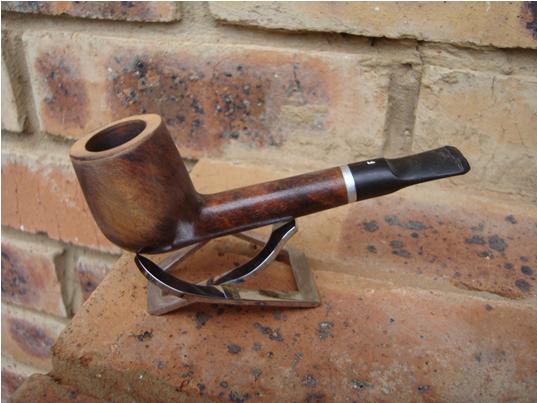
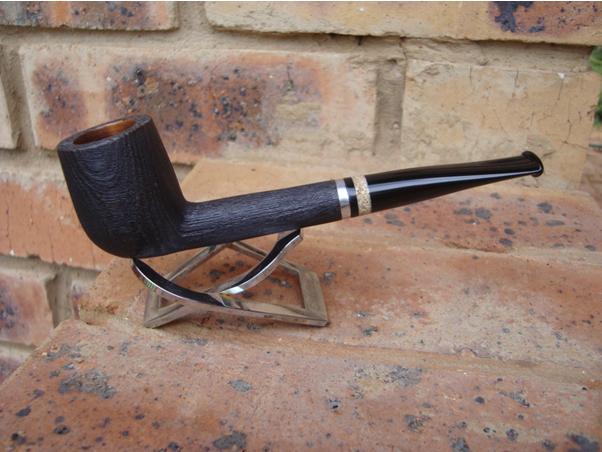
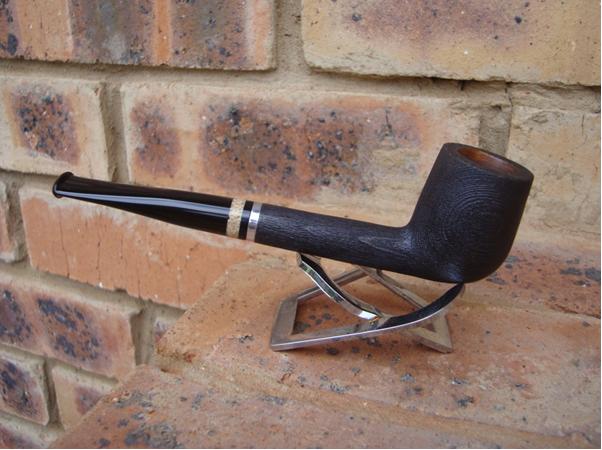
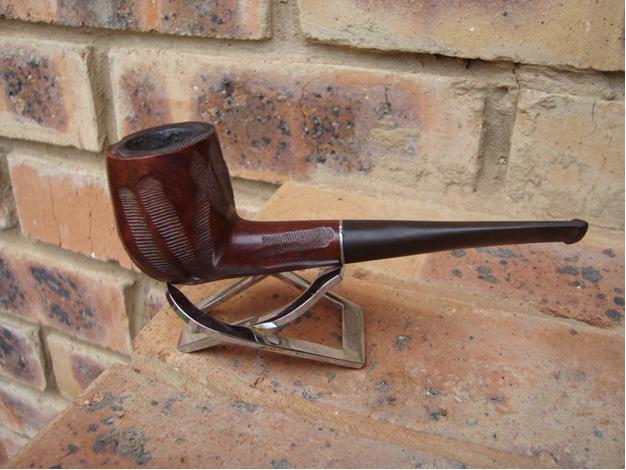
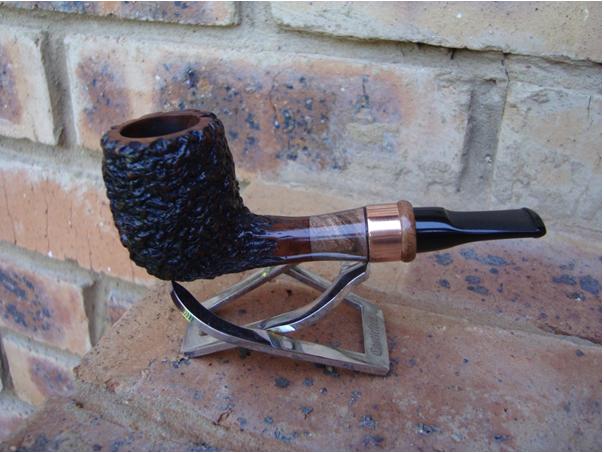
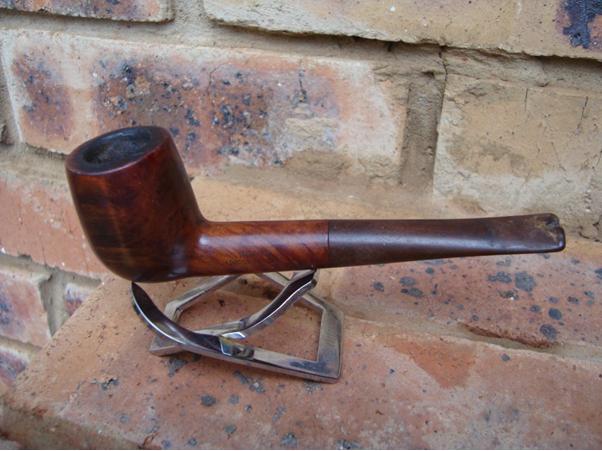
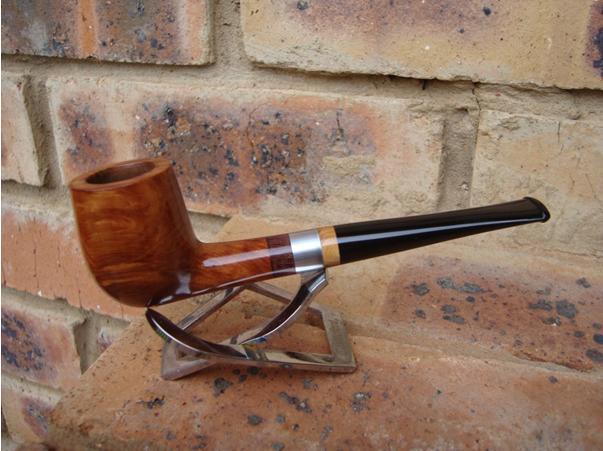
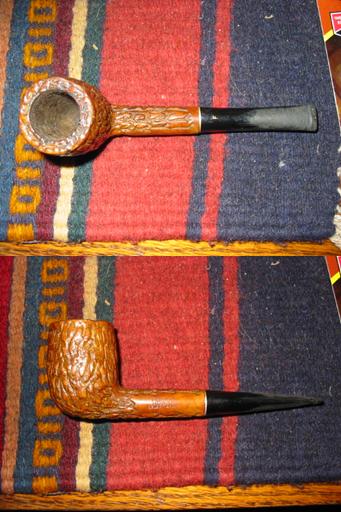
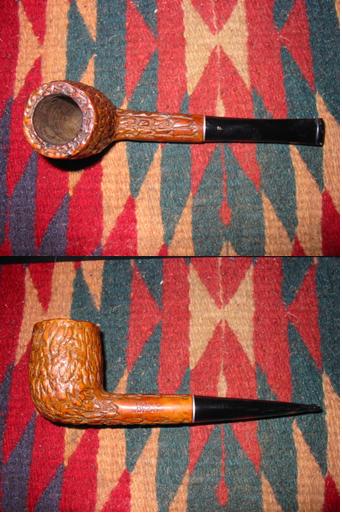
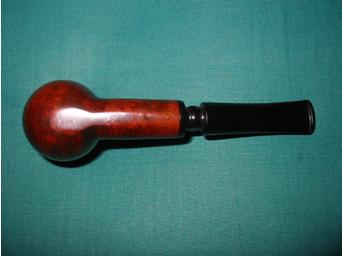
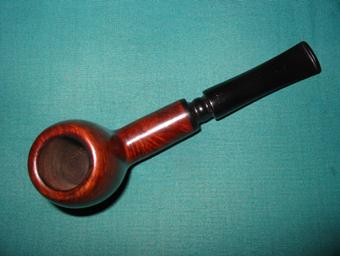
Pipes
1 Edwards Algerian Briar Canadian (refurbished, new stem and ready to smoke – older probably 50’s)
1 Edwards Algerian Briar Canadian 721 (refurbished, original stem, ready to smoke –older probably 50’s)
1 Weber Blackthorn 245 (shank was repaired by Mel Cates, YPSC, barely smoked, very good condition, ready to smoke)
1 Milano (a Savinelli second, there is a new stem with it and the original as well. Ready to smoke.)
1 Middleton Silvay, a saddle stemmed lumberman. (refinished, stained and waxed, ready to smoke)