Blog by Steve Laug
Over the years I have used a lot of pipe mud to build up the bottom of a bowl on an over reamed pipe or an airway that entered the bowl too high. I have also used it to protect a briar plug on repaired bowl and on the sides of a bowl where there was damage. It hardens and provides a protective coat until a cake is built up. In the case of a recent bowl that I restored I noticed that the side of the bowl had a deep gouge in it. I picked and probed it with a dental pick to determine if it was a burn out in the making and decided that the briar was stable and not charred in the damaged area. It looked to have been gouged with a knife of with an overzealous reaming that hit a flaw in the briar and expanded it. I reamed out the bowl to take the cake back to bare wood and then cleaned the surface of the briar with a pipe cleaner and isopropyl alcohol. Once it was clean and the surface of the damaged area was free of debris I set the pipe aside to dry. I took a cigar out of my humidor and retired to the porch to smoke it and collect the ash for the repair that I had in mind. I collect the cigar ash in a shot glass that I picked up somewhere along the way. I find that it is perfect for mixing a batch of pipe mud. I crush the ash with the flat end of a pipe nail to make sure that there are no chunks of unburned tobacco in it and that I have a fine grey dust.
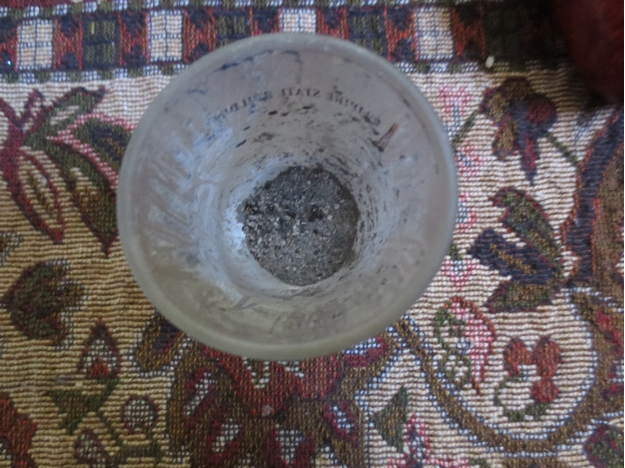 I fill a second shot glass half full of water to mix with the ash. I have used an ear syringe and even a teaspoon to put the water in the second glass. The tools for the project are very minimal and are shown in the next photo. I use a pipe nail both the flat end and the spoon end for mixing the mud and also for packing or tamping it in place in the bowl. I use a folded pipe cleaner to paint the surface of the bowl with the mud.
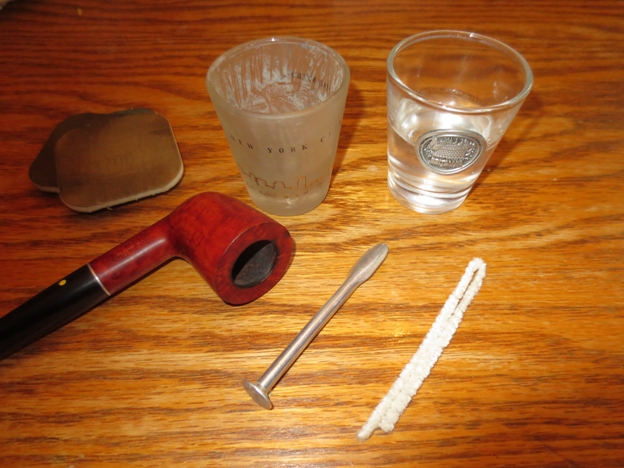 In this case I dribbled the water slowly into the shot glass with the ash and mixed it with the pipe nail. I added extra water with the pipe cleaner.
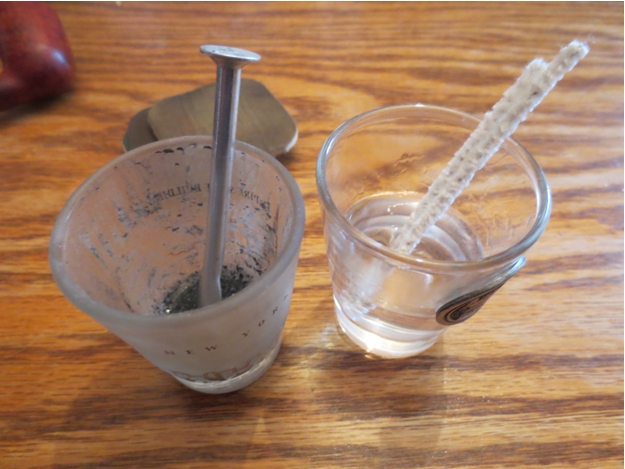 When I had the ash and water mixed to the consistency of a thick paste I paint it on the wall of the bowl and work it into the gouge in the side of the bowl. It takes multiple applications to build it up. I paint it on with the pipe cleaner and then tamp it in place with the spoon end of the pipe nail. I repeat the process until the side of the bowl is smooth and the gouge is even with the bowl sides.
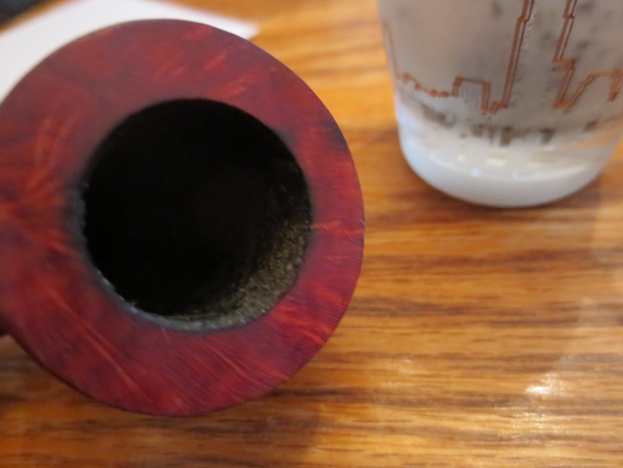
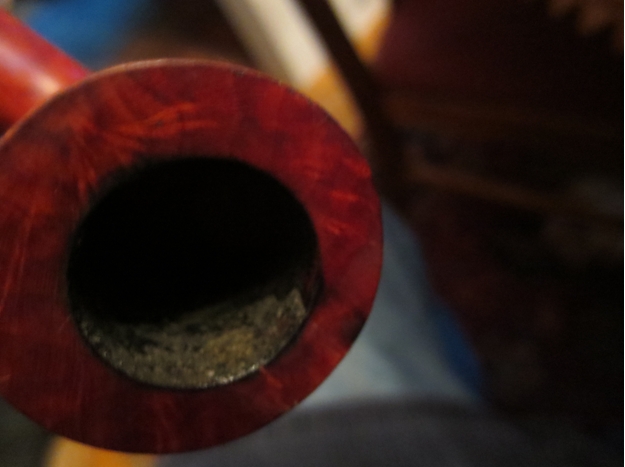 I let the initial application of pipe mud dry for thirty minutes and periodically checked the bowl to see if the mud is showing signs of shrinkage. If it had shrunken at all (which in this case it had) I refilled the area with more pipe mud using the pipe cleaner and then tamped it into place again. I repeated this process as often as necessary until the surface dried smooth. When it dries the repair is grey in colour and quite hard.
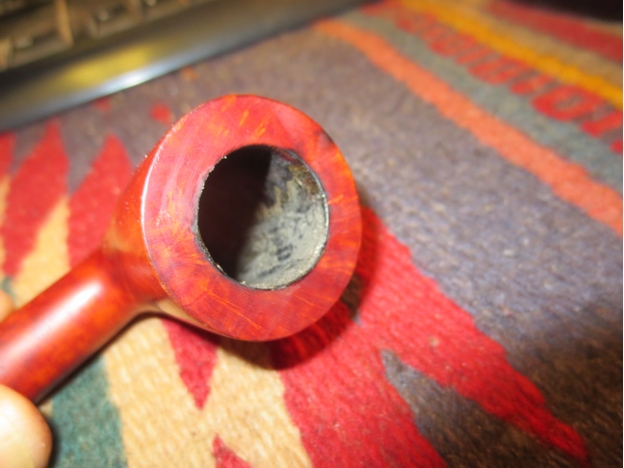 The repair works very well. It provides a base for the cake to build on. I am careful when wiping out the bowl and don’t ream until there is a solid cake formed over the repair. I have smoked pipes repaired like this for several years and never had the mud fall out of the repaired area before the cake builds over it. With initial care this bowl will smoke well for many years to come. Anyone else experimented with pipe mud for this type of repair? Let us know.
