Tag Archives: stem repair

Peterson Kildare Marathon Restoration


This year has been a roller coaster ride for me; between added responsibilities of watching our new grandson, health issues, and a flair up of my spinal stenosis that put me down for almost two months, I have been unable to do any of my hobbies. Unfortunately this has put a couple of friends that I have pipes to work on in a state of limbo waiting on me. They are not easy clean-ups and they knew going in I am slow – but still I feel badly about it.

This Peterson Kildare 106 billiard had been in my possession for ages it seems to me at least. I have worked on it off and on, loosing track if my progress (and many of my notes and photos) of the process. It went out in the mail today I am happy to say (and the owner is probably happier to hear!).

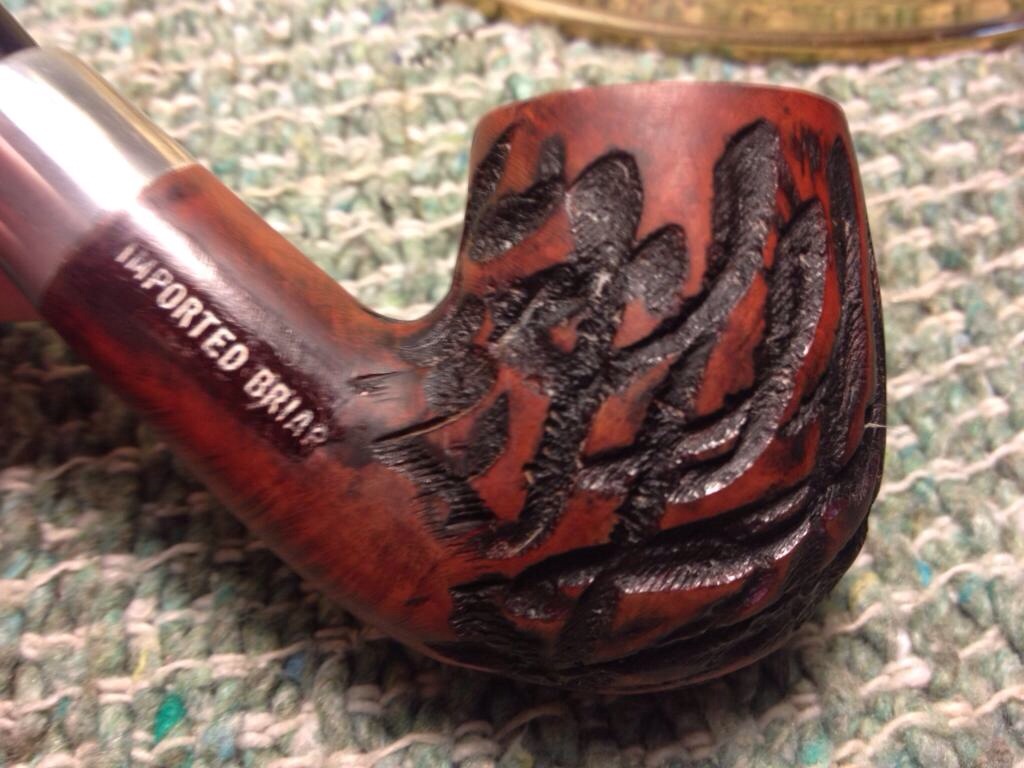
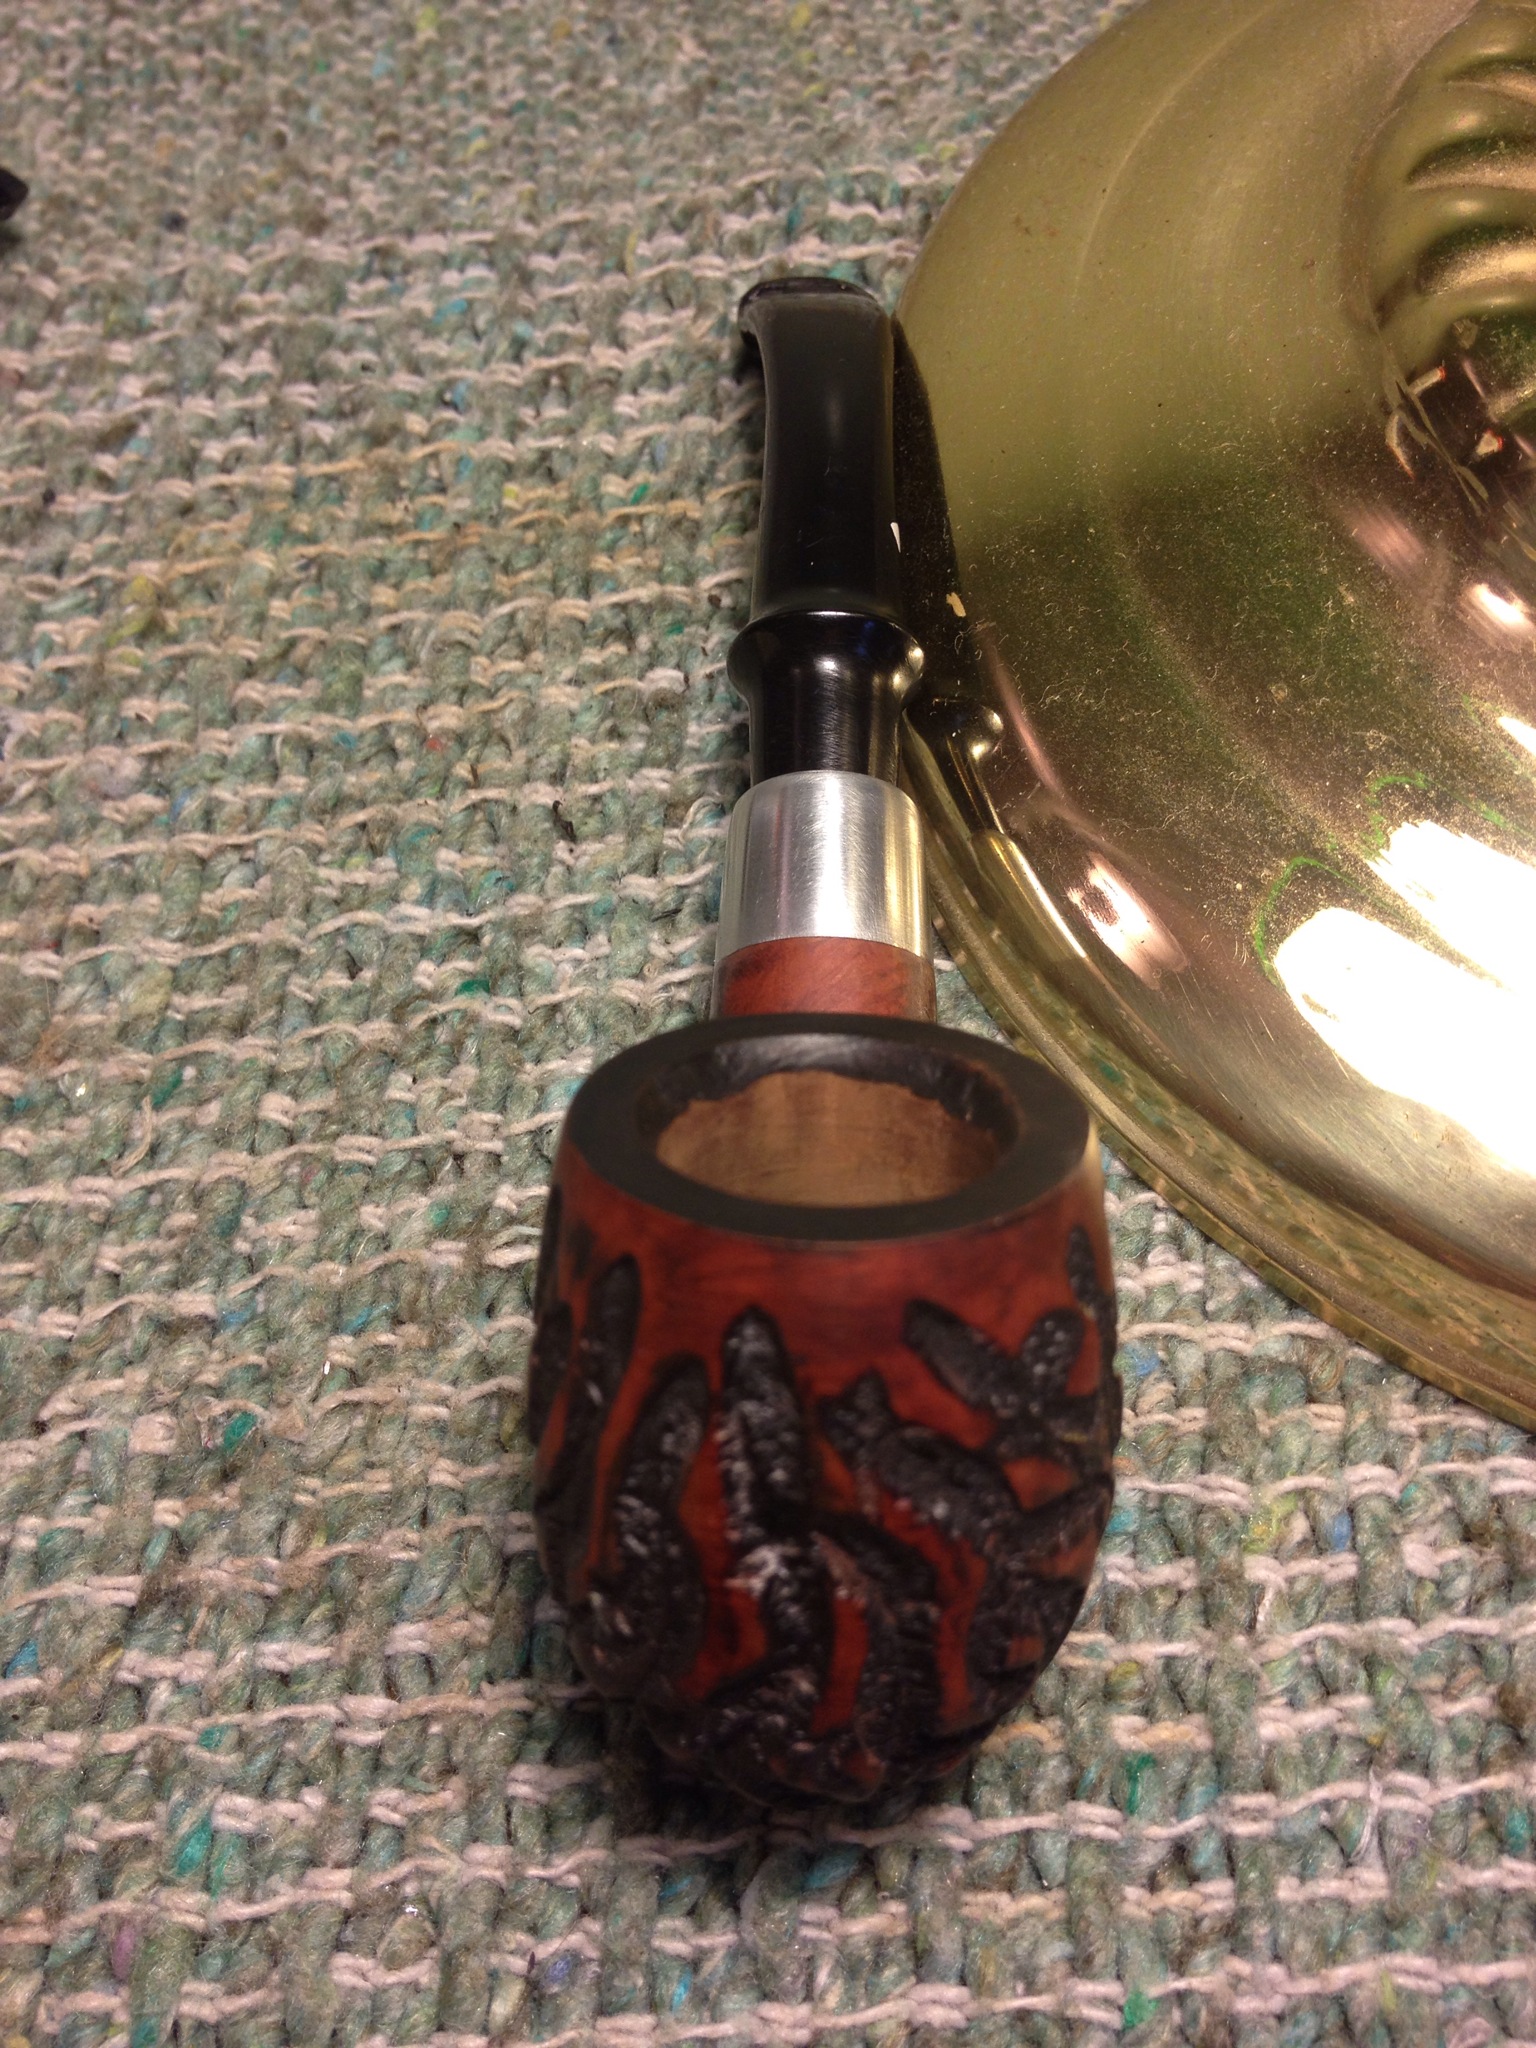
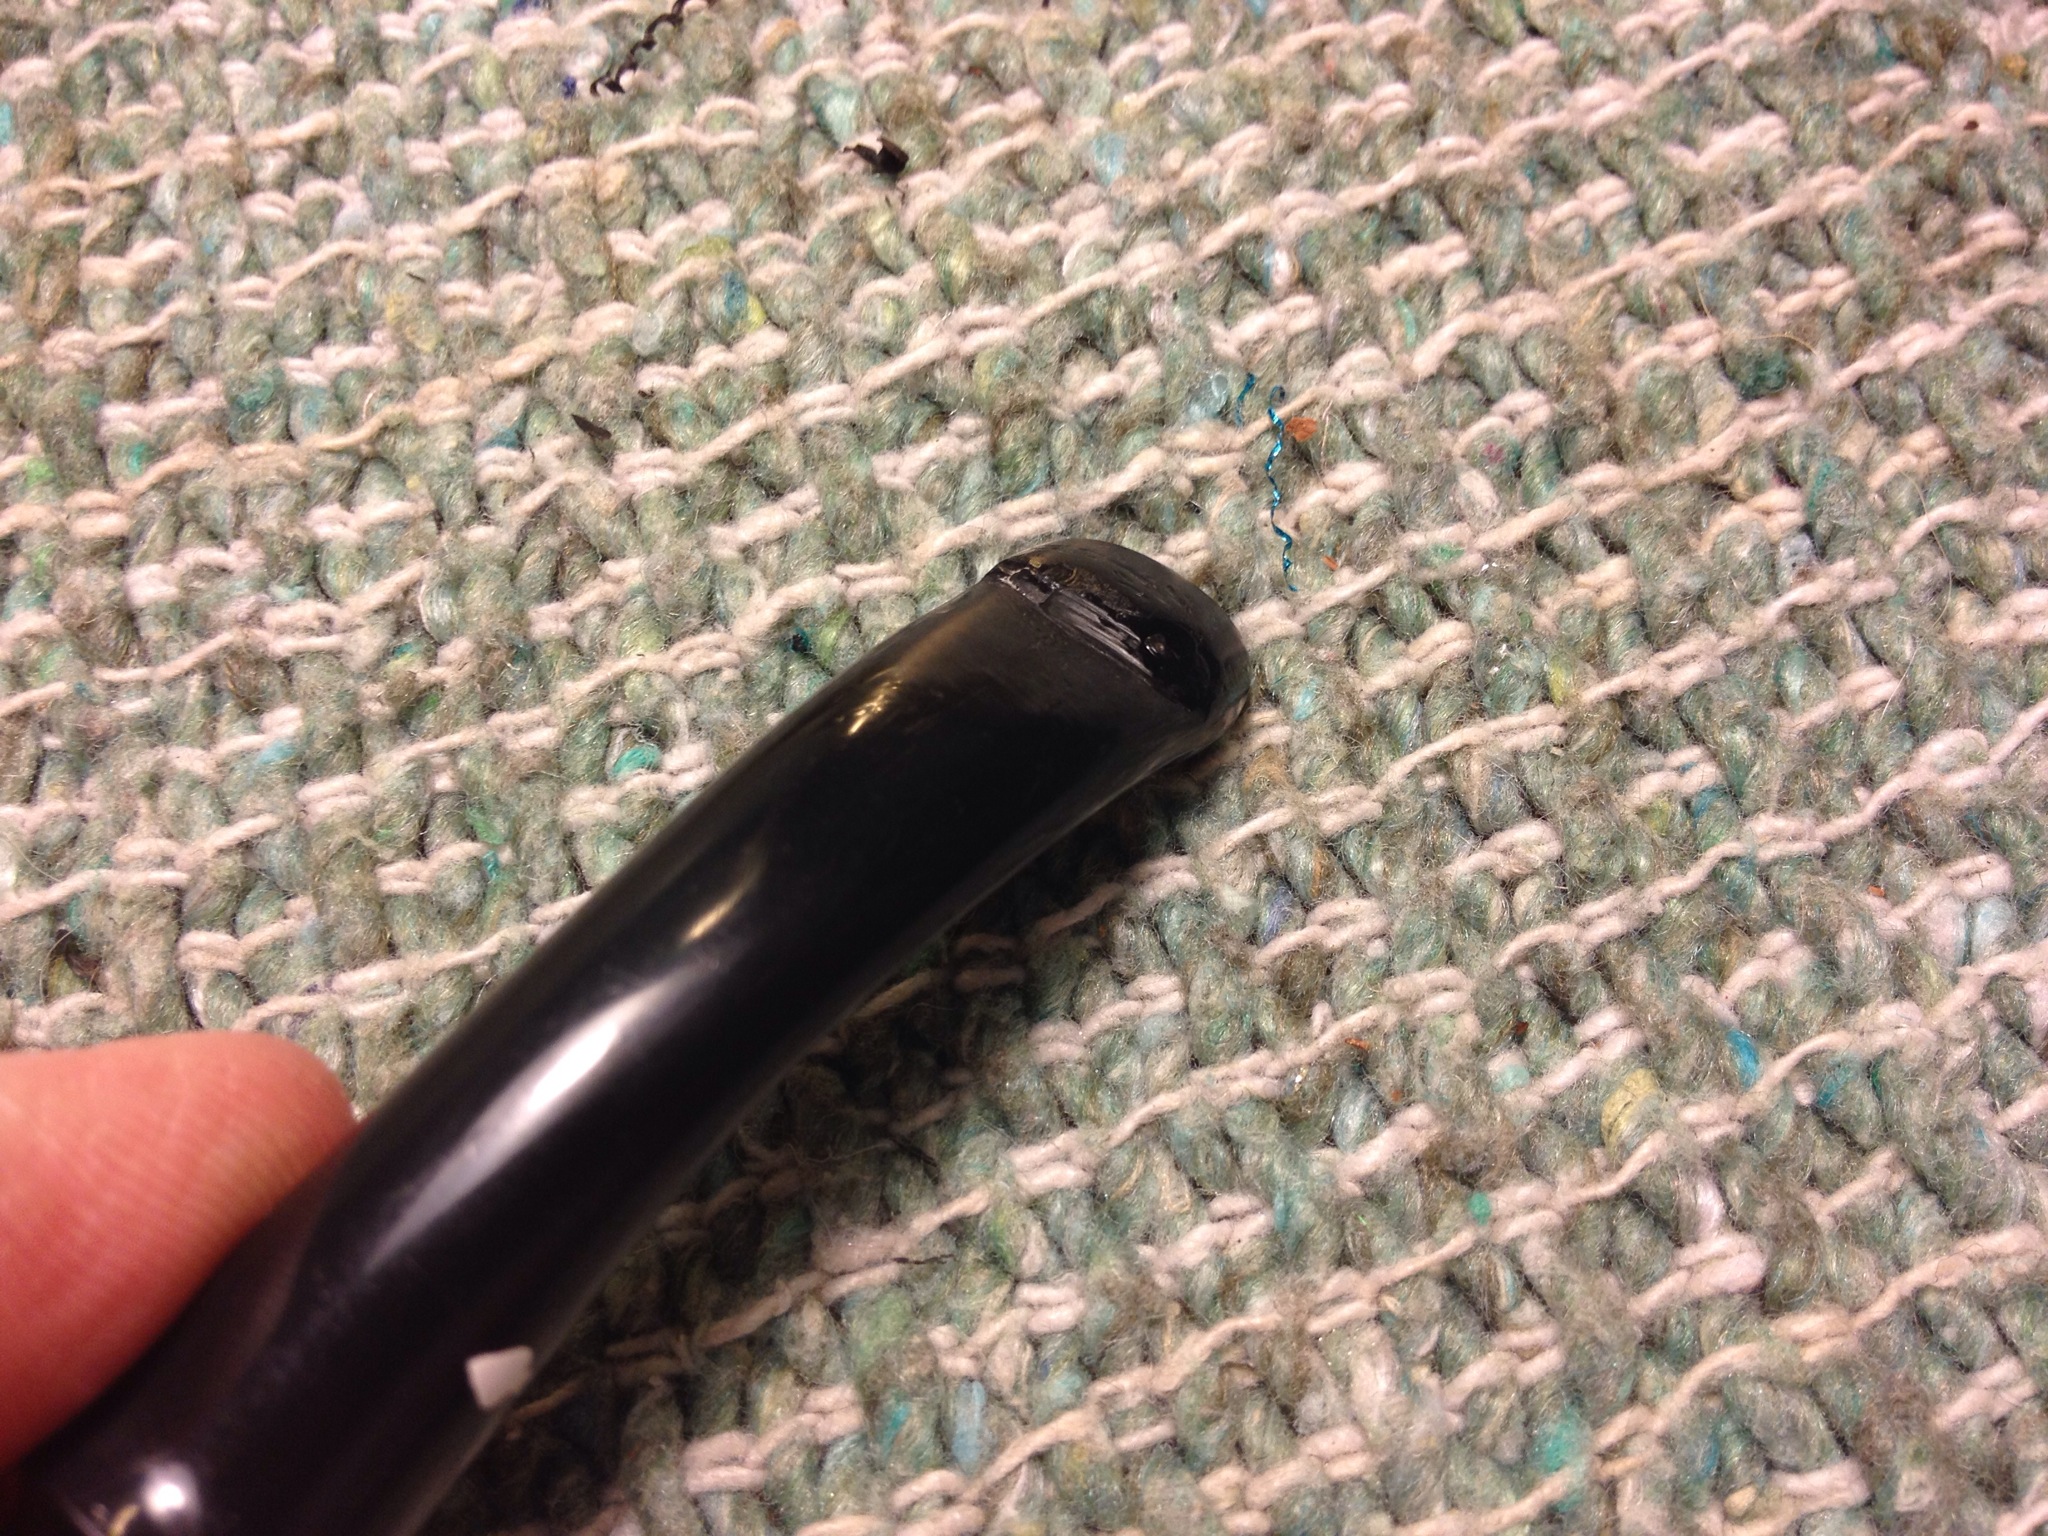
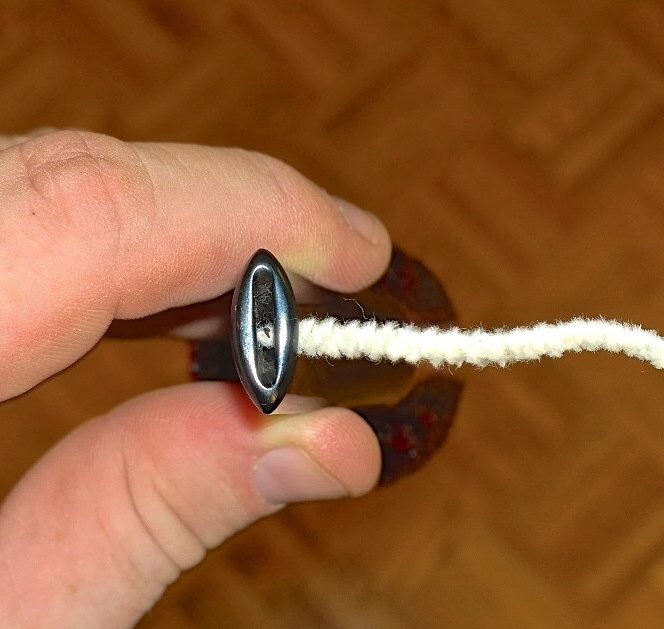
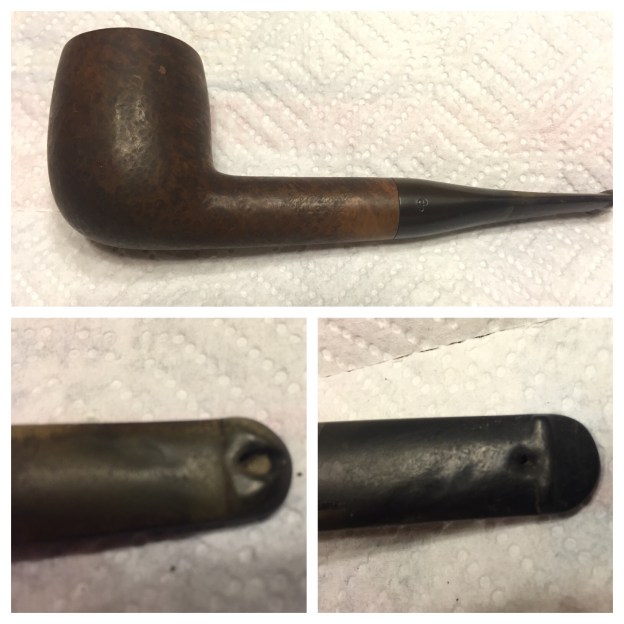
I knew the pipe needed stem work mostly but when it arrived at my home it was in worse condition than I had anticipated. The stem was really badly gnawed on, with an extra hole bitten through on the bottom. The pipe was very dirty and there was a fill that had partly fallen out; that didn’t really bother the owner, as I recall, but it made me nuts! Here is a look at what the pipe looked like when I got it.

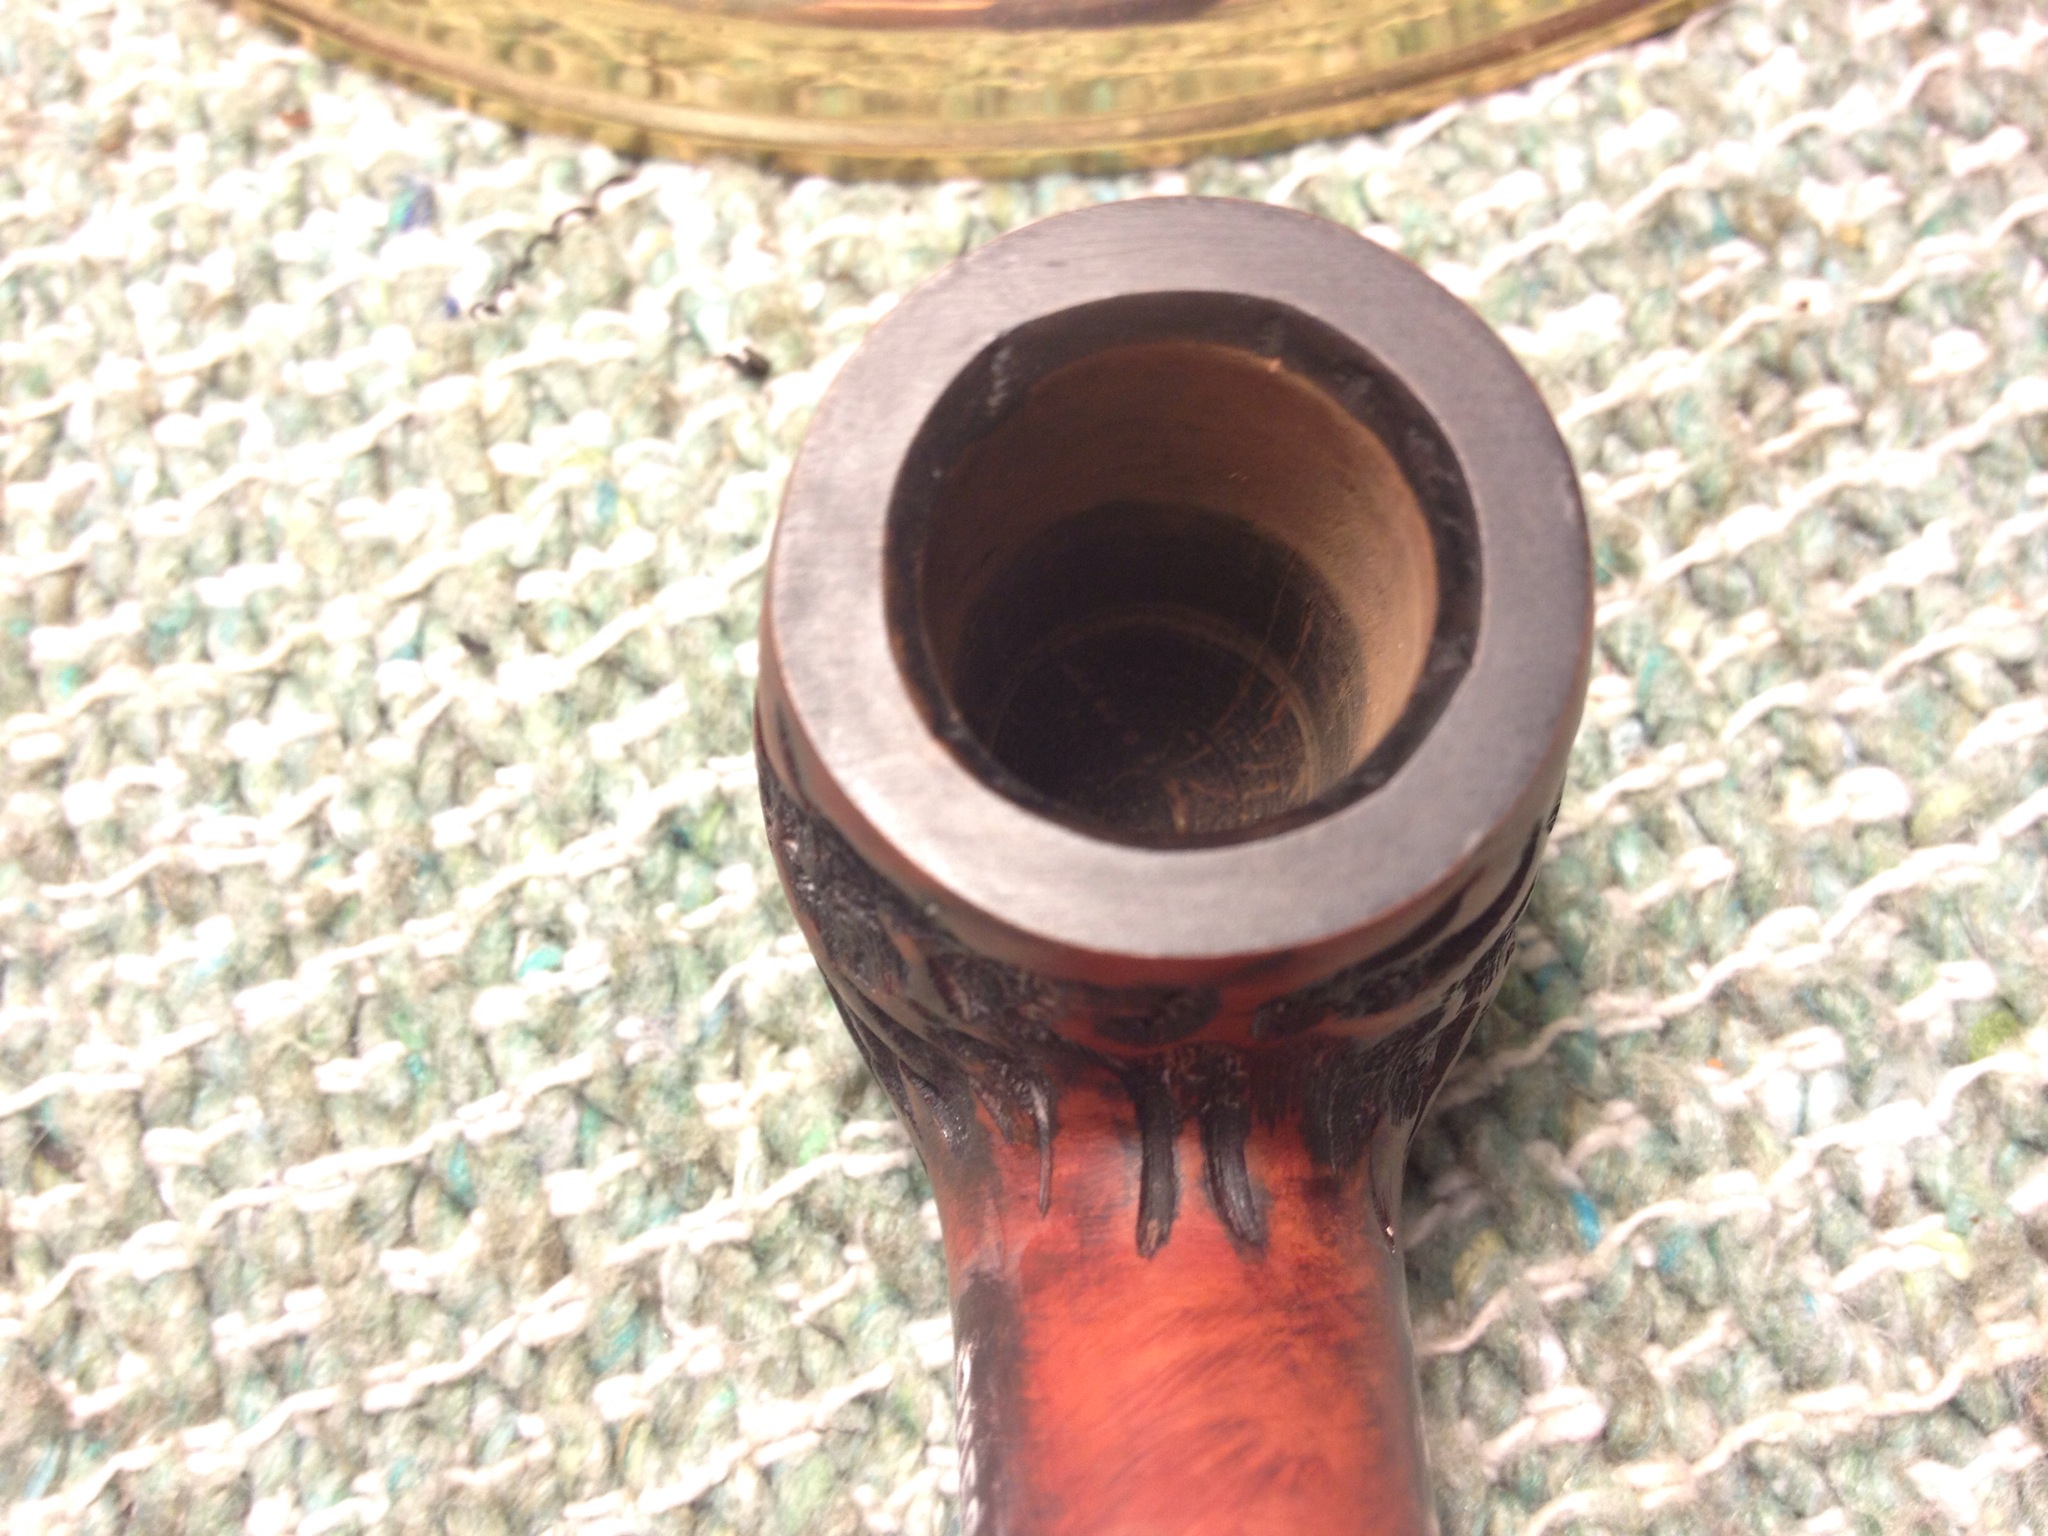
I began cleaning the internals which weren’t bad as it turns out. I cleaned the stummel with alcohol and cotton pads, removing the grime, exposing the missing fill even worse; I knew I had to deal with that as I went along. But first I began to ream the bowl while the stem soaked in an OxiClean bath. img_5027

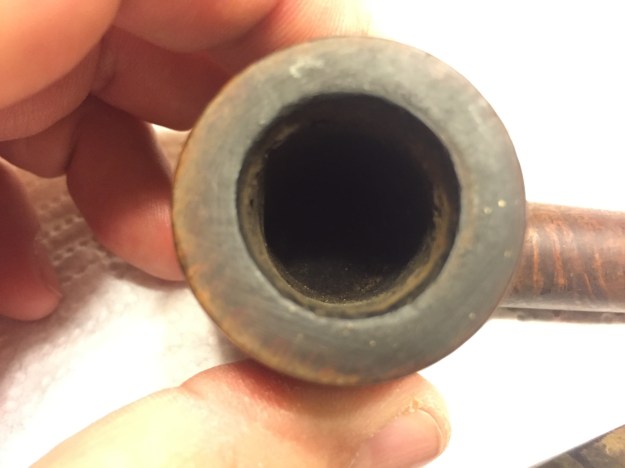
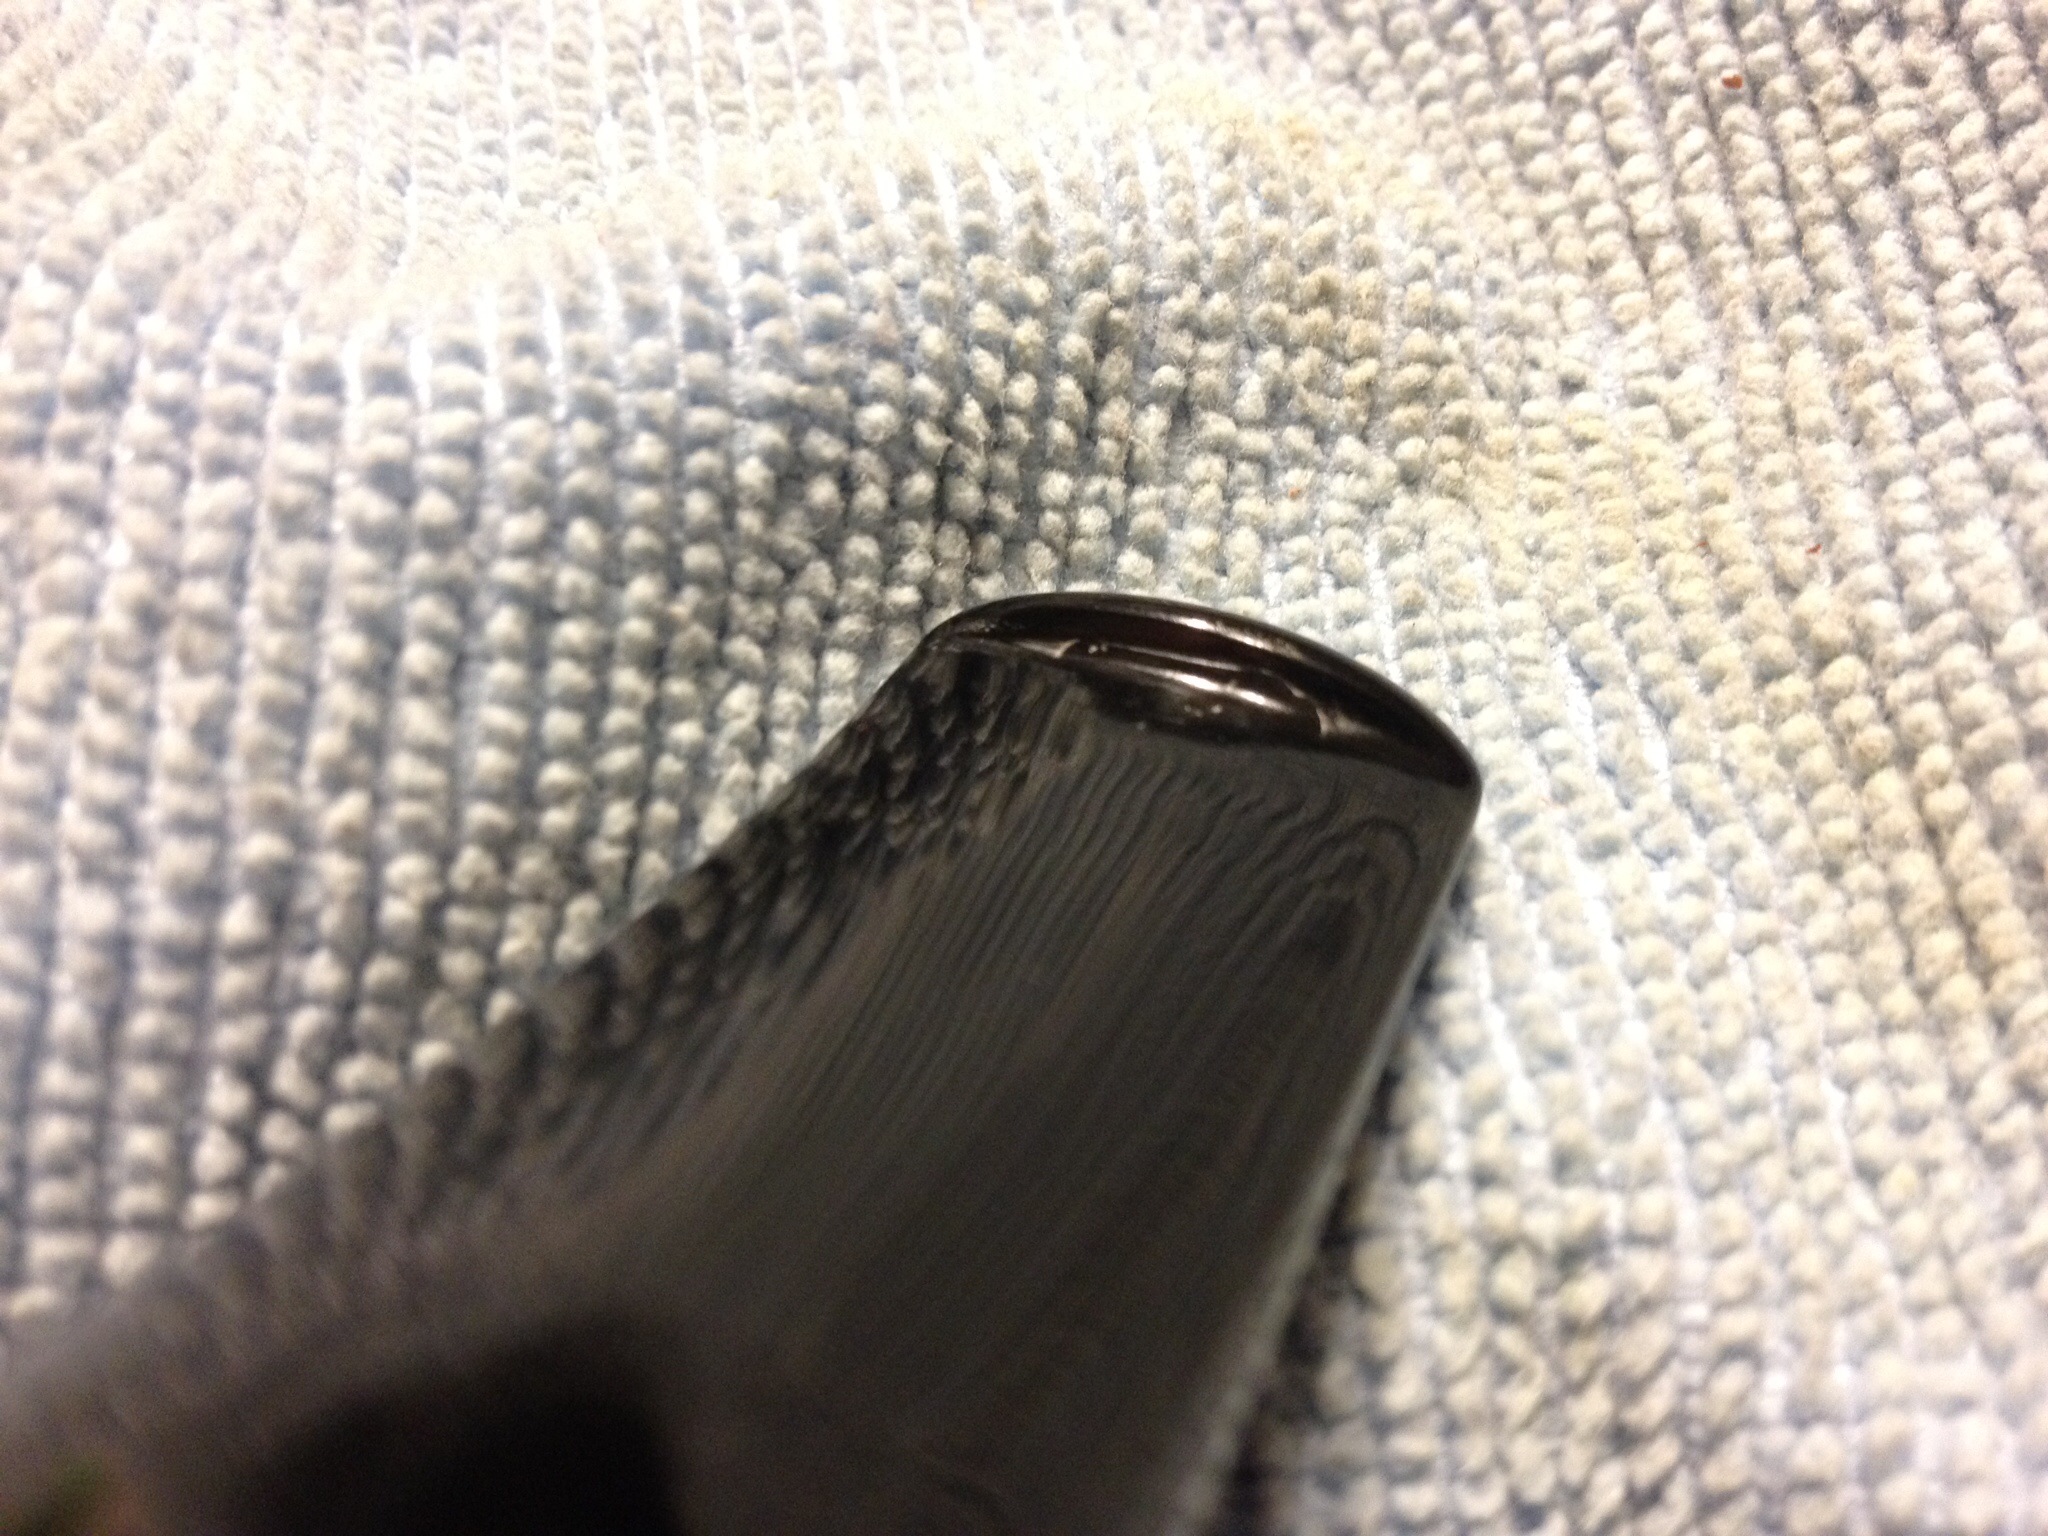
The OxiClean bath and a scrubbing in clean, warm water with a green Scotch pad left the stem clean and free of oxidation. The amount of work the stem needed was even more apparent now; not only did the bit need a lot of work, there were some very large dents in the stem. I tried to raise the dents with heat but that really made no difference. So I decided to start the process of building the bit up (P-lip, a new for me repair) and filling in the dents with black CA glue and charcoal powder. This took many layers over many days (which turned into months); I had to raise, shape, repeat, over and over to get the P-lip back and to fill the extra hole in the bottom of the stem and the deep divots.

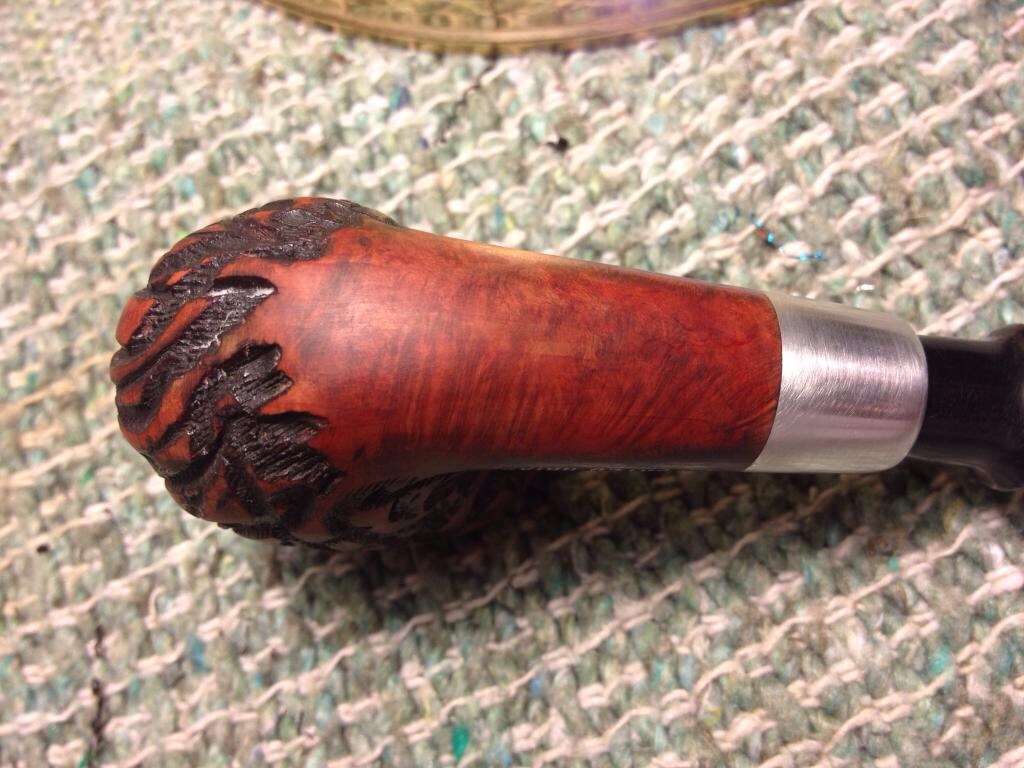
During the interim times I worked on the fill that was partly gone and one other dent that stream wouldn’t raise. I used coarse briar dust from filing not sanding (which I think takes dye better and is less apt to just be a black spot) and CA glue to fill the two spots (the worst one is visible in the very first photo in this post). I accidentally over did the fill, costing myself a lot of extra time. However the patch ended up blending in great in the end. After a lot of working the patch to blend I stained the pipe with a diluted Brown Fiebing’s leather dye, two coats, flamed on, if I remember right. After buffing with brown-Tripoli the stummel looked nice but too dark to see the really nice grain (birds eye and flame) so I wiped it down with alcohol on a cotton pad until it let the gain show through and re-buffed with brown-Tripoli. Now the stummel looked good to me. Back to the stem…

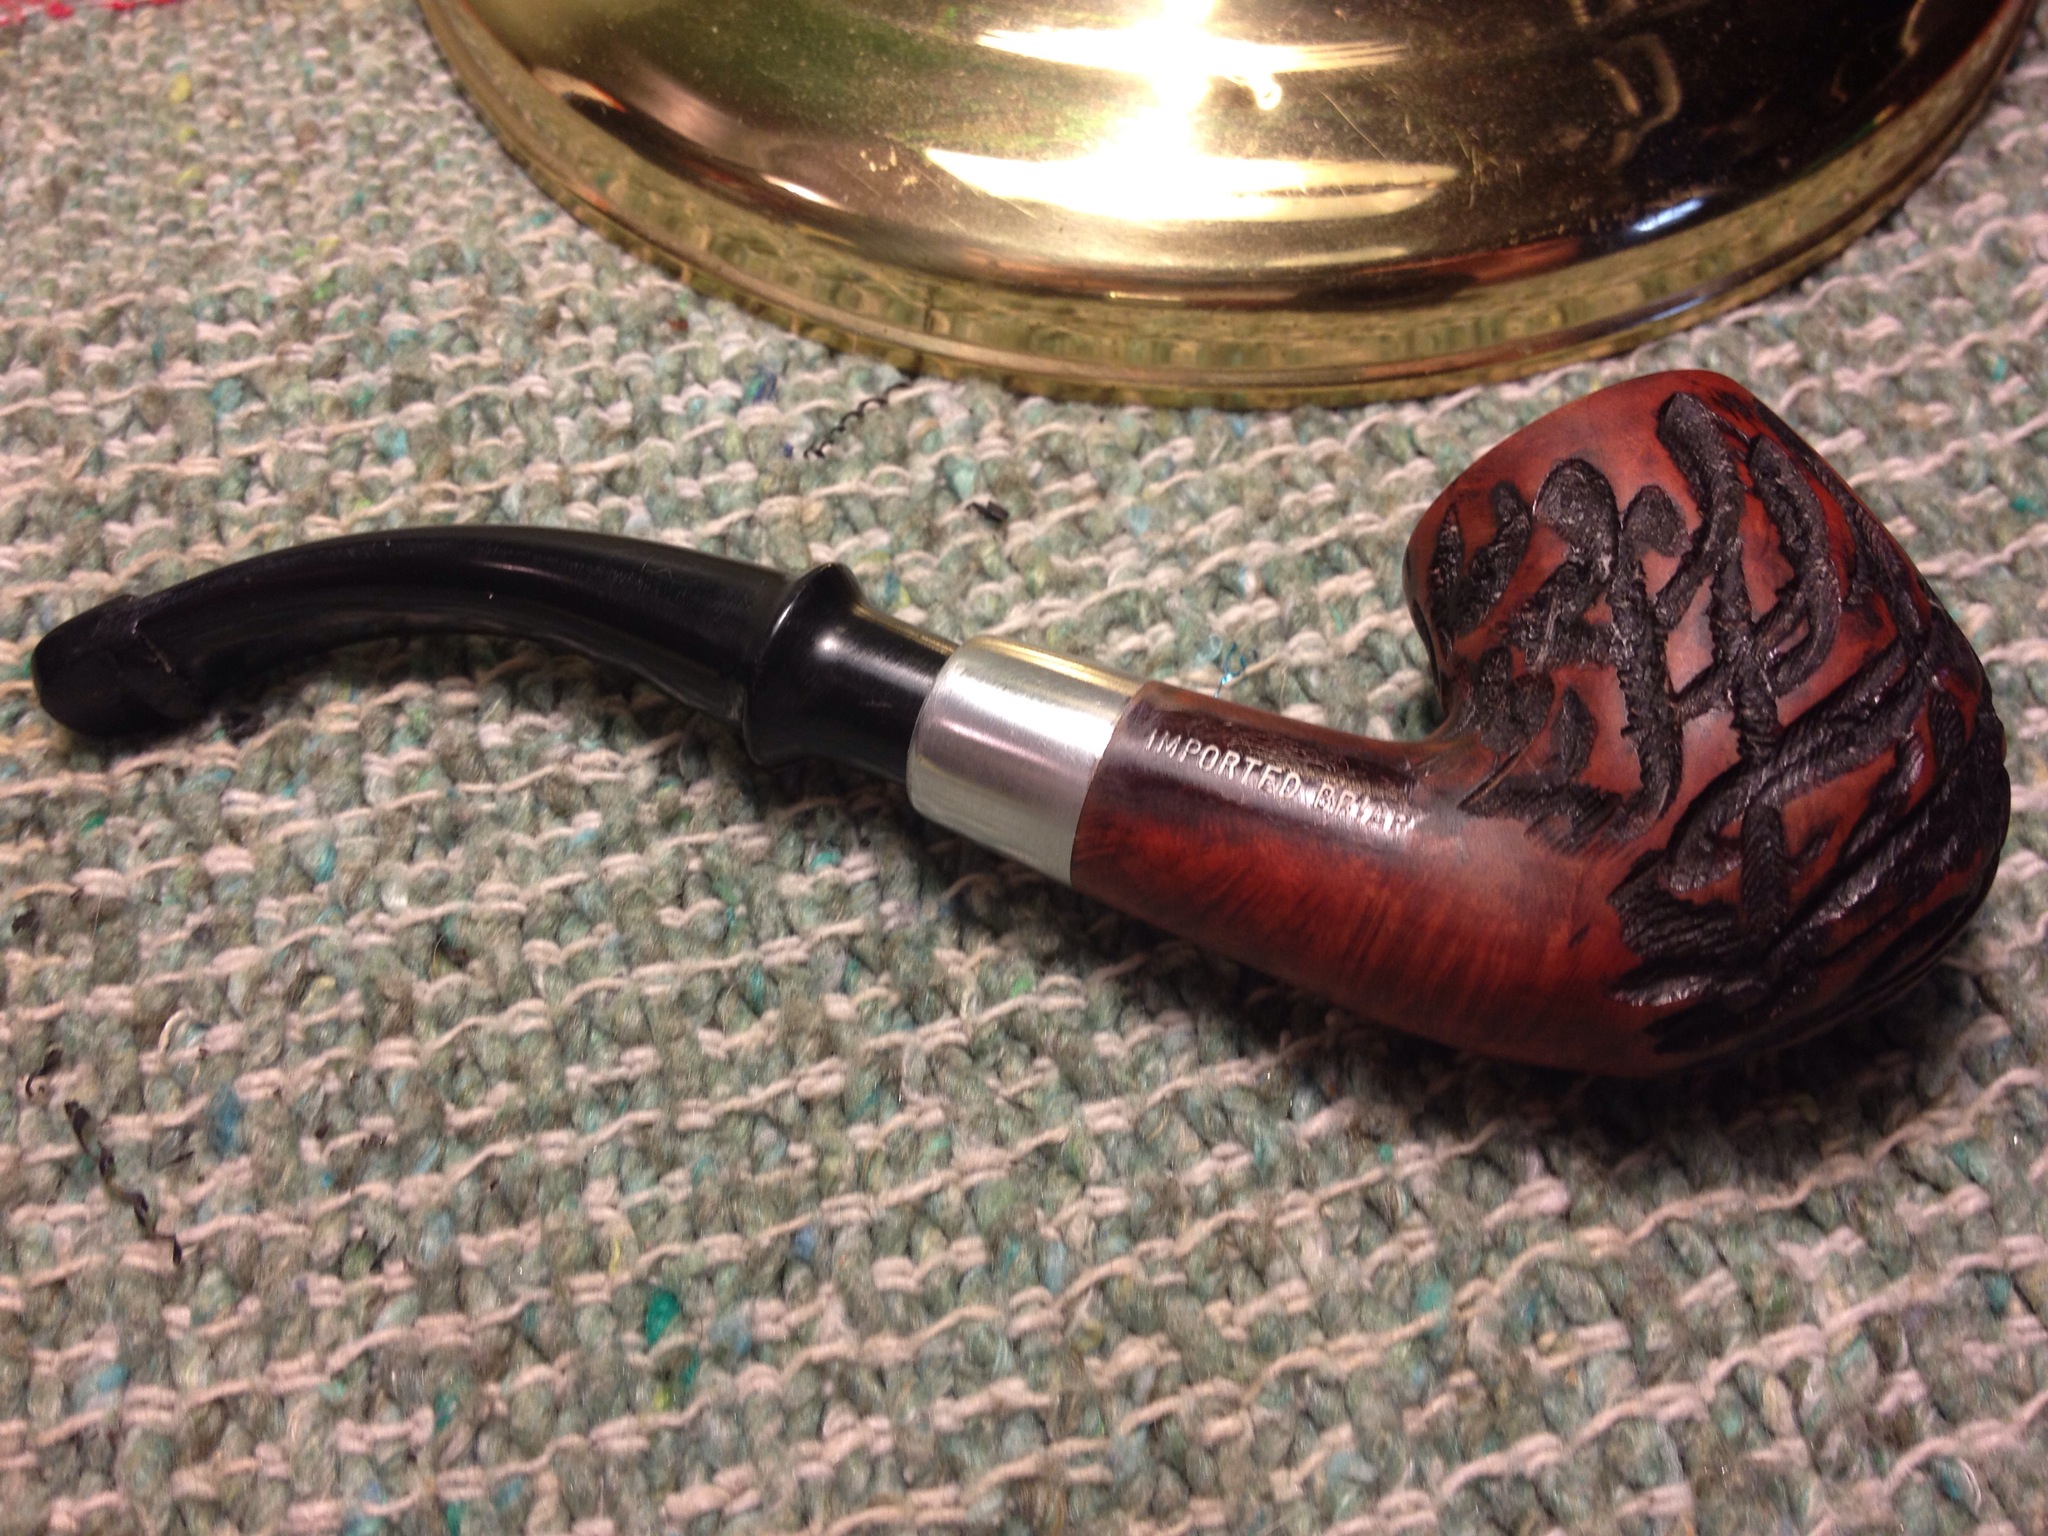
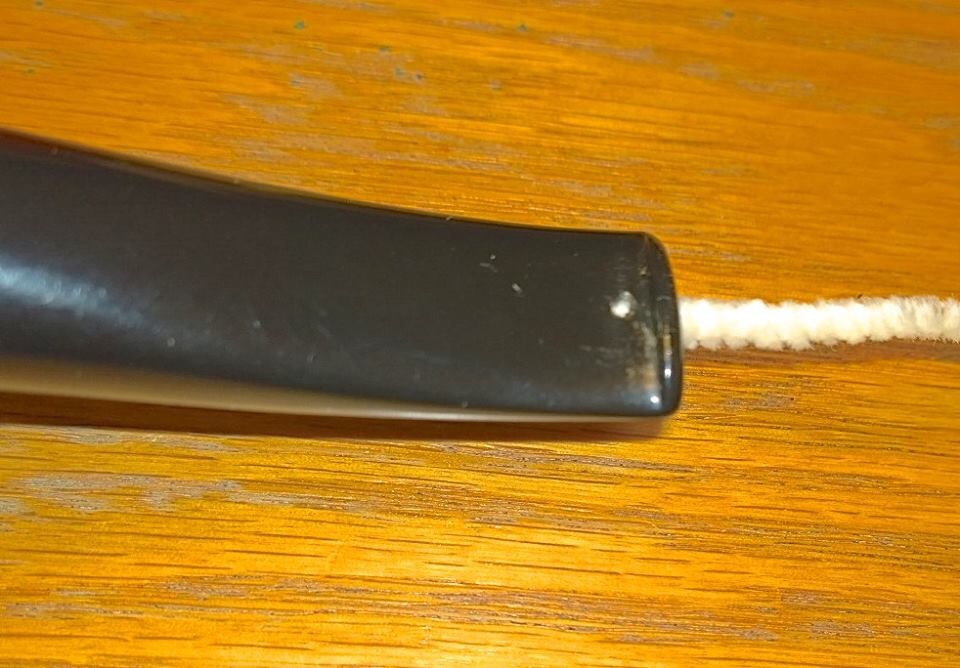
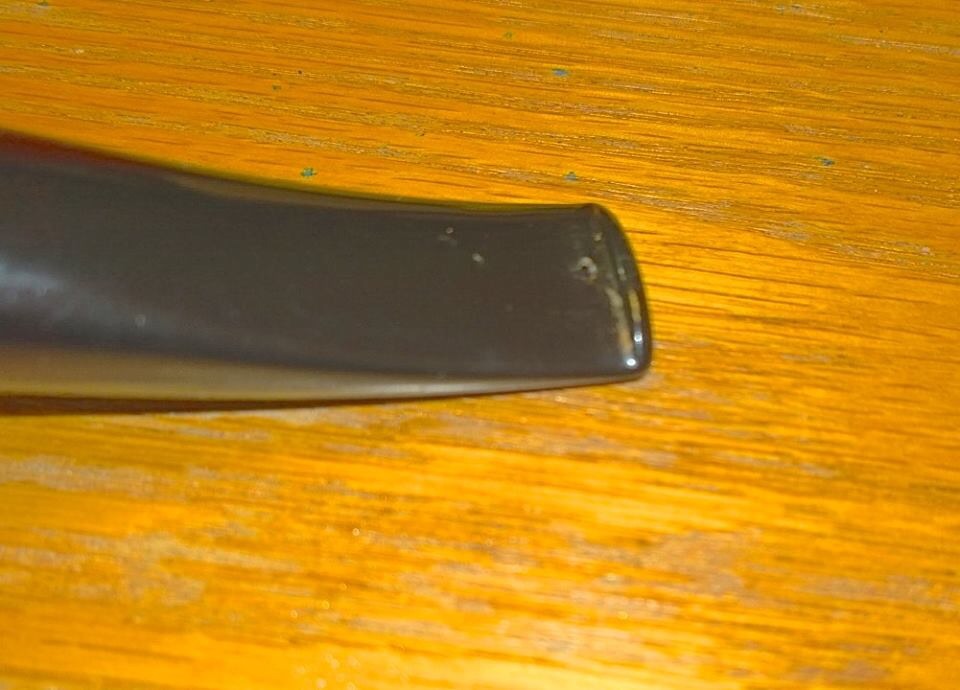
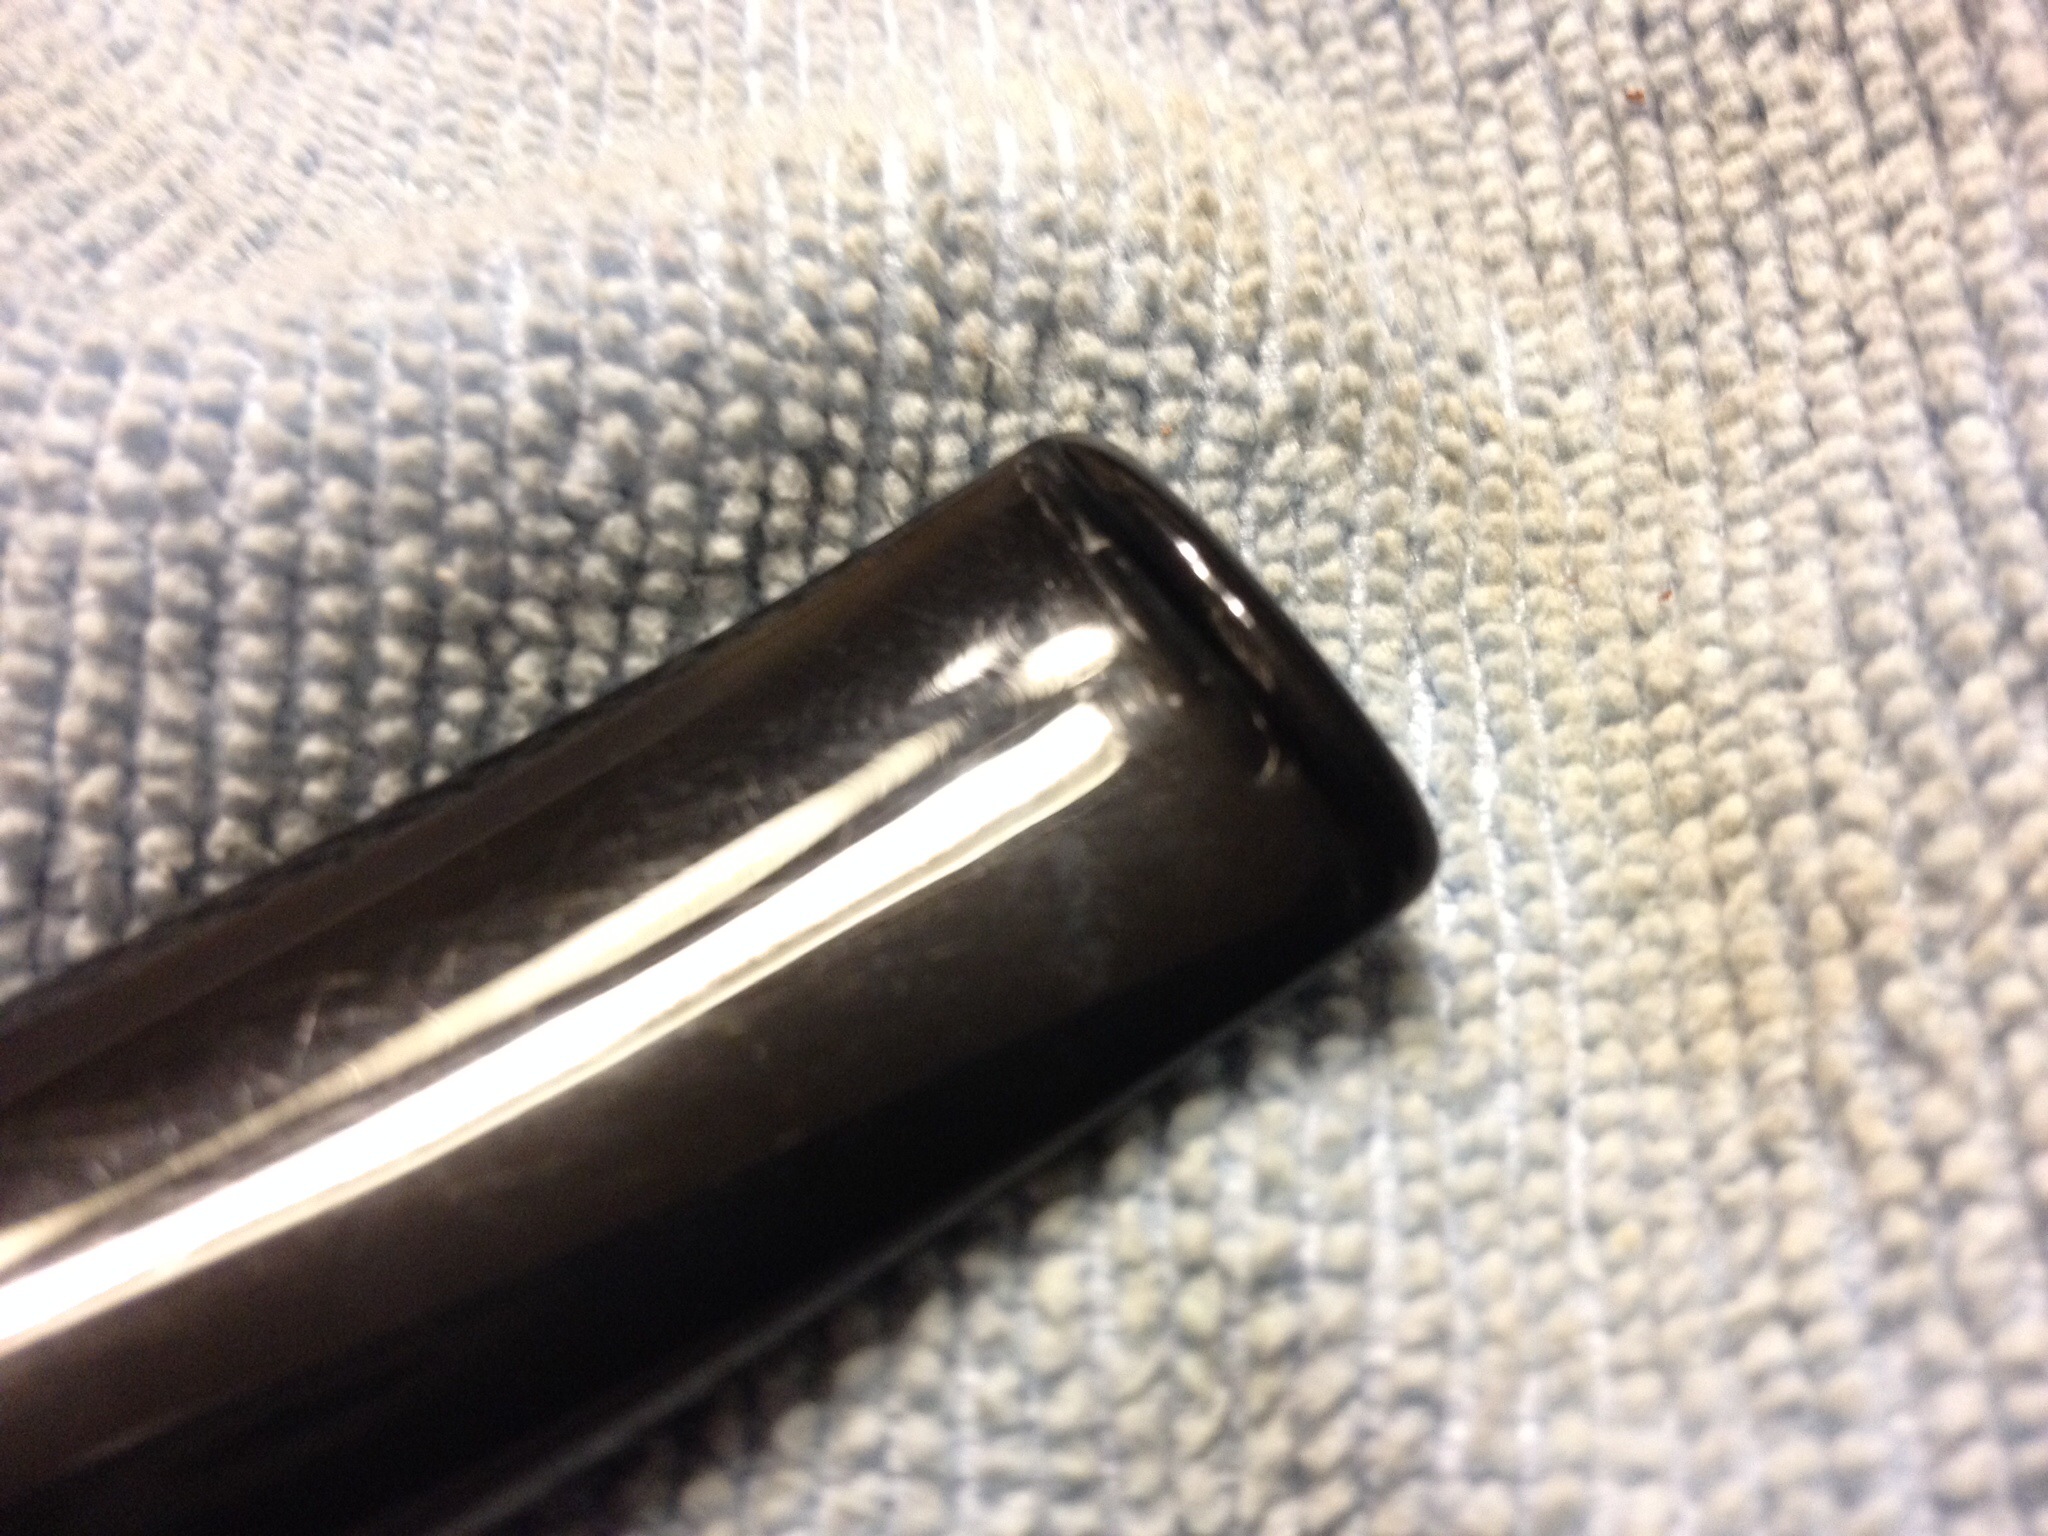
This P-lip drove me to the brink of insanity! Not having a P-lip on hand to compare it to made it more difficult. Filling the bottom hole (that wasn’t supposed to be there) was easy but shaping that top and bottom lip/ridge was a chore. The deep divot just did not want to be filled; the patch shrunk over and over. The huge, dented  draft hole on the top of the stem was a bother, too; I can’t tell you how many times I glued it shut trying to get that button rebuilt! In the end it came out pretty good; there are some tiny scratches visible if you look real close. But all things given, the owner was happy with that, especially since with the holidays and even more babysitting duties for me on the horizon, who knows when I would be able to finish it (again).

After finally getting the work done I finished the pipe off with a few coats of carnauba wax. I want to mention that I followed the instructions, more or less, for Dremel buffing for the stem and the waxing of the stummel. I currently can’t use my buffer so I wanted to give this option a try and am very pleased with the results. Mine is a variable speed Dremel and I used 5,000 RPM for the compounds and 10,000 RPM for the wax.

Hopefully with the new Dremel techniques I’ve learned (thanks again, Dal and Steve) and with some luck (and no small amount of “okay” from my wife) I will find a way to down size my work-needs to be able to work from my kitchen instead of my basement workshop, allowing me to work more when my mobility issues keep me from the stairs.

The Doctor Gets a New Coat- A Dr Grabow Omega Reborn


Blog by Greg Wolford

Of late I’ve been admiring system-type pipes. Having never had one I placed a bid on a lot of four old pipes – two I had little interest in – two of which were Dr Grabow Omegas, a smooth and a rusticated. Here are a few photos from the seller; I forgot (again) to take before and even some along-the-way shots.
IMG_0286.PNG

IMG_0287.PNG

IMG_0285.PNG

I stared on them both with the normal scrubbing the outside with acetone on cotton balls to remove their finishes. Then I reamed them back to bare wood. The smooth pipe was heavily caked but the rusticated one wasn’t at all, barely smoked really. However, you can’t tell in the above picture, the rusticated one had some heavy damage to the inner rim. I began by topping the bowl to even it it some but it would take a lot of briar removal to attempt to get out the chunks missing from the inner rim. So I took the second largest head on my Castleford reamer, too big for the bowl, and started a “bevel” on the inner rim, which I then worked with needle files and sandpaper to smooth out. I couldn’t take out all the damage but made it much less noticeable and would be even better after I stained it and it was later smoked. Next I got out my hand drill and re-drilled both bowls with a 5/32″ bit to improve the draw. I did the same thing with the tenon ends of the stems and then funneled them out. At this point I dropped both bowls in an alcohol bath overnight.

I cleaned out the stems with alcohol and pipe cleaners until they came out white. These stems are not vulcanite but a nylon-type material, ABS plastic I believe, and are not my favorite to work on. The smooth bowled pipe had a good stem the rusticated one’s stem was chewed pretty badly. I decided to use some of the adhesive accelerator and black super glue to raise up some the bites marks; I left the “roughness” of the chew marks on, thinking the glue would adhere better. I alternated polishing the “good” stem and building up the patch on the chewed up P-lip style one. Once the “rough” stem was built up to my satisfaction I used a needle file and some 320 wet/dry paper to smooth off the roughness from the chewing the previous pipeman had done. Then I polished the stem with plastic polish and was happy with the “decent” look I ended up with; I felt it just wasn’t worth the time and effort to try to get this plastic stem any closer to “new” than it was now.

The next morning I took the bowls out of their soak and let them dry an hour or so. I wanted to make this “typical” rusticated Omega look less typical so I started sanding in it; the rustication was plenty deep enough to remove some briar on the smooth part without worry of loosing the rustication’s definition. I did tape off the stamping to retain that as much as possible before starting.

Taking off the old deep red top coat would give me a great opportunity to create a kind of unique contrast on this pipe I thought so after sanding the bowl and band with 220 and 320 grits I used a black sharpie to color in all the rustication and also the rim and new inner bevel. Then I used 400 grit to sand off the bowl again, to remove the over-marks of black, and the band. Then I applied a coat of a lighter red, which is actually a stain marker I got in a set at The Dollar Tree and is marked “medium brown”. I let the stain cure for a bit and then highlighted the nomenclature with white acrylic paint, for an extra “pop”.

IMG_0290.JPG

IMG_0288.JPG

IMG_0289.JPG

While the paint cured I have the stem a final polish with plastic polish just to brighten and shine it a little more. I was tempted to try to make the bit nicer but the back of my mind kept telling me it wasn’t worth the headache so I finally decided to leave it.

I have the bowl one last coat of stain and let it dry for about 15 minutes; these bargain-markers dry real fast, even if the colors aren’t what I thought they’d be. Then I applied a good coat of Halcyon II wax to the pipe and stem and buffed it by hand.

The end product is, in my eye, a pretty neat and definitely different from most other Omega product, even with the “boogered” stem.

IMG_0223.JPG

IMG_0222.JPG

IMG_0221.JPG

IMG_0225.JPG

IMG_0230.JPG

IMG_0224.JPG

Repairing a Hole in an Acrylic Stem


Blog by Greg Wolford

A couple of weeks ago I received an IM from a Facebook friend; he’s a pipe collector and reseller. He attached the following photos of an acrylic stem with a hole in the underside.
IMG_1623.JPG

IMG_1622.JPG

IMG_1624.JPG

He had seen photos of some of my work bad wanted to know if I could repair this stem for him; he said the top of the stem and the stummel were pristine and this was the only problem with the pipe. I said I could fix it so he told me the stem would be in the mail in a couple of days.

A week later I found a box in the mail from a sender I didn’t recognize and I wasn’t expecting any packages so I was eager to see what was inside. When I opened the box I found a beautiful large Radice (I forget the model name and didn’t remember to photograph it) inside – with a big hole in the stem; apparently the seller sent the pipe directly to me first and, after repairing it, I would forward it to my friend.

The hole was larger than it appeared in the pictures. And it was a bit “ragged”, too. So I picked it with my dental pick and smoothed it with a round needle file to have a good surface to work with. I bent a pipe cleaner to make it triple-width to fit the slot and greased it with vegetable shortening; I’ve had trouble with petroleum jelly in past not keeping the glue in place real well and have started using the shortening instead.

I began by applying a drop or two of black super glue to the hole an pd then setting it aside to cure; it was going to take several layers to fill this hole so it would be a waiting game. Later that evening I applied a few more drops and left it overnight to cure.

In the morning I found the patch had shrunken, as expected, and needed more glue. I applied two more patches that day, once in the morning and another that evening and allowed it to cure overnight again.

It was at this point I began to have some fairly dramatic vision problems due to diabetes, which I’d been recently diagnosed with. (More on that can be found here if you are inclined to read about it.) So I sent my friend a message telling him what was going on and it might be several more days before I could finish the repair. His reply was no problem, make sure I took care of me first.

Several days later my son and I stopped into the local Hobby Lobby to pick up some new micro mesh pads. As we browsed I found a small “spray bottle” labeled adhesive accelerator; I immediately wondered what kind of adhesive it was for and began to read the label, with my son’s help, since my vision was still not clear. It was for most glues so I thought it might be a similar product to Stewart-McDonald’s super glue accelerator – but only $3.99 – so I bought it. I was now even more anxious to work on that Radice stem!

I experimented on an old stem, vulcanite, with a large hole first, not wanting to “play” with someone else’s pipe. The results were great: the super glue set up hard in about 15 minutes and it looked just like it normally would, with no adverse effects from the overspray. Next I’d try it on the Radice.

It was, indeed, a few more days before I could see well enough, long enough to work on the repair. I sprayed the patch with the accelerator, applied the final drips to the patch, sprayed it again and set it aside for 30 minutes. I then filed, sanded (220/320/400/600 grits) and wet-polished with micro mesh 1500-12,000 grits, a final polish with McGuire’s Scratch X 2.0 and hand waxed and buffed the stem with Halcyon II wax; I don’t like buffing acrylic stems, especially when they aren’t mine and are expensive! This is the final repair:

IMG_1620.JPG

IMG_1621.JPG

He is thrilled with the results, as am I. And I’m even happier to find a local source, and less expensive alternative, for the accelerator. If you have a Hobby Lobby nearby you, I highly recommend you grabbing a bottle and giving it a try; you’ll save yourself a lot of time and a few bucks to boot.

IMG_0258.JPG